Sheerline
-
Posts
92 -
Joined
-
Last visited
Content Type
Profiles
Forums
Gallery
Events
Everything posted by Sheerline
-
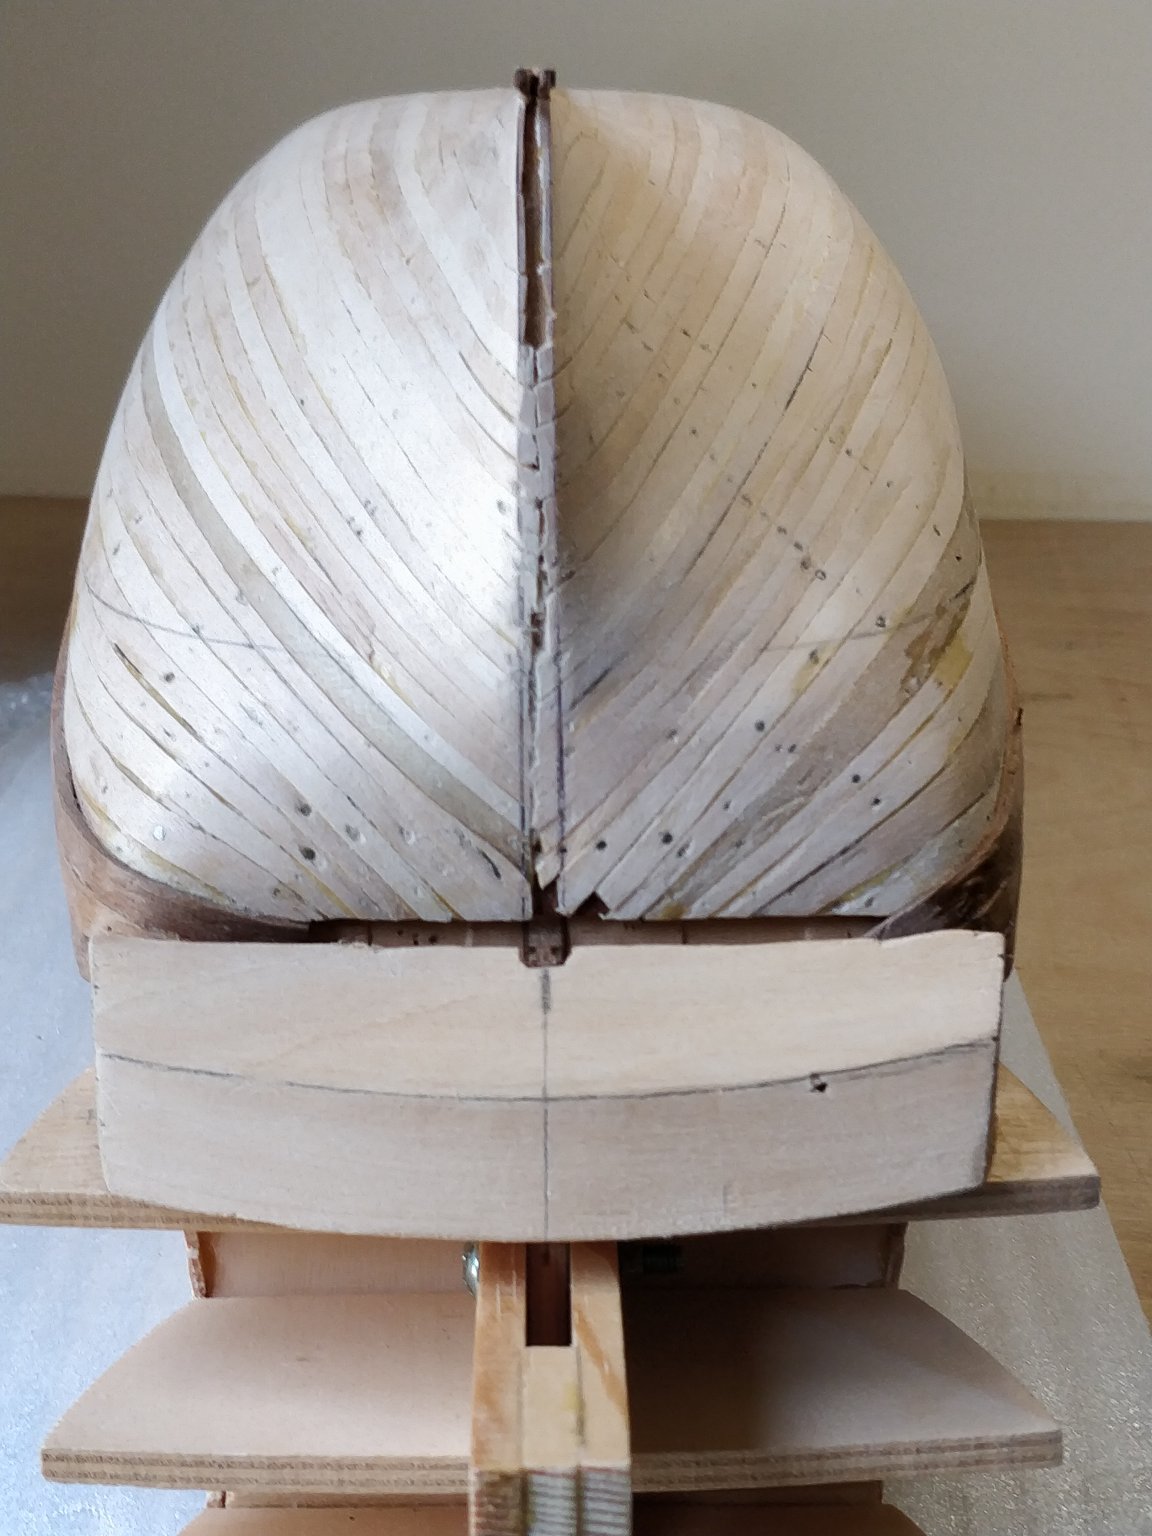
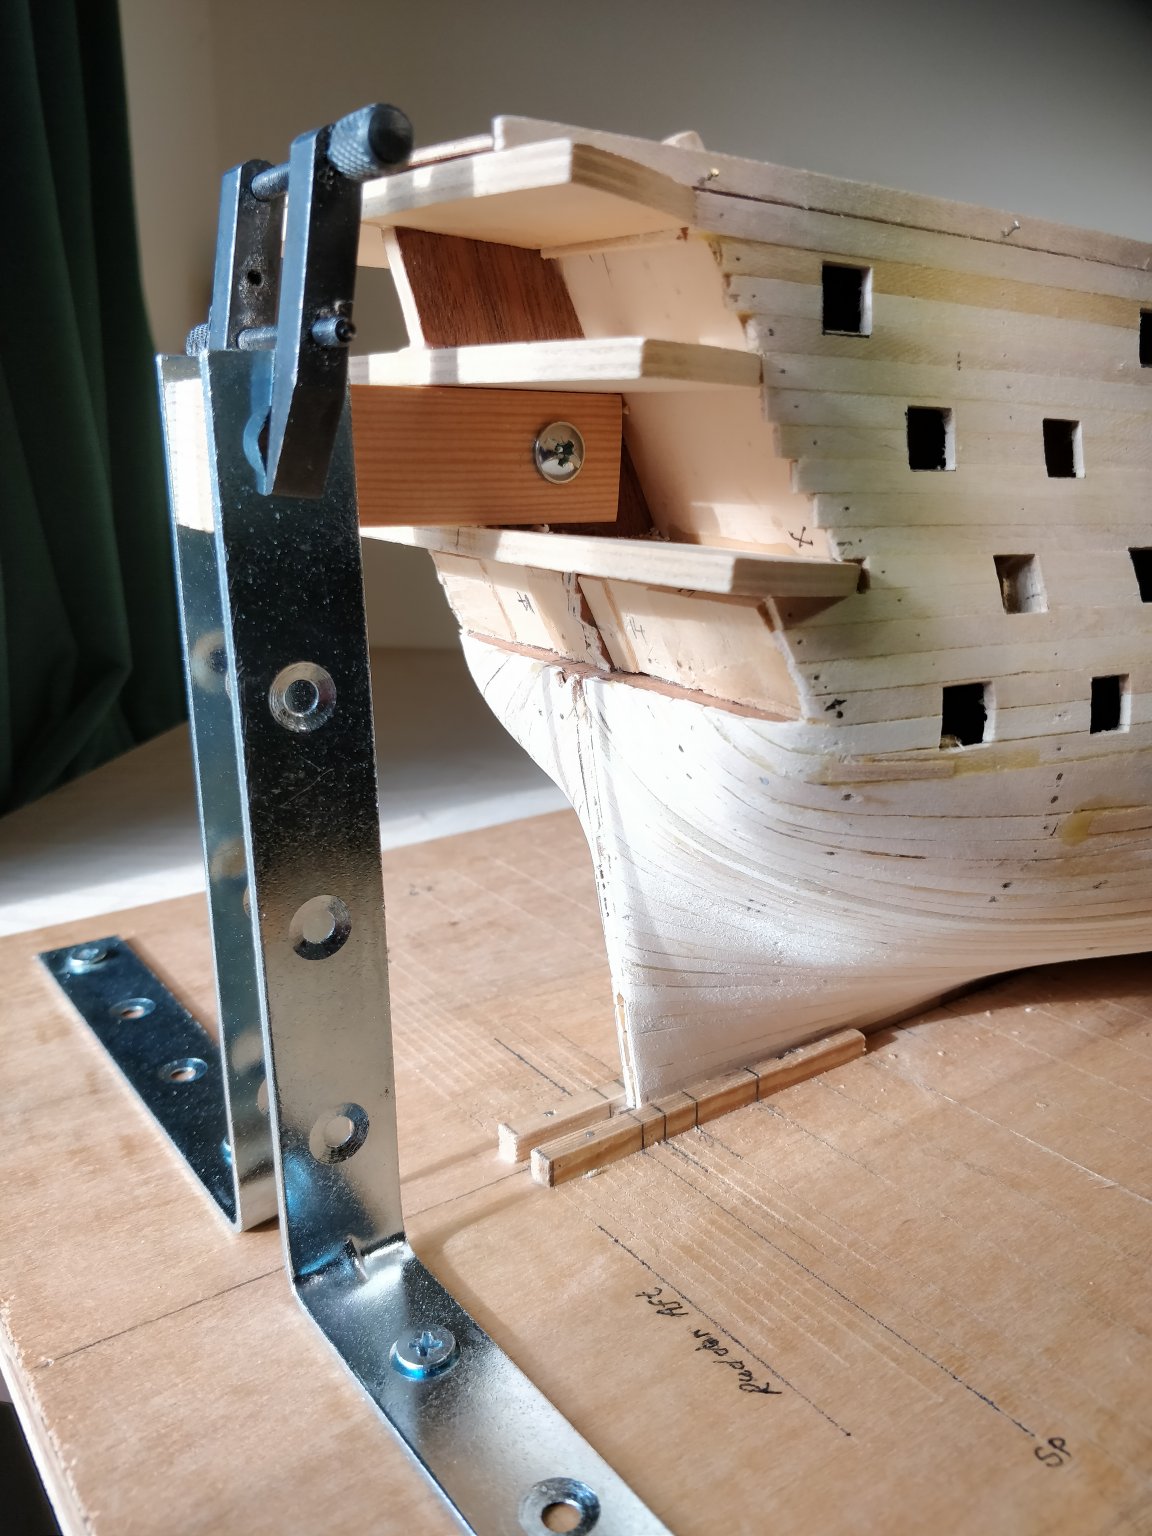
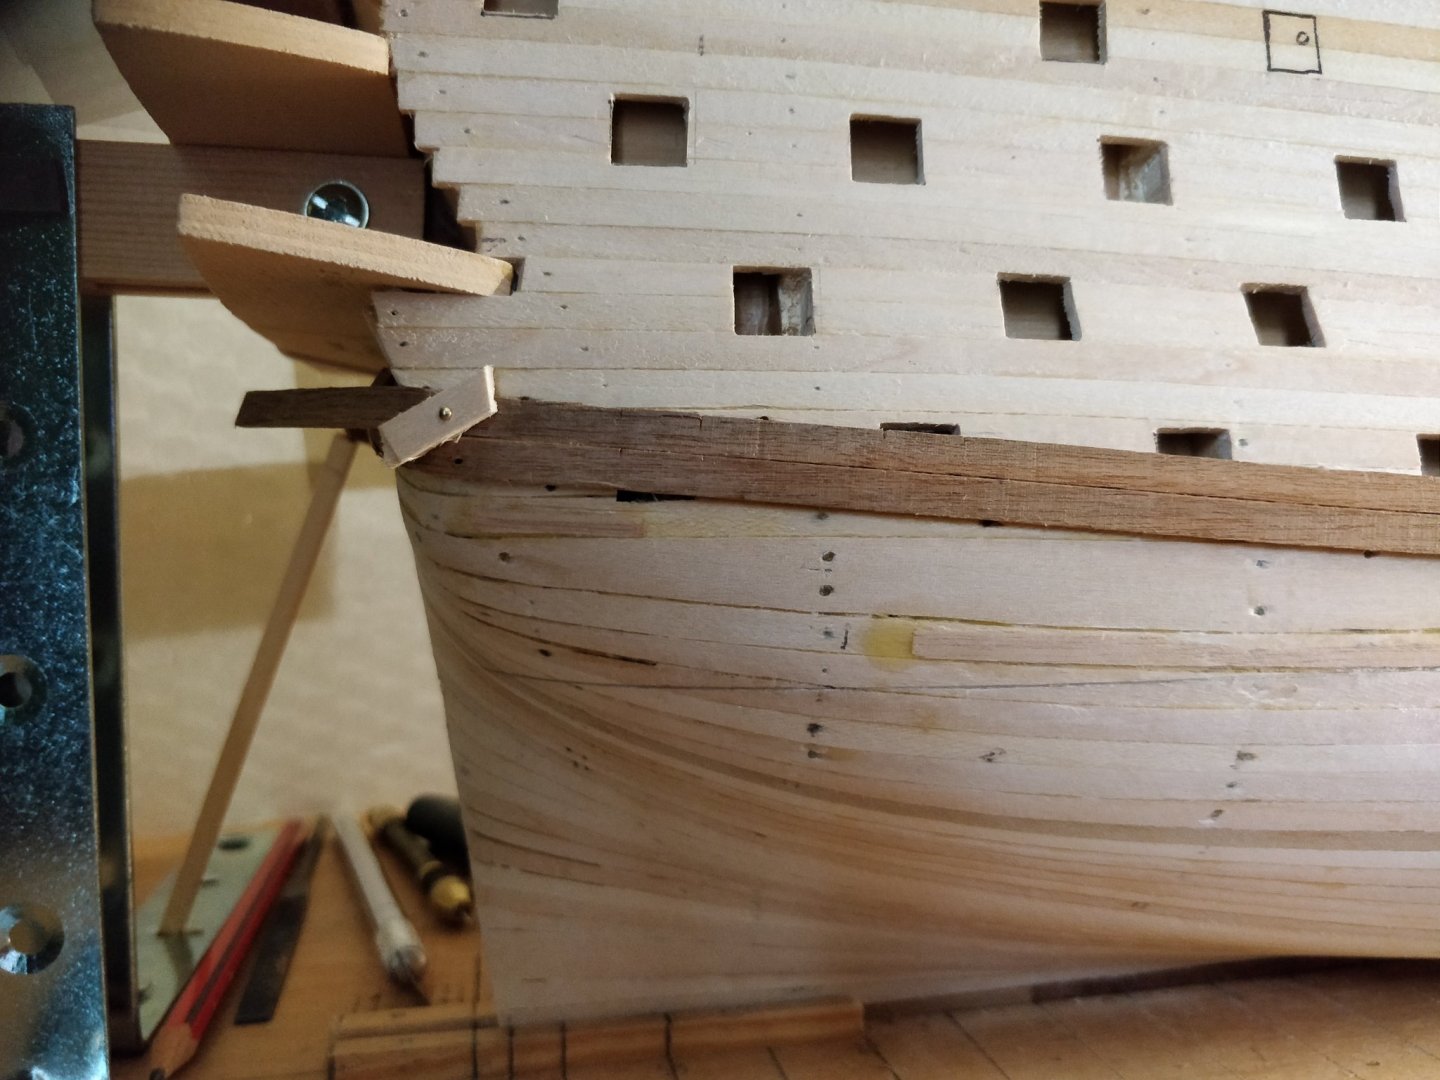
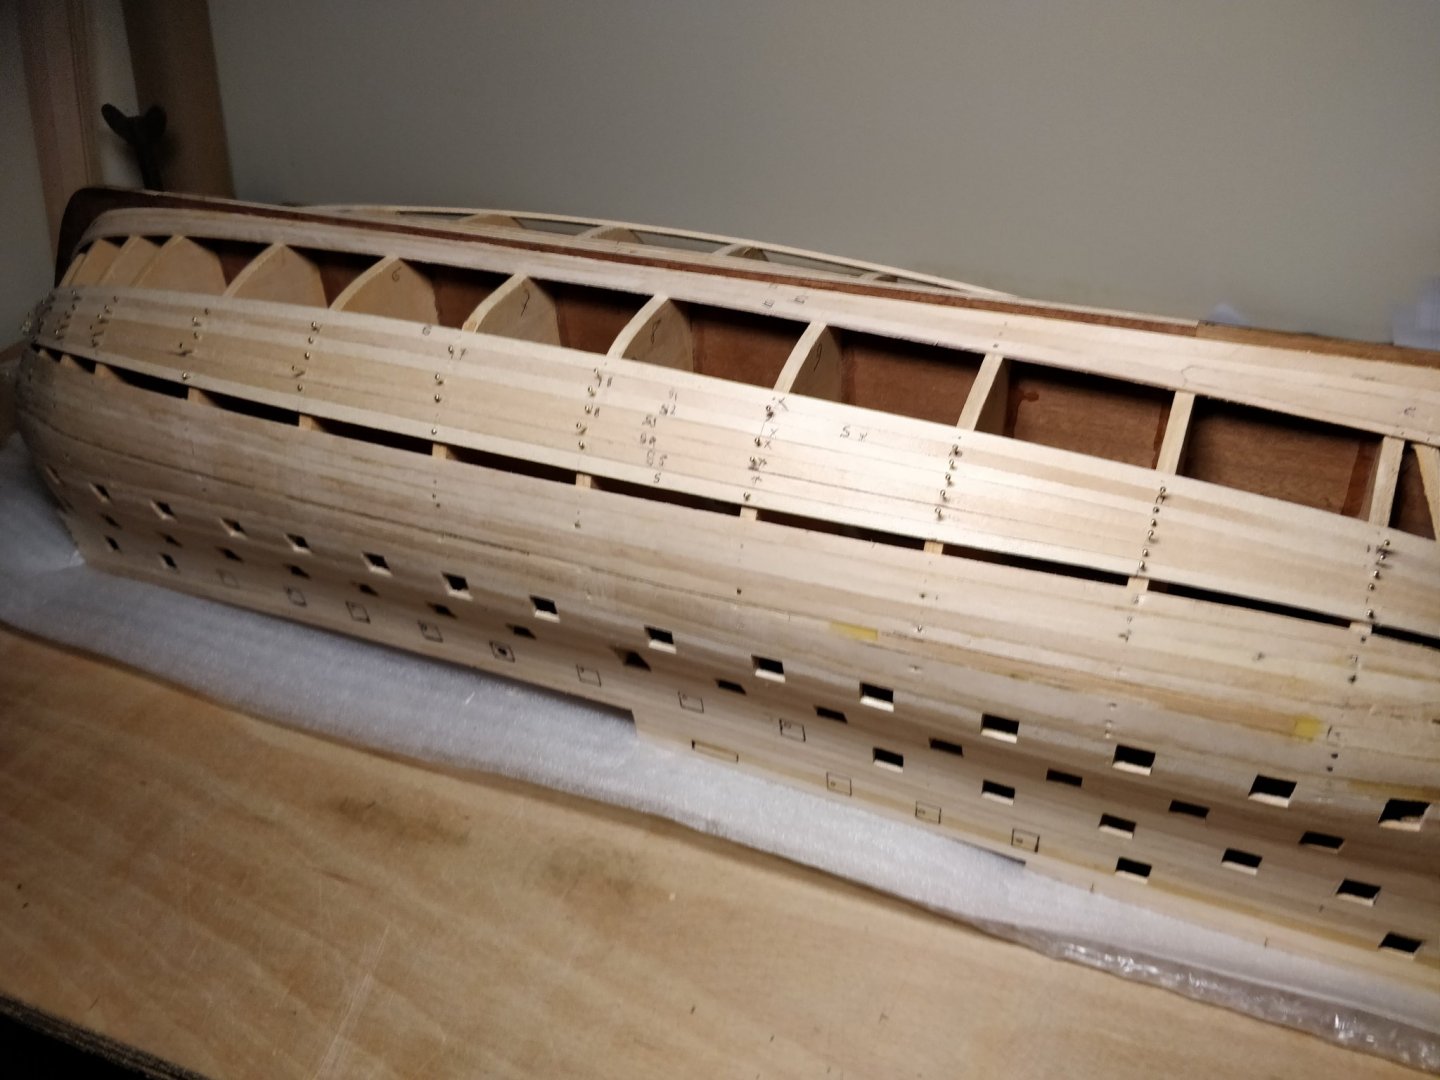
OK. So Wales are fitted at this level and I've offered up the previously made stern counter to see how it all goes together. I've marked the width of this on the main wales so I can cut where necessary to let in the counter back to the aftmost frame. Very carefully re cutting the rabbet line to take the 1mm final planking. At the stern the thickness of the first planking has been fettled a bit too - allowing for the additional 2mm of final planking. Trying to maintain something of a taper here for the stern post shape. 😀

-
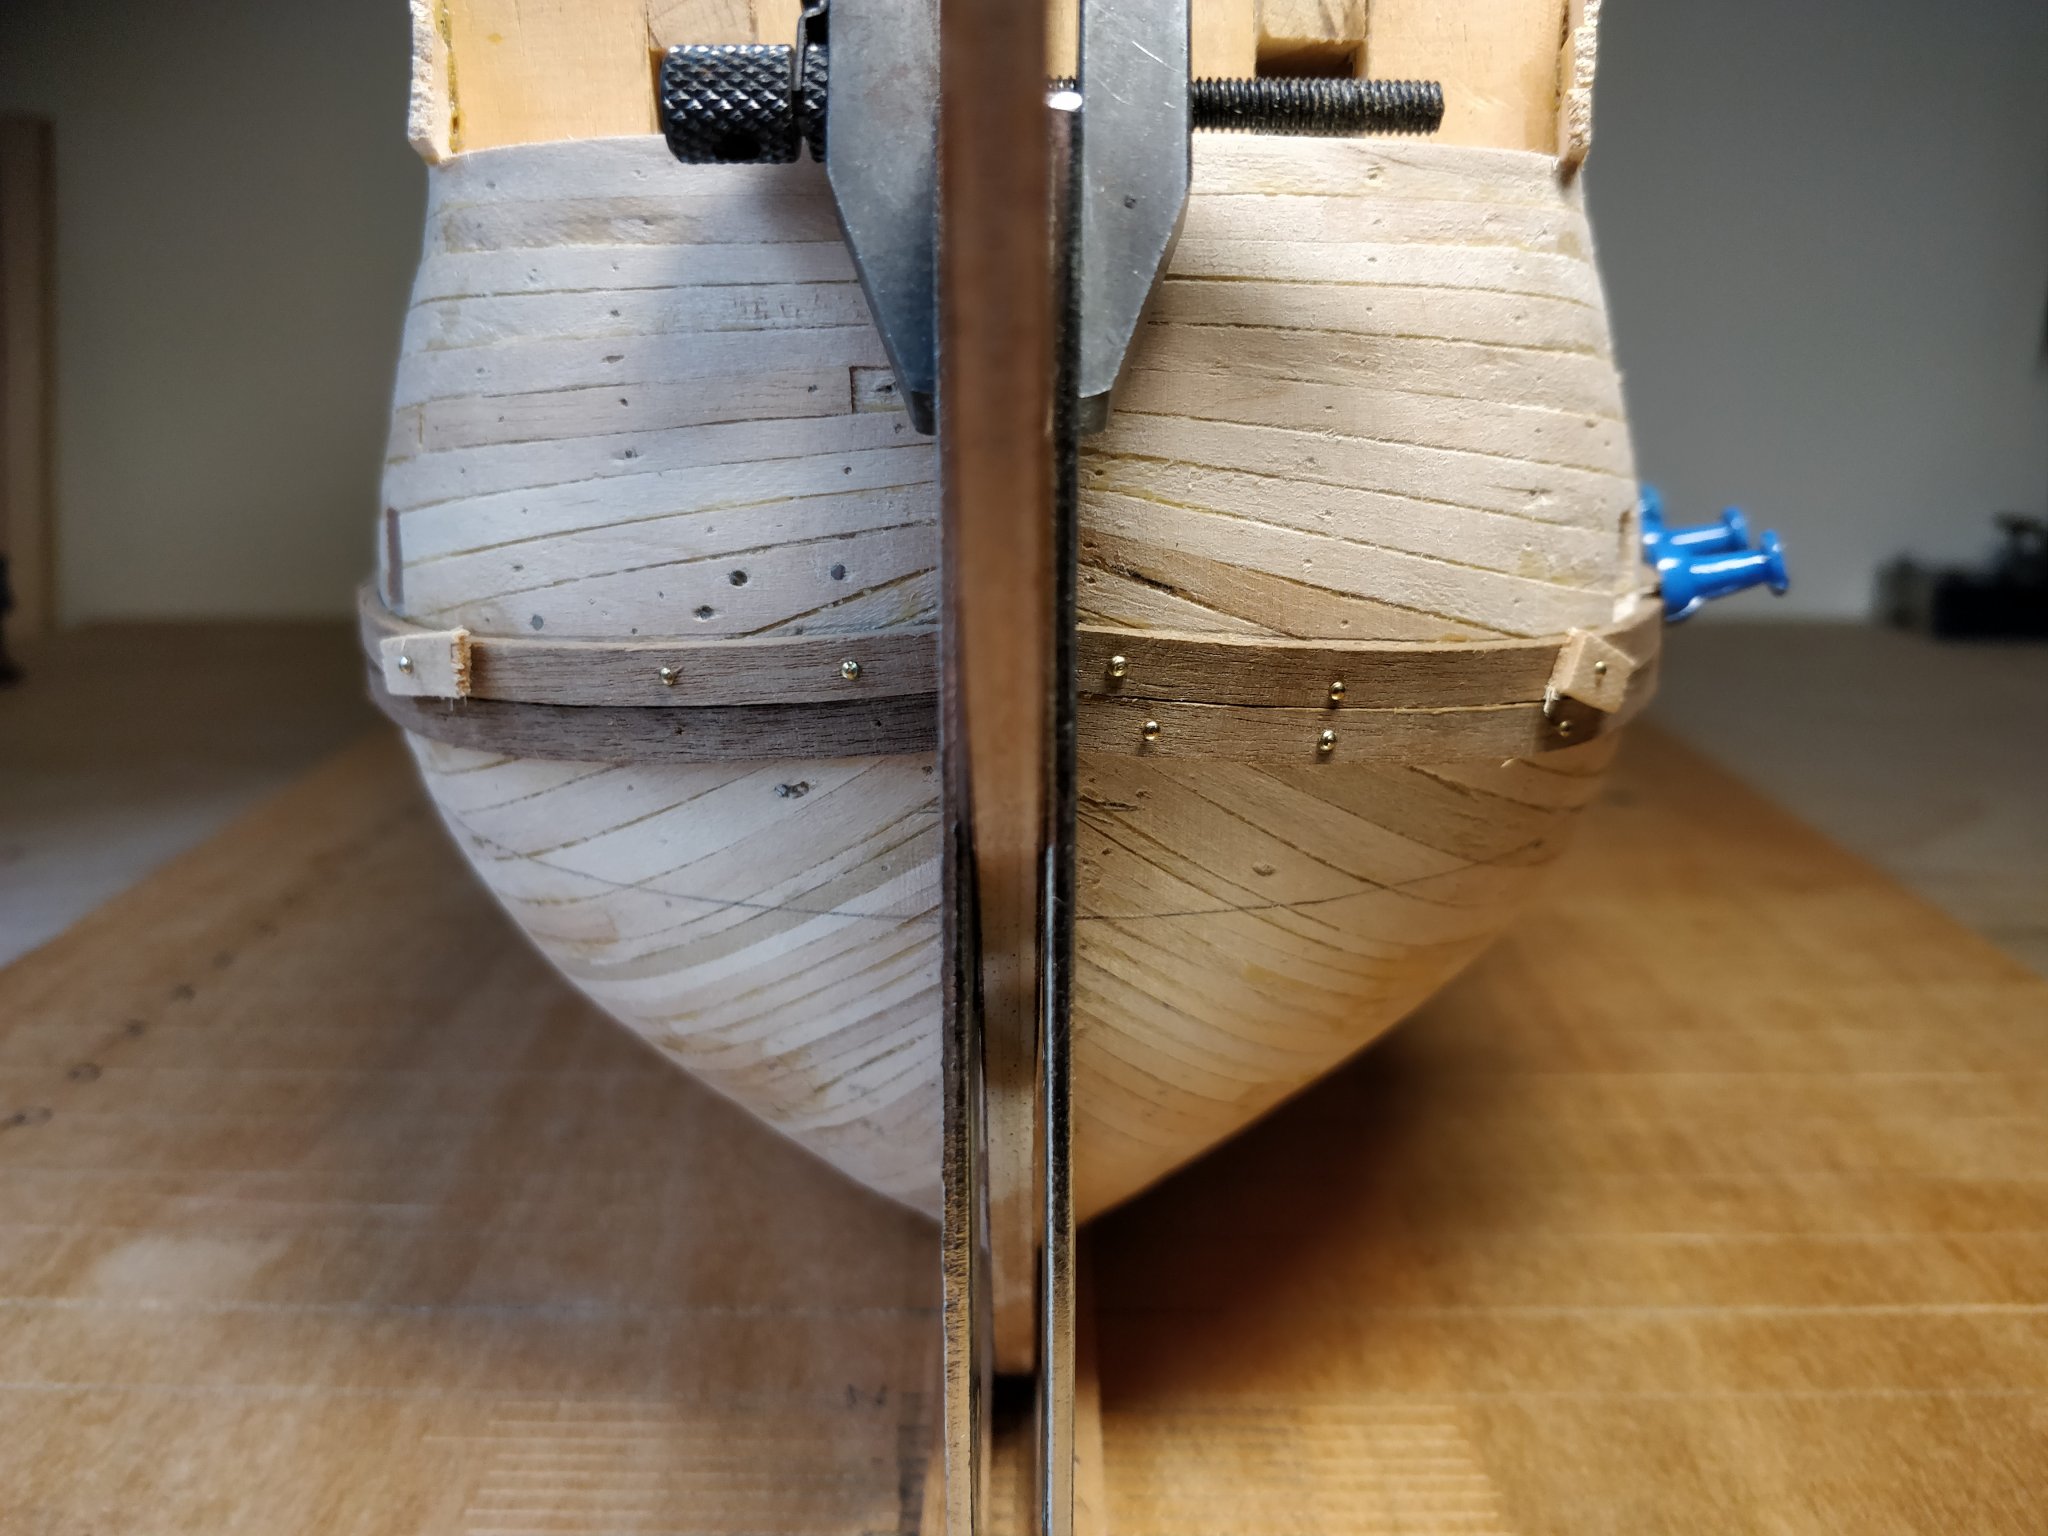
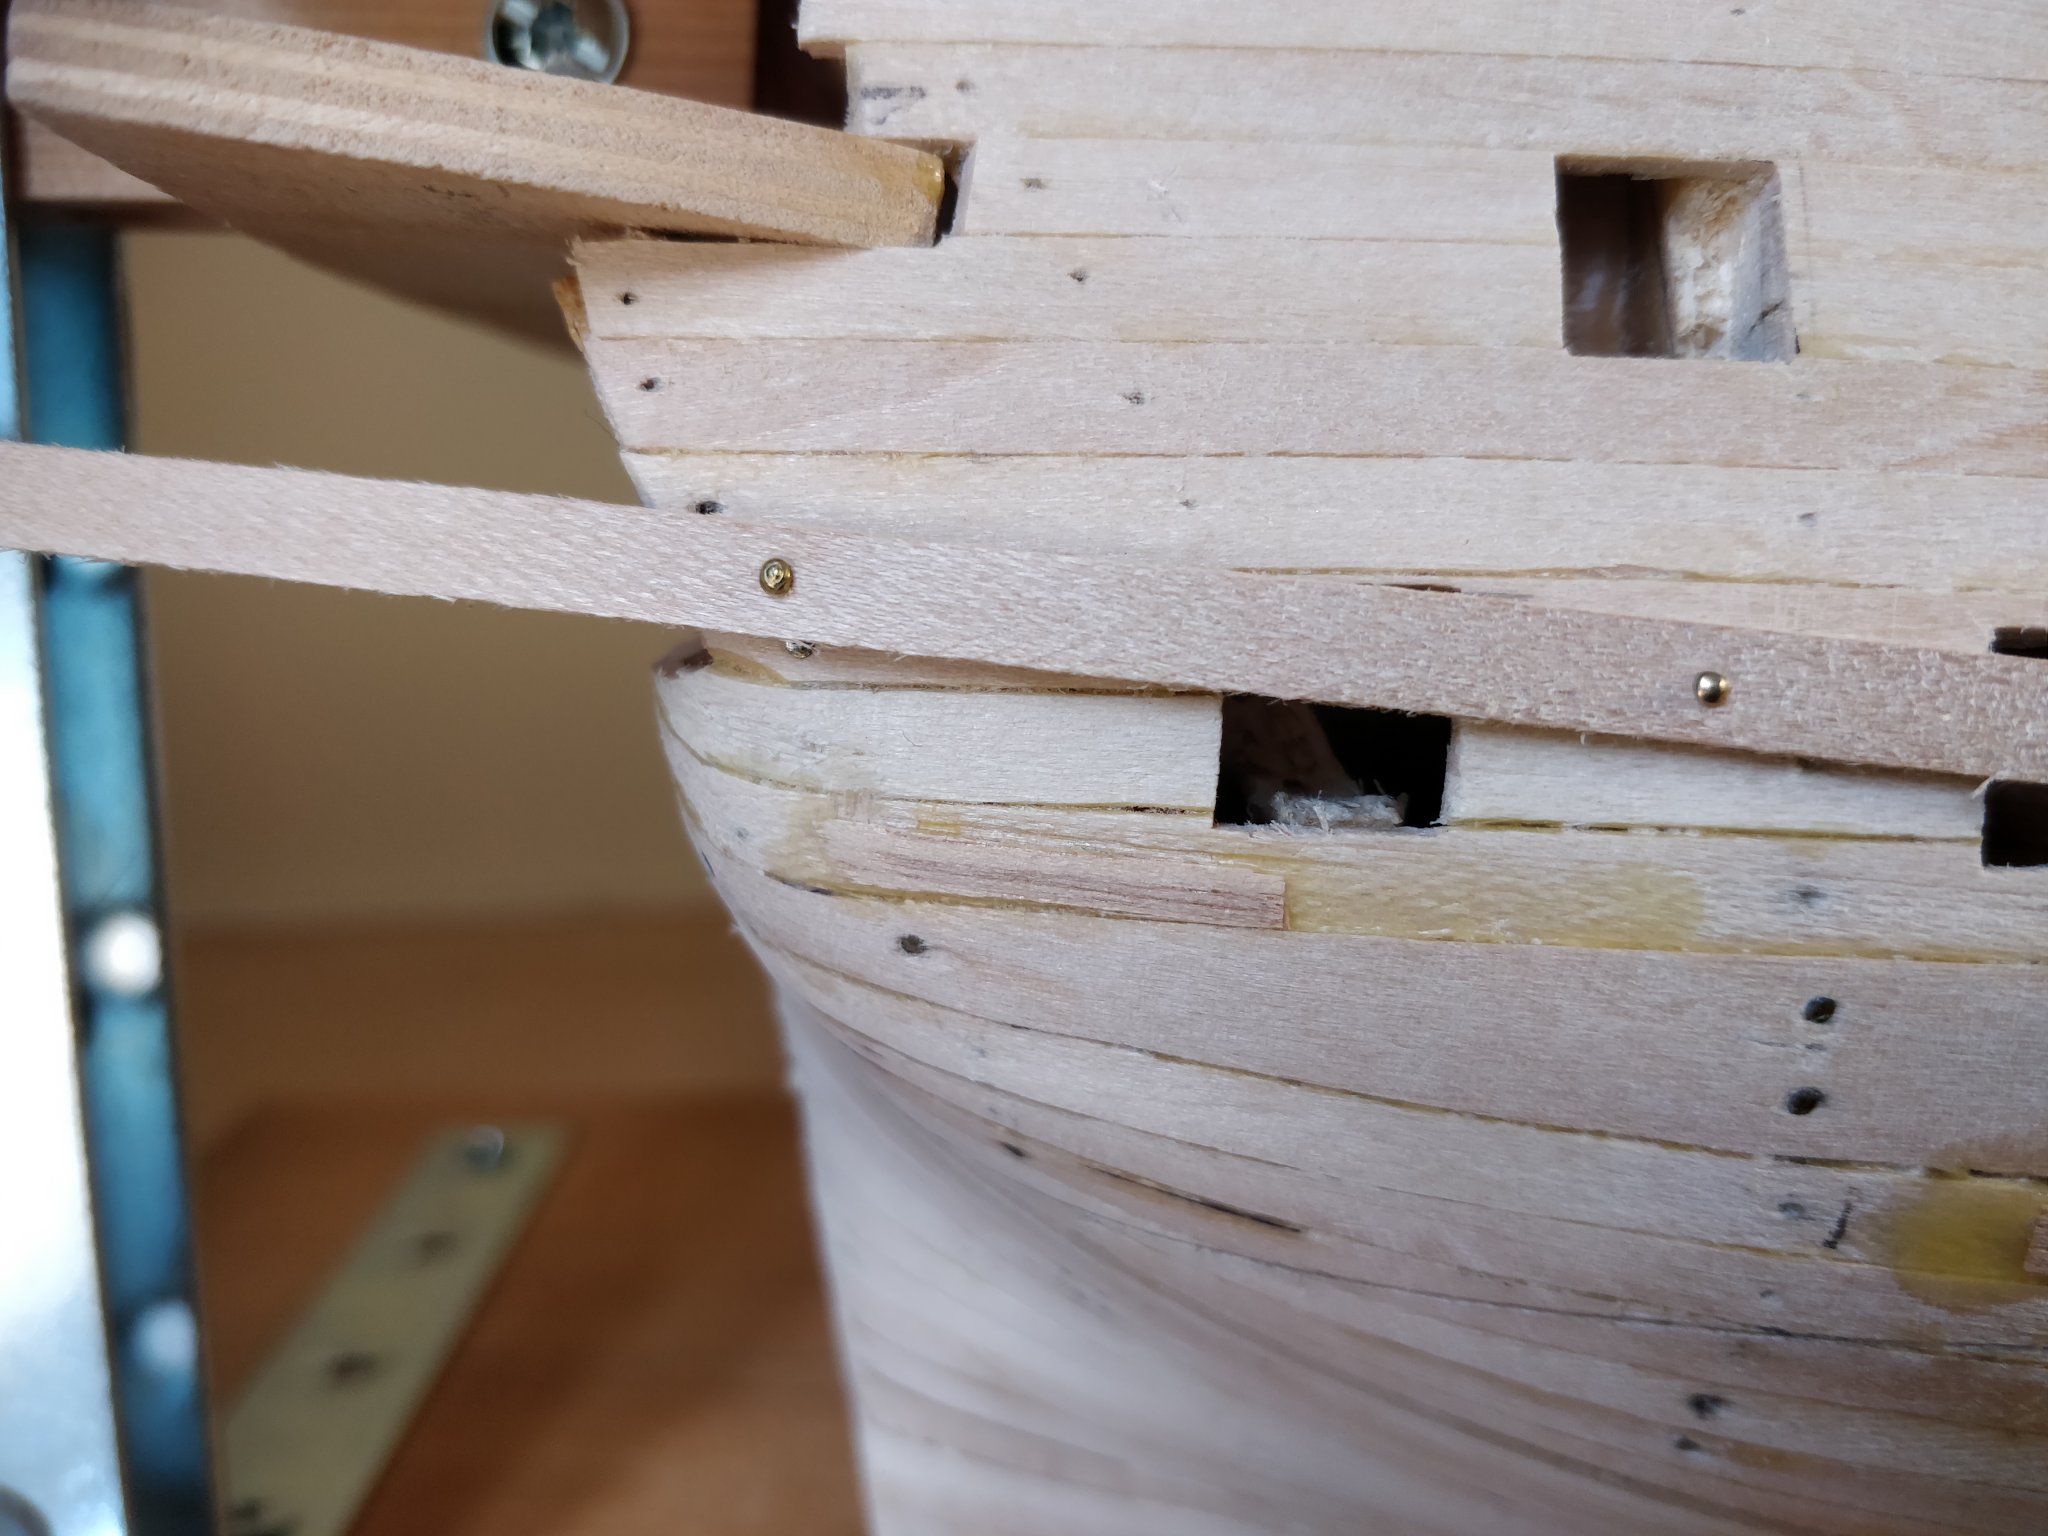
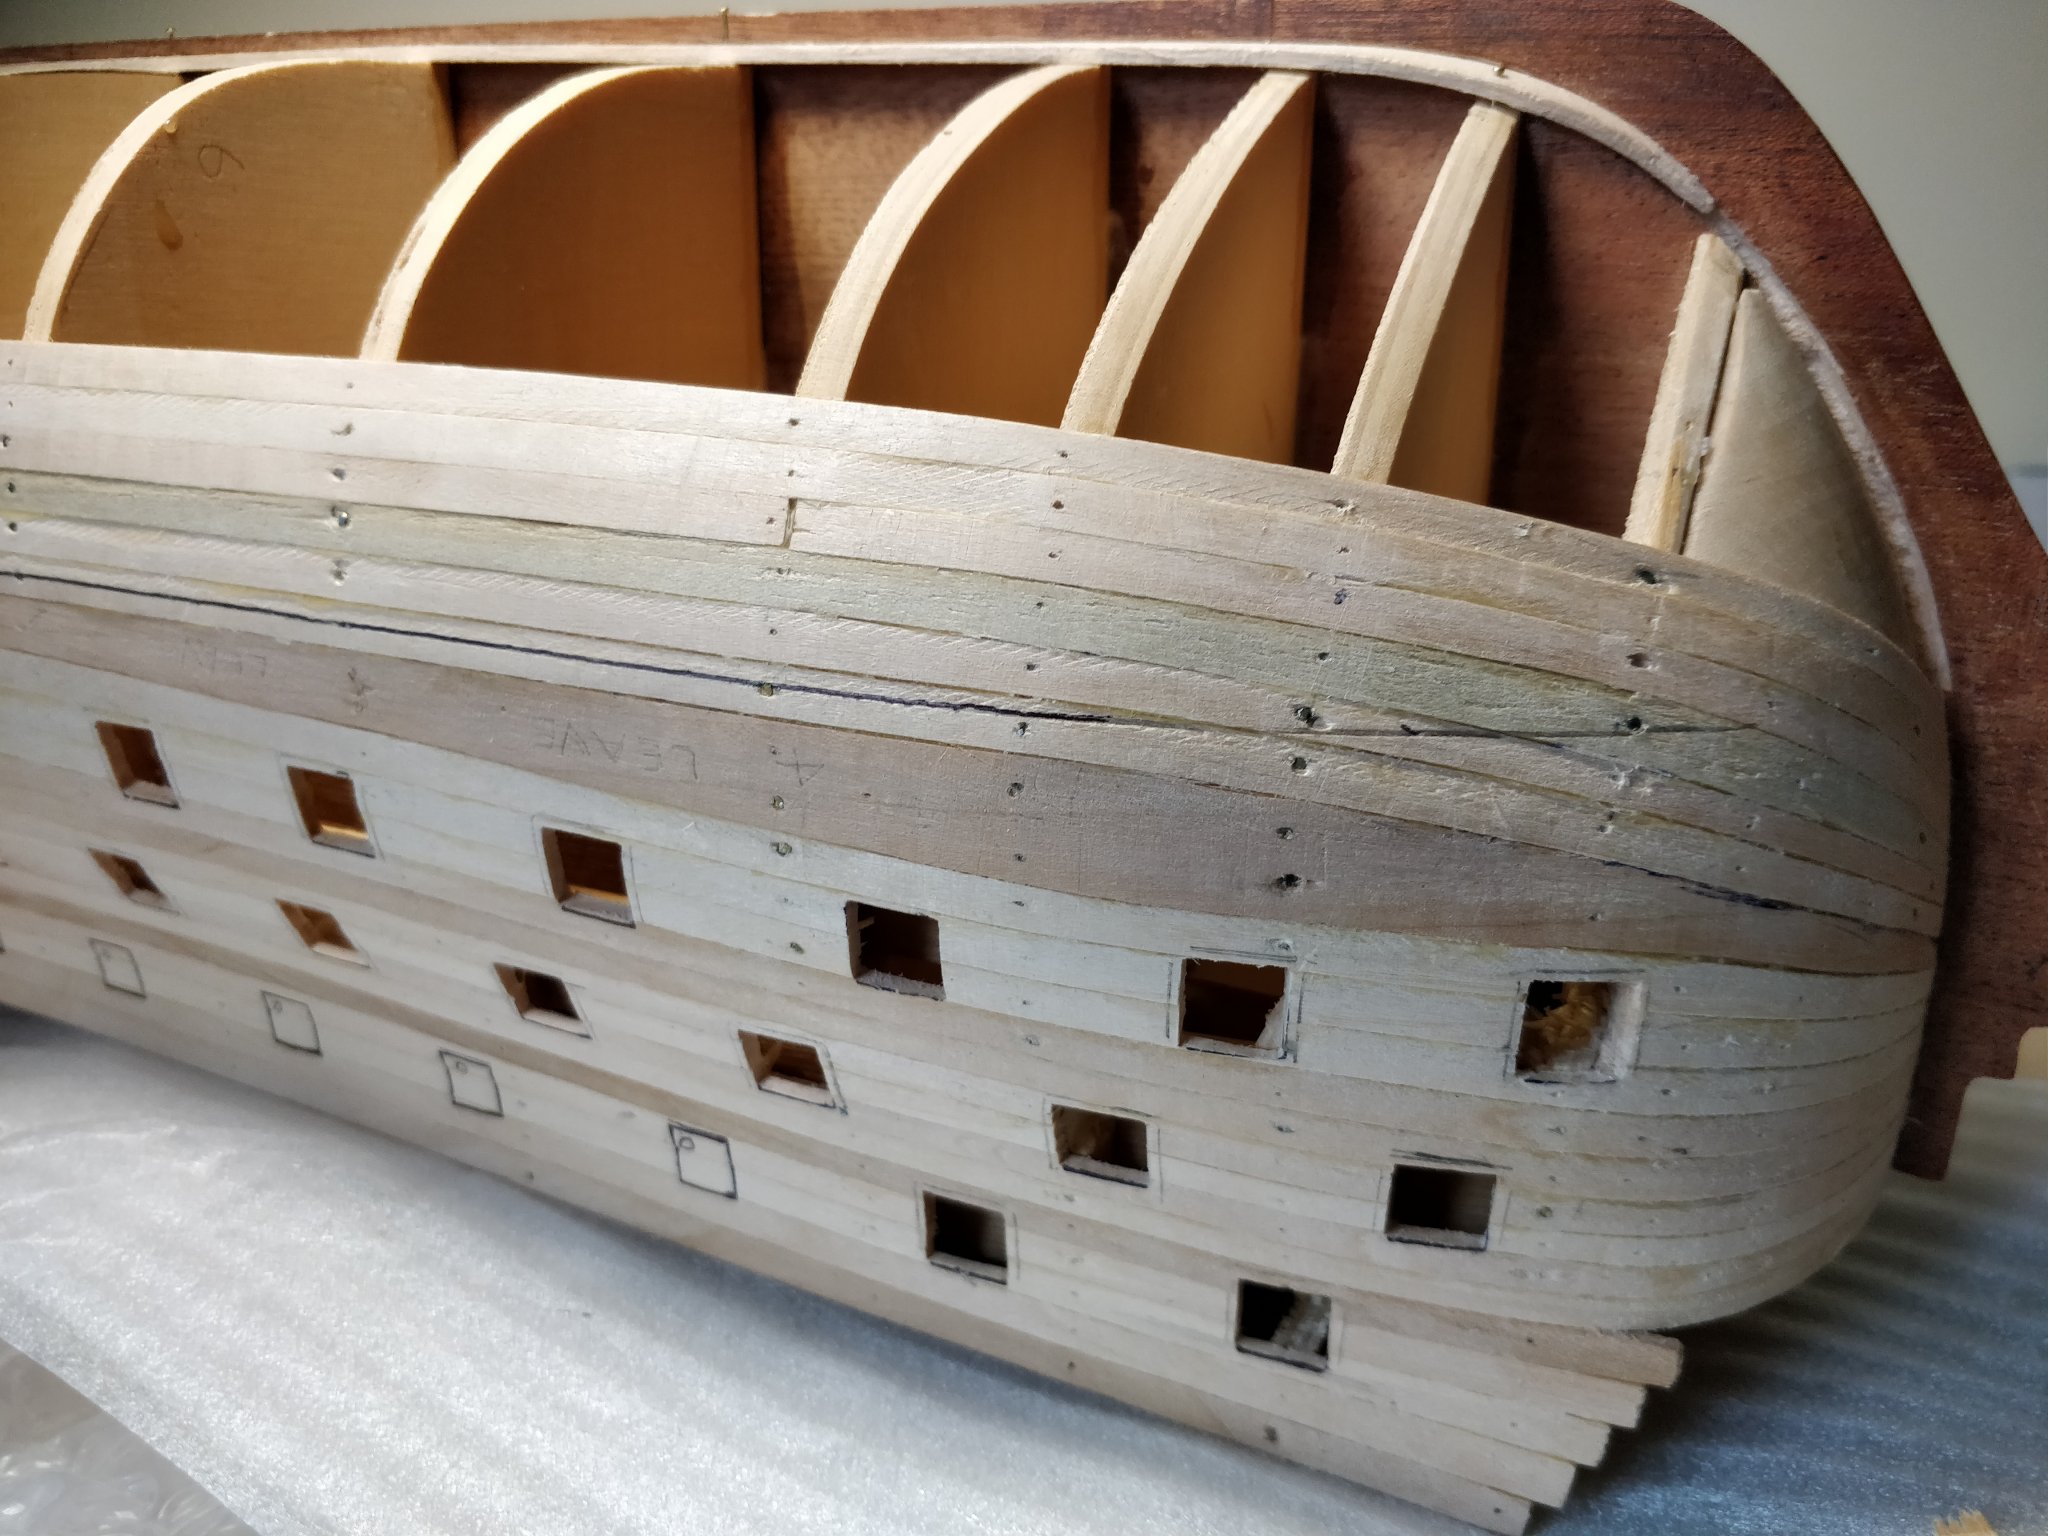
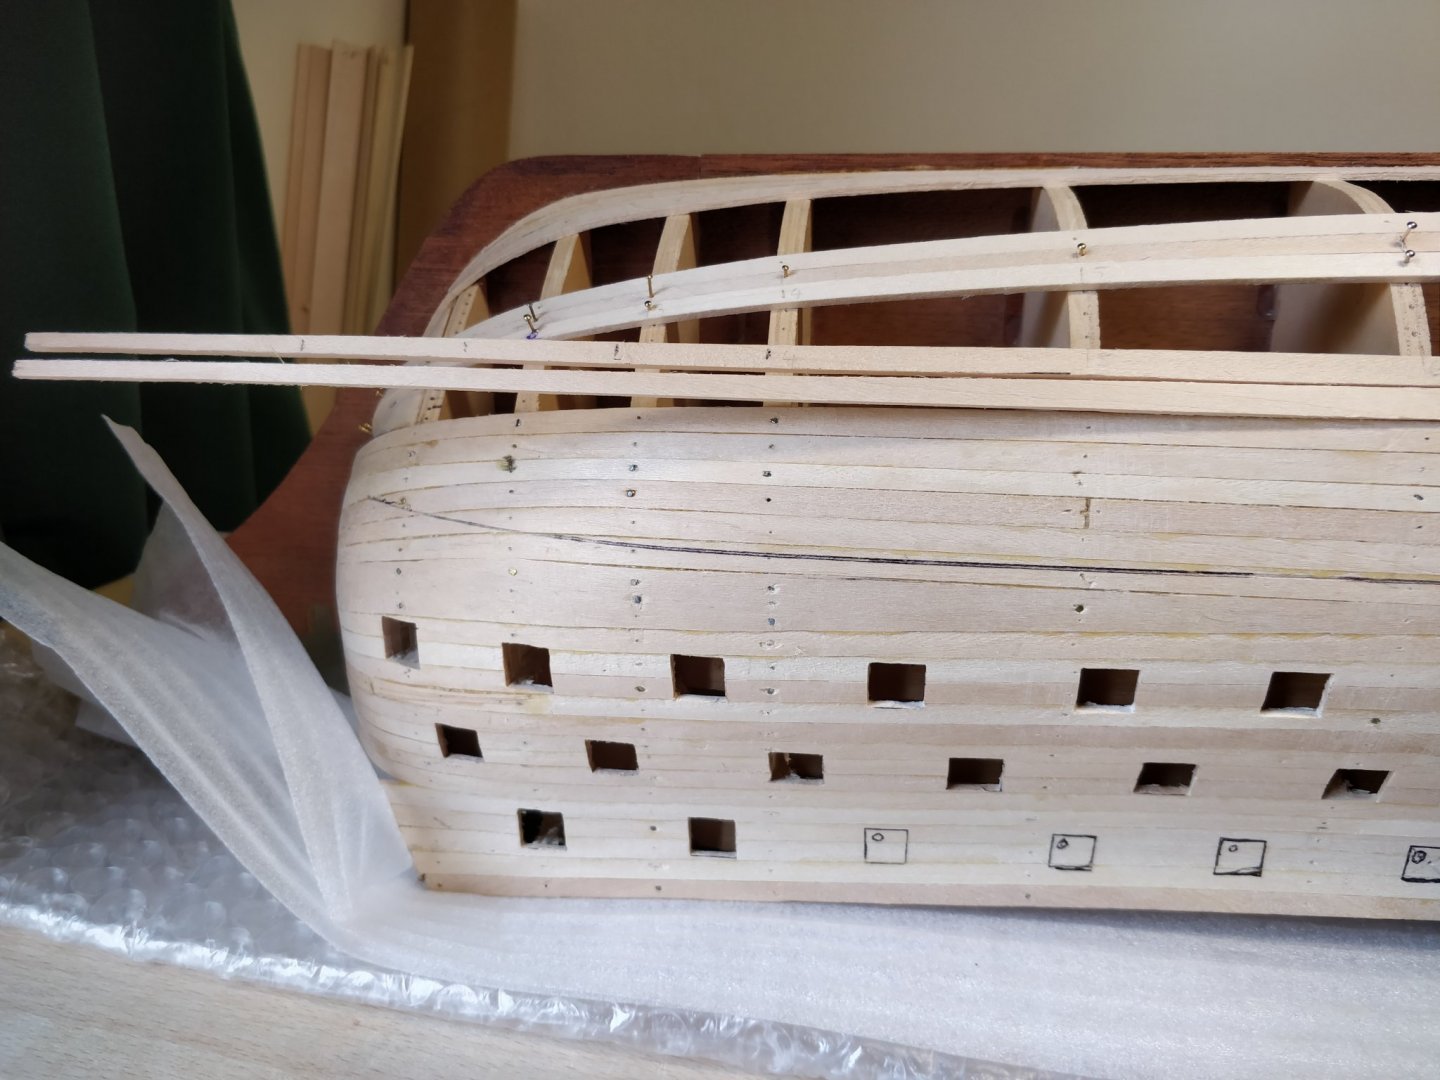
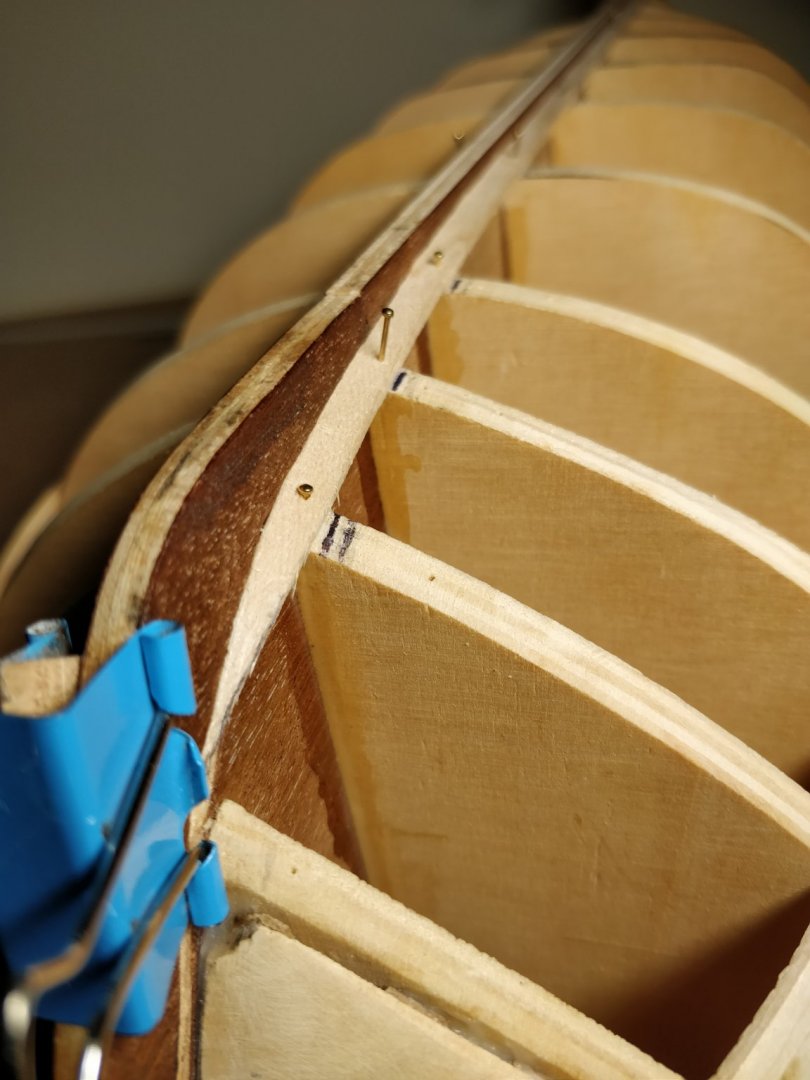
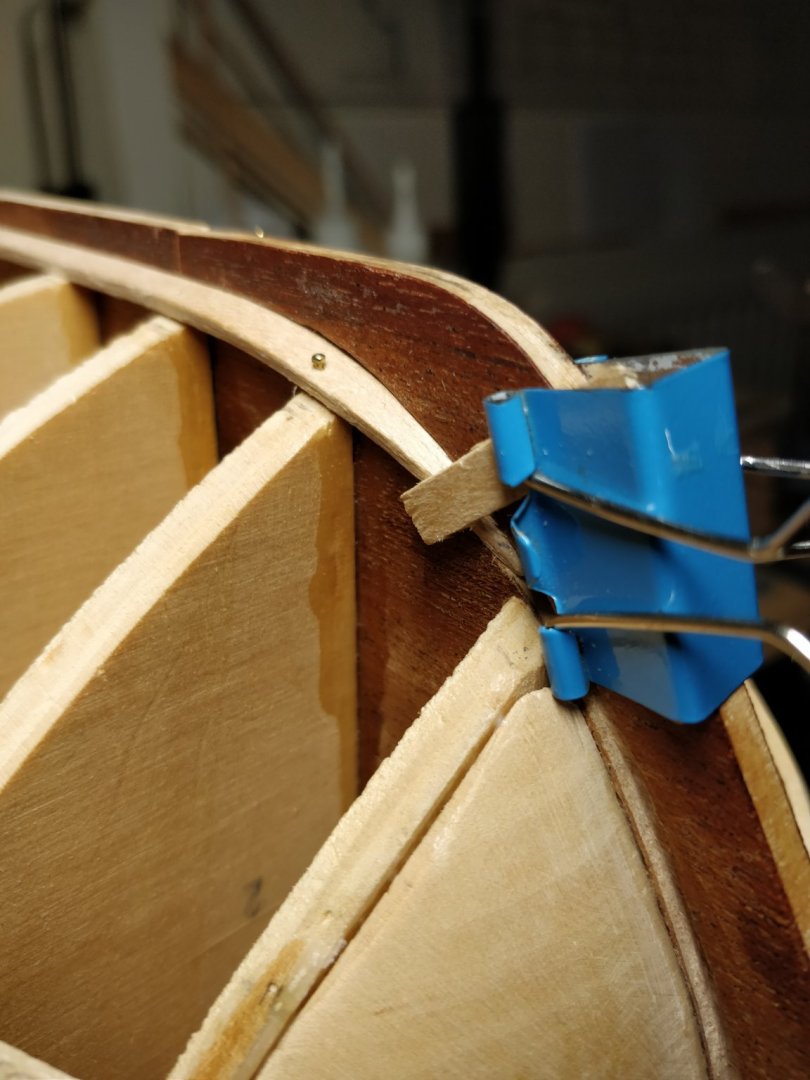
First walnut wale plank beneath marking strake fitted. Didn't think though I might get glue seepage under the strake but it came off easily enough with gentle scraping. Found the walnut a lot harder to bend especially around the stern/lower transom area, it's quite a tight turn at this point. Lots of soaking and using the shank of the hot plank bender did it. I needed to get these right as the visual impact of the arrival and upward sweep at the stern is obvious. I put a little nick with a scalpel by each port, just on the corner edges so I don't lose sight of where they are. I've started the second planking..yippee!

-
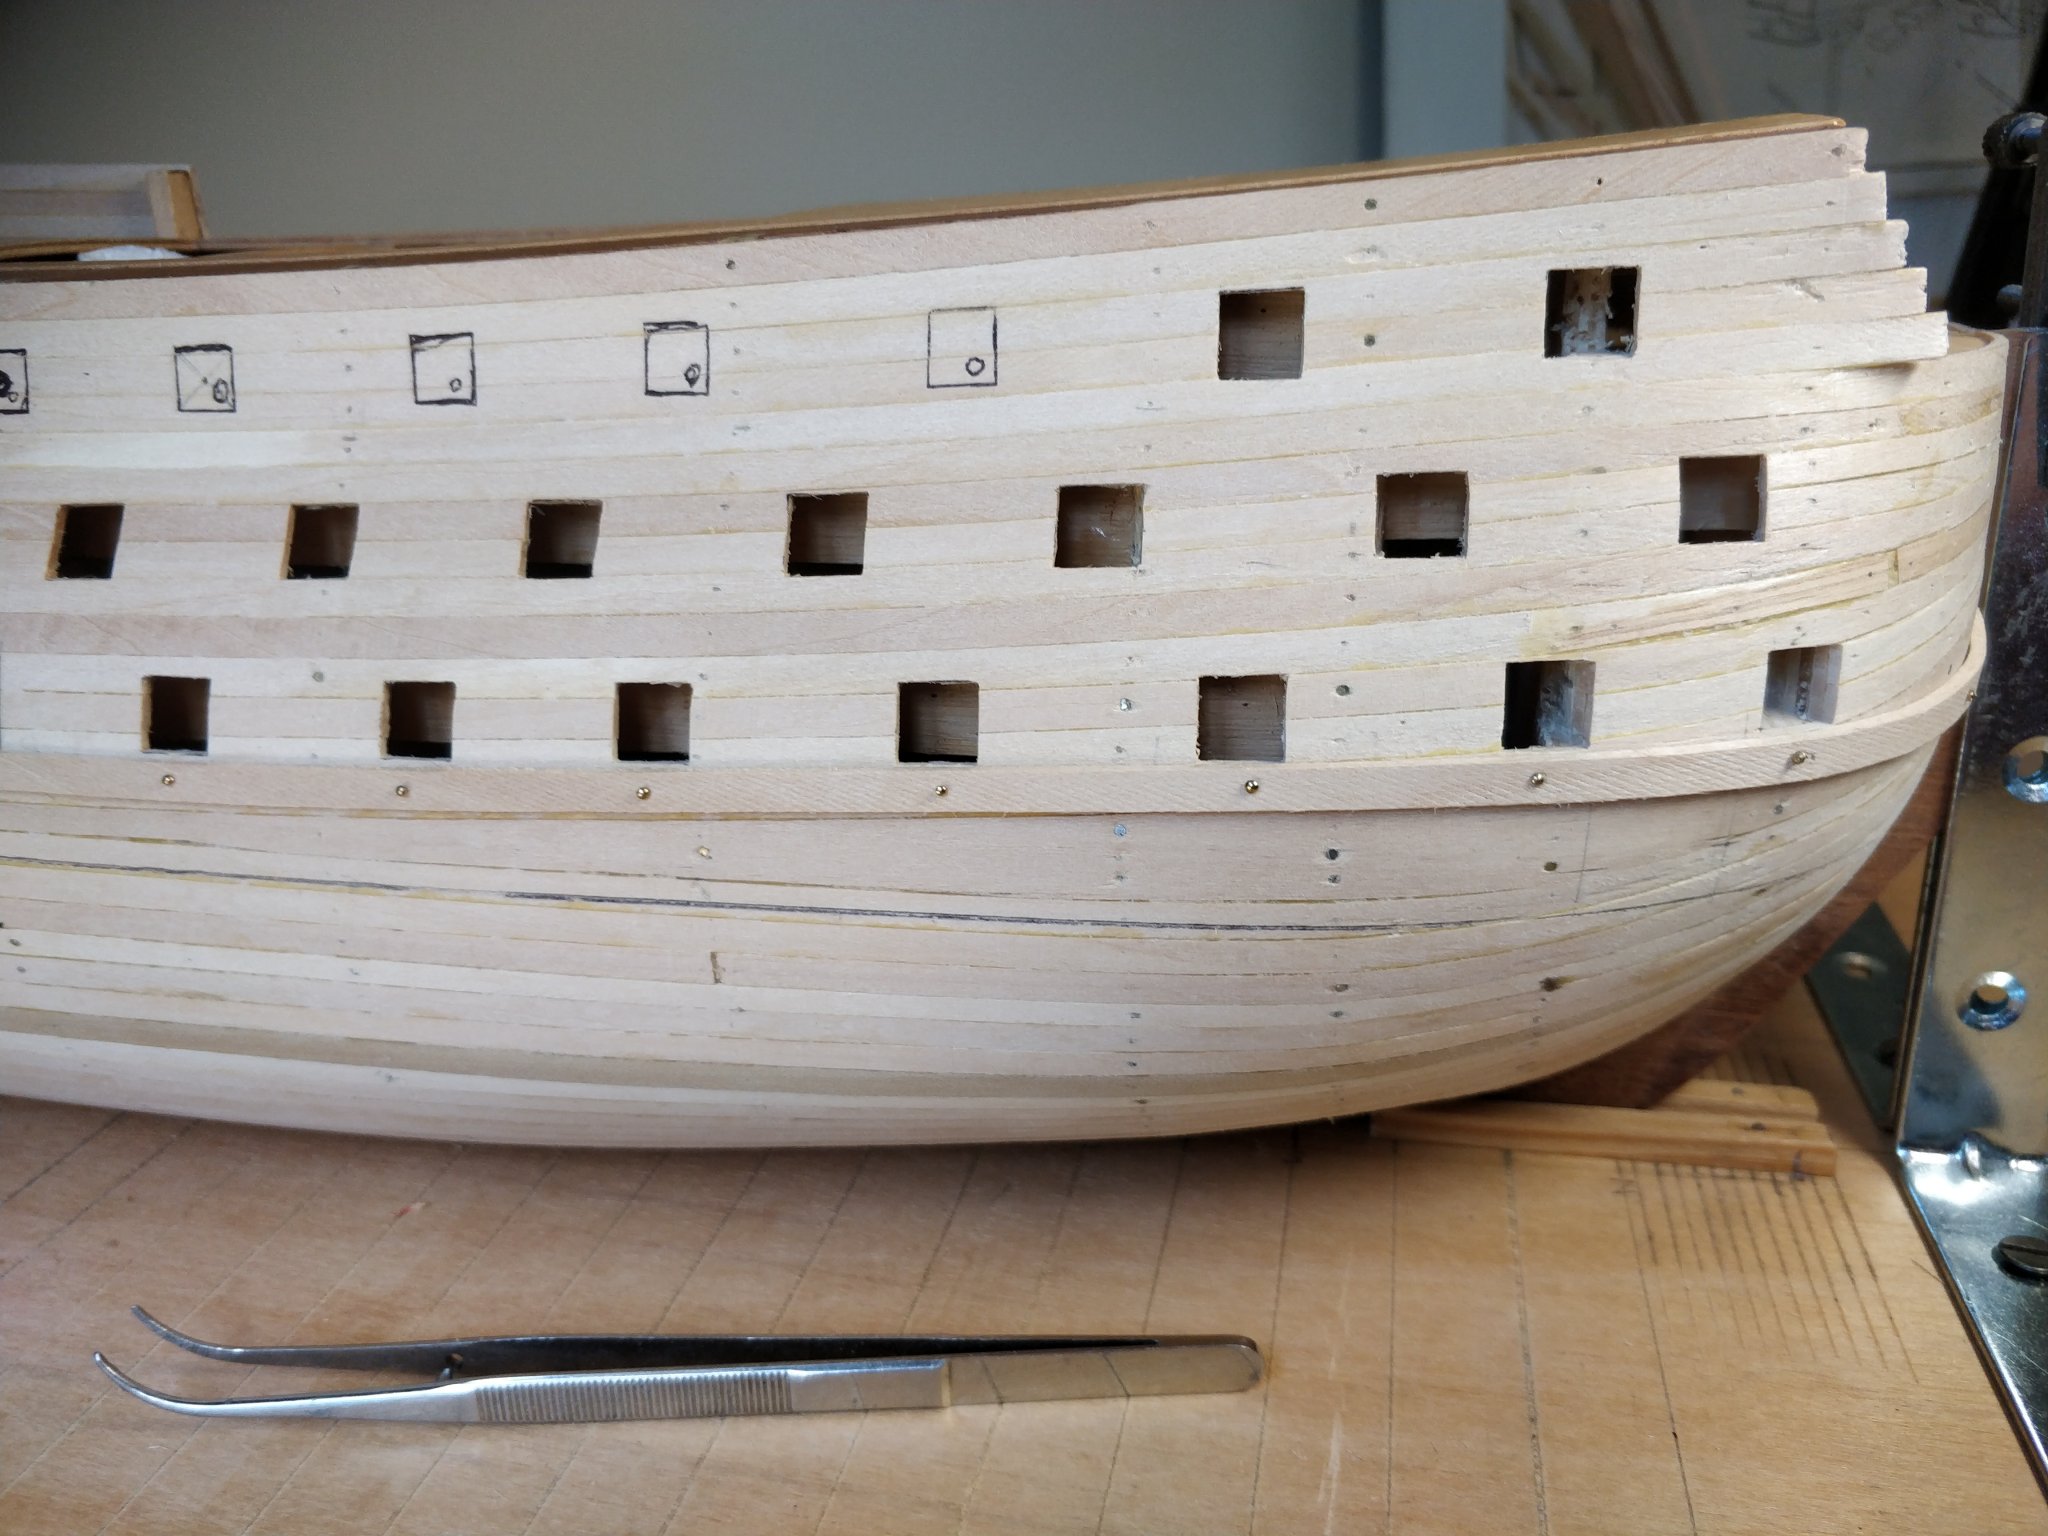
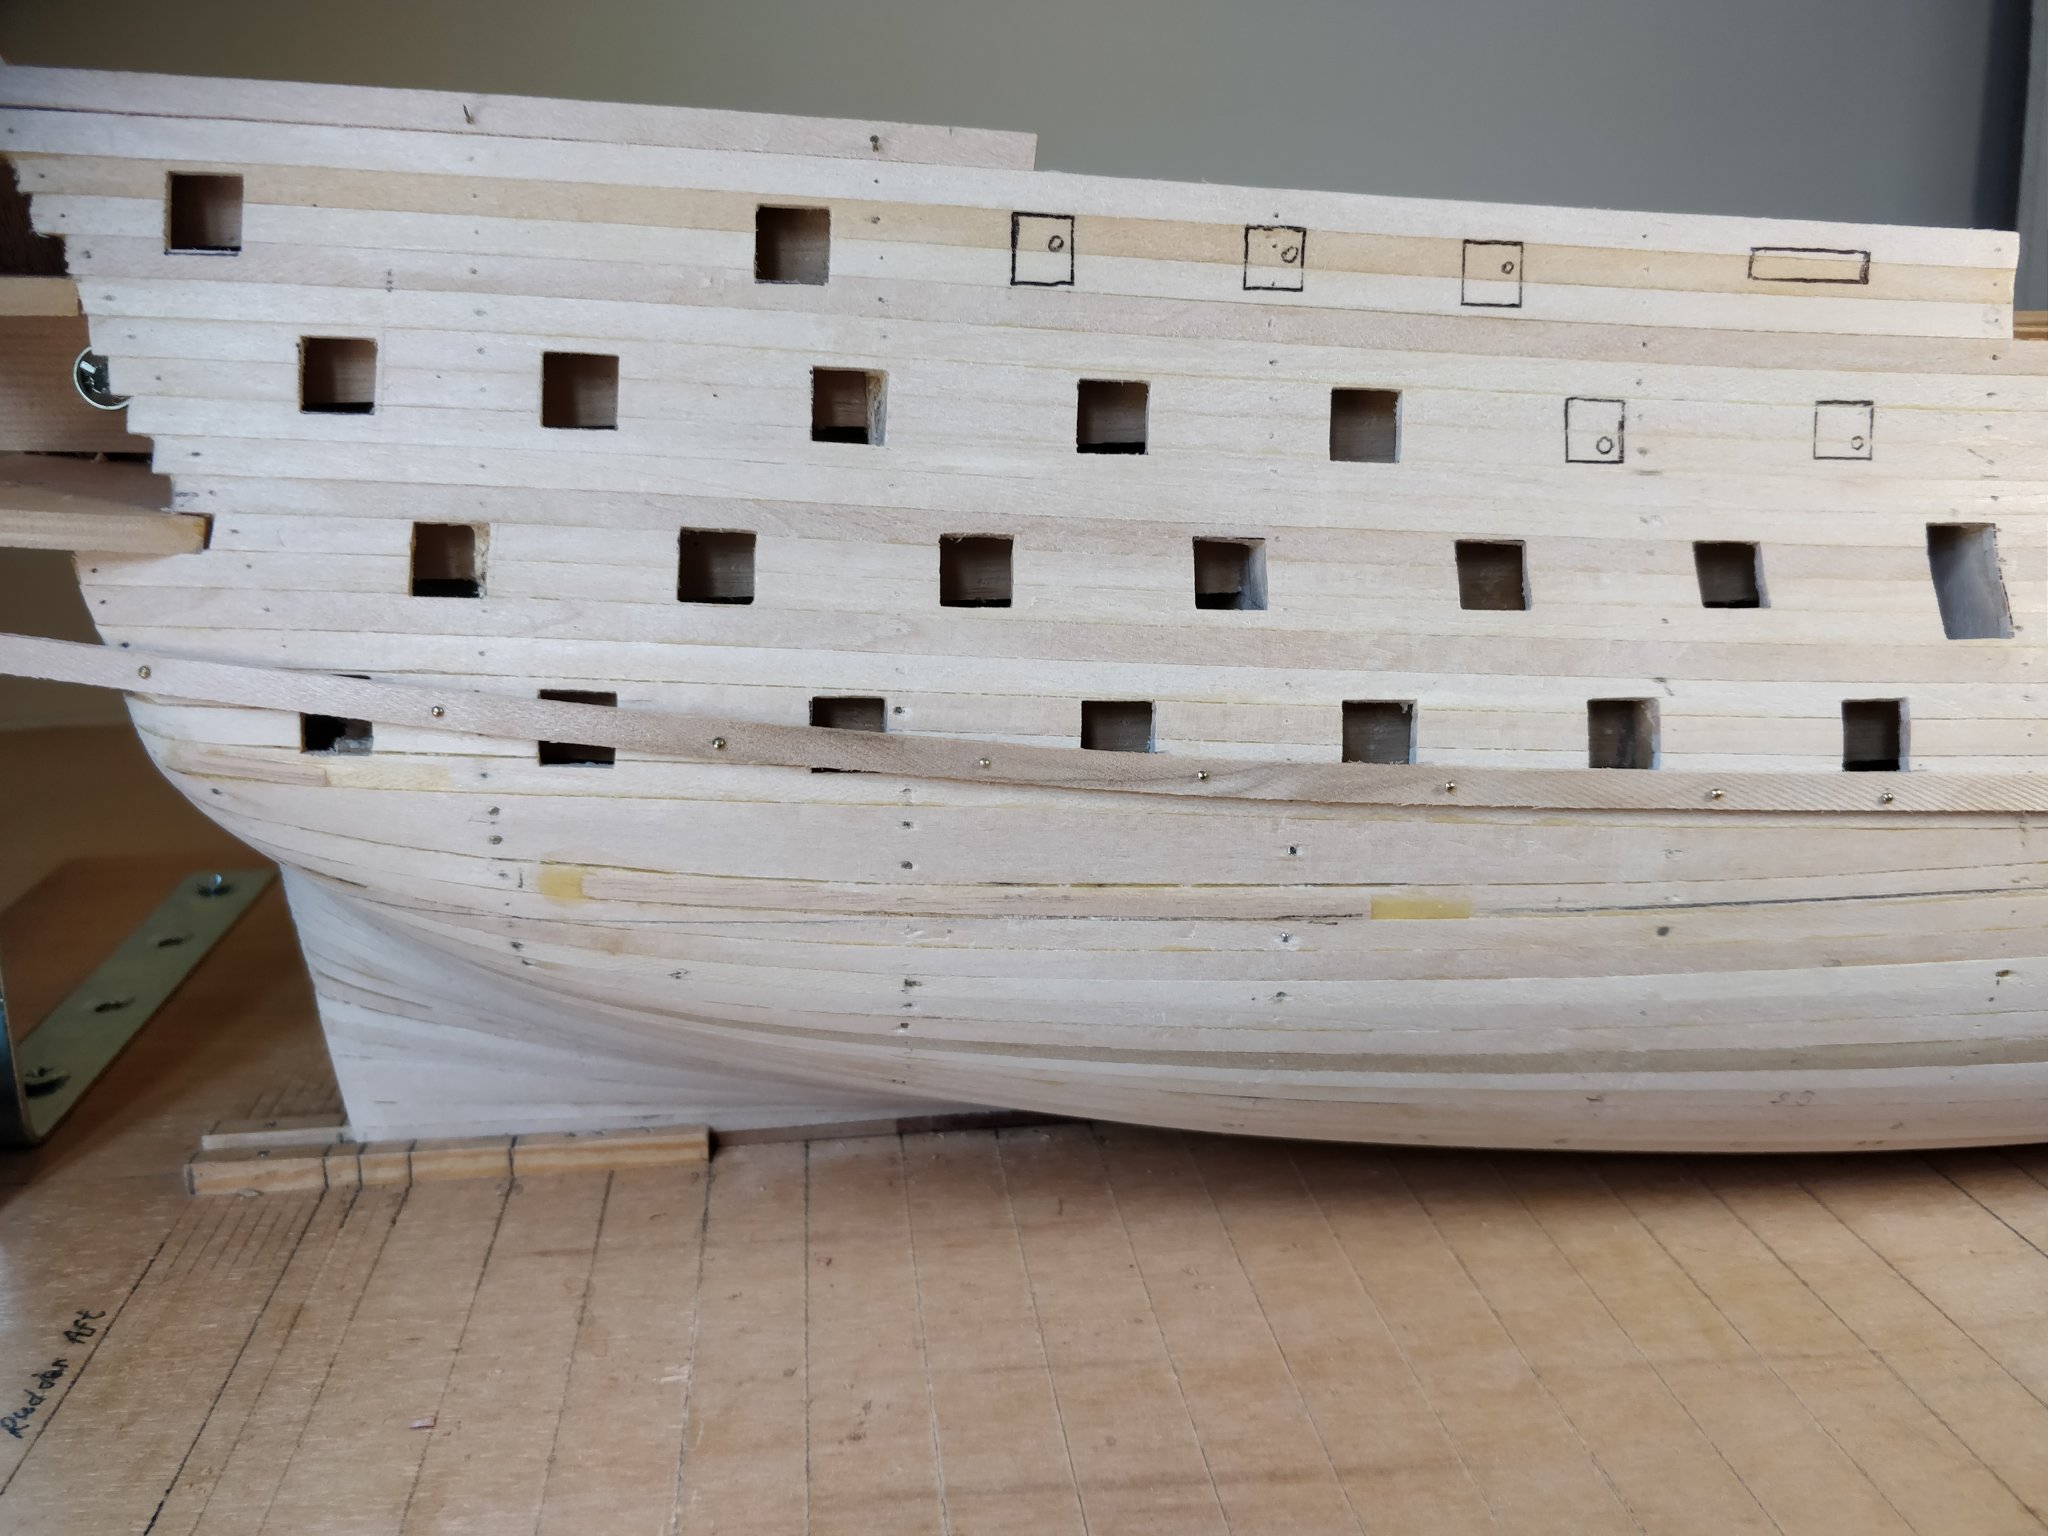
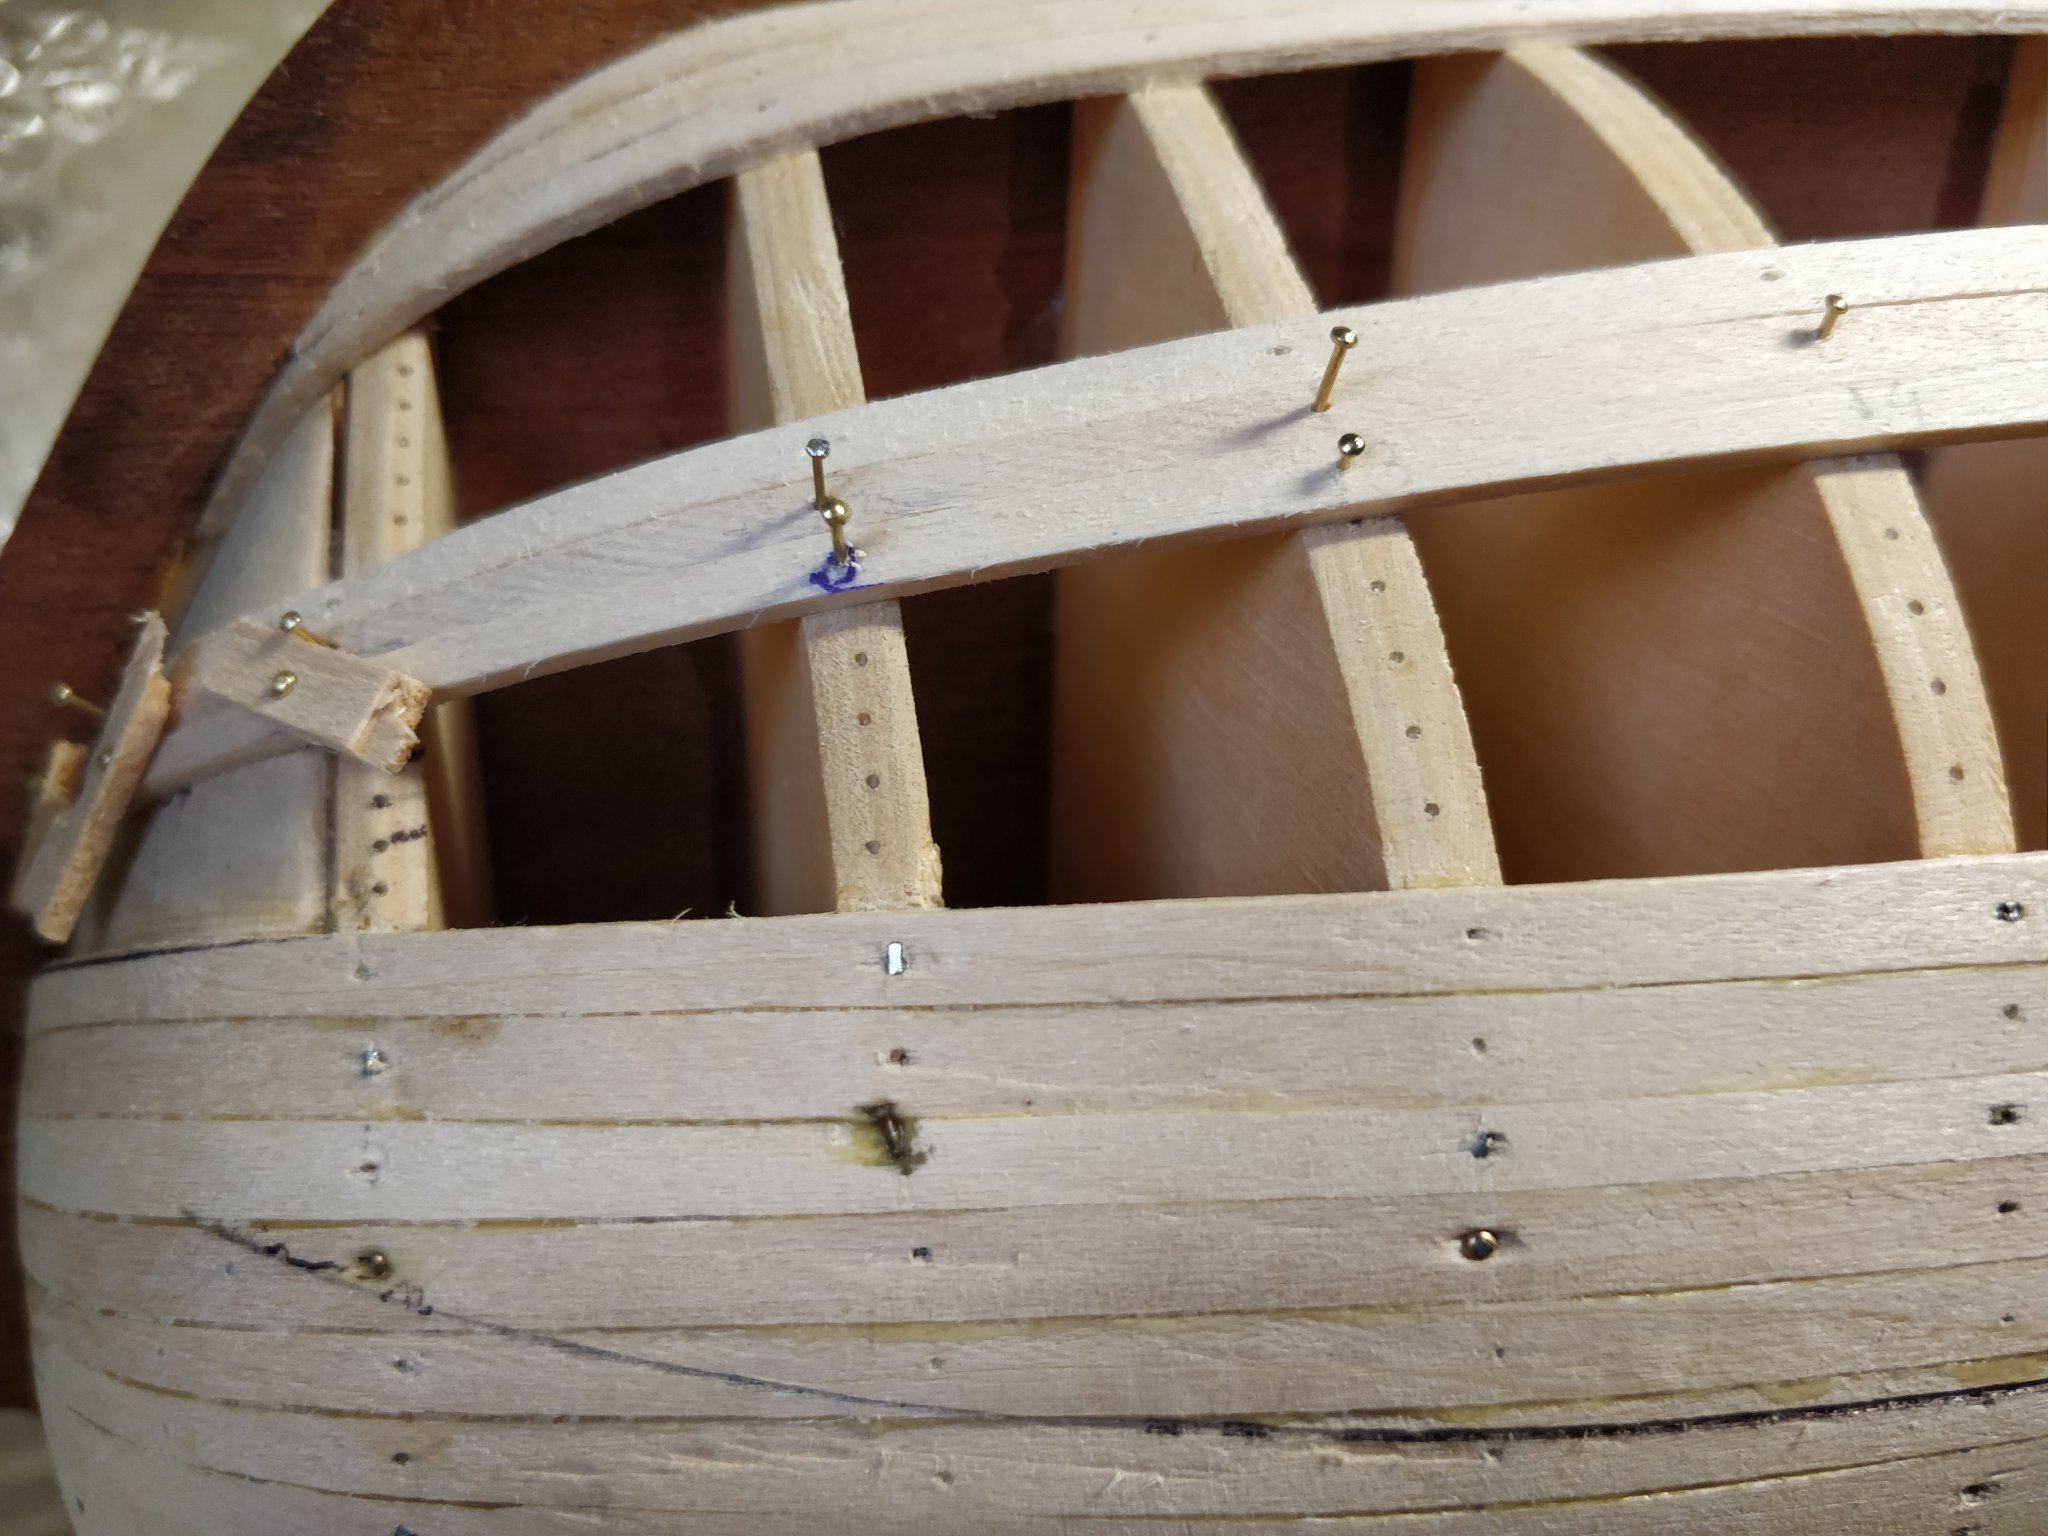
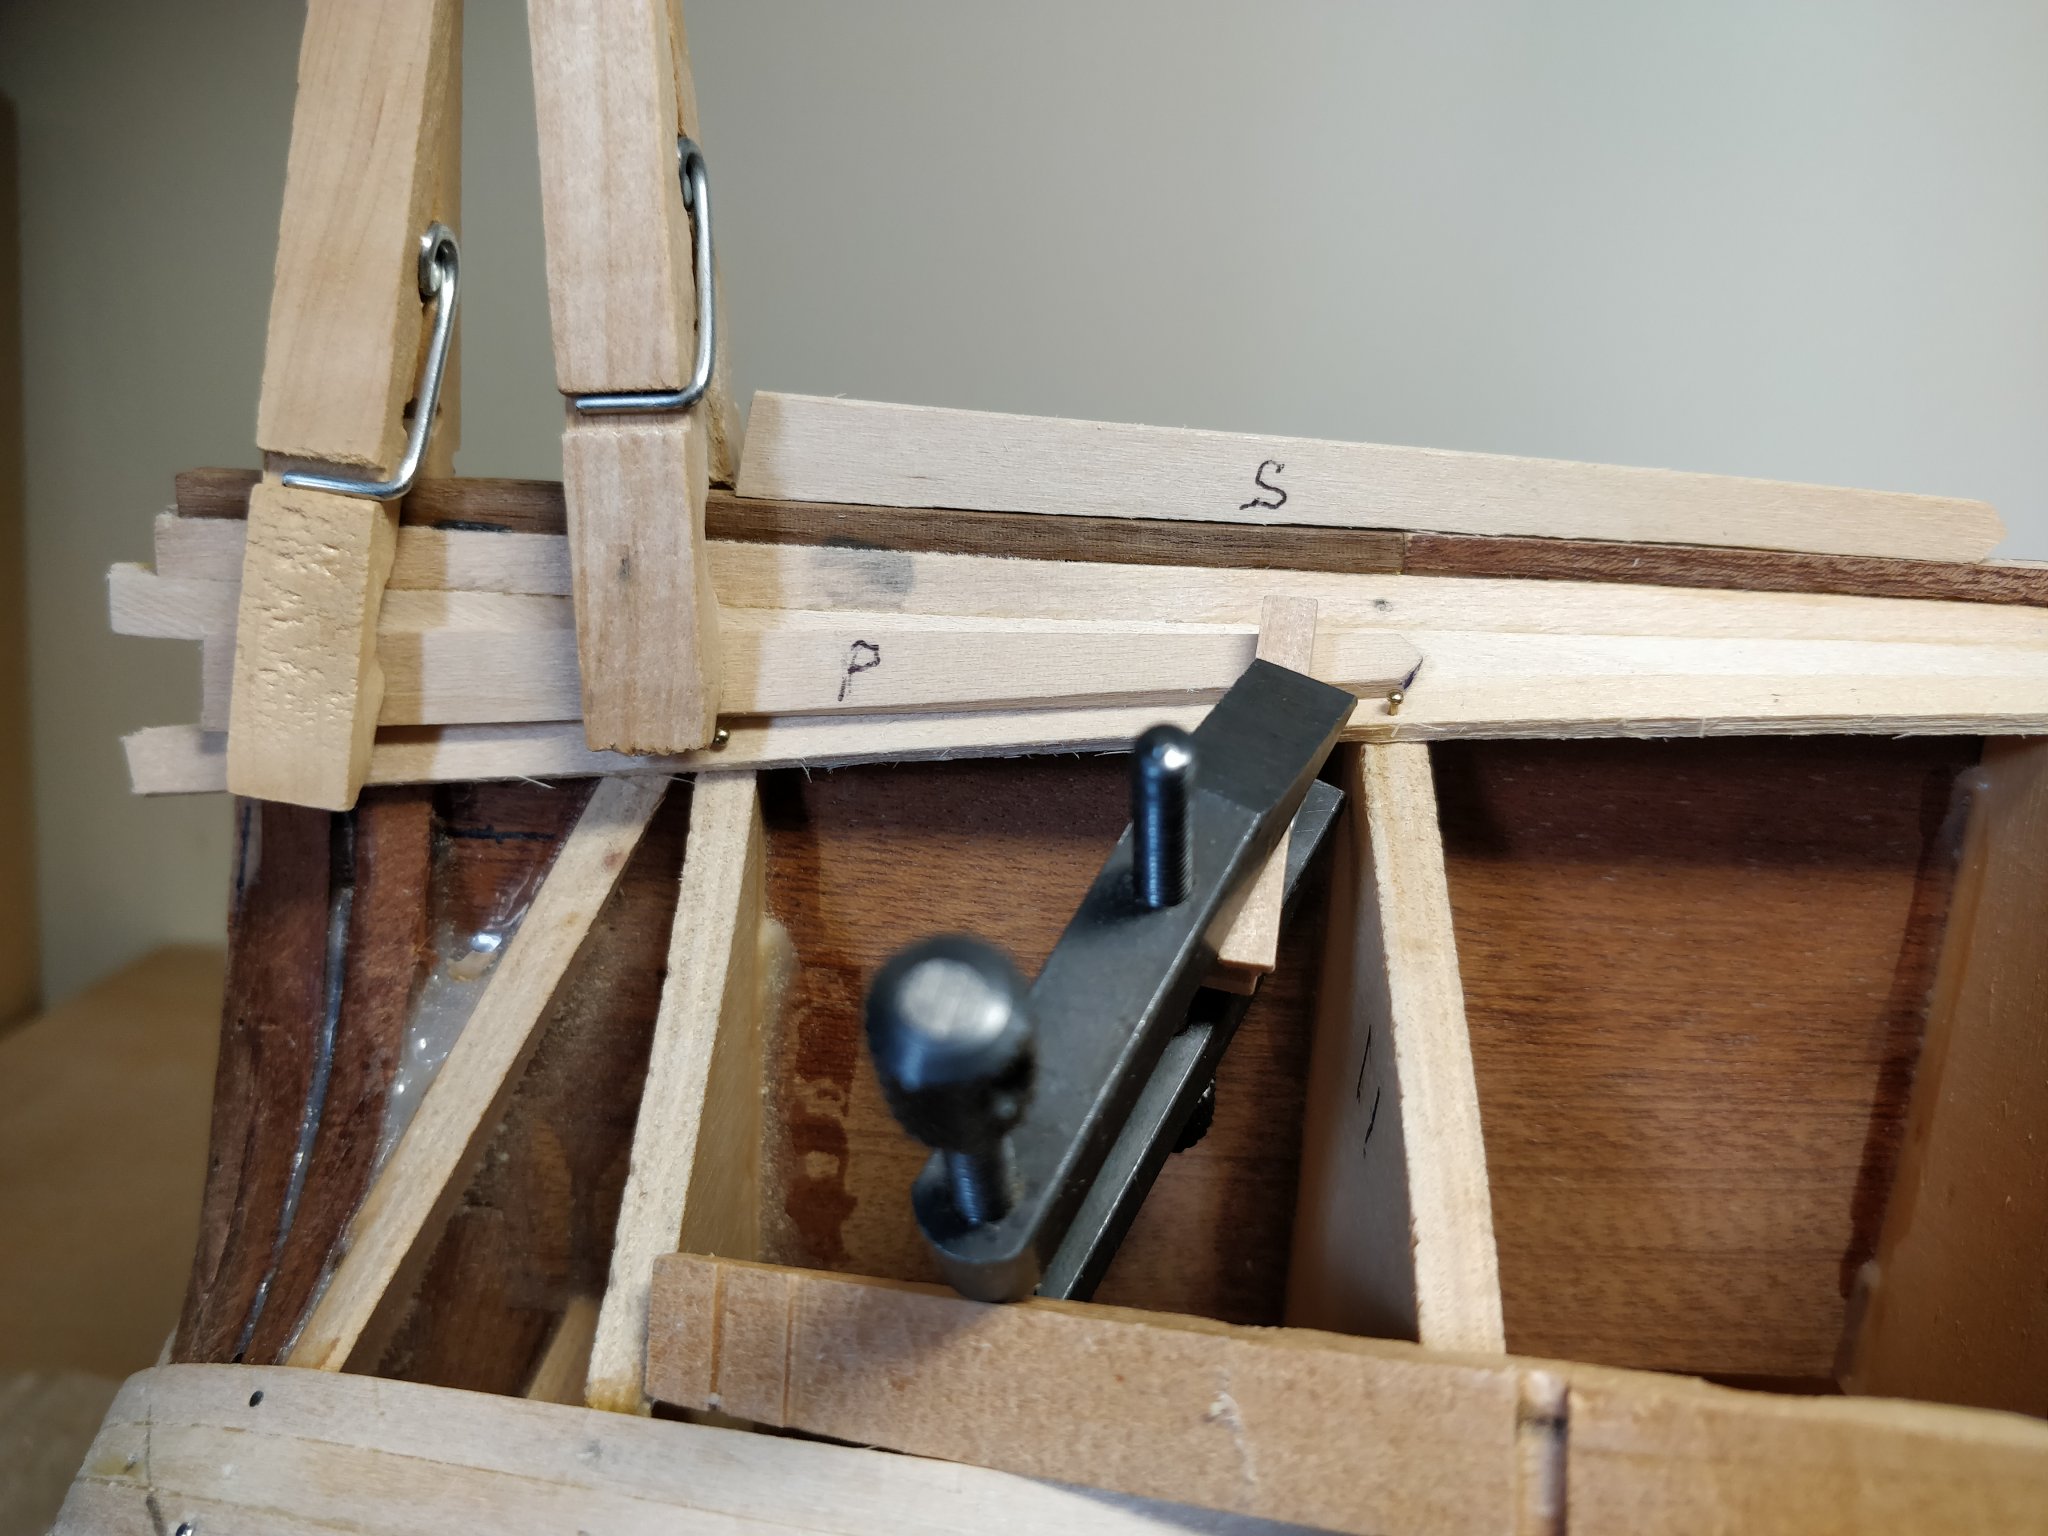
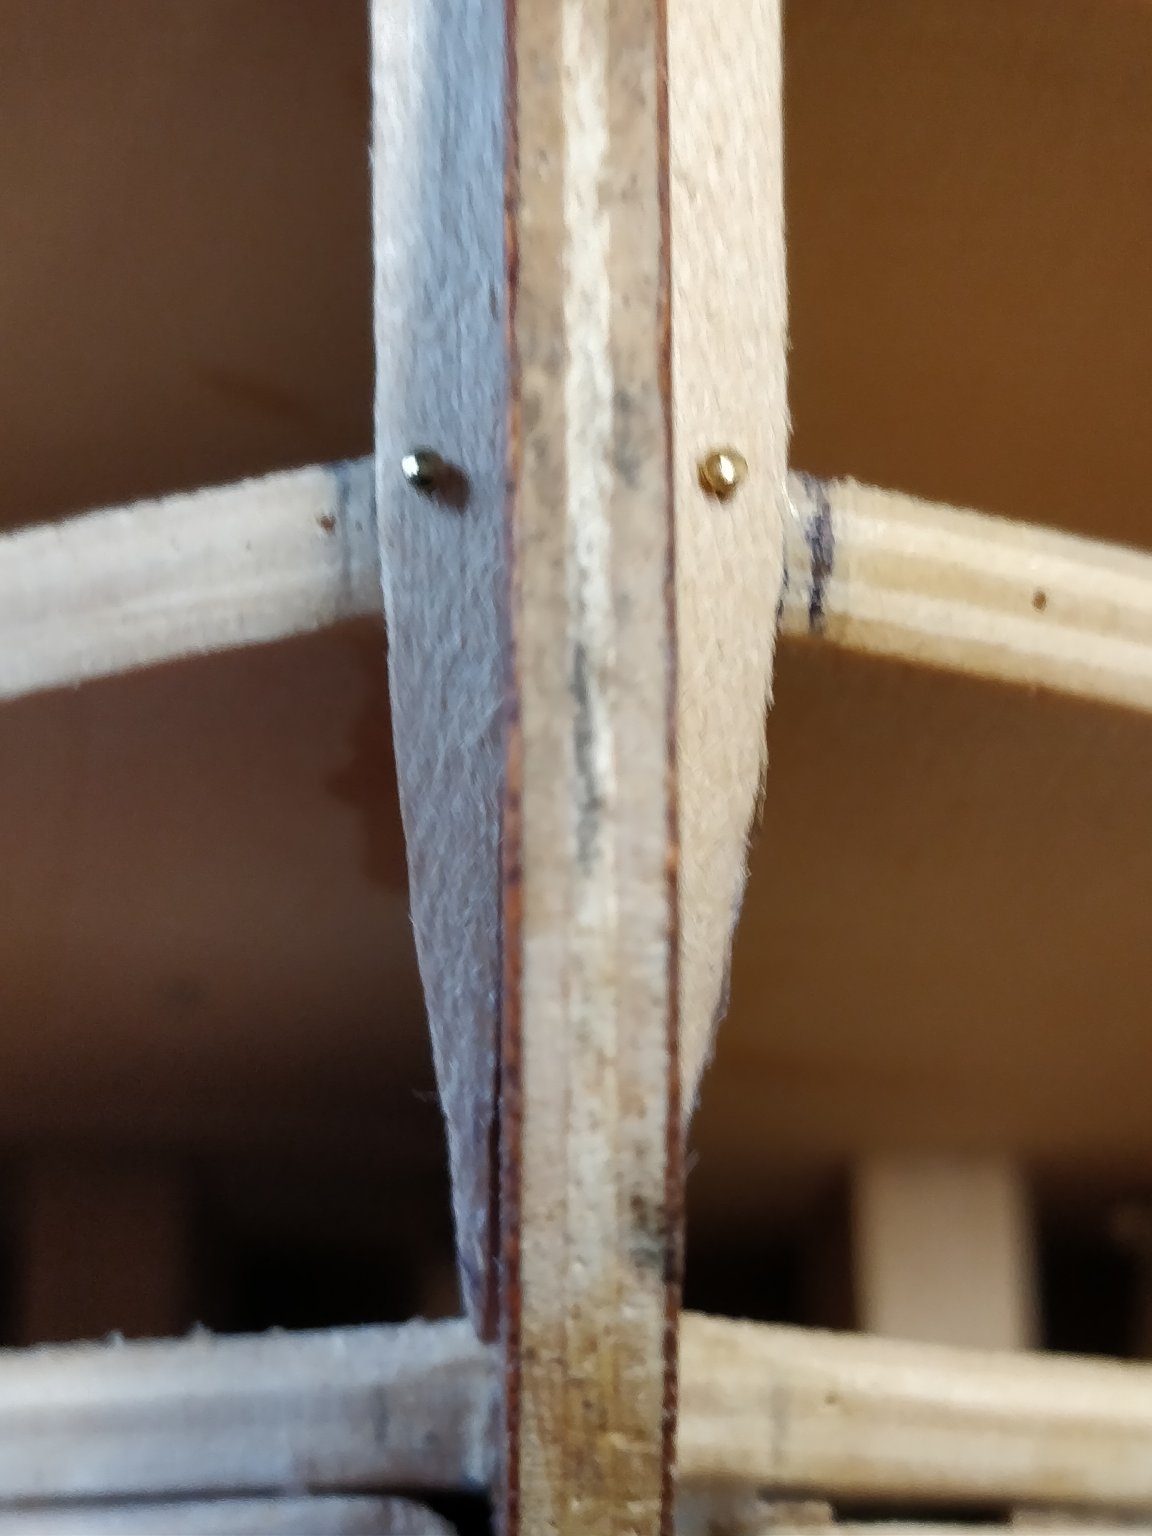
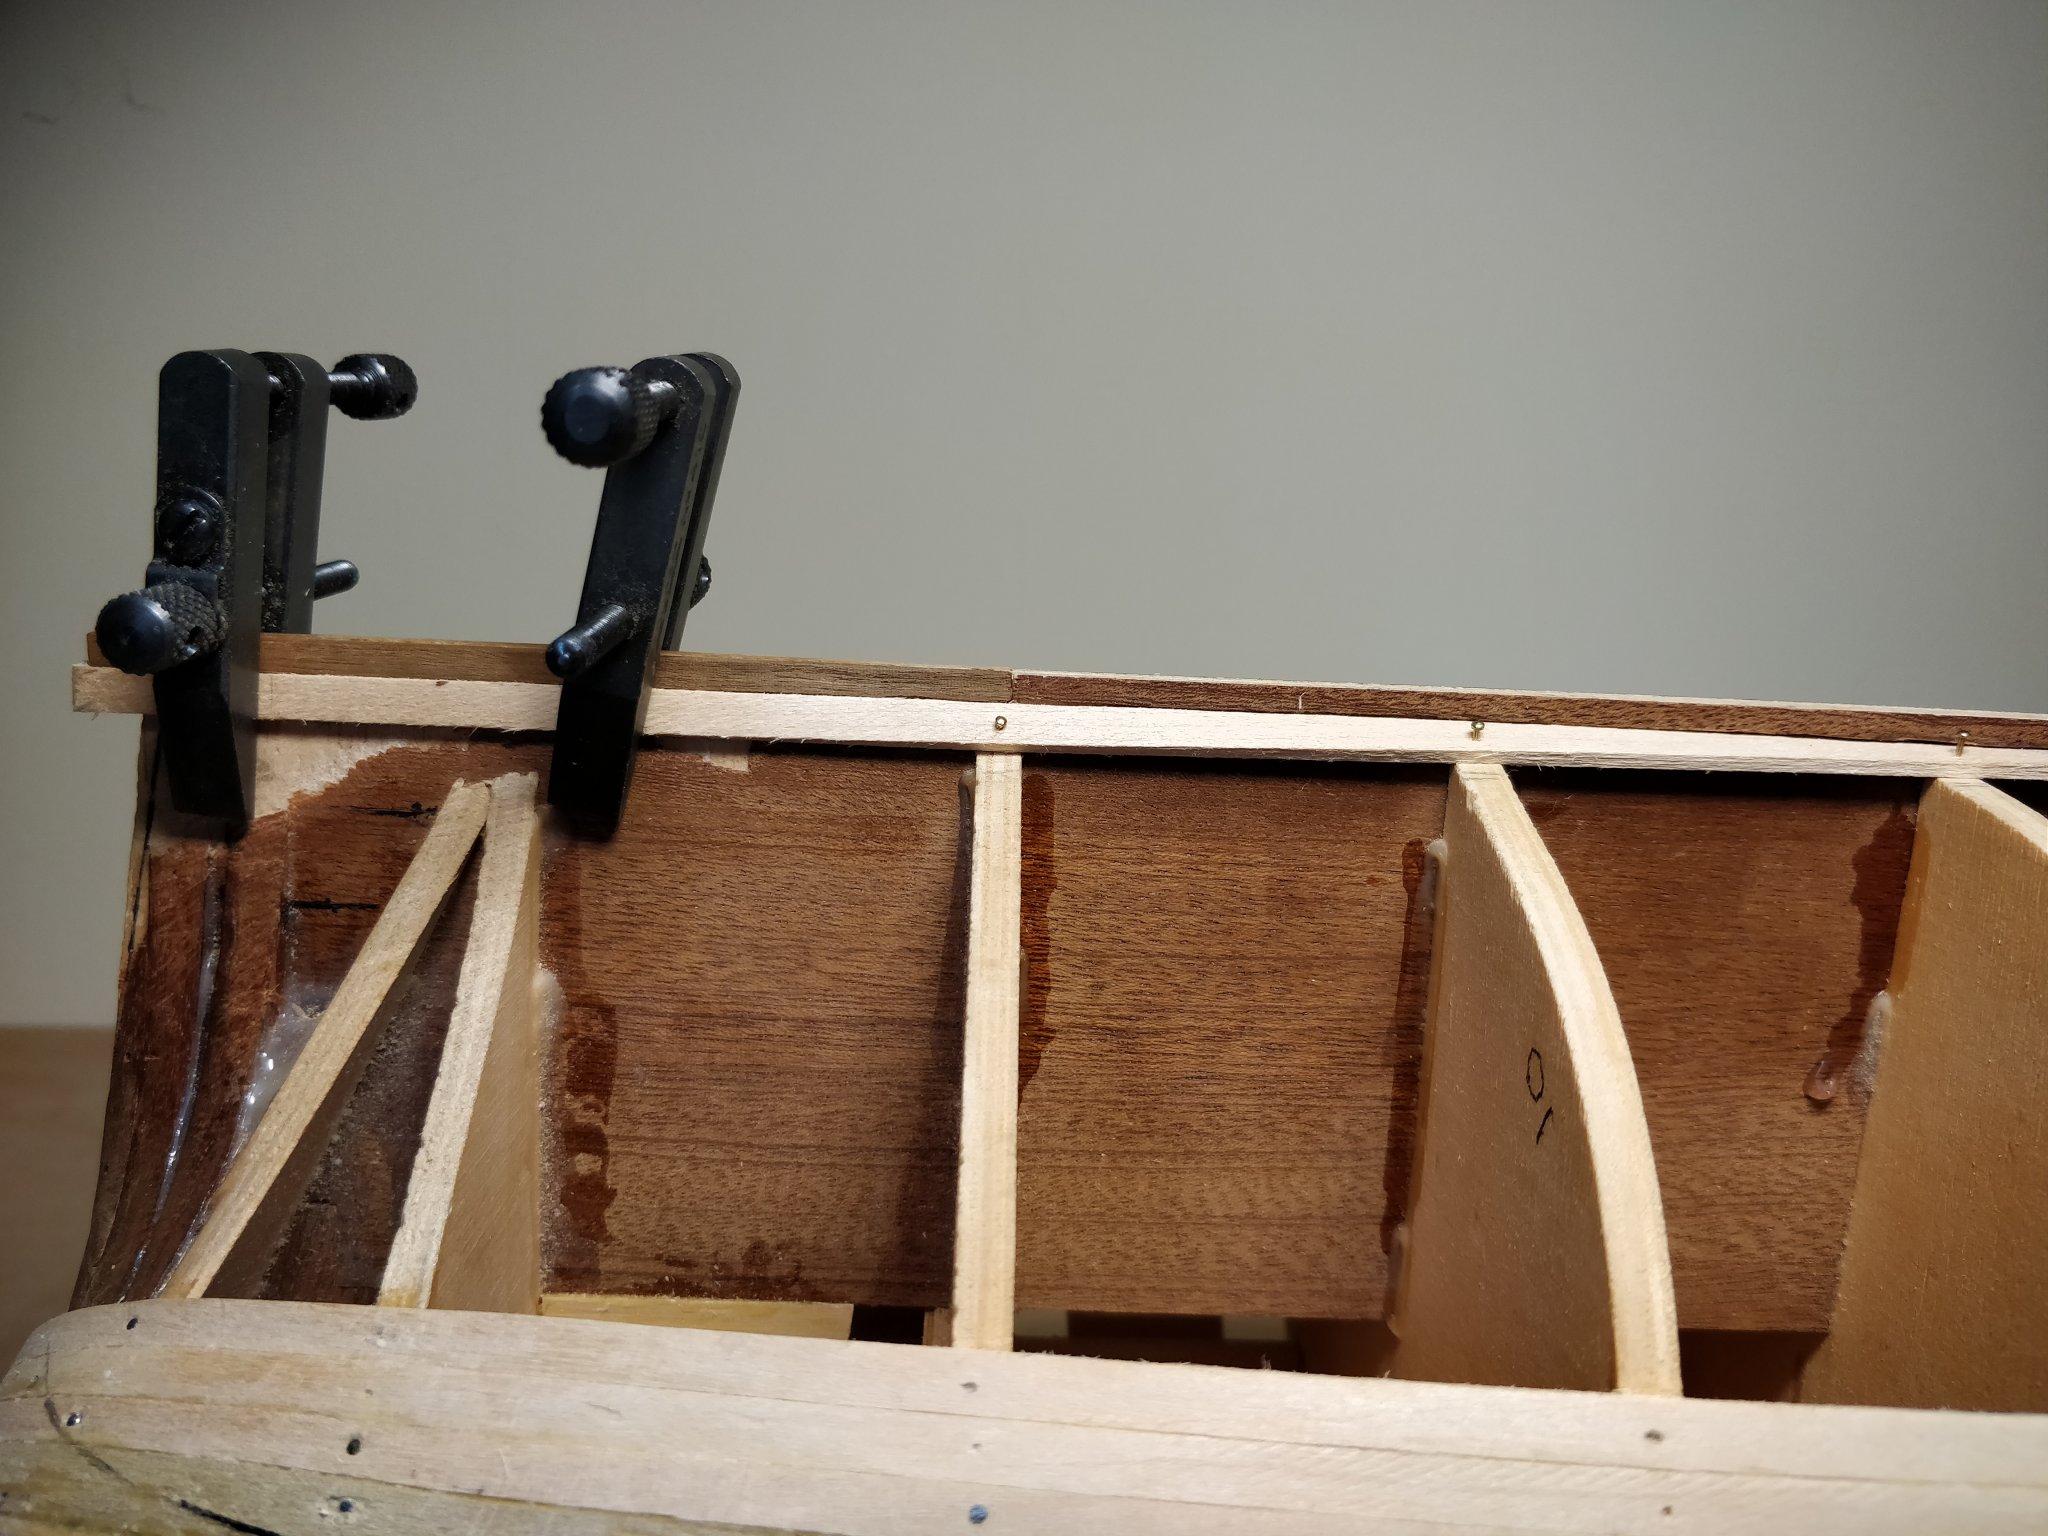
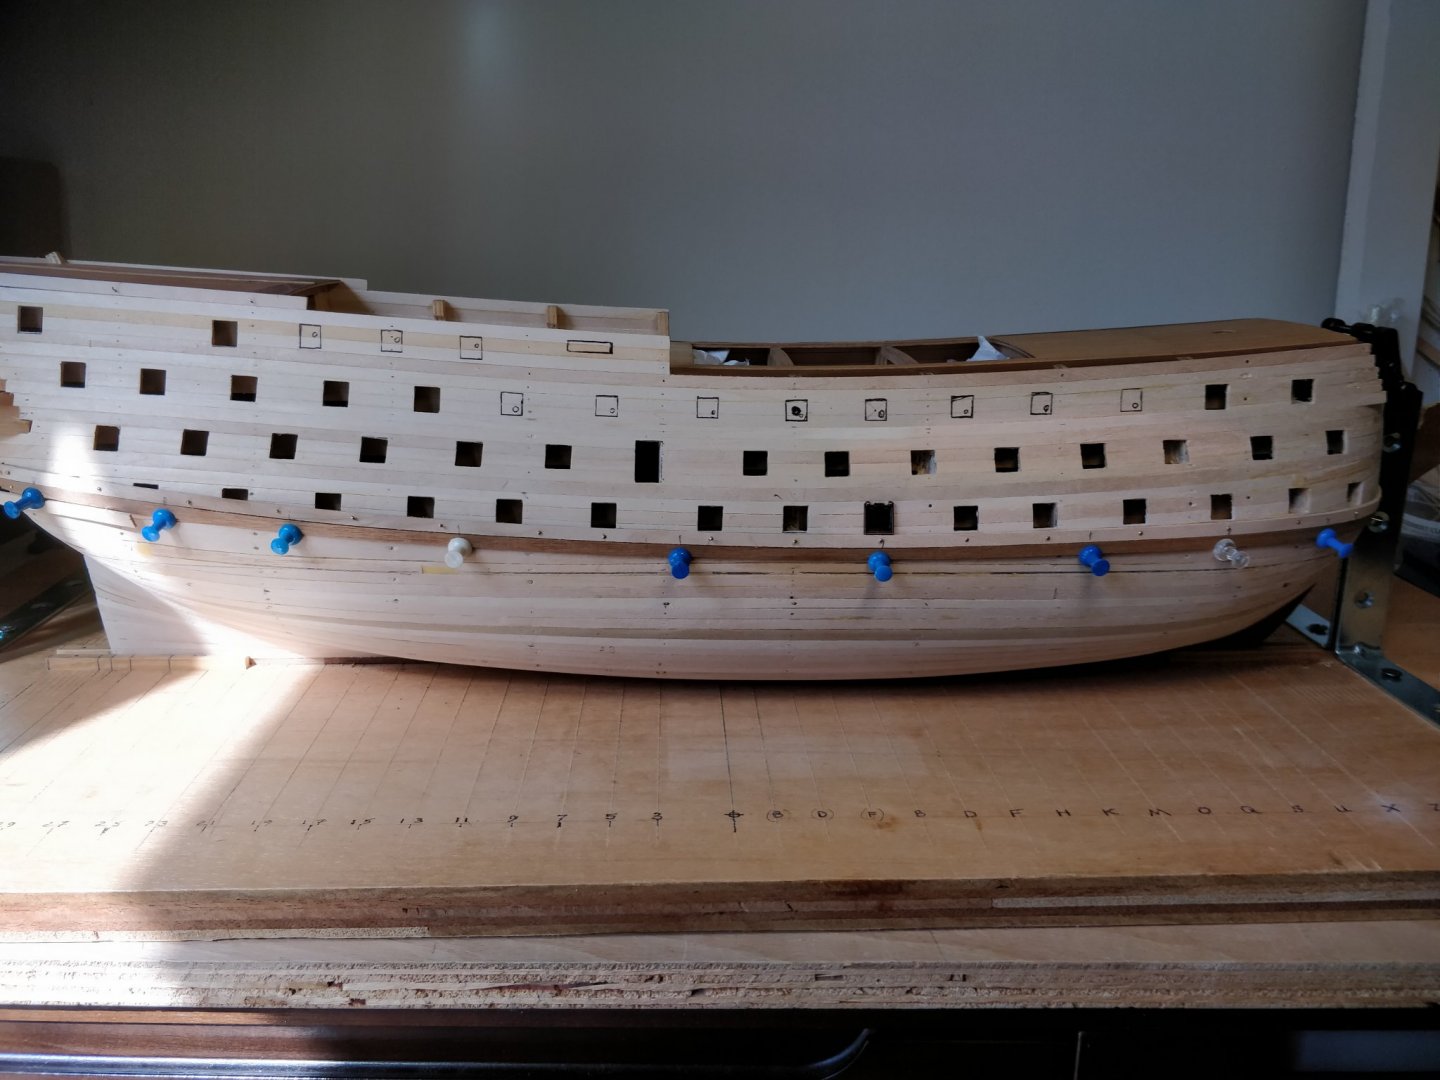
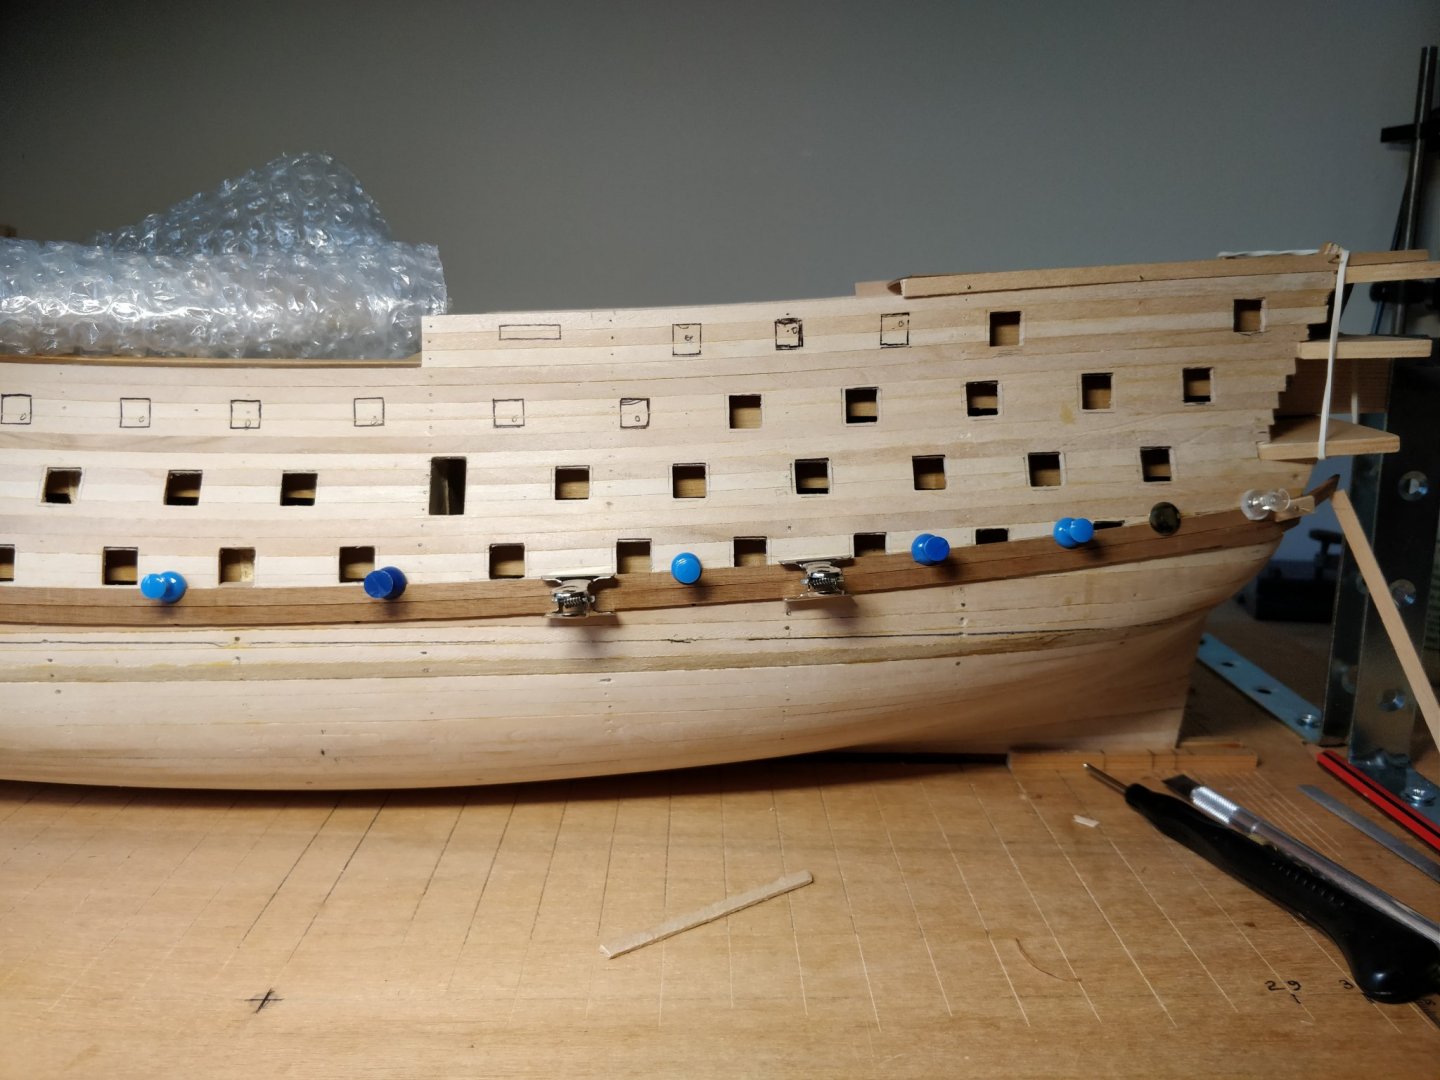
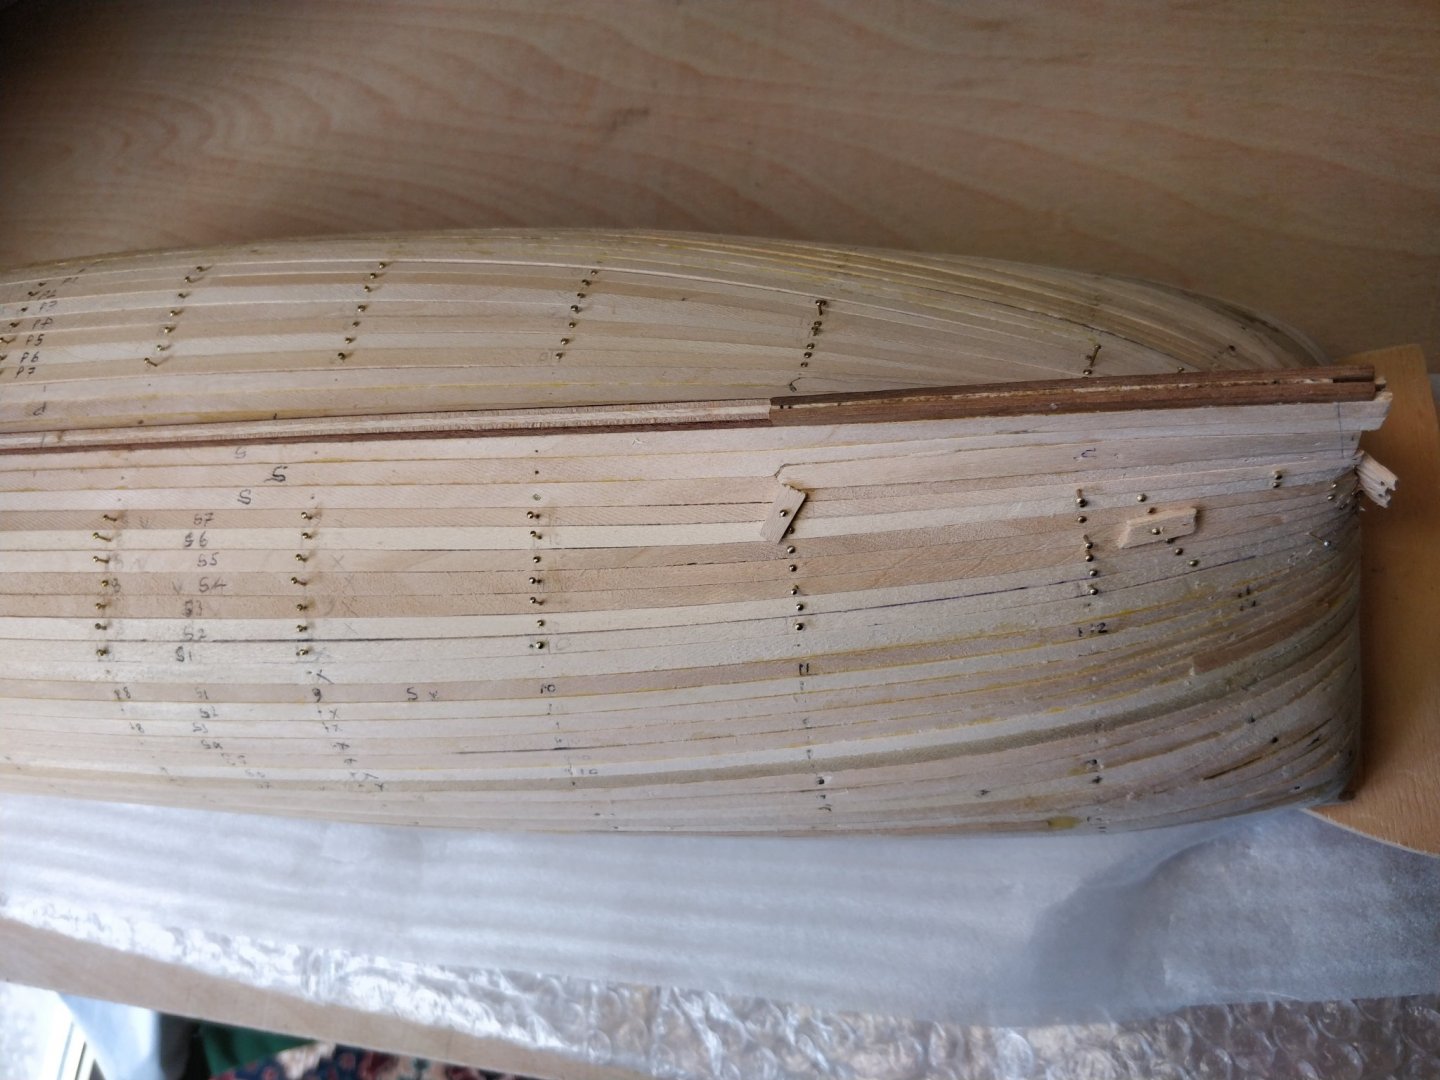
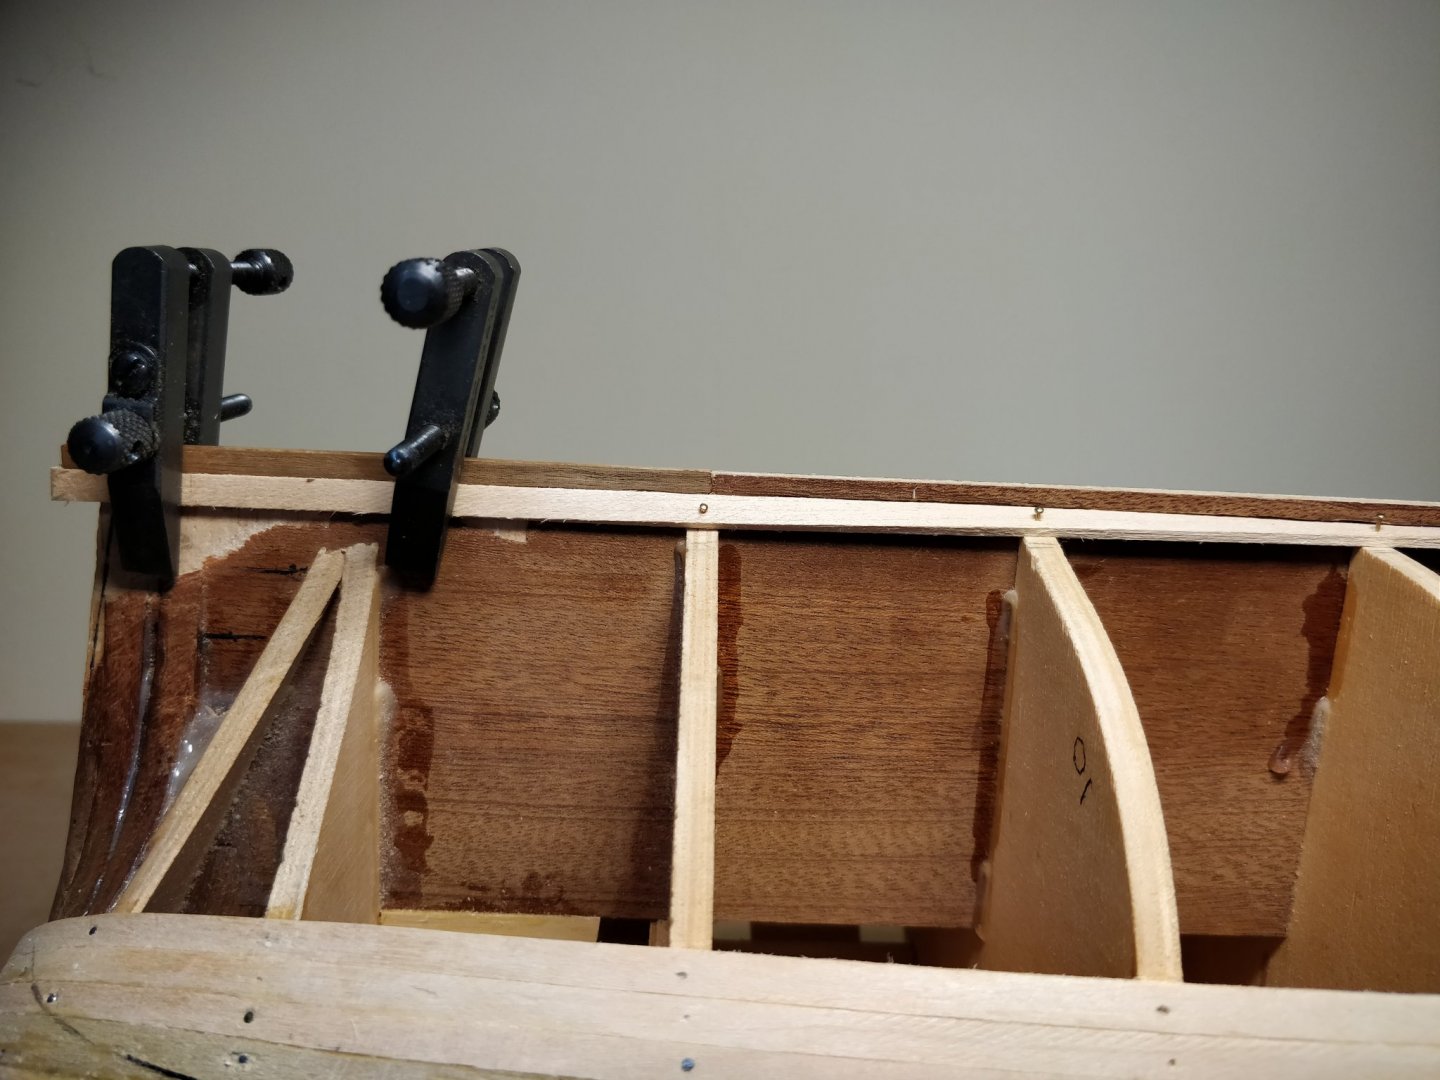
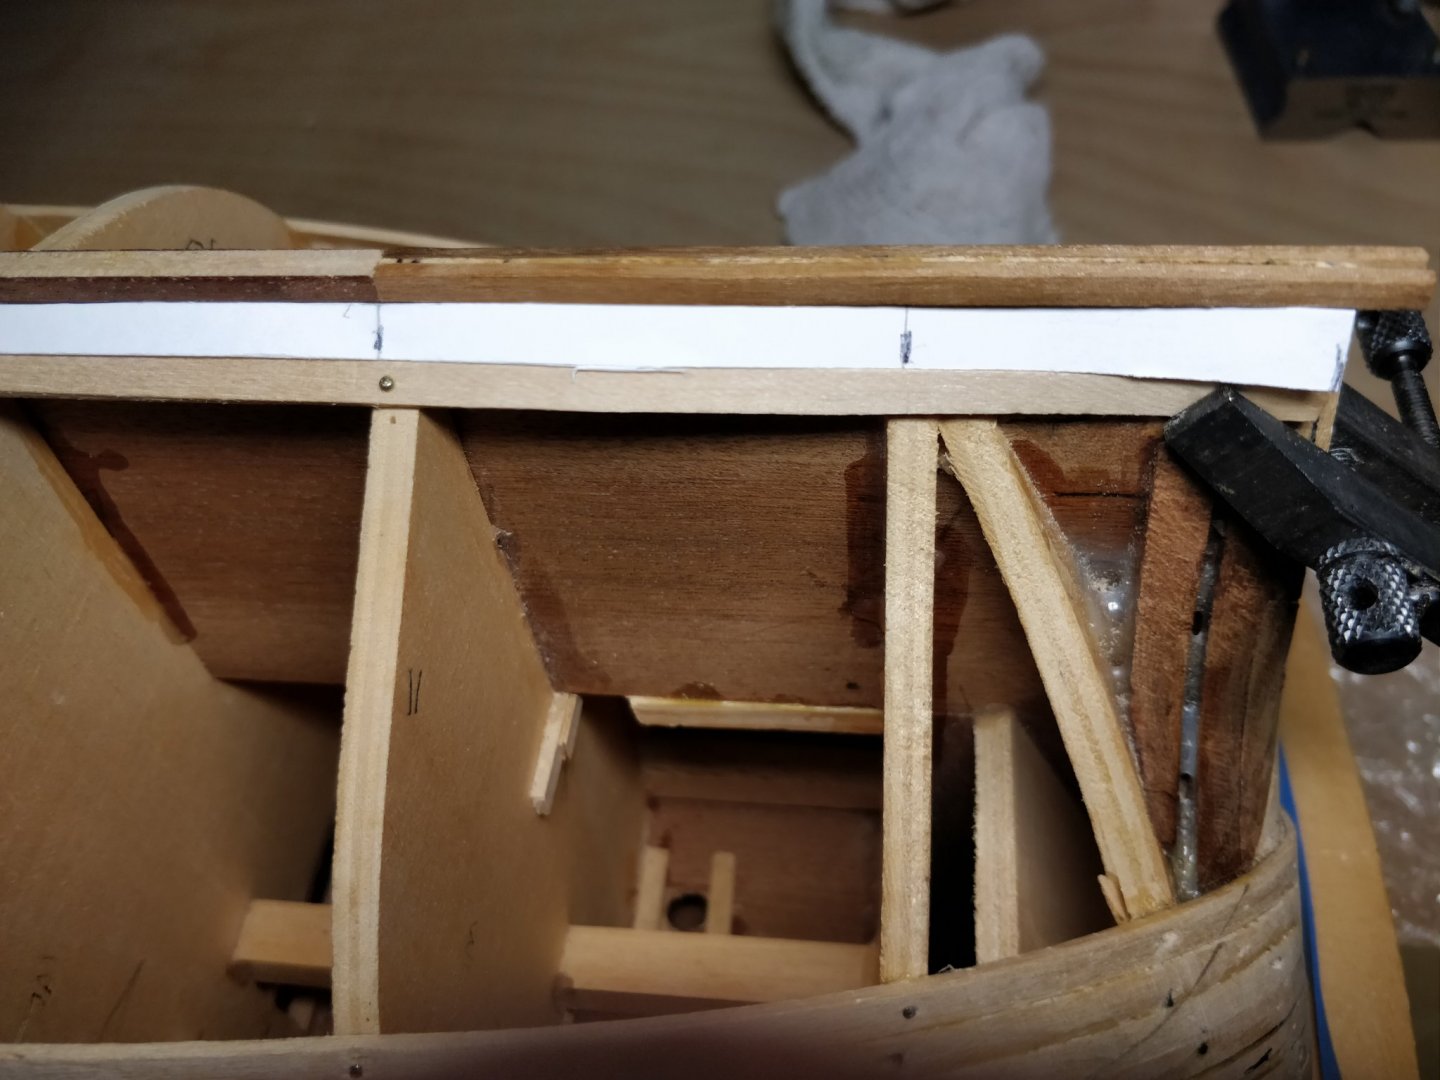
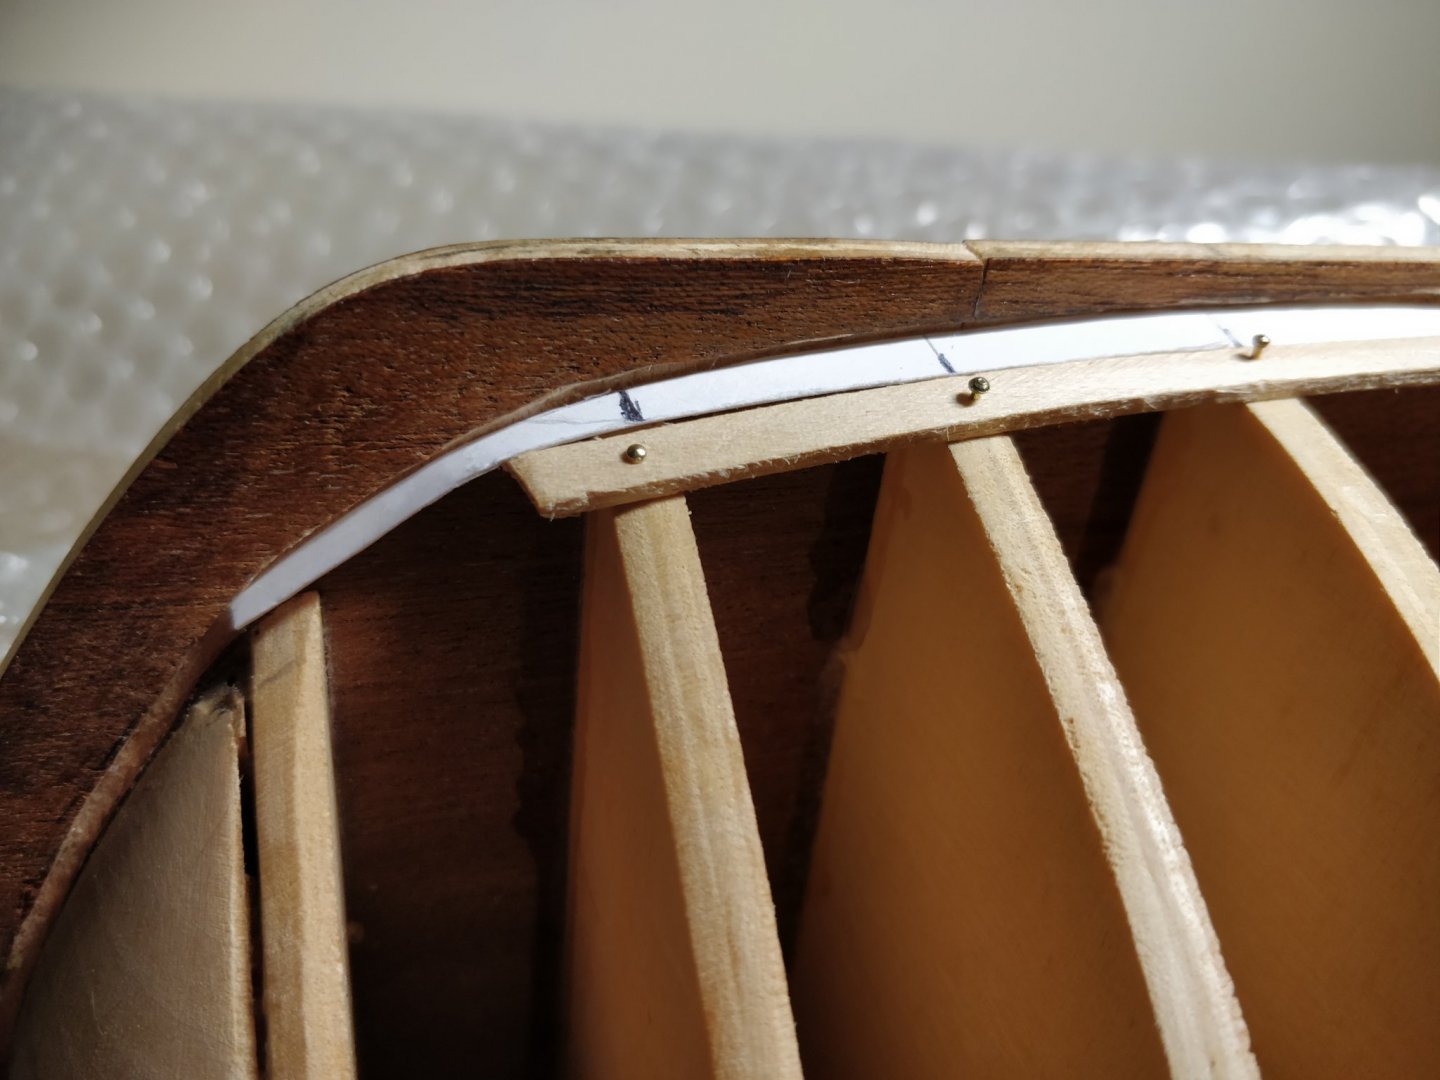
I thought I would have a look at the main wale today as I wasn't 100% sure about the gun ports. Remember I used a copy of drawing 2C to transfer the positions to the hull. It took me a while to check the reference heights relative to everything else but got there in the end. I dislike those very thick lines used on some of the drawings..In the end I only needed to mark heights at each port aft of the door as nearly all the other ports forward the top plank just a fraction under the bottom of the ports. Except the two most FWD where the gun port frame cuts into the wale a little bit. In the end it came down to a bit of eye balling and I used a couple of spare first planks each side to lay out the run and curves. Pinned temporarily I can now use this as a reference for the second proper plank underneath without having to rush the gluing process. Happily it looks right to drawing and every height at each station is the same on both sides of the hull. I'm really glad too that I re marked the waterline after sanding that was very useful. I'm looking at the stern area now and how these wale planks ride up underneath. There seems to be a lot of coming together in the transom area and those 'funny bits' on the side! Time to break out the mahogany....


-
Following the first planking I found the model wouldn't sit on the keel properly so any height references would be askew. I've chopped out the strips either side of the keel now, just leaving a section fore and aft to lodge the keel on the board. I've also added extra brackets to the build board along with pieces of wood bolted through the superstructure to lock everything in place. Fettled the stern planks a little and marked out for stern post which will be tapered top to bottom. I might try the hardwood designated for the stand which I also used to make some stern frames ages ago now it seems! Looking ahead and hoping to avoid any rocks....
-
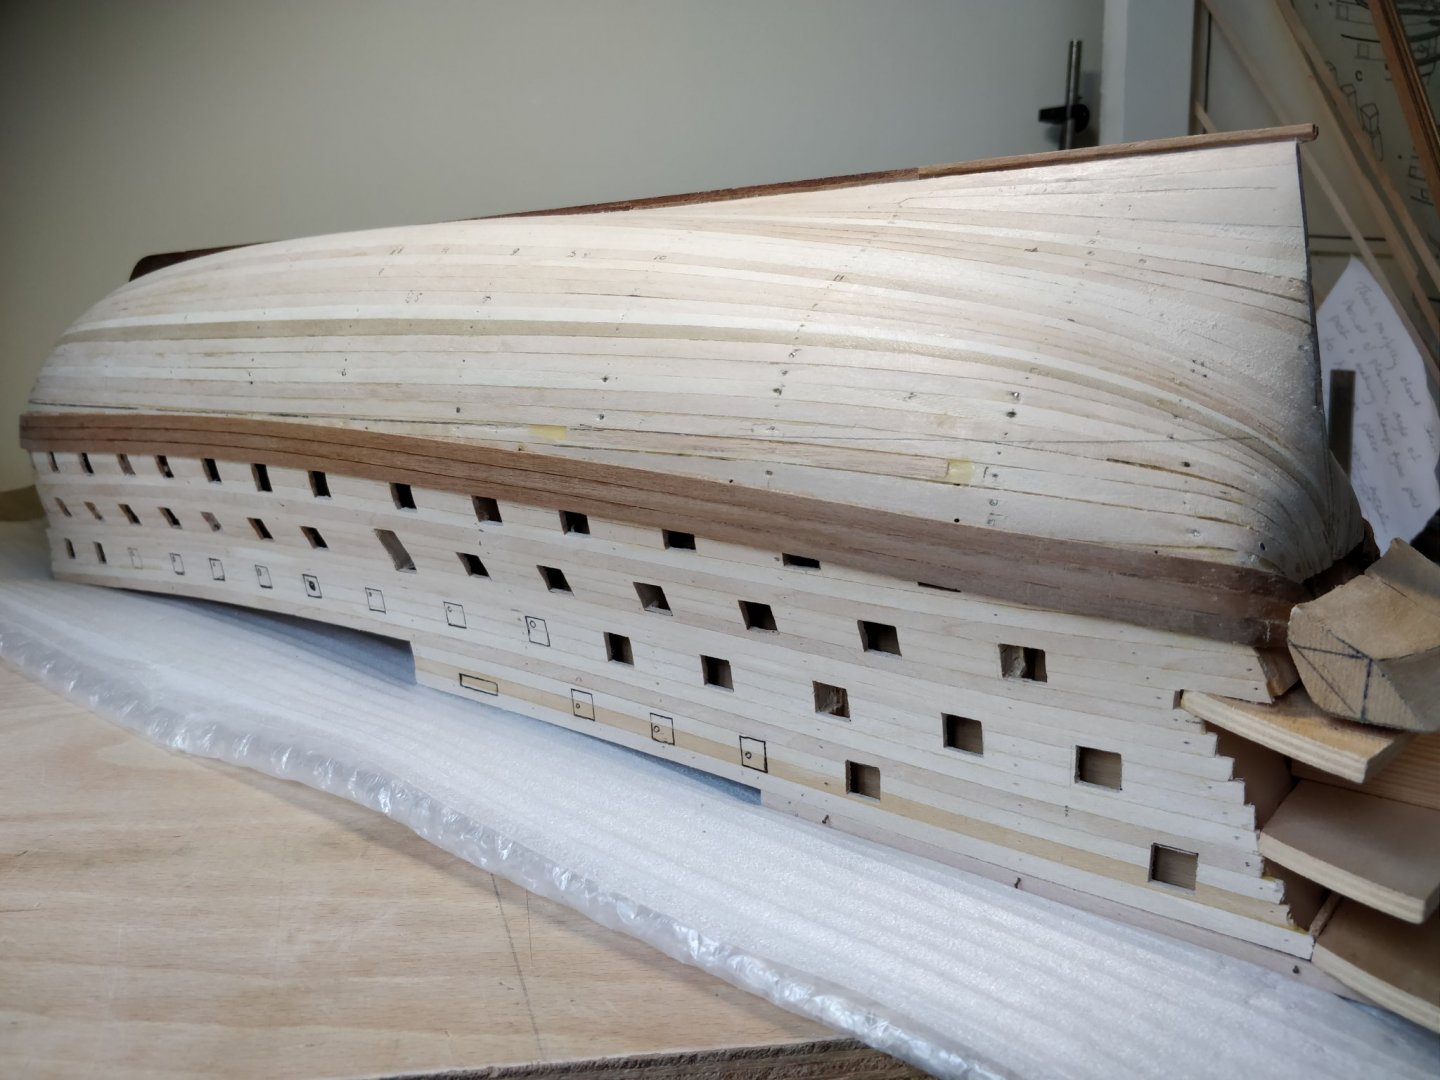
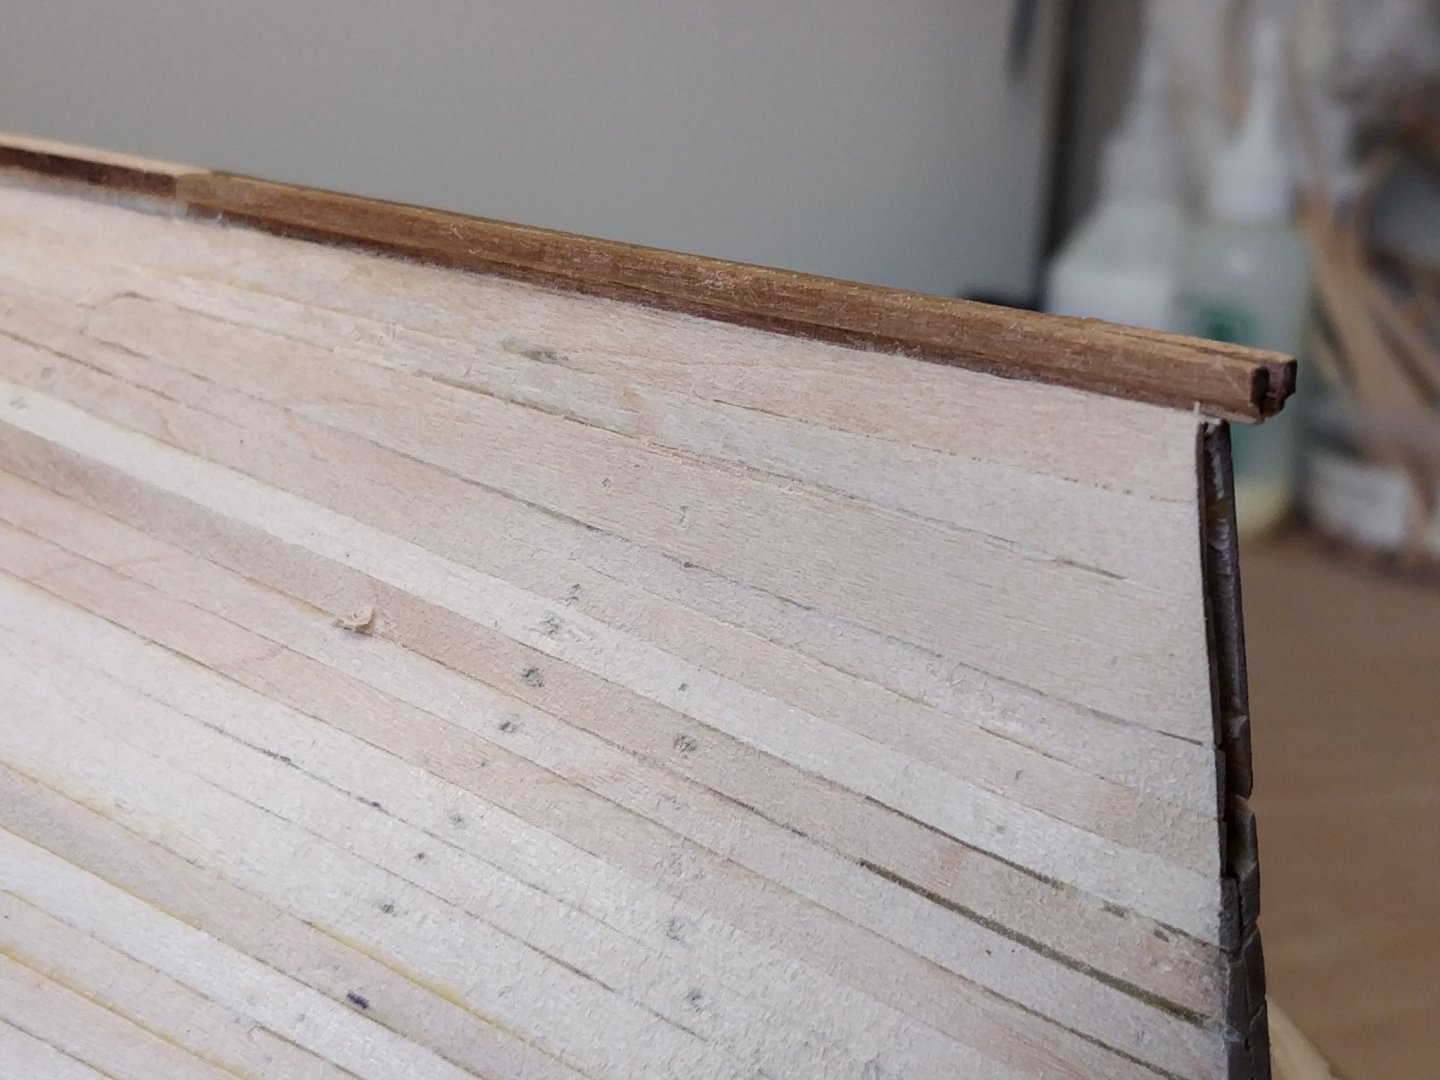
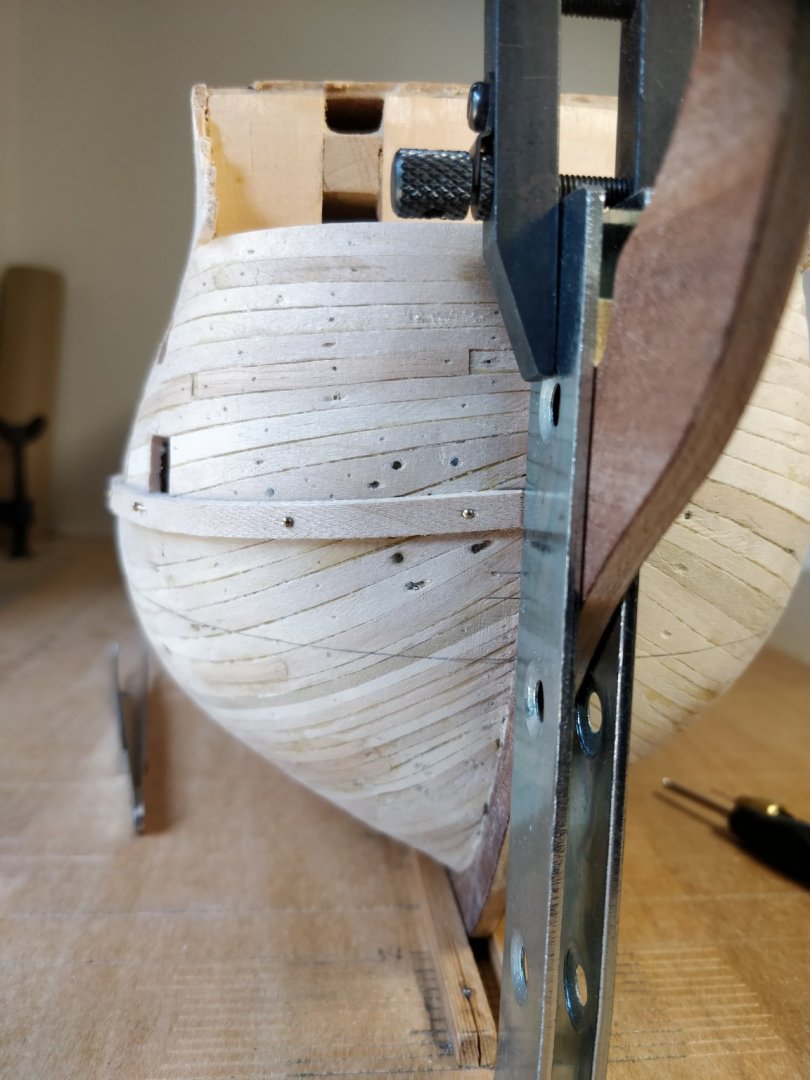
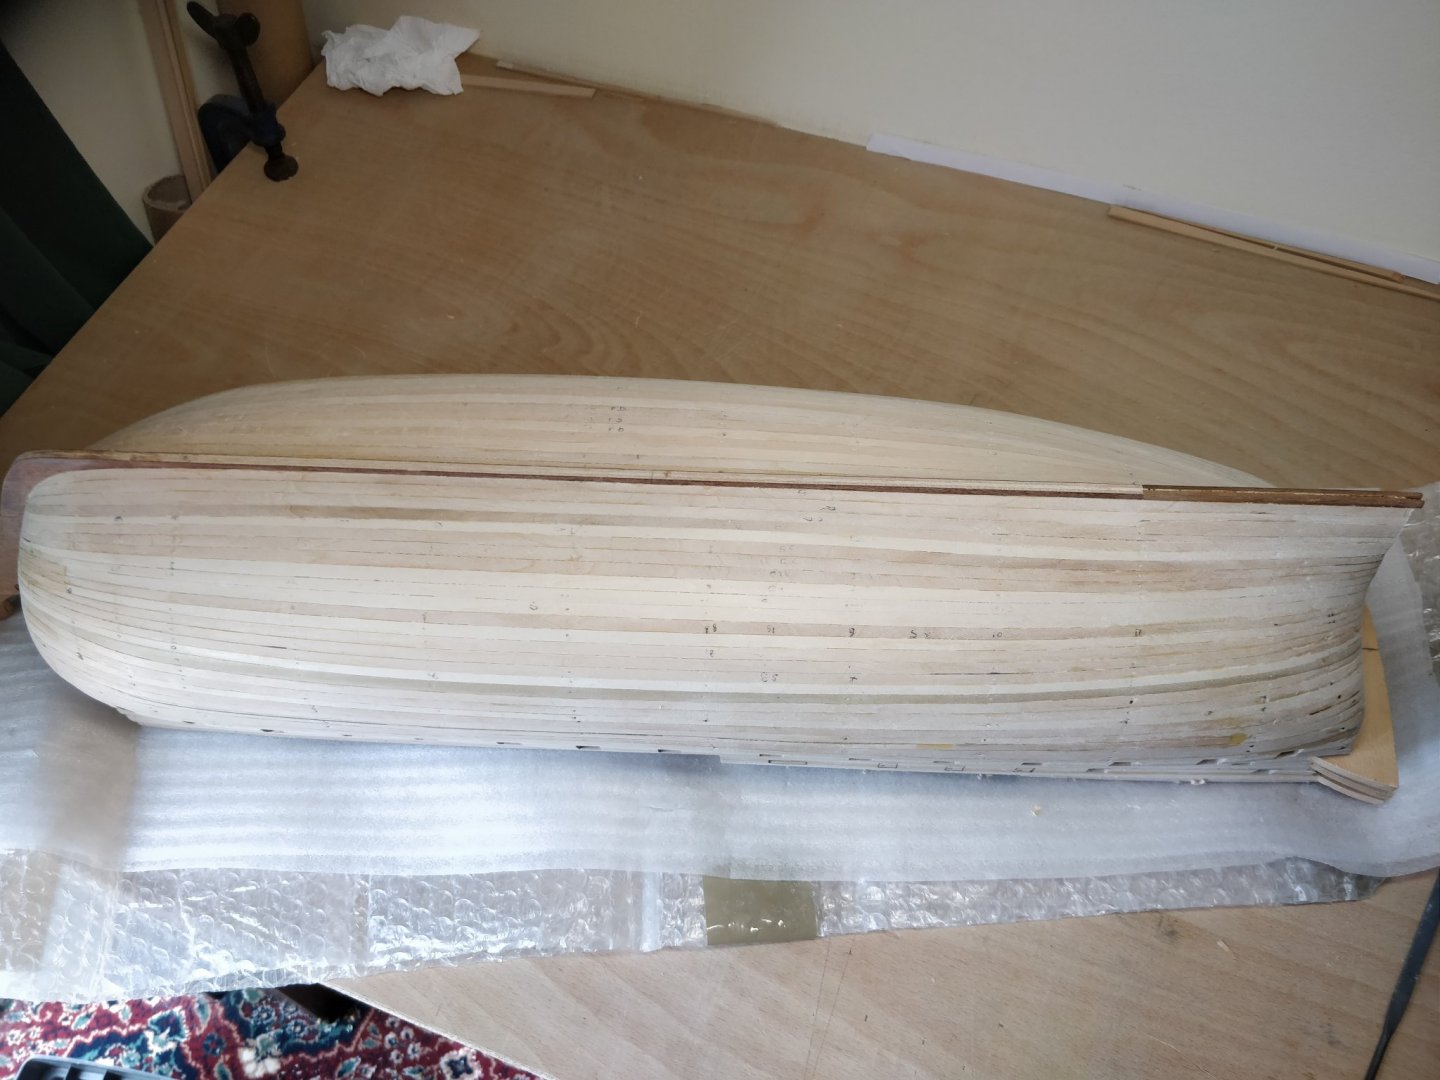
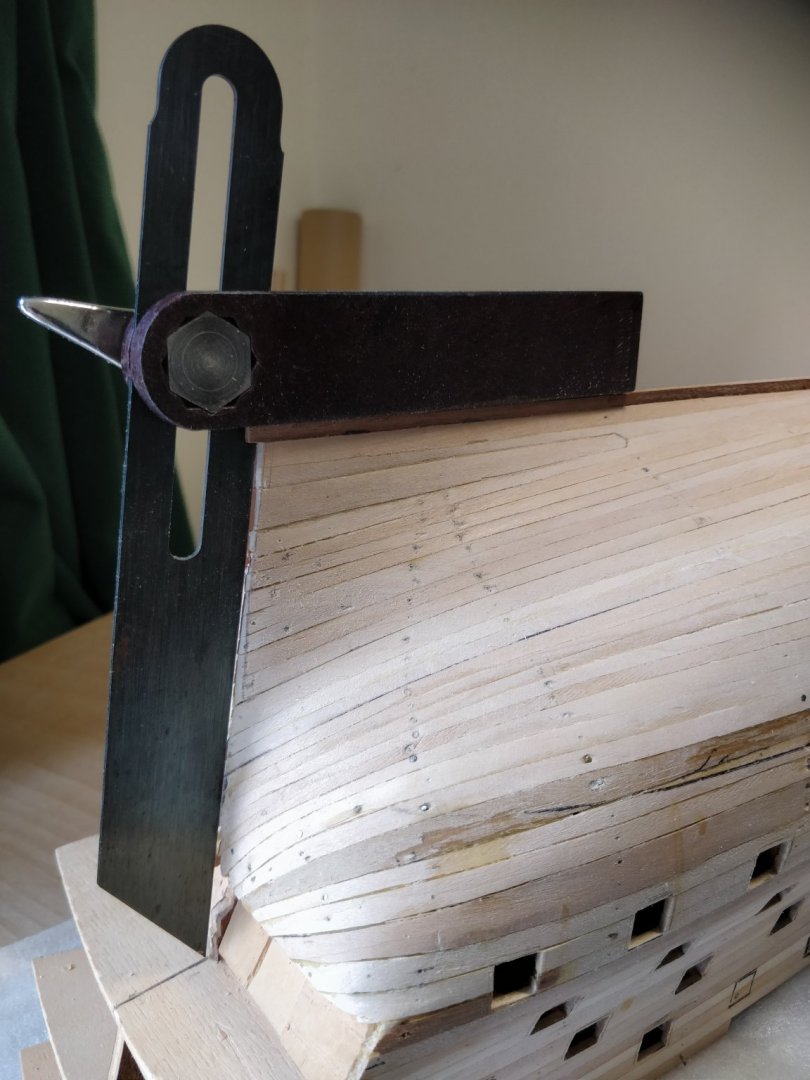
The hull is all shaped pretty near final finish. I used some very sharp chisels to pare down that clinkering followed by sandpaper pinned to a bit of broom handle. It looks fairly symmetrical . Running a thinner plank along the hull here and there it looks ok. Now getting the angle of the dangle correct at the stern prior to making a hardwood stern post. This will have a rabbet cut in to accept and clamp the second planking. That's the theory anyway! Think I'm going to have to re-establish the rabbet where it's filled with glue which seems harder to work than the wood. Steady as she goes...
-
Thanks Grant. It looks more like a ship now! Can't help but admire the people who built the real ones with basic tools and lofting. Mark one eye ball I guess. Went to Buckler's hard last year and was left in awe at the minimal facilities they had. Cheers for now Chris
-
Well, after some unusually fine weather and several weeks of gardening I'm back on the build. I've just finished tapering the last planking - left to dry out from the bending process. Has anyone else dropped a plank end into their mug of tea instead of the hot water jug? Lost count tbh but still drank the tea! The hull looks like a porcupine at the moment but the planks look reasonable considering my shakey start. Edge gluing next and then tidy up the stern and make a hardwood stern post. This will need some careful thought about two layers of planks and how they arrive at the post. I have found some useful pointers in Keith Juliet's book. I will sharpen up all the chisels and scrapers for a final profiling of the hull which apart from a bit of clinkering doesn't look too evil! Take care everyone and stay safe.🌈

-
That's good to know Grant. Thank you. I'll certainly be marking it out beforehand! 😀 Onwards and upwards..
-
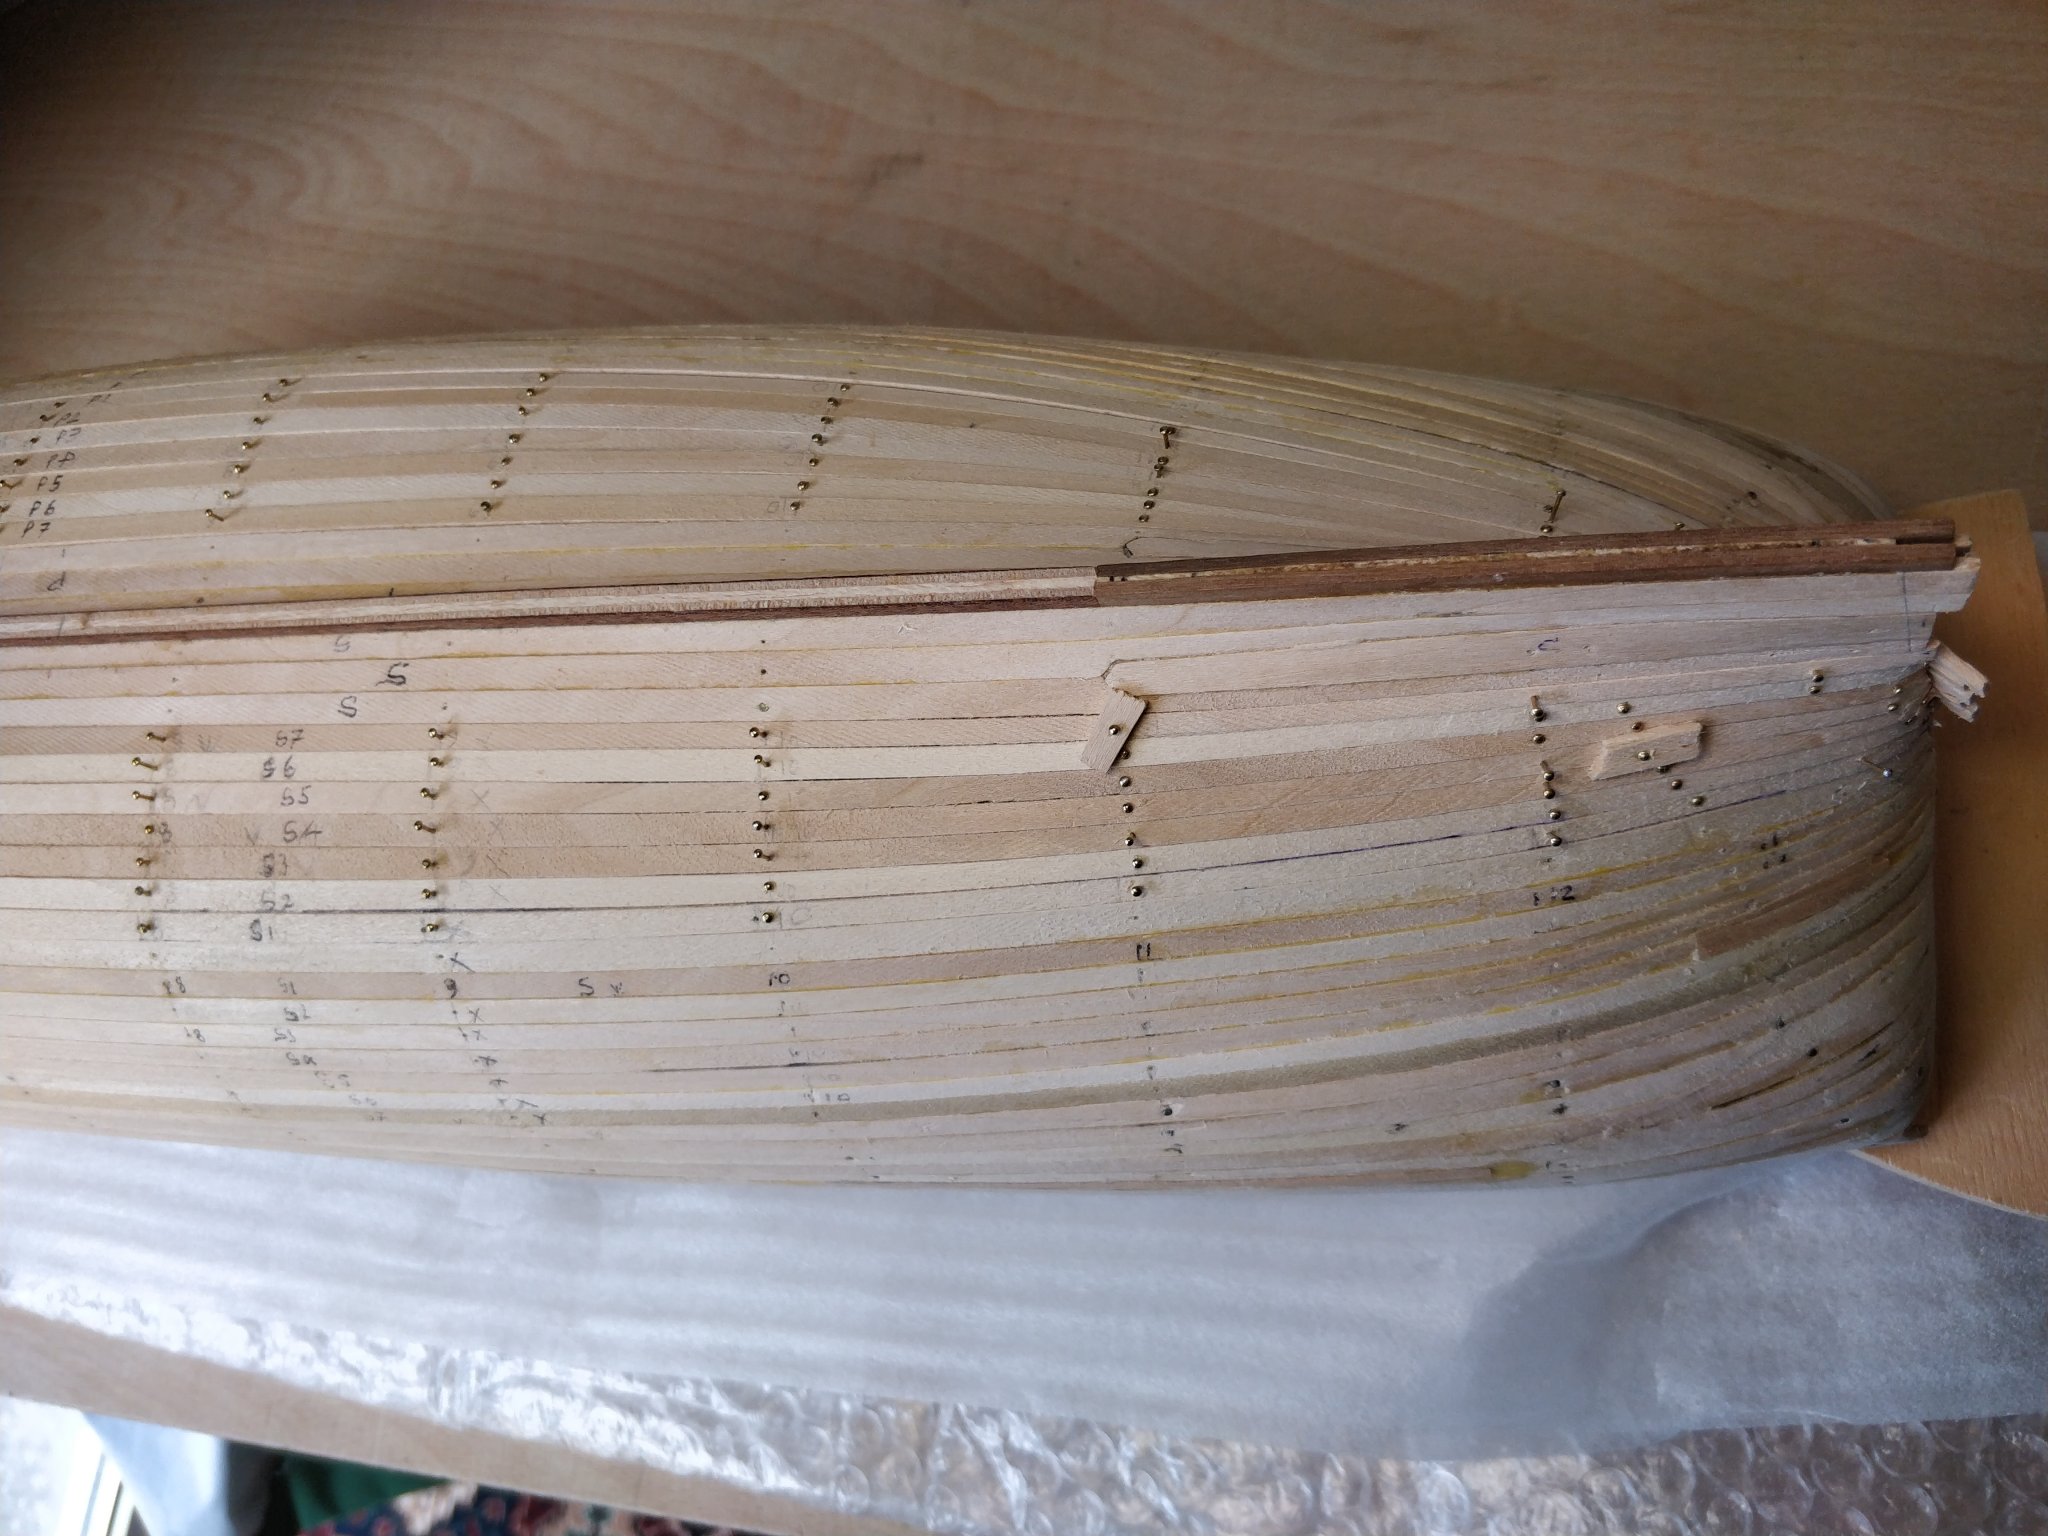
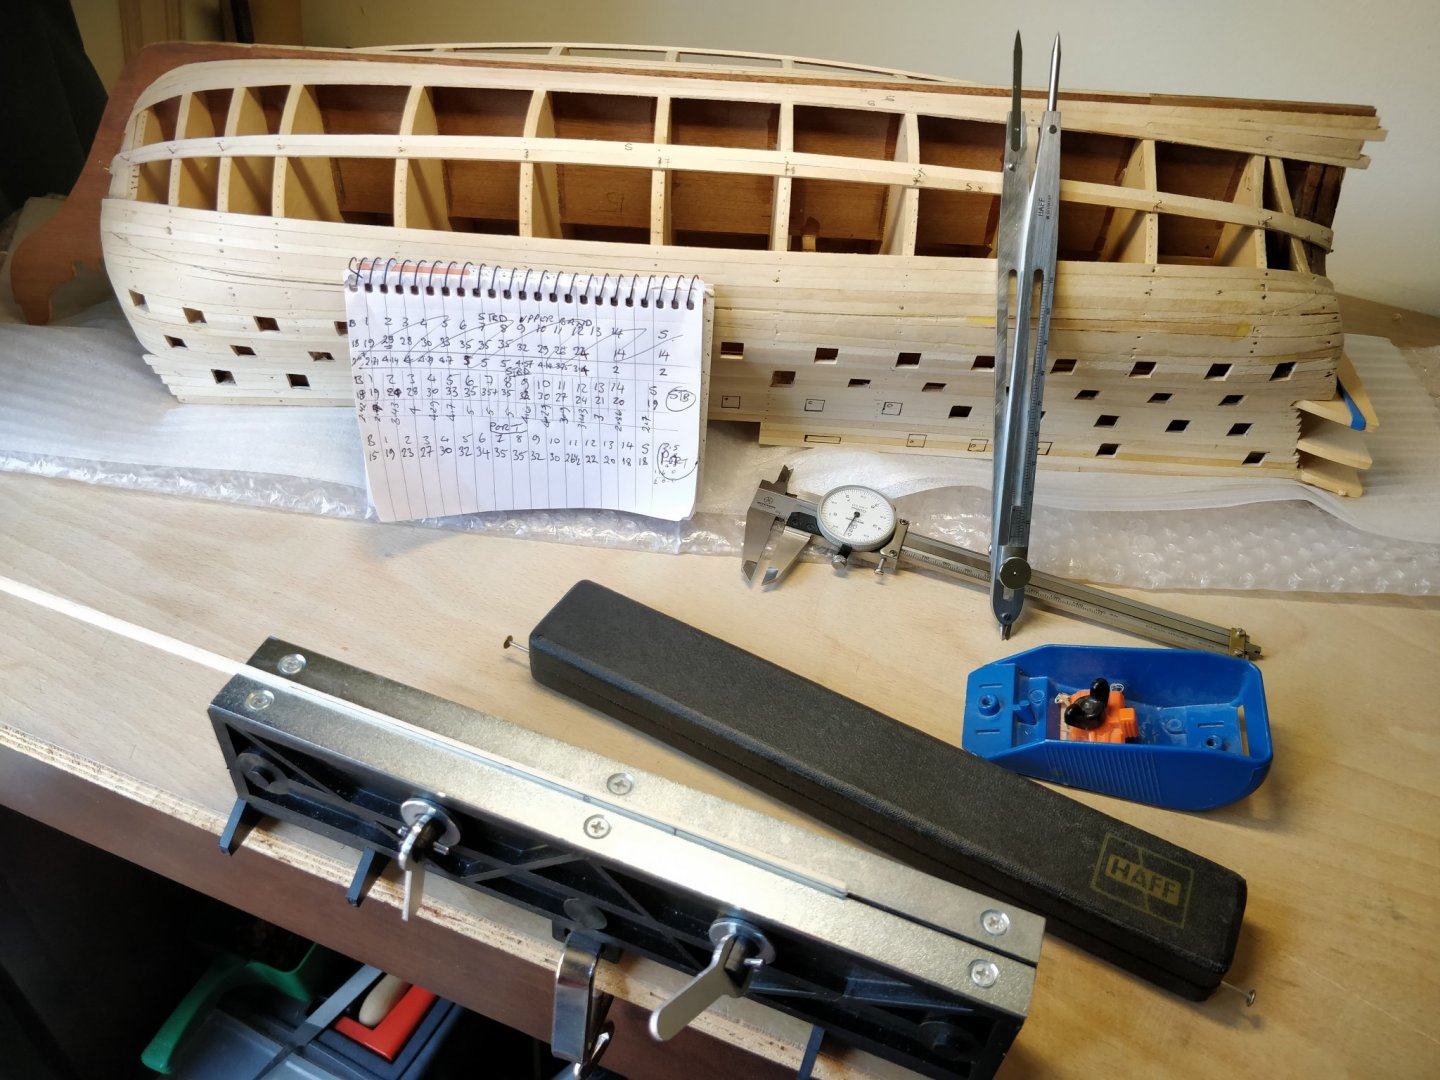
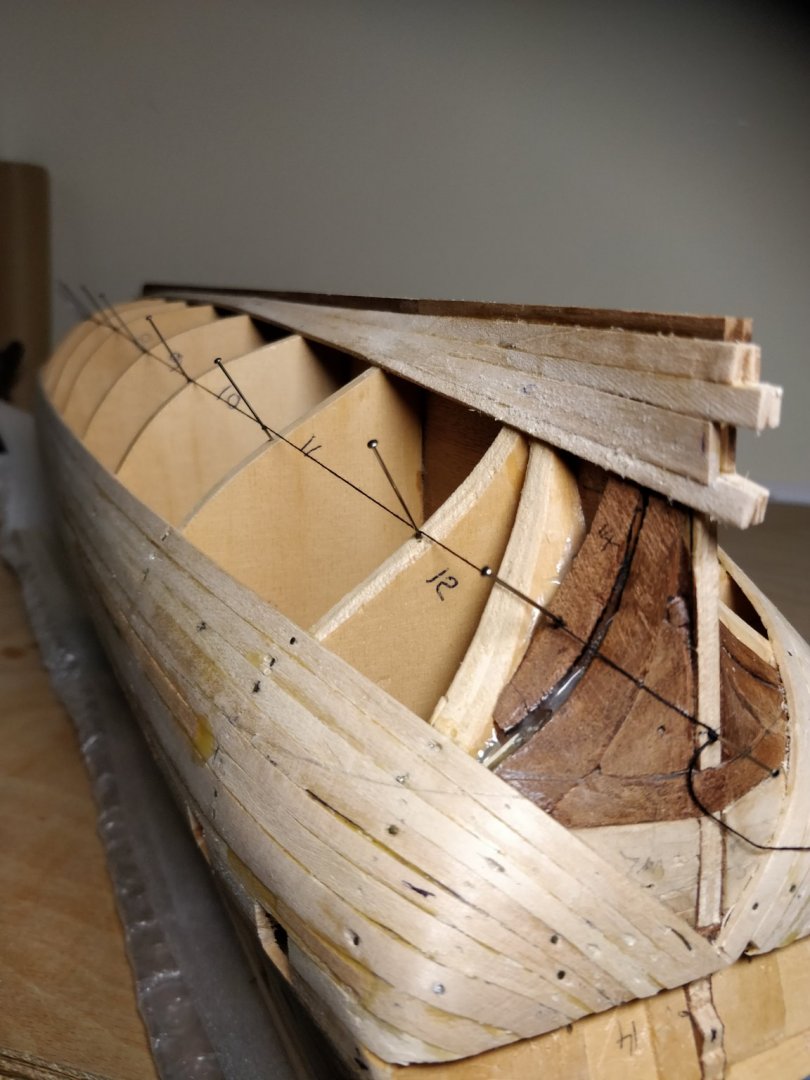
Planking continues, filling in the next sections. A number of planks are on minimum thickness but I just about got away with it. Huge lessons learned before eventual final planking. I made some tick strips and then used prop dividers to spot along the bulkheads which was a great visual aid. I worked out the plank thicknesses at each bulkhead using info gleaned on this site to mark out each plank. I got a bit adventurous then and planed planks two at a time, tweaking with an Emery board as necessary. Actually I raided my wife's sundry nail files.😀 I found the prop dividers a bit big actually, wish I'd gone for the type that simply has the proportion numbers on. Anyway, this as I say is not a tutorial but a conglomeration of my attempt to build something representing a half decent model. Some pictures...


-
Continuing on I thought it prudent to at least assess how the rest of the planking might fall. I ran a cotton string down the center and counted how many whole width planks would fit. It became clear there would be a fair bit of tapering to do at the bow. It should fall into minimum sized widths just about. I might have a go at a drop plank just for the exercise!? I also discovered just in time that one bulkhead was a little proud causing an irregular flow of the planking. A few touches with a file brought it into line. It was local only to a few plank widths but quite obvious and the black line on the profile was the giveaway. I had checked it before but obviously missed this bit. What I've learned most from all my previous is that proper and careful planning of the planking runs is important. Hopefully this experience will carry over into second planking!🤔
-
Having fitted the garboard plank I continued on up being aware I should no longer be trying to move planks laterally. This led to some clinkering on the top part of the hull which took a bit of scraping and sanding to get near normal. One reason for this was reading that my first plank should follow the deckline... Anyhow, it became apparent that I would need to fit my first stealer if the next plank was to sit naturally. I made the classic mistake ( apparently) of glueing the one below first.☹️ Luckily I was able to very carefully remove half of this with a scalpel. Marked round the stealer and matched the cut to the sanded shape. I've learned now to take more time over these things and decided to soak and twist the stealer to shape. It was left clamped to dry for 24hrs and assumed the correct profile leaving less stress on the board and myself! Got to work out now the layout of the rest of the planks, tapers and fillers so I don't repeat my former mistake. I am reminded by my wife it only took a few years to build the real one!😂

-
Thanks Spyglass but they're already fitted.🥴 It would cause untold damage to the rabbet if I attempted now to remove them. The kit is Corel SM 23 1:98 and my first build. I'm edge gluing all the planks and brushing glue inside the hull as I go to stiffen things up more. I started a build log some time ago if you wish to take a peek. There have been a few challenges along the way as the instructions are a bit thin. I heard a rumour that the later kits have updated instructions but on contacting Corel found this is not the case. Steady as she goes...
-
Wow! Thanks for the input - very comprehensive. I've dry fitted the plank now with pins and clamps. It looks quite reasonable to my eyes anyway! I hope the photo does it justice. I can build on this now with more certainty. Generally speaking I did get off to a shakey start you're right. My start planks half way up the hull slipped and I had descrepencies both sides. I learned to spile very early on from info on the downloads to rescue the situation. It doesn't look pretty but it's solid. I'm covering the hull and learning a lot in the process. Hopefully the veneer will go a lot better. The last two photos are of the fore and aft extreme spiling which is in one piece. Thank you all again.😀


-
Struggled a bit with the garboard plank and got a bit confused I must admit. Rather than repeat everything here please look in the planking techniques forum at my pleas for help! Not glued anything yet as planks are drying after twisting. Hope photos illustrate what I did.
-
Decided to cut plank as per photo. Not as easy as I thought and it took a bit of tweaking. I lengthened the curved cut a little further back to start with otherwise it would not sit in the rabbet and appeared permanently gapped at the point. I also chamfered the back corner of the plank so it sat better in the rabbet. Then I soaked the tip and curved it to follow BH2 and to touch BH1. It's pinned in place now to dry out thoroughly with a piece of scrap to hold it over. I expect to have to do more tapering at the bow which was necessary elsewhere. Midships I have 85mm to fill and at frame 1 there is 52mm to fill. I anticipate being able to taper the planks above the minimum width. 🤞

-
OMG. Back to the drawing board... Time to start cutting more templates to get my eye in. I'm just going outside, I may be some time.....🥴
-
Thank you for this advice - much appreciated. My feeling now is that I should be aiming to replicate the planking as per the longboat photo elsewhere on the site. Those planks look magnificent! Hopefully I will get a better grasp of the idea once I get going and the second plank is spiled and fitted. 😀🤞
-
Hi folks! Well, I've read and thought I understood all the tutorials but am still struggling to fit the garboard plank. So far I've tried a template and the masking tape method but things still don't look right. The first photo shows the curve produced by overlaying tape on the strake - still gappy. When I reverse the plank it seems much better. (Photo 2). I put another piece of plank alongside to get another impression. Should I therefore spile the second plank to obtain the parallel line with the keel bottom and the flat reference along the hull? Confused.com!🥴


-
The repair went well and the wood was a fair match. Planed it down to its former profile satisfactorily. Playing about now with the garboard strake and have offered up a template. Not quite there yet with the bow section but reading every available source to help facilitate this! It's good that the model is double planked because hopefully any mistakes won't be repeated on the second! 🤞
-
The repair so far after fettling the lower keel as thin as I dared. Lots of glue and firm clamping will hopefully restore the lamination and provide a proper register for the garboard plank. The rest of the planking and a final false keel should lock it all together.. It's slightly over thickness so I will reduce this carefully when everything is set.


-
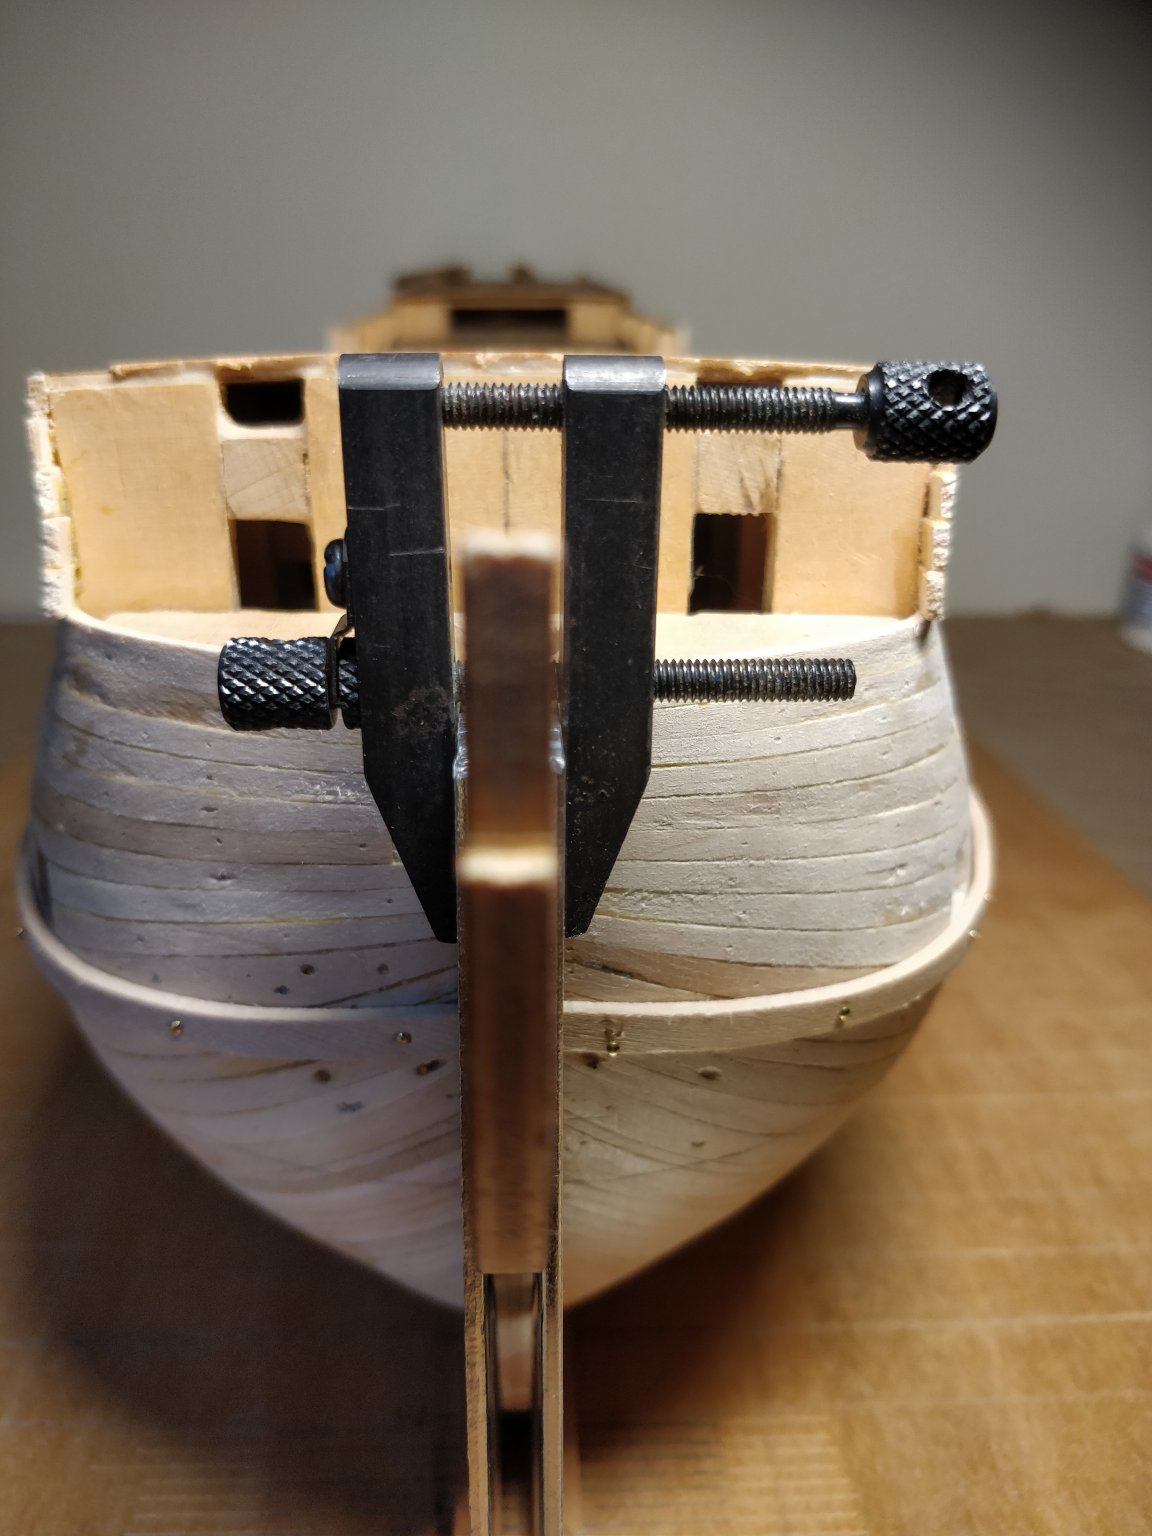
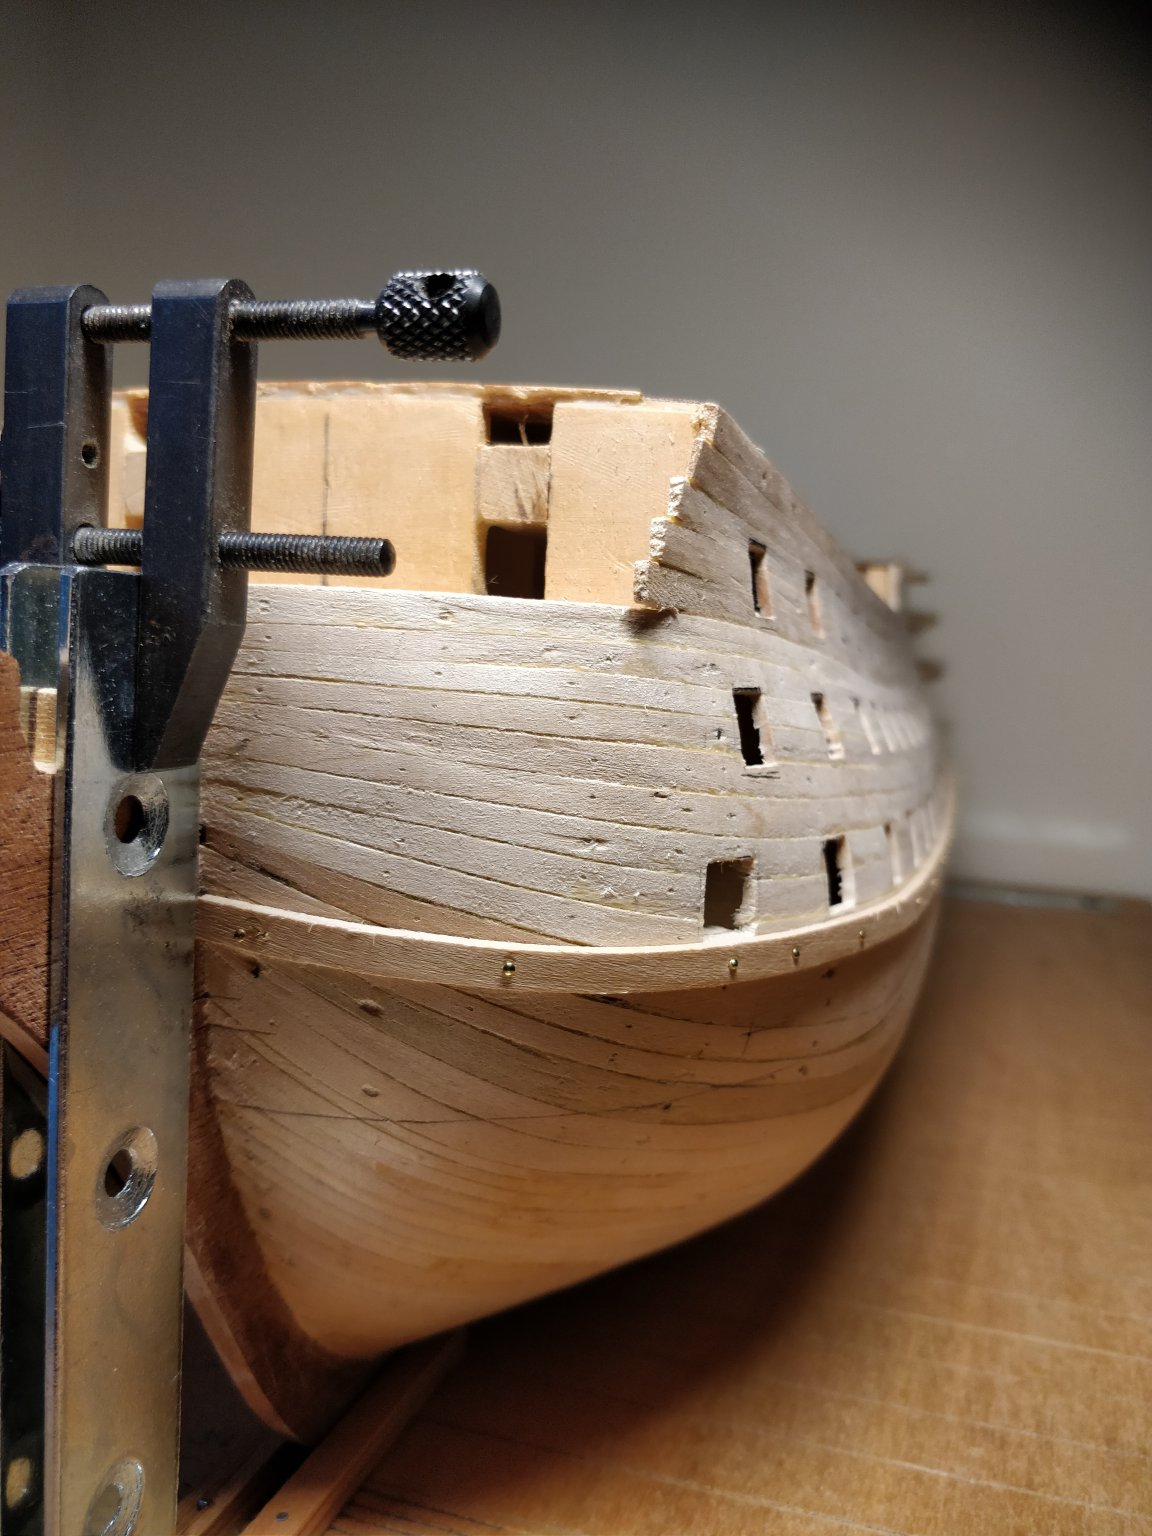
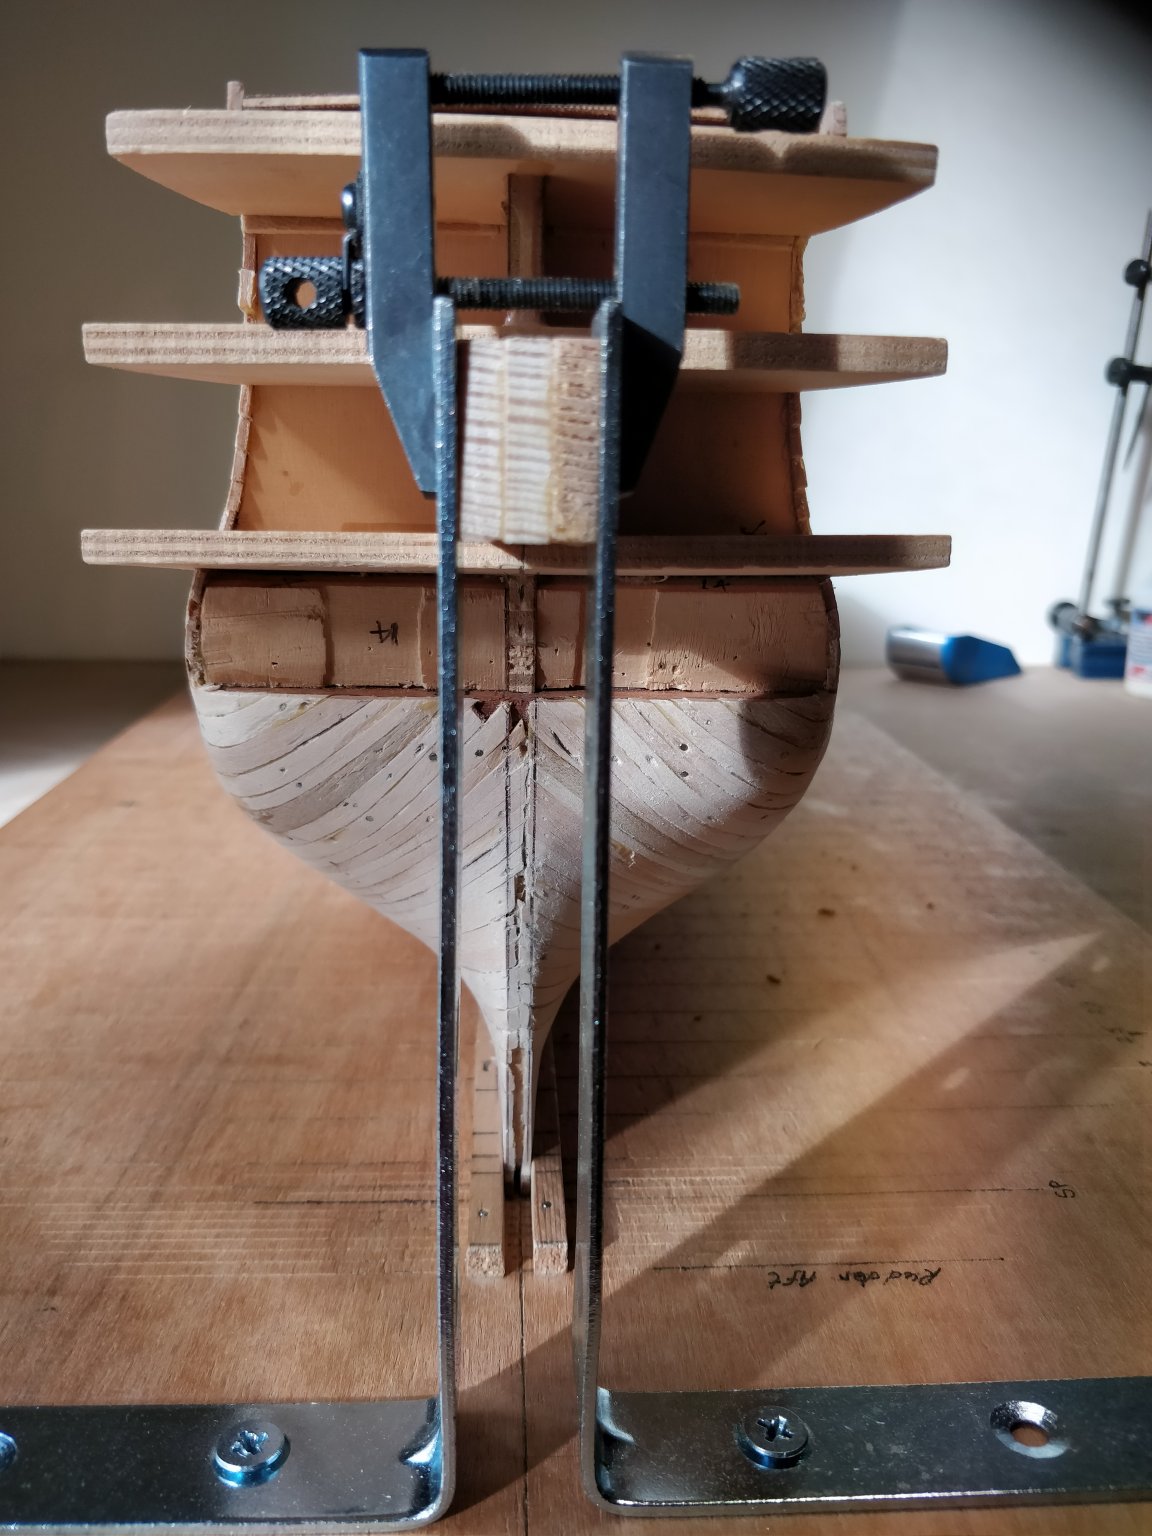
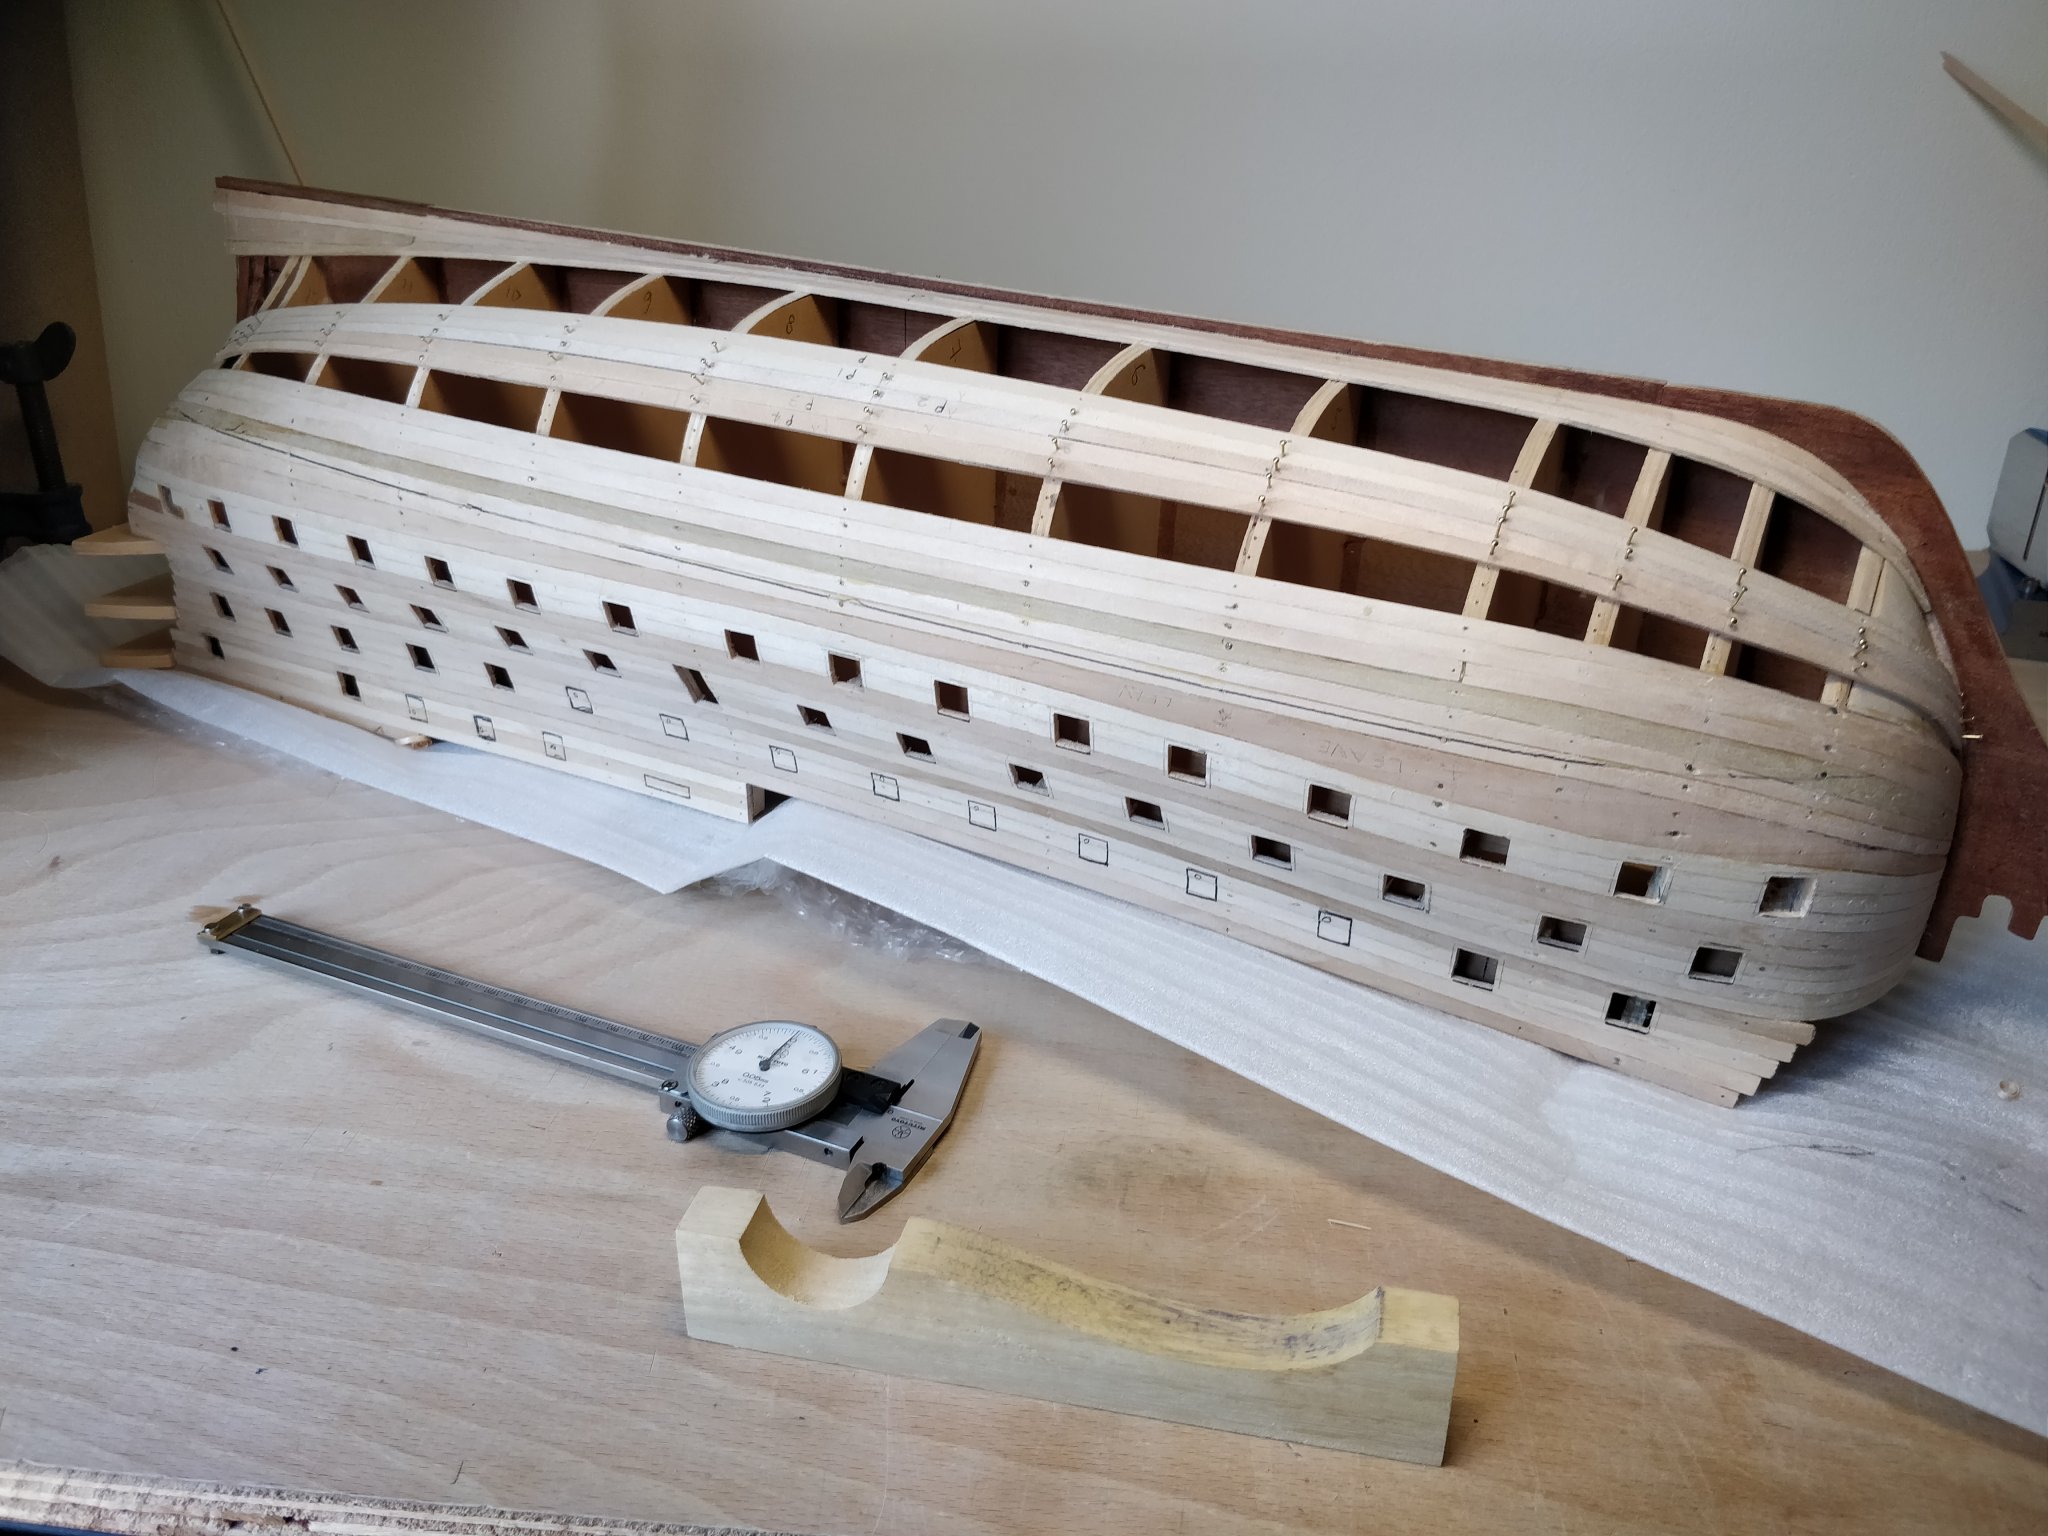
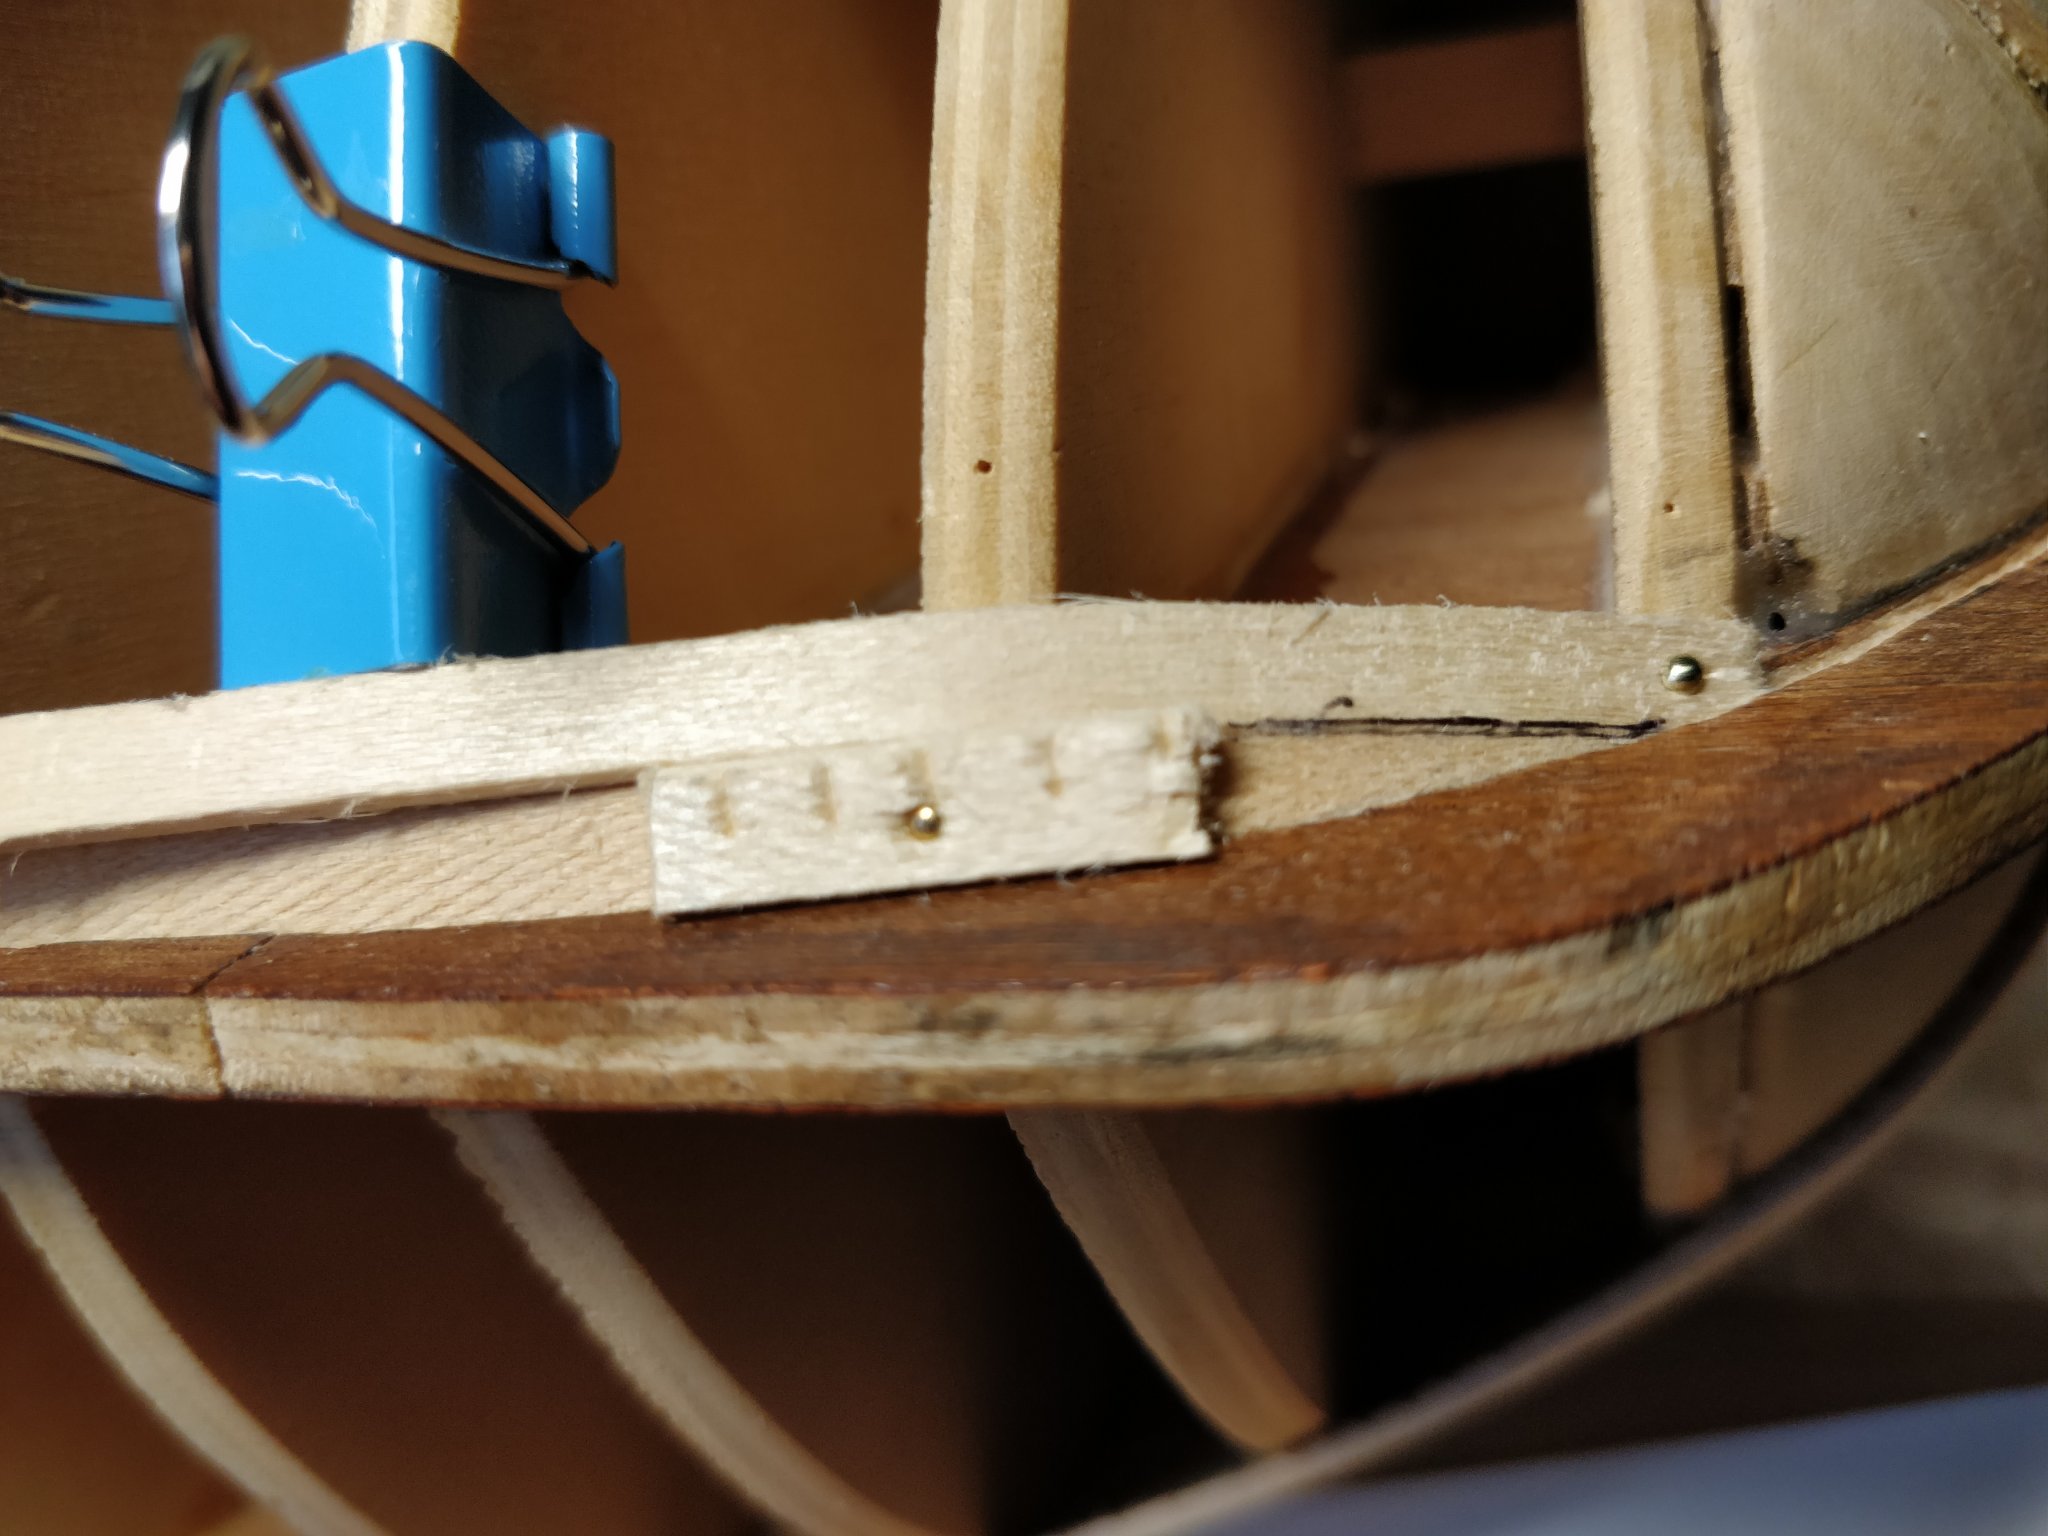
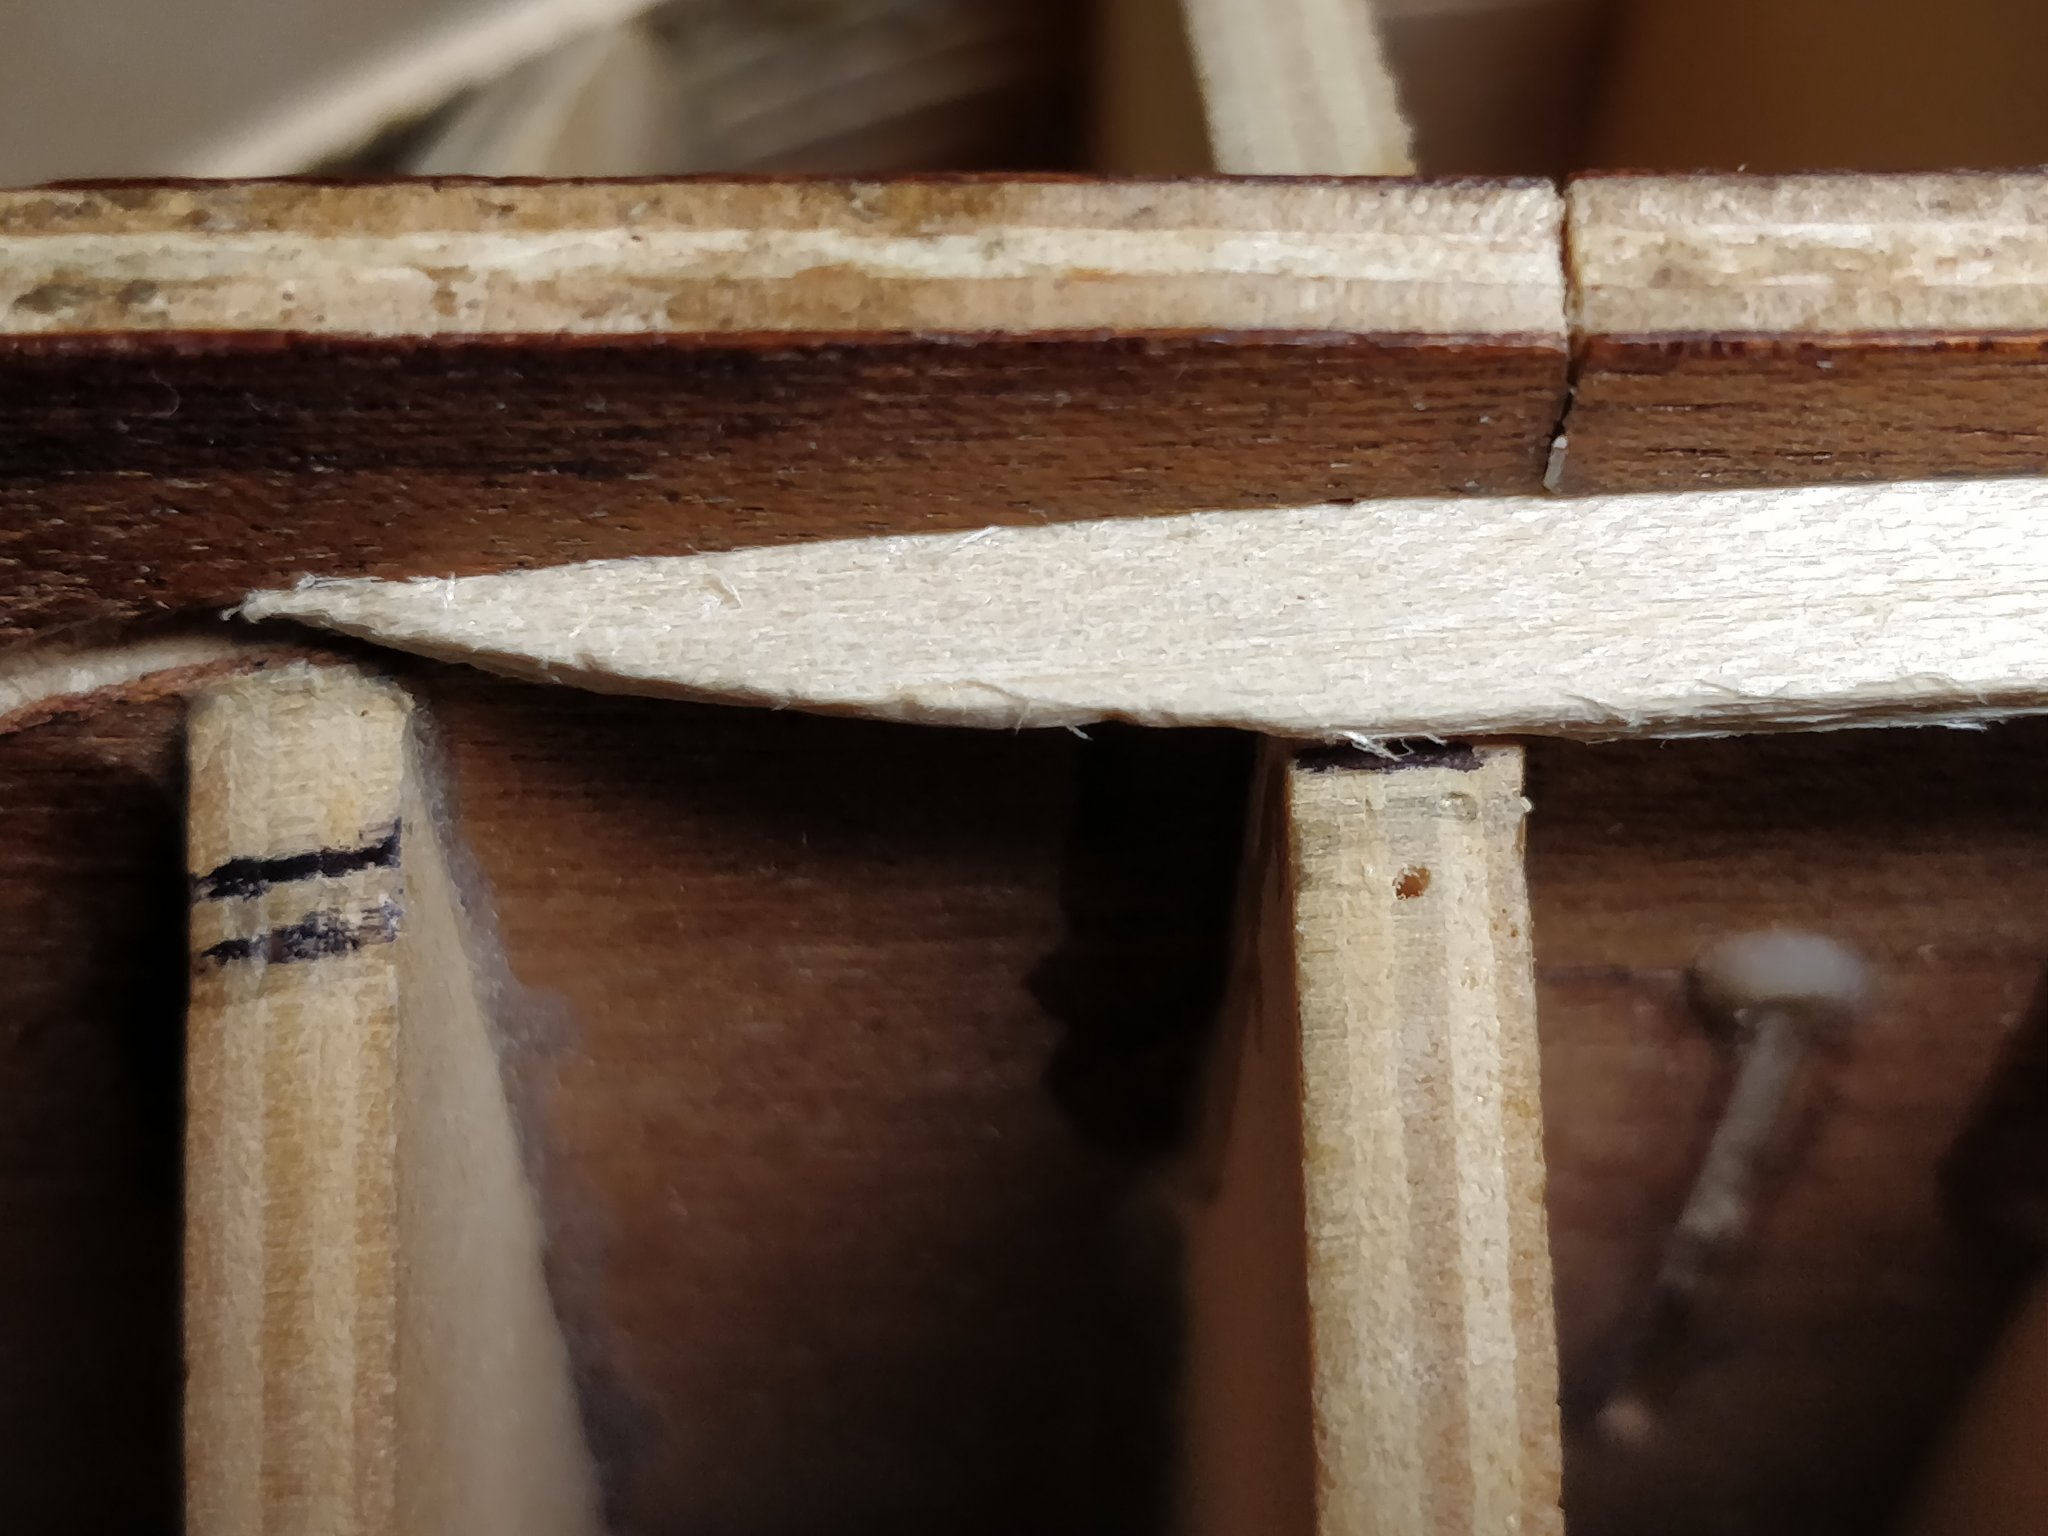
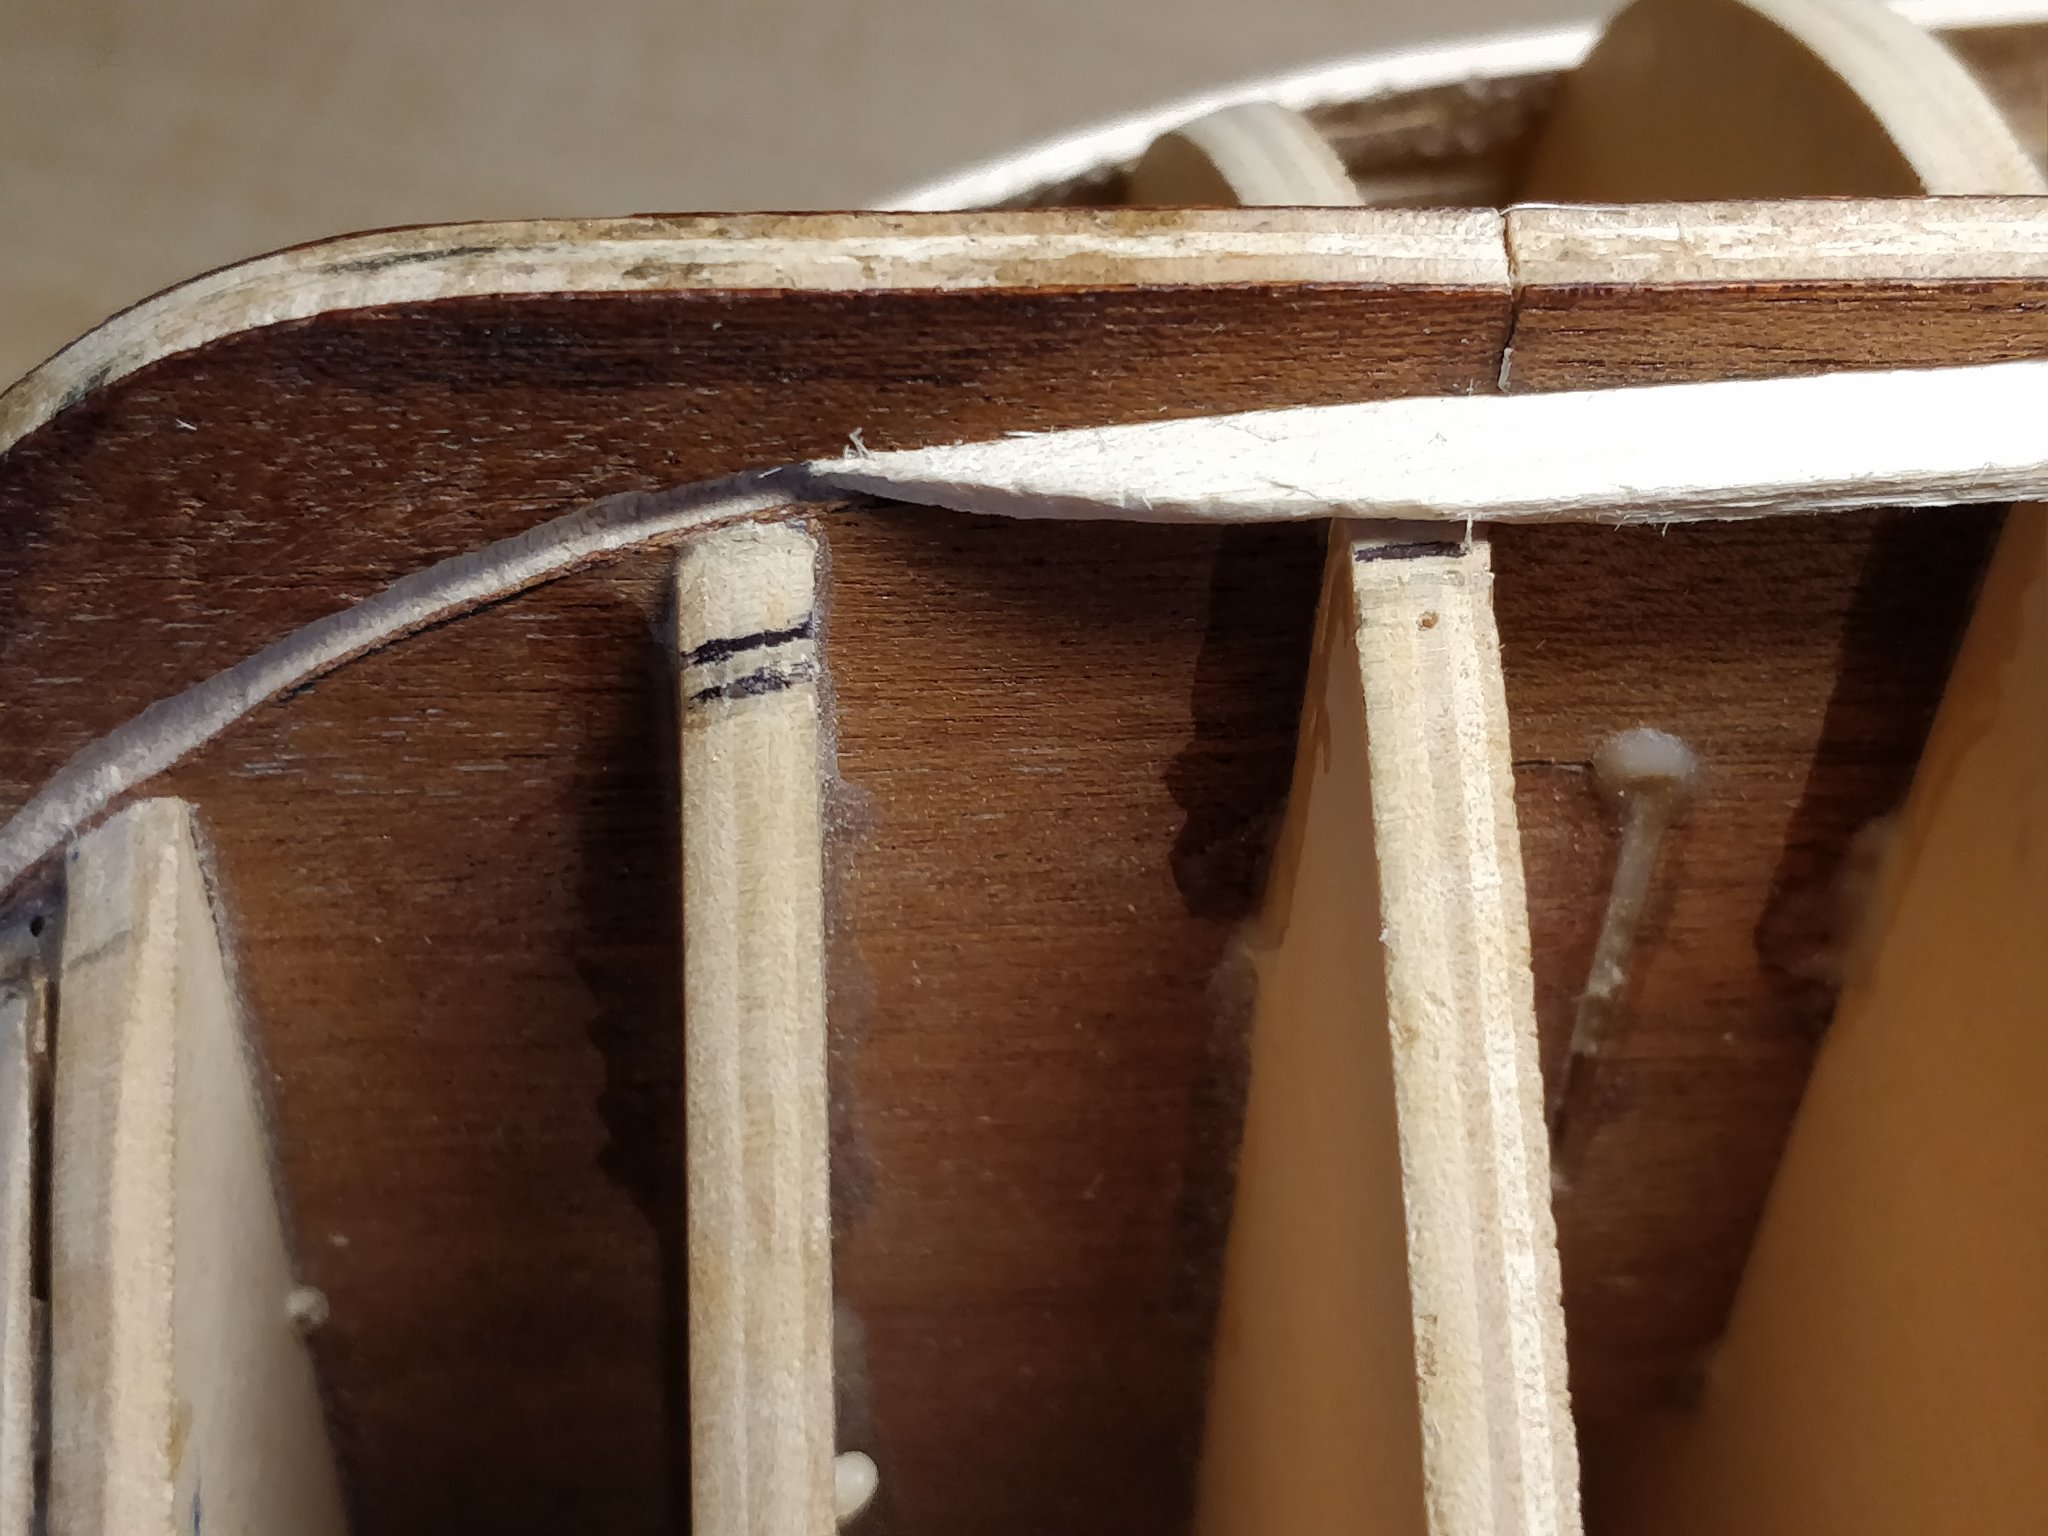
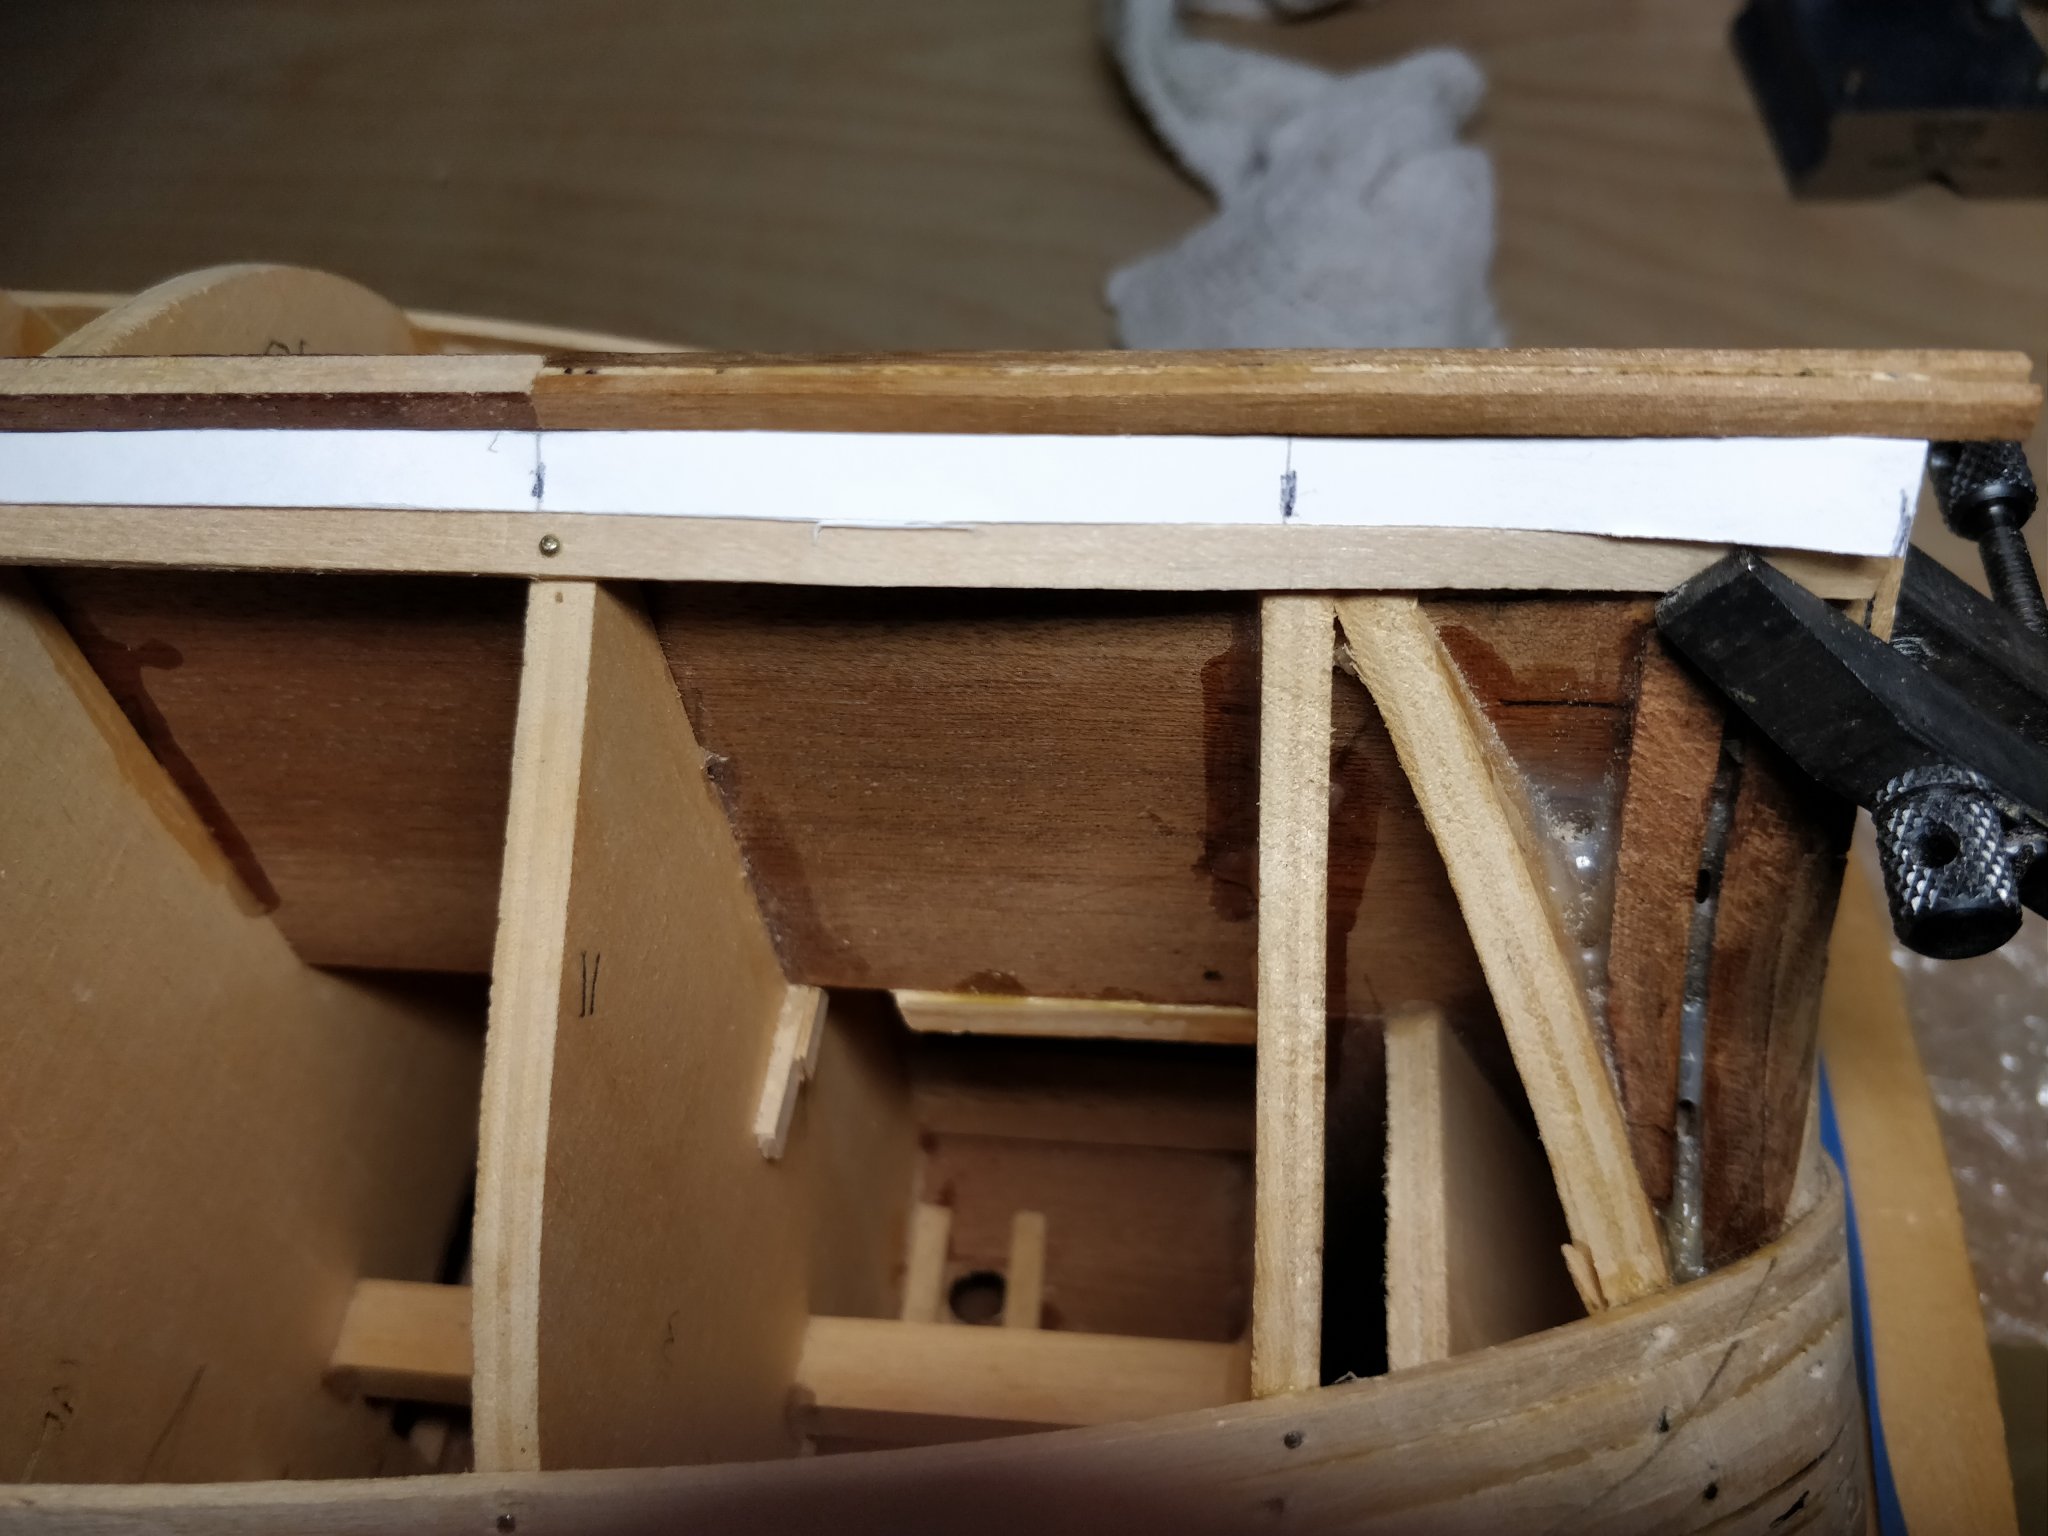
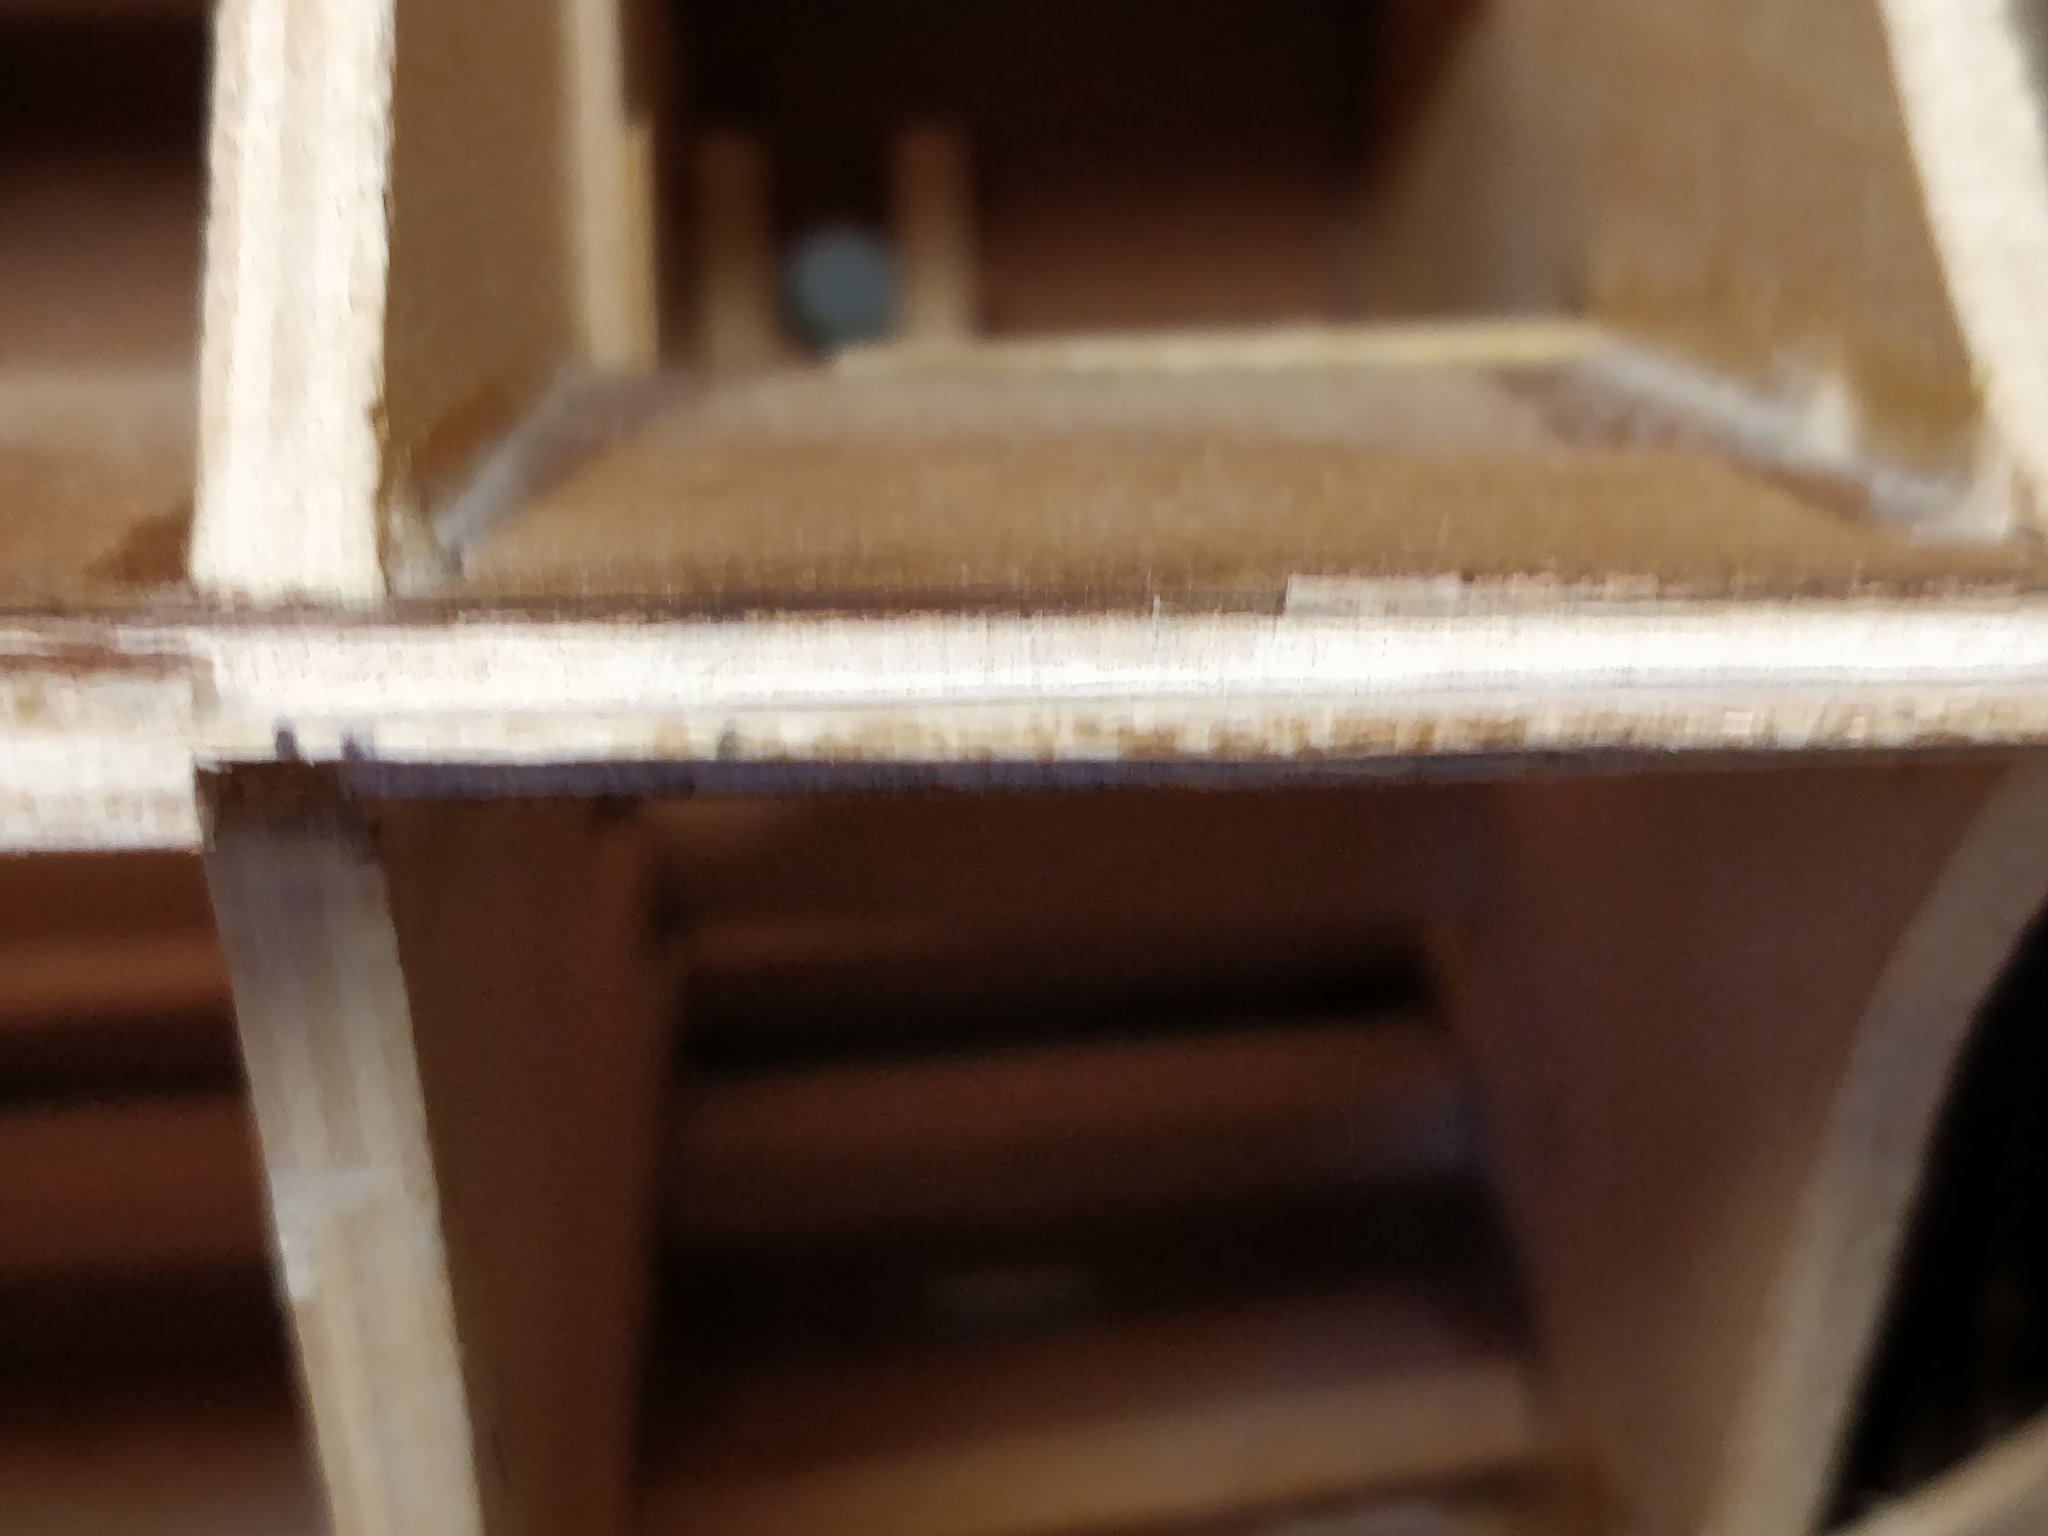
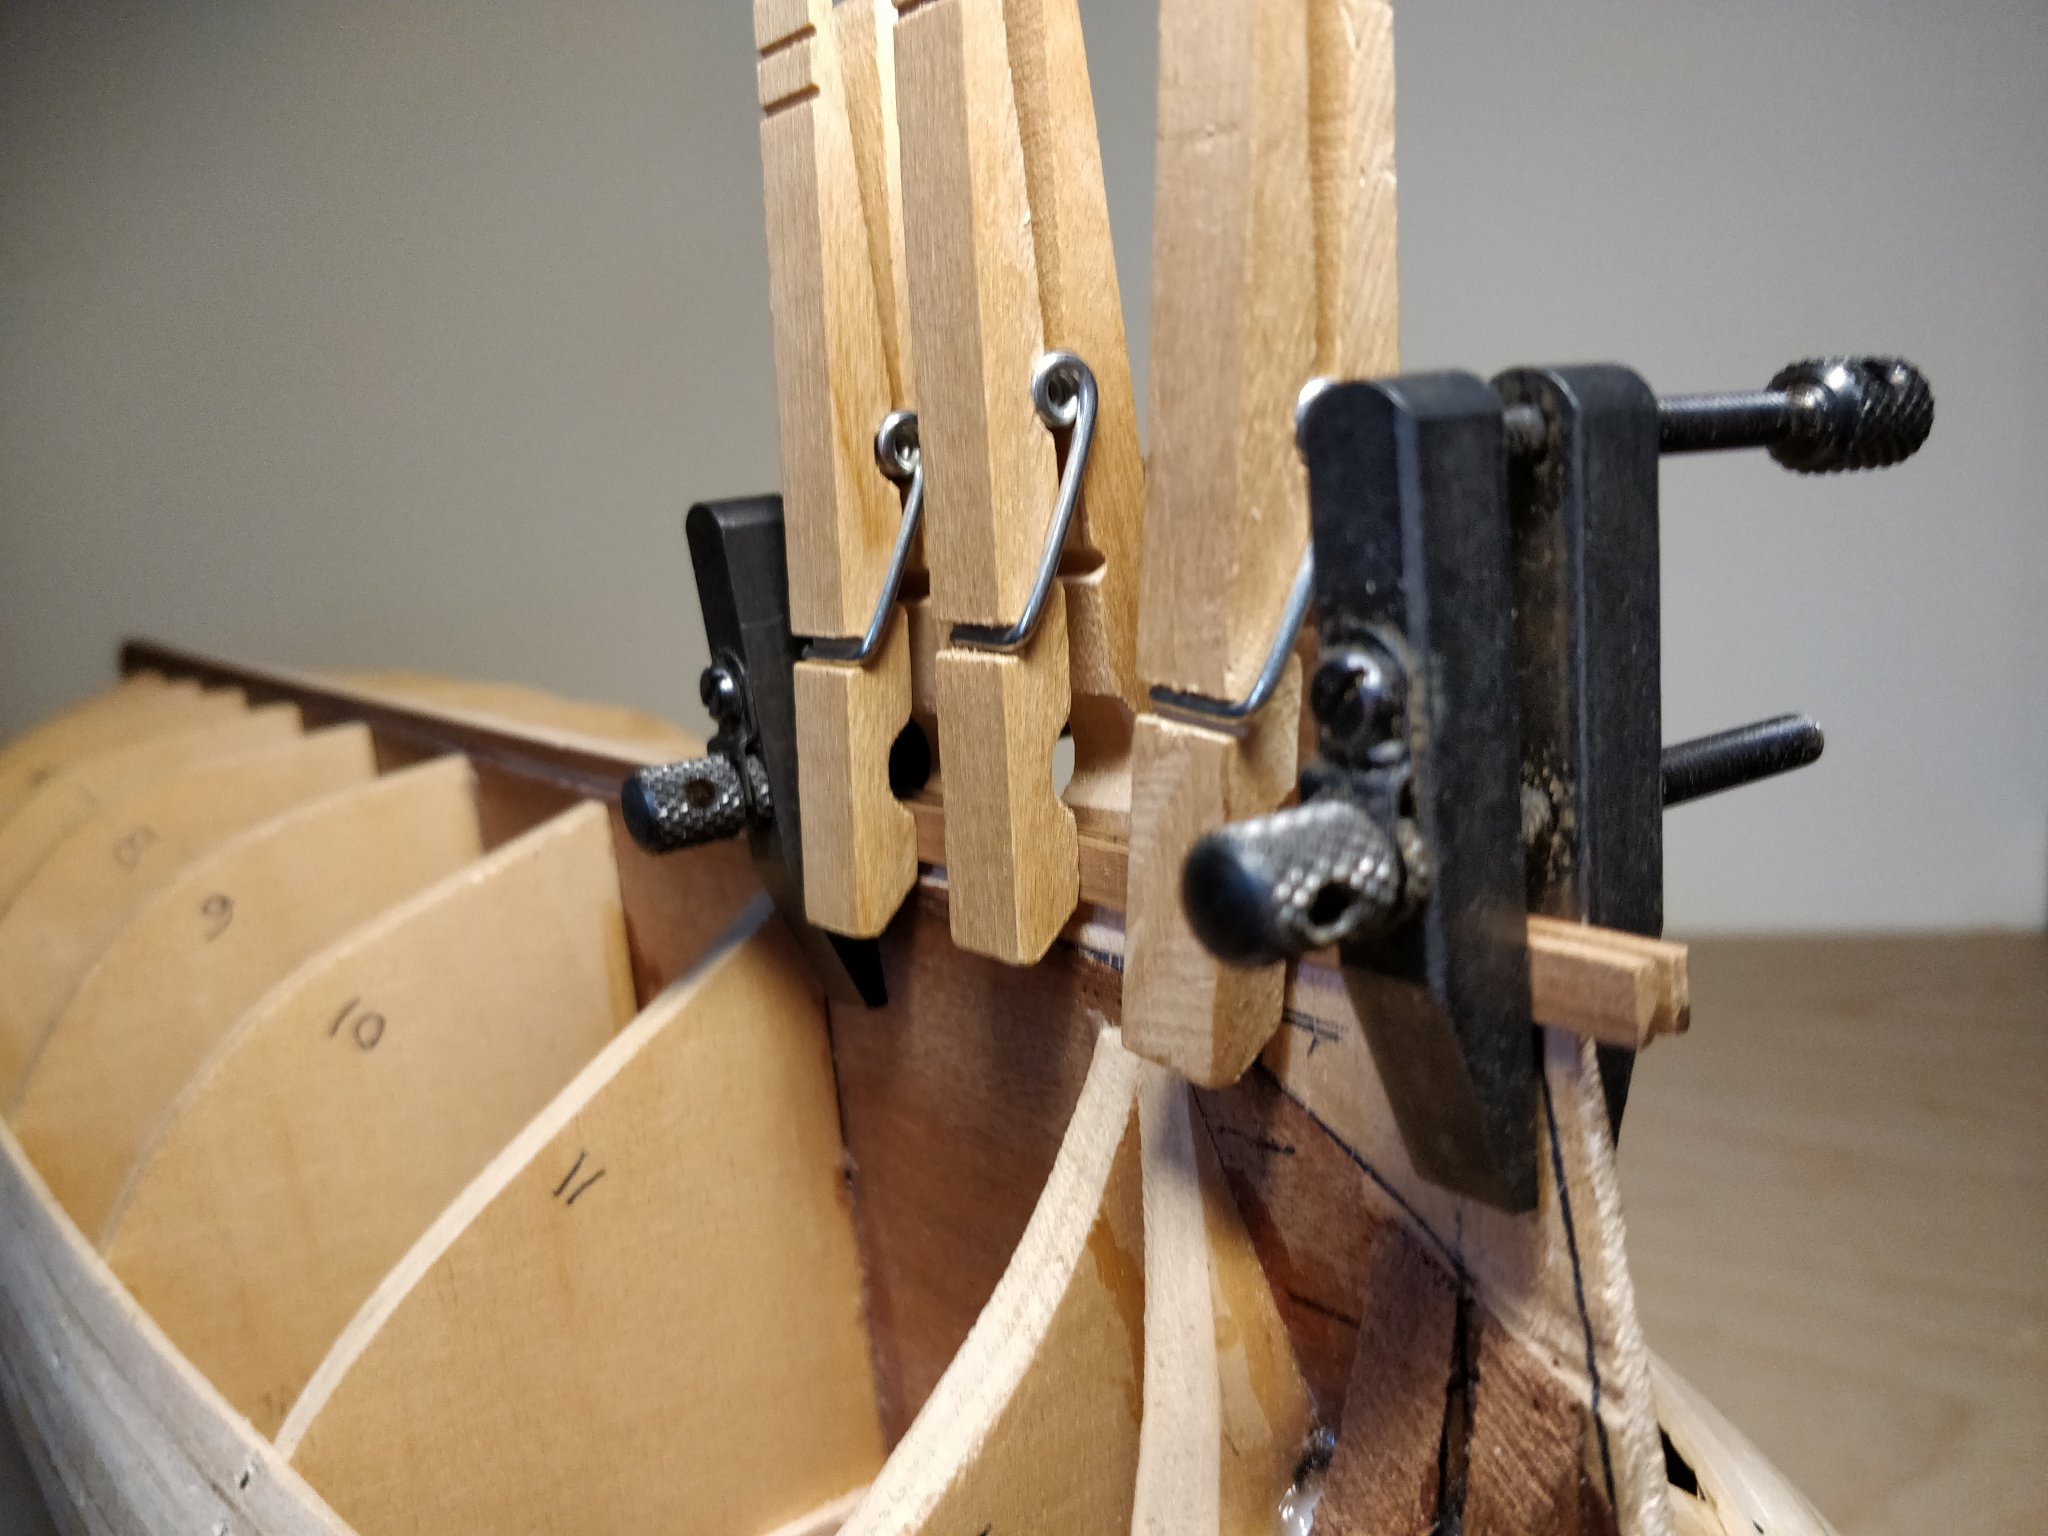
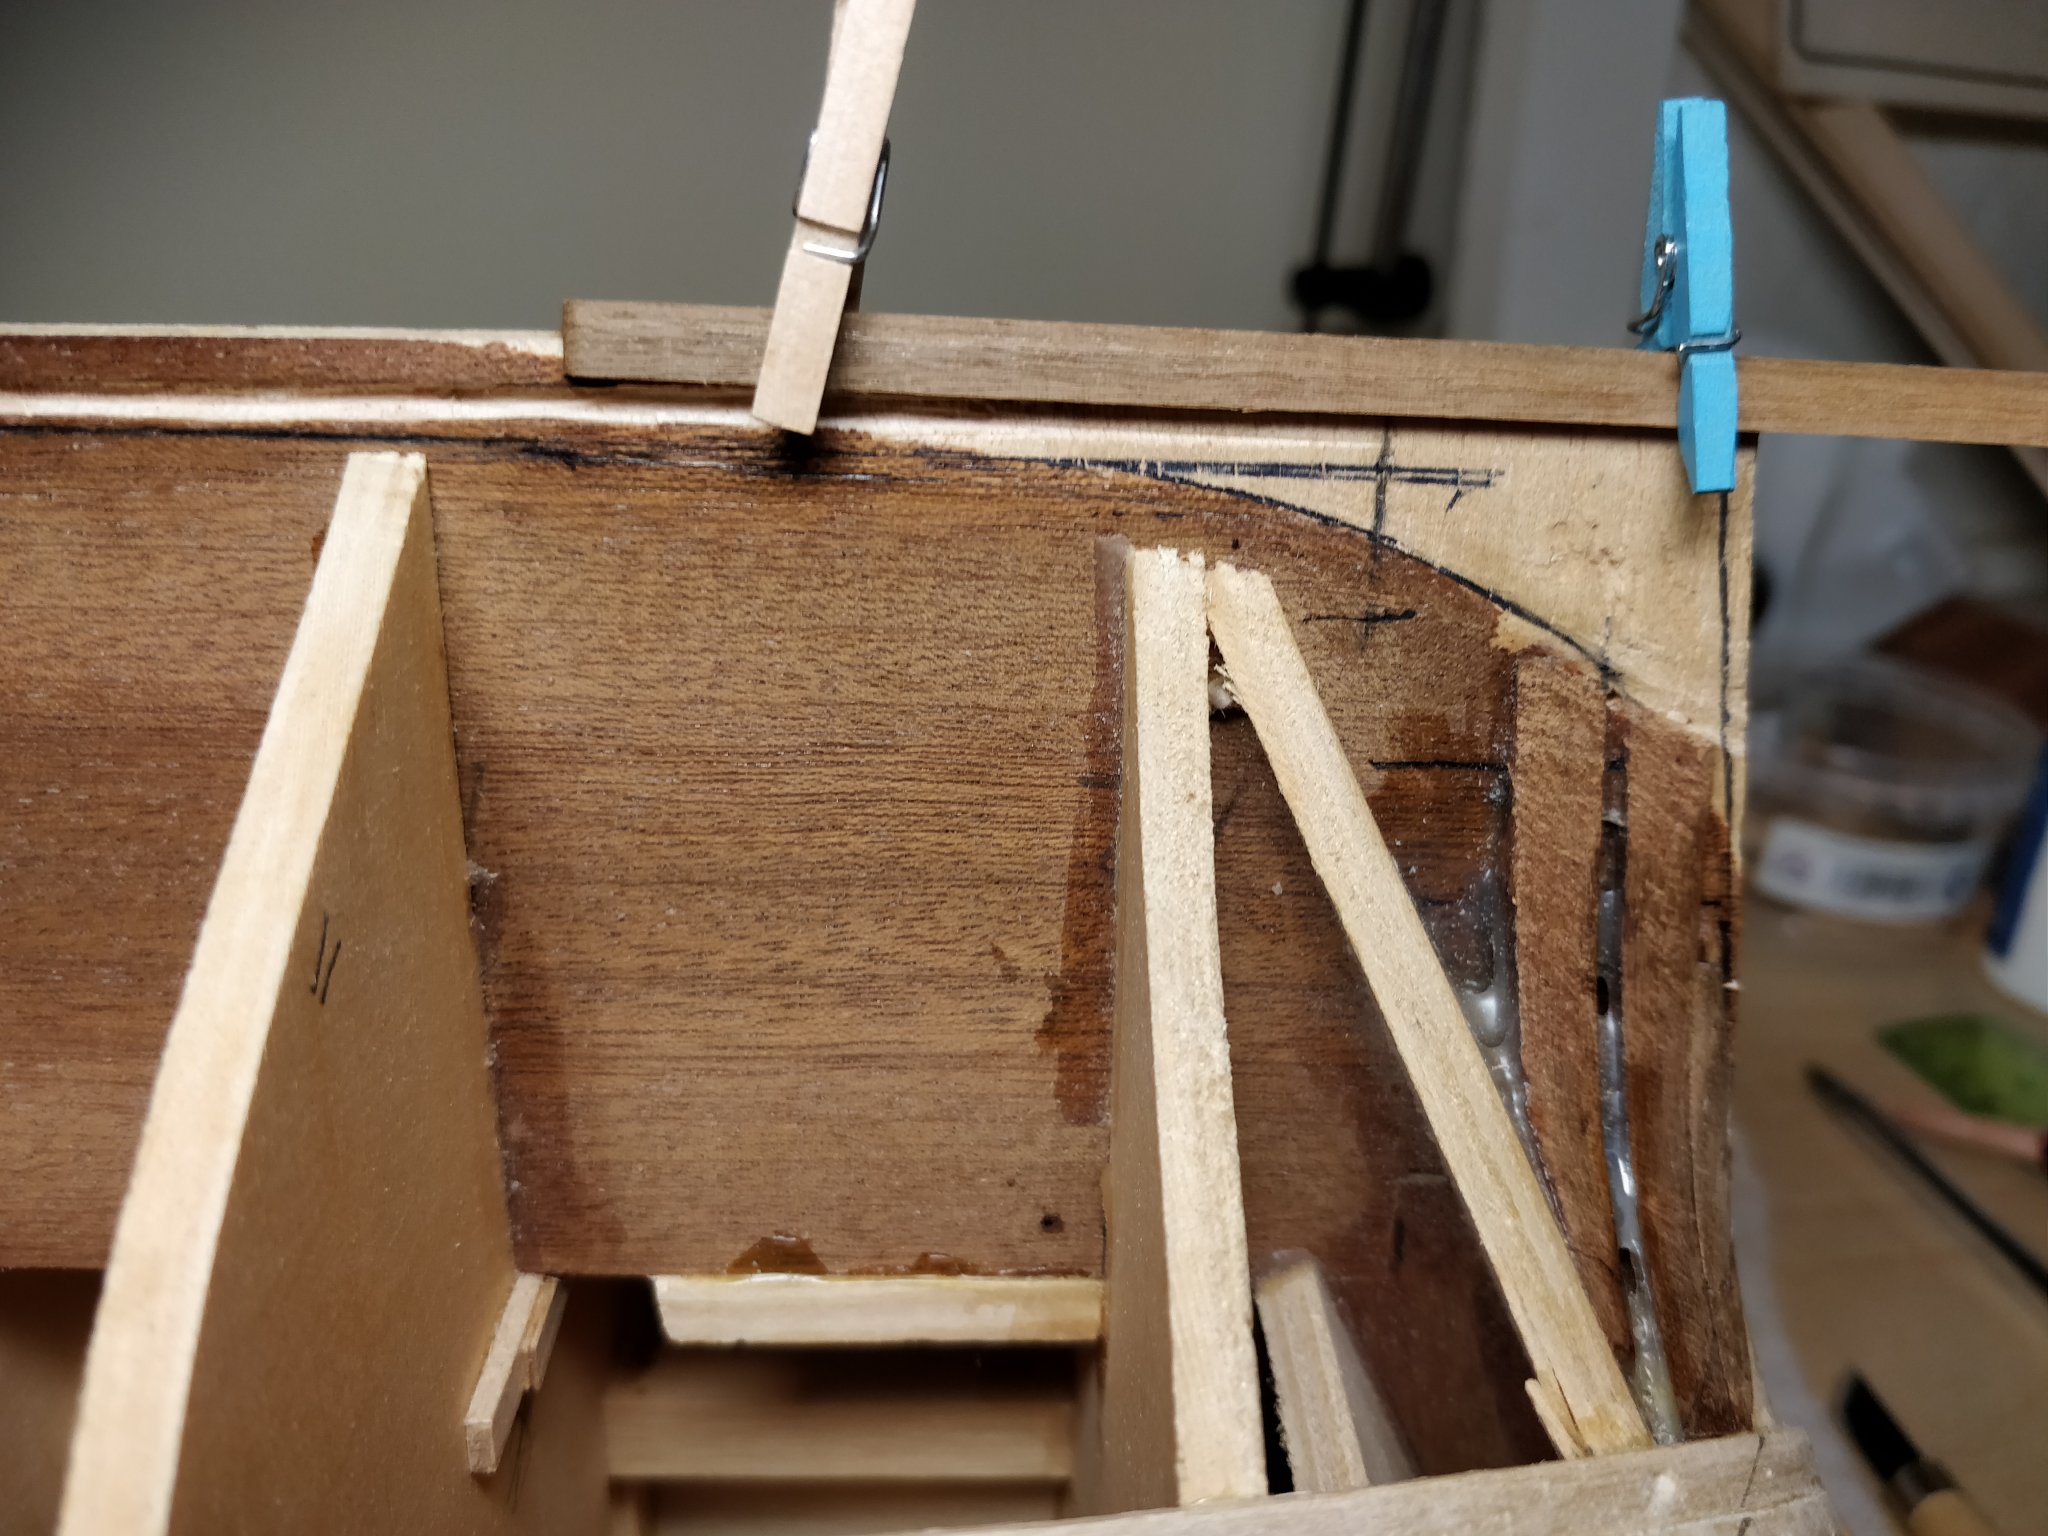
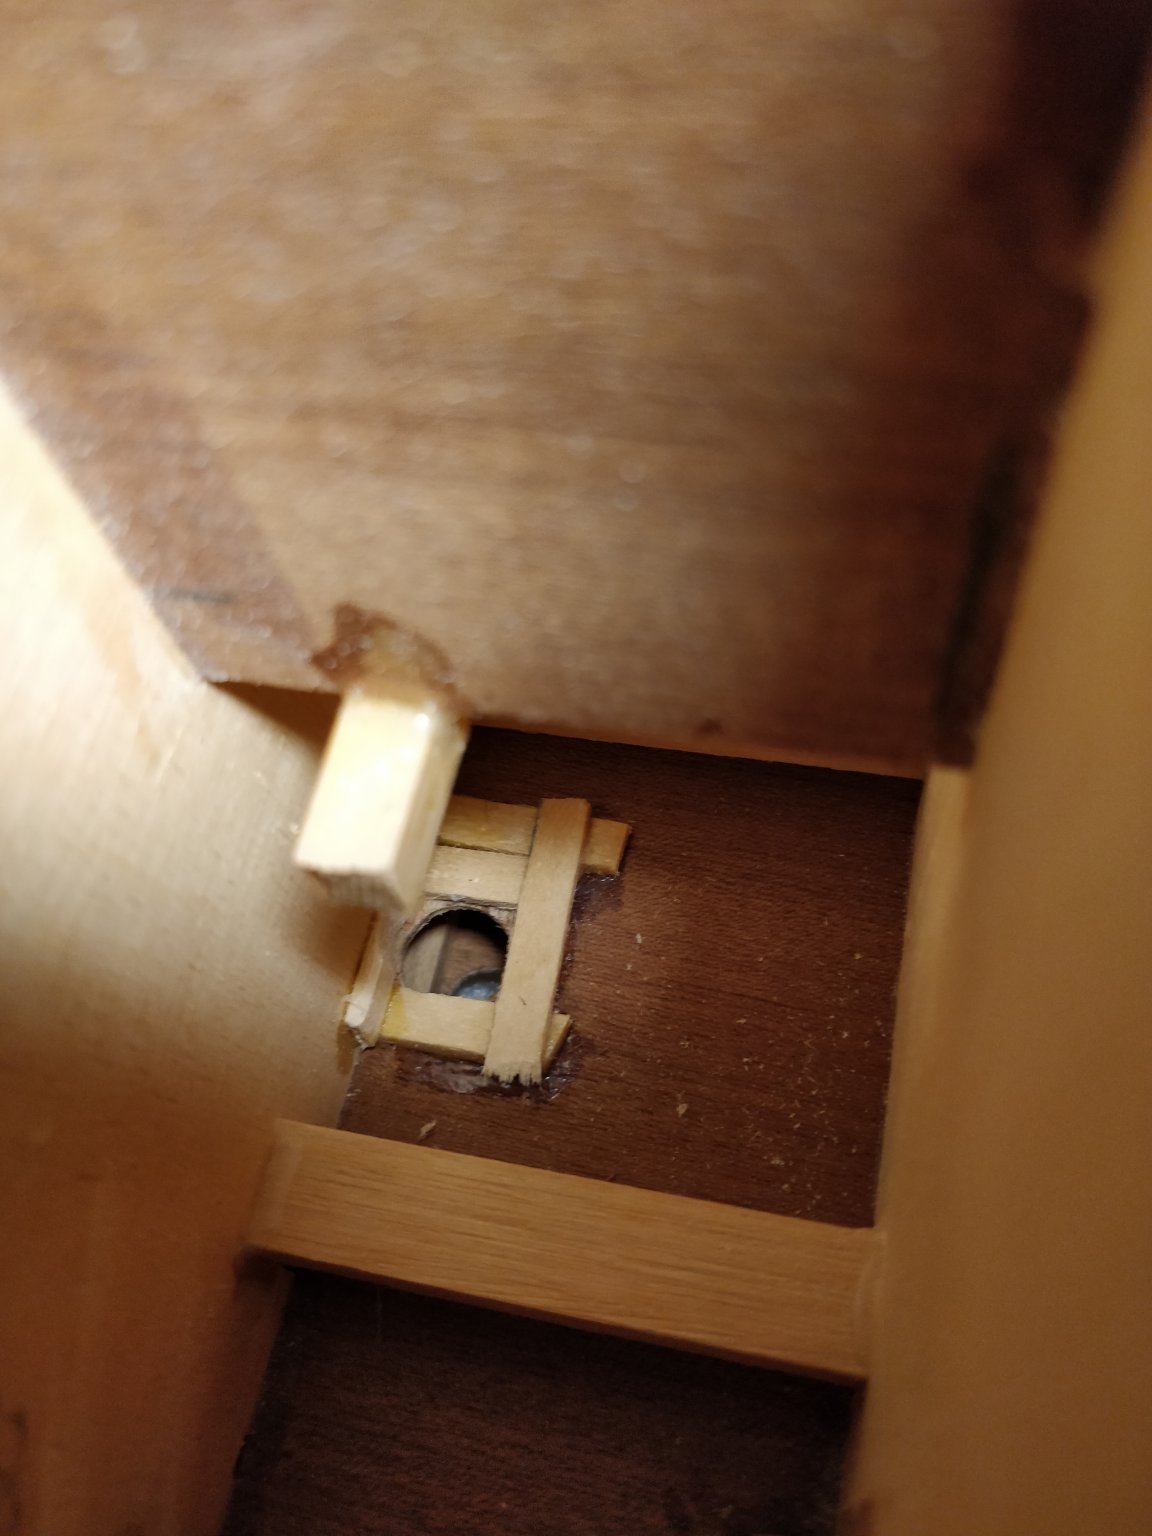
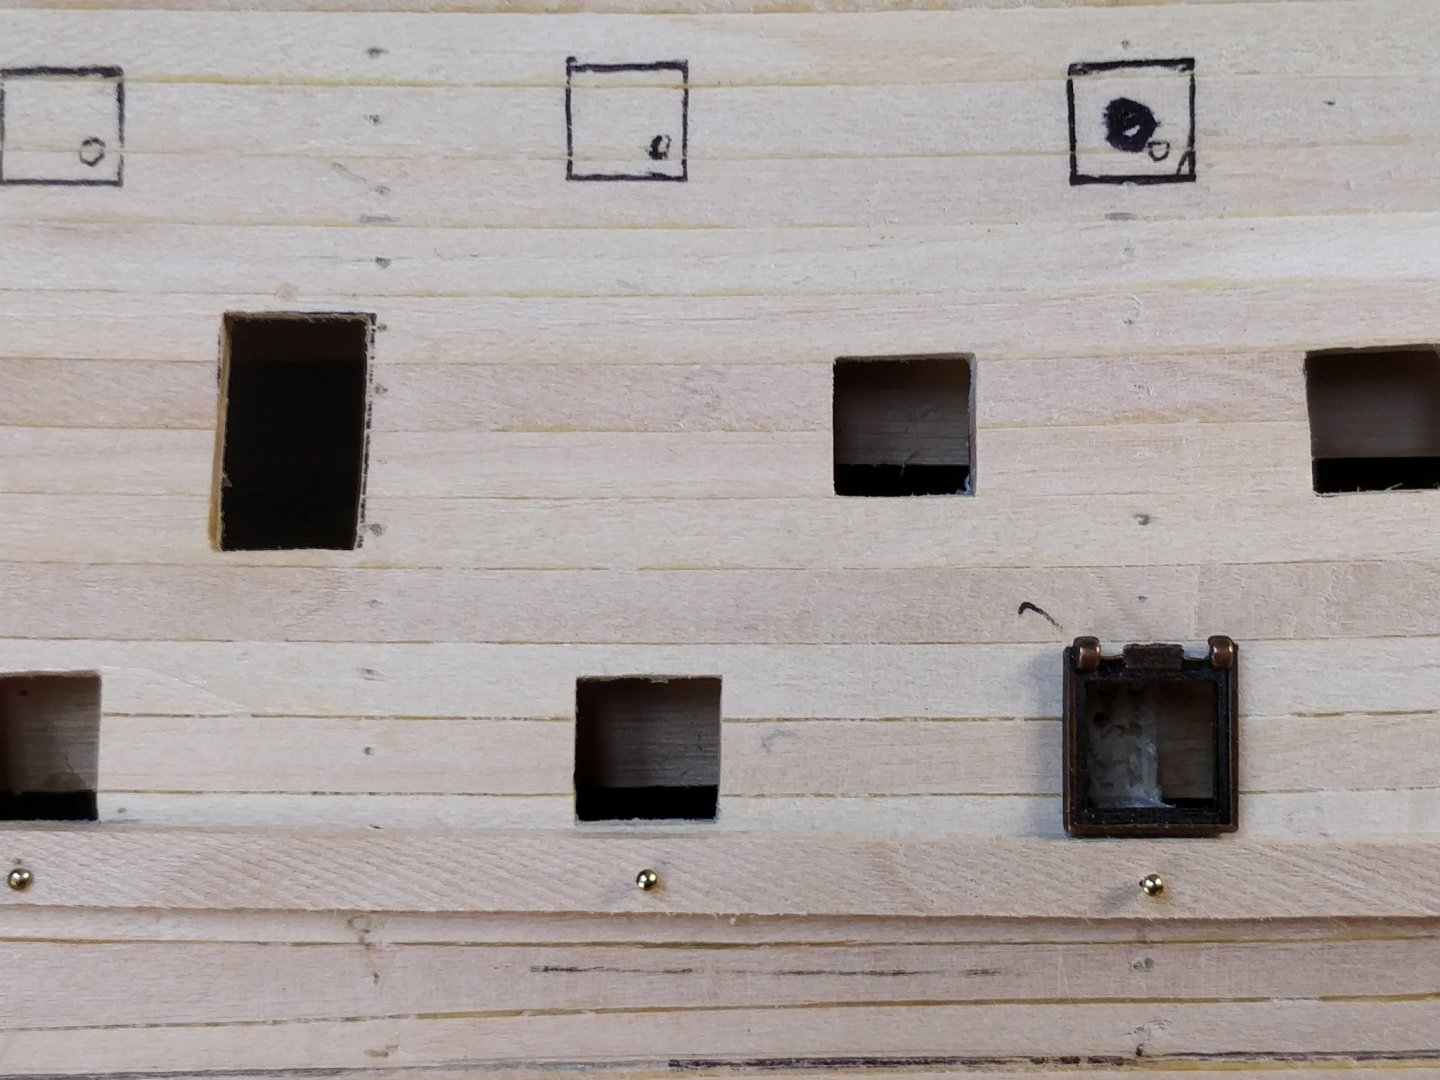
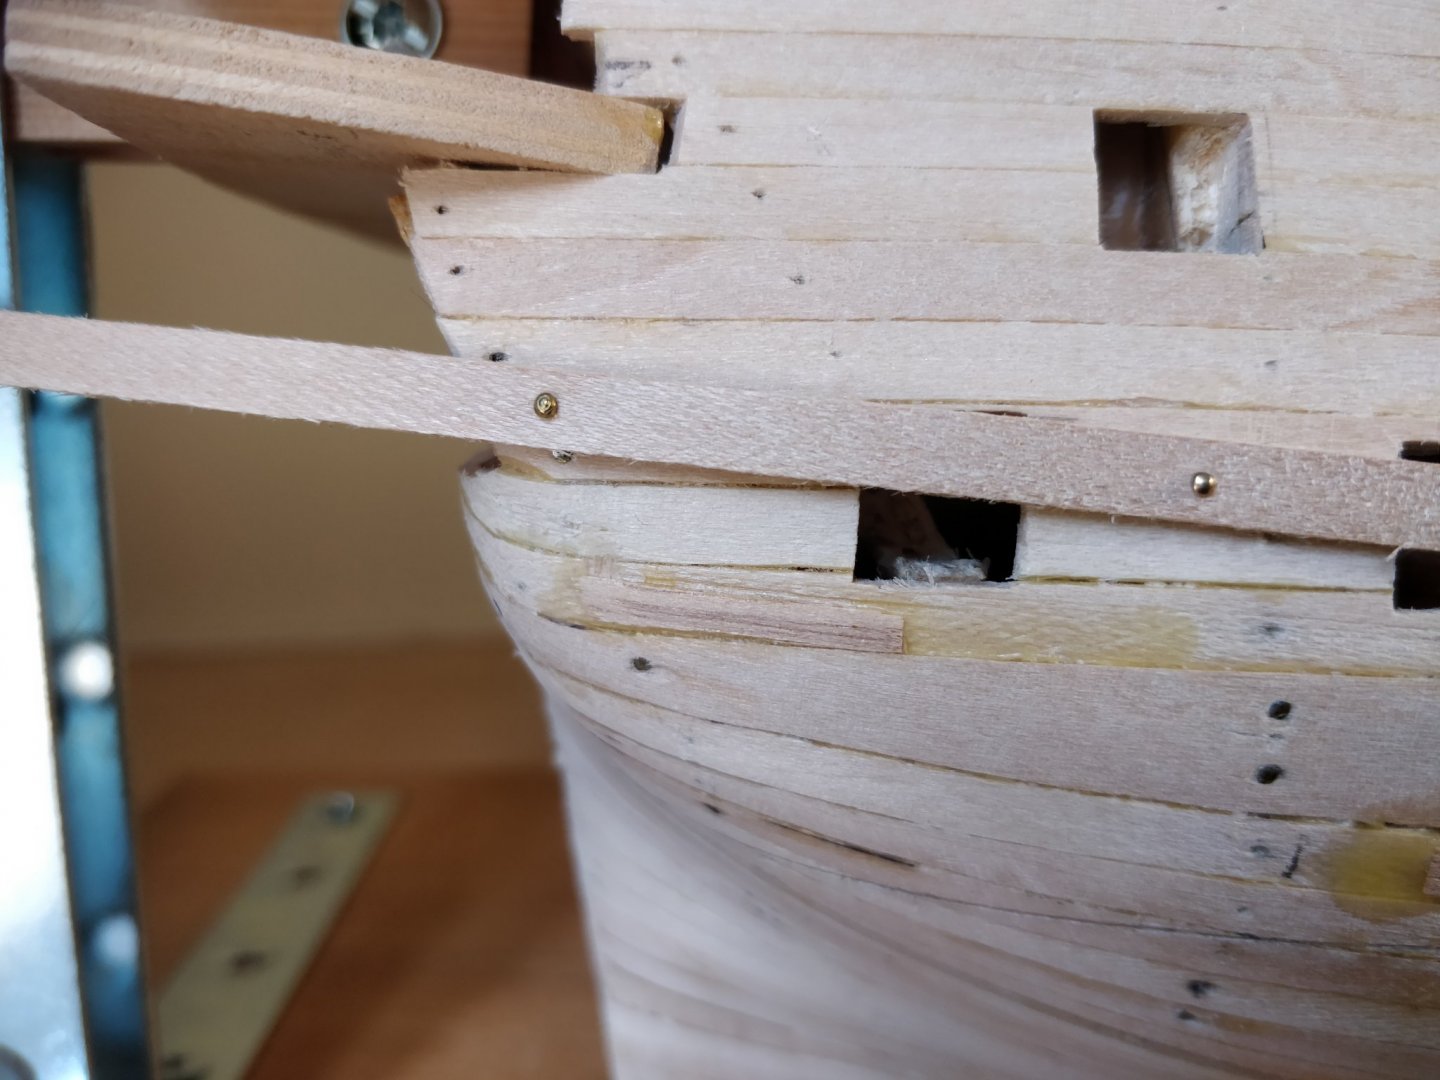
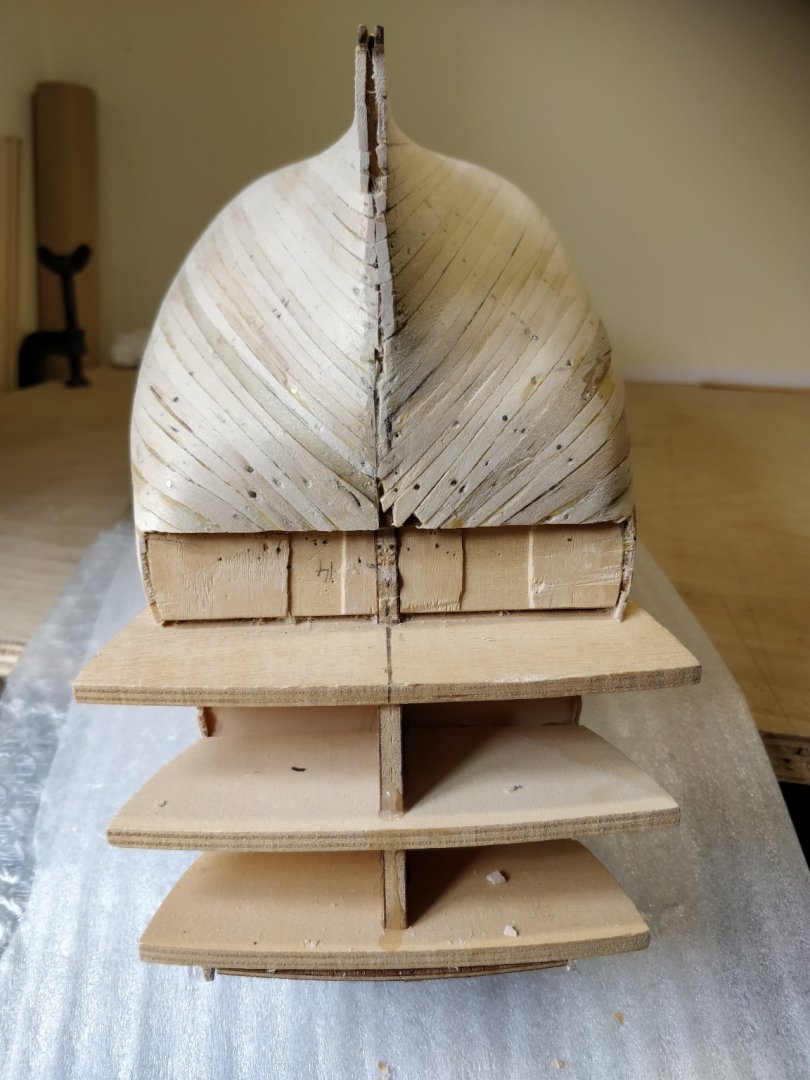
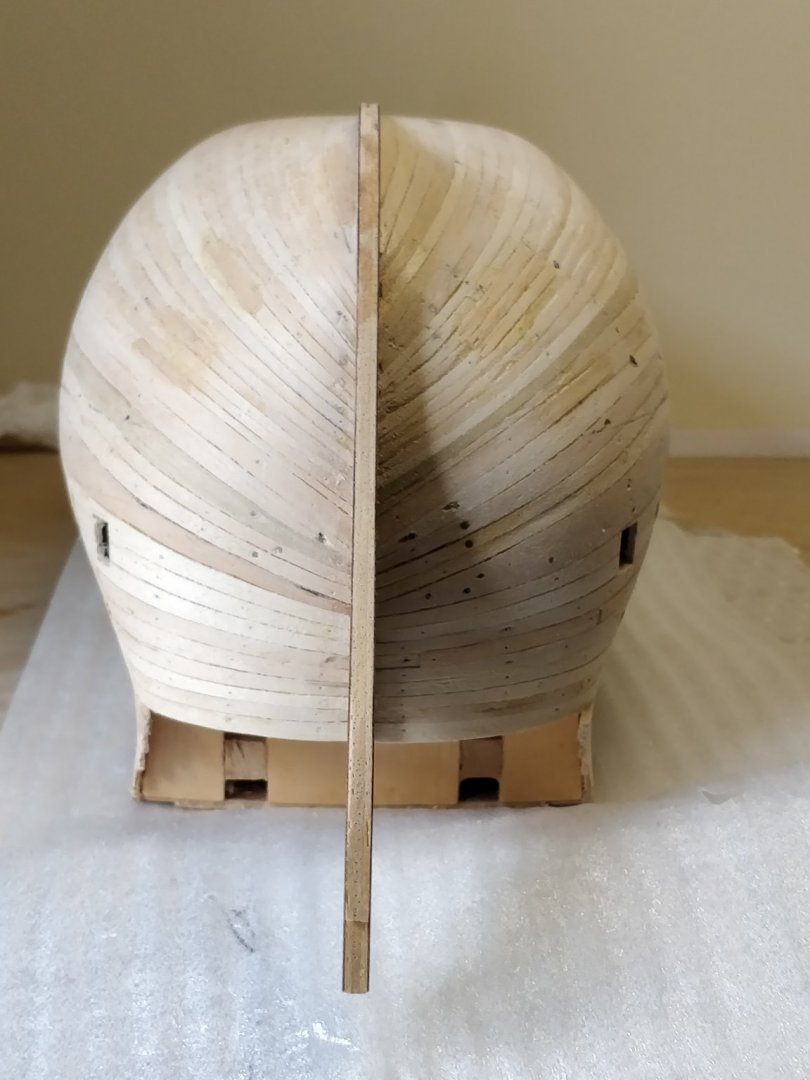
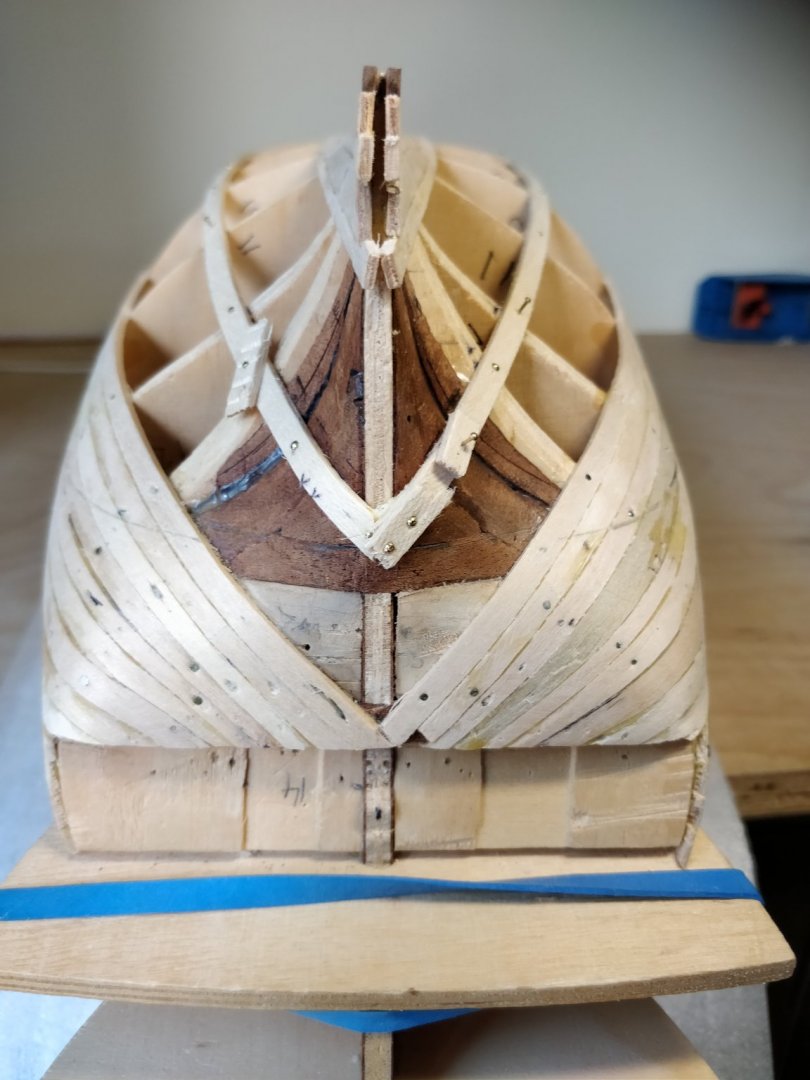
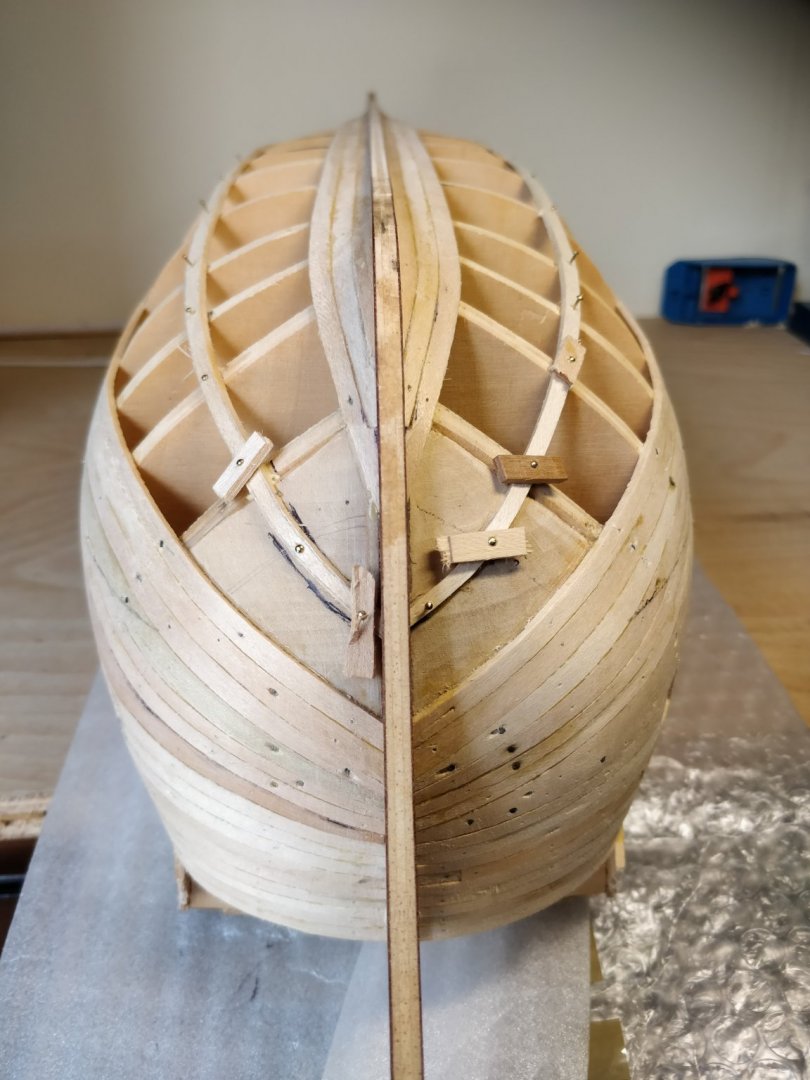
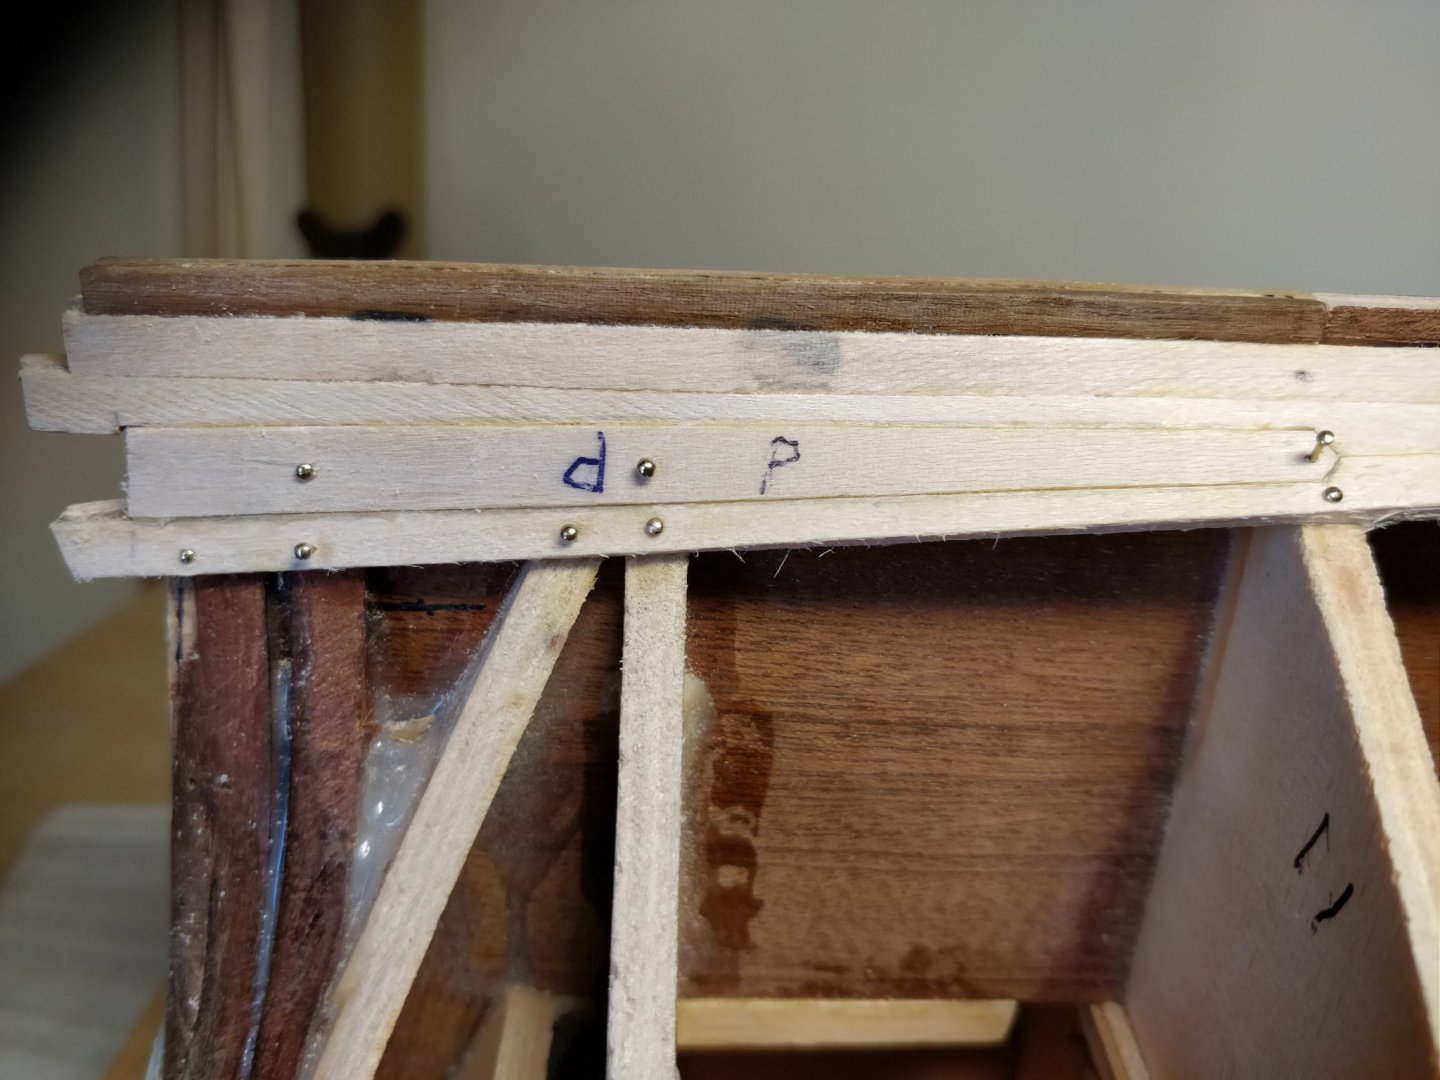
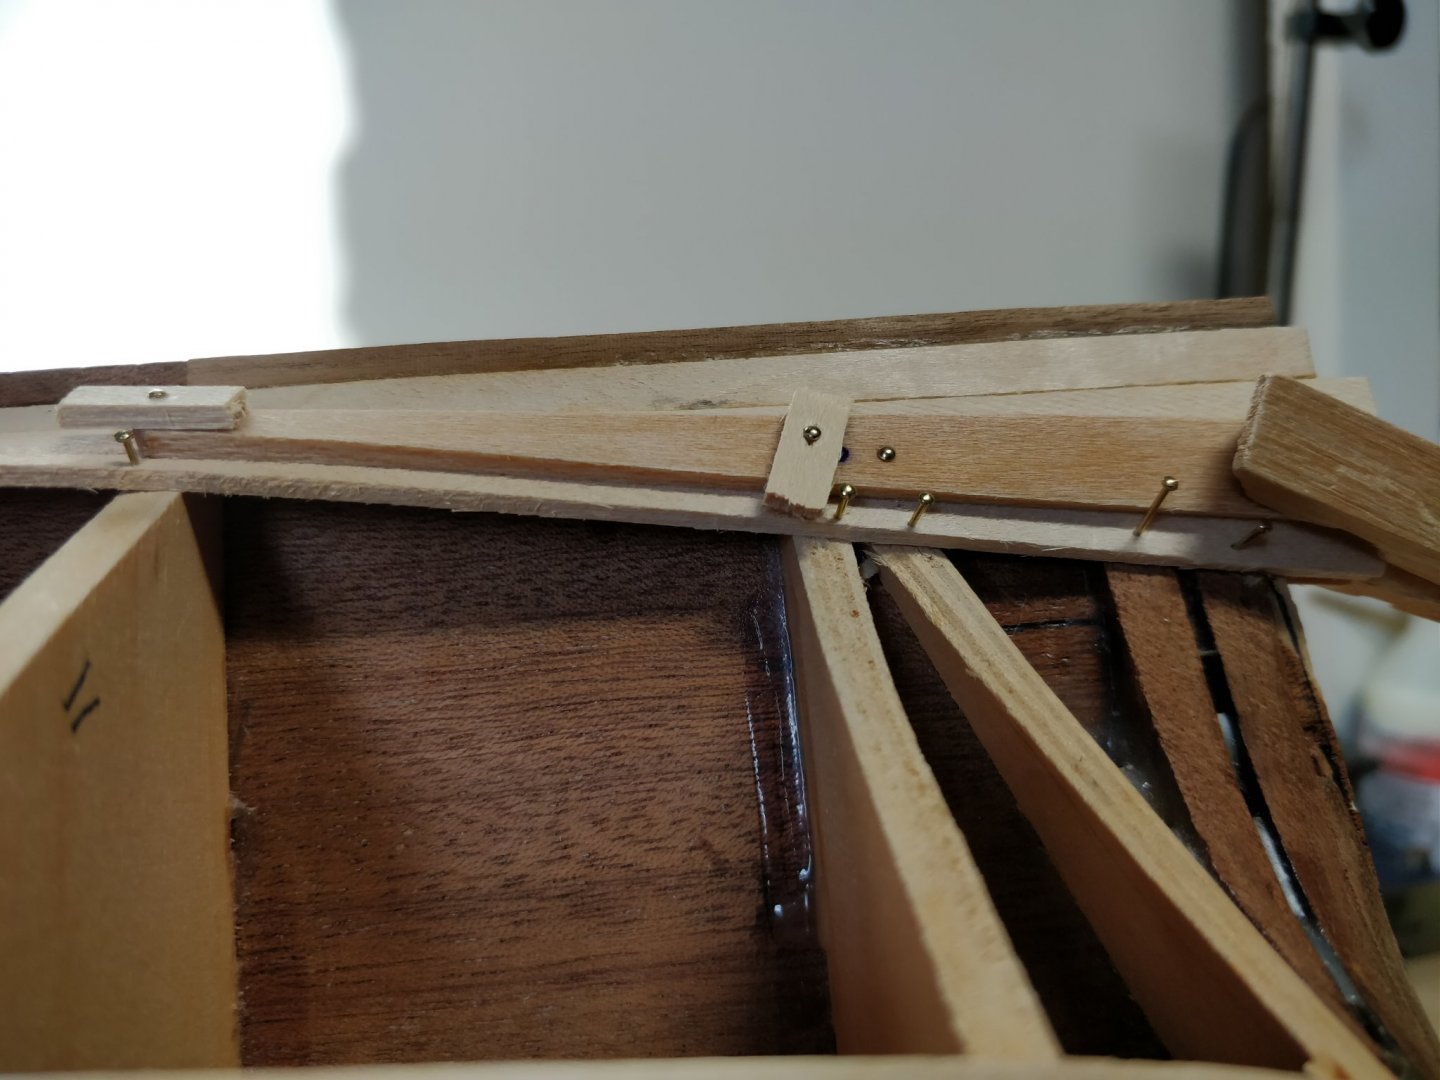
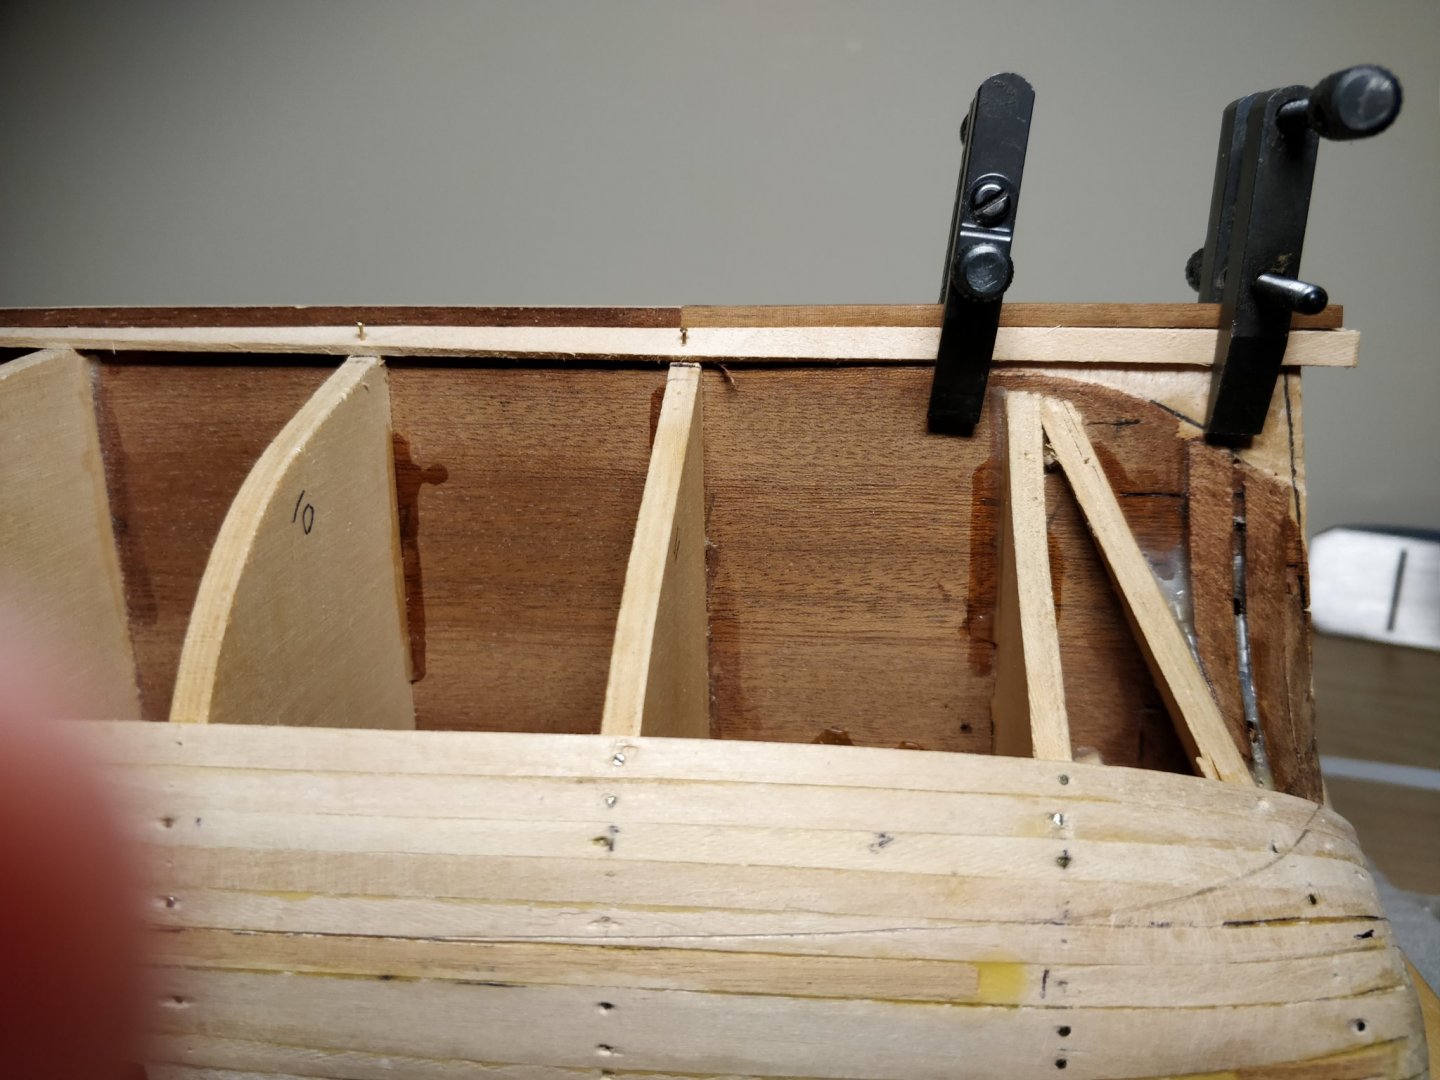
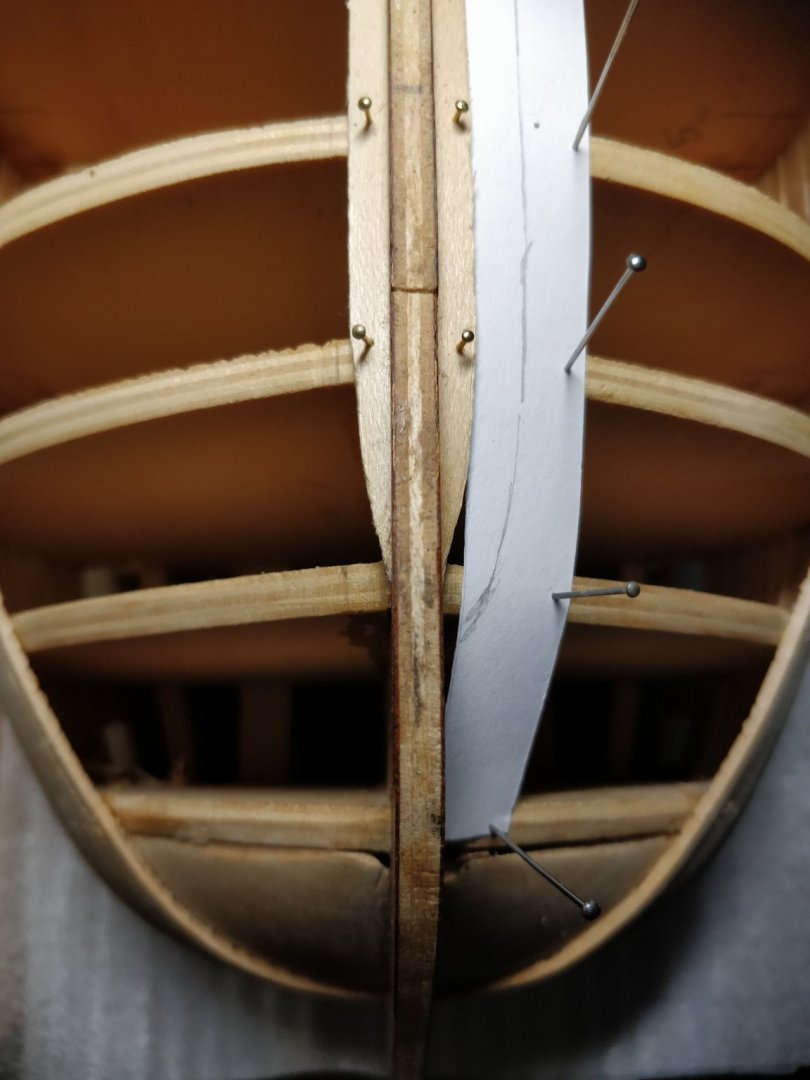
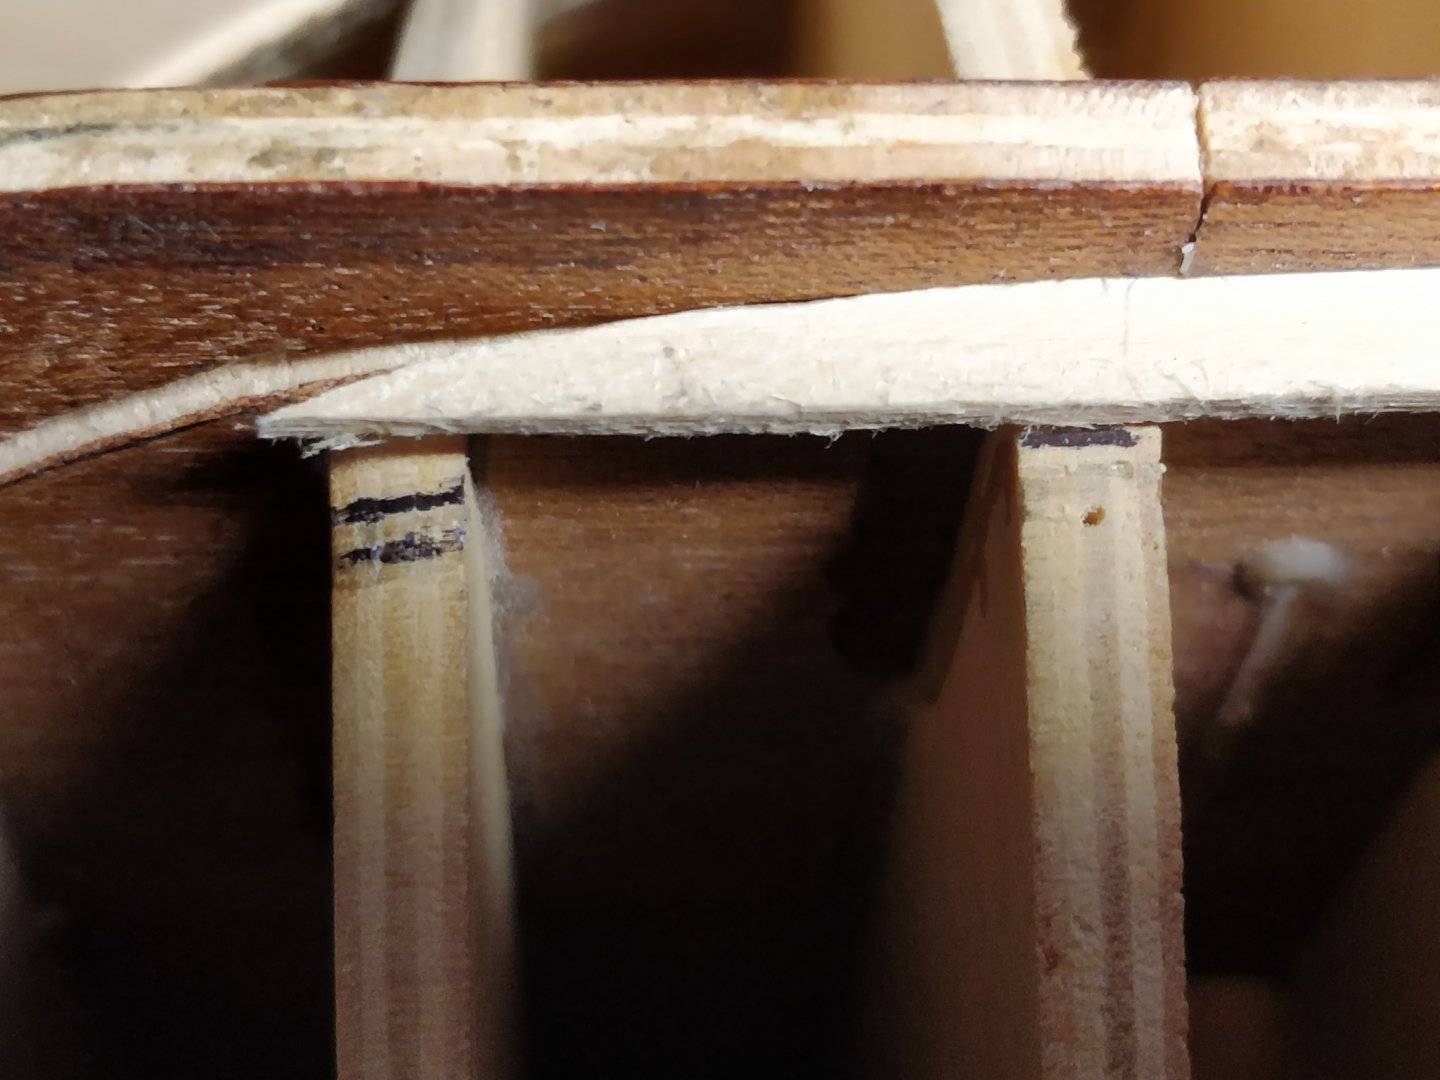
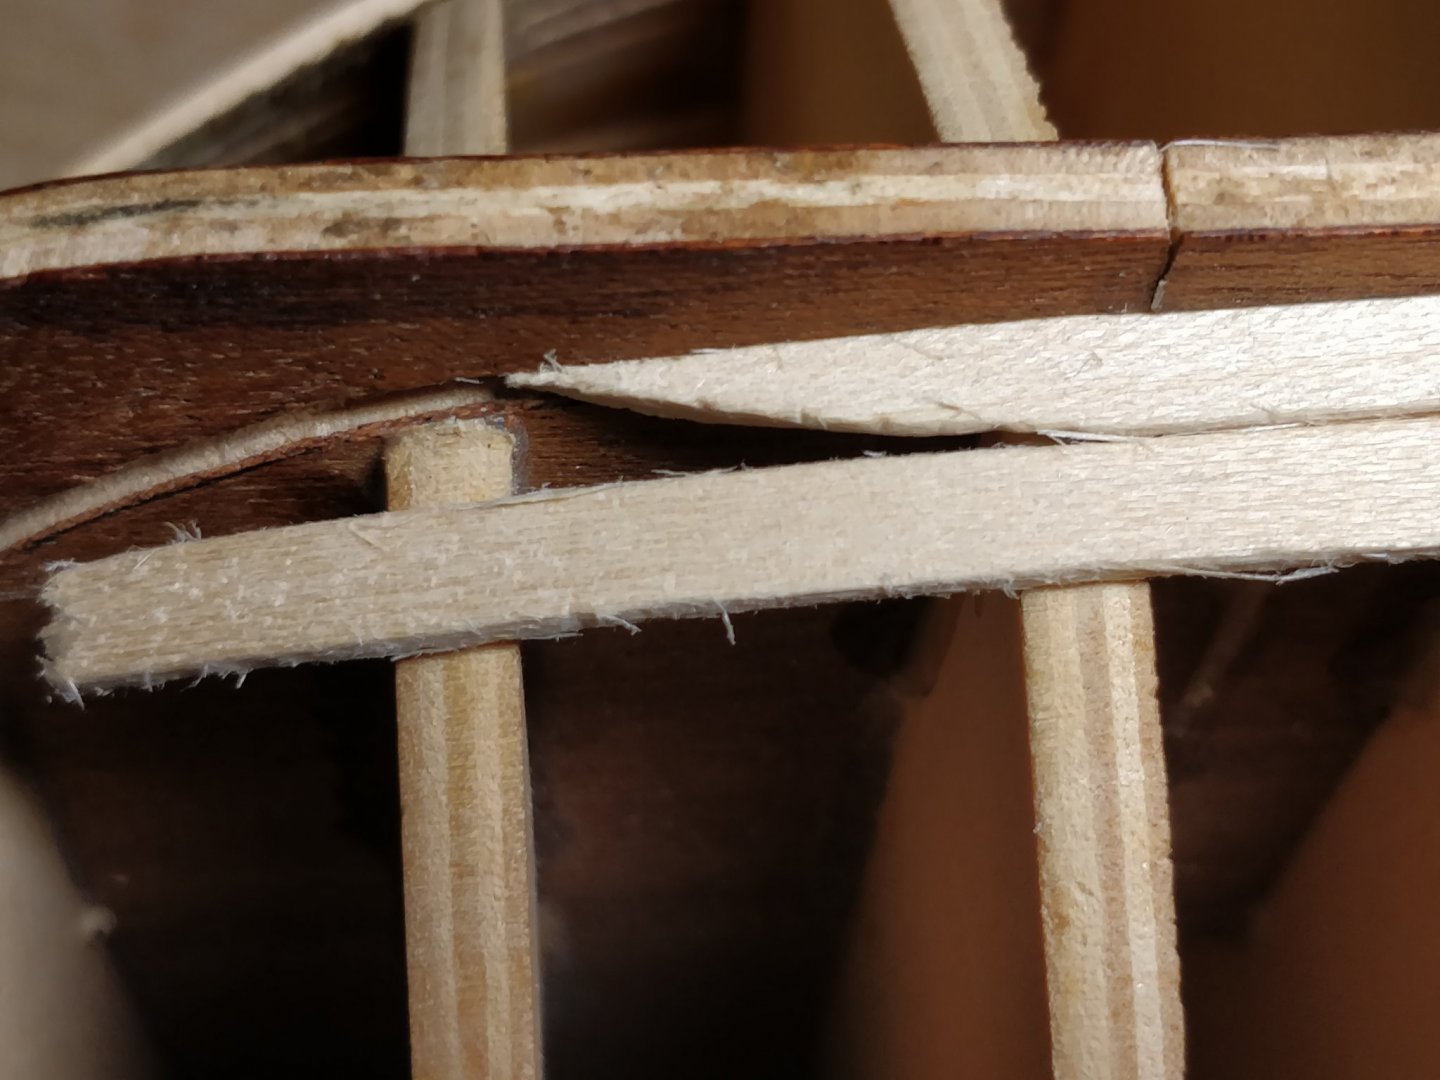
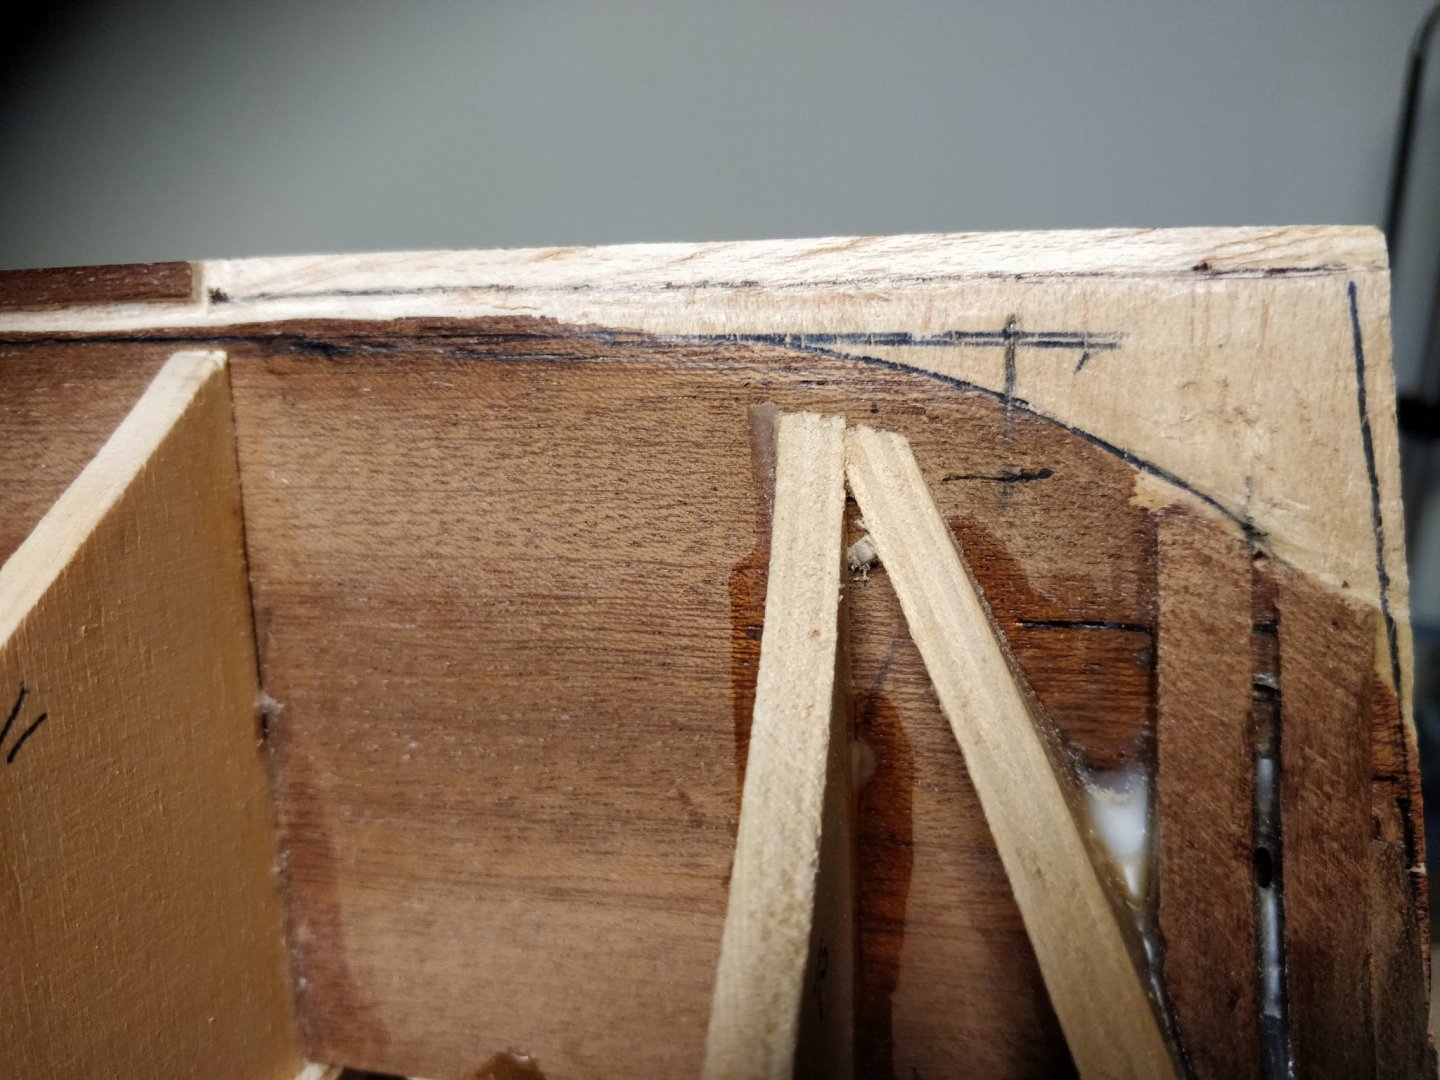
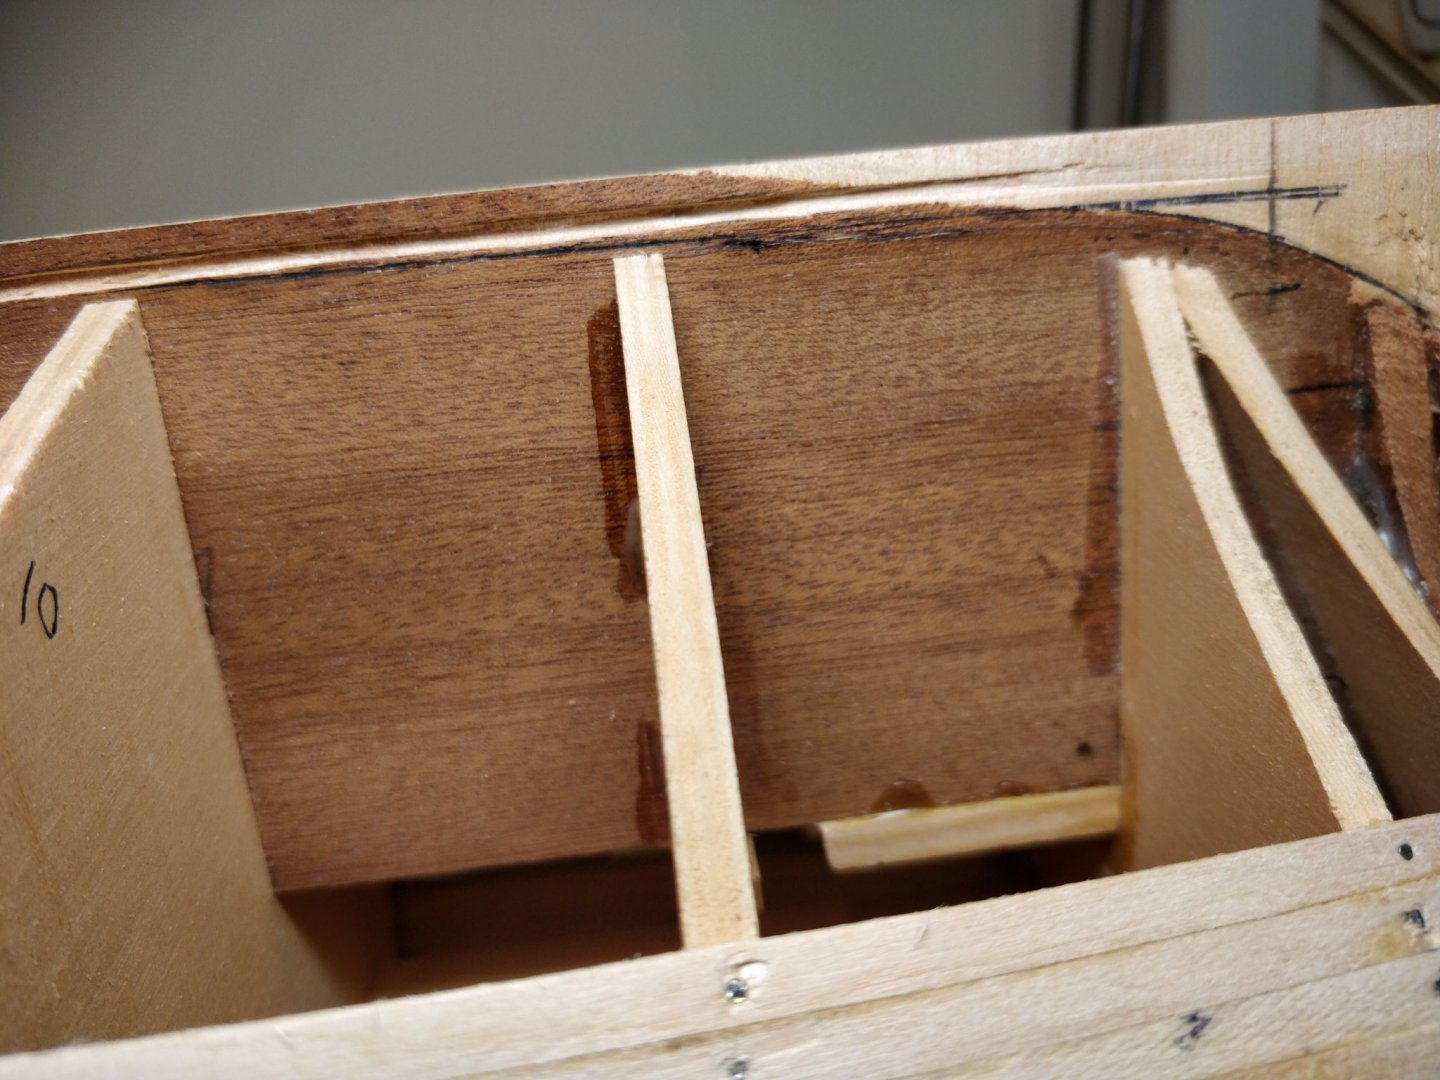
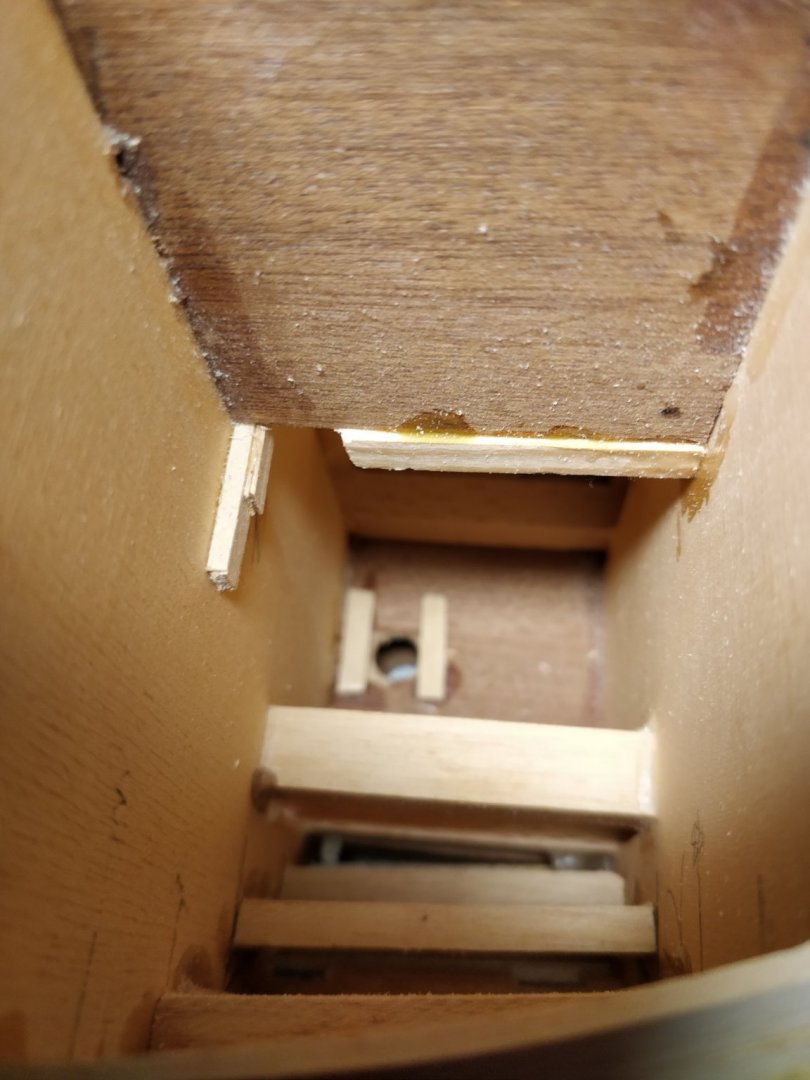
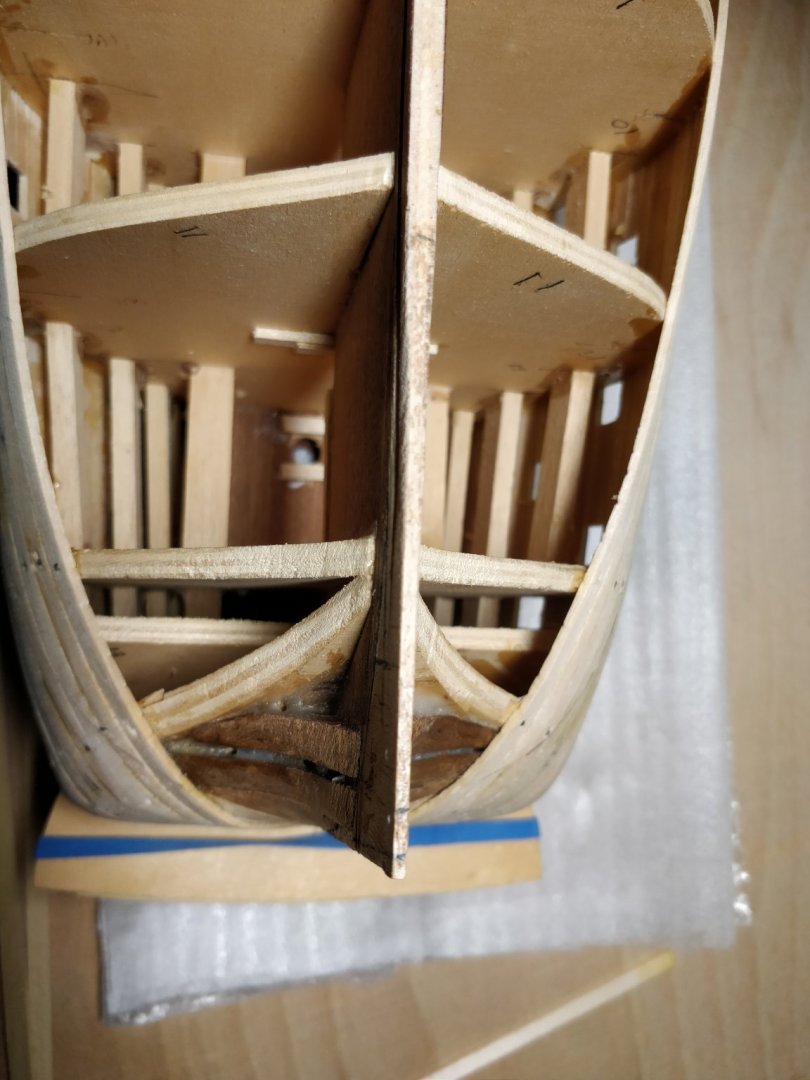
A note about the gunports. Not all line up with something solid behind them. In places it will be necessary to glue in 10x10 pieces to accept the canon spigots. A couple are on an angle too but it should be possible to feed them in on a toothpick or similar. Those affected are the two most FWD lower deck guns. Pretty certain it's not my marking out... I've hit a snag with the garboard strake at the aft end now. Yonks ago I read about thinning the keel down to about 1mm and then making good with 2mm thick first planking - cutting off the stern post area also. Post planking a hardwood stern post would be fitted. Trouble is it takes the veneer off the keel. Following advice elsewhere on this site I'm going to reinstate this last portion of the keel by letting in some 5x2 mahogany strip with the benefit of creating a hard reference to butt the garboard strake into. Elsewhere it appears frames 10 + 11 don't sit low enough by a plank thickness and the distance between frame 12 + 14 is not wide enough. Having said that the test plank runs fair along at all points except the rabbet. I suppose all this points to taking for granted the bulkhead/keel pieces when I first started aeons ago and not checking closely enough.. Non of this is unresolvable though a degree of compromise might be necessary! Some photos follow which I hope will show what I'm on about with a crude impression of the repair scheme pegged to the keel. Oh! I've lashed up some mast steps too on top of the keel using strip wood before the whole ship is closed up. I put a bit of reinforcement under the deck too for added strength.


-
Thanks for the encouragement!