


adivedog
-
Posts
123 -
Joined
-
Last visited
Content Type
Profiles
Forums
Gallery
Events
Posts posted by adivedog
-
-
Randy, It's going to be a while before I get to the rigging, so hopefully I can be a little prepared. I go to Texas for the winter, so from the middle of Nov. until the first of April, the Swift will be waiting. We'll see how far along I can get by then. Can't take it with me as I'm limited on space there.
Keith, my brain is just slowing down on the planking, don't even want to think about the rigging yet.

-
Looks Good. Glad to see you have a heater too
-
Off and running on the starboard side.
One thing for anyone doing planking for the first time. After you do 6 or 7 planks, it get easier and faster, and less intimidating.
- giantdog and themadchemist
-
 2
2
-
Thanks Brian, it's like someone on here said, it's like putting a jigsaw puzzle together, only you have to make the pieces too.
I spent a lot of time on it and re-measuring, and a lot of luck too.
-

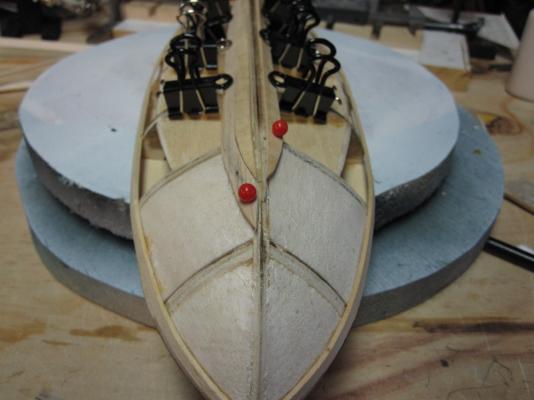
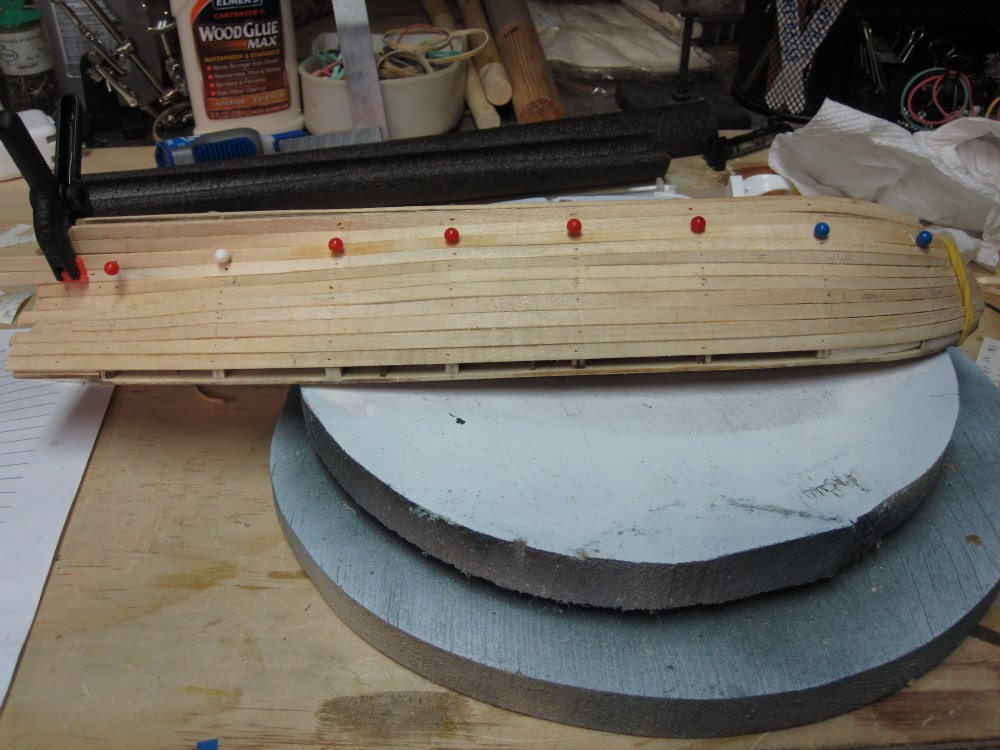
Just put the last plank in on the larboard side. No dropped planks and very little gaps. Overall, real happy with how it went.
I really learned a lot on this job. I read over a planking tutorial again today that I had read before starting and much of what it said finally made sense.
When I was first starting out, I read tutorials, looked at build logs, got advice, and watched some videos. It was almost to much sensory overload for me, almost overwhelming with all the info. Being a more "learn from doing" person, as I progress, much of what I was told and read is making a lot more sense.

It looks like the second garboard on starboard doesn't sit on the edge of false keel, but it does. So it will all work when sanded an the Keel is put on.
- GuntherMT, themadchemist and tasmanian
-
3
-
Keith, I've surprised myself with my attitude toward this build and the patience I'm using. But that's partly so I don't screw something up and have to redo it.
BTW, the syringe works great.
-
Thanks Tyler, I'm not ordinarily so patient either. That's what surprises me about the model building, is that I will take my time instead of rushing and making mistakes. I did get in a hurry a couple of times and wound up learning how to take things apart and doing them again.
-
This should get me caught up on the build. I was bending a plank a while ago and it pulled apart ? I glued it together and am waiting on it to dry, so I can find out if it will work, since it came apart about 3 inches from the bow, where there is more lateral bending.

- themadchemist and GuntherMT
-
2
-
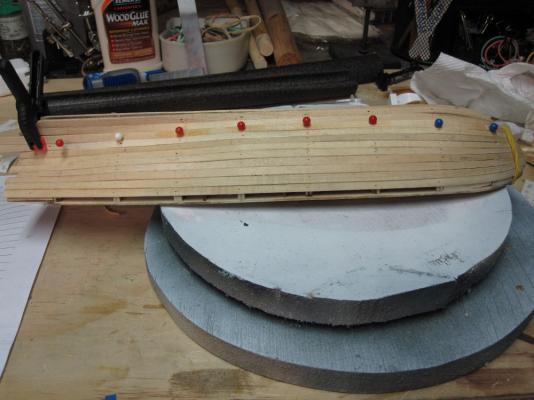
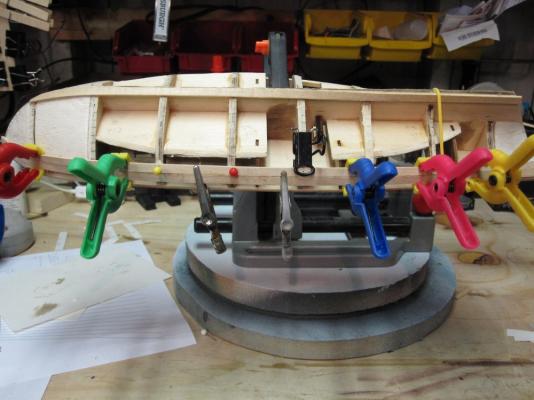
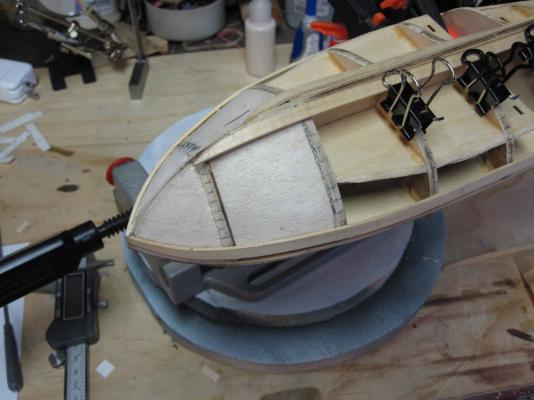
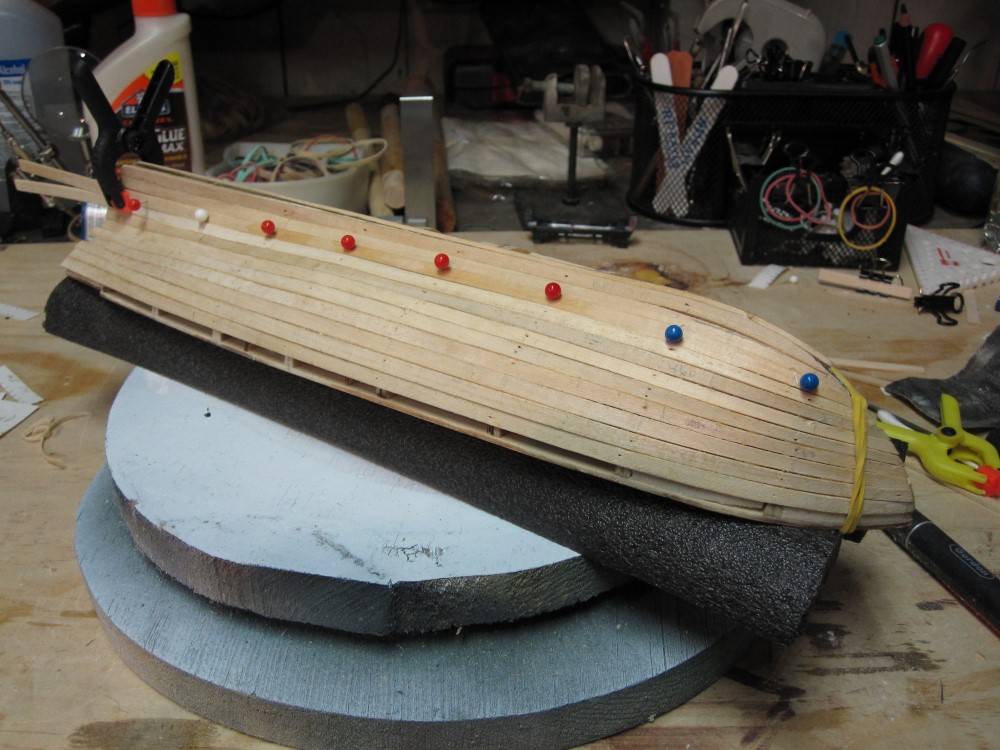
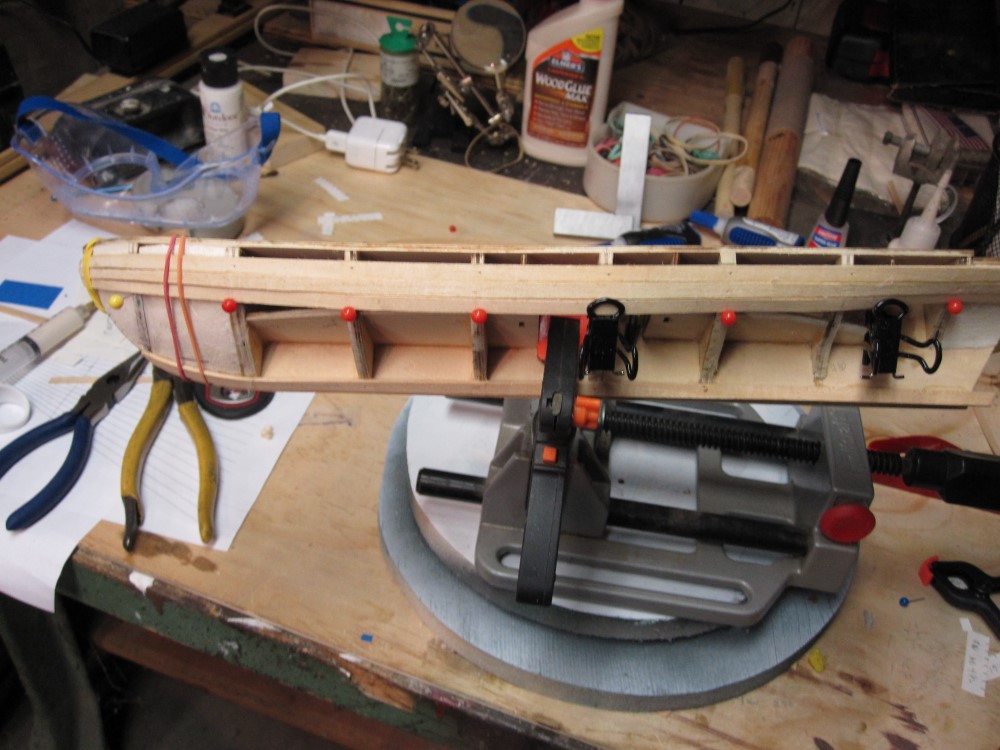
Here's some of the photos of progress so far. Am down to the last 4 planks on the larboard side, then will get on the starboard.
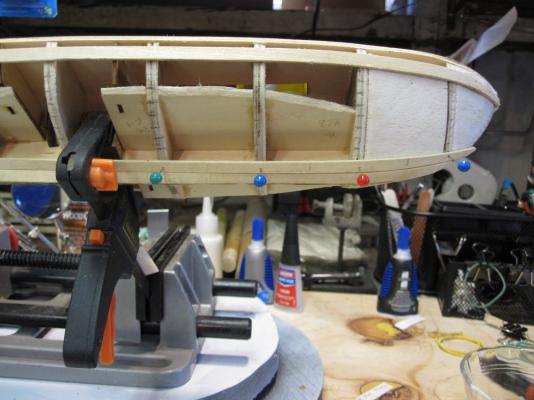
There is a slight gap on the planks at the bow, but it will fill. Not sure what I did on the 2nd plank. It's out a little to much. I don't think I double checked the way it was laying when I glued. Again no problem.

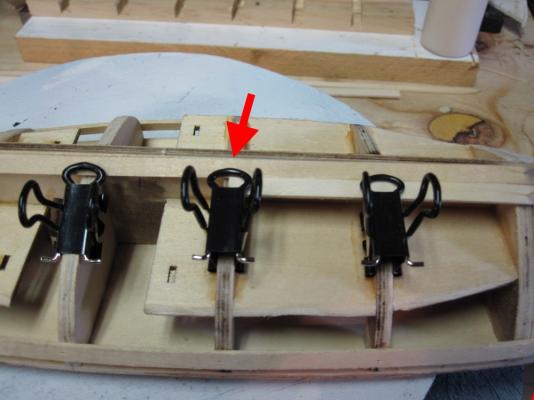
I used clamps with inverted pads to hold planks together for glue.
-
Once I got the first plank on the top. I started to measure and mark the frames using the fan. Thanks Dee Dee.
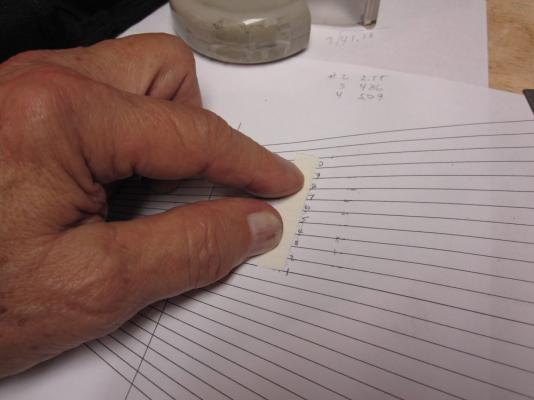
After using the card stock to get length, used the fan to get the width I needed for each plank on every frame. Then marked the frames.

Now, I put on the garboards on both sides, then re_ measured the distances and re marked. I should have done it this way the first time. Figured the number of planks by using the length on frame 5 and dividing by
5 (mm). I would need 9 planks ( Total of 11 counting garboard and top plank), so could then use the fan.
Am I getting everyone confused ? To simplify before I confuse myself. I put on the top plank and garboard then measured and marked the frames.
- themadchemist and GuntherMT
-
2
-
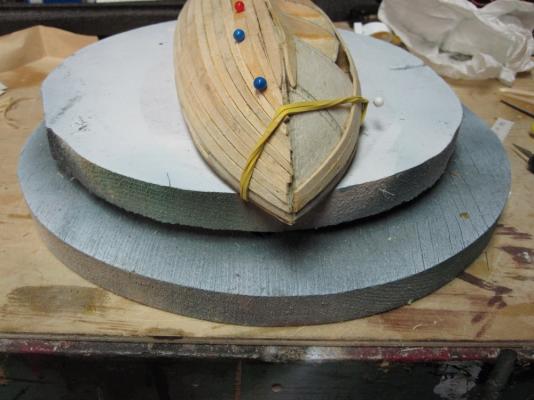
I'll try to get caught up here on the build.
Started off using Keith's idea for garboard, stopping between frames 2 & 3, then using Russ's idea of using a wider piece of board and cutting rather than a lateral bend.

Everything except one garboard was dry fitted.
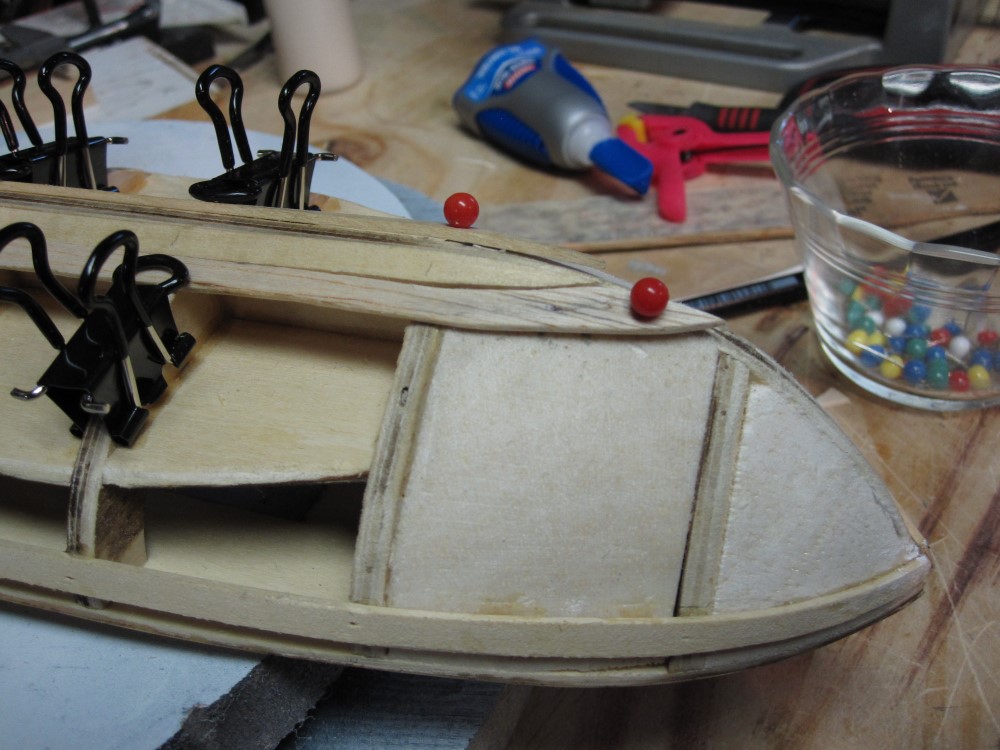
I thought about it for a day or two and decided to go another way. I felt the way I did it would help give me more room at the bow and all the way back. Right or wrong, I took off the glued garboard and refitted a new one flipped 180 degrees. You can see the difference. This way there was only one plank running up to frame two instead of two and no hard bend.
-
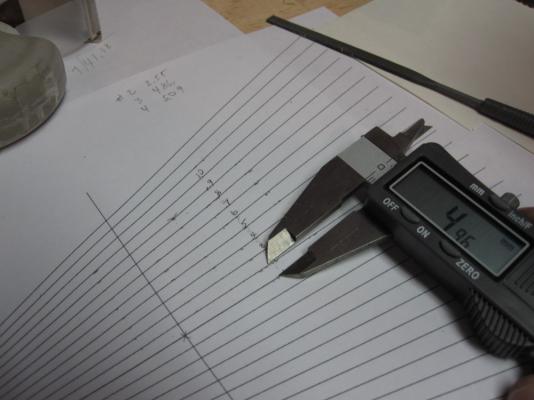
Have been slowly working on the planks. It's a little slower than expected, but I've got plenty of time. Am down to the last 4 planks on the larboard side. Have found out just a while ago, the plank widths vary from 4.8 to 5.1. I've been measuring after each plank is put on and wondered why there was a little bit of difference.
Should be posting some pictures this afternoon.
The planking is coming along better than I expected.
- themadchemist and Dee_Dee
-
2
-
No, I think they finally hit 90 a week or two ago. I'm 50 miles north of Indy. But I'm a Bears fan.
I tried chemistry once. I got a chemistry set for xmas when I was a kid. One night when everyone was gone, I was experimenting with different mixtures and made one with sulfur. Heated it up, and needless to say, when Mom got home, the chemistry set was no more. Would I have been somewhat of an analytical chemist then.
-
Thanks Keith
I was an Industrial Electrician by trade and usually did troubleshooting to keeps things running, but once in a while had to run a lot of conduit, usually for new equipment. I'd scope it out for a while and usually found the best way to do it, not always the first instinct. If you pay attention and think things over, the answer will eventually come.
That's helping me slow down now and dry fit everything and see what it's going to look like.
-
Haven't gotten much done the last four days. Have been pondering over how I'm going to do the planking. I took off the garboard plank I had glued on and am in the process of starting over. For every step forward it's two steps back, but I'm not going to get in a hurry. Actually, after taking off the planks. I have beveled more of the false keel, with a slight bevel all the way just past frame 7. That should help the 2nd plank fit better against the garboard especially at #7.
And have done a little more shaping to get everything better aligned.
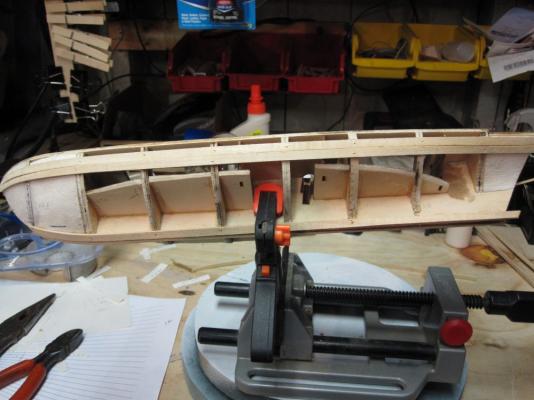
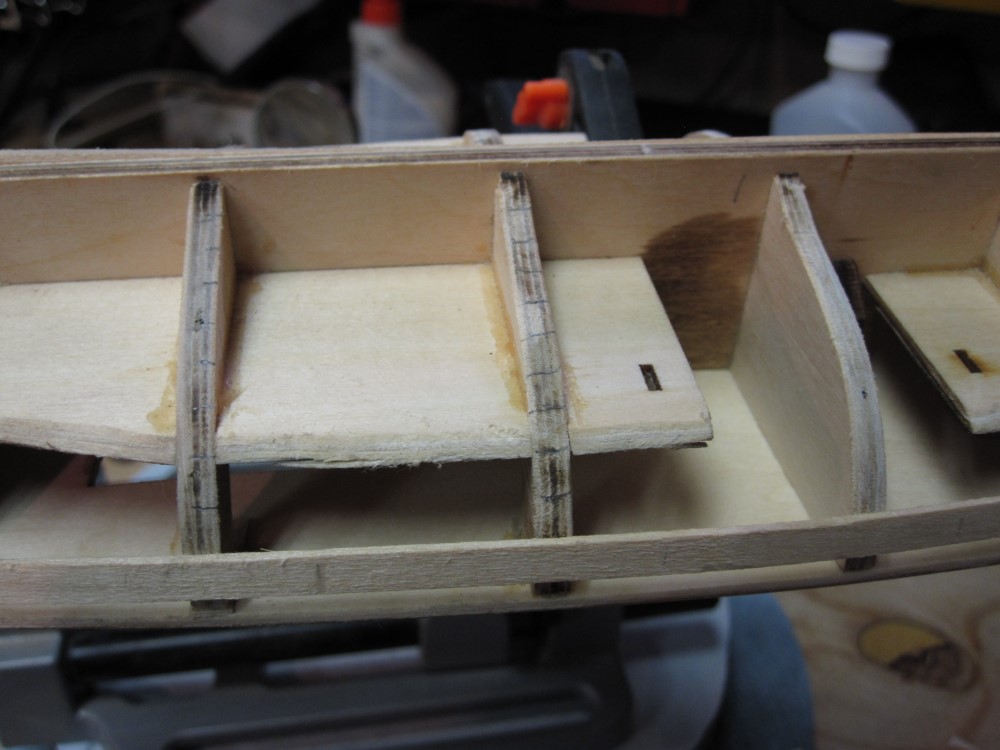
After gluing the garboard plank on starboard side this morning ( hopefully for the last time), I was going through the plans and noticed I didn't put in the bulkheads for the lower decks. I stained them and managed to get them in.
So now, if all goes well, will get on with the planking. the frames are marked so hopefully things will start to move.
By the way, printed the fan and used it to mark the frames. Turned out, it was easy to do. I used card stock for frame length, transferred marks to card and then put them on the frame.
-
-
I too am on my first build and have always been impatient when getting on a project, but surprisingly have been a lot better now with the model. I find myself doing a lot of research and looking at other swift logs to see how others did it. Still seems like I learn something everyday and the more I do the more I enjoy it. I'm sure you have looked at a lot of logs too, but when stumped on something, just ask, there are a lot of great people on here that will help and usually respond quickly.
You're doing a great job on the Carmen
-
Thanks Gunther, got it printed
-
Keith, as to the fan, hadn't thought of that. i was going to put a piece of tape on the frames to measure down each frame then divide by 5 (mm)
I'll check the forum to find a template for the fan and see better how it works. I have seen it used but didn't pay enough attention to see how it works.
-
Thanks for the responses. I'm going to mark the frames and restart. Actually, I haven't really started though, just practicing.
I see what your both saying about the taper on the bow end of the planks.
I may have to get the grog out for this

-
I'm working on the garboard and 2nd plank. Nothing glued yet, but would like some other input as to what I'm thinking of doing.
I tried the rounded end on the garboard like Keith did but was having trouble fitting #2 without a lateral bend. So this morning I used a more spile like cut on garboard and used cut a 6.5 mm wide piece of basswood, then cut it to 5mm except for the end which is notched to fit the garboard. Then no lateral bend.
The only thing I think needs to be changed is to cut a wider plank so the end that is notched will go up a little farther keeping the rest at 5mm.
Any ideas ?
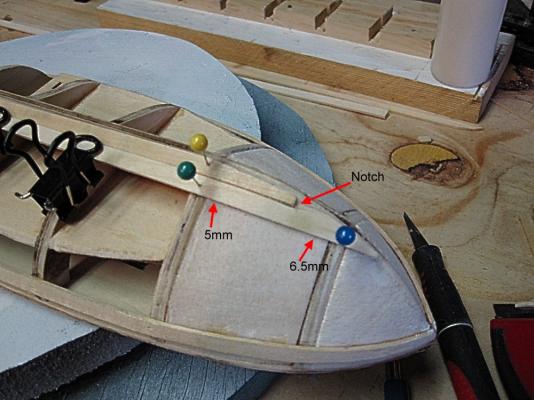
Stopped #2 in the middle of #5
After the 2nd plank is fitted, will mark of the frames for the rest.
-
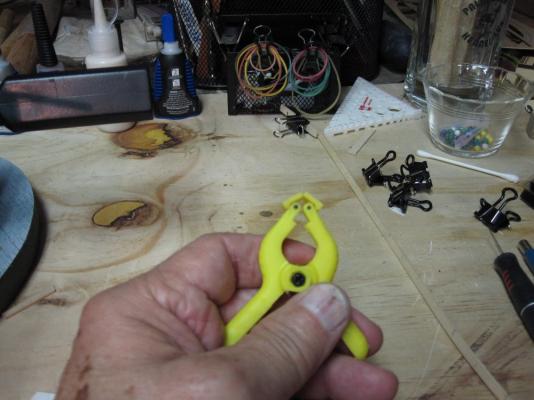
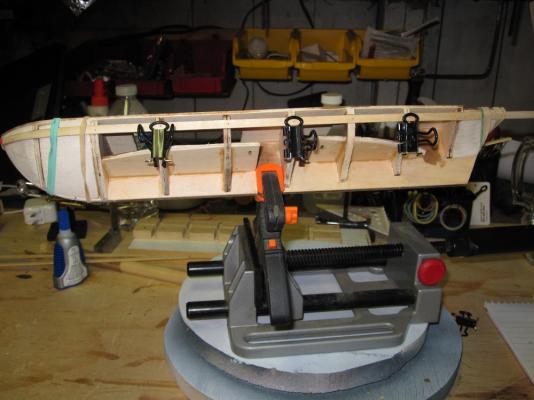
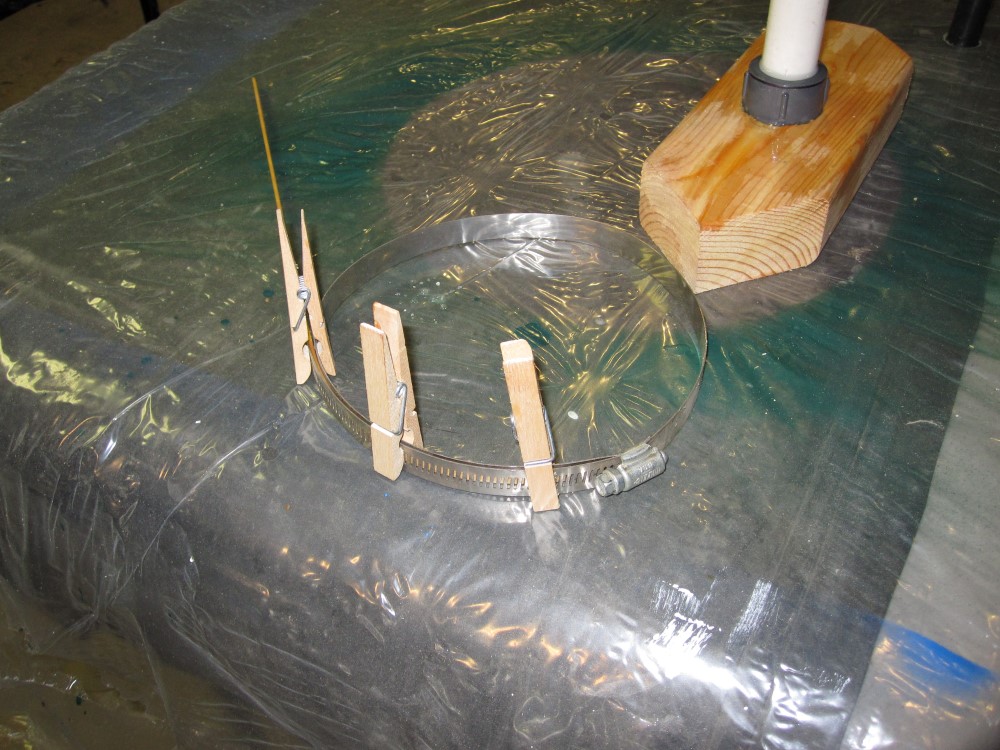
Oops, hit post instead of more options.
Heres the clamp method. The bend was great, just takes too long.
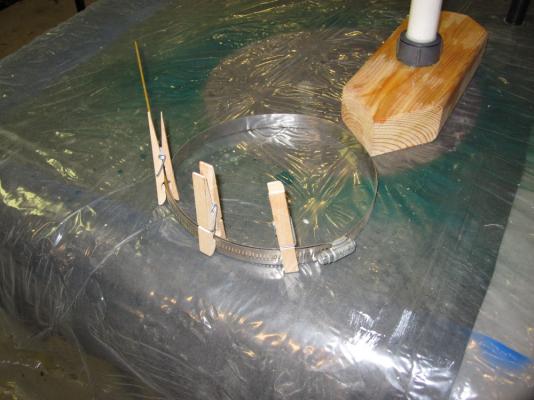
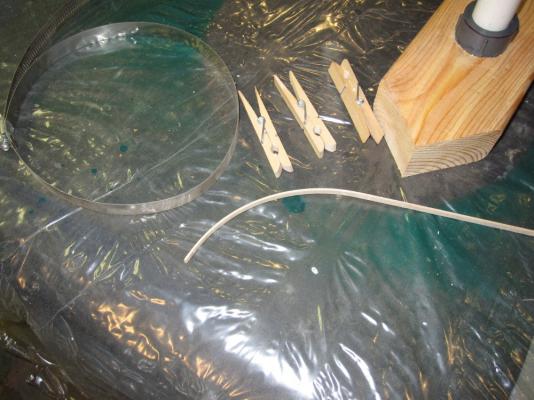
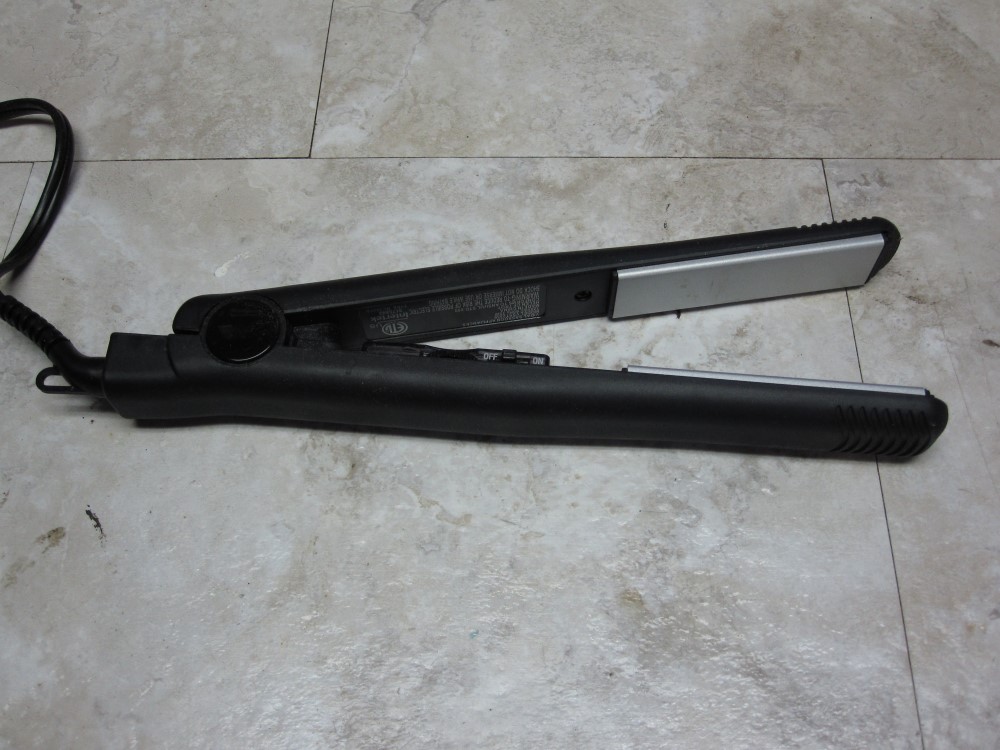
Heres the straightener
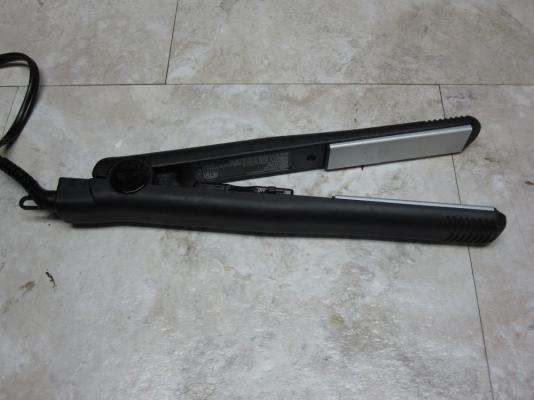
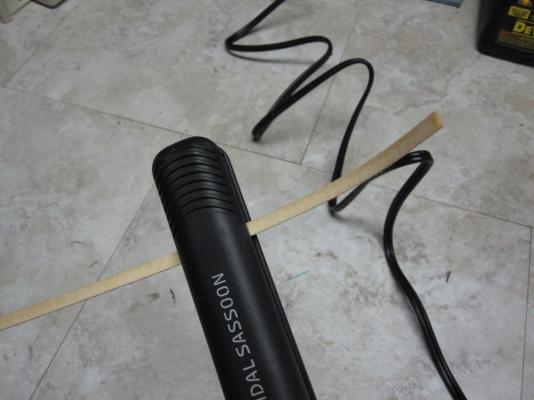
Just turn it on, set to medium, press together and pull toward the bend and done.
Top plank glued on. Spiled the planks at the bow. Used ca to attach to frame, pva for the fillers.

Ran the line down about 3mm below top of frames. Just got back from checking on it, and found the larboard plank at the bow was too high, so just fixed that. Now both side are even. Will tackle the garboard tomorrow.
This may turn out to be more fun than I thought.
- rony and themadchemist
-
2
-
Got the two top planks on today. In order to bend the planks, I tried two methods. One was soaking and using a large hose clamp and the second was to use a hair straightener. Got the straightener at a dollar store for about $15. This was by far the best way. Had to wait overnight for the clamp piece to dry, the straightener dried it as it went, and was pretty easy and quick.
-
Thanks Russ, I guess it would be easier working with the shorter planks. I did think about trying to use some shorter planks in some areas. We'll see. Thats pretty amazing though. I'll find out soon as I started putting on the top planks this morning.
Keith, how tall is that mason jar ? The good thing about the pvc, it holds a small amount of water and keeps it hot for quite a while. I only soaked the planks for 5-10 min. when testing it yesterday. Then tested the hair straightener I bought at a dollar store. It worked great. Wish I had some hair I could use it on.


Swift by adivedog - Artesania Latina - 1:50 - First build
in - Kit build logs for subjects built from 1801 - 1850
Posted
Almost done with starboard side. Getting ready to start on the bulwarks.