


adivedog
-
Posts
123 -
Joined
-
Last visited
Content Type
Profiles
Forums
Gallery
Events
Posts posted by adivedog
-
-
Thanks Rich
Gabe, thanks for the info that is good to know about the grain of the plugs. That makes sense now that you mention it. I was wishing I was somewhere I could look at some older ships and see what they actually did. I was on the Constitution many years ago when I was in the Navy, but can't remember much about it. ( Not serving on it
 )
)As for my build, I left it as is, and found some stain I liked. Stained it yesterday. It's a brown stain, not too dark not too light. Will post photo some time today.
I am going to start planking today. Just made a plank soaking station out of some 3/4" PVC pipe, so am off to the garage.

-
Russ, That's one of the reasons I was having trouble deciding what to do.
I've decided to leave it as is and now will test some of the stains and see what I like. Will finish the deck today and be ready for the fun.

-
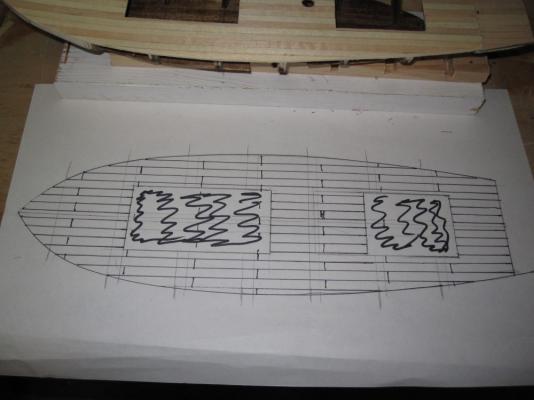
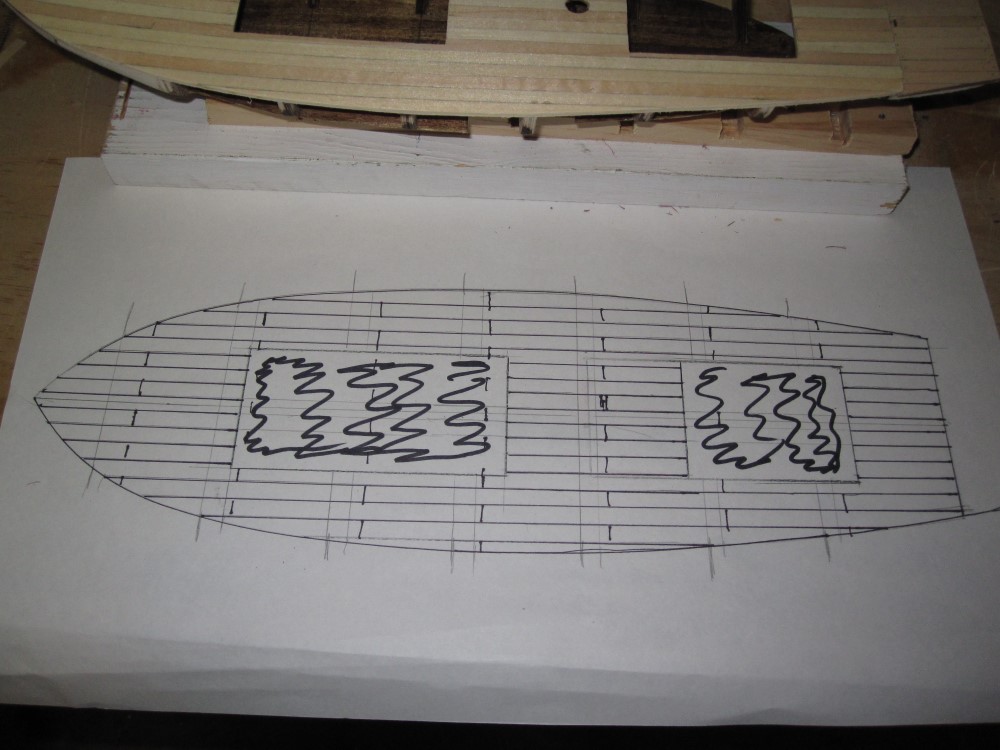
I made the layout of the deck and put the butt joints in. Still uncertain as to what I'll do. I like the different shades of basswood on the deck. Am leaning towards, just leaving it as is. Will wait until tomorrow and decide for sure, after these thunderstorms get out of here.
-
Don't worry, I'll look things over for a while and go with the route I like best.

Thanks
-
Sounds good. Thanks Russ
-
Thanks guys.
I planked the main deck last night and have been having a brain freeze ever since. I ran the planks the full length, and liked the way it looks.
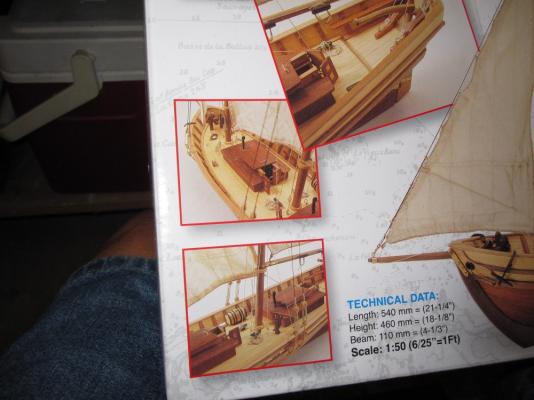
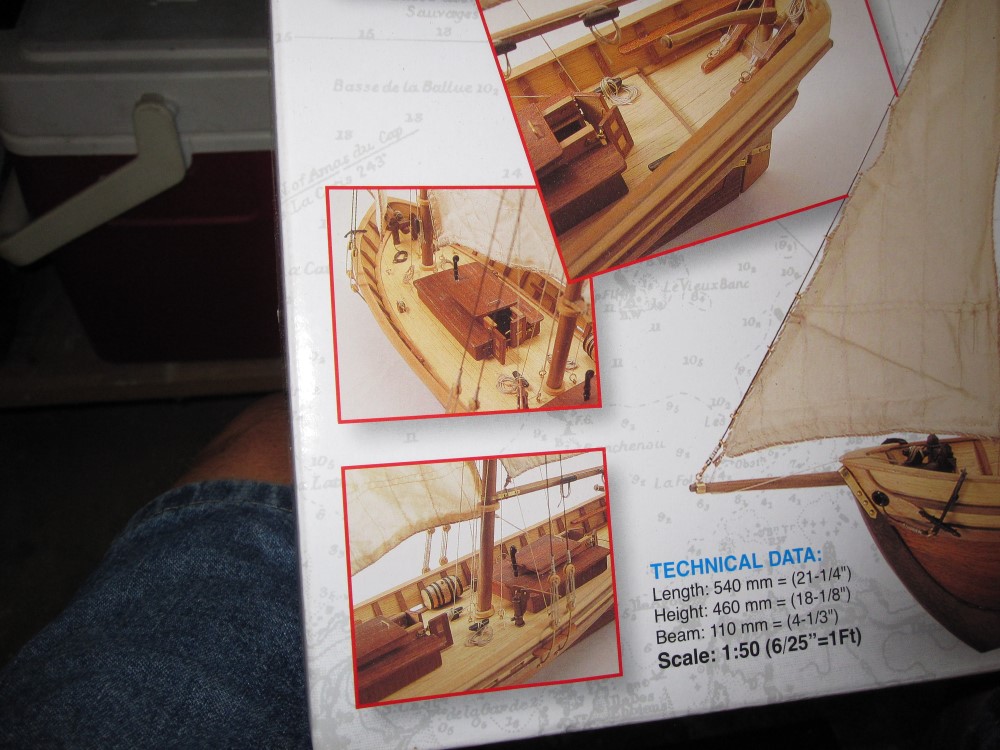
Then I started to over think it. In the early 1800's they would have had to nail the planks, so thought maybe I should go ahead and put in butt joints. I've looked at several build logs and the way they were done. One had ( I think way to many joints) another none. So, haven't decided what to do yet. If they nailed the planks they sure didn't have a false deck so would have had to nail them where the bulkheads were under the planks. If i used just the bulkheads that run across under the deck, there would only be three butt joints running all the way across. The picture on the box shows the planks running full length with no joints, but figure that was just to show a finished model.
If I stained it with the stain I used on the lower decks it wouldn't make any difference as dark as it is.
I'm going to go out in the garage and make a template of the deck using the cut out and see what I can come up with. Will post some pictures later.
-
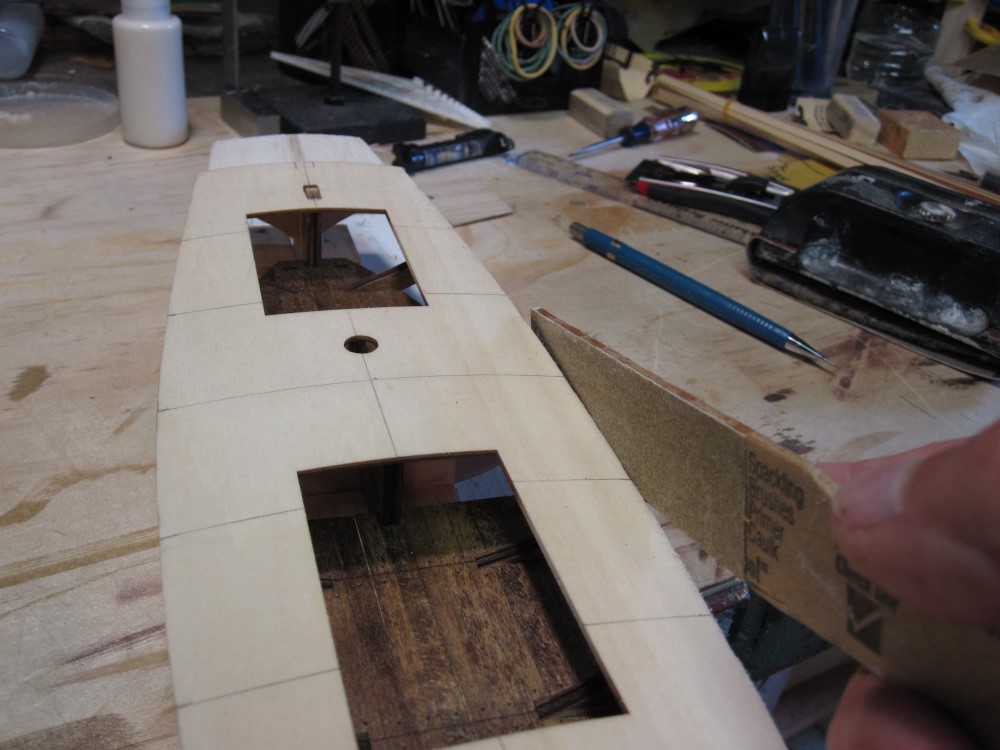
Got the deck glued yesterday.
Thought I was going to have to shim some of the starboard bulkheads , as the deck overlapped the frames by about 1/16 of an inch. So I ran a center line and lines across the frames and started measuring with my calipers. come to find out the deck was wider on that side. I'm sure the center line was correct, so just sanded the edges down to the frames.


-
Nice job on the schooner.
I have a question on the planking. When you sectioned off the bulkheads, did you measure from top to bottom and divide or did you use a strake in the center and divide ?? Will start planking the Swift in a couple of days.
Thanks
-
Keith I want to thank you and Russ for your replies.
Usually when I start a project, I don't want to stop until its finished, but have found that this hobby has brought out the patience I wasn't sure I had. I enjoy not having to rush, or to glue something and have to wait until the next day. The more I do, the more I am enjoying it. Other than diving, this is probably the most calming thing I've ever done.
I'm sure I'll be needing some advice in the near future on the planking. Maybe I'll get lucky.
-
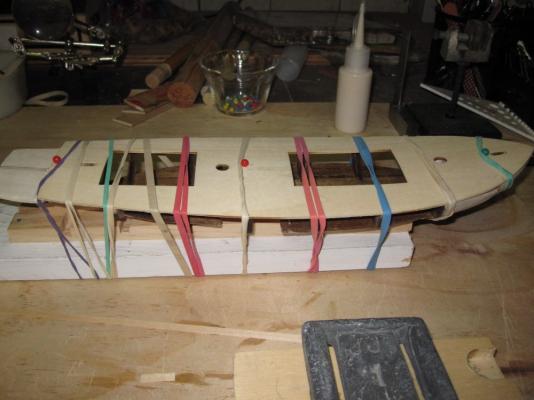
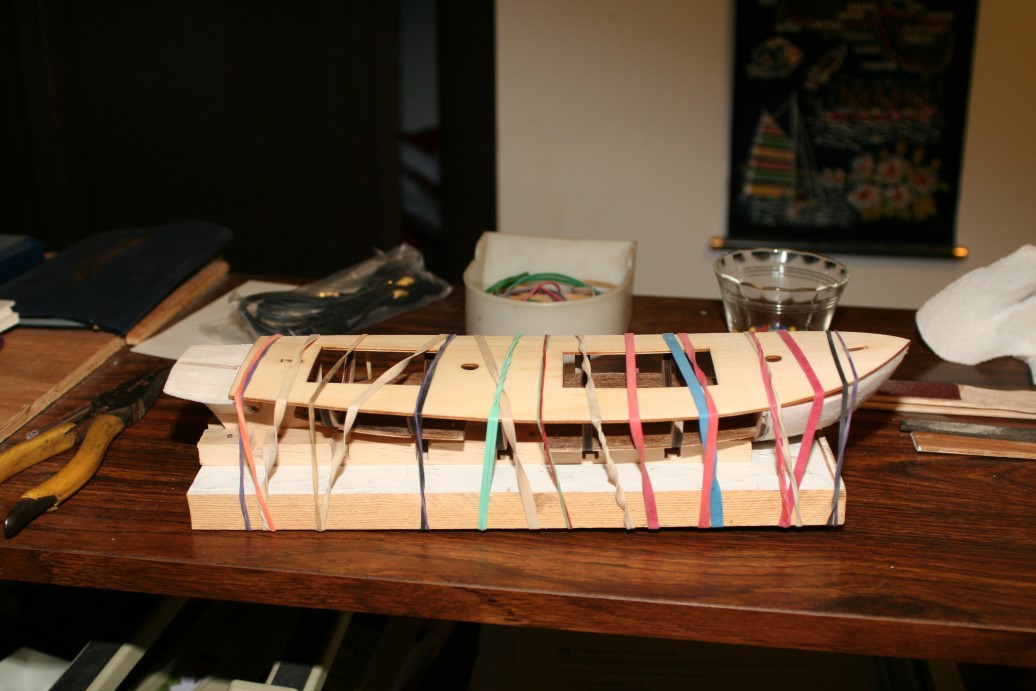
I got the deck glued today, being held with rubber bands. Most of the bends held pretty good, so it went well. Also, planked the aft deck.
Keith, I just hope the planking is fun as it is the one thing I'm kind of hesitant on. But love a good challenge, so look forward to trying it.
-
Thanks Russ, wondered where you have been.
-
Just finished rubber banding the main deck to the frame to shape it. Now will wait until tomorrow to see if it holds.
Was going to soak with wet paper towels in microwave as suggested by CannonFodder, but decided to use a 22 inch baking pan. Sorry about the photo, forgot to switch from manual focus to auto.
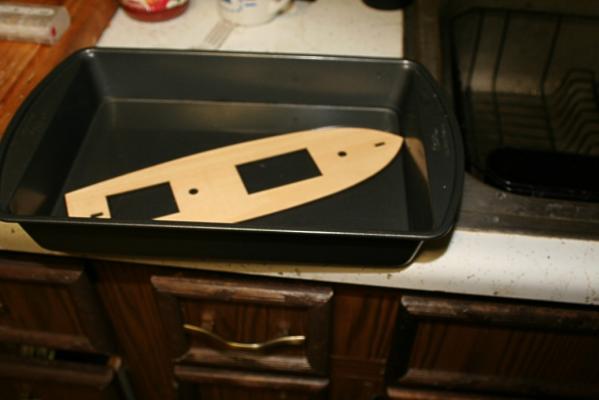

So tomorrow I can glue the deck, then the fun begins, planking the deck.
-
-
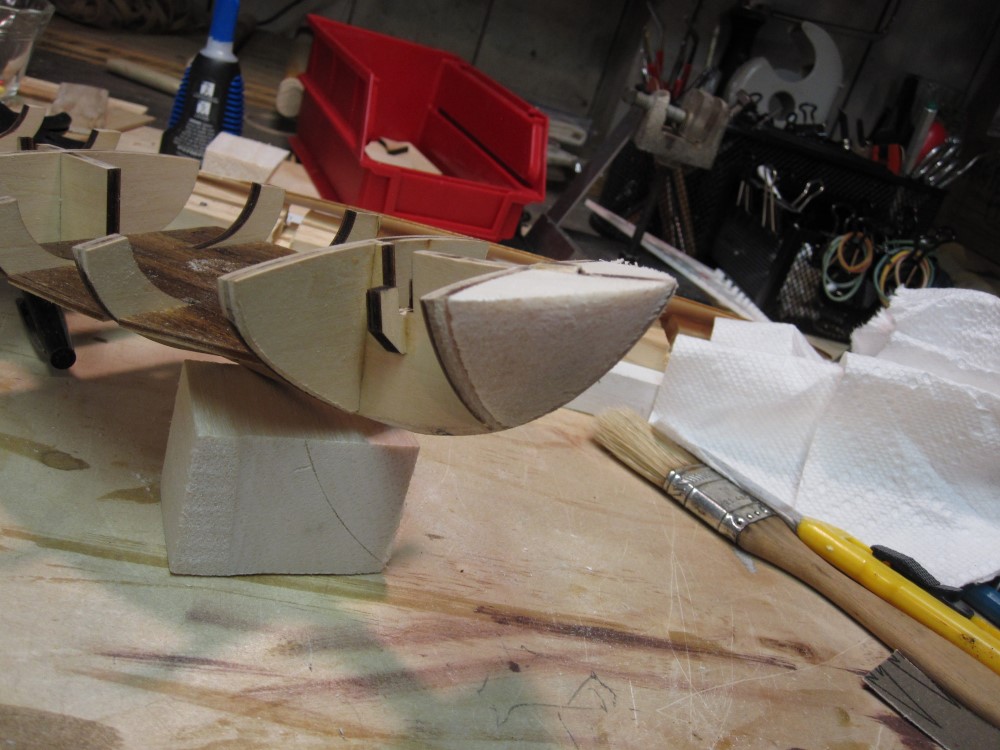
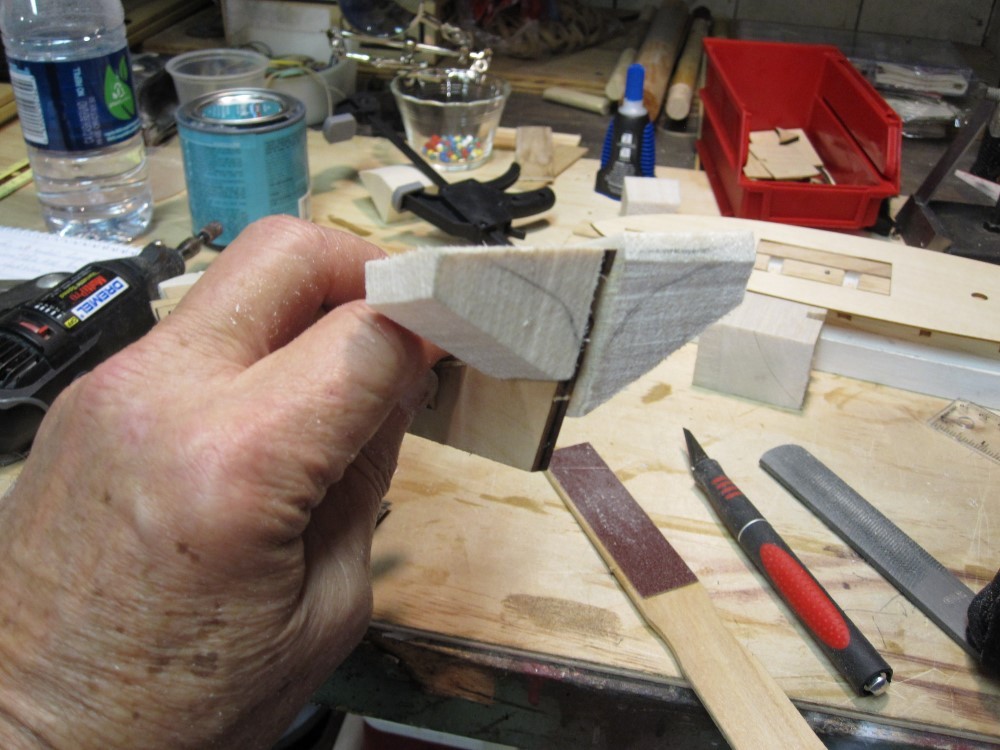
Today, I shaped the Bow filler and stern filler. I was a little worried about this part, afraid I might screw it up somehow, then have to take them out, but everything went well. Did have a little concern with the stern, but think it will work. Mostly used a rasp and sanders I made out of paint stir sticks and dowel rods. ( Thanks Keith )
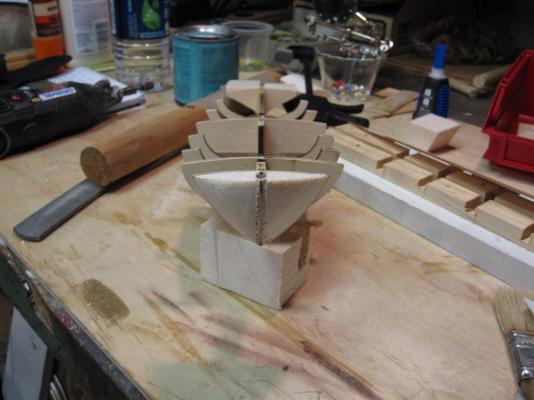
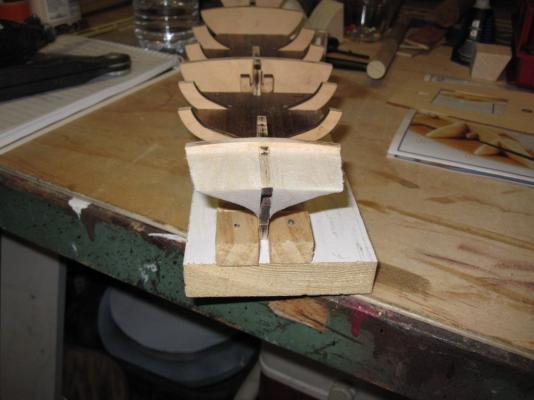
Have made and glued fillers to go between frames 2 & 3. So have to wait until tomorrow to continue.
- johncole and themadchemist
-
 2
2
-
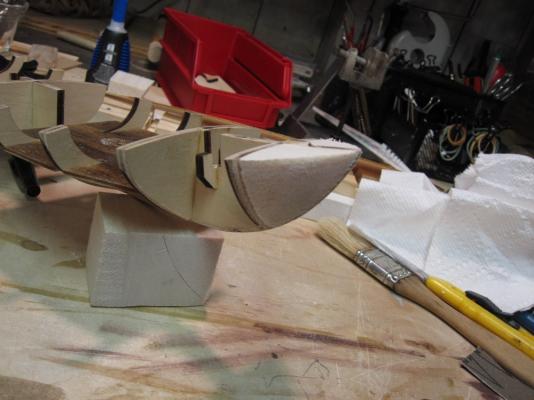
Got on the fillers yesterday, glued in the bow and stern.
Before glueing, I formed them using my bandsaw and belt sander. Figured this would help with the shaping and am glad I did.


-
Thanks again Keith, that makes sense. I'll take another picture of the bulkheads on the new model so you can see how they fit as to relationship to the keel.
I think AL upgraded the kit a lot from what I've read about the old one. My keel was straight, the bulkhead fit well and only had to work on one of them. Most of them are aligned fairly well to.
I appreciate your help. Thanks again
-
Thanks Keith, I got most of what you're saying.
So, it's all right for frames 2 and 3 to be flush with the keel ?
Am in the process of putting in the balsa fillers on bow, stern and between 2 & 3.
-
I have a question. Started fairing the frames and wondered if frames 2 and 3 should be flush with the keel. When planking does the plank go over the keel or butt up to it. I noticed on a couple of the other build logs frame 3 was below the keel line.

Side note: Am really enjoying this hobby. Have played golf almost everyday since I retired about 10 years ago, and reached somewhat of a burn out on golf. Was trying to find something to keep me occupied so I could maybe go just a couple of days a week. Think I found it
-
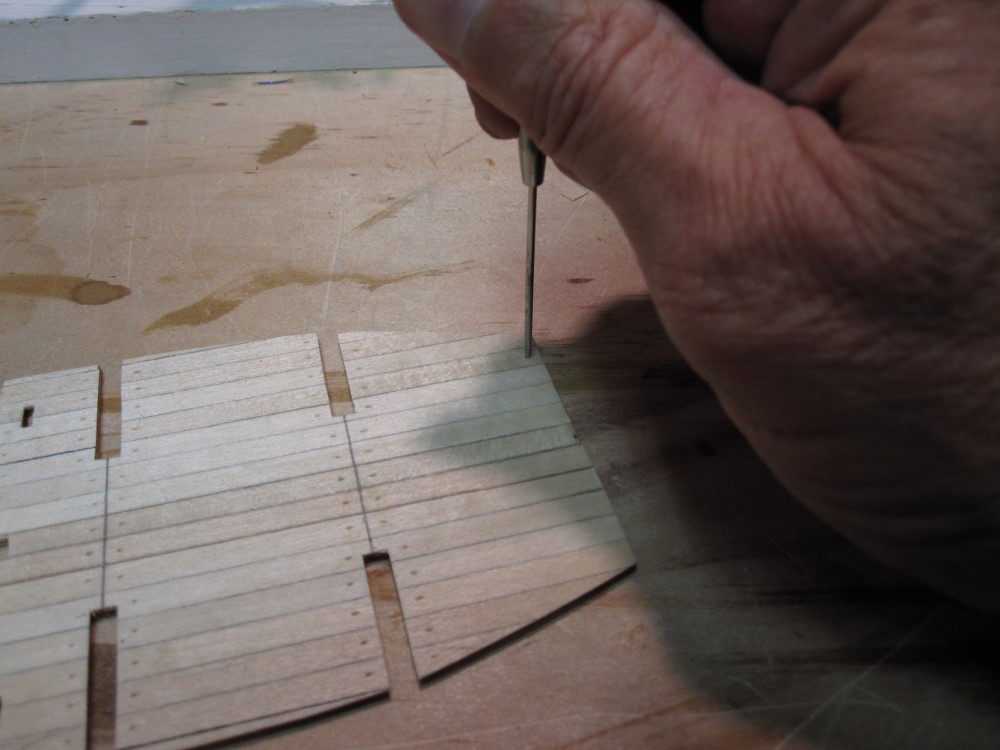
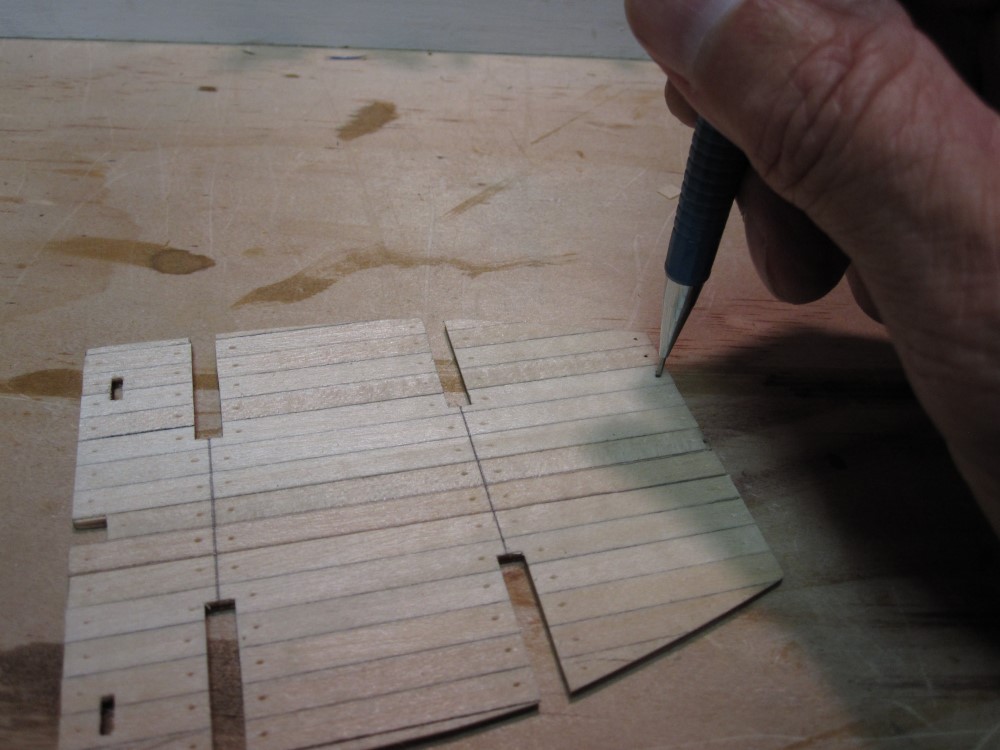
While waiting for the frames to finish glueing. Worked on the lower decks.
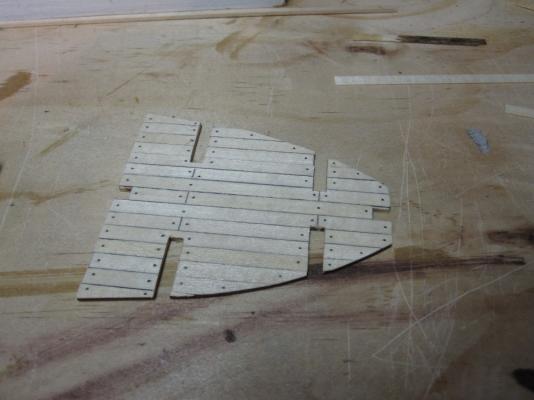
Used a dental pick to punch holes for treenails
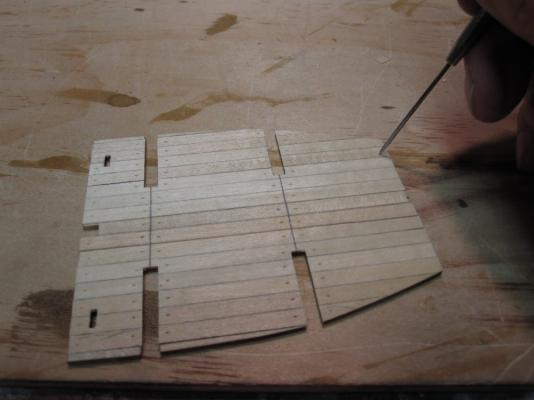
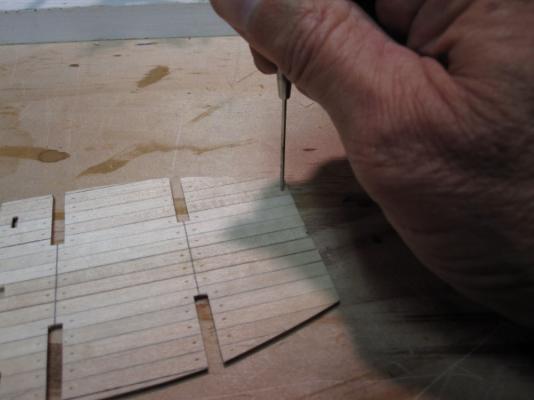
Then used mechanical pencil to mark holes, by twisting in the holes.
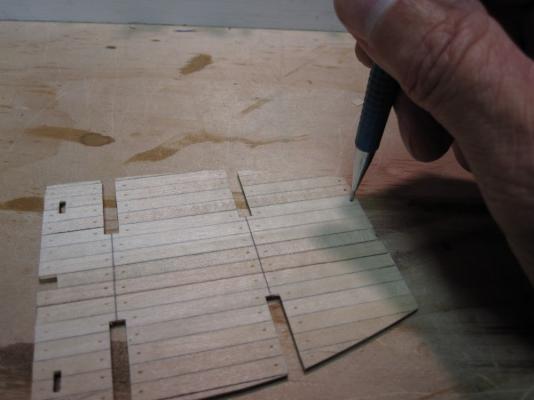
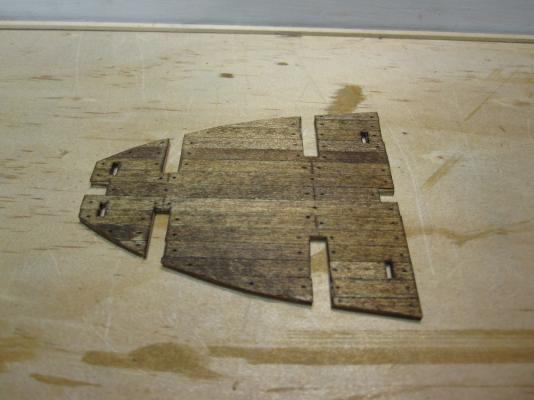
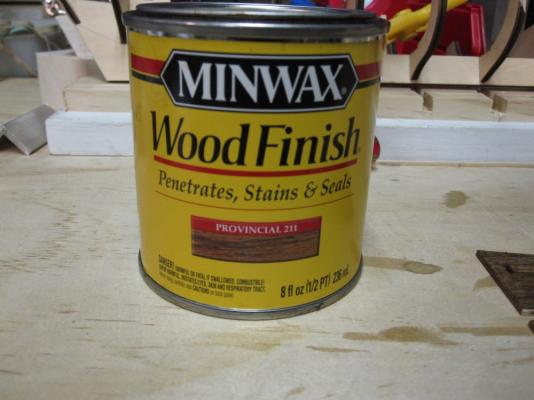
Then used Provincial Stain to do the deck. Tested several stains, and liked this one the best. You can see the difference of staining because of the difference in the planks. Plus my lighting wasn't the best either.
- piperjoe and Kenneth Powell
-
2
-
I was going to do the Lady Nelson as my first build, but changed to the Swift because of all the build logs here. Am glad to see your progress as I still want to do the Lady Nelson.
Good Job
-
What pencil did you use to edge the planks, I tried the regular 2H today and it doesn't look right. Went to Staples but they didn't have any softer pencils.?
-
-
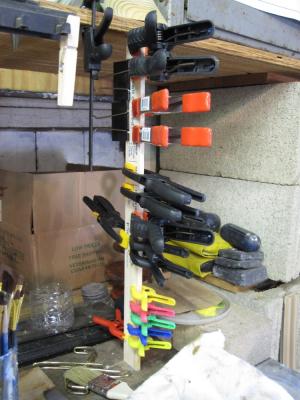
Started glueing the frames. So will be slow going for the next few days.
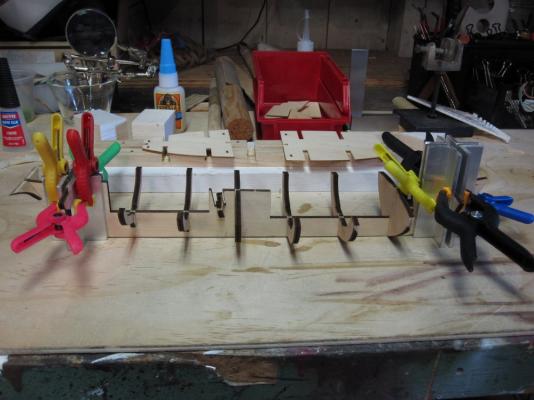
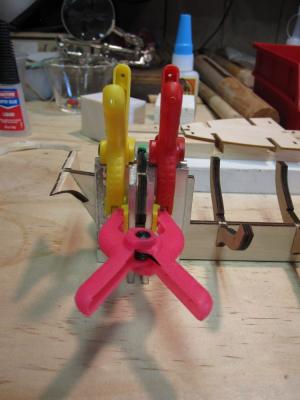
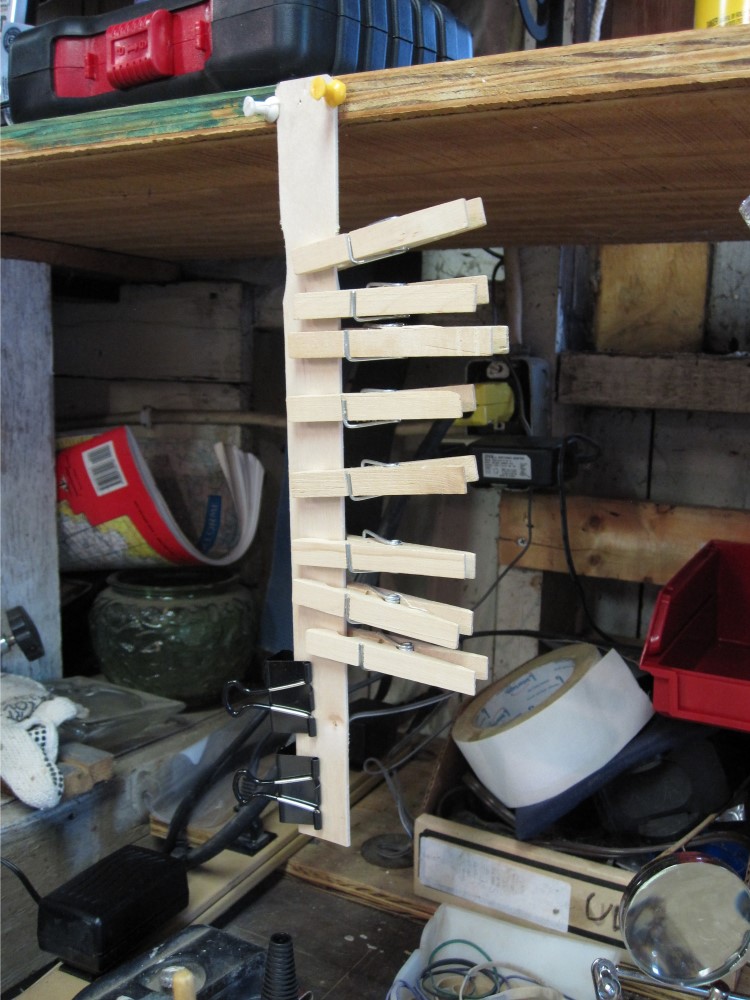
I'm sure everyone has somewhere they keep they're clamps. I got a couple of paint stir sticks and fixed to my work area.
A gallon stick on the left of my work area for clothes pins and the right side a 5 gallon stir stick for other clamps.

-
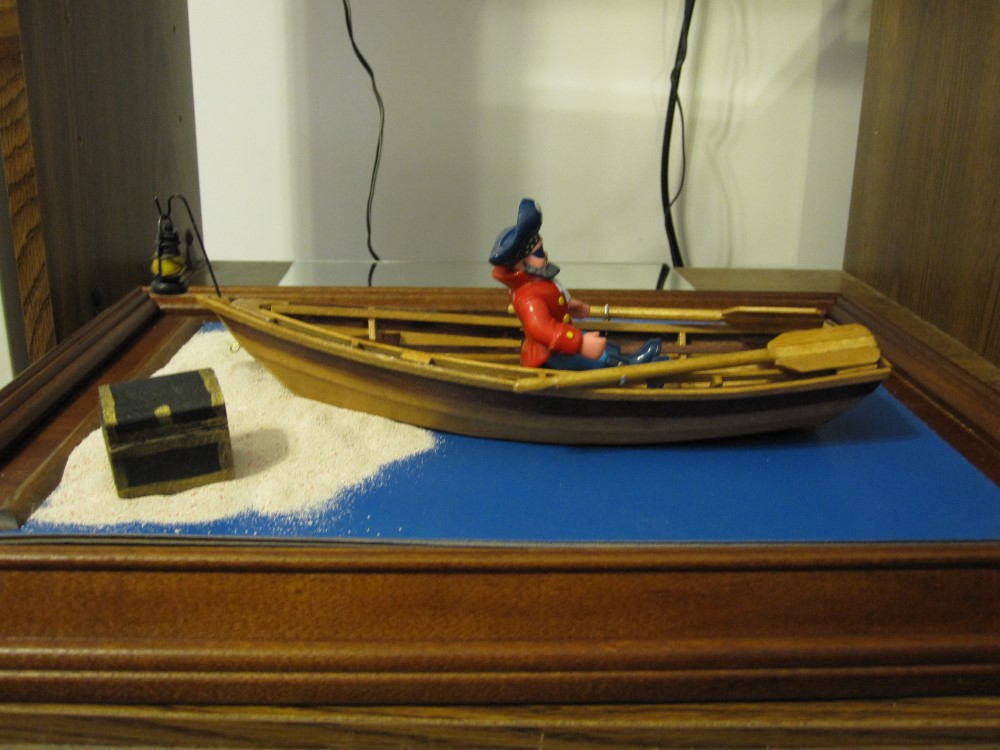
All done, guess the pirate, stole the fishermans boat to bury his loot.

- schnu, coxswain, GrandpaPhil and 1 other
-
4


Swift by adivedog - Artesania Latina - 1:50 - First build
in - Kit build logs for subjects built from 1801 - 1850
Posted · Edited by adivedog
Heres a picture of the main deck stained. There must be quite a difference in the density of the wood, as the stain really soaked into some areas more than others. But that will give it some character.
The planks for the hull were too long for anything I had in the garage to soak in, so made a soaker out of PVC plastic pipe. Then made a cap for the end to push the plank all the way into the water. When the cap is taken off the end of the plank floats out of the pipe.
Have spent the last couple of days fairing the frames. Also had to shim frame 7 on both sides then sand to size. Also, had to shim the top of frame 4 to even out the main deck. Which meant, using alcohol to loosen the deck then sliding in the shim and re glueing.