adivedog
-
Posts
123 -
Joined
-
Last visited
Content Type
Profiles
Forums
Gallery
Events
Posts posted by adivedog
-
-
Russ
Great job on the skiff. I'd like to try one of them sometime.
I see what you did on the oarlocks. Good idea
-
I'll check it out. Thanks
-
I didn't consider that, was pretty much just going by the steps on the directions.
How do you make the oarlocks. Soldering some wire ?
-
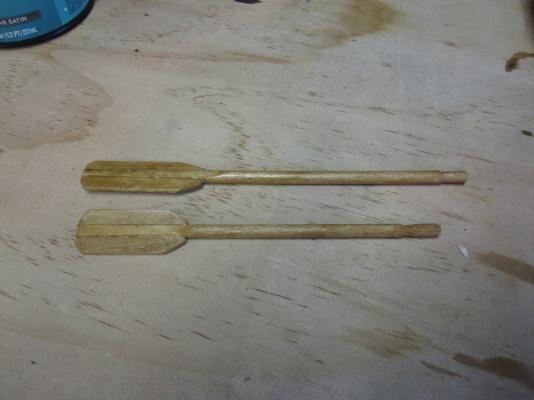
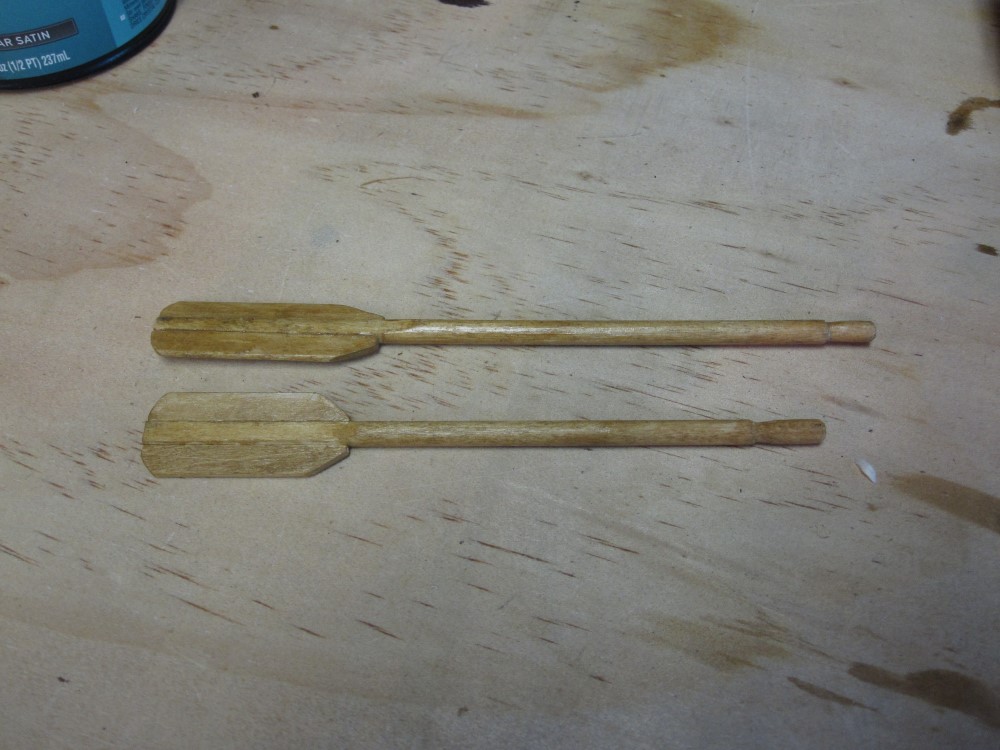
I made the oars with the dowel provided, thought they were a little too big for the craft and wouldn't fit in the oarlocks, so remade them with a little smaller dowel. Then coated everything with Poly.
-
Thanks Russ. I'm really glad I got this project. Amazing what all can be learned.
-
I tried that, but still don't see how to upload any images from the my media, and I have been using computers for many years, so it's not anything obvious.
It looks to me like you have to already have the image uploaded on a post. ???
-
-
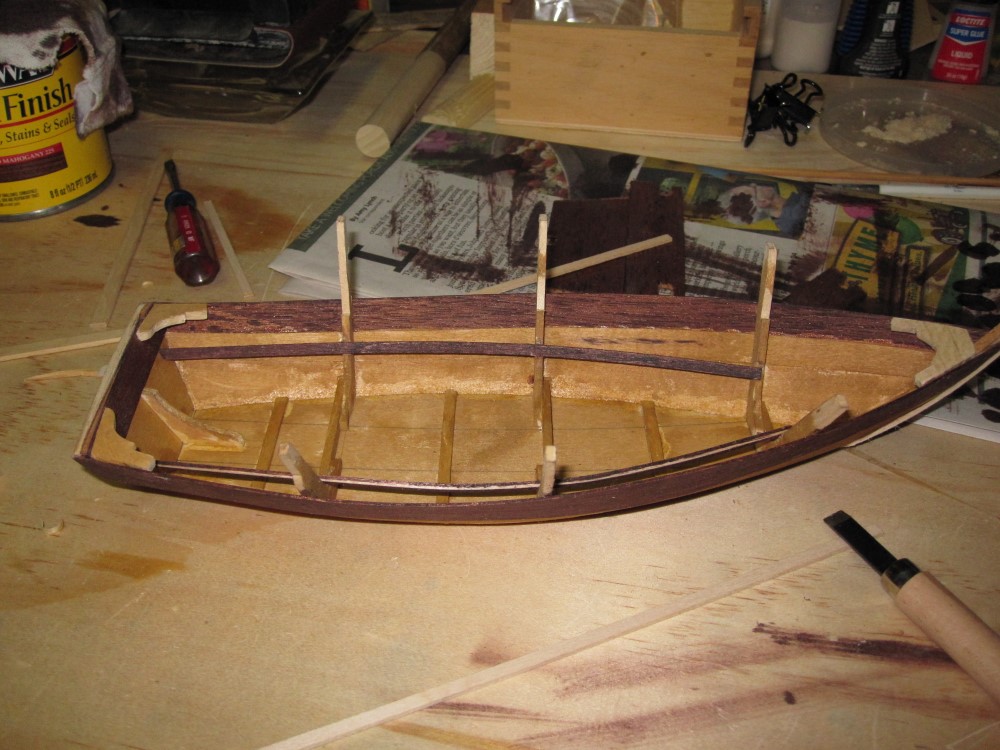
Put on the last planking. Only problem was, somehow the 2nd plank slid down a little from the mark I had, but no biggie.
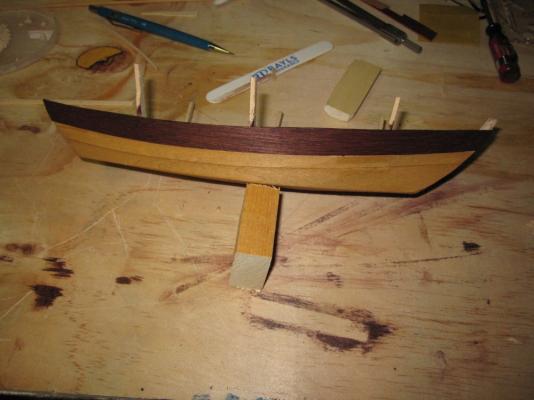
Then found some stain here in the garage, so stained the bottom English Oak, and the top Red Mahogany.
The oak was darker than I expected, but I kind of like it, has more of a used look.
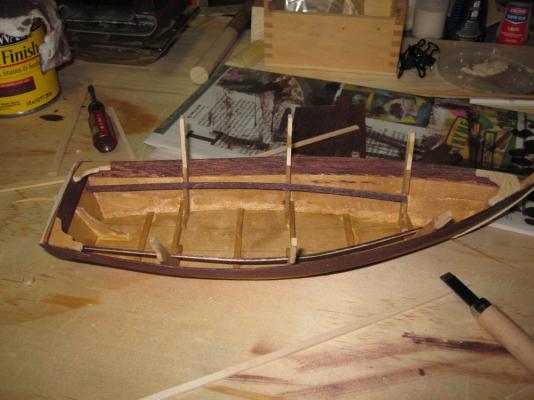
The light color is from putting some ca across the seams on the bottom earlier after the garboard plank was installed. It didn't take the stain. Also had to make a new breasthook on the front as it was broken and not symentrical when taken out of the sheet.
Have the riser a little high in the aft section, but everything was glued so will make do with it.
Almost done

- themadchemist, hexnut and coxswain
-
 3
3
-
Am looking forward to when you can get back on the build. Have been following your build closely, as I'm starting the Swift build now.
Good luck on the move. Am sure you'll have your hands full for a while.
-
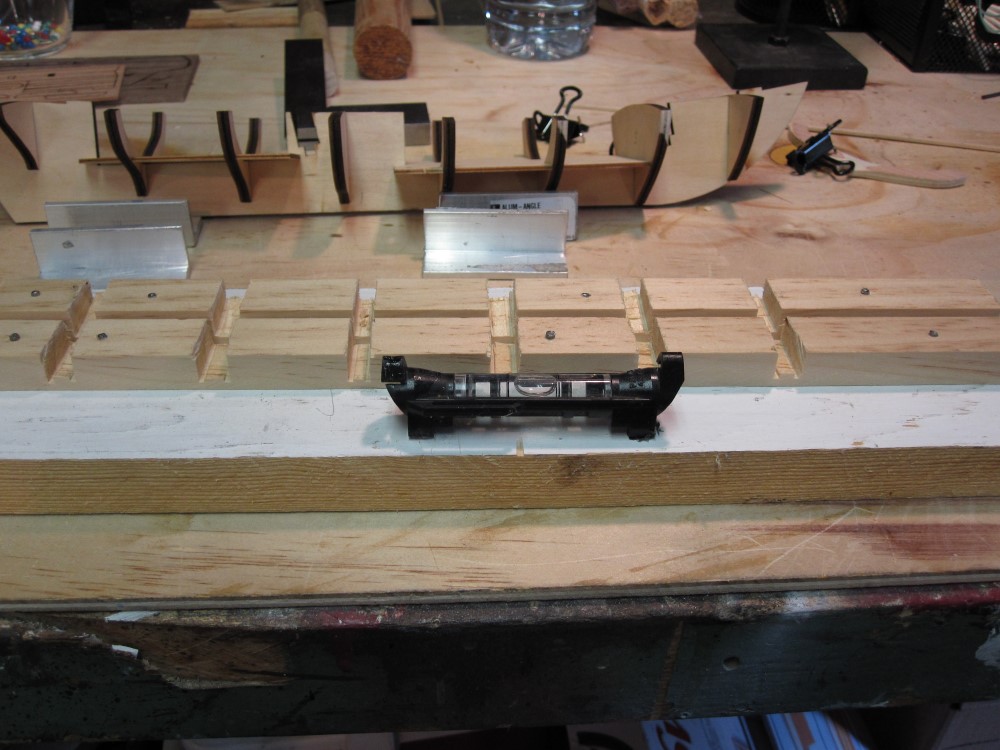
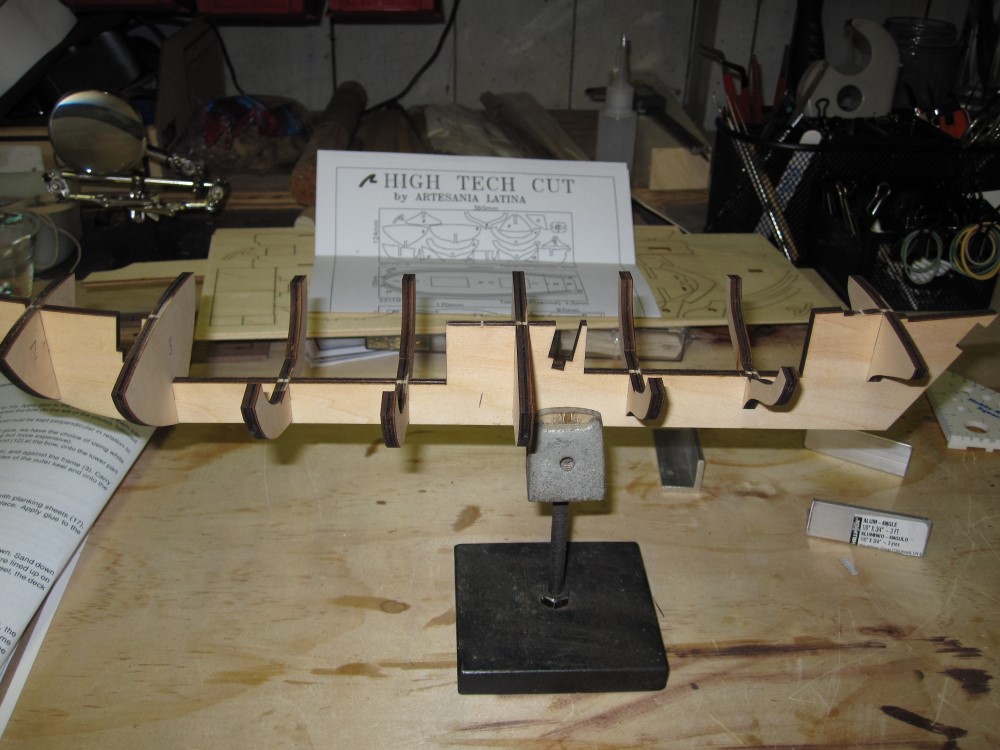
Thanks Keith, will start glueing the bulkheads this afternoon. Luckily, all the bulkheads fit square, but will still clamp with the aluminum angle iron.
-
Thanks Keith, I have been looking at your logs for a while now, in fact that is one of the reasons for picking the Swift. Your very detailed oriented and that makes it easier for us newbies.
I was just looking at the planking they sent. Wow, what a mess, some of it is paper thin and as cannon fodder referred to will be hard to tell what goes where.
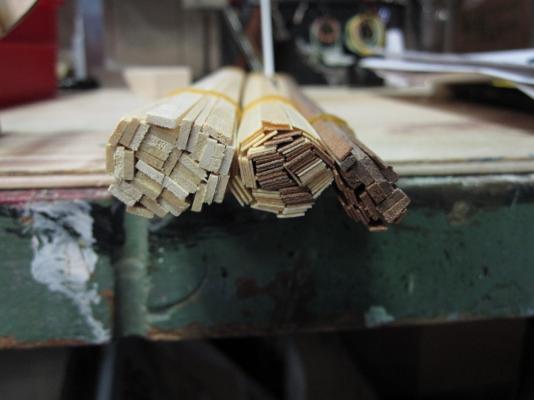
I'm guessing the one on the left is for the hull, middle one for the decks, and third for other items
-
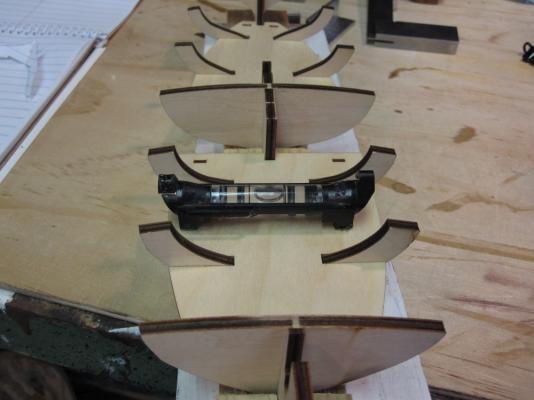
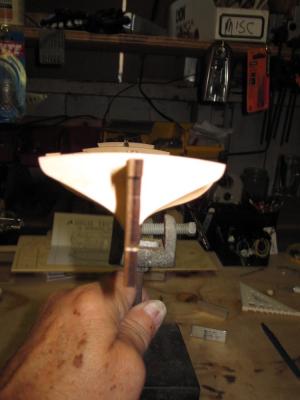
I put the wrong endview picture in last post, was supposed to be just the frame.
Also, have shots of level

-
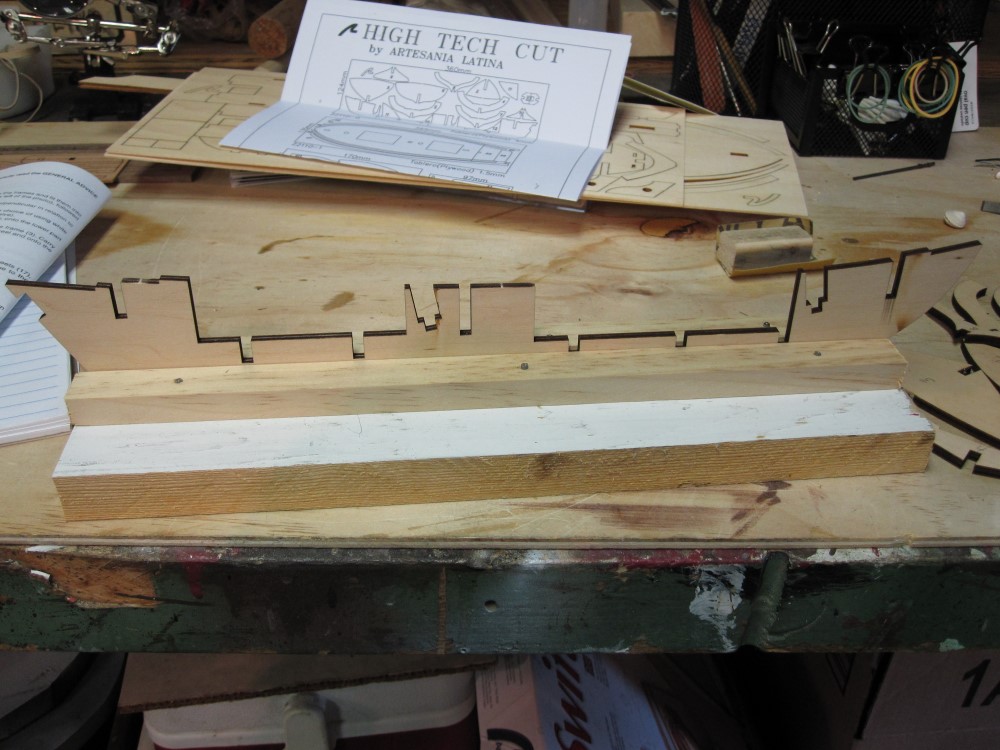
Ready for another Swift build.
I originally was going to do the Lady Nelson as my first build but couldn't find many build logs on it, so after seeing all the Swift logs, decided to do it. It looks like a good first build, not being to big and detailed.
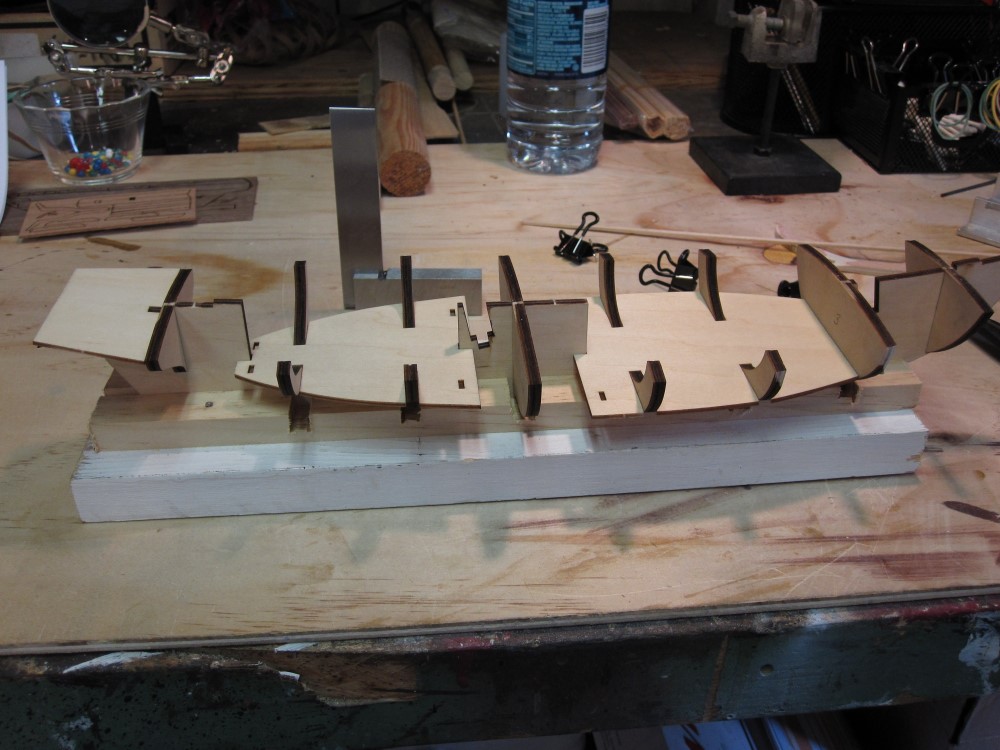
Opened it up yesterday and checked the parts, and cut out the keel and frames. After reading all the logs and the problems everybody was having with warped keels and frames with problems, was expecting the worse. But the keel was straight with no structural damage.
Then dry fitted the frames and checked everything. The frames were in good shape, non warped or damaged.
The only thing I found wrong was frame #7 was off a little, so filed down the keel slot and re-adjusted. Then added the decks and they fit well.


Now my question is, am I ready to glue the bulkheads, or do I glue the decks first. ??
-
-
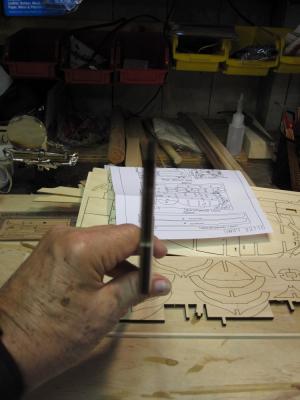
I think I figured out the signature, but don't see how to add it to the end of the post.
-
Thanks guys, I opened the Swift kit yesterday so will be starting a log on it soon.
My only regret with this build is that I didn't take enough pictures. Will do better in the future.
How do you set up the template for the bottom of posts that shows current and past builds ??
-
Thanks Russ
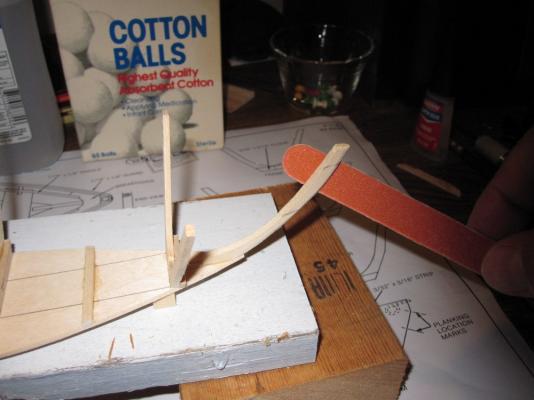
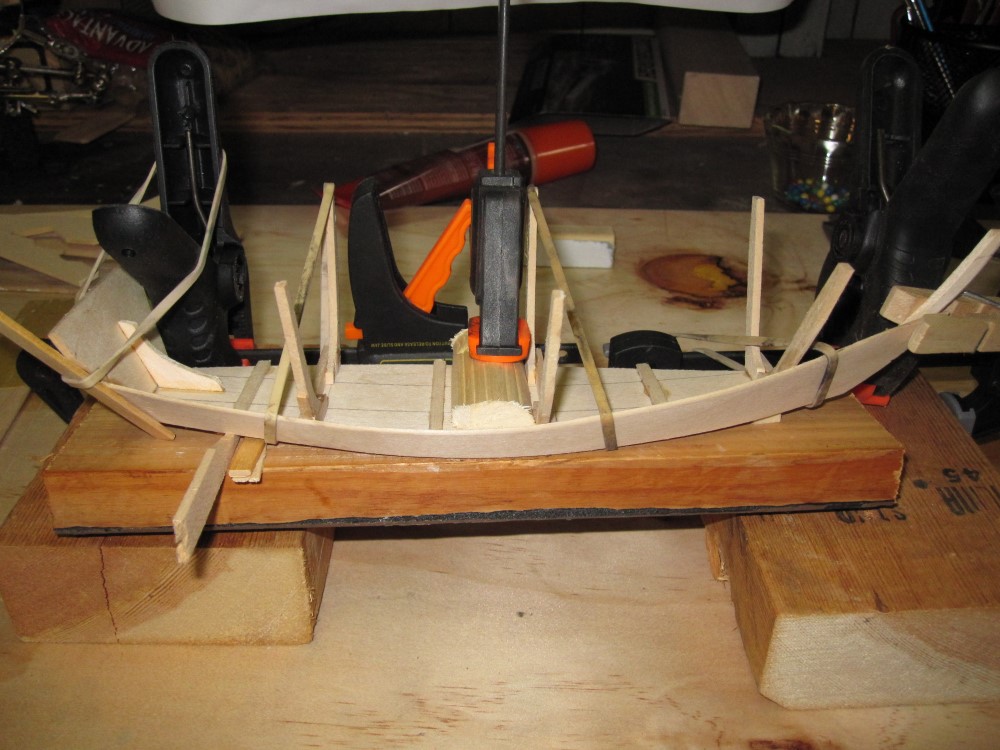
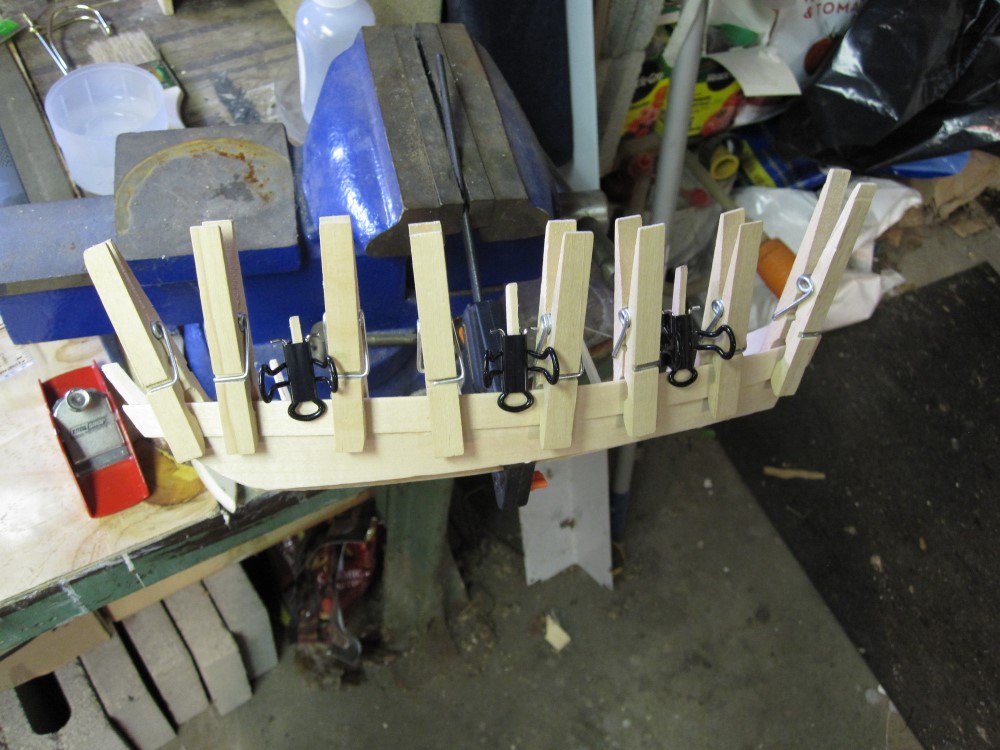
Time to add some more pix
Adding the first plank and second plank. Didn't think to take pix of both sides.


- themadchemist, coxswain and hexnut
-
3
-
Woodchipper,
If you have a Hobby Lobby nearby, definitely should check it out, they have a lot of interesting and usable items including balsa and basswood.
They usually put a 40% off coupon in Sunday paper with their ad.
-
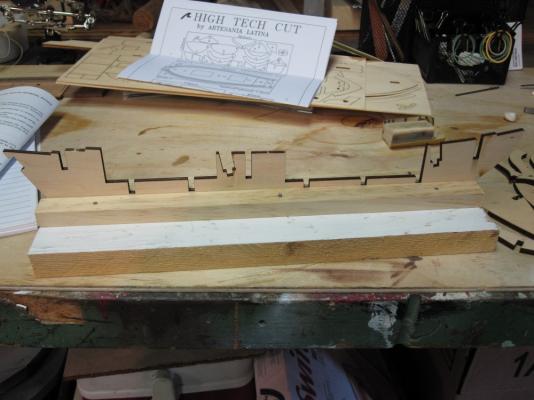
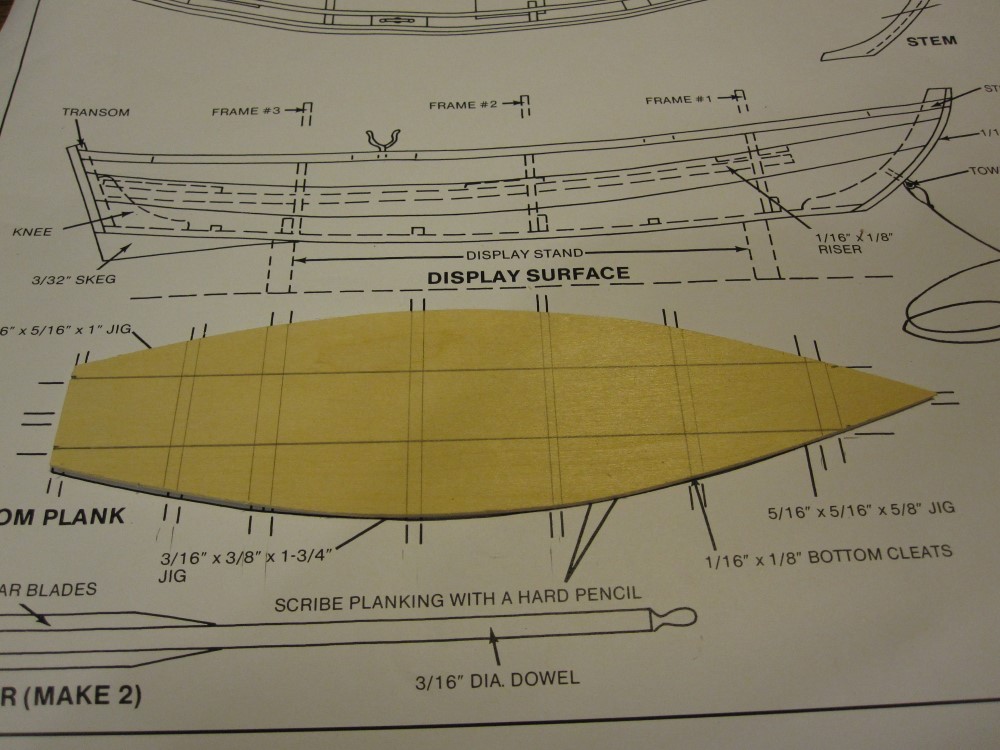
Well, that was easy enough, so will go ahead and get started with the build.
First was to pencil in the plank lines on the one piece bottom plank.
Also had to pencil in the frame lines and cleat lines.
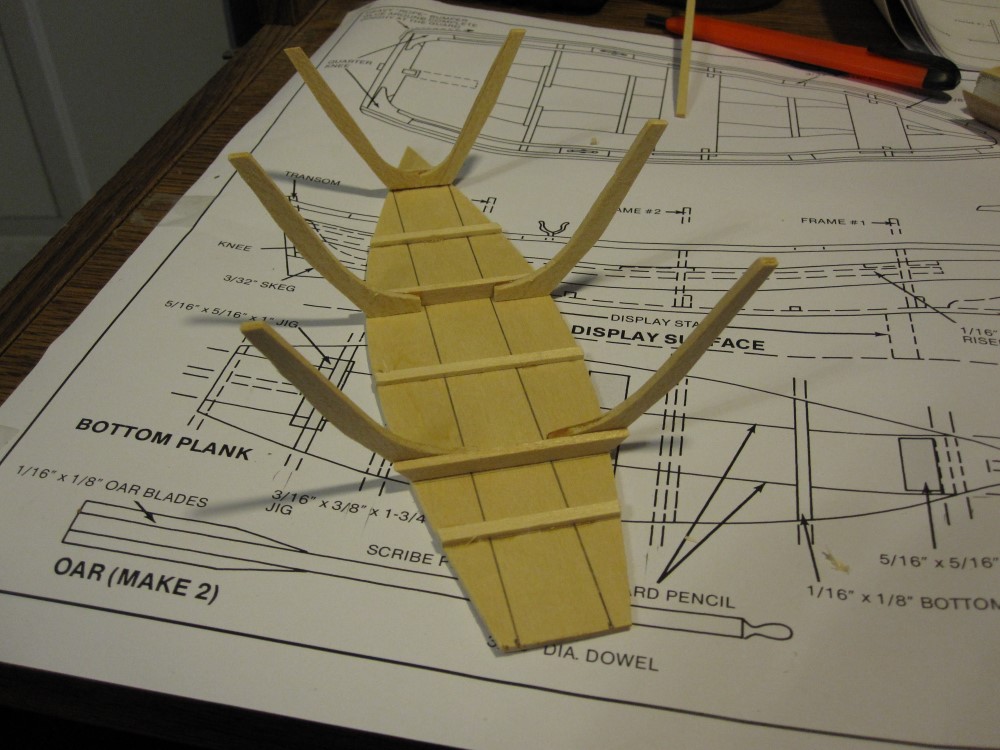
Then start putting together the frame. Thats where I ran into my first hurdle. After glueing the frame together and dry testing it i found out the frame was too wide, so had to take apart and redo. My first big learning experience. Always dry test everything before glueing. I had to take it apart and re do it
The knee and transom and stem were next.


-
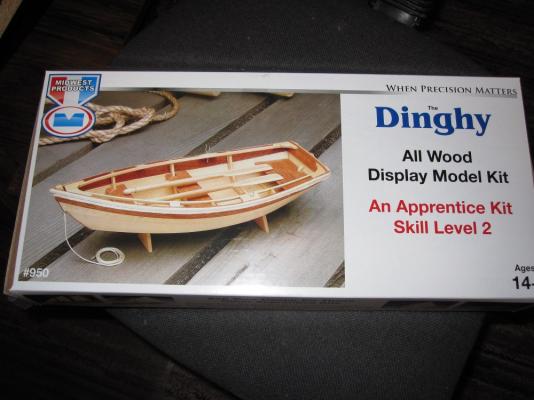
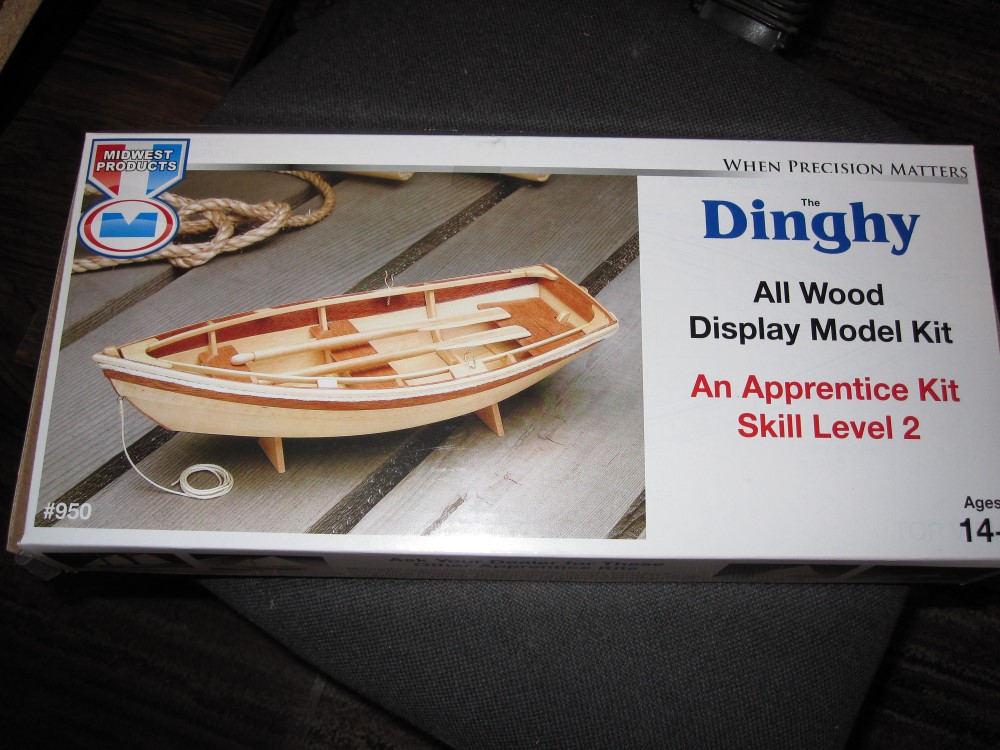
I had ordered what I thought would be my first build, the AL Swift, but the day after ordering it I was at Hobby Lobby looking for anything I thought I might need for the build that I didn't already have. I noticed the Dinghy, and after reading the box decided to buy it and work on it until the Swift came. It was $25 and I had a 40% off so easy decision.

It was a great decision for me. Even though it is small with minimal parts, I still had to sand, shape, shim, fix mistakes, learned the instruction sheet is not always correct. I got "into" the build and away I went.
I wasn't going to post a build log for it, but have decided this would also be a good learning experience for the future builds.
I have most of it done but will just post some each day for a little while.
I also hope to add a few things that other first timers might be able to use.
I will try to add a picture to this post to see how it turns out.
John


Dinghy by adivedog - FINISHED - Midwest Products - Small
in - Kit build logs for subjects built from 1901 - Present Day
Posted · Edited by adivedog
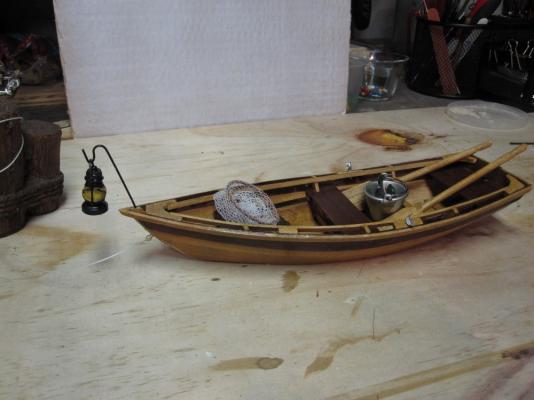
Finishing up now, decided to cut off the stem and am coating with poly. Also decided not to put on the rope around the guard on the outside of the hull.
Thought I'd put a lantern on the bow so they could fish at night, or hide there treasure ?
Made the lantern hook out of a paper clip and painted black.