Kevin Kenny
-
Posts
1,491 -
Joined
-
Last visited
Content Type
Profiles
Forums
Gallery
Events
Everything posted by Kevin Kenny
-
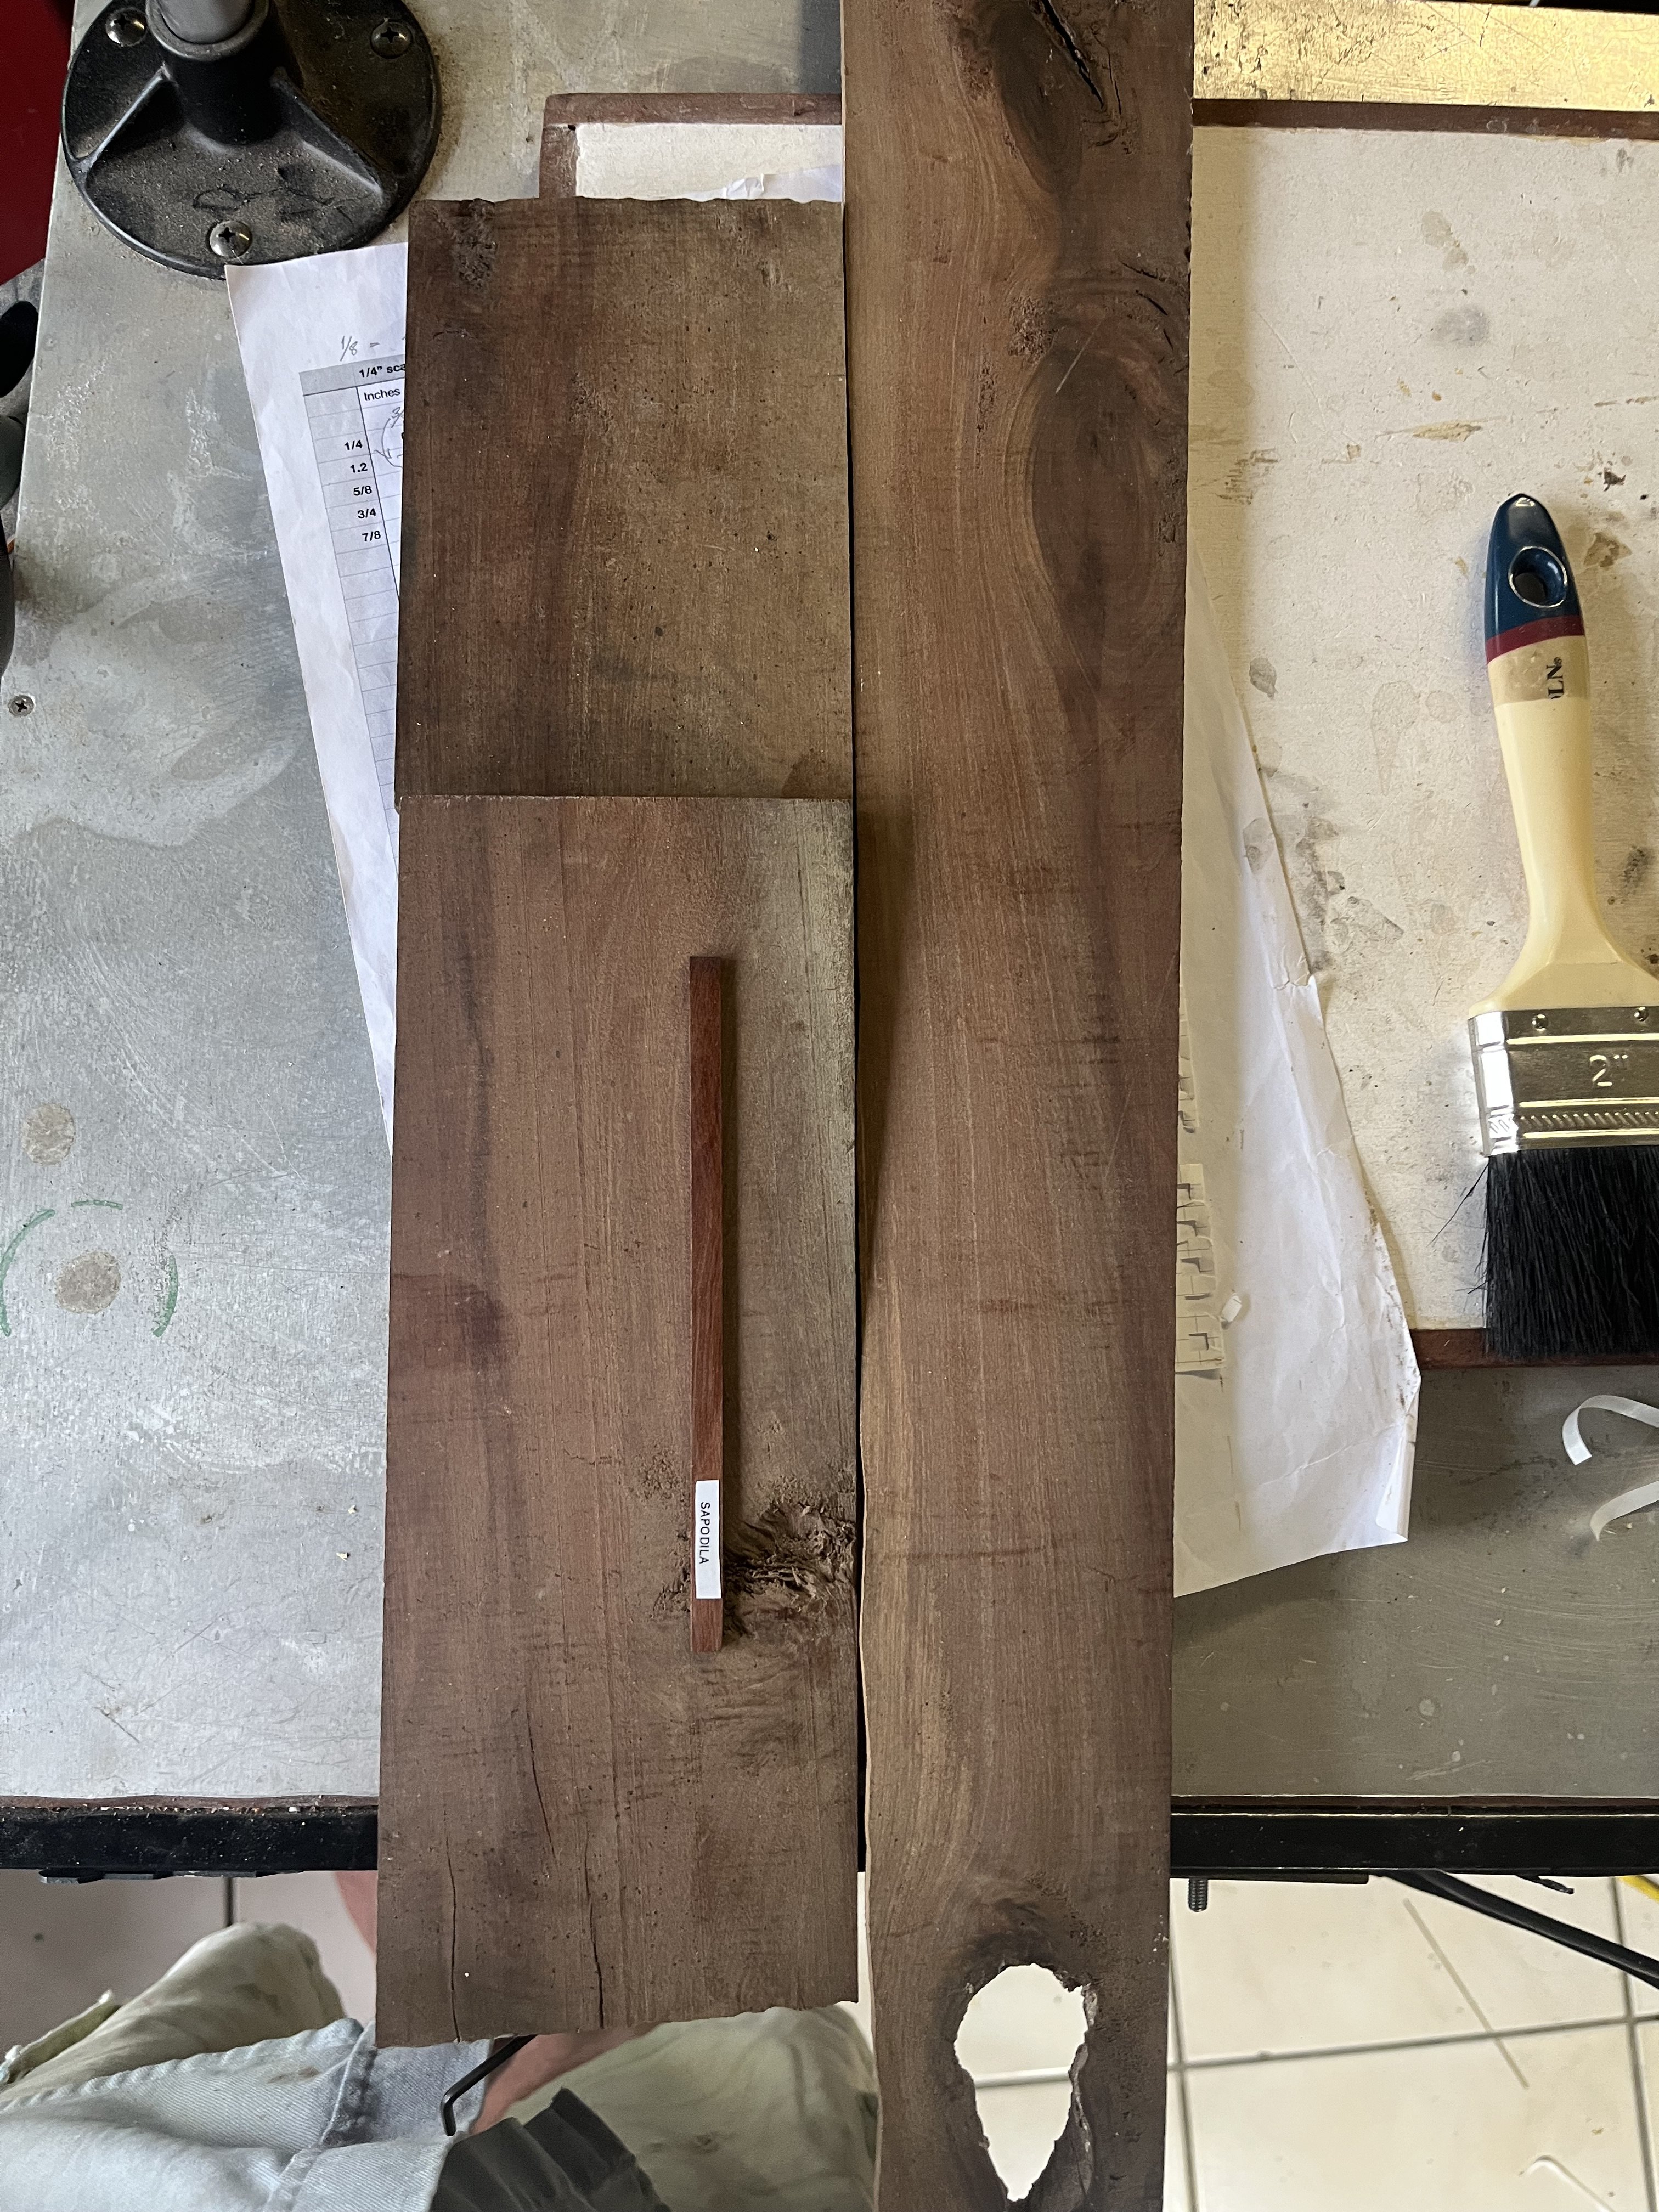
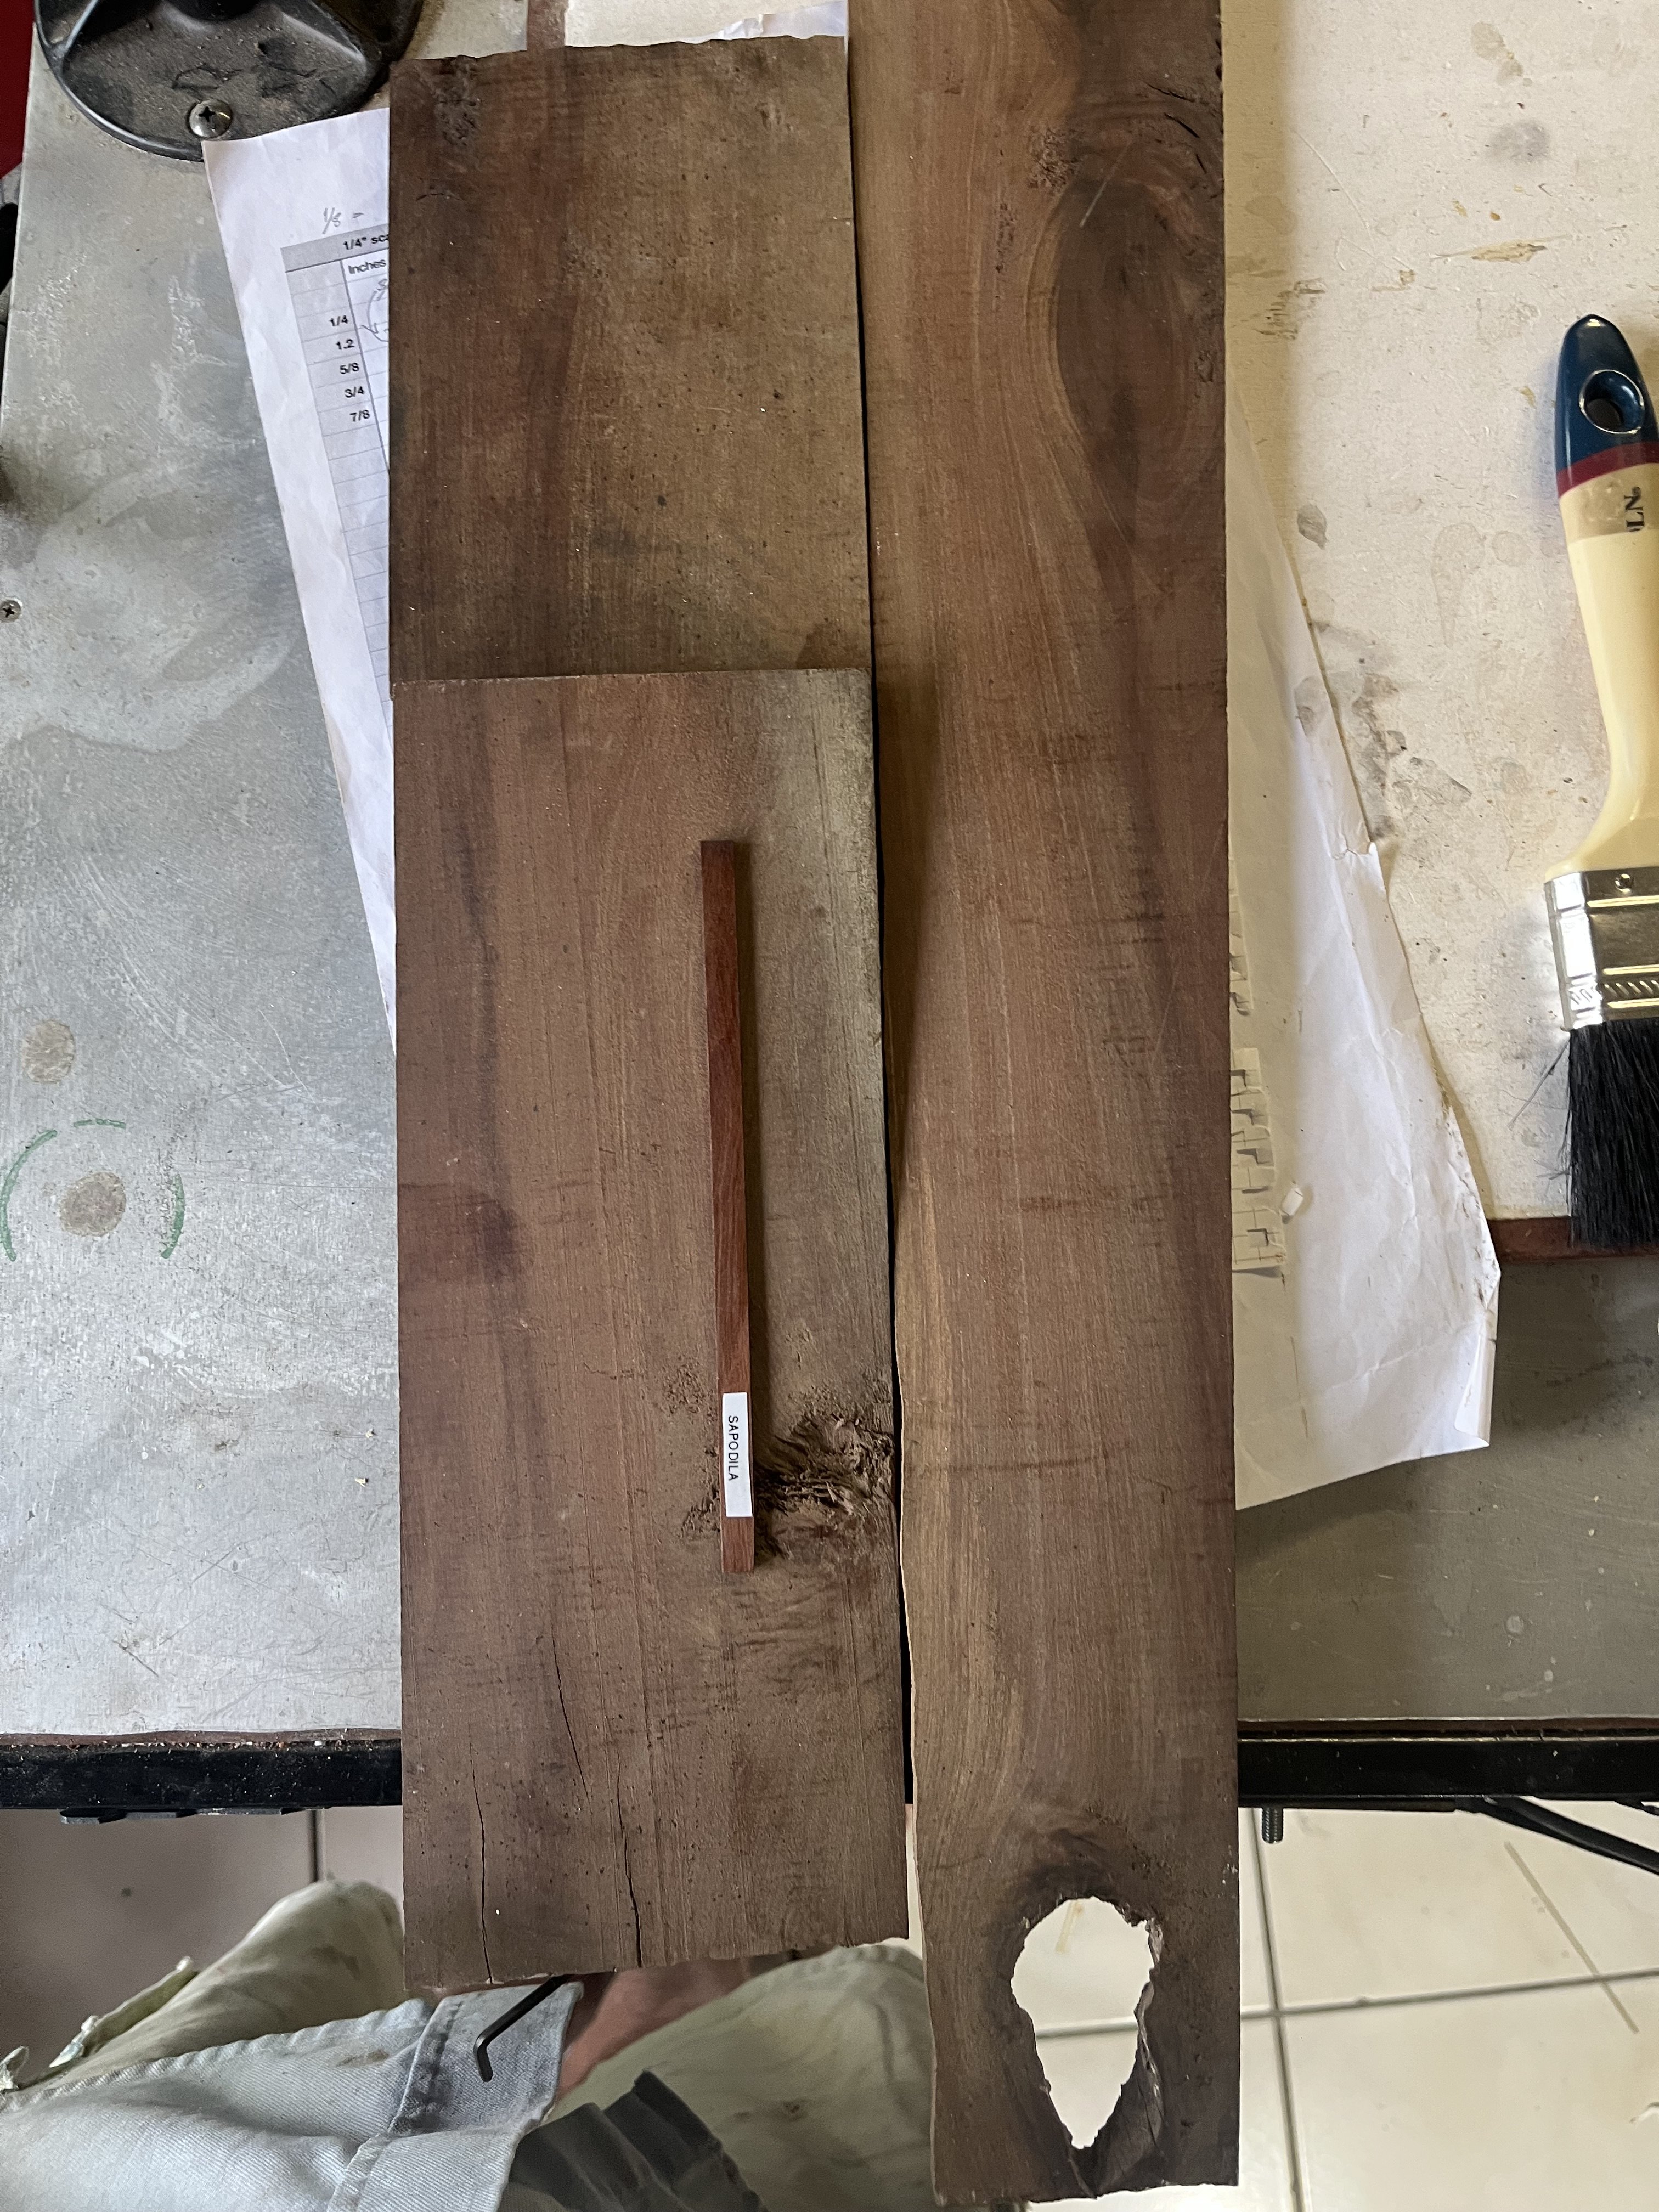
 Sapodilla, also known by its botanical name Manilkara zapota, is a tropical hardwood species that is native to Mexico, Central America, and the Caribbean. It is a medium-sized to large evergreen tree with a spreading canopy and a light gray-brown bark. Sapodilla wood has a reddish-brown heartwood with a yellowish-brown to yellowish-gray sapwood. The wood is relatively hard and heavy, with a density similar to oak, and is often used for furniture, cabinetry, paneling, and flooring. Sapodilla is also valued for its decorative grain pattern, which is often highlighted with a glossy finish. The wood is resistant to decay and is also used for agricultural tools and building construction.
 -
Here is a great explanation of CA glue
-
- 4
-

-
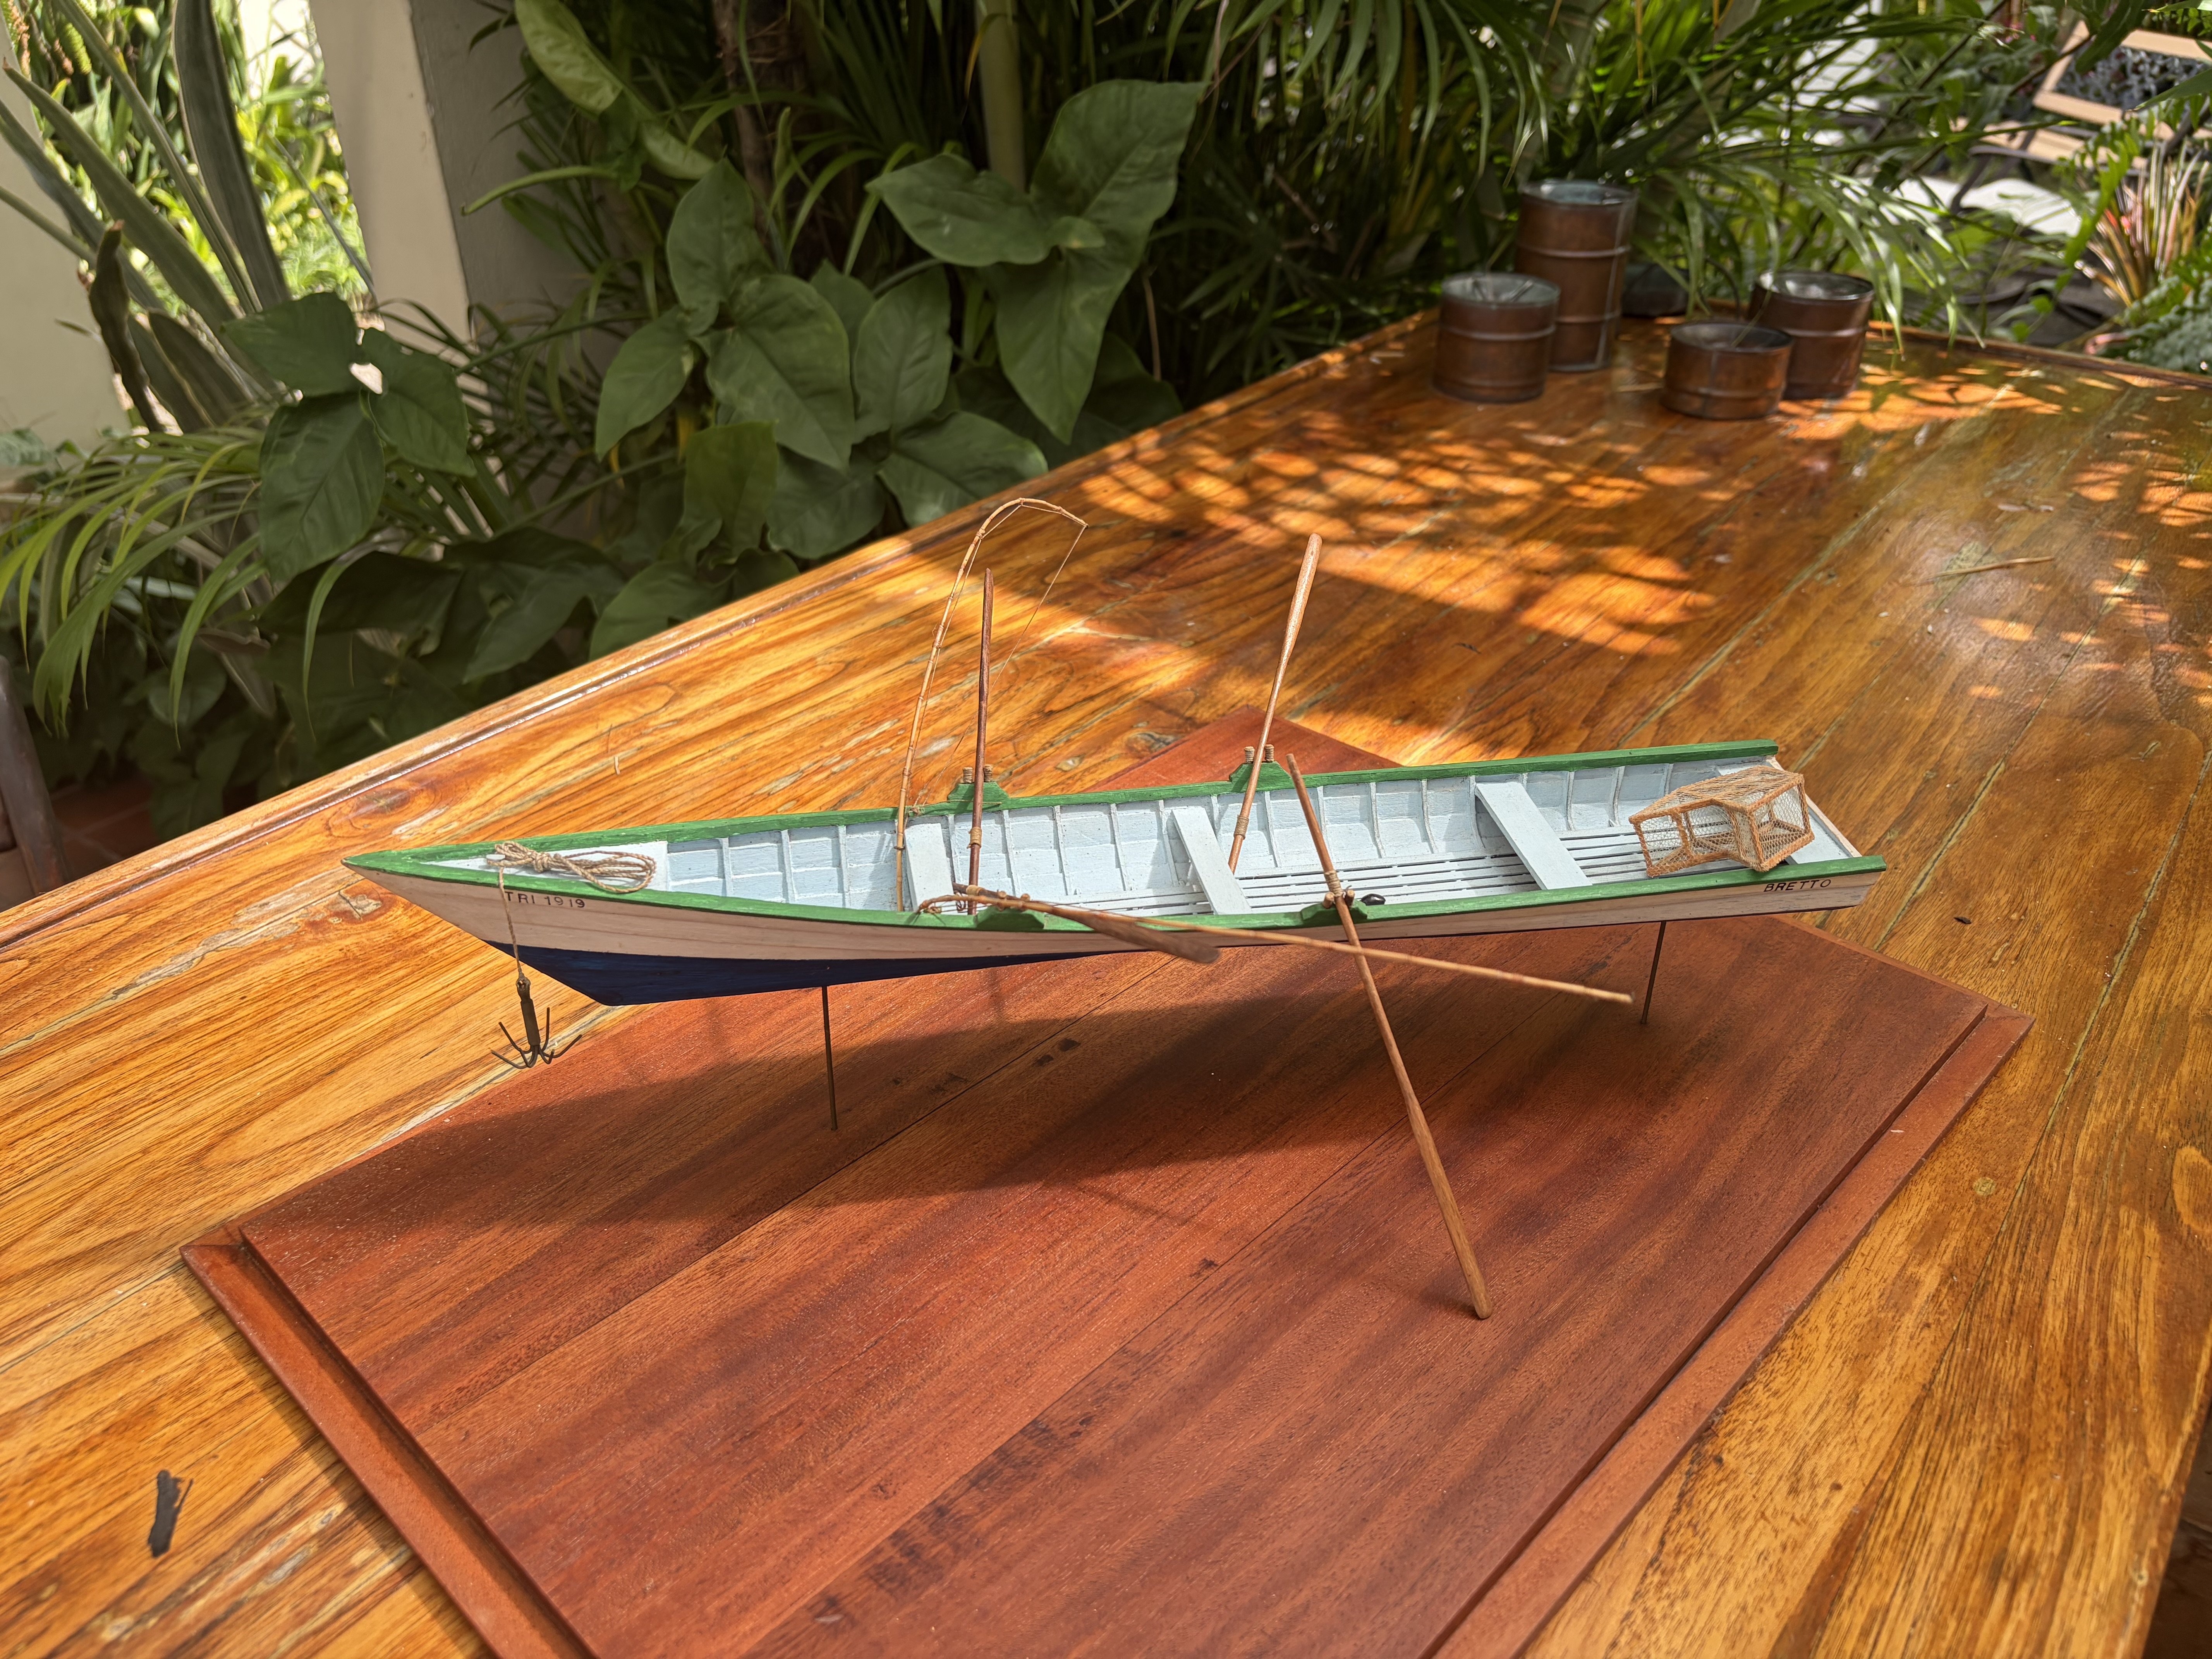
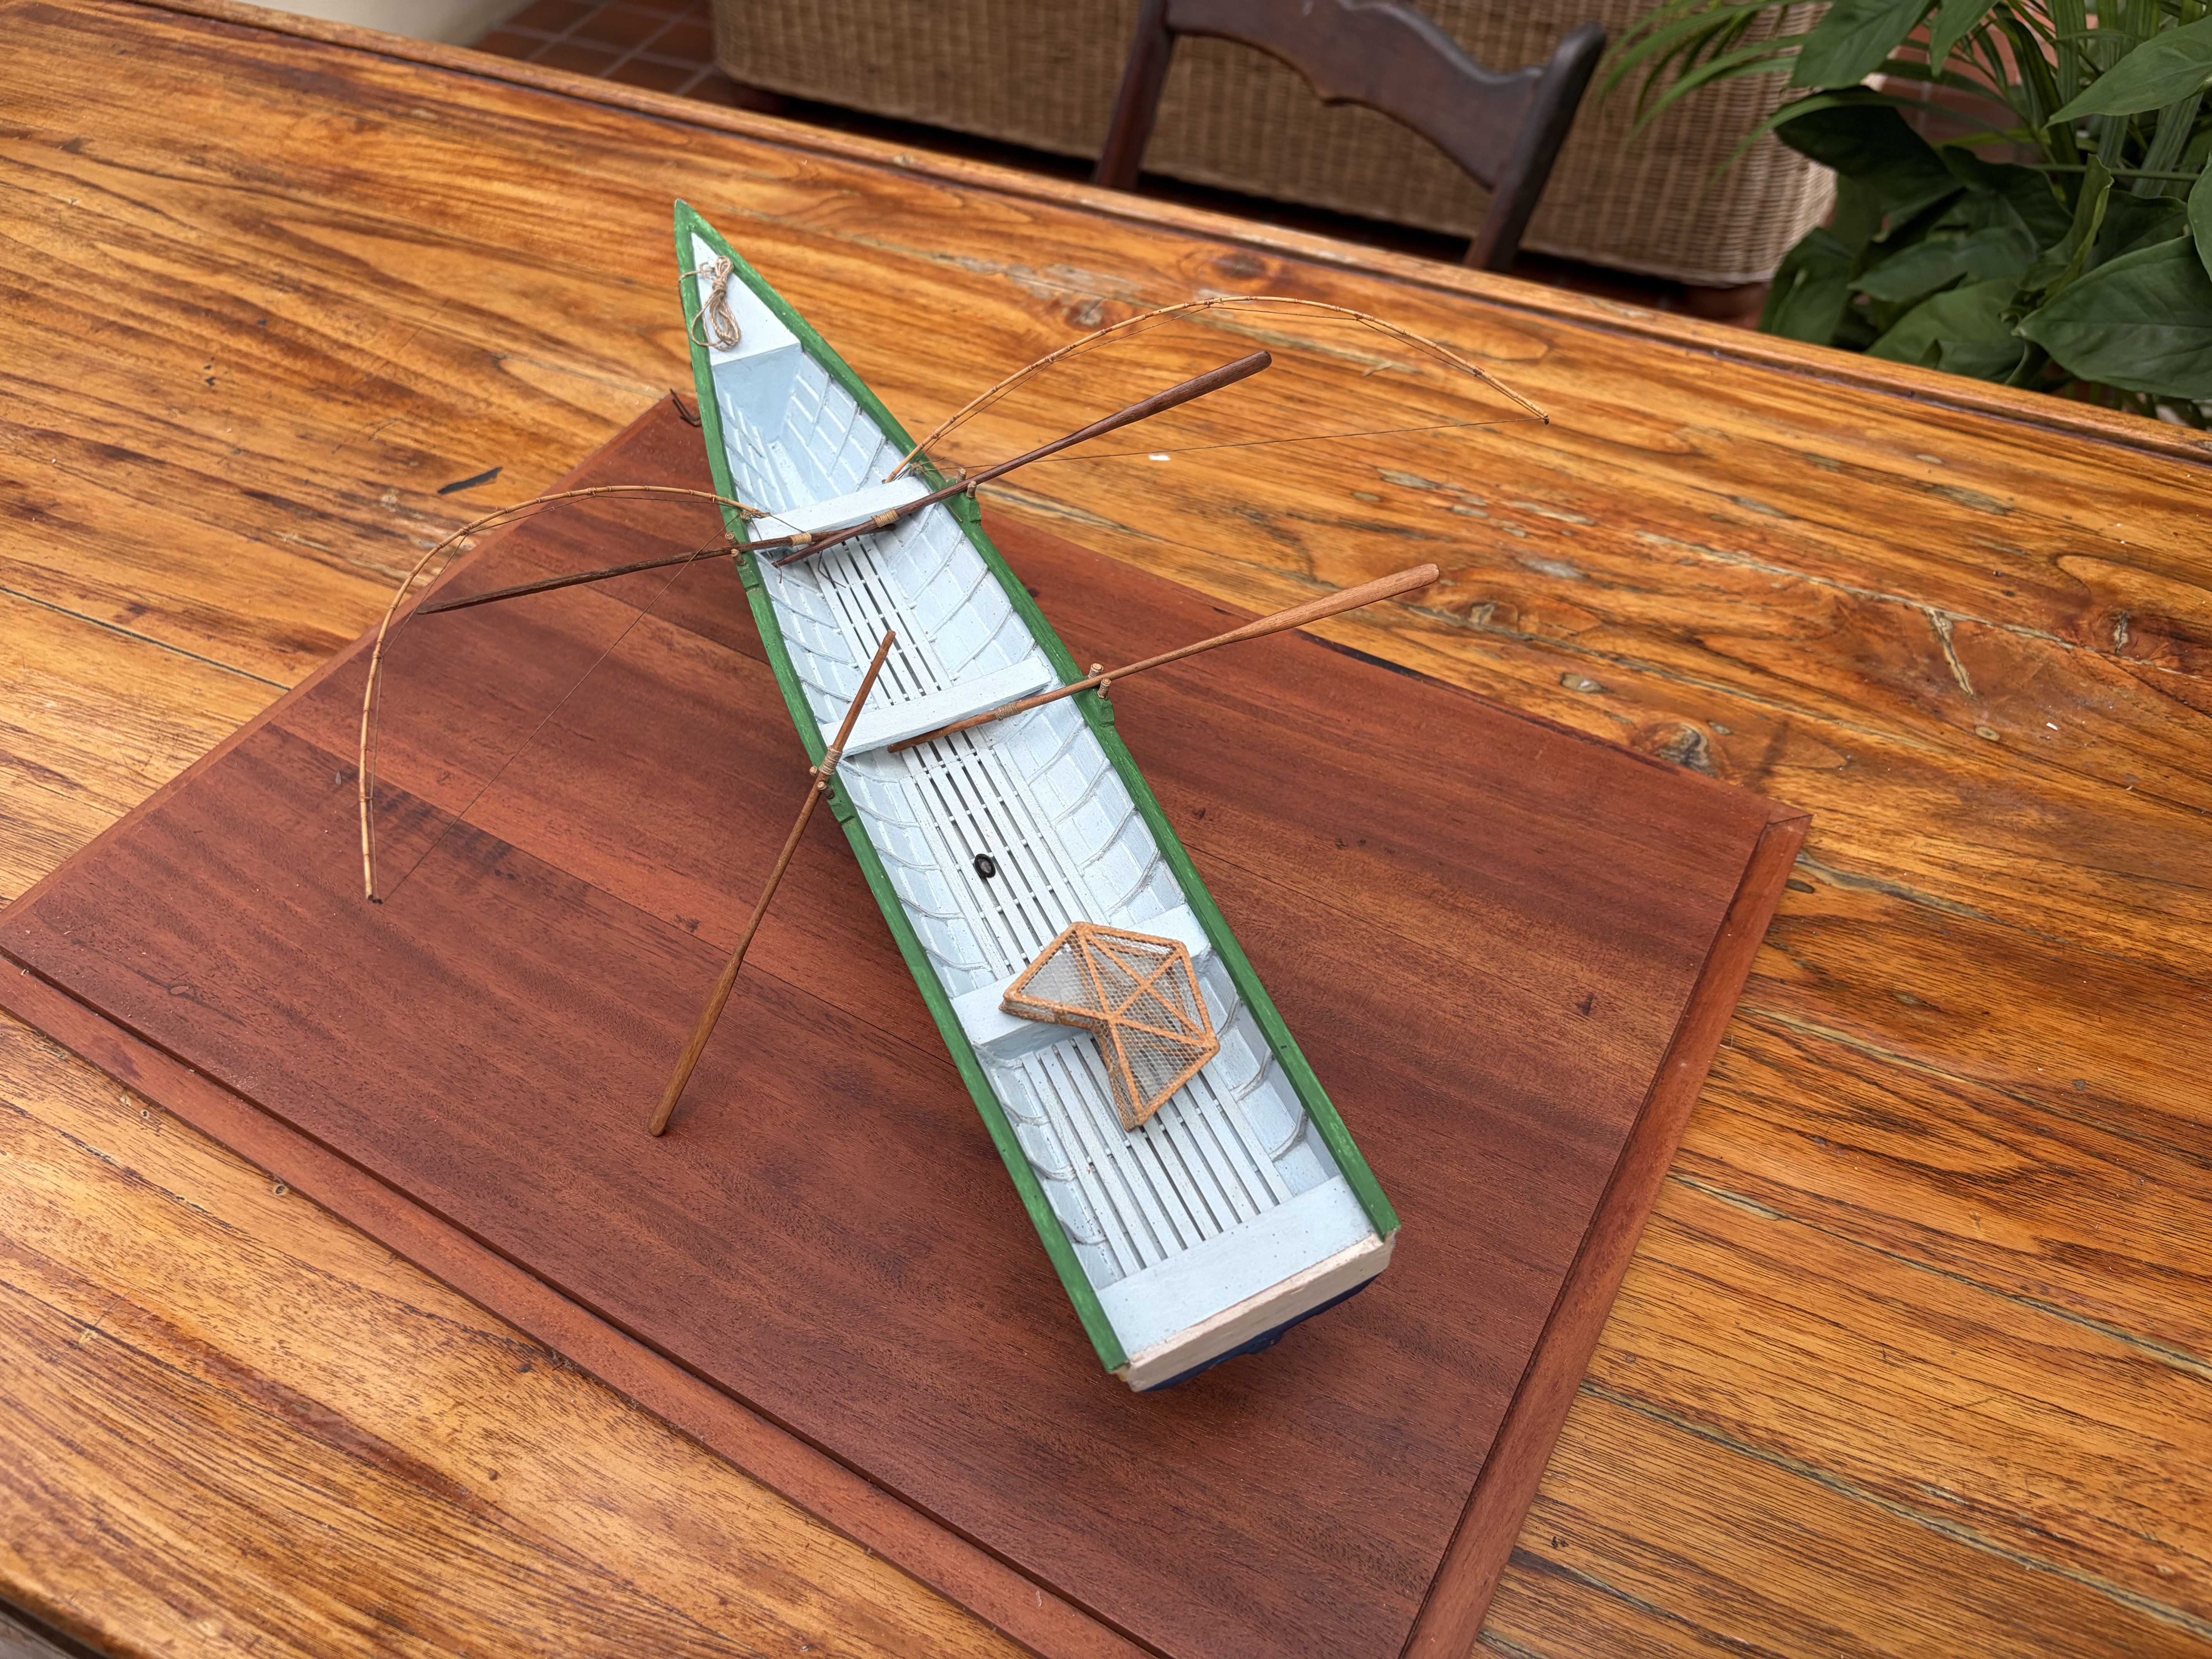
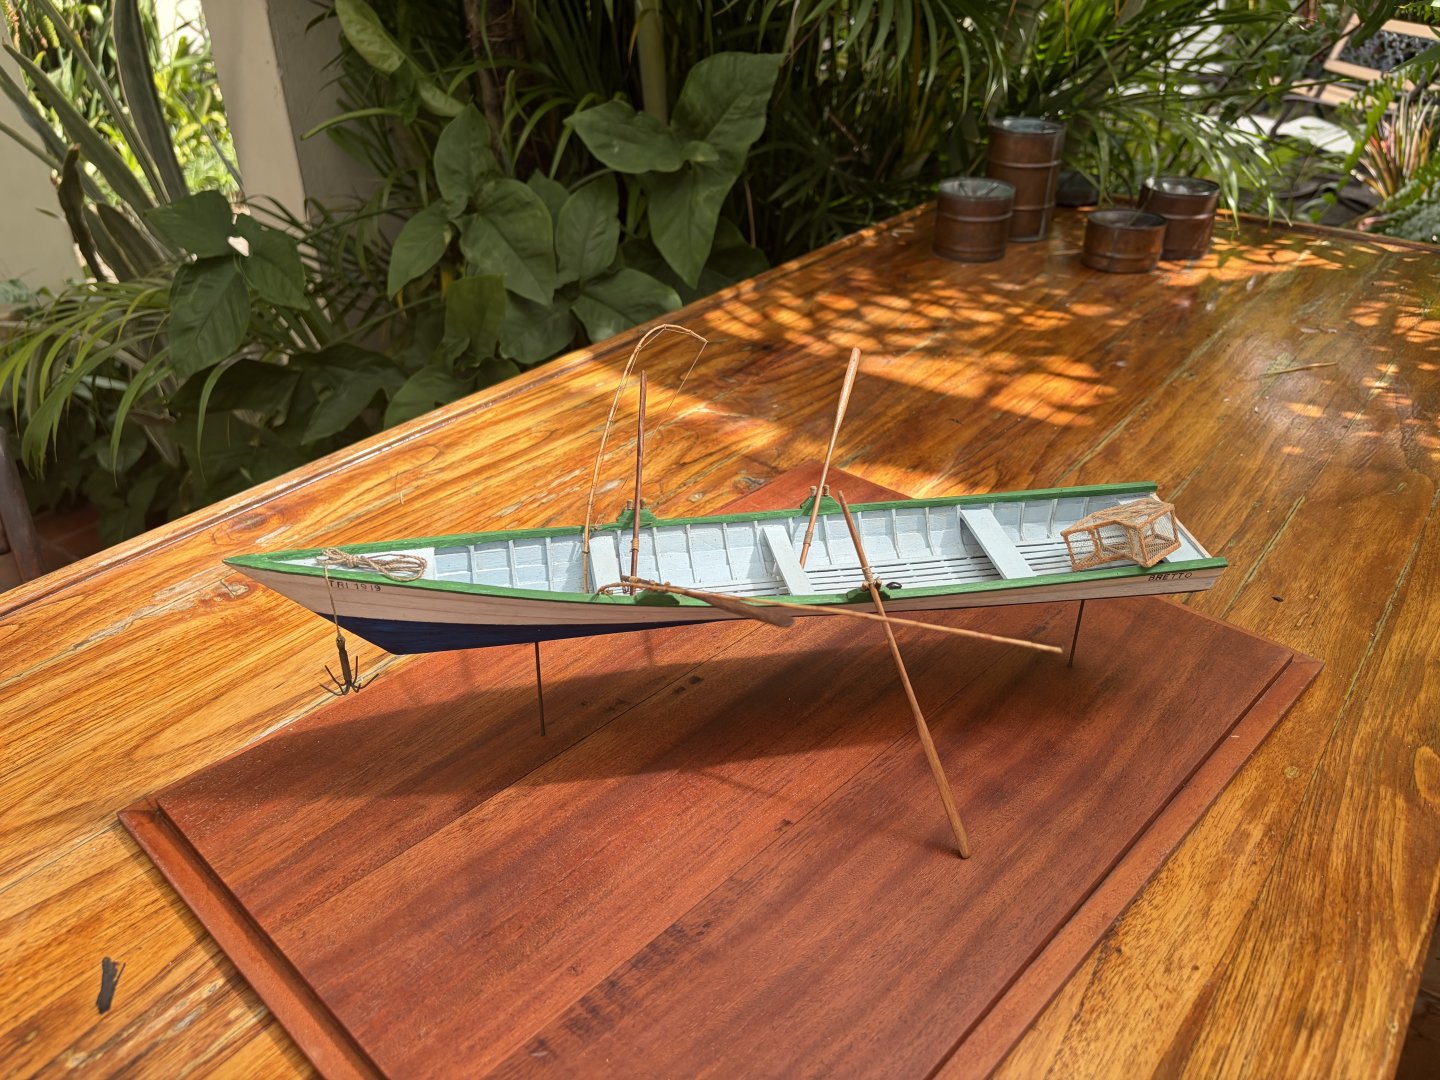
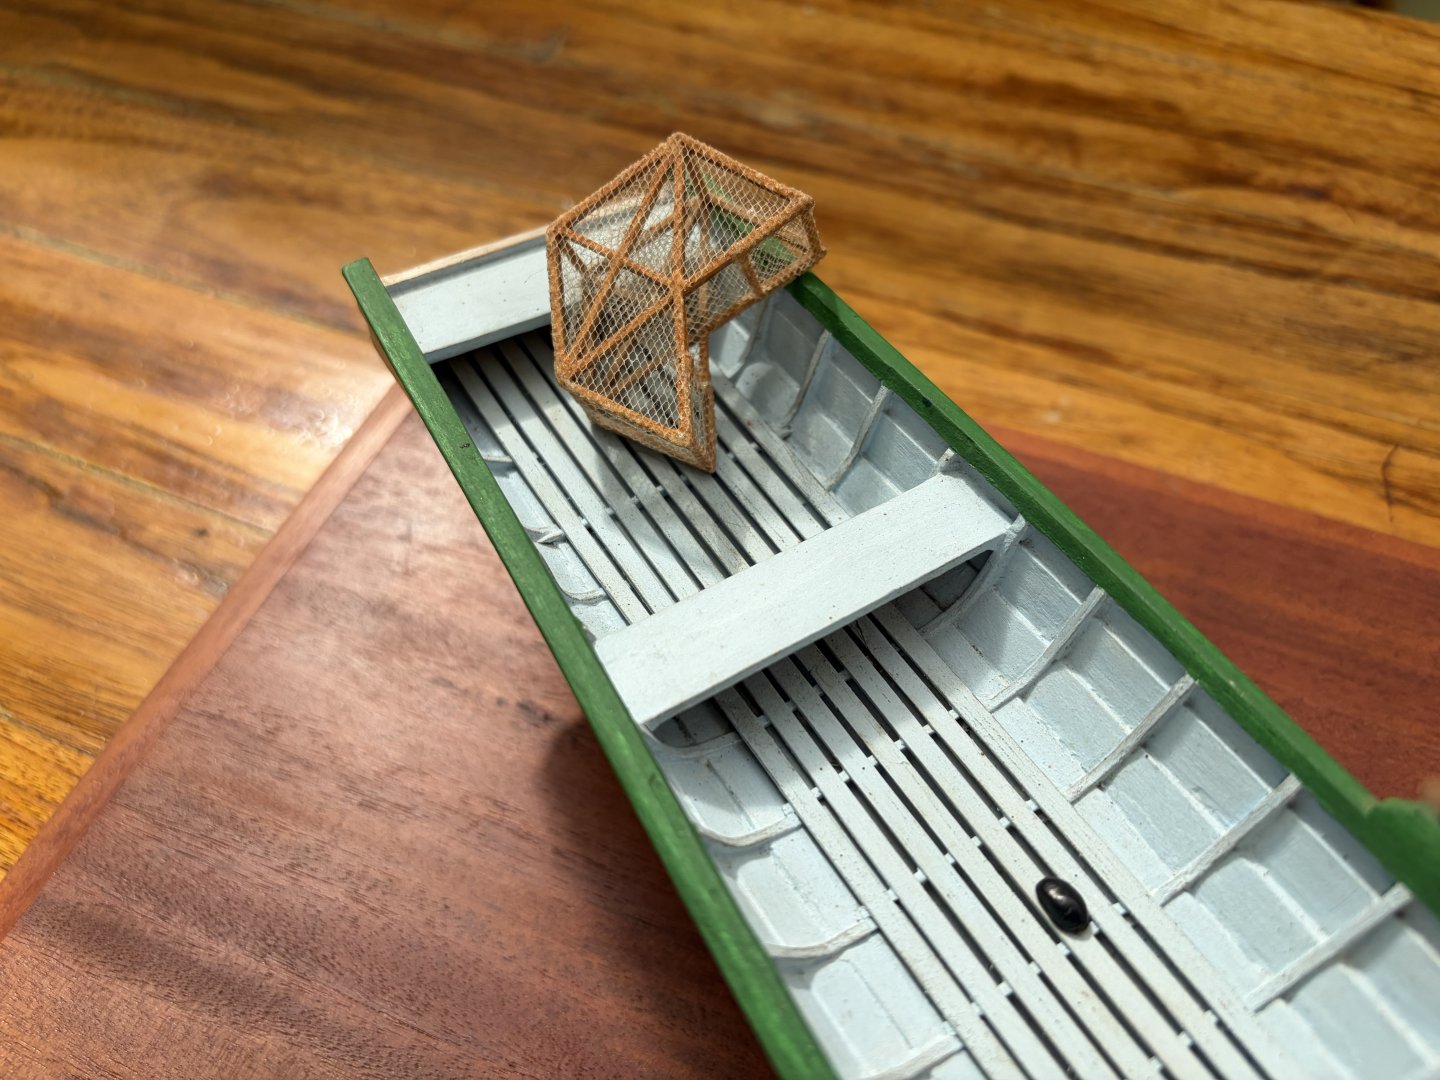
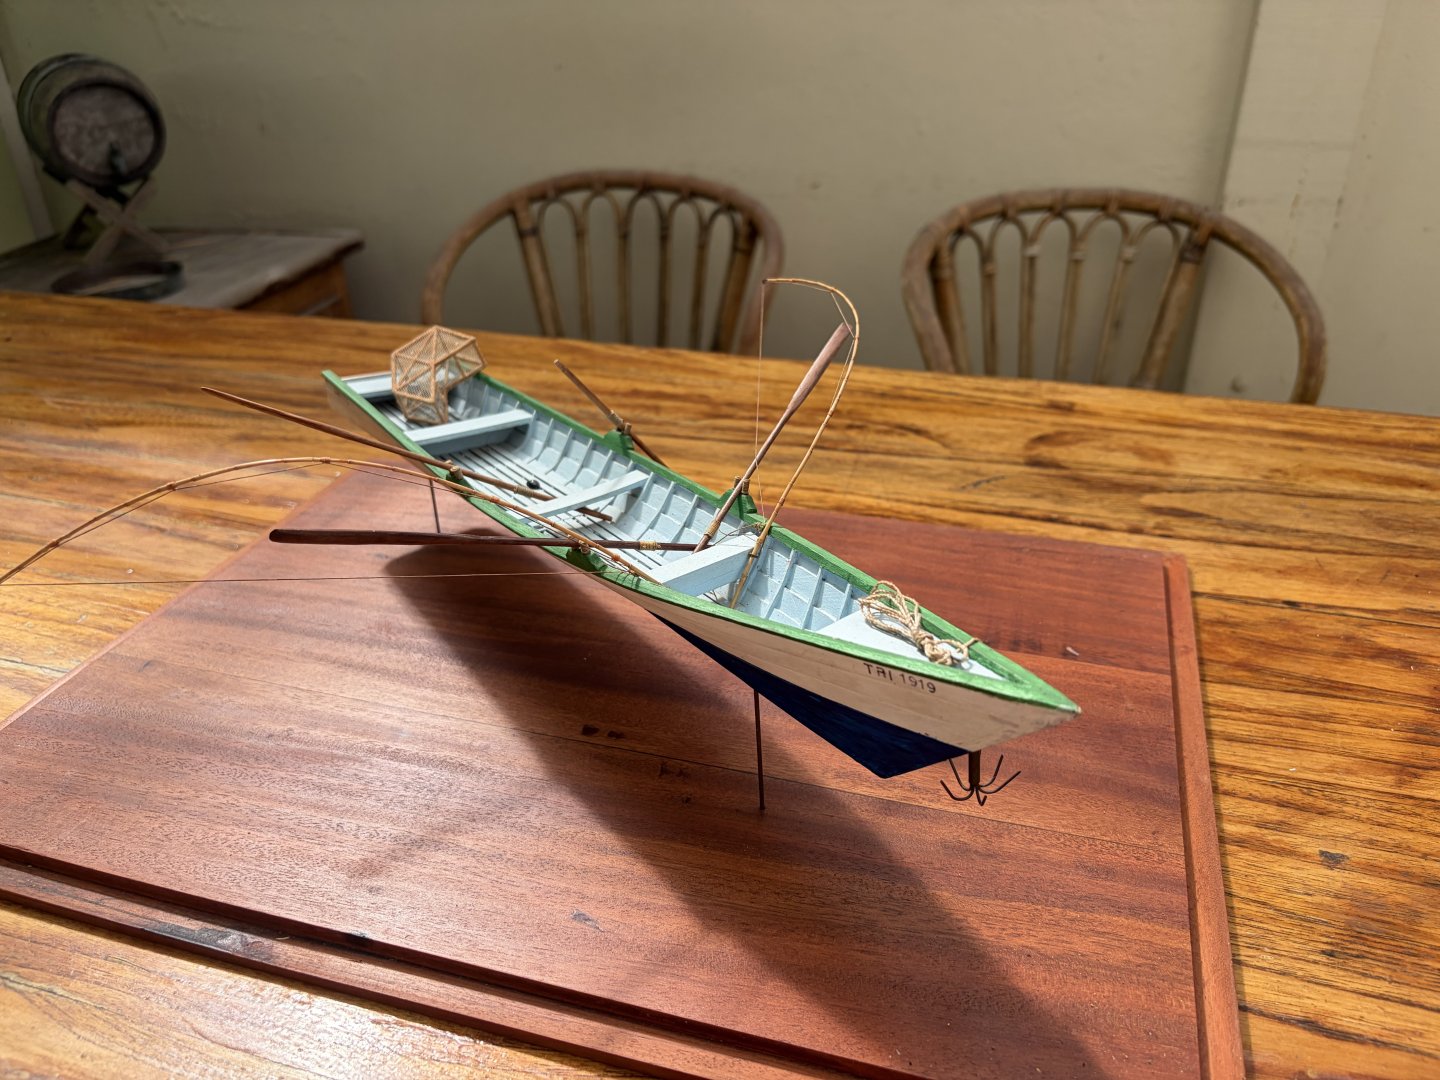
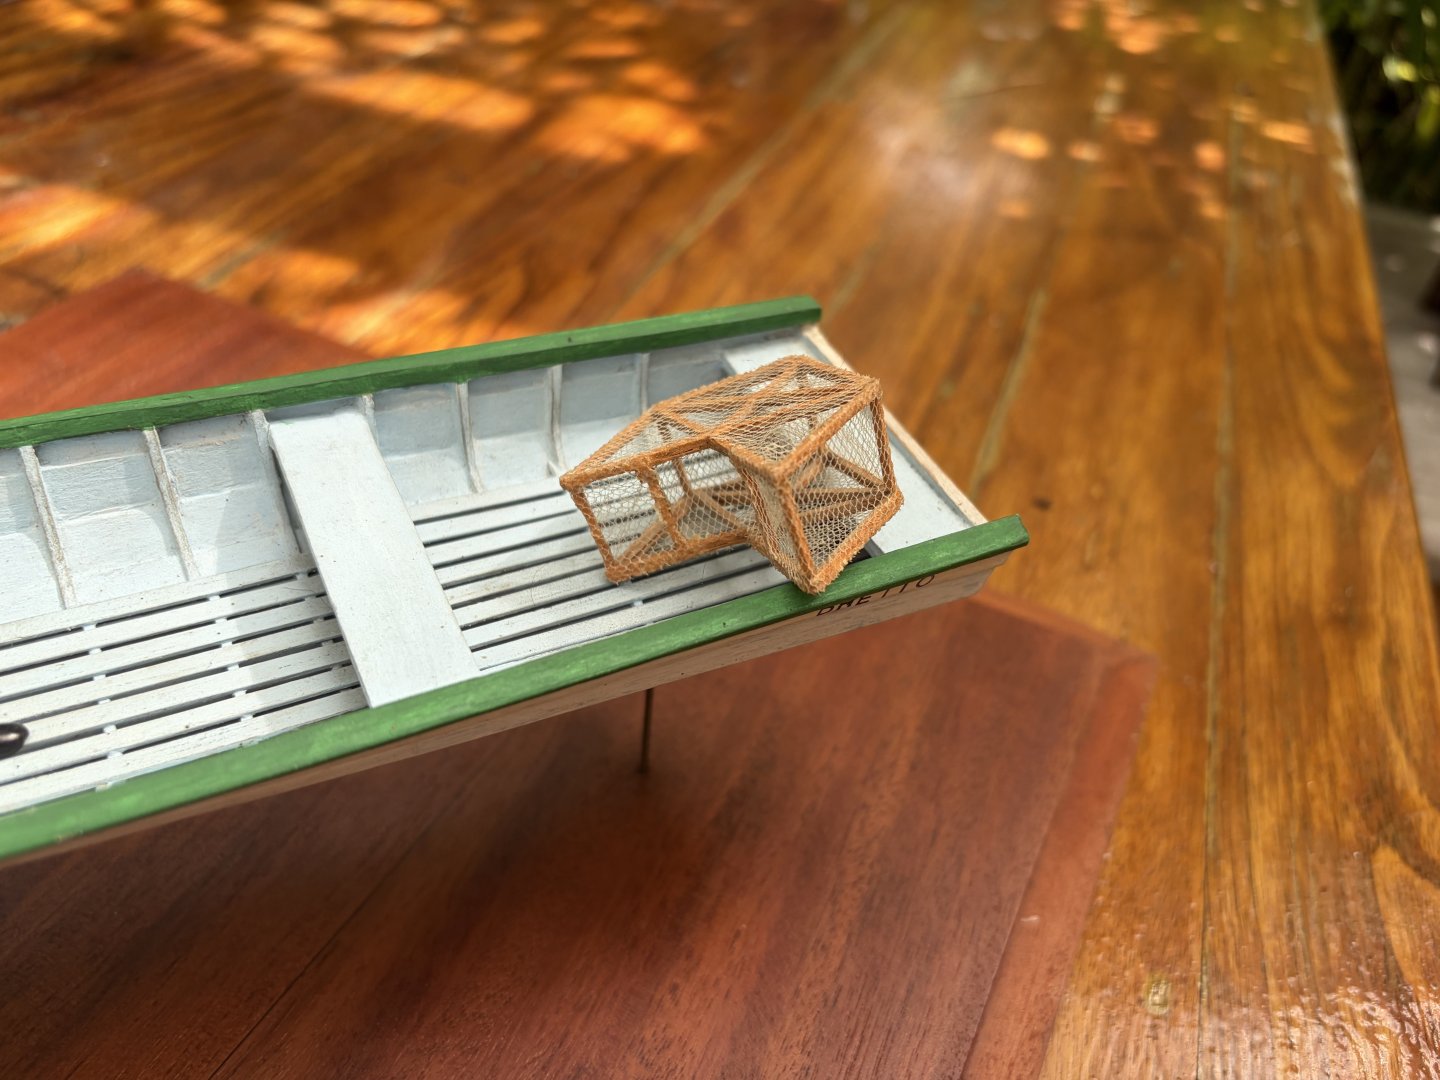
Some my pirogue images


-
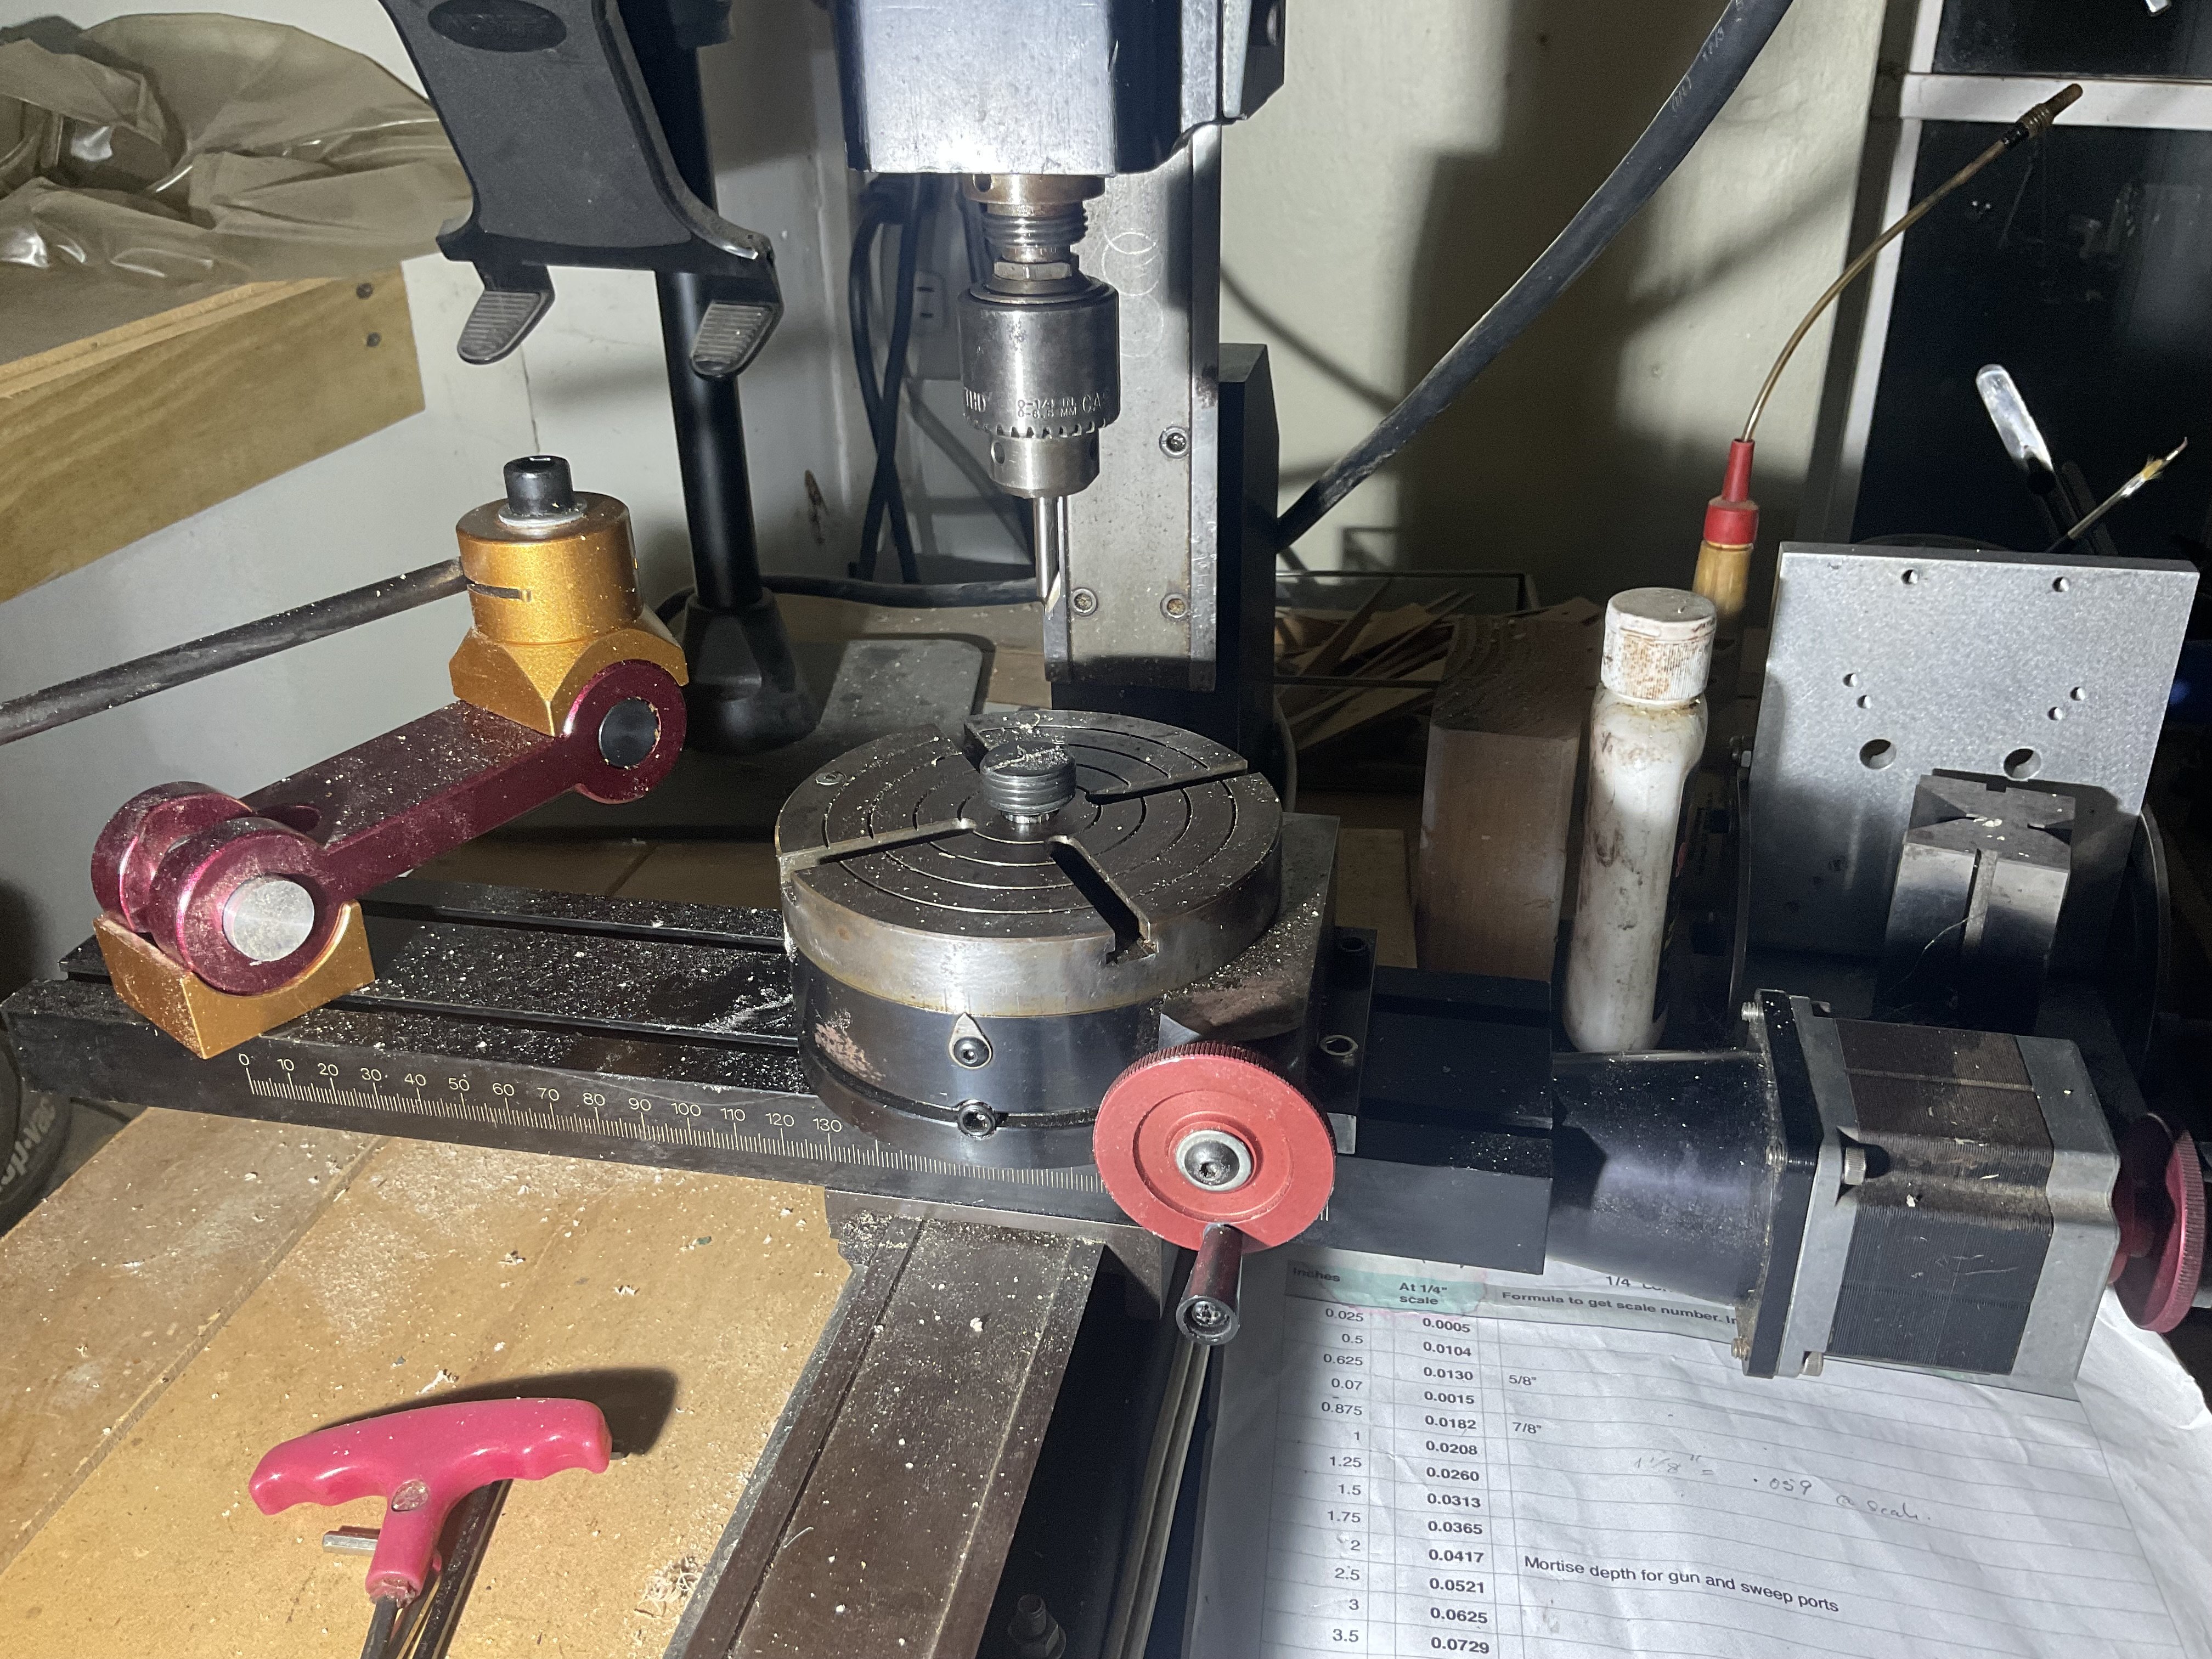
I actually had the correct center drills but when i checked on them i only had one left and it broke as i started using it, i just did not film it. I had lots of other ones but they were all too big. . I will replace them in due course. The dental bitts work great and give me a nice starter hole. They are also very robust. I have since ordered a number of them from the local dentist supplier as they can be purchased locally. Dentist seem to use them a lot. Once i use cutting fluid the drill bit never get hot and last a long time. i did speak to Sherline before Christmas and they were very happy to redo the laser numbering on the rotary table at a cost of $60 per hour plus shipping. I will take it up on the next trip as the freight from here would end up costing more than the tool itself and Mr Trump might want to hit me with another tariff. my next big purchase will be a digital readout for the mill. I have needed to bite this bullet for some time now. It will save so much time with initial setup. I have to say it was quite a challenge to get the rebate for the brass insert to fit perfectly. The readout would have helped greatly with this and make repeatability so easy. And boy that quick change post is just great. Of course i was so excited to fry it i broke one of the cutting tools on the first pass. Good tools are such a pleasure to work with. .
-
Hi Alberti It was a long time ago since i purchased the plans so i have reached out to Micheal and asked him to comment. Here is what is written on the offer. ”SeaWatch has teamed up with David Antscherl and Greg Herbert to continue to help you on your Swan journey and we are delighted to offer the plans for the Swan class sloop featured in David and Greg's four-part series Fully Framed Ship Model. The plans have been drawn up expressly for model makers who wish to build a fully framed model. Drawn to the classic scale of 1:48, each set consists of two plan sheets. The first includes the sheer and profile, half-breadth and body plan. The second sheet includes all the masts, spars, etc. required for a Swan class vessel or similar ship rigged model of that period. The 35 patterns for the floors, futtocks, toptimbers, hawse timbers and transoms will be included as digital downloads for those who buy the plans. This will enable the builder to print out as many frame patterns as needed to construct each frame.’ So that means to me that you will get all the digital files needed to allow you to make up all the frames, but Michael will respond more directly. When i purchase the plans we got a paper copy of the frame plans. I would have preferred a digital copy.
-
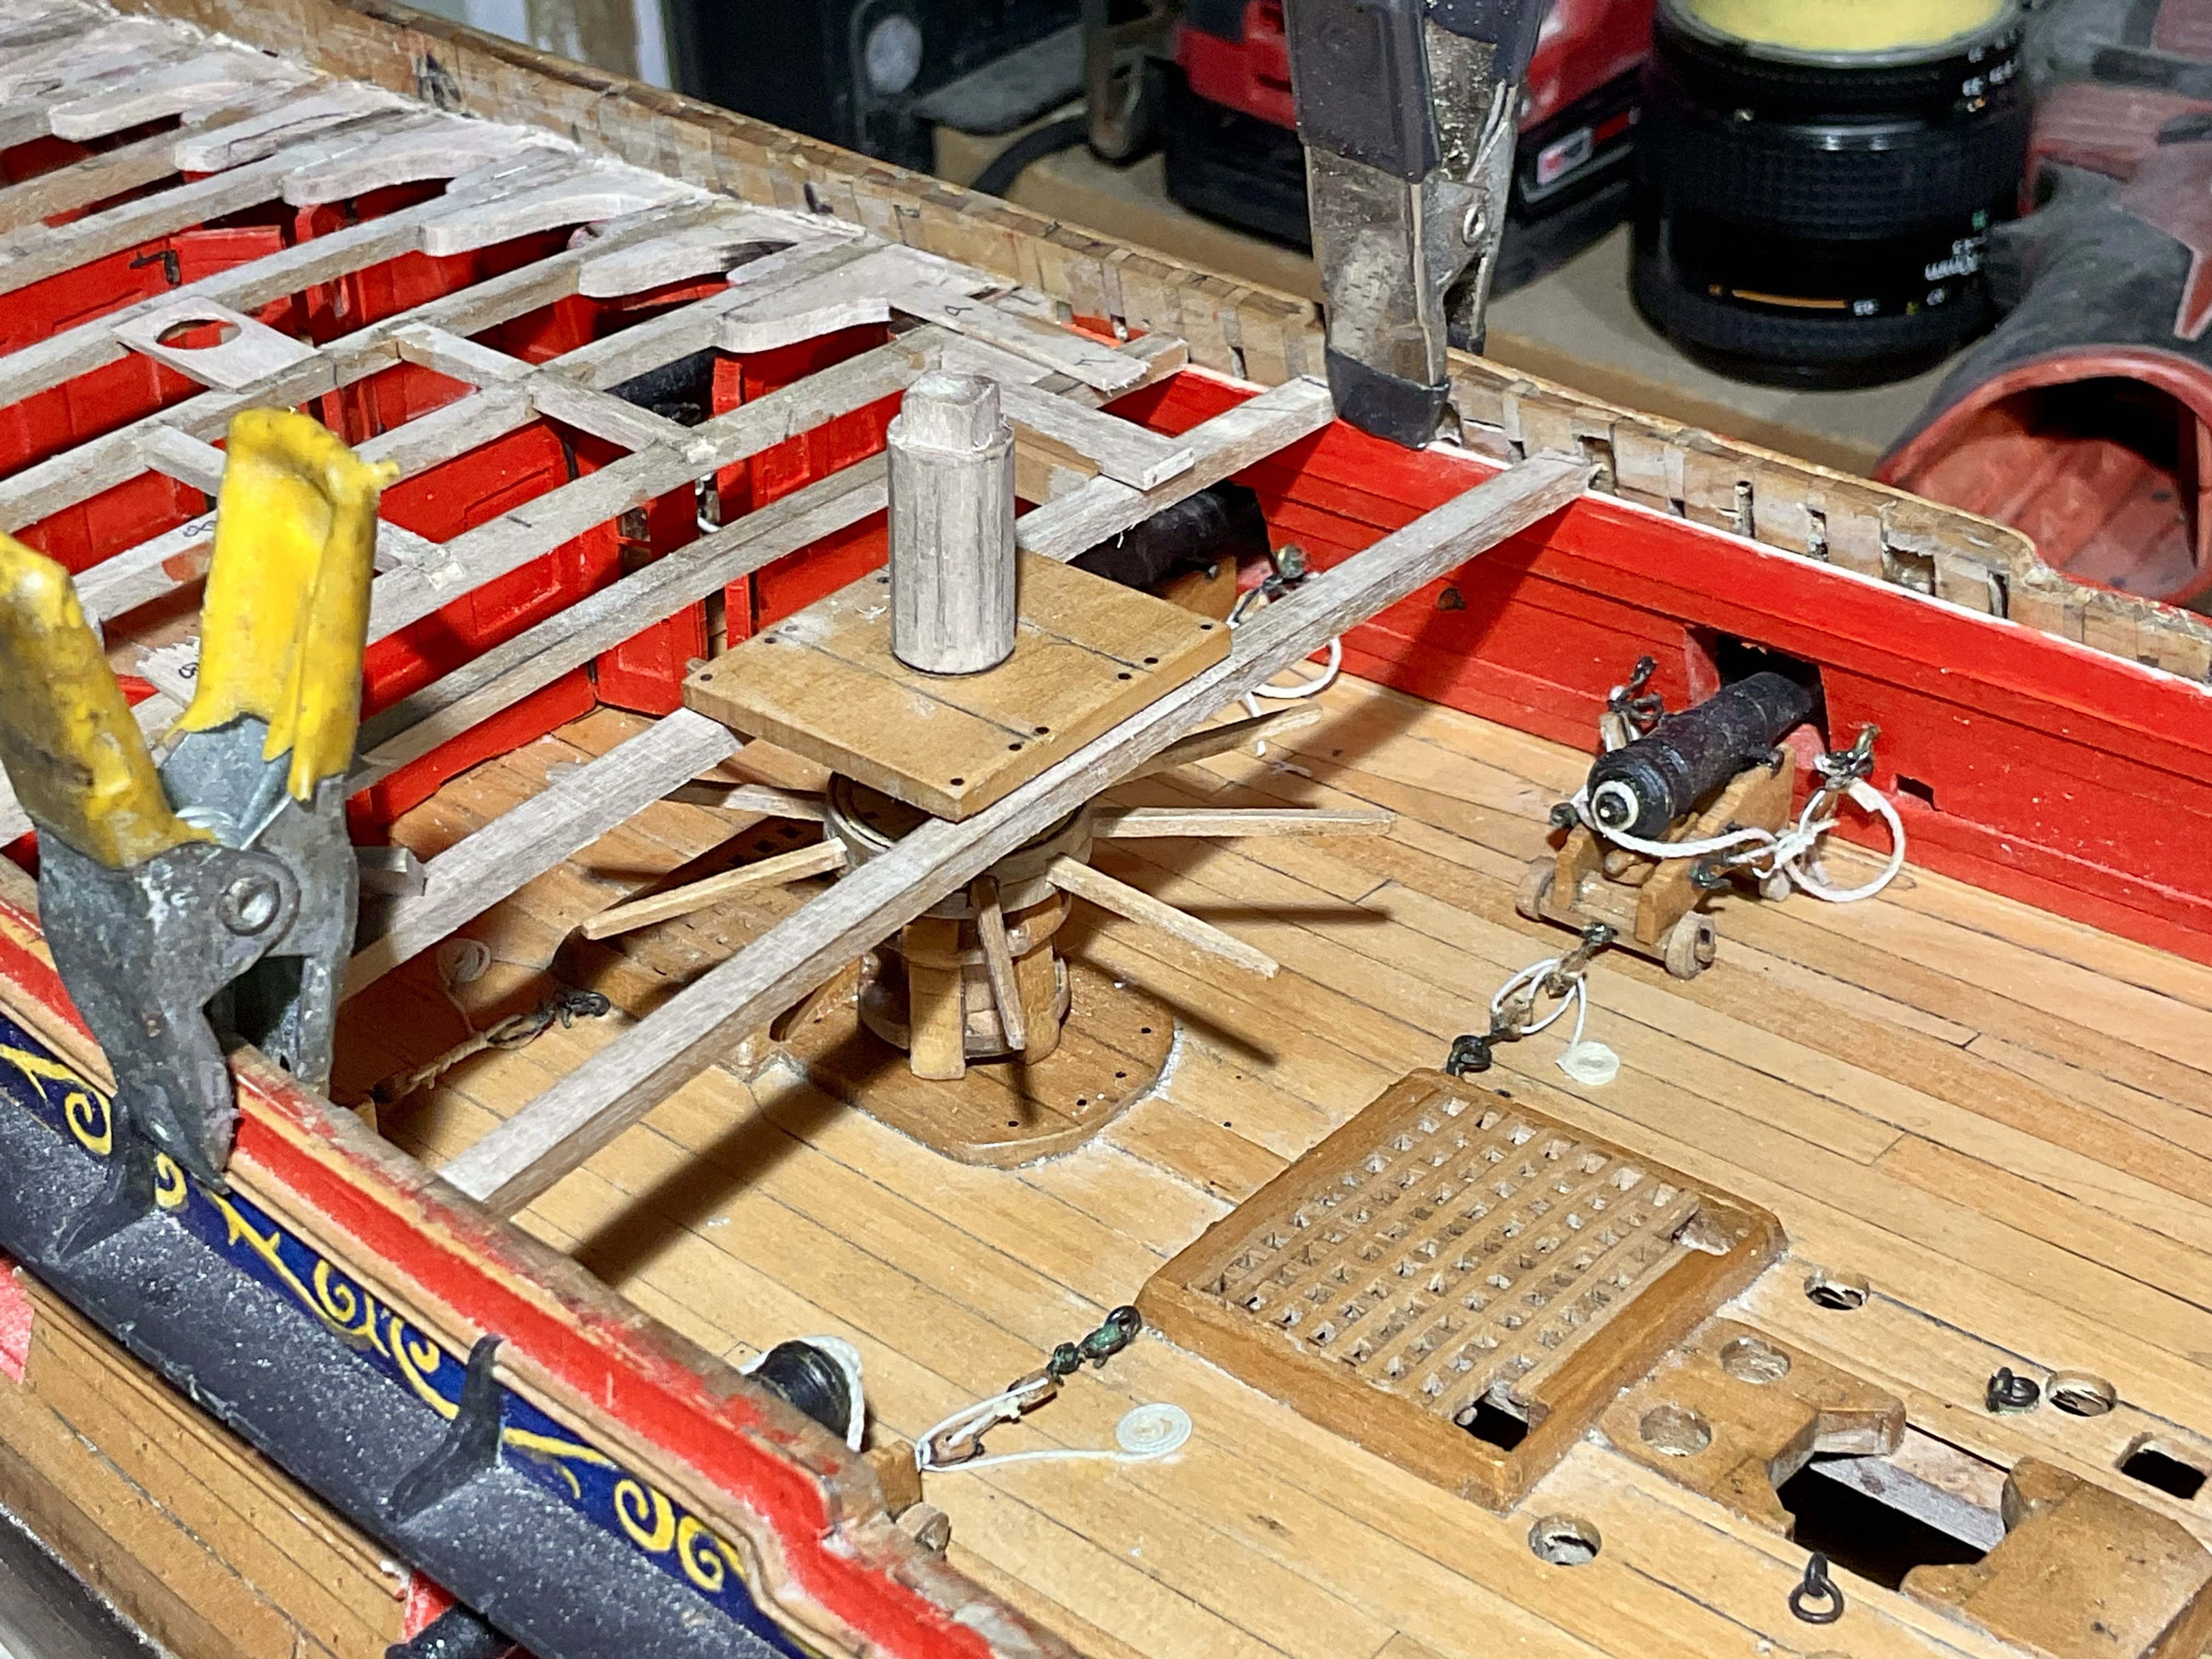
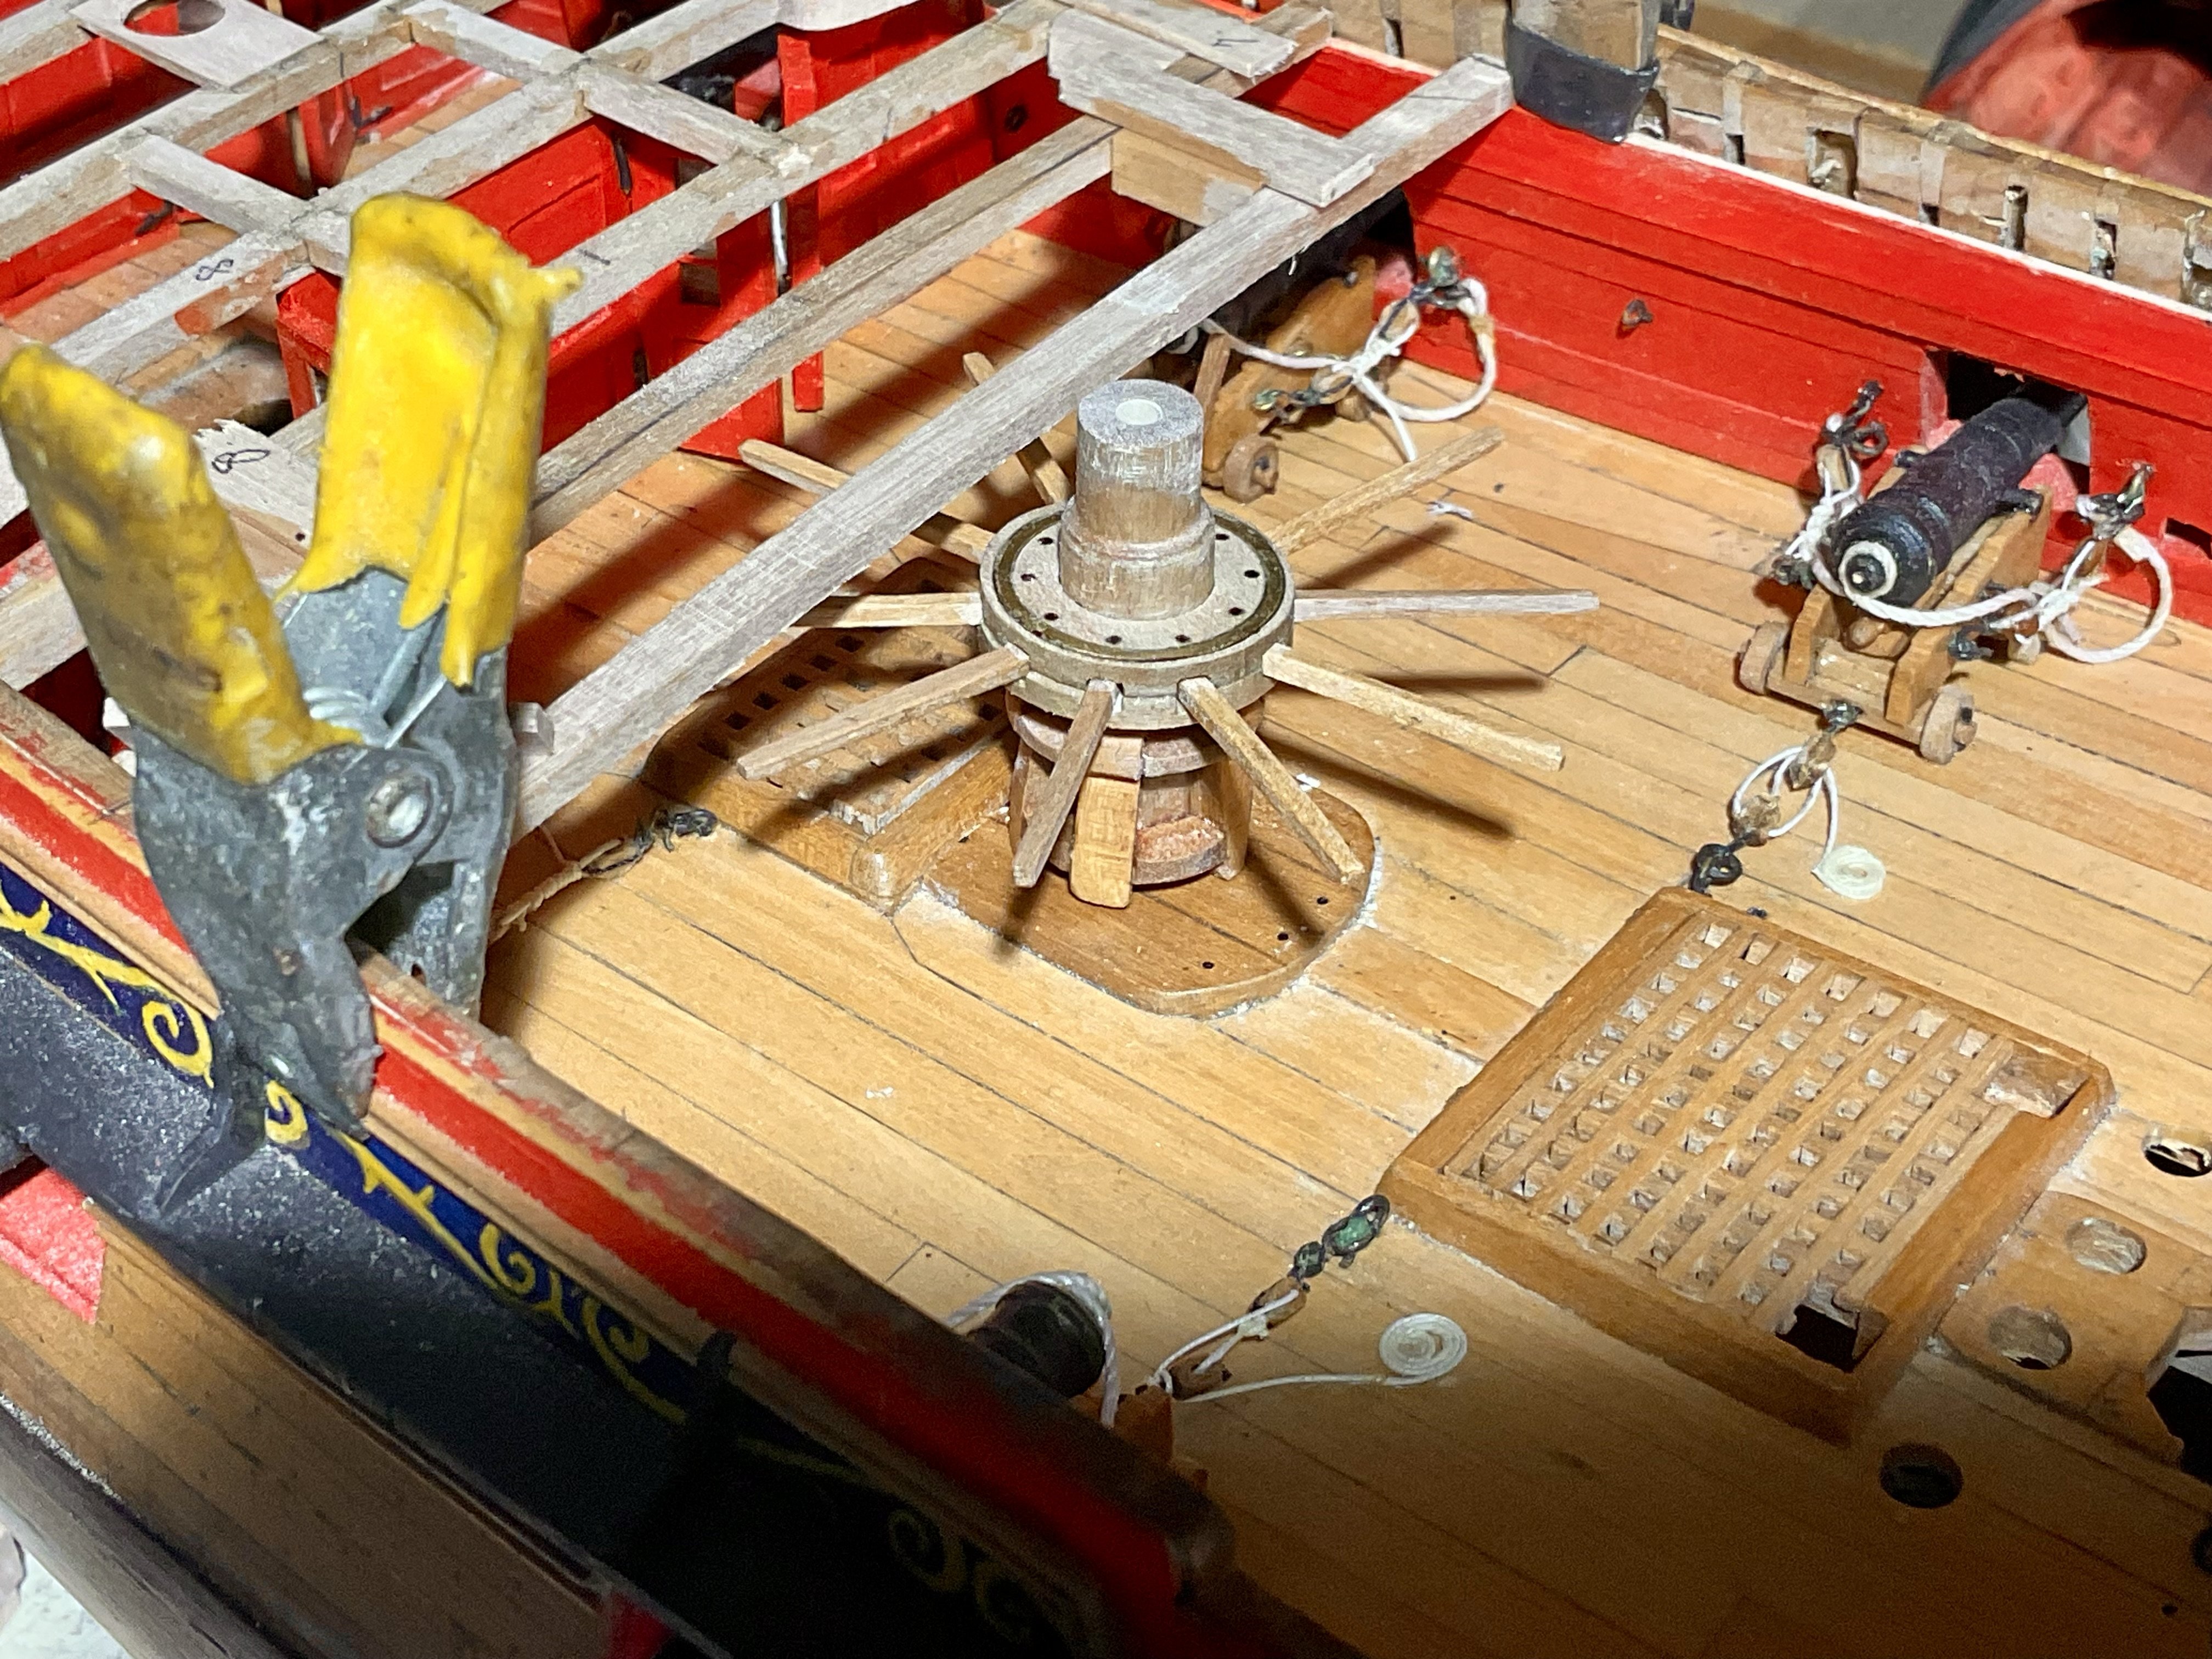
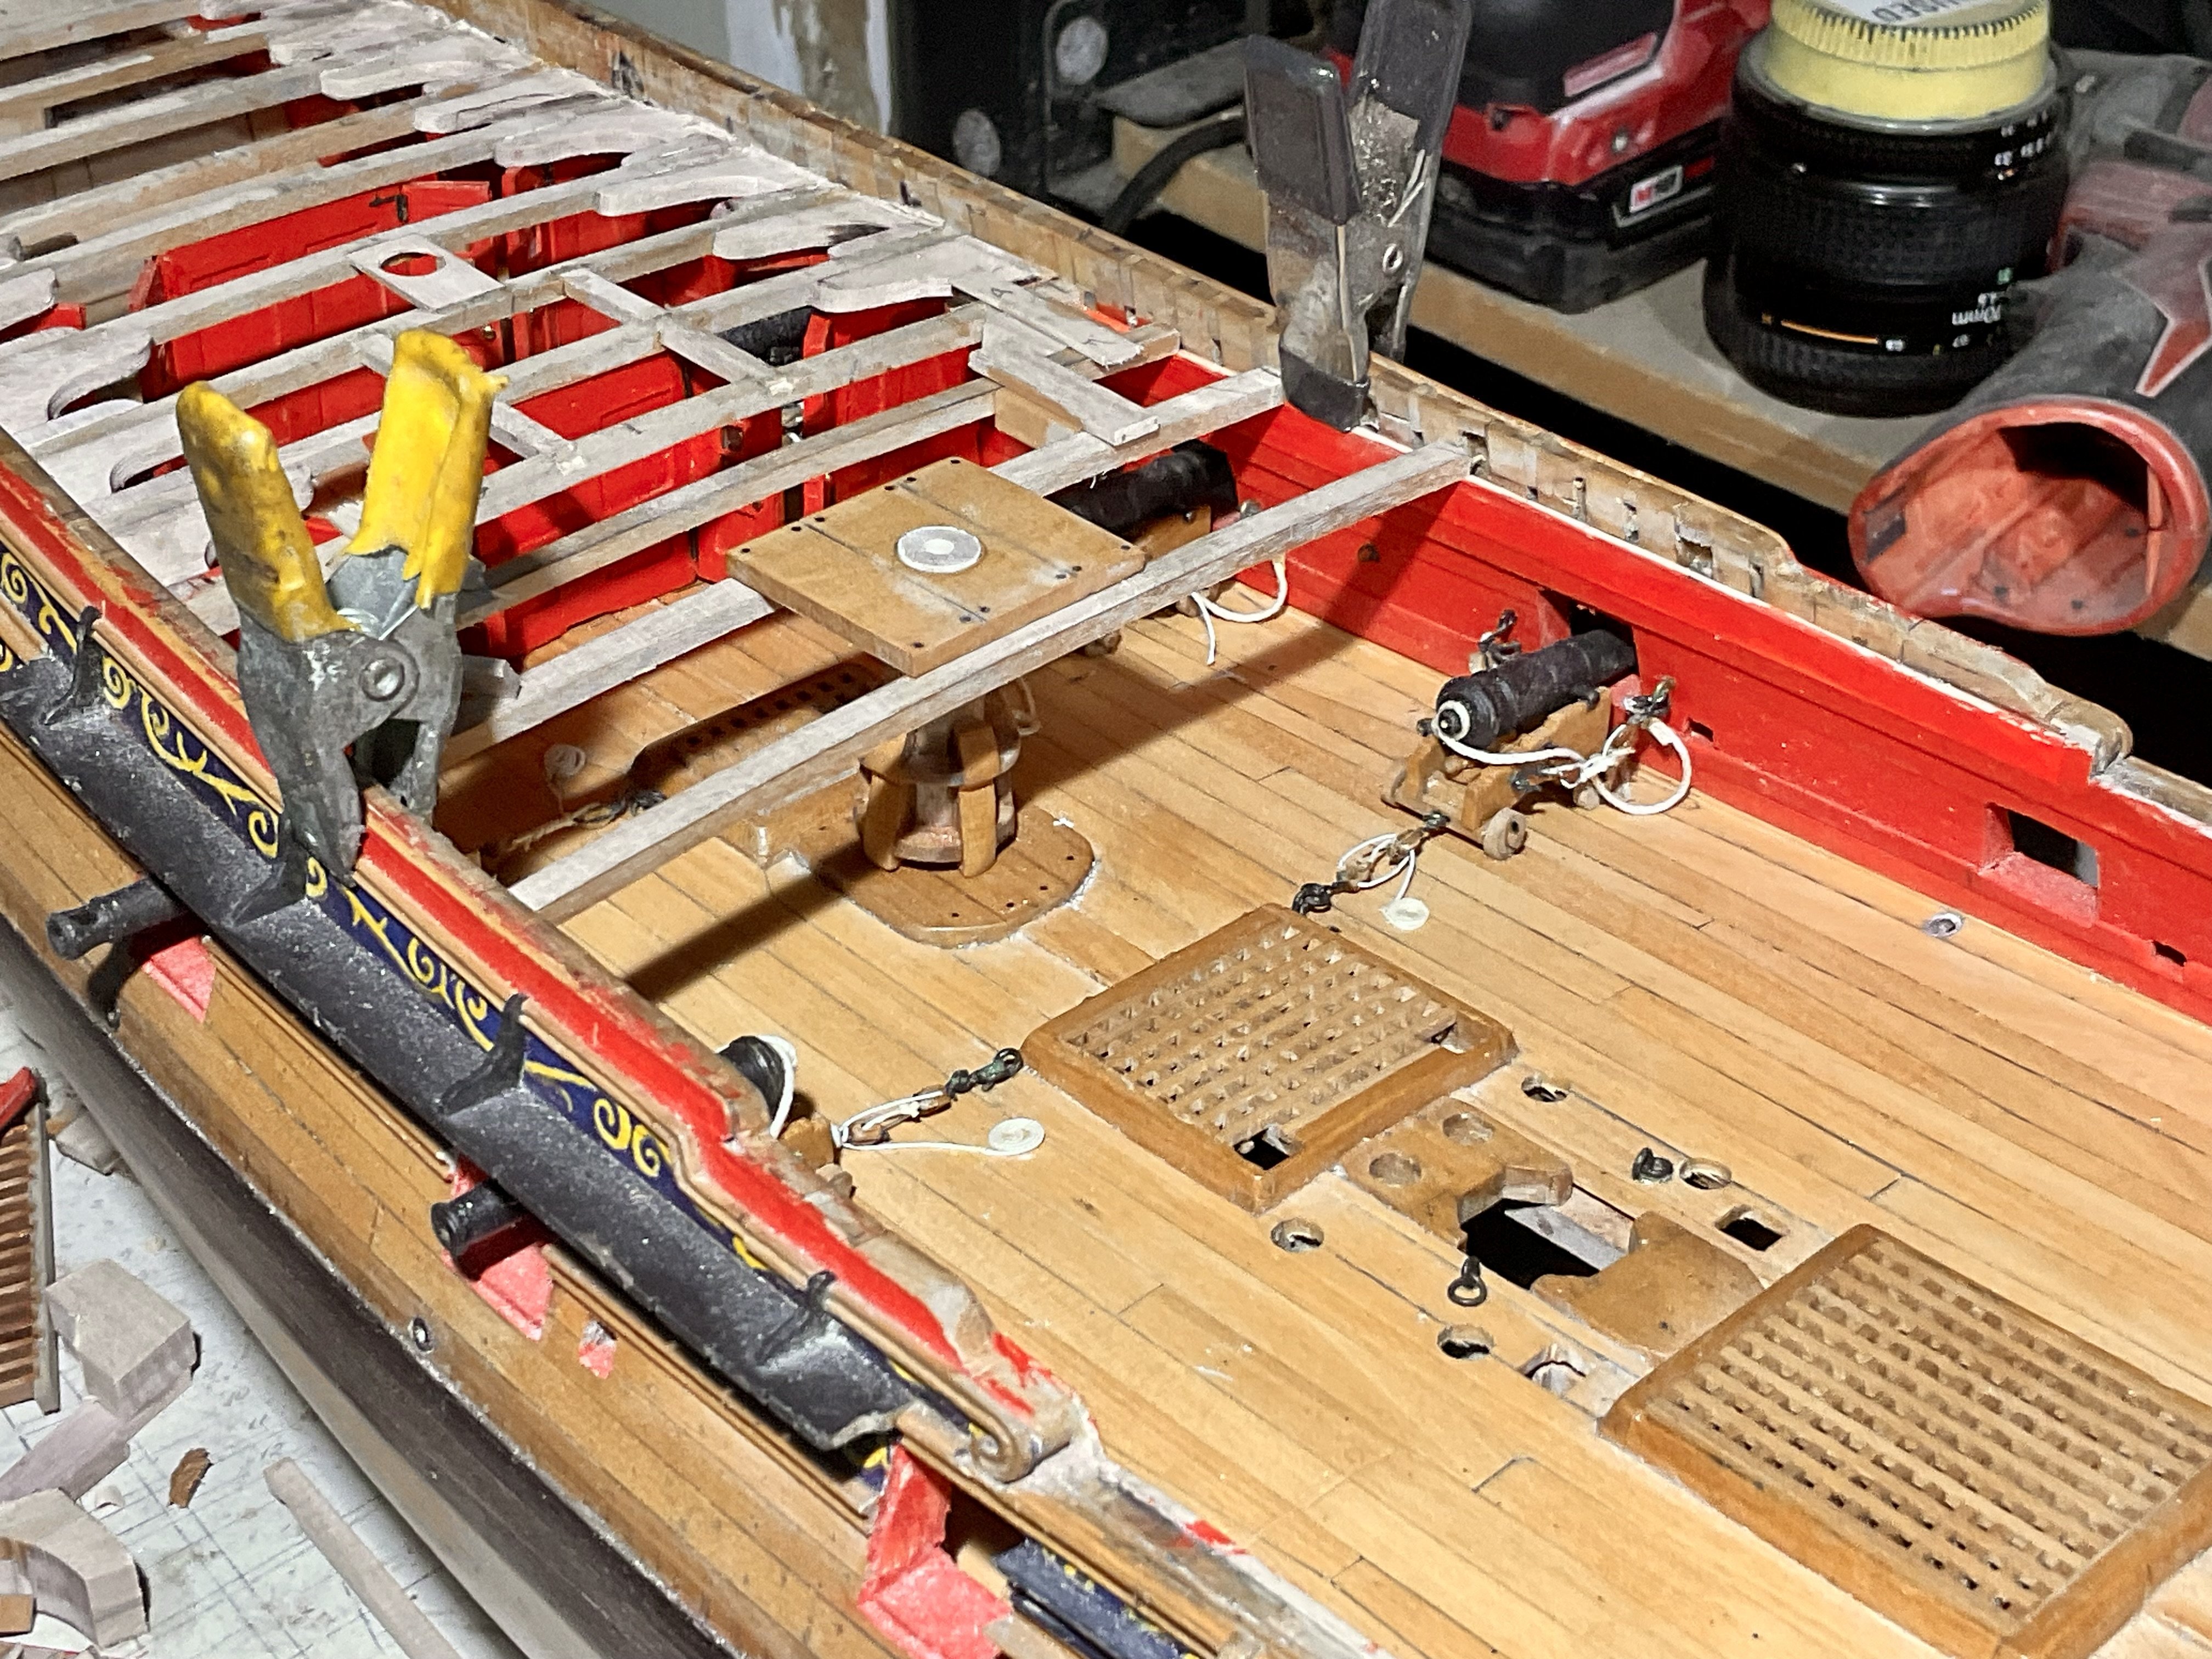
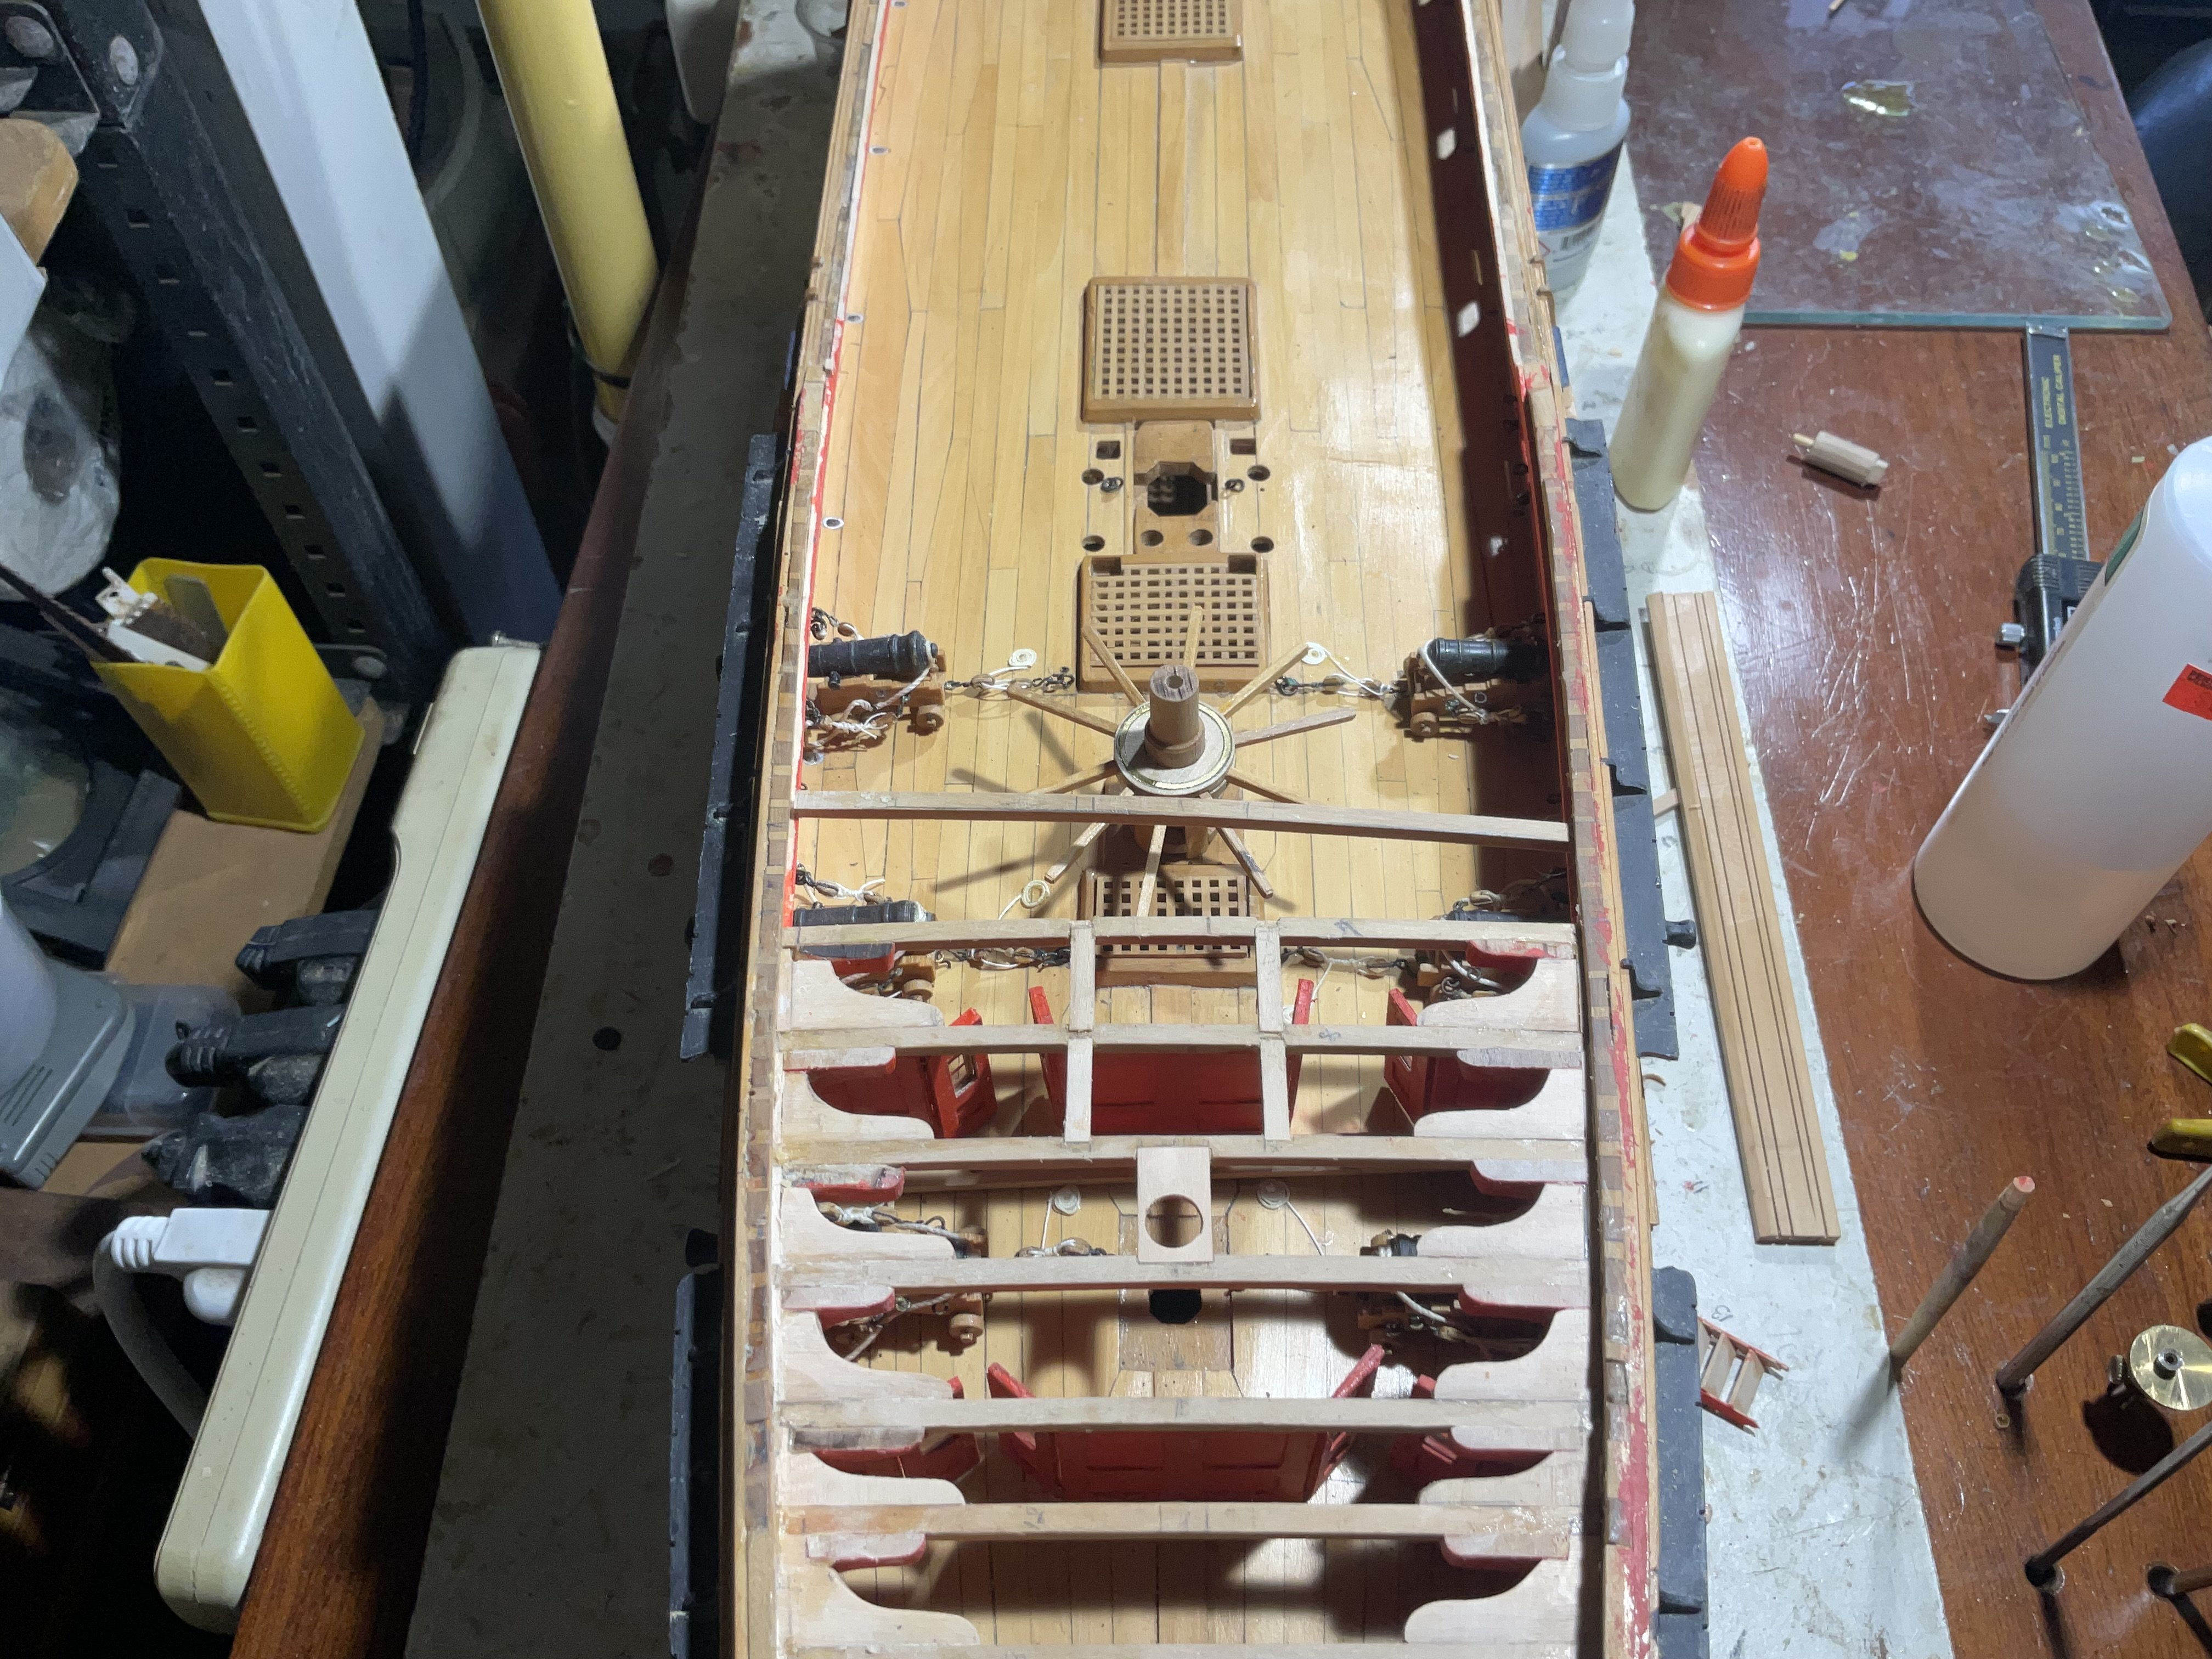
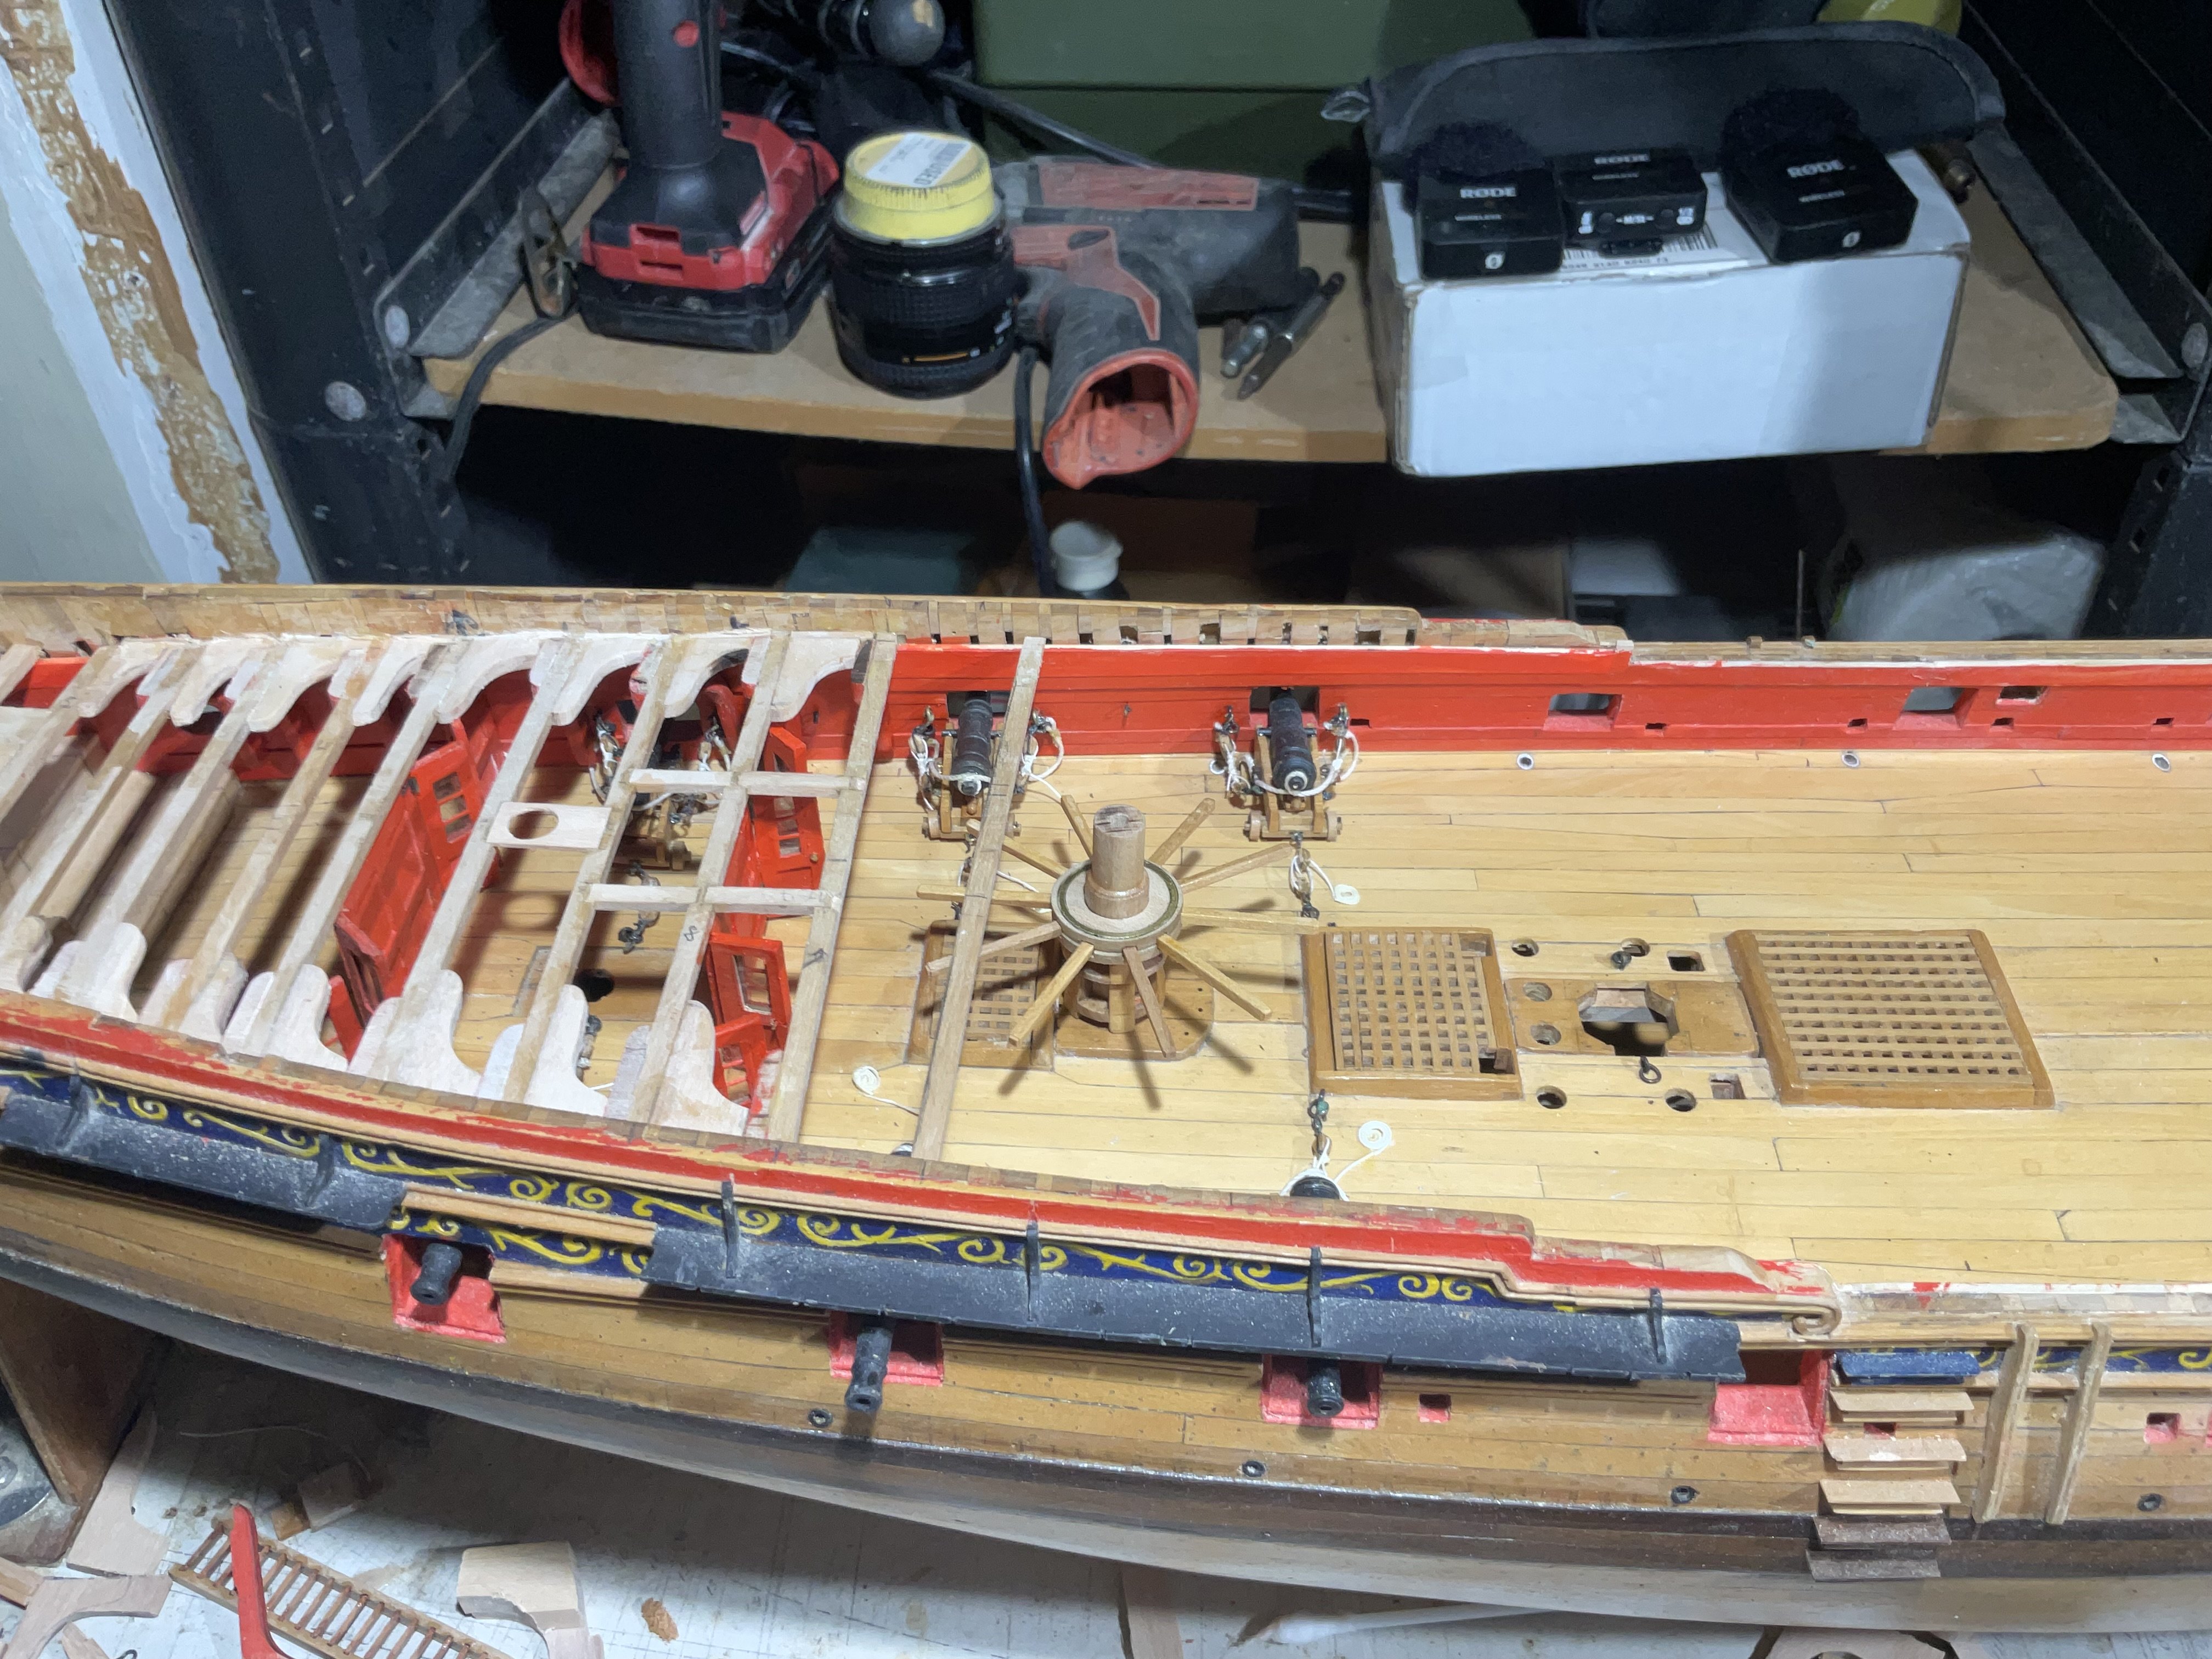
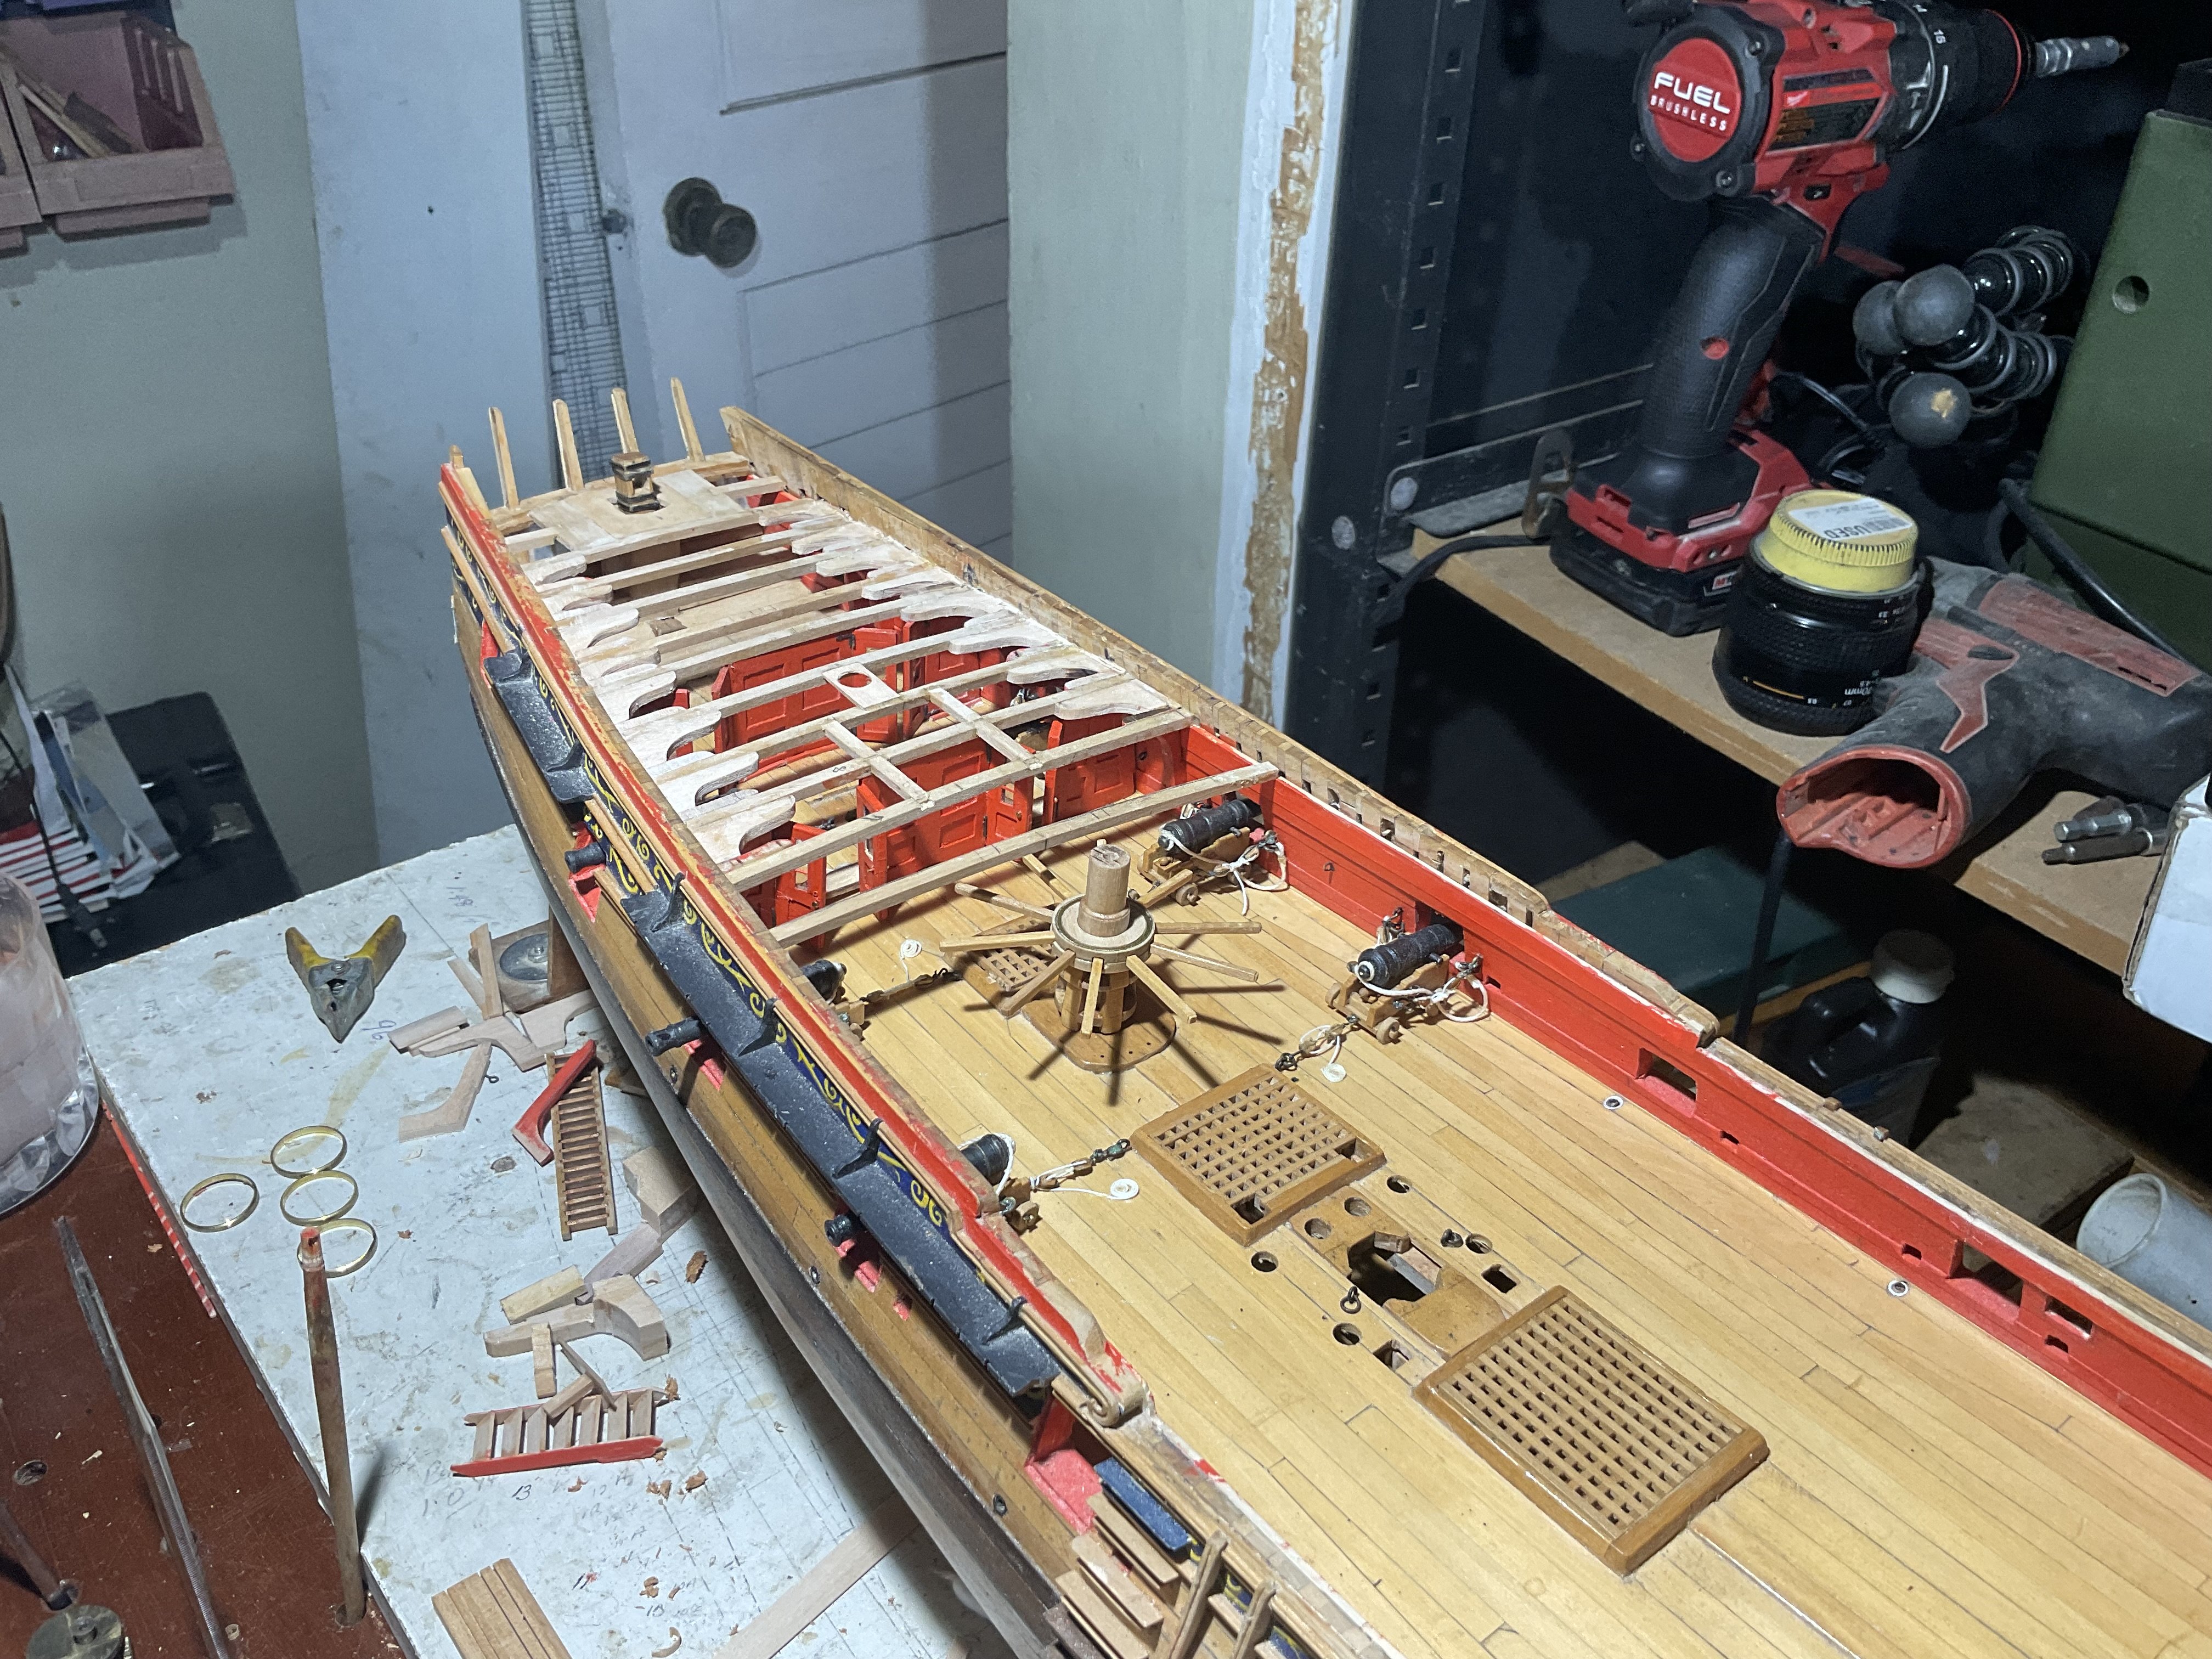
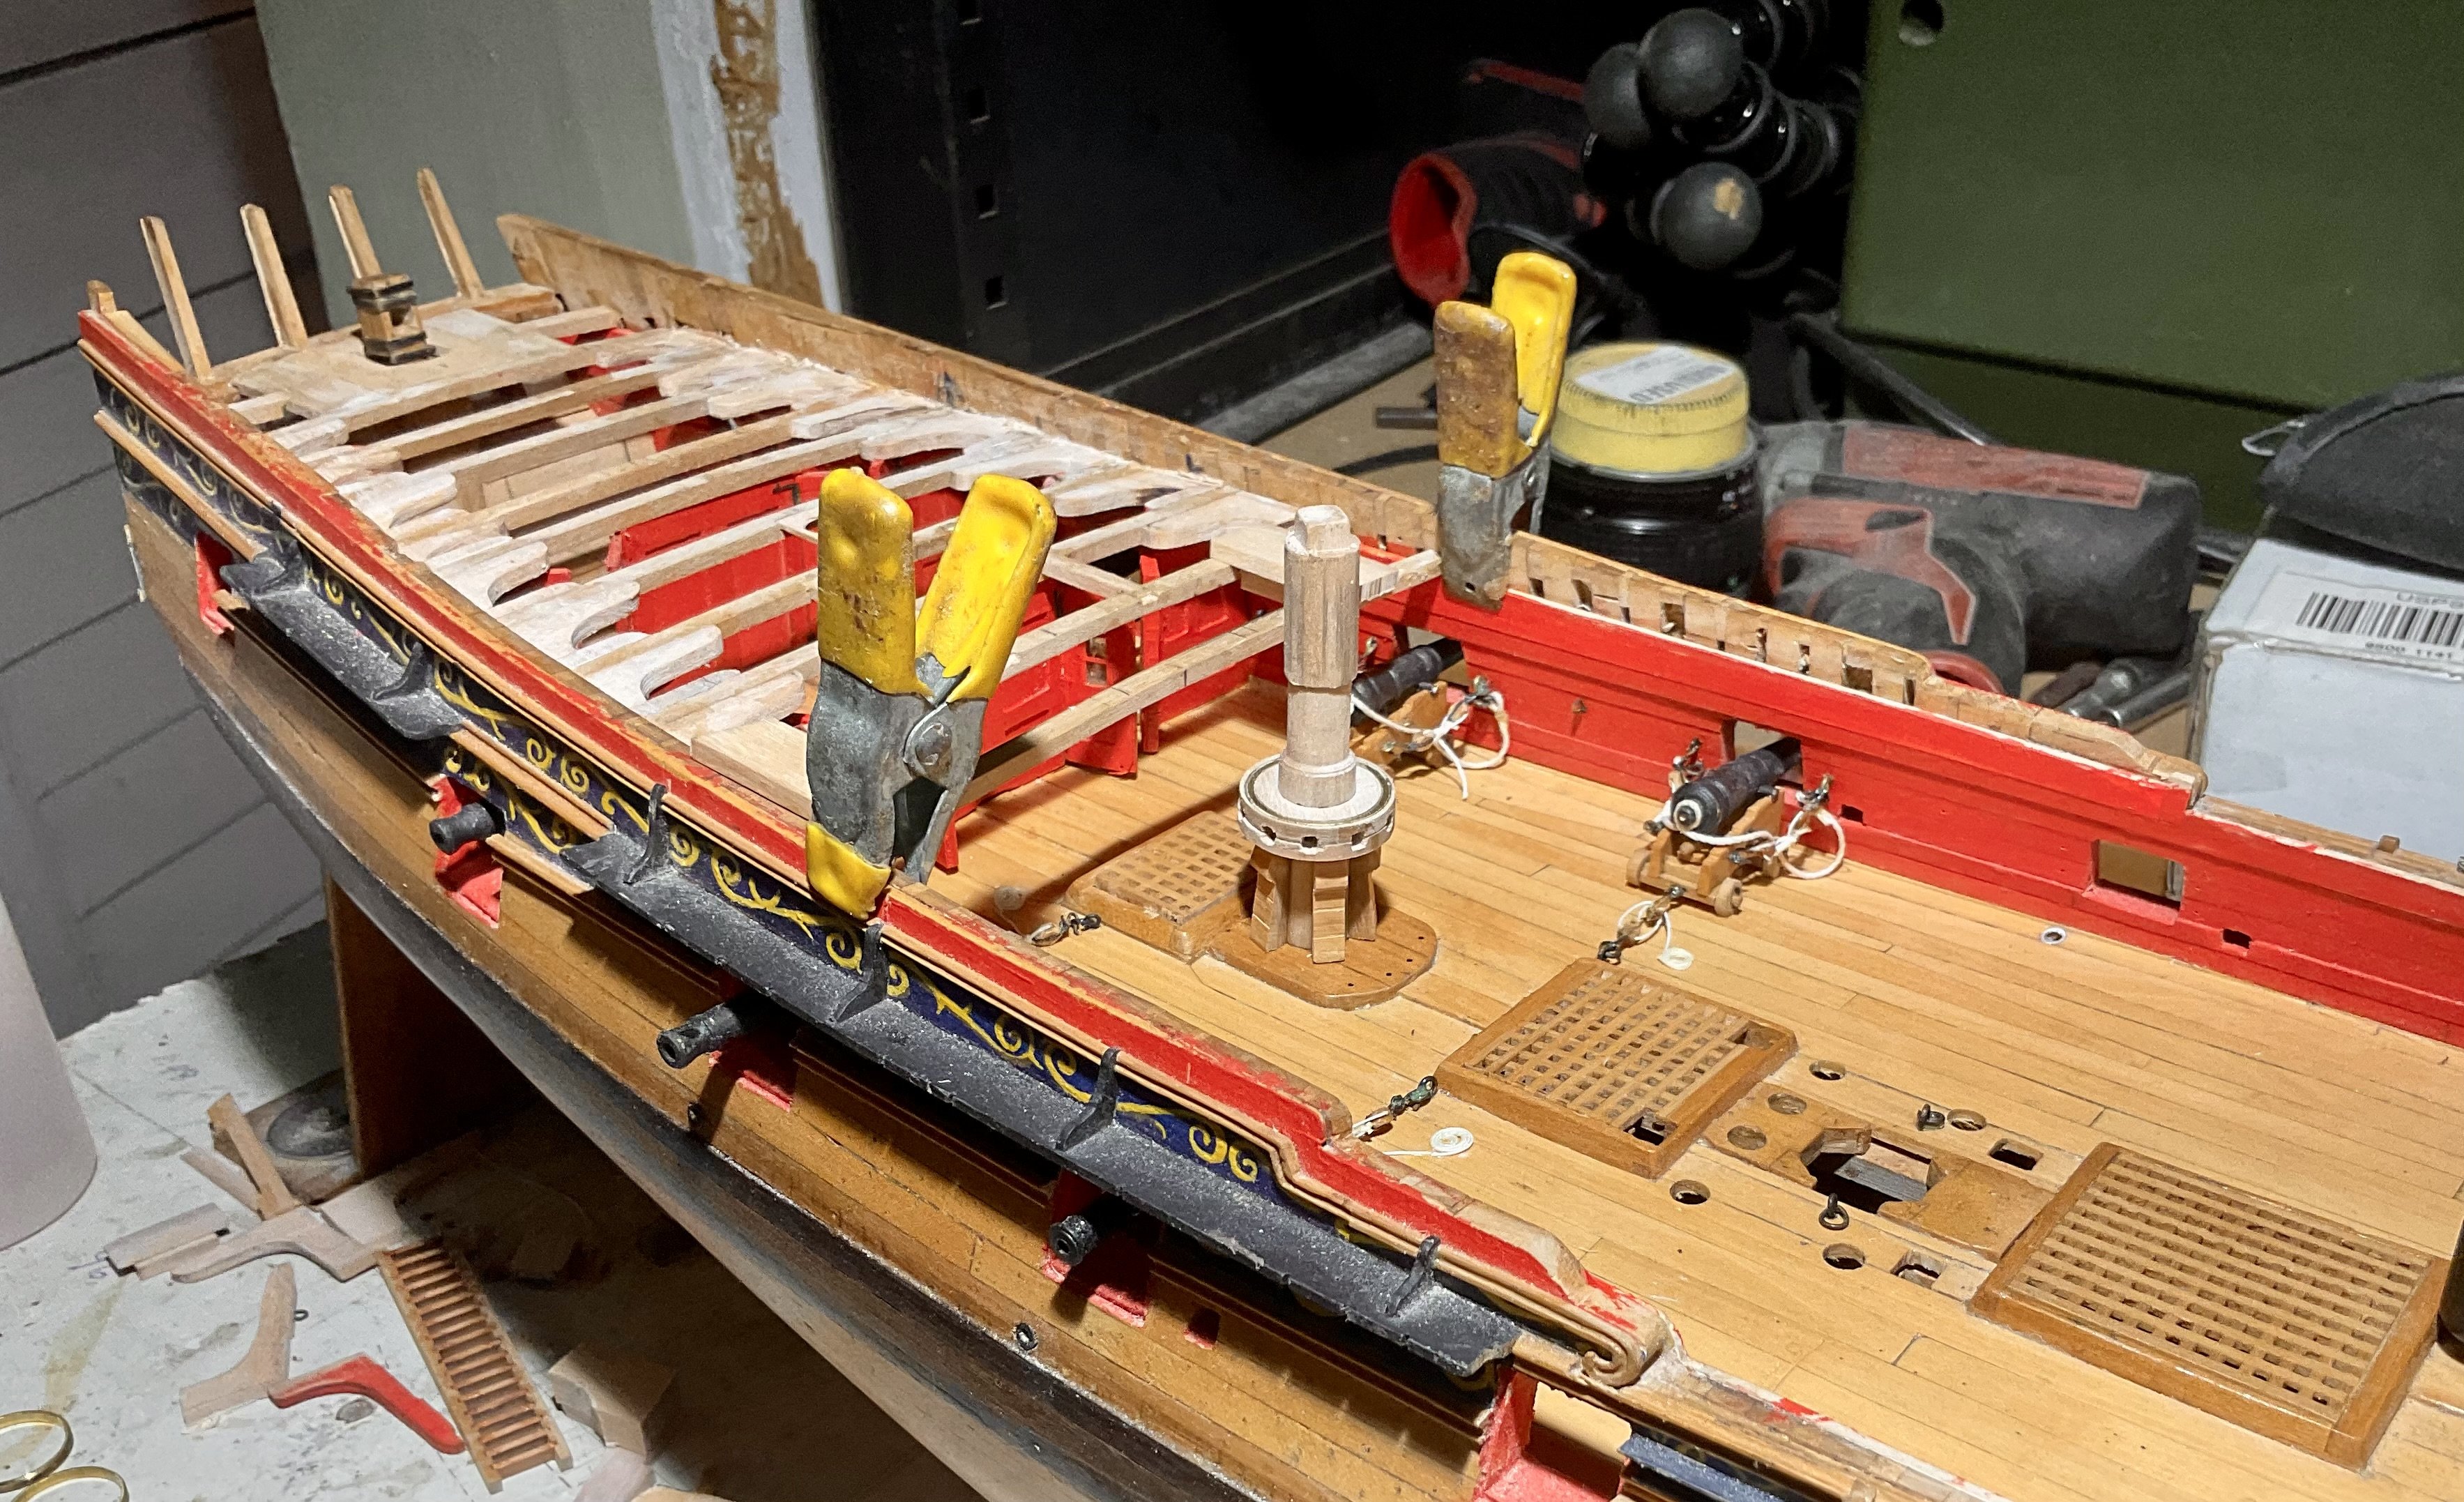
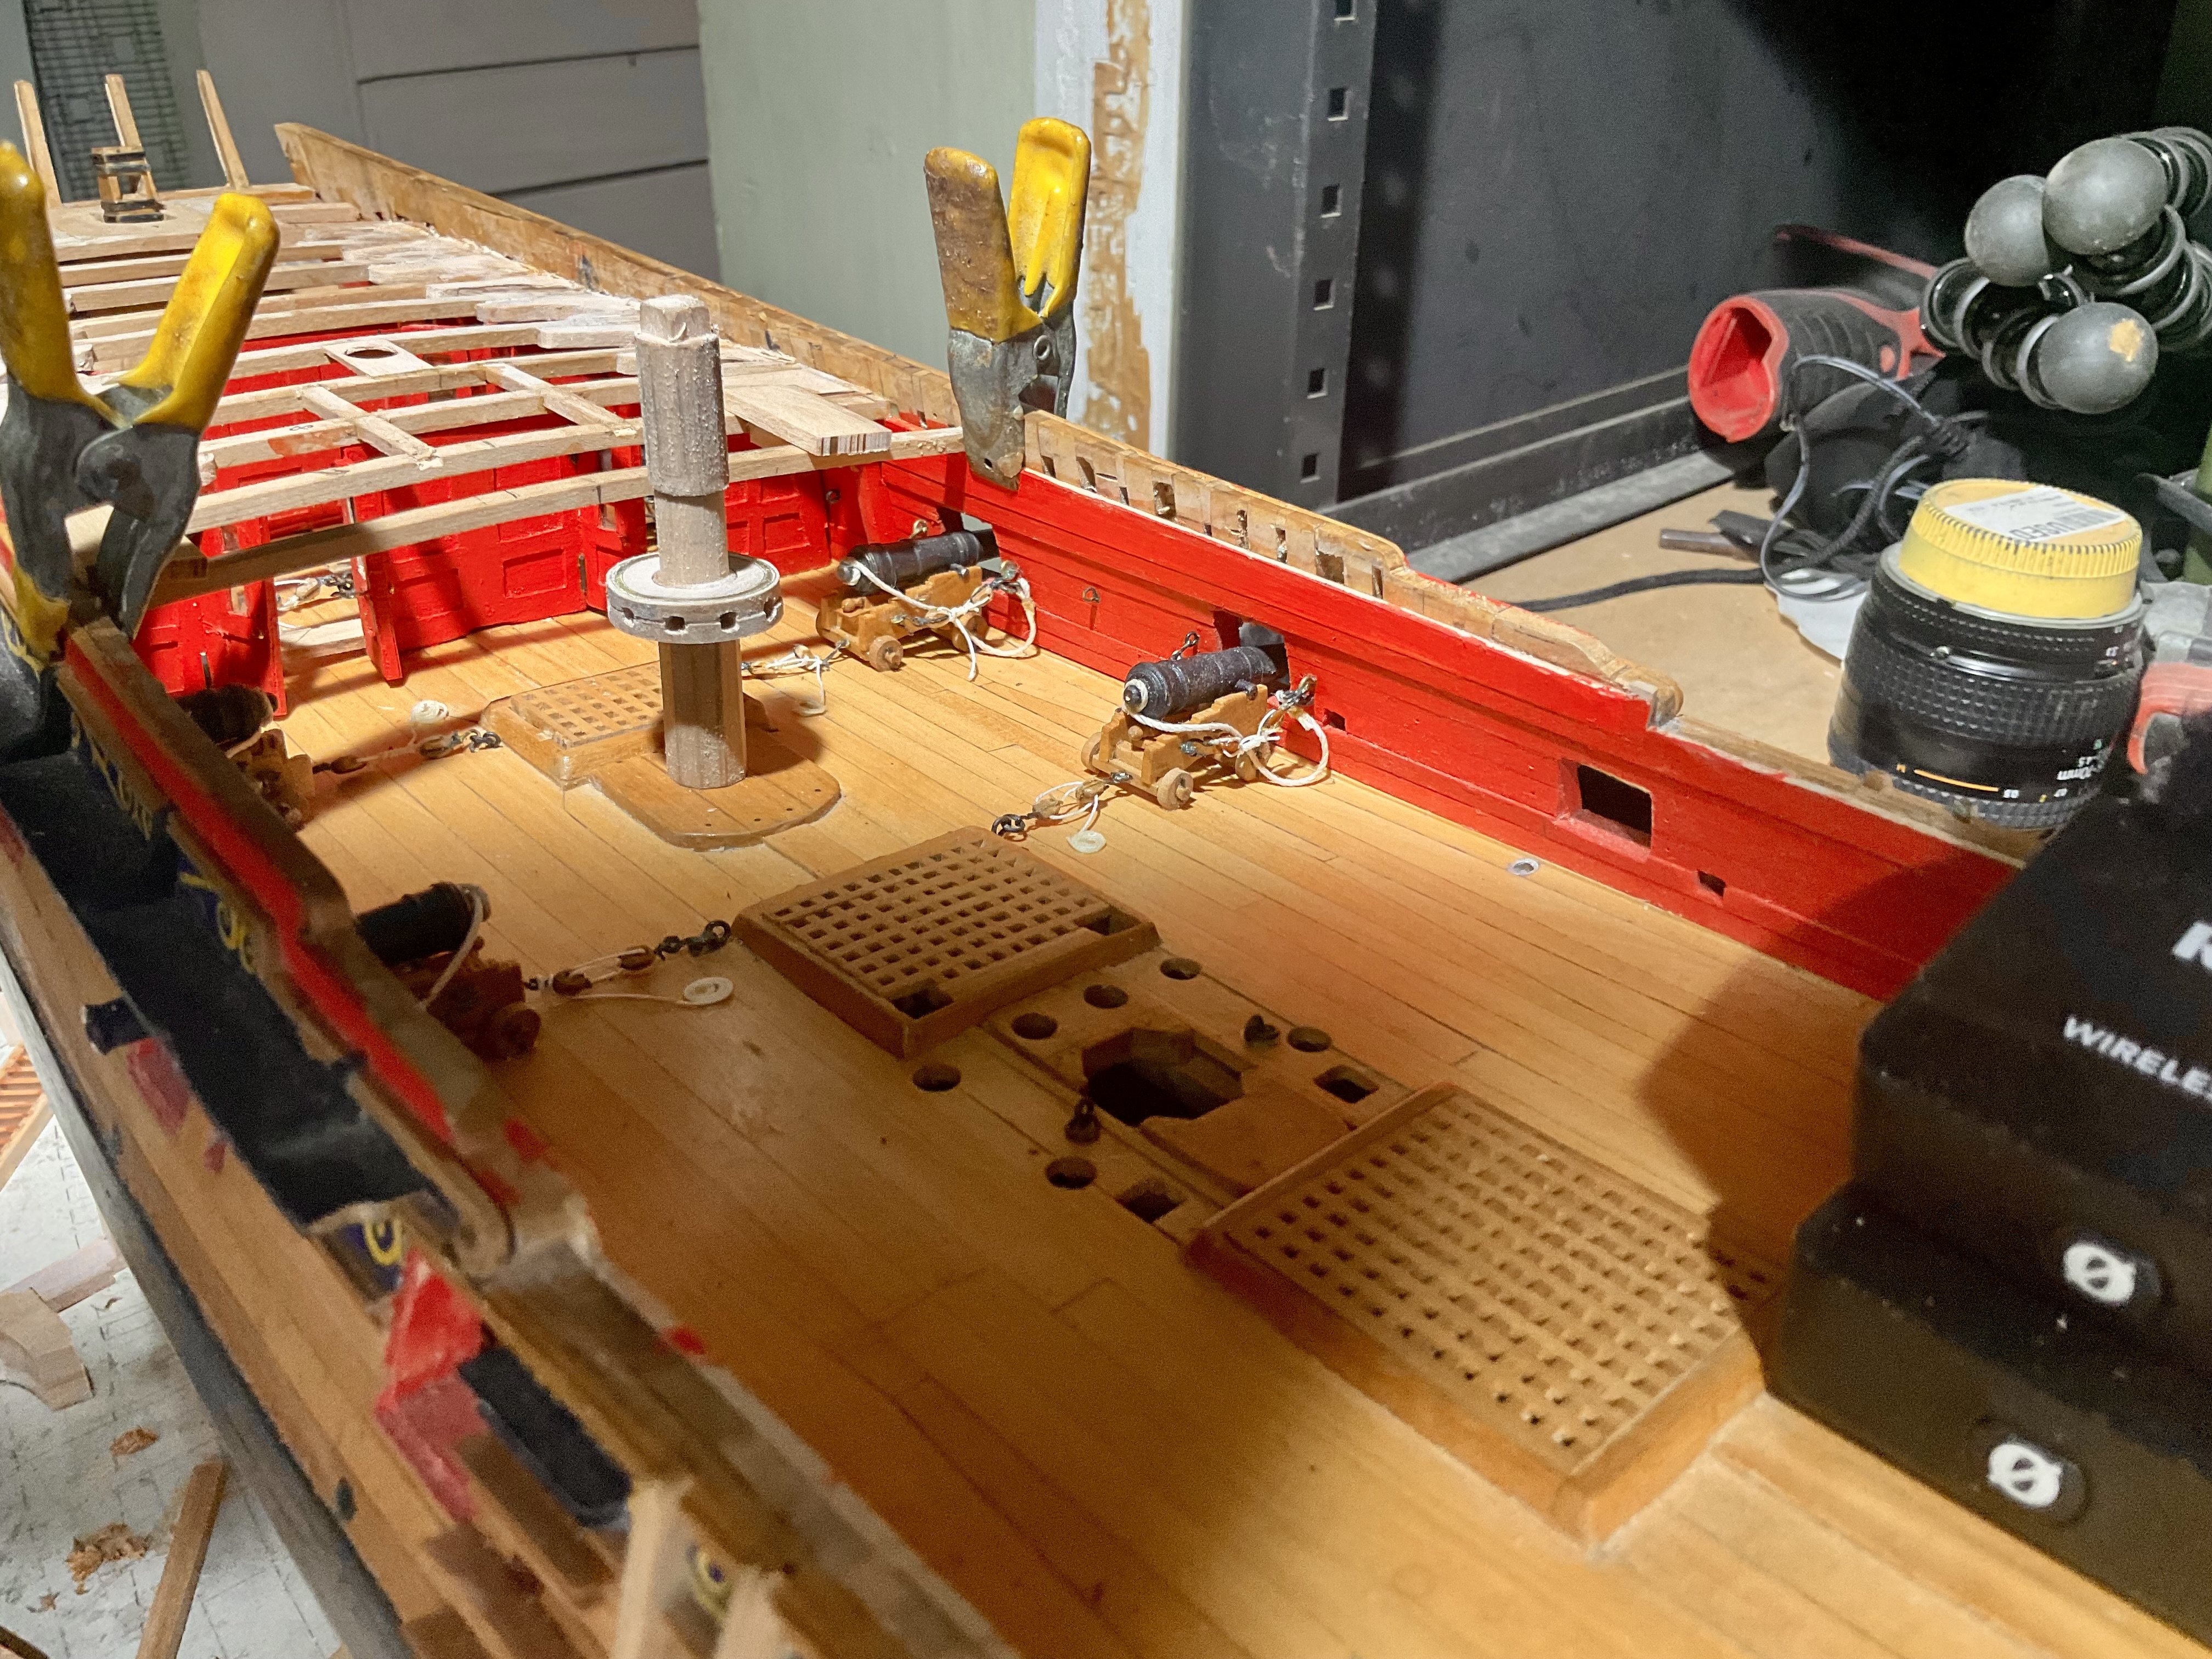
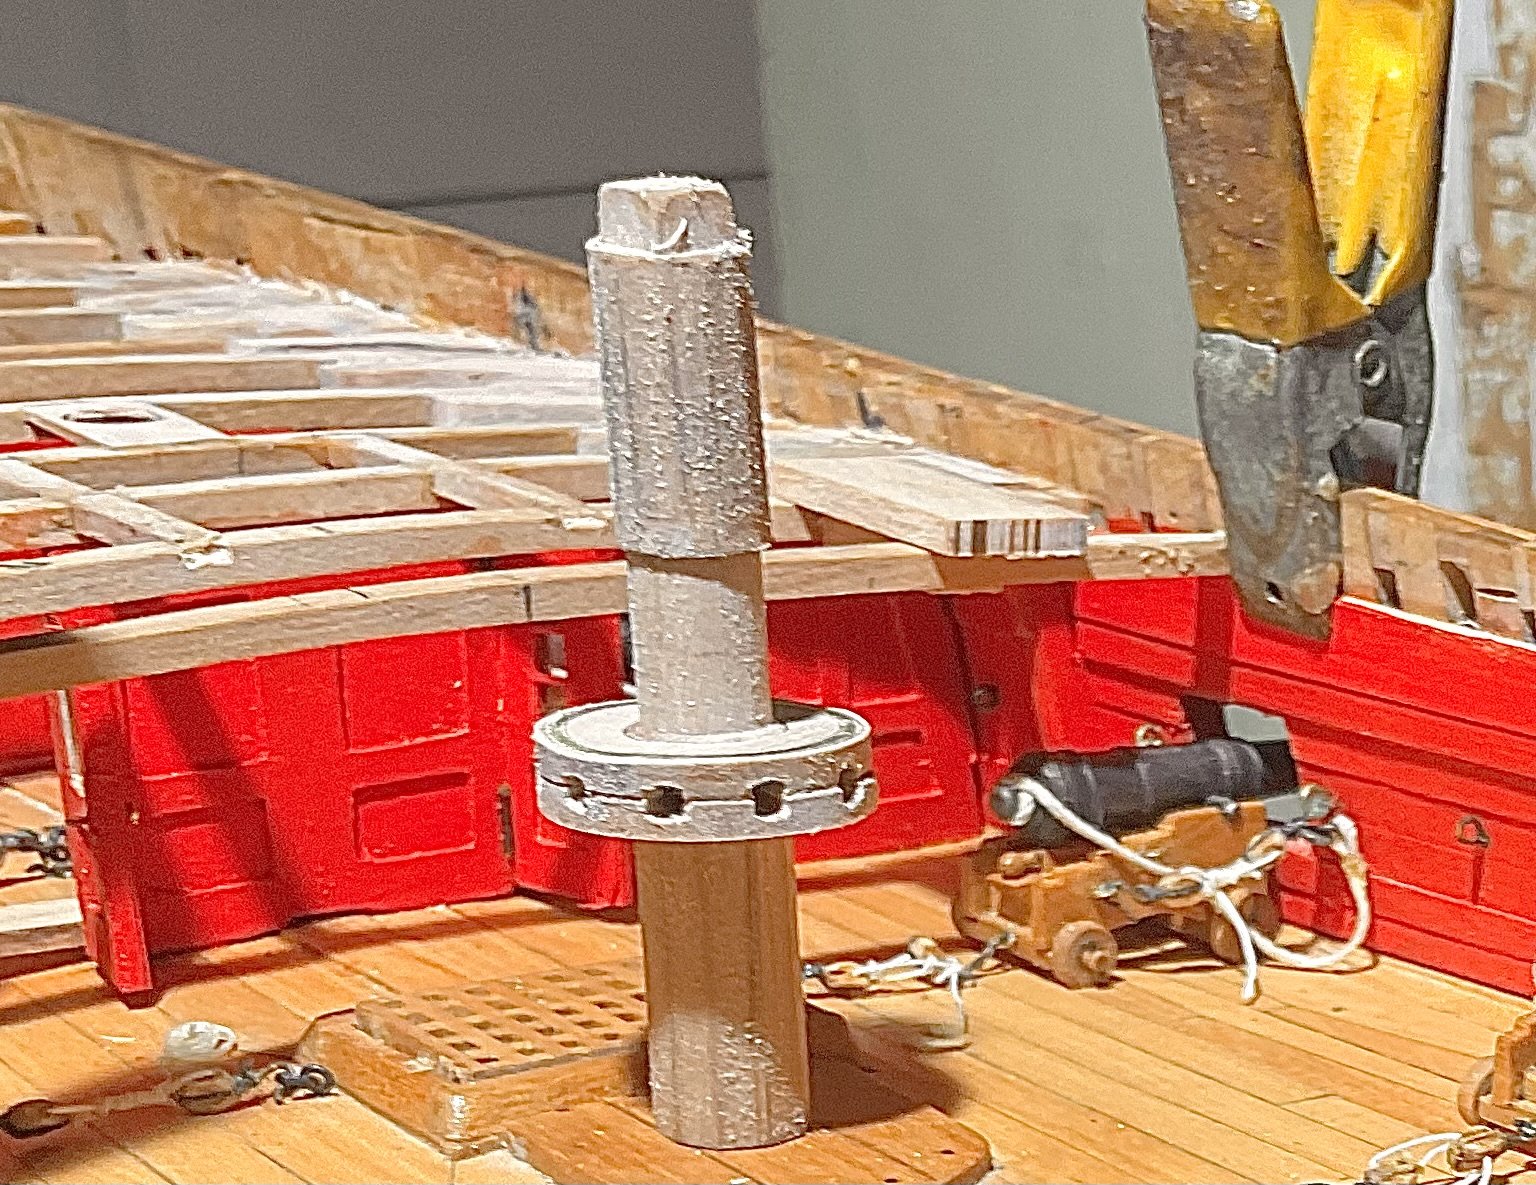
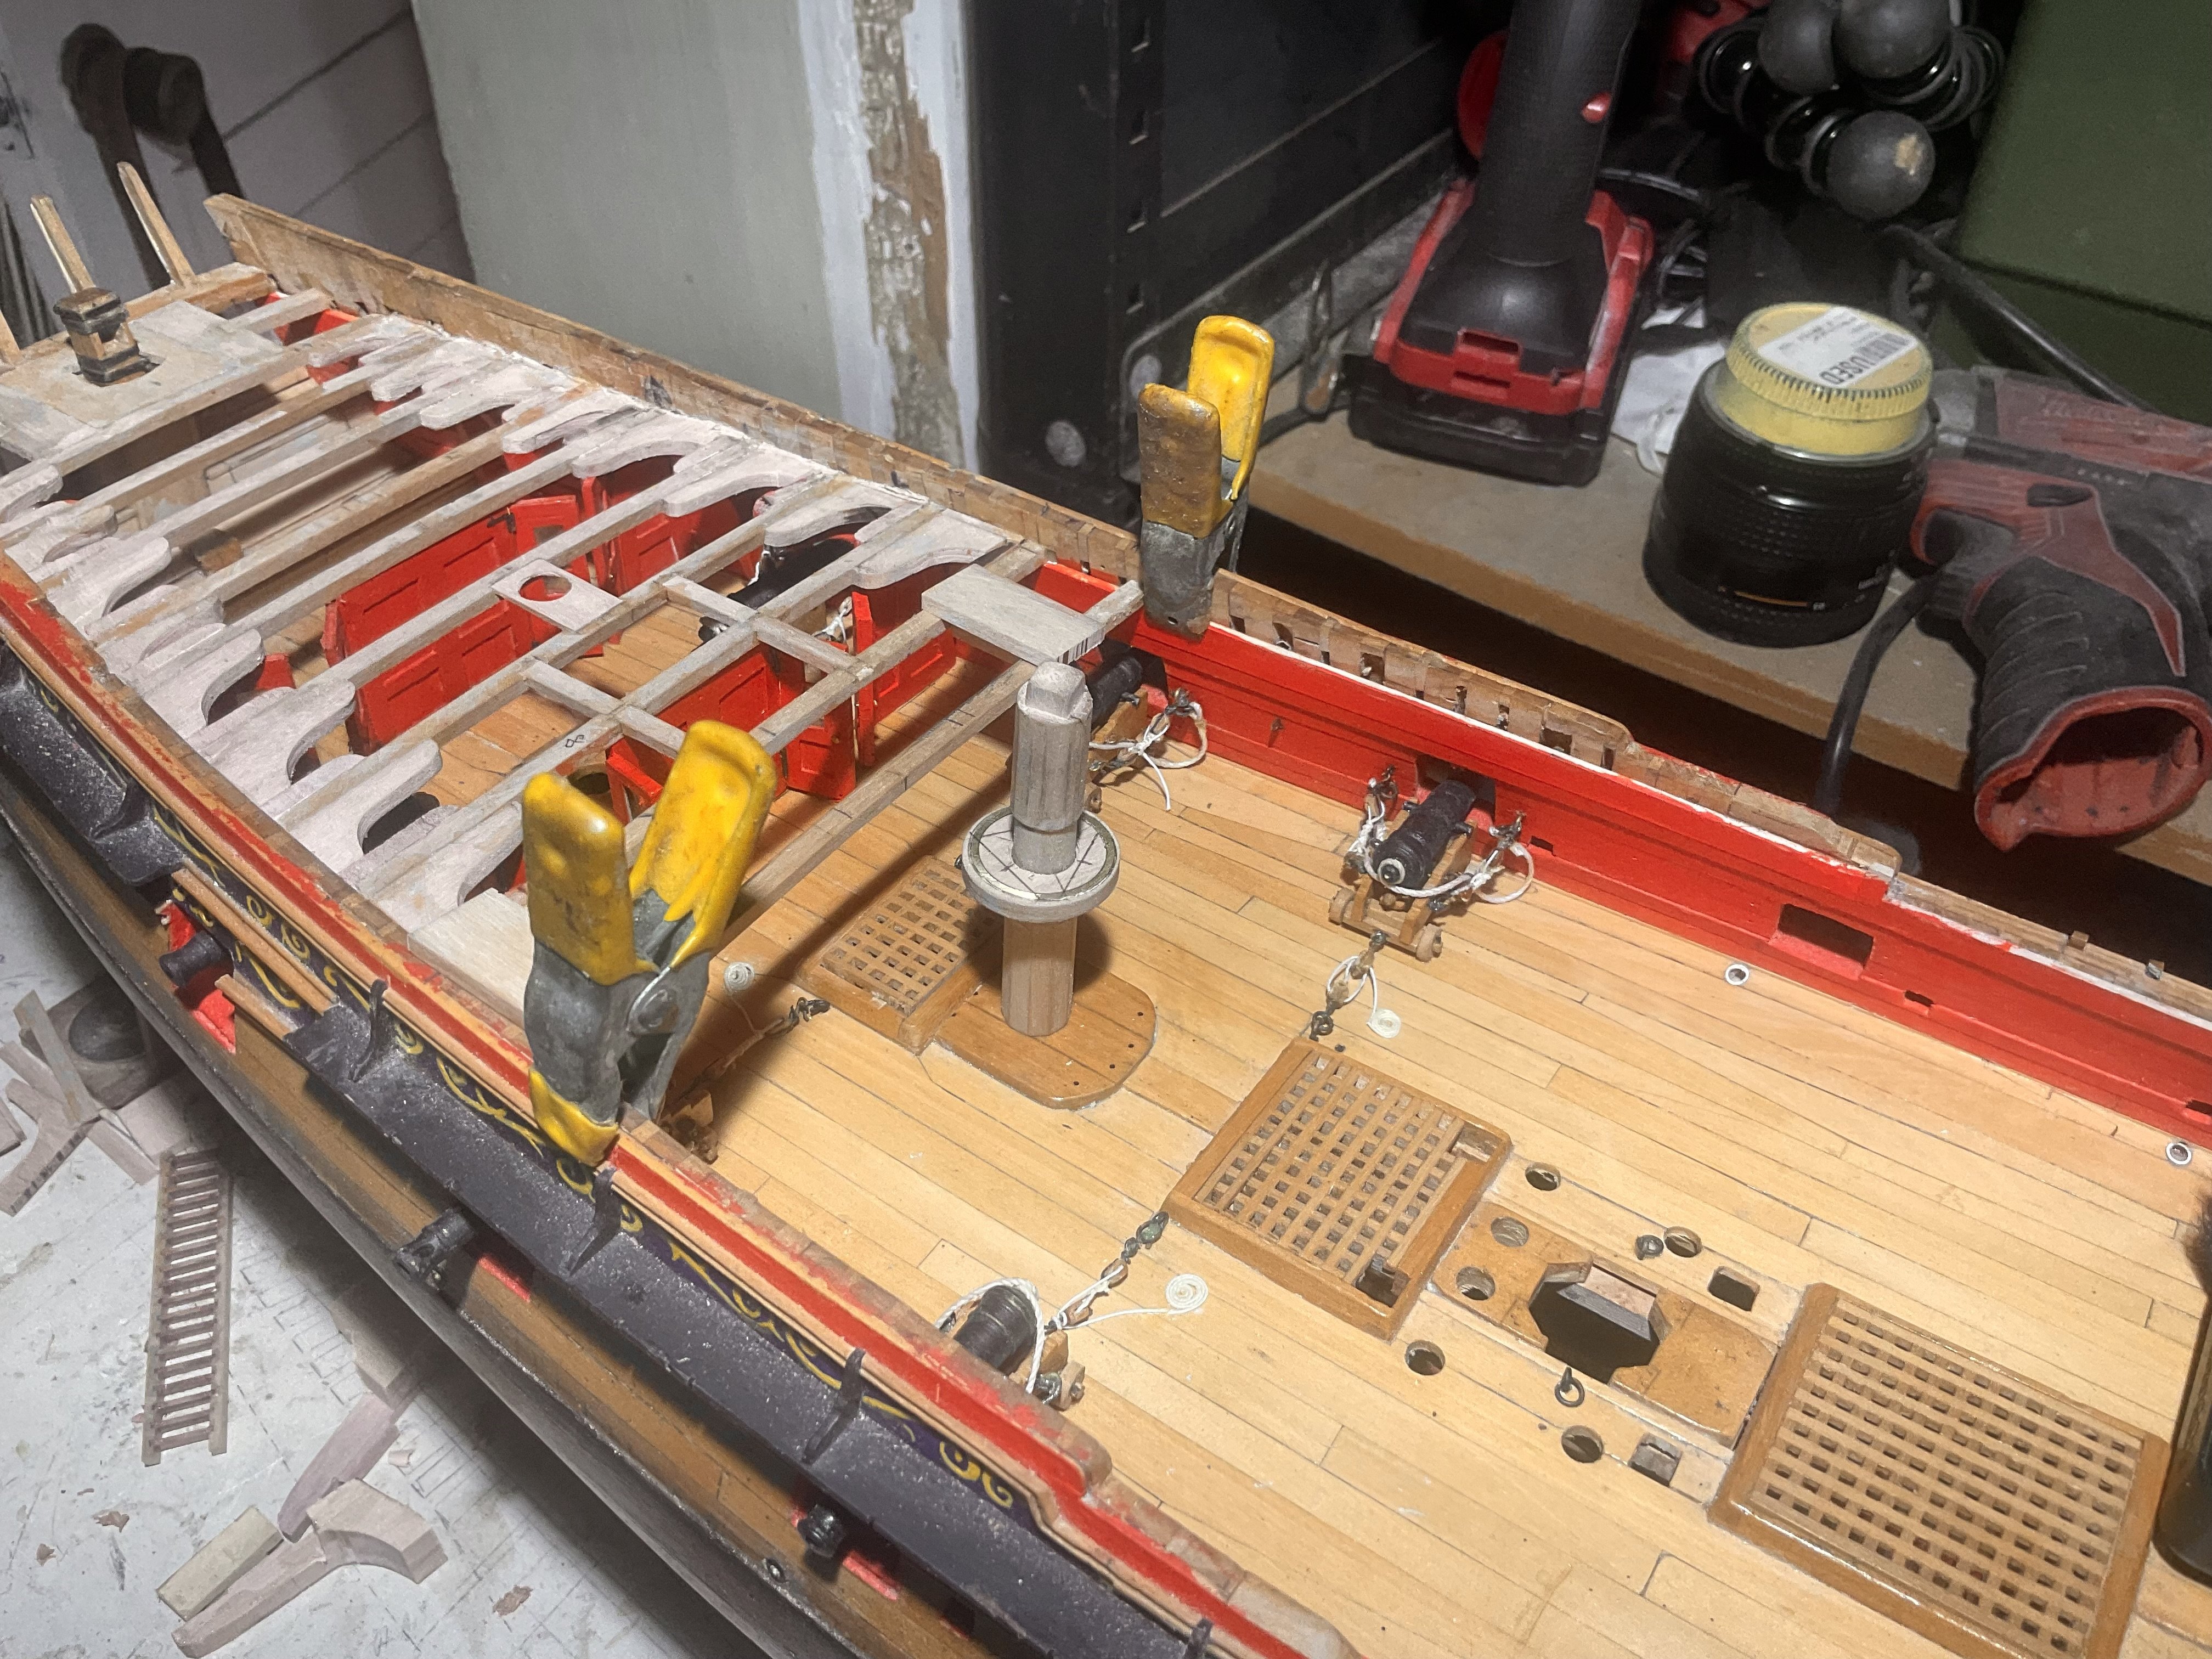
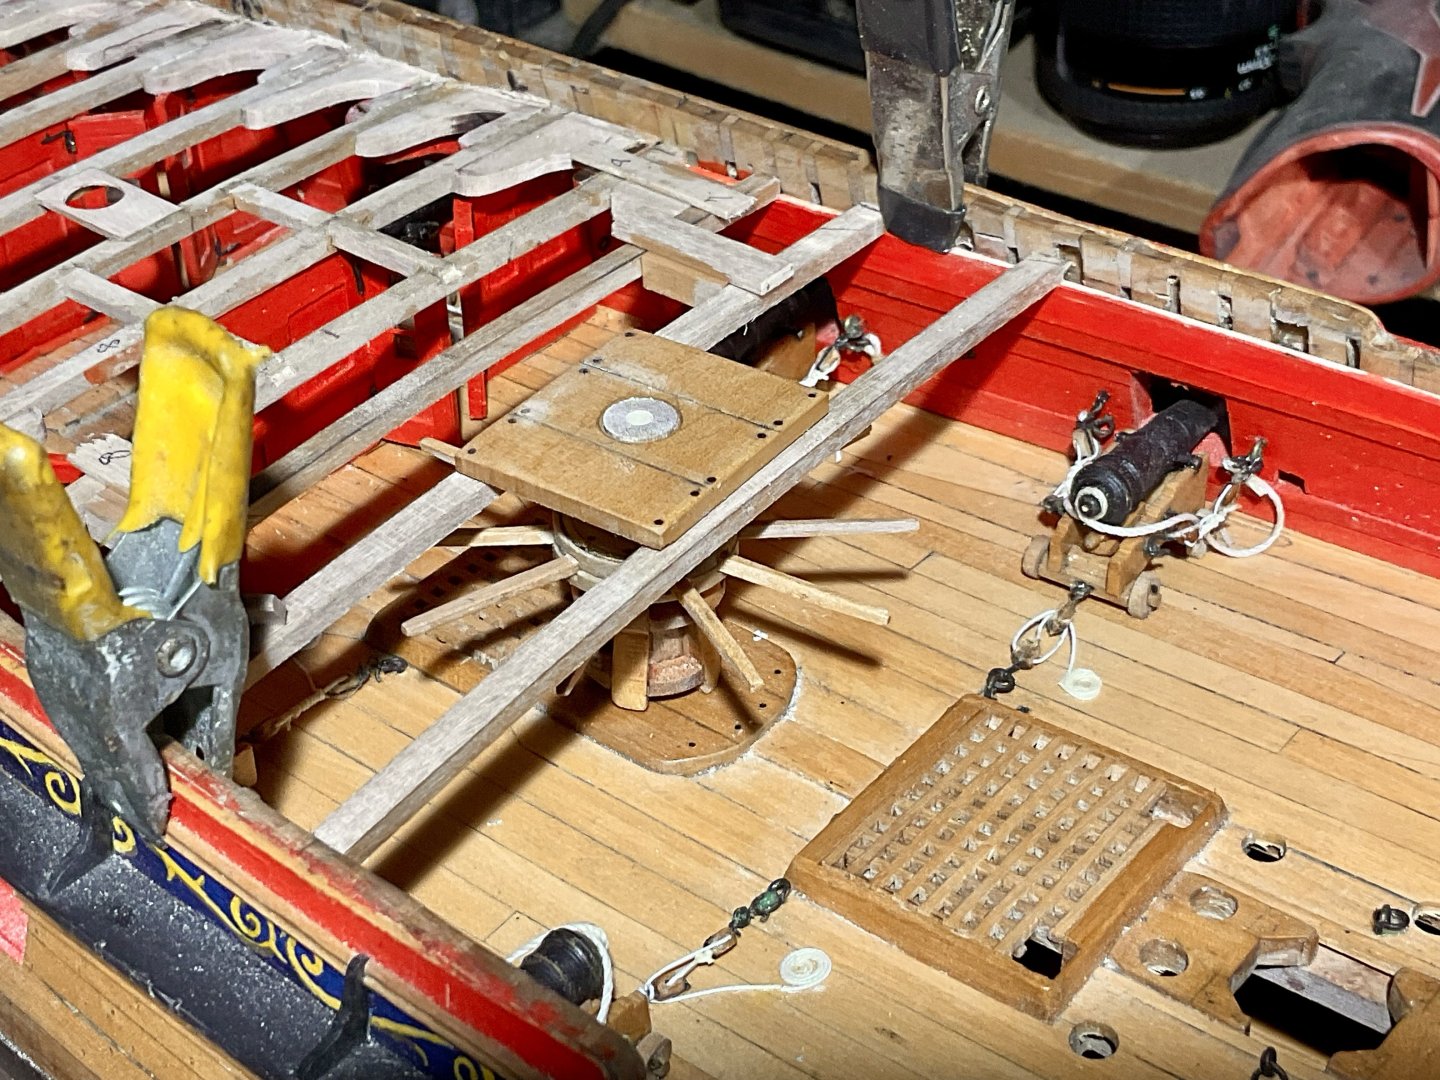
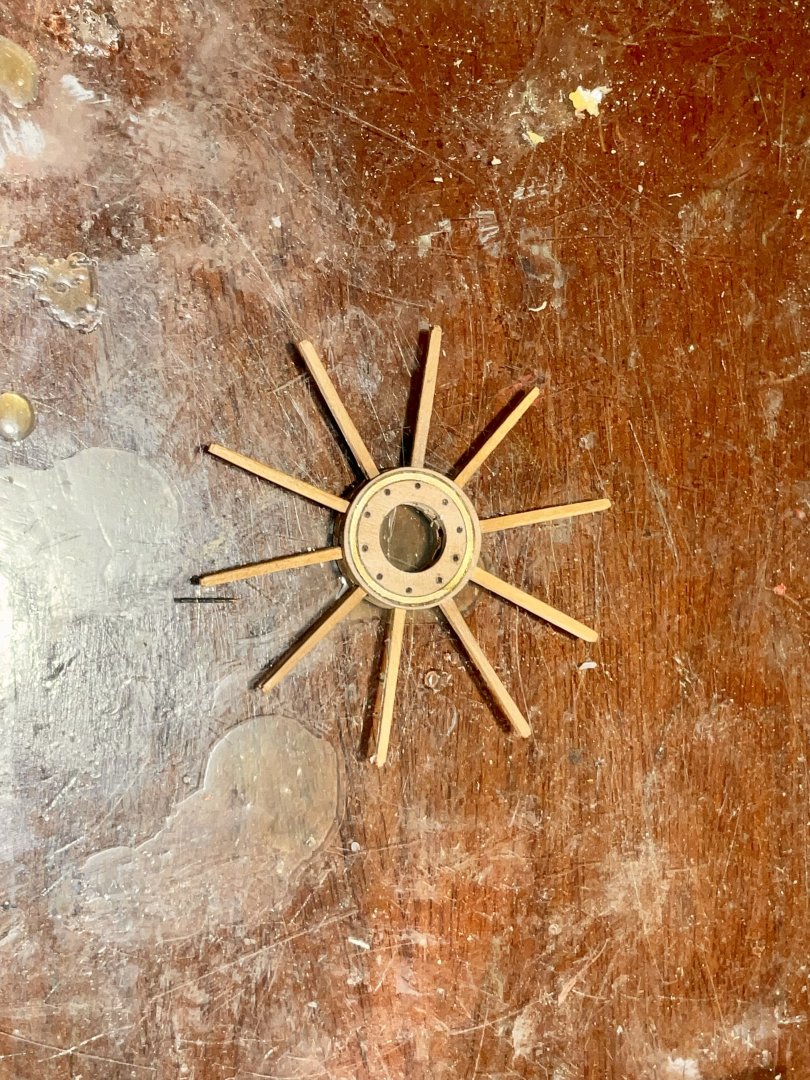
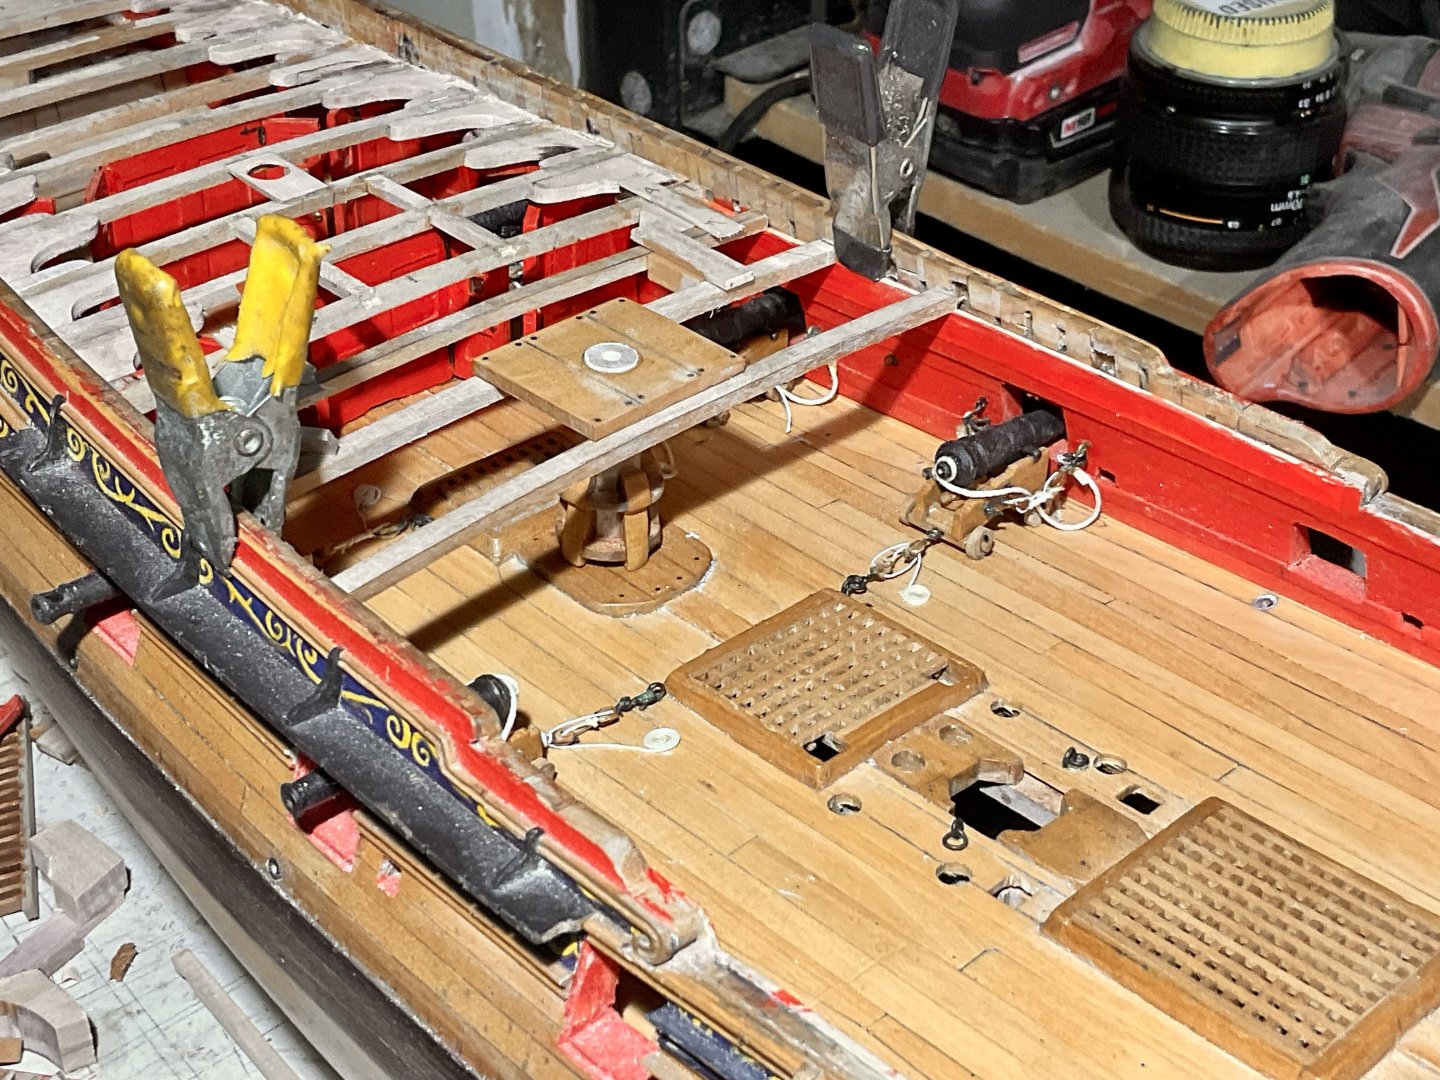
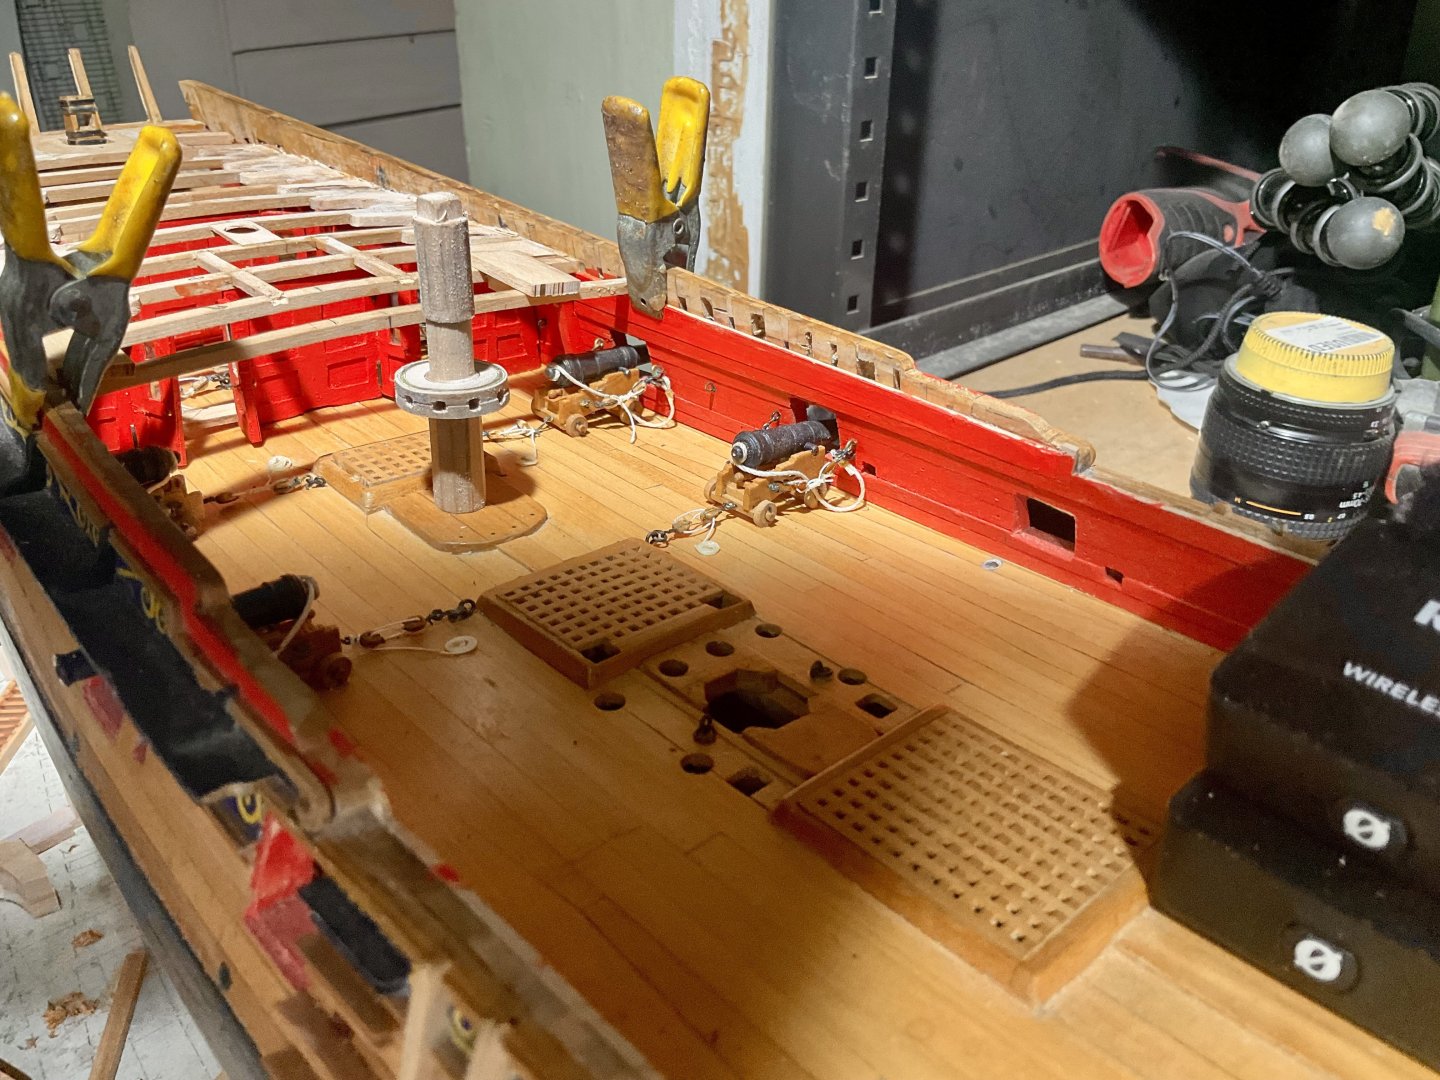
Finial fitting of the lower Capstan. I had to fit the last two beams which are slightly wider than the rest to be able to get the finial height of the barrel. . Then added the partner and adjusted the Barrel so it is just above the level of the partner. That is it for the year as I am off to NY to cut down a christmas tree and role in the snow. Thank goodness for alcohol.


-
PS no time square for us. We are going up to Kingston, up to a tree farm, using a regular saw to cut down the Christmas tree and hall it home on the roof of the car. We have not had a white Christmas for a very long time, so i am going to be happy to freeze my *** of this year. A few concerts are on the agenda and lost of good food.
-
Hi Greg all my new tools are waiting for me in NY, nice new mill ends, the quick change for the lath, new mill ends, Mito_tuyo Caliper, edge finder, parallel for the mill etc . i wrote to sherline and they did say it was laser etched and that i could send it back and they would redo it for me for only $60. Plus freight. When this is all over i will send it up some time next year. I was hoping they had a tape that i could stick on the side, they thought it was a good idea but have not been forthcoming. The square hole were not done that well done because i did not have the correct size mill end and i used a center drill which i knew i would give trouble. When i get back in January i will be redoing everything and filming the process as i will have all the correct tools. i also had some creap with the deck beams so have to cheat a bit, the Capstan center hole lines up perfectly, so at least that good. Its nice to get back on the mill and lath. best regards kevin
-
Thanks Henry, but if i do put it in Ill want to do it in Brass or wood. Need to refine the skill.
-
Yes Alan i do have very fine chisels. But i want to horn the technique to film it so that i can share what Greg showed in the book. The reason i had trouble cutting the squares is that i did not have a mill end the exact size so used a center end instead. I was more interested in the technique than in the exact finish. I also went about constructing the part different than what Greg showed in the book. Stretching my skill to try figure it out my self. . Next time i will construct it the way he built it and then decide which method is better. I need some new mill ends to do it his way. I only have a few days left before i leave for New York so the next video will be last week of January next year so i have time. Also my rotary table has most of the numbers missing so i have written to Sherline to see how i can have them replaced. perhaps with a sticker. Failing that i will just have to mark the major stop points temporarily. Thats the only way to get them to line up exactly. also Greg used a dark wood insert, Ebony, i used a brass strip which was not the correct width. I may stick with that as it worked well, but might try cutting it out of a brass sheet.


-
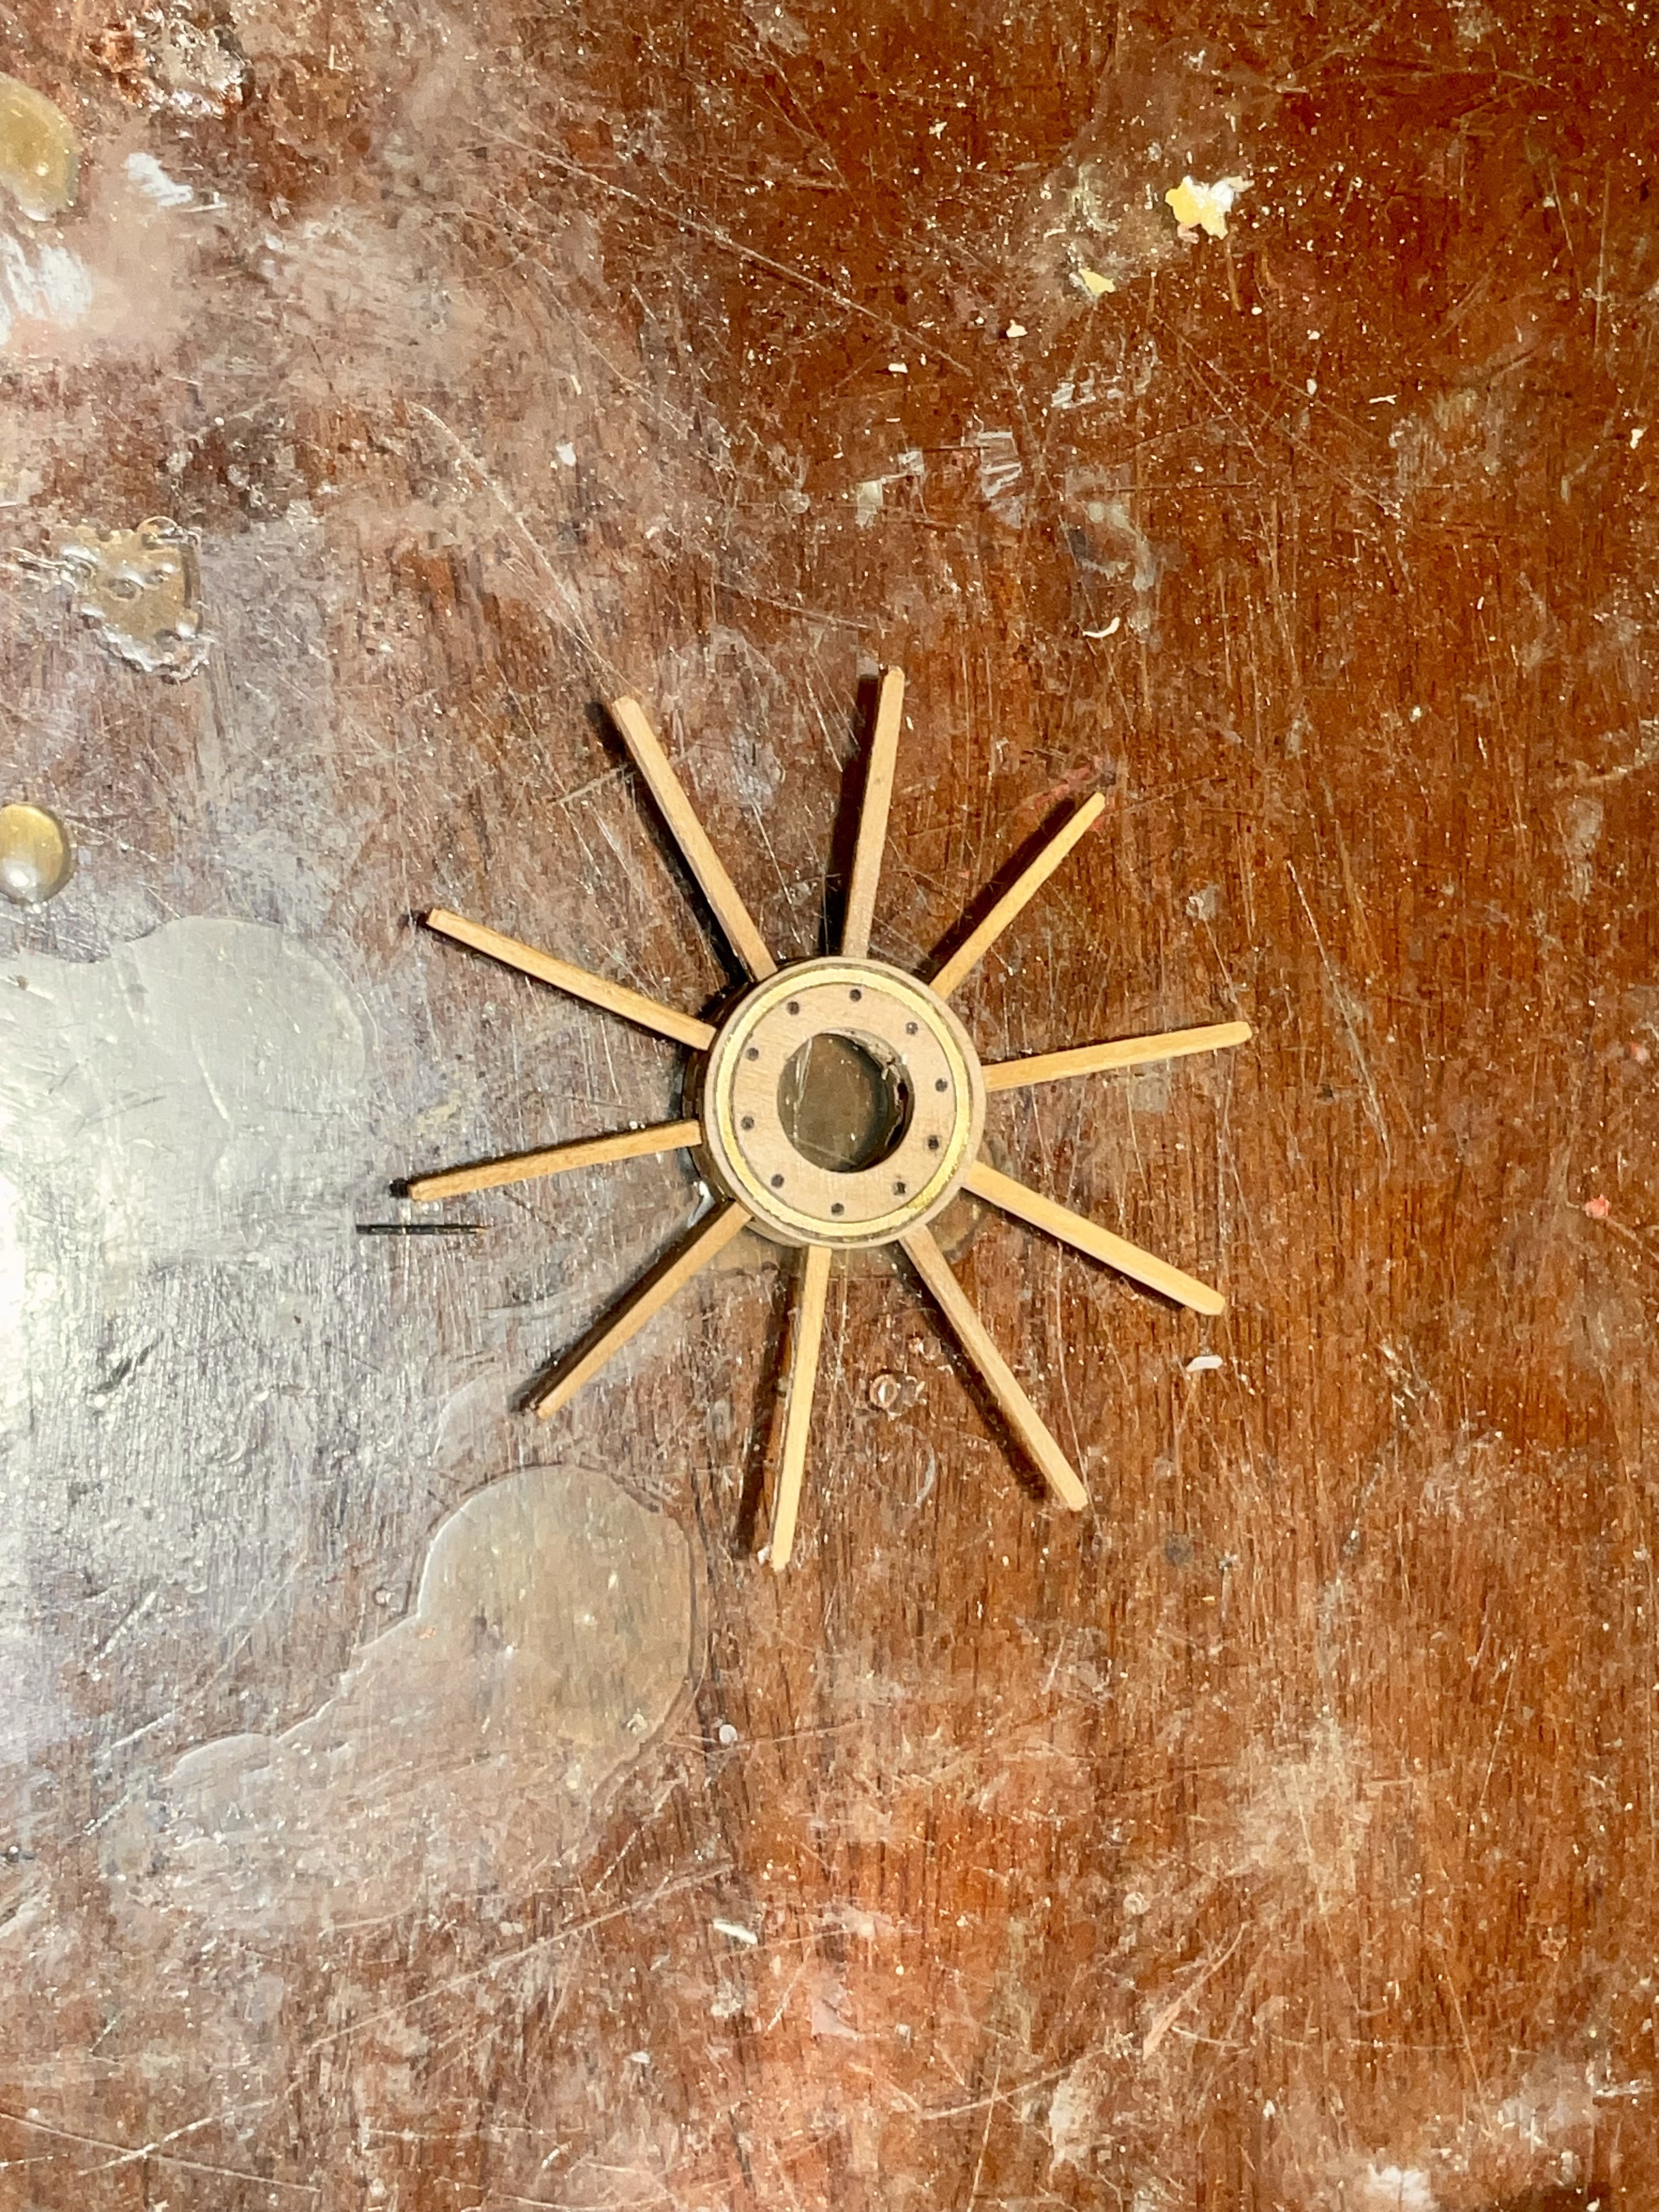
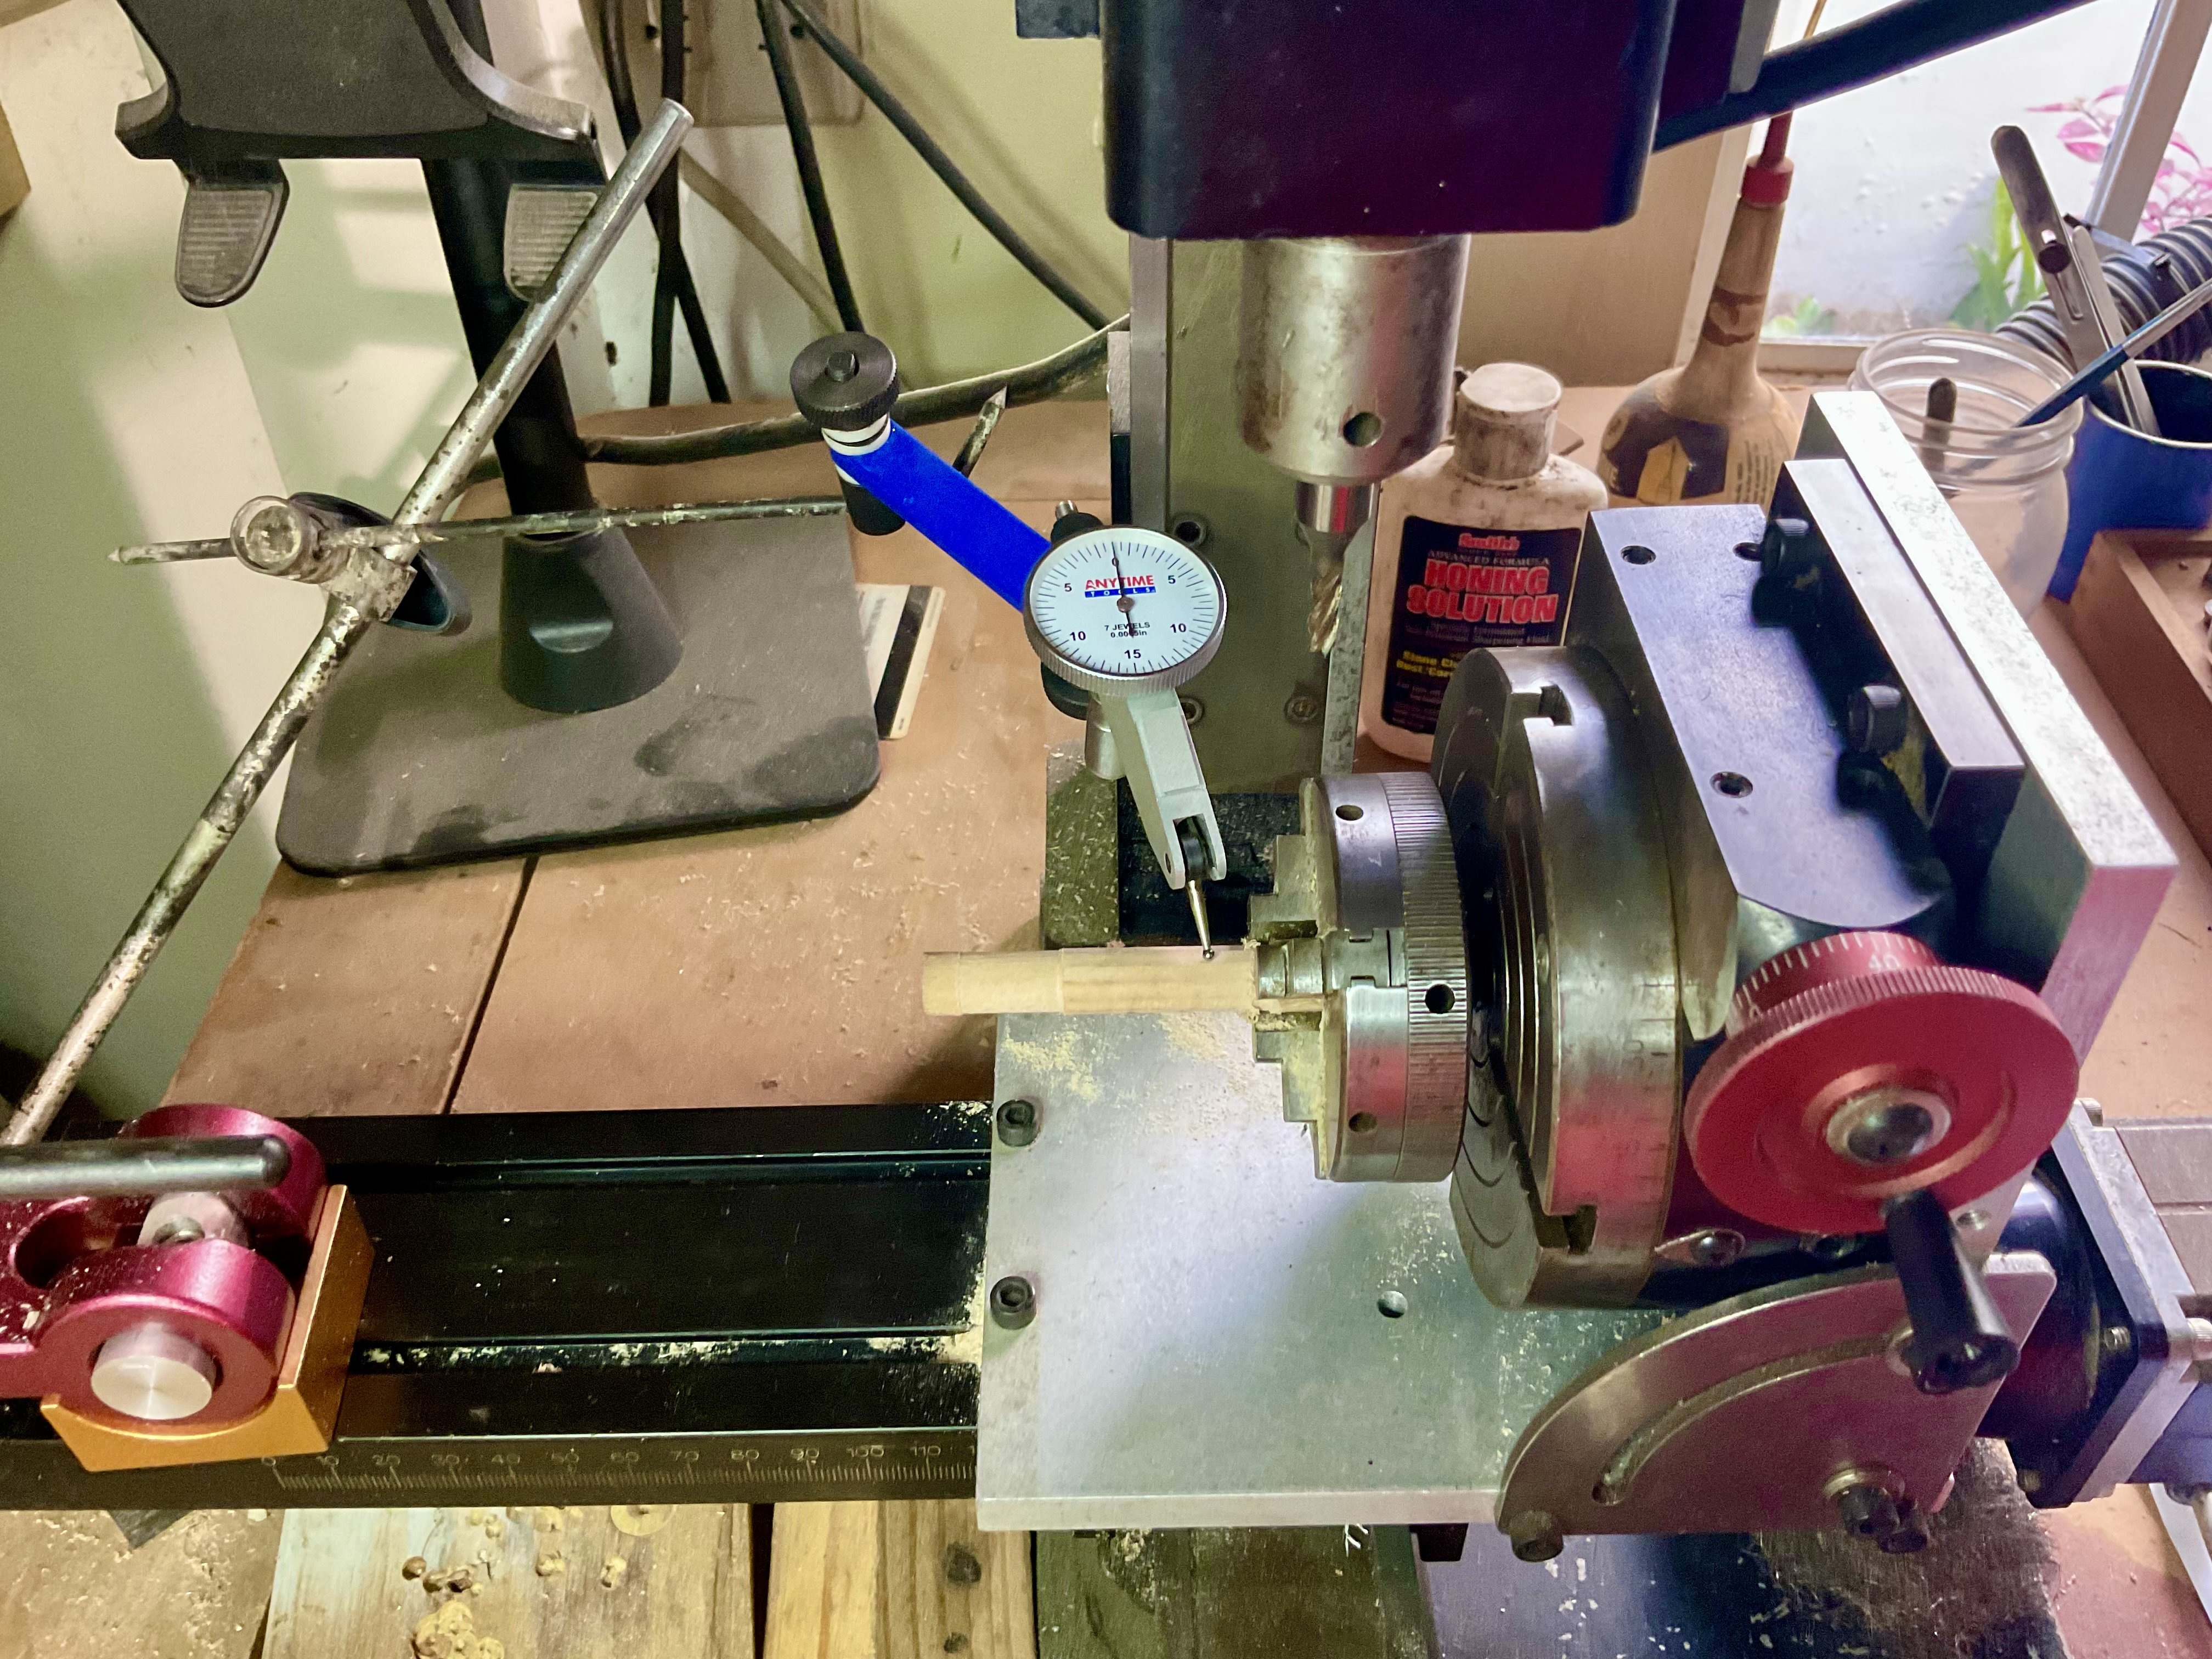
I did not have the correct size mill ends to cut the square holes. This is my first attempt. I will pick up some when i am in New York in 2 weeks time. I am not unhappy with this 1st try and know ill get it better. Some of the markings on my rotary table have worn off so it makes it difficult to cut the holes spot on. Trying to solve that issue.

-
Greg I did use the dial indicator and it did not need any adjustment. The only issue I had was turning the cutter head in the wrong direction once.
-
I am only now understanding this post. I did not realize that youtube now offers multiple languages. How fantastic.
-
NRG has agreed to post a video log which i am presently indexing. With 134 videos it is taking much longer that i thought as i now have to watch each one and make notes. The first few were very primitive. So yes a index and log is essential.
-
David i will add a note to the written description. That the good thing about youTube in that it provides a section to make corrections and editions. As always i truly appreciate the feedback.
-
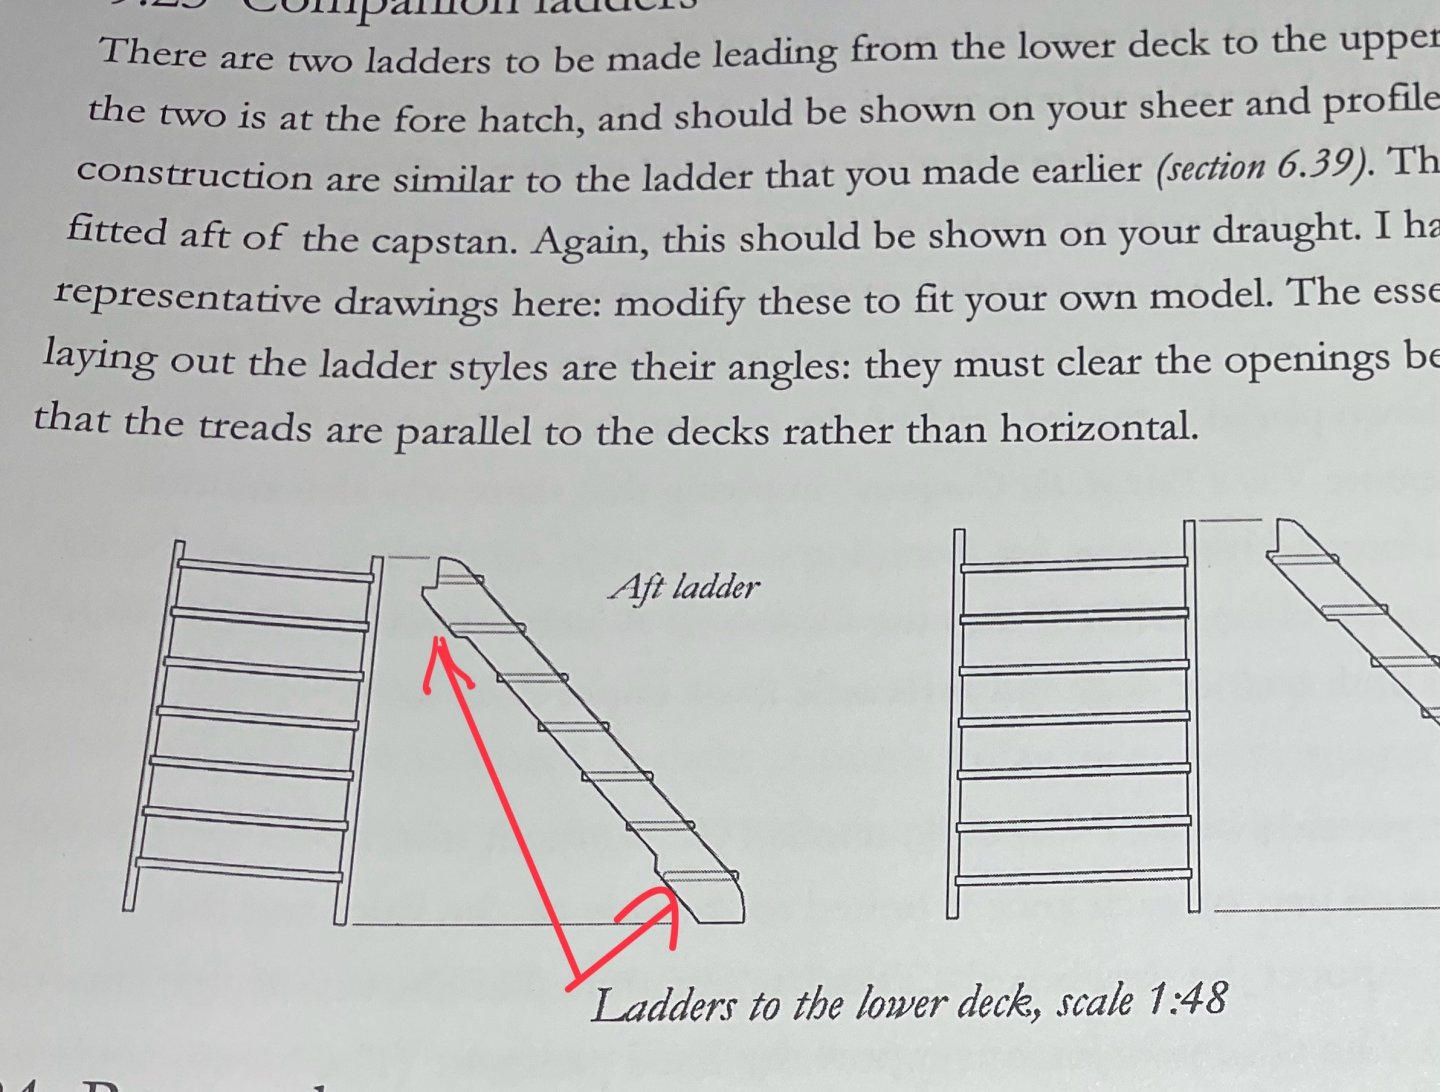
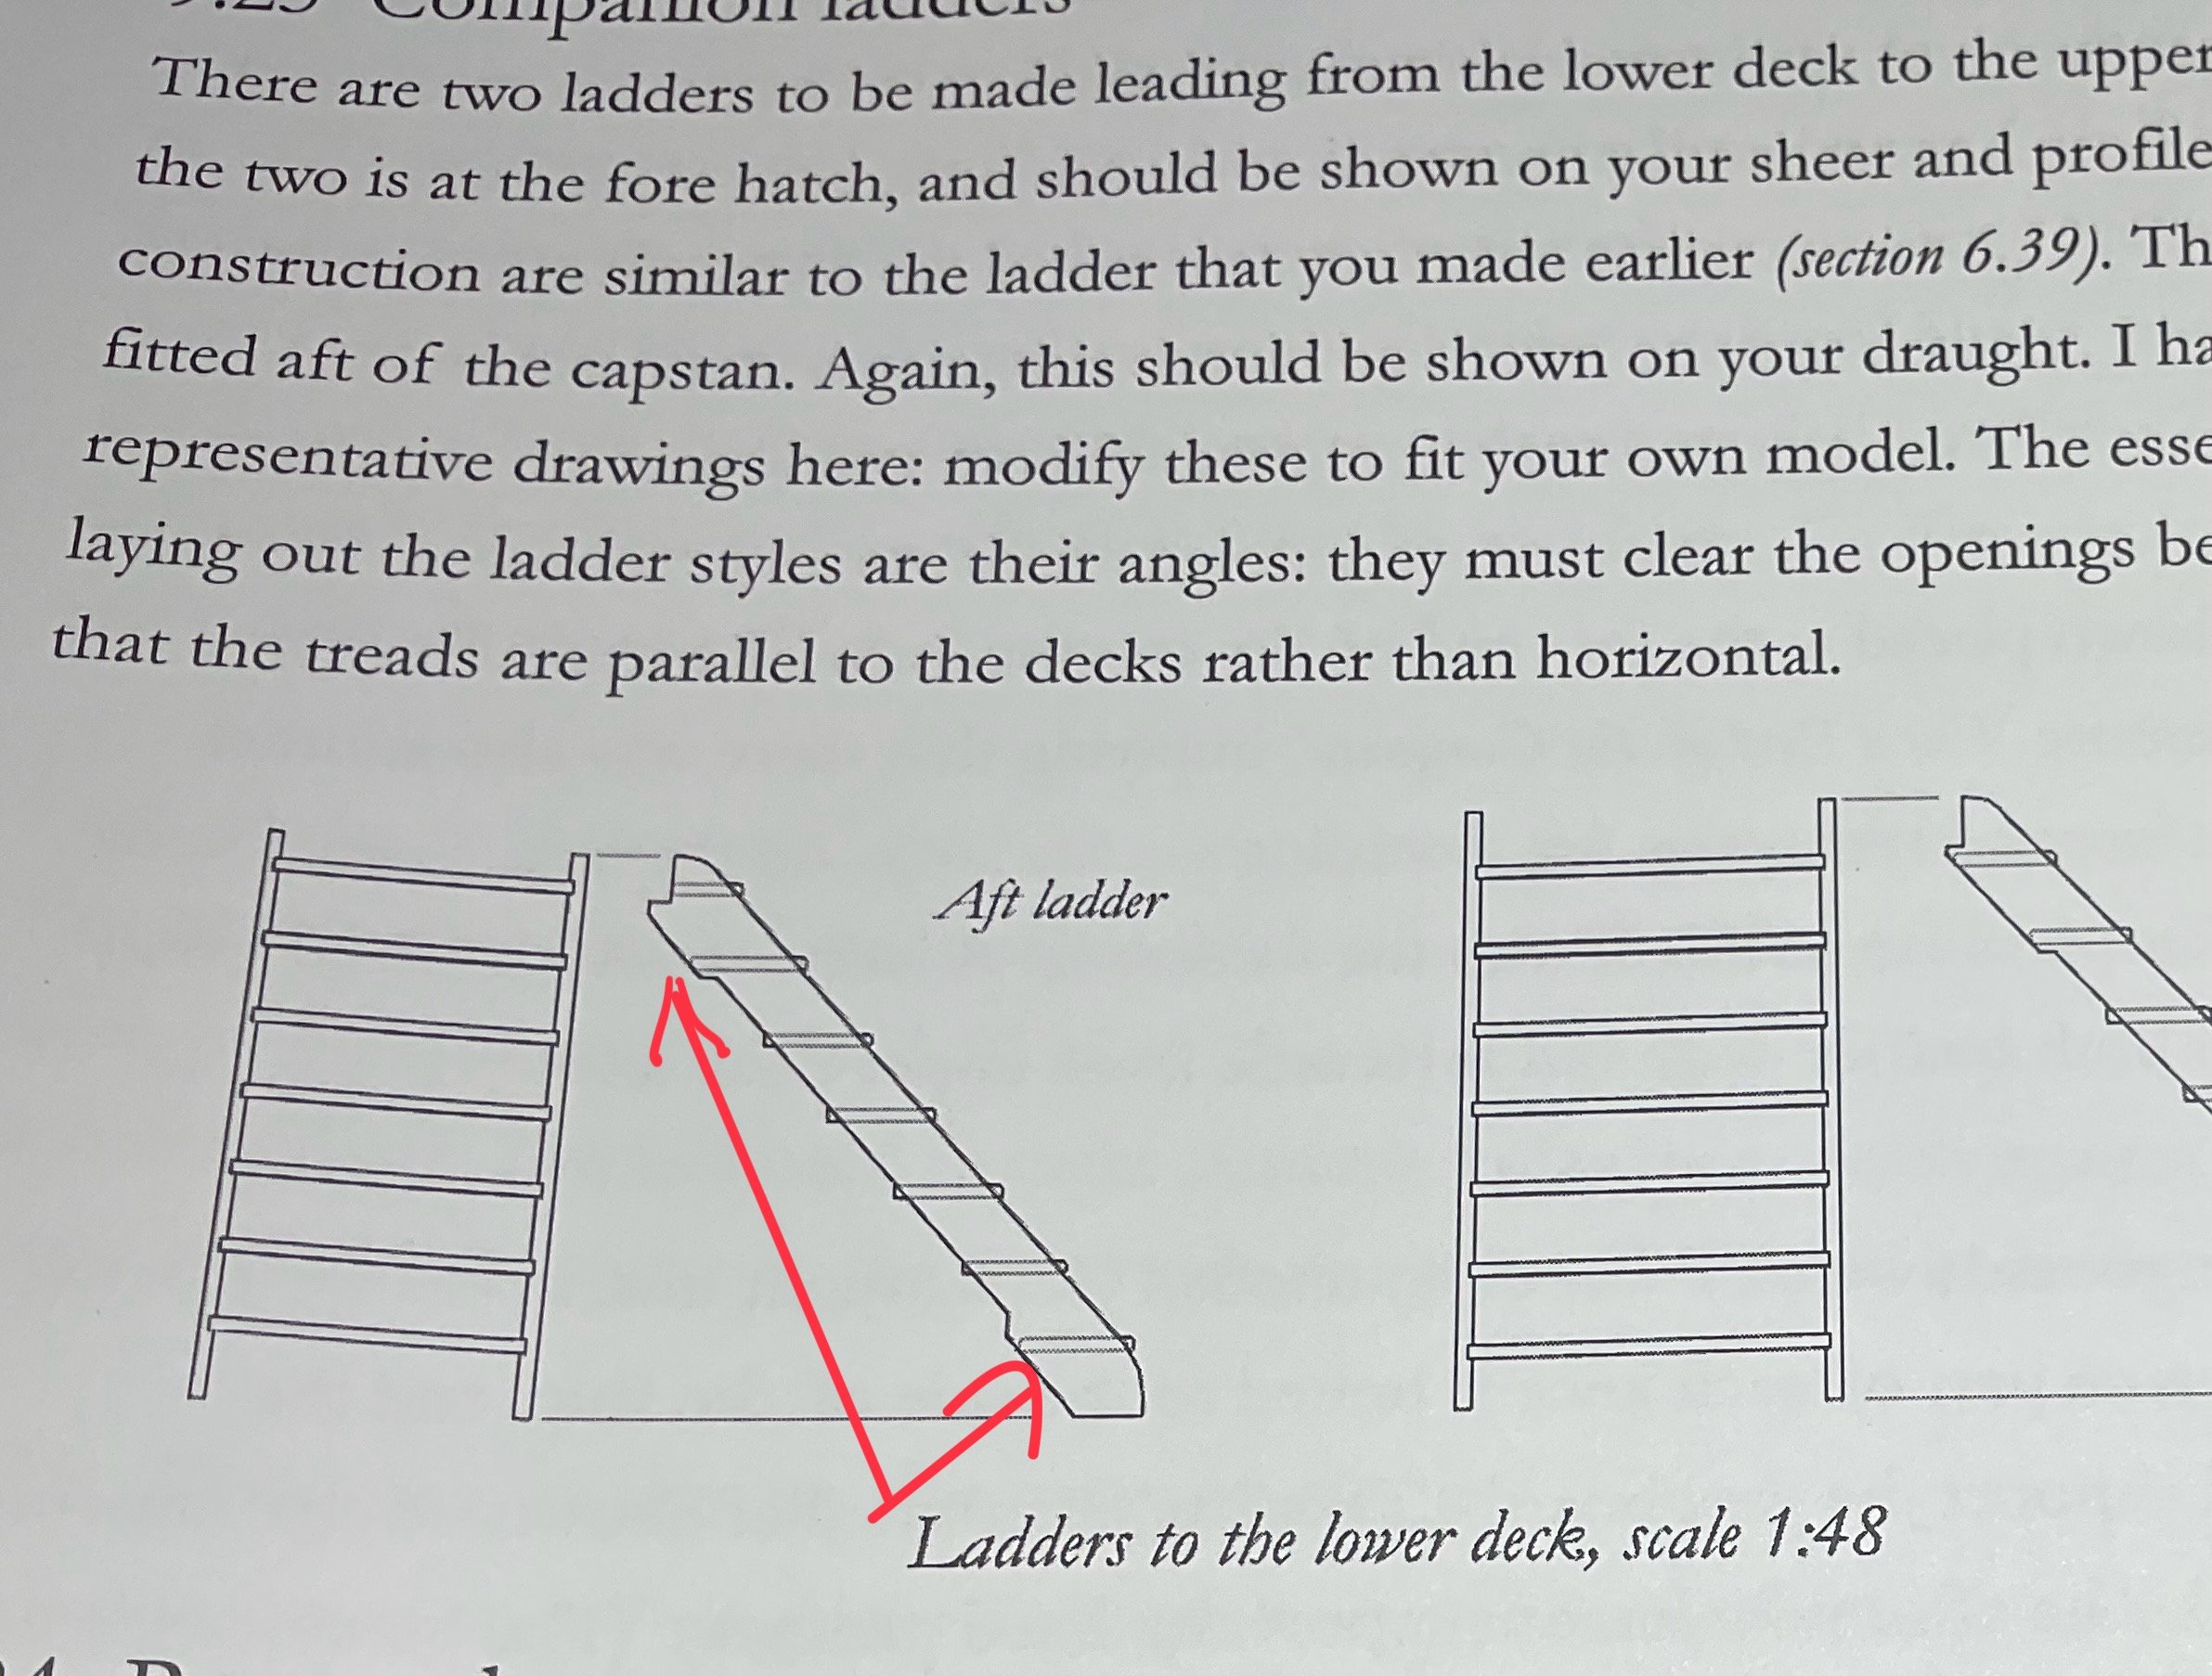
Here are my ship notes. I went back on the book but David does not give an explanation why he beefed up the sides at the top and bottom.
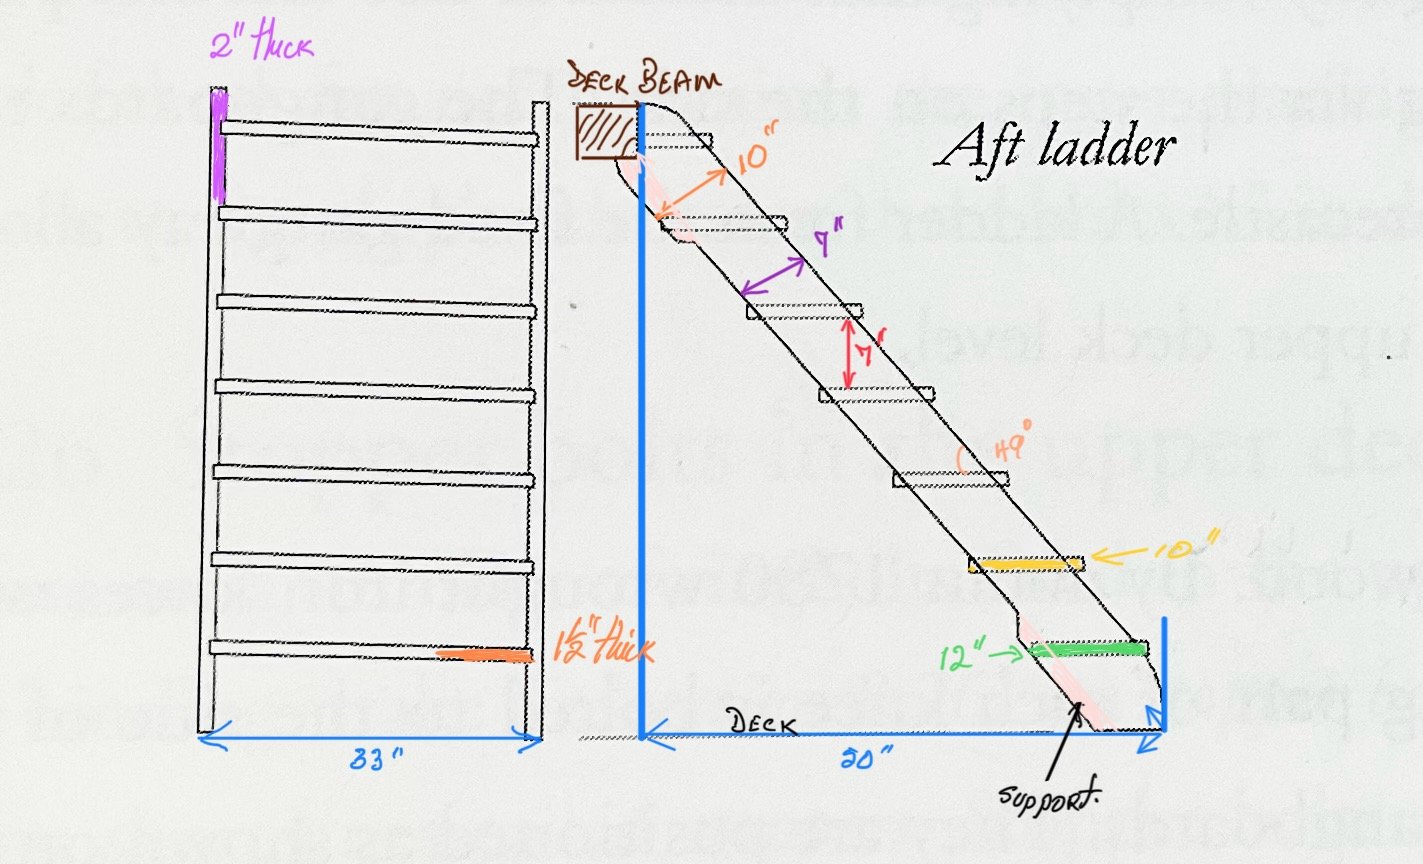
-
This was the design that David has in the book. It was not explained but my guess is that this was added to the top and bottom of the ladder where the most pressure exists. You can ask David next time you see him.