Jason
-
Posts
202 -
Joined
-
Last visited
Content Type
Profiles
Forums
Gallery
Events
Everything posted by Jason
-
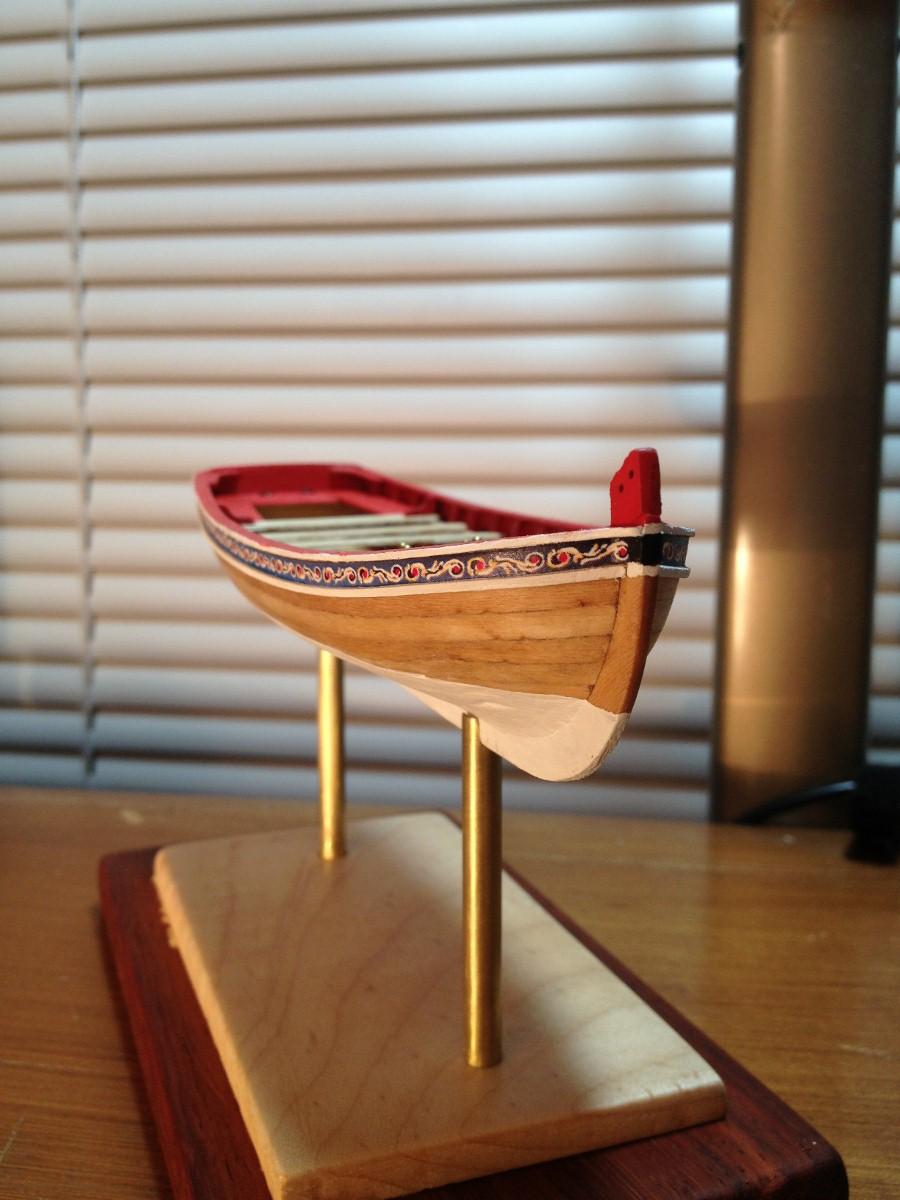
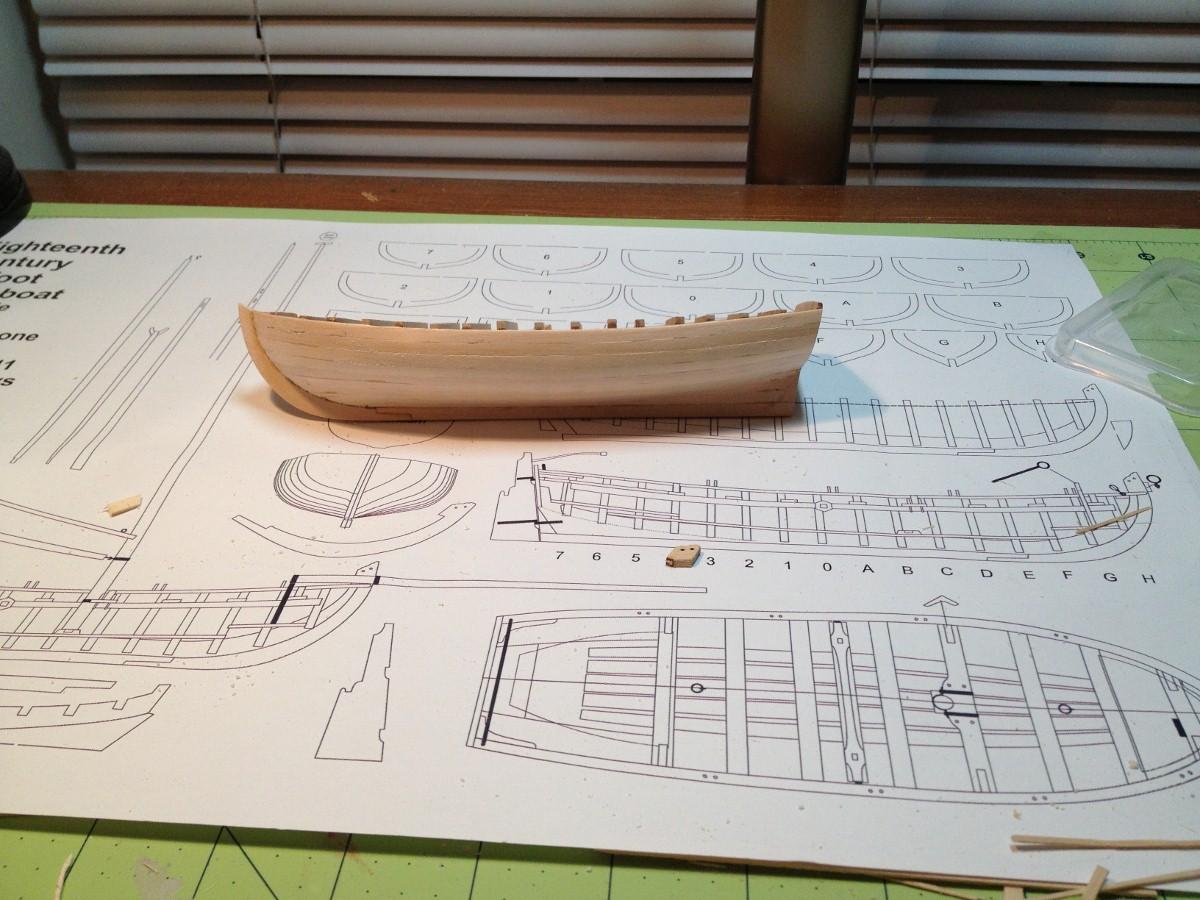
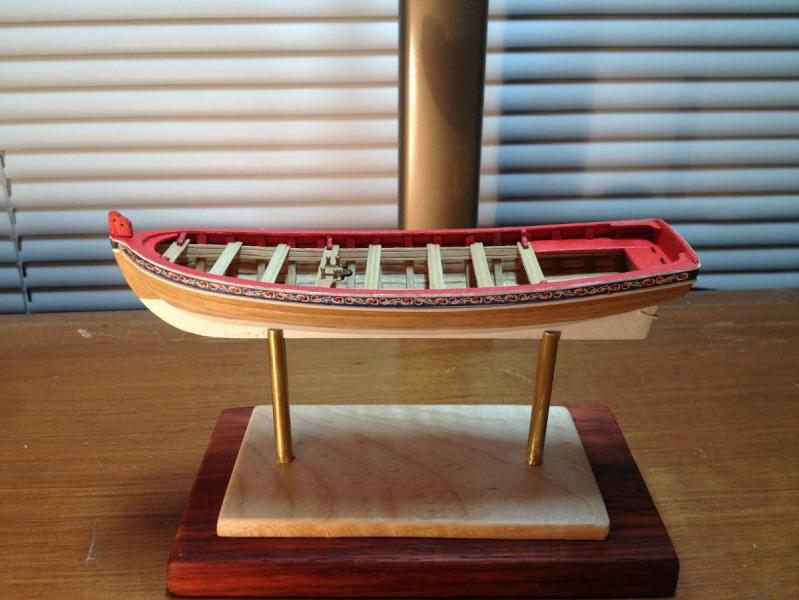
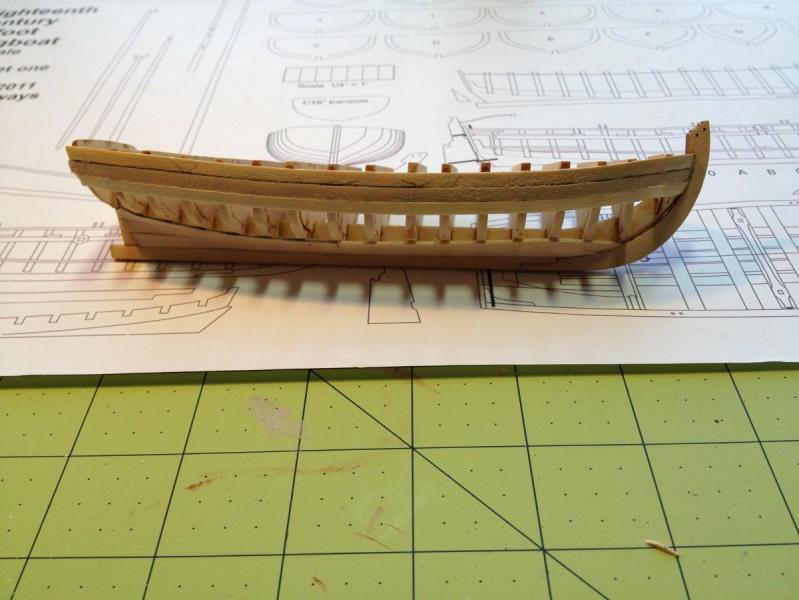
 A few exterior hull shots, And this is pretty much where I am with this build at present, so it's time to put some more energy into building!
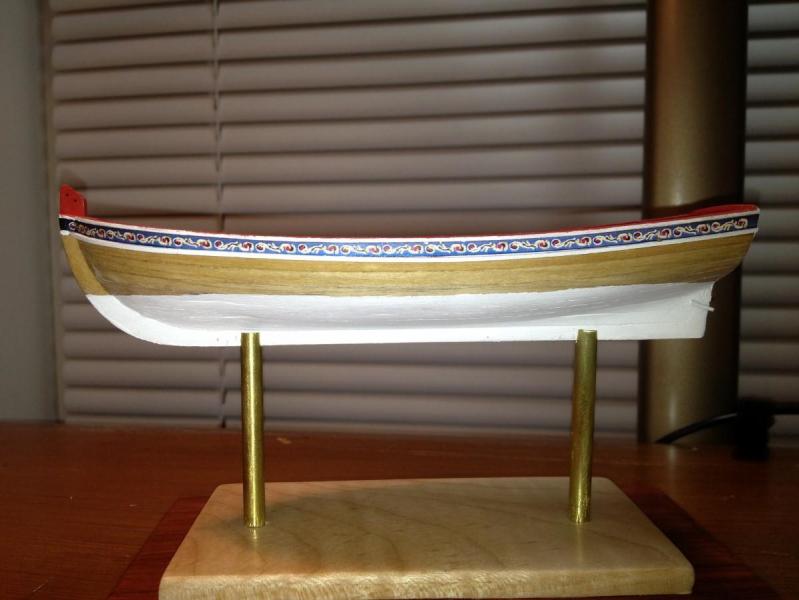

- 58 replies
-
- 2
-

-
- model shipways
- 18th century longboat
- (and 2 more)
-
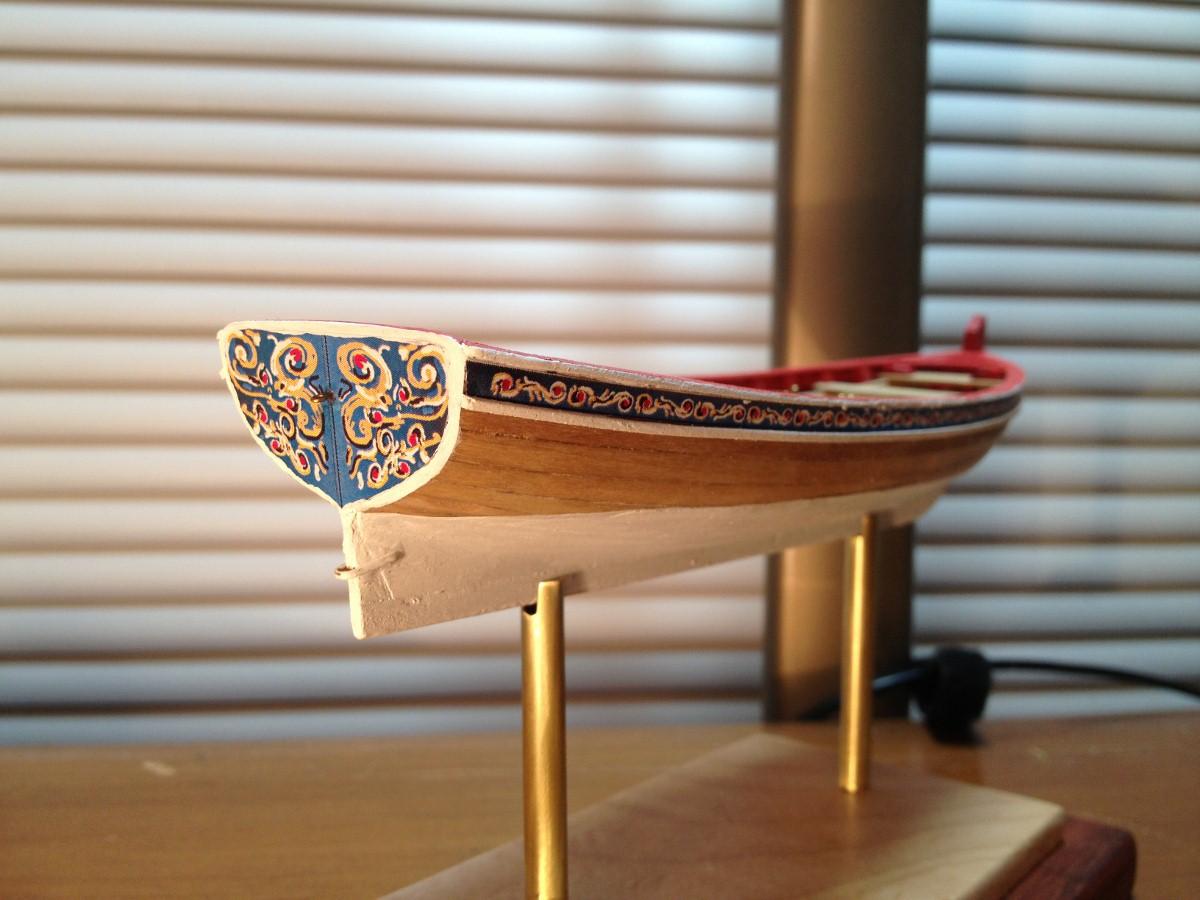
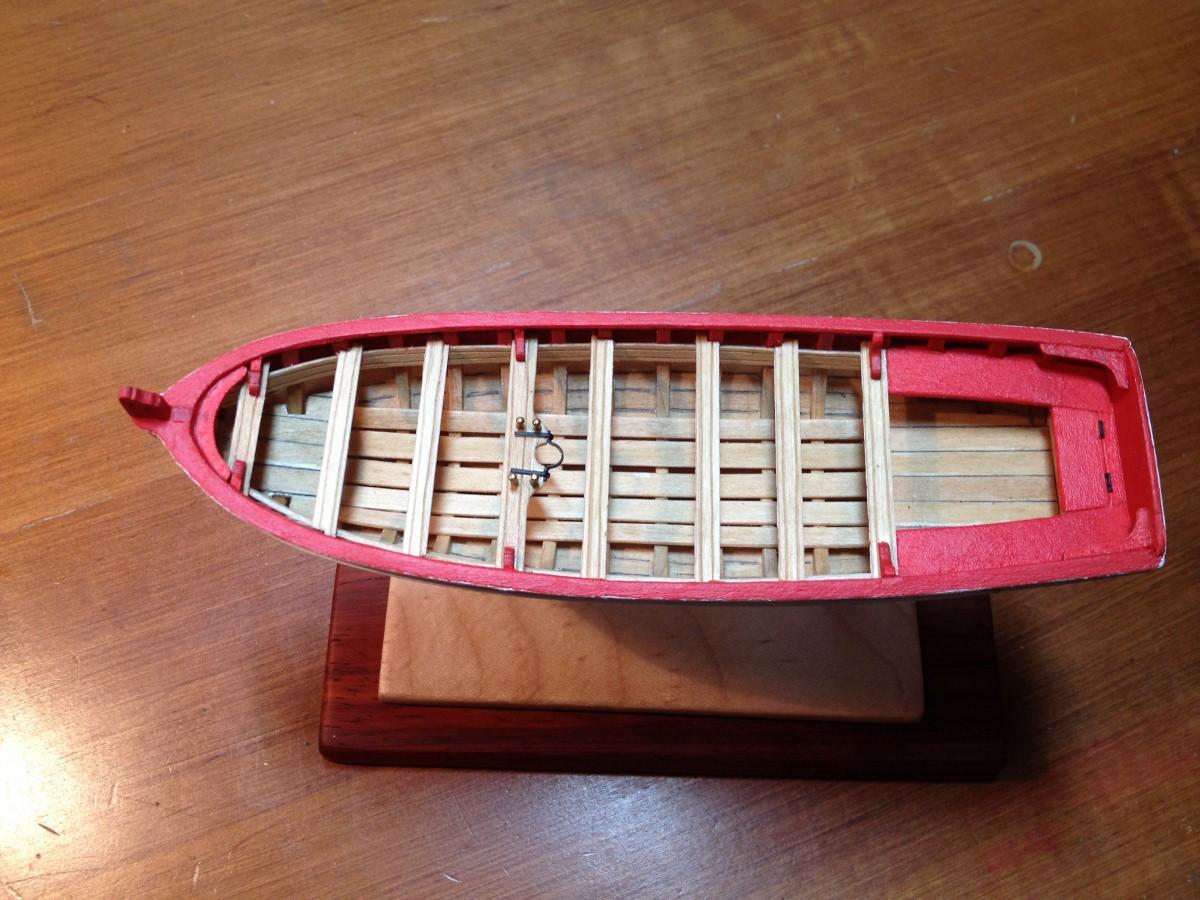
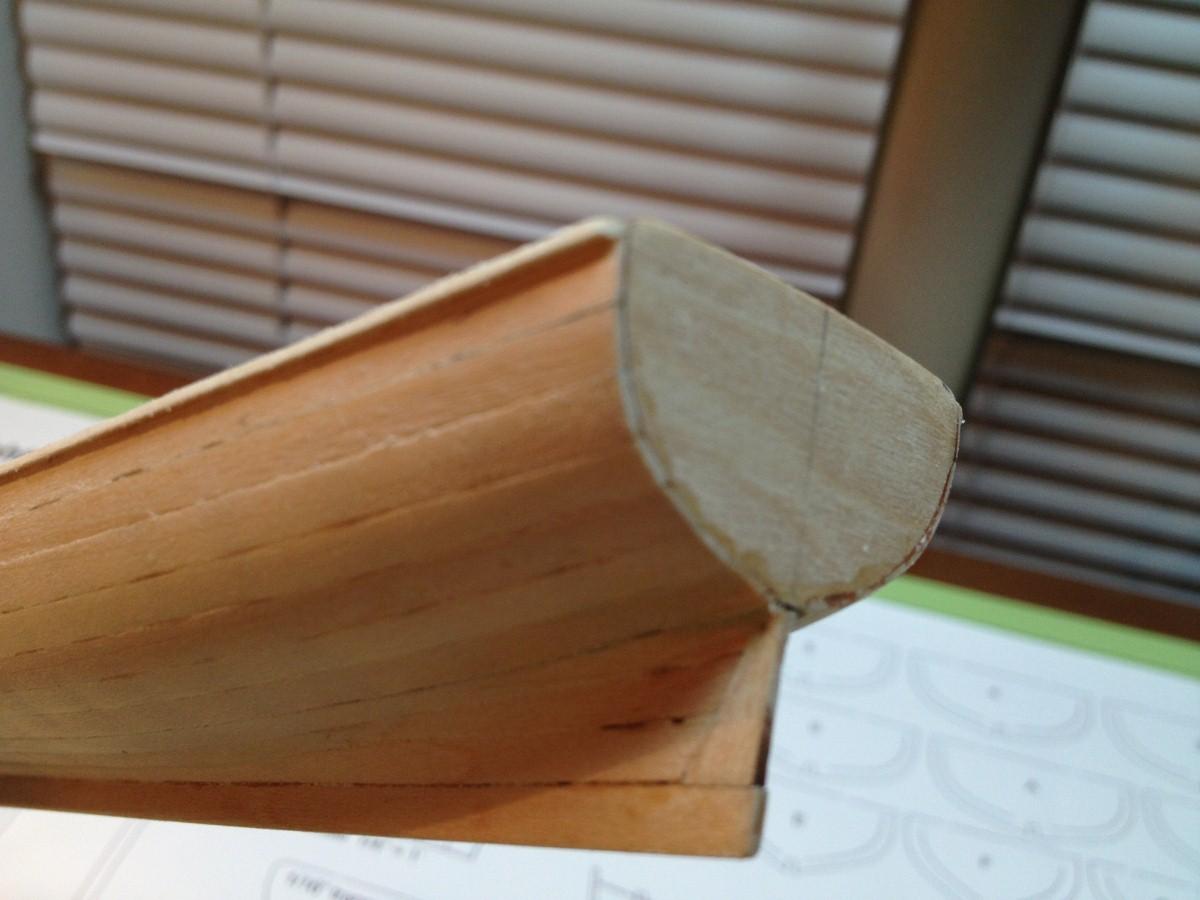
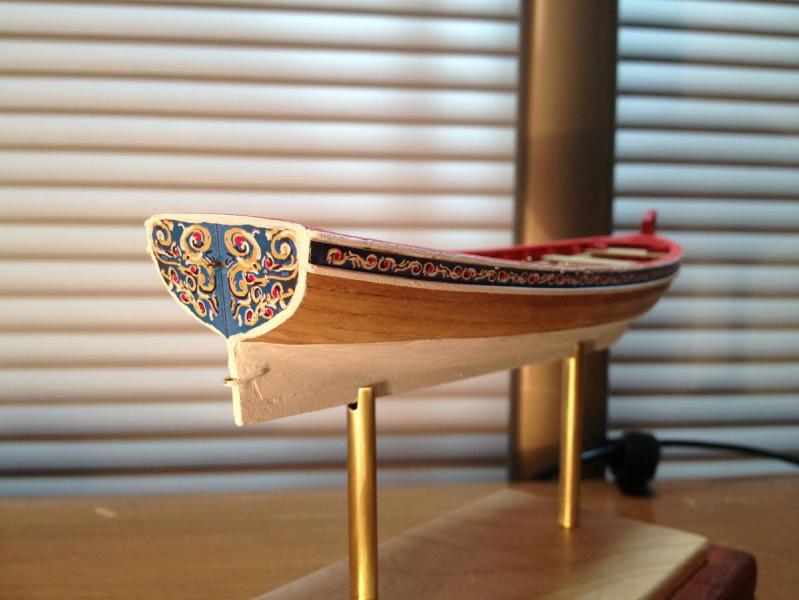
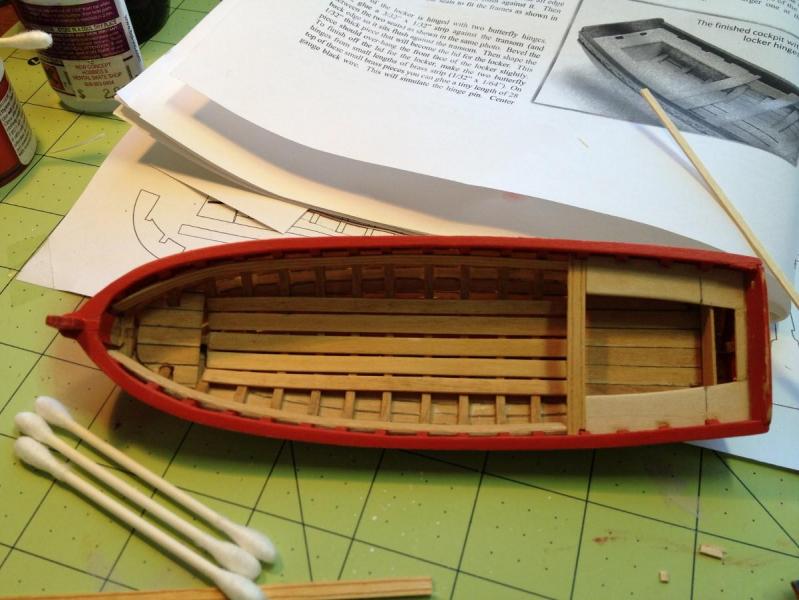
Part 4: Cap Rail, and Interior Details Moving right along, the cap rail does take a little work. I over sized my pieces, and then filed and sanded them to the desired width after they were attached to the boat. I also chose to make three total pieces, with a small filler piece behind the stem. If you look carefully you can see the seams, but it came out fitting quite nicely after some shaping. For the interior, I chose to include the scribe marks shown in the instructions, I thought they add a nice detail to the model. For me, the hardest part about this part was taking my time. I rushed through some of these pieces, and didn't quite get the desired finish that I would have liked. However I am still happy with it. One other thing that is giving me pause at this stage, and I must admit to skipping ahead a little, for I have skipped the windlass. I will install it, and I have one carved, I just don't know If I am happy with it, so look for it to appear sometime in the future.


-
Ryland and Chuck, Thank you both for the compliments, I appreciate them. I am definitely enjoying the departure from styrene, though I do enjoy a good photo etch set. And thanks for the laugh Chuck, with the fireplace remark. I hope not to be that frustrated, but it is comforting to know that for the most part you could roast marshmallows with one's model if the impulse struck. Good luck with your planking Ryland. --Jason
- 58 replies
-
- 1
-
-
- model shipways
- 18th century longboat
- (and 2 more)
-
That is a great stand!
-
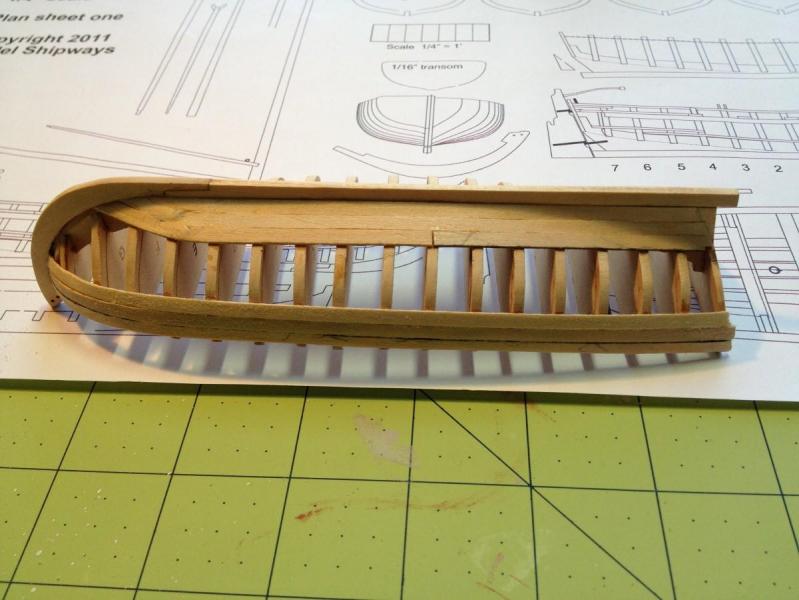
Part 3: Planking: The first step in planking involves a choice. What will the profile of your boats sheer look like? With some guidance as to what period considerations this choice affects your model, the design leaves it up to you how pronounced you would like the sheer to be. For me, I like the aesthetics of compound curves. So I chose to put a pretty pronounced sheer into the boat, which had a consequence for me down the line in planking. I followed the instructions pretty closely, and made good use of the tips on how to form curves in the planking using a hair dryer. However there was one thing that I did not do, and I will excuse it as novice exuberance. I did not measure my distances to determine how many planks were needed between the sheer plank and the garboard plank. This did lead to an error, but reflecting on it, I don't think even with measuring that I would have caught it. The error was this, in following the instructions i placed the forward edge of my garboard plank at 1/8" forward of the scarf joint in the keel. However, I think, due to my chosen sheer, it should have extended forward another full width of a plank. What I ended up with was a small filler piece approximately the width of one plank. Please, if anybody can tell me if this is the right assumption I would appreciate it. Also during this stage I broke off the stem above the cap rail. It was a clean break, so I kept it off of the model until after I had completed the cap rail, and then glued it back on with no ill effects.


- 58 replies
-
- 2
-
-
- model shipways
- 18th century longboat
- (and 2 more)
-
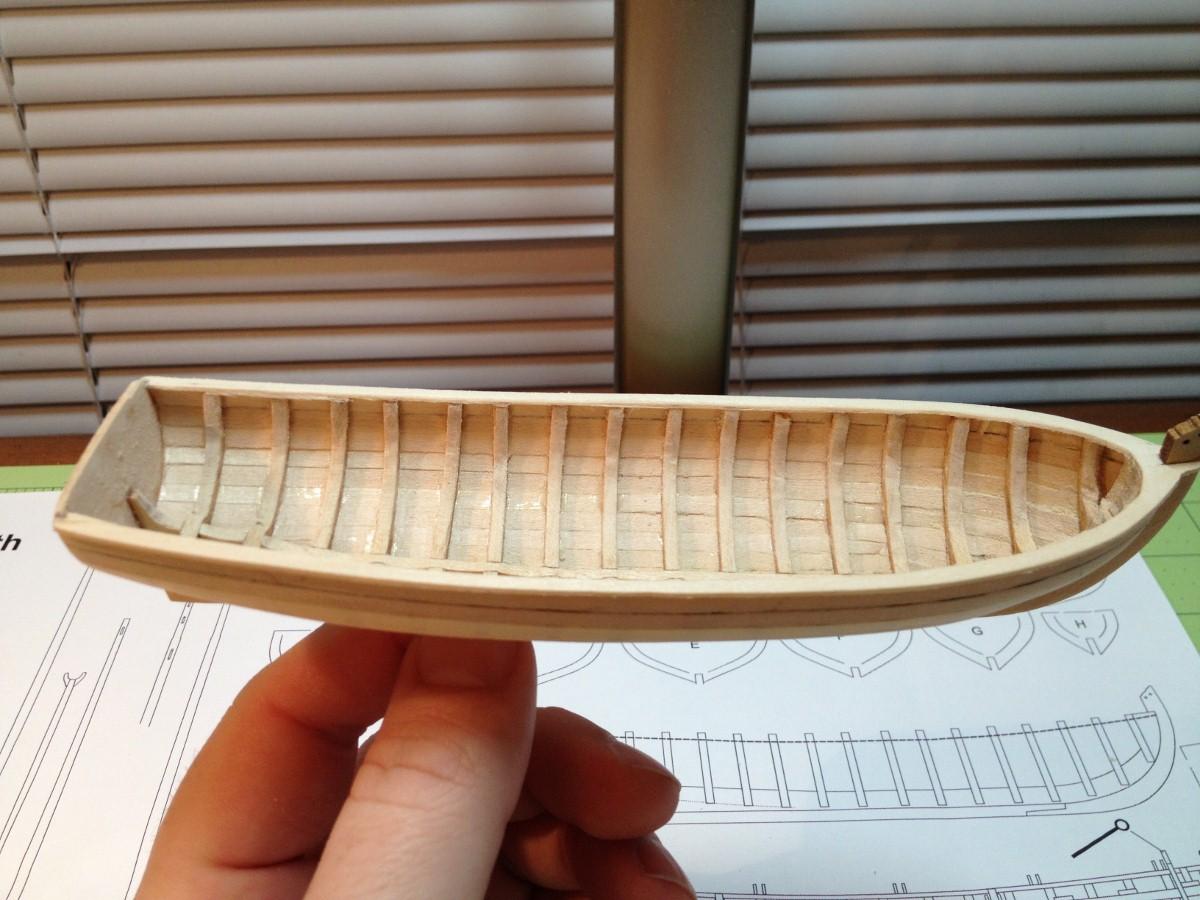
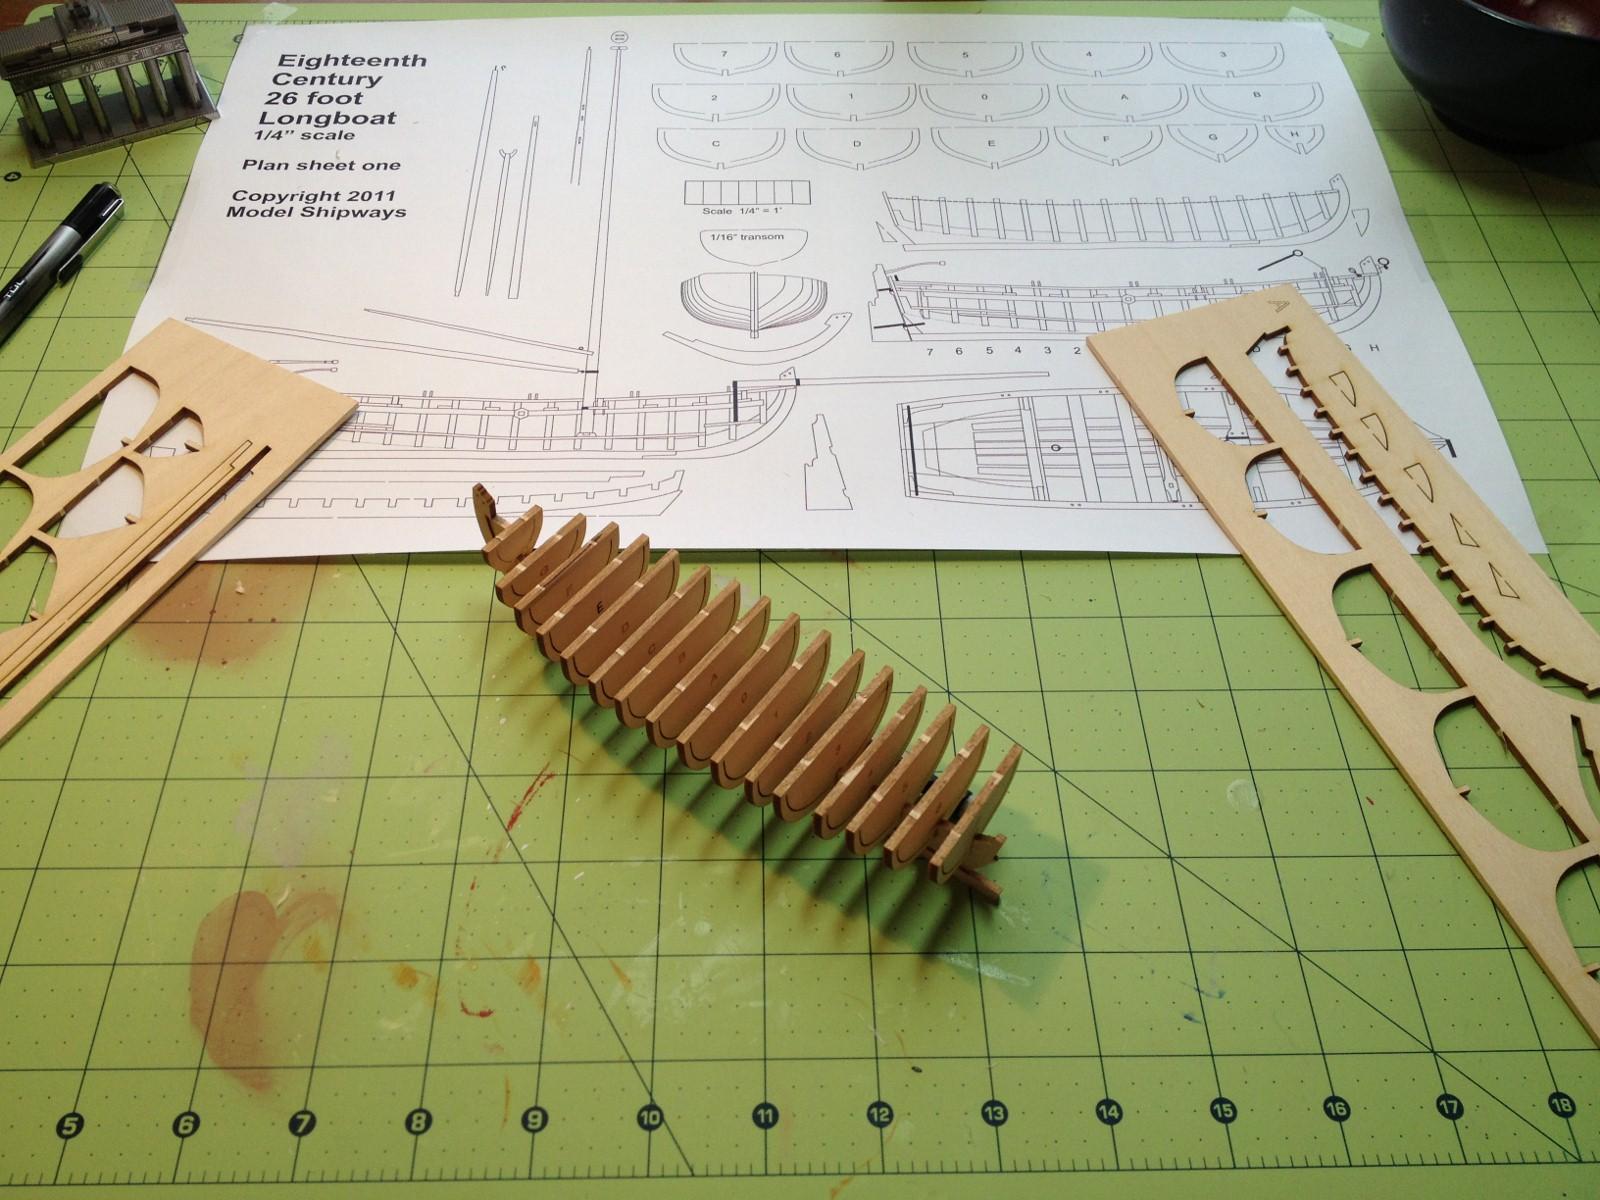
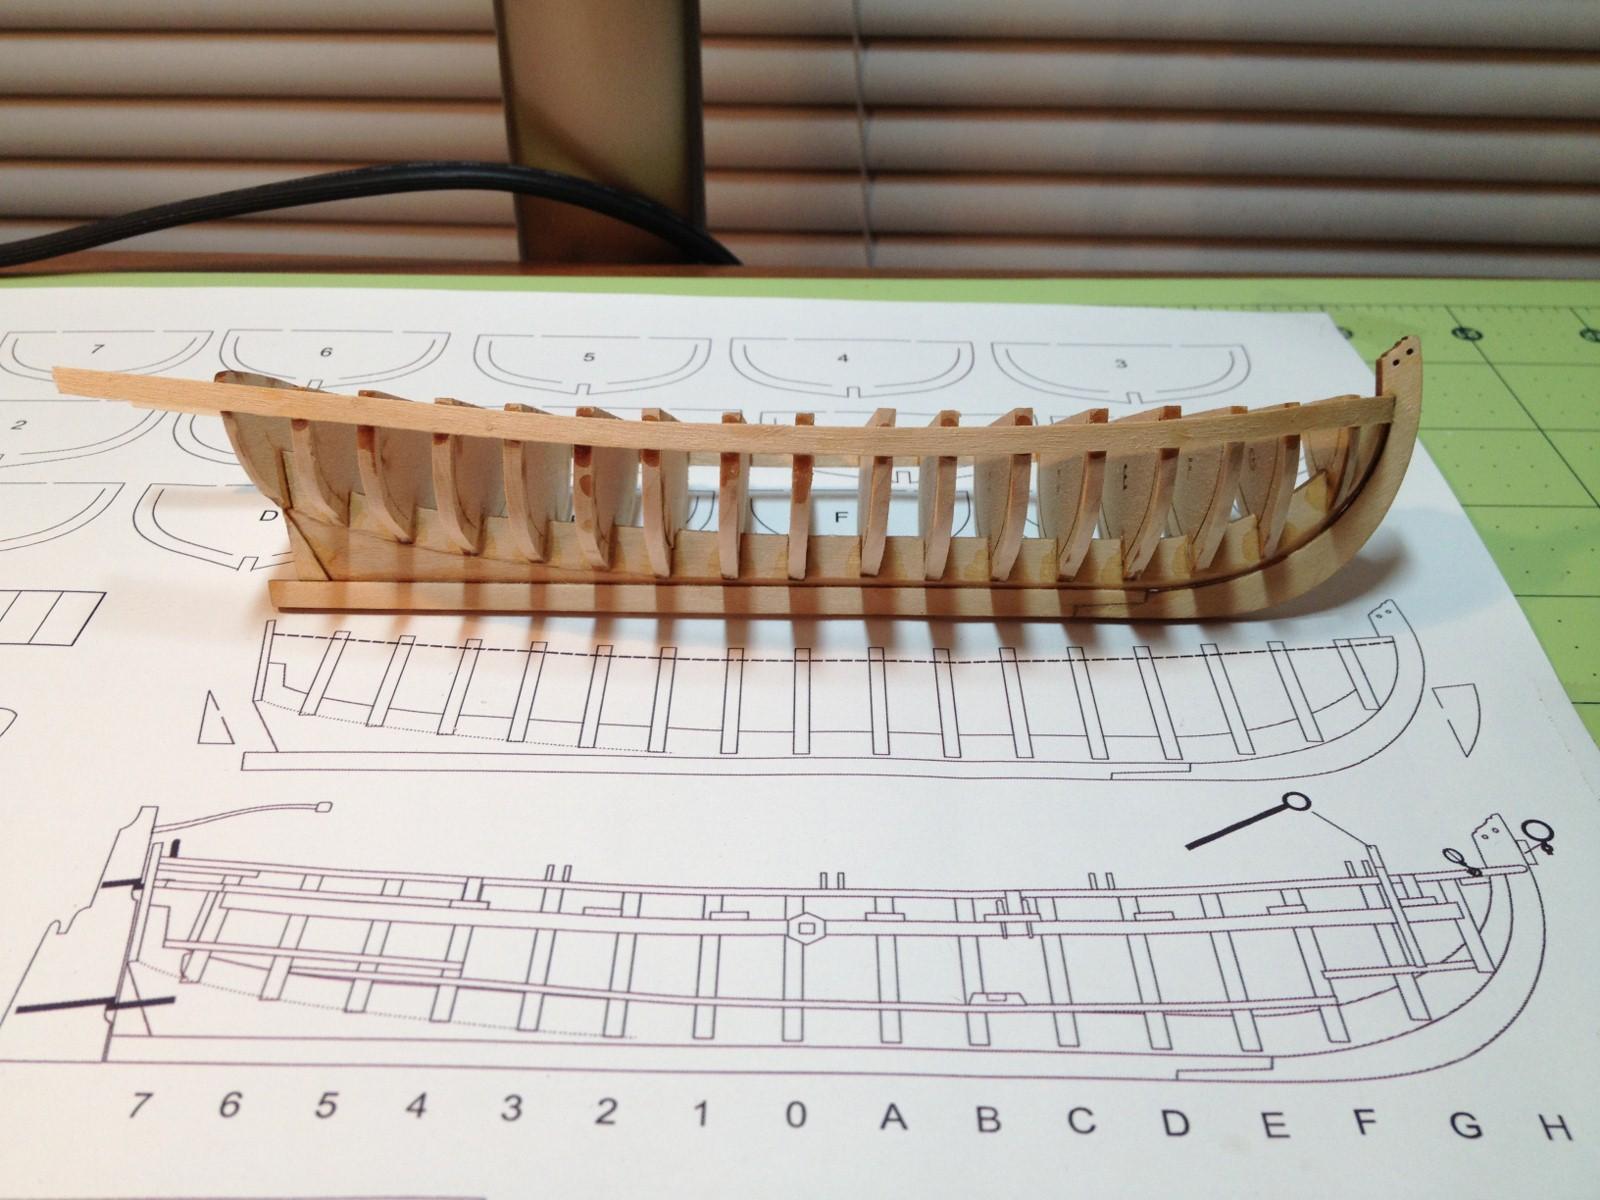
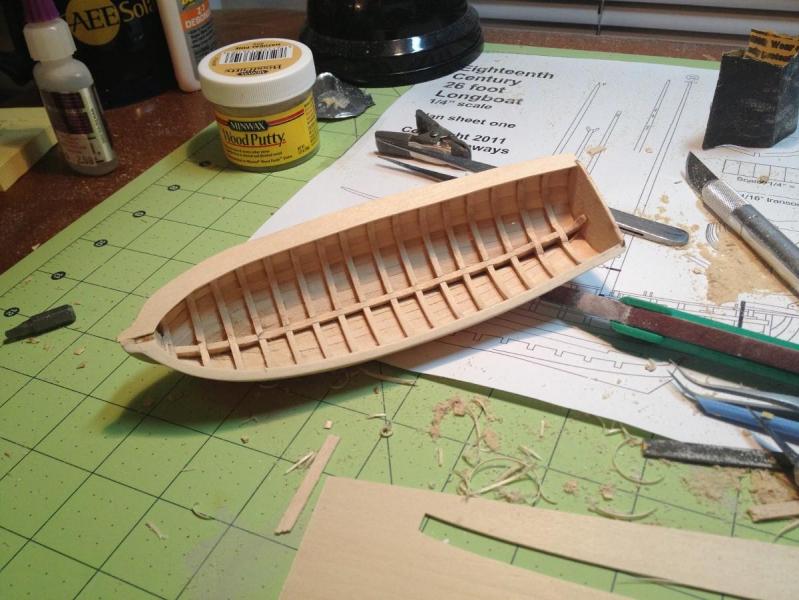
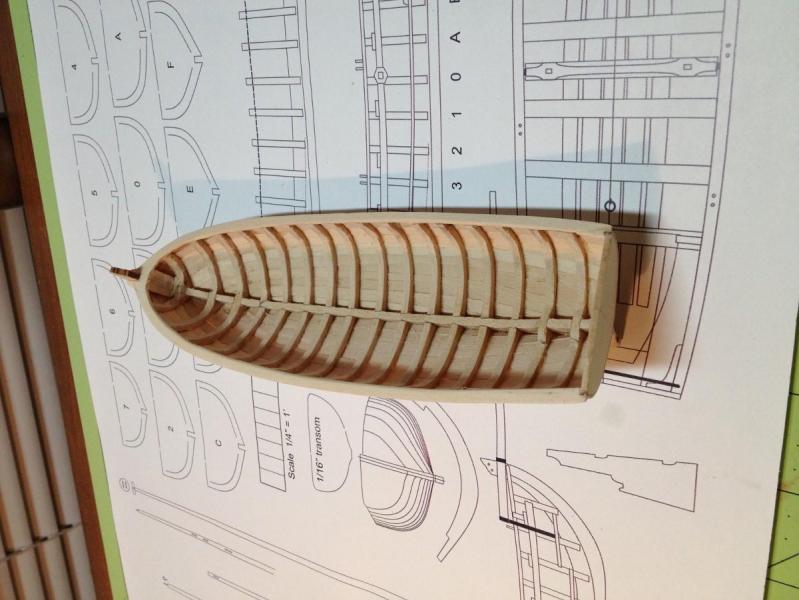
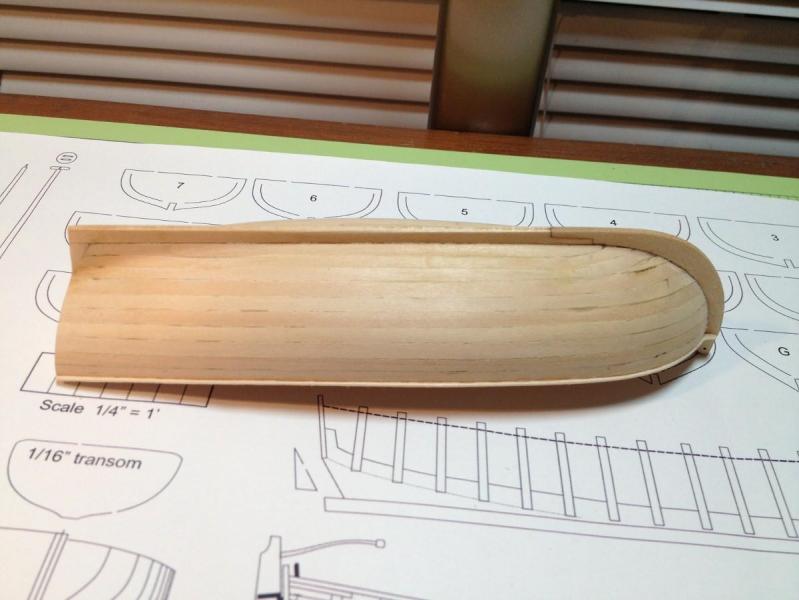
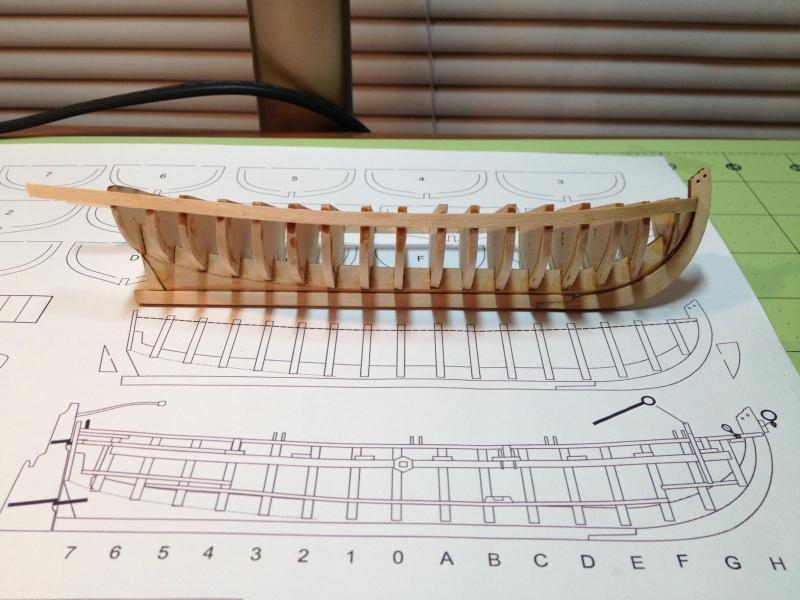
Thank you for moving my build log to the group forum Chuck. And thanks Ryland, I will be following your log as well. Part two: Bulkhead Installation This process did cause me a few problems, but nothing that I would consider too great. Being new to the building wooden boats, and being eager to dig into the model, I went a little too fast through this phase of the build. I unfortunately didn't think of your advice, Ryland, or the ingenious use of lego blocks I have seen elsewhere on this site to true the bulkheads to the keel. So I ended up with some less than true bulkheads. This did cause some problems for me down the road, but I was able to deal with the problems as they came. As far as fit of the pieces goes, everything went together nicely, except maybe 2 bulkheads that needed to be lightly sanded to get them to snugly fit into the false keel. After completing the bulkheads and transom, sorry no picture of the transom, I faired the hull using a 1" and a 1/4" sanding sticks. I found that there was plenty of strength in the assembly at this point, even with no sheer plank in place yet. I would credit the strength to the innovative bulkheads. Being that the vast majority of the material in each bulkhead will ultimately be removed, I would consider the removable bulkhead center key to the ease of construction designed into this kit. I did have a couple of areas where I removed too much material from the frame during fairing, which I remedied by gluing on wedges, filing and sanding to match the curve of the hull.

- 58 replies
-
- 3
-
-
- model shipways
- 18th century longboat
- (and 2 more)
-
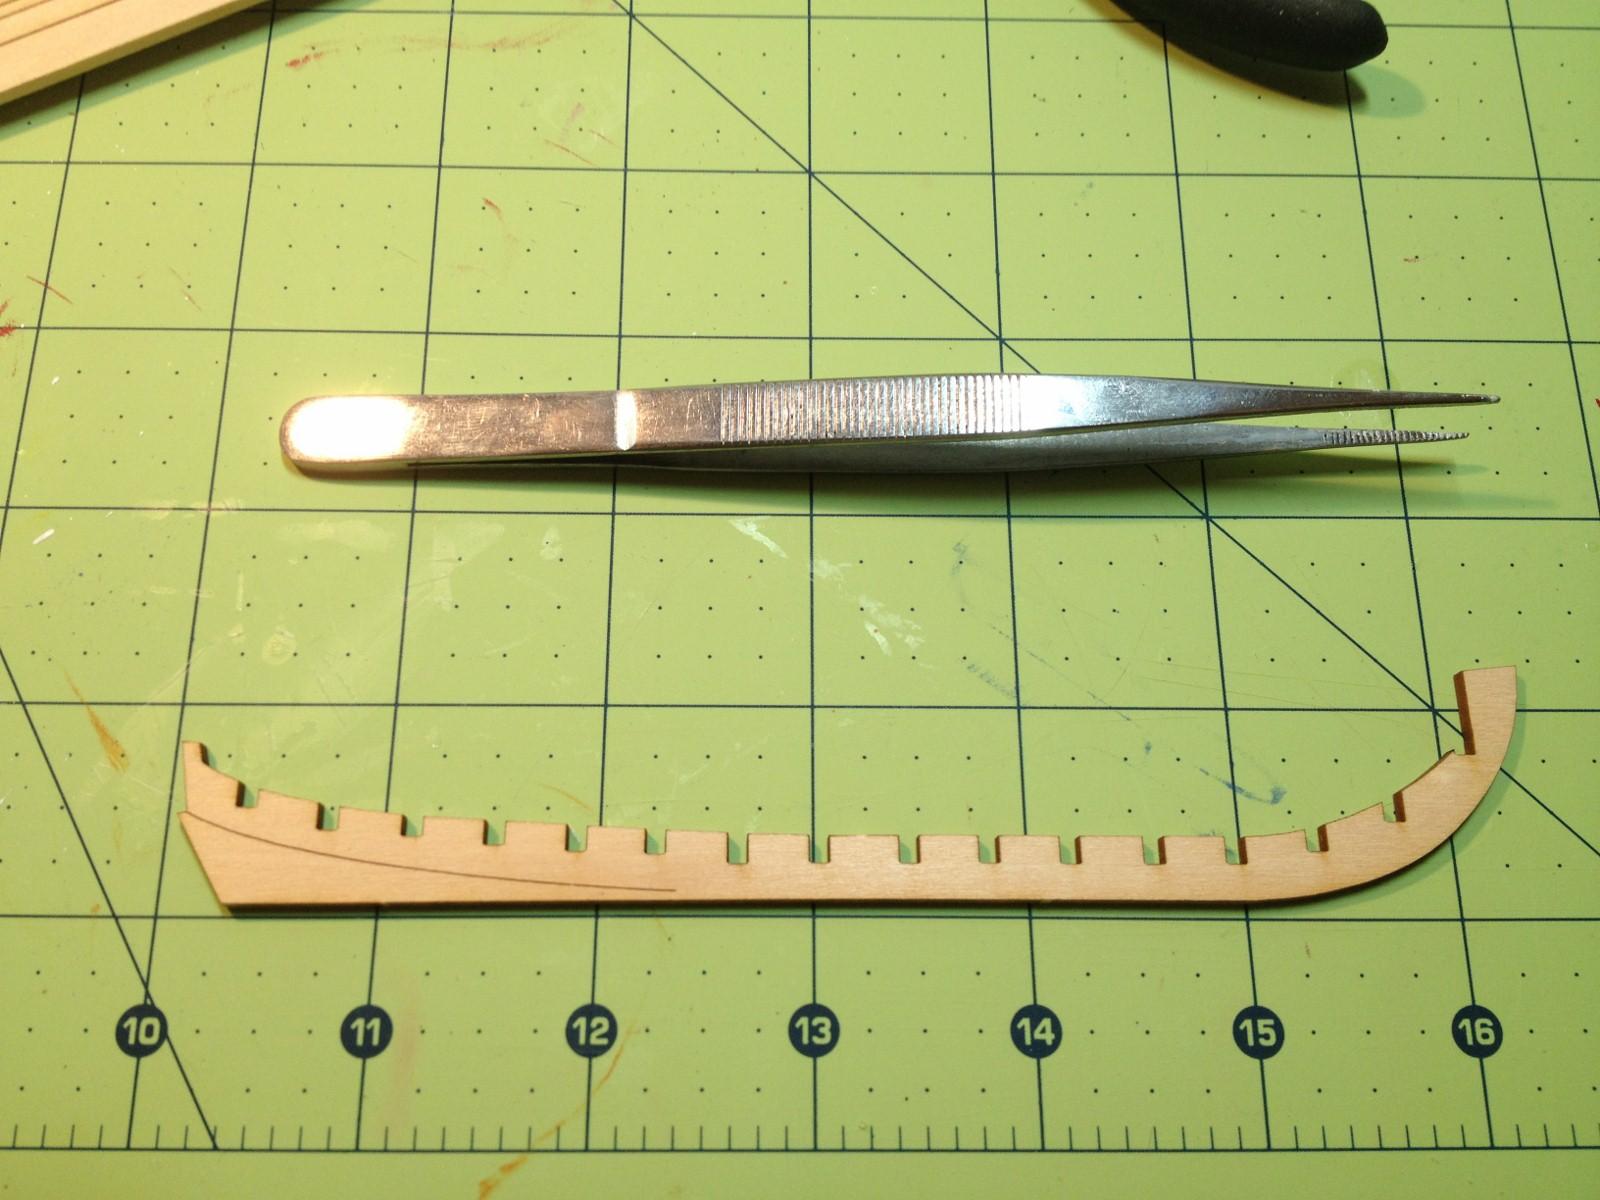
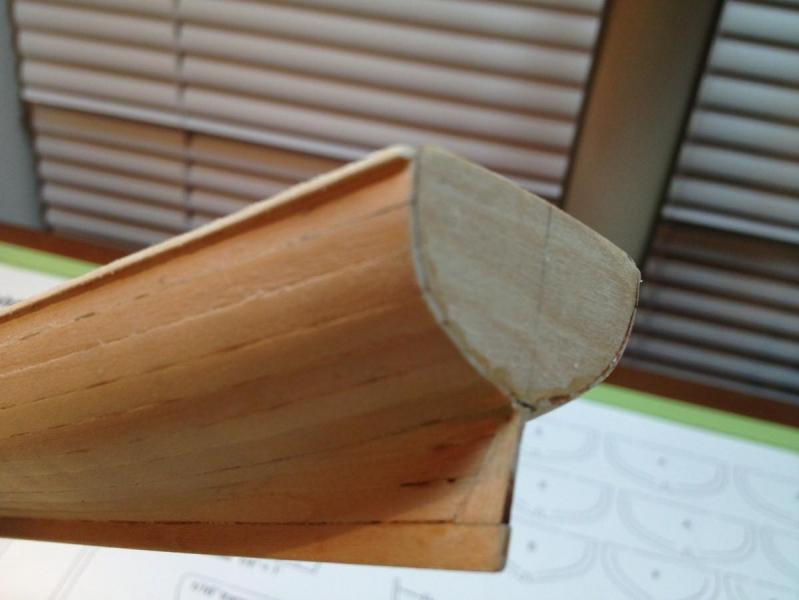
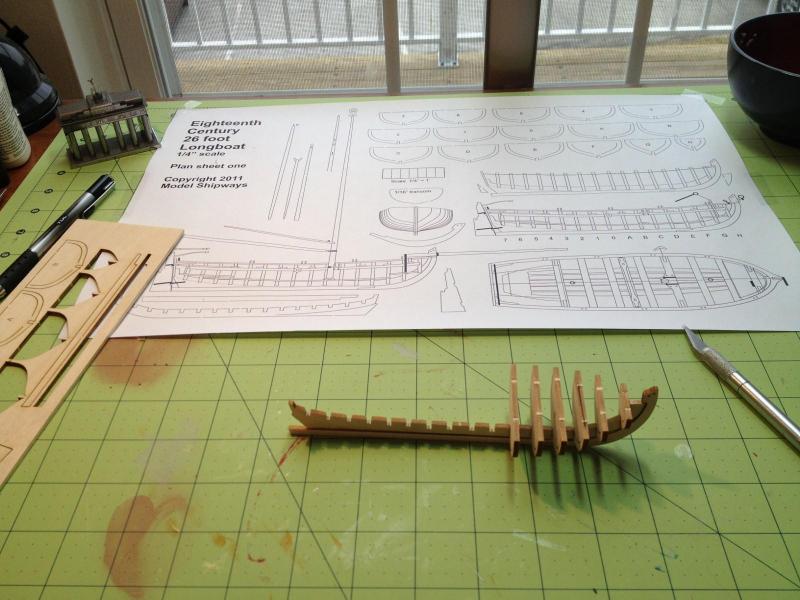
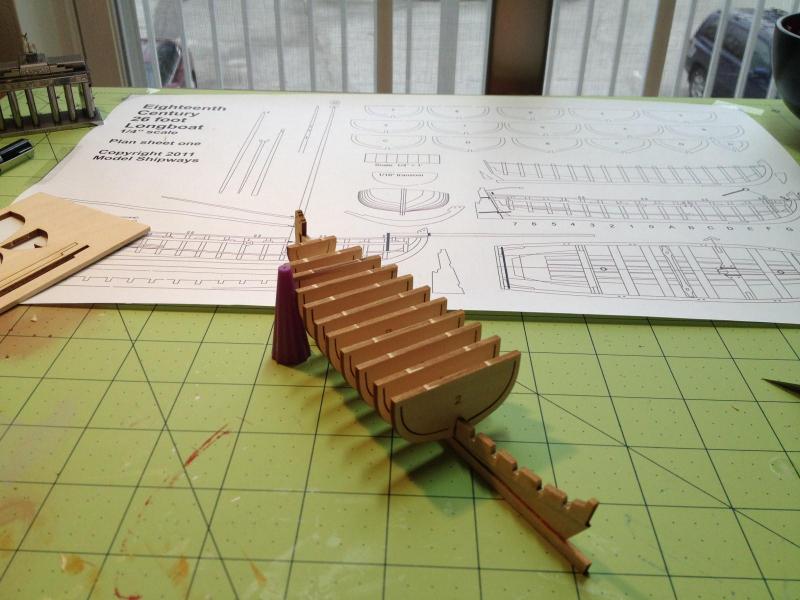
Thank you Chuck and Ben. I have followed both of your longboat builds as well. It is great to see how different people apply their own styles of aesthetics, techniques, and ability to the same project. Not only on this boat, but on all of the great build logs across this site. It is truly inspirational. So to start the actual process of building this project. I have to begin with my first impression of the kit. I thoroughly examined the contents of the box, making sure that everything in the parts list was actually in the box. After that I read the plans through a couple of times to get the general idea of how this boat was going to go together, what extra tools I would need, and any items that I might decide change in the process. Overall I am very happy with the quality of this kit, it is very well thought out, and has a great instruction manual. On to the build... I was a little hesitant to start for fear of messing up the bearding line, and the rabbet, but I decided I wasn't going to learn anything by just looking at it. I actually found the shaping of the false keel easy and fun. It was at this very first step that I knew I was going to be hooked on working with wooden models. The feel of the material and its forgiving nature made a strong first impression after working with plastic. There was a small issue when I glued the stem, keel, and false keel together, but I was able to get it to where I was happy with it fairly quickly. Tomorrow night I will continue with gluing the bulkheads...

- 58 replies
-
- 1
-
-
- model shipways
- 18th century longboat
- (and 2 more)
-
Hello All, This is a build log for my Model Shipways 18th Century Long Boat kit. Two very new things for me, one building models from wood, and the second posting about a process in an online forum. So here goes... I have been interested in building models since I was a teenager, and indeed built many while in high school. Though none have seemed to survive the journey into adulthood with me. In the last couple of years, that interest has been rekindled, due to a remarkably well stocked hobby store in the neighborhood that I was living in, and the fact that my wonderful wife encourages me in my many hobbies. I have since been working on many models concurrently, mostly plastic ships and balsa airplanes which adorn our son's bedroom ceiling after we are done flying them. I had been dreaming about building a Model Shipways kit for quite sometime before the opportunity presented itself. First a promotion forced us to move, and in an act of self consolation I bought myself the US Brig Syren Kit. Once we settled into our new place I realized that I needed a bigger desk if I was going to work on the Syren, so it sat and still sits patiently in it's box in my office. Soon I came across something that really piqued my curiosity. That was the Long Boat kit. I thought that it would be a great place to start, on something that wasn't quite so detailed as the brig. Additionally, it is of course a very handsome little model too. I got the kit at Christmas, and started it a couple of weeks later. I have been taking pictures during the process. Over the next week or so I hope to post everything up to where I am currently at in my build. So far it has been a very pleasurable experience, I am especially enjoying working with wood instead of plastic as a medium. I feel as though there is a life in the material itself that I just do not feel with plastic.
- 58 replies
-
- 4
-
-
- model shipways
- 18th century longboat
- (and 2 more)