gluedandscrewed
-
Posts
120 -
Joined
-
Last visited
Content Type
Profiles
Forums
Gallery
Events
Everything posted by gluedandscrewed
-
 every time i get on here and see some of the work being done by you guys I feel embarrassed to even bring up anything I do,,,but to kill time I stated a 6 foot blue devil project thats being scaled up from a lindberg kit, done the way cavemen must have done it by candle light and with stone tools,, no plans, no CAD drawings, no 3D printers nothing more fancy in the way of tools than a 20 yr old scroll saw and a 60 yr old drill press,,, we'll see how it goes!!!!
- 83 replies
-
- 4
-

-
- melvin
- blue devil
- (and 2 more)
-
hey ger, used to know the upstate very well, lived in oswego for 15 yrs back in 80s and 90s, the wife still swears i glow in the dark sometimes,,,,too bad the only association people have with NY is the city,,,some dummies dont even know there is a beautiful state there also!!!!!!!
-
a glutton for punishment
gluedandscrewed replied to gluedandscrewed's topic in New member Introductions
the real boat wont work,,my first model was a 1:1 scale 25 foot barrel back runabout,, why the next two were 4 footers,,, the alternative that somewhat helped was beer drinking in the titty bar with al bundy kersh -
not new but returning, after building my first two models and committing the cardinal sin of building one of those " flying contraptions" i decided to atone for my sin by building a six foot model of a fletcher class destroyer form a three foot lindberg 'blue devil"... for you young uns thats an iconic WW2 destroyer thats as much responsible for winning in the pacific as any hoity toity aircraft carrier,, may the gods of modelers have mercy on me...cause the wife doesnt,,,,damn, not another one was her only comment!!!
-
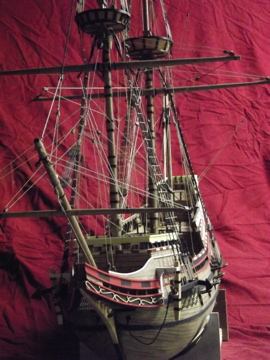
i tied to the fore and aft shrouds, wrapped around the inner with a dab of glue to keep it in place


-
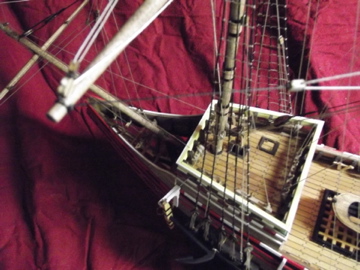
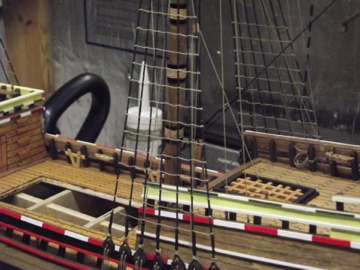
tried the rat line methods i saw in the forums and was not satisfied with them, too slow, too tedious, too uneven etc... so came up with my own technique, fast , about two minutes per line, even, doesnt pull the shrouds out of line and almost idiot proof,, i can even see a way to easily and consistantly allow for the proper sag in the lines

-
started tying the rat lines.......can i prevail on anyone to put a bullet in me? please....... I'm sure it would go down as a mercy killing


-
Cutty Sark by Keith B
gluedandscrewed replied to Keith B's topic in - Build logs for subjects built 1851 - 1900
i agree with the last couple of posts, i too am building what i call a semi scale boat,, made some mistakes, made some changes on purpose and have a very nice looking model even if not historically correct...i get a real laugh listening to guys on here arguing about .010 of an inch on some dimension because its not historically correct and they want a model built just like the real thing,,, news flash guys!!!! the builders of these ships didnt have copiers, computers, cad programs, cnc power tools, so much for their pretentions of building the model just like the real ship!!!! more power to you, youll end up with a beautiful model -
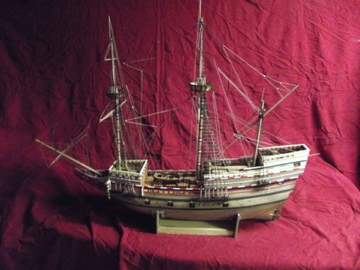
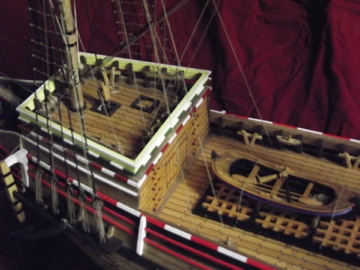
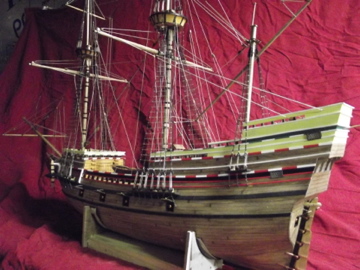
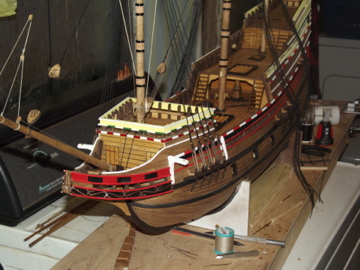
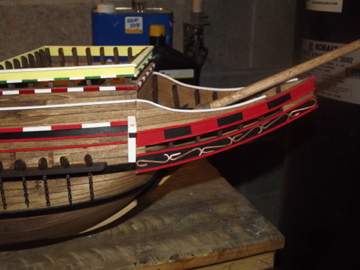
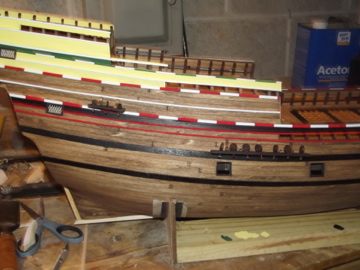
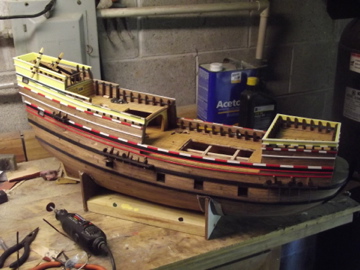
its been a while so i thought i might update the progress on my typical british merchant vessel circa the 1600's,, been catching up on all the little details that get left to do later during the construction


-
nothing specific,,just wanted to know how the running to standing tie-in is made
-
another stupid question,,some of the running rigging ties off to the standing rigging,, is there a prefered method to do this?
-
answers my question ,, thanks guys
-
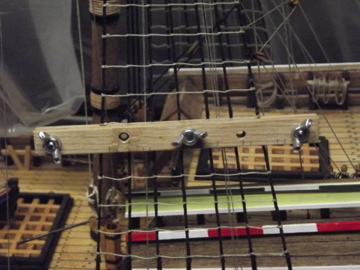
have a couple of questions about kevels 1, what were they used for? 2, some running rigging is tied of to some, what is the right way to tie off on one? an easy way to make them?
-
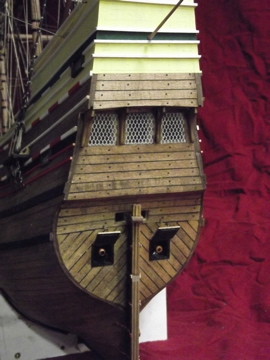
think all the moulding is finished!!!!!!!!!! didnt feel like making another grating for the beakhead but not being heartless i put in a safety net for the little fellows ,,,, put some stuff on just to make me feel like i'm making some progress,,,that beakhead was a pain ***.


-
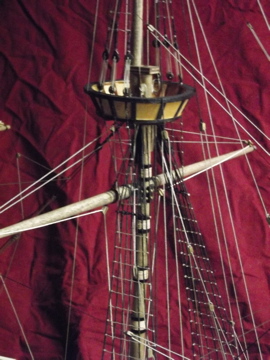
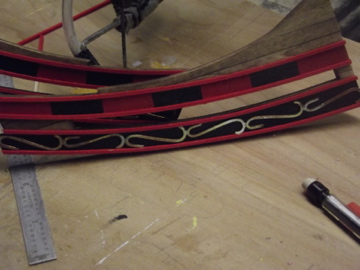
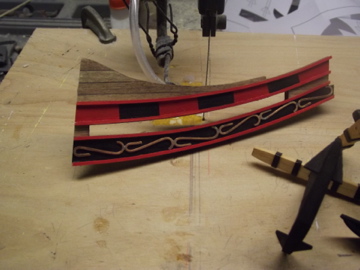
my stupid 1234, the scroll work is a 16 gauge copper wire bent around two different dia. drill bits,,, hammered flat and soldered end to end........two days of work and it doesnt look like i'm getting out of this dark tunnel and into the airy realm of masting and rigging any time soon hung some chains just to see how much pleasure that is going to be,,,they are just hanging free till the stays go in

-
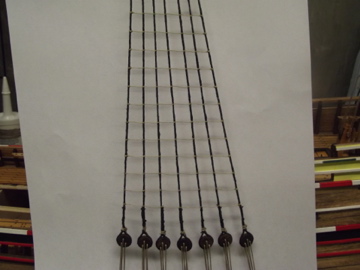
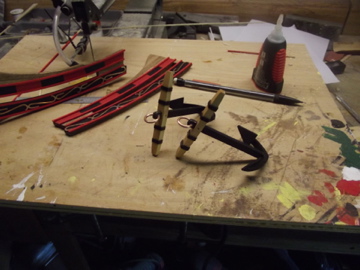
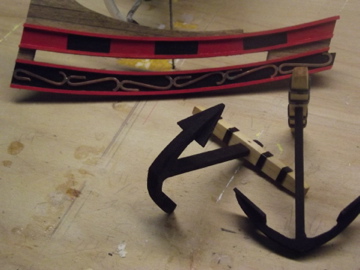
all cut out of bass wood on the scroll saw they are sitting on, 5 pieces per anchor, the reenforcement hoops same as the ones on the masts, i used 1/8 inch automotive pin stripe
-
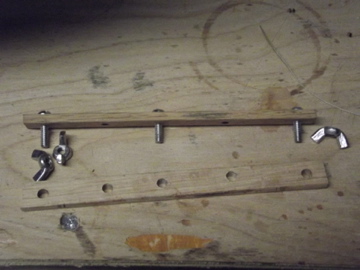
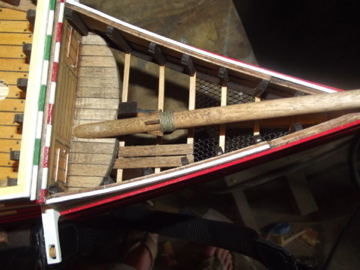
started working on the beakhead, i jump around the construction schedule so as not to get bored had to get away from the beakhead for a while so built her a new set of parking breaks
-
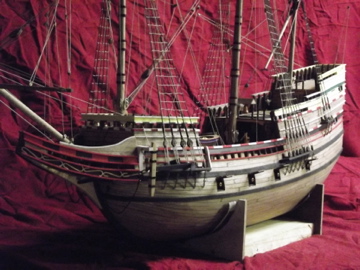
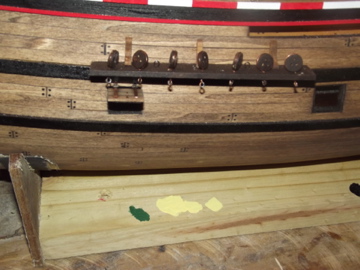
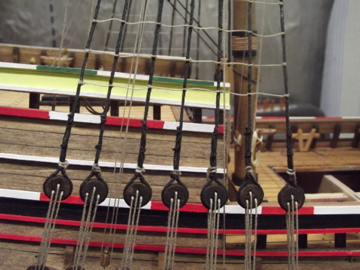
had a closer look at the channel,, might be able to run the second and third deadeye chain to a common spot,, number two would be out of line with the stay but at least be down on the hull
-
i have looked at sawdust but he looks like an old pro at this,, me? just a building virgin
-
thanks guys,,the channel should fall between the gun ports taylor, i dont know why but on mine it extends over one gun port and i was damn meticulous about measuring and positioning everything, the gun port is in the way of the deadeye retaing chain , instead of running the one chain downward i'll have to run it to the hull above the gunport,, only way out
-
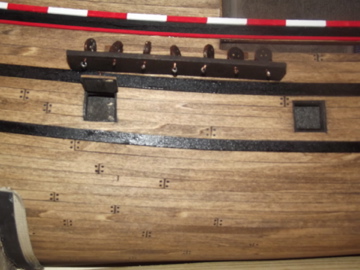
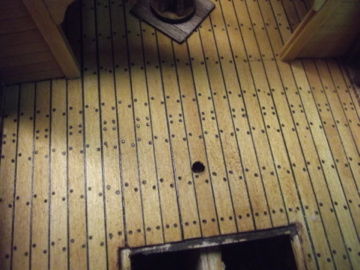
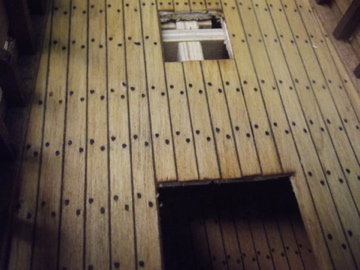
in one of the forums guys were discussing simulating caulk lines, so here is a side by side comparison,,one is done by edge gluing paper to the planks the other my own development, putting a .020 mil spacer between the planks, filling the space and nails with auto gasket sealer and sanding off,, cant tell them apart
-
in one of the forums guys were discussing simulating caulk lines, so here is a side by side comparison,,one is done by edge gluing paper to the planks the other my own development, putting a .020 mil spacer between the planks, filling the space and nails with auto gasket sealer and sanding off,, cant tell them apart