DONATION DRIVE - SUPPORT MSW - DO YOUR PART TO KEEP THIS GREAT FORUM GOING!
×


mitbok
-
Posts
99 -
Joined
-
Last visited
Content Type
Profiles
Forums
Gallery
Events
Everything posted by mitbok
-
I bought a bender and plank forming tip from here: http://info.gk-modellbau.de/usa/index.htm There is some guidance on the use of these tools which is applicable for Ralt RA 5 if you open the link above. Bender is similar to Ralt RA 5 but I seem to use the forming tip 3003 most of the time.
-
 Any decal film should be ok, but of course leave it to the individual modeler to decide if they want to go that route and keep the cost of the kit down. I think friezes can also be done that way (if there is white color present, than back ground has to be painted white or decal printed on white decal paper) I did not think of sealing the ink... good point! I used ready made decals and as Jack said, they can be applied even on cloth if set with special solution
- 269 replies
-
- 5
-

-
- Queen Anne Barge
- Syren Ship Model Company
- (and 1 more)
-
Hi Chuck! I don't remember if I ever mentioned this but there could be a better way to transfer any decorations on wood - decals. if you can provide the image for those who wish to go that way than it can be printed on clear decal paper using ink jet printer. Than just follow instructions for decal transfer. I set decals with Solvoset which dissolves decal film, leaving an appearance of image painted on wood.
- 269 replies
-
- 7
-
-
- Queen Anne Barge
- Syren Ship Model Company
- (and 1 more)
-
Keith, I think with your machining skills you will have no problem improving the idea!
-
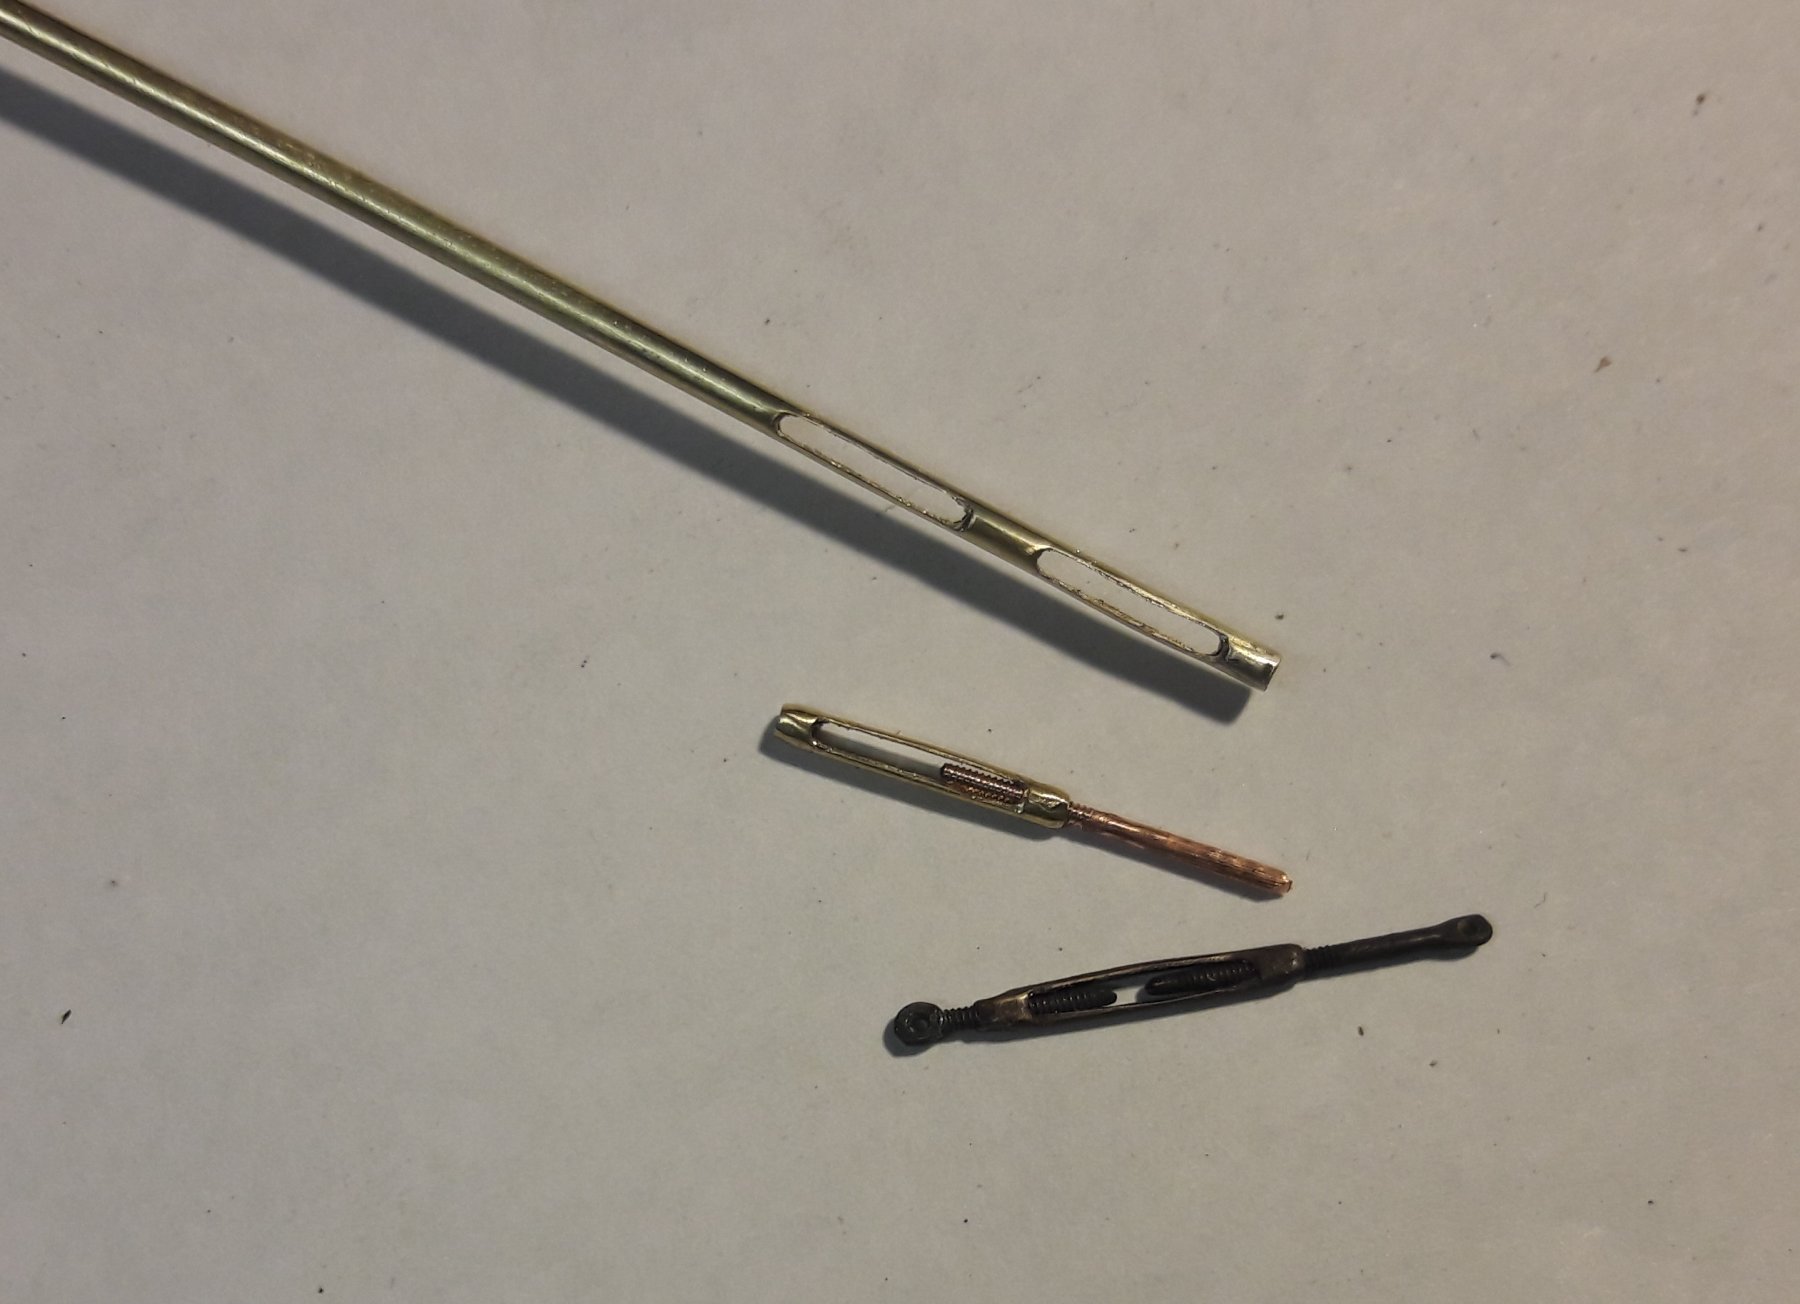
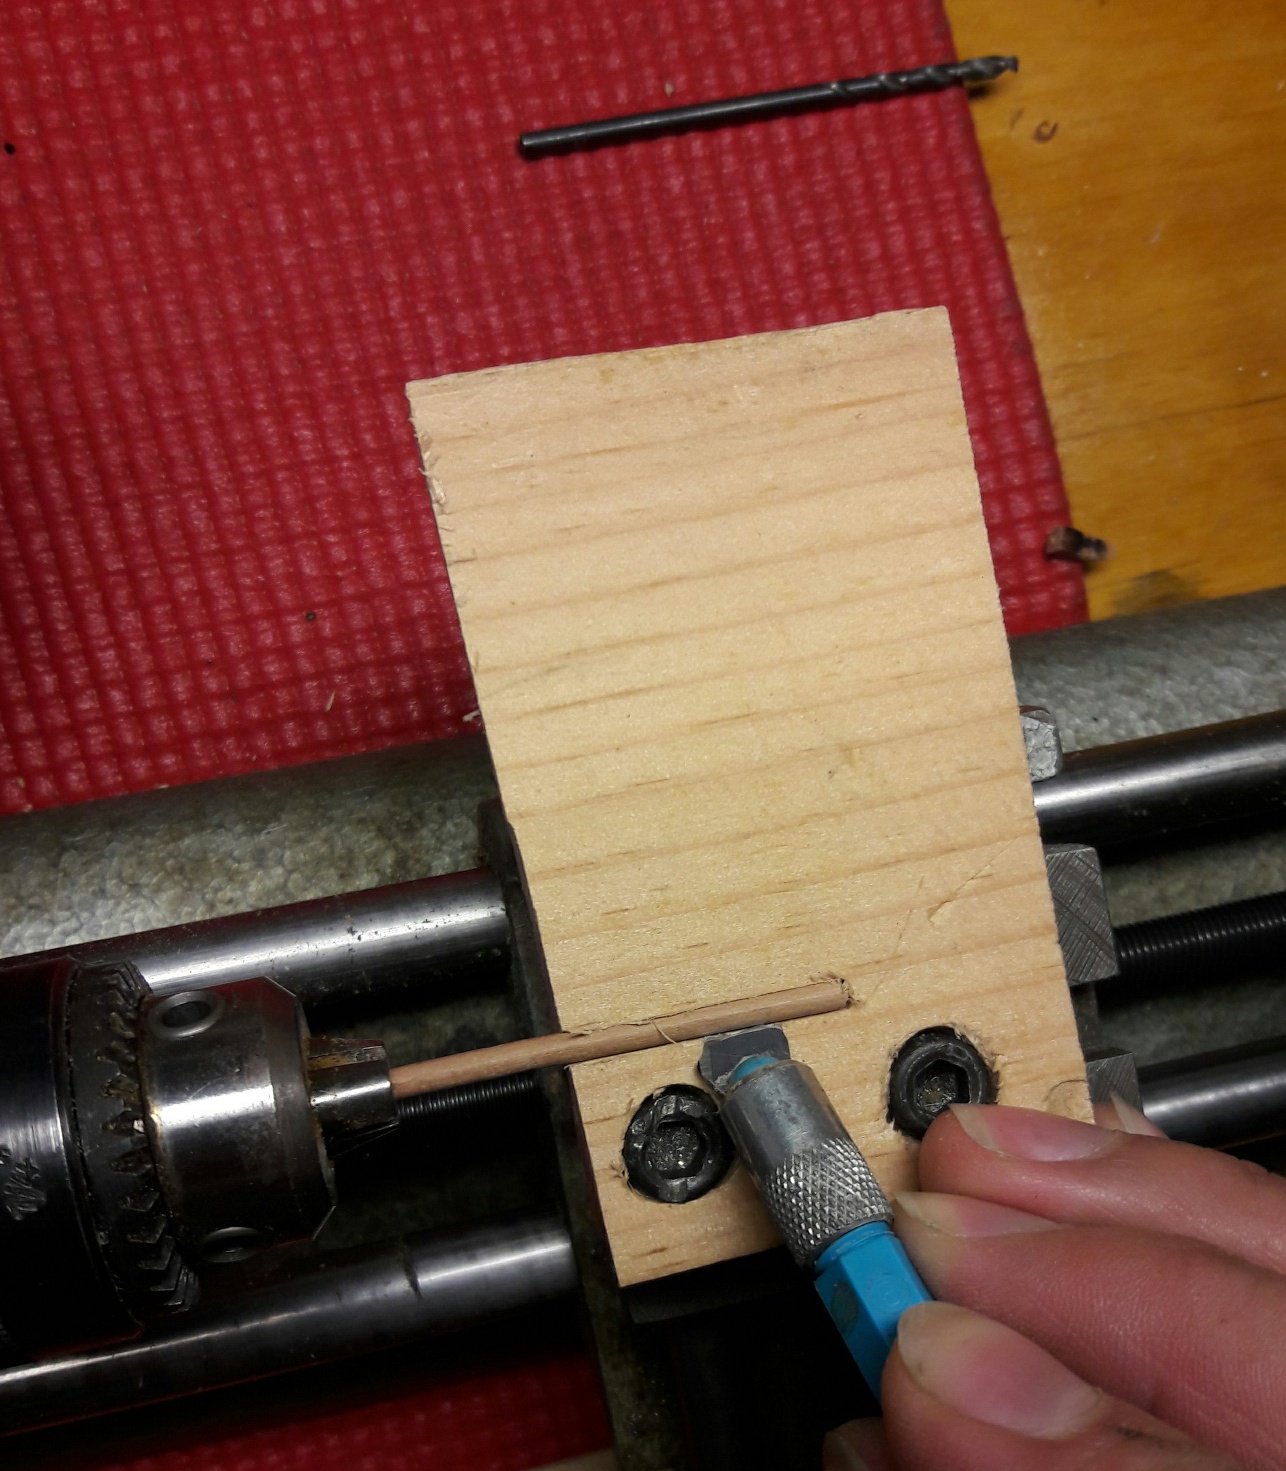
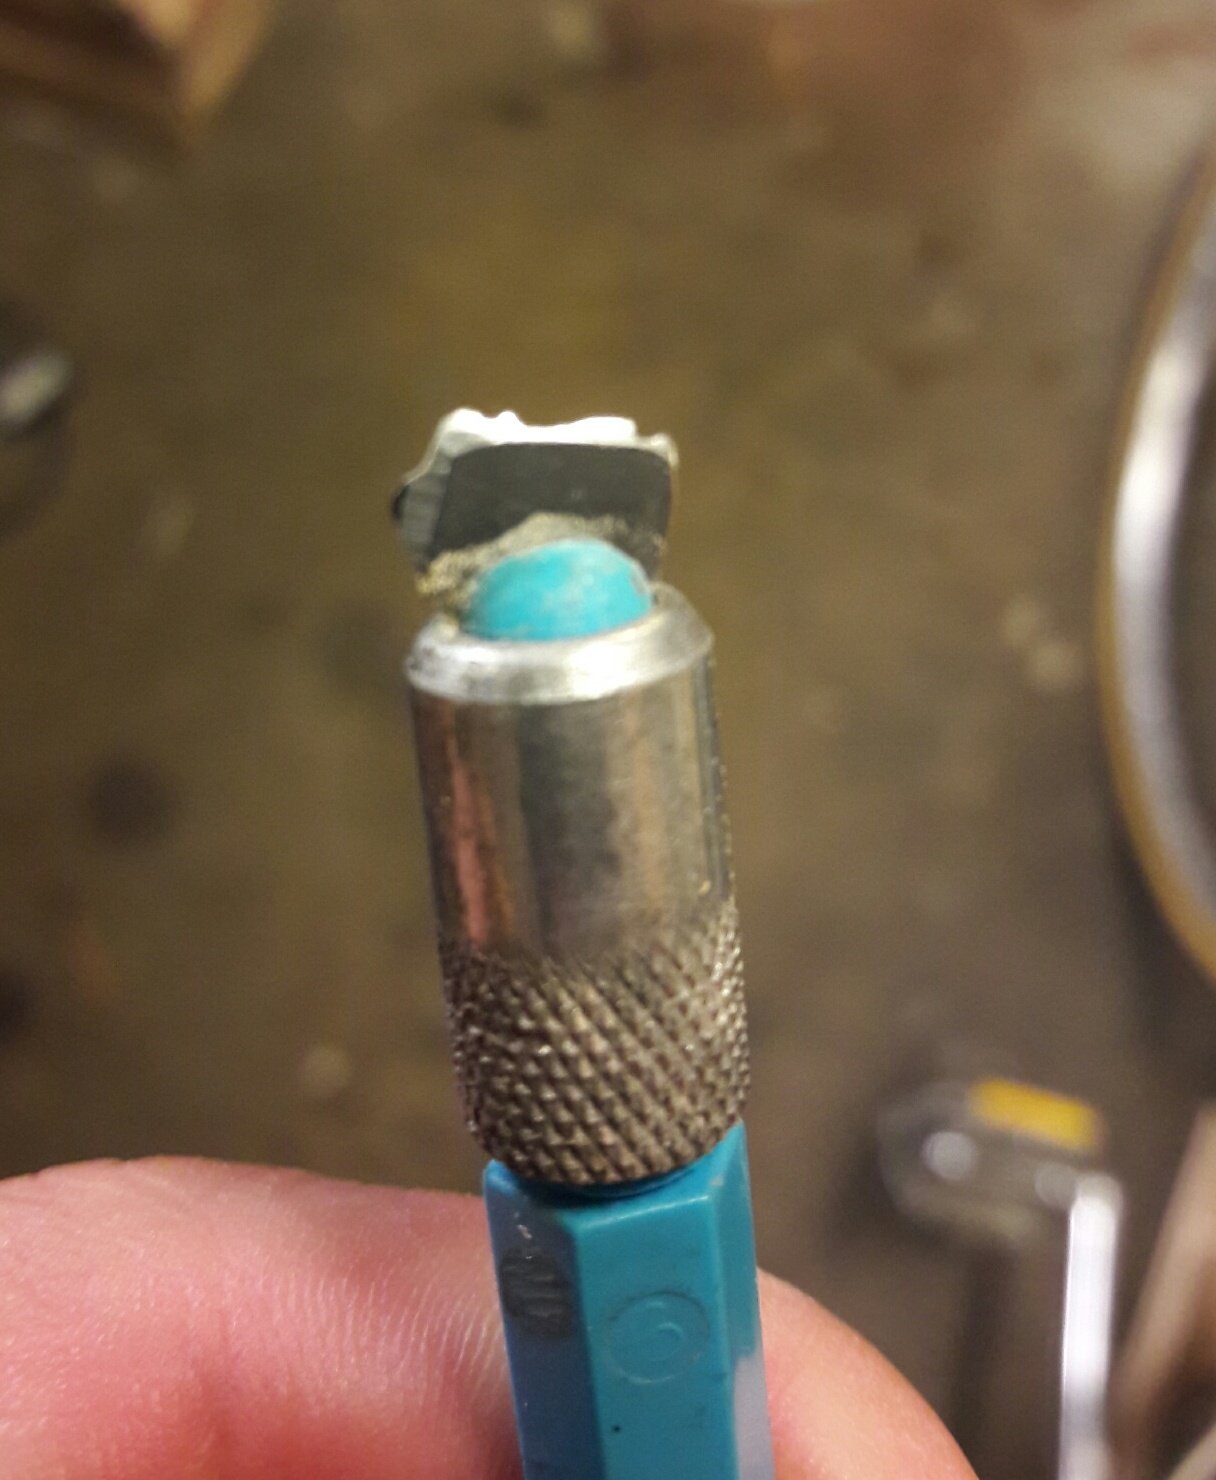
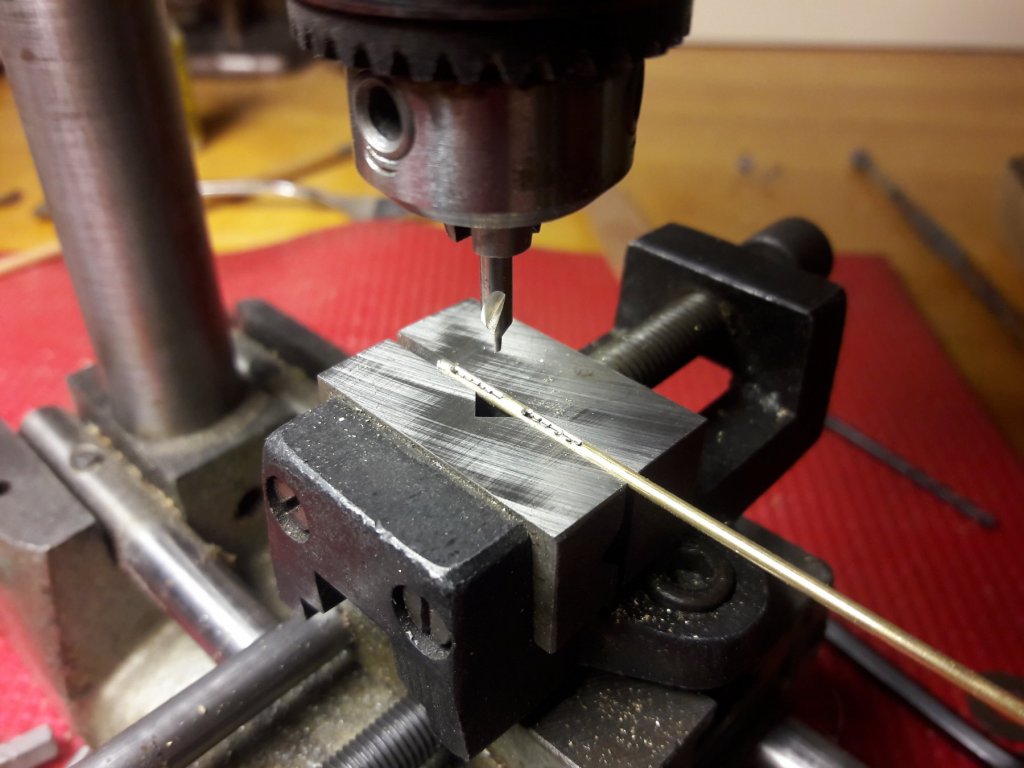
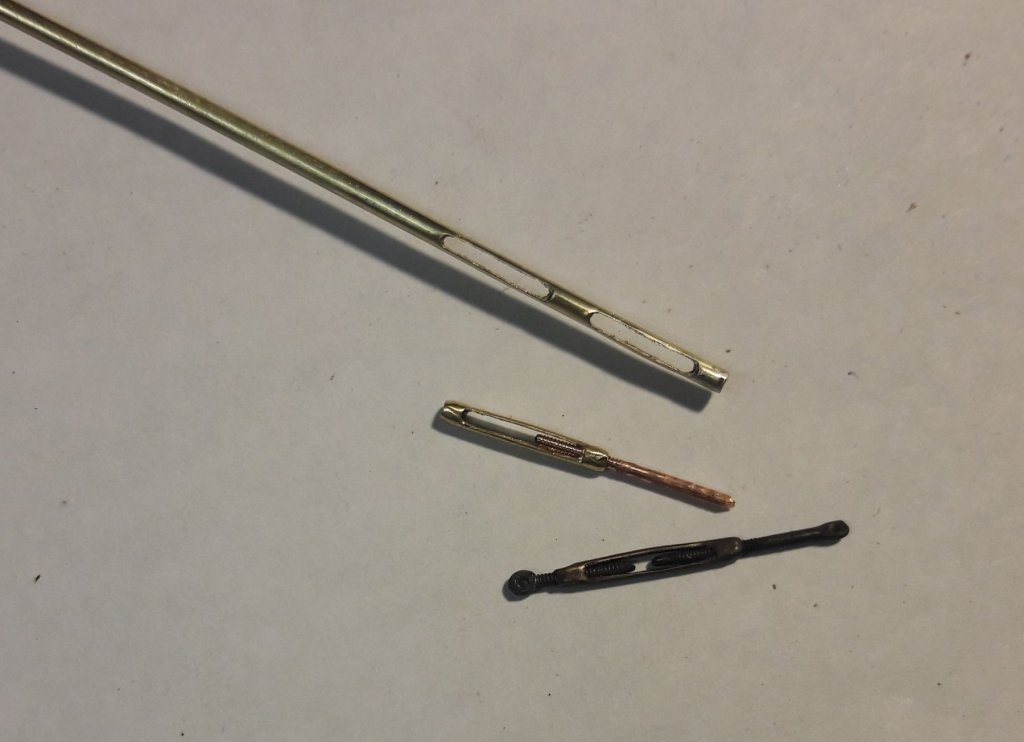
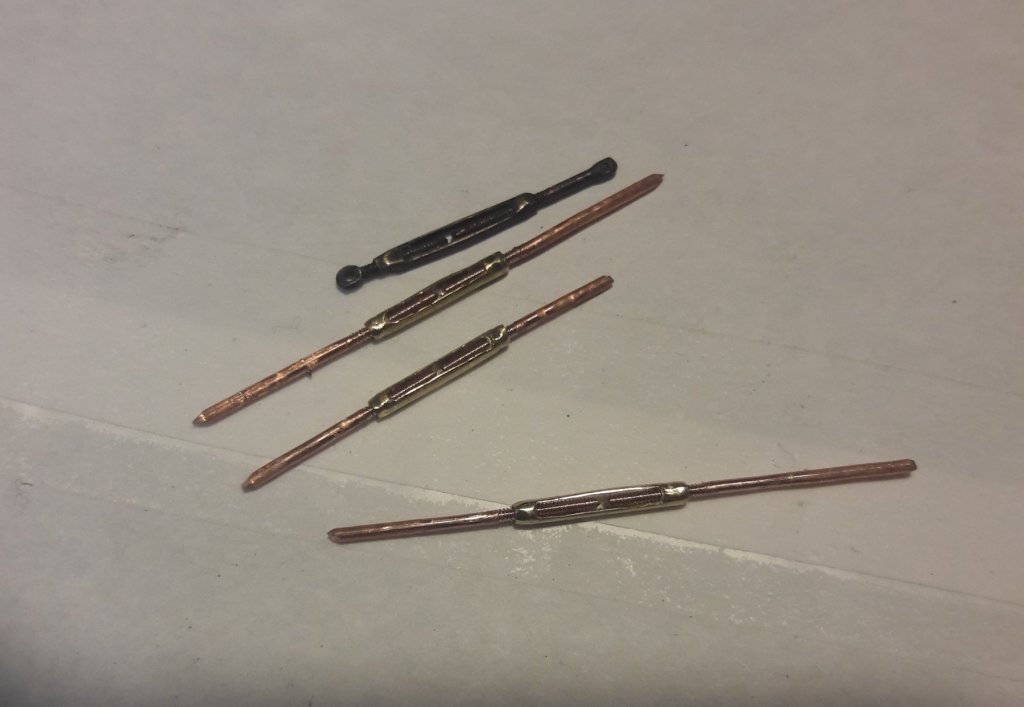
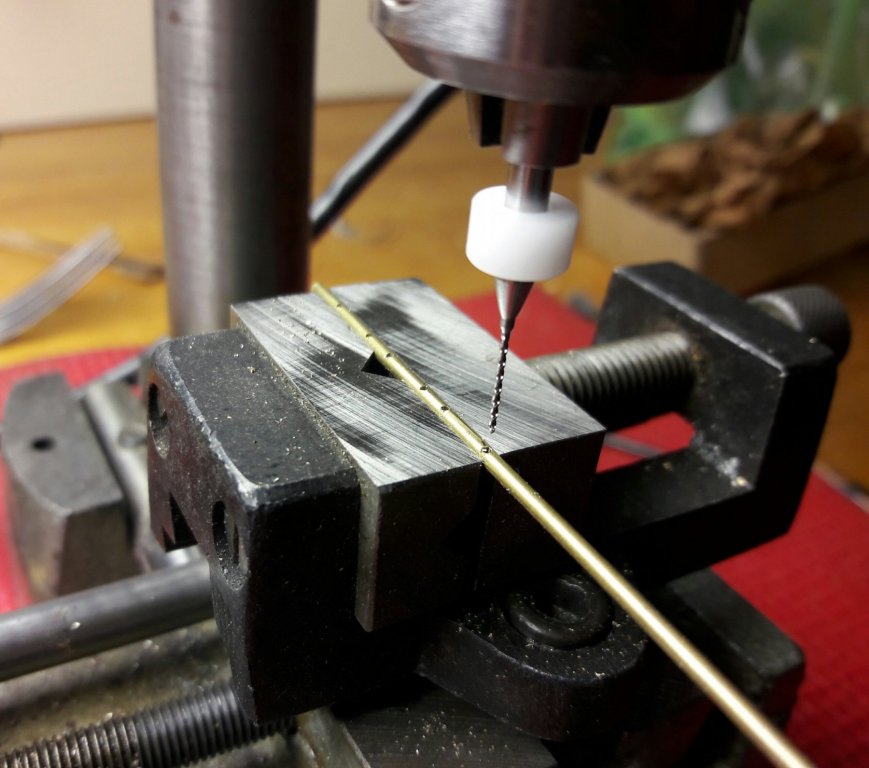
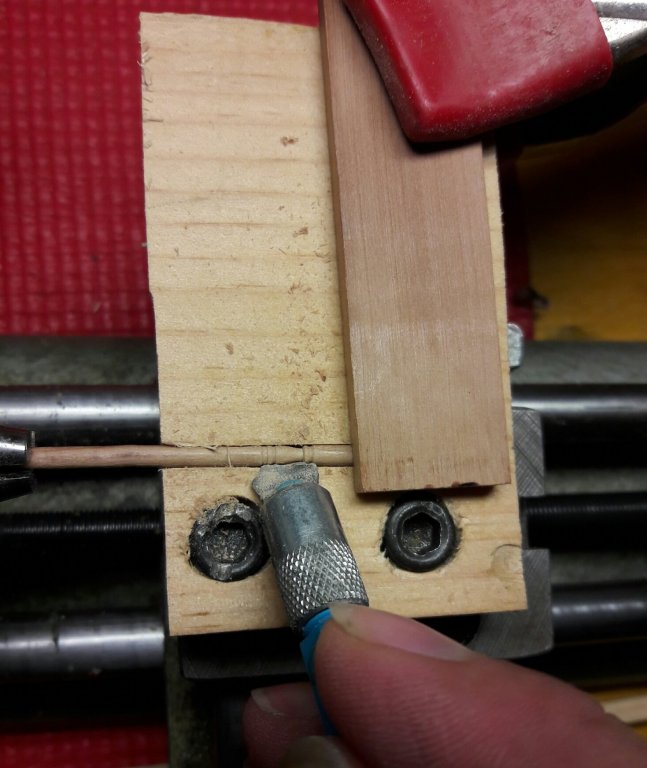
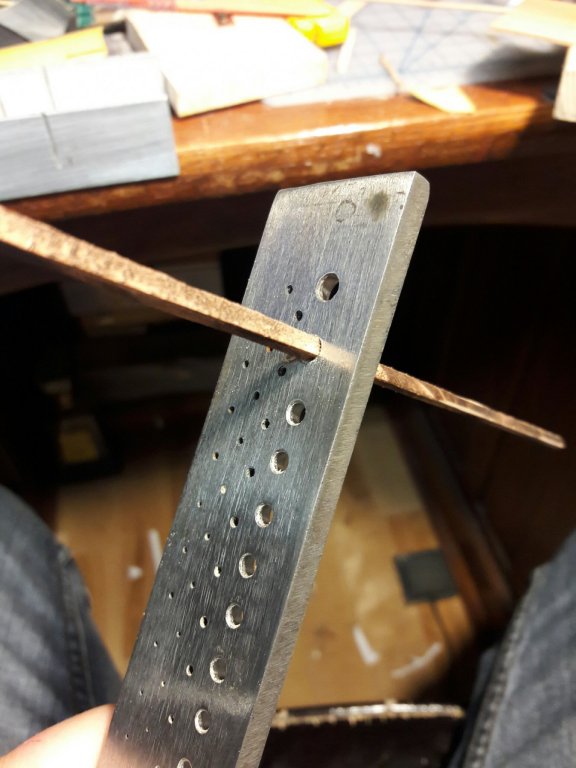
Was trying to come up with a uniform method of producing the turnbuckles but it didn't work out too well. Also a problem is that left and right handed thread has to be made on opposite sides but i don't have the tap and die set for that. Will have to tighten them by spinning the cable itself. Here are some pictures of me making them but there was a great deal of shaping with small files as well
-
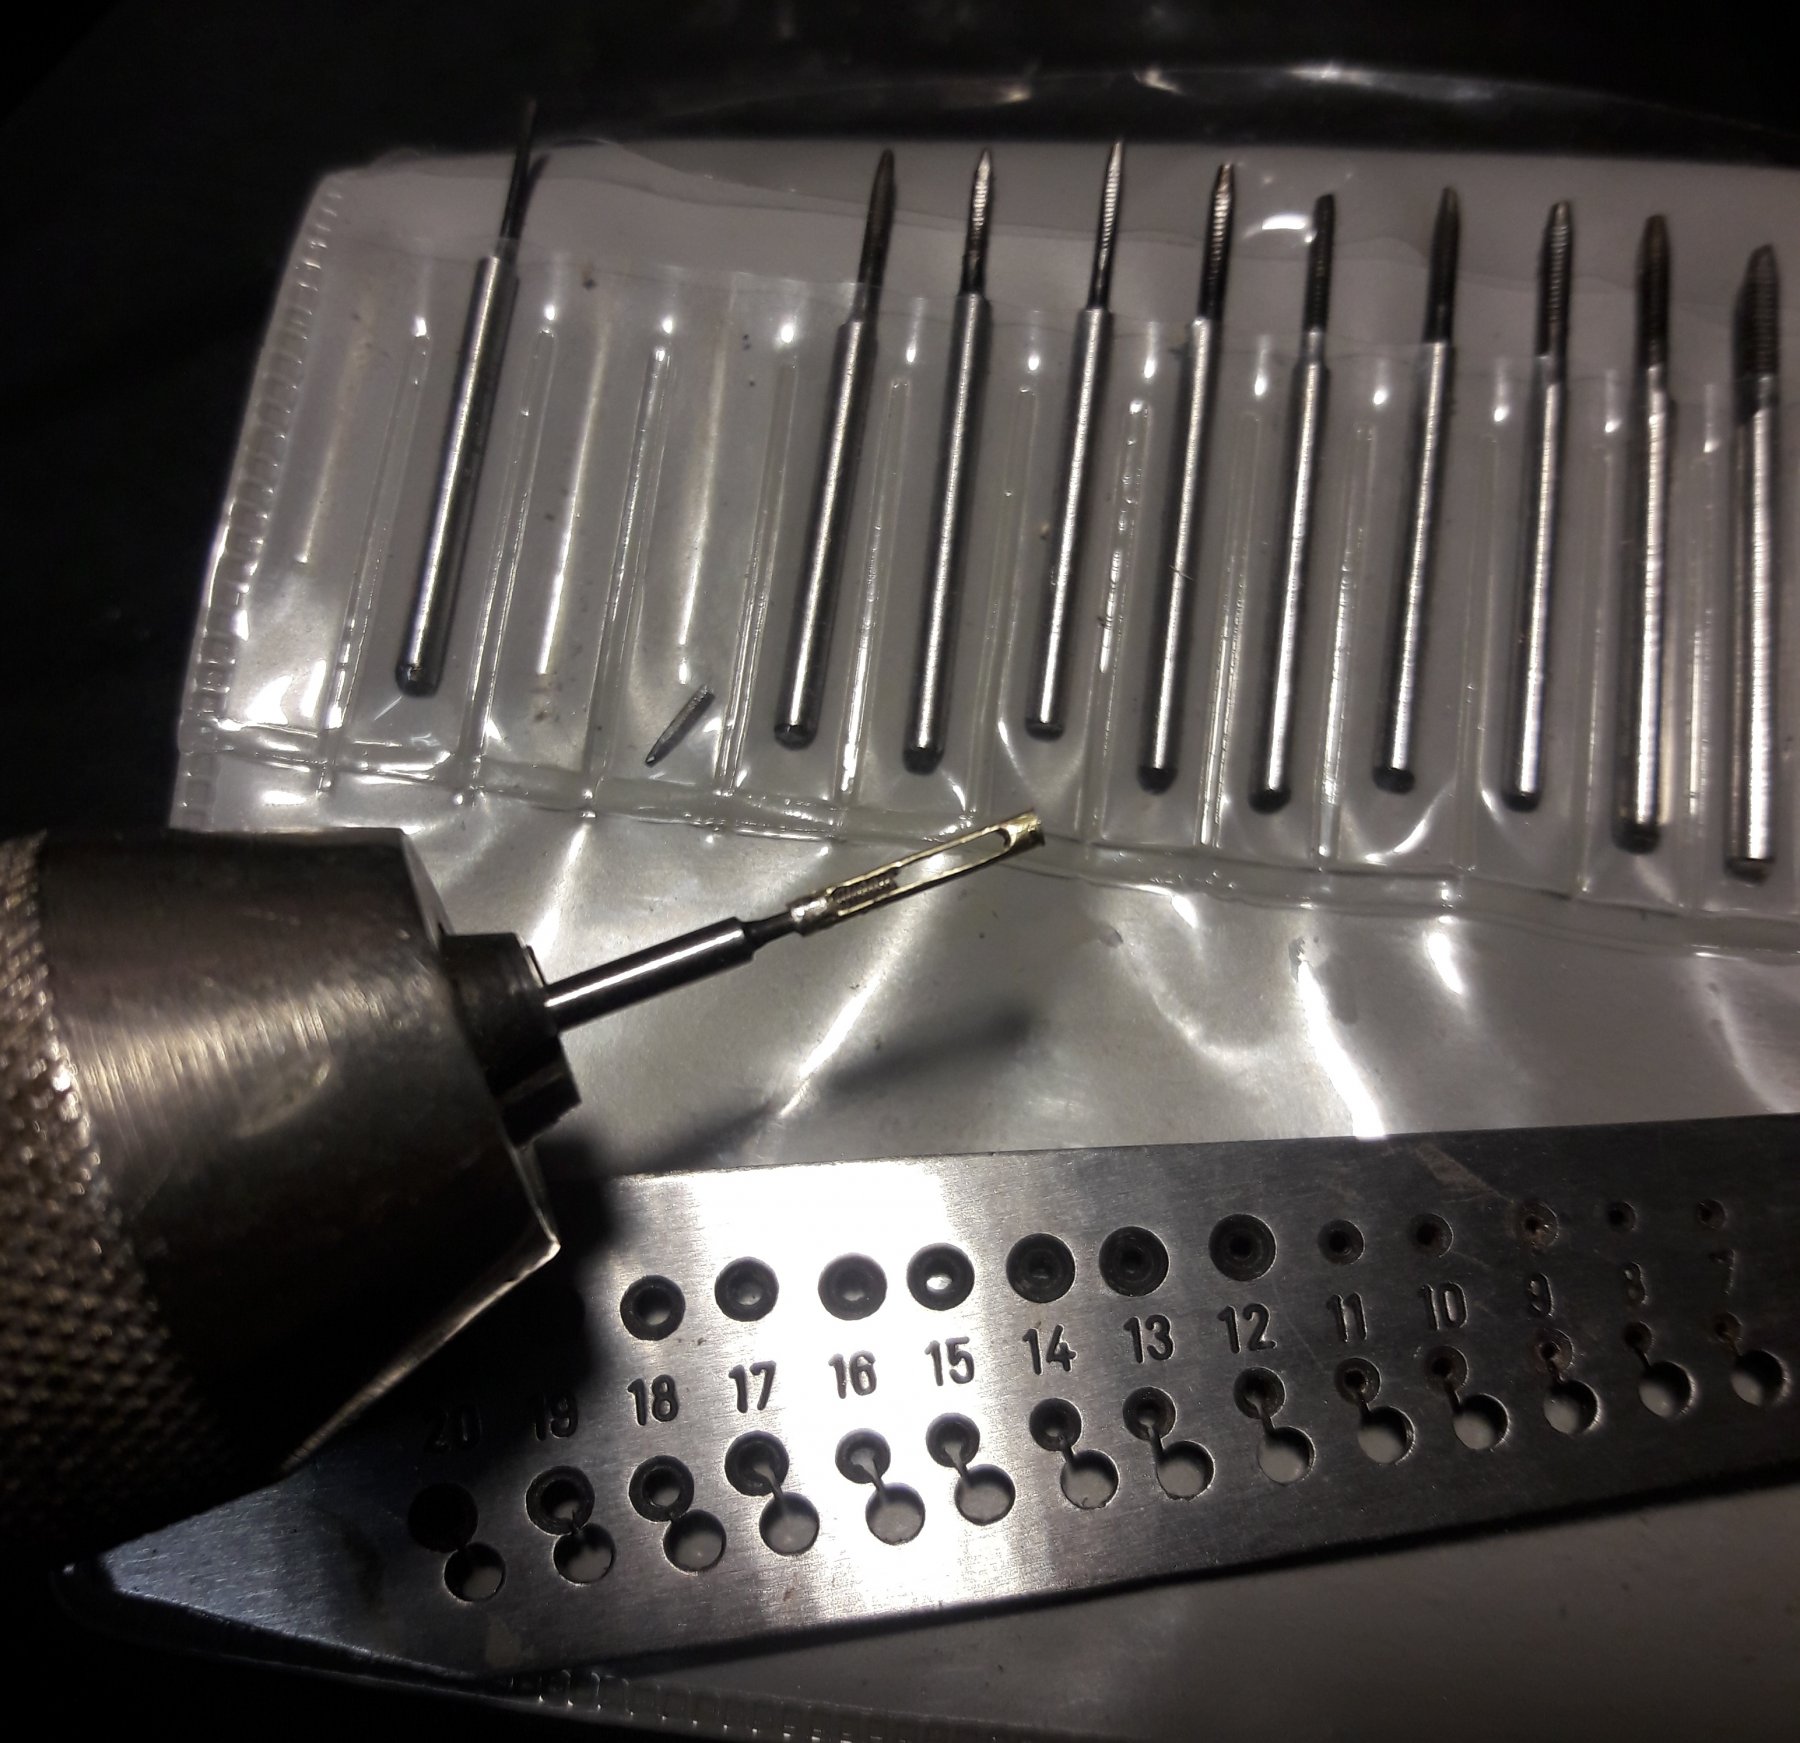
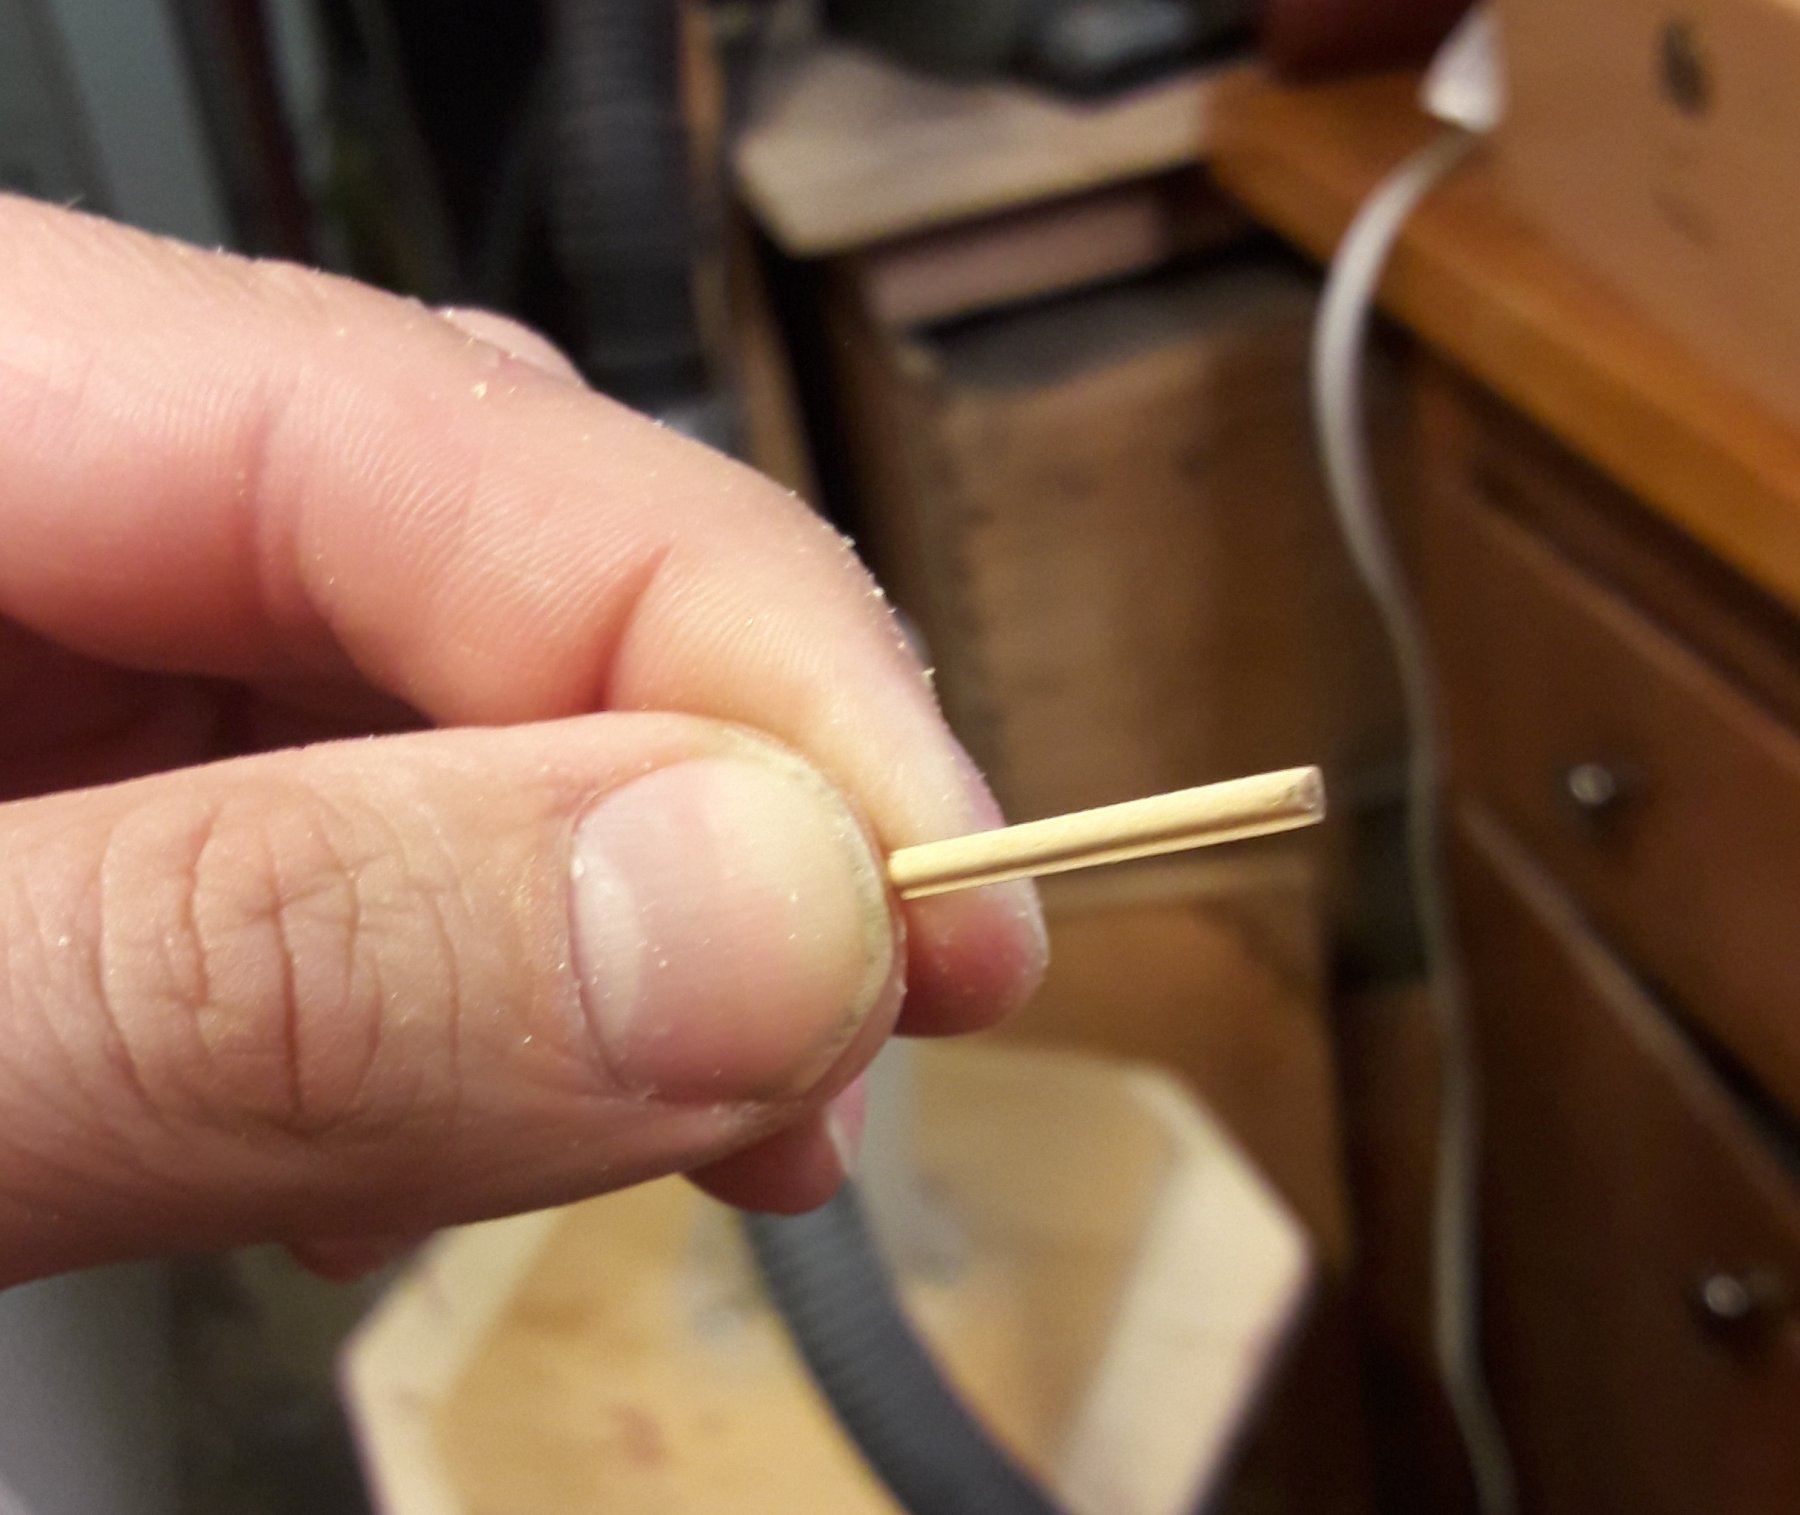
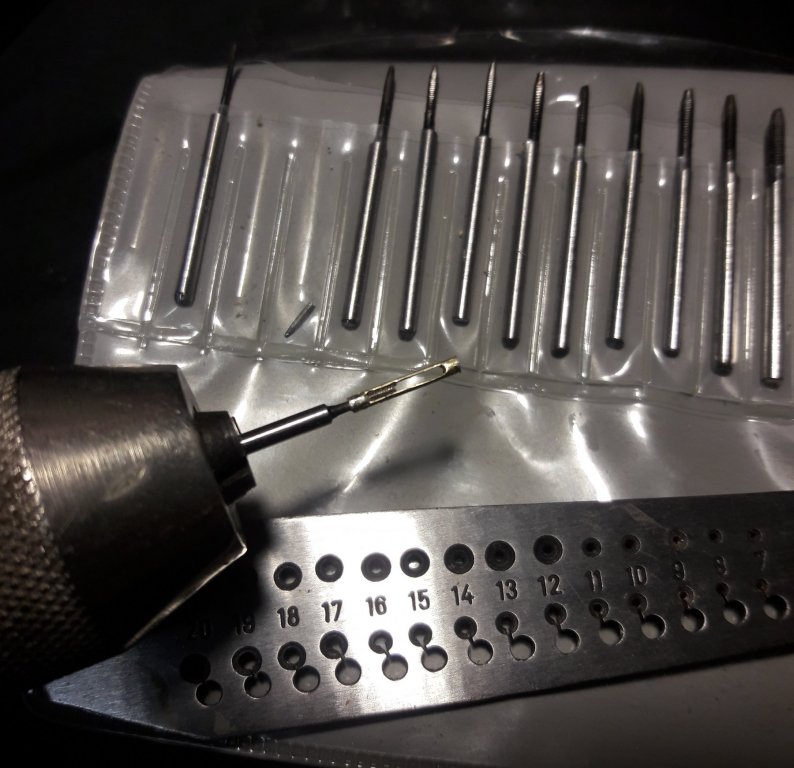
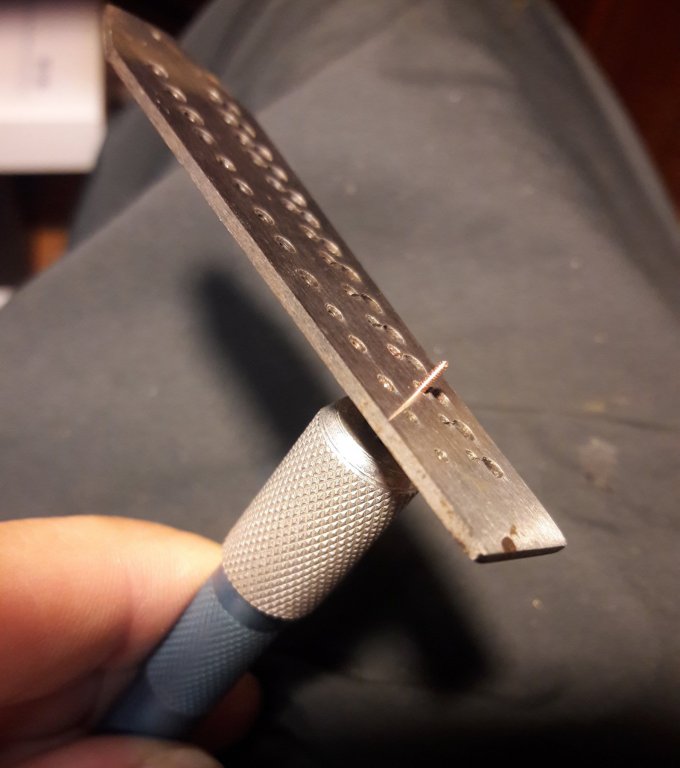
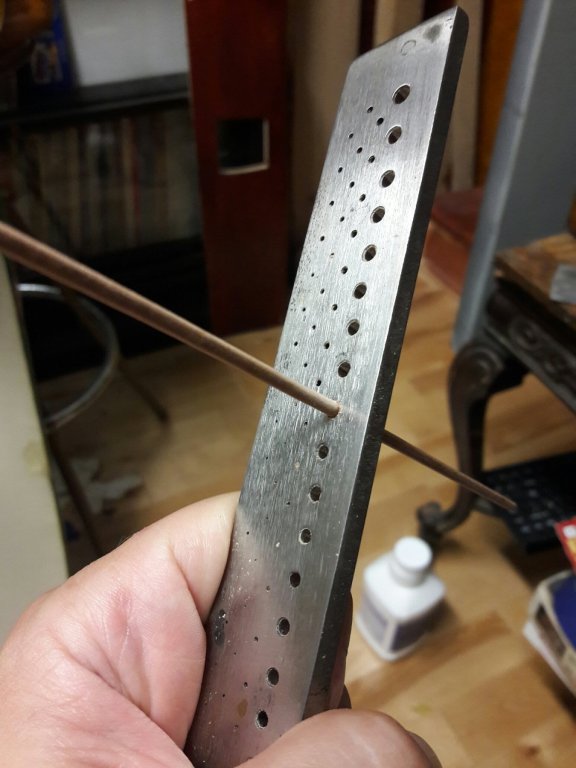
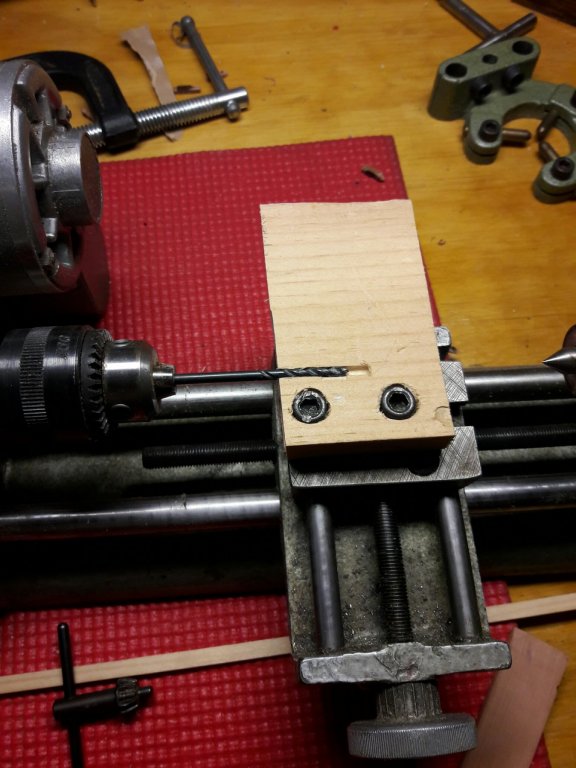
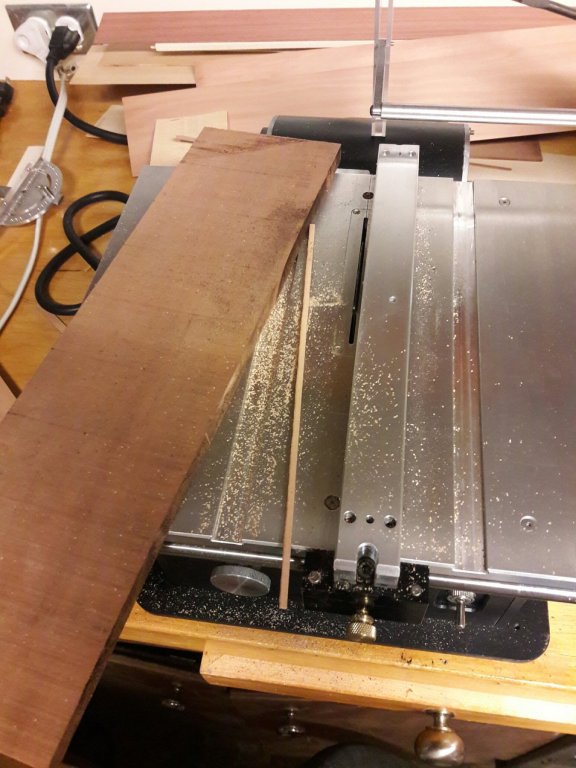
I will try to take pictures when making more of them. Basically shaped it out of brass tube and wire. Matched inner diameter of the tube and diameter of the wire (puled wire through draw plate) Tube sides were slitted with cutting disc/Dremel and shaped with files Thread was done by cheap jewelers tap and die set (0.7mm to 2.0mm) I got from ebay
-
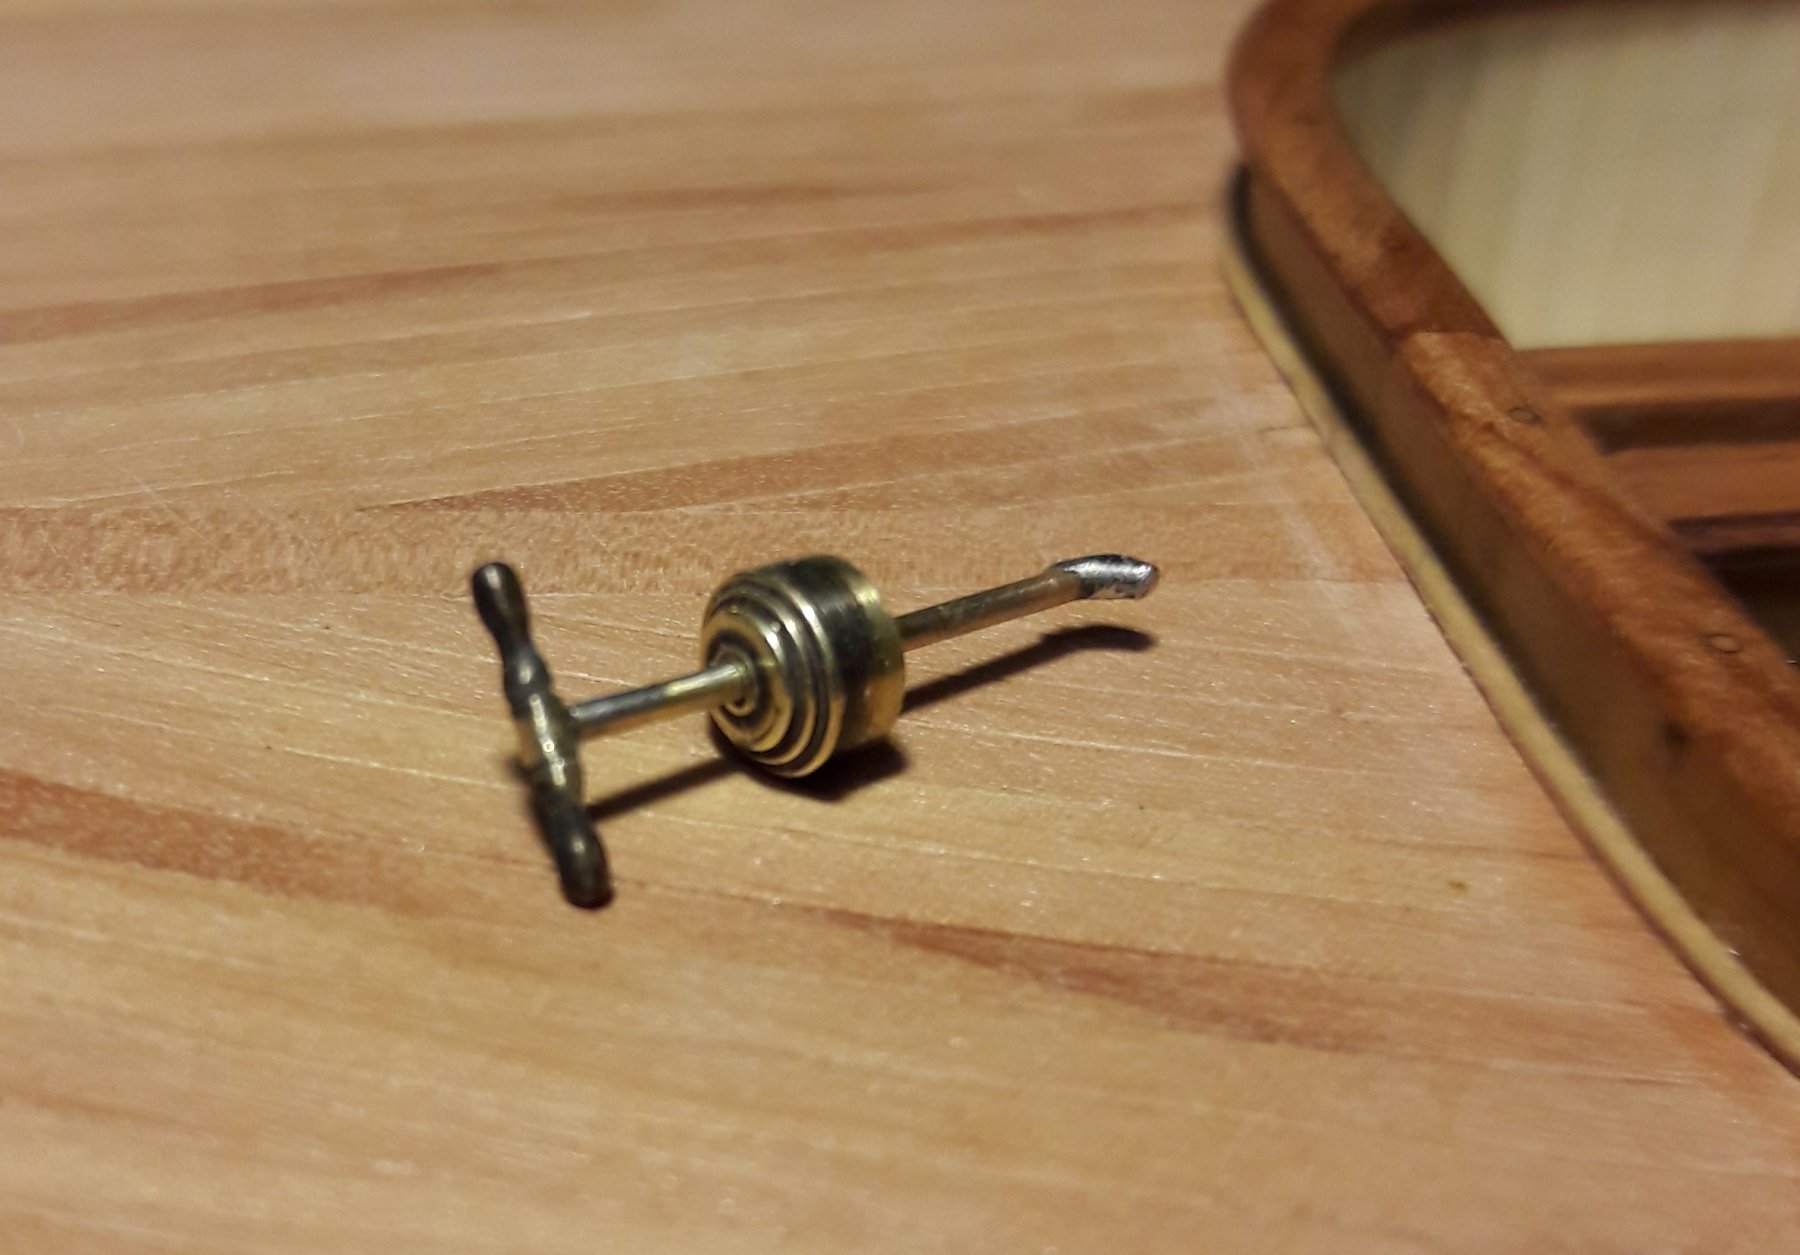
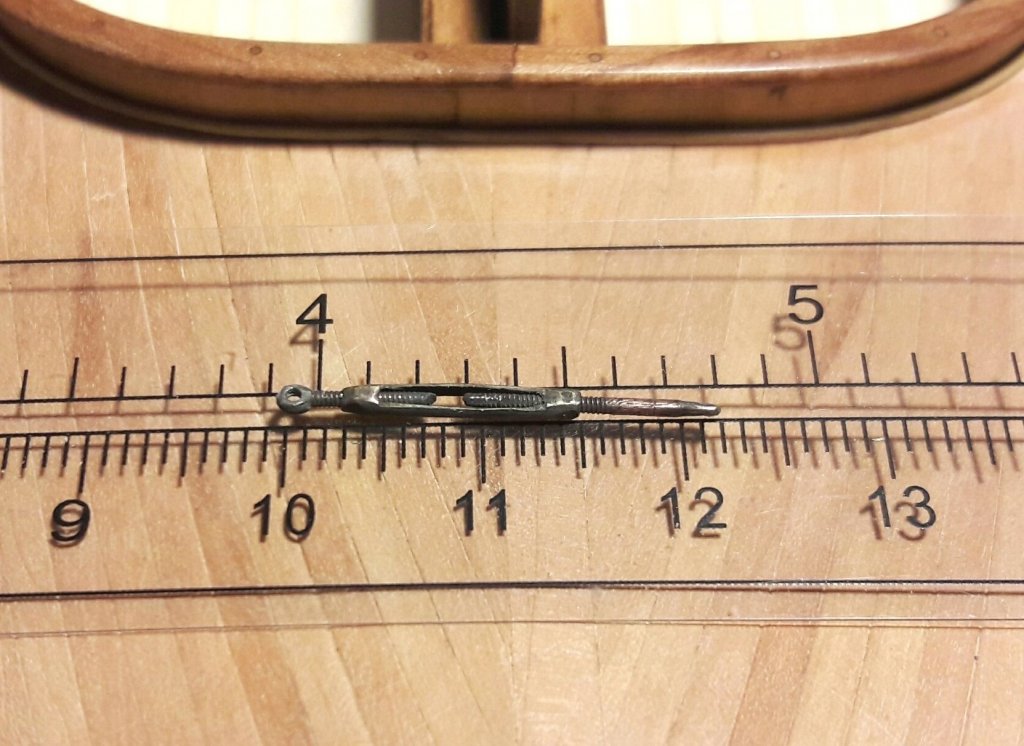
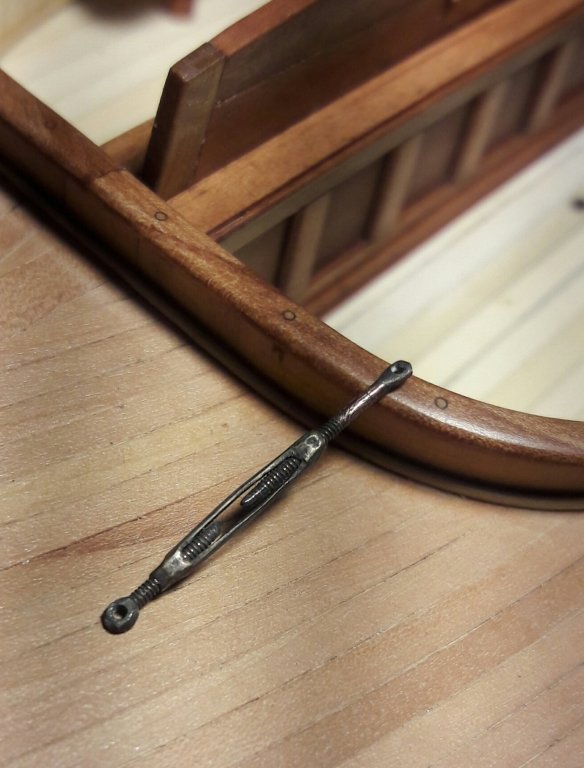
Made a working turnbuckle (3 more to go). Working is not for showing off - since outrig will be supported by actual wire rope and metal rods I will use it to tension them as they are much harder to work with than string.
-
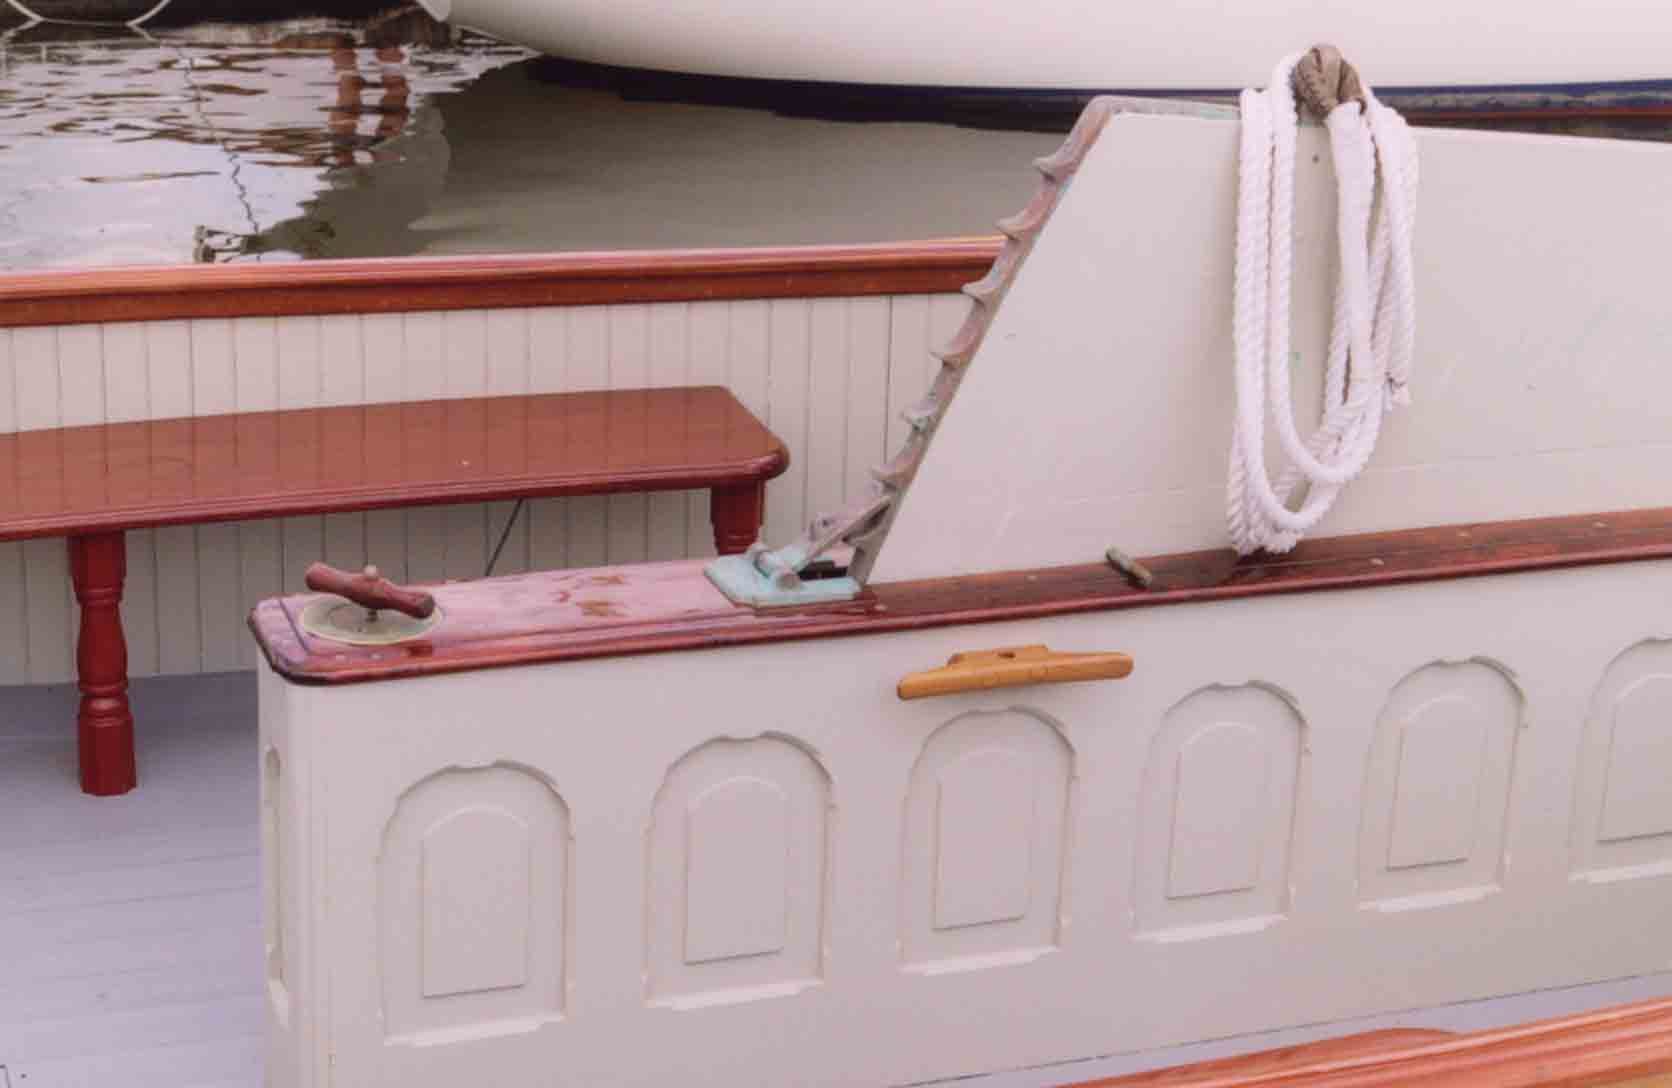
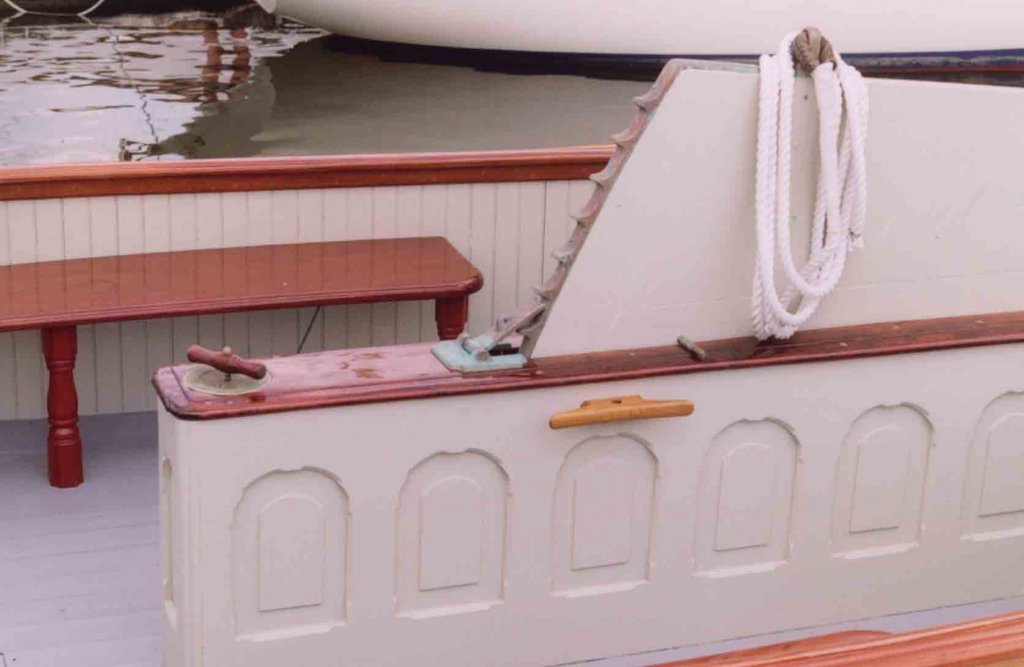
Few more details.. could not find clear evidence for the cleat on top of traveler rail (if it is indeed a traveler as there are several of those rails). It seems though something is there and seen it on another similar craft... so will let it be
-
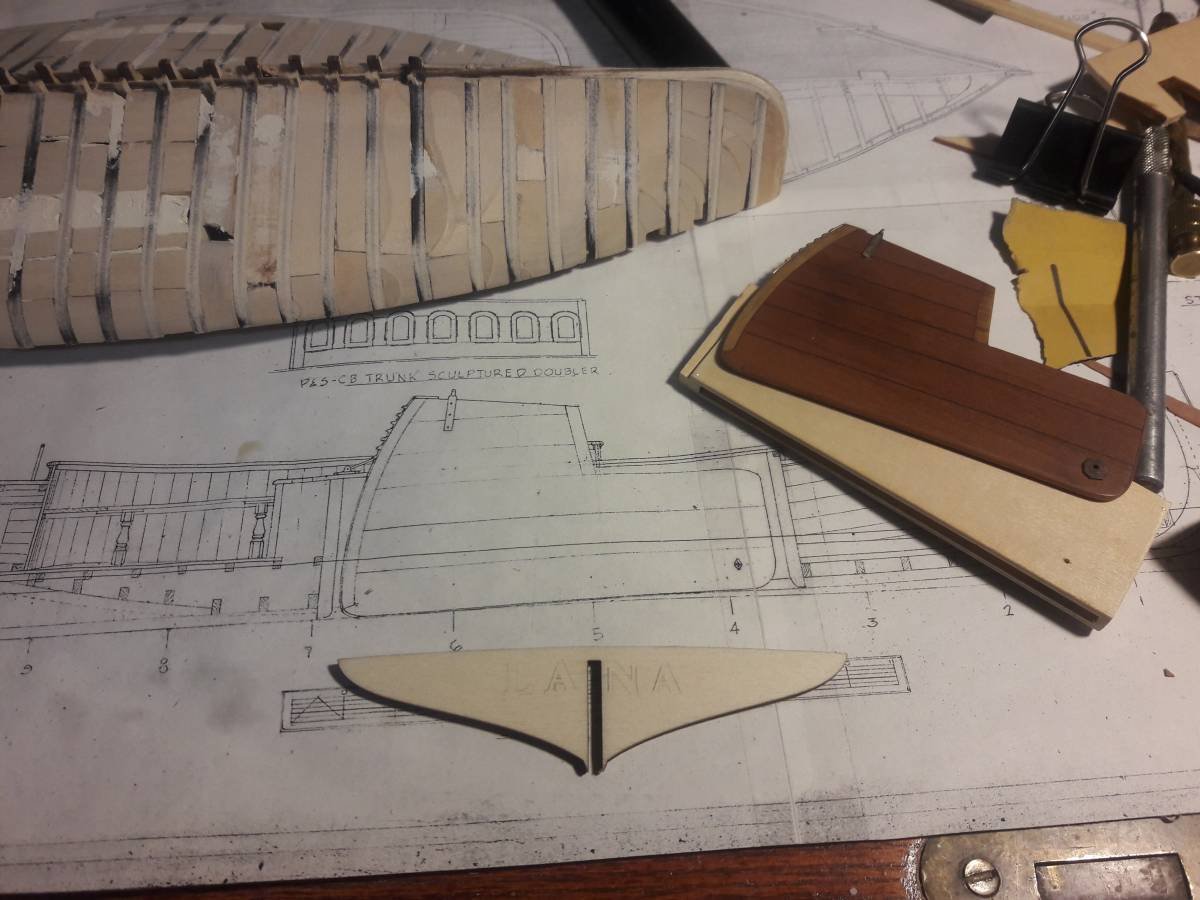
Found a sandbagger in Long Island maritime museum…. Slightly modified sandbagger Took me 3 days and 3 different versions to finish the centerboard stopper, now on to turnbuckles, wooden cleats (curtesy of Syren Ship Models), etc.

-
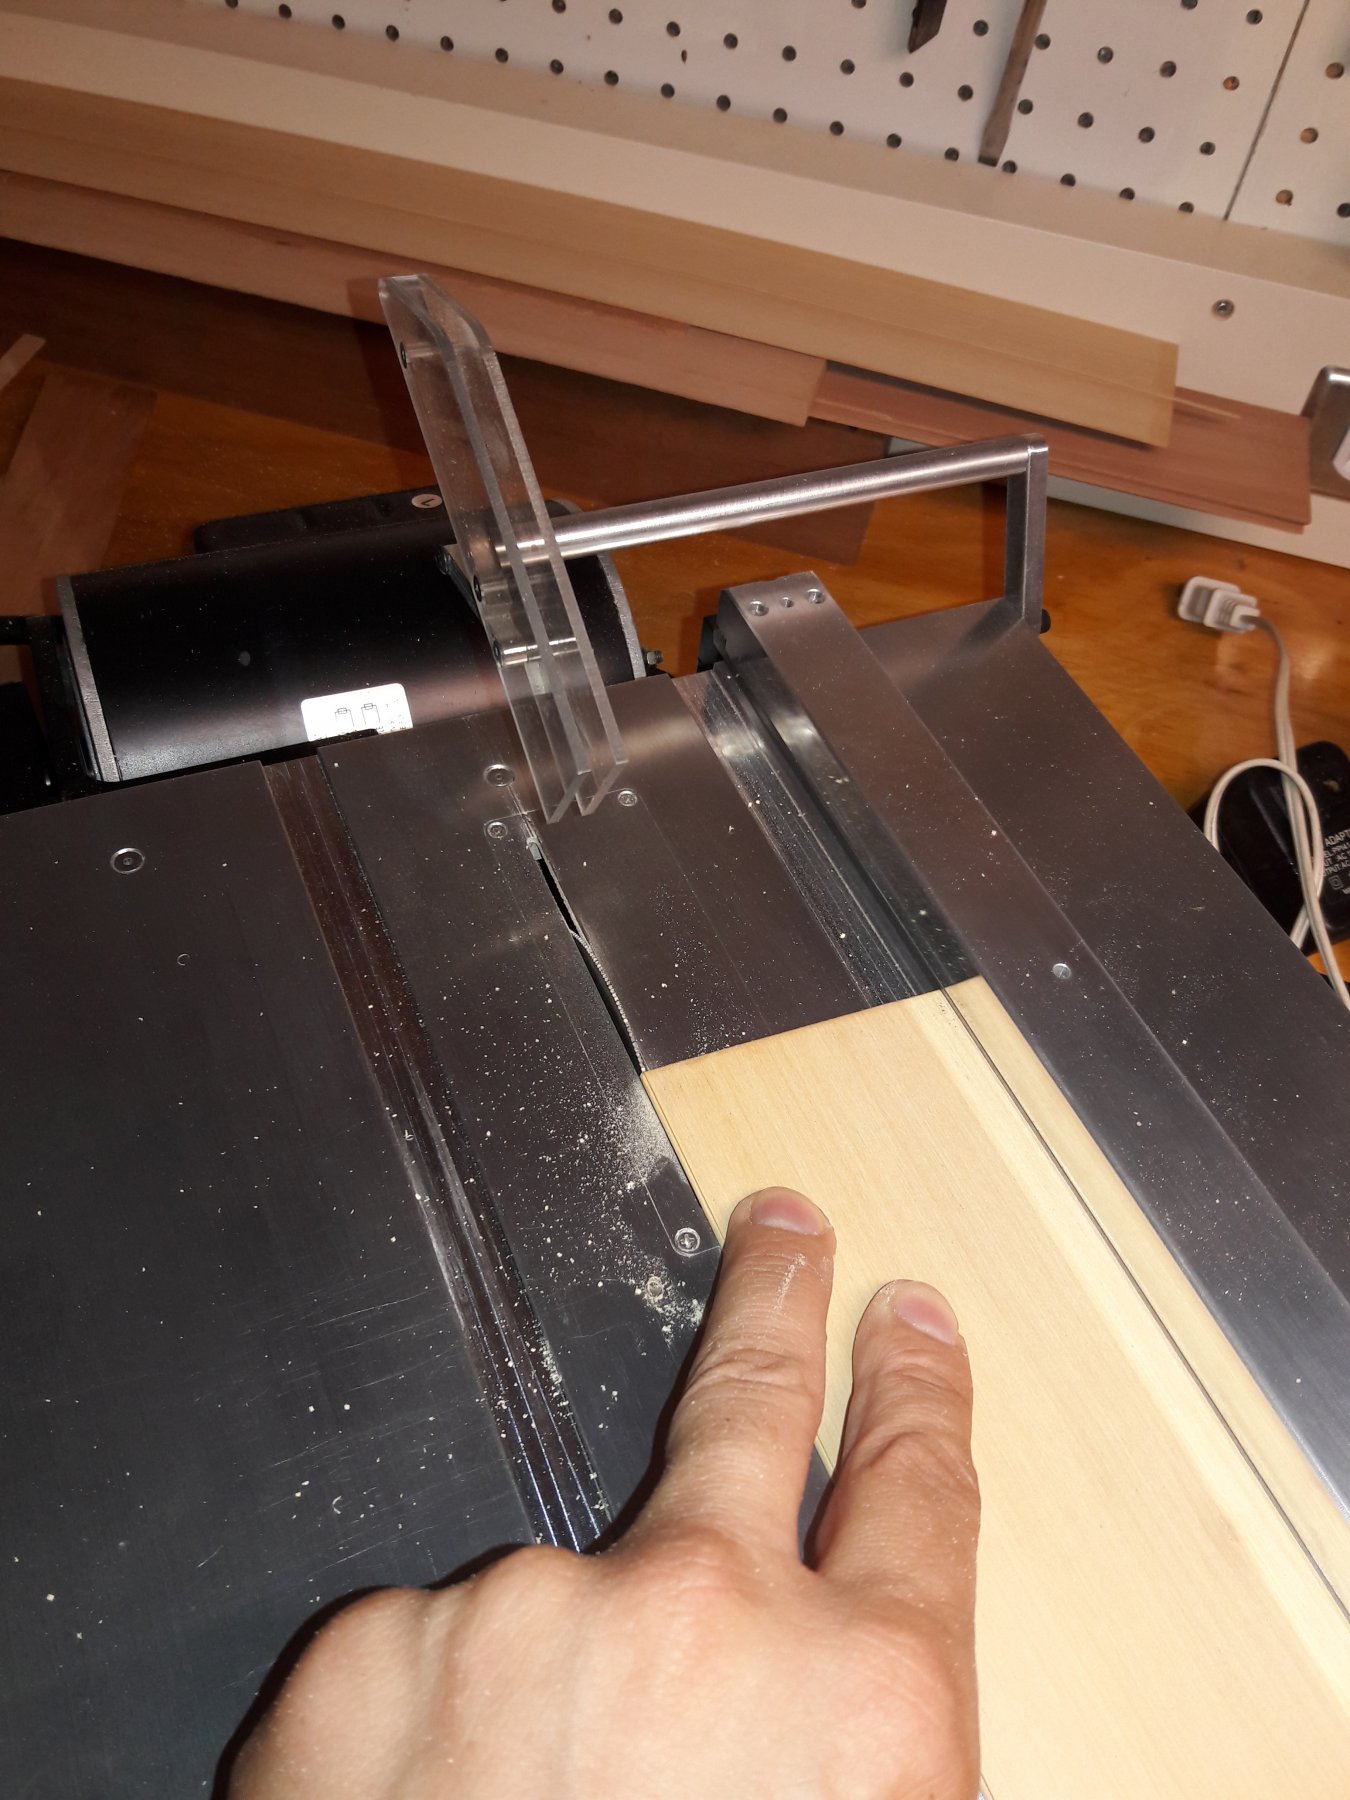
Thank you Tim! I guess this guard is like a seat belt in the car... must be there for safety reasons. I would love to ask Jim some questions about the saw. I got mine fully loaded of some guy in Brooklyn and not sure what some of the blades it came with are fore.
-
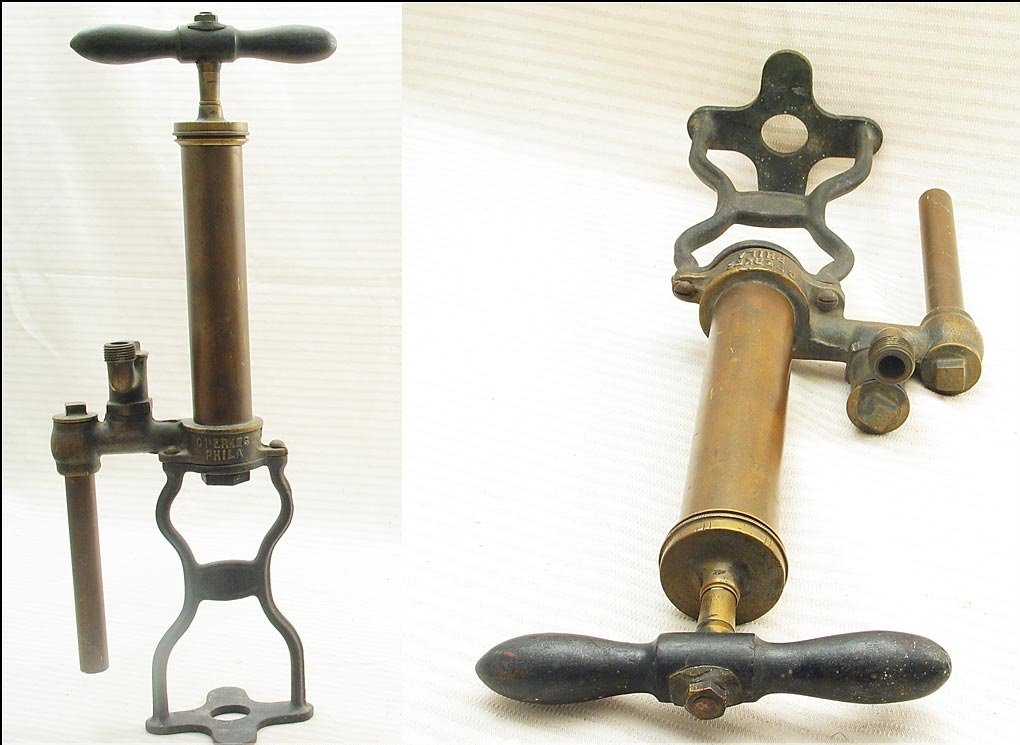
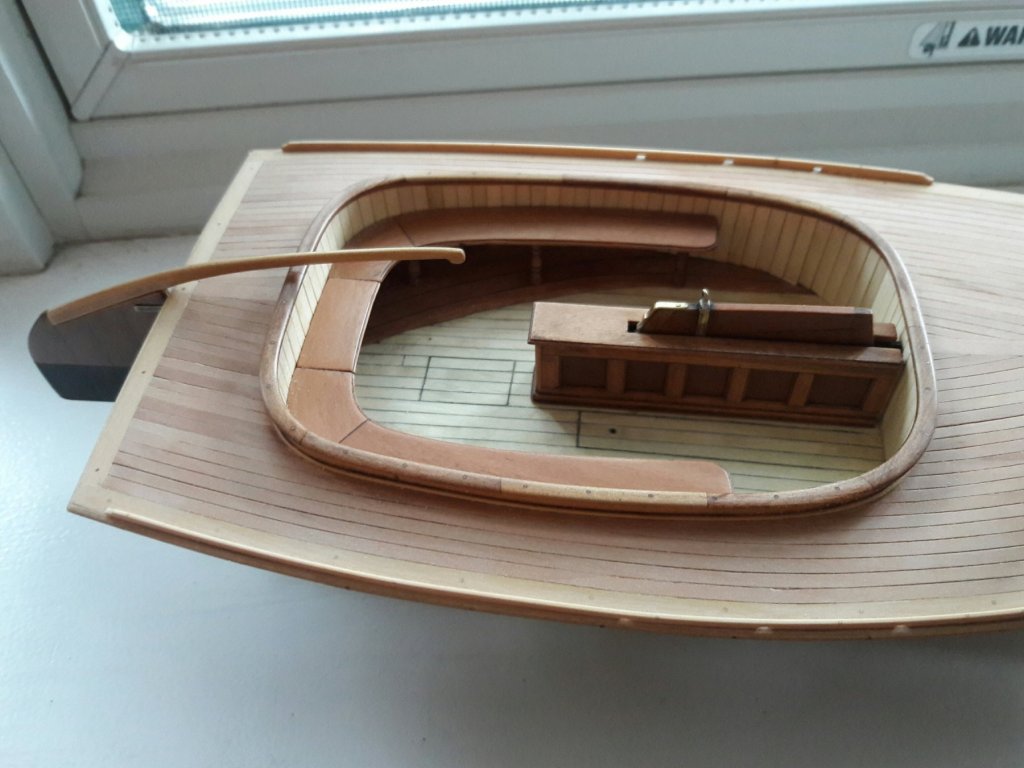
Bilge pump.....


-
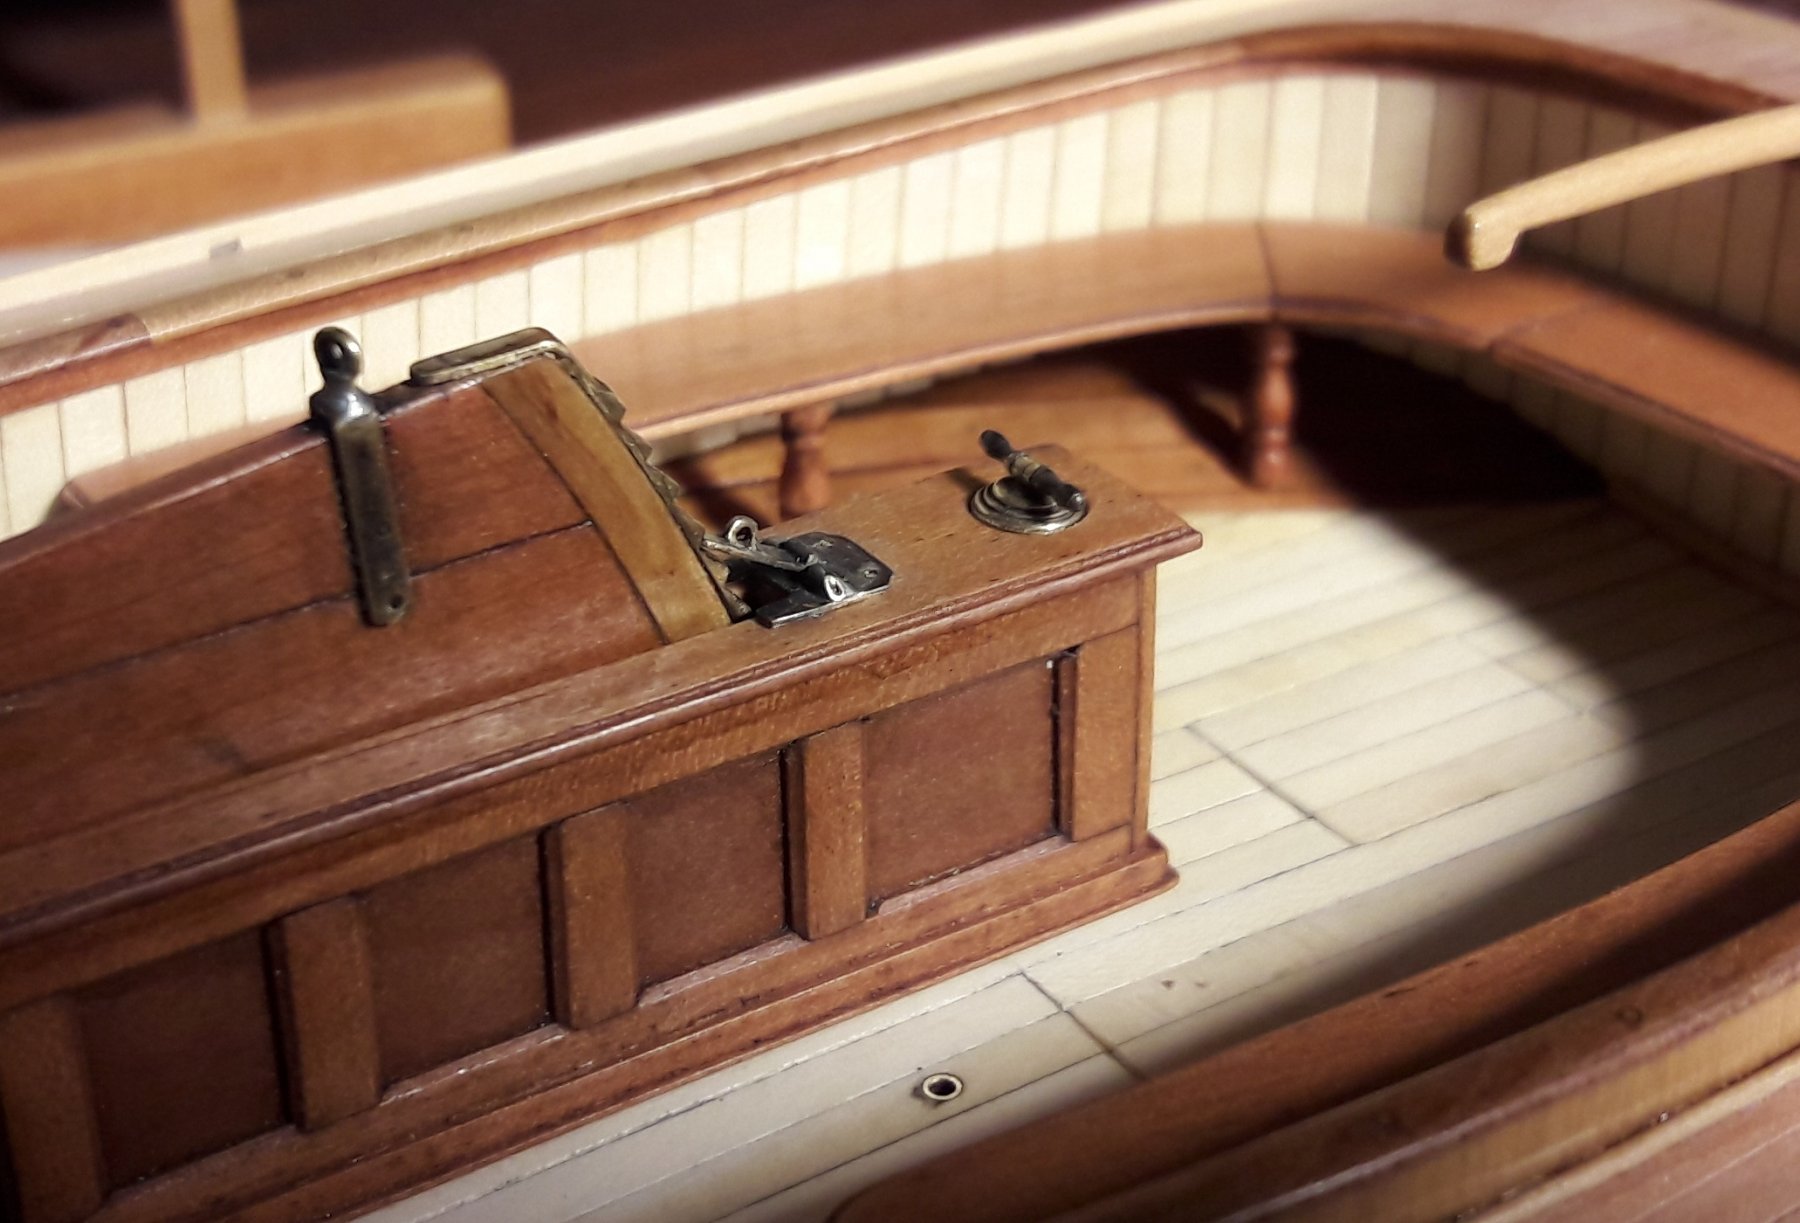
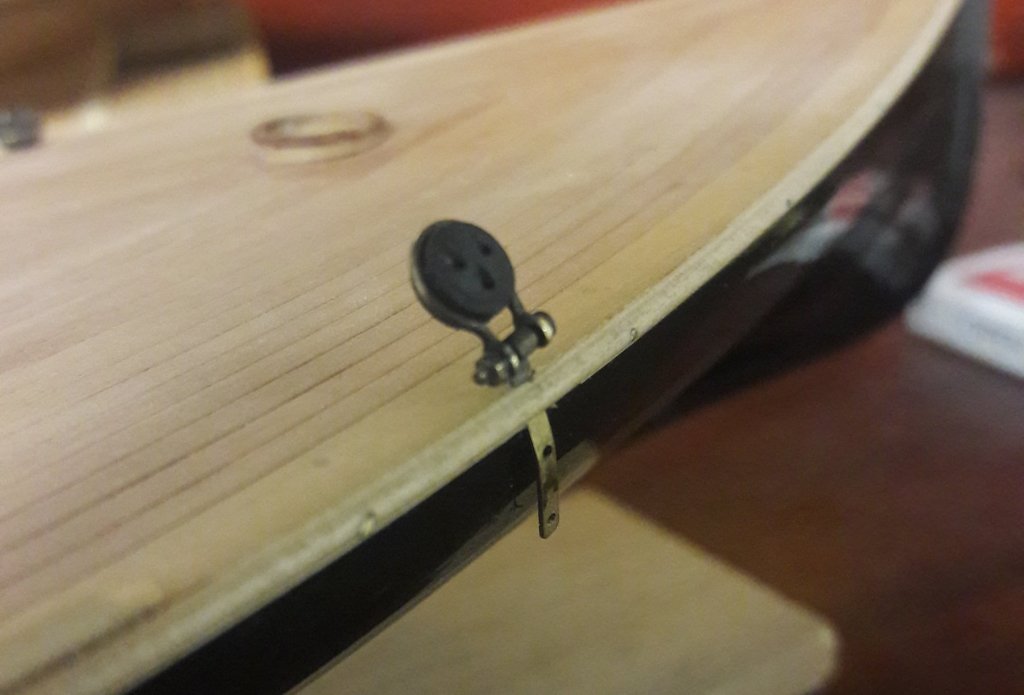
Rudder is now attachable, although tiller is yet to be attached. Can't figure out how the rode that secures gudgeons (no pintles on this one!) was inserted or removed. Seems that tiller had to be removed first, something that will not be possible on the model. Also working on some brass hardware for attaching rigging. Cockpit floor that I made originally was to low and curviture of the hull protruded into the cockpit way more than on Annie. So now I am reworking it by overlaying the old floor with thin ply and new decking on top. All that without removing seats! Ugh...


-
Thank you guys! There is a reason why only a few of those are sailing now days. Despite the fine lines and specious cockpit sailing those things was far from leisurely. Compared to cars they would be something of a bolide racers - fast but demanding and not easy to handle. They required an experienced crew which actually cost money back than. Movable ballast consisting of sand bags had to be moved on each tack. Capsizing did happen, apparently often enough. By the 1880's a cutter type boats where proving themselves as fast but much user friendlier craft. Sandbagger type racing slowly transfered itself in dinghy racing that is still very well alive.
-
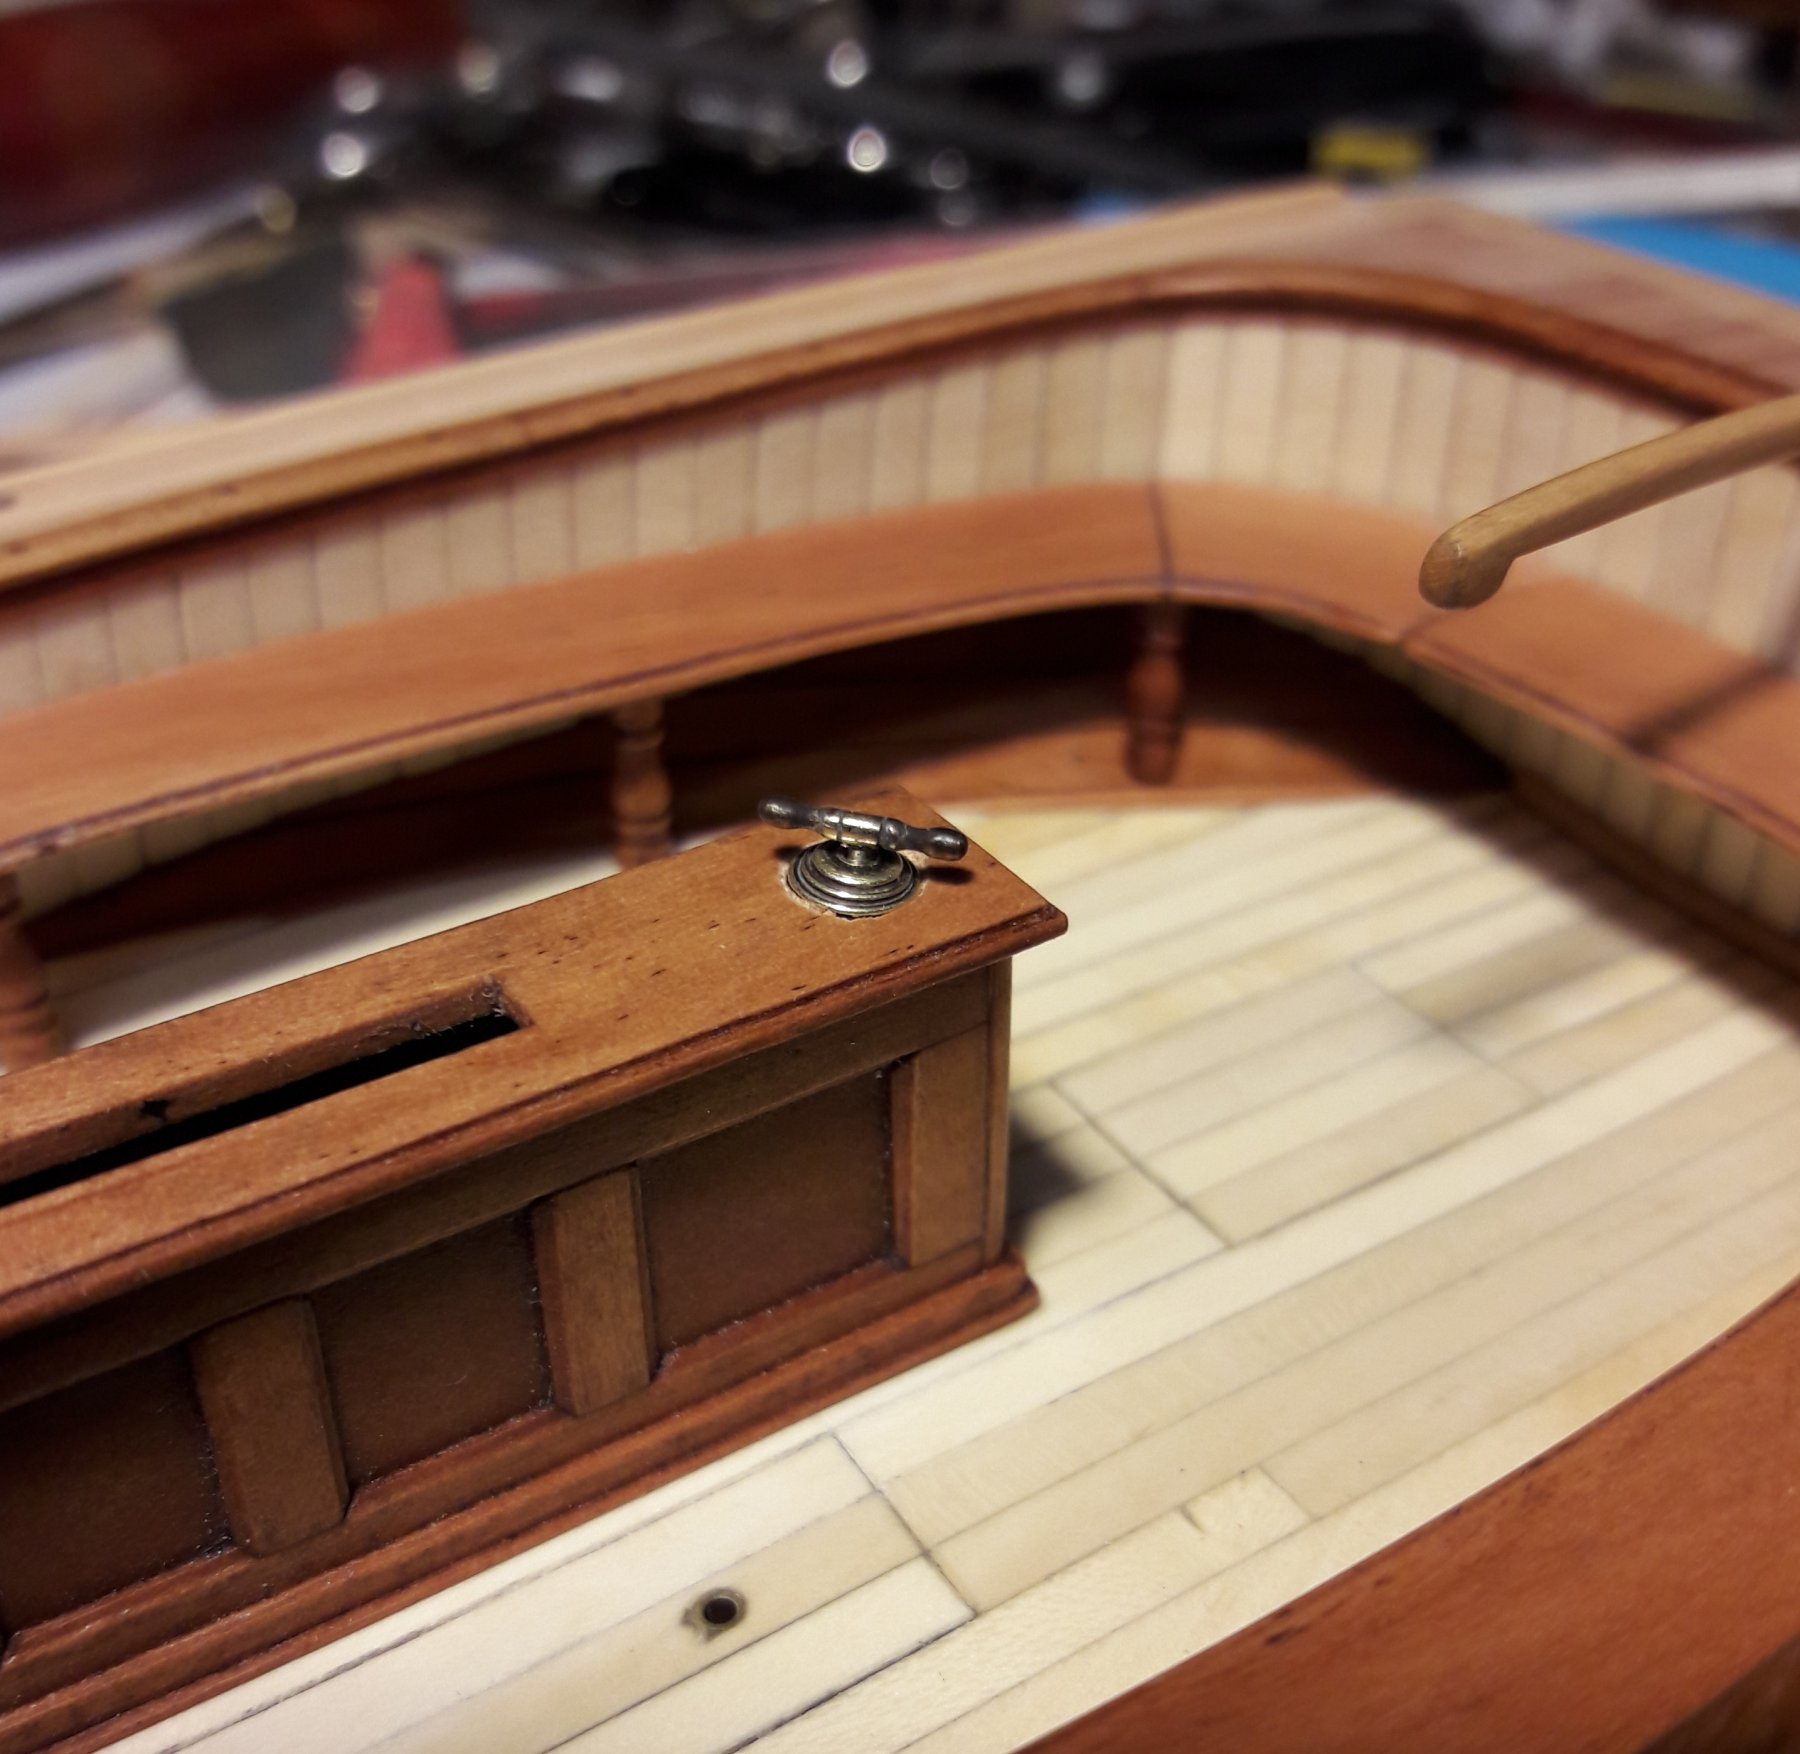
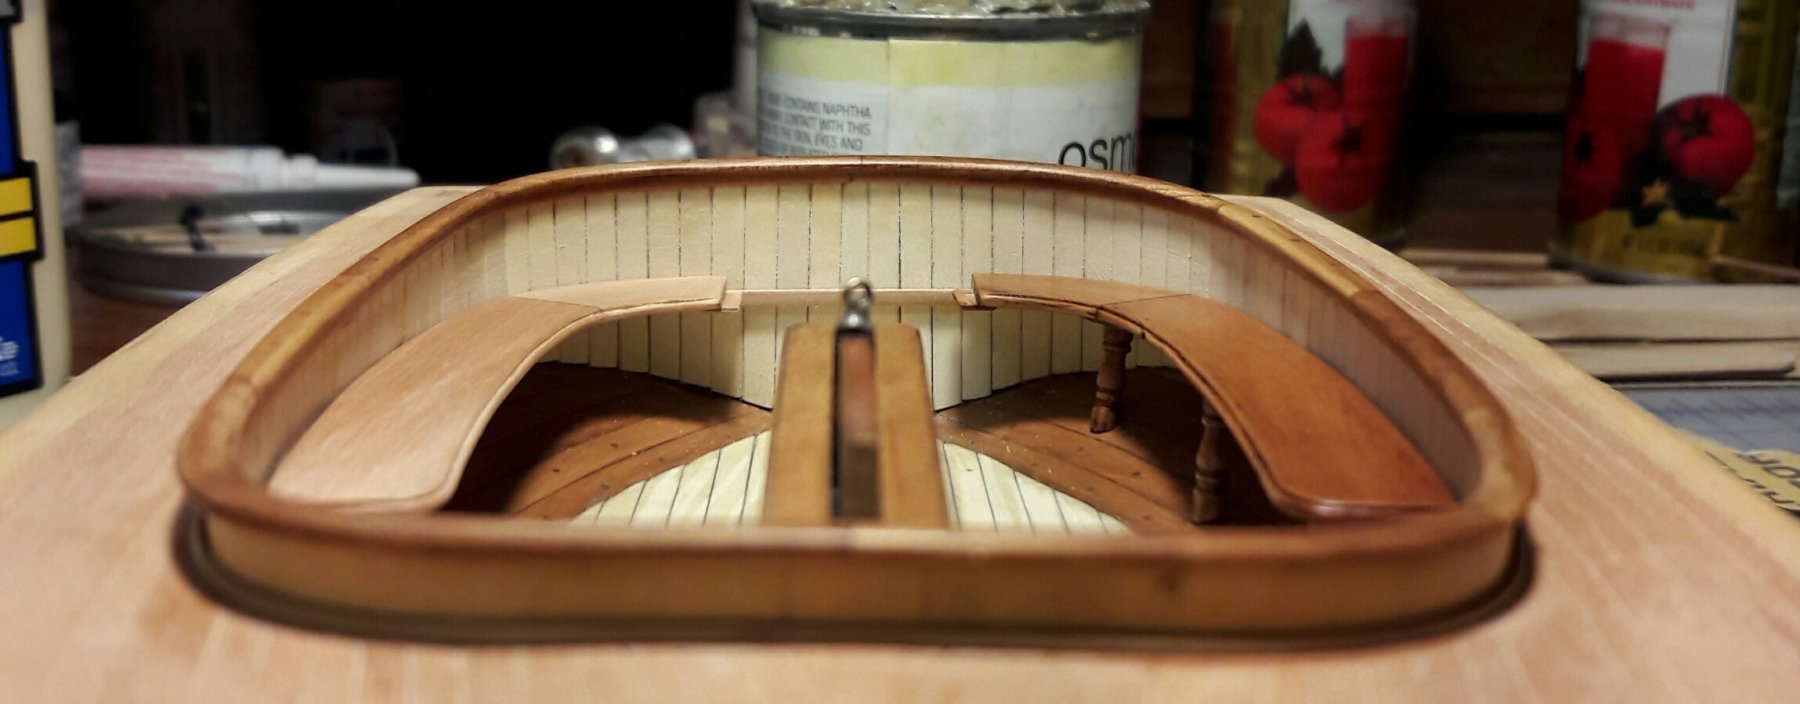
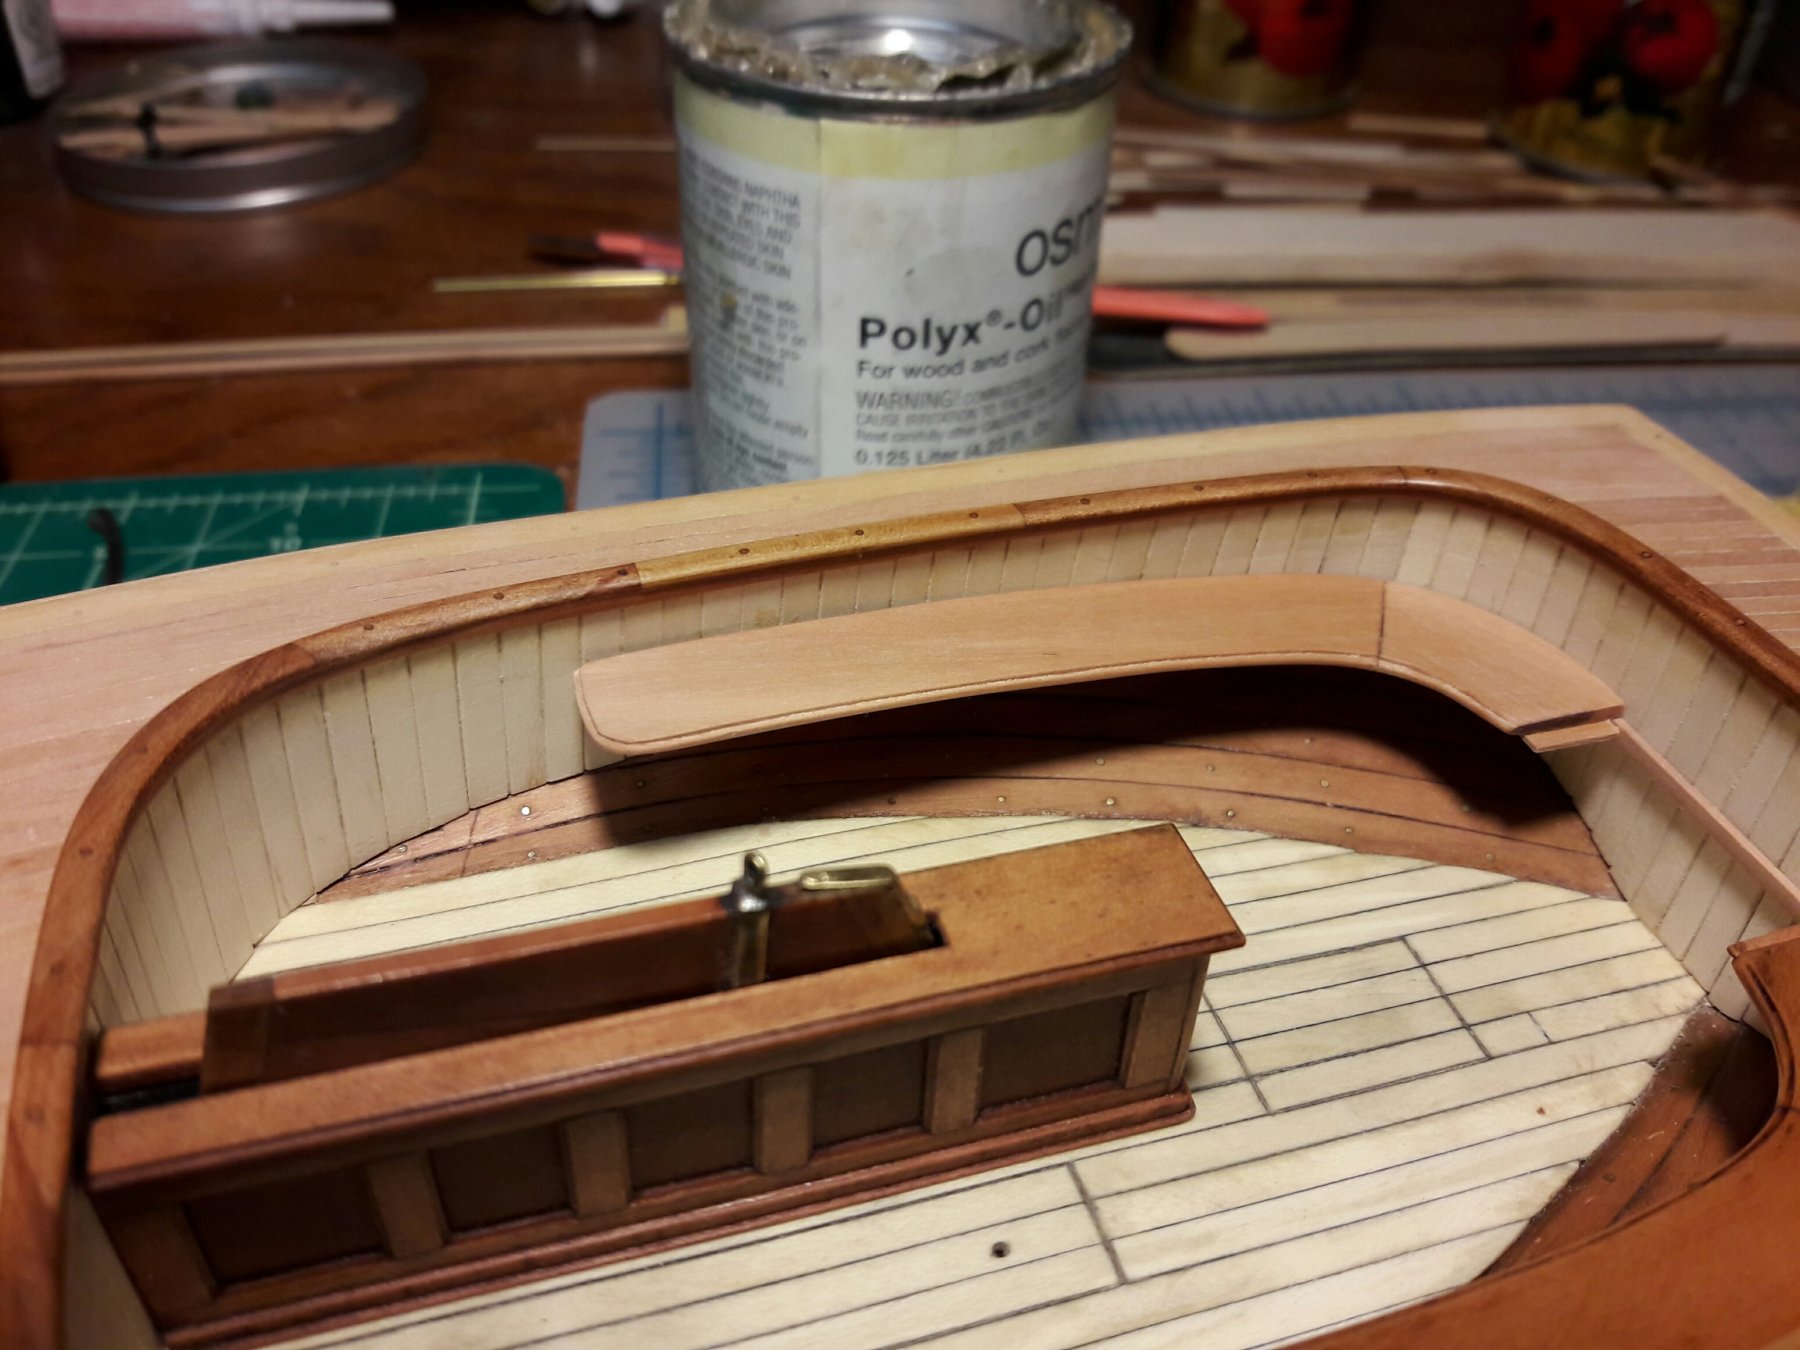
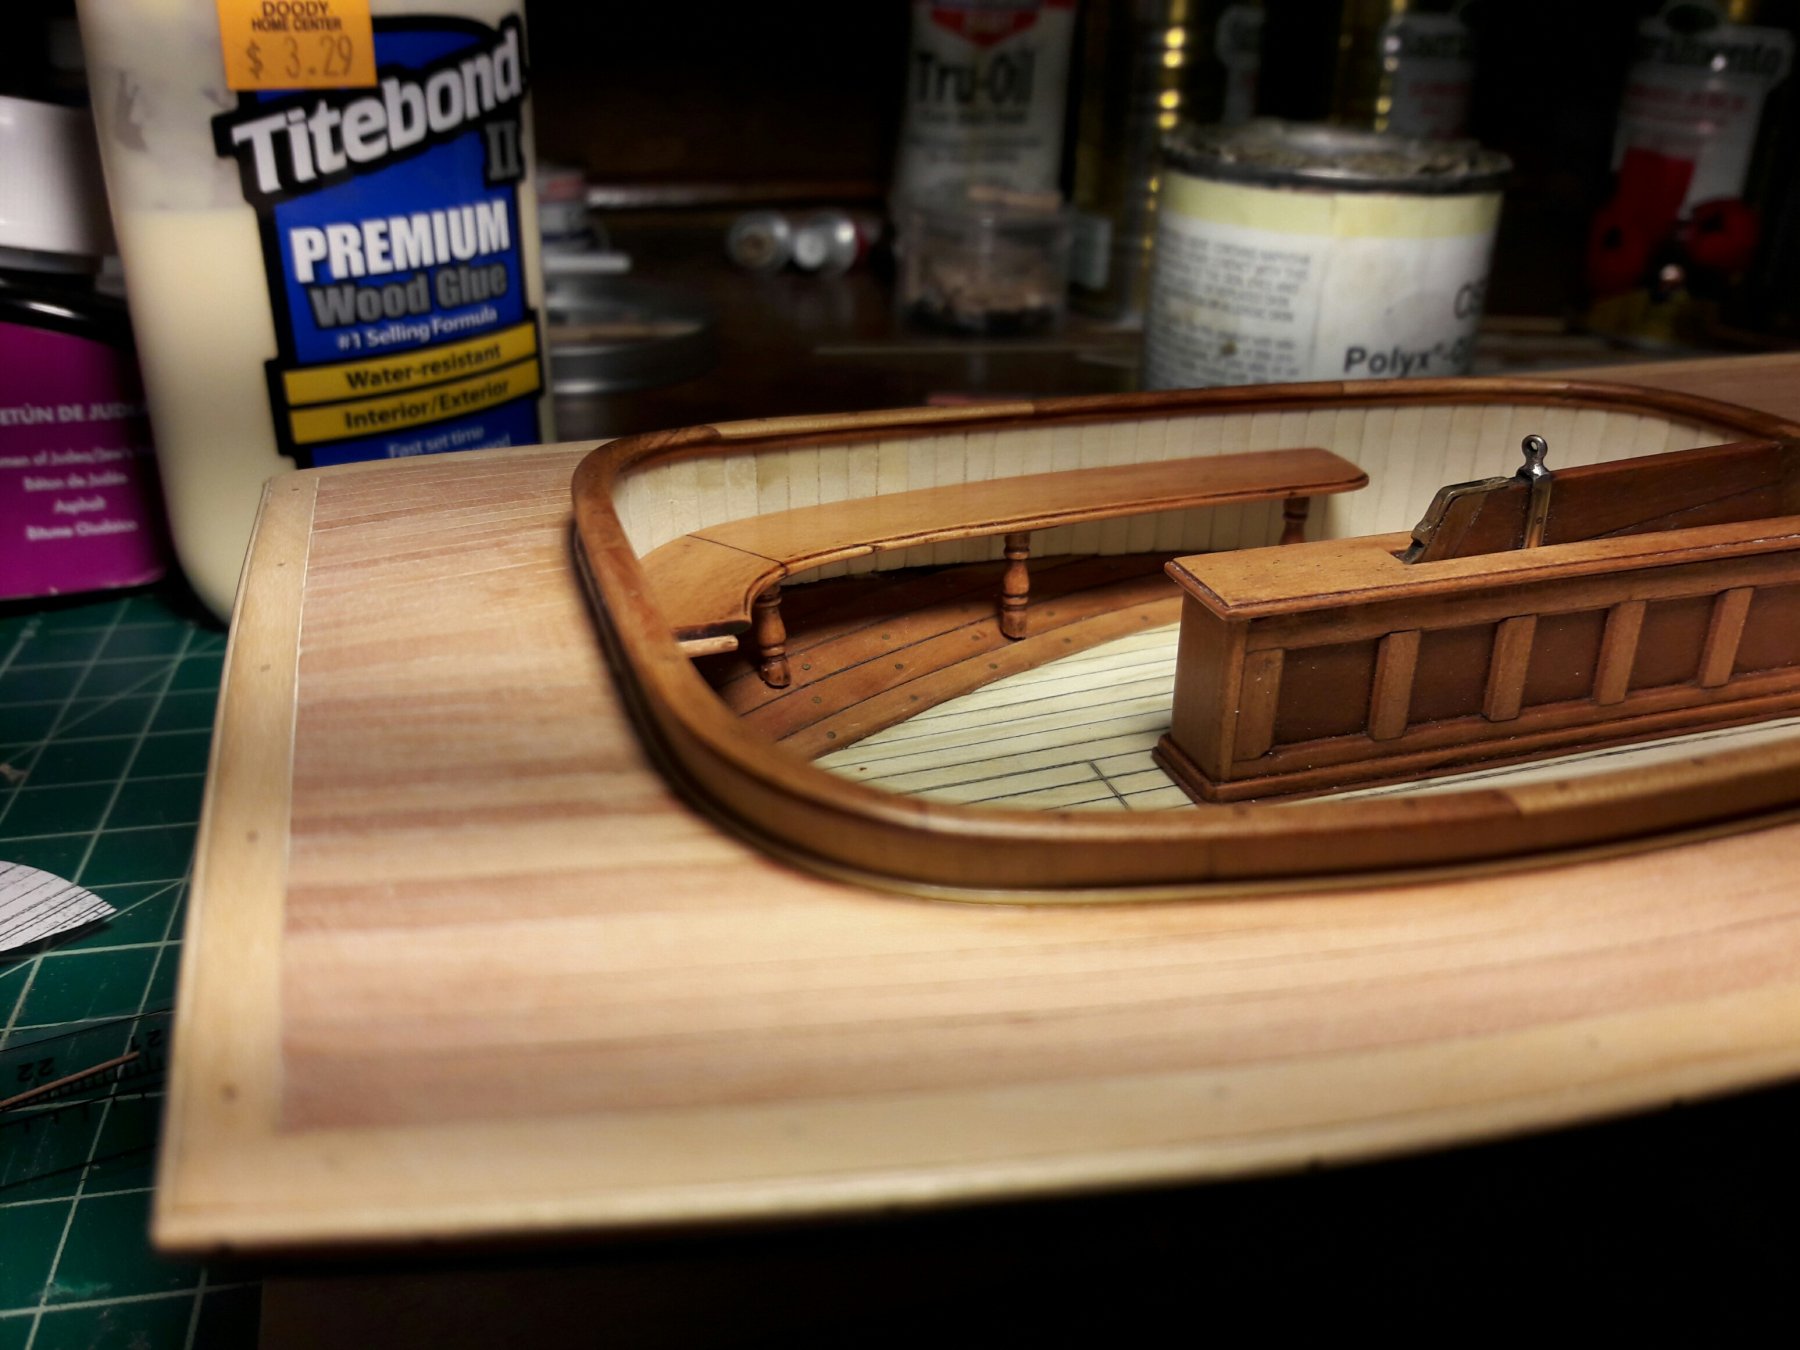
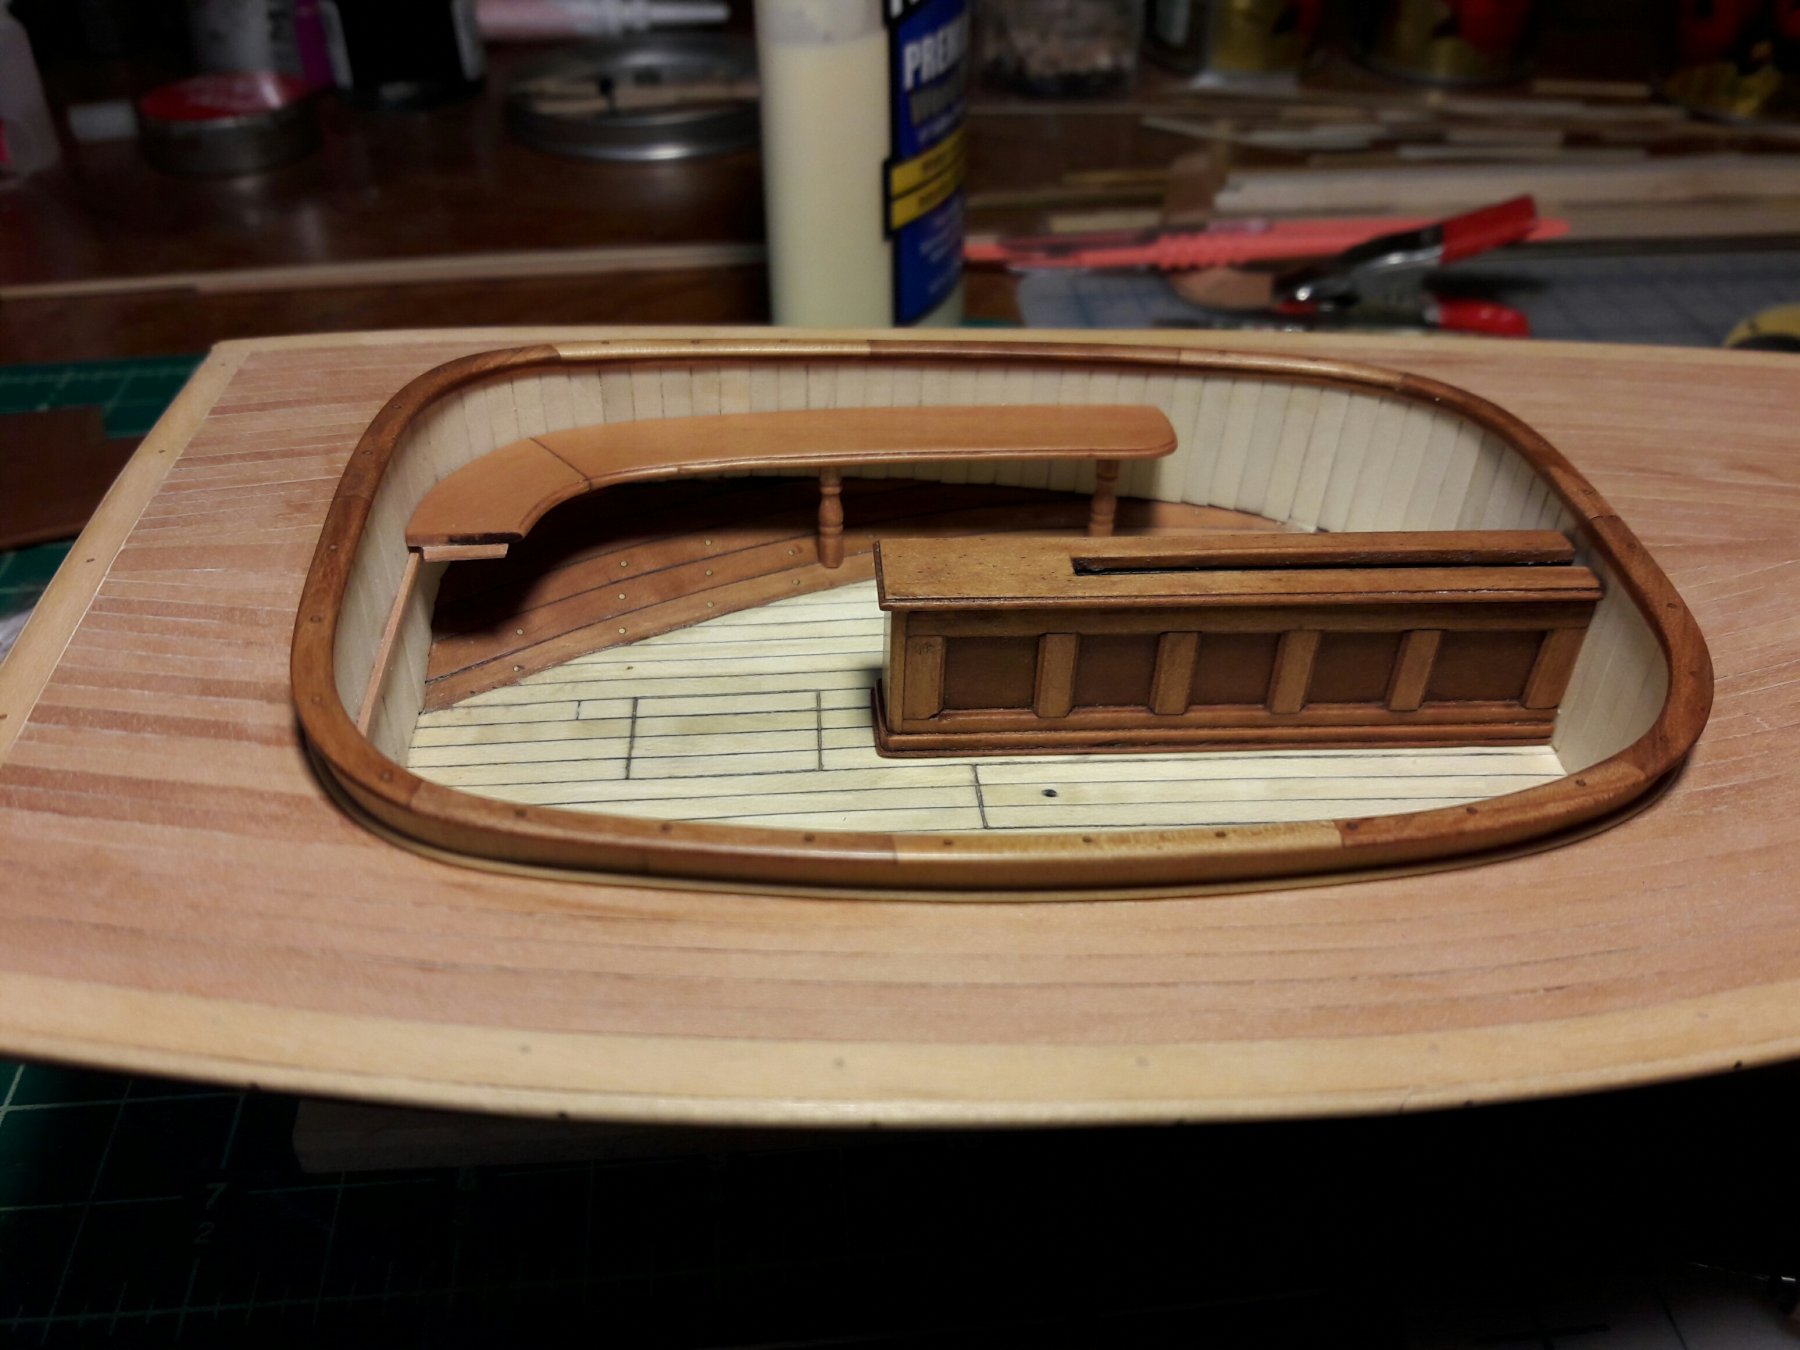
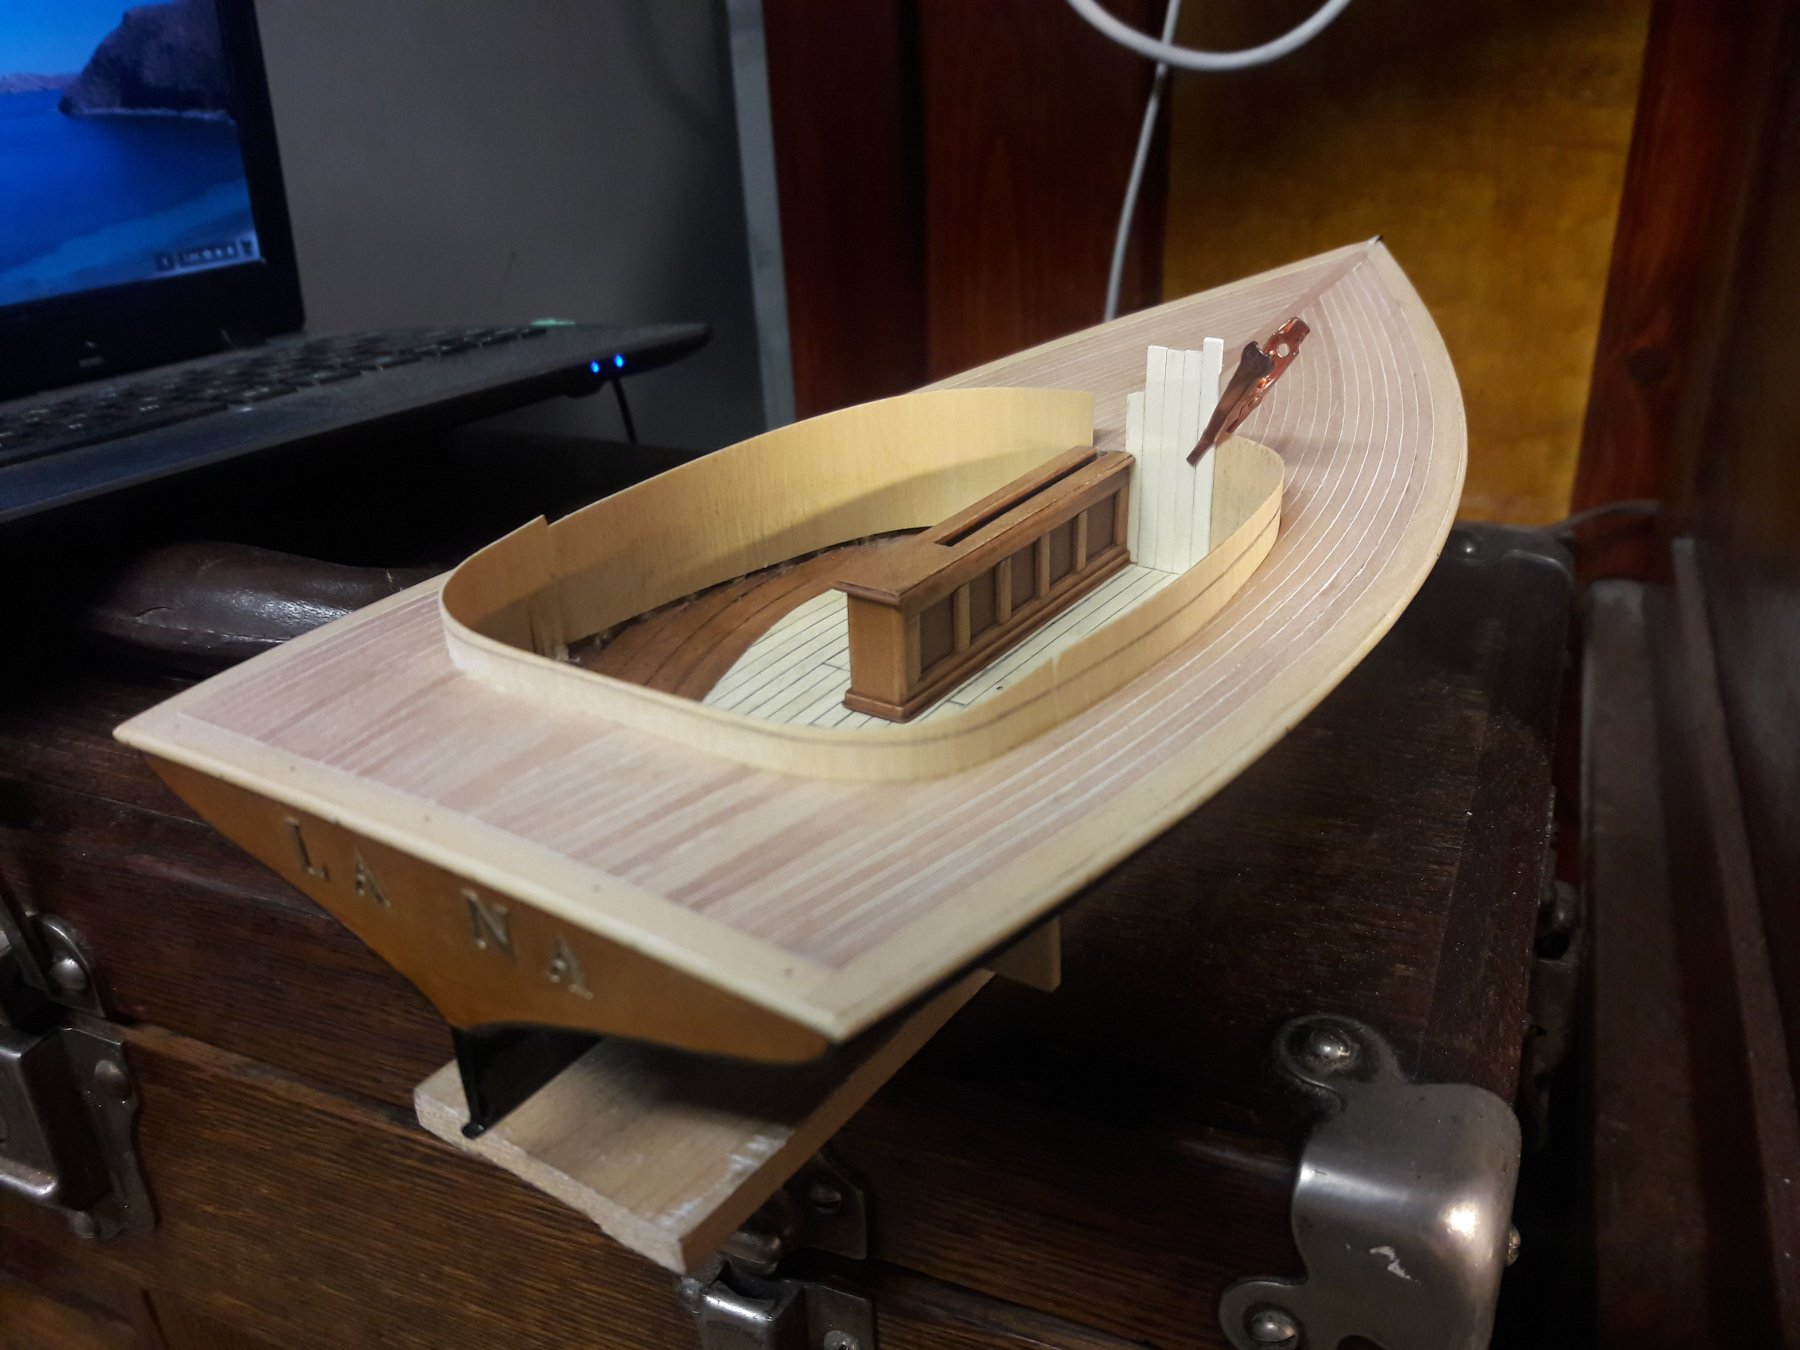
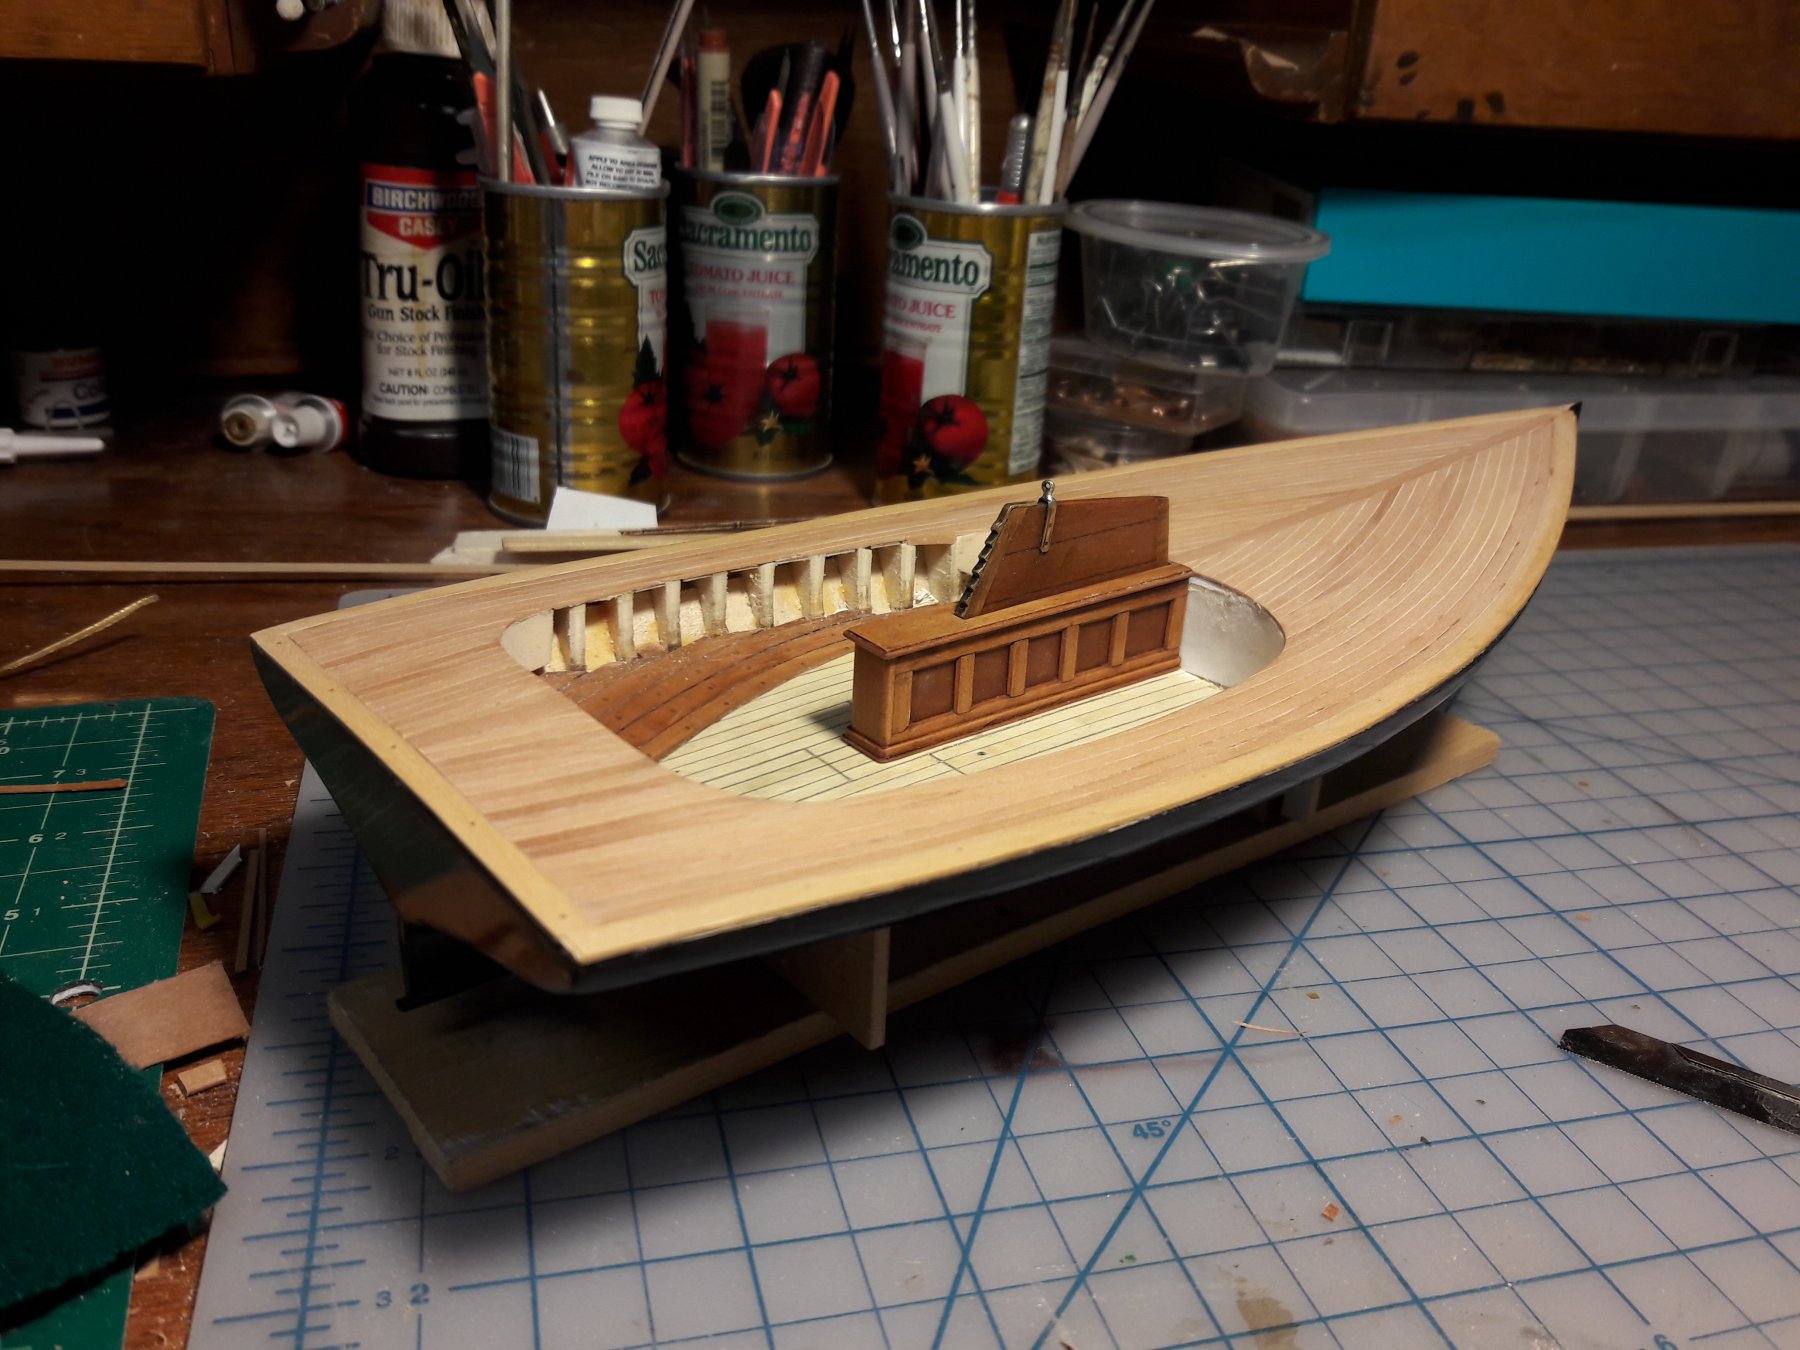
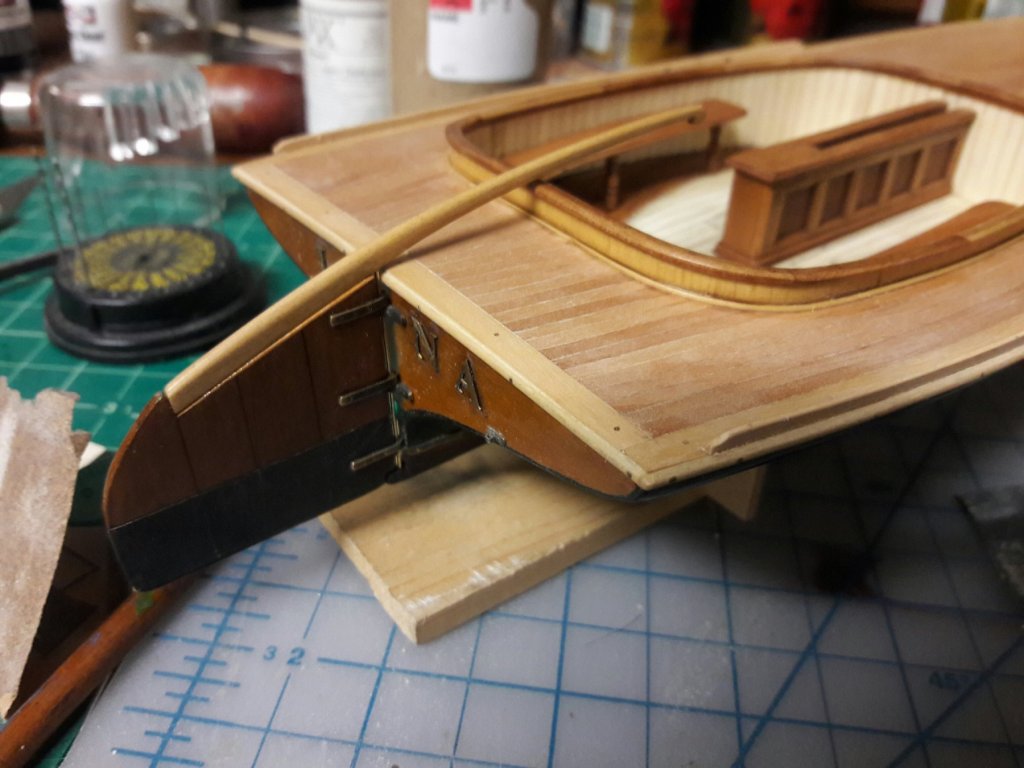
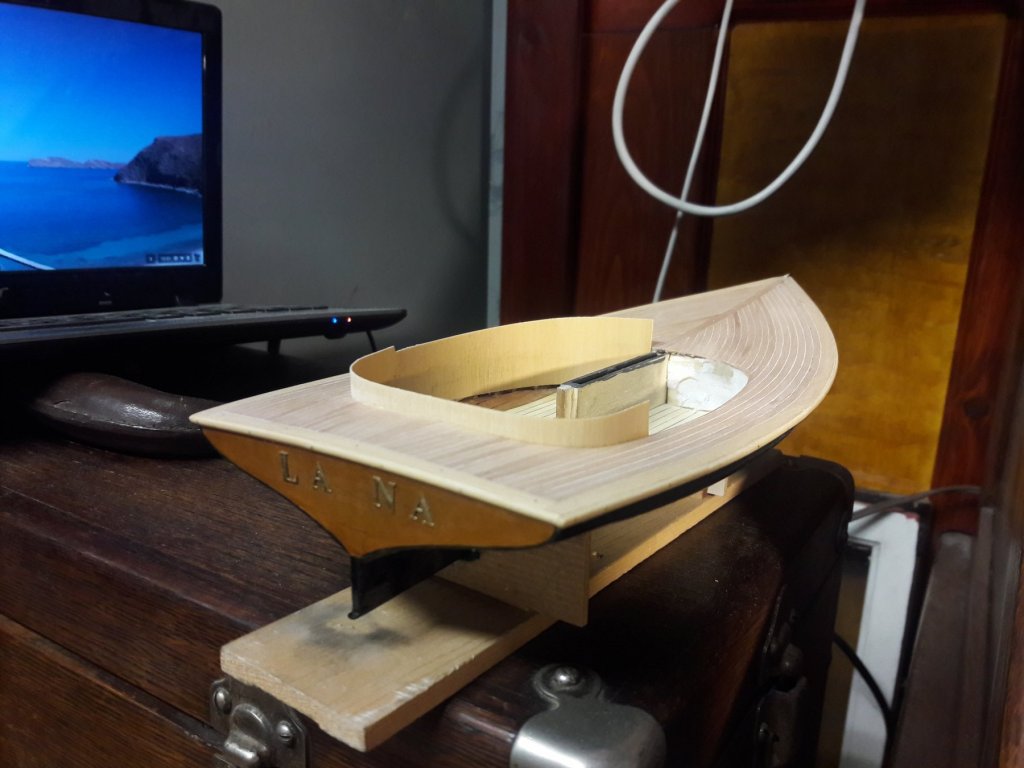
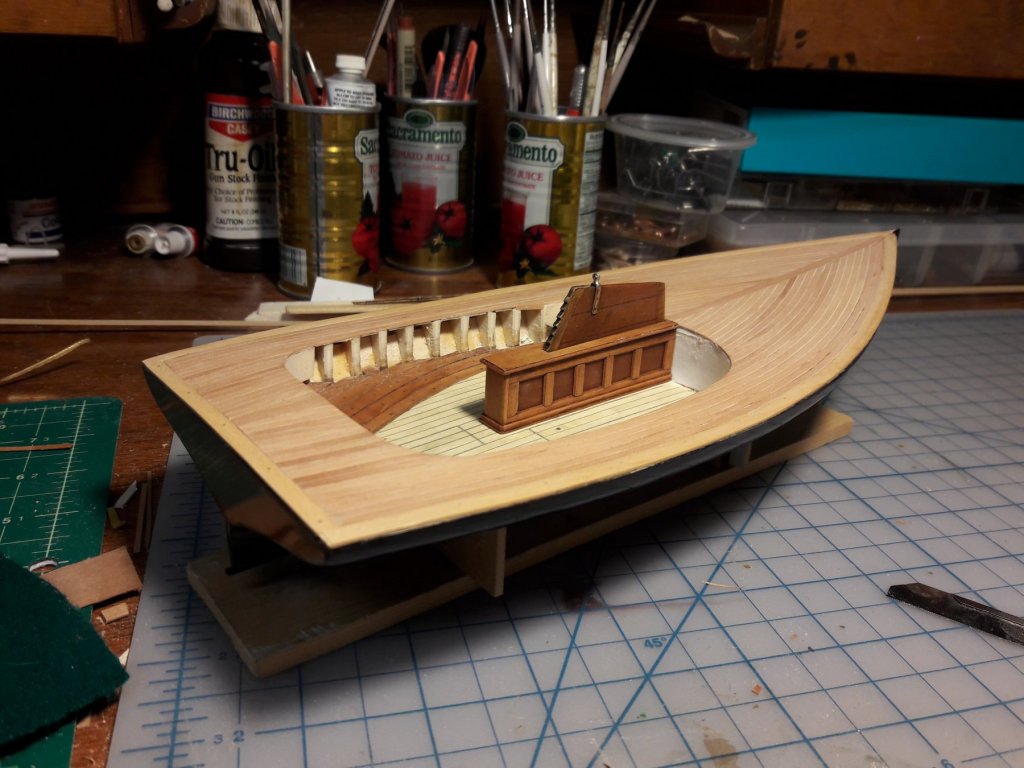
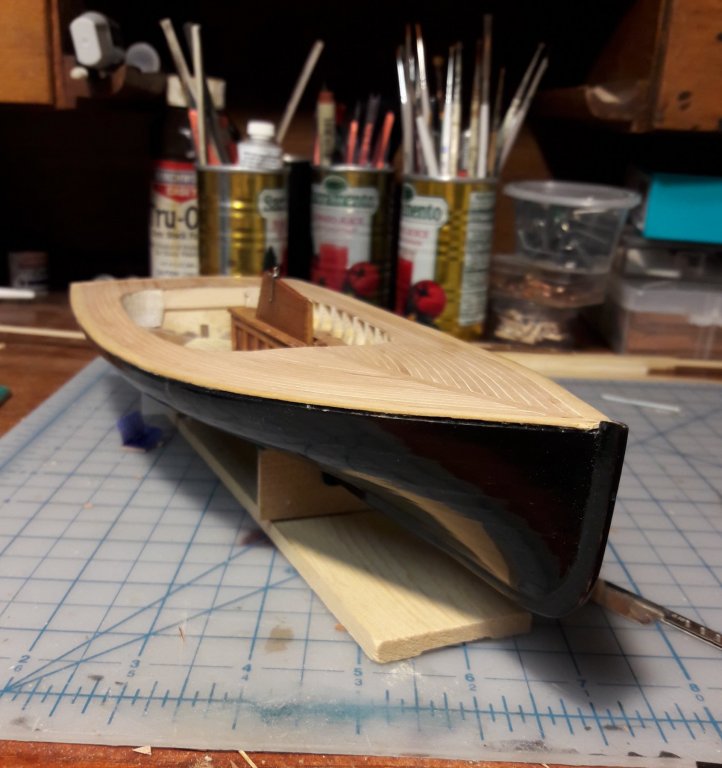
Cap rail for cockpit is done, has some problems but it's in place and I am going to go on to next step.... which is the seats. Have not mentioned before but i am weathering the model with bitumen patina to give it an antique appearance. Patina also brings out the detail.


-
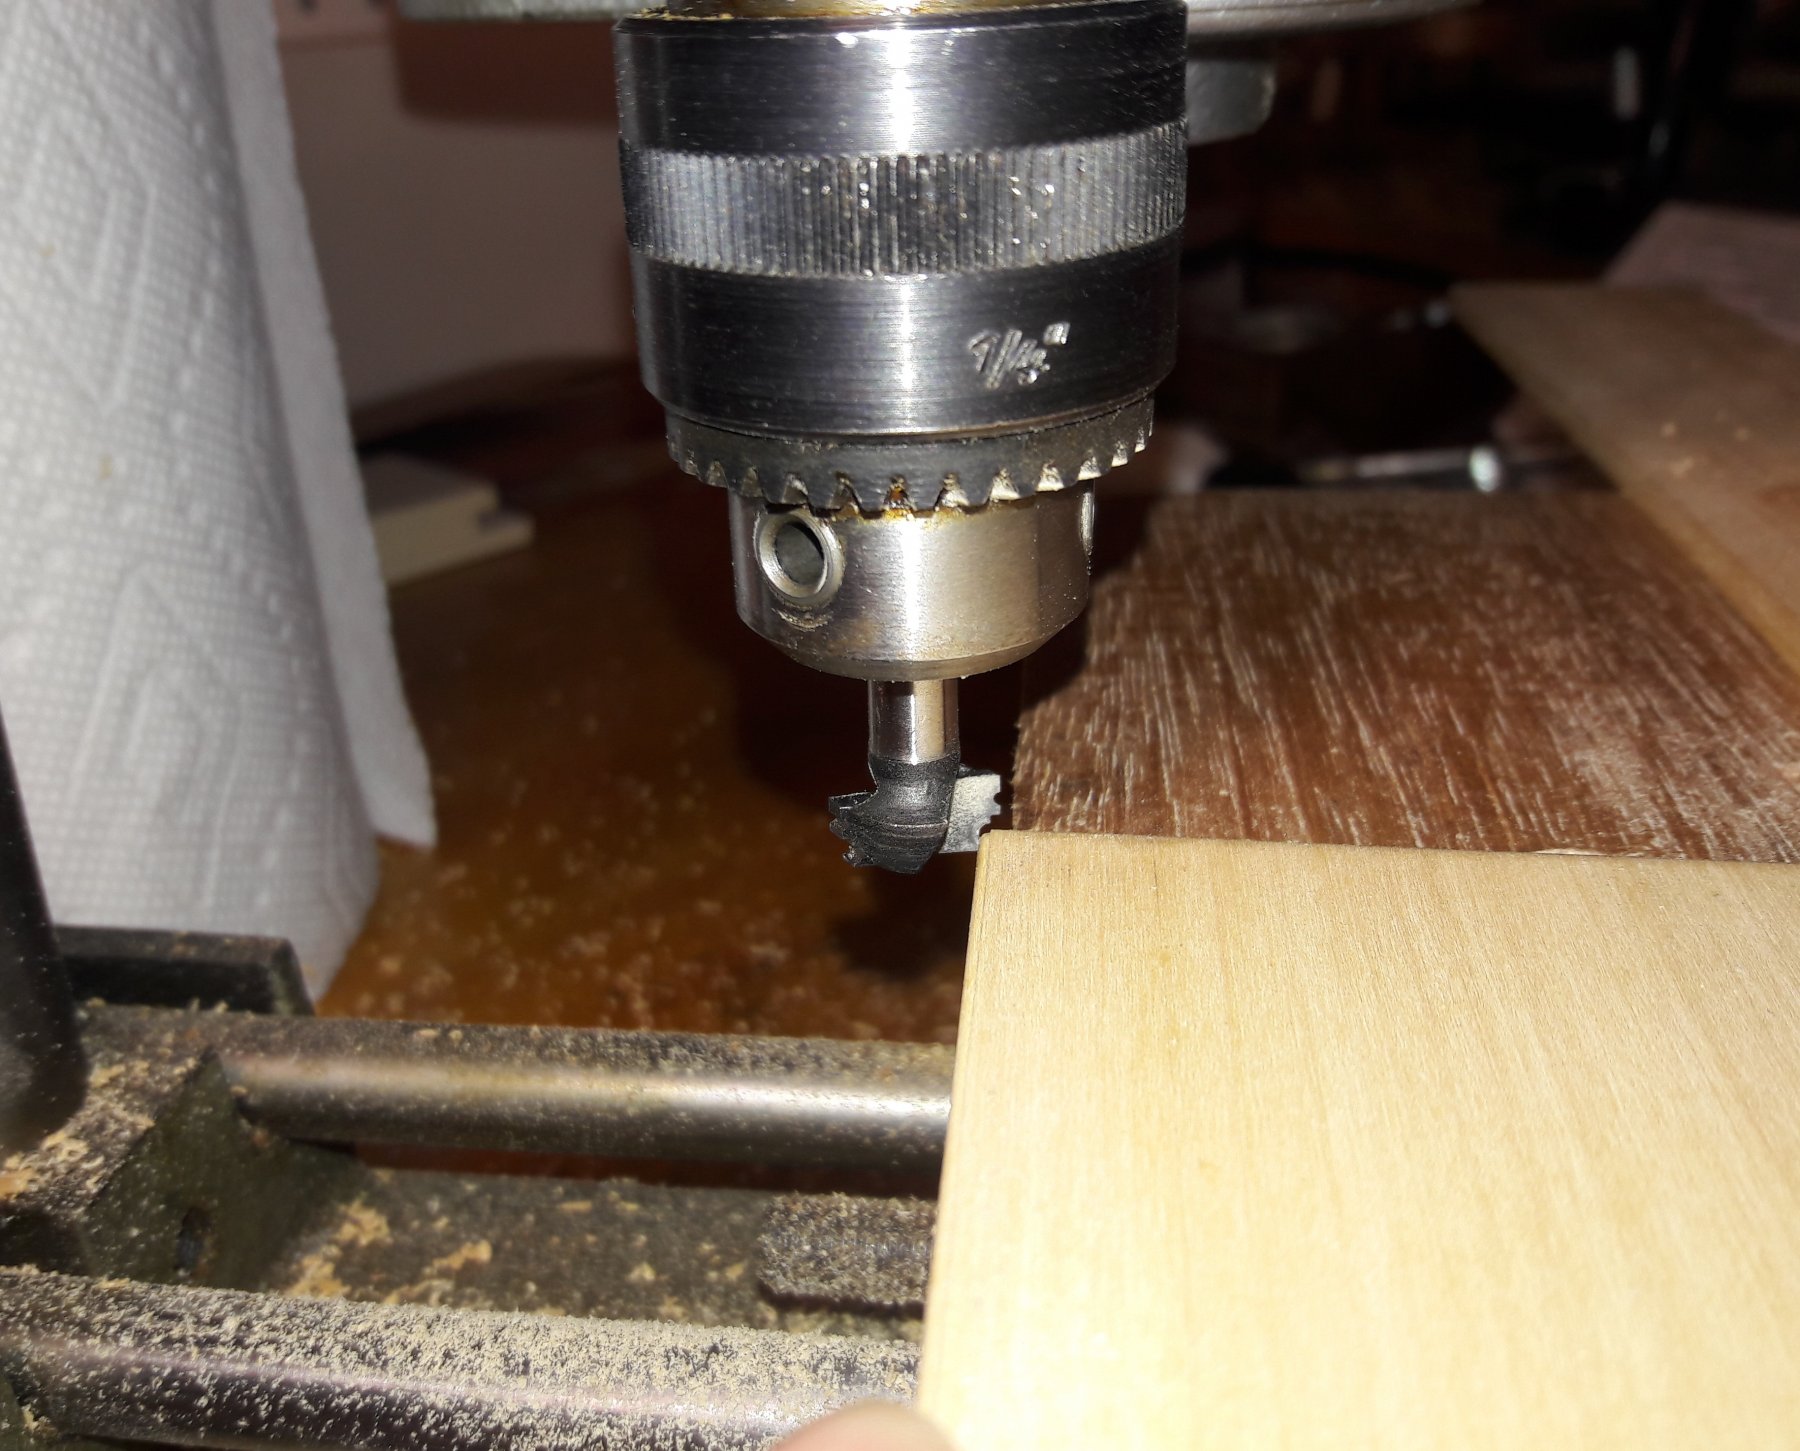
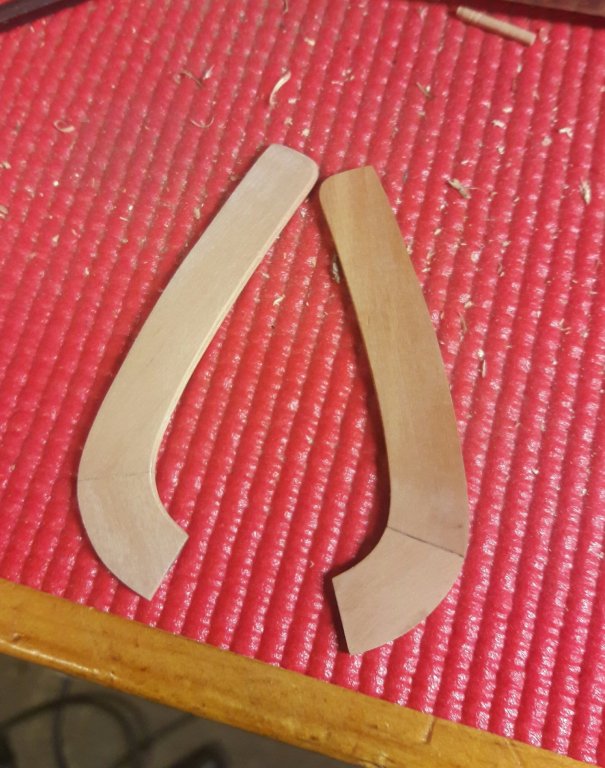
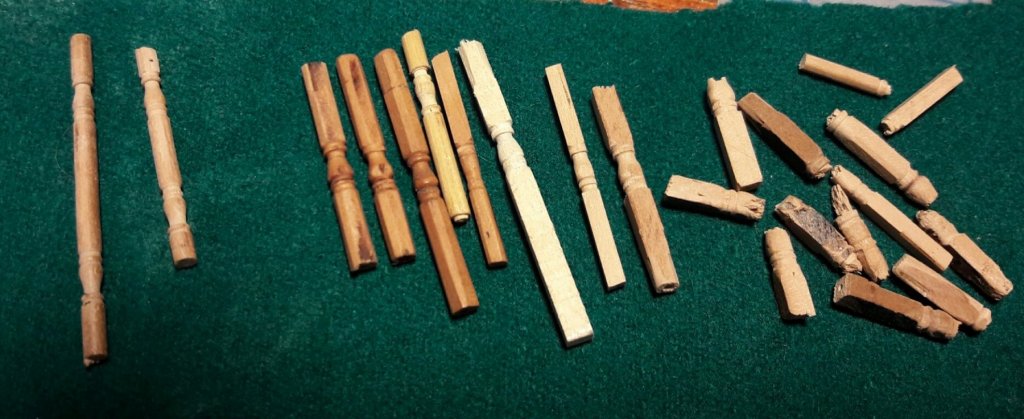
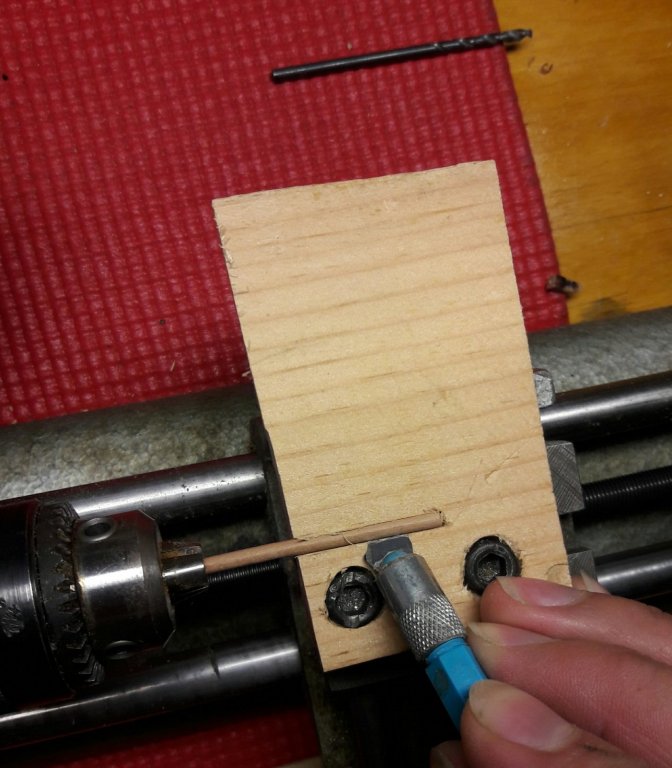
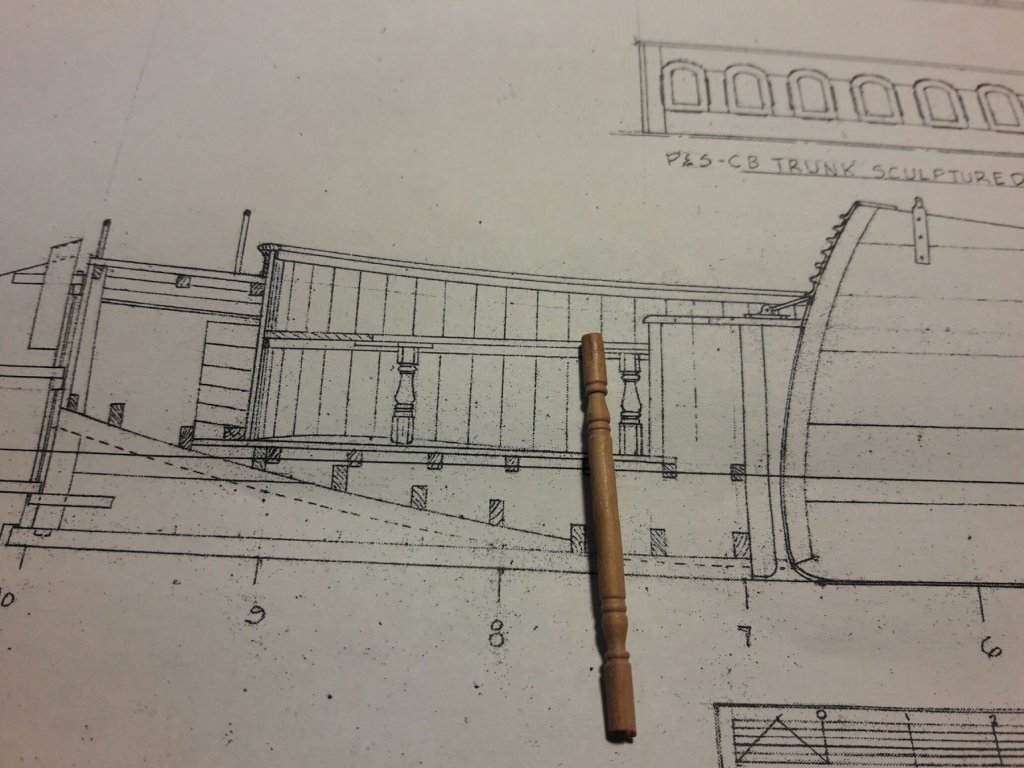
These are the try outs that did not work And the process for turning the pillars that worked. Had to make my own dowels as did not have any stock in pear

-
Finally got the seat pillars going. Still require some tweaking but the process is finalized and steadily producing identical parts. Took me several evenings of trial and error while the solution was in my reference files, downloaded from Russian forum a while ago.
-
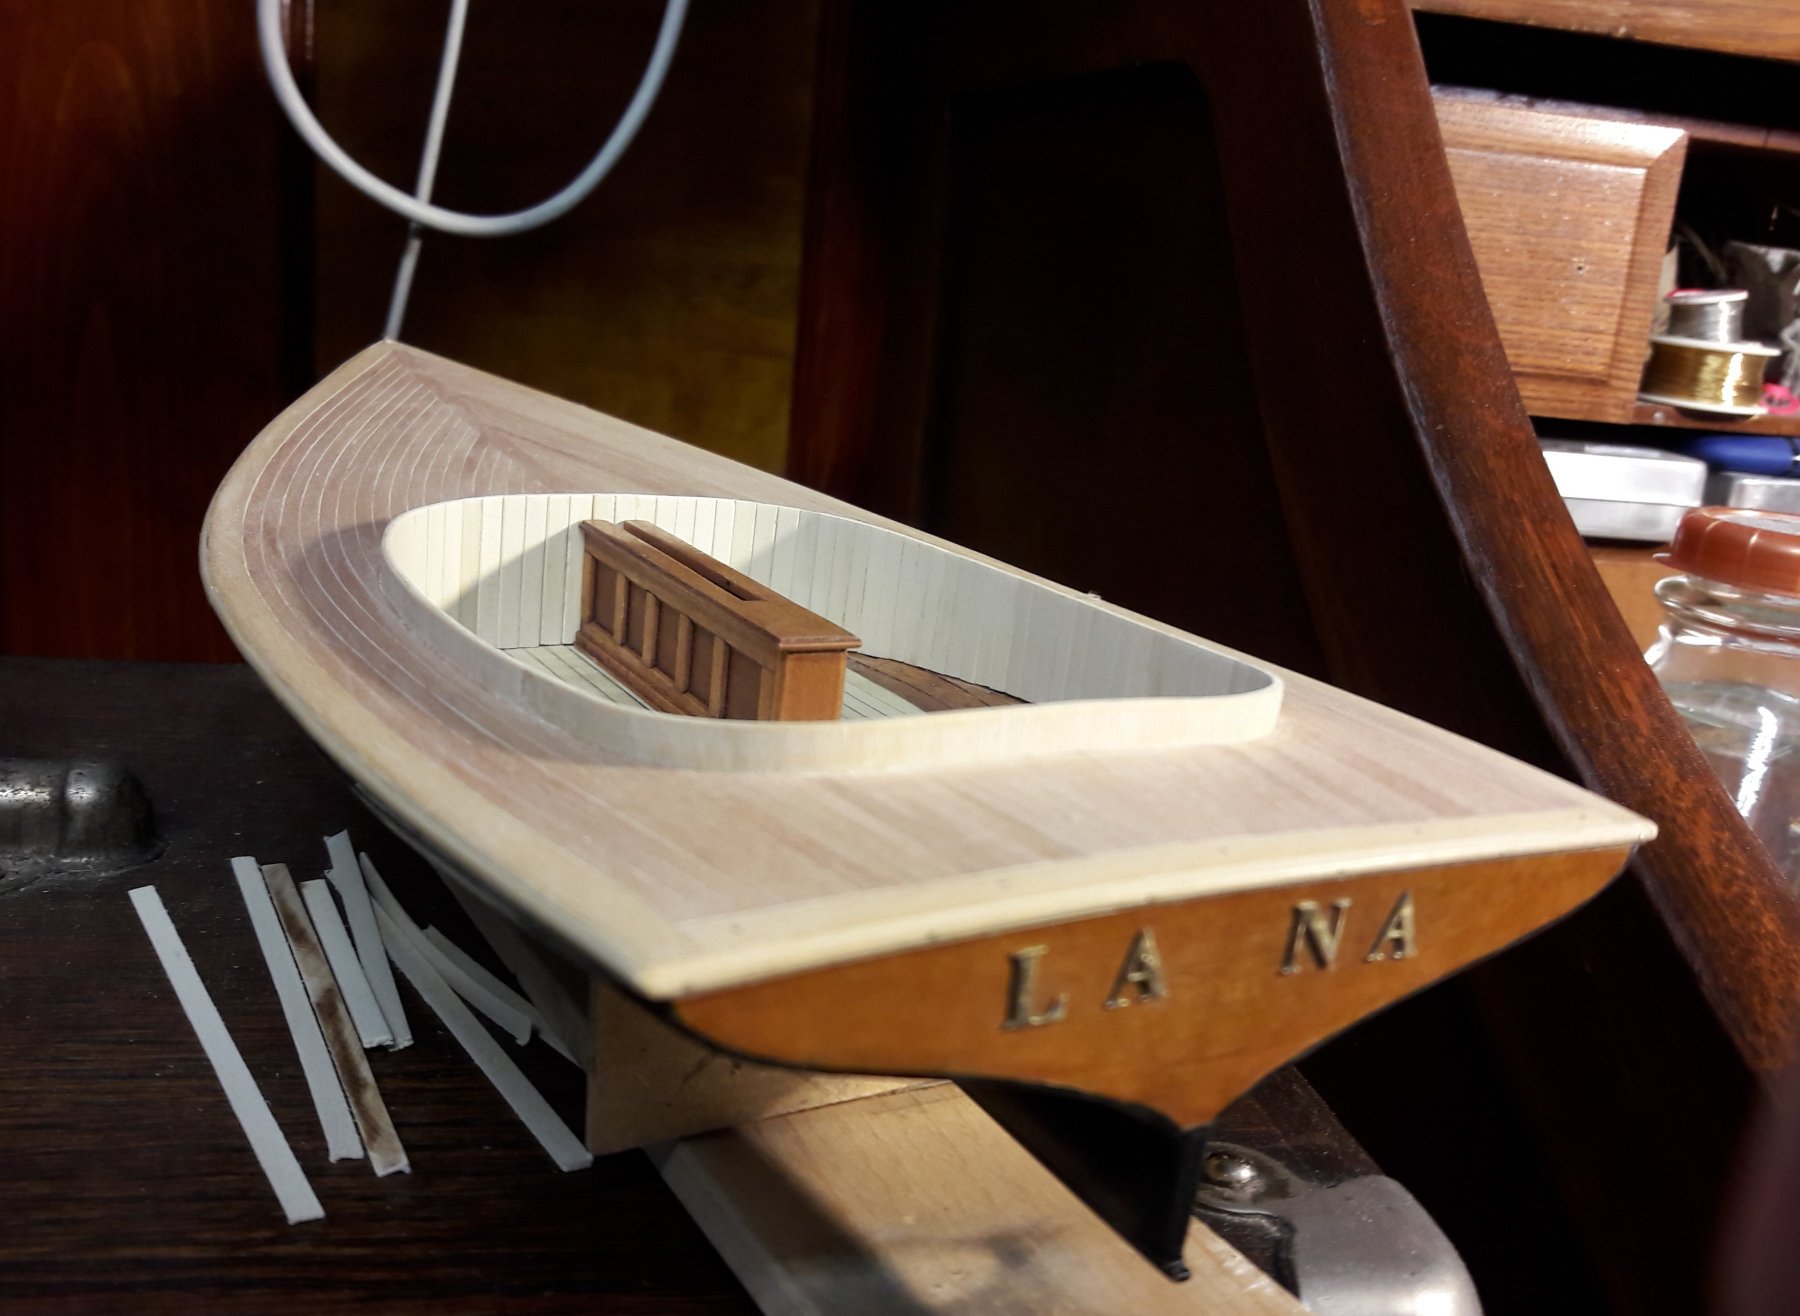
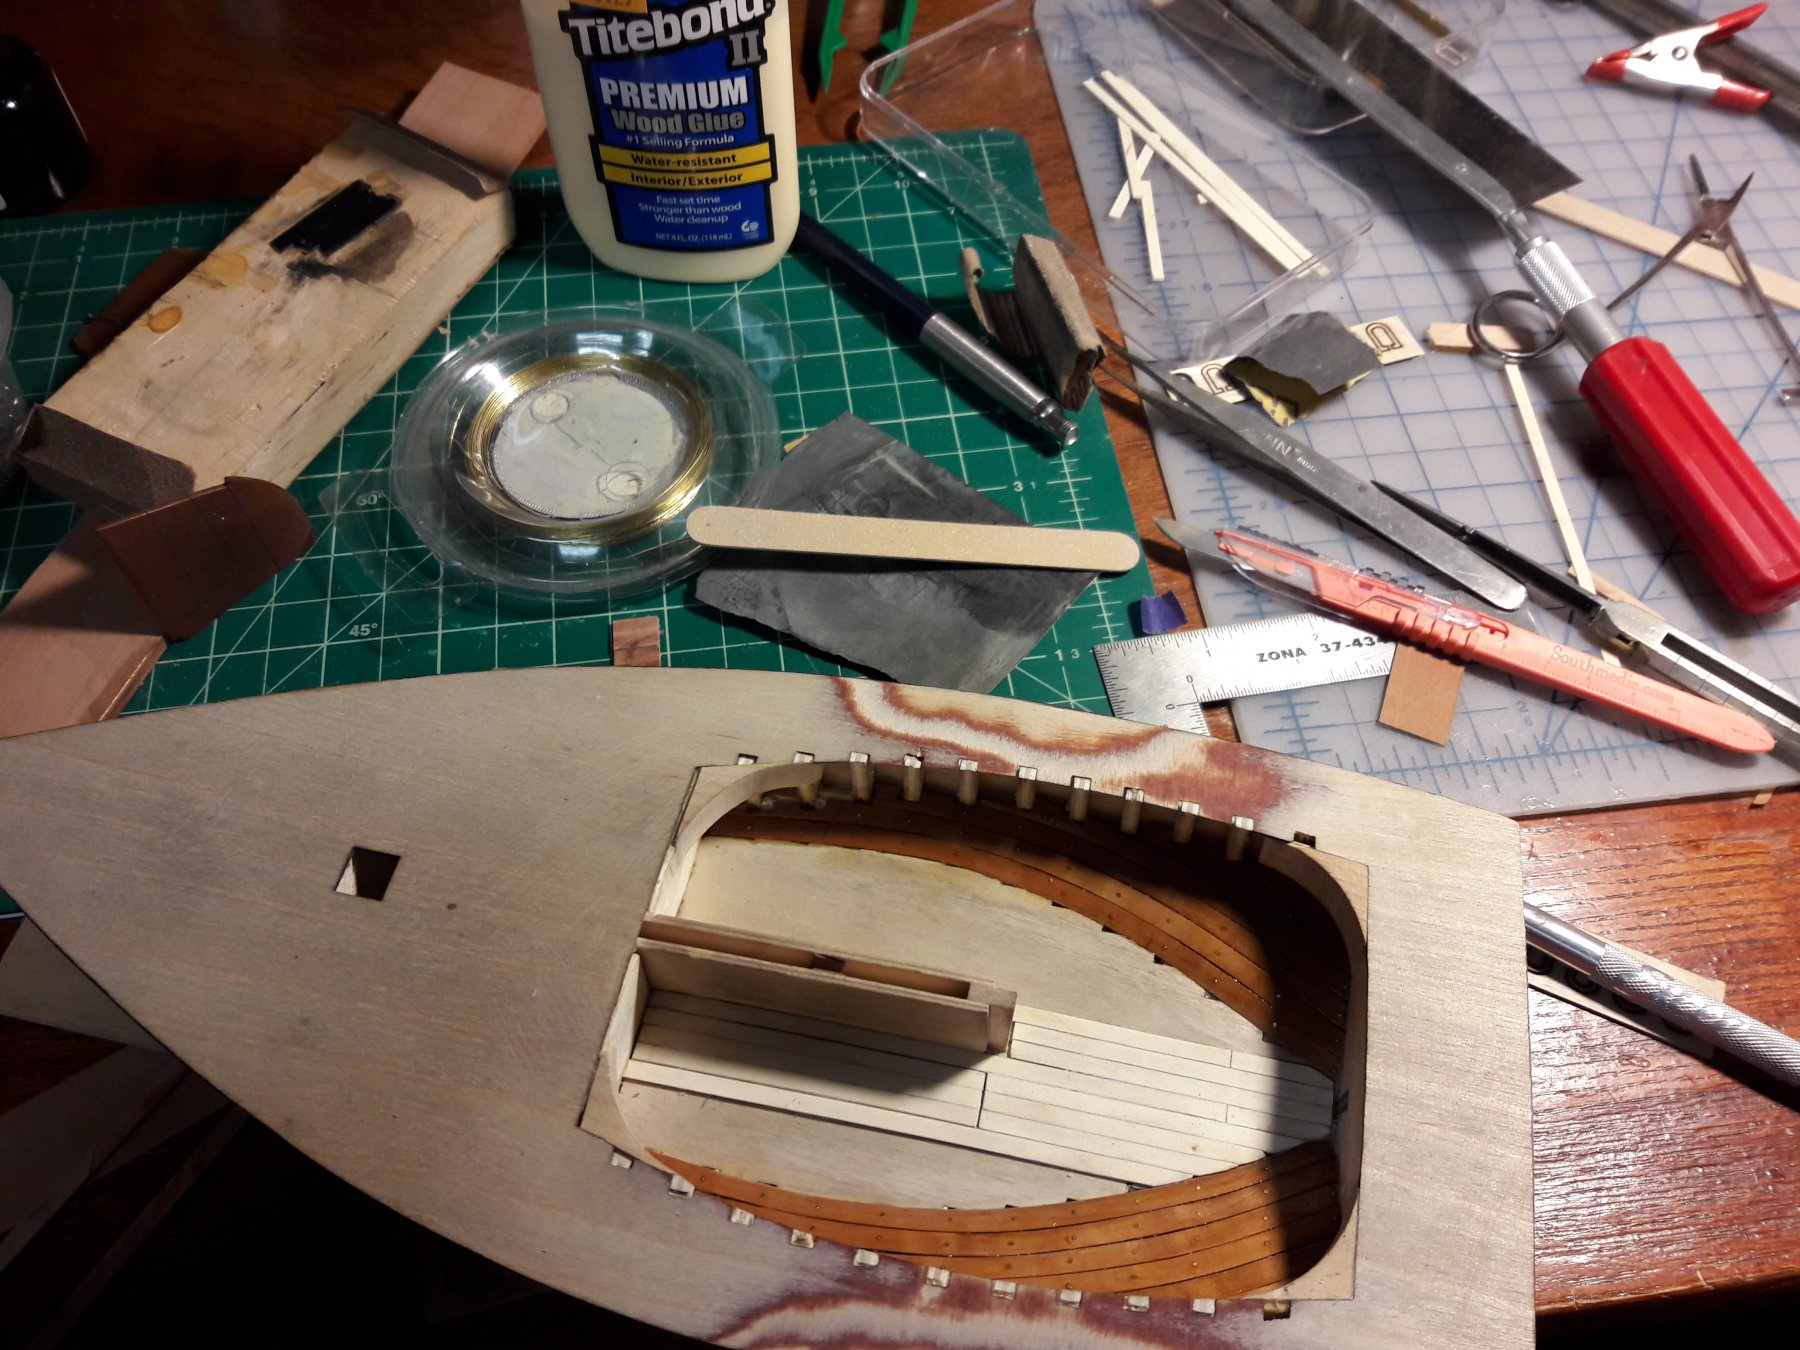
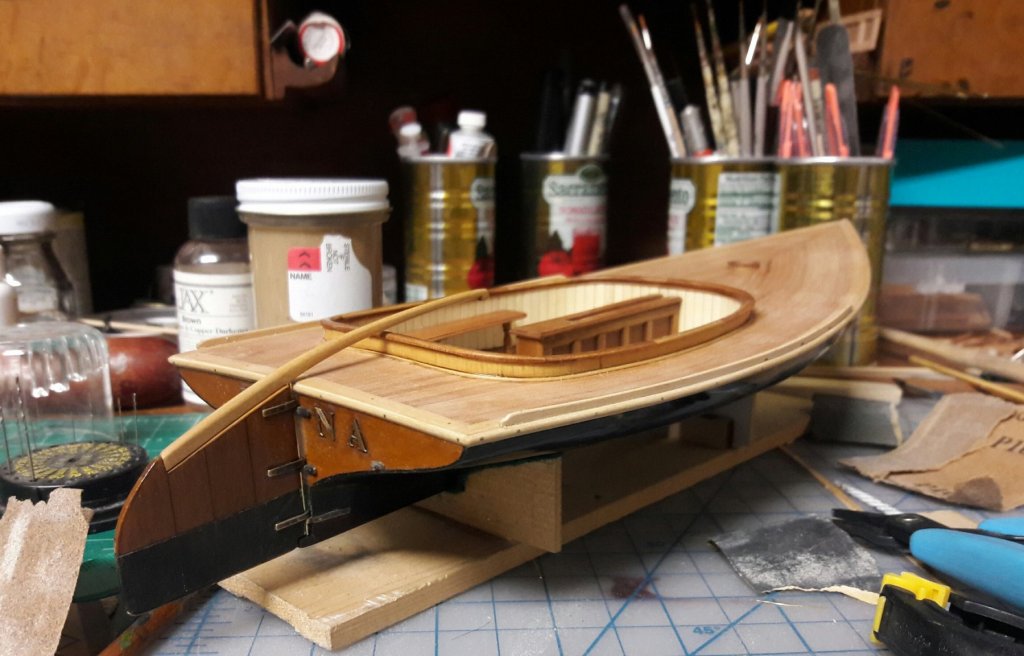
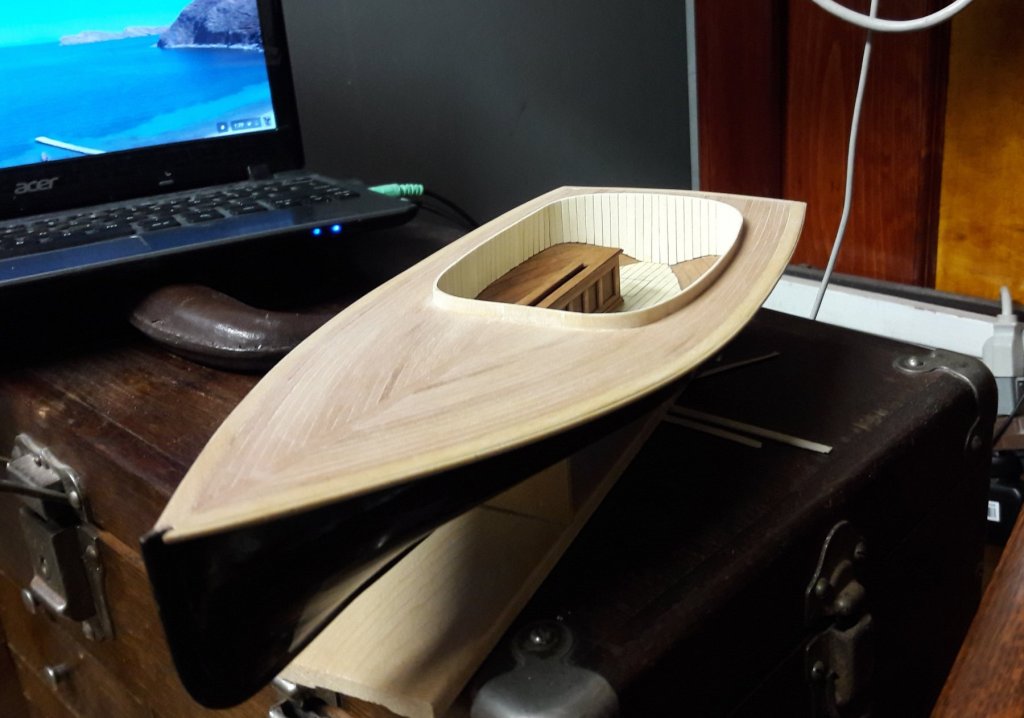
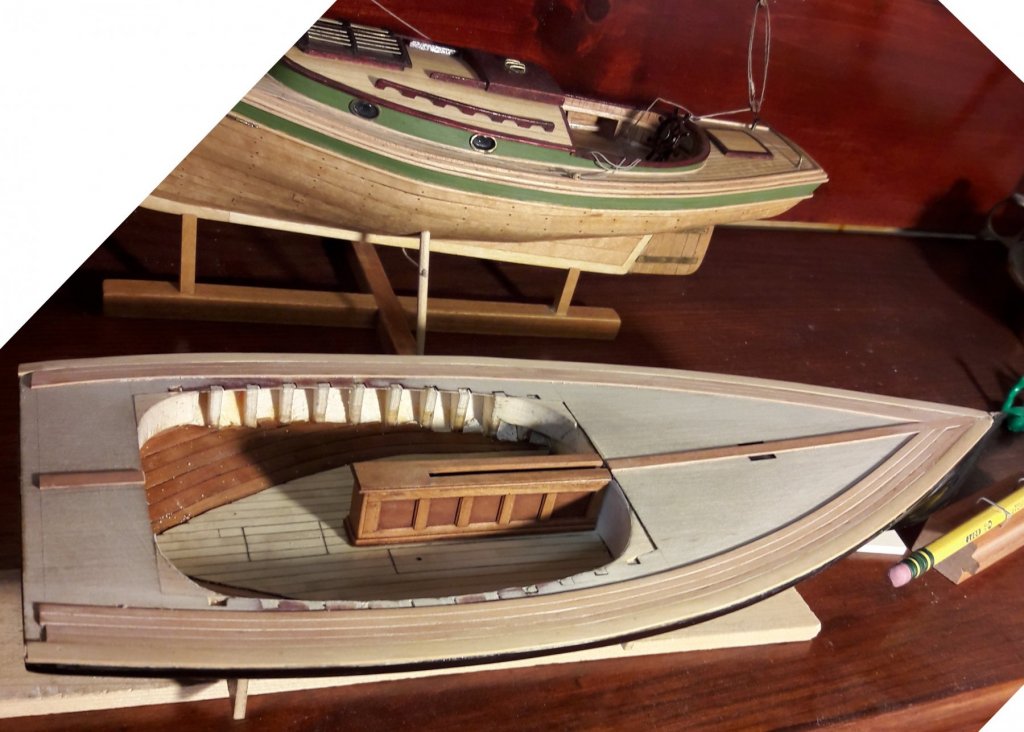
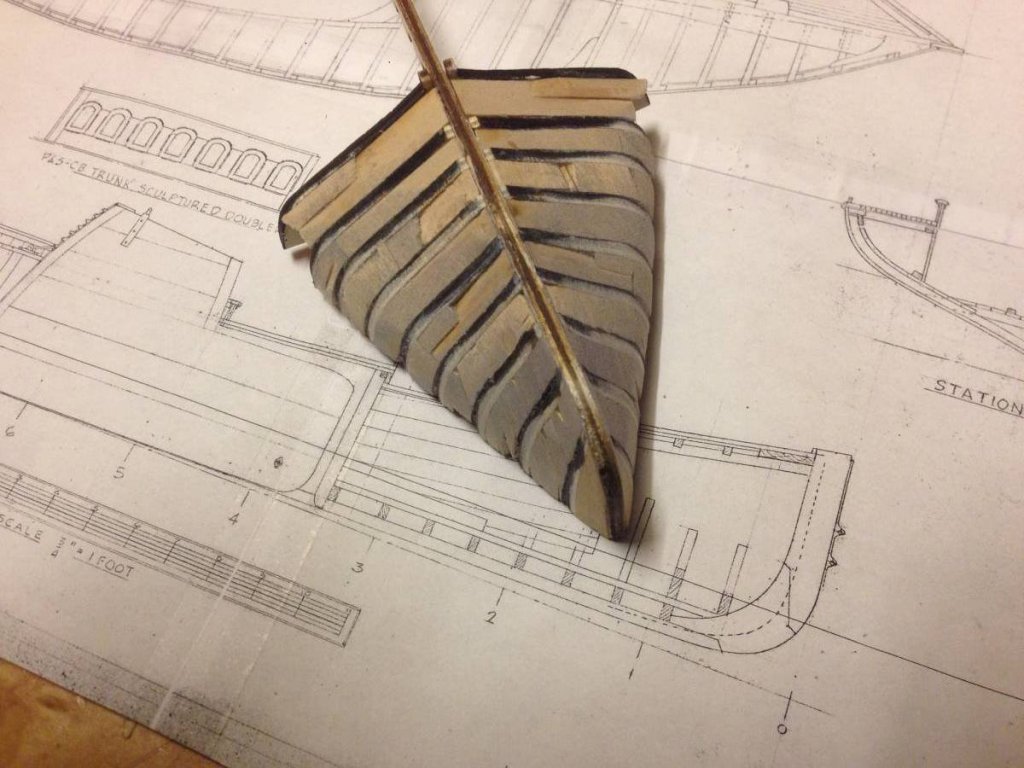
Done with planking the cockpit. Now on to caprail and sits


-
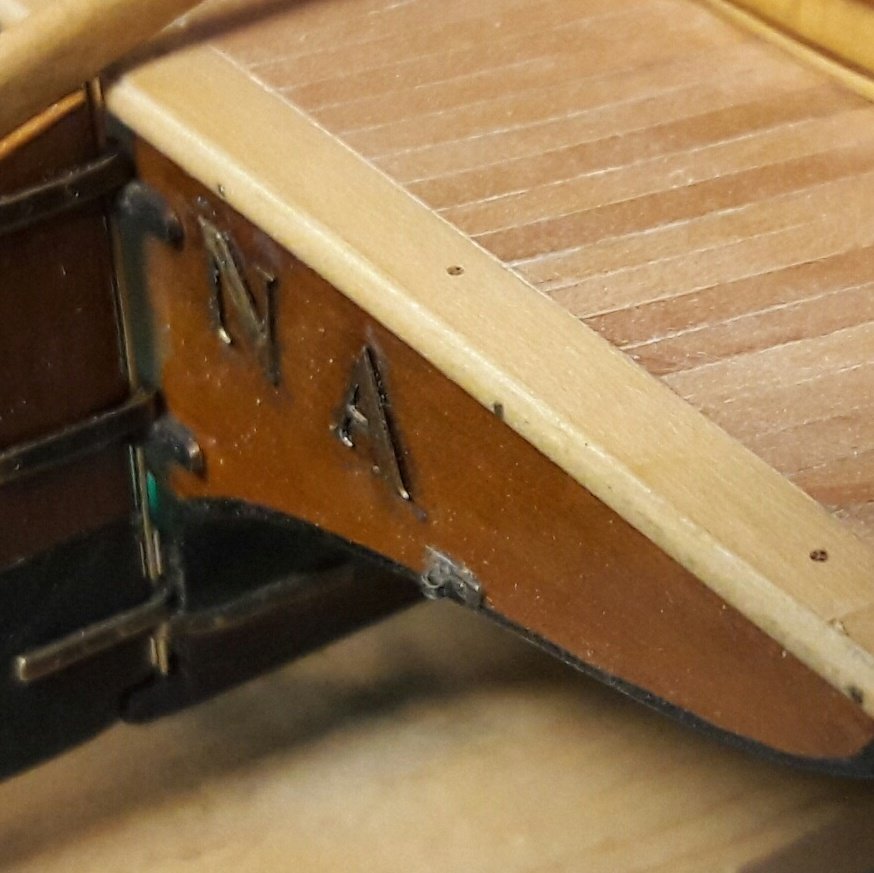
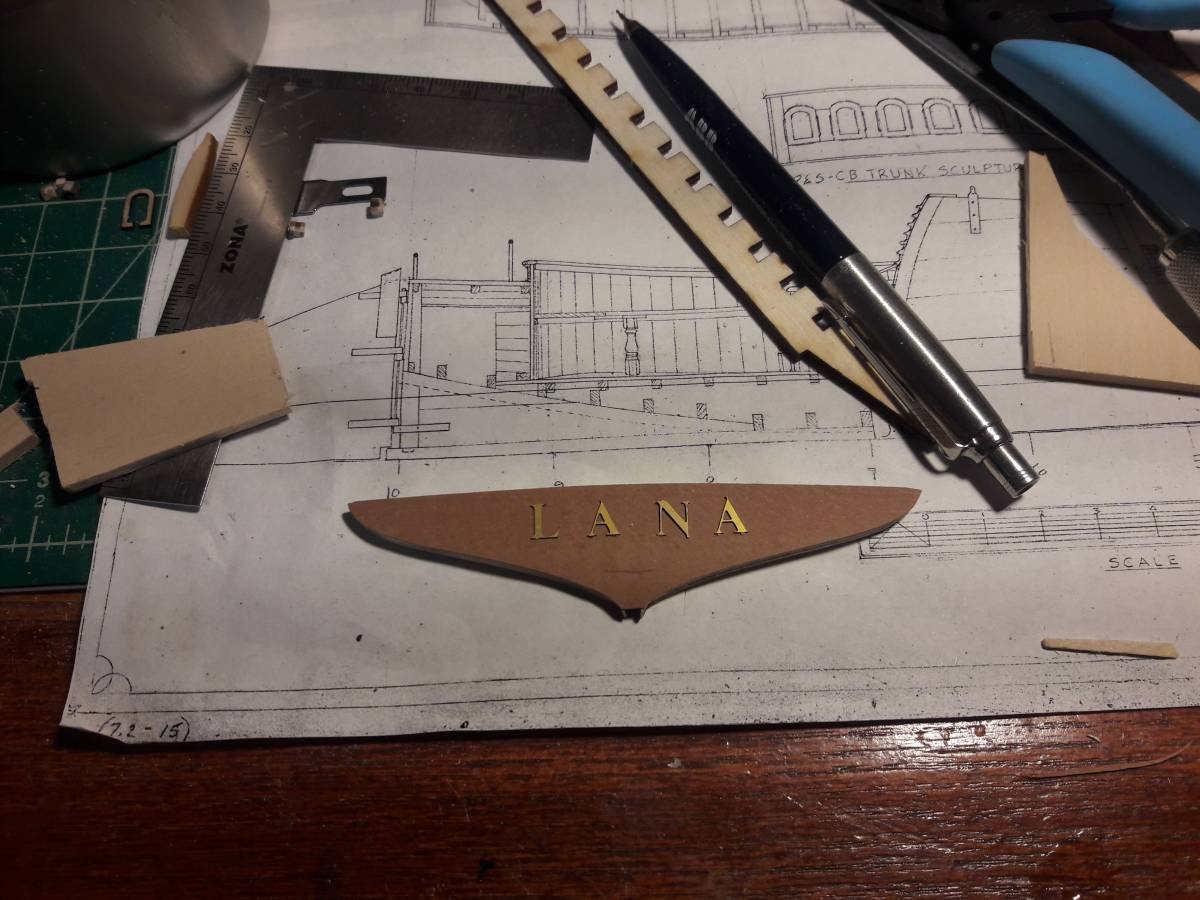
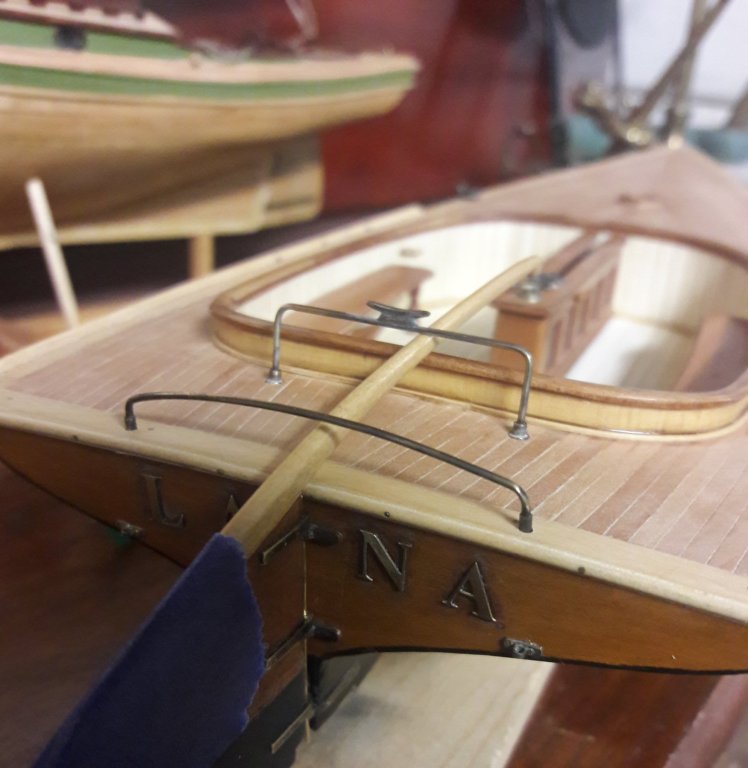
Those are Amati photoetched letters.
-
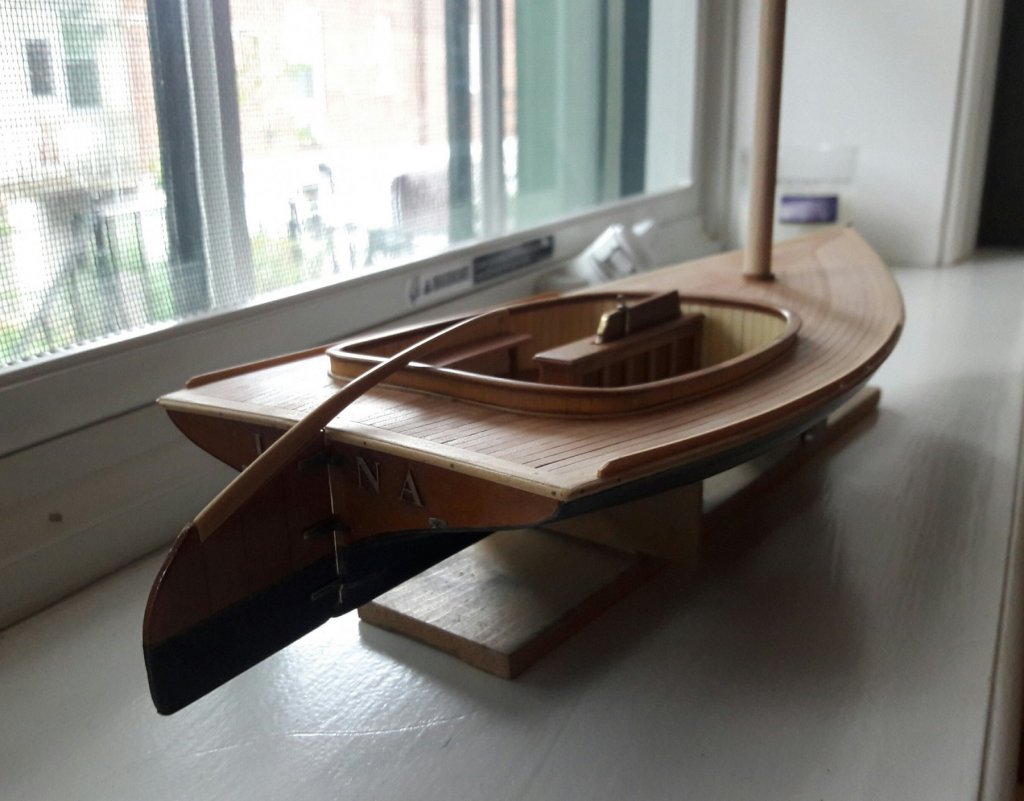
Thank you guys! I like both options and some sandbaggers had two mast holes so rig could be changed. I am thinking sloop rig although it will double models foot print. Now working on planking the cockpit. Sidewall is made from boxwood veneer that was run through thickness sander to get it paper thin. Planks are white holly.


-
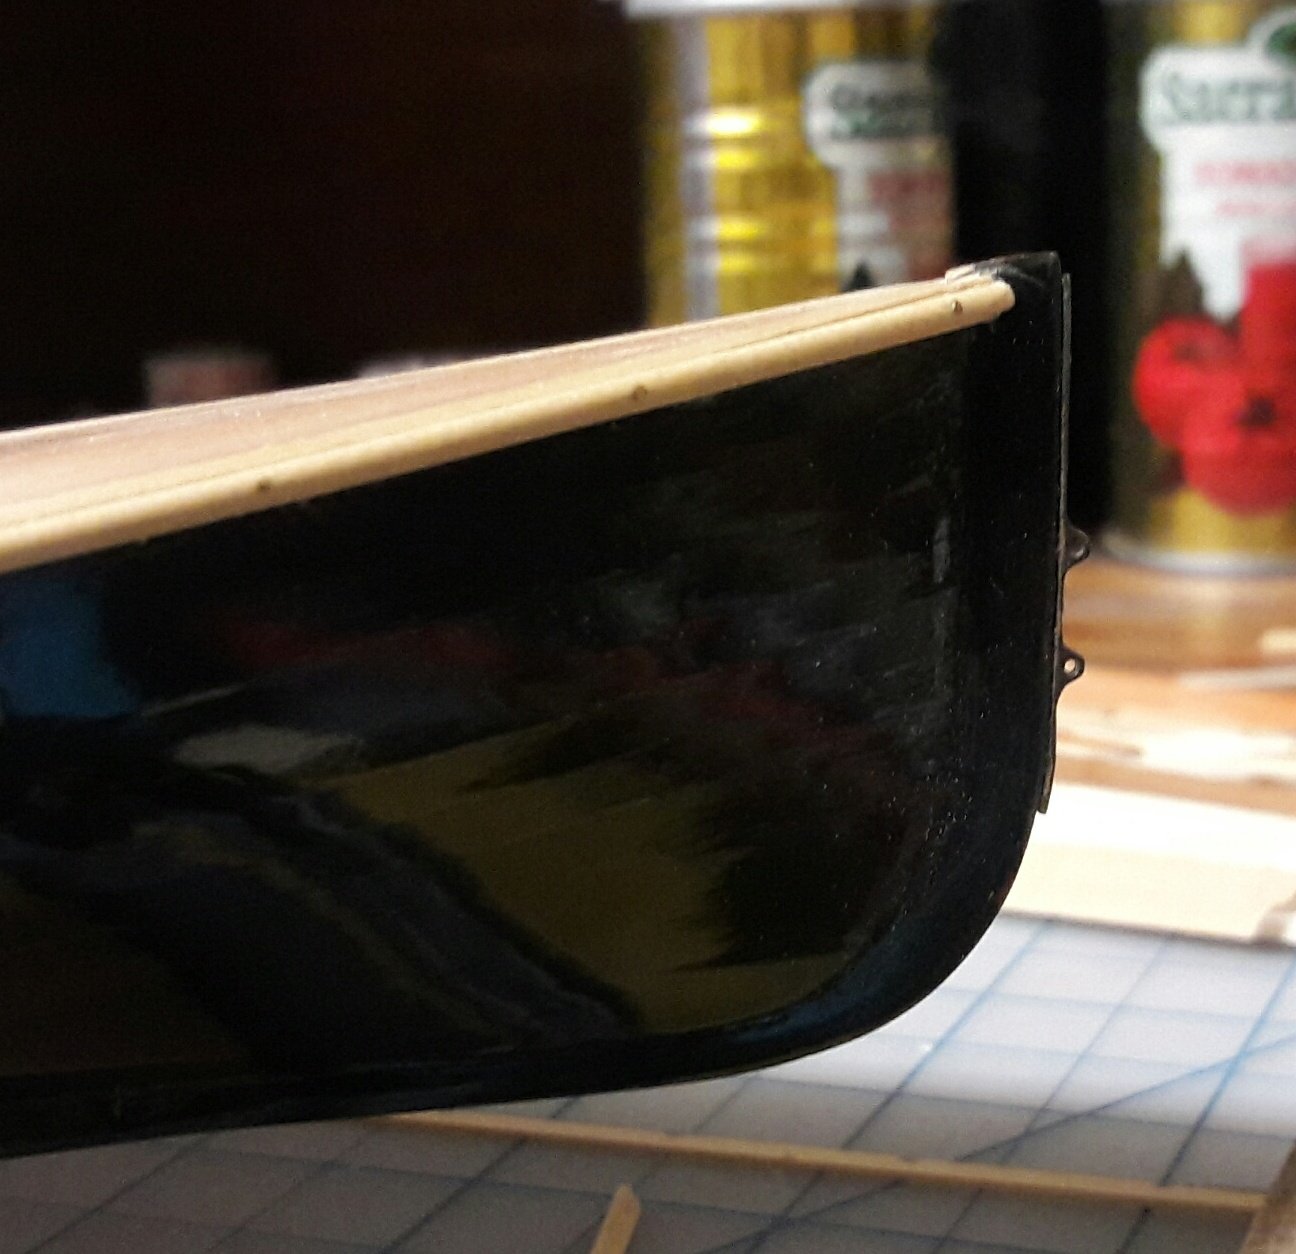
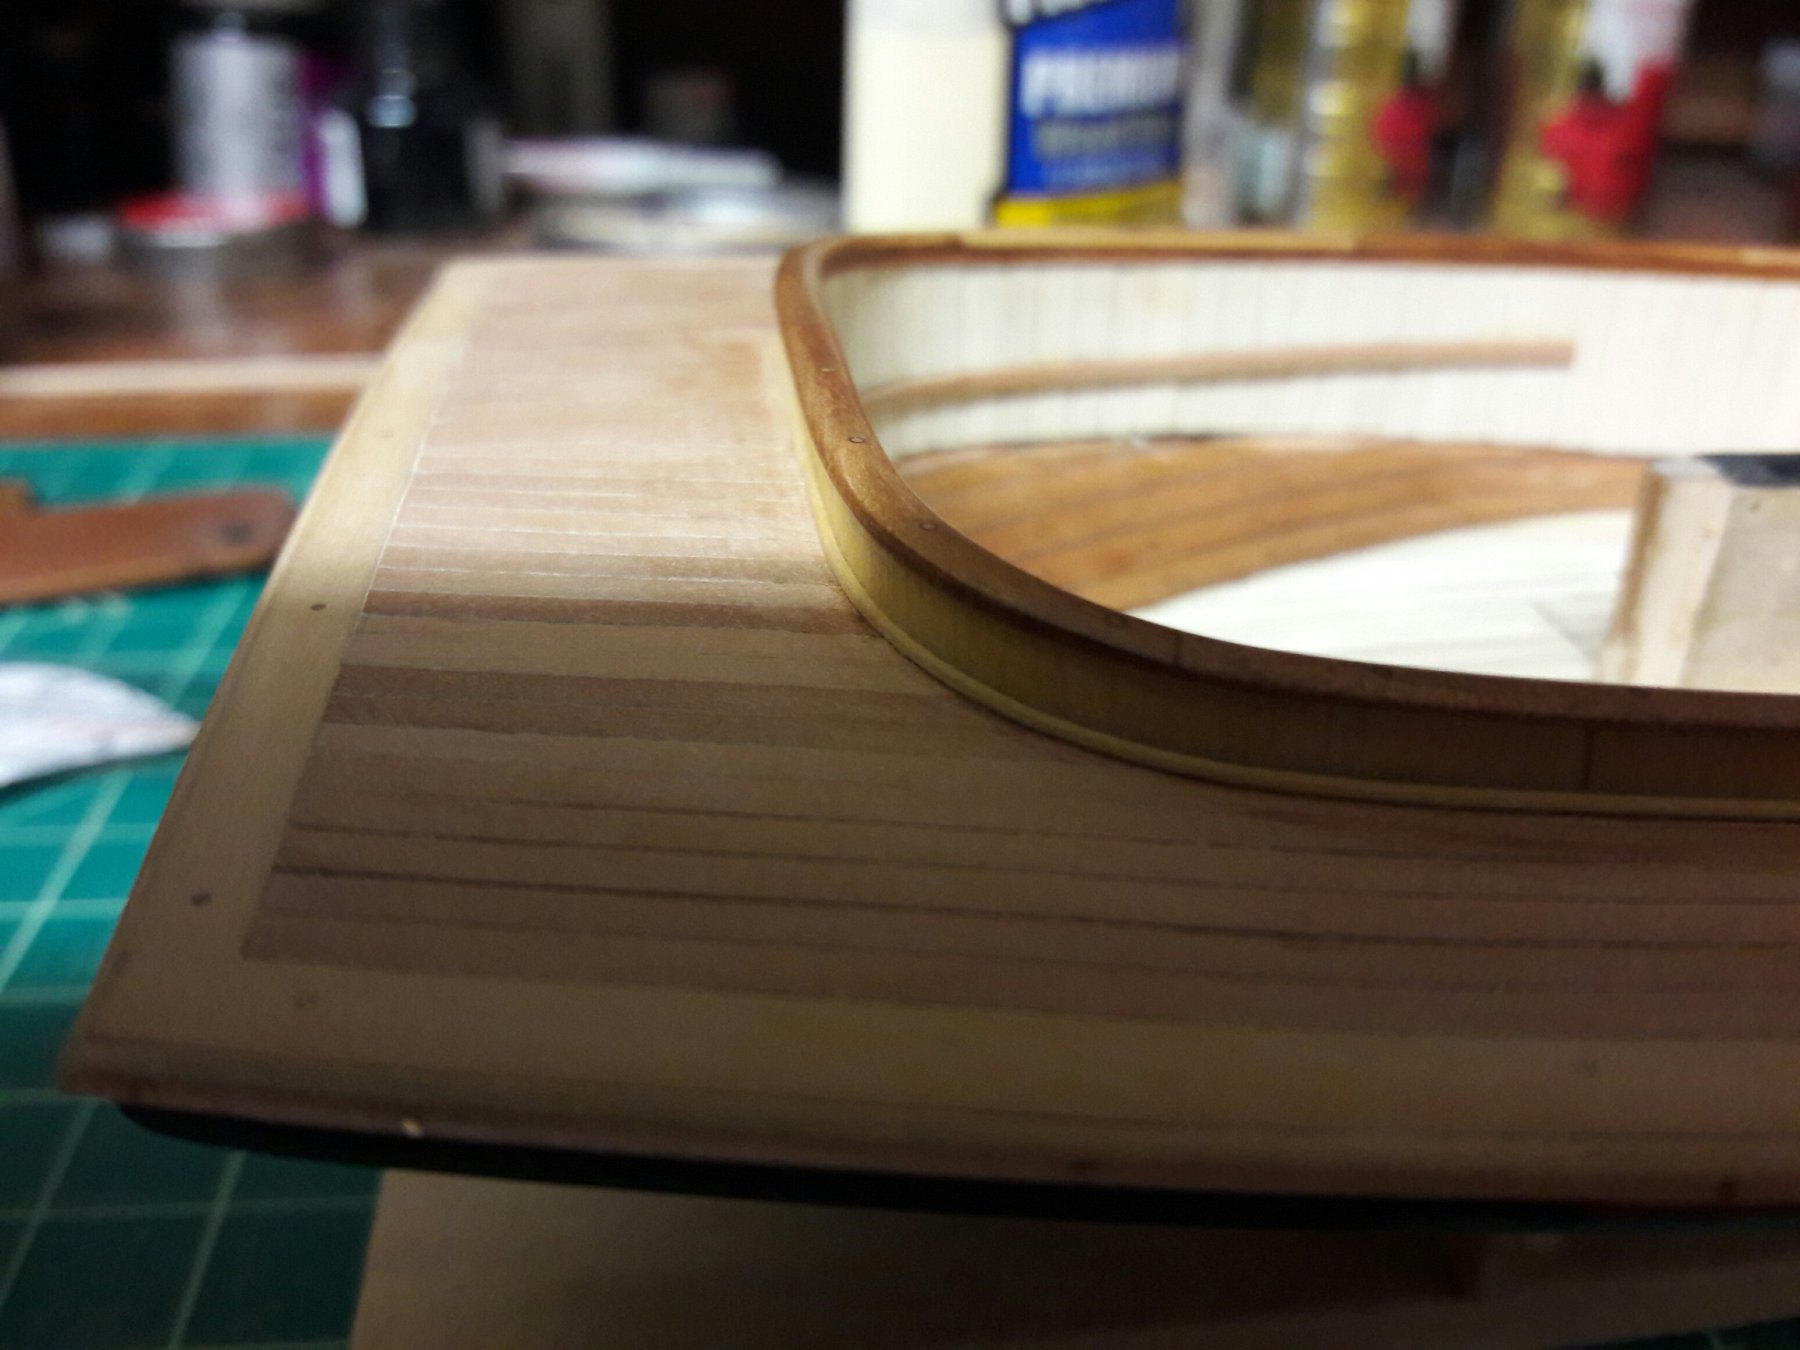
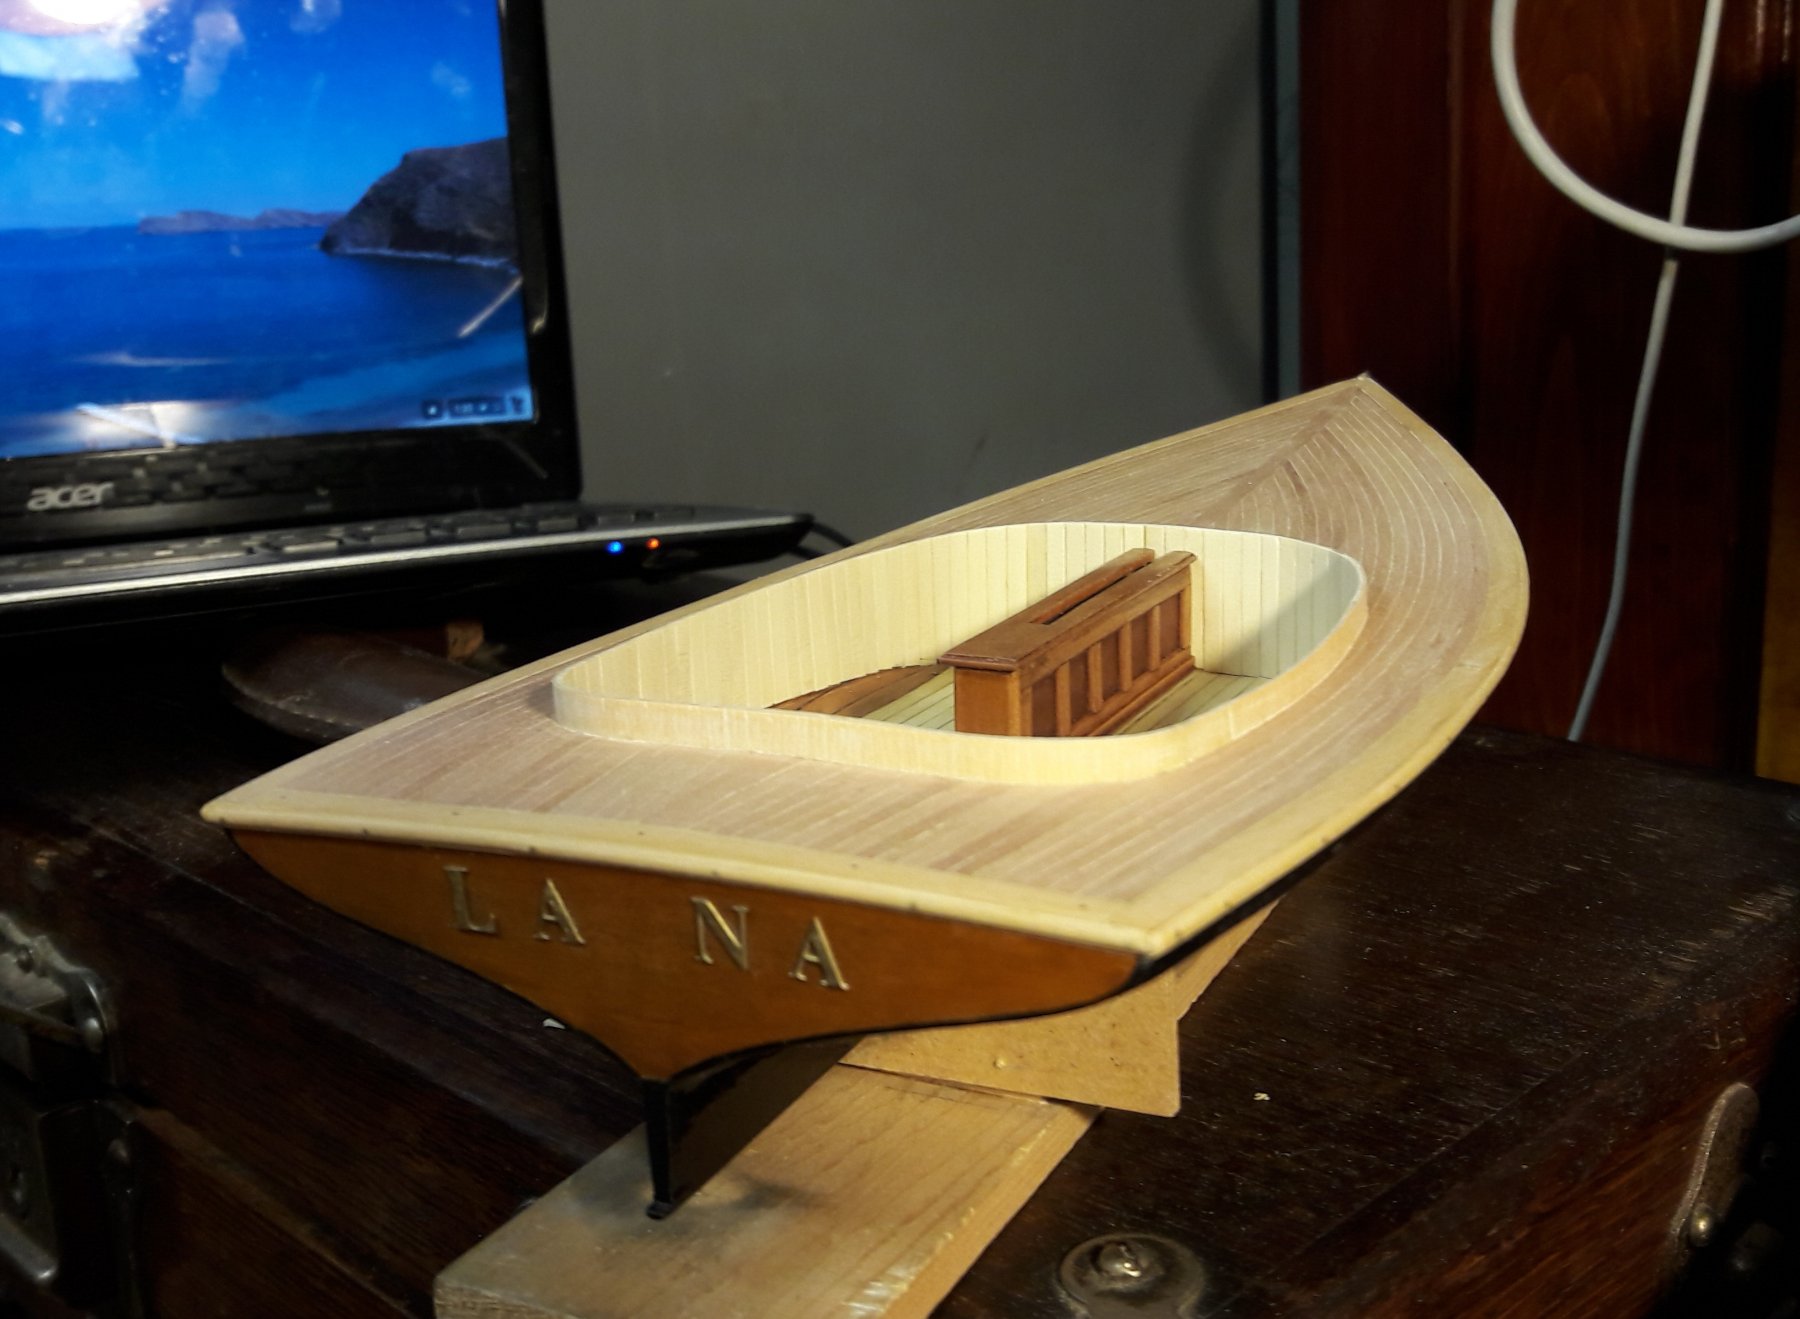
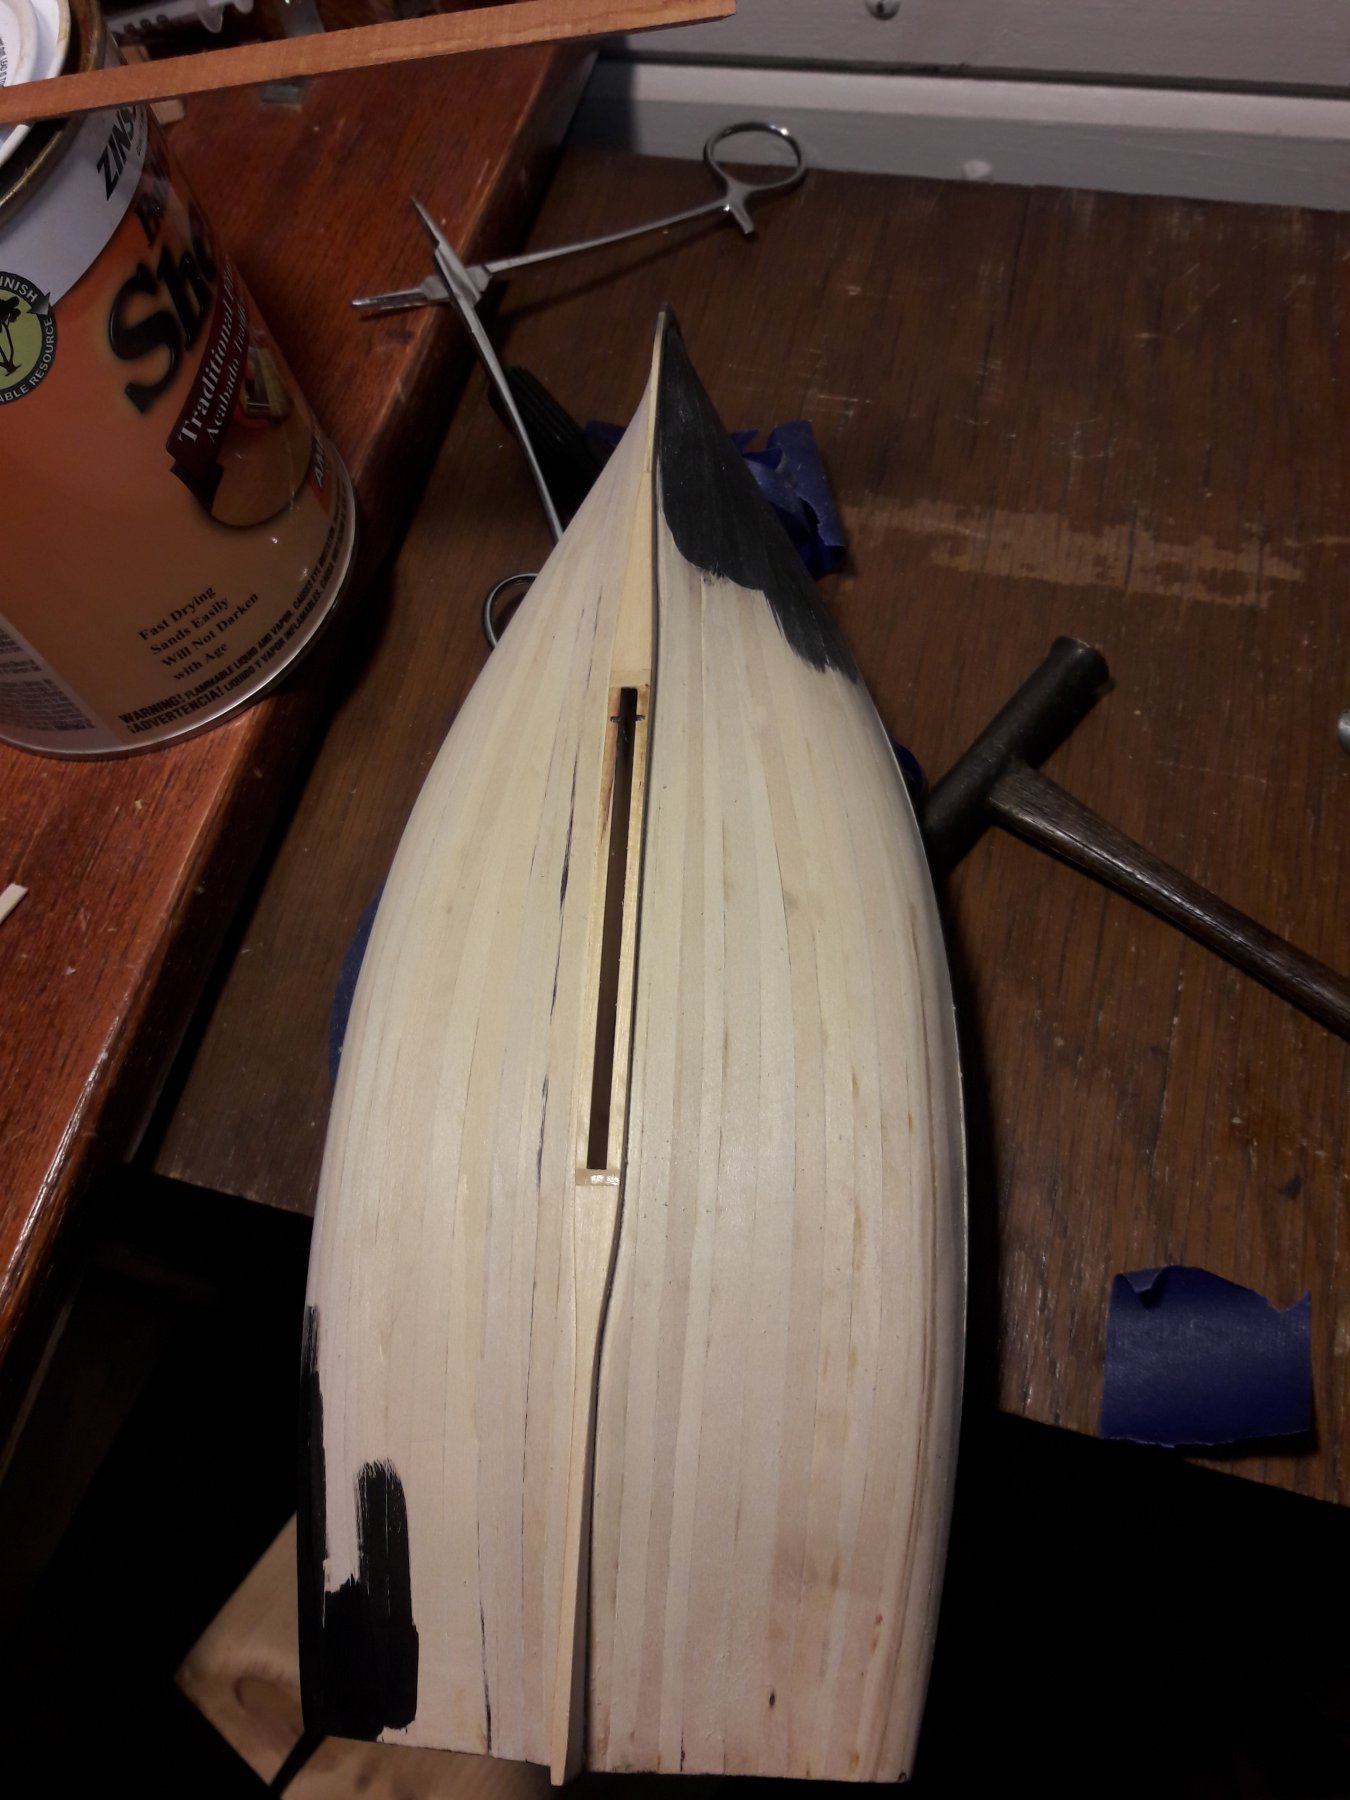
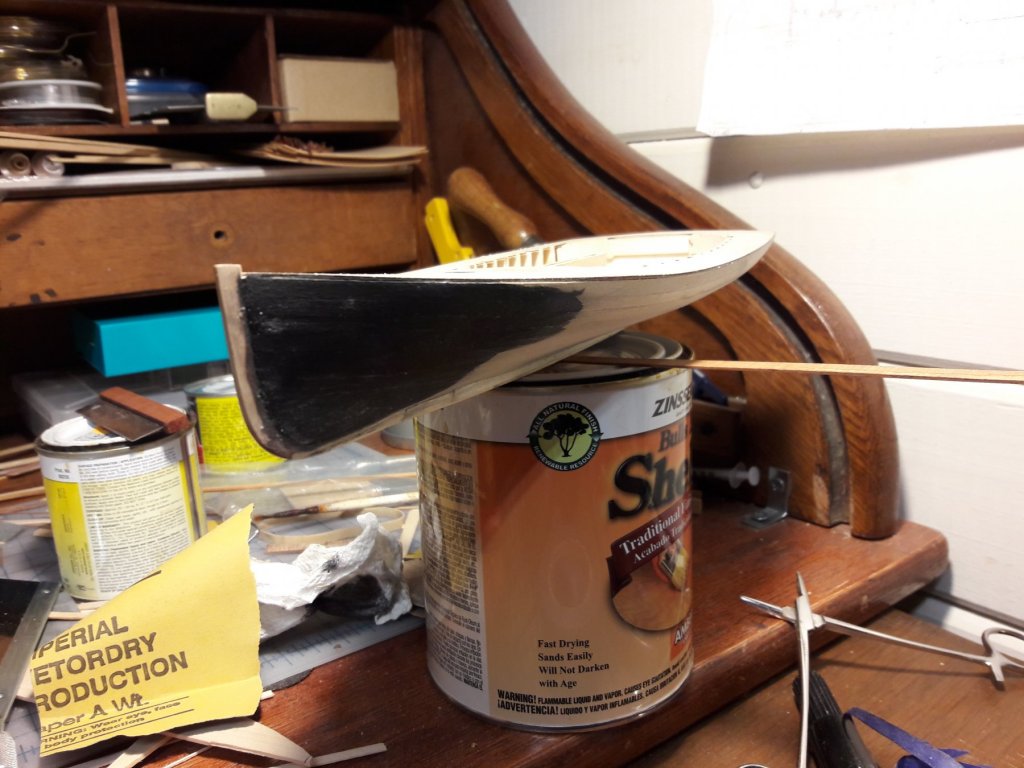
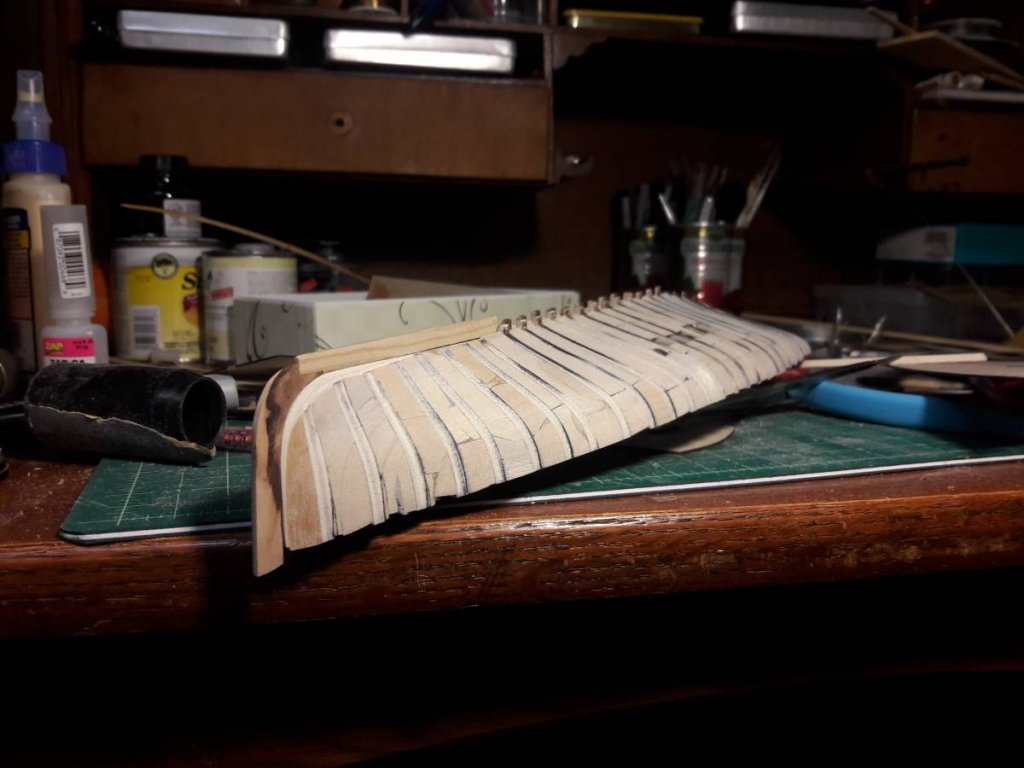
Hull was painted with black ink and covered with several coats of gun stock oil (with sanding in between coats) Will most likely put "bottom paint" under water line later on. Made rub rail.


-
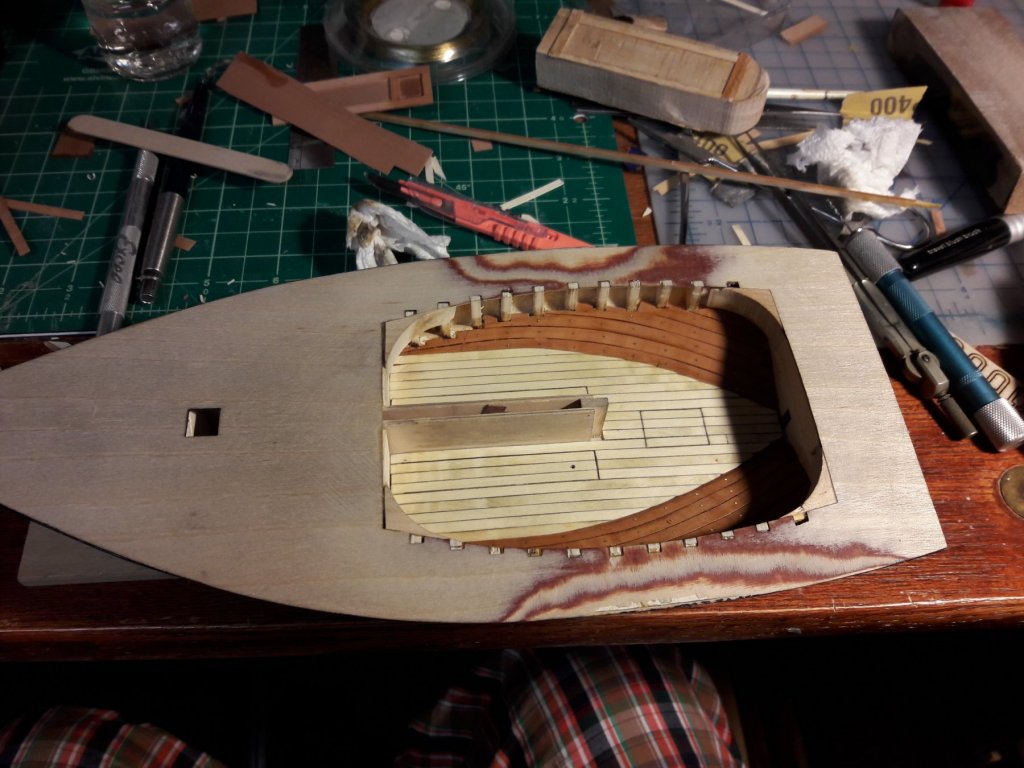
Deck planked

-
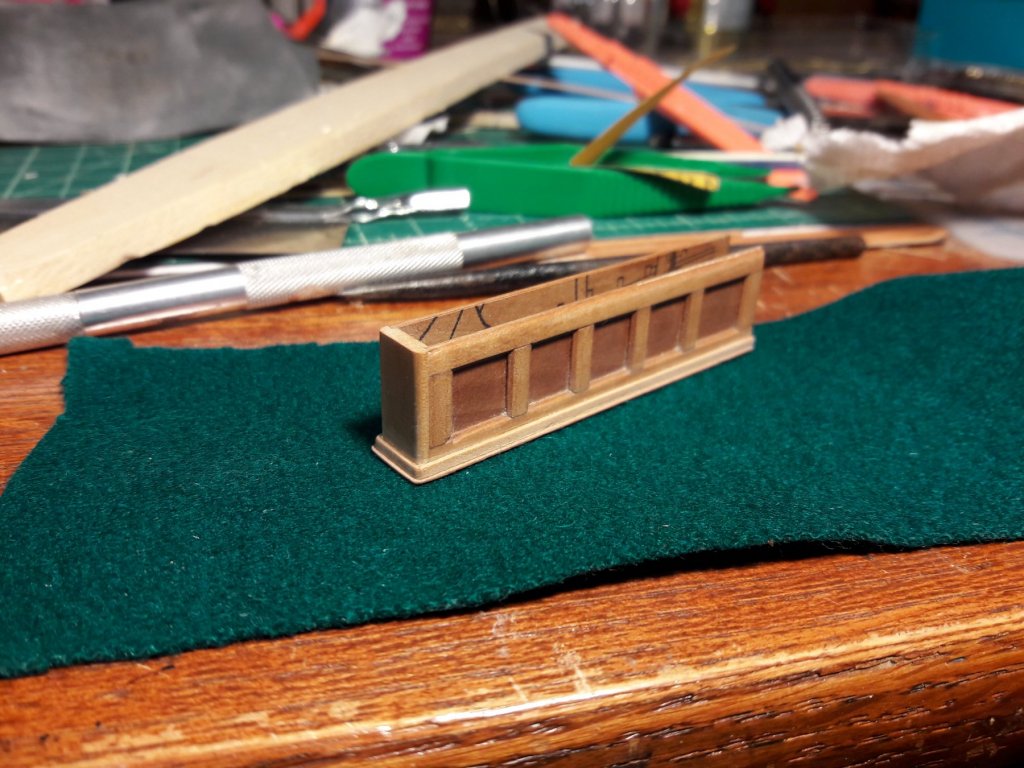
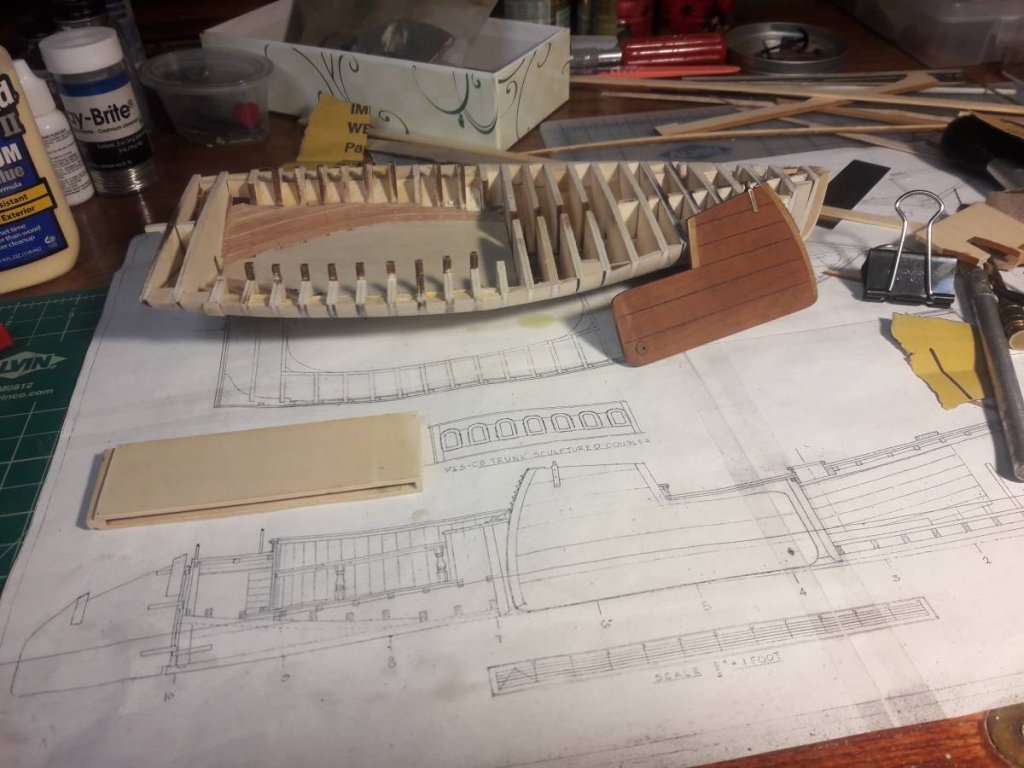
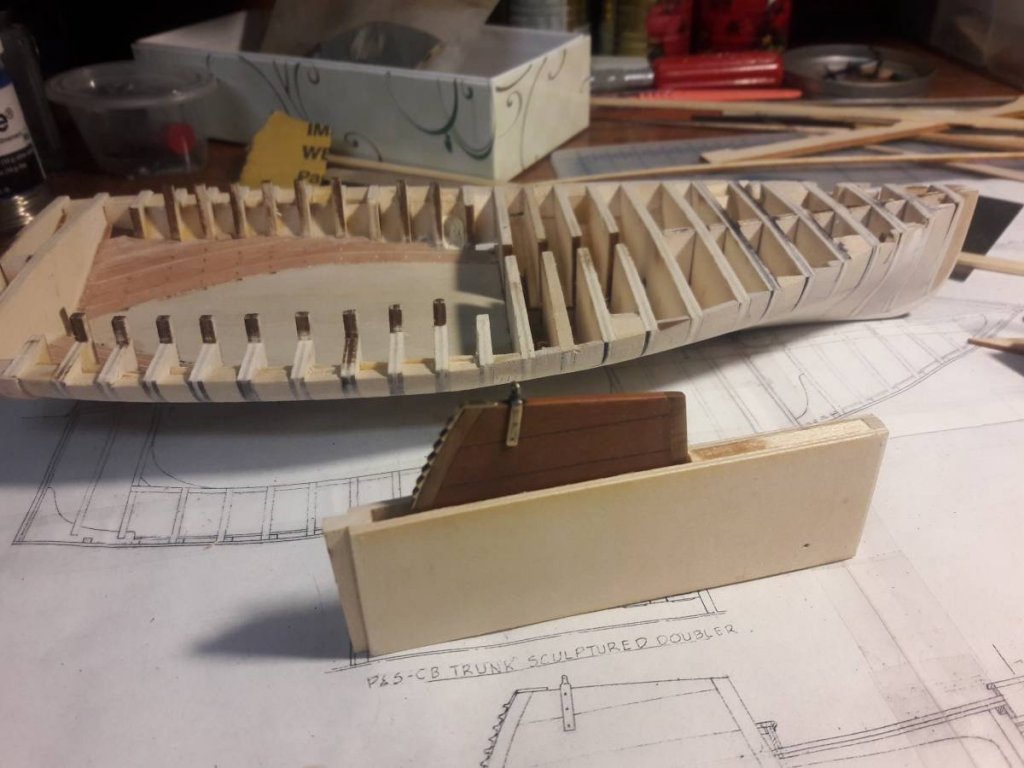
Center board with box

-
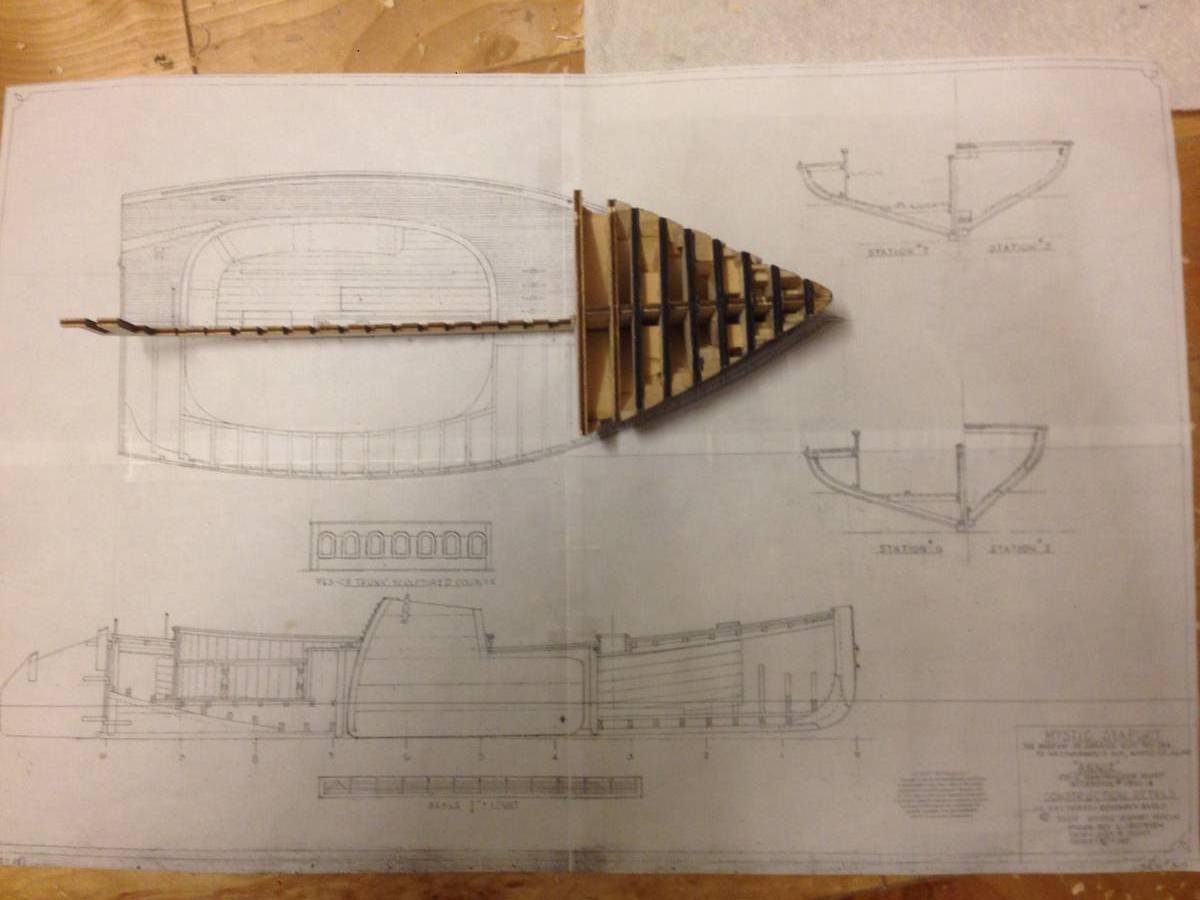
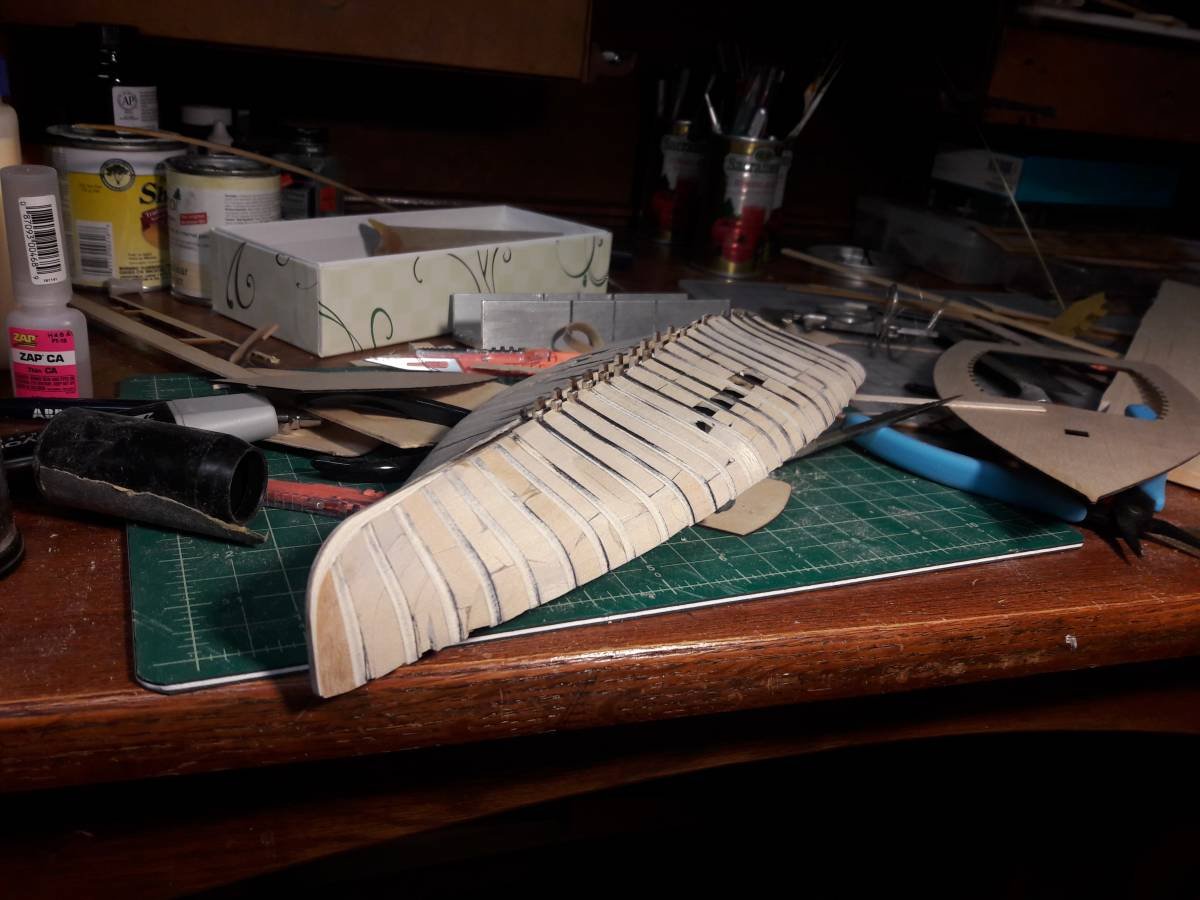
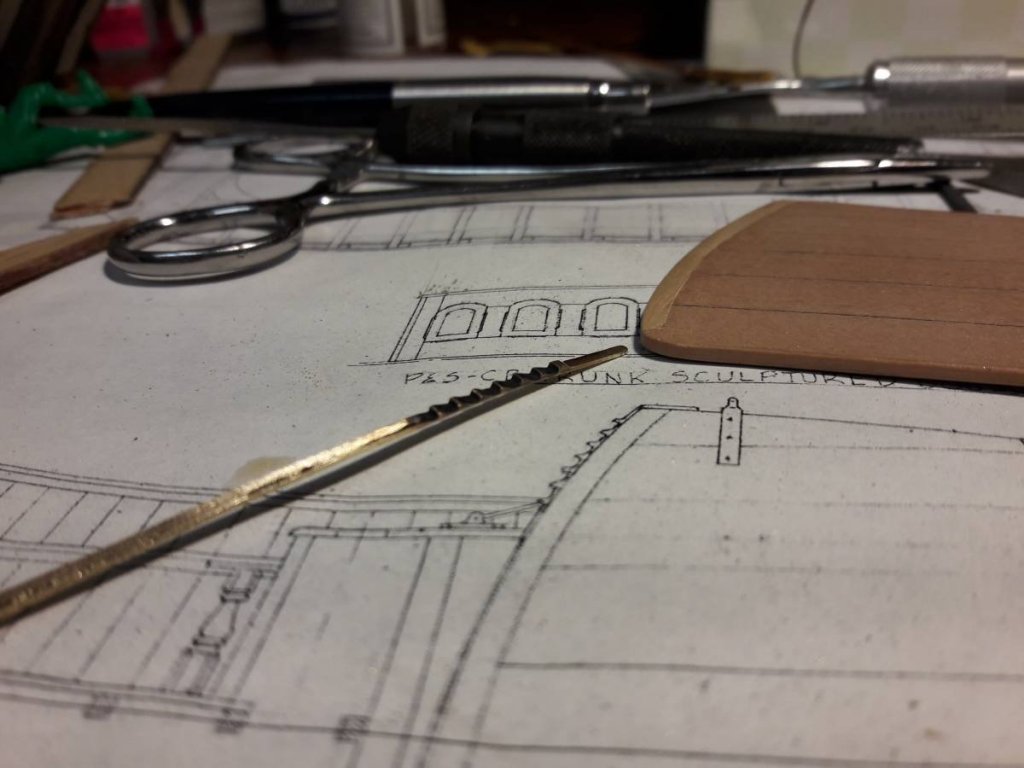
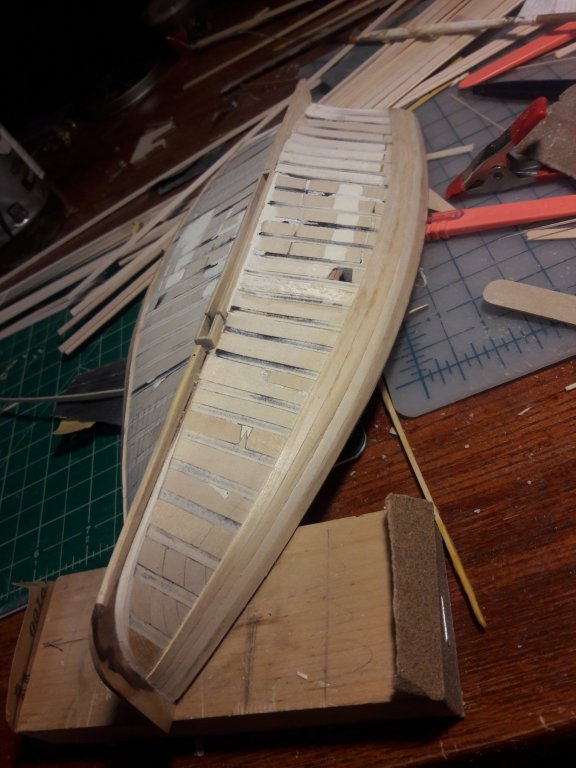
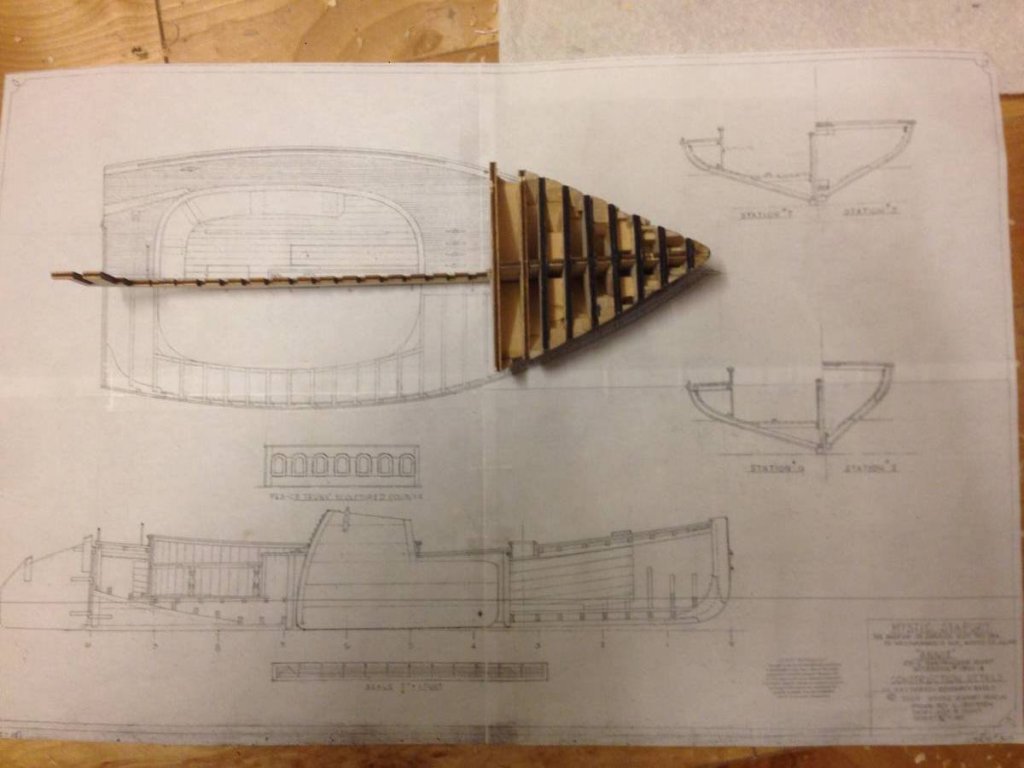
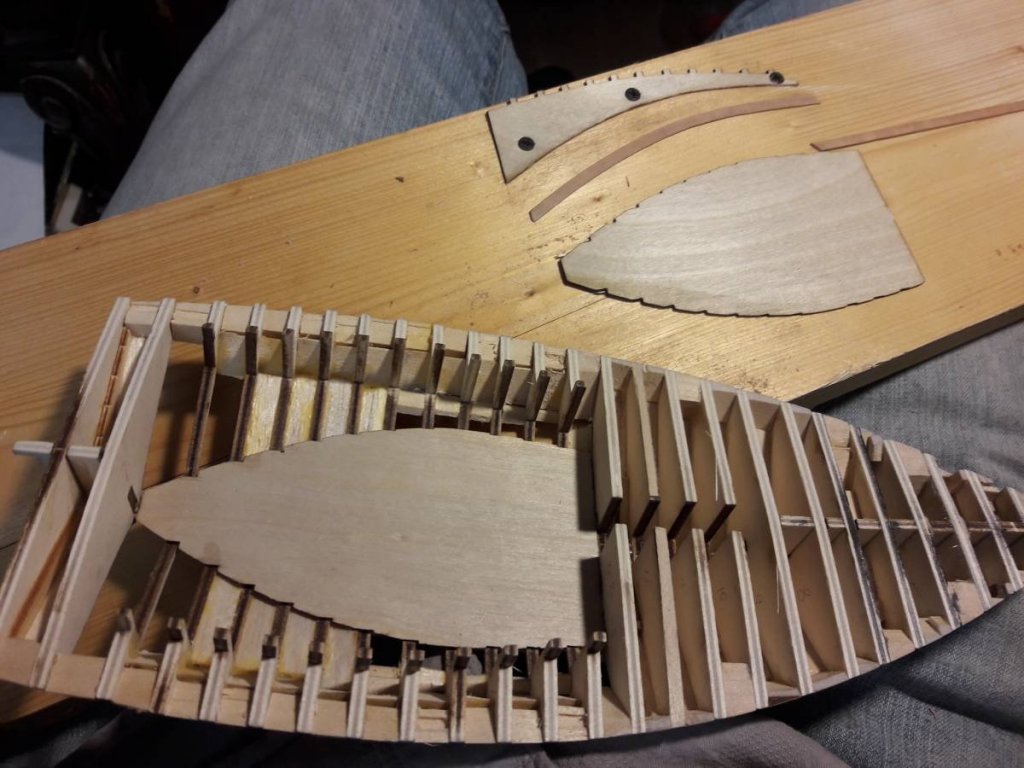
Keel and frames were laser cut by Chuck Passaro from plywood (not sure if that would throw this build into kits category). Got them from Chuck way faster than I was ready to start. Decided to paint the hull and leave the rest in bare wood so hull planking is bass wood for ease of working with. Rest of the boat will be done with boxwood, pear (swiss and my neighbors) and white holly. Some of the wood I got from Wood Project Source, got really great service for such small order.


-
I have fallen in love with the hull shape of these boats before knowing any story behind them. There was a hull model in NYYC model room where I first came across it. Later found out what it was but since I build kits only and there isn’t any of the sandbaggers, building one was sort of a dream. Than several years later, a member of MSW, altalena18 started building one here and was kind enough to share the info and some of his work with me. Finally I started my own build. When it comes to small boat models I tend to drift away from plans of a particular boat, let some imagination in as if I was building a real boat for myself. I also give them names after women in my family (so far grandma and daughter are already on the stern and name plate). This one will be named after my wife (for all she cares)


-
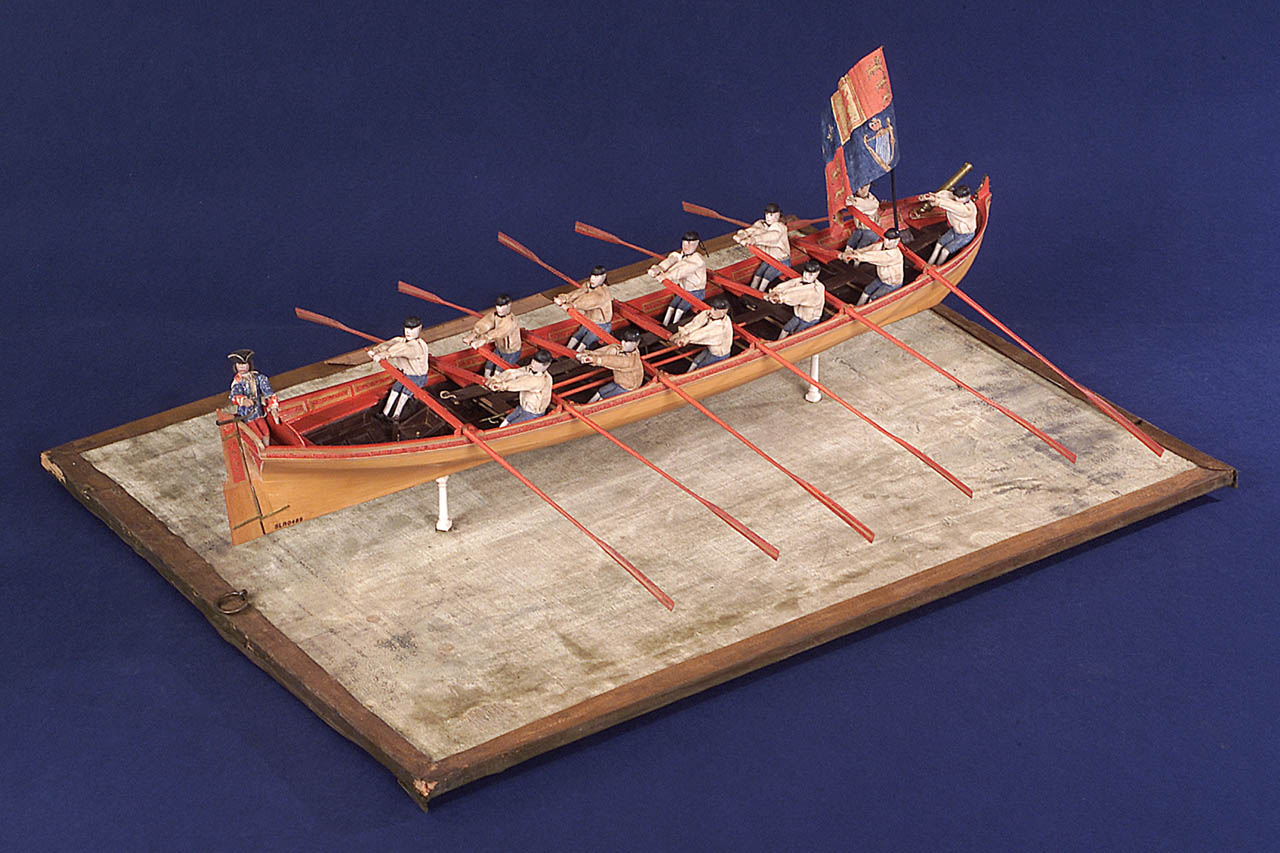
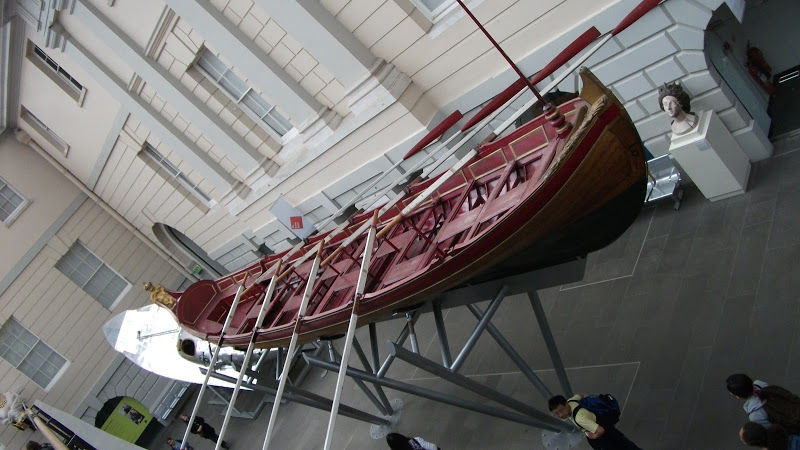
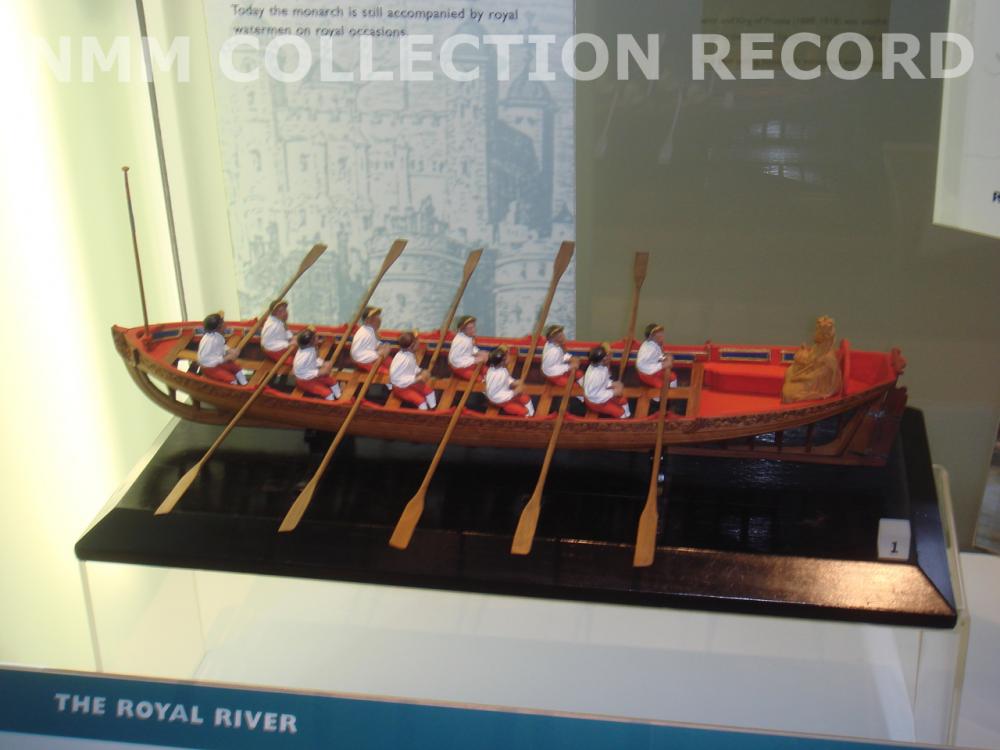
Here is some more "oars out" displays for inspiration

- 641 replies
-
- 10
-
-
- greenwich hospital
- barge
- (and 1 more)