Supplies of the Ship Modeler's Handbook are running out. Get your copy NOW before they are gone! Click on photo to order.
×


mattsayers148
-
Posts
685 -
Joined
-
Last visited
Content Type
Profiles
Forums
Gallery
Events
Everything posted by mattsayers148
-
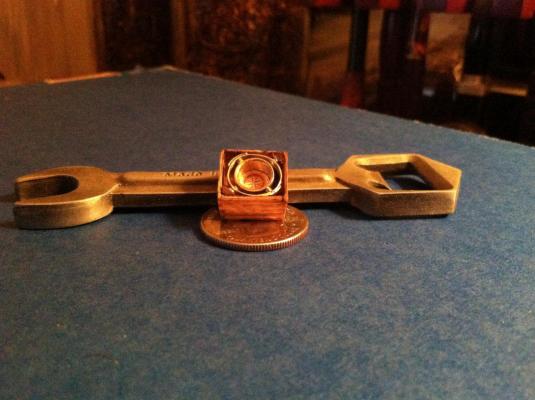
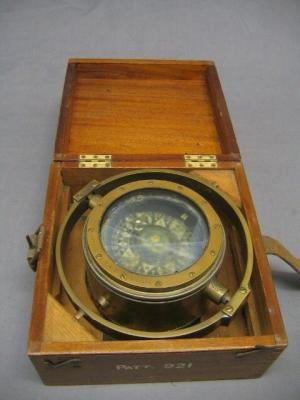
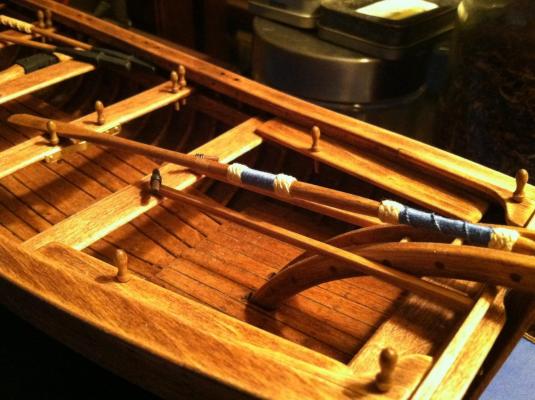
 Well I got sidetracked this week. I finally got my son back after 6 years of separation. So we've been catching up while I dink away at my build. I saw this photo and thought it to be a nice looking compass. I'm not set on the face yet, and might be trying a contact for the lens. Still workin on the oars, they take more attention than conversations will allow. Those assorted metal pieces worked perfect for this application. Matt
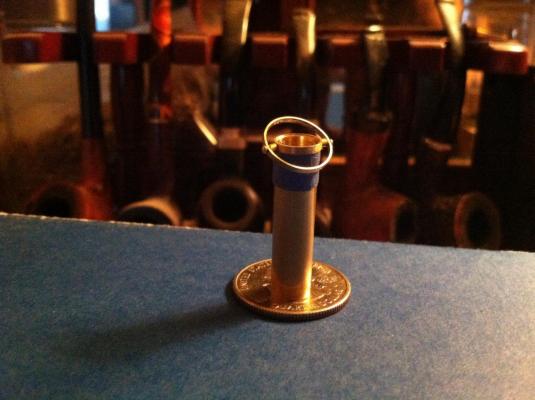
- 425 replies
-
- 12
-

-
- bounty launch
- model shipways
- (and 1 more)
-
Hey Buck, Thanks for the scale mod to 1:16. I got an idea in my mind, just gotta finish these dang oars. Works back in full swing after the holidays so my build might slow a bit. Matt
- 515 replies
-
- 1
-
-
- artesania latina
- whaleboat
- (and 1 more)
-
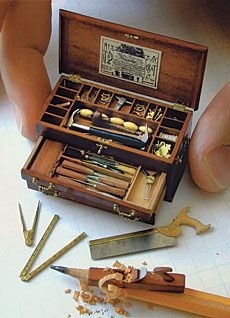
Hey CaptainSteve, I don't know if you checked out that site or not, that guy had over 1000 hours into that!! I'd have to quit my day job. Matt
- 625 replies
-
- 2
-
-
- bounty launch
- model shipways
- (and 1 more)
-
Hey CaptainSteve, Check this toolbox out at toolchest-site.com Matt
- 625 replies
-
- 10
-
-
- bounty launch
- model shipways
- (and 1 more)
-
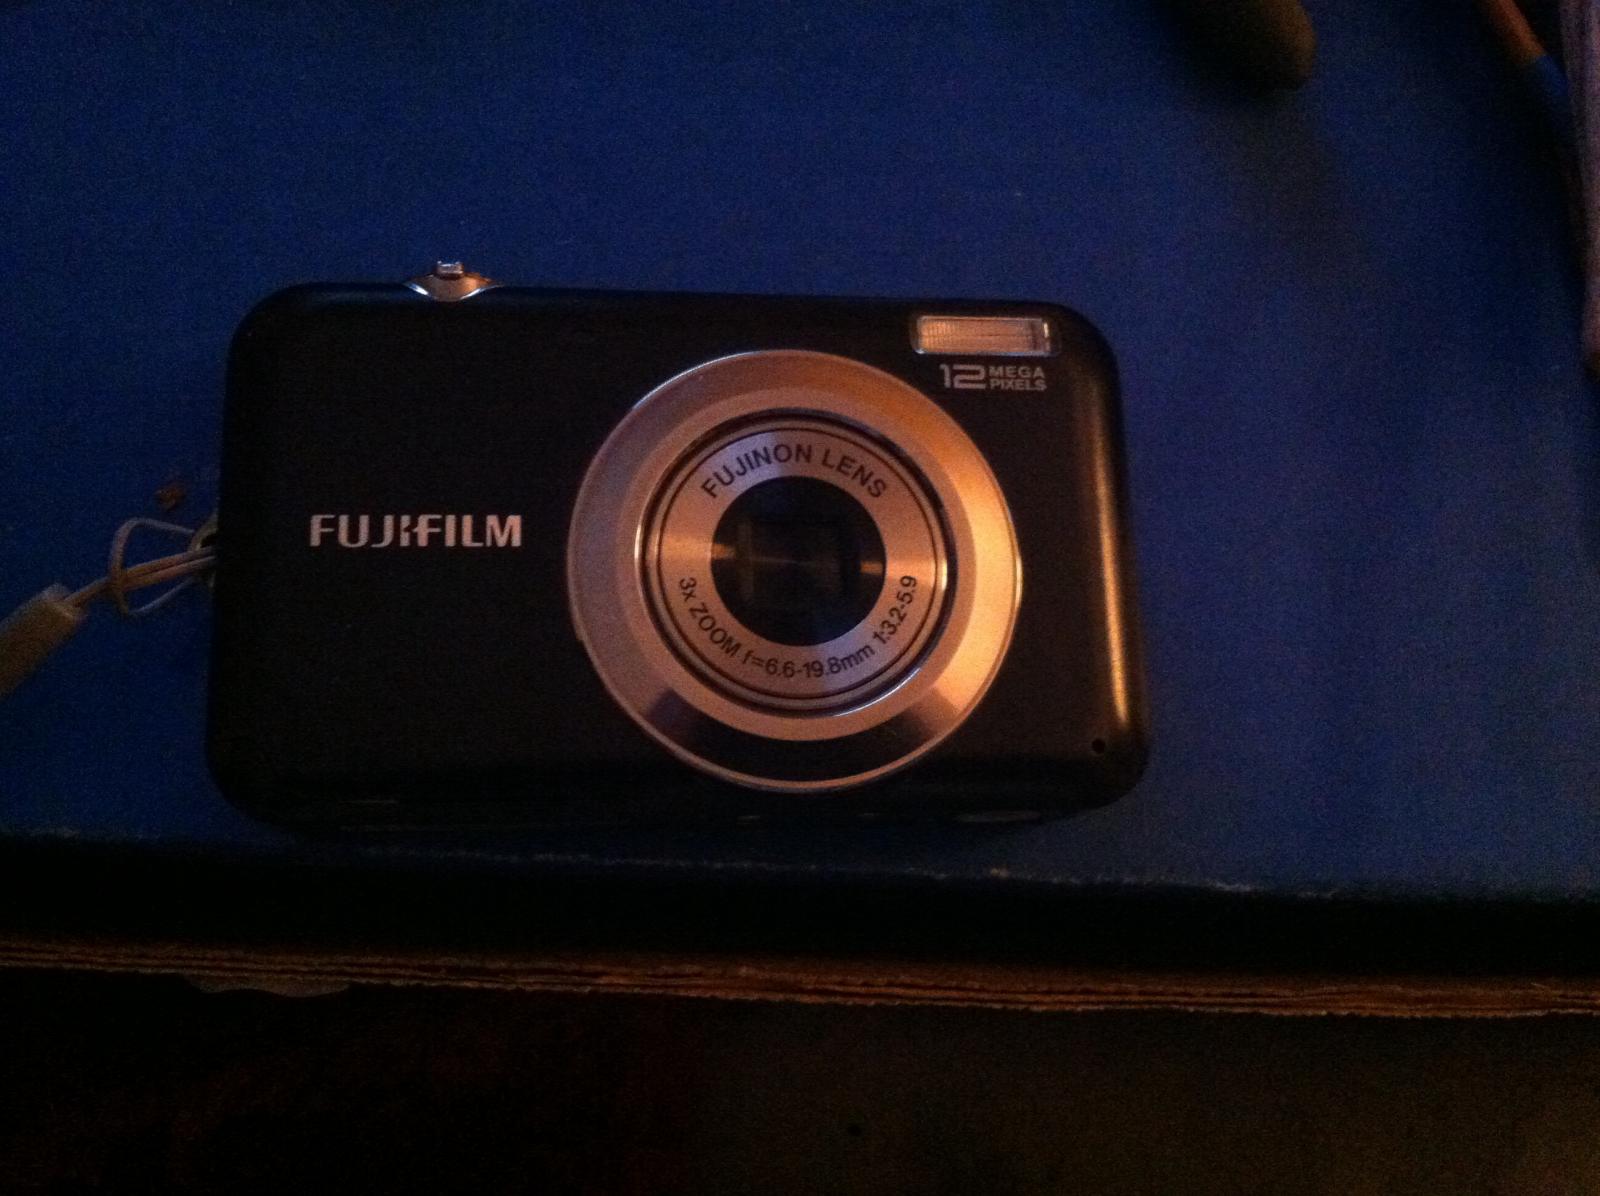
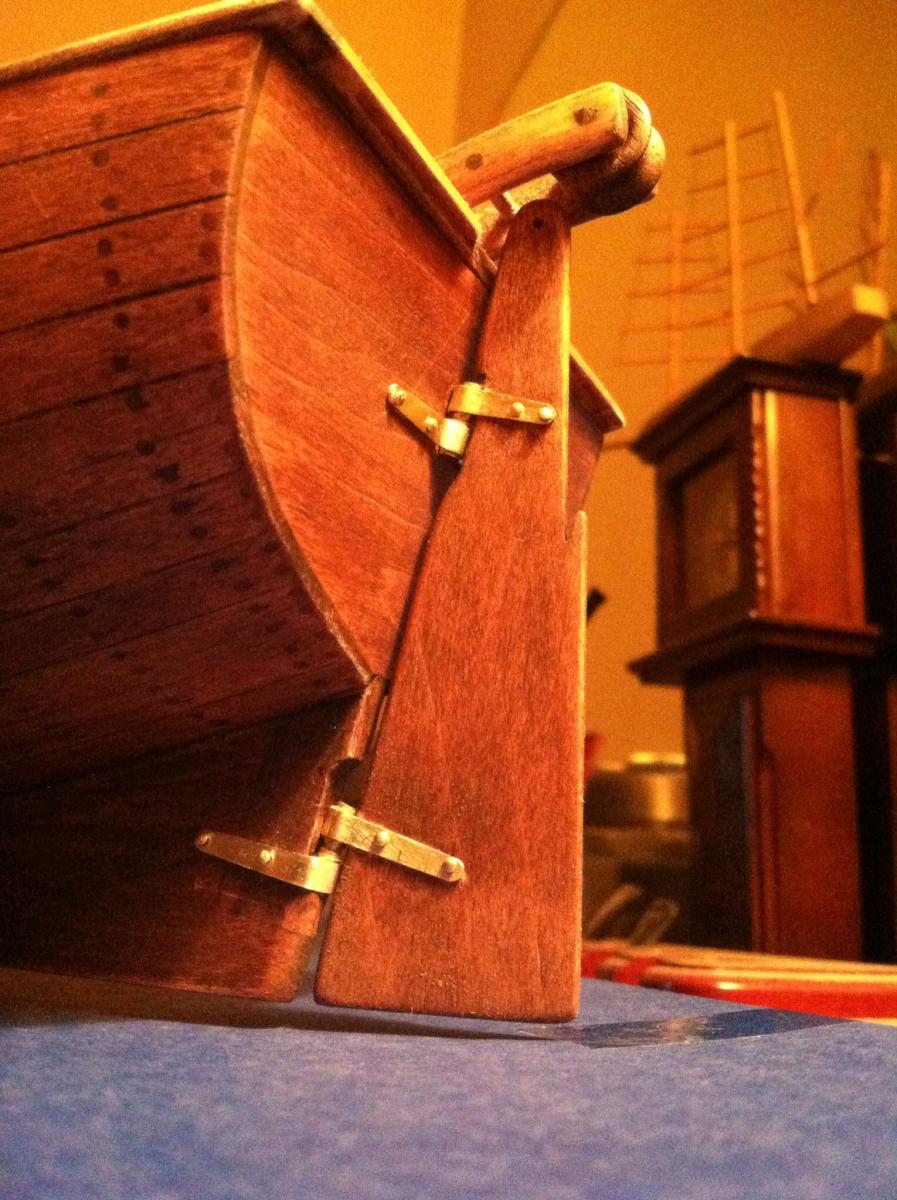
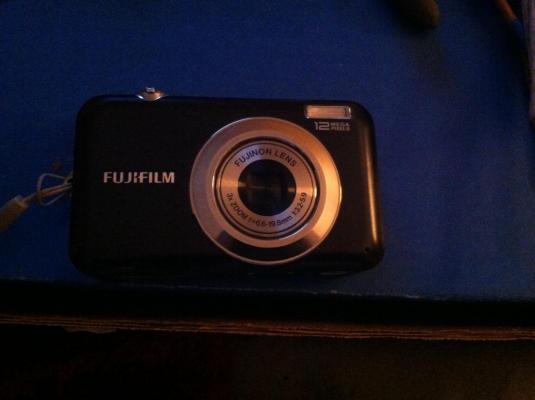
Hey Pops, I don't know much about cameras, but I got this one a couple years back for under $100, I think at Home Depot. I don't use it much since my whole internet world is through my iphone. It seems to take pretty good pics, it's my all-in-one computer on the go(I don't even have a computer, not a great fan of technology). The oars, hand sanded mine an it seems like more comes off than stays on! The finished product seemed too fragile for turning. I haven't soldered anything on my builds yet, so this anchor will give me an excuse to bust it out. Matt
-
Hey Pops, So how's your build going? Let me know how your anchor is going. I got sidetracked on the oars and it'll be a few days before I get them done, then I can go to the next item. Have you found a camera yet? Matt
-
Thanks Ken, I keep looking at builds like yours, how you take your time selecting a stain until it looks perfect. I had three different pints of stain and mixed them together cuz I didn't feel like going to Home Depot and actually make a selection. Matt
-
Well thanks CaptainSteve. It's inspiring to see builds like yours, where coconuts become "hairy coconuts" and perfectly made sails look even better with bird poop on them! After all, it takes a village to make a boat...no wait, that's raise a kid...uh, where are my kids? Matt
- 425 replies
-
- 1
-
-
- bounty launch
- model shipways
- (and 1 more)
-
Hey Buck, After seeing your incredible compass, I decided to see what you are working on. You are hands down one of the best craftsman I've come across! I look forward to seeing your future work. Matt
- 515 replies
-
- 1
-
-
- artesania latina
- whaleboat
- (and 1 more)
-
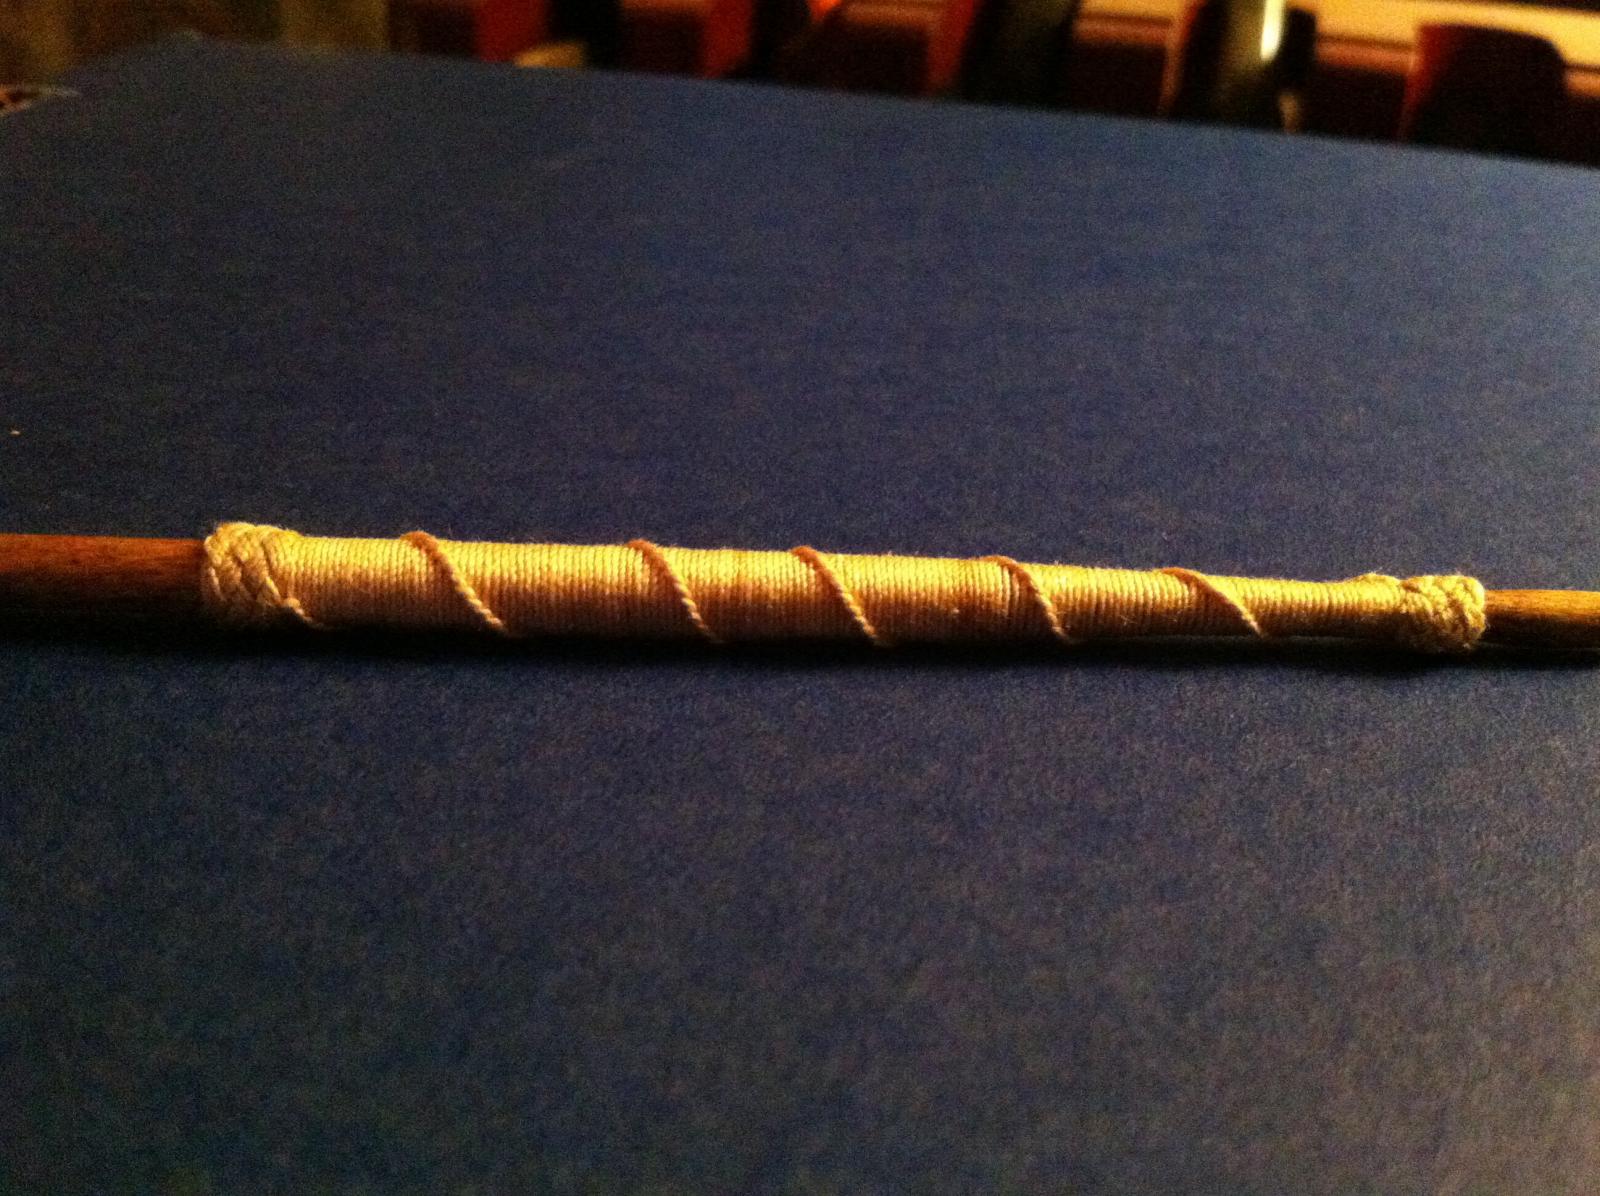
So after looking at the oars, something seemed missing. So this is what I came up with...for now.
- 425 replies
-
- 11
-
-
- bounty launch
- model shipways
- (and 1 more)
-
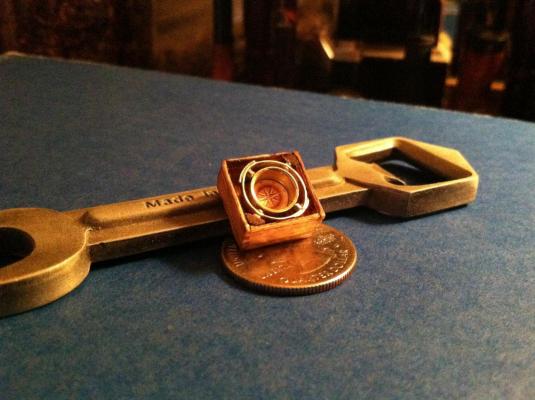
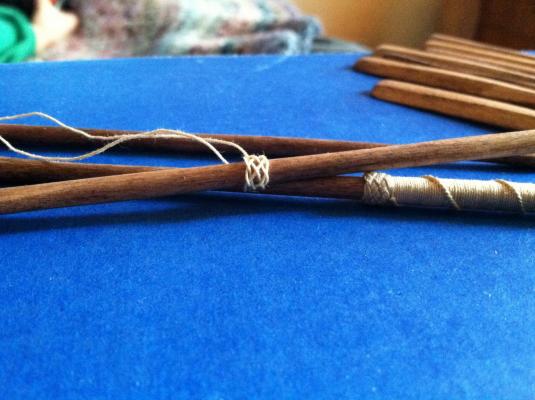
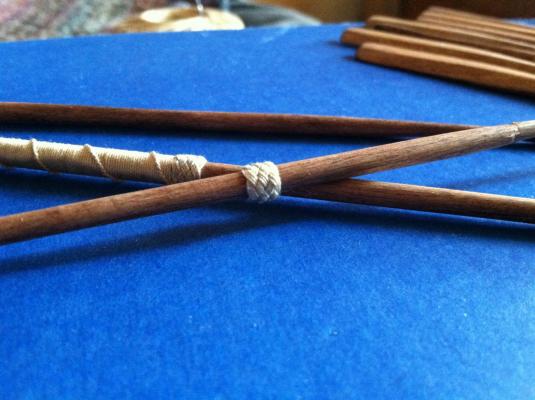
Thanks Buck, I just might have to copy your compass. Just a few quick pics of my Turks head.
- 425 replies
-
- 9
-
-
- bounty launch
- model shipways
- (and 1 more)
-
Thank you guys for the likes and comments. I kind lucked out though because my great-grandma taught me fine thread crochet when I was little, and that still one of my other hobbies. This one definitely pushed me past my comfort zone.
- 425 replies
-
- 1
-
-
- bounty launch
- model shipways
- (and 1 more)
-
Hey Buck, Absolutely incredible! I really like the finger joints on the box. I think CaptainSteve is right that this may become part of many builds. Matt
- 396 replies
-
- 4
-
-
- Idea
- Bright Idea
- (and 1 more)
-
Hey Ken, I like your color selection, it will make your detailed work stand out. Can't wait to see it applied. Good luck! Matt
-
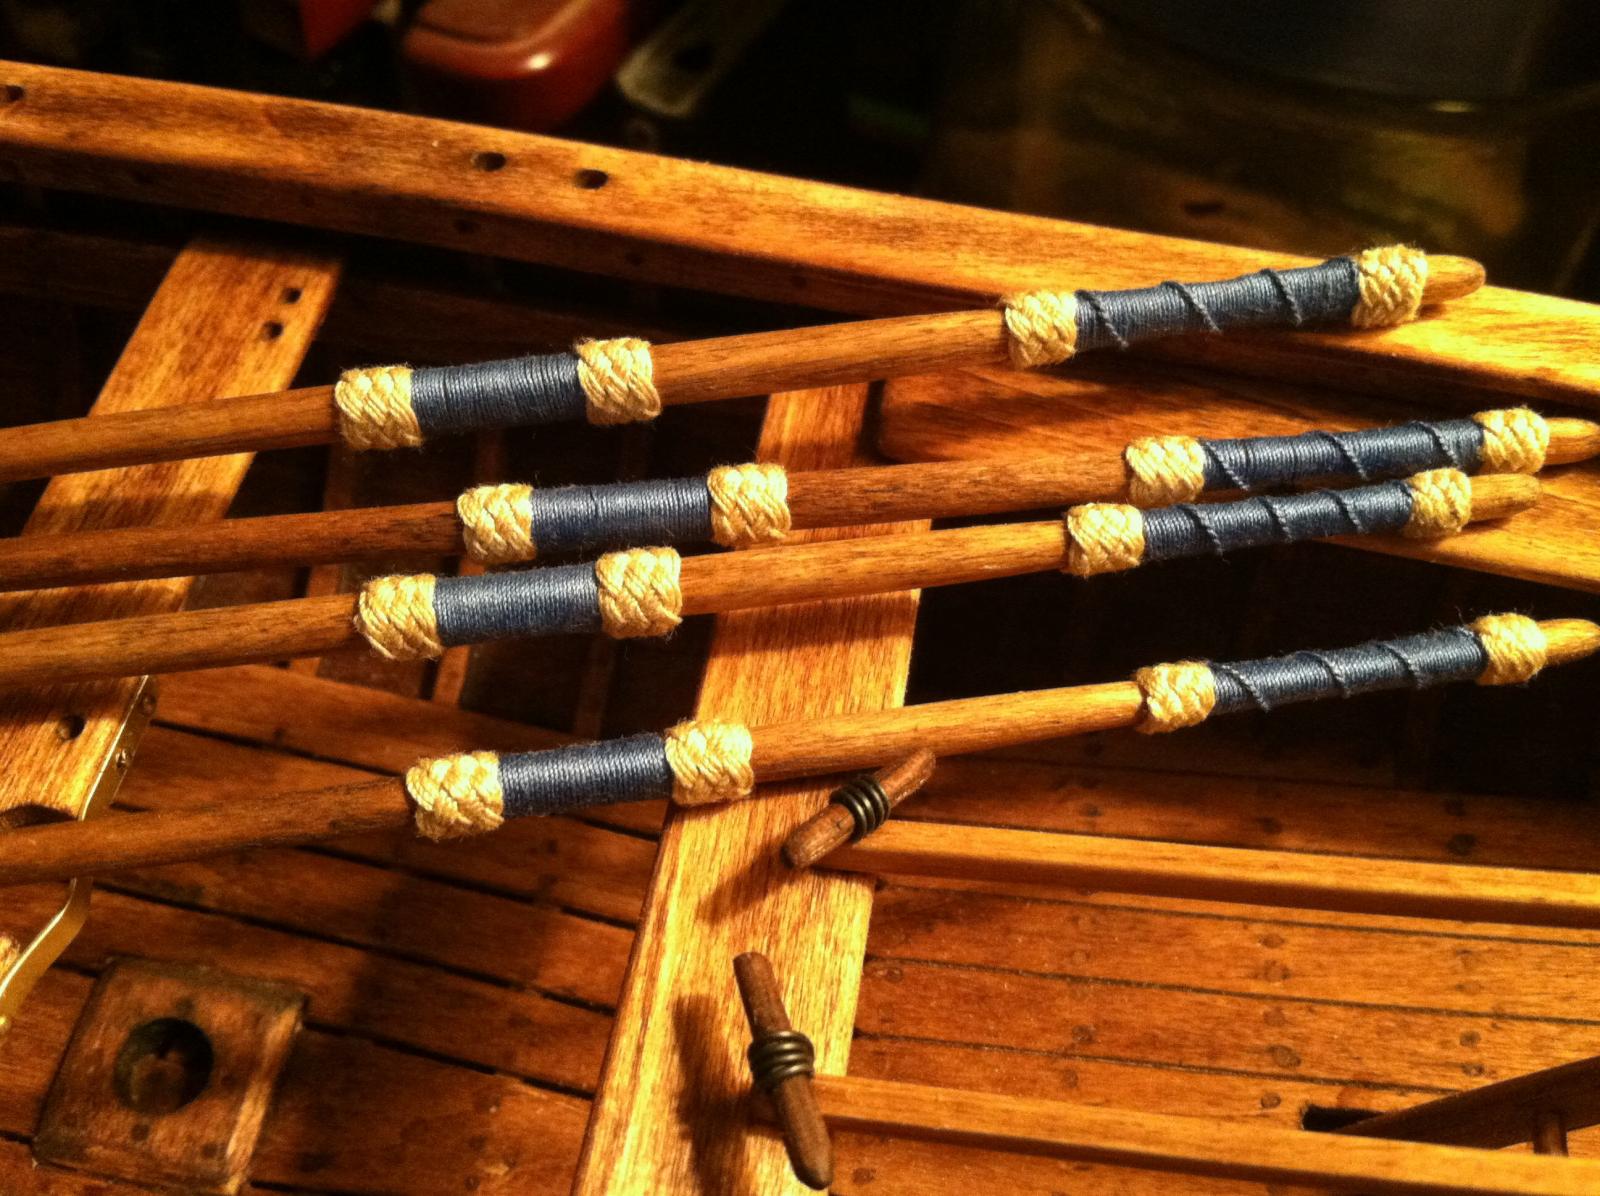
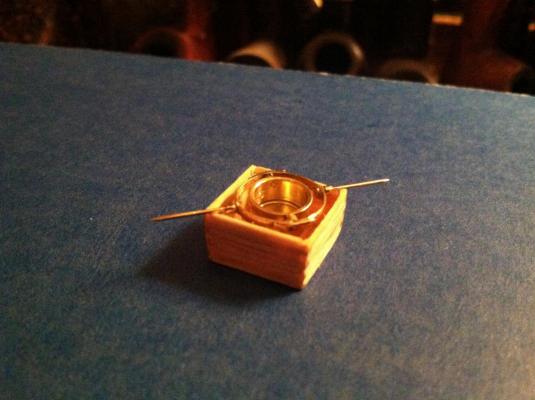
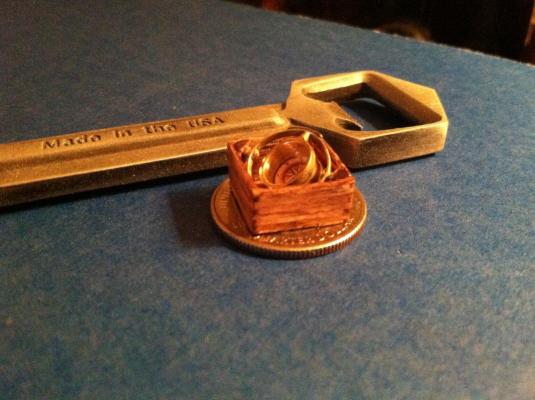
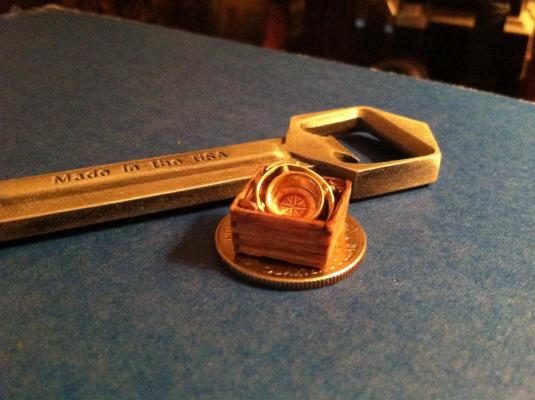
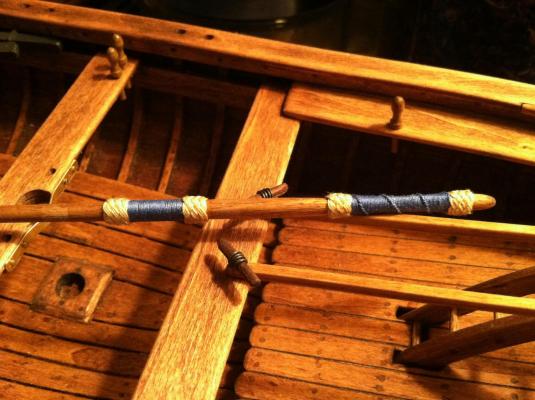
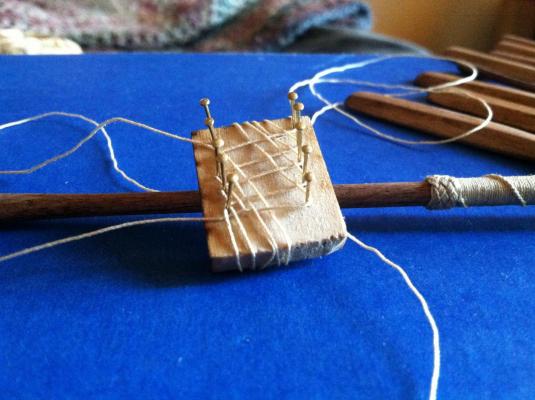
Well I finally got one of the oars done, nine to go. It took awhile to come up with a design for the whipping. I picked a spiral hitch(also called French whip) with a 3 pass/5 bight Turks Head for the decorative ends. In real life these knots are fairly easy, but making them to this scale was a challenge. I made jig for starting the first pass of the Turks head that's an inch square. It was then transferred to the oar, tighten knot, and finished it with 2 more passes.

- 425 replies
-
- 9
-
-
- bounty launch
- model shipways
- (and 1 more)
-
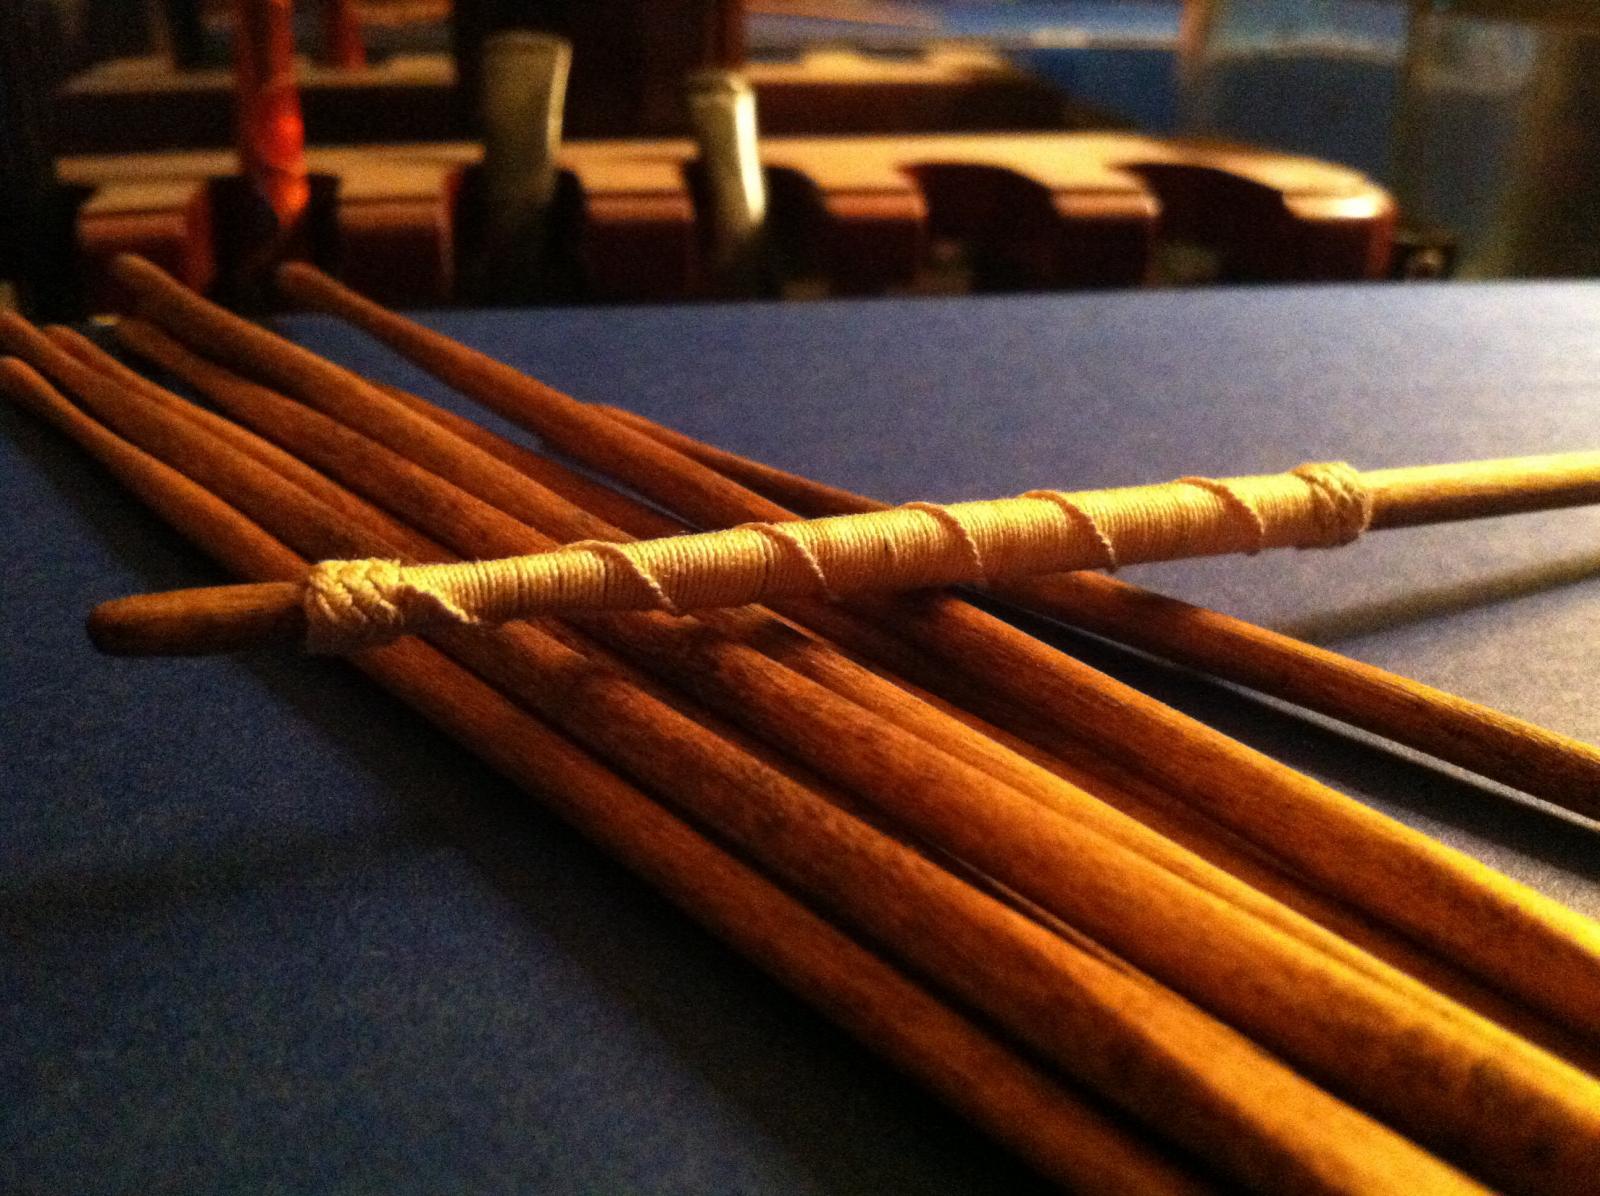
Well I finally got all the oars made, now it time to add more whipping
- 425 replies
-
- 3
-
-
- bounty launch
- model shipways
- (and 1 more)
-
H K F Courses Winds Rems. Sunday 10th May 1789 In the Bountys Launch 1 2 2 WBN EBS Fine Wr. I now got fitted a pair of Shrouds to each Mast, and contrived a Canvas weather cloth around the Boat also raised the Quarters about 9 Inches by help of the Seats, and found it of great Service 2 2 4 3 2 6 4 2 2 5 3 " " Served a bit of bread and a Jill of water for supper You are correct CaptainSteve. I've been putting in motion a method of storing materials that would give the men more room. The little squirrel has been dropping hints, he's been right before, so I'll listen to him still. Hope everyone is having a happy and safe New Year. Matt
-
Well I stole a few minutes the last couple nites finishing the tiller and starting the oars. Thank to everyone for your approval ratings on the whipping, the tiller and oars will also be receiving rope work. After today I should have four days off to make some progress. Matt
- 425 replies
-
- 2
-
-
- bounty launch
- model shipways
- (and 1 more)
-
Wow CaptainSteve! You just keep pushing the bar higher and higher. Those sails are exquisite and very realistic! Matt Great spread sheet as well. Now I have to decide at what point in this voyage is my model based on, I'm kinda leaning toward midway, we'll see in time.
- 625 replies
-
- 3
-
-
- bounty launch
- model shipways
- (and 1 more)
-
Great work CaptainSteve, this really is a great contribution for all modelers, the beans and clams should be fun to make. Great job! Matt
-
Hey Ken, I've only been using minwax stain. It's helped out exceptionally well to prevent glue from going where you don't want it. This kit I stained everything before use, you just need to sand off where you want the glue to stick, the rest wipes of clean. Hope that helps. Also you can change the appearance(shade) by degree of sanding. The finer you sand, the lighter it will be. Good luck, Matt
-
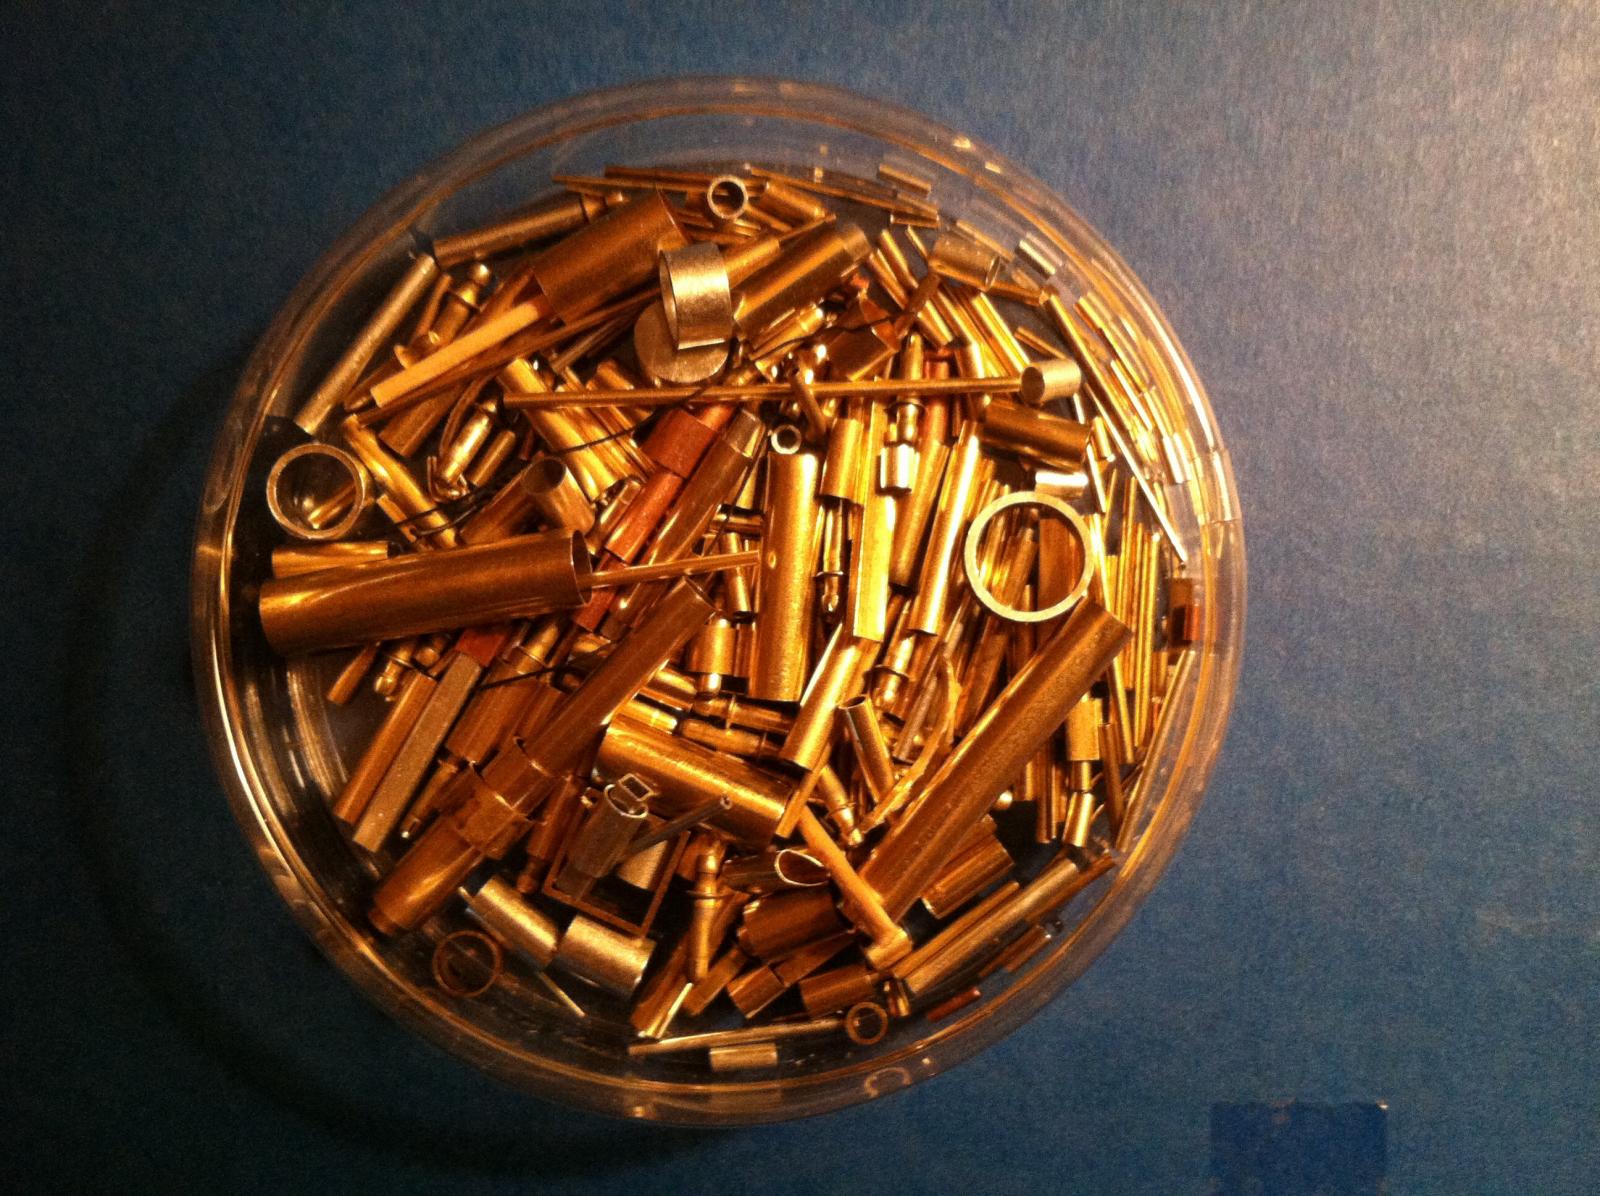
TUBE ASSORTMENT / ANY SCALE I found these little grab bags at my local hobby shop and went back to get another, and none were to be found. Well eBay is the place to go. Search "k&s 320" also may add to that search "tube assortment"(changing a word or two will find you more items) I bought 5 bags for a bit over $16 shipping included. It made quick work for the pintles and gudgeons on my Bounty Launch. Matt

- 396 replies
-
- 6
-
-
- Idea
- Bright Idea
- (and 1 more)
-
Hey Ken, I did my frames one piece, sheer line to sheer line and an inch or so past the tabs. Remember too when applying the wax, be careful how far you put it past the sheer line. This is because you'll need to tack glue tip of frames to the jig after everything is dry. I put the wax too far down and had to very carefully sand jig and back of frame to make it stick. I marked the middle, to line up with keel, and rubbed the middle with my soldering iron to start a slight bend. Then slid through slot, clamping one side while rubbing rapid enough to not burn other side, and as steam heats up frames, bending will become much easier, then did other side. Matt
-
So for everyone, that bag of metal pieces is made by K&S Precision metals, stock #320. I just checked out the site, all I can say is wow! So if you go on eBay, search "k&s 320 tube assortment" or "707".
- 425 replies
-
- 2
-
-
- bounty launch
- model shipways
- (and 1 more)