HOLIDAY DONATION DRIVE - SUPPORT MSW - DO YOUR PART TO KEEP THIS GREAT FORUM GOING! (Only 24 donations so far out of 49,000 members - C'mon guys!)
×

Tallshiptragic
-
Posts
551 -
Joined
-
Last visited
Content Type
Profiles
Forums
Gallery
Events
Everything posted by Tallshiptragic
-
 Thanks guys. Yep I love her design, she does look beautiful on the water. Yeah if you look at New Zealand's Spirit of New Zealand, her hull is almost identical to Leeuwin also. Even the Navy's Young Endeavour has a similar shaped hull. You have to remember unlike a real barquentine of the 19th century we don't carry any cargo so the hull was designed this way to allow for the keel and ballast arrangement.
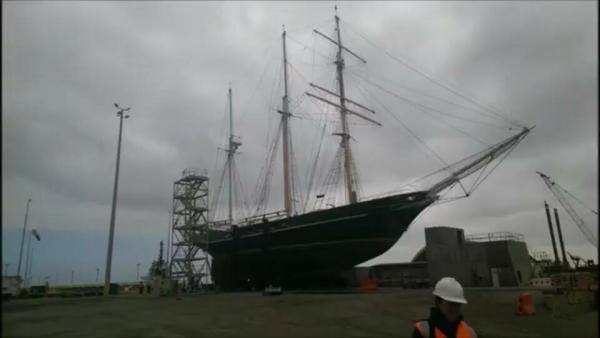

-
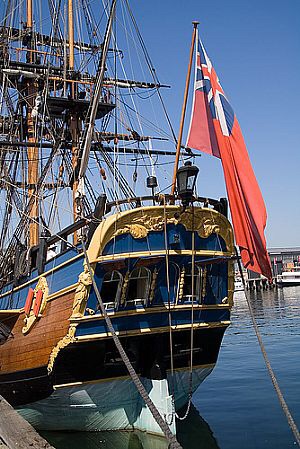
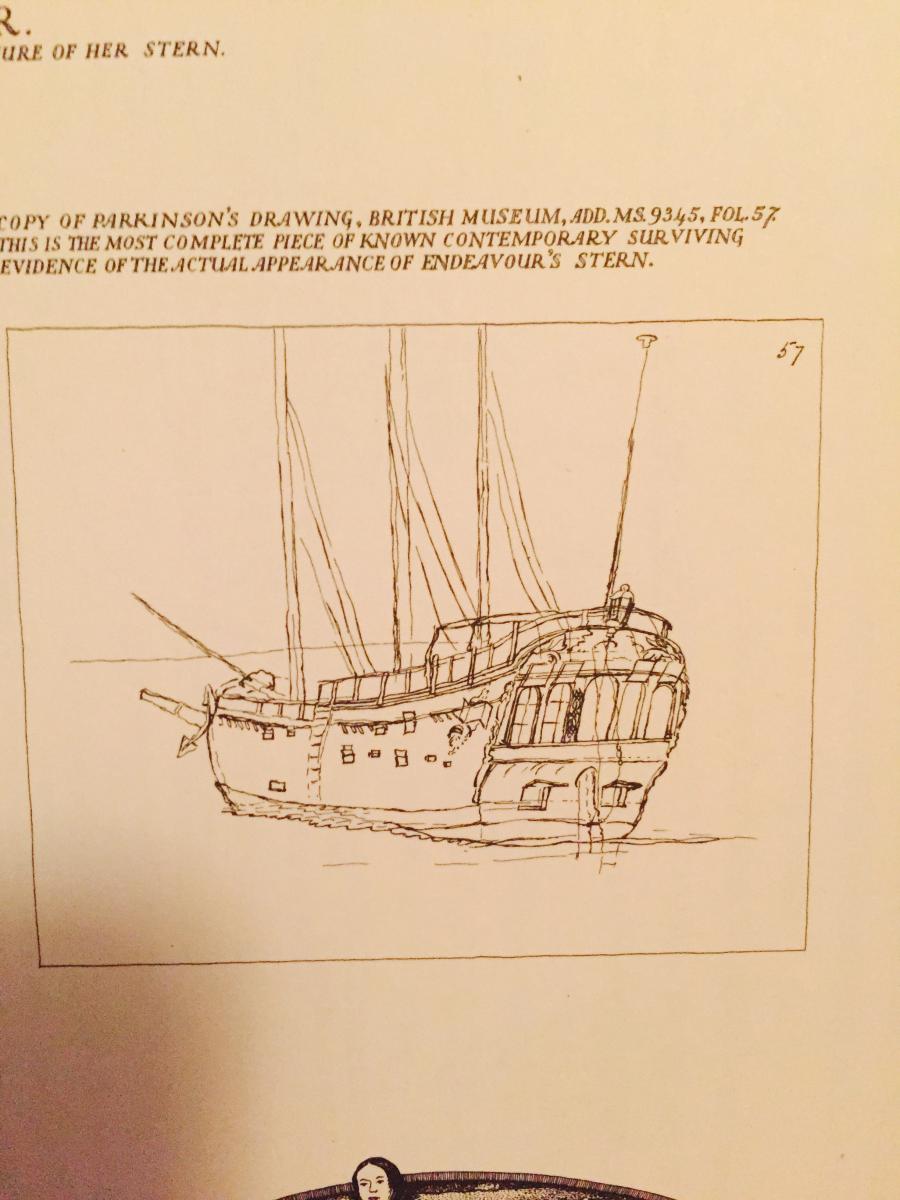
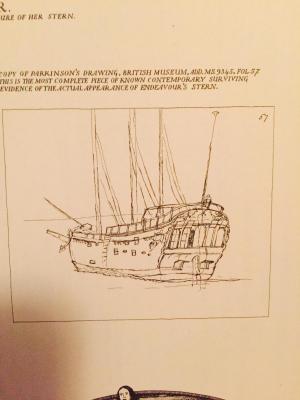
Looking great so far max. With the windows are you making covers for all of them or leaving he centre window without? The centre window is a dummy as the rudder post comes up here. Parkinson's sketch of endeavour shows all windows though without the cover for the middle one. On the replica we omitted glass and frame completely as it was a false window.

-
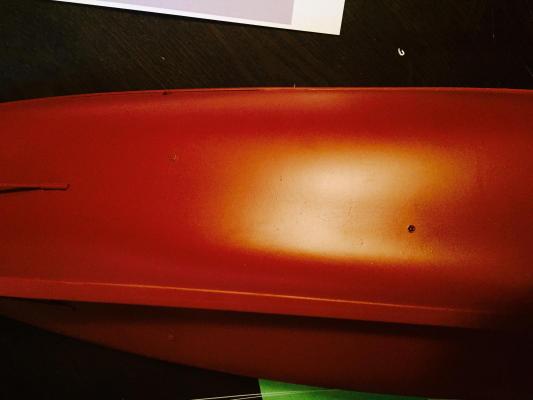
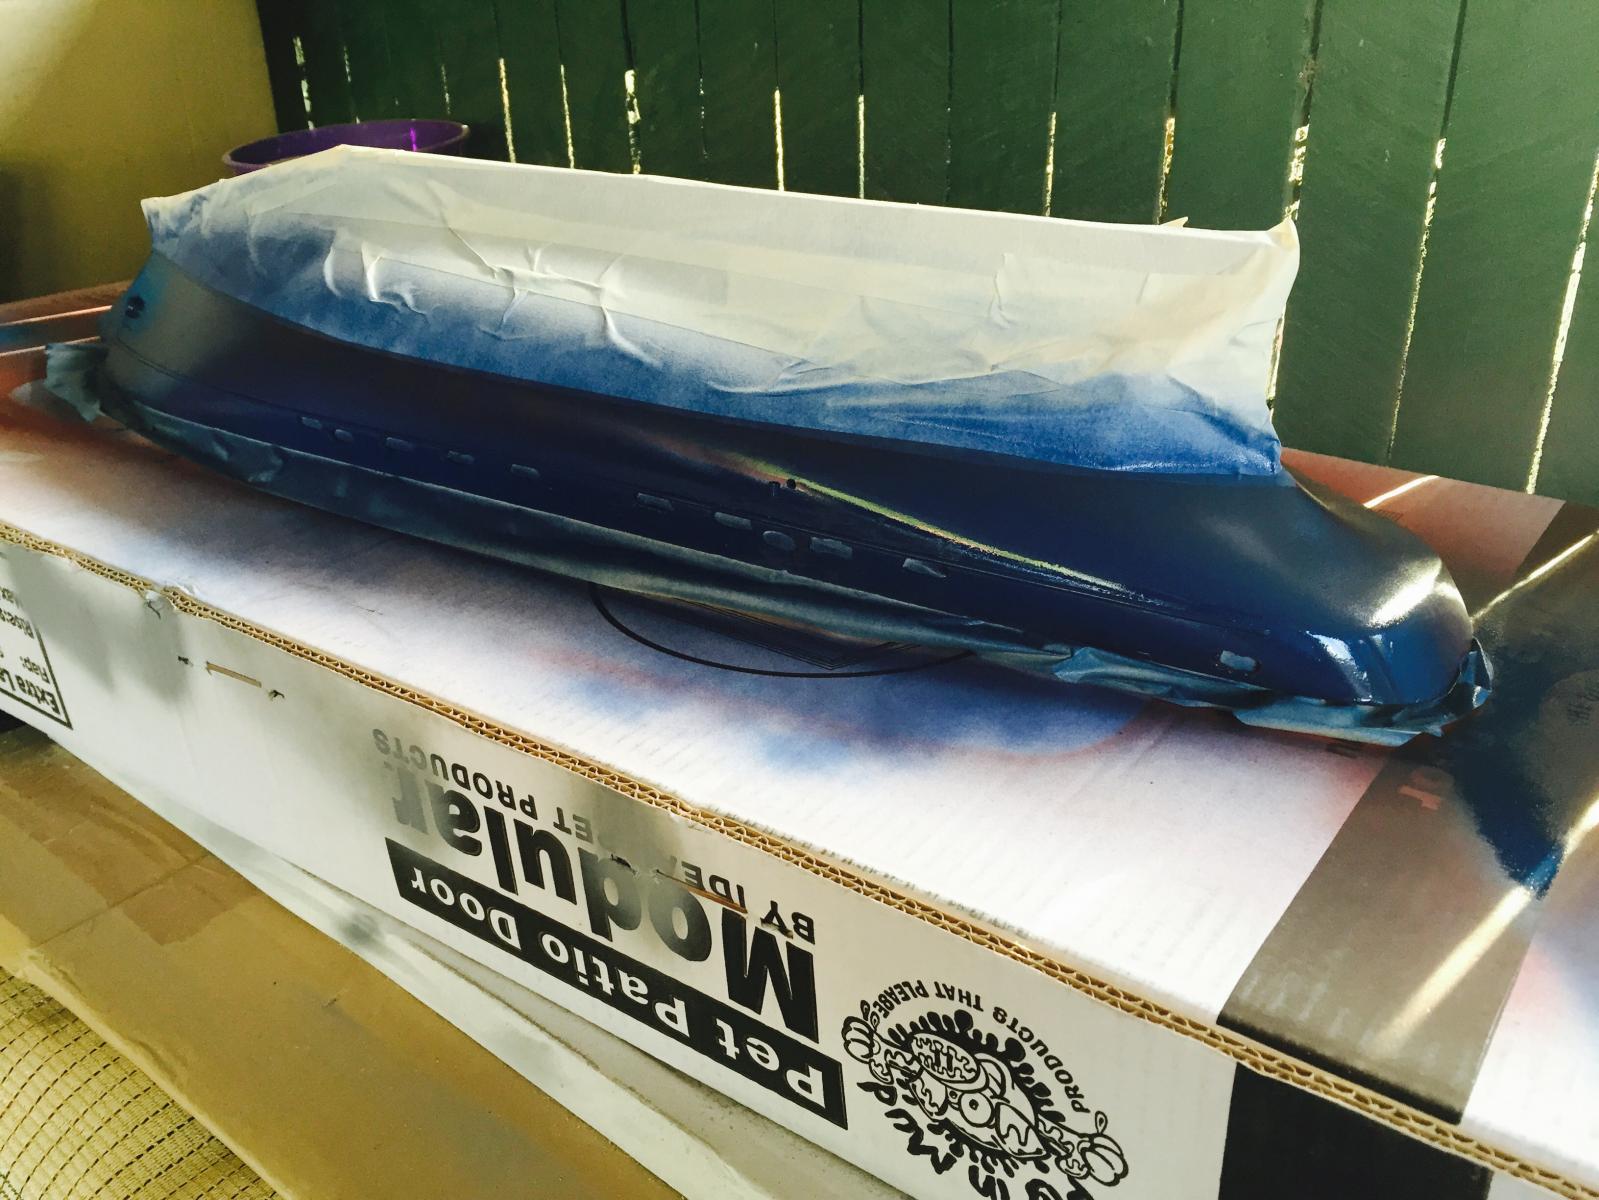
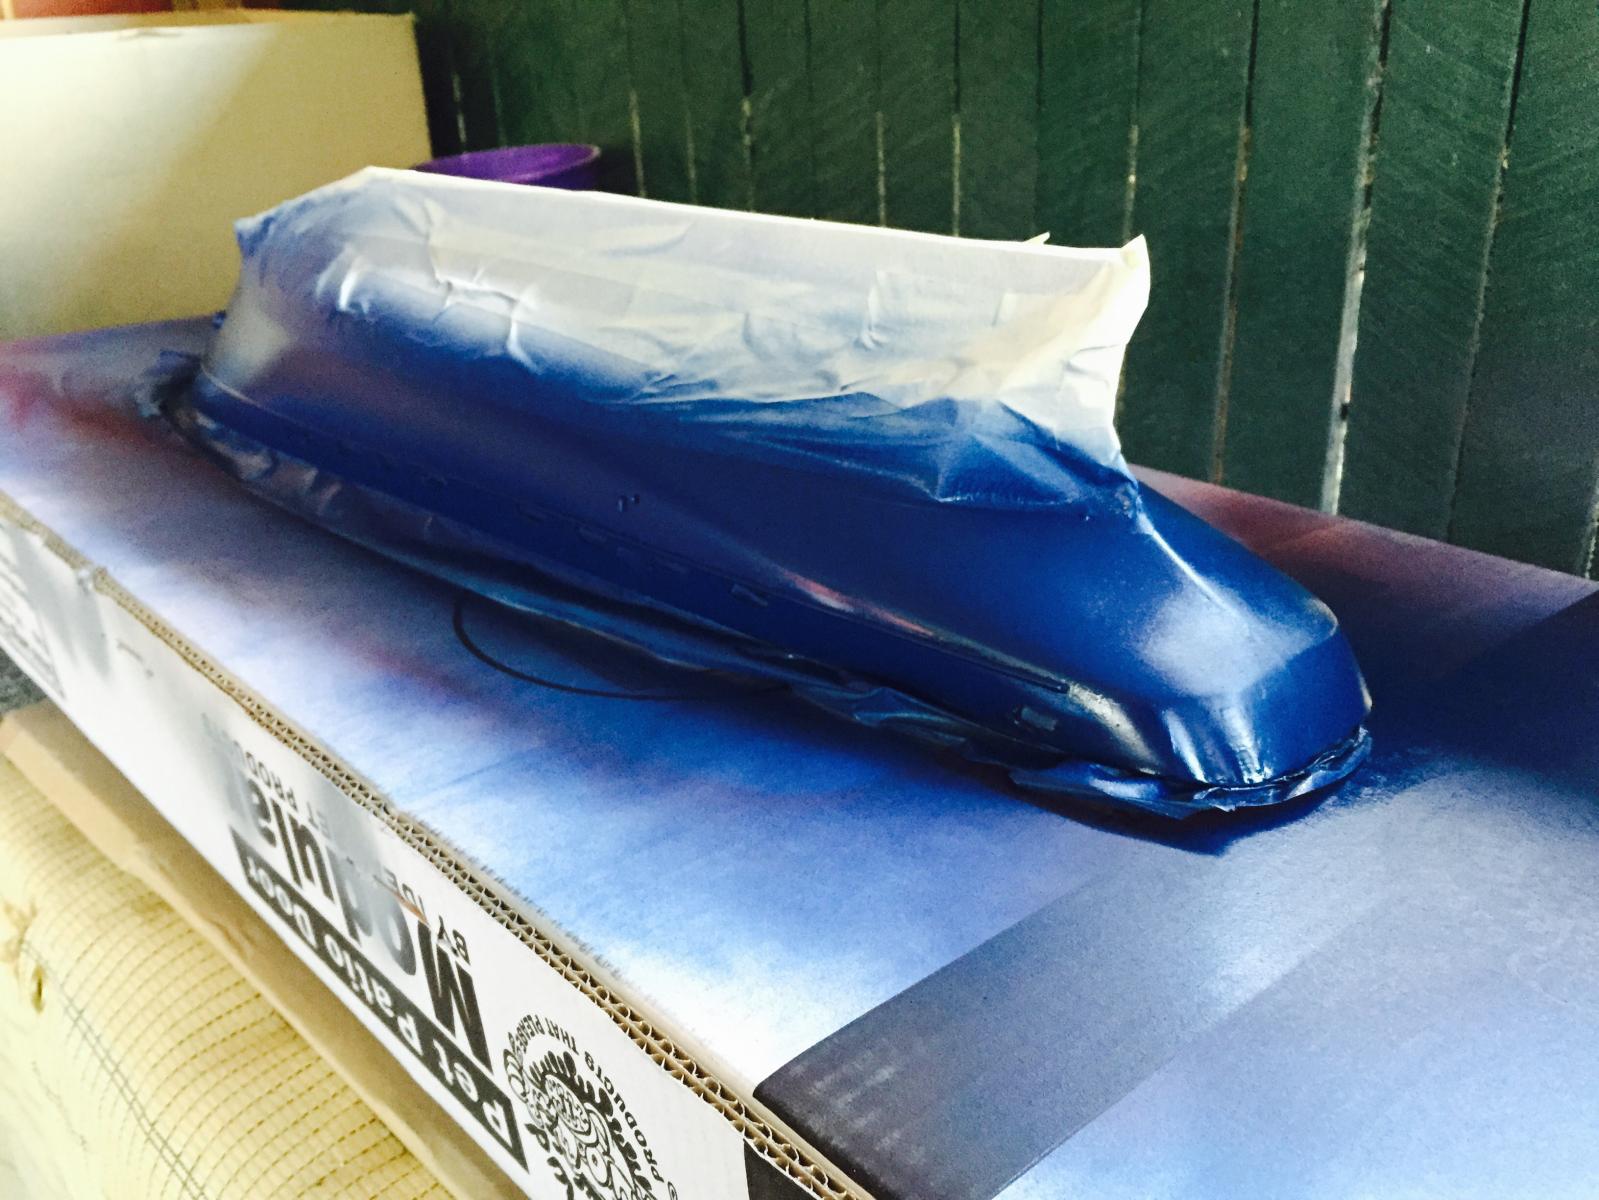
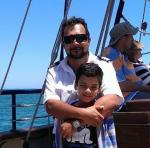
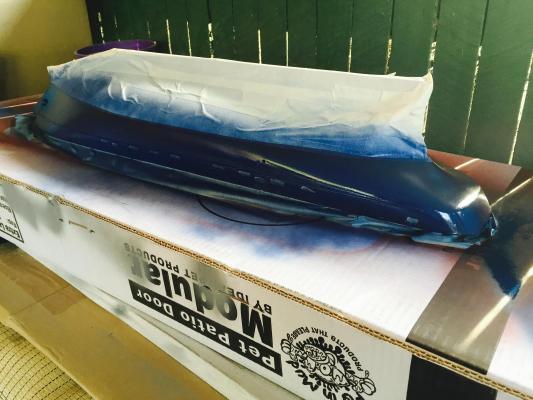
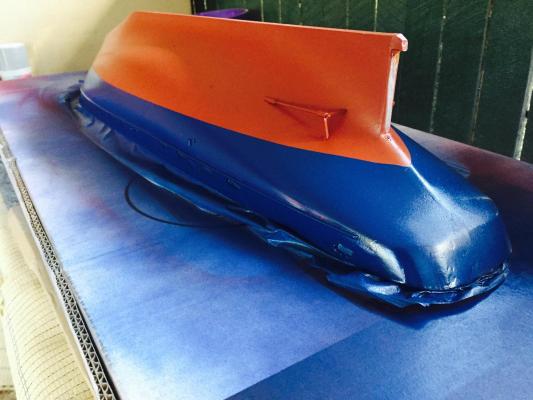
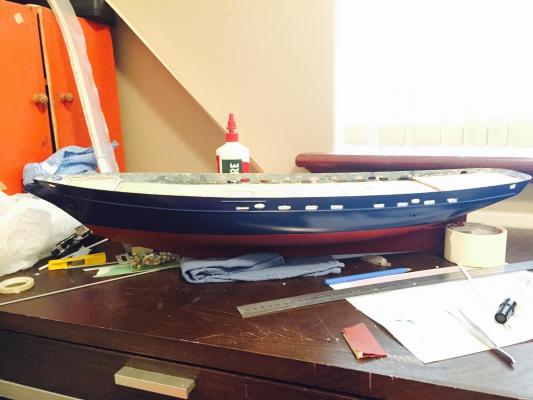
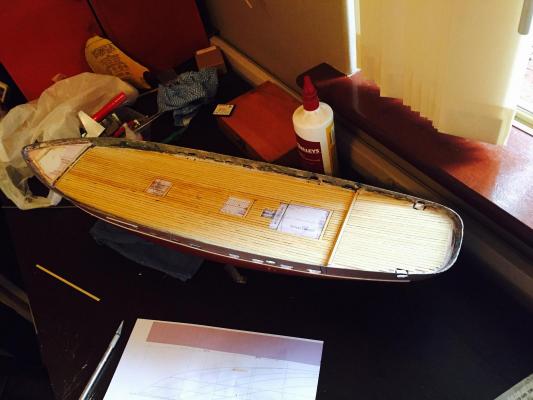
Before I start to go diving into deck details etc, I decided to give my 'blue canoe' as she's lovingly called by the crew a paint job. I've given the hull six light coats of 'Leeuwin blue' or Jotun marine royal blue as what the paint actually is. Again I've used the actual paint used on the ship which is a two part Jotun paint and hardener. Perfect for fiberglass and works easily in the airbrush. I can now mount the hull onto a base and continue with the building.

-
You're right john, they both are. Though then compared to some of victory's guns and endeavour's which I know. They're all right hand lay, so I still say that they've used what's on hand as far as those breech lines go. There isn't a reason say stronger or not for either.

- 29 replies
-
- 1
-

-
- Rope making
- z twist
- (and 2 more)
-
Not a problem Izzy, and I wouldn't say that you're thick at all. I'm sure most people hadn't even realised rope layed one way or another so it's a fair question. Not the simplest to answer but hopefully you have a grasp now.
- 29 replies
-
- 2
-
-
- Rope making
- z twist
- (and 2 more)
-
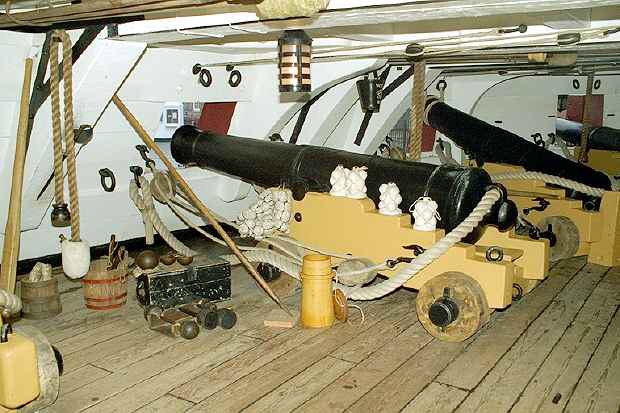
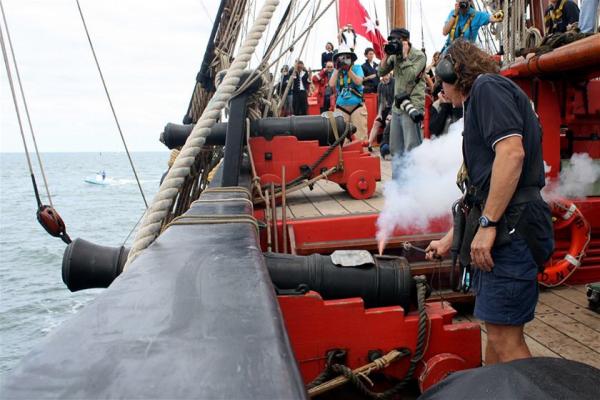
All the lines look to be 'Z' twist right hand lay. Only the large standing line on the first caronade is 's' though the next caronade is 'z'. Victory is a museum ship so perhaps they just used what's on hand in the loft. I mentioned in a similar topic that most rope is 'Z' twist on all working tall ships I've sailed on and only the thick shrouds and stays(main, fore,mizzen) - the lower ones are 's' as they are made using three strands of 'z' twist rope. I was on endeavour last refit when all rigging was changed over. All our rope was made in the uk and shipped to Australia as its all traditional hemp line. So don't worry too much about the diameter and the mix like in those photos from the Victory. You would be very accurate in making your shrouds and stays 's' twist using 'z' twist line and all running lines 'z' twist. Both endeavour and Duyfken and Europa - all ships I've crewed on have their rigging in this way. Even Leeuwin is the same. All running rig is 'z' twist so they work they lay the same way. Our standing rigging on Leeuwin is steel lines which are three strands of 'z' twist to make one large 's' twist cable. I just asked my captain on Leeuwin- she spent 15years on endeavour from bosun to chief mate. She agrees, also stated you won't have a mix of running rigging of 'z' and 's' it will all be one lay and usually 'z' lay line. Only the shrouds and stays are 's' as they're made from 'z' rope. Hope this helps.
- 29 replies
-
- 3
-
-
- Rope making
- z twist
- (and 2 more)
-
All lines for sail handling - sheets, tacks, halyards, downhauls, braces are 'z' all shrouds and larger stays are 's' as they are made from 'z' line.
- 29 replies
-
- 3
-
-
- Rope making
- z twist
- (and 2 more)
-
Thanks John, the Ramin planks are very easy to use. I usually prefer something thicker to work with but has turned out quick and looks ok I think.
-
Hi mark, yeah I will try that. Though just like the thought of having scale looking ones without the price haha. I'll do a couple mock ups and see how they look.
-
Thanks Kurt, yeah that was my same result over here. I may just have to bite the bullet and order them. Below is rb's working version and one of the mizzen shroud turnbuckles. Have to say, damn close looking wise.


-
Thanks mick. Those are actually perfect, though at 1.54 euro each... About $3 aus. Also turns out I need 30 18.5mm and 28 14.5mm turnbuckles... So that's a whopping $160... Just for turnbuckles.... They do look good though.
-
Hi everyone. Starting to detail the hull and deck of my Leeuwin so the rigging won't be too far off. Unfortunately being a modern tall ship, she uses turnbuckles for all stays and shrouds. I know some are available through kit manufacturer accessories but wanted to give making them a shot as I need about 36-38 of them. Anyone tried this in the past? Or anyone have any tips mainly. Thanks
-
That design was one of the original thoughts for the Duyfken. Though was decided to be too top heavy for open ocean sailing, so will be interesting to see how the replica performs compared to Duyfken.
-
G'day Mark! Yeah, life took over as usual and then with the crash of MSW 1 I drifted away. Though recently started to come back and see what had been happening.
-
So an update on Leeuwin. All the base planking has been complete. Now for the cleaning up and edging around the positions of vents, bollards and doghouses.

-
I'll have to dig one out for you. Those photos are on an old hard drive unfortunately. I finished her a little over two years ago now and was sold not long after.
-
G'day Sjors! Yes it's been a few years. I was still building the Diana back then. She was finished and now has a new home with collector. Also what do you mean you don't know what I'm doing??? I'm building a model ship hahaha It's not too difficult to scratch, just have to cut out the parts yourself. I prefer kits most of the time, though I always like ships that either aren't available in the scale I want or don't exist in a kit at all.
-
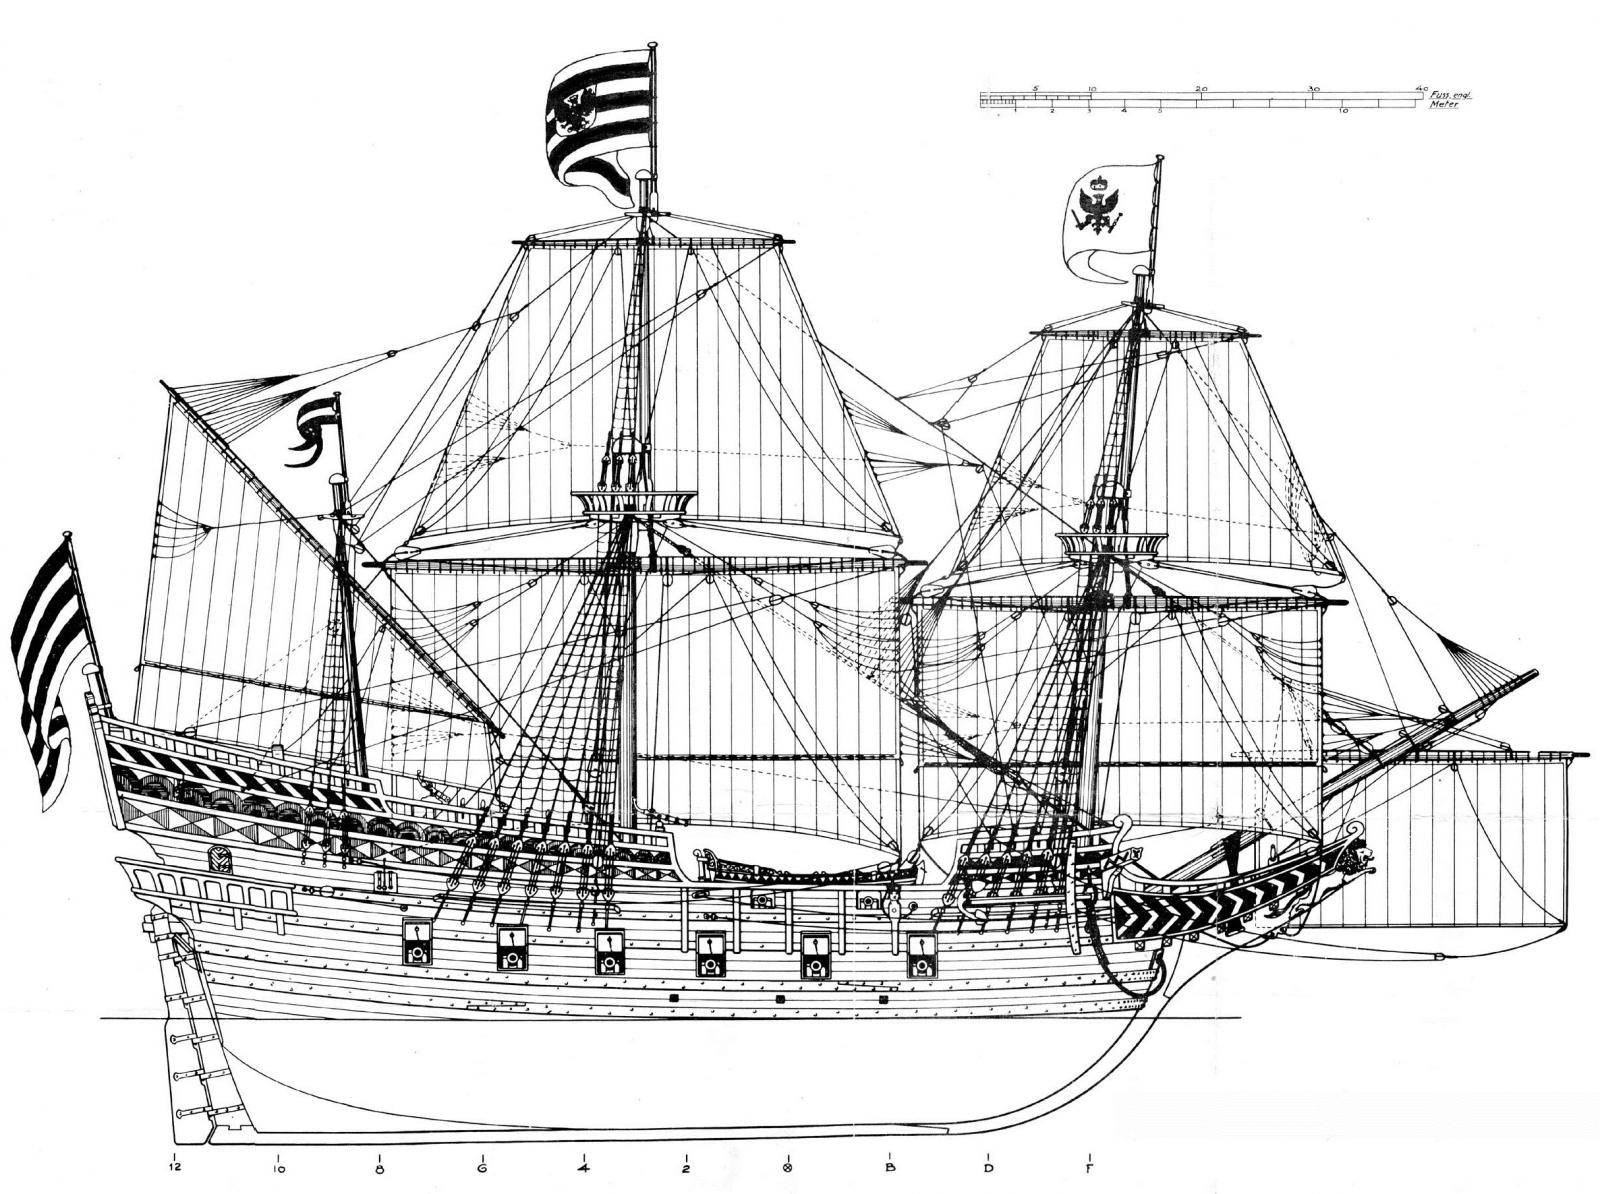
You then have something like the roter lowe build in holland in 1597 at 250 tonnes

-
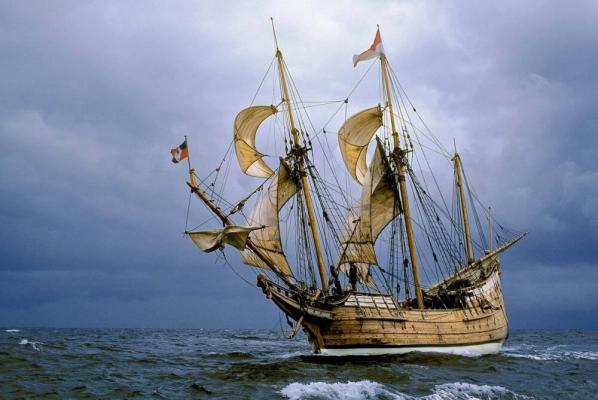
What about Duyfken? Built in 1596 so fits the era. Similar to the half moon though only 110 tonnes. Saying that Batavia was 650 tonnes.
-
Thanks Patrick. Yeah the idea is to have a model of each ship I've sailed on as crew. It does help knowing the ship and being able to walk around at anytime. I also have hundreds of photos from the port praj right around the ship to the starboard peak so I can always go back between the plans, photos and what I remember. Thanks Piet, I'll have to check in on your log. Poop deck base planking is complete. I'll plank the foredeck and then start on the edge planking.
-
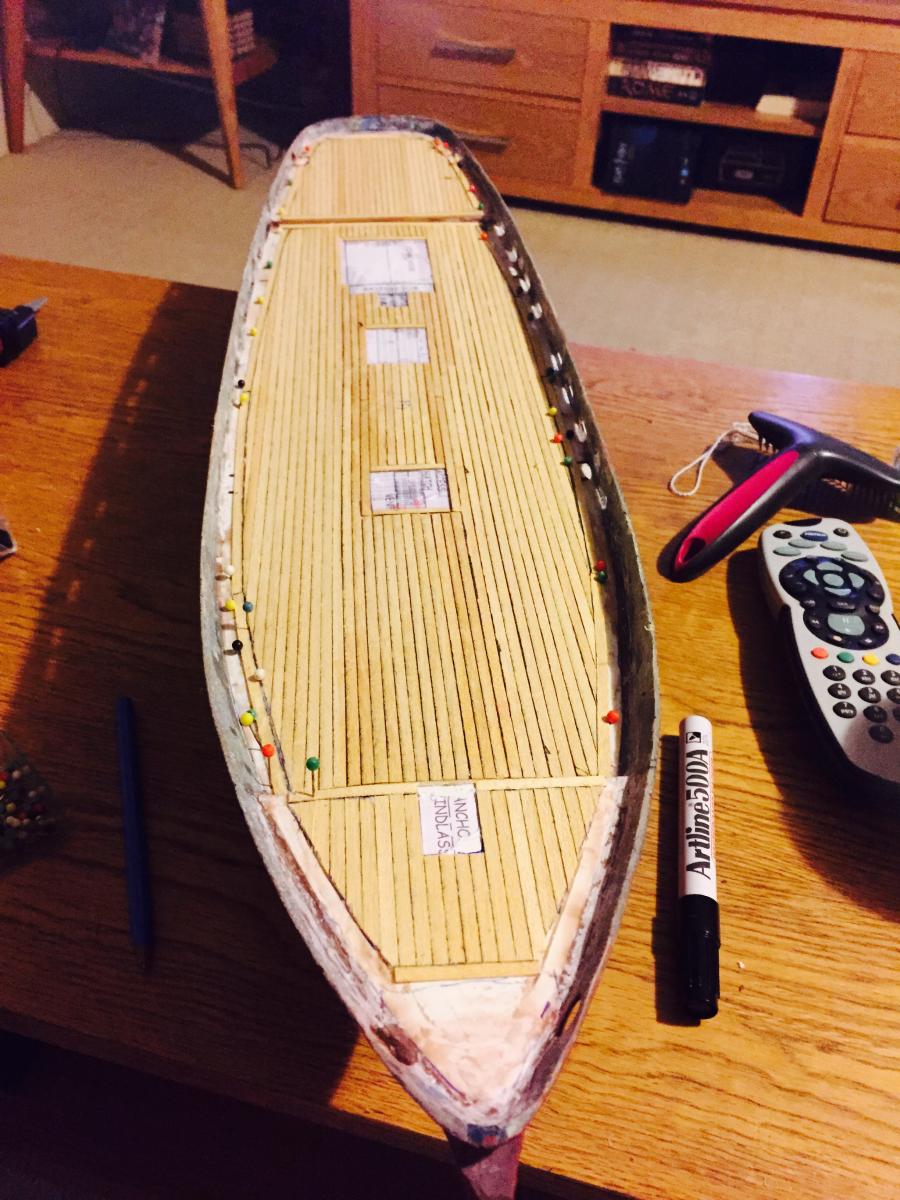
Thanks Jim. I'm not entirely happy with the planks as they're over scale. Well fine for a late 19th century barquentine, though leeuwins deck are more like daddy's yacht and quite thin. Scale size would be around 2.8mm which to save my sanity I thought I'd make do. Once complete and sanded etc it should look fine.

-
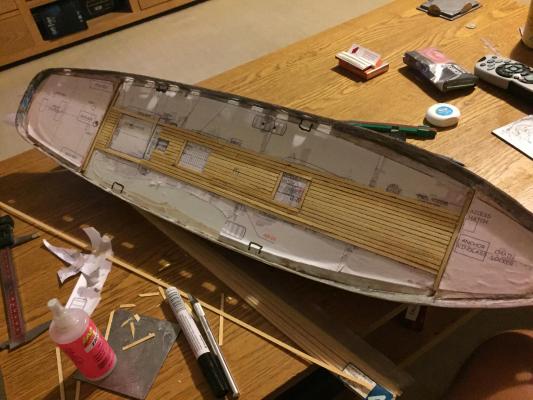
Planking started. Using 4mm ramin for the decks.
-
Beautiful build dimitris. I've always had a soft spot for the Vespucci and will follow with great interest.
-
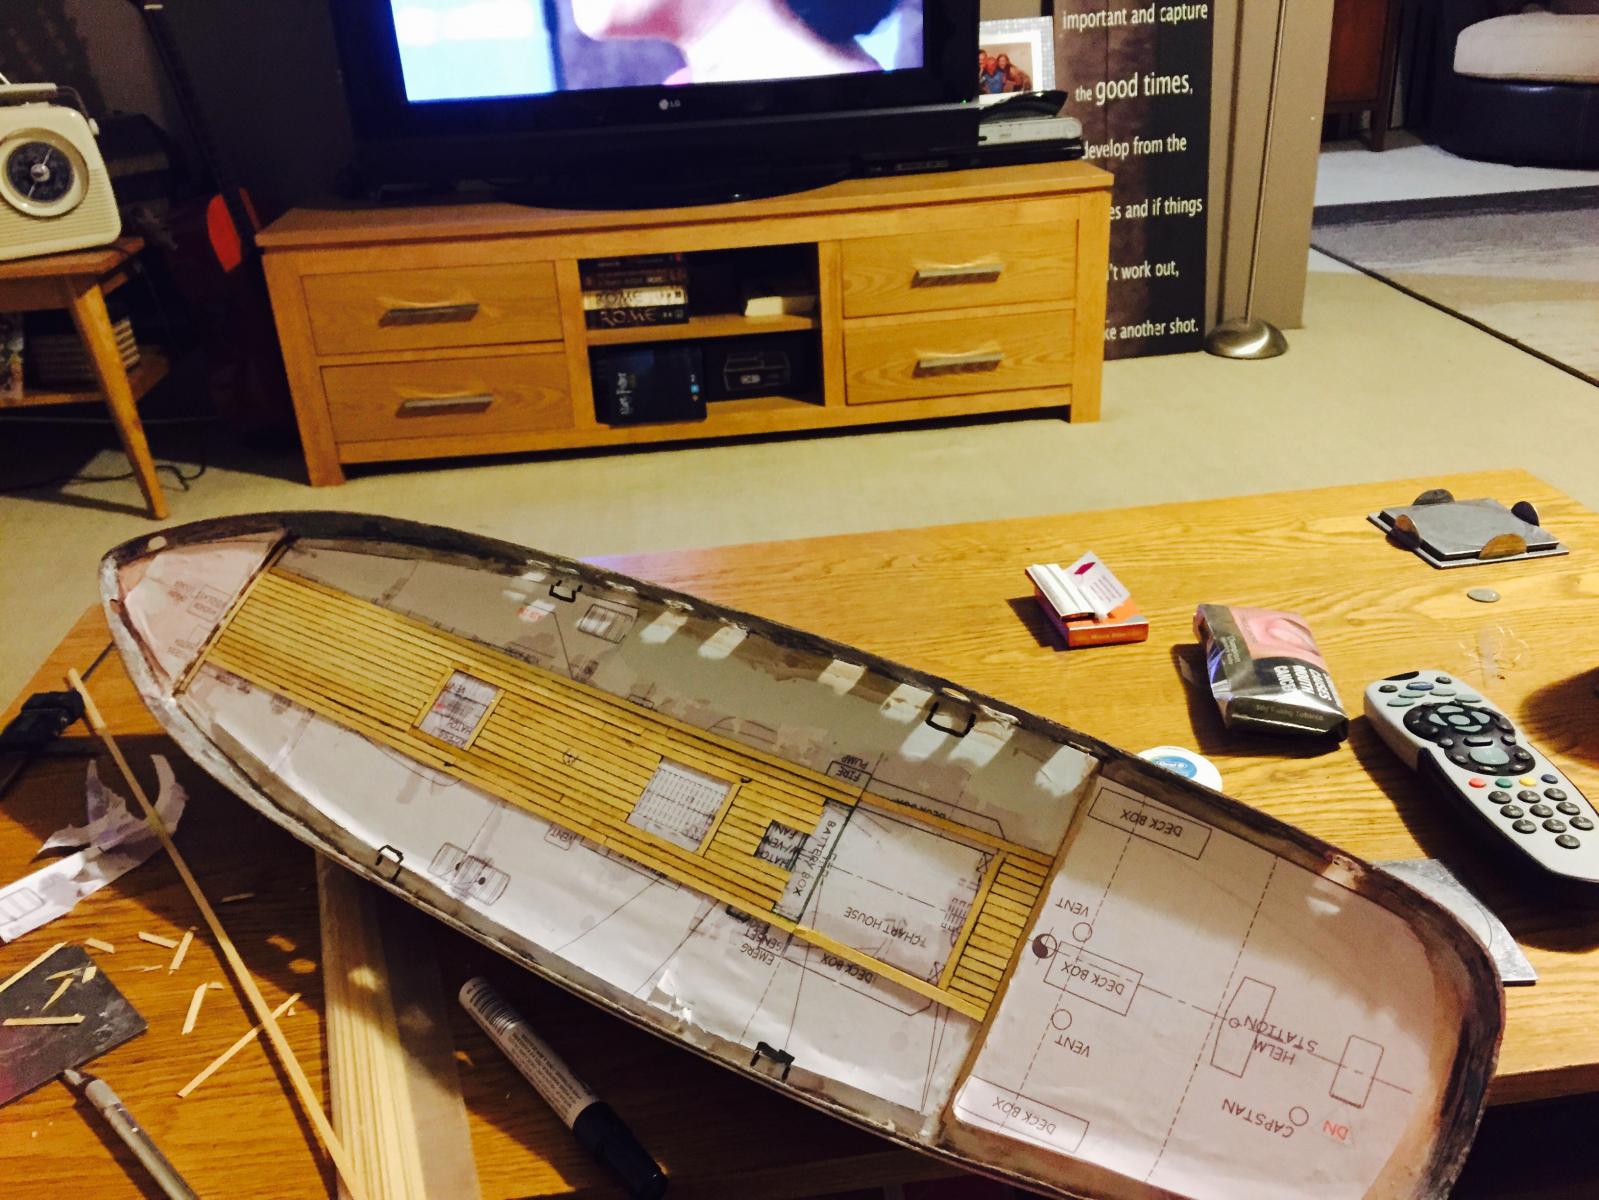
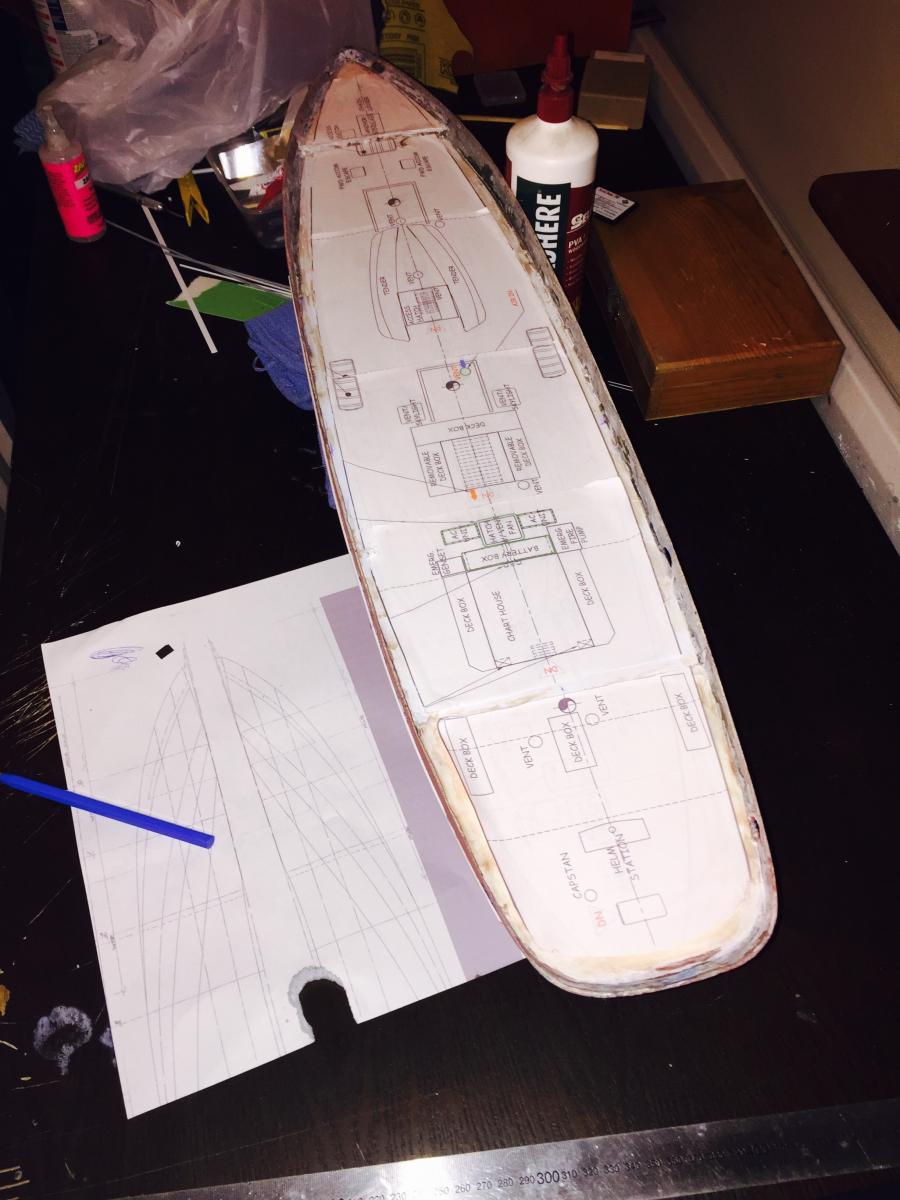
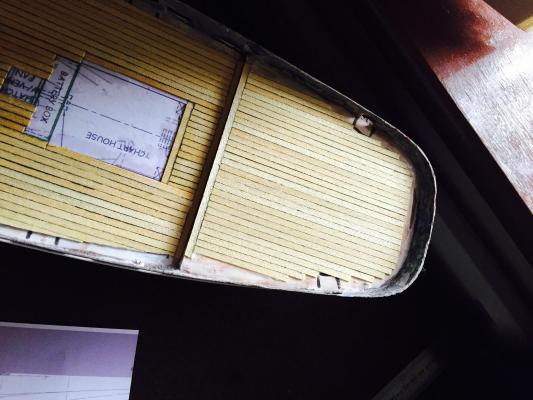
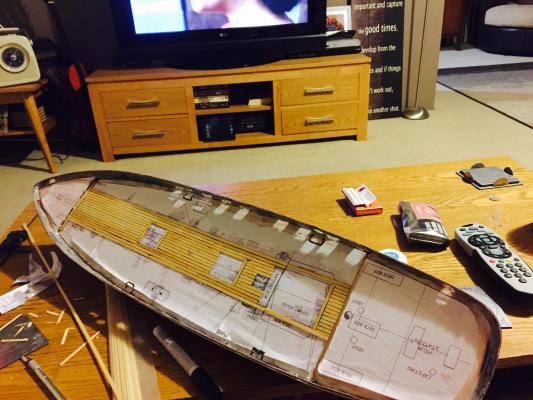
Paper templates tacked onto deck to assist in planking and placement of masts, dog houses and other fittings. The templates don't go right to the bulwarks as they mark where the planking terminates. The waterways around the hull are a good 15inches on the actual ship and are wider on the foredeck and the poop deck.

-
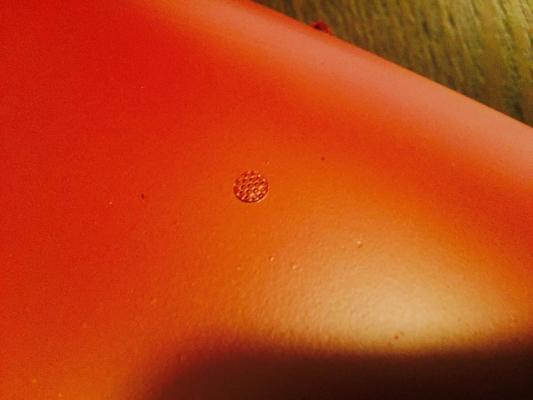
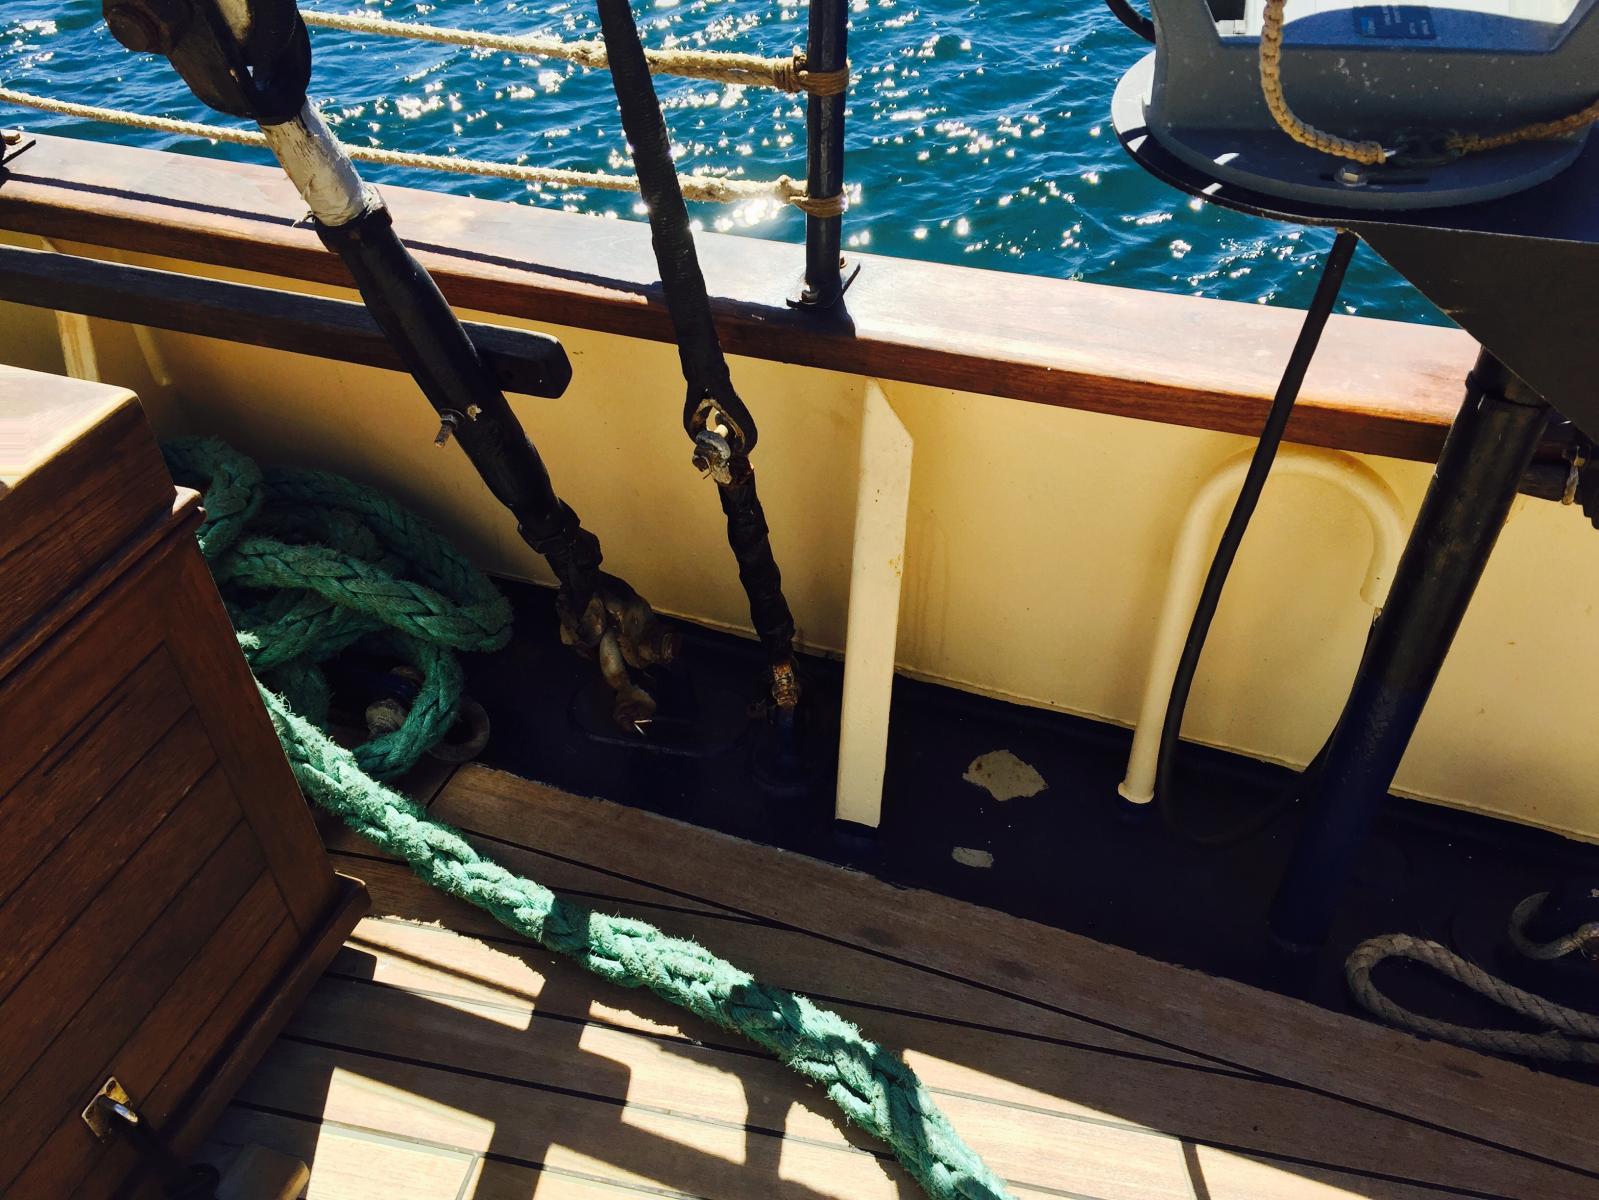
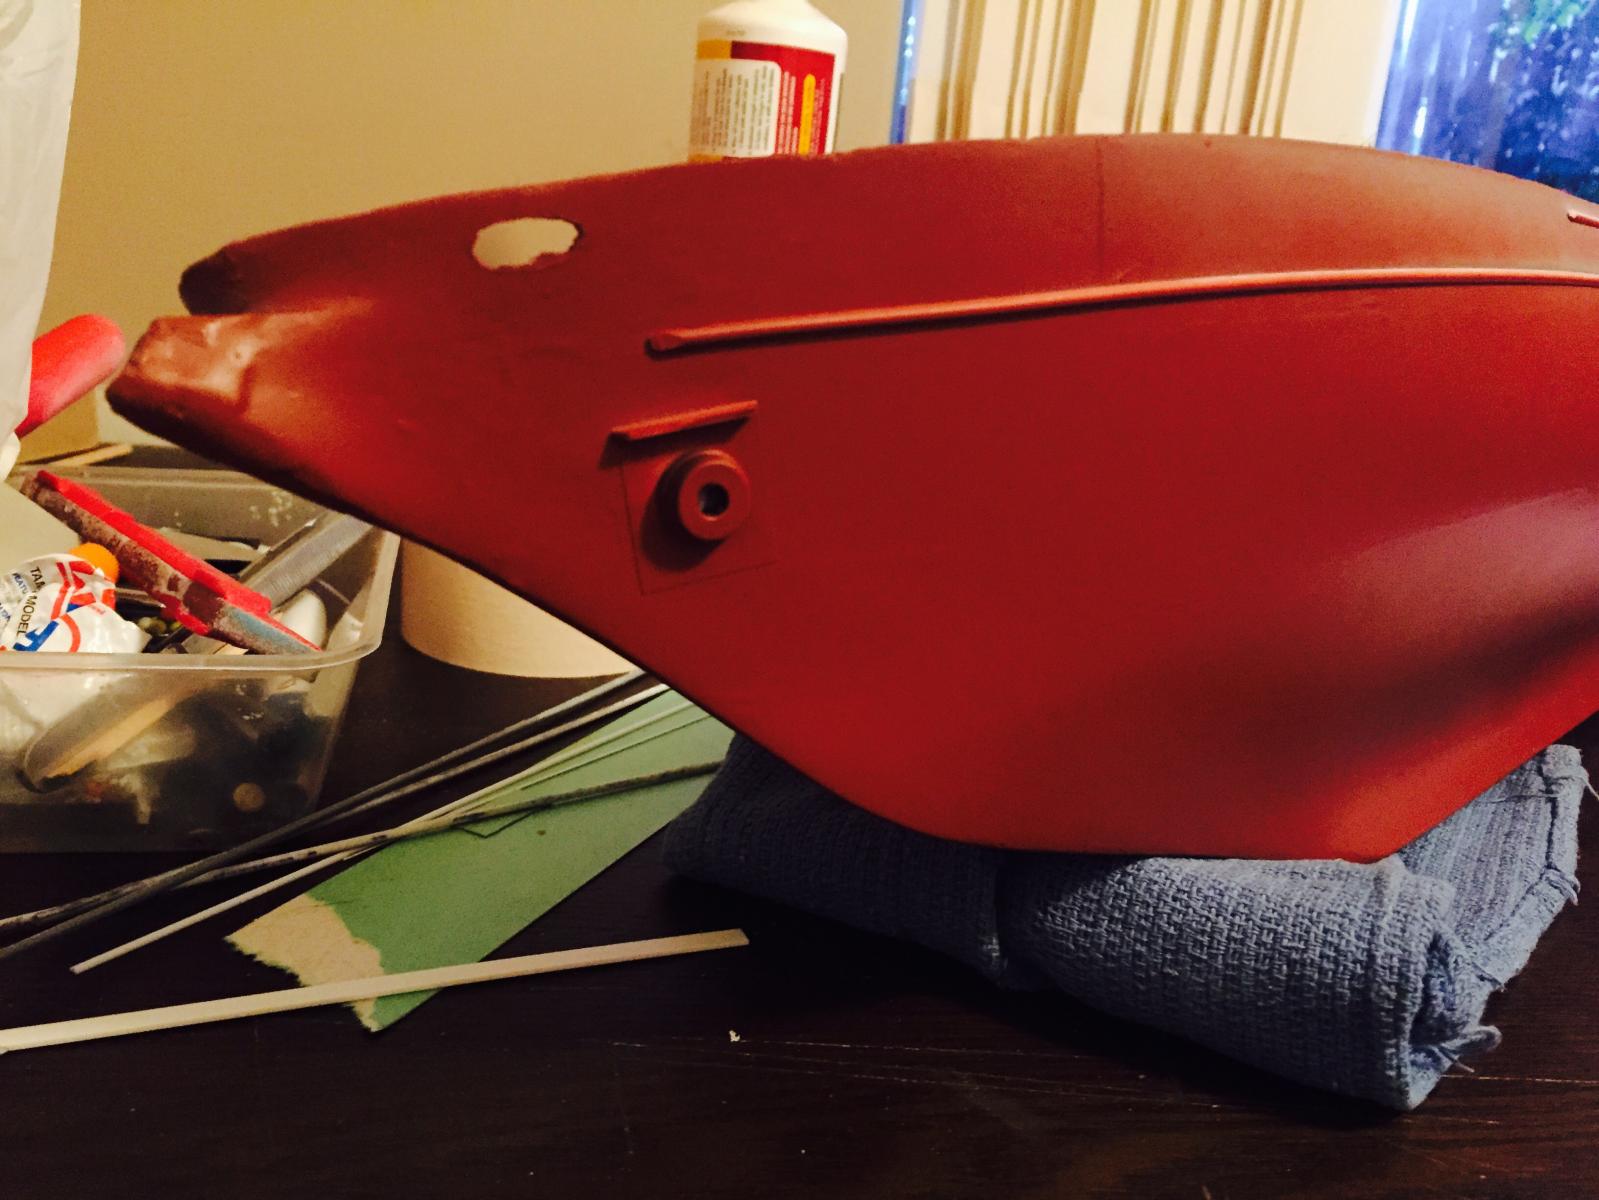
Thanks omega, I guess for me, because I know it's there. It should be on the model. I usually never bother with these details on my RC ships as the chance of damage is greater but as Leeuwin is a static model, I thought I'd include them. Rudder has been added and stiffening plate and buildup around the hawse openings on the hull. The stiffening plate around the hawse hole was added a few years ago as the original hull plating in this area was becoming quite thin. The round buildup is common in much larger ships. This is in reality a buildup of multiple welds to keep the anchor off the hull itself. This had worked though because of the build up the anchor sat on more of an angle on the hull causing the anchor flukes to point into the ships hull plates. With the motion of the ship in heavy swells, the anchors would rise up and down - potentially causing damage to the hull. To avoid this plates where welded horizontal to the hull, to keep the flukes stationary. While it doesn't look all to pleasing to some, it works and prevents having gouges in the hull plating. I've also given the bottom a coat of red oxide. I use an airbrush and oils. The paints are straight out of our paint stores so the paints are as what are on the ship.