HOLIDAY DONATION DRIVE - SUPPORT MSW - DO YOUR PART TO KEEP THIS GREAT FORUM GOING! (Only 20 donations so far - C'mon guys!)
×


Jason Builder
-
Posts
219 -
Joined
-
Last visited
Content Type
Profiles
Forums
Gallery
Events
Everything posted by Jason Builder
-
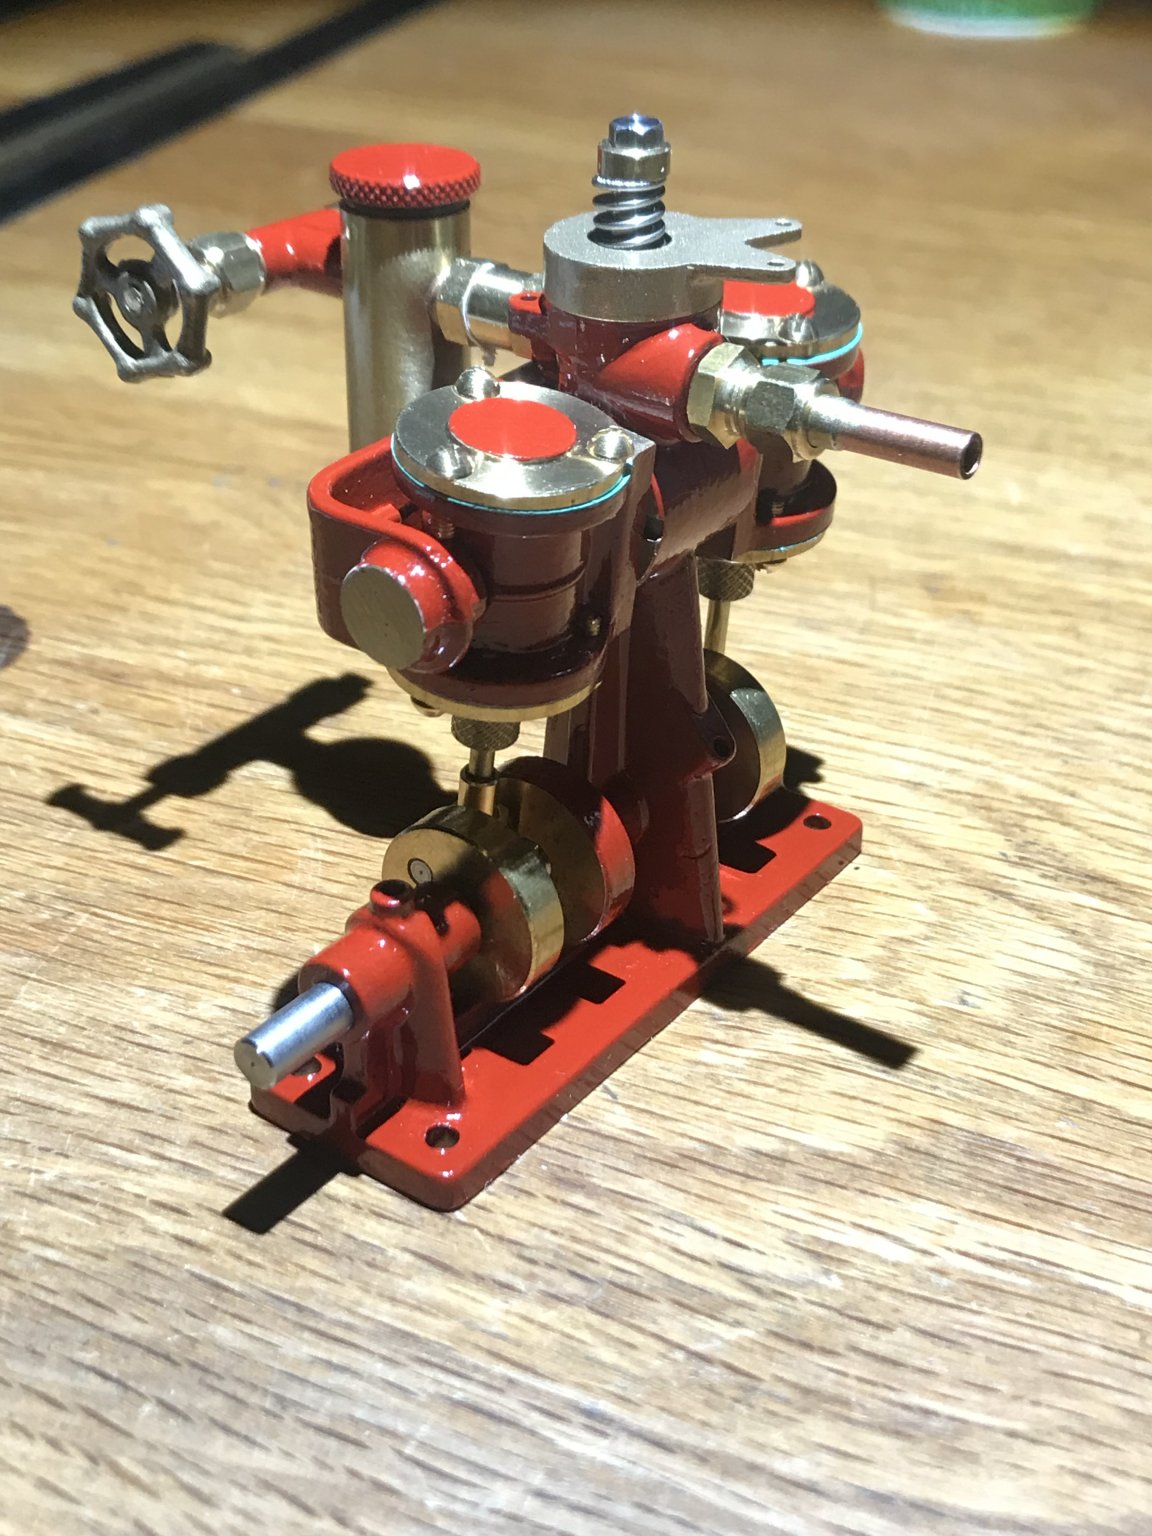
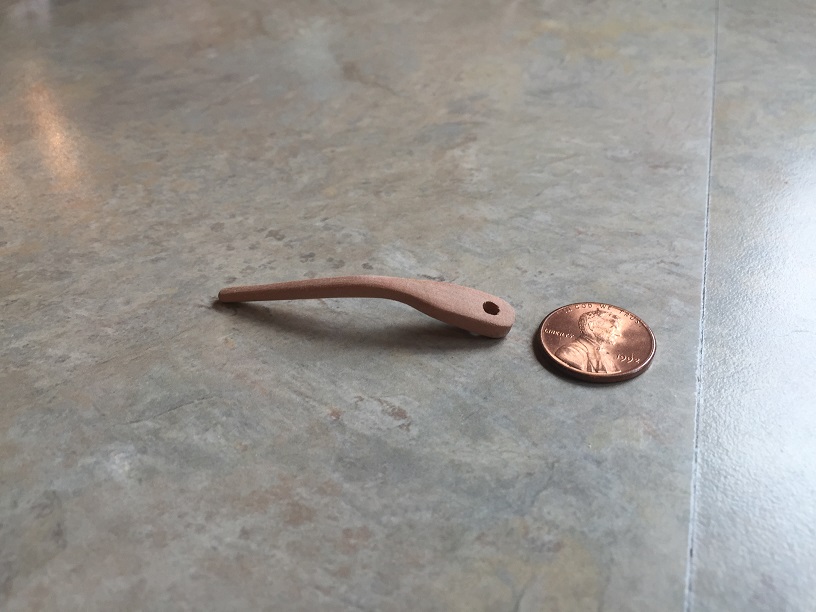
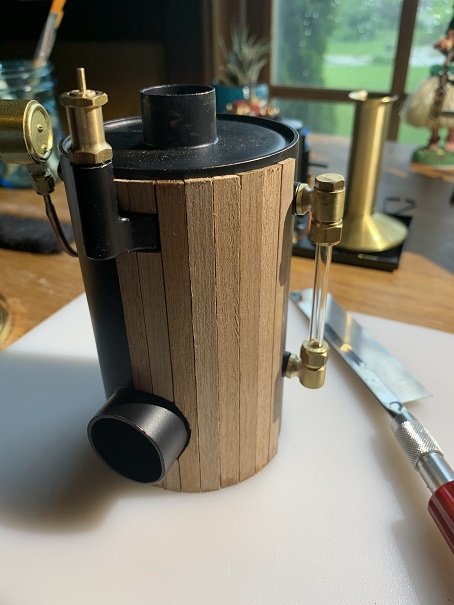
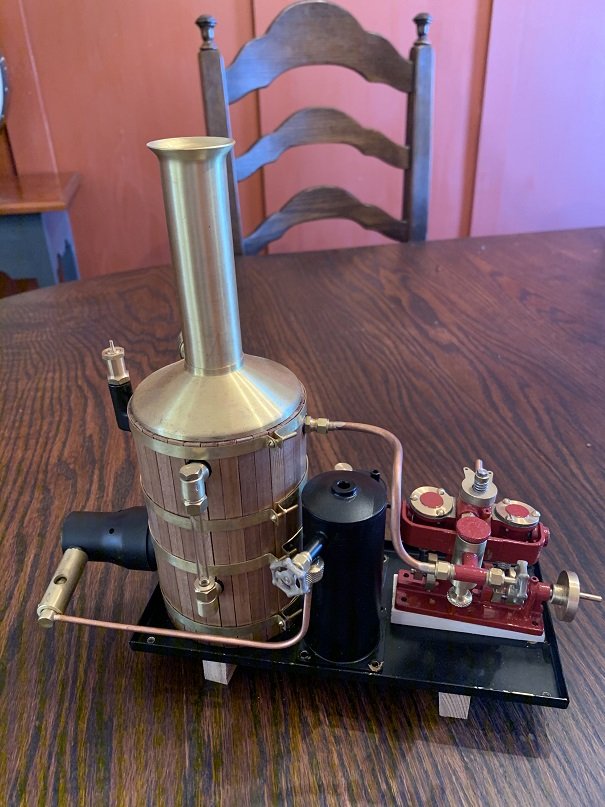
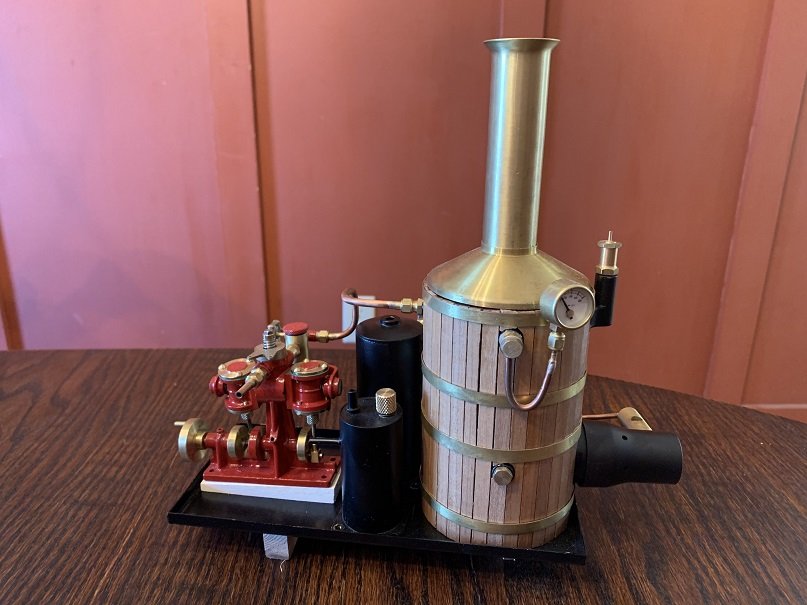
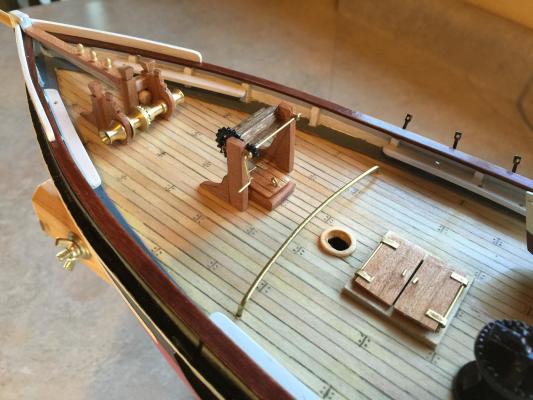
 I would recommend building the complete steam-plant, including engine, boiler, fuel tank, and condenser, prior to building the ship. I needed to know where to locate mounting holes in the ship and the only way to be sure is to have the completed steam-plant, in my opinion. The balance of the steam-plant components showed up from MSM, including a nice mounting tray. The boiler was not lagged, so I lagged the boiler by gluing the hardwood strips to the boiler with CA, made the brass straps and installed them. Here is the completed steam plant.
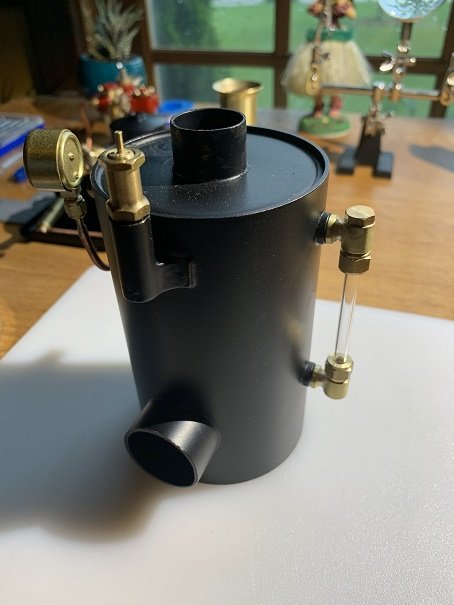
-
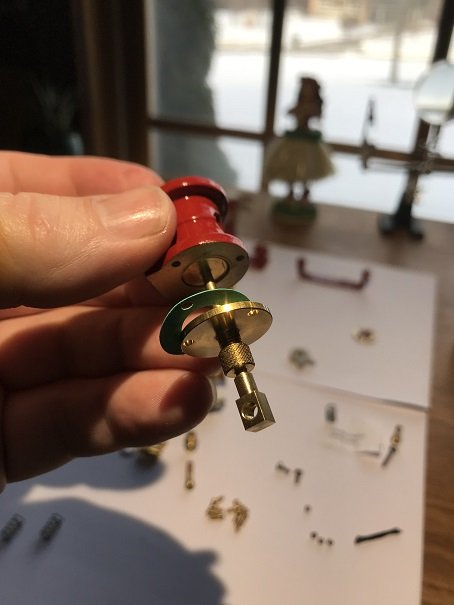
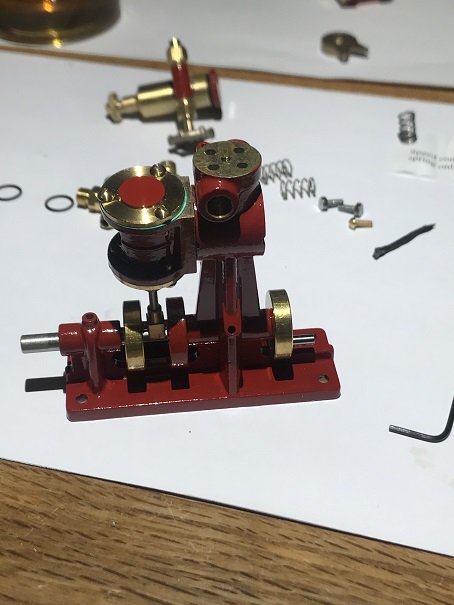
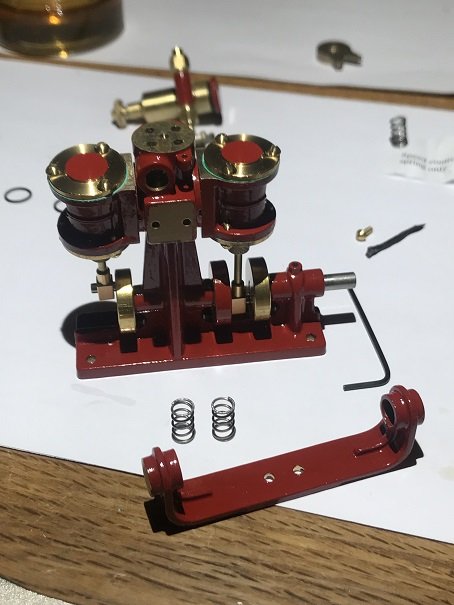
First I applied etching primer to the bronze parts I wanted to enamel, then I enameled them, then assembled the engine.

-
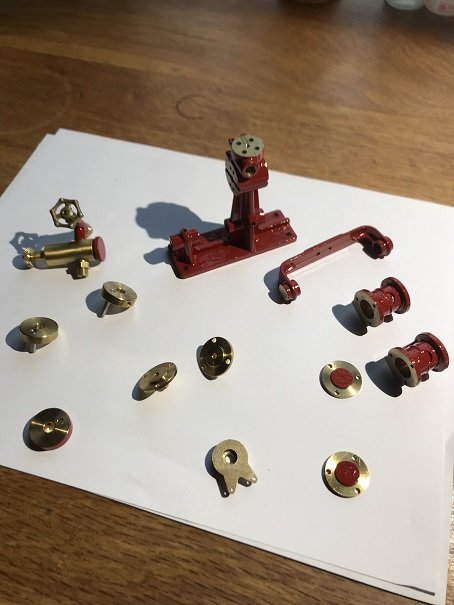
Now on to the steam plant. I bought the kit to build the "Clyde" dual cylinder oscilating marine steam engine from MSM in Victoria Australia. I assembled the steam engine, which was fun and also helped me learn how they work. The parts all fit together well, and I was very impressed with the fit, finish and overall quality.
-
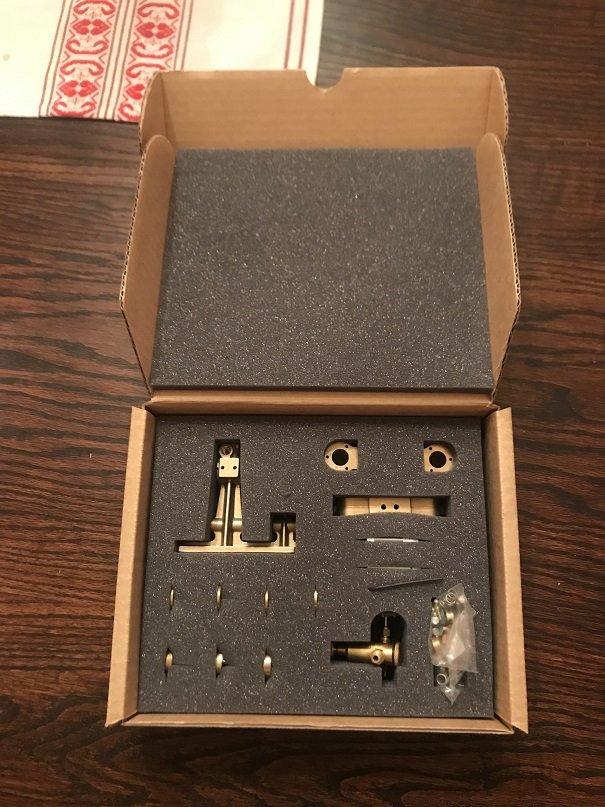
The kit arrives! Well packaged, and everything looks to be of good quality. There is one large drawing, a german instruction manual, and an English instruction manual. The English instruction manual is missing the illustrated figures that are in the German manual. The English manual is also missing the description of many parts in the parts list. I created an updated English manual, which includes the missing illustrations, and which includes English translations of the missing parts list section. I uploaded the revised manual to this post, but it's a large pdf and I'm not sure it if will work. Otherwise, you may find it at https://www.argobuilder.com/uploads/4/0/0/8/40089901/krick_alexandra_revised_english_instructions.pdf Krick Alexandra Revised English Instructions.pdf

-
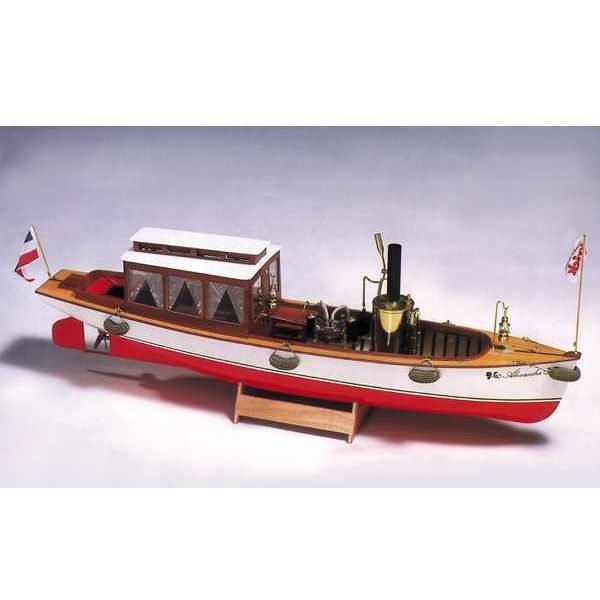
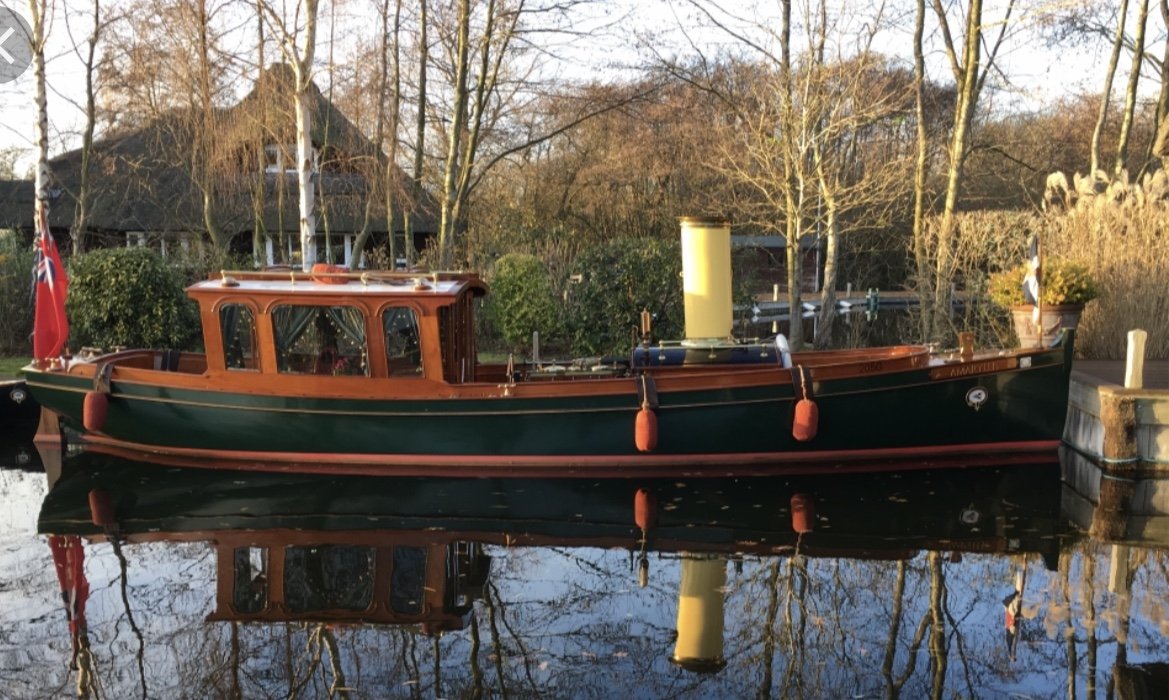
Here is the stock photo of the Alexandra, along with photos of some English steam launches from 1900, which is what the Alexandra is a model of. This is a photo of the "Amaryllis II" built in 1995 by the International Boatbuilding Training Co, according to plans and illustrations from 1895. The photo is from at advertismenet to sell the boat, on the Hensley Sales & Charter Ltd. website.
-
Greetings Fellow Model Ship Enthusiasts! A few years ago I crossed Lake Michigan on the last commercial coal-fired steam ship on the Great Lakes; the SS Badger (410 foot long ship launched in 1952, a passenger and vehicle ferry crossing from Manitowoc Wisconsin to Ludington Michigan). The smell of the coal-fired boilers and my fascination with the design of the steam powered engines left me with an interest in learning a bit more about steam engines, so I set out to build a model steam engine, and then of course I figured I would need a little boat to put my engine in, which leads me to this build log. For the steam plant, I went with the "Clyde" by Miniature Steam Models (MSM) in Australia, and for the boat, I selected the "Alexandra" by Krick (German manufacturer). The Alexandra is about 3 feet long, and is a model of a English Steam Launch from 1900. I have been working on this since January; with work and kids I do not make quick progress. I have taken many photos during the build, and it being the end of November now, I will have many photos added to this build log all at once. More detail, especially on the assembly of the engine, may be found at https://www.argobuilder.com/krick-alexandra-steam-launch.html From here on out , I will try to post more regularly so the build log will follow along with the construction of the model. I would rate the Krick as a high quality model which can be greatly enhanced with some additional trim and planking work. The plywood pieces are high quality but left as-is, I think the exposed plywood edges, exposed plywood mortise and tenons, and large flat plywood surfaces, are much improved with hardwood planking and trimwork, as can be seen in the build log below. And now, on to building the Krick Alexandra Steam Launch! Jason
-
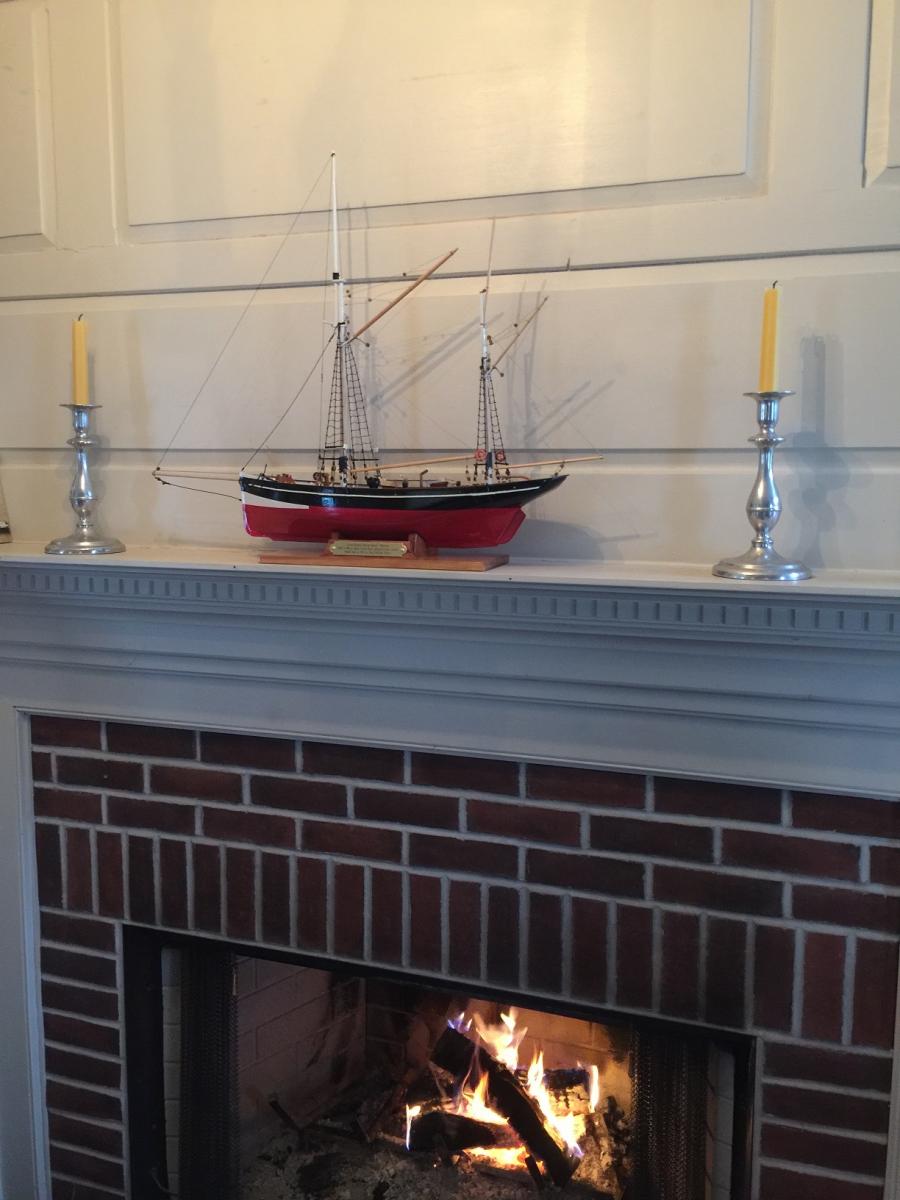
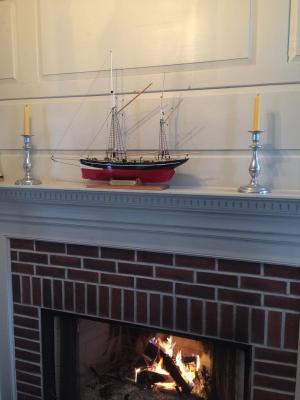
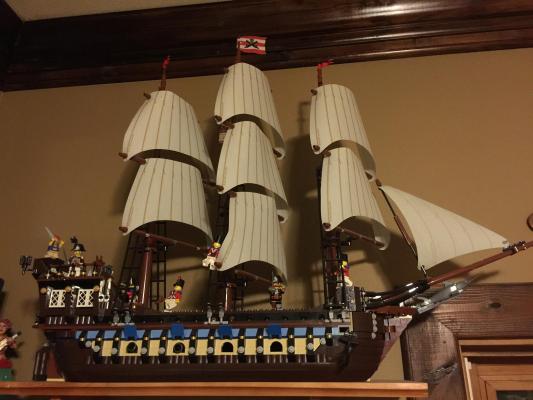
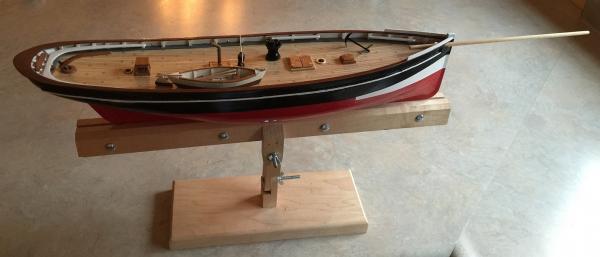
Current resting place of the ship on the mantle. I'll post updates early next year when the sails are done. Snowing again this morning....enjoy winter everyone! Jason
- 41 replies
-
- 6
-

-
- billing boats
- FD 10
- (and 3 more)
-
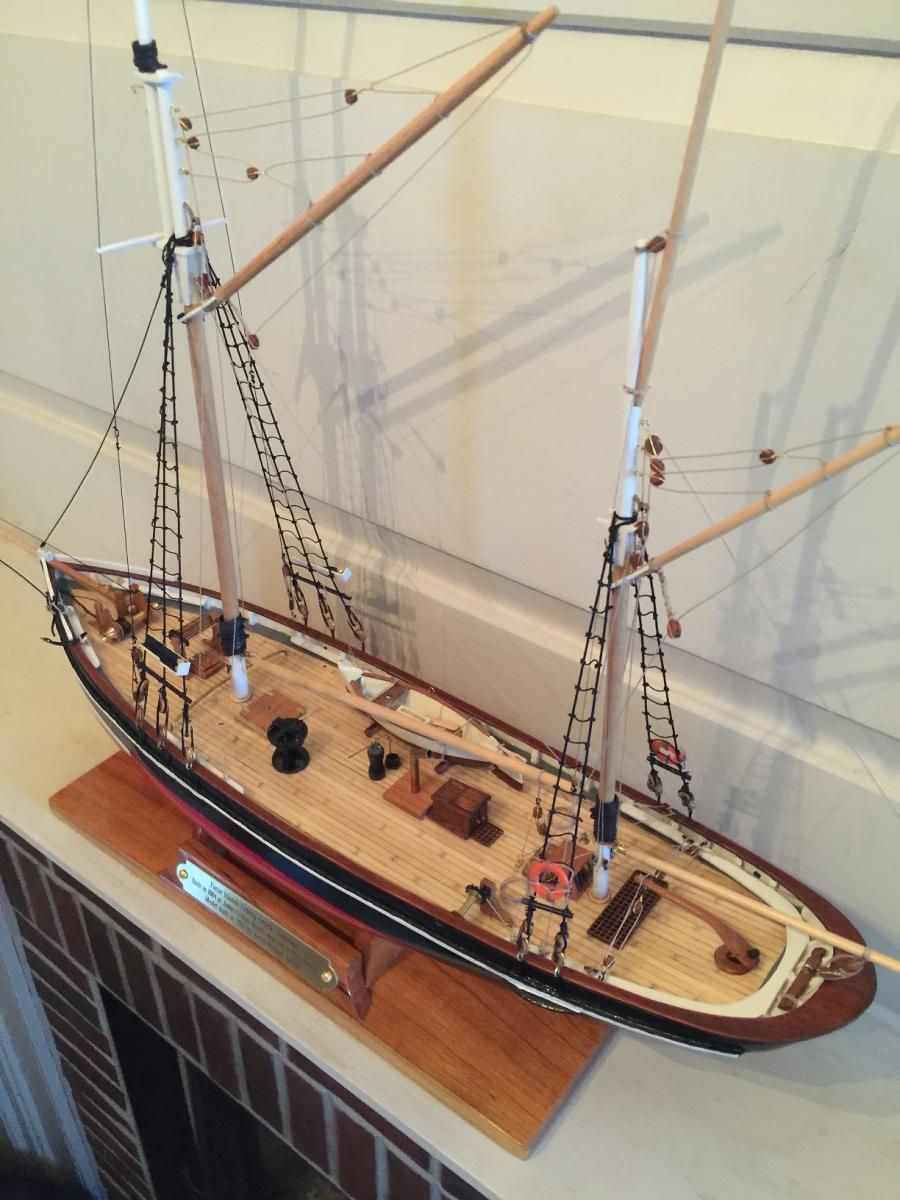
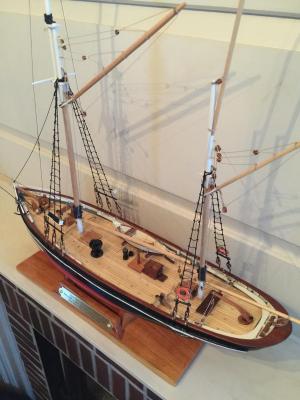
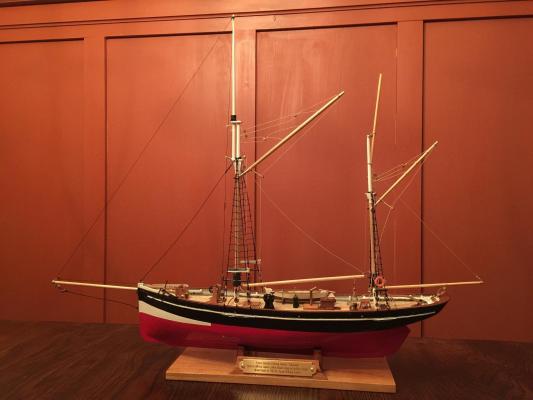
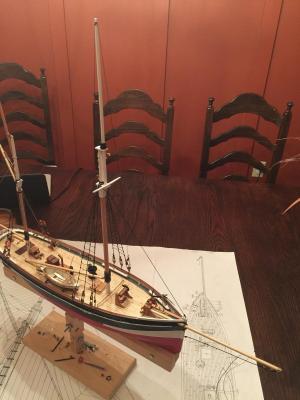
Fit in a good amount of rigging today on the holiday day off. I'm done on it for the time being and will get back to work when the sails are ready to bend on. The base is made from cherry, gloss urethane finish, with a brass plaque. -Base model from Billing Boats -Cleats, hooks, swiss-pear dead-eyes, blocks, and rope from Syren Model Ship Co. -Various handy tools from Micro Mark -Cast Britannia metal parts from Blue Jacket -Much replacement of kit parts with shop-made wooden or metal parts -Rigging improved via web research and books by Lennarth Petersson First real wooden ship model for me, and it was very enjoyable and rewarding. I'll provide an update when the sails are ready, but that may be a while. -Jason
- 41 replies
-
- 7
-
-

-
- billing boats
- FD 10
- (and 3 more)
-
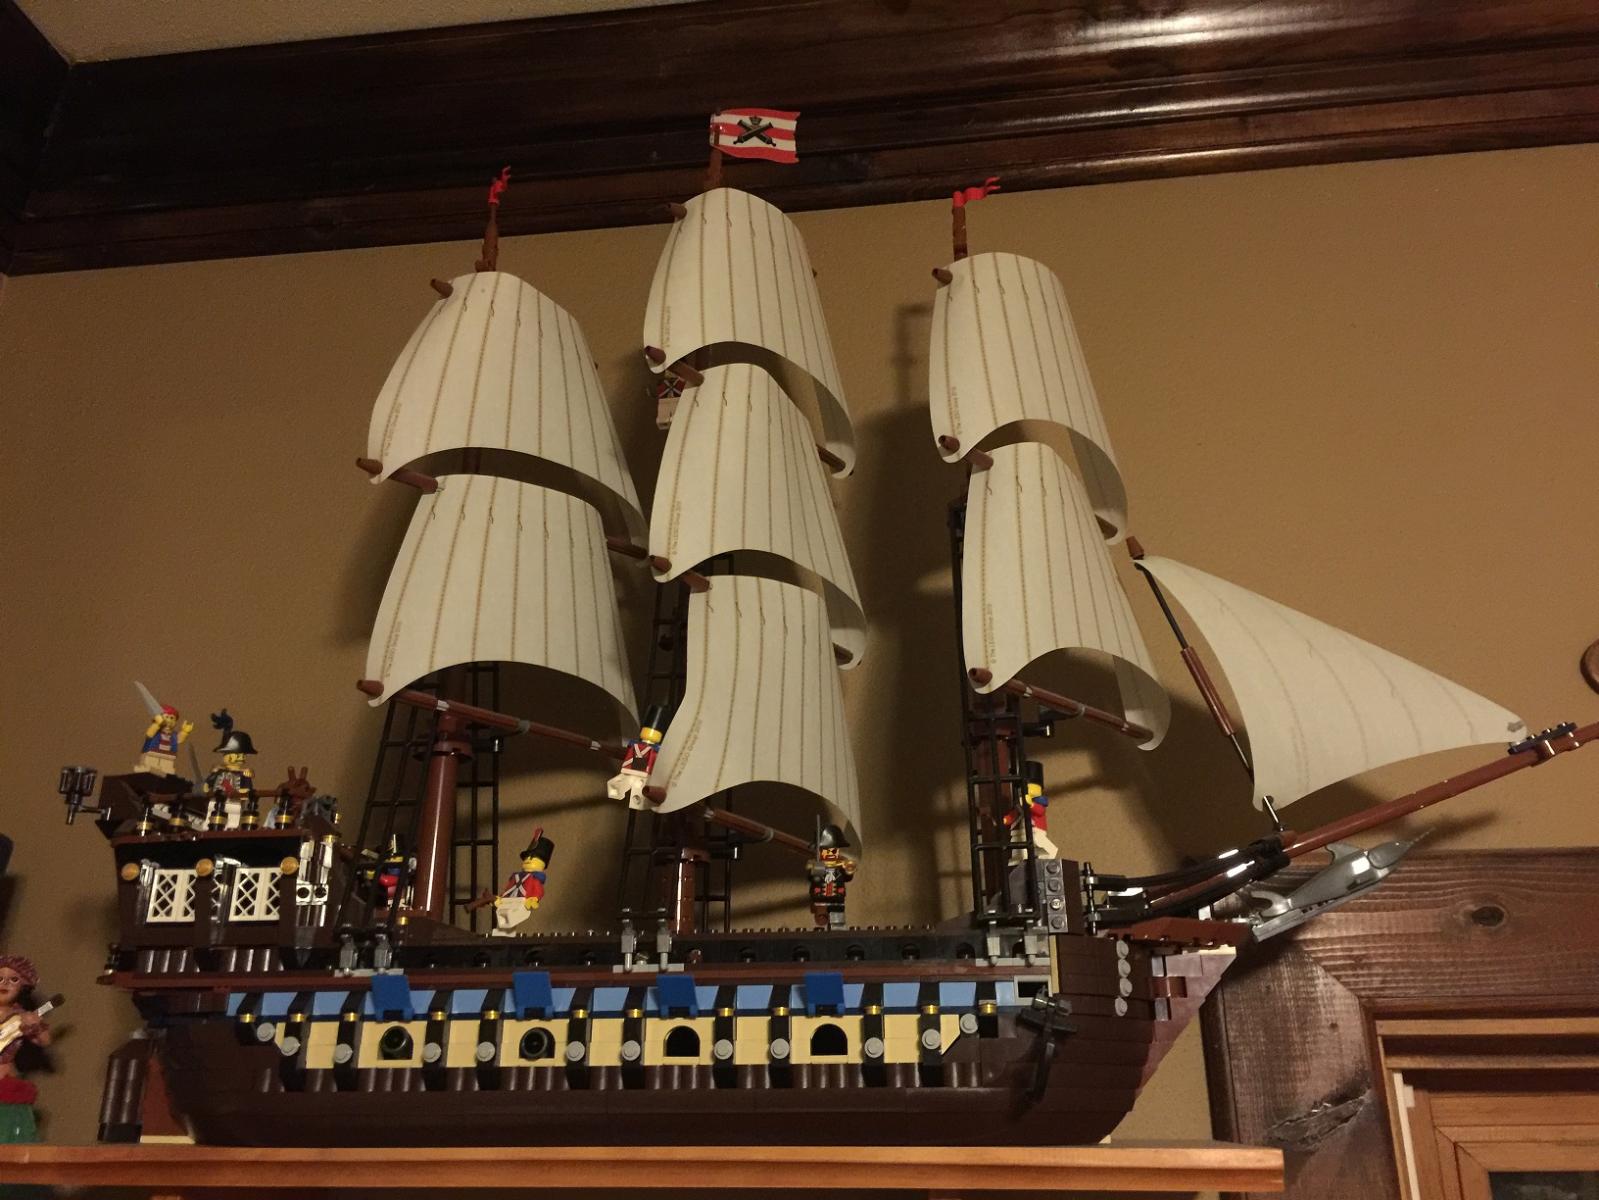
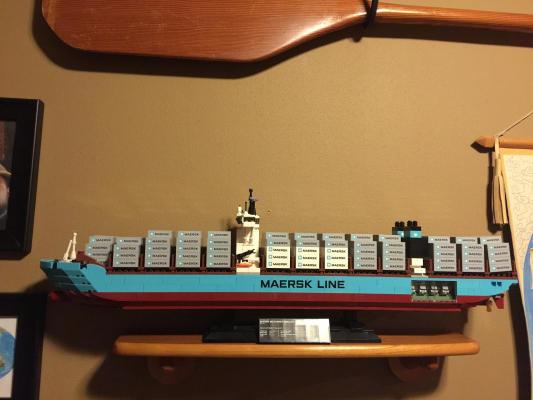
Hi Everyone, The other models you may have noticed in my shop are Lego's: -Jason
- 41 replies
-
- 1
-
-
- billing boats
- FD 10
- (and 3 more)
-
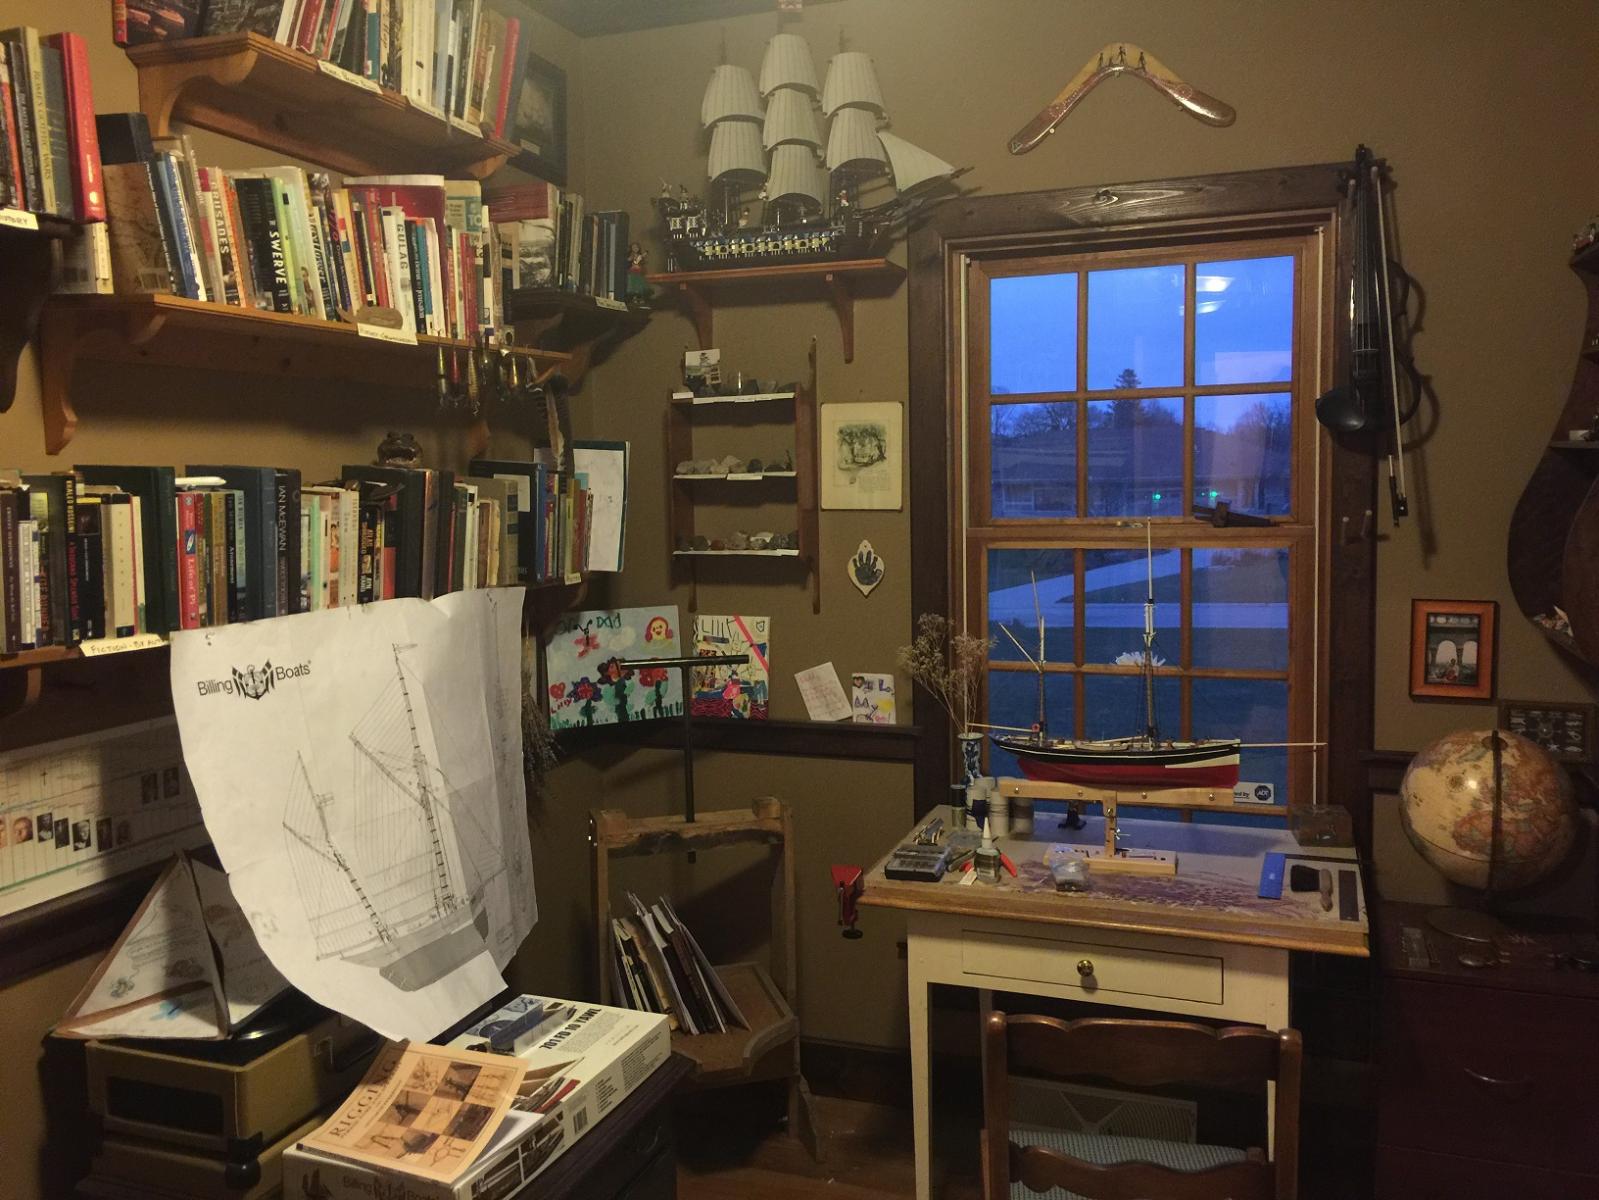
Modeling area. Any real sanding or woodwork done downstairs.

- 41 replies
-
- 2
-
-
- billing boats
- FD 10
- (and 3 more)
-
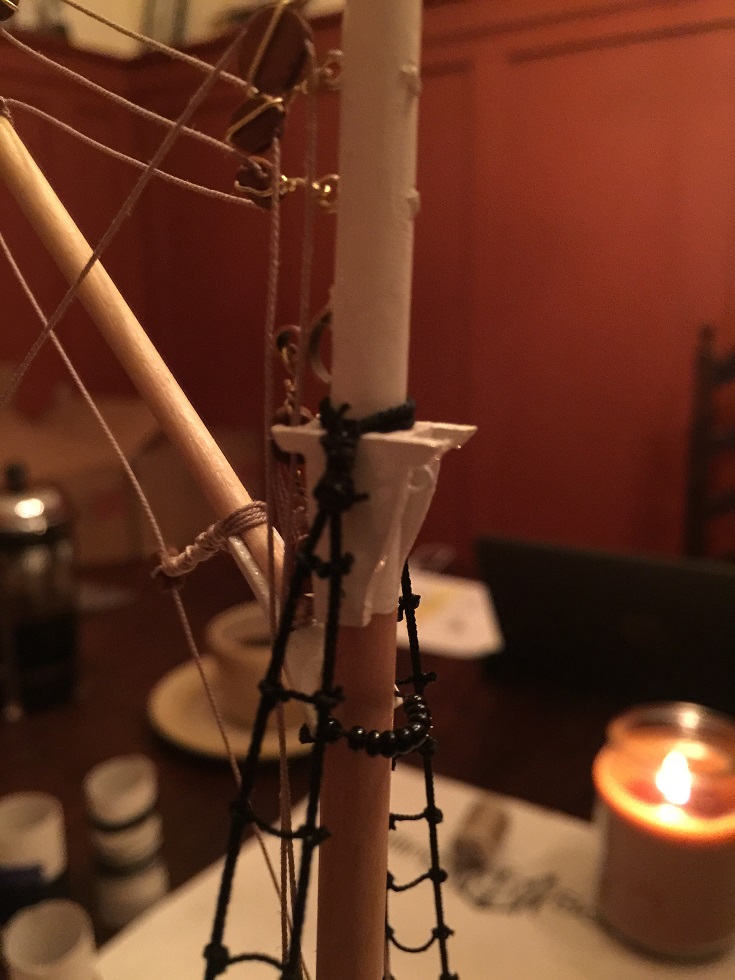
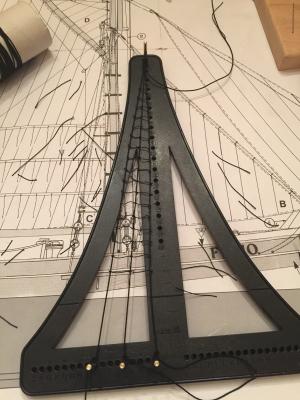
Upper and lower shrouds installed. Working on running rigging now.
- 41 replies
-
- 2
-
-
- billing boats
- FD 10
- (and 3 more)
-
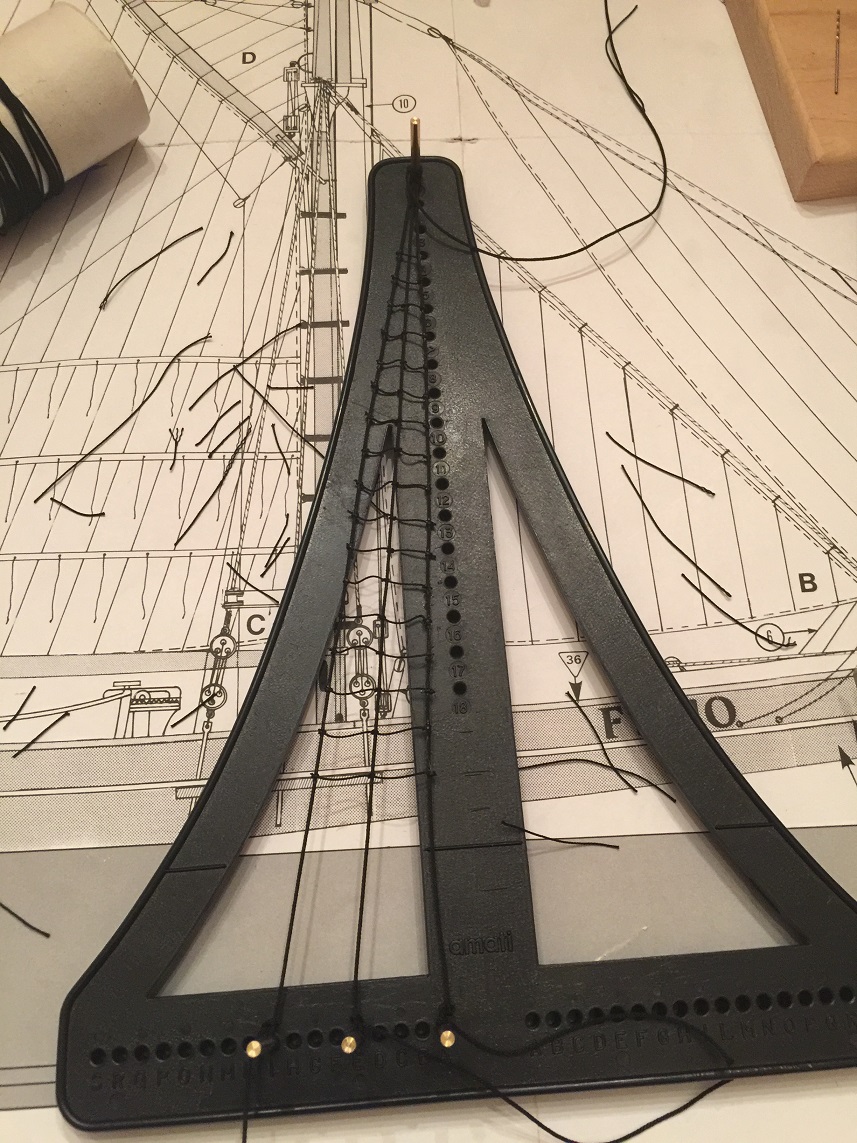
Tying up mainmast shrouds and ratlines. Using a bit of jewelers cement on the knots (G-S Hypo Cement).
- 41 replies
-
- 2
-
-
- billing boats
- FD 10
- (and 3 more)
-
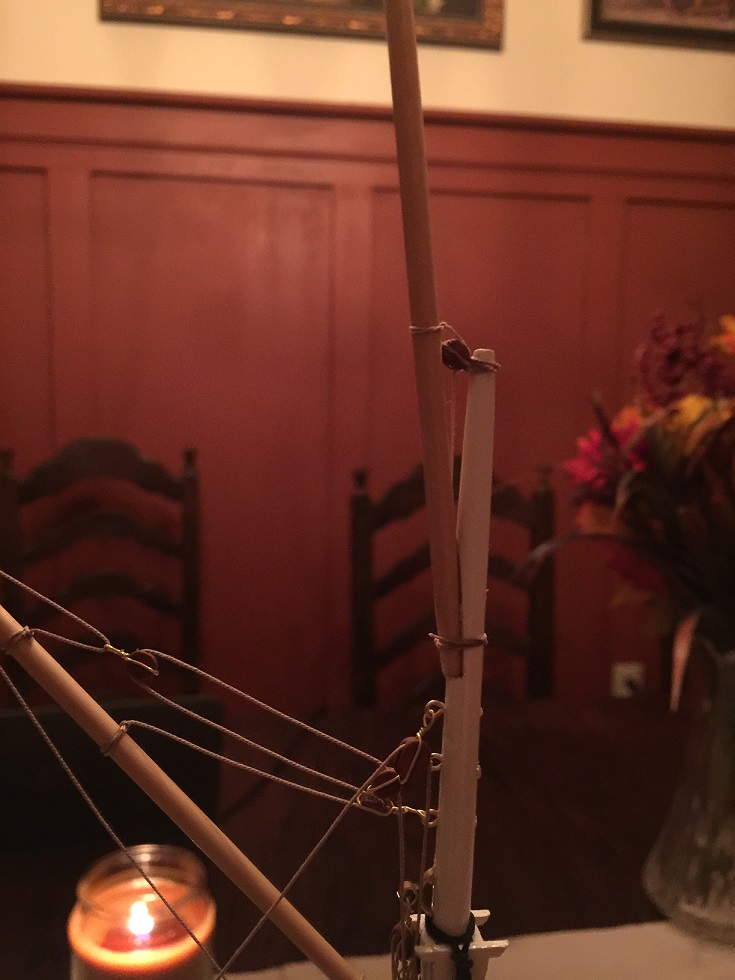
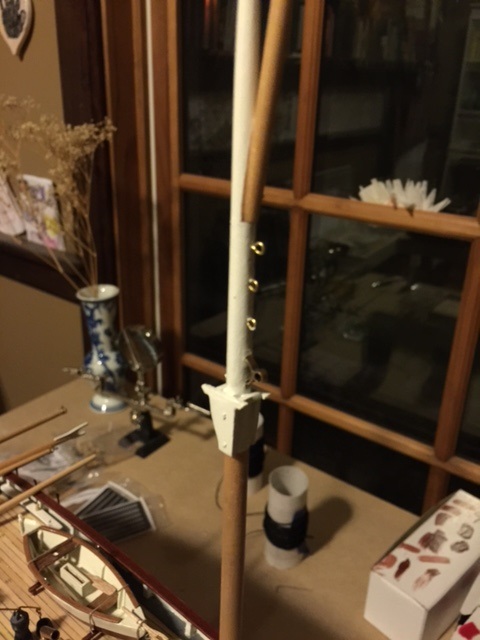
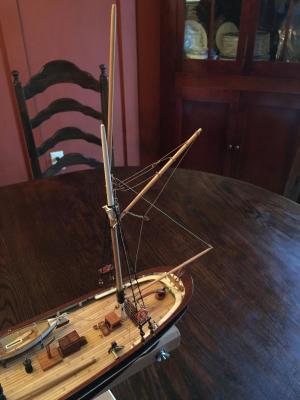
Hi, Please see photo below of mizzen topsail gaff arrangement. Can be raised/lowered with a halyard. On the model itself, I glued the gaff in place. Jason

- 41 replies
-
- 2
-
-
- billing boats
- FD 10
- (and 3 more)
-
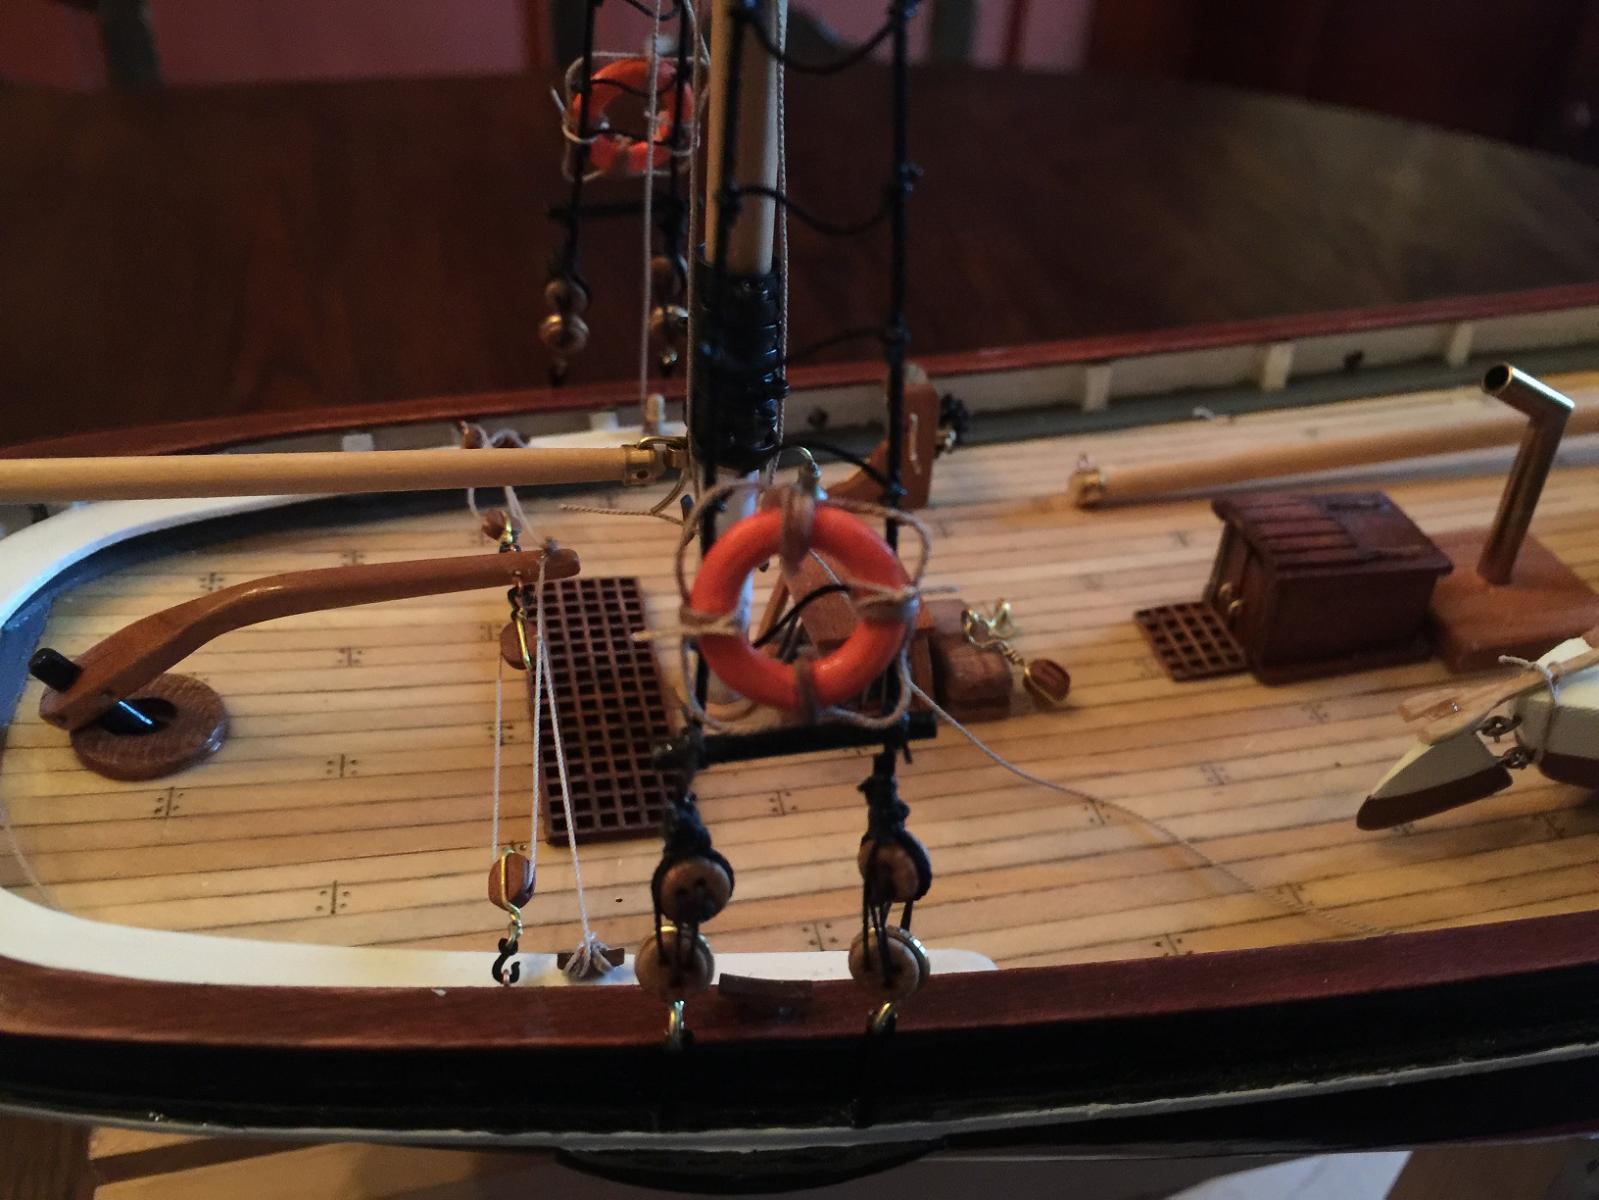
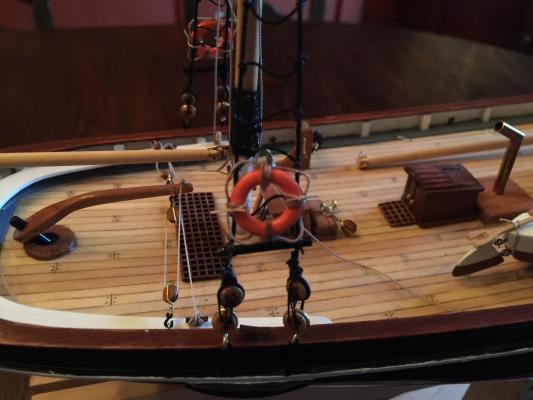
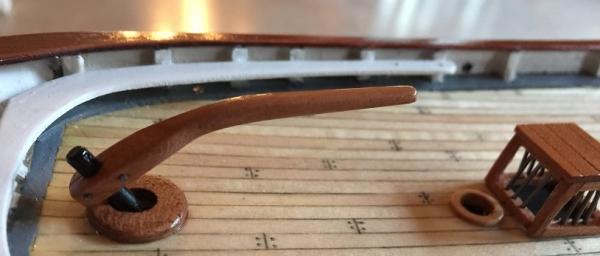
Rigging the mizzen mast and steering gear. I trimmed the plastic molded rope off the life-rings and redid it with miniature rope. Next on to the rigging the main. Note to future builders that follow my build sequence, do not assemble the top-mast to the main mast prior to rigging the lower sections of the main-mast. I will need to do some dissassembly in order to fit shrouds on the lower part of the main. -Jason
- 41 replies
-
- 7
-
-
- billing boats
- FD 10
- (and 3 more)
-
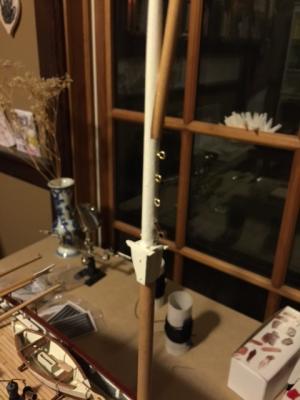
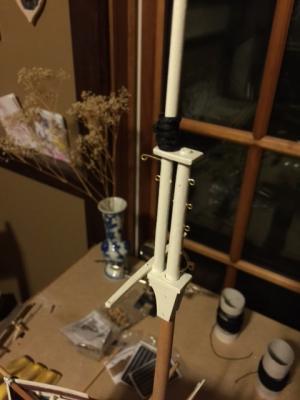
Working on masts and booms; added a little bell as well. Rigging will be starting soon. -Jason
- 41 replies
-
- 5
-
-
- billing boats
- FD 10
- (and 3 more)
-
Hi Everyone, Some questions on making tan bark sails: 1: should the sails be dyed after sewing or before? 2. Does anyone have a specific procedure for dyeing sail cloth to make a good tan bark result? Thank you Jason
-
Model Sail maker recommendation? USA
Jason Builder replied to Jason Builder's topic in Masting, rigging and sails
Hi, I have thought about it, but am worried about bending shoddy looking sails on to my model....I do not have sewing experience. What it the best way to dye cloth for tanbark sails? Thank you Jason -
Hi Everyone, I would like to order tanbark sails for my model FD10 Arnanes, by Billing Boats. Does anyone have a recommendation for a high quality model sail maker in the USA? Thank you, Jason
-
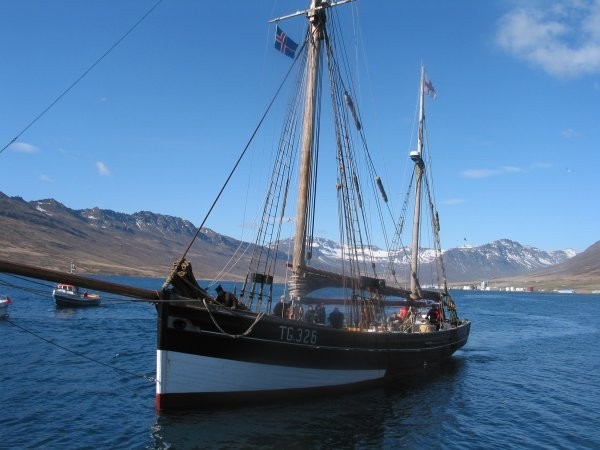
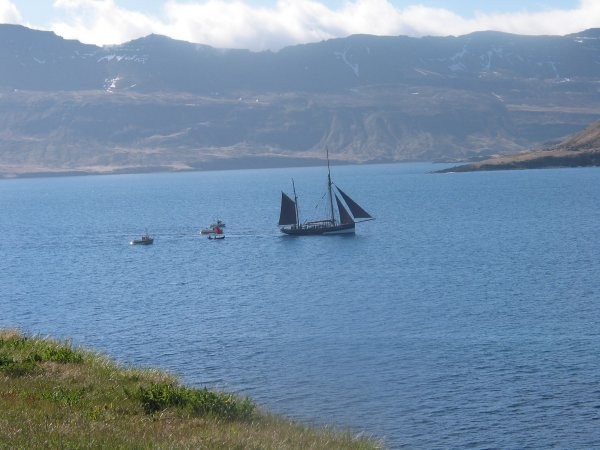
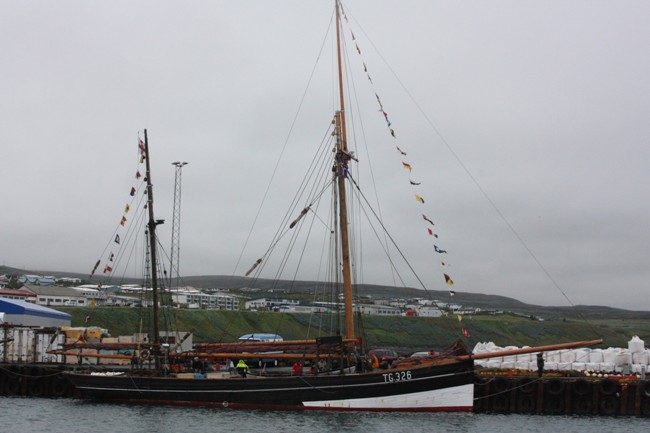
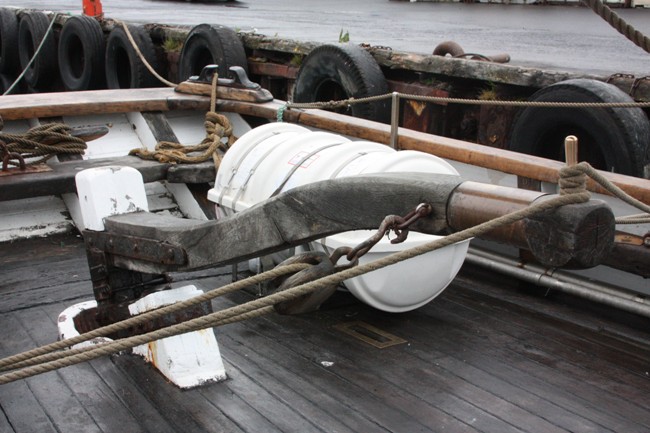
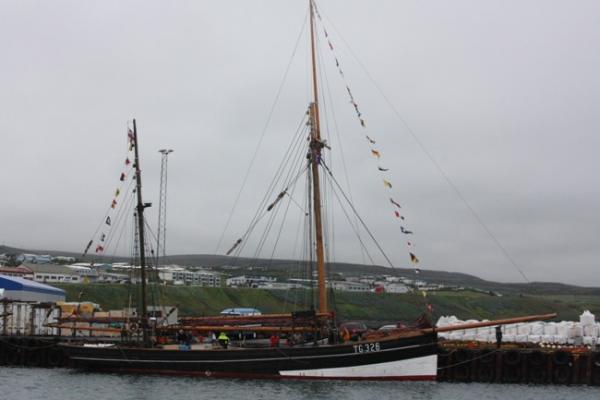
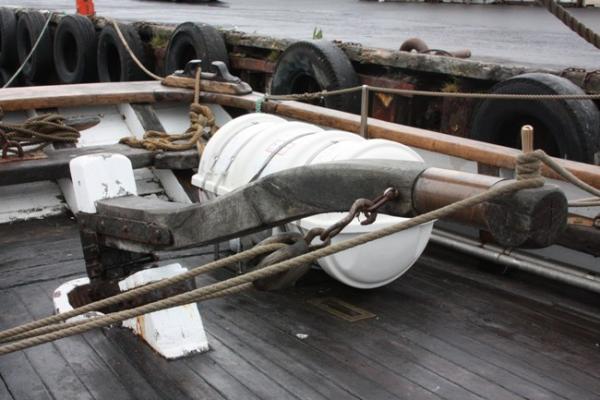
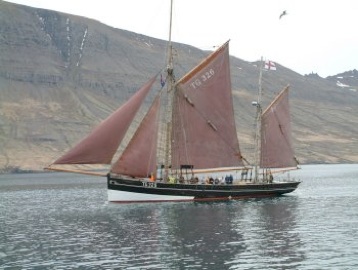
Very interesting! I have been researching this model and I have found that the ship that this model is patterned off of has been restored and is sailing in Iceland and the Faroe Islands. It is now called "Johanna" with the call number TG326. Built in 1884 by Hoad Bros. Shipbuilder in Rye, UK, she was originally called the "Oxfordshire". Sold to the Johanna Foundation in 1982 and restored. some links: http://johanna.fo/myndasavn.html http://www.family-threads.org.uk/HOAD_Ship_Builders.html https://fo.wikipedia.org/wiki/Johanna_TG_326 Photo's of the Johanna:


- 41 replies
-
- 8
-
-
- billing boats
- FD 10
- (and 3 more)
-
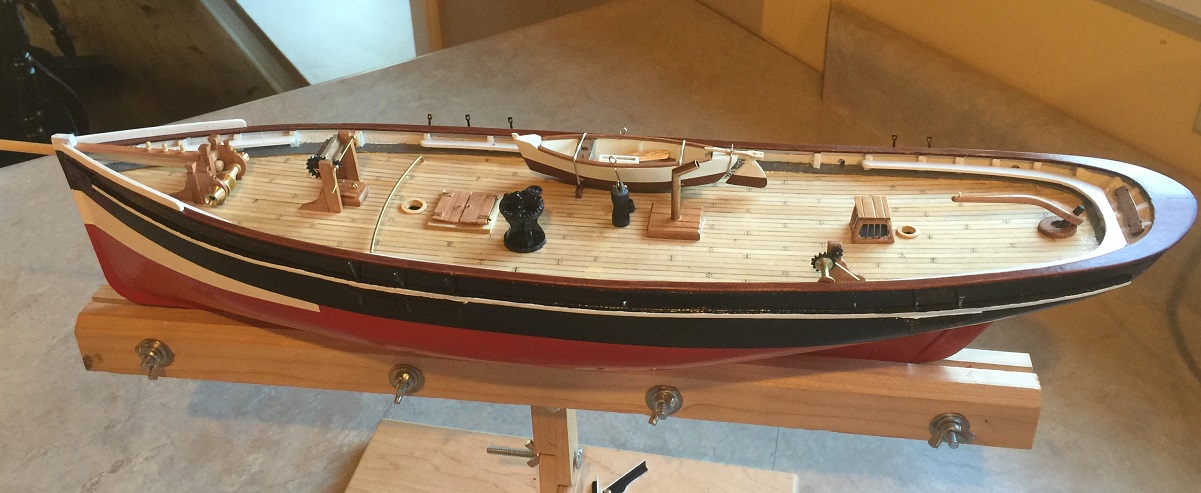
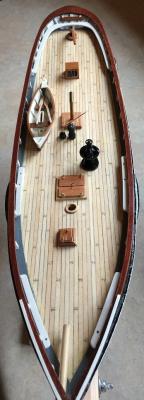
Hi Everyone, Work is progressing on building deck equipment. Chainplates are now attached as well.

- 41 replies
-
- 9
-
-
- billing boats
- FD 10
- (and 3 more)
-
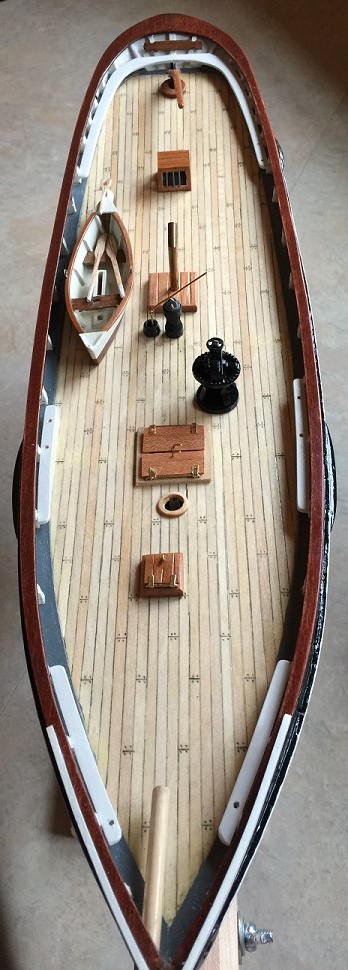
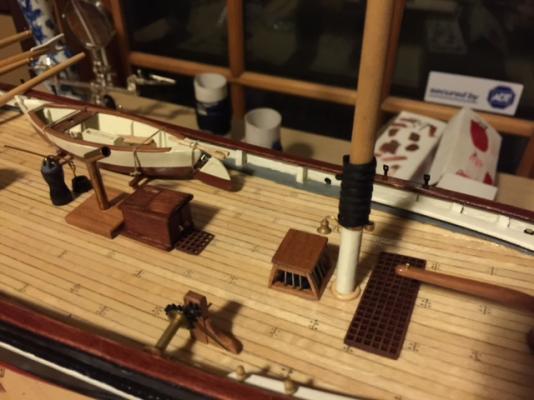
Hi Everyone, I have been building the deck fittings, hatches, and so on from cherry. I made the hole in the hull for the bowsprit this morning: drilled a small hole and than filed the hole to the finished size with a round file. -Jason
- 41 replies
-
- 11
-
-
- billing boats
- FD 10
- (and 3 more)
-
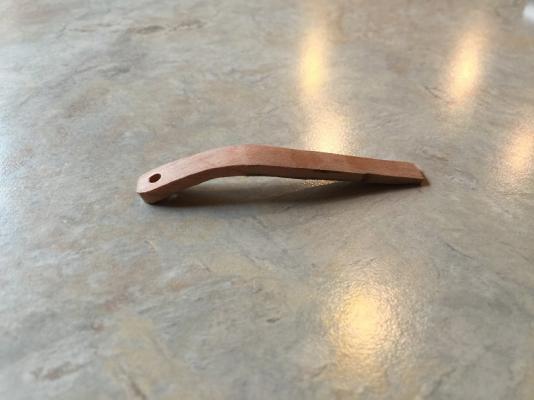
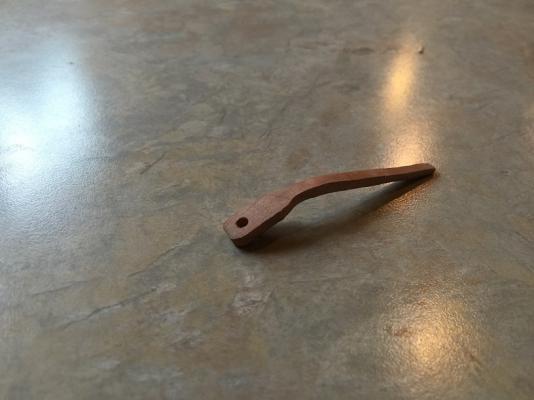
Rudder made from cherry. Blank cut out using dremel scroll saw, then carved and sanded to shape.

- 41 replies
-
- 6
-
-
- billing boats
- FD 10
- (and 3 more)
-
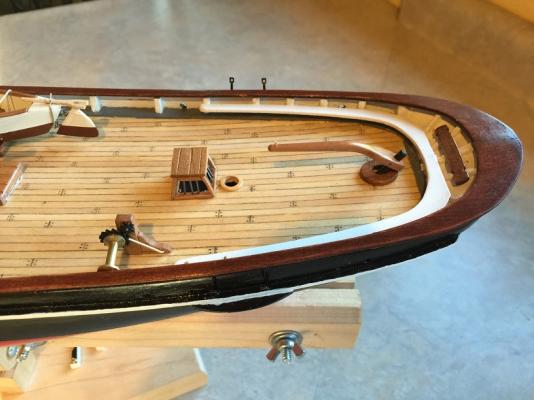
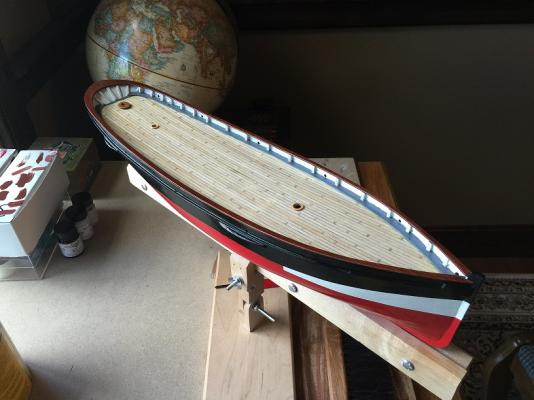
Hi Everyone, I drilled the hole through the hull for the rudder with an electric drill, glad it all went well! The rudder is also assembled and painted. Scuppers were not in the plan but I added some, and also added some vertical frame pieces above the deck along the inside of the hull, where the spacing between the actual internal bulkheads seemed to big. This way when you look at the frames they look more properly spaced. Also, the frame-tops that you see along the inside of the hull, protruded out too far in toward the center line of the ship, so I trimmed them back to be flush with the railing. Holes have been cut in for the masts and I made the top railing out of solid wood in lieu of the plywood provided.
- 41 replies
-
- 6
-
-
- billing boats
- FD 10
- (and 3 more)