MiraMarSteve
-
Posts
8 -
Joined
-
Last visited
About MiraMarSteve

- Birthday 10/09/1948
Recent Profile Visitors
372 profile views


-
 SiriusVoyager reacted to a post in a topic:
Lowell Grand Banks Dory by MiraMarSteve - Model Shipways - 1:24 - First Build
SiriusVoyager reacted to a post in a topic:
Lowell Grand Banks Dory by MiraMarSteve - Model Shipways - 1:24 - First Build
-
robert952 reacted to a post in a topic:
Lowell Grand Banks Dory by MiraMarSteve - Model Shipways - 1:24 - First Build
-
Paul Le Wol reacted to a post in a topic:
Lowell Grand Banks Dory by MiraMarSteve - Model Shipways - 1:24 - First Build
-
JacquesCousteau reacted to a post in a topic:
Lowell Grand Banks Dory by MiraMarSteve - Model Shipways - 1:24 - First Build
-
tmj reacted to a post in a topic:
Lowell Grand Banks Dory by MiraMarSteve - Model Shipways - 1:24 - First Build
-
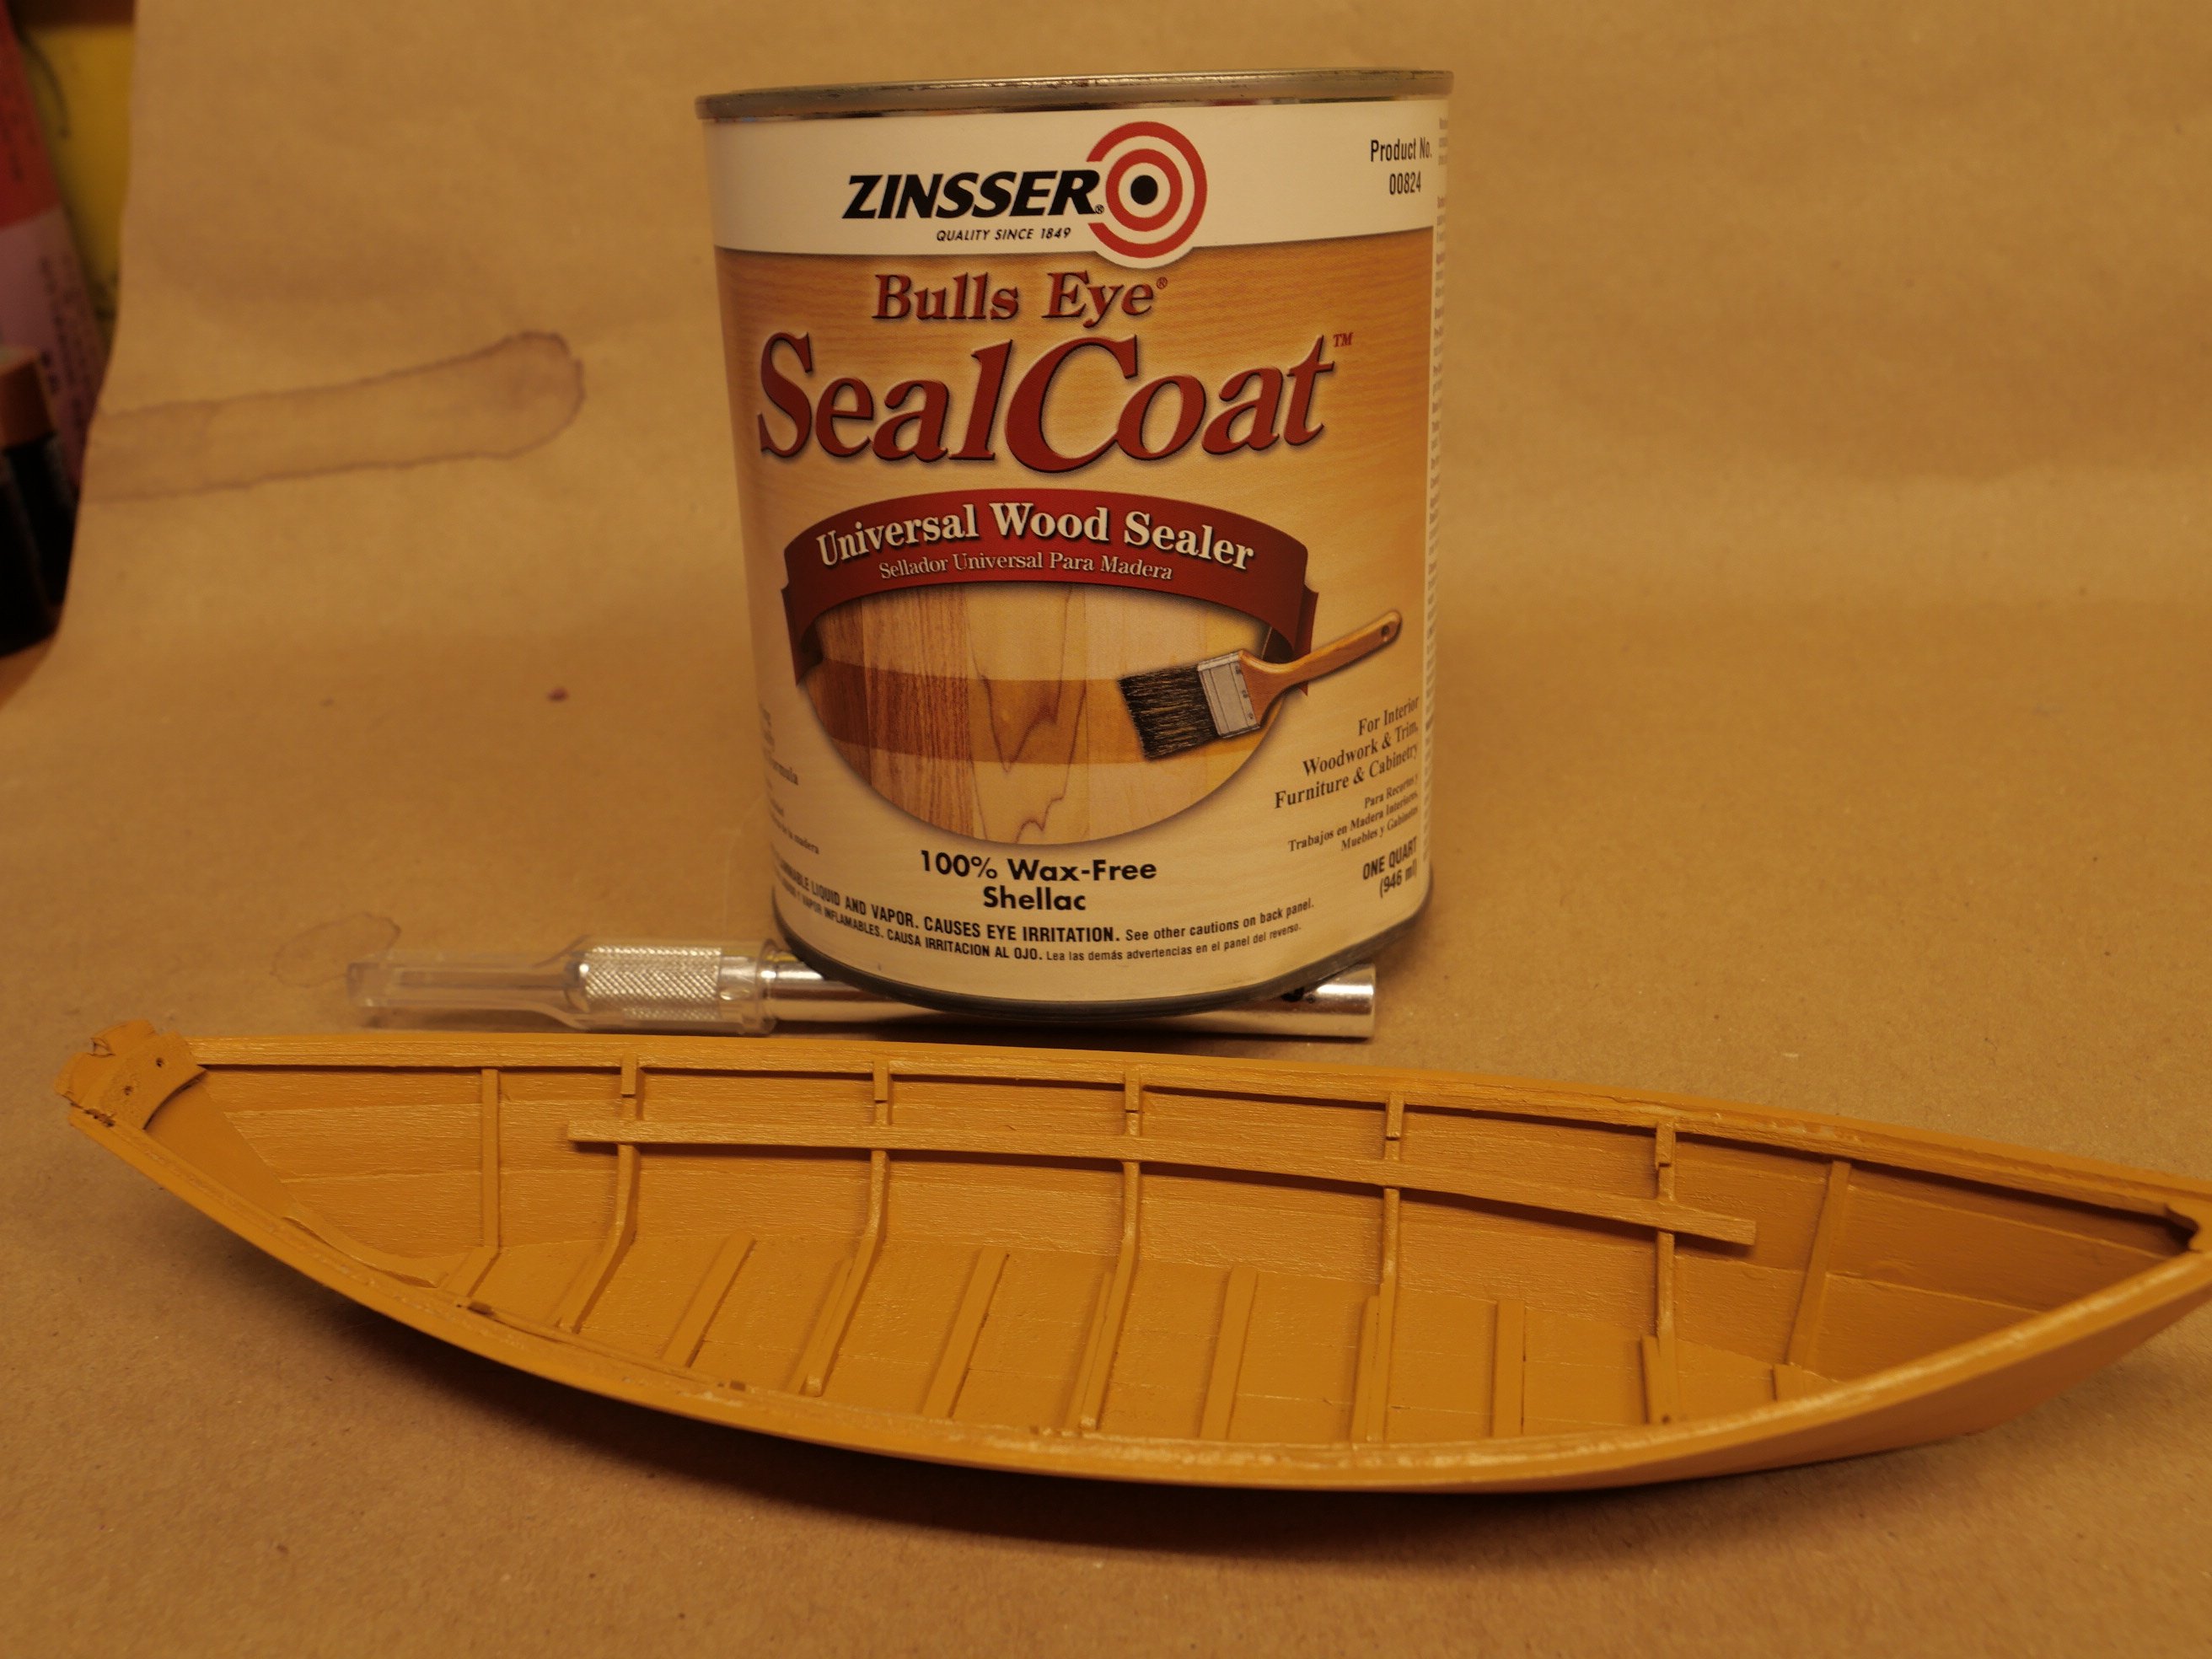
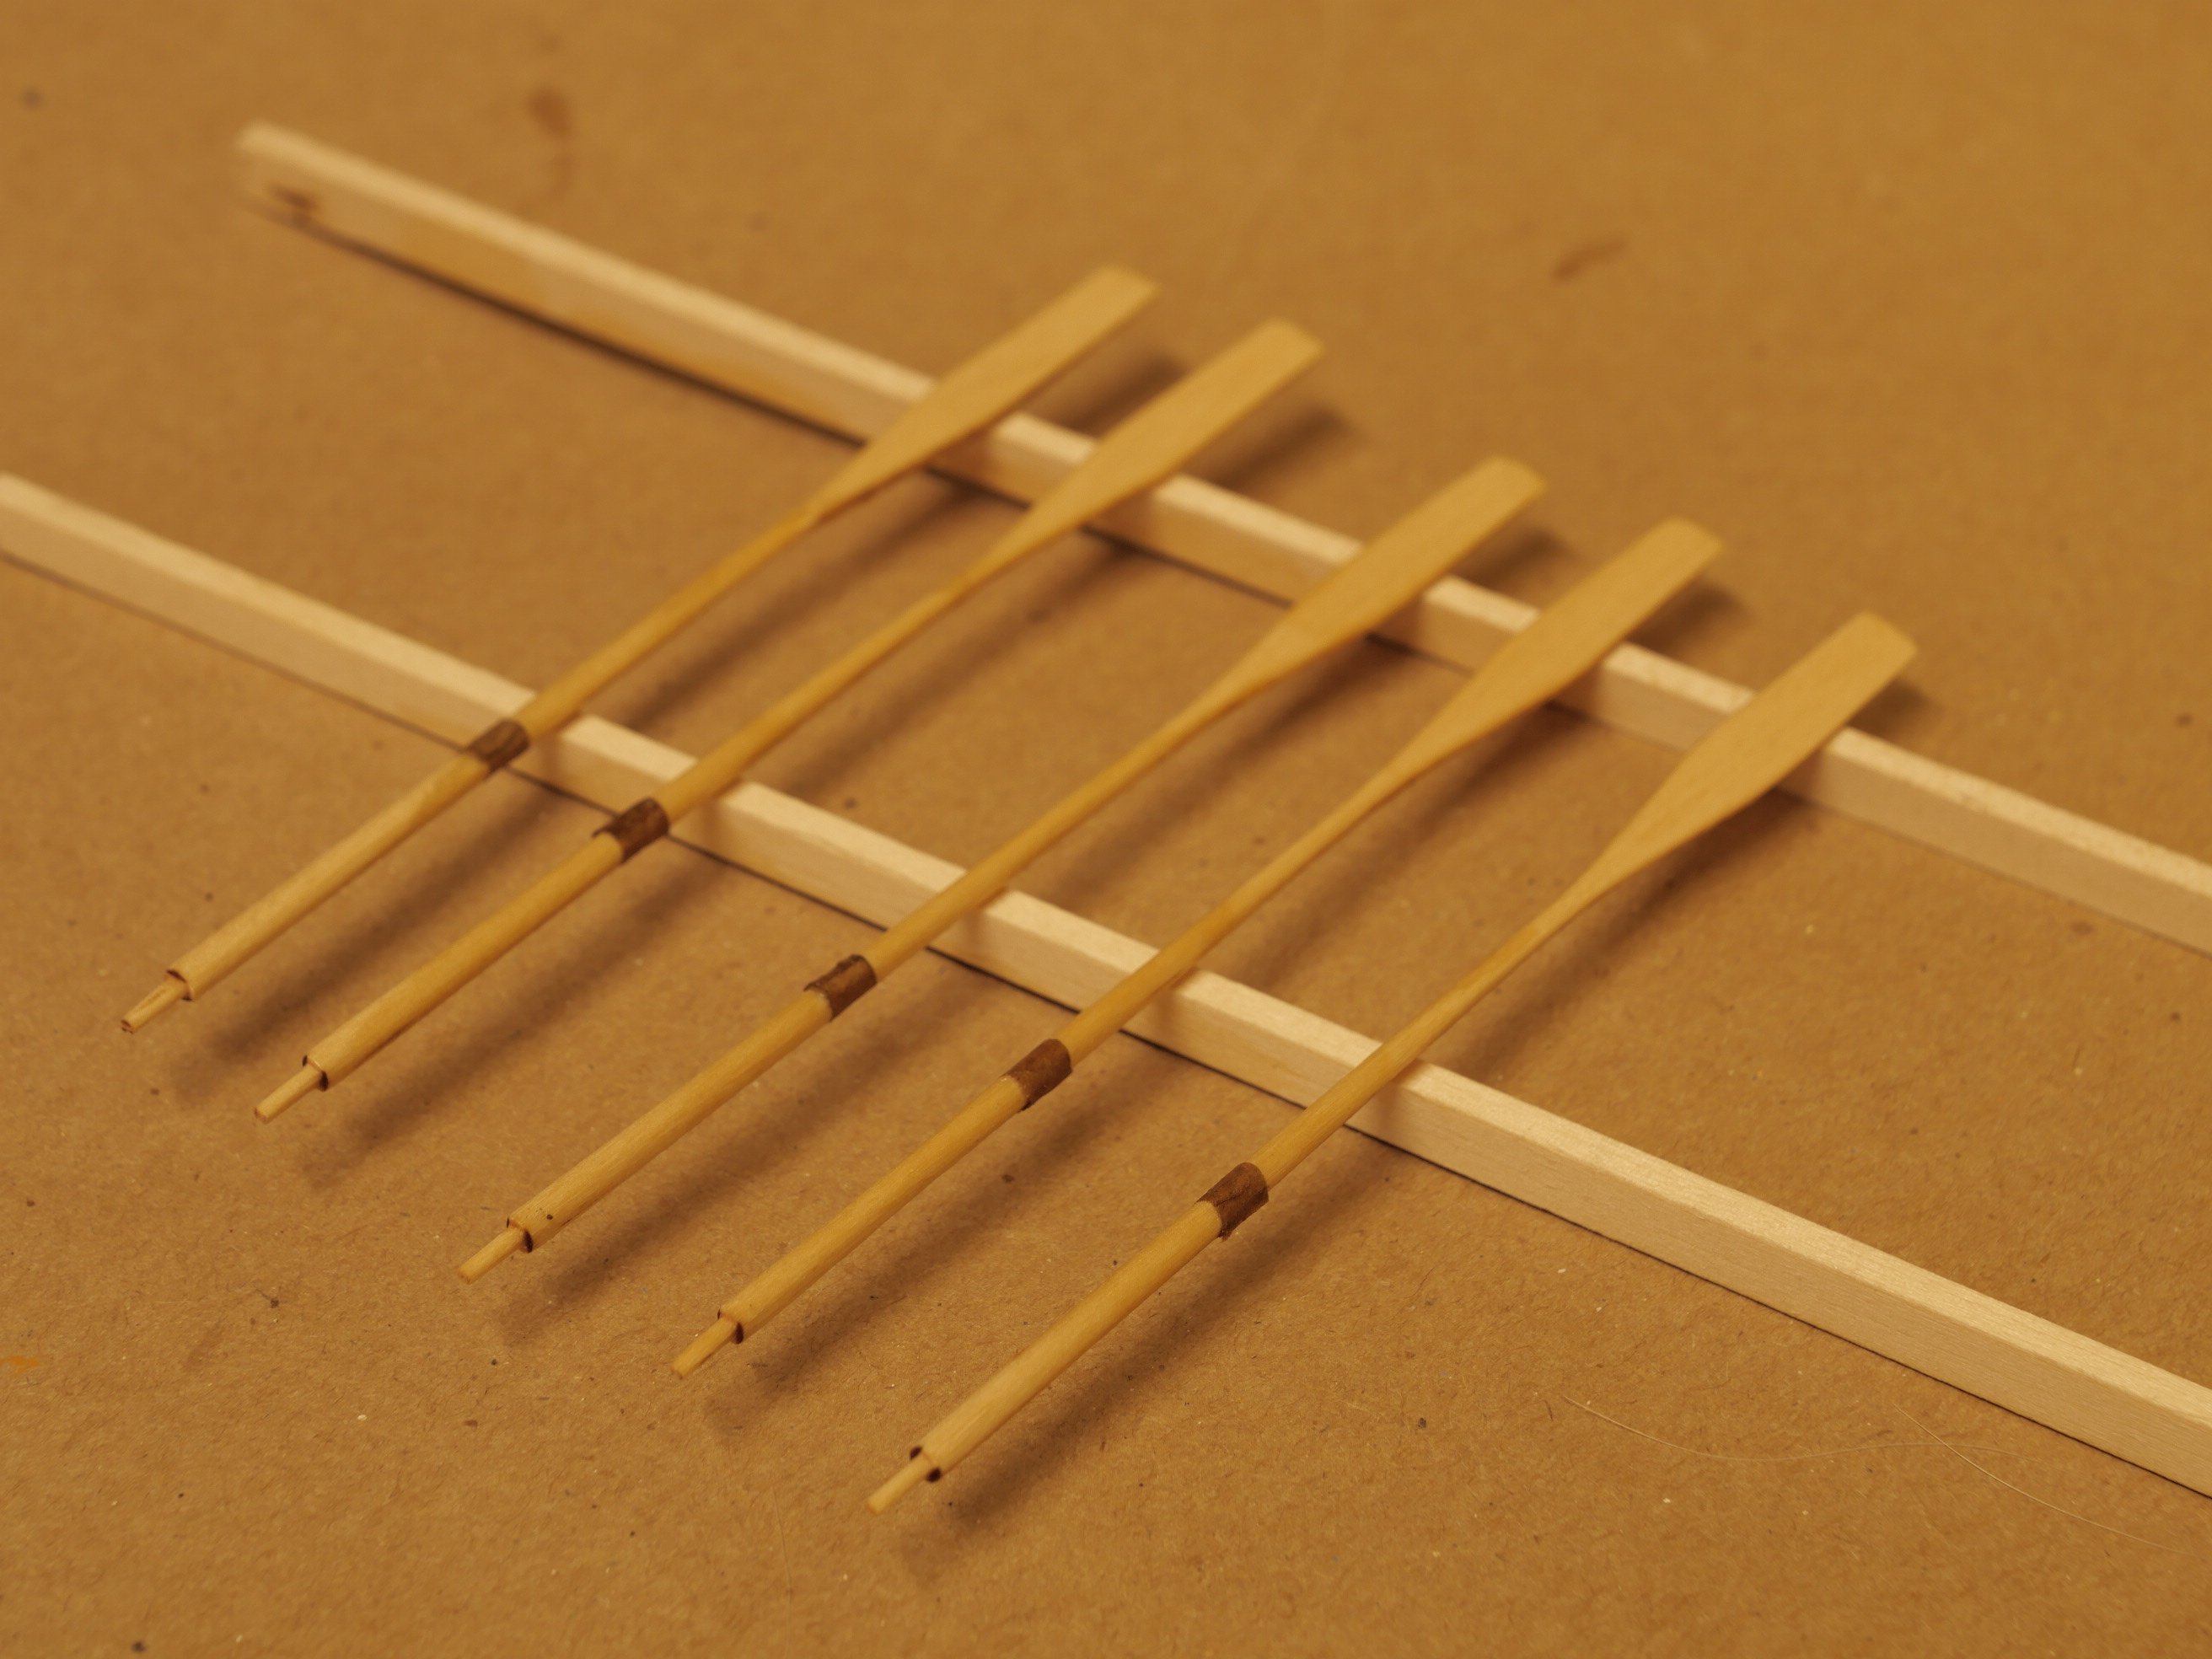
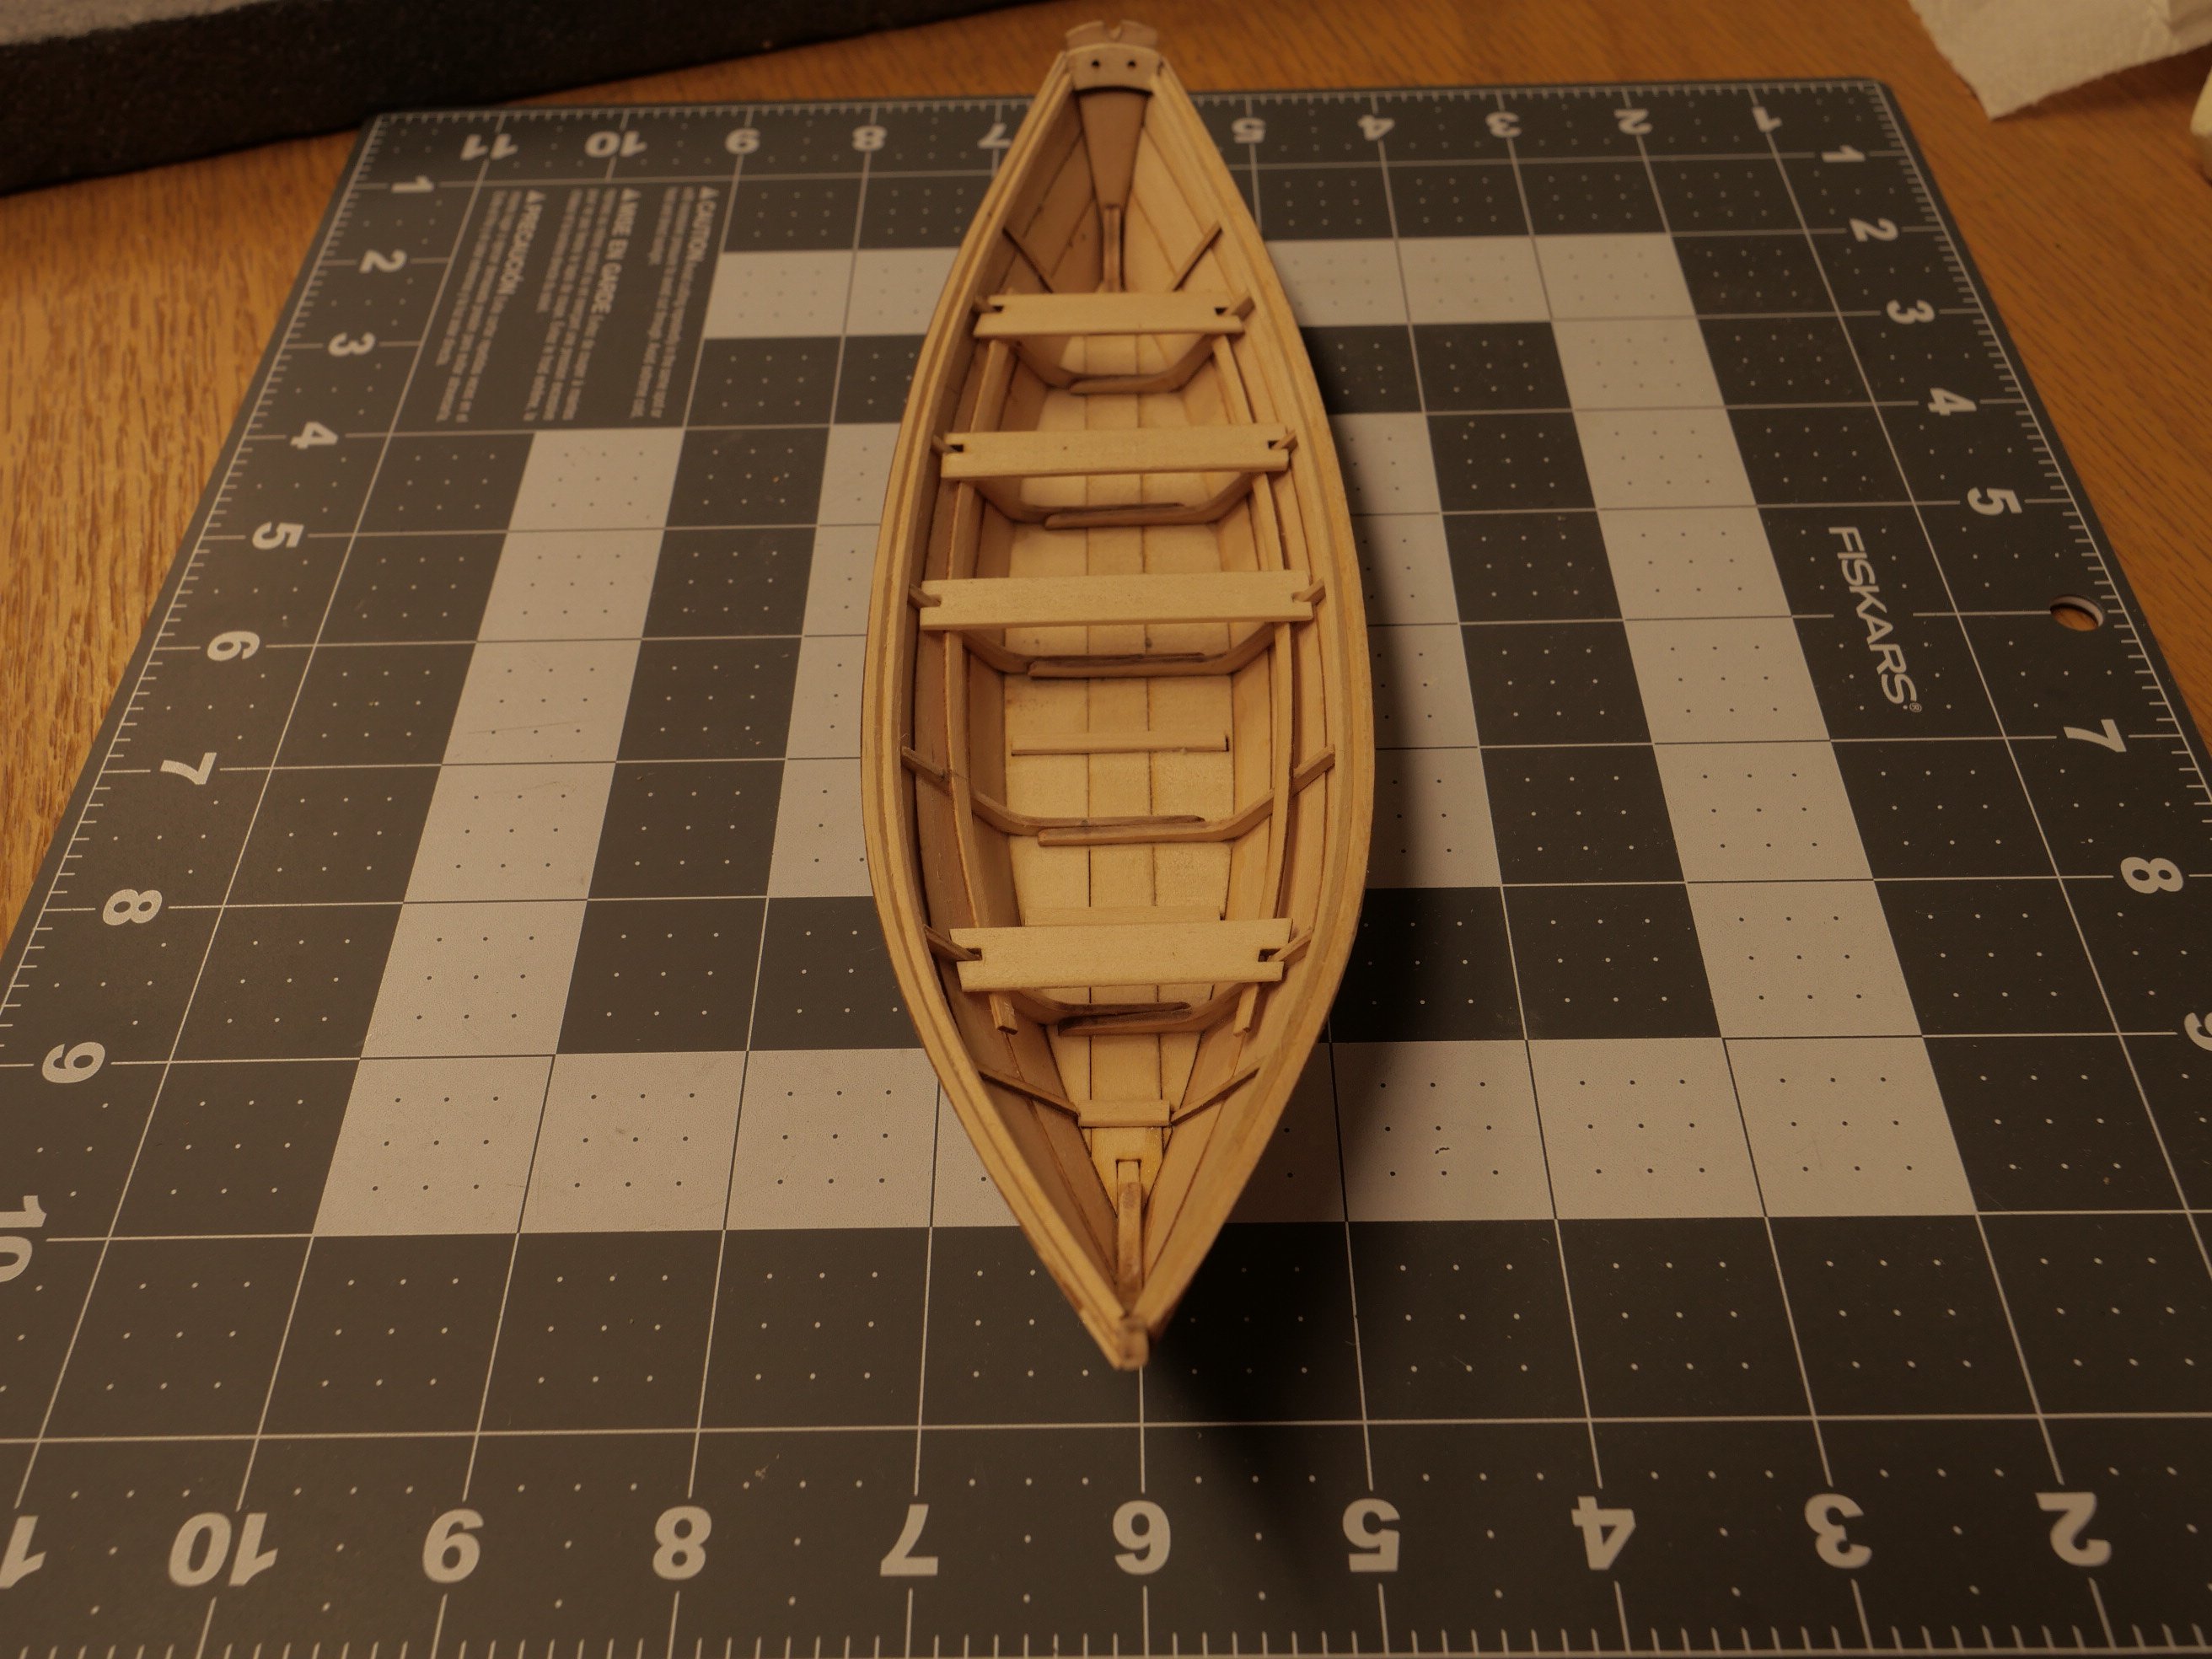
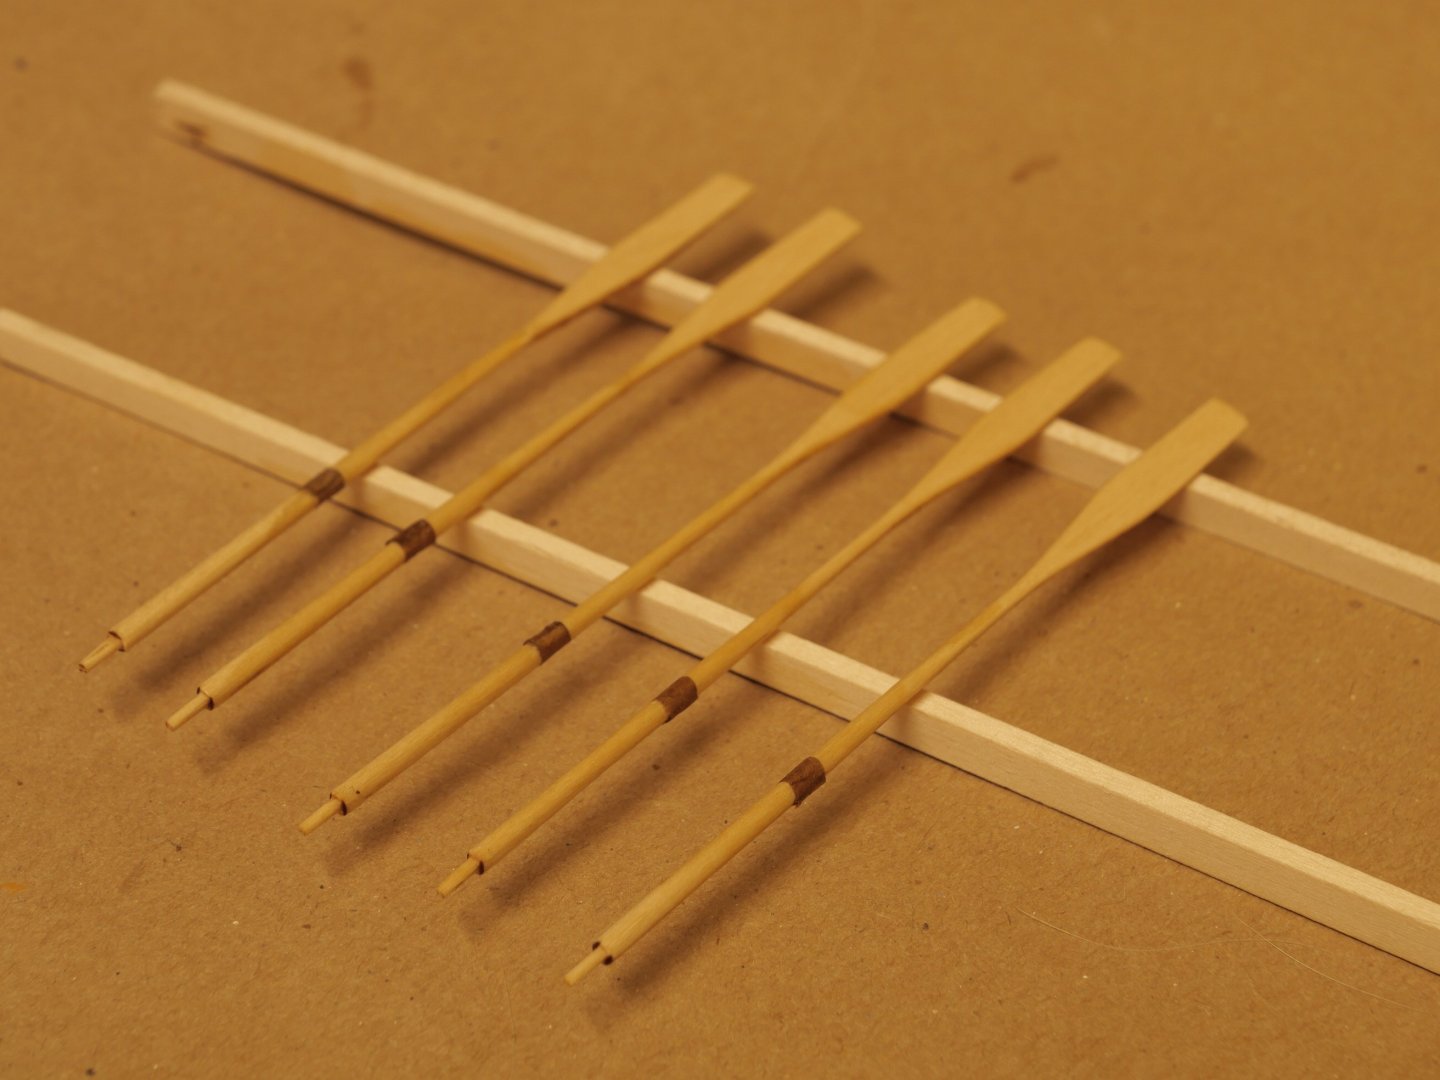
 I've just finished putting the second coat of color on the interior of the dory. Prior to paint, I applied a coat of wood sealer which seems to have done a good job. I think I won't apply another coat of color. I think the the second coat is pretty much fully opaque and don't want to risk losing the crispness of the edges by applying more. I have finished the oars. Crazy, I snapped two at the neck after getting it too thin there. One of these required a scarf type splice, which shortened it versus the rest. The other hadn't fully separated so it received a drop of CA glue. Gotta be careful. Next, I'll see if the outer hull needs three coats. Thanks for the comment on the Frame head irons. I think I am going to lightly touch the edges of each in black, as I liked the look of them pre paint, with the char showing looking like rusted edges.
- 5 replies
-
- 5
-
-
- Lowell Grand Banks Dory
- Model Shipways
- (and 1 more)
-
SiriusVoyager reacted to a post in a topic:
Lowell Grand Banks Dory by MiraMarSteve - Model Shipways - 1:24 - First Build
-
Knocklouder reacted to a post in a topic:
Lowell Grand Banks Dory by MiraMarSteve - Model Shipways - 1:24 - First Build
-
JacquesCousteau reacted to a post in a topic:
Lowell Grand Banks Dory by MiraMarSteve - Model Shipways - 1:24 - First Build
-
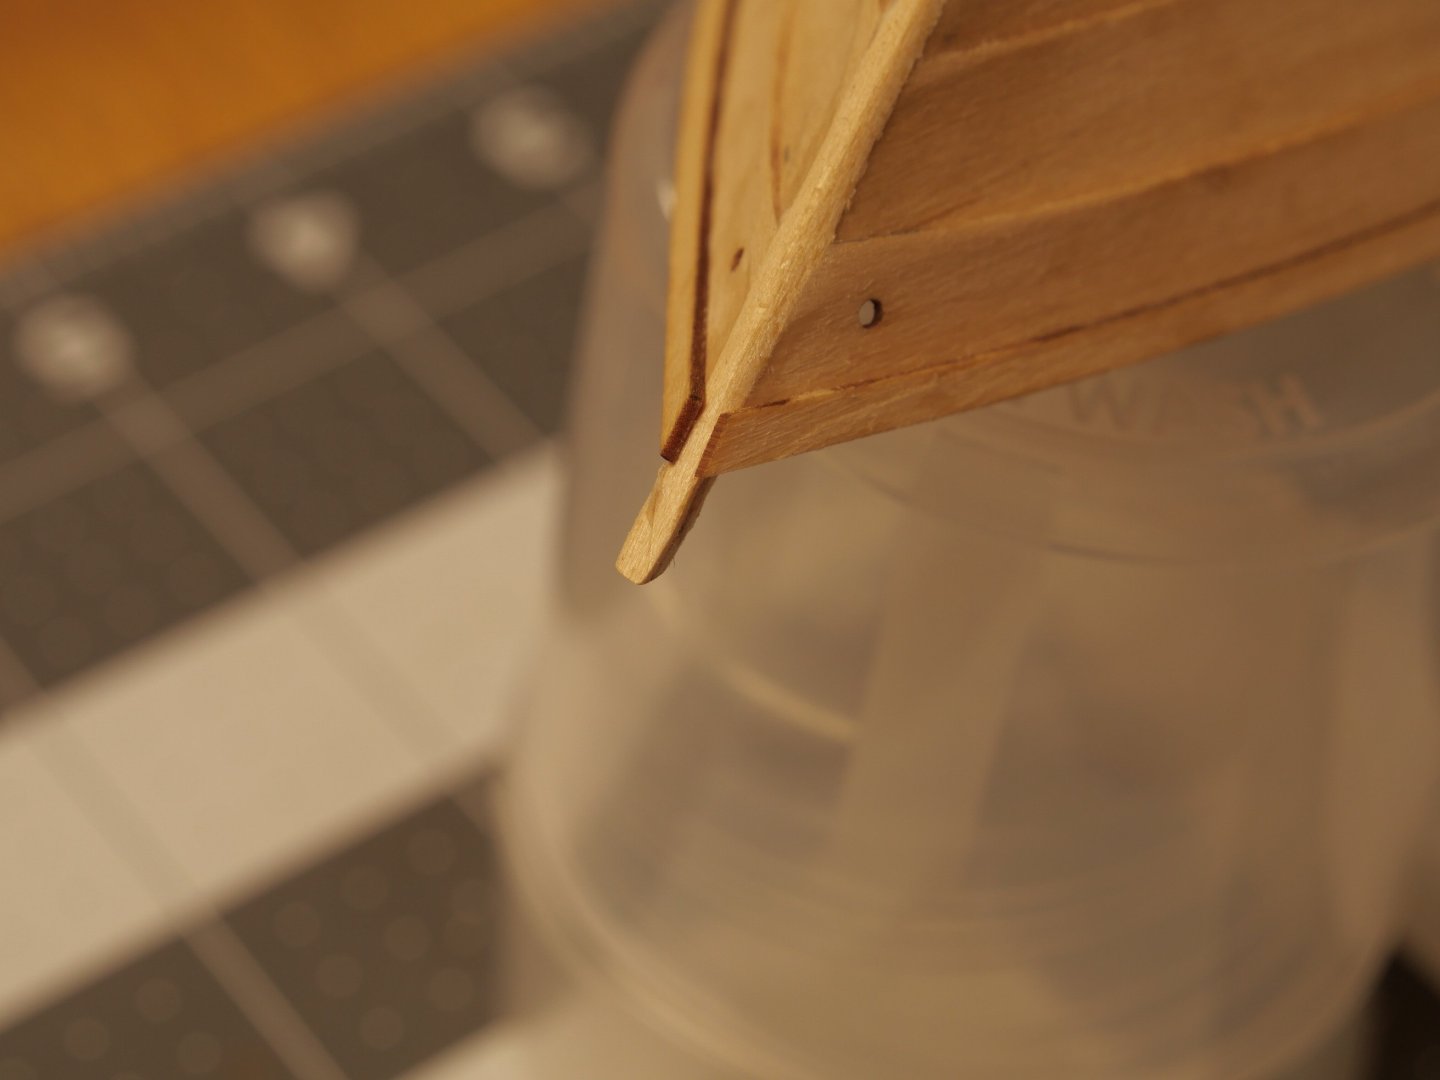
Thank you for all your comments, dealing with the size of the pieces has been my real challenge so far. My next step is adding the Frame head irons. I'm not quite sure what the card material is, so am improvising. I have extra side cleat material so I think I will use it. It is the right width, although it is probably way too thick to scale to be an iron plate. Pictured is a test piece glued in place.

- 5 replies
-
- 3
-
-
- Lowell Grand Banks Dory
- Model Shipways
- (and 1 more)
-
SiriusVoyager reacted to a post in a topic:
Lowell Grand Banks Dory by MiraMarSteve - Model Shipways - 1:24 - First Build
-
ccoyle reacted to a post in a topic:
Lowell Grand Banks Dory by MiraMarSteve - Model Shipways - 1:24 - First Build
-
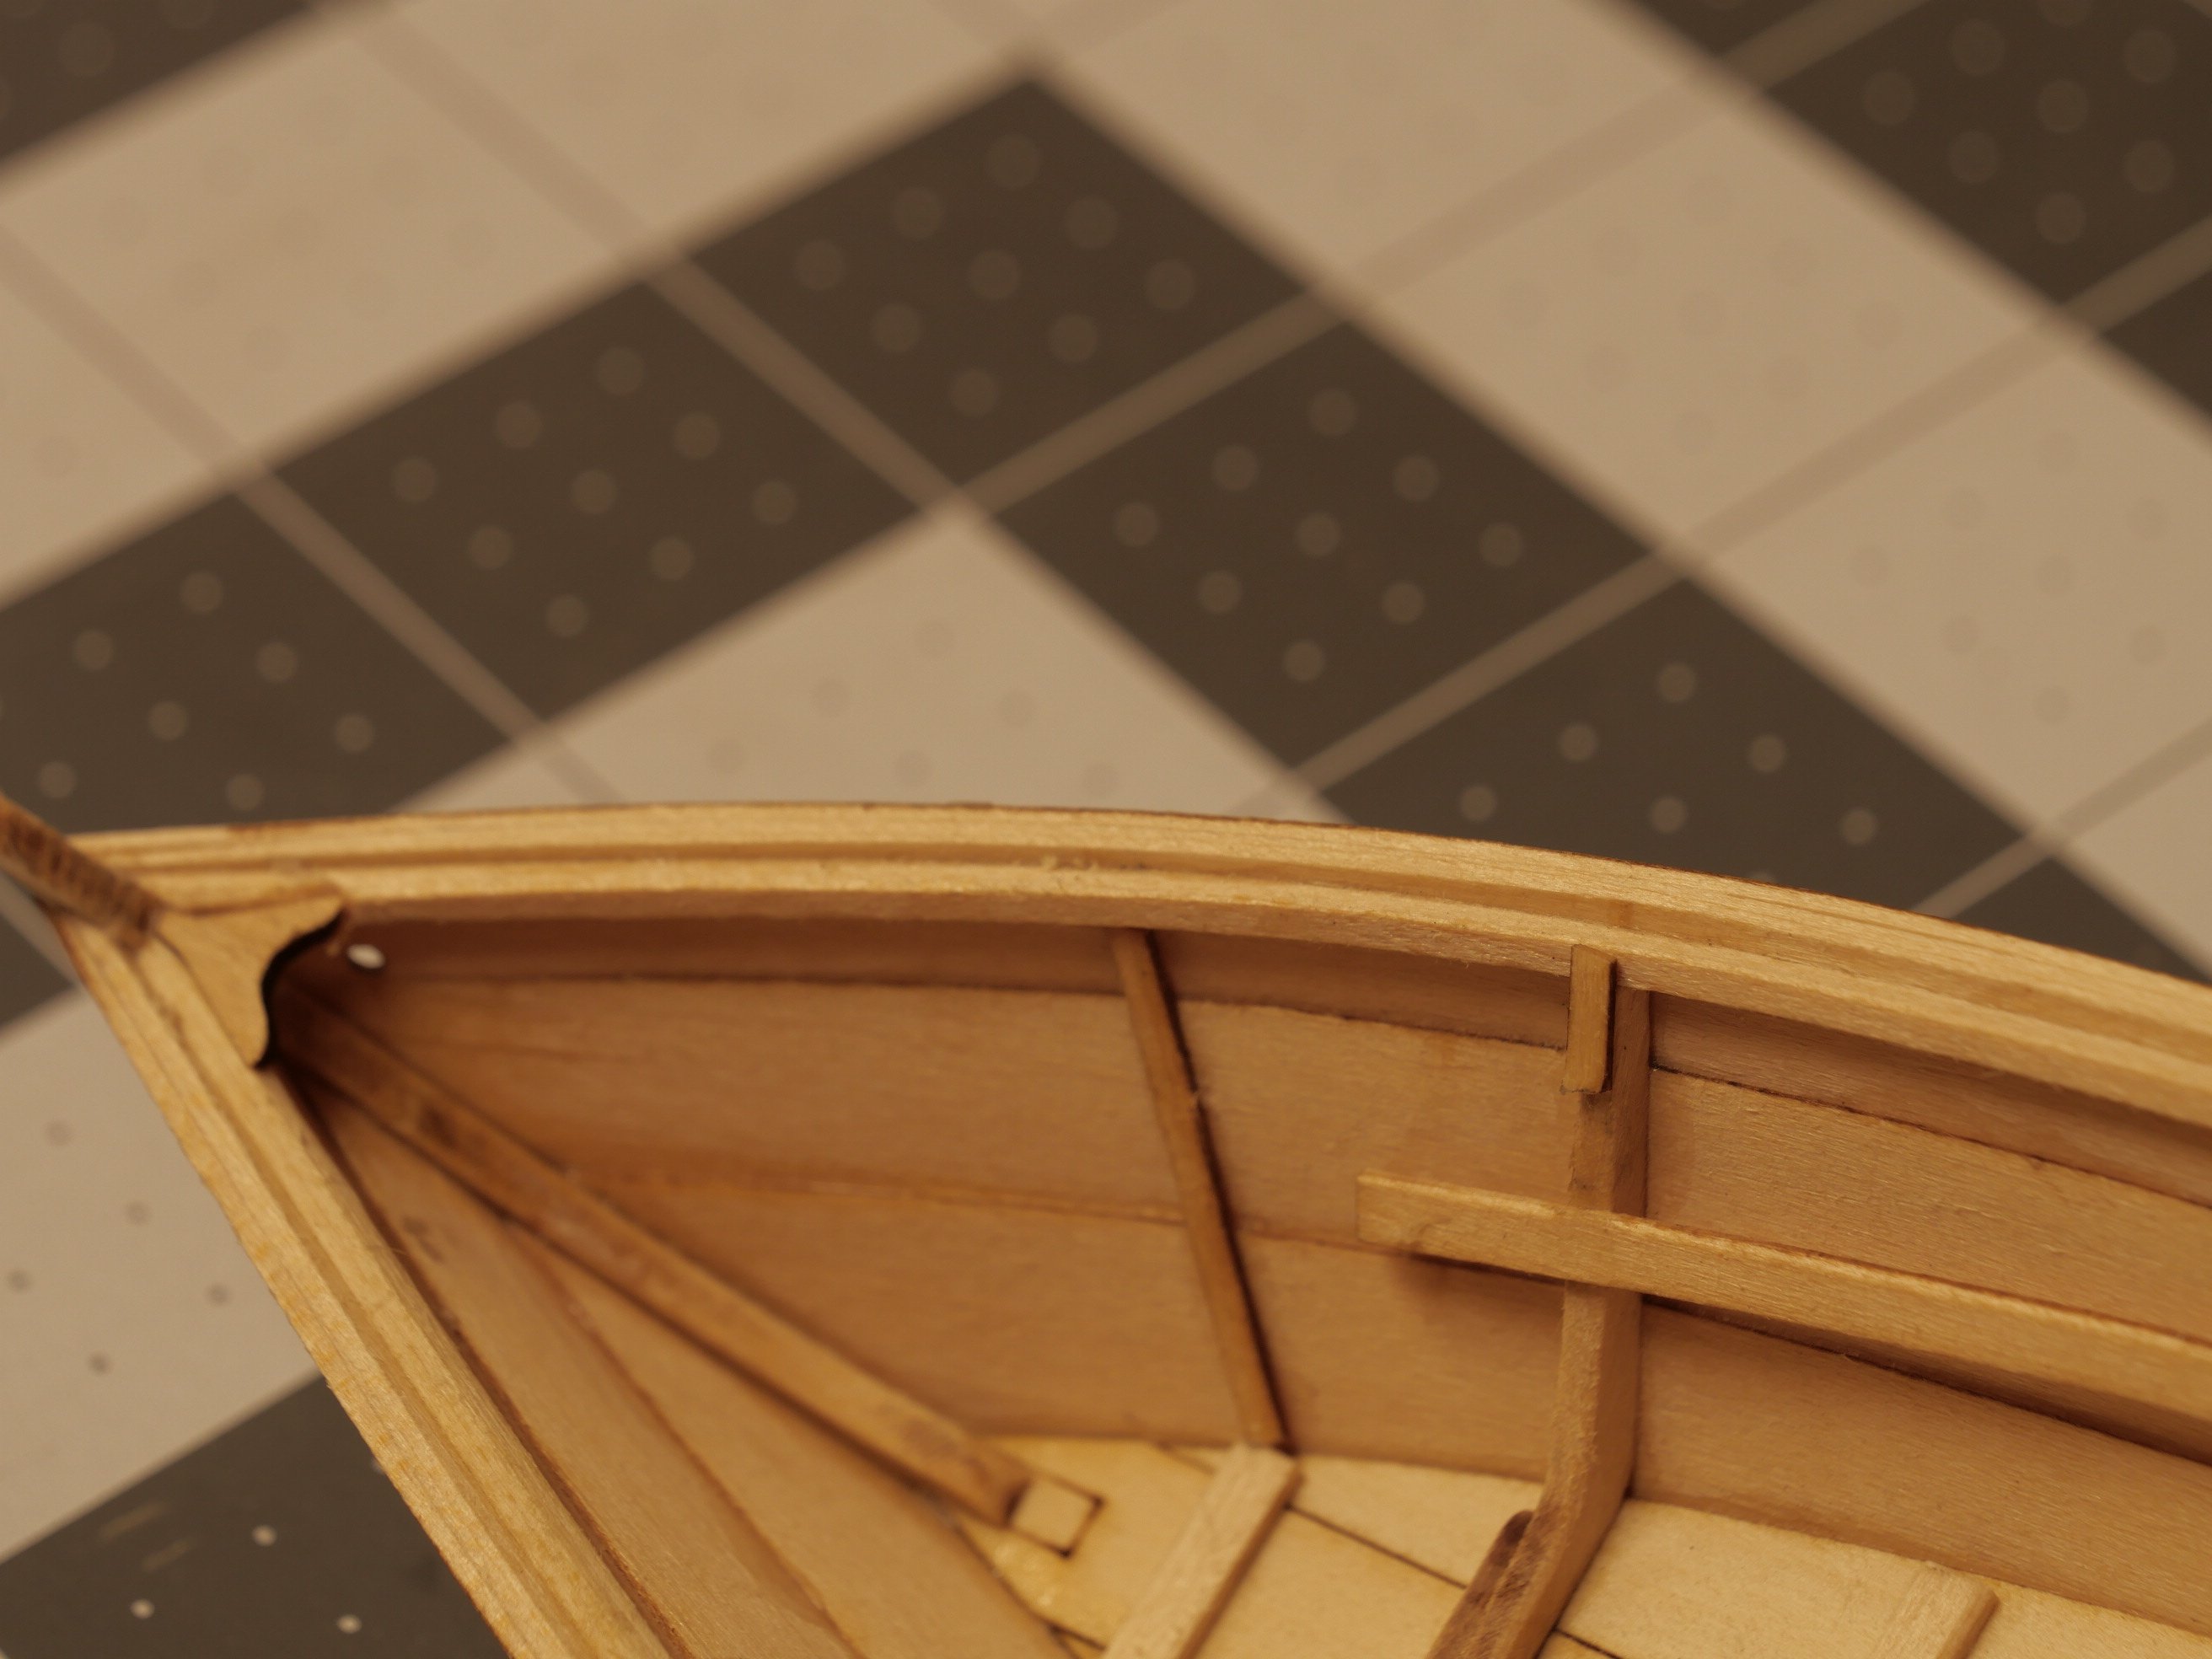
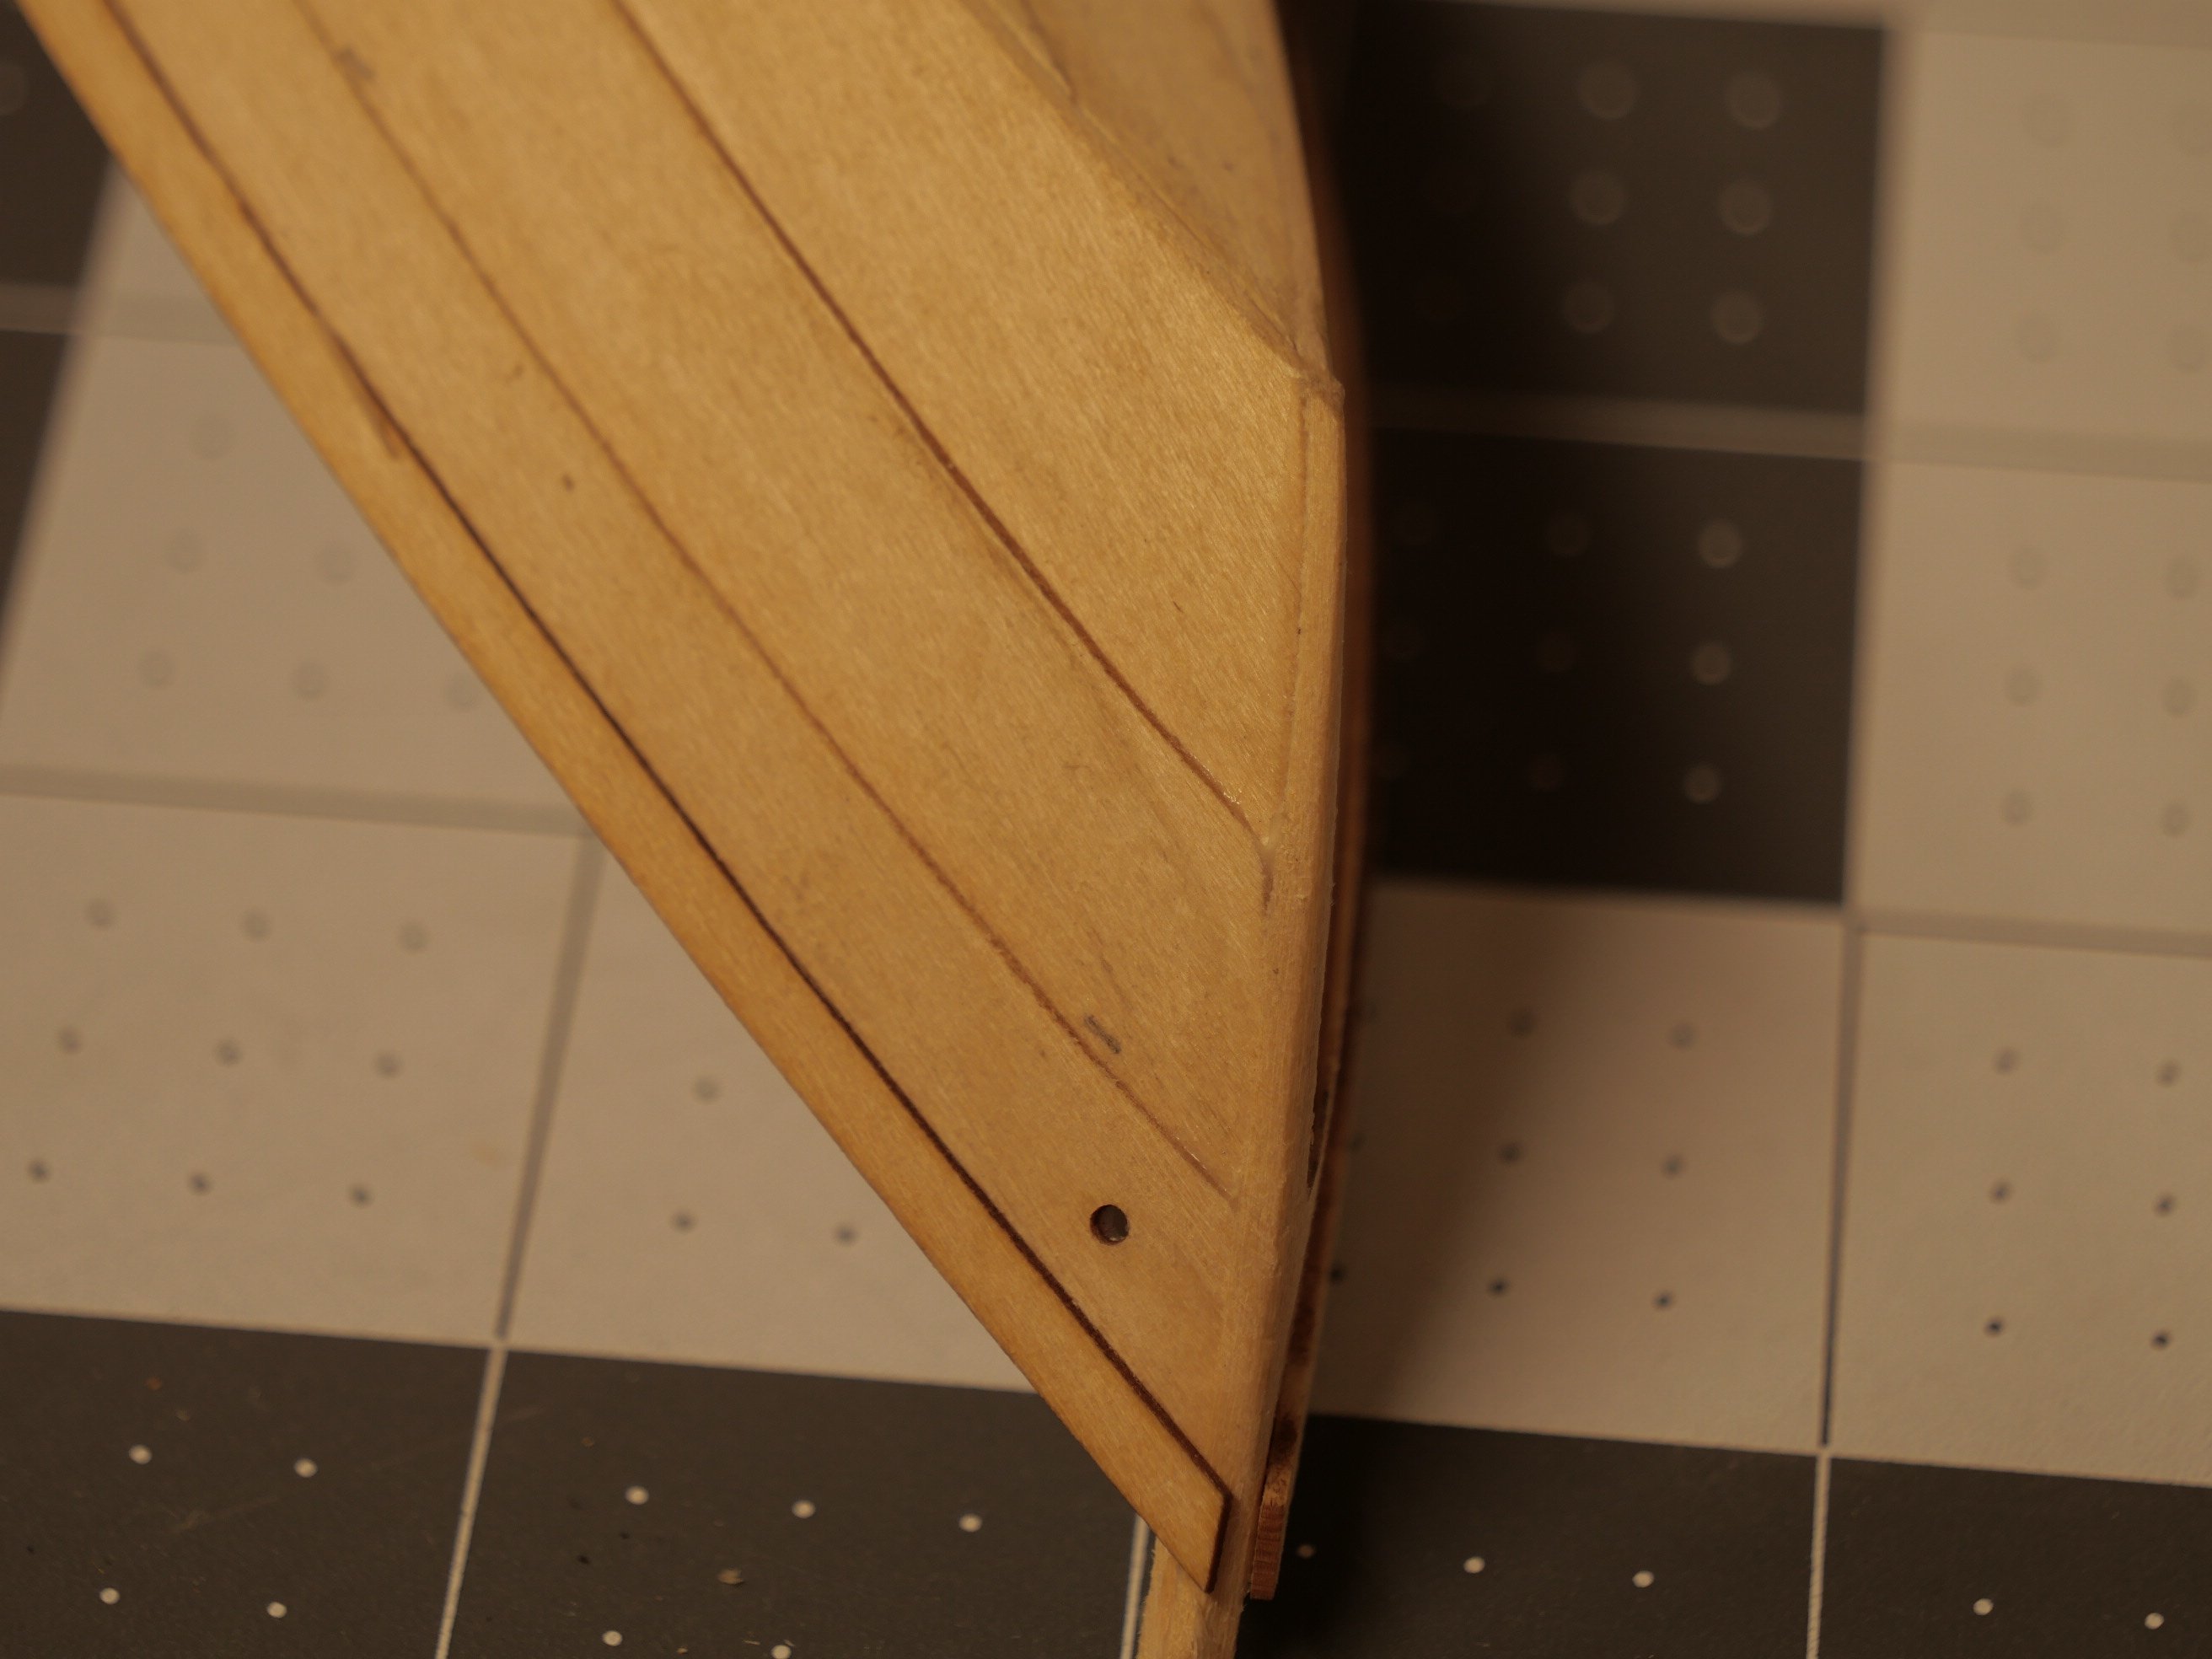
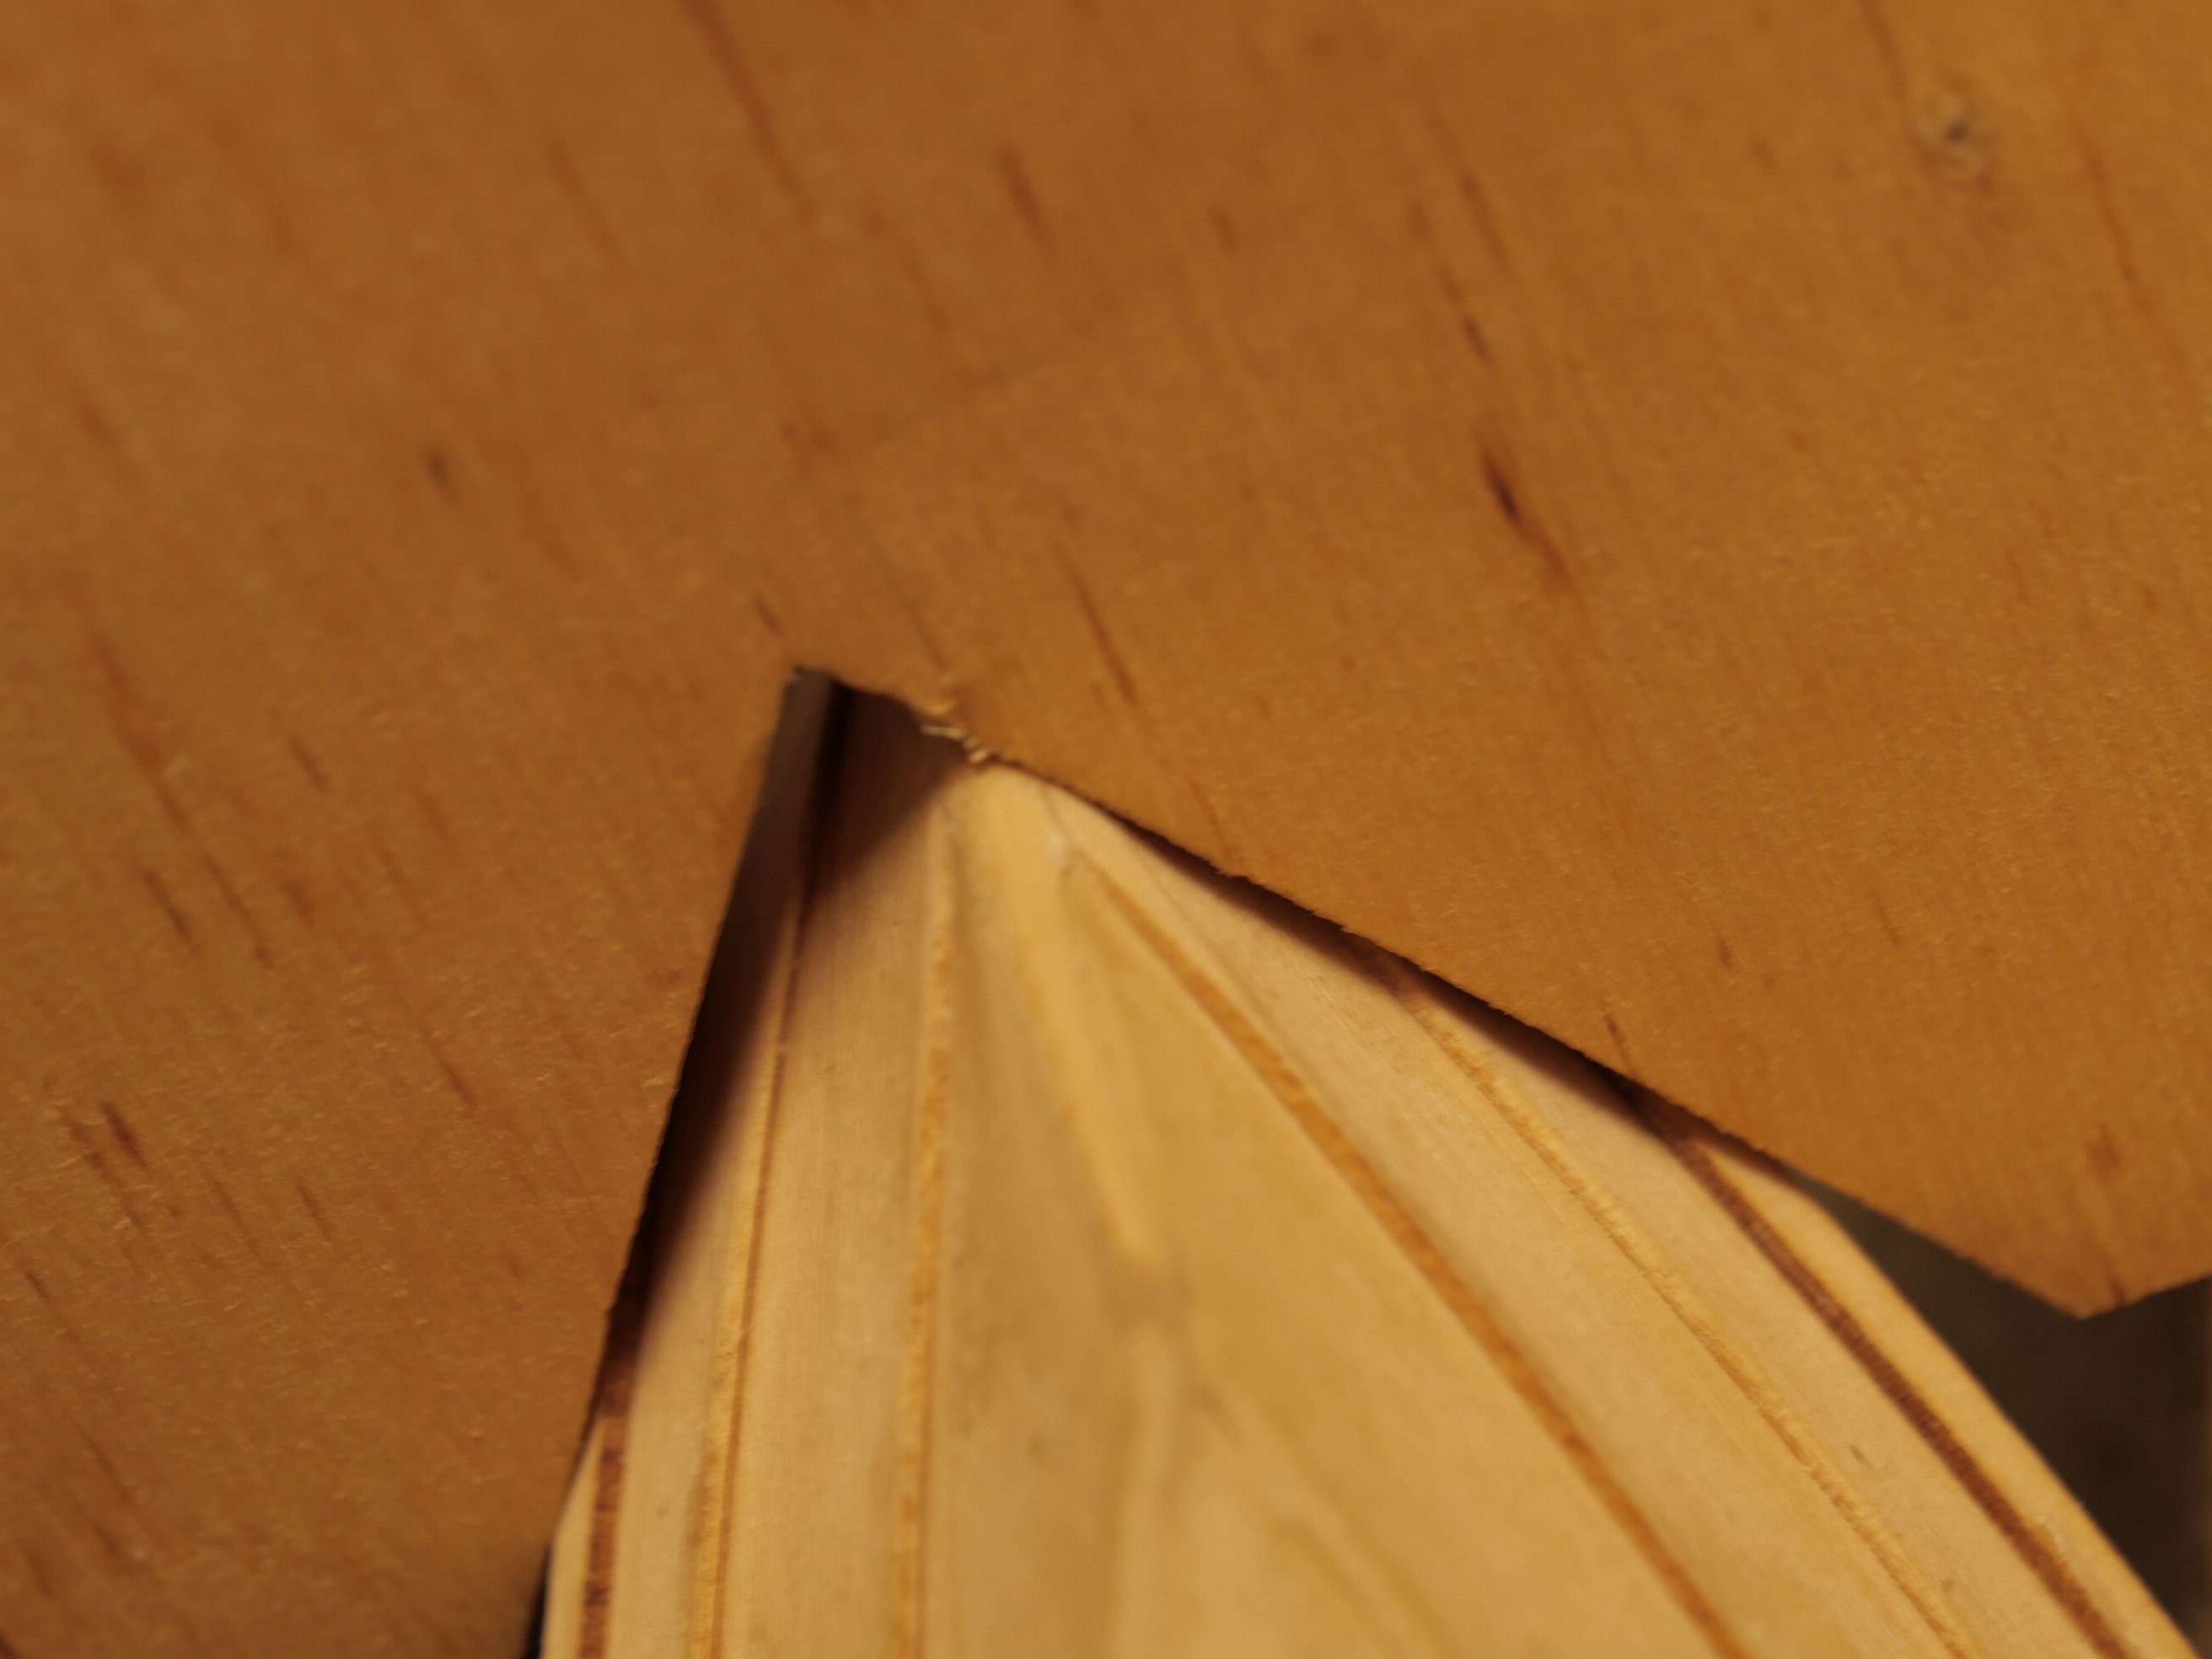
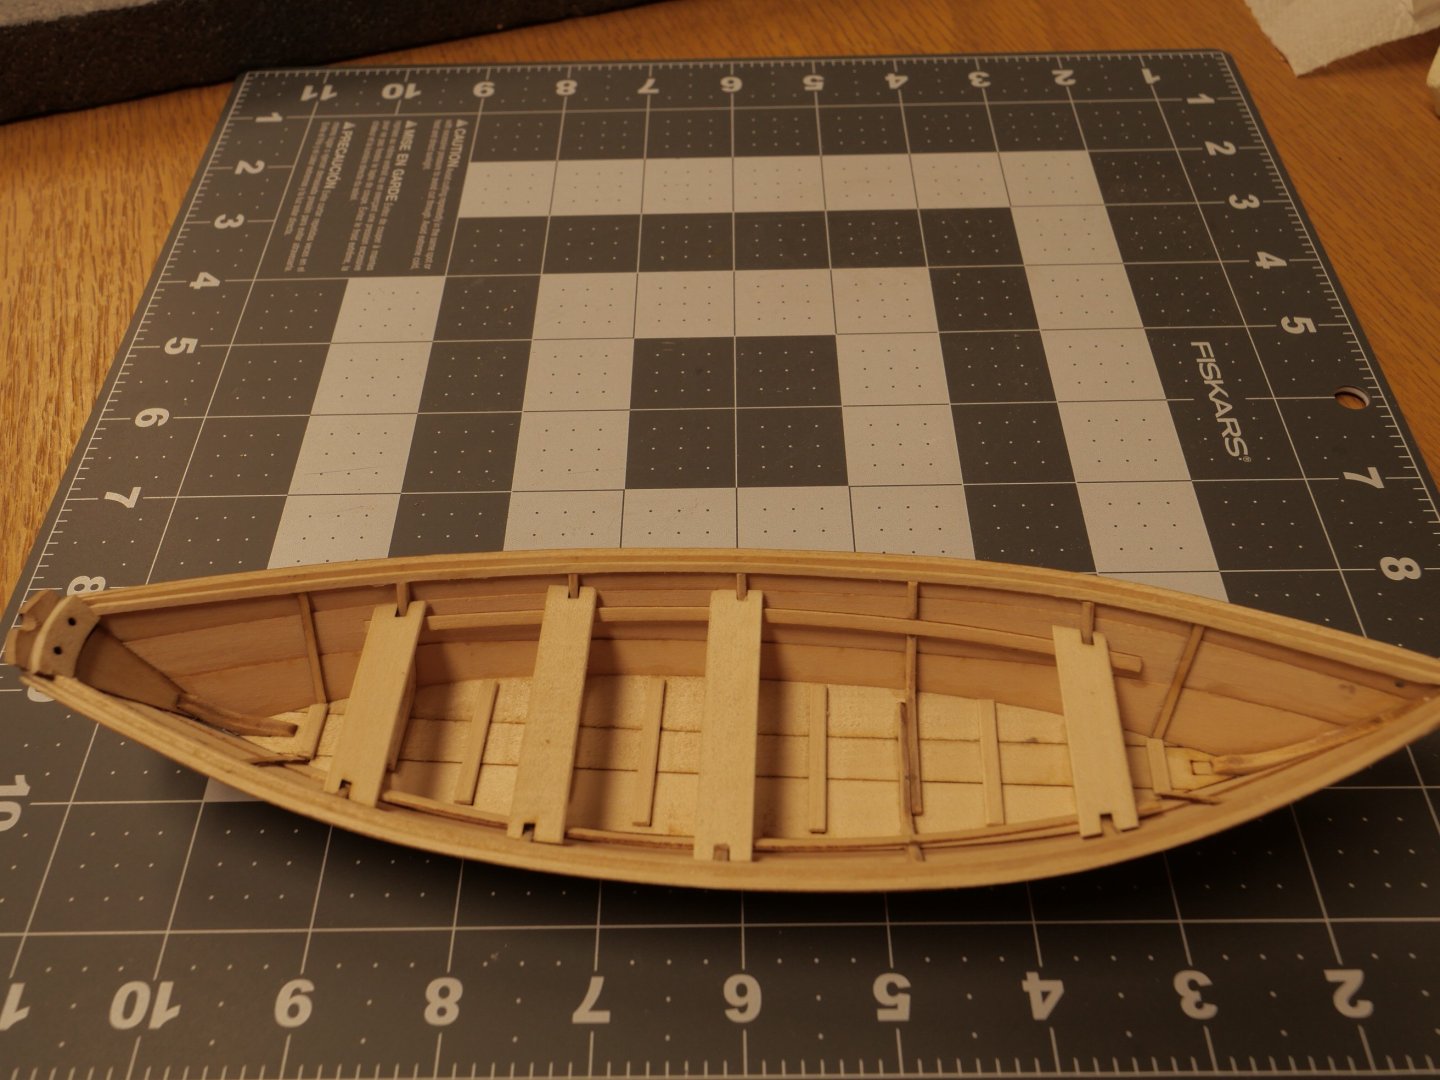
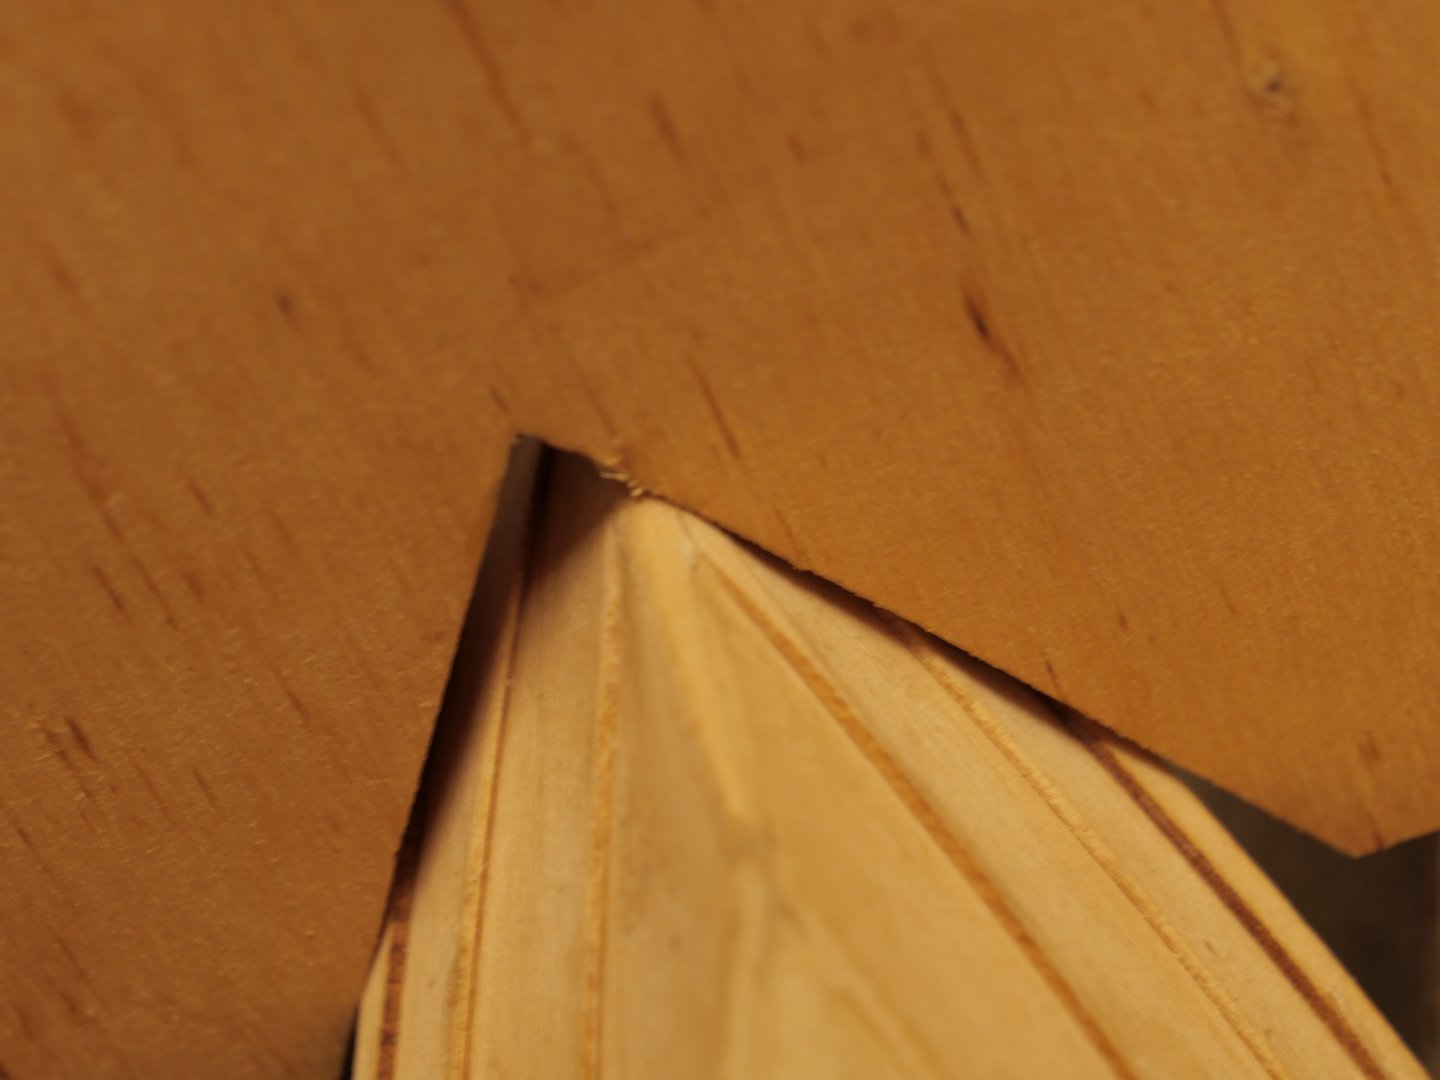
I've been lurking on the MSW site for years and have finally jumped in with my first build. I have been working on the dory for a couple of months now and finally realized I needed to see how other people have handled their builds and what issues they have run into. I have attached a few photos to ask questions about and get critical feedback. I found attaching the strakes at the bow to be a real chore. Very difficult to get pressure on the joining area with clamps. I finally found a piece of scrap with a large V cut out. I rested one side of the v at the bow, allowing the weight of the scrap to put pressure on the joint. (The photo was taken after the strakes had been glued and fitted.) It worked, but I am wondering if anyone has come up with a better jig to do the job. Another issue at the bow deals with how the strakes fair into the bow stem. I think my work looks different than the booklet; comments, criticisms? Also at the bow, I'm not sure what I have done with the bands is correct. They just seem to run free at the bow. Are they supposed to be faired in or left as they are? I couldn't find any pictures of this area in the instruction manual. One other area that I ran into is when I began to fit the thwarts. Number three thwart was too short to fit. I measured the hull height on both sides at that point and found one side was one sixteenth lower than the other, possibly causing the hull to be wider than normal at this point. I cut a new thwart from scrap and am pleased with the result. One last question. I am to the point where I am ready to prep for paint. I am considering spraying inside and out with shellac, then lightly sanding the raised 'wool'. Any thoughts on using shellac? Thanks for any comments and pointers.


- 5 replies
-
- 6
-
-
- Lowell Grand Banks Dory
- Model Shipways
- (and 1 more)
-
An incredible body of work! My best friend's father was a merchant mariner and participated in some of the convoys to Russia. Your beautiful paintings have fleshed out images that had previously only been left to my imagination.
-
MiraMarSteve changed their profile photo
-
Thanks guys, I'm going to continue to follow dmalcolm72 and this build. I may lurk but will be learning for when I am ready. I'm going to get a Model Shipways Dory and Sailing Pram and do those before I jump into this kit.
- 20 replies
-
- 1
-
-
- Amati
- lady nelson
- (and 1 more)
-
I'm thinking of building this kit myself for my first attempt but before I even start, I find myself in the "Valley of despair". Will this kit be too difficult as a first build?, what is a bearding line?, do I have enough time to learn all that I need to know, to do it right. I'm looking forward to follow in your footsteps.
- 20 replies
-
- 2
-
-
- Amati
- lady nelson
- (and 1 more)