


TheDutchShipBuilder
-
Posts
165 -
Joined
-
Last visited
Content Type
Profiles
Forums
Gallery
Events
Posts posted by TheDutchShipBuilder
-
-
Hi
I thought I would share the way I put my pictures on MS2.
I found a site where you can upload your photo's and get from these uploaded photo's a URL. This URL you can use to put photo's in your built log with simply one click on the Image in the text edit beam. It would be nice if we had some sort of Gallery (of not finished models
 ) where you can upload your photo's and get a URL. This way is very simple to use.
Cheers

Nick
-
-
-
-
Update
Hello everyody

It has been a while since my last comment/update. I already explained why. I said also that I would post day 9 soon. Unfortunaly, i was so busy that I had not got the time to post a new update. Today I wasn't that much busy with my homework, so i had time to sort out the foto's and post this day.
It has been a while since this day has past, but i could remember what I have done
But first, I'm going to give you a short update of in with state of the built I am at the moment.
As you know I started with the small parts of the ship. This because here in the Netherlands the autumn has began, so it rains a lot

Day 9 was the last (sunny) day I worked outside. This was also the last day I worked on the frame of the ship (the bulkheads etc.).
I have done some little more sanding, and the state of the ship at the end is the state it wil be for a long while.
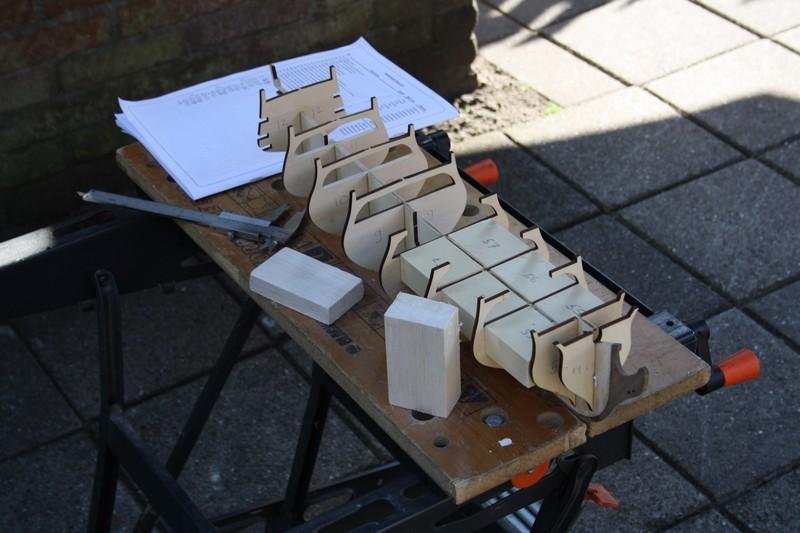
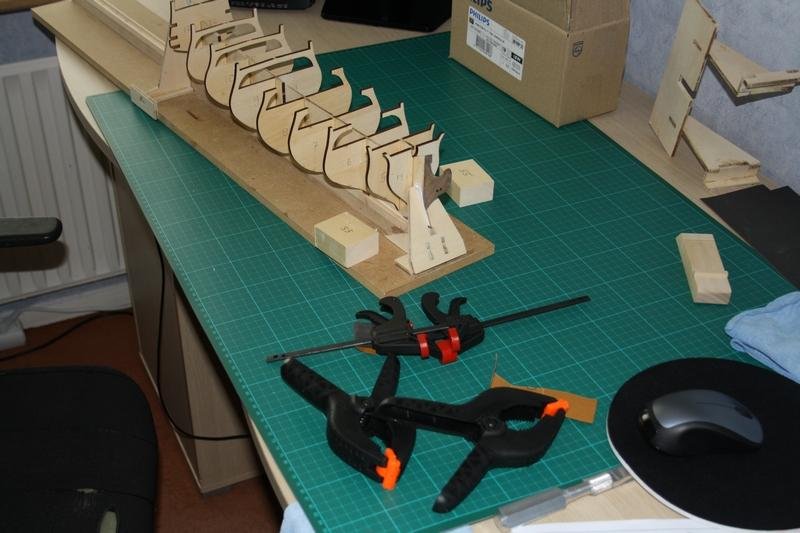
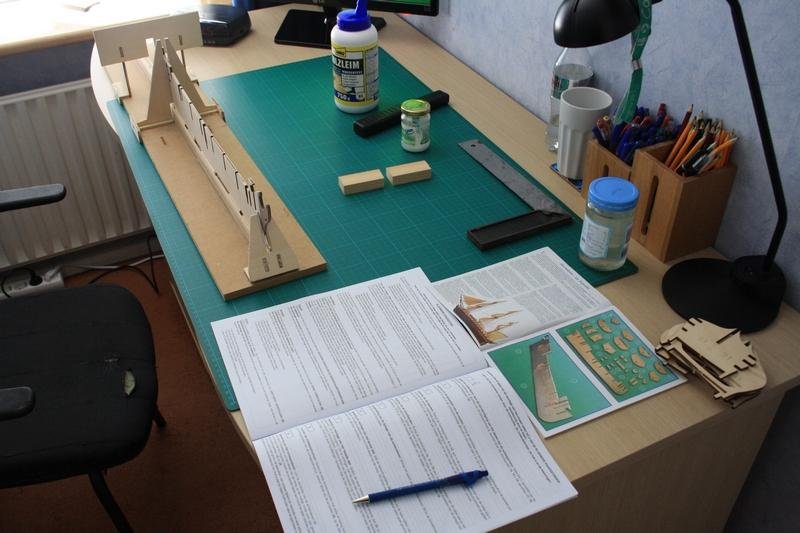
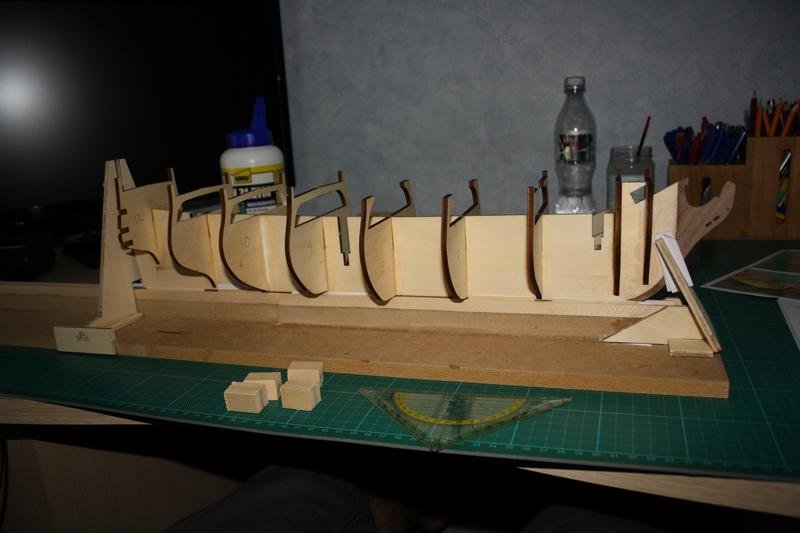
My workplace of day 9
 :
: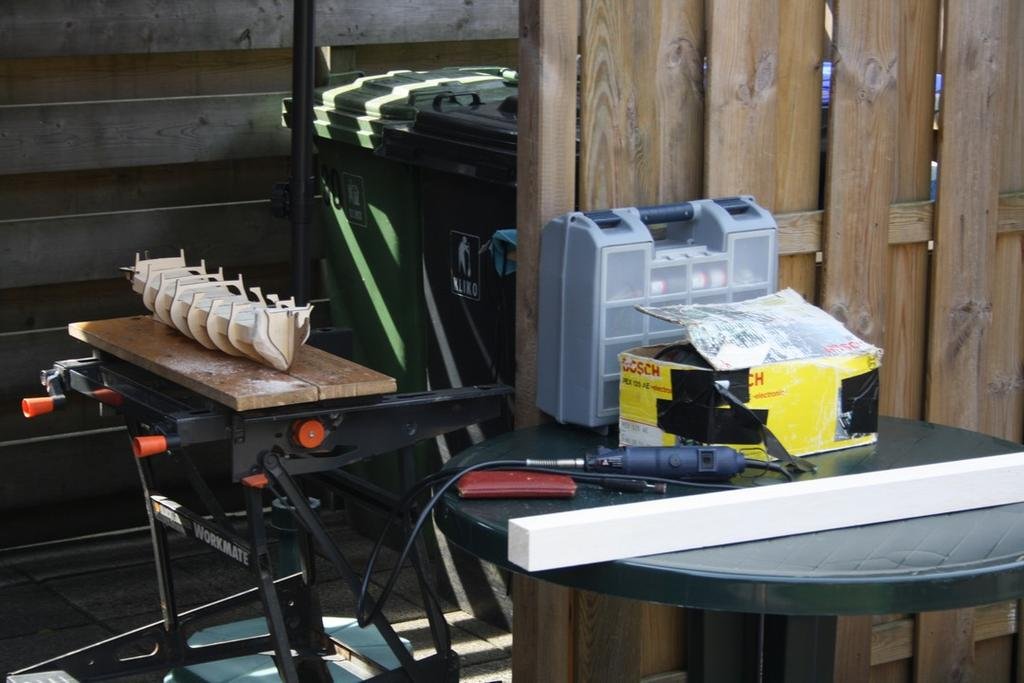
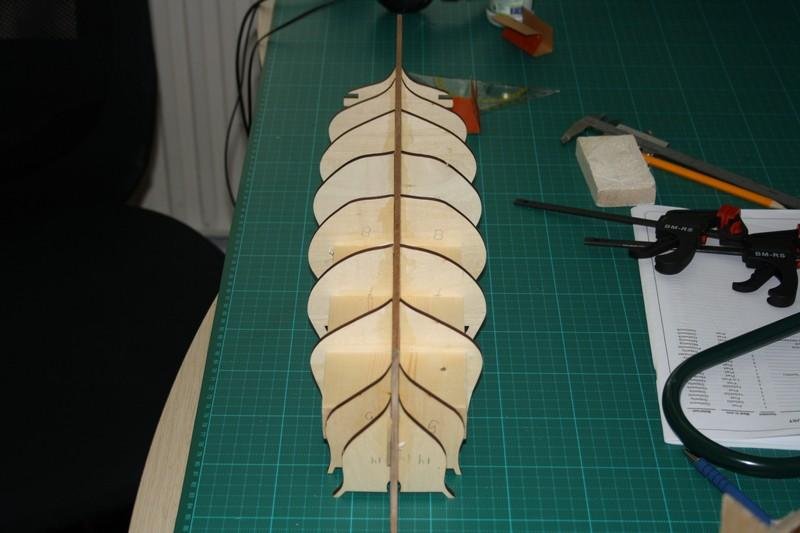
And how the ship looked at the begin
:
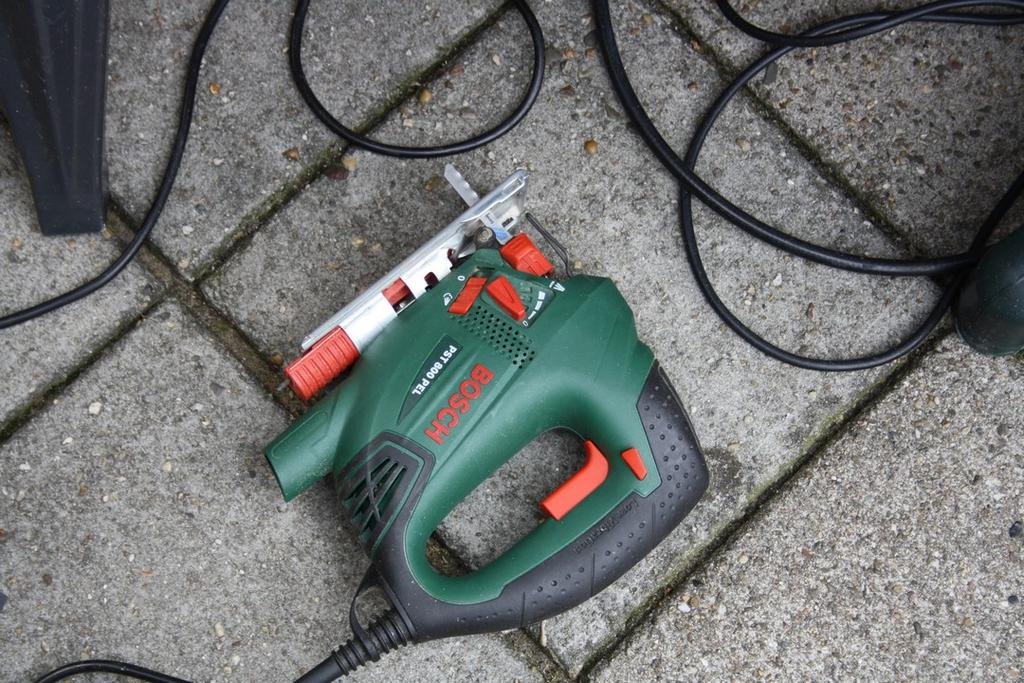
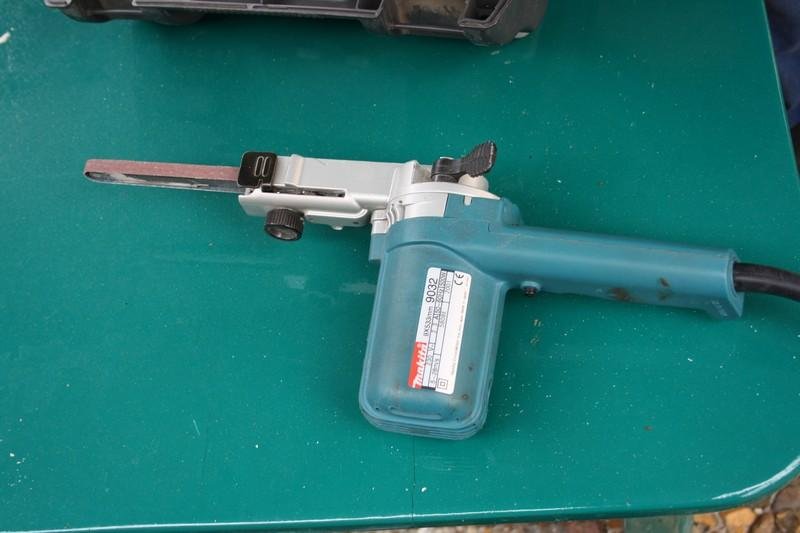
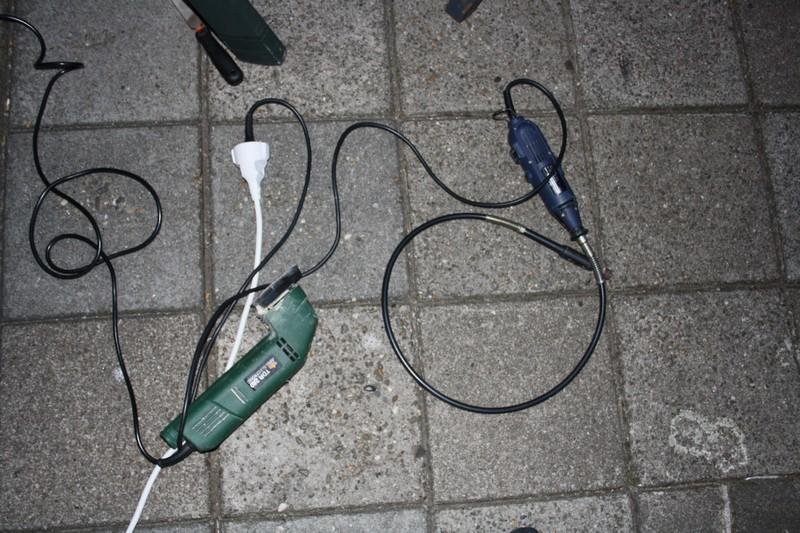
A new electric sawmachine from my father I used:
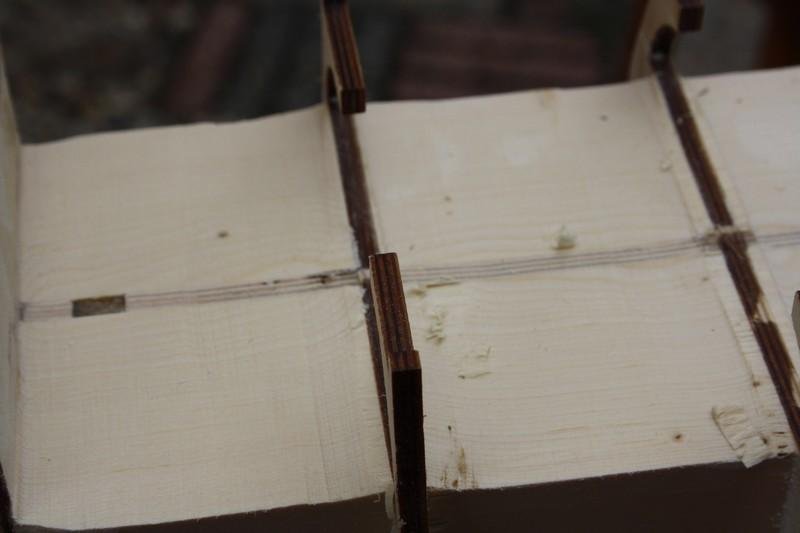
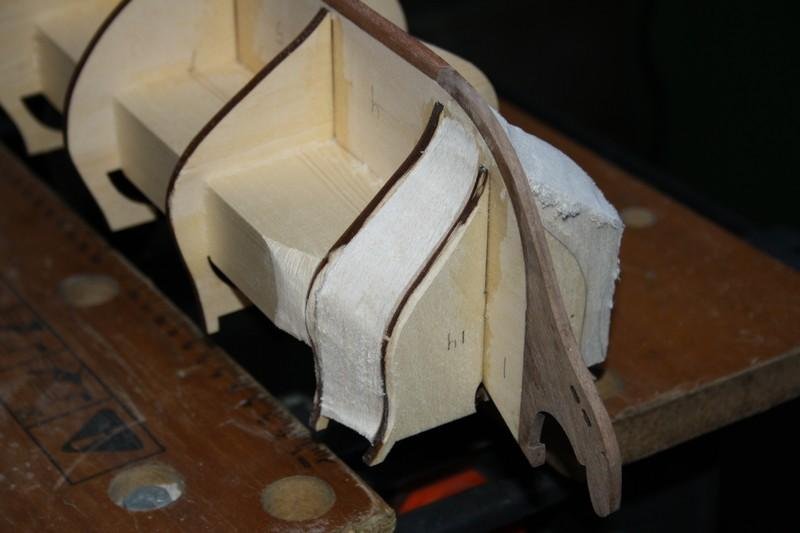
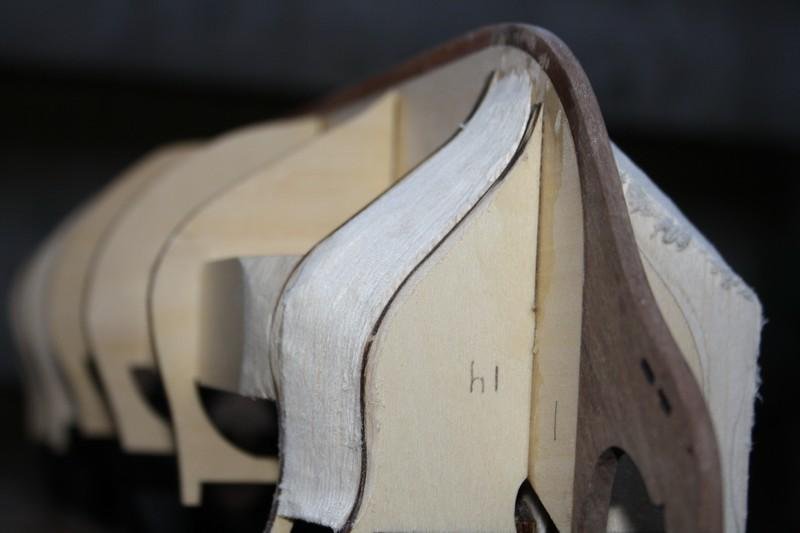
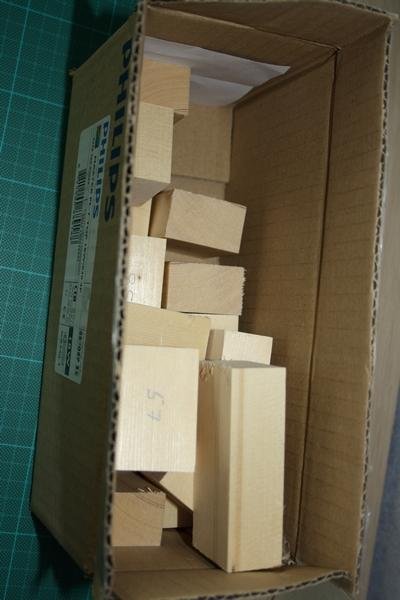
I started with sanding the other balso wood block, wich i hadn't finisched yet
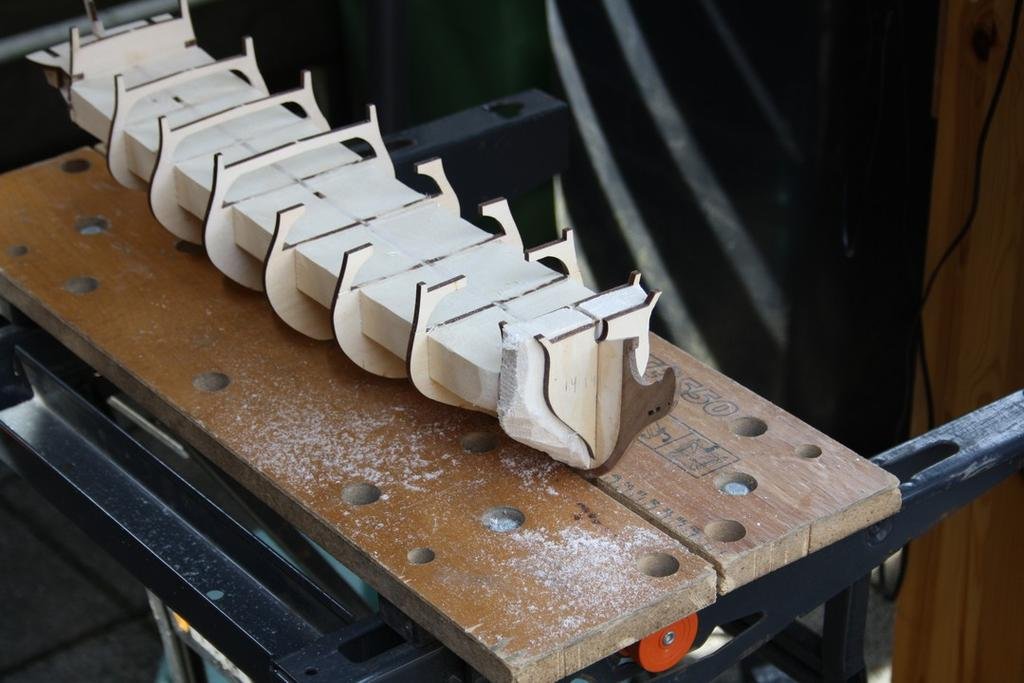
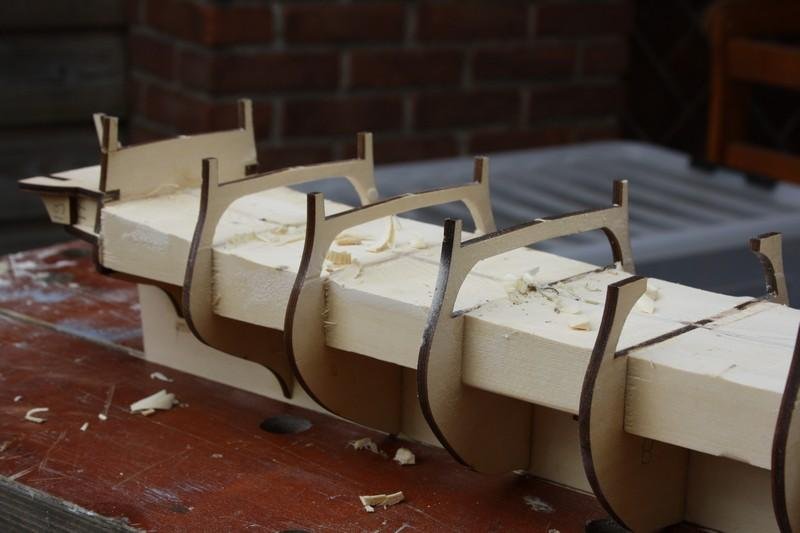
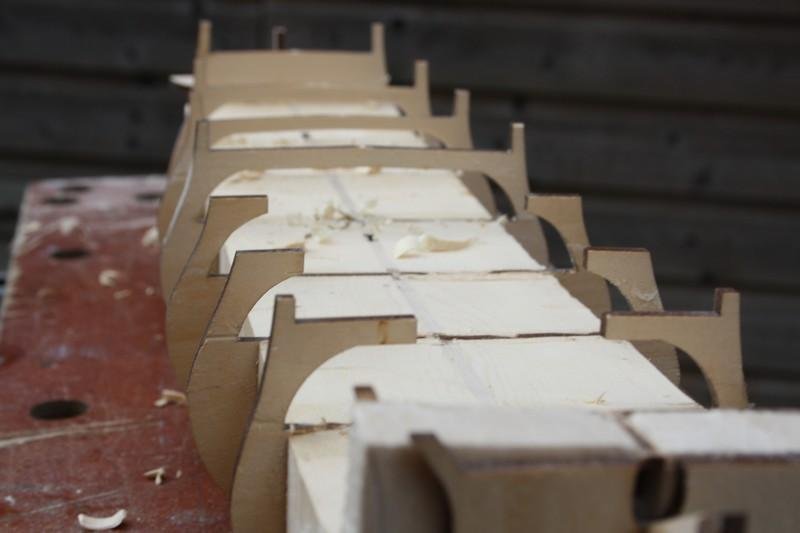
Then I started to saw new blocks to put for the other blocks (in the front):
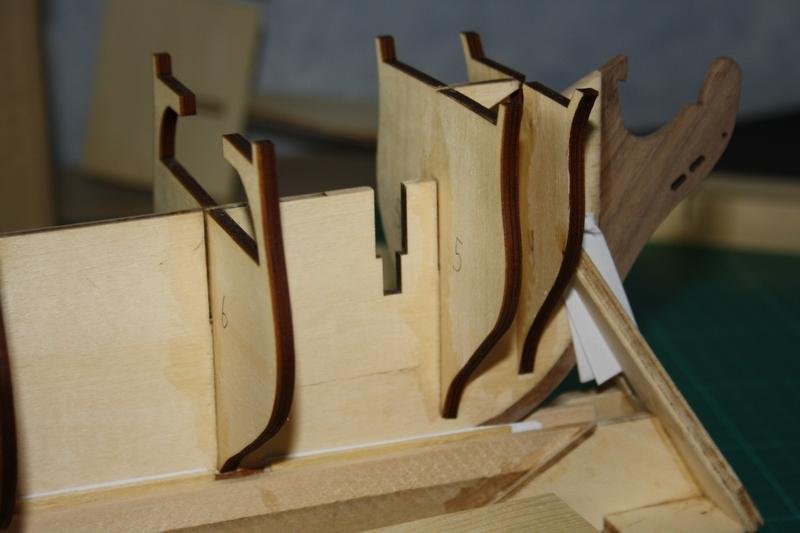
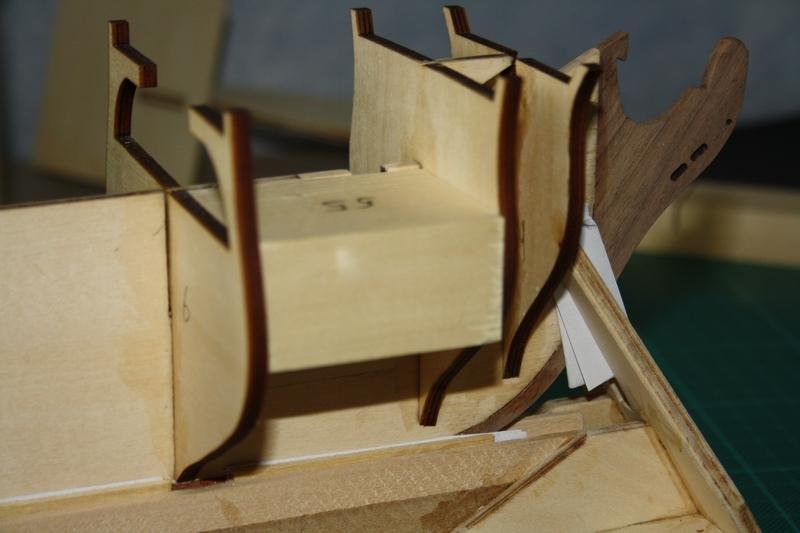
The difficult part was now to glue it together. It needed much patient and time for me, but finally i got them in the right place
 :
:
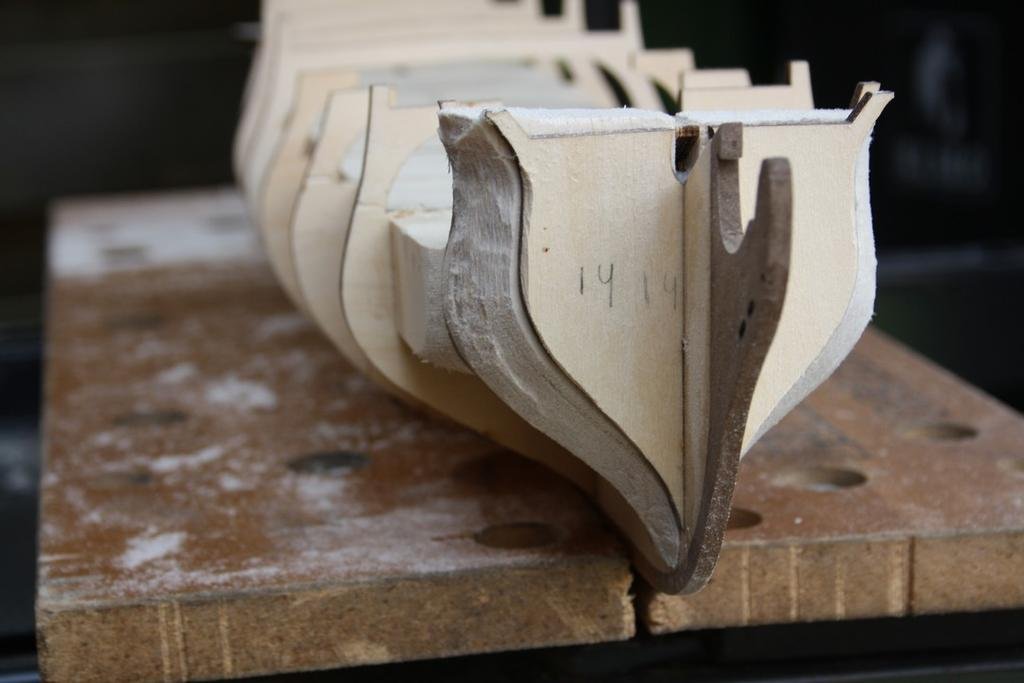
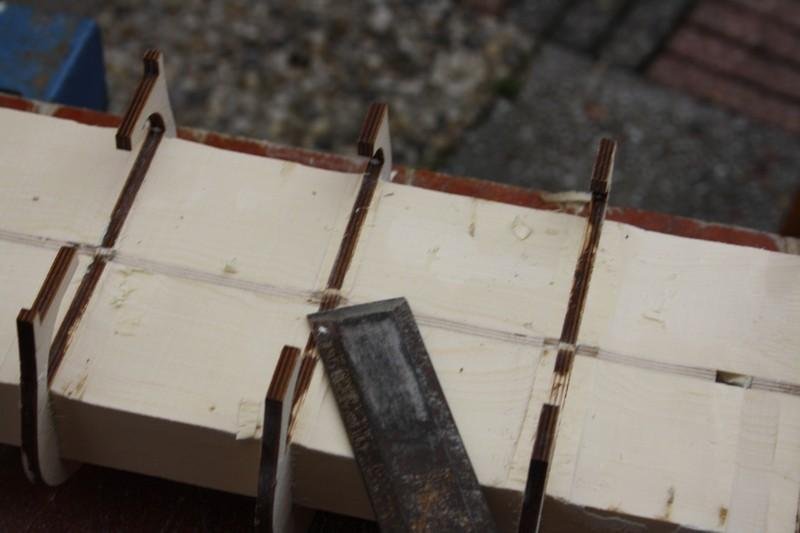
And i started to sand them when they were dry:
Ans thats it.
I hope i can soon post the next day
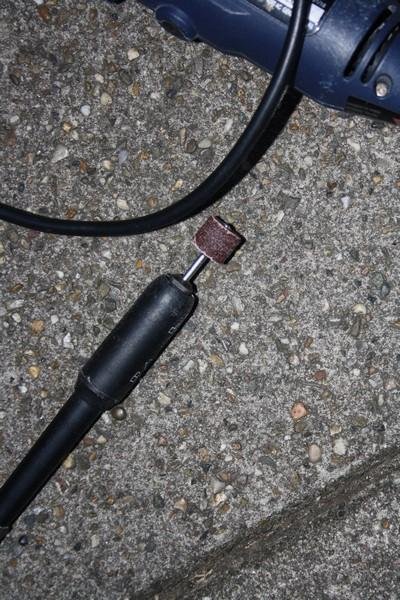
By the way, the graver you saw on the photo's (or how it's called) is from my uncle. I borrow it from him, with wich I'm very happy
-
Hello everybody,
It has been a long while ago since I have posted a new Update or Day
 . The reason for that is that my school has started again . I have been (and am) very busy, and can't built . So I have put the boat on the shelve in the building slip, and have stored my tools. I hope that I can built some little things in the coming winter, and I hope I can find some stuff for my captain's cabin (I'm looking for Led Lights to put in the cabin ). Ofcouce I let you know when I have made some progress.
 Also, day 9 of the built has already past, but because the day after my school started, I couldn't post day 9. I hope i can post it soon
I'm very sad that i can't built for a while, but school is important to for my future.
I hope, coming spring I can begin again begin with the big building
Cheers
Nick
-
Update
Hello everybody
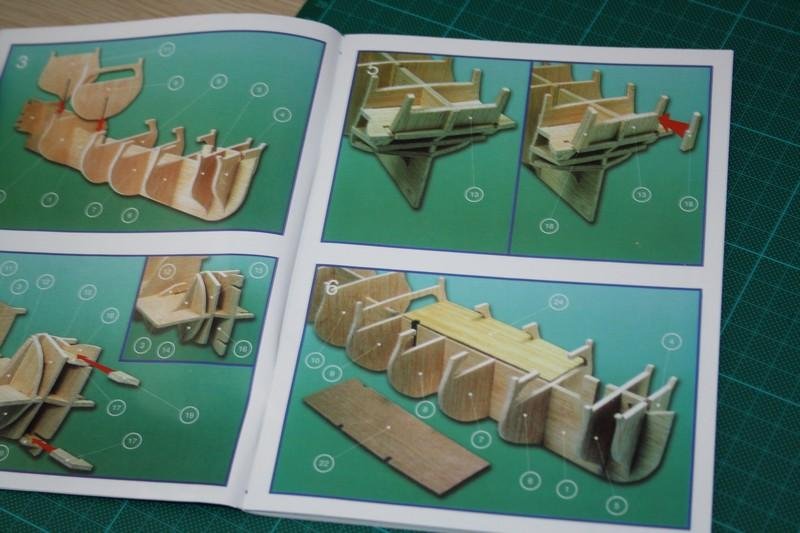
Here is again a day of my built of the Hermione la Fayette
I have to say, it was a short day (I had not much time). So i haven;t done very much, but yet i want to show you
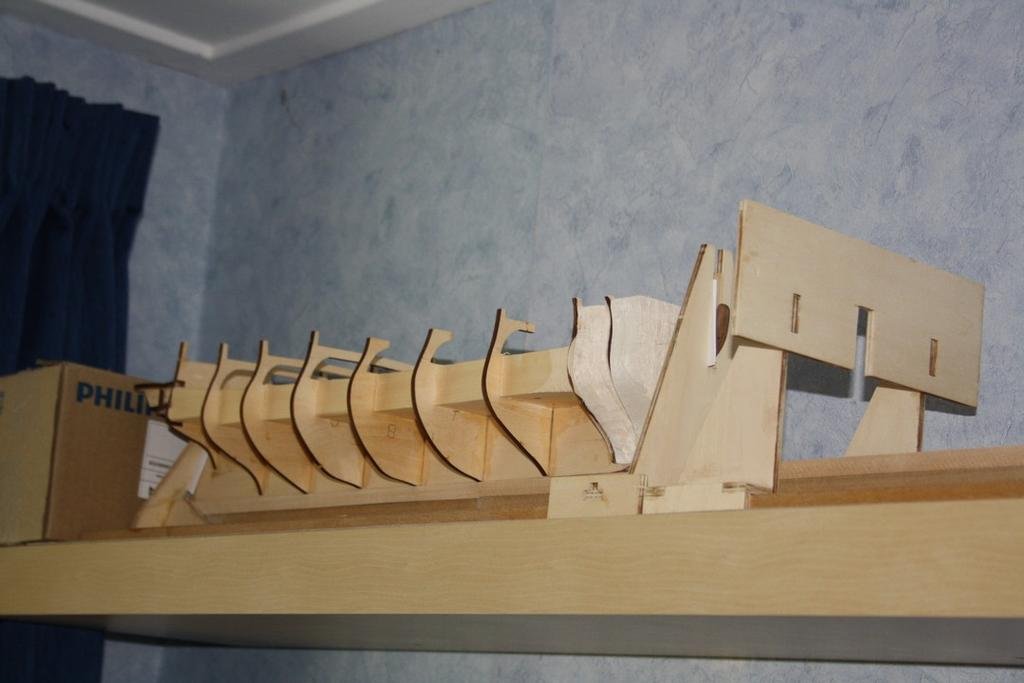
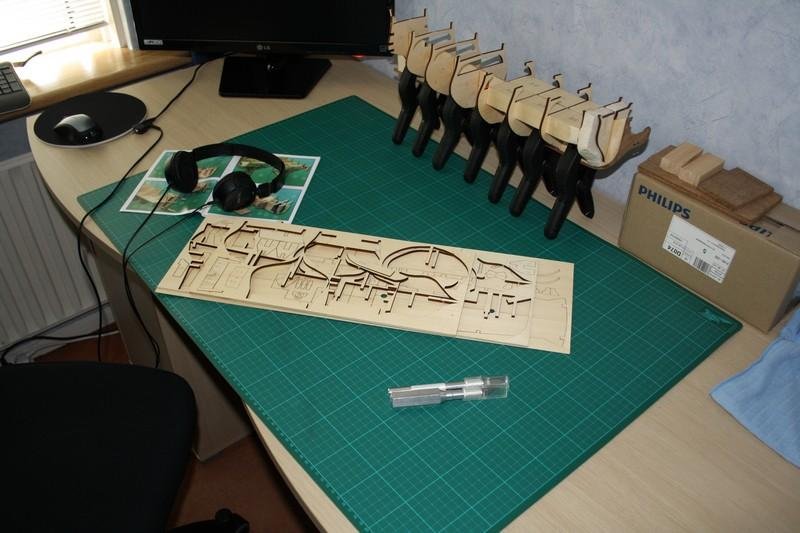
First I have some pictures of how the boat is currently staying on shelf. I sanded it a little bit (but i have to sand it more) after I went to my uncle:
As you can see, i also need to sand the front of the ship

But it was rainy and i couln't sand outside. And because I didn't want all that mess inside, i decided to work on the metal parts I want to replace for wood.
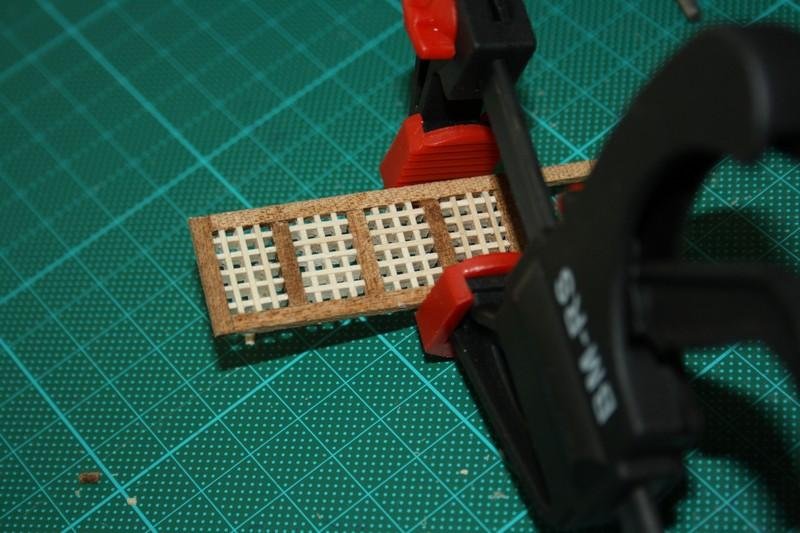
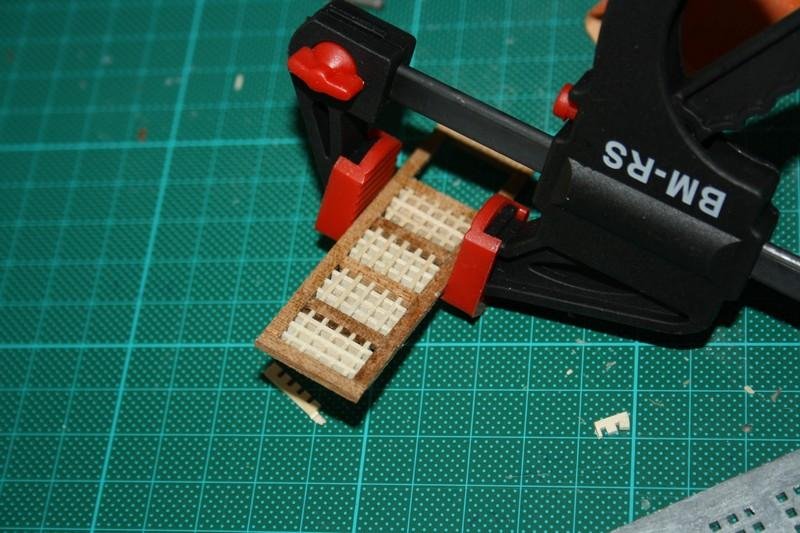
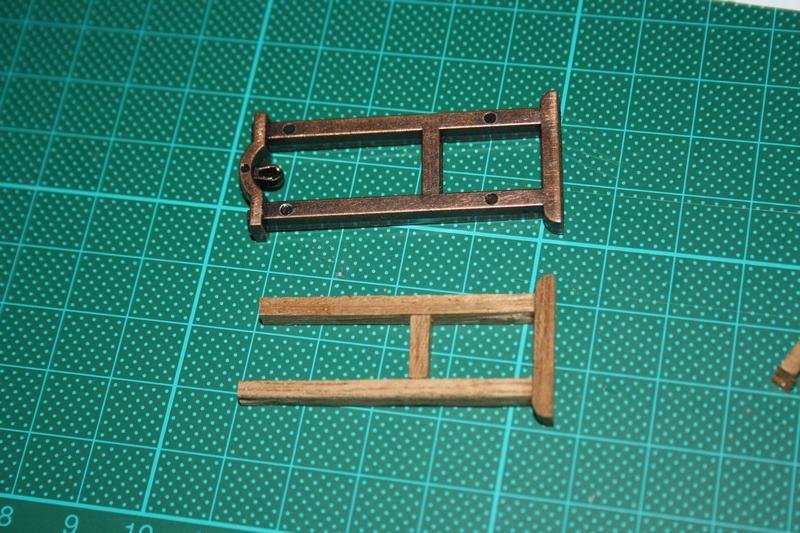
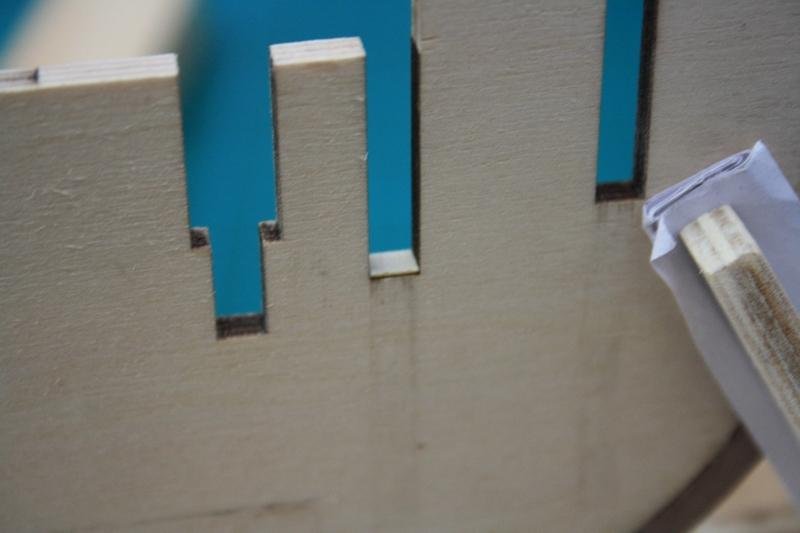
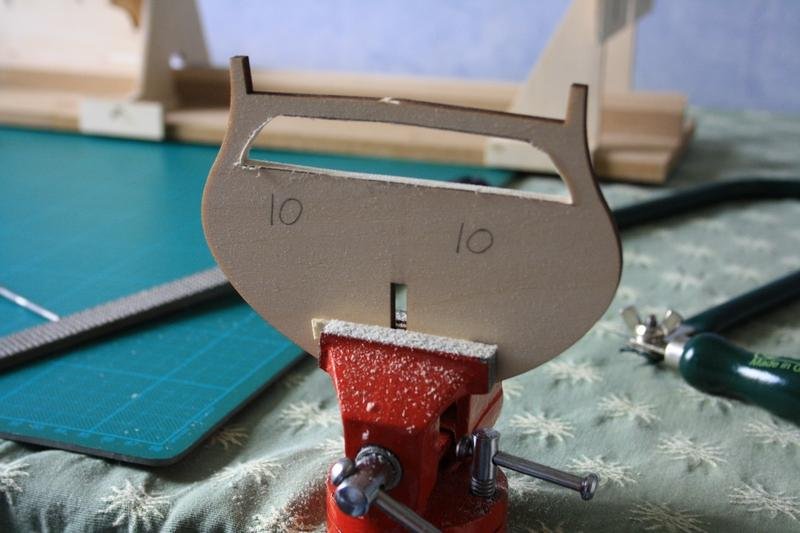
I begun and ended with the grid. I also need to finisch the eatings bell, but for that I needed my dremel tool, and I hadn't had that at that time
Also i haven't finished the grid yet, but the result so far is as shown below:
And that's it
Not a long day
Also I wanna thank you all for your comments, compliments, and support in my built. I love to see that you like my built. I hope I can soon begin with the planking, so it will get a bit more fun
Also I love to hear that some of you are going (or are) to built this ship to. I haven't found any other topics of this ship, and I hope mine can help you all with your builts
Cheers
Nick
-
Update
Hello everybody
It has been a long time since I have posted a update/day. But here is finally day 7
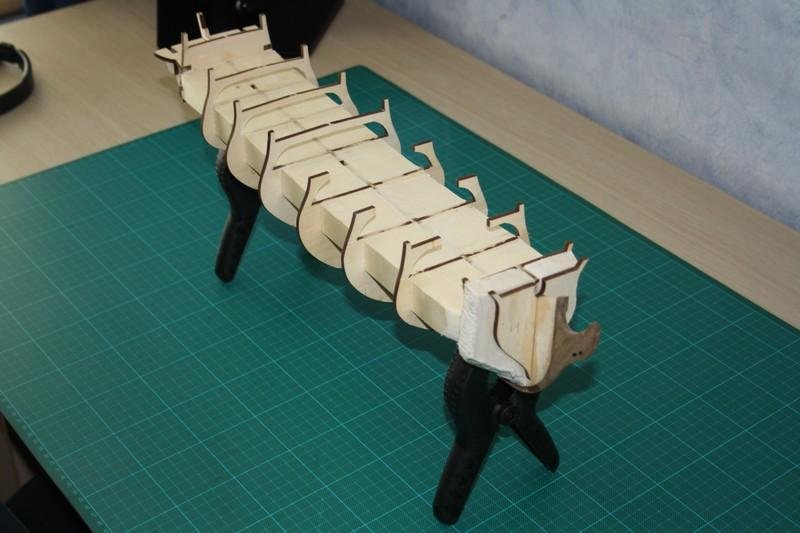
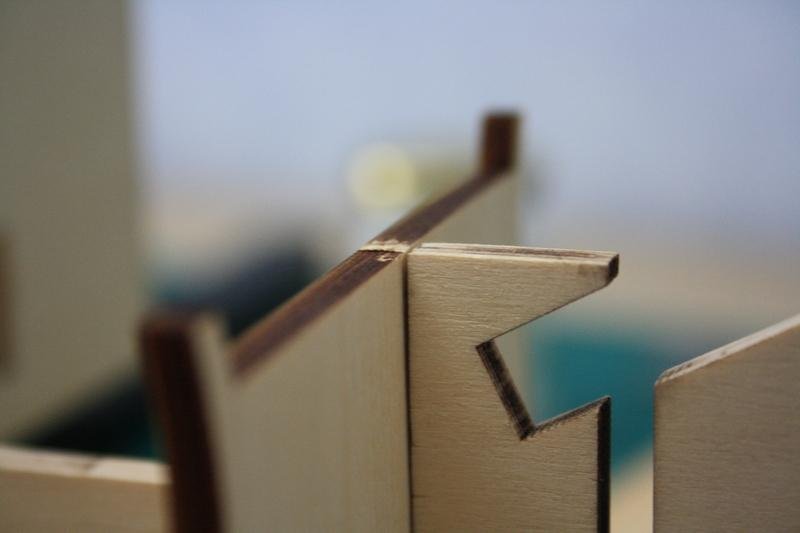
I have finally finished putting the blocks between the bulkheads, and I also started on making the back of the ship (which includes the captains cabin)
:
I did not finish the back completely, but I had to put the last block in, and after that i had to sand the blocks a little but down. I also need to modify the captain's first.
After putting the last block in, I had to sand the blocks a bit down for the lower deck. I thought that this was an easy job, but it wasn't. So I went to my uncle again, who had a power file, a sanding machine with a small width, so i could easaly sand the blocks down
:

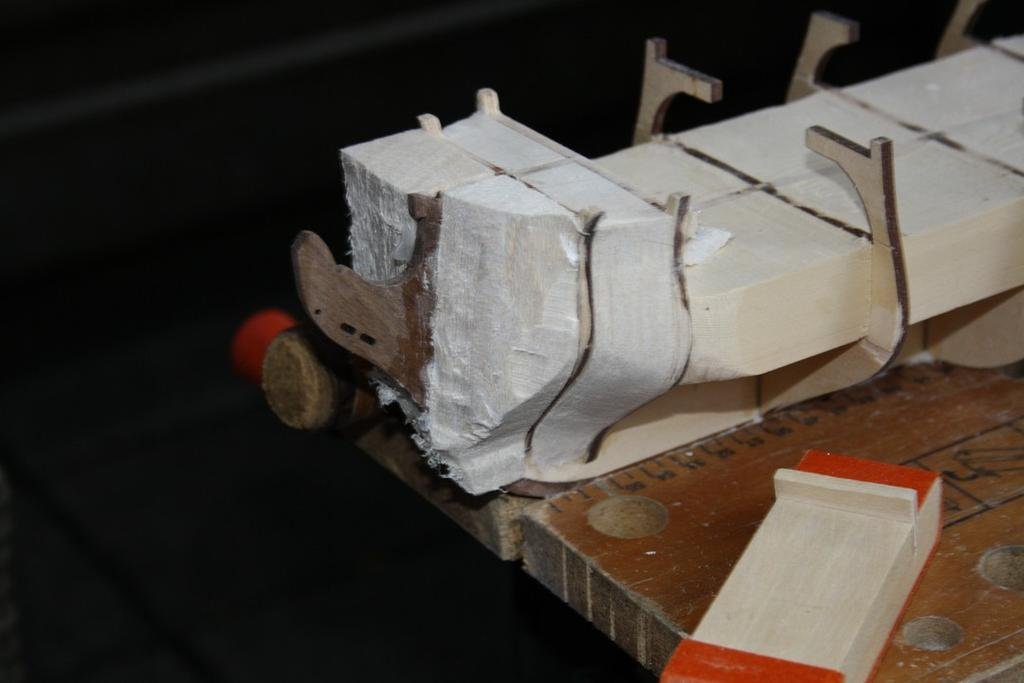
Everything is yet rough, but i have to sand it all nice and smooth. But for that i need first to finish the captain's cabin, and the blocks on the front of the ship
I hope I can post soon again a day
Cheers
Nick
-
Hello Everybody
It has been a long time since i have posted a update on my built
This has a reason. I have been very busy with some things, and I have done some things with my family because of the holiday (we went to a move). That's why I hadn't time to work on my ship
Today I will again begin with the built, but I have to mention, that I will not built very much, because I have planned with my work to work more in this holiday to earn some money
I hope i can post tomorrow a new update
Cheers,
Nick
-
I can't wait to begin with the planking to
But before that I have to do some things like the lower deck, and the captains cabin
Cheers,
Nick
-
Update
Hello everybody
Here is finally day 6, after a long holiday where I have been sailing
As I already mentioned, this day was before my holiday, but i hadn't had the time to post it.
It was again a day where I have done not much on my boat. I work slowely, and precisely.
I have been working of the placing of the wooden blocks between the bulkheads.I will only post the end photos of it, because it is all the same. This work i do very slowely, because I let the glue dry long, so it will not go off
I also worked on the placing of the balsa blocks on the front of the ship. I have not finished that yet.
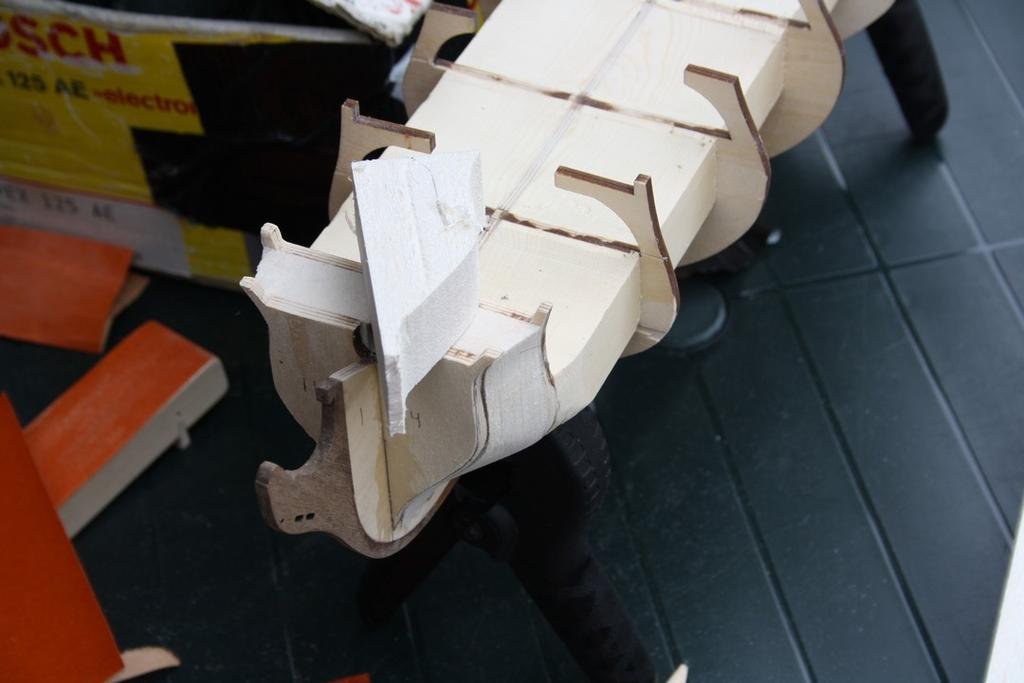
For that I had to take the hole boat out of the building slip and put it between a handy workdbench of my father outside:Very straight I thought
:
With my dremel I sanded the blocks (and bulkheads) in the right shape.
Finished one side:
The tools I used:
The time was late, so I decided to stop
So I couldn't sand the other balsa block, but I will do that today.
I have no futher holiday plans, so I can work the rest of my holiday on the boat
Cheers
Nick
-
-
Update
Hello everybody
Here a little update on my progress of the built of the Hermione la Fayette
.As you all know, I have bought some wood strips to make the metal things out of wood. But there are things I needed yet, like more cannons. So for those last things I need, i went to the hobby shop I told of. (It's a very good and nice shop). Sadly, It's 40 kilometres away, but I found it not terrible, because I like cycling

Once there, I bought the last thinks I needed to make my ship a beauty, and now I have finally all the things I need for my built to complete
: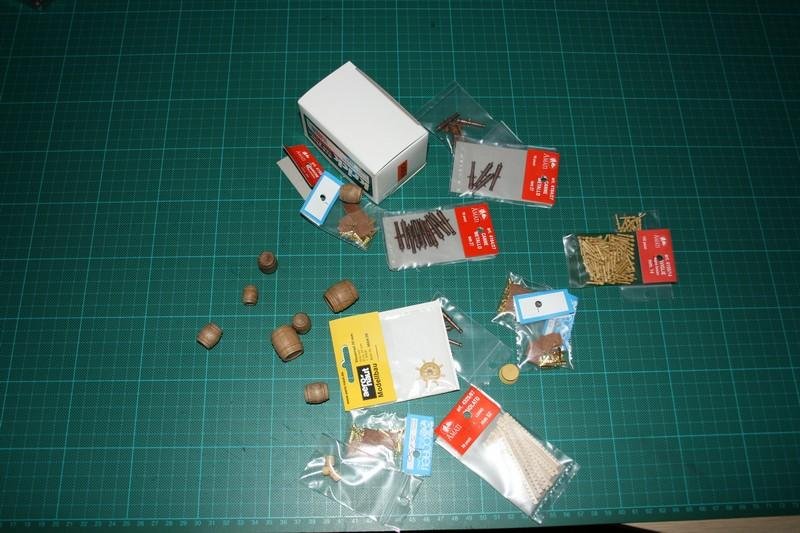
I bought some barrels as decoration on the ship. I will make some other things (also some things for the captain's cabin) and will show that when the time is there
: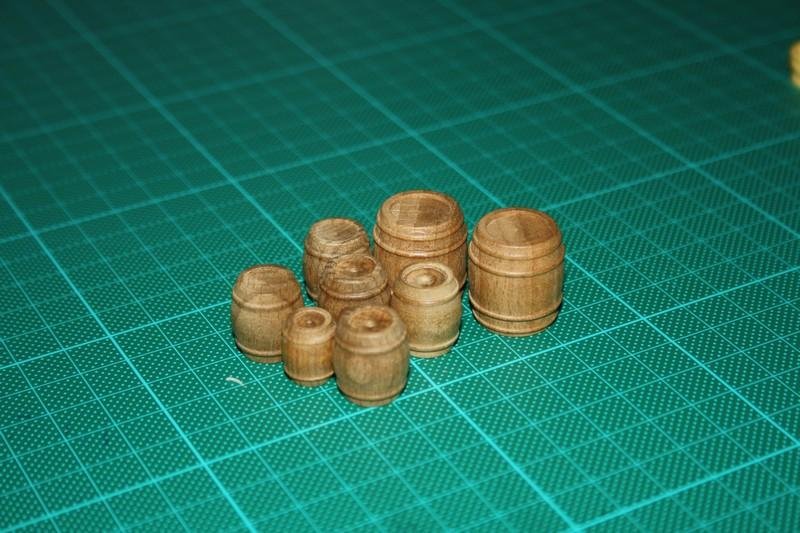
And I also bought some wooden buckets also as decoration
: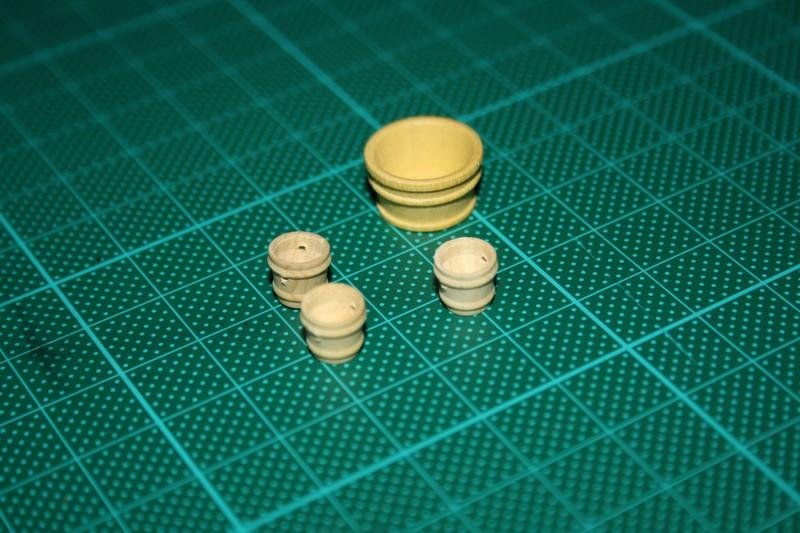
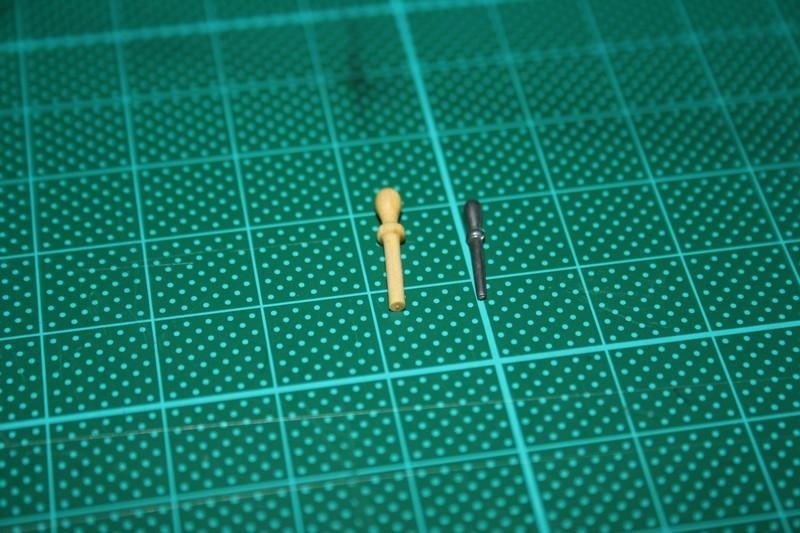
Next i bought some belaying pins (I hope this is the good word for it). 125 in total!
: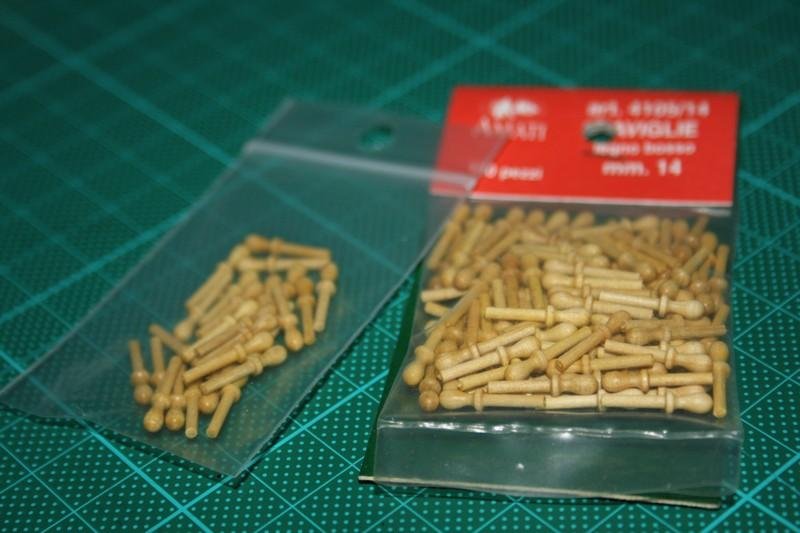
And for example, the metal pin next to the wooden:
I also bought something very interesting. I did want to make the gun ports also out of wood. The ones in the kit were from metal, but not very ugly. I doubted, because I didn't know how I wanted to make them. The ports itself isn't a very difficult job, but the hinges are. But then i found in the shop this, and fought this would come useful
:
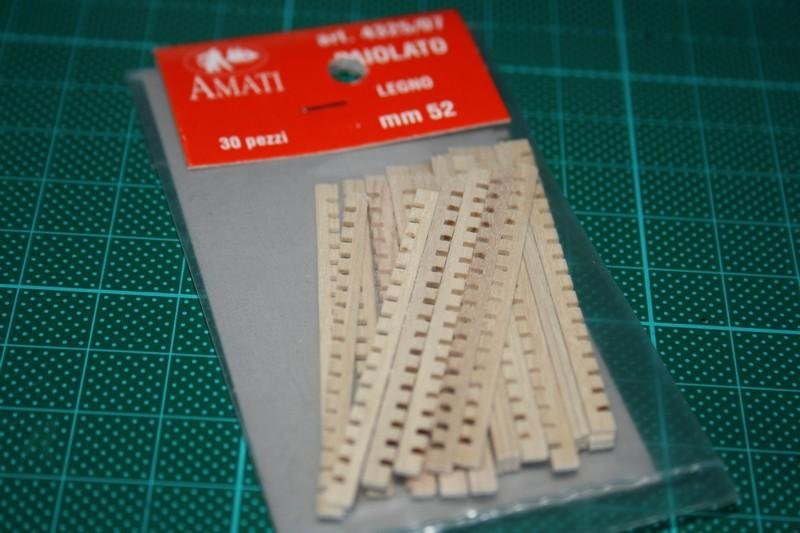
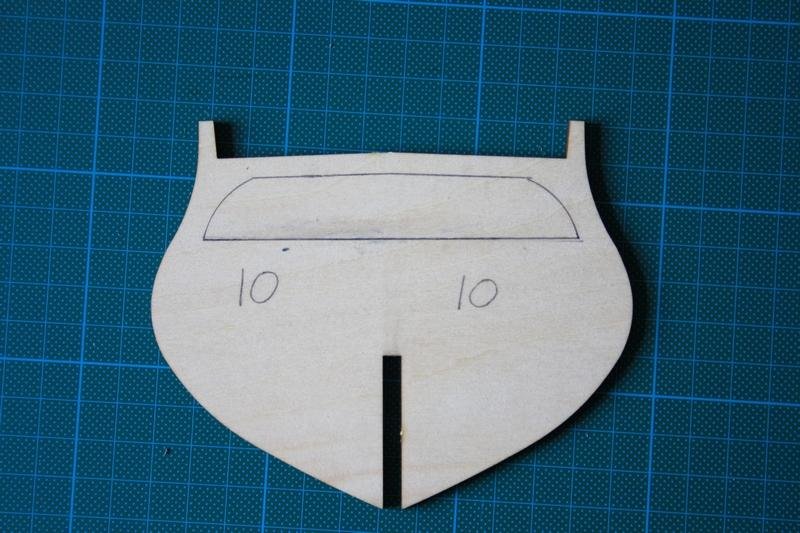
I also bought a wooden grid to replace the metal one:
And then the guns. I saw some guns that were exactly the same as the one in the kit. But because some mistakes, the shop assistent gave me the wrong ones. I found this at home. But I do not bring them back, because they don't look very different, and they are much nicer then the one in the kit. So I decided to use these new cannons for the cannons on the upper deck, and for the cannons you can see trough a hol on the upper deck (if you can understand me
 ):
):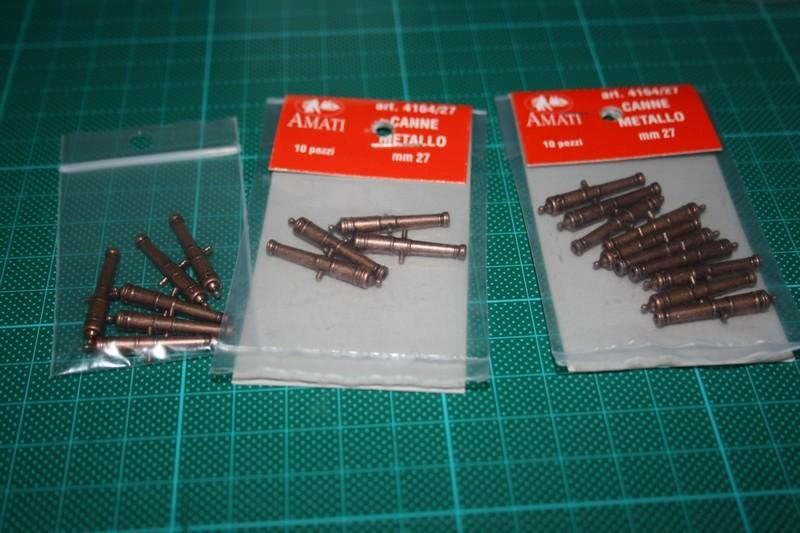
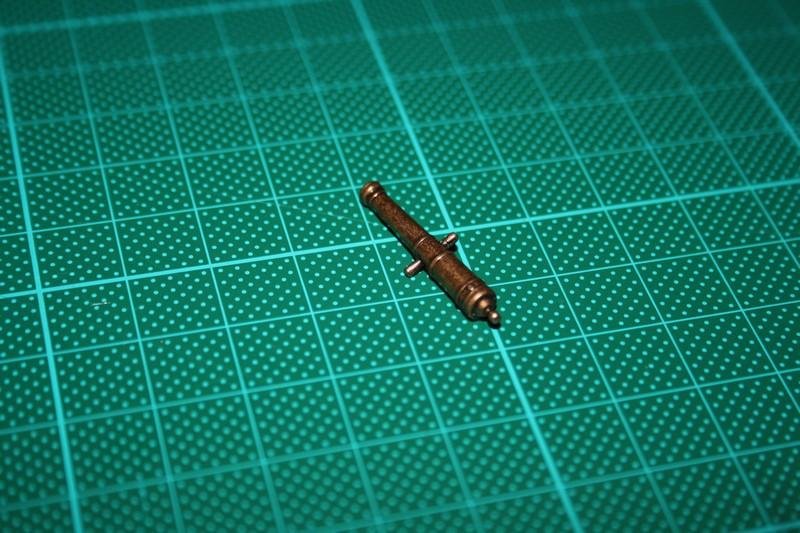
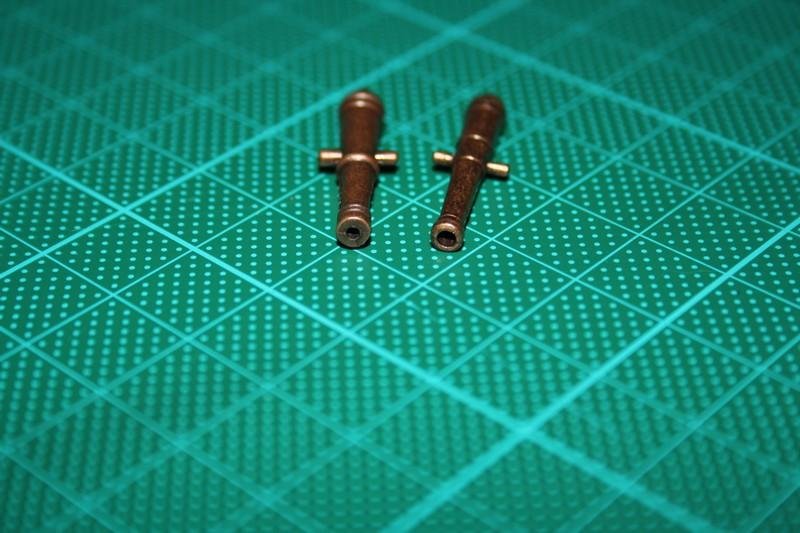
Also, the hole on the front is much larger on the new cannon. I will see if I can make the hole larger on the old ones
:
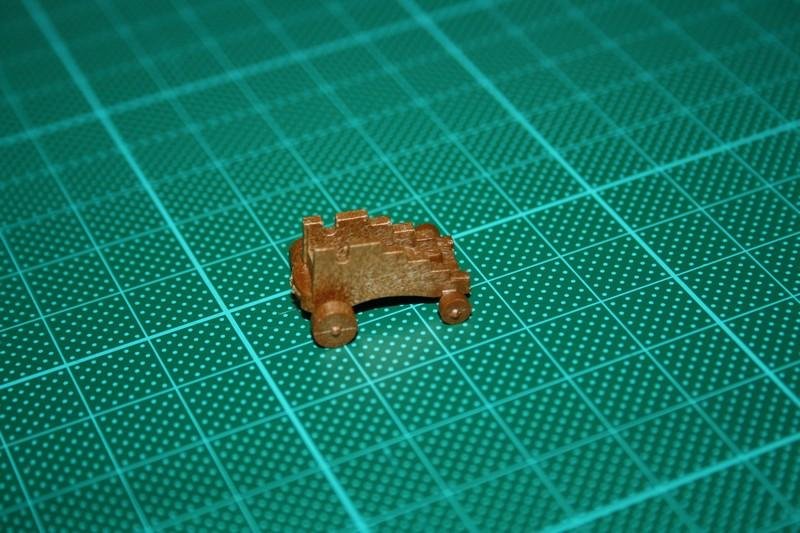
I also bought a plastic gun carriage. This is the right size for the guns i bought, and i gonna use is as an example to make out of wood
:
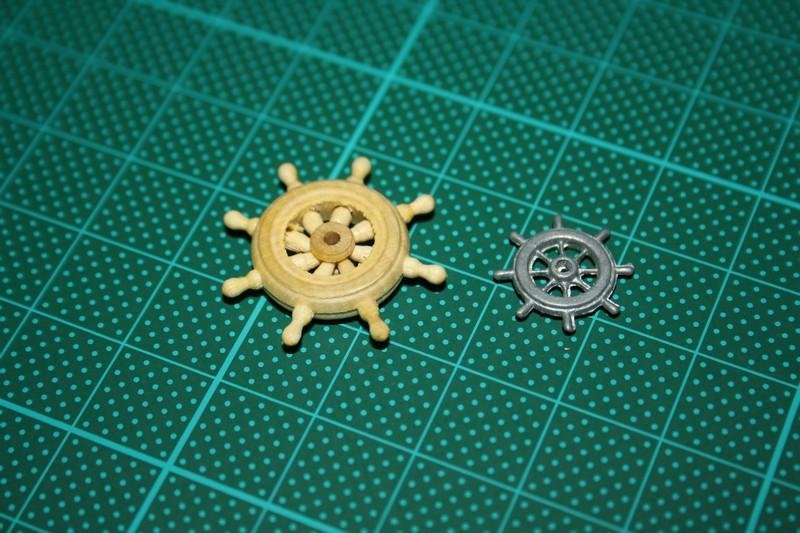
I also bought a new (wooden) steering wheel. The new one is bigger, but I don't care about that, because there was not a smaller one. Also, in the kit you had 2 wheels, I bouight one, because i found that nicer, altrough it isn't original
:
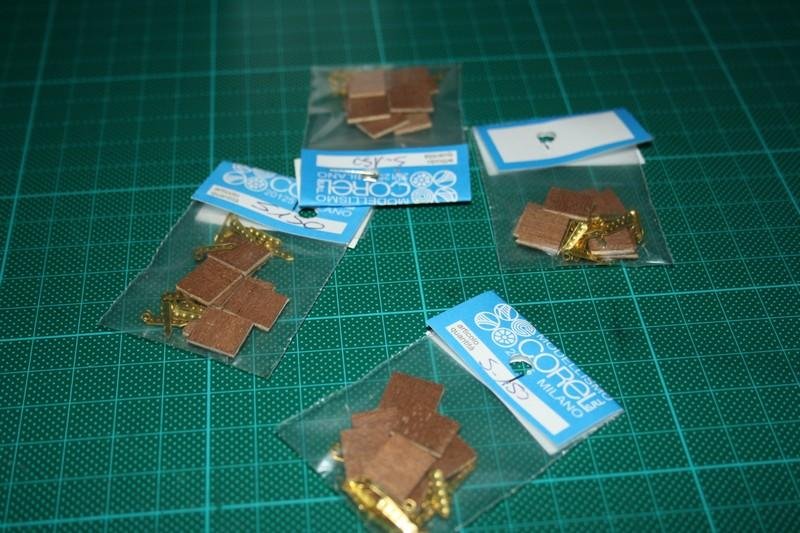
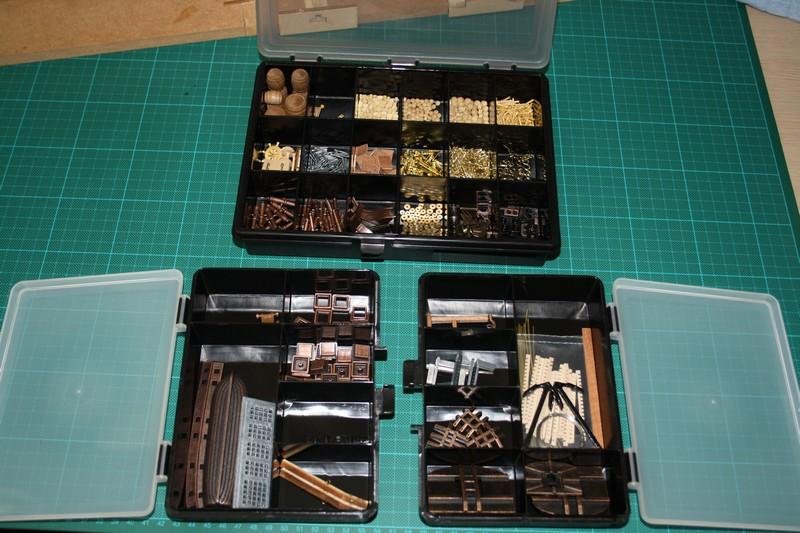
And I bought 3 nice cases to put all these things in:
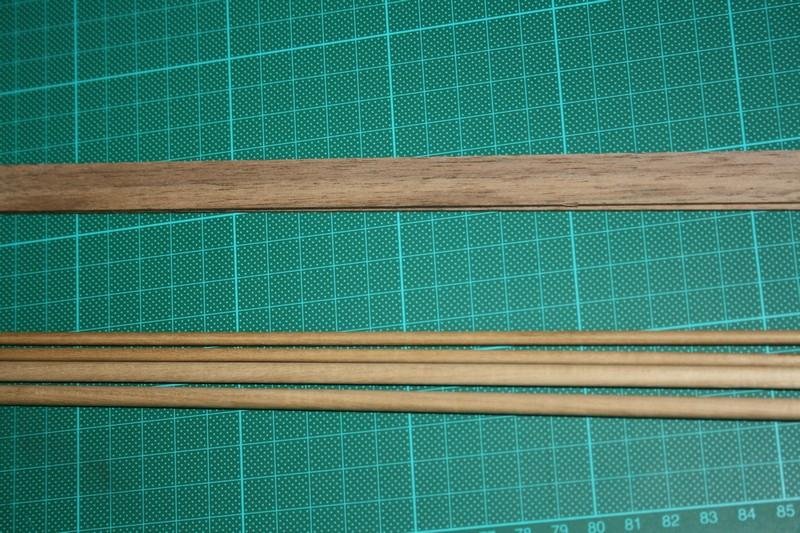
I also bought one extra wooden strip wich i will use for the gun carriage, and some round wooden strip wich i will make the gun wheels out of
:
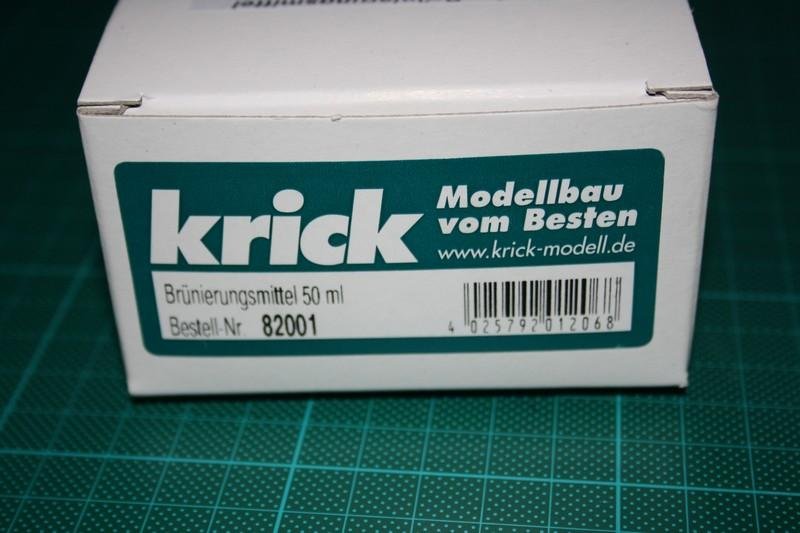
I also told you that I want to do metal blackening. I'm glad to say i found something in the shop, wich is perfect for this. The shop assistent told me I have to be careful with it, because it's bad for your skin
:
And that's it. I now have all the things I need (I hope). Soon I will post a new day of my built log, but tomorrow I will be on holiday for 8 days (as I told before). I have built yesterday on the ship, and maybe I can post that day today, and otherwise it will be after my holiday
I hope you all will enjoy also your holiday (when you have)
Cheers
Nick
-
Hi ZyXuz
I did think of hermione of harry potter the first time I saw/heard the name Hermione la fayette. I love the films!!!
I will make a lot of details in my cabin as you mentioned, and because my ship is bigger, I can make put a lot more in the cabin. Yours is really, as i mentioned before, a good example for me. I have already bought some wood for it.
Cheers,
Nick
-
Hello ZyXuz
I hadn't seen your built log, but it looks great. The boat has become a beauty, and your work looks nice and neatly.
I really loved to see how you have made the captain cabin. I want to make one to in my boat, and now yours is a good example for me.
I see you haven't finished it yet, so I love to see it finished. Go on with building, your are a great builder (I can learn from
)Cheers
,Nick
-
Hello Maaaslo
Thanks for your compliment, and I hope you will find your enthusiasm back, and get on with building.
You might be right about the balso wood for wood carving, but the shop recomended it for me, and I will yet try it out, and see if it will work. if not, I will buy the wood you mentioned. Thanks for the tip by the way.
Cheers,
Nick
-
Update
Hello everybody
Here is finally as promised day 5. I hadn't the time to post it, so it is already a few days ago
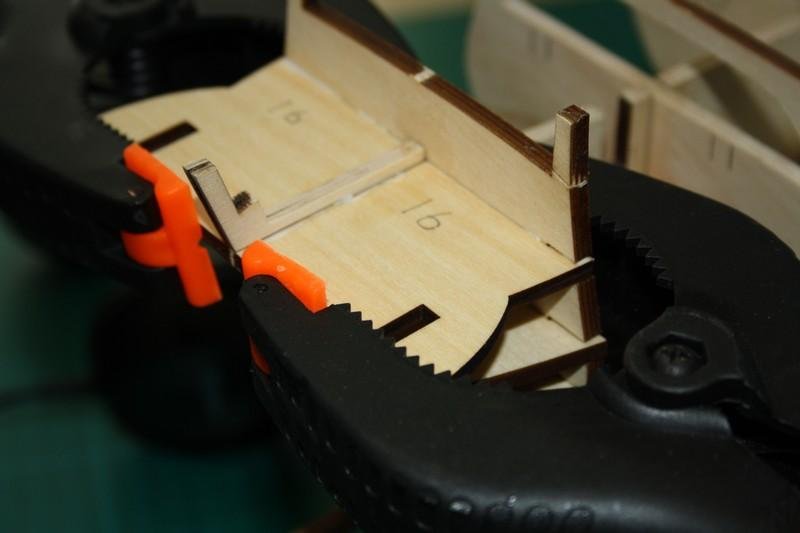
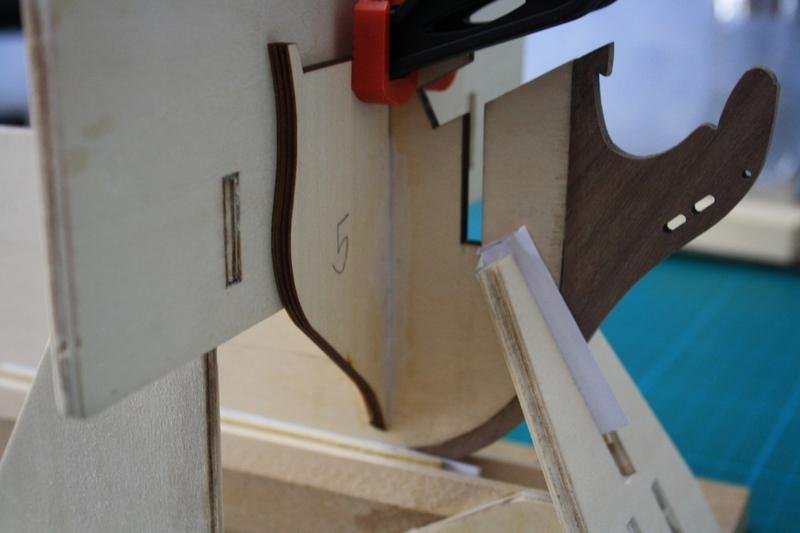
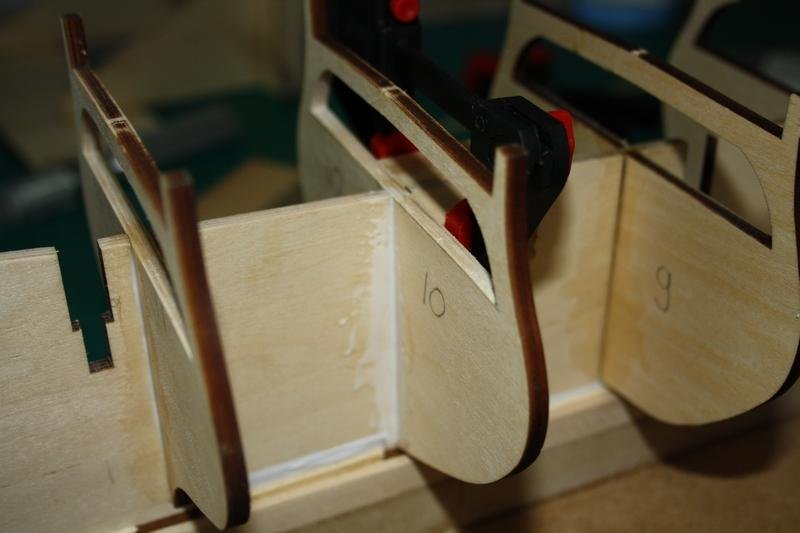
I started the built by putting the blocks I had got from my uncle (who sawed it on his work) between the bulkheads. The blocks are very nice and straight, because my uncle uses a machine for it, so I'm really happy with that
:
Each block is numbered with the sizes they are in length (so this one above is 57mm long). As told before, I have measured the lengths between the bulkheads
:First I had to sand the glue residues away:
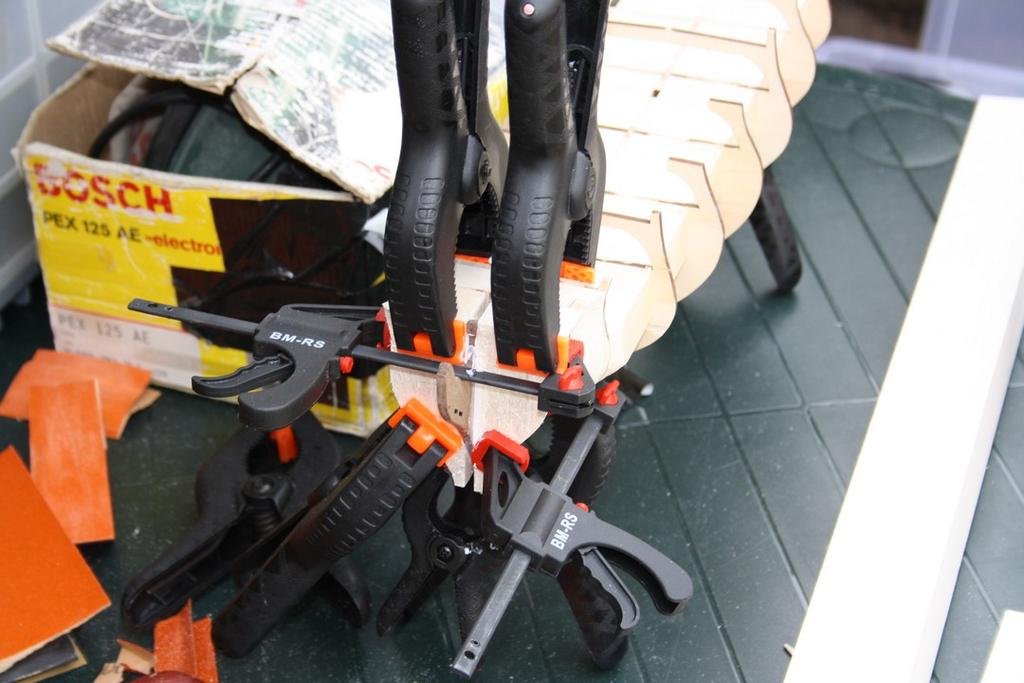
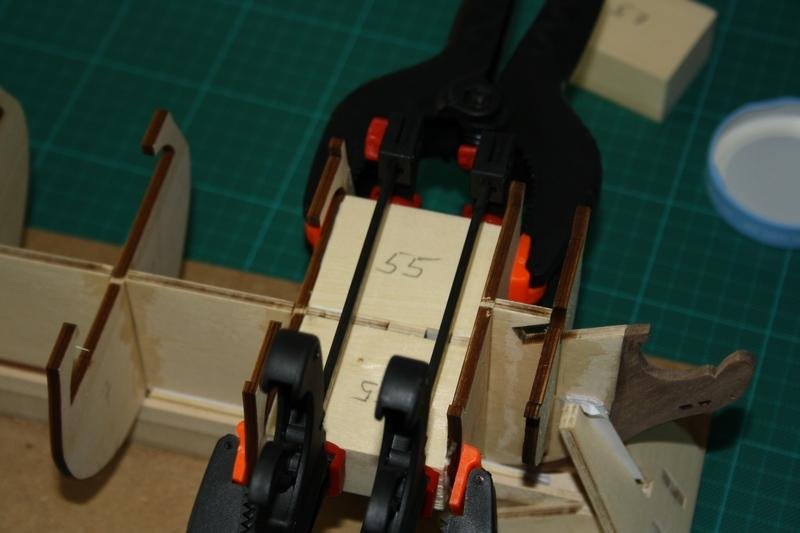
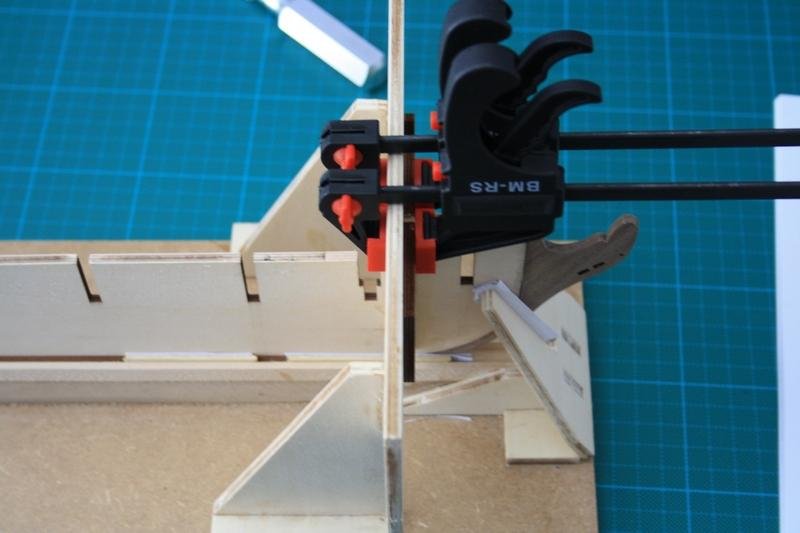
And then I putted the first two blocks between the second and third bulkhead, and secured it with my clamps:
And then I glued them in place:
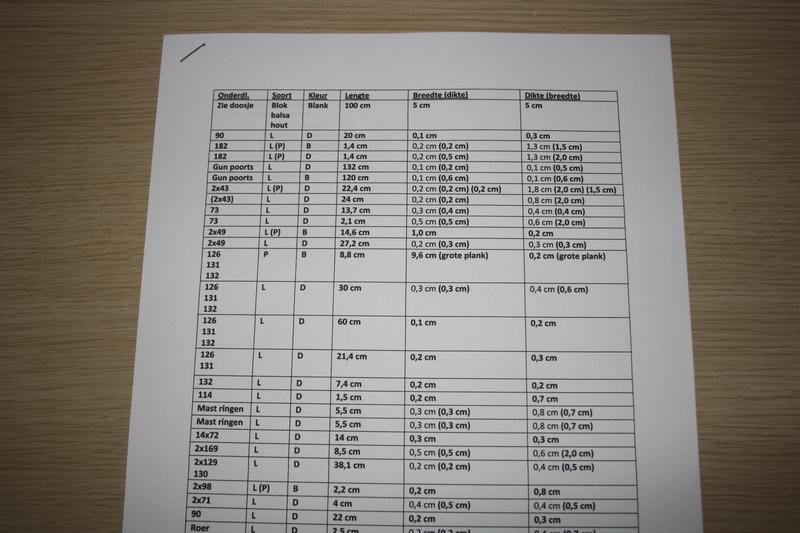
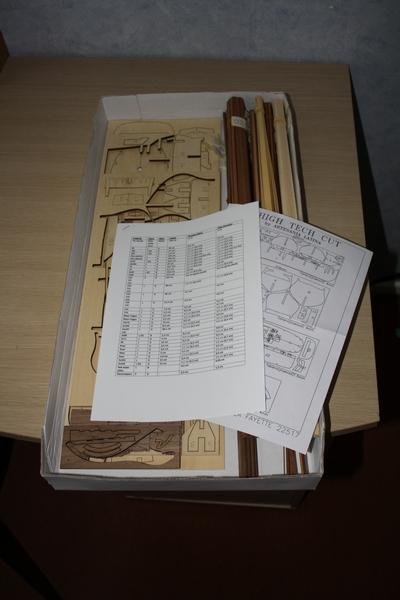
The glue has to hard, so in the mean while I first decided to sort the strips i had bought, and give them a label with the right sizes, so I can easily find the correct size strip. I also wrote on a piece of paper wich strip i need for each (metal)part
:
With a list of all the strips:
After that, I decided to make already some of the metal parts in wood. I only started on the dinner bell.
Much nicer I think
:
I haven't finished it yet, but I will do that next time
(meanwhile I got the second two blocks in place between the bulkheads)
And that's it for day 5
The they after (saturday) I will go on holiday (I will be on sailing camp with the scouting
) until sunday the 28th of July. The 25th of July is my birthday, but I'm not at home -
Hello Anja
Thanks for the complement.
My testweek went good, but because of some reasons I didn't make al the tests.
Cheers,
Nick
-
Thanks Richard
I'm using a really good photo camera, with a very high resolution camara. Sadly is, that I need to resize each photo because the sizes of the photo's are really big when i take them (2,5 mb). I use a very handy photo converter to convert them to 300kb, and then I can easaly post them on the forum. But the quality remains reallyh good, even thought I rezise them.
I hope I'm a little clear of what i typed above
Next week I'm really busy, so it will take a while when there will be a new update (One day (day 5) i have to post yet, but i haven't got the time for that, because I have a party of my mother, who has succeeded for nursing
)Cheers
Nick
-
Thanks Sjors and ZyXuz for your comments.
Sjors, you are right. I have mine from my father, but he did buy it in a warehouse as you said.
Cheers,
Nick
-
Update
Hello everybody.
Here is a little update to my built of the Hermione la Feyette
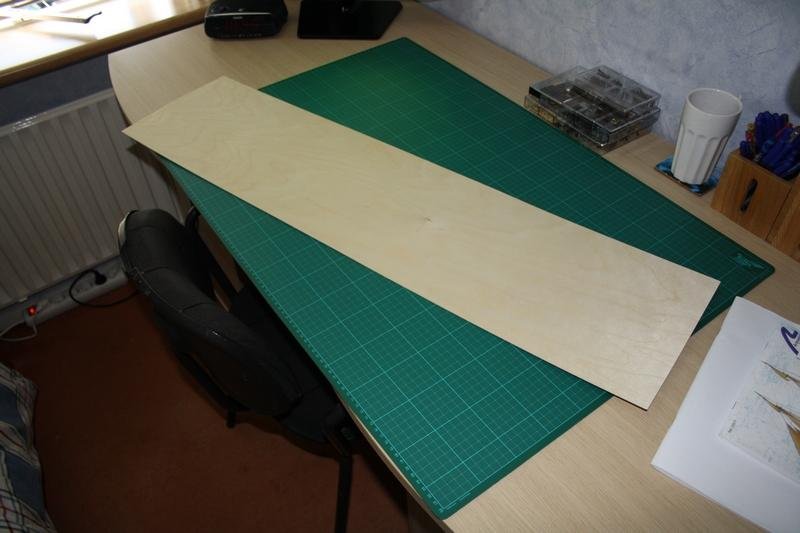
I went yesterday to a local hobby shop 40 kilometres away from my house, to buy some wood strips and planks. This because, as you know, I will be replacing the metal partsd in the kit for wood. For that I need ofcourse wood. I also bought a large plywood plank, to make the lower deck out (because it will be larger
). At last i bought a large plank of balsa wood, wich is perfect for woodworking (to make the lion on the front and other things out) Also, my uncle has sawed for me some really straight blocks out of a plank, to use between the bulkheads. I will show them tomorrow, because then I'm also gonna put then in place
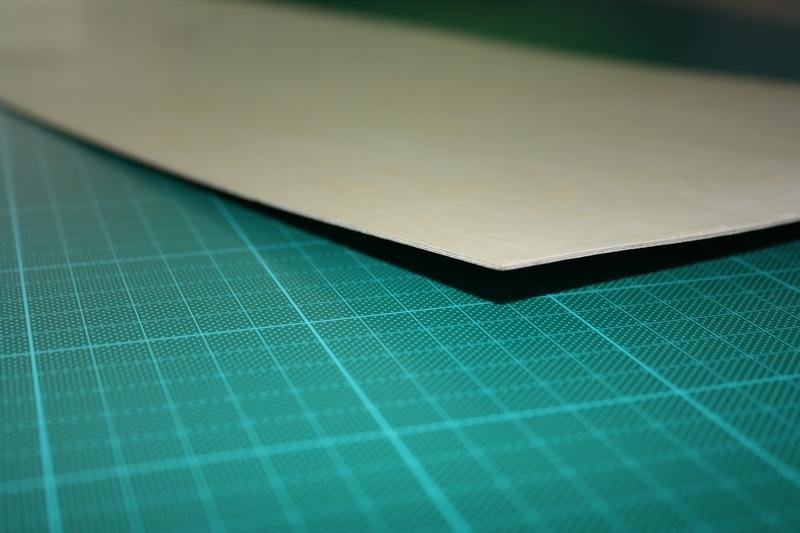
The plywood plank:
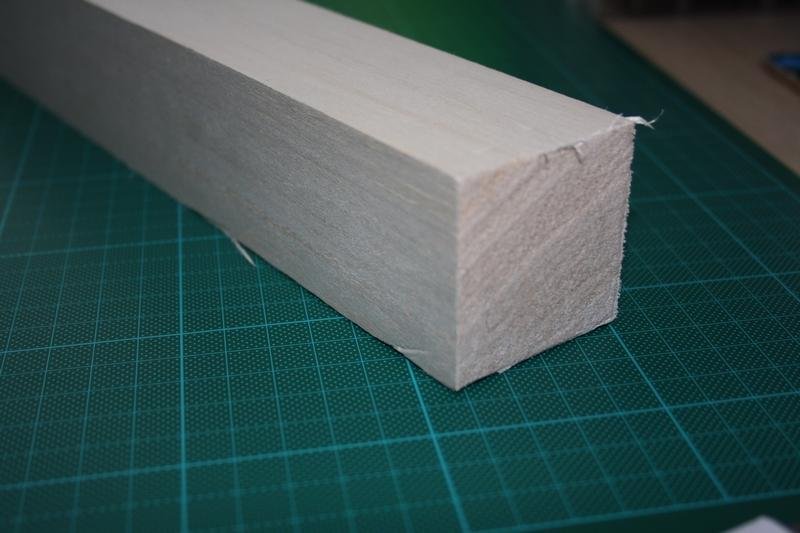
And the block balsa wood
(If I type balsa wrong, I'm sorry for that, but then I don't know the english name of it ):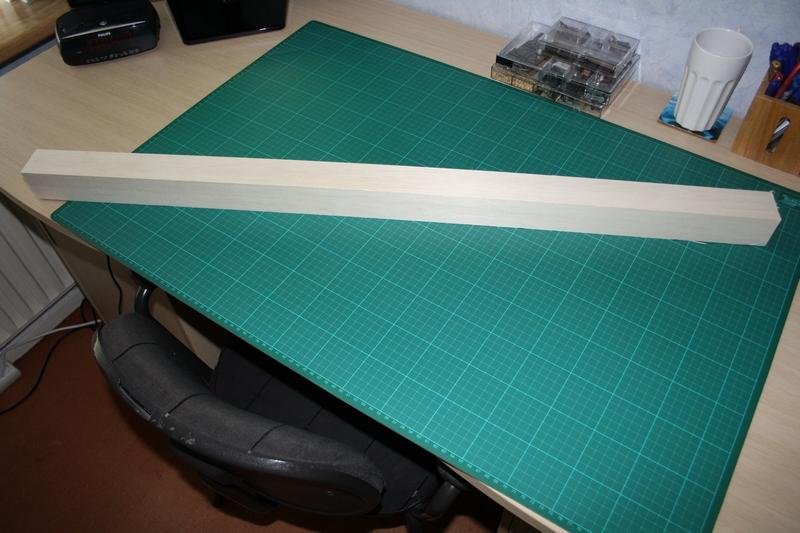
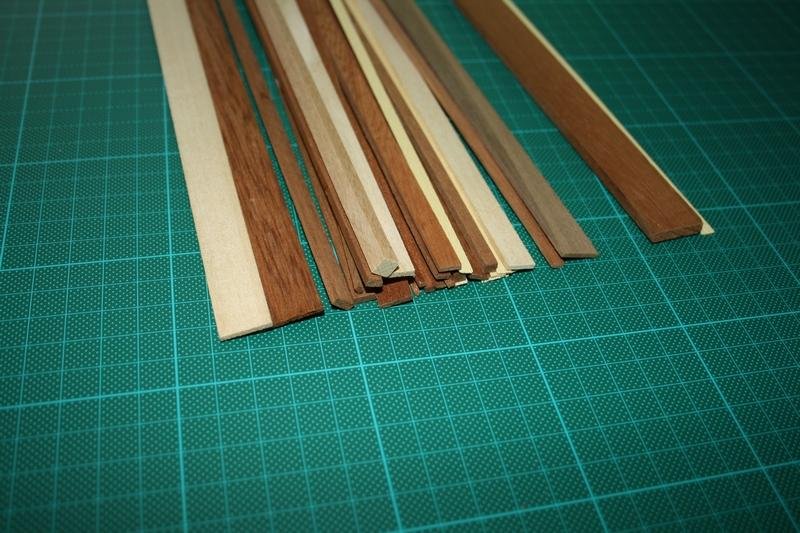
And next a lot of wooden strips. There are a lot, but I can also use them in future builts
. Luckely for me, the shop had a lot of variation in sizes of the strips, so I could easily pick the right strips: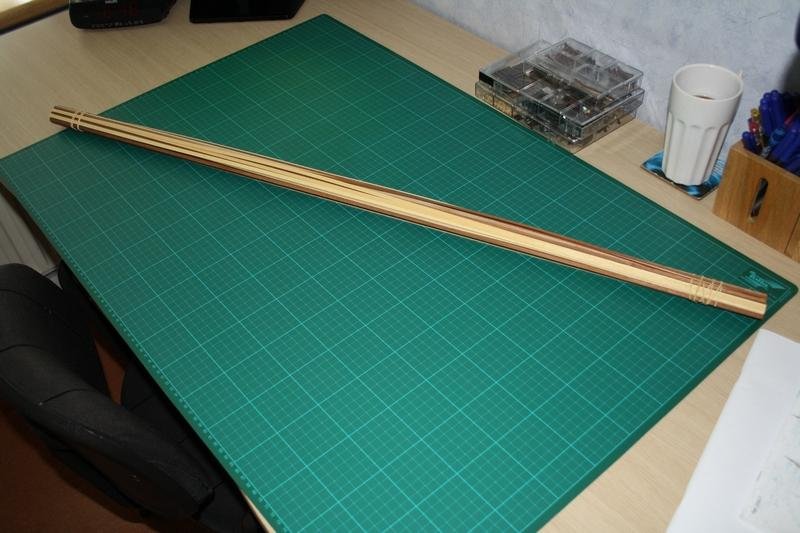
Next I decided to cut the strips in half, so I could easily store them in a box
, so I took my Amati wood cutter, and cut al the strips in half (not precisely). And the strips cut into half: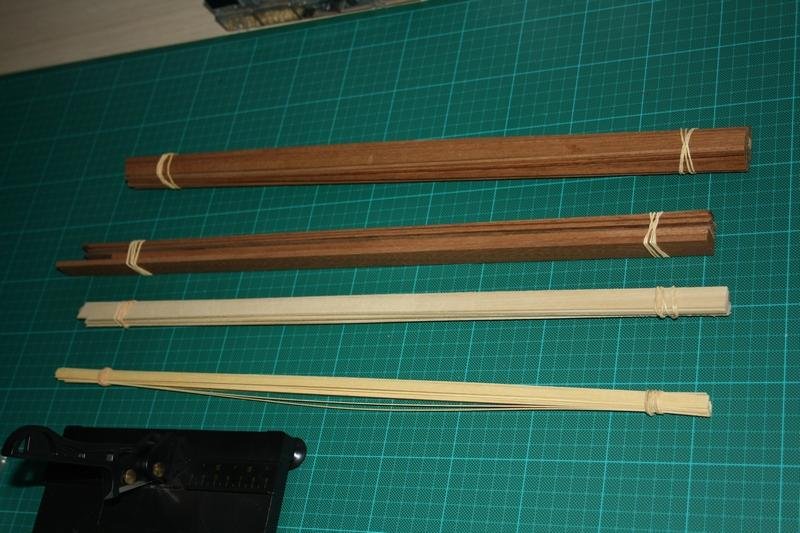
And all the wood I now have (strips only) including the strips I had already in the kit
a lot of wood i think: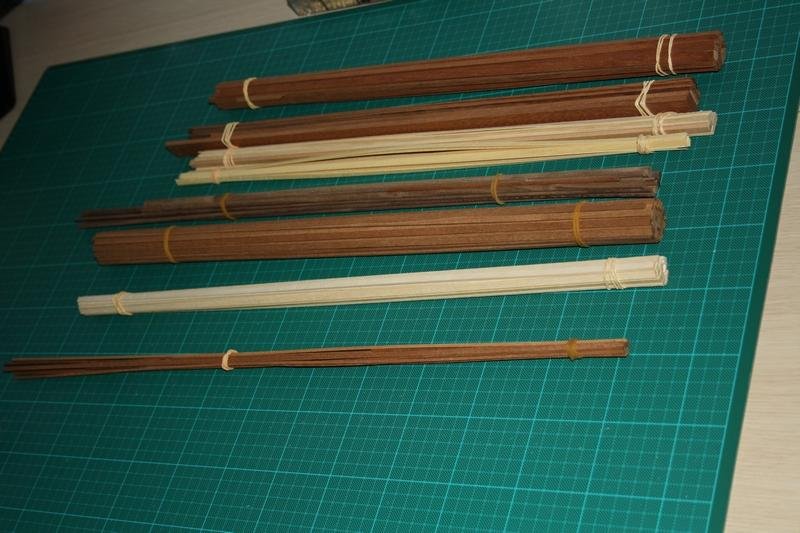
And that what I have bought in the shop. I also gonna buy some other thinks, like more guns, but I will do that in a while, but i wait with that.
I have called this post a Update 1 because I will have a lot of little Update's where I will not be building, but where I will be doing thinks what has to do with the built
Tomorrow I will be building futher on the ship

Cheers
Nick
-
Update
Hello everybody
It has been a long time ago that i posted a new update/day on my built log of my ship.
Recently I have built on my boat, but i hadn't enough time to post it on the forum. So here's day 4, wich 2 days ago for me is
It was again a sunny, and warm day. Yet I decided to work inside, because inside it was cooler. So I grabbed my stuff, and started to begin
:
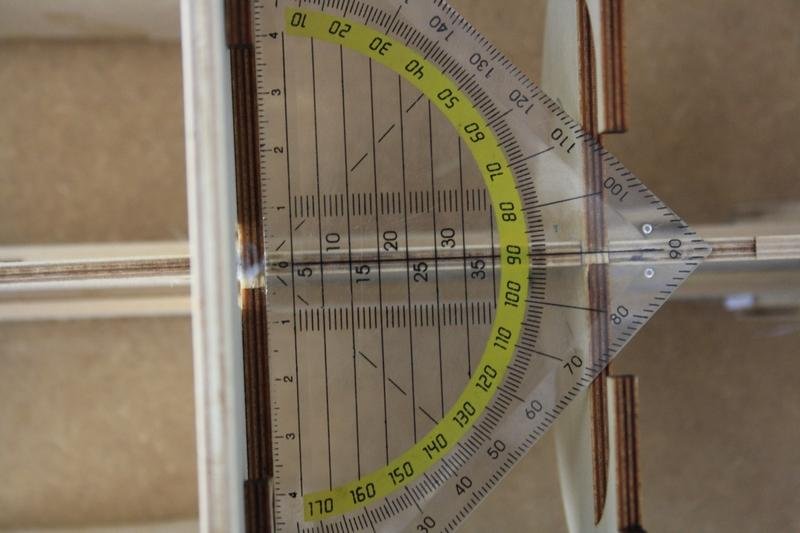
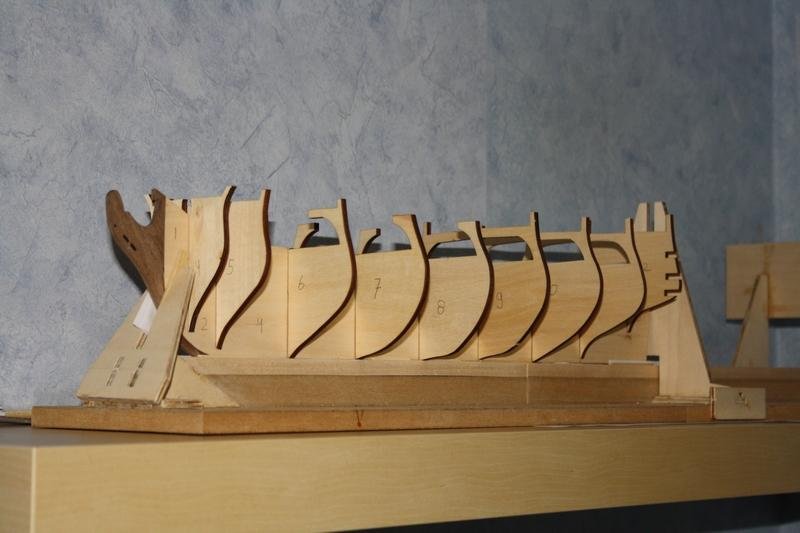
I begun by placing the bulkheads onto the keel. This has cost me a lot of time, so this is the only thing I have done
. The building slip helped me very much by placing the bulkheads straight on the bulkheads , but first I had to put a little piece of wood between the keel and some bulkheads because otherwise they were to low (to place the deck):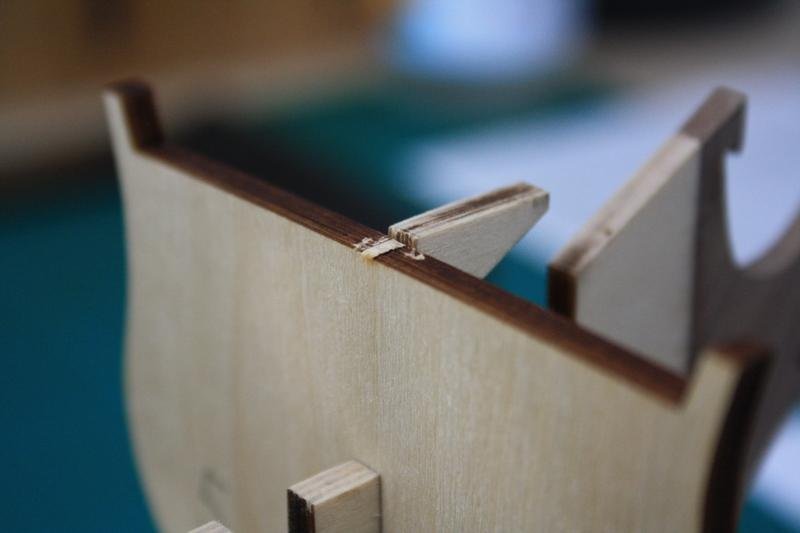
And so i started to put all the bulkheads onto the keel:
With the last one, i couldn't use the helping bit of the building slip, because otherwise i couln't get it away, as you can understand me
:
Same story at the front
And the result:
And then the day has past.
My uncle has already sawed some blocks really straight for me, so I can put them between the bulkheads. I will show them next time, and let you see what i ment to do
-
Hi Nick
Thanks for your comment. It was very helpfull in my decicion. Because the beginning of the built did go very well without large clamps, i decided to buy the small ones. I now have to wait to reseve them.
Cheers, Nick
-
Update
Hello everyone.
I forgot that day 3 had already past, and that i hadn't post day 3 on the forum (this because it was a really short day, where i haven't come further than make a gap for the lower dek into the other bulkhead i had to modify).
It was a rainy day, so i decided to work for the first time inside.
My chamber isn't very big, but I do have a big office in it i can work on. It's large enough
The big work, like sanding, I do outisde in the shed where we have stalled the bicycles. Because of that, i can't put down a workbench in it, and work there
As i told before, I have only saw a piece of one of the bulkheads to make the lower deck larger:
I have worked as precisely as i can, and i think the result is good enough. It's not wonderful, but i think good enogh, because you will not see it when the boat is finisched
:
And my beautiful boat on the plank above my bed
:
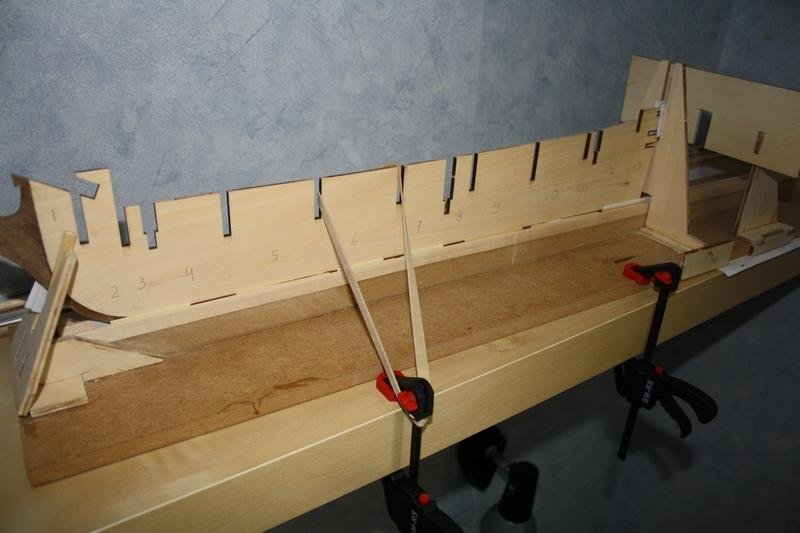
Yet i descovered that there was a little bow, and I want to make this ship really straight, so i decided to bend it right with a elastic
:
I hope to get a lot further tomorrow.
I hope also that i don't post to many photo's, because i want you to have a good view of how i build my ship
Also I need some help of you!!
The clamps you see on the last photo holding the elastic are very handy. So i want to buy more. But I don't know what i gonna do. I can do two things:
Buy a set of 8 clamps with a clamp range of 10 centrimetre, or buy 4 bigger ones with a range of 30 centrimentres.
What should i do???, I can't buy them both, because that's to pricy for me, and i don't need so much!
Cheers
Nick

How To : Add Pictures in your Posts and PMs
in How to use the MSW forum - **NO MODELING CONTENT**
Posted
You may try using Google Chrome. This browser is much better and a lot of things are better supported.
Ik have heard IE11 causes virusus and speed problems