


TheDutchShipBuilder
-
Posts
165 -
Joined
-
Last visited
Content Type
Profiles
Forums
Gallery
Events
Posts posted by TheDutchShipBuilder
-
-
the wood is maybe not the best and i added hundreds of tiny nails. It was a bit like ikea feeling
 But I really like it. And with a proper varnish over it the wood will not brake i think. But the corsair is not big enough to fit tide on the workingstation. I will do some improvements so that this problem will be gone.When the station is done, I will make additional pictures
I did also add nails to it. Otherwise I didn't know if it would be strong enough!
Very nice ship you have there. Nice that you can put it on your workbench, mine is to big for that.
-
-
-
-
Update
Hi everyone,
It's been a while since my last update. Despite the nice wheather here in Holland and the fact that I had holiday, I couldn't do much on the ship

This because several reasons: I did go on vacation to Vianden, Luxemburg, I visited the Batavia in Lelystad, and I did several other things.
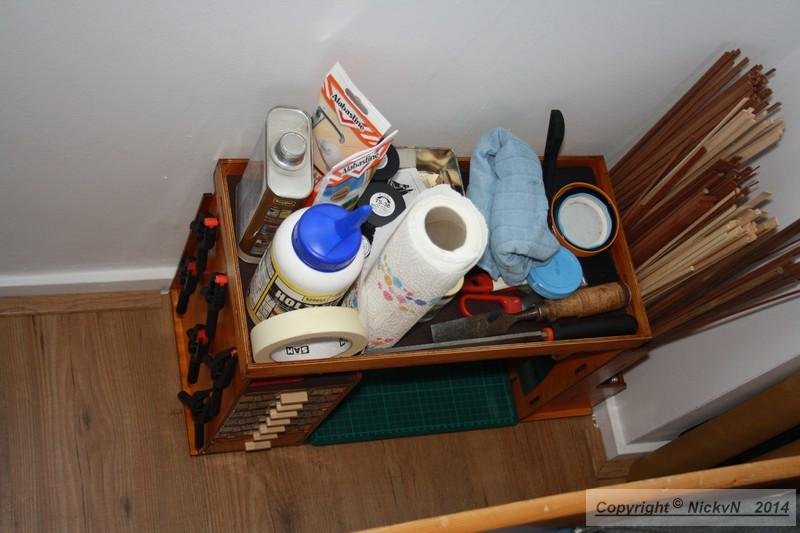
Meanwhile I did manage to complete the workbench. Because the wood wasn't looking very nice, I did varnish it. I also bought a smaller mat to cut on. And as you can see on the photo's below I did put some leather on some places in the workbench/toolcase.
And as promised here are the photo's
: \
\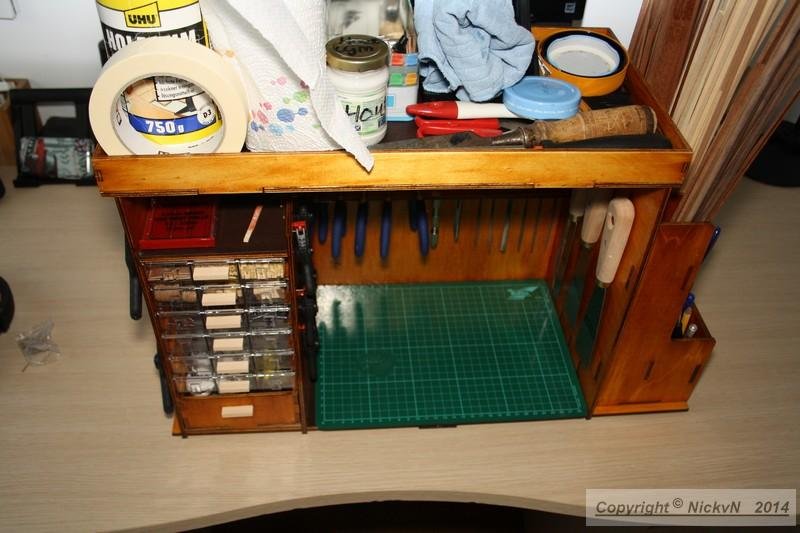
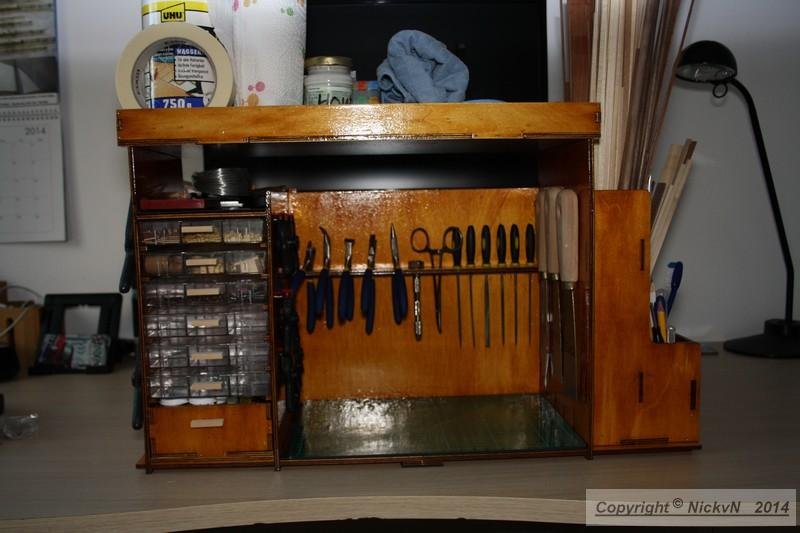
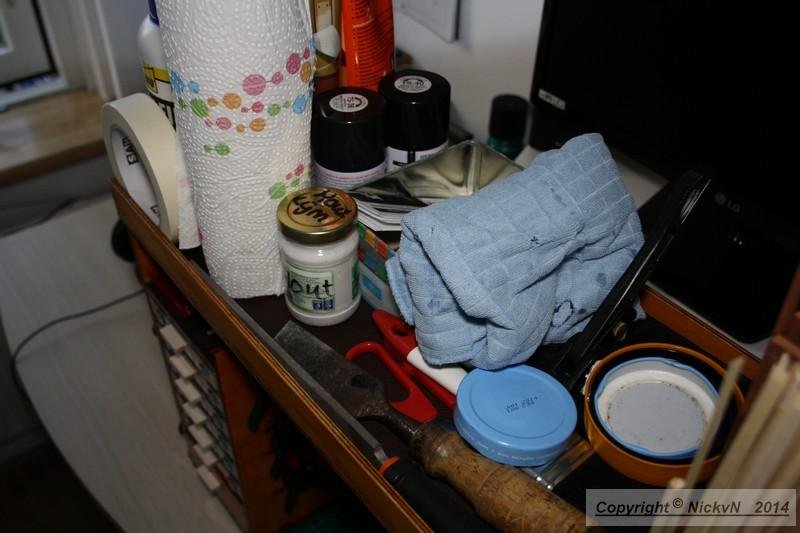
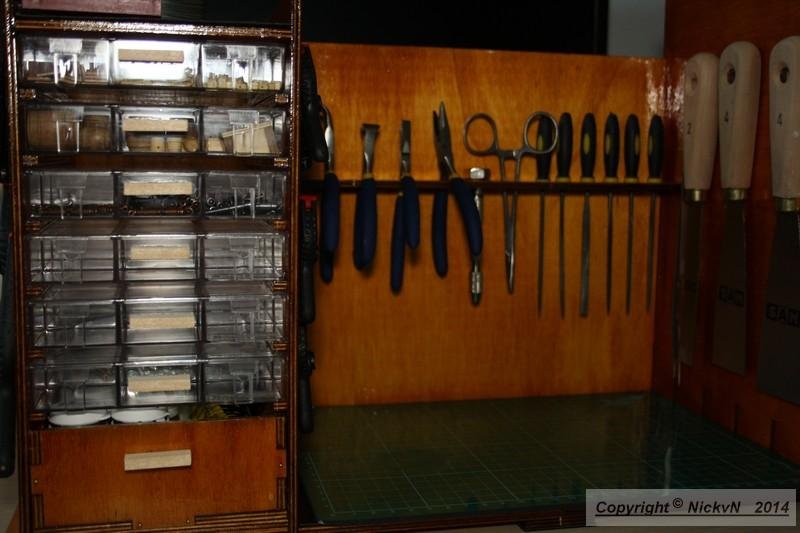
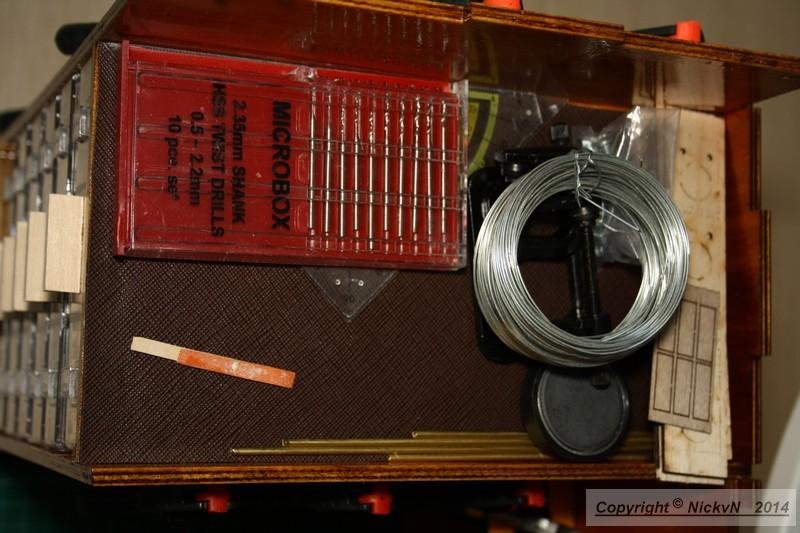


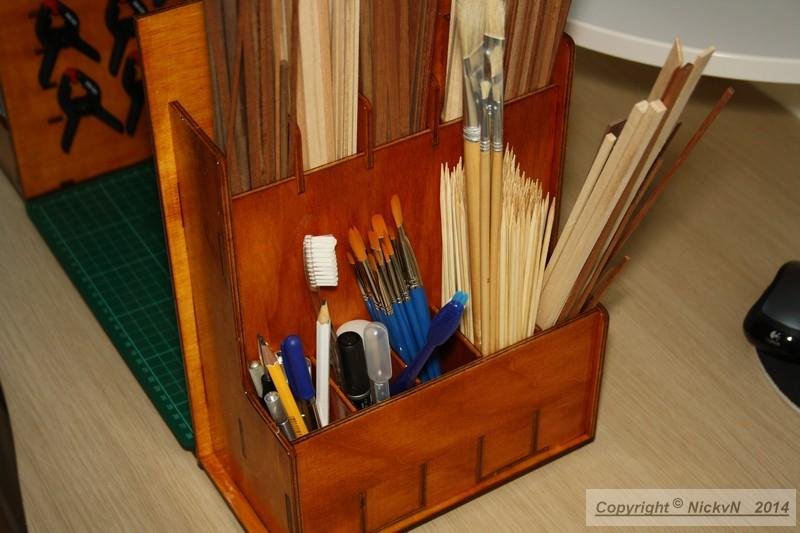
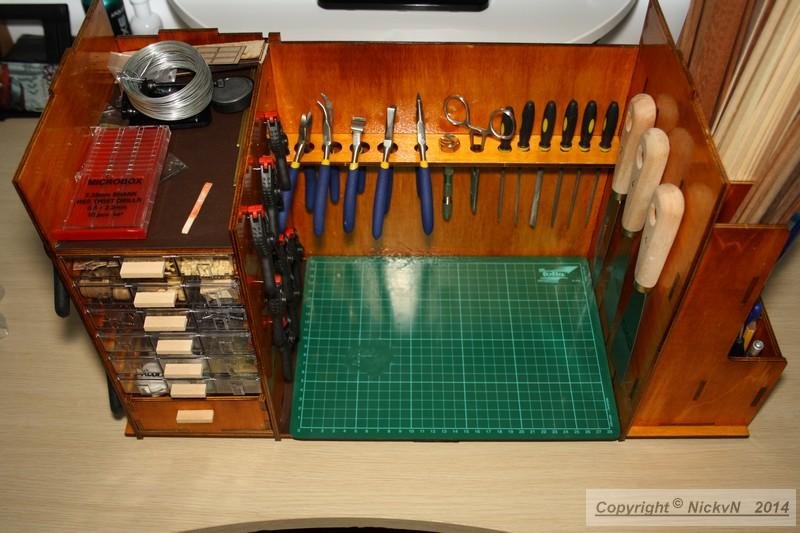
I'm very glad with it. Its very usefull. All my tools can fit into it, so I can carry them around very easily.
My school begins tomorrow. but like last year I will do some small things.
I will let you know what I've done

-
-
Update
Hi everyone,
today it's my birthday
 , and I got a really nice present from my parrents which I wanted to share with you:
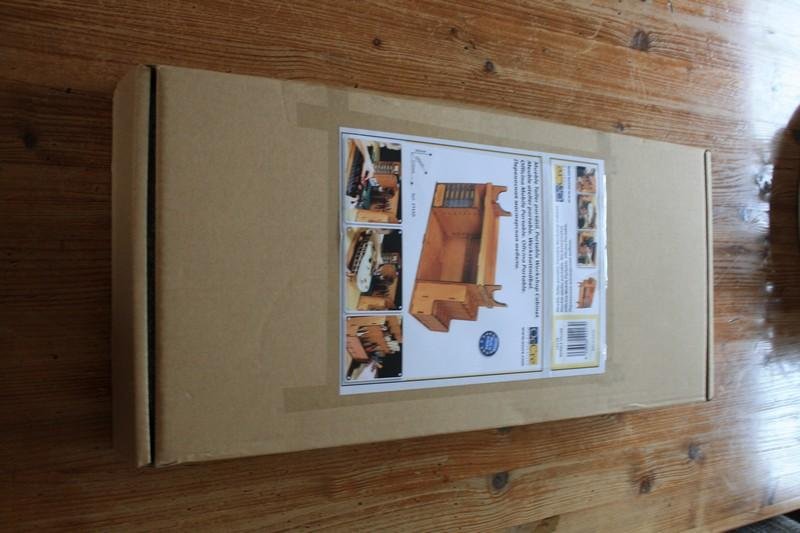
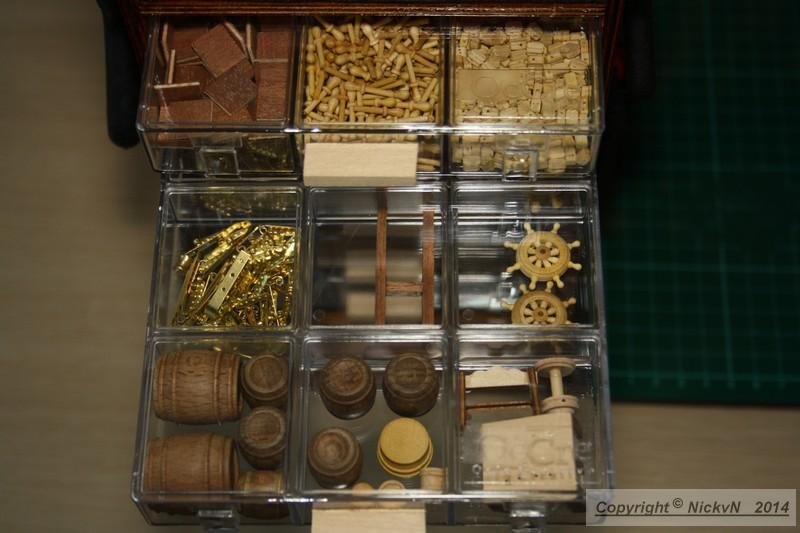
Its a toolbox from Occre
. Here I can put all my tools in! There are also some plastic trays which I can put some parts of the ship in: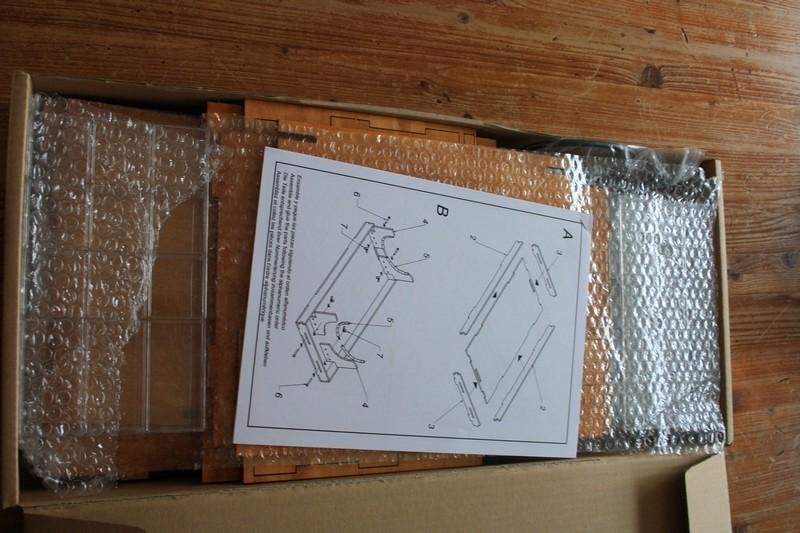
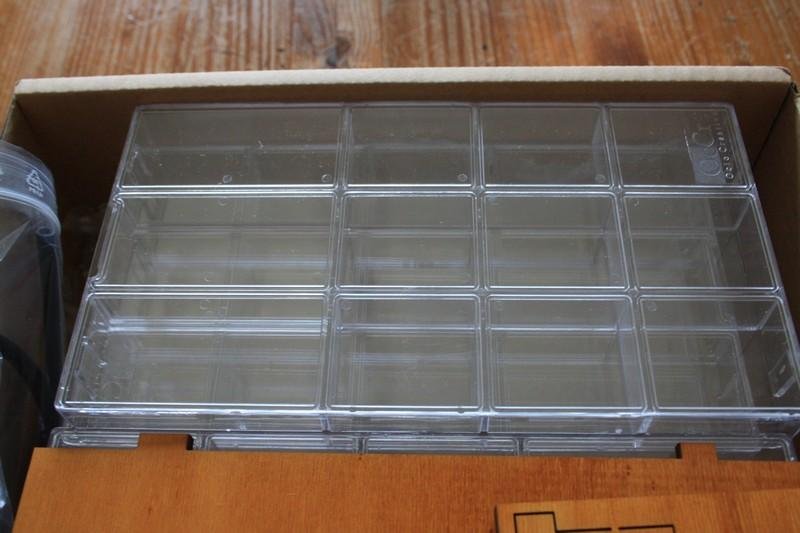
I will put this together in the next few days.
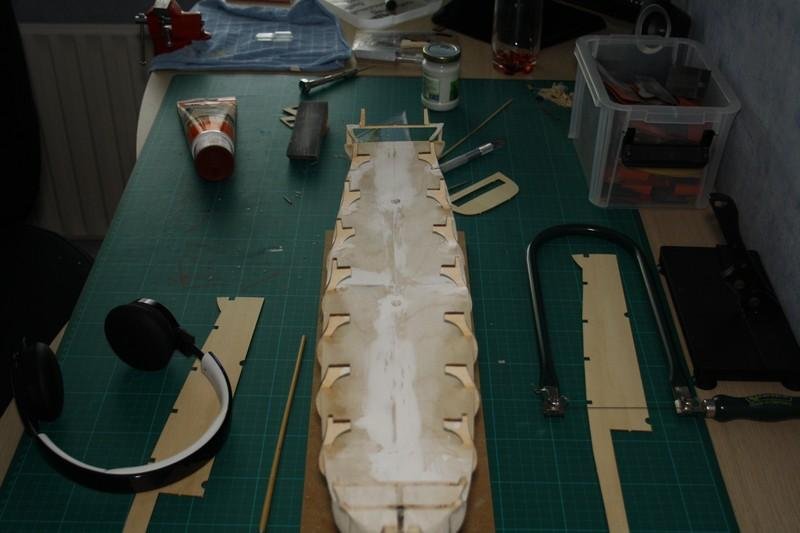
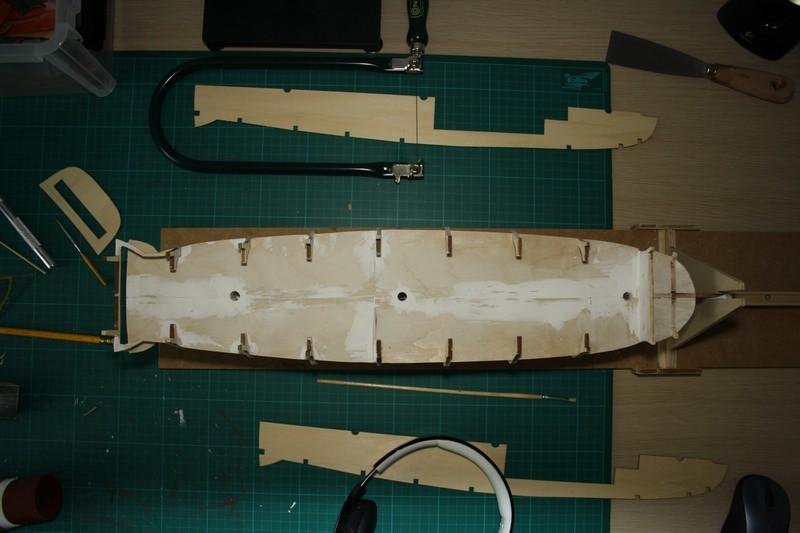
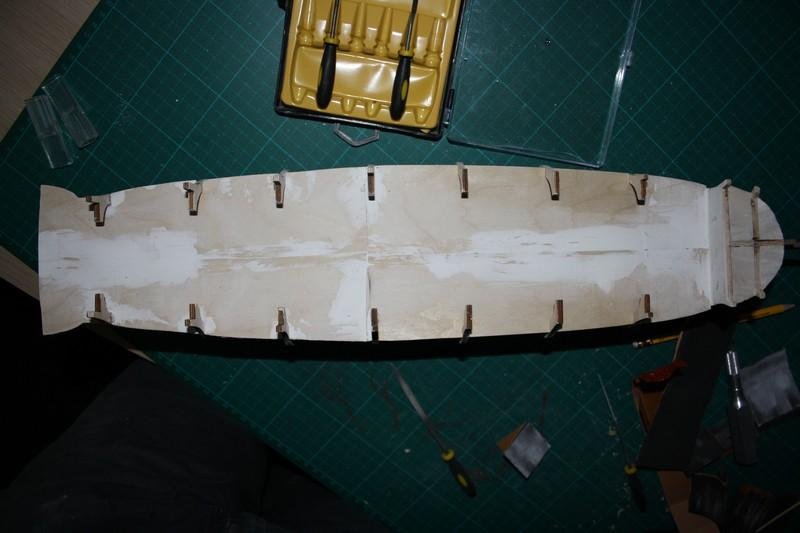
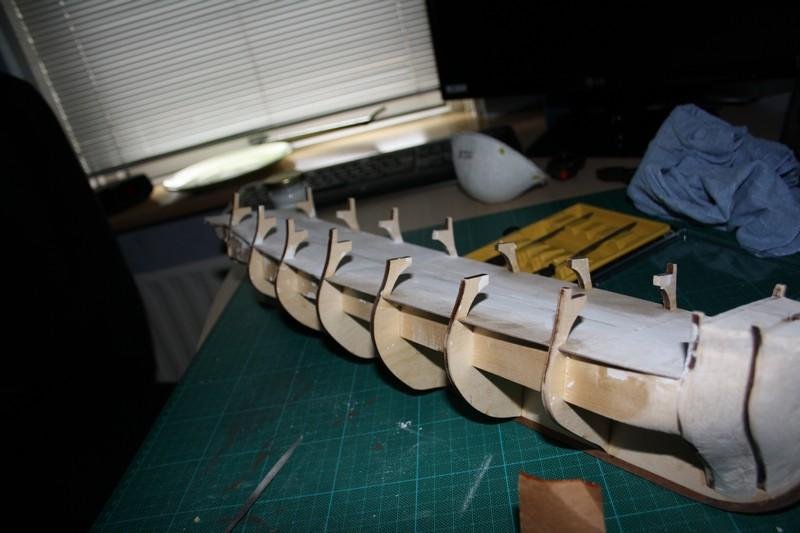
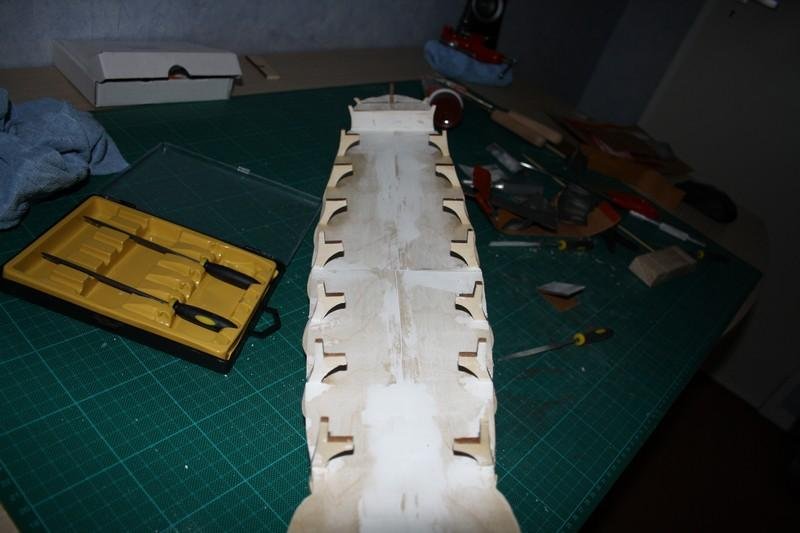
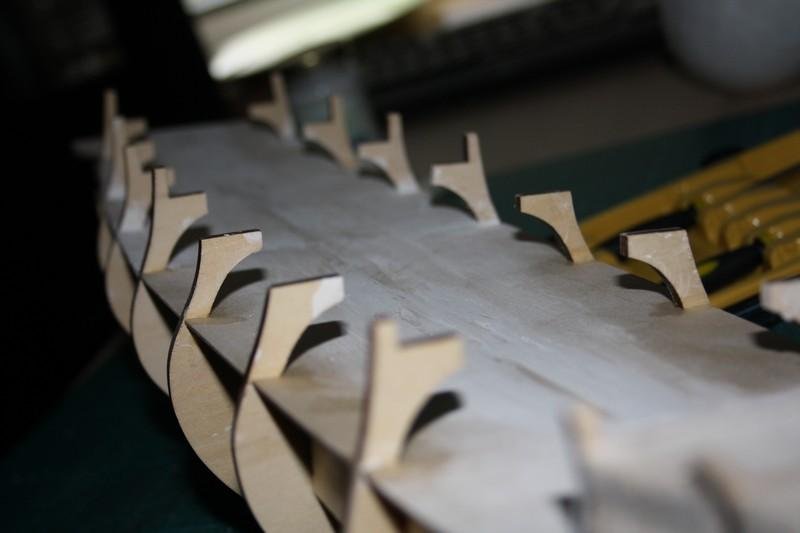
Here is how the ship looks like at the moment:
-
-
Update
Hello everyone,
Here a small update where you can see how far I'm at the moment.
The great holiday has finally began so I have a lot of time to work on the ship.
I'm working on the cannons and finishing the deck. I'm also working on a construction for the portholes for the cannon's.


-
I would like to see it. But I don't know if I will use it. I'm very pleased with my deck so far. There are some things that can be done better next time, but I'm a beginner and can learn from mistakes.
Also as you can see on my pictures in compared to your picture, that my deck is a lot lighter than the one on the real ship. It will become darker when I oil it, but it will not be as dark as the real one.
I'm thinking of a way of making the nails on the dek, but don't know how yet (so advice is welcome)
-
Update
Hello everyone,
First of all, you may notice that there are no more days but only updates. I do this because I lost the count on the days
But here is another update. I did some work on the cannon's. A have bought a new Tamaya Gun Metal Black spray, because the Metal Black was a bit to dark. I have also made my first (real) cannon (which is not a experiment anymore but how the others will also look). I use this cannon as a example when making the other cannon's:
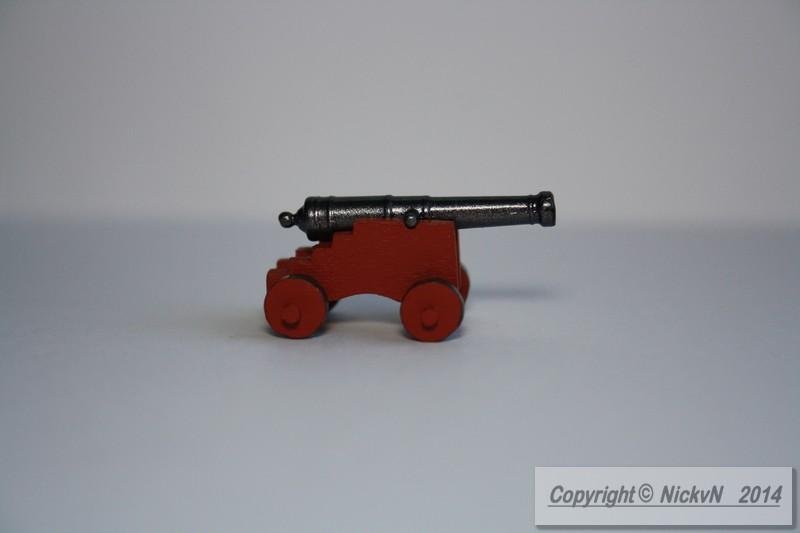
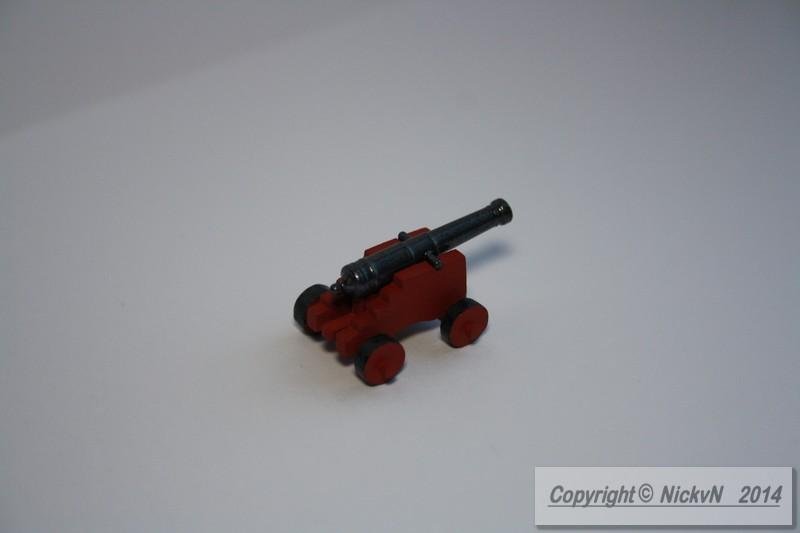
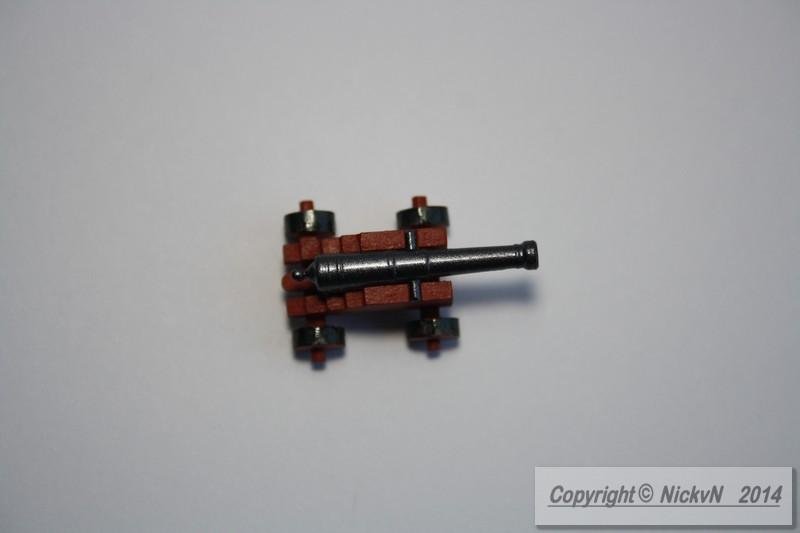
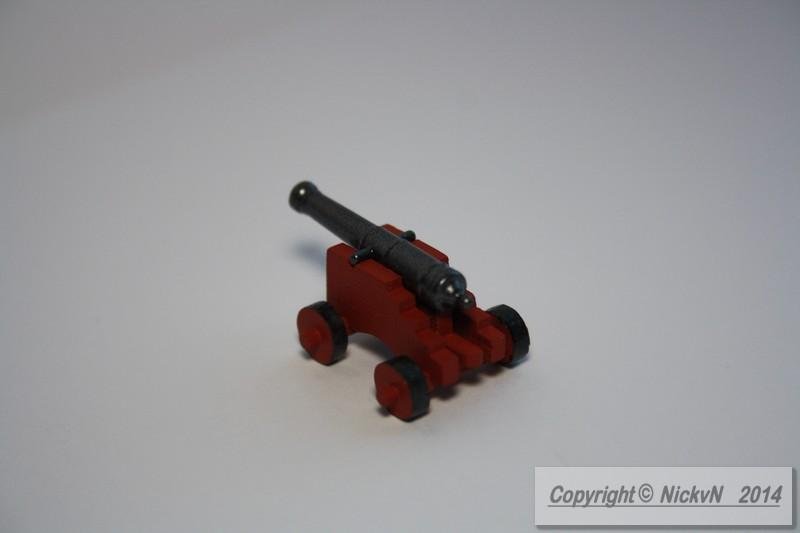
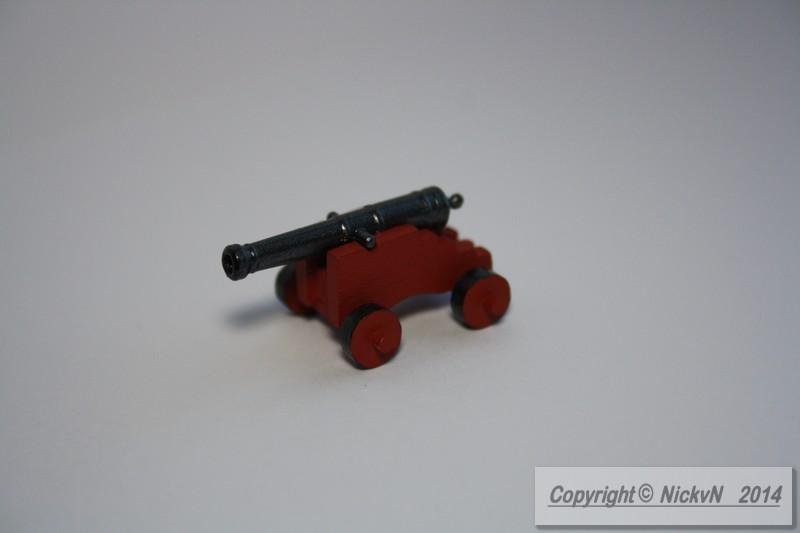
I have chosen to make both wheels exactly the same size because I found out that the cannon's on the ship in Rochefort has also same sized wheels. And I try to remake that ship after all.
-
Very nice done man!
-
-
WOW, your model is already looking very good Lukas!
I myself didn't do such a good job with plastic ships

-
Hi Hans,
Didn't know you started also here a built log. I said this before
, but your work is great!A good example for me when I am building this ship (which I will in the future!)
-
Update
Hello everyone,
It's been a month since my last update, but here is another one (or two)
I have removed the construction I had made. Not permerantly but because I have to do the deck planking. I have alse removed the beams wich holds the upper deck temporary.
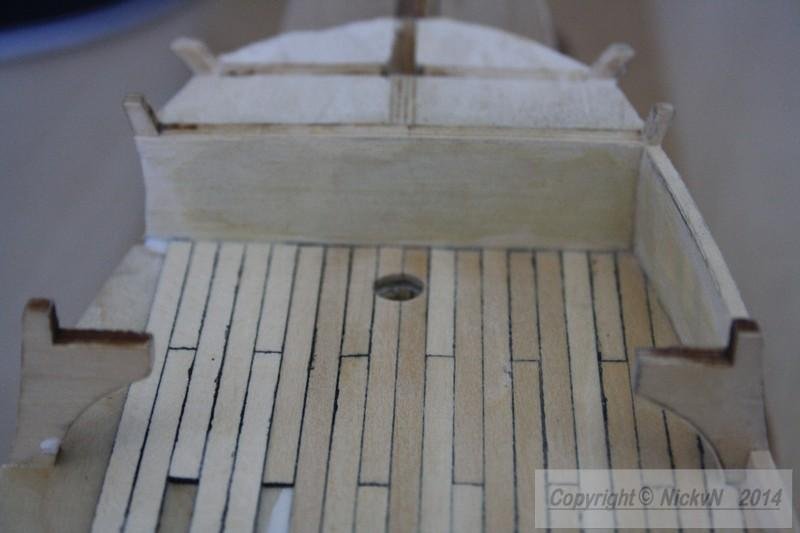
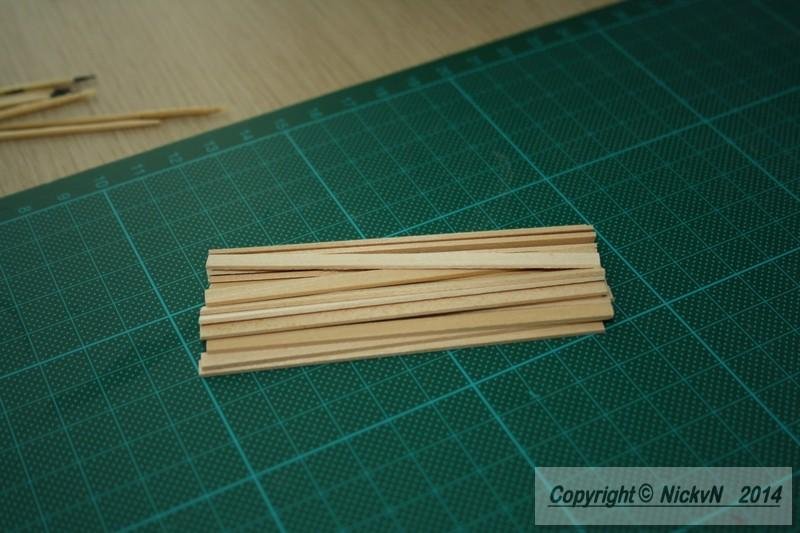
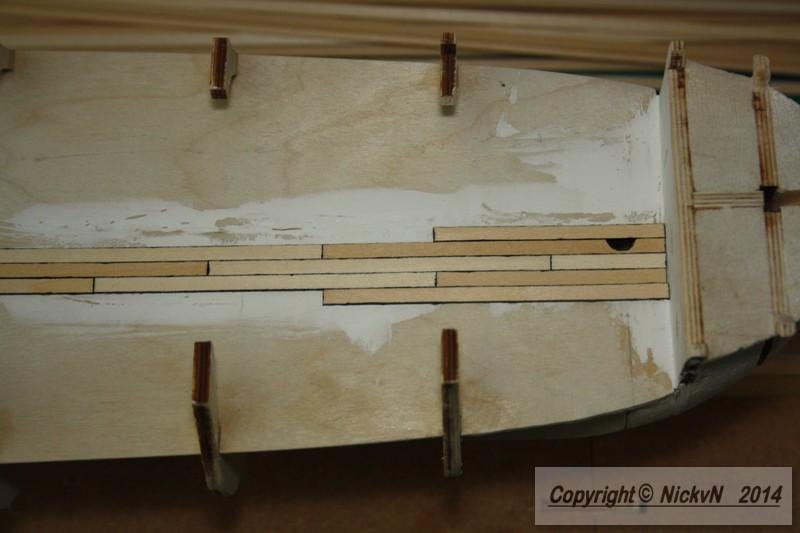
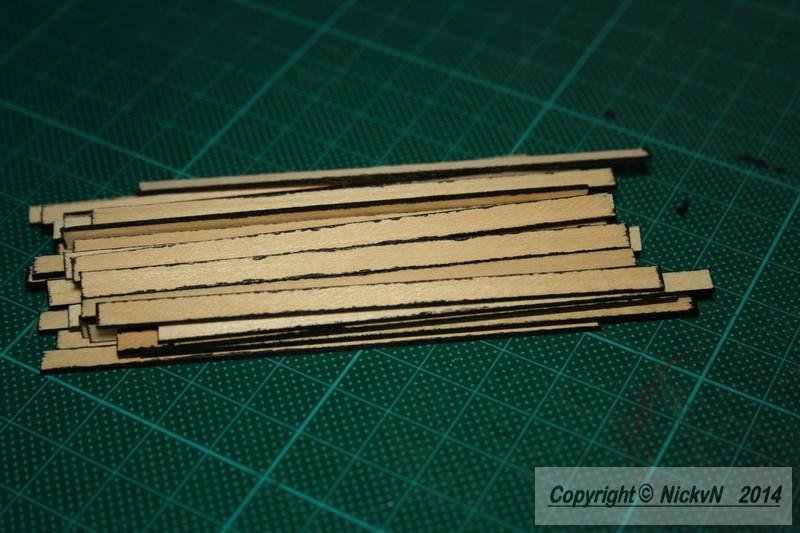
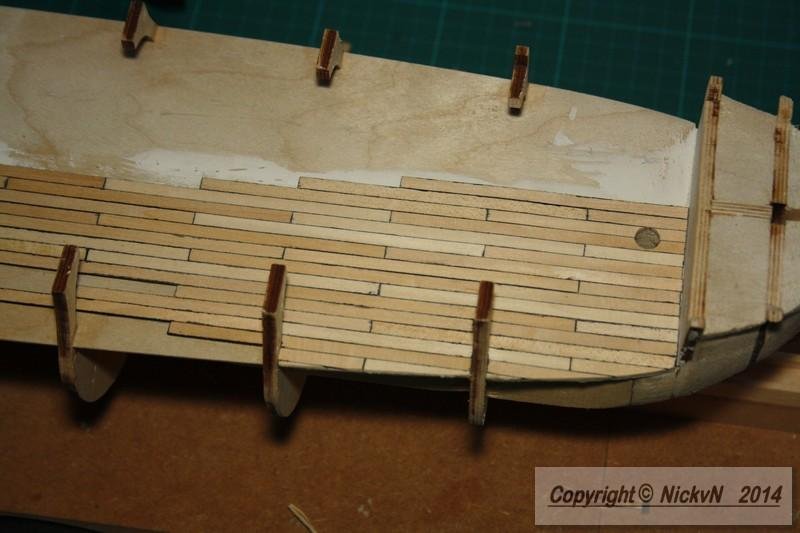
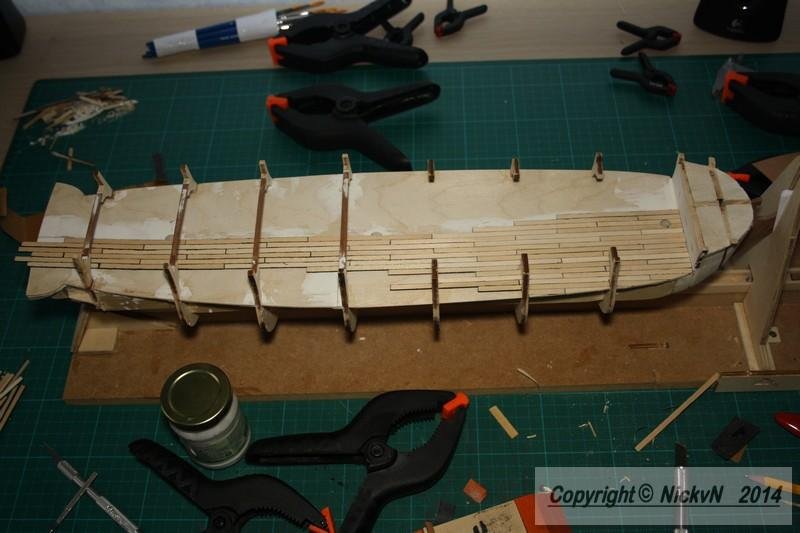
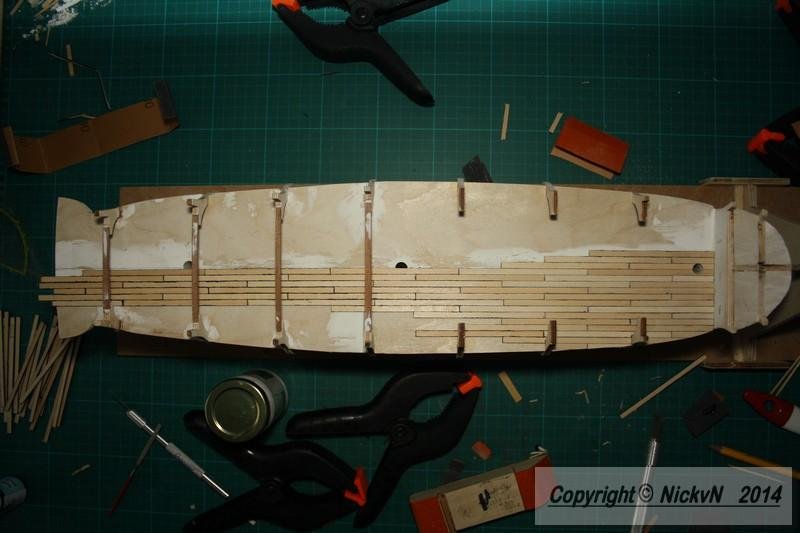
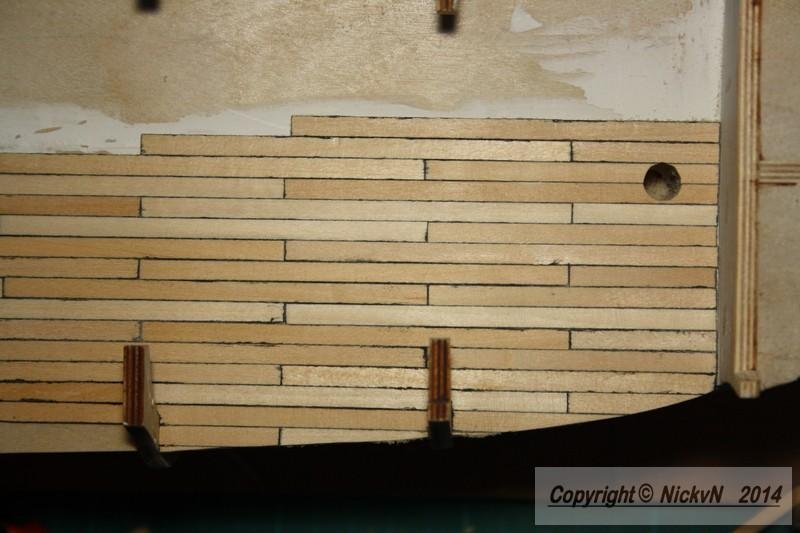
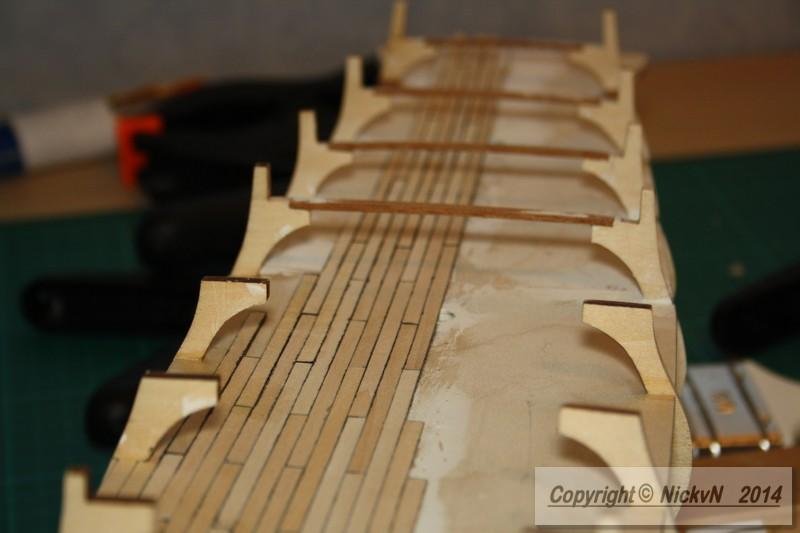
I have begin with planking the deck
The planks are from lime wood, and are 4mm wide and 9cm long. The black lines (don't know what they are called in english) are made with black admiralty paint. Any paint stains have yet to be removed and the whole deck has to be sanded. Here is the result:
- Sjors, Aussie048, MarisStella.hr and 4 others
-
 7
7
-
Hi everyone,
A short thing to mention. I make more photo's than I post. But if you want to see them all, go to this site where I have my photo album with all the photo's:
-
It's all looking very good.
Just noticed that I can't see the photo's at the beginning of your buildlog anymore
-
-
I don't know the rights Artesania claimed on these document, but I can scan them for you and send you them in pfd form. I am busy at the moment, so I will do it in a few days.
(I need to be sure that it is not illigal: anyone know if it is or not??)
-
Update
Hello everyone,
Here is another update.
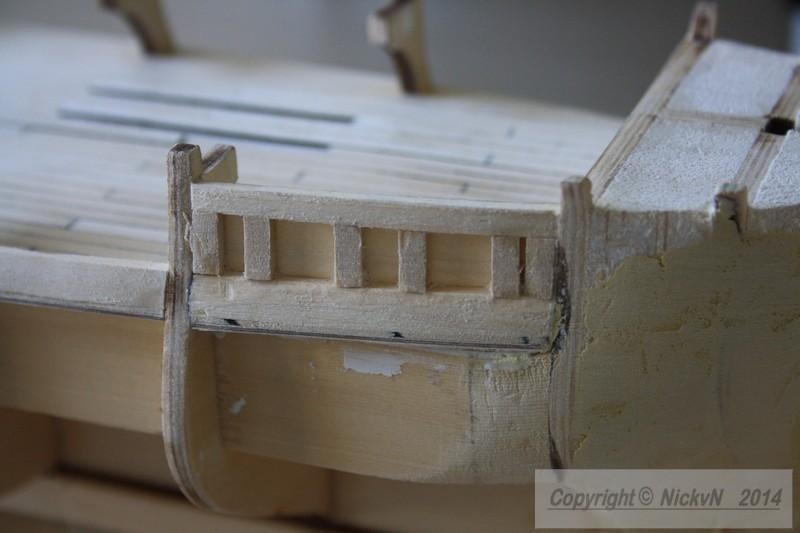
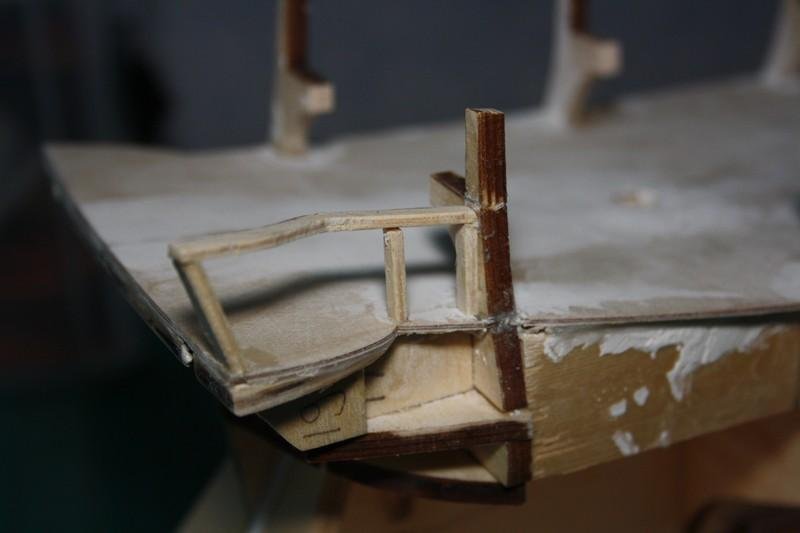
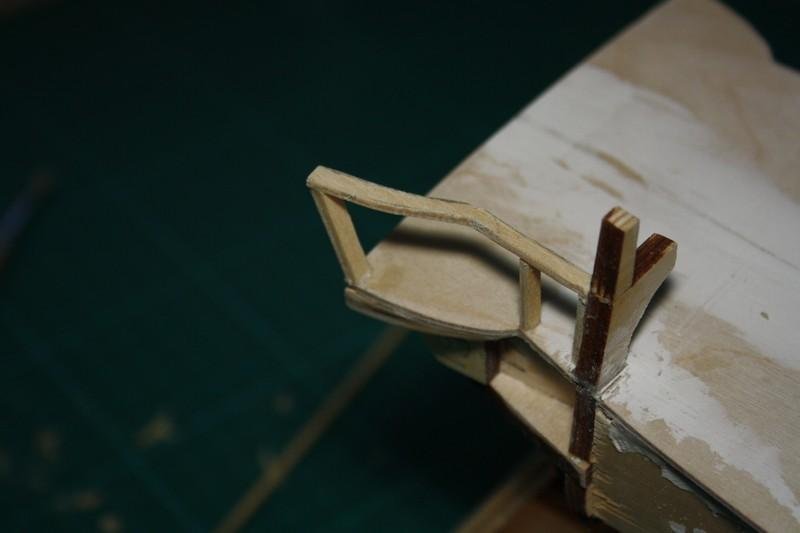
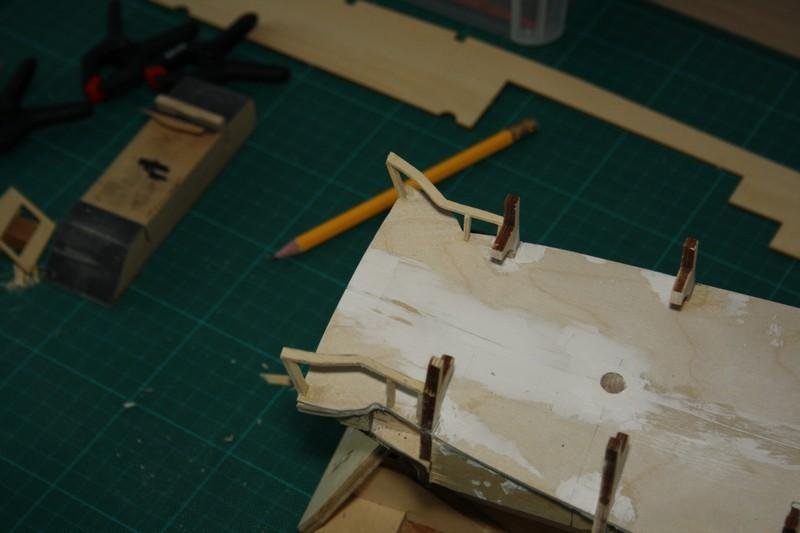
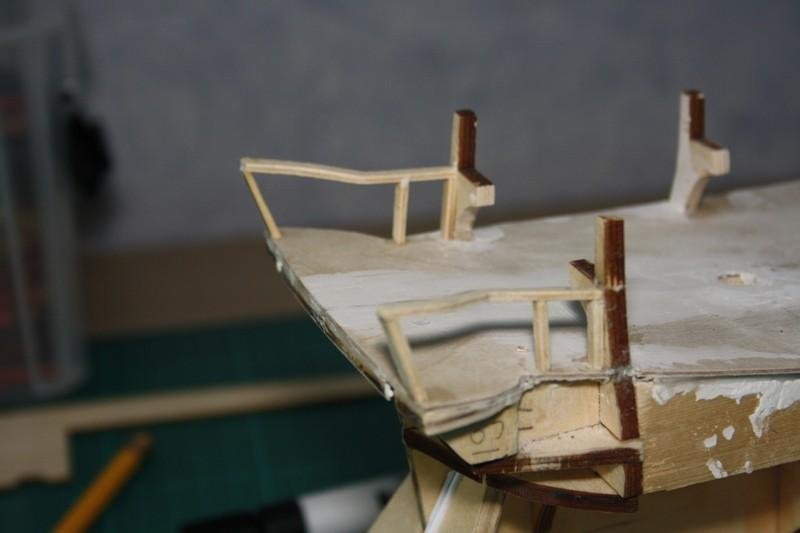
I have made a construction at the back of the ship, where the captain's cabin will be. Because I did some modification to make the captain's cabin, I had to remove some of the construction. I had to make my own construction, because the planking can't be done without it.
Here is the result:
-
Update
Hello everyone,
here is another update on the built.
I have first done some work on making the captains cabin. I had to lower the deck first, with a handy tool of my uncle.
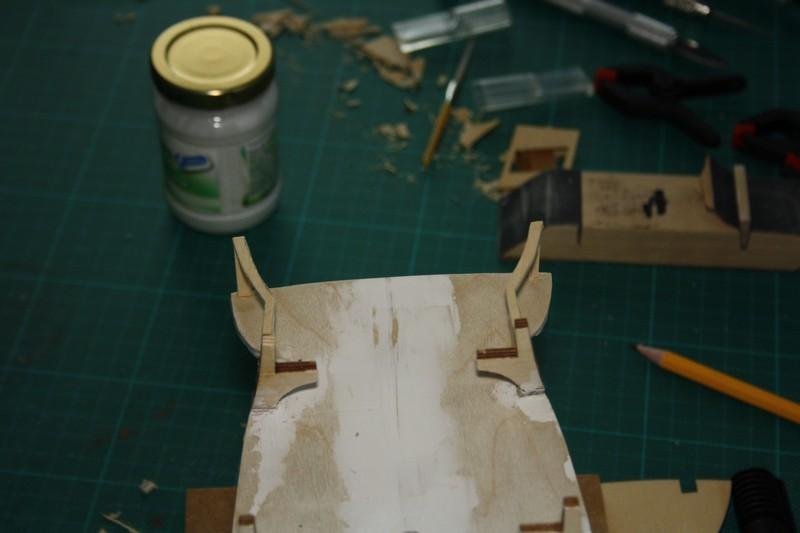
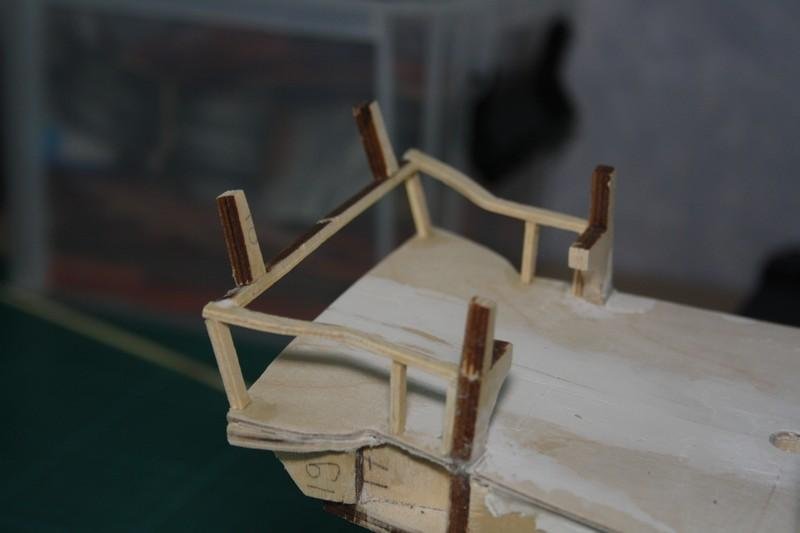
Then I did smooth the blocks (which will be under the lower deck) with some wood filler. After this I have made the lower dek out of a wooden plate I bought. This was very difficult because I had to make it completely from scratch.
I think the result is good (but next time I will do it more precisely). Some holes I have filled with wood filler (the white stuff
):
The next thing that must be done is painting and planking of the deck. I also have to take a look at the captains cabin, which need some more modification.
-
-
Hi Guys,
Good question about those wheels. I'm planning to make them red indeed.
@Sjors, do you know if Admiralty paint can be used on metal parts?
I also have to make wooden wheels because I haven't enough brass wheels. When the Admiralty paint won't work on brass I will make them all wood (maybe I will do it anyway).
Hermione La Fayette by TheDutchShipBuilder - Artesania Latina - second wooden ship built
in - Kit build logs for subjects built from 1751 - 1800
Posted · Edited by NickvN
Update
Hello everyone!,
Haven't posted a update for a while. I was very busy with school and other things.
But I have now a week holiday so I did some things on the ship again.
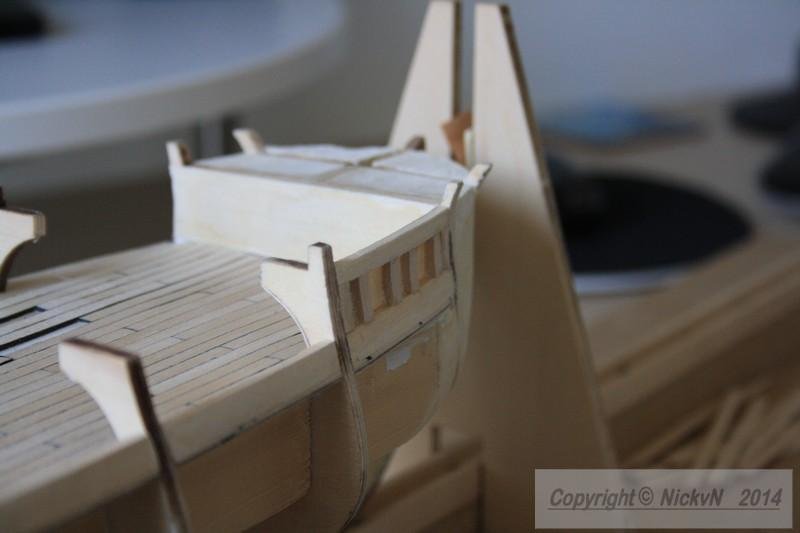
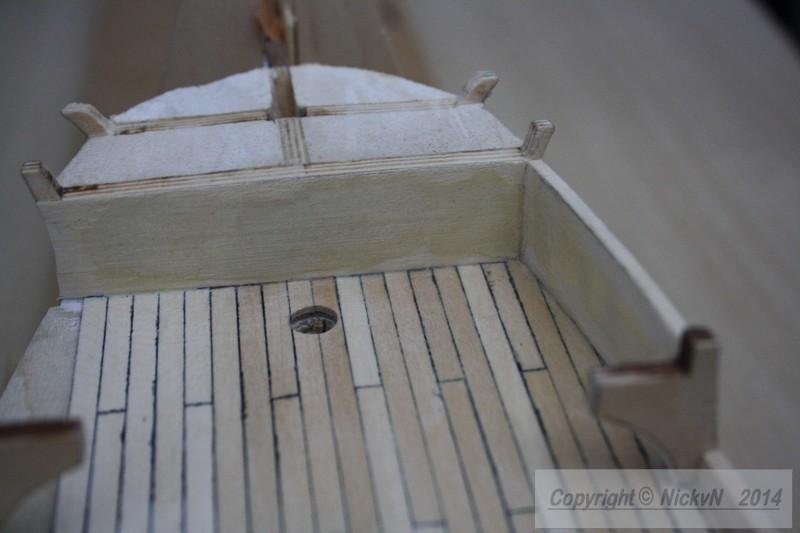
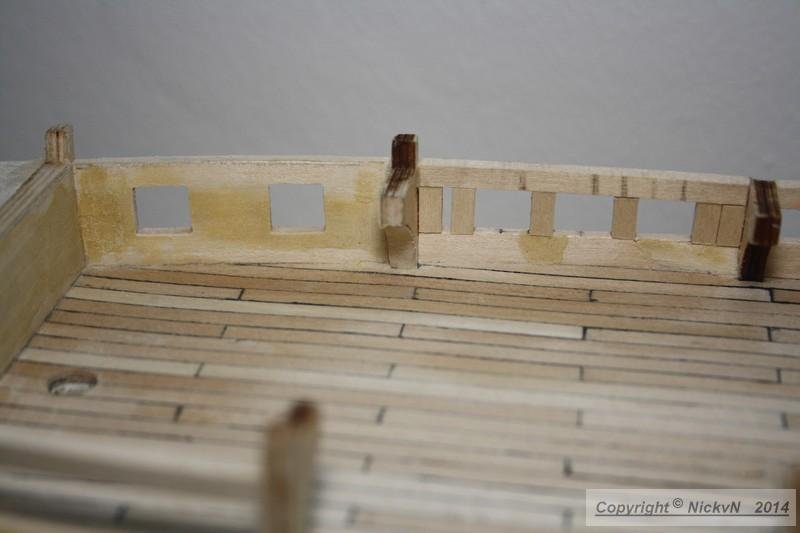
There are lines between the planks of the deck. I don't know how they are called in english, but I tried to make them with paint on the side of the planks. The result was dissapointing. So I tried to make them nicer with lead pencil, and it worked!
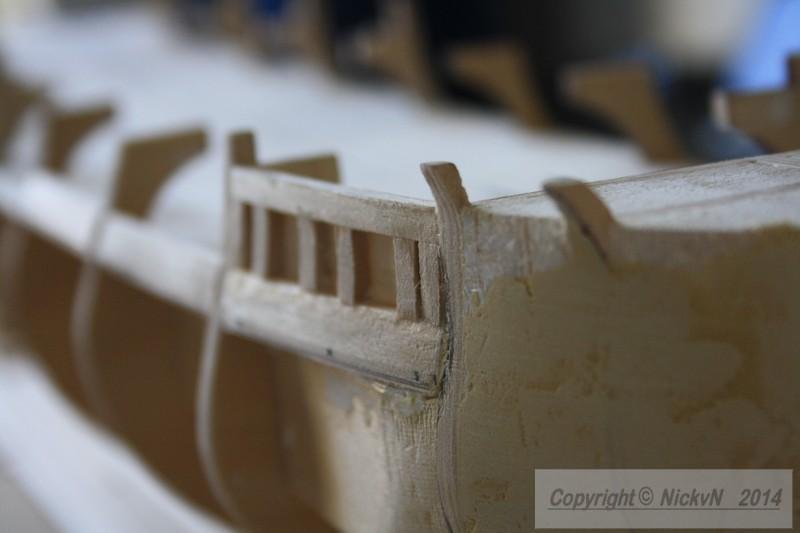
I did also do some things on the gun ports. Here is the result:
I hope to do some more, but otherwise there will not be a update for a while (because of school )
)