HOLIDAY DONATION DRIVE - SUPPORT MSW - DO YOUR PART TO KEEP THIS GREAT FORUM GOING! (Only 75 donations so far out of 49,000 members - C'mon guys!)
×


dkuehn
-
Posts
124 -
Joined
-
Last visited
Content Type
Profiles
Forums
Gallery
Events
Everything posted by dkuehn
-
 I got a reply saying my email would be forwarded to the parts department. I'll update when I hear more.
 -
I'll update the thread when I get a reply.
-
I'm going to send an email with a picture and question Model Expo as to it not being boxwood. We'll see how that goes. Thanks for all the replies, I appreciate it.
-
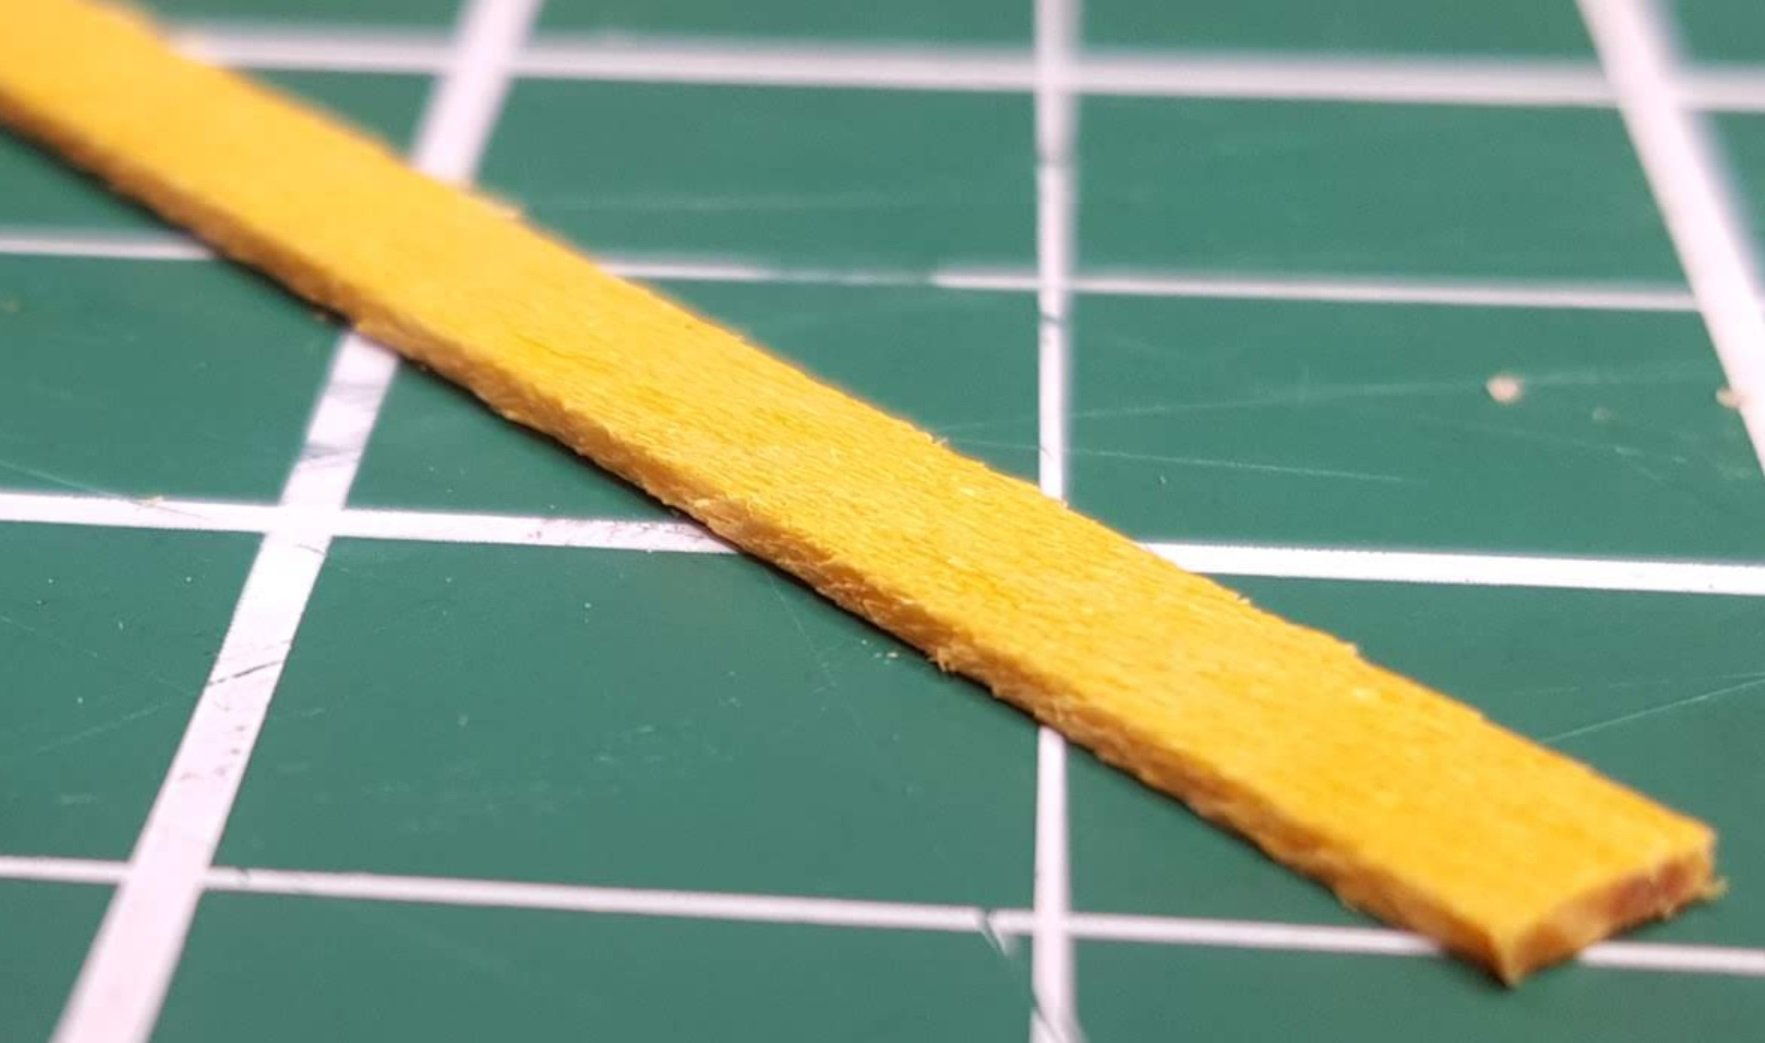
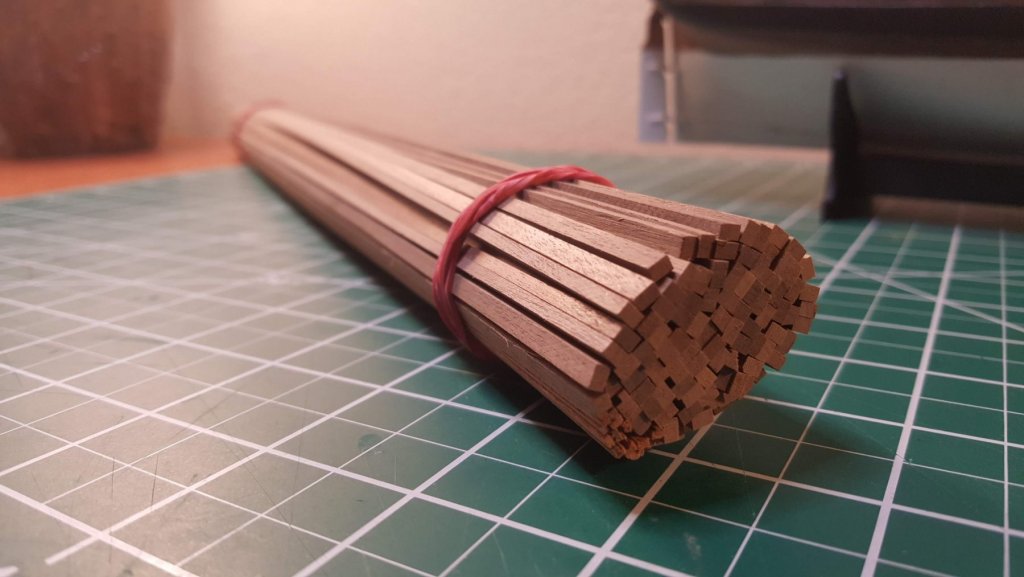
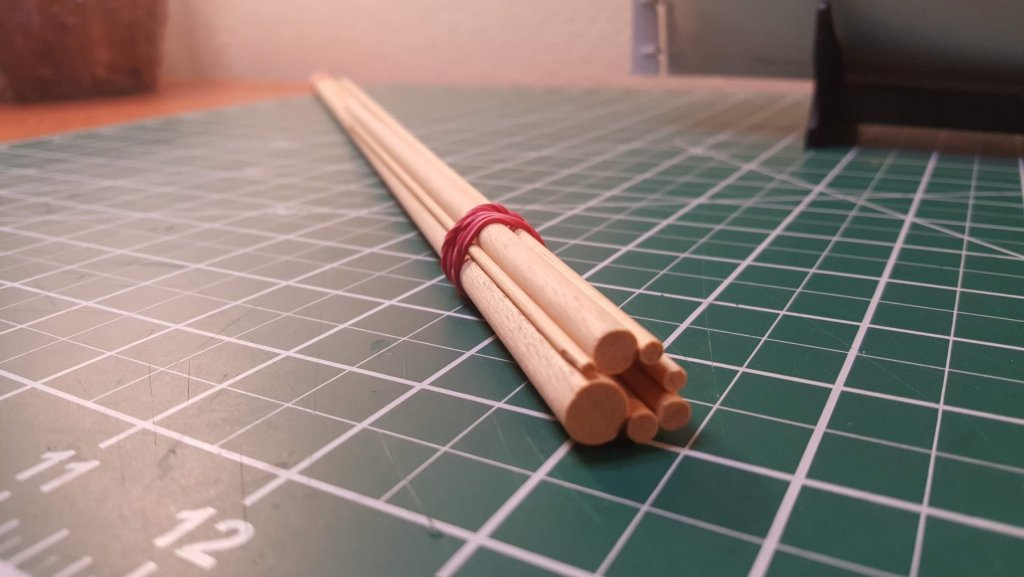
That is a 1mm x 4mm plank, so it's pretty zoomed in. But it certainly is a little fuzzy on the sides. I was expecting it to be really clean with sharp edges and more of a white/cream color.
-
I ordered Boxwood from Model Expo. This is what I got. It just doesn't look like what I was expecting. But I have no experience with woods other than what you'd get in a Caldercraft or Amati kit.
-
It does look really yellow in person as well. Thanks for the link, I'll look at that.
-
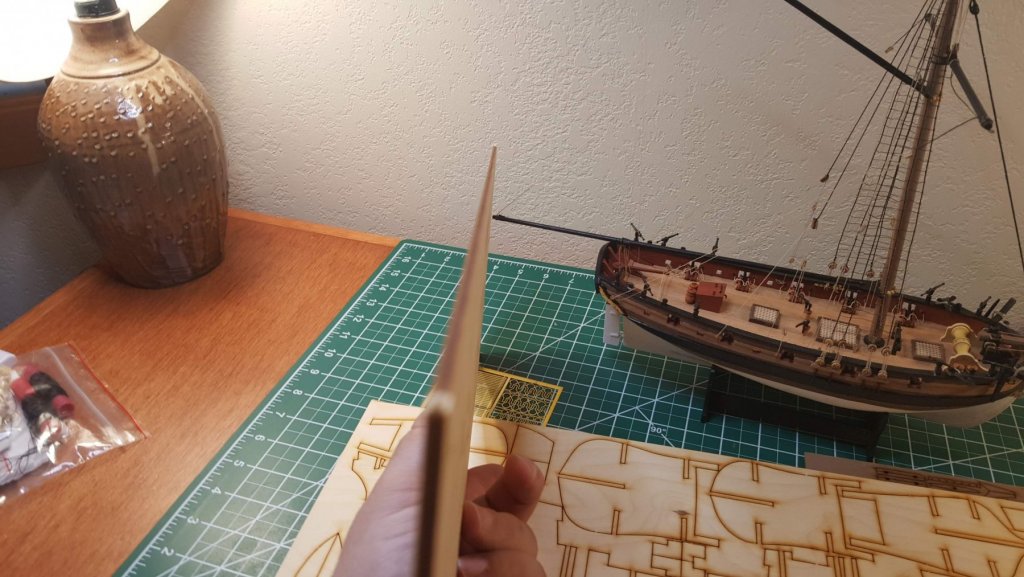
Any guesses what type of wood this strip is? All I've ever dealt with is bass and walnut from kits. Thanks.

-
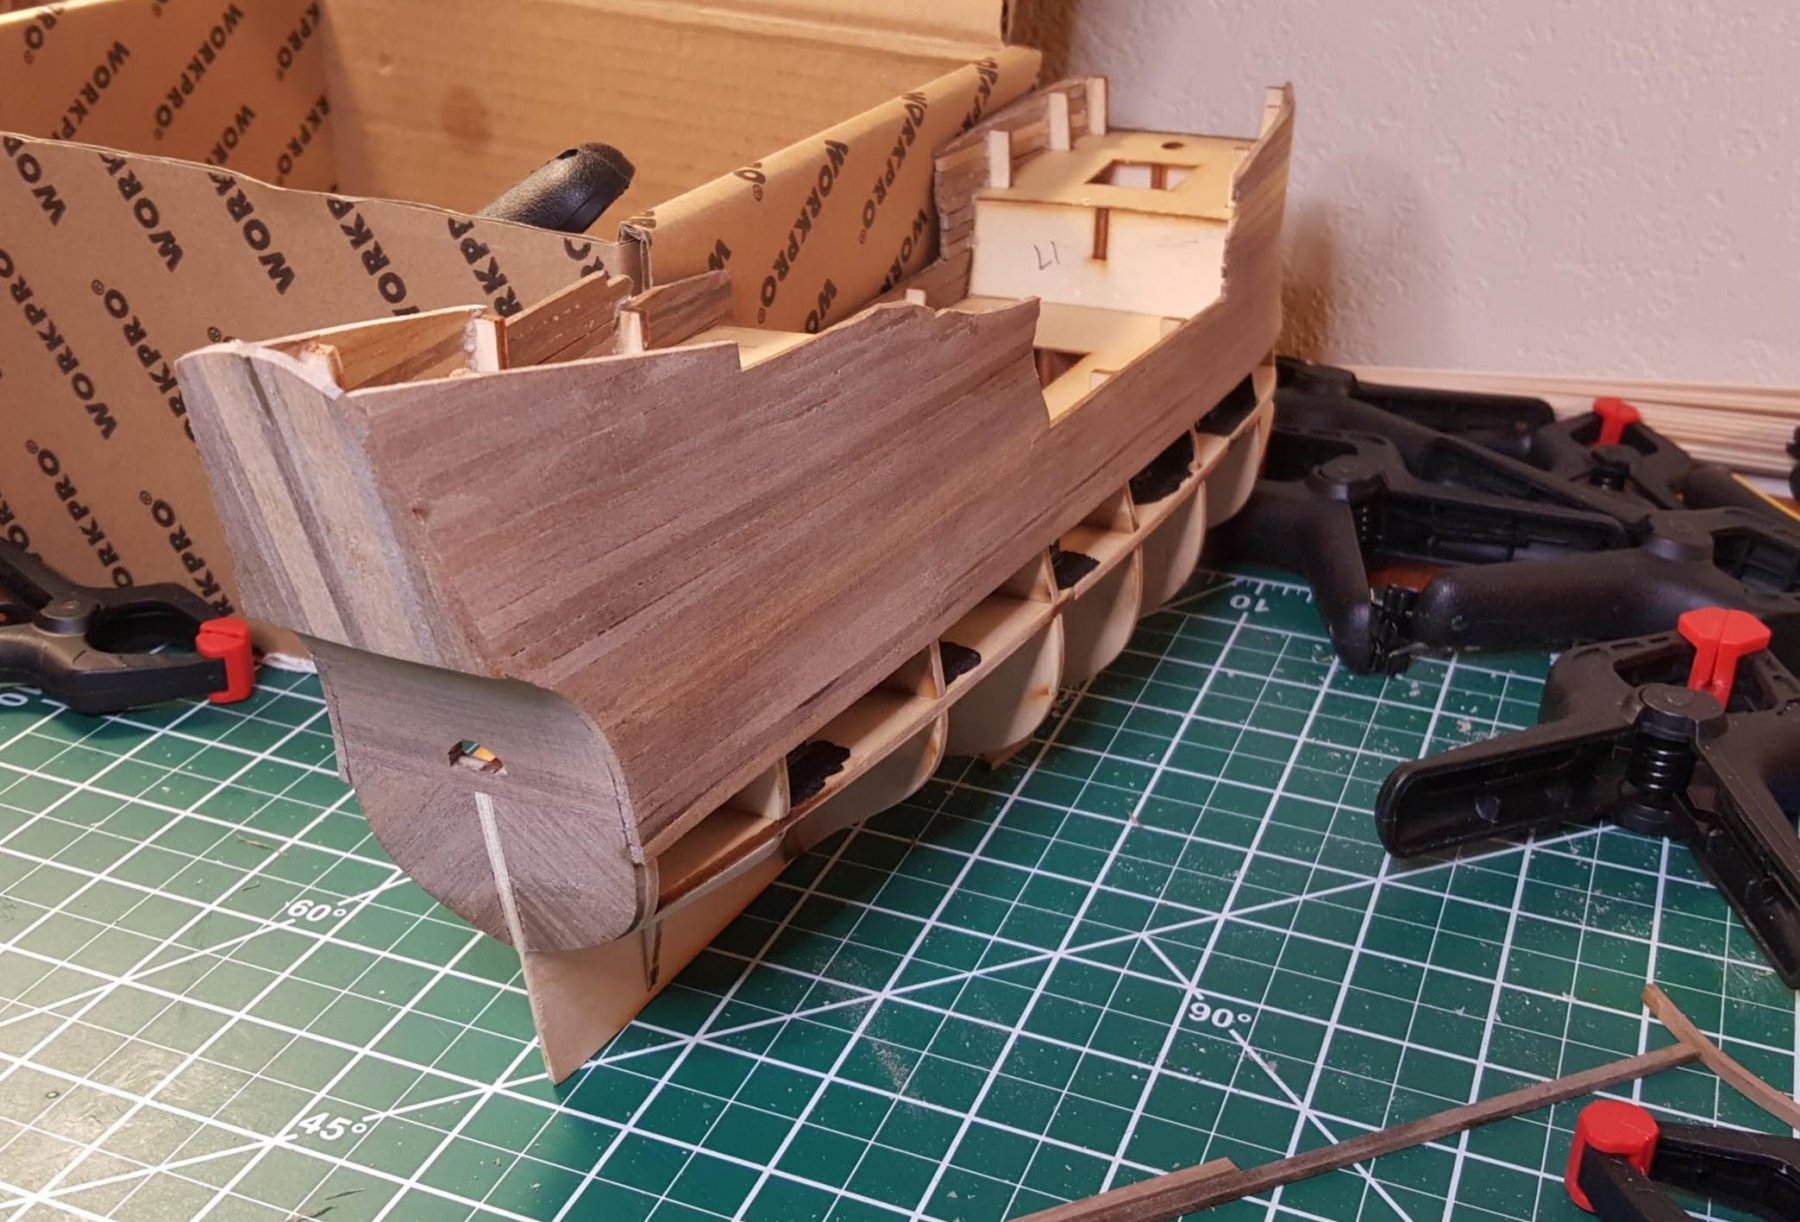
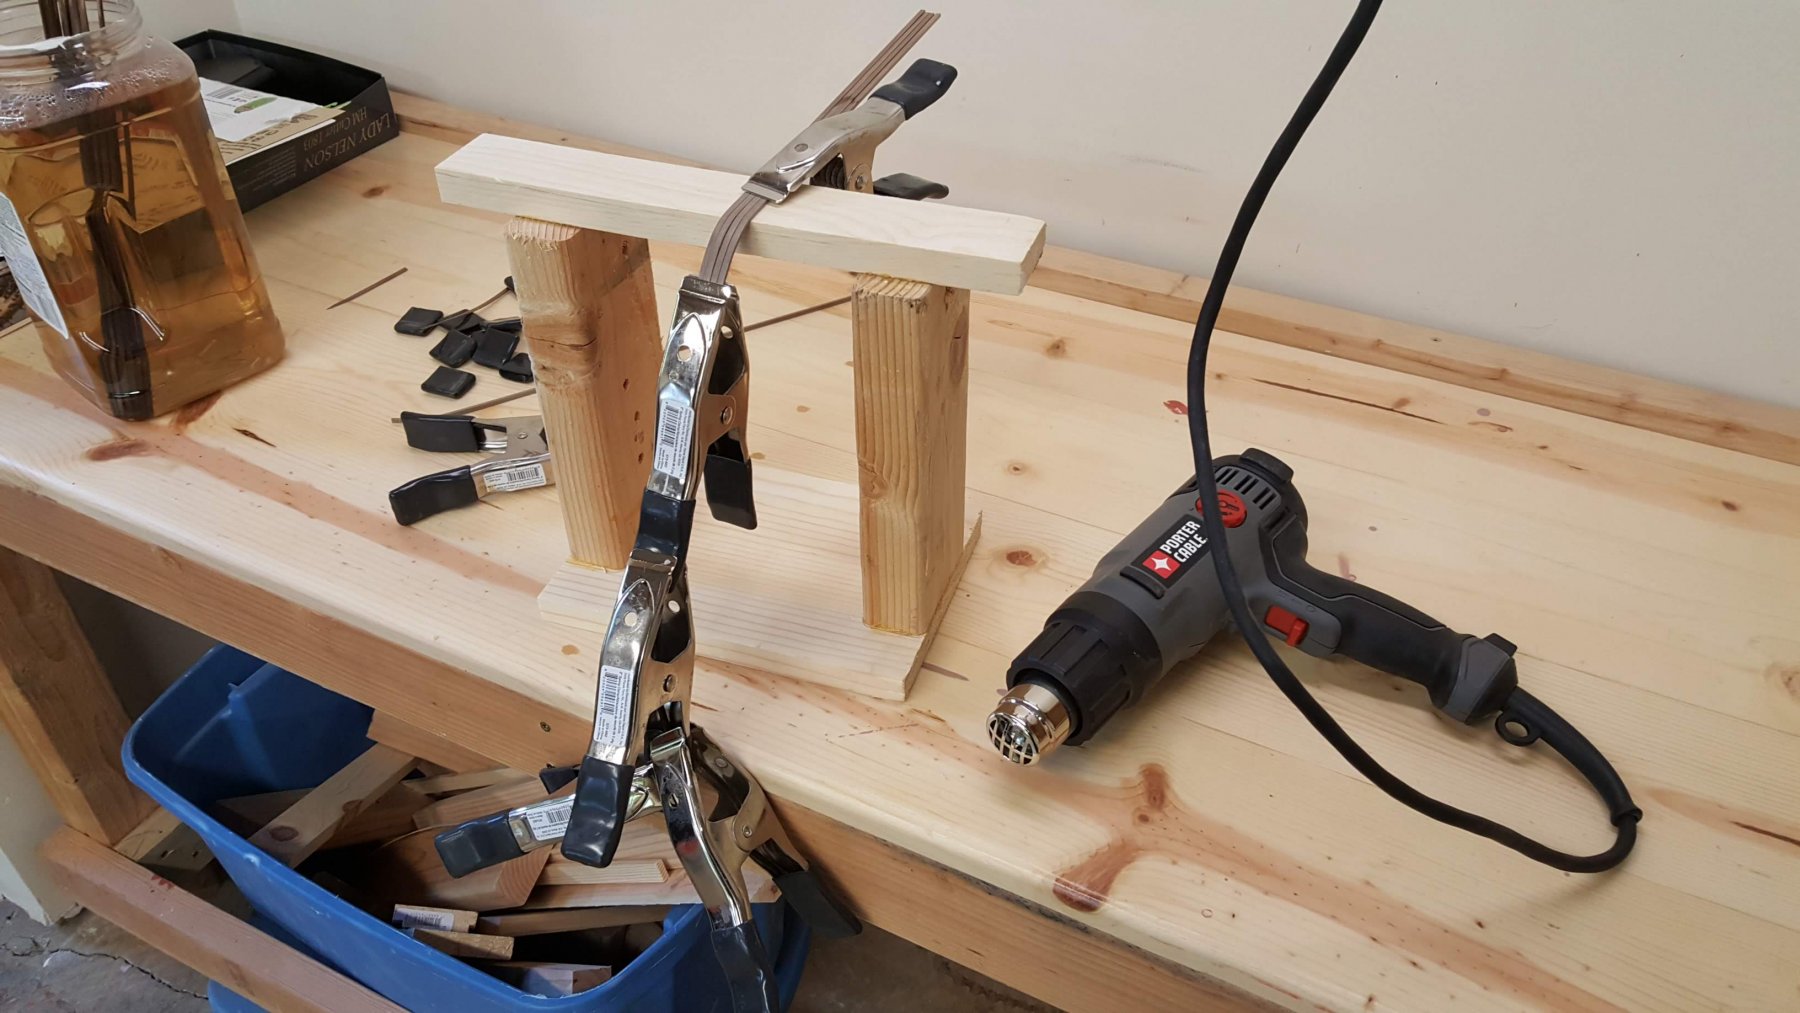
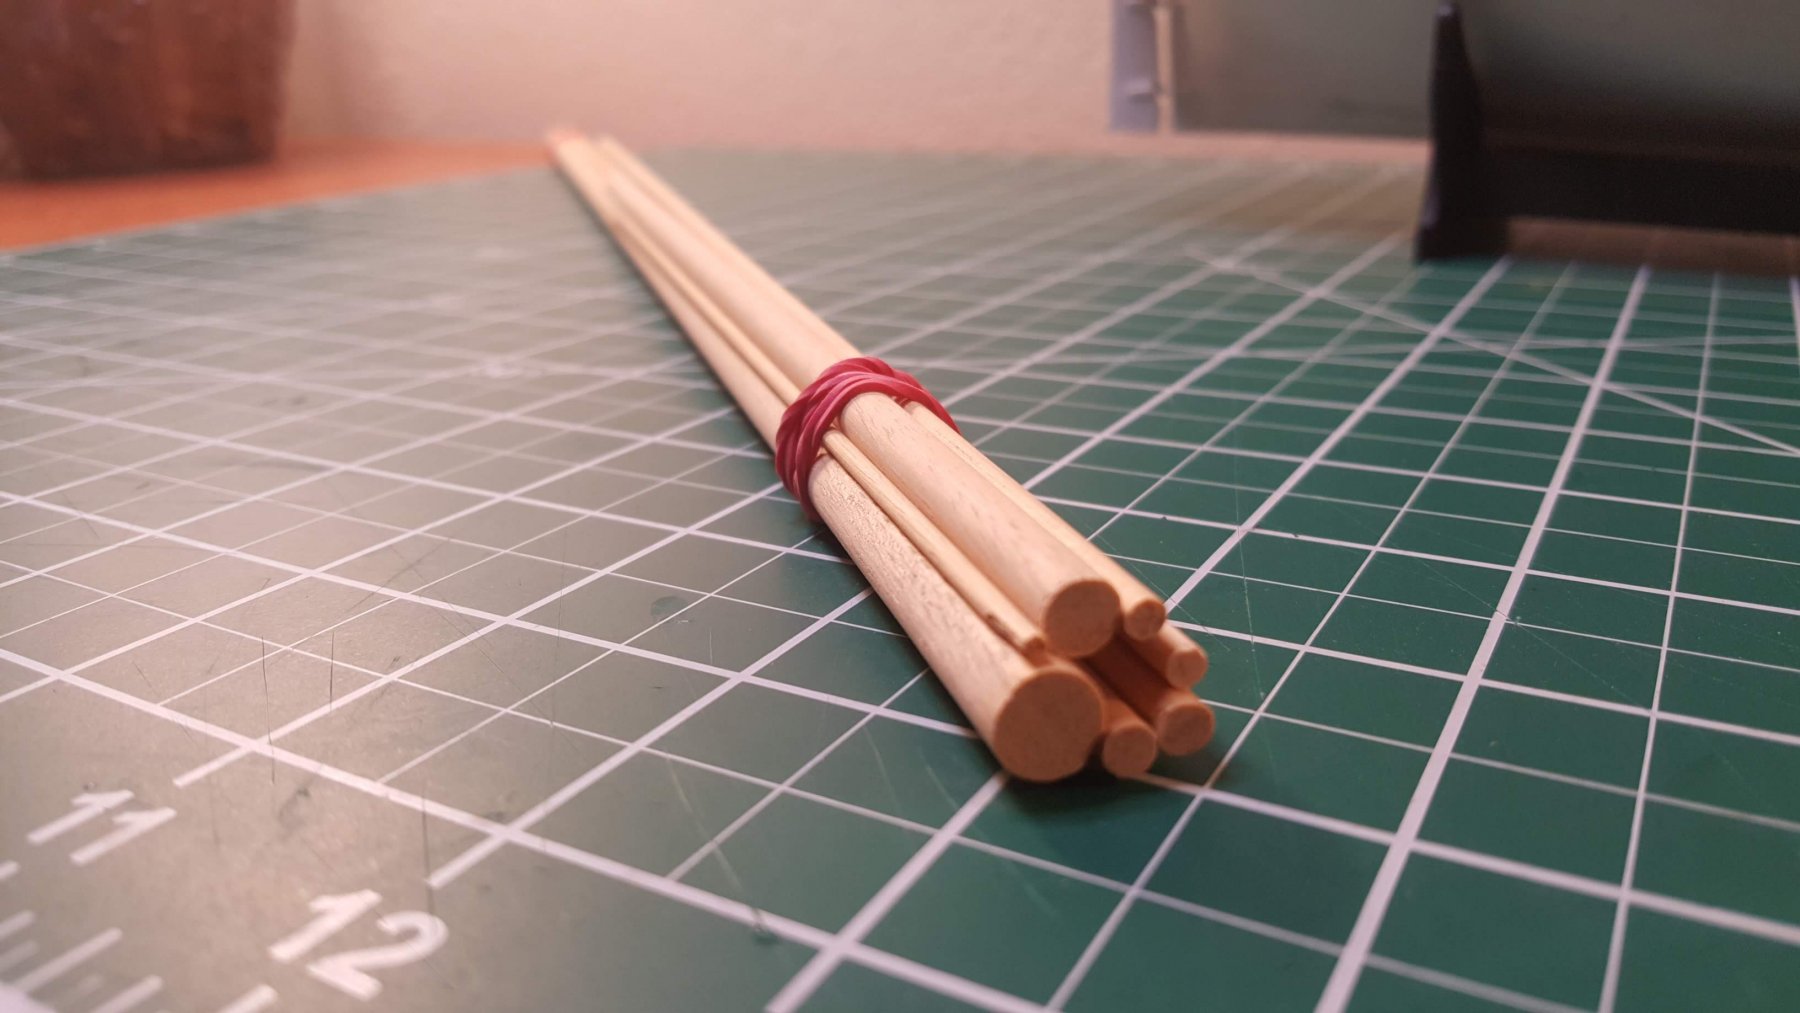
The planking is slow going. The planks are 2mm x 3mm and difficult to work with. You really have to use heat to get them to bend to shape. I am used to soaking planks and then they are flexible enough to work with. These planks can soak for days and still break if you try to bend them around the bow. The poorly run planks are pretty obvious. I haven't totally decided what I'm going to do. If I paint it, like on the box, most of the planks are covered and won't show the incorrect plank lines, but there is enough to certainly be noticeable. Model Expo had a sale and I bought some boxwood strips, they arrive here tomorrow. I actually bought them without a specific use in mind, but now I'm thinking that I should use them on this ship to fix the run of the planks. That is probably what I'll do, but I'm not 100% sure yet. Here is a picture from yesterday, I have added a few more planks since the picture. In my Model Expo order I have some other tools that will help me shape the top of the bulwarks, they are pretty deformed now, as I was planking in the wrong line, so ignore the random shape at the top.

-
I certainly appreciate the advice. I wish I would have noticed that earlier. I'll get it all planked anyway. I am not quite as concerned with perfection as some of the great modelers are here. If the planking lines/paths are not as they are supposed to be I'll not mind too much.
-
I actually did use some this time. First time I've used them. I guess I did it because it's a single planked hull and it has me nervous.
-
Alright, I figured out what I'm going to do. Normally the kits I do have gunport patterns and that really simplifies it. I'm starting at the bow and running along the bulkhead tops of the main deck. The plank seems to like going there. Then I'm letting it lay where it wants to. Then I'll just plank up and down from there.
-
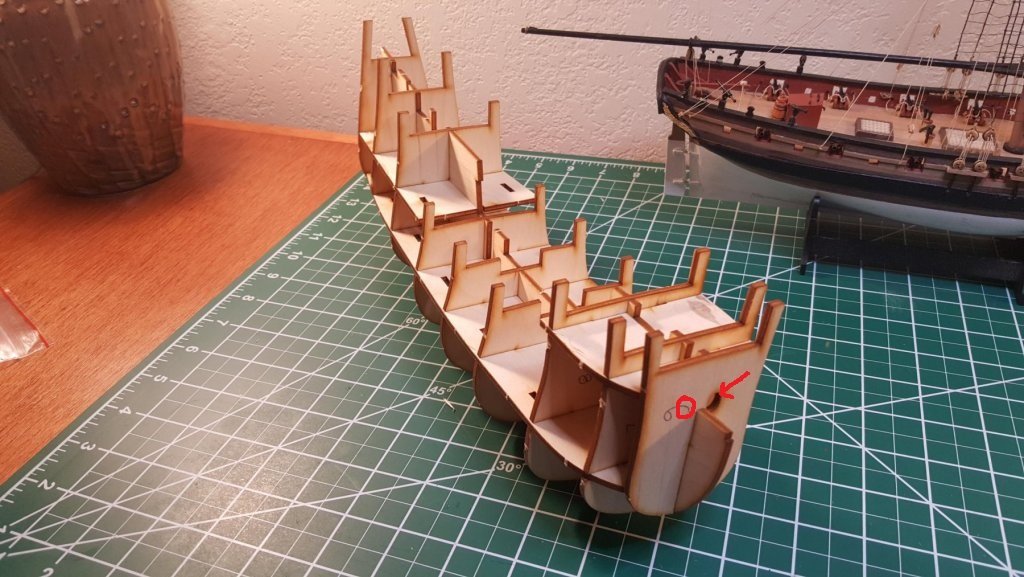
Now I'm starting to think about the planking again. Would it be better to start with one long plank at the red line to make sure I have the proper flow of the planking? I would, of course, cut out the section of that plank that does not belong.

-
I wasn't sure where to start planking and after a lot of thought I decided not to overthink it and start at the top and work down. The plans say to start at the bow, so that's what I did. But I also started the planking at the stern as I couldn't think of a reason not to. I remember seeing Chuck post something about bending planks, this is an attempt to replicate my recollection of his post. I have several planks going at once as these don't require much of a bend.

-
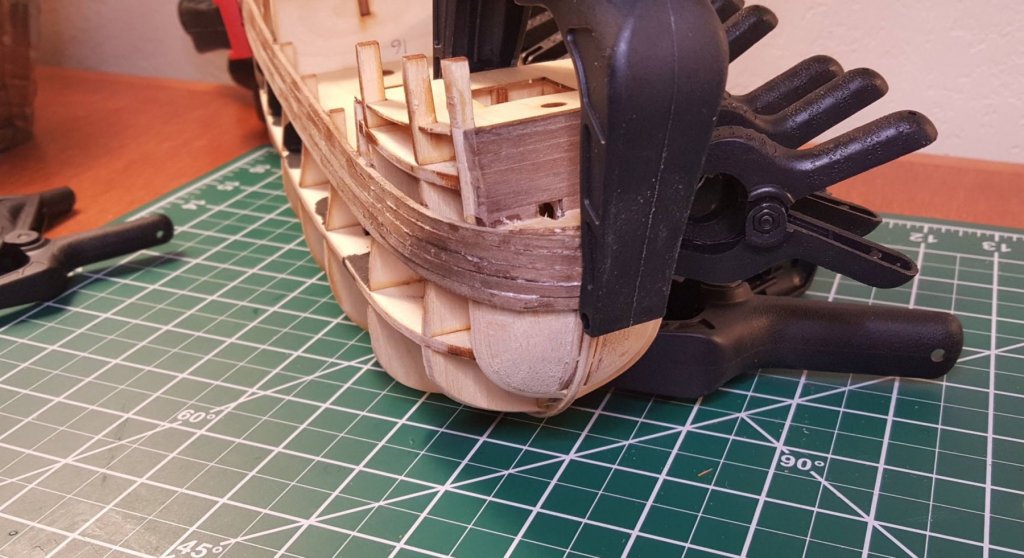
I have the planking on the bow and stern ready for the final fairing of the hull. I fixed the mistake with the bowsprit hole and it is now on the starboard side. I need to be more careful than I usually am with the fairing as this is a single planked hull. I am used to being able to use filler to hide sloppy work on the first planking. We'll see how this one goes. I'll have to grow a little as a modeler on this ship.

-
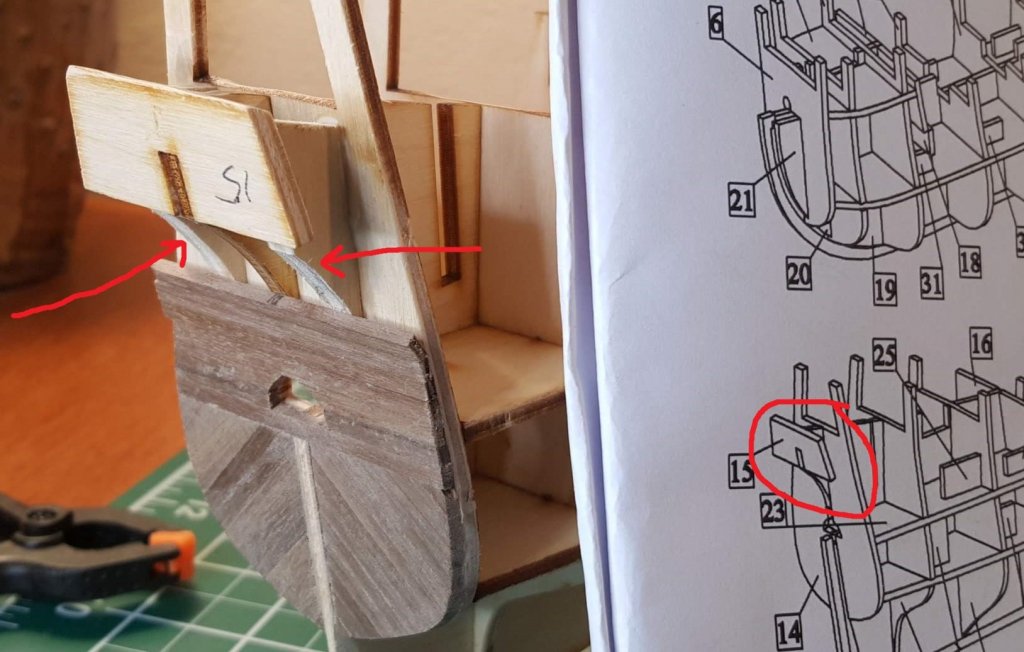
Just noticed a mistake I made. The bowsprit hole is supposed to be on the starboard side, I have it on port. I just built the Lady Nelson and it is on the port side on that kit so I just went with it. No big deal, I'll just drill the hole on the proper side, but I certainly wish I'd done it right the first time.
-
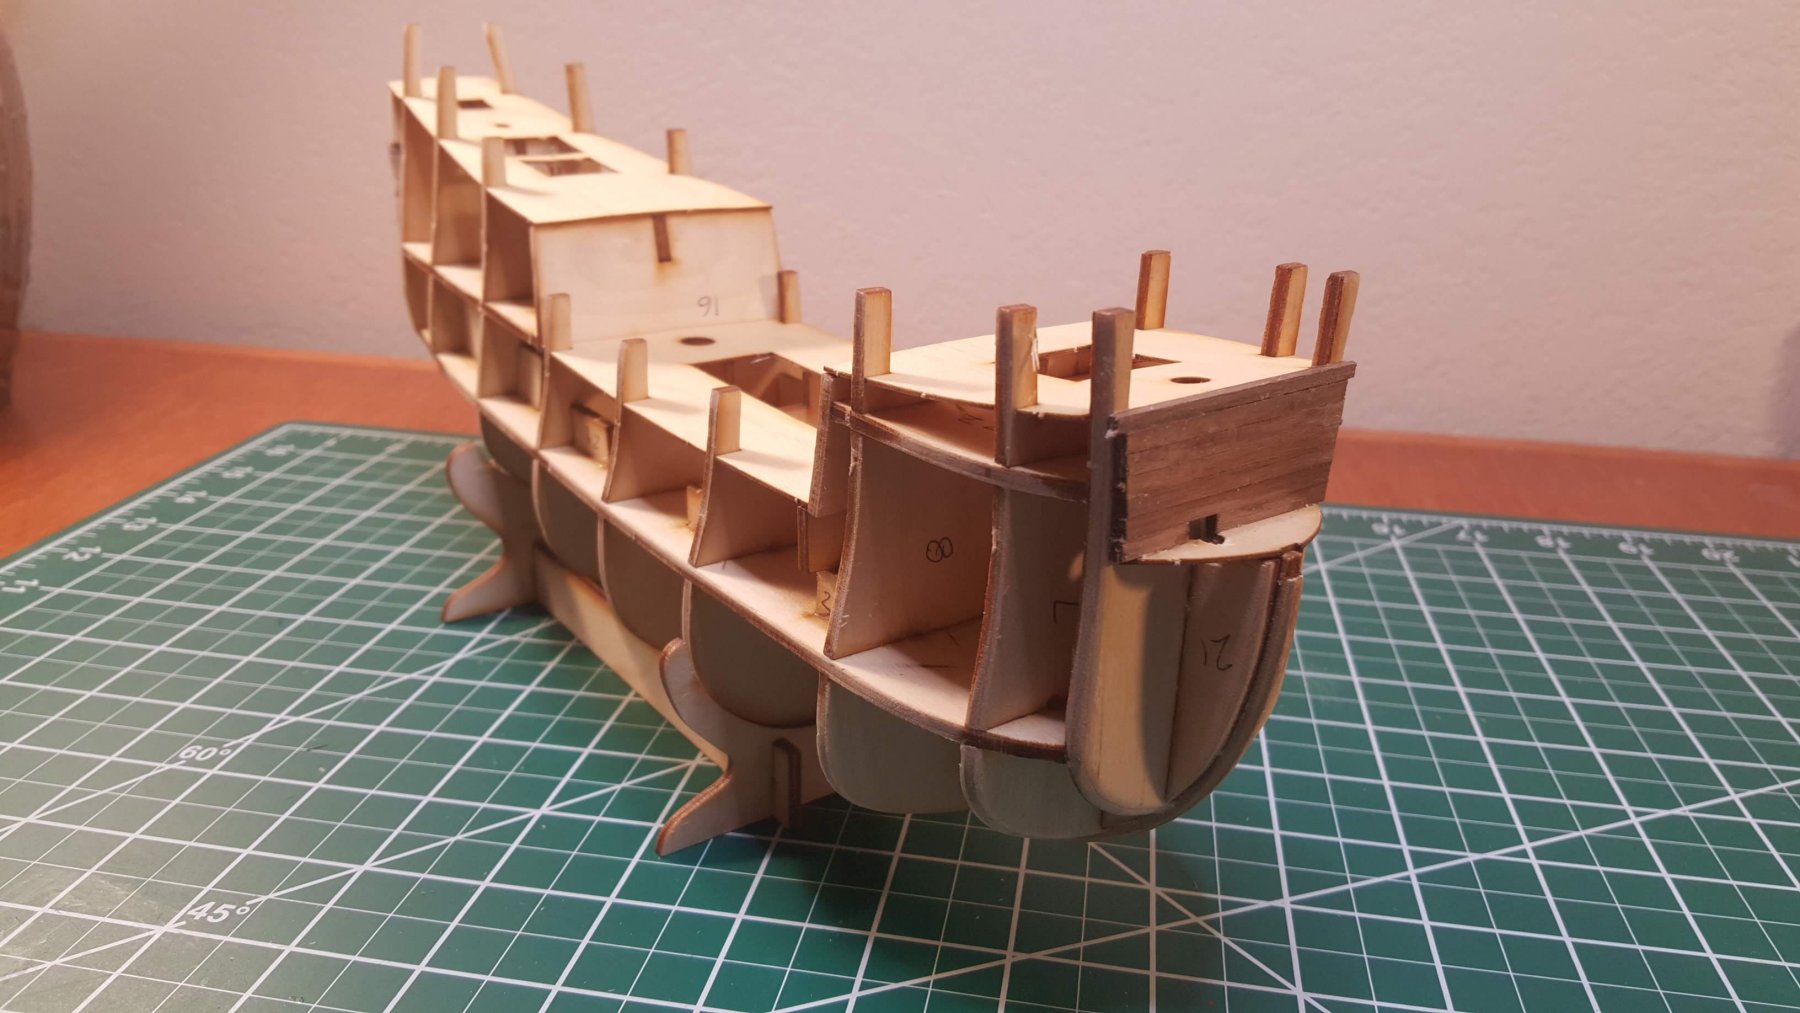
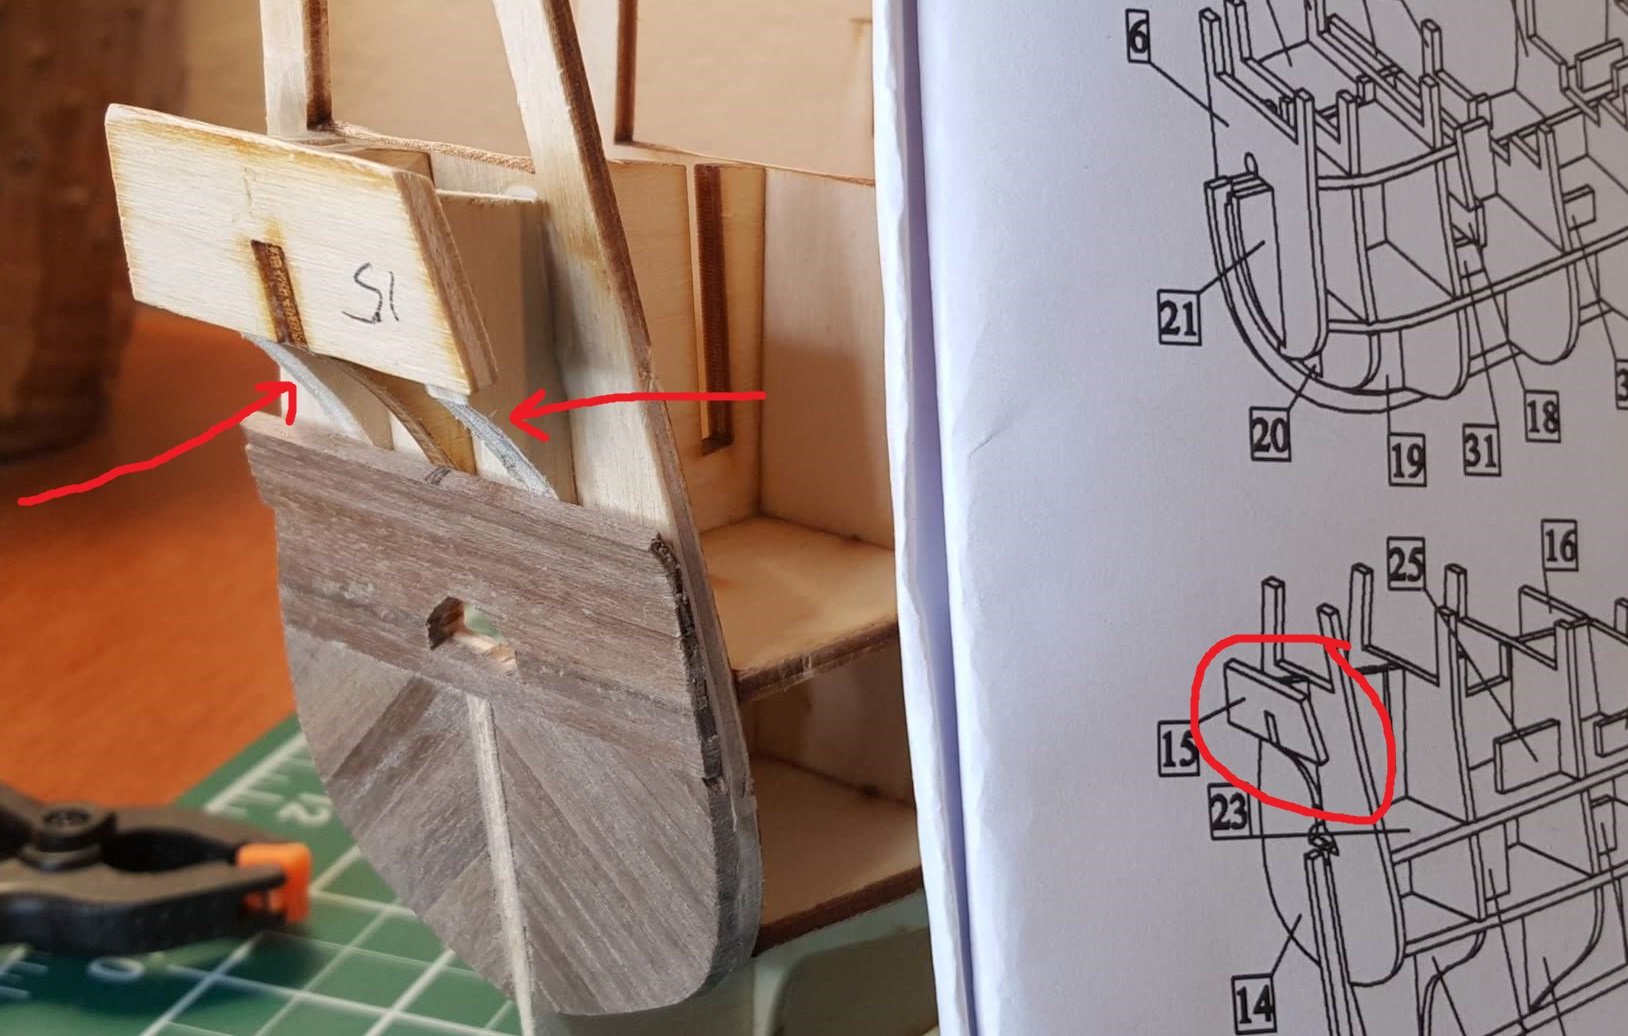
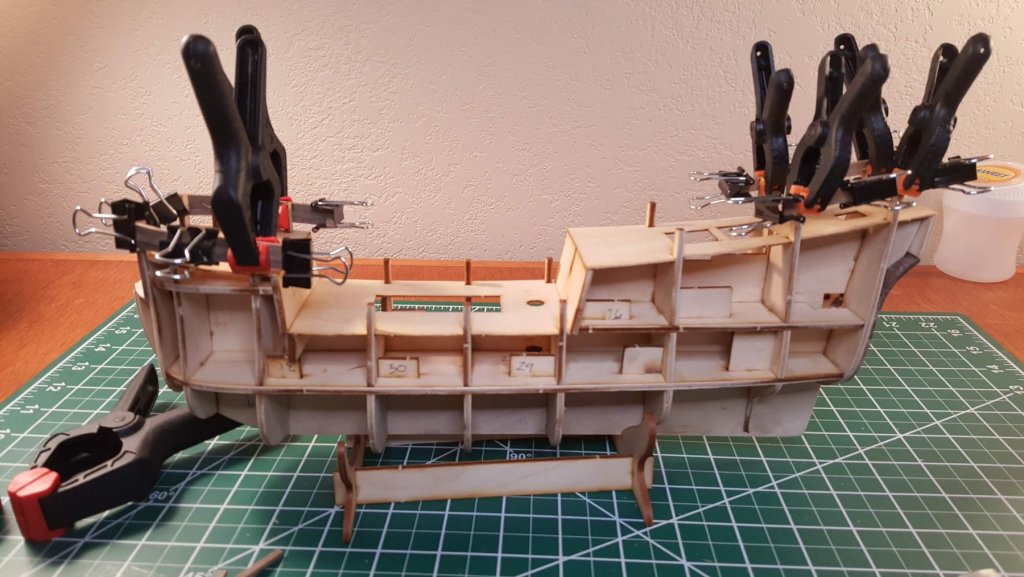
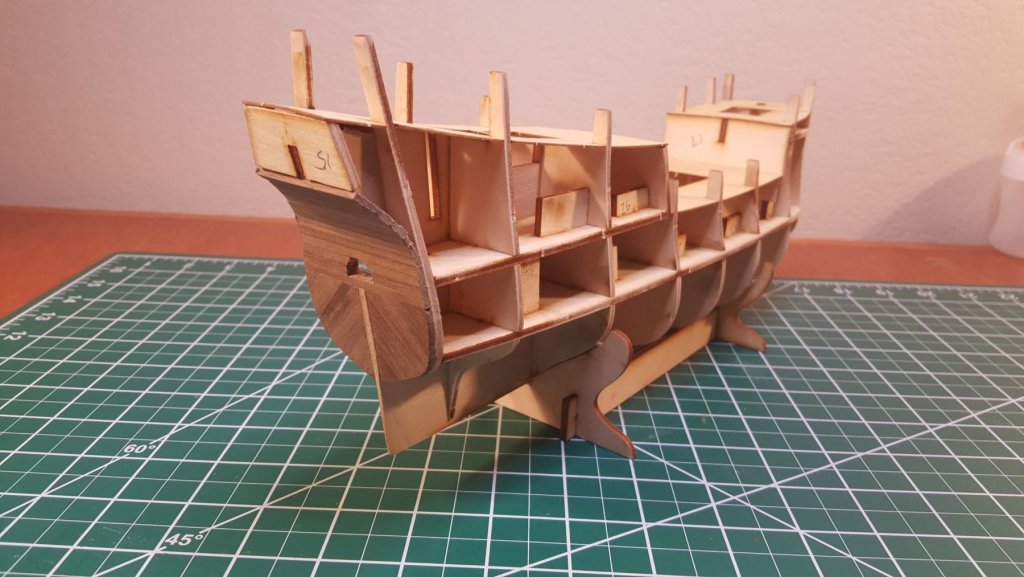
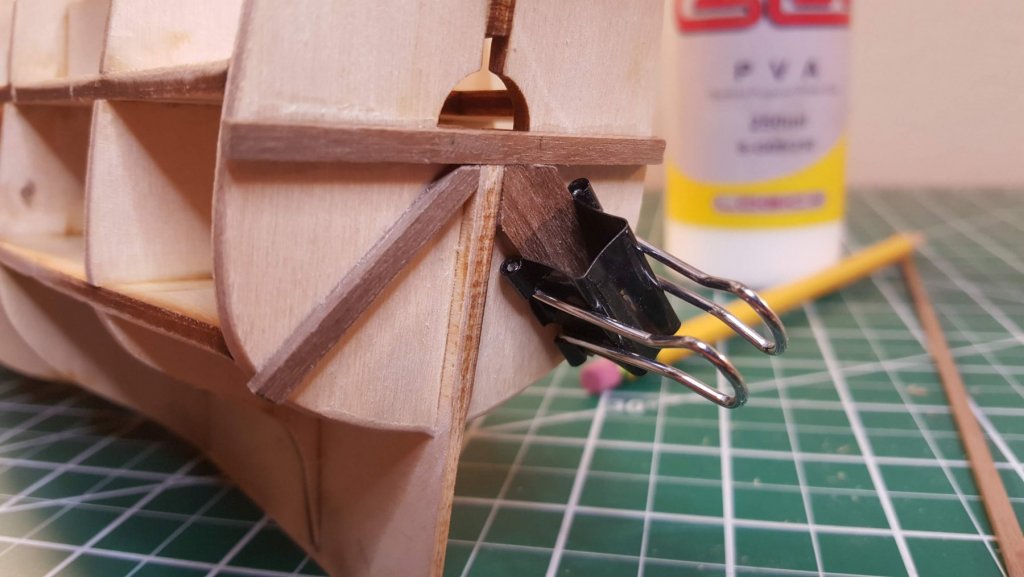
I made one change for extra support. On the stern there is only one support for the last bulkhead/transom. I added one on each side of it to support the planking that is glued there. I think they will add significant support back there for fairing and planking.
-
I've been working on fairing the hull. I have a good start on that, but decided I should get the stern planked as those are required to be faired with the hull before planking the sides.
-
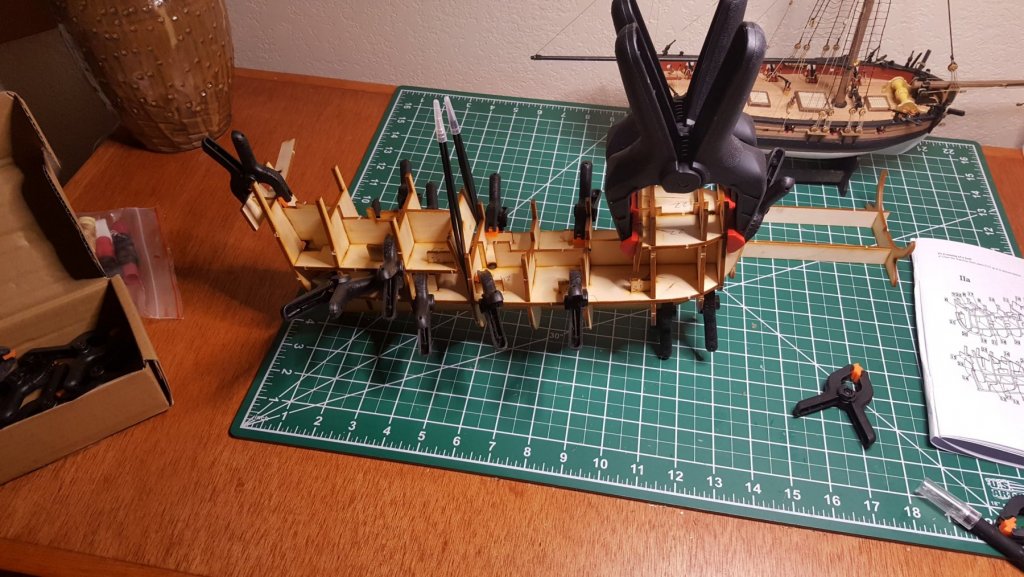
There is a lot to glue together with this hull, but it seems to be going well.
-
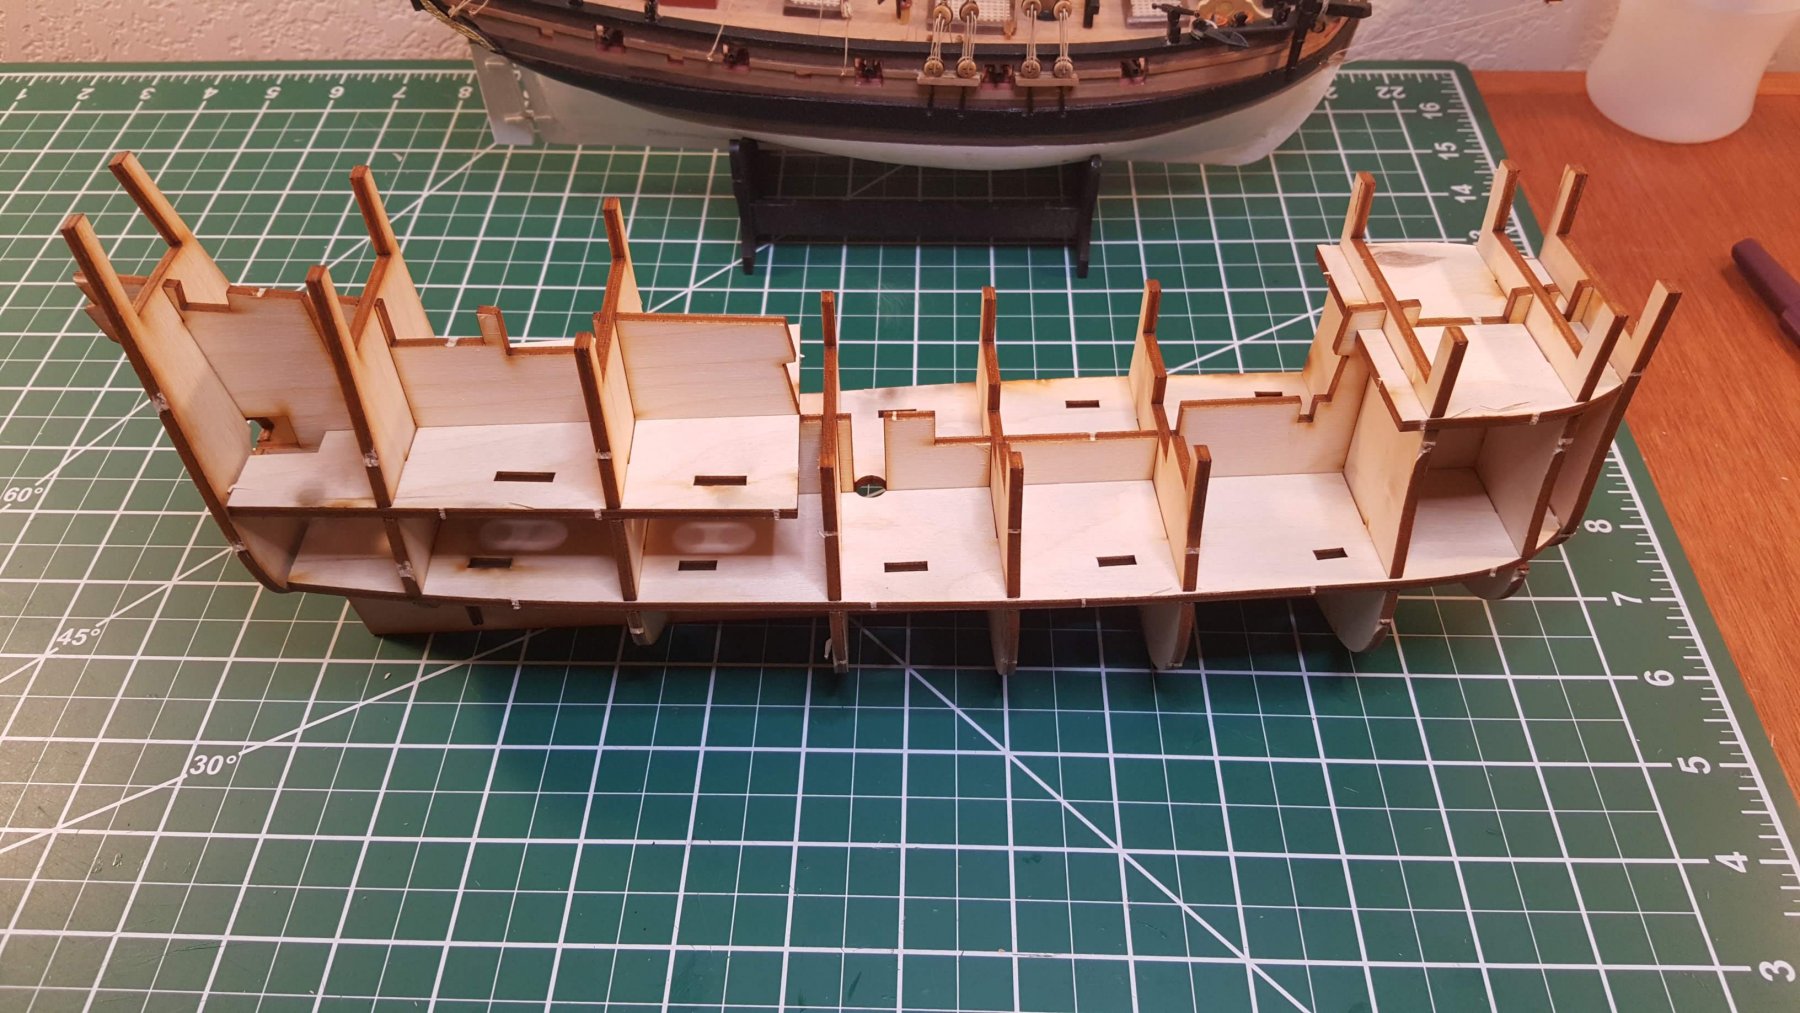
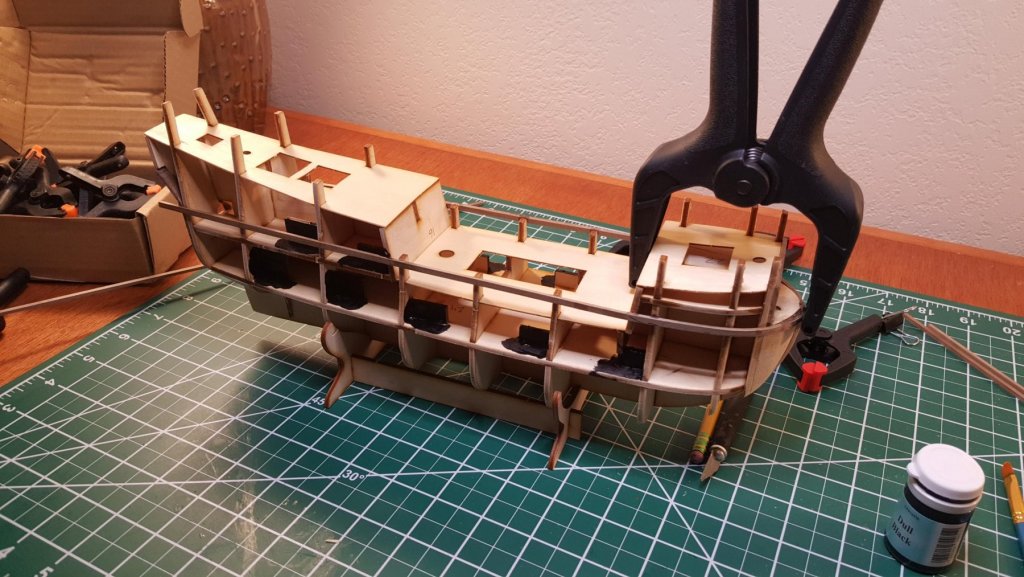
I just dry fit the bulkheads and this thing is very ridged without glue. When glued together I'm sure it will be one of the sturdiest structures on the planet.


-
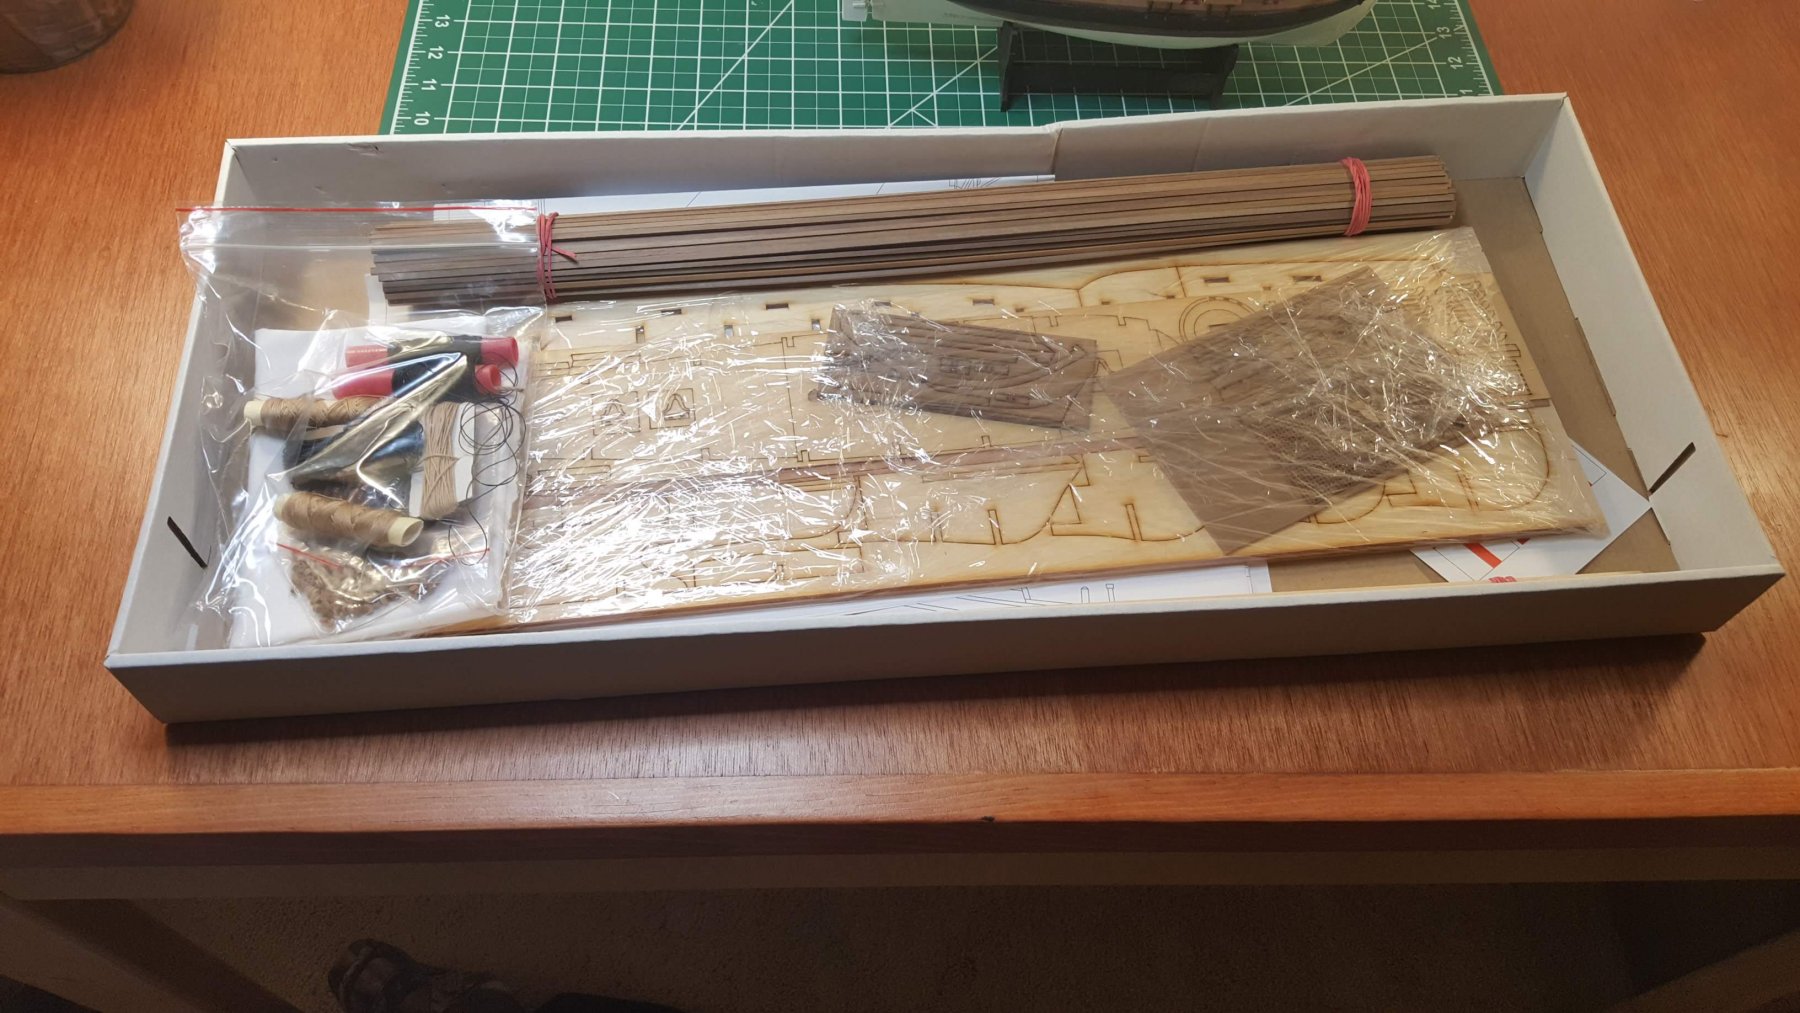
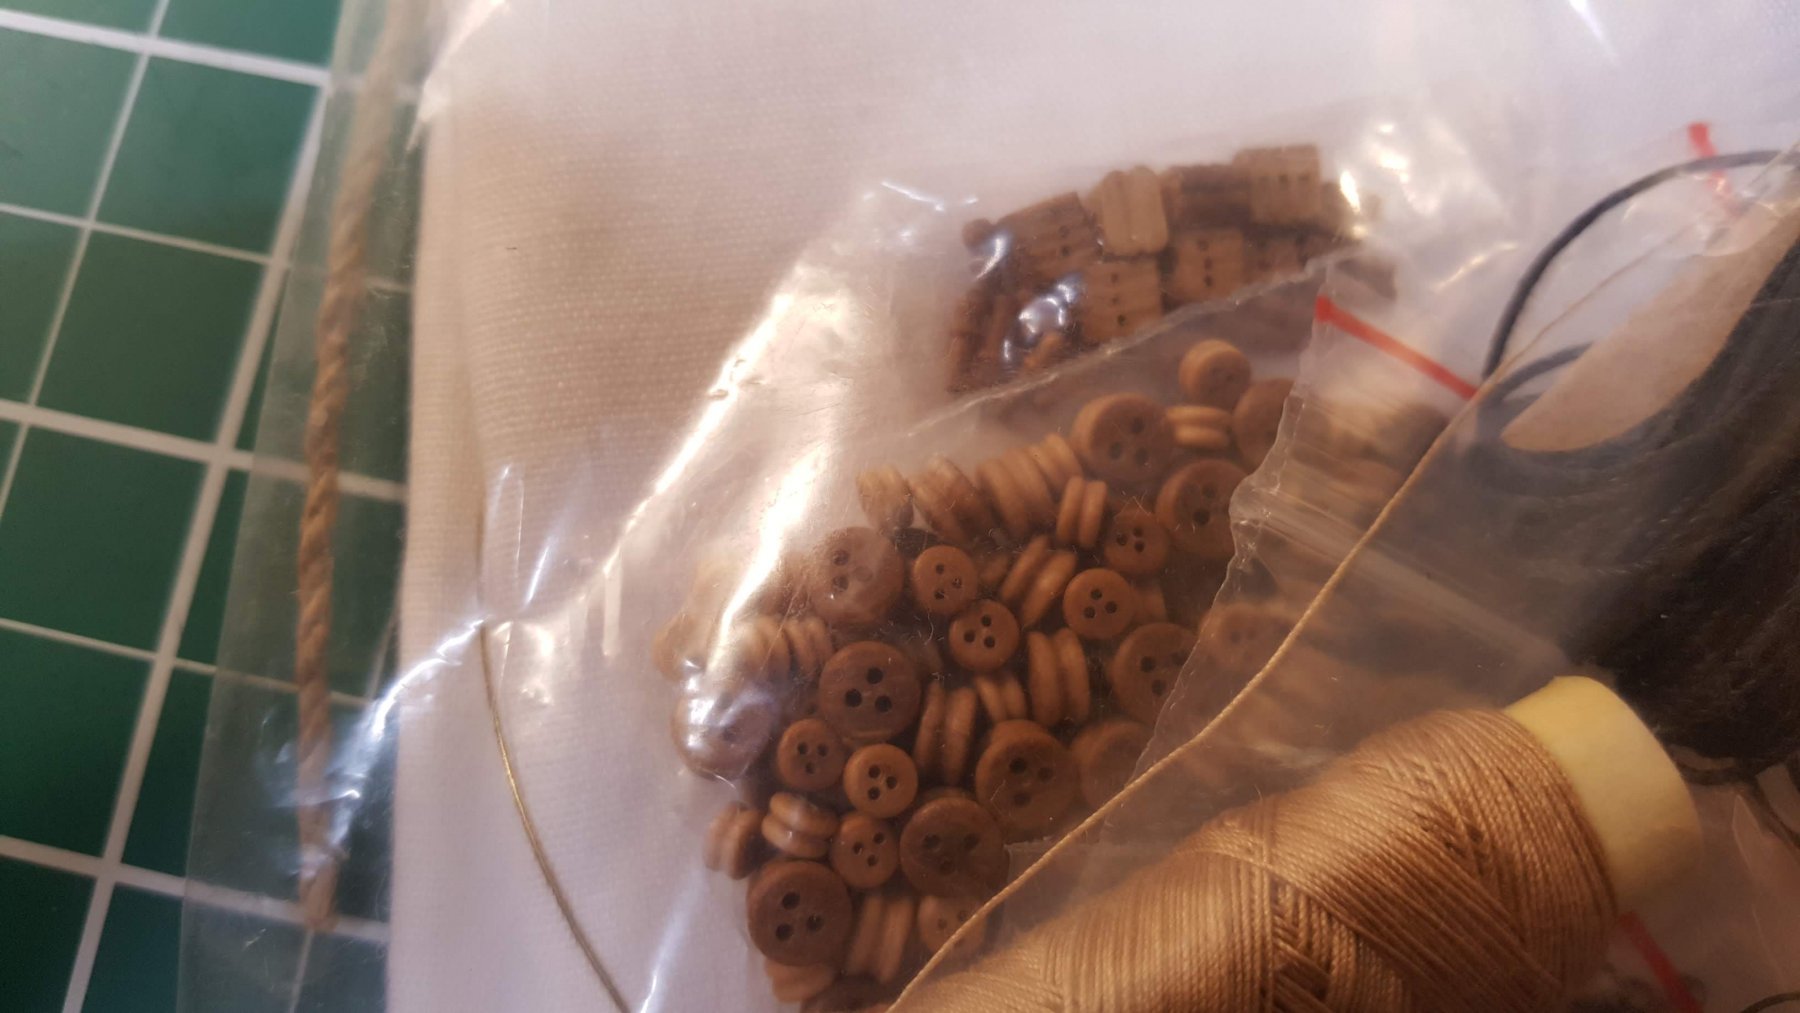
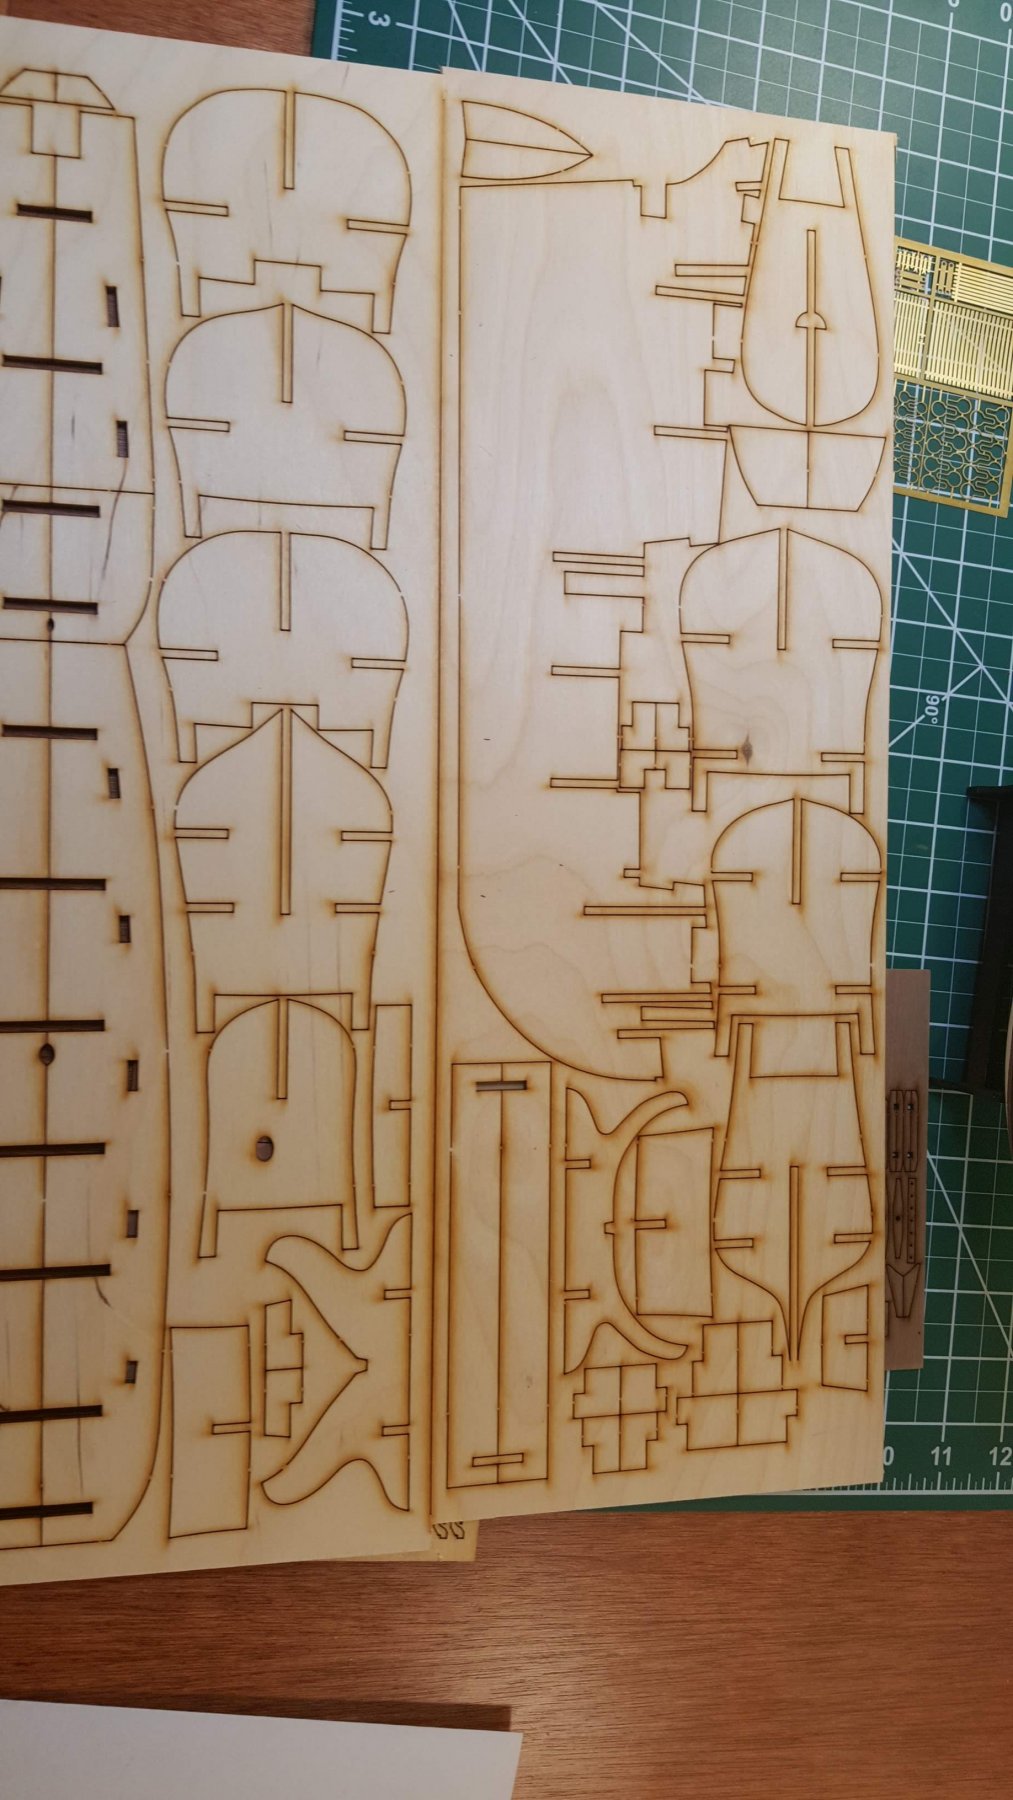
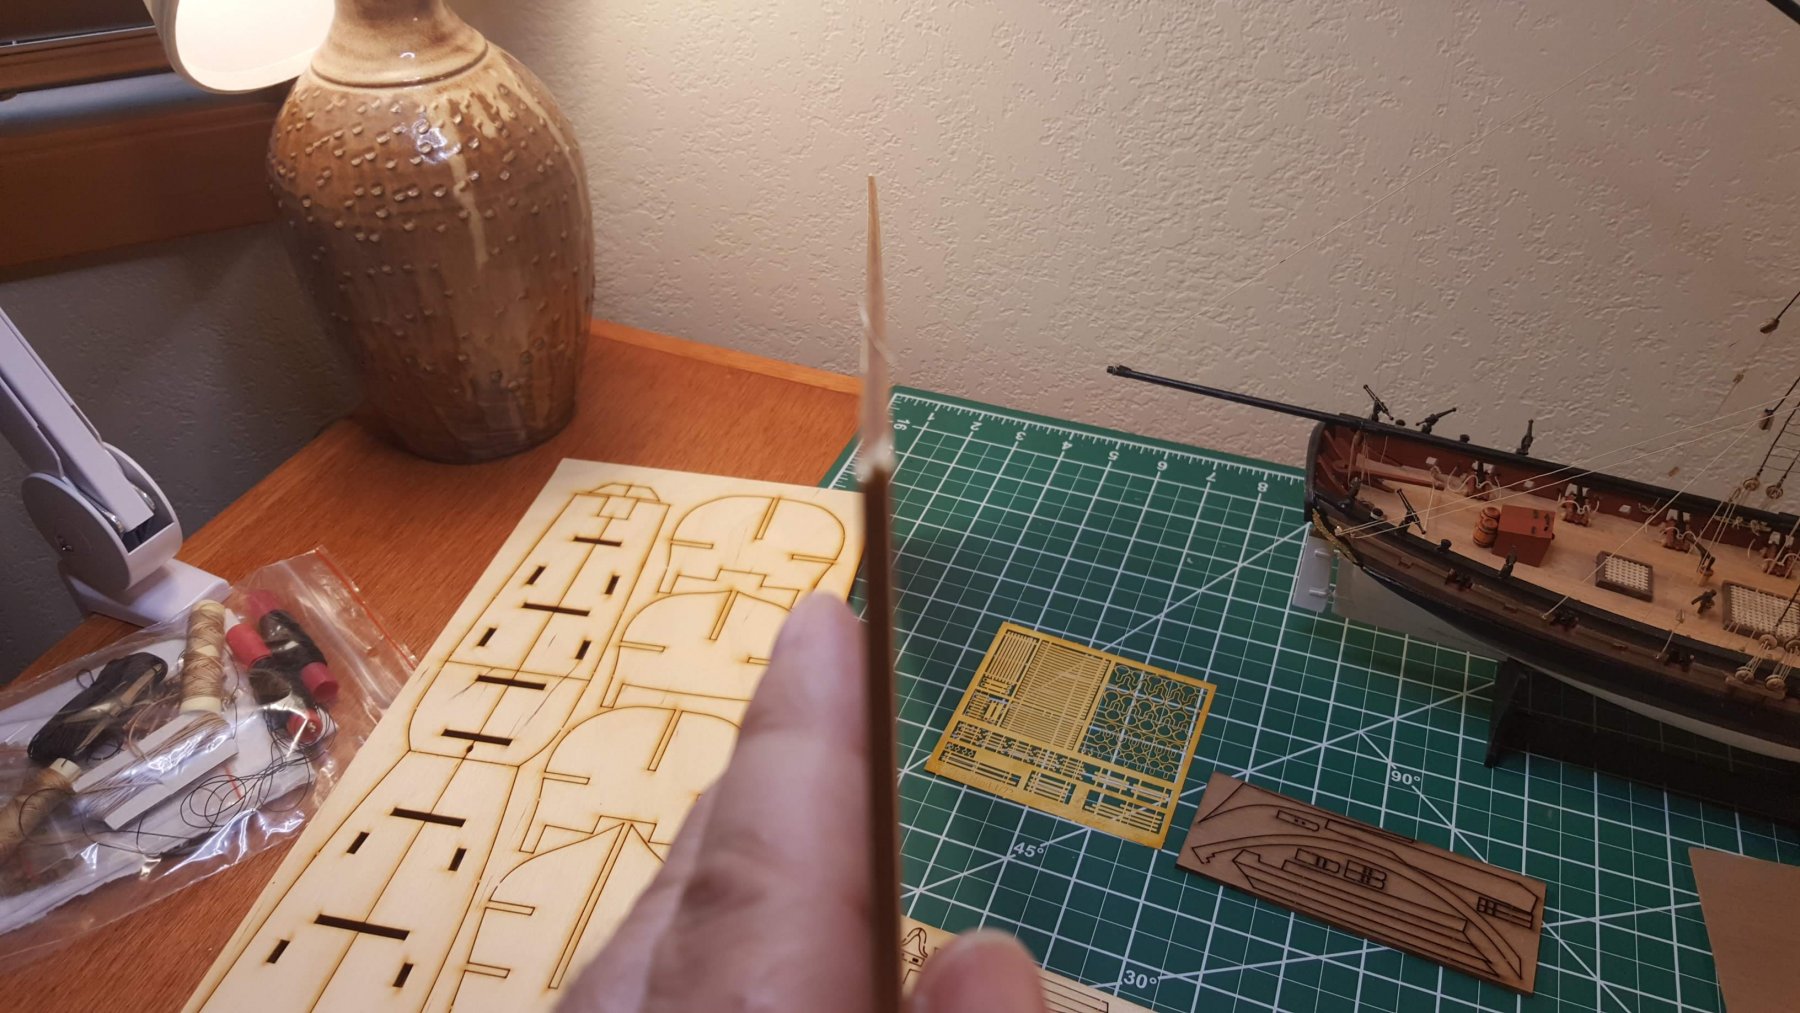
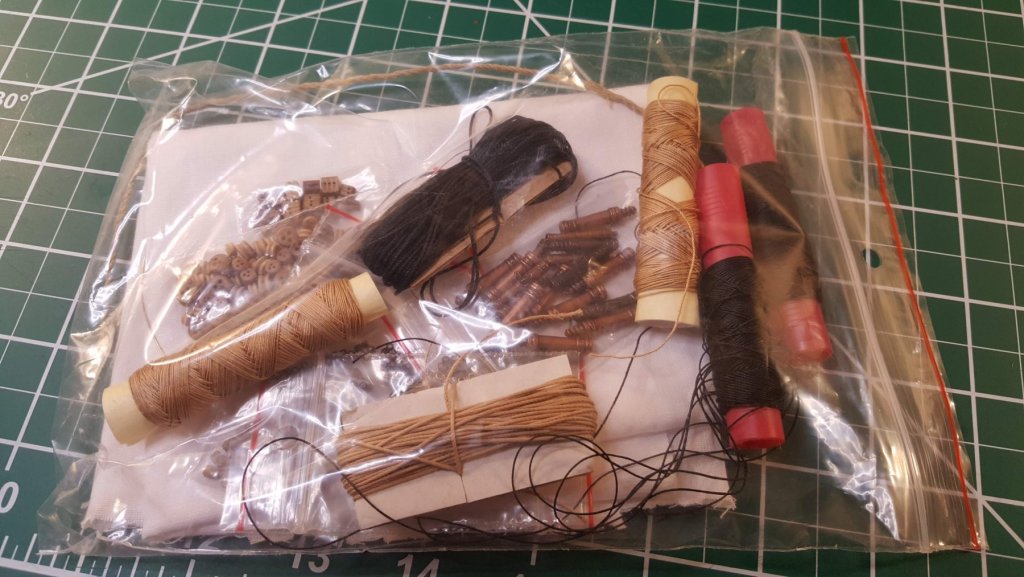
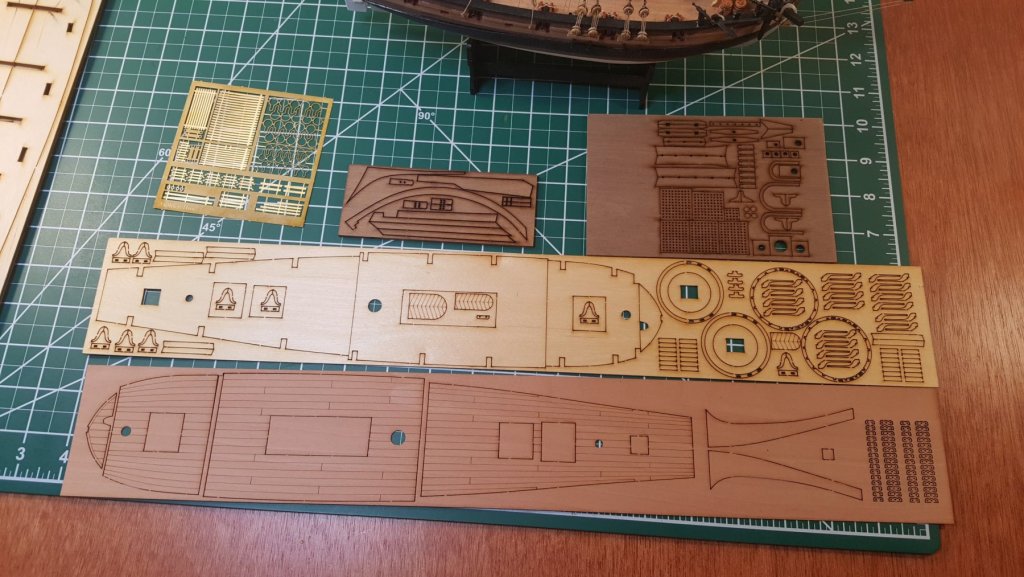
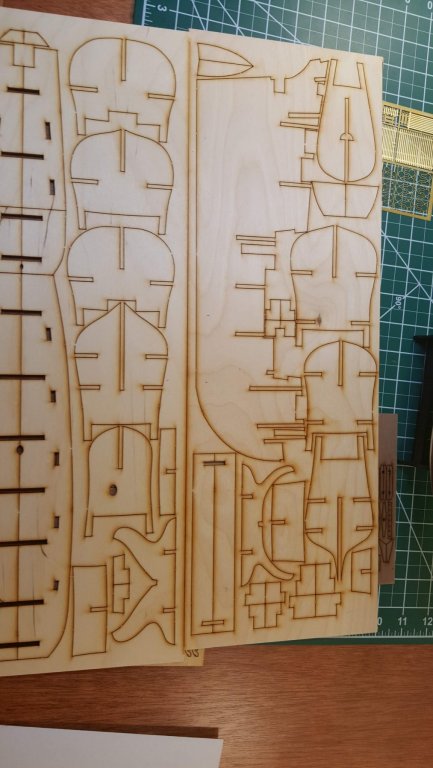
Kit is here. I'll post some kit contents pictures here. The materials seem pretty good to me, the plywood looks to be high quality and pretty straight. Wood strips look good. The brass sheet is pretty thin compared to what I am used to, but it should be fine.


-
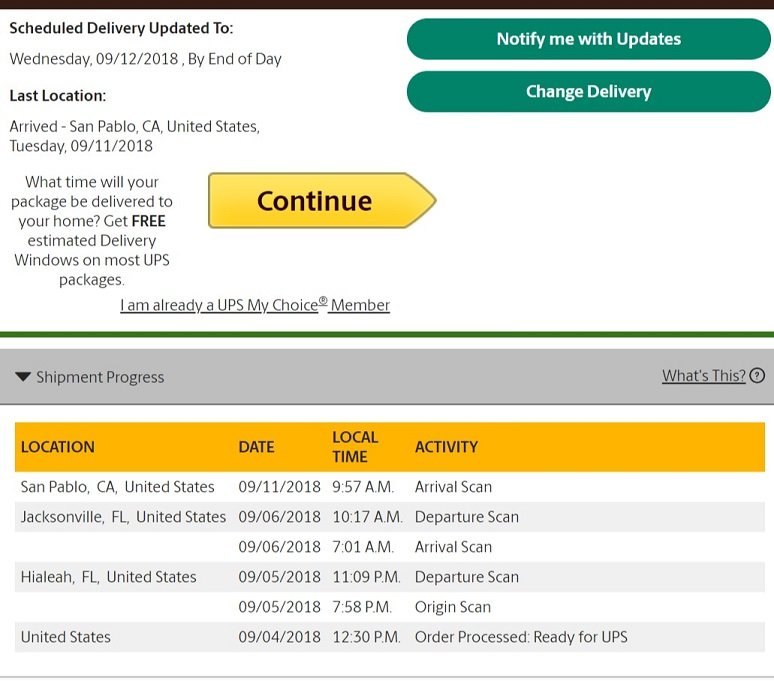
Ordering this thing Friday night before Labor Day weekend has been painful with how long I have to wait. But it is supposed to show up tomorrow.
-
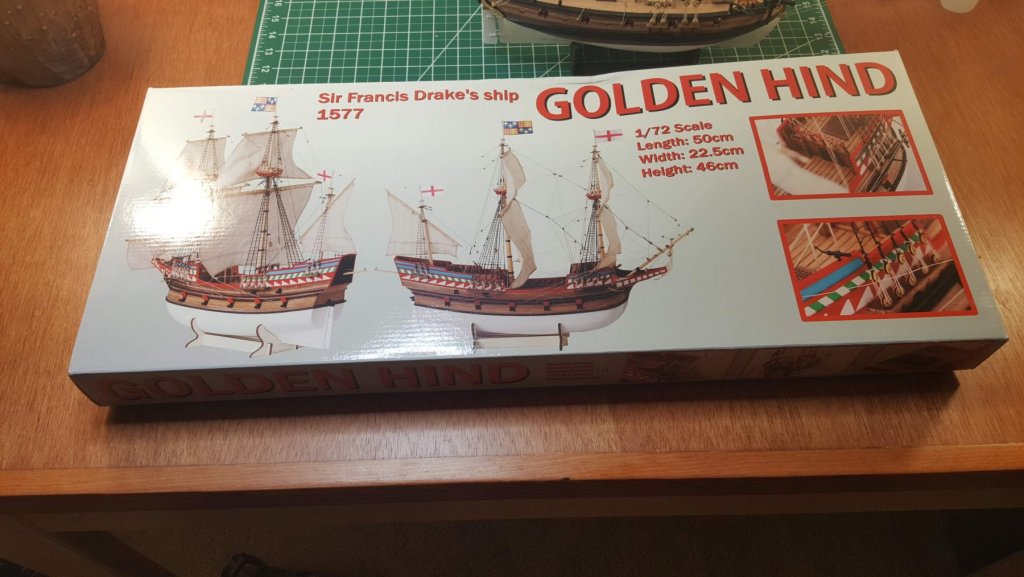
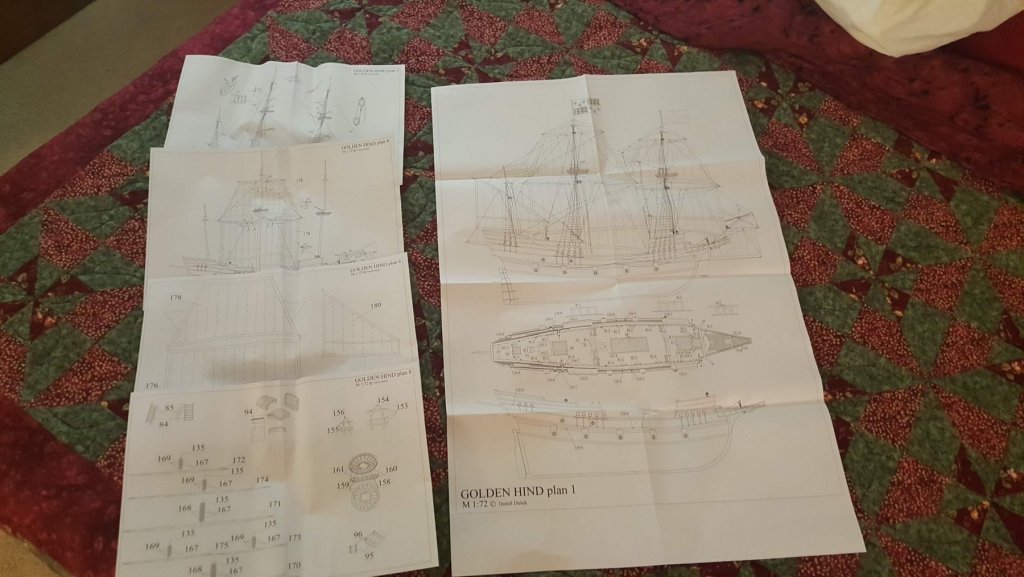
I don't actually have the kit yet, I ordered it last night from Model Expo, but I figured I'd go ahead and start the build log. I probably wouldn't have done a build log, but it looks like there aren't any for this kit yet, so I'll give it a go. I have done a build log in the past, but that was before the big crash wiped out the board. I think it was the HMS Pickle that I did here. I also did Chuck's Mayflower, but that was on another forum where he had been posting his prototype build. He had me do my log right at the end of his. I have surfed many of the build logs and there are some insanely talented builders, I am not one of them. I like chugging through the build and then enjoying the finished product. If I were to shoot for perfection I'd never get the thing planked. So this should move along quickly, but I certainly won't do the kit the justice it deserves, but hopefully it will be helpful to some. As I don't have the kit yet, I have no pictures to post, but here's a link to the kit on Duesk's site. http://www.dusekshipkits.com/golden-hind
-
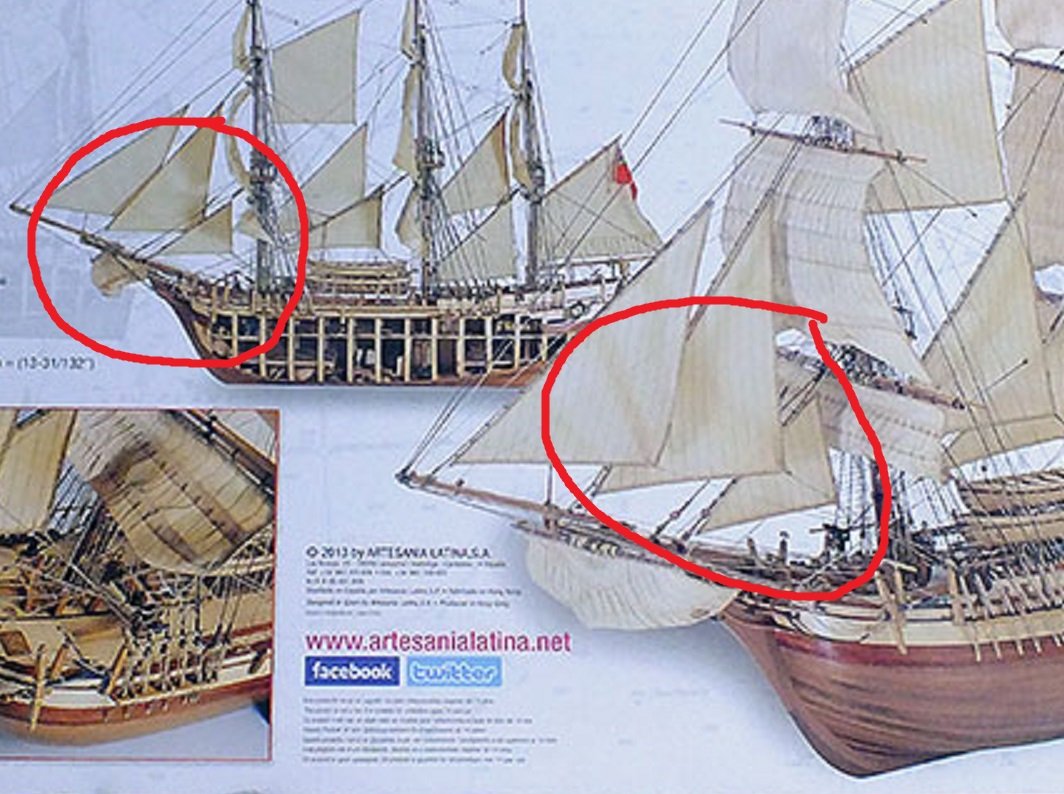
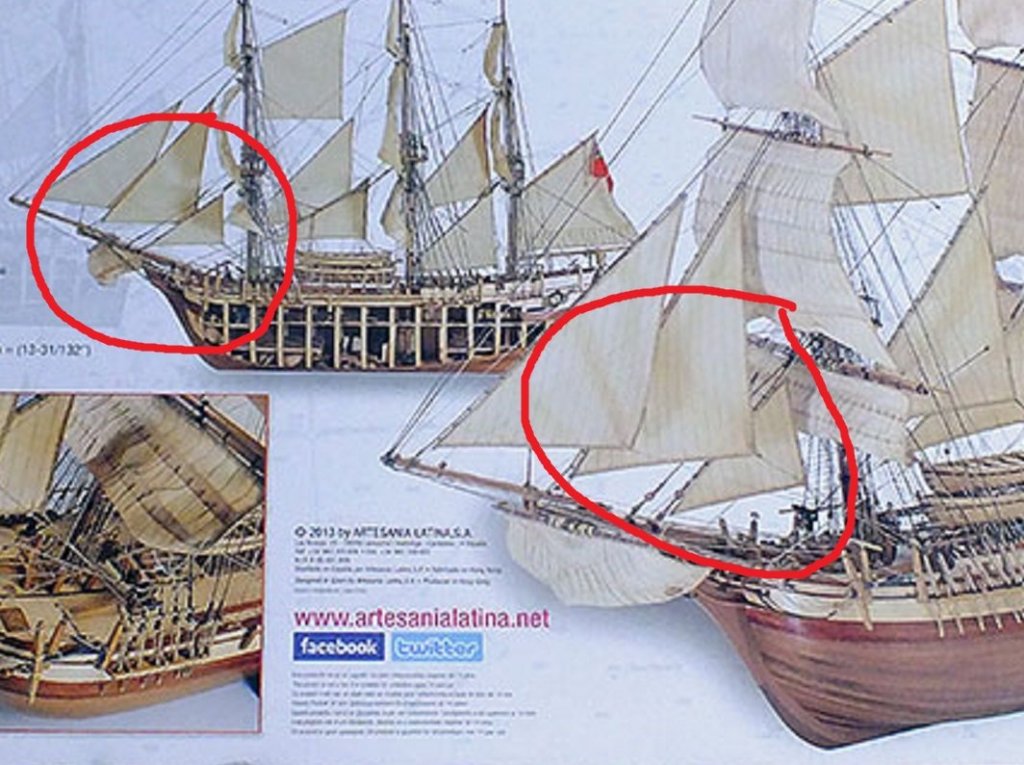
I think the kit box artist just flipped the starboard image so it would look better with both ship pictures going in the same direction. If you look at the sails you can see how the exposed side is from the opposite side from the planked side. Just a case of a graphics guy not knowing the confusion he would start.
-
I just ordered the kit from Model Expo, it was on sale and they had another 33% off, so delivered it was under $88 to my door. Hope I like the kit, I didn't put any research into it, the price just seemed too good to pass up.
-
I've emailed Amati a couple times over the last few years about the kit, never any response.