dkuehn
-
Posts
124 -
Joined
-
Last visited
Content Type
Profiles
Forums
Gallery
Events
Everything posted by dkuehn
-
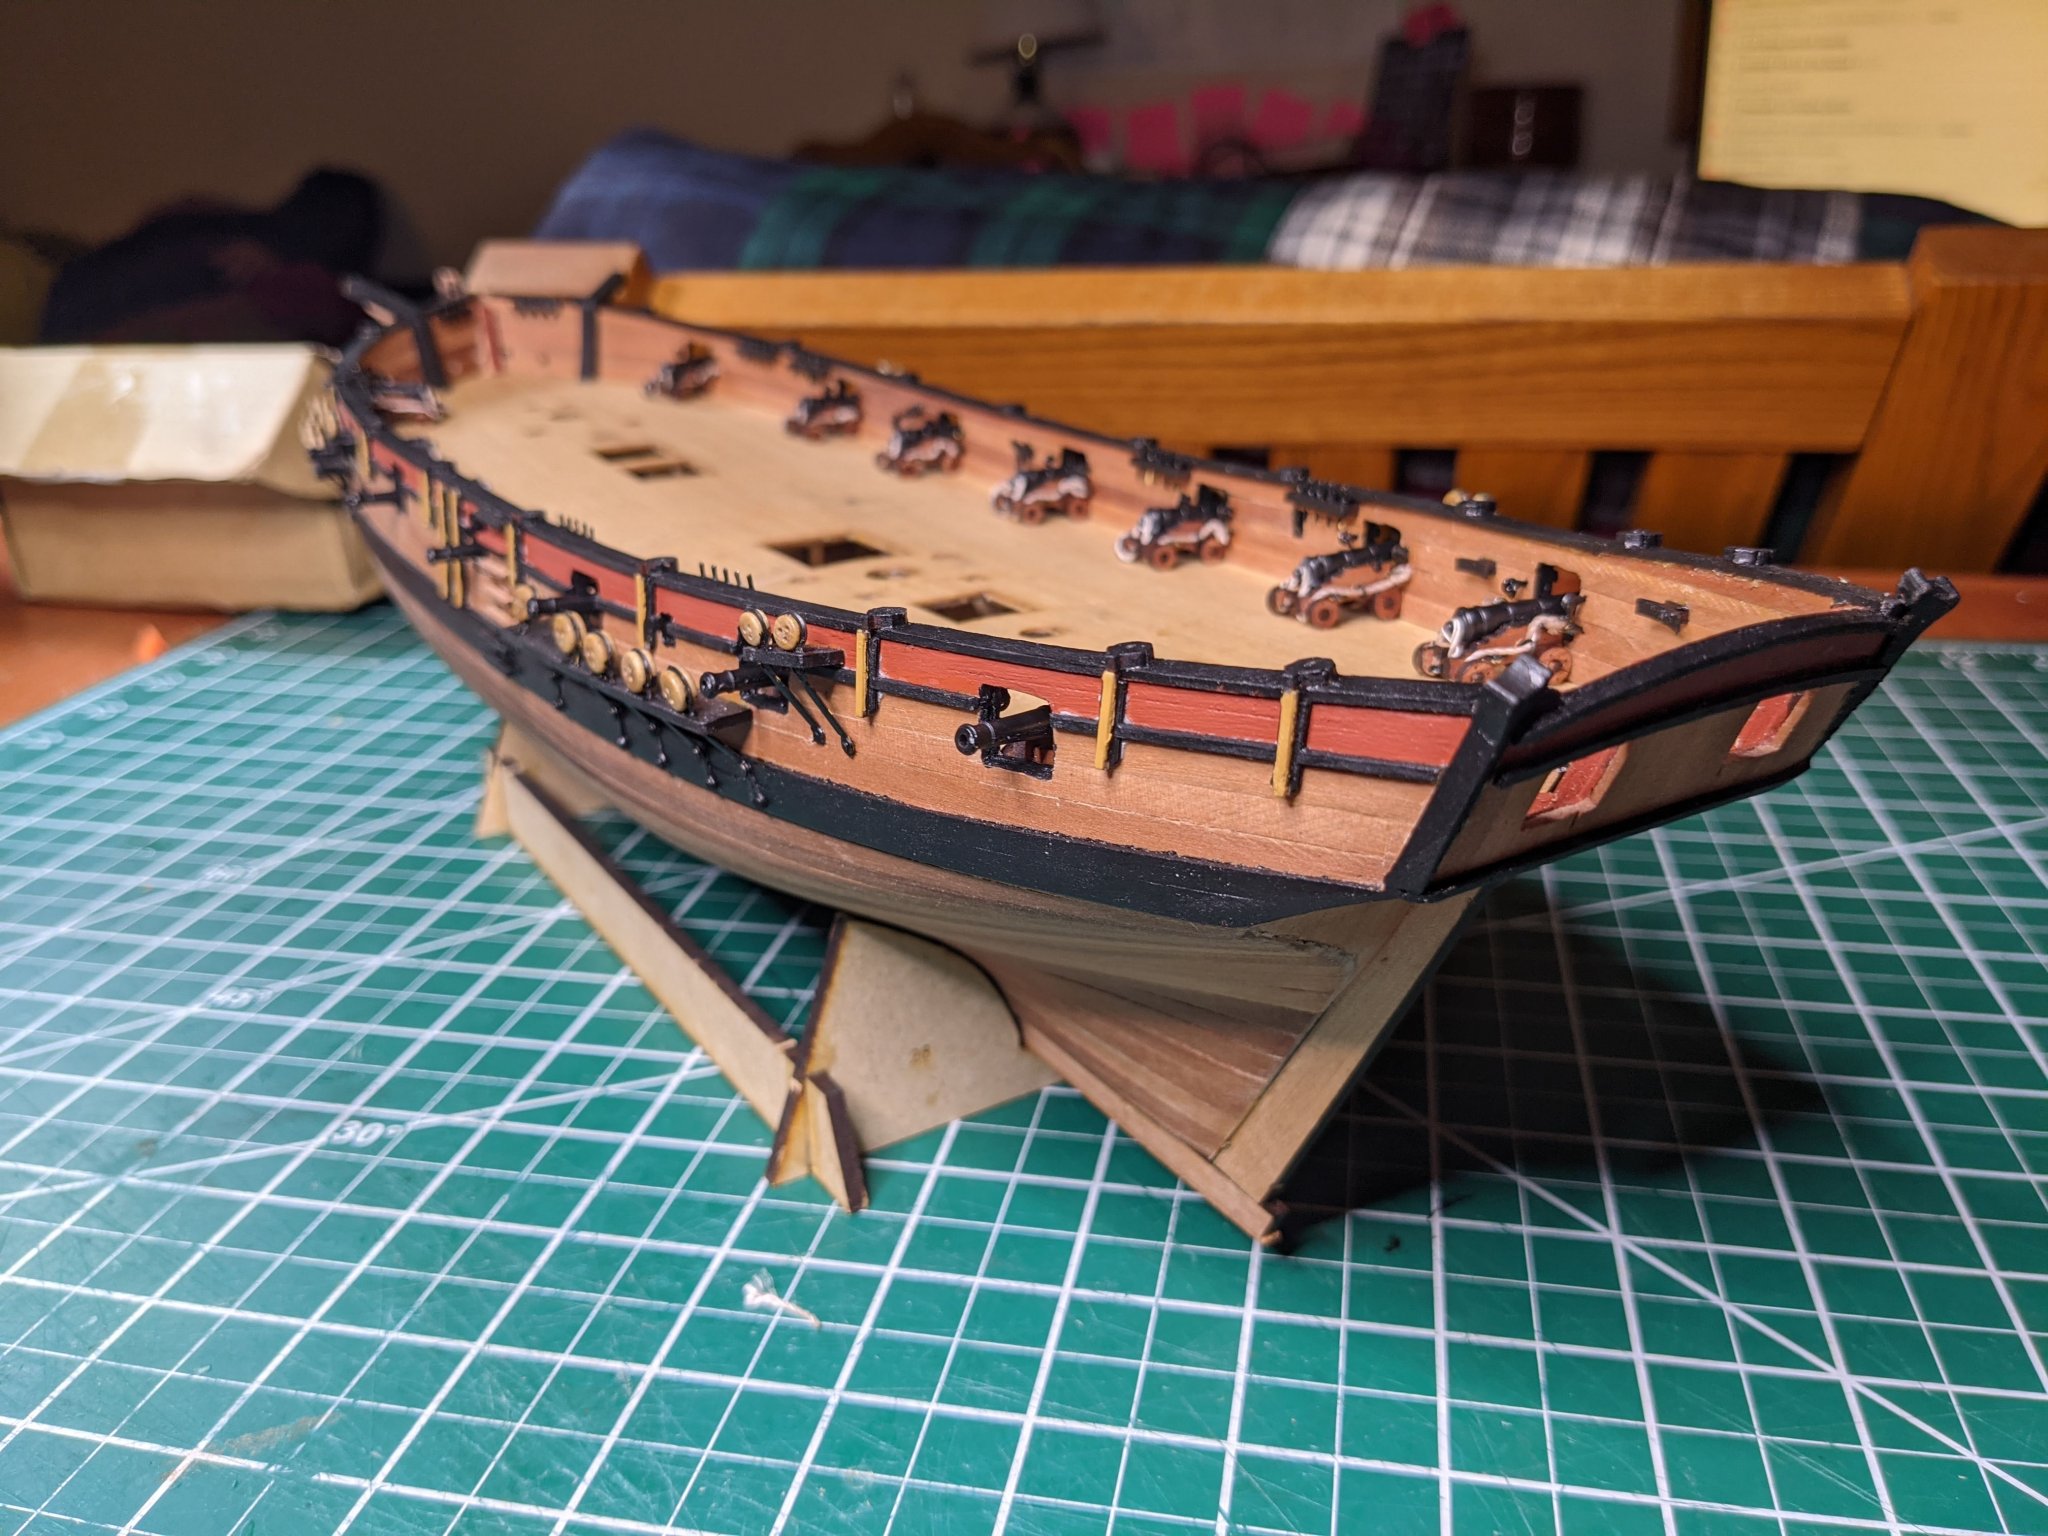
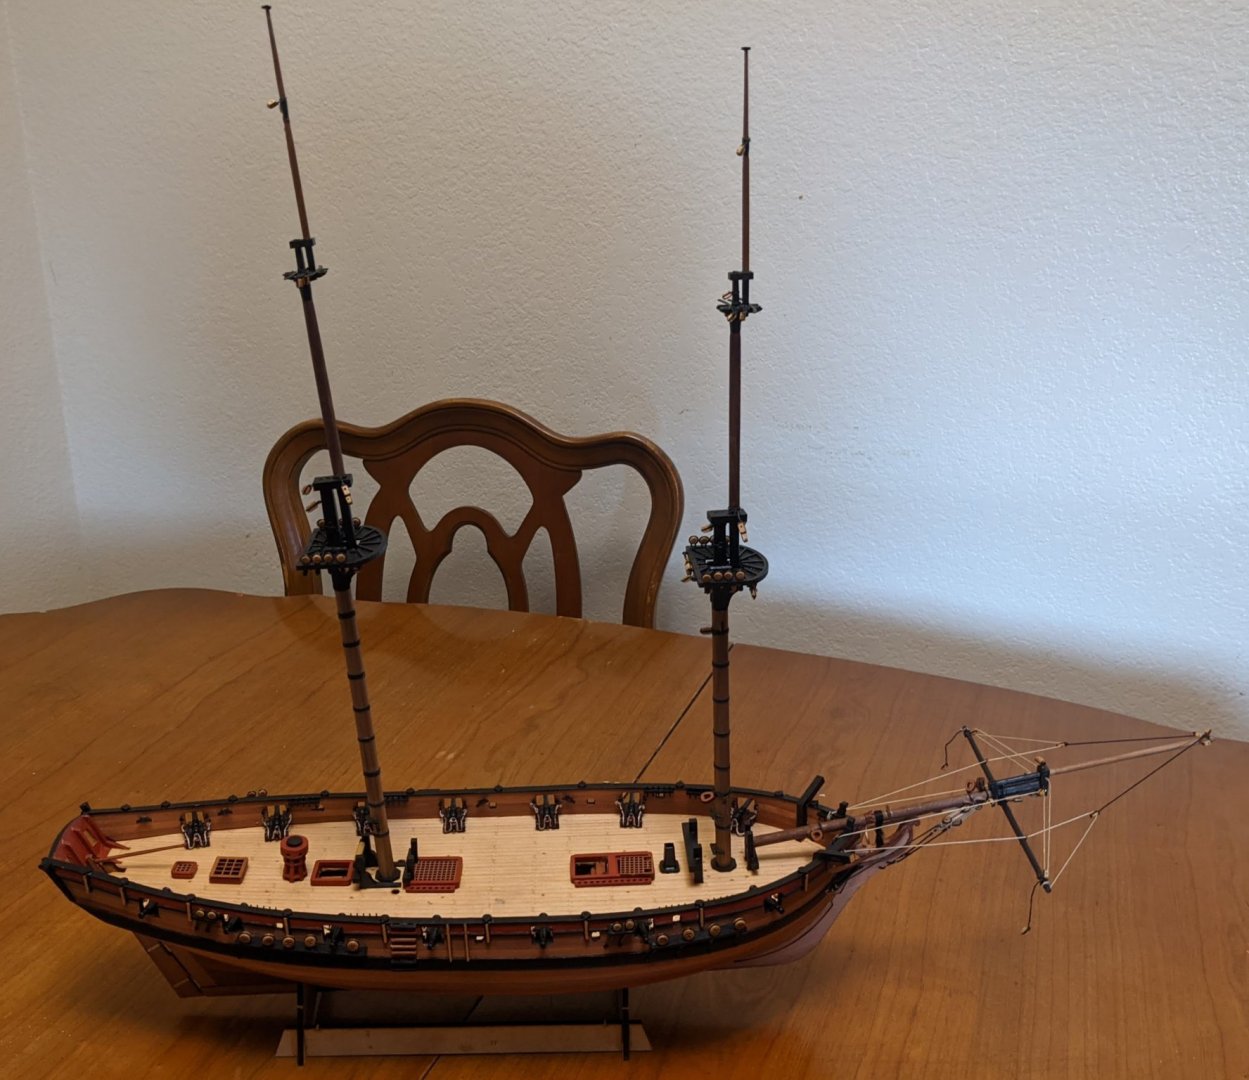
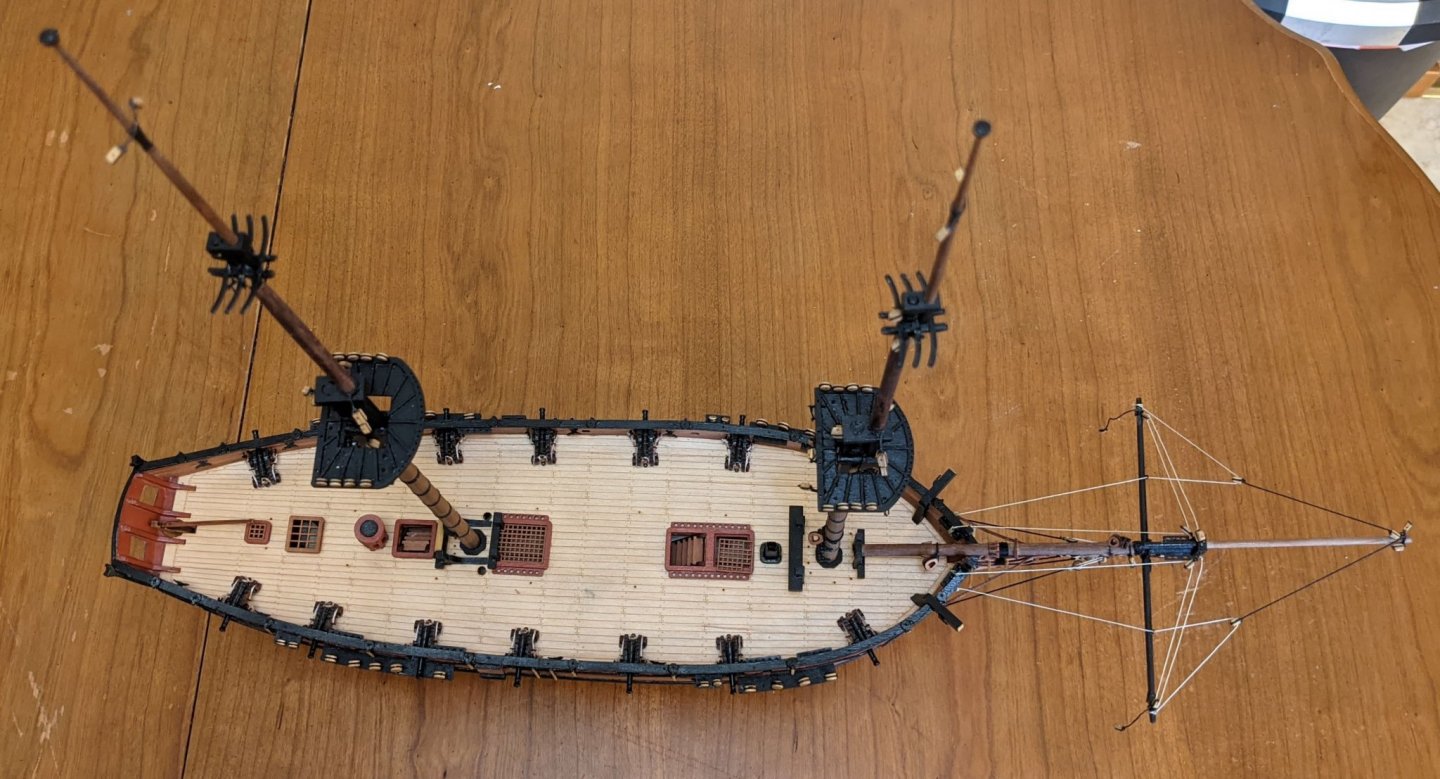
 Another picture update...
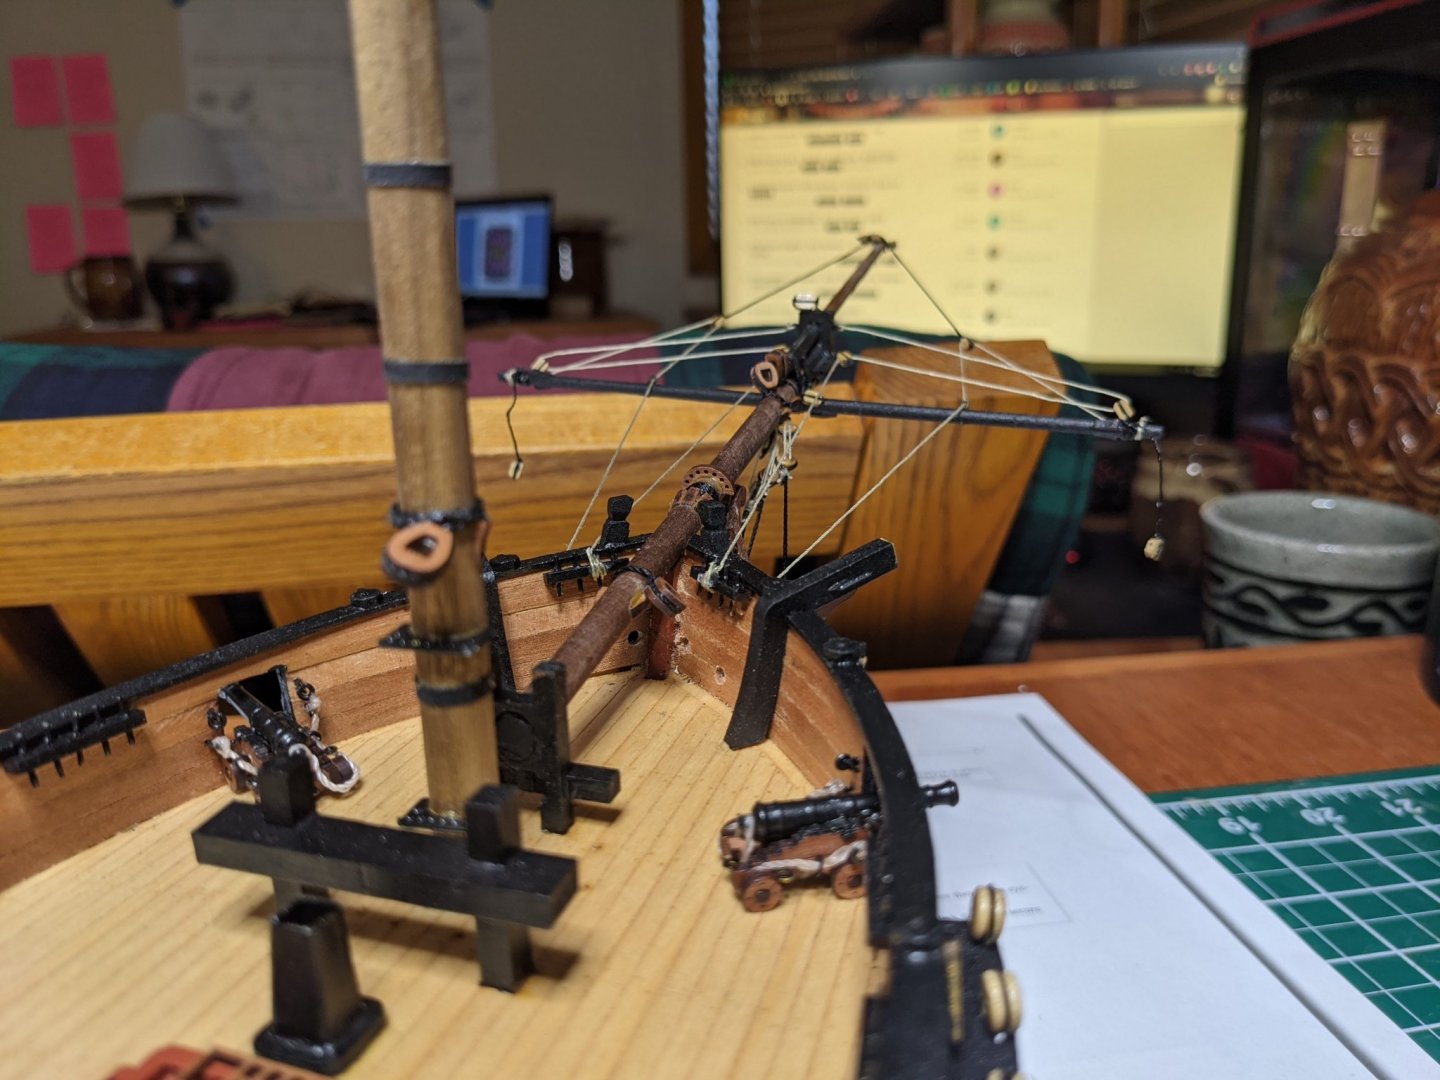

-
I did the same thing and had to go back and remove them.
- 275 replies
-
- 2
-

-
- phoenix
- master korabel
- (and 1 more)
-
I might match his speed, but he's way ahead when craftsmanship is included as well. I have a bunch of different hobbies that I switch between. Any skills that I build up are lost again when I put aside a hobby for a while. I'm sure I'll still be building boats when Chris releases the Duchess of Kingston. I'll try to raise my quality of build a little on that one.
-
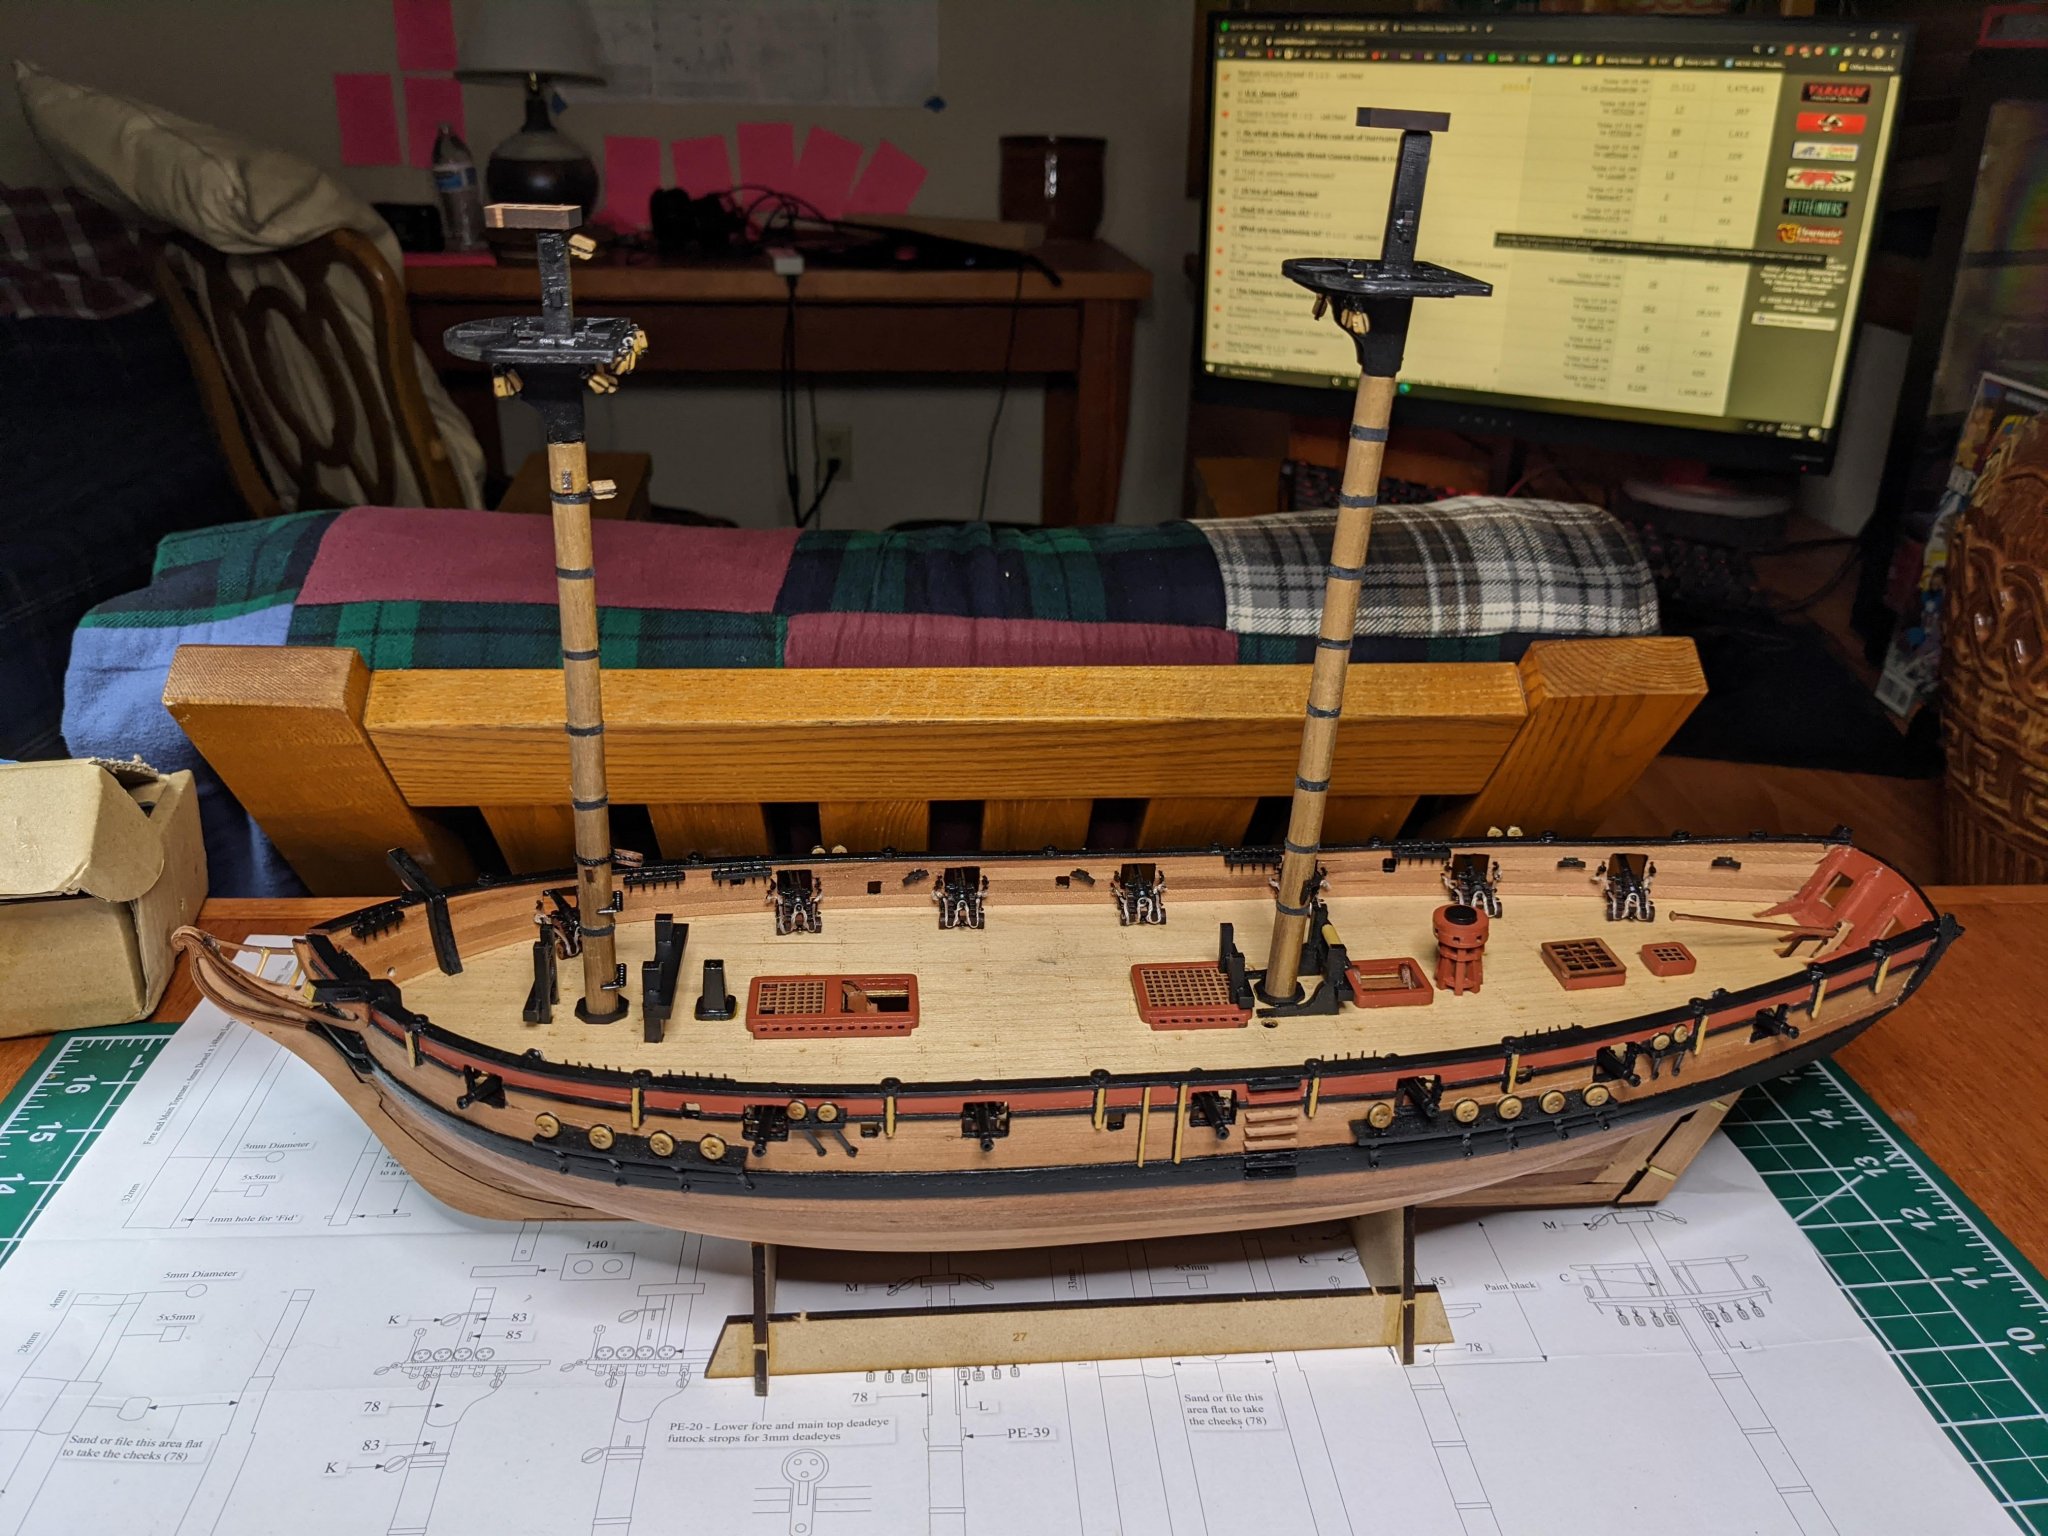
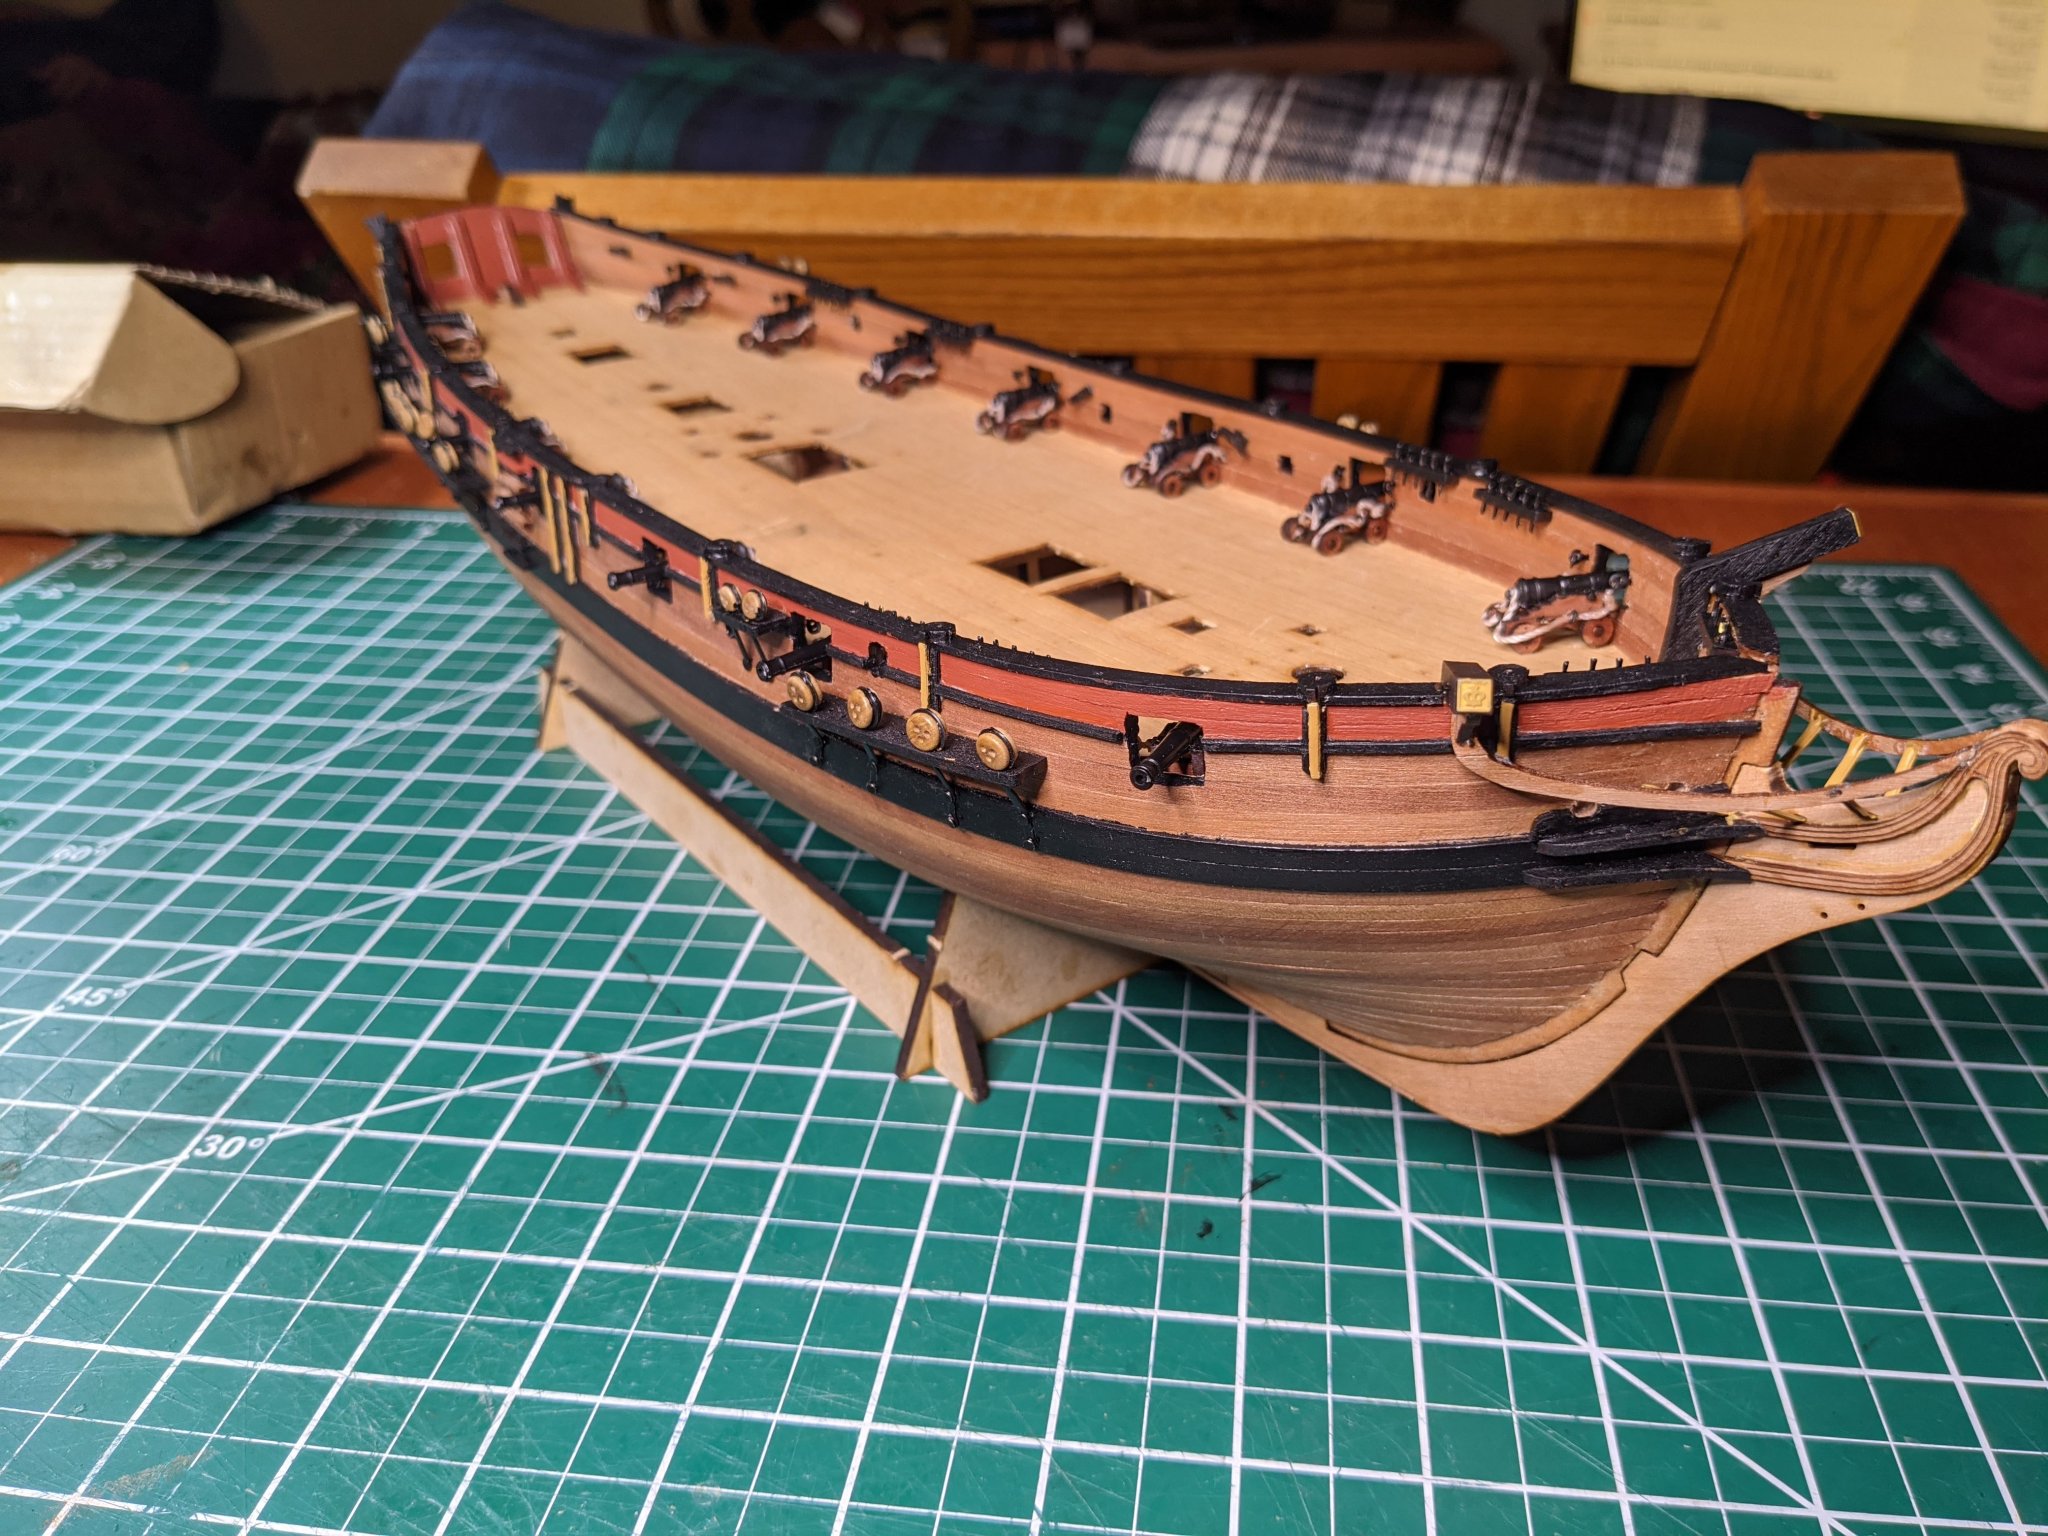
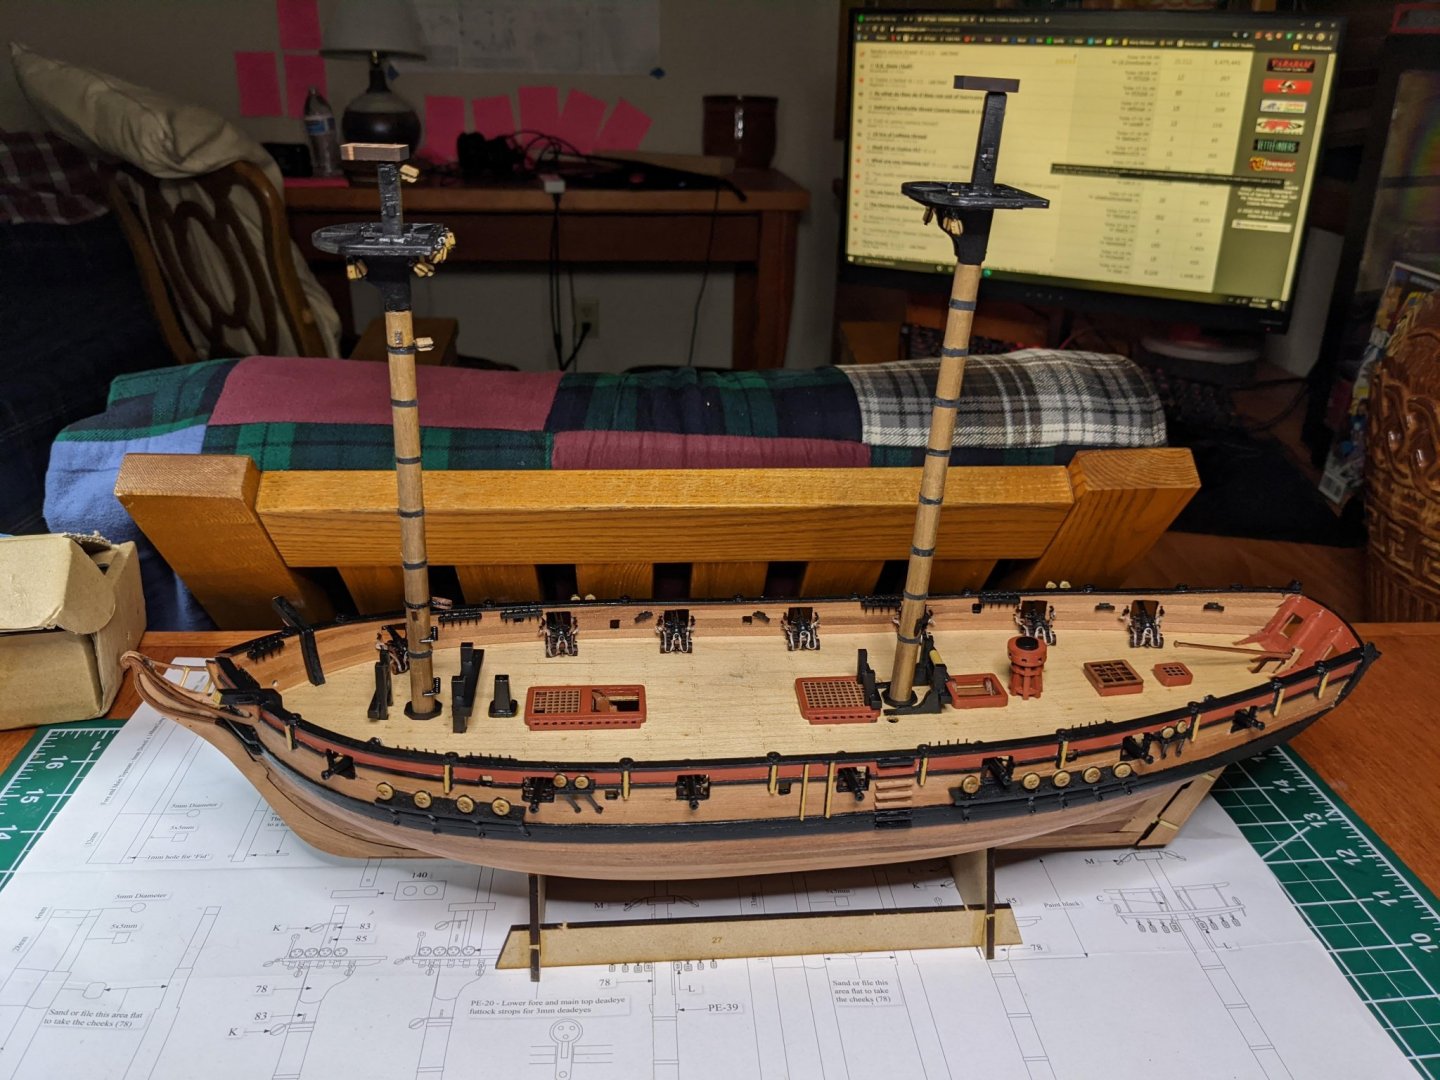
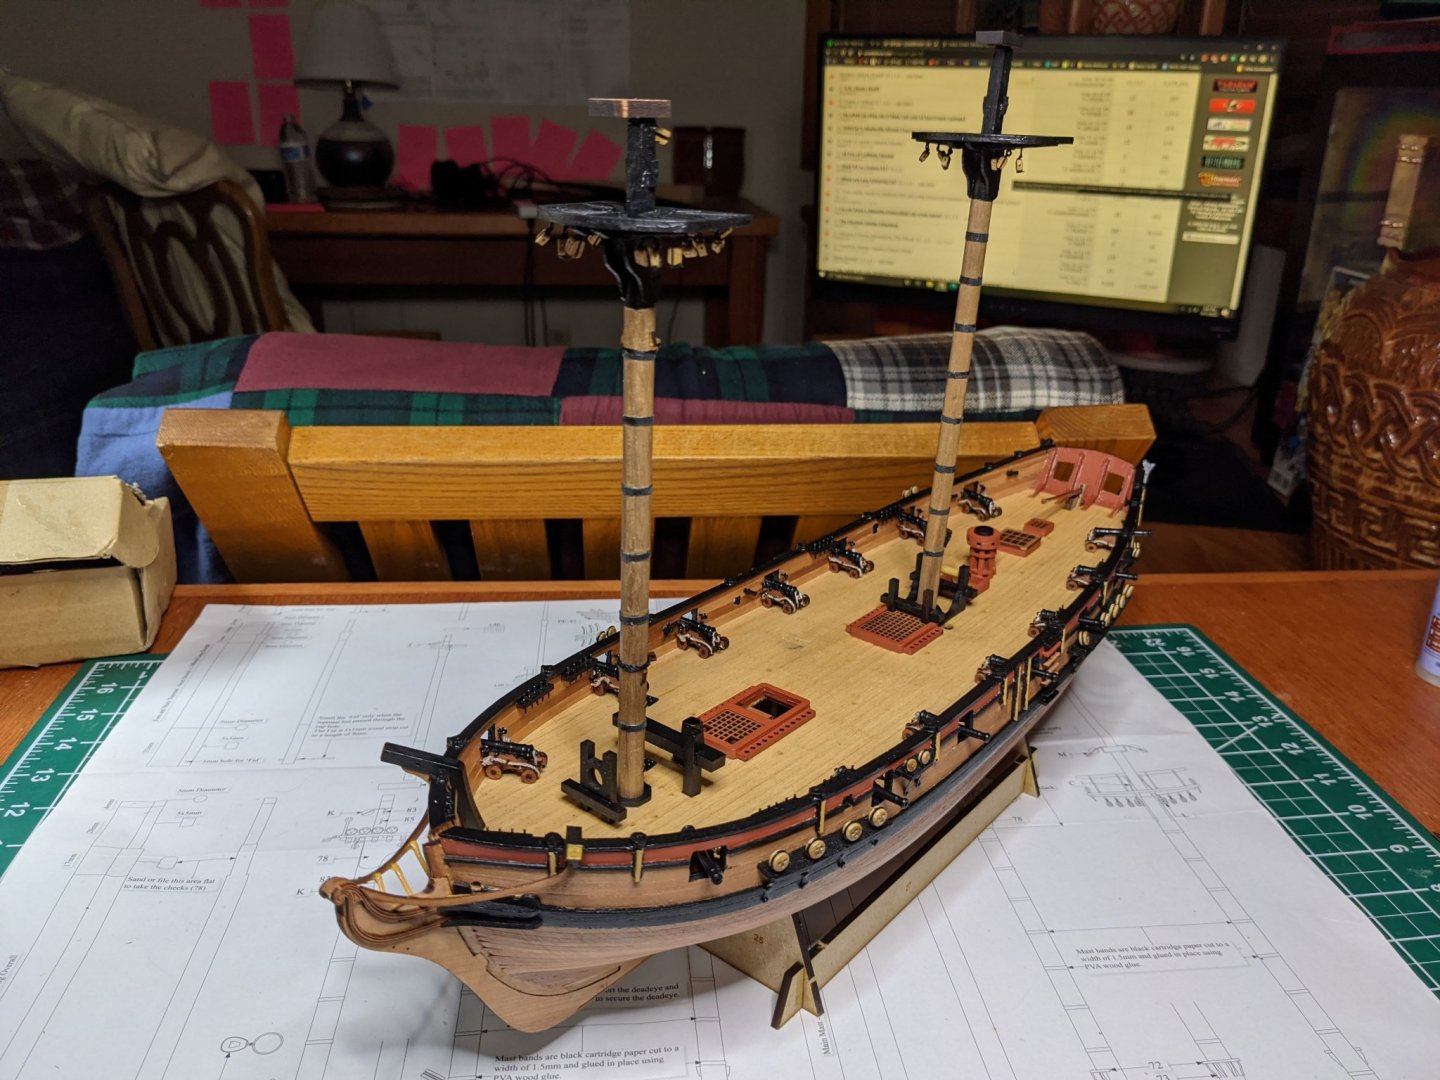
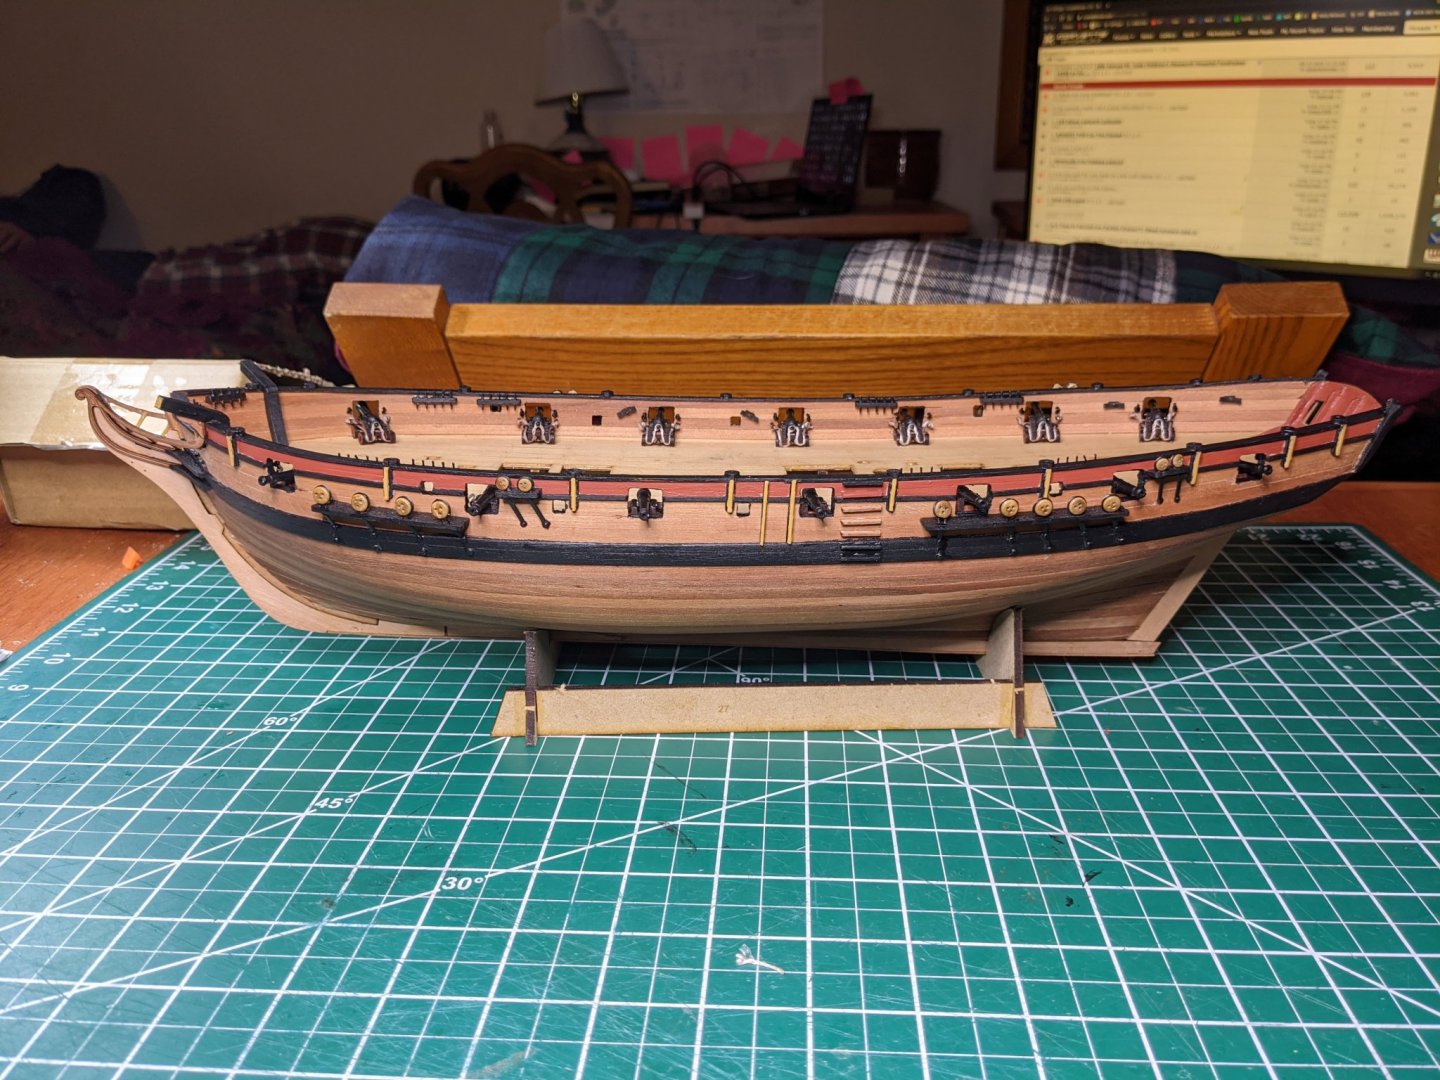
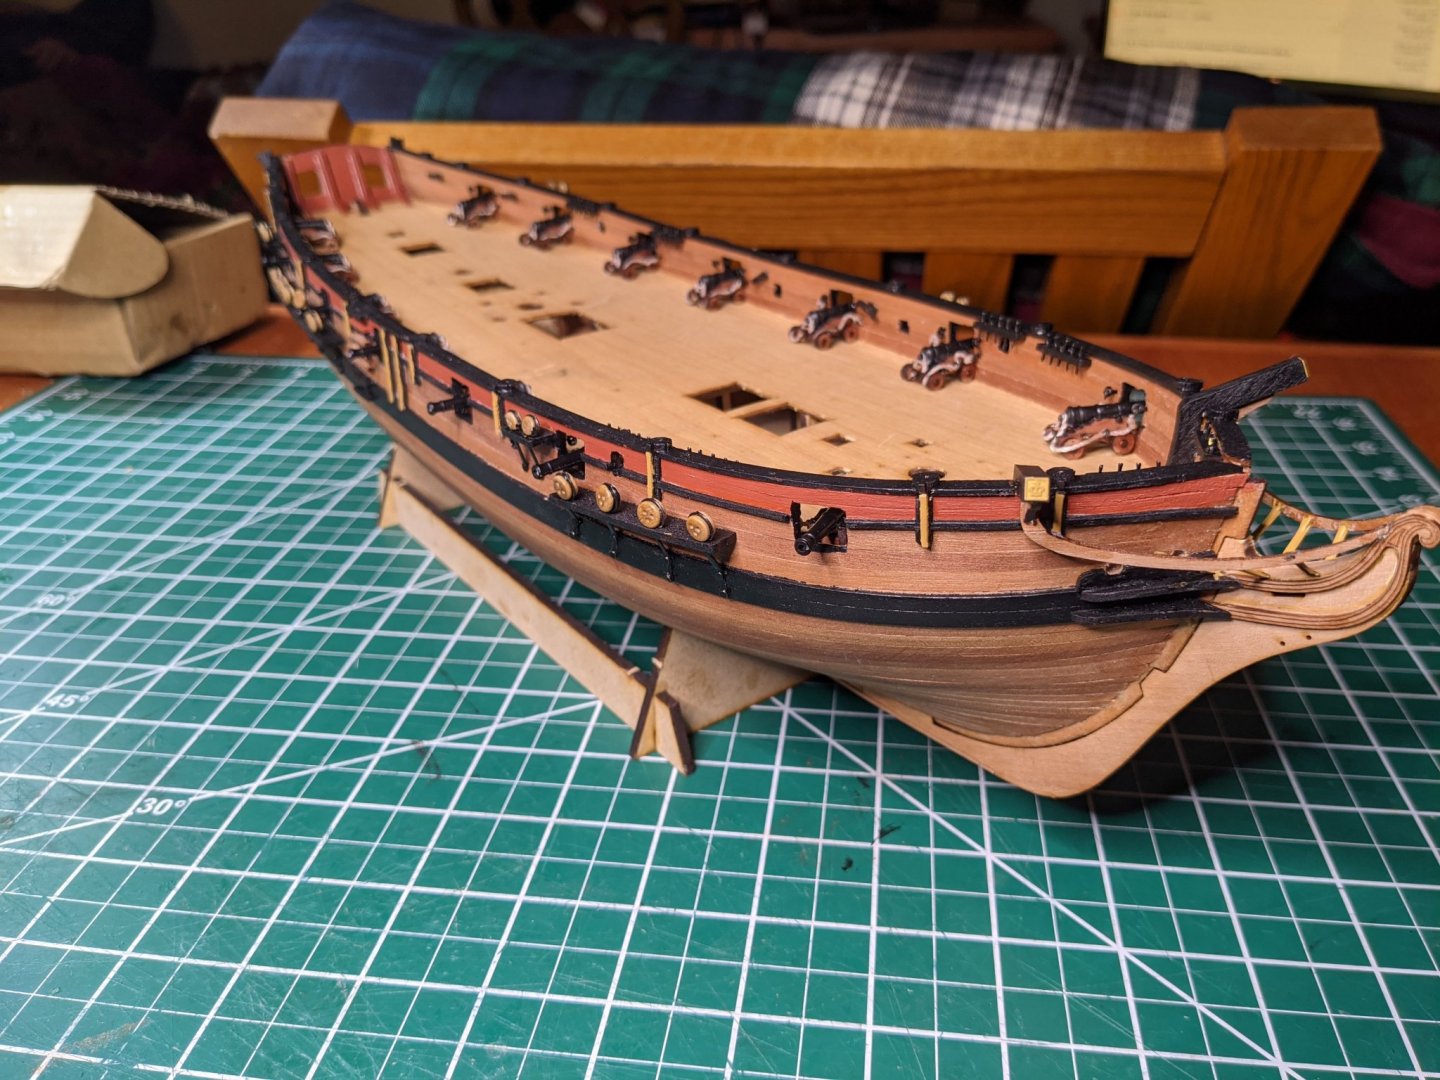
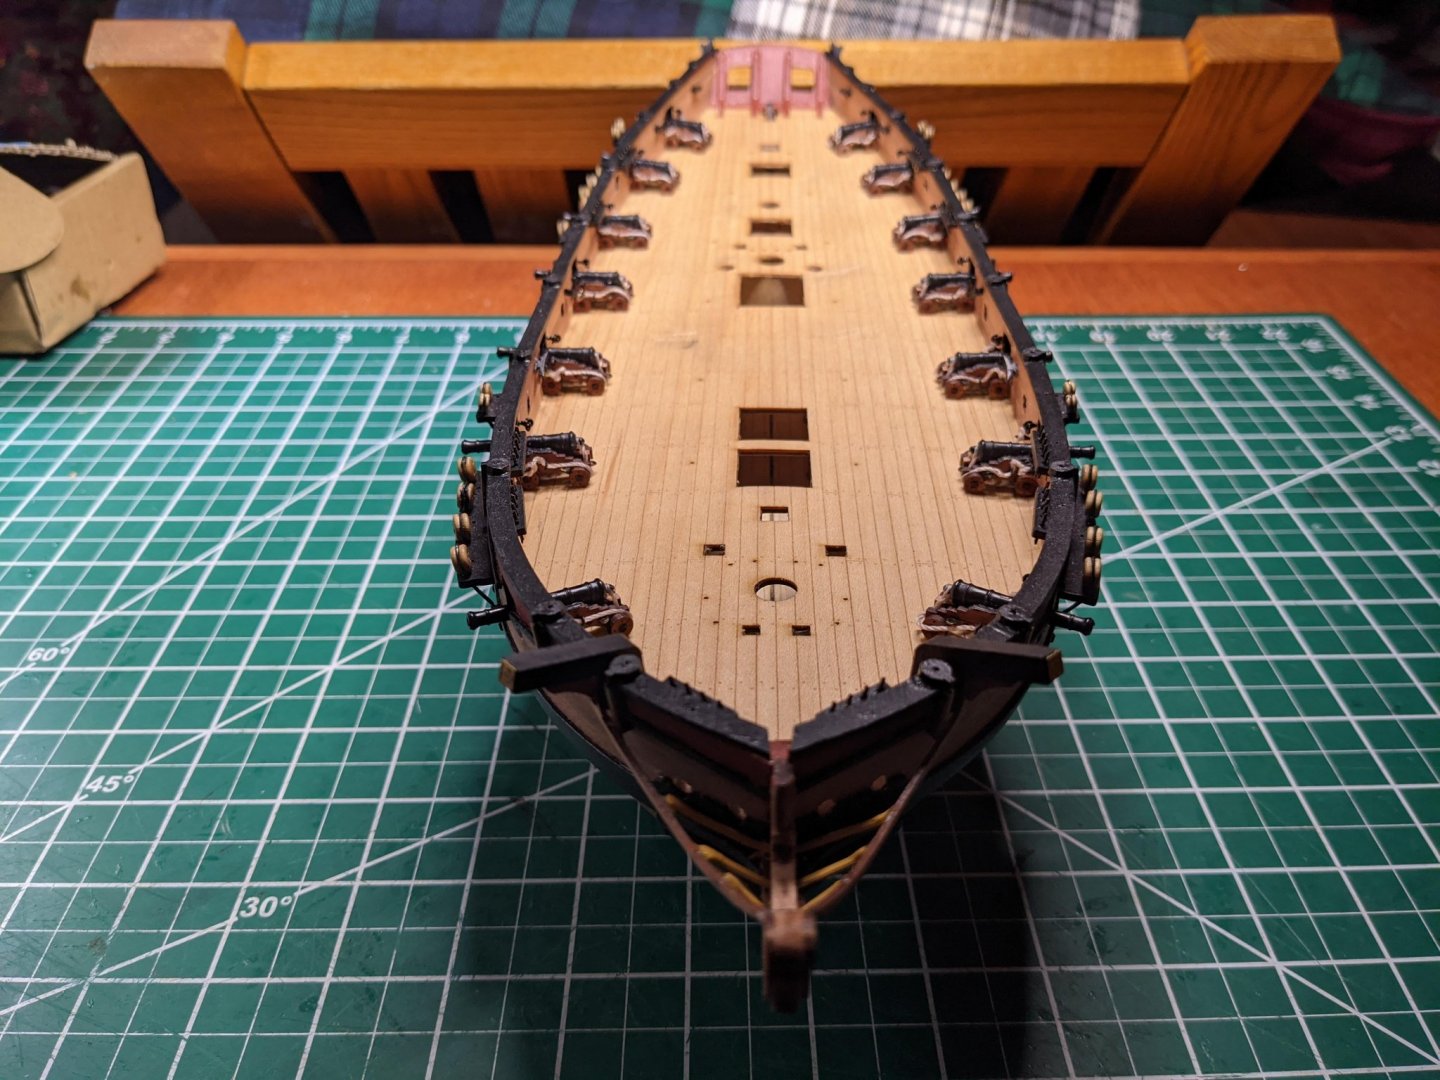
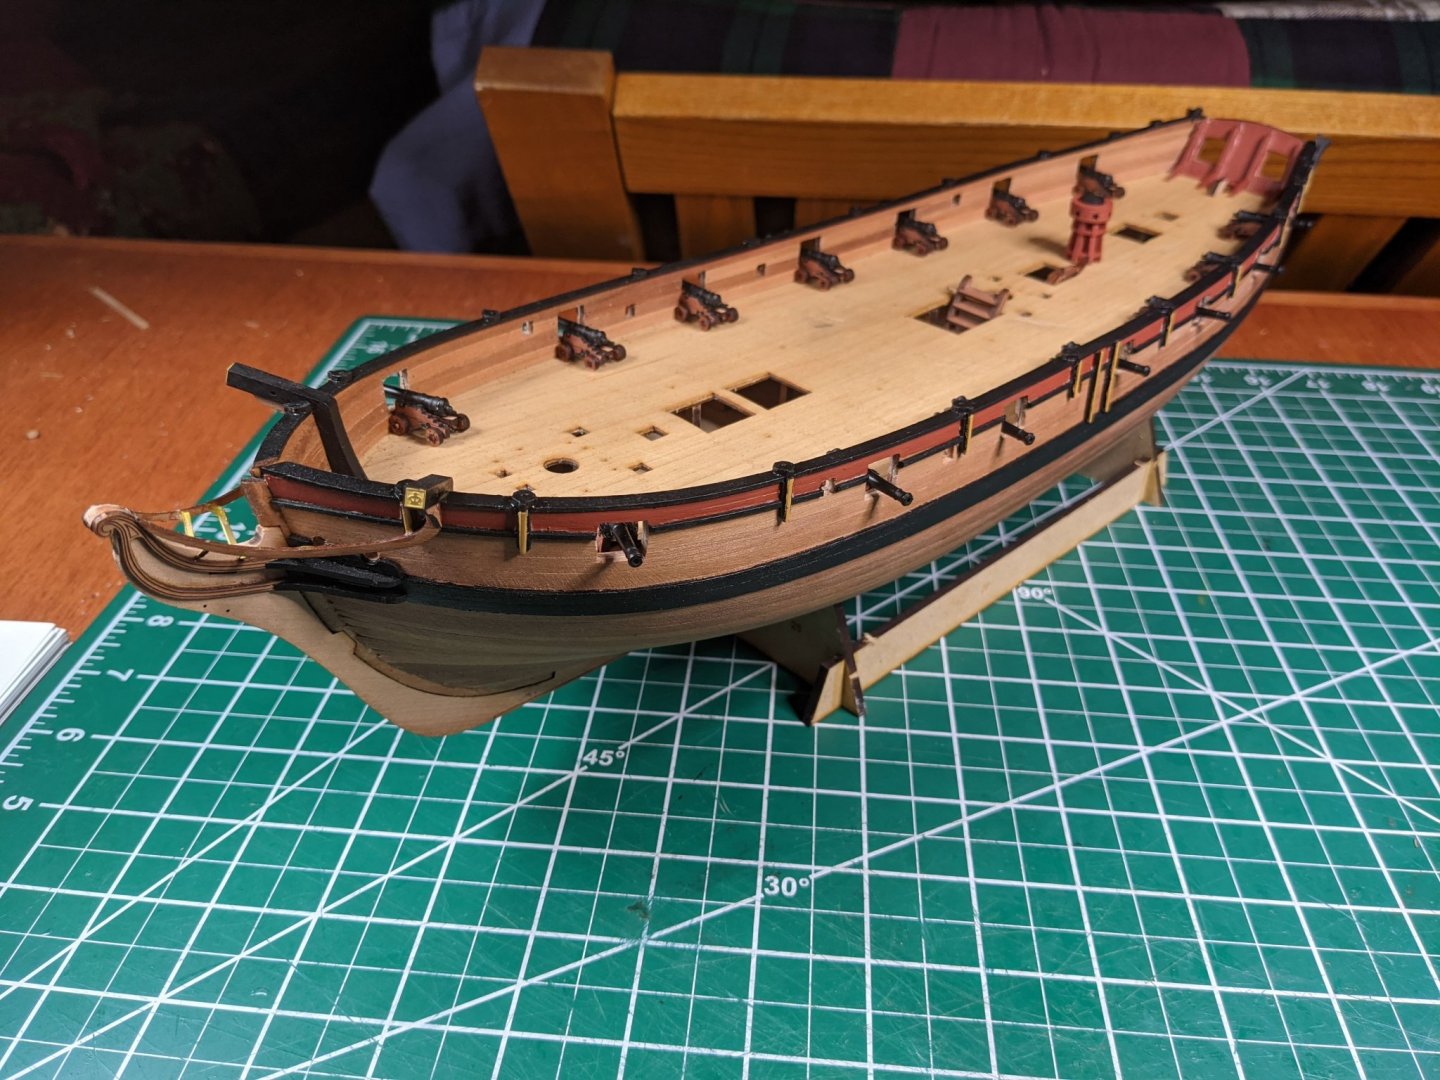
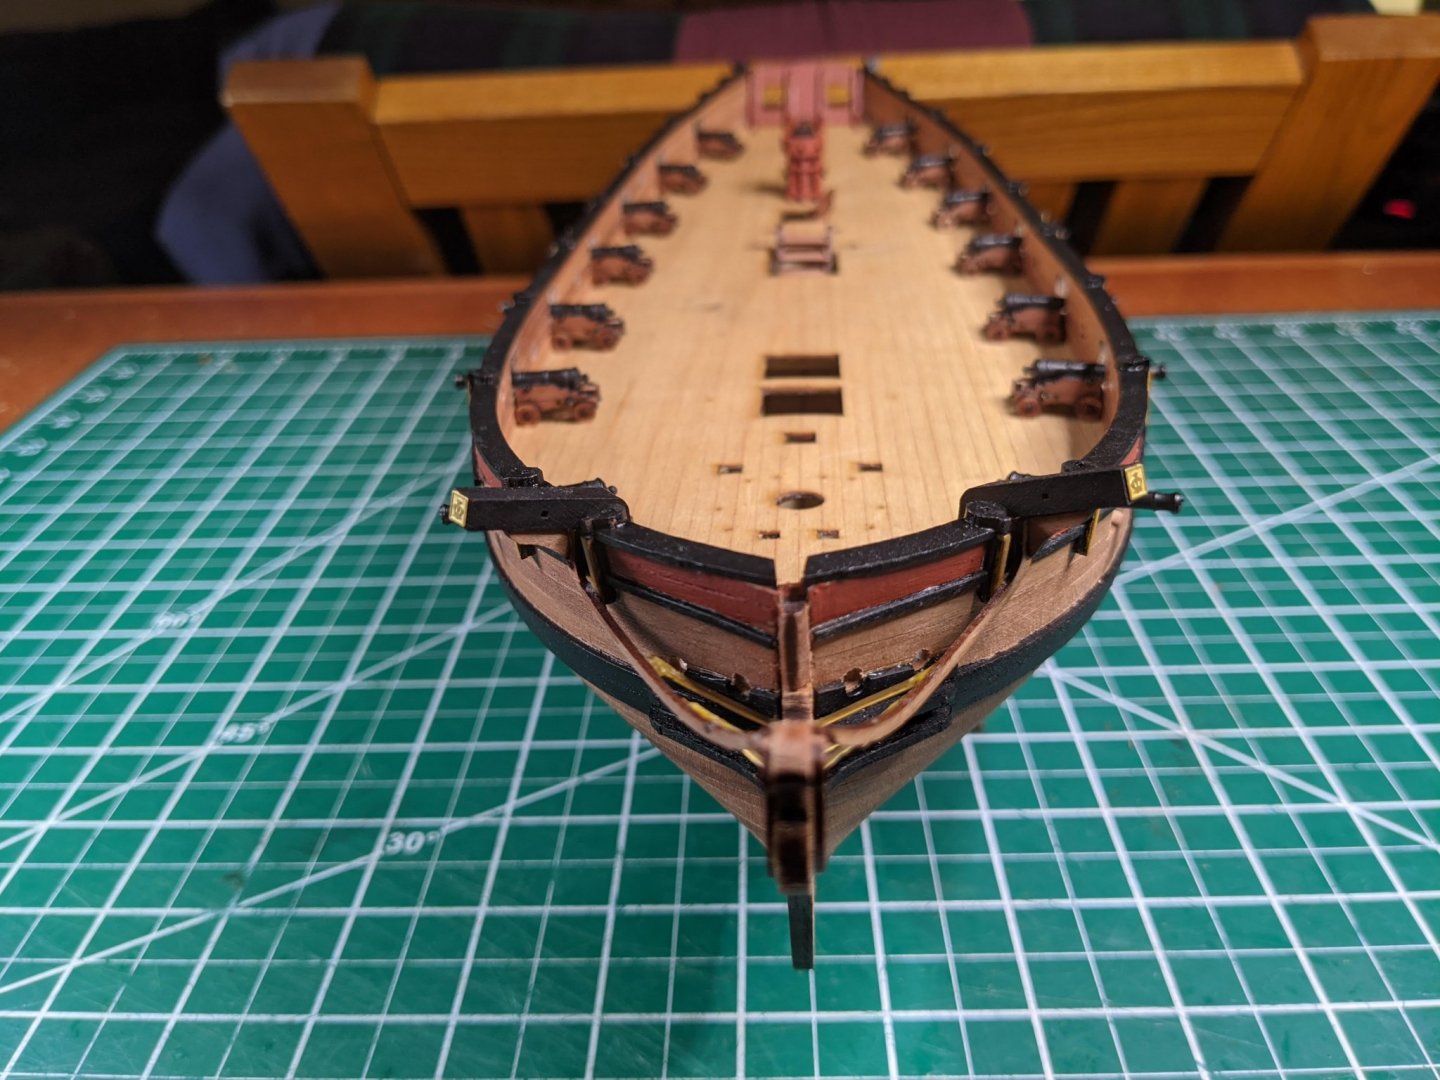
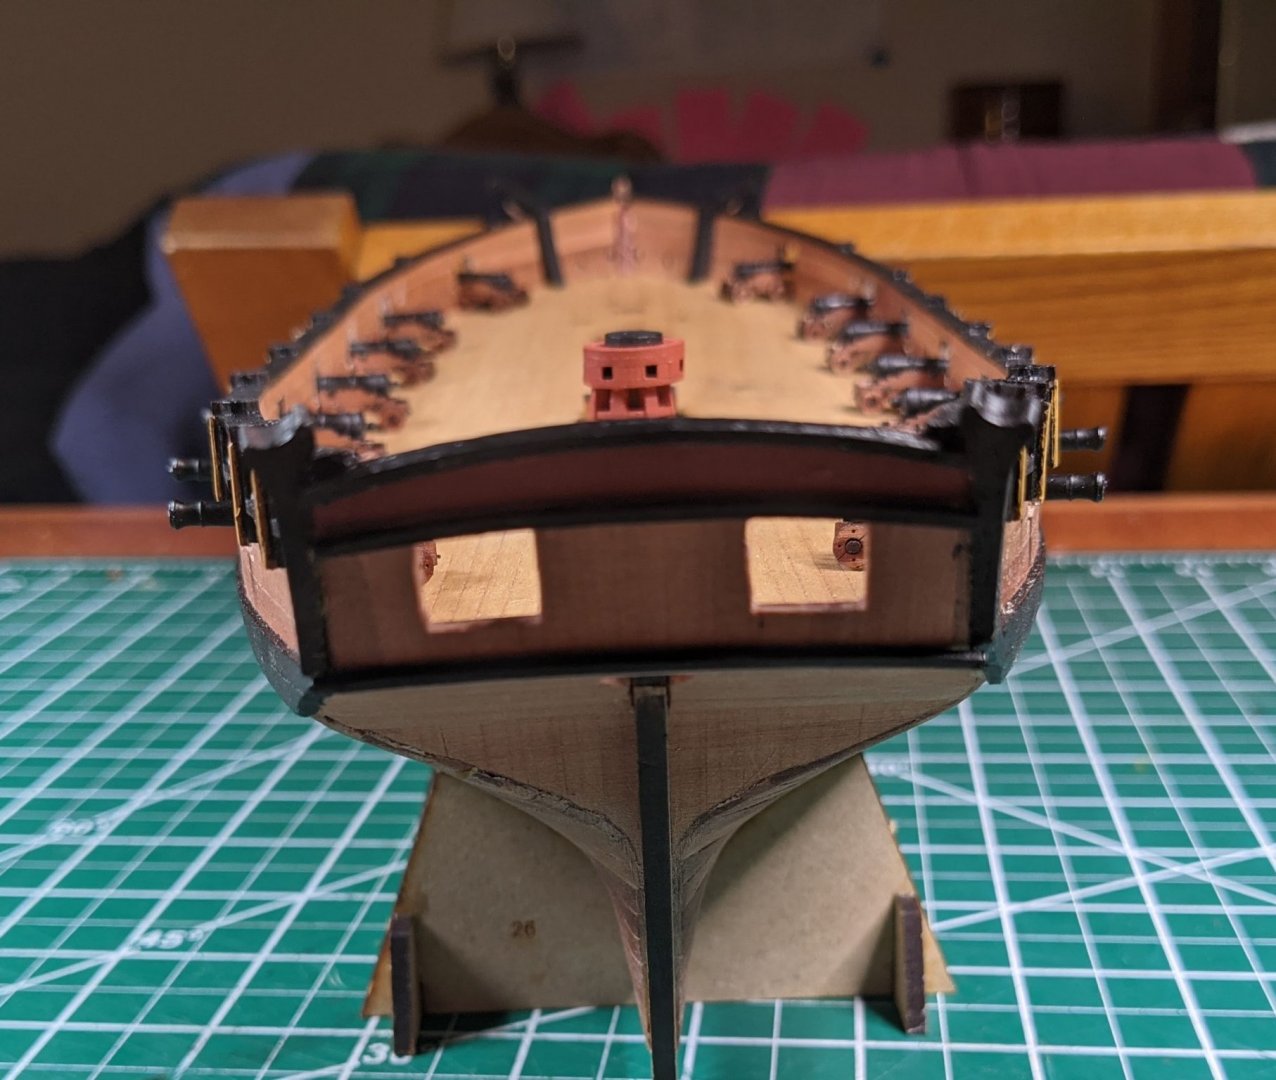
Some more progress...
-
Well, you've got one sold already. 😀

-
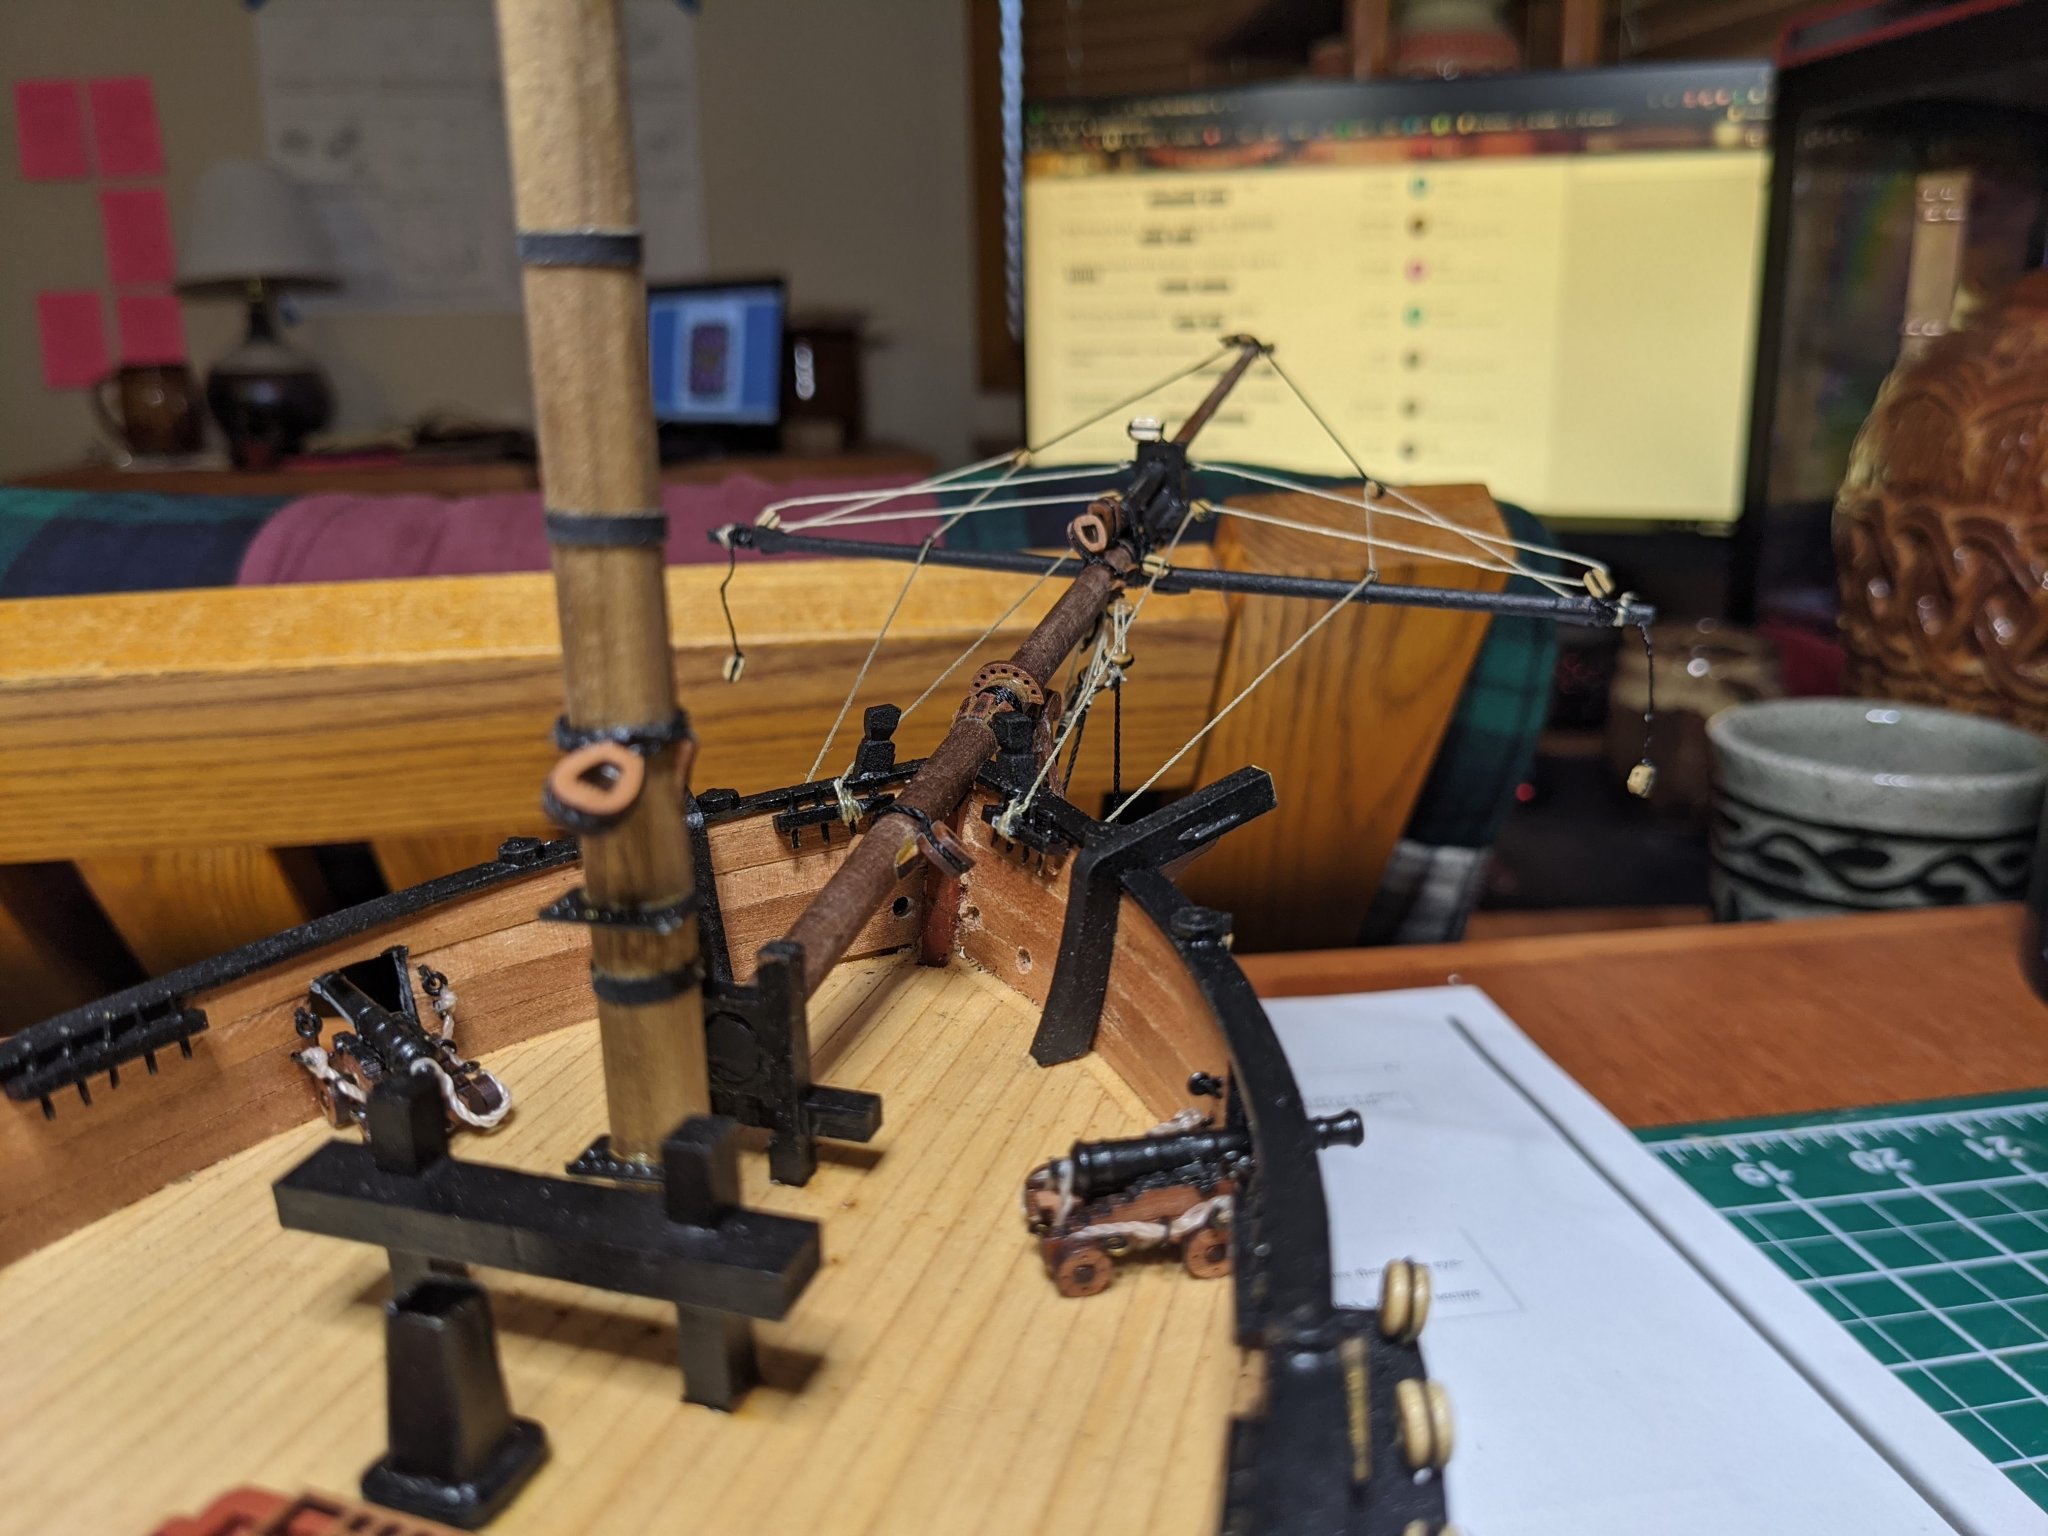
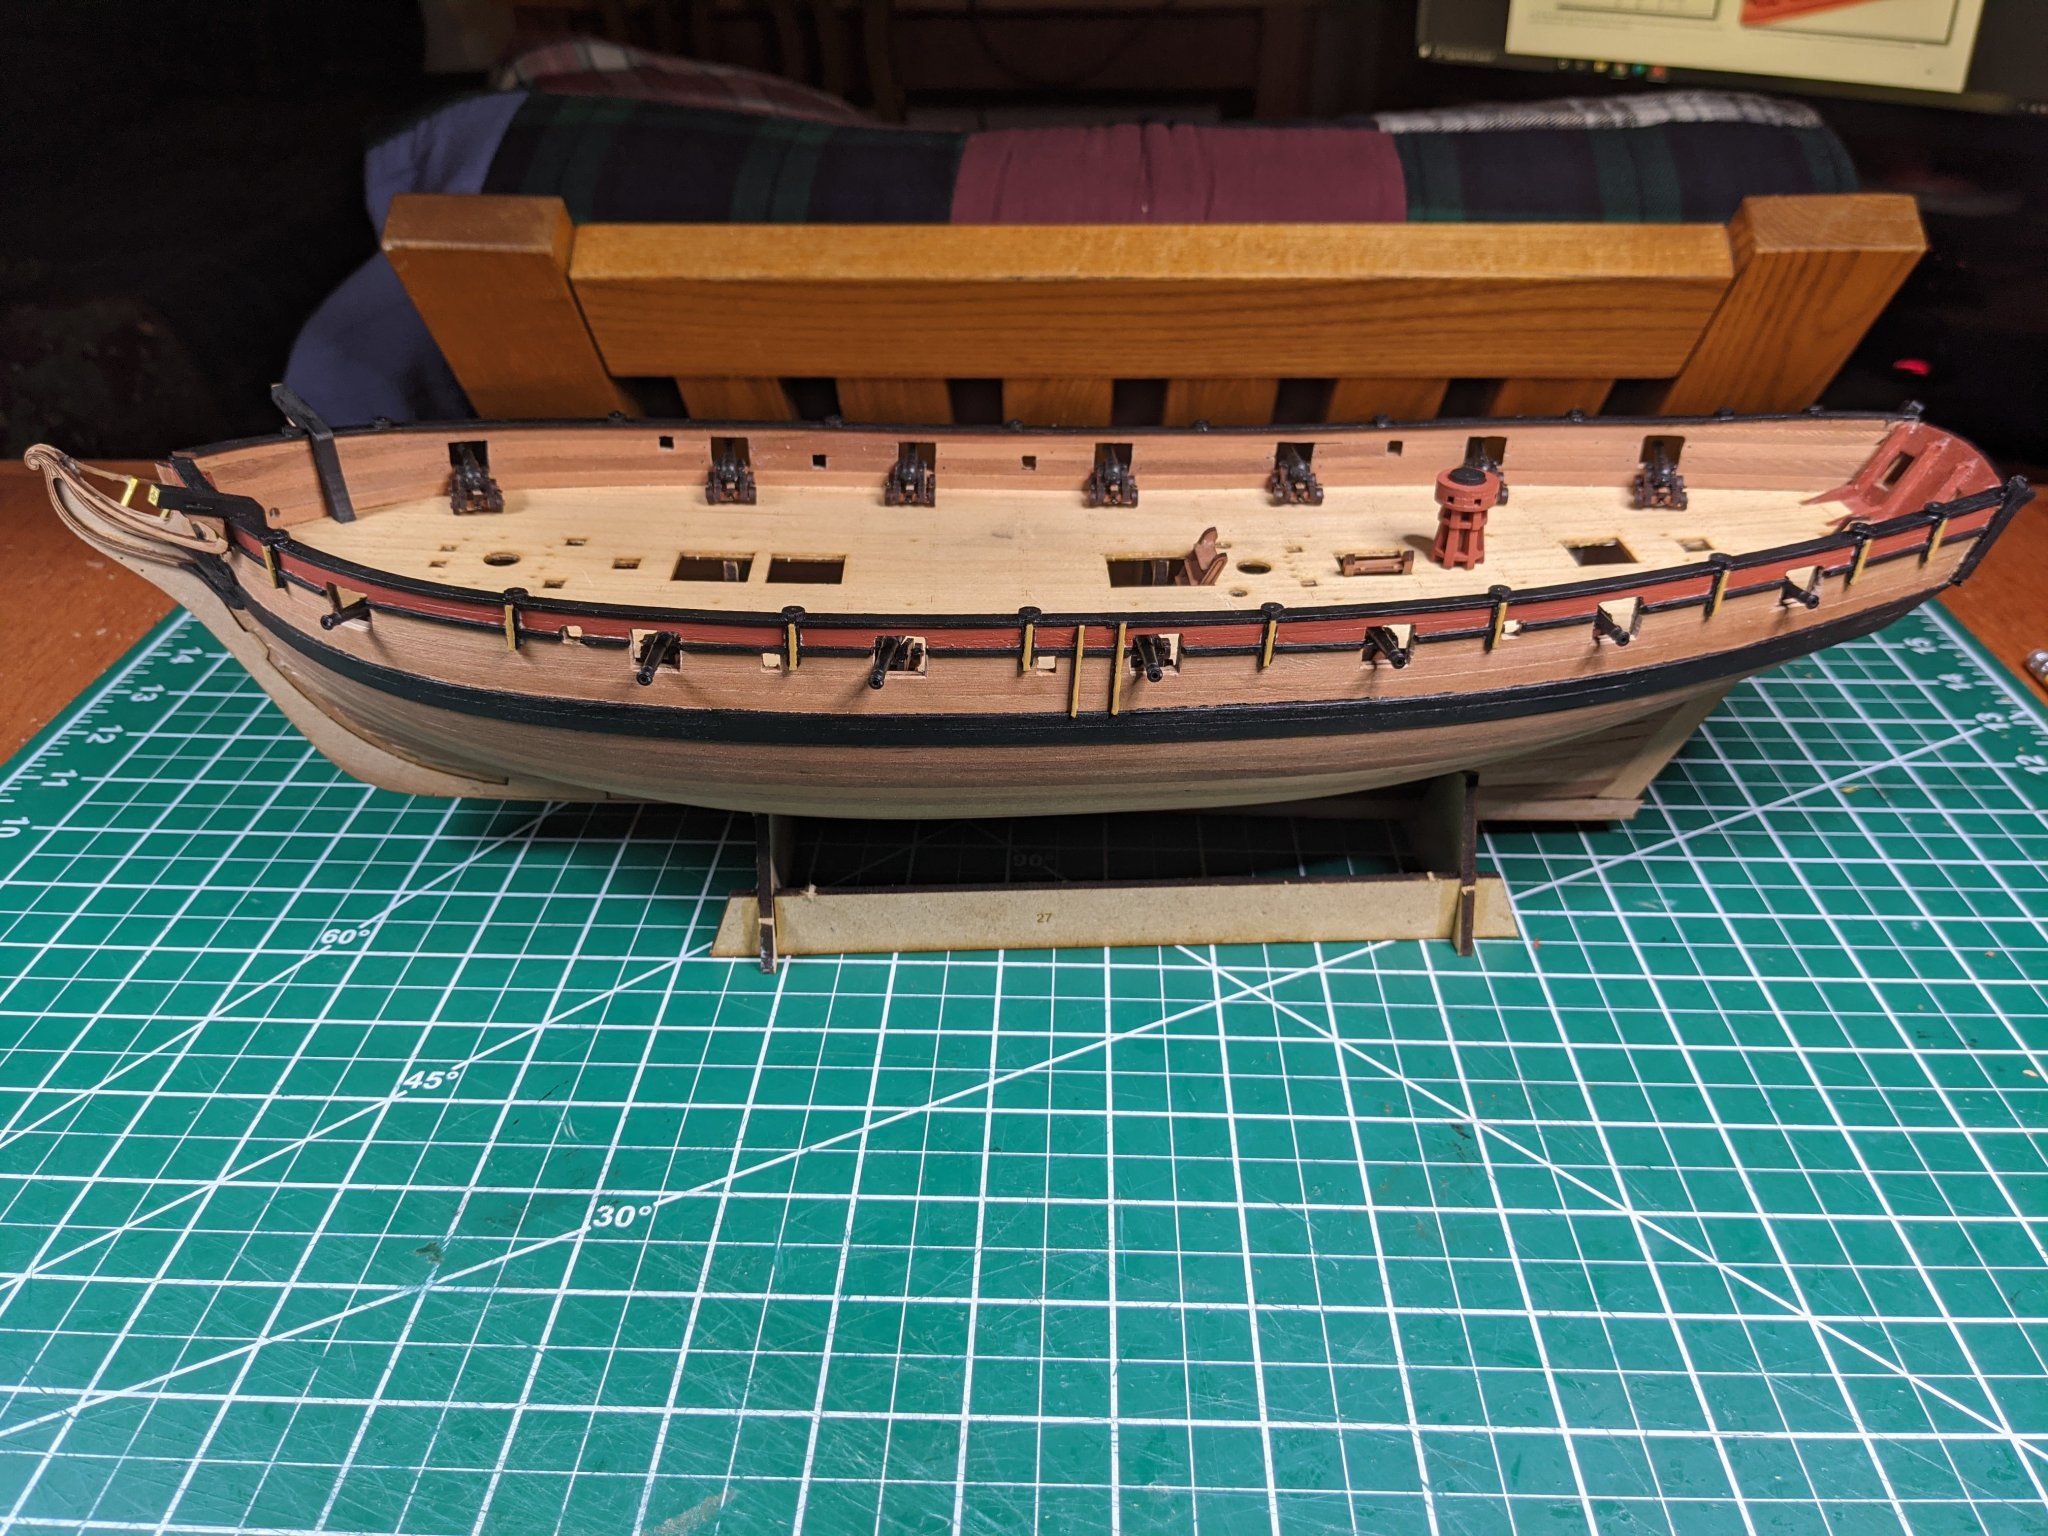
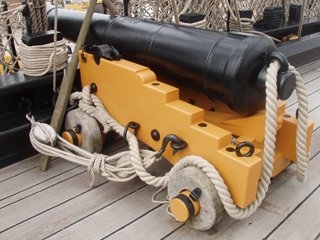
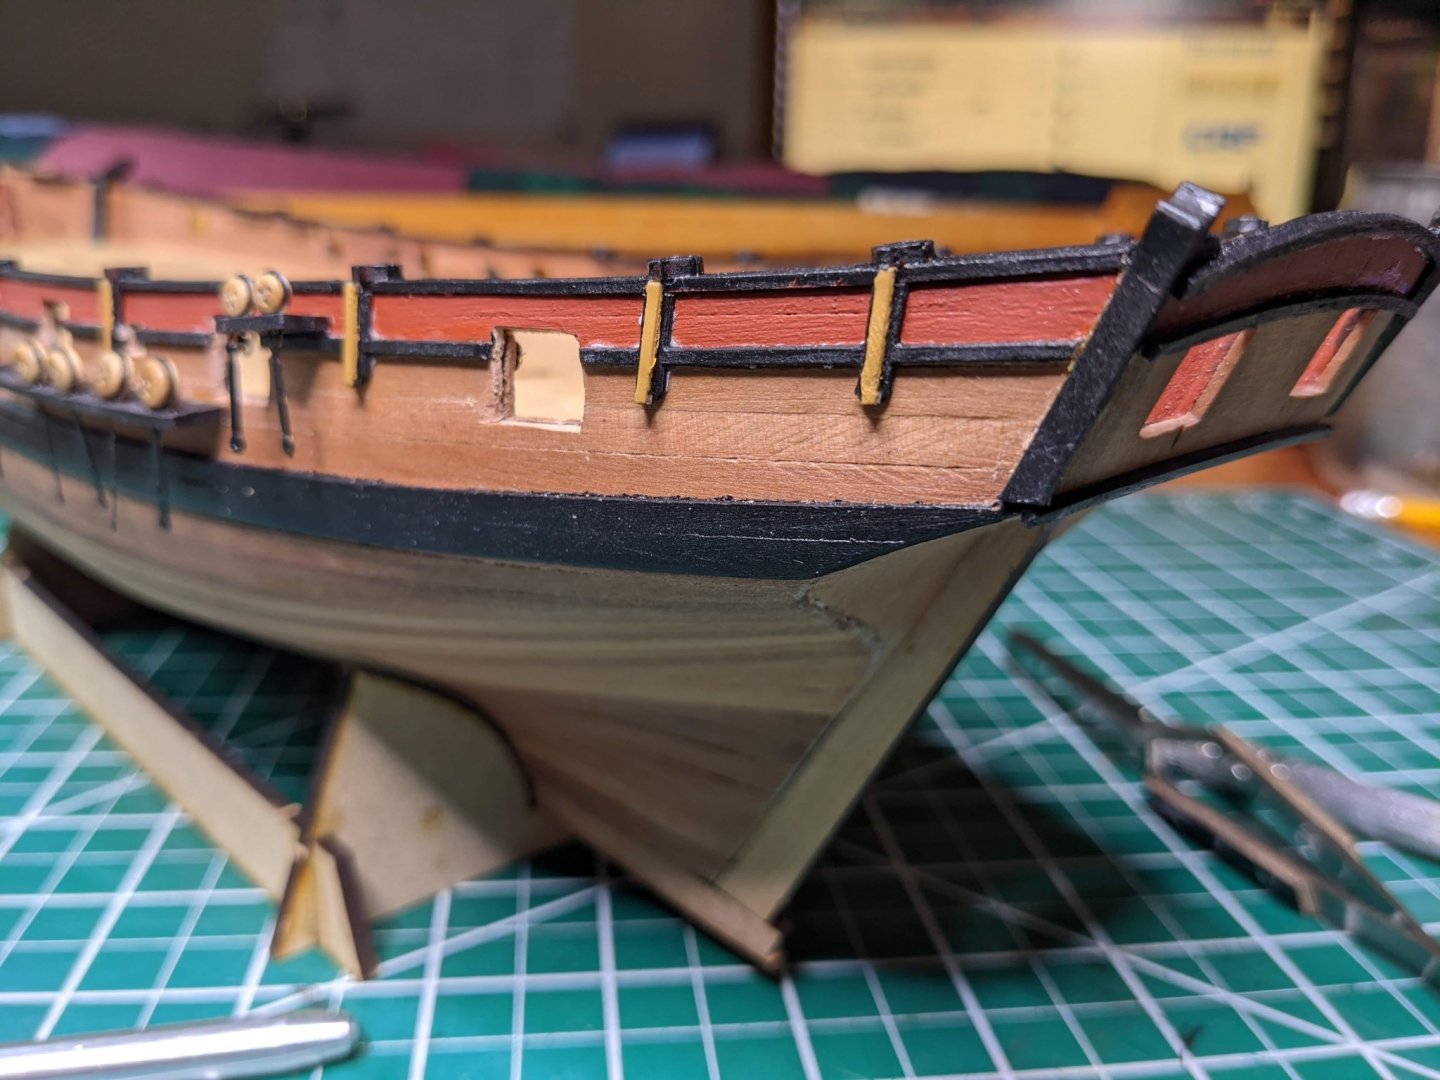
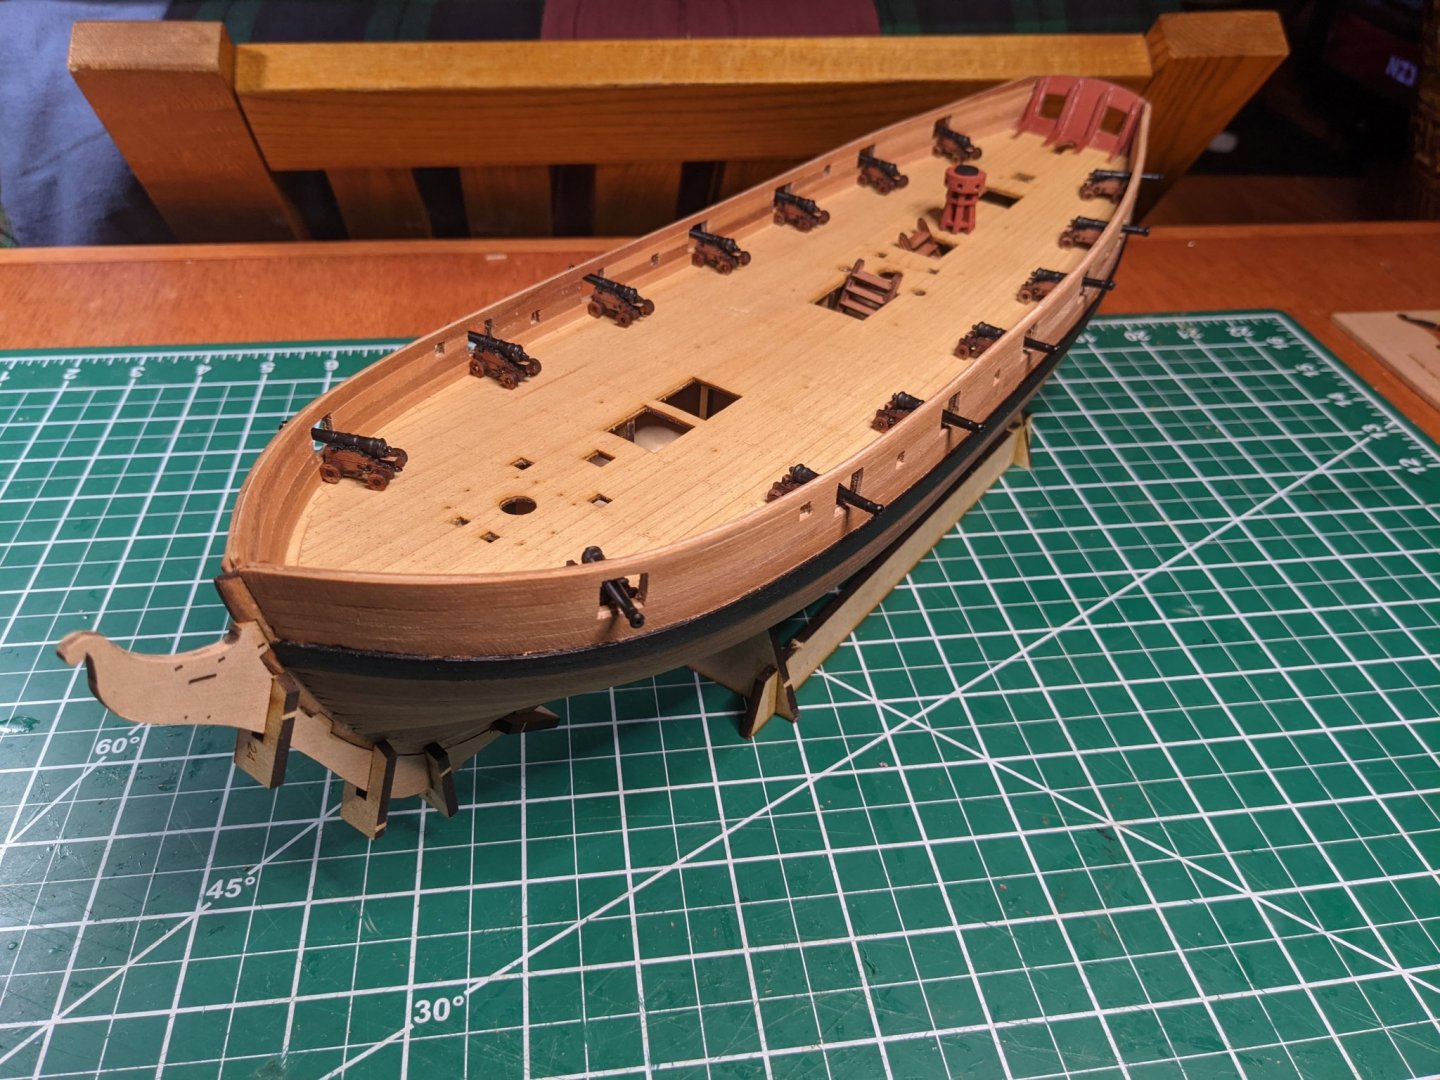
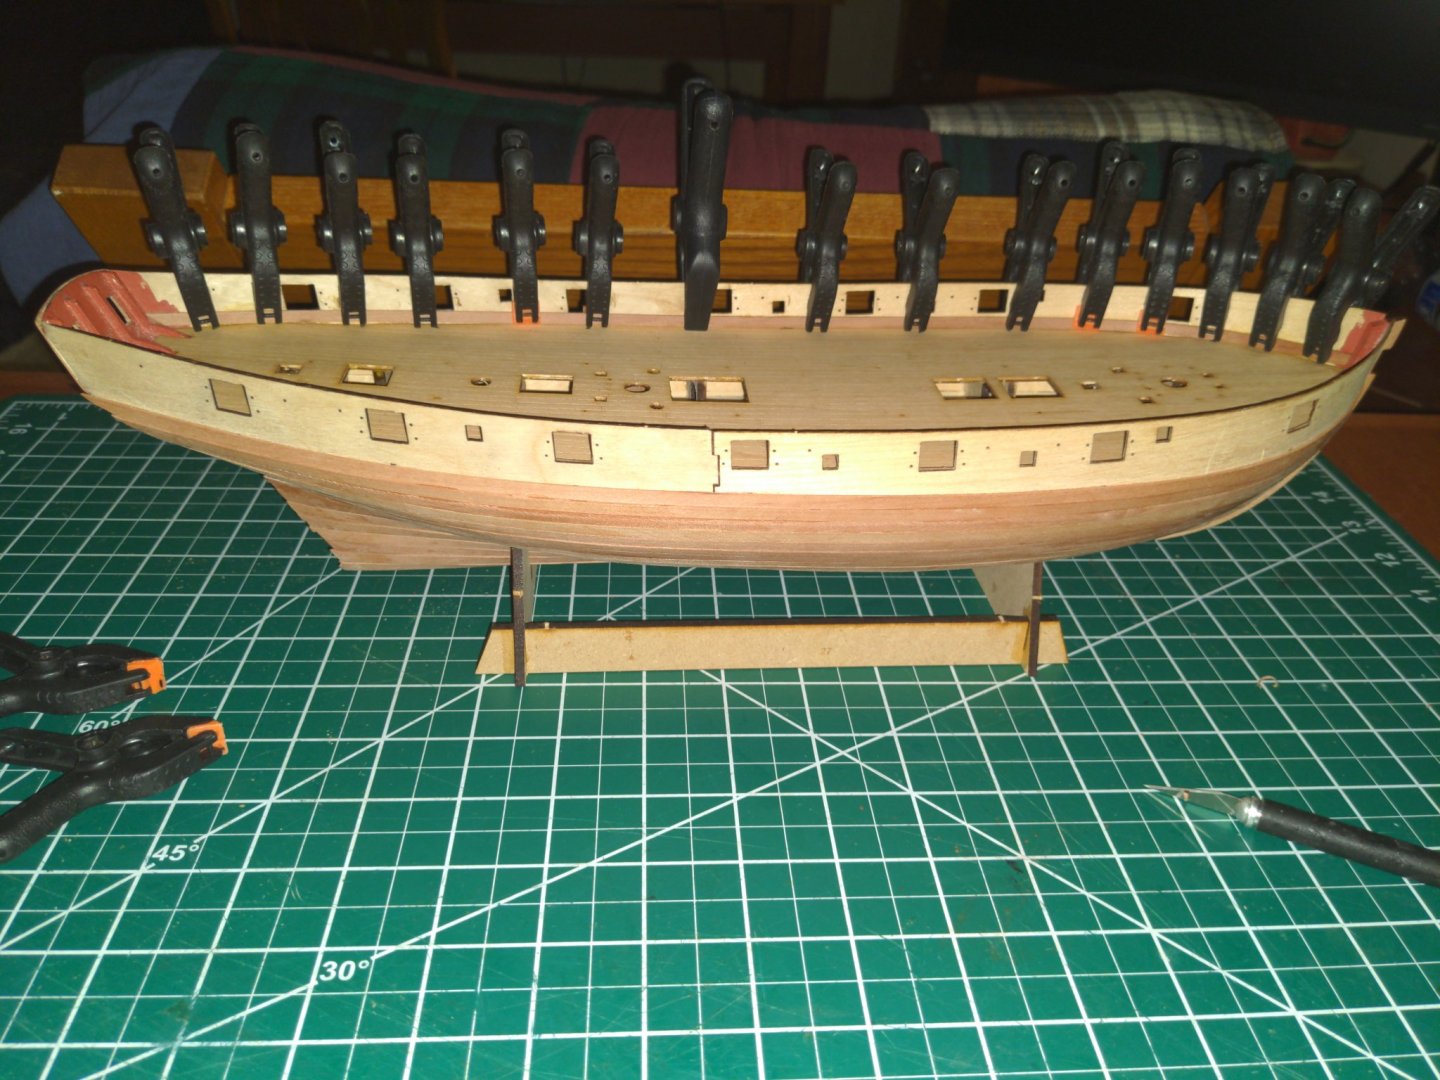
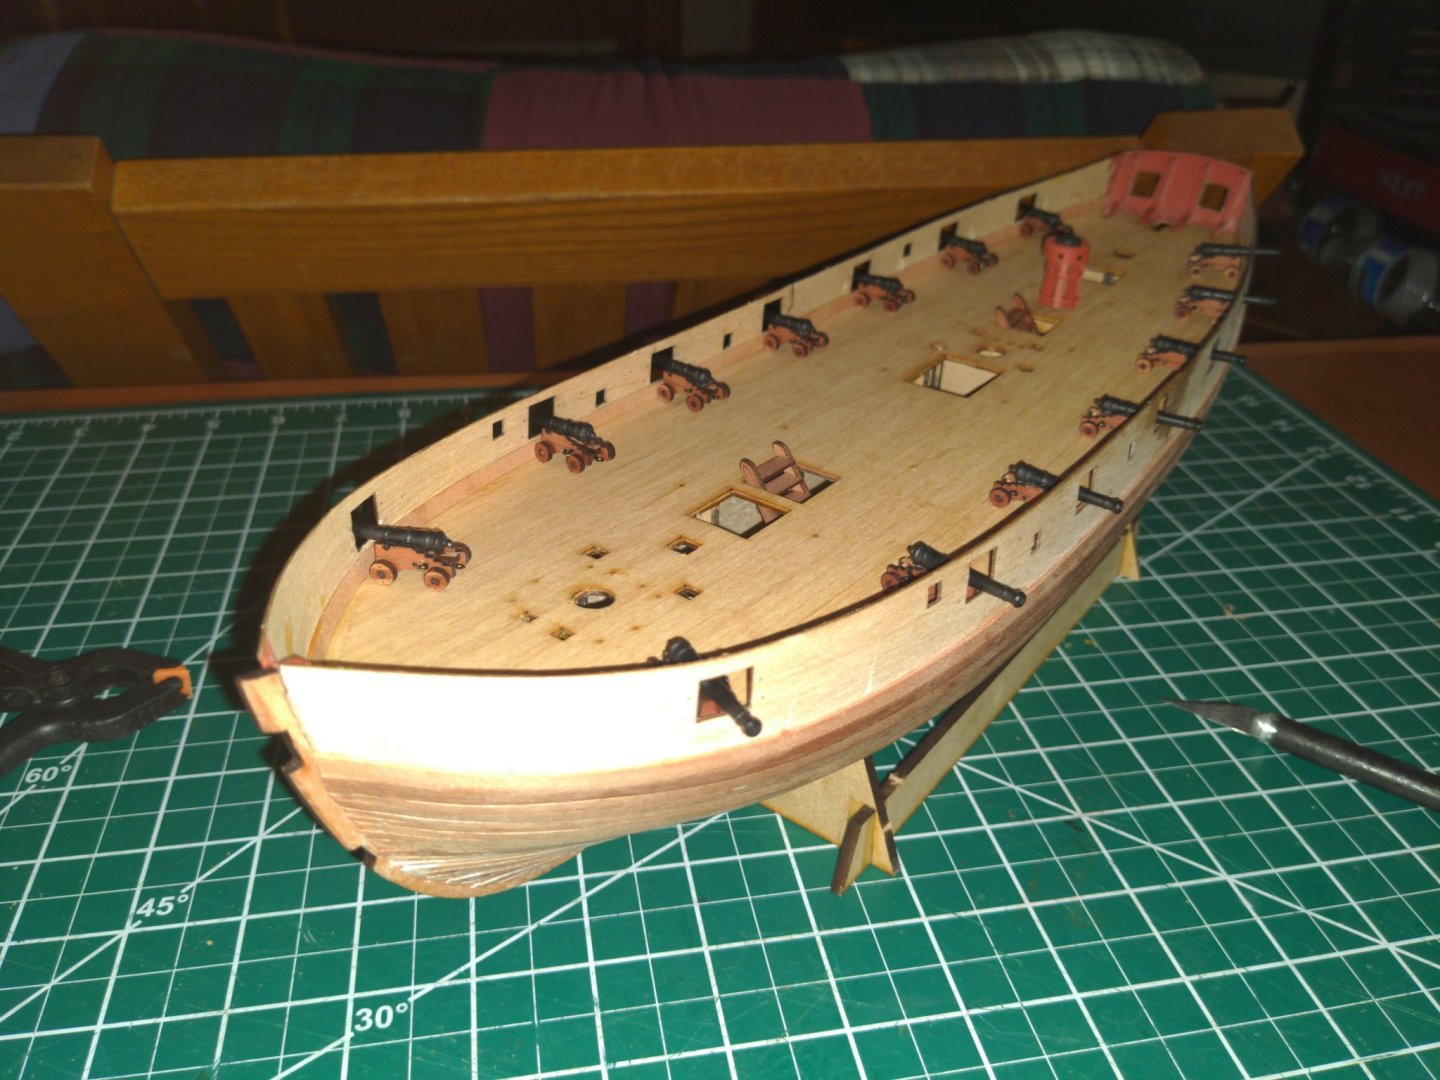
Got the cannons placed with the breech rope. That's all I'm going to do for the cannon rigging. I was going for rigging sort of like this cannon.


-
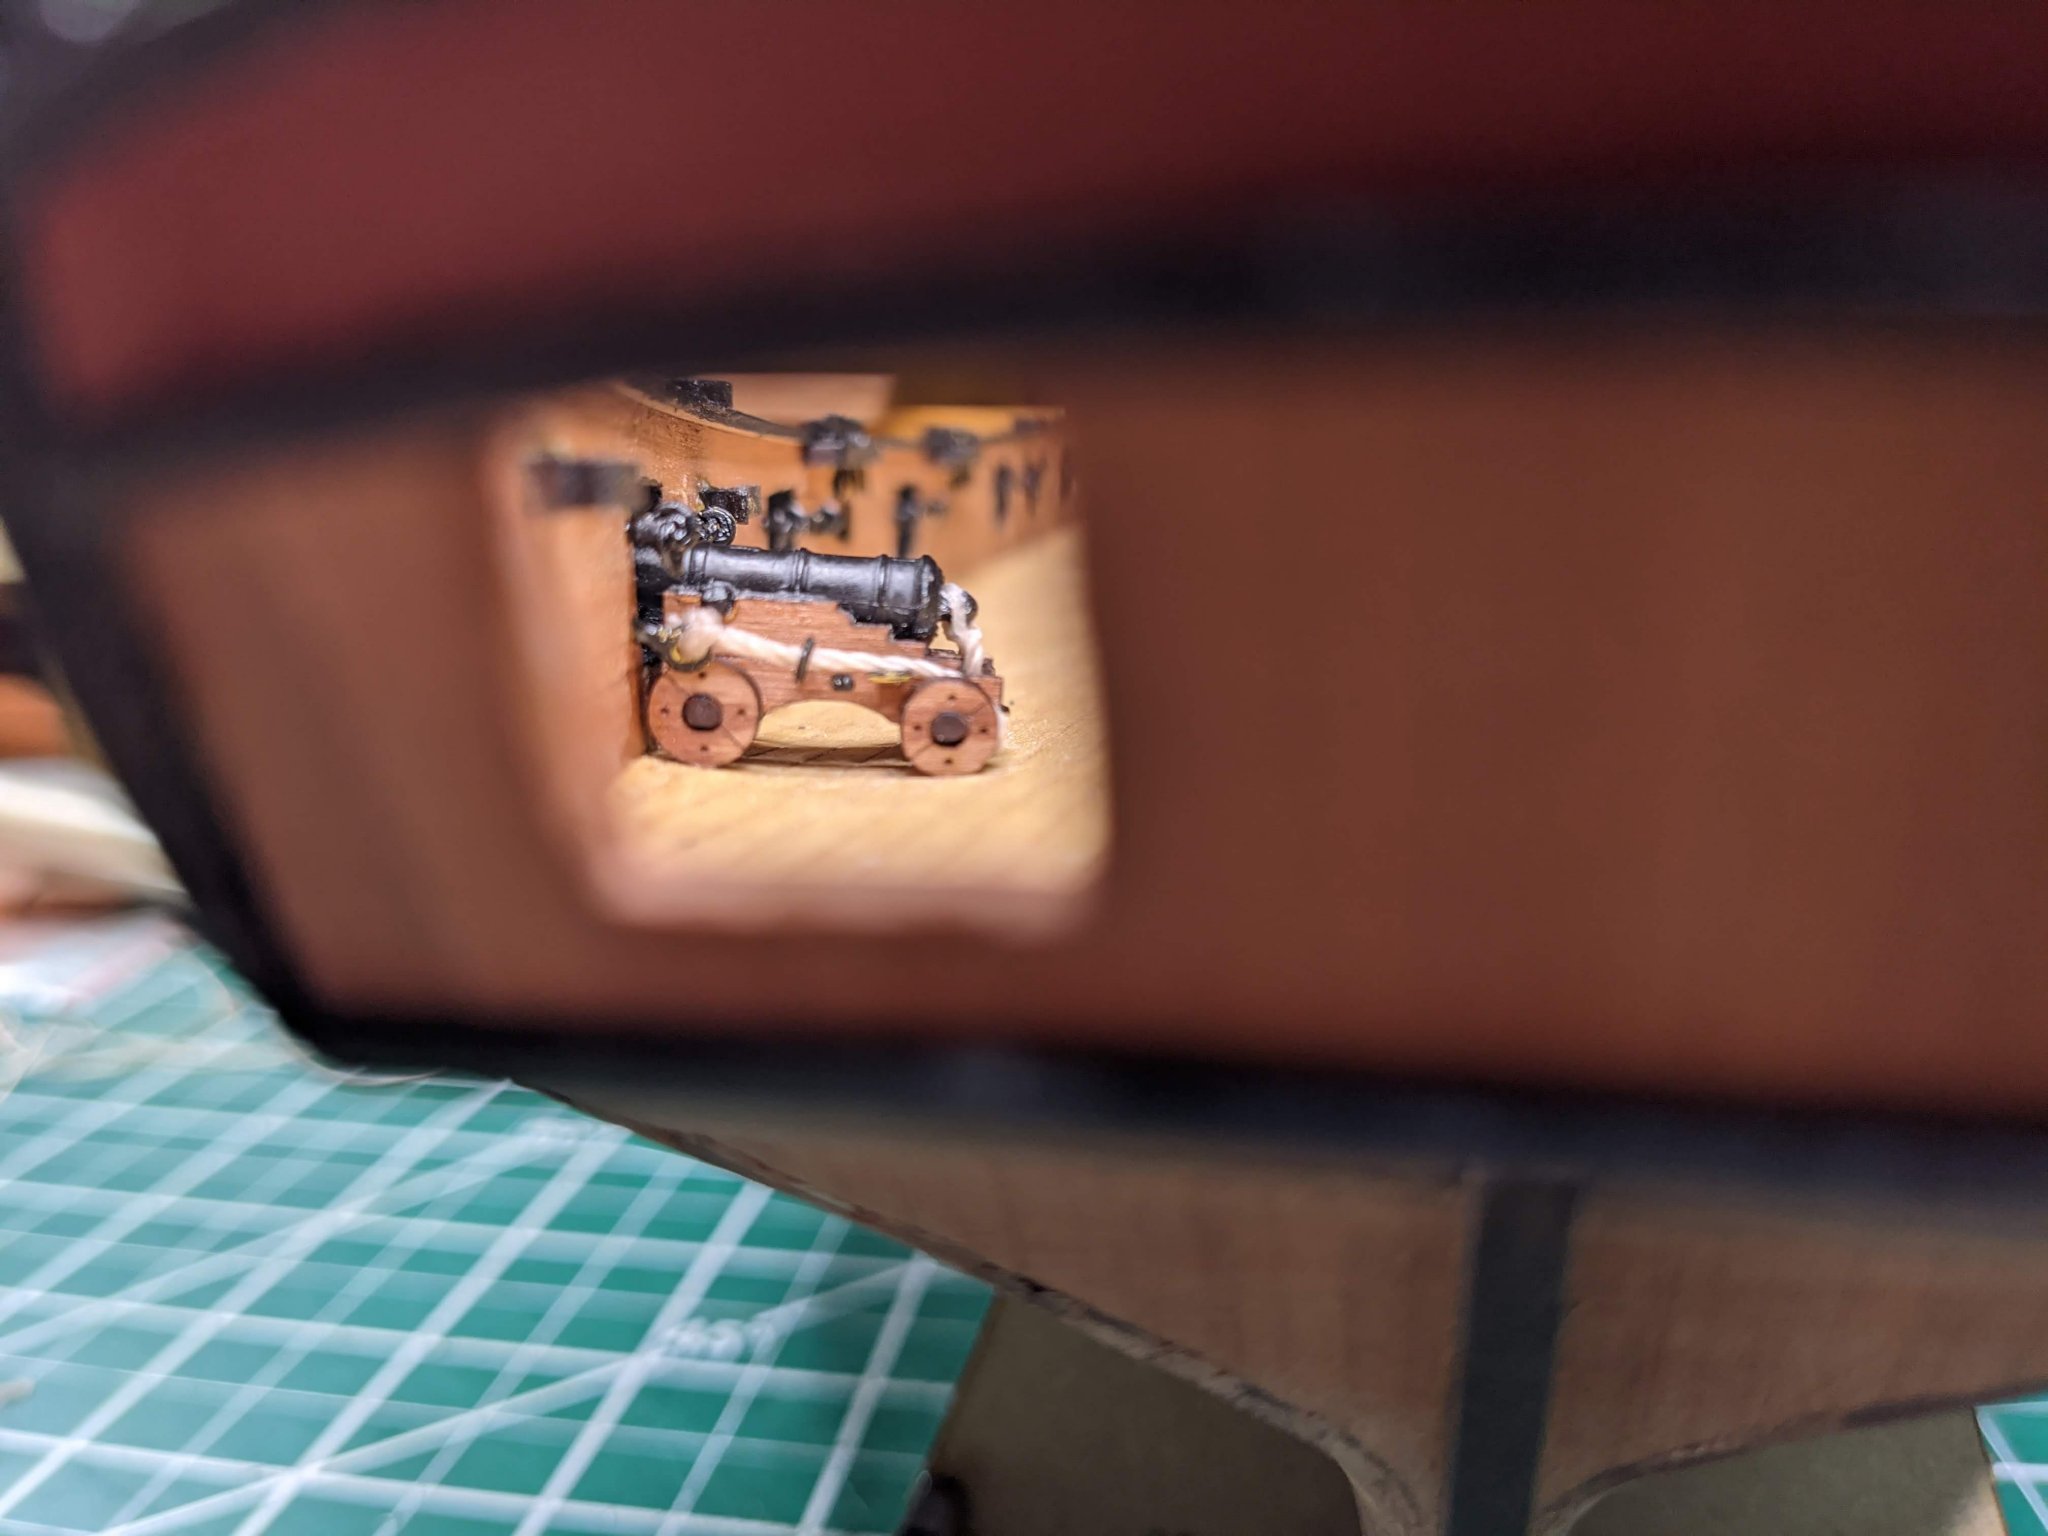
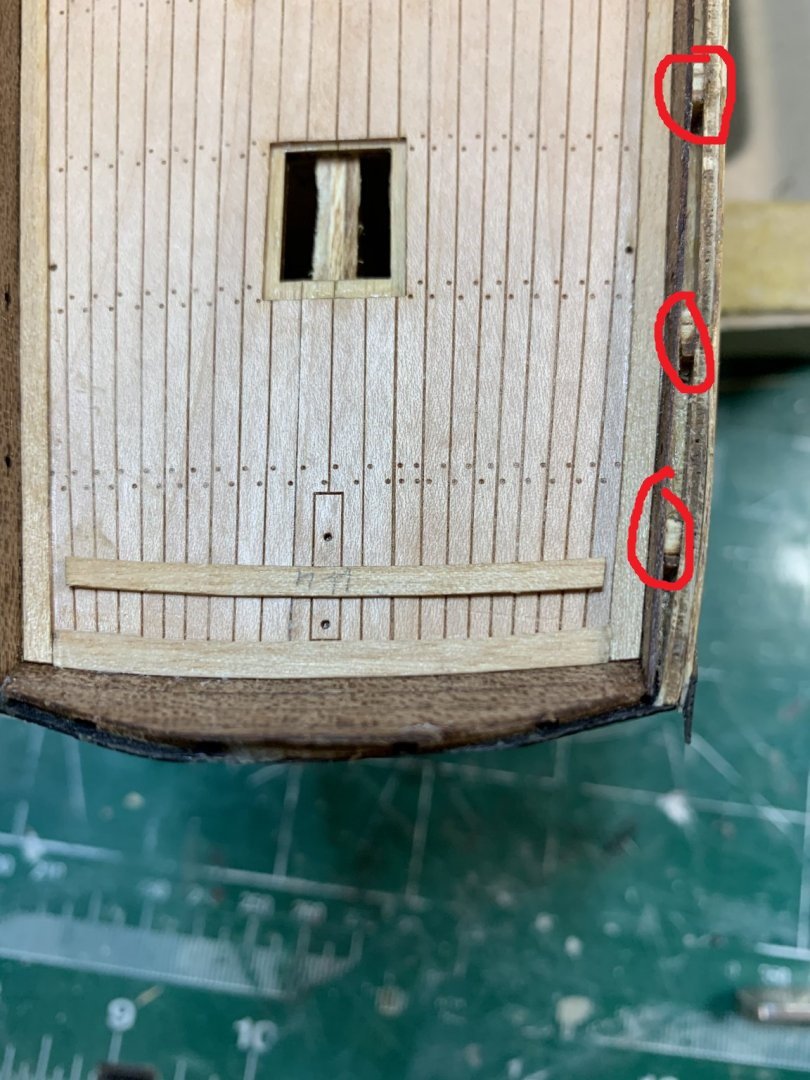
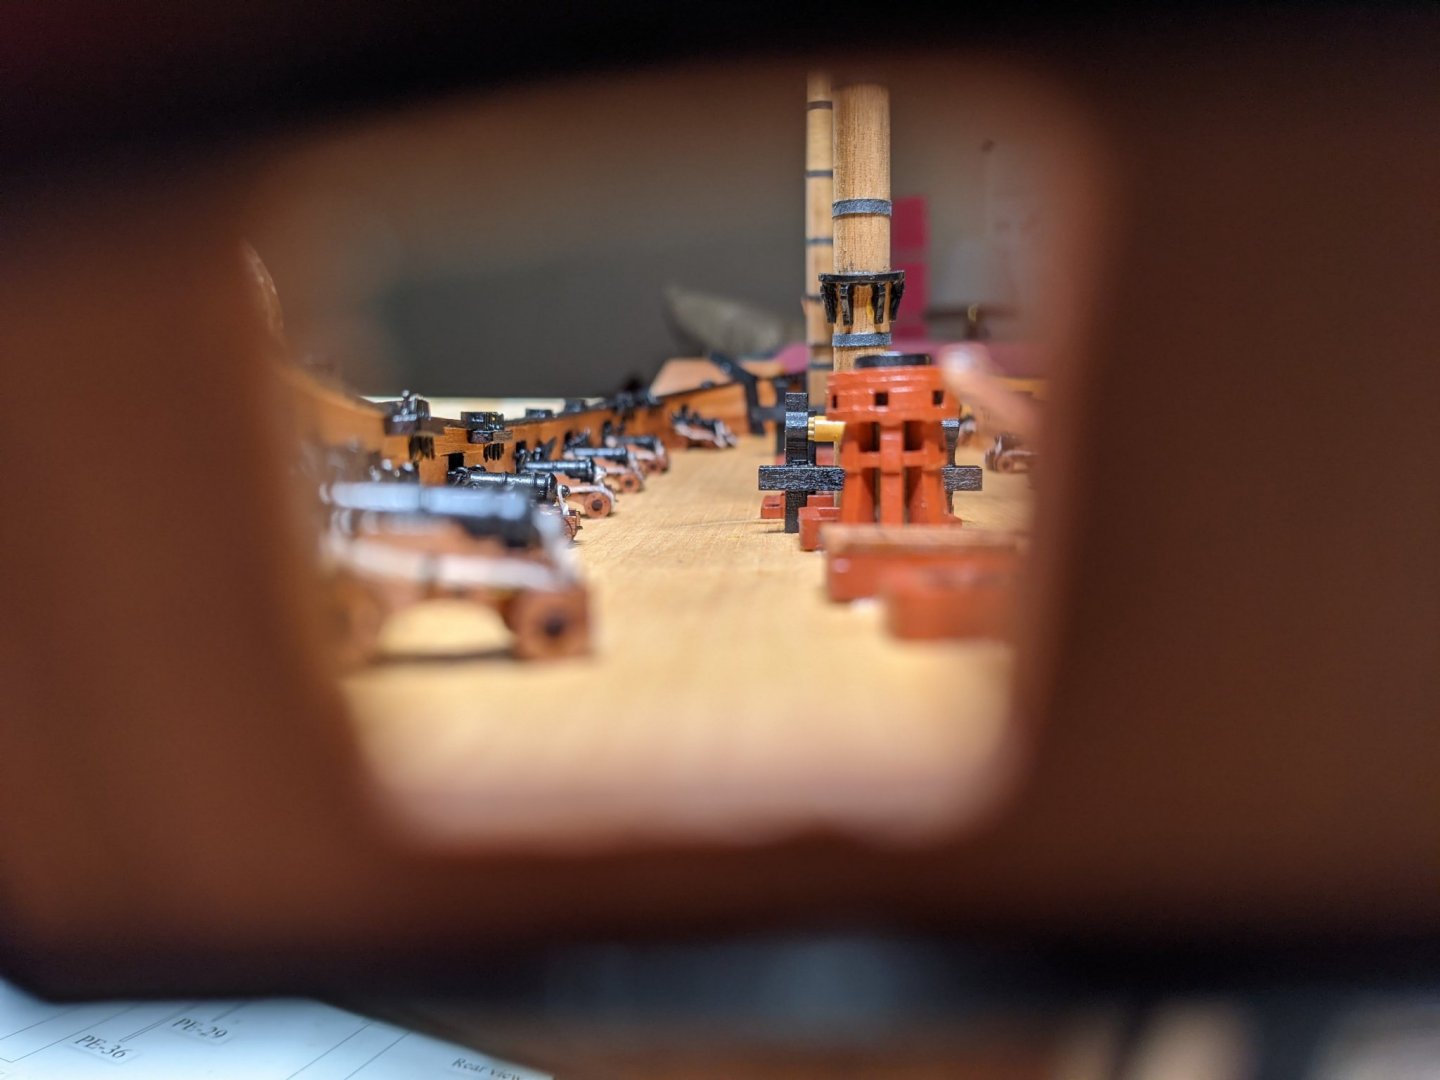
Here's a close up pic of the area. I just left them out.
-
This is what I did. My wales took up most of the space and the boom crutch parts 128 tied into the wales so I left it at that. I just build for fun and I'm not worried about getting things perfect, so obviously keep that in mind with anything I say or do. 😃
- 164 replies
-
- 4
-
-
- vanguard models
- flirt
- (and 1 more)
-
I omitted that detail because my wales took up most of that space and the boom crutch parts 128 seemed to tie into the wales enough for my tastes. I'll go check your log and comment if it seems like it would be helpful to do so.
-
I wish I had the patience to go slow and shoot for perfection, but I'd go insane if I tried as I lack the tools and skills for that. Maybe one day. I did take yesterday off from boat building and did some work around the house to keep my wife from handing me divorce papers. 😃
-
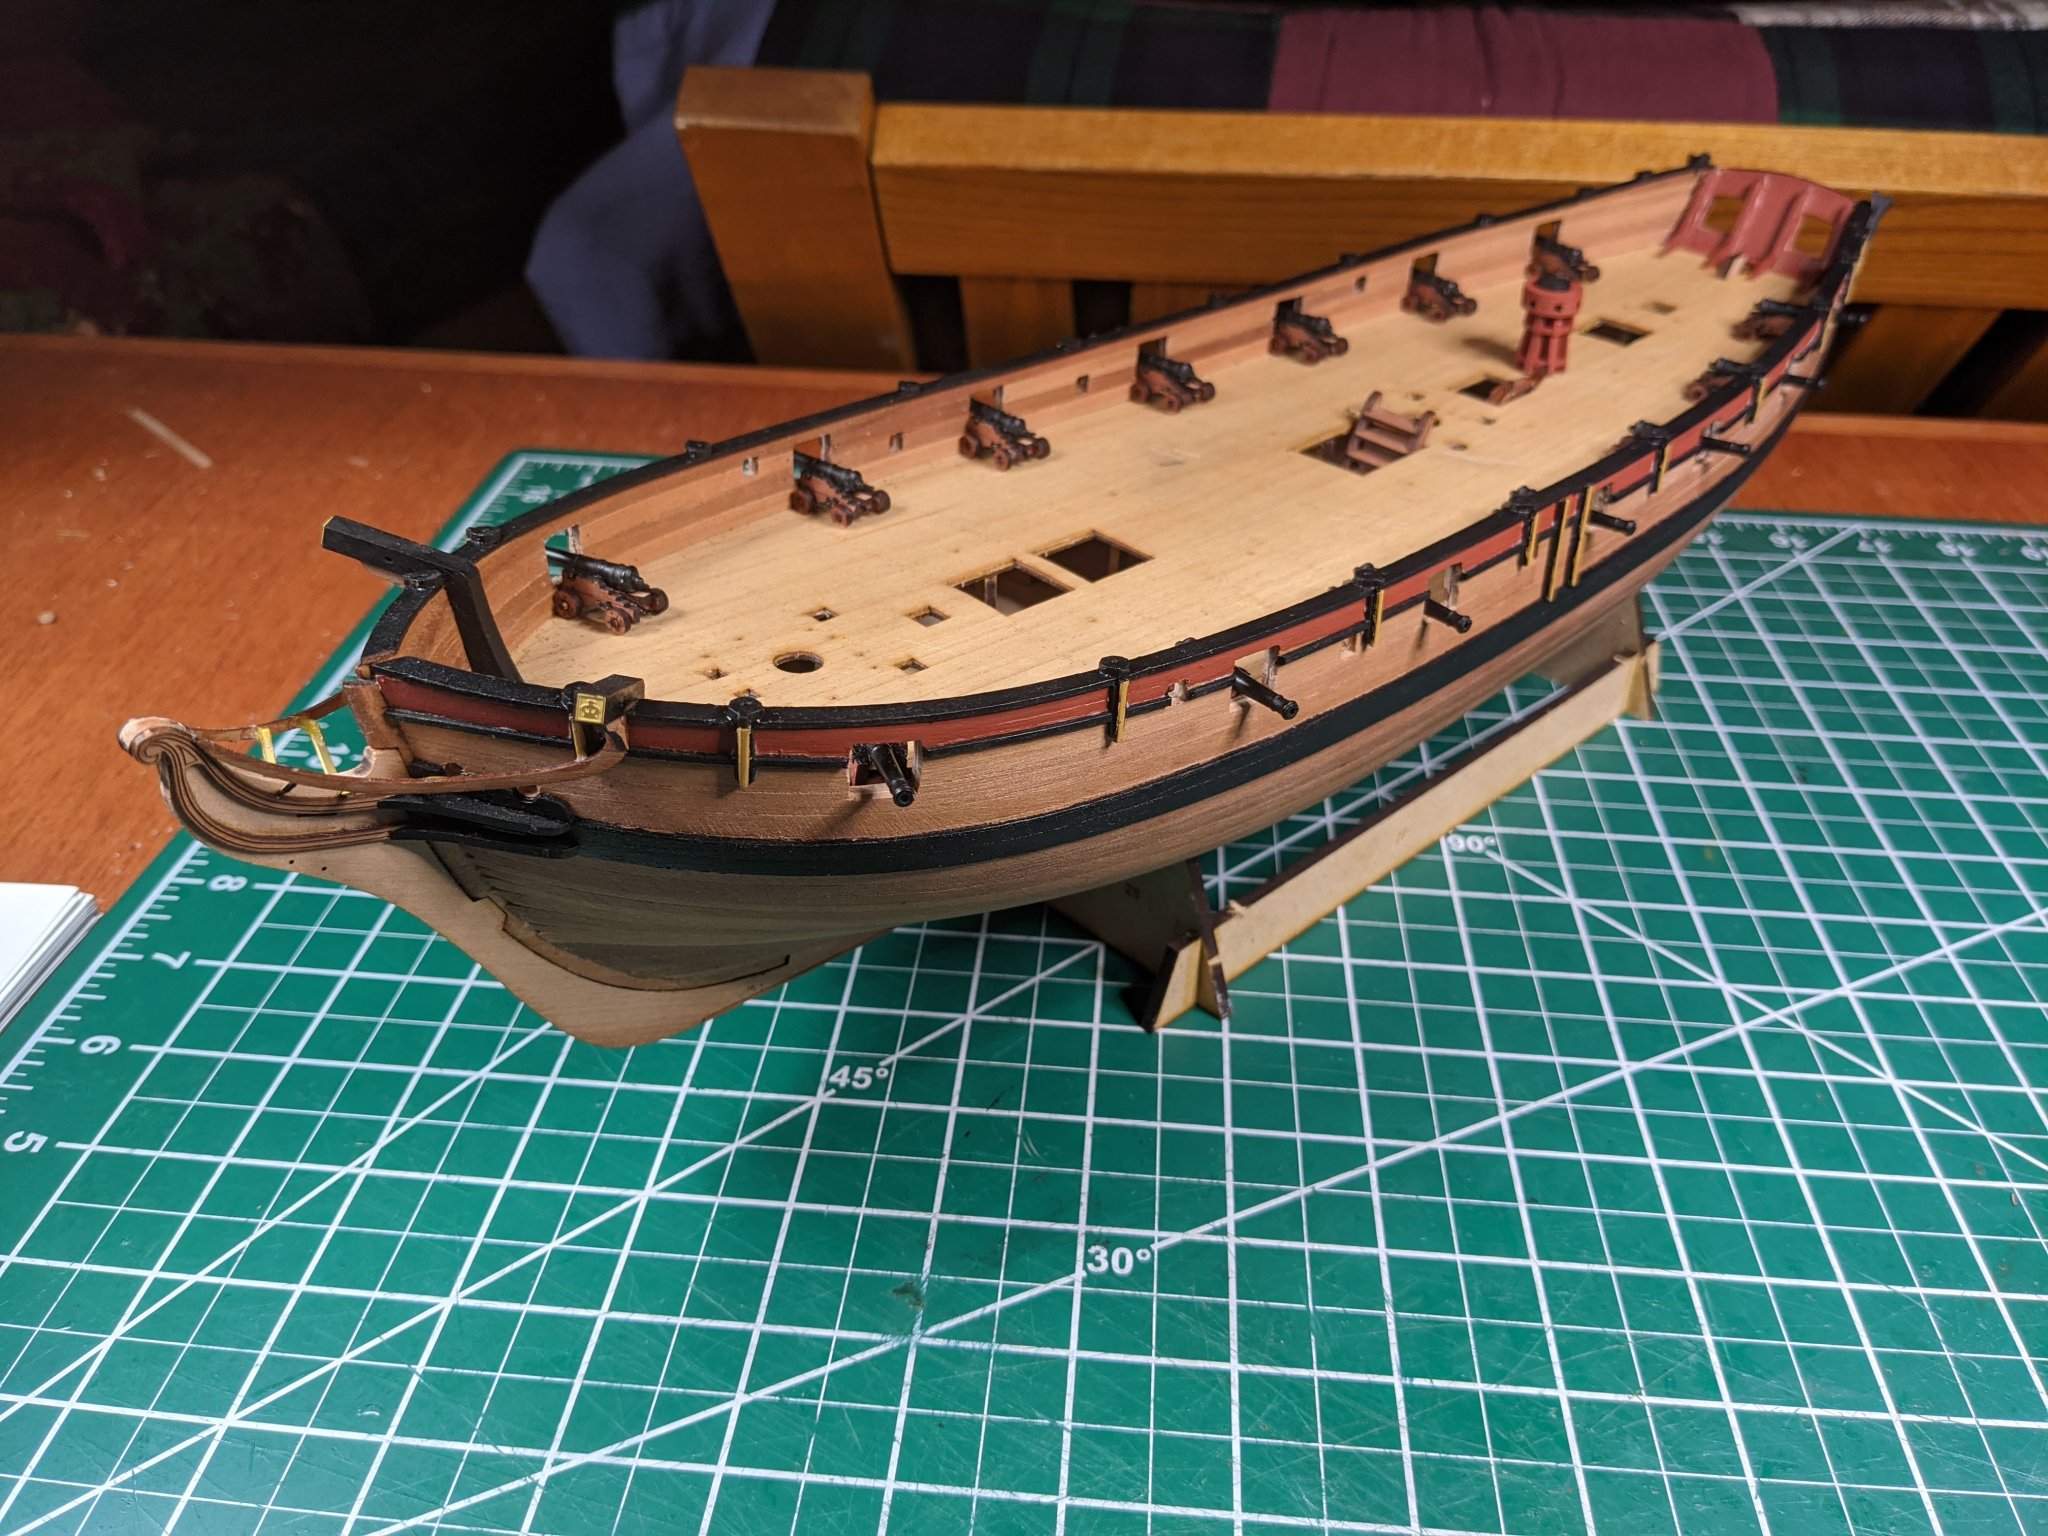
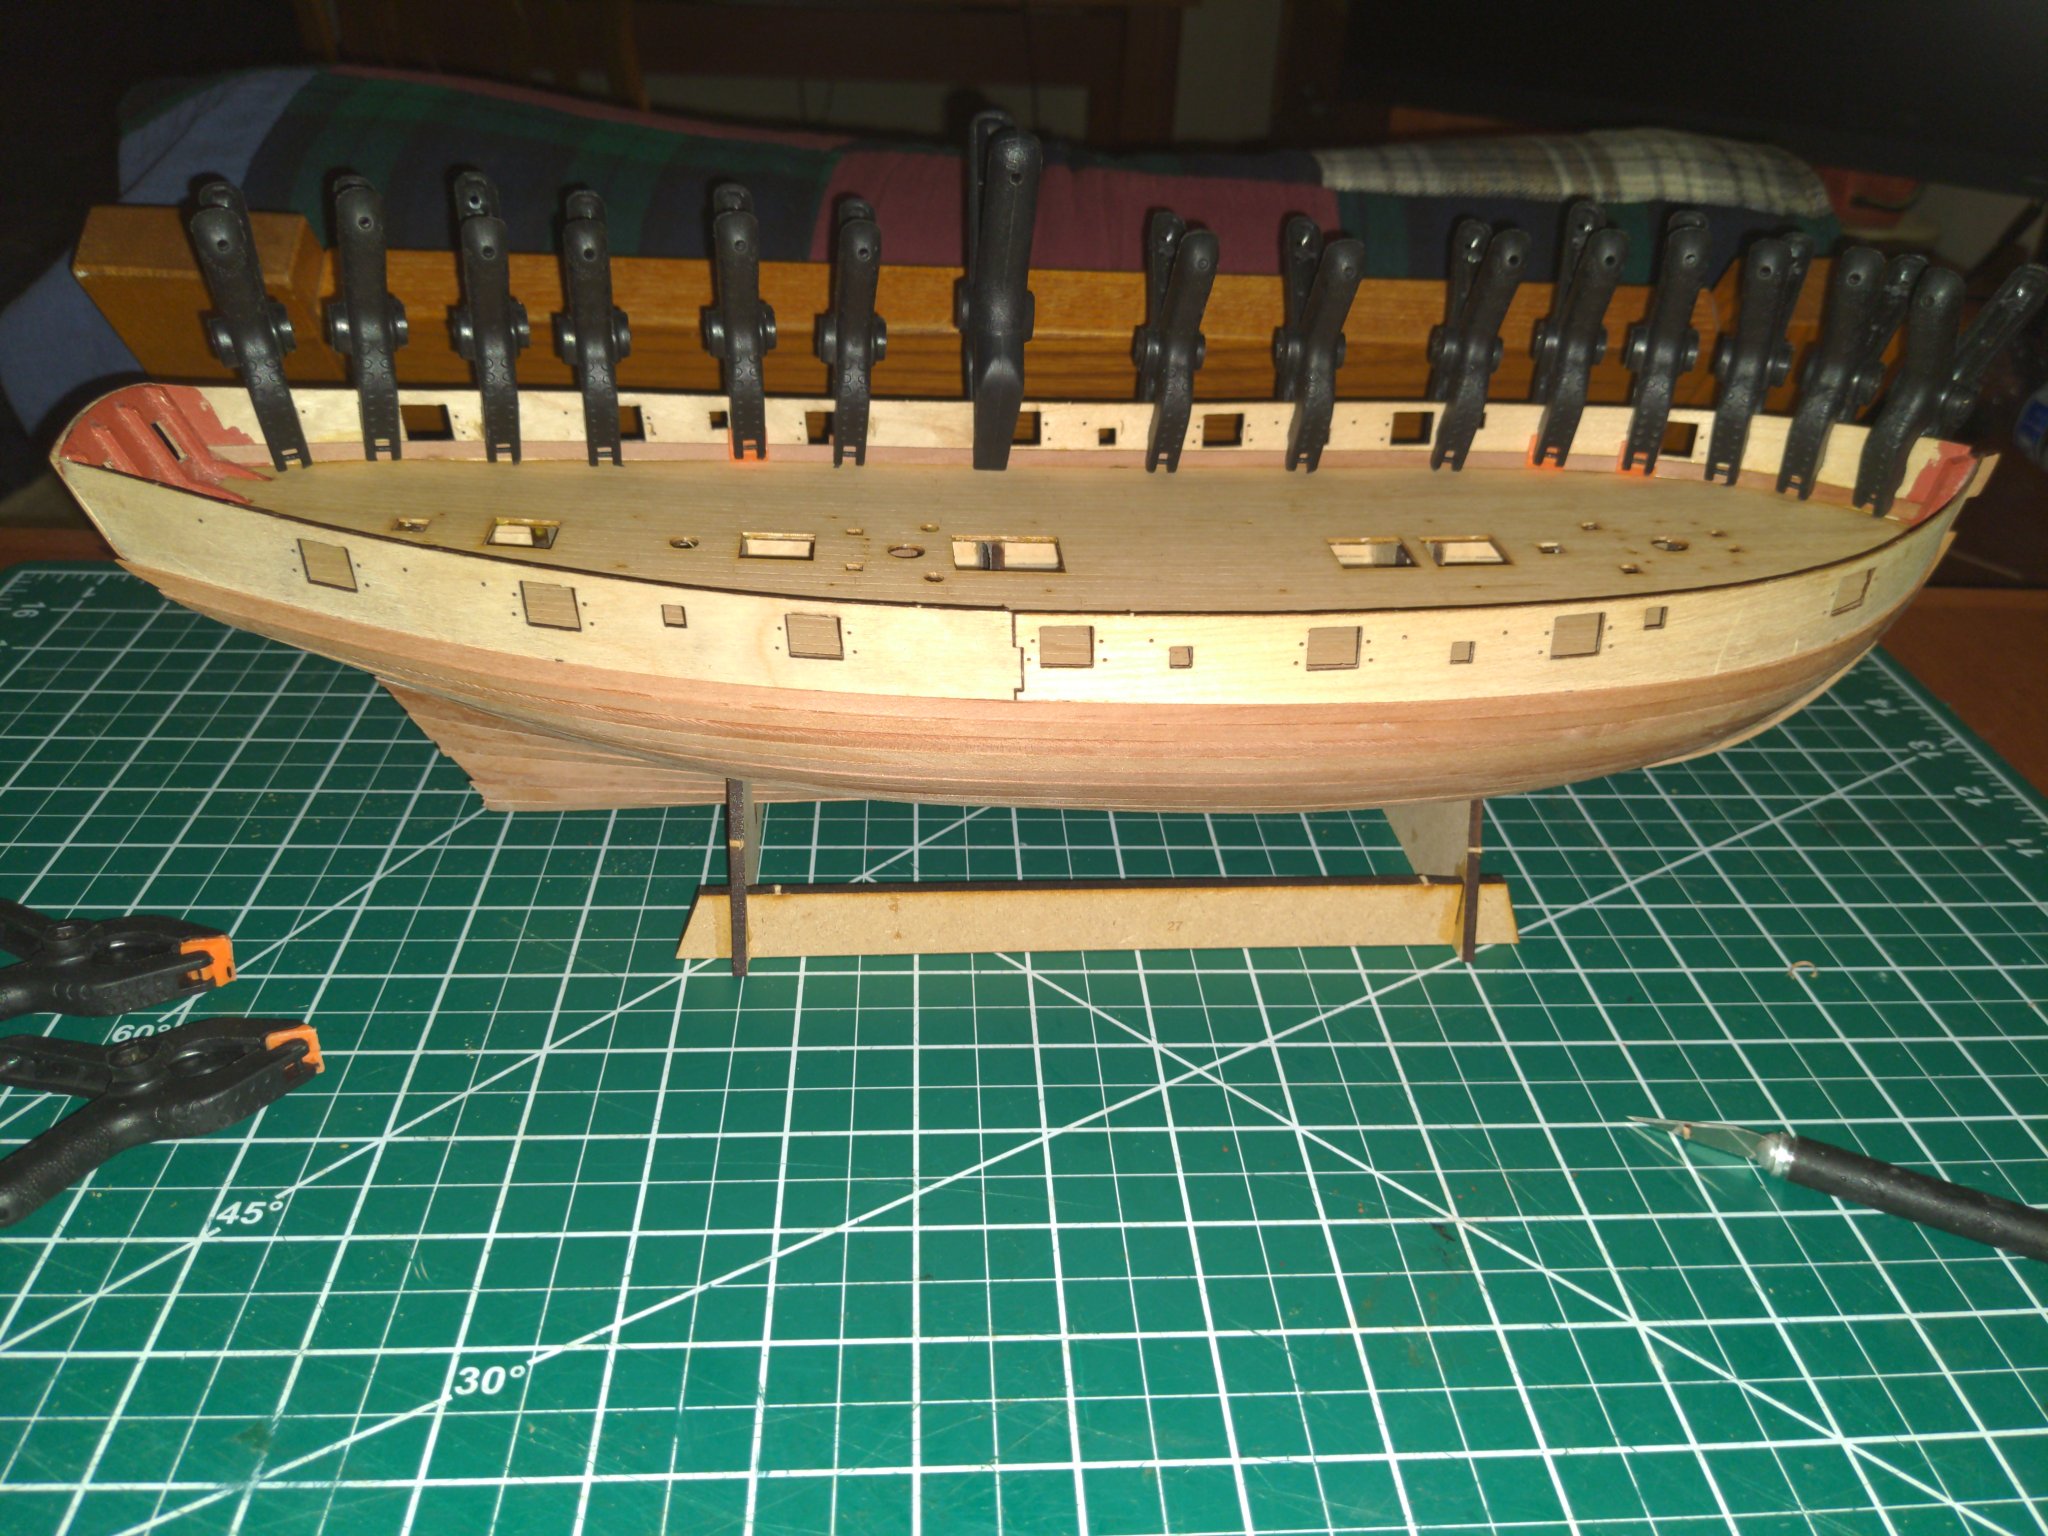
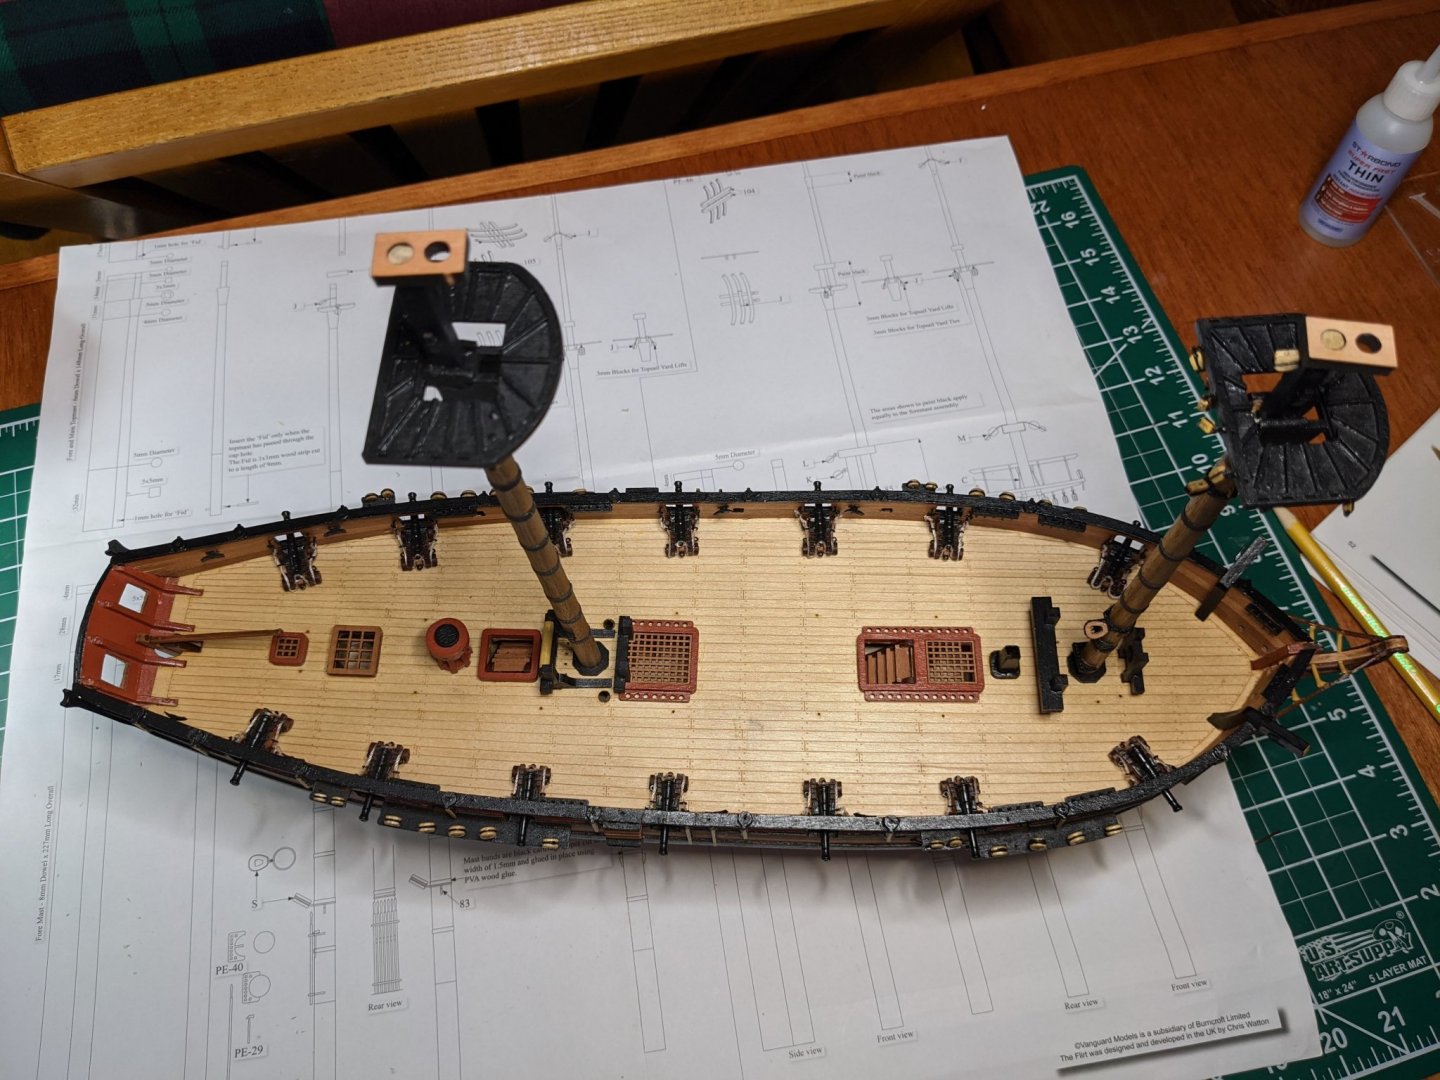
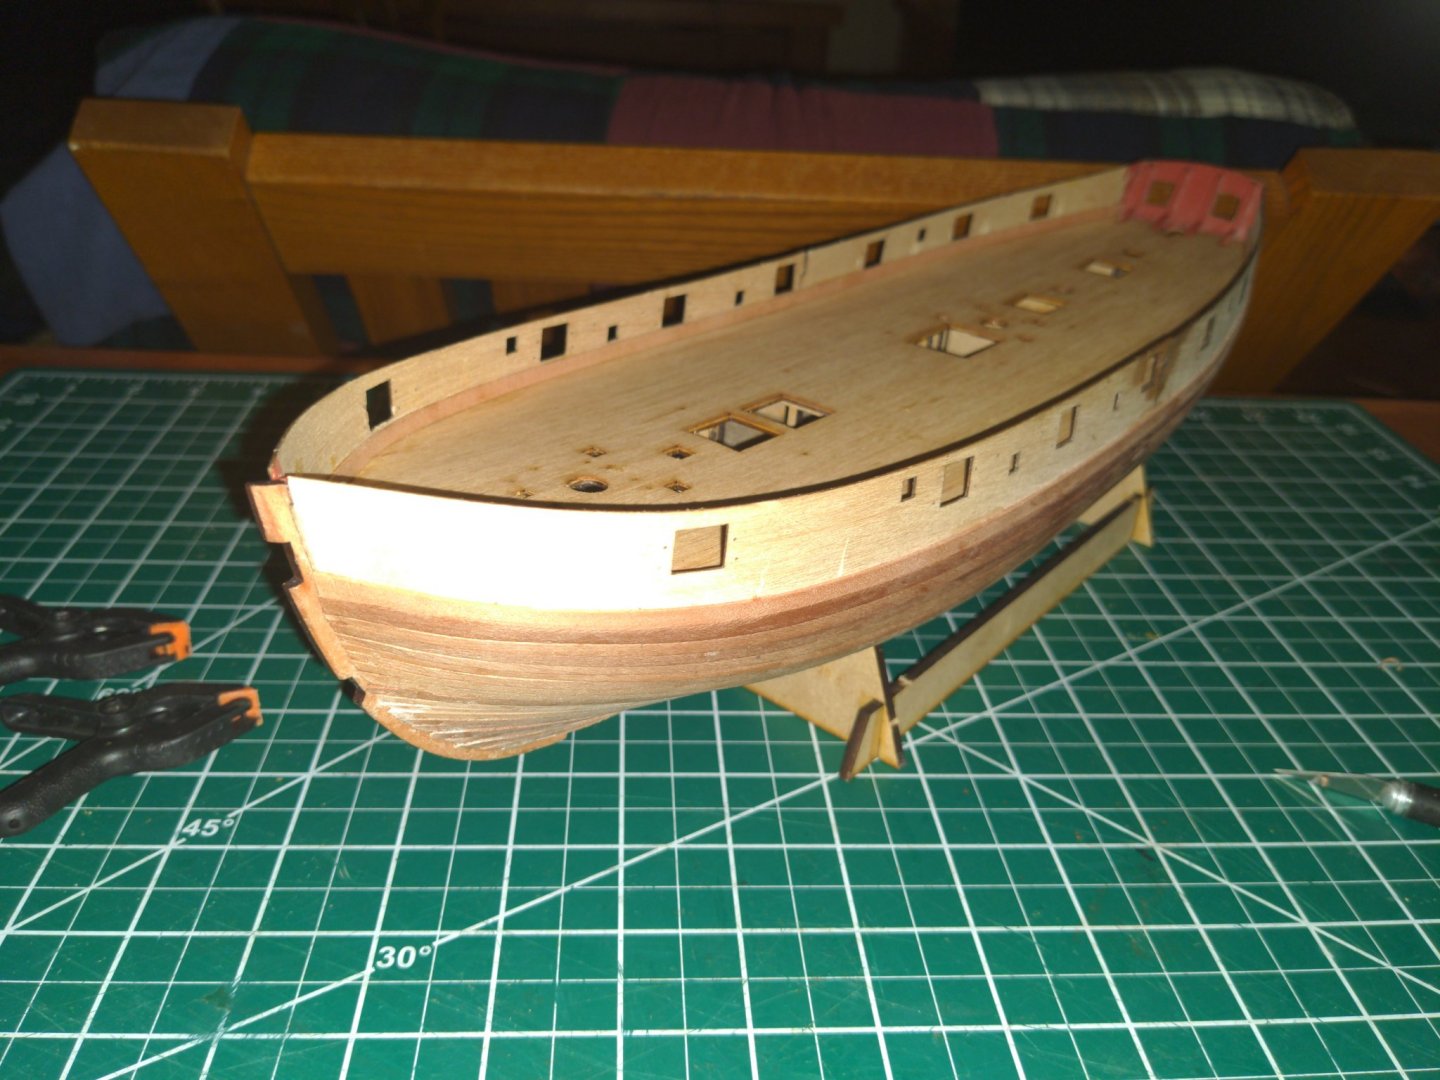
More progress. Starting to become more fun with the planking out of the way.

-
Thank you. It's easy to move along quickly when you're not concerned with obtaining perfection. I agree about the pear, I really like it.
-
Little more progress, power was only out for about 30 hours, not too bad.
-
I can see how "very unhealthy" would be difficult to celebrate. My house burned down in the 2017 Tubbs fire, anything short of my current house burning down is pretty easy for me to stomach.
-
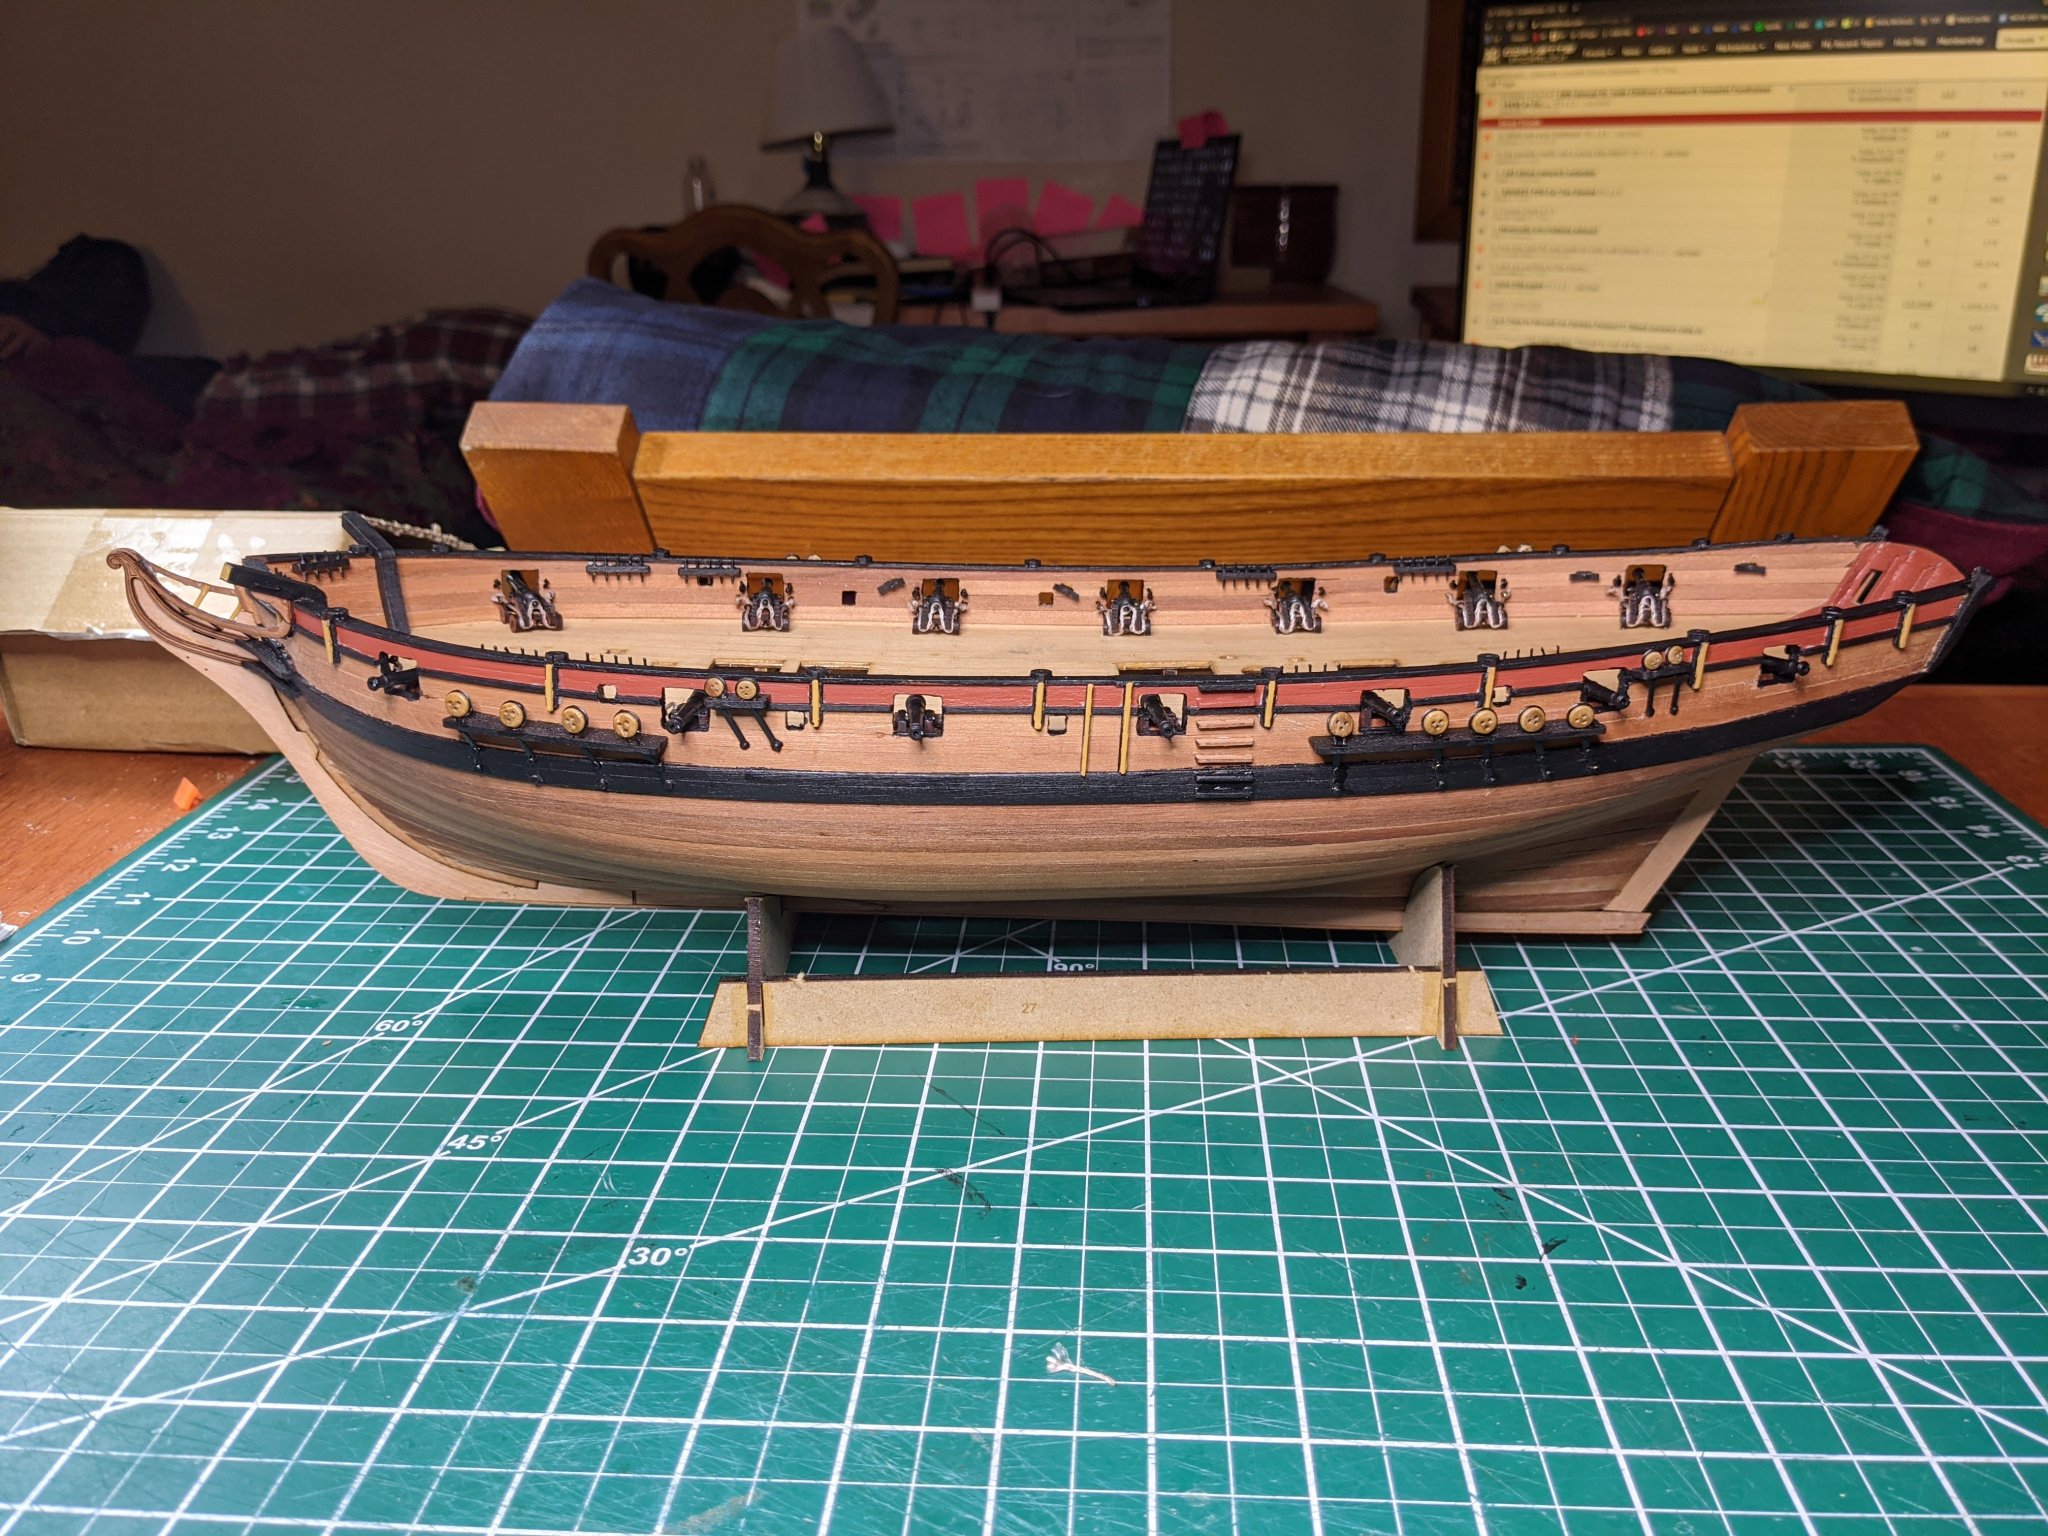
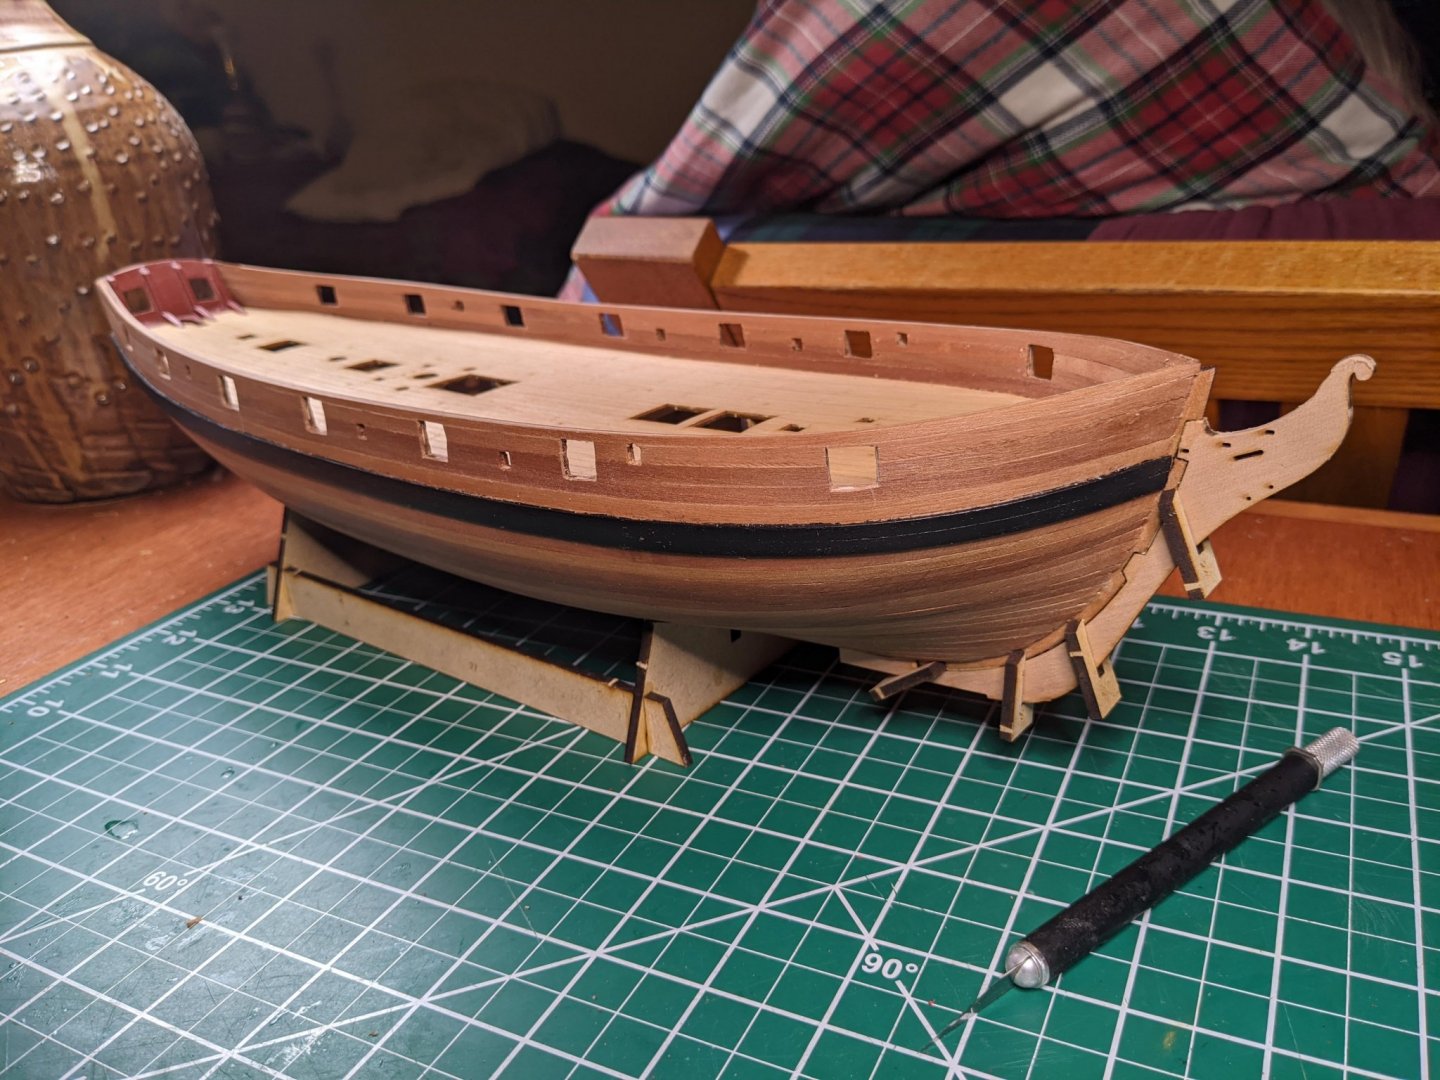
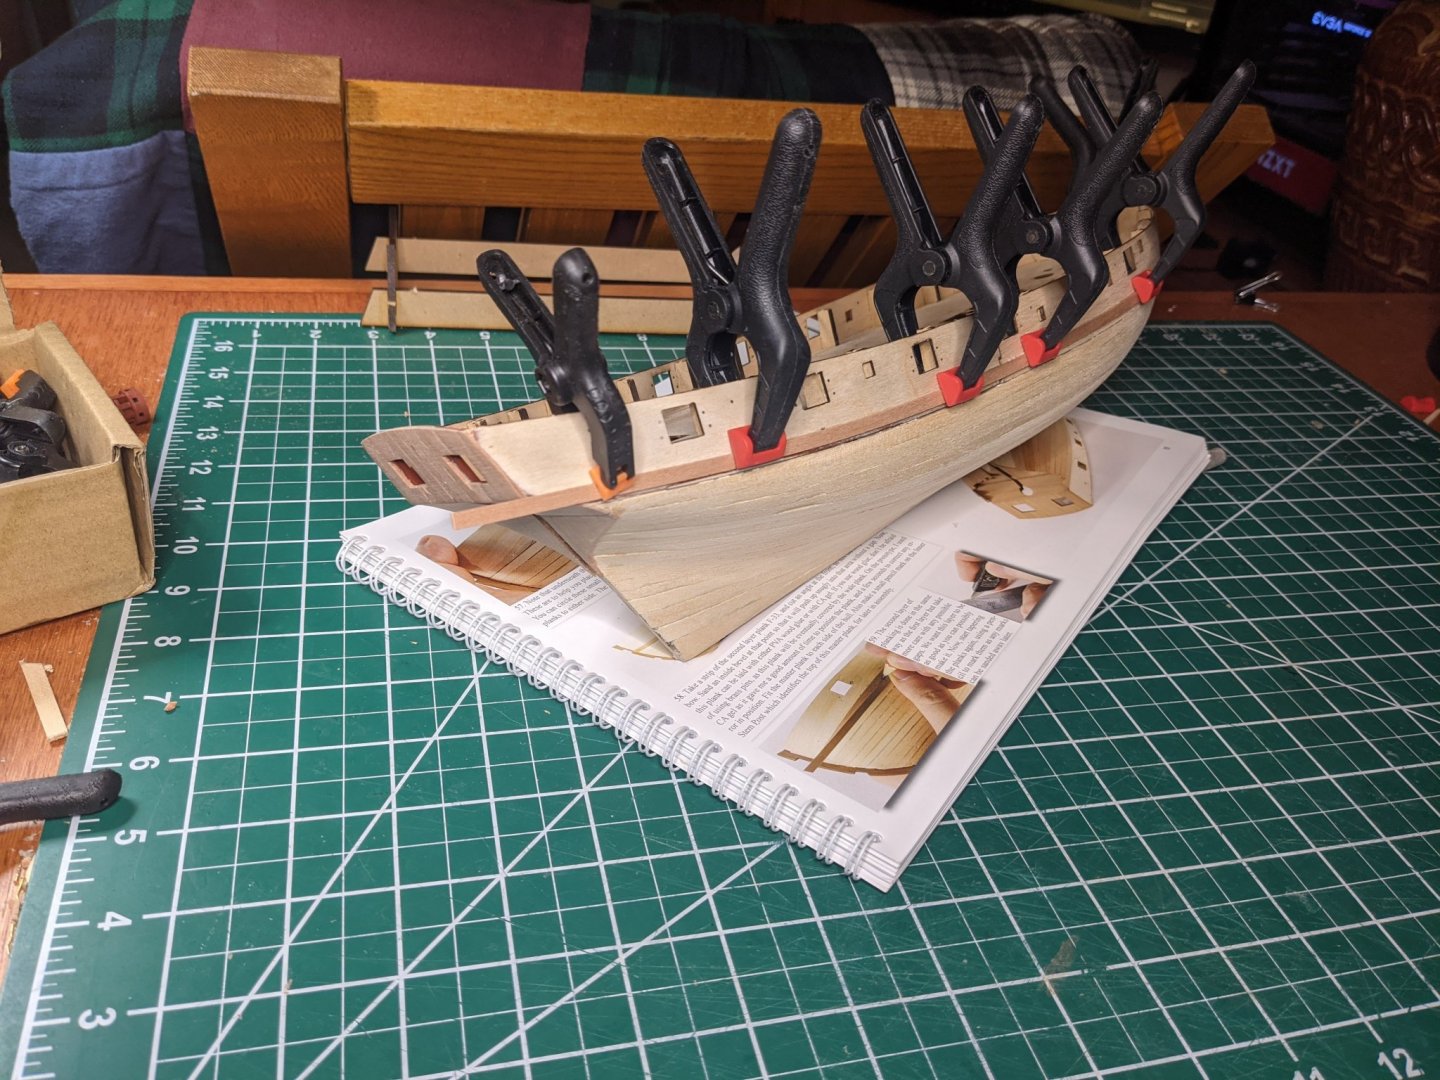
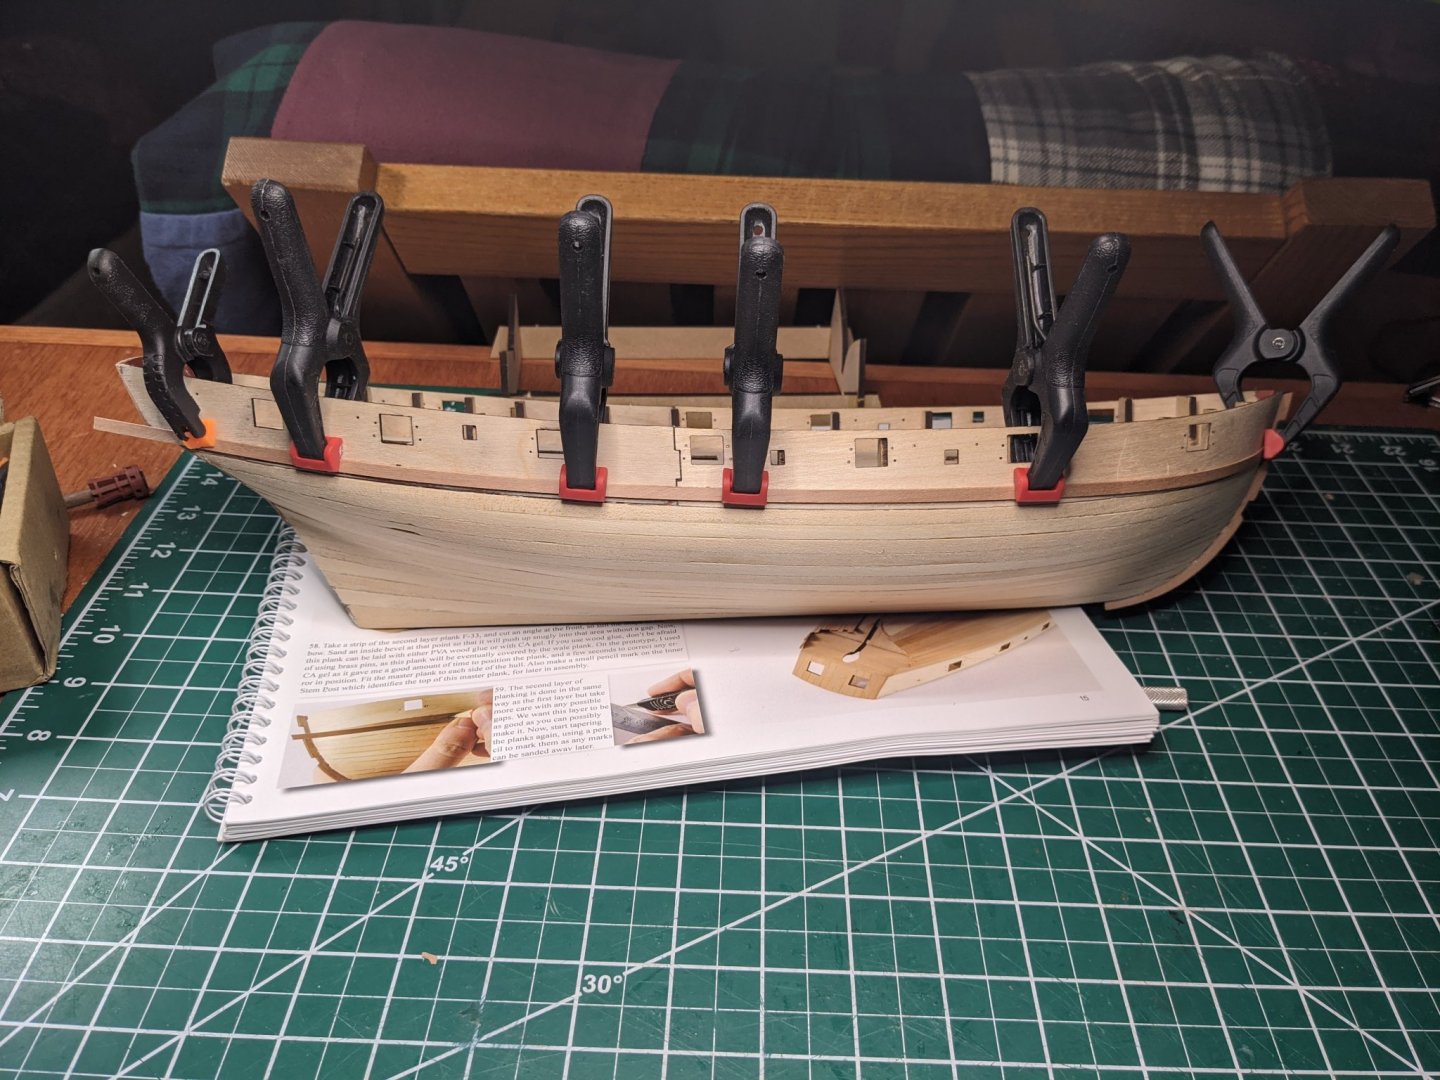
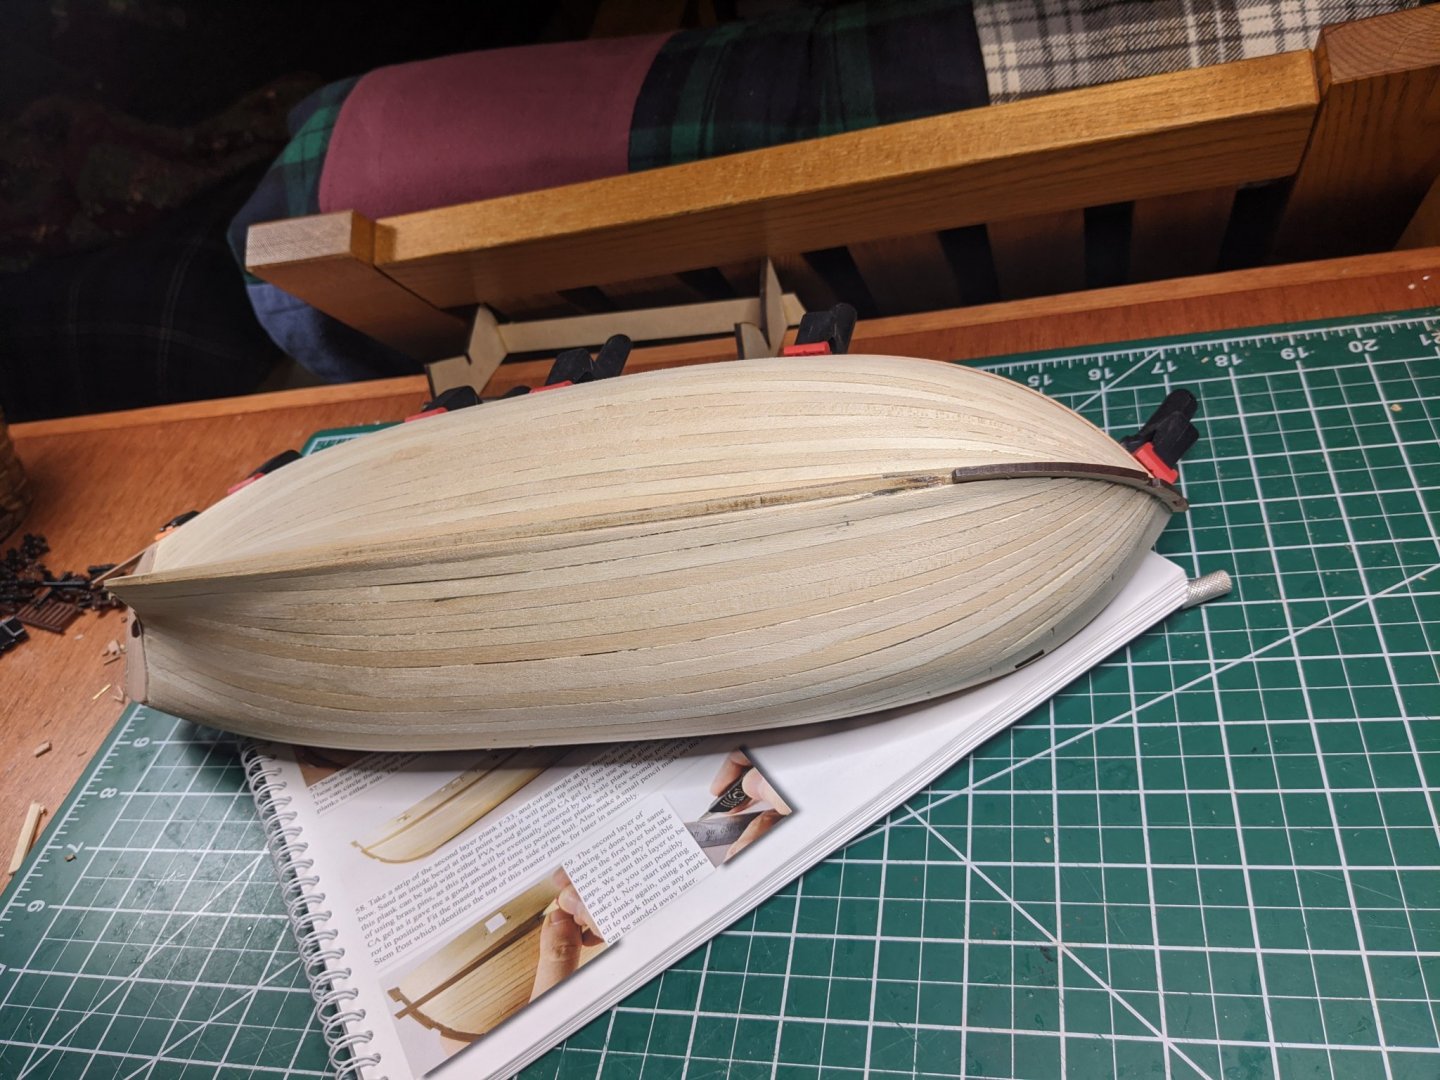
I have finished planking the lower part of the hull and now I'm working on the inside bulwark. I have not done any sanding so the hull planking looks pretty rough at the moment. Also I am in northern California and our power is shut off because of windy weather so I had to take the picture with a flash.
-
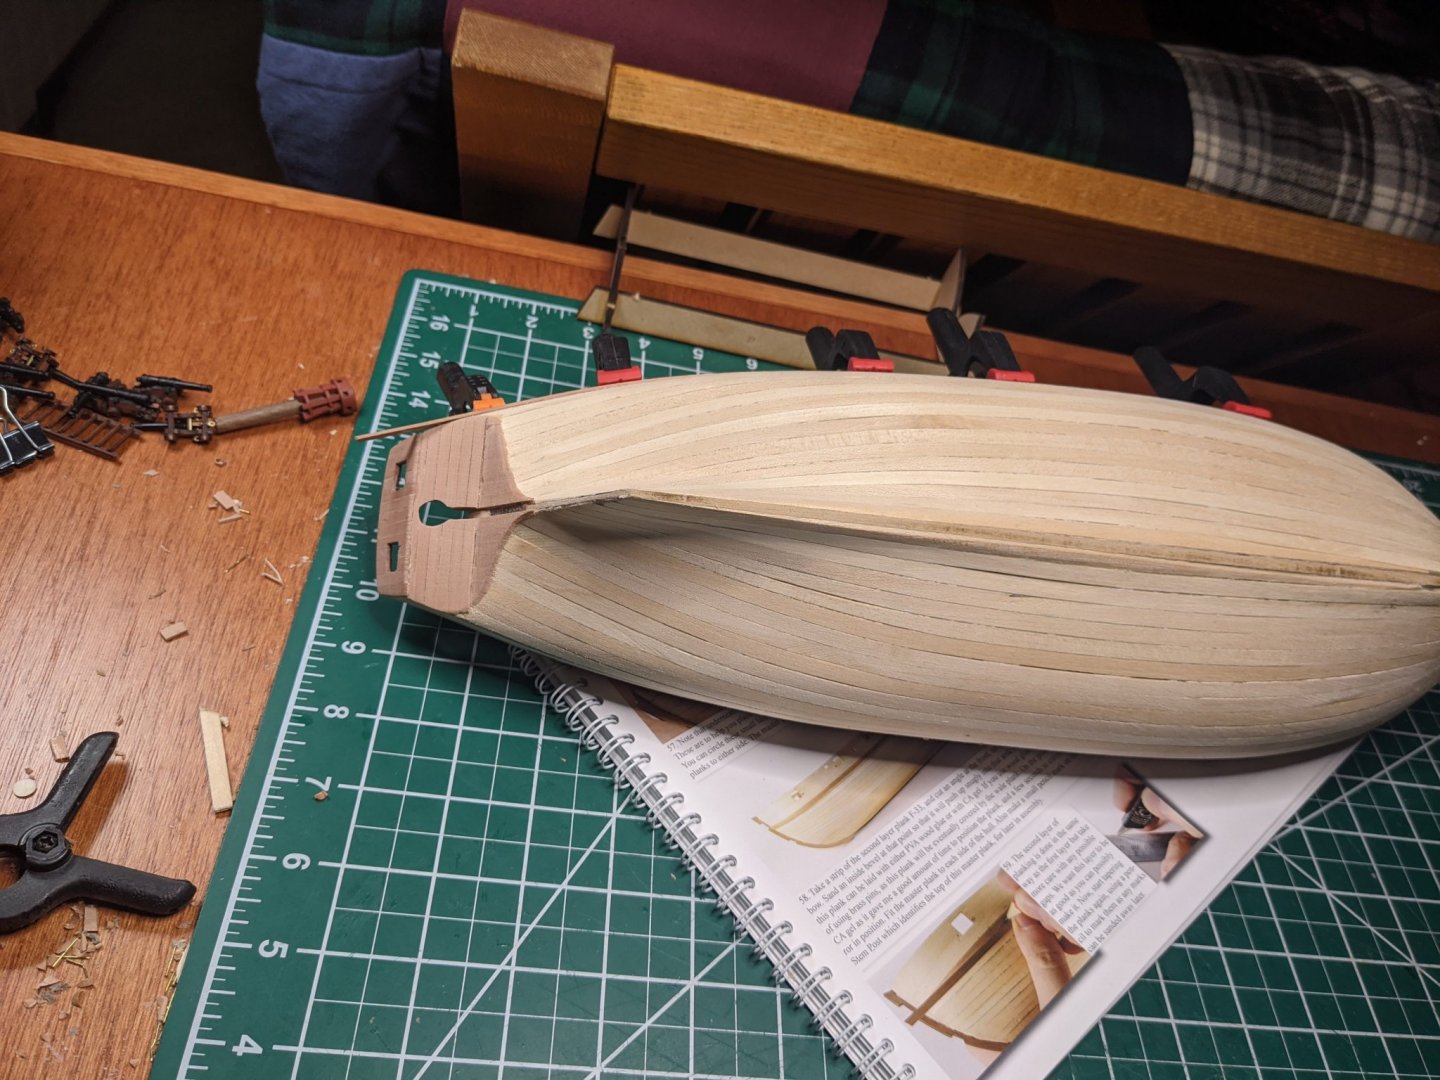
I have the first layer of planking done and I'm starting on the second layer.
-
When I start planking I'll check the thickness at the sternpost and decide if I can get the correct thickness with the second planking or if I need to get some of the first in there. If I can I'll certainly stop the first planking like you did.
-
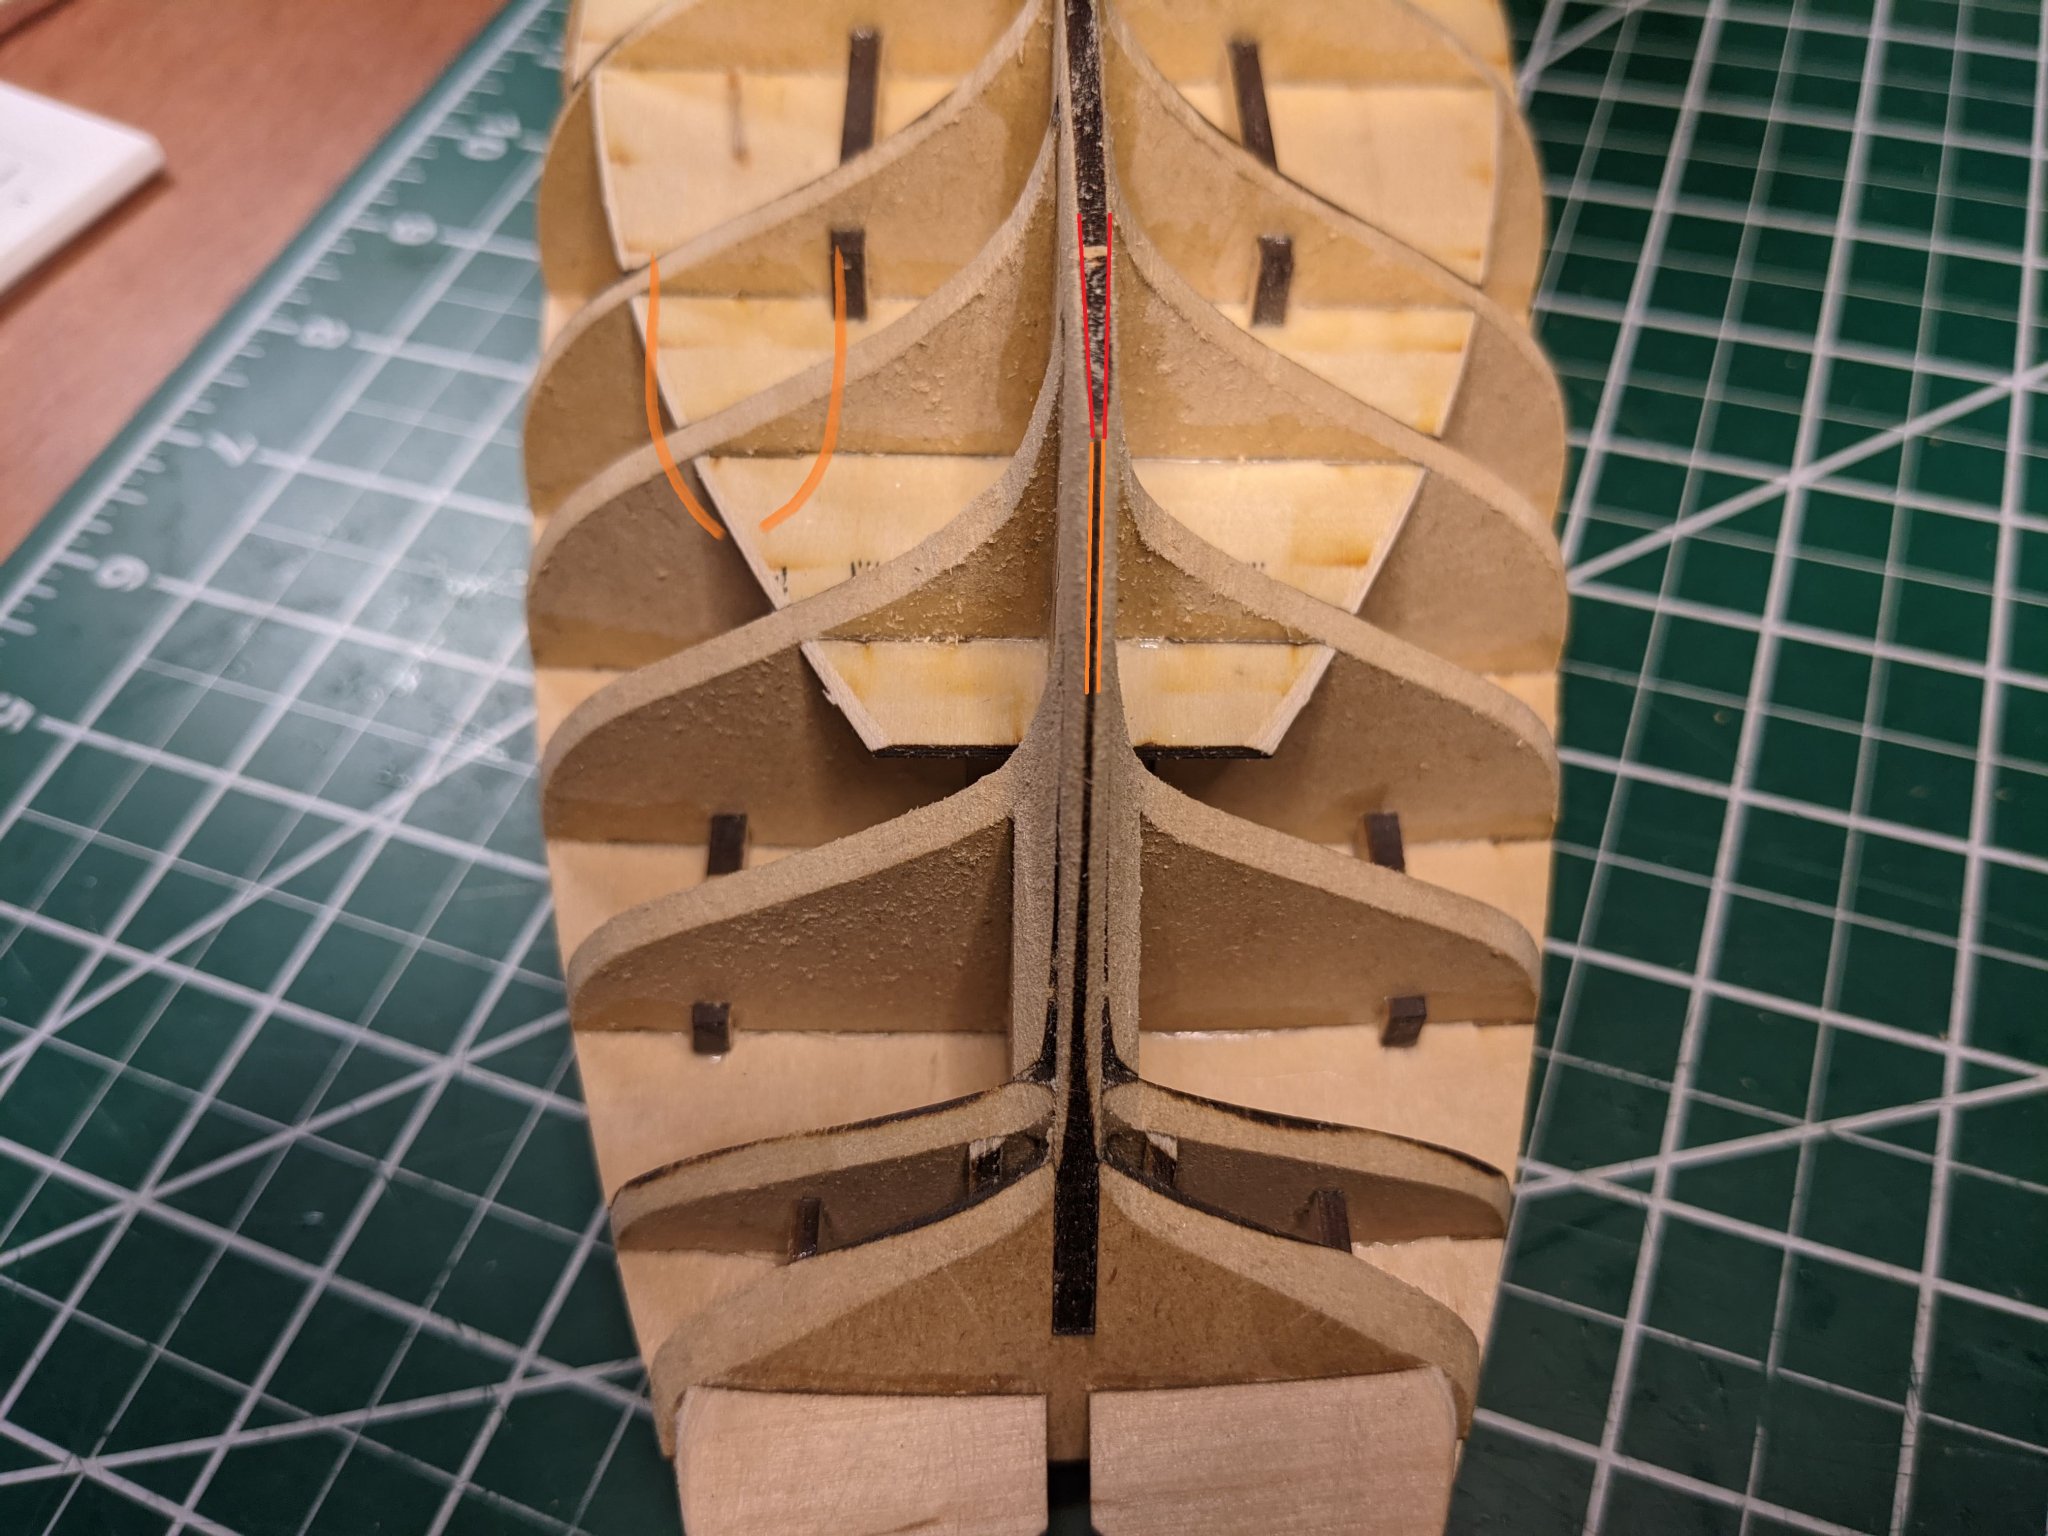
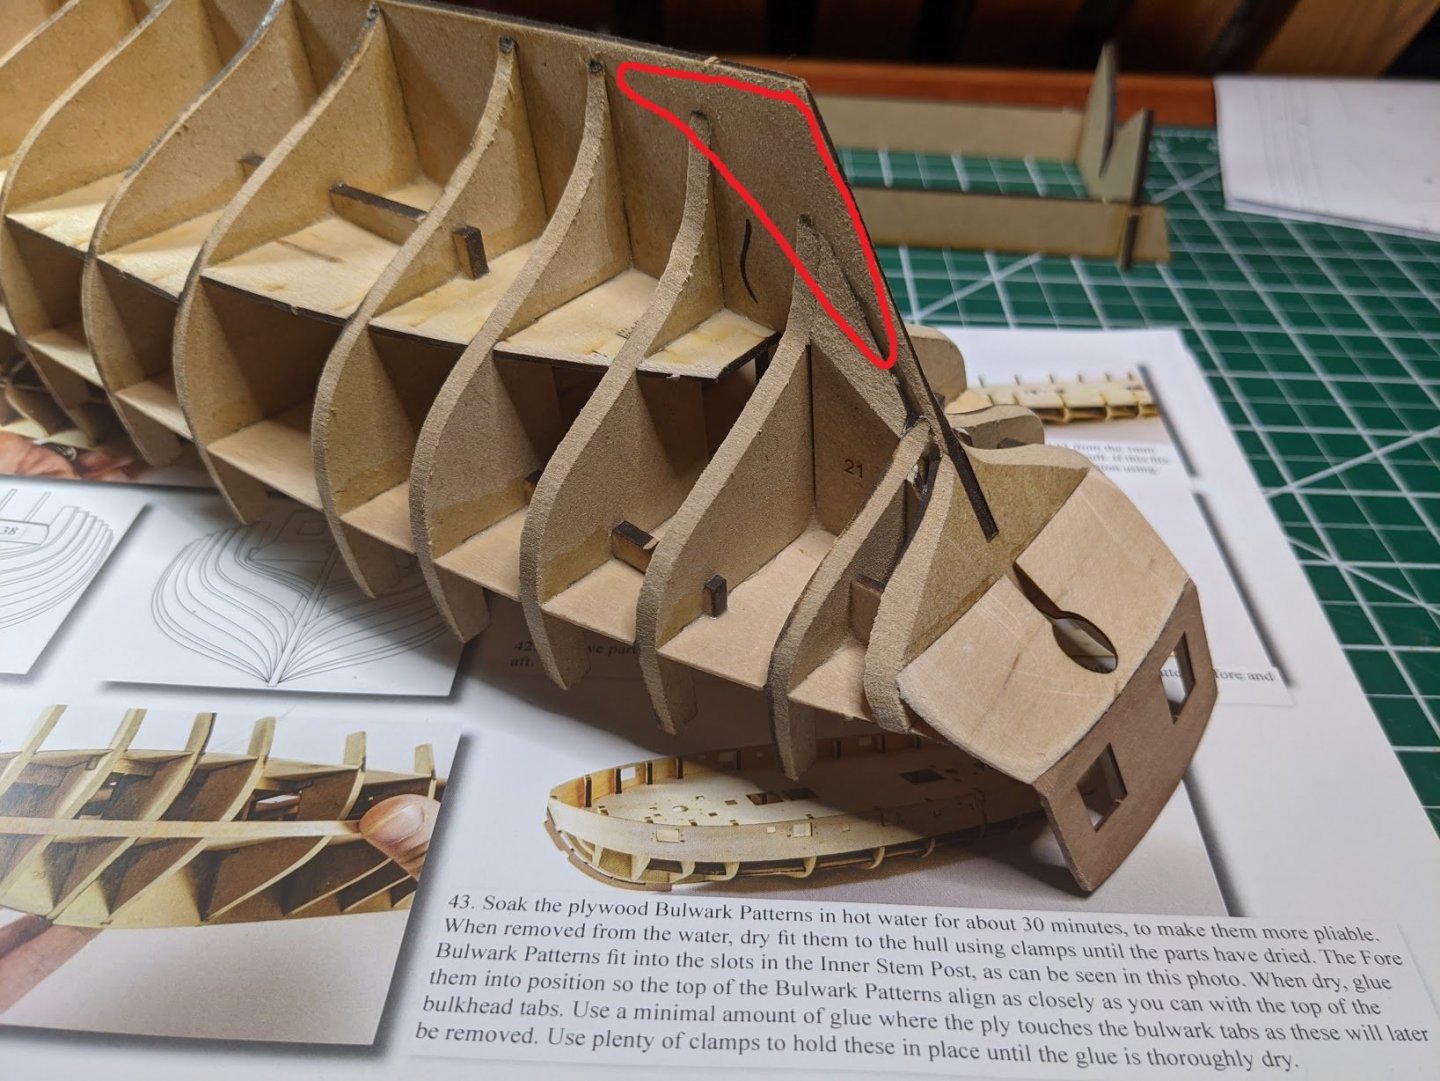
Just to make sure I know what you're saying. Where it gets thin at the stern post area, make it more gradual rather than a harsh curve? Sort of like this picture where the shape of the red lines would be better? It's currently shaped sort of like the orange lines off to the side. So flatten out this area here?

-
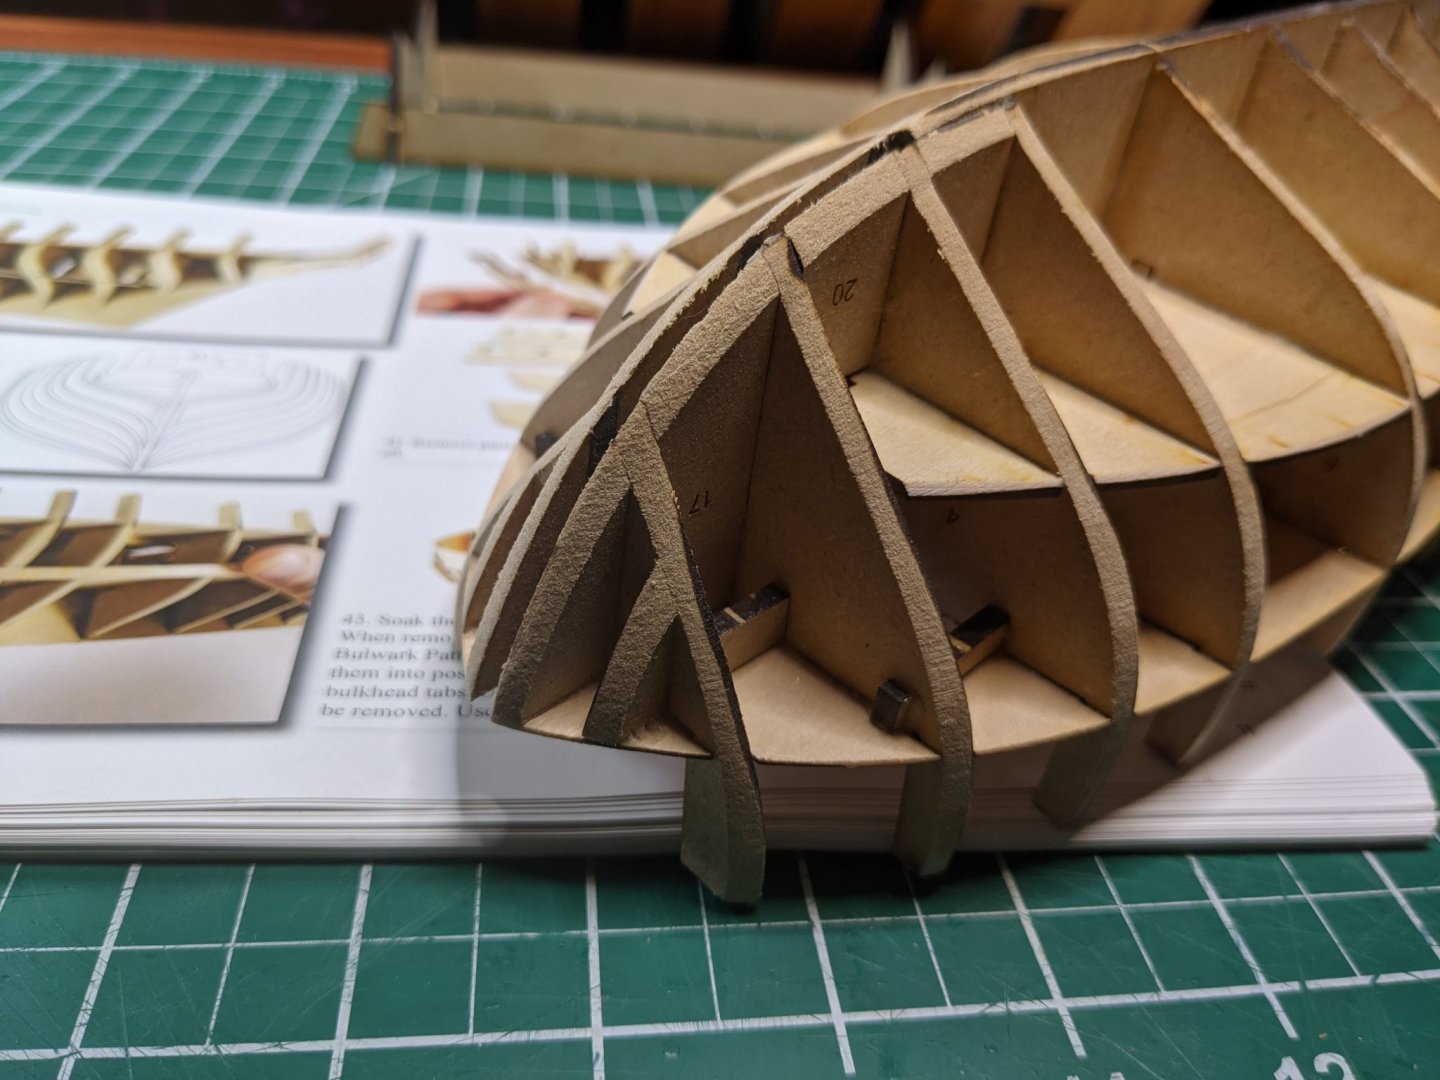
I tried to even out the stern area but this material sands very easily and I don't want to get too carried away. It's not perfect, but a little better. When I have the first planking on I'll pay it some serious attention. Also, I have soaked the bulwark patterns and have them drying in place to help form them before gluing.
-
It got pretty thin back there. My plan is to fatten it back up with the first layer of planking. But it would be smart to keep it as even as possible during the whole process. Thanks for the advice. As far as terminology goes, I keep looking at the instructions to find the proper terms. 😀
-
Thank you. I believe it's the side bulwark patterns and then the planking. No time like the present...
-
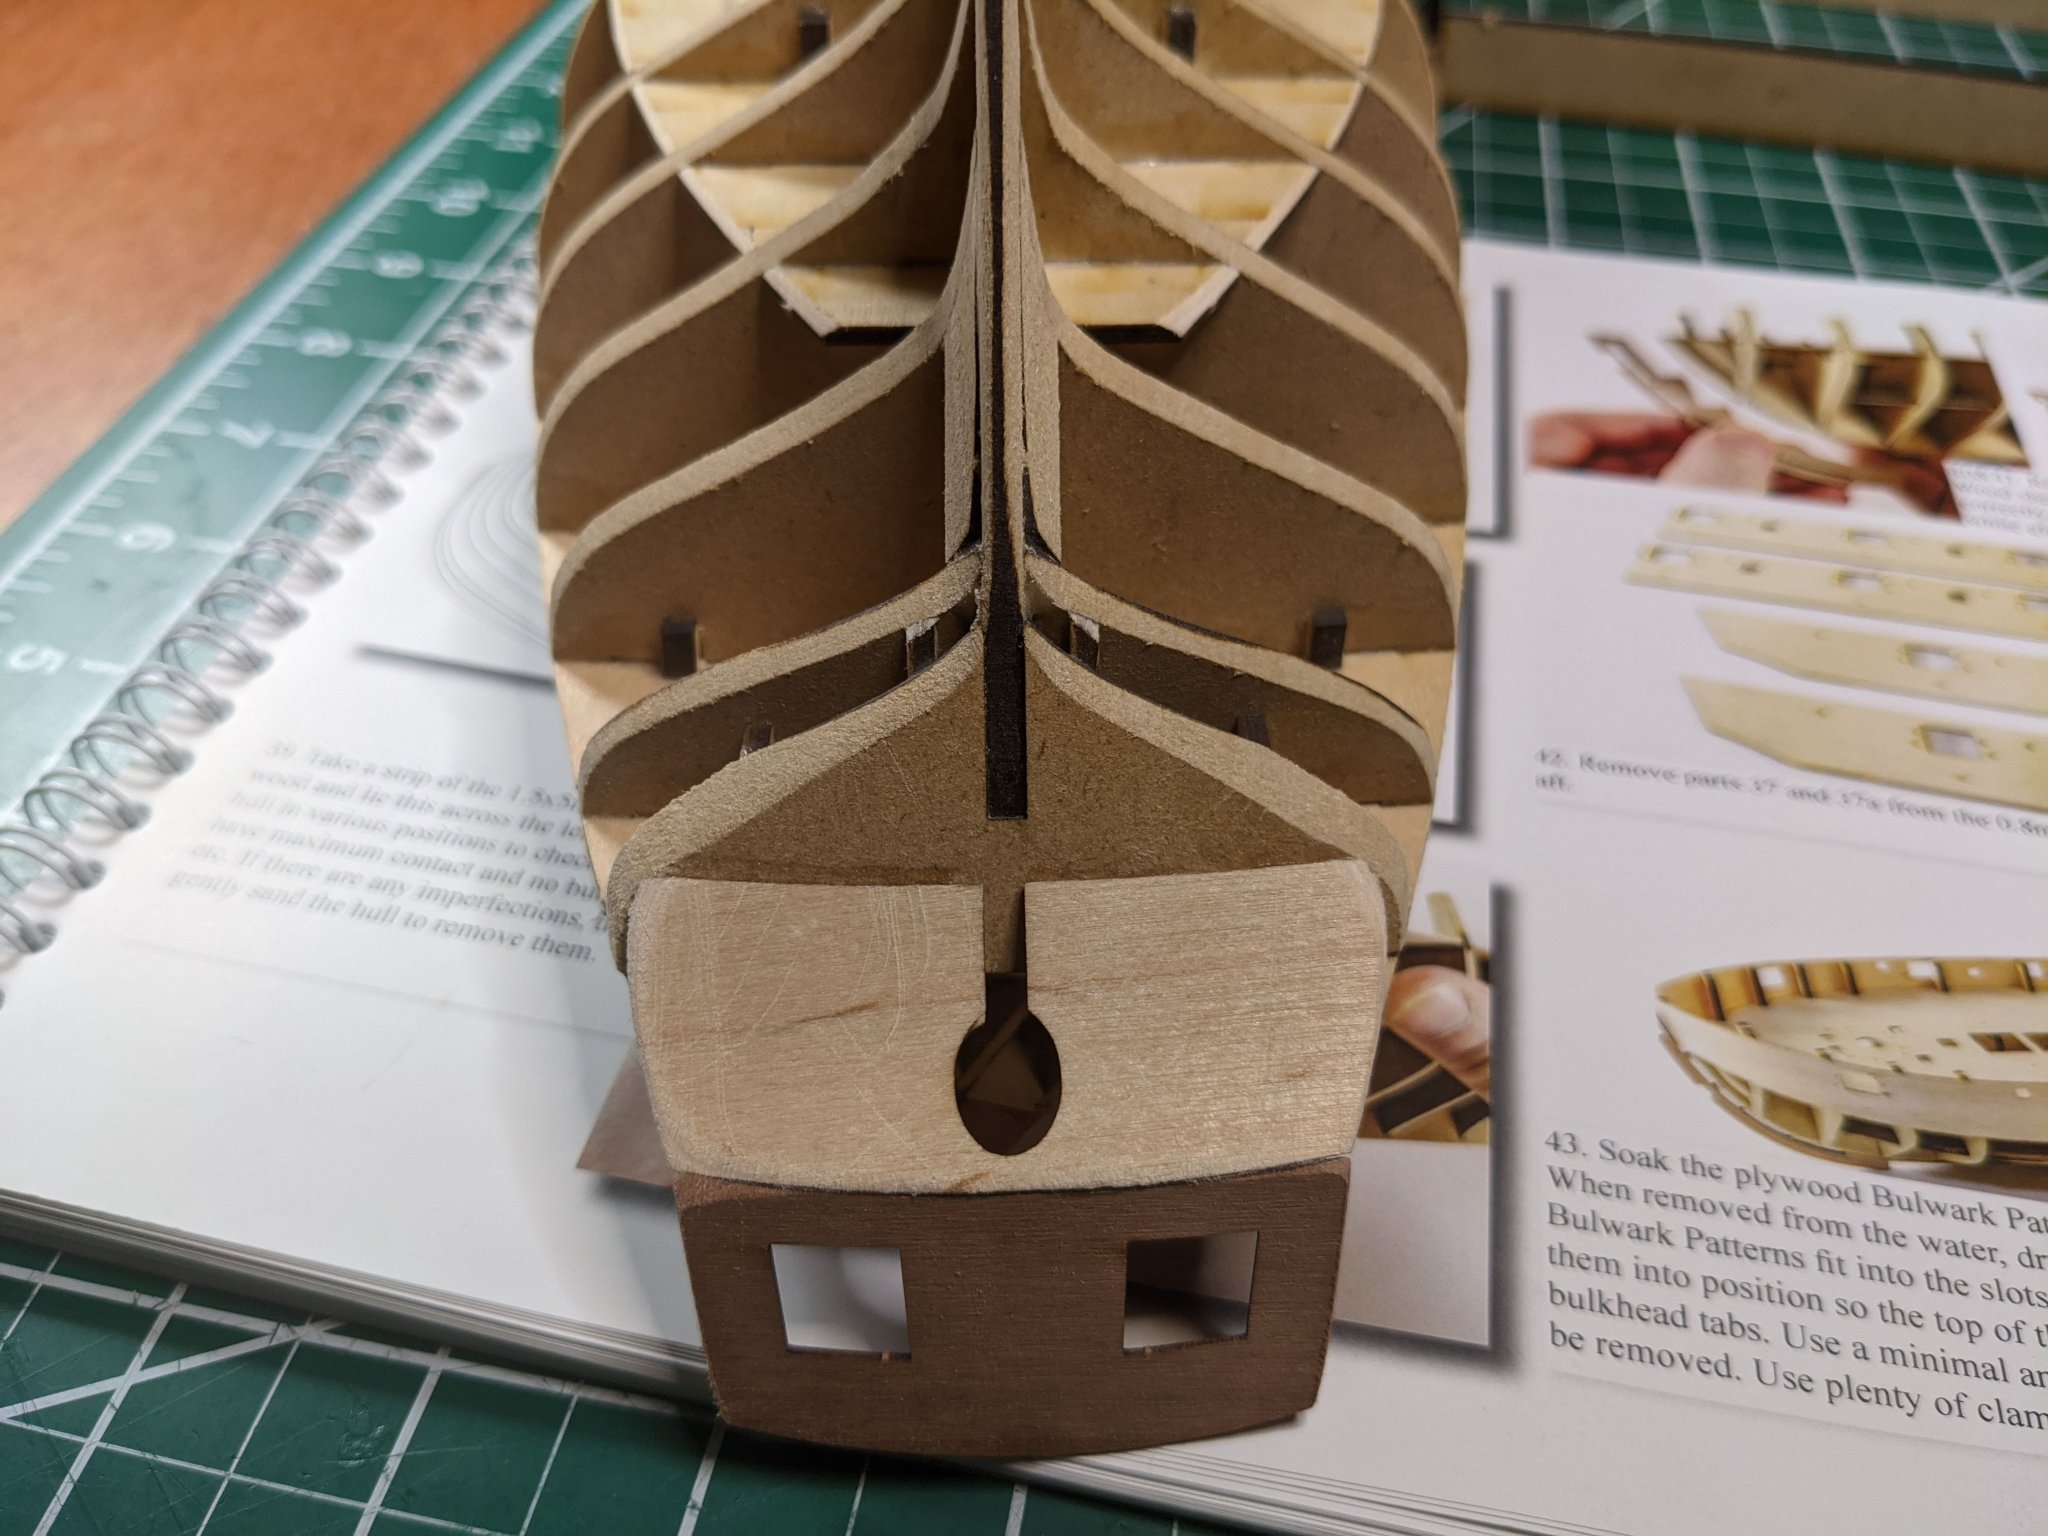
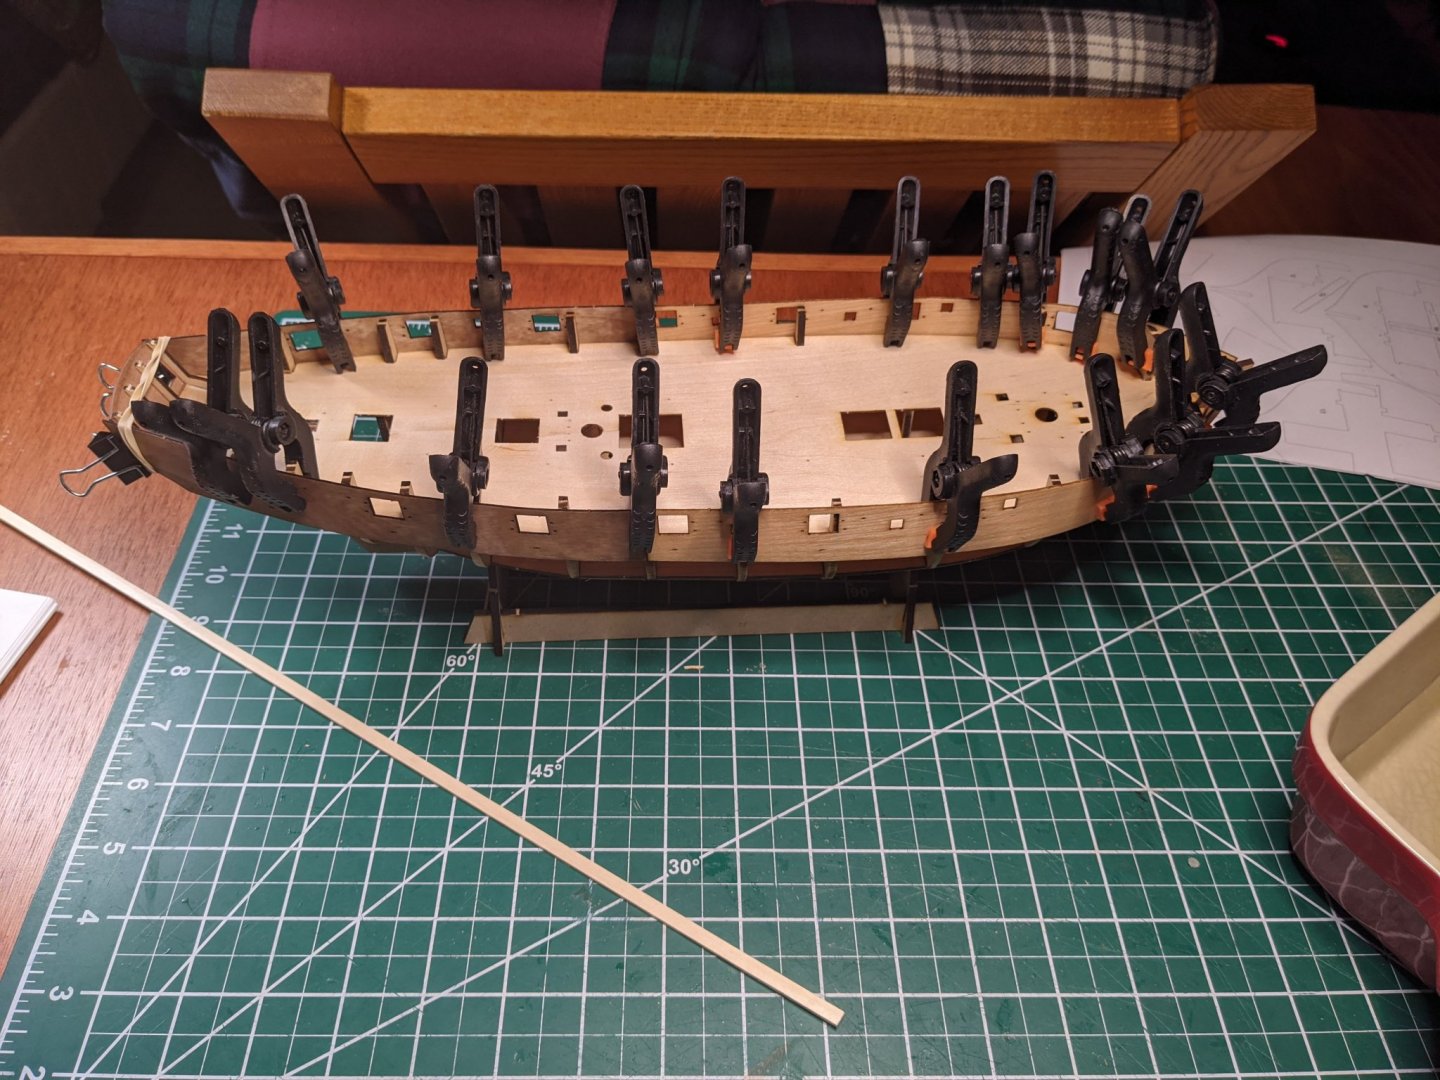
Does this look reasonable for the fairing of the hull? There is still a little char, but I'm worried about over sanding.


-
Tomorrow I start fairing the hull.

-
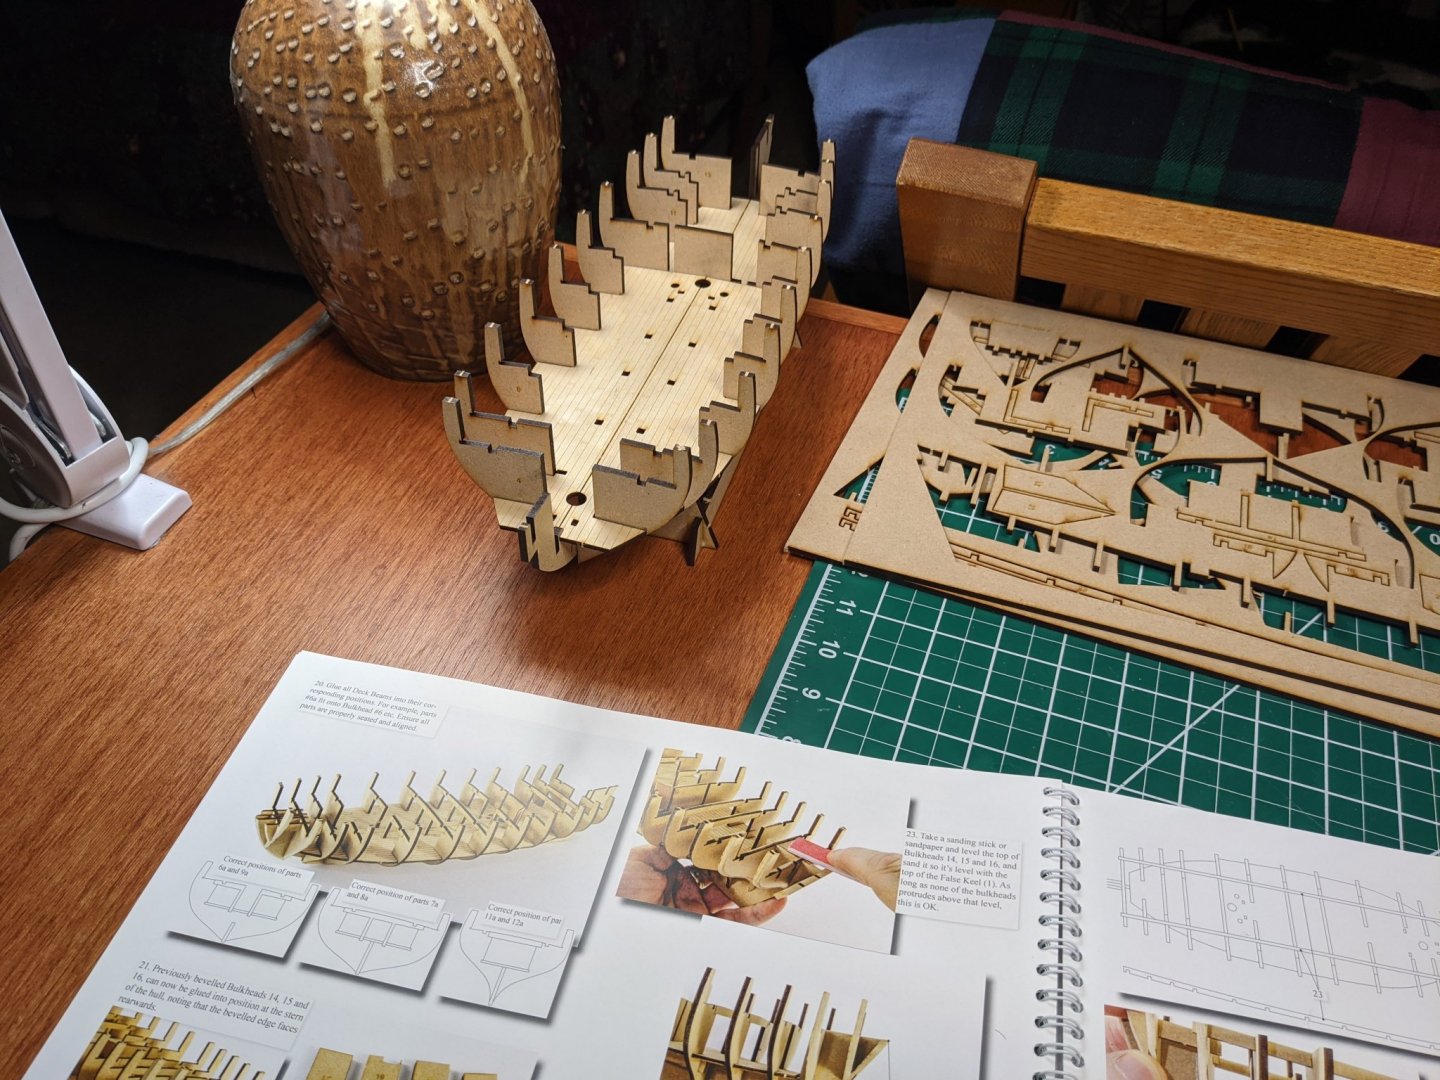
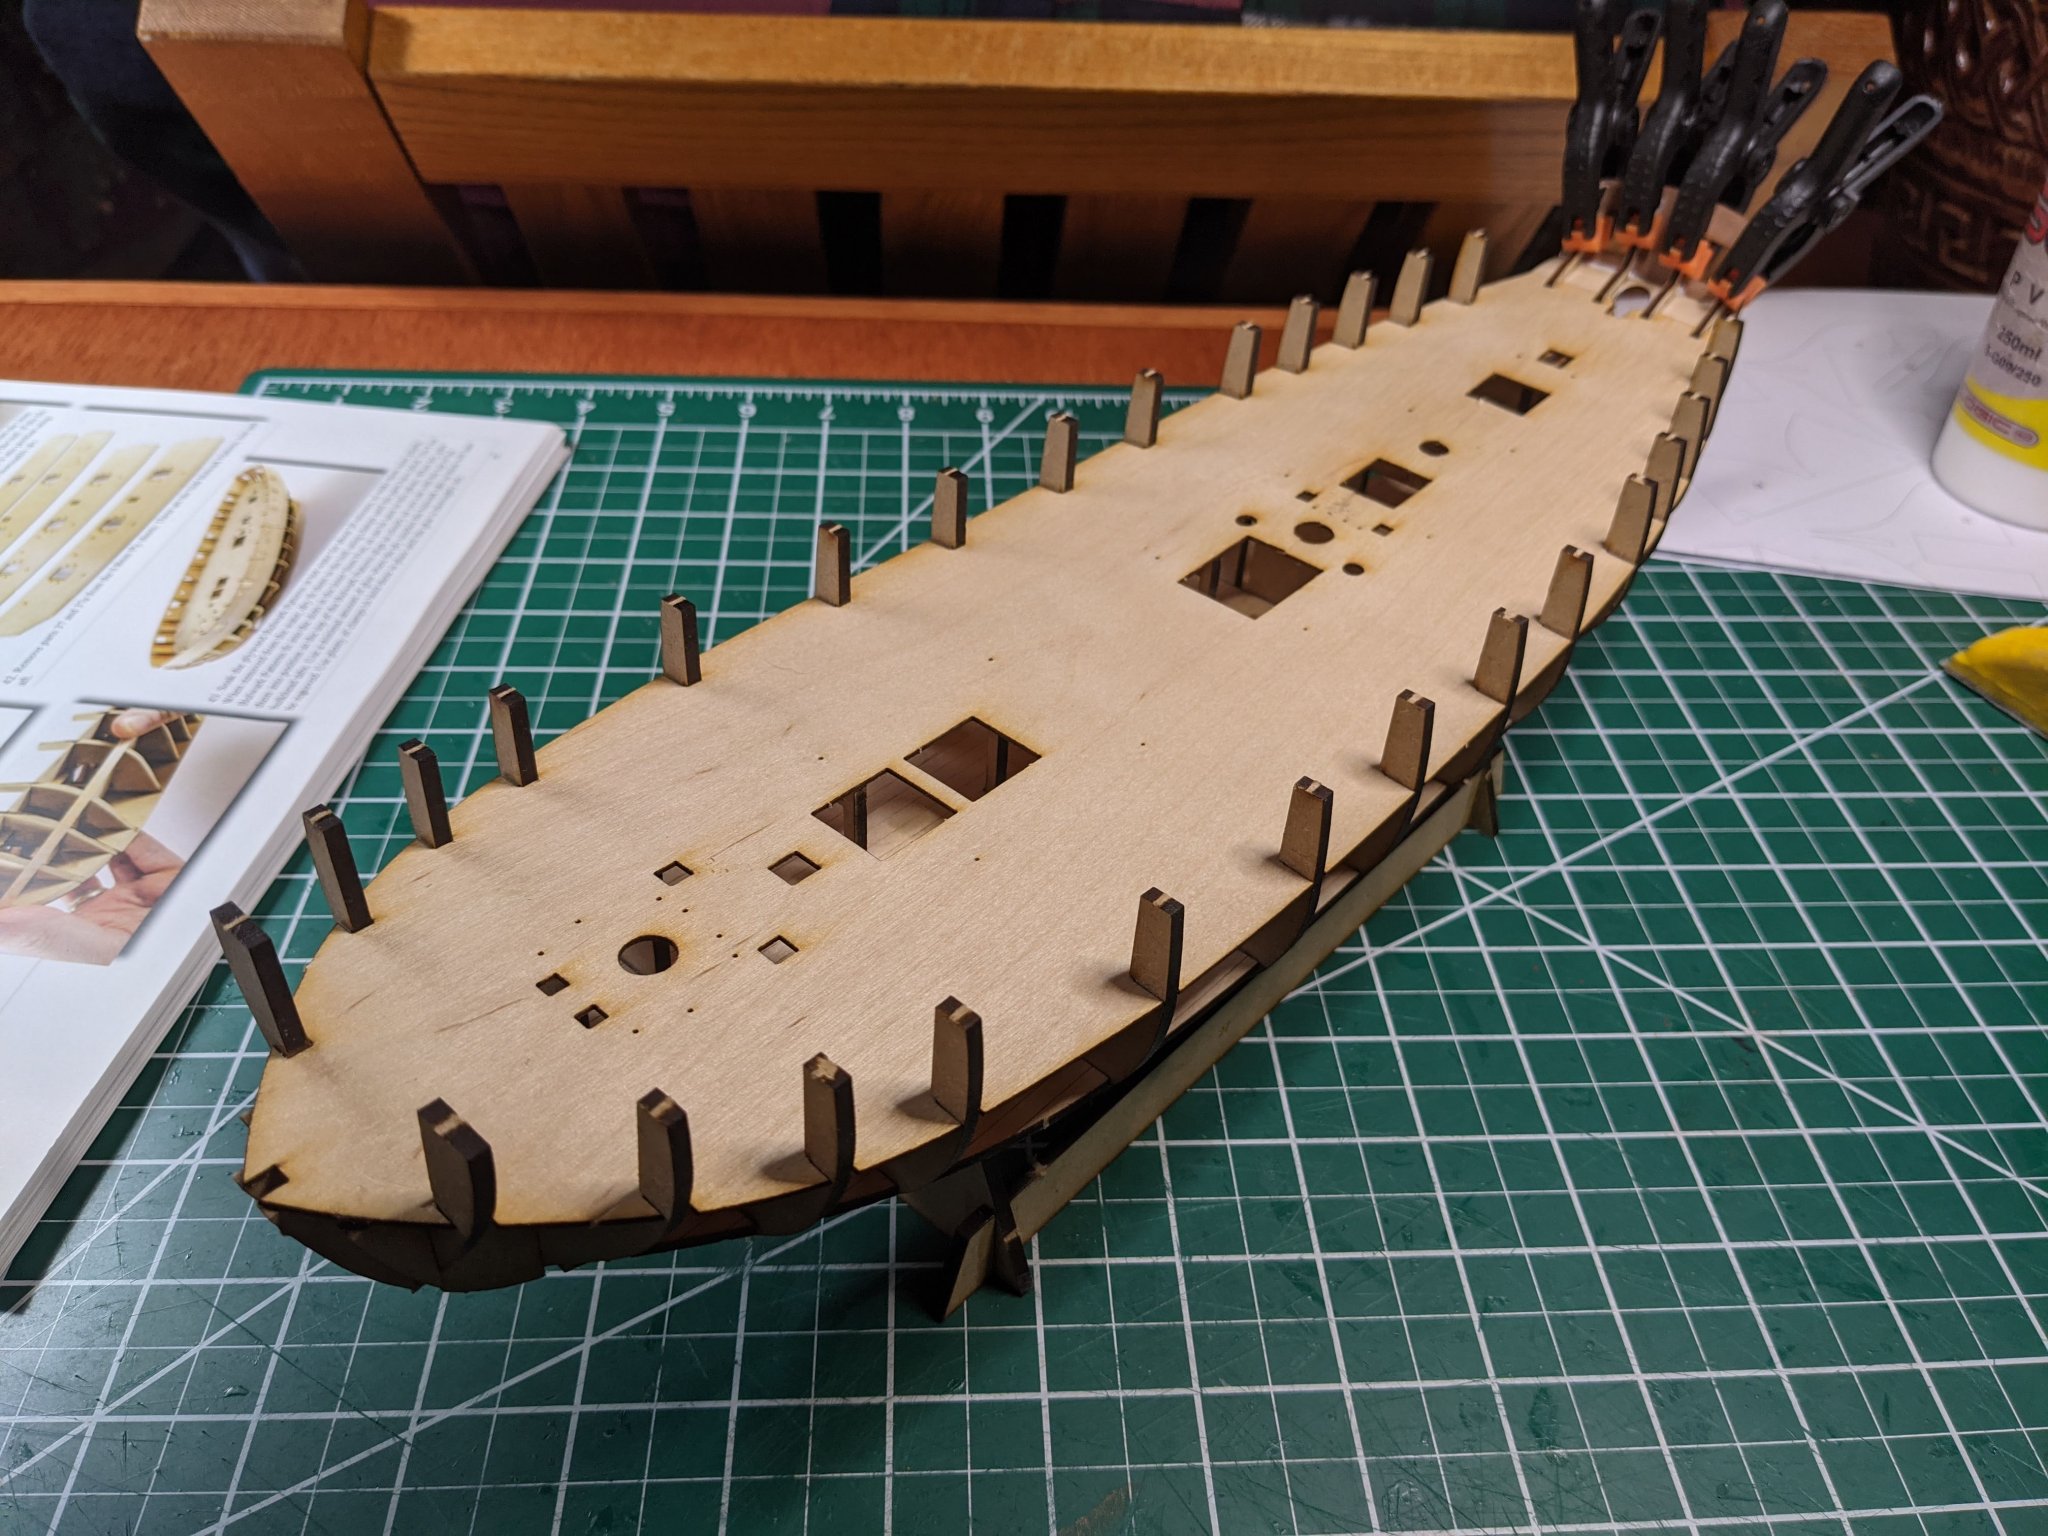
Half of the lower deck in, this thing goes together very nicely.

-
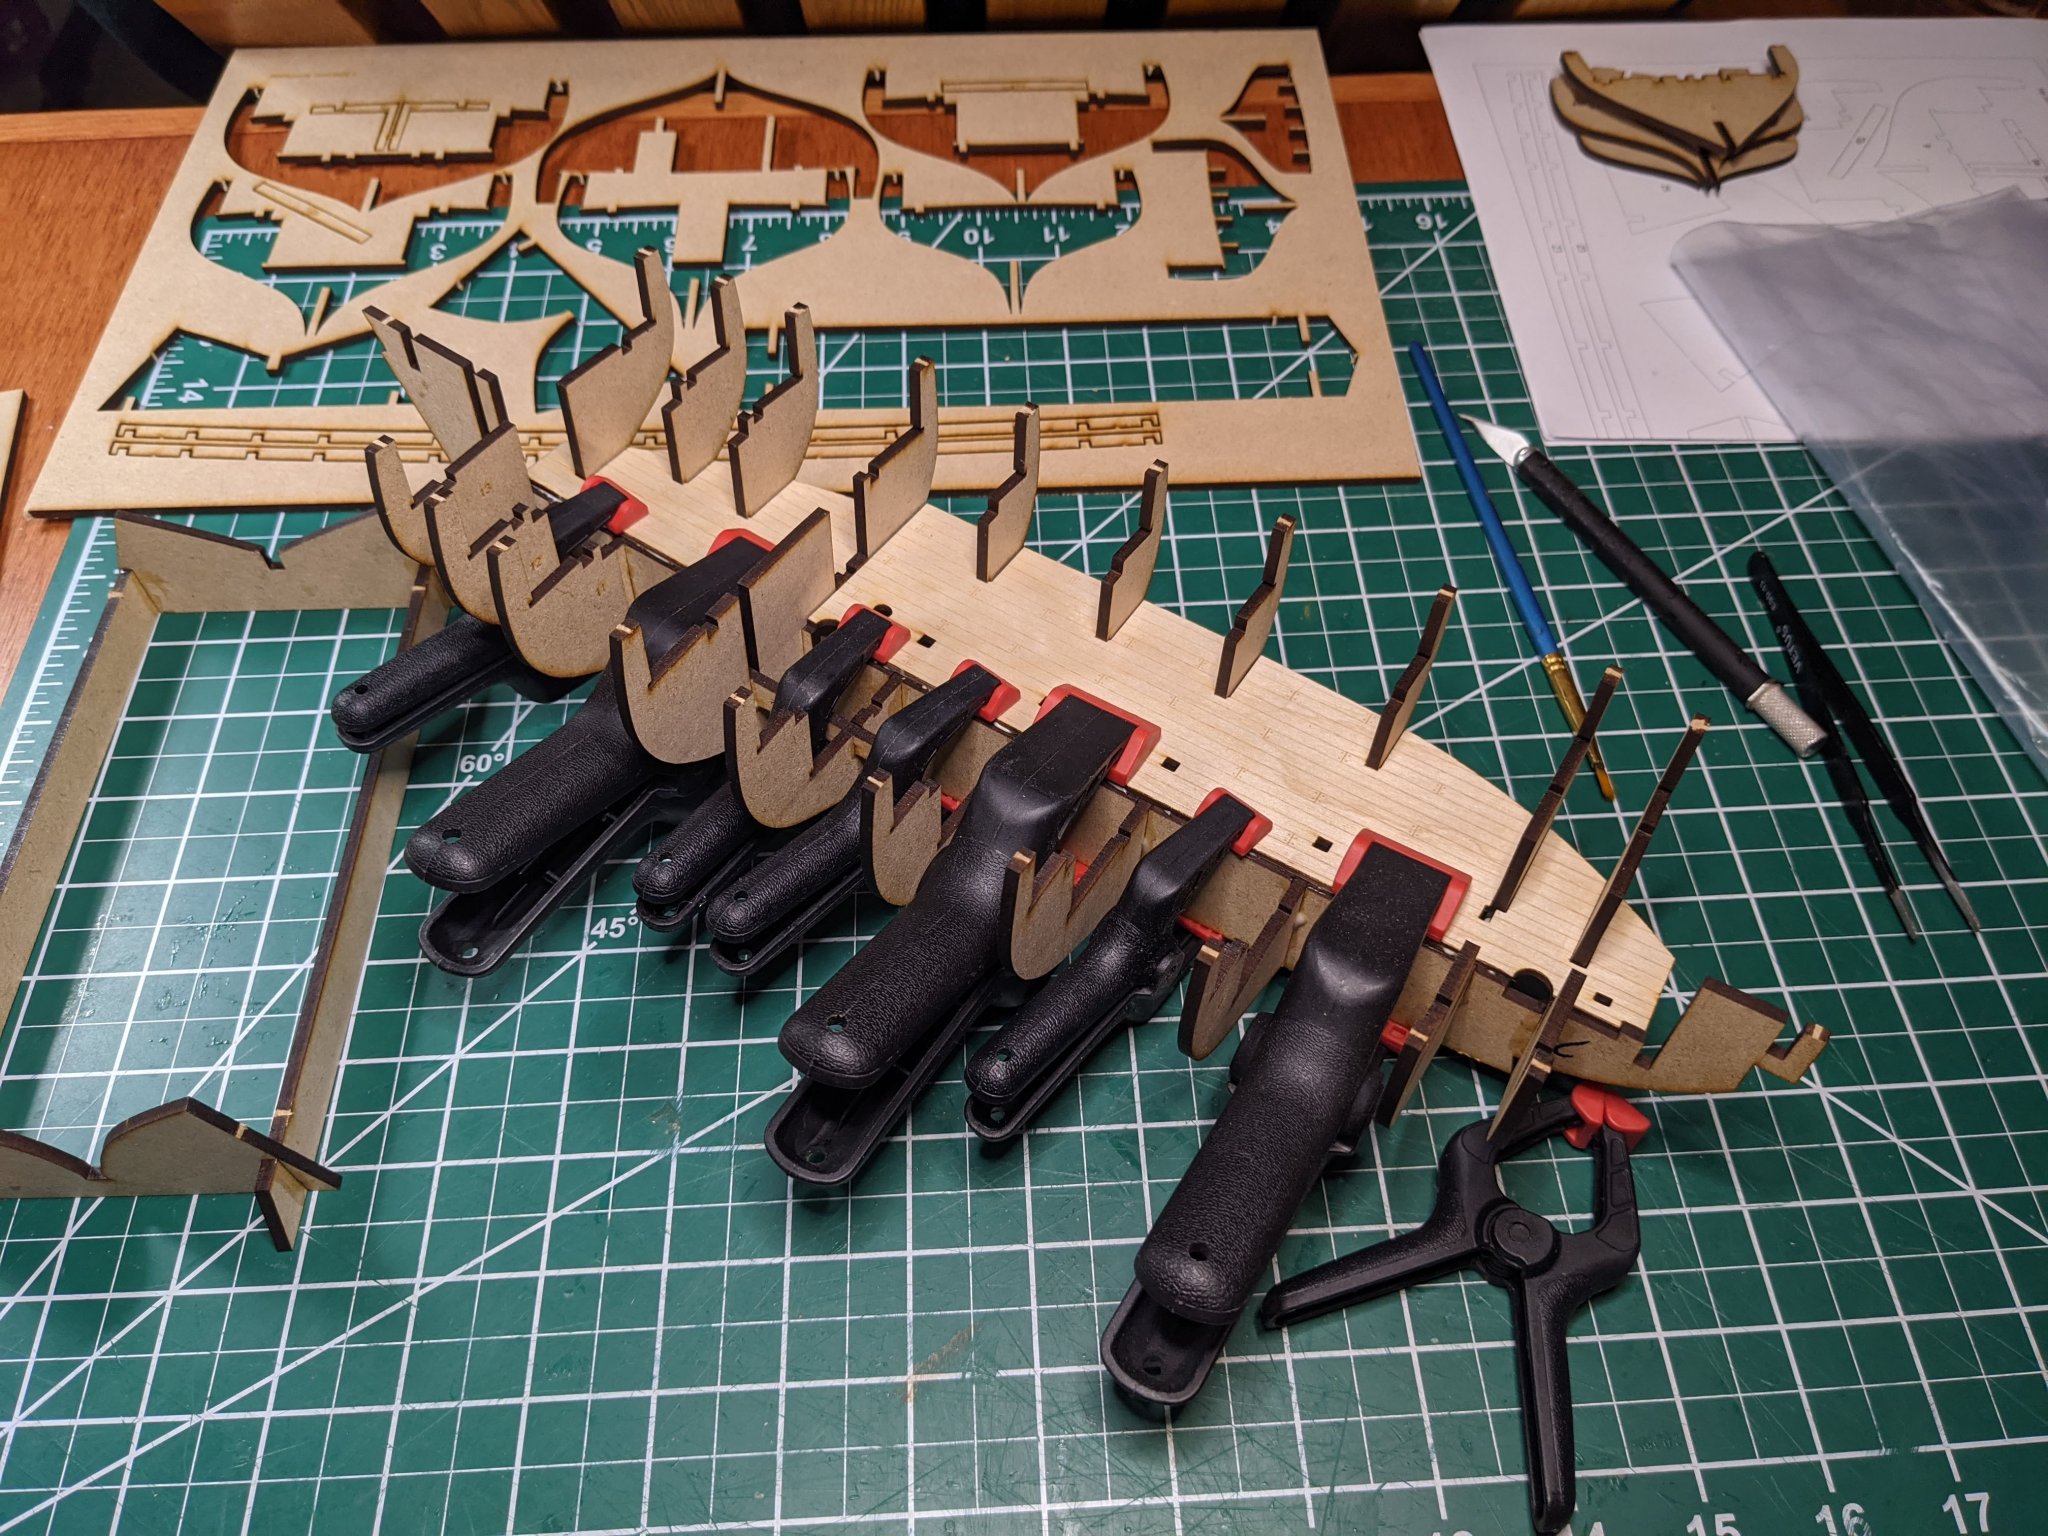
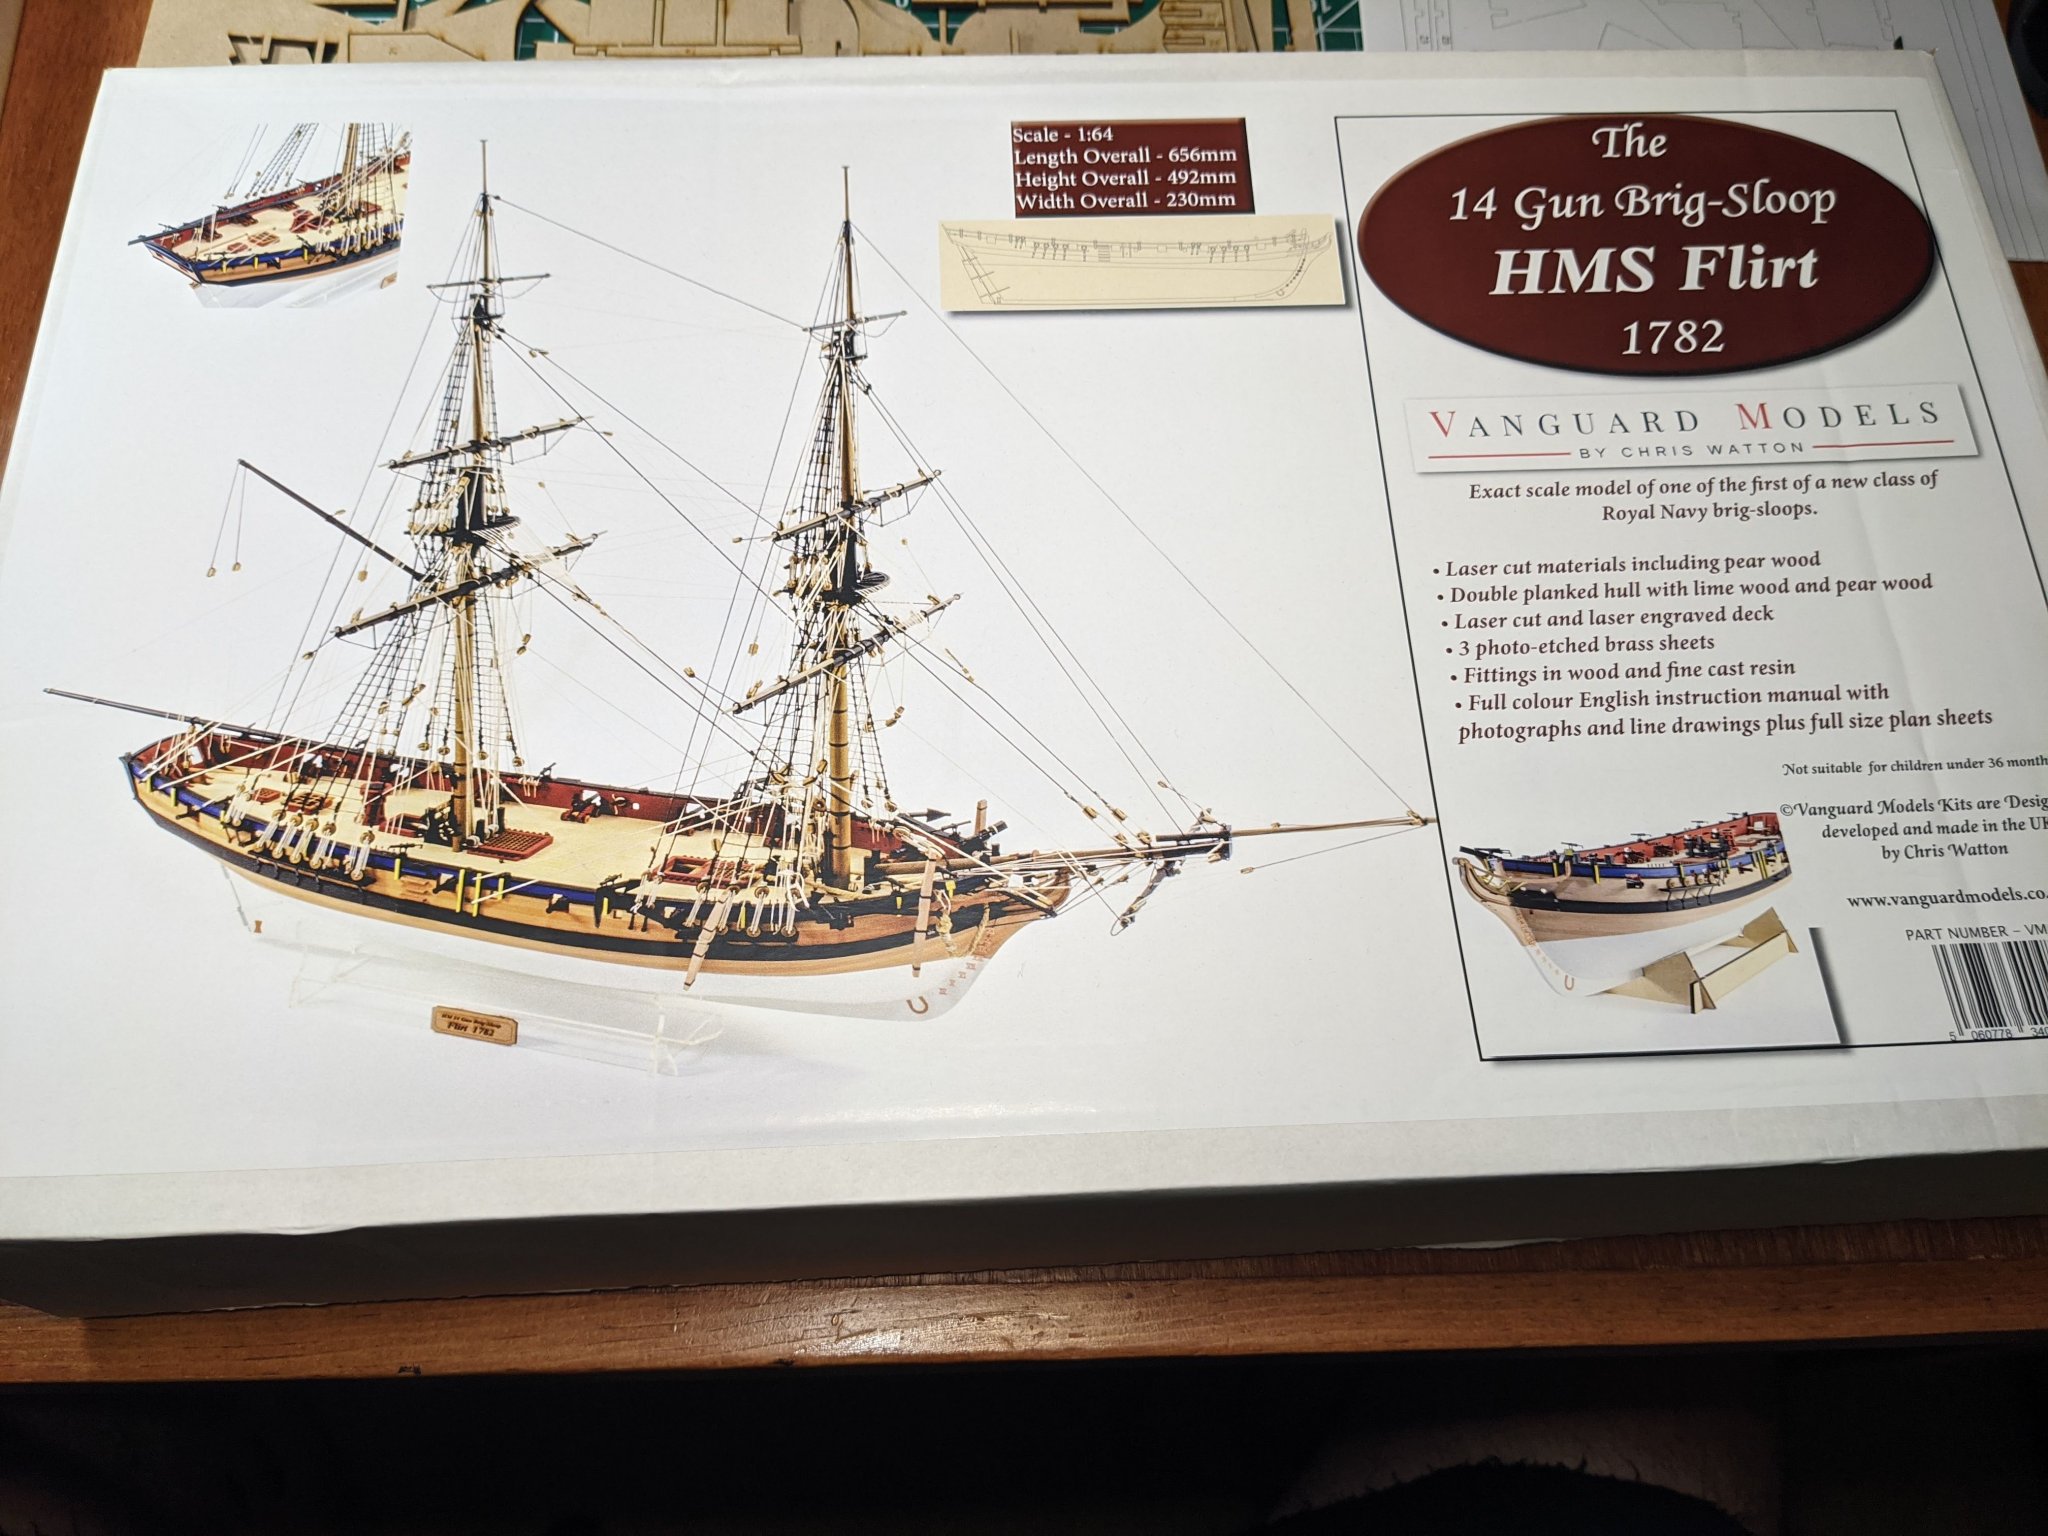
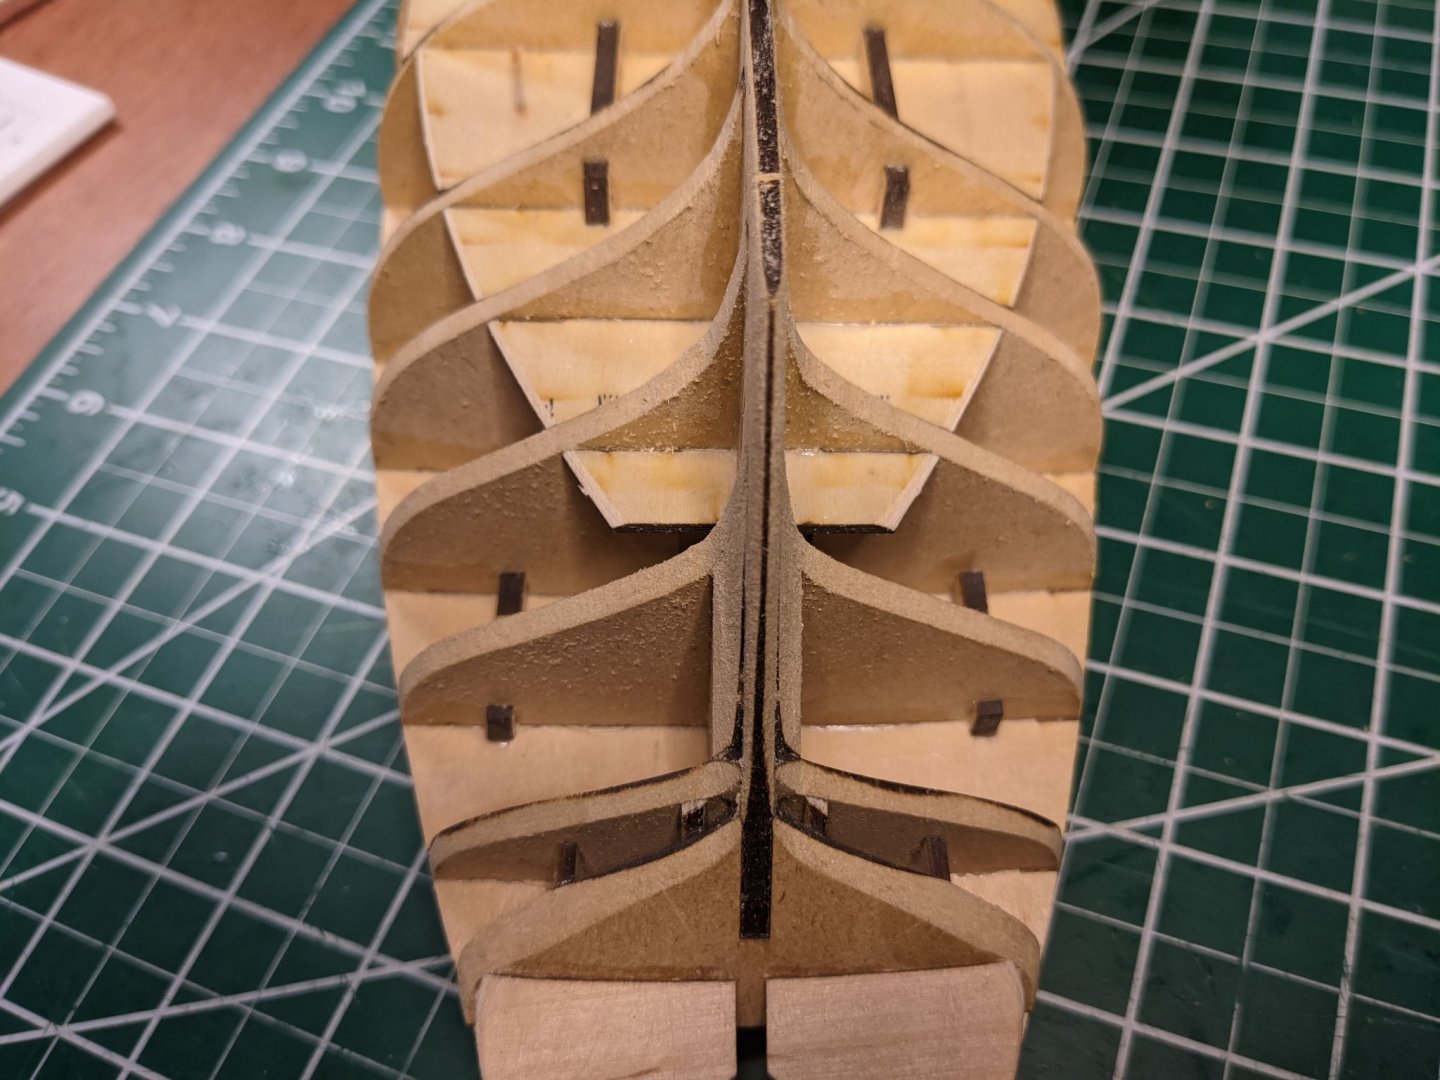
I wasn't planning on doing a build log for this because I'm sort of a quick and sloppy builder and I don't see that it would be much of a benefit for the forum. There are some great builders here that create masterpieces, I am not one of them. But I need a way to procrastinate when I don't feel like working on the kit (or glue is drying) and I know this is an excellent place for information if I have any questions. So my posting of this log is for purely selfish reasons. 😀 Guess I'll get right into it. Pic of box, seems like a good starting place. Bulkheads dry fit. (They fit excellently) Bulkheads glued with the lower deck set inplace to make sure the bulkheads are aligned correctly. Now I wait for the glue to dry before I continue...