MORE HANDBOOKS ARE ON THEIR WAY! We will let you know when they get here.
×


Vinnie
-
Posts
56 -
Joined
-
Last visited
Content Type
Profiles
Forums
Gallery
Events
Everything posted by Vinnie
-
Wow thank you Jim Lad that really helps...and you answered even the next question I was going to ask if you told me that both ends of the pair where on the same side and there was an odd number of shrouds! ...mind blown
-
Apologies thistle17...I’m working on the Bounty...and having a ball doing it
-
Hi guys. I’m coming up to the shrouds in my build shortly and other than a picture which I’ll post, the instructions are a little bit silent on details. So I’ve been doing some research into ways of doing them and standard practice Firstly I’ve seen from my research the the shroud seems to be served. But how much of the shroud should be served? Is it the whole shroud down to the deadeye or is it just for the loop around the mast Also secondly I see that they are done in pairs. So if one shroud goes to the forward most starboard deadeye, does the other go to the forward most port deadeye or the aft most part of the same channel? Or just simply next to it? I’m sorry if this doesn’t make sense...if it doesn’t please let me know so I can explain it better.
-
 Thanks leginseel...your right things have been moving along...working full time only allows an hour or 2 a day...but it relaxes me after a day at work so I rarely miss it. But I have recently decided to “hit the anchors” just a little bit the last couple of days. After some honest reflection on some of the photos I have taken. I realized that the furniture and fittings on my model looks dirty/fuzzy under the flash of my camera. I initially thought this was because of the linseed oil being ever so slightly sticky. But it isn’t...I’ve discovered that I haven’t done a good enough sanding job. I’ve needed to use progressively finer sand papers (which is probably a now brainer for some of the better modelers on here) so yea just slowing down a little bit and getting at the furniture with a small stick sander before I block off access with masts and rigging 😁 will post some before and after photos probably I’m looking forward to seeing you get stuck back into your Bounty leginseel!
 -
Thanks Fernando! I just did a search and found your Norfolk build! I’m glad I did! it’s a beautiful clean build. Also learned I can source brass blackening chemical from my local gun shop! When are you starting your Endeavor? Or any other build?
-
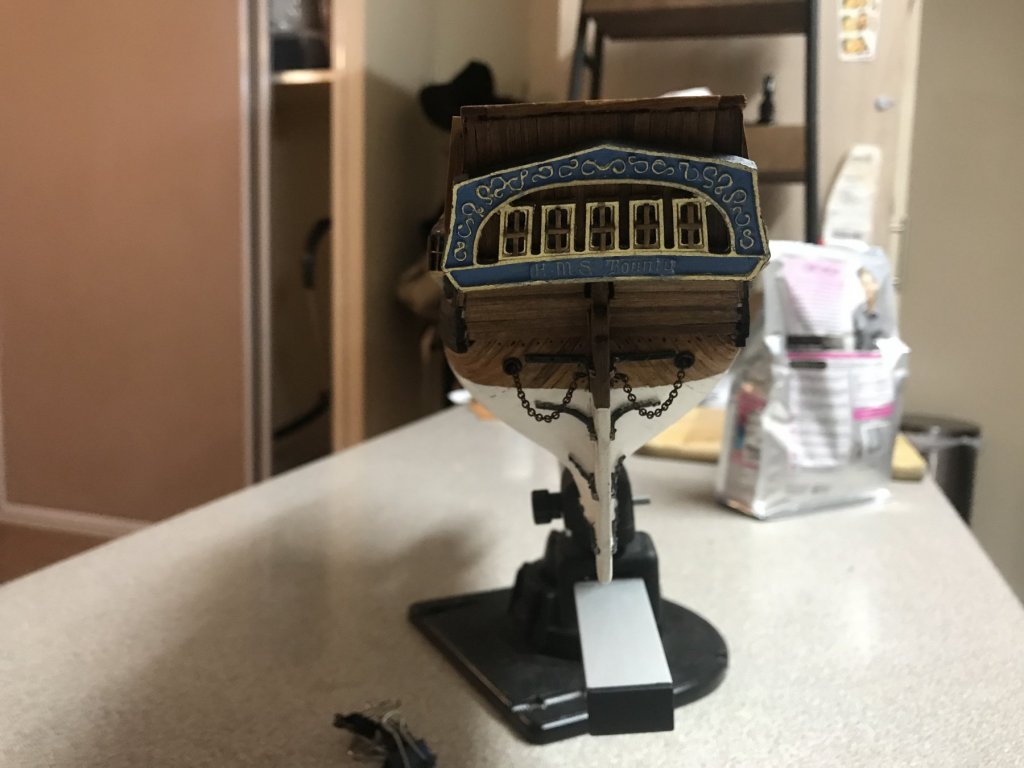
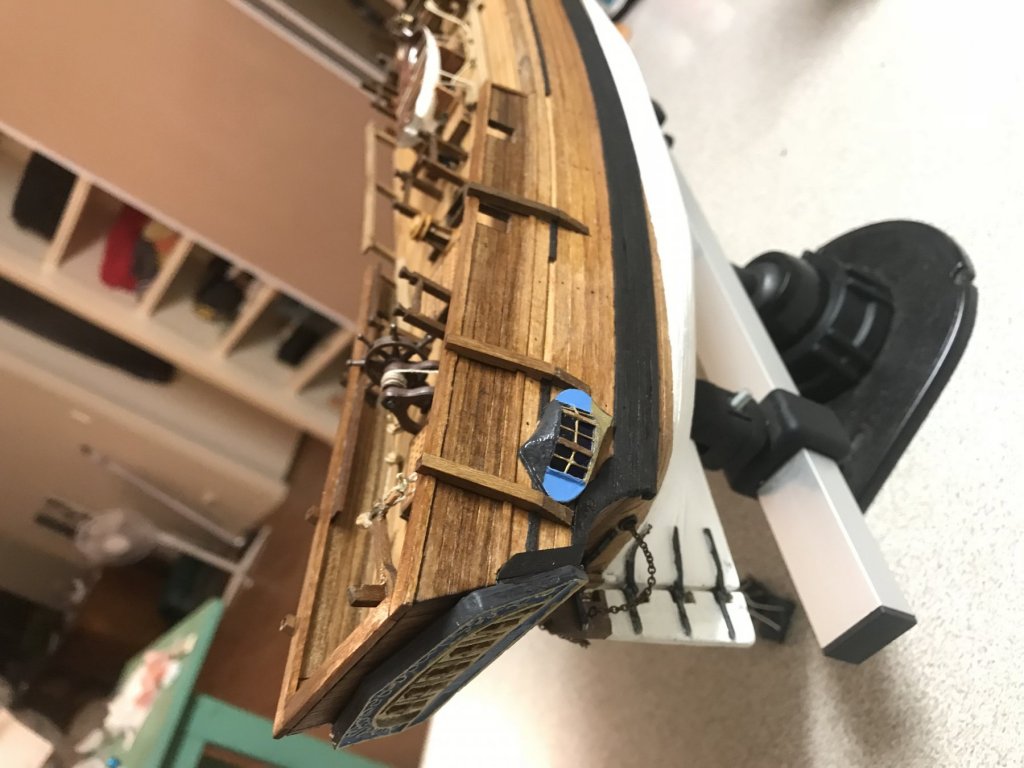
Next was the metal parts for the bow...it was quite challenging...nerve wrecking too. The parts were very brittle... next was the stern...I’m happy with the paint job but not happy with the window bracing...u can’t even see the false glass in the background...I’m going to rip it out and try something else.. but for now I’m keen to keep going. I’ll have another crack later. did the side windows next...i was much happier with how these ones turned out.Next I did the supports for all 10 culverins as can be seen in my non chronological photos 😐...and then finally the mid hand rails...got one to go still. But once that one is done I’ll just have cannons and then be about ready to get stuck into the rigging! I can’t wait!
-
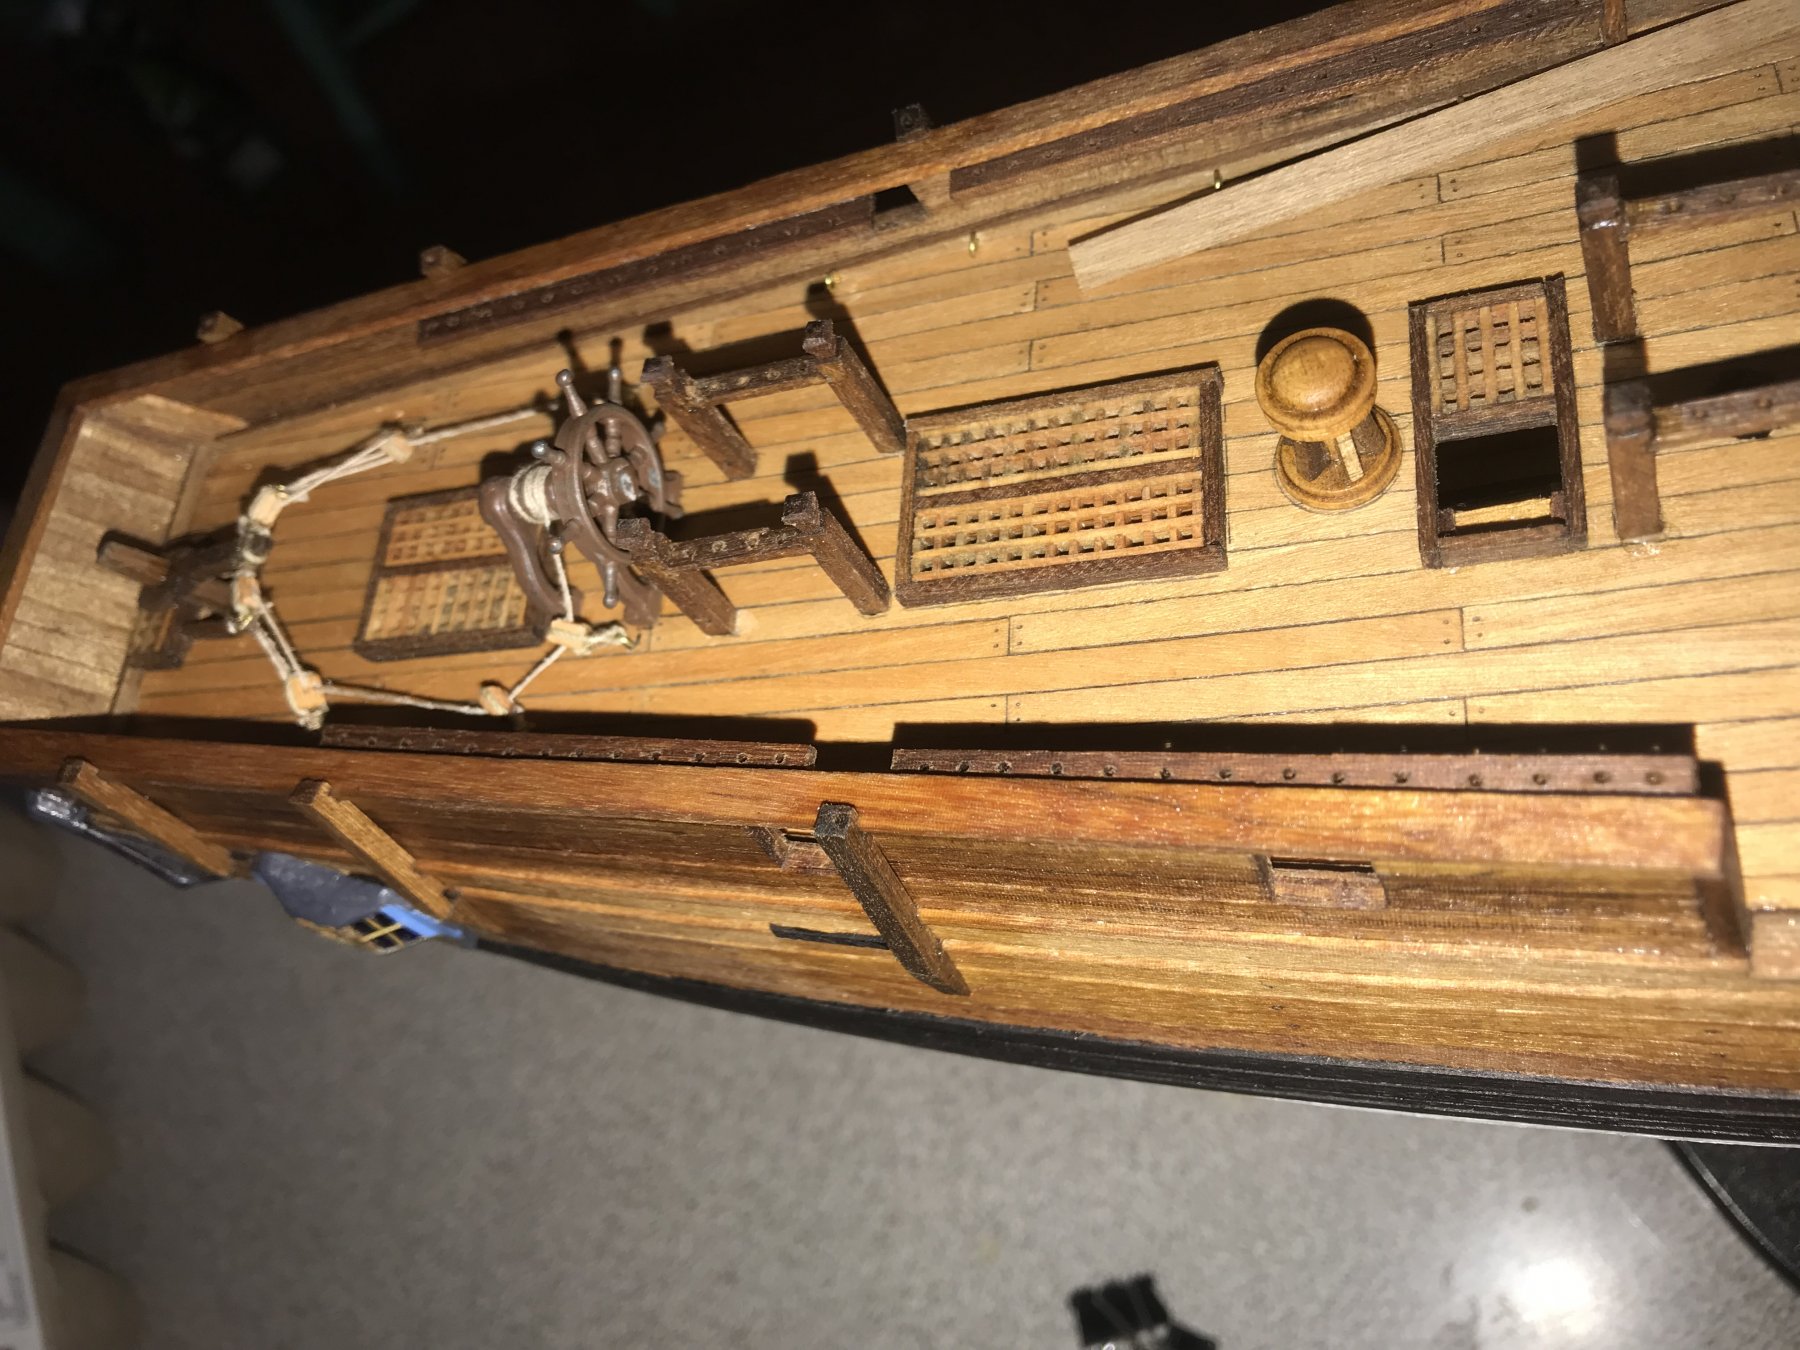
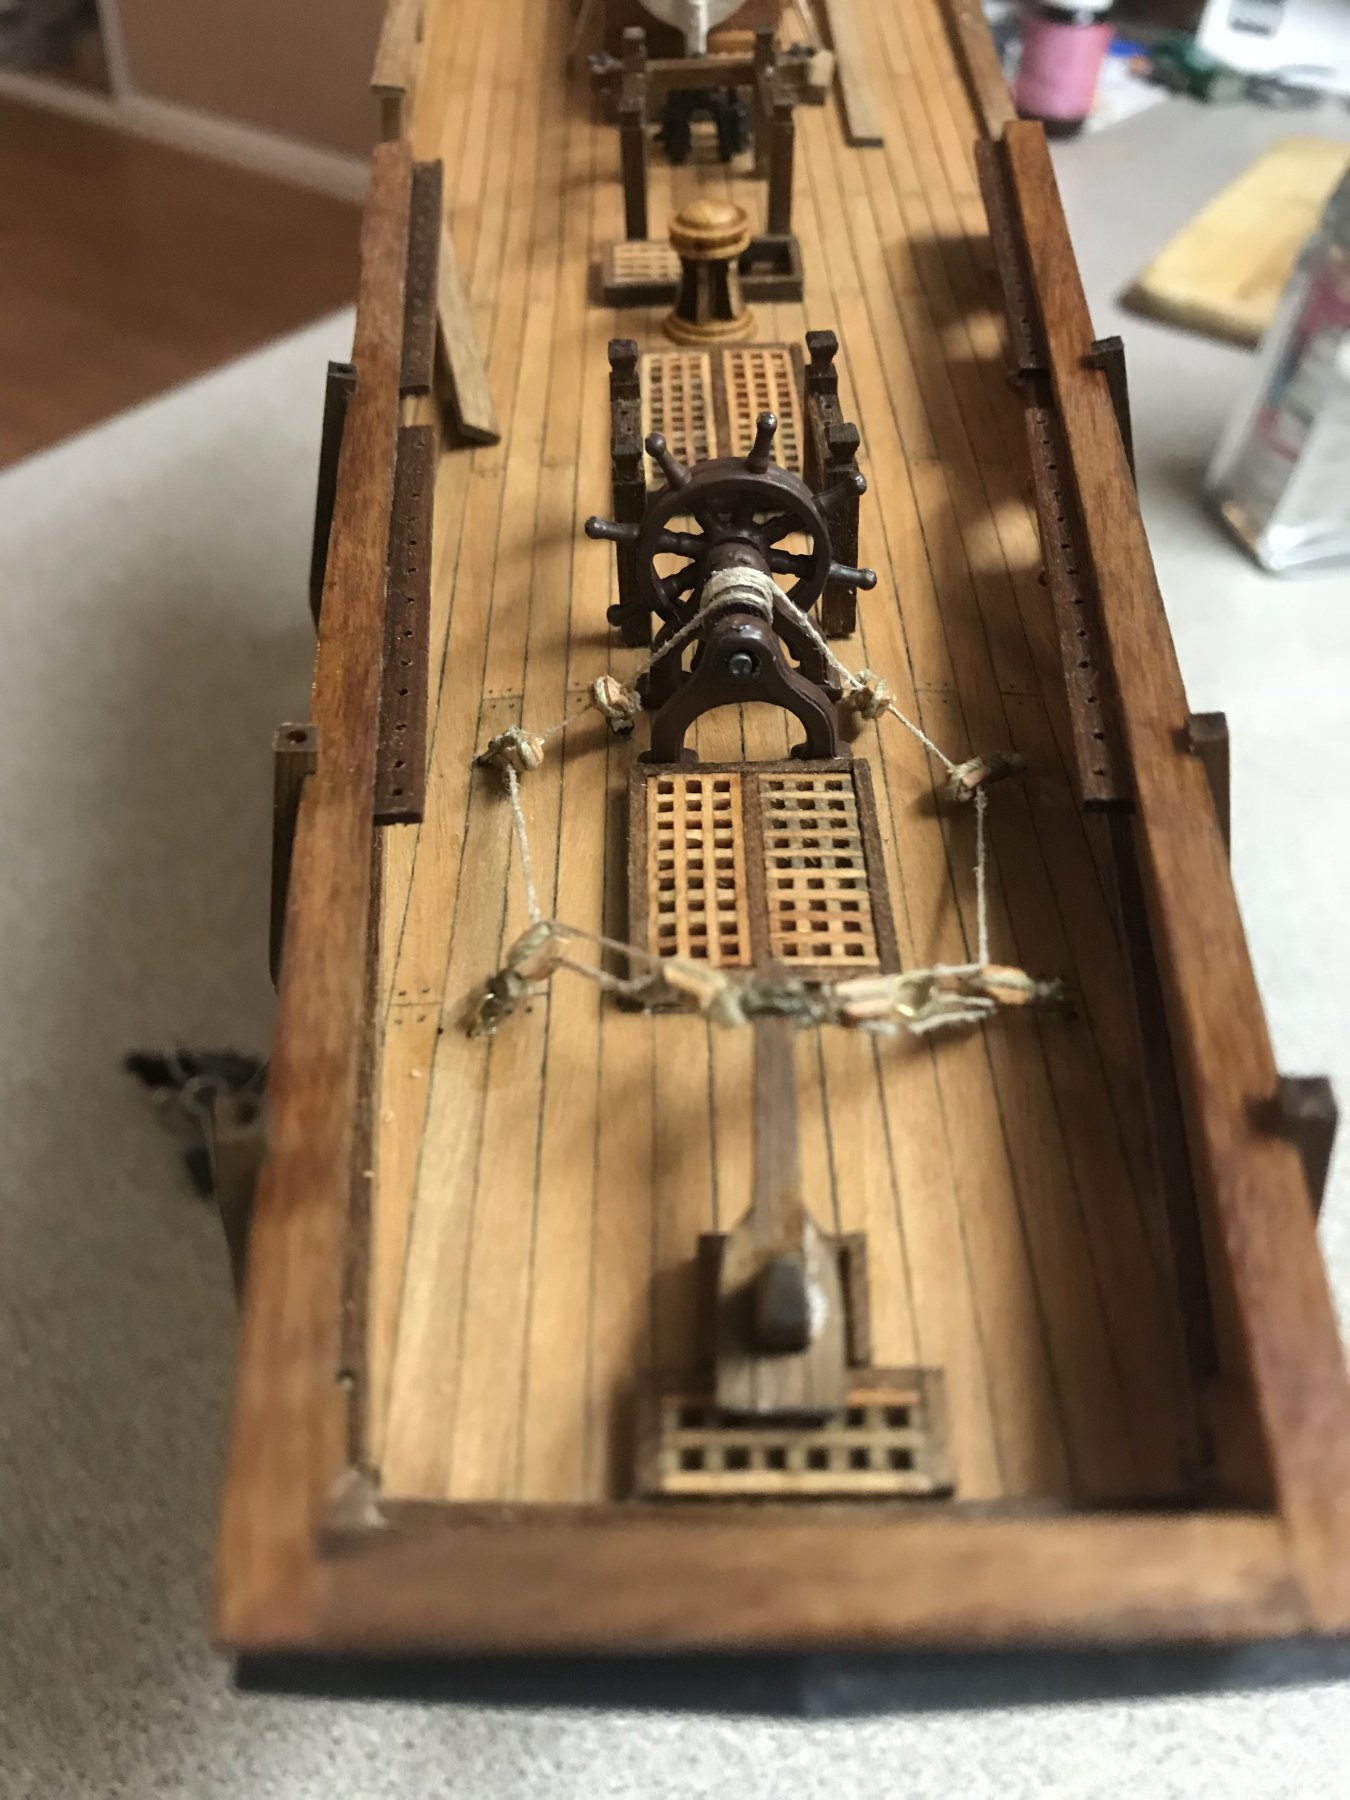
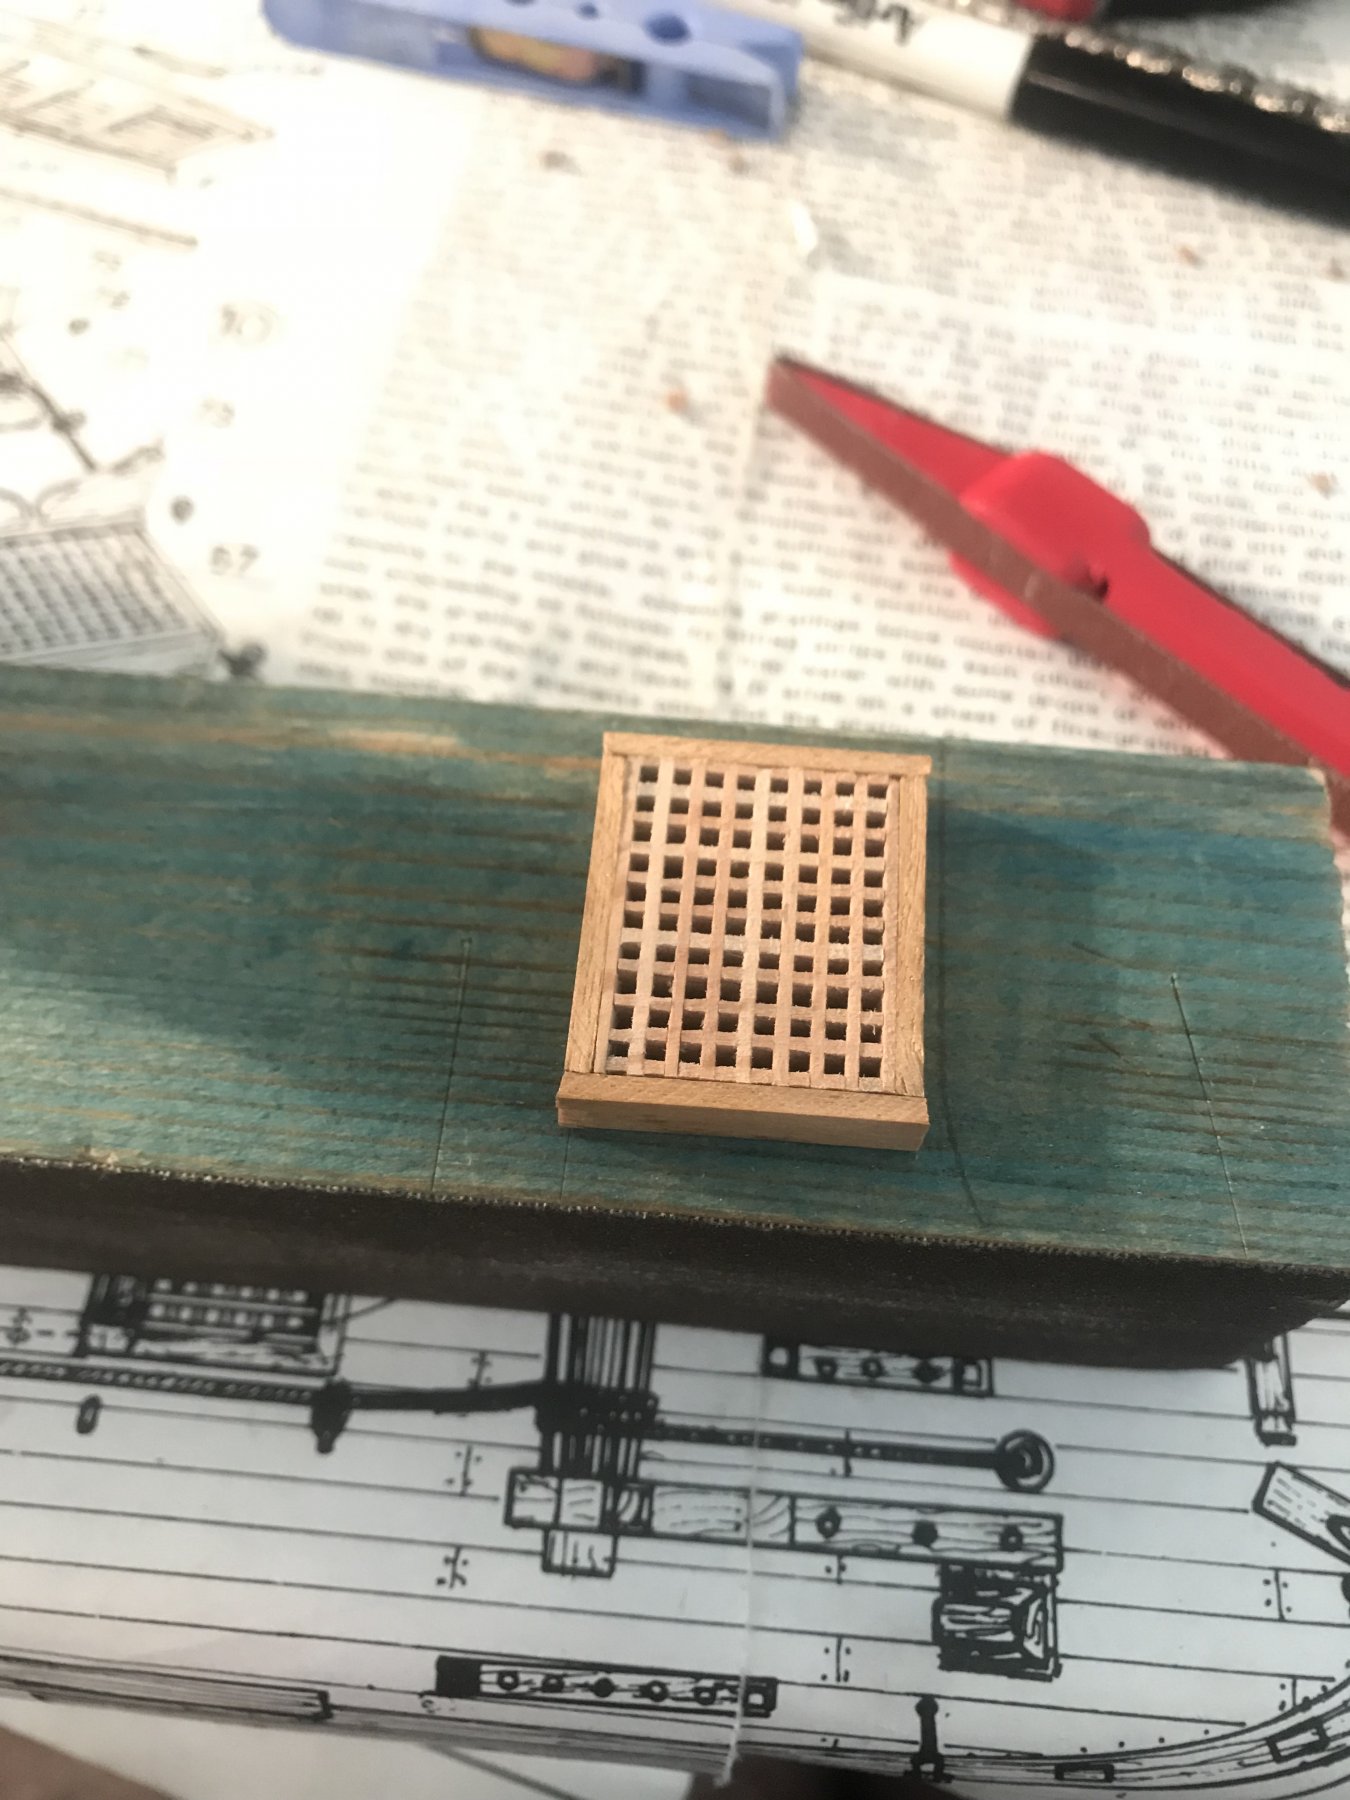
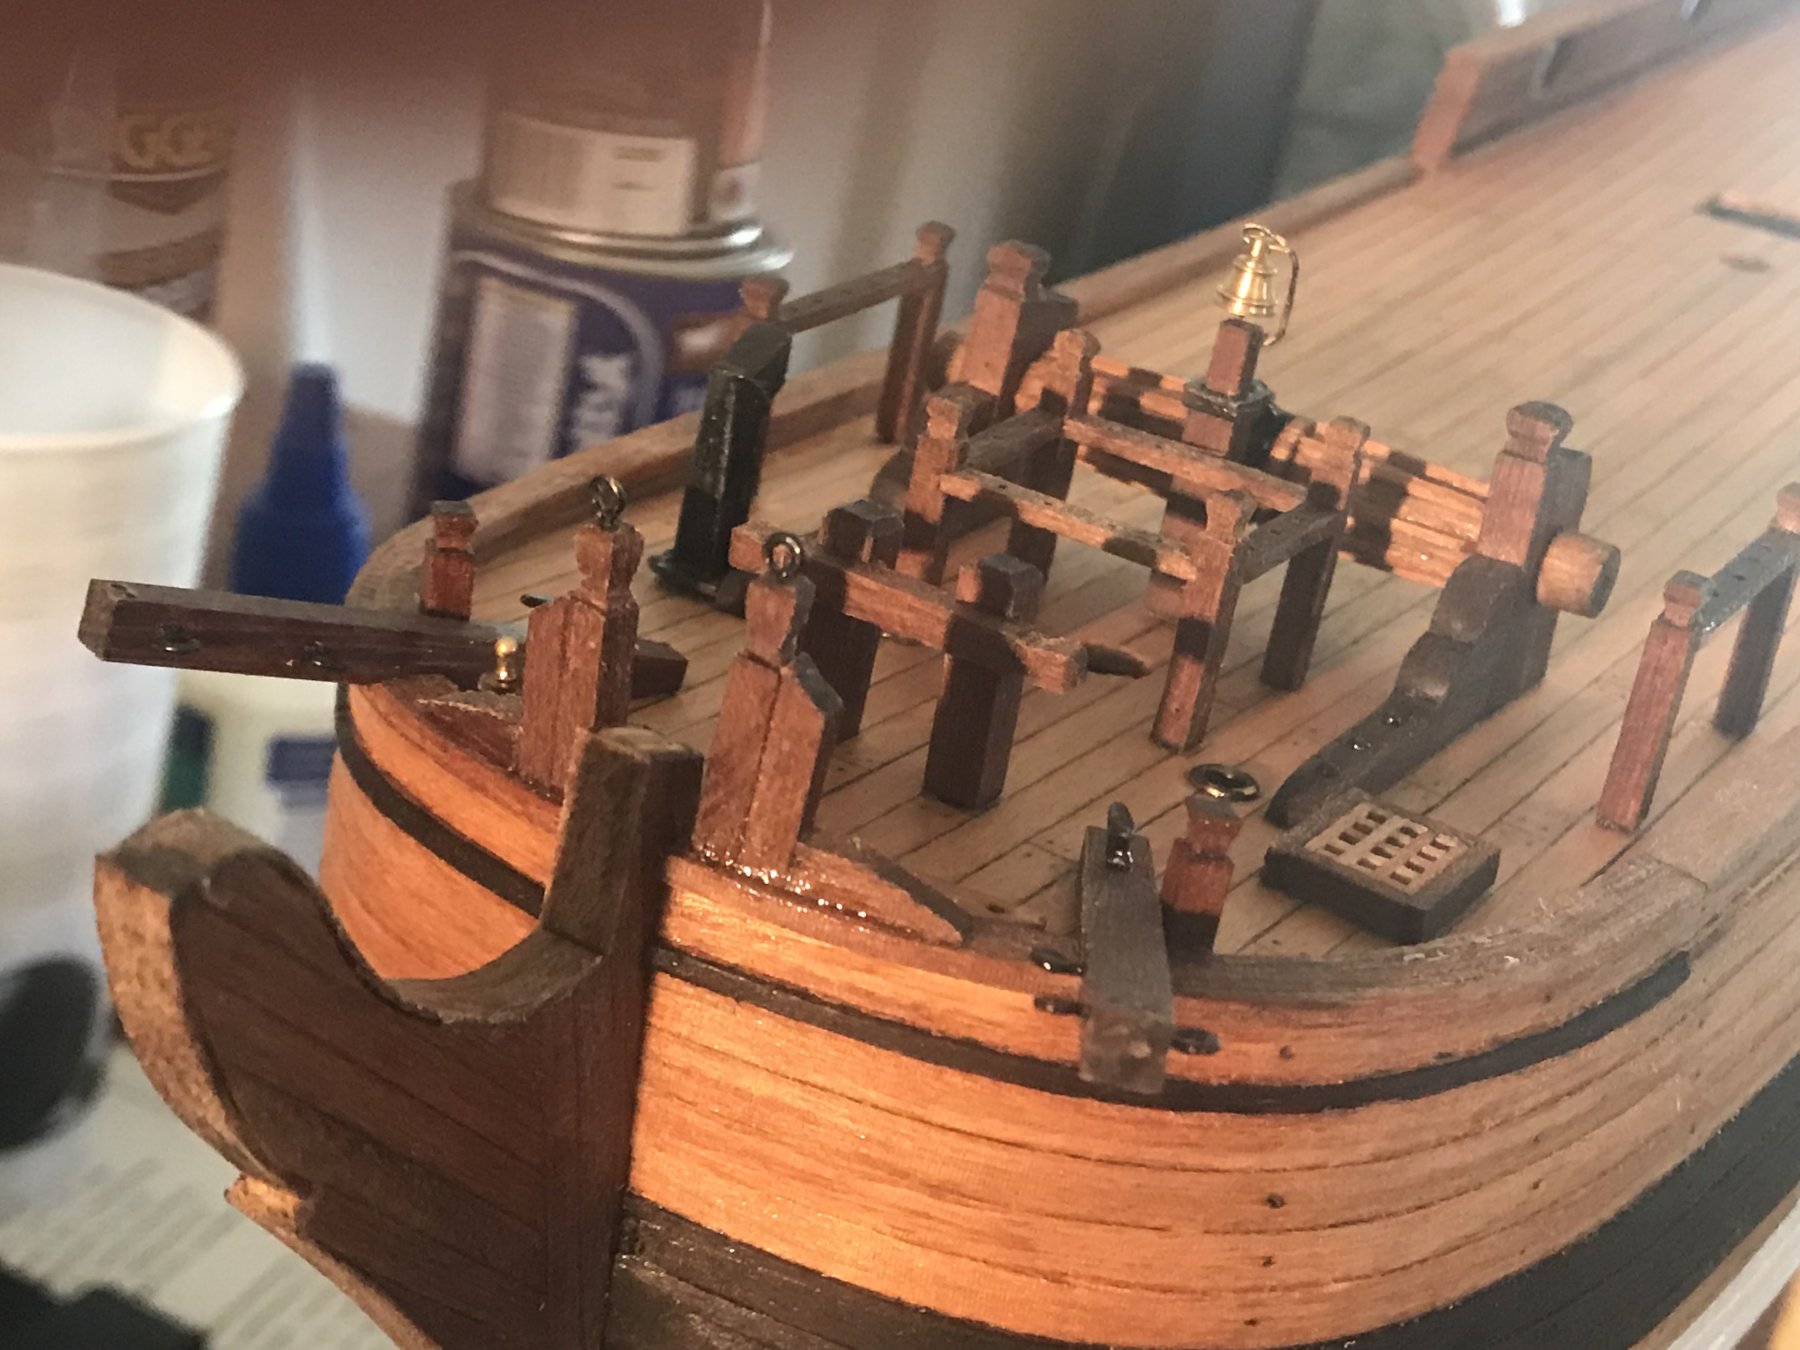
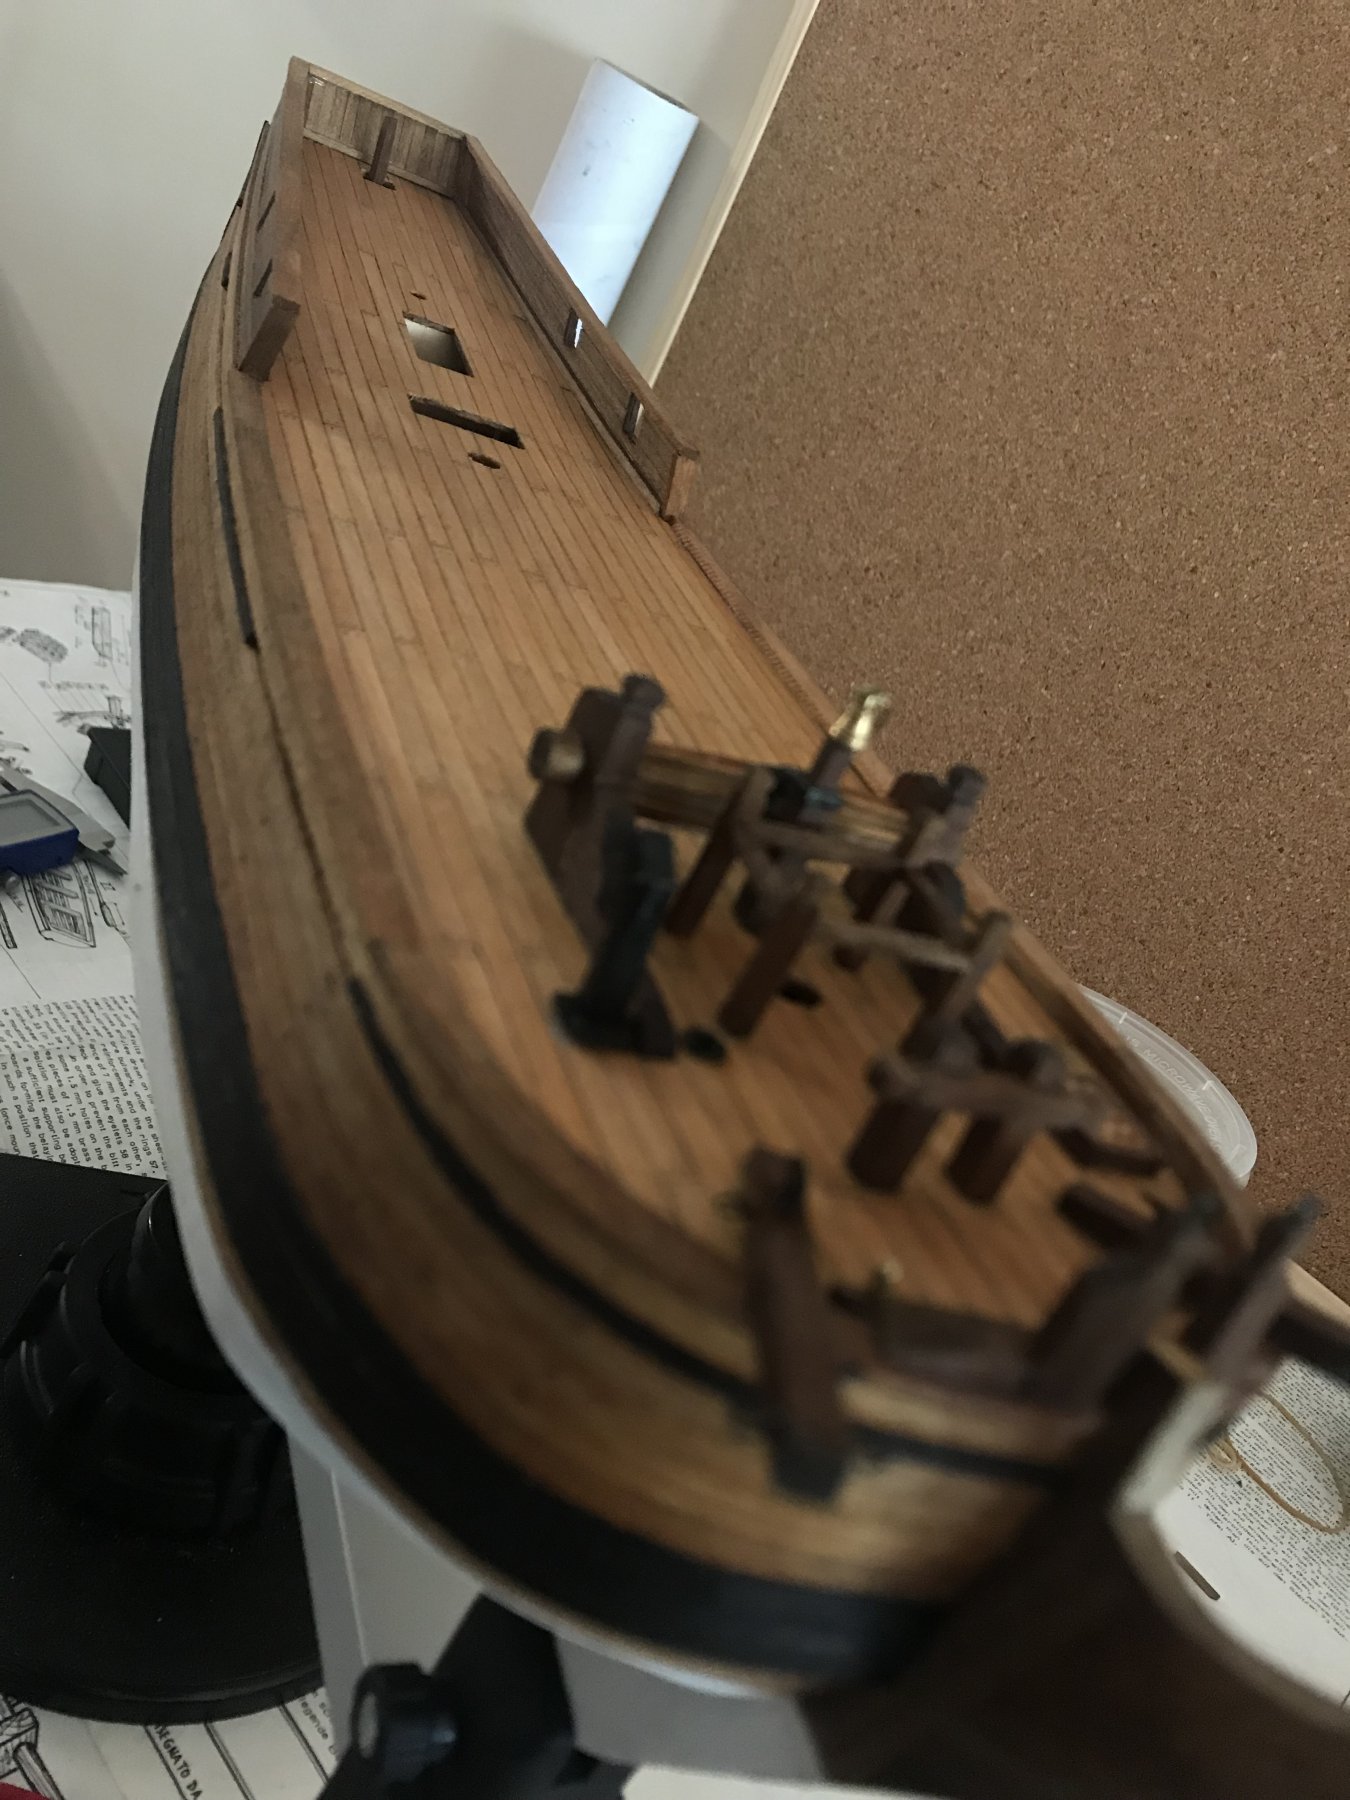
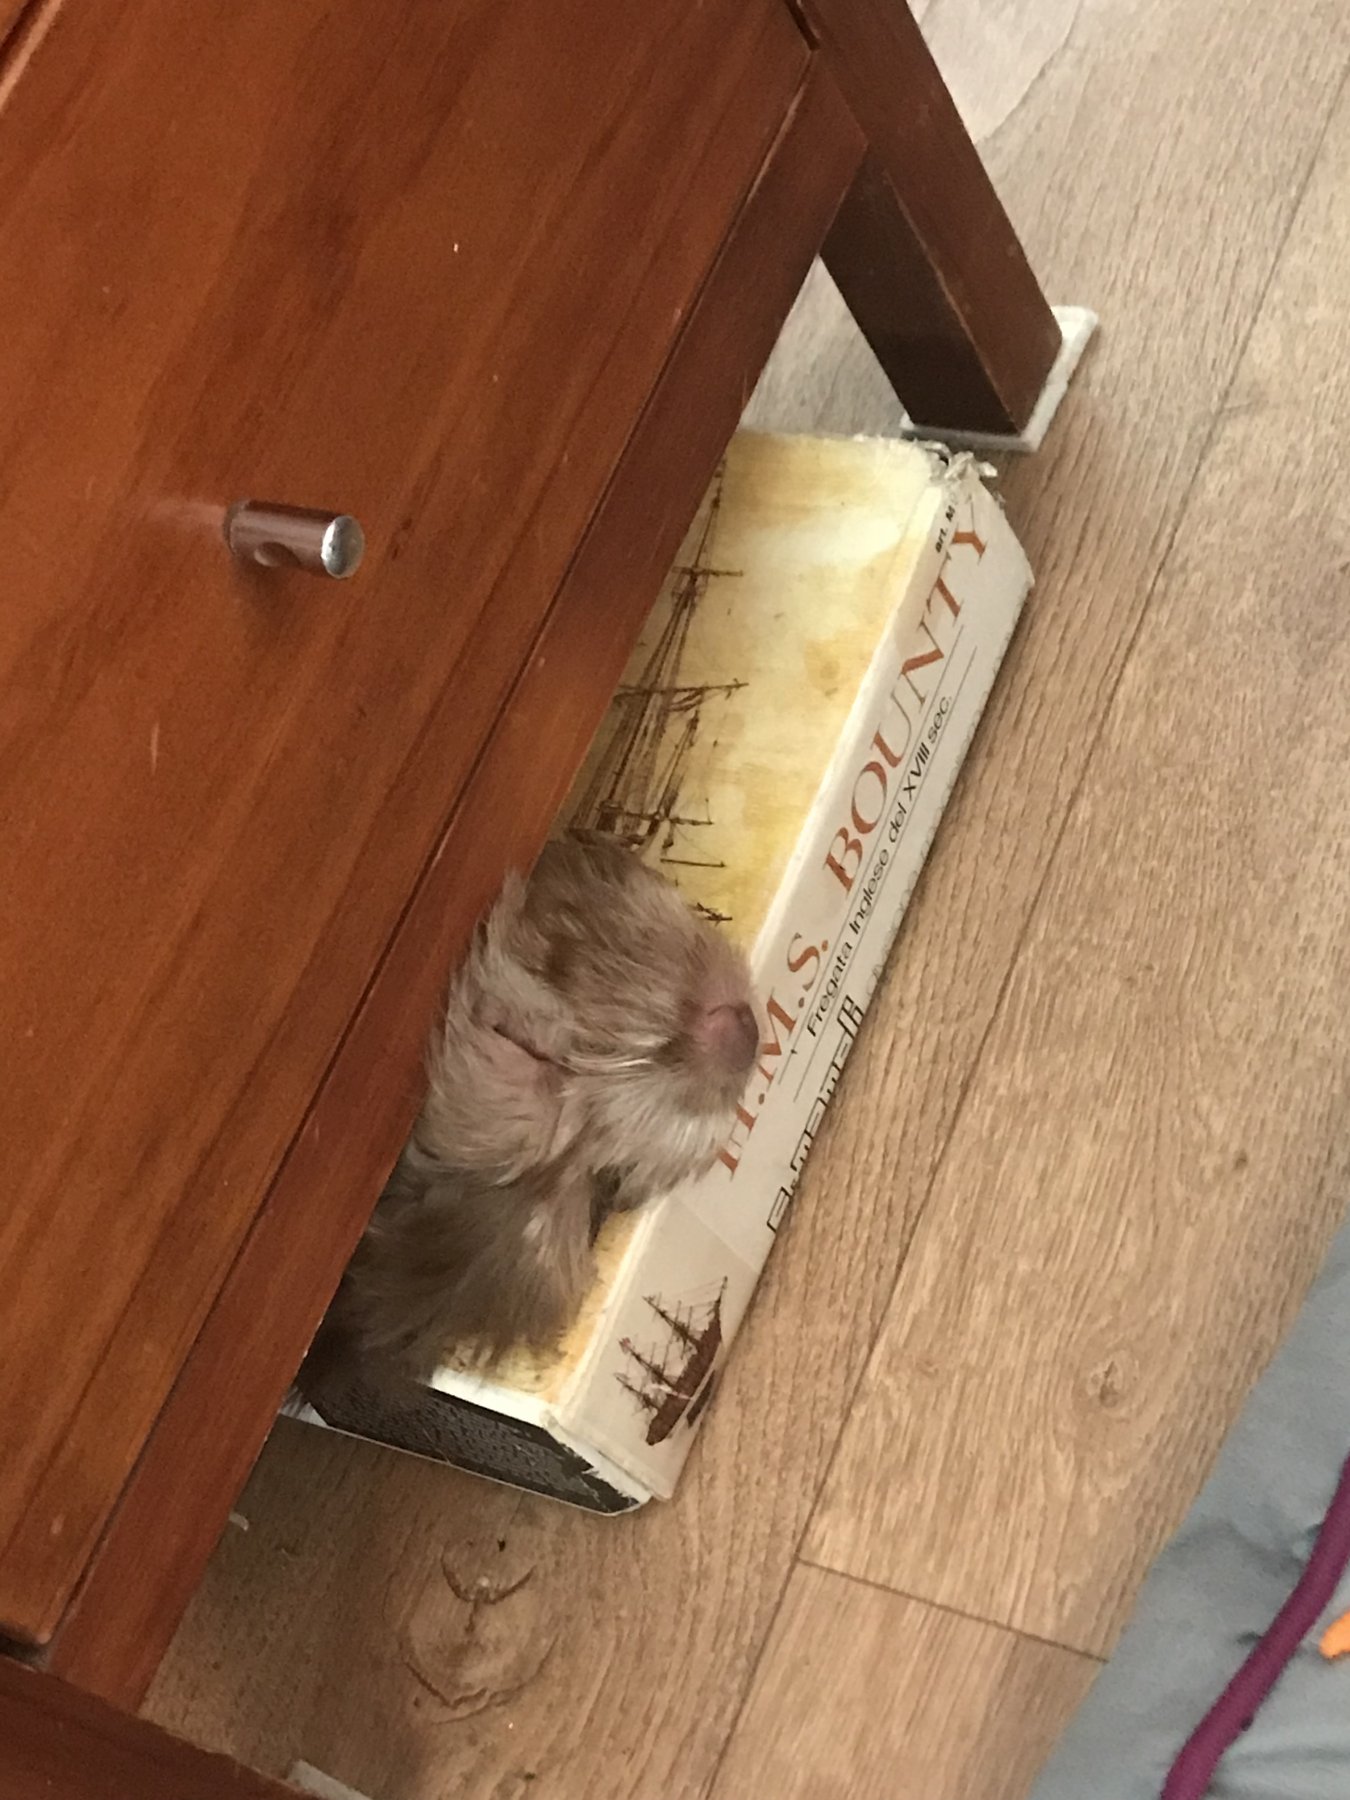
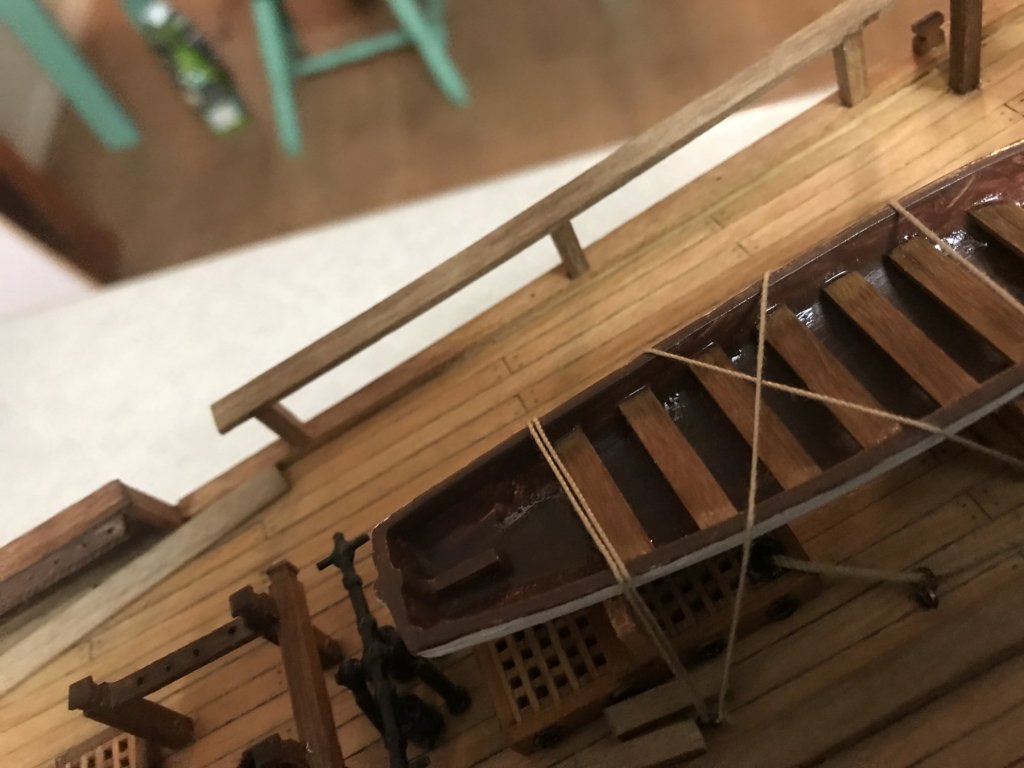
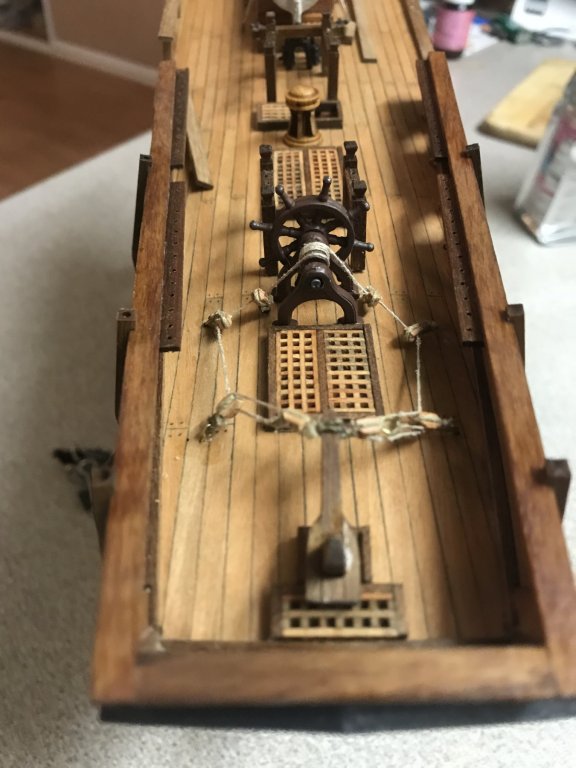
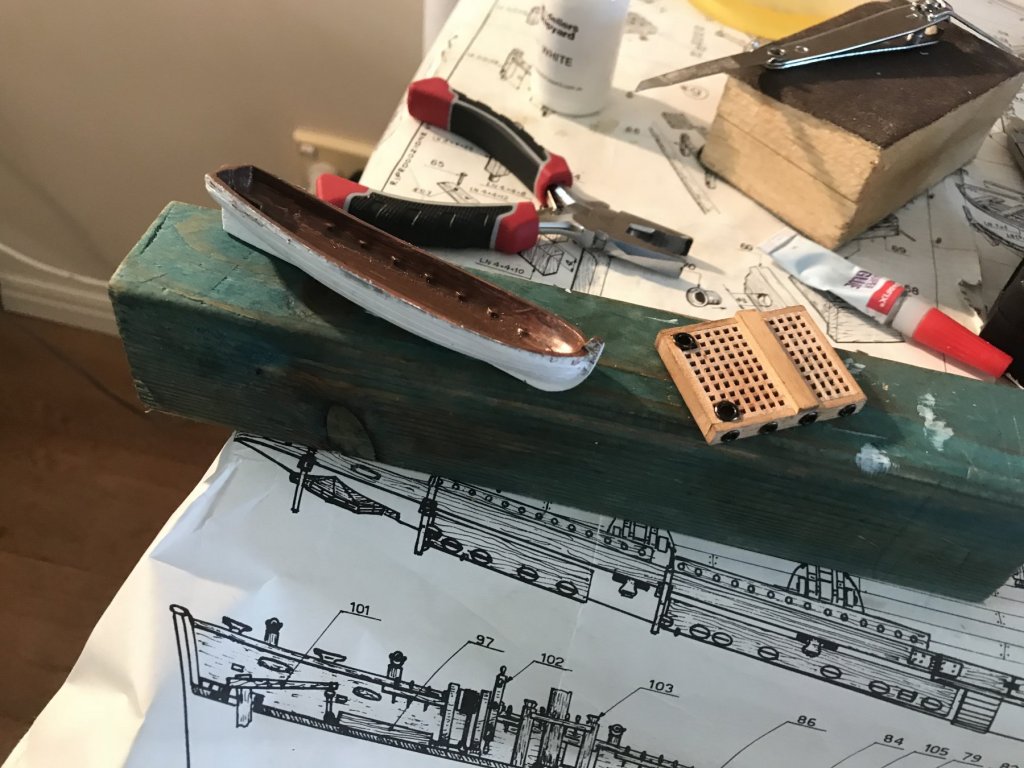
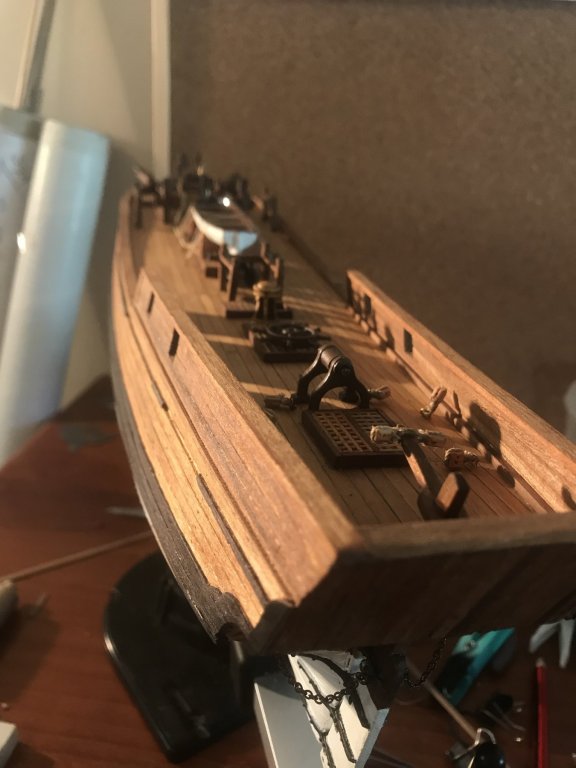
Update guys! We’ve just had a long weekend here in Australia and I managed to get a couple of things done this weekend and the preceding couple of weeks...so here’s what I’ve done guys 😁 firstly I did my best to dress up the metal launch boat supplied with the kit to look as wooden as possible...in other words paint every inch of it then added some timber seats and installed it. Although it was a simple step. It represented a milestone for me...after about 12 months of solid modeling, reading and folding these back up I could finally move on to next set of instructions 😃! next installed the mid belay pins , the windlass...and then the stairs down below to the false deckthen installed more gratings. The helm stand and a few seized blocks for the tiller riggingthen rigged it, helmed it...and added the last grating at the stern...slowly getting there. And here’s a body shot of the bounty, with my little helper not asleep for once!


-
Thanks very much for the help guys...those vids really helped puckotred, they were well explained. Finished my first rigged block! Many hundreds to go! 😁
- 5 replies
-
- 5
-

-
- tiller rigging
- blocks
- (and 1 more)
-
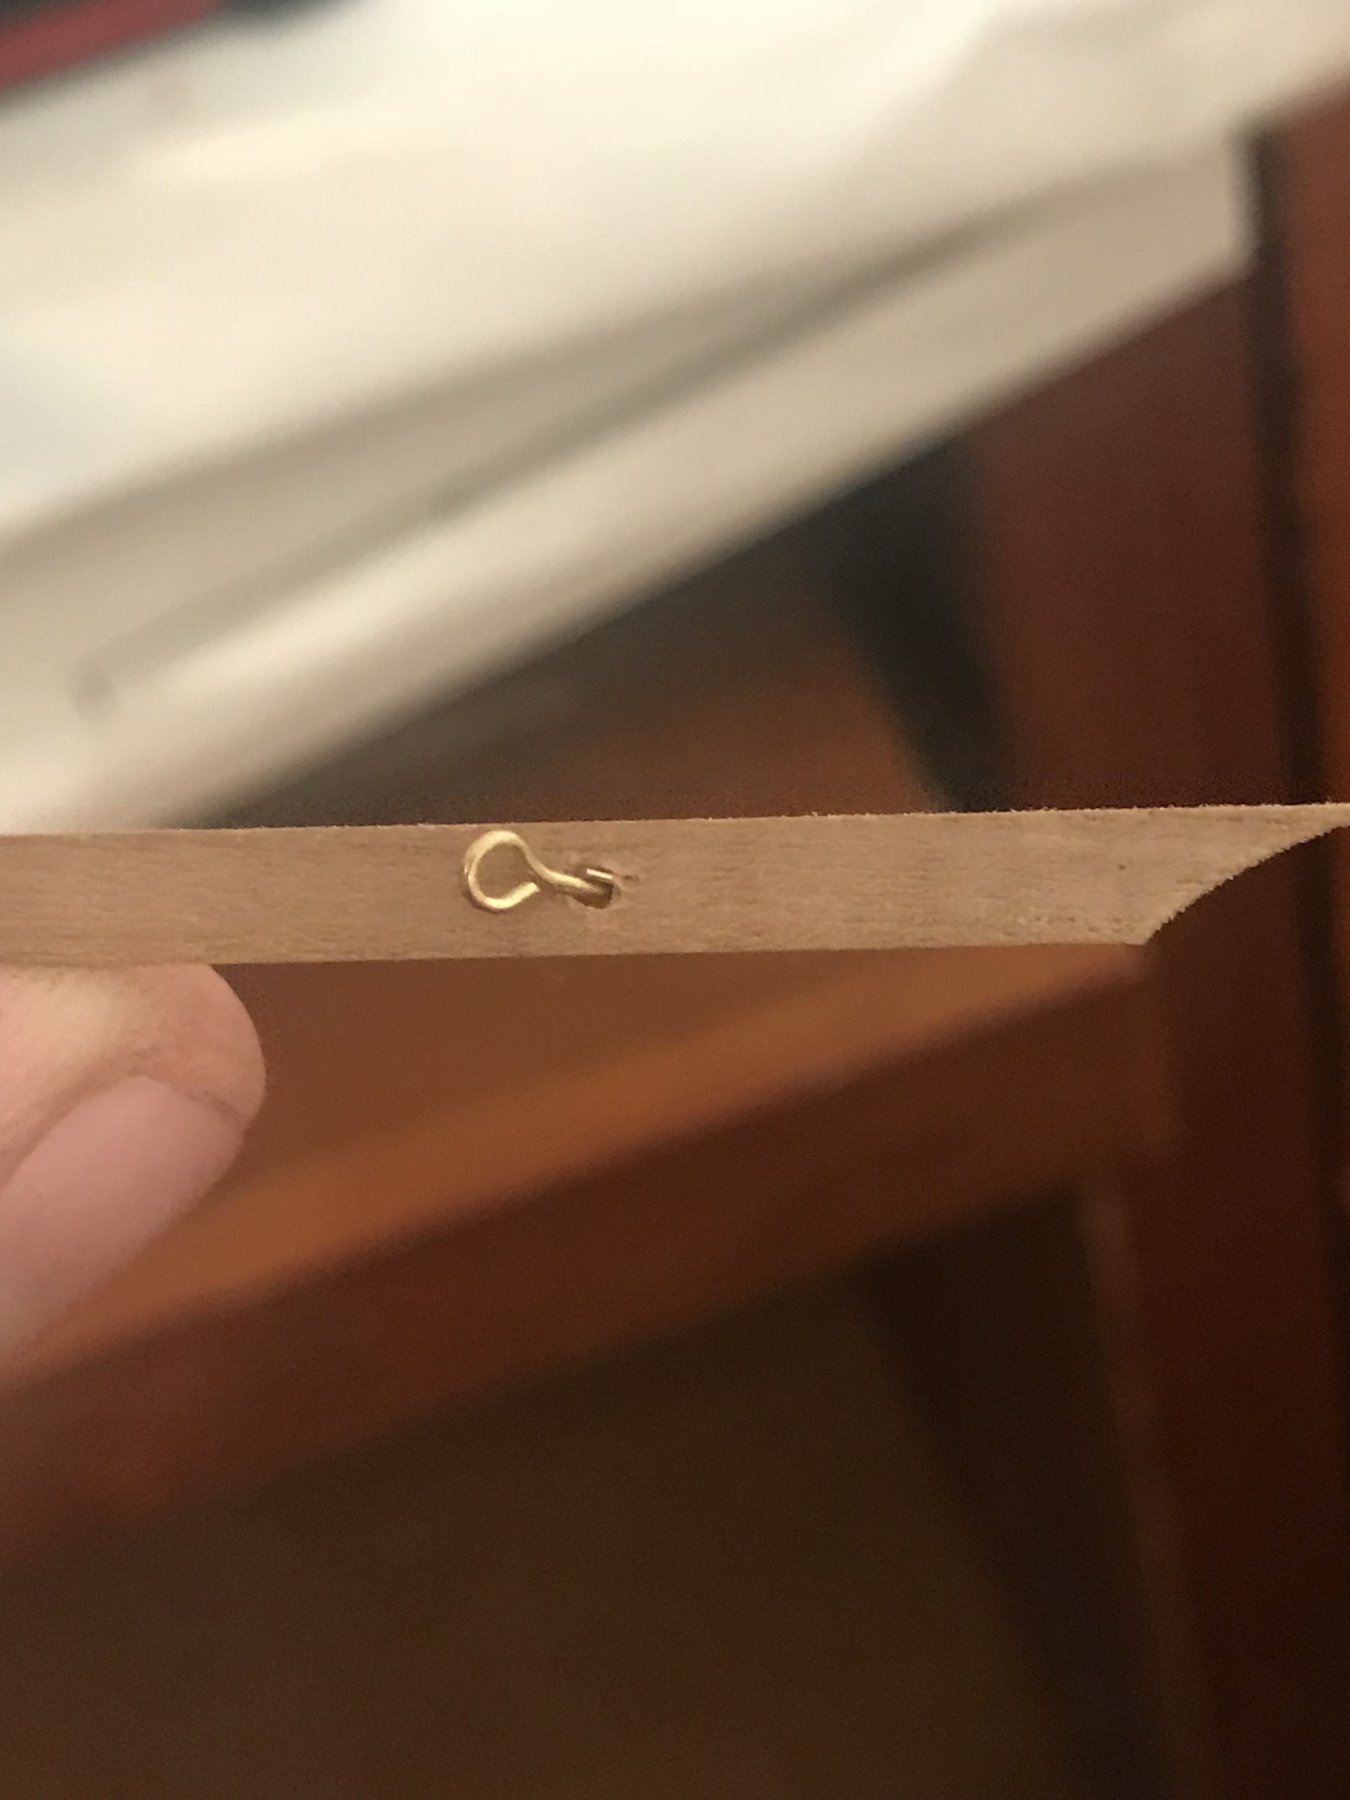
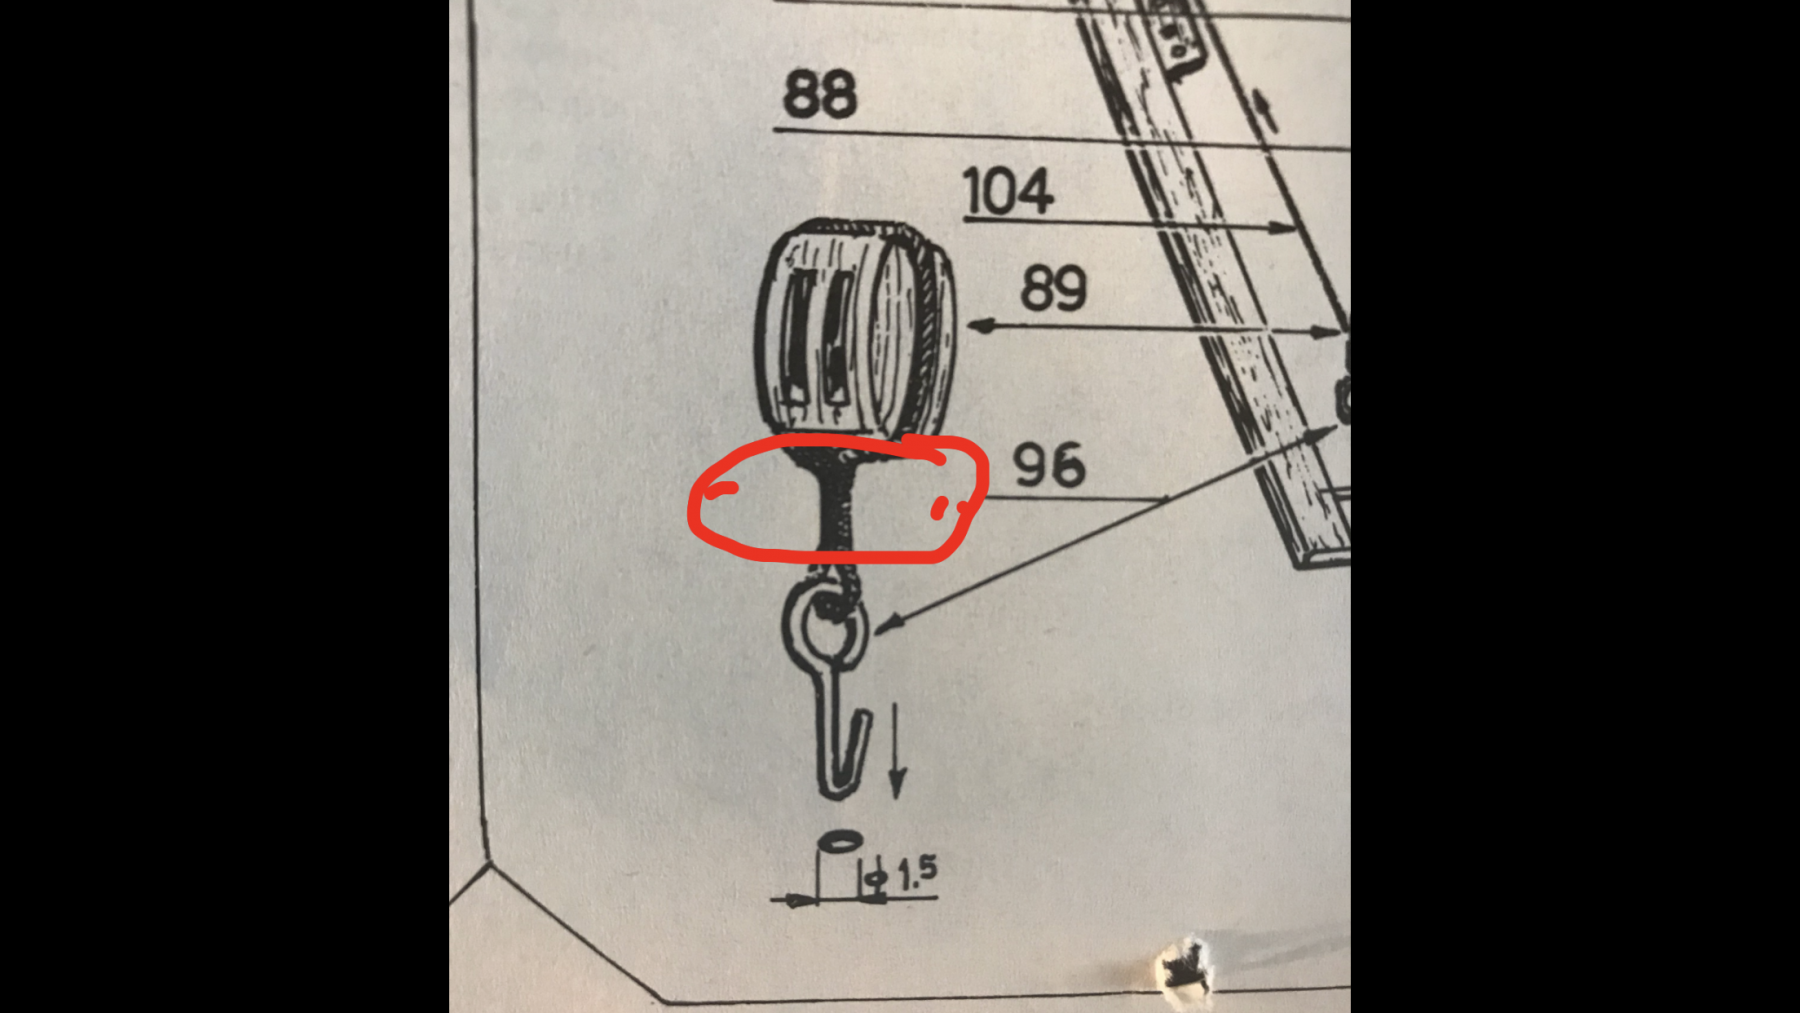
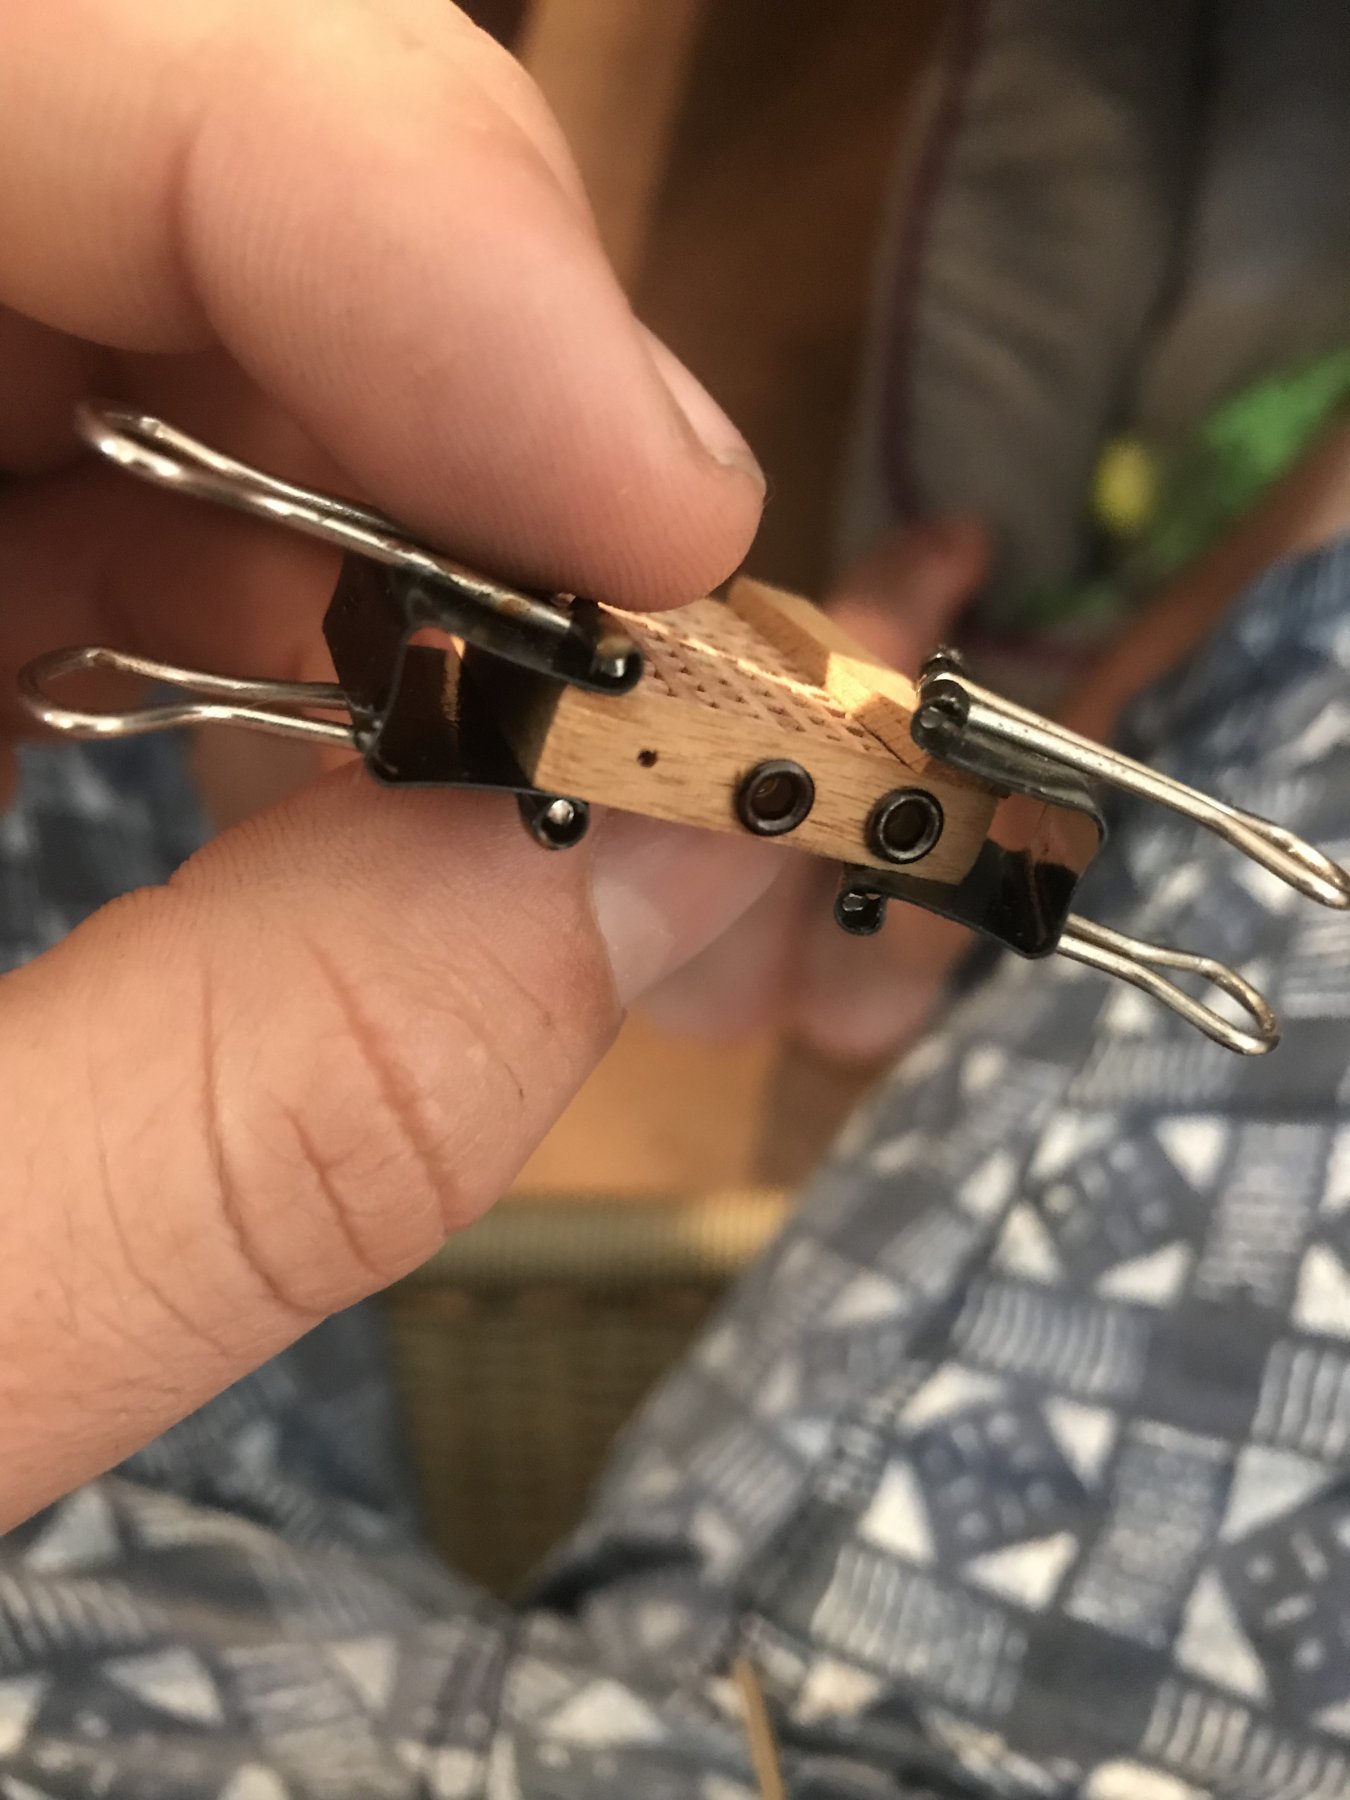
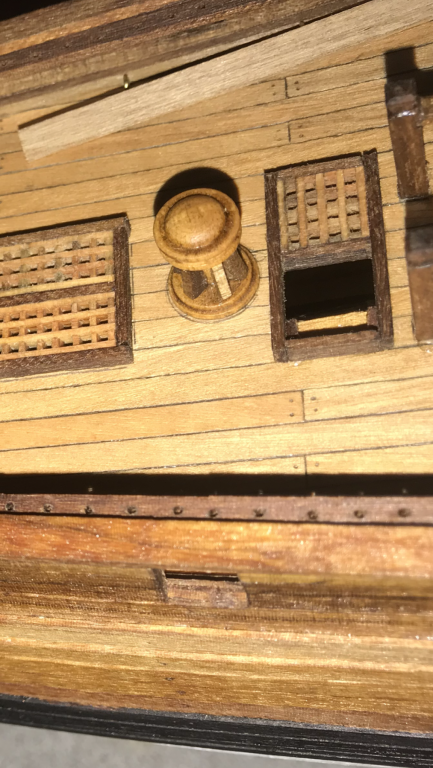
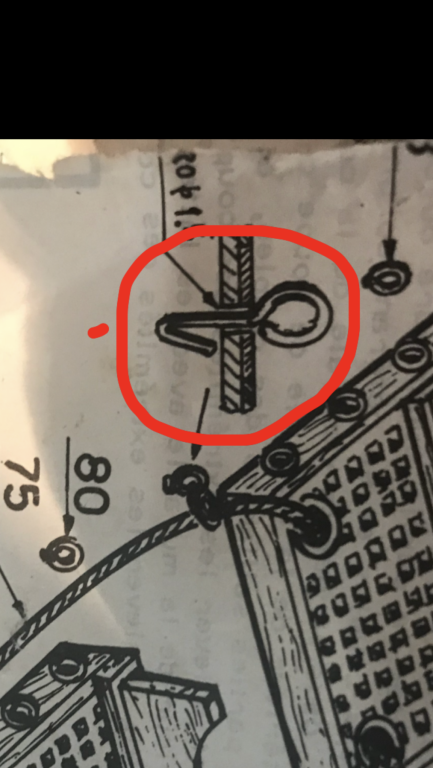
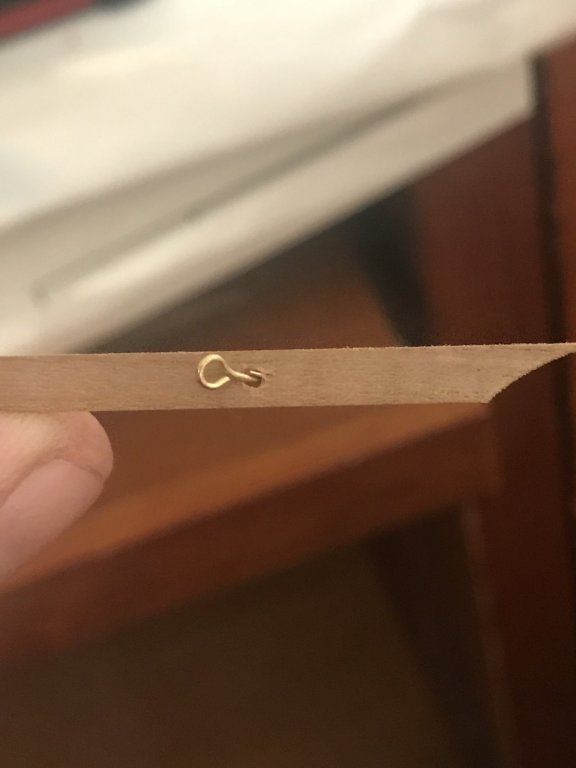
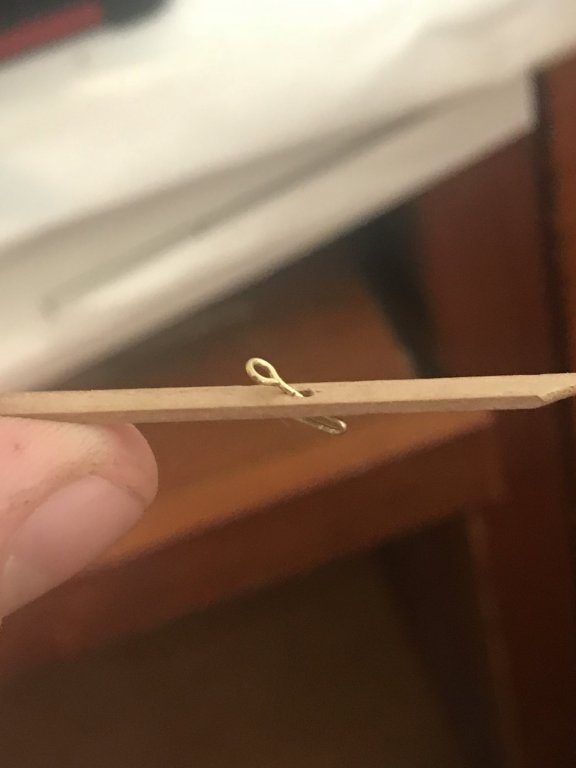
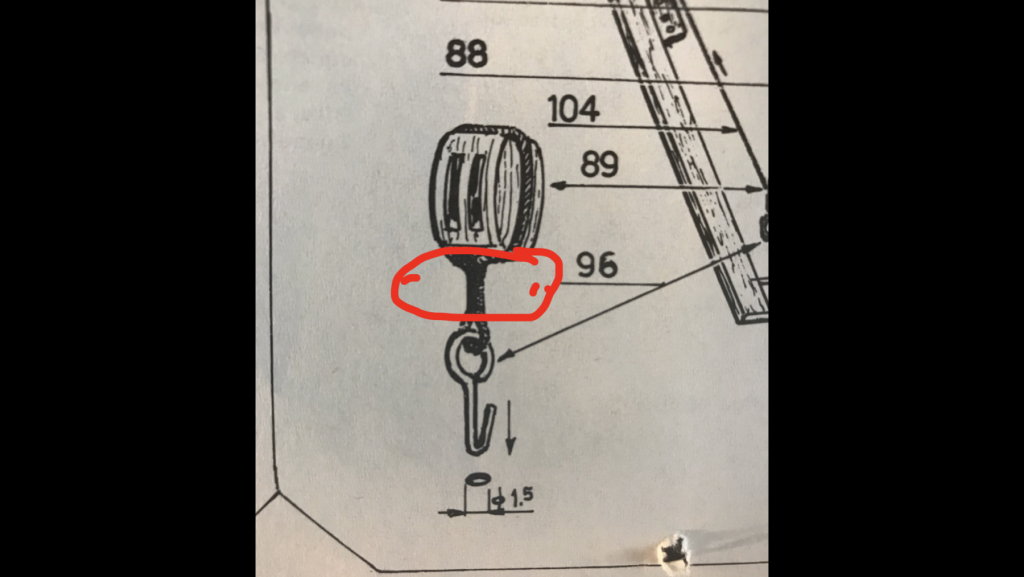
Hi druxy. And thank you very much for the quick reply. I think I understand your suggested method for rigging the blocks I will try it shortly. As for fixing the eyebolt to the deck, the plans the plans show this illustration the plans still state that the hole is 1.5 mm but the deadeye is not that width...yet still the illustration shows the deadeye sitting snug in its hole with no real gaps. This is how it looks in realityit certainly isn’t the snug fit that is shown in the plans. But it if it is common practice I will proceed as the plans state?
- 5 replies
-
- 1
-
-
- tiller rigging
- blocks
- (and 1 more)
-
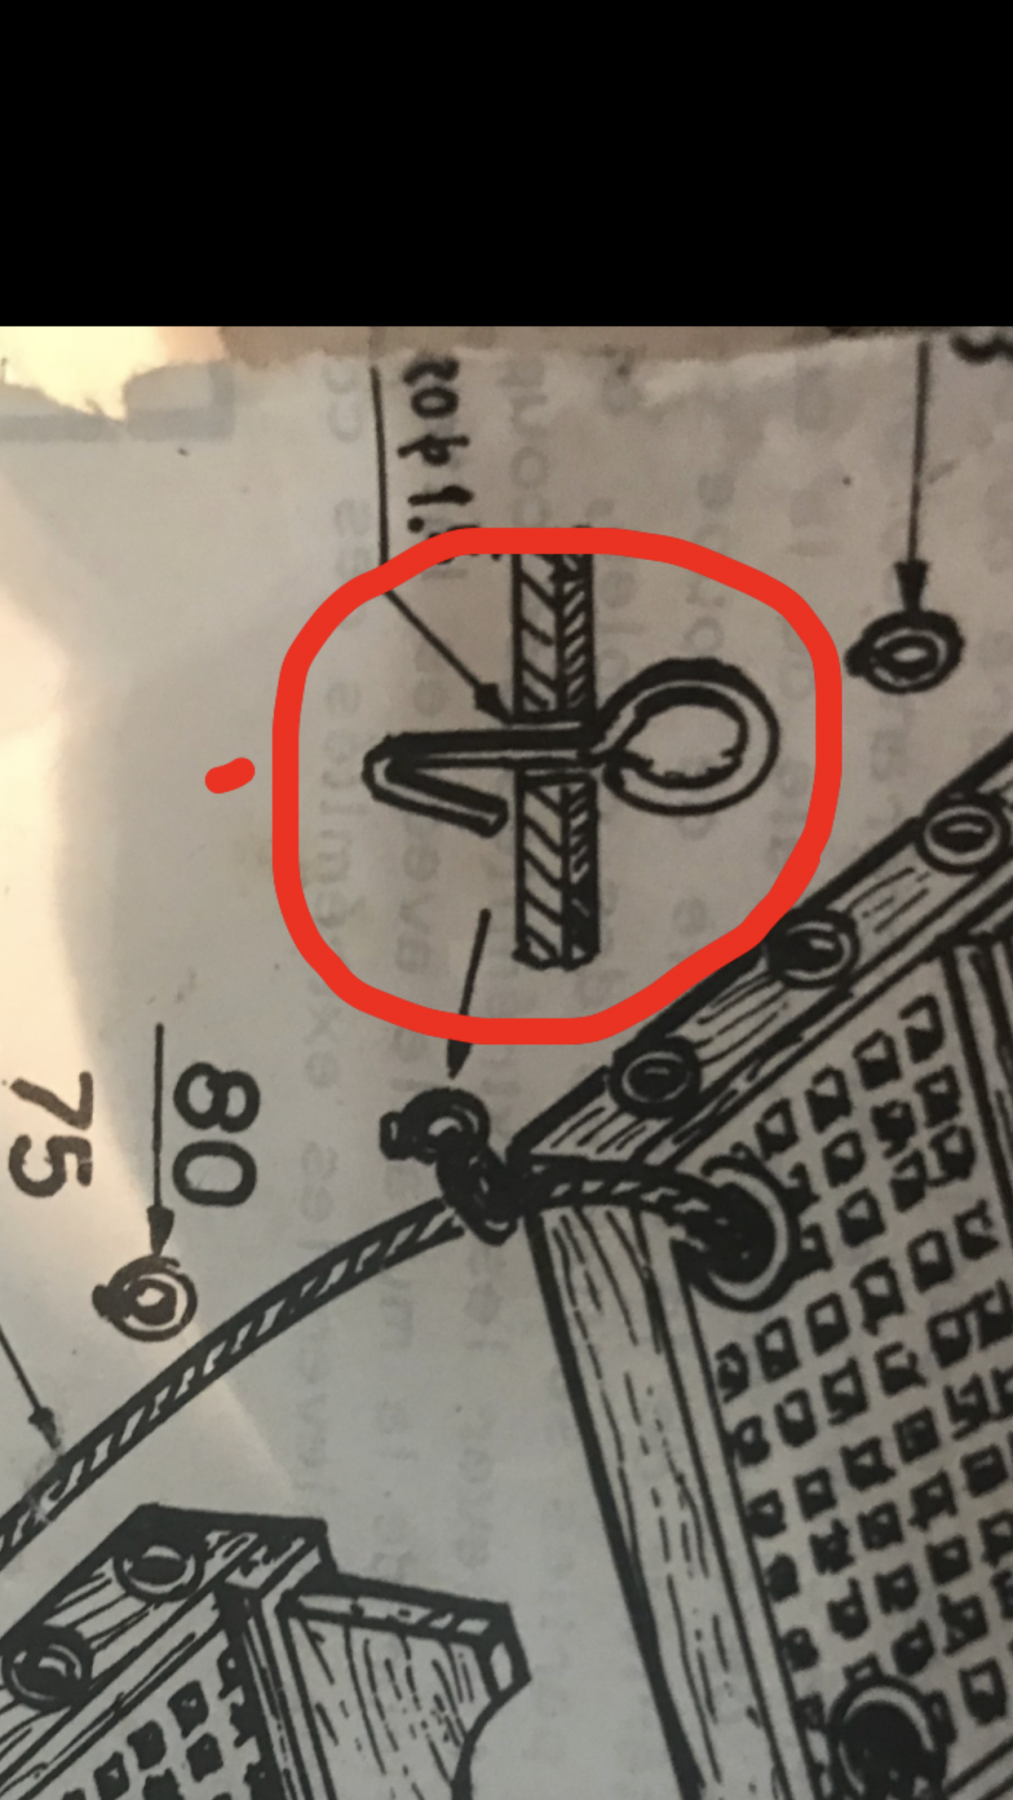
Hi there guys. I’m currently working on Mamoli’s HMAV Bounty and I’m reaching the tiller rigging stage. I’m trying to do a quality job and am happy with my progress so far but I’m approaching the rigging stage and don’t want my rigging job to let the model down.... I have several questions that will probably seem really basic to some of the seasoned modelers on here. But I’m struggling to find information or clear answers on the subject. Firstly is it correct that the thicker rope between the block and the loop that goes through the eyebolt in the illustrated picture on my bounty plans is from a separate smaller rope making it appear to be thicker? Or is it the same rope? Which is the ideal way to do it? Is here any good videos or books that I can download that can show me how to do these kind of basics? I have no shortage of ropes so either way doesn’t bother me...I’m just trying to do it most realistic looking way possible and learn. Secondly the way the plans are asking me to fix the eyebolt into the the deck seems unusual to me. And I just wanted to clarify that it isn’t another mistake in the plans (which I have noticed a few) The eyebolt has a width of .5 mm and drilling a 1.5 mm hole in the deck sounds wide to me, even for a folded eyebolt. Just wanted to check that this is common practice.
- 5 replies
-
- 1
-
-
- tiller rigging
- blocks
- (and 1 more)
-
Haha thanks Fernando! ...it’s hard to find good help these days
-
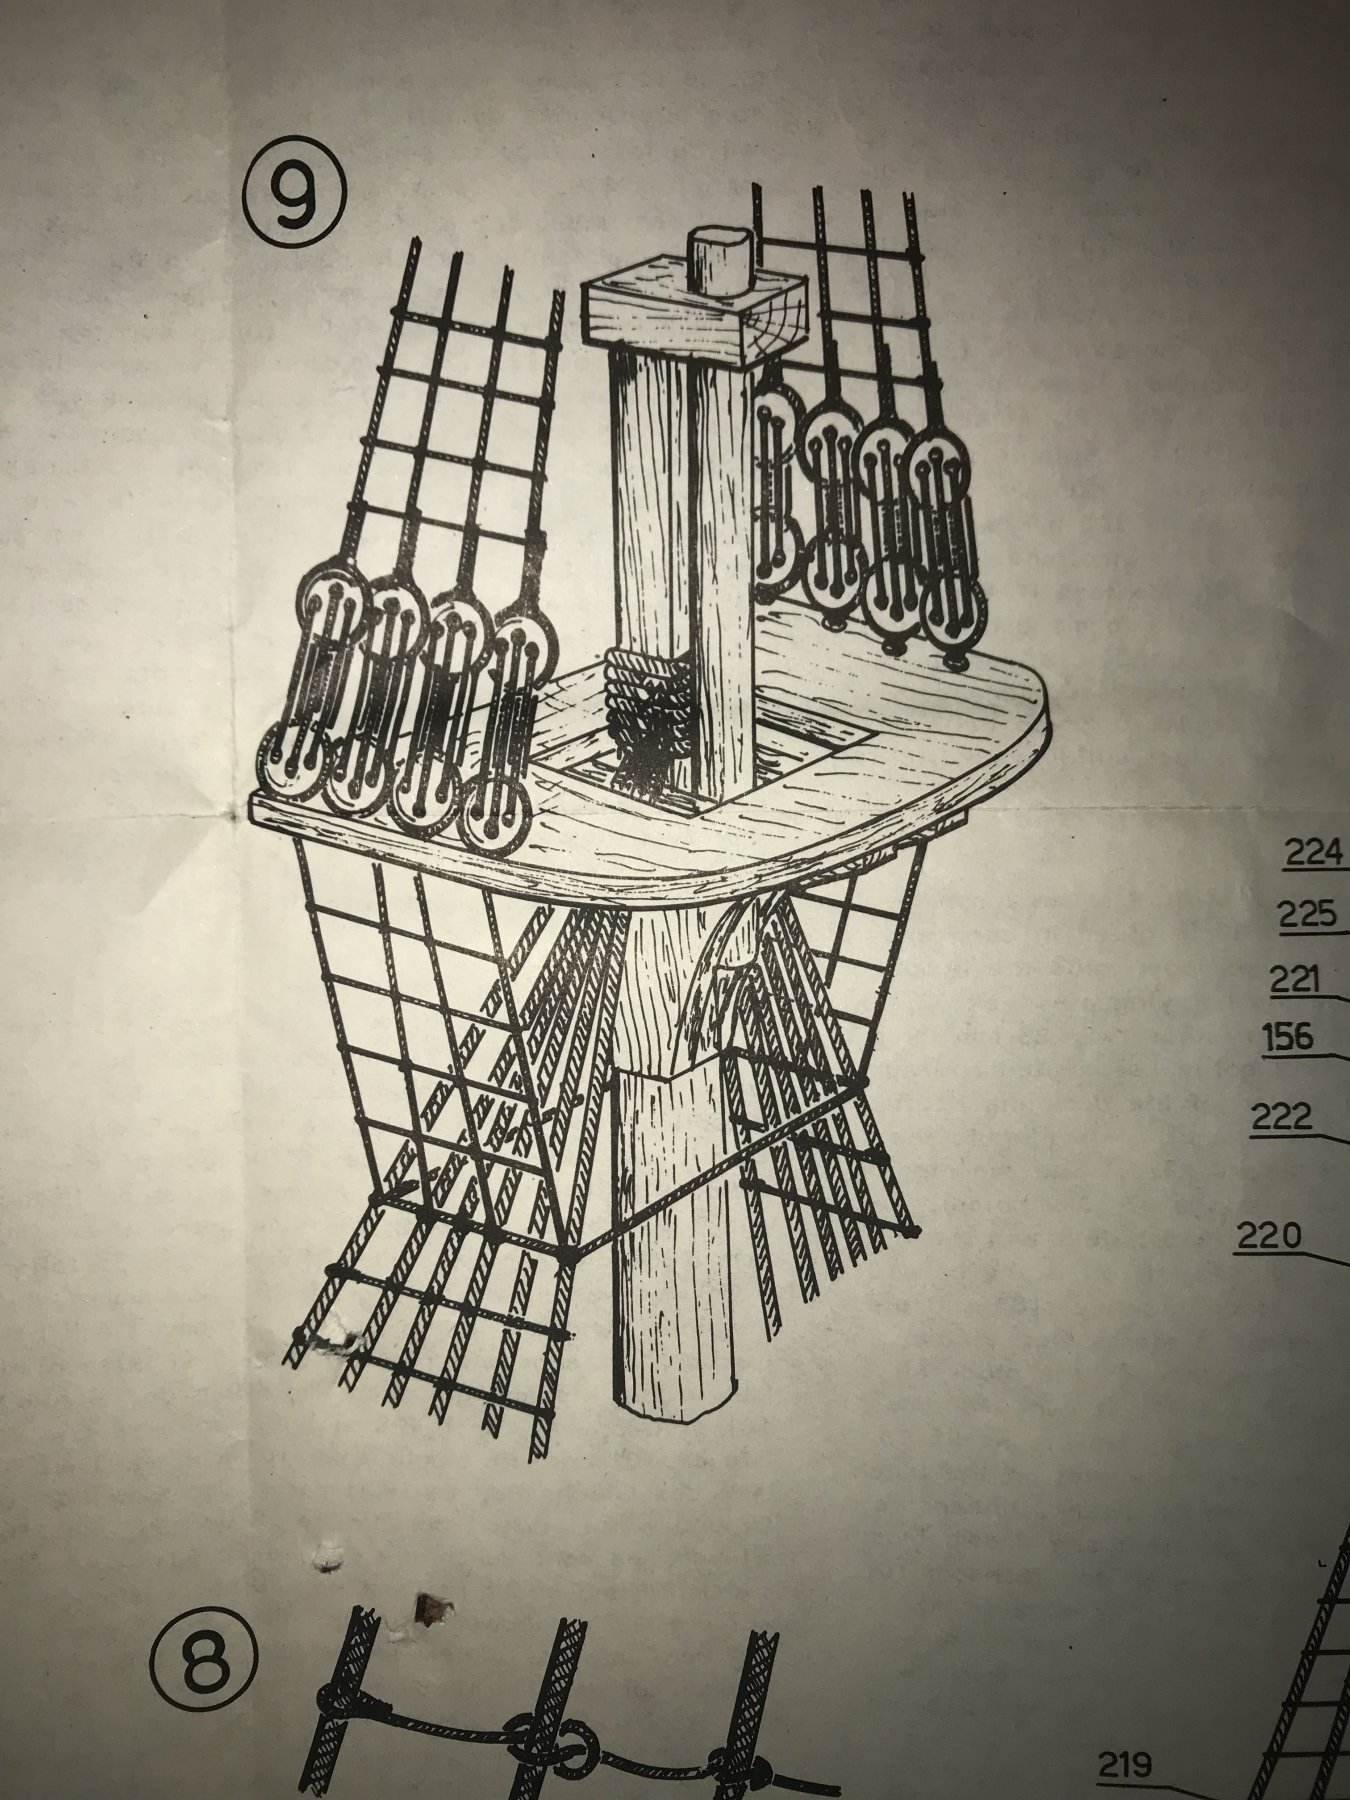
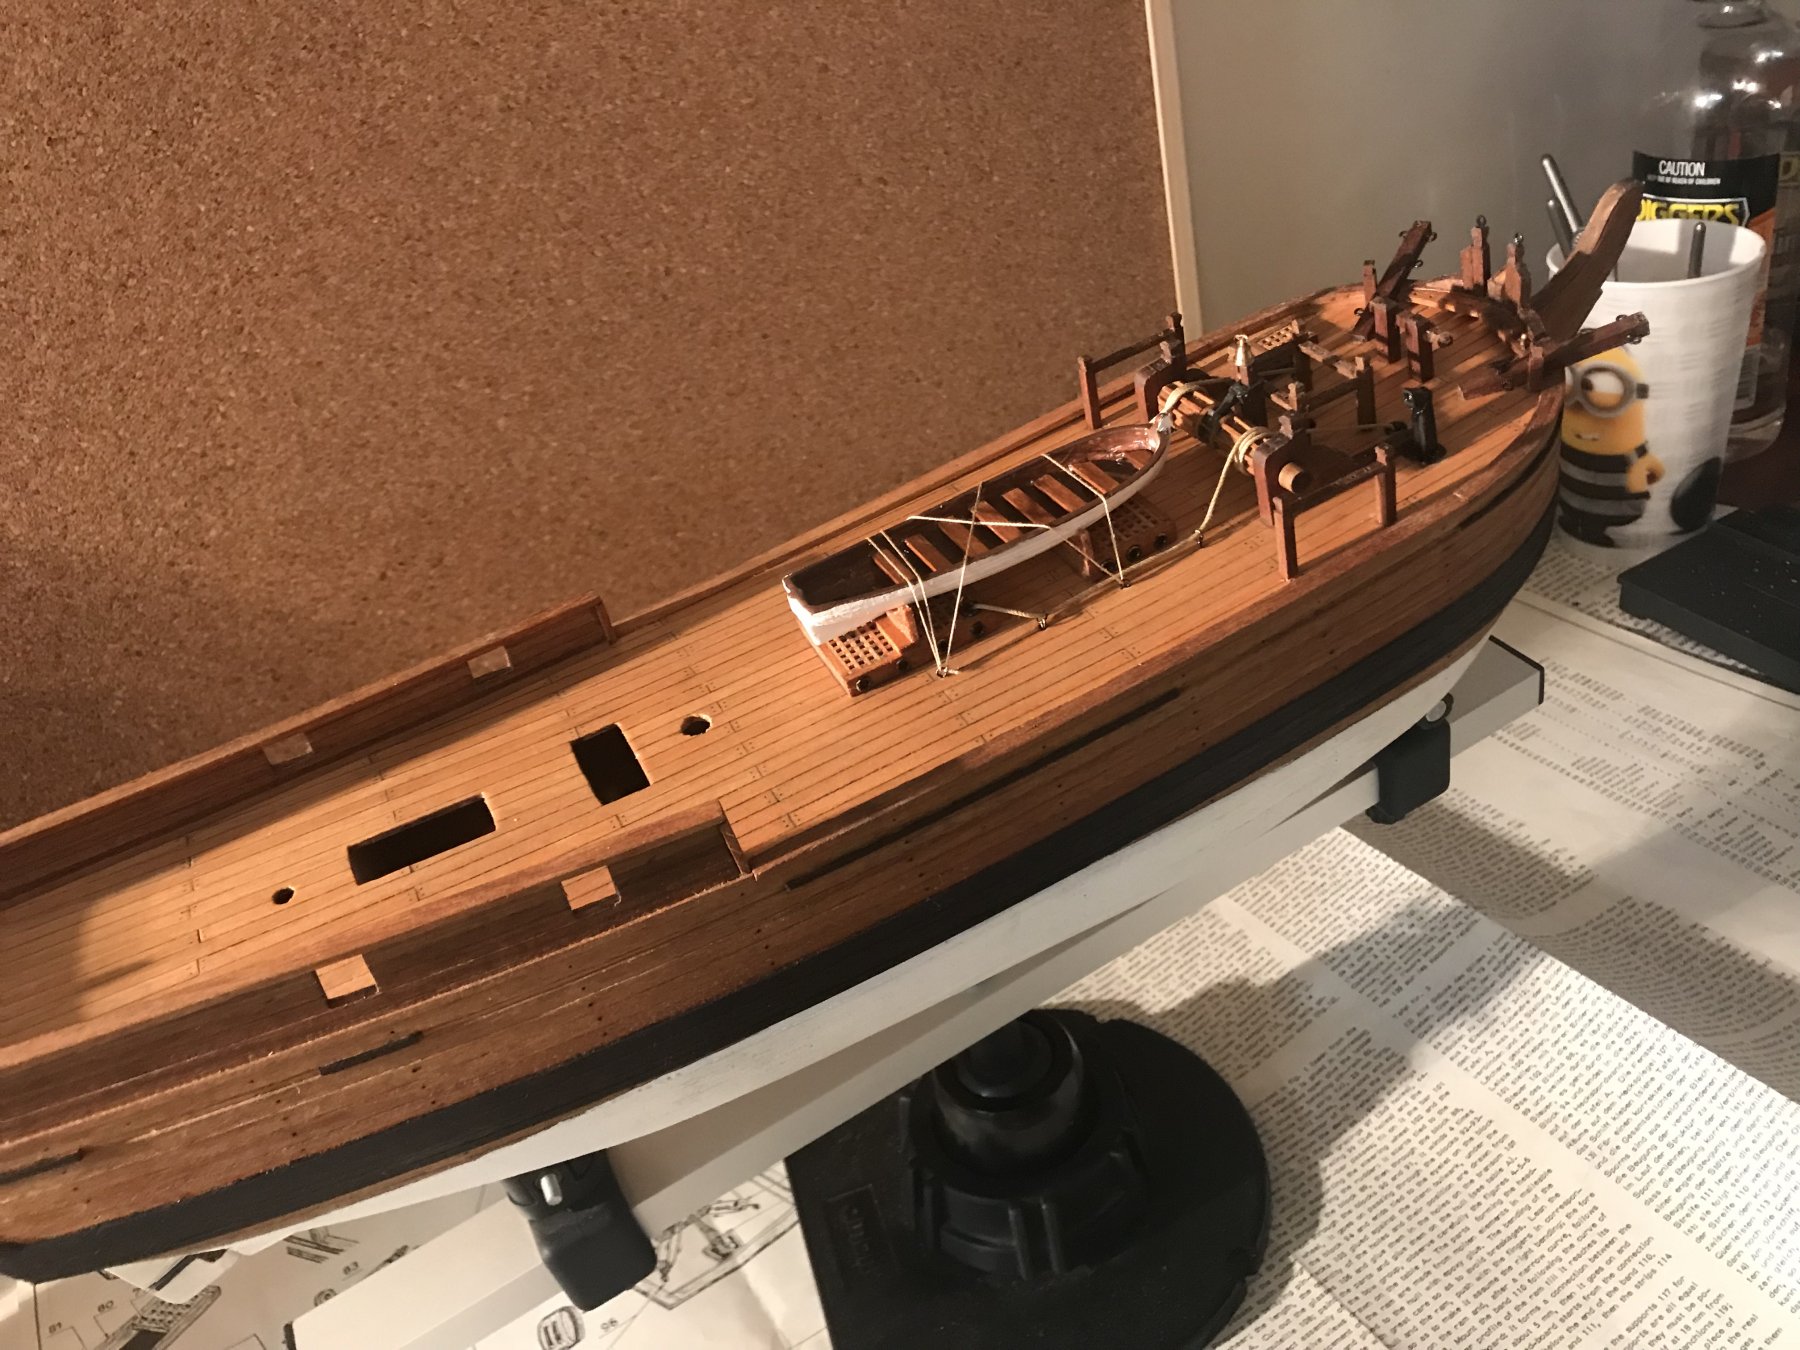
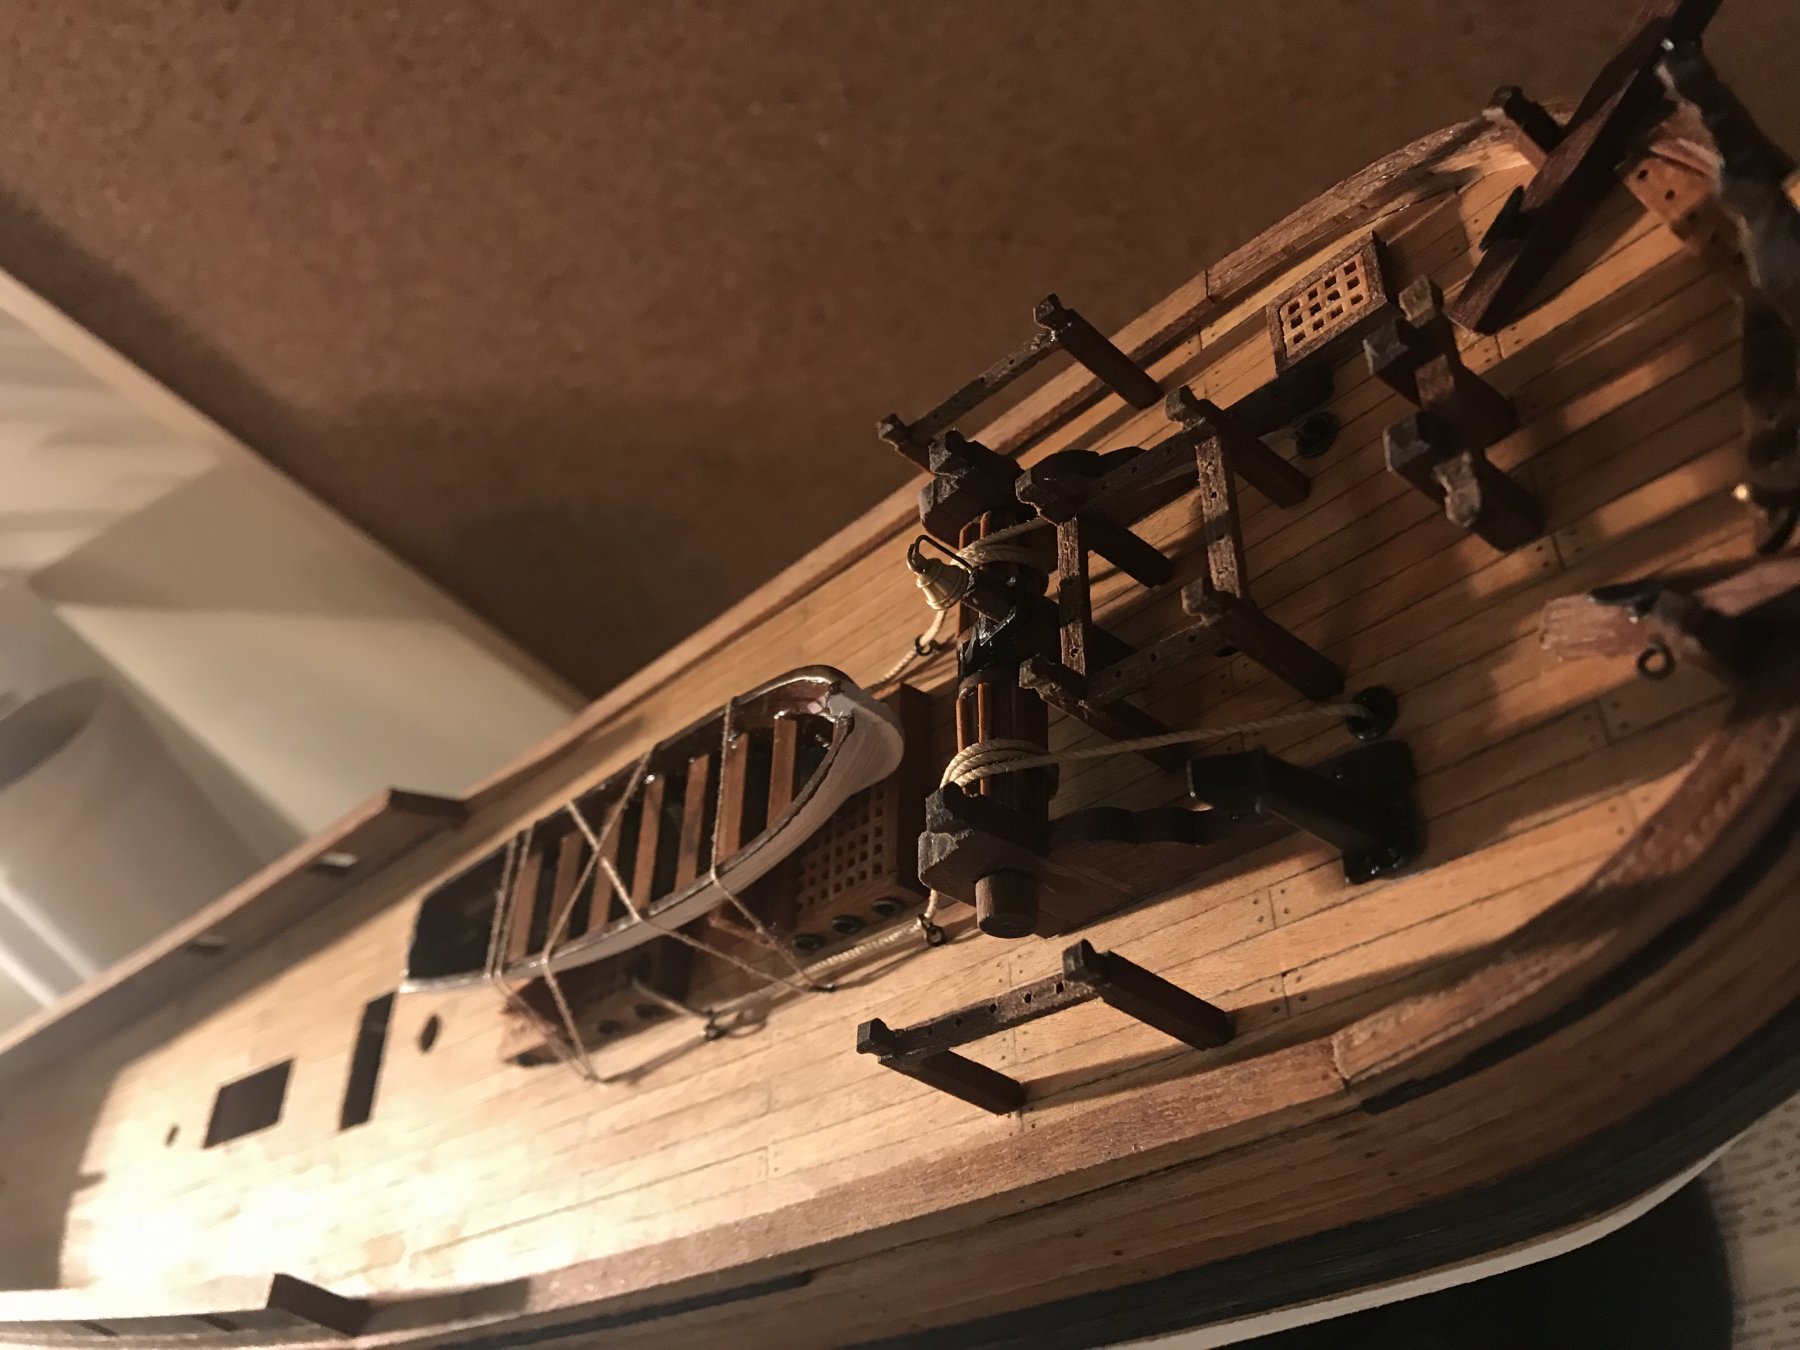
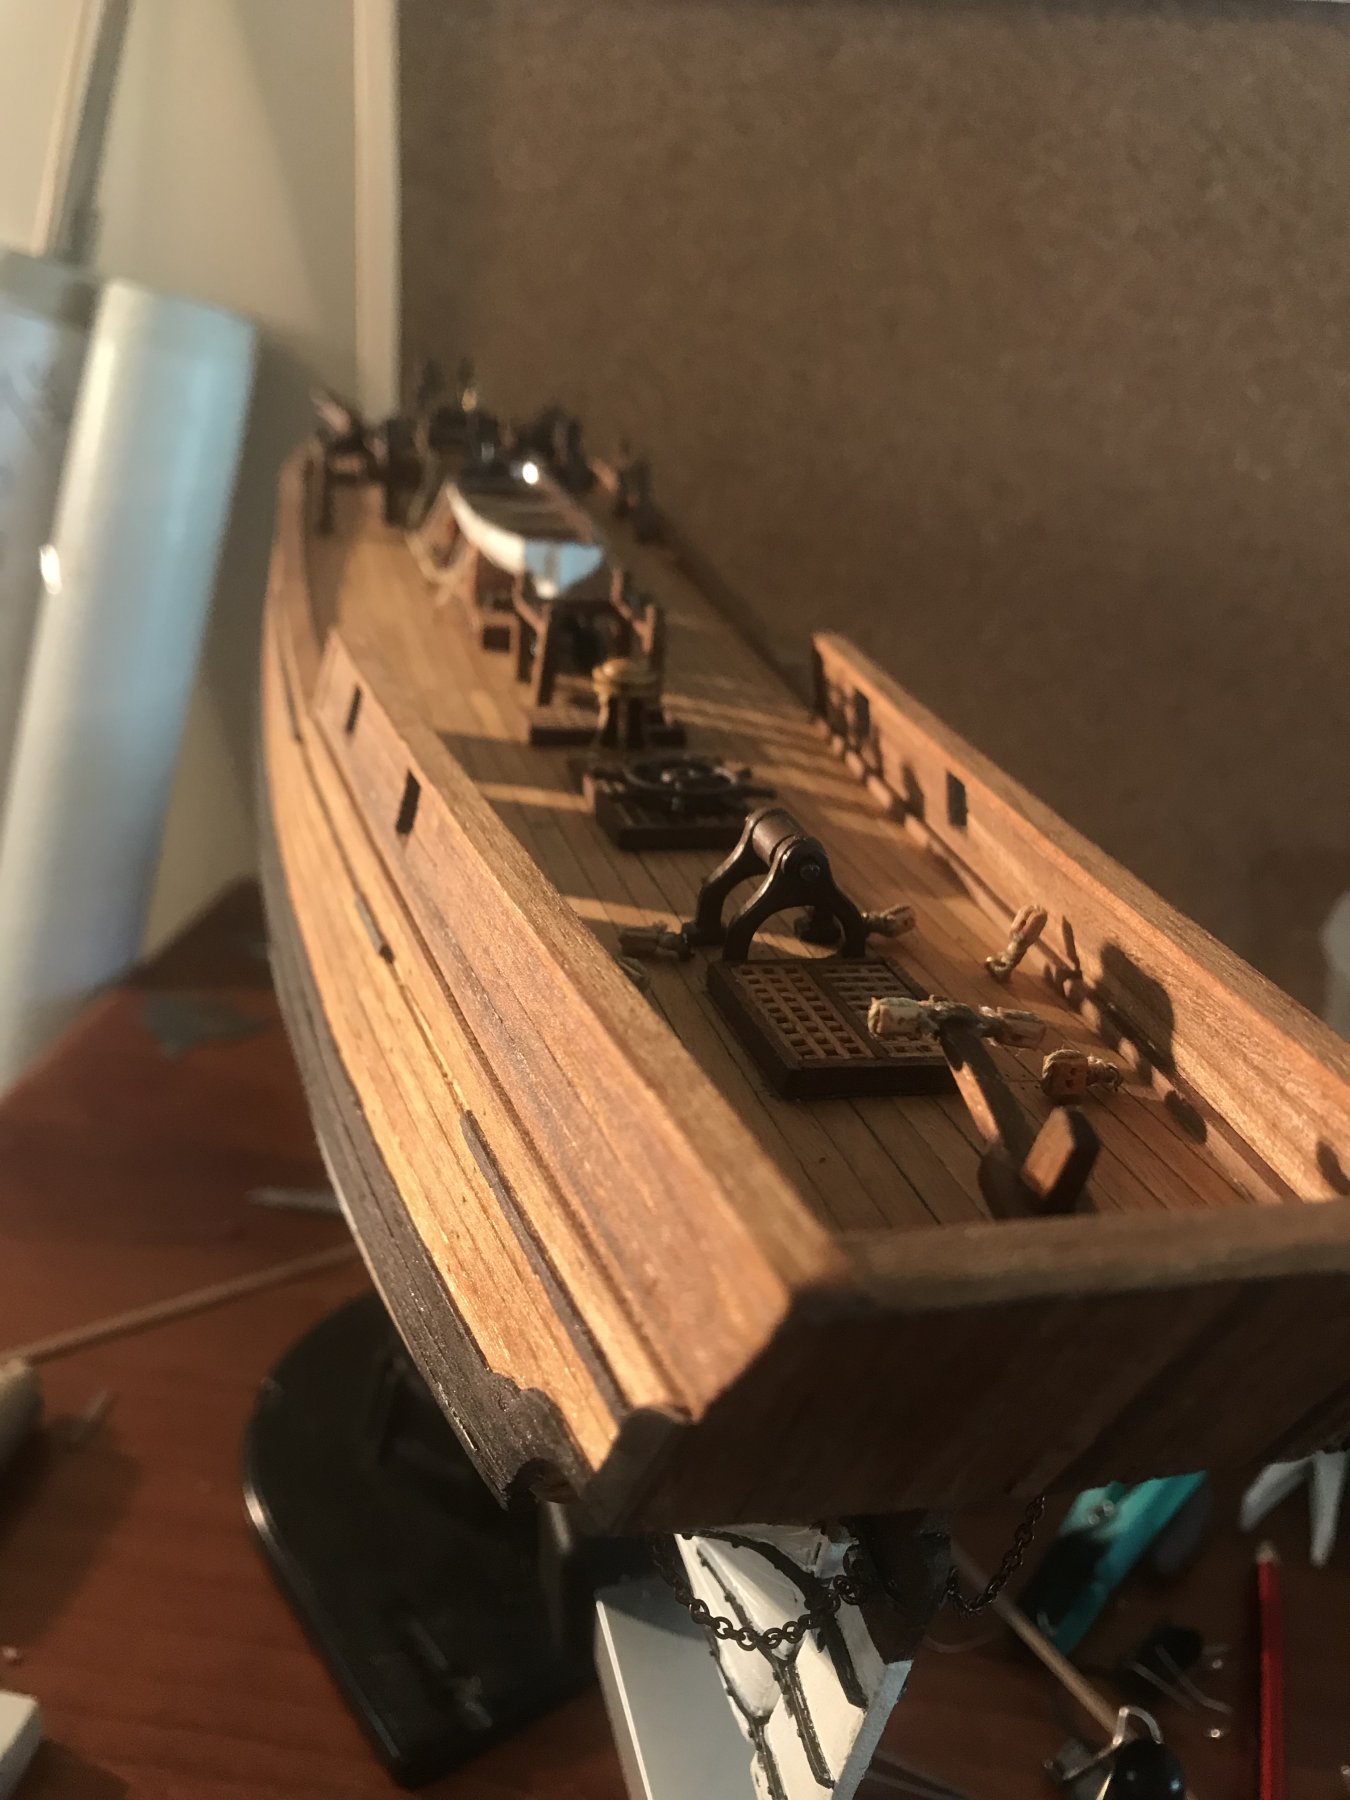
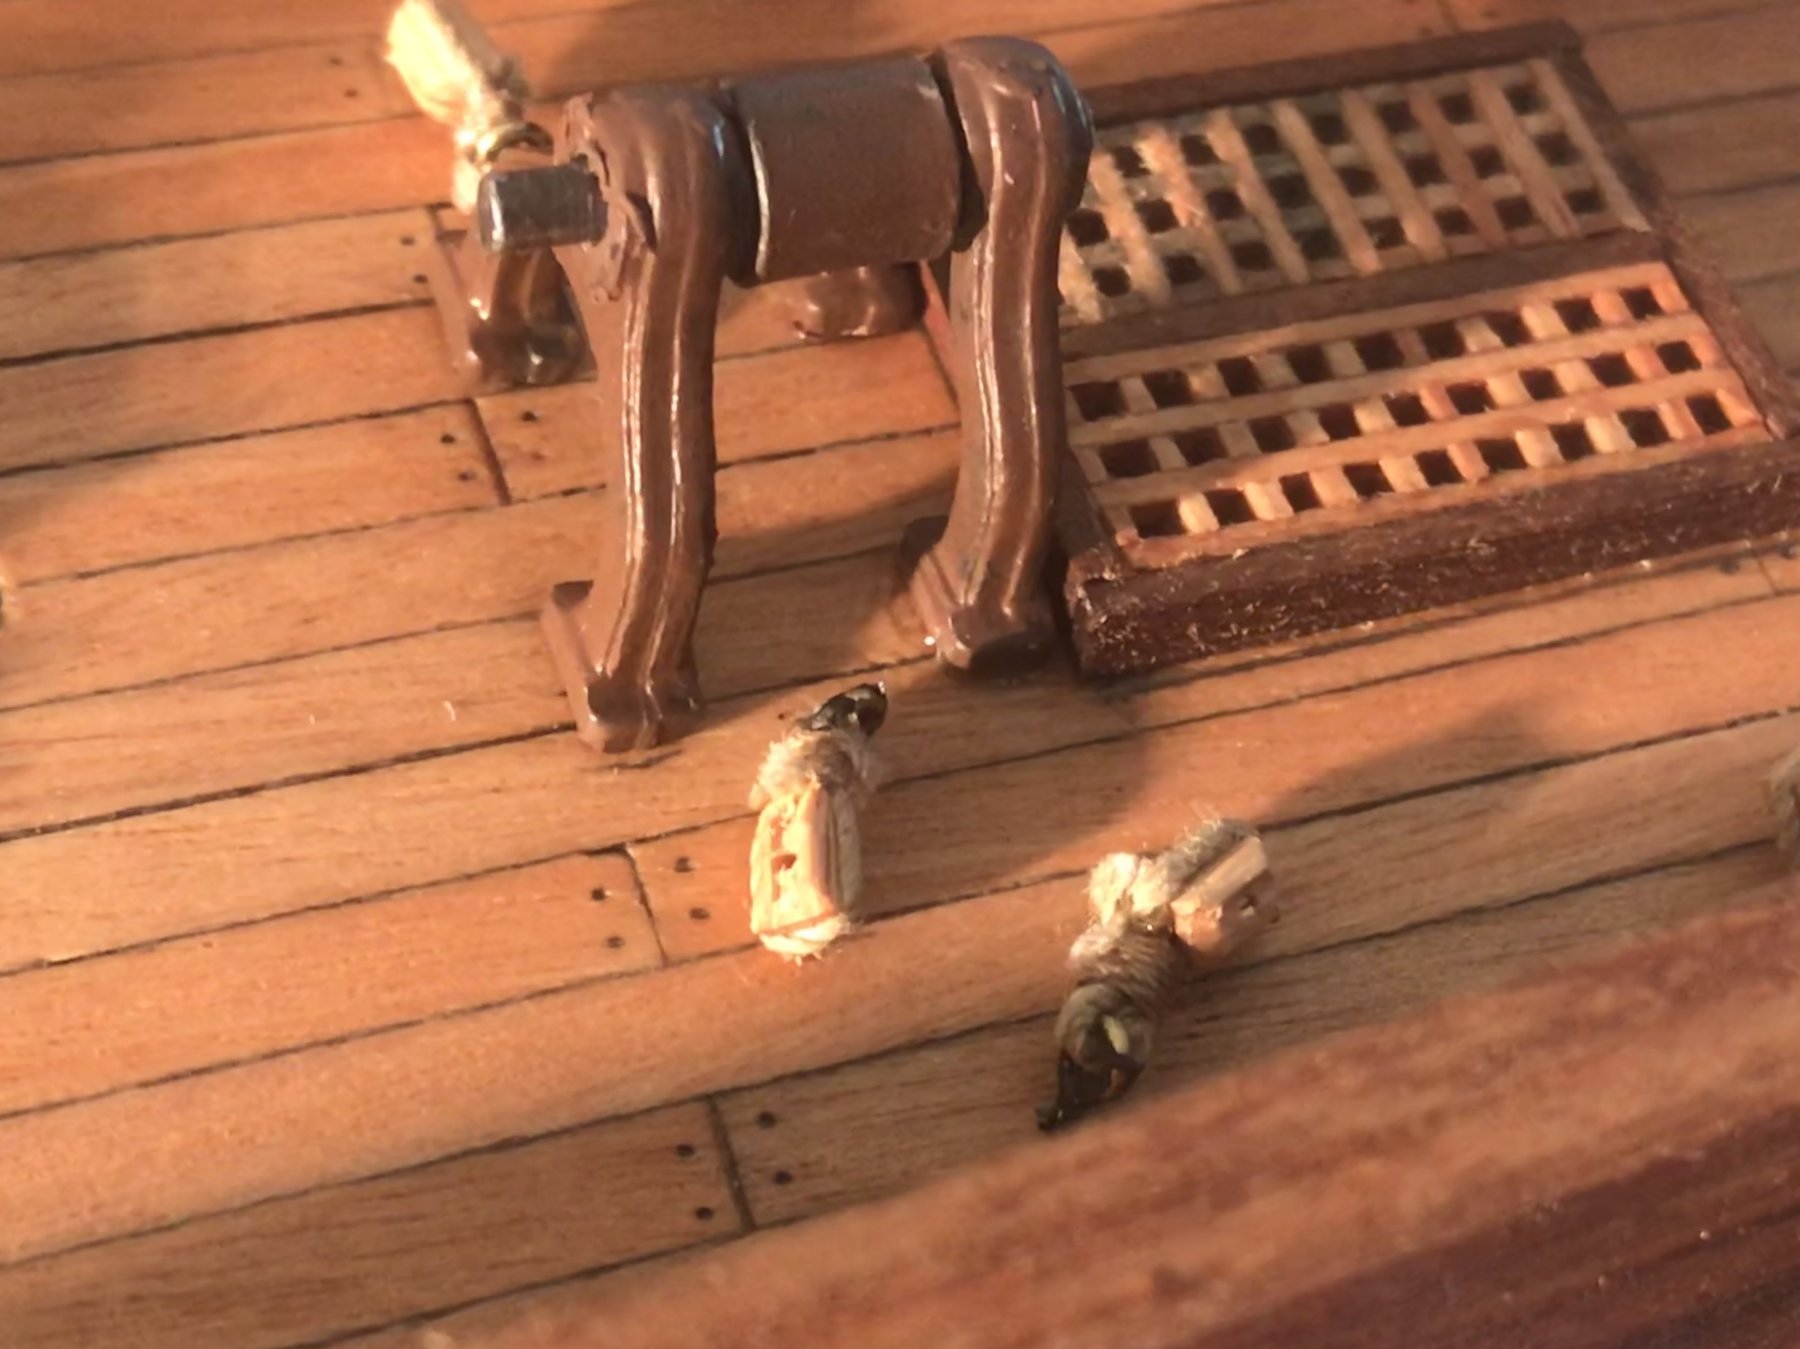
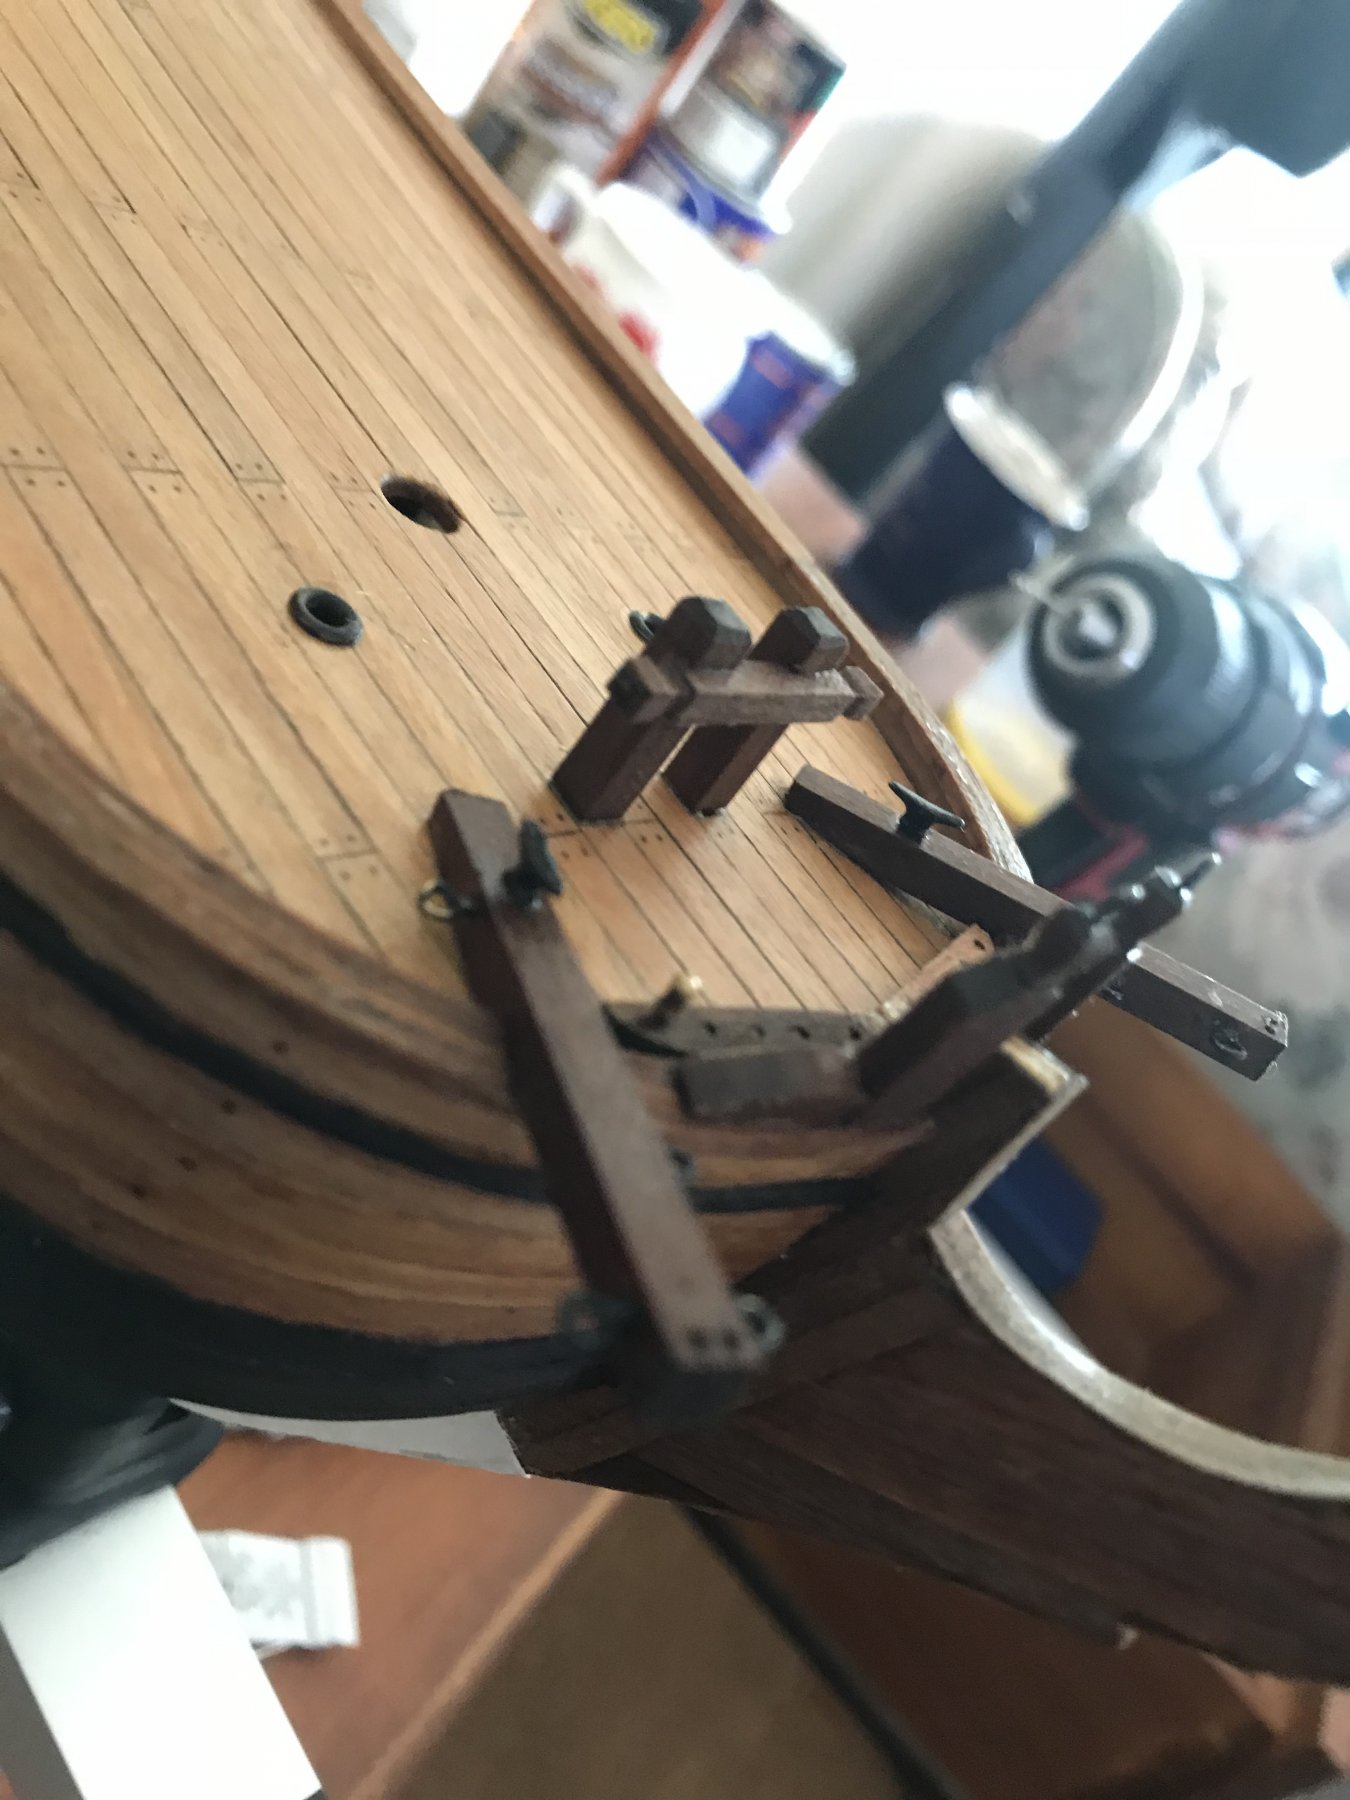
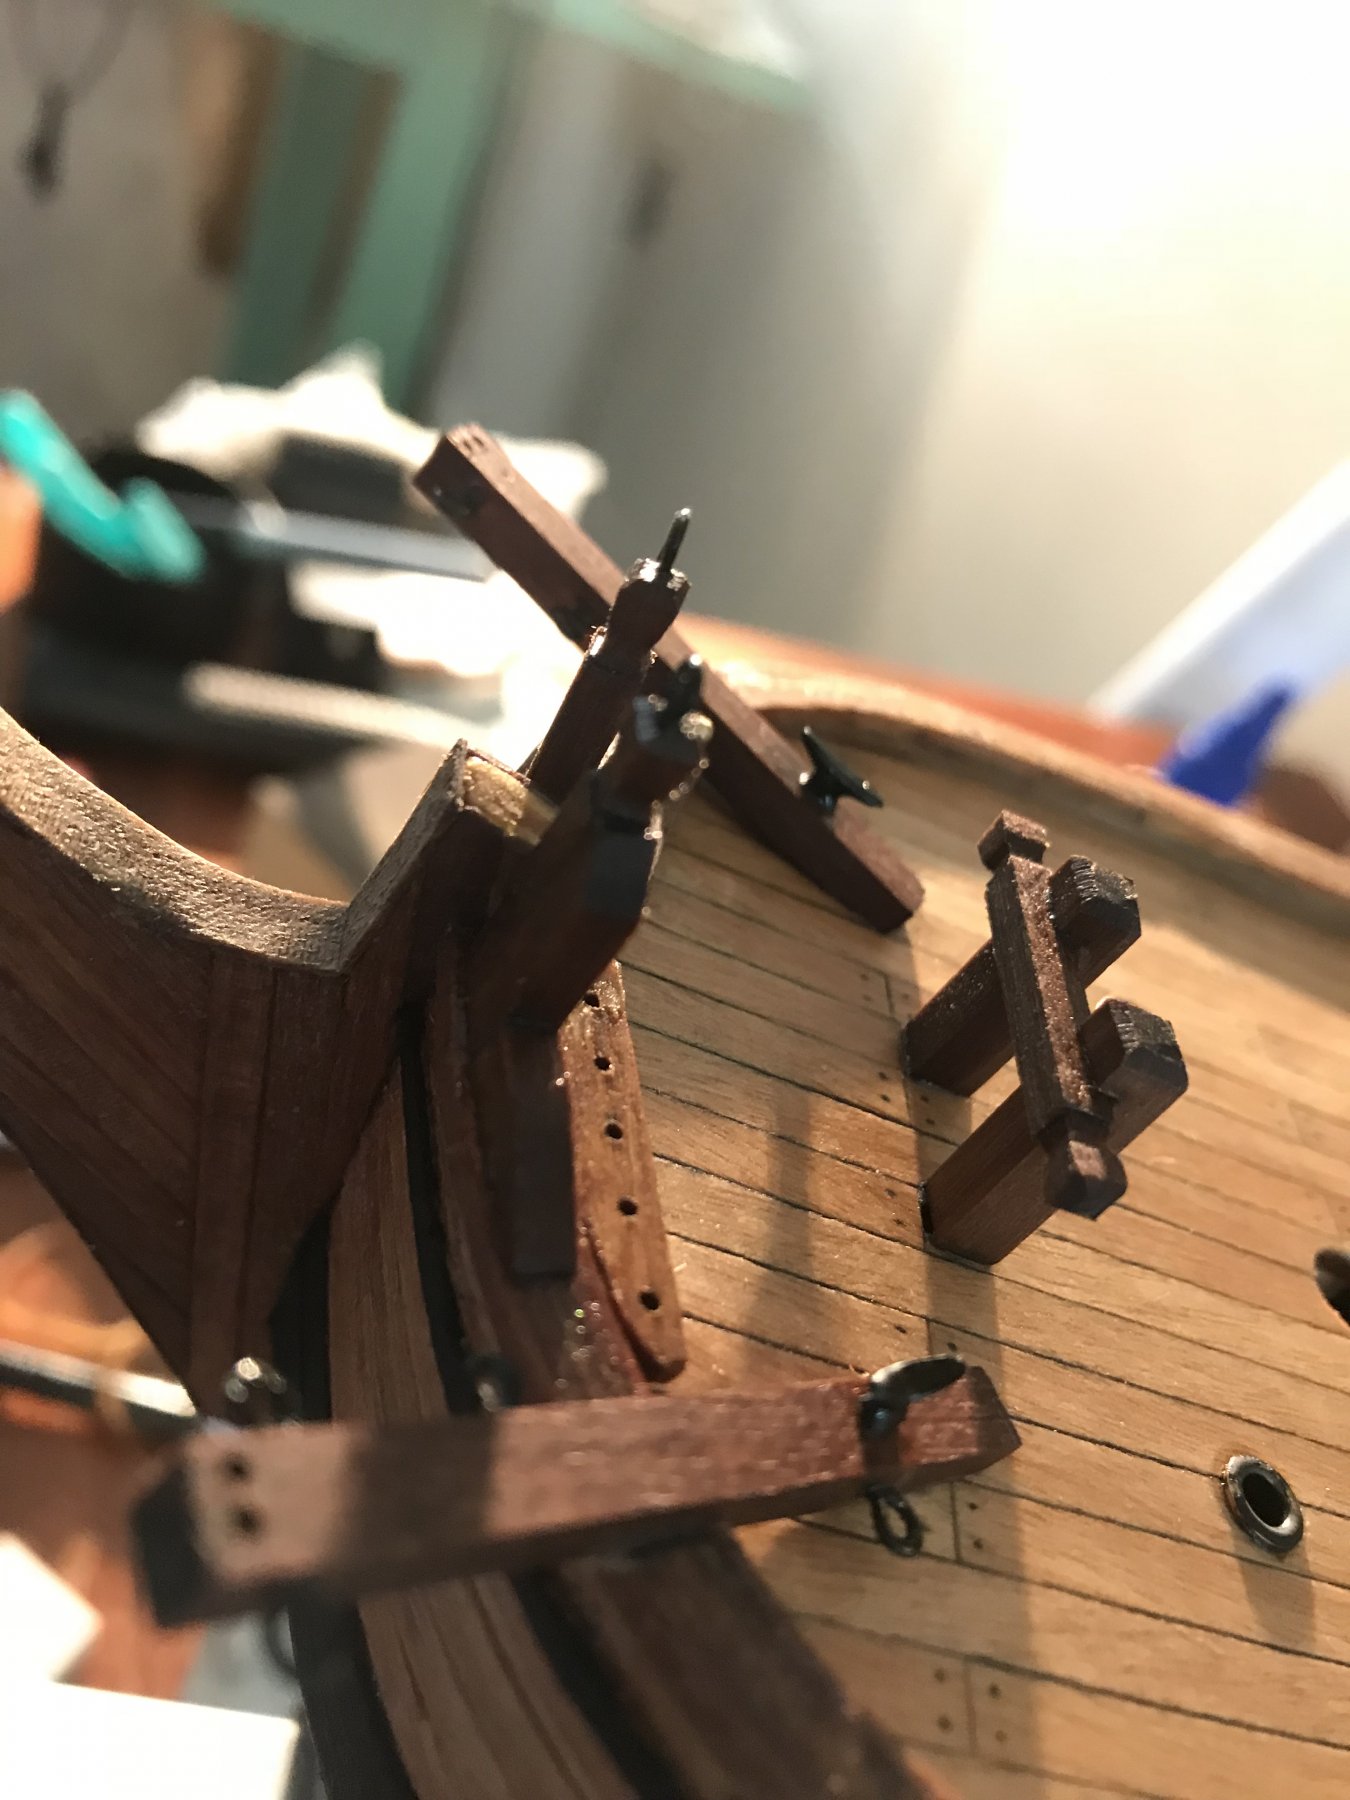
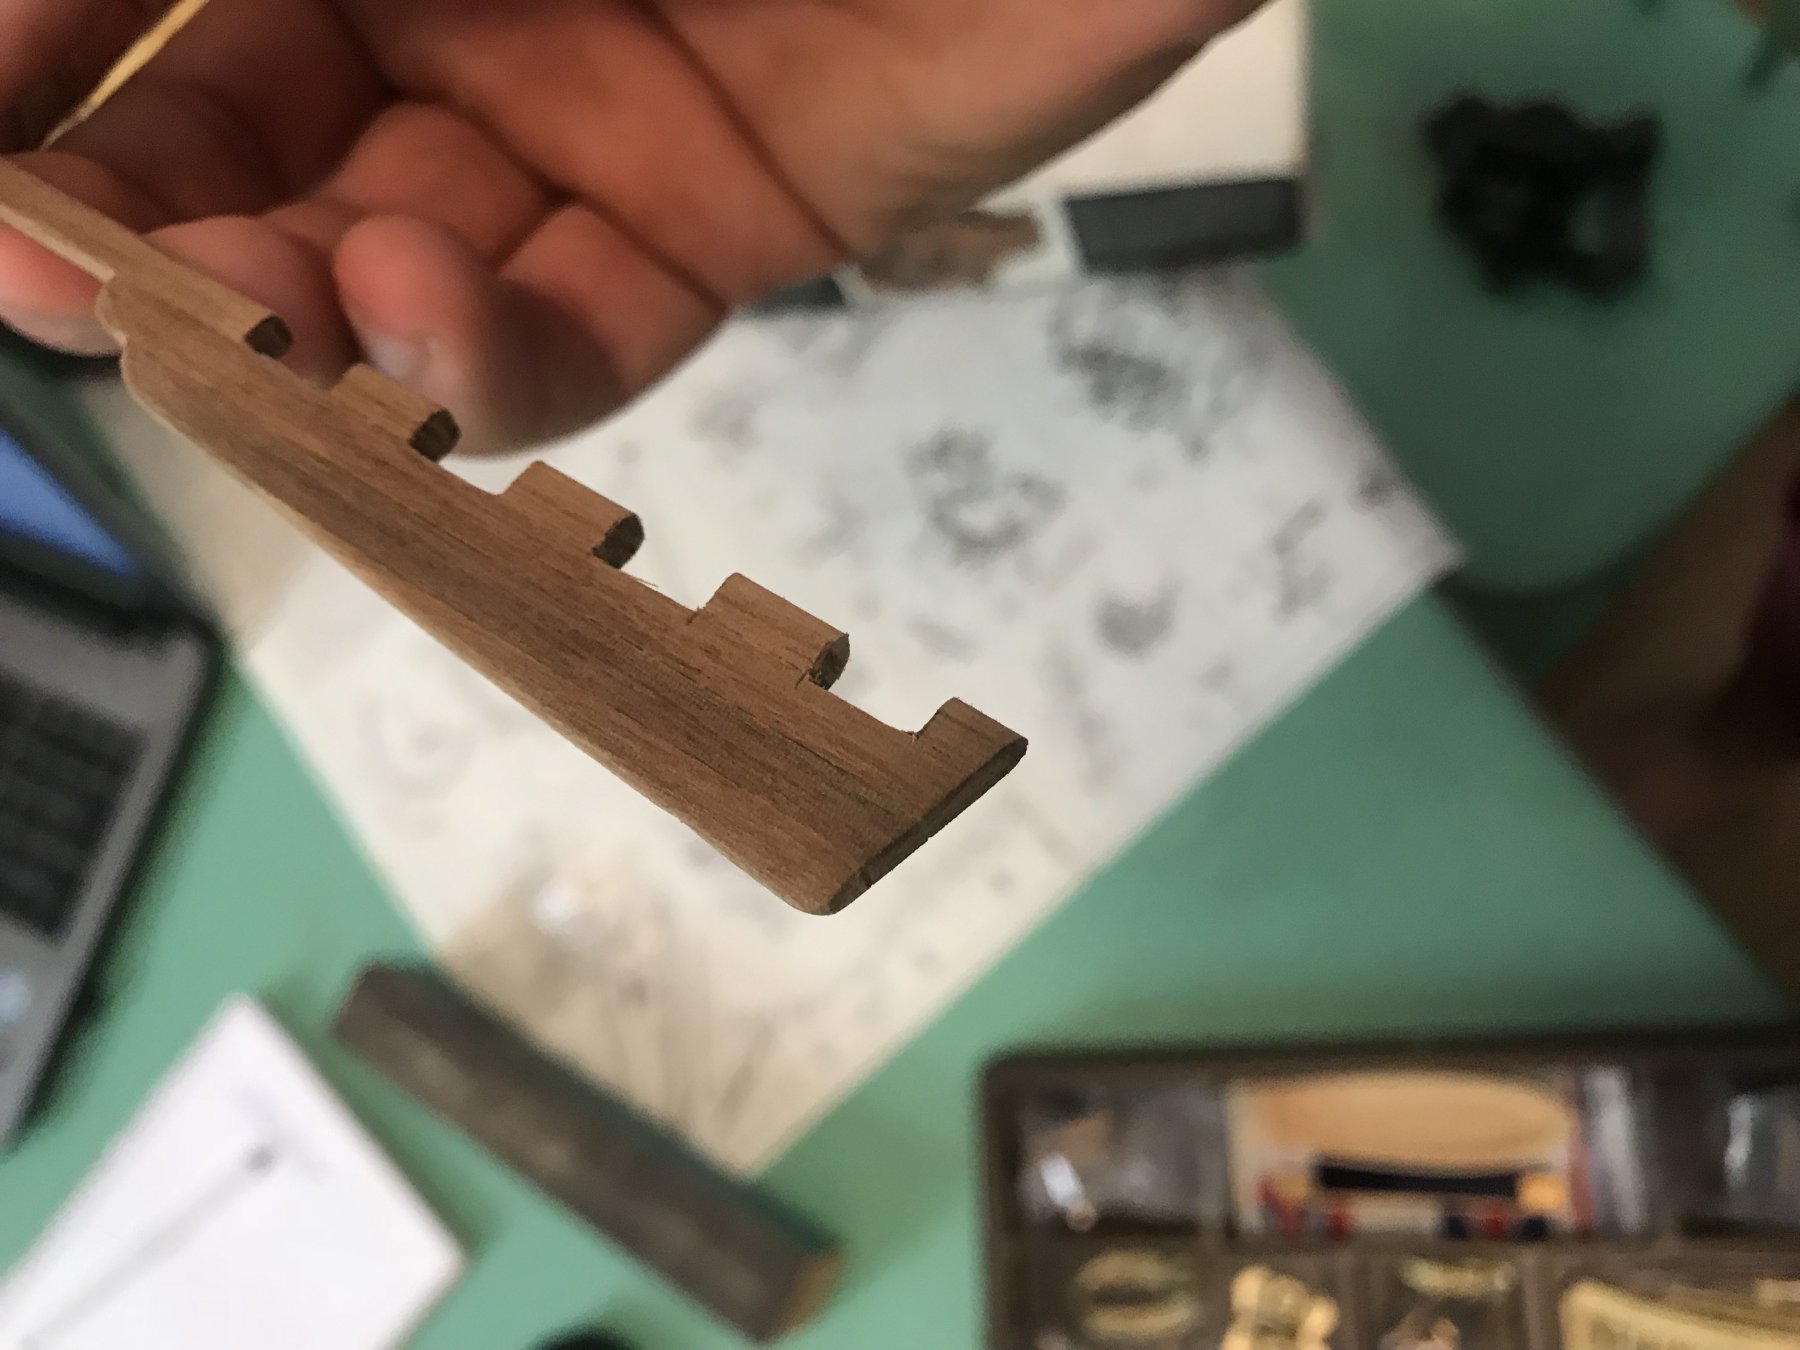
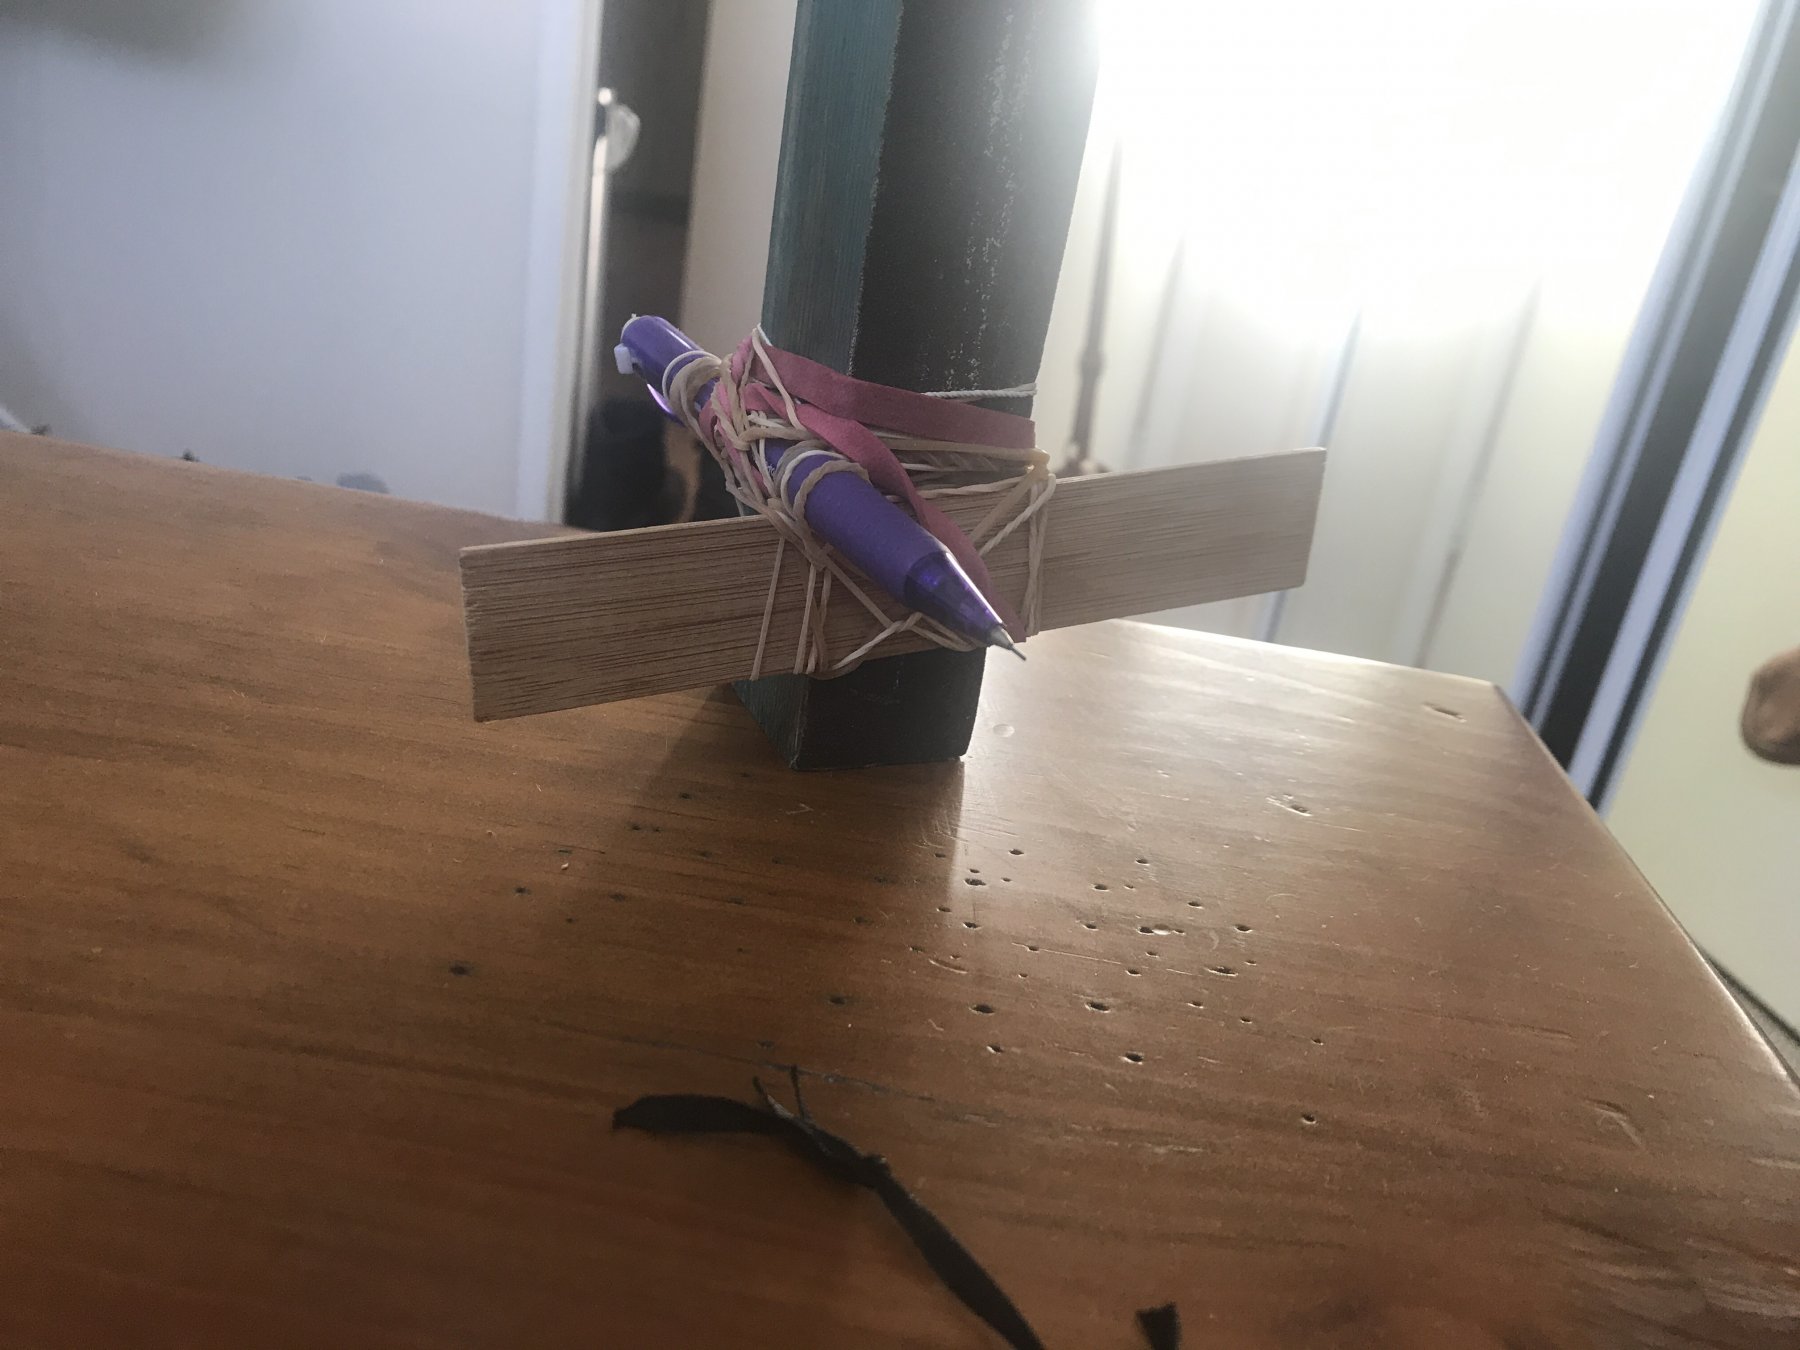
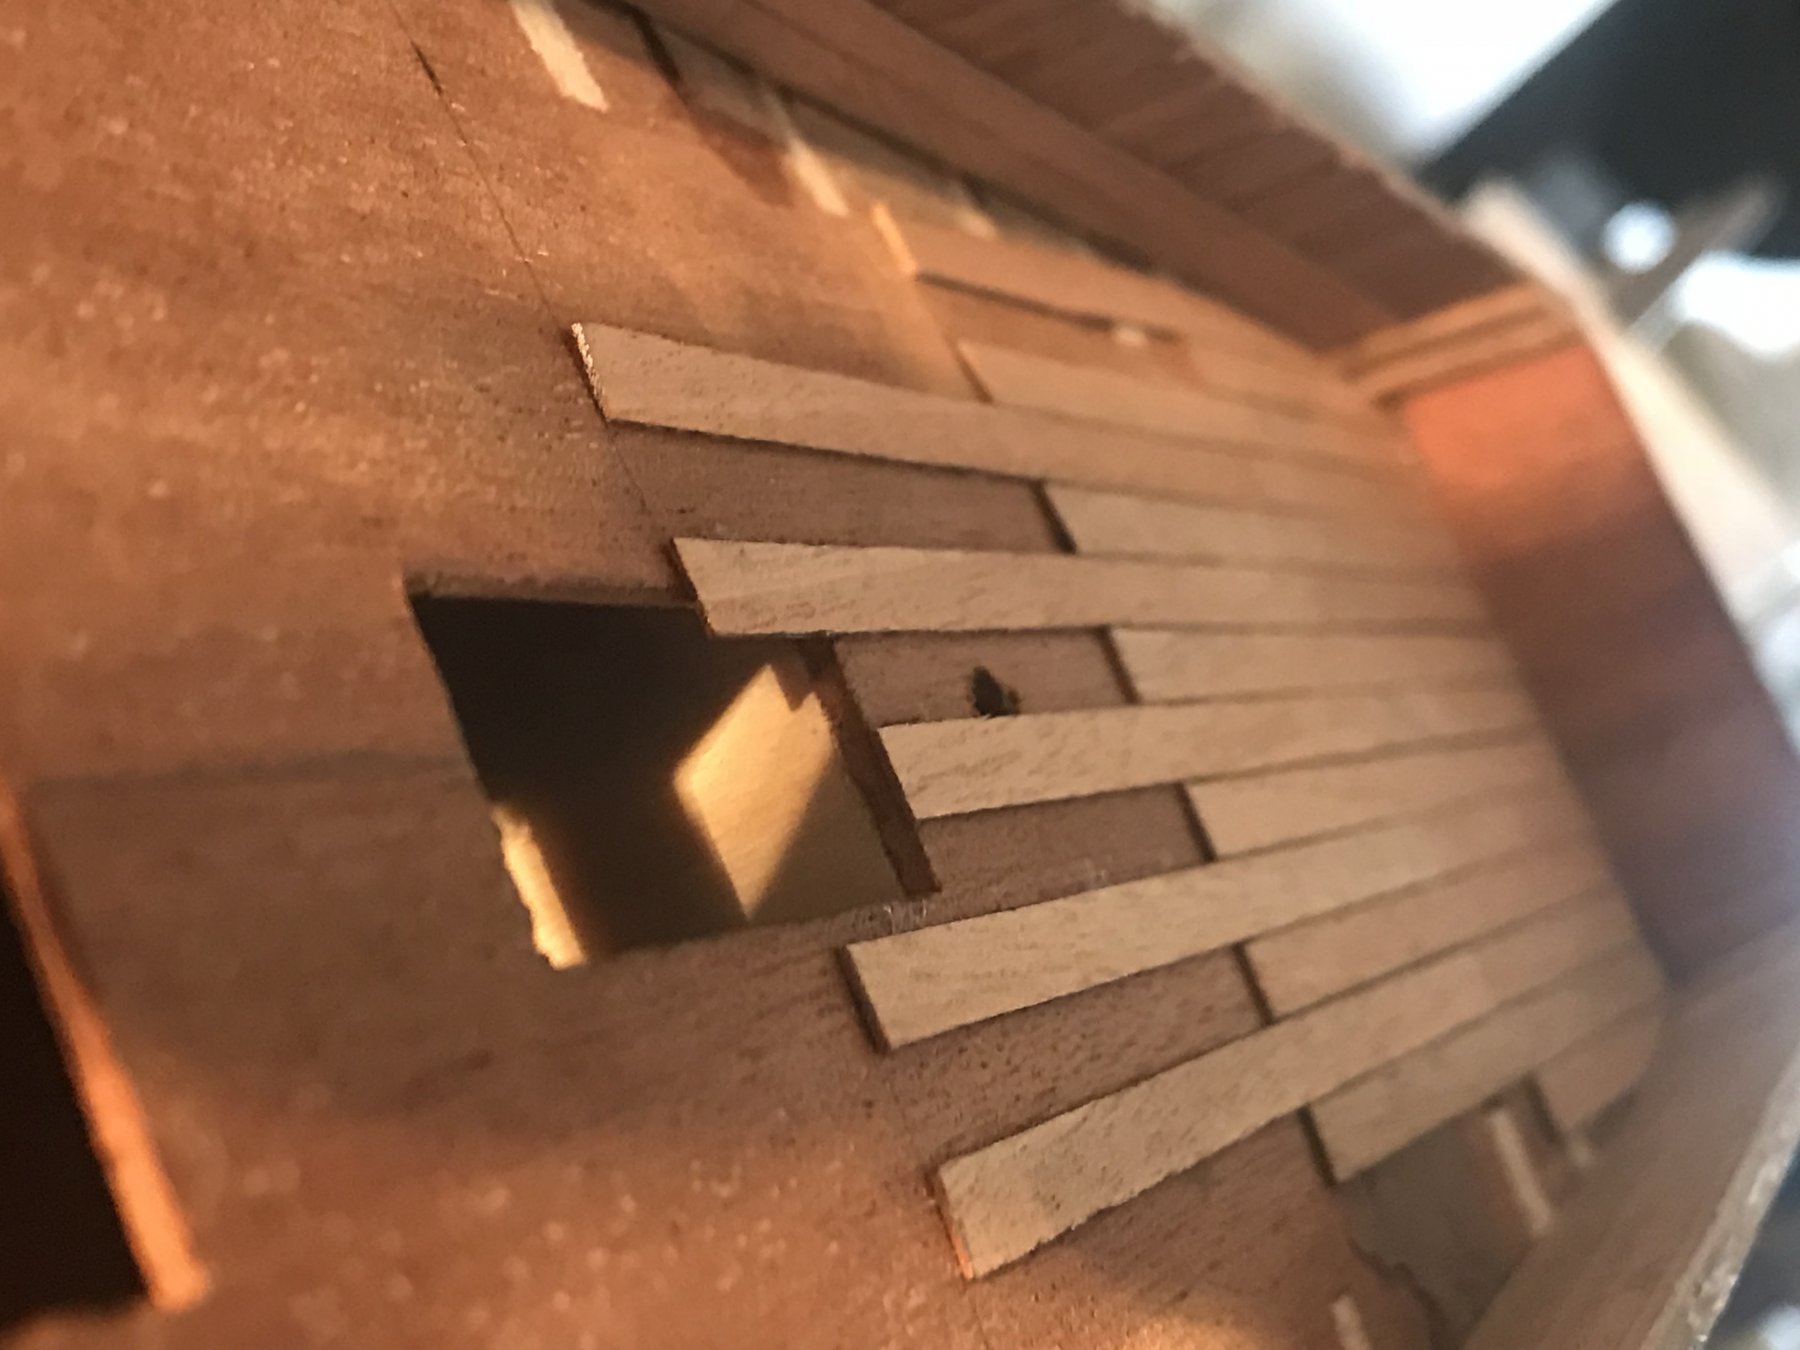
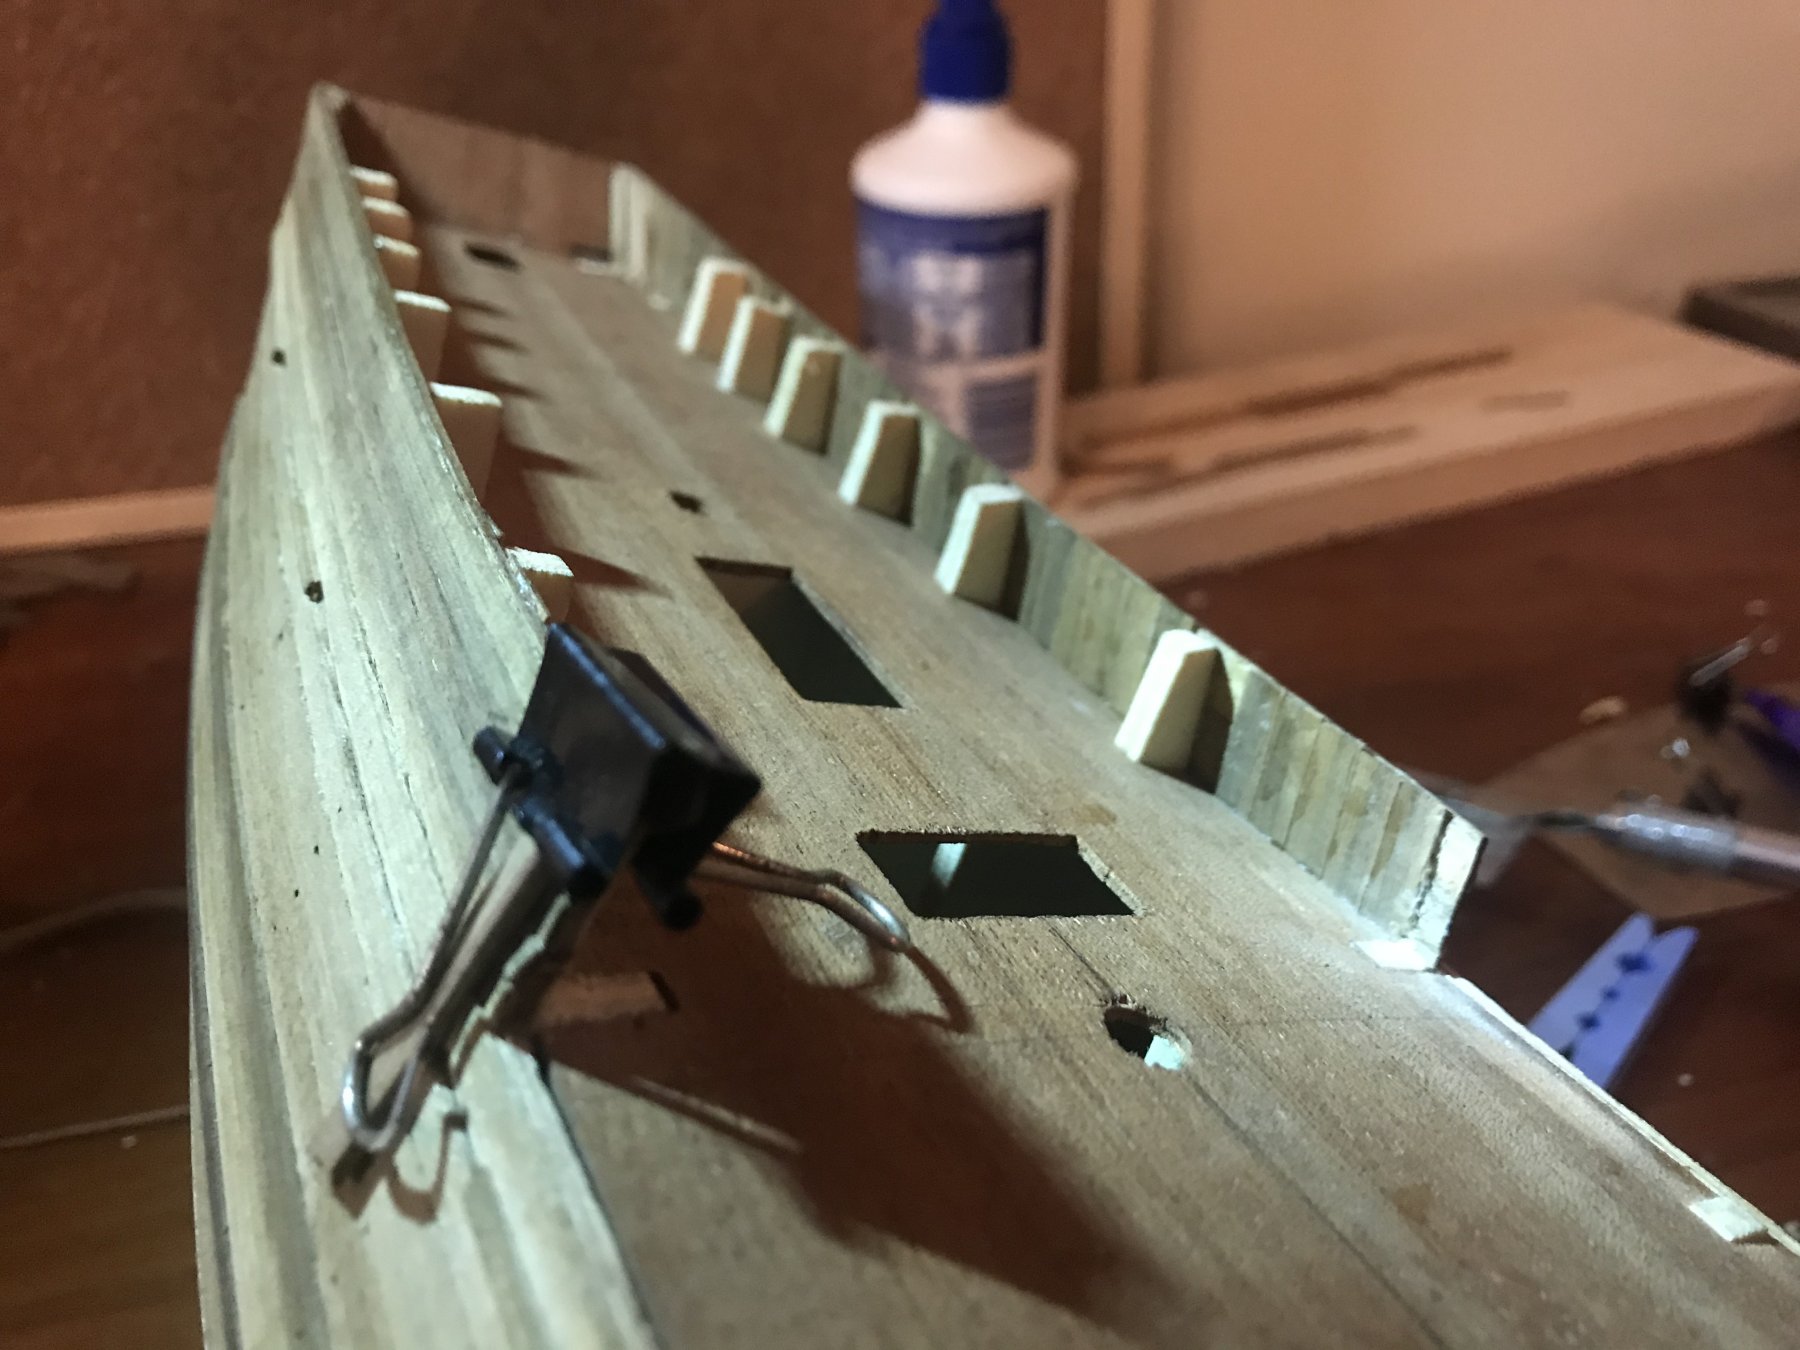
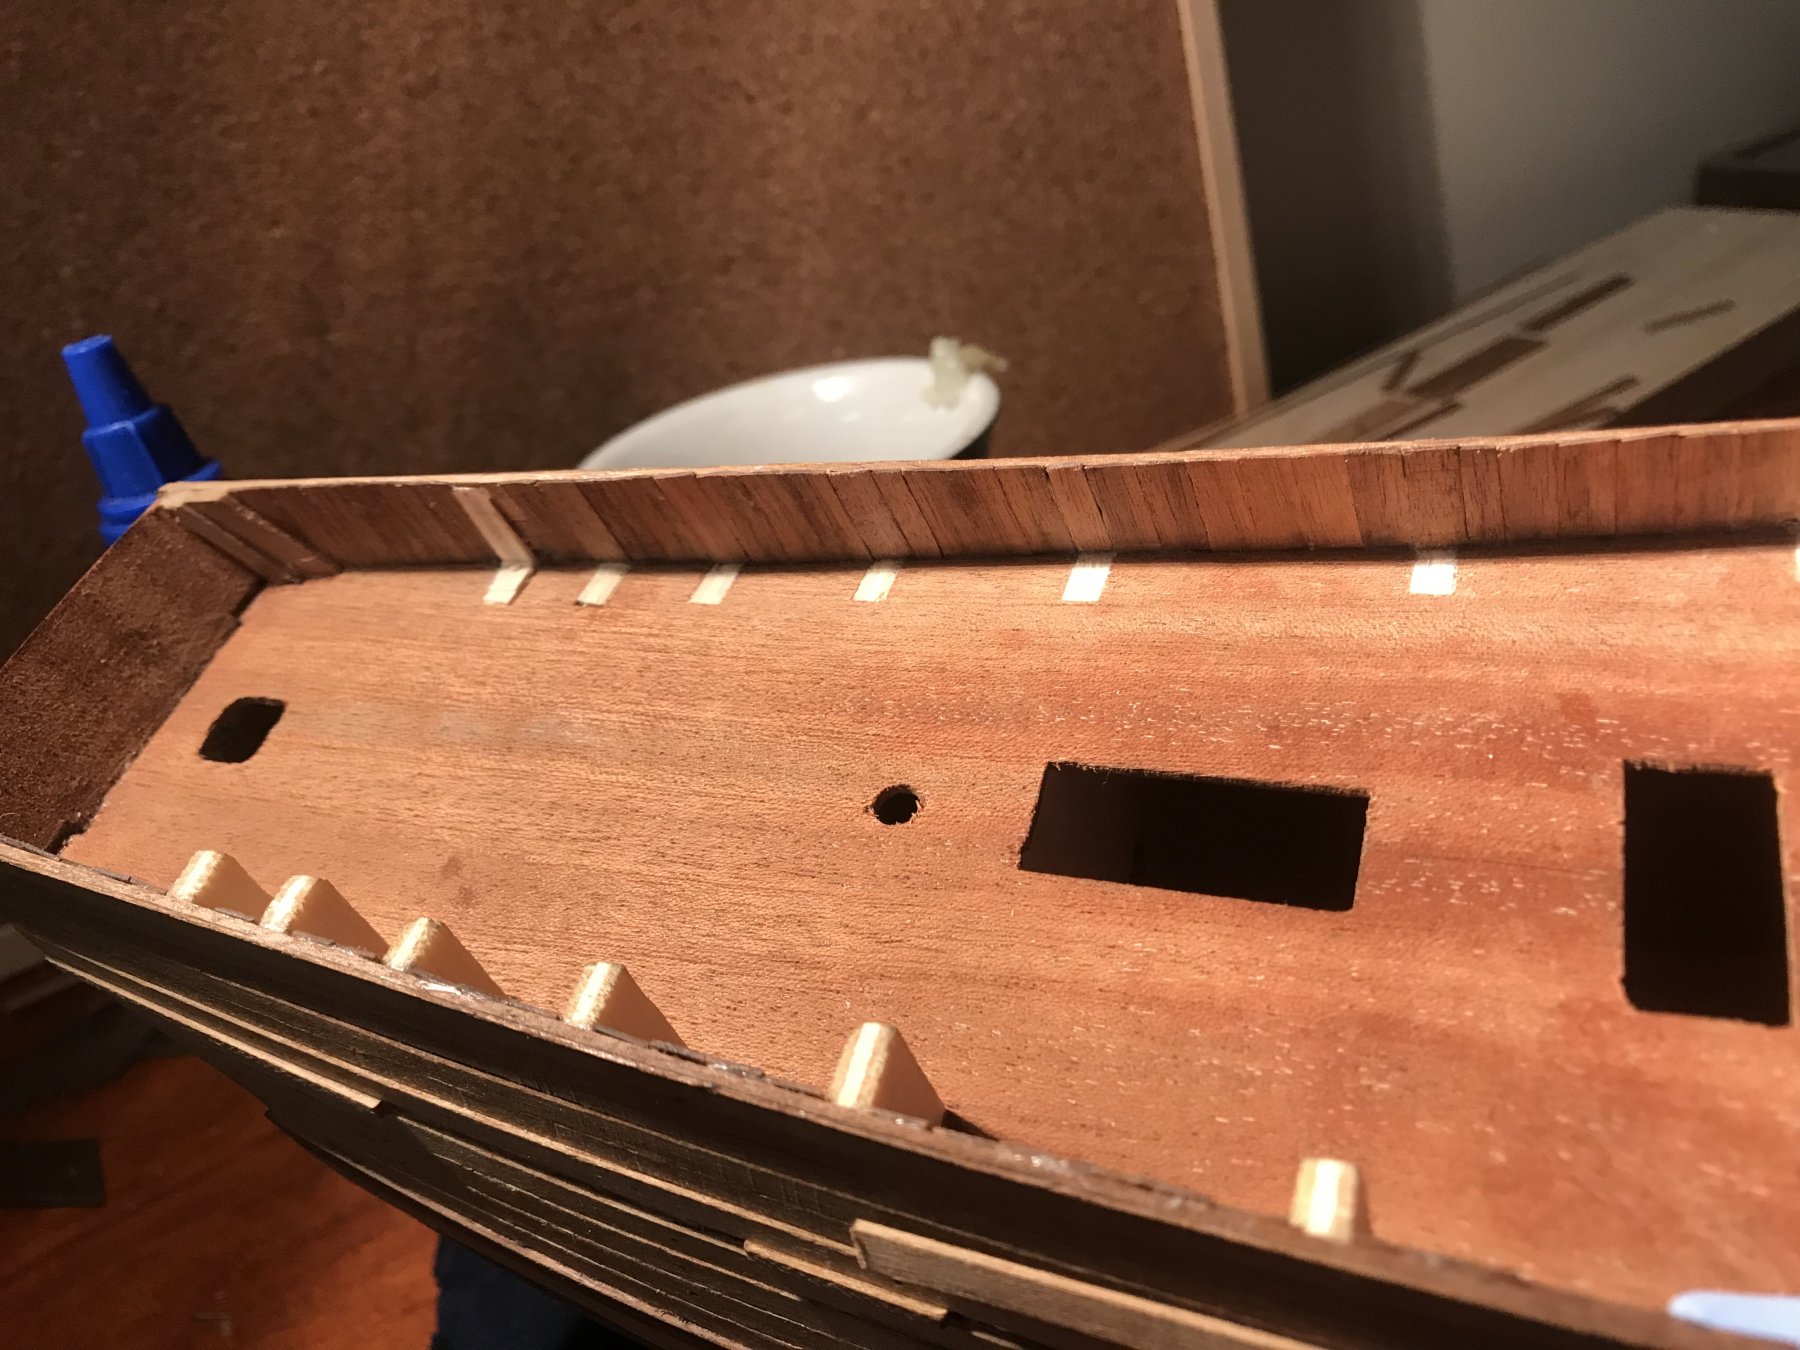
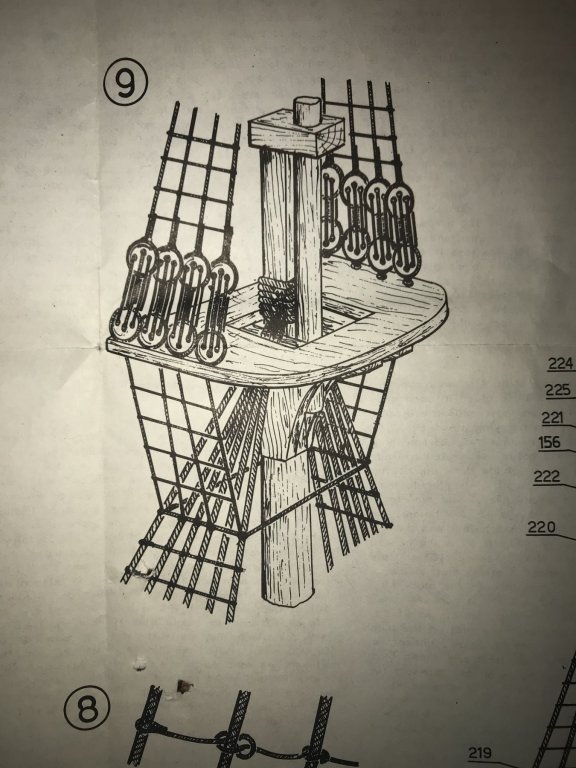
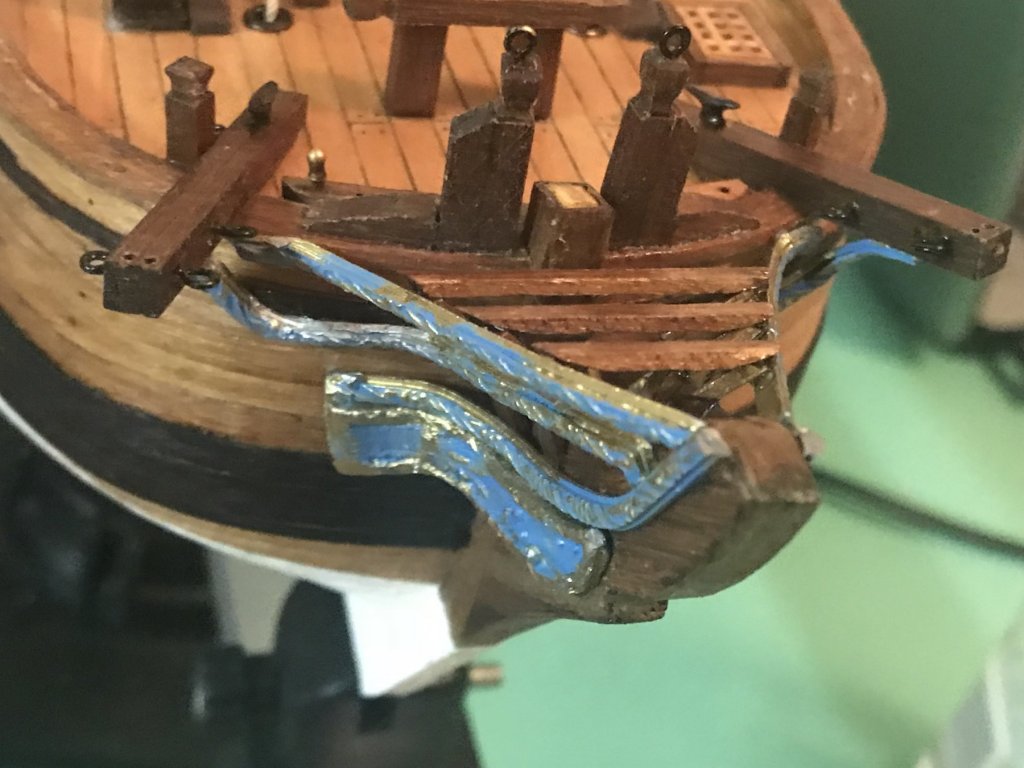
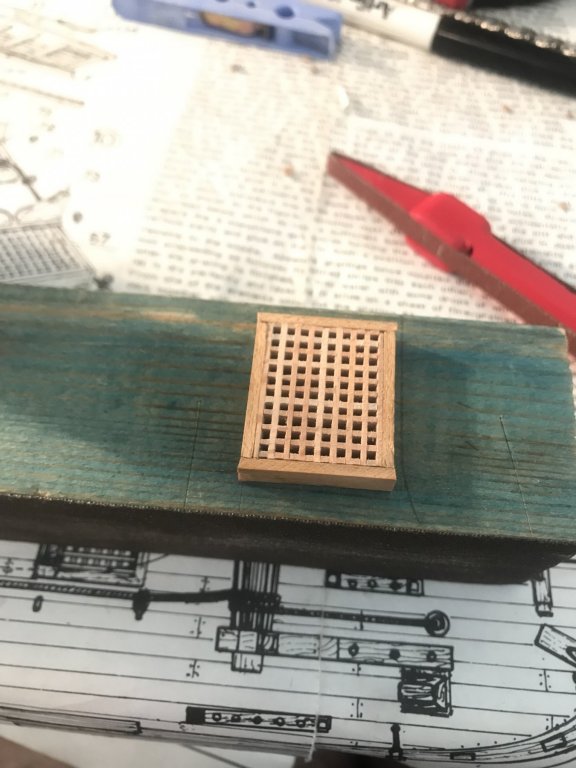
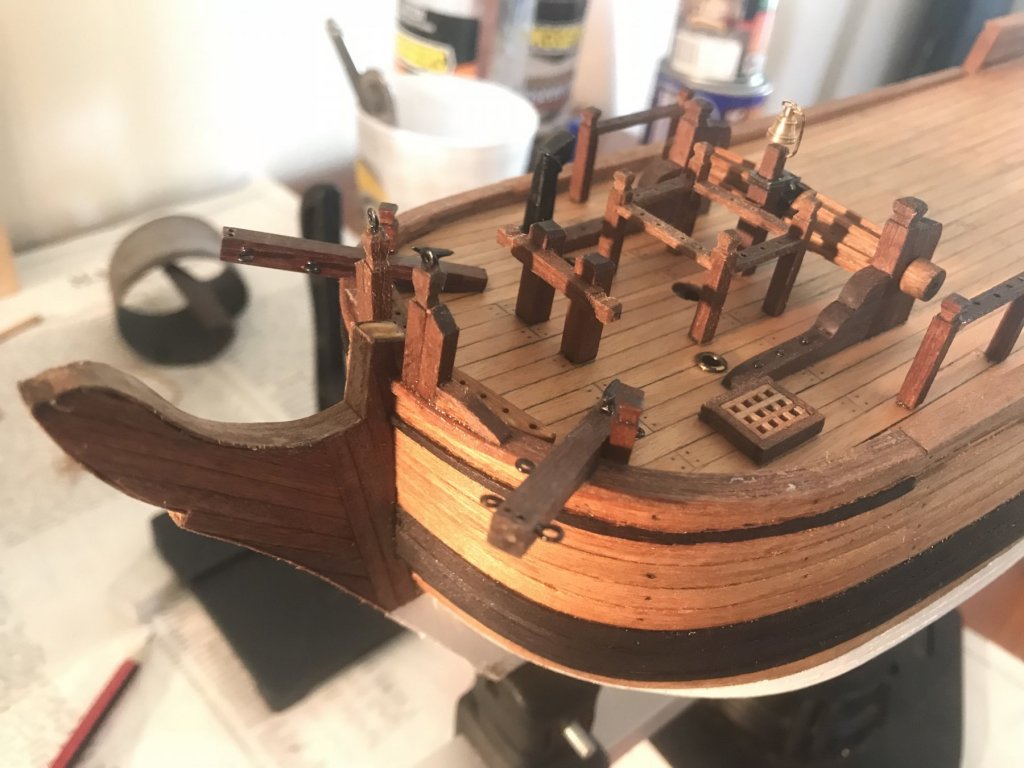
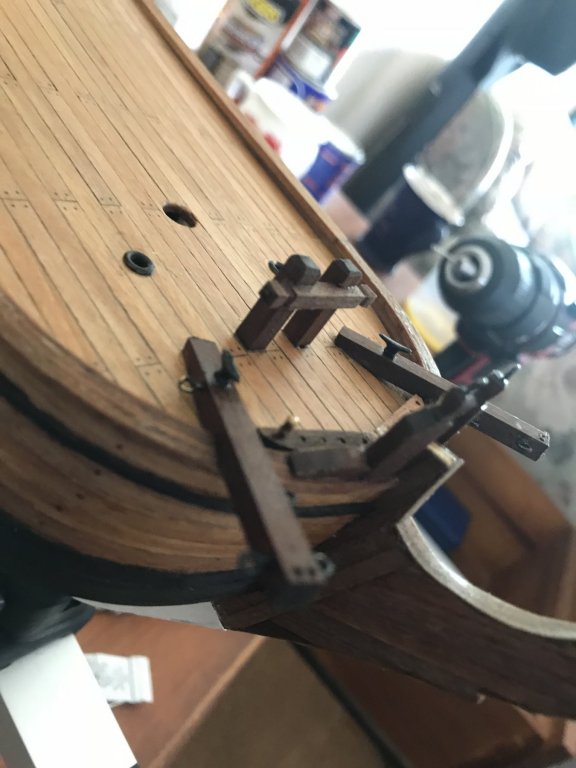
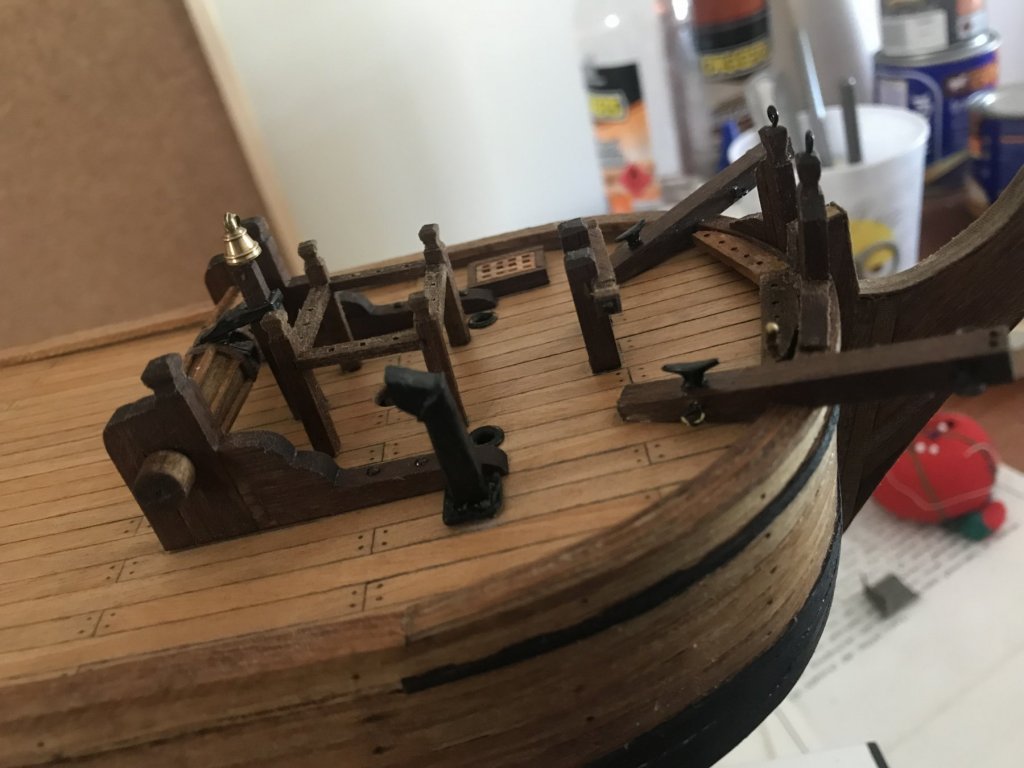
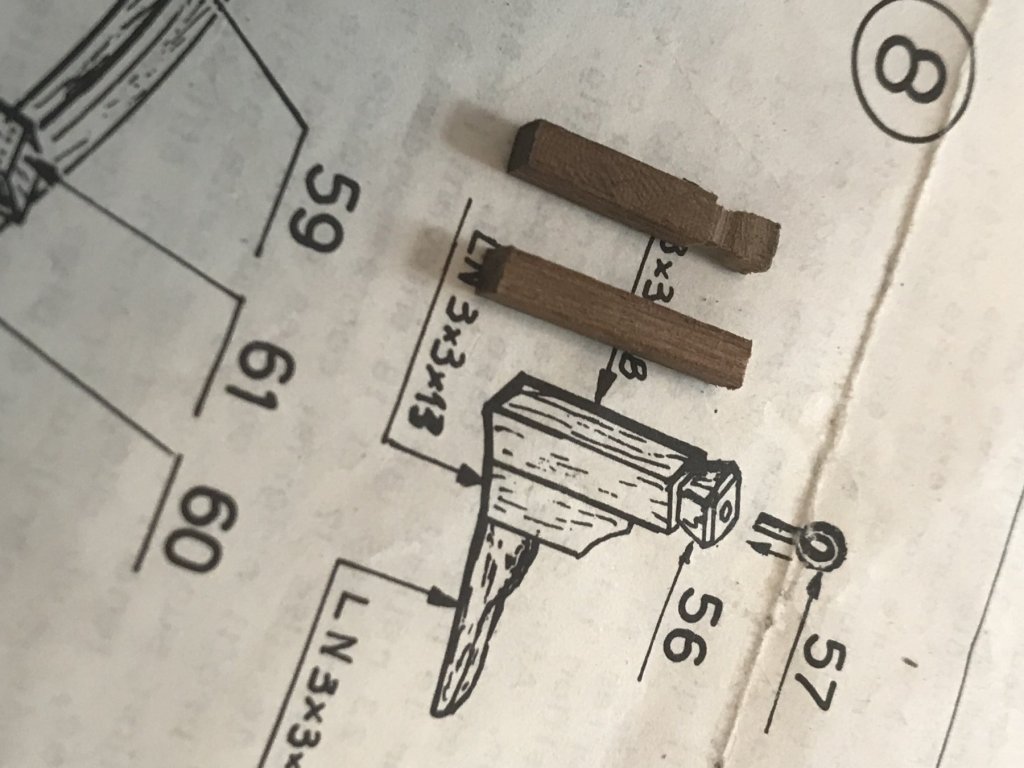
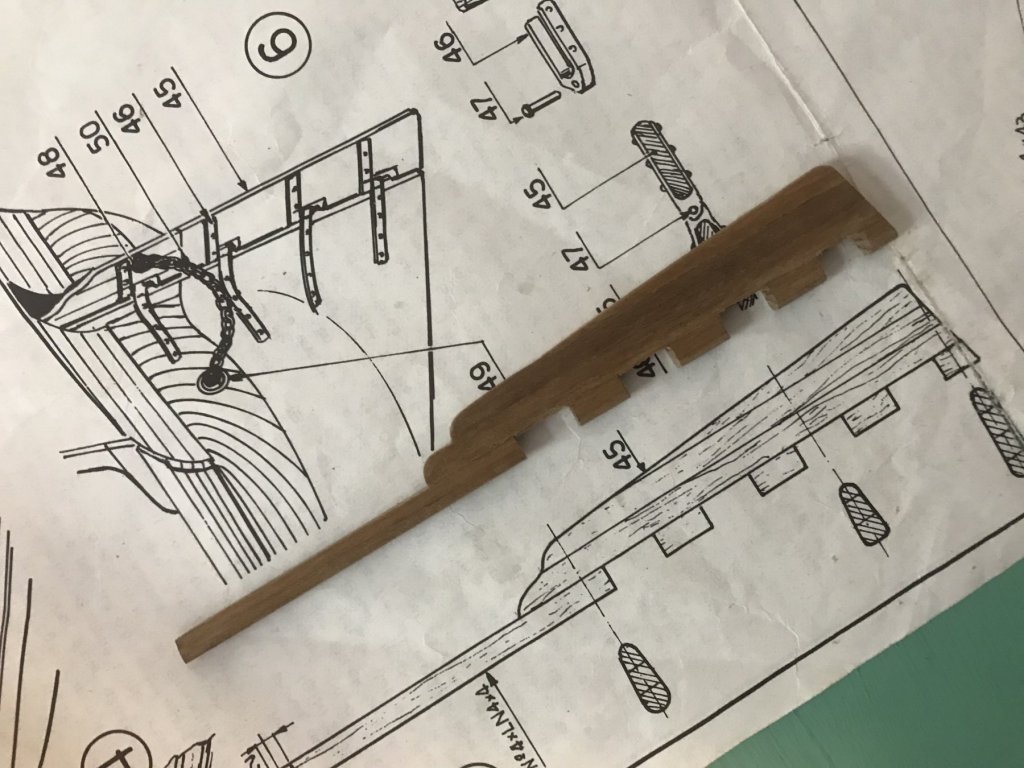
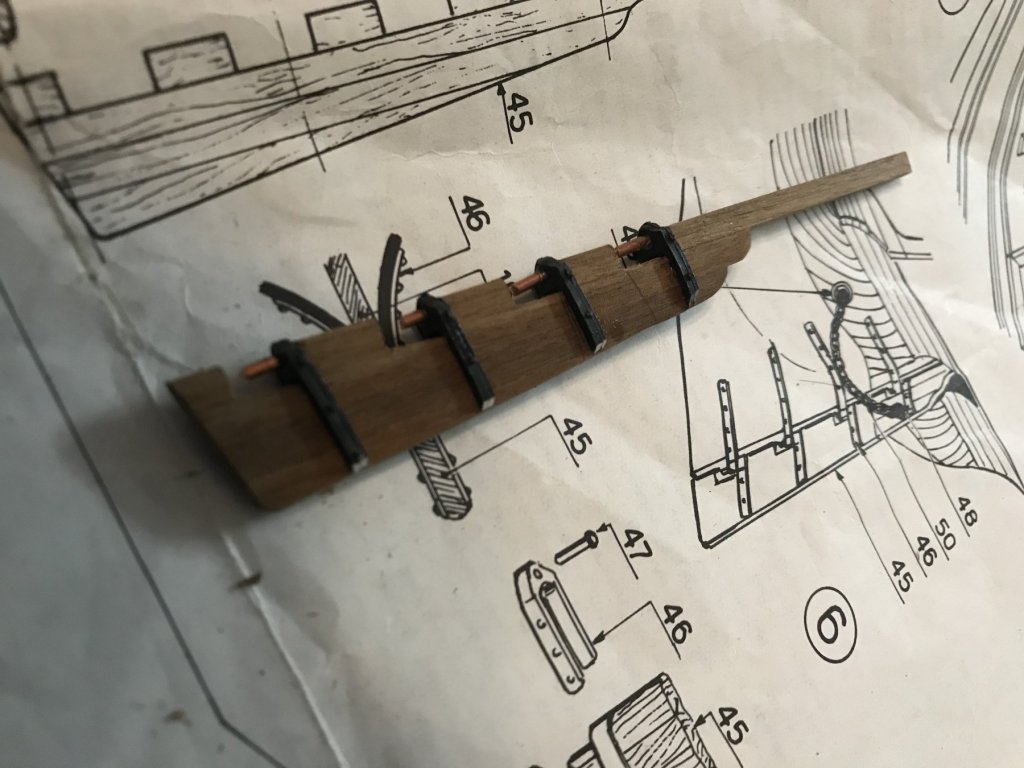
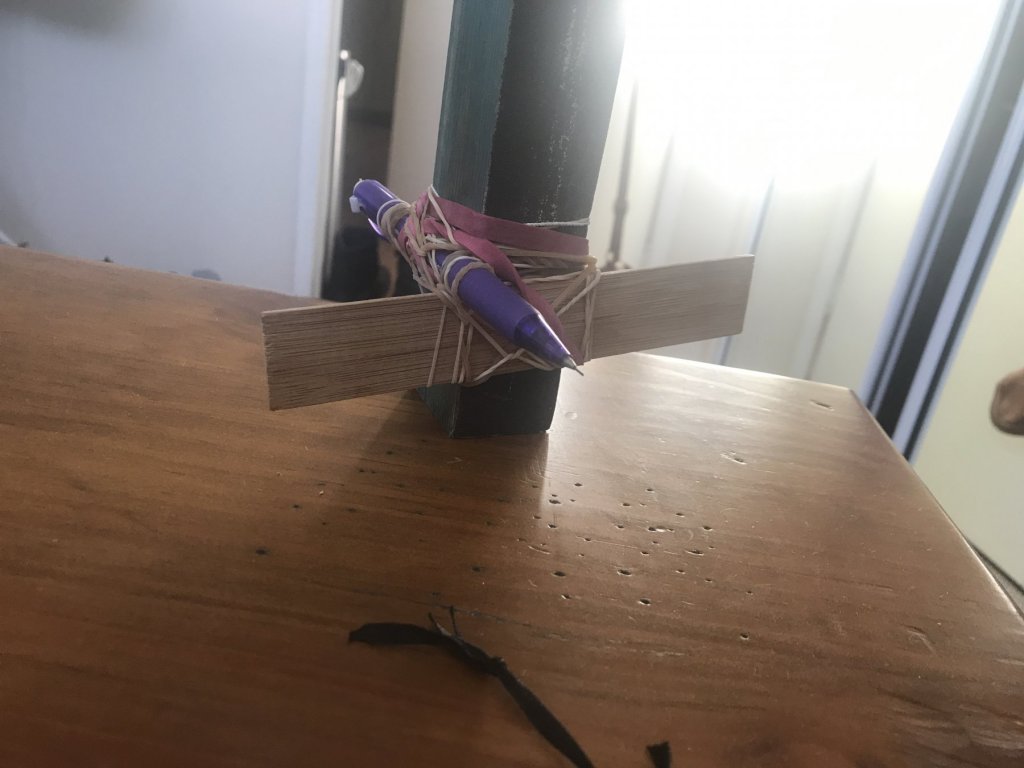
Well hello all my fellow ship masters 😁! It’s been a few days and I may as well show you all where I’m up to! Working on the furniture on my bounty has been time consuming but very enjoyable. I regret not taking more step by step photos of my progress to talk about challenges I’ve encountered. But i will show you what I have taken First I attached the belay pin rack at the bow bulwark. Then I fitted what my plans refer to as “bitts” which I found amusing because my plans usually use exotic nautical terms to describe every piece of my boat so far. These “bitts” refer to the the 2 support poles right on top of the bow bulwark, that the bowsprit will wit between once installed. Then it came time for the cat davits (the sturdy wooden poles for the anchors) I struggled to find an accurate way to install them to match the exact same angle of the plans. So went out and bought an angle finder and measured the exact angle off the plans and then rubber banded it to the deck. This is one of the methods I wish I’d taken photos of...but was having so much fun that I forgot ☹️. Anyway...I was very happy with the results. And then next the “bitts” that sit further back from the belay pin rack and will sit over the end of the bowsprit once installed. Very fiddly carving it all from scratch, but very enjoyable. Then drilled the anchor holes in the deck. next I installed the belay pin rack around the fore mast. The pin rack around the mast was tricky to get to sit square because of minute differences in the groove cuts for the pin boards. Also my plans call for a small piece of brass to be drilled into bottom of most of the deck furniture so it can be glued into the deck with extra strength. Since I know nothing about rigging I can only assume that there must be considerable strain on some of these parts later on in my build. Either way...this deck furniture isn’t going anywhere. Next I constructed the “windlass” the rolling barrel/log that the anchor ropes attach to. I spent a couple of days sanding and cutting it into shape and am happy with how it came out. Then put in the bell 🛎...the chimney and then constructed the small grating on the port side and installed it.all this process would have been much faster if my first officer wasn’t asleep on her watch all the time 😠 (Btw she’s not dead...she likes small spaces for her naps) next installed the side pin racks next to the windlass. Then started constructing the gratings that the launch boat will rest on. The plans call for these port holes to be installed in the side. However the timber I have to drill into is only 5 mil wide and the port wholes 3.5 at the base and 5 mil on the surface. So when drilling the 3.5 the timber would split every time. Not to mention I was nervous about having to drill underneath so close to the surface of my gratings and ruining it. So I had to do a bit of looking around to find smaller port holes both in depth and surface width. I still had issues with splitting wood...so I put these black paper clips on my timber and so far so good 😊 I believe I succeed and this the end result. Had to slowly widen the drill hole to minimize the chance of splitting...found my first officer sleeping on the job again 😡...good thing she’s too cute for traditional naval discipline! And that’s where I’m up to folks! If anyone is curious in the future to know how I’ve done anything please ask 😁...and look forward to anyone’s criticism so I can learn


-
Good job on the rigging leginseel! She’s looking close to sea worthy😁...not good to hear your having problems with vague cop out instructions though. I’ve got several full size charts and plans that show the rigging in some detail with my mamoli kit. Since I have nothing to compare to, I don’t know if my instructions are considered good or not...I haven’t looked ahead enough to know whether I’ll have similar problems with step by step instructions. seeing the problems and headaches your encountering makes me realize that I need to start doing my research on techniques and tools 😐...I barely know a thing about rigging
- 121 replies
-
- 2
-
-
- bounty
- constructo
- (and 1 more)
-
Thanks leginseel for your recommendation! I think I’ll definitely look into it😁 and thanks to to everyone for the likes and comments 👍🏻
-
Haha thanks Fernando...although she is a very messy sailor...I think some tough training is therefore in order😄... And thanks...looking forward to seeing what color scheme and wood finishes u go with on your future builds!
-
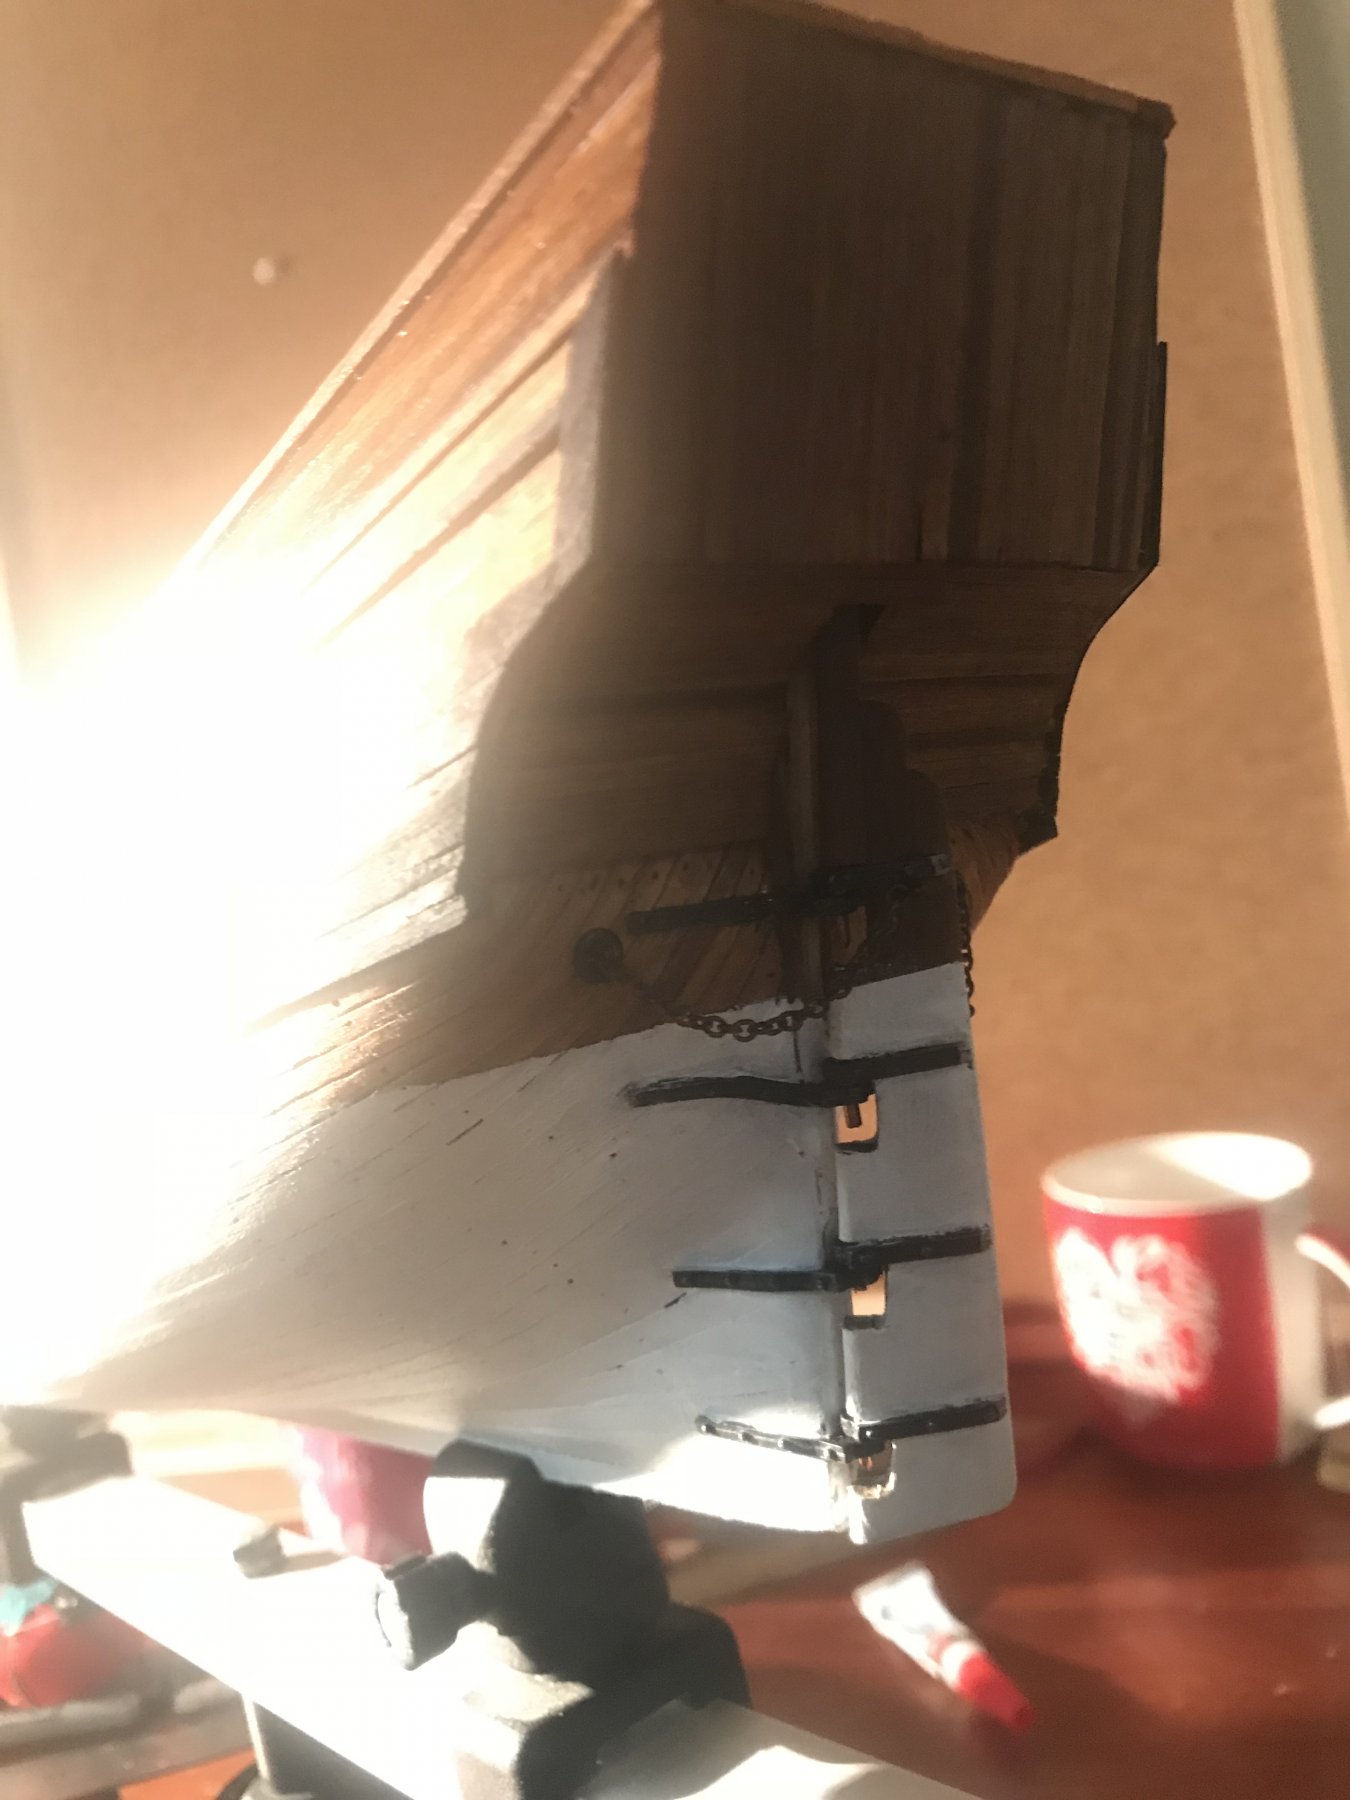
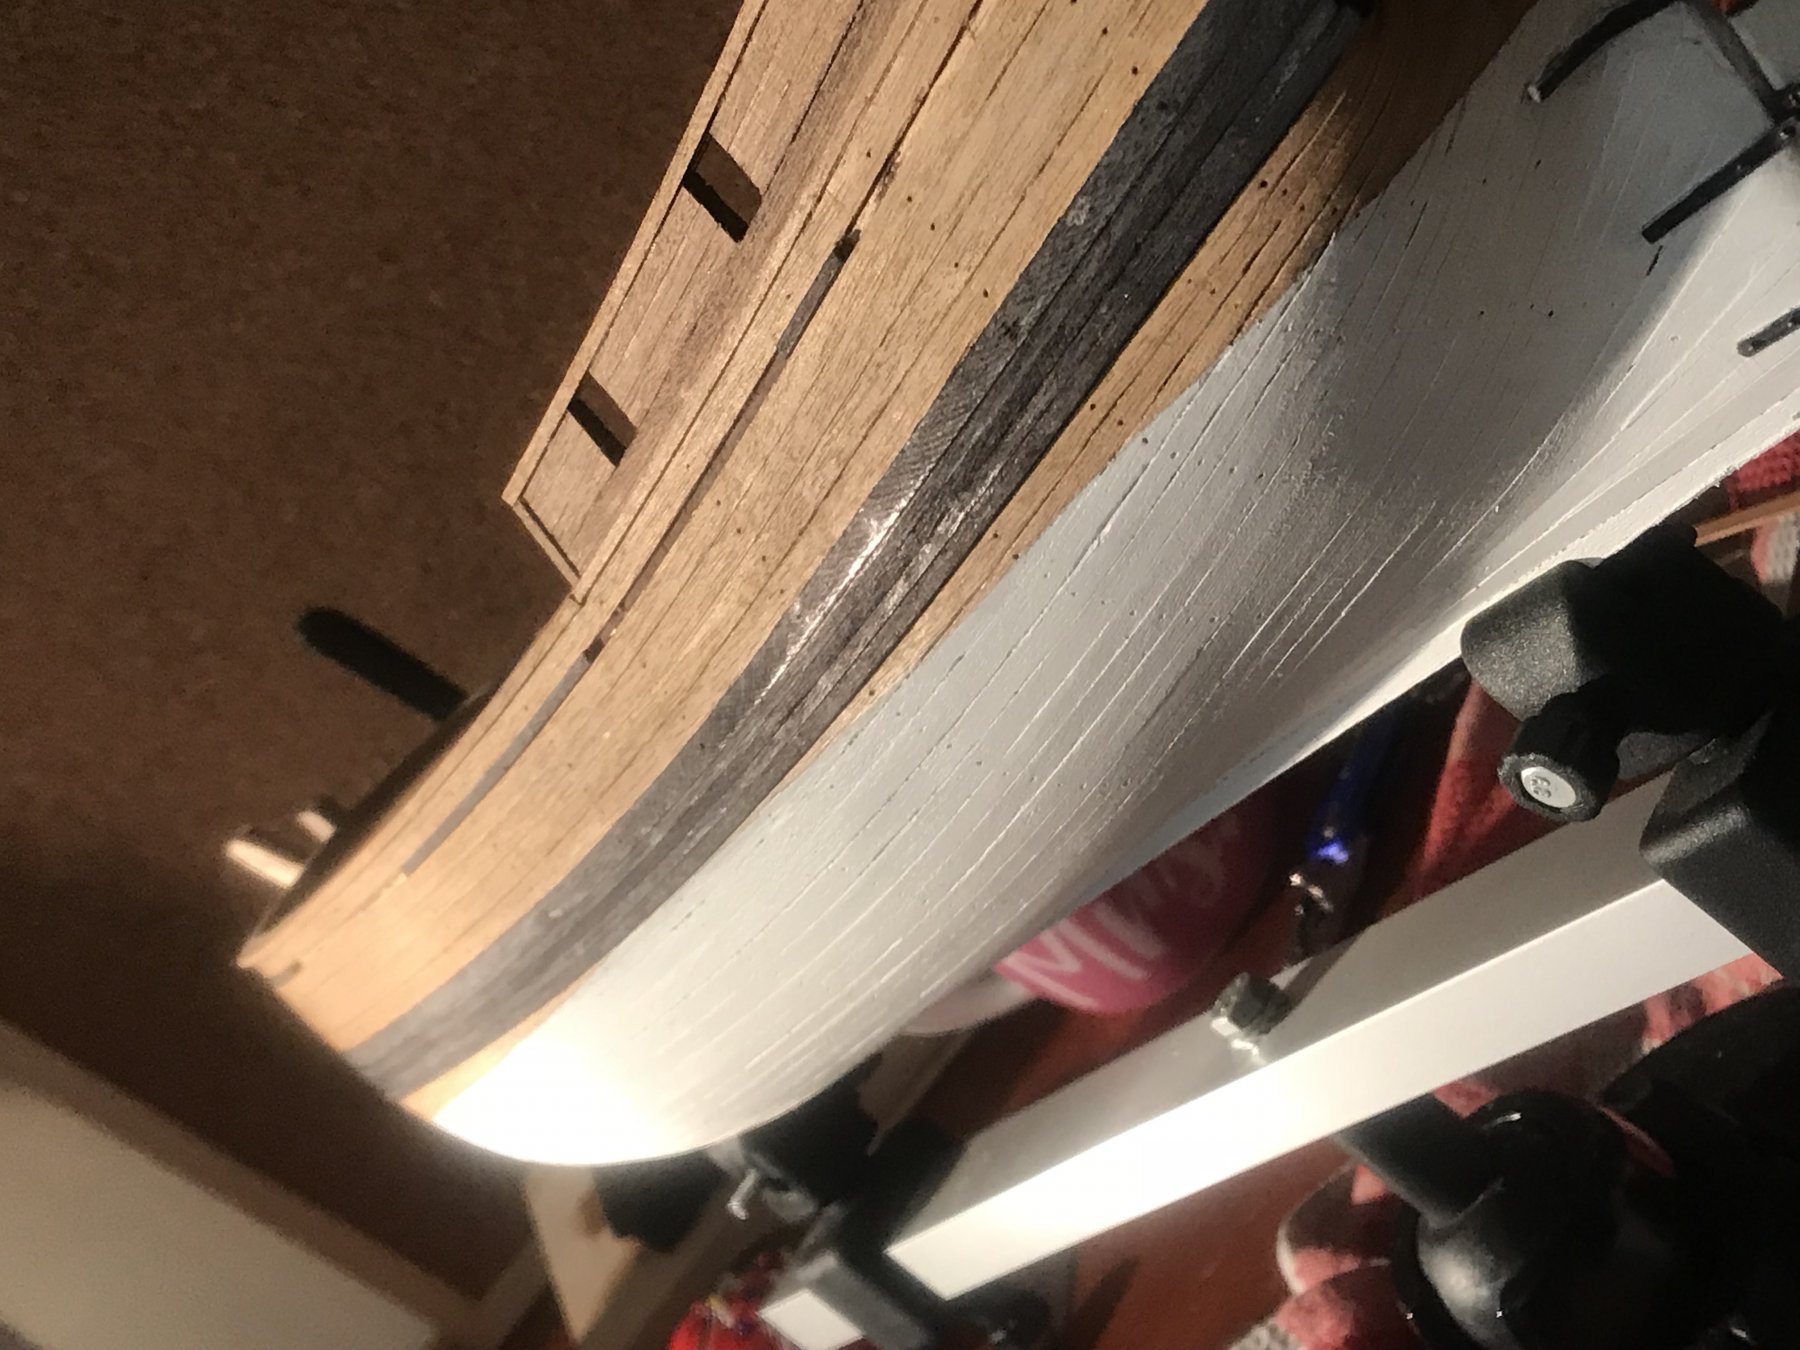
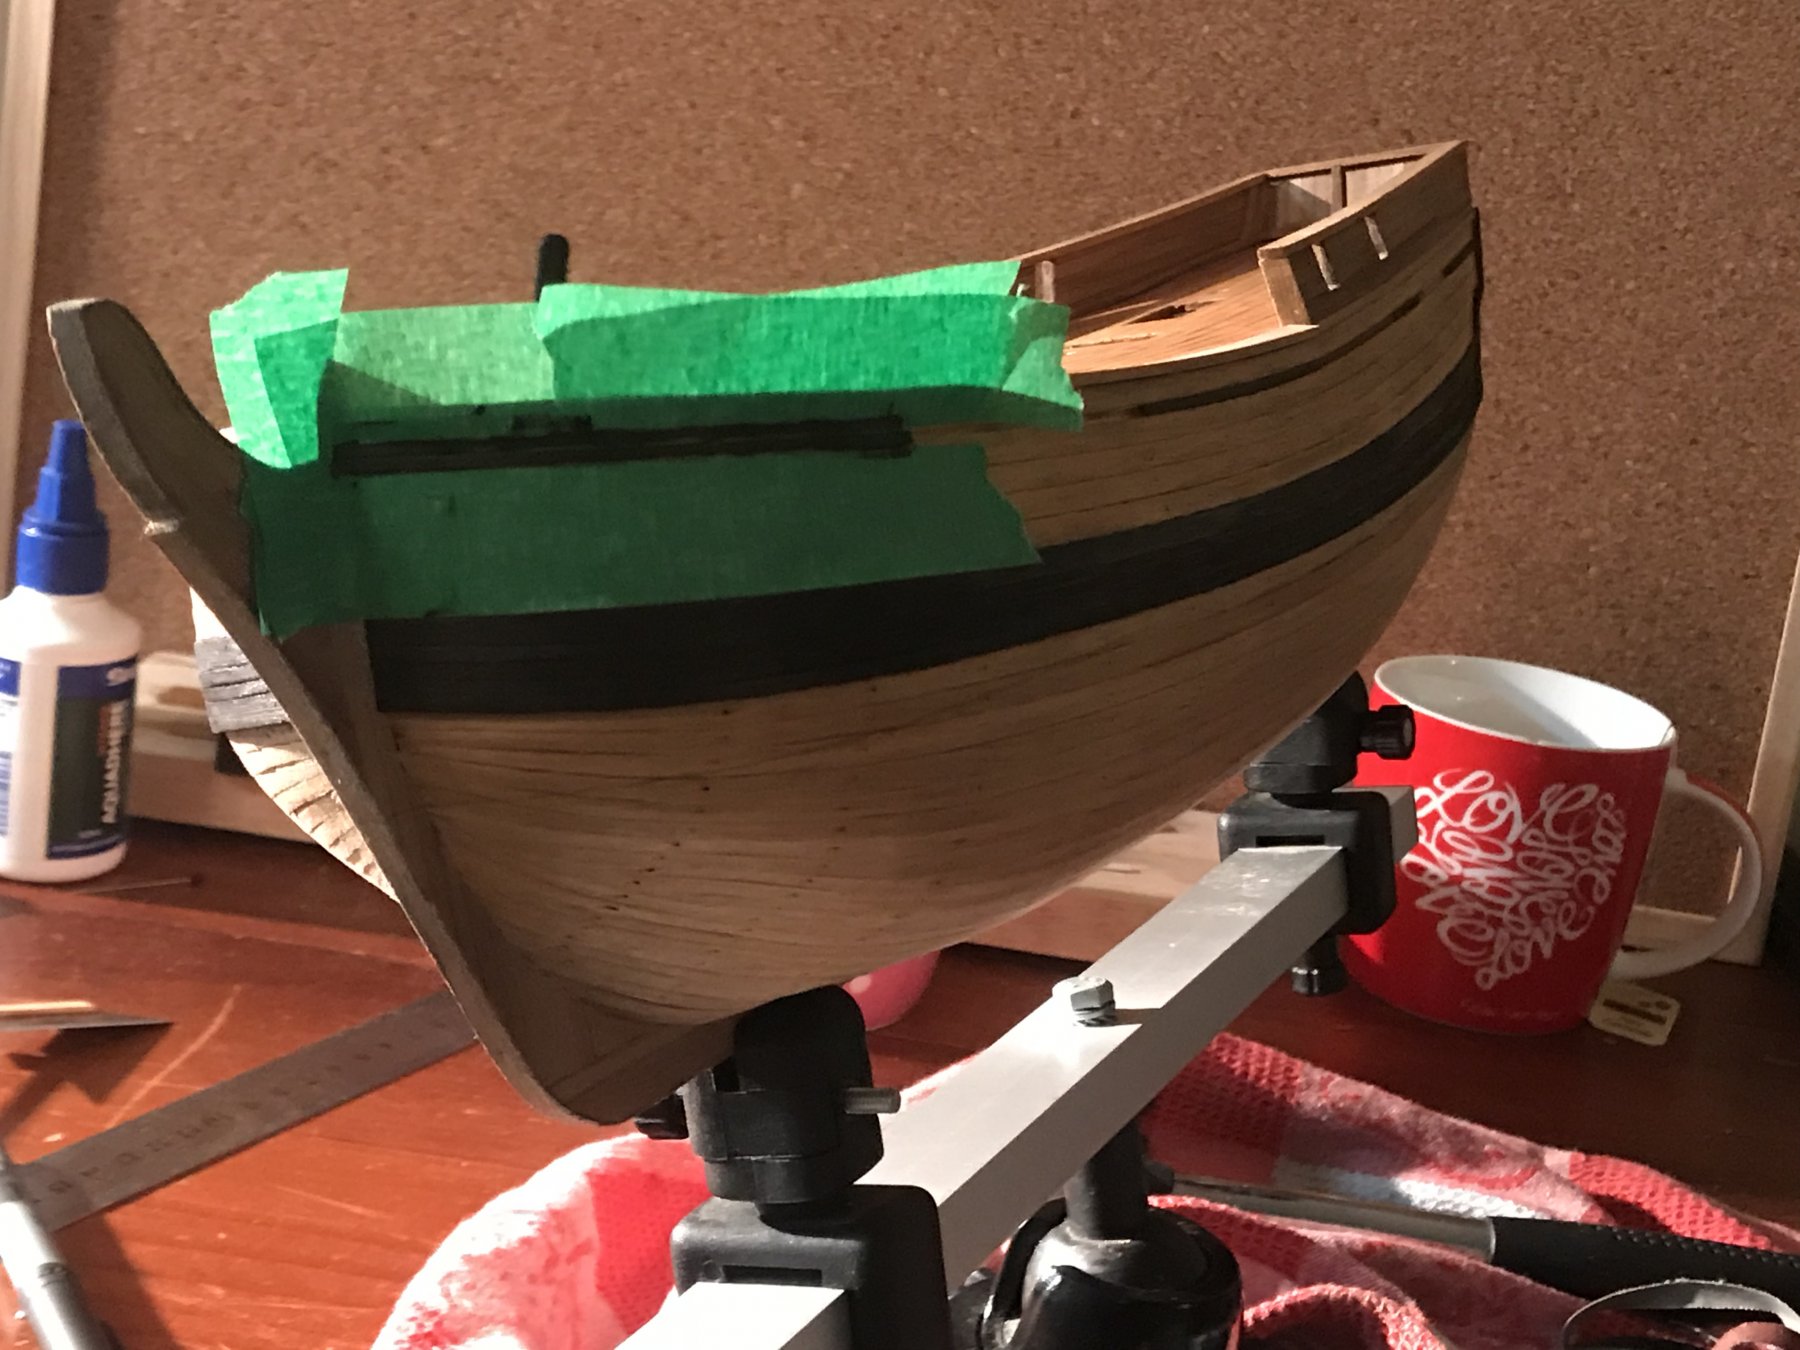
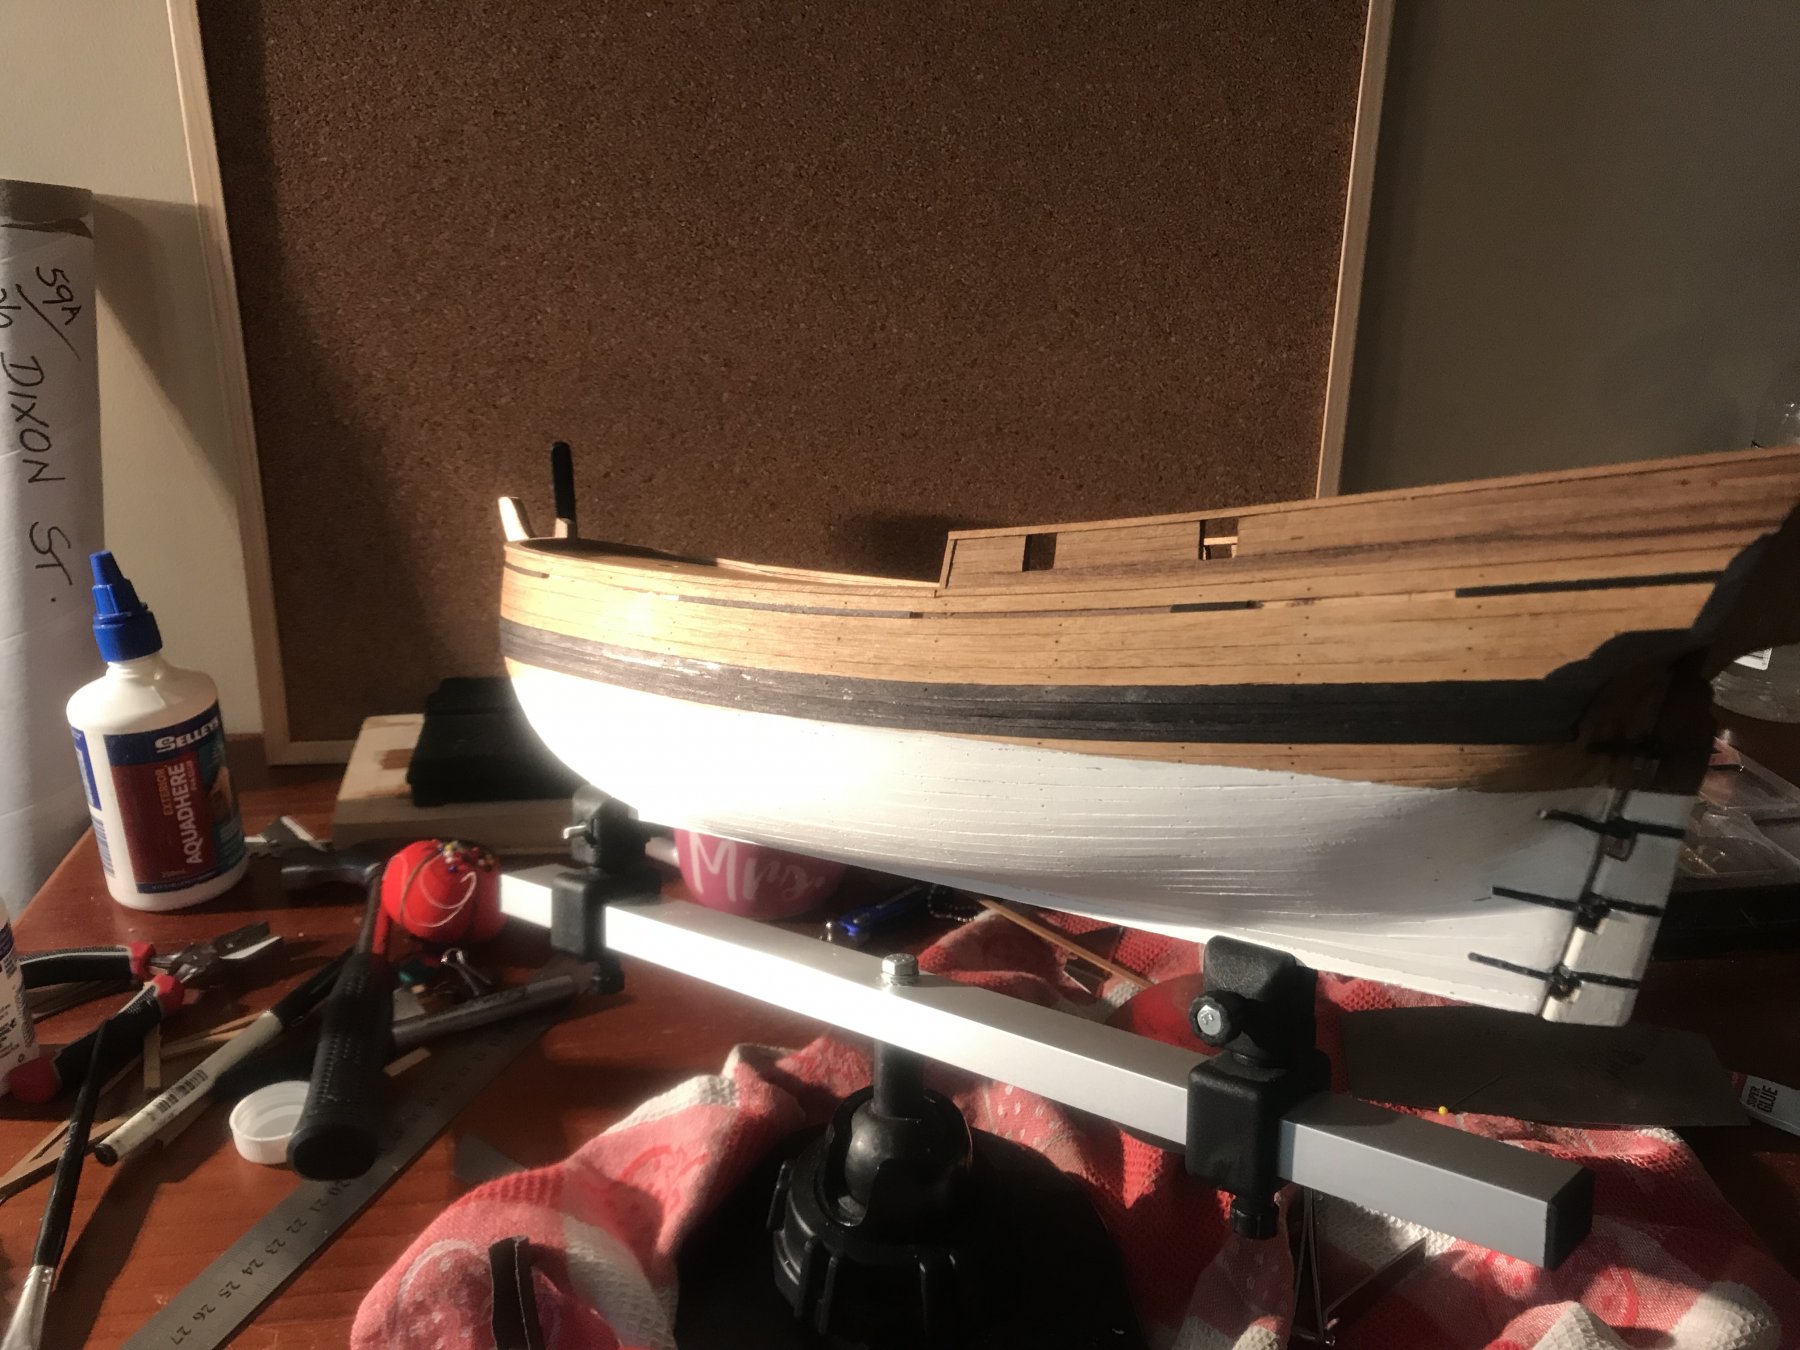
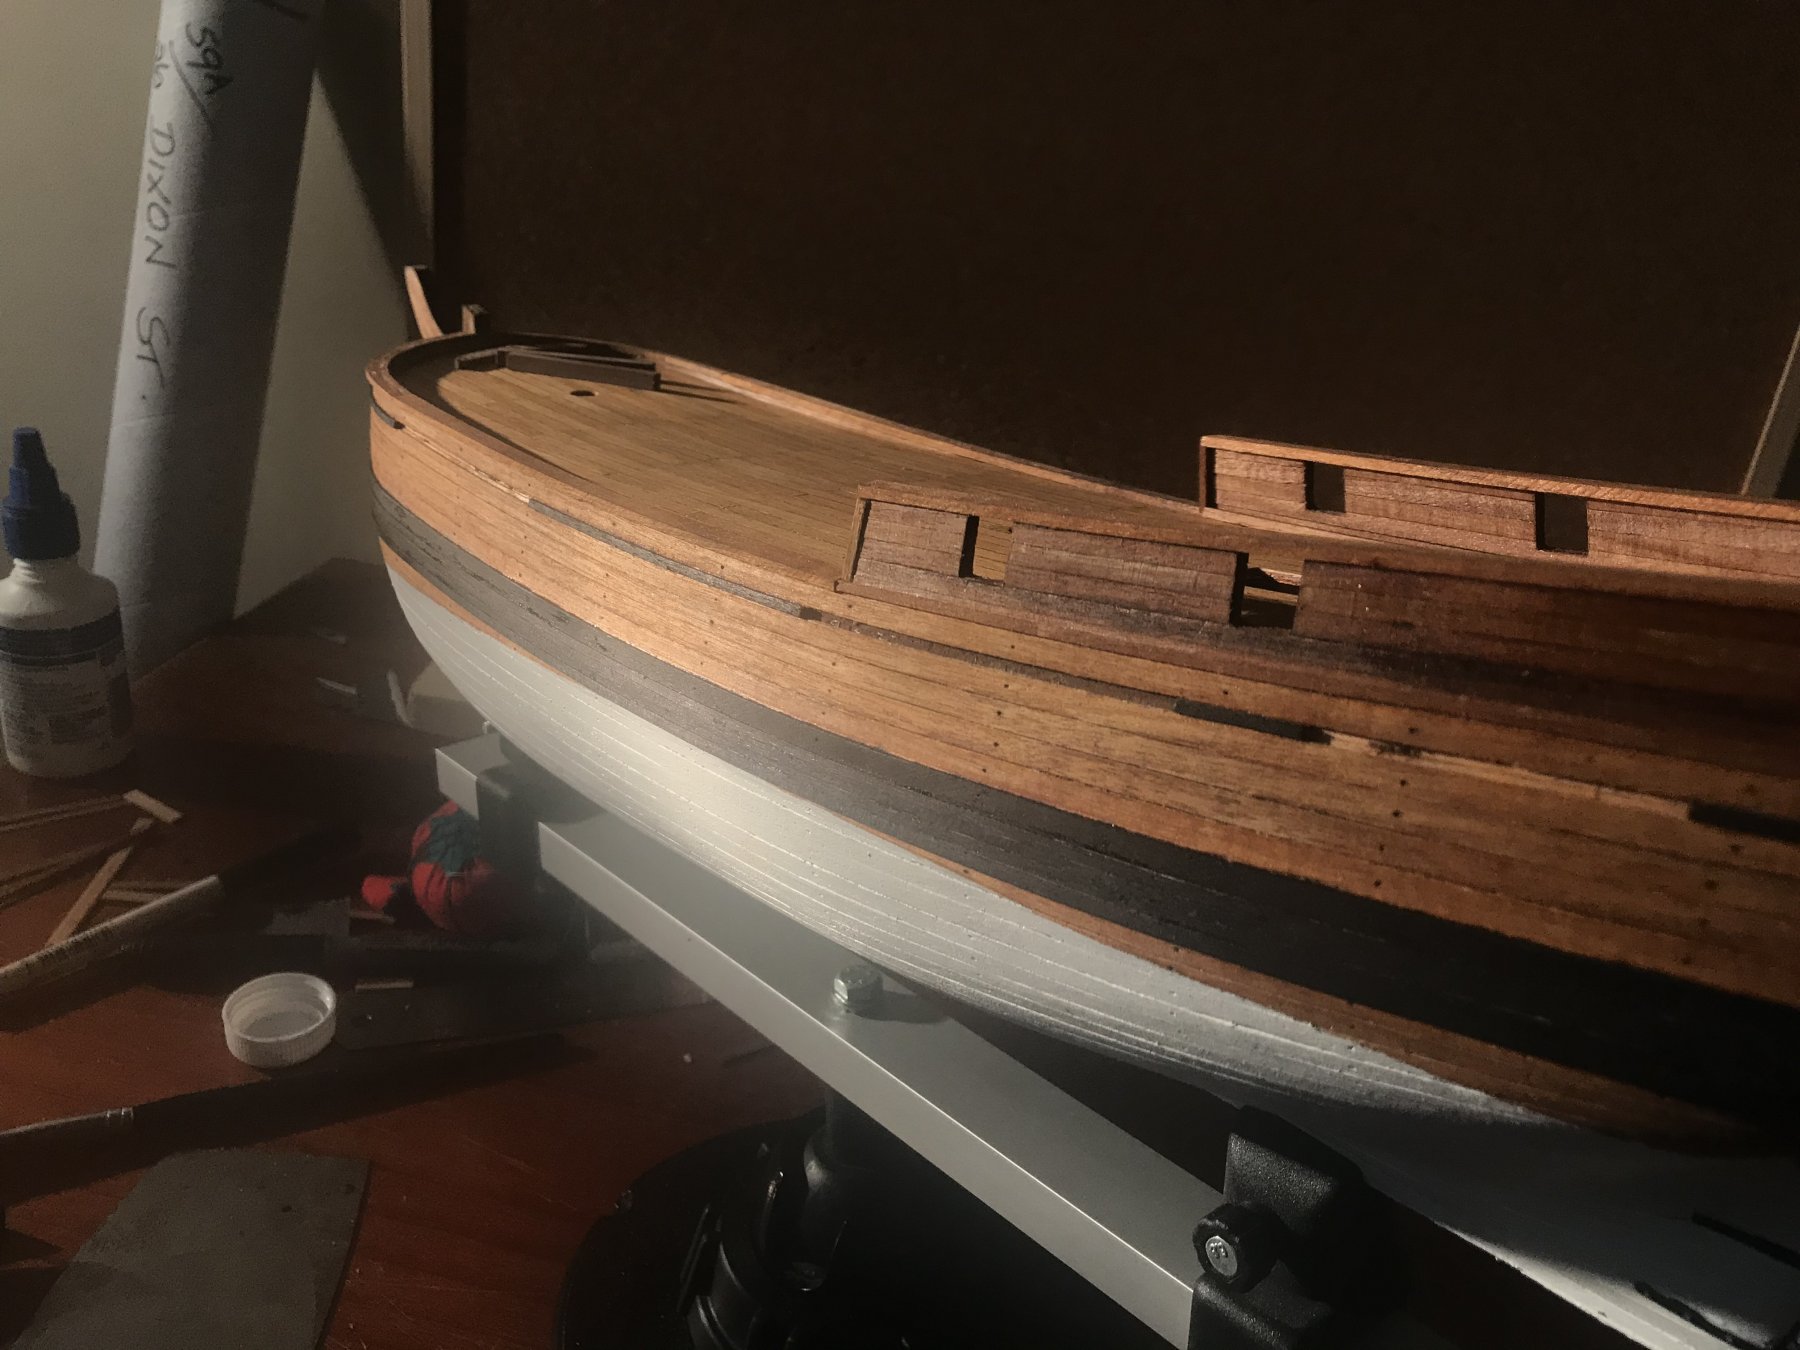
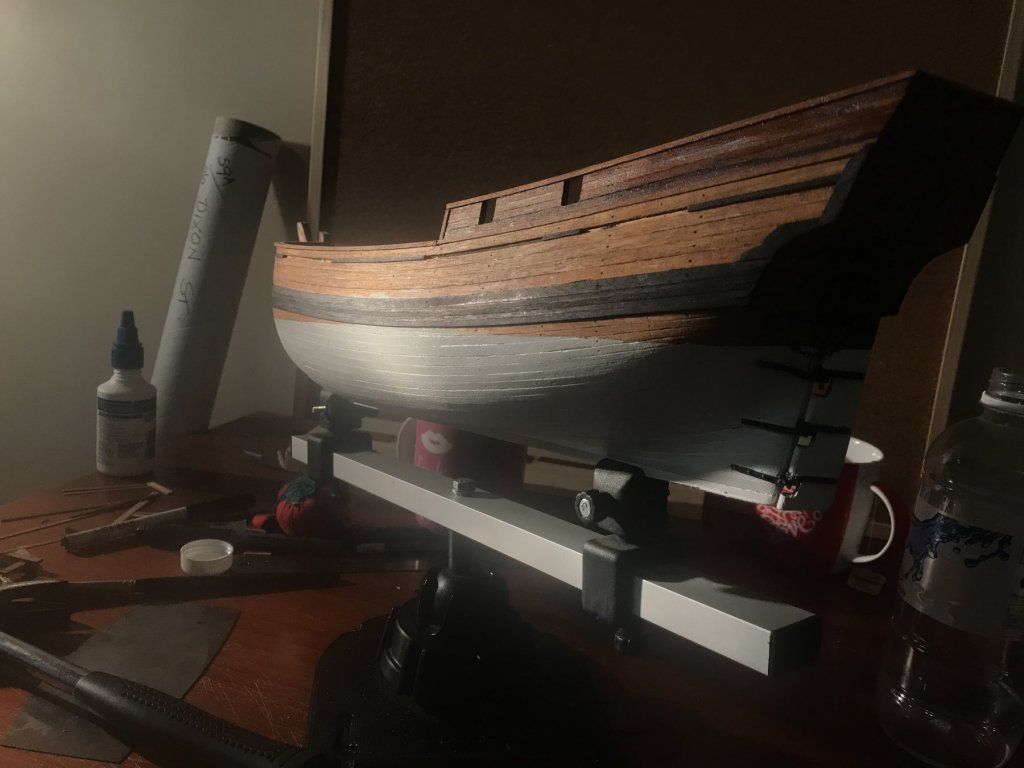
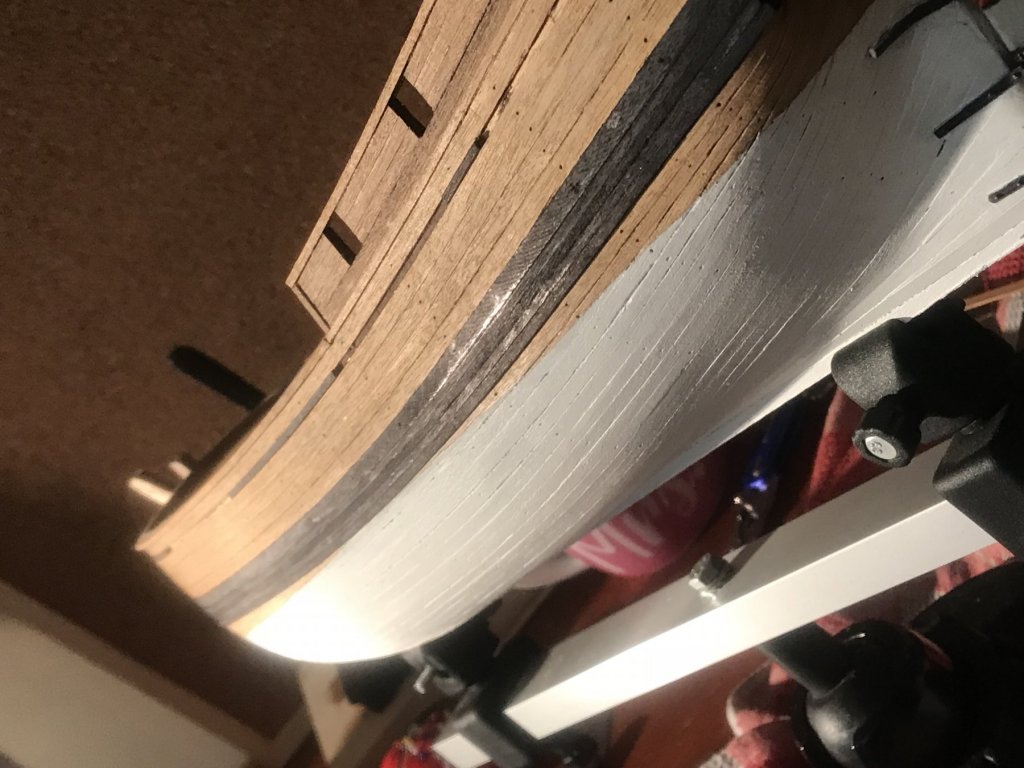
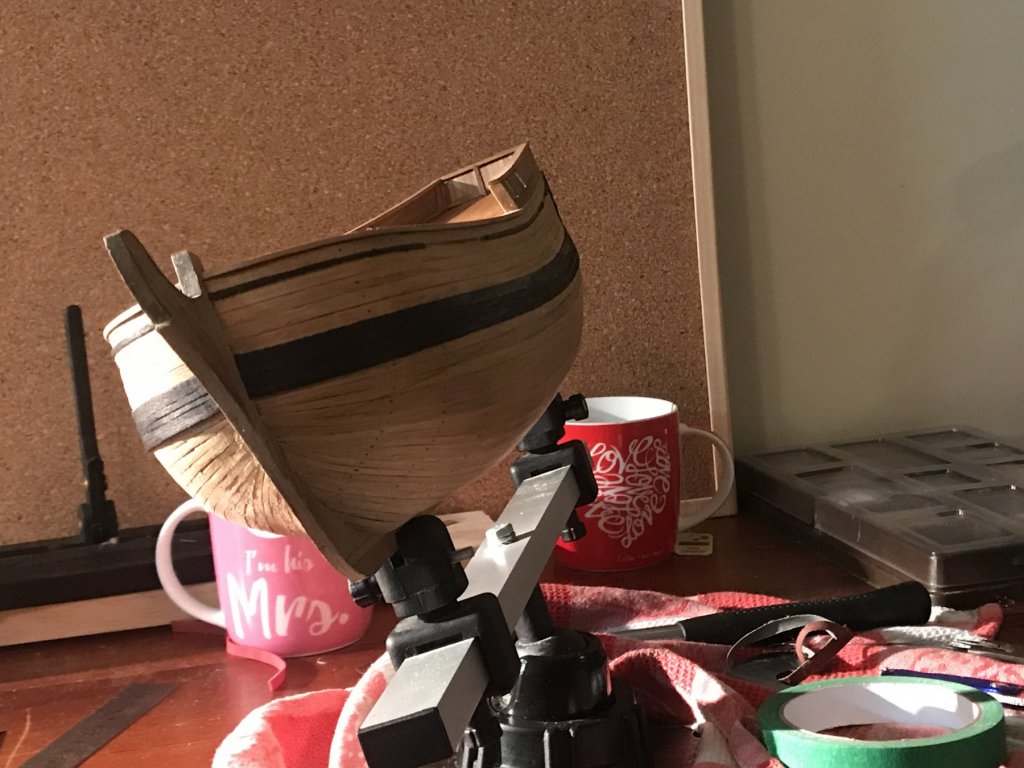
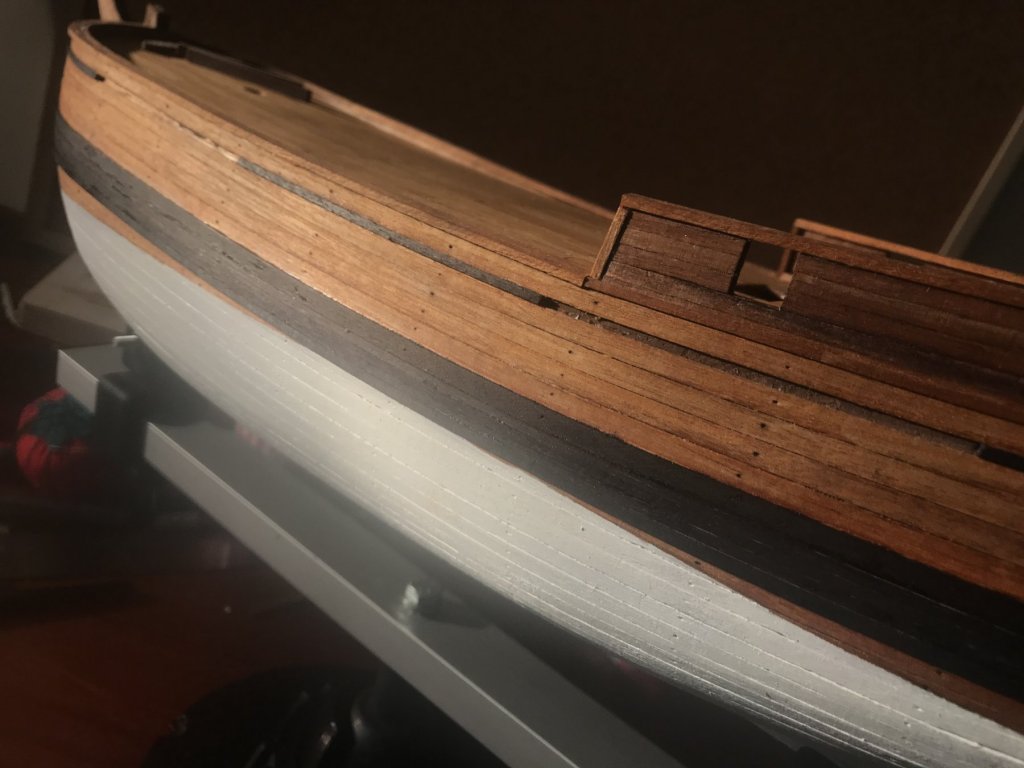
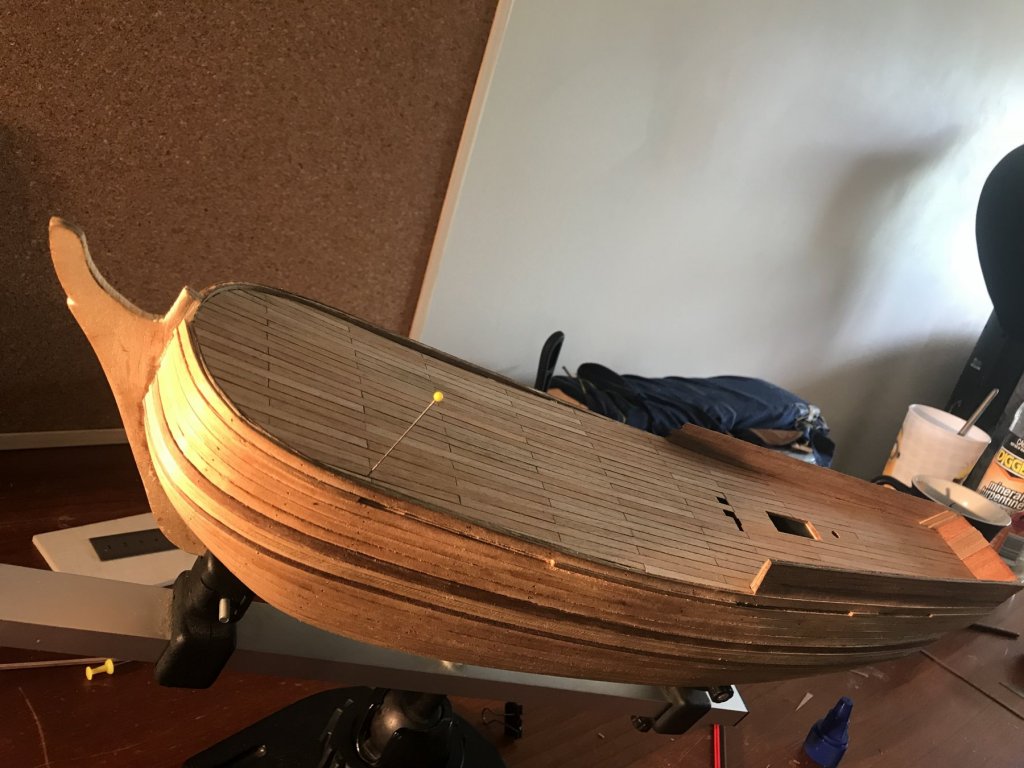
Update 😁! The bounty is looking quite different now...even though the majority of the last weeks I’ve spent not actually working on my bounty. The majority was spent puppy proofing my shipyard for a new member of the family but anyhow in the last couple of days this is what I have done to the bounty carved out the rudder...this was so satisfying to make and I’m really happy with how it came out. these rudder hinges weren’t the nicest to work with. Quite brittle...oh well I’ll remember to order more next time...and I managed 😁I painted well er textered the wales. It was very nervous risky work with a permanent marker...but I took precautions. I’m happy with the deep Matt black color painting the waterline was tricky...the wales make it hard/impossible to properly put down tape to give u a clean waterline. But again, I managed! I went with 3 coats of a white acrylic from modelers central that is supposedly especially for model ships...I’m not sure...I don’t know anything about paints. Speaking of paints if anyone could tell me what they think of airbrushing compared to paintbrushing I’d be delighted to hear? If it is a better quality paint job I’d consider it for my next model. then I went with boiled linseed oil for the rest of the timber...let me know your honest thoughts guys. I don’t mind it at all, but am eager to hear other opinions. With regards to the color scheme as a whole that I’ve gone with I realize that it’s not entirely historicaly acurate. And I’m usually a big stickler for that sort of thing...but in the end the desire to show off some timber with a nice finish or 2 got the better of me. Besides I tell myself that the bounty could of looked like this before the Royal Navy bought her when she was a merchant ship 😃...who knows. and finally...attached the chains to the rudder to the ship. And now it’s on to some of the furniture and fittings on the deck! ...this is gonna be heaps fun!


-
Hey Fernando thanks for the kind words and encouragement...yes this is my first build. And yes I was told this bow was tricky when it was to late (after a bought it) too! My jaw drops when I look at some of the professional modelers out there who can do these shaped bows with maybe 1 drop plank 😳. I’ll be sure to follow your progress when you get started on your build Fernando. To where I bought the wood, because I live in Australia...i ordered my extra timbers from Modelers Central https://www.modelerscentral.com/Default.asp? The wood was really good quality actually. If I had of known I’d of run out of second planking before I started I’d of done the whole planking with the ordered timbers.
-
Nice job on the rigging legineel. Your Bounty is really starting to come together nicely😁...how much work was involved in your yards? Do they come mostly pre milled or do you have to sand them down from scratch?
- 121 replies
-
- 1
-
-
- bounty
- constructo
- (and 1 more)
-
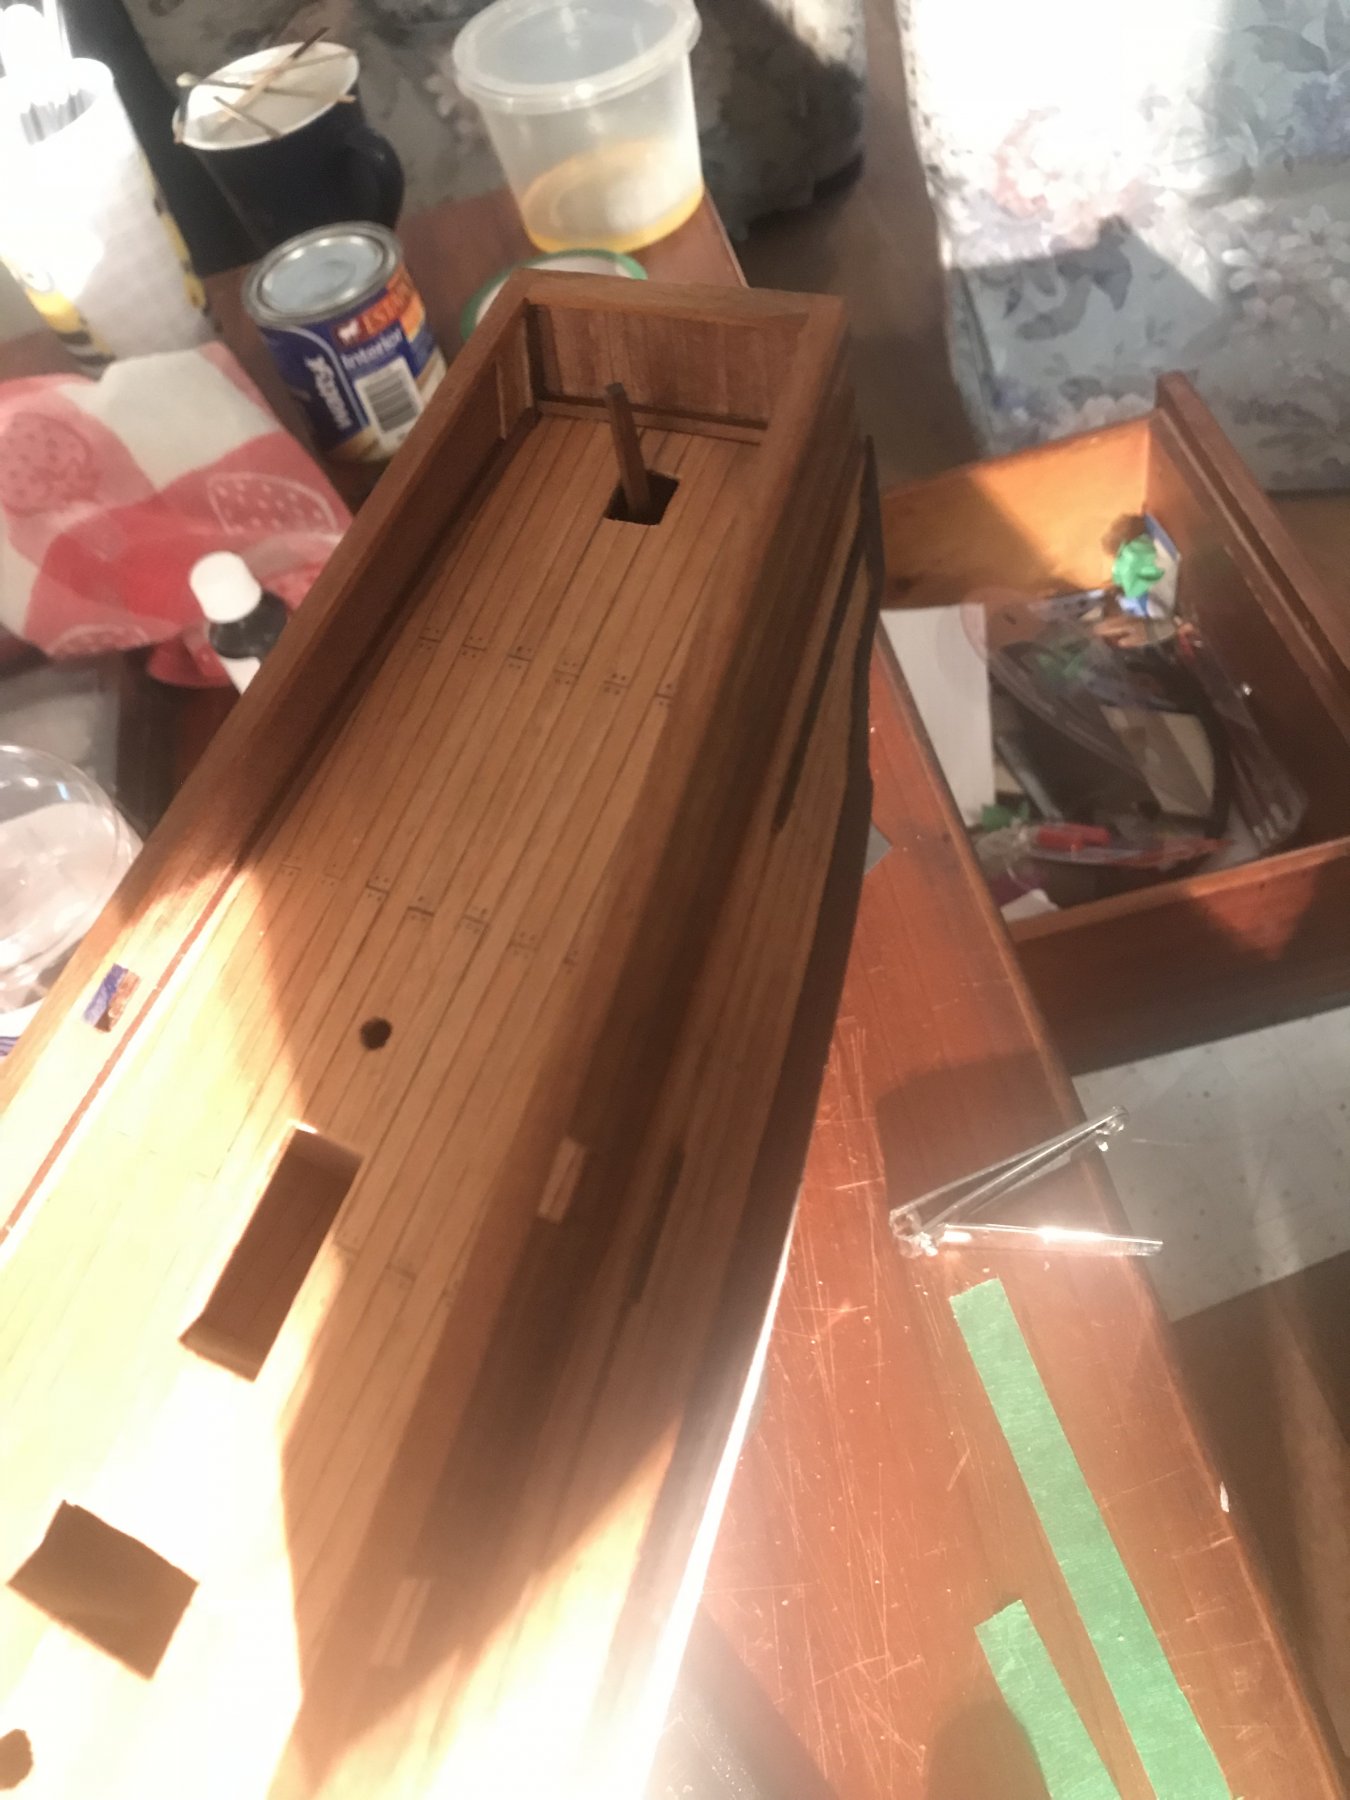
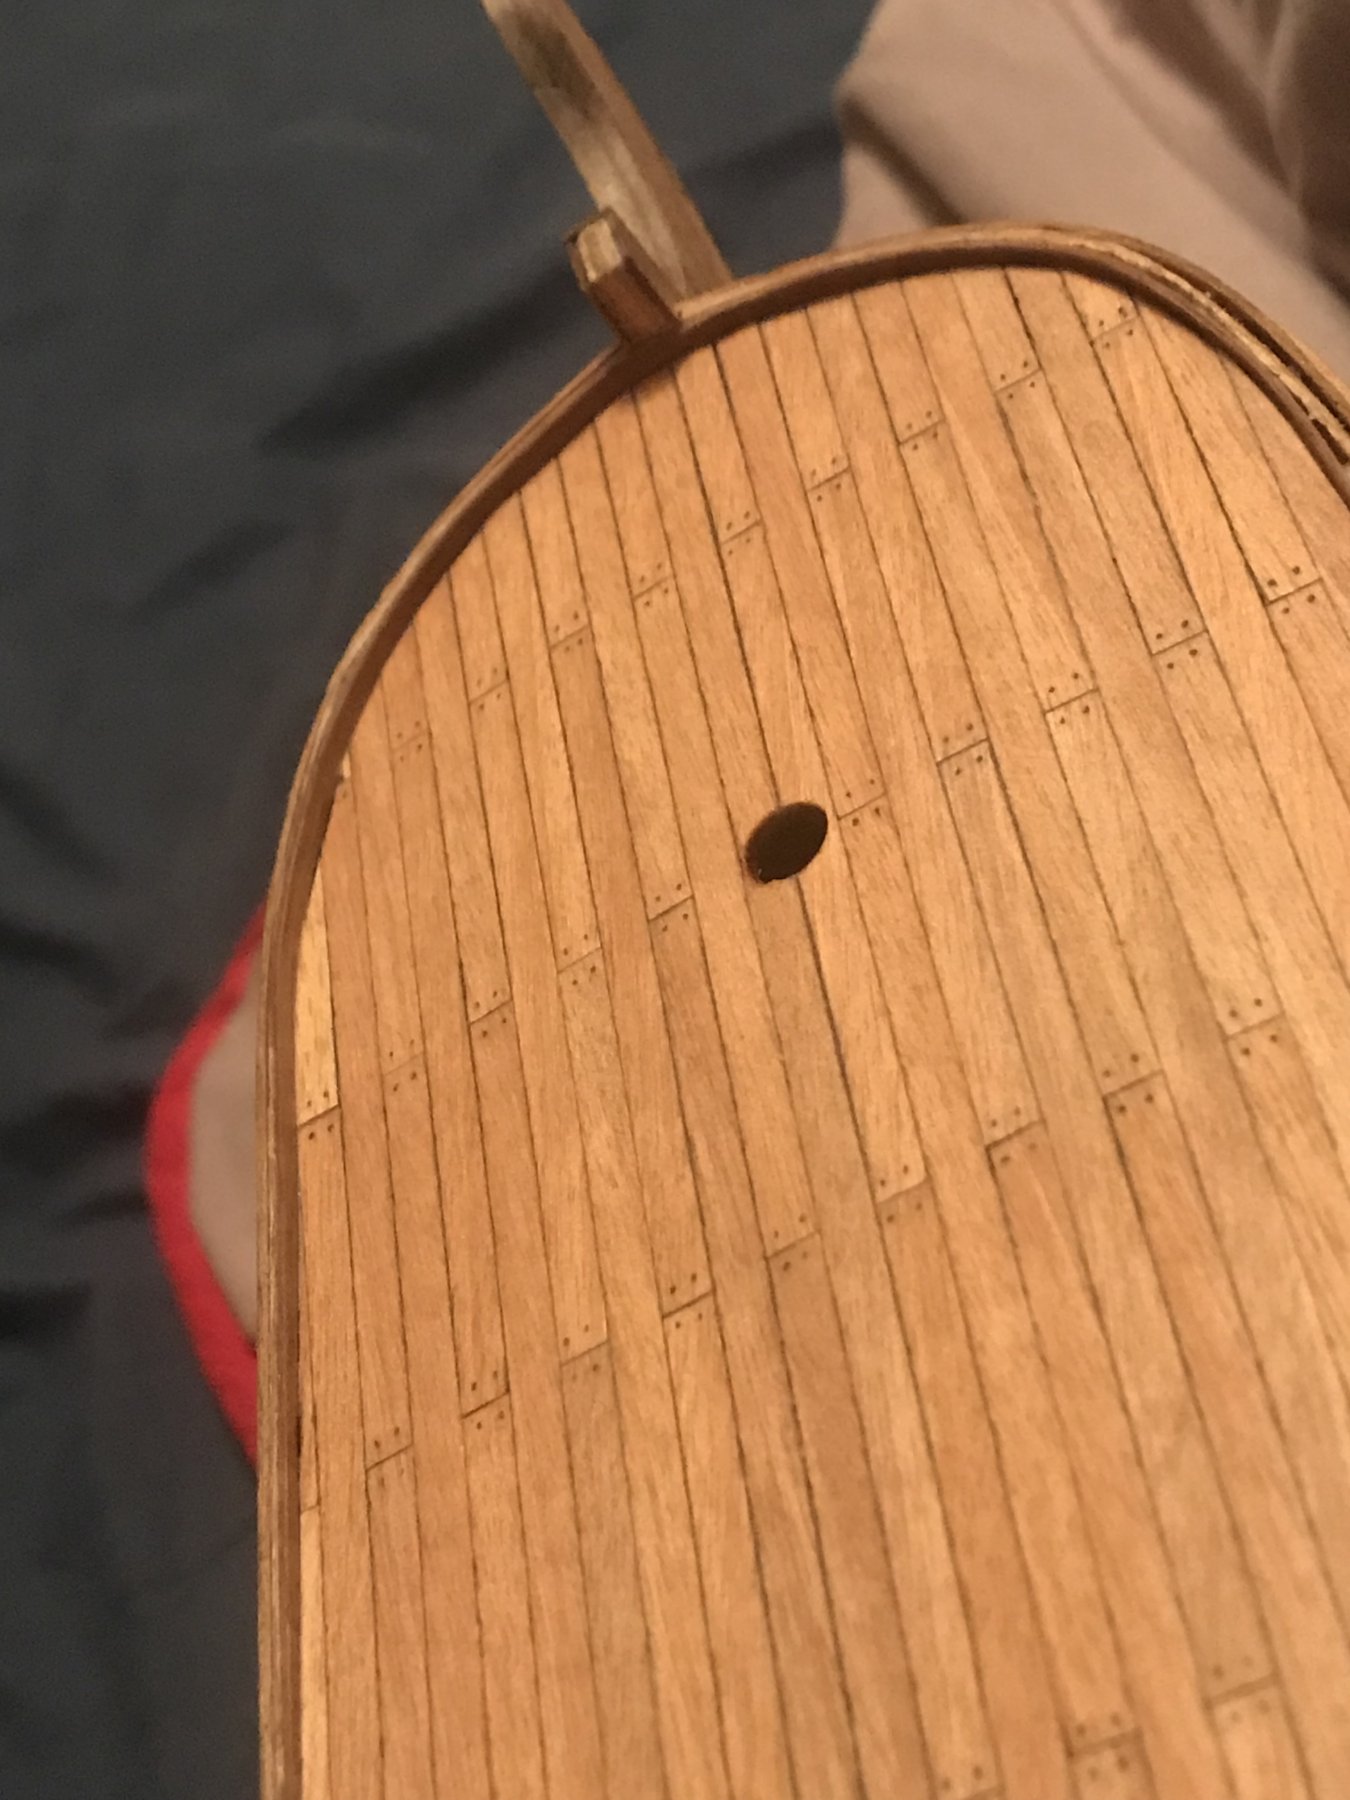
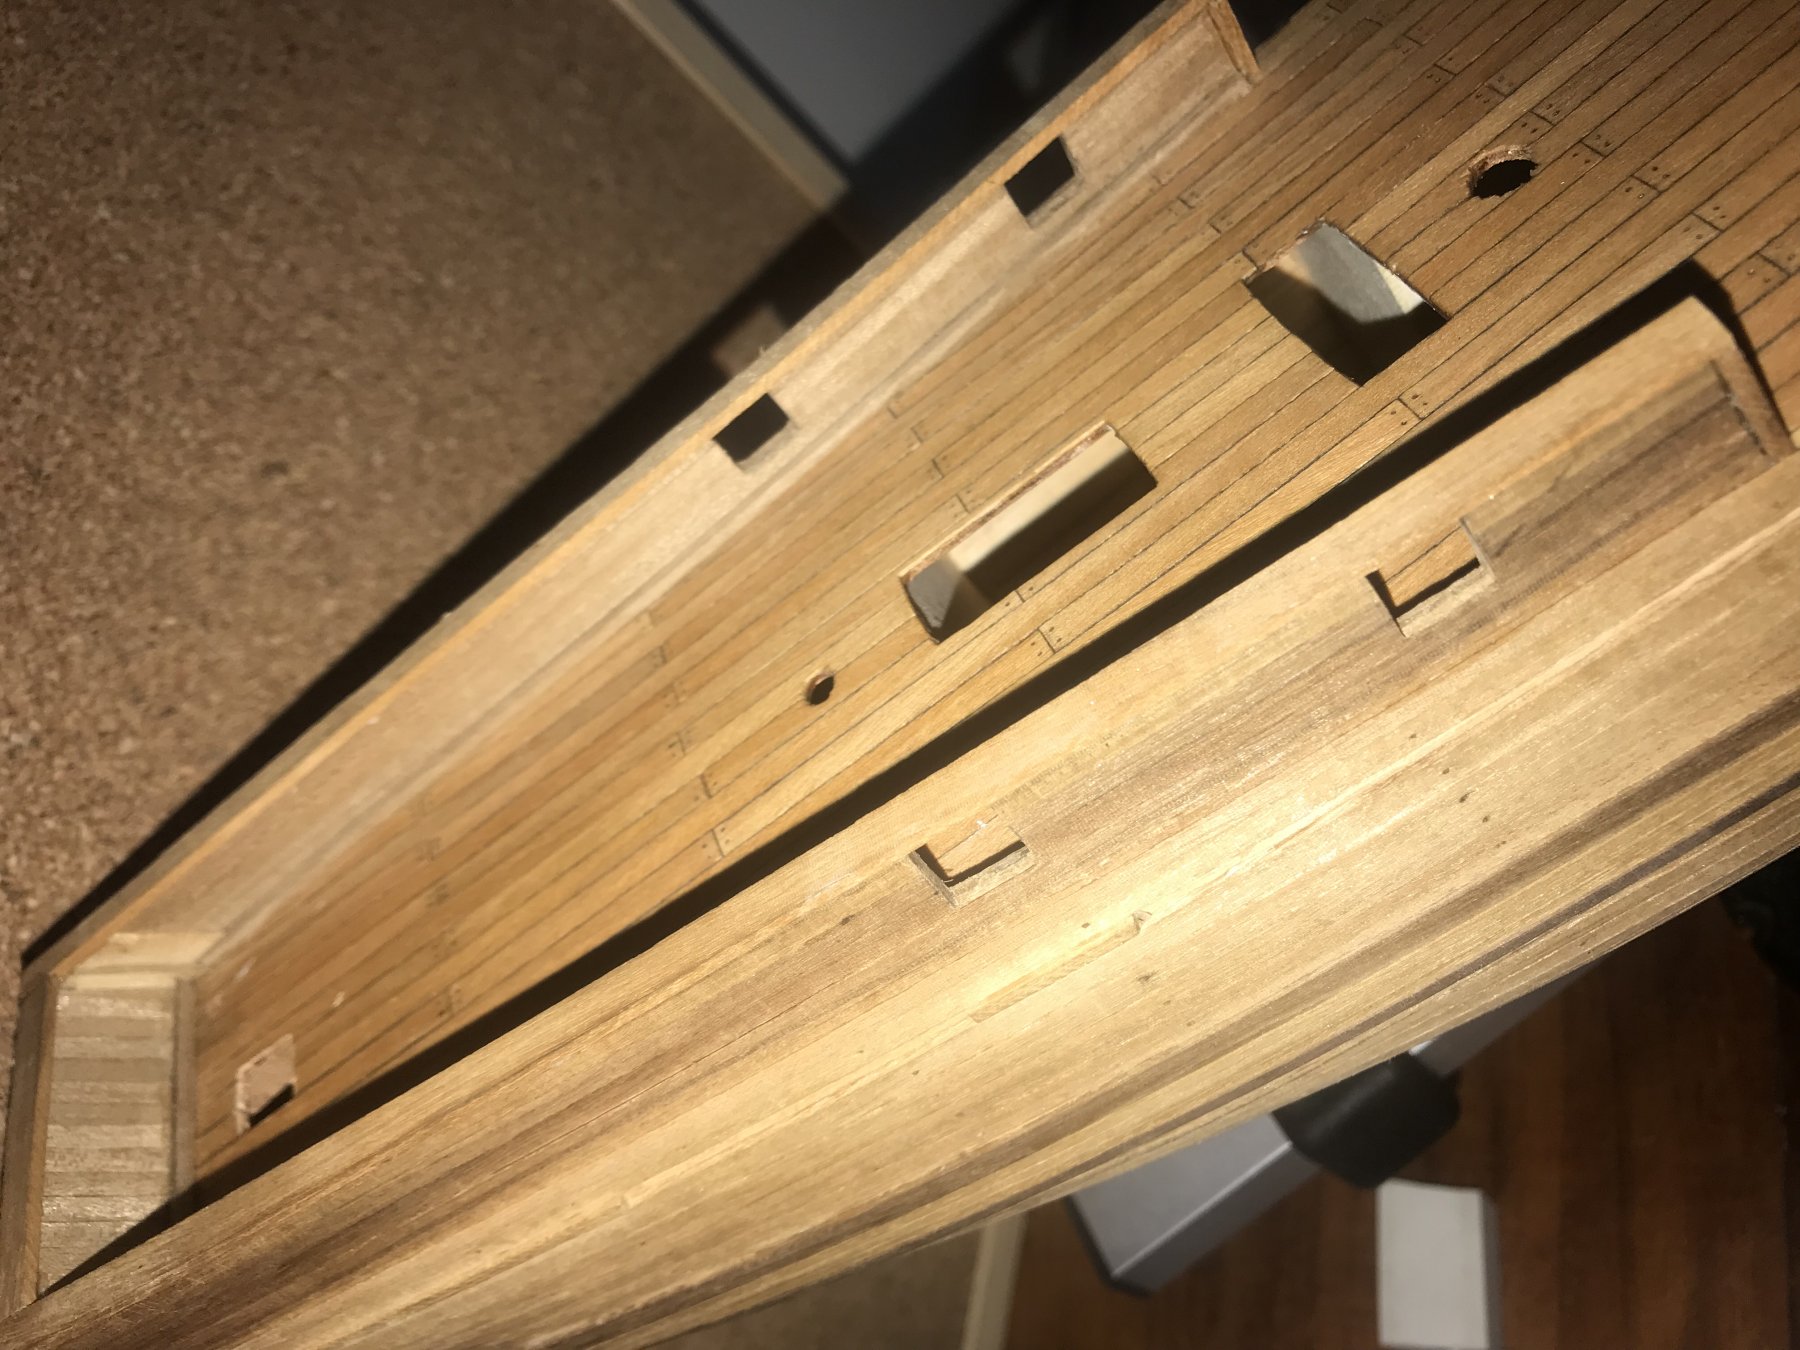
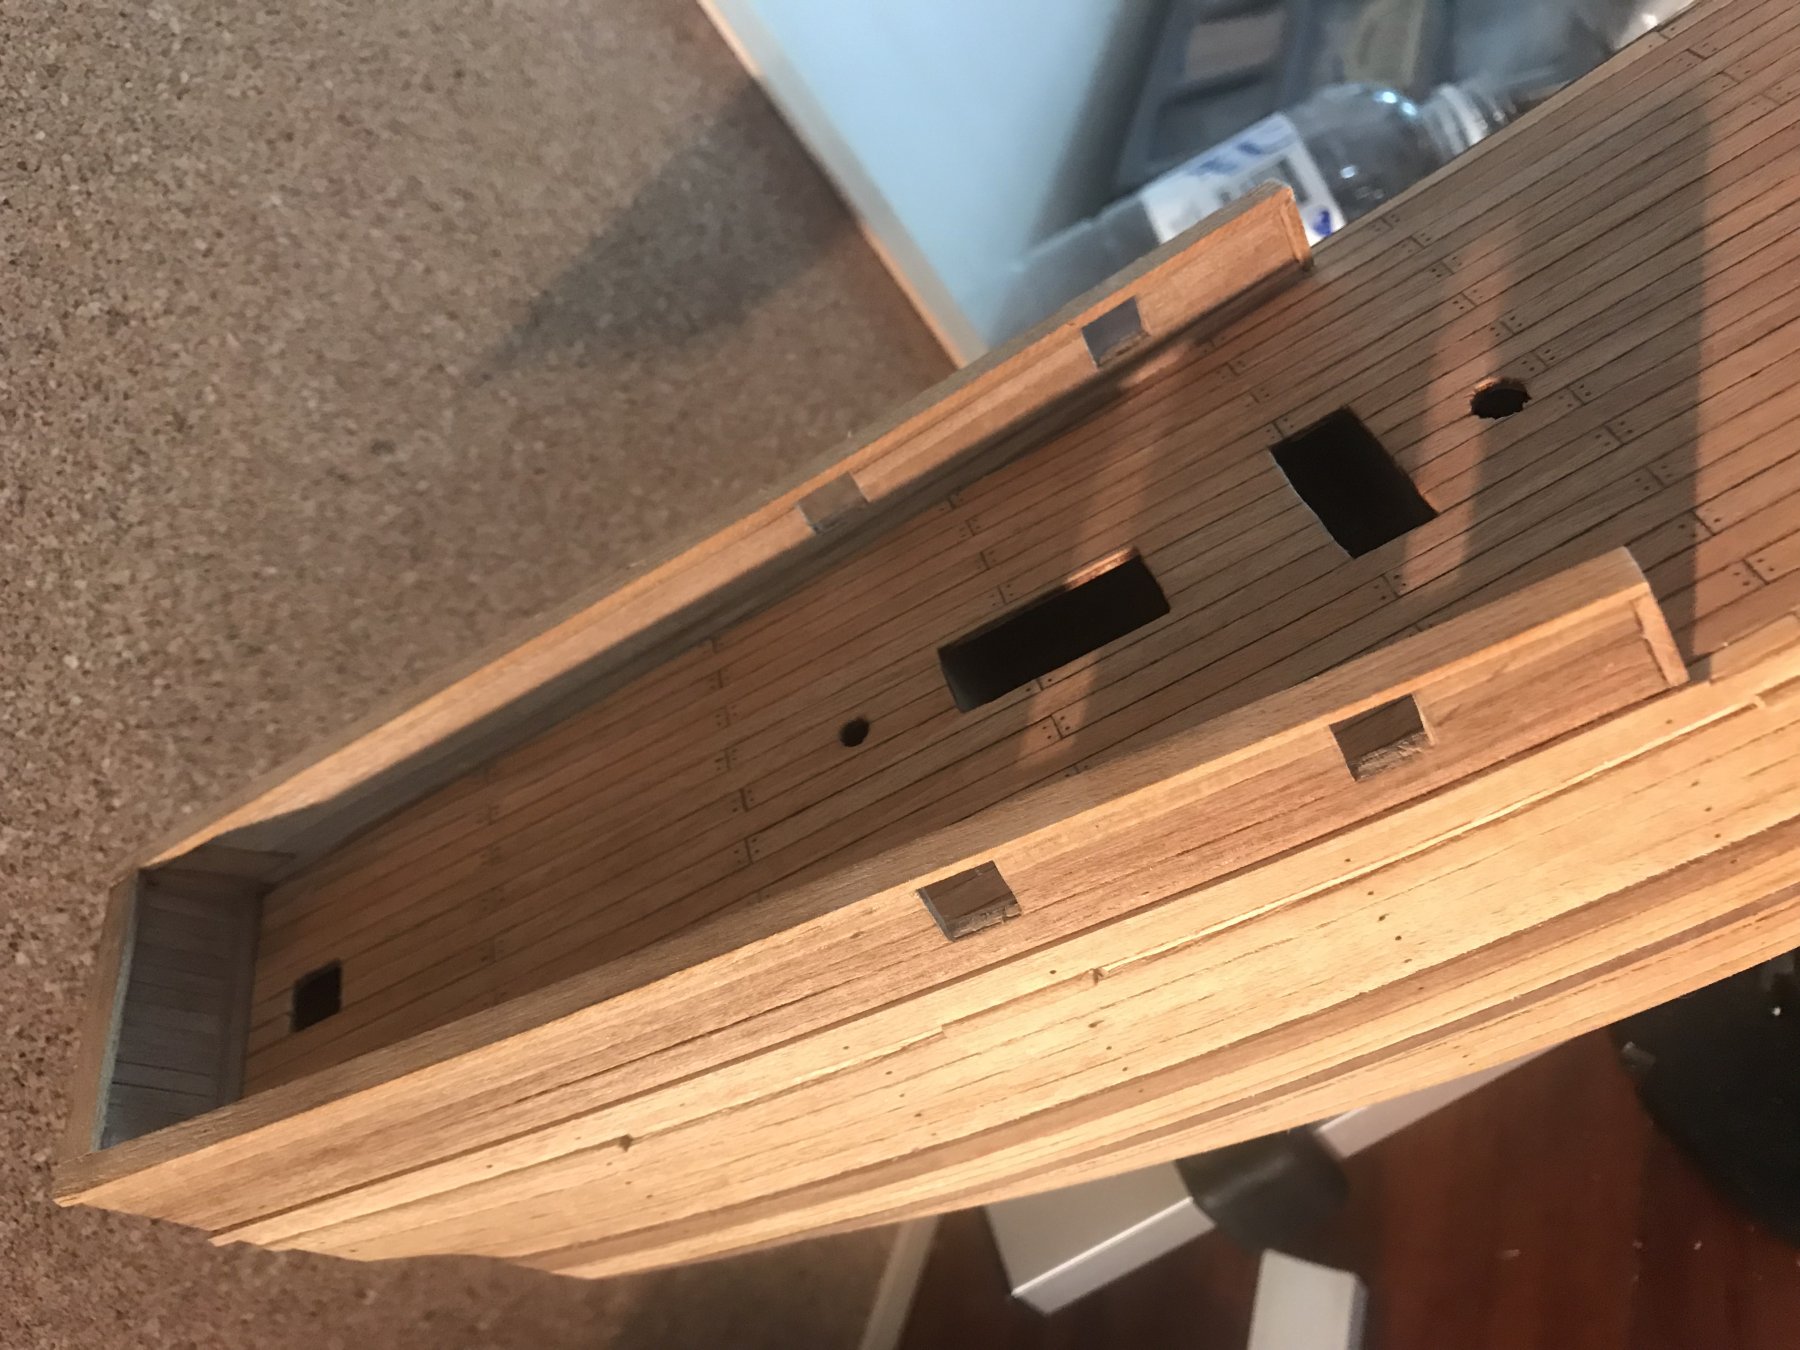
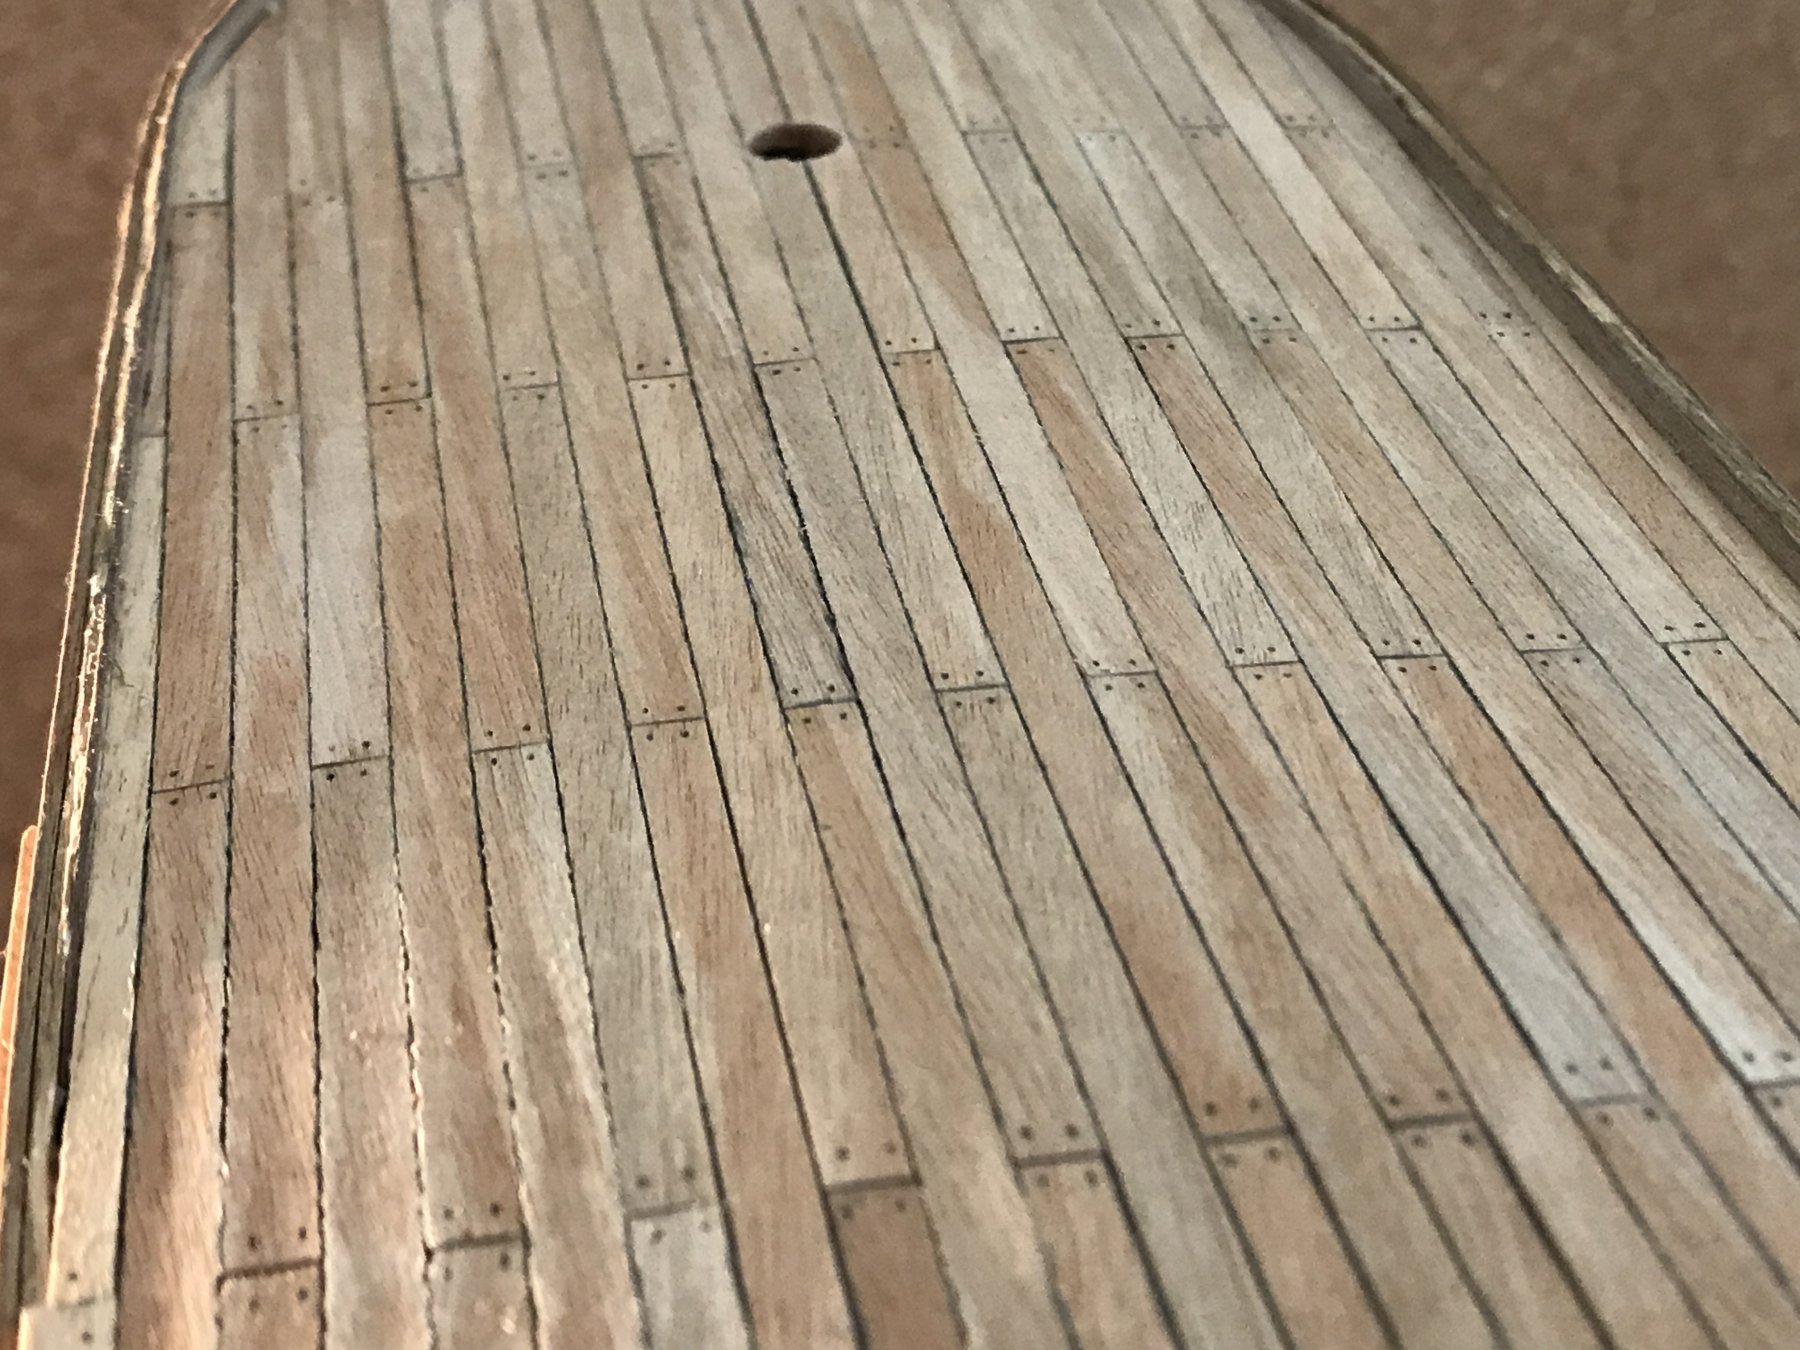
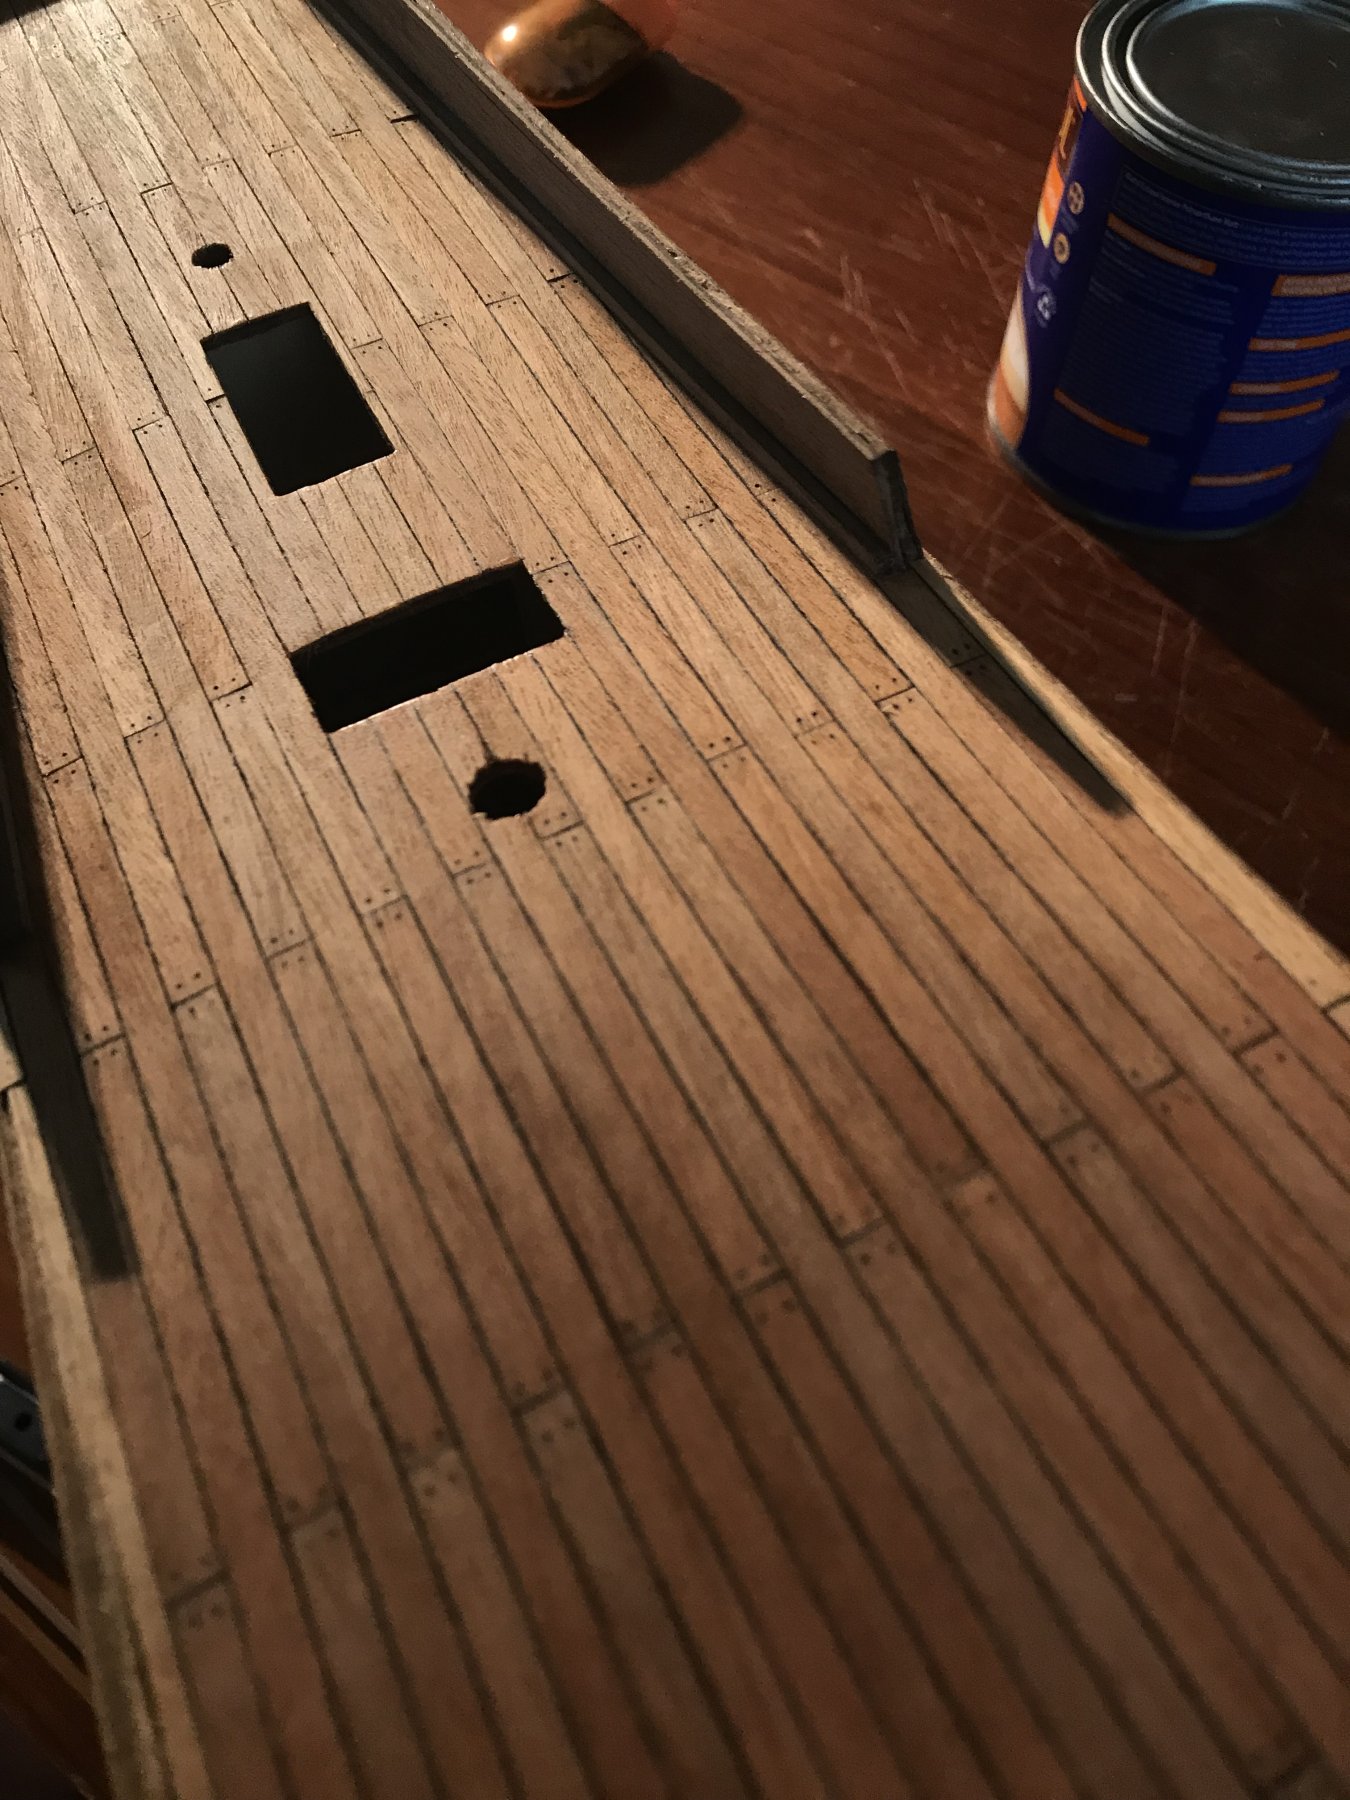
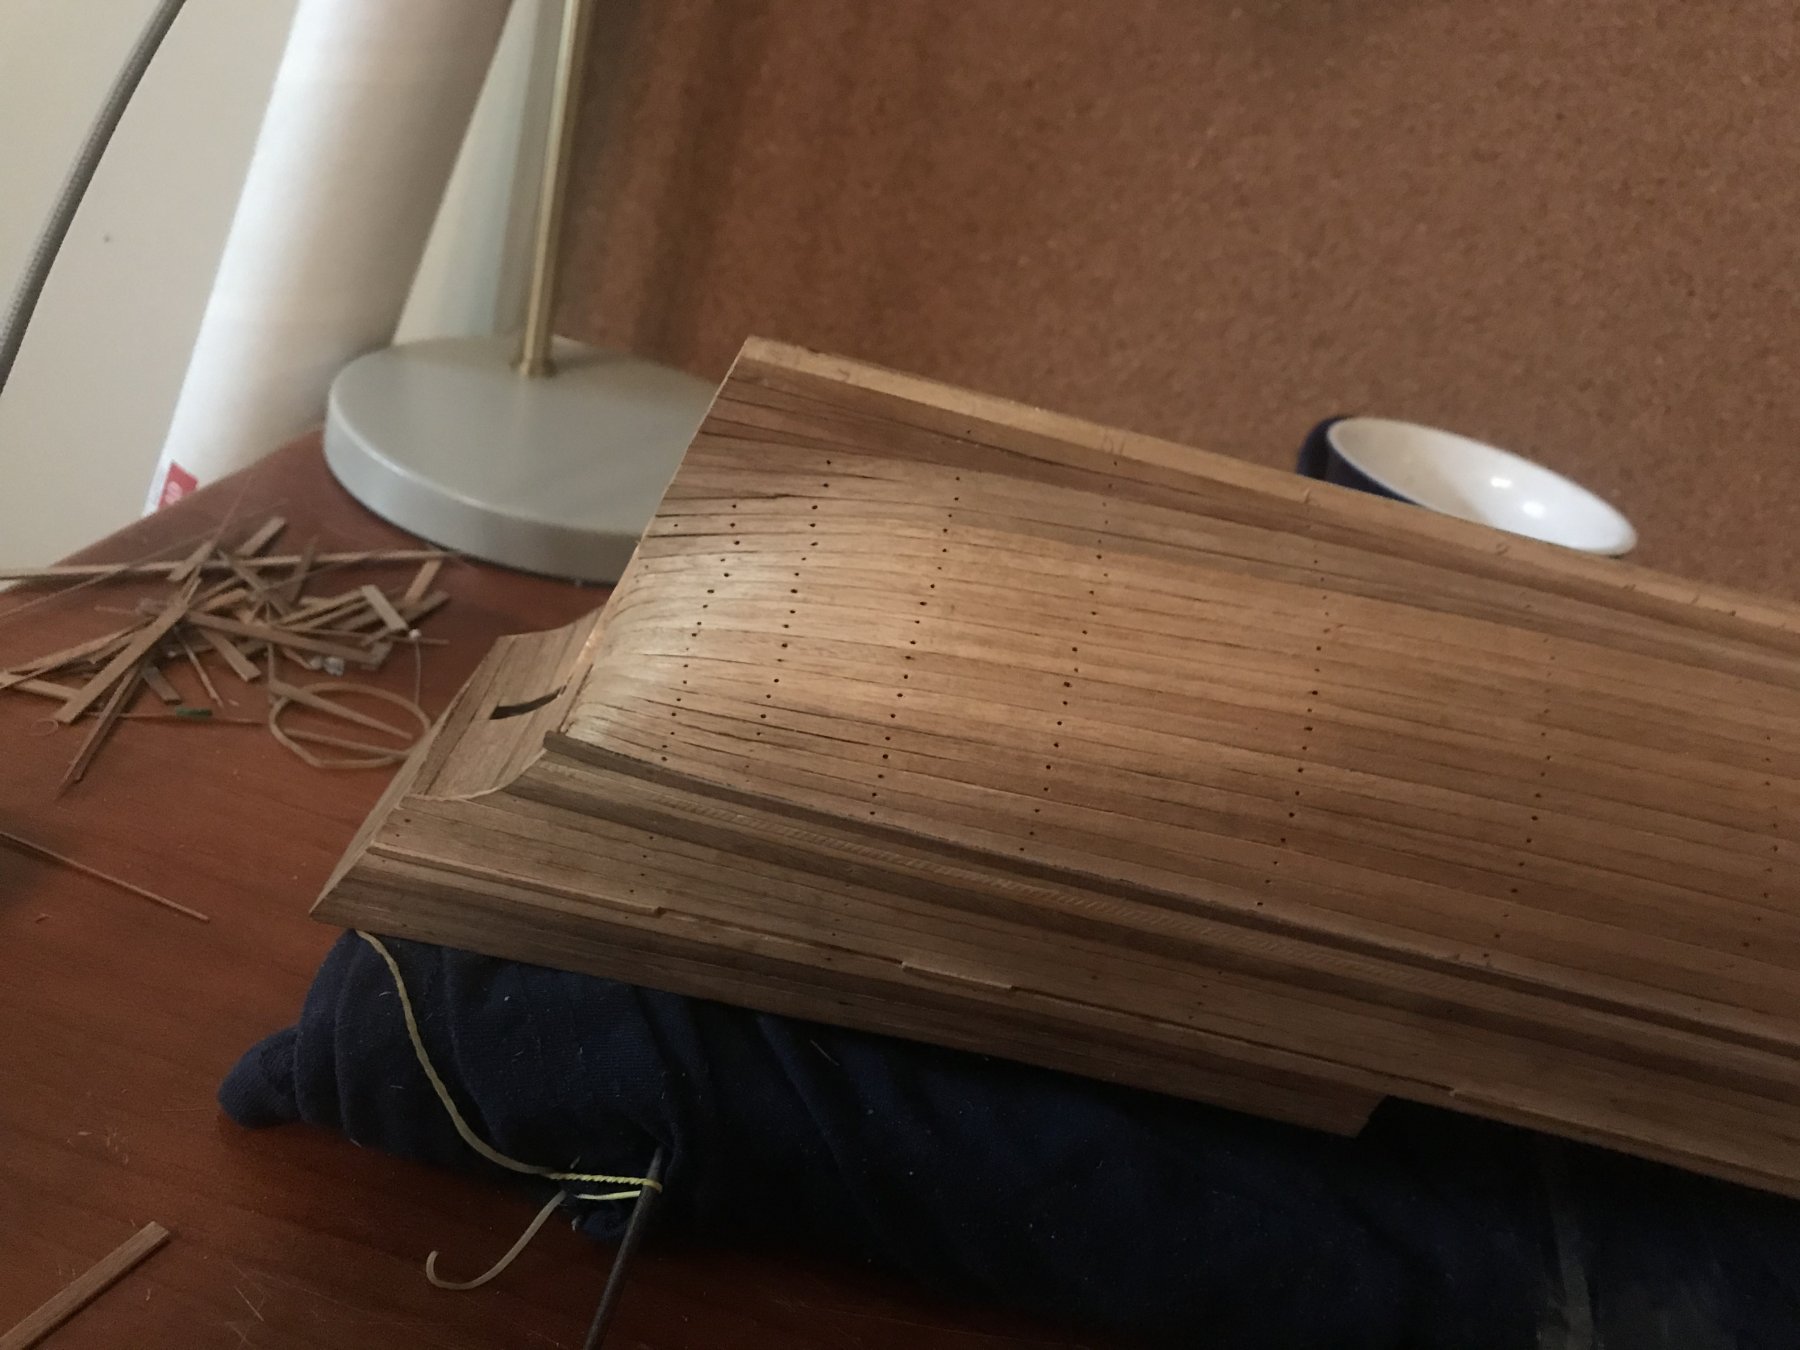
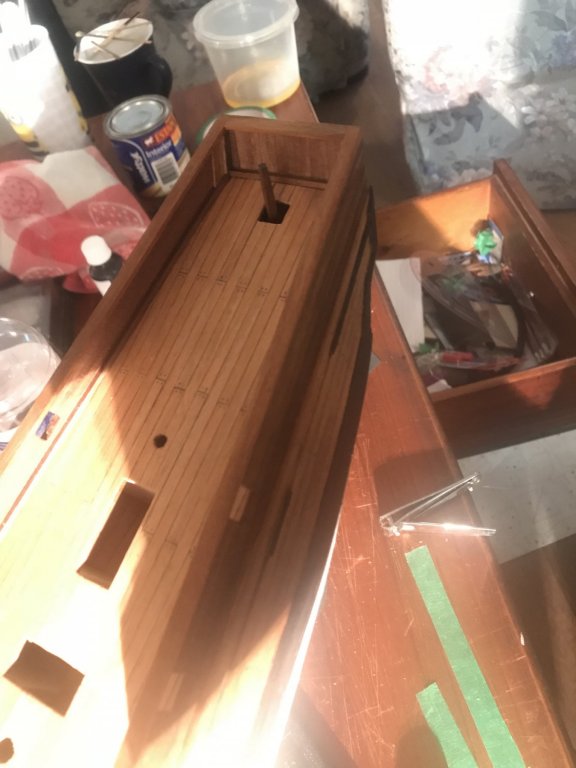
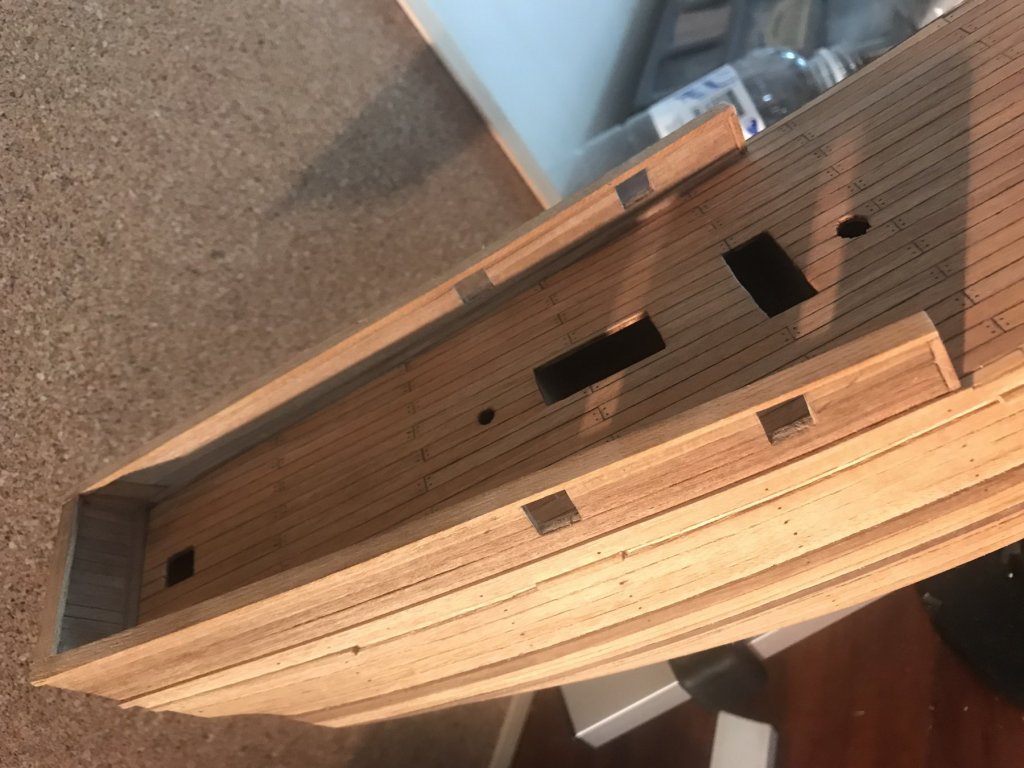
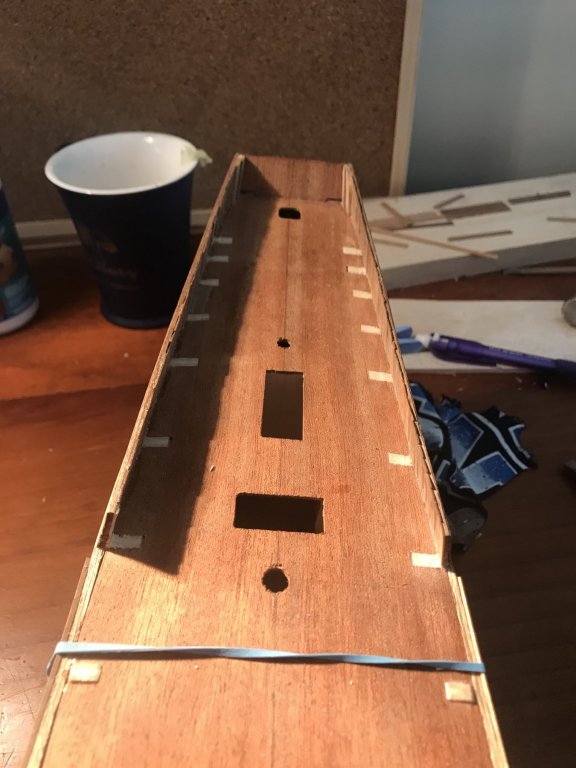
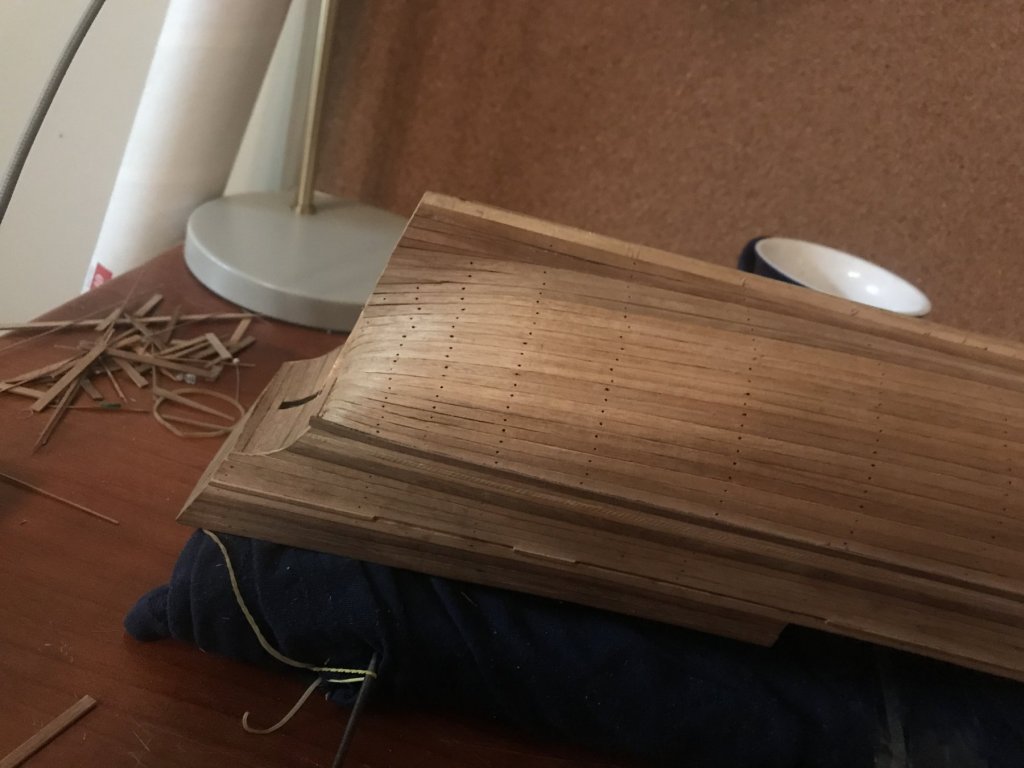
Well I have glue drying and there’s not much I can do until it’s done...so now would be a good time to show you guys where I’m up to😁! So far I’ve taken some artistic liscence and added some treenails to the deck. And then gave it a thorough scrape and a light sand. I then gave it 2 coats of estapol polyurethane Matt varnish i then planked the keel..quite a fiddley job...but I’m happy with how it turned out. I then cut out the 4 gunports in the bulwarks...my hat comes off to all the man o’war builders out there who cut out anywhere approaching 100 plus of these buggers! Although I do look forward to the time when I can try and tackle that many 😁...one job that wasn’t particularly thrilling was marking the waterline. I spent nearly a whole weekend trying to keep the boat level both ways while trying to mark it with a fixed pencil 😥 I’m definitely going to do some research into how others mark their water lines when I do my next build 😃...notice I said “when” lol I’m now in the process of adding a few feature strips to the hull. And also making the u shaped “hand rail” for the bow


-
Hi leginseel. Thank you for the kind words! Nice build yourself too. I’ll be sure to reference your log and photos when I reach the rigging stage. Who knows when that’s gonna be 🤯. Thanks for the advice I have already gone with a Matt varnish though. I think it looks not to bad 😁...I will post some photos soon of my current progress and hopefully someone agrees lol
-
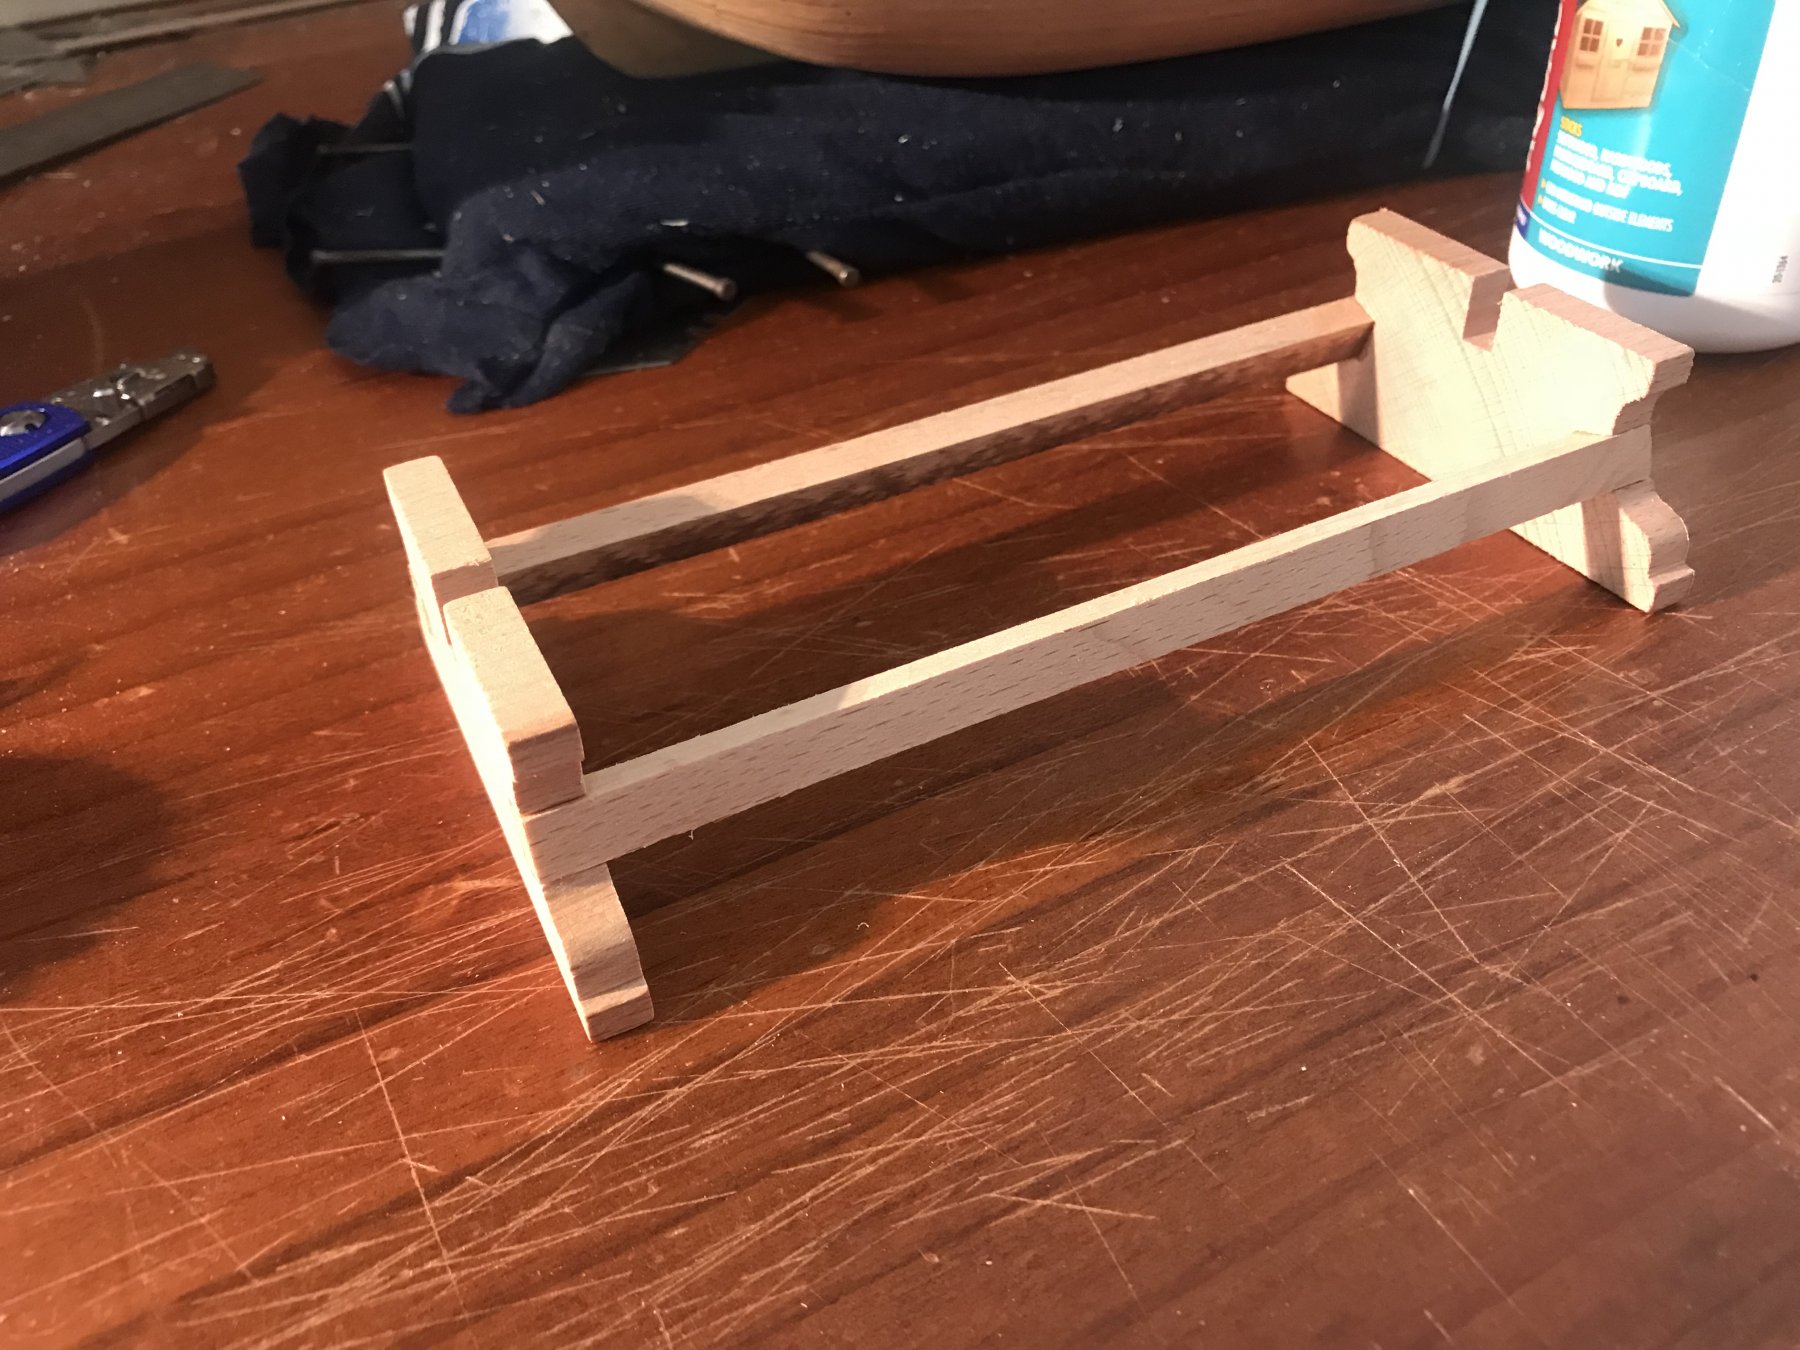
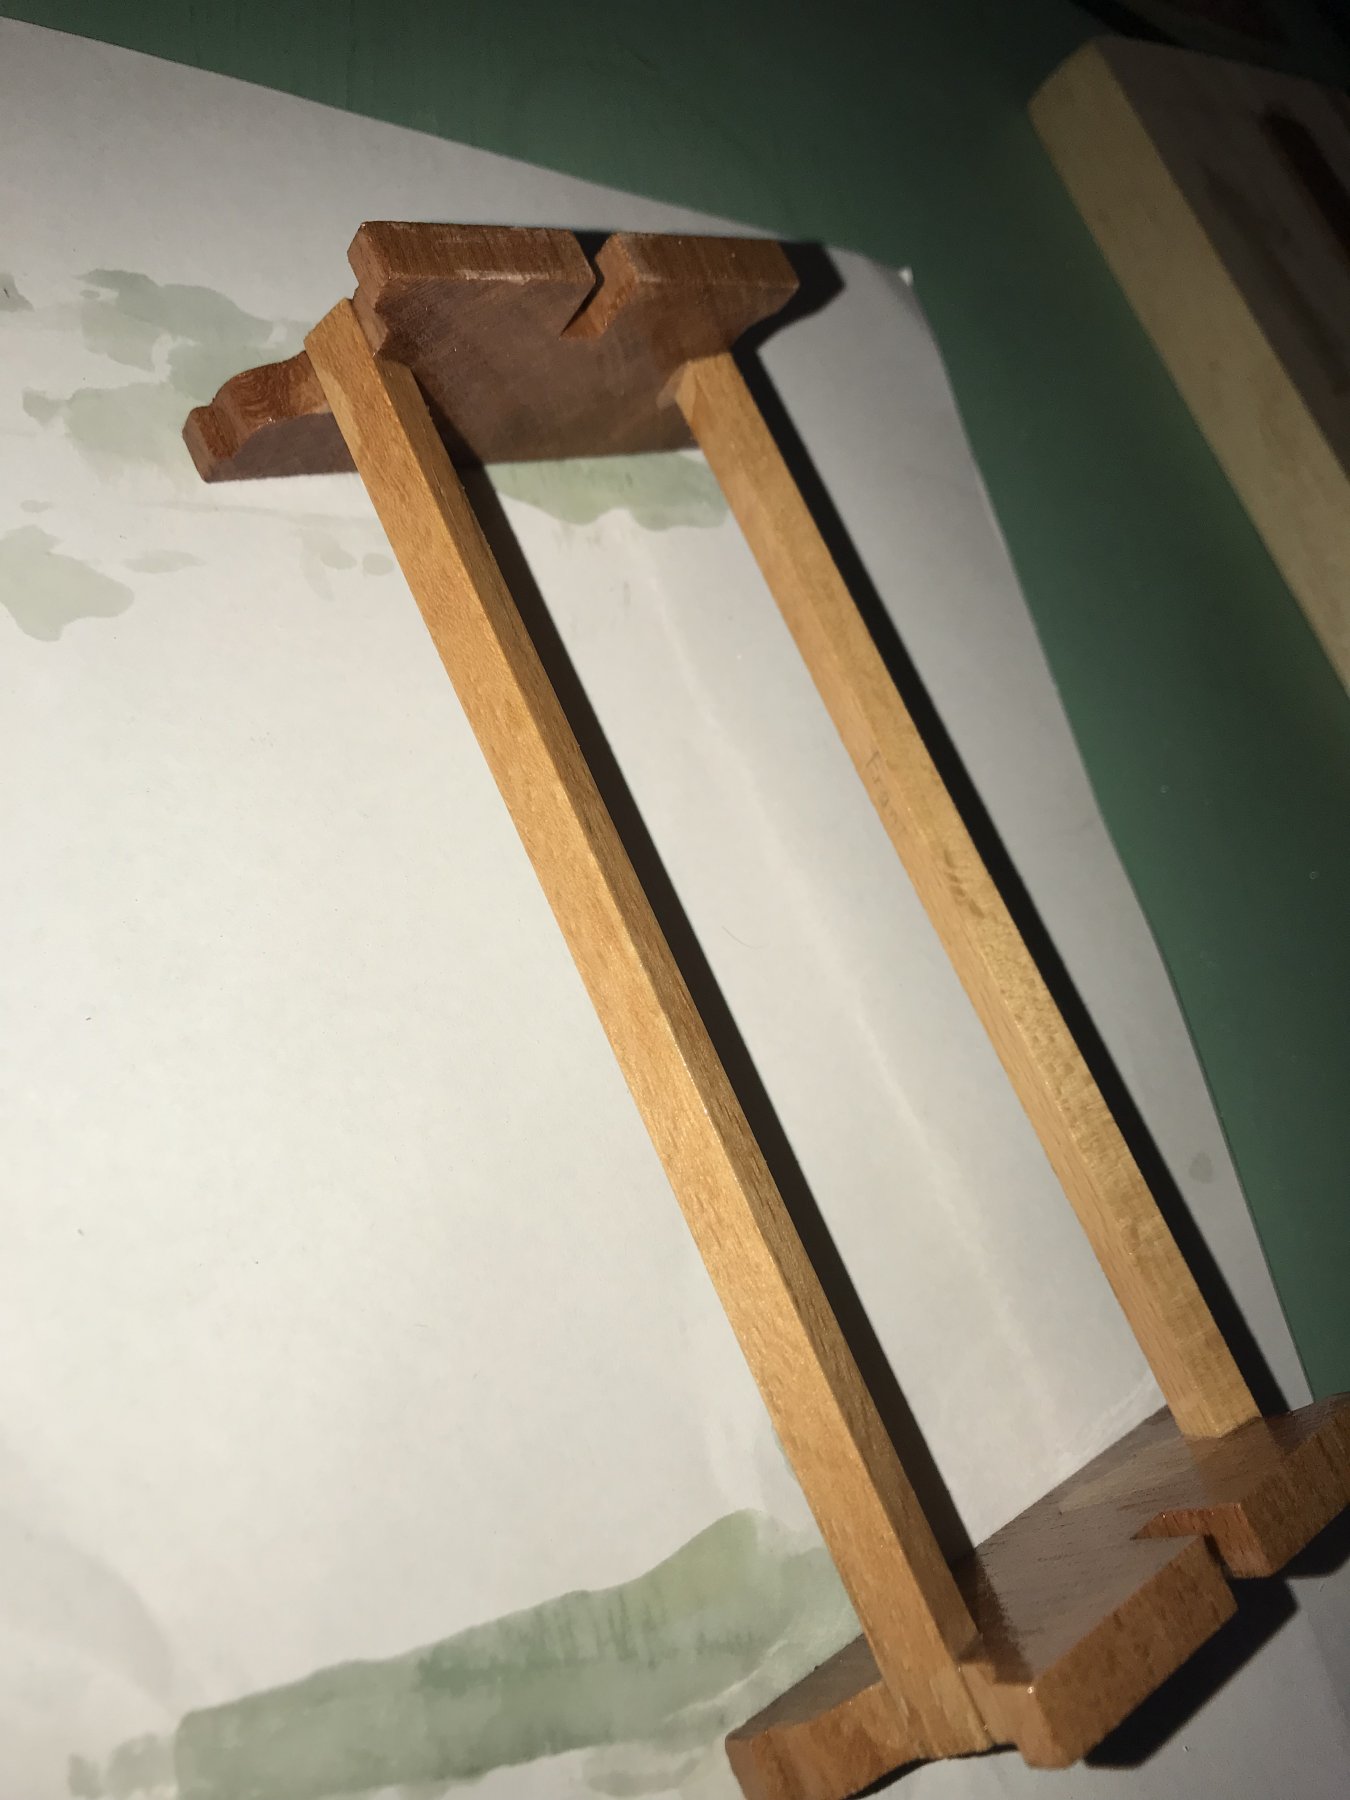
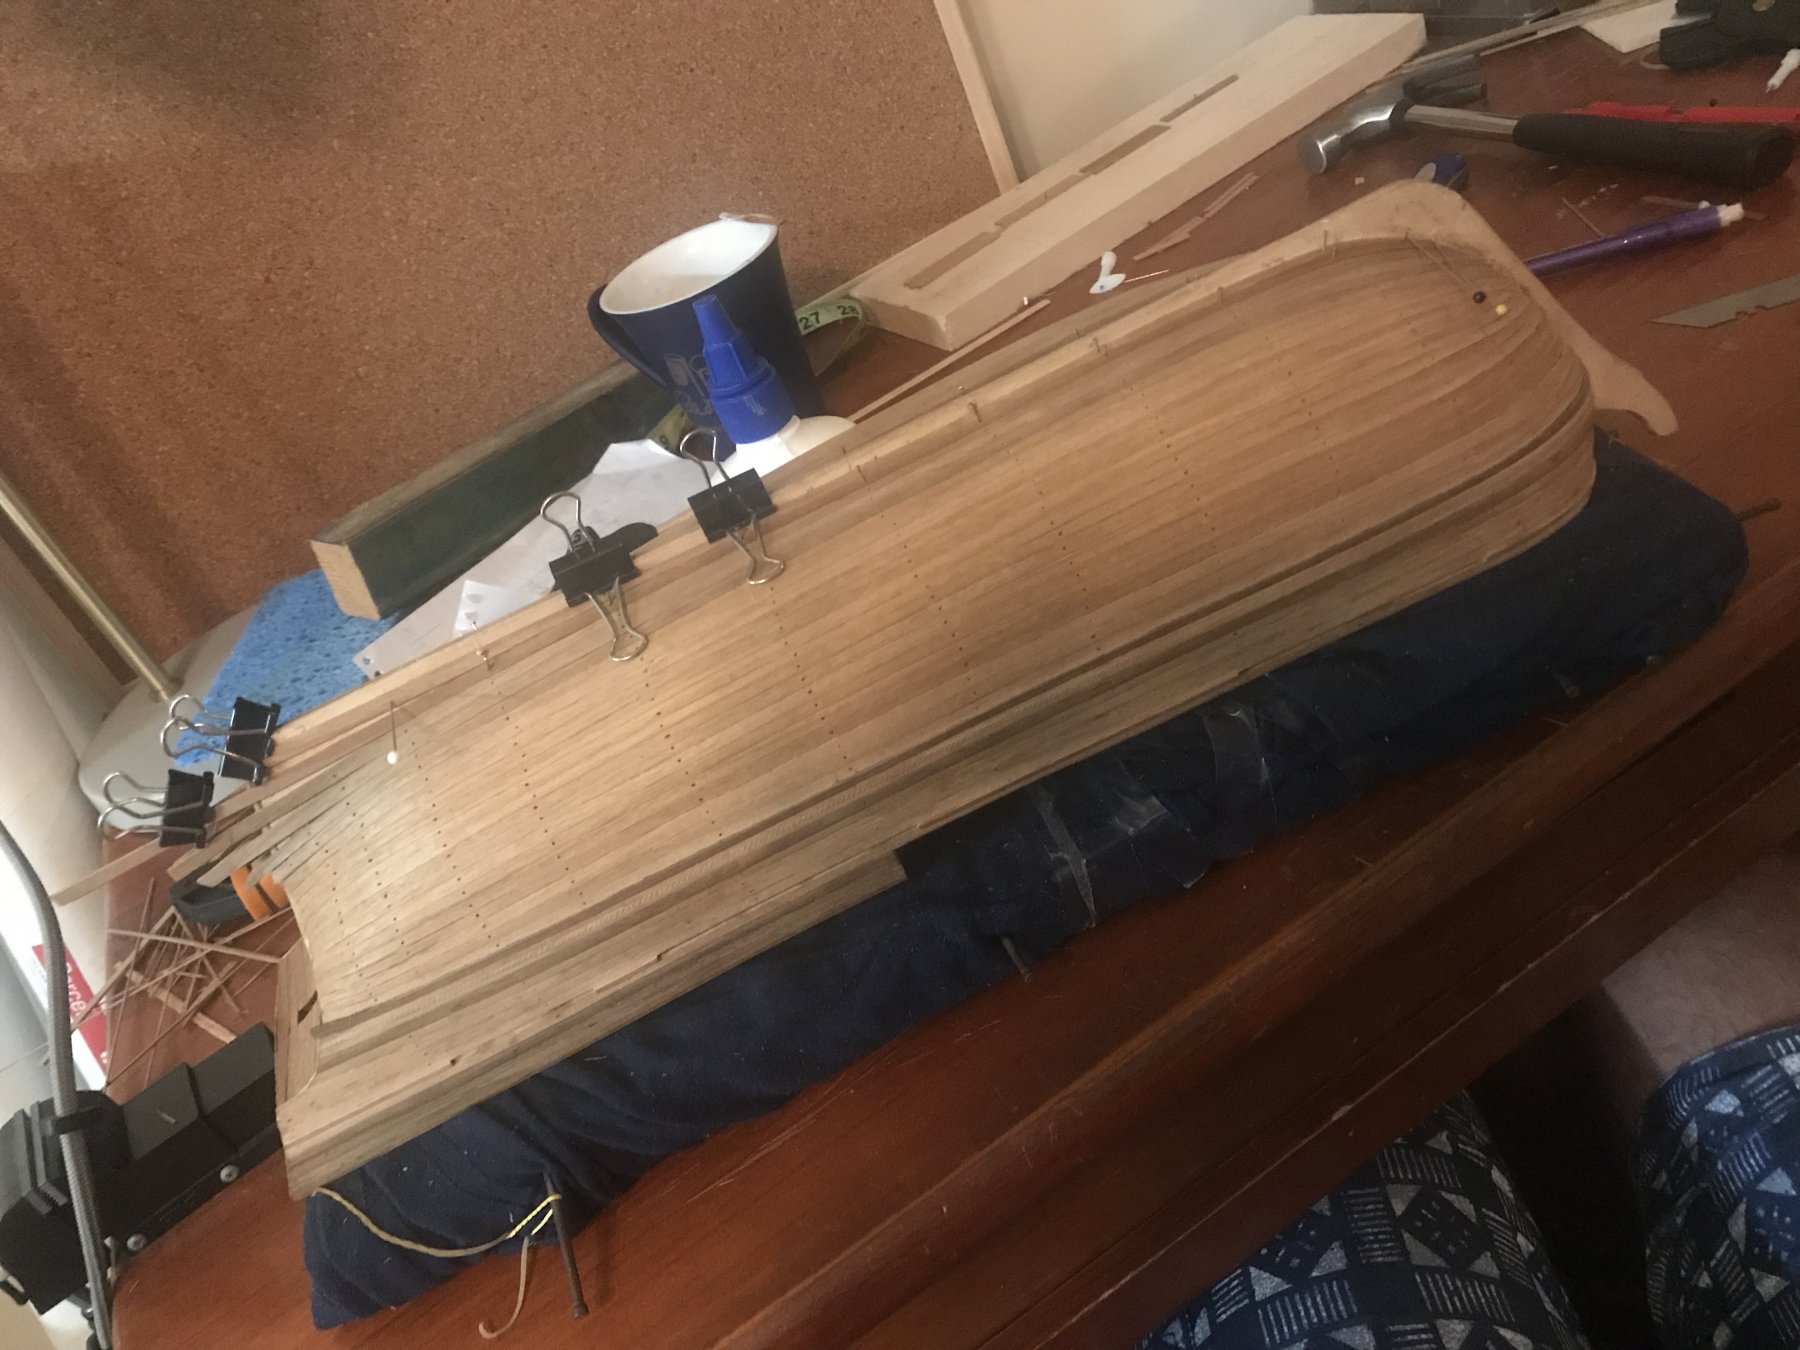
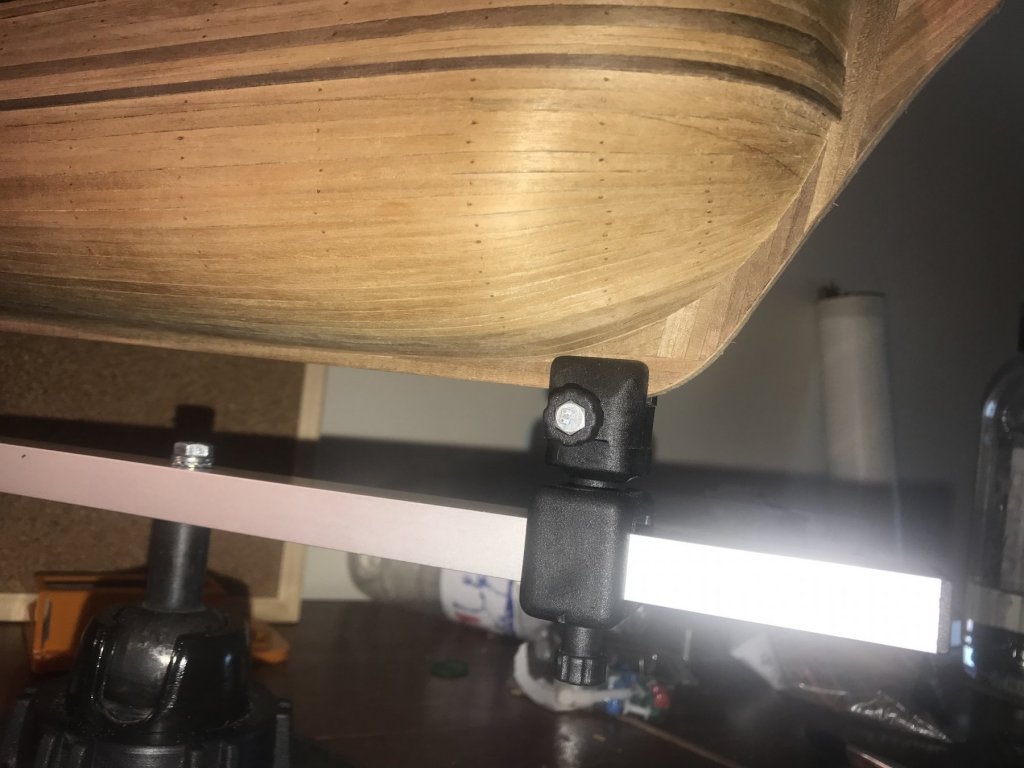
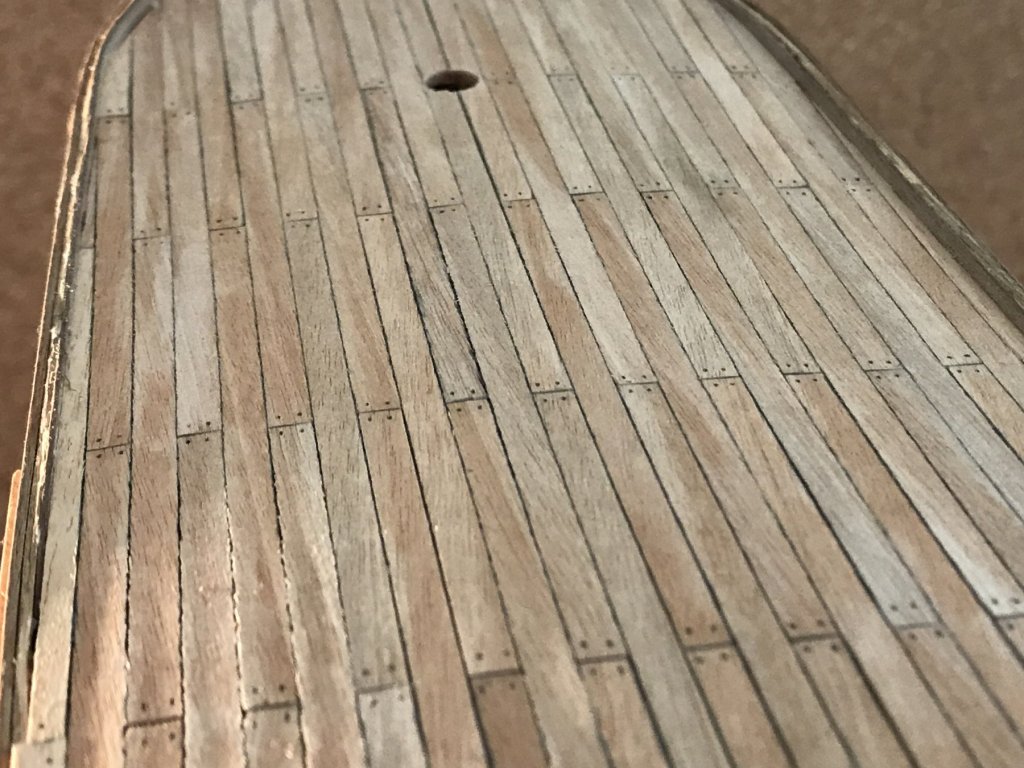
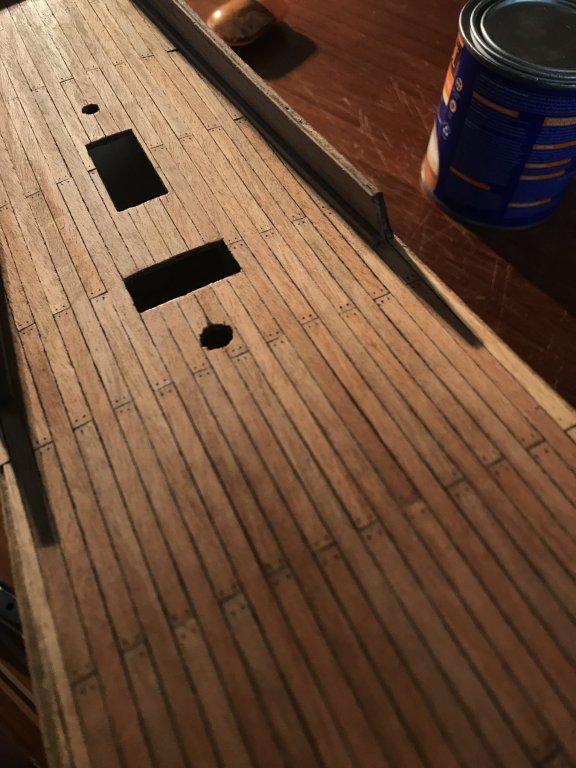
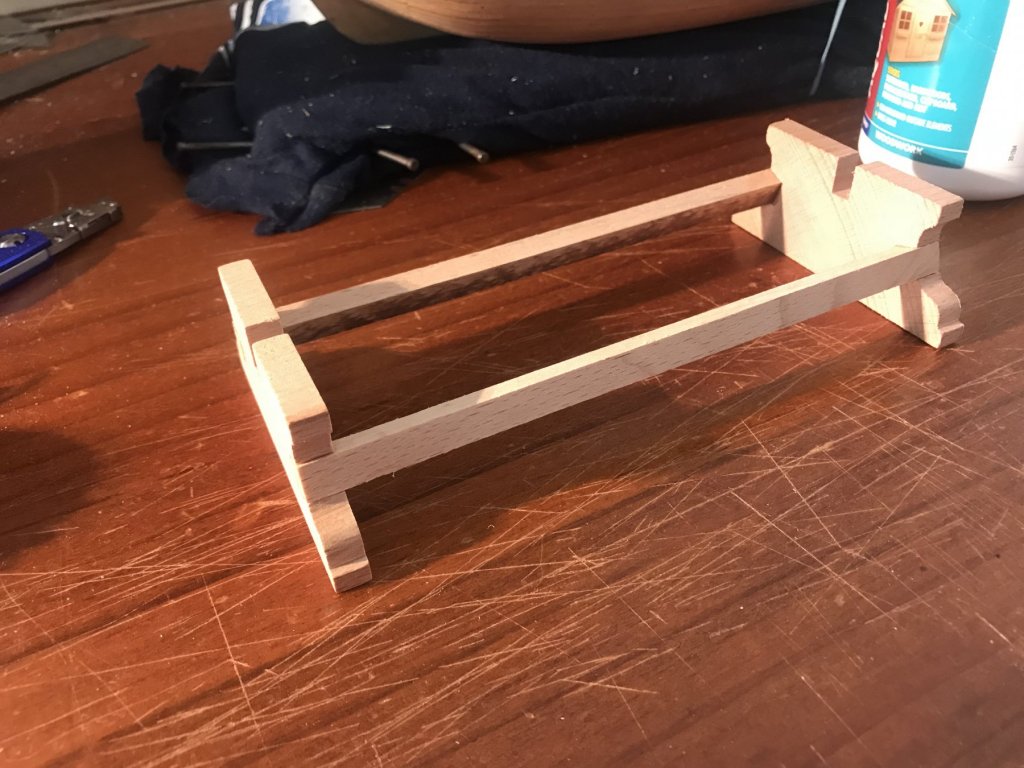
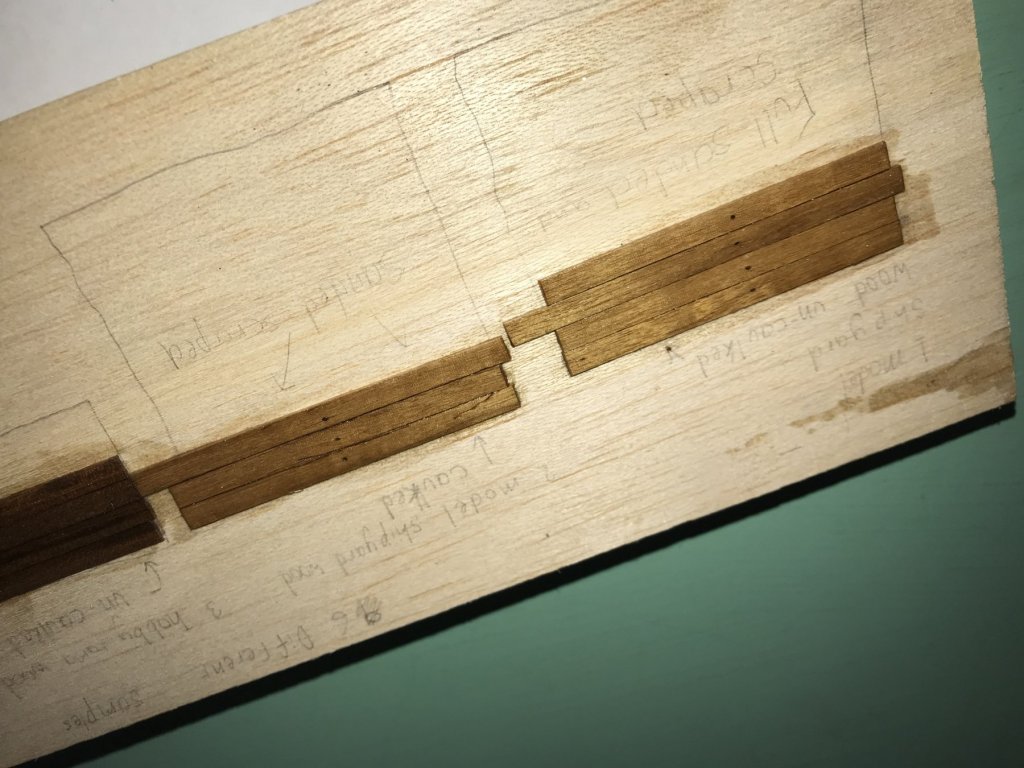
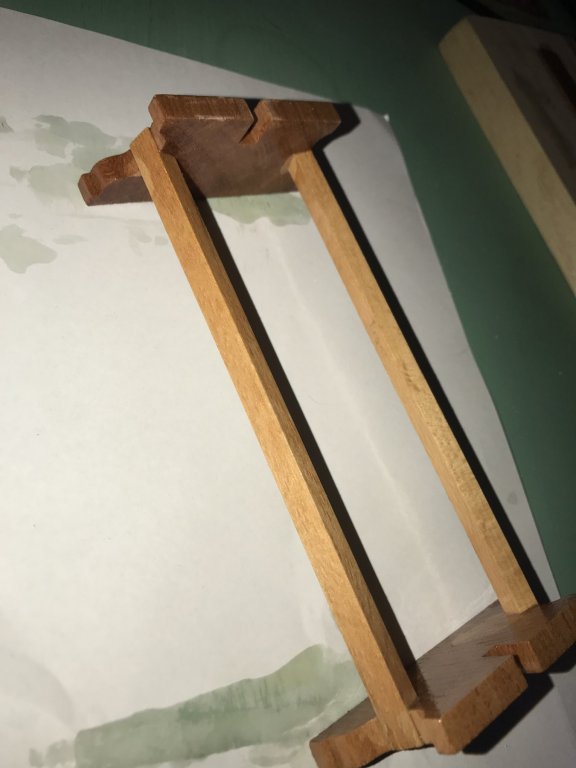
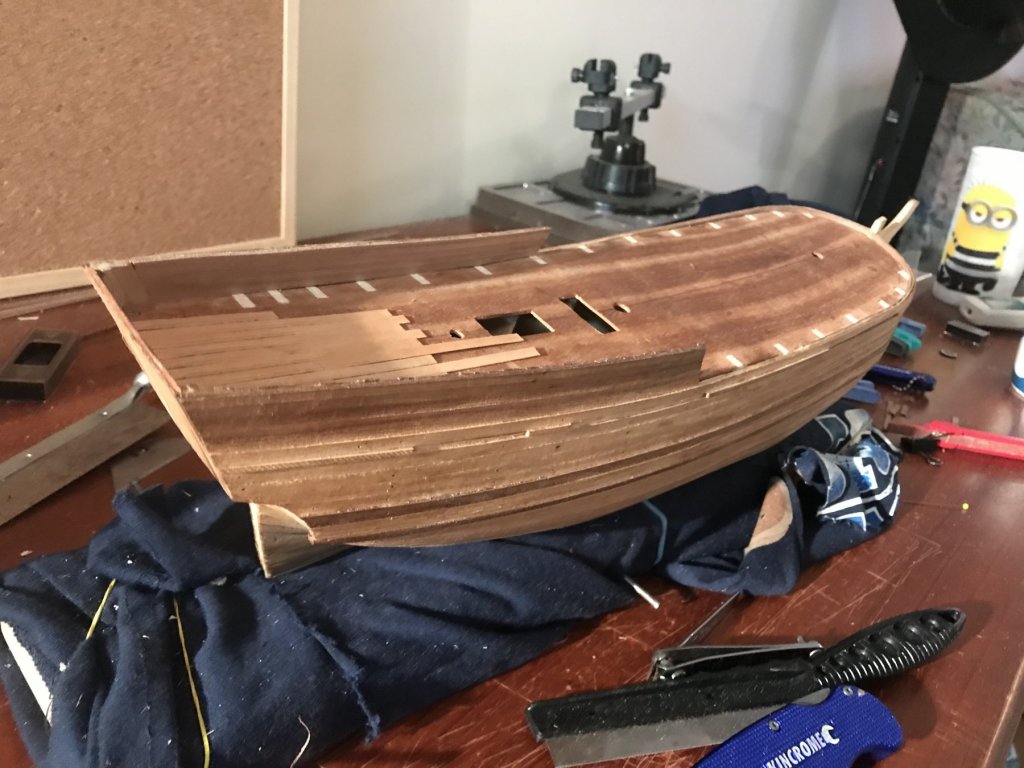
Update! I’ve done most of the deck planking and I am actually quite happy with it...I think the simulated caulking looks decent 😁 I’ve also got together some scrap wood and built the display stand to start experimenting with sanding and scraping in prep for different polyurethanes, to see what look is better for the hull Now to finish placing a few of side planks and then the simulated tree nails with a needle and a sharp pencil. I suppose after that I’ll give it a scrape and then give it a protective coat of something...🤔 open to ideas anyone? 😁


-
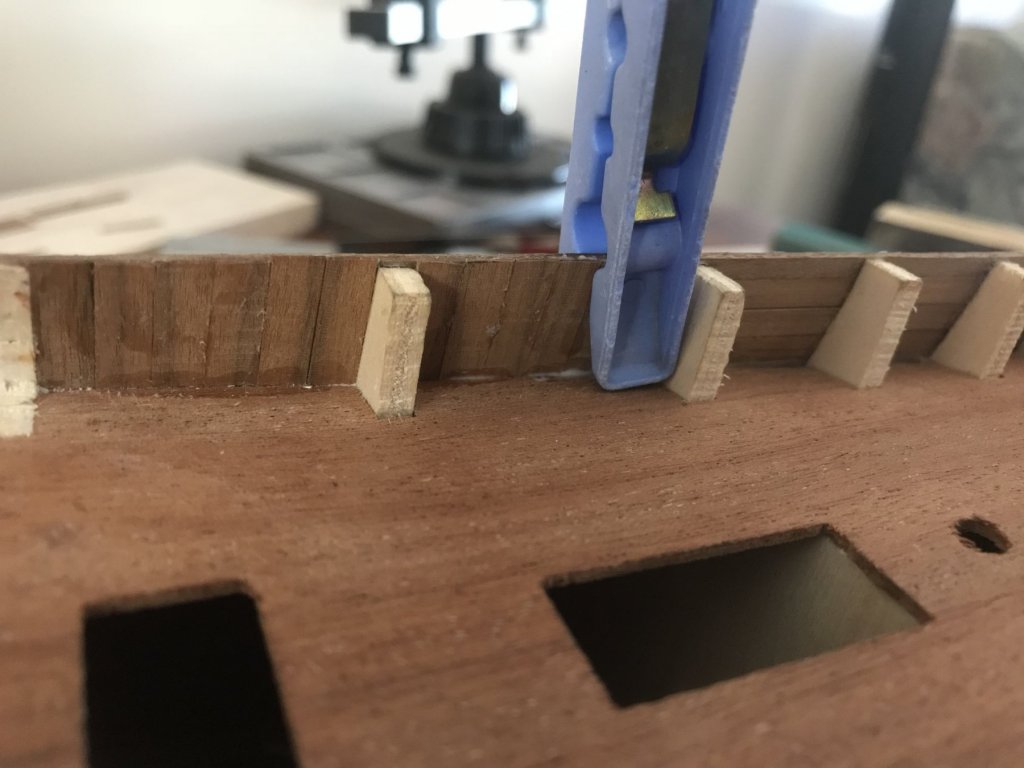
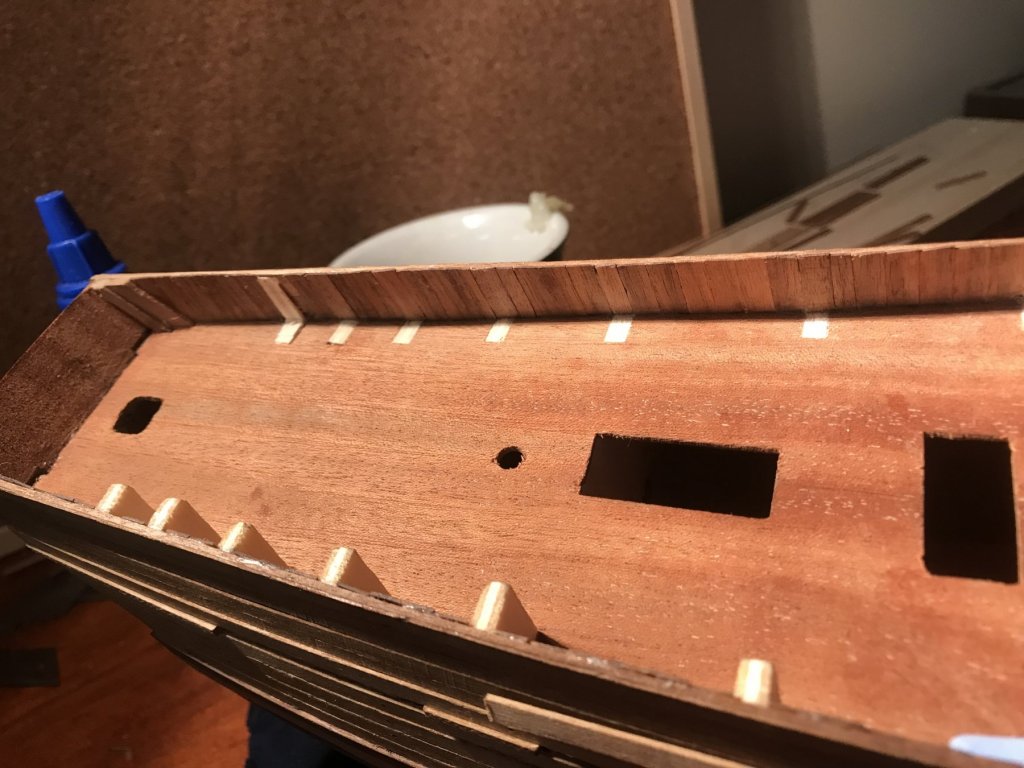
Cut off the ends of the frames and reinforced the bulwarks and then planked over them on the inside. Cutting the ends of the frames ended up not being as ominous as it sounded luckily 😁 Now to get stuck into planking the deck!

-
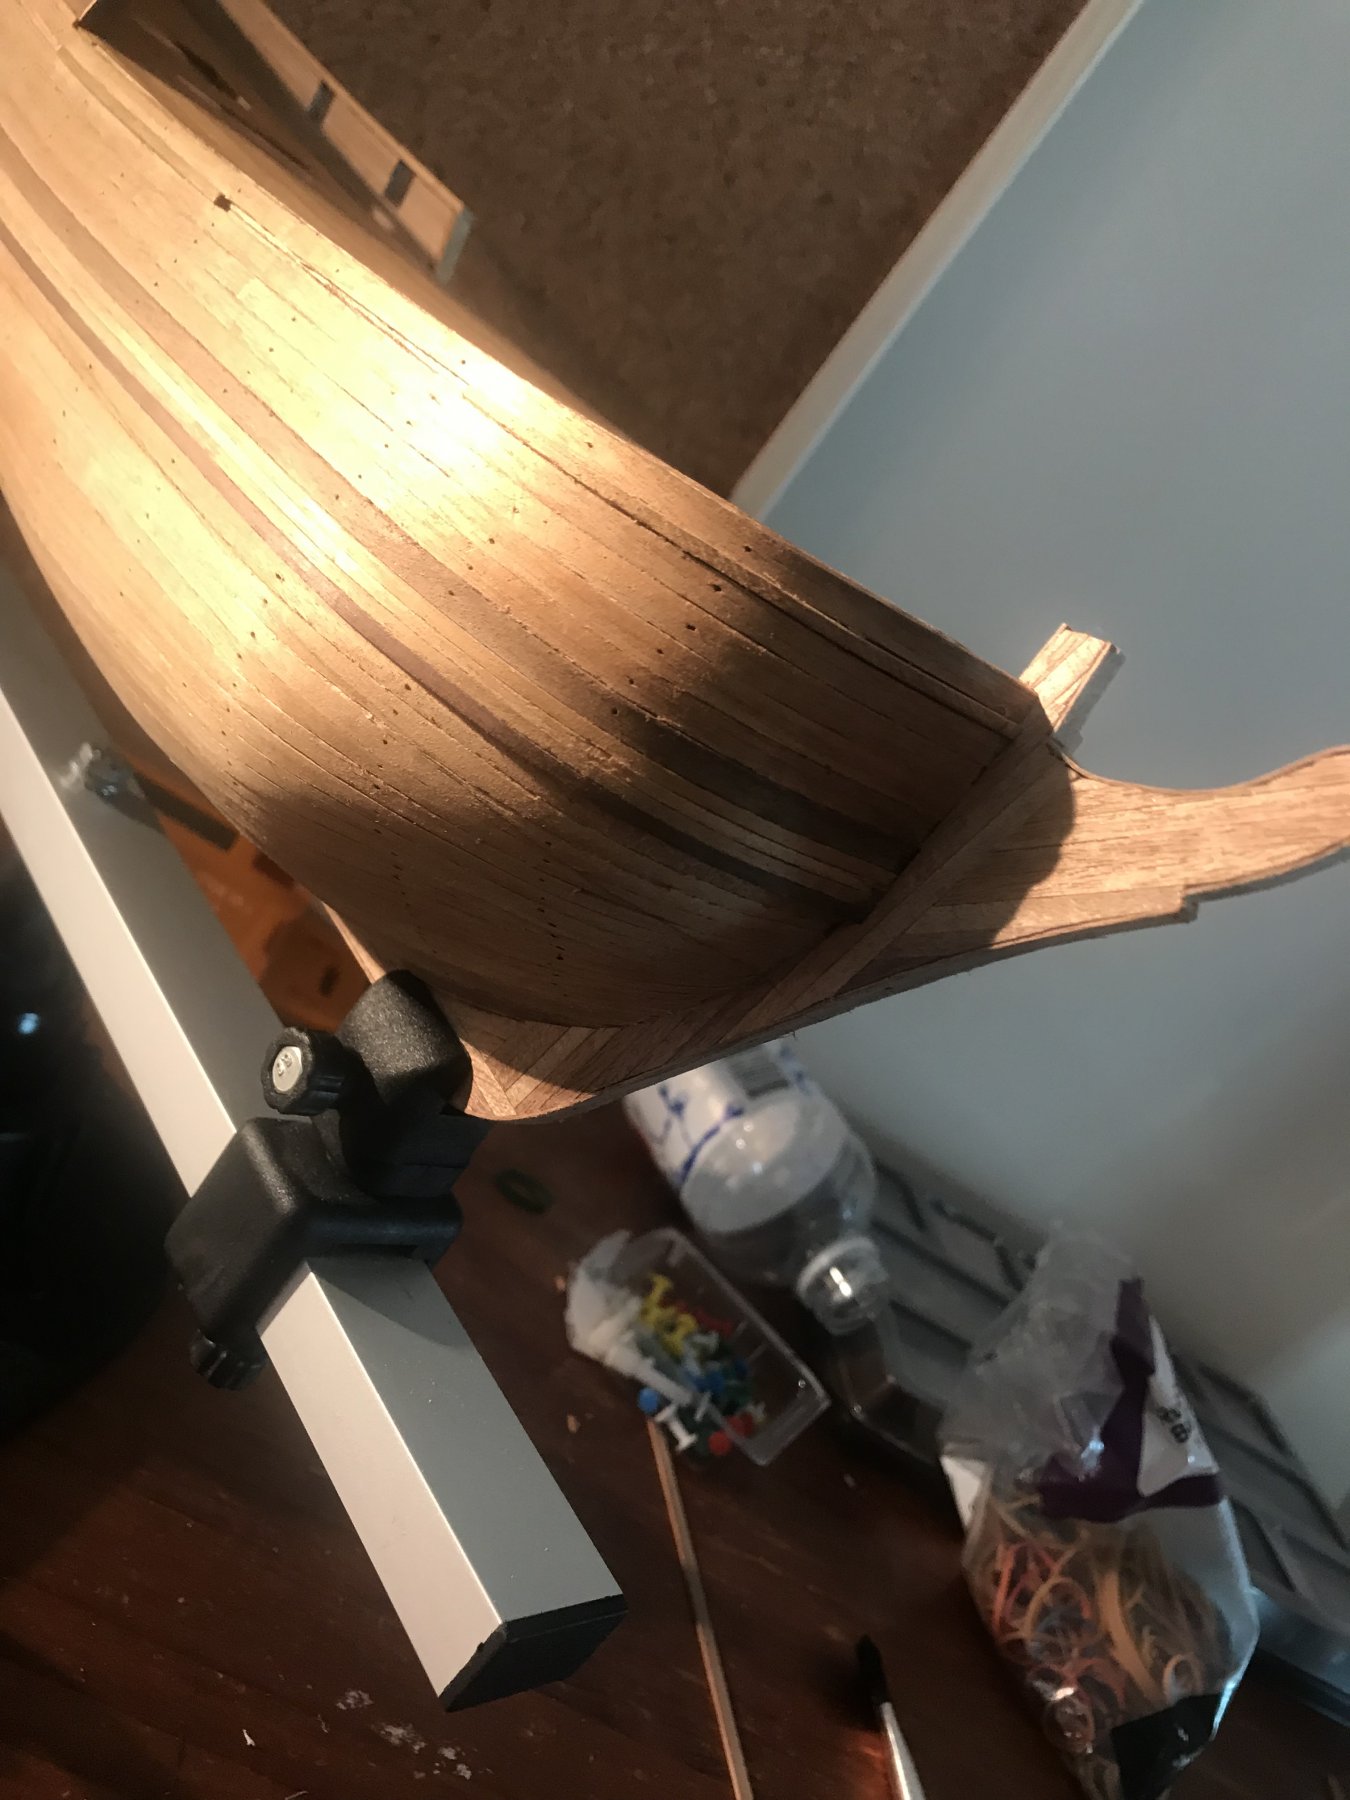
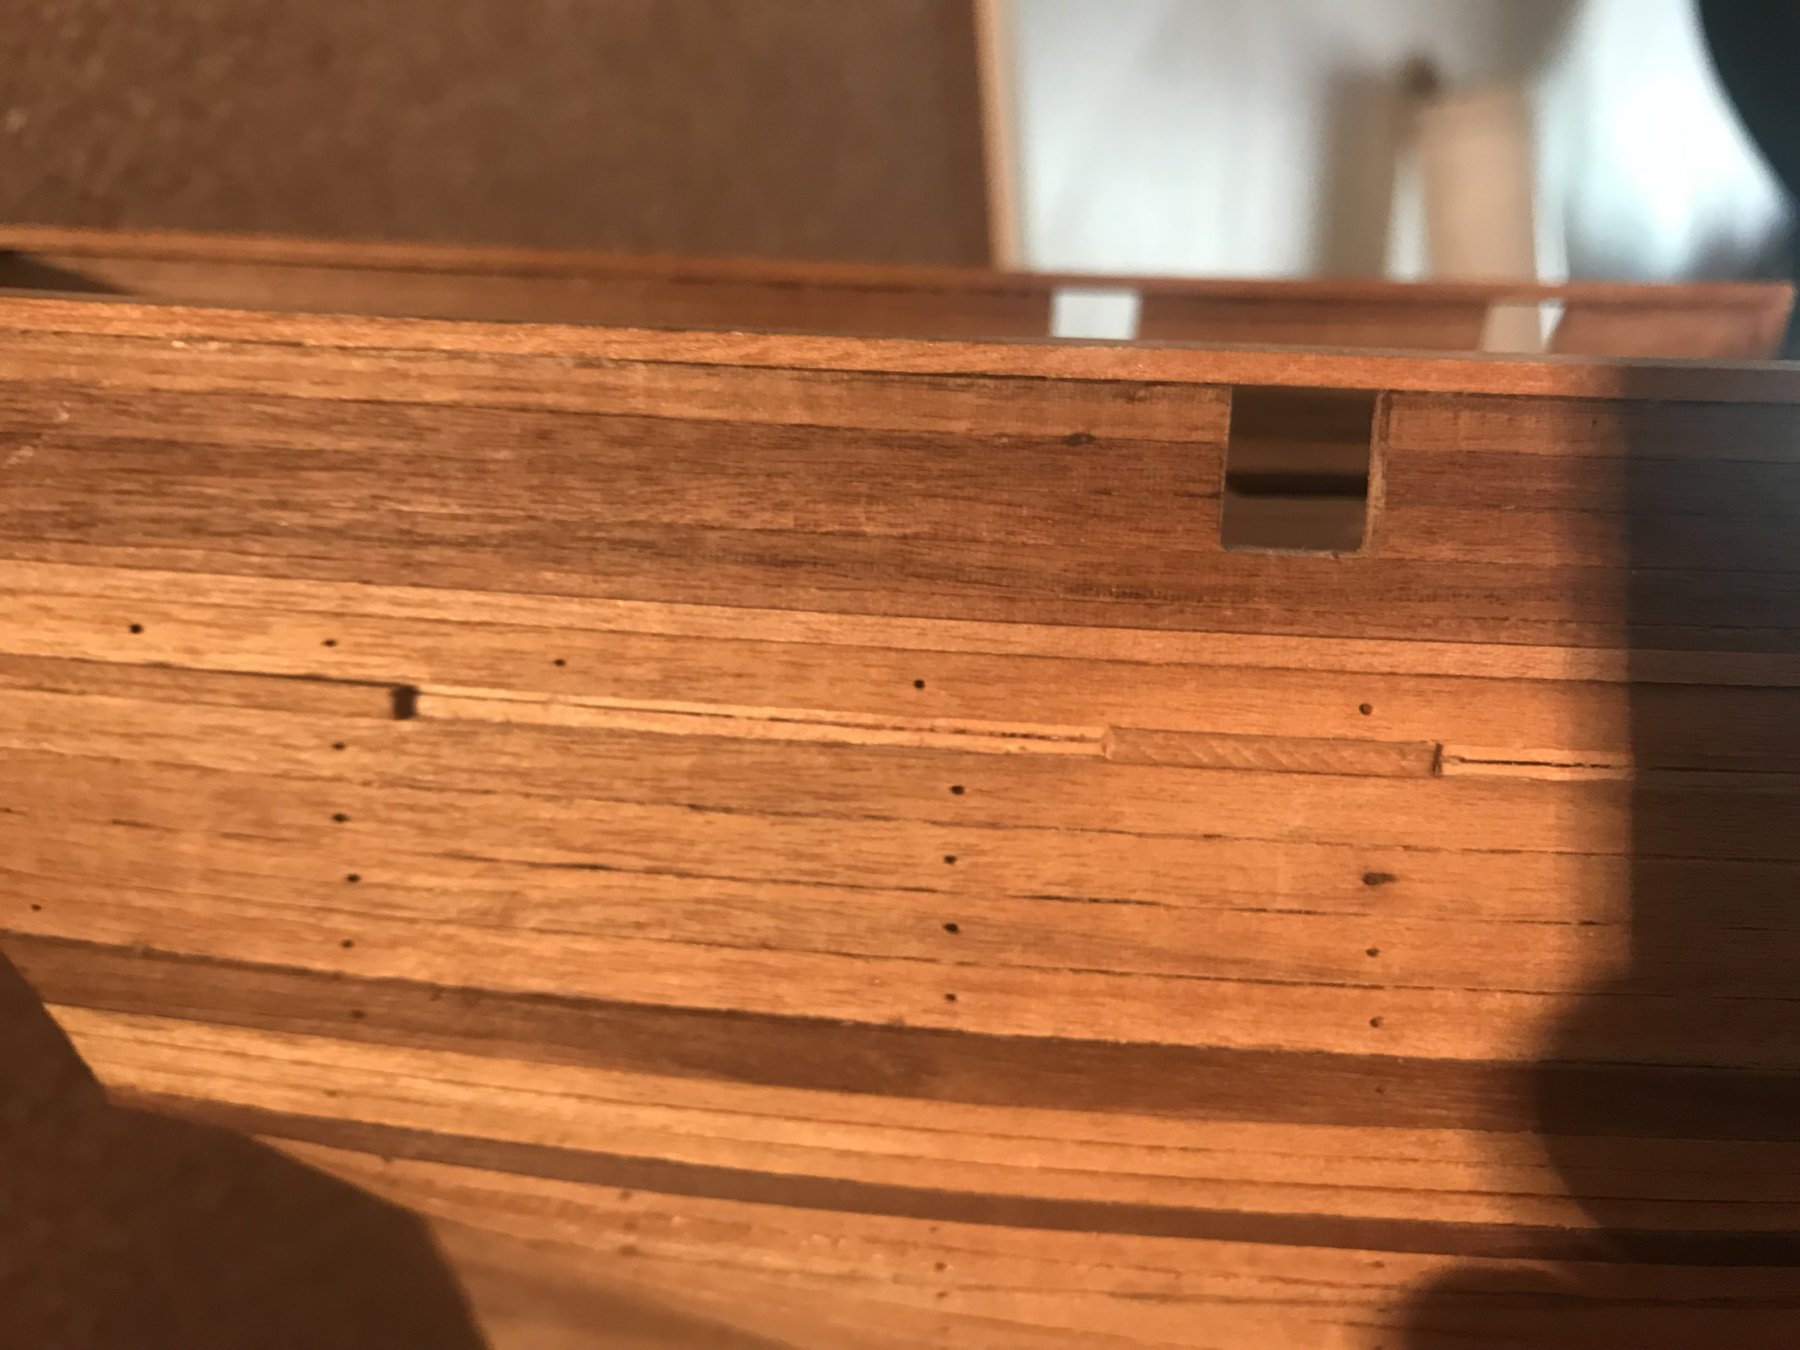
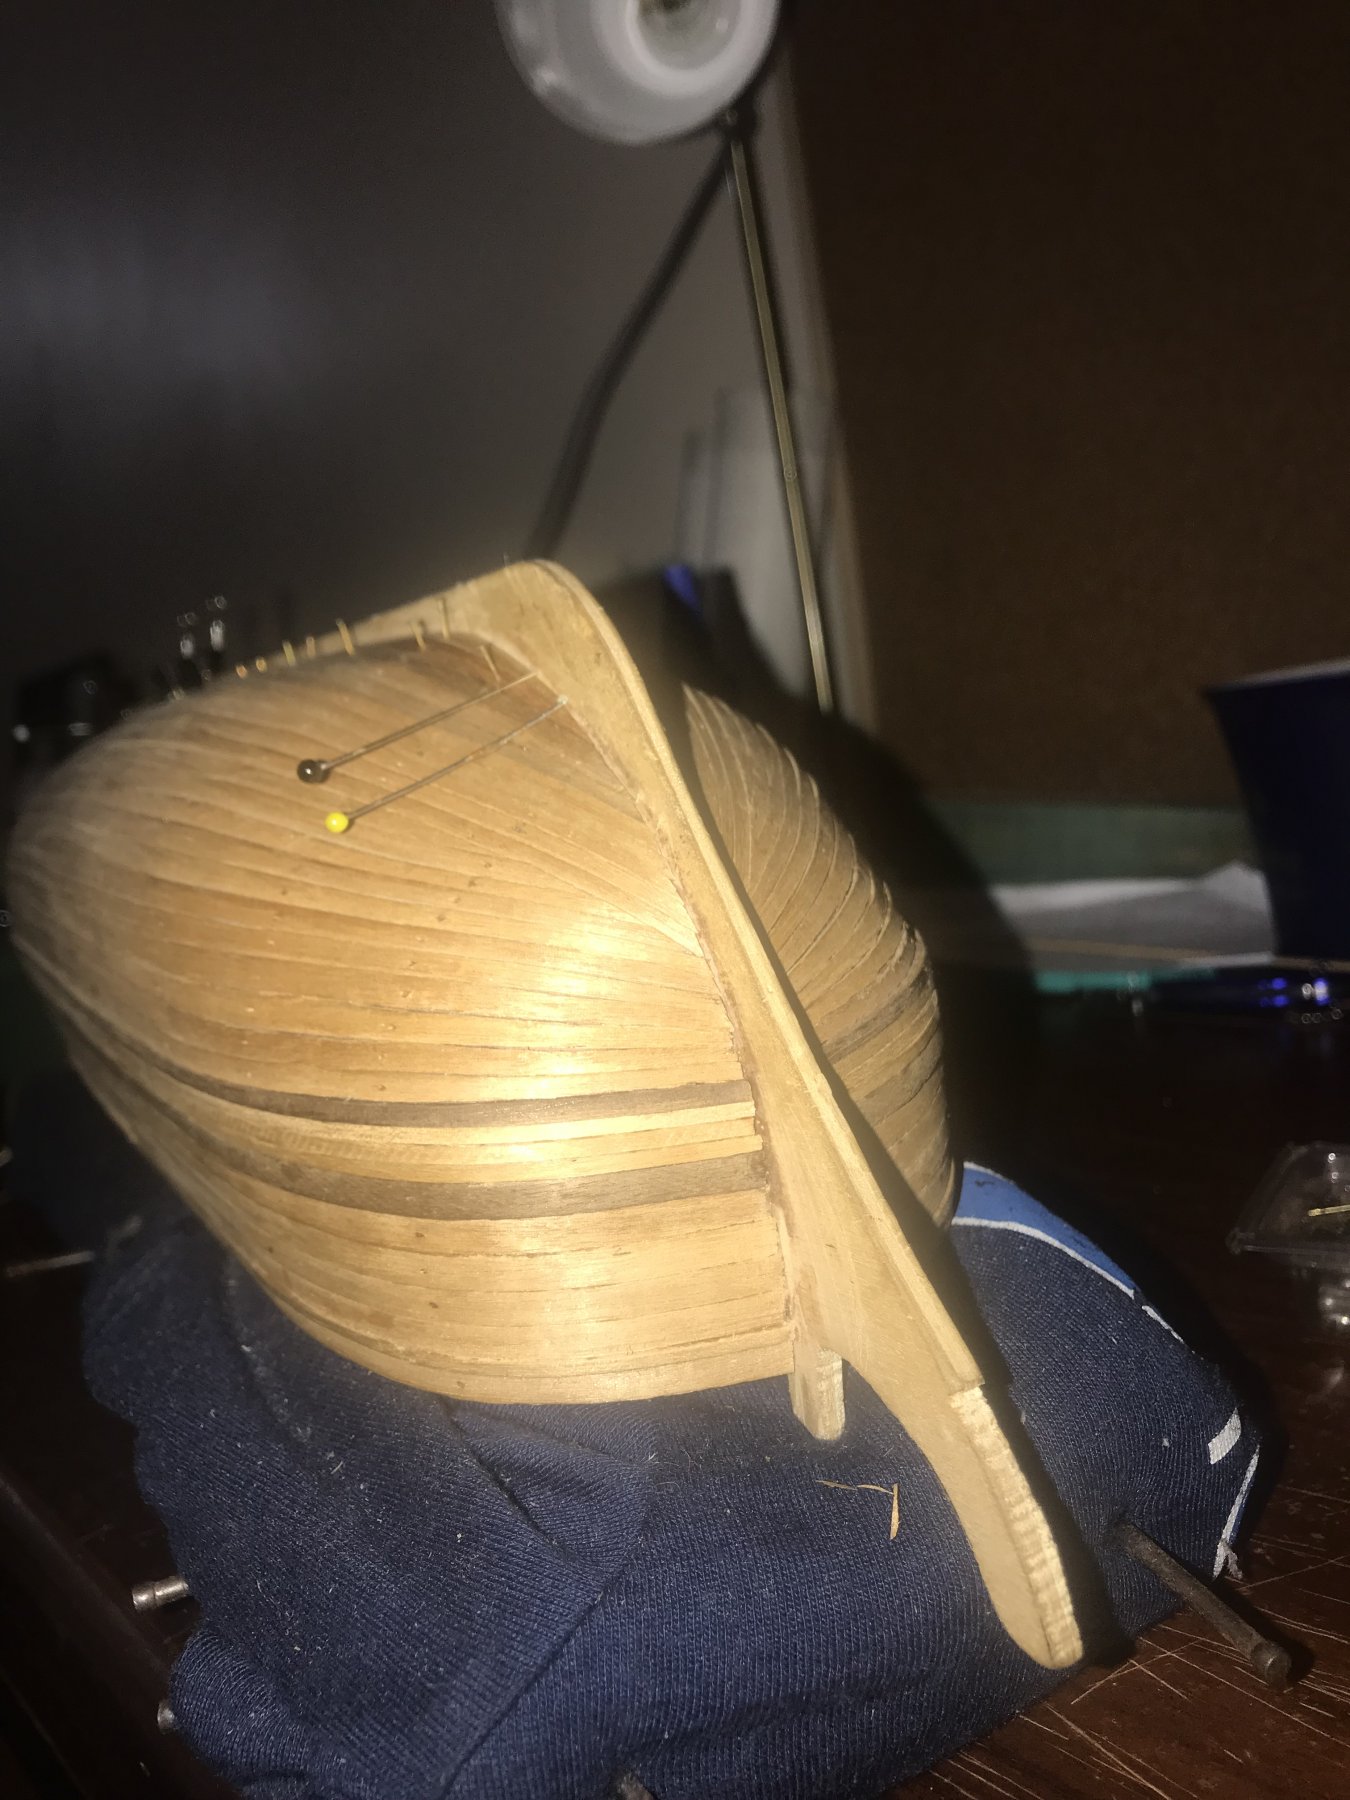
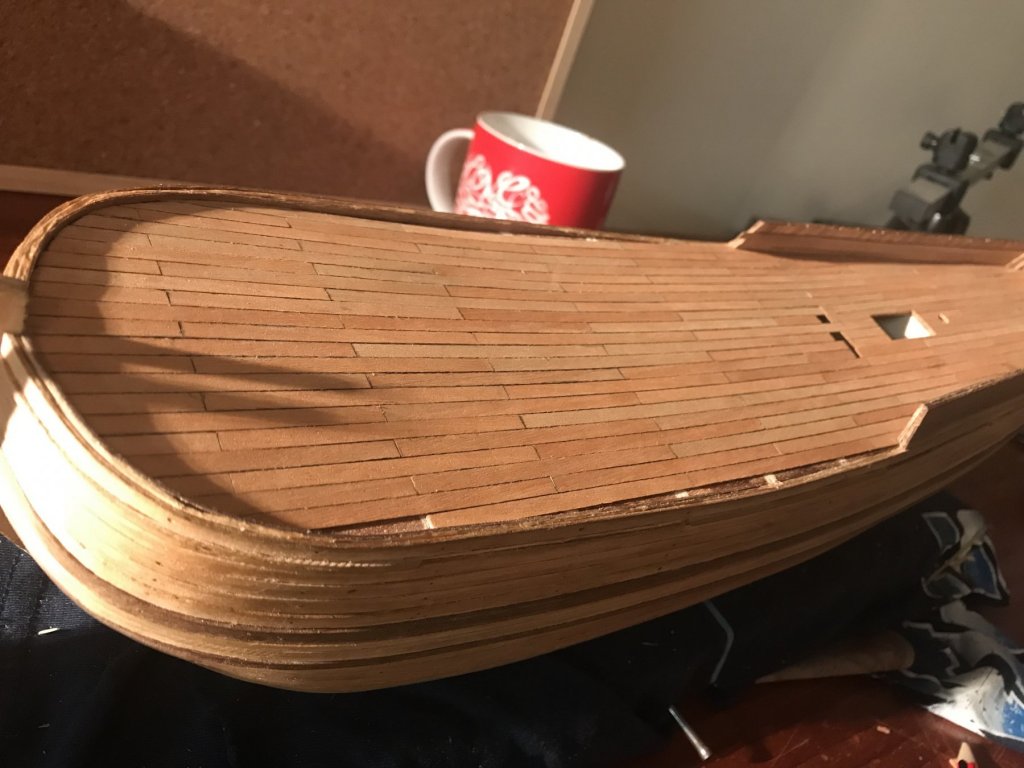
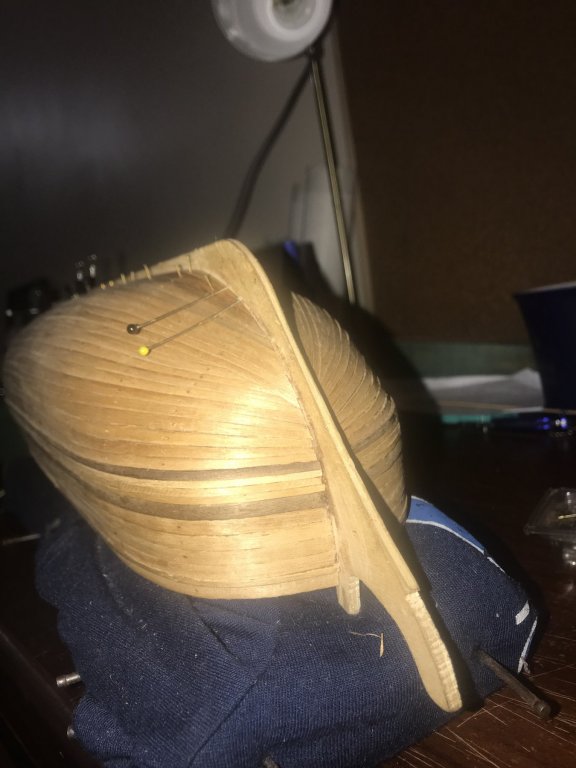
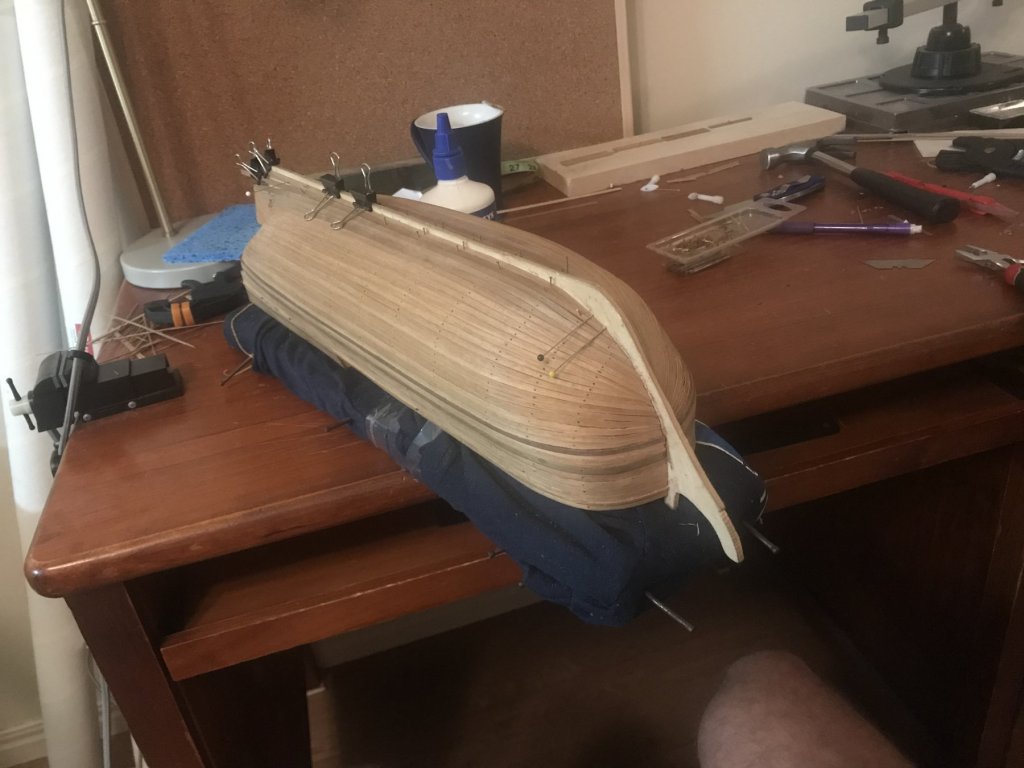
I originally chose this kit because it’s supposedly a good kit to learn with. And I’ve learned so much already. Firstly. I made the mistake of assuming that all the materials required for the completion of the kit would indeed be included in the kit. My first mistake 😂. The shortage or skimping of materials in this mamoli kit is quite frustrating. So far every material I have used except for the frames and 1st planking has been short. Oh well. All part of the learning process I suppose. The next thing I have learned is when ordering new timbers for my build I have noticed the differing quality of said timbers. I wouldn’t say with my limited experience, that the timbers that did come with my kit are bad. But the new timbers I ordered seem to be very nice. In the future I’ll be sure to assess the quantity and the quality of timbers and either proceed or order more. I’m not entirely satisfied with my second planking job. Particularly with the bow. But I’ve heard and read that the bow on the bounty can be tricky, so I take some comfort from this that hopefully it will be a little nicer looking and easier in the future. Here the planking officially completed minus the scraping and sanding. Now to reinforce the bulwarks and get the protruding frames ready to cut off and level down to the deck. Sounds like risky business 😕...wish me luck
-
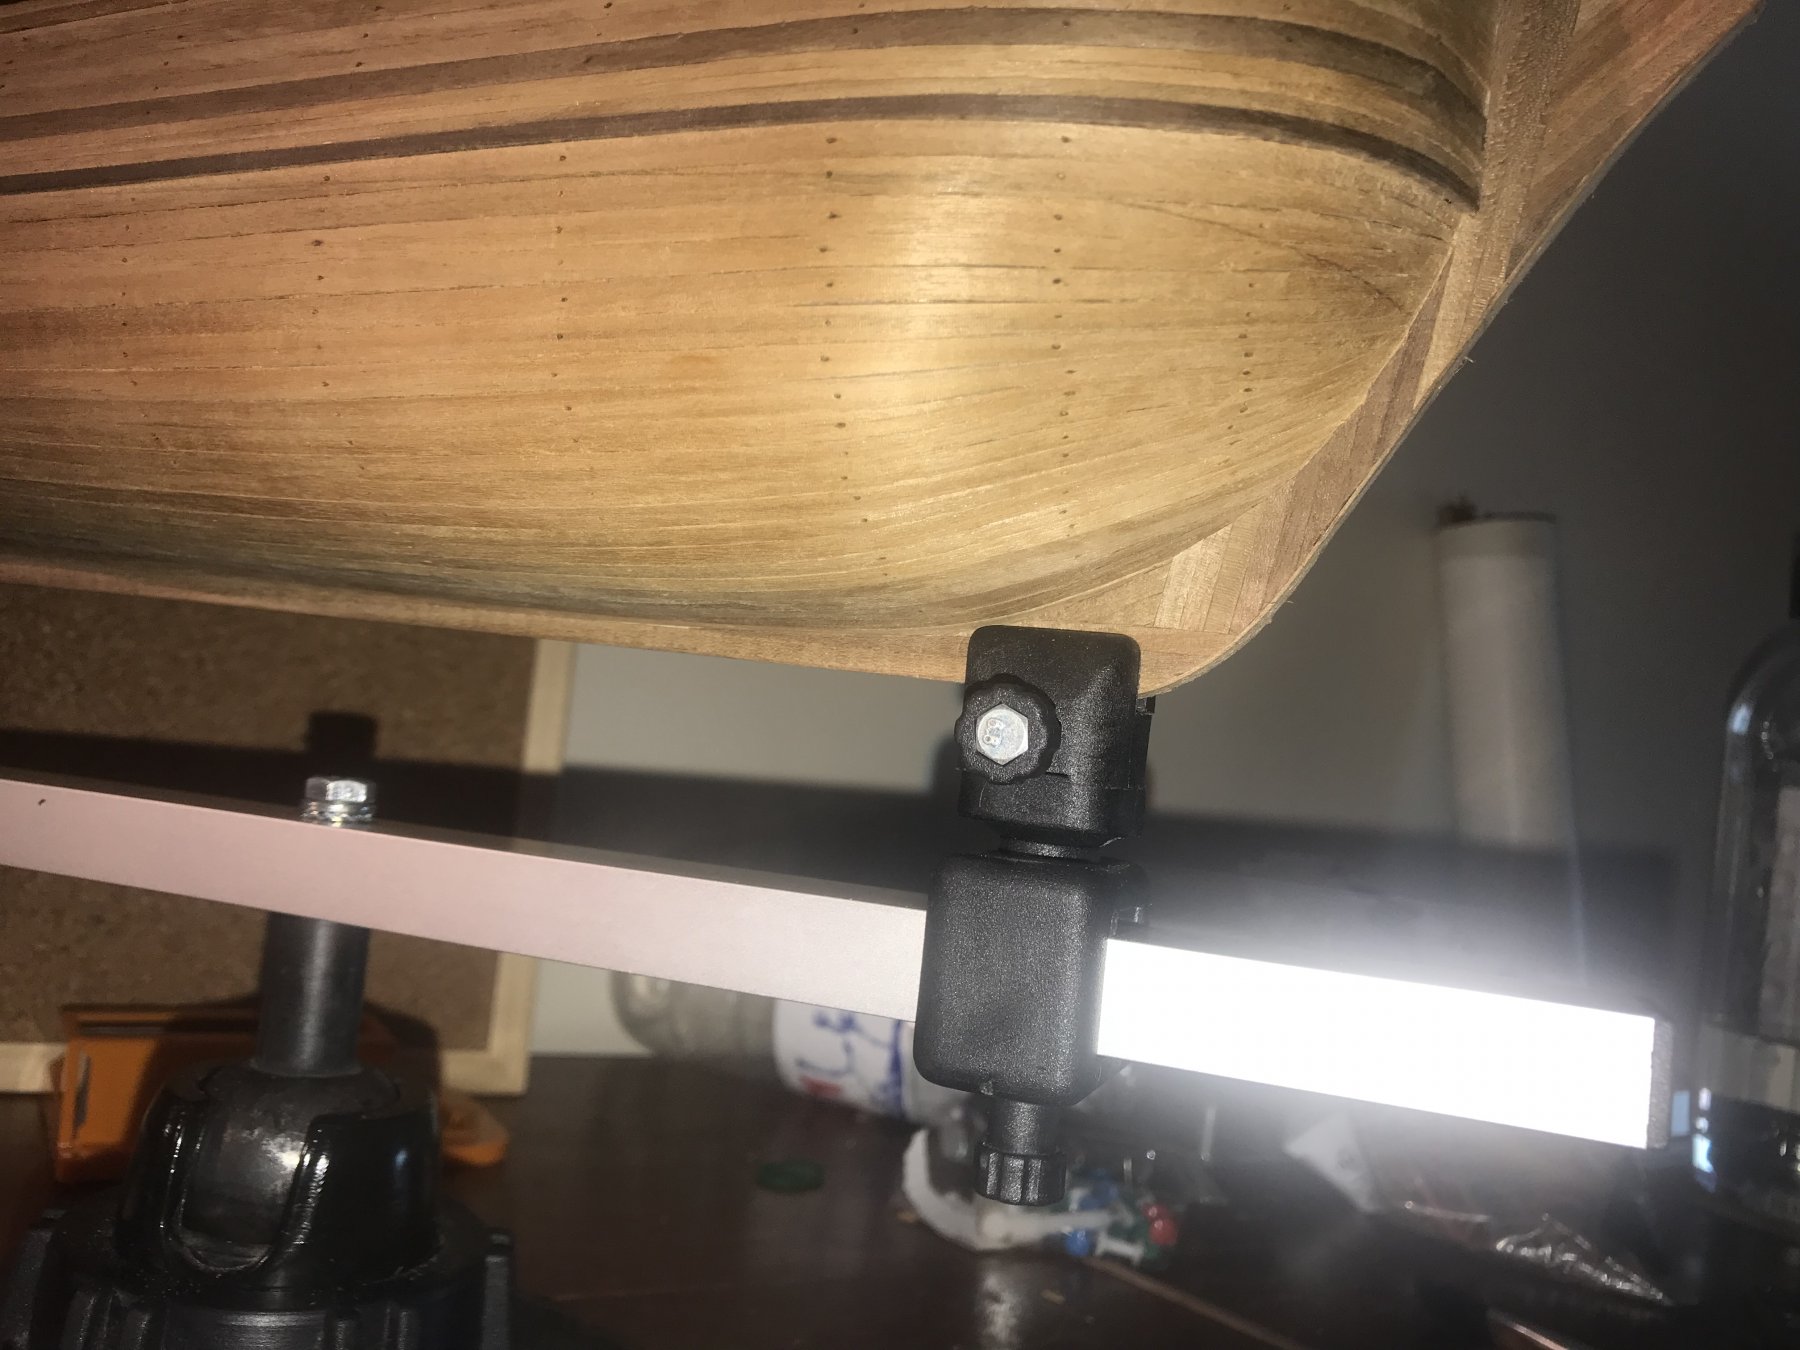
Well...it’s been to long since my last update. Life is hectic...mix that in with a combination of moving house, working too much and admittedly being a little discouraged by the repetitive and long planking process. Has all held me back from working on my bounty for too long. But I’m back...I’m settled into a new house and have put aside a corner of the house to get stuck into her. I’ve been back at the Bounty for a few weeks now and I’ve really enjoyed it. The second planking is pretty much done! Those last planks that runs along the sides of the keel took a while to carve out. Although I’ve enjoyed the last few weeks I’ll be glad to move onto something else for a while and move the Bounty upright 😁. Until it comes to scraping the hull and sanding just before painting anyway.


-
Well I'll be sure to check out some more Victory model logs...i am baffled how your planking could be bettered
- 191 replies
-
- 4
-
-
- victory
- caldercraft
- (and 1 more)