Michiel
-
Posts
236 -
Joined
-
Last visited
Content Type
Profiles
Forums
Gallery
Events
Everything posted by Michiel
-
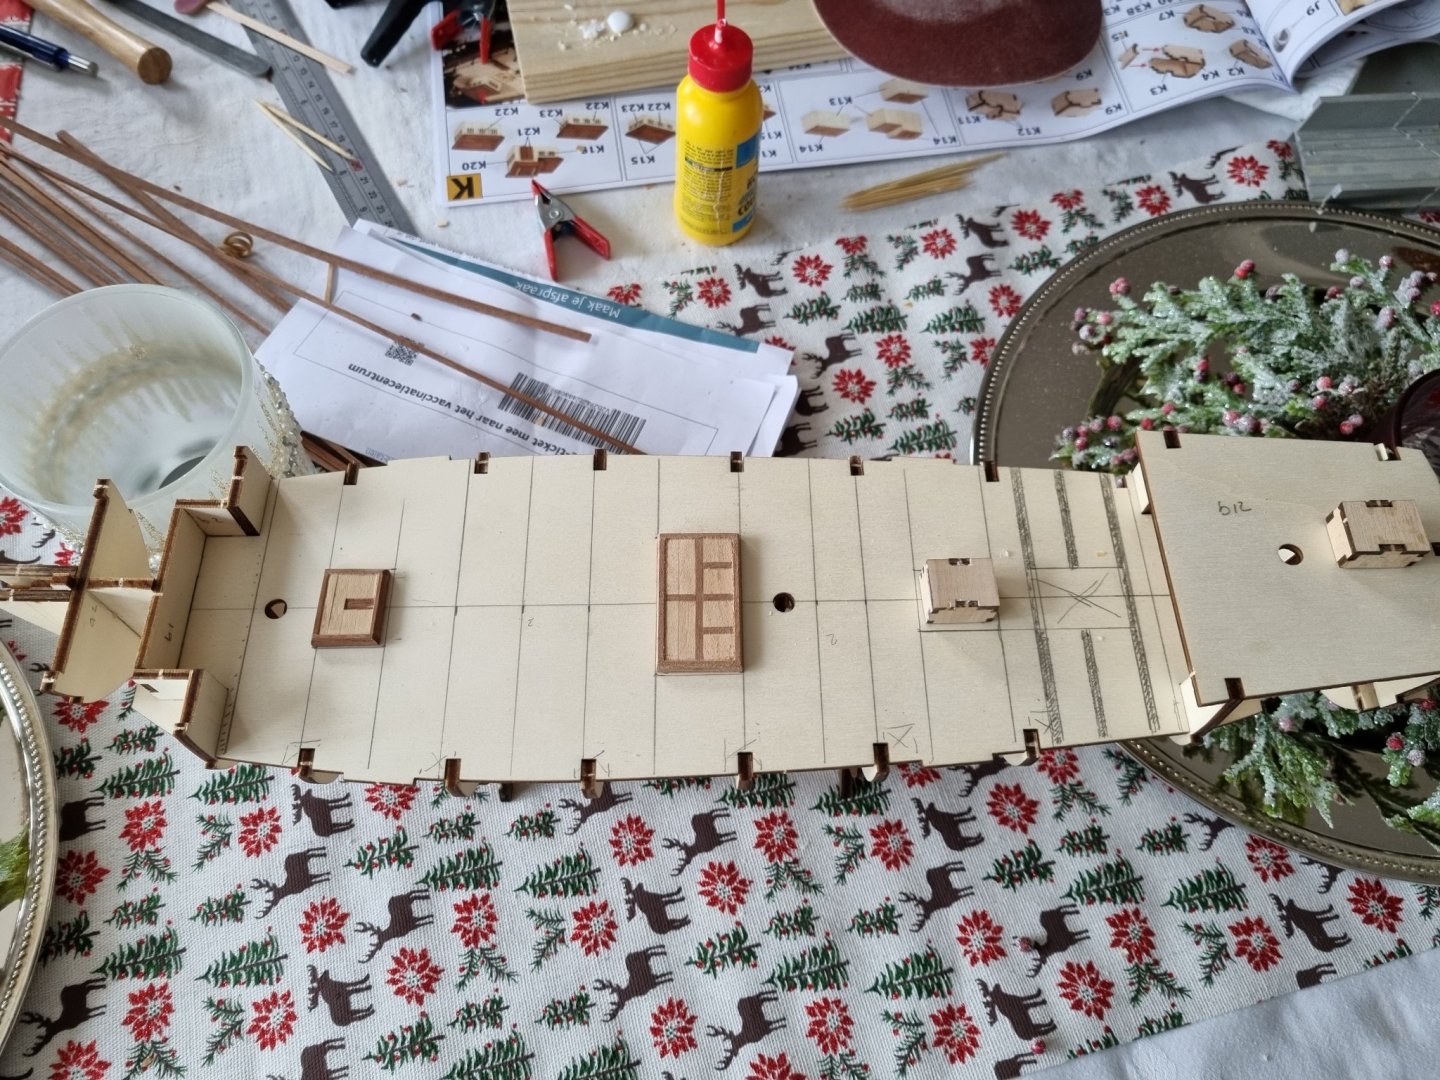
 Small update one the progress with the deck.
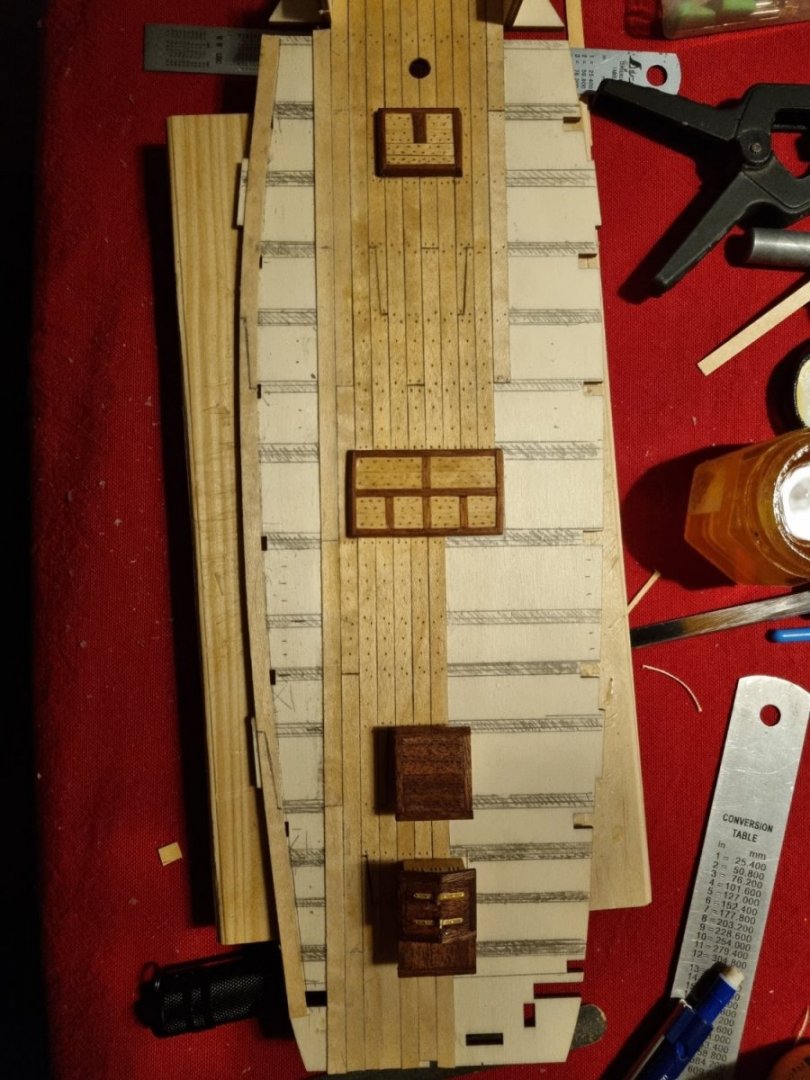
-
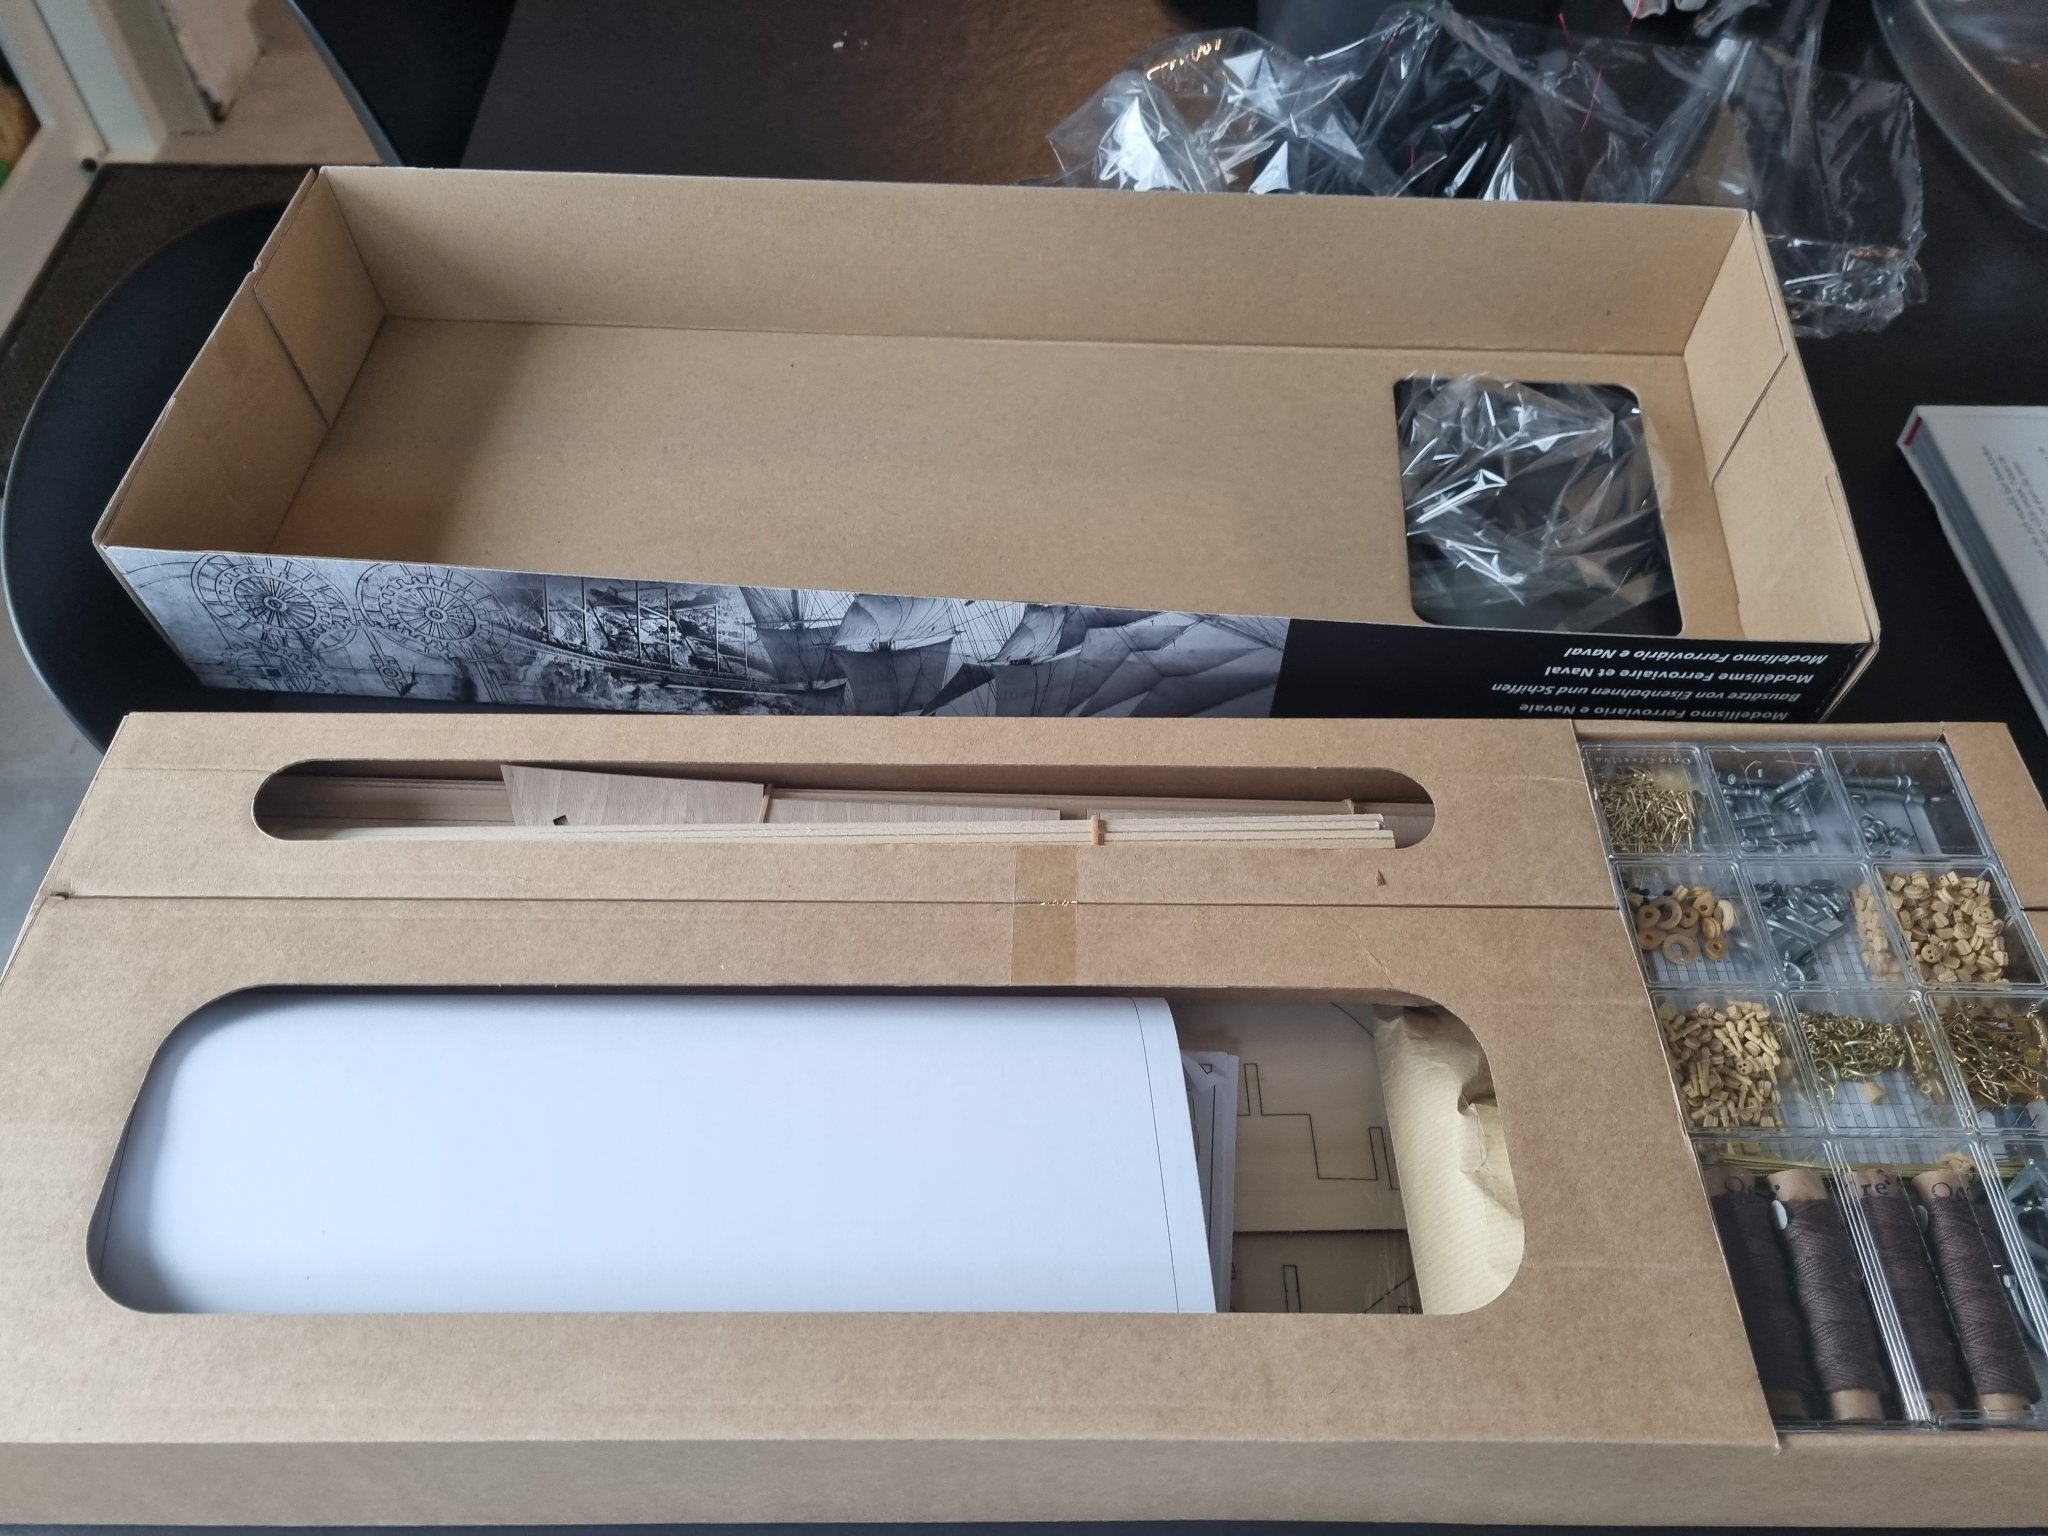
thanks guys, I was a bit amazed how hard my son went in. Pretty much his first modeling but he is doing a great job, these were completely by his hand: Concerning the kit. First impressions: The lasering is very precise, it al fits well, tiny connection points, easy to take the parts out. The manual is full of detailed pictures. The build of which the pictures are taken is a bit sloppy though. The only read minus right now is the amount of plywood, all plate materials is plywood, I would have liked at least the keel, and other visible parts to be solid wood. I will probably replace these. This must be a cost consession I fear. As I mentioned above I also think the deck planking is too wide. 5mm on 1:60 = 30 cm, that is expensive wood. The anatomy of the ship book on the beagle also draws it thinner, 3mm strips may have been more realistic maybe with a few 5mm for the chine's and binding strakes.
-
The build manual suggest to first fully plan the deck, 'more or less randomly' simulate the individual plank with a pencil. Not really convinced by this we'll first place the hatches etc. Draw the locations of the actual beams, from the anatomy book, and try to put a bit more realistic planking. We'll also add the structure of chine's and binding strakes in place. I feel the planking provided is too wide but I'll leave is at that.
-
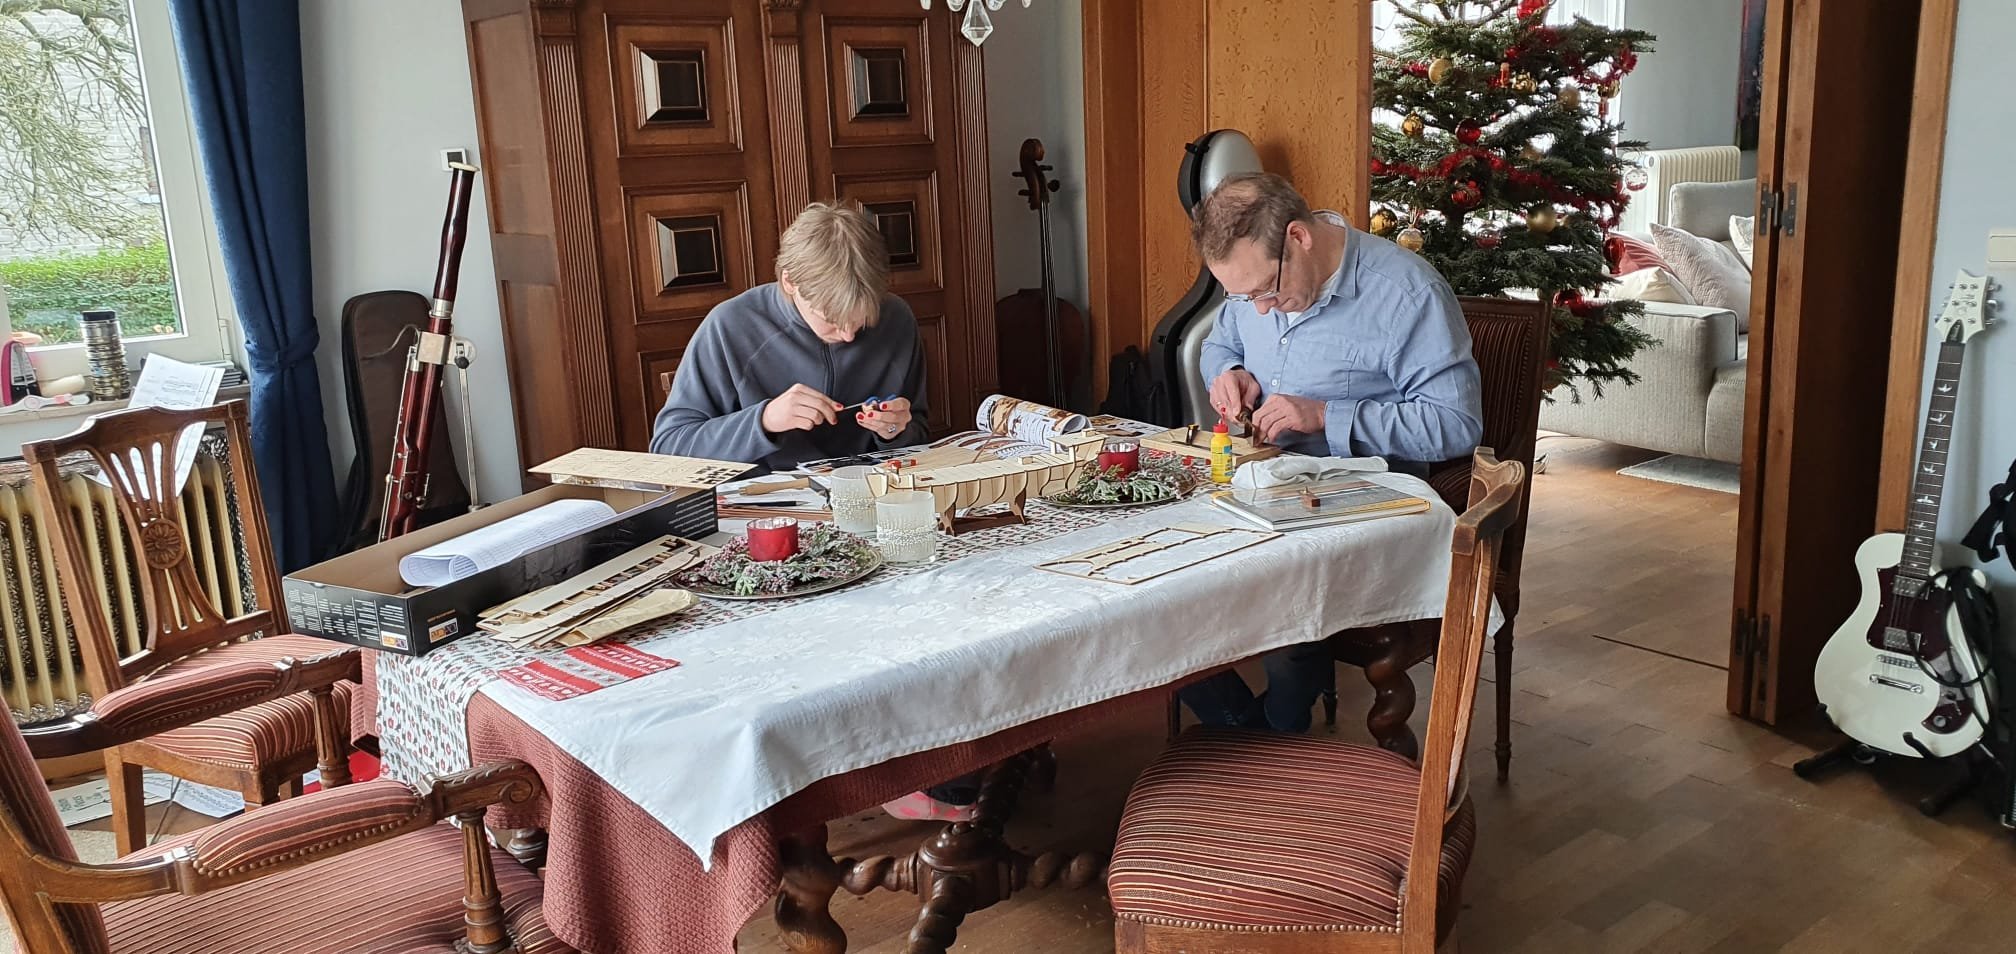
and with we I really mean we ...

-
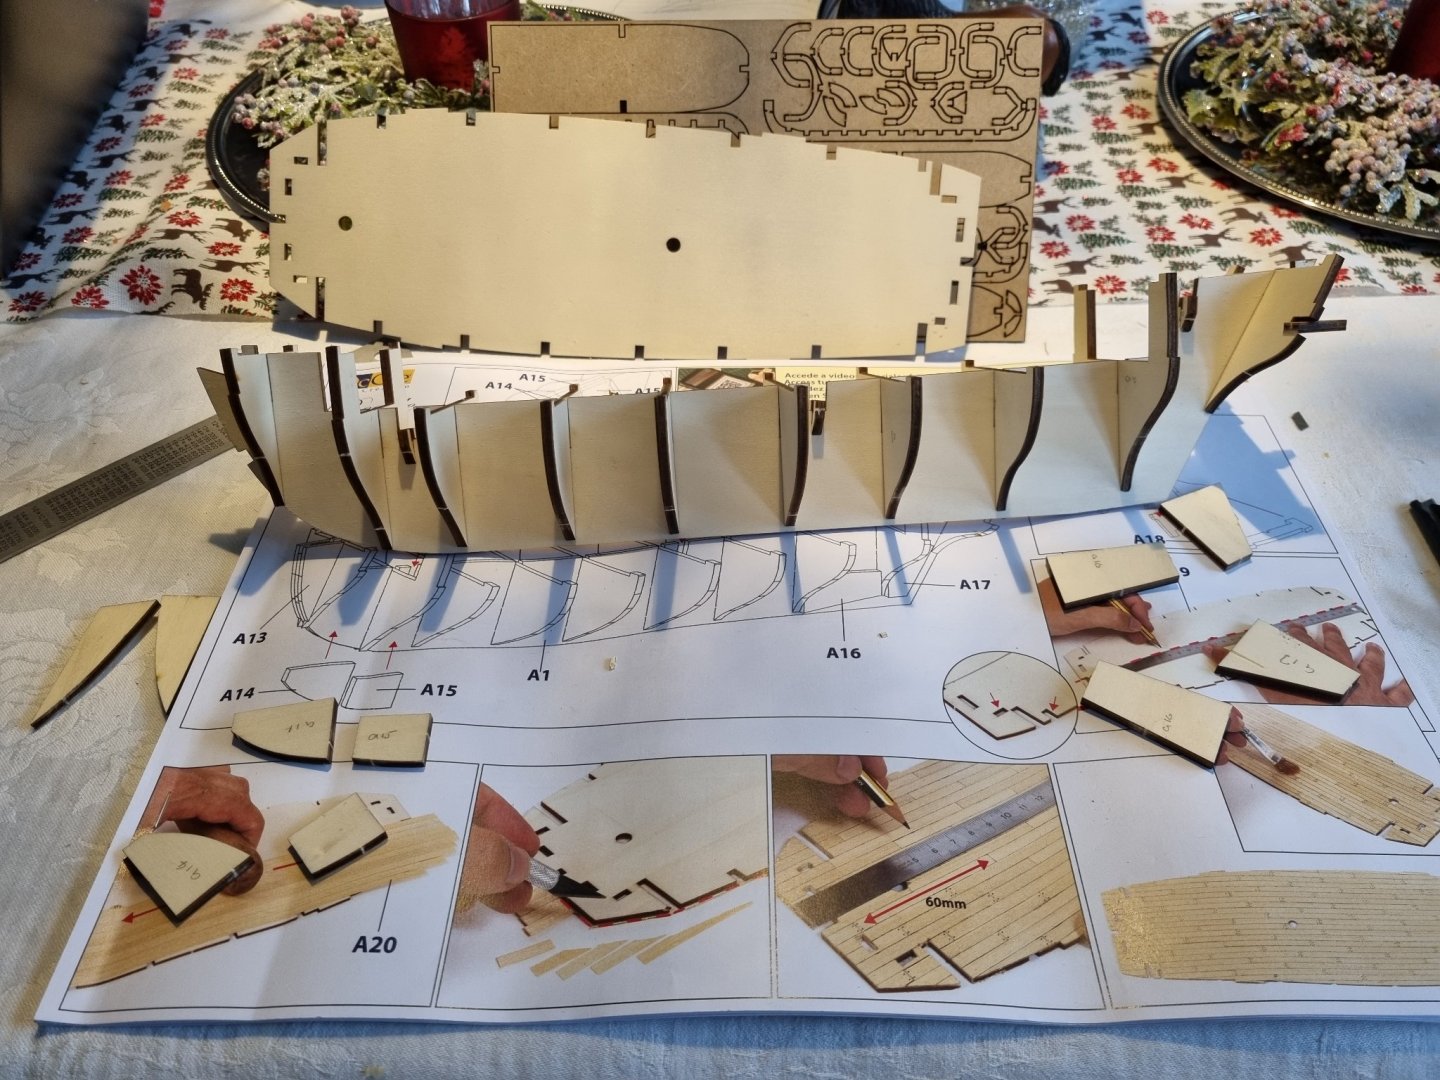
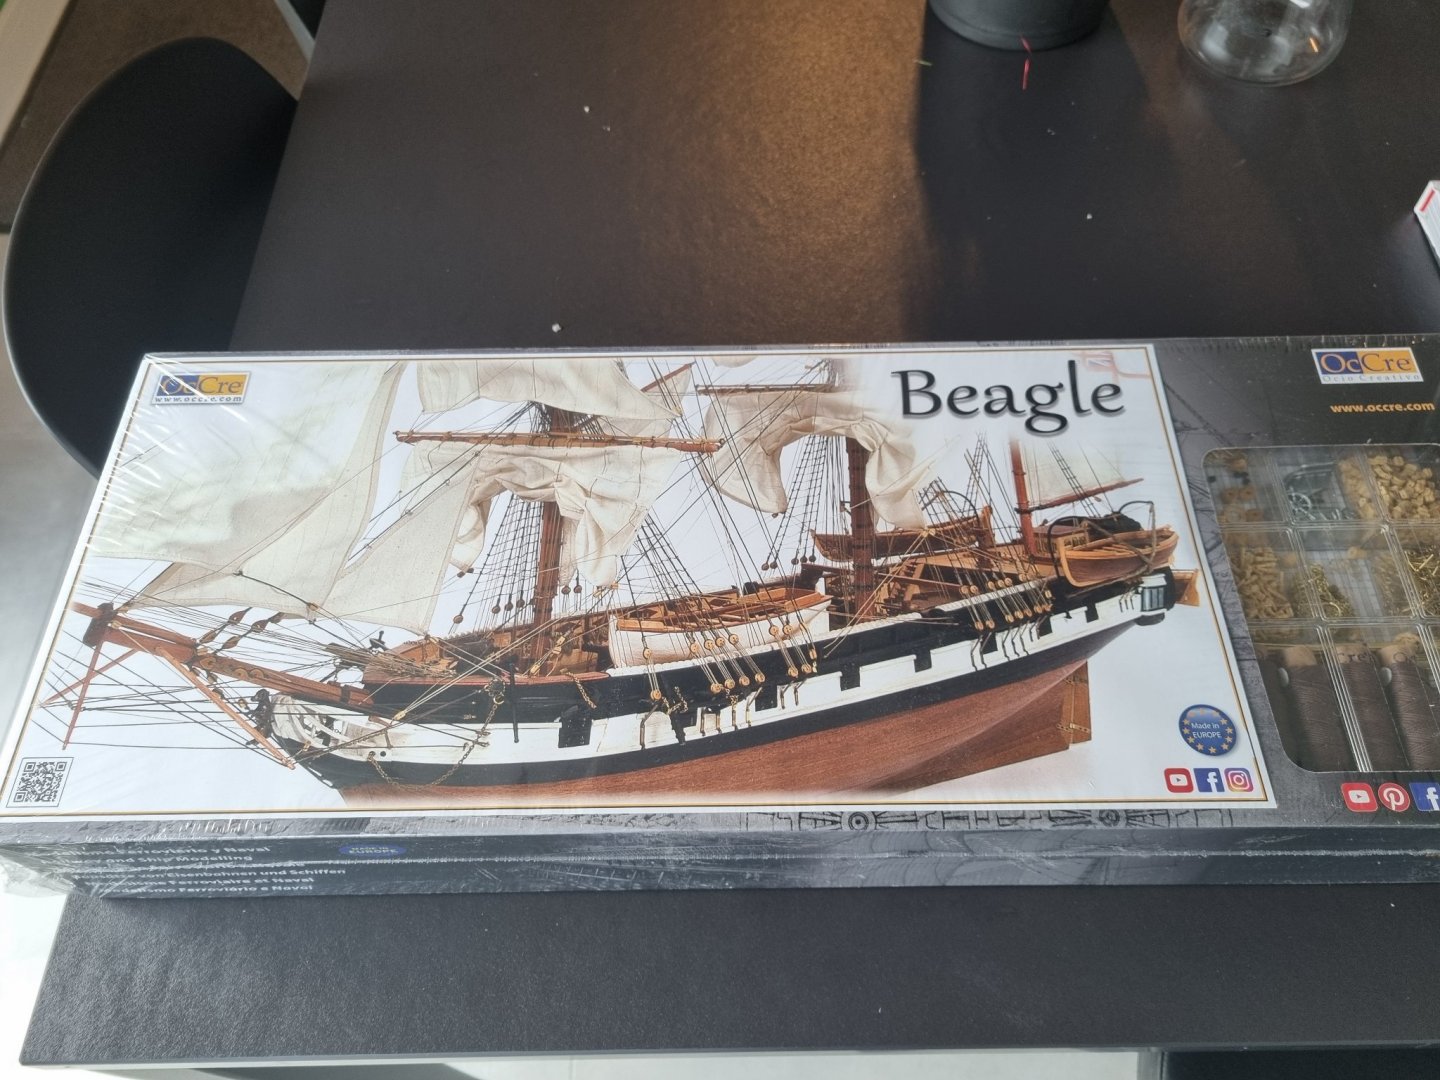
parallel to the scratch build of the prins willem we have started to build a beagle. My wife is a university professor in biology / bioengineering. So I guess most of you will get it that she very much needs a Beagle to adorn her office. I've been playing with the thought of building one from scratch but with the prins willem also still in process this will take too long. So here we go the Beagle from ocre, with the necessary bits of kitbashing obviously.

-
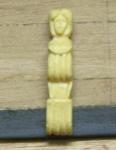
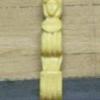
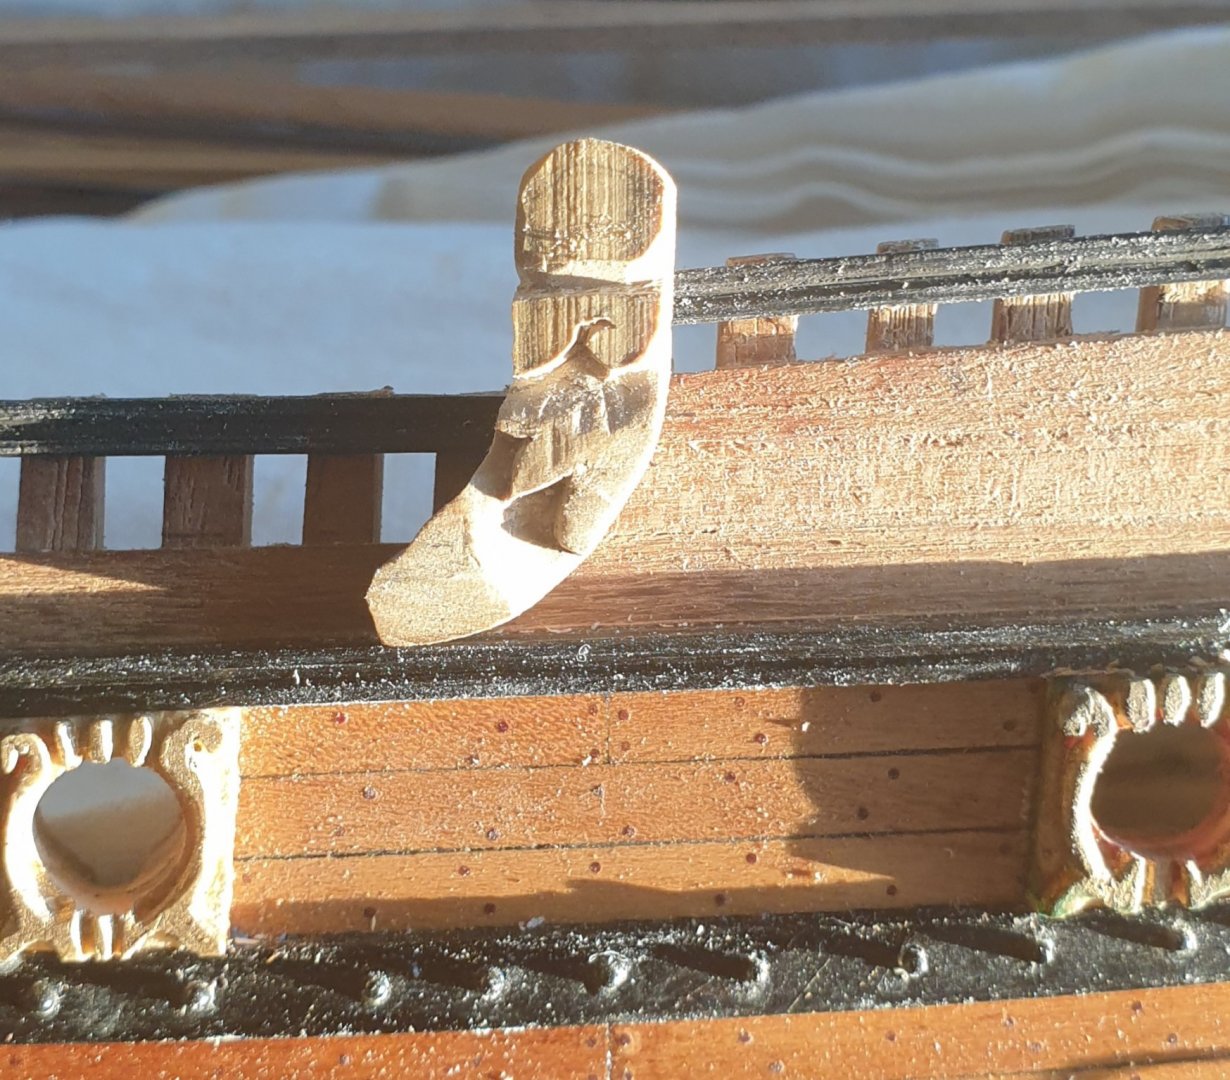
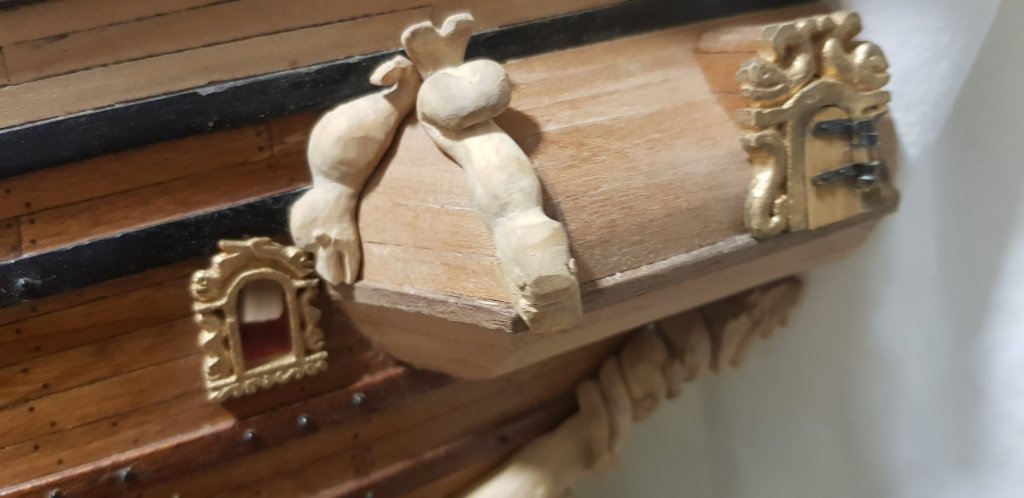
Adding the railing work and related carving. Many more of these guys will be needed. It already takes quite some time to get an exact fit, even before the actual carving.

-
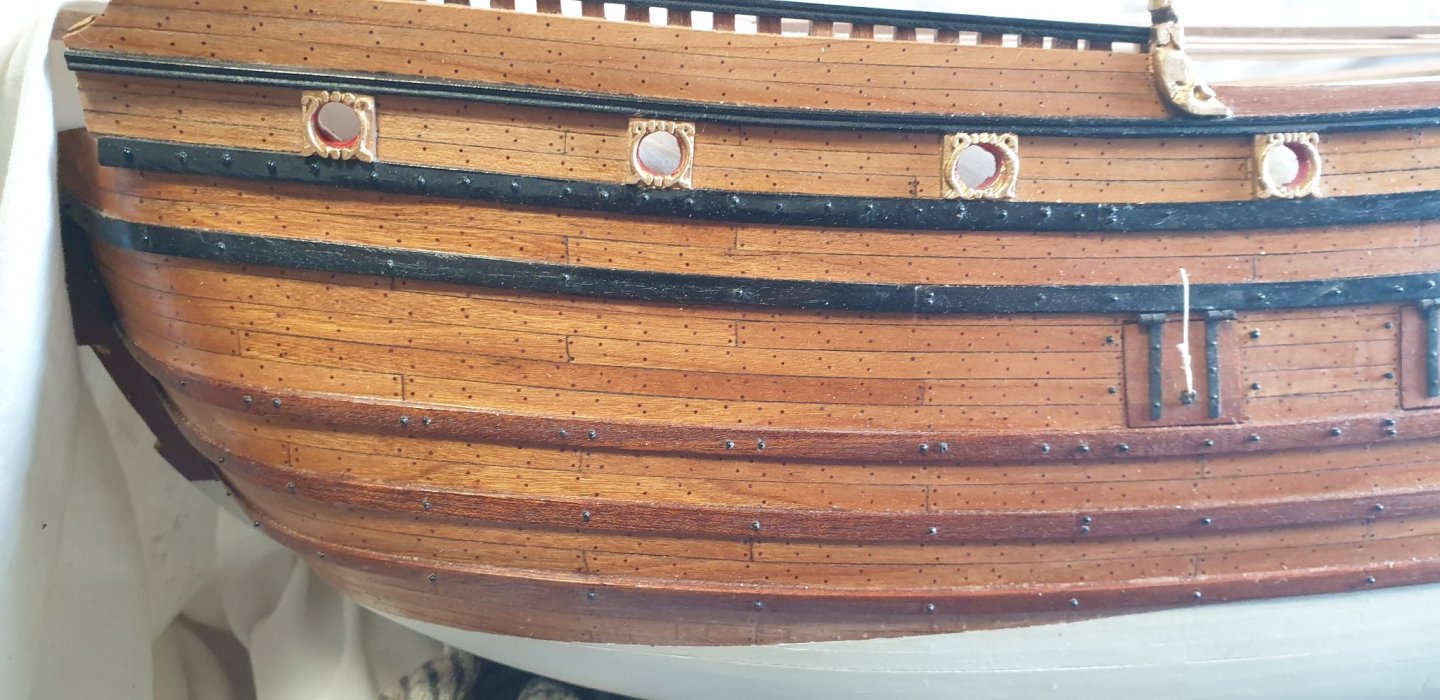
This is accumulated progress during quite some months. Putting all the treenails was quite a job. I ll try to post a bit more.
-
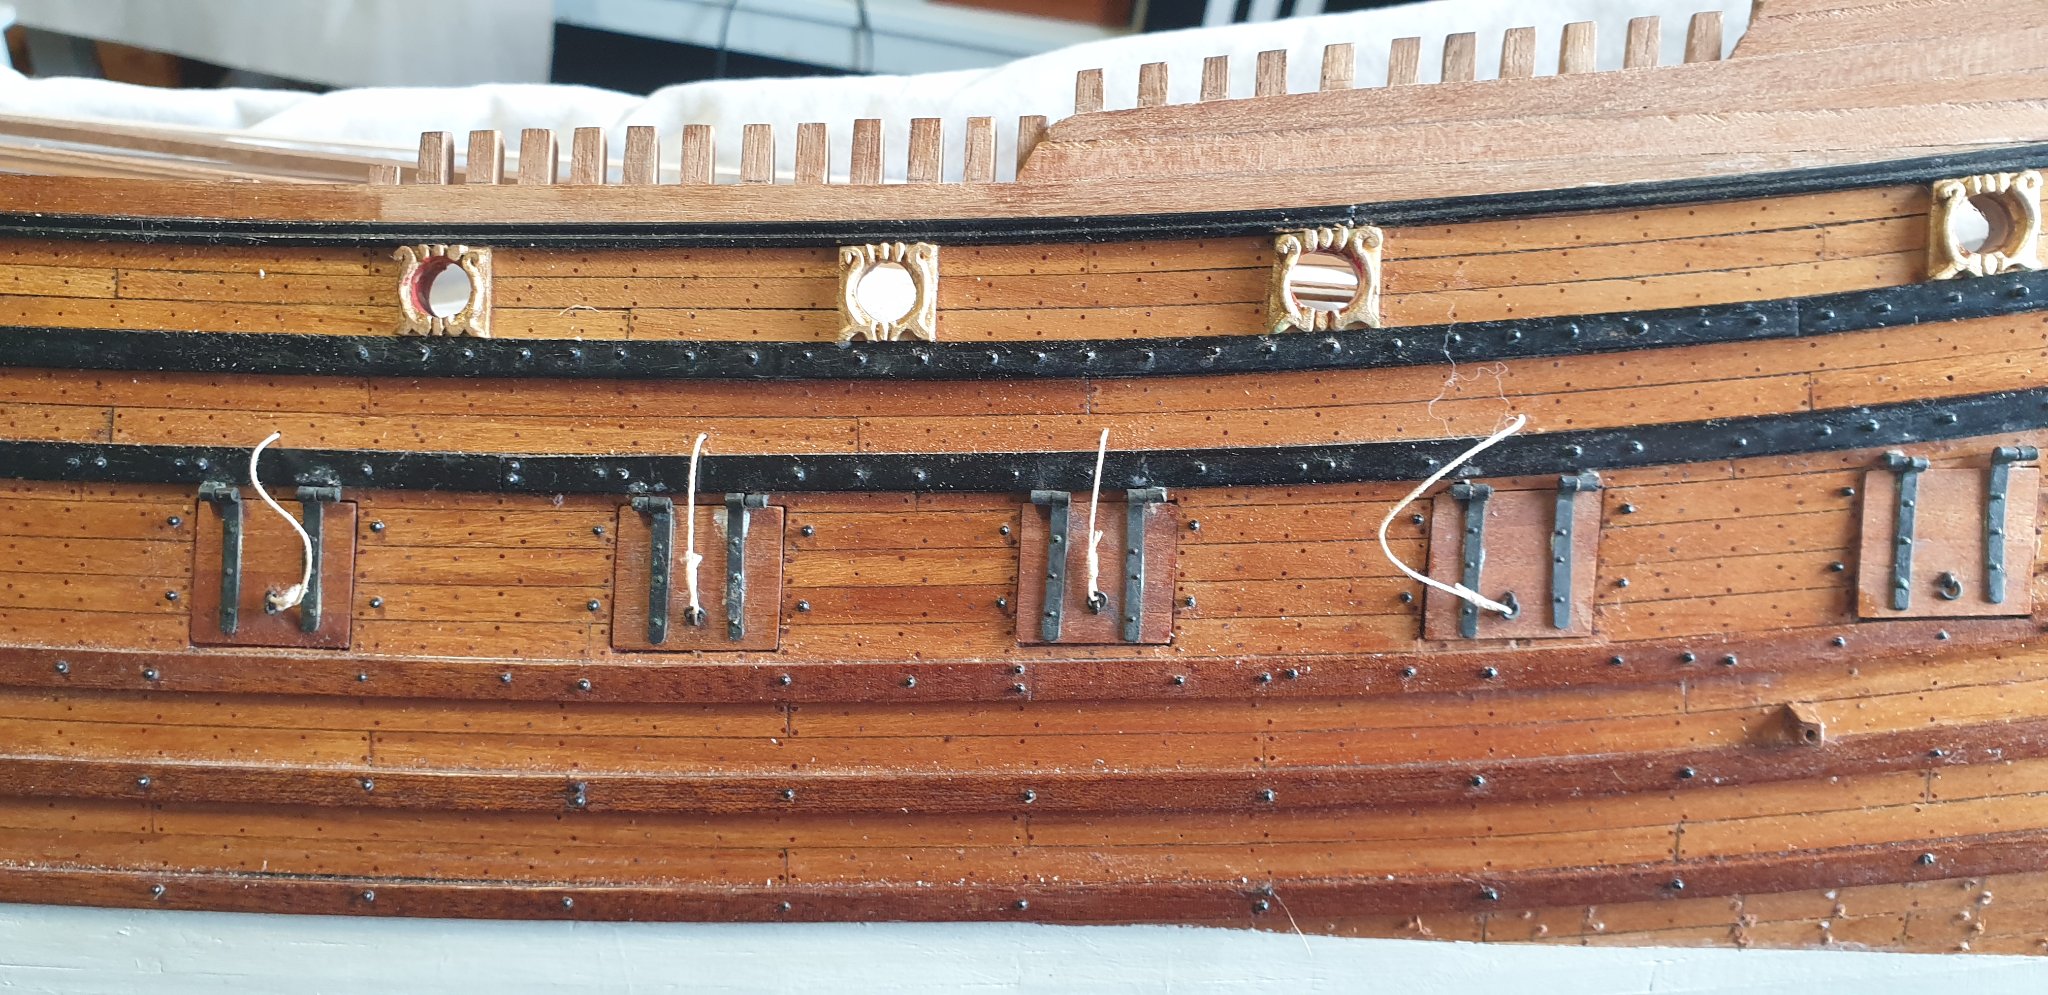
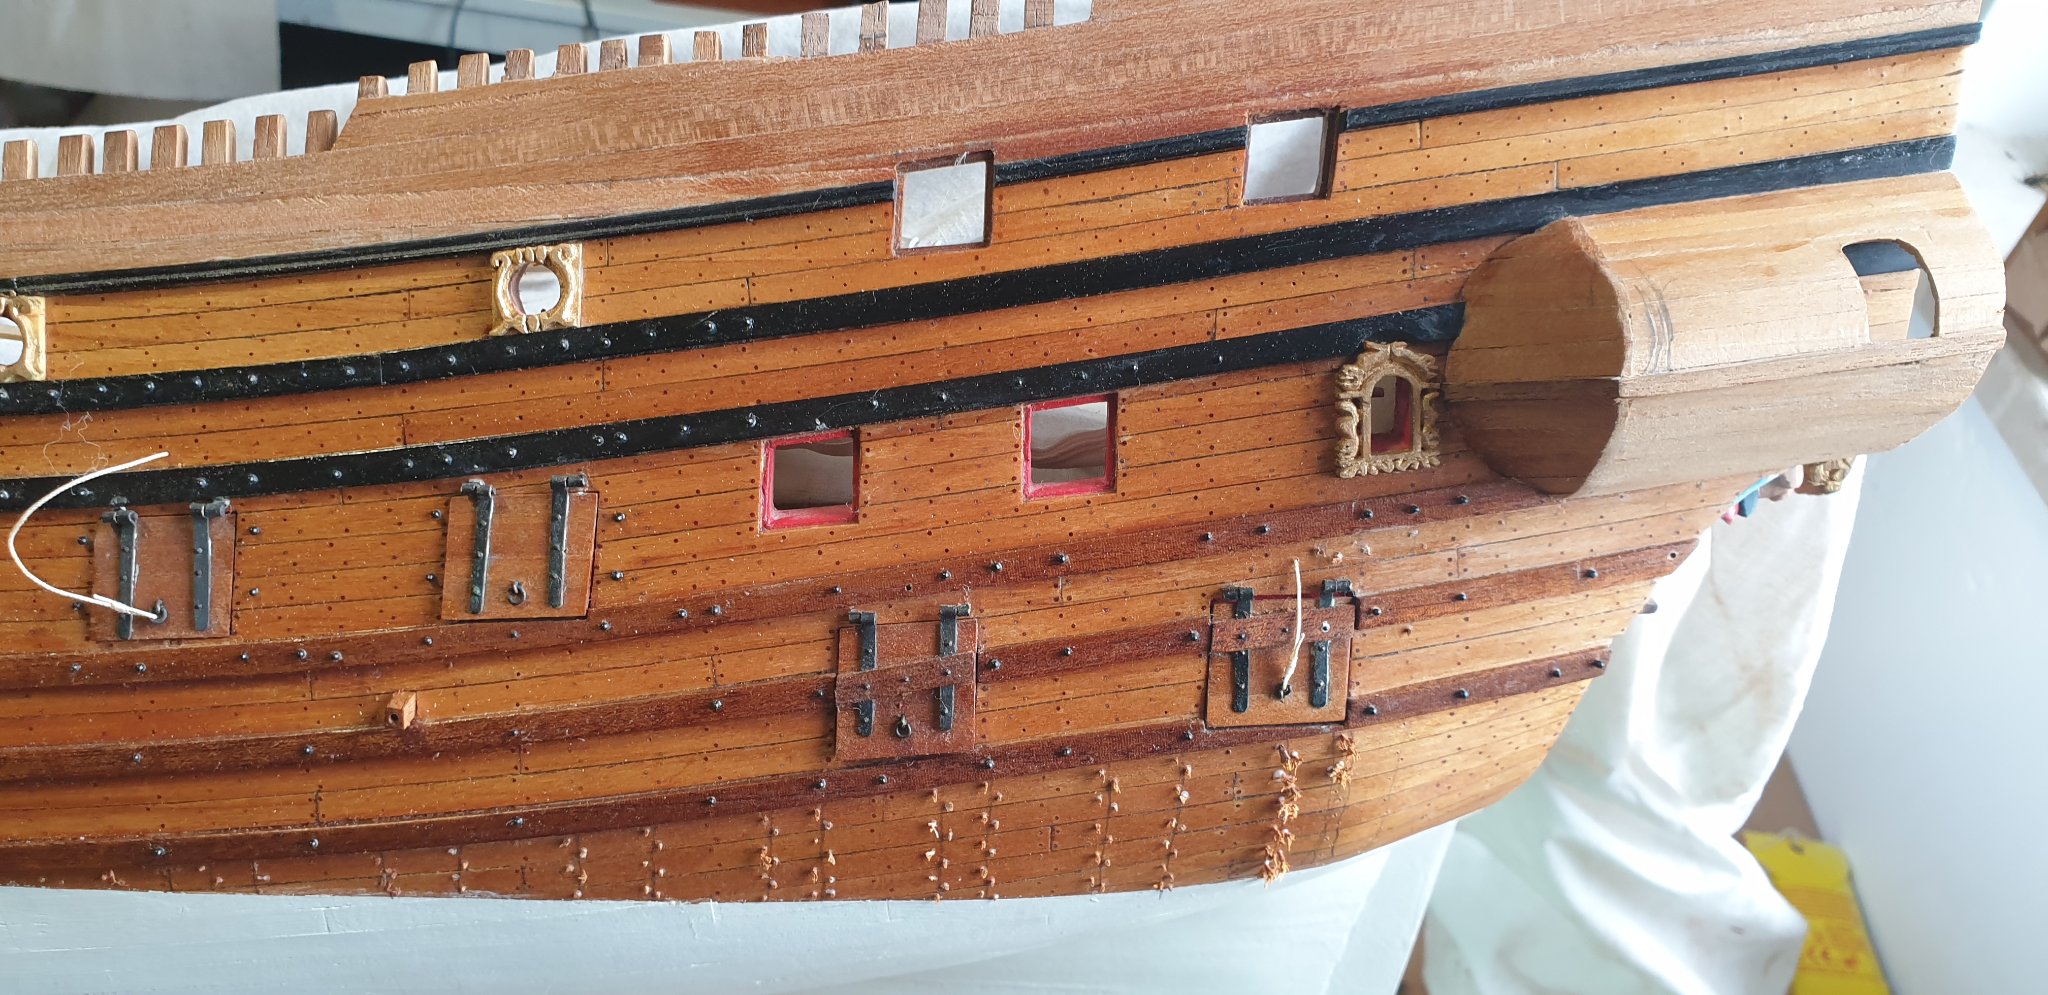
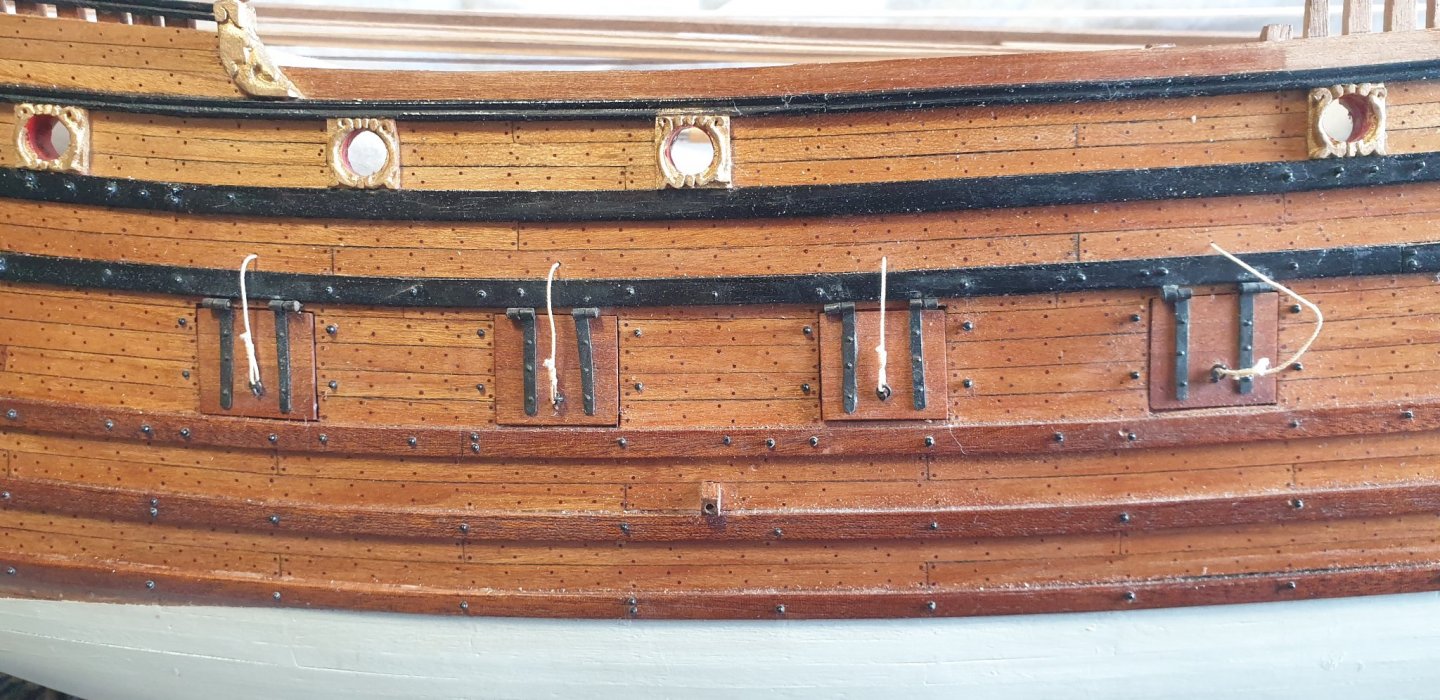
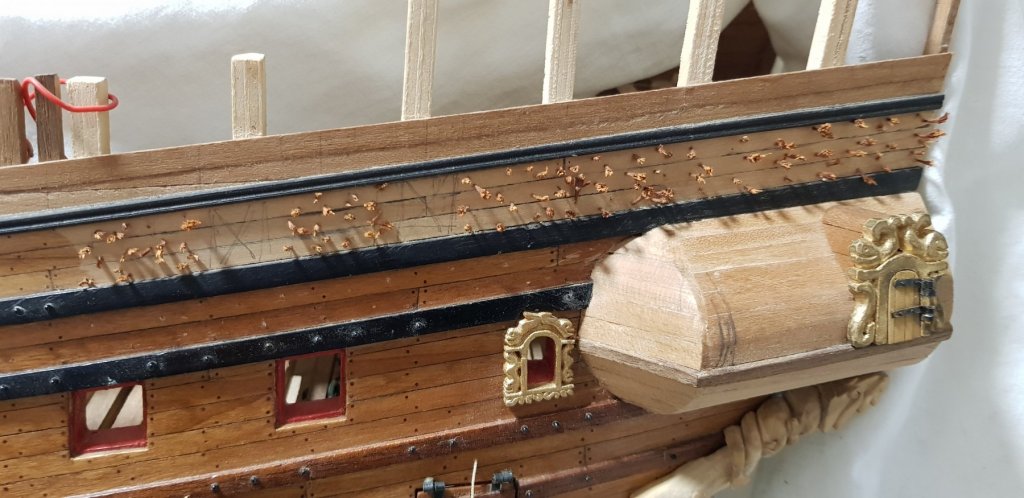
Slowly moving towards full treenailing on port side. Two new ports added as well and the final row of timbers. Still 4 more small ports to add on this side. Afterwards I ll turn her around and continue on that side.

-
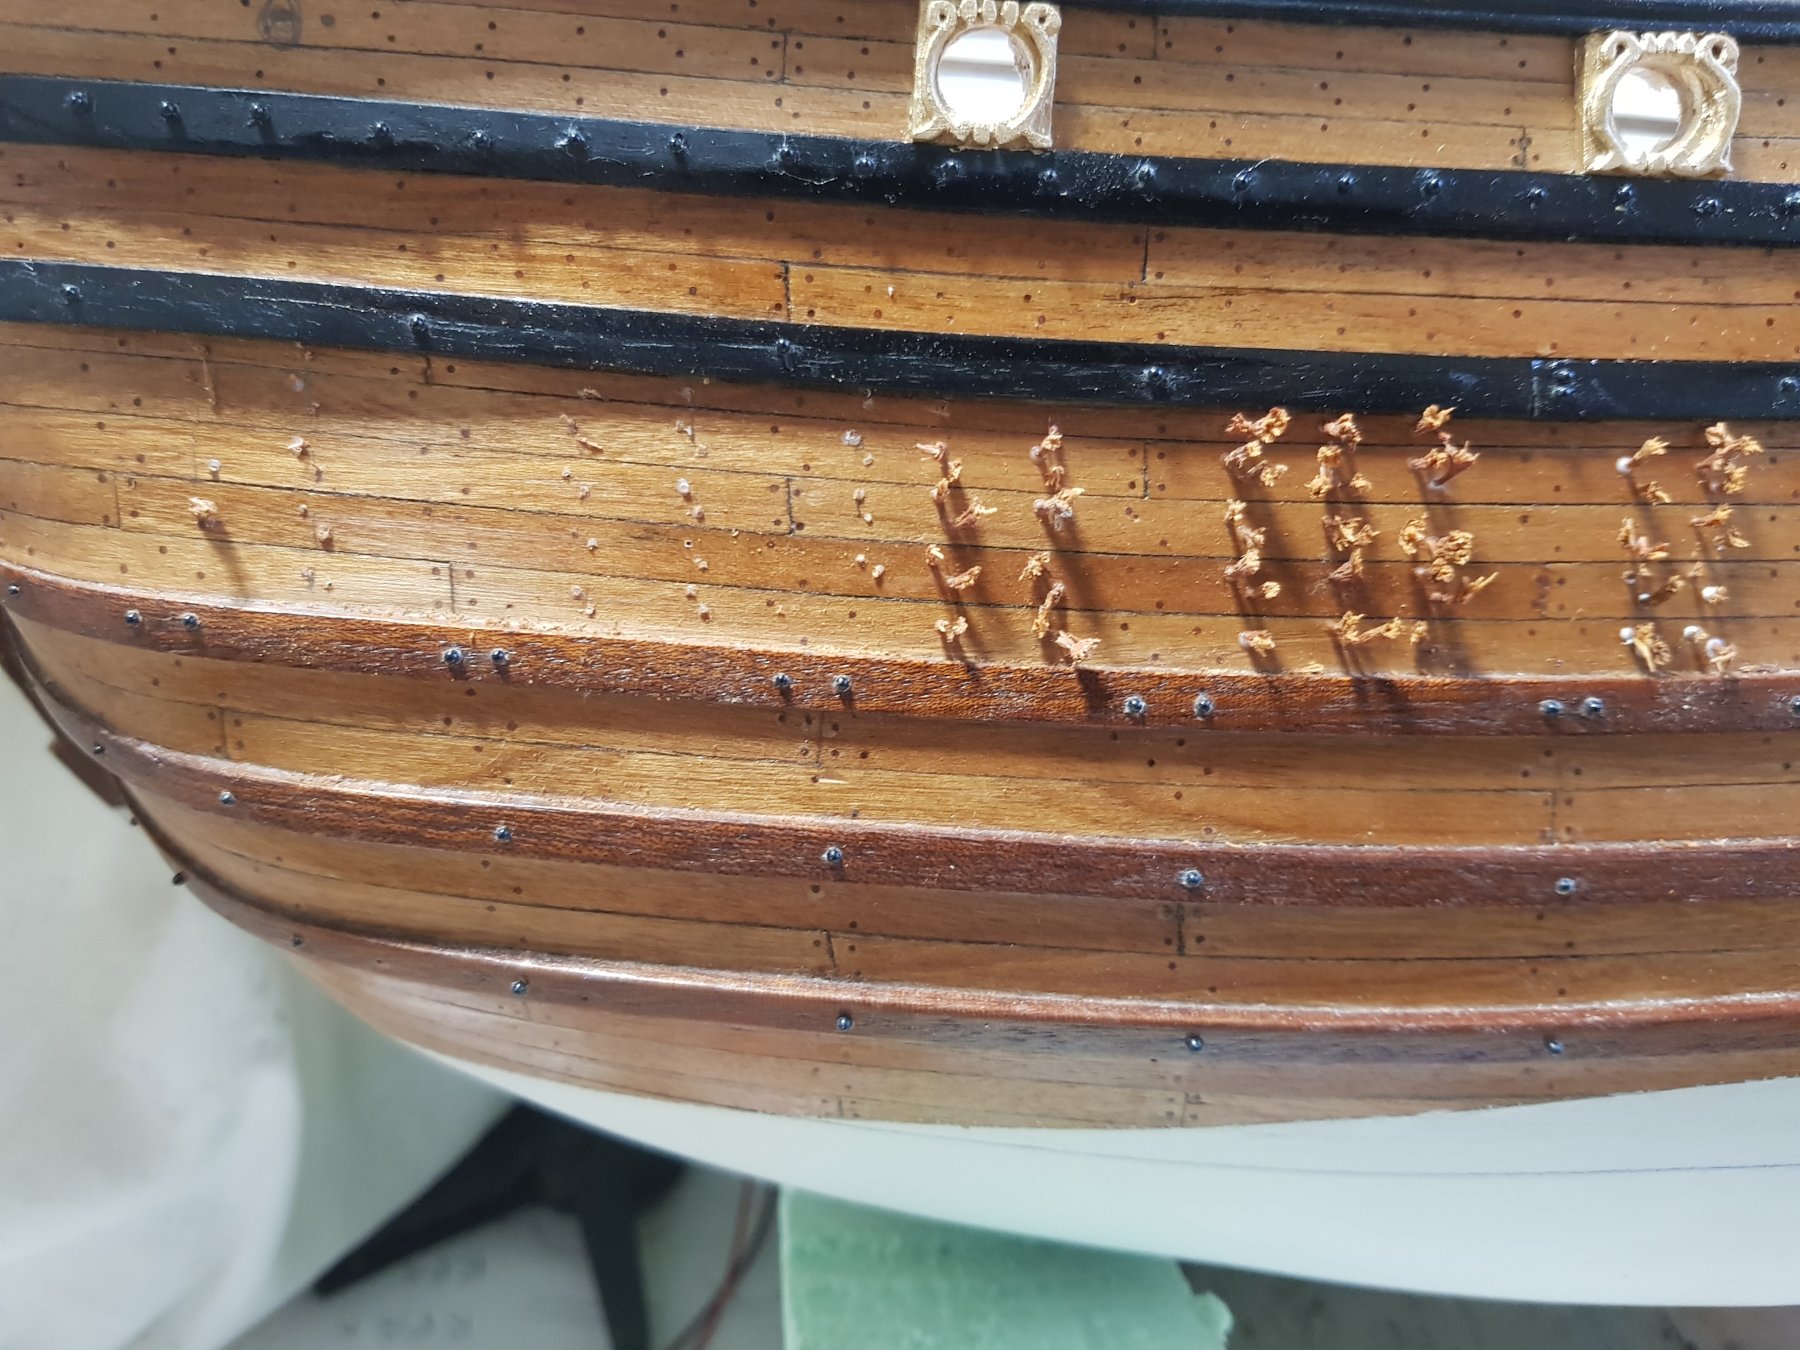
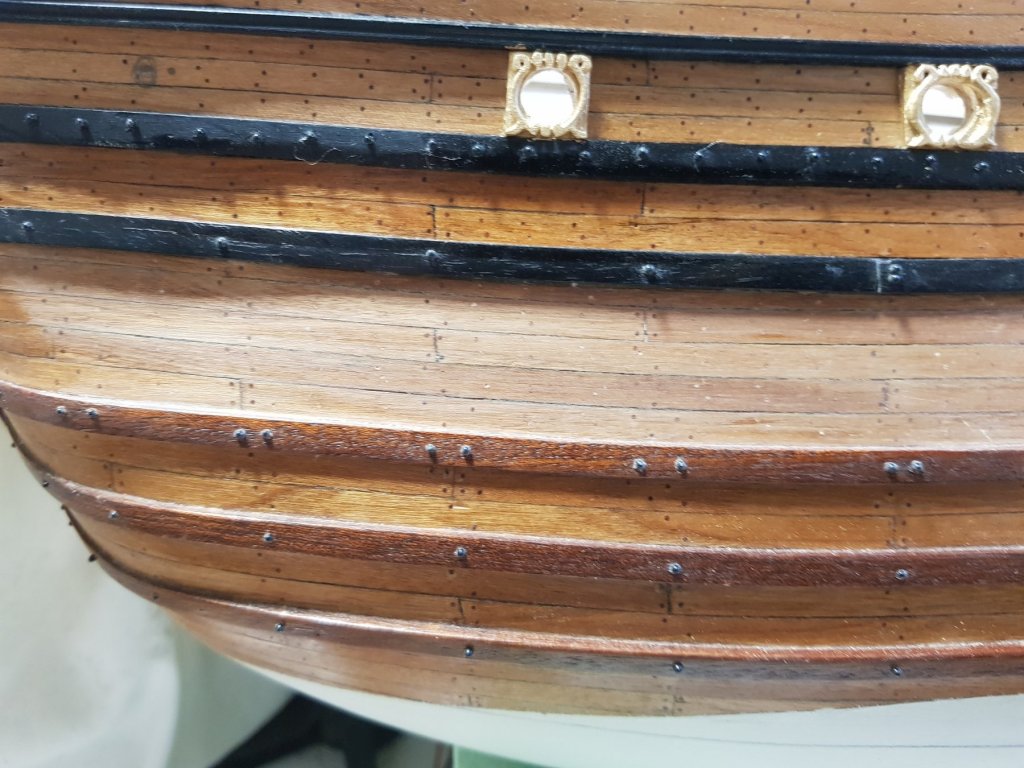
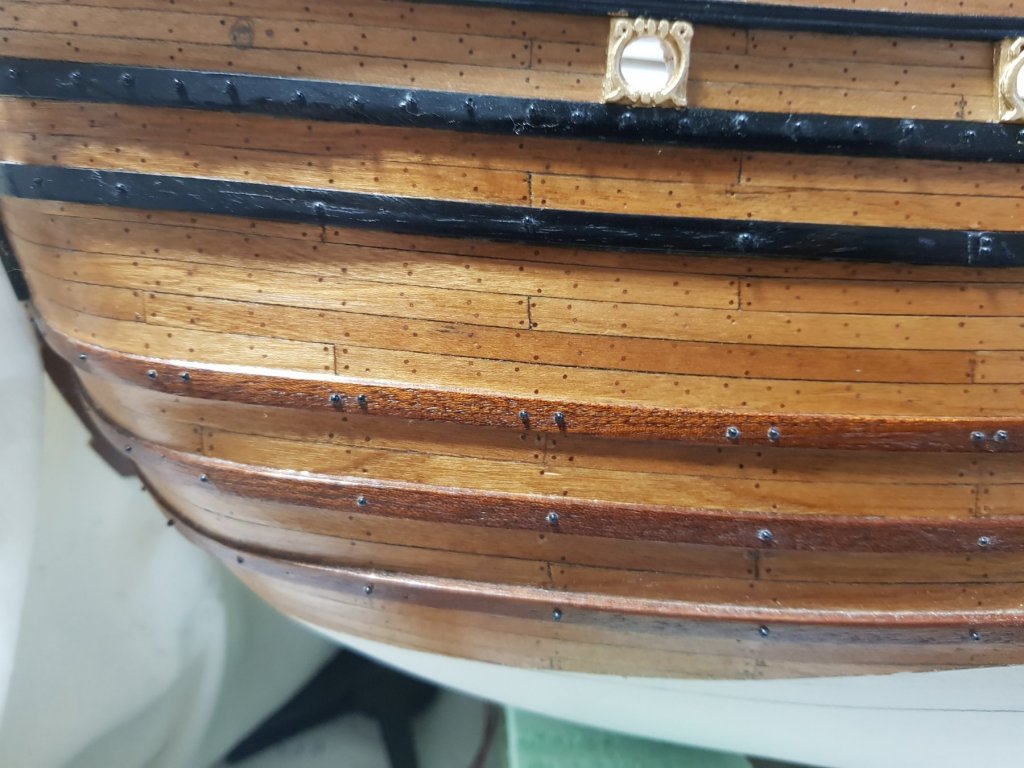
Here's the full process. Hope you'll find is instructive. The final step involves line seed oil. It cleans the fine dust and brings the detail out. Enjoy the evening


-
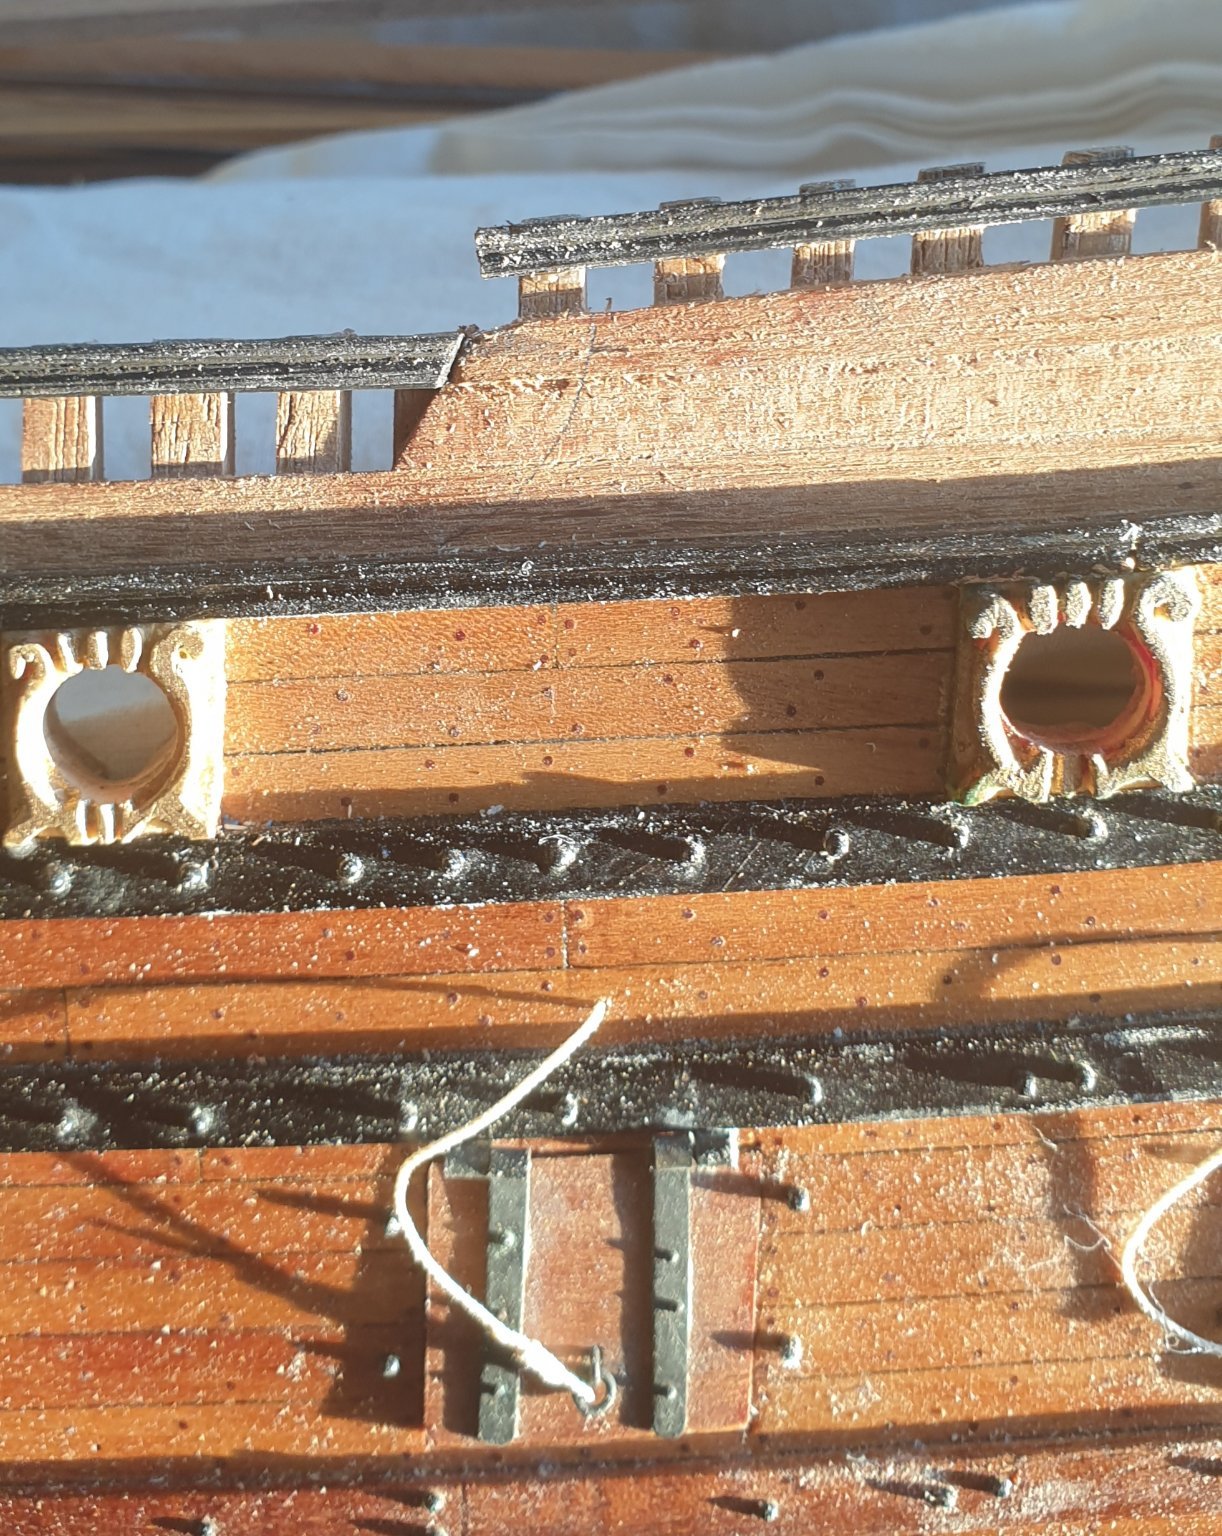
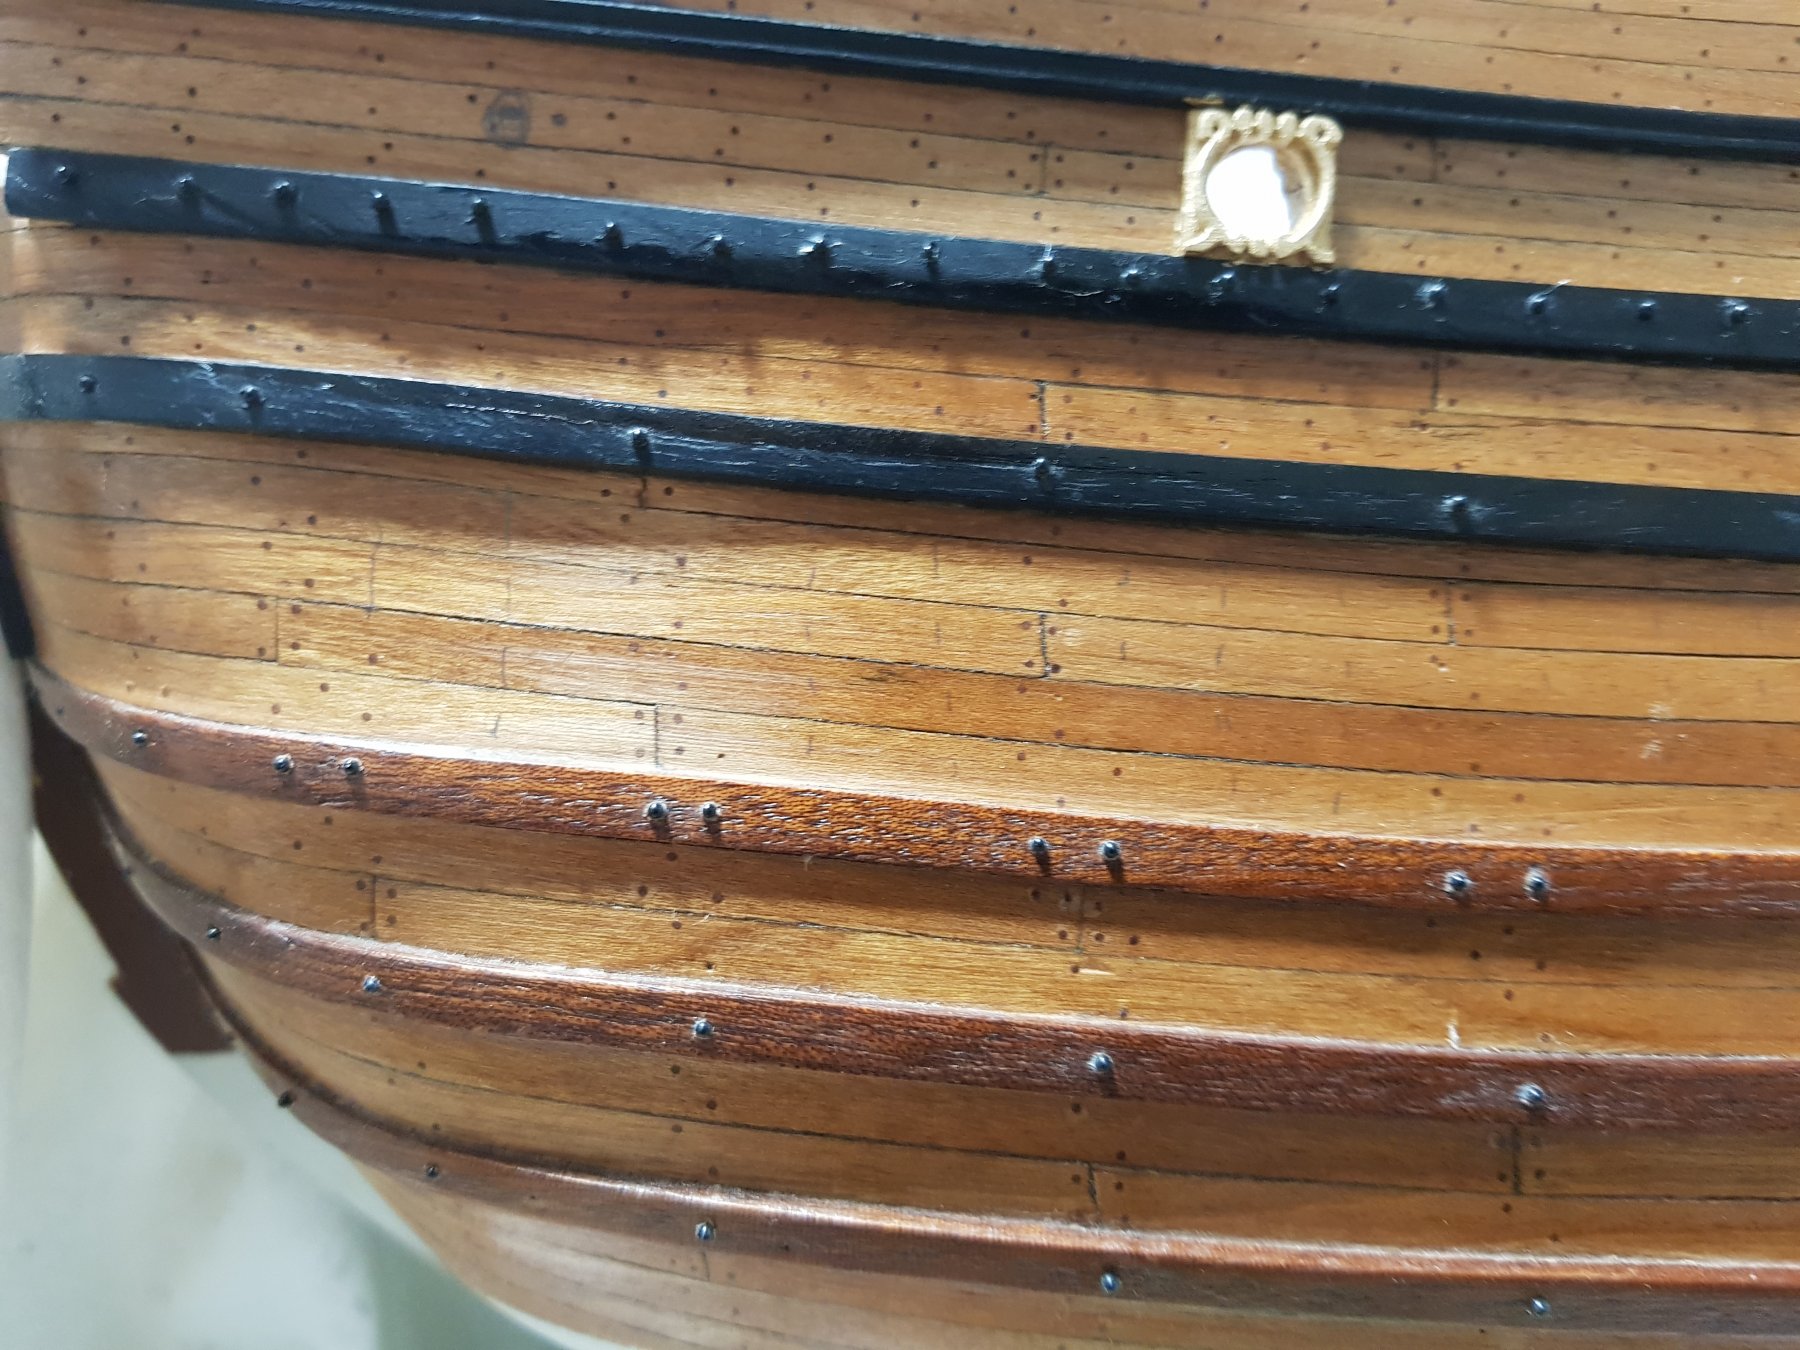
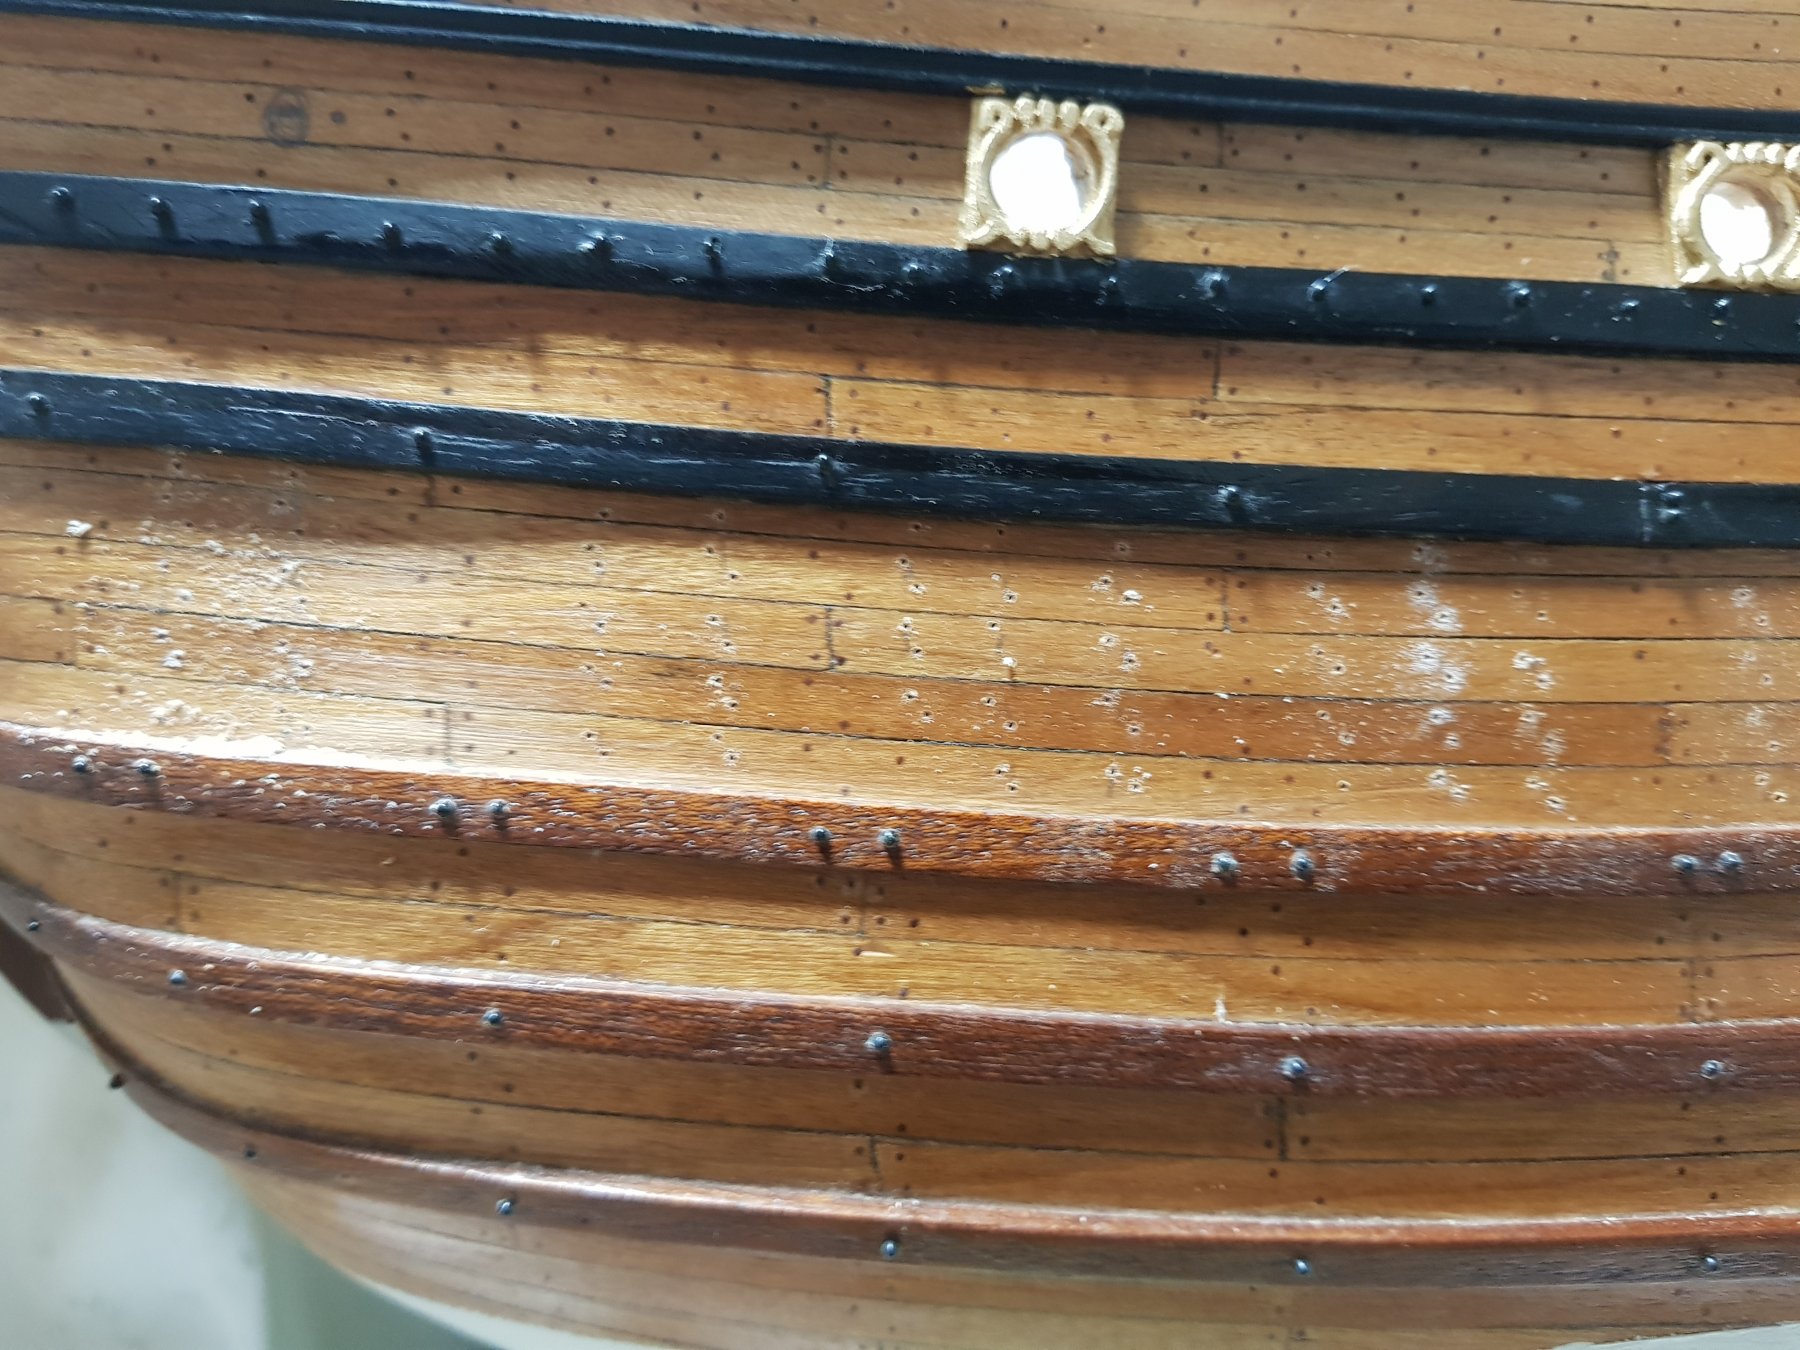
As you can see the density of nails is about three timed higher in the upper parts as below. I decided the density in the upper part is what it should actually be so at the moment I am about to add hundreds more.... any opinions?
-
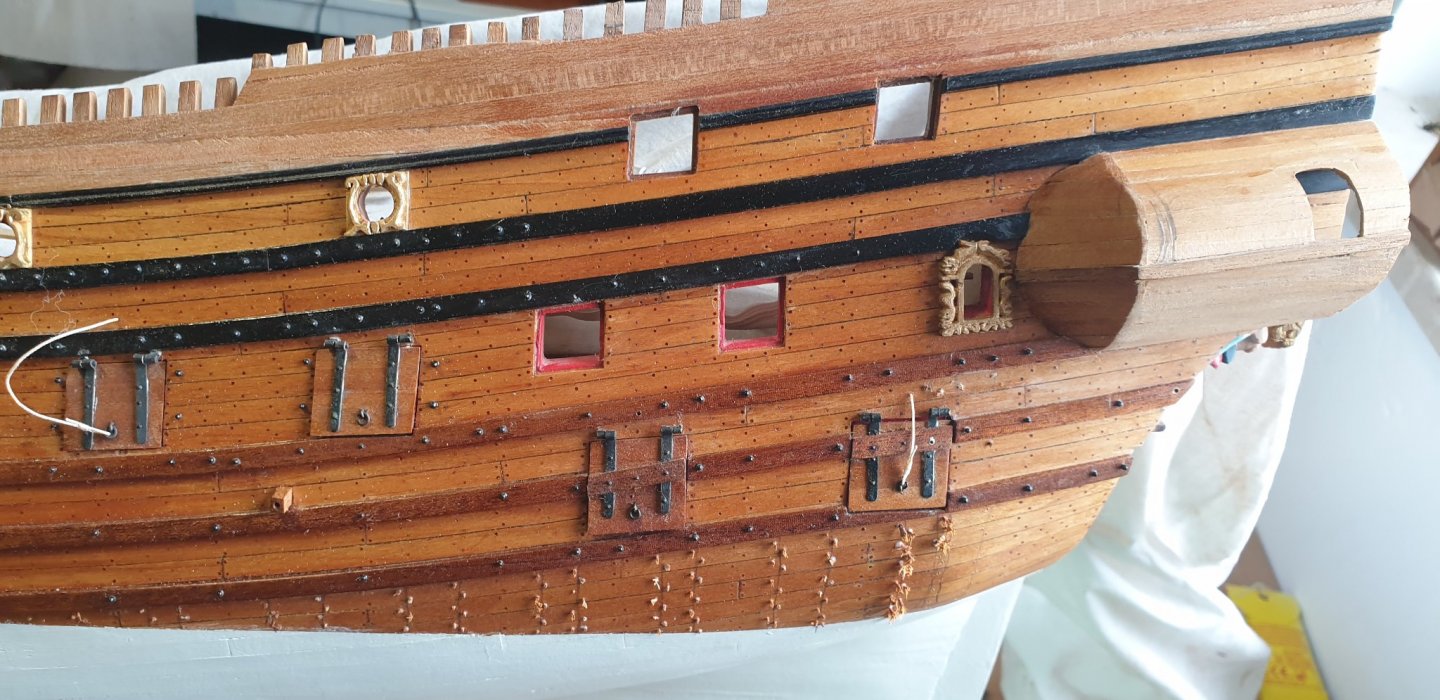
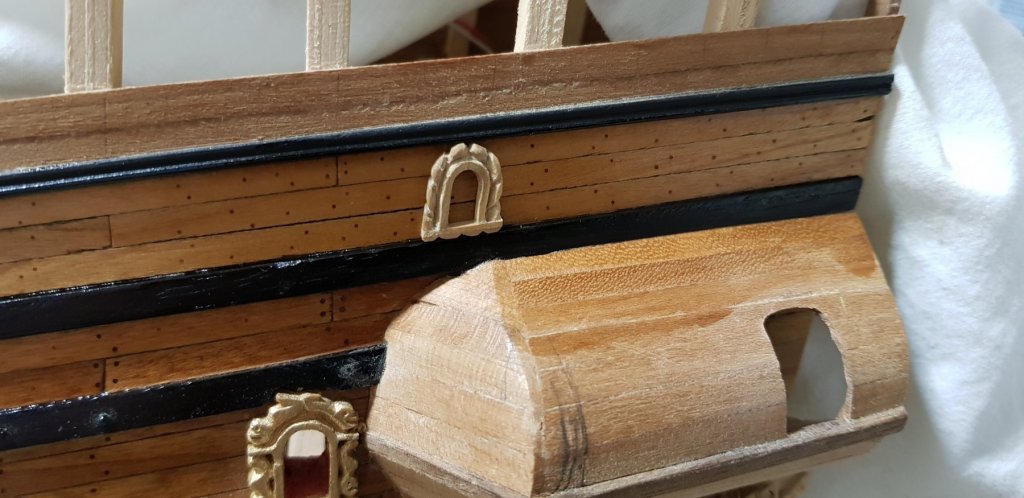
Some more finishing on the planking. Probably easier to do this before the decorations of the galley. Those two parts with no nails are to be ports. But I'll wait with cutting them until the deck behind is in place to have them properly aligned.
-
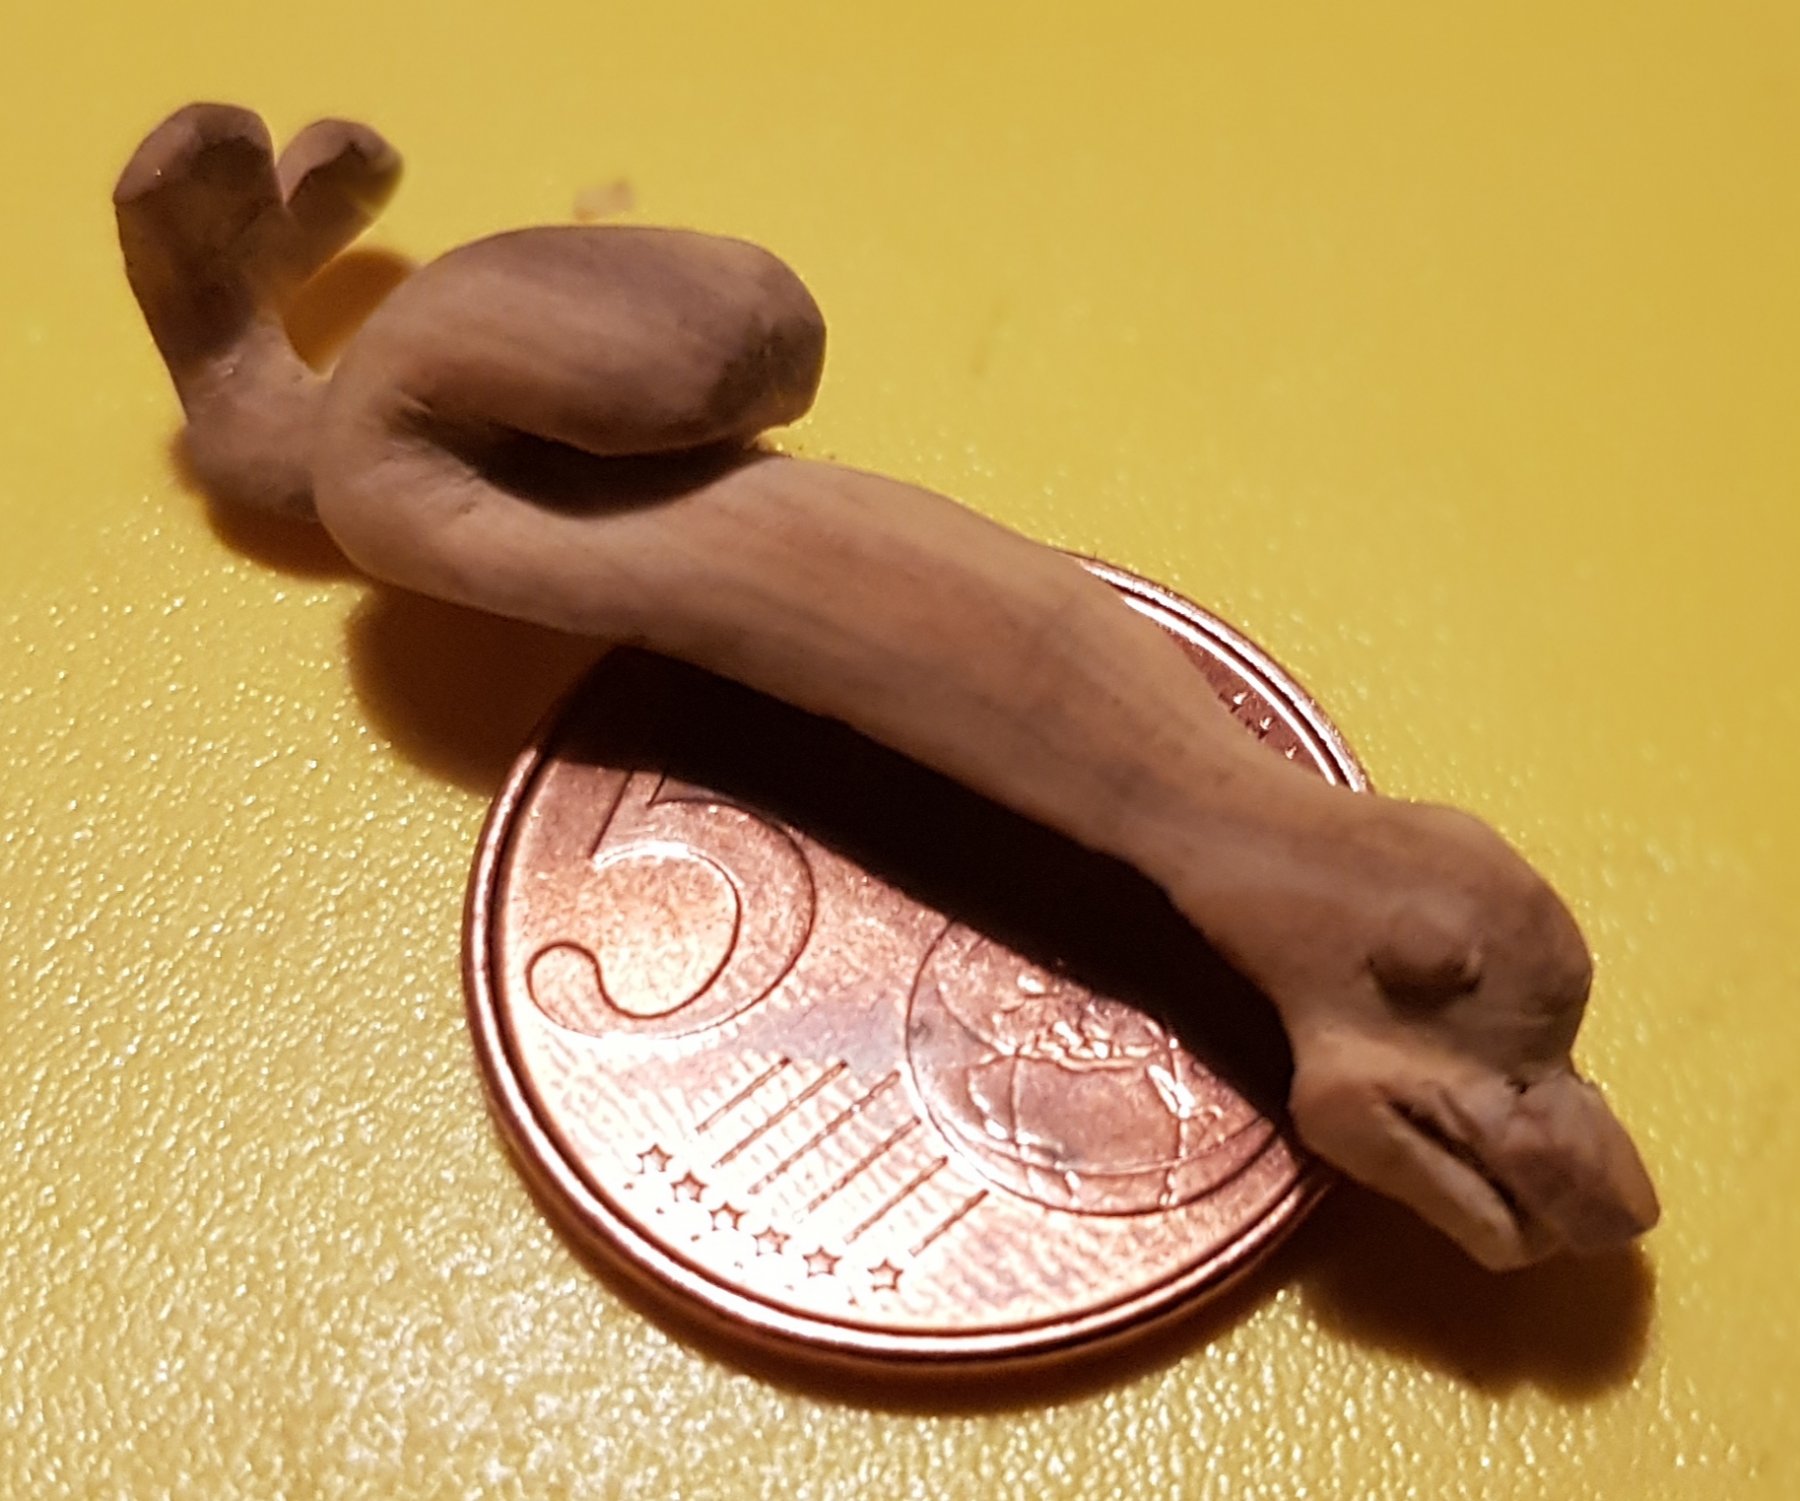
This one is now getting close. It lost one eye unfortunately but that can be fixed.


-
Far from finished carvings but it's a start in working a bit on the ship again. New house, new job, children....
-
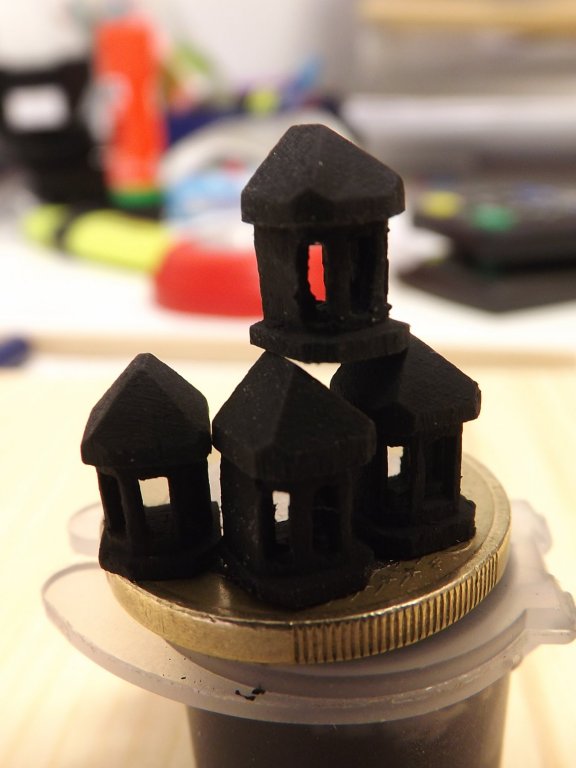
Have a look here for you own 3d printing: https://i.materialise.com/en they print over 20 materials and have a list of not to complicated free programs to make you own designs. You can just upload you file. They print and send it to you. I printed my gun barrels there including the VOC logo and dolphins. I made the design of the barrel myself. A lighting cover should not be too difficult. I guess some may think 3d printing is not ship modeling but, when you are building a kit and replacing some part by improved prints that are at the moment still just beyond your skill level I don't see a problem. For me I could turn one of those barrels but by number 4 I get bored with the repetitive job. All the other carving I do by hand though.. Hope it helps, Michiel
-
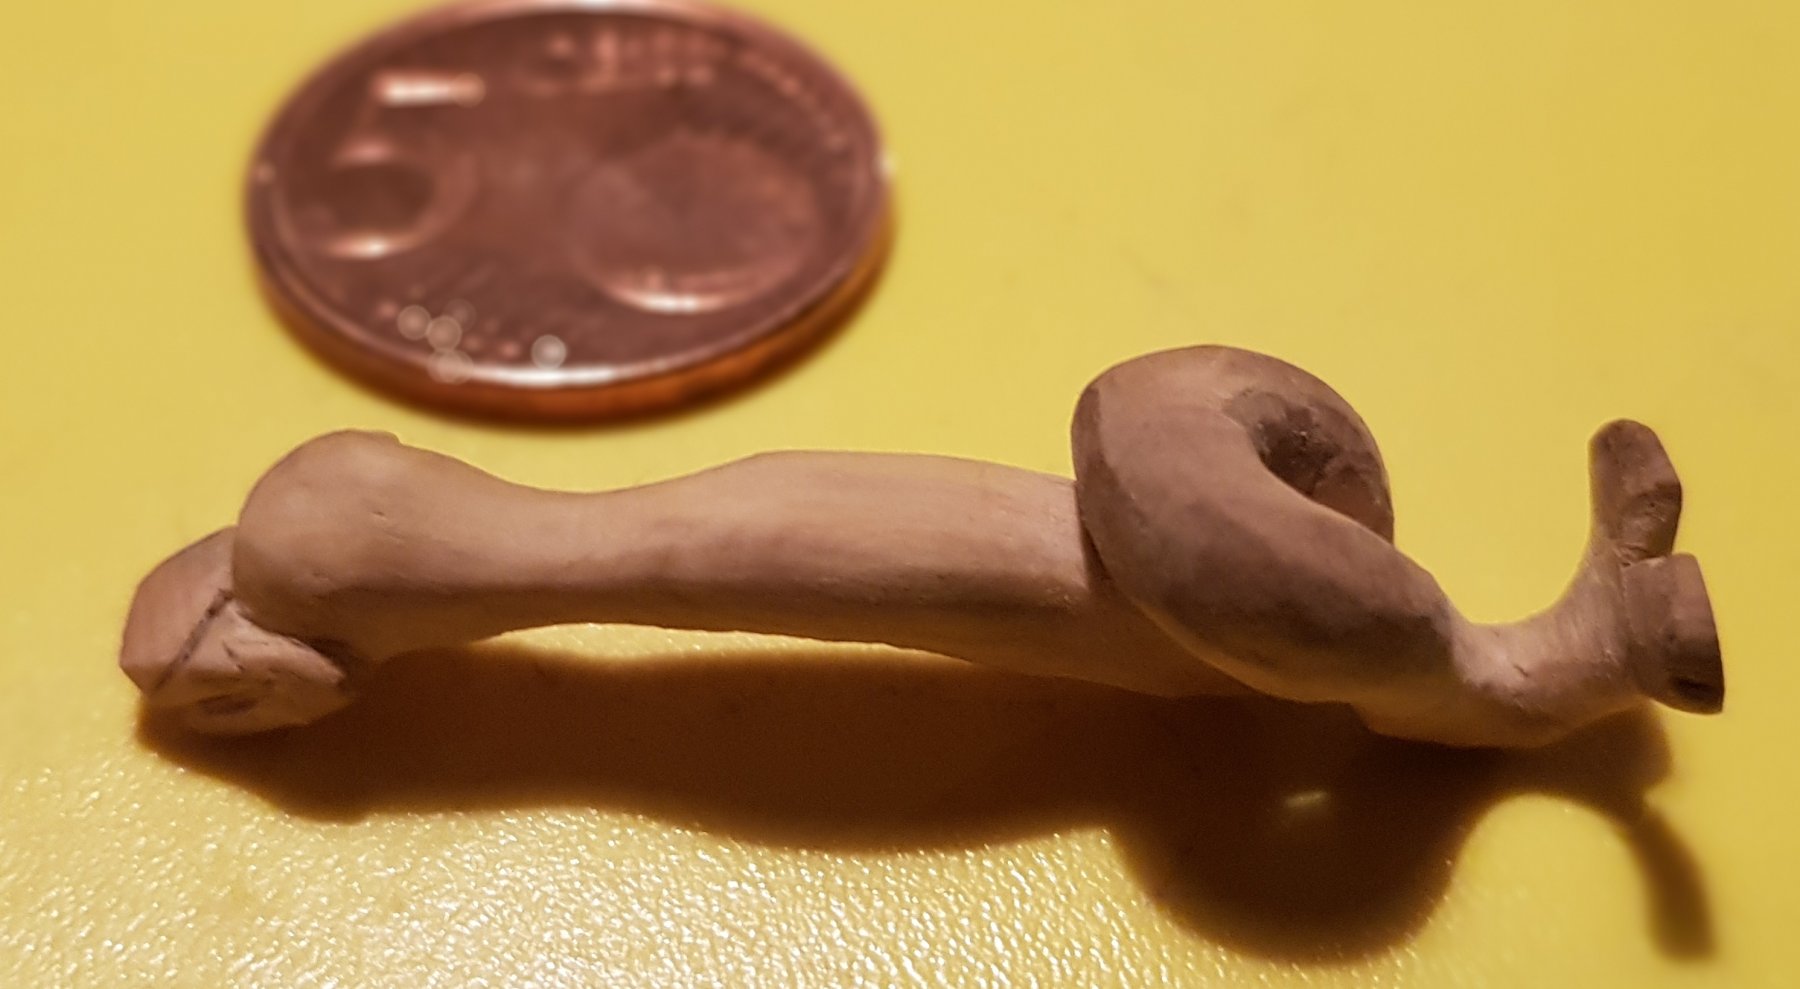
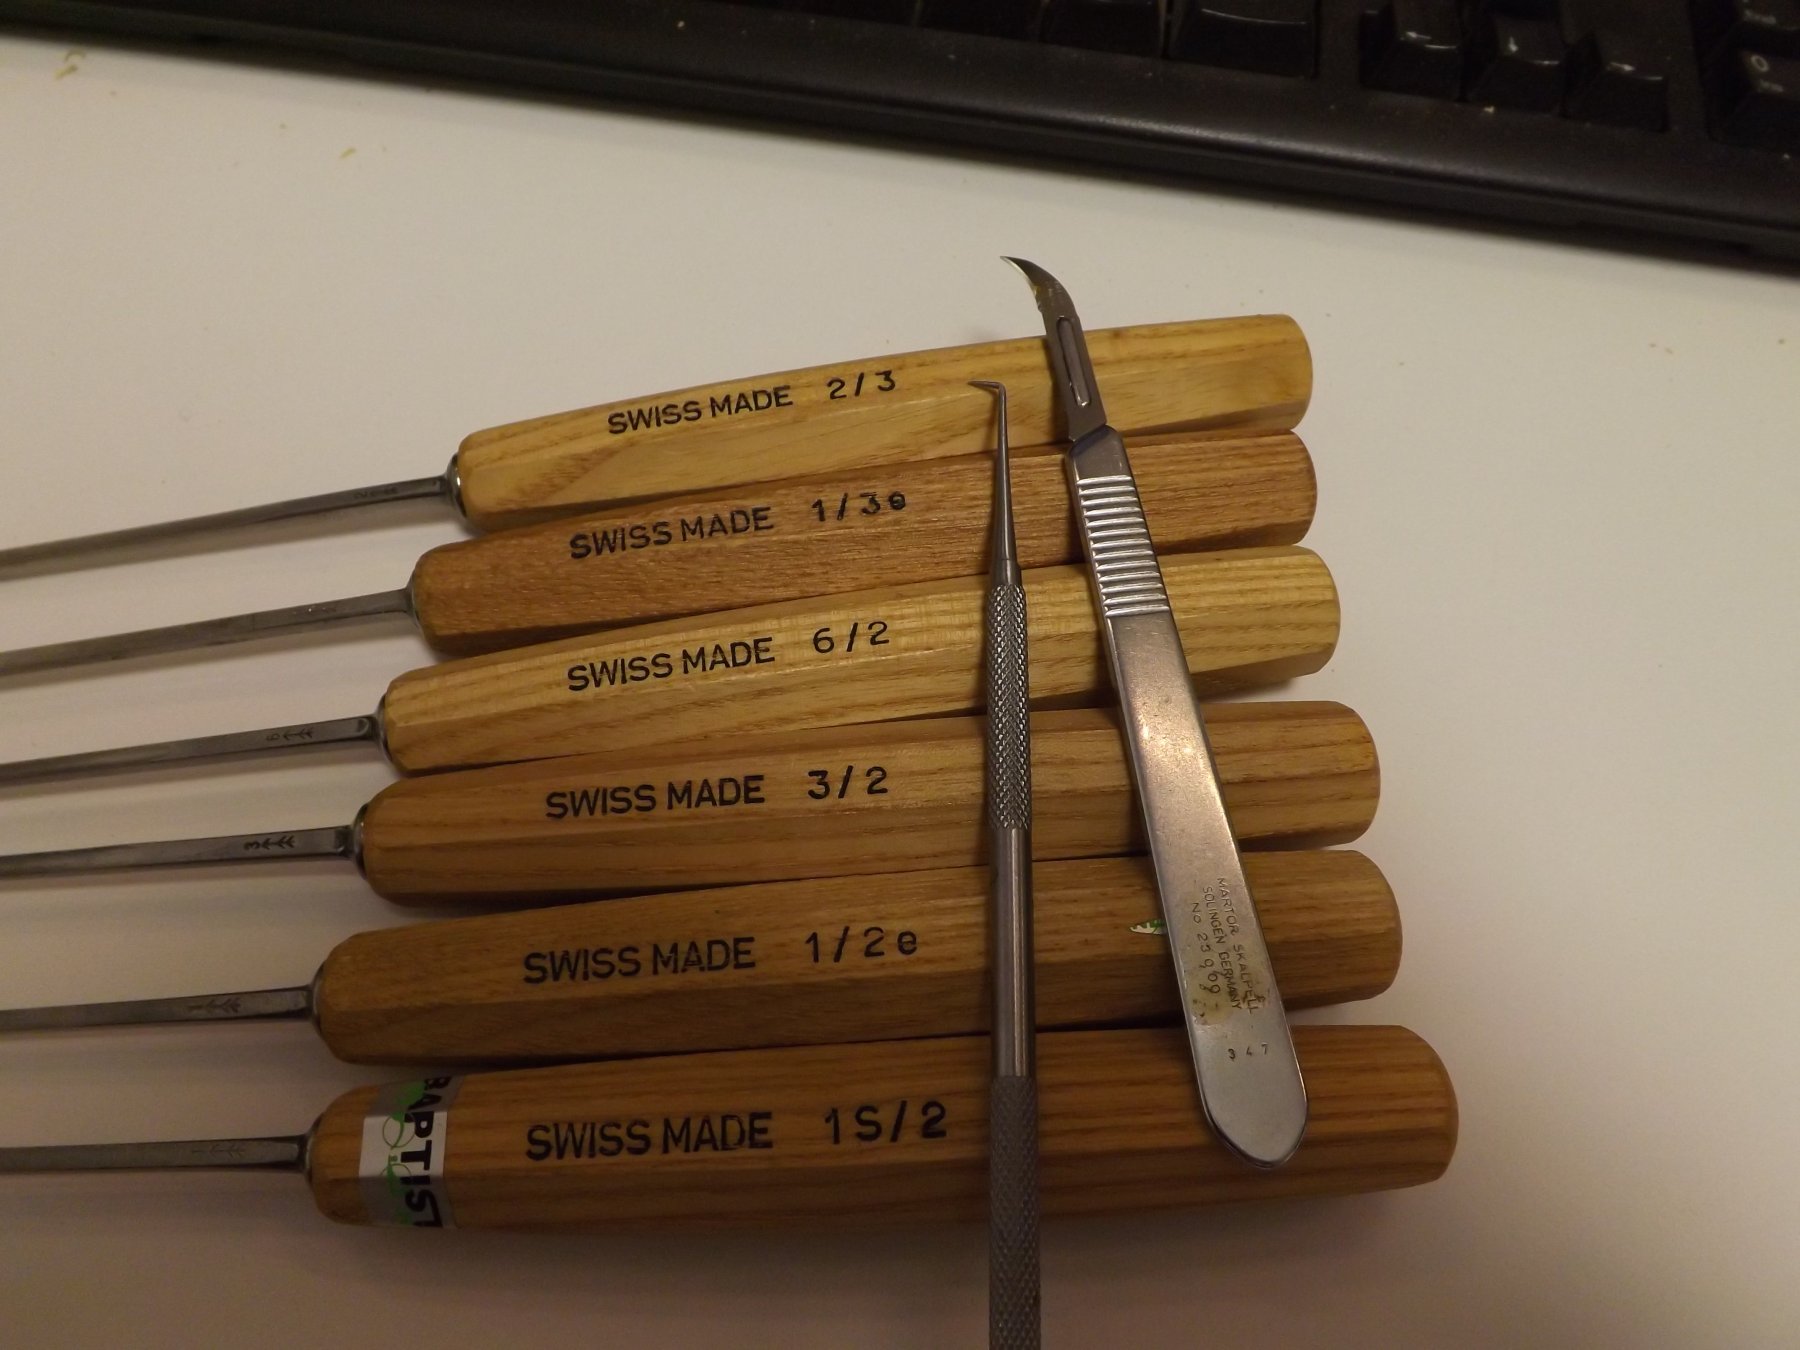
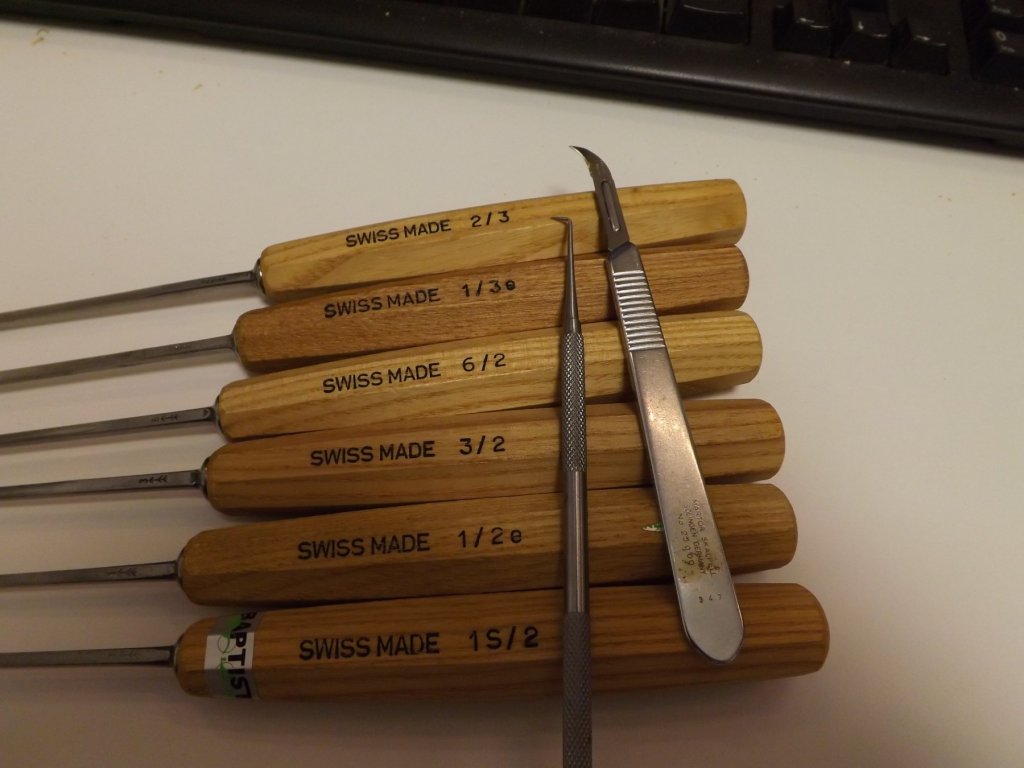
just try, it is not so difficult. The carving of faces on 4x5 mm is much more challenging nailfiles are also vey usefull tools
-
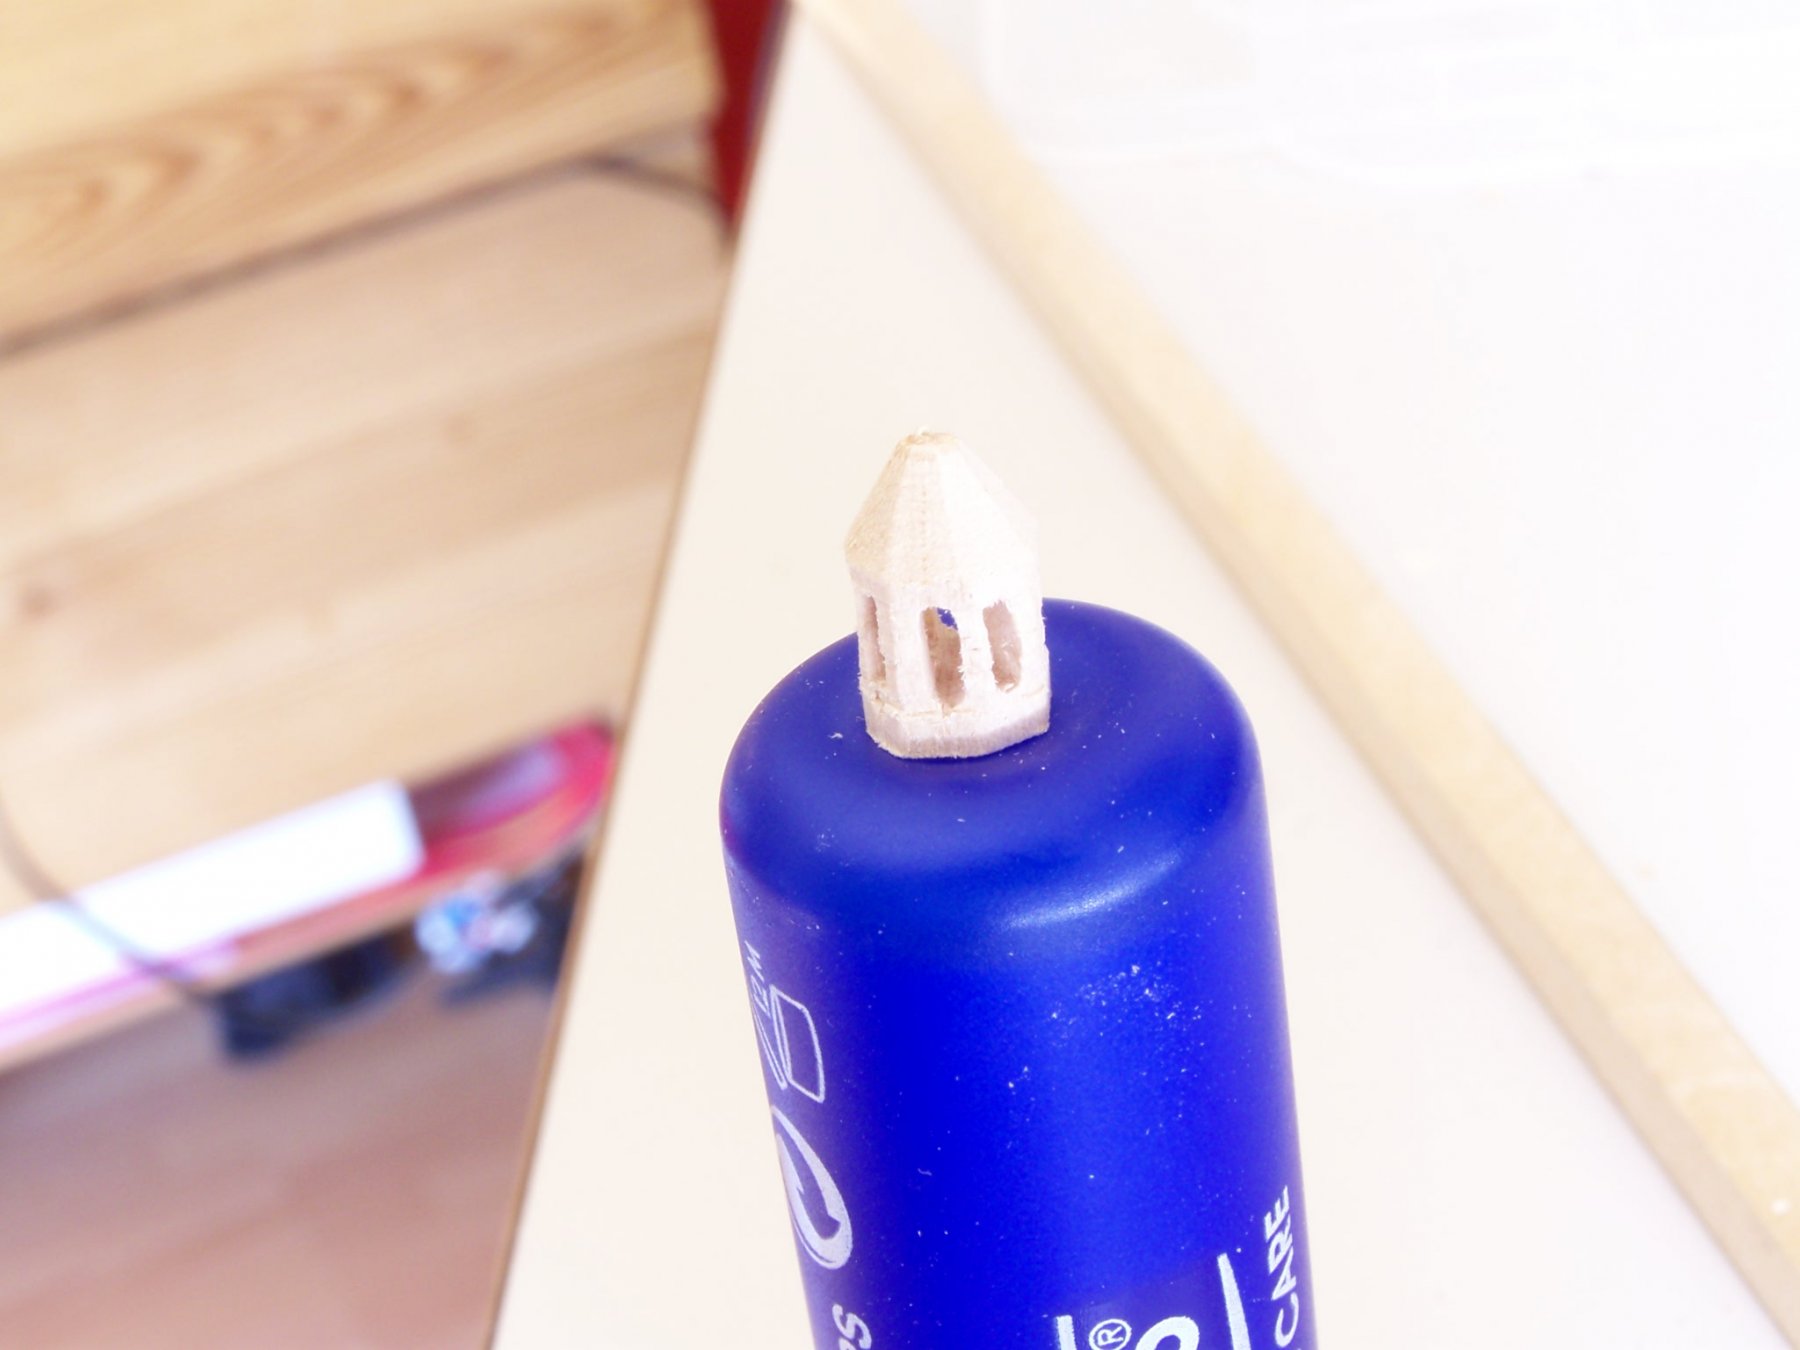
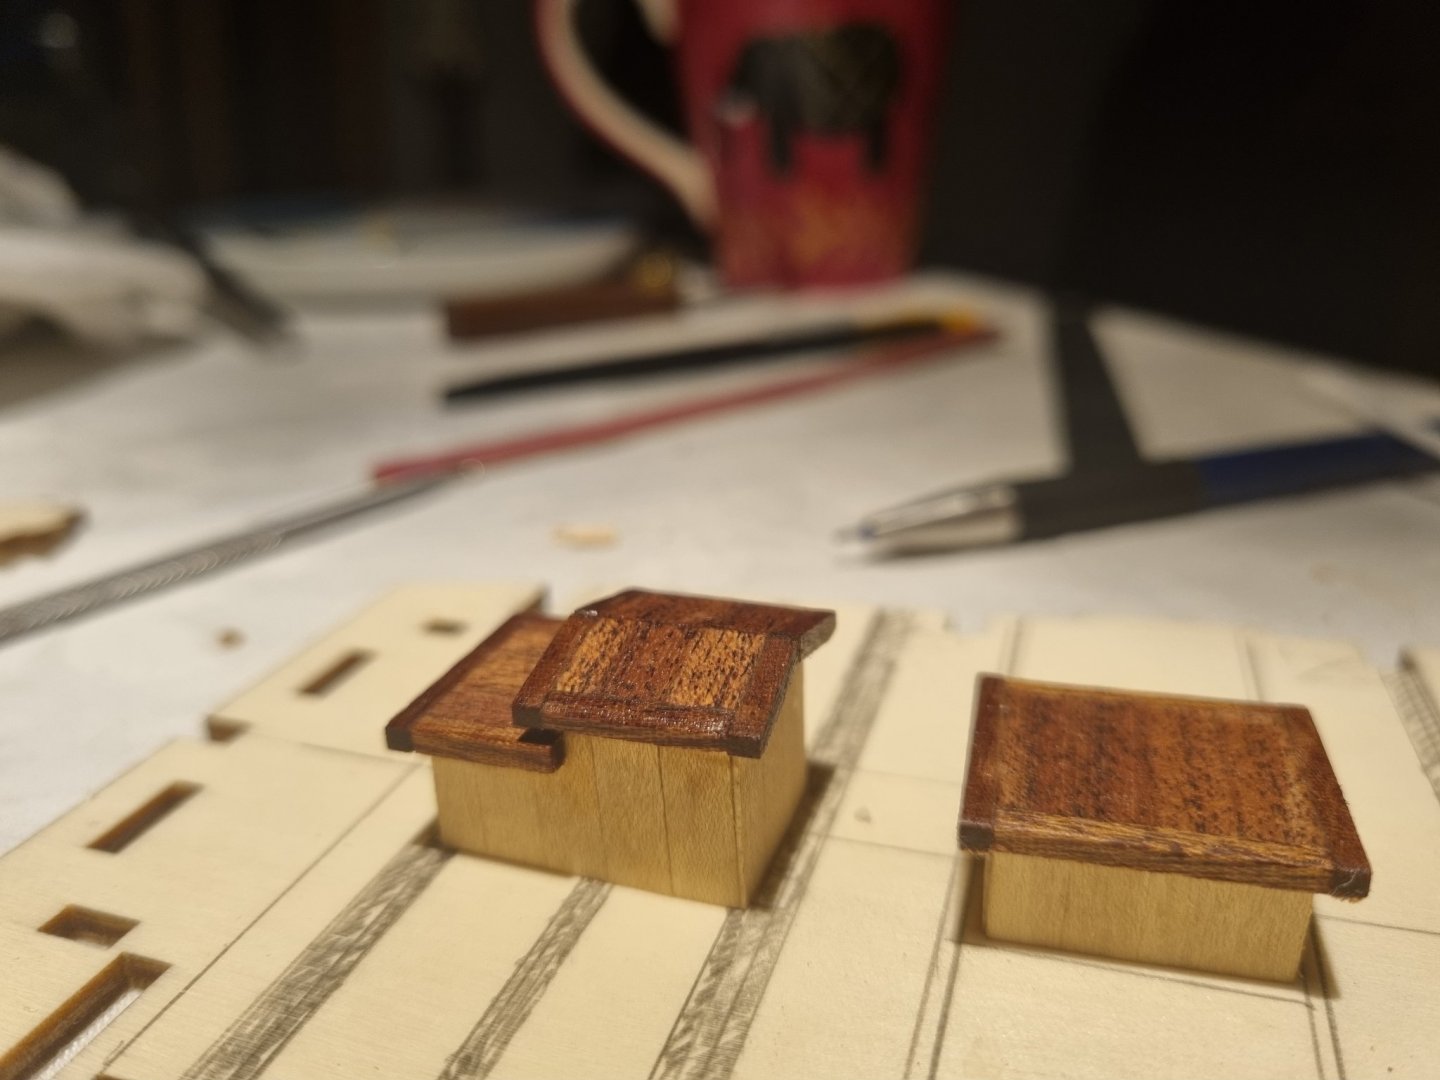
I fear I don't have any how to pictures ... but I guess you get the picture. Start with a piece of stock that is the size you need file the top shape and narrowing in the middel between the top and bottom plate. then very small drills very small files etc...
-
the first page has the link to led.de where I got mine. I can't find the super small ones there any more. If you want to go < 3mm best use ones that come with wires attached for instance https://nl.aliexpress.com/item/C0603R-20pcs-Pre-soldered-micro-0-1mm-Copper-Wired-RED-SMD-Led-0603-NEW/32386778032.html http://www.digitrains.co.uk/ecommerce/electronics/leds/nanolight-micro-led-bicolour-red---white---6-pack.aspx http://www.expressmodels.co.uk/acatalog/WHITE_LEDs.html etc... edit: sorry I only read half. you will not find the covers online... ;-) let me look up the link
-
Hi Ken, lovely build. Just one thing I don't really get, maybe it's perspective but it looks as if your deck, in particular the line the hatch covers follow, is convex. Which would make a lot of sense on many ships but not if you want to stack containers on top of them. cheers, Michiel
-
Nice... Did you consider putting lights in? It seems you don't plan tom but it may still be early enough ;-) cheers,
-
Building of the gallery, trailer
-
I centainly agree It would have been a better solution for various parts. However the hanging lantern and the candle I could not have made with fiber optics. The optics cables only have a limited bending angle. Michiel
-
thanks, nice profile picture :-) I'm not printing them myself. I order them at materialize, a company here in Leuven, Belgium that prints over twenty materials. You just upload you model, they print and send it. Actually I pick it up my self. I cloud share the models it you like. Cheers, Michiel
-
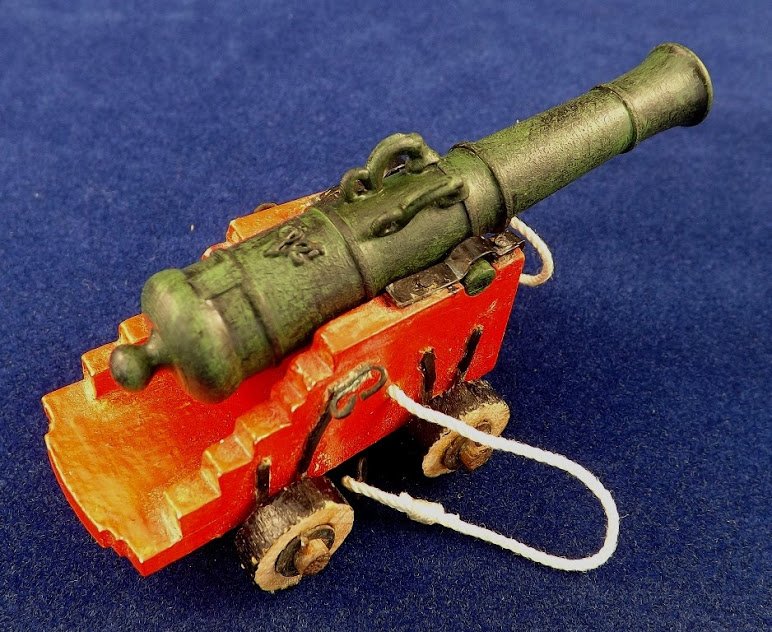
Hi Guys, Here's a little overview on my progress on the guns, paining the 3D prints: Blank as they come from the printer: after the primer: base layer of black: Washing with green to obtain a weathered bronze look: ] I'm using the golden fluid acrylic. Thanks for watching, Michiel
-
Hi there, not much progressm but I spend quite some time improving on the figure head. It comes up in detail at the end of the track: https://youtu.be/od9PfpaEOE4 I still need to learn a bit about closeup shooting with the gopro. Probably get me a macro lens. That should help i guess. to be continued..