fish
-
Posts
184 -
Joined
-
Last visited
Content Type
Profiles
Forums
Gallery
Events
Everything posted by fish
-
Michael, Did you use the spilling technique on that hull? Aaron
-
You might want to take all of those short planks off and fabricate new ones that are tapered in the bow section. Are you soaking and forming them before installing them?
-
Robbyn, I saw your post about the planking, but I figured I would respond here. Did you look at Vulcanbomber's planking pattern? Thats what I am aiming for and I think that is what you pretty much did for your first layer. I guess if you want to make it look like a real ship then you will have to do a lot more work. I have decided that I will plank mine the easy way and just take in the whole experience of it and then on my second ship, I will learn the serious planking skills that make the model look like the actual ship. I think it will look good either way its just a matter of personal preference and the amount of detail you want to put in. -Aaron
-
Hey I am building the same ship and I will keep an eye out for your log. -Aaron
-
Robbyn, Mine is the same way, the pictures look rough but the hull is really smooth.
-
Did you end up planking all the way up the bulwarks? It looks like it in the picture?
-
Two great tools for planking first layer: sandpaper and wood filler
-
Dominik, Thank you for the compliment I am sure I have room for improvement with my planking skills but this will be fine for my first build. I did use wood filler, I just bought some from a local hardware store. The rattlesnake is a couple of years away. I will work on the AVS first and I plan on purchasing Lauck Street Shipyards practicums for both kits. I would also like to buy the HobbyMillUSA replacement wood kit for the rattlesnake but I don't know if it is still available. I am trying to stock up on kits now because my first born is on the way and I doubt I will have any money when he/she arrives -Aaron
-
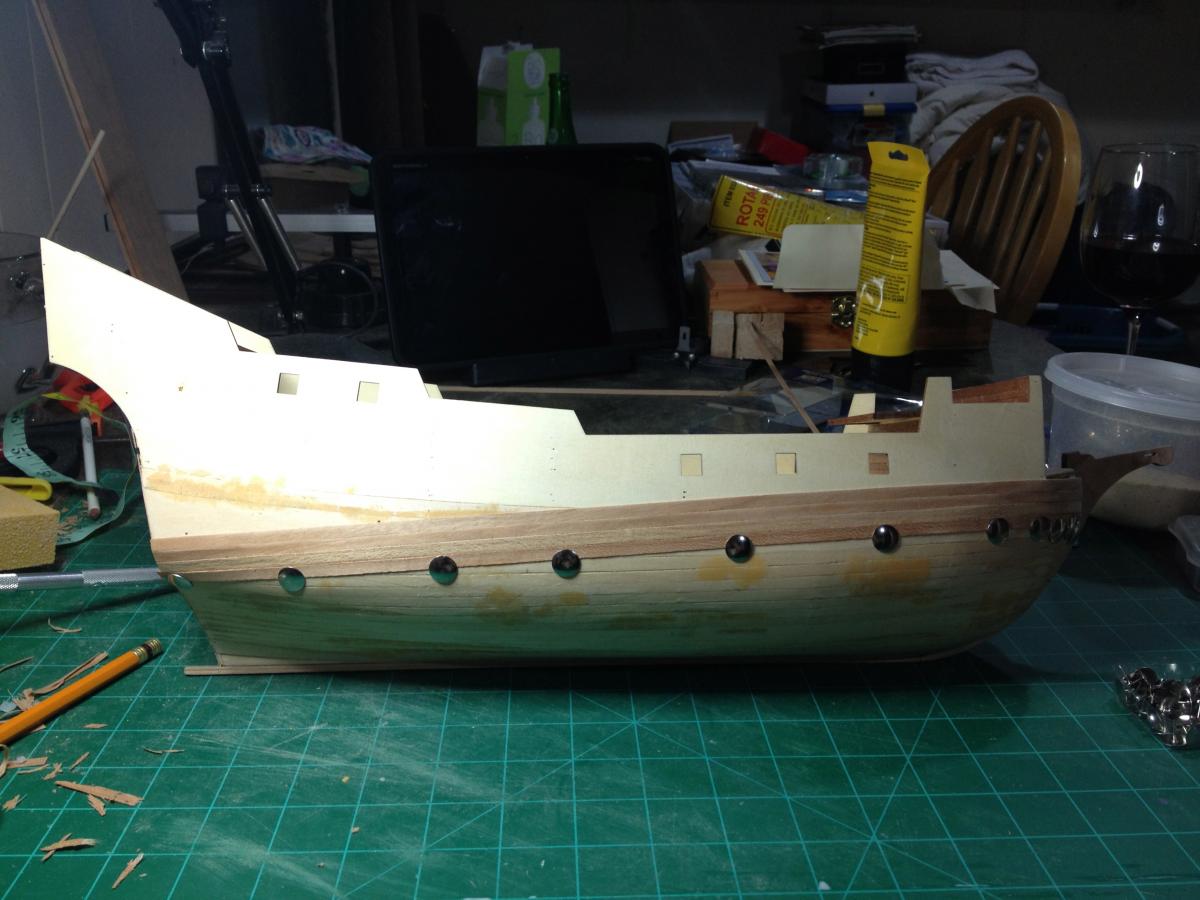
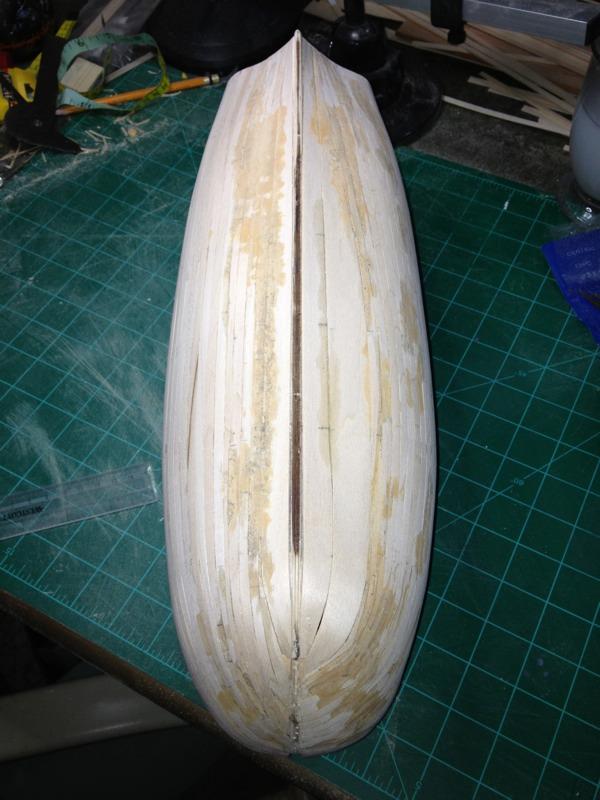
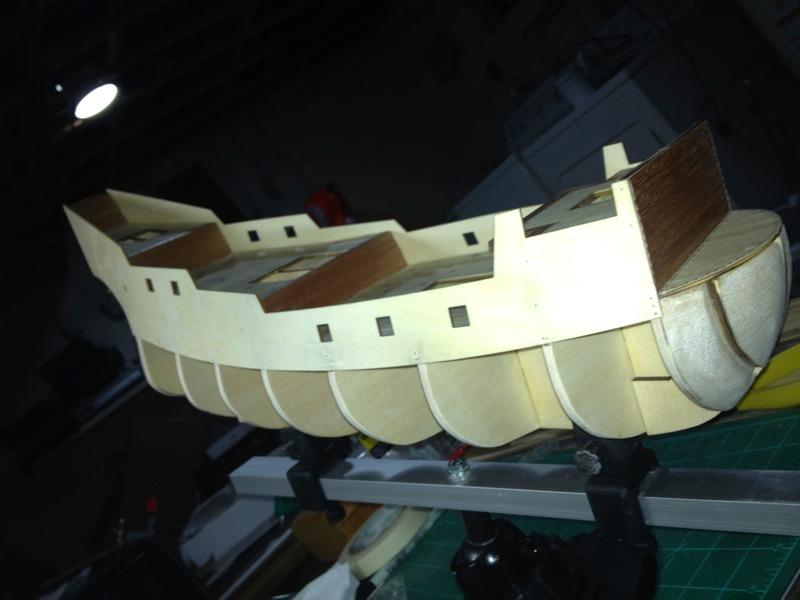
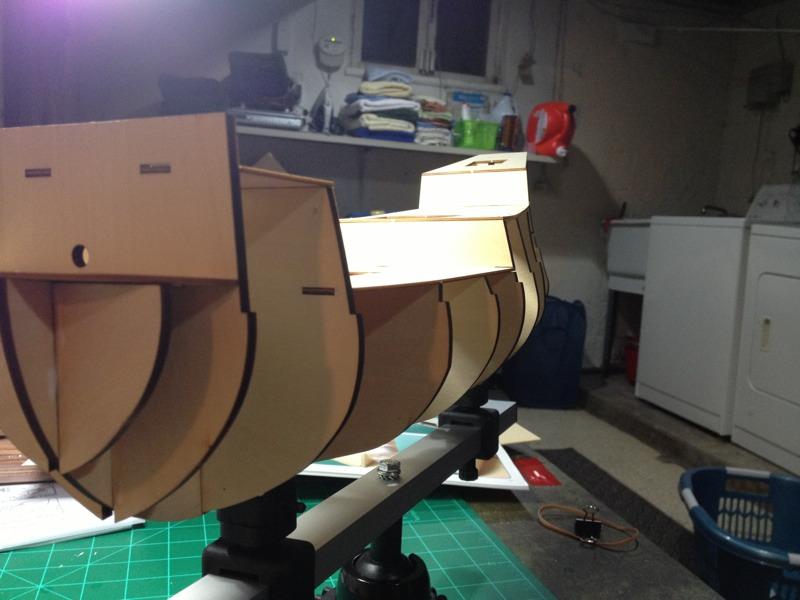
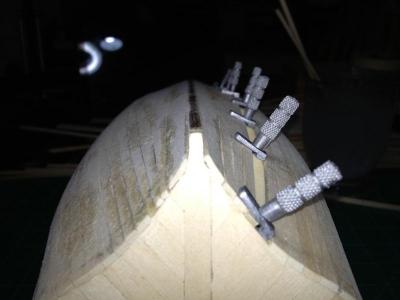
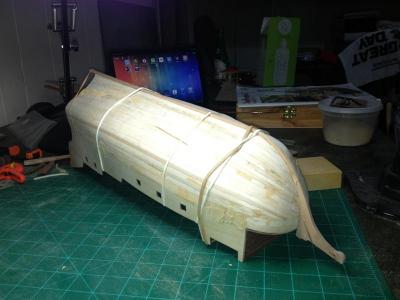
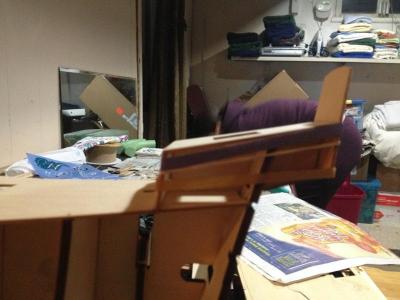
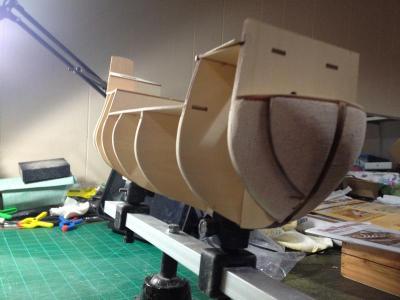
Attached is a photo of the beginning of the second layer of planking, as you can see the planking wanted to terminate low on the stern and the planking right below the bulwarks is not level. Once I finish planking the hull, I will have to add a full stealer maybe to bring the pattern back up and level? -Aaron

-
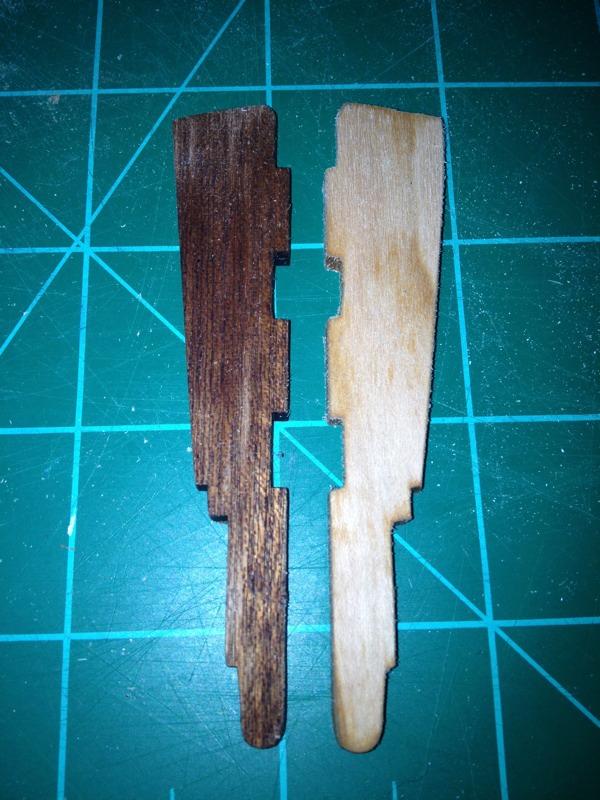
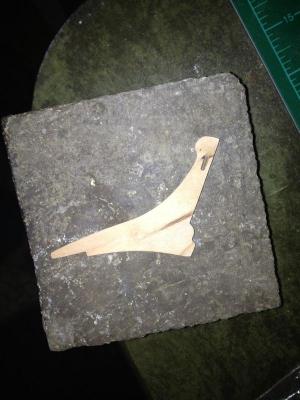
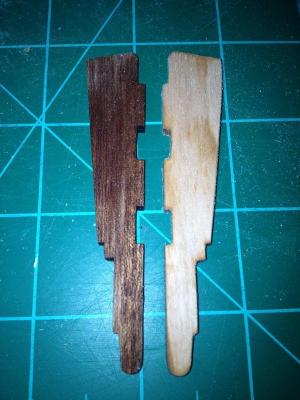
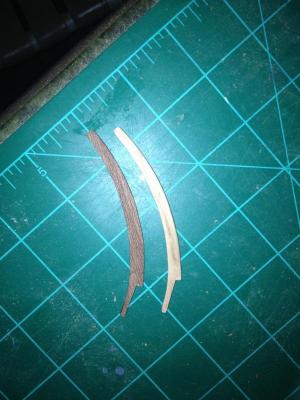
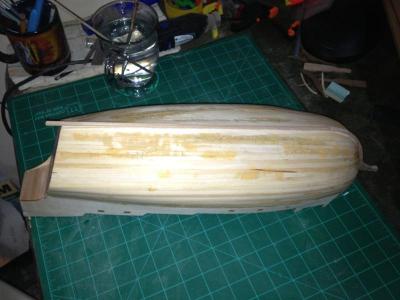
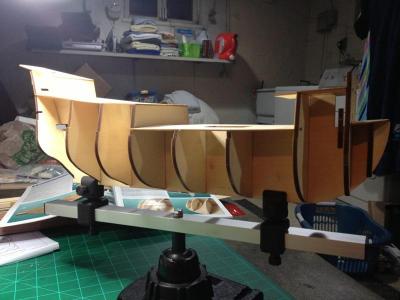
Since I ditched the kit supplied mahogany for two layers of planking (one being basswood and the other cherry veneers), I had to remake the keel parts in cherry, attached are the photos of those parts.
-
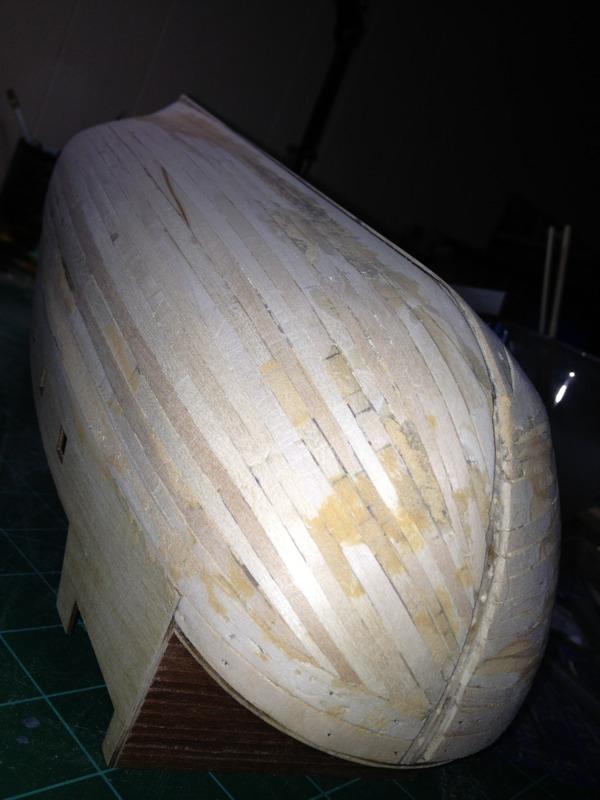
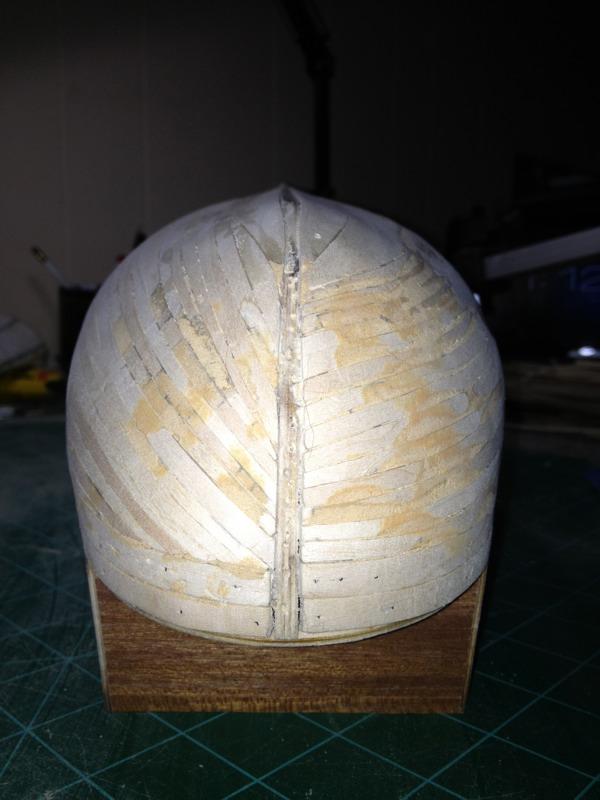
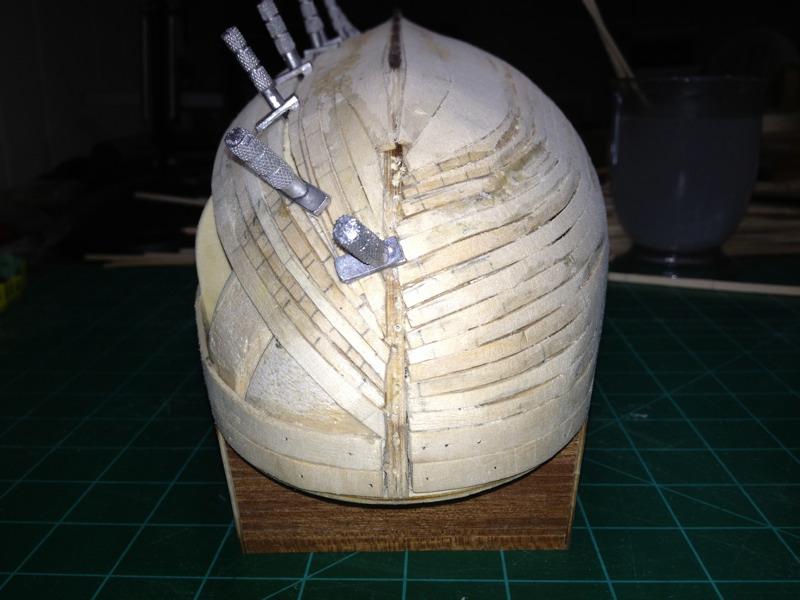
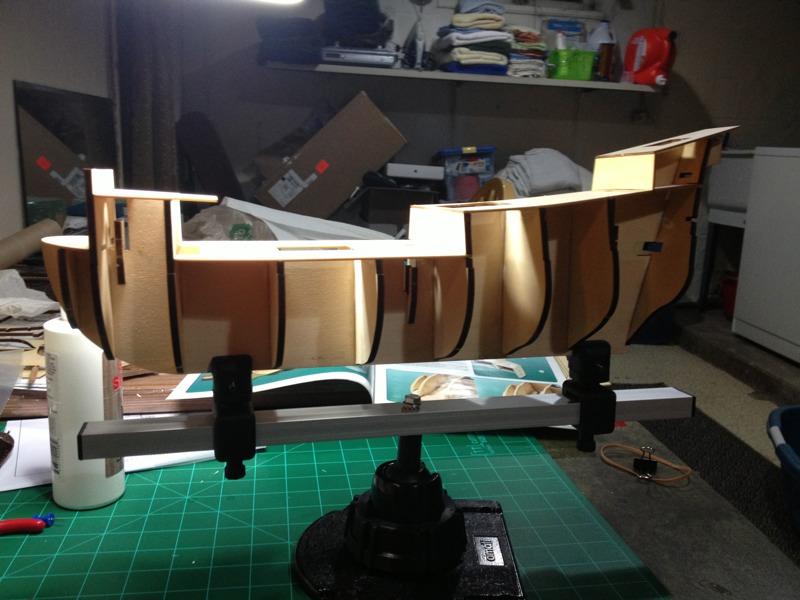
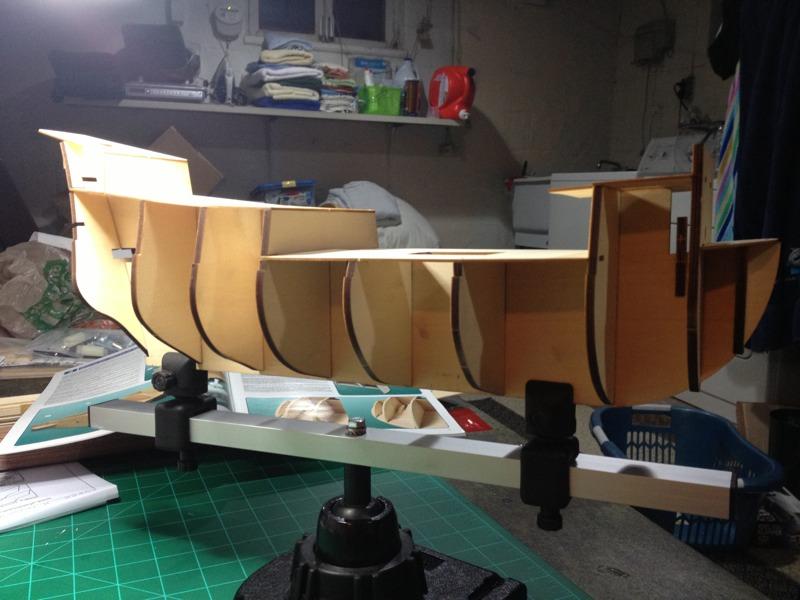
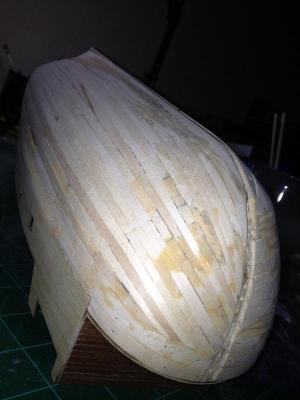
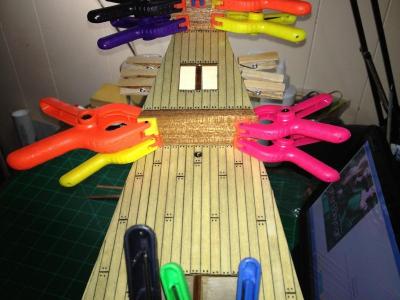
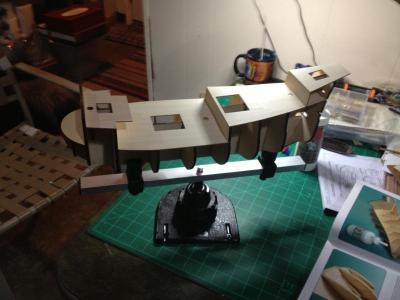
Here are the pictures from the first layer of planking, I tried to follow all of the instructions I was able to find, but now that I have done it, I understand better how the instructions go. I really needed to just do it and learn the correct way afterwards. I put a layer of drain coat on my first layer of planking to give it a seal and something for any floating planks to hold onto once I cut the gunports out. Also, this will help keep the glue on the second layer of planking from getting absorbed into the first layer.


-
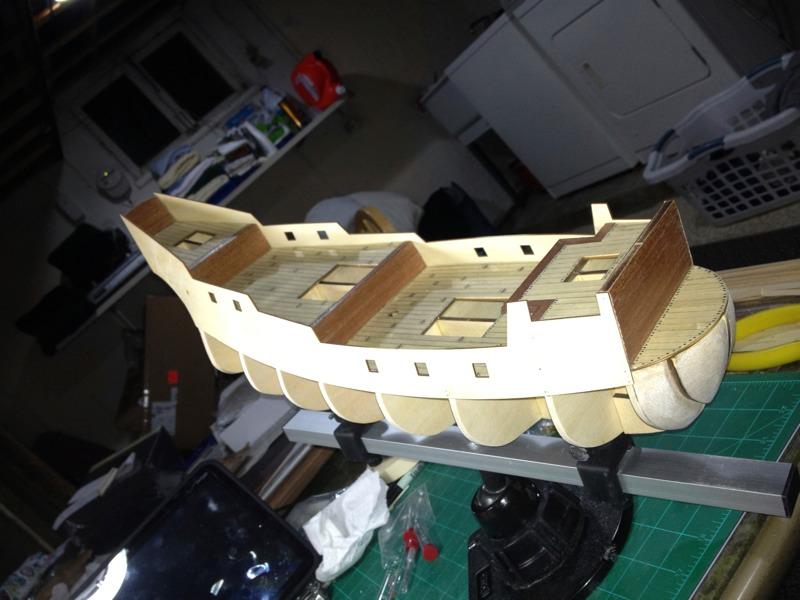
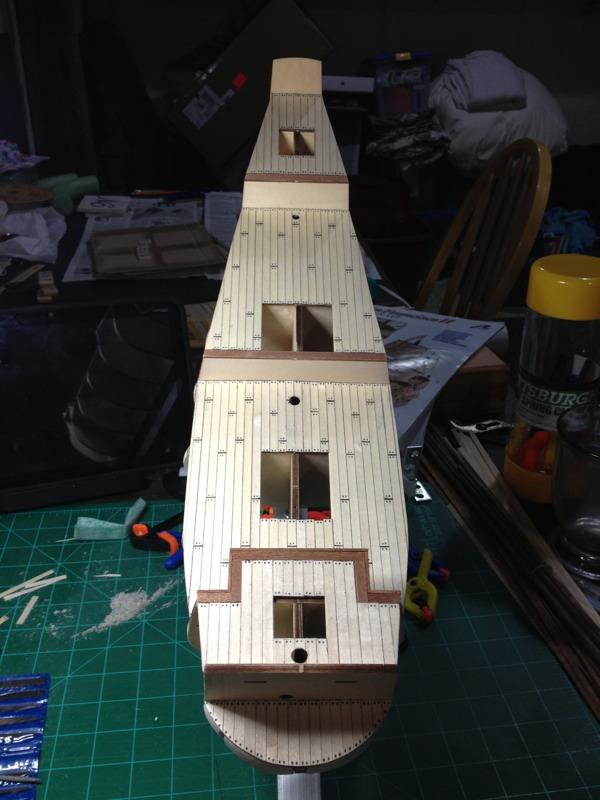
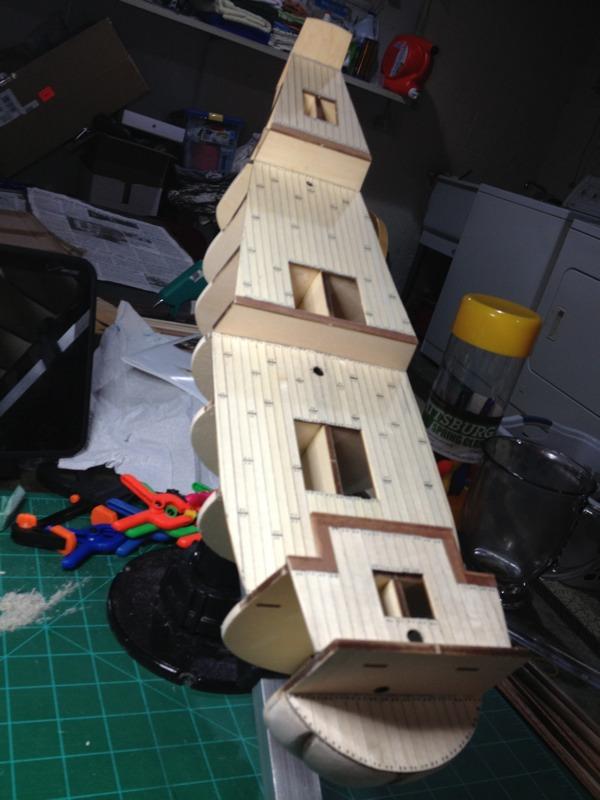
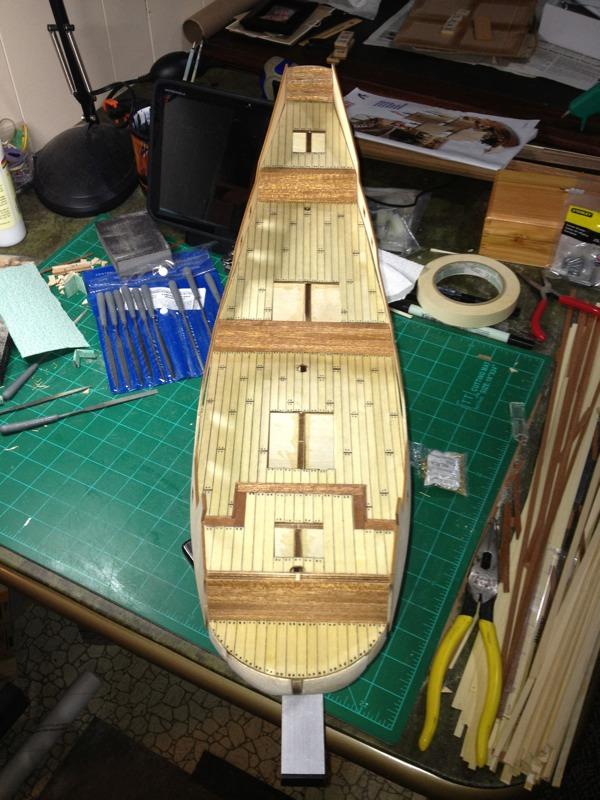
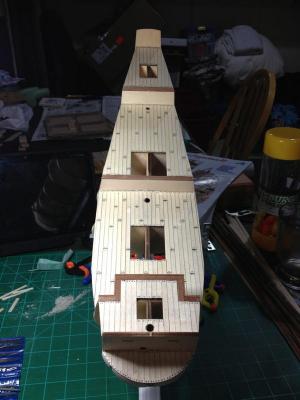
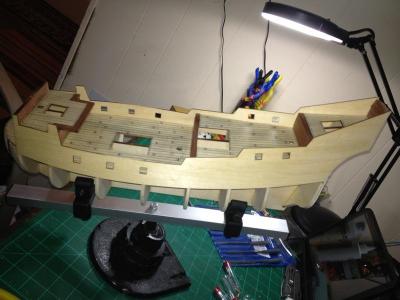
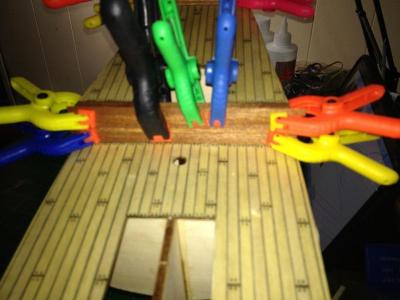
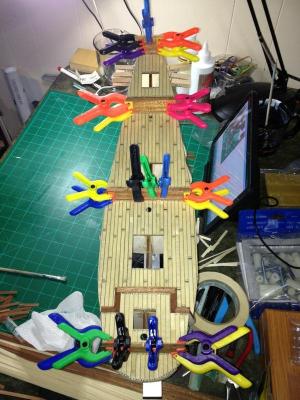
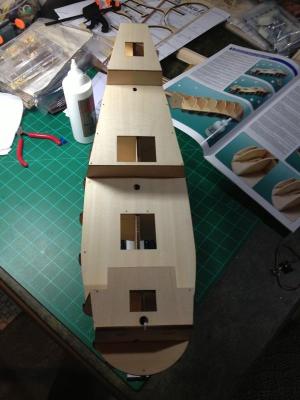
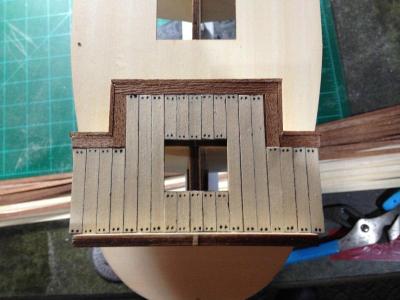
Here are some pictures from the deck planking and attaching the bulwarks. I used an archival pen to mark the deck nails and along one side of each plank.


-
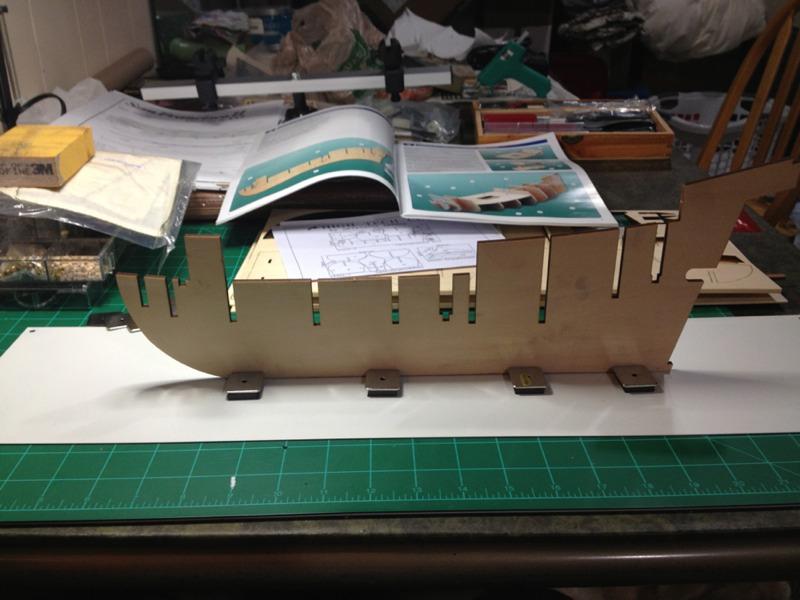
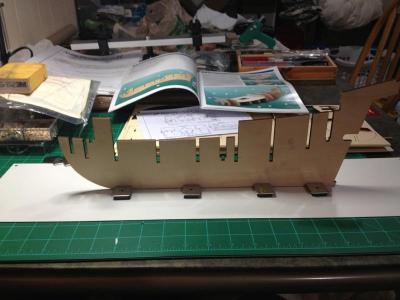
All: This is my build log for the AL San Francisco II, the original was lost in the lomageddon of 2013. I have modified this kit for double planking as I am a beginner and a single planked kit would have been way to hard for me. Enjoy! -Aaron


-
Hamilton, She has modified her kit to make it double planked by sanding down the "edge" on each bulkhead that the bulwark sits on top of. -Aaron
-
Robbyn, Yes I did see your post thank you. I am just going to install a drop plank or two to get the pattern level again, no biggie. How are you coming along? I haven't been doing much except a plank here and there. Although it seems like shipbuilding is all I think about Aaron