Y.T.
-
Posts
100 -
Joined
Content Type
Profiles
Forums
Gallery
Events
Everything posted by Y.T.
-
Do not secure mast in the corresponding hole in the hull till you are totally satisfied with complete mast with all sections assembled. You can pull the mast in and out the hole whenever you please and fill necessary. When you are satisfied - secure the mast in the hole.
-
Somehow I do not understand a) what the fellow modified the standard clips for b) how this can be applied for holding first planking strips
-

HMS Victory: Caldercraft or Artesania Latina
Y.T. replied to darkening's topic in Wood ship model kits
I would select a smaller size one AL at 1:84. Caldercraft is 1:78 It is 5.5 feet long. -
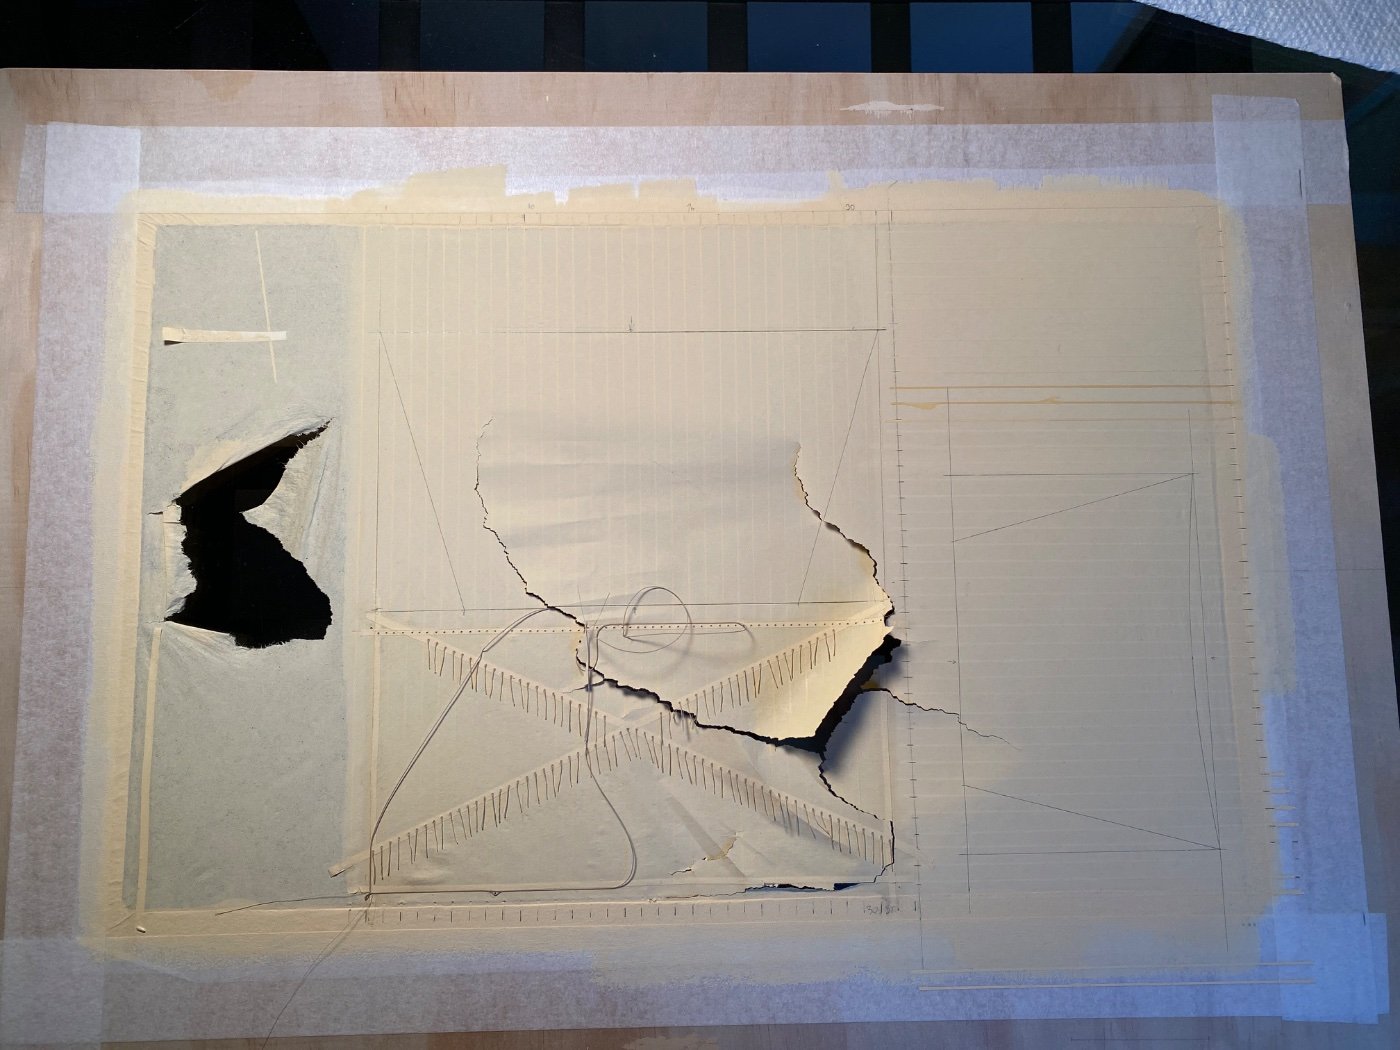
If you ask me, I have no reason to question the product. I purchased Silkspan here: https://sigmfg.com/products/sig-silkspan-tissue As I said earlier. I will no longer consider any paper product for sails unless may be for furled sails. It is easy to tear and cannot be repaired if damaged. The full story of my Silkspan use attempt is here: https://shipsofscale.com/sosforums/threads/hms-victory-by-y-t-mamoli-1-90-scale.2397/post-467322
-
Finding a silkspan is not a problem. I got as much of it as I wanted here: https://sigmfg.com/products/sig-silkspan-tissue I just want to warn you that from my own experience I tried making the sail from it and abandoned the idea later. Silkspan is way too brittle and impossible to repair. I spent a week working on one sail and got it torn off in a second. Since then I abandoned the idea of silkspan. I work with very light batiste. You can look at my endeavors here. First picture of broken silkspan sail. Next is from thin fabric. Scale is 1:90

-
Wood Plank Benders - Rounding
Y.T. replied to MintGum's topic in Modeling tools and Workshop Equipment
I have been through this.the 220 V device will provide you not enough power to bend any planks. currently I am using Weller’s 110 V soldering iron 80 W power and the head from AeroPiccola plank bender which fits right into it.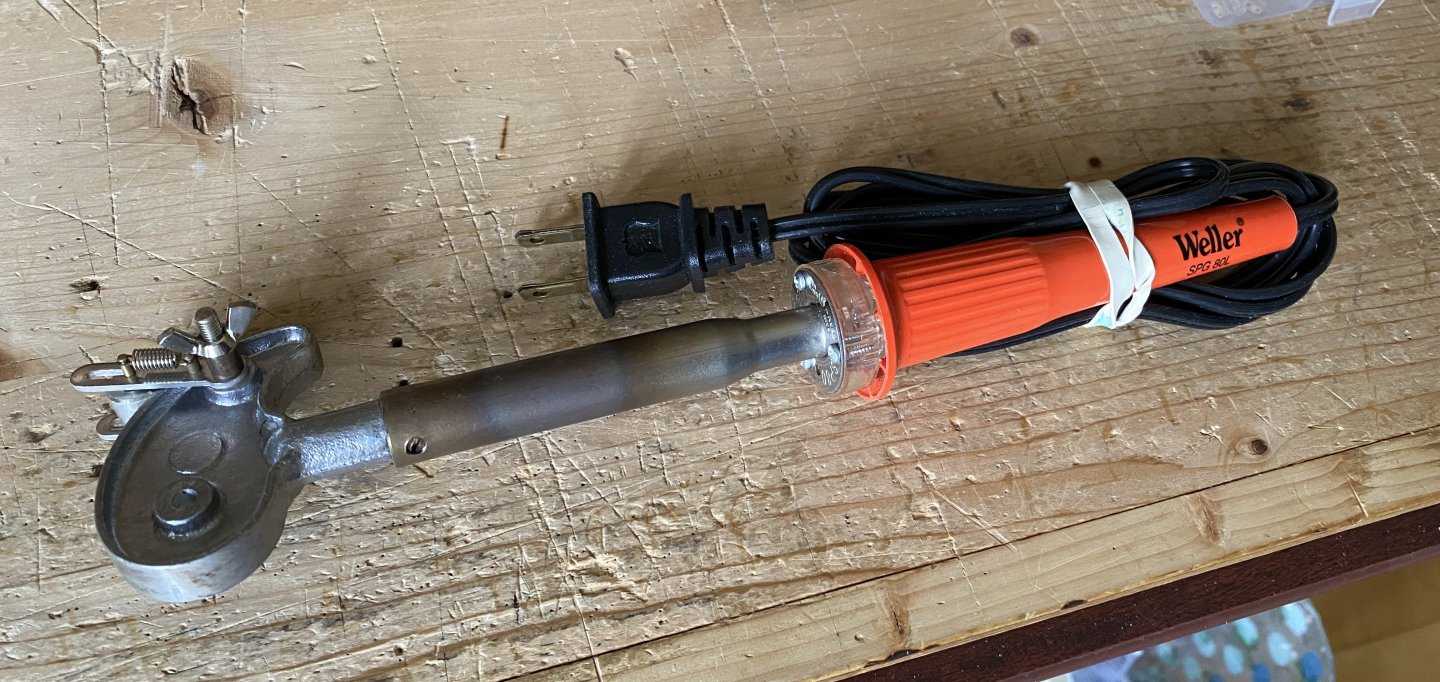
-
Wood Plank Benders - Rounding
Y.T. replied to MintGum's topic in Modeling tools and Workshop Equipment
If this one is still available from anywhere it is the only one worth considering. I have original Aeropiccola like this. To my opinion all the rest are not good.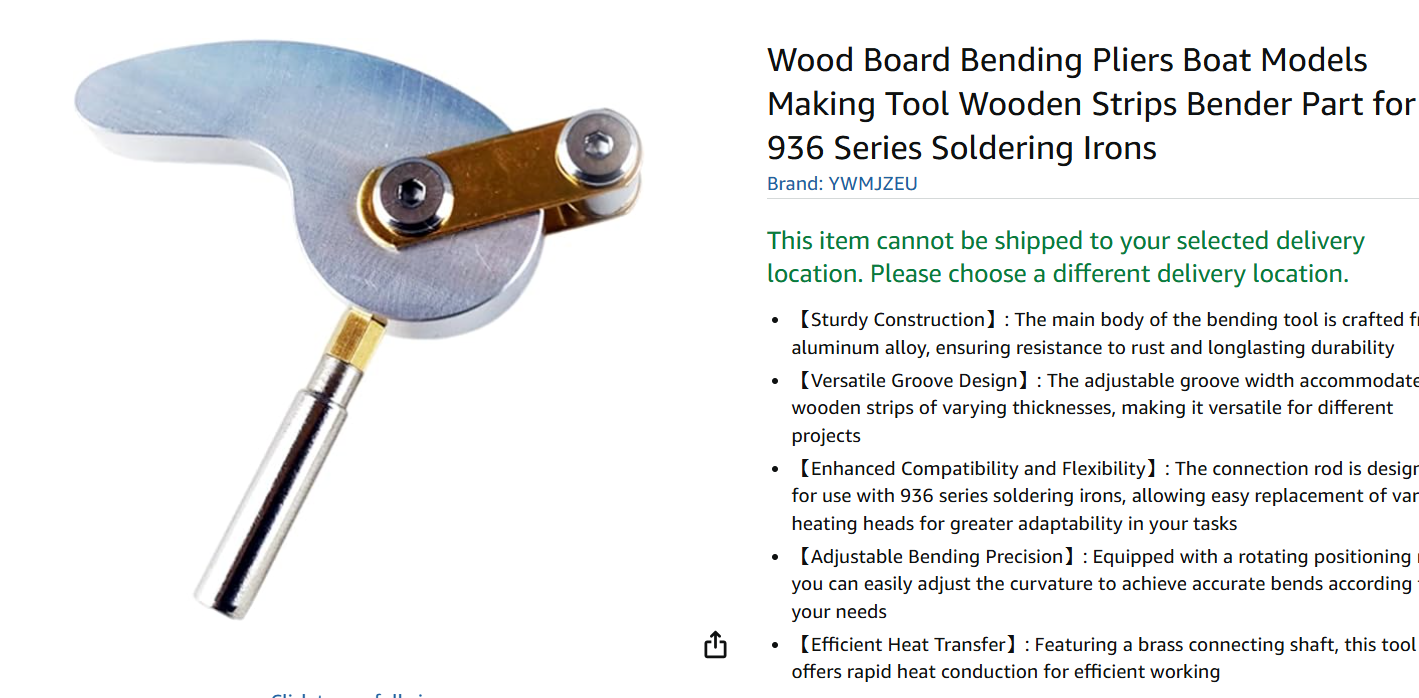
-
Cutters, Choppers, Guillotines, Slicers
Y.T. replied to MintGum's topic in Modeling tools and Workshop Equipment
I own this one. It is the best to my opinion.
-
I use this disk sander for years and am very pleased with it. It is four times cheaper than Proxxon and does same job. https://www.amazon.ca/Vibration-Free-Bench-Disc-Sander/dp/B07SFZGHVQ/ref=asc_df_B07SFZGHVQ?mcid=939201fb73b2384da47191e8a4656ceb&tag=googleshopc0c-20&linkCode=df0&hvadid=706725384462&hvpos=&hvnetw=g&hvrand=16140153878231337219&hvpone=&hvptwo=&hvqmt=&hvdev=c&hvdvcmdl=&hvlocint=&hvlocphy=9189954&hvtargid=pla-2245741550629&psc=1&hvocijid=16140153878231337219-B07SFZGHVQ-&hvexpln=0&gad_source=1
-
Disk sander is more important for wood ship modelling. I have no doubts. Table saw is complimentary especially if you are not going to manufacture your own wood planks from scratch.
-
You mean even after making planks on Byrnes saw one must use Byrnes thickness sander to make planks look good?
-
Here is what I have. Byrnes Saw Operation.pdf
-
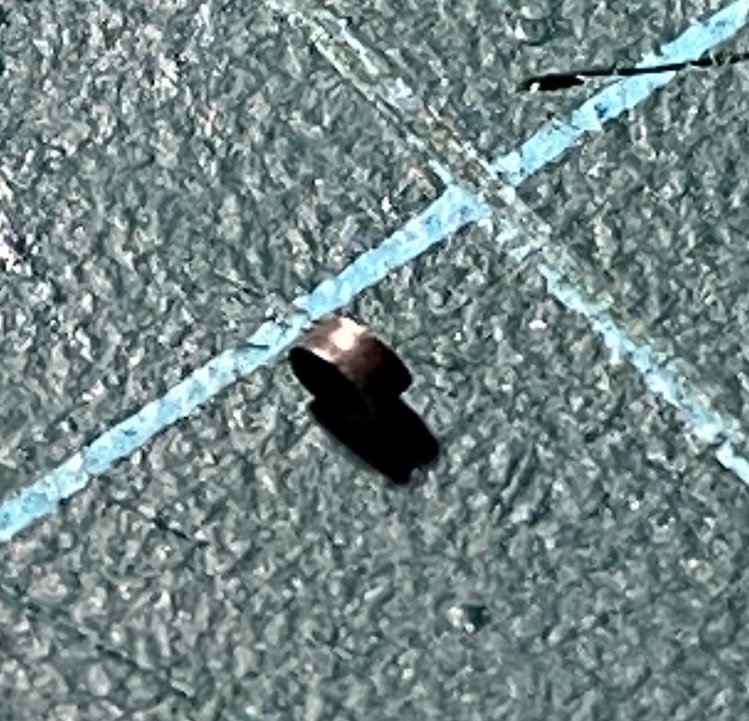
I am going to stick to a brass tube. This is a sample 1 mm OD. I knock it with a center punch so it is easy to be wrapped with a rope. Not wiggling out.
-
Tired hearing of "pirating". Proof of pirating must be presented before accusing. In general this issue is the matter for legal courts. Has little to do with consumers.
-
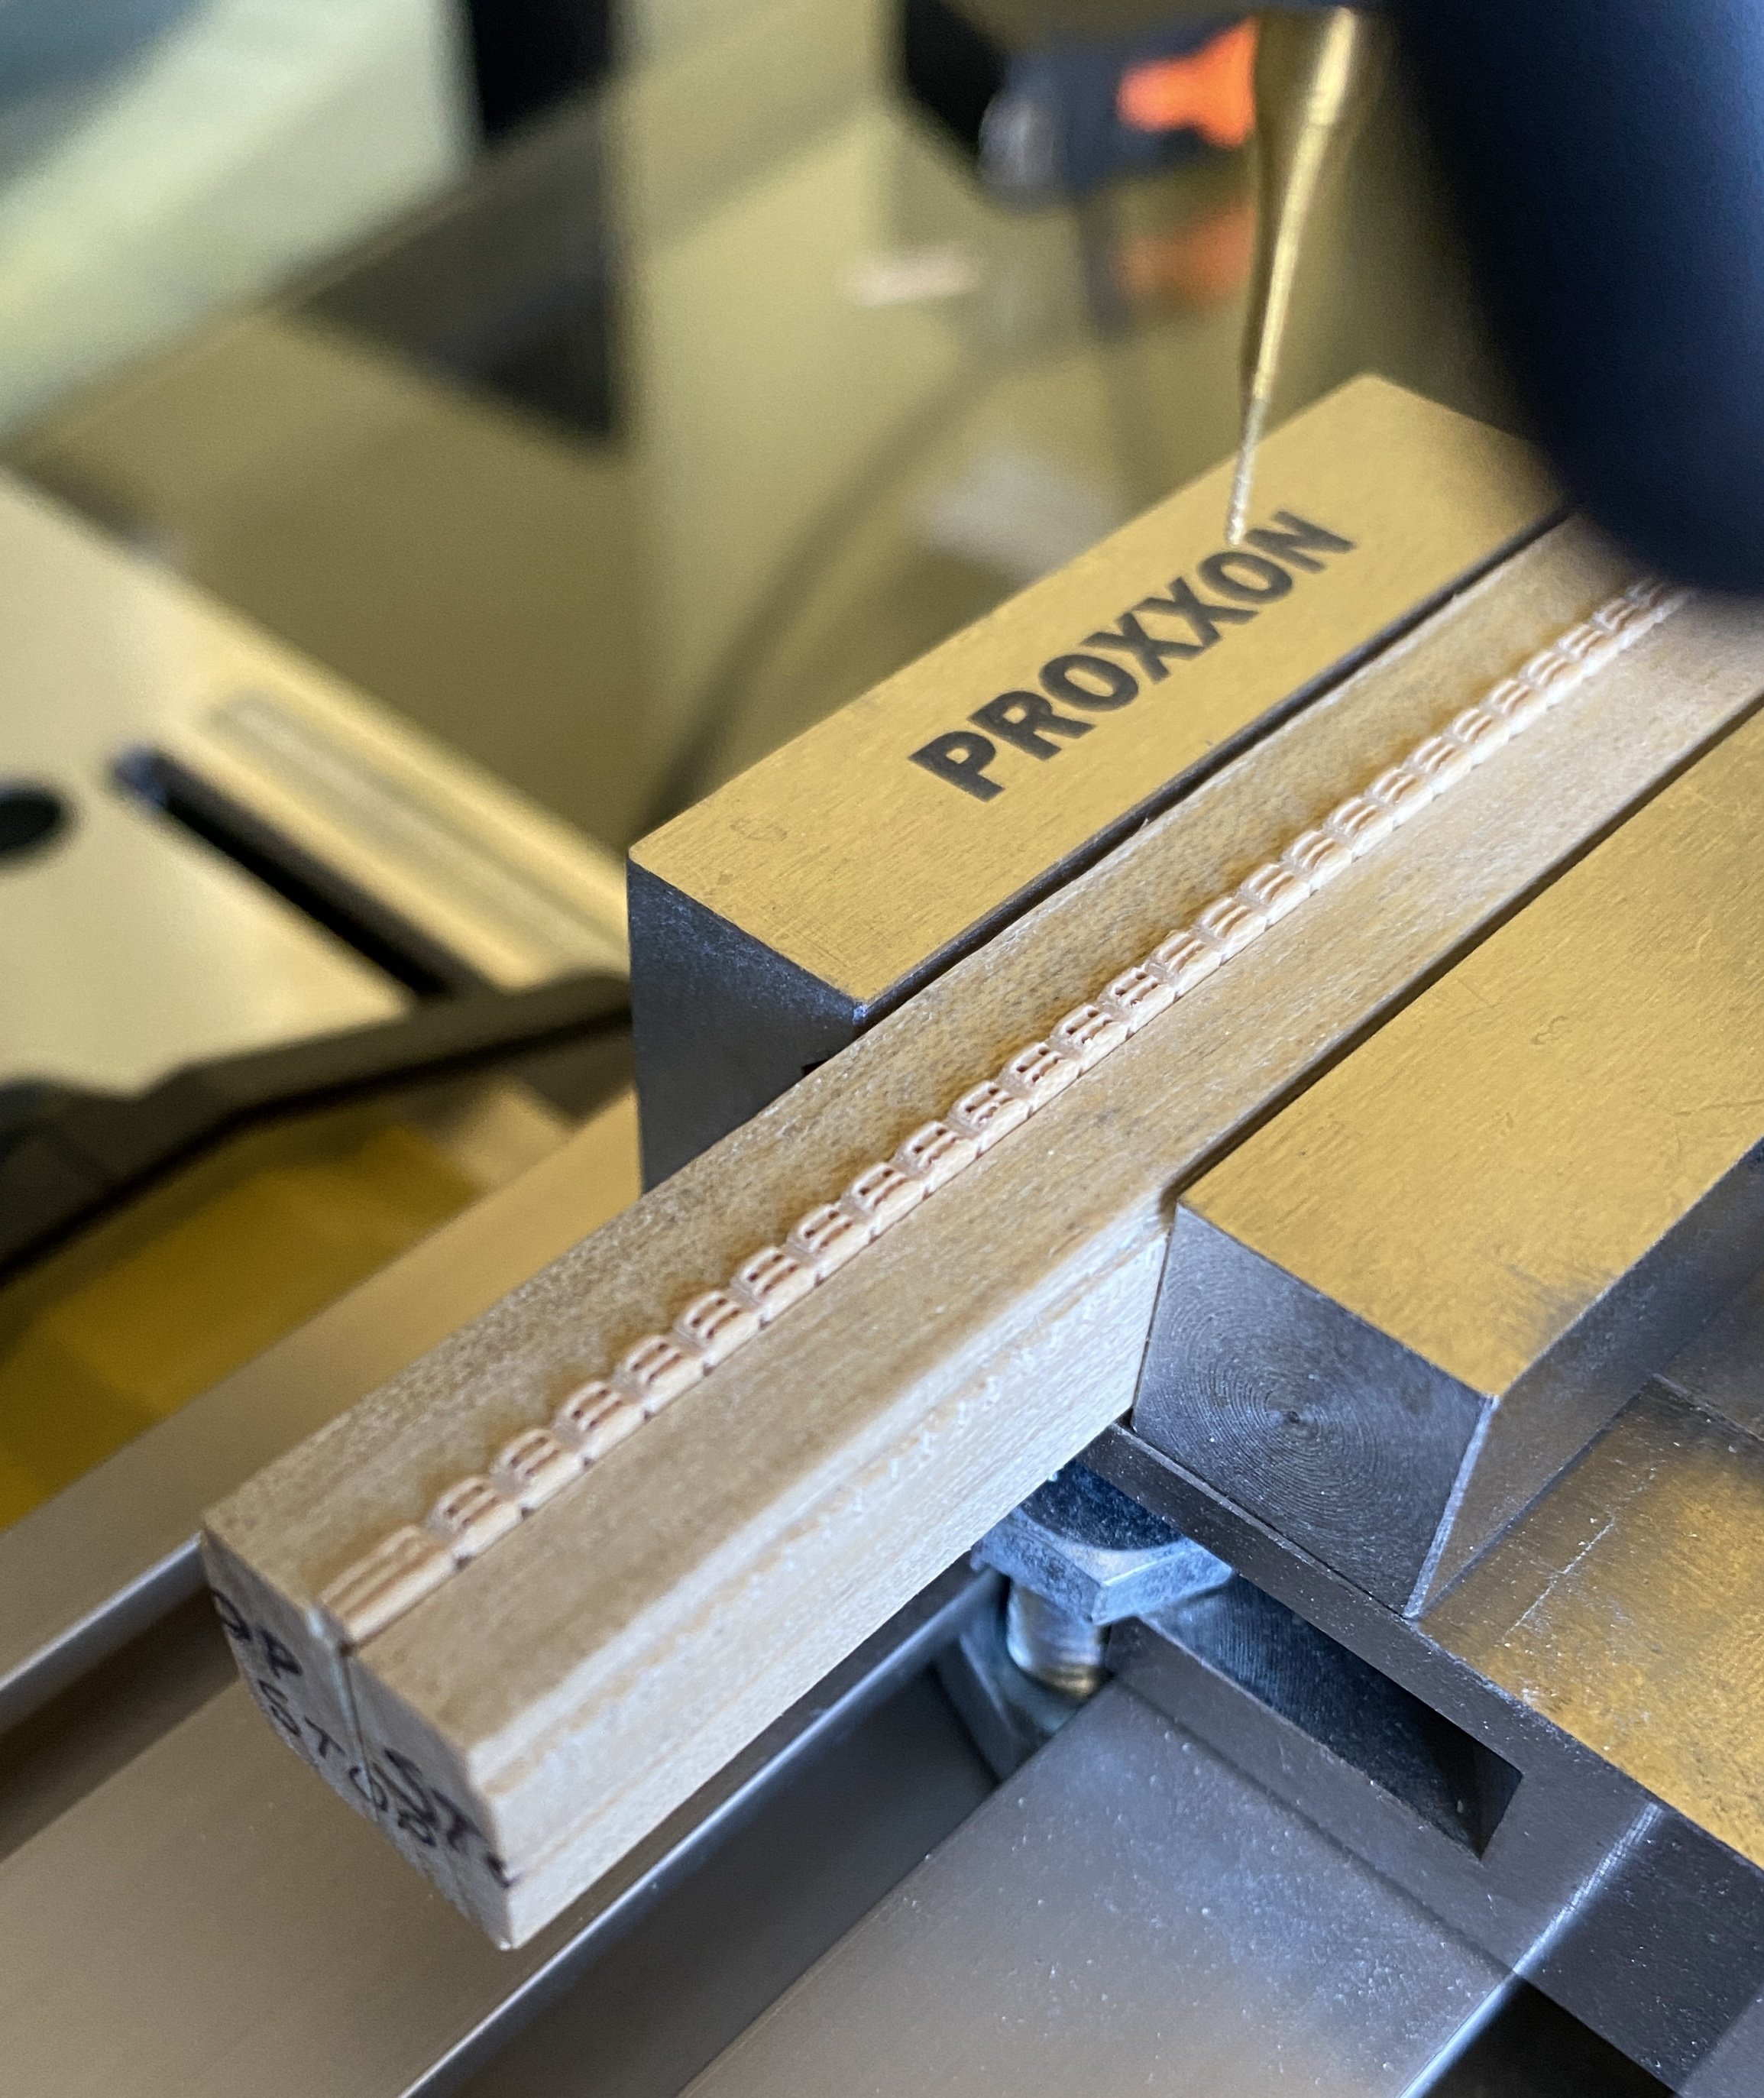
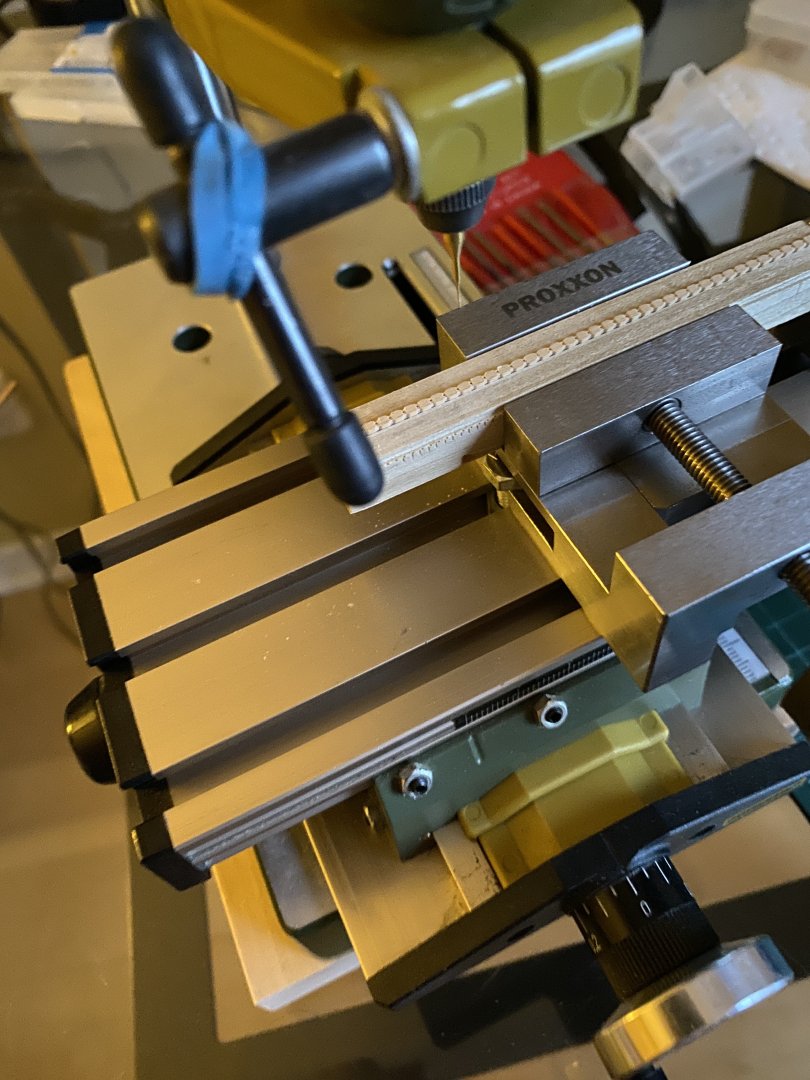
One more picture regarding the Proxxon set up accuracy.

-
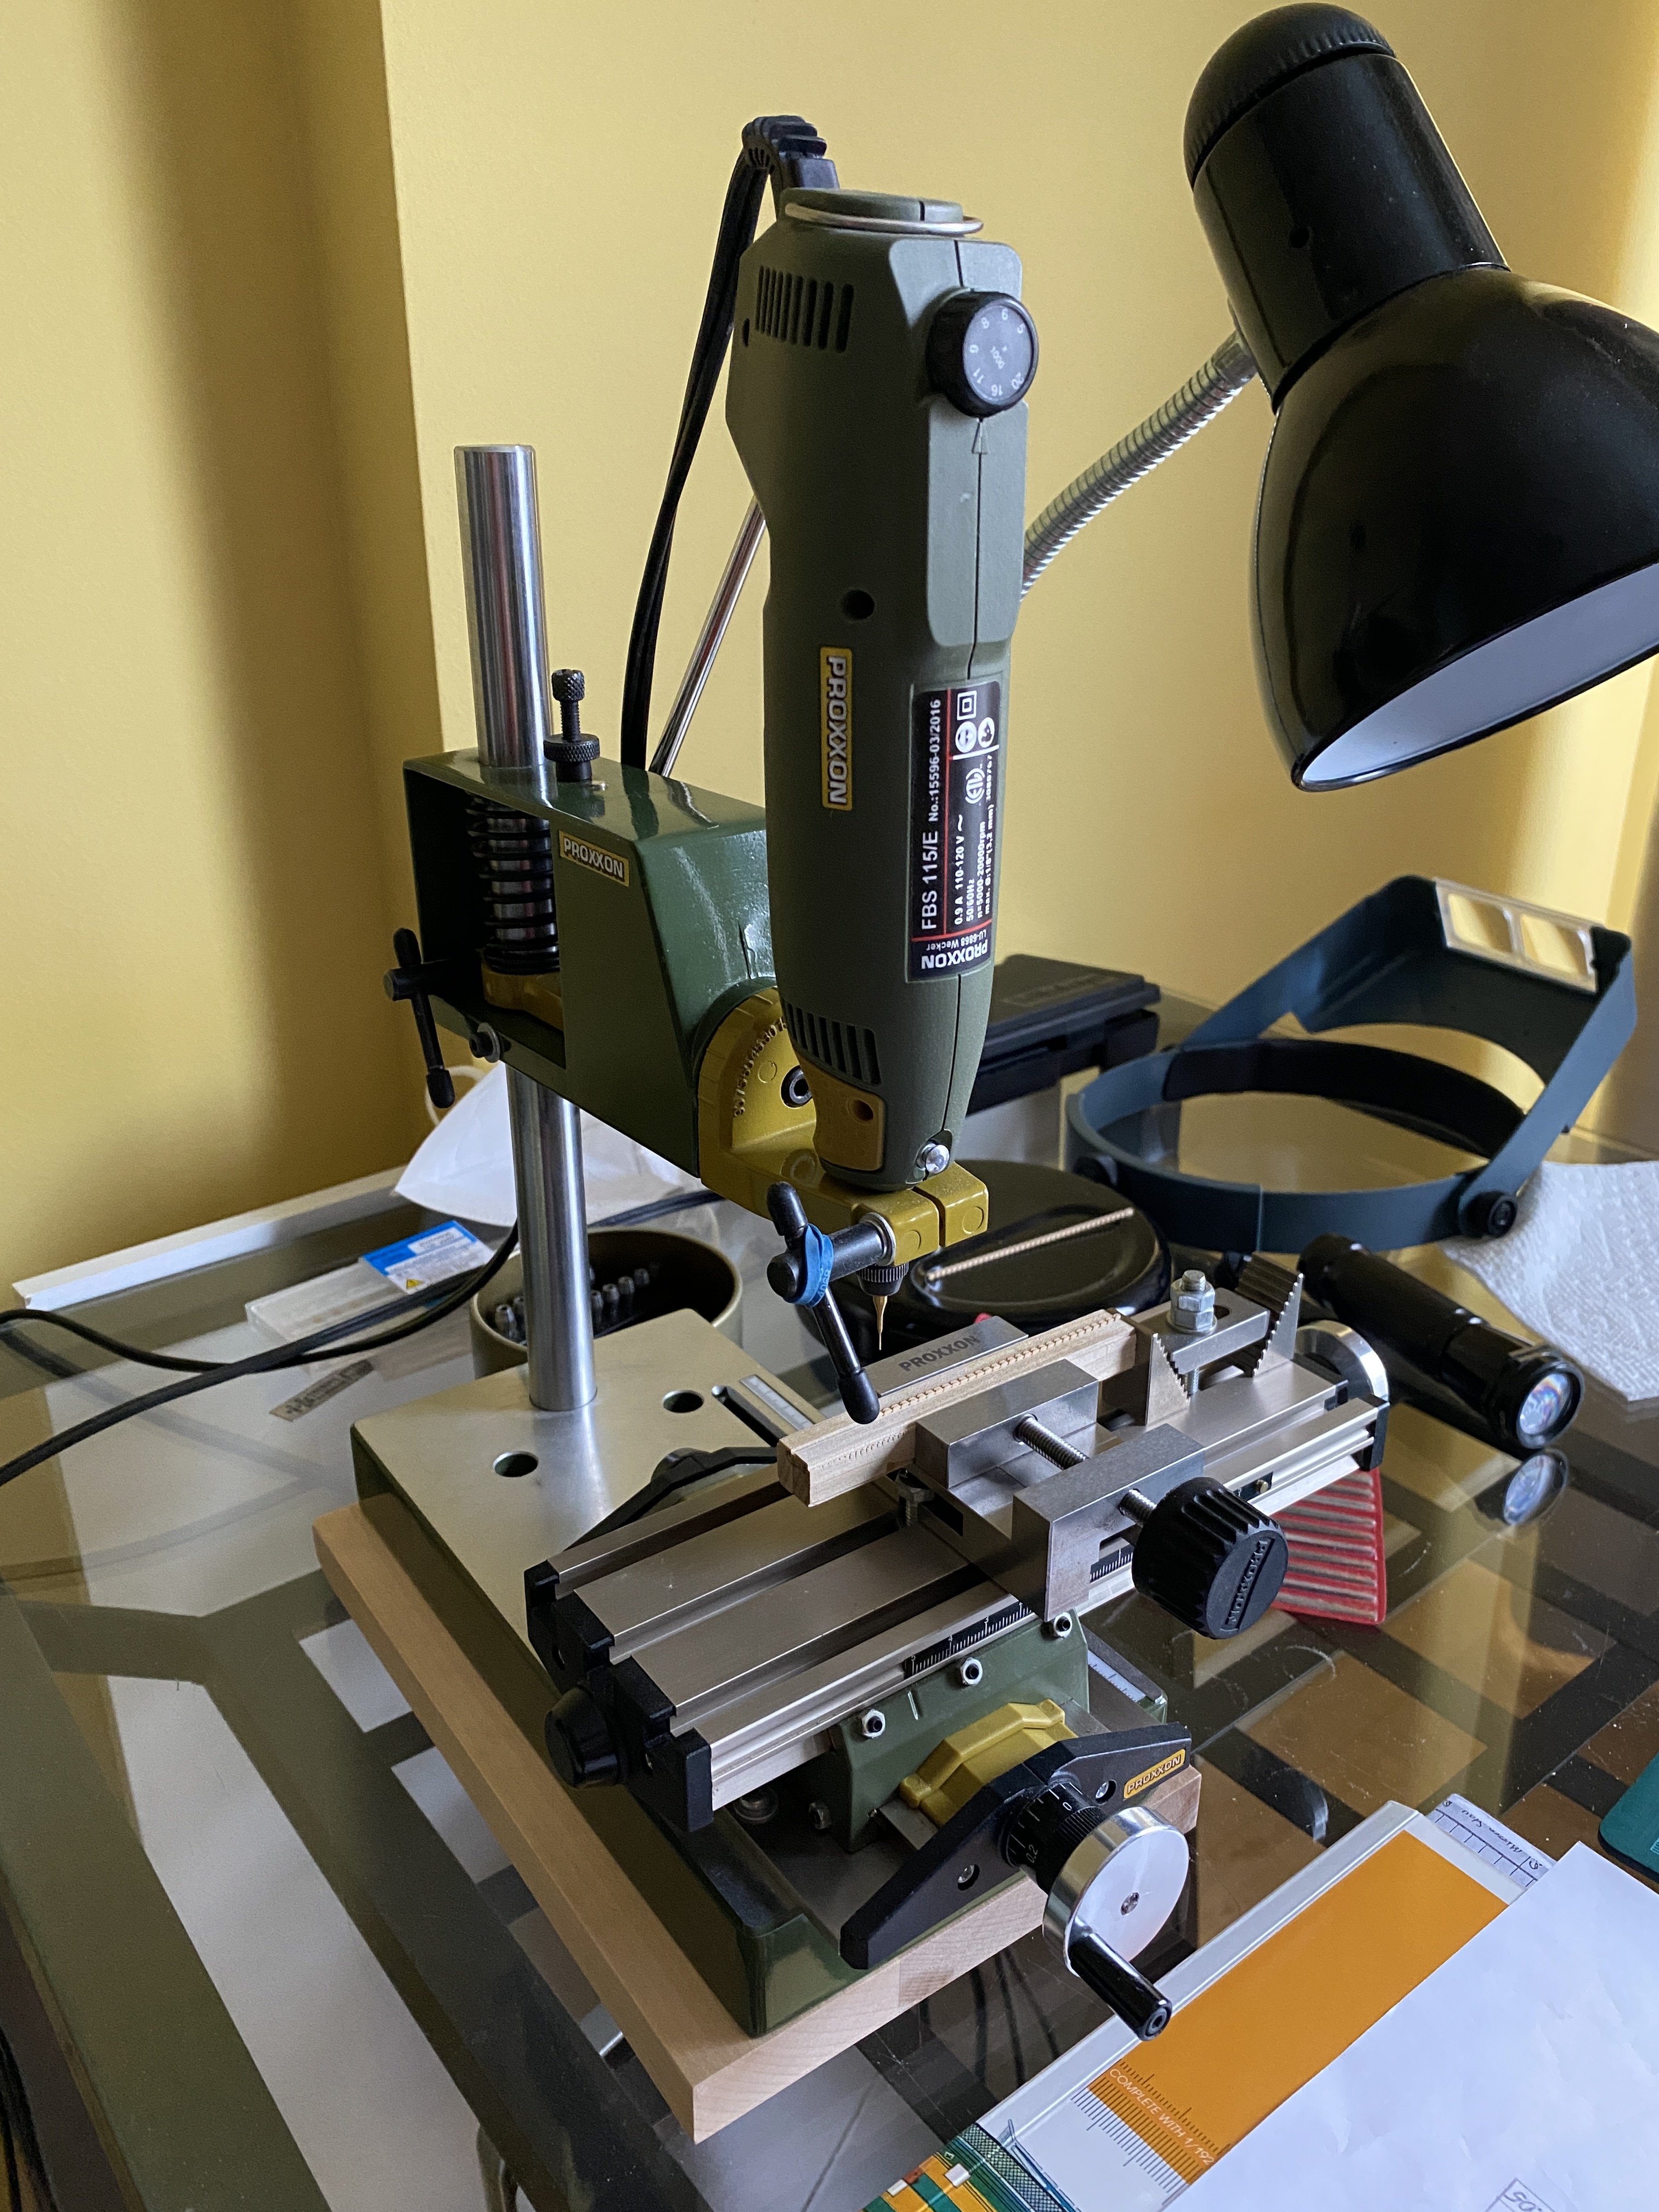
If you do, buy it with standard Proxxon collets set to hold the tool. Do not get adjustable chuck as it is inaccurate. Also you may consider buying this contraption. This is very handy.

-
It is sturdy and accurate enough to do such work. Better than Sherline with its runout.
-
It is held by lowering and holding a drill quill. I find it extremely efficient. I have Sherline mill but would never do blocks on it even with a sensitive drilling attachment I have. It has about 5 thou runout on the 0.4 mm tool. My Proxxon setup is 1.5 thou runout. Sherline is for some more crude and metal work.
-
There is an adjustable stopper bolt. Look at my picture.
-
Pirated or not pirated by Chinese manufacturers, the plastic Unimat is for kids play. It is not for real work even with ship modelers.
-
I use this arrangement for all my micro drilling and milling needs as making small rigging blocks as small as 2.25 mm. it has perfect speed for drilling wood with micro milling bits up to 20,000 RPM. I highly recommend it. I use drills and mill bits as small as 0.3 mm diameter. By the way, what you see on this picture is a set up for making those rigging blocks 2.25 mm high.

-
Good 'Hobby Quality' Metal Lathes
Y.T. replied to tmj's topic in Modeling tools and Workshop Equipment
Do you mean ER collets? -
Good 'Hobby Quality' Metal Lathes
Y.T. replied to tmj's topic in Modeling tools and Workshop Equipment
Congratulations! It looks hardly used and clean of corrosion. One issue I was having with mine like this is that the motor interferes with a work piece. I wish the motor would be separated off the lathe and mounted of a common board further back to be away from work piece. This however kills the advantage of lathe being compact. -
Good 'Hobby Quality' Metal Lathes
Y.T. replied to tmj's topic in Modeling tools and Workshop Equipment
tmj. Here is private Toronto listing for Unimat 3. Platform is called Kijiji. Here people sell their own stuff. No taxes. No exposure to the government. Looks like a great offer with lots of accessories. https://www.kijiji.ca/v-power-tool/city-of-toronto/emco-unimat-3-lathes-milling-machines-and-accessories/1729699213 -
Repurposing Pool Cue Lathes?
Y.T. replied to Rich Sloop's topic in Modeling tools and Workshop Equipment
The way you describe it is exactly how I make the masts and spars. With exception of the note quoted above. I do not get it. For final rounding the sections of mast / spar with a sandpaper I hold one of the ends in electrical drill. I wrap that end with a masking tape quite a few turns so drill chuck does not damage the wood.