HOLIDAY DONATION DRIVE - SUPPORT MSW - DO YOUR PART TO KEEP THIS GREAT FORUM GOING! (89 donations so far out of 49,000 members - C'mon guys!)
×


Jackson7
-
Posts
186 -
Joined
-
Last visited
Content Type
Profiles
Forums
Gallery
Events
Everything posted by Jackson7
-
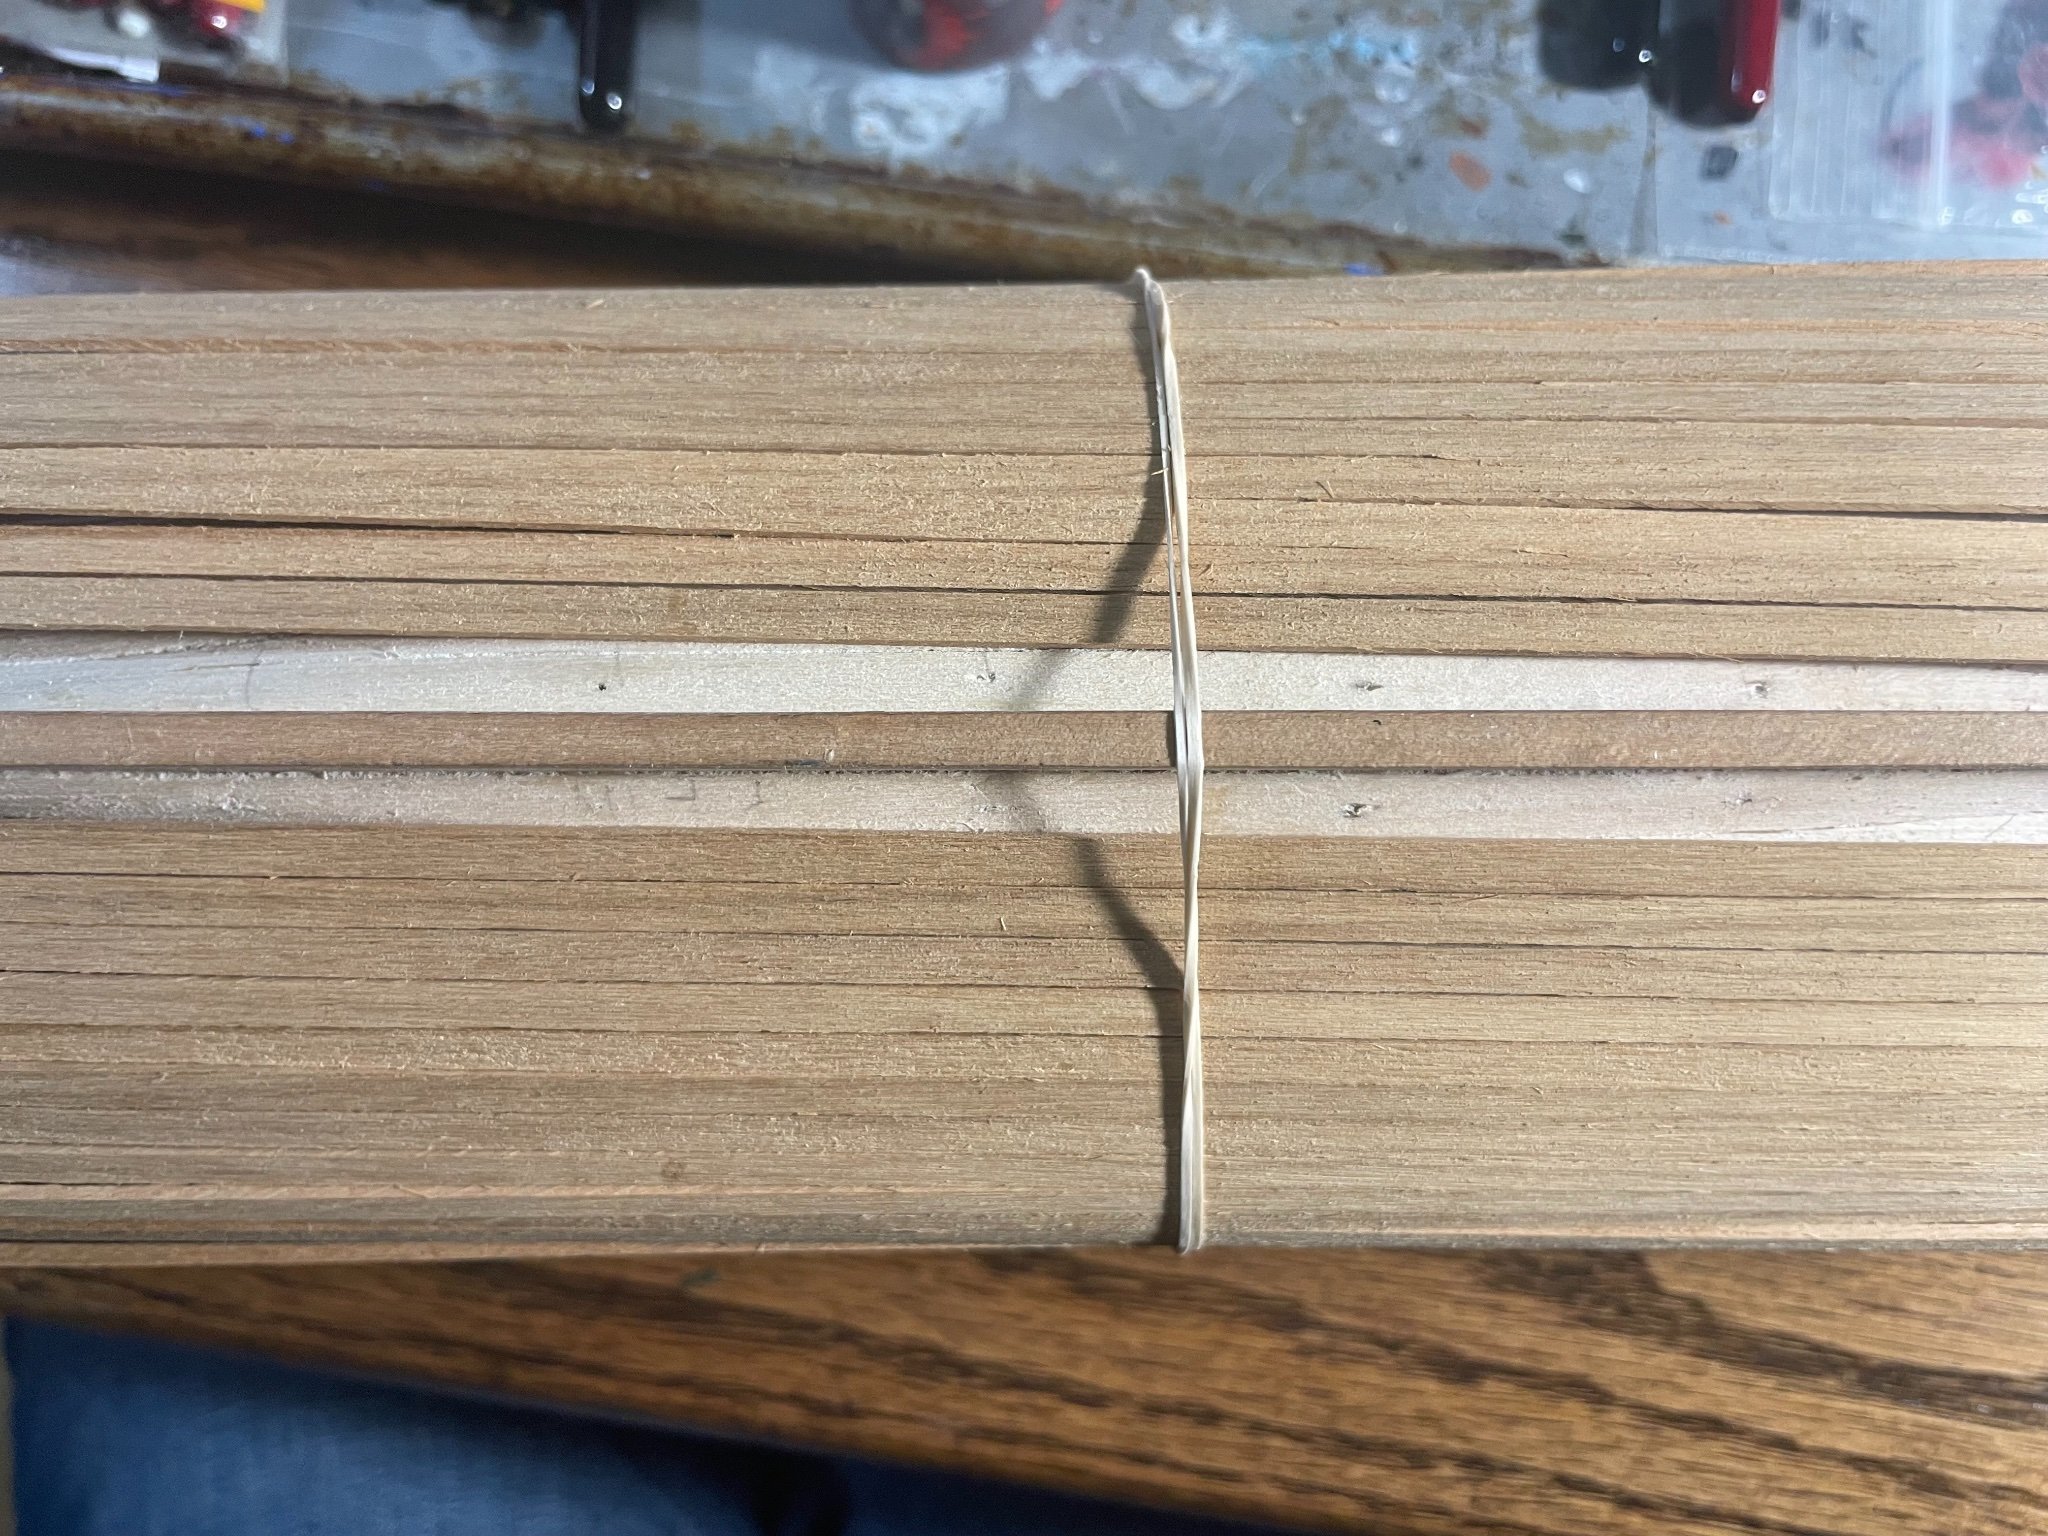
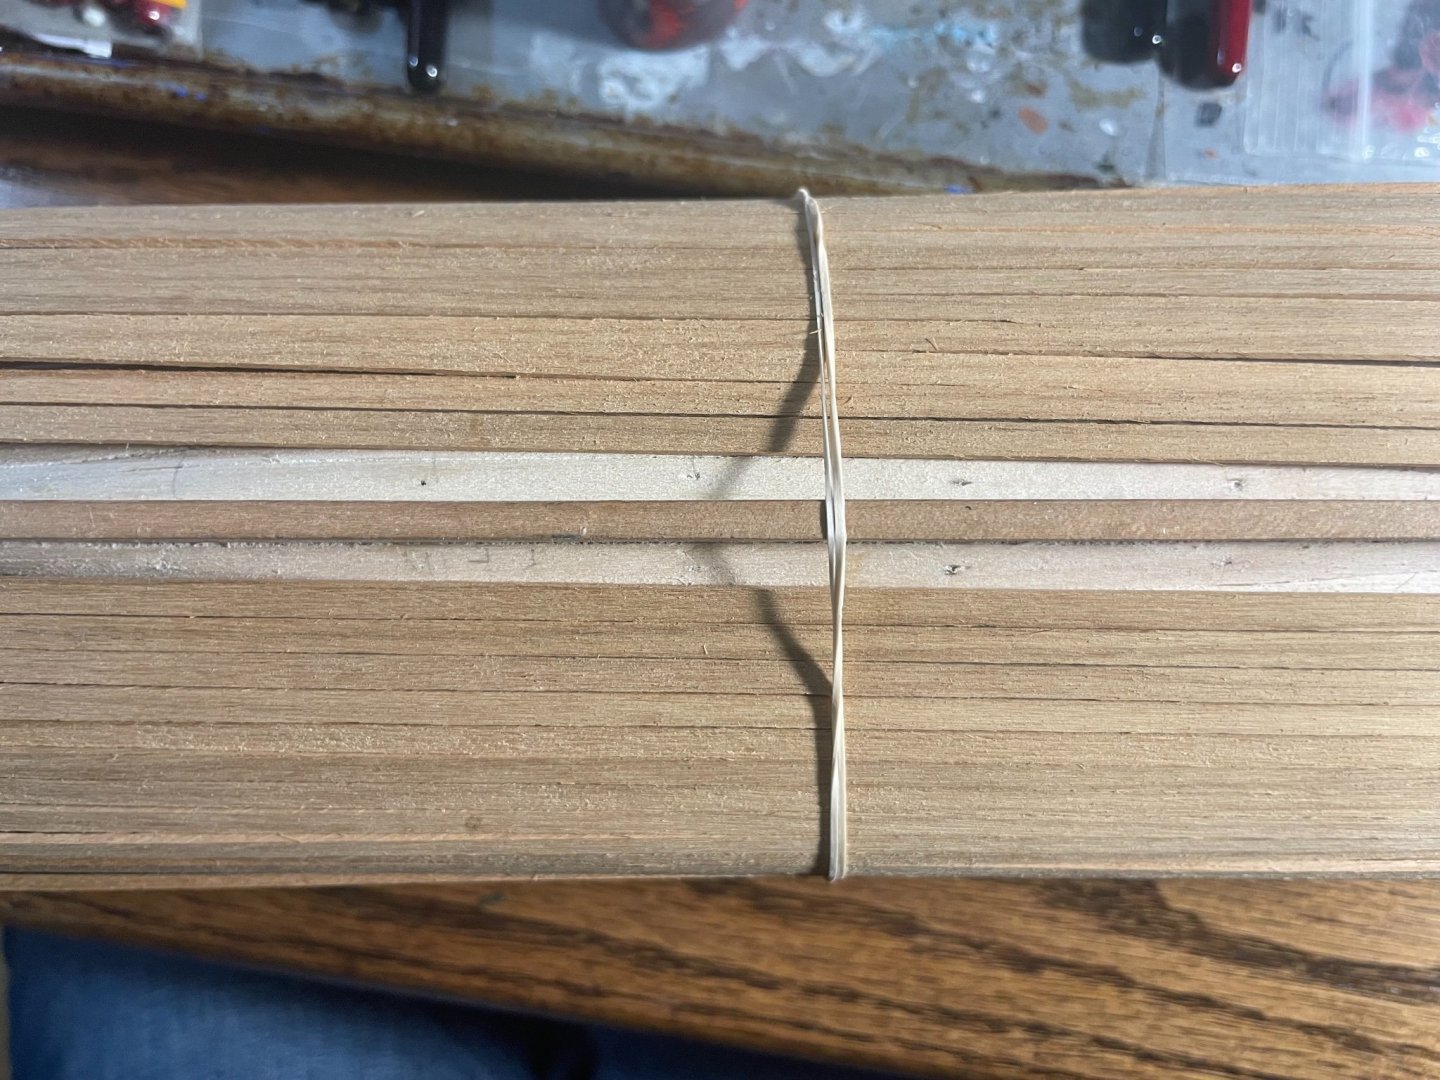
It's as I feared. I'm at least two planks short, and a couple of the planks I do have have some deformities. It looks like it's time to ship more ship for my ship.
-
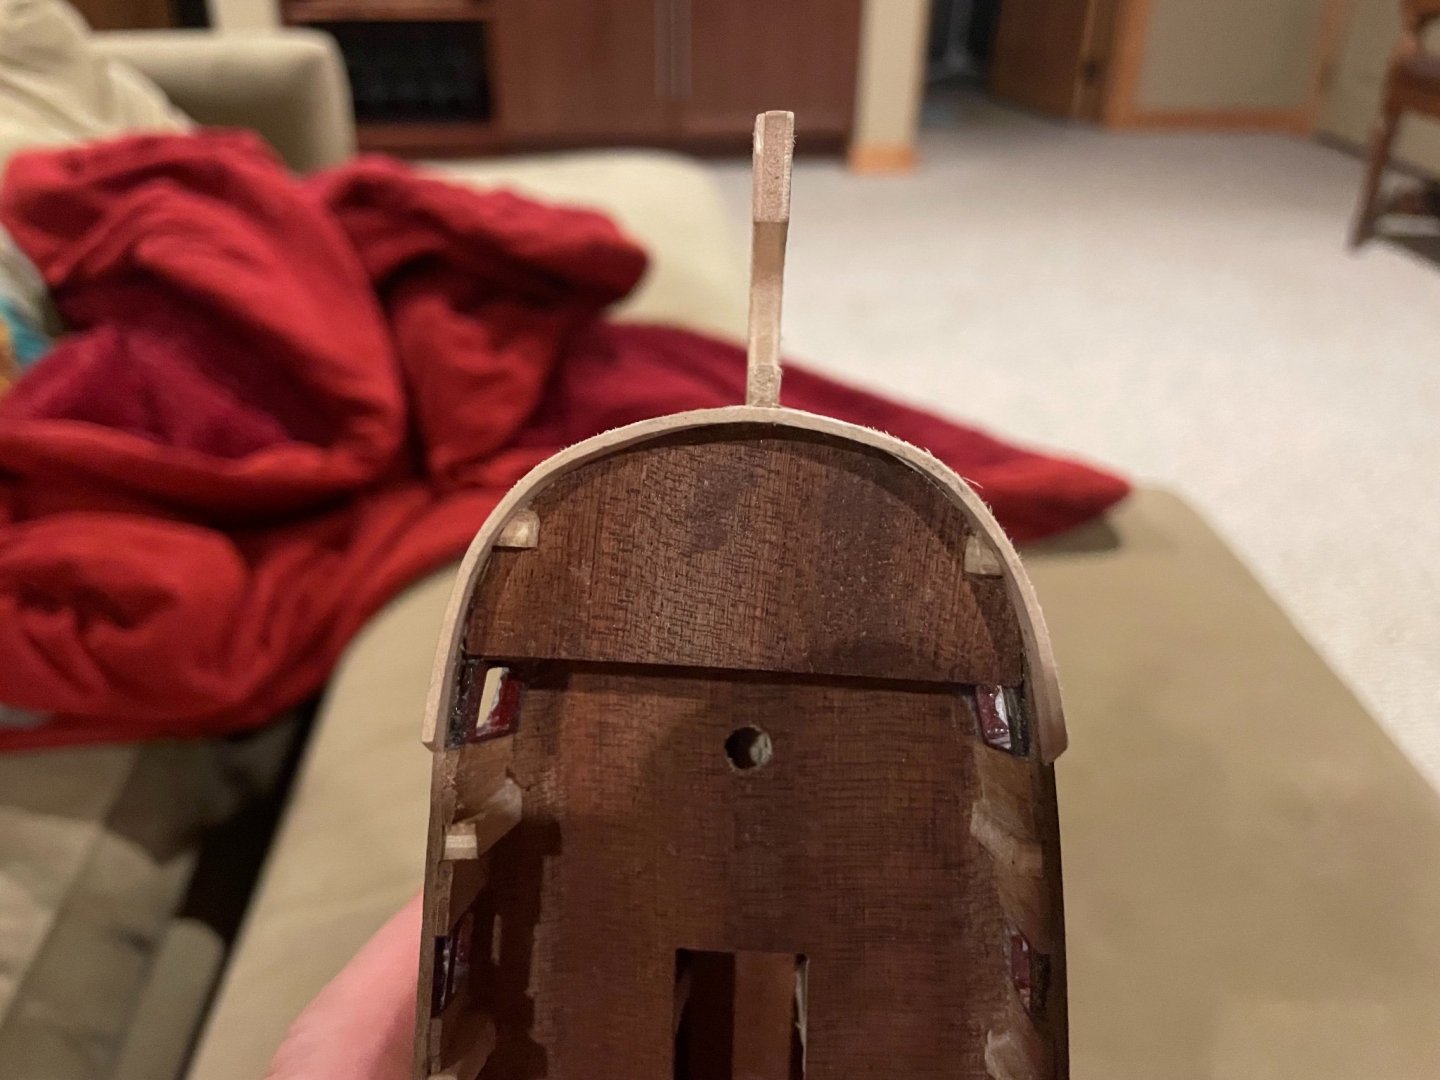
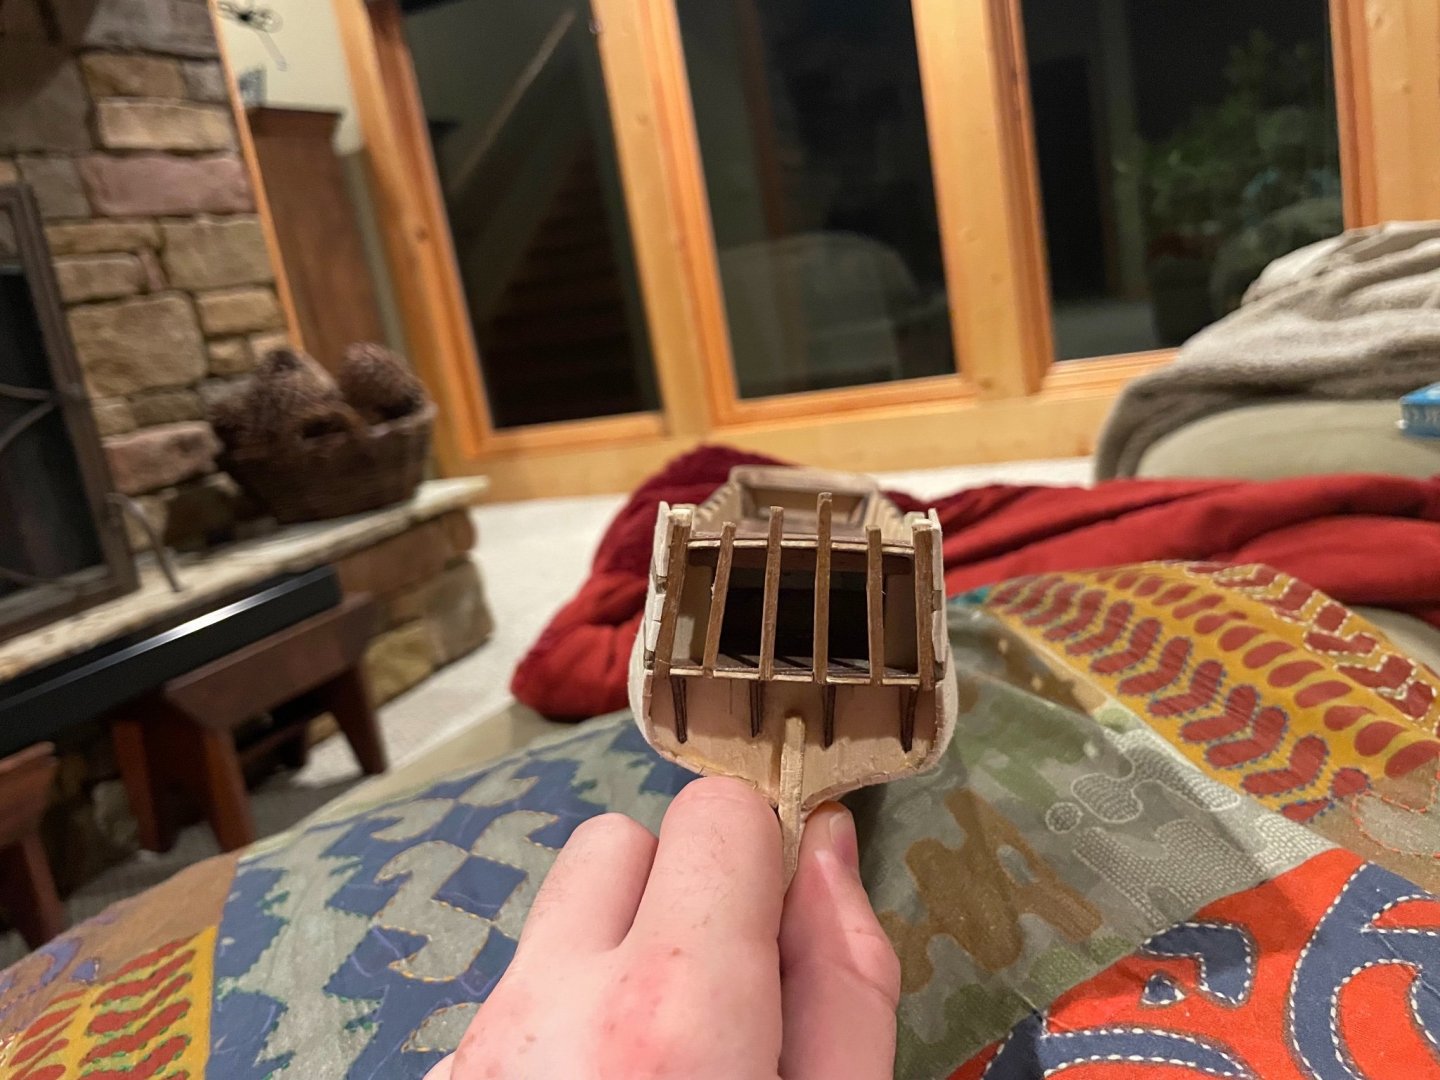
Thanks, much appreciated. Could I get a shot of the bow and stern too?
-
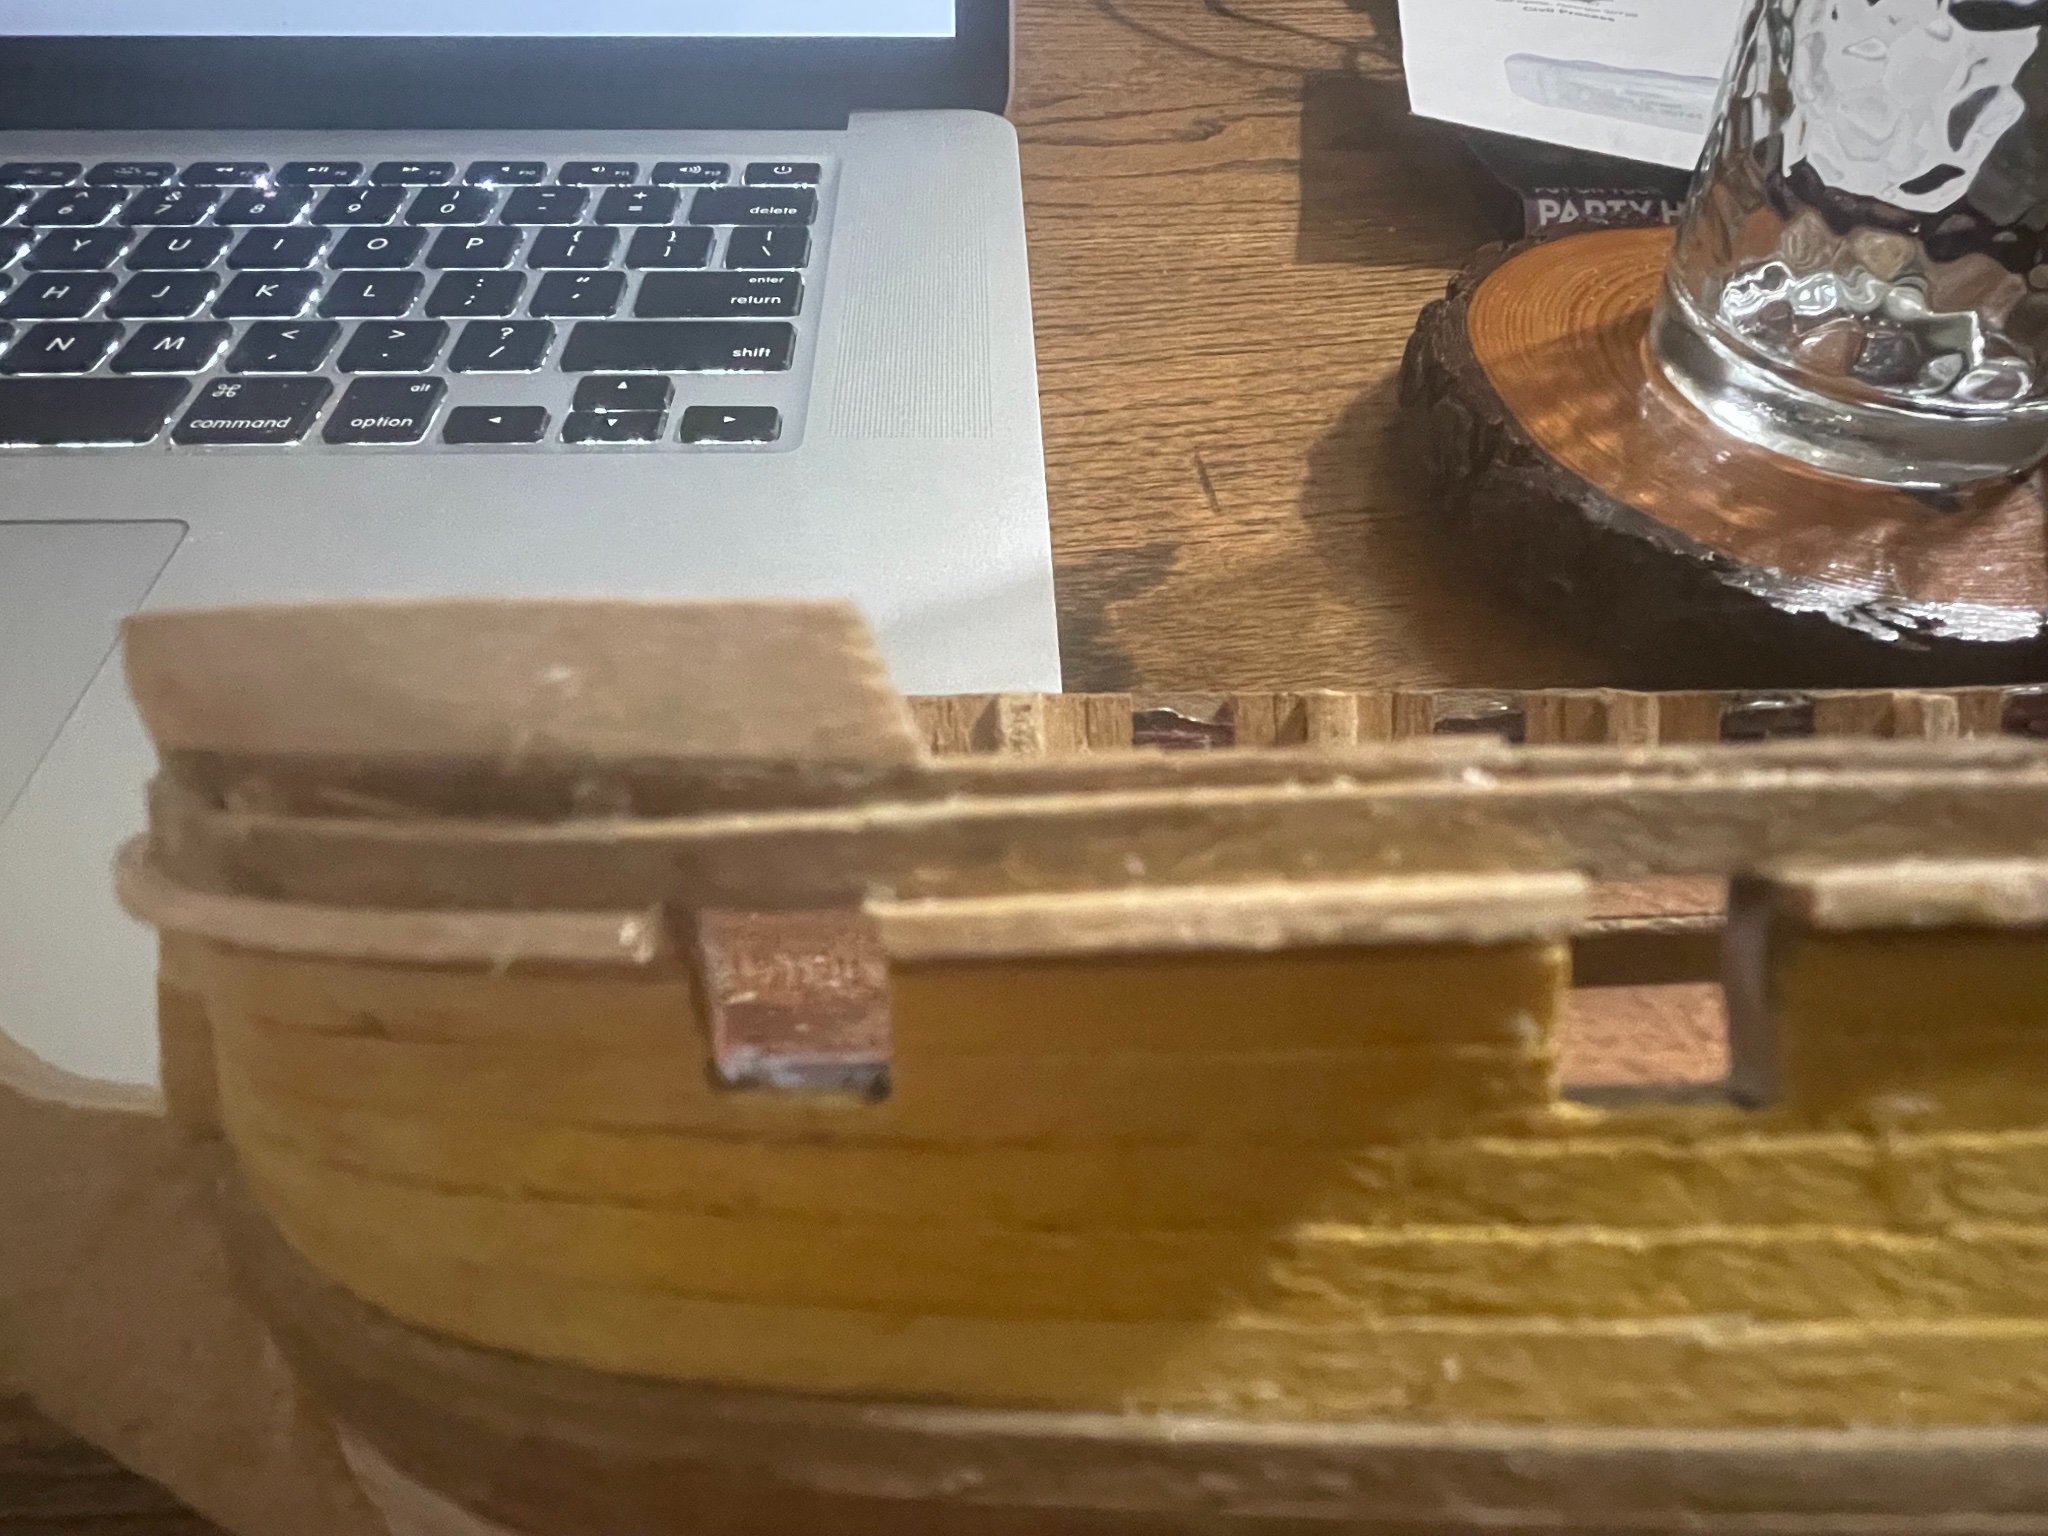
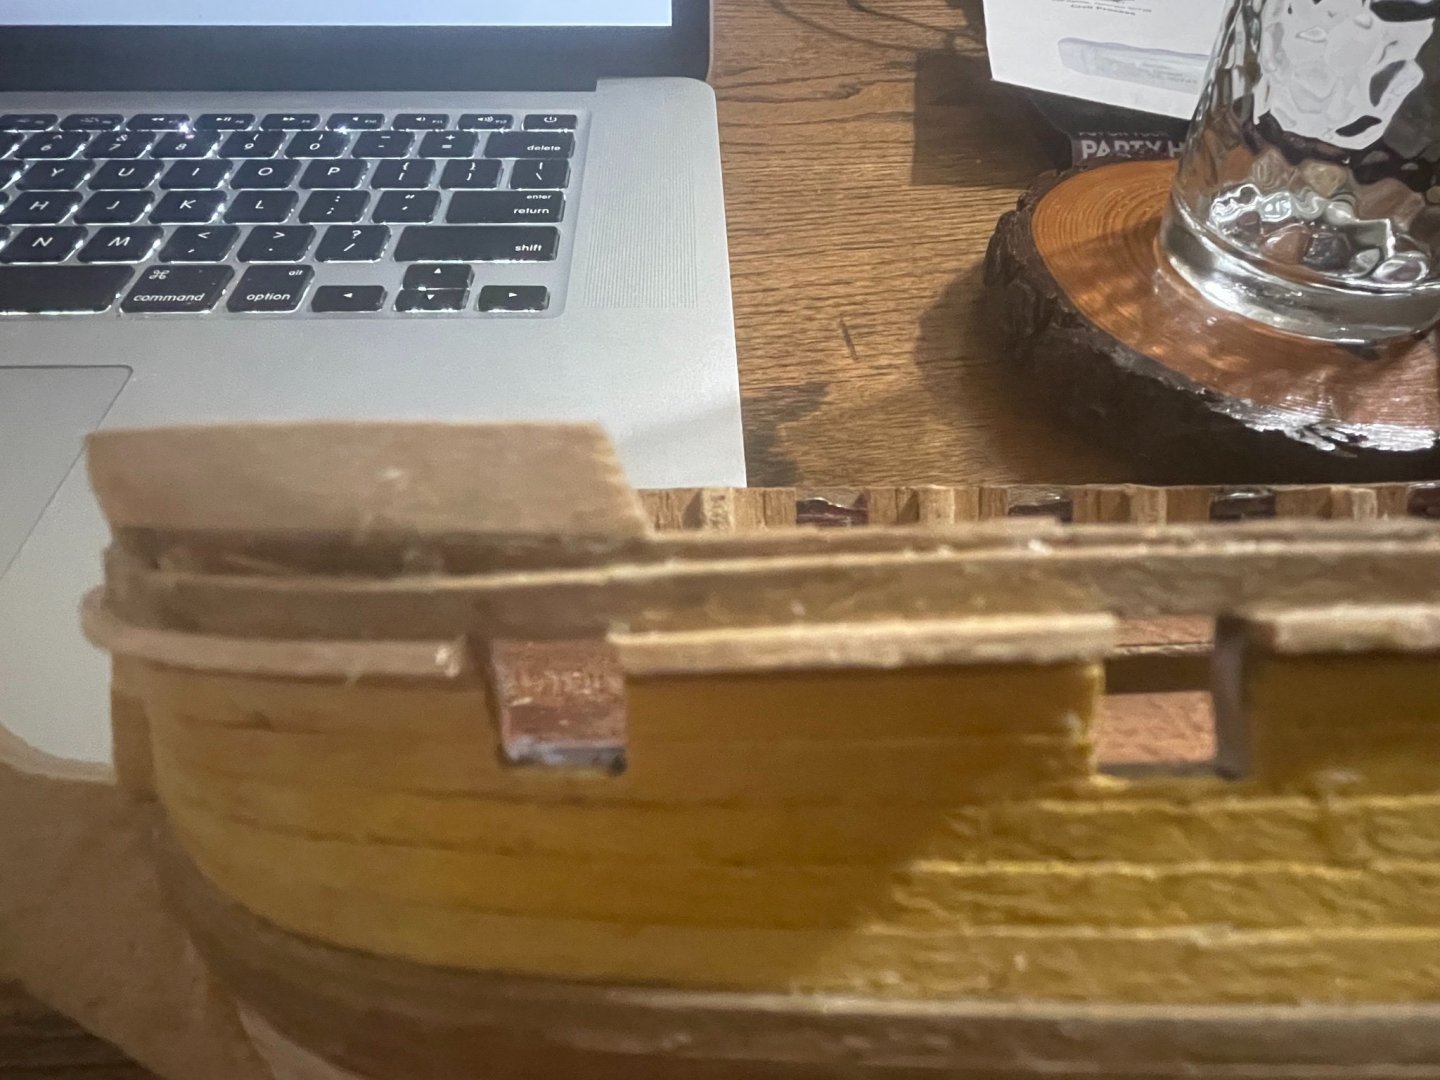
In the mean time, if I can't plank down, I'll see about planking up. But as usual, the instructions aren't even worth looking at. @harlequin, @ccoyle, if you can tell by the pictures, I have maybe less than one milimeter of exposed walnut planking from the first layer between the second hull layer and the rail. Do I plank over all of that, cut it away, leave it exposed, or something else? Could you send me some pictures of your completed Greyhounds to make it clear?
-
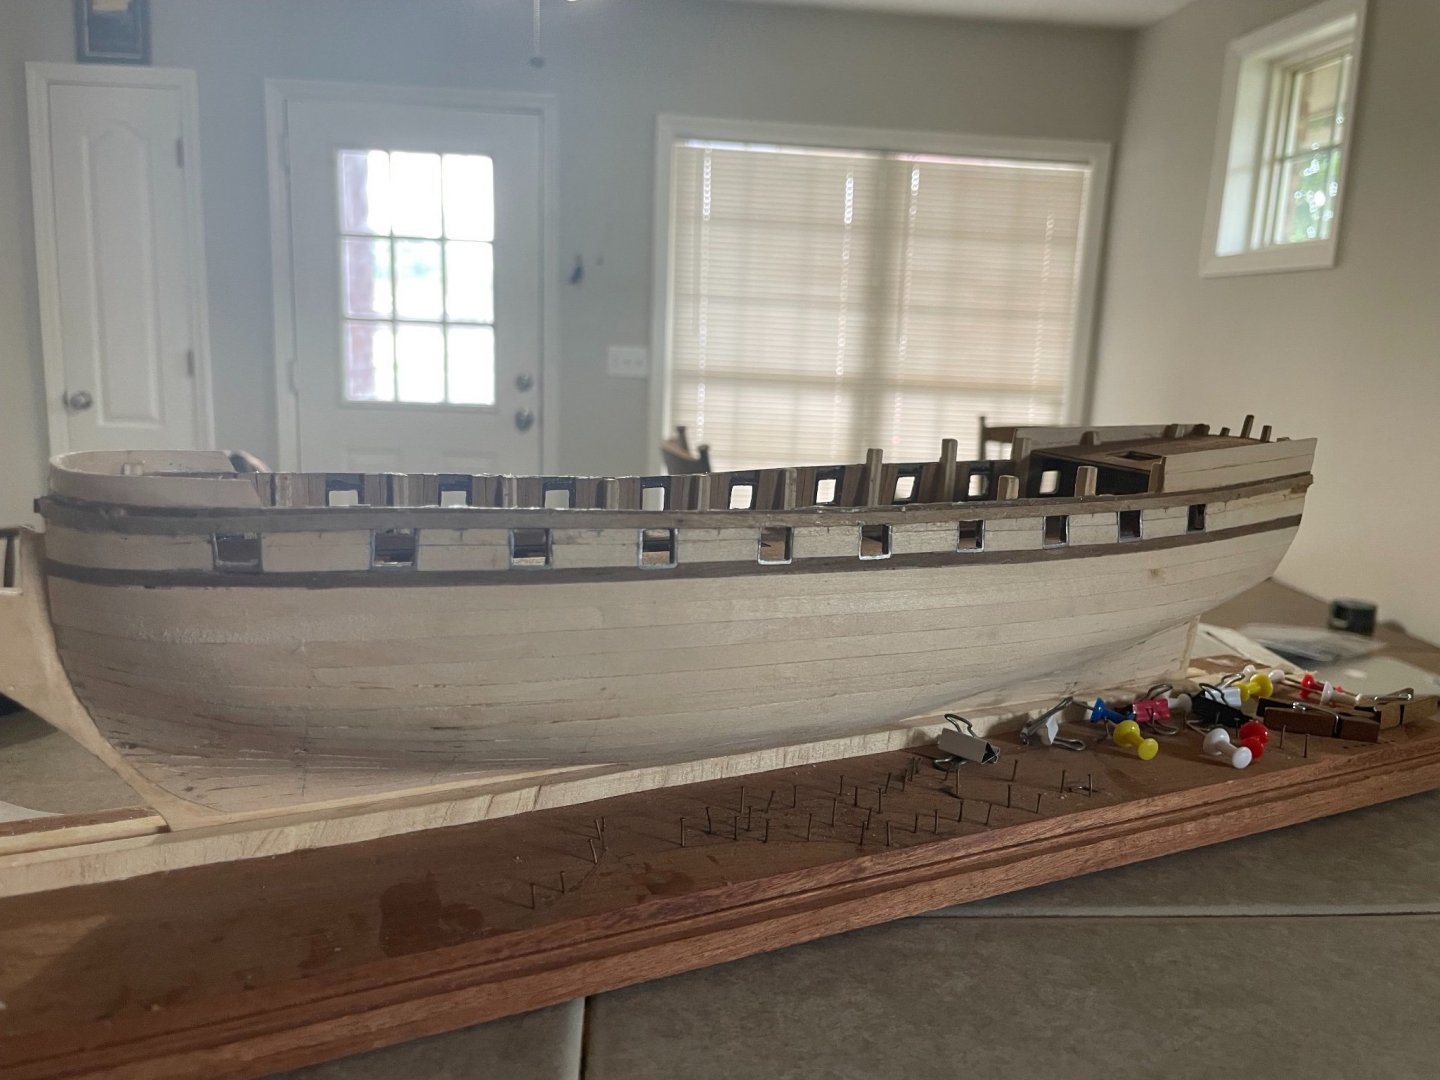
I have now finished the gunwales. Everything went great. Of course, I'm now almost out of wood glue and will soon have to take a pilgrimage to Hobby Lobby for more supplies. Even worse, eyeballing it suggests I'm short on the walnut planks needed for the next step. I haven't made a very careful measurement of what I need yet, but the chances are it'll take forever to get more stuff. At least what I have done so far looks beautiful. Despite a fairly rough first planking, the second one has fit together beautifully so far.

-
Yep. Now it's just the execution.
-
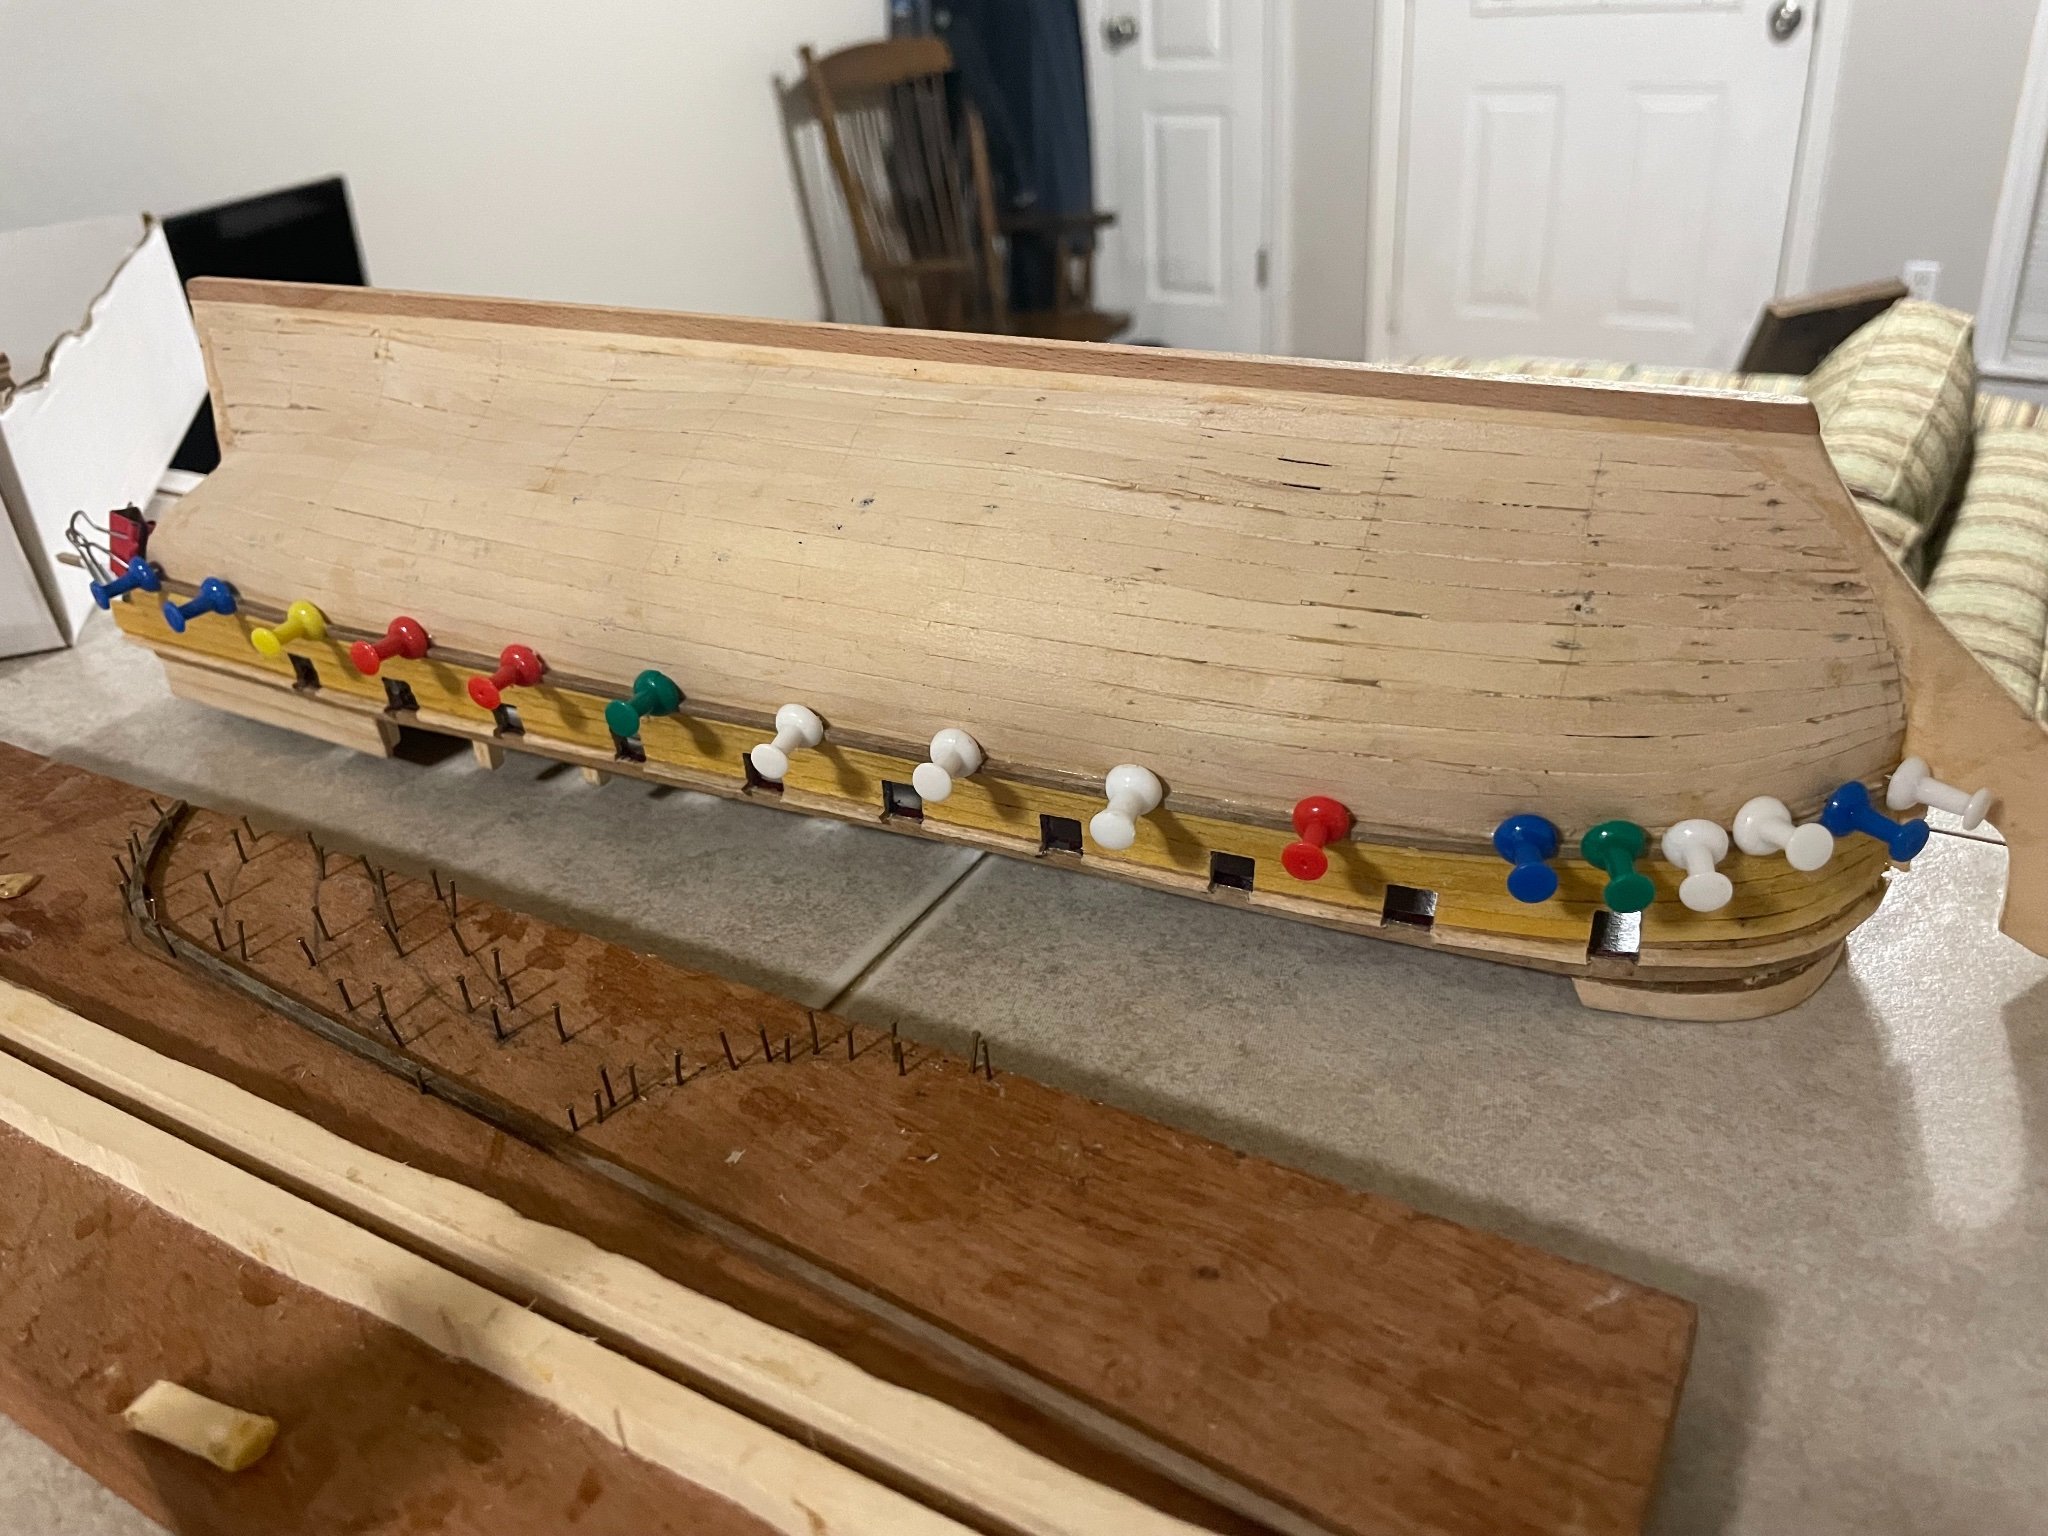
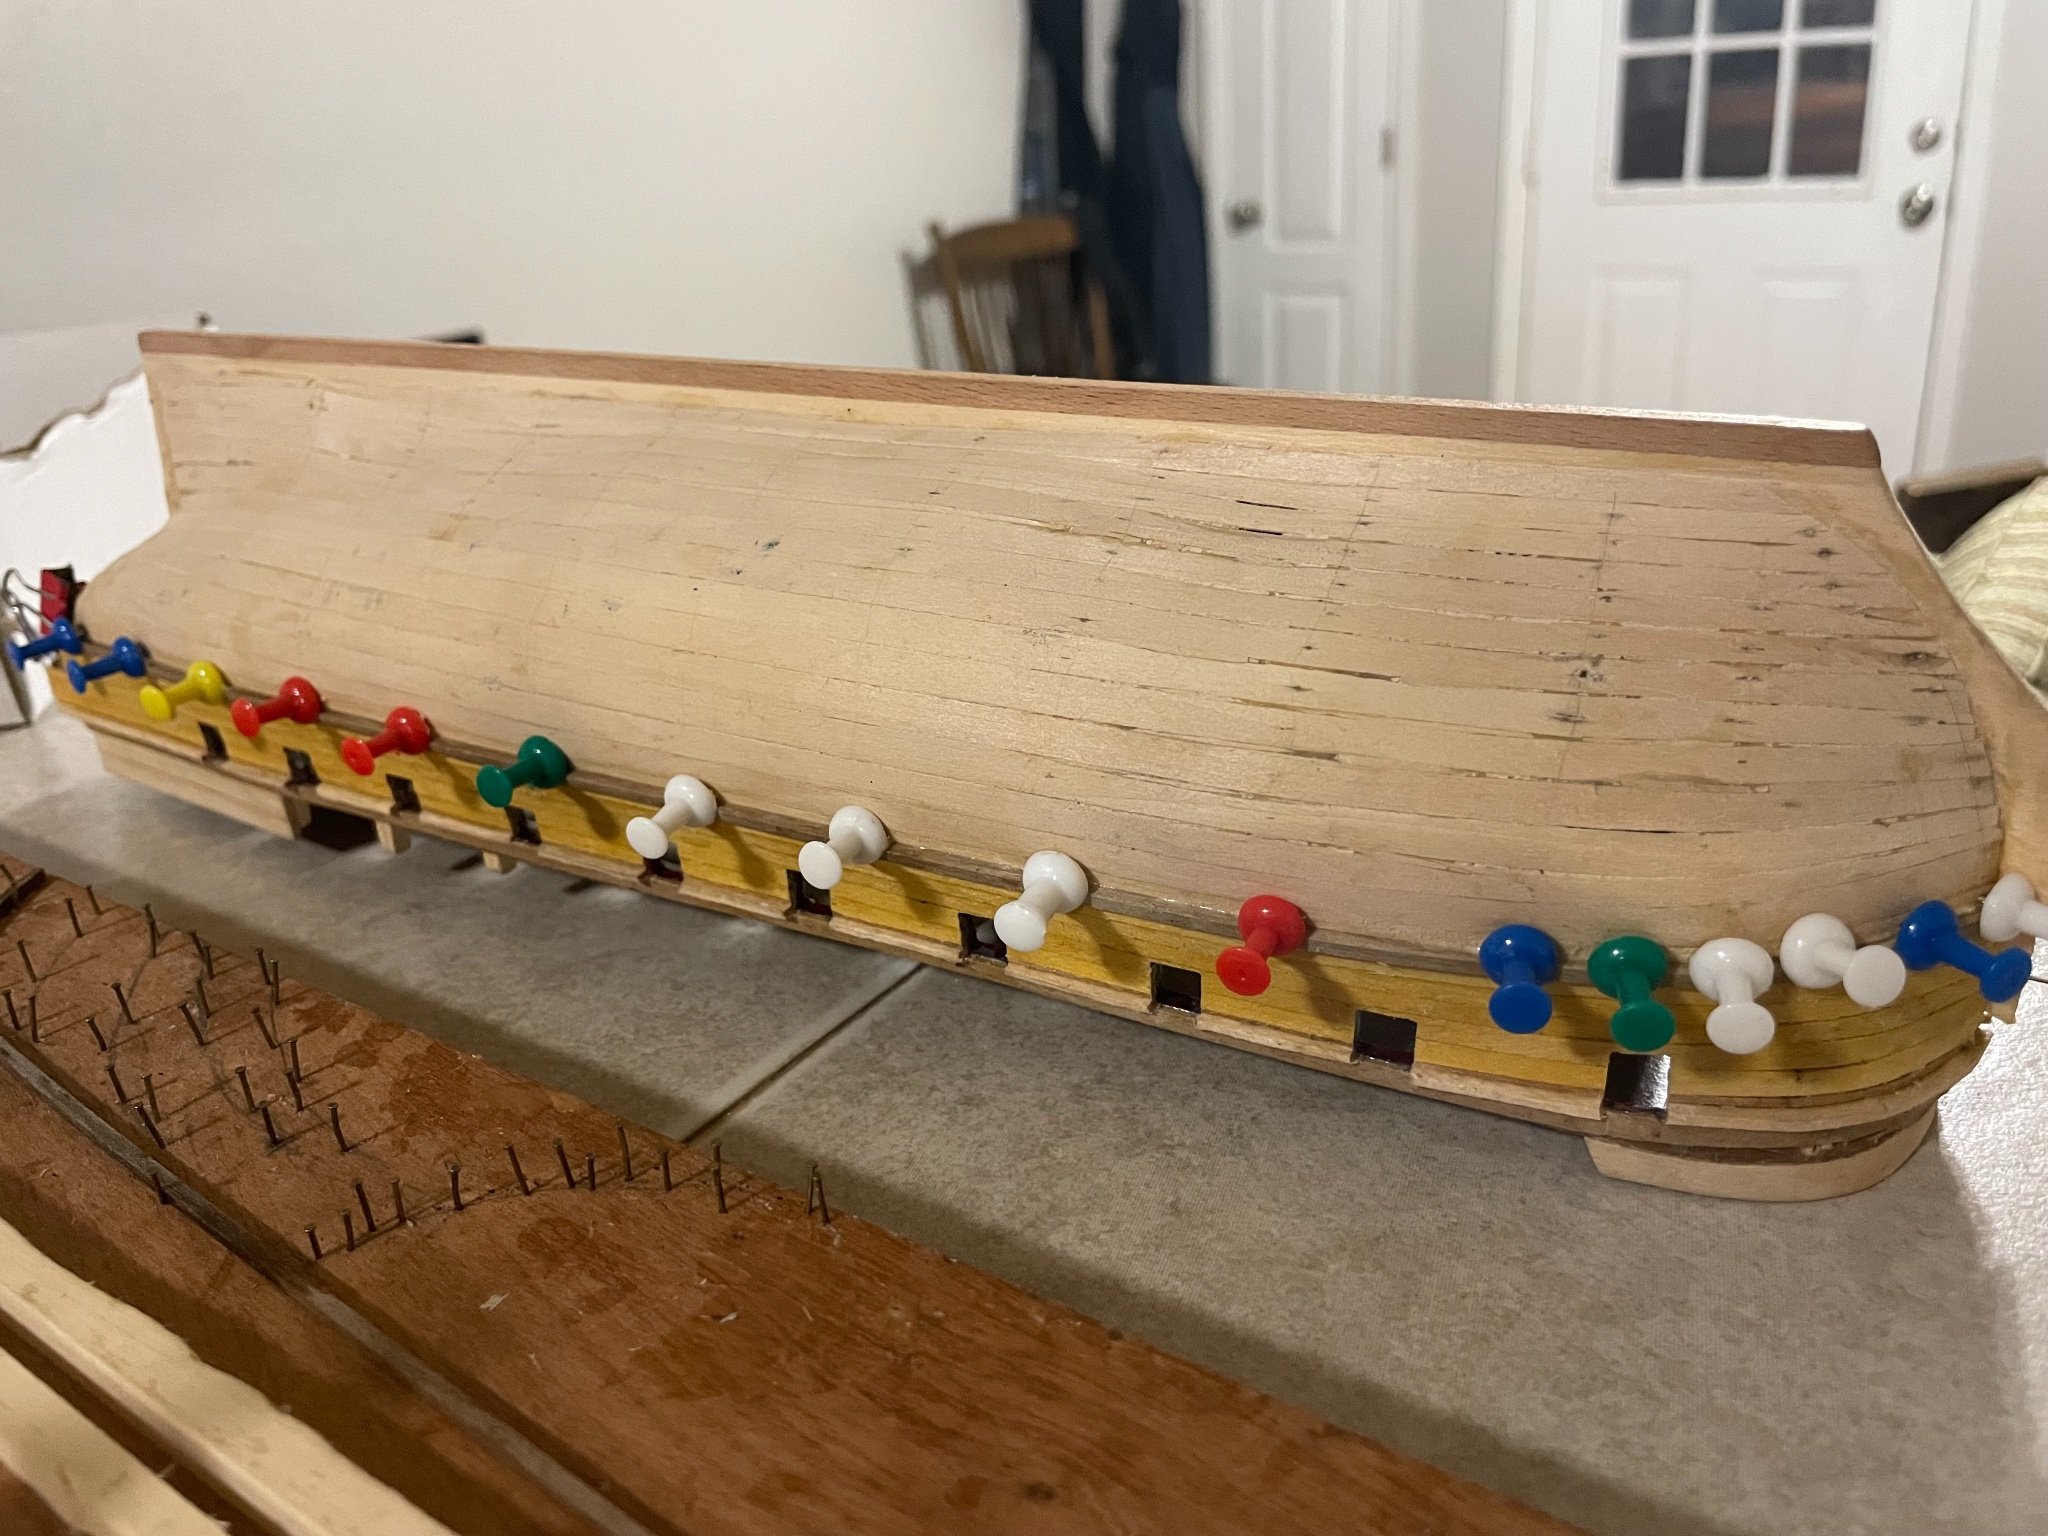
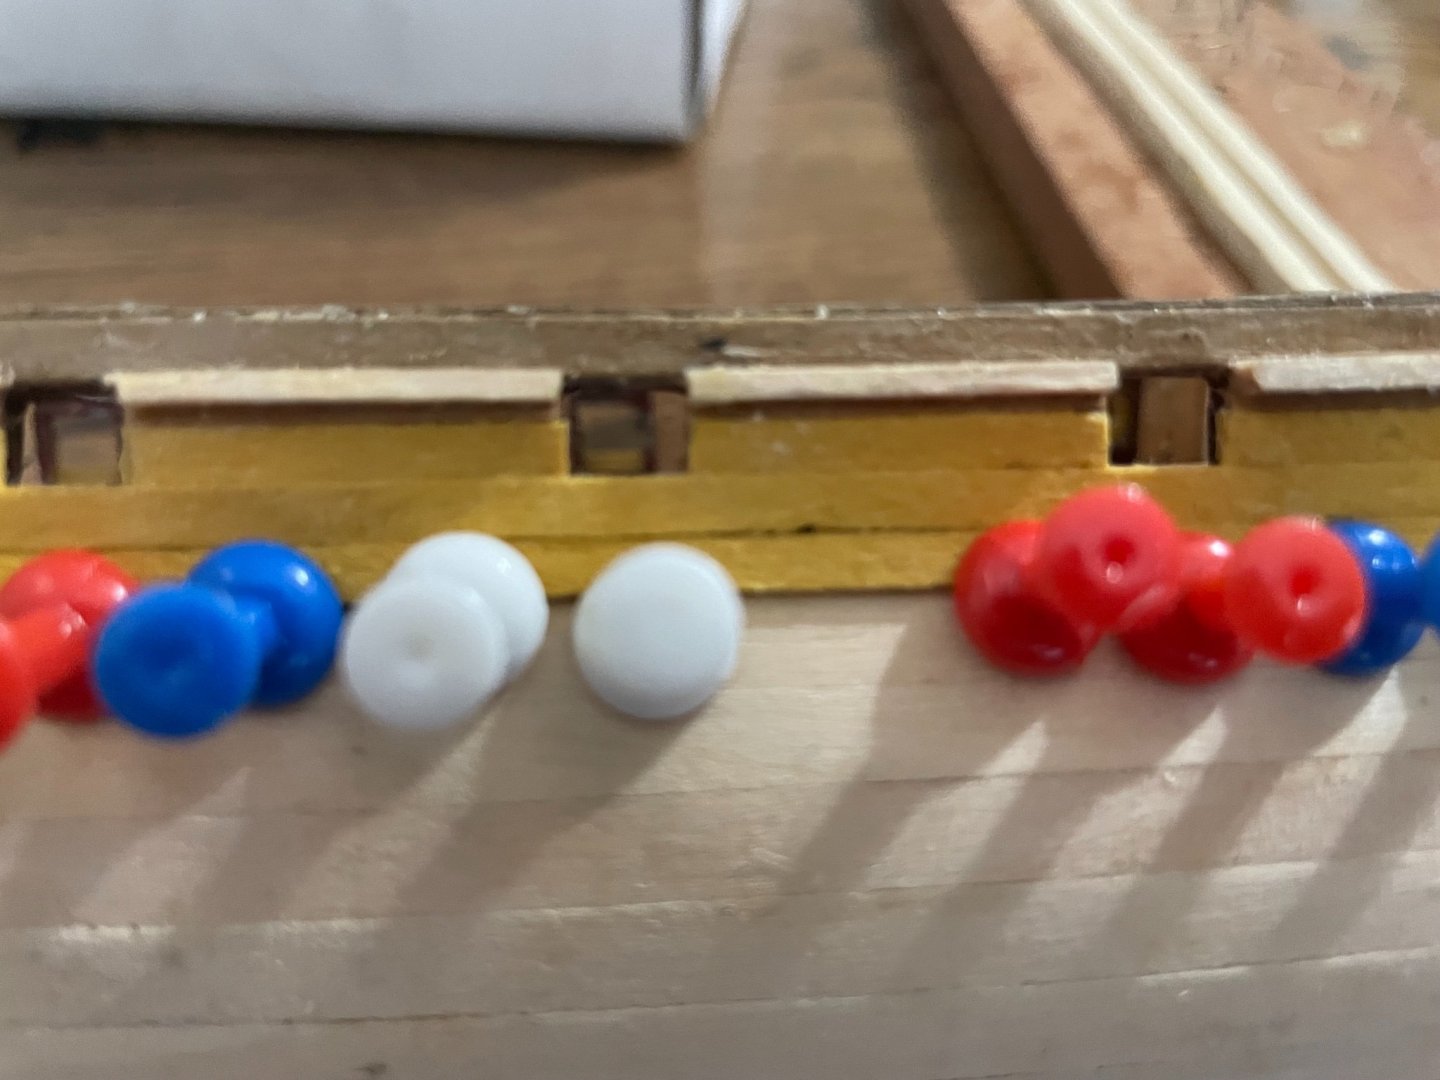
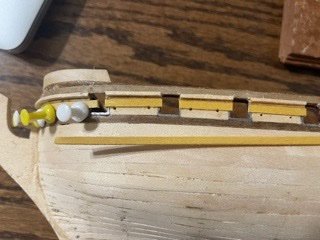
The answer to the gunwale issue was spaghetti! After thinking about it for a few days, I remembered an experience I had cooking spaghetti recently. The narrow spaghetti noodles became flexible quickly when boiled, but thicker linguini noodles took some time before becoming flexible. I applied the same principle to the 2mm by 2mm gunwale. Instead of soaking it in hot water for 20 minutes as in previous steps, I soaked it for about an hour, changing into new hot water every 20 minutes. It worked like a charm. So well, in fact, that I forgot to post until now. The one difficult part was bending the unsoaked parts of the wood on to the hull. However, by putting thumb tacks into the ribs of the ship, I could get a strong enough hold to secure the gunwale. At this point, I have only two gunwale pieces currently left to glue on, and one left to bend.


-
Hey @harlequin, any advice on how to best bend the 2mm by 2mm walnut pieces?
-
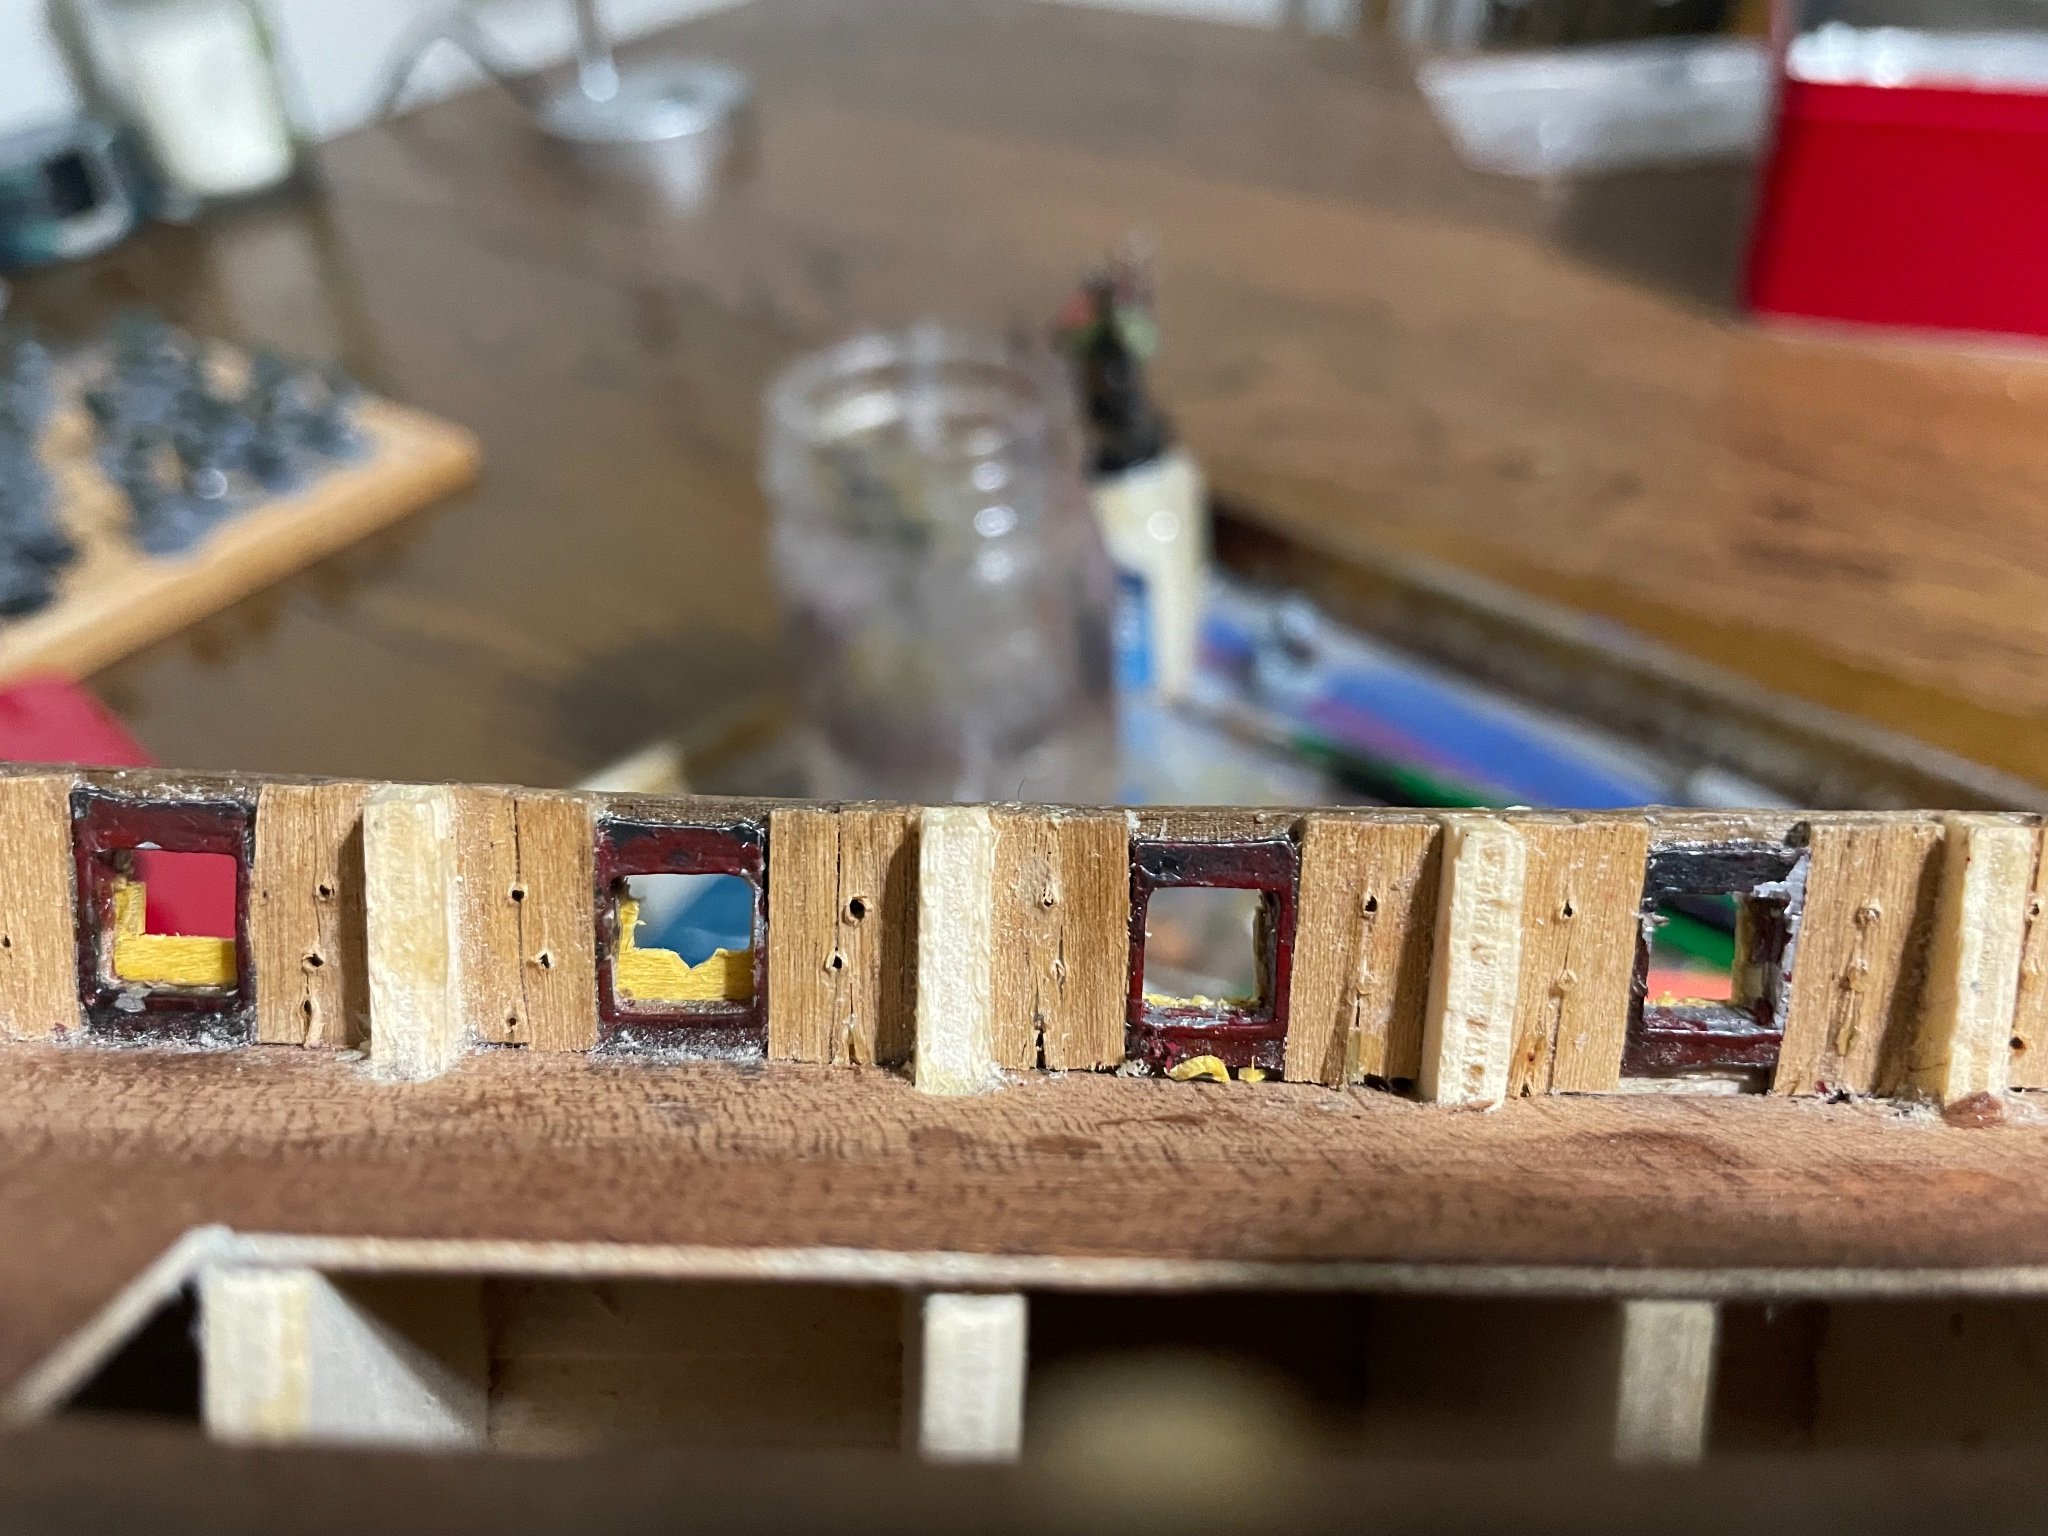
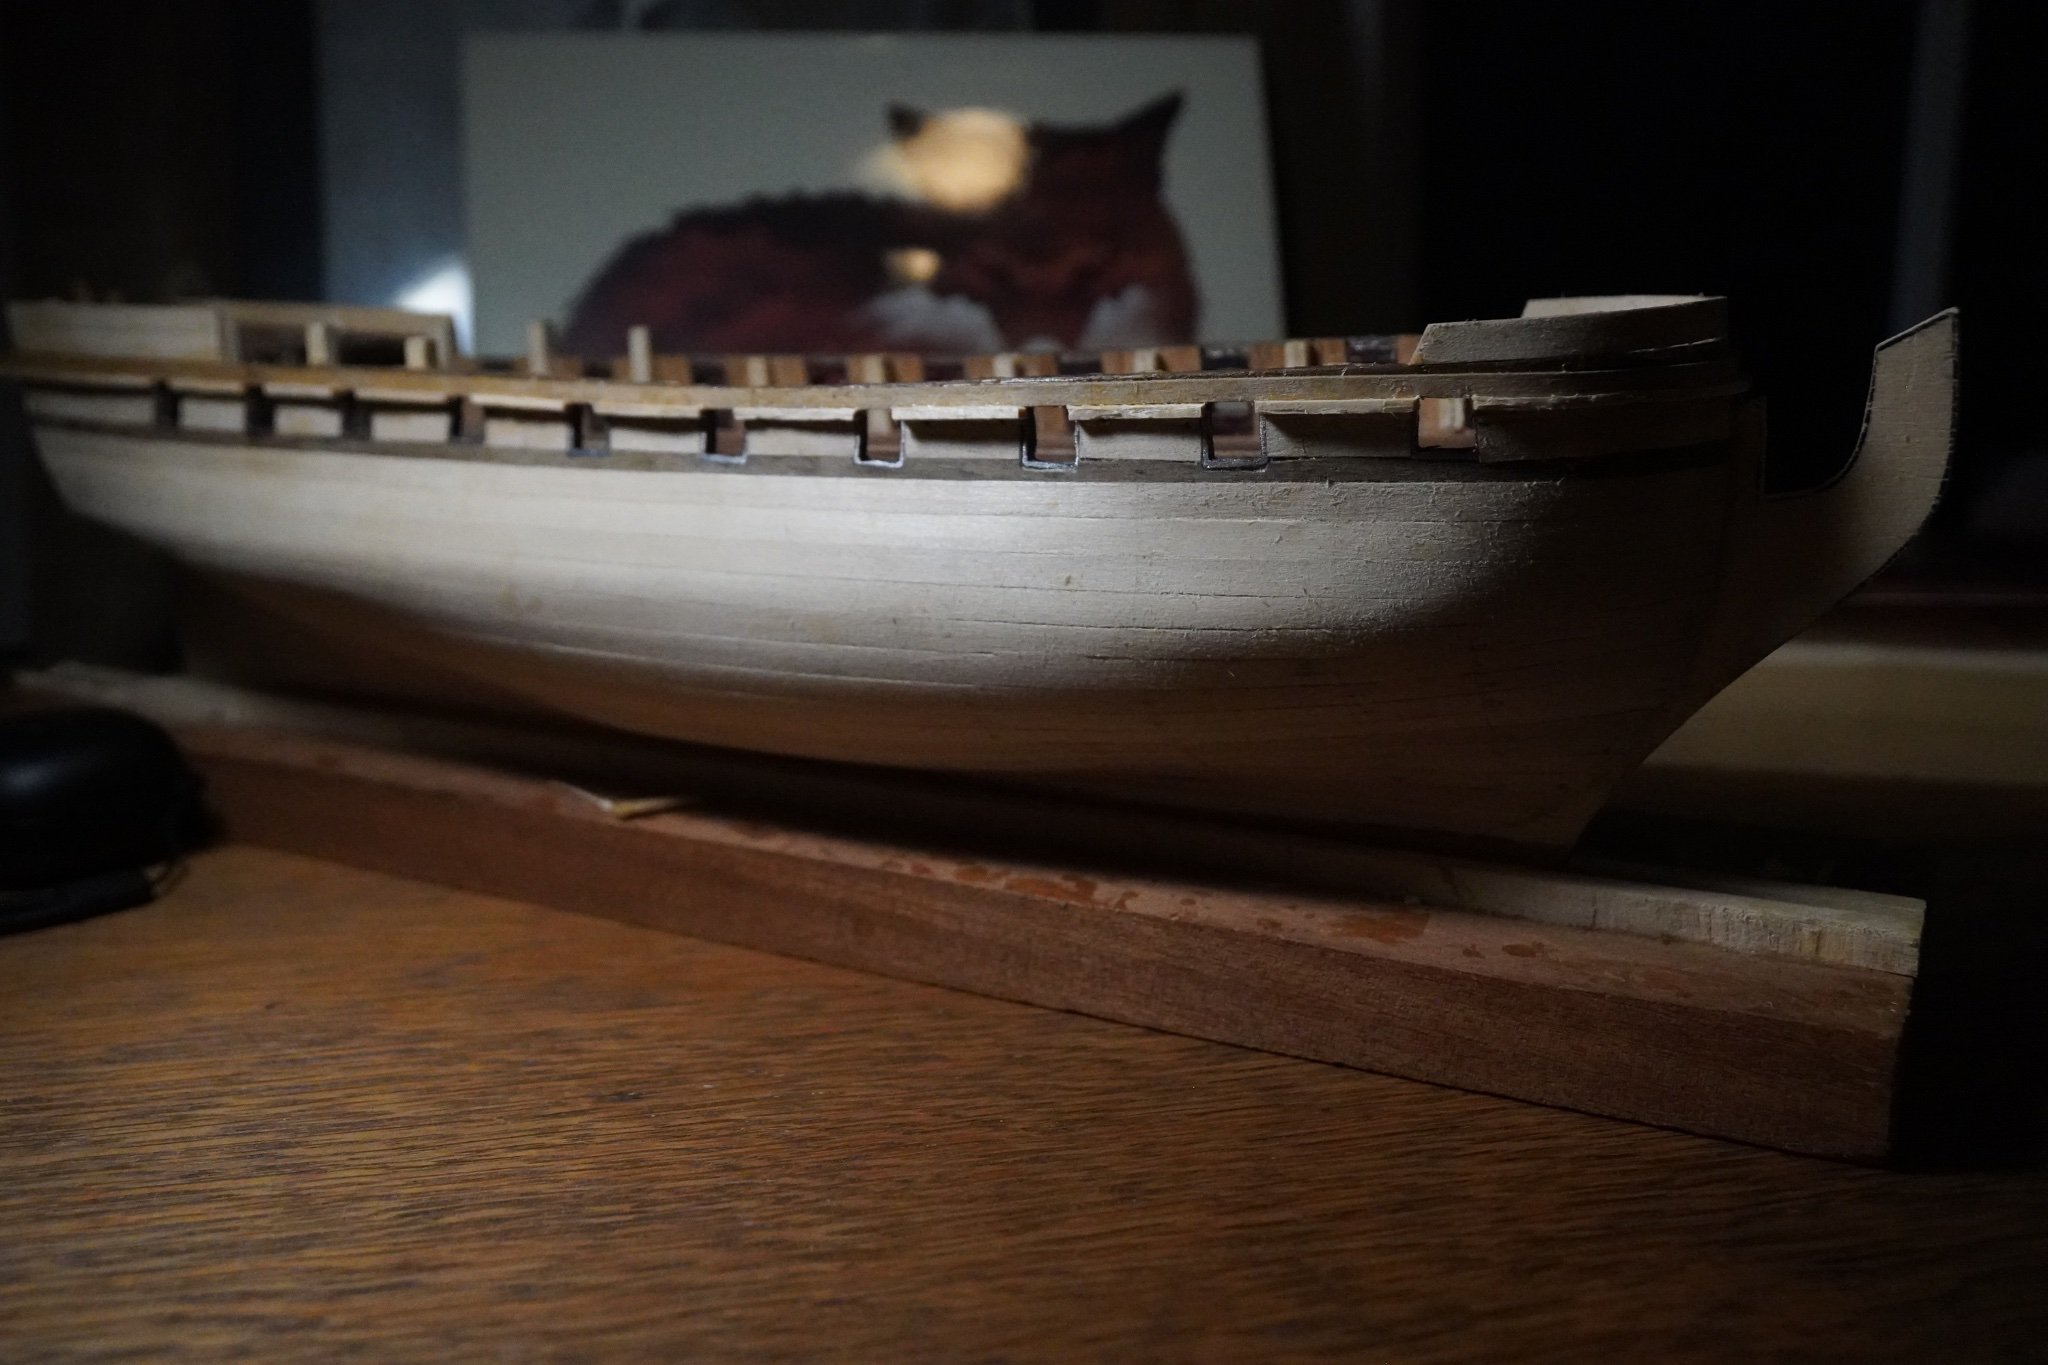
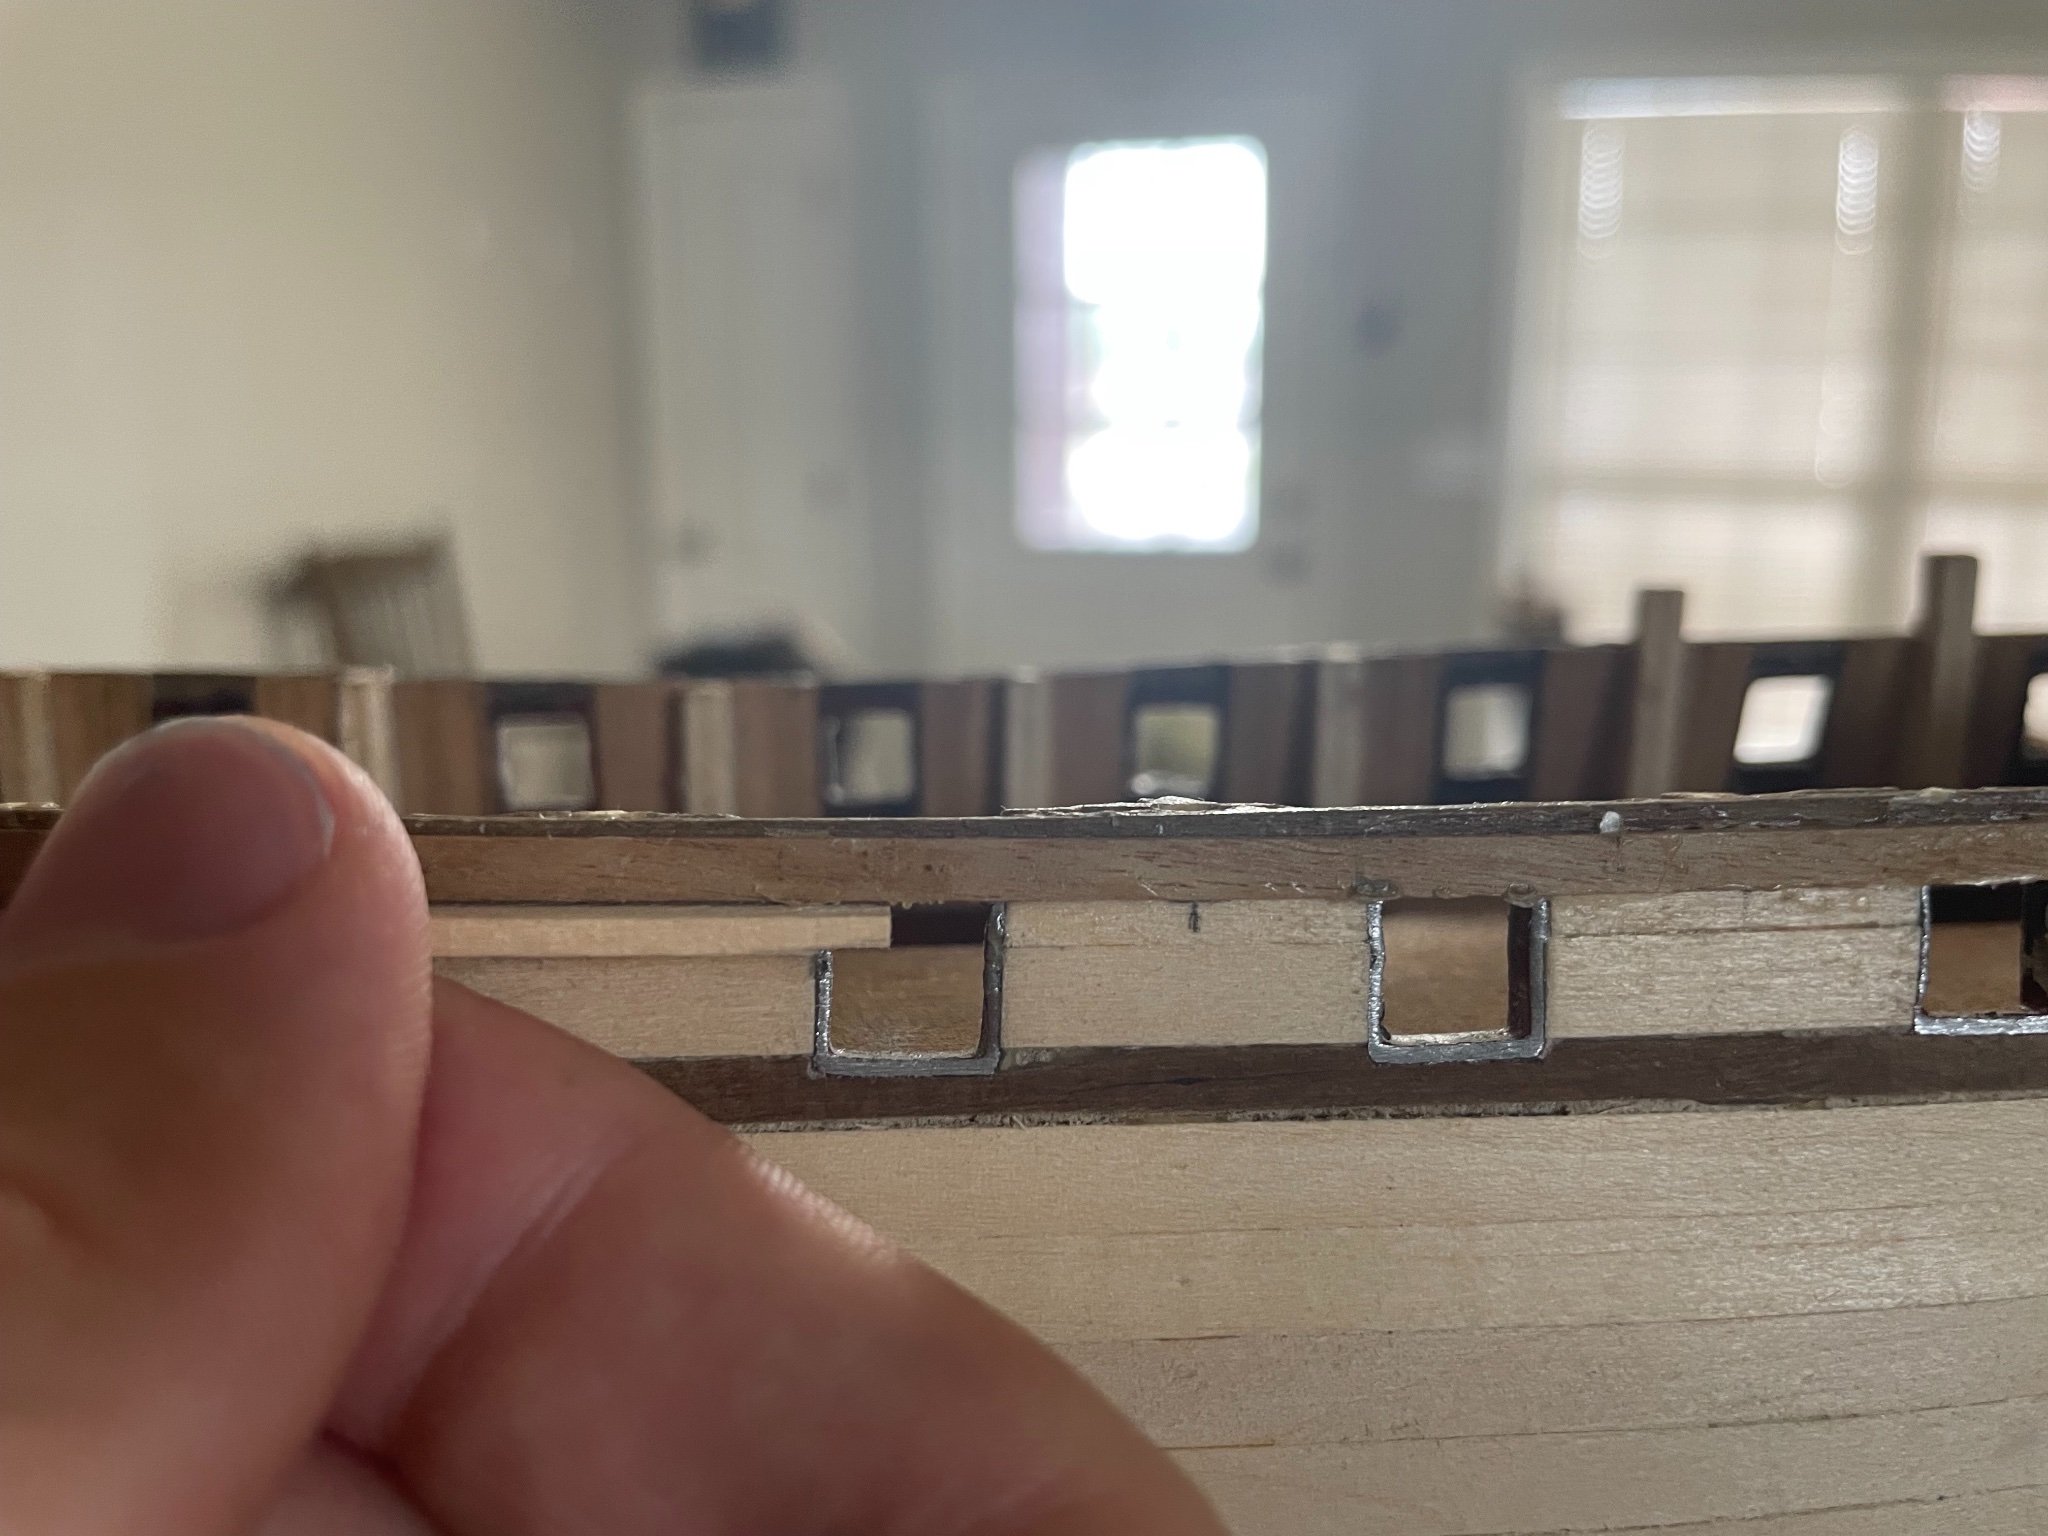
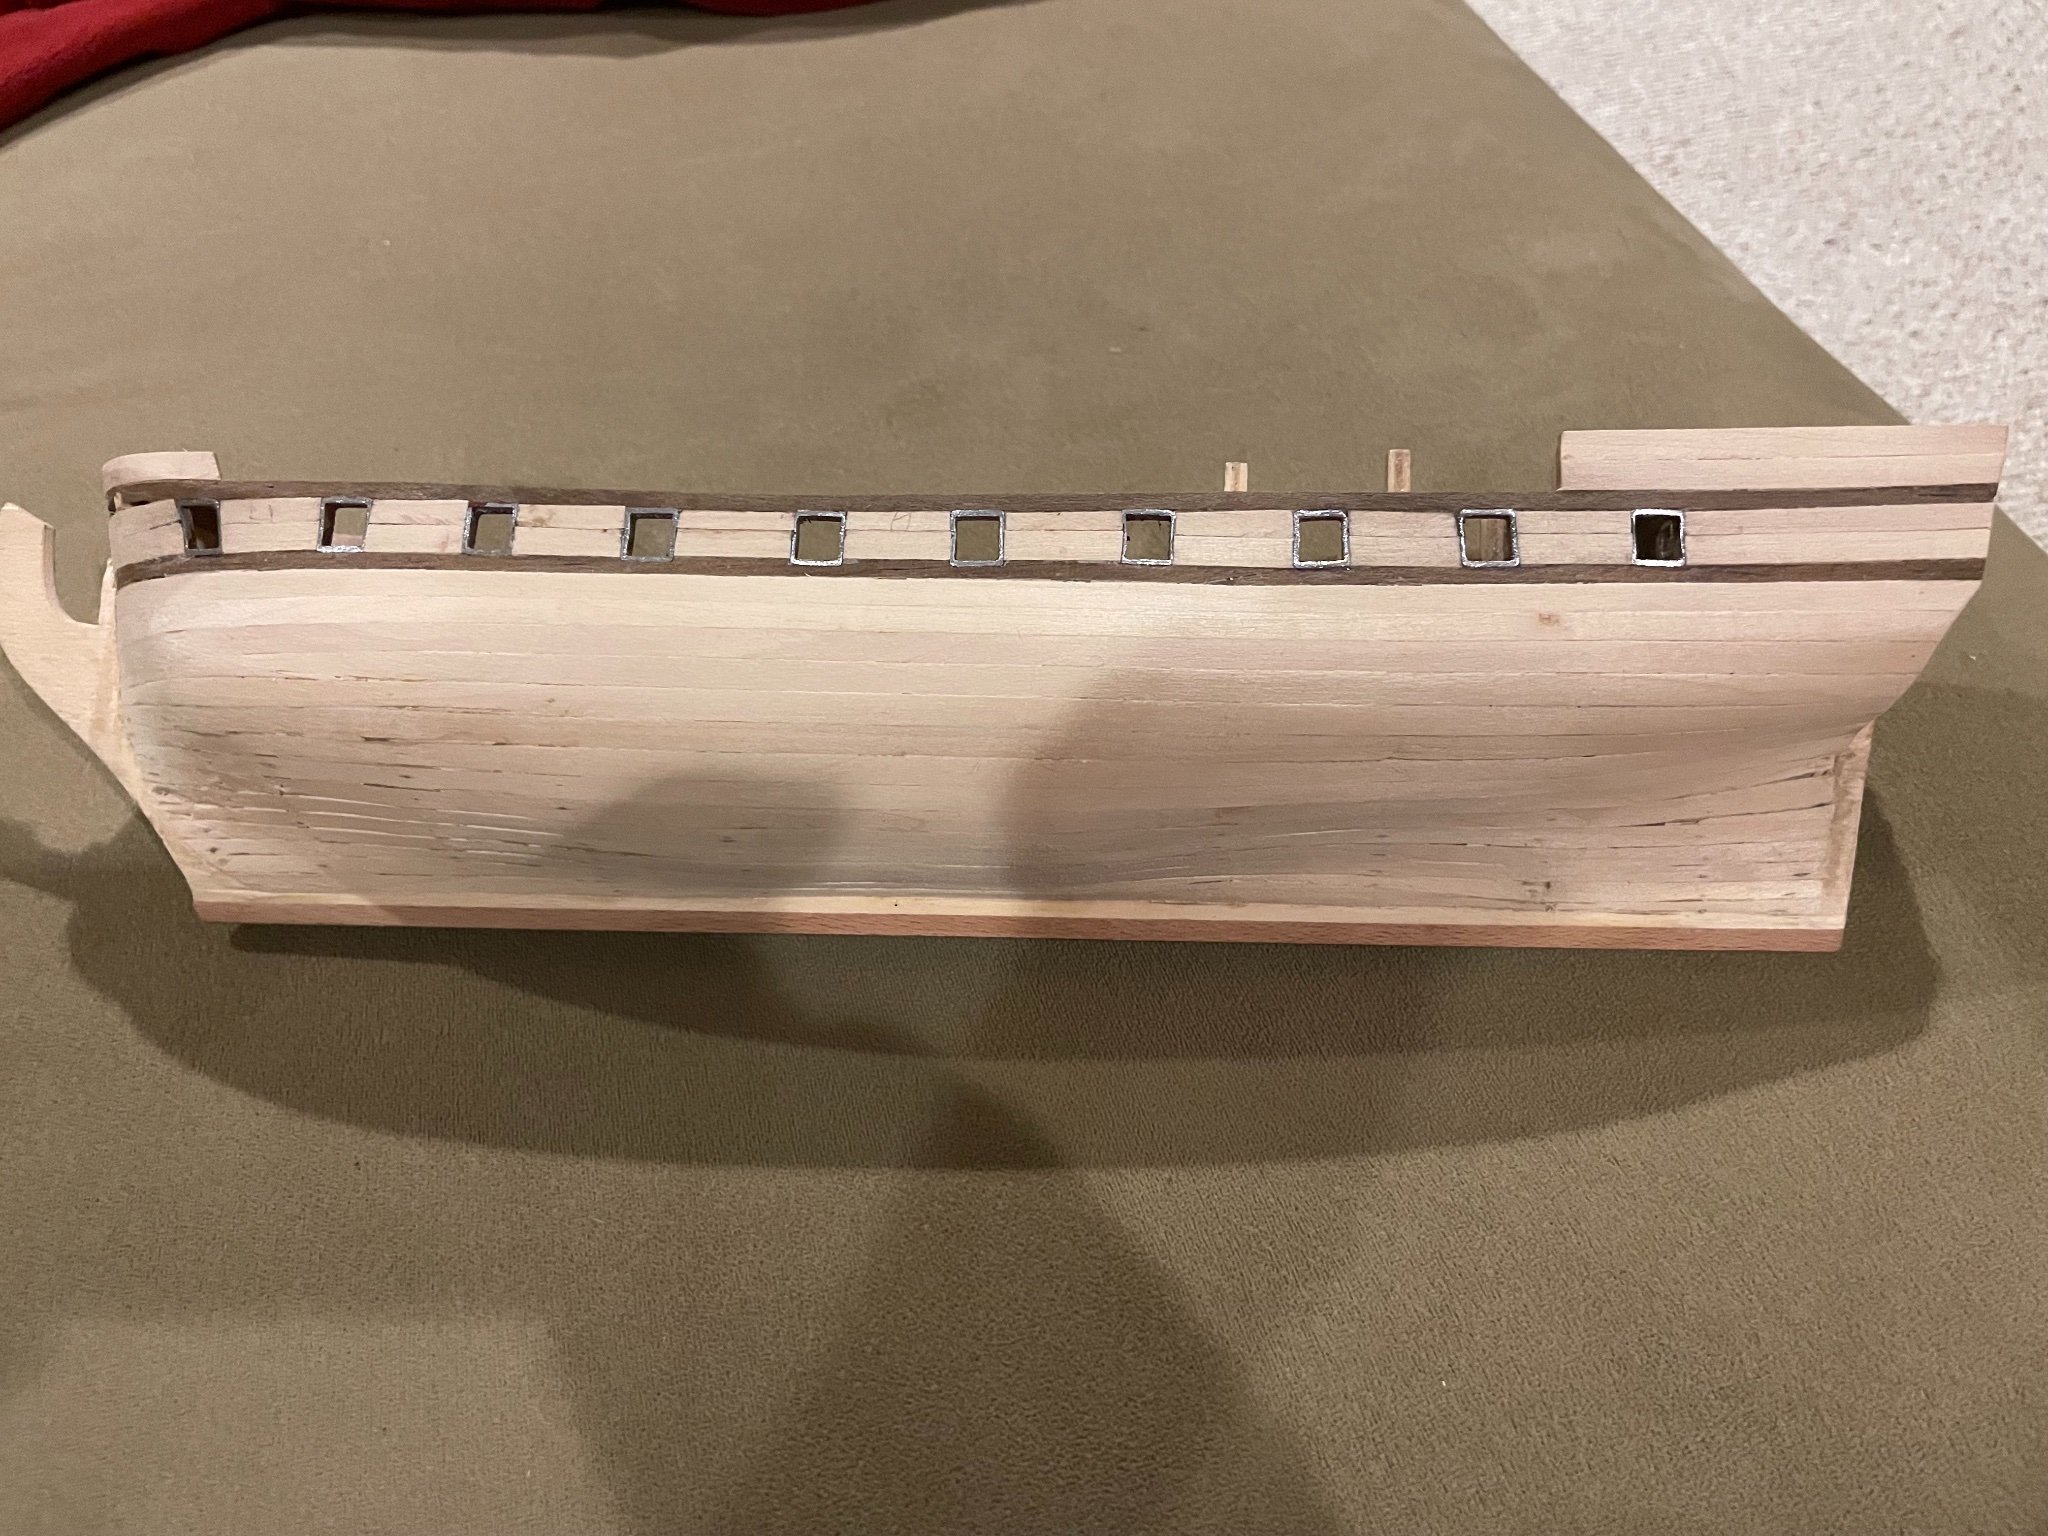
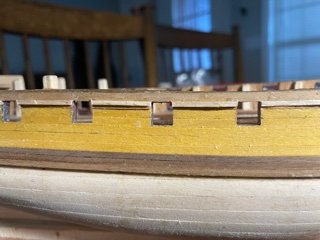
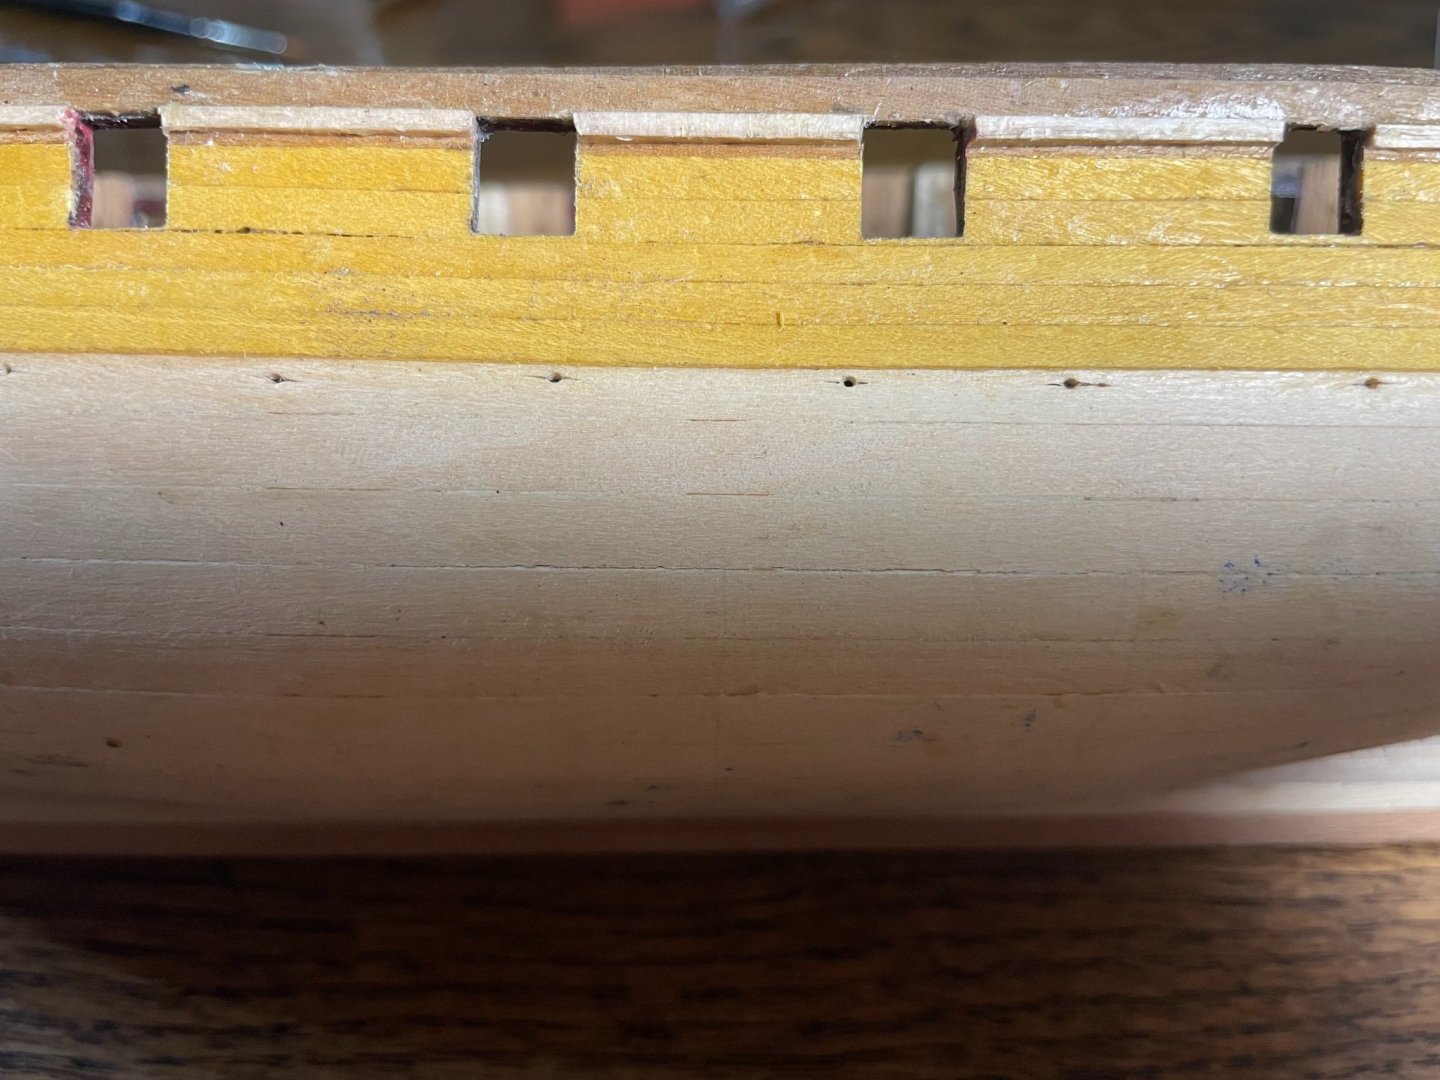
Before bending on the walnut, I finished sanding the gun ports. It's made them much more square and satisfyingly wide. Low-risk, high-reward steps like these can be relaxing waypoints between the thrill of trying to make a thin plank bend without breaking it. To cut out the ports, I cut a triangle into the middle of the bottom piece of yellow basswood. Then, I whittled at the edges of the triangle until I reached the edges of the port. Finally, I used a small file to cut away the remaining surplus wood and the deformities in the metal.


-
For the next step, I'd like some advice. I have six 2mm by 2mm pieces of walnut I need to bend on next, but they don't feel very bendy. Do I just need to boil them hard and bend them as in past updates, or is there a trick to getting thicker pieces of wood to get the right shape?
-
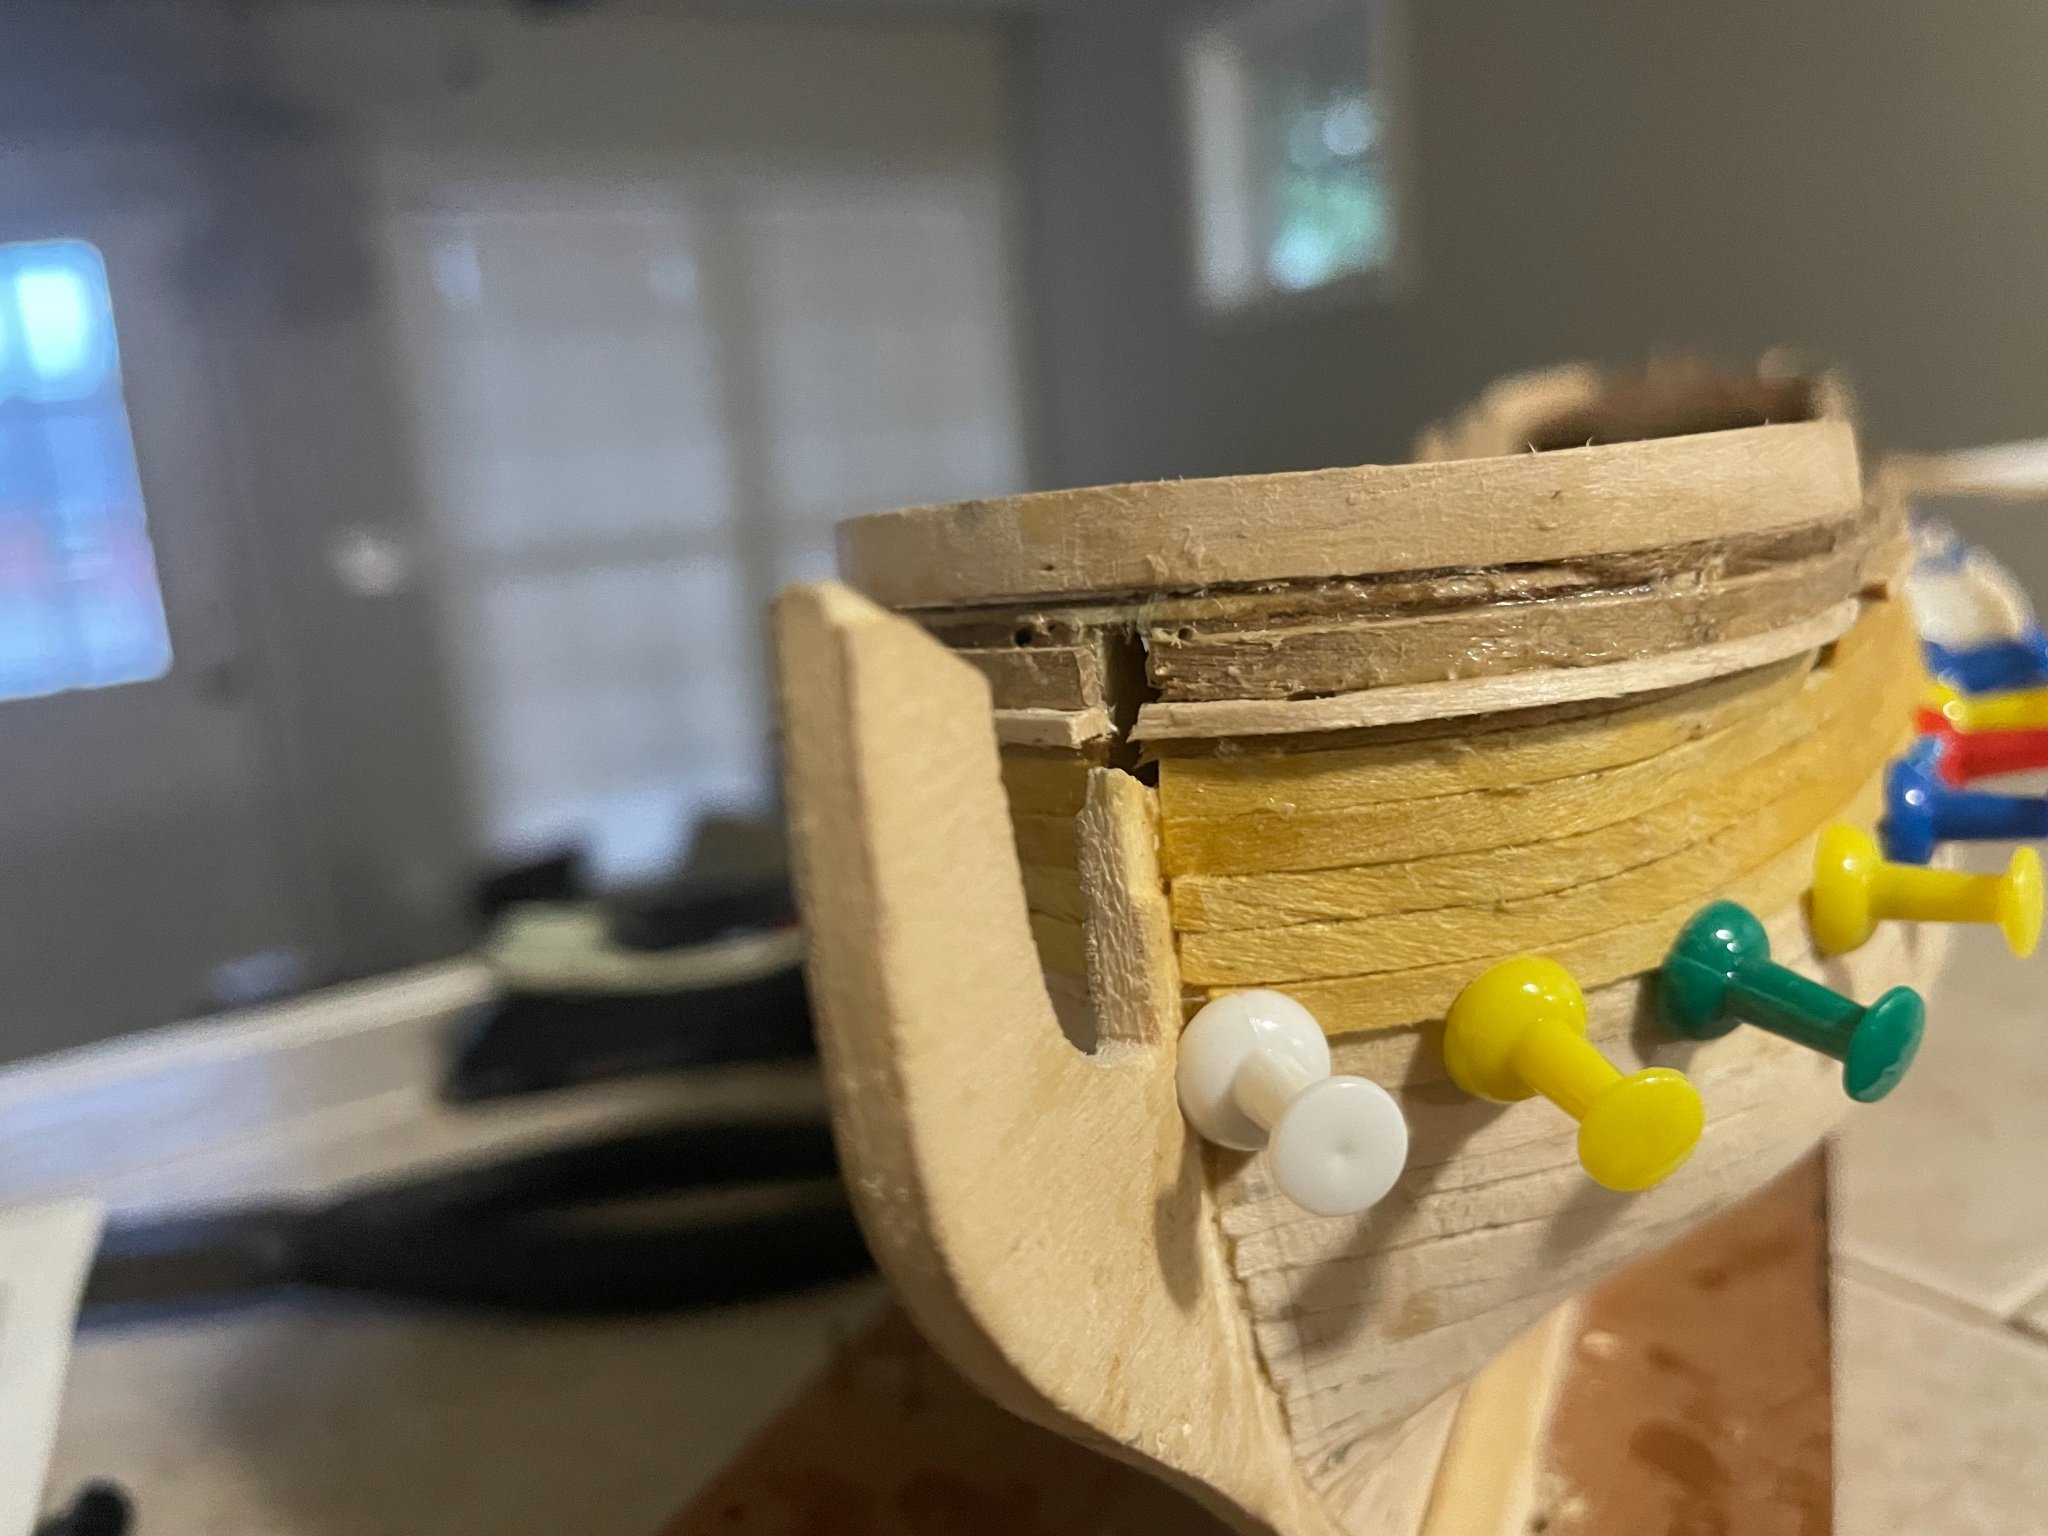
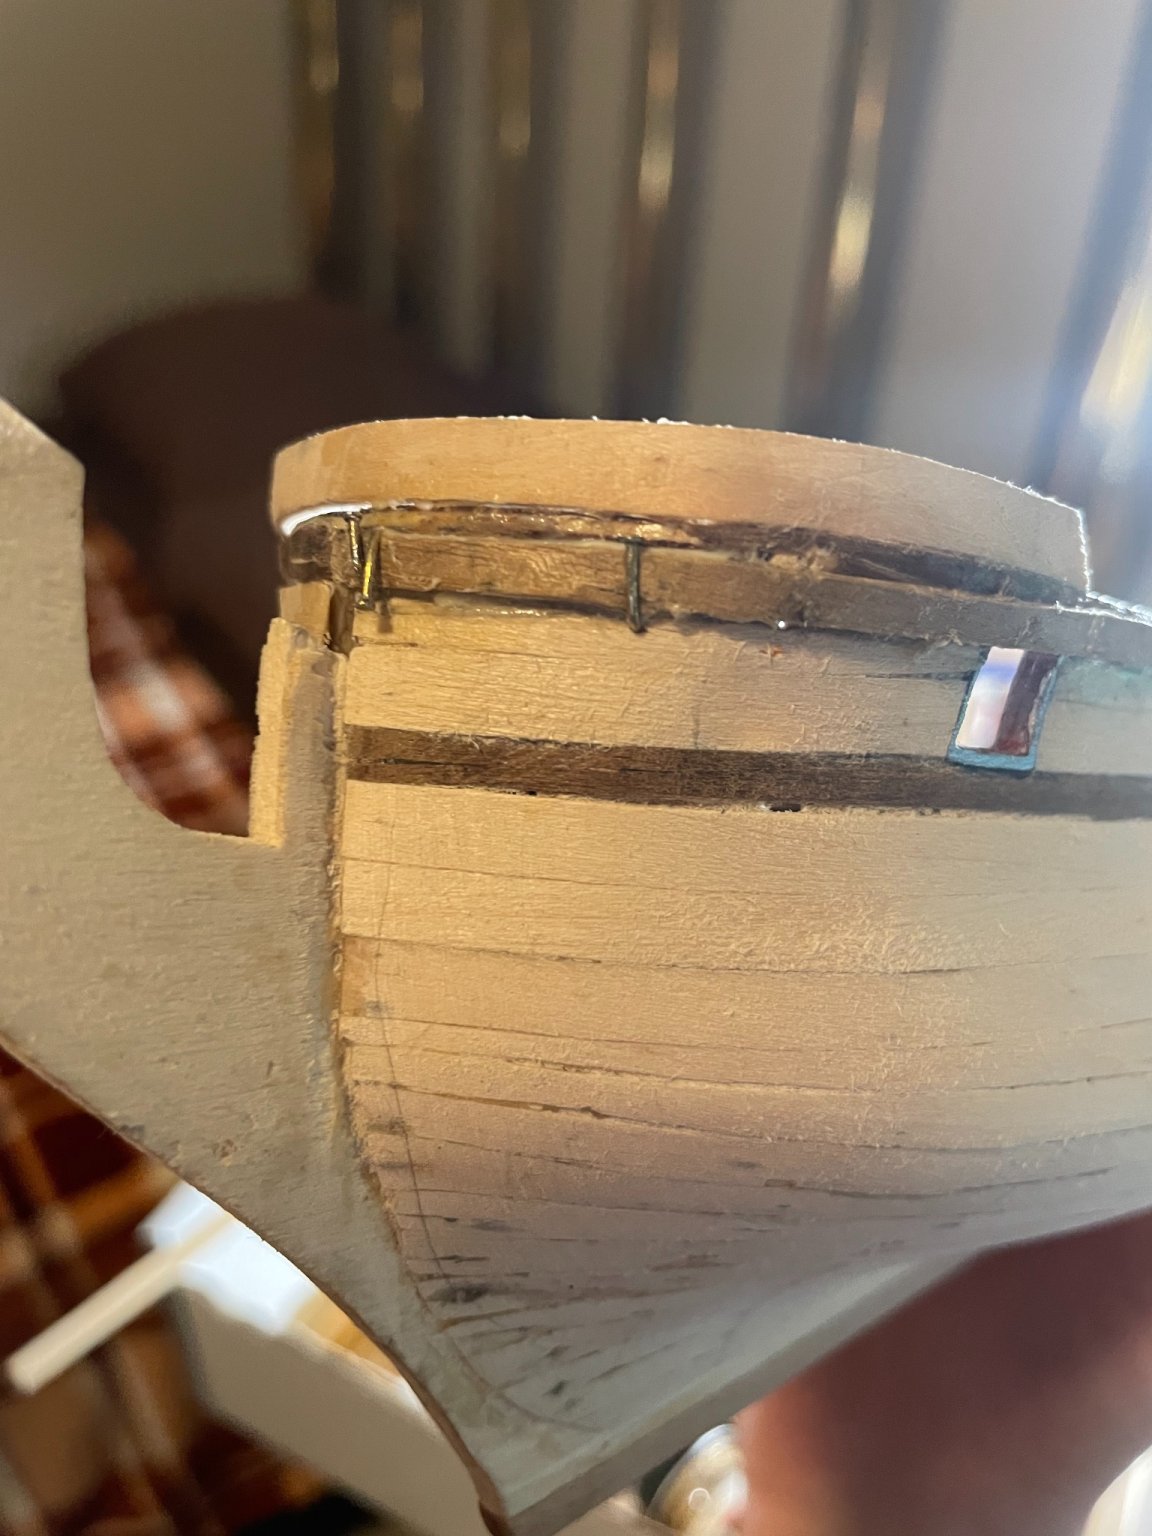
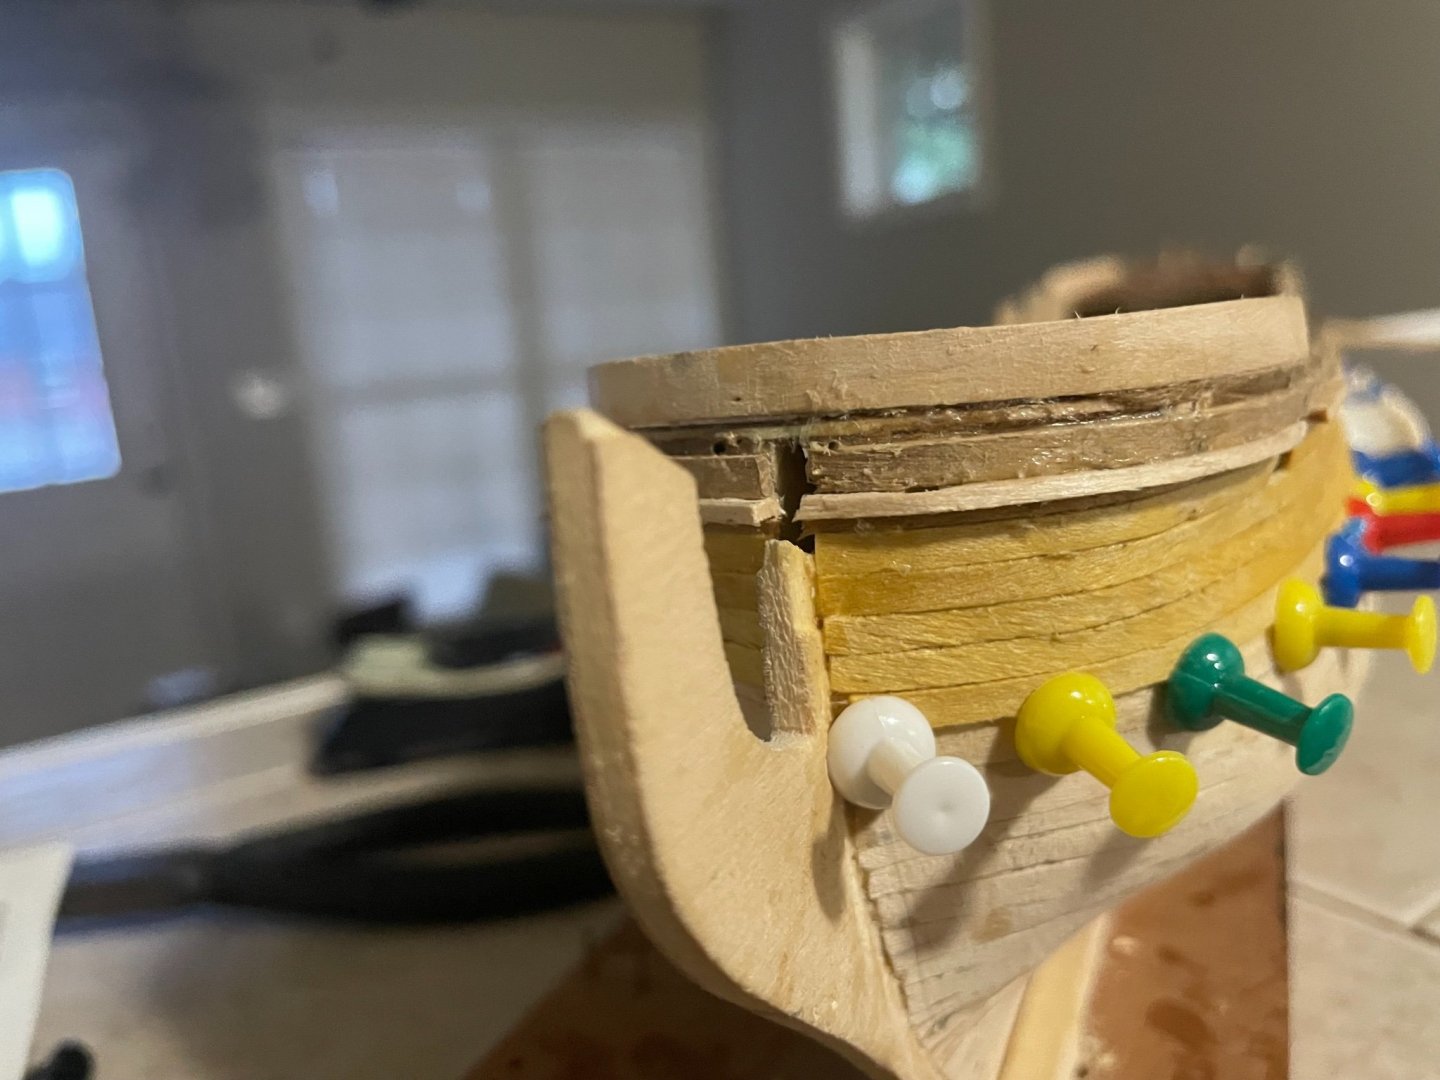
I knew things had been going to smoothly for far too long. It has now been one day since I've made a mistake. While gluing the last yellow strip on, the strip went out of position. I didn't notice until long after the glue had dried, leaving a 1mm empty space between the keel at the bow and the strip. Thankfully, I have amassed a vast collection of small scrap wood pieces. At first, I fixed the problem by cutting out an equivalent-sized chunk of wood and fitting it into place. Then I realized this was a bad solution that left a fairly large crack between the two pieces. After cutting the botched replacement job away, I tried again with a different method. I cut out a piece of scrap wood about a millimeter longer than the missing segment, then shaved the end of the bow plank down until it came to a point against the ship edge. Unfortunately, I didn't get pictures. The two pieces looked roughly like this: [/ /=============================] SHIP SIDE Then, I glued the small piece onto the edge of the plank already on the ship. There was a tiny bit of overlap. [//============================= SHIP SIDE After a few refinements by knife, it was almost impossible to distinguish the end result from an undamaged plank. The good news is that I'm done with the entire yellow layer.
-
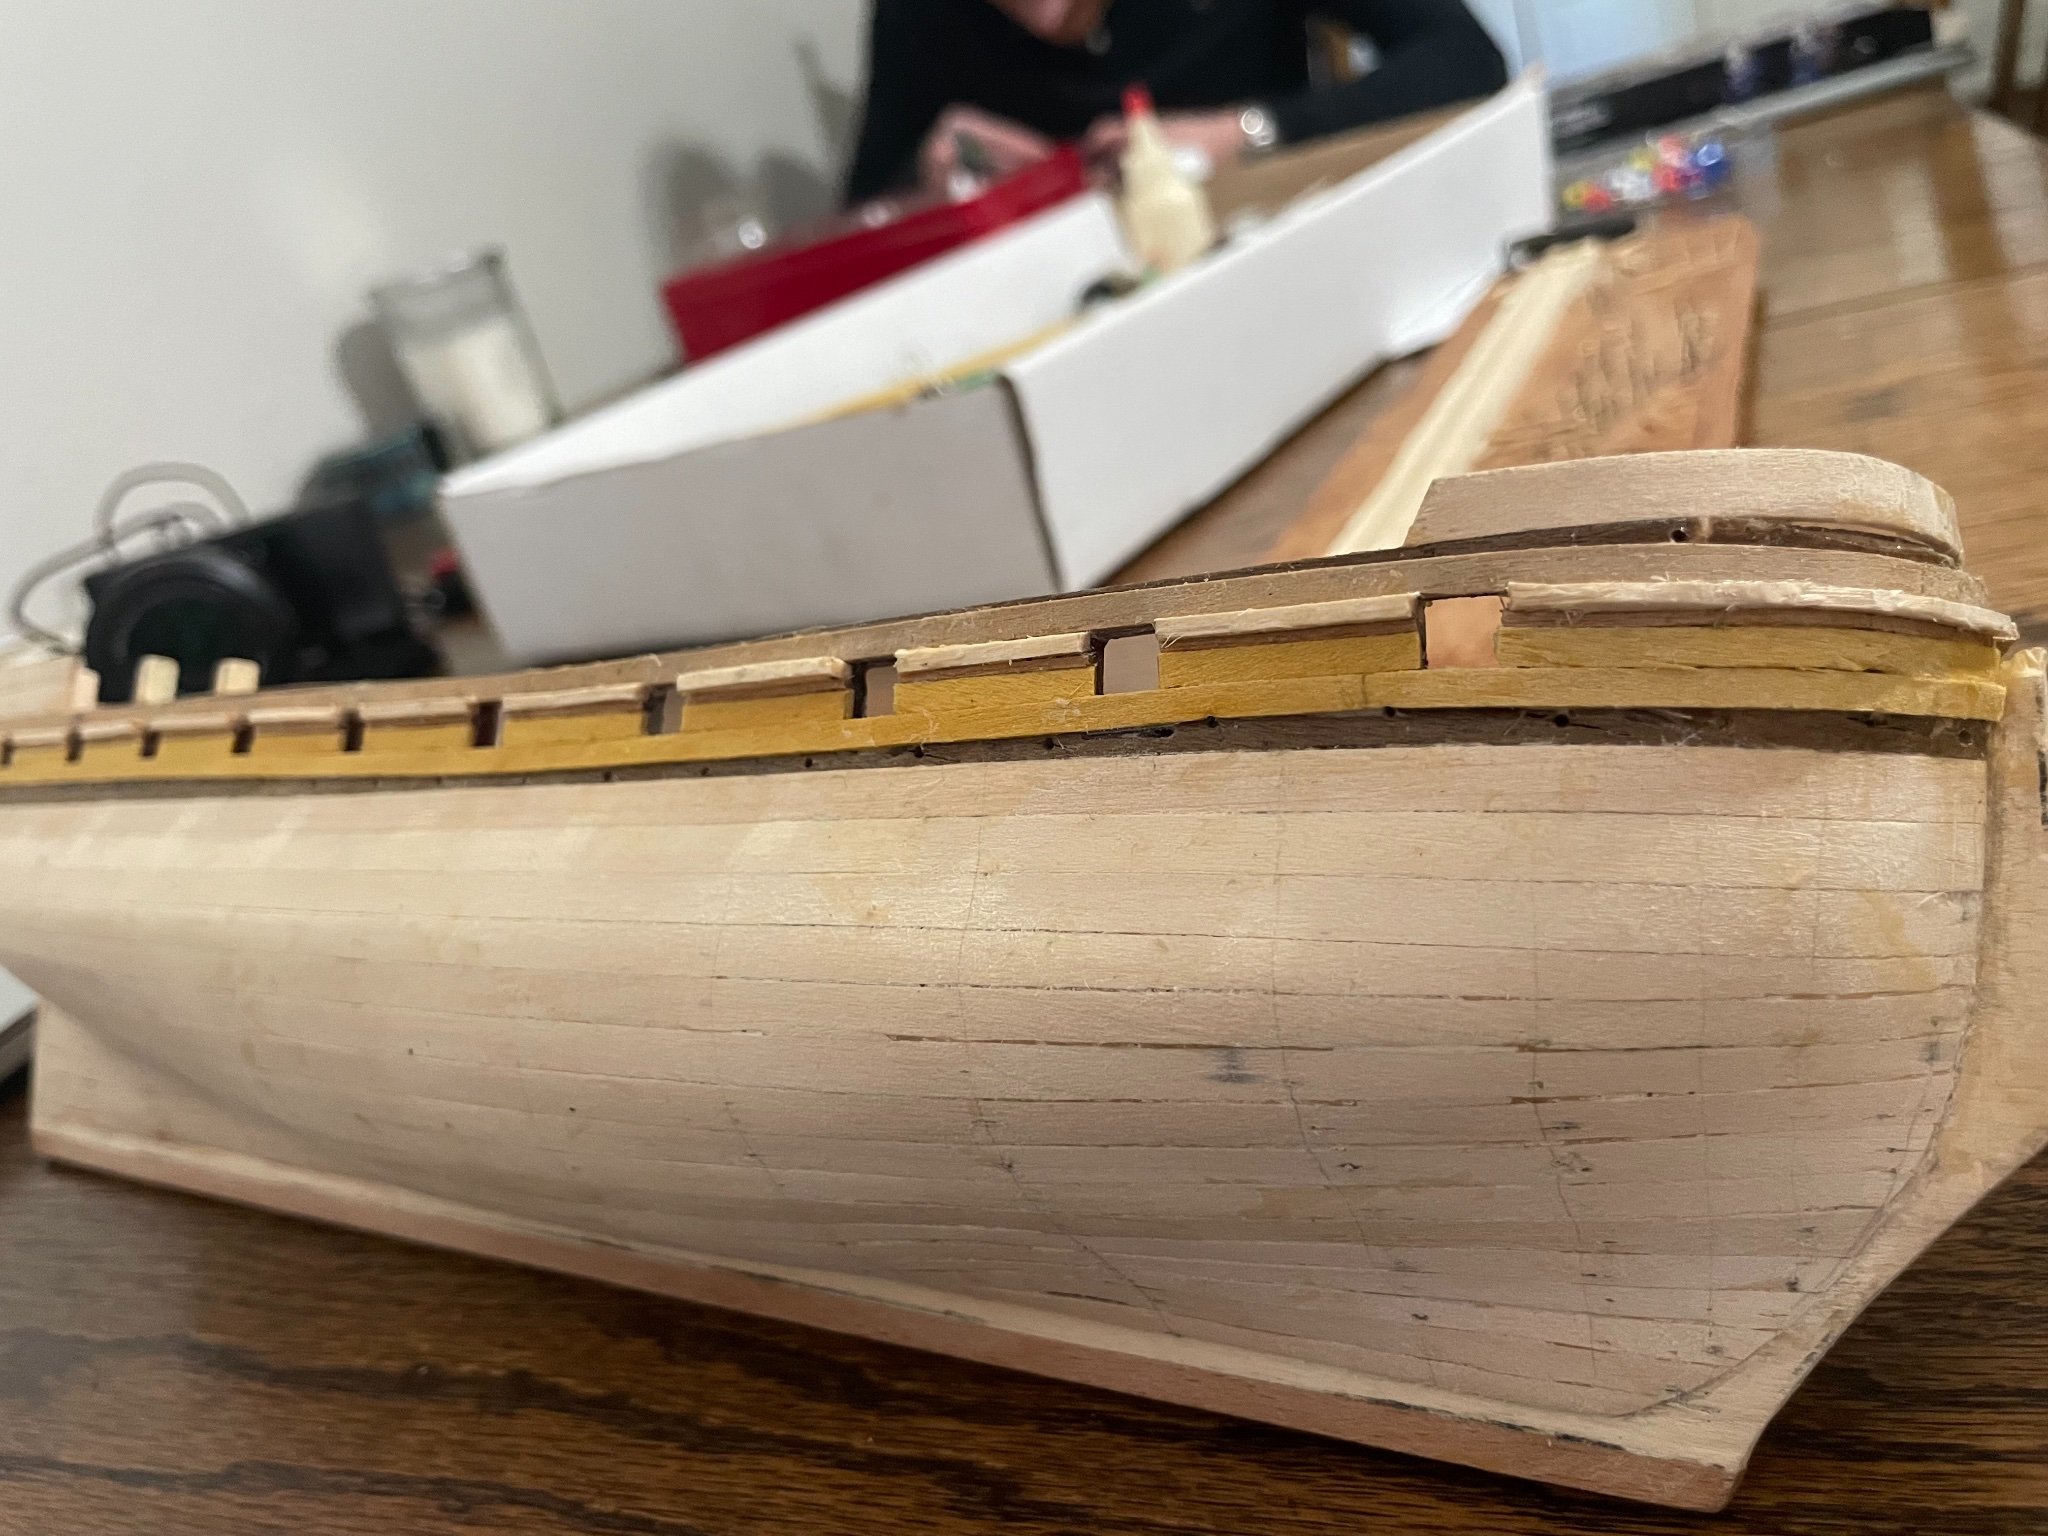
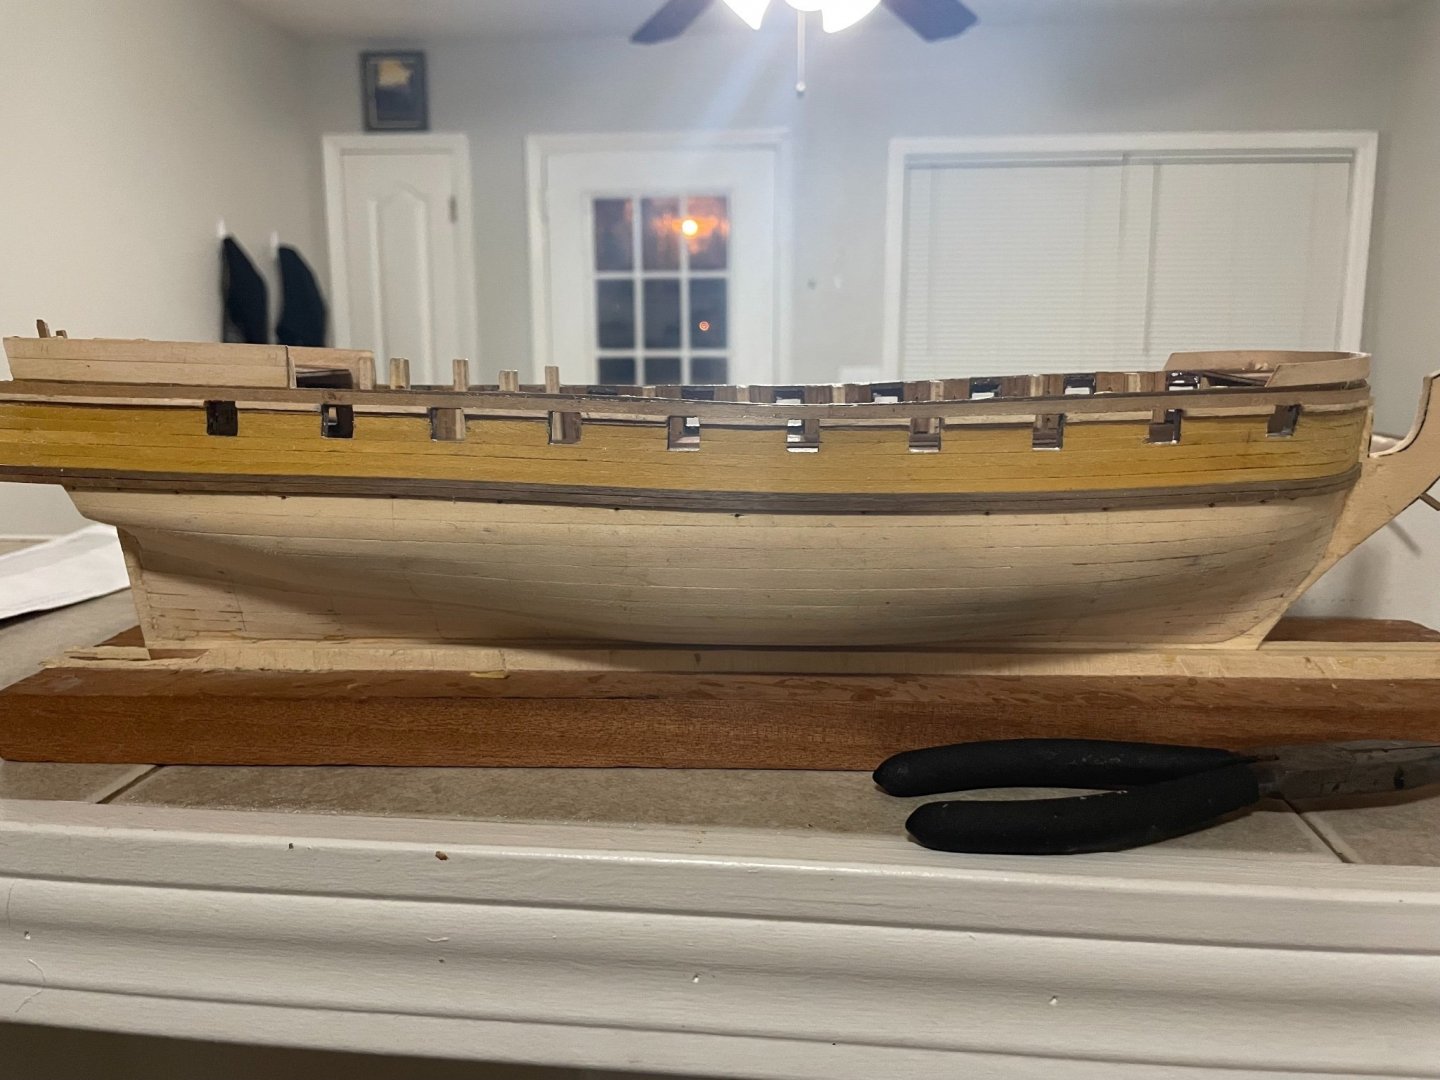
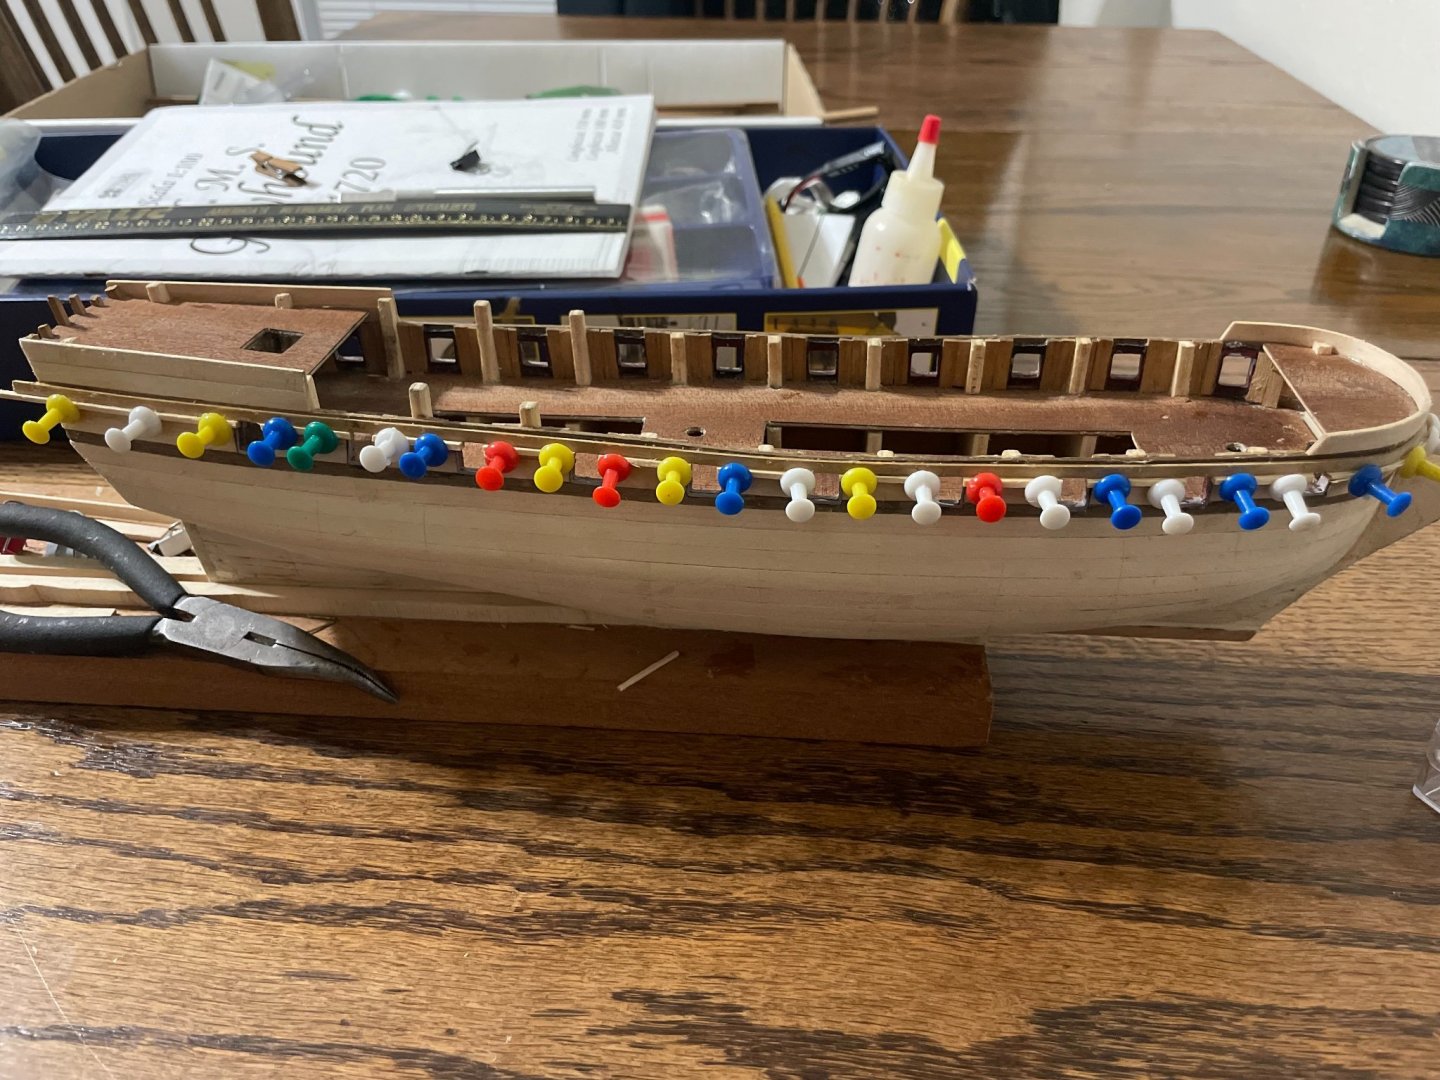
The continued application of the yellow planking has gone without a hitch. I'm now on my third plank down the hull. The only real difficulty is that when I push the tacks in, the wood bracing between the gun-ports tends to take a beating. However, a little glue for the broken pieces and the assurance that I'll be planking over the inside of the rail eventually keeps me unafraid of the small cracks on the inside. I've been working to push the planks close together while gluing so that I get a good fit. So far, it's been successful. The colors make a nice, sharp contrast. Even better, the planks on the left and right side of the ship now align in front. The most important thing I've learned so far on the second layer is that where the first layer isn't perfect, the second can disguise and correct minor errors. A first coat should be 80% right, and the additional 20% can come in during the second.


-
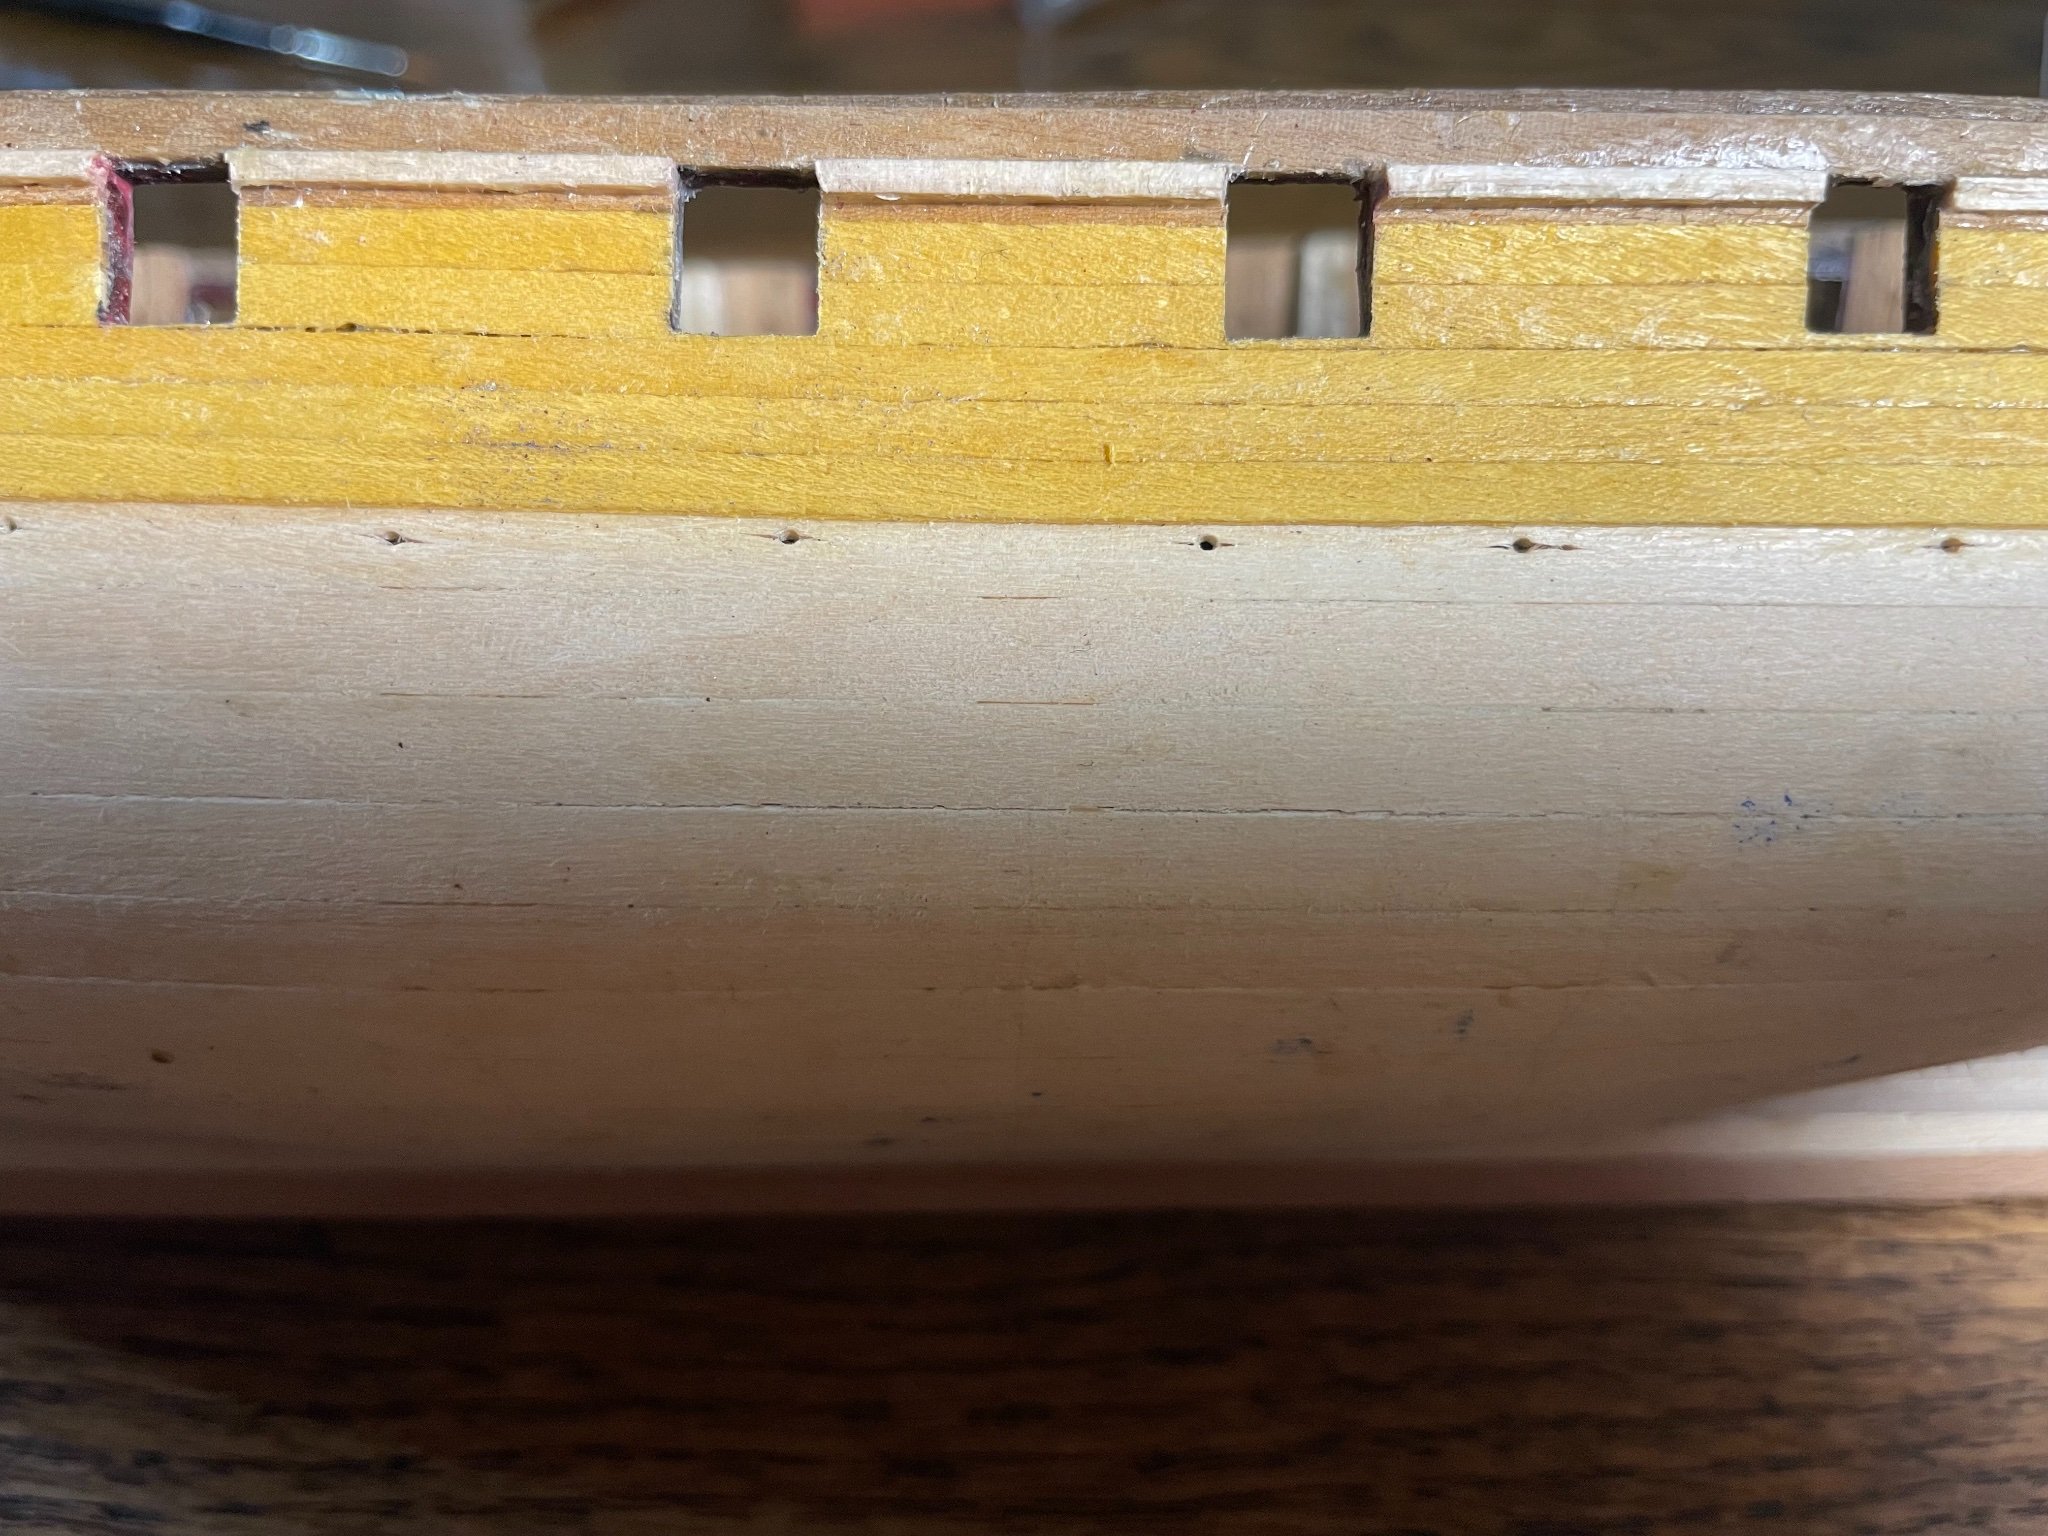
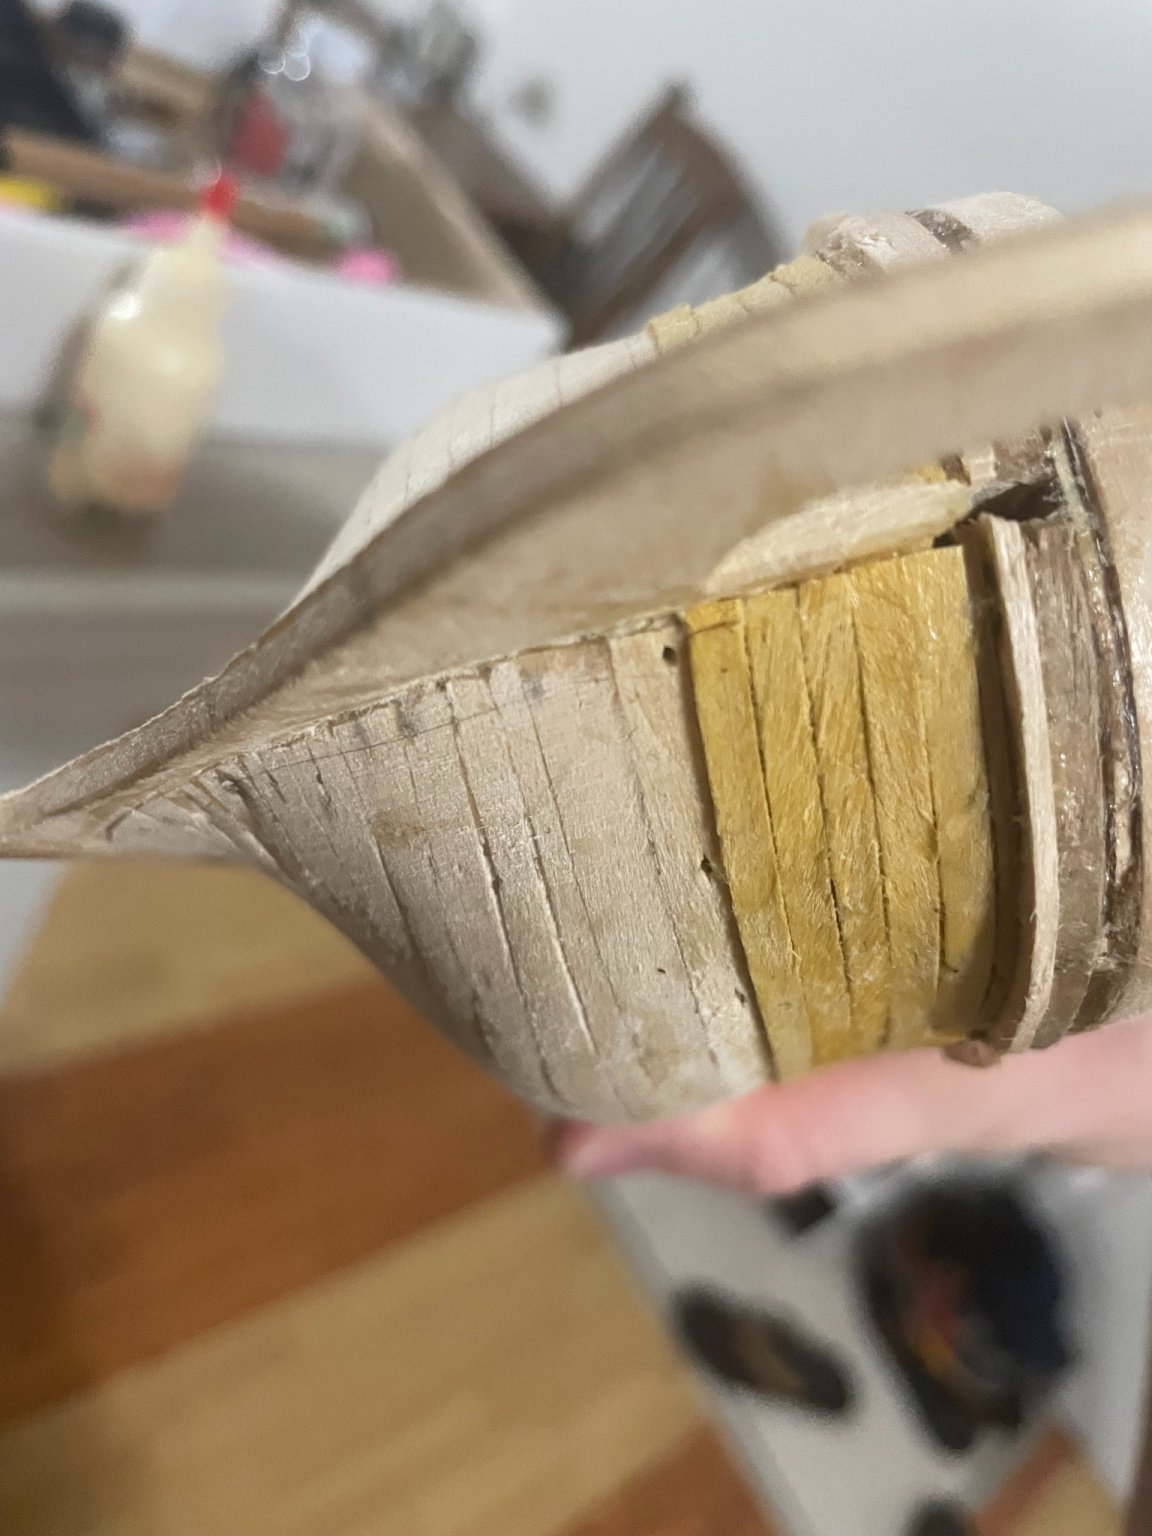
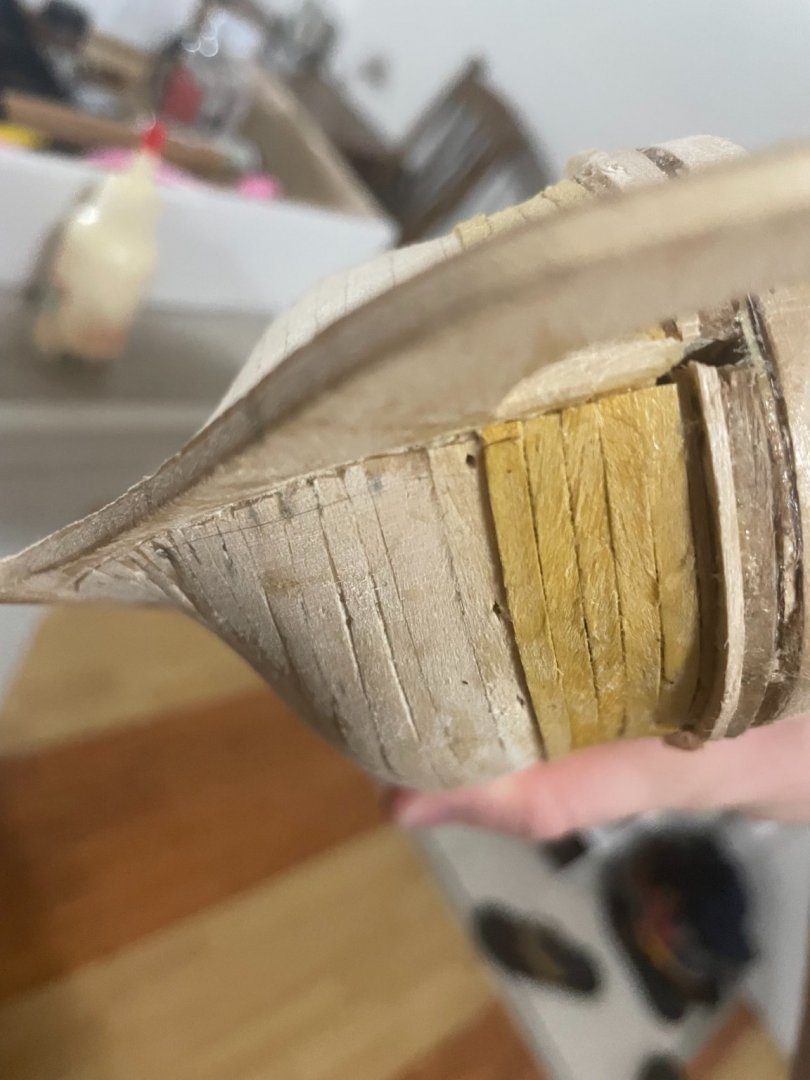
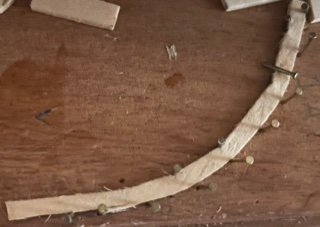
At last! At long last! The delicious color of dandelions, daffodils, and lethal broadsides of grapeshot makes its appearance! You heard it here first, gentlemen. Yellow is back in town! This plank went on just like the last one, just with slightly less fear of breakage. It's a lot thicker than 1mm by 1mm. I even used the same curve of nails on my 'wooden anvil' to shape it. In fact, the last four planks all followed practically the same curvature. I find that 20 minutes in water microwaved for two minutes makes the wood soft enough to bend, and 12 hours held in place by nails makes it hold shape. I usually keep it on the nails for a full day, just to be sure. For the first yellow plank, I used the one with the most imperfections and worst narrowing toward the end. I cut off the worst imperfections in the wood so that I wouldn't have to use them in a later, more whole plank. However, this step did have three complications. First, when I used the tacks to place the wood, several were placed against the wood with harsh enough pressure that there are some small dents from the tacks' metal. I will patch it with the scrap yellow wood. Second, a few places have a clear jump up from gunport to gunport rather than a flowing curve. I won't be able to curve the next plank flush to these imperfections. I will patch it with the scrap yellow wood. Finally, when I boiled the curved piece at the bow, the boiling removed some of that sweet, sweet yellow. Disappointingly, I cannot patch it with the scrap yellow wood. In the long term, this problem may not matter. I'm considering staining the entire hull and then painting the yellow part with the same paint I previously used for the stern piece. If I don't do that, I'll just have to paint it yellow anyway. Several layers of watered-down pain should probably give me a nice look while still preserving the contours of the wood.


-
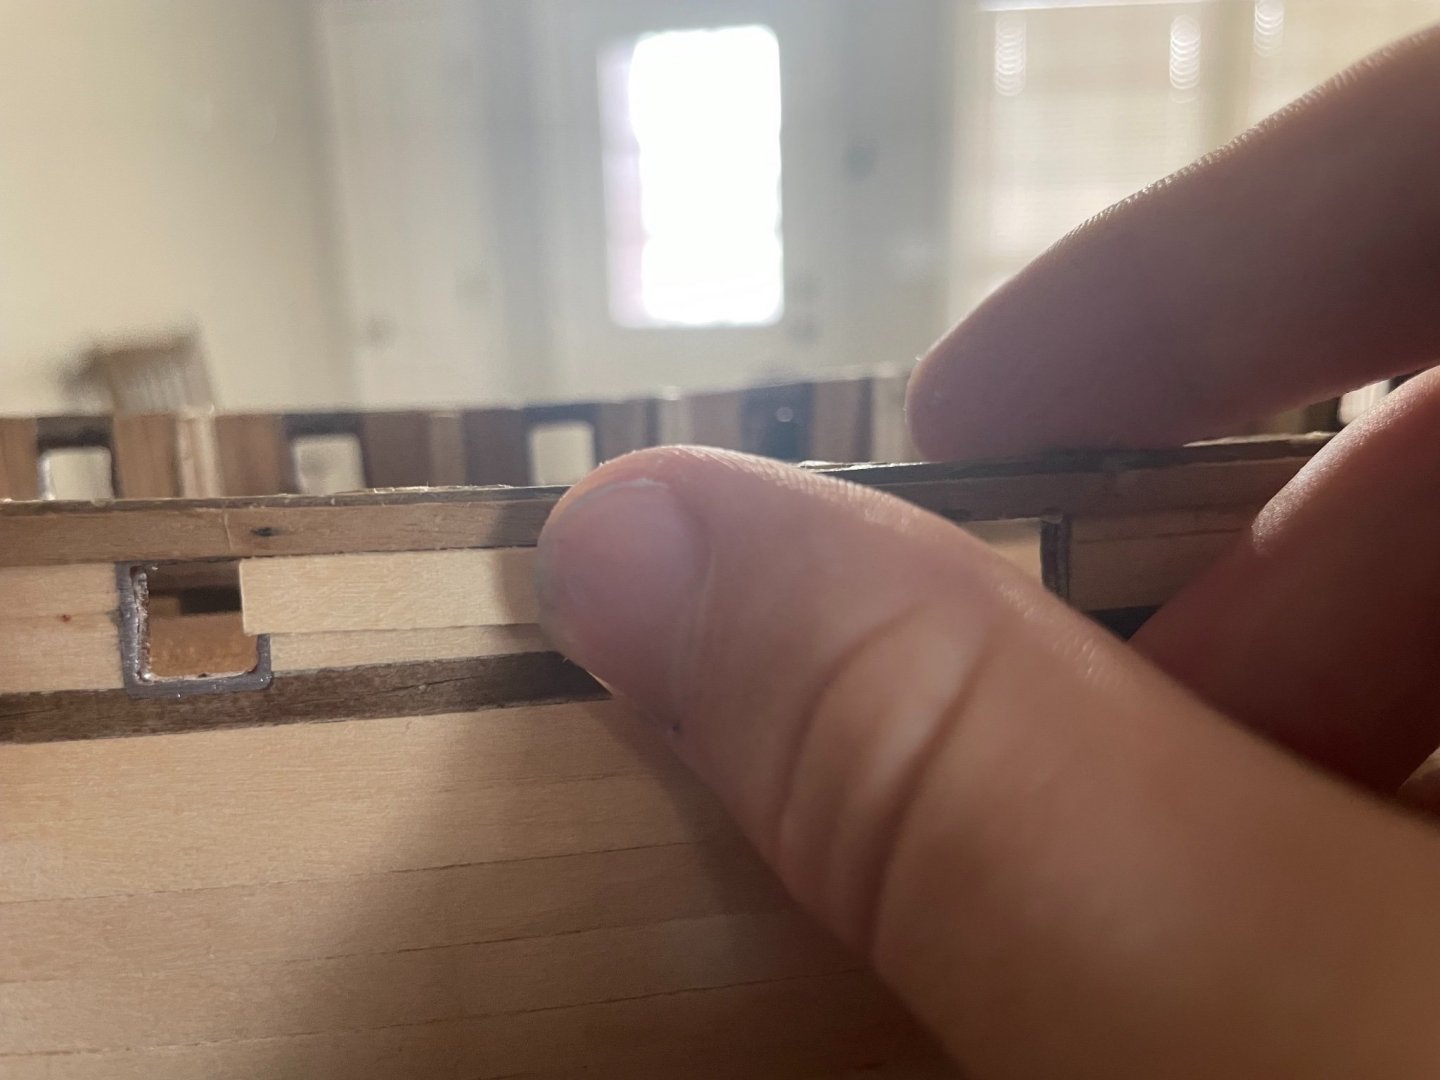
This week, I got a little behind my progress with posting. The second 1mm by 1mm piece went on with no complications. For all intents and purposes, it was the same as the other side. I measured a piece slightly longer than the distance between the gun ports, glued it on with a little overlap, and trimmed it to near flush with the gunports. When I have all the pieces attached into a solid whole, I will sand them to flush. Until then, there's no point in risking a snapped piece of wood because something was unsupported. I used the small nails from the kit because the thumb tacks were too big. By driving the nails in at an 80 degree angle, I was able to hold it against the plank above it tightly. Once you have the first plank in, it serves as a guideline for all the rest.


-
I'm about 70 percent sure the rear bulkheads were off on mine, but when I put them on I wasn't knowledgeable enough to know. I also notice now that some of the rear frames are clearly in need of packing. But I didn't do that either. Ah well. In the words of a friend of mine, "Fake it till you make it." My hope at this point is that a very rigorous sanding of the lime hull combined with careful application of the second plank layer will cover all these defects. So far, my work on the hull above the gunwale seems to bear out this theory. I look forward to testing it in a more curved part of the ship.
-
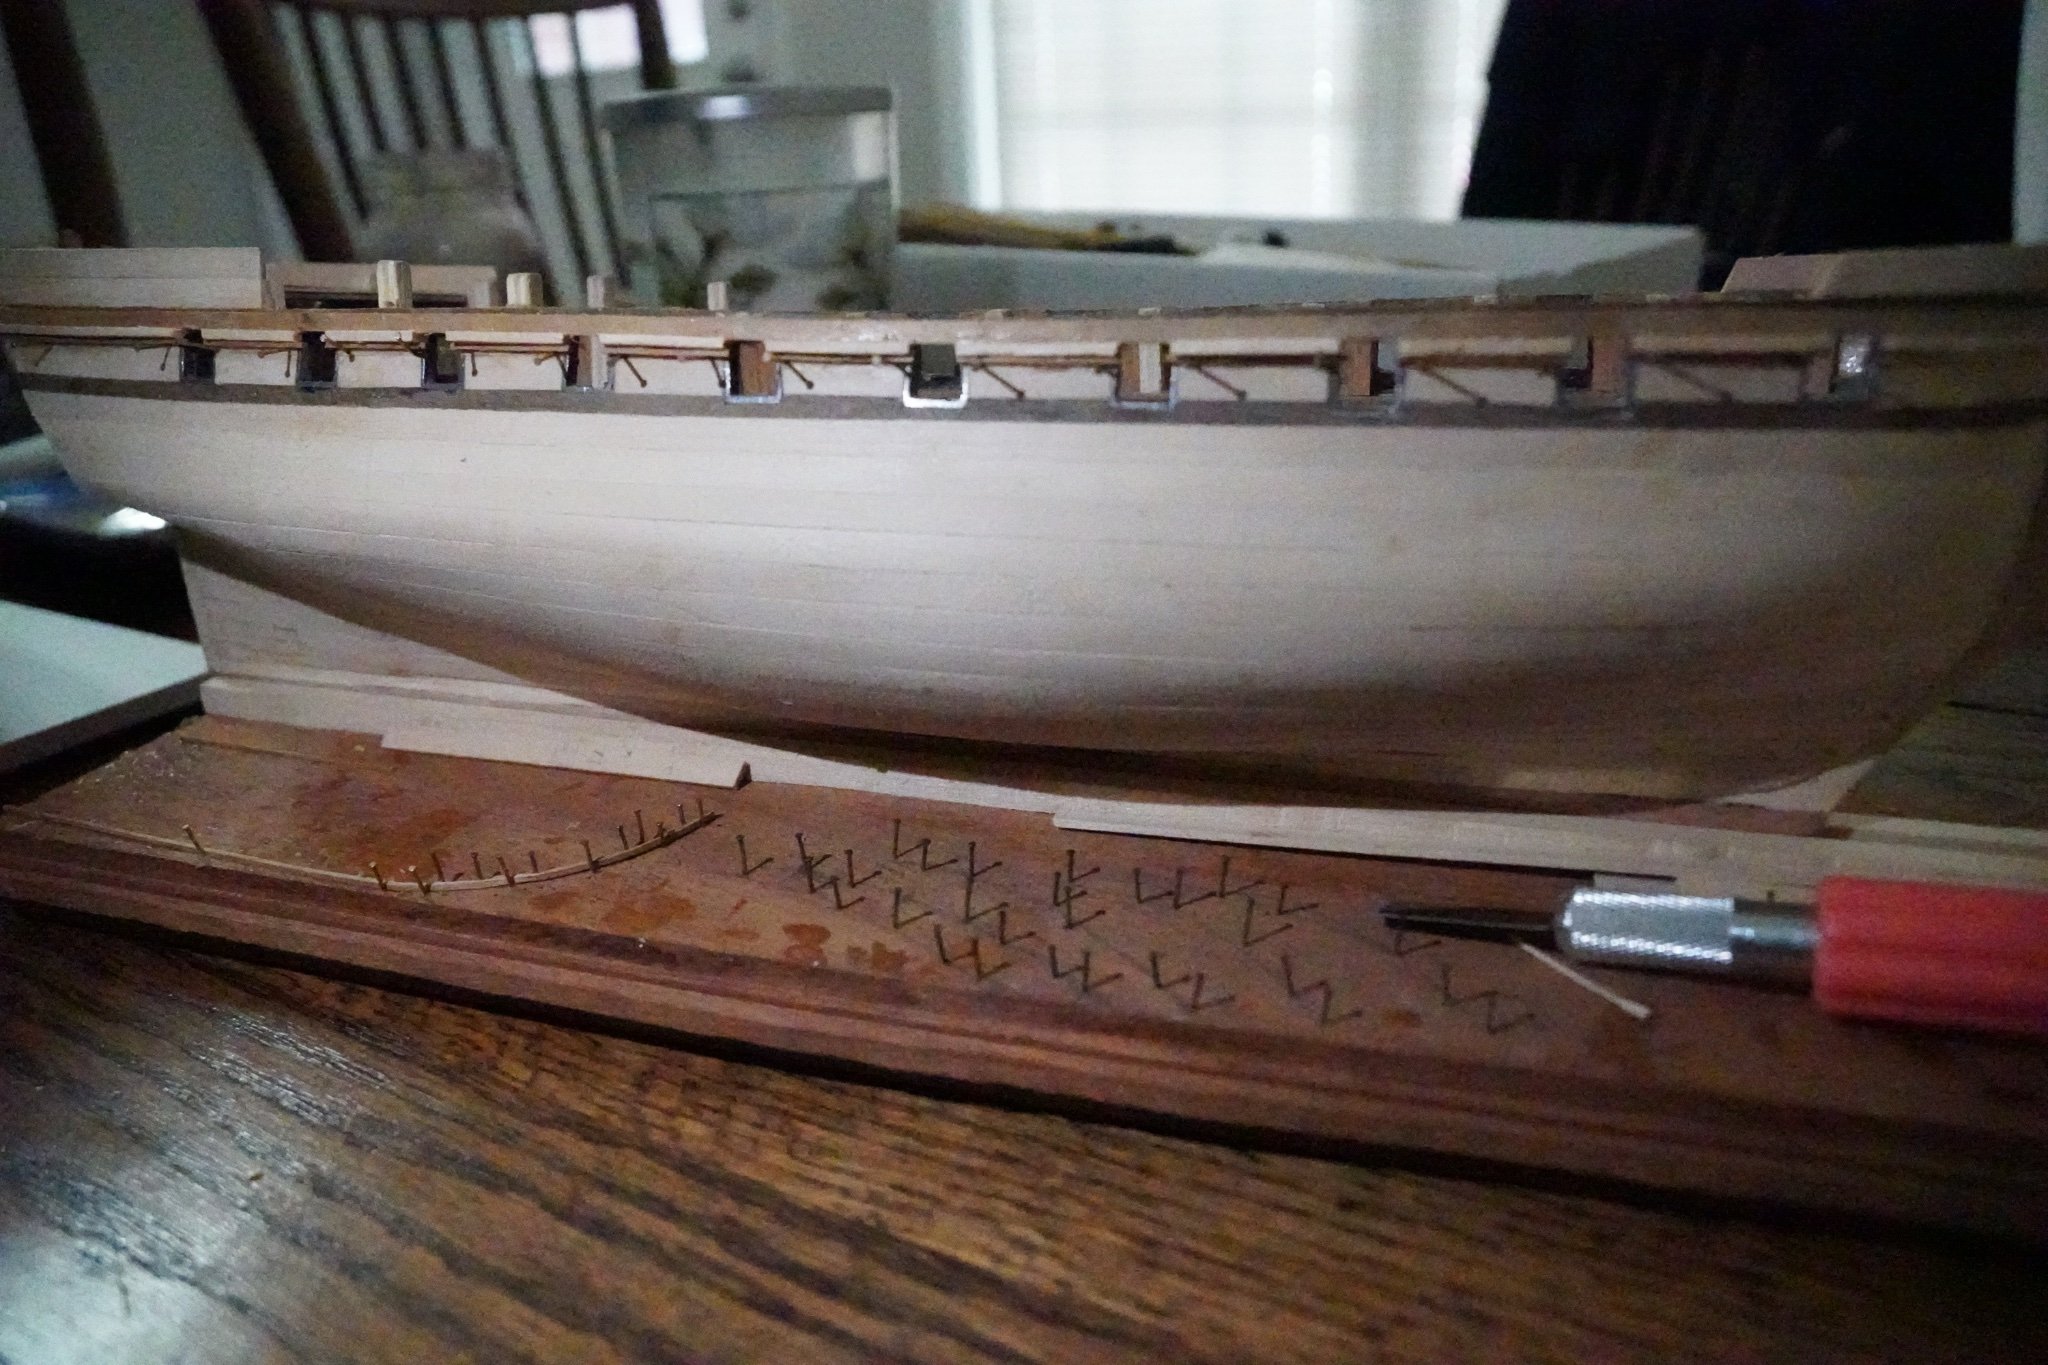
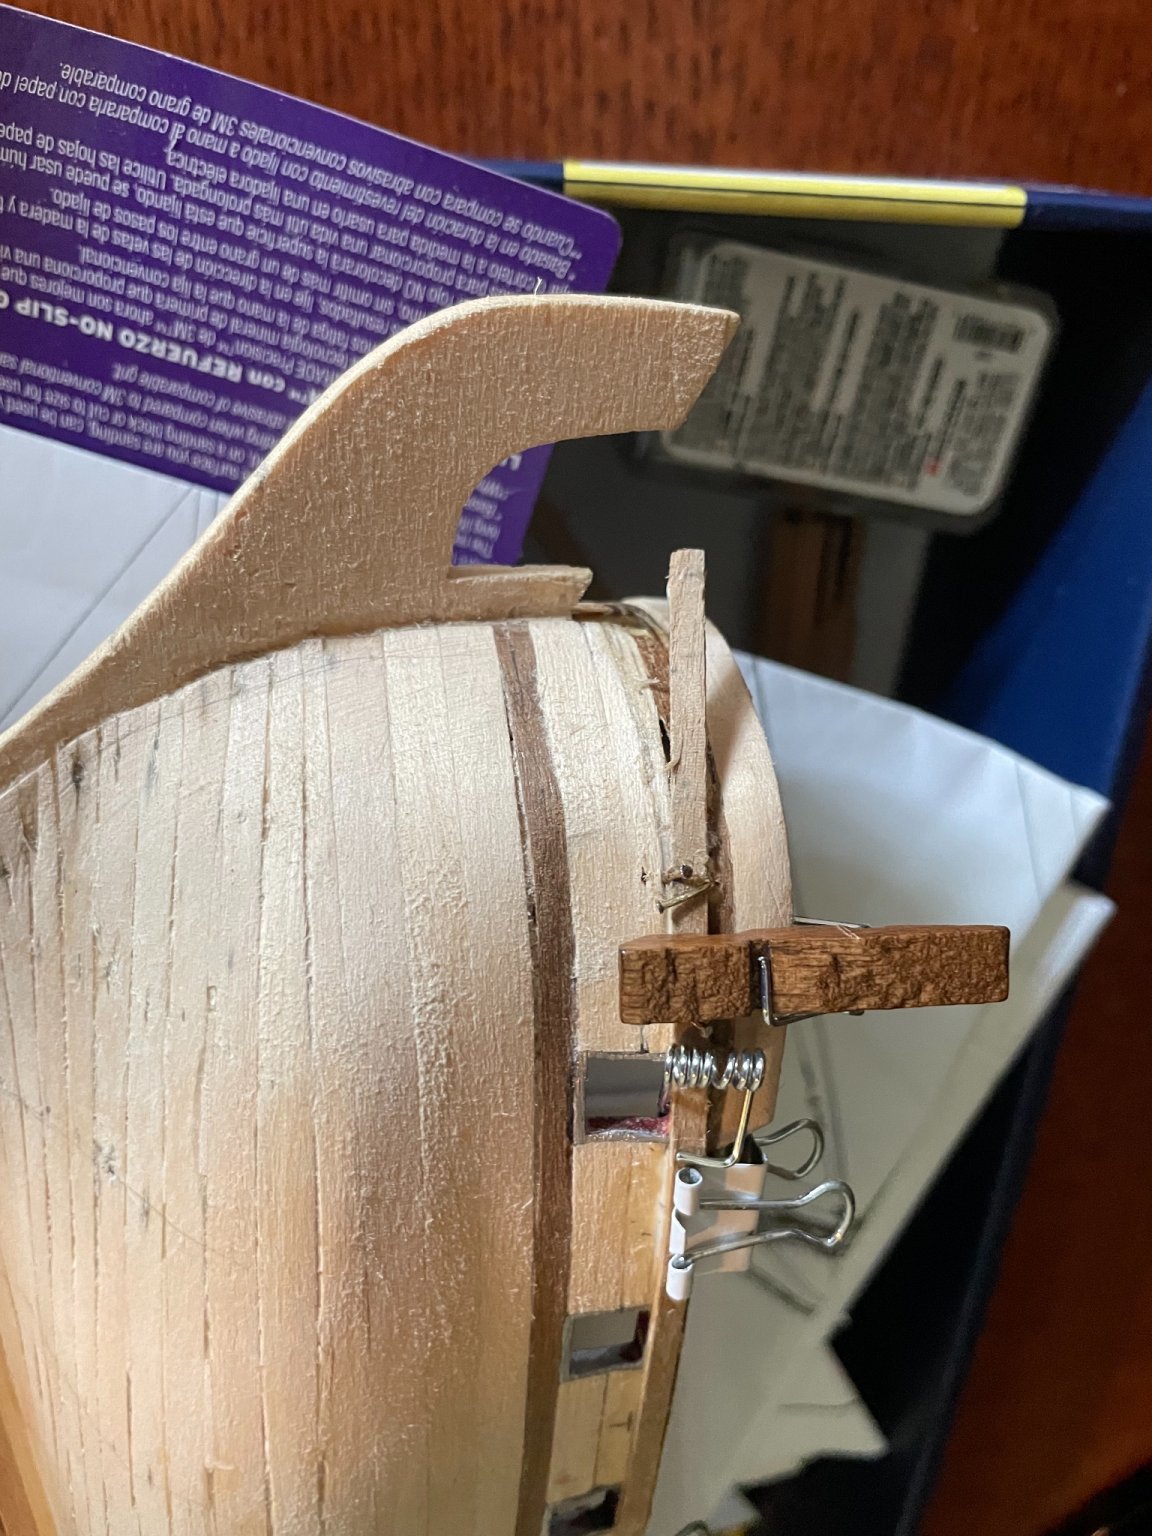
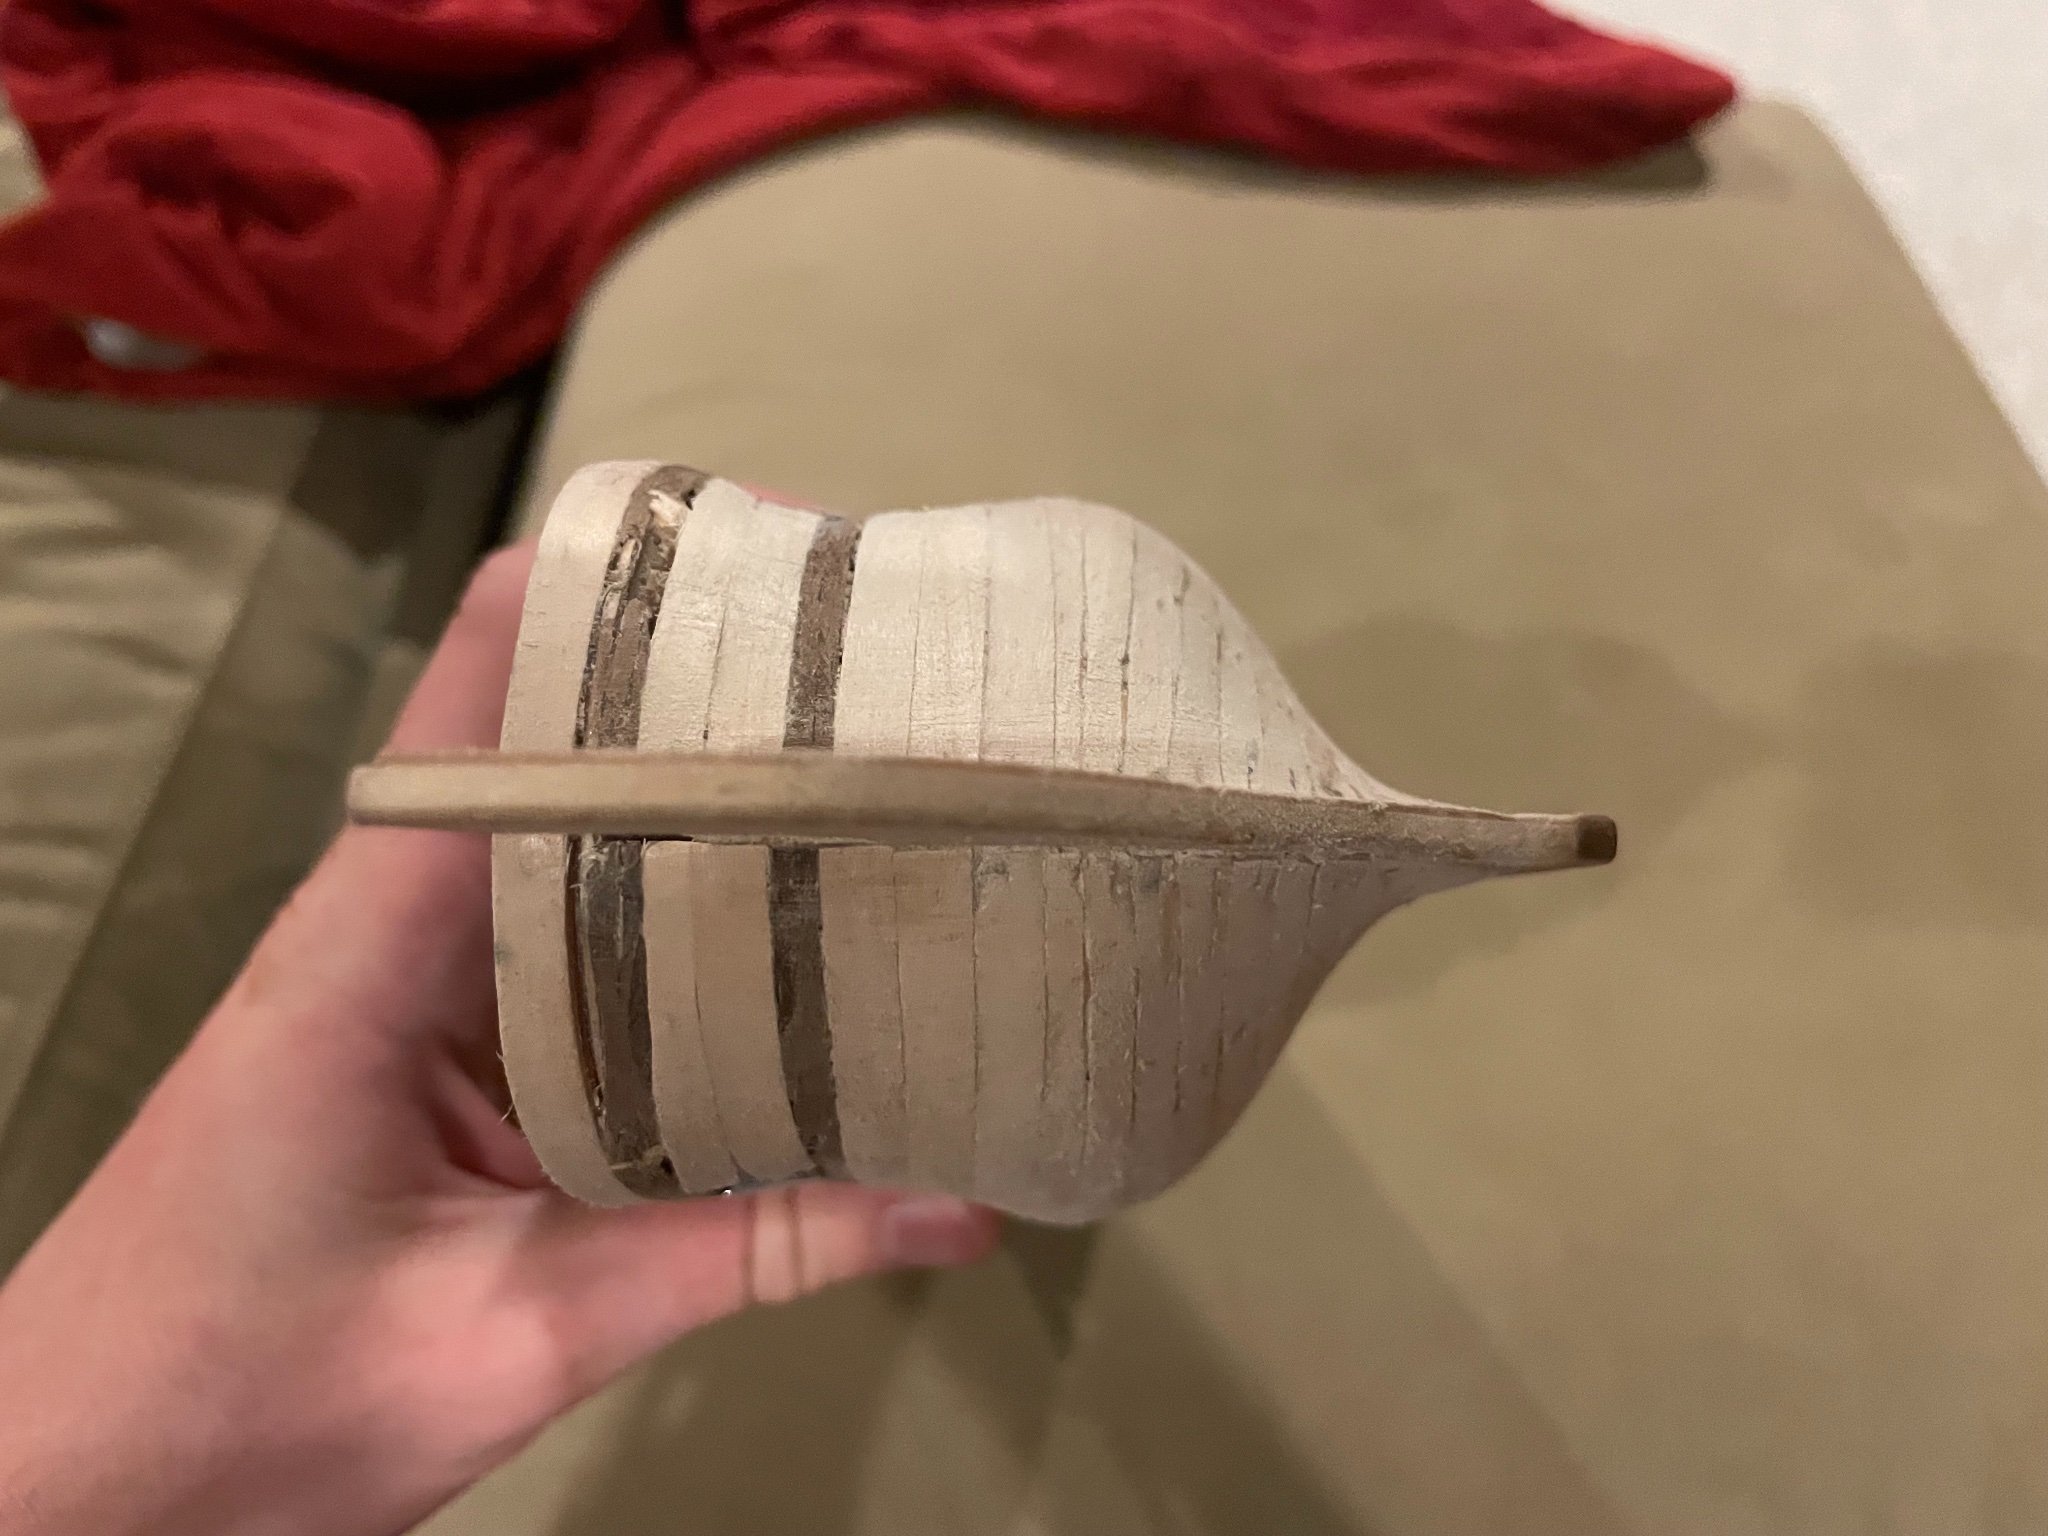
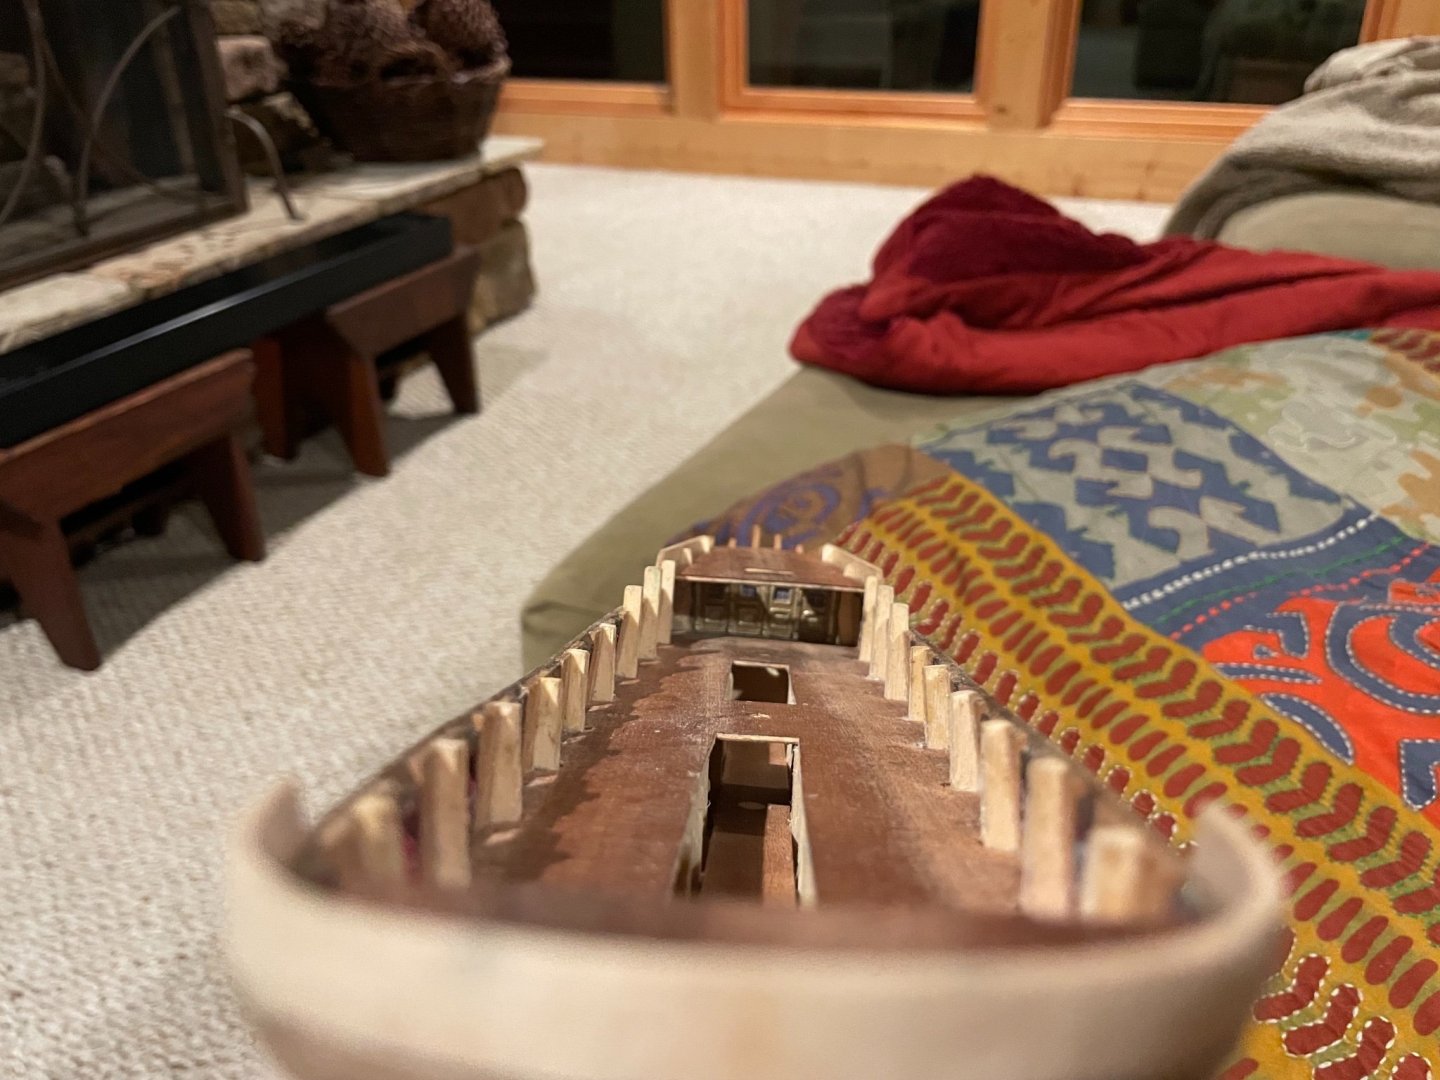
Update: Last night, I put on the first plank underneath the lime piece. I held it on using the tiny nails provided with the kit. I couldn't get a close enough fit with the thumb tacks. As you can see, the plank I put on is still being bent so it can curve.

-
Yep. That's the spirit. It's a joy to see it take shape, and every step gives the chance to get the ship just a little bit better-looking. Y'all are right. Blood is the secret ingredient. As always, the X-acto knife and sandpaper will have their due, no matter how careful you try to be.
-
Today, I removed the tacks and added the other side. The end result is a nice straight line that will be easy to follow through the rest of the ship. On further reflection, I decided to trim the outcropping after gluing a few more pieces on. That way, it will be better supported.

-
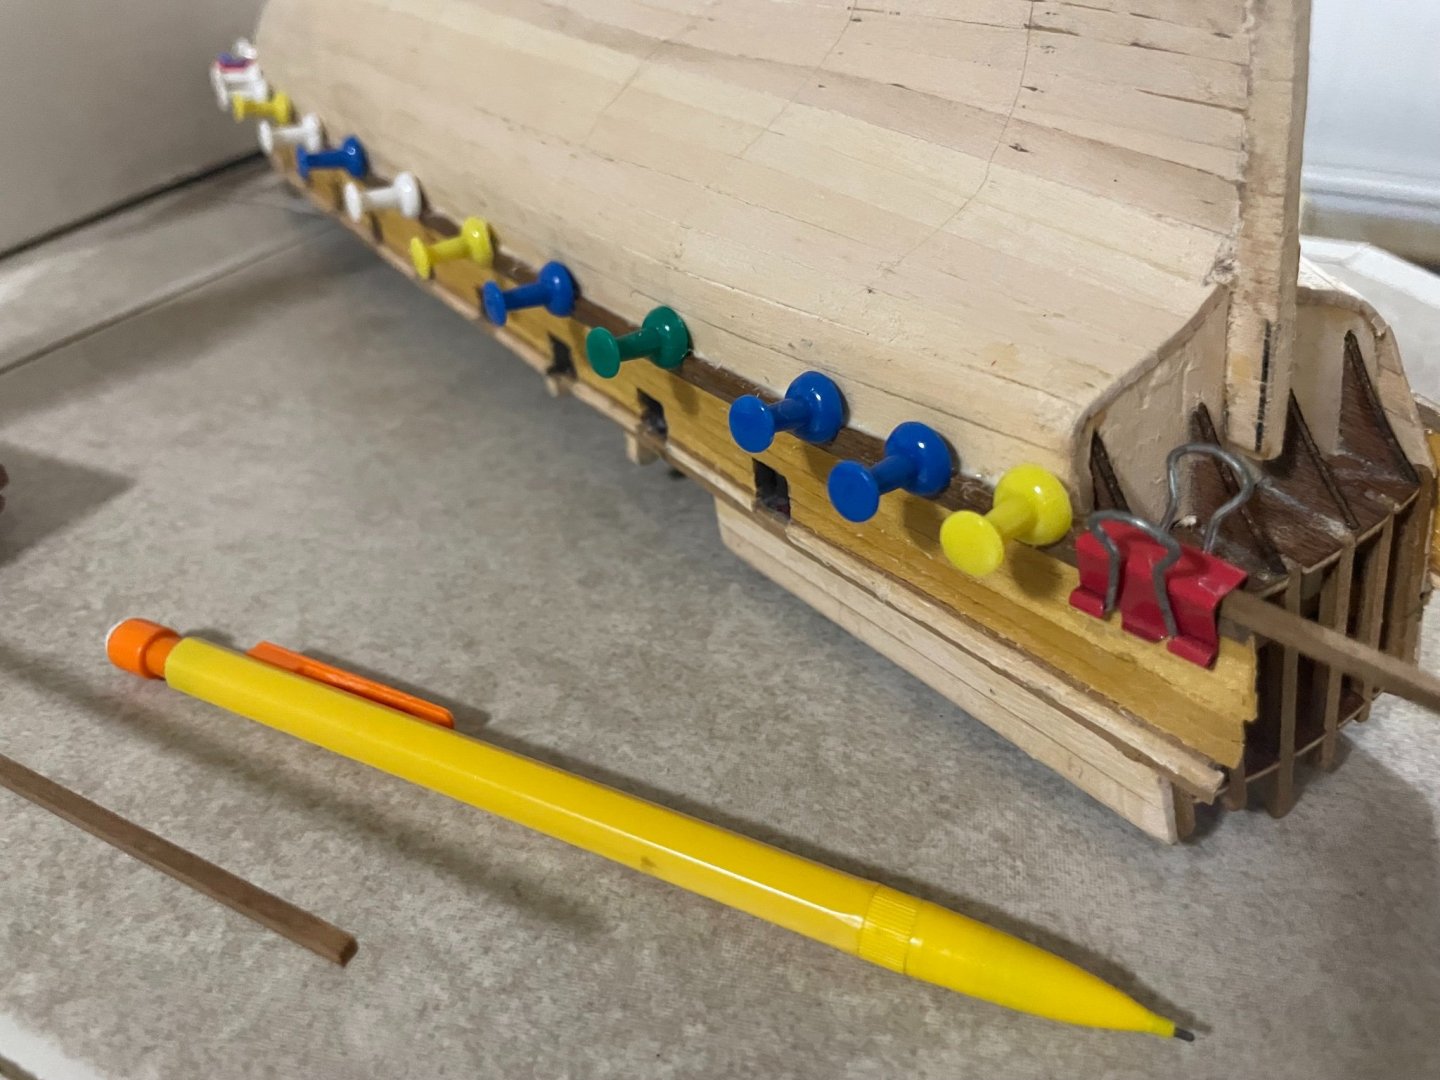
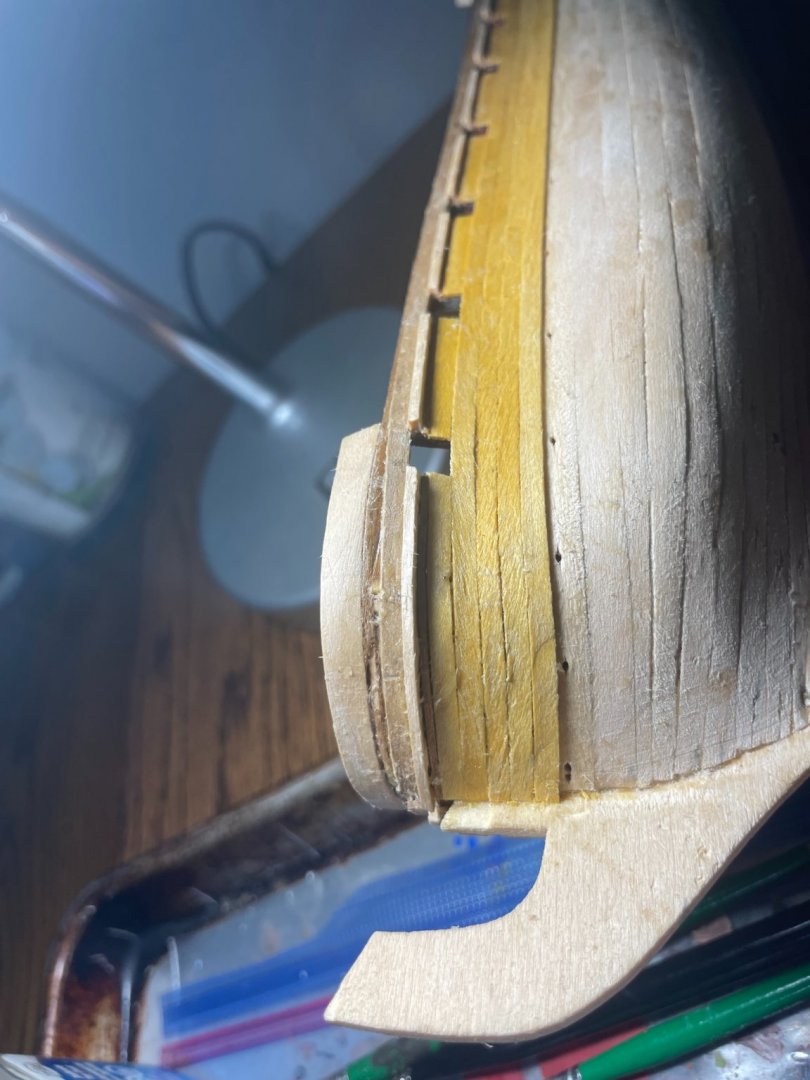
With a seemingly unending line of tacks, I have now secured the lime plank that comes after the walnut plank on the outside of the hull. I cut the original lime plank in half, trimmed the half slightly, then glued the edge of the plank to the hull. When I remove the tacks, I'll follow up with a closer trim, using the hull as a guide for my razor. The most interesting part of this step was bending the end of the plank edgeways. To do so, I used my normal boil and bend technique, keeping the machine-cut edge of the plank against the nails. A few small cracks appeared in the outer edge. However, because the plank is wider than I needed, I believe I will be able to shave away all resulting errors. Sand and steel will serve their purpose.
-
Thanks once again @harlequin. You did a magnificent job!
-
The second plank of the second layer is now on! Thanks to @harlequin for some excellent advice. Sticking the tacks into the plank above and below the one I was gluing worked like a charm. I guess "tacking" is useful even when you don't yet have the wind in your sails. Of course, the second plank on the outer layer just has to be more confusing. According to the instructions, it needs to be 1.5. mm by 5 mm lime, but the drawing seems to suggest a thinness that seems to imply it's turned sideways. If any previous Greyhound builders know what the kit actually means, I'd be fascinated to know.

-
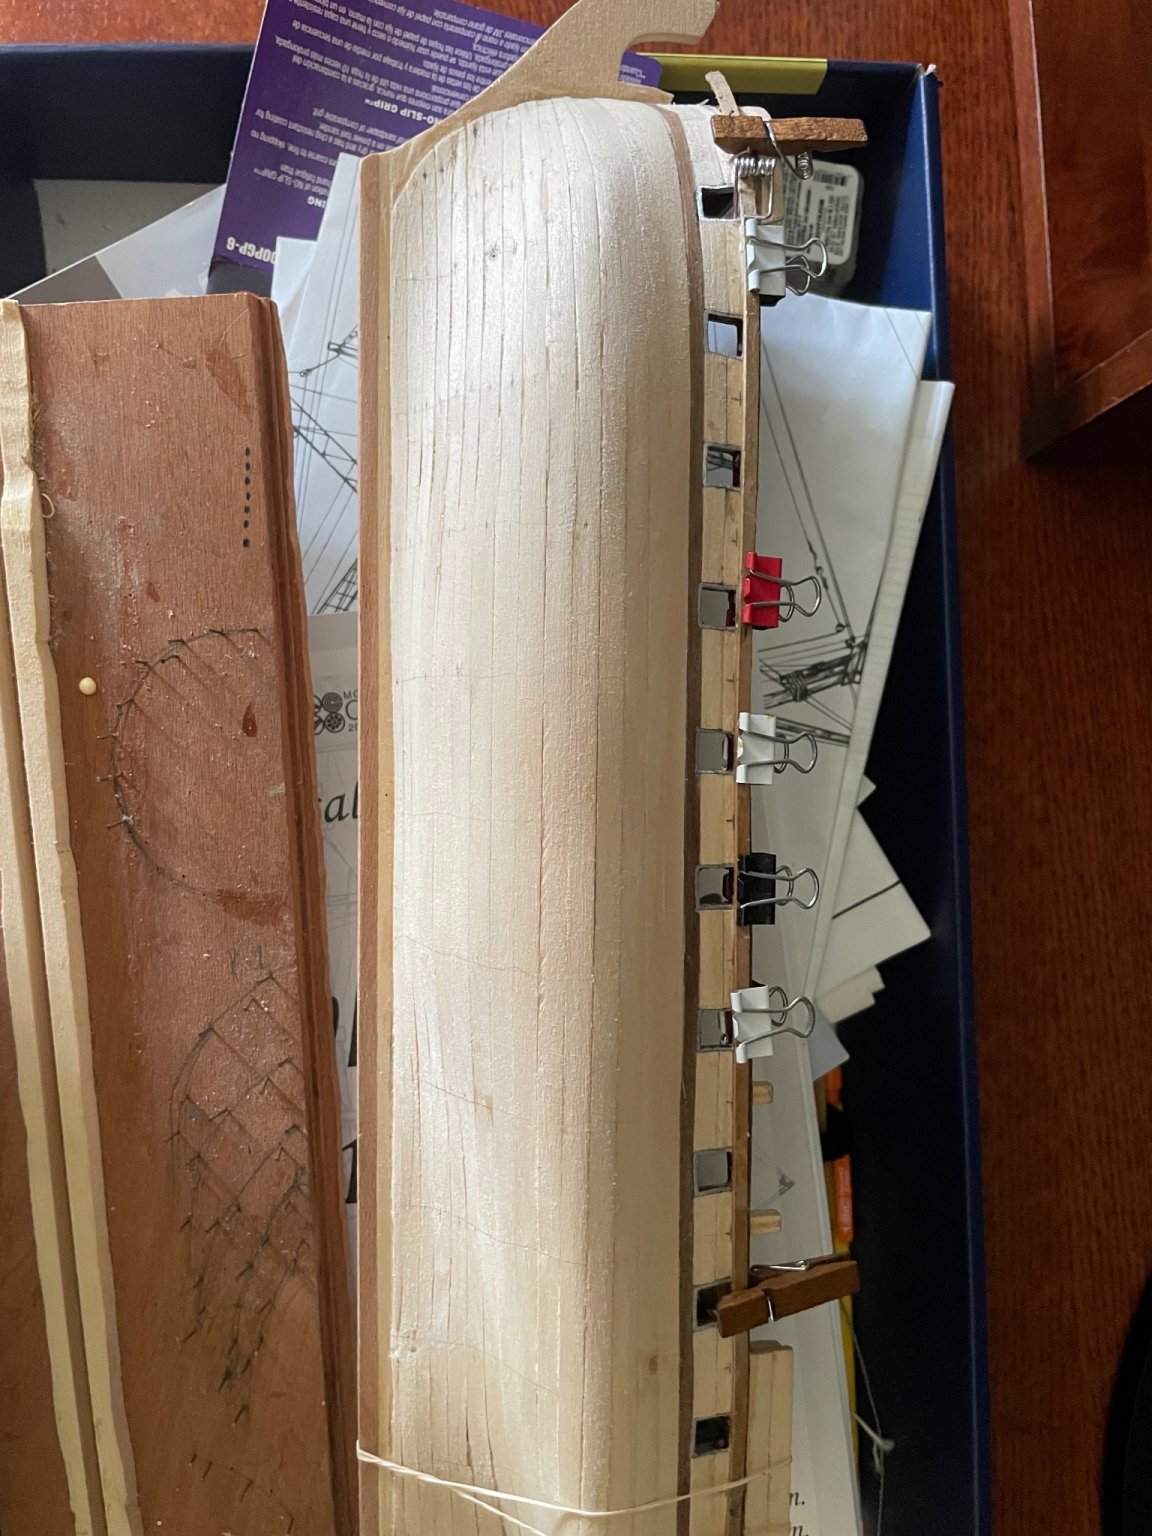
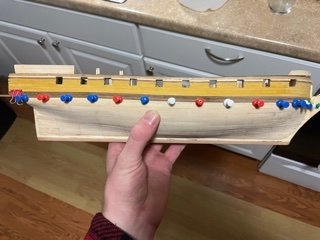
After a long time planning, I began the second layer of planking. This time, the technical part came from attempting to glue the board to the side of the ship without leaving nail marks. For most of its length, office clips were enough, but by the end, the curve and the height of the highest rail were too much. To overcome this problem, I put bent nails into the ship above and below the board I was gluing to hold it in place. This plan worked, but I'm not sure if it will continue to work as I plank downward. Or upward. I hope that things get easier after the first plank.


-
That's an amazing-looking ship Tim! Those details really make it shine. The deck planks look particularly nice
- 44 replies
-
- 1
-

-
- first build
- Artesian Latina
- (and 1 more)
-
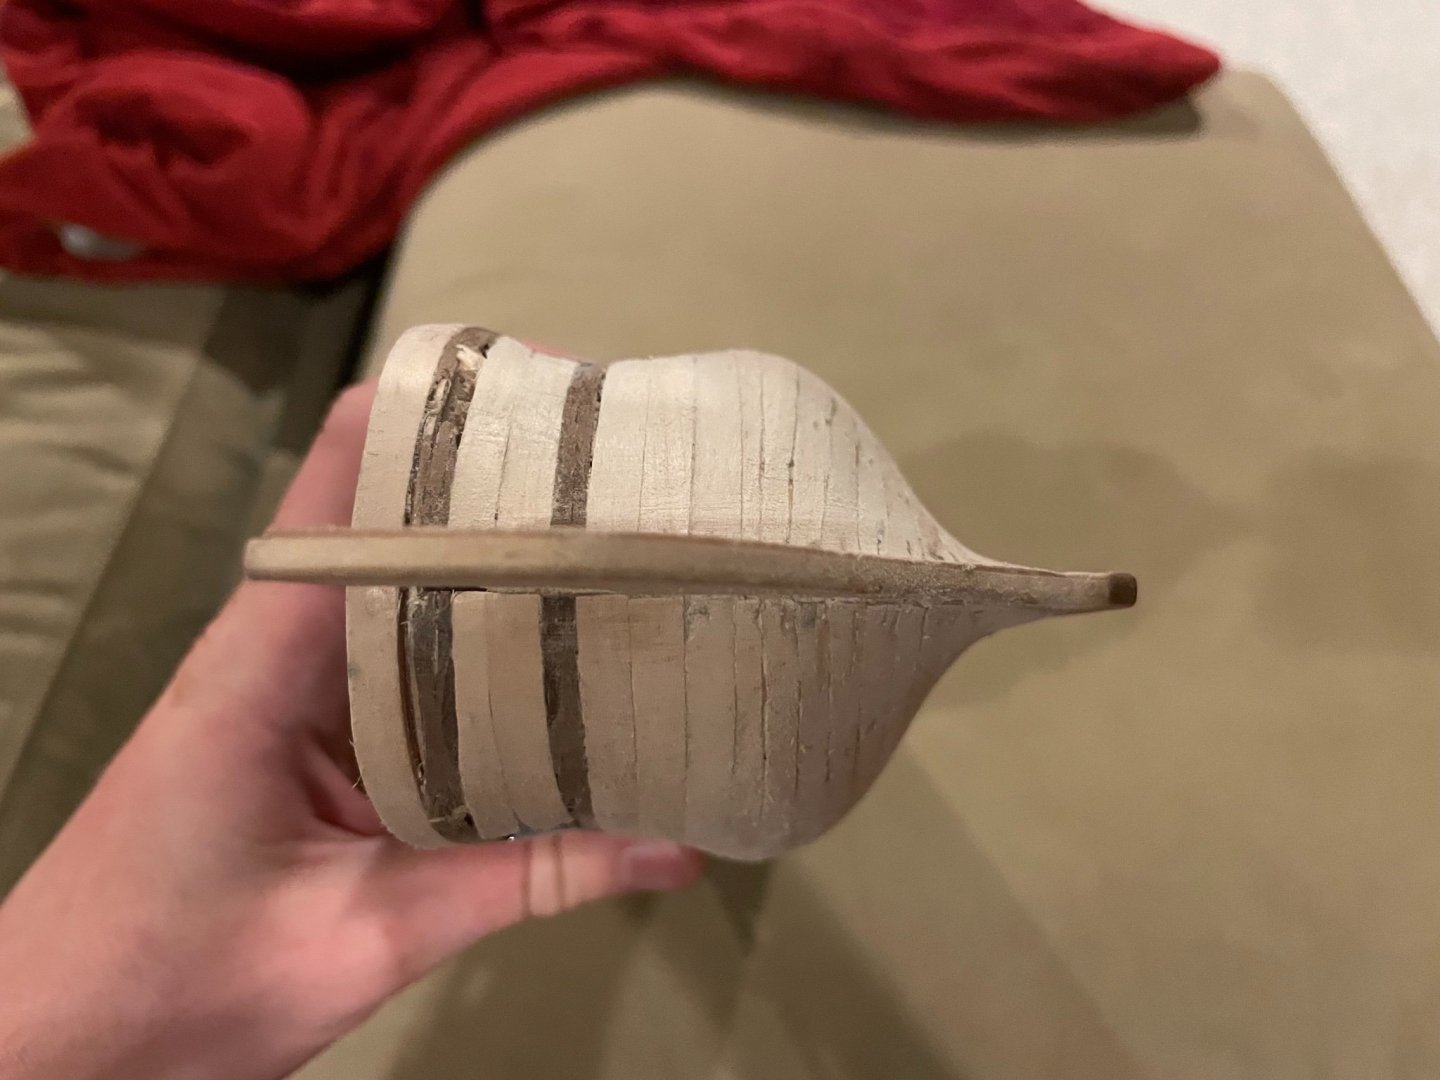
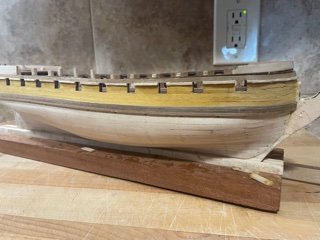
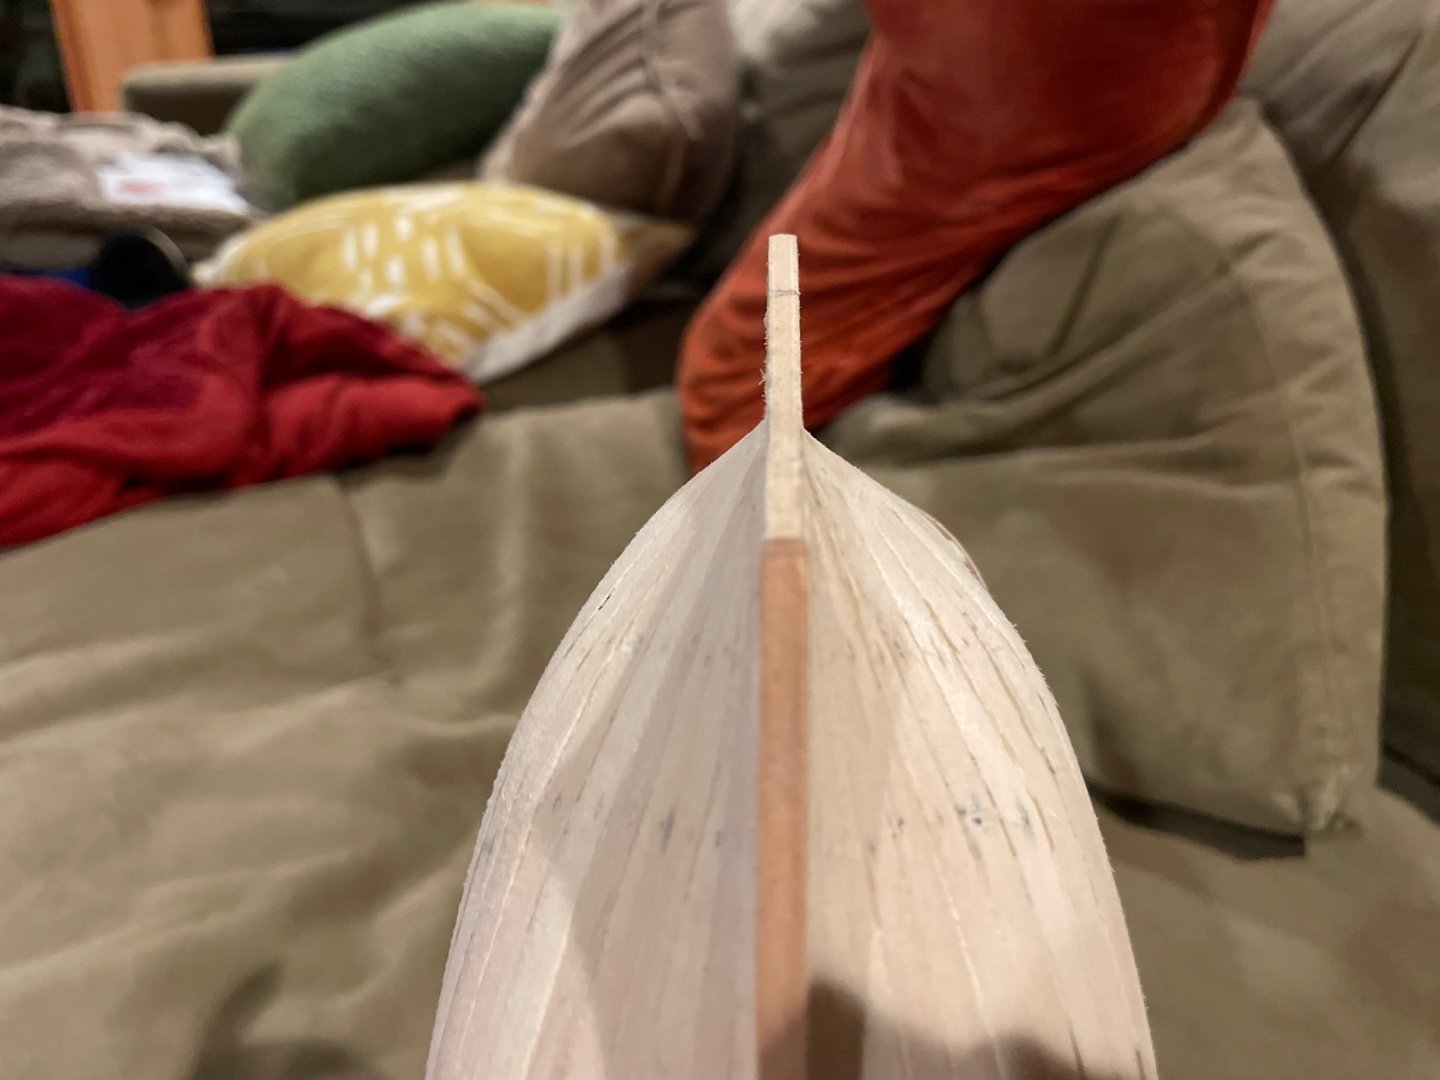
At this point, I have three quandaries. First, either the poop deck or the quarter deck are somewhat slanted. I'm not sure how to ascertain which one is off, or how to fix them. Second, I'm not sure how to proceed with the outer hull layer. The walnut planking seems more resistant to bending, and I'm not sure I want to use my obtrusive but effective nails on that delightfully beautiful wood. Third, the bow looks somewhat uneven, but I'm not sure how much more sanding it can take. At the present, I'm taking a break to contemplate these issues. If any of y'all have advice, I'd be glad to hear it.

-
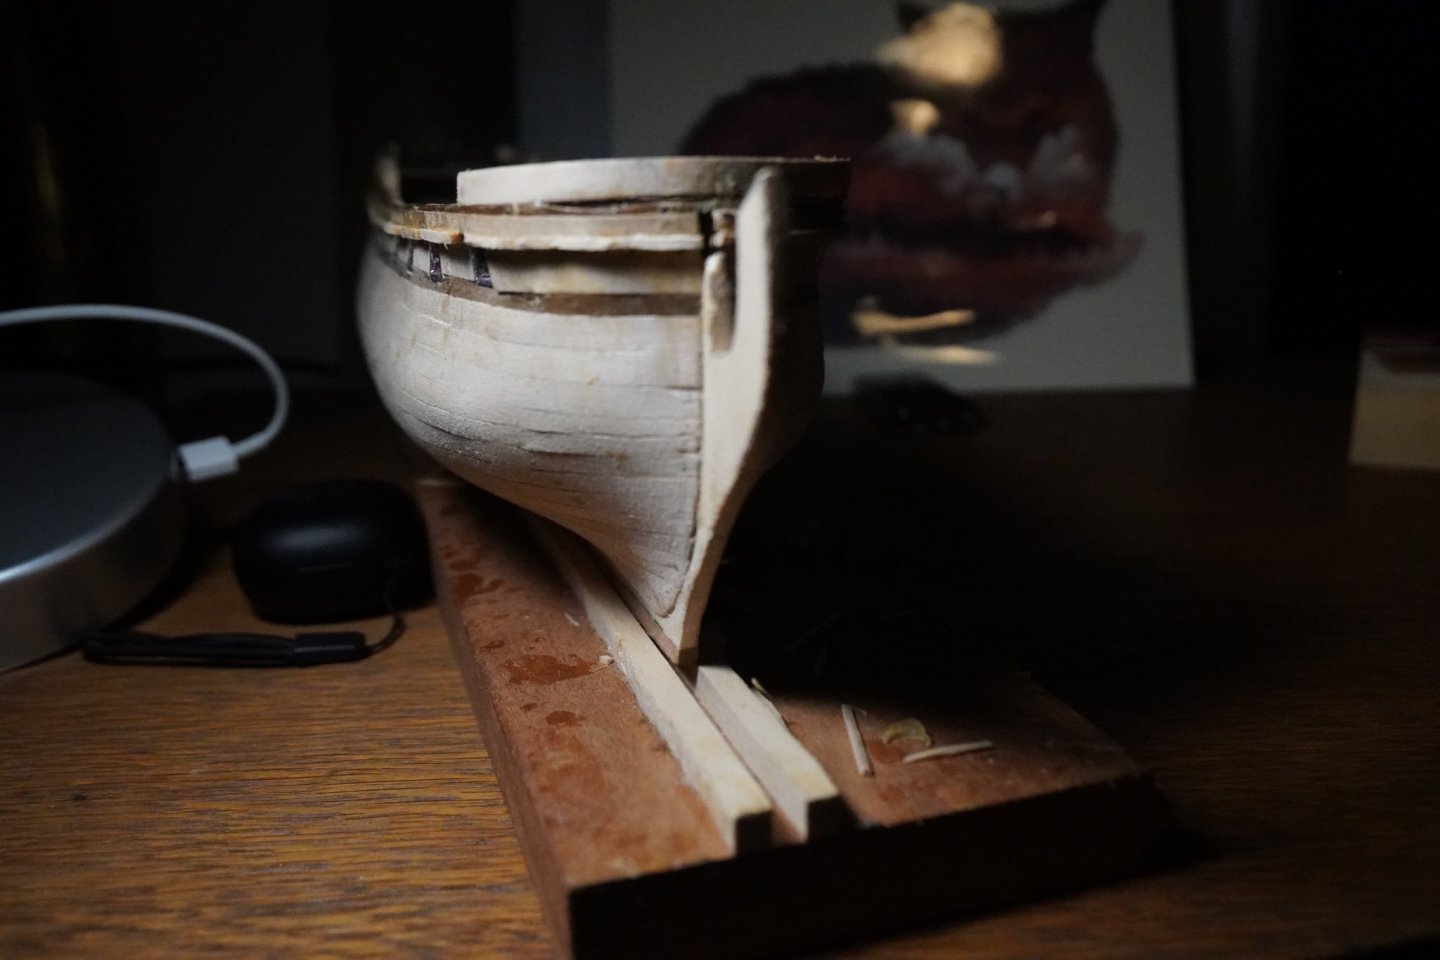
Step Two of the attempted ship rescue was sanding. Tons of sanding. 12 hours or more of sanding. First, I tried to even out the curve toward the back of the ship. I think I mostly succeeded. I also realized that the weak metal in the gun ports could be sanded down. They're now even with the rest of the ship and ready to be planked over by the second layer. Finally, I sanded the bow of the ship until it was all even. Although I completely lost one of the upper planks at one point, everything now smoothly fits together. There used to be several planks that stuck out.