-
Posts
1,075 -
Joined
-
Last visited
Content Type
Profiles
Forums
Gallery
Events
Everything posted by drobinson02199
-
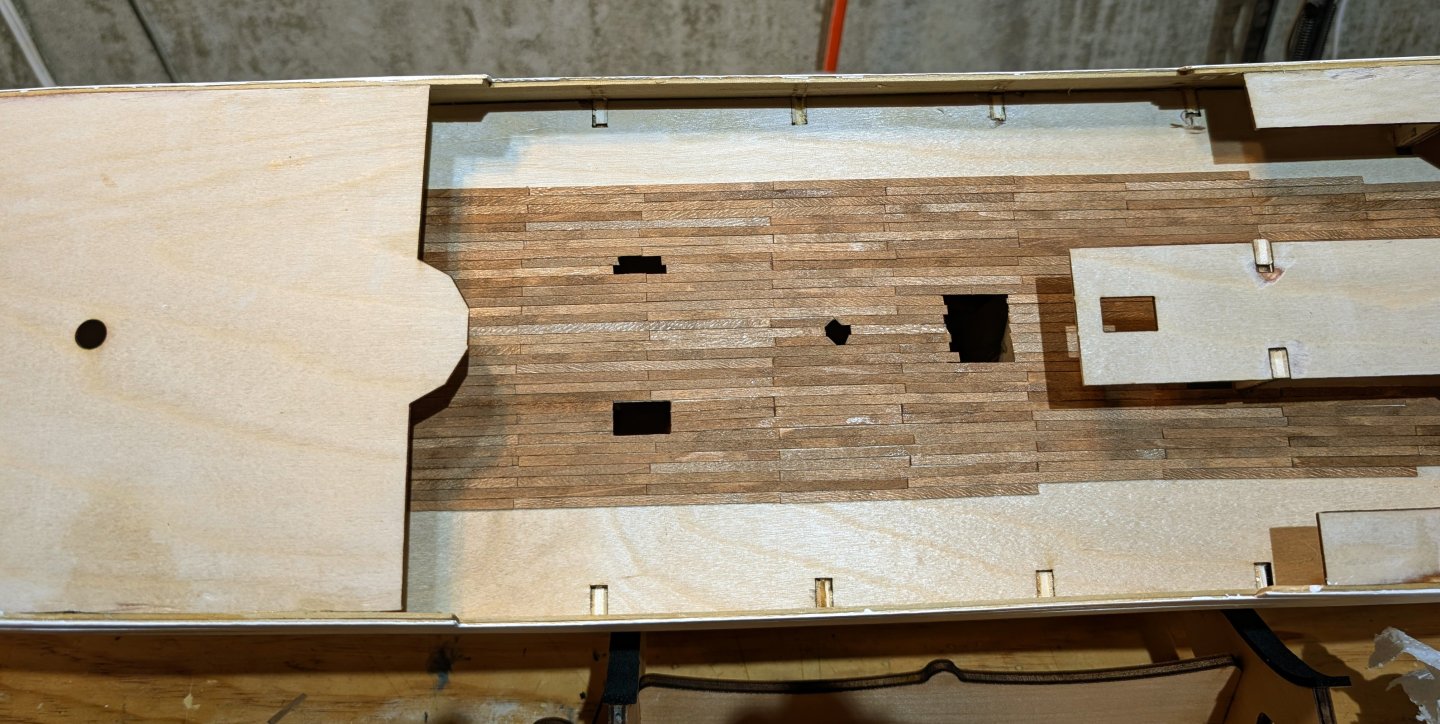
I've been working on the sidewalls, and finally got the one under the stern deck finished and mounted. Really nice decoration on these. And yeah, I didn't get the railing in the center quite level. Tip: This wall section bows backward, so to straighten it out I glued small stops under the deck on the extreme left and right. They catch the ends and then you can push the assembly back until it's straight. Regards, David
-
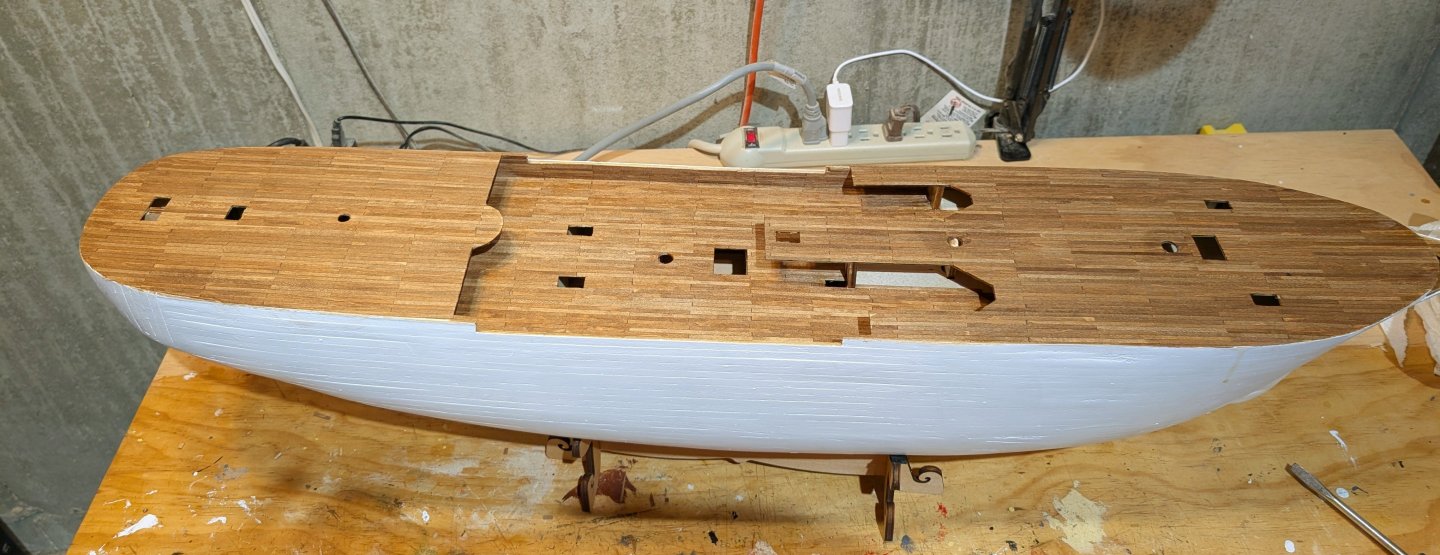
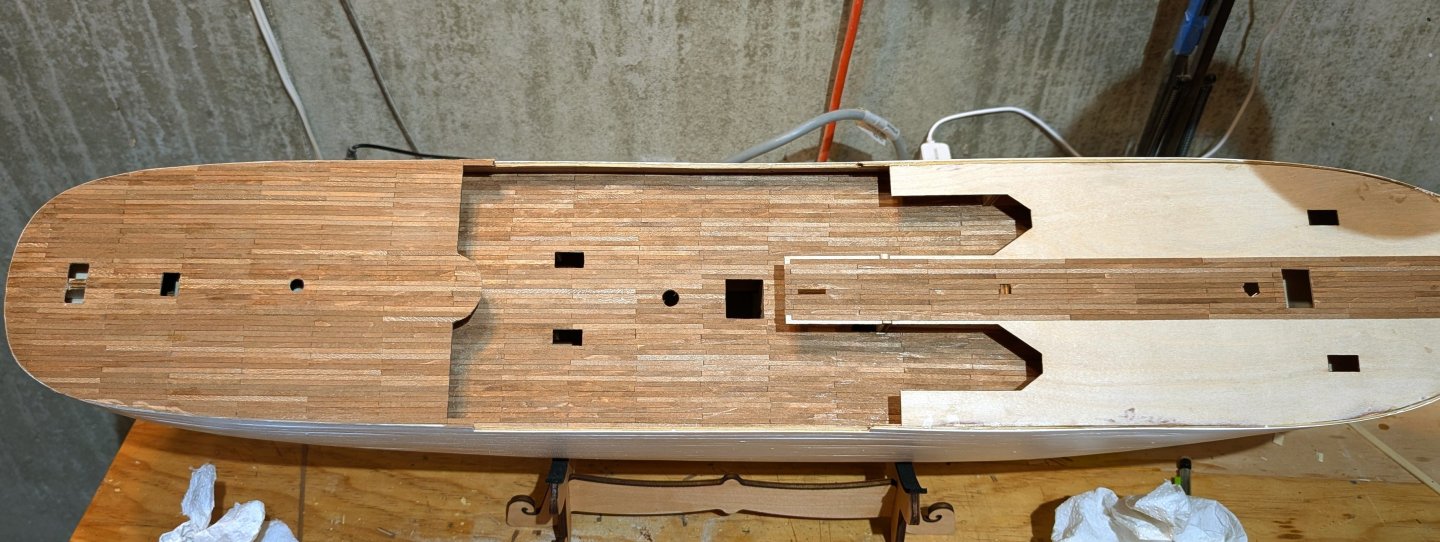
Here's deck planking in progress. The strips have to be stained (as noted above for the small bow section), and I think the deck will look pretty good when varnished. I'm going to have to test to see what kind of sanding will work, as I'm concernd that normal sanding will take off the stained layer. But without sanding, a slightly weathered appearance will look good. Regards, David
-
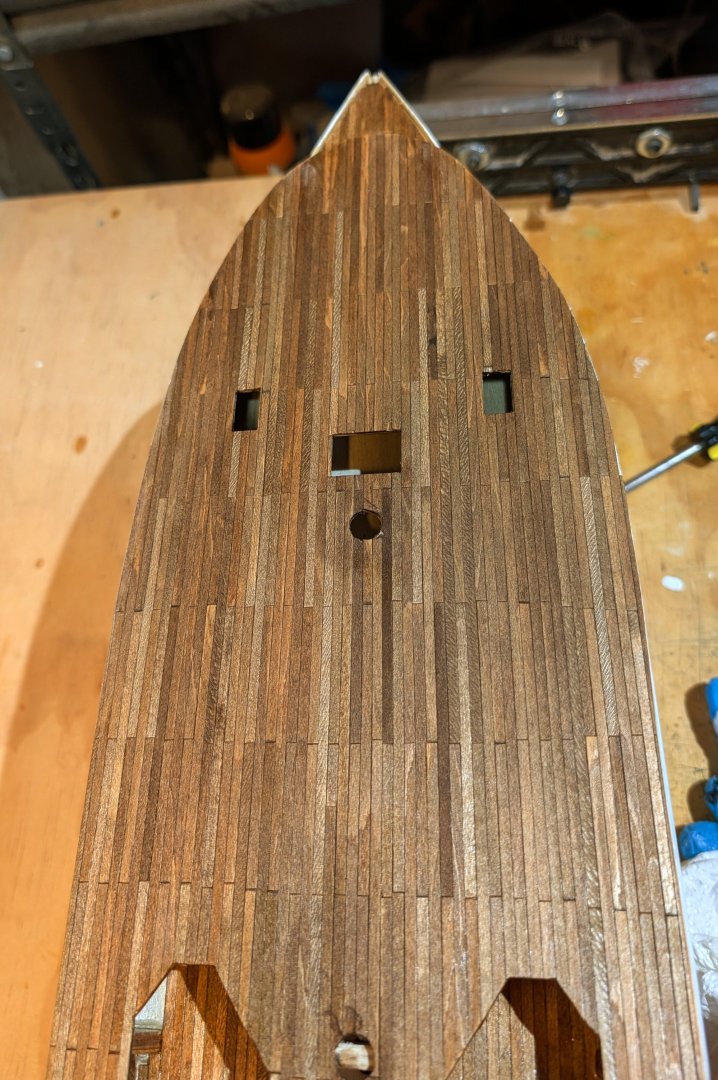
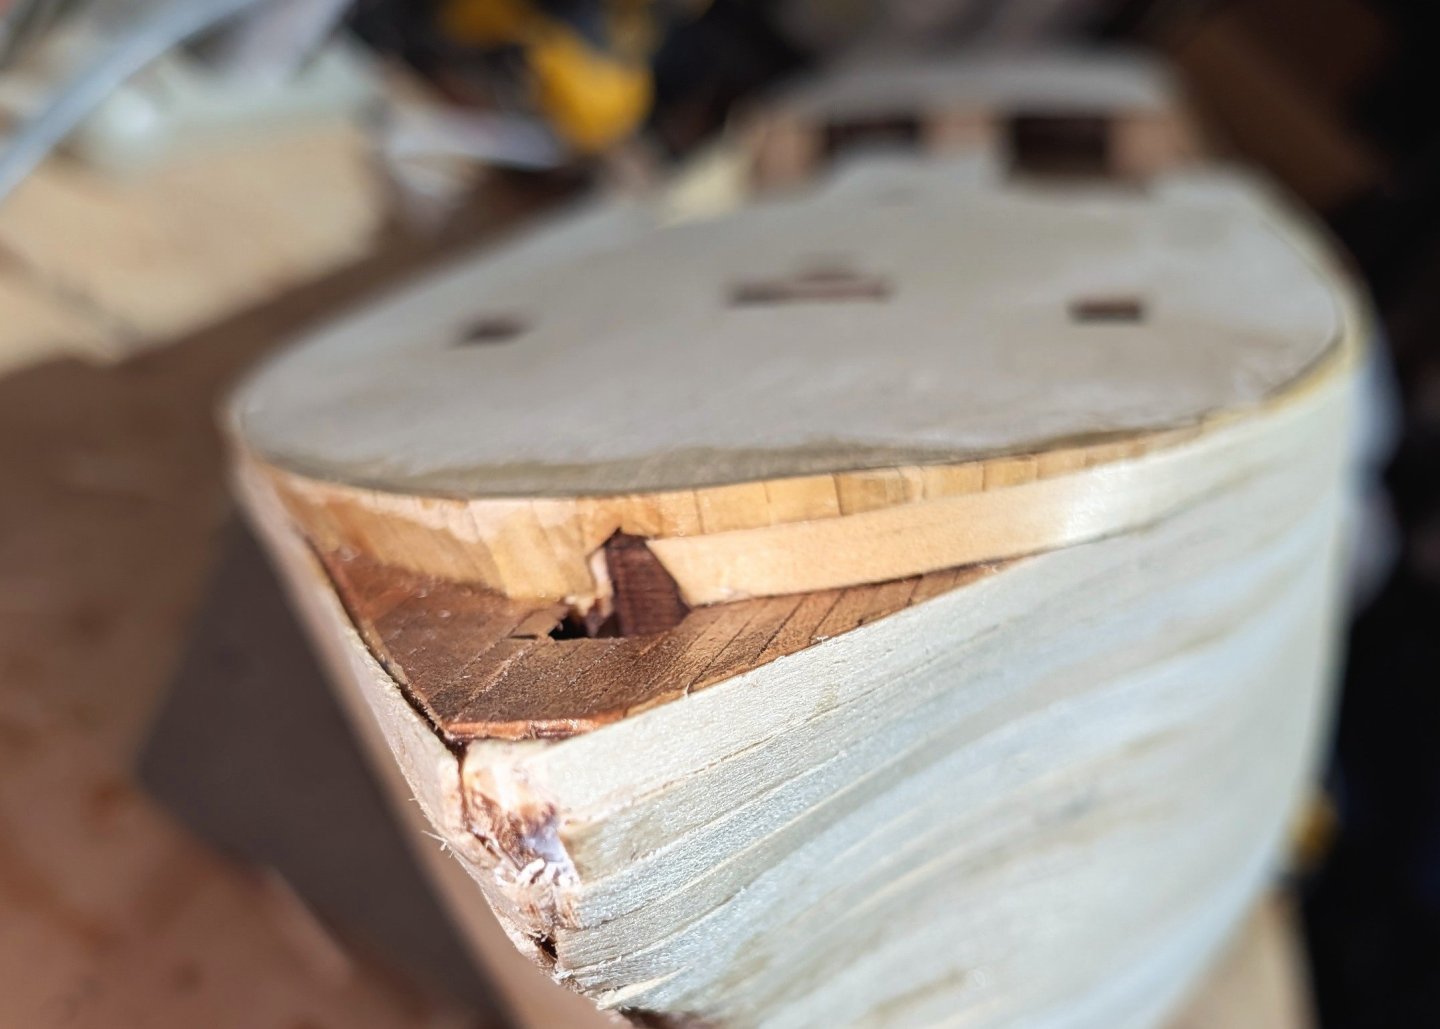
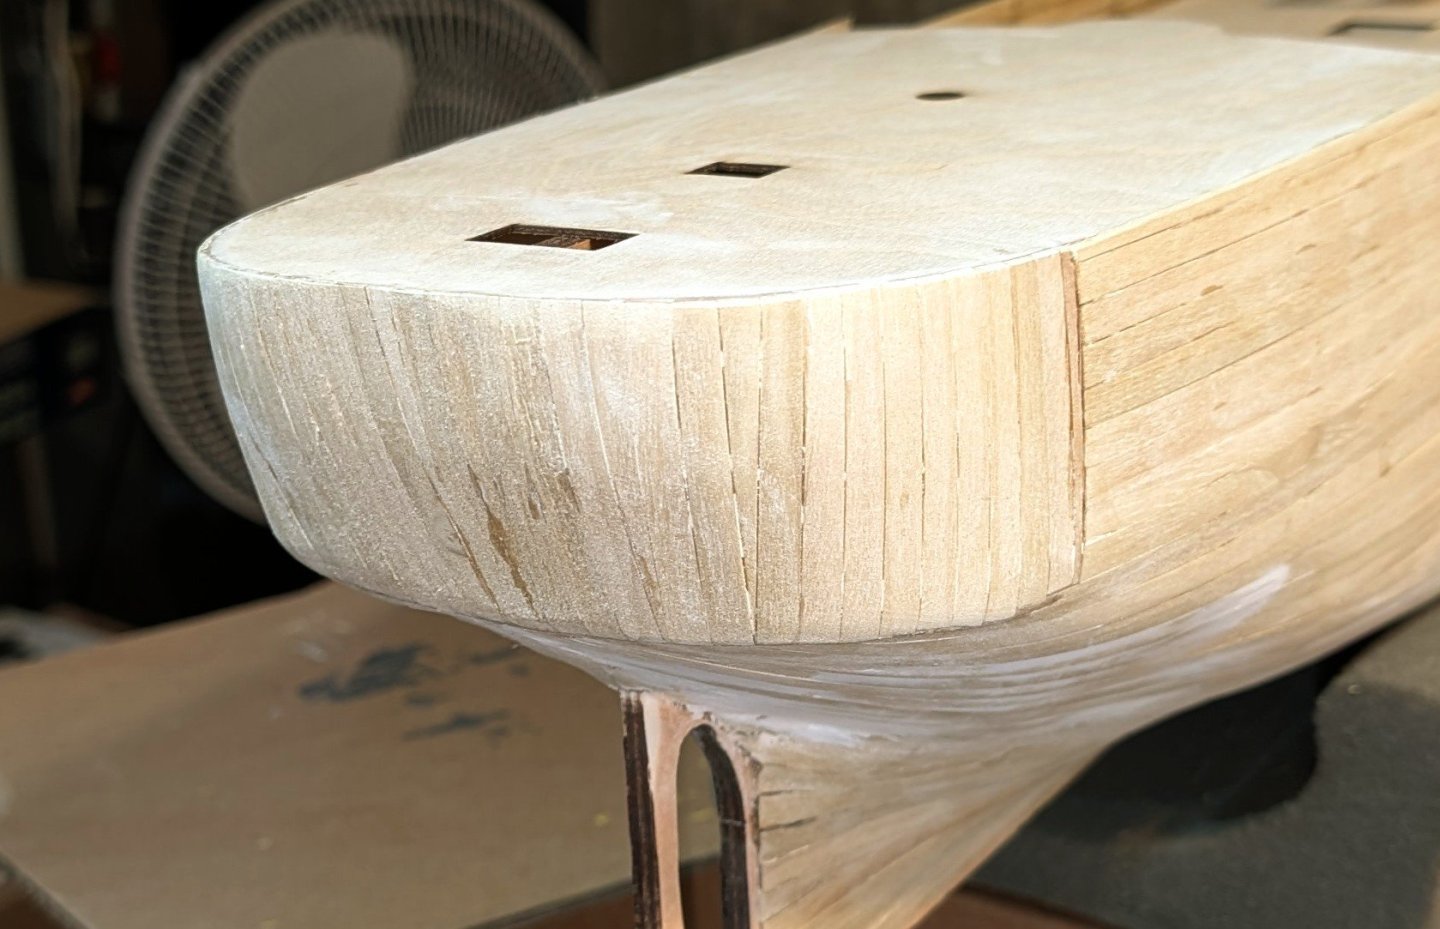
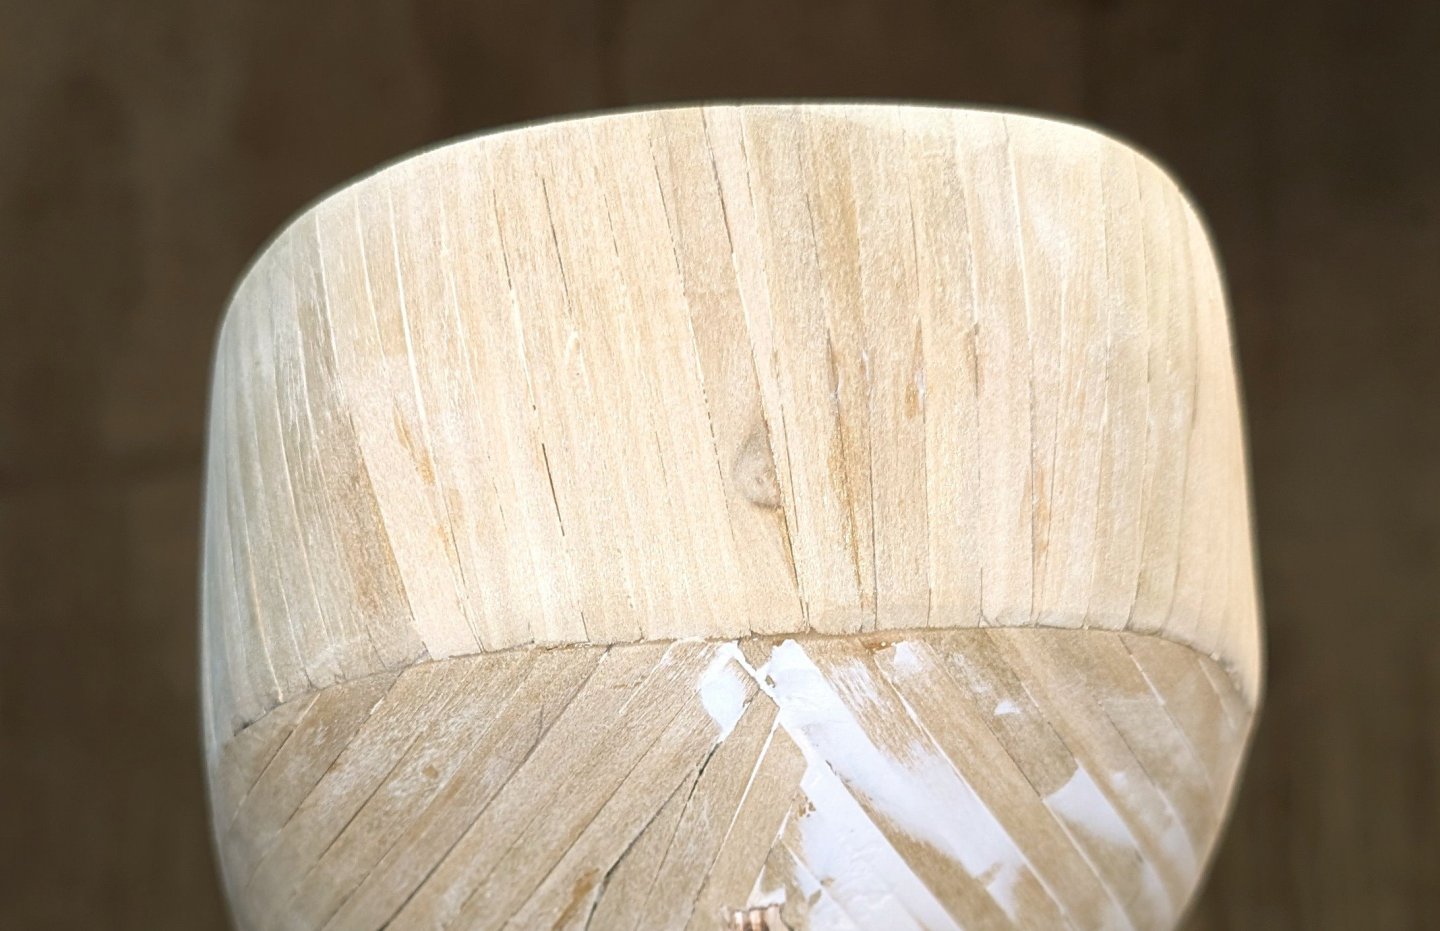
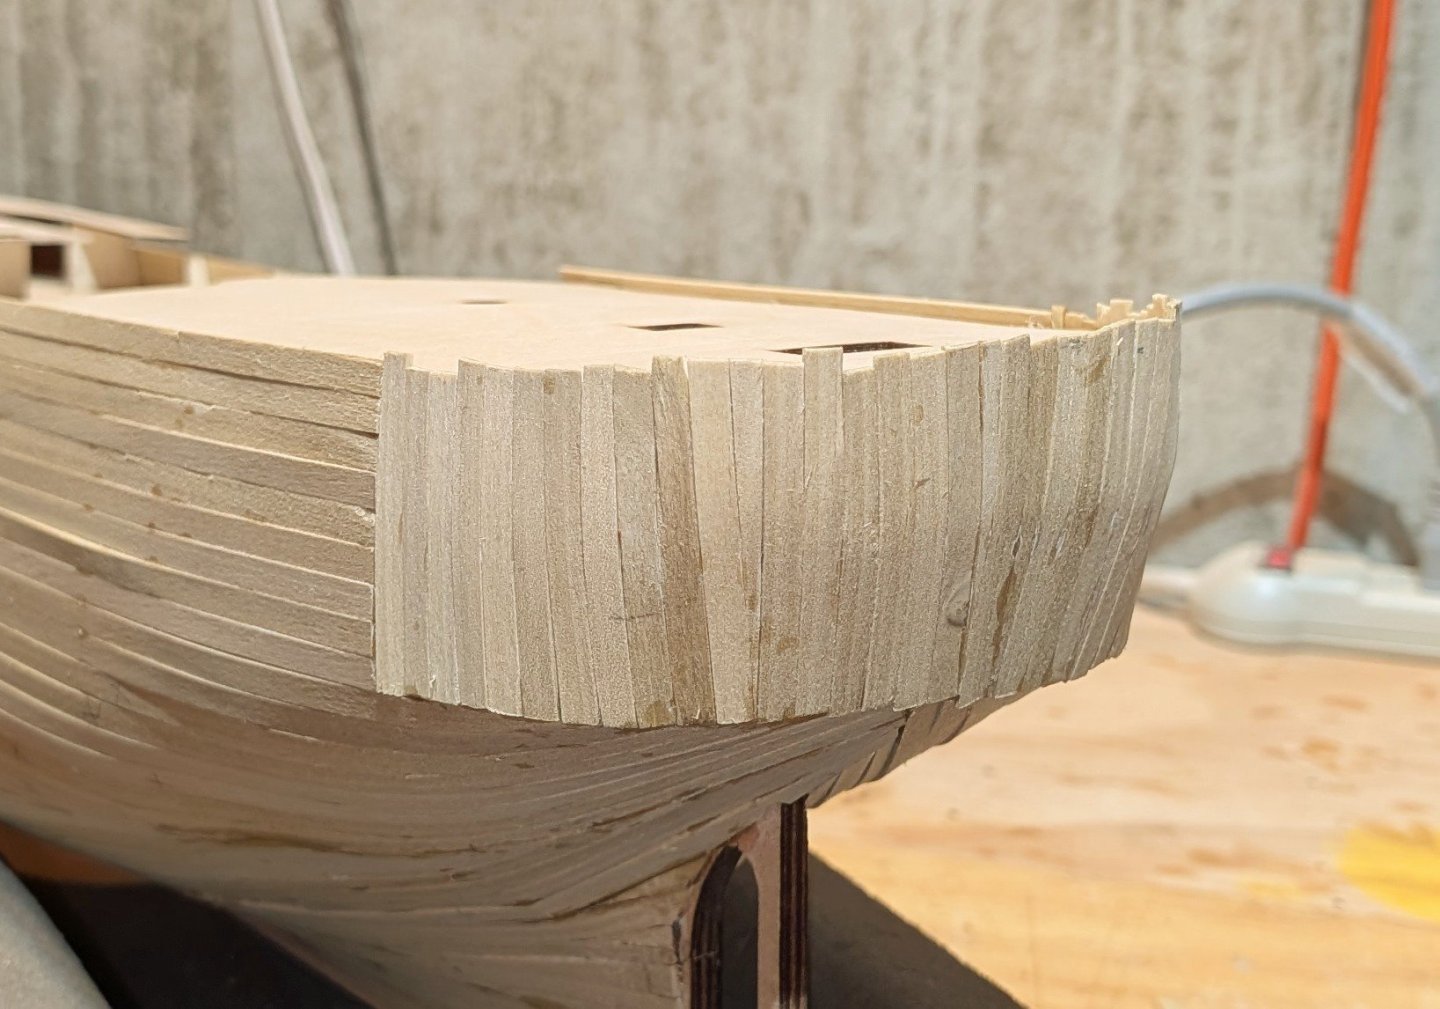
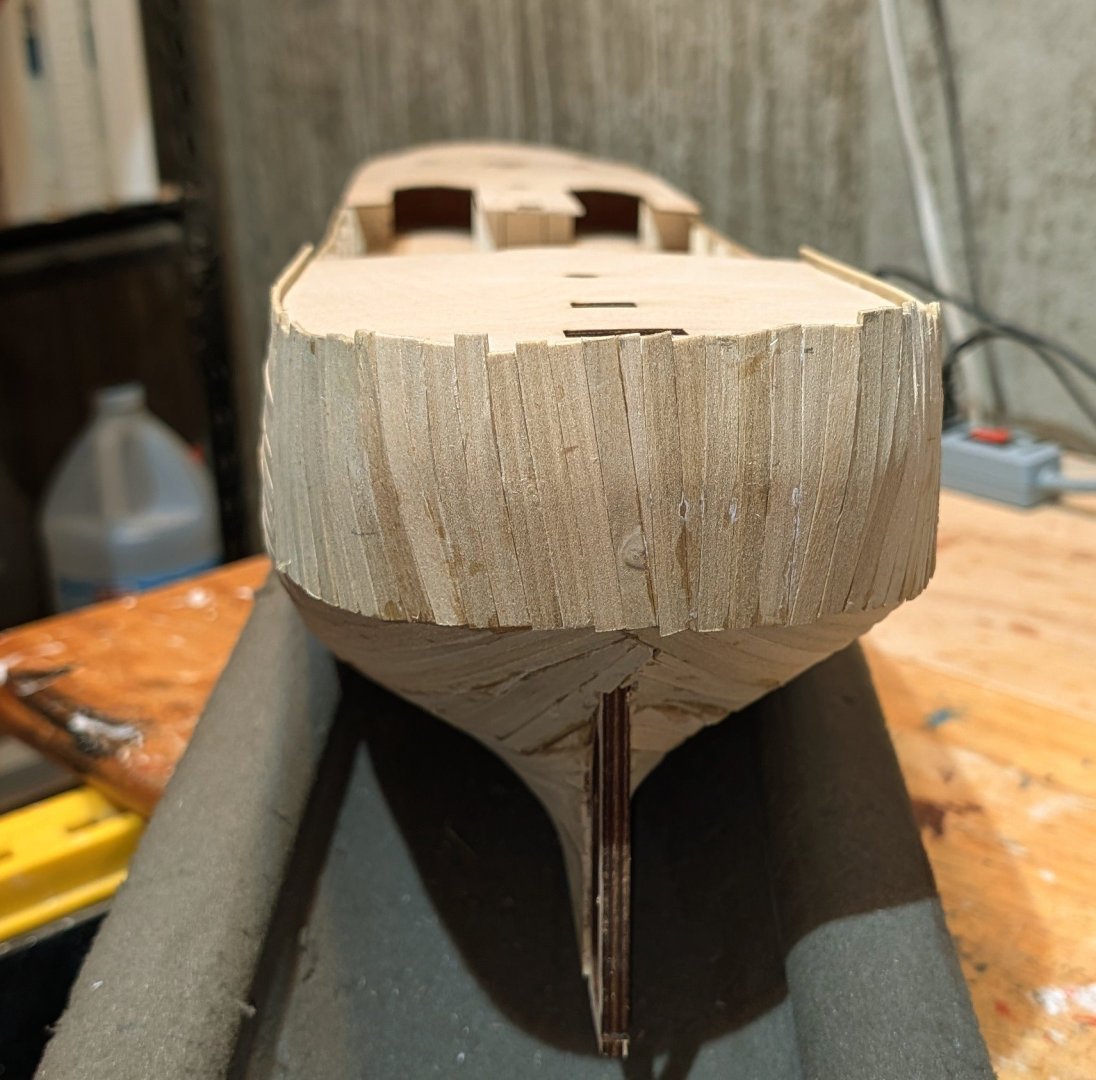
I'm able to use horizontal planks at the bow because the second planks are very flexible (with steaming), and only two rows will be needed. At the stern, I don't think horizontal will work because the curves would require lots of stealers. The stern is easy to sand smooth -- the bow is difficult to get to, which is another argument for horizontal planks. On the right, it looks in the photo like the plank has buckled, but it's actually a smooth curve. Regards, David
-
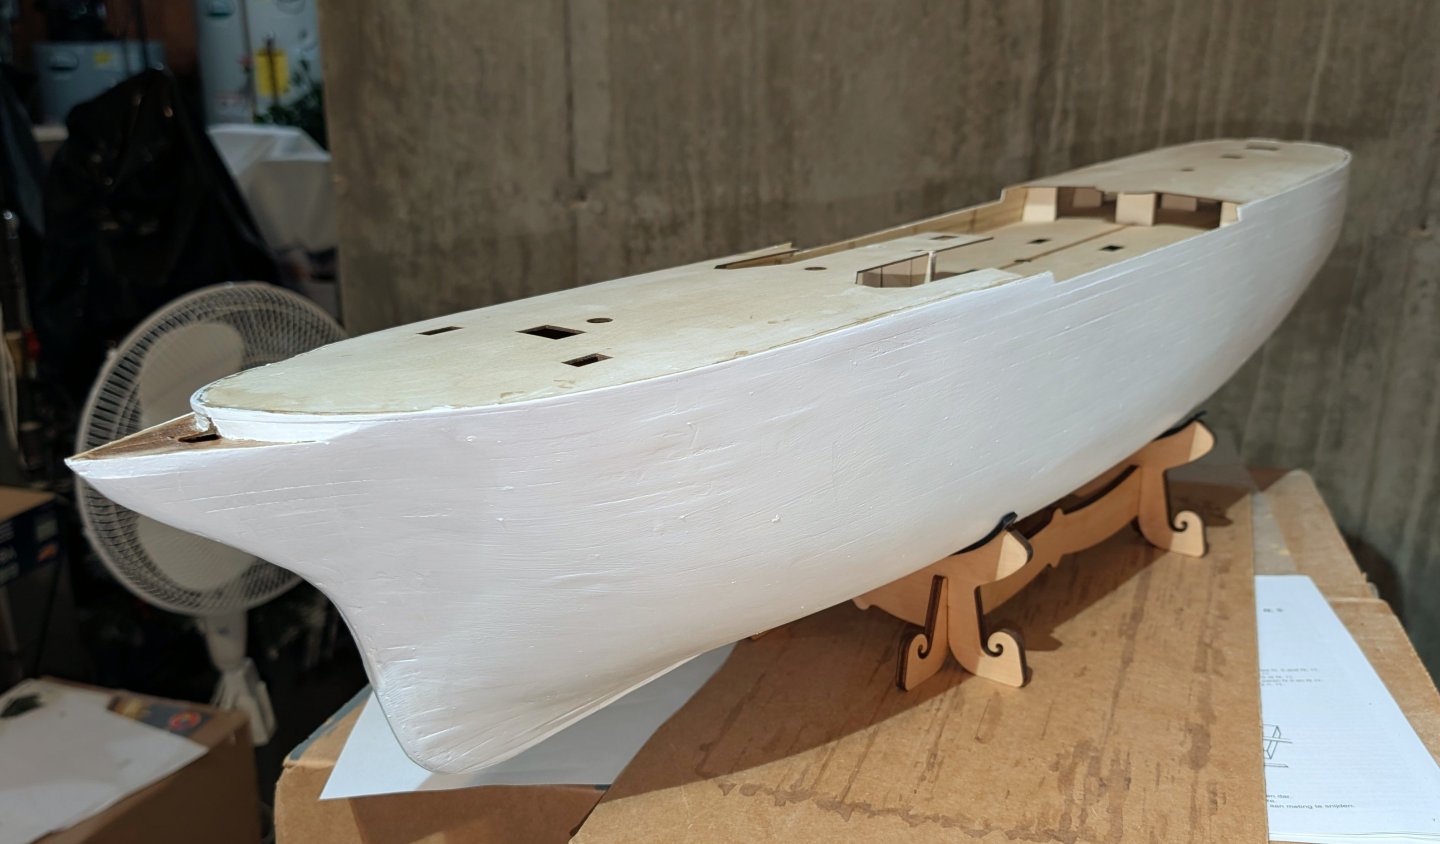
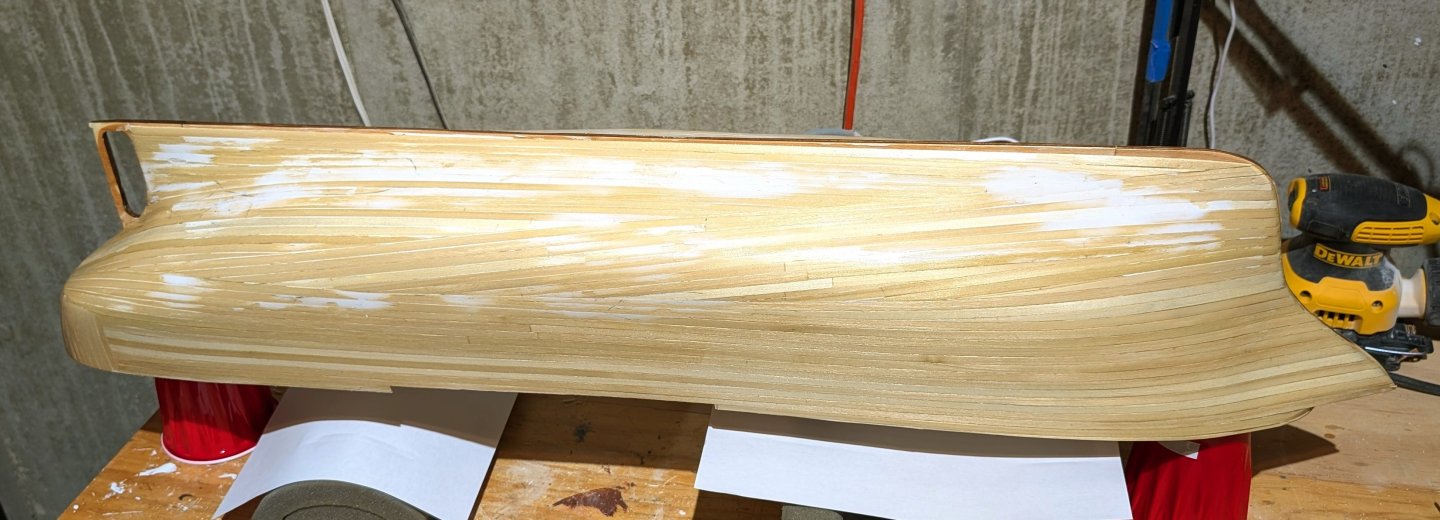
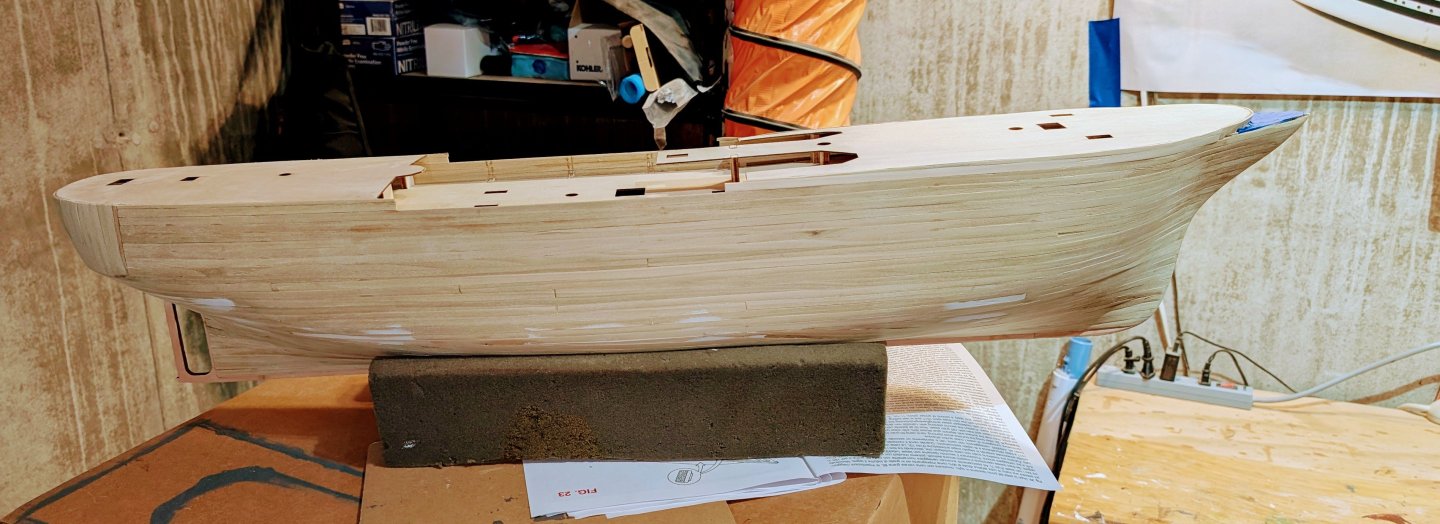
I've started the second planking, and I'm pleased with the way it's laying. Very smooth, and the planks are very flexible. The kit supplies Modelspan tissue for a final step on the hull, and I've been mulling over whether I should try it. Having researched it, I have a pretty good idea of what's involved in using it, and I'm not totally comfortable. If the second planking remains as smooth as I go around the curve of the hull and taper, I'll probably stay with multiple coats of varnish and sanding. Regards, David
-
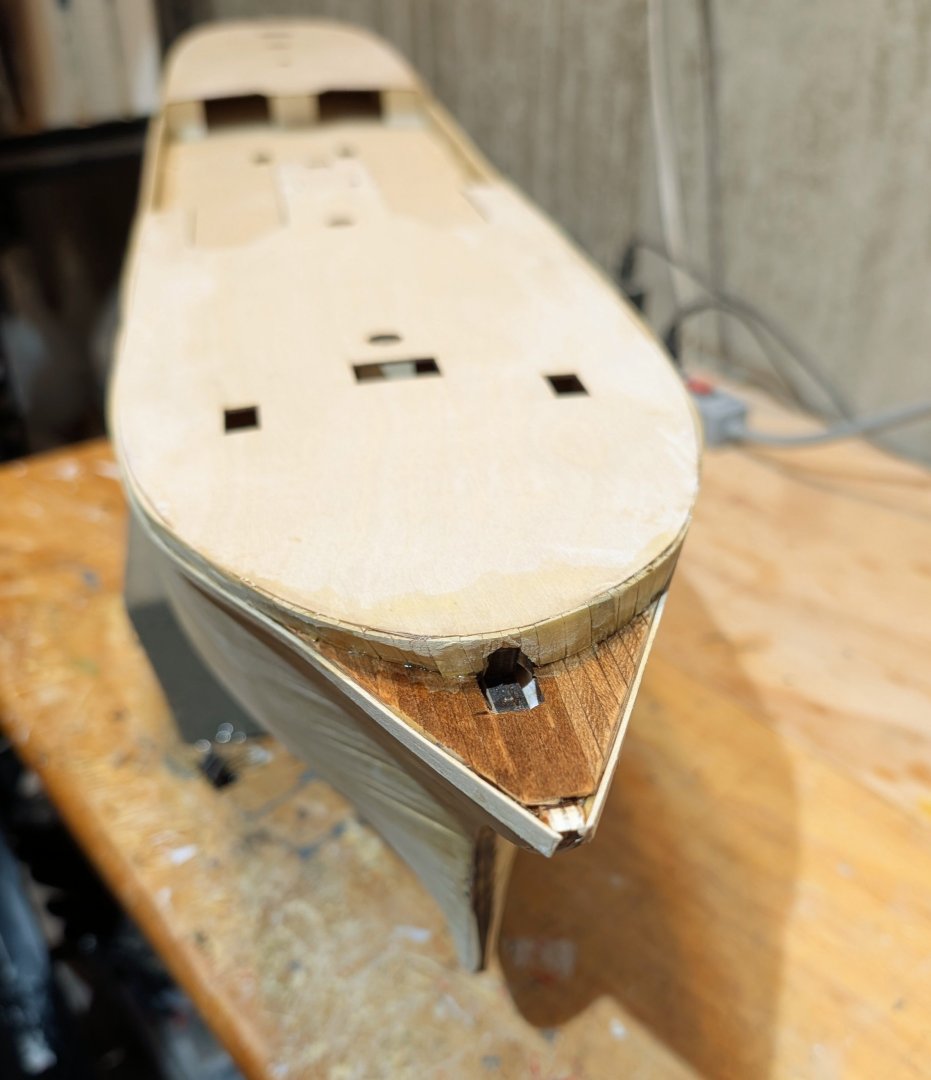
I varnished the little deck section at the bow to protect it. The stained wood comes up nicely under varnish, so the main decks are going to look really nice. The two shades aren't as pronounced to the naked eye. The alphaic glue seemed to work fine as a first planking sealer/smoother, but I think I'll use varnish on the second planking -- unless I decide to go forward with the Modelspan paper and nictric dope (called for in the instructions), which at the moment I'm disinclined to do. Regards, David
-
Bow area planked; not yet sanded down. The instructions say to plank the small bow foredeck now, so I've done that. Mantua/Panart uses an interesting approach for deck planking (and other wood items in the kit). They give you two small bags of water-soluble walnut stain, with instructions on how to mix. So I bought some small lidded jars from Amazon and mixed my first batch. The walnut strips, unstained, are very light brown -- and you can see that when stained they make a nice looking dark-colored deck, which should look even nicer when varnished. You have to be careful to pick the right strips. There is a bundle of the walnut, and another bundle that's darker but turns out to be mahogany. I searched through the parts lists to figure that out and make sure I used the right strips. Since I had the stain and a brush out, I stained about 100 strips so that I can start the deck planking when the time comes. Regards, David
-
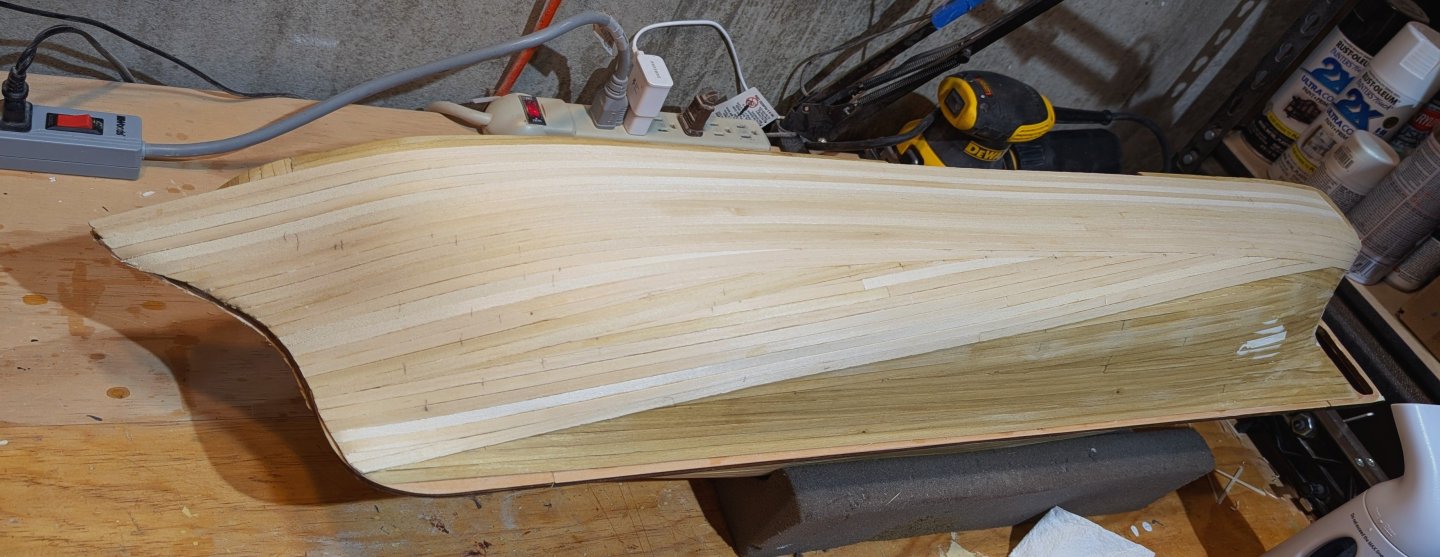
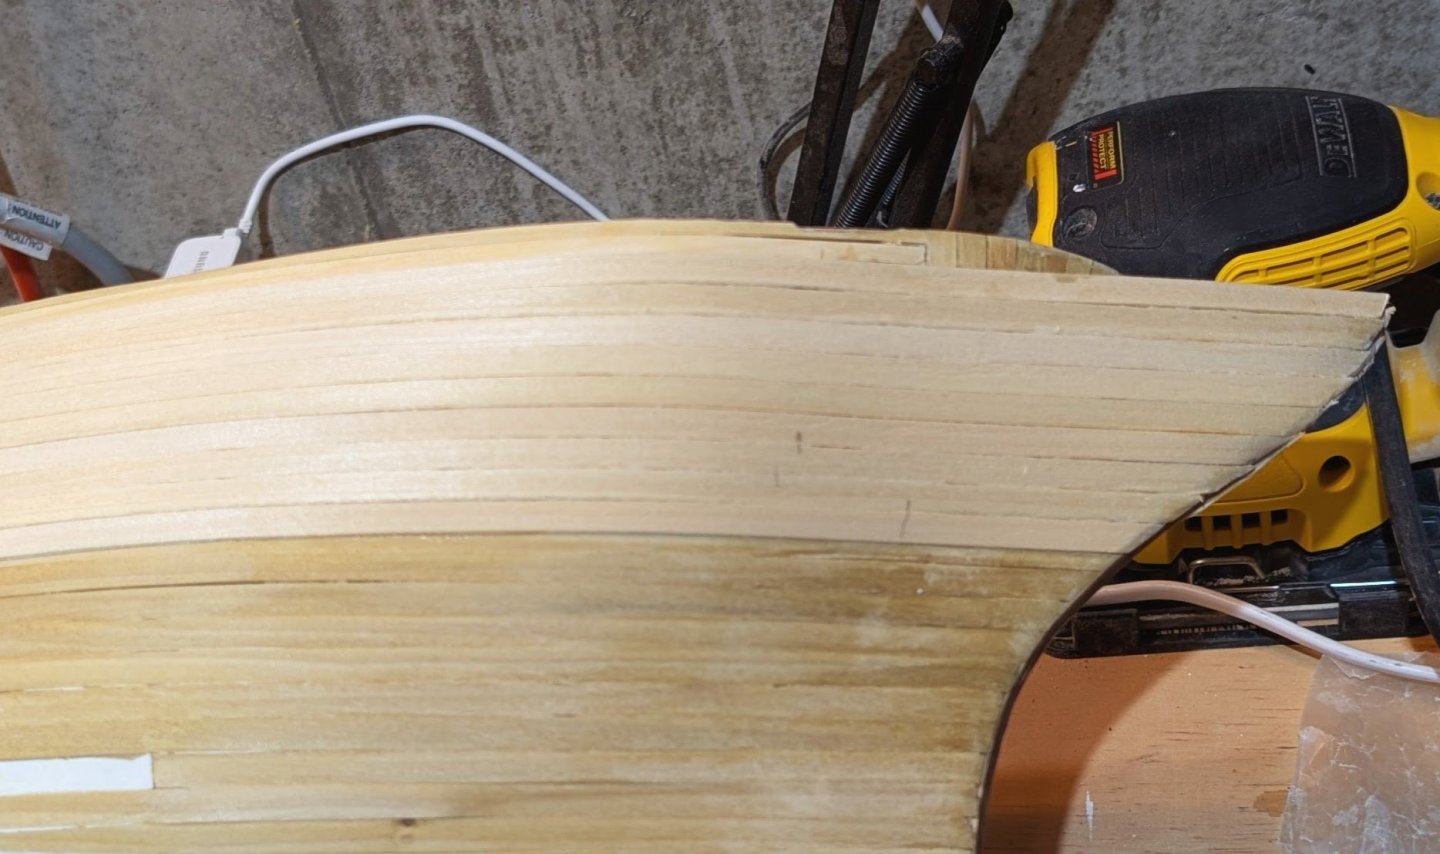
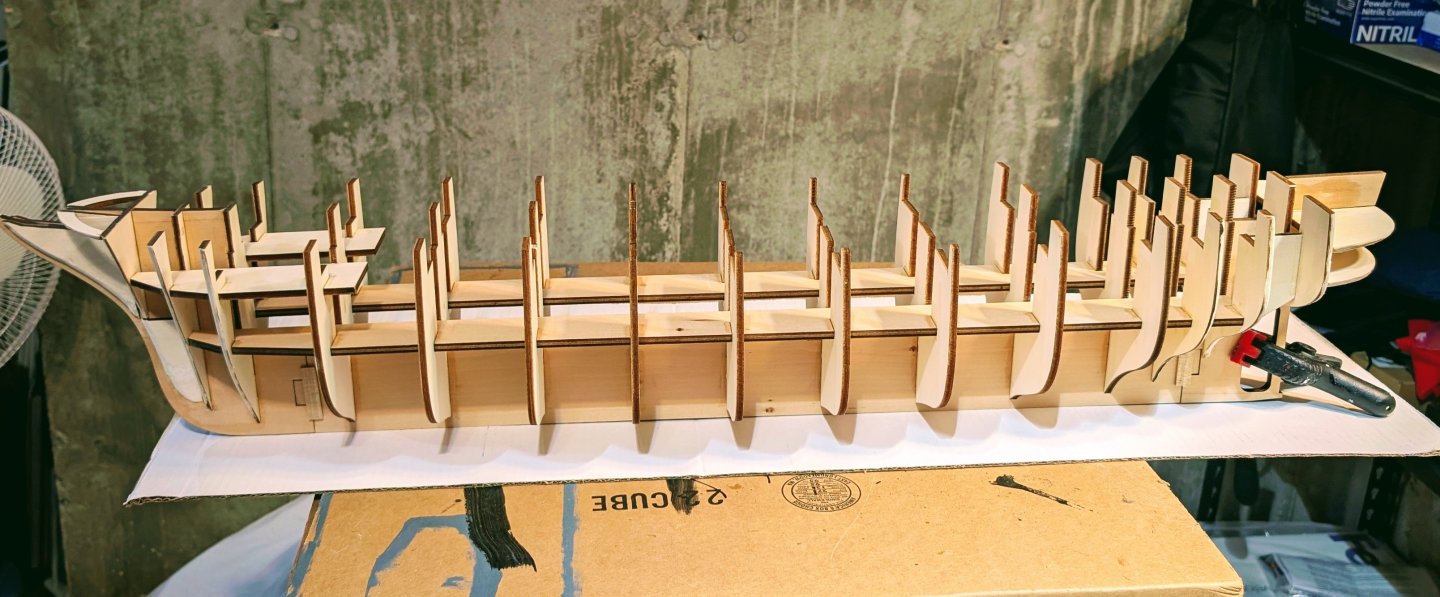
This is kind of a first for me in planking. I've tapered lots before, but I felt like I was running out of tapering and curving room, so I carefully dropped in this diagonal plank, which I can now work from both sides. Think of it as multiple massive stealers going in now. Hopefully this will work out OK. Regards, David
-
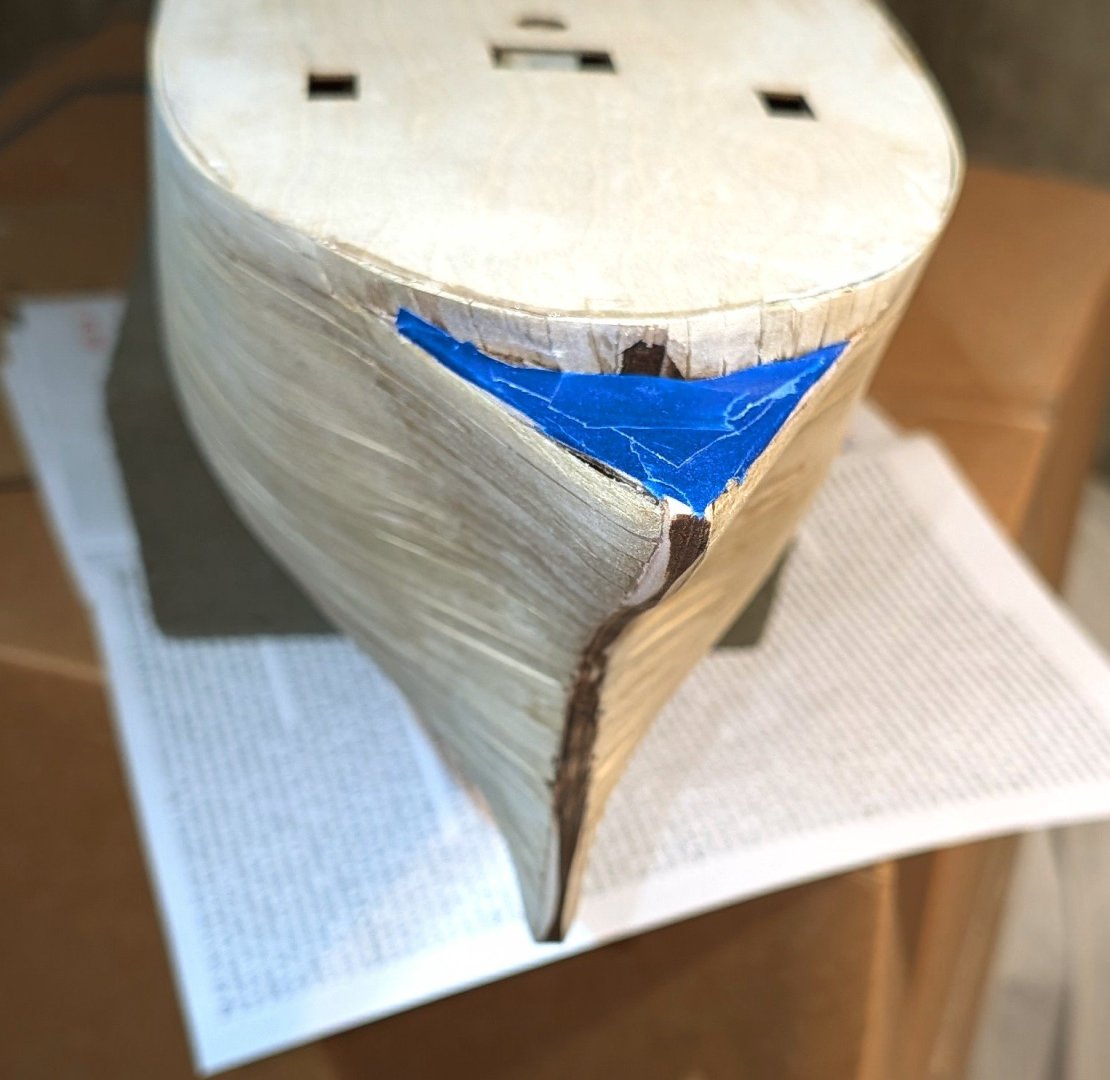
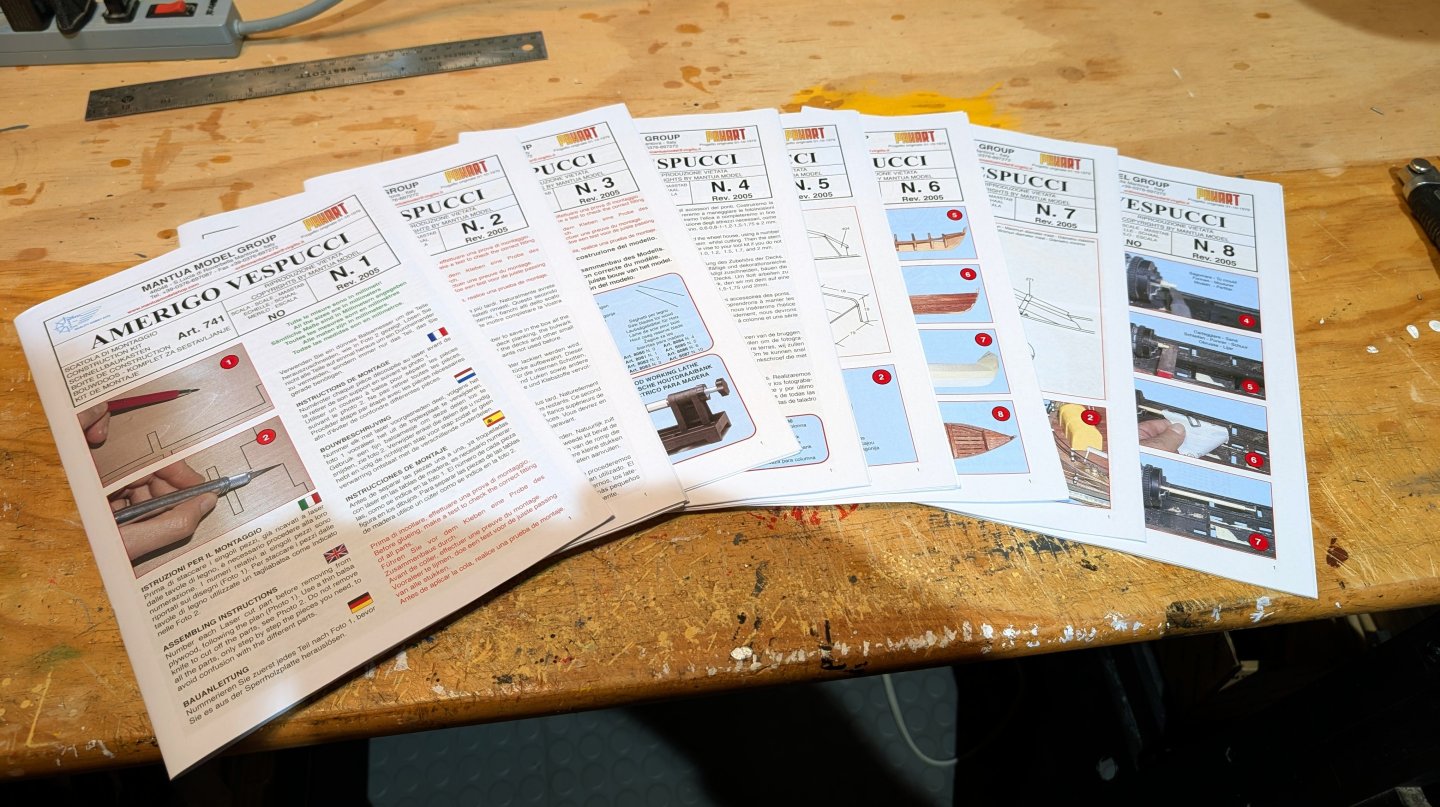
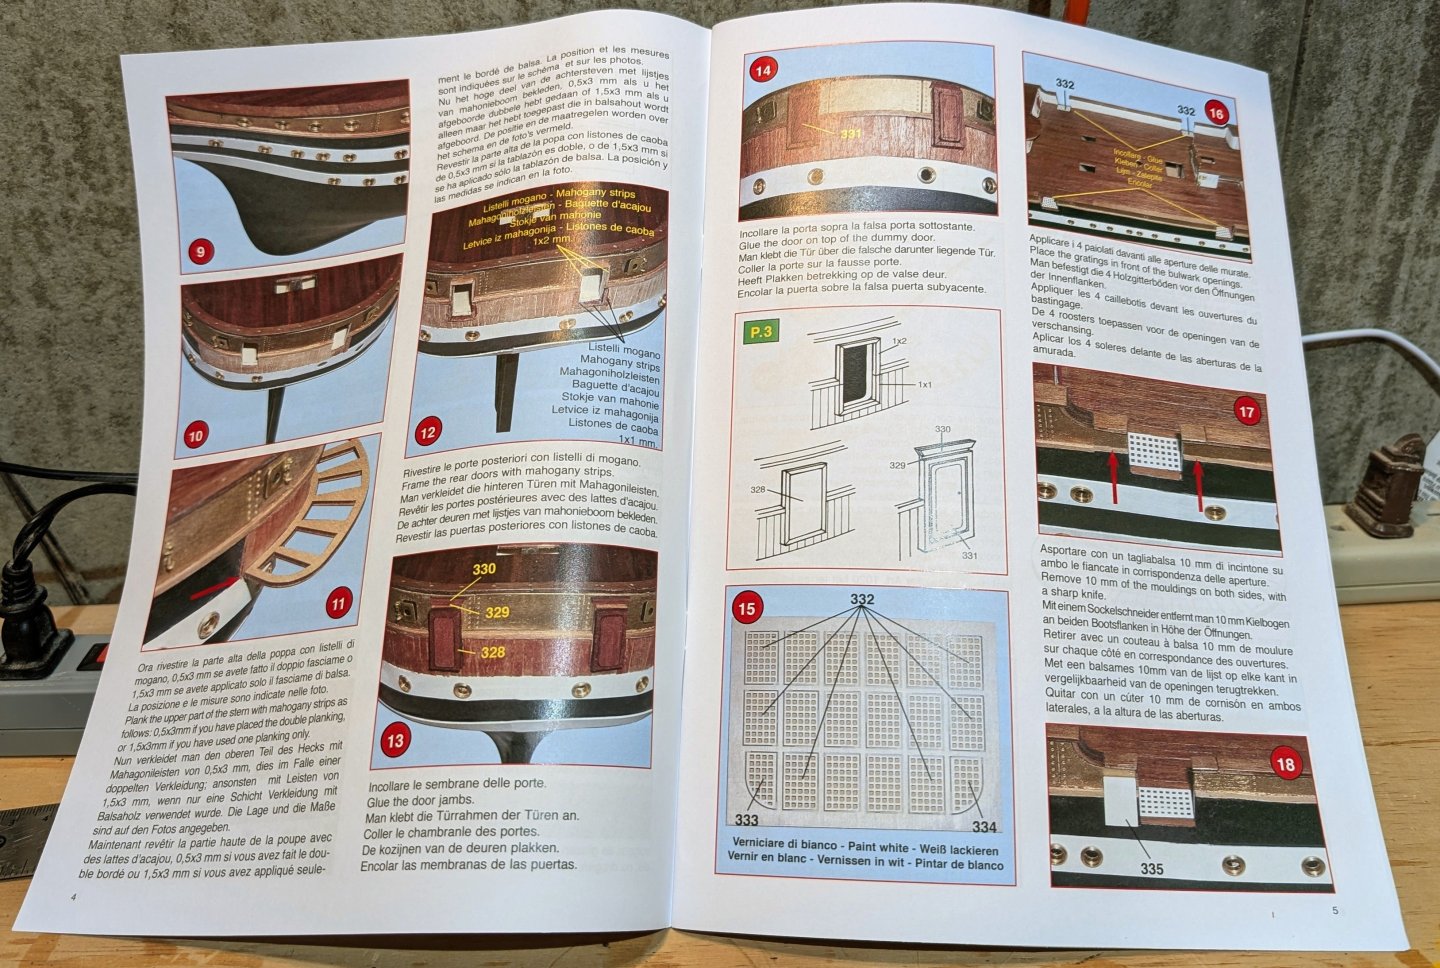
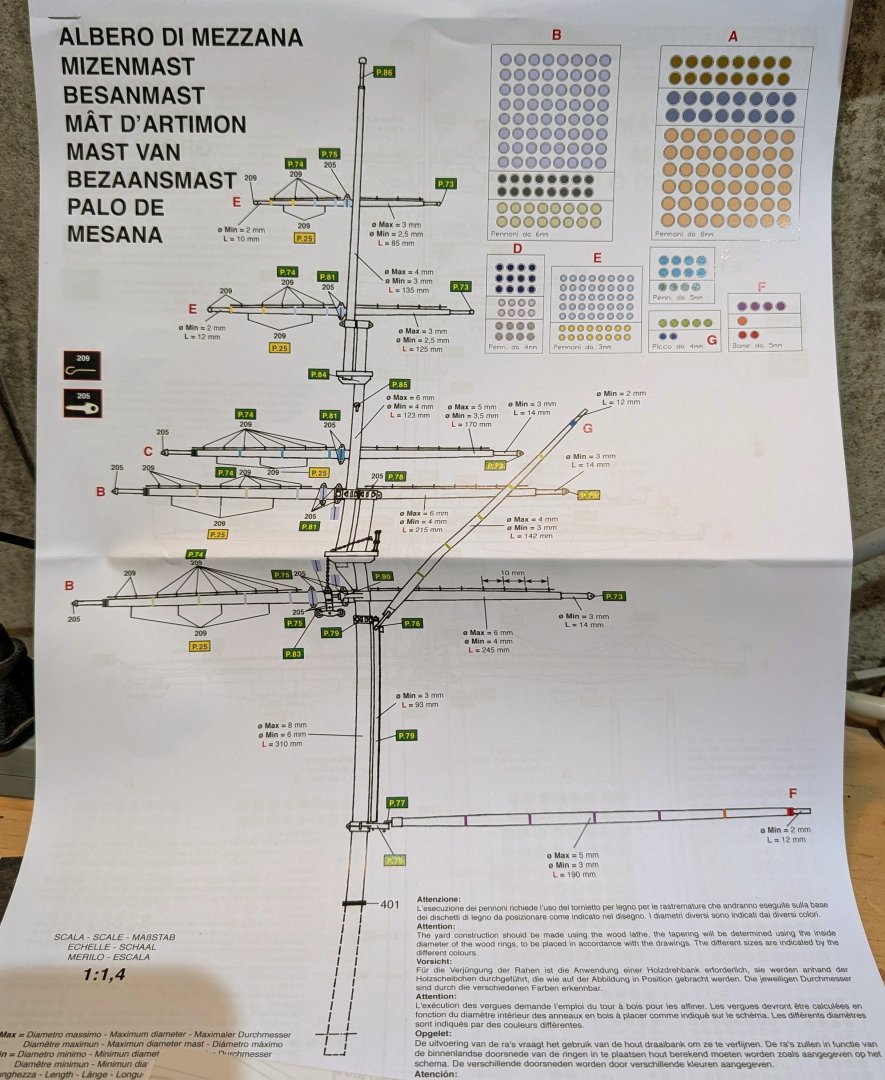
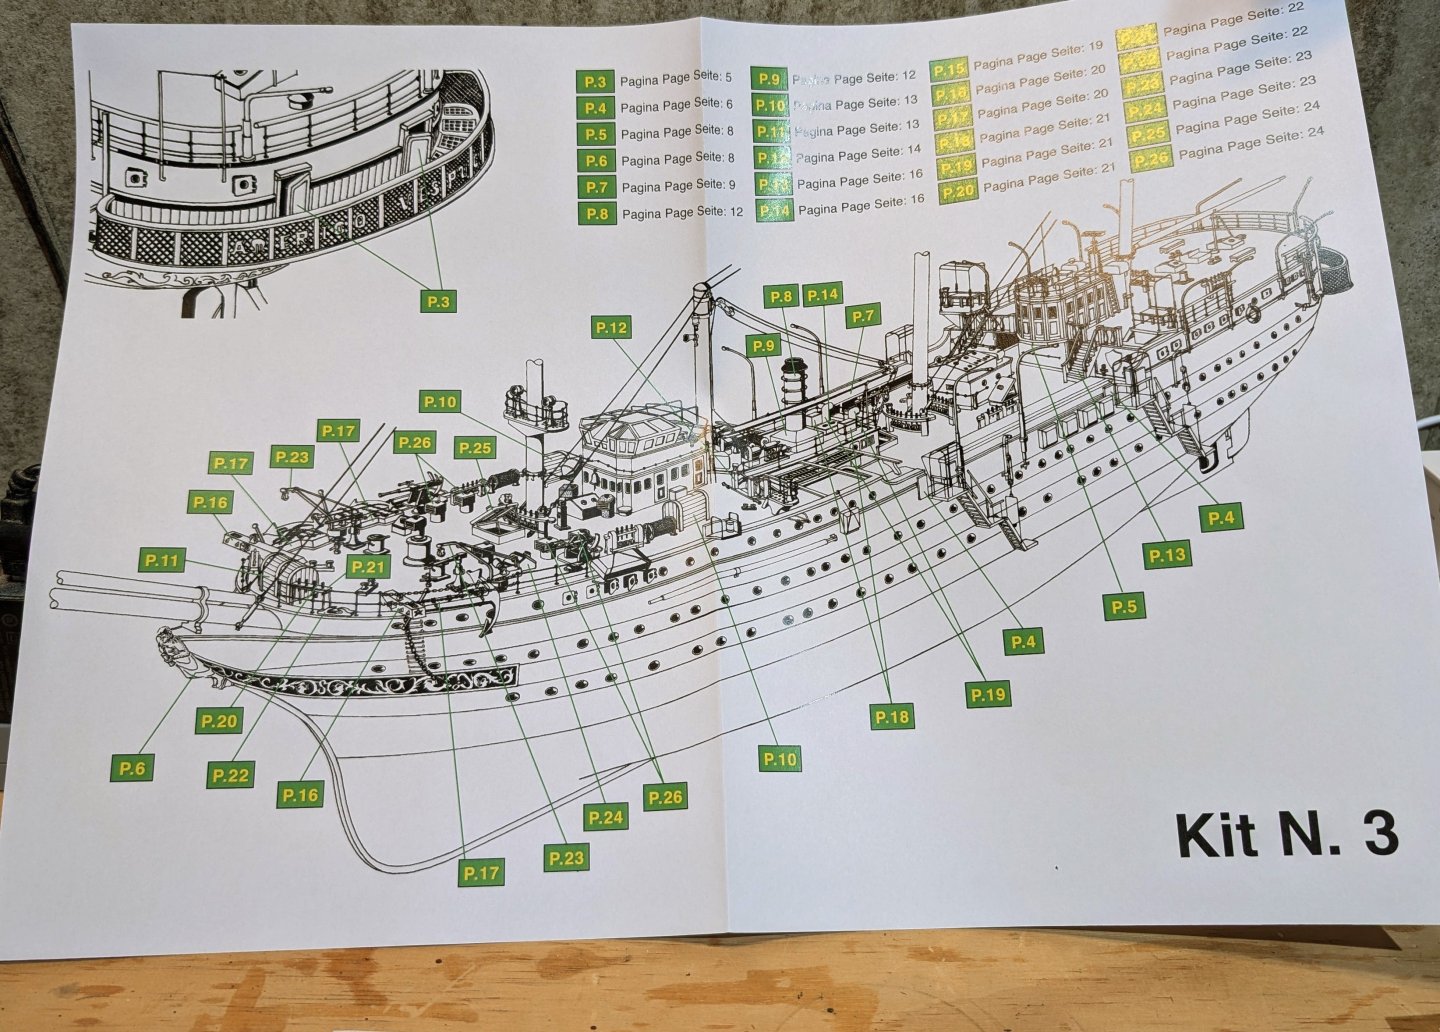
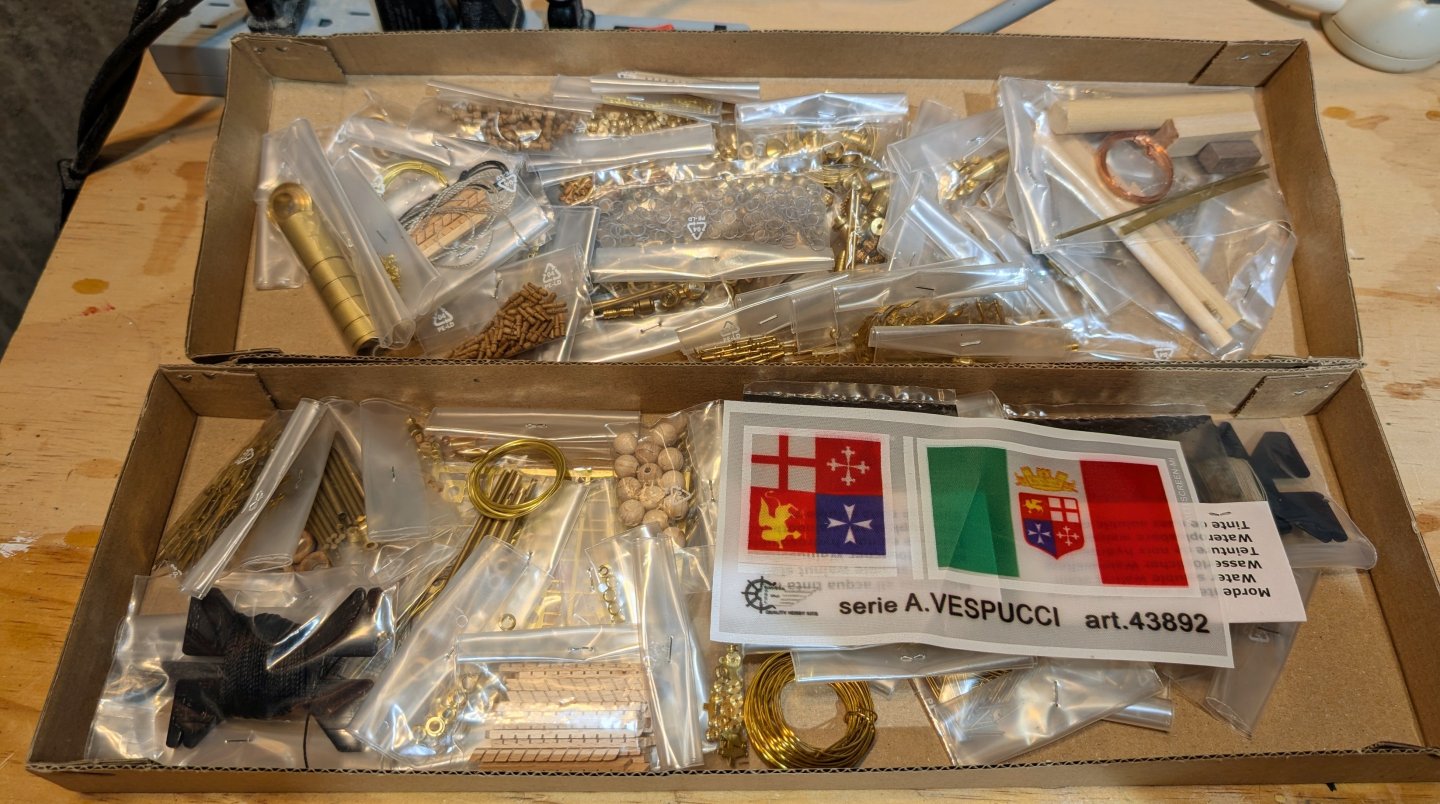
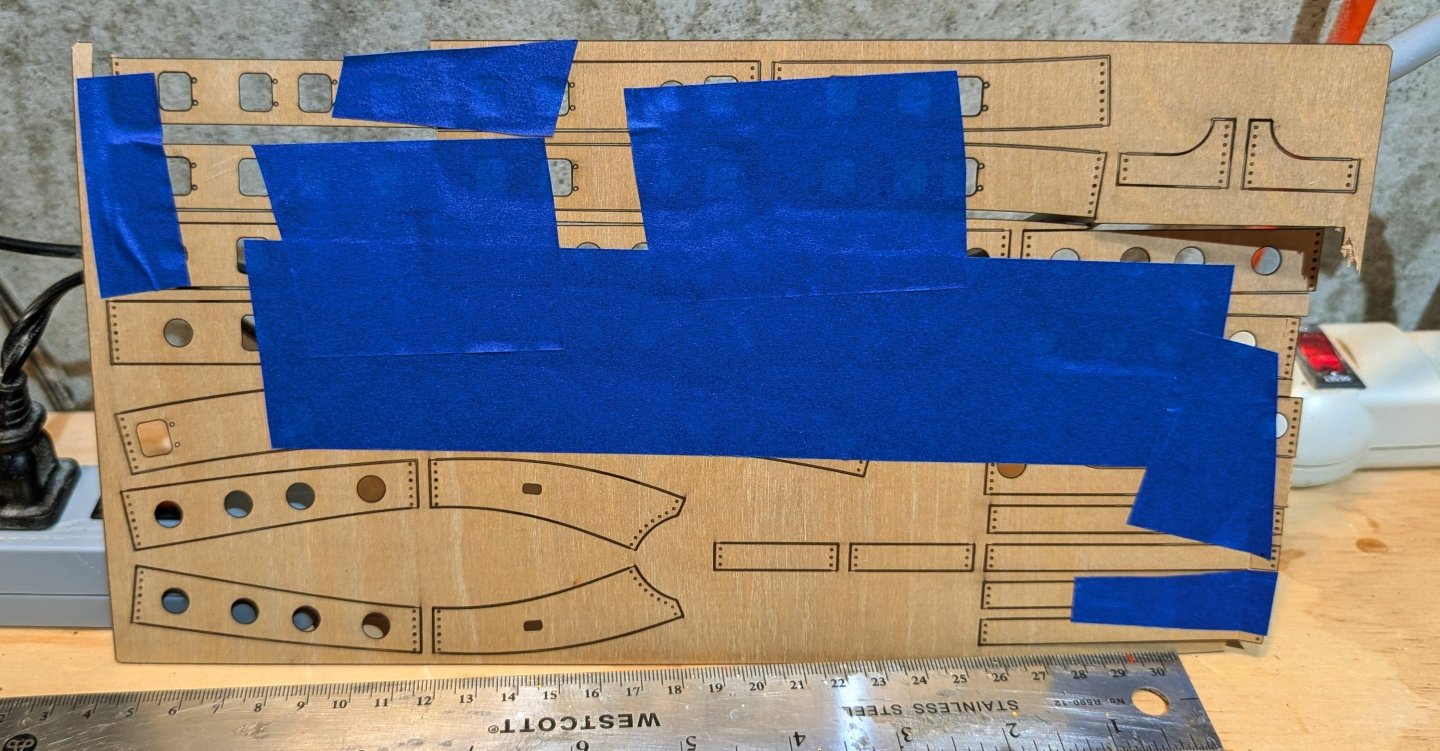
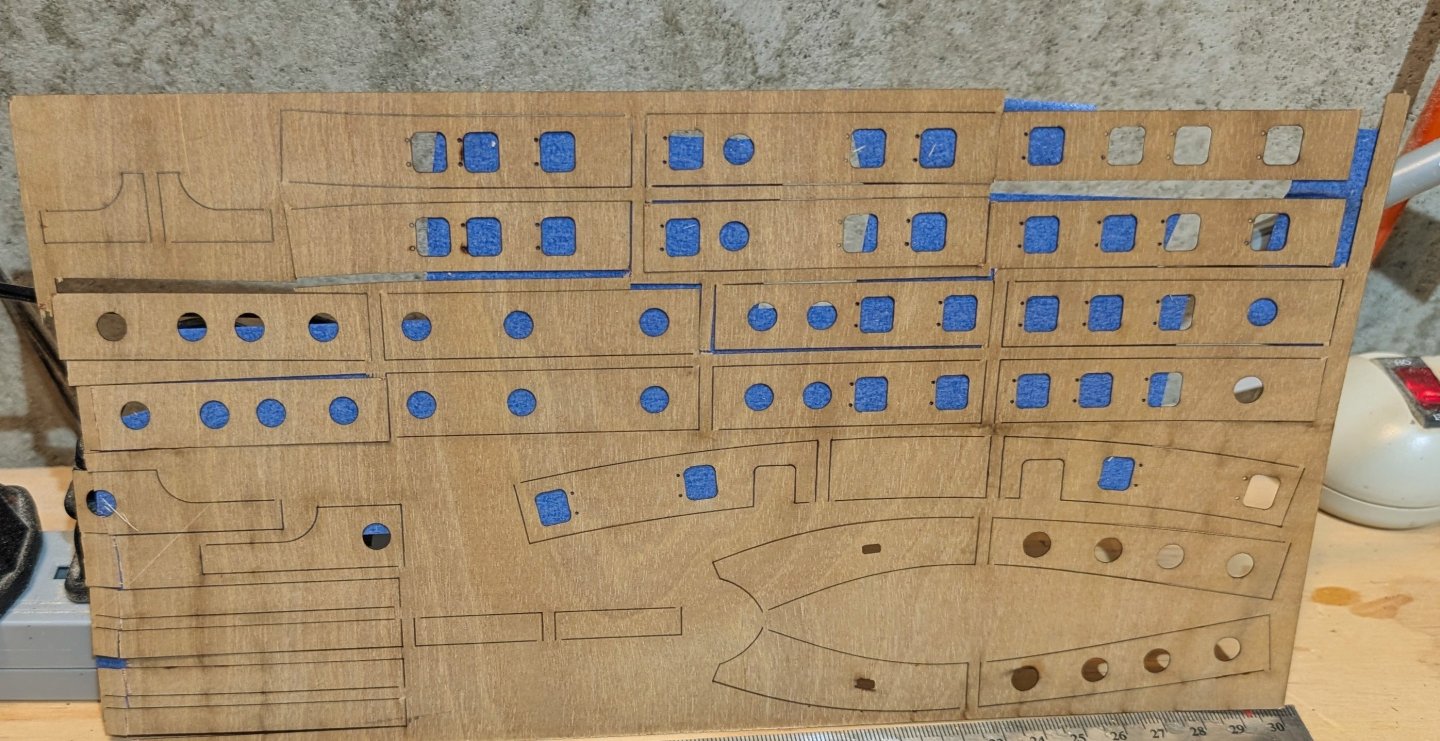
Starting this model from Mantual's Panart line. This is the larger and more complex of the two versions of the Amerigo Vespucci that Mantua offers. This model comes with a really comprehensive set of manuals (8 books), and they are well-illustated. There are also charts, as well as the usual large wall diagrams. Lots and lots of laser cut wood parts, some very nice loose metal parts, and of course strip wood. One thing to watch out for: there is one very fragile laser cut piece that is just put in with the other heavy ones, and the shifting motion of shipping fragments it somewhat. I have taped it back together and the parts that have been split I'll have to reconstruct when mounting. When you unpack this, if there are parts missing look carefully in the box. Regards, David
-
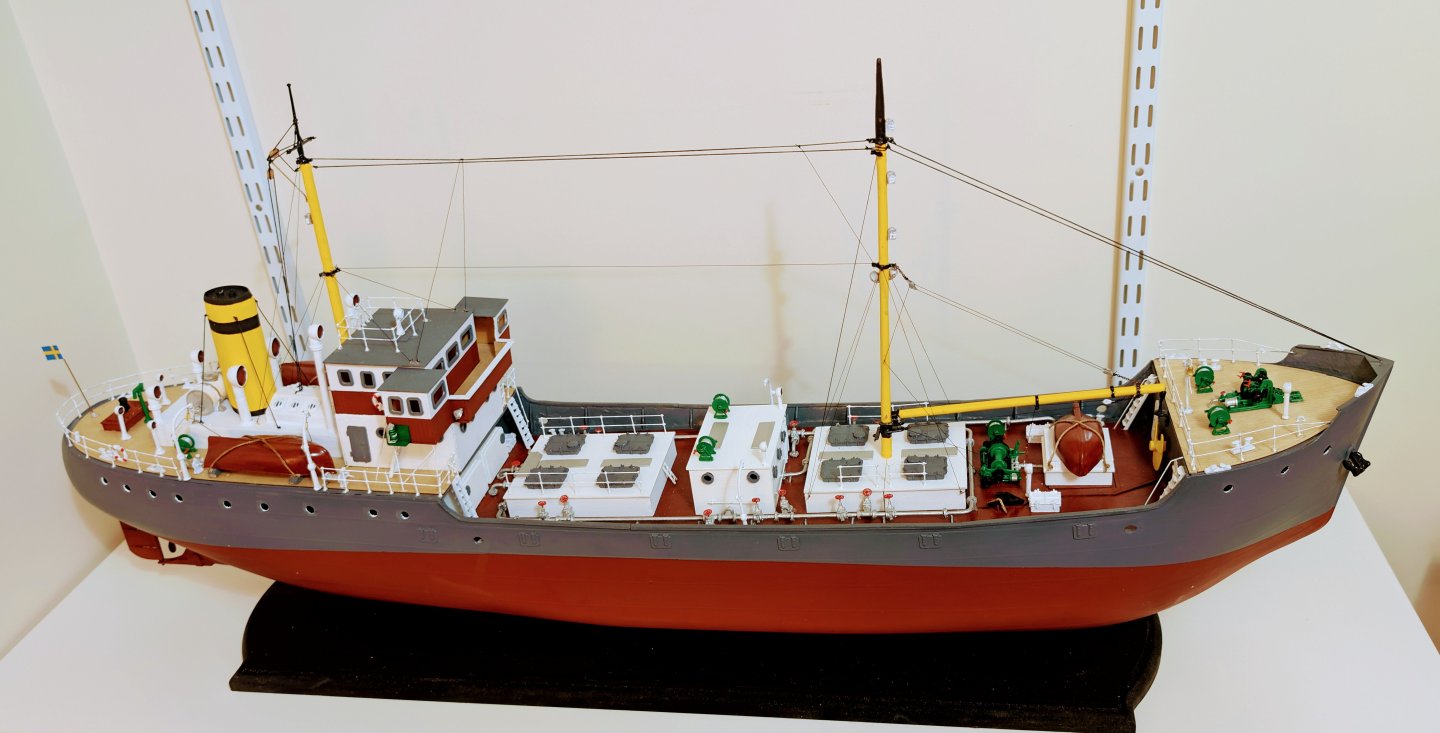
Brannaren is finished! Here's one photo -- a set of completion pictures can be found in the Gallery of Completed Kit-Built ships. As I've noted above, this was a fun build, but only for those who have enough experience to make lots of decisions on their own due to sketchy instructions, and who have a decent stash of spare parts from other kits (rigging line, etc.). Regards, David
- 49 replies
-
- Brannaren
- Caldercraft
-
(and 1 more)
Tagged with:
-
- 49 replies
-
- Brannaren
- Caldercraft
-
(and 1 more)
Tagged with:
-
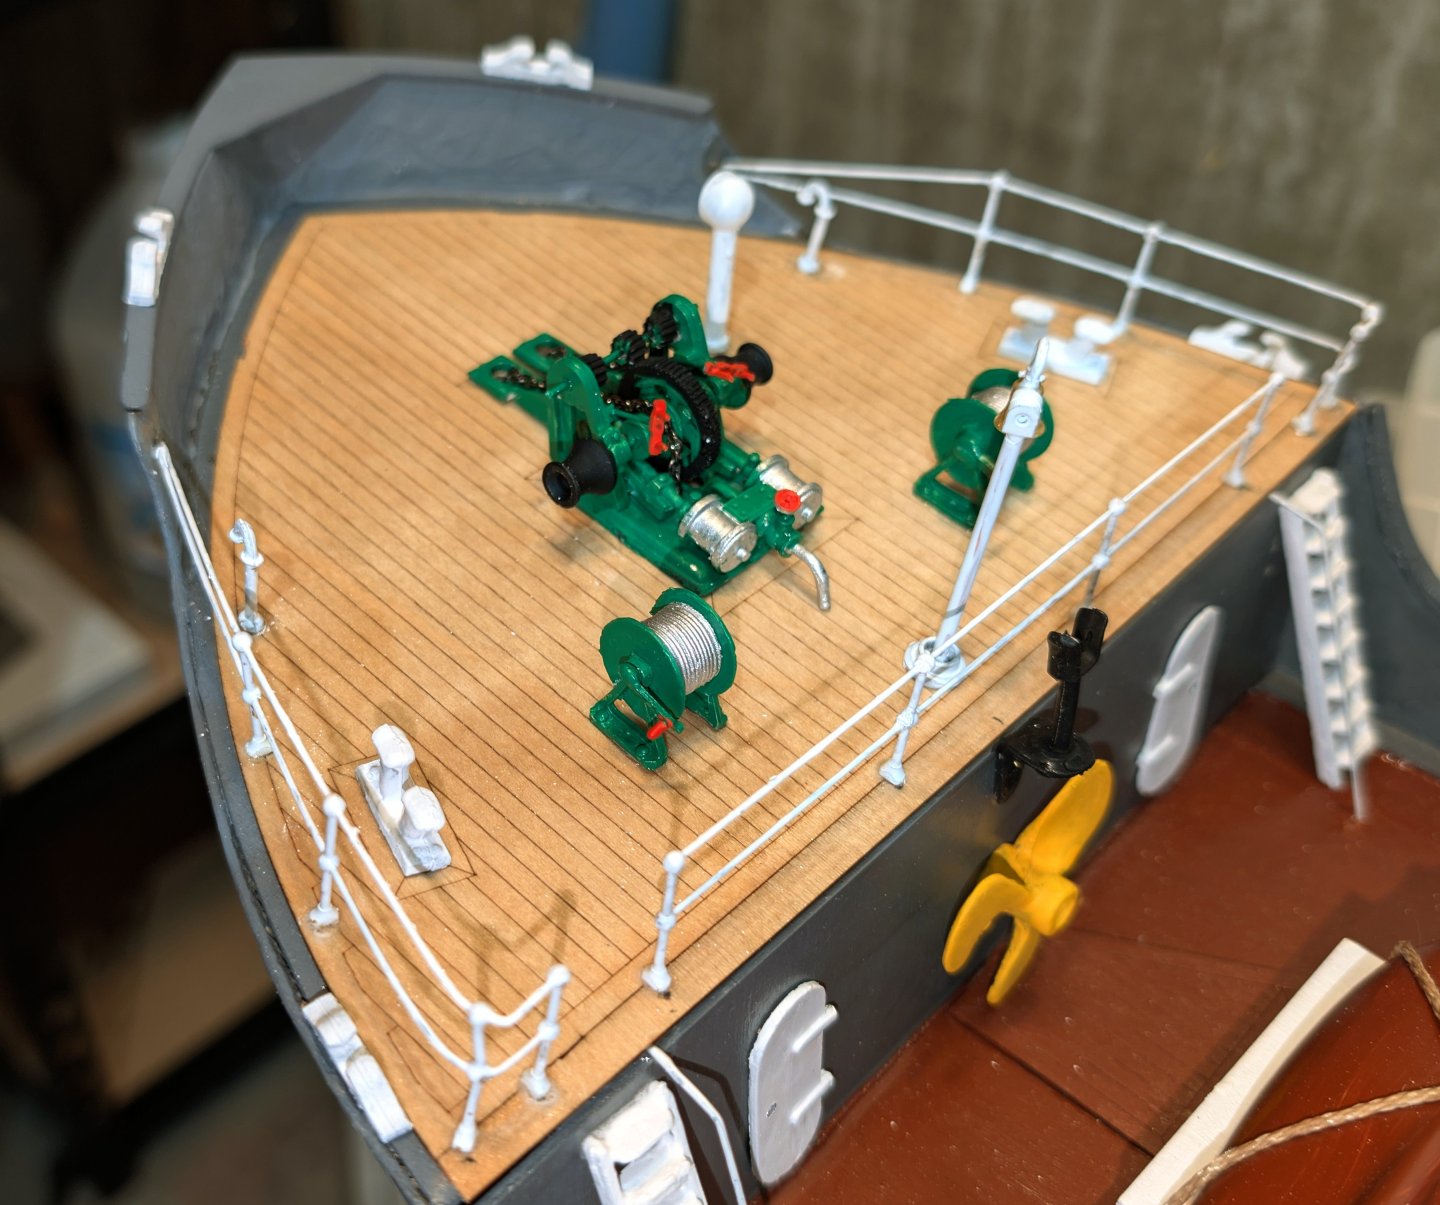
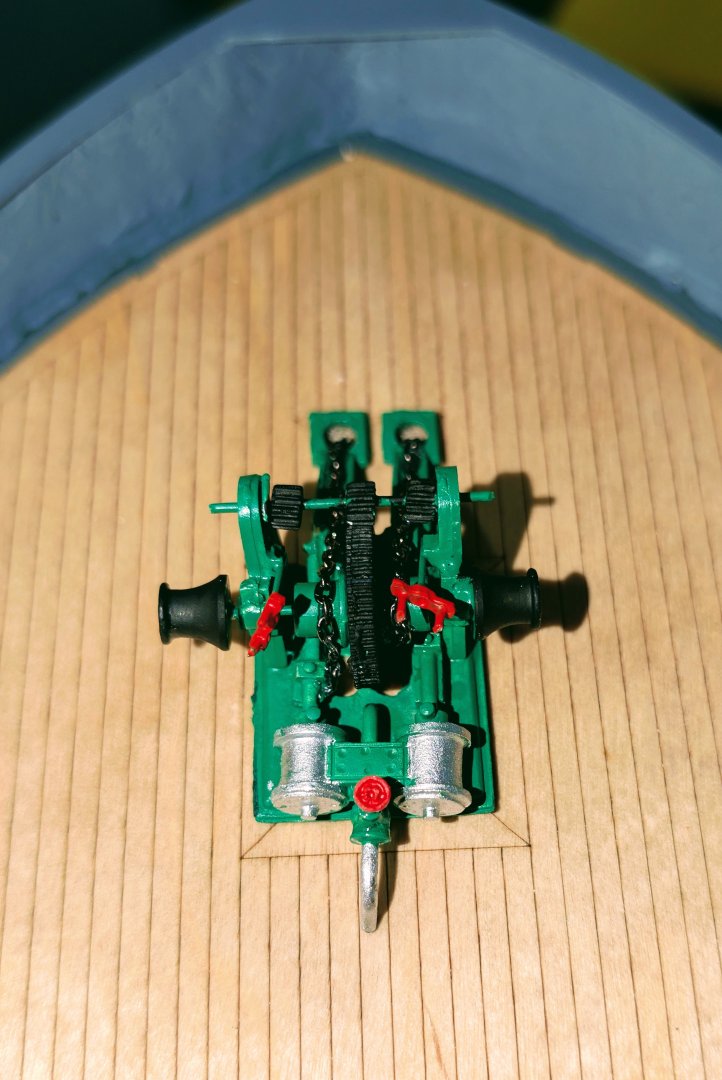
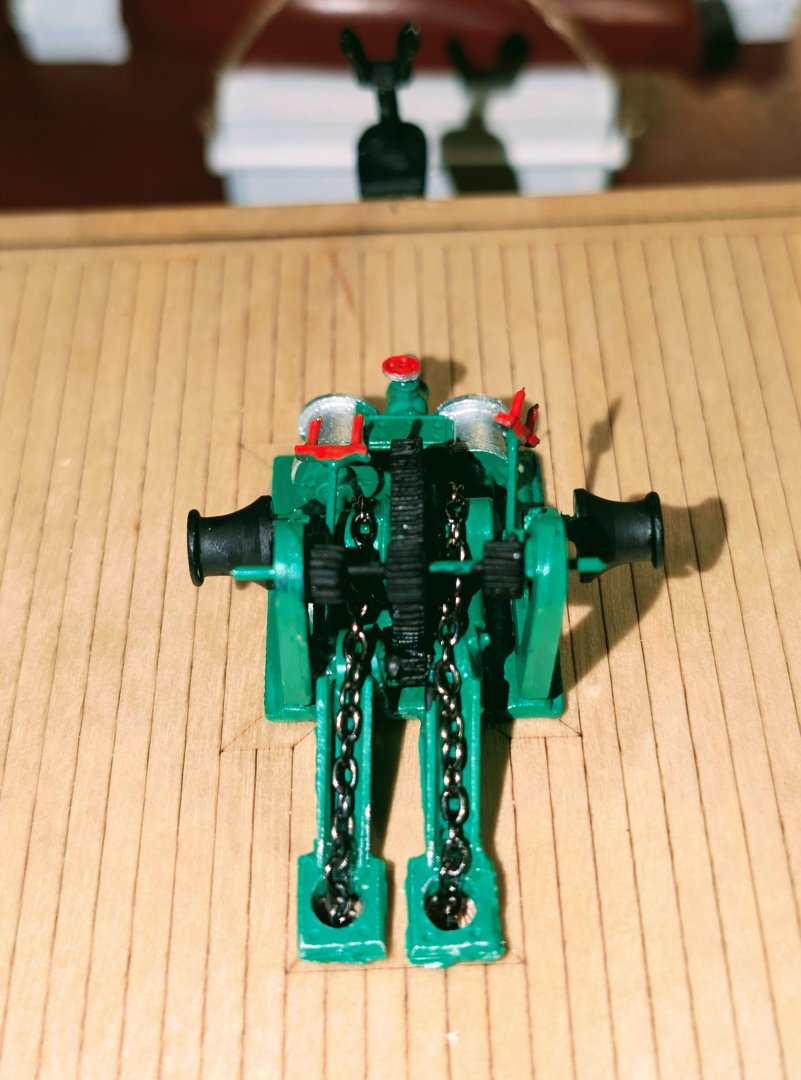
Here's the anchor windlass, which is a nice-looking assembly, completed and glued in place on the fo'c'sle. I really like this kit -- it's a fun build, and as the ship nears completion, it looks really nice. But it blows my mind that a kit from Caldercraft that costs as much as this did (over $600) doesn't include parts such as the anchor chain, or ANY rigging line. They aren't missing -- I have searched the parts list electronically and there is no anchor chain included. So given the ambiguity of the instructions that I've mentioned several times above, this is a kit for experienced builders for two reasons: first, you have to decide on your own how to build a lot of things, and second, you need to have built a bunch of kits so that you have a good spare parts box. 😁 That's where the anchor chain shown came from, and that's where my rigging line will come from. Regards, David
- 49 replies
-
- Brannaren
- Caldercraft
-
(and 1 more)
Tagged with:
About us
Modelshipworld - Advancing Ship Modeling through Research
SSL Secured
Your security is important for us so this Website is SSL-Secured
NRG Mailing Address
Nautical Research Guild
237 South Lincoln Street
Westmont IL, 60559-1917
Model Ship World ® and the MSW logo are Registered Trademarks, and belong to the Nautical Research Guild (United States Patent and Trademark Office: No. 6,929,264 & No. 6,929,274, registered Dec. 20, 2022)
Helpful Links
About the NRG
If you enjoy building ship models that are historically accurate as well as beautiful, then The Nautical Research Guild (NRG) is just right for you.
The Guild is a non-profit educational organization whose mission is to “Advance Ship Modeling Through Research”. We provide support to our members in their efforts to raise the quality of their model ships.
The Nautical Research Guild has published our world-renowned quarterly magazine, The Nautical Research Journal, since 1955. The pages of the Journal are full of articles by accomplished ship modelers who show you how they create those exquisite details on their models, and by maritime historians who show you the correct details to build. The Journal is available in both print and digital editions. Go to the NRG web site (www.thenrg.org) to download a complimentary digital copy of the Journal. The NRG also publishes plan sets, books and compilations of back issues of the Journal and the former Ships in Scale and Model Ship Builder magazines.


