drobinson02199
-
Posts
1,079 -
Joined
-
Last visited
Content Type
Profiles
Forums
Gallery
Events
Everything posted by drobinson02199
-
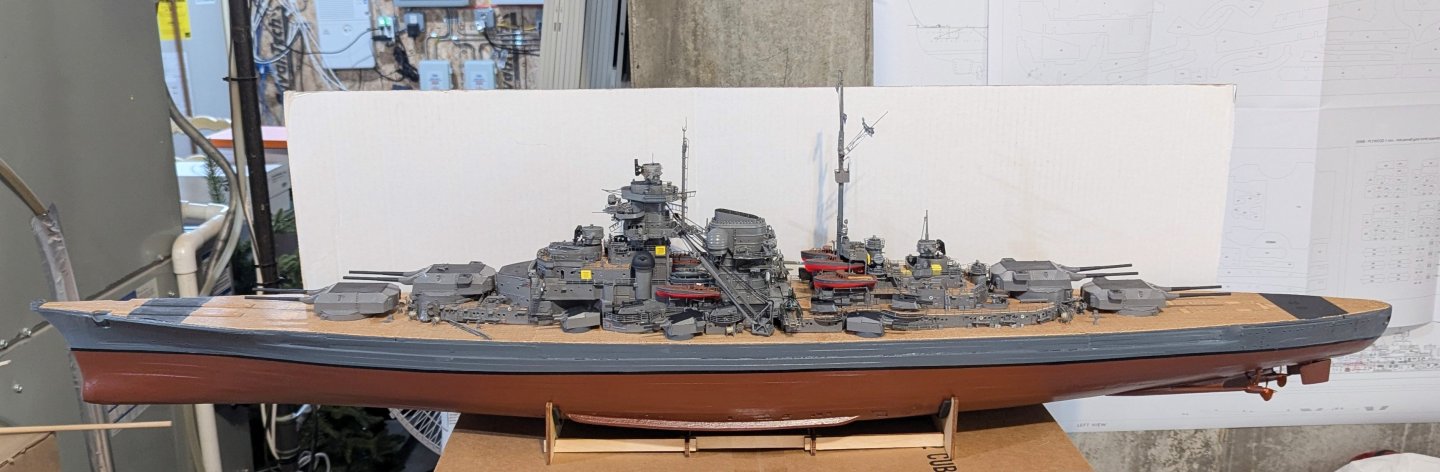
 Bismarck is FINISHED! Elapsed time for this one was one year three months. I've posted one full picture of the model here, but I have also posted an album of completion pics in the Gallery. [See post that follows if you want to follow my next build, which isn't a ship, and which therefore has to be done on another site.] Regards, David
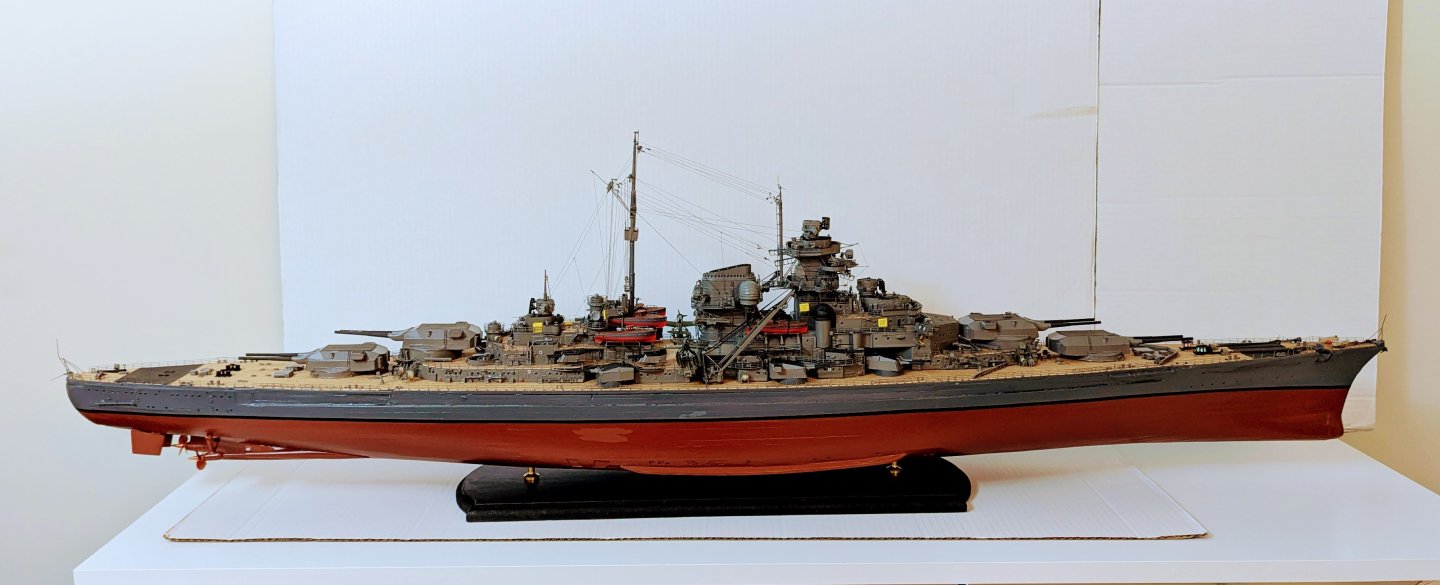
-
I finished up the port side railings with about 30-45 minutes of work. This compares to 5 elapsed months for the starboard side using the Amati railings -- although I must admit that sheer boredom with the process played a good part of that elapsed time. Just put the first coat on the stand. Regards, David
-
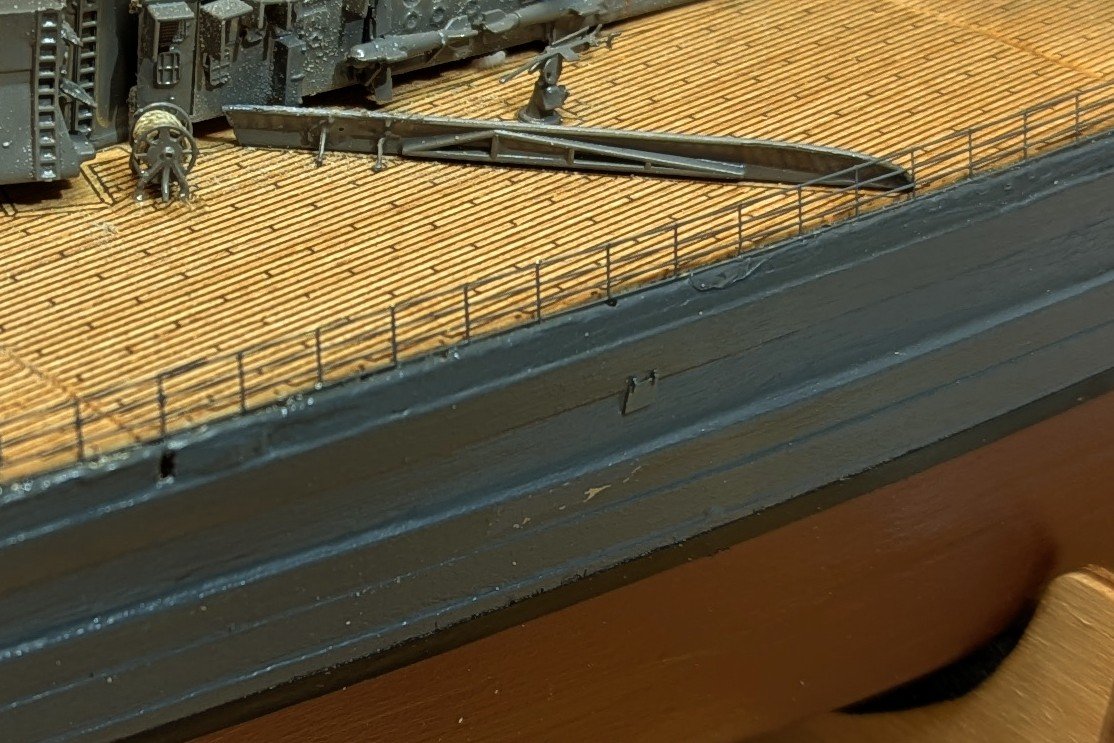
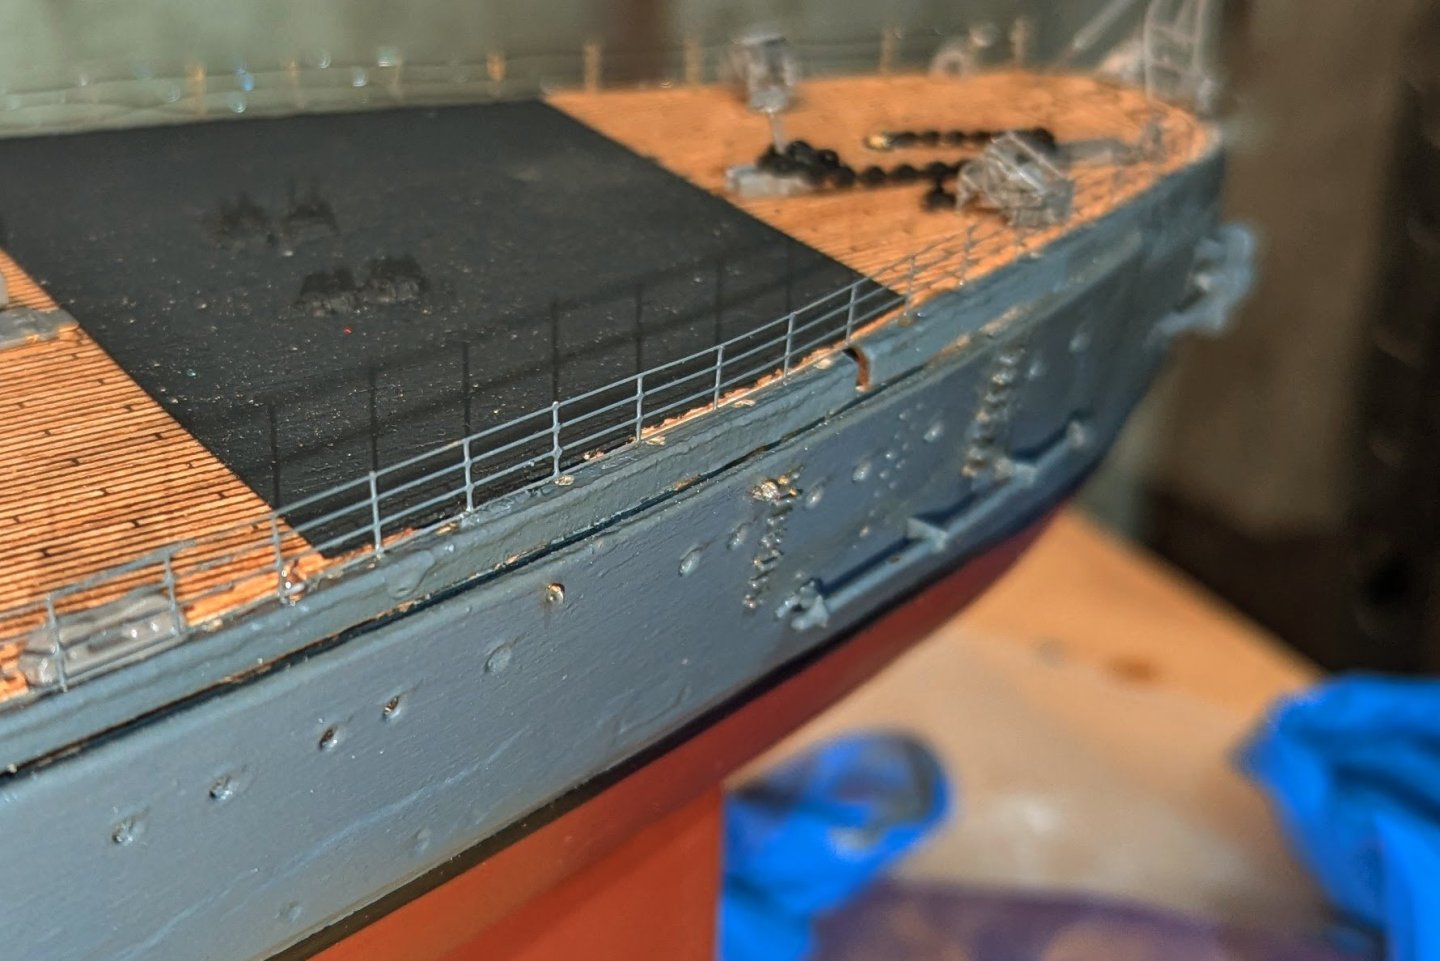
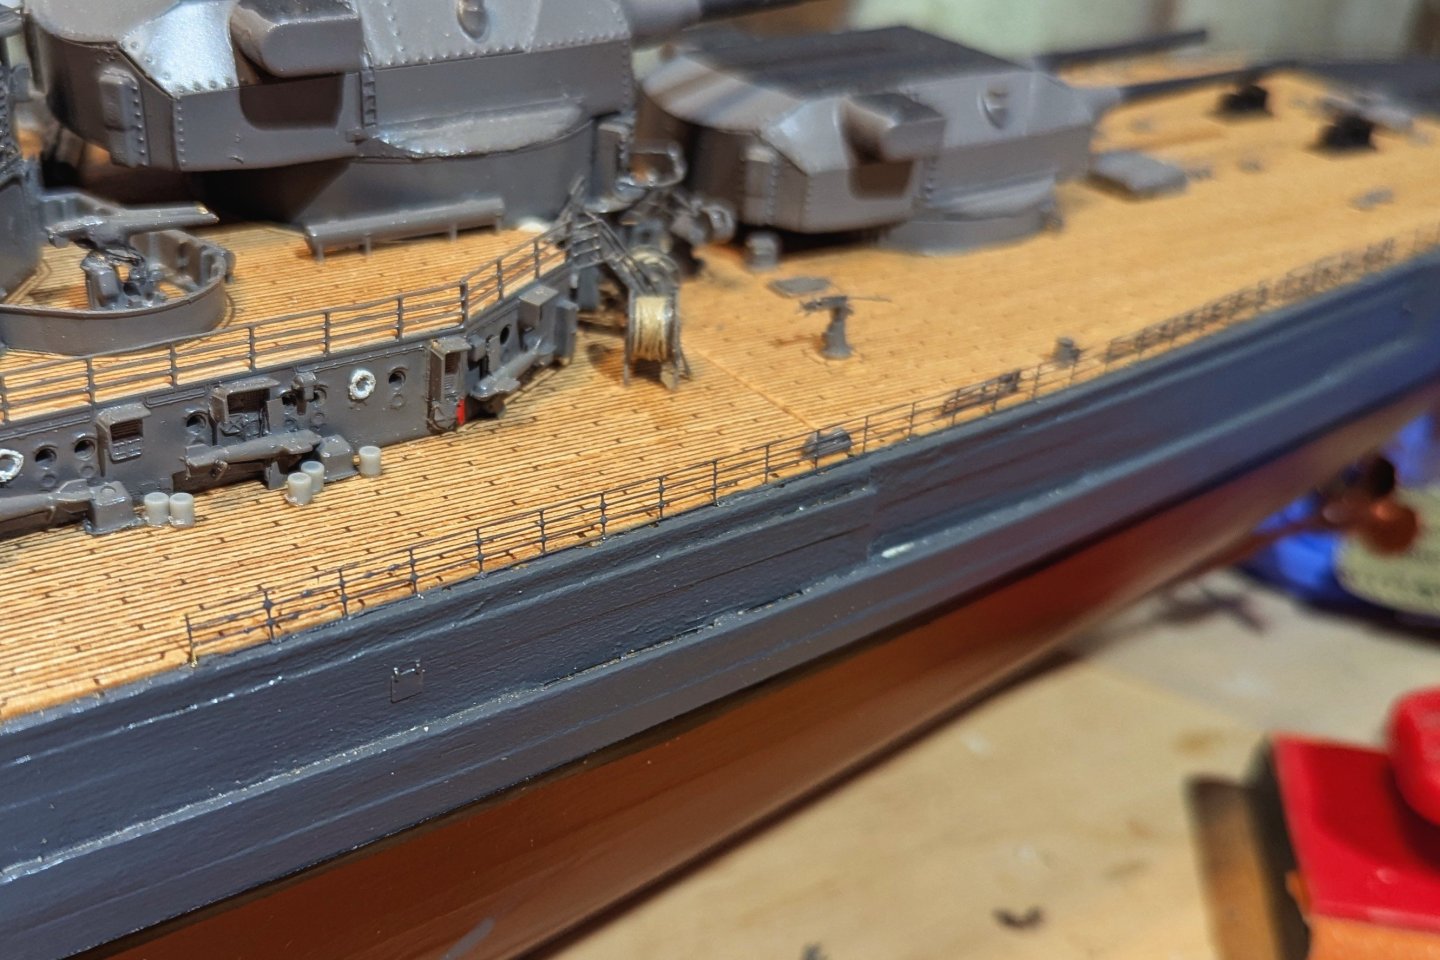
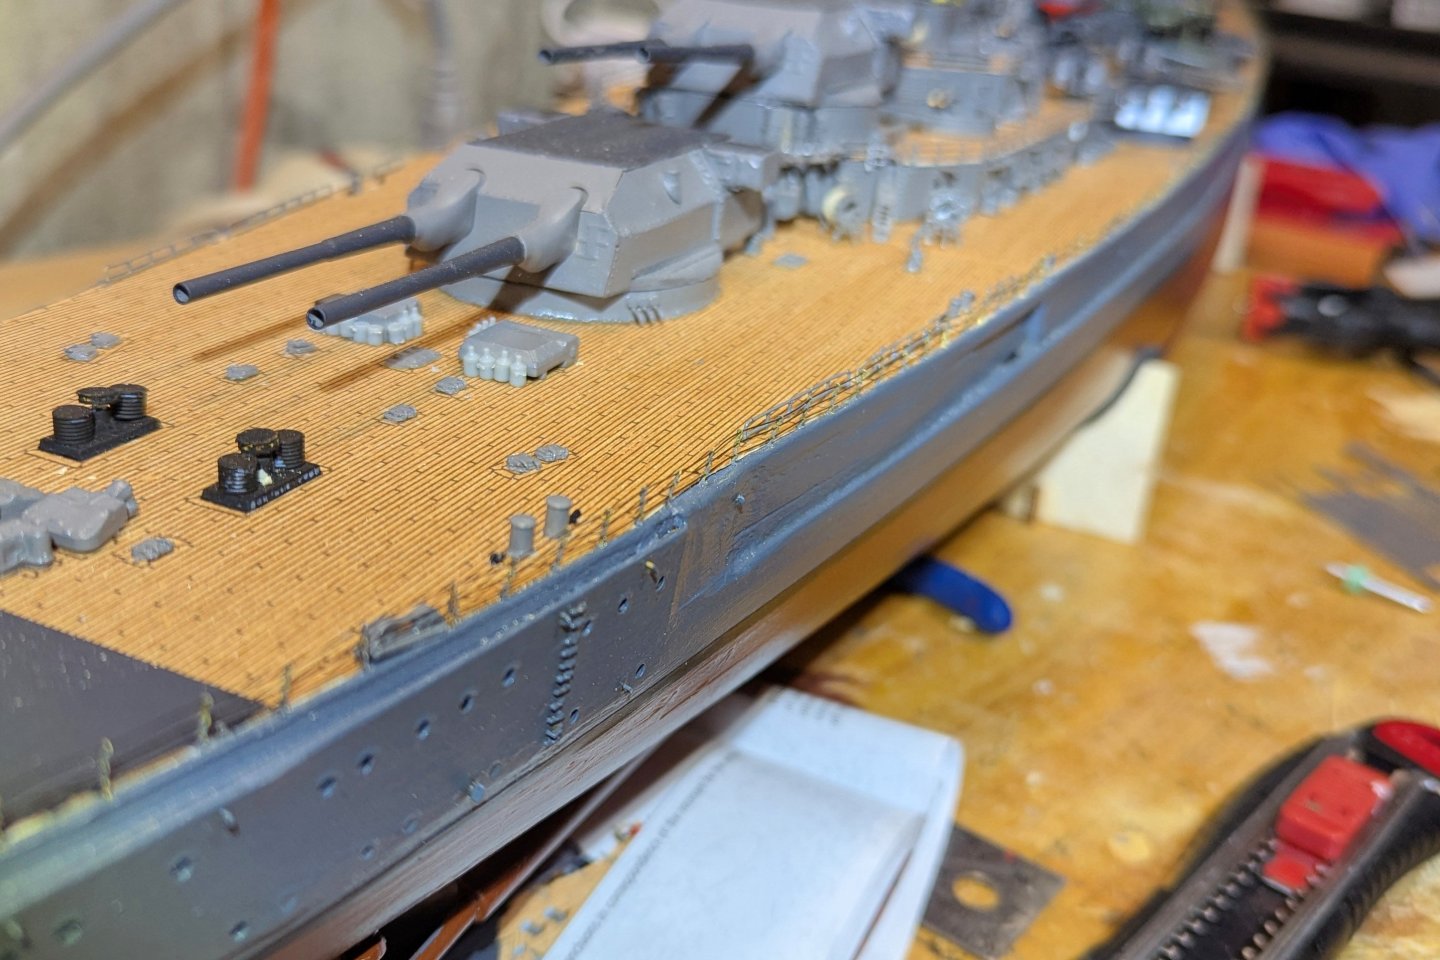
Back from vacation to find the photo-etched railings referenced above waiting for me. Painted them gray this afternoon and then mounted two strips as shown. Took about 15 minutes to mount the two, no drilling needed, just CA glue and some instant set. They are perfect scale and I think look as good as the other ones, but neater and most important, HUGELY transformational in terms of building this ship. I covered about 20% of the port side with 15 minutes of work, compared to the hours and hours it would have taken using the starboard side method that came with the kit. Just wish I'd thought of this sooner -- or frankly, that Amati had. Now really close to the end. Regards, David
-
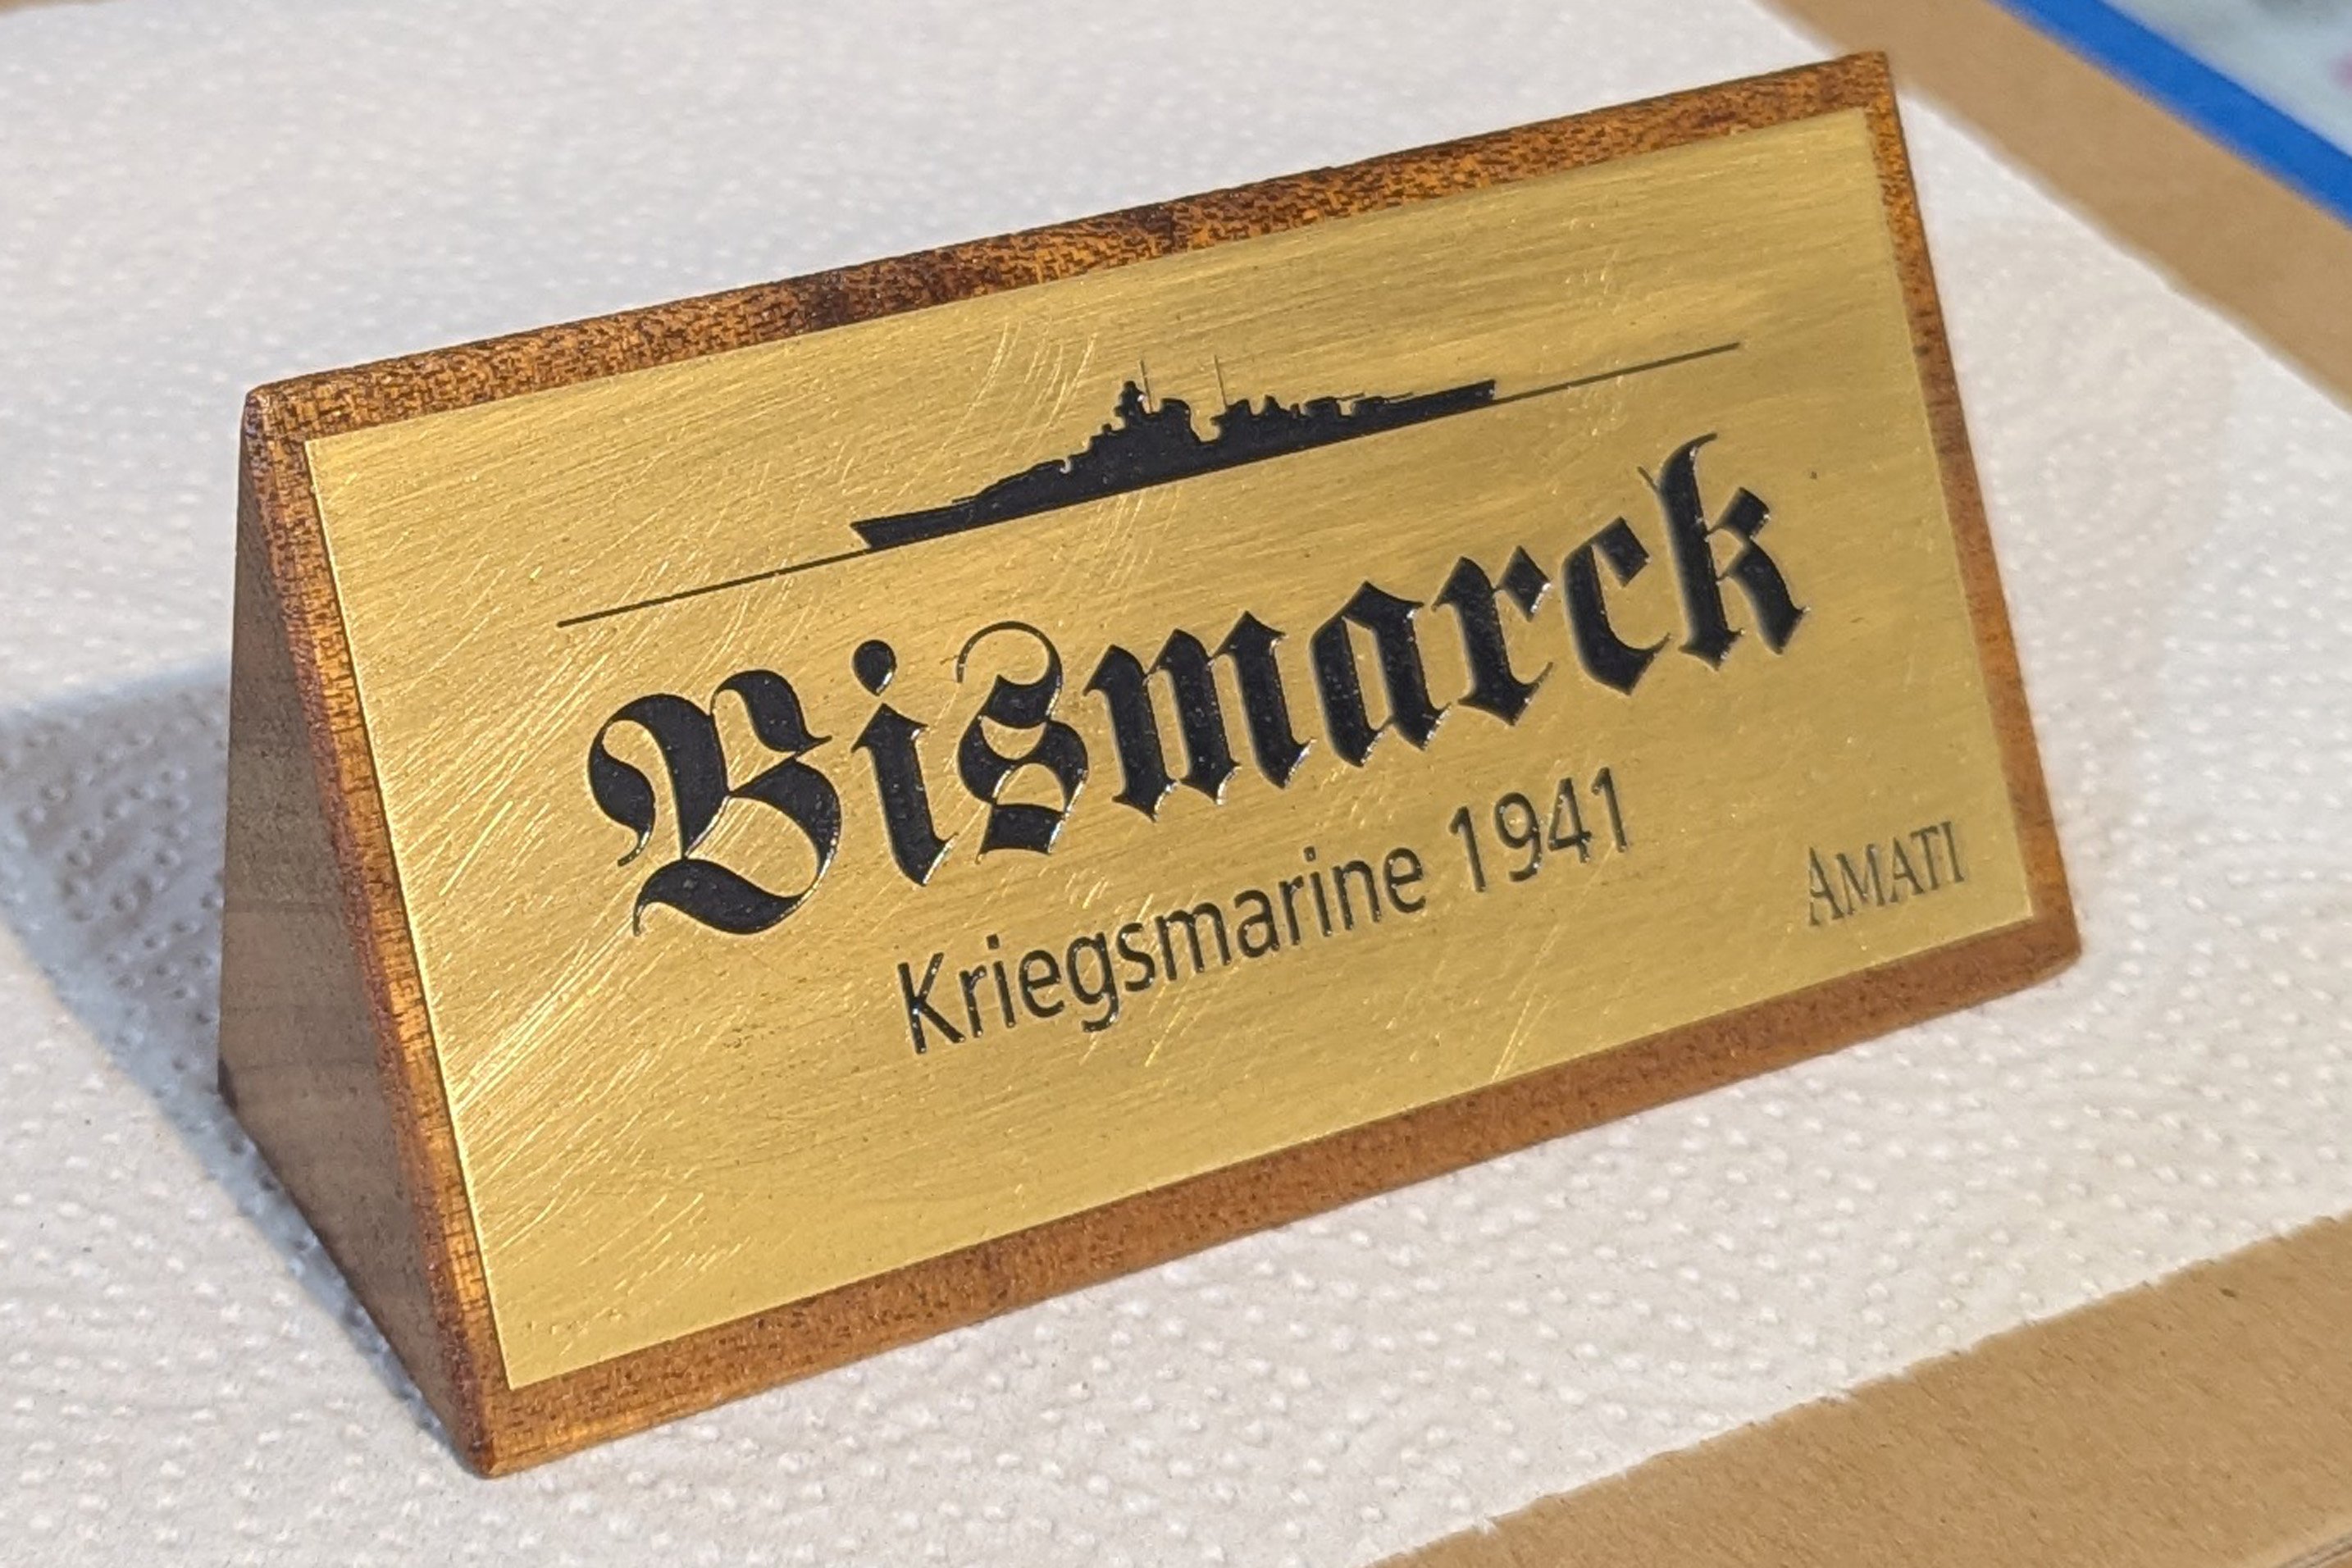
While waiting for the railings to arrive, I did the nice plaque that comes with the kit. The brass is prepared the usual way -- paint then sand to leave the etched lettering visible. It mounts on a nice walnut block that comes with the kit. Regards, David

-
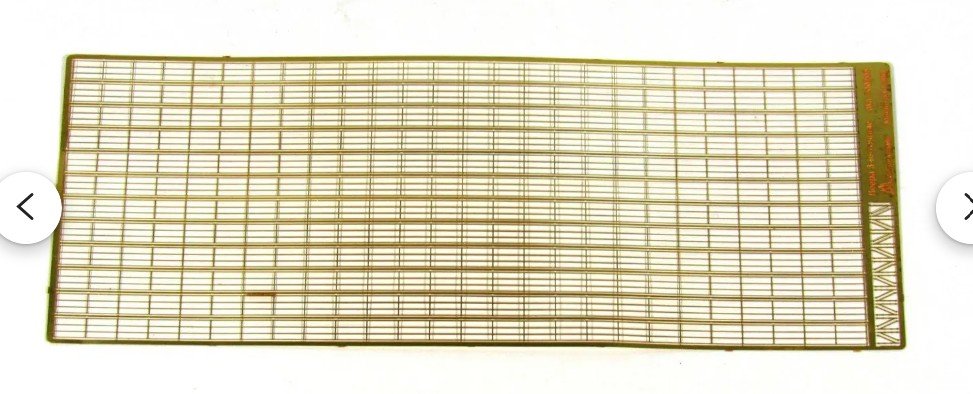
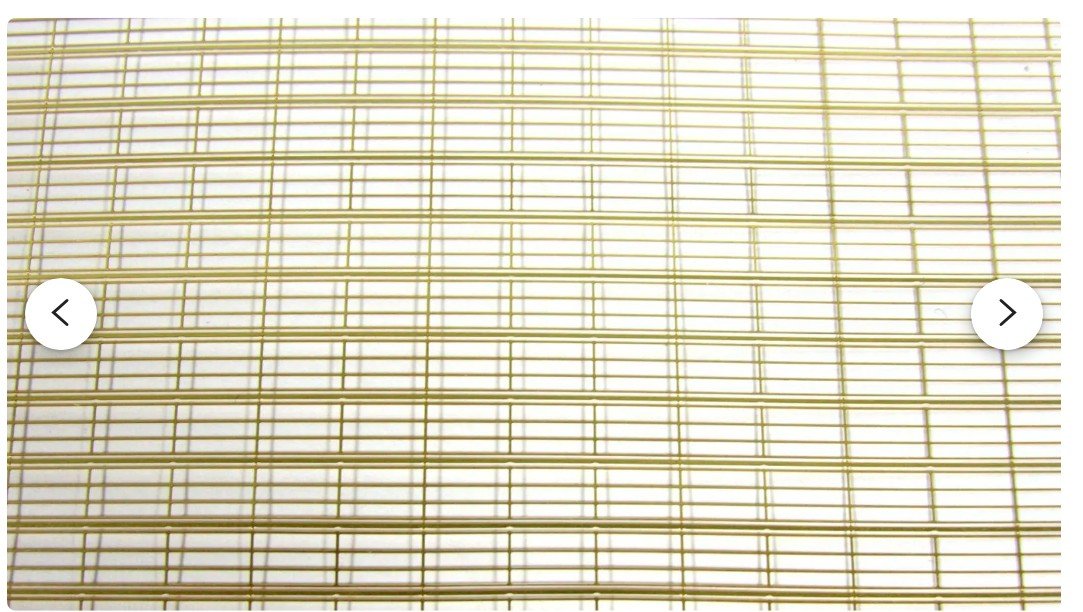
So I did some searching on Google and came across a number of photo-etched railings that go in as pre-assembled sections. These are a perfect match in scale and number of horizontal railings, so I have ordered them and they should go in fairly quickly on the starboard side. Right now, I don't intend to rip out the port side and put these in, as I think they will be a close match and only one side is the display side anyway. I'll pick that side after I see how these look. They will likely be delivered while I'm away for a couple of weeks, so late February installation. Regards, David
-
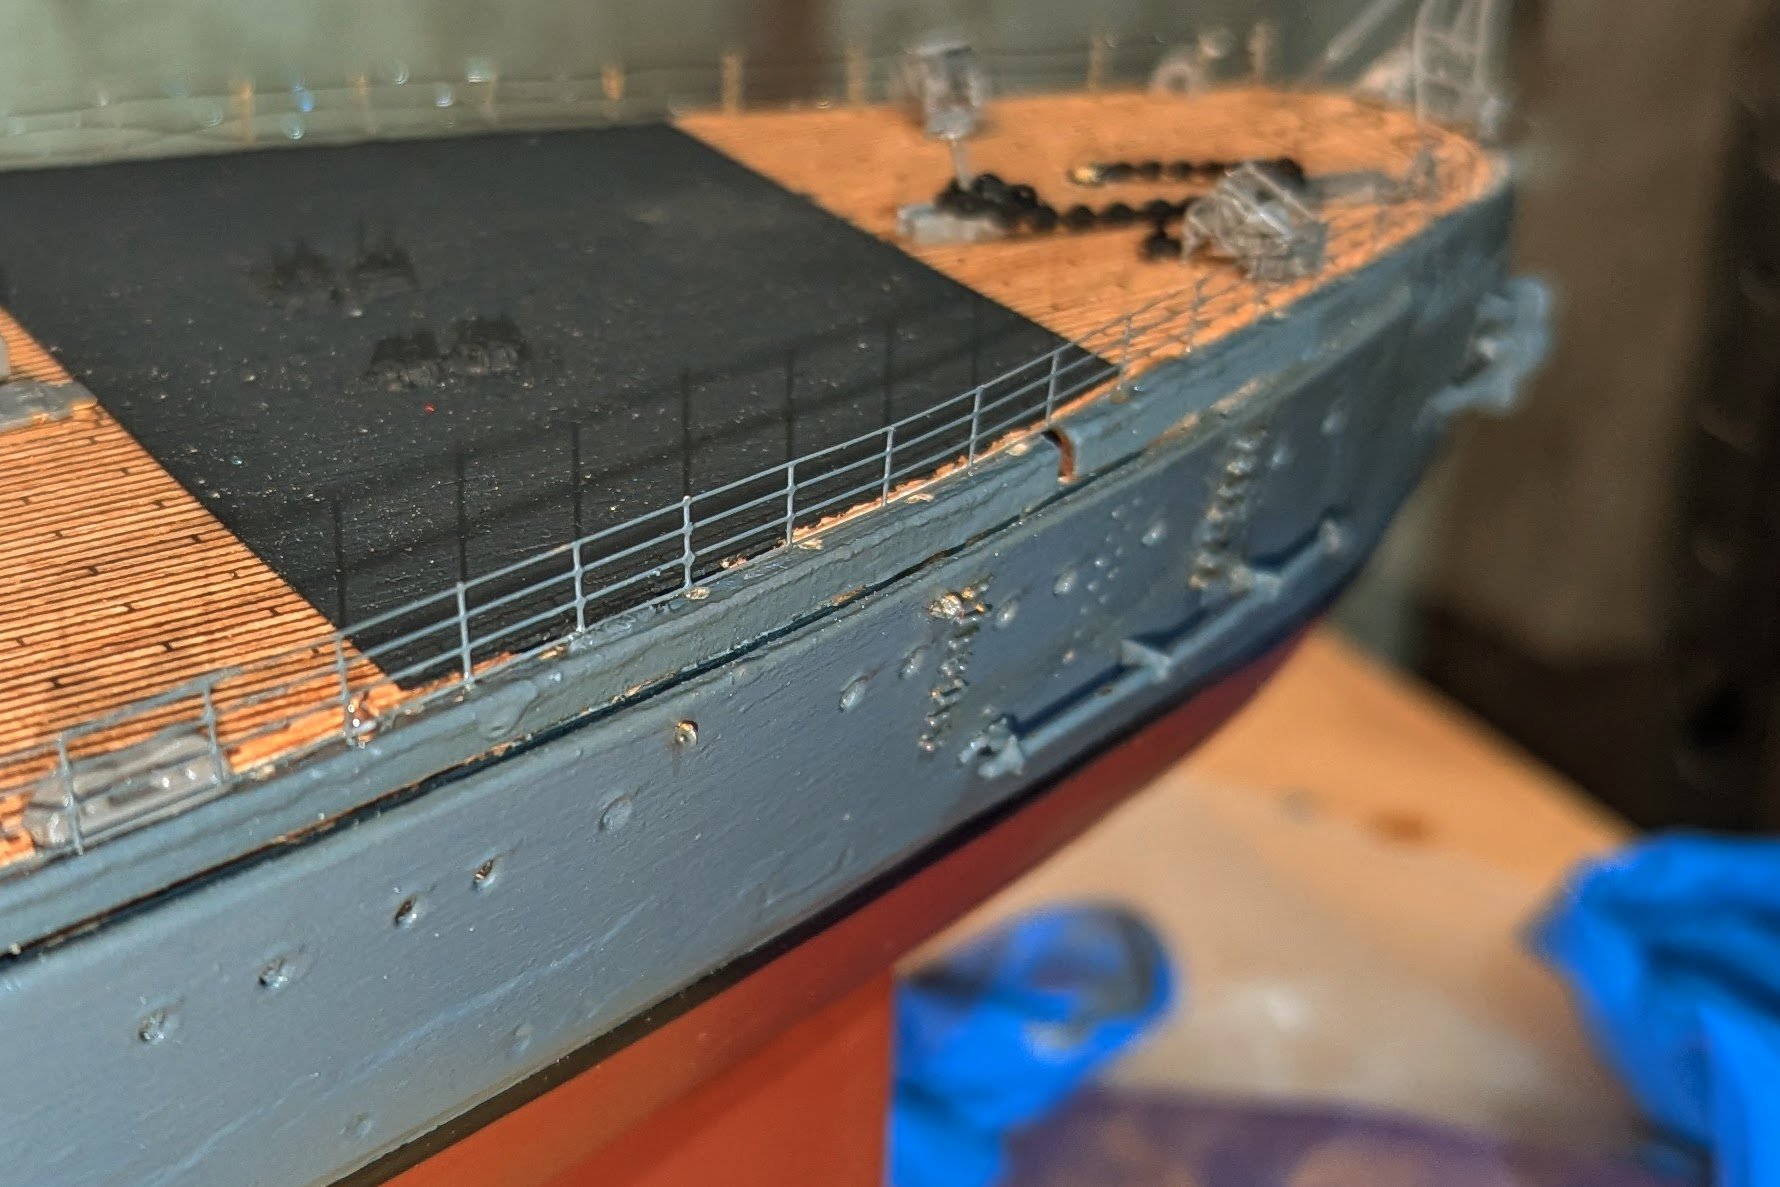
This morning I finally pushed through the first HALF of the railings. Looking at my logs above, I started this side on August 17, so about 5 months elapsed. I have a lot to say about how the manual says to build these, problems with that, and how I'd do it now if I had it to do over again (and why I can't adopt a revised approach for the starboard side). The problem comes from painting the stanchions ahead of time, and if you are building this ship and haven't done that yet -- DON'T. The difficulty comes from the paint clogging the holes, and how devilishly hard it is to clear them enough to thread the railing wires. So the approach I used was: 1) Paint the stanchions before removing them. 2) Use a fine drill bit (manually) to clear the holes. Often takes 2-3 tries and is hard. 3) Thread the wires thorough the stanchion. If they don't fit, enlarge the problem hole again. Sometimes do this repeated enlargement for 2 out of 3 holes on the stanchion. 4) Mount the stanchion. 5) Rinse and repeat. As I noted above, the manual says to mount all of the stanchions after clearing the holes, and then thread the wires. But that just wouldn't have worked for me, because I'd have run into holes I thought I had cleared but that needed another poke -- which can't be done after they are mounted. This has led to a rate of installation of about 4-5 per hour, and I have to confess that I can't stand to do more than an hour per day, and frankly haven't done work as frequently as I normally do because it's such a tedious task -- MUCH worse than say coppering the bottom of HMS Victory, all 2,500 plates, which was kind of fun. I wish I hadn't painted all of the stanchions, because if I had it to do over again, I would leave them unpainted, which should result in holes that will accept the threads, then thread and mount, and then when they are all done, paint them with a fine brush. That would have gone much faster. Finally, when you look at the pictures below, you'll see a lot of specks on the forward black section of the deck. I noticed those in the picture and just blew them off -- so no need to repaint. Now on to the starboard side. The snow will have melted by the time I get that done. Regards, David

-
Klass: I can't remember this one, but the solution you outlined sounds fine, particularly if it will all be covered up. Regards, David
-
Just about halfway through the first side on the railings. I can do about 7-10 of these per hour, so it's slow going. Regards, David
-
Another reason to use the approach I've described above to string the railings vs. mounting all the stanchions first (as recommended in the manual). I'm finding that even after I poke the paint out of the holes and think I've enlarged them, I occasionally have to go back in with my very small miniature drill bit (manually) and clean them out to get them to accept the thread. This would be impossible if the stanchions were mounted first, because the adjacent stanchions would block getting the drill bit lined up. Regards, David
-
Your bow looks a bit more blunt than mine, You might consider trying to sand it down to more of a knife edge, but be careful not to sand out the planking detail. Regards, David
-
More work on the railings. The reason these take so long is that you have to poke the paint out of tiny little holes using a tiny little drill bit, then thread them (like threading a needle), then mount. Regards, David
-
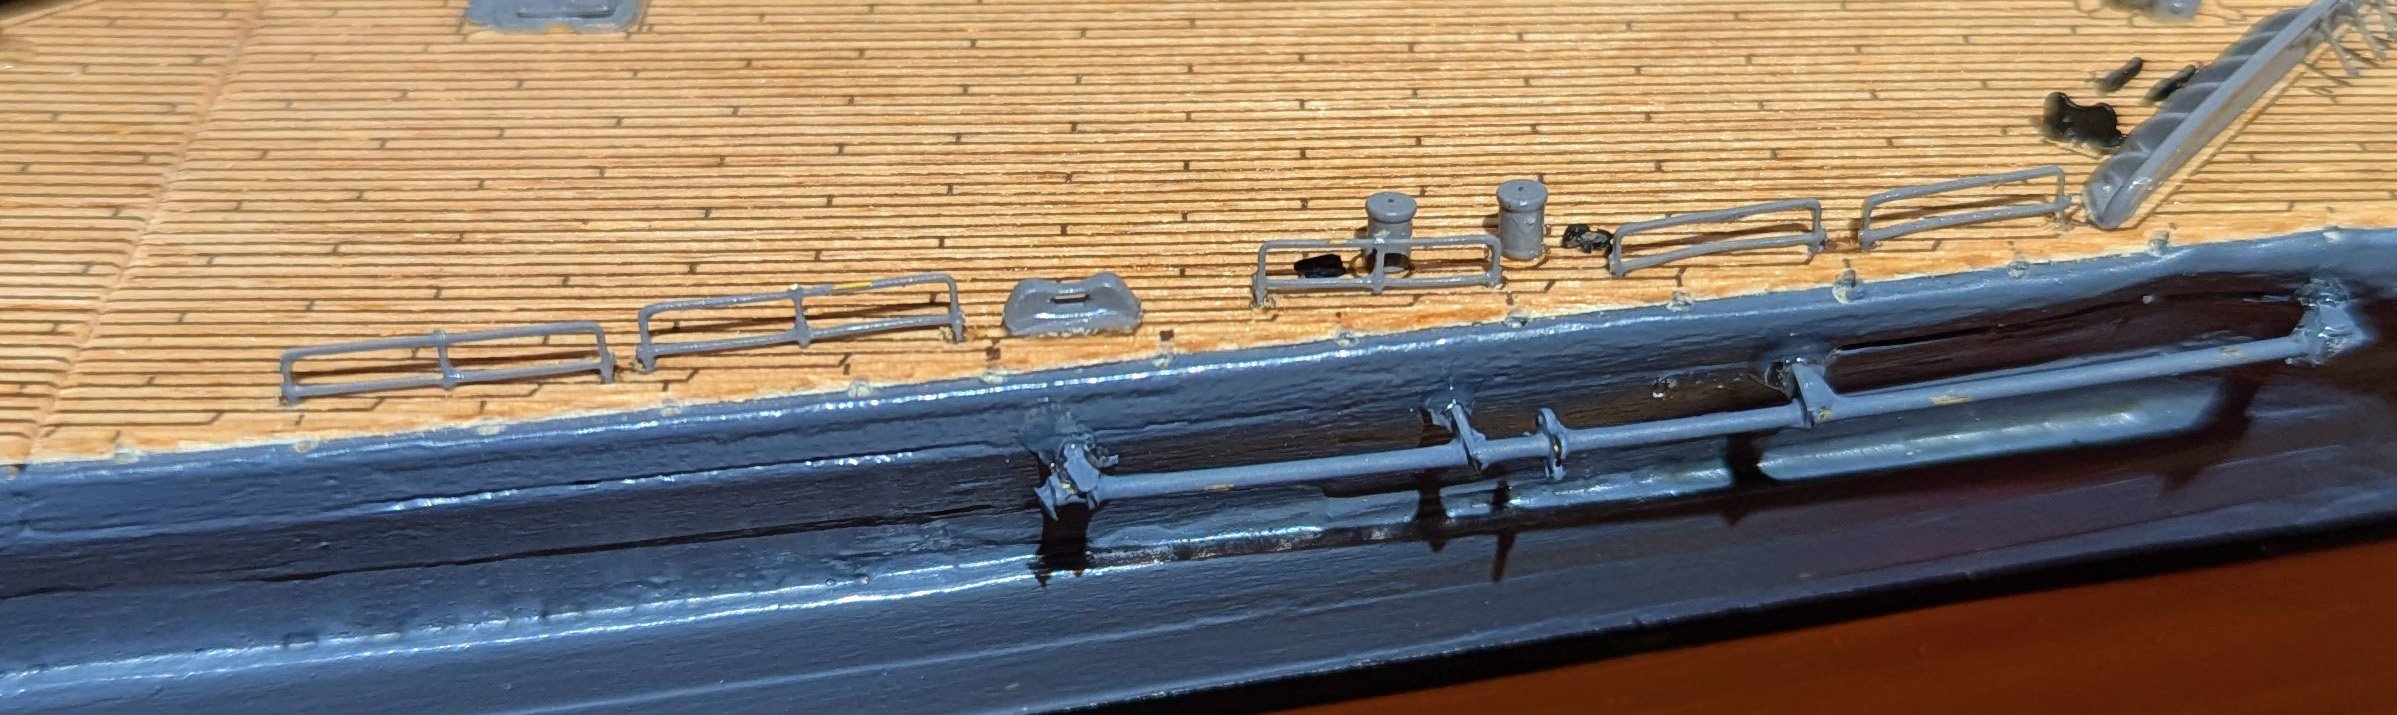
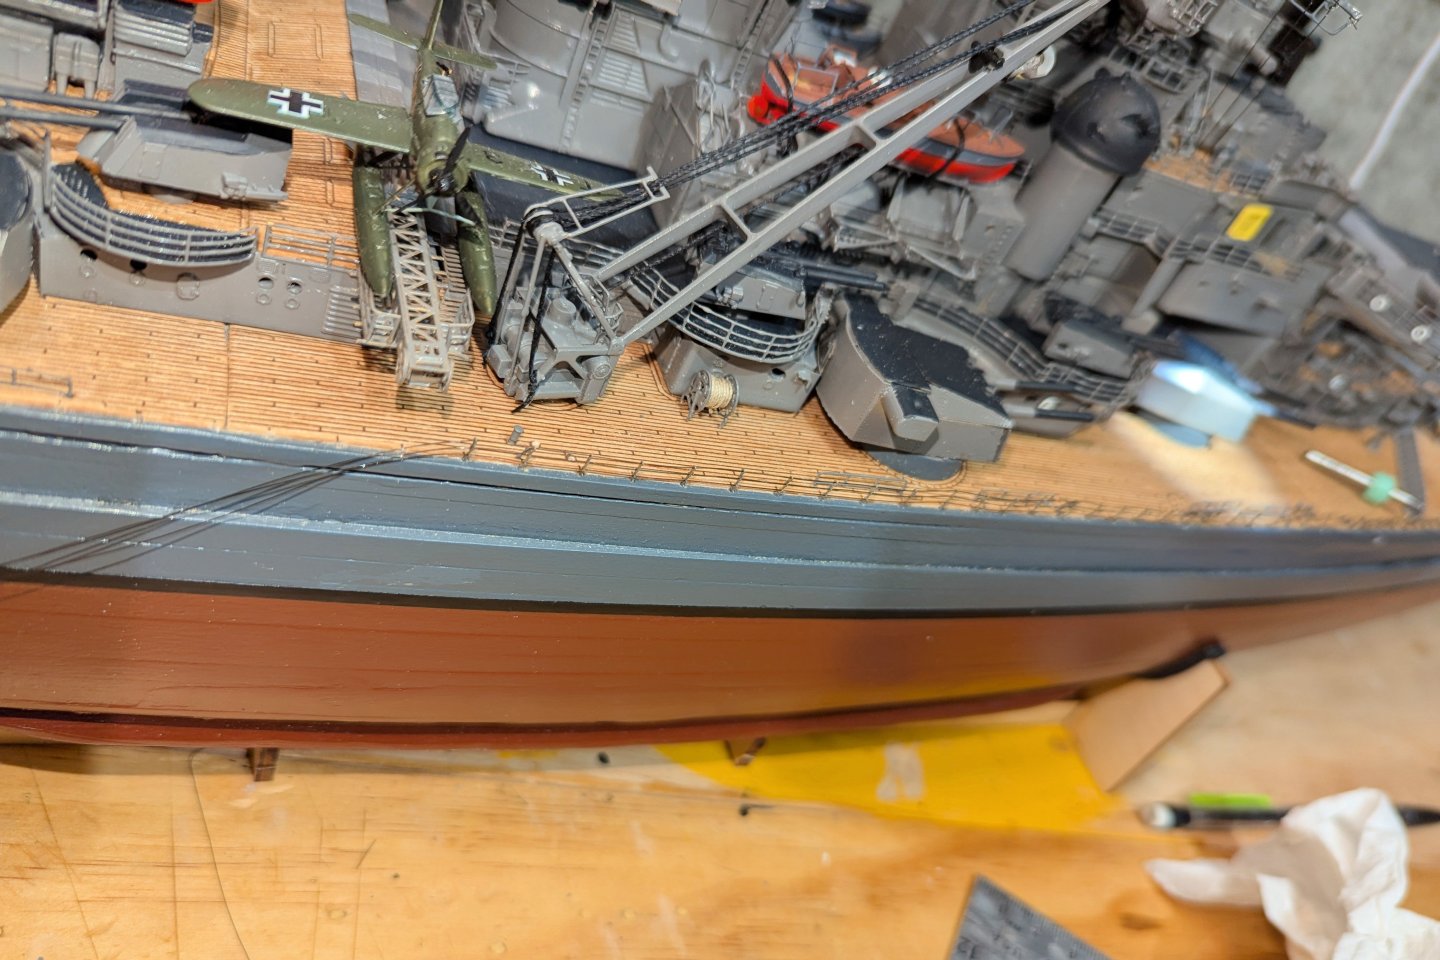
I'm now working on the railings, and it's going to be a long, delicate process. First picture is of the metal railings, which are installed at points on the deck. Second one shows the start of the cable railings. The instruction manual says to install all of the stanchions and then thread the wire, but the holes are just fiendishly small. So my approach, as shown here, is to string the wires as I go, which means I can thread them off the ship where I can manipulate the stanchion to see the holes, and then install the threaded stanchions. Working well so far, with a LONG way to go. Regards, David


-
I would just cut the planks and the wooden part back where they extend past the bow. I don't recall whether I had a similar issue when I built the ship. Regards, David
-
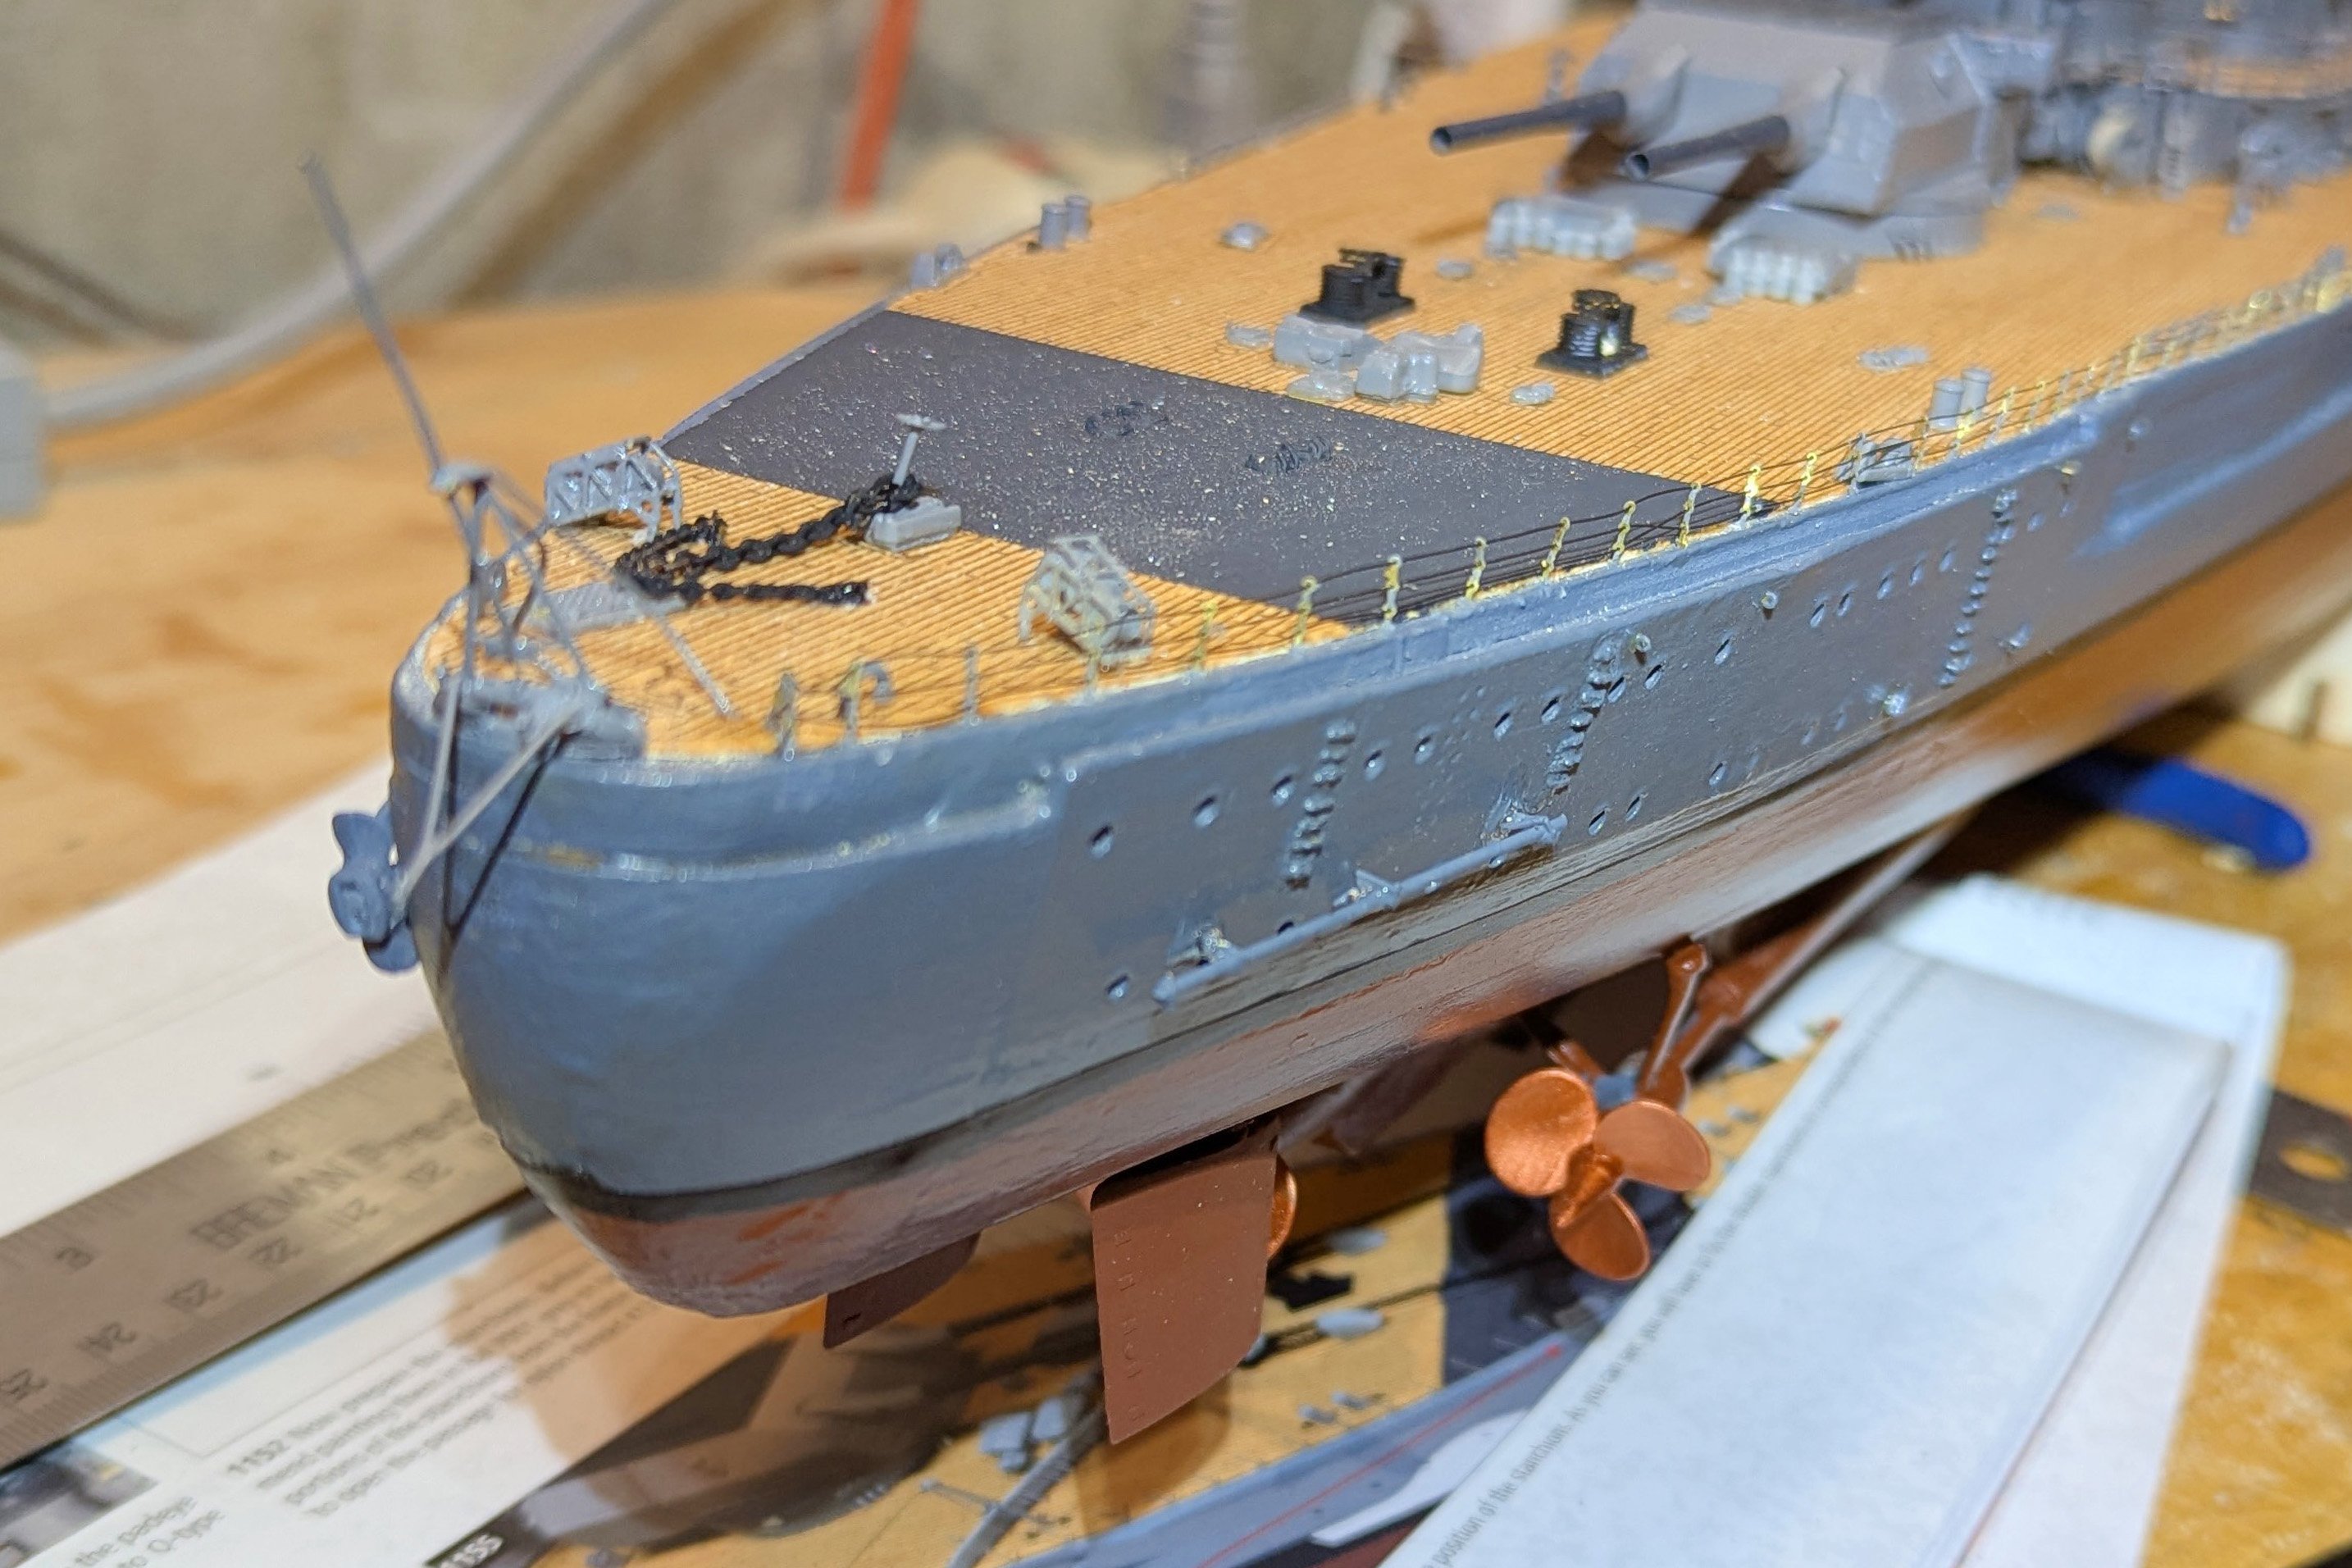
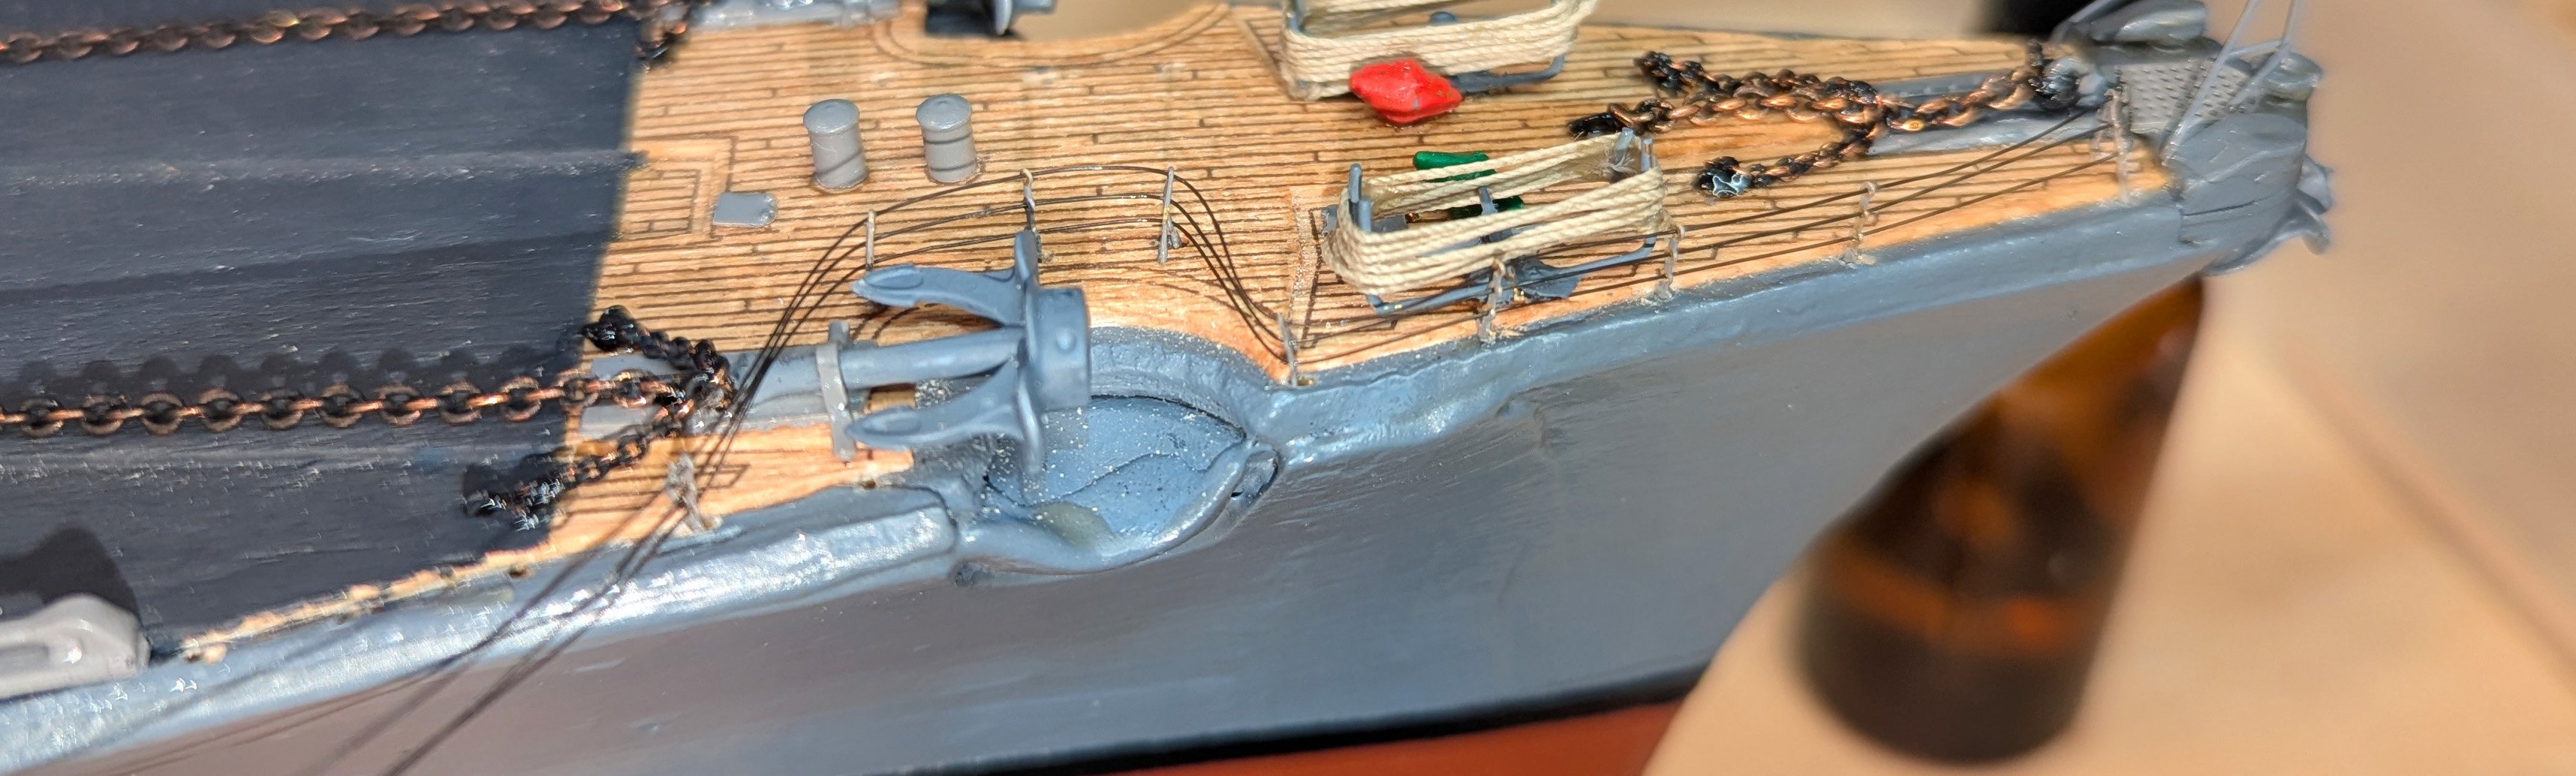
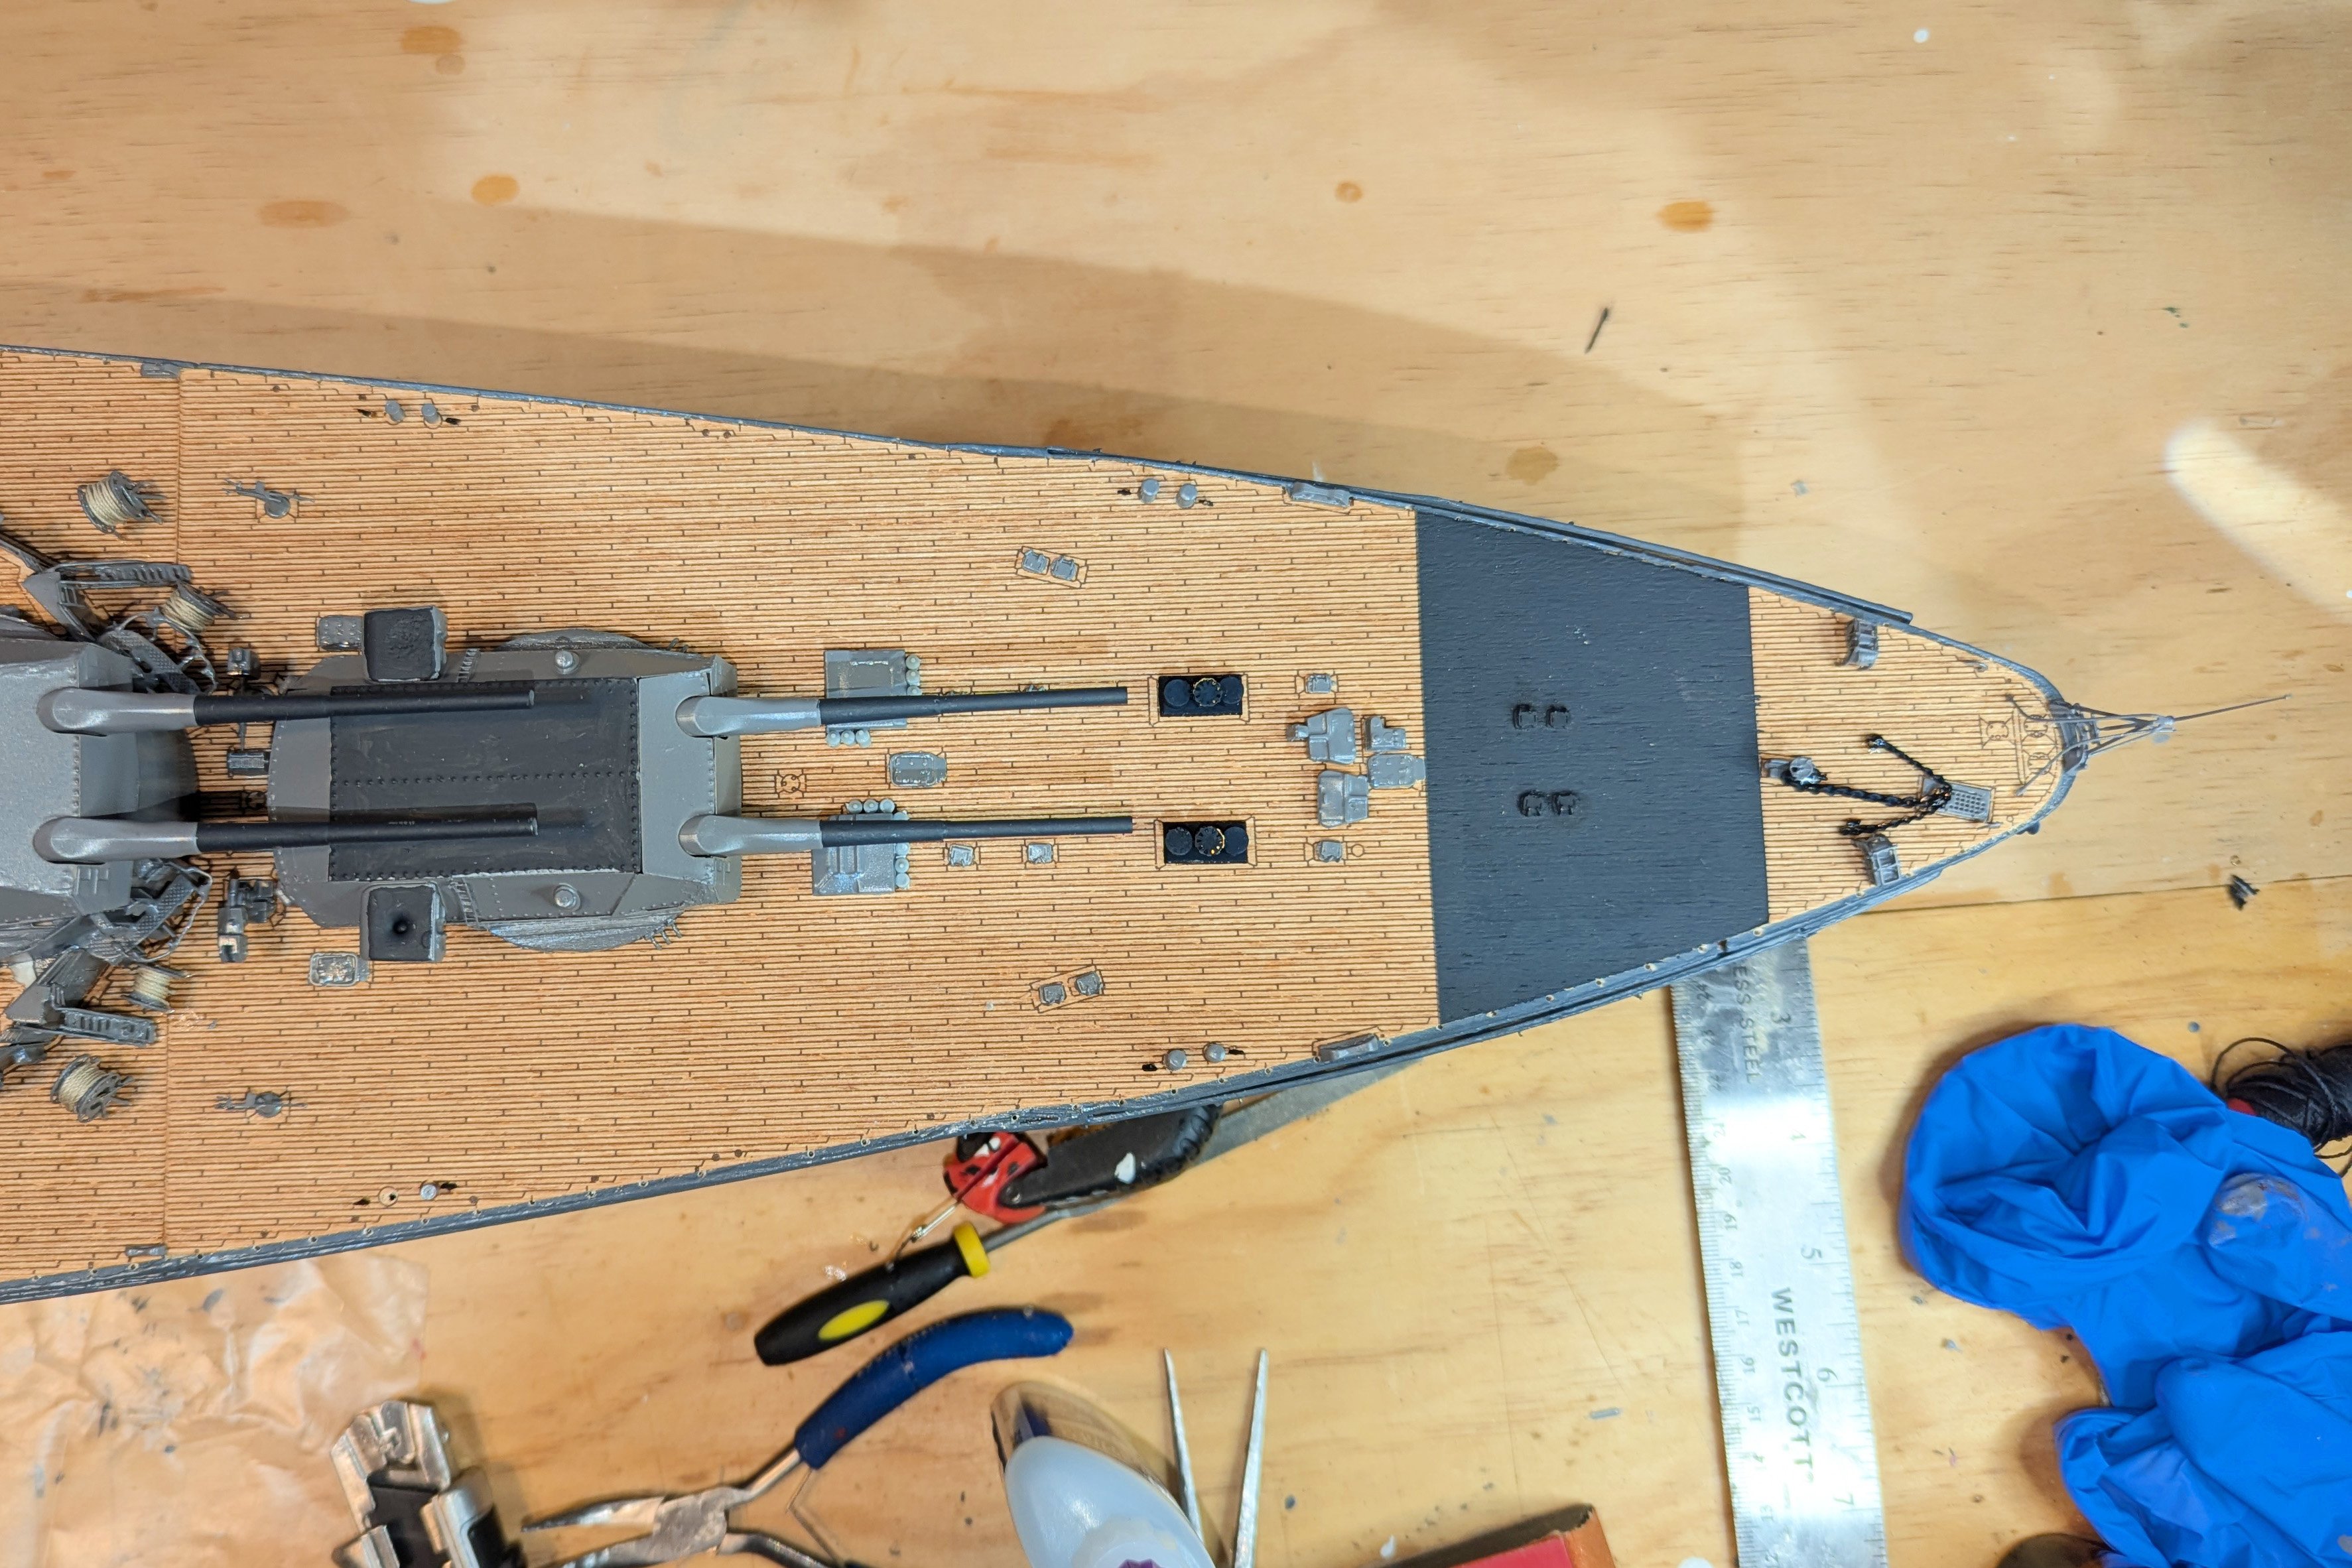
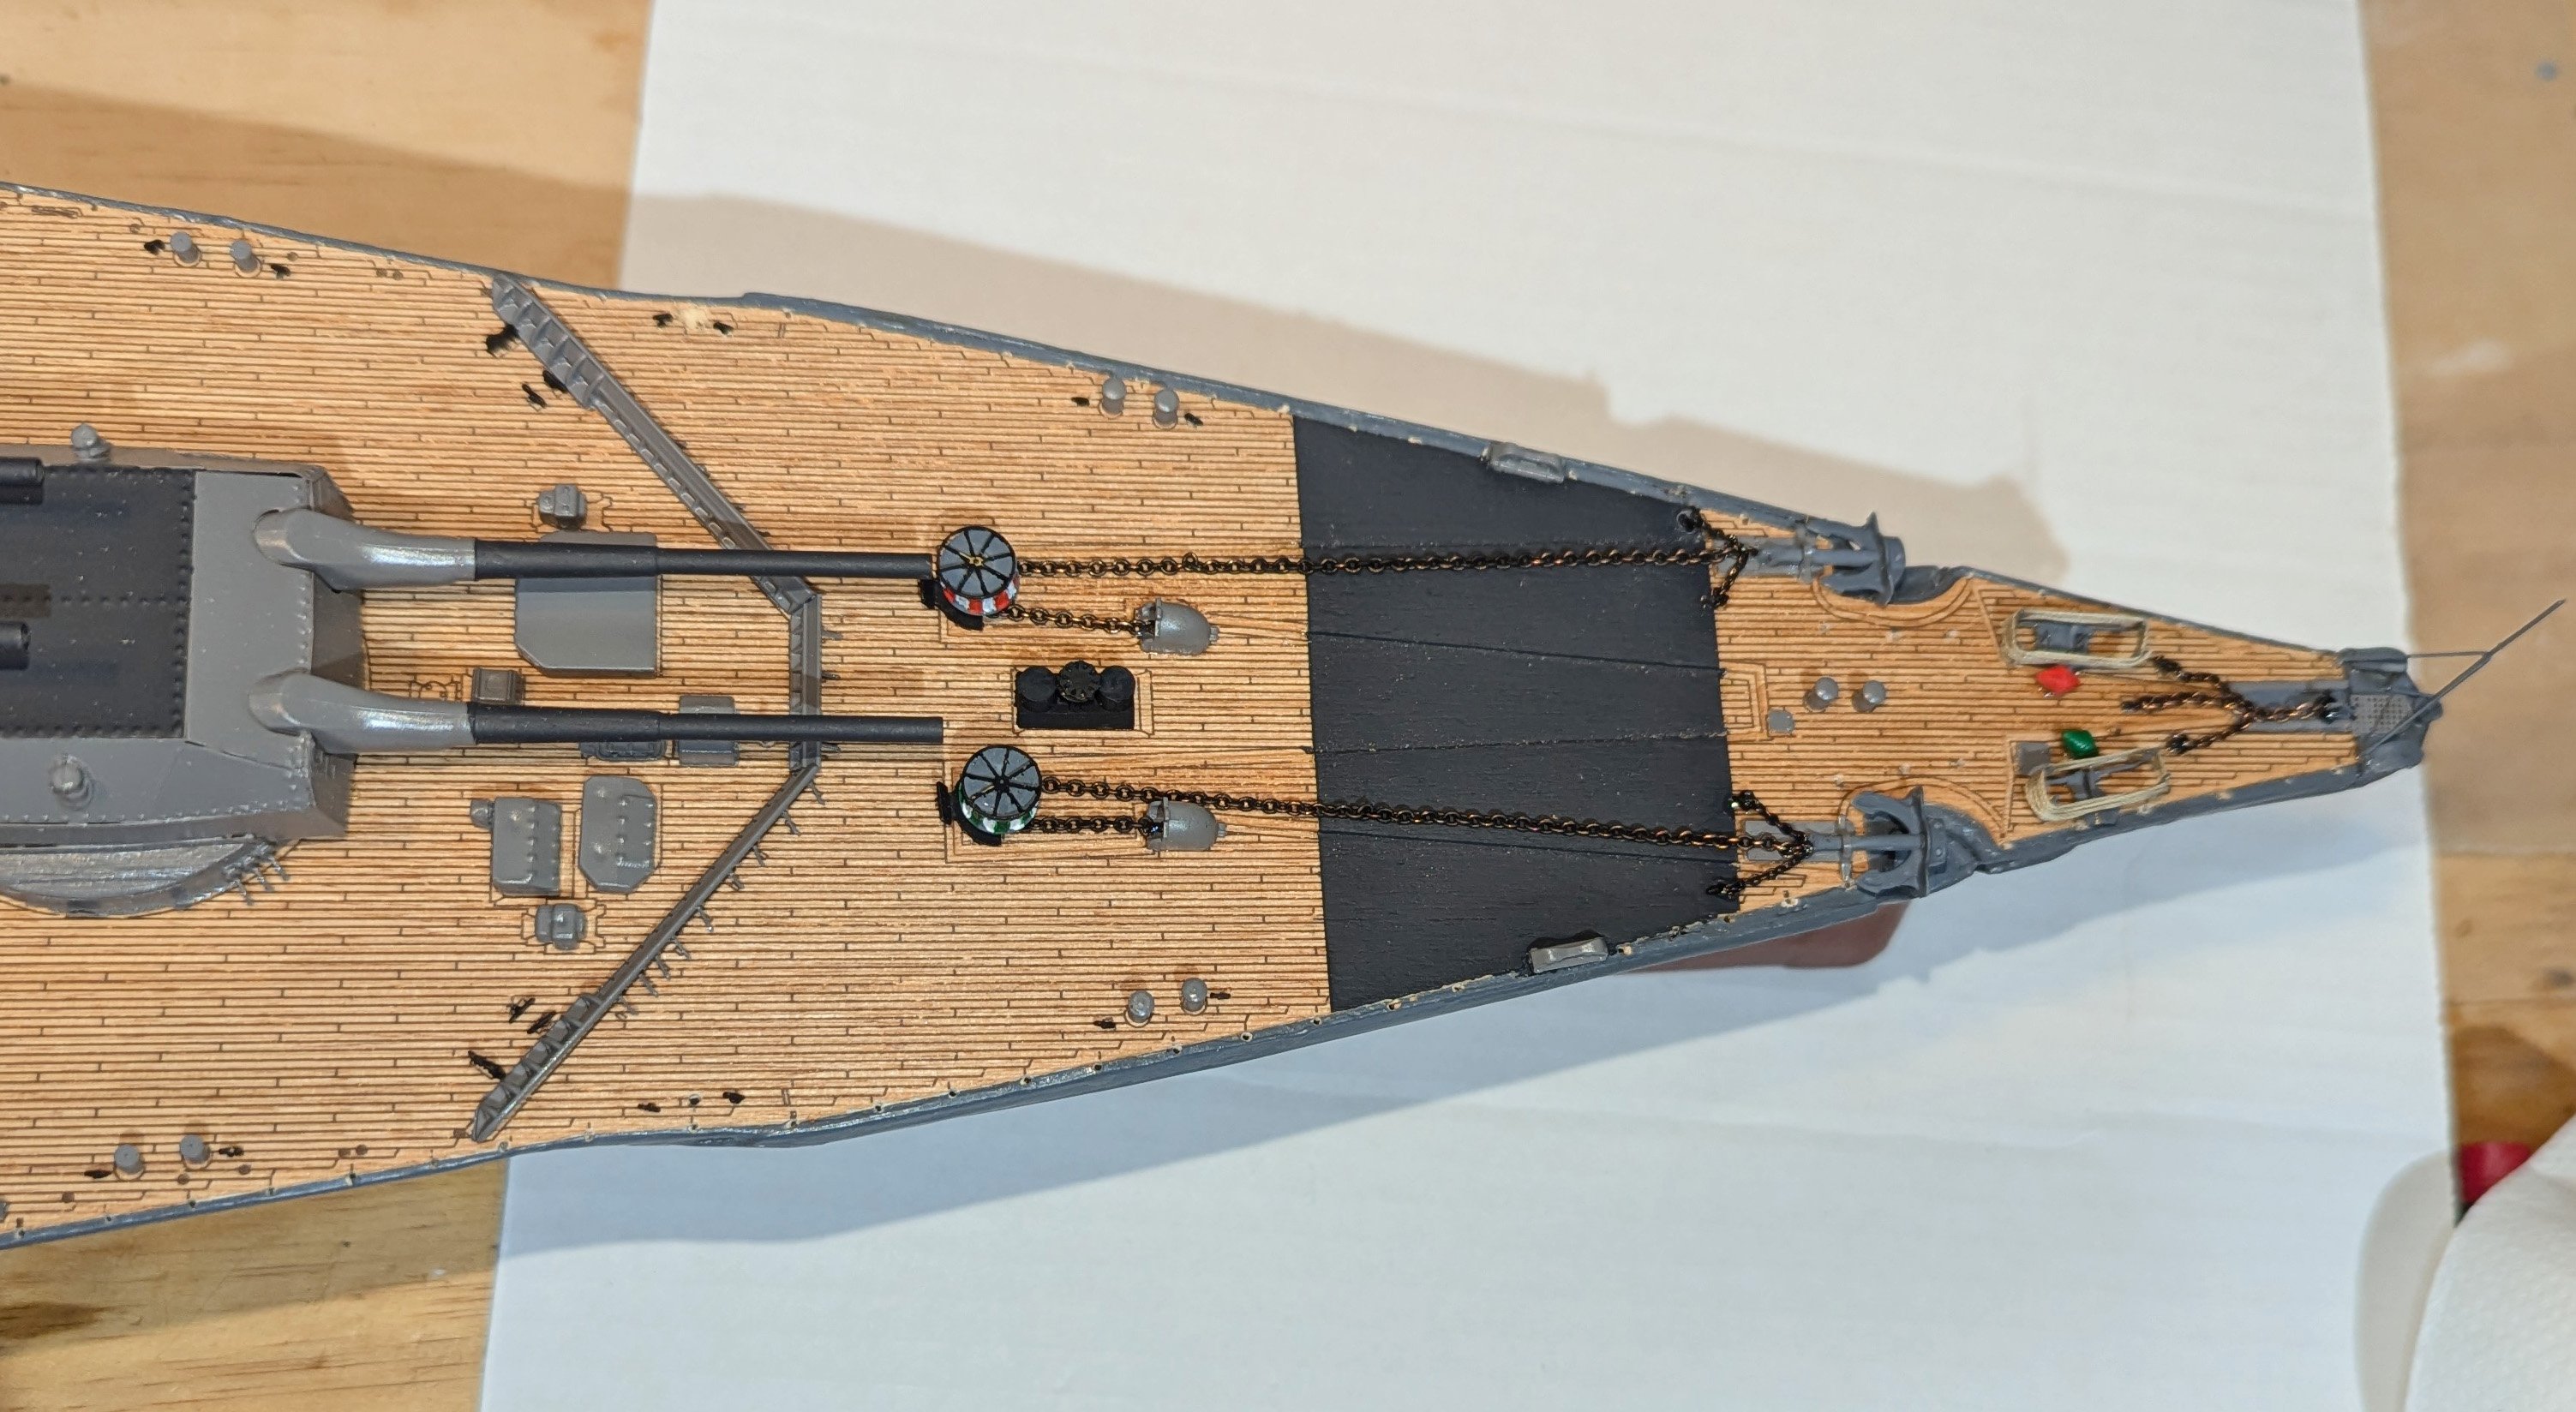
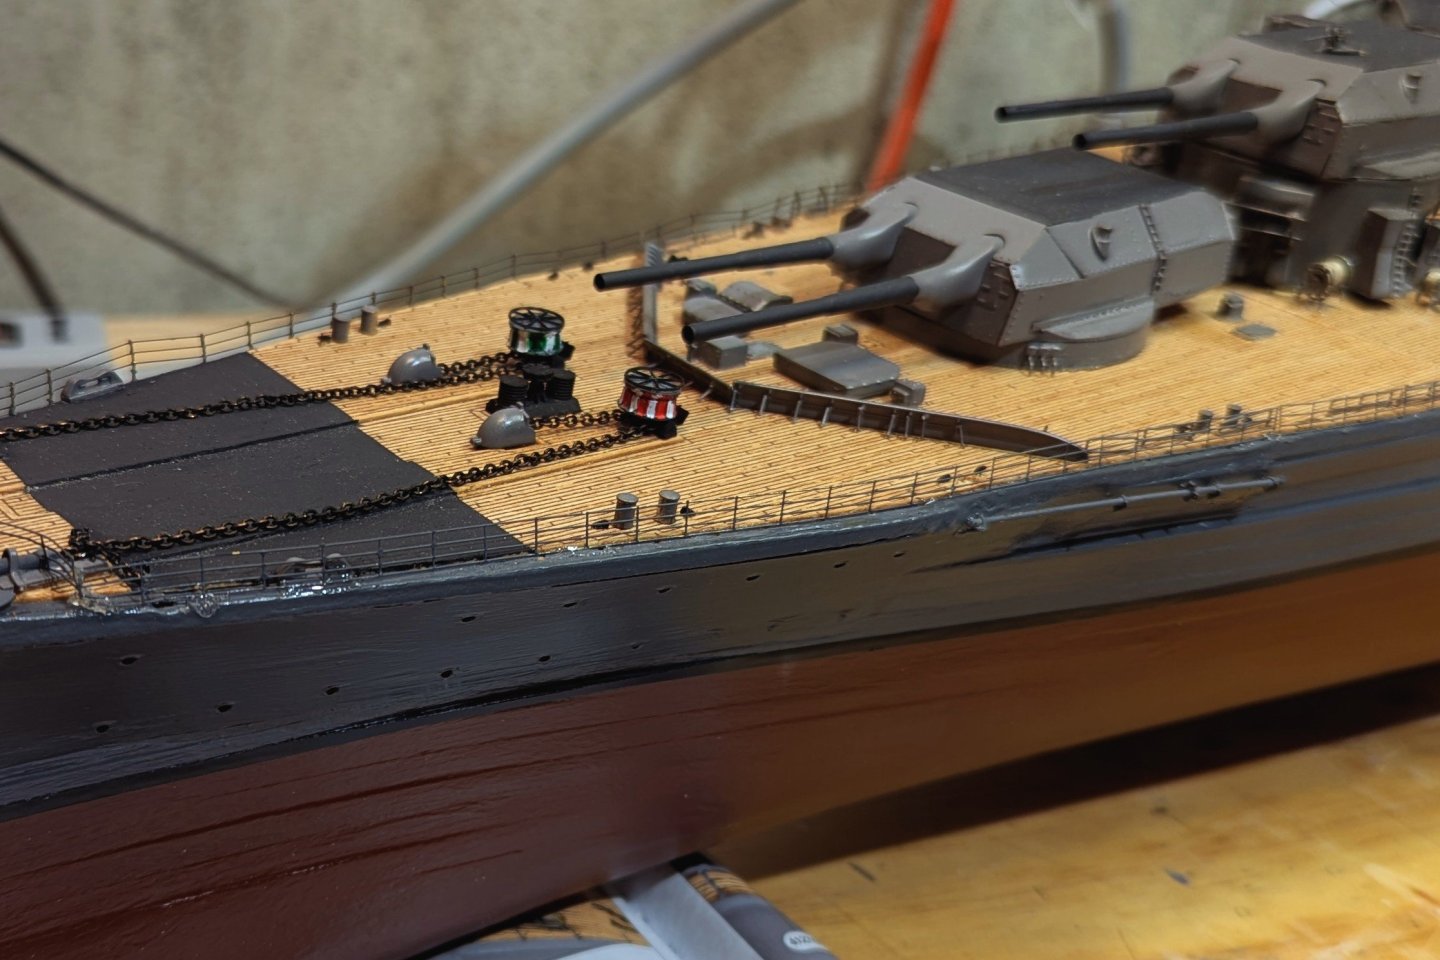
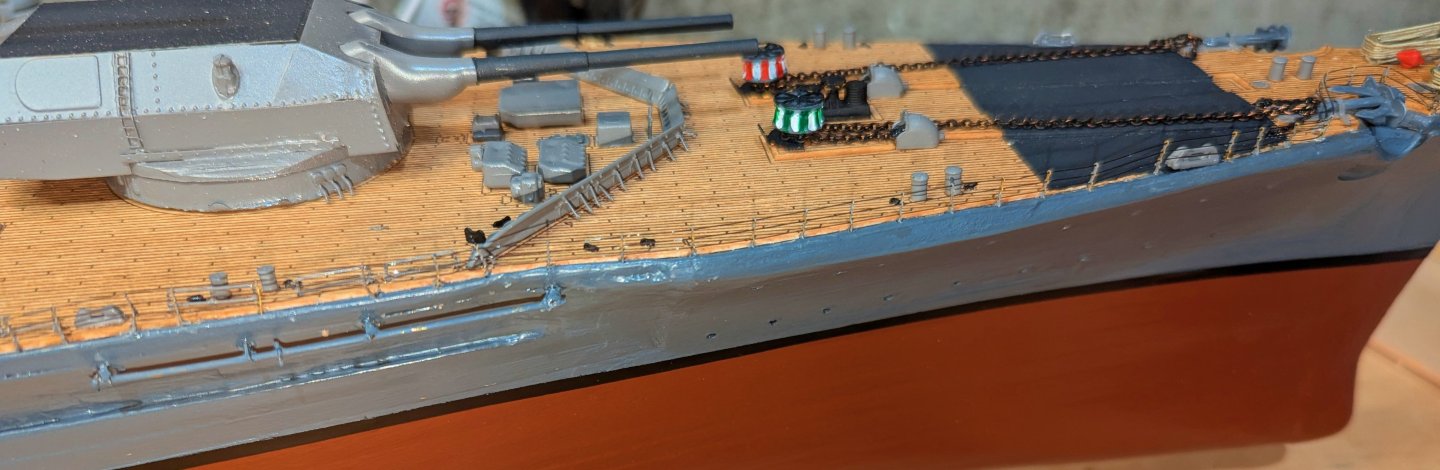
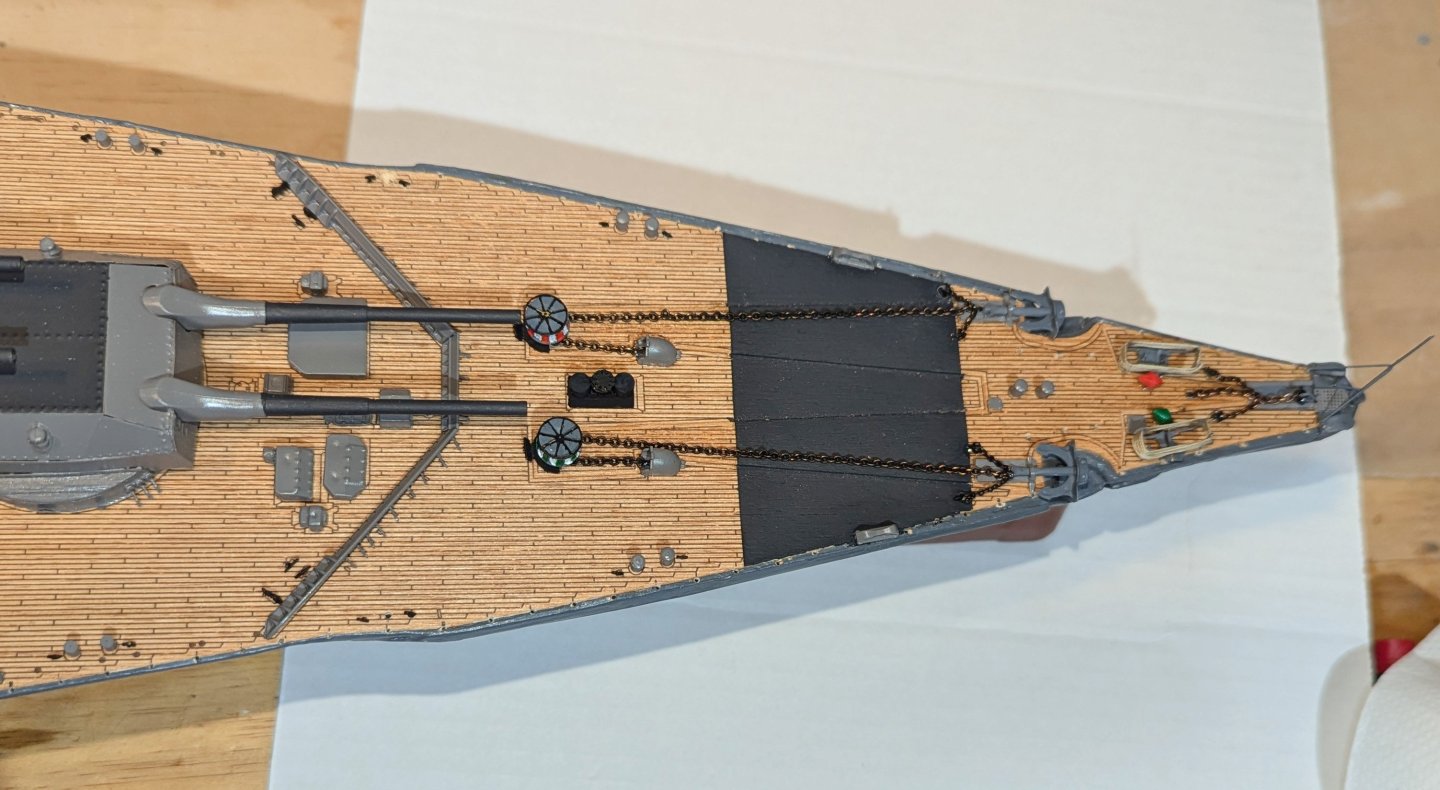
Here's the rest of the deck detail at the bow. The rope racks next to the red and green buoys are actually fabricated from wire -- I somehow lost the photo-etched ones. I can't figure out how -- if I knew I could probably find them. So I just built these two. Regards, David
-
I just saw your first question. I remember using scissors to cut those strips out. It's the only way to follow the paper cutouts. Regards, David
-
I wish I could help you but at this point I don't recall what that is for. Regards, David
-
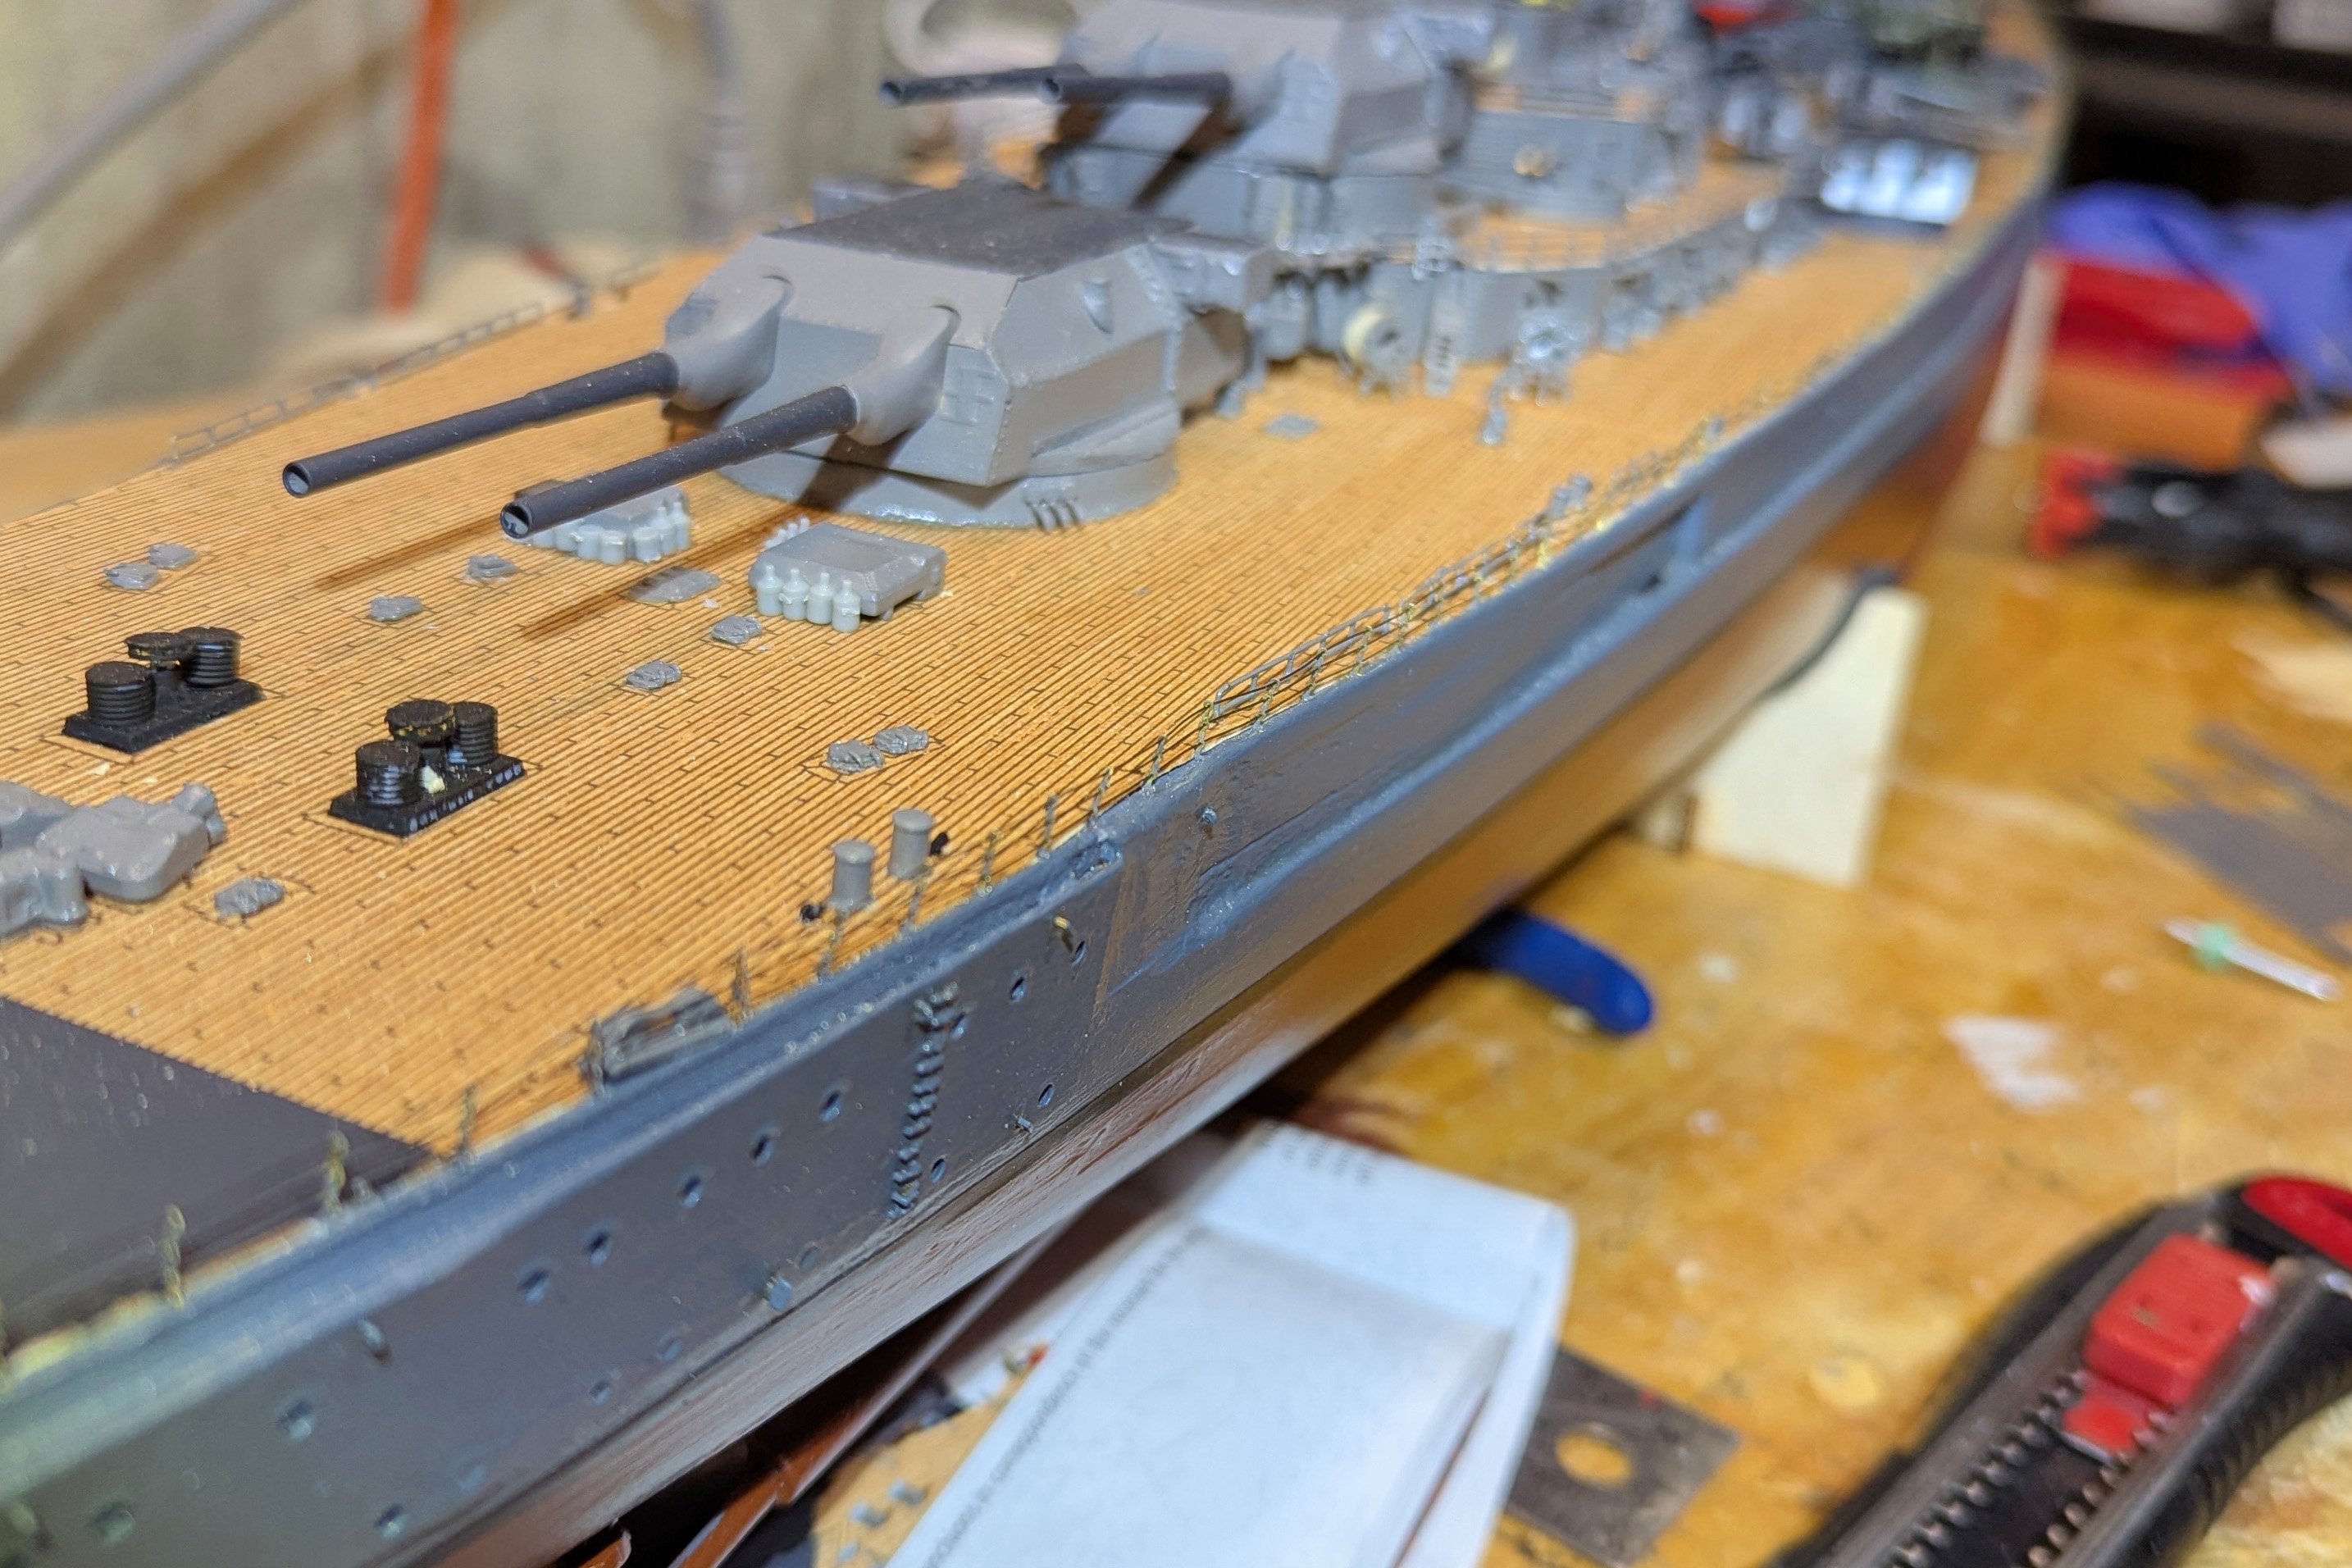
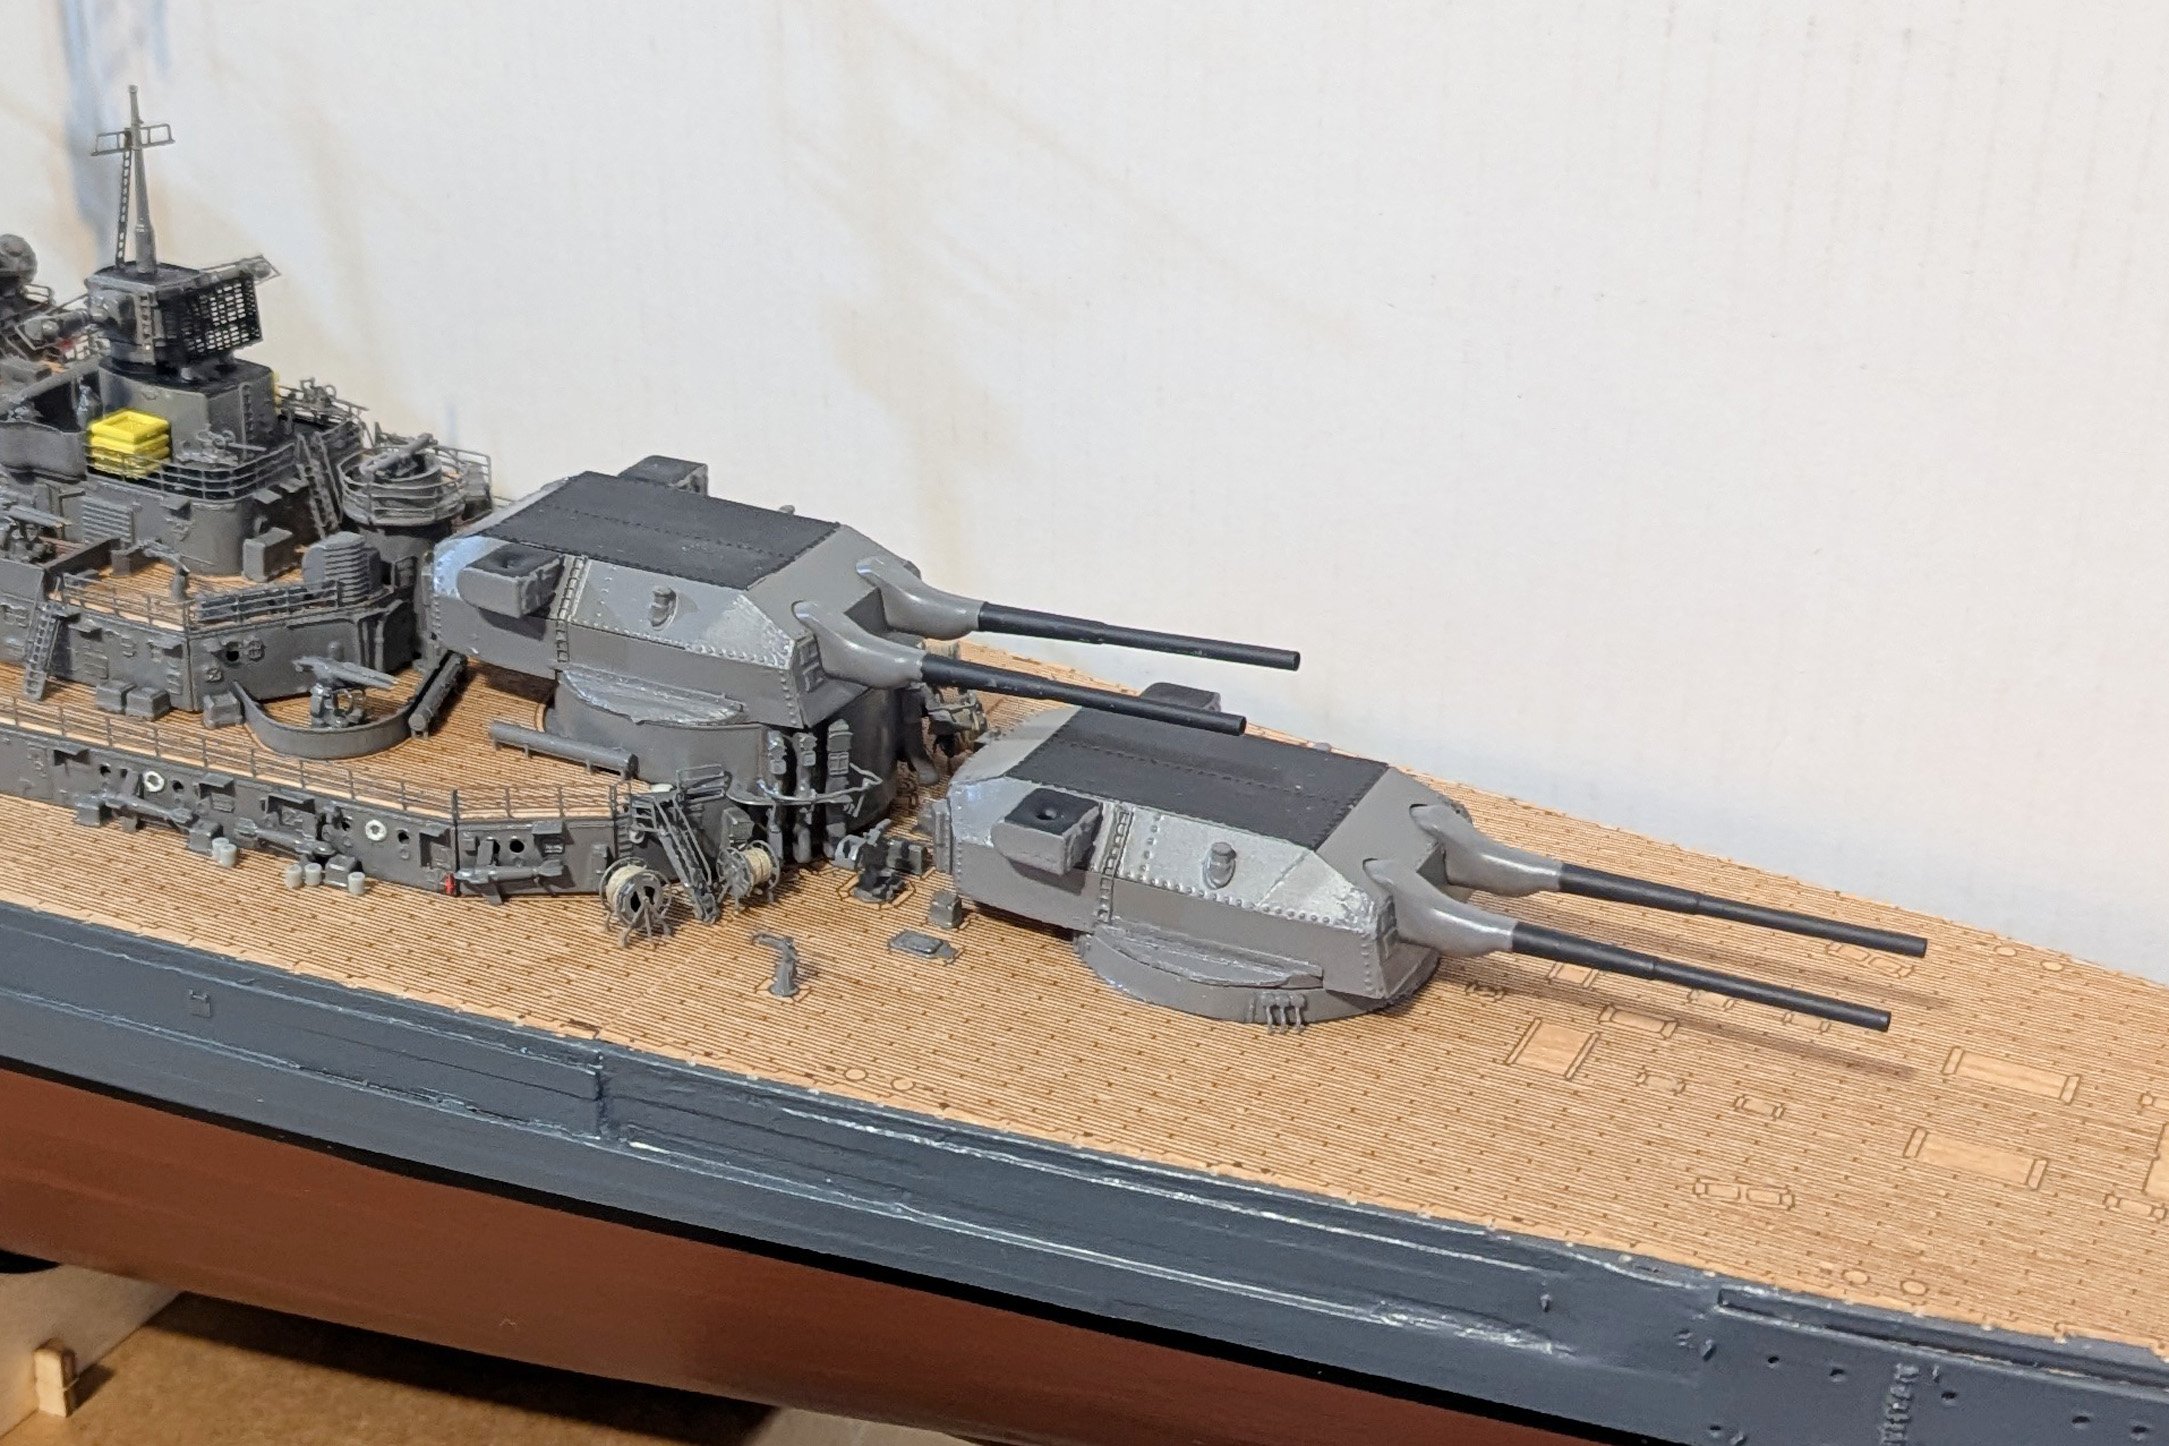
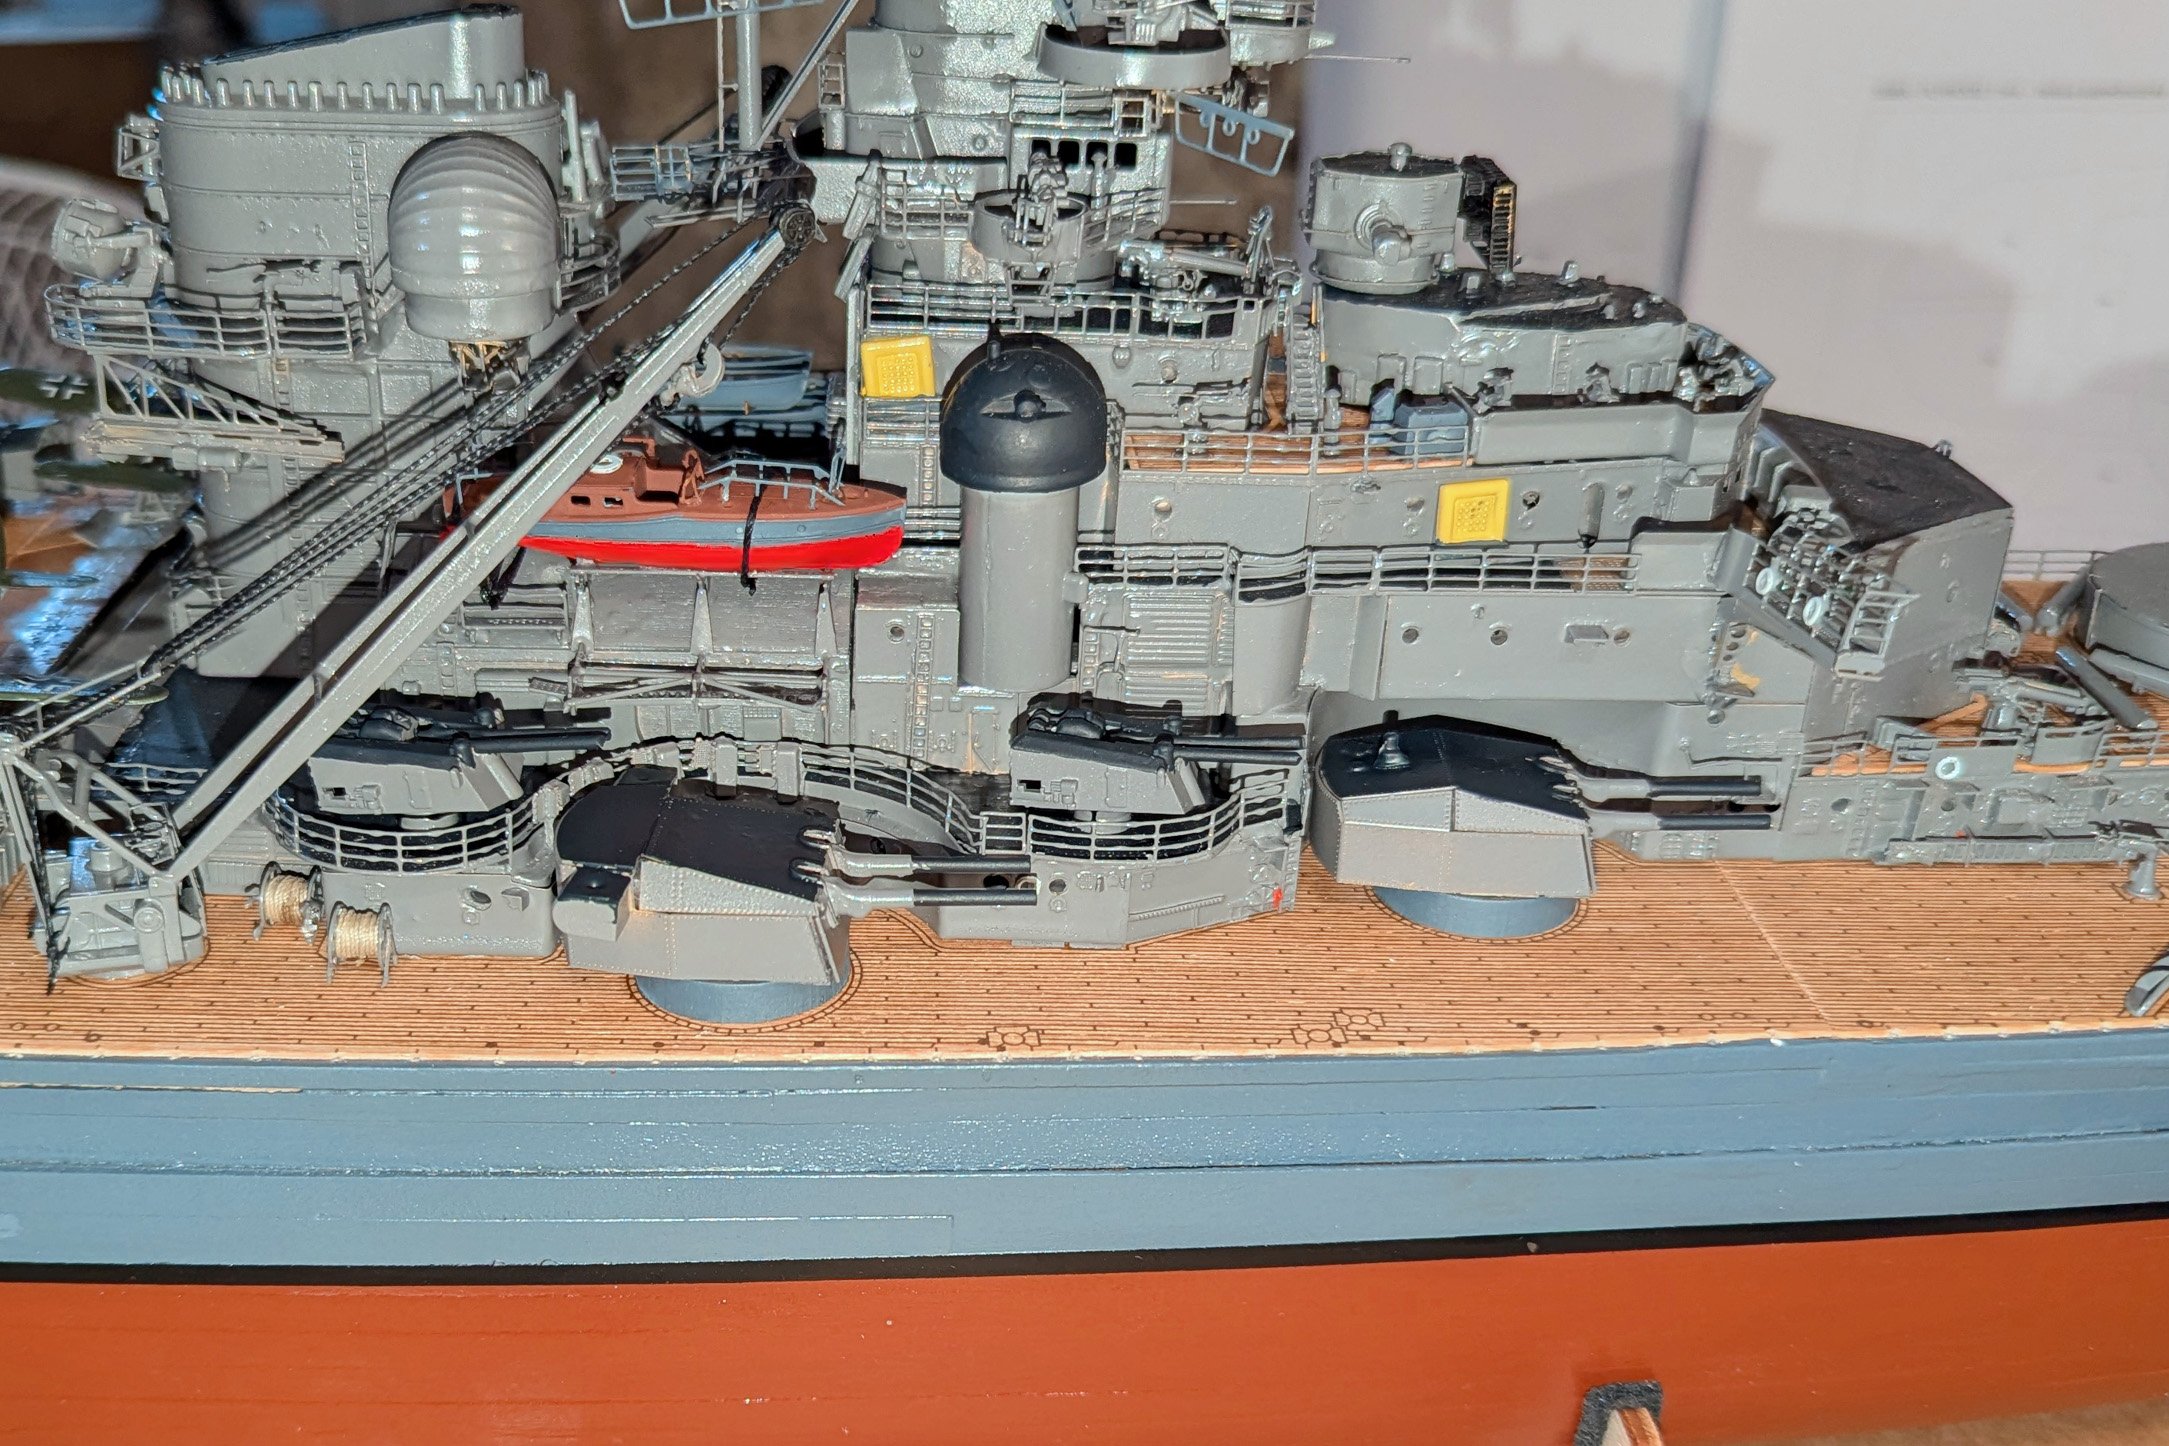
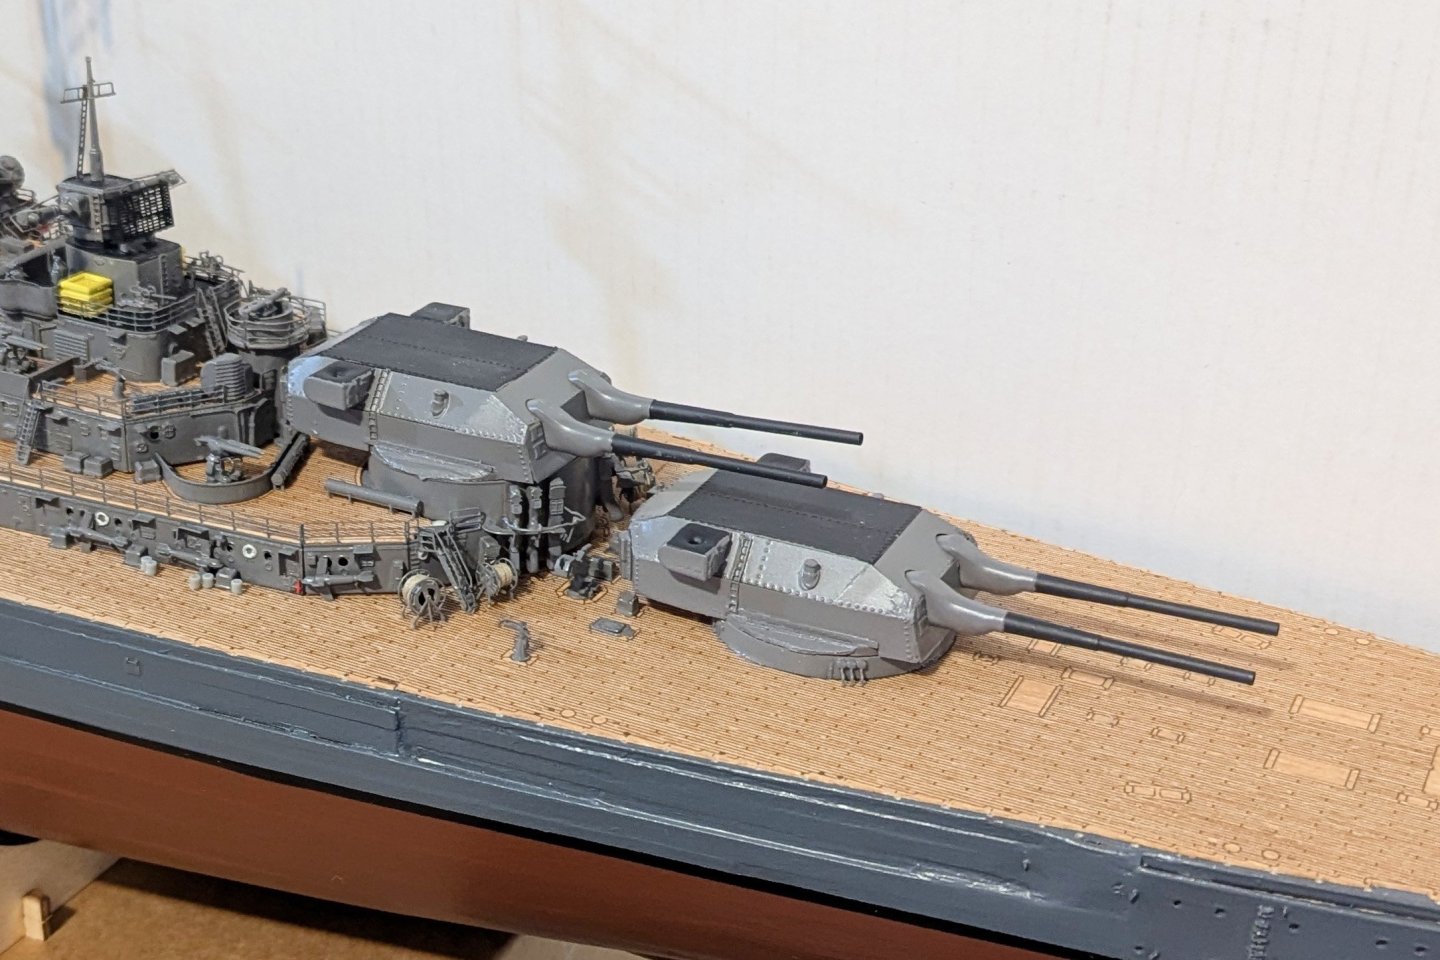
The 15 inch gun turrets are now painted, and the guns mounted on the ship -- again, not yet glued but they will be at the end. Here's a picture of the whole ship up to this point. Not yet finished, but the big guns really make it look like a battleship. Regards, David

-
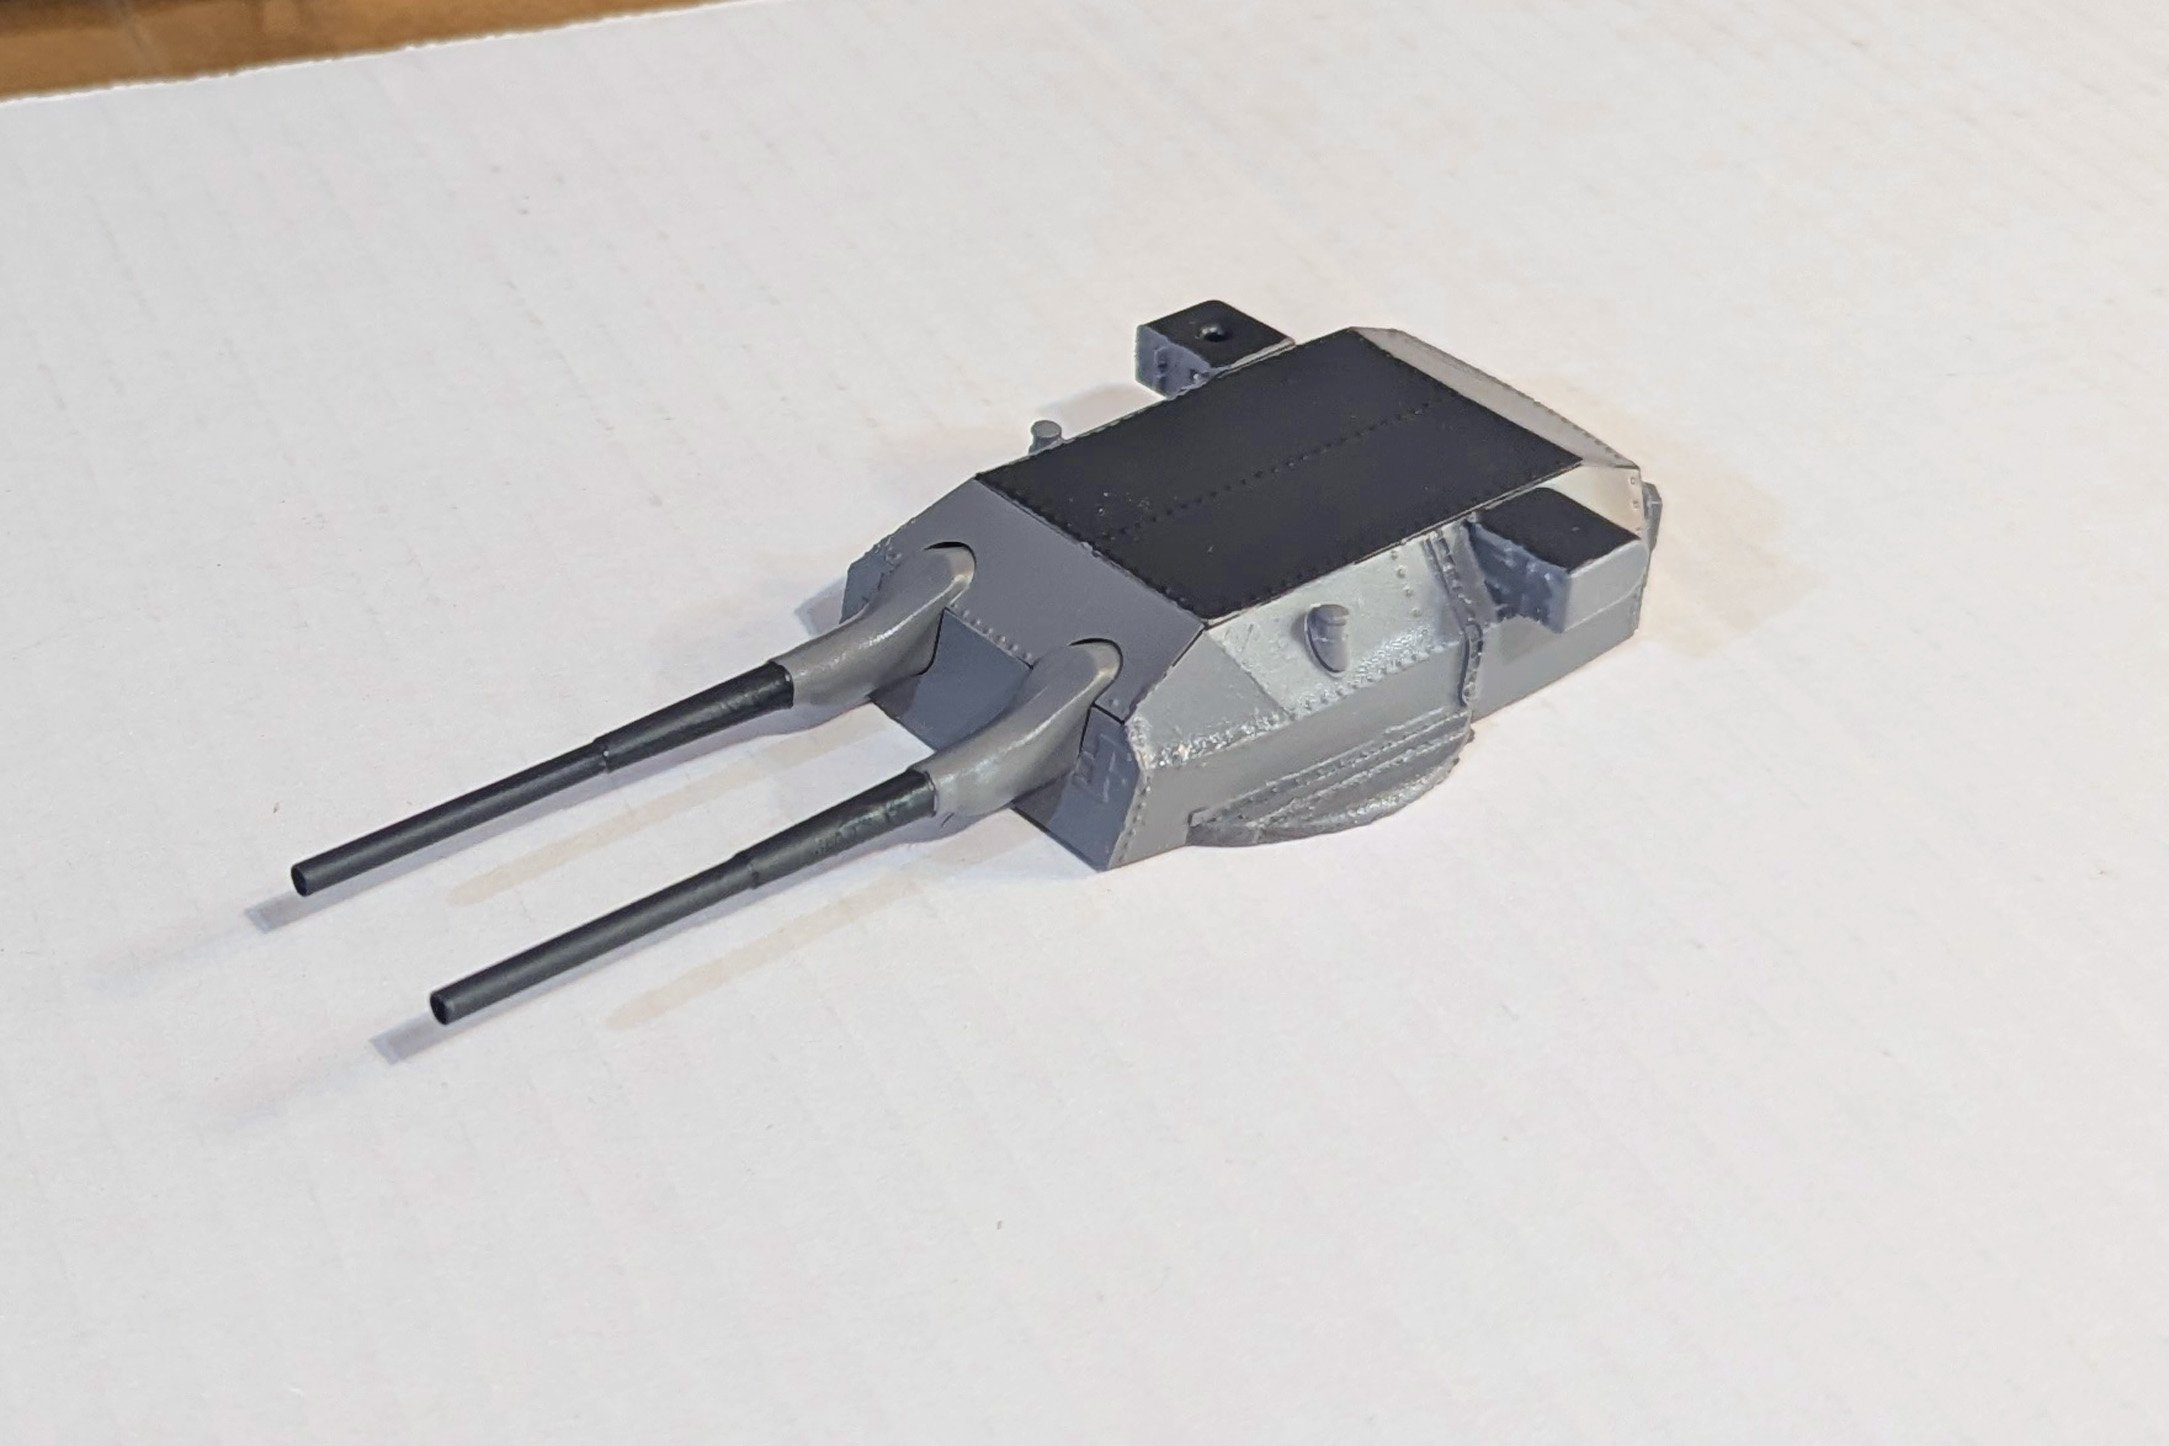
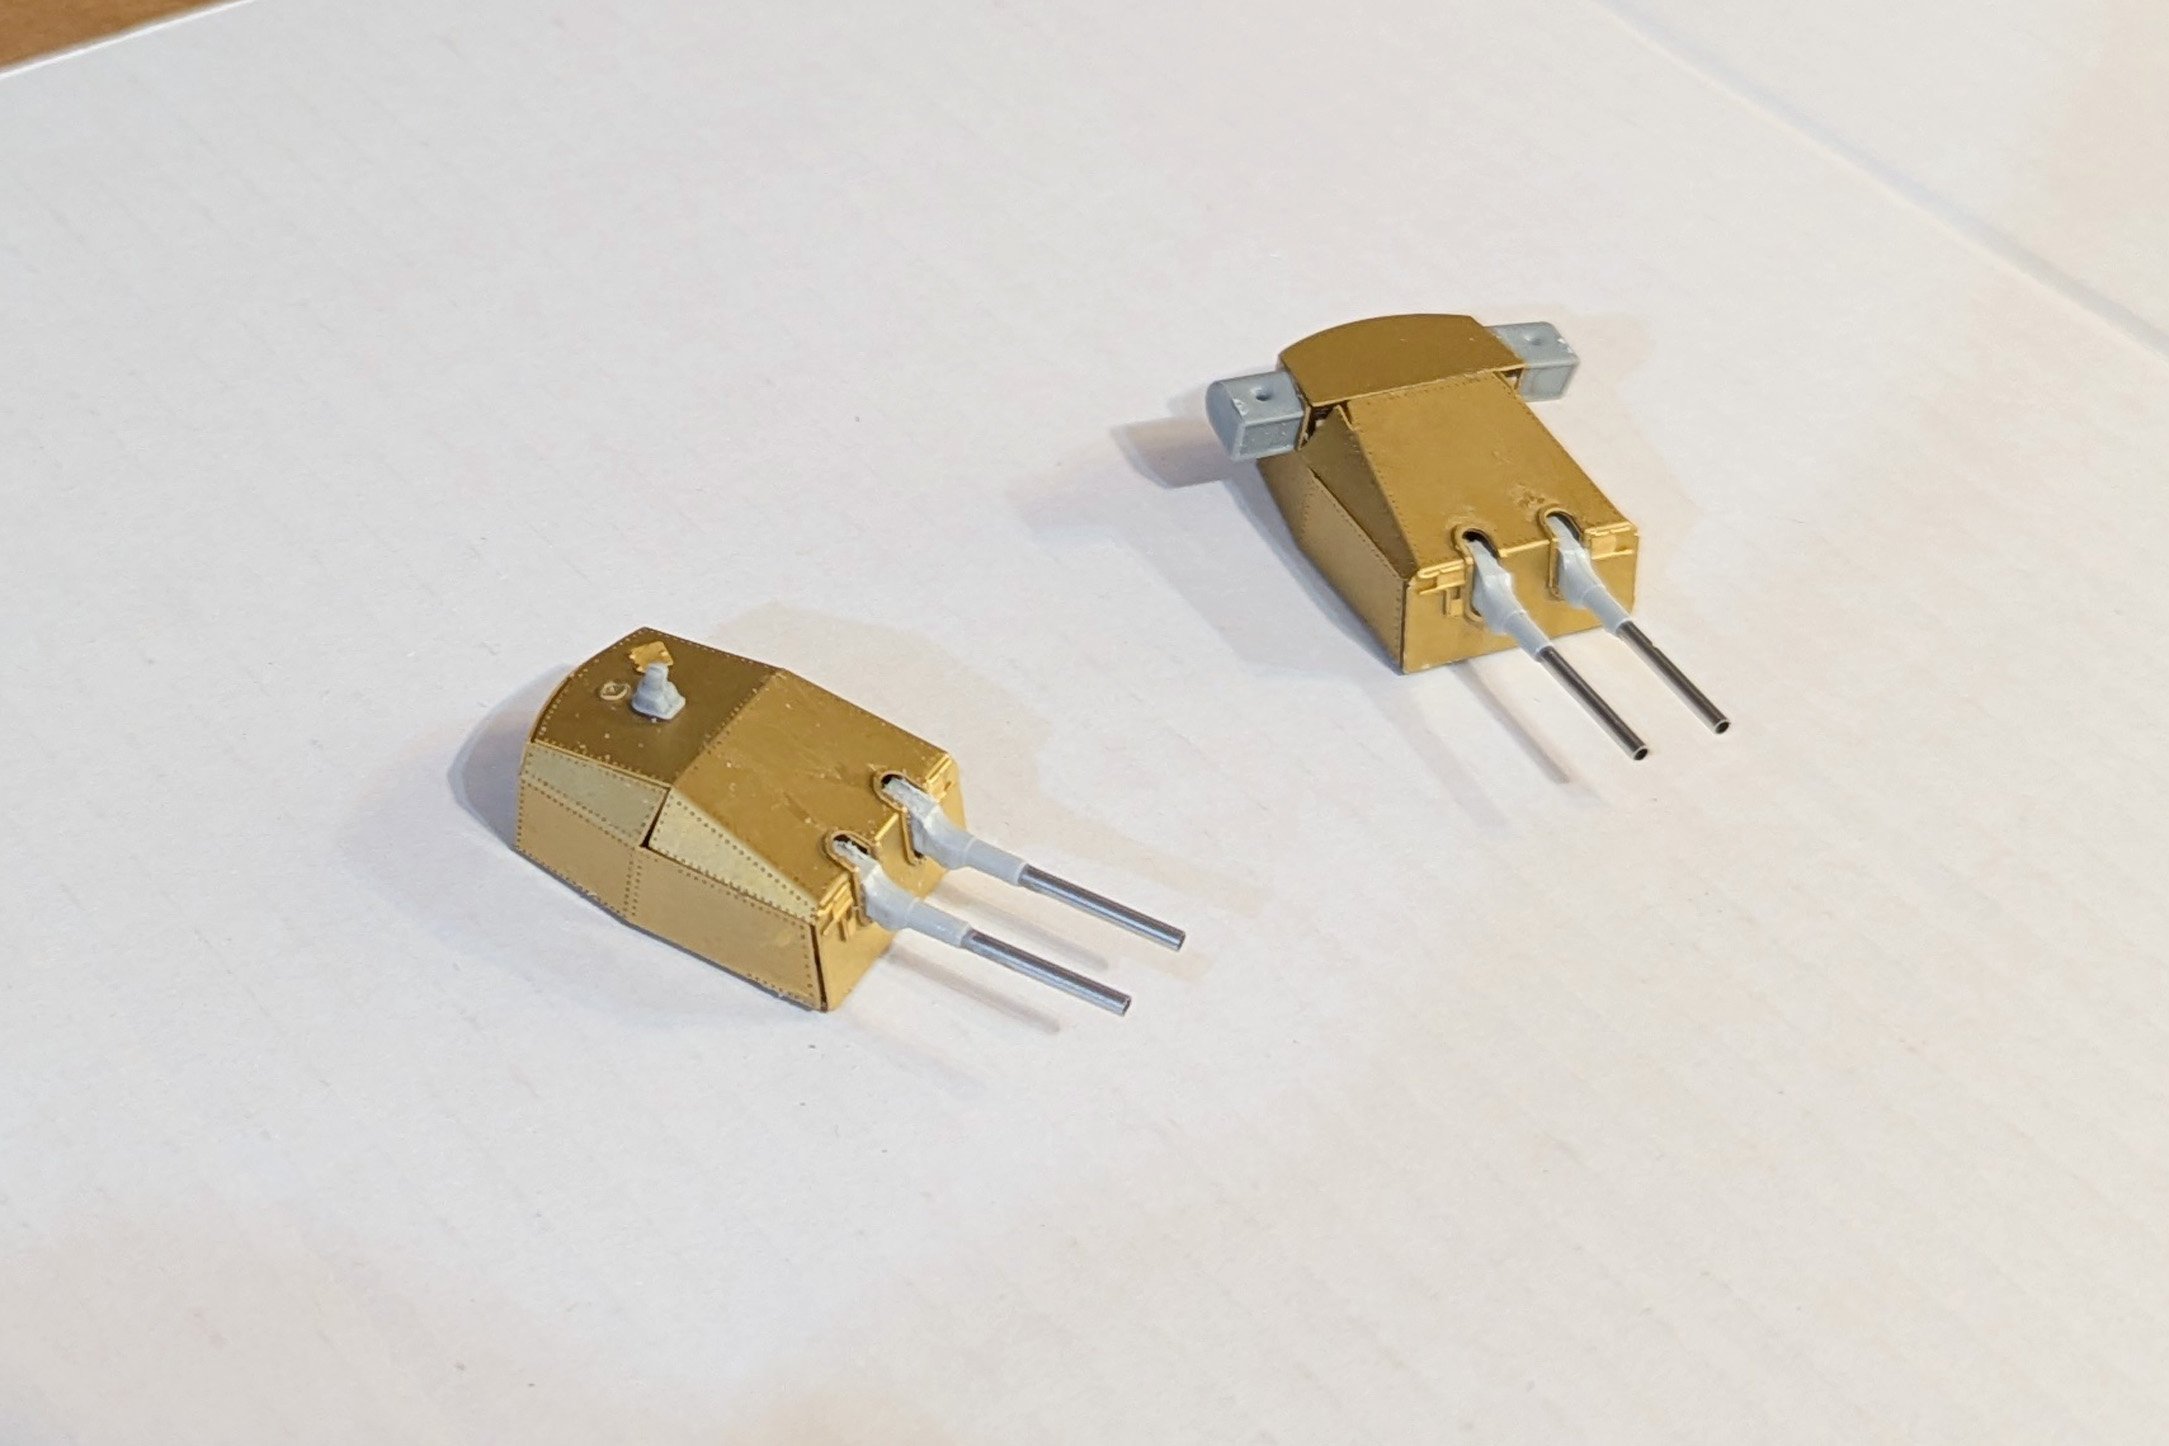
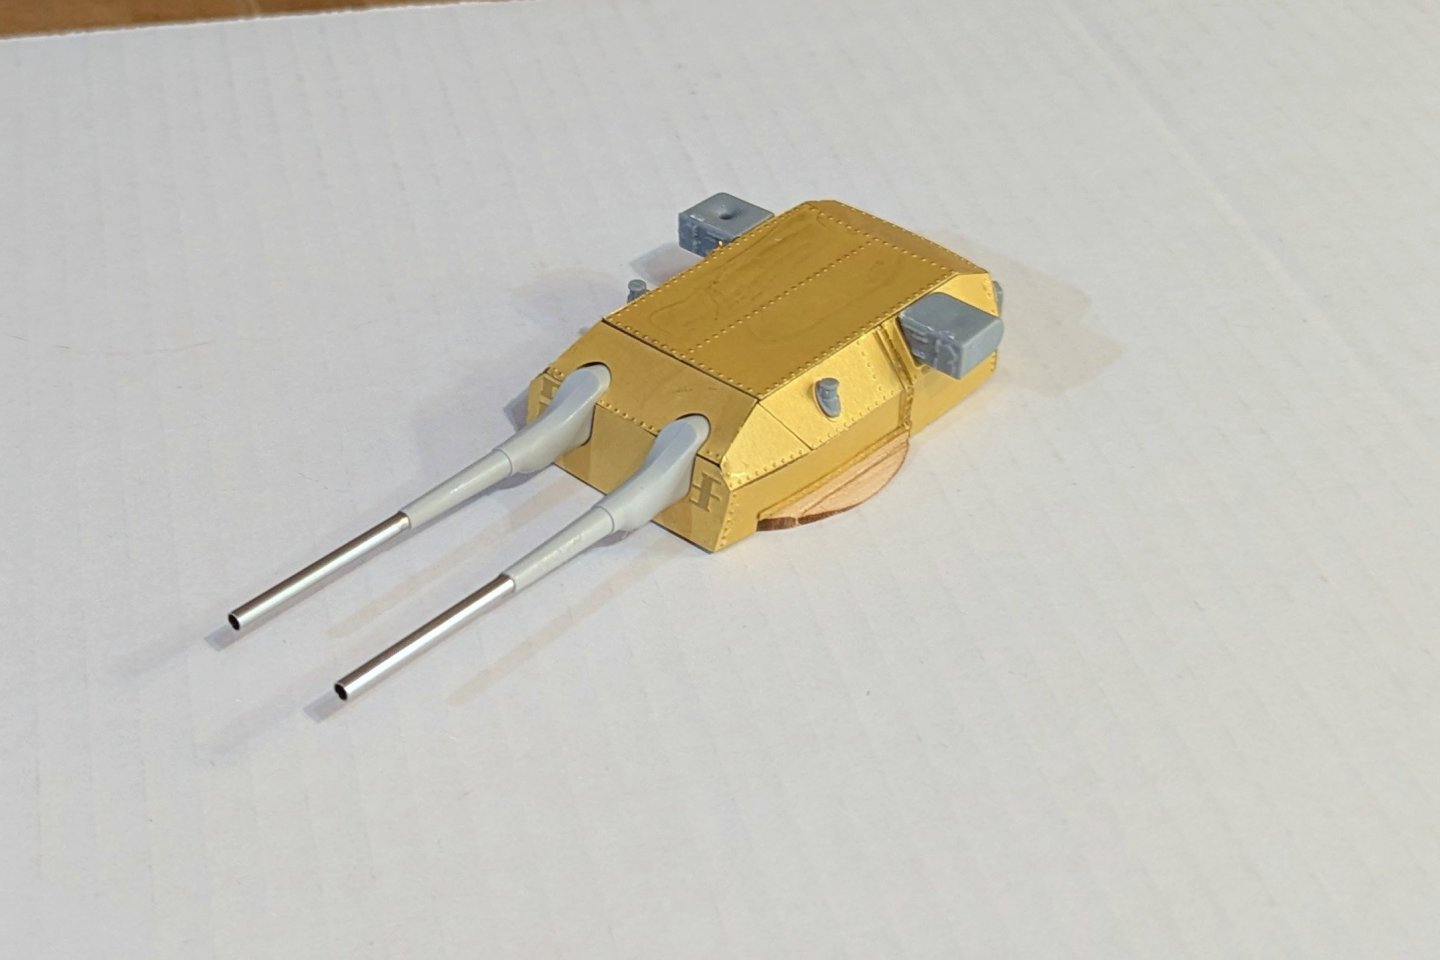
Here's one of the four 15 inch turrets fully assembled. Three more to go. Regards, David
-
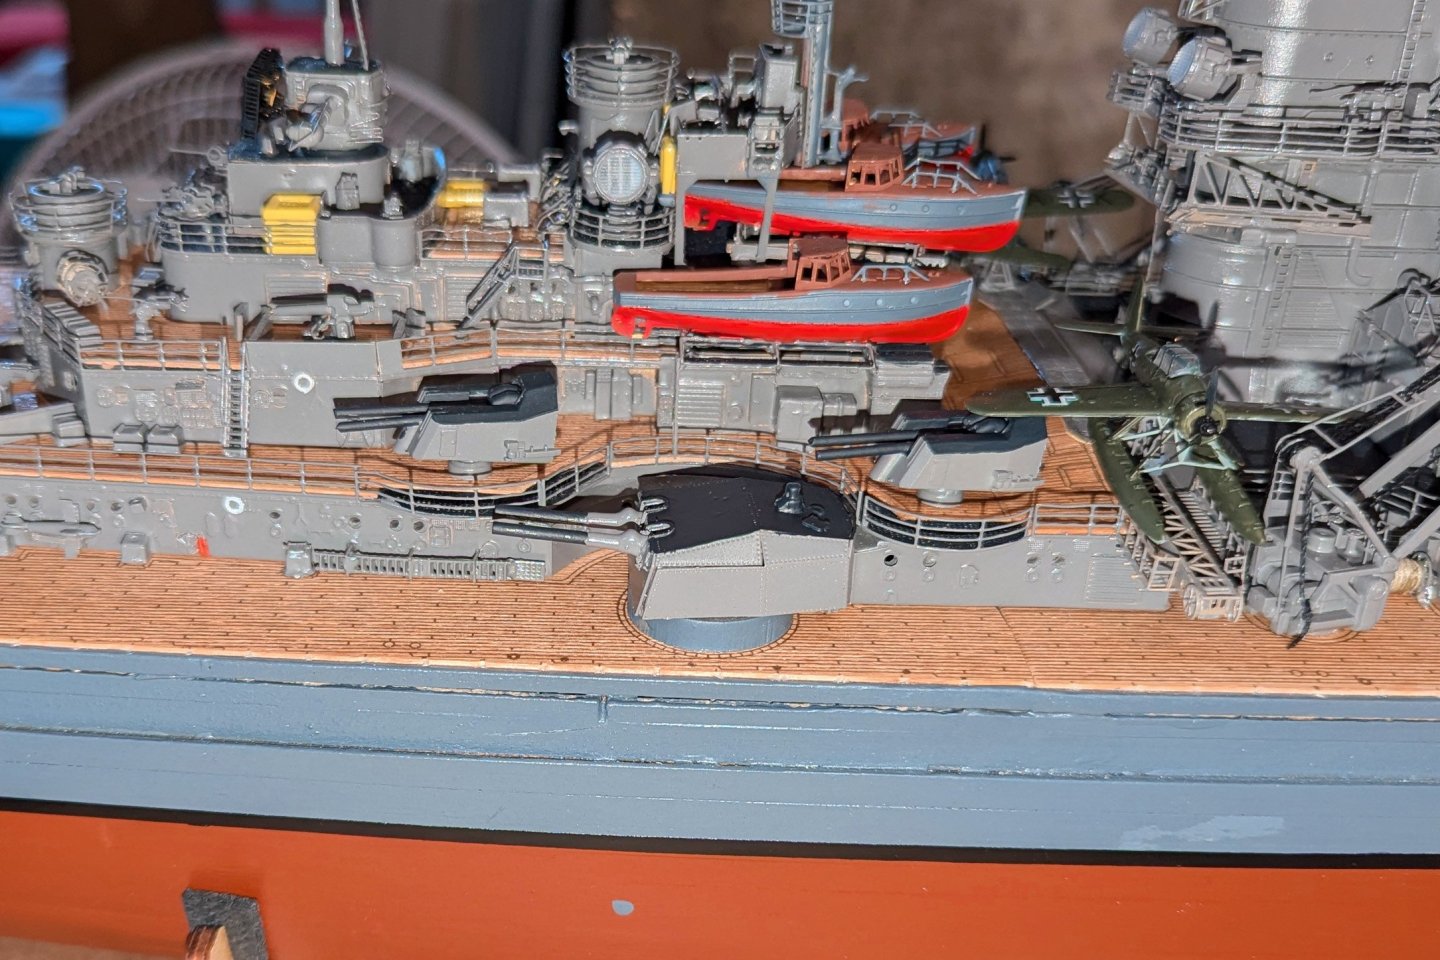
Now the medium guns are painted and mounted. The instructions say to leave them free to rotate on a dowel, and for now I have done that in case they have to be moved later to account for some construction, but before I'm done I will glue them down. Can't imagine having a loose piece on the model. Regards, David

-
Midsize guns before painting. There are four of the type on the left, and two of the type on the right. Regards, David

-
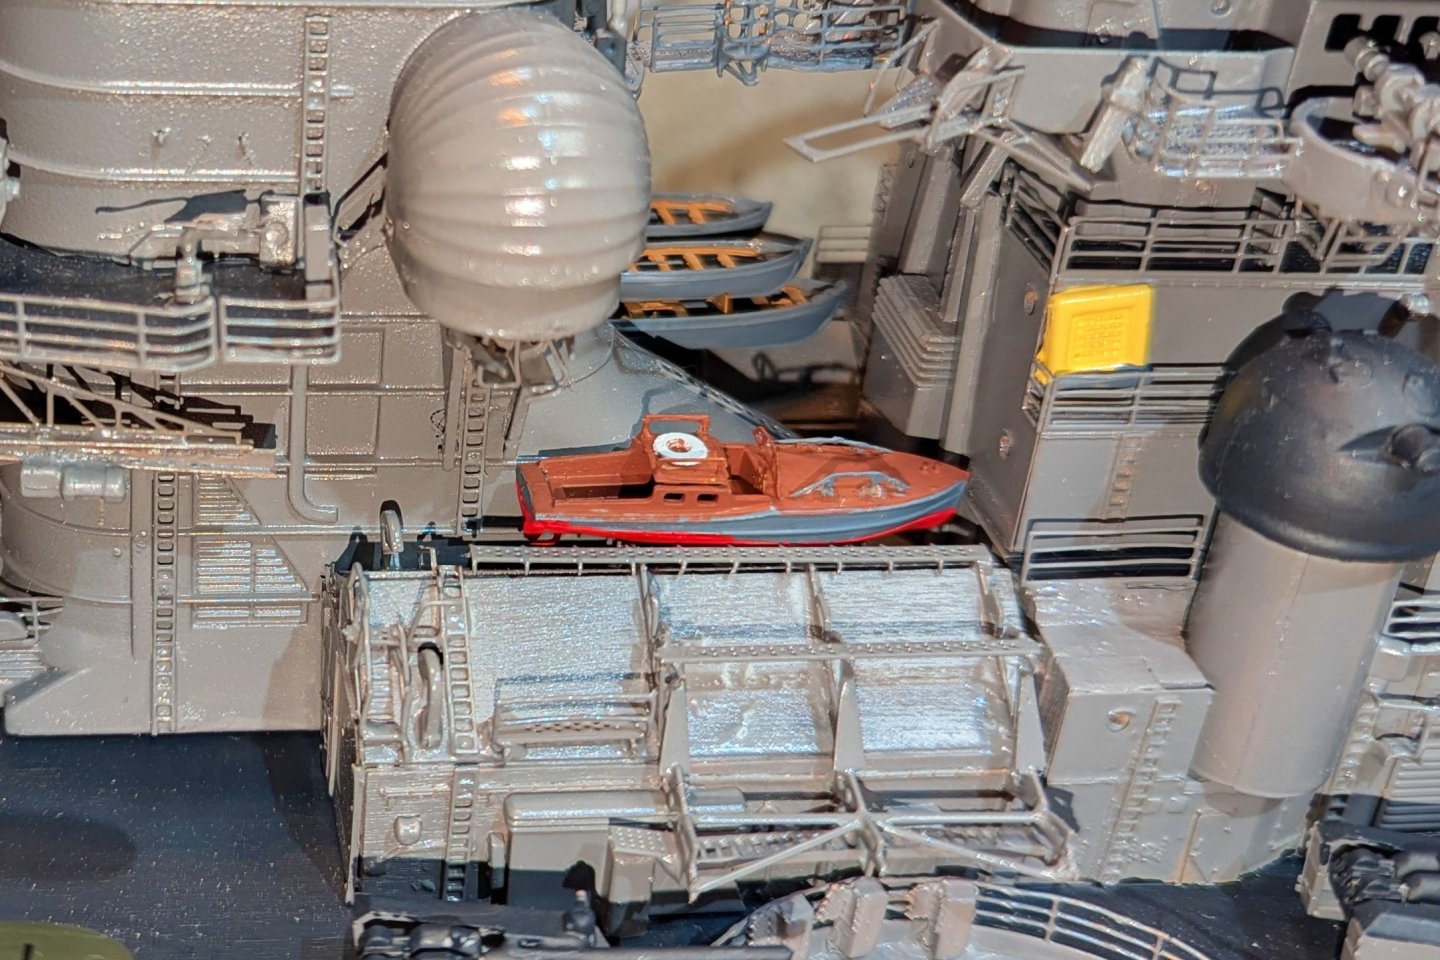
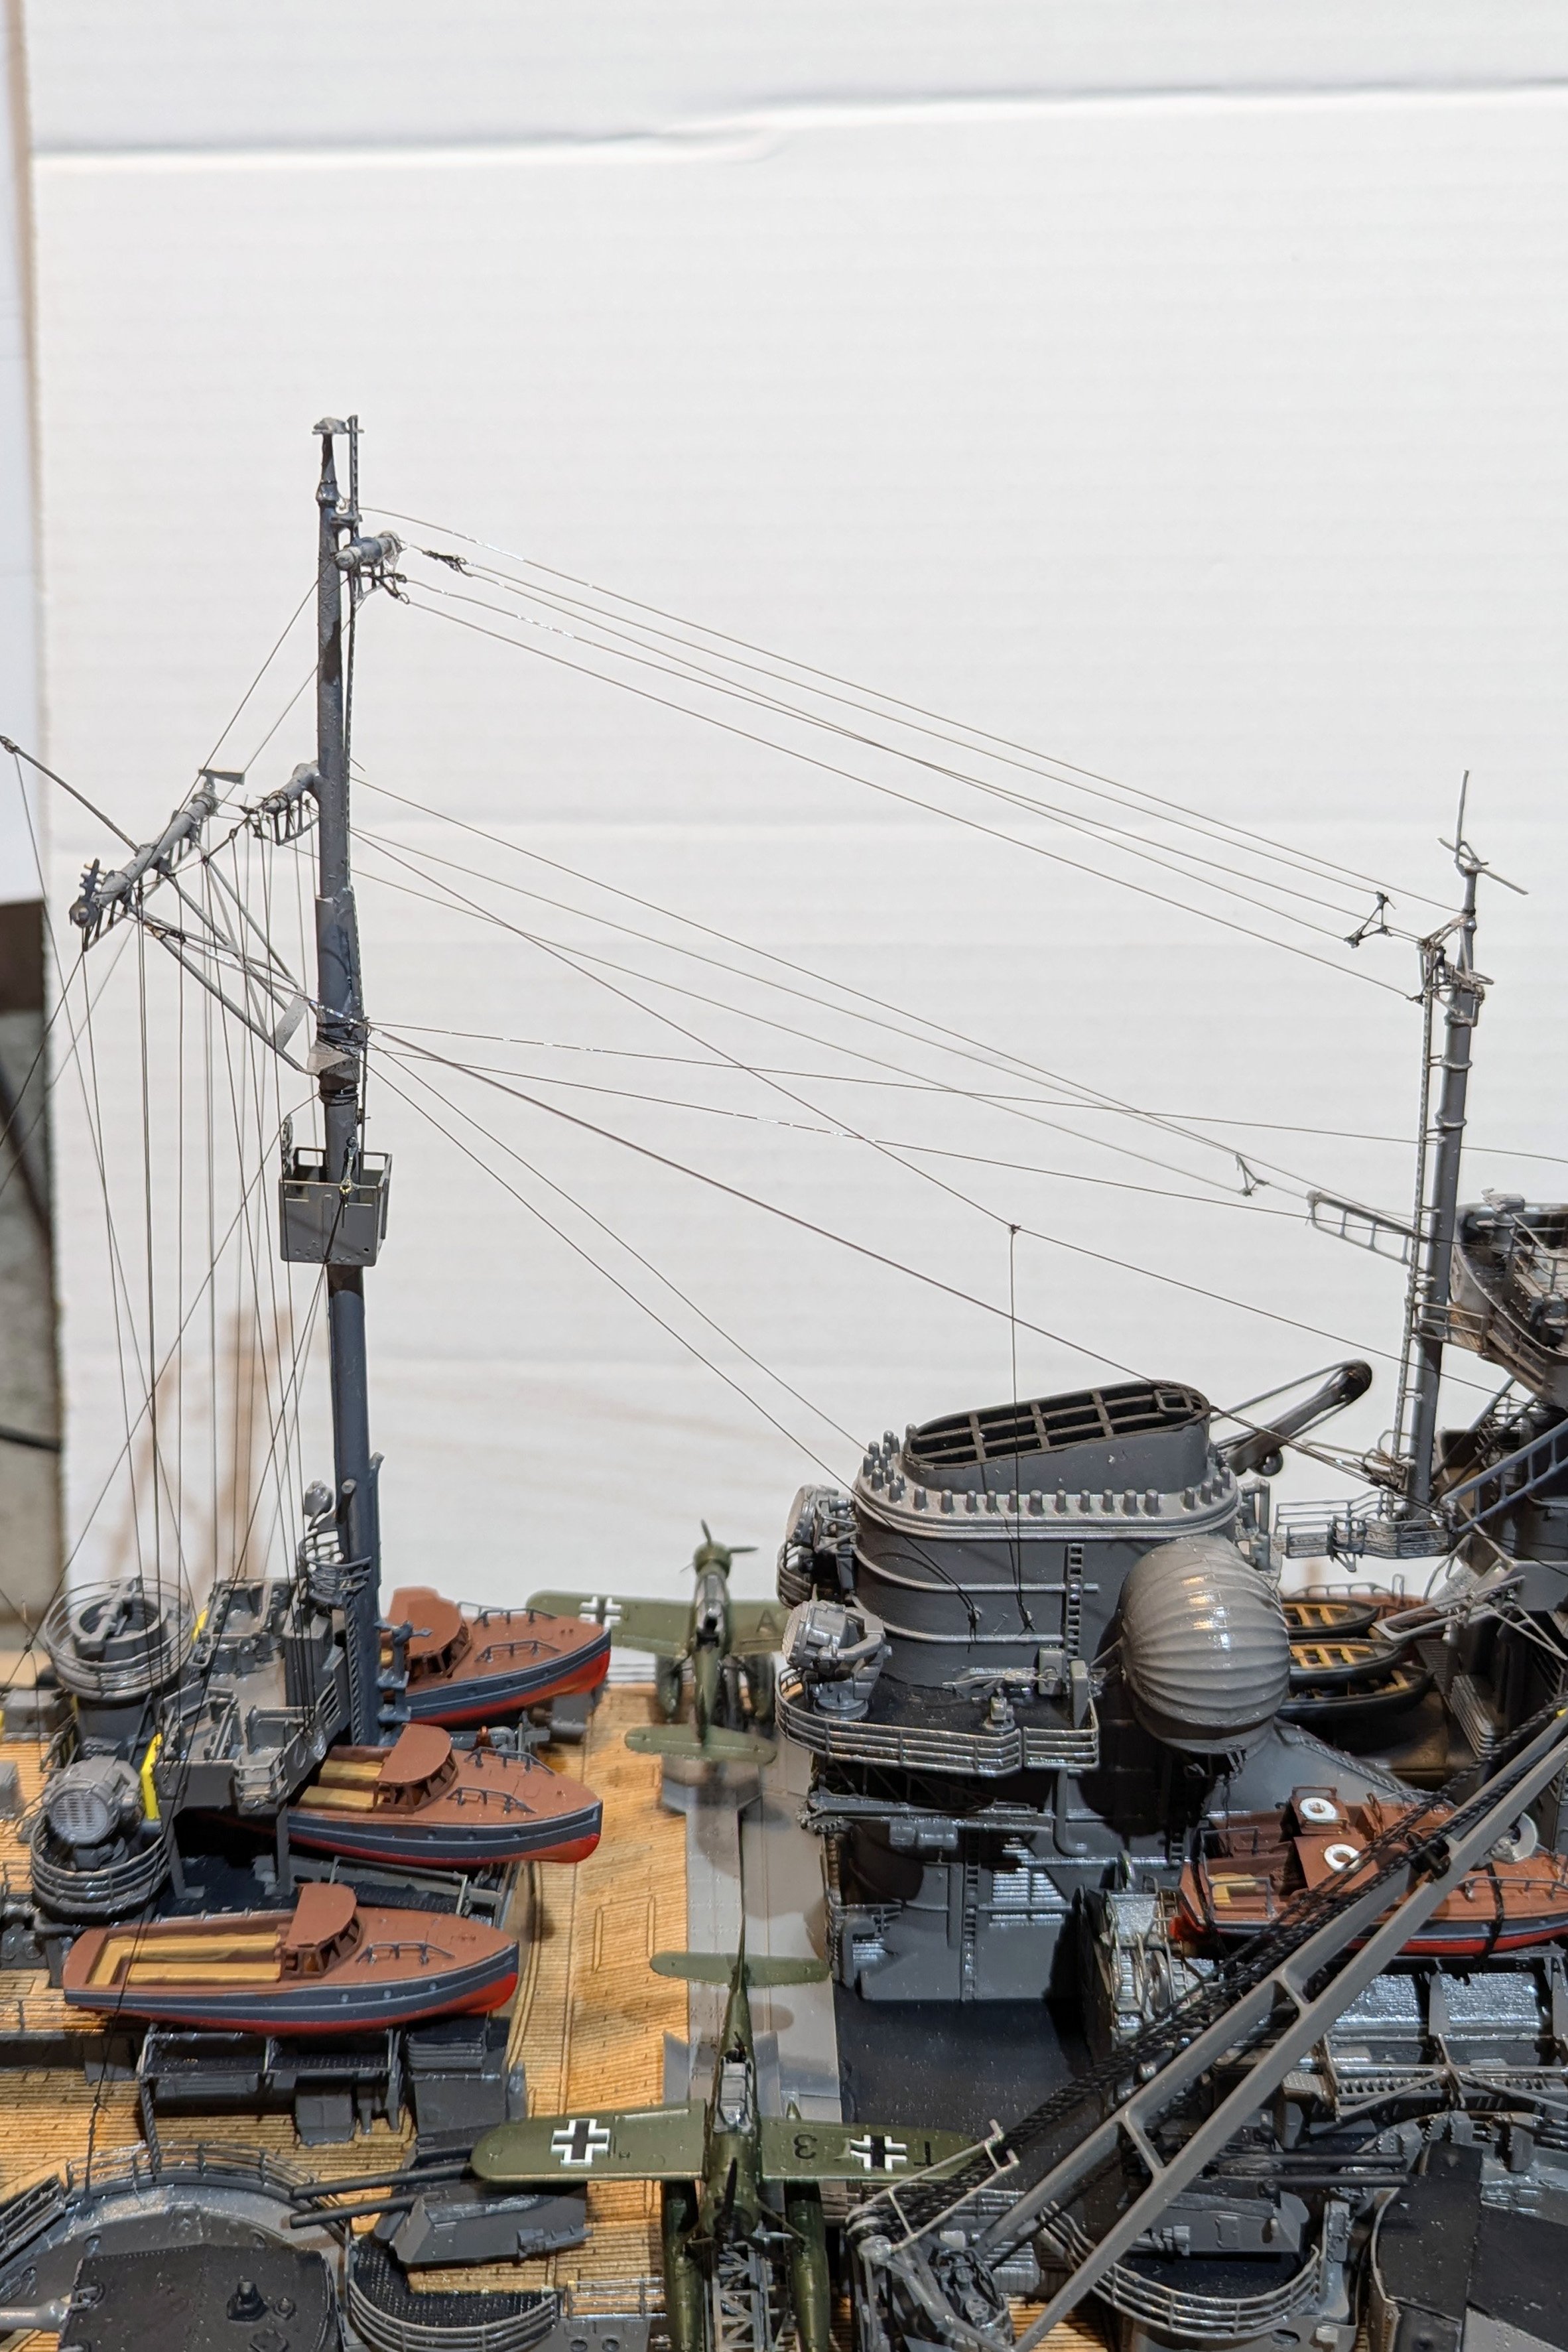
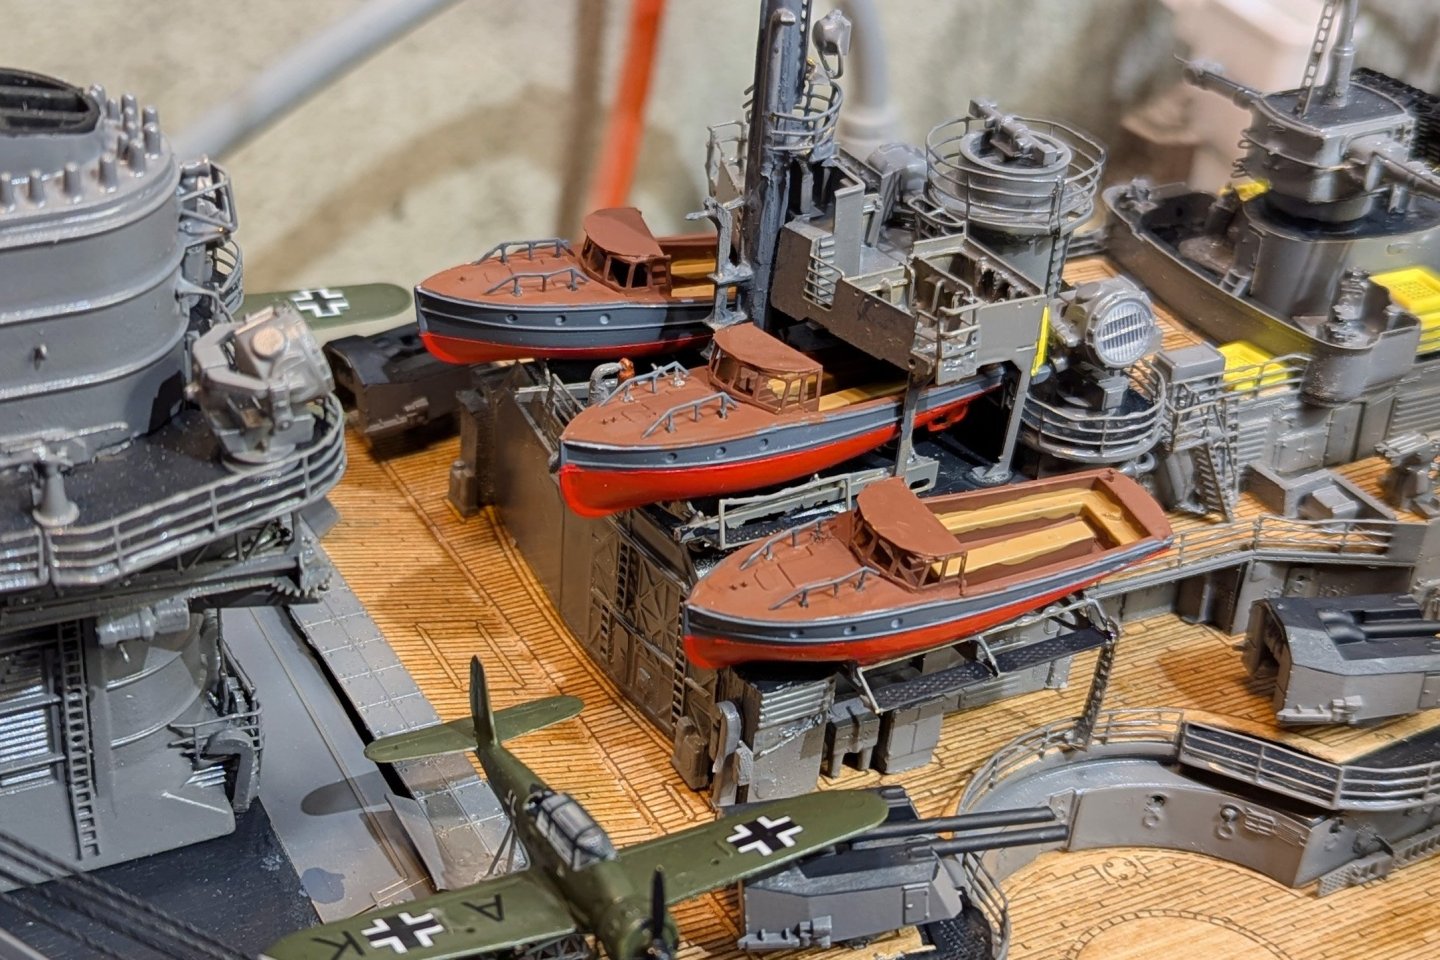
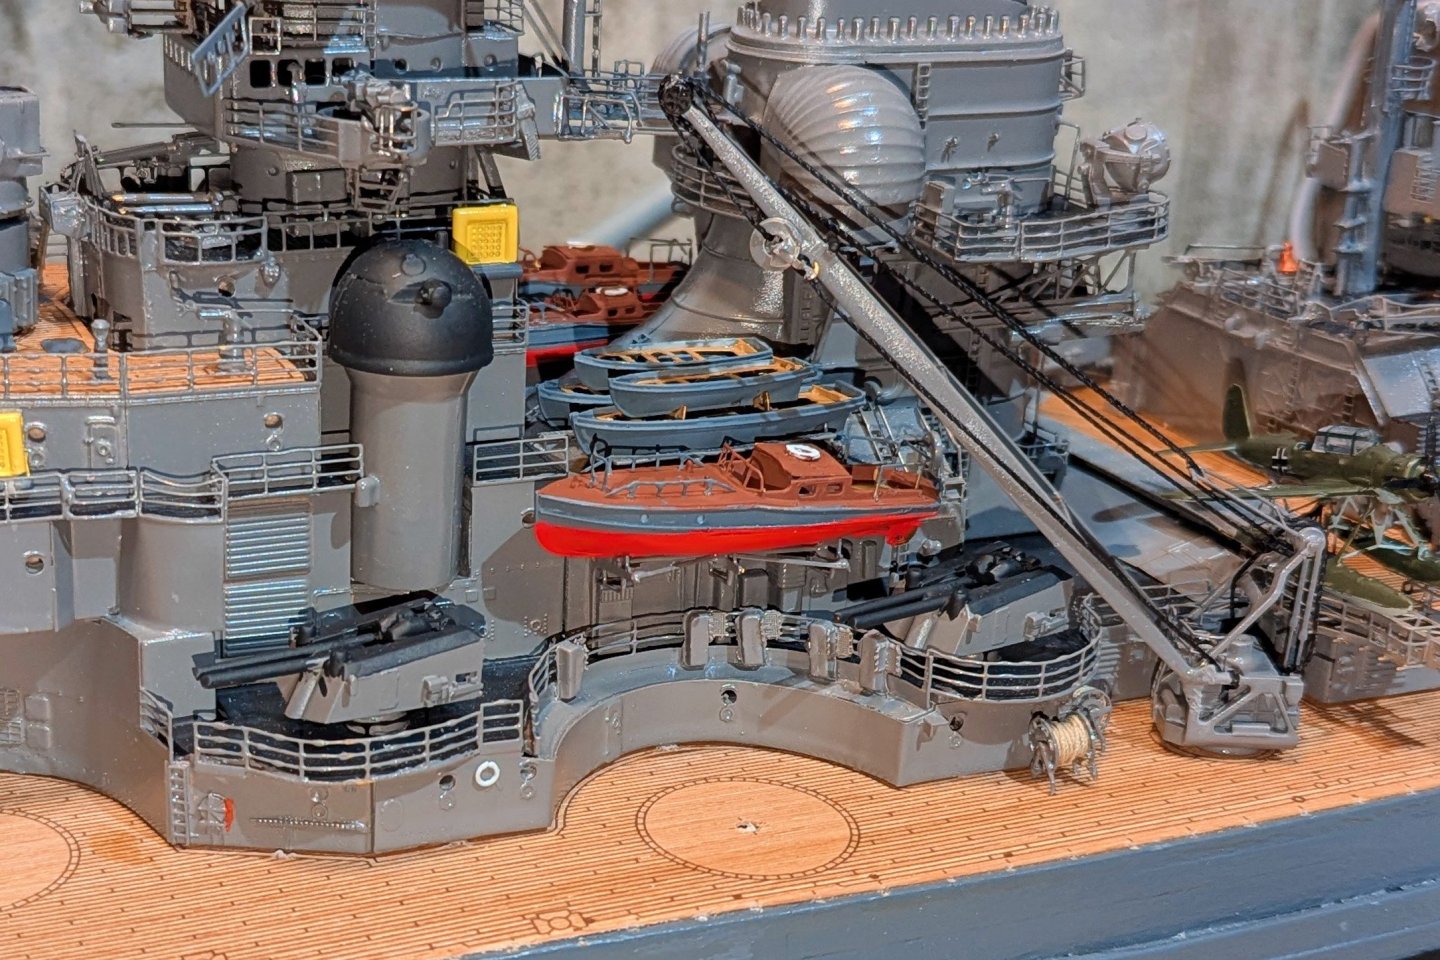
Last set of boats, called "Connection Boats" in the instructions. I have no idea what that means, but they look nice. Regards, David
-
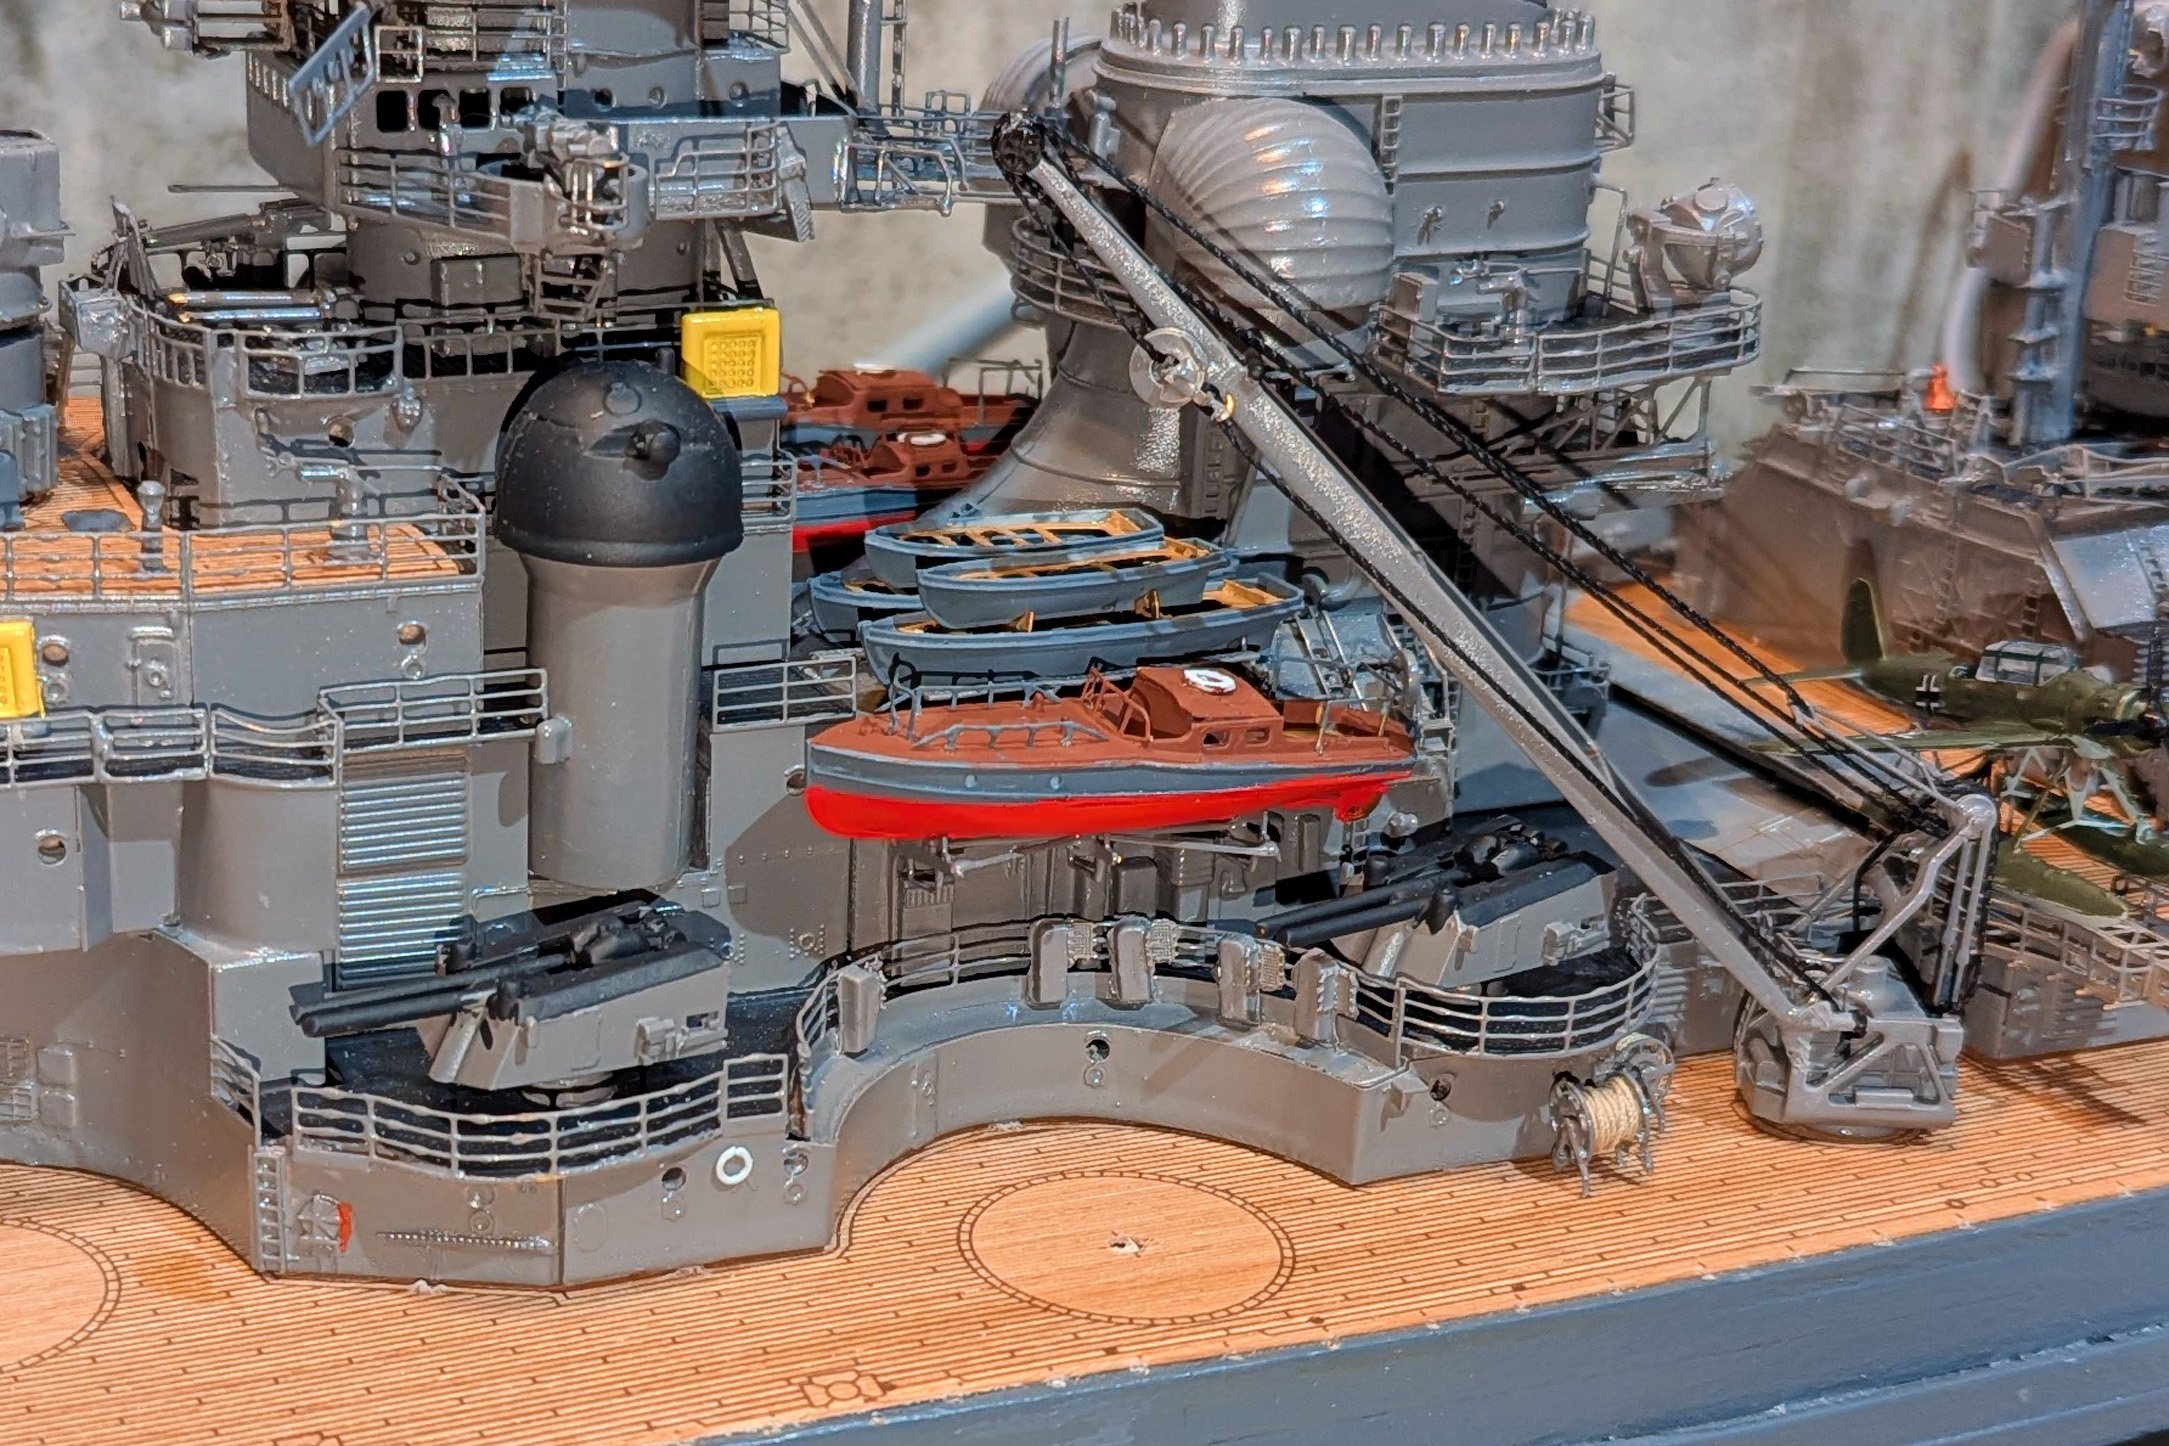
Officers Launch built and mounted. Cranes (previously built) also now mounted on both sides. Regards, David
-
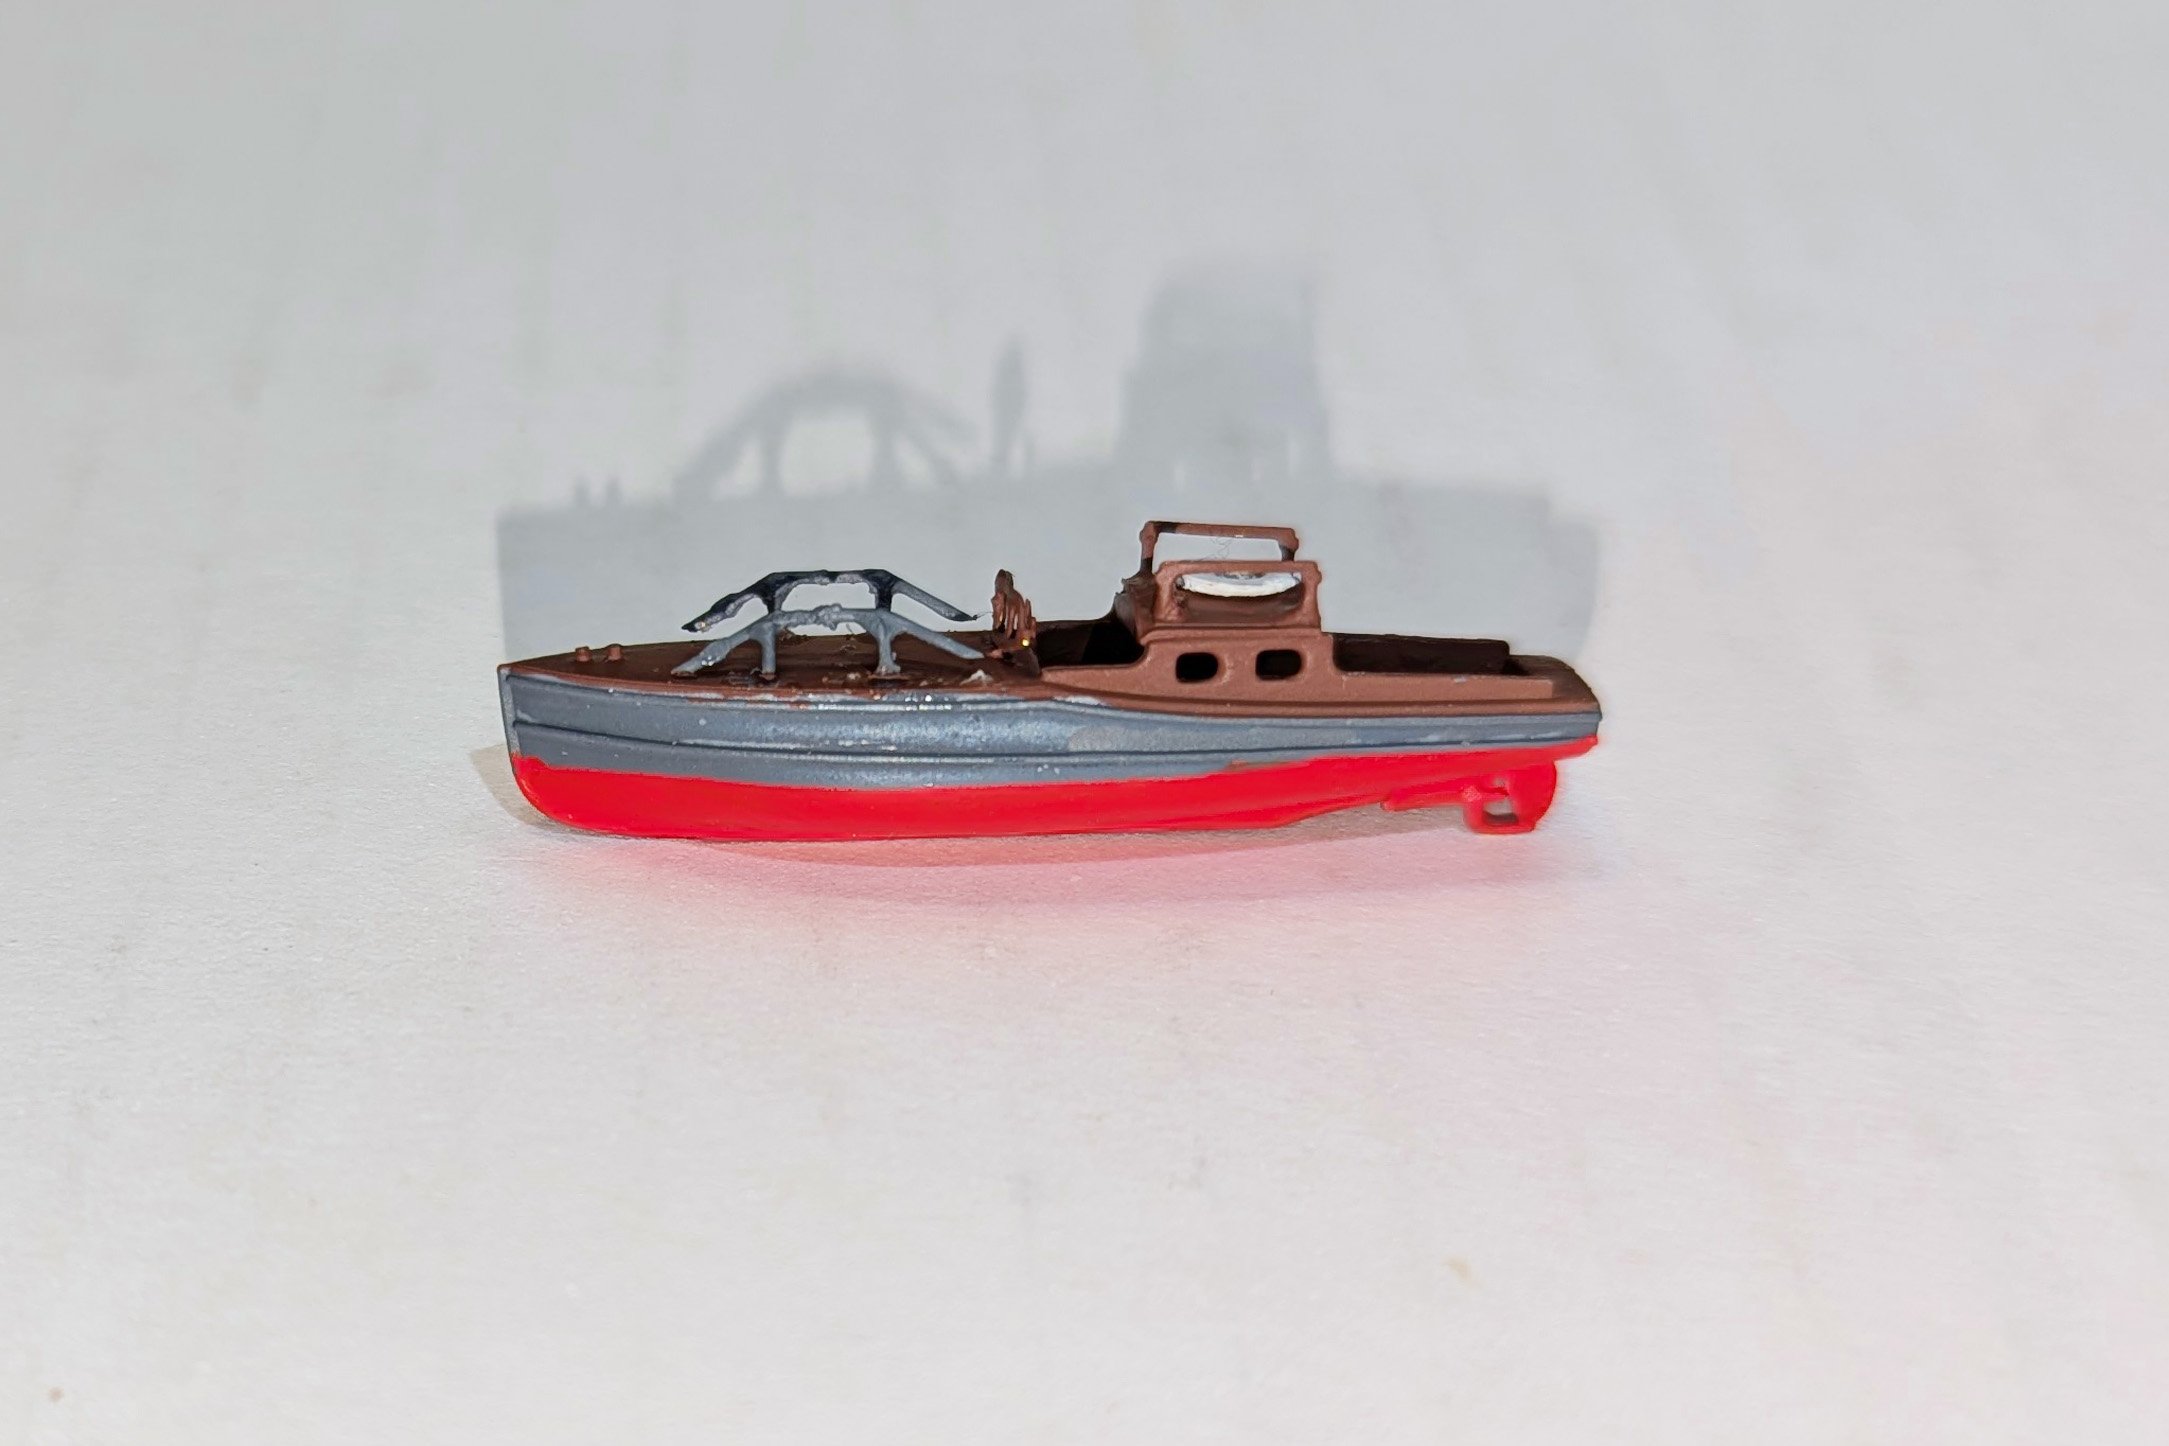
Here's the first motor launch. Requires some careful hand-painting and small parts assembly. Regards, David