-
Posts
1,075 -
Joined
-
Last visited
Content Type
Profiles
Forums
Gallery
Events
Everything posted by drobinson02199
-
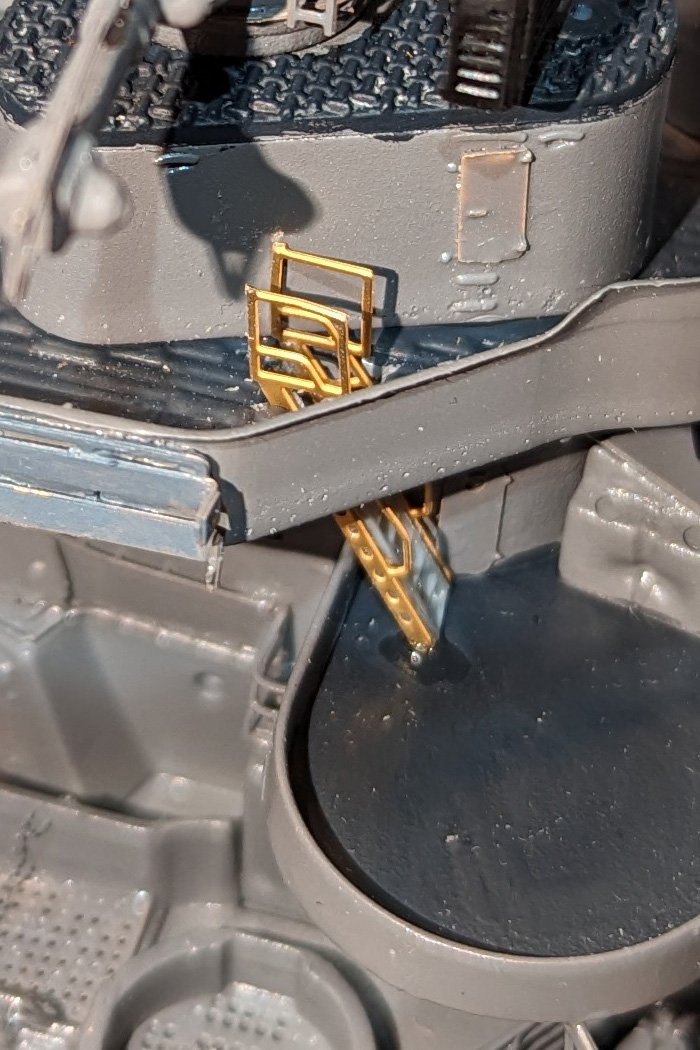
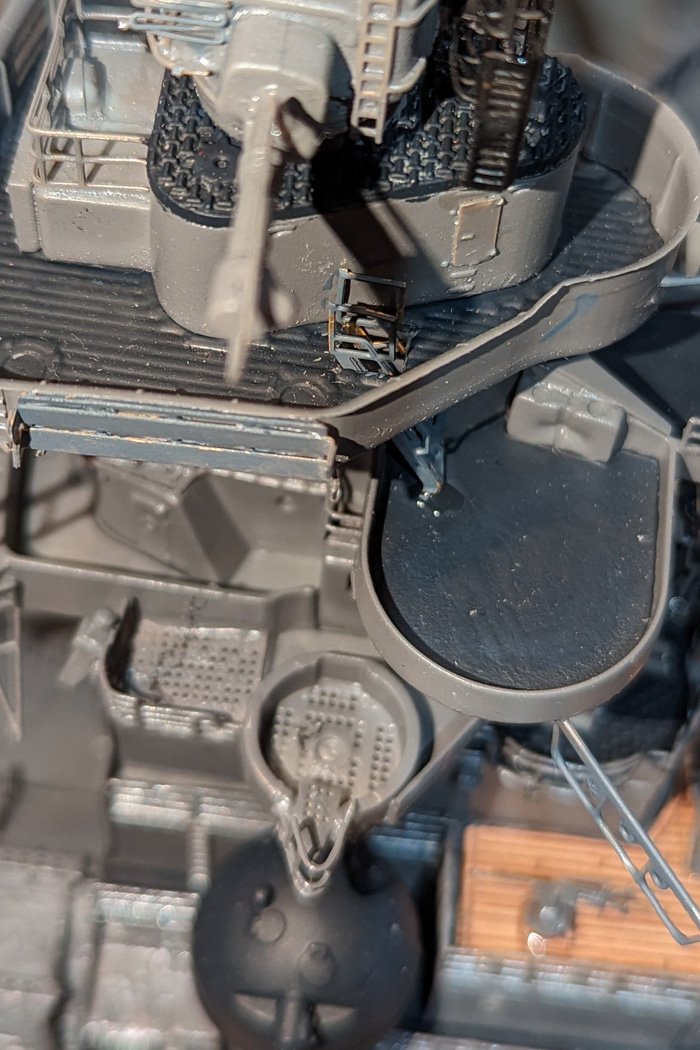
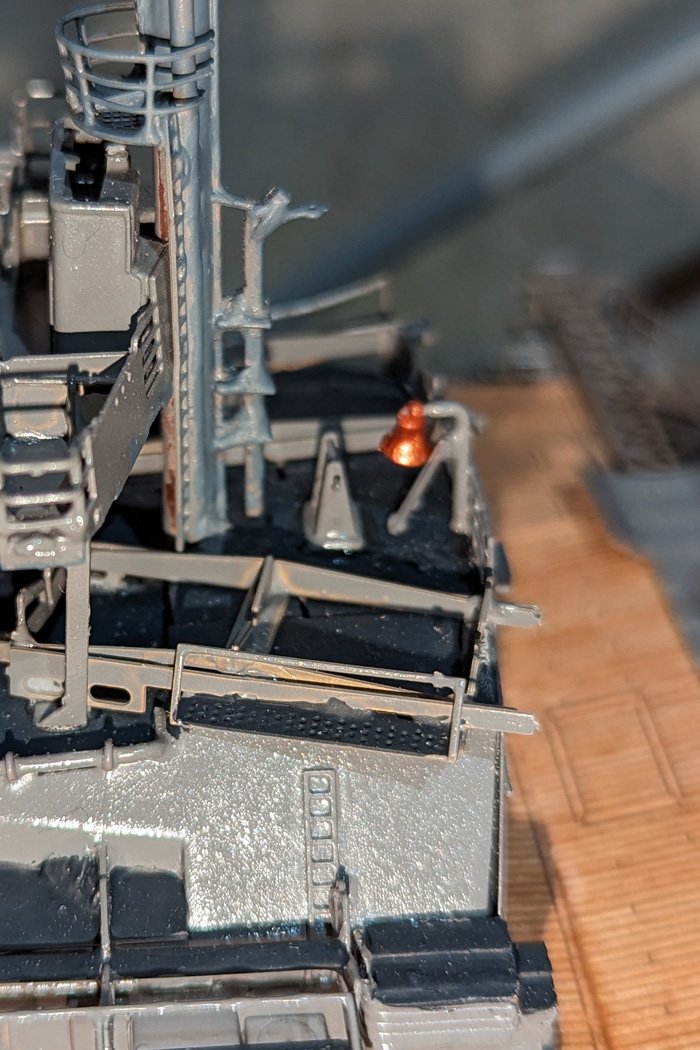
There's a ladder that sticks up through the deck. The instructions want you to build the ladder, then install it up through the hole, but I tried that and it didn't fit. So I disassembled it, and assembled it piece by piece in the hole. There's a picture of the unpainted version installed, and then I hand-painted it. Also a picture of a small bell. Regards, David
-
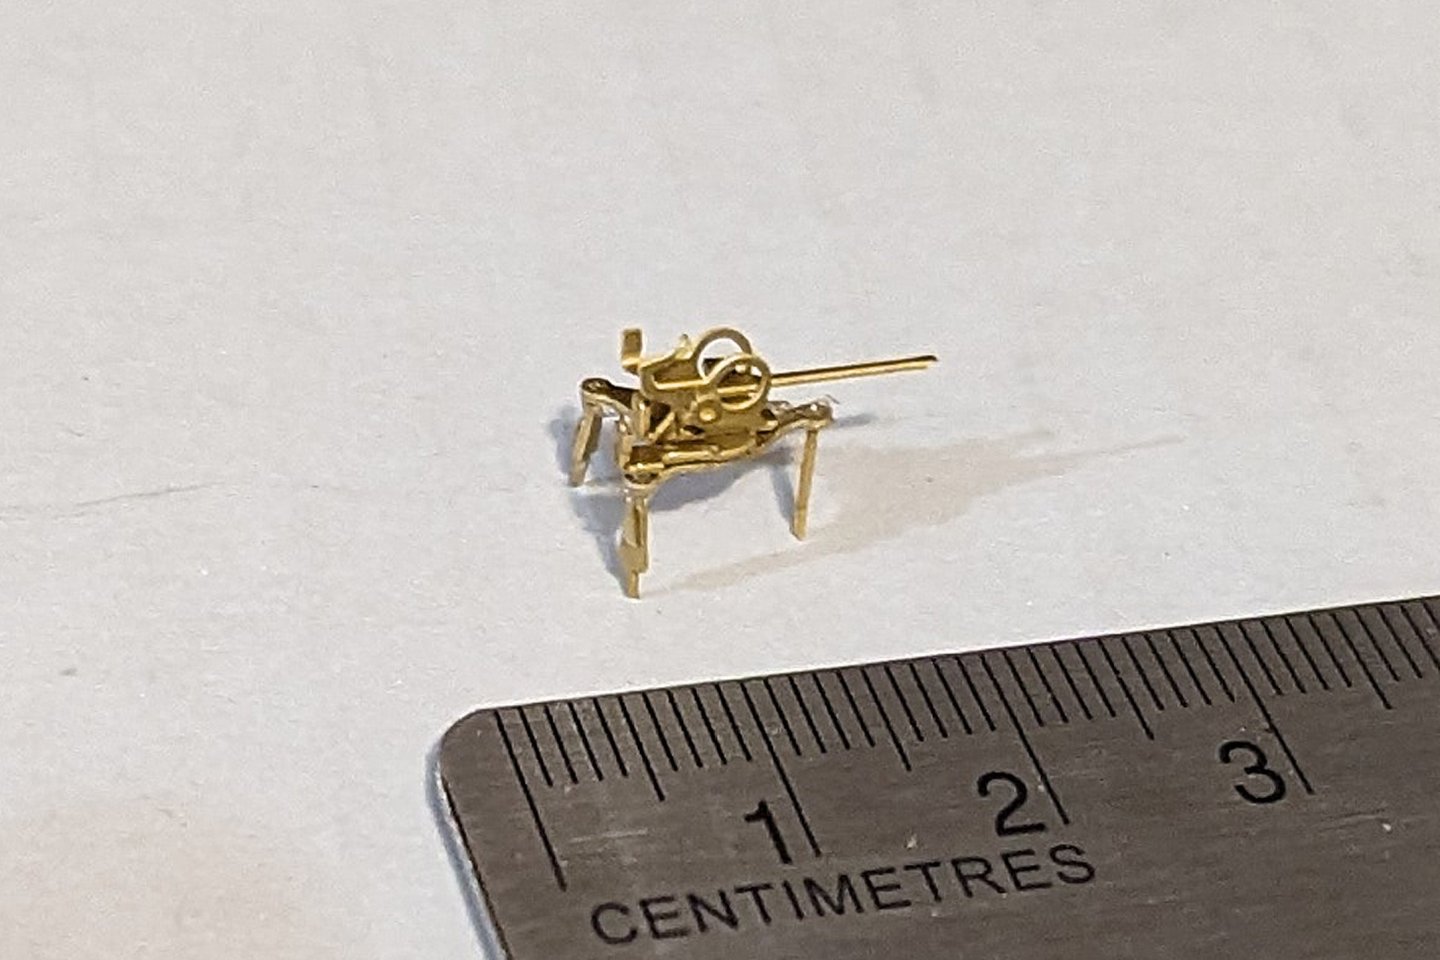
Here's an example of the intricacy of this model. This gun assembly is constructed from 8 parts. Regards, David
-
Catwalks installed. If you look at the side profile, there is a little "foot" at the base next to the hull. The instructions say to glue this on to the catwalk before gluing the assembly to the hull, but I thought that could cause some alignment issues, so I first glued the catwalk in place and then glued on the "foot". Regards, David
-
Klaasvg: On the planking: 1) I have a small steamer that I use to bend planks, and it really works well. You can get one online. They are normally used to steam clothes. 2) You can use a putty knife and put a layer of wood filler on the stern planks, then sand and varnish before painting. Regards, David
-
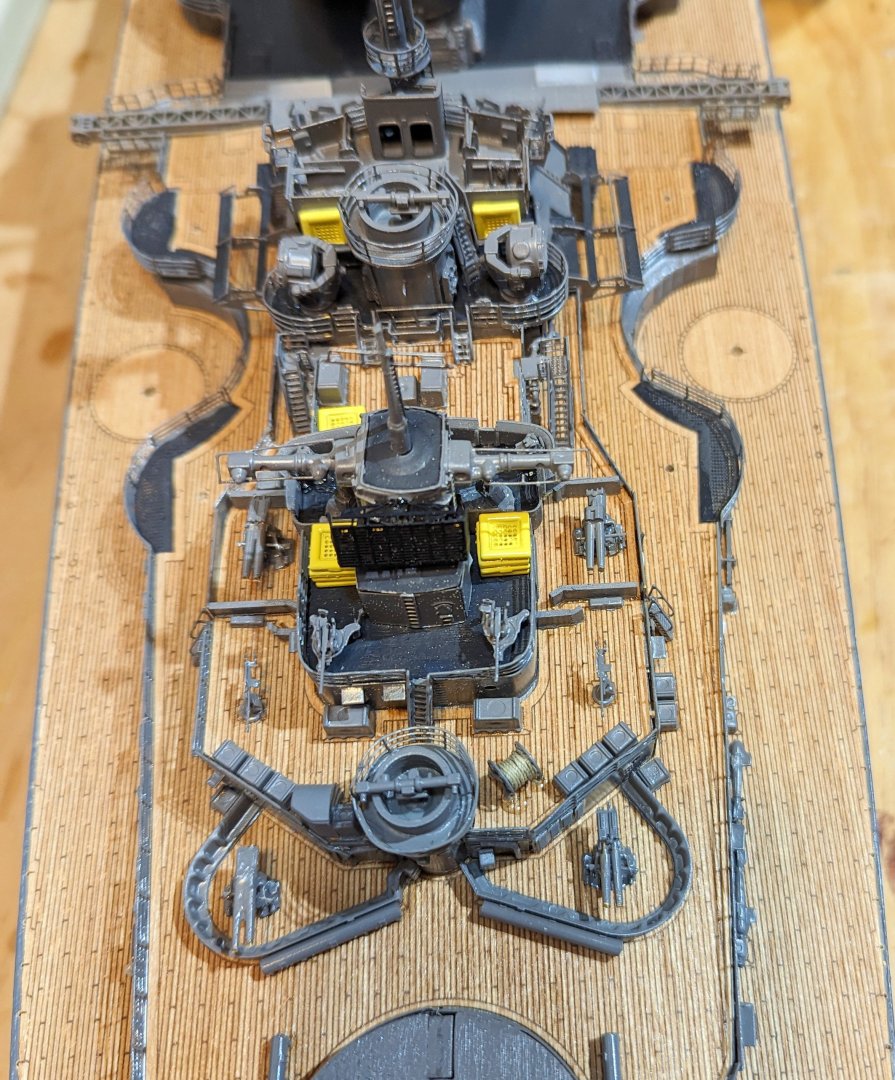
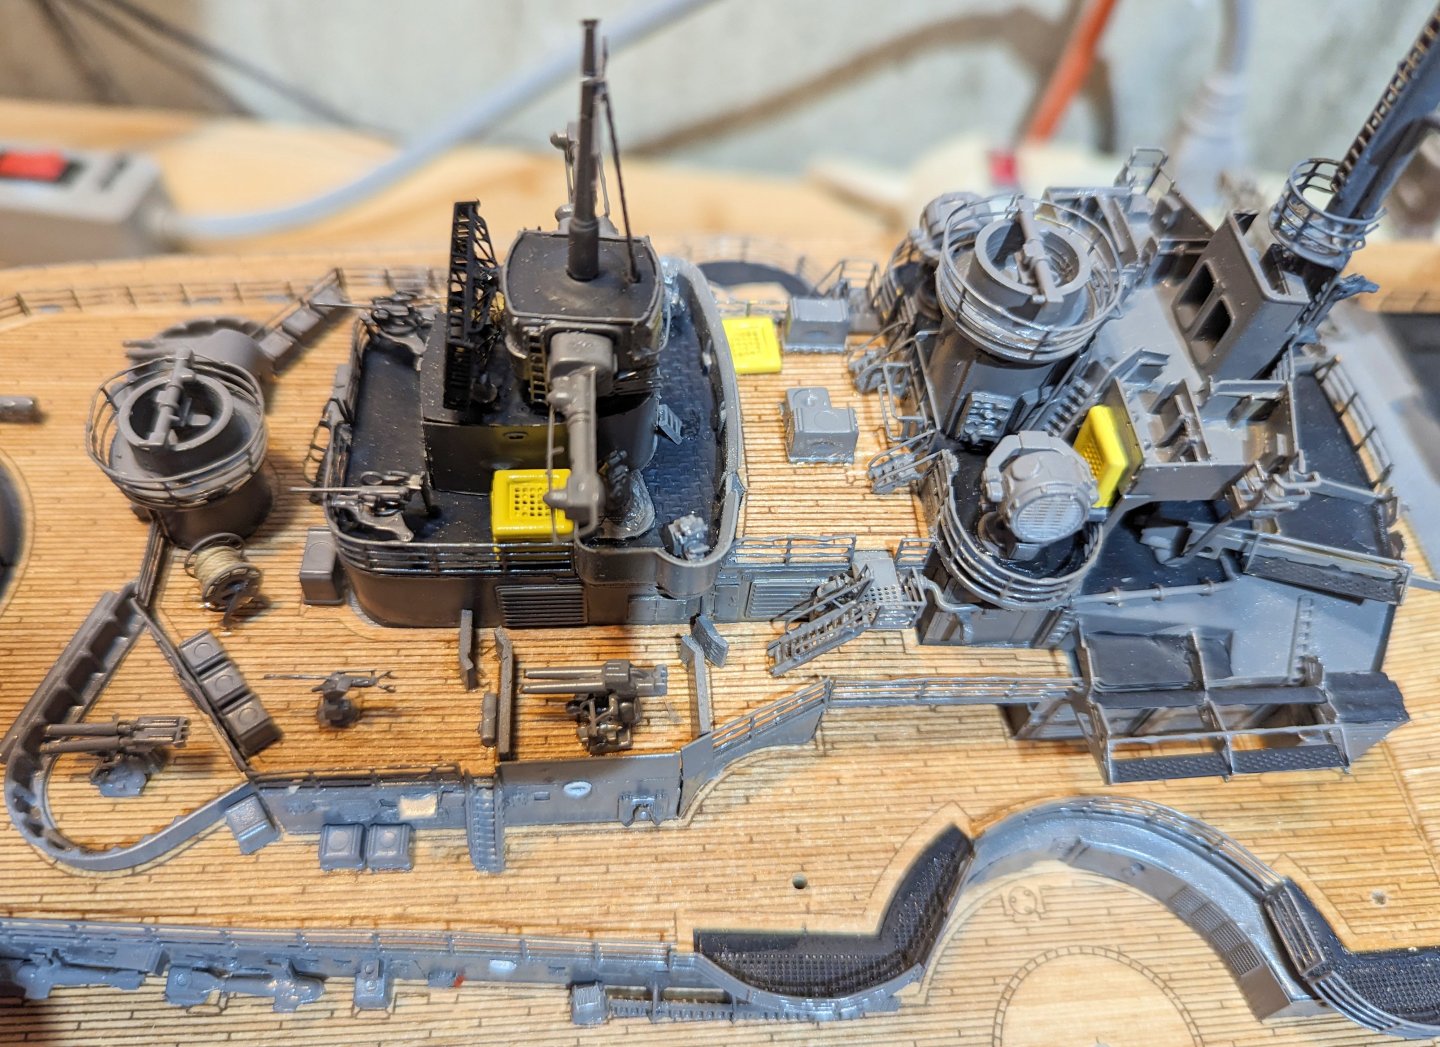
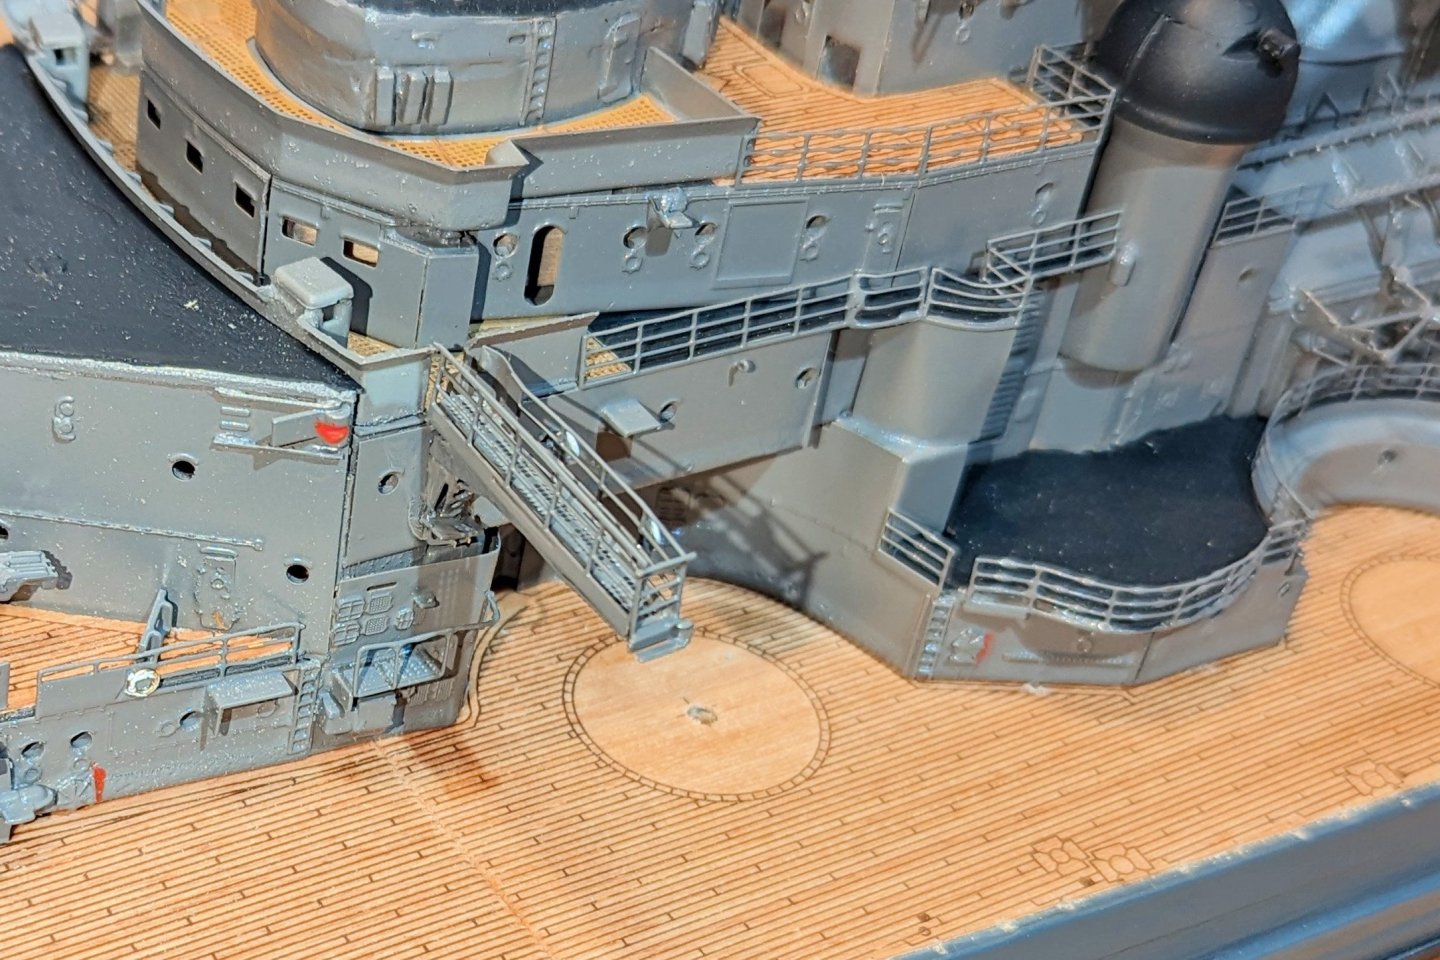
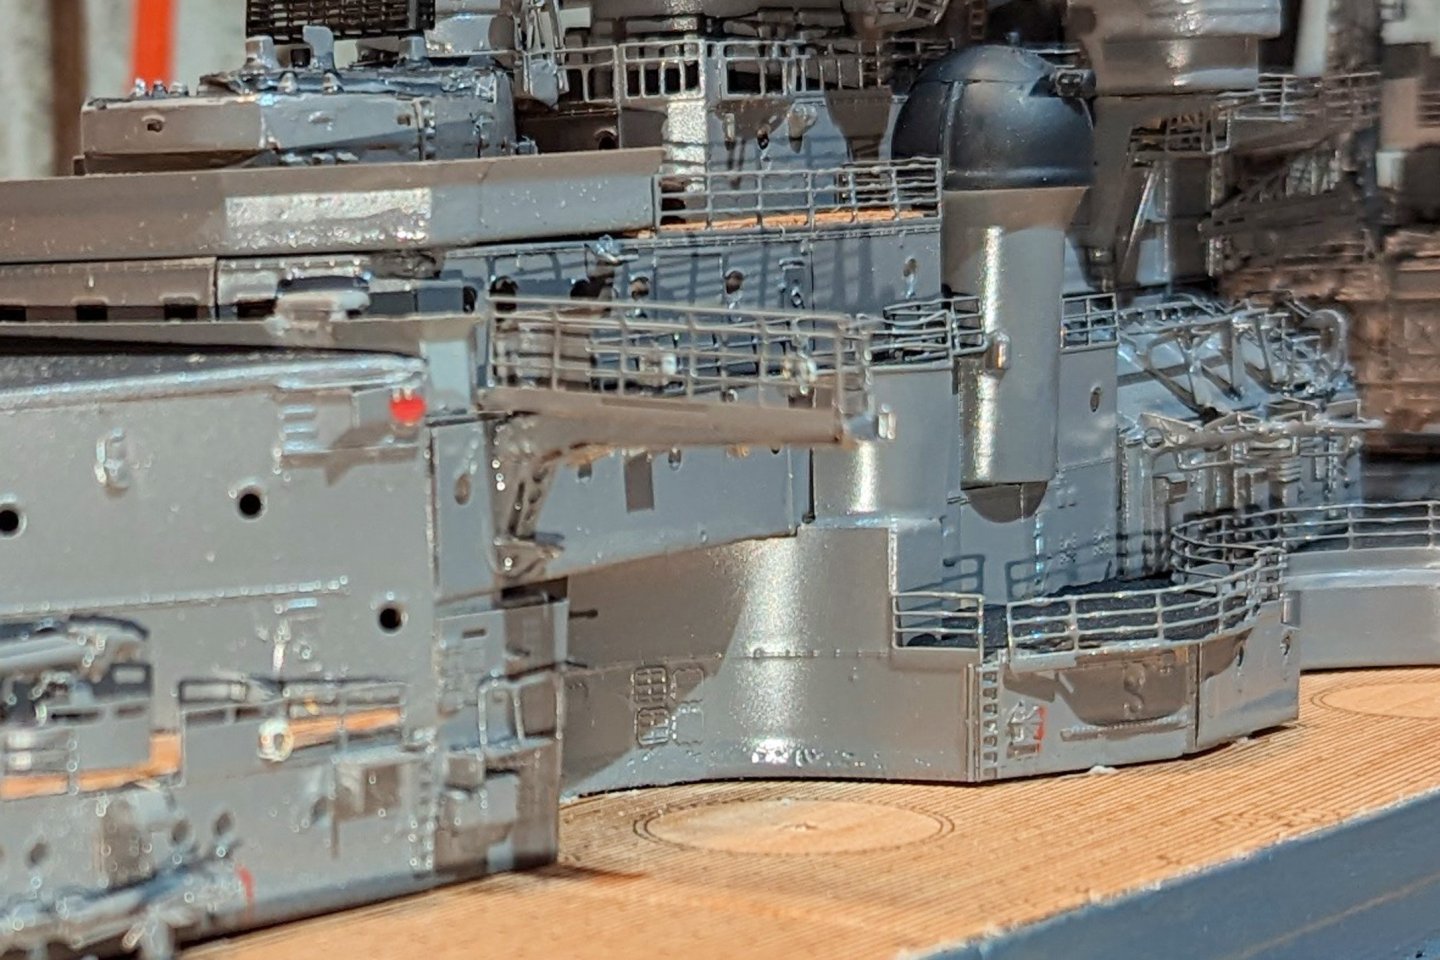
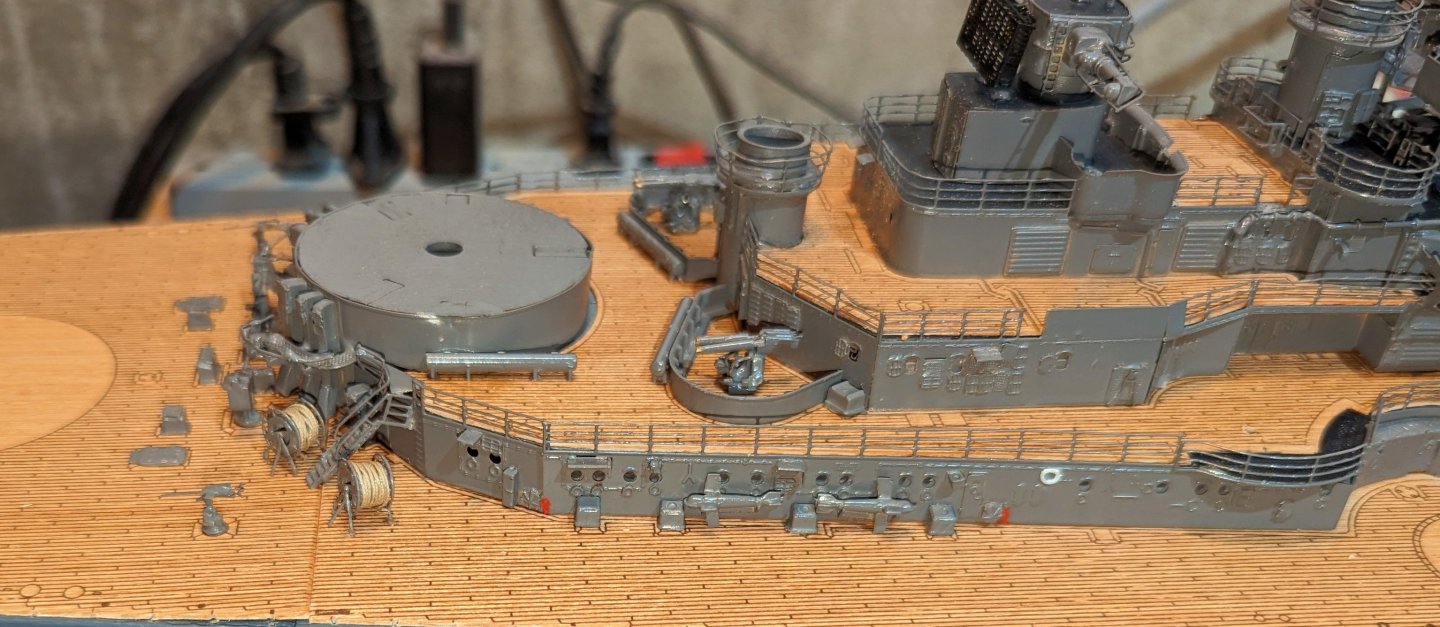
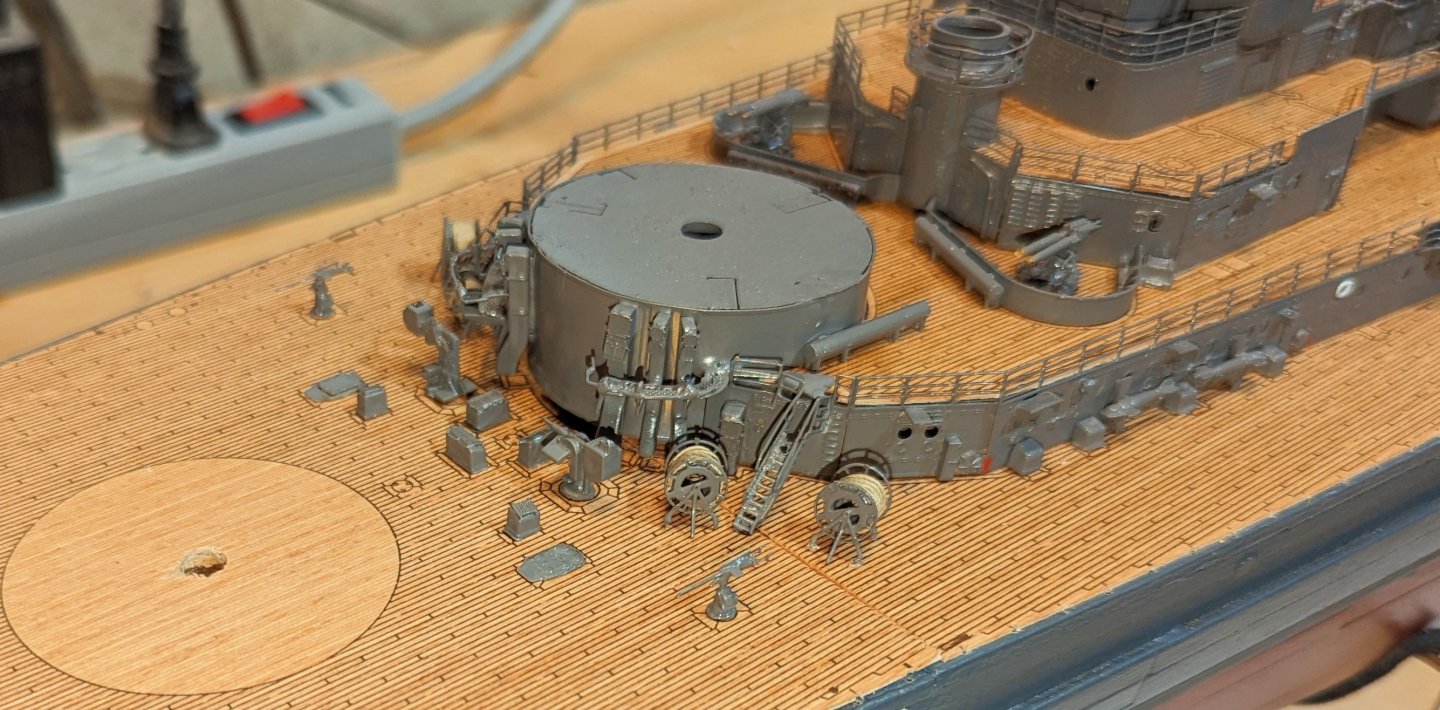
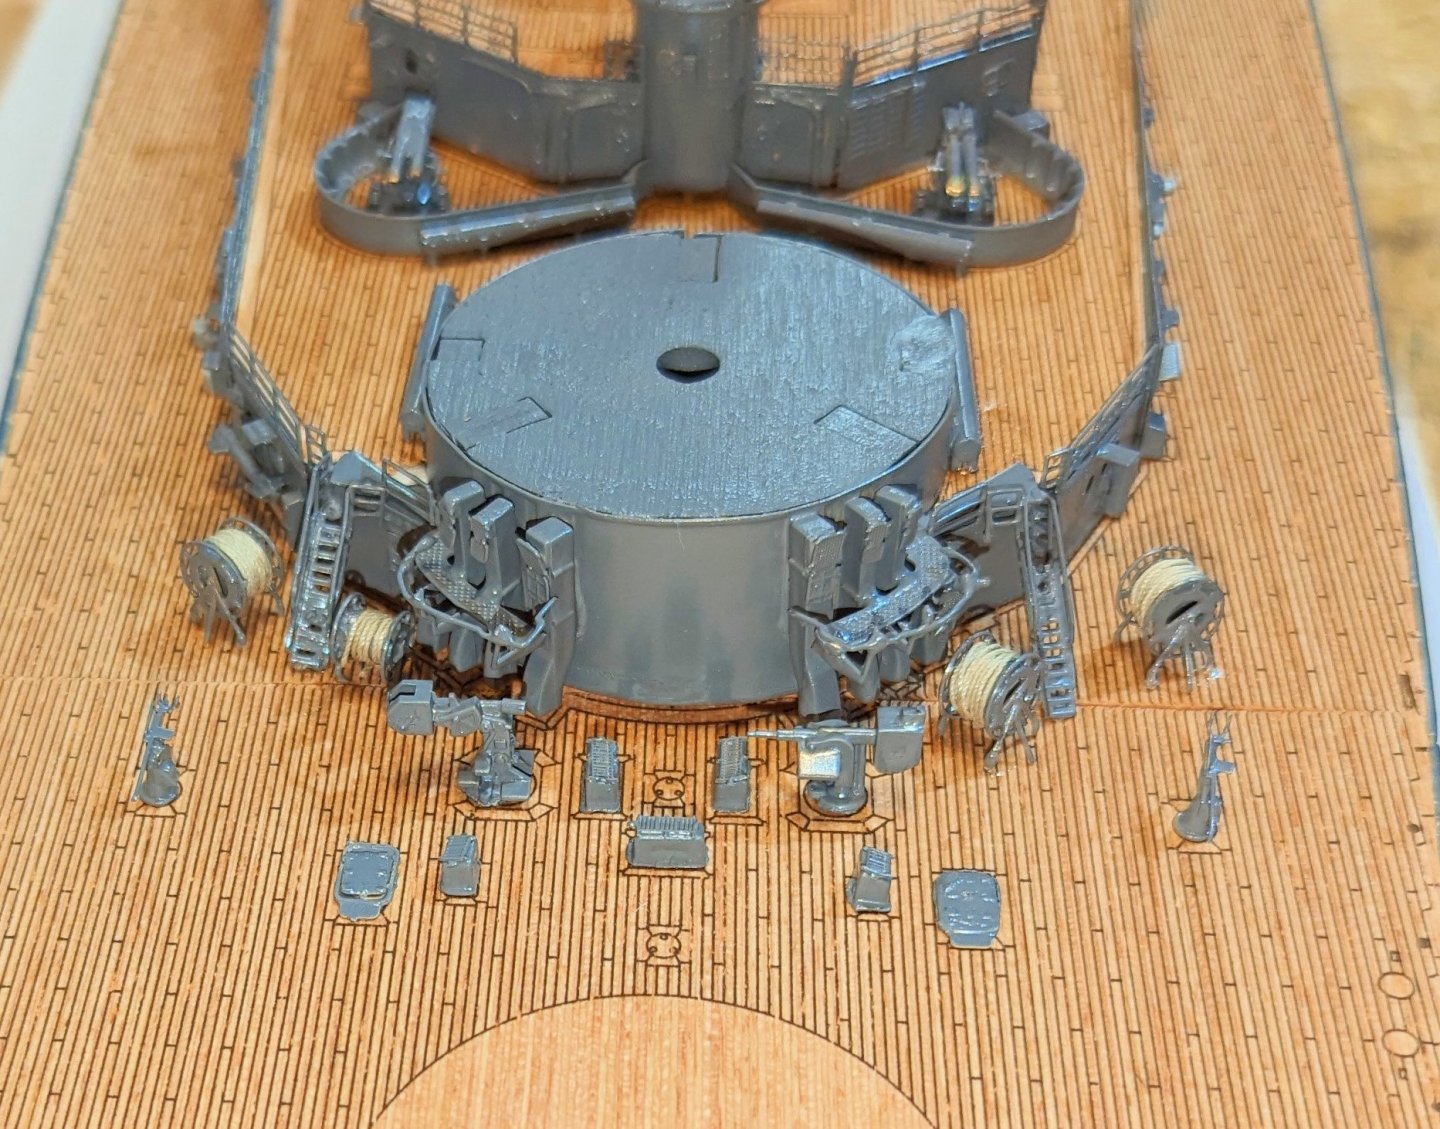
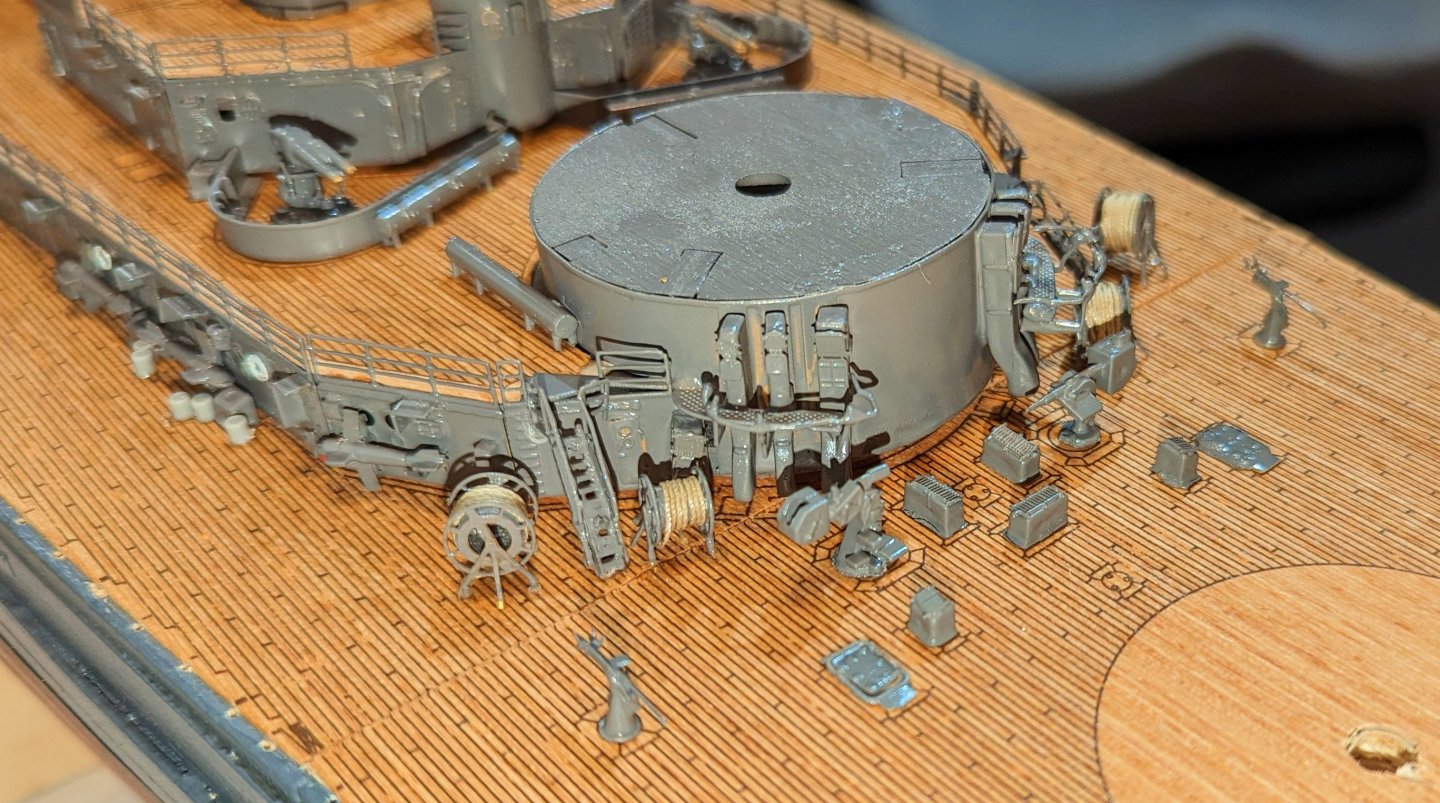
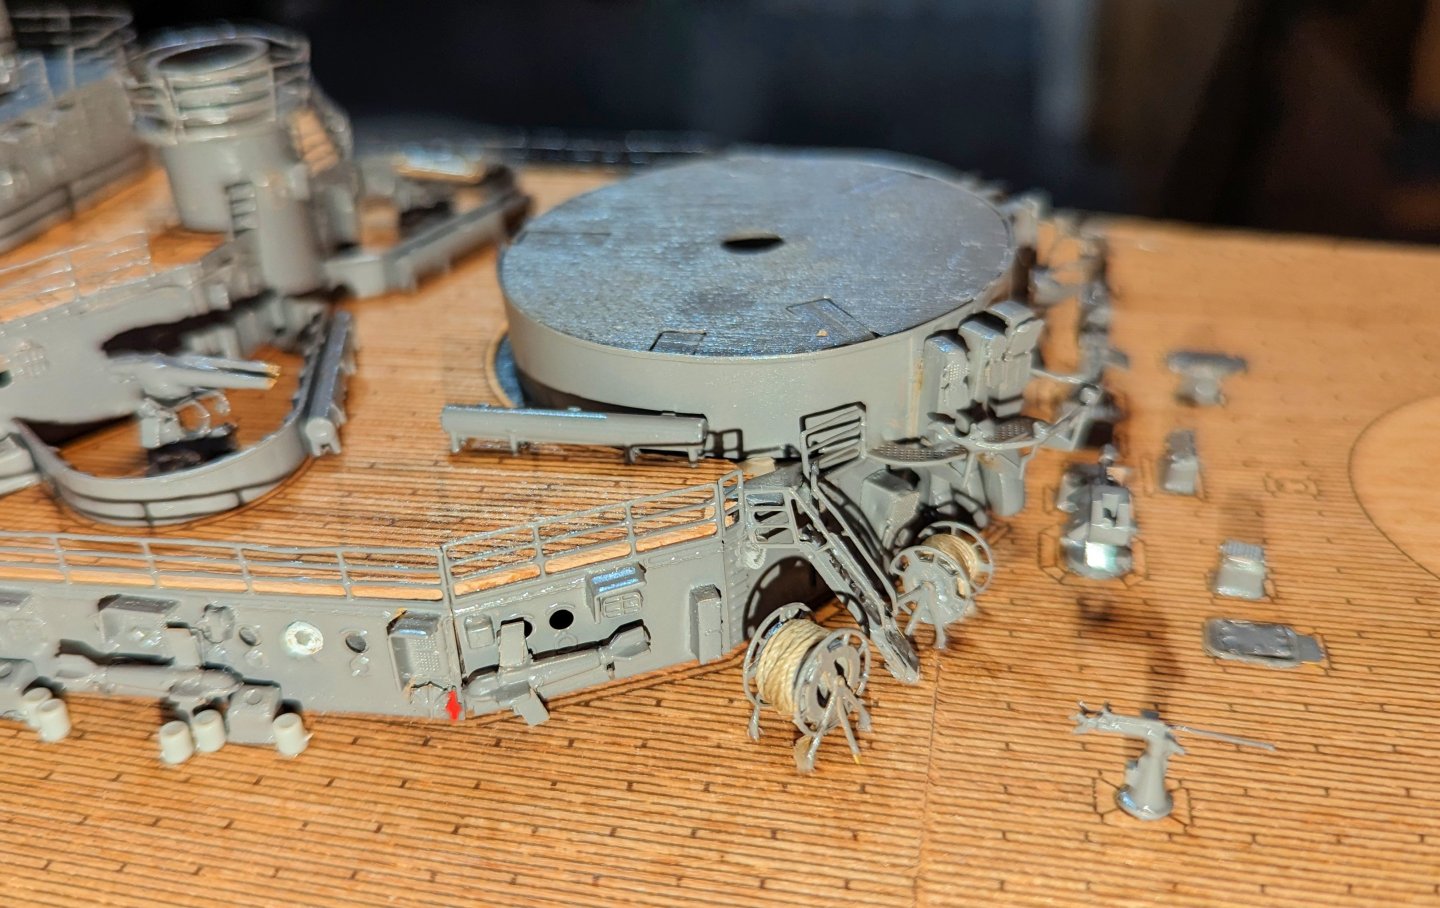
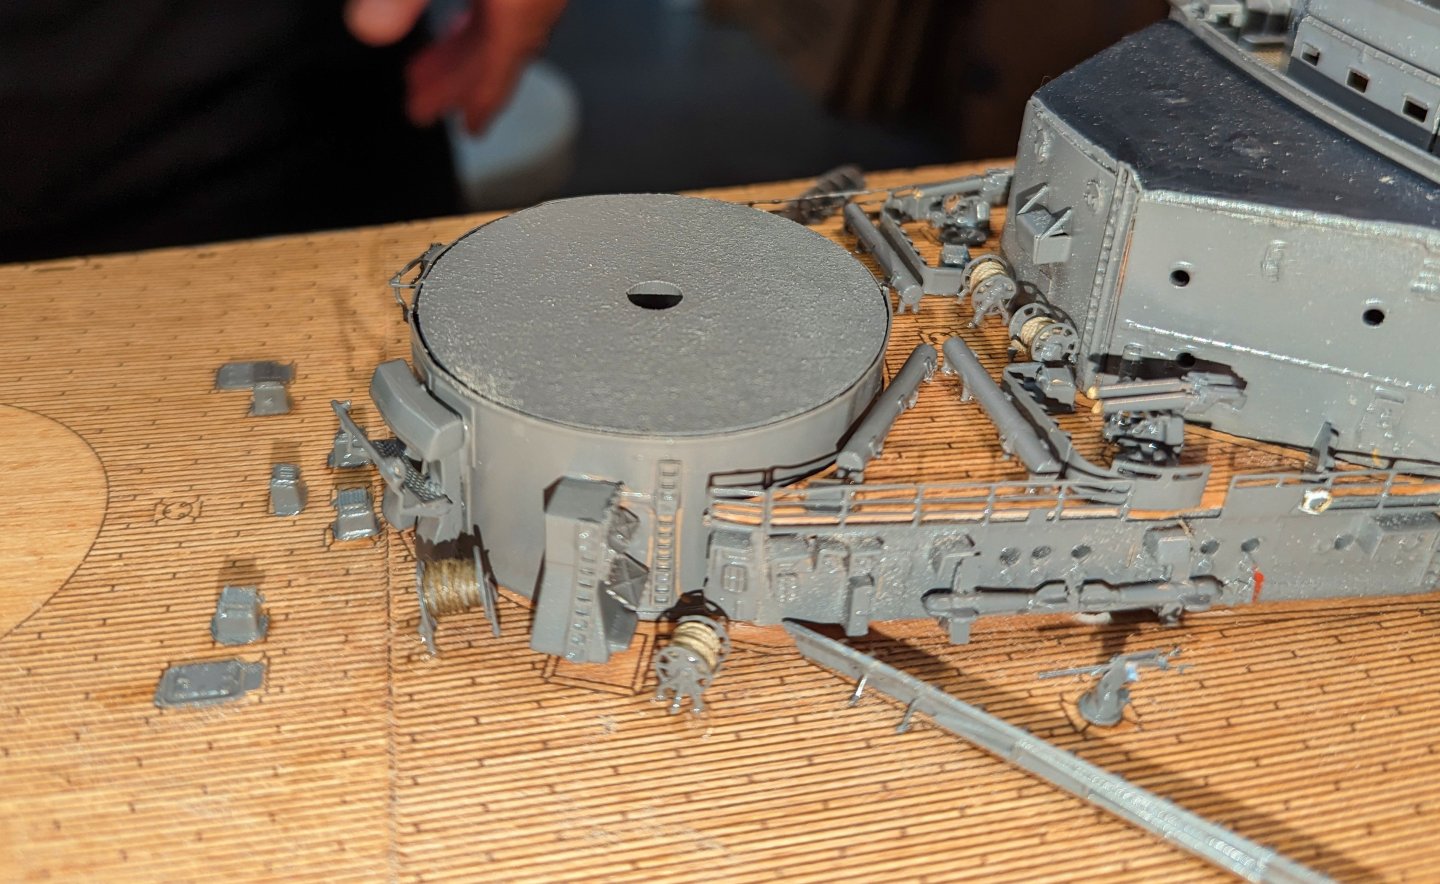
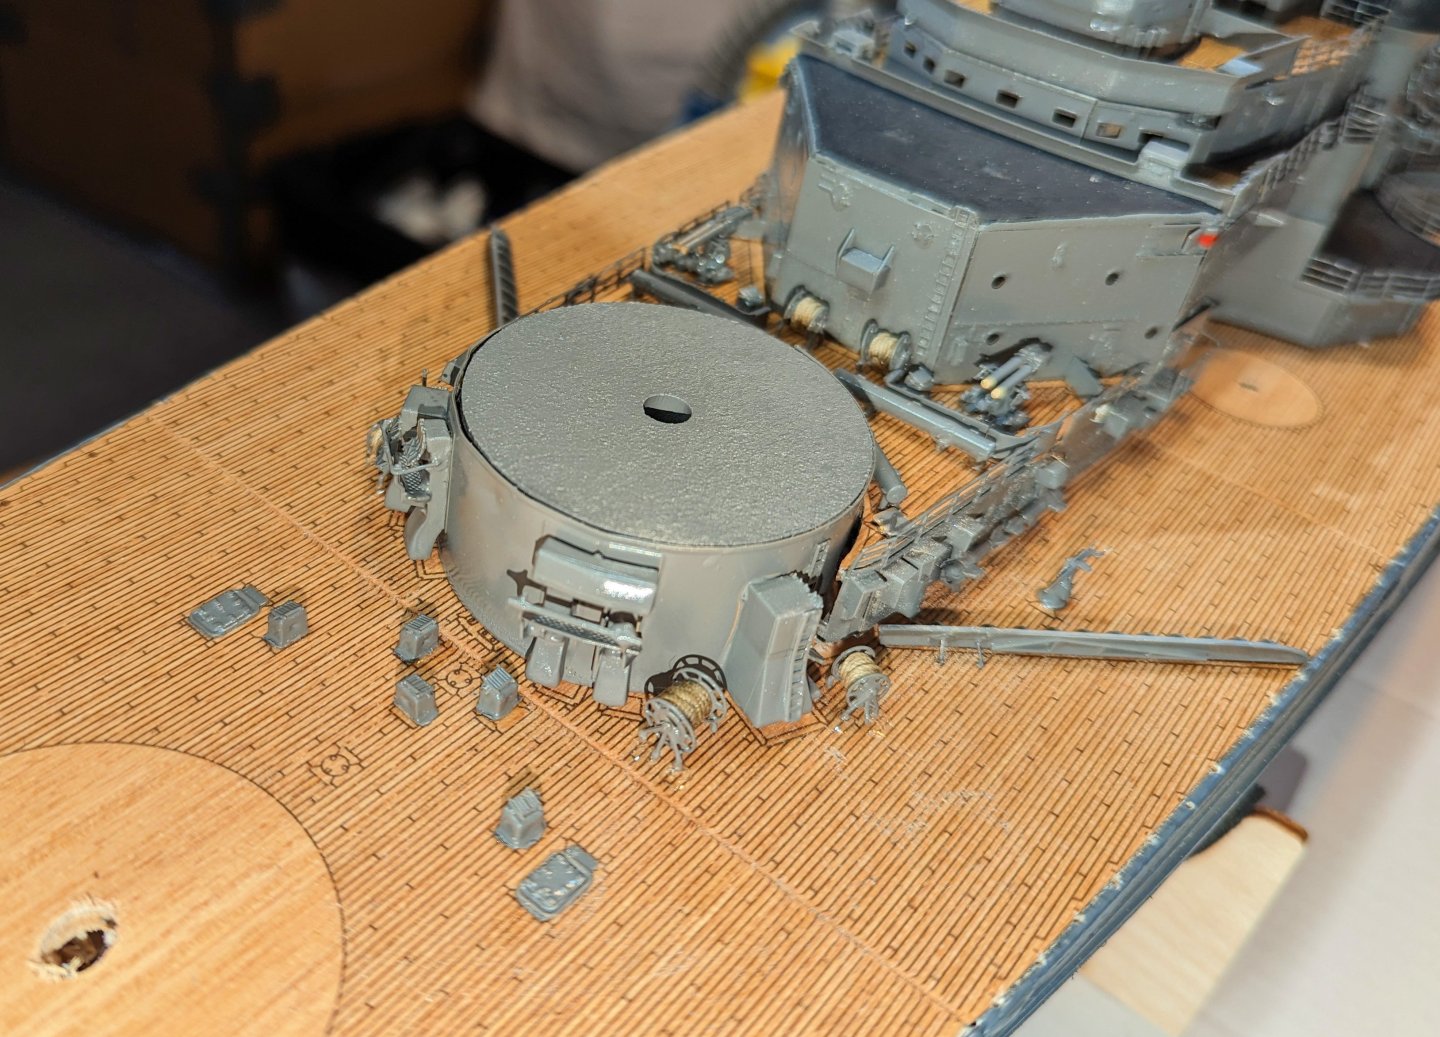
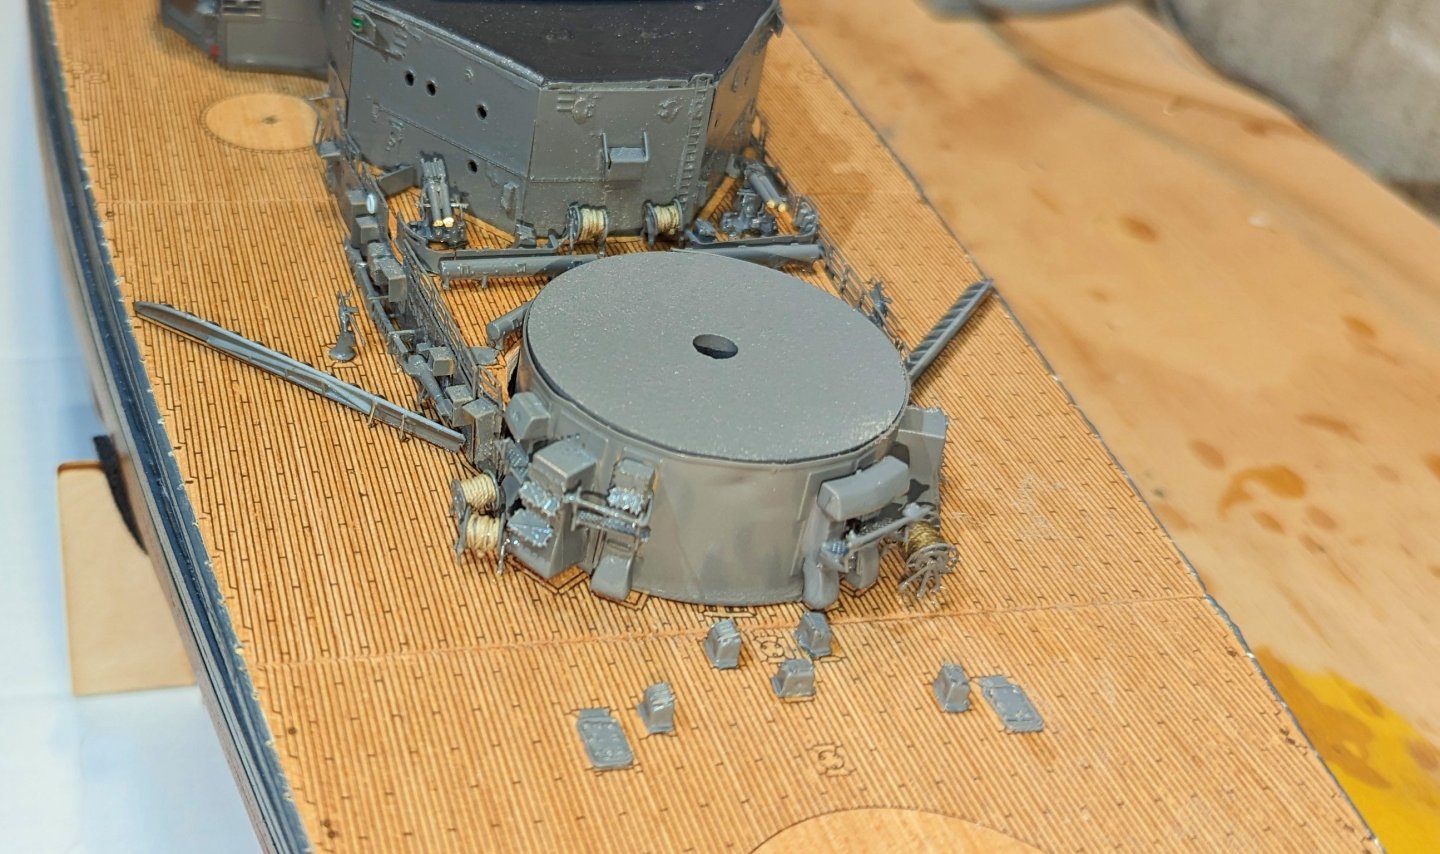
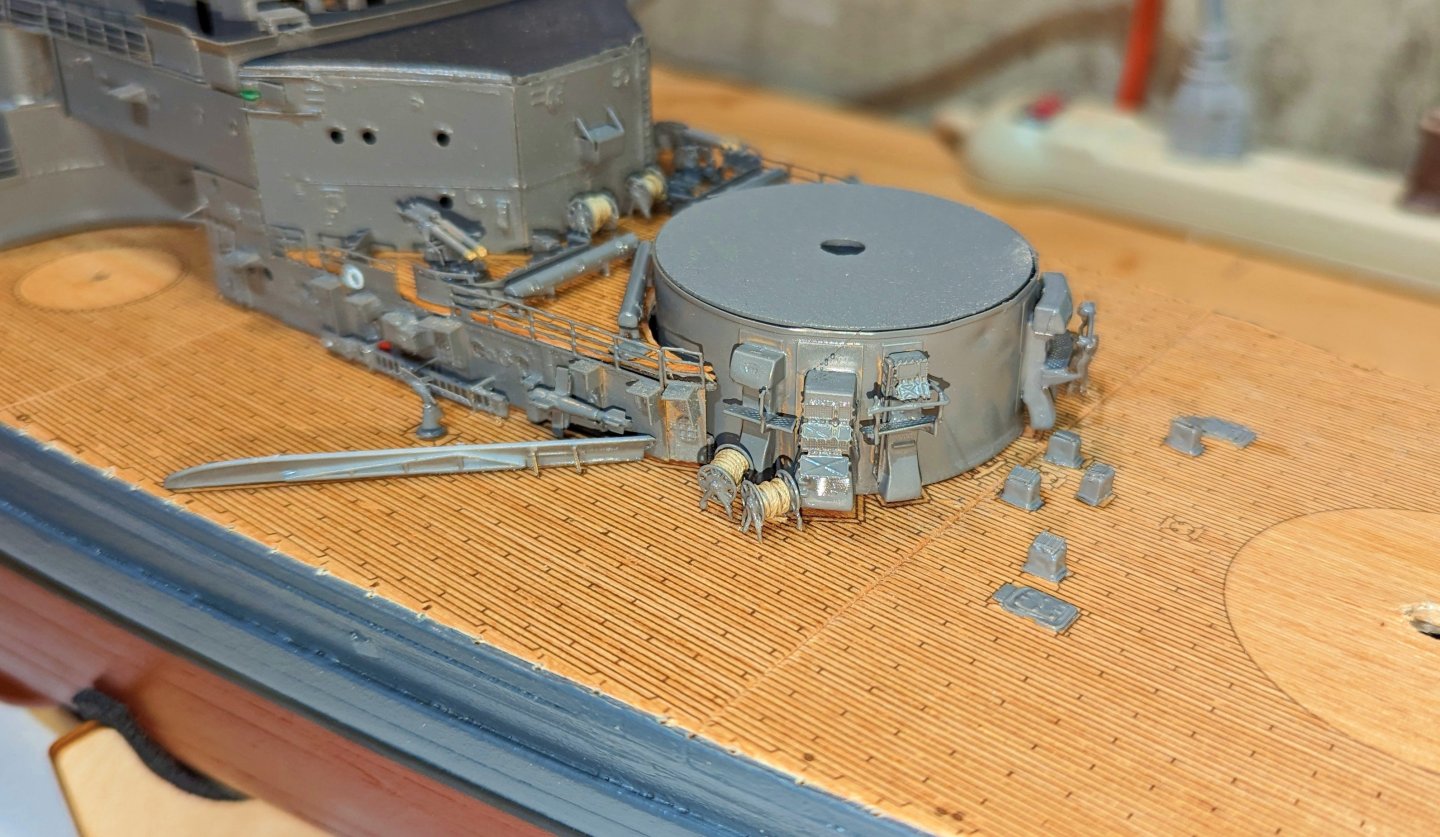
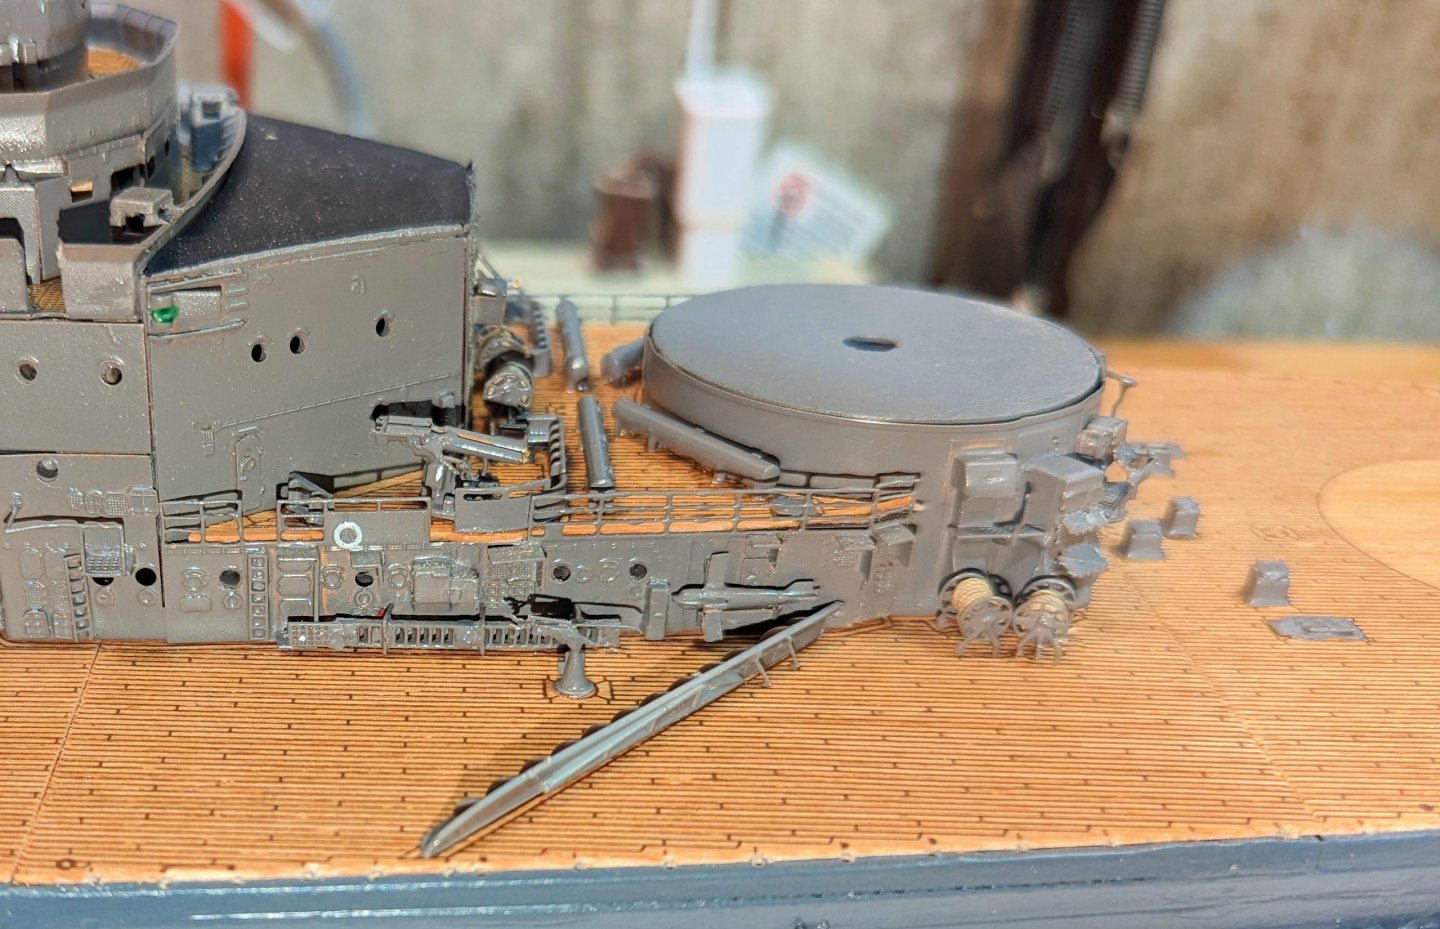
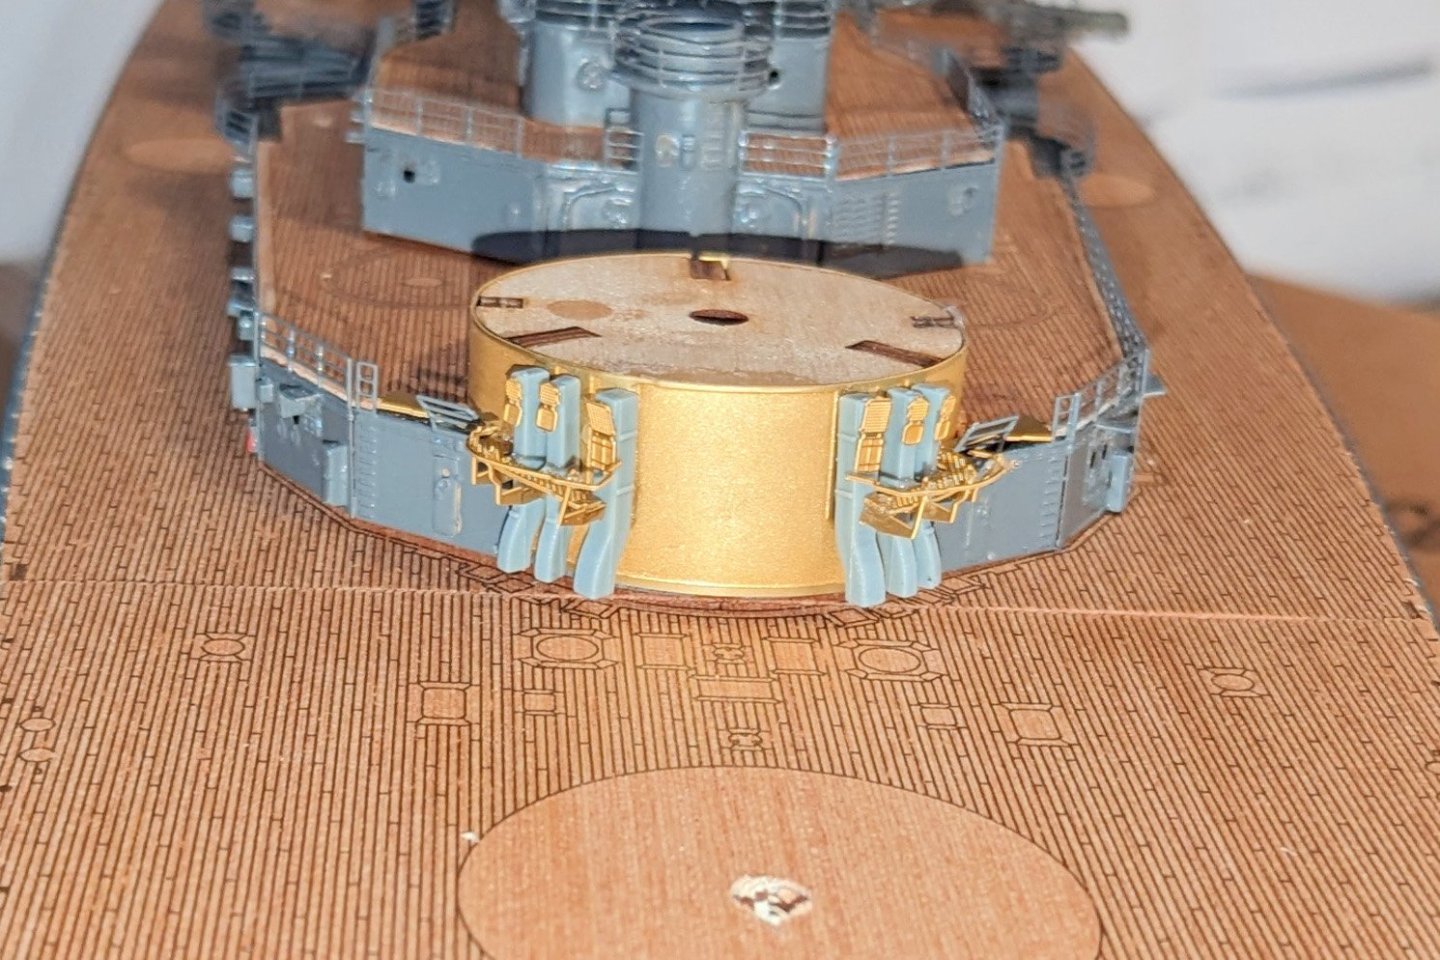
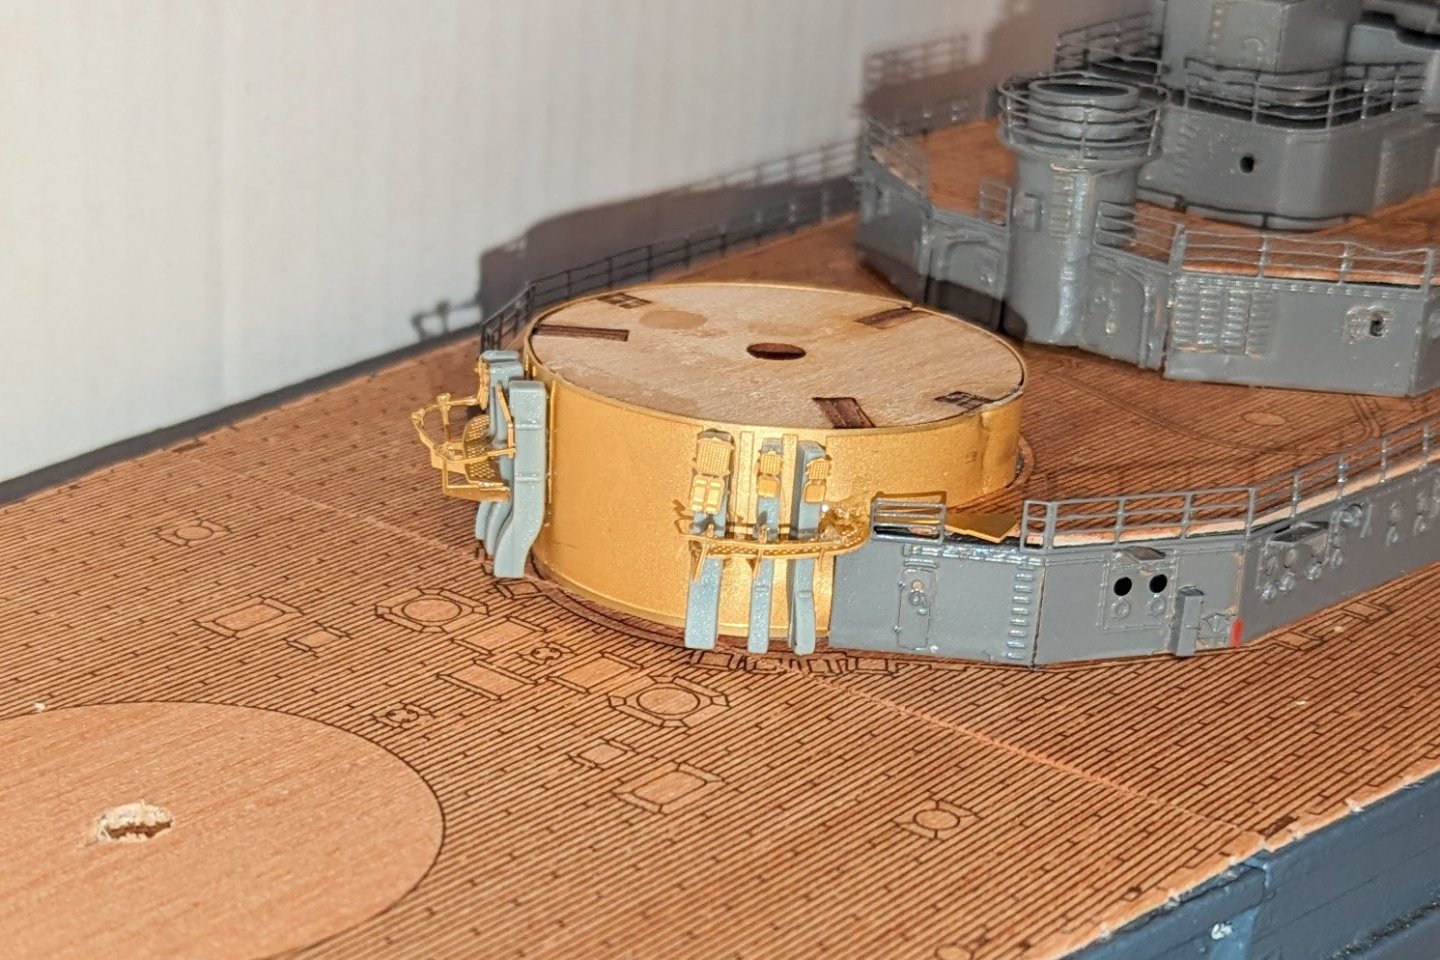
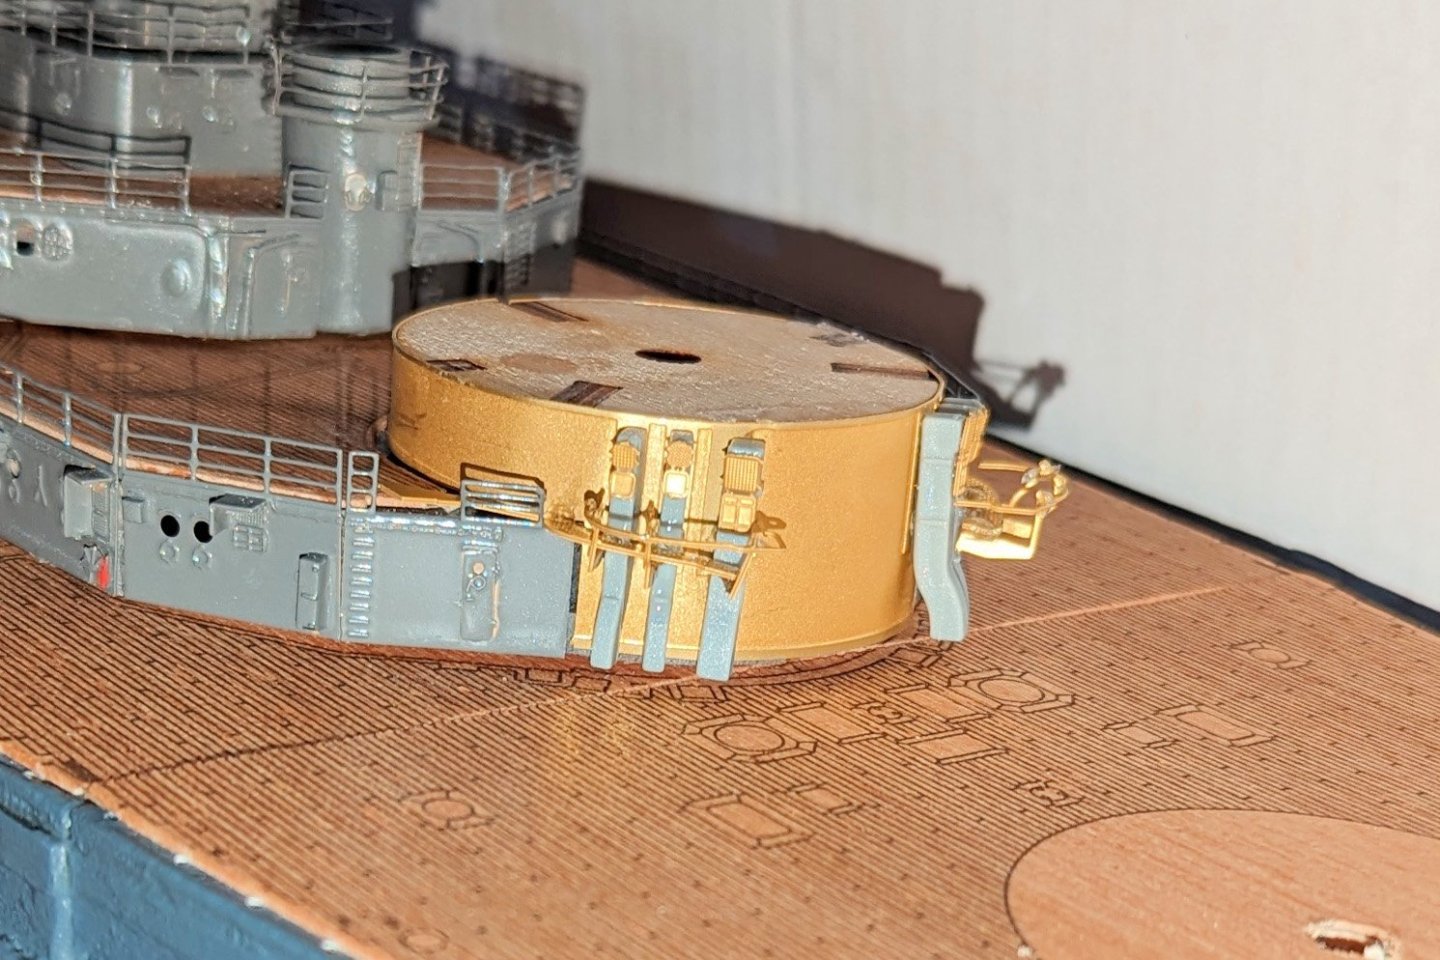
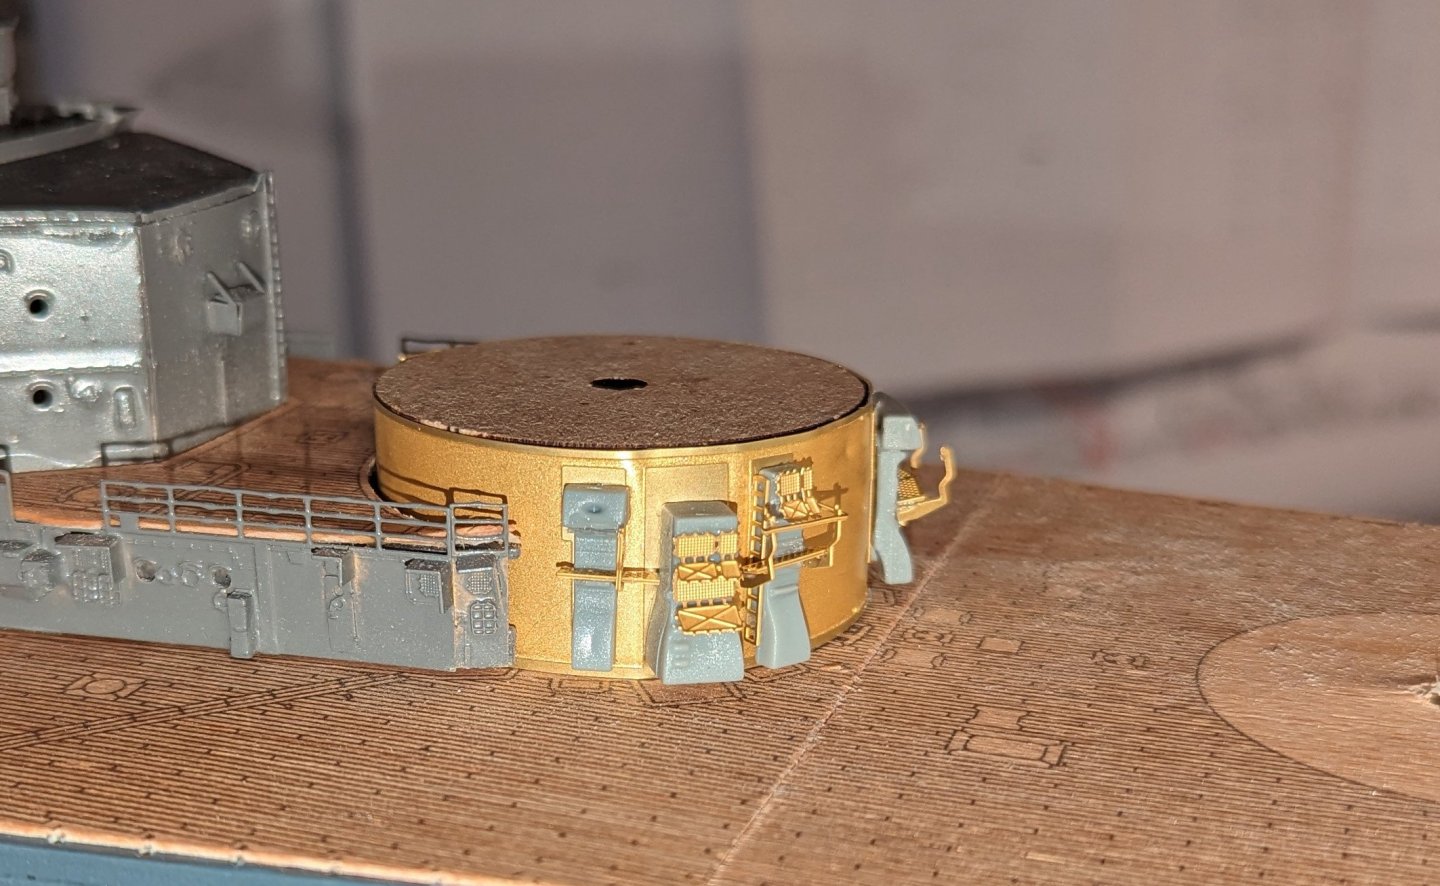
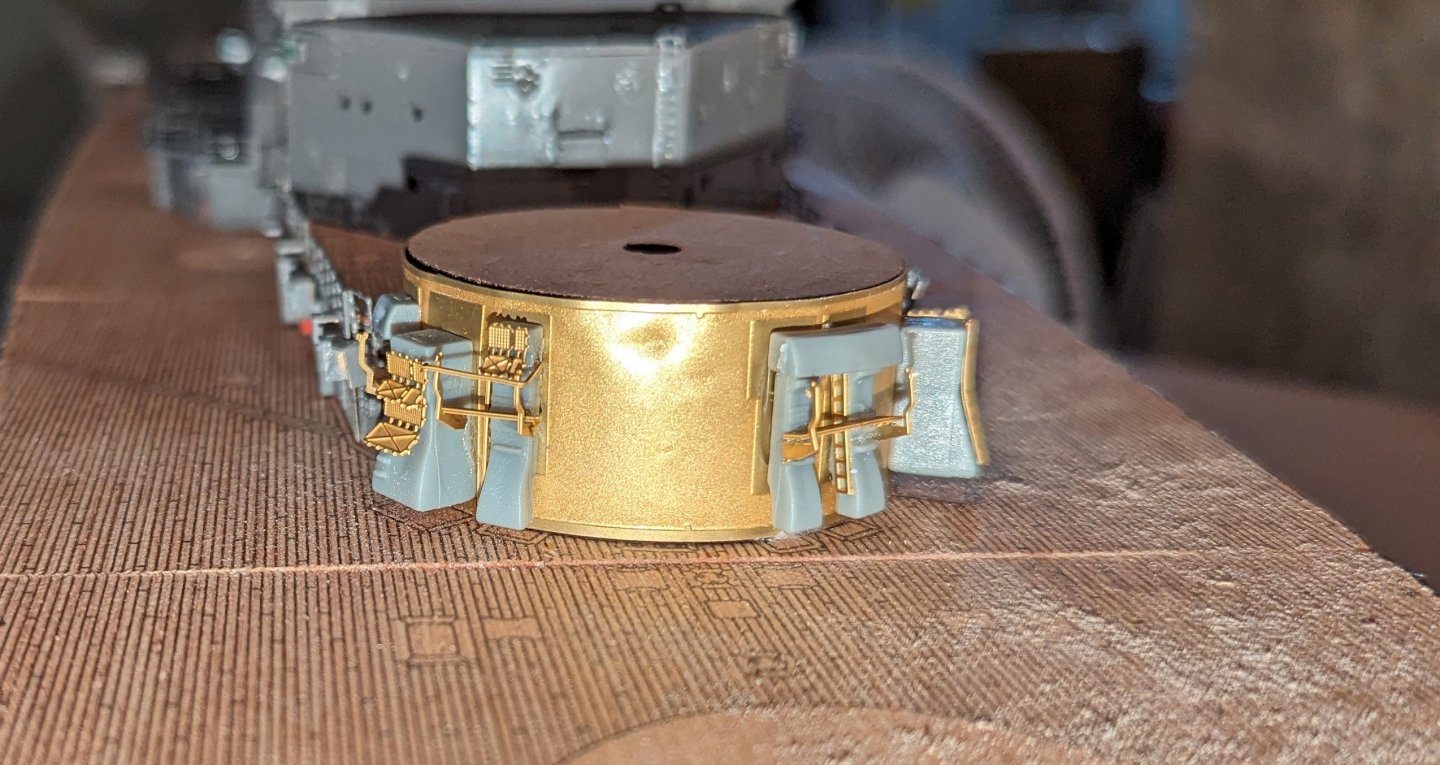
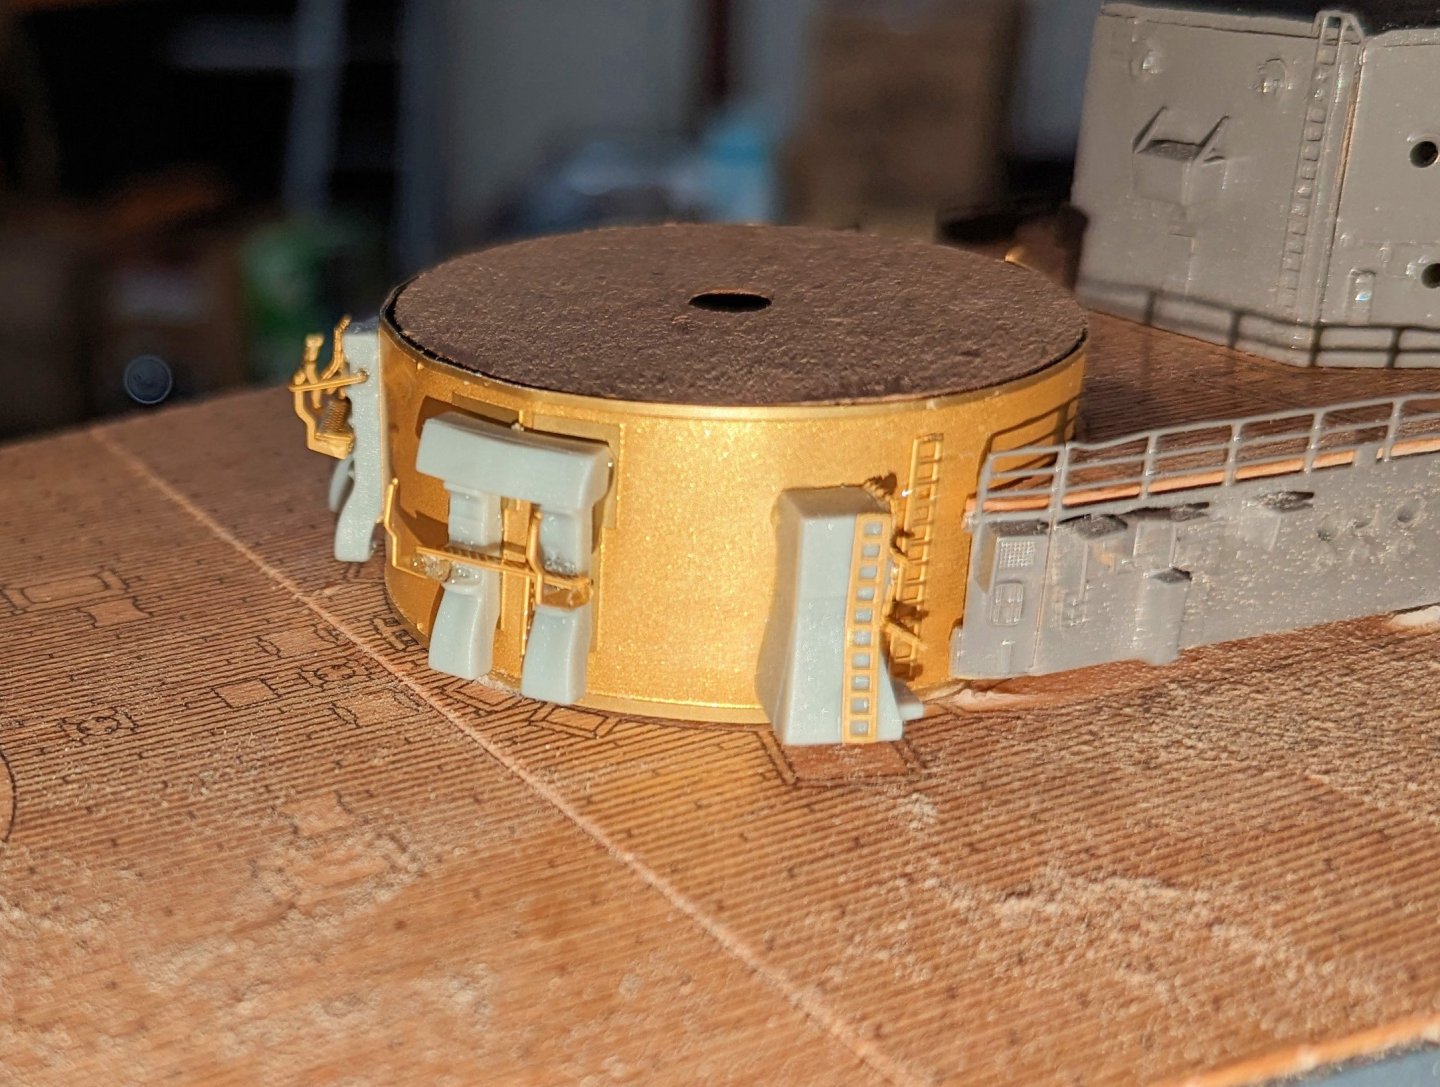
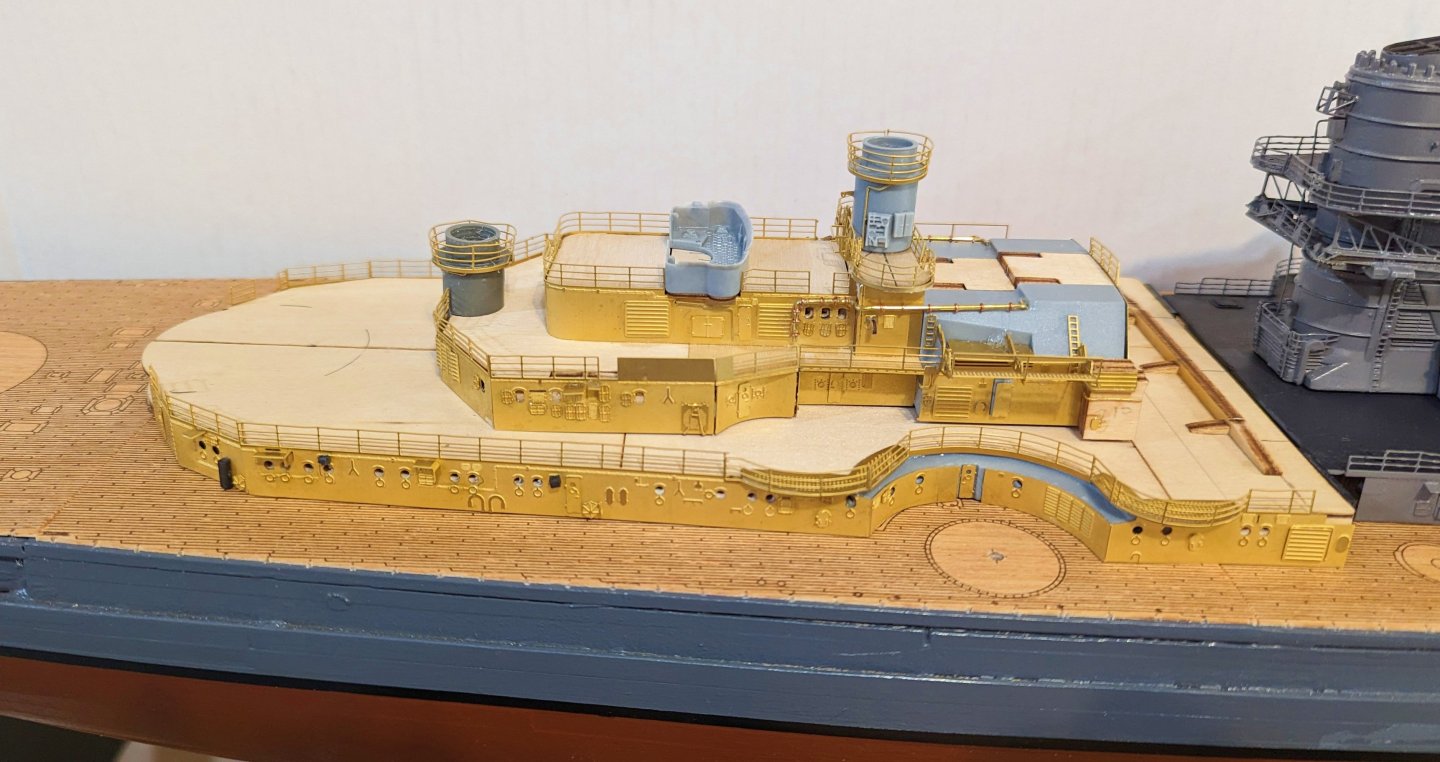
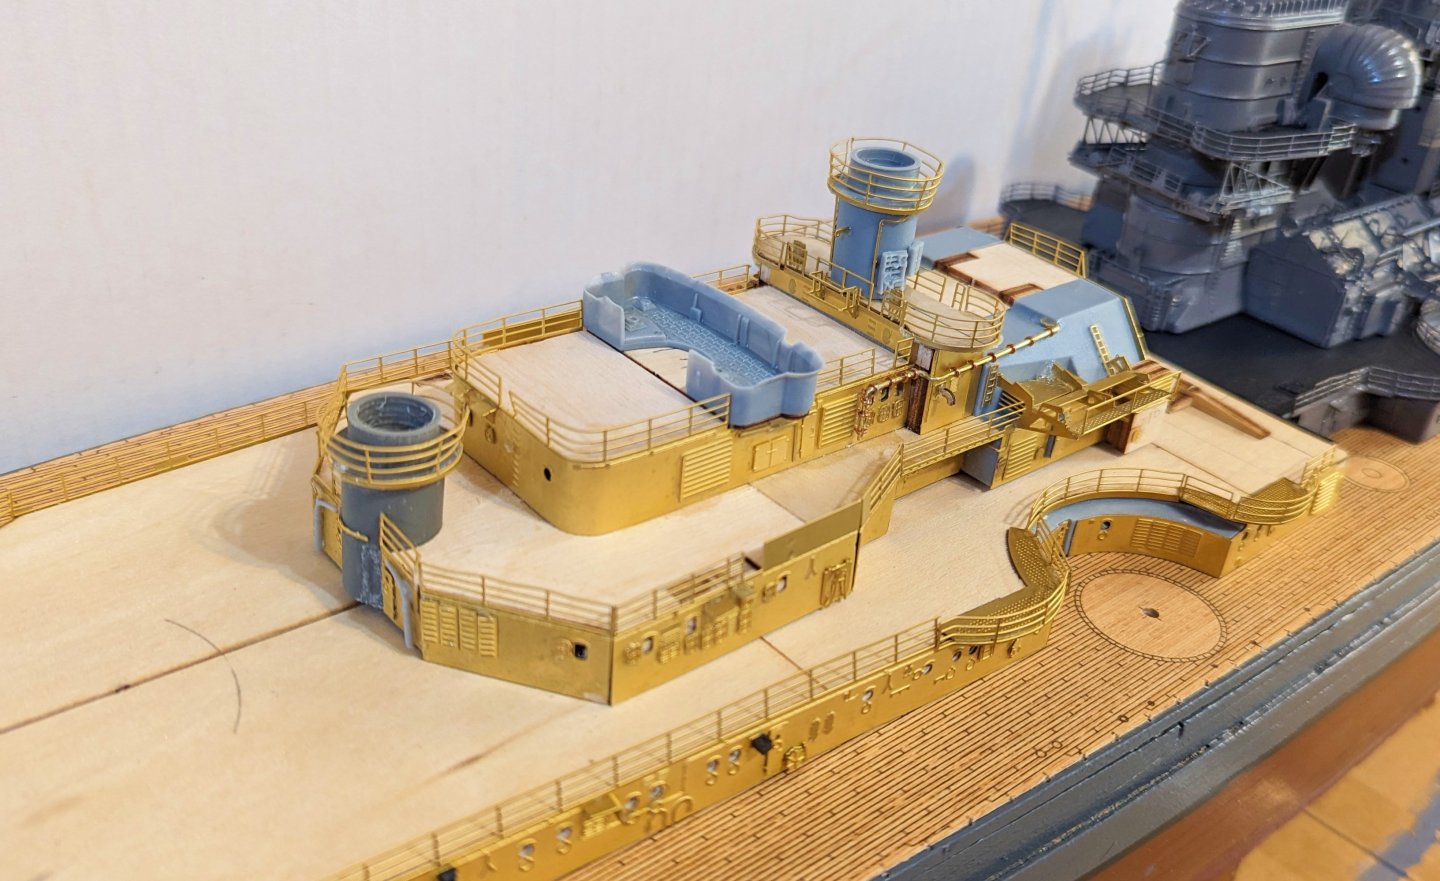
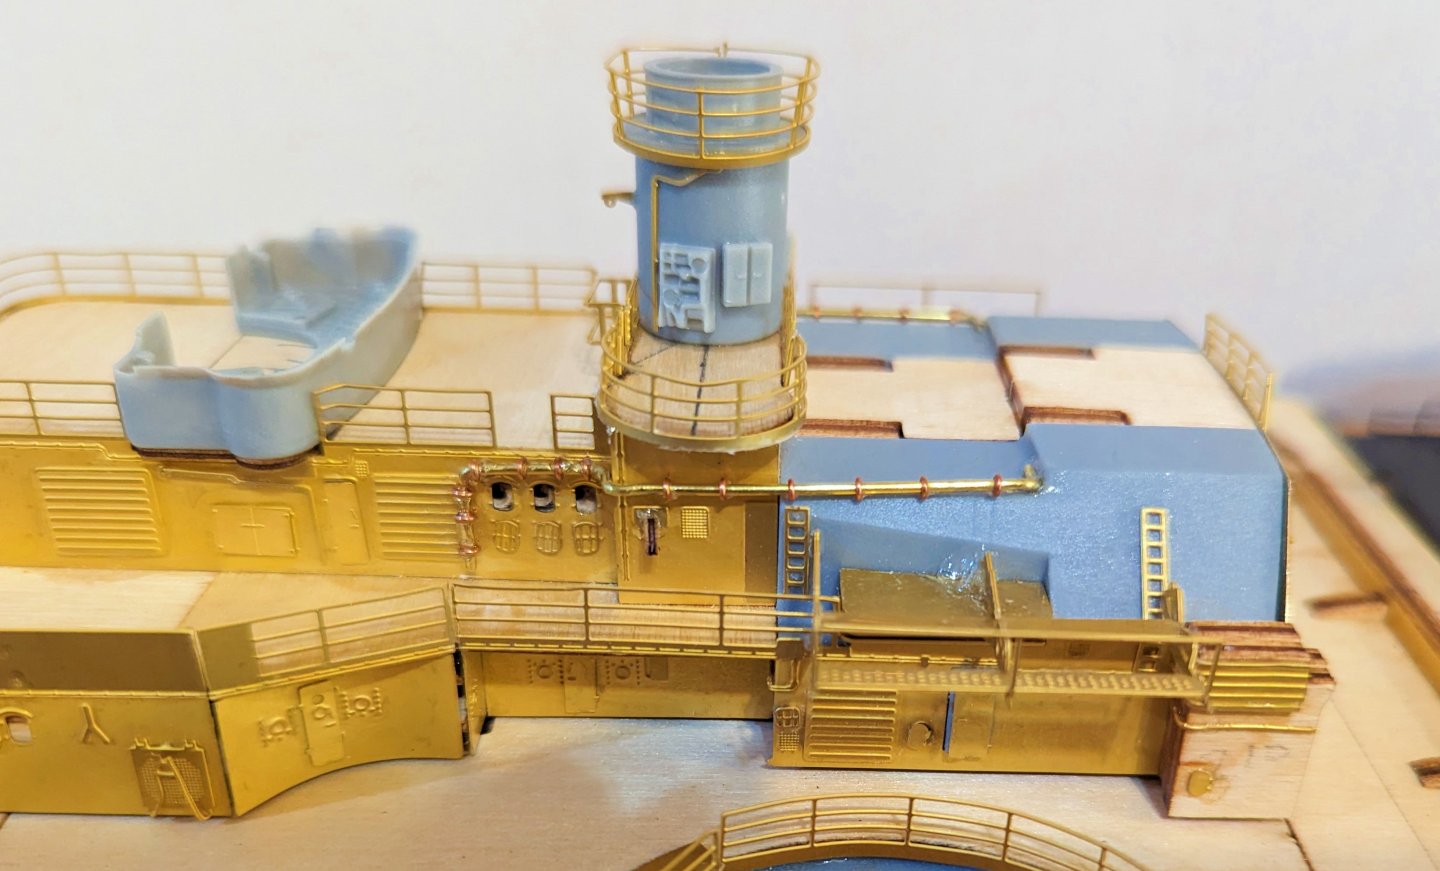
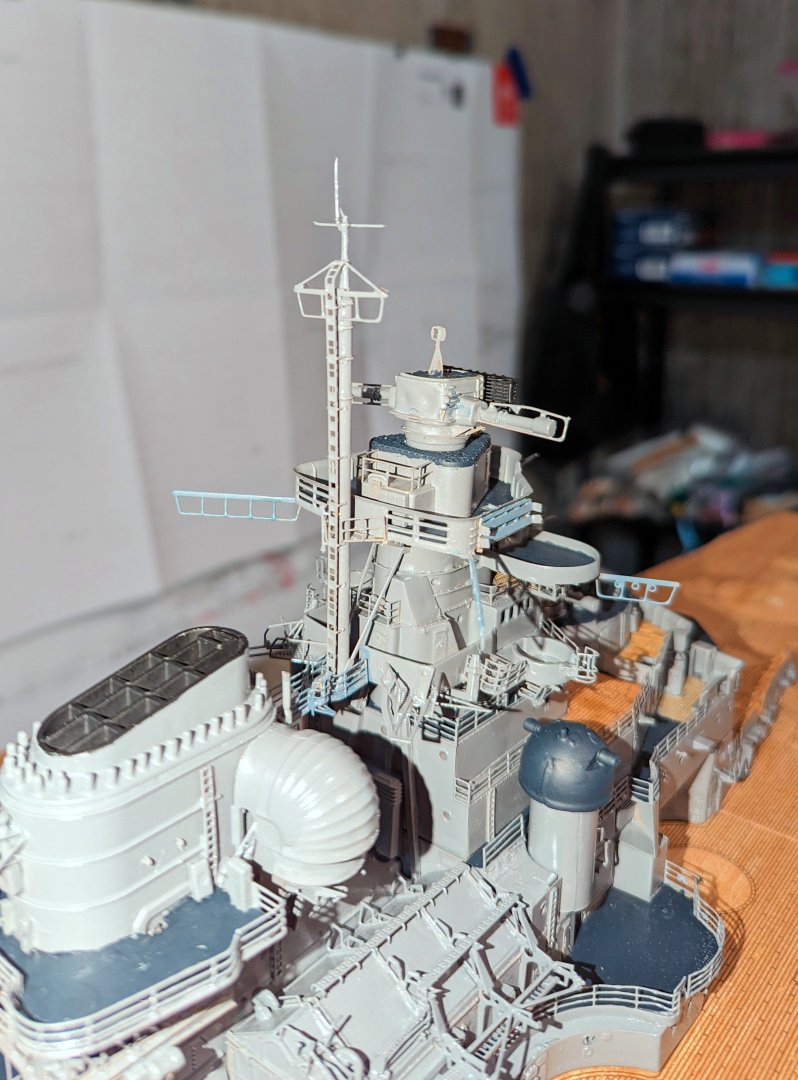
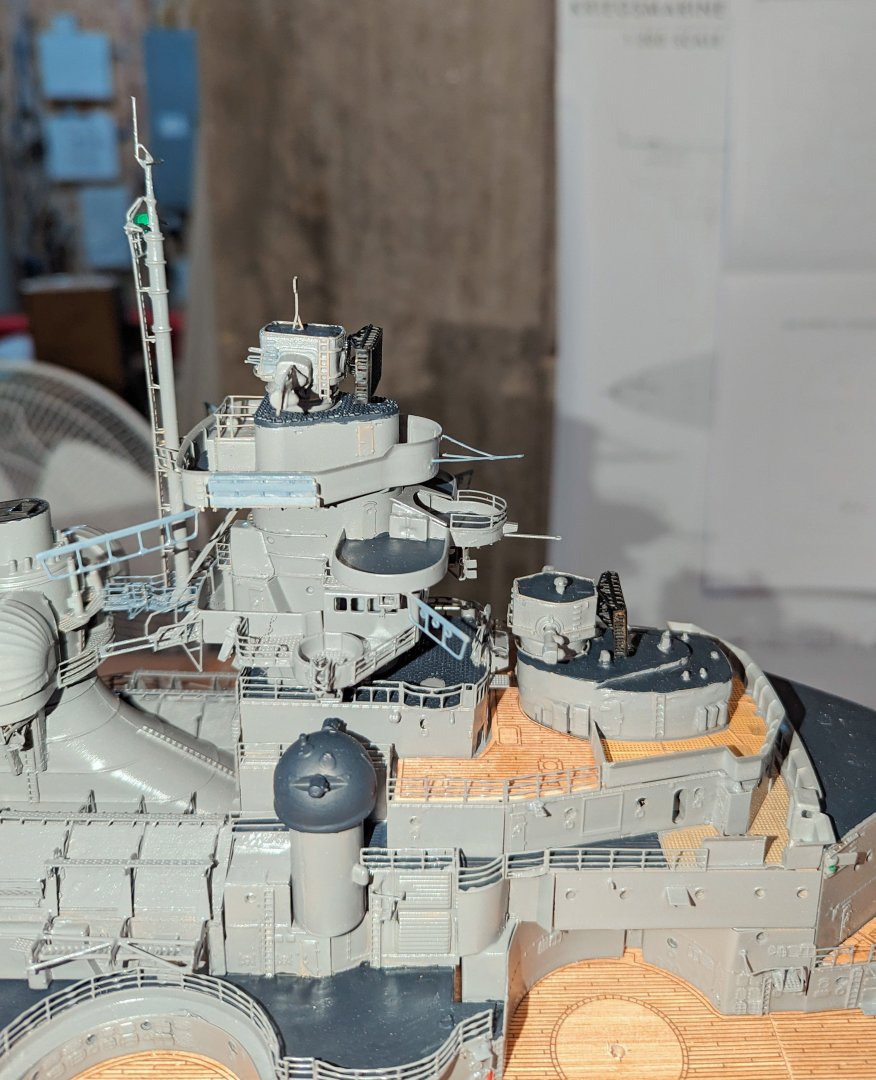
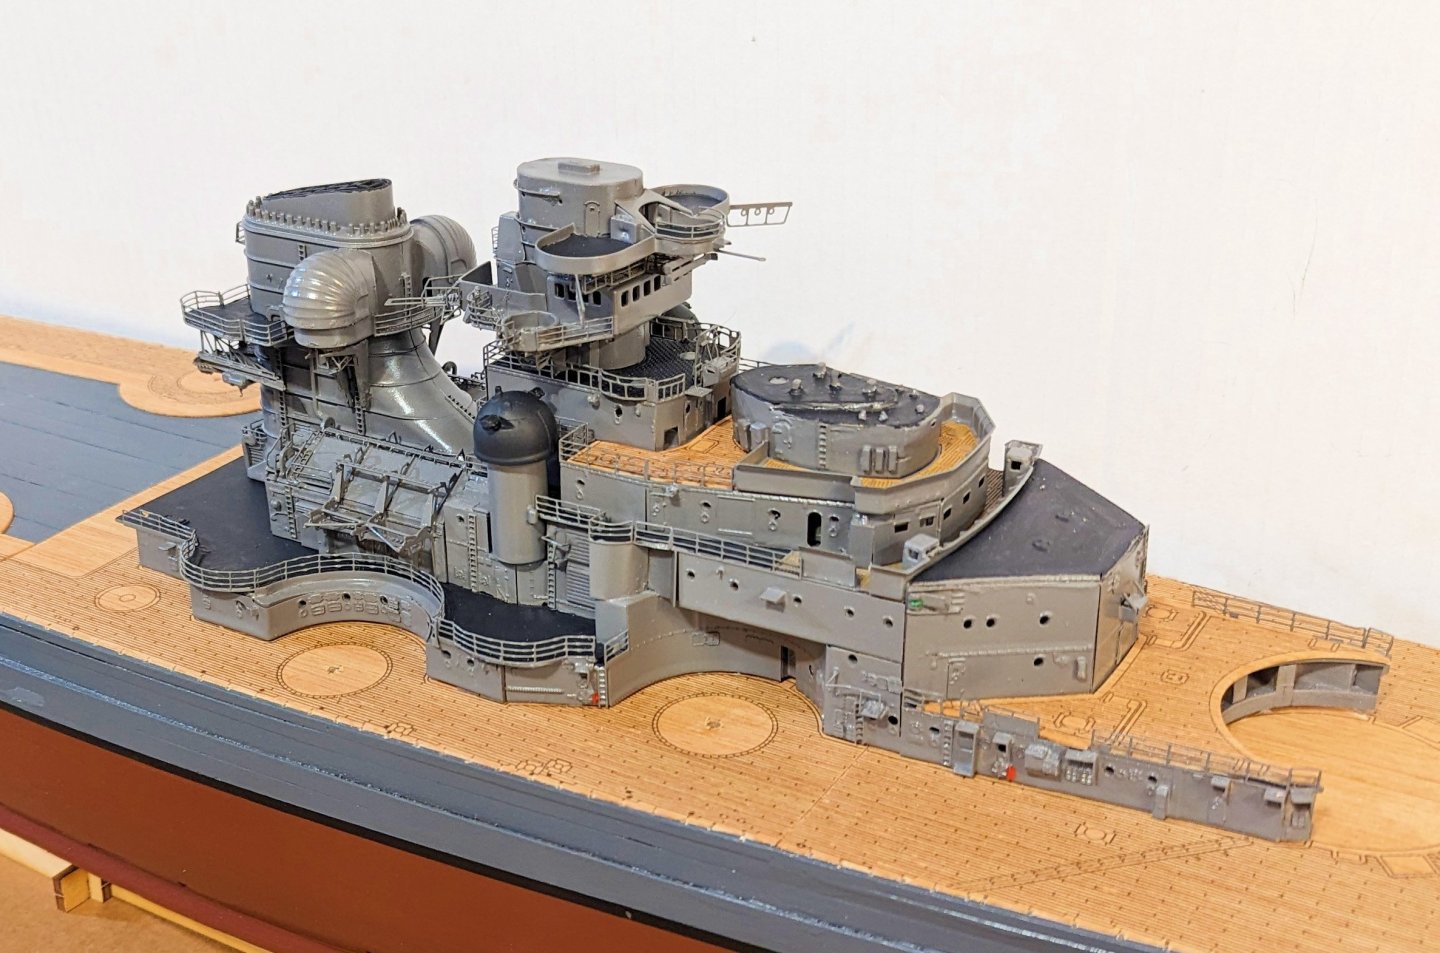
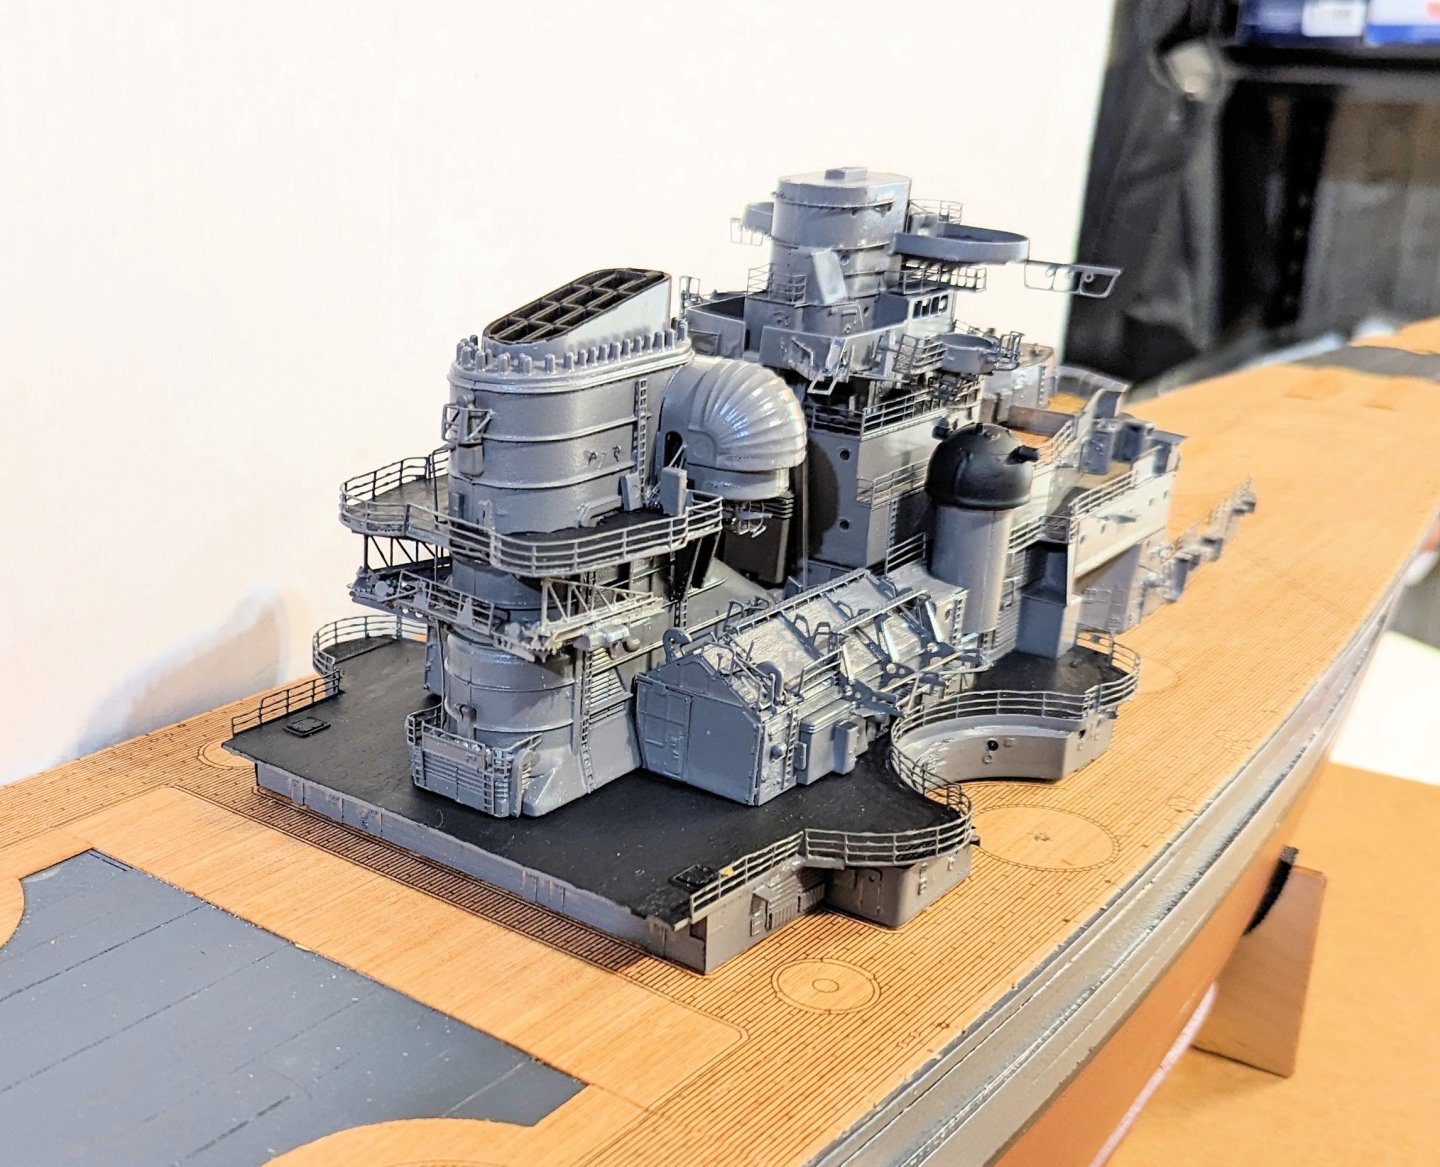
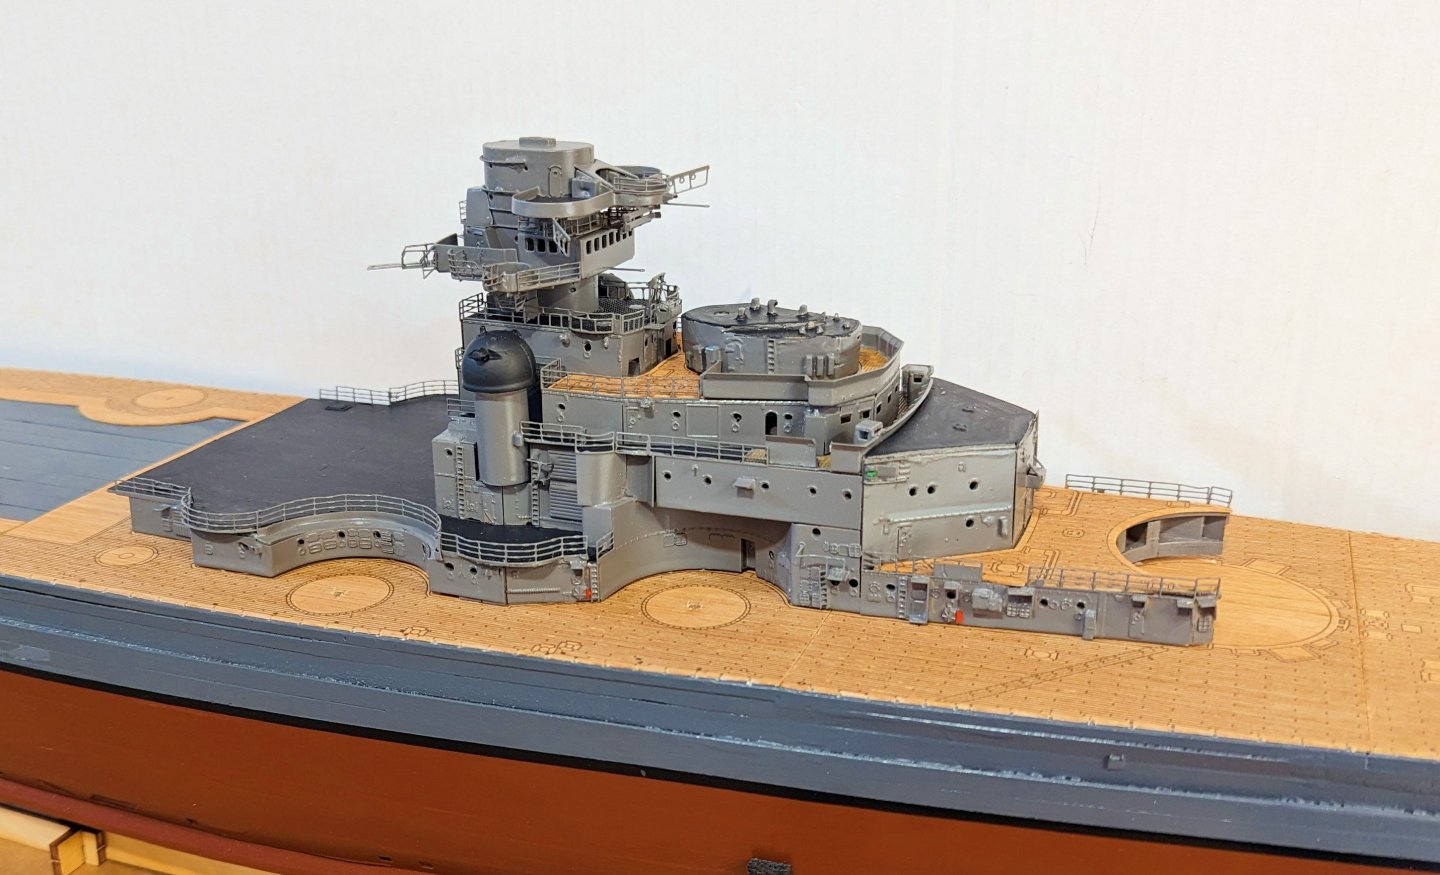
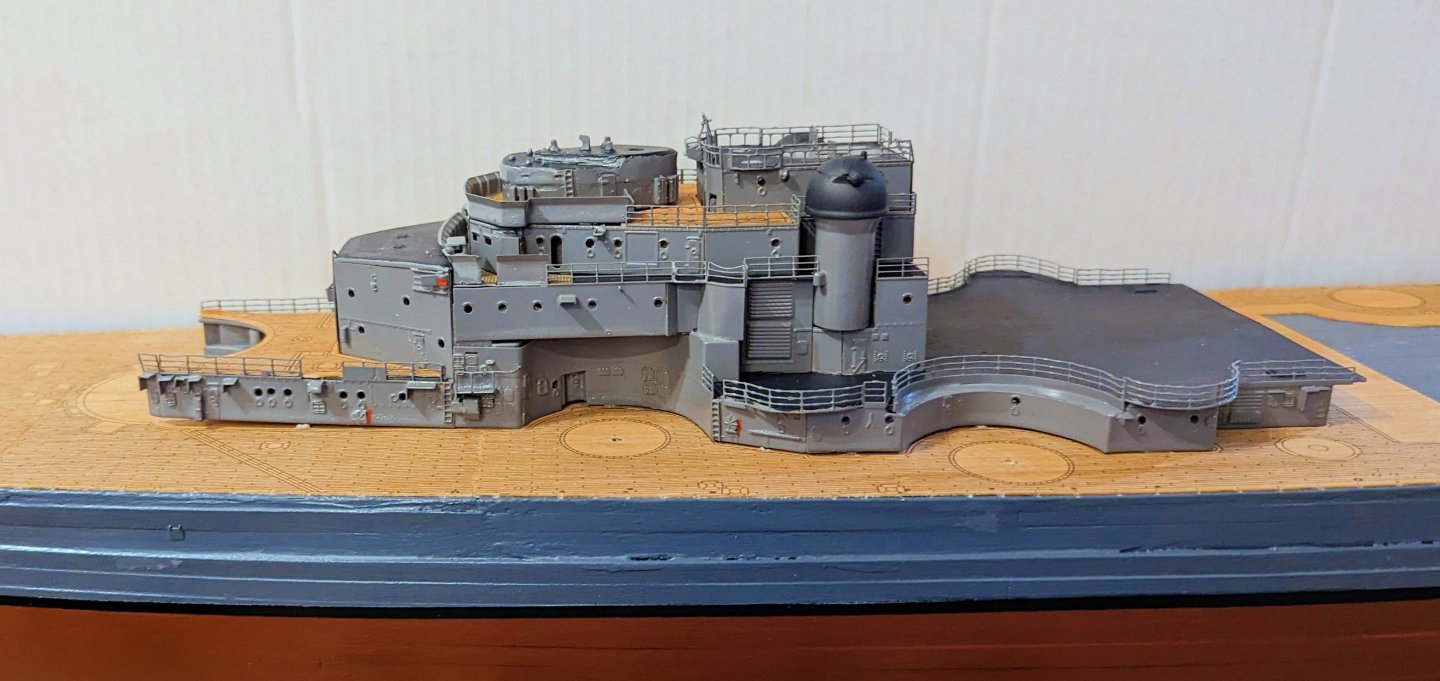
So now all those detail pieces are painted and mounted. Pictures below are five of the area around the large superstructure stern turret, and five of the area around the bow turret. There are two more large turrets aft and fore of these respectively, yet to be built. The little winders are finished with thread to represent rope. On the sides you will also see paravanes. I was not aware that large ships like the Bismarck had paravanes to do their own minesweeping, but apparently so. Regards, David
-
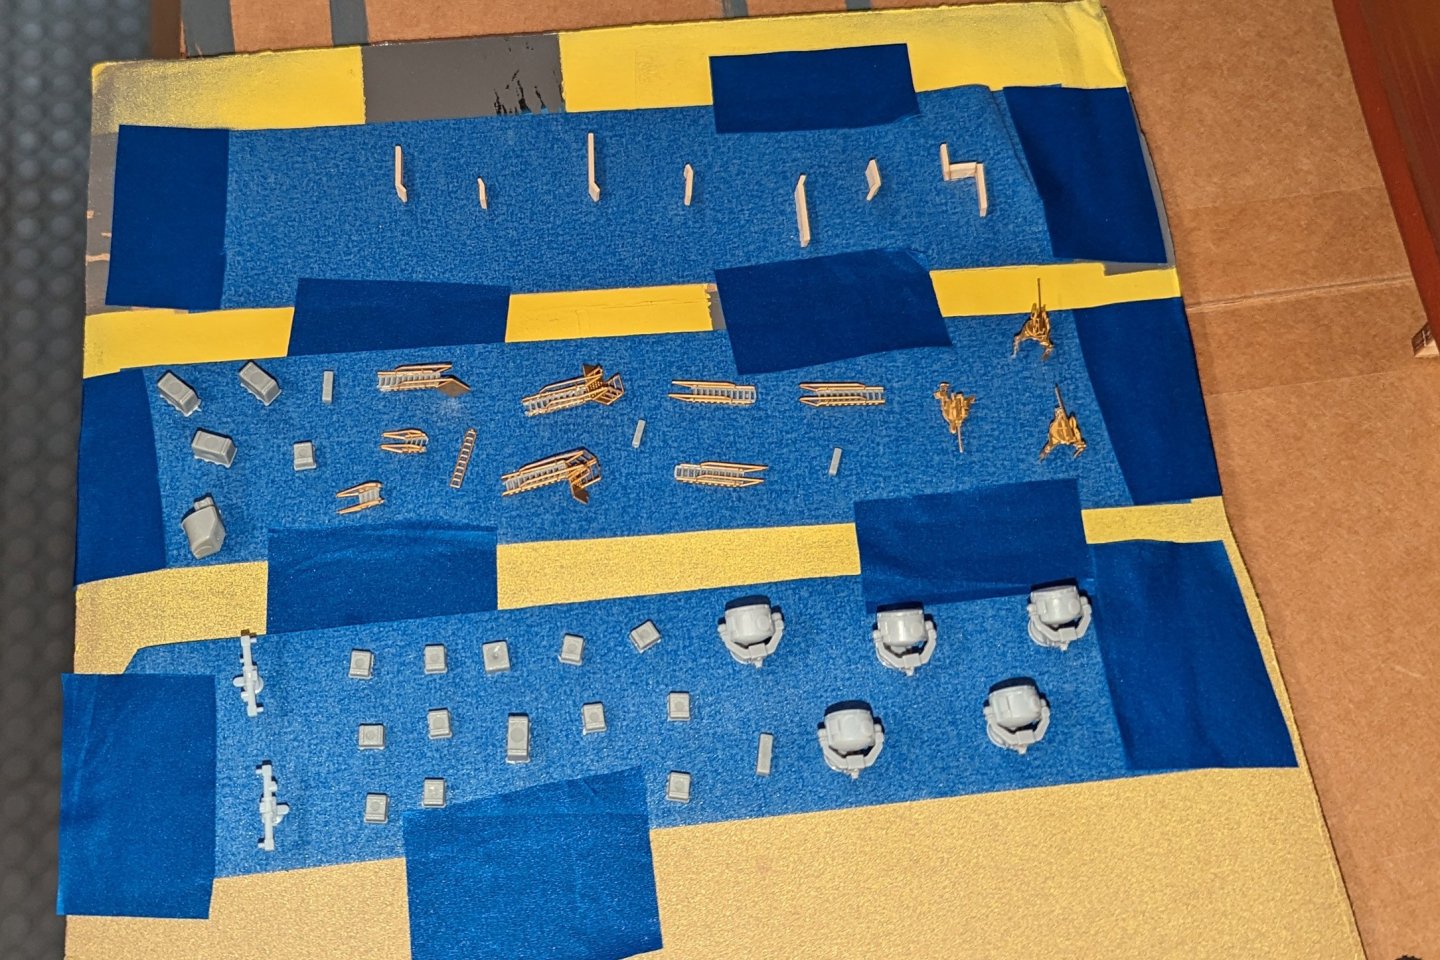
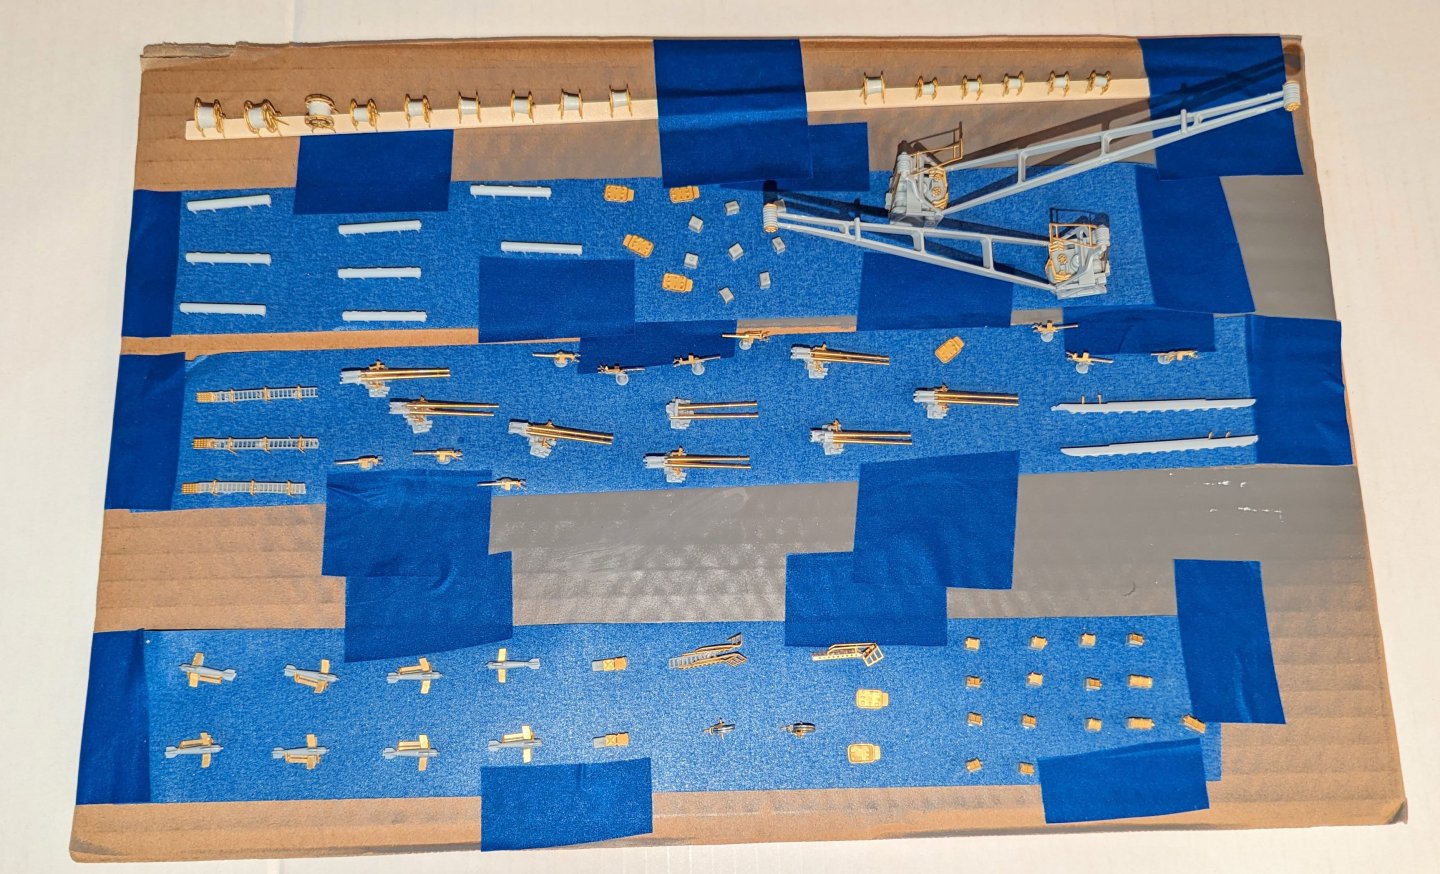
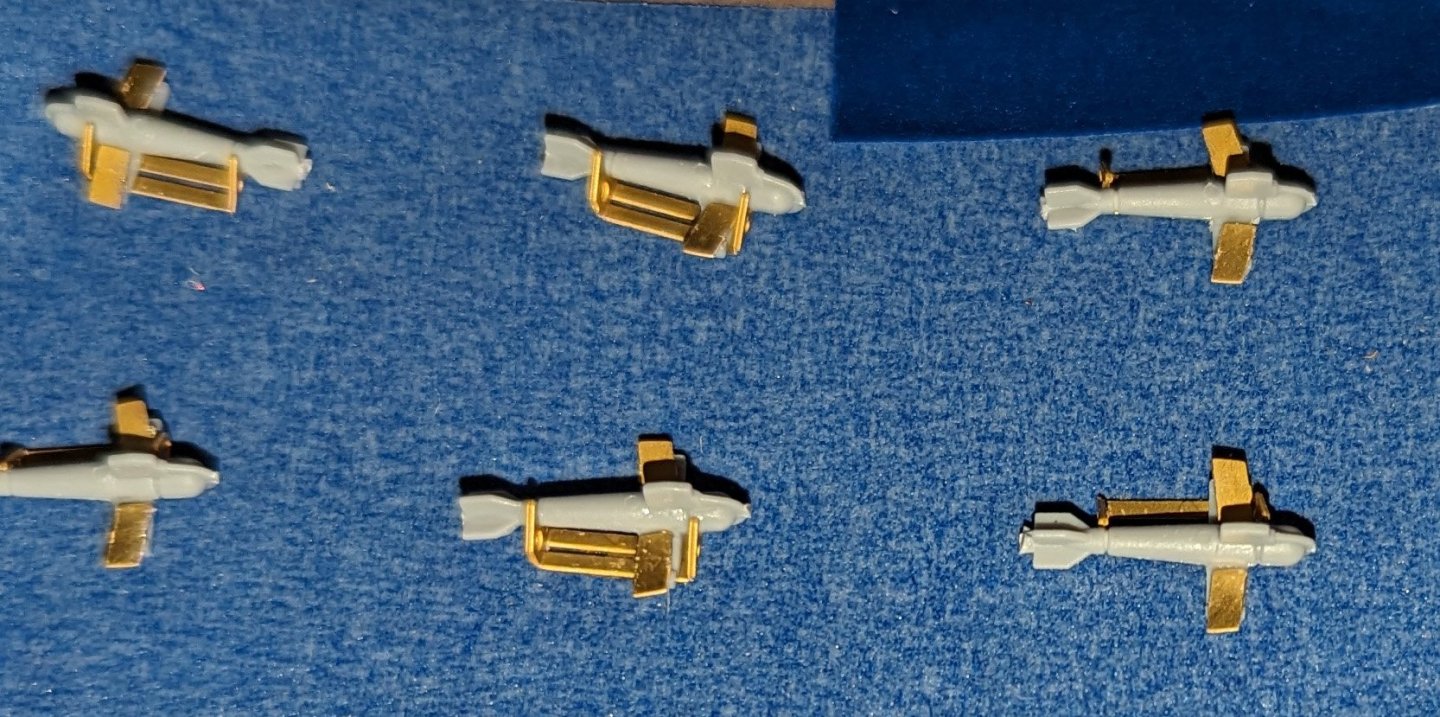
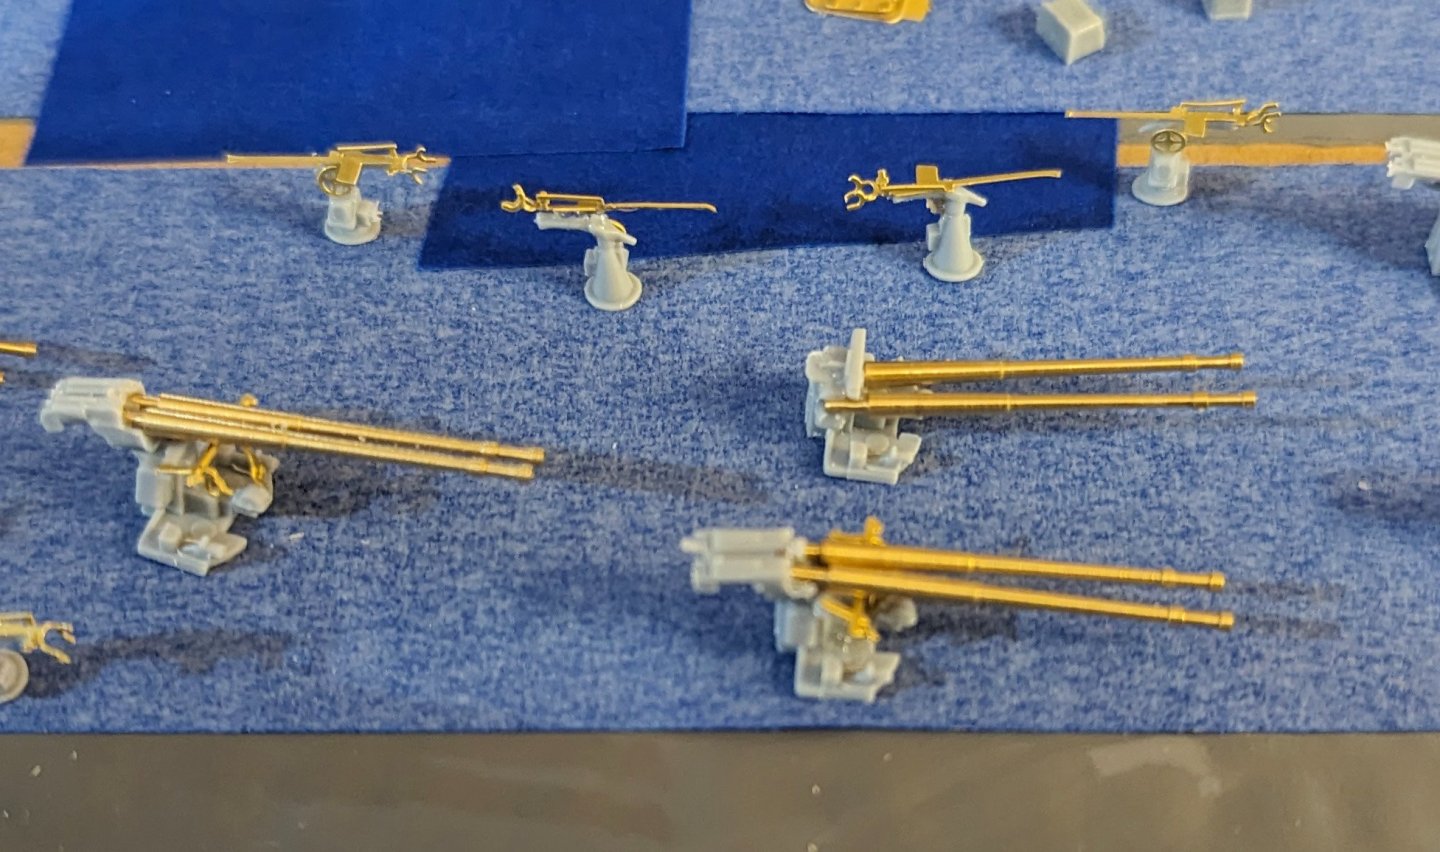
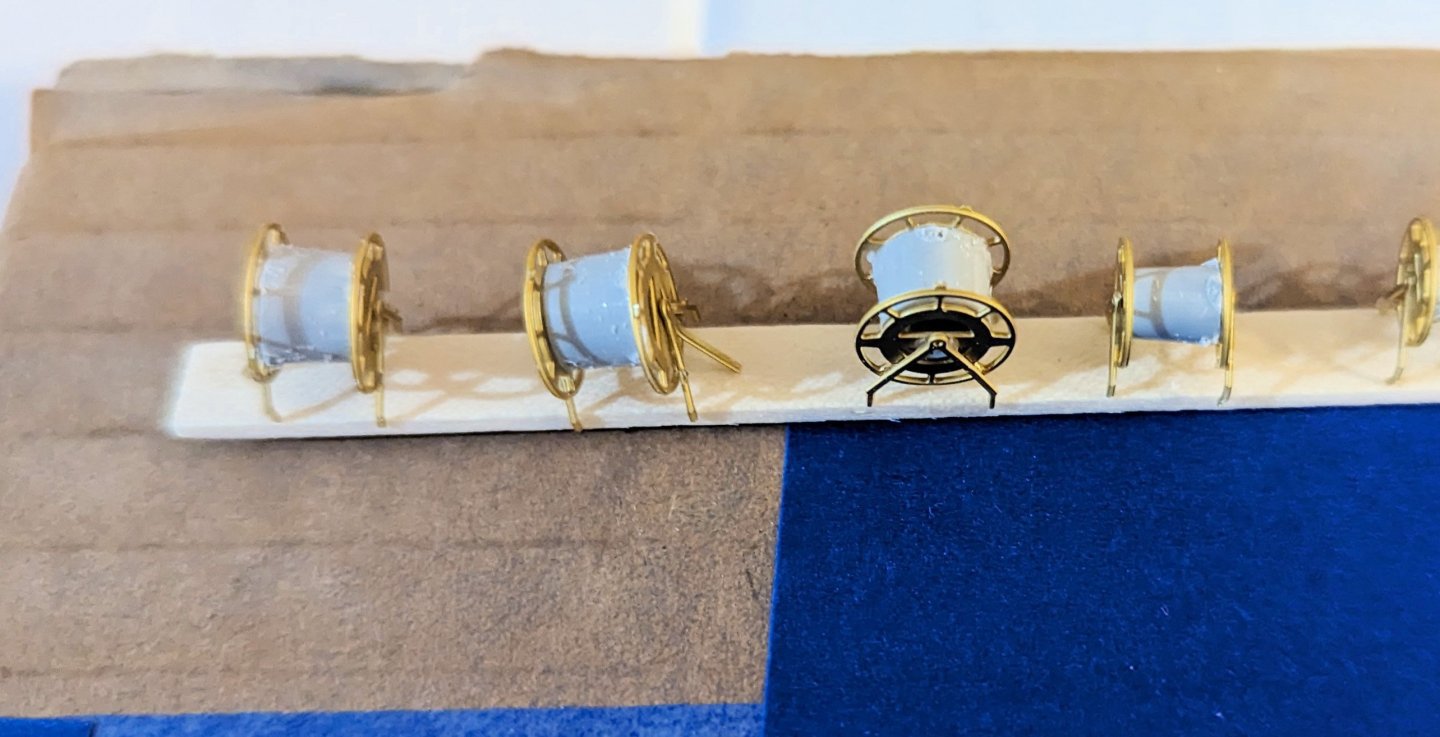
Been working on a bunch of small parts, which all now need to be painted, so here they are on a board ready for the spray booth, with some closeups of some of the interesting ones. As has been the case, these are small, and a challenge -- and if you look closely you can see where I've adapted one of them to account for a part that slipped out of the tweezers and skittered away, gone forever. Regards, David
-
One of the stern turrets. I found the little railings to be a bear -- the pics in the manual are wonderfully aligned. Mine are just sort of "there" but the gray paint will cover some of my sins. One tip: mount the platform with the base dry fitted on the model to get the alignment right so it will fit later on, then do the railings. Regards, David
-
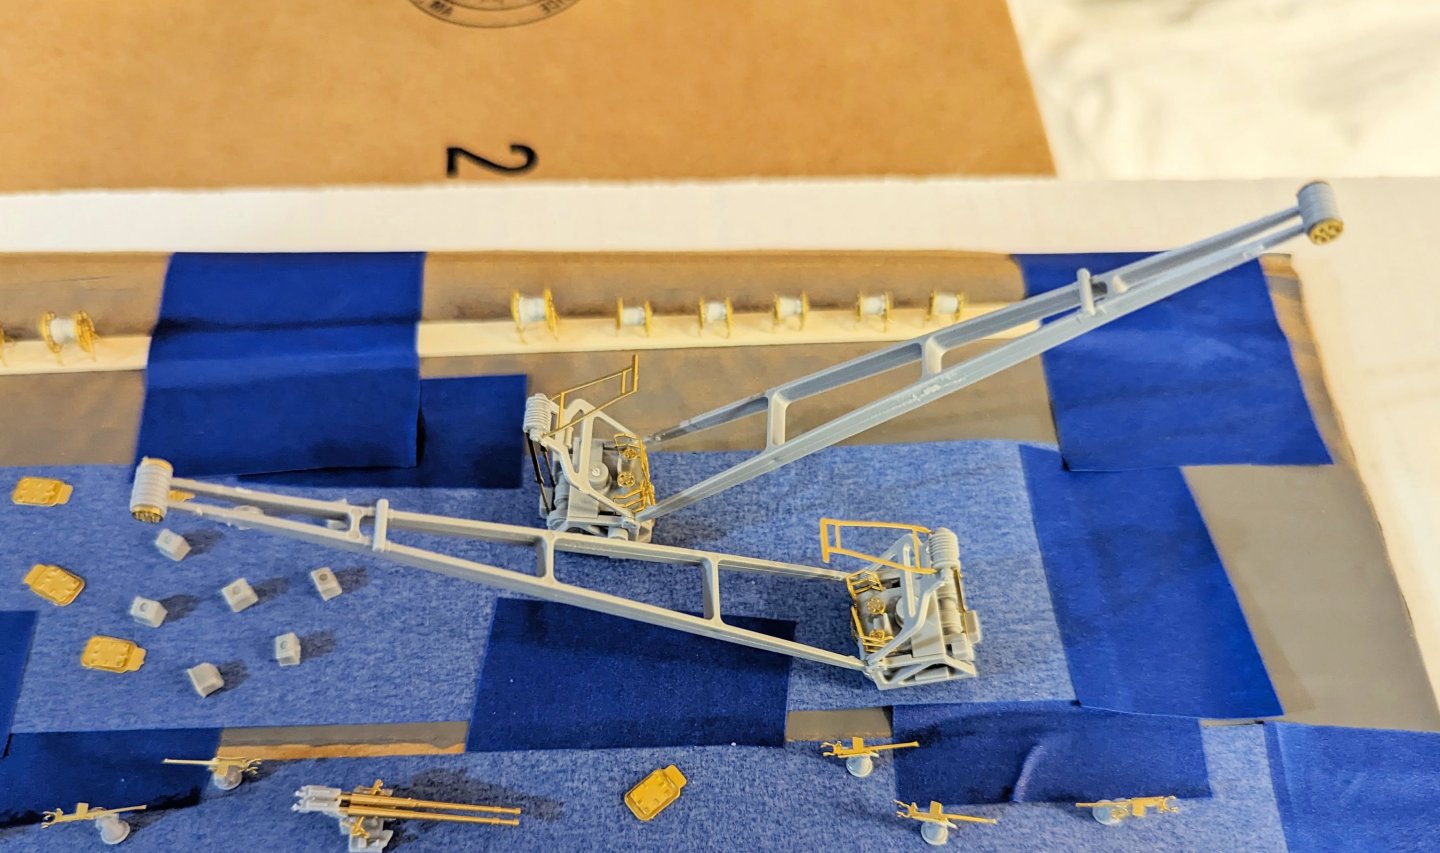
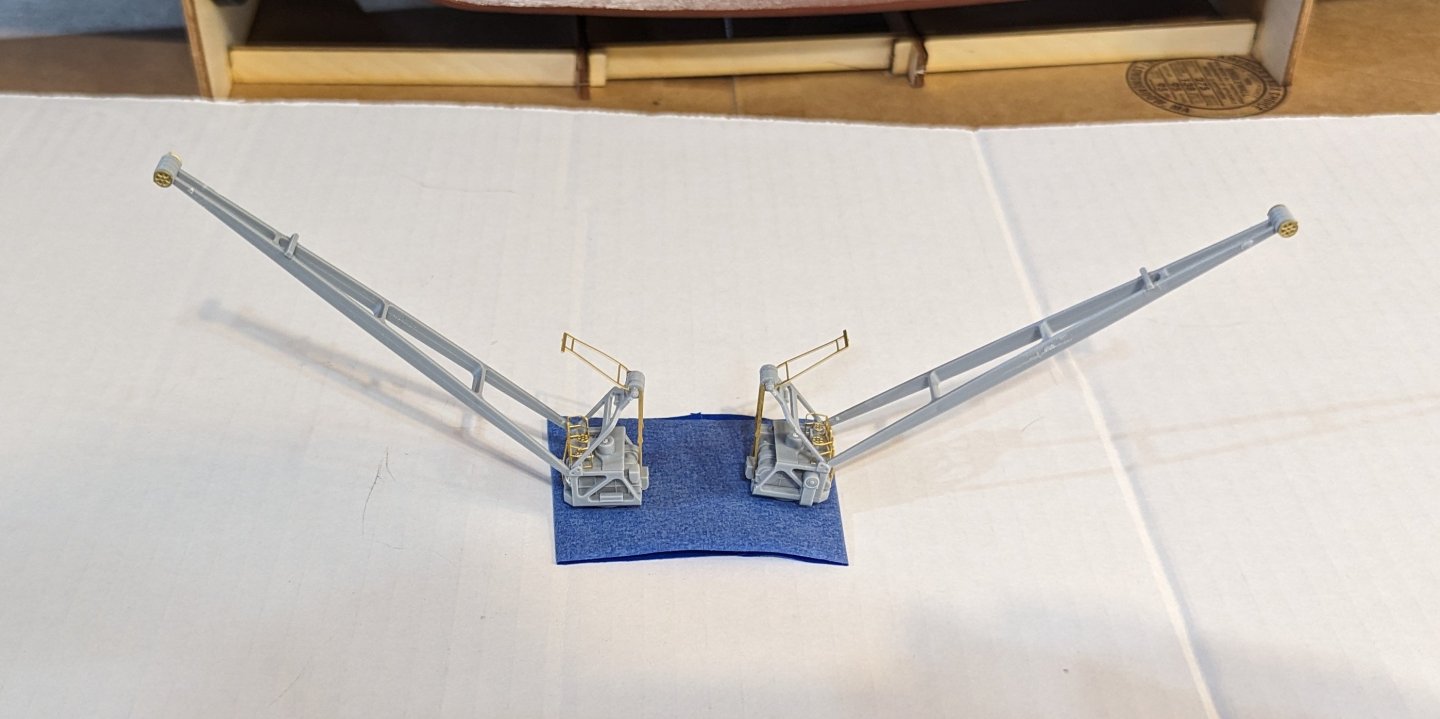
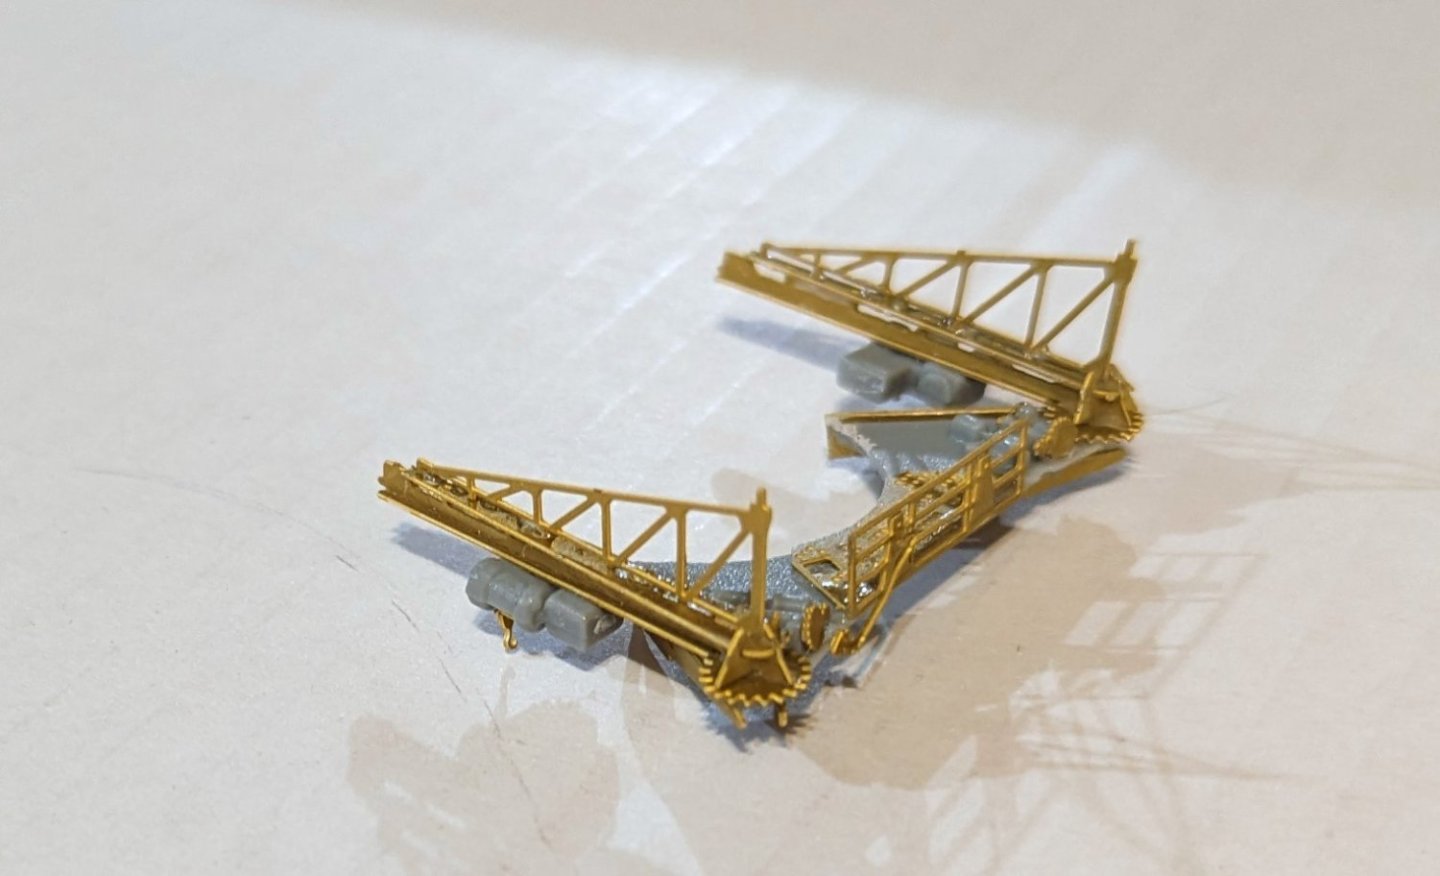
It takes some time to set up my spray booth, so even though the manual is now in a build/paint/install sequence for each assembly, I'm going to build and hold until I have a bunch of things to paint. Here are two cranes, and the second bow turret -- in place but not glued. Regards, David
-
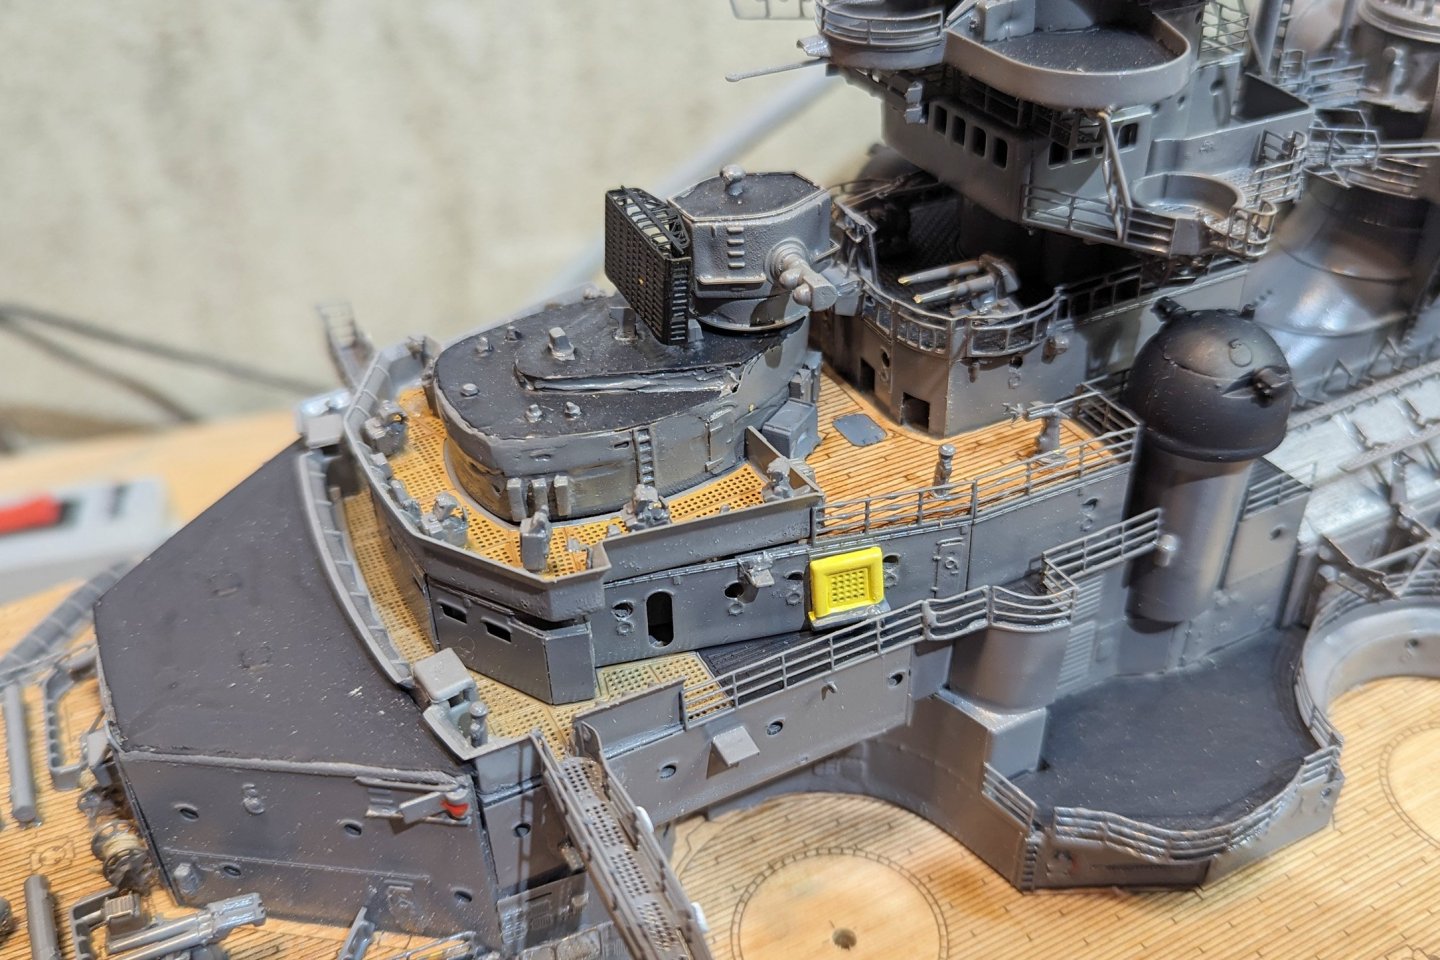
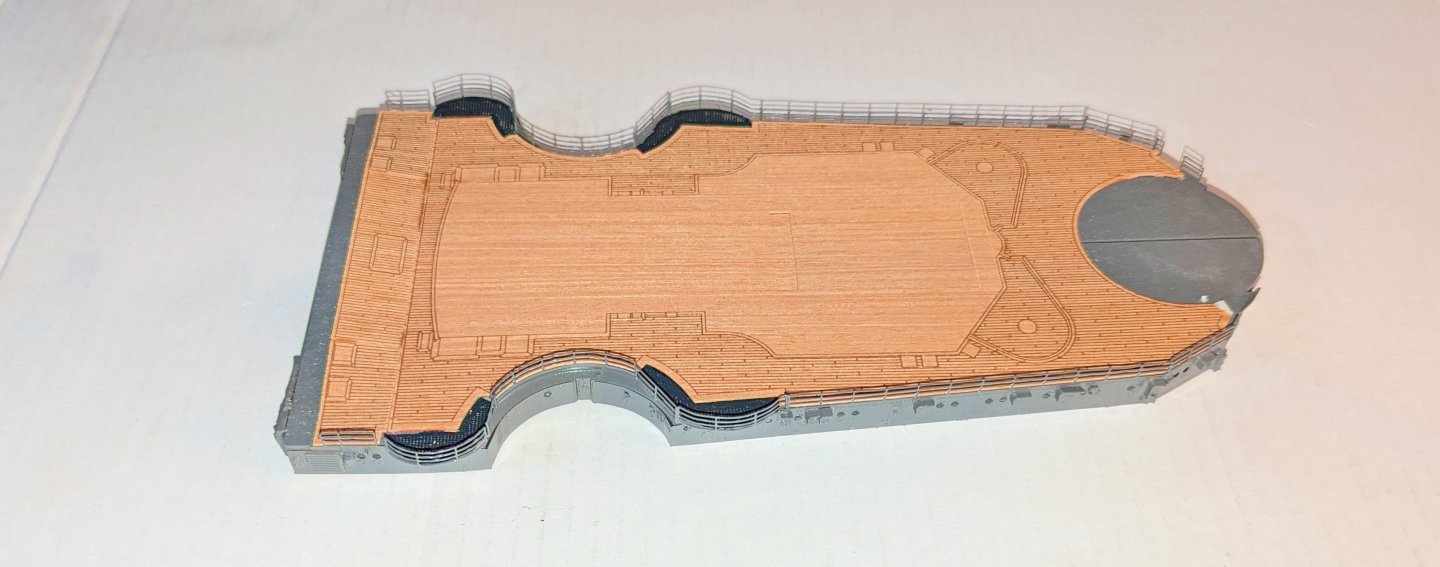
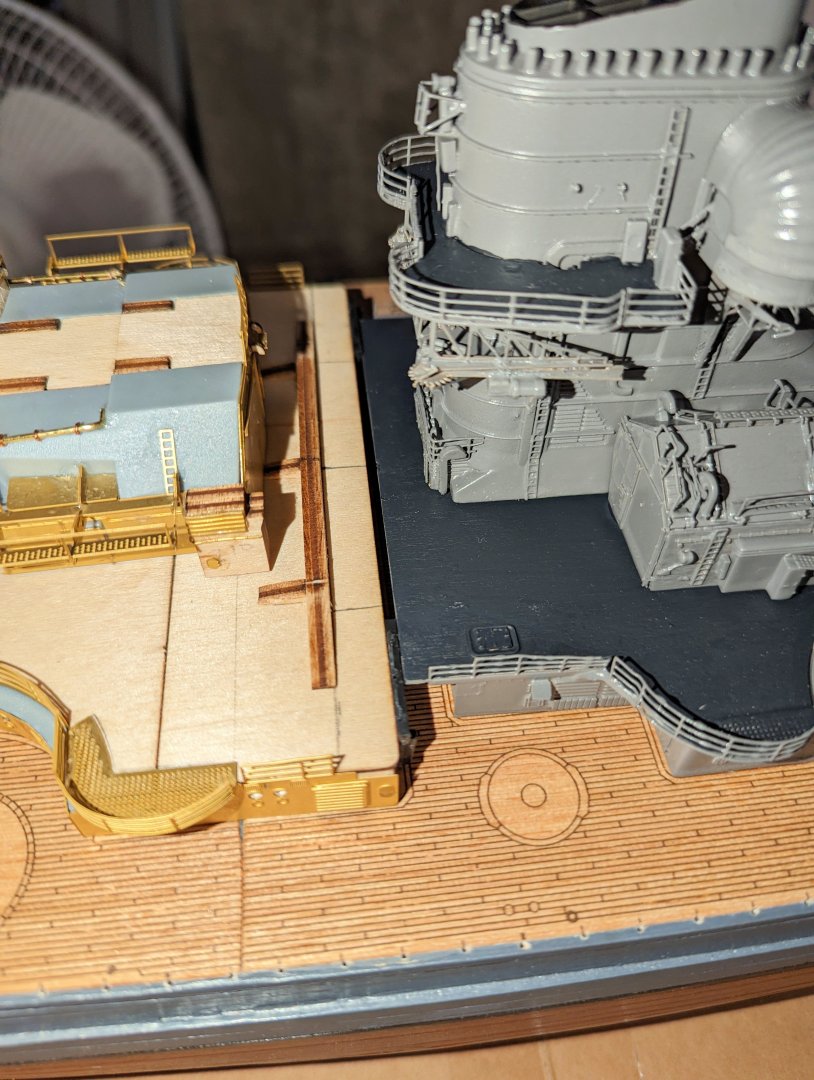
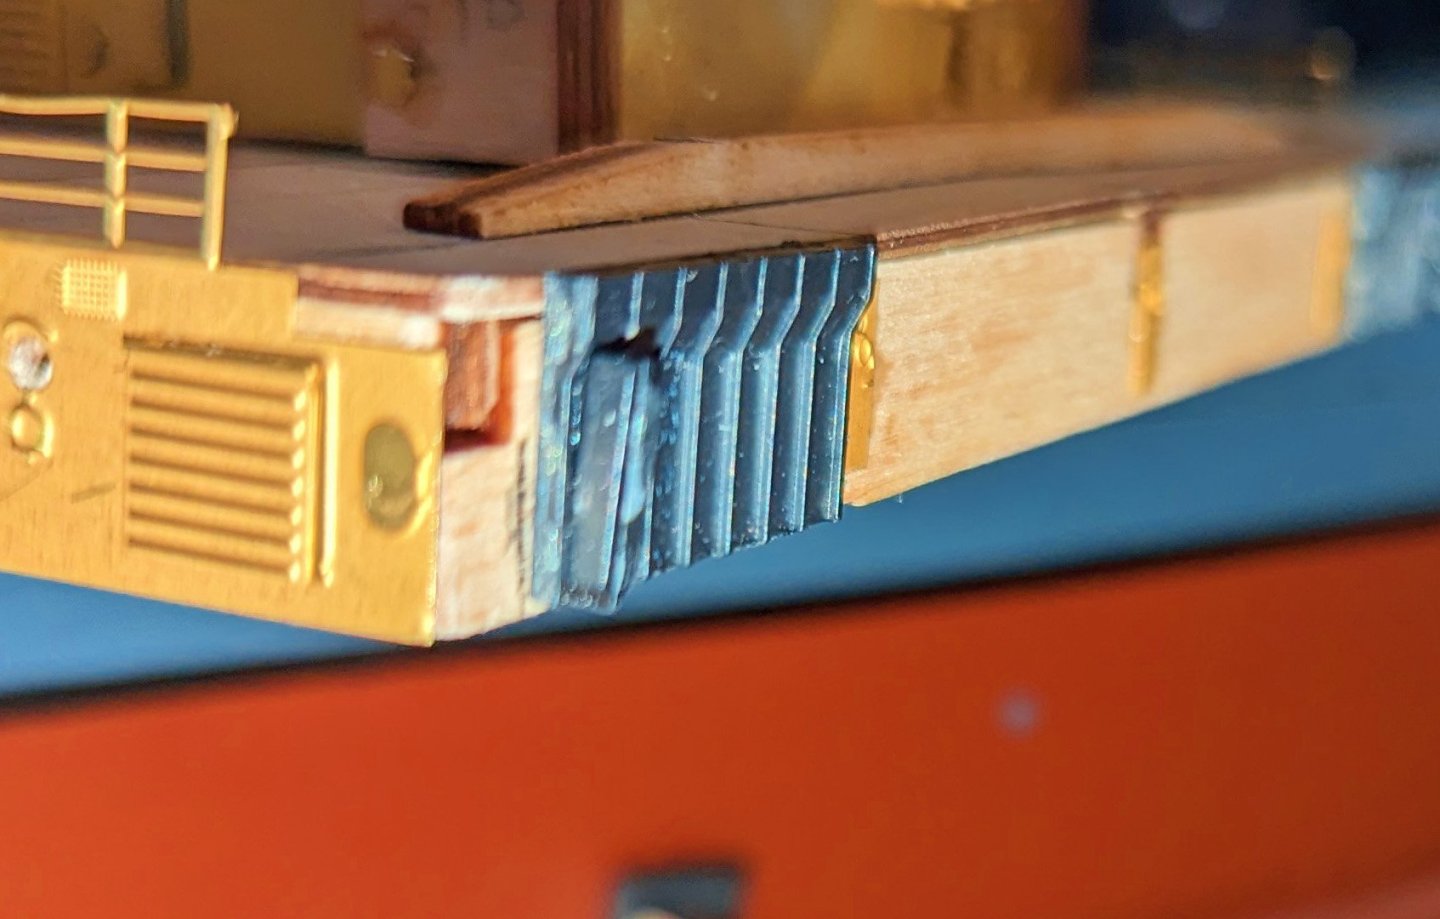
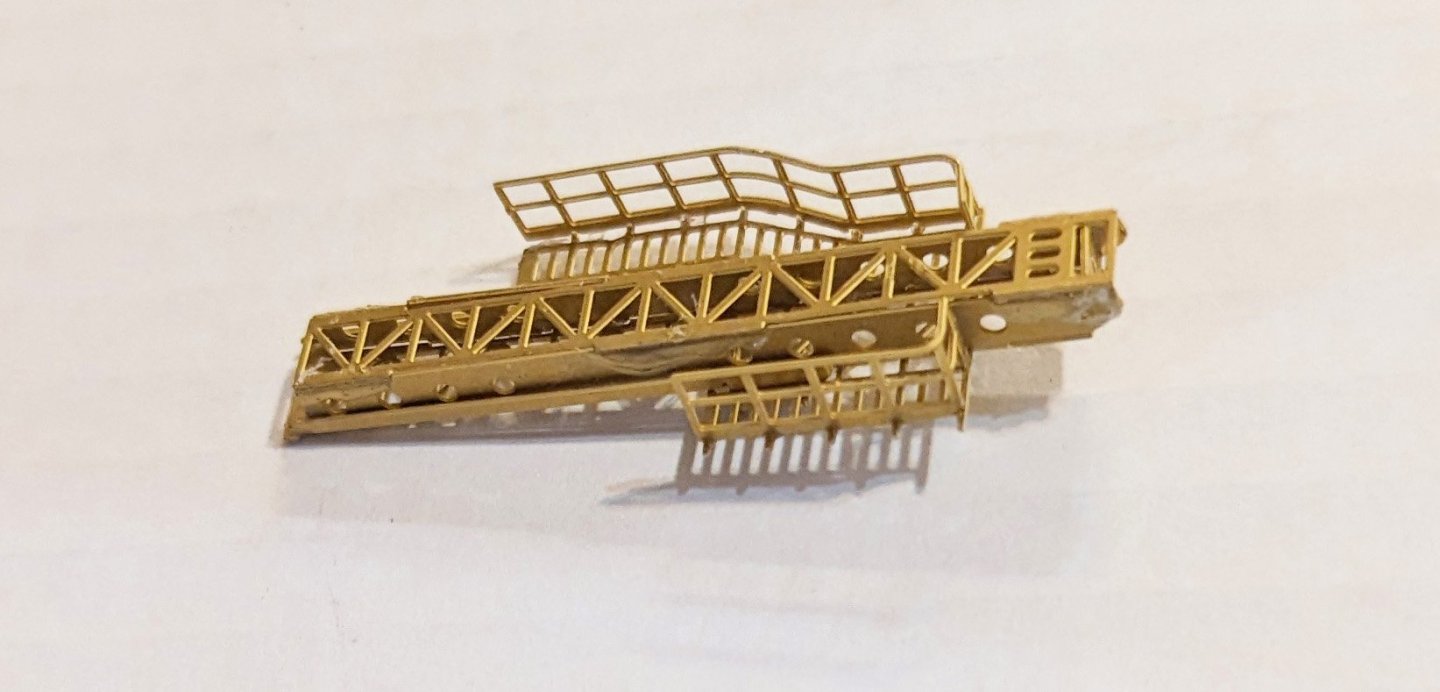
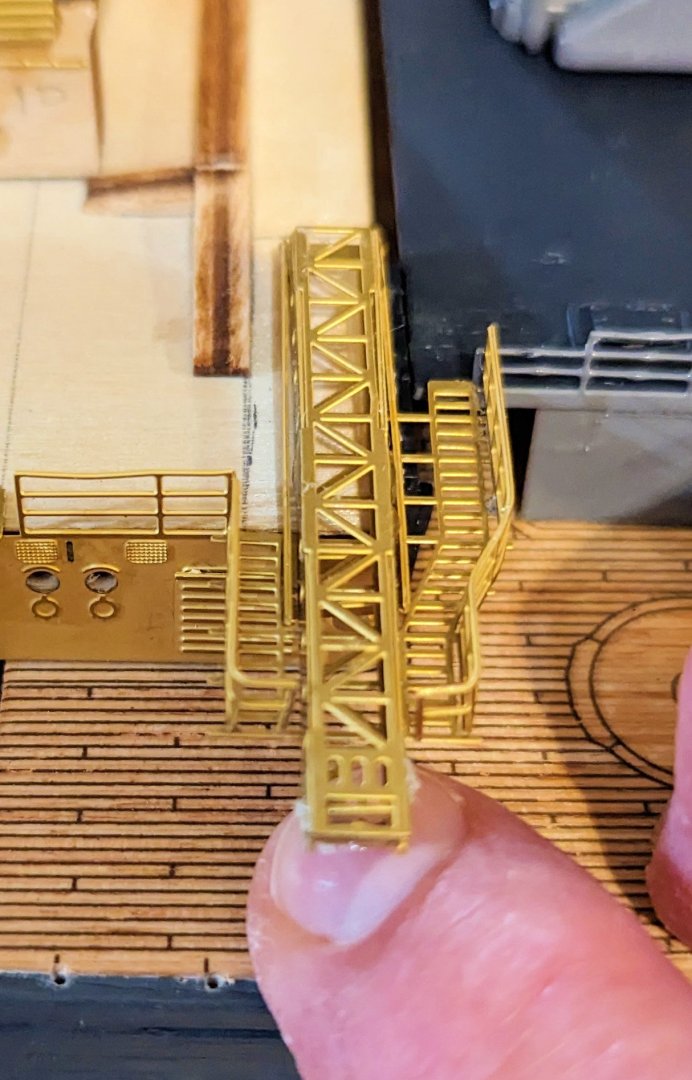
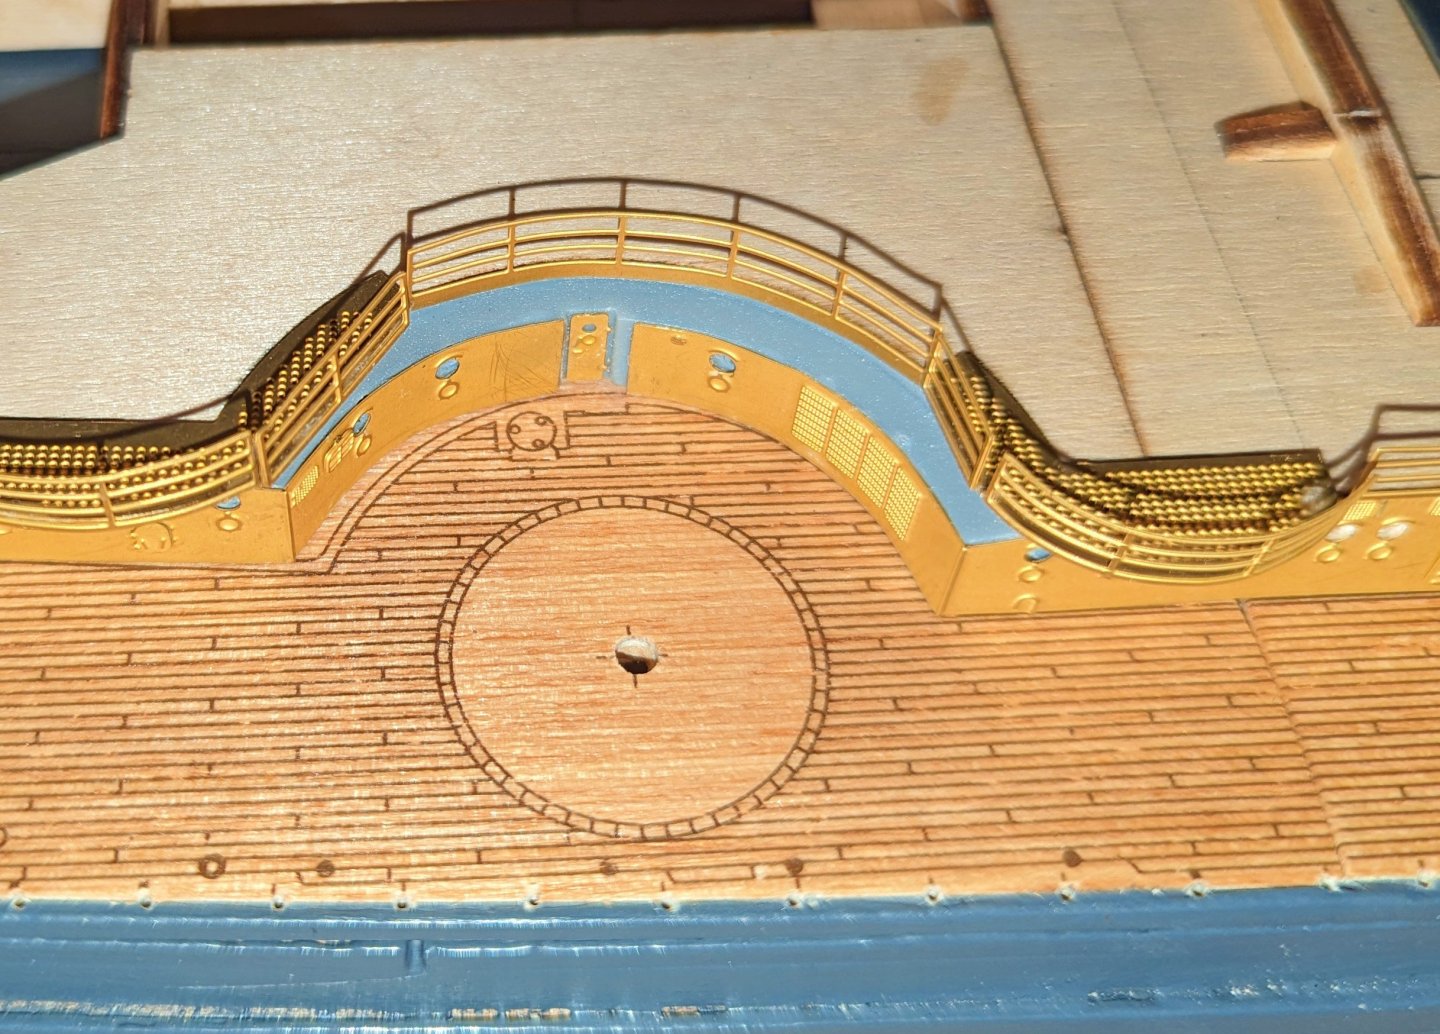
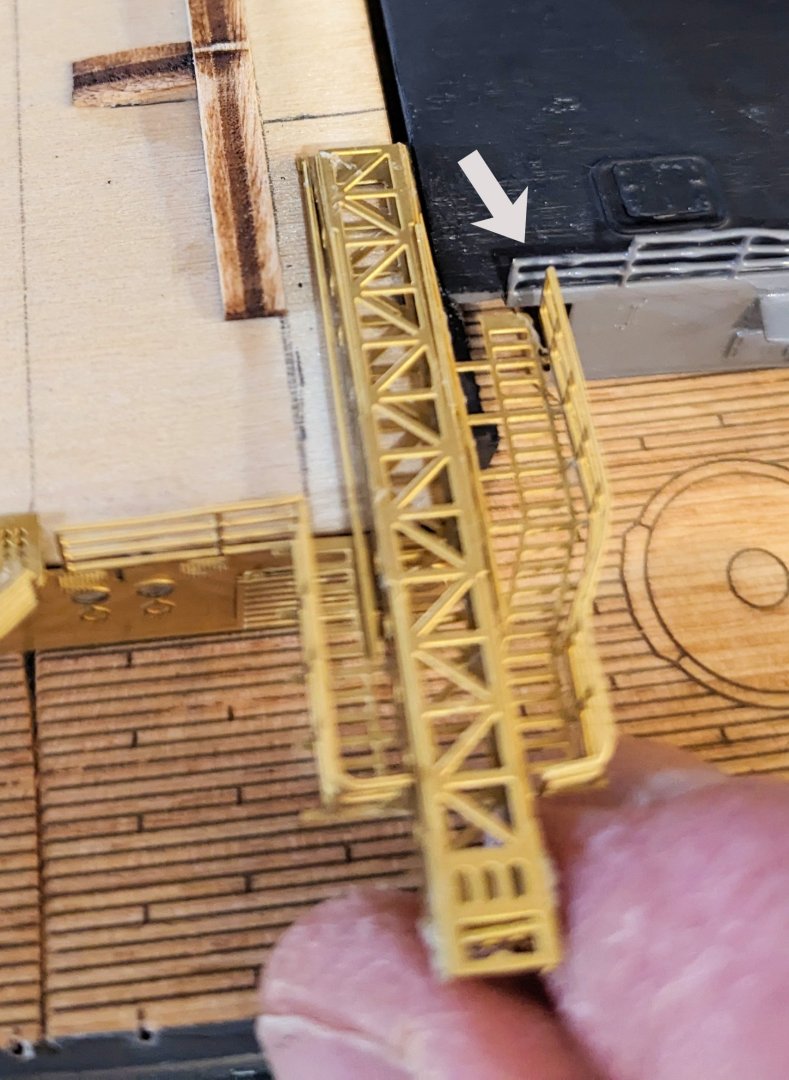
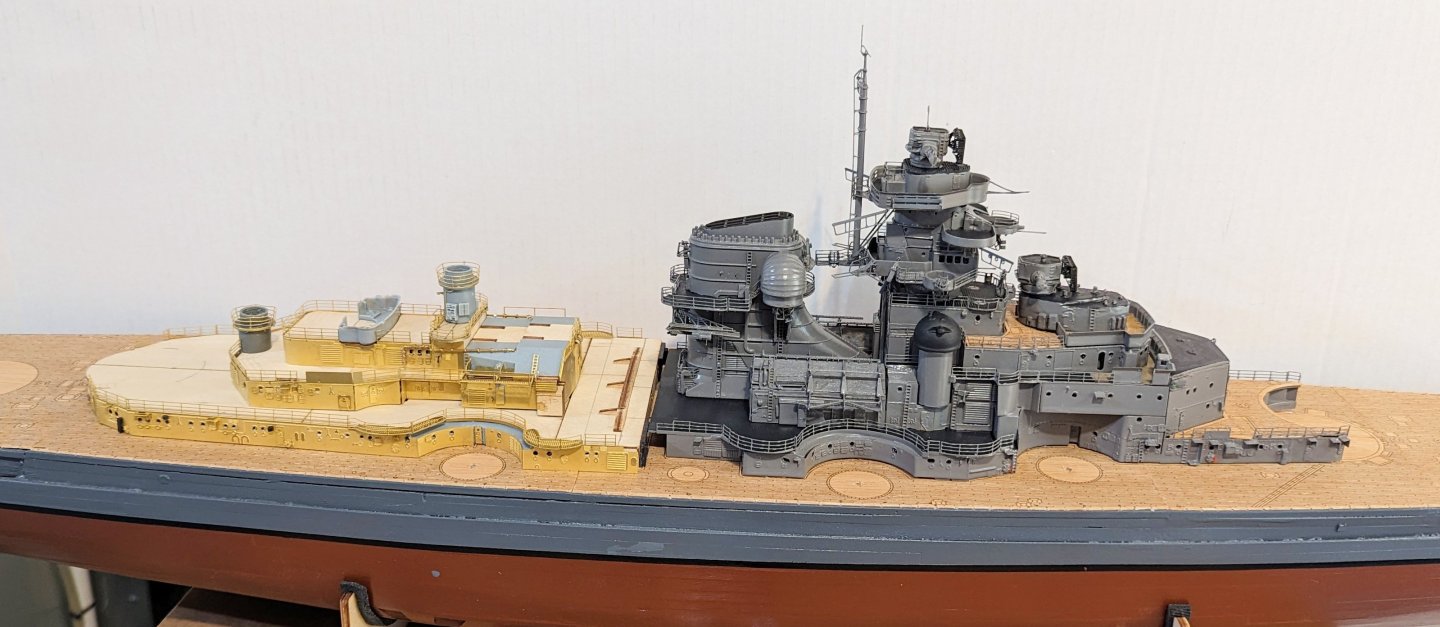
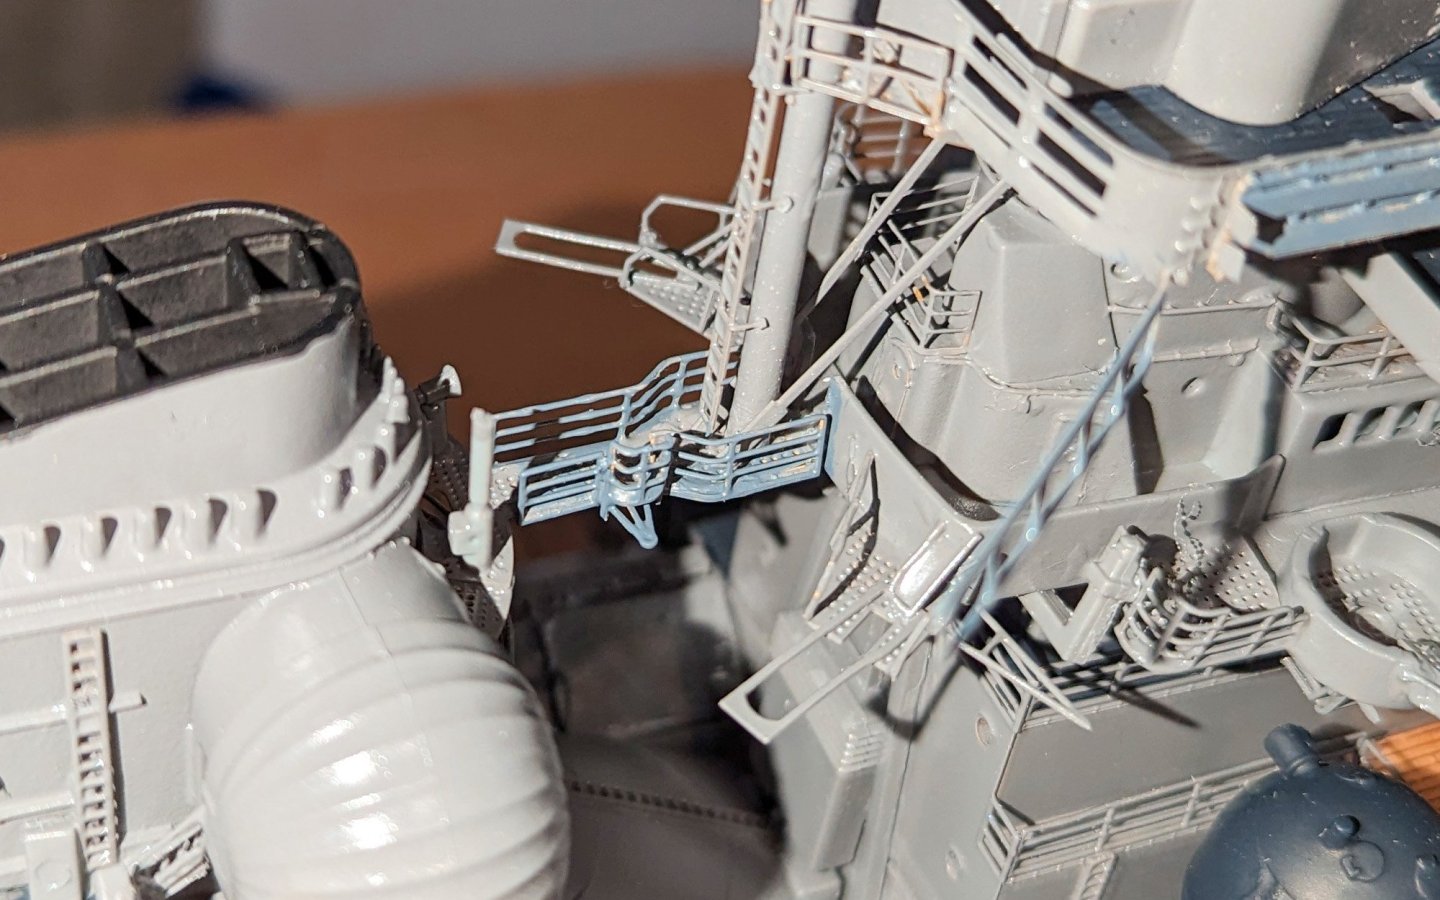
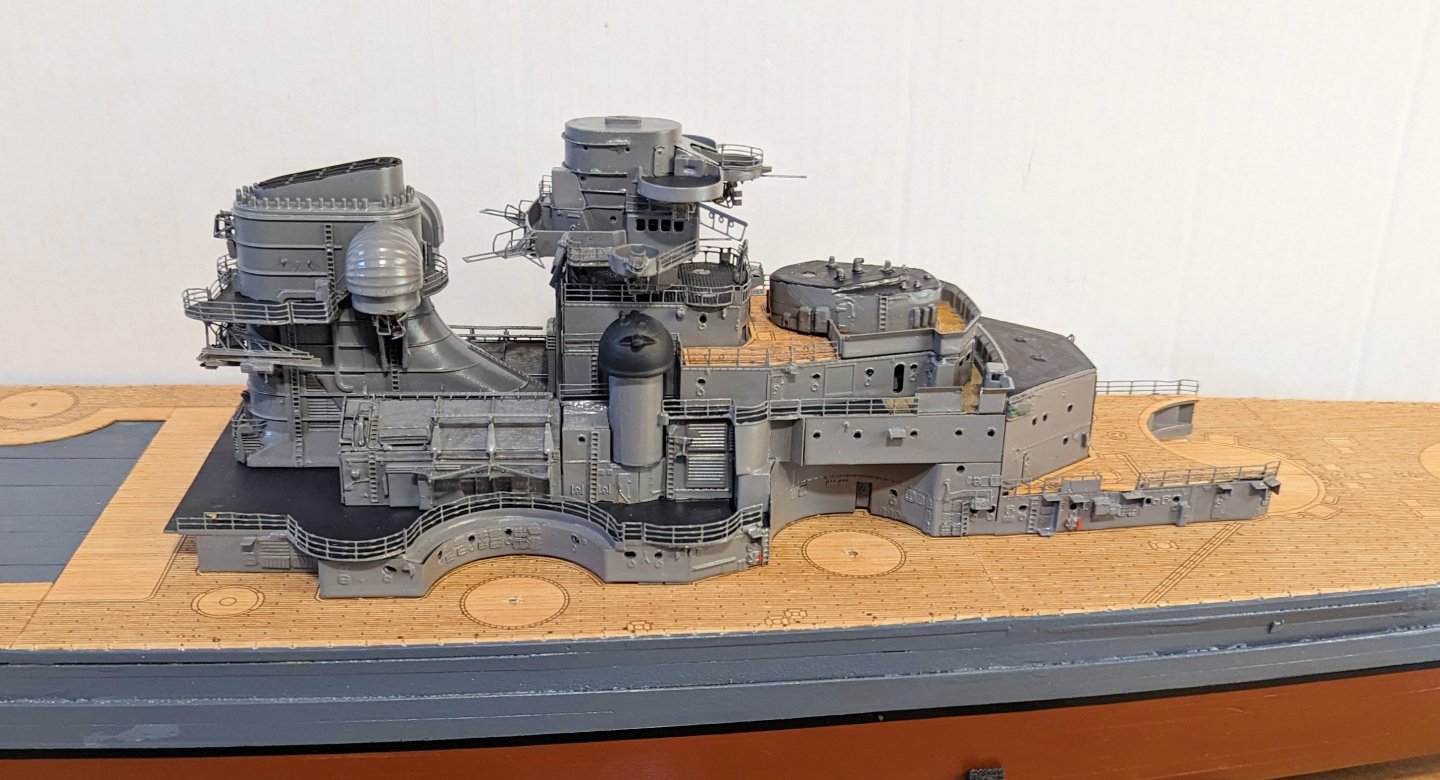
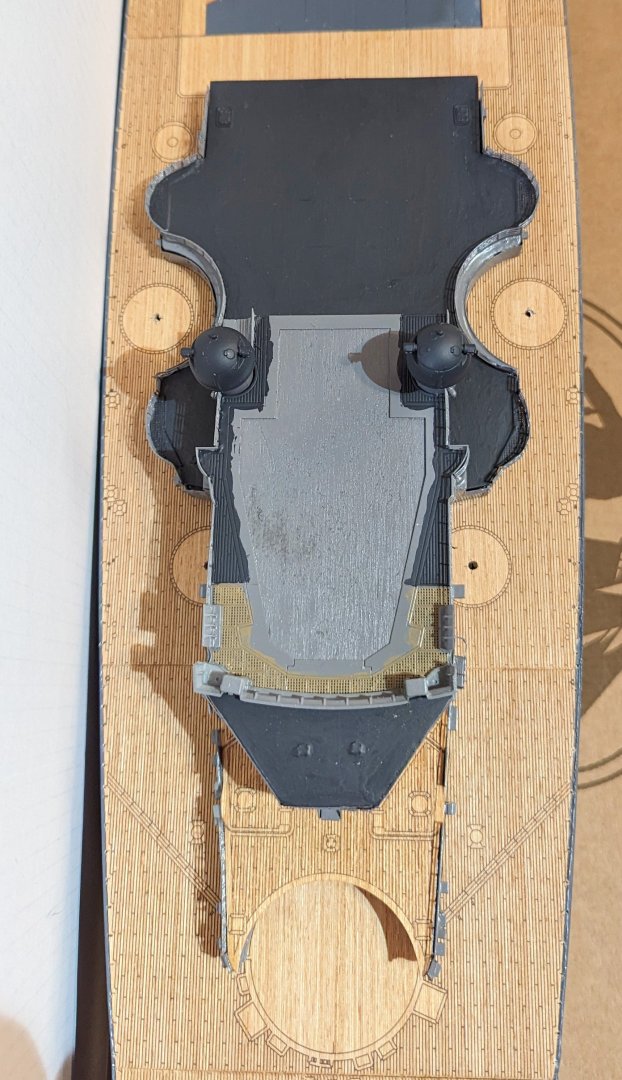
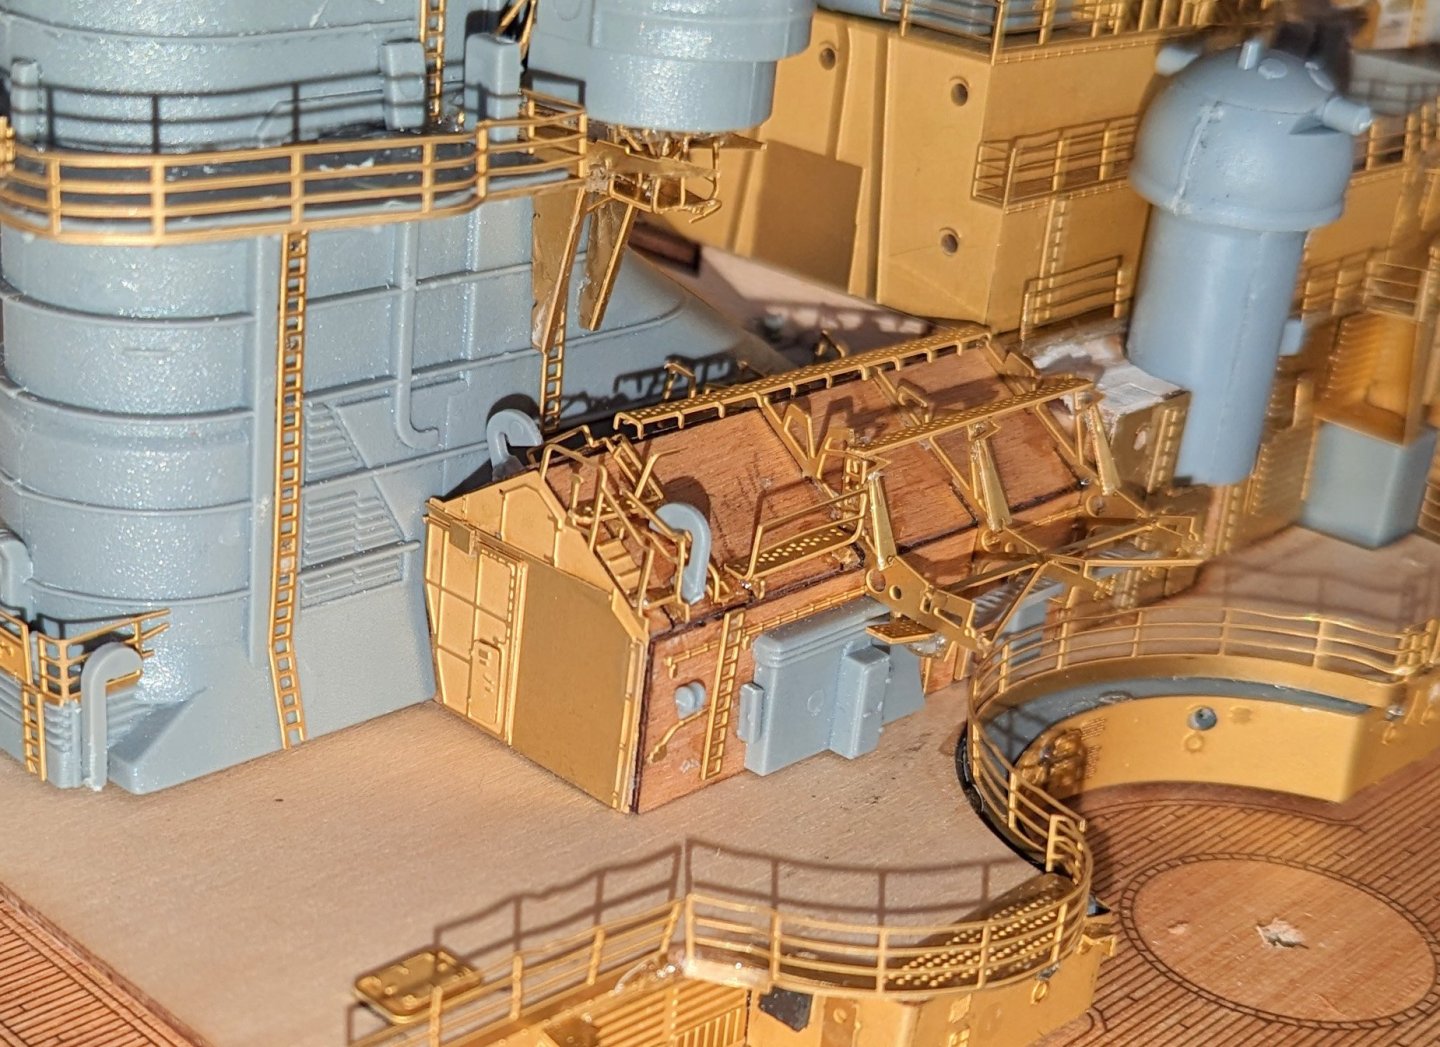
In the looking ahead for problems department, I was concerned about how the stern superstructure buts up against the bow one. That concern arose from an obvious misalignment of the stern structure with the deck pattern, as shown in the picture. The bow structure is perfectly aligned. There are some plastic thingies on the end of the stern superstructure (they cause the gap between the structures, which is normal), and those could be sanded back where they meet the bow structure, but I was concerned about clearance for the catapults. So I built one, and before making any adjustments you can see that it aligns perfectly with the railings. I did see a way to deal with that if I narrow the gap, so I sanded down the part of those "thingies" that meets the bow structure, and you can see afterward that the alignment is much closer -- and in fact with a bit more fiddling and slight rotation, it gets close to perfect (not shown). Regarding the catapult clearance, you can see in the final picture where the arrow points a railing misalignment that can be easily addressed by trimming the railing on the bow structure back to evenly meet the catapult walkway. What also has to be adjusted is a brass cladding that goes over the deck and abuts the catapult, but that can be trimmed where it meets the bow tower to accommodate the narrowed gap. Way back to my second model ever, I got bitten on things not lining up, so I read ahead and look for it now. Regards, David
-
A couple of assemblies. The two matched items are lifeboat racks. The larger one (front and back views shown) is a signal bridge that will be mounted on the stern superstructure. I have found that it's almost impossible to build these brass assemblies without using accelerator. Because spray is so undirected and wasteful, I bought an eyedropper bottle and put accelerator in that, and it really works well. Regards, David
-
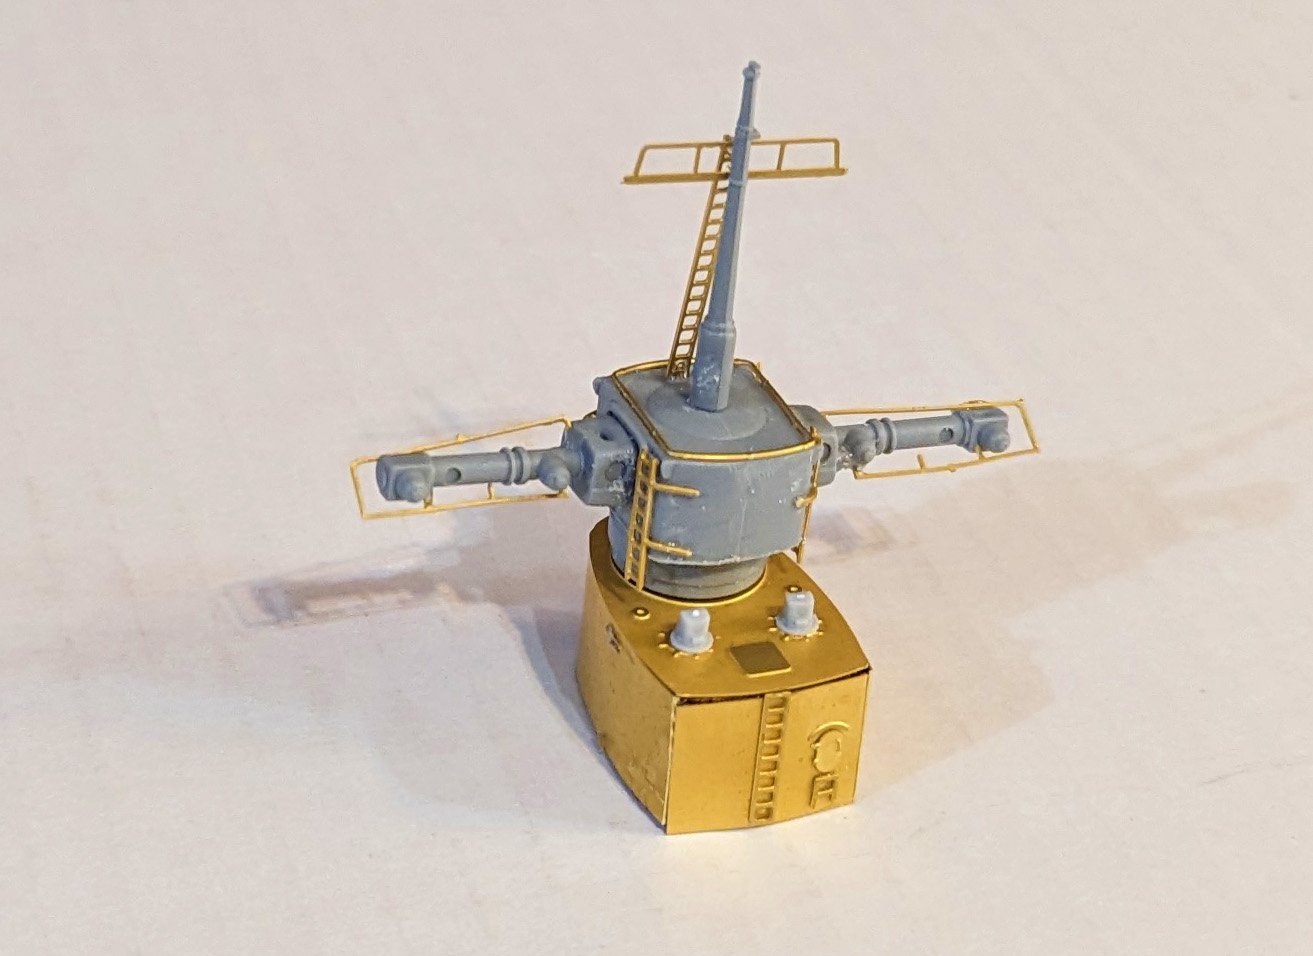
Nice little turret assembly. Shown alone and where it will ultimately go on the structure. There's a seam at the front that isn't quite closed, but this is a very small assembly and the paint will fill it in. Regards, David
-
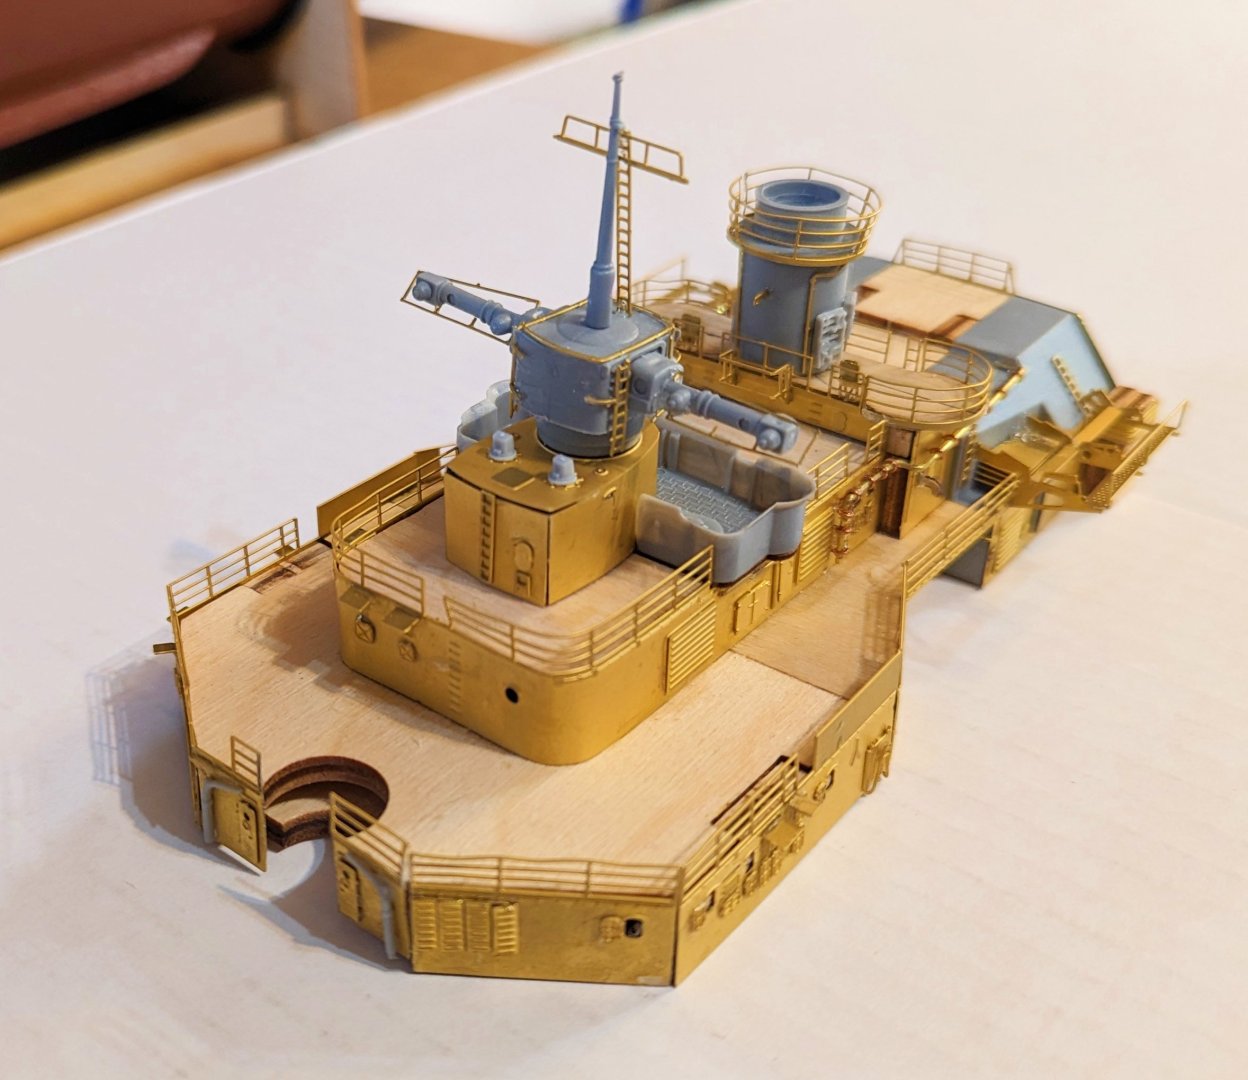
More levels of the stern superstructure. The leftmost turret is dry fitted at this point, and the upper levels are dry fitted awaiting painting. Regards, David
-
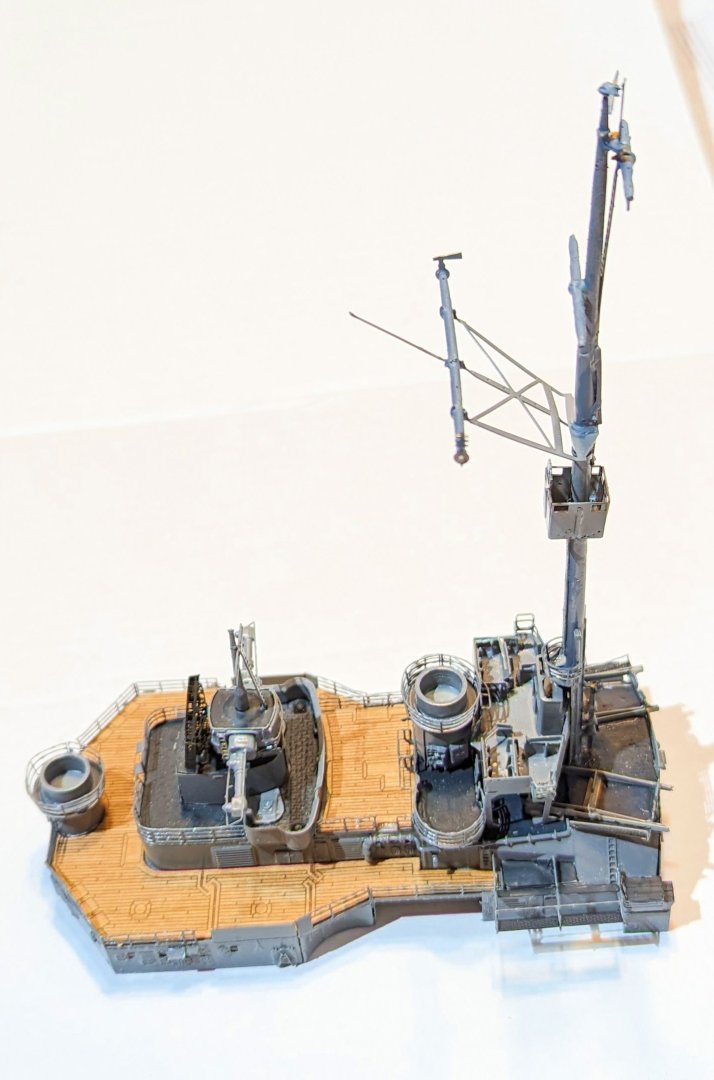
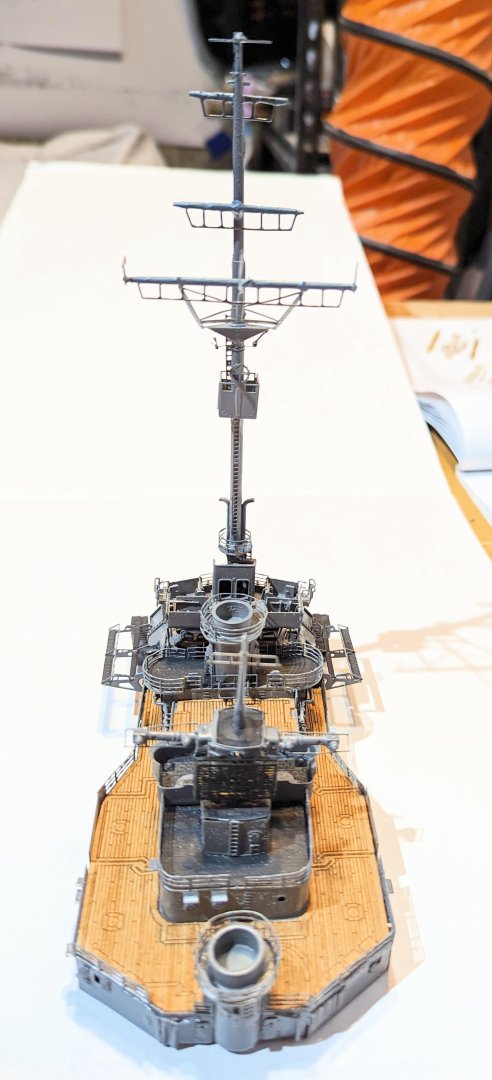
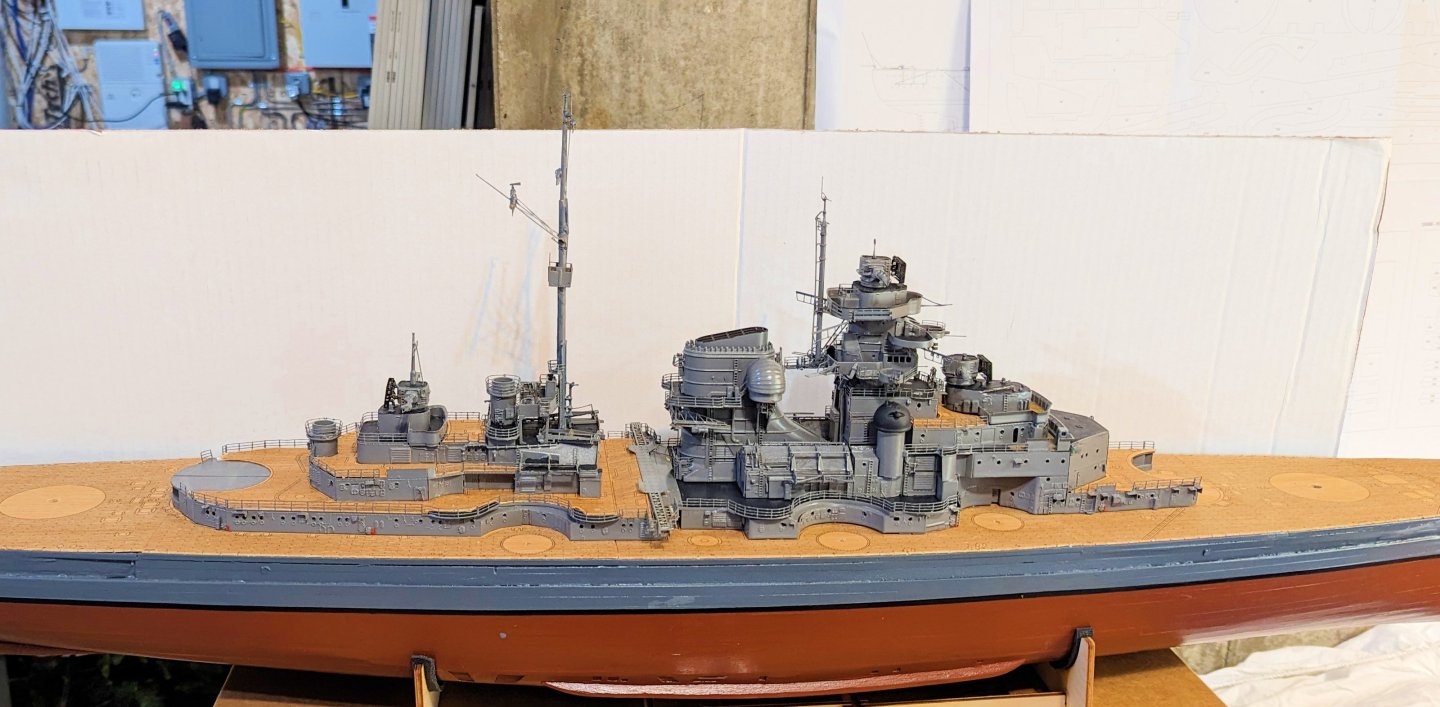
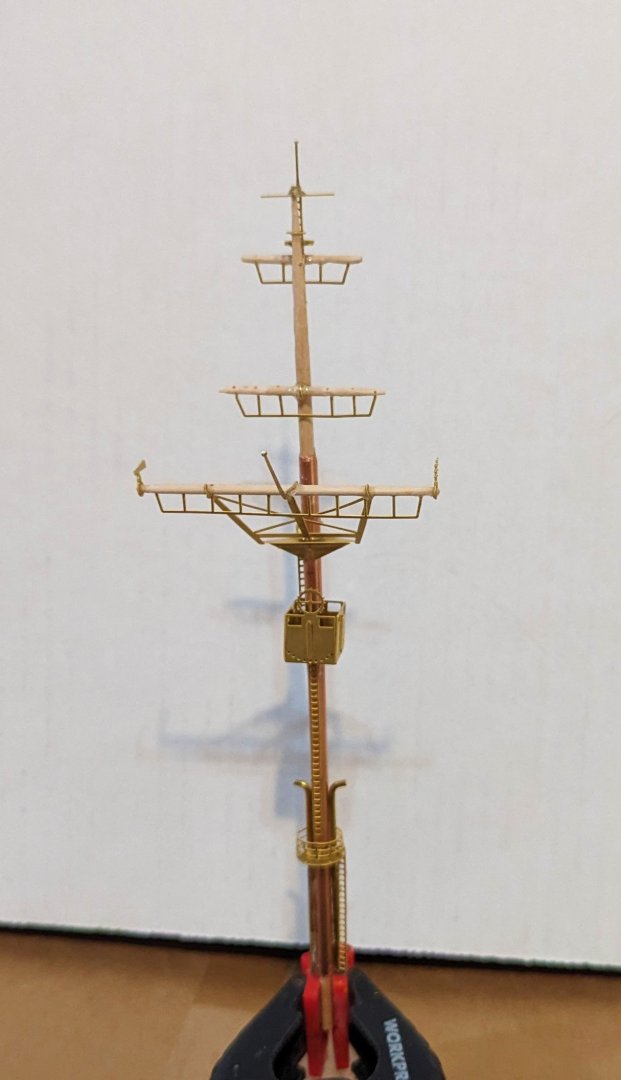
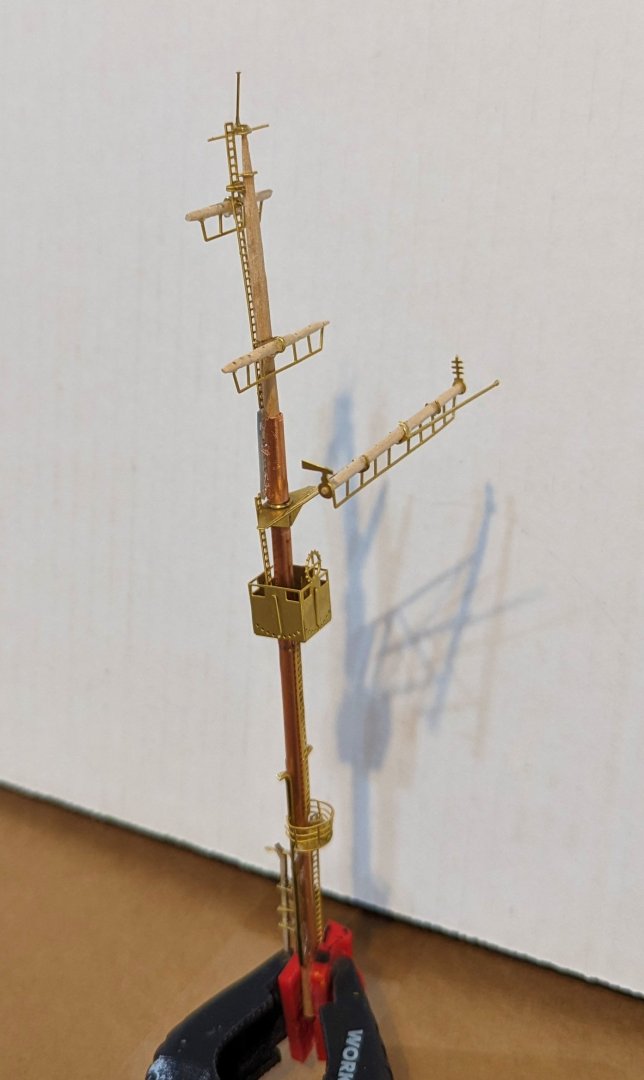
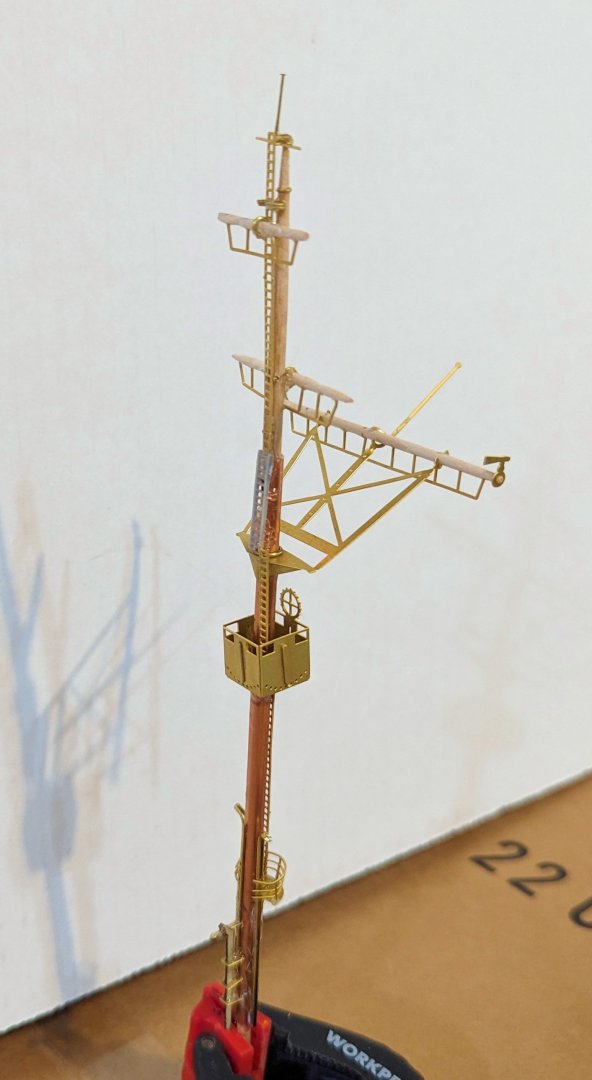
I've had a few pieces that needed painting, and since I put my spray booth away, I've been waiting for a good day to spray those pieces outside. That was today, so I've now finished the bow structure. New parts: mast, ladder next to mast, small catwalk, some braces, two turrets. I started the stern structure a few days ago, so that's underway. Regards, David
-
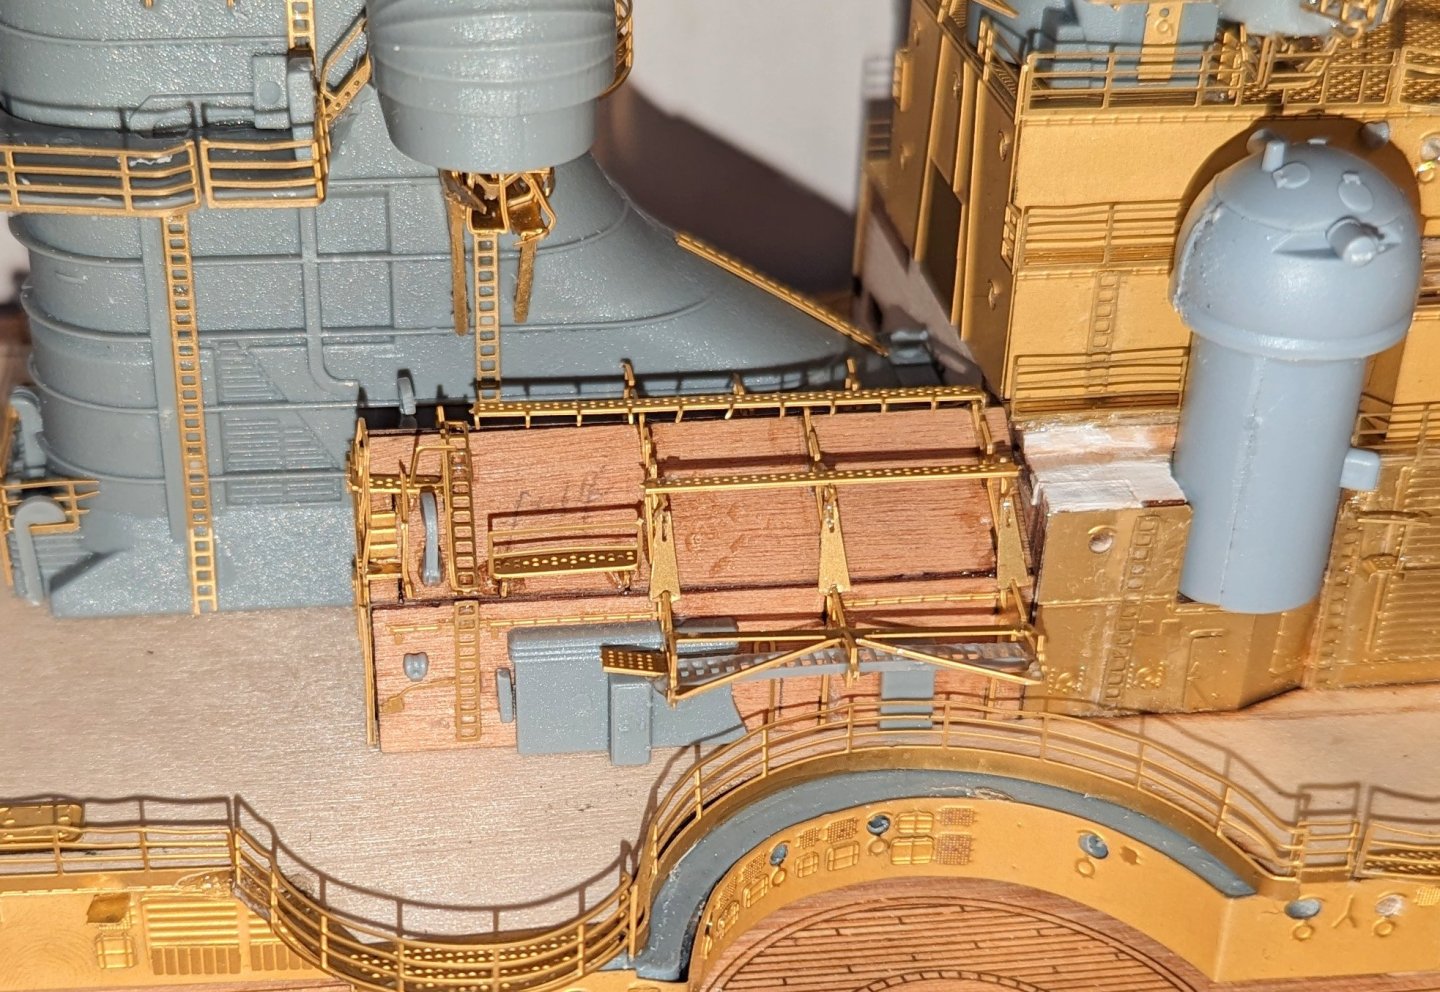
And the funnel and hangars. Now I have to build and paint a couple of brass fixtures, mount them, and then mount some turrets and this structure will be done. Regards, David
-
Next set of levels mounted. I'm into painting completed structures, so this should go up fairly quickly, and I'll keep posting progress pics as I go. Regards, David
-
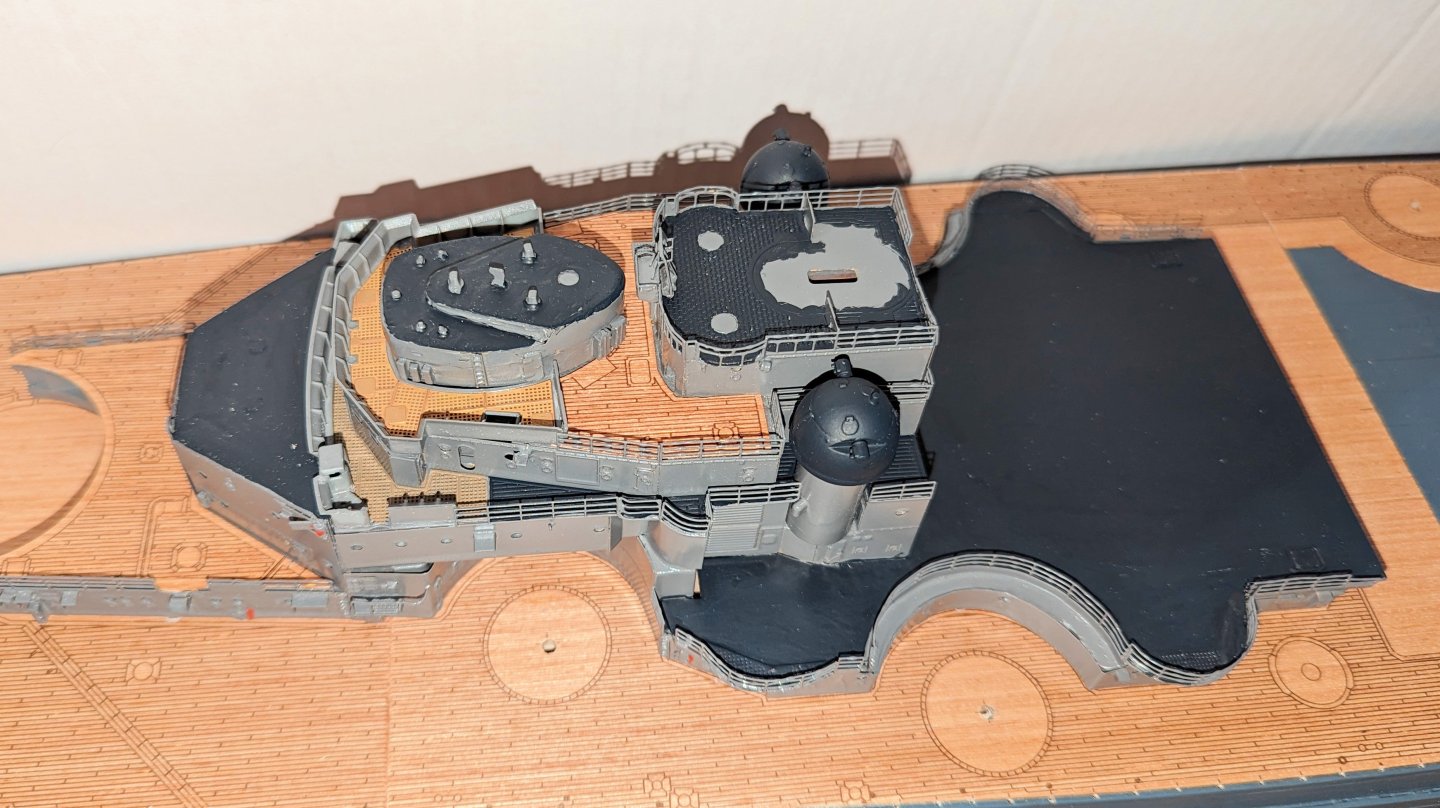
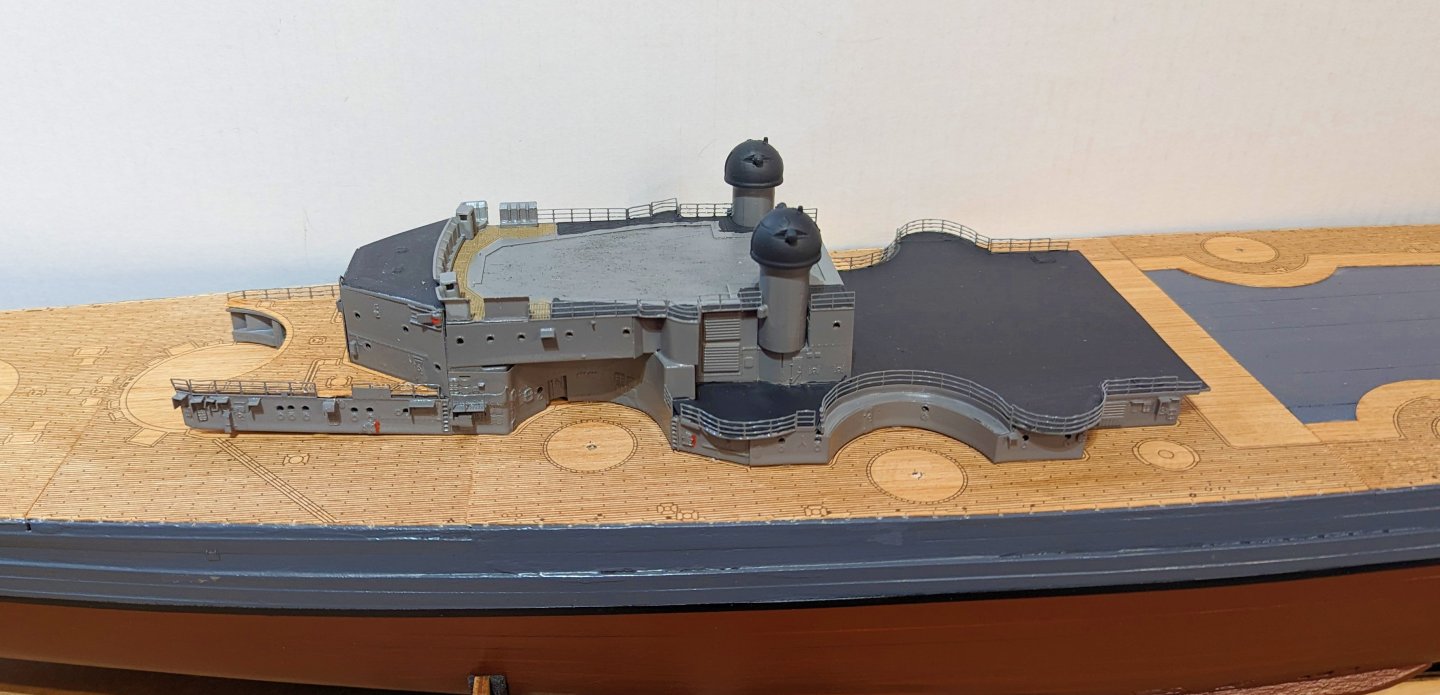
Put up my spray booth and have now started to paint and assemble the bow superstructure. First and second levels shown here, in position and glued to the ship. Regards, David
-
This is the starboard hangar in its position next to the funnel. An identical one goes on the port side, and I will build that now. Really nice detail here -- and of course all of this will be painted gray. A tip: there are notched slots in the roof to accept the brass pieces. I used a craft knife to widen them so they would more easily accept the fittings. Regards, David
About us
Modelshipworld - Advancing Ship Modeling through Research
SSL Secured
Your security is important for us so this Website is SSL-Secured
NRG Mailing Address
Nautical Research Guild
237 South Lincoln Street
Westmont IL, 60559-1917
Model Ship World ® and the MSW logo are Registered Trademarks, and belong to the Nautical Research Guild (United States Patent and Trademark Office: No. 6,929,264 & No. 6,929,274, registered Dec. 20, 2022)
Helpful Links
About the NRG
If you enjoy building ship models that are historically accurate as well as beautiful, then The Nautical Research Guild (NRG) is just right for you.
The Guild is a non-profit educational organization whose mission is to “Advance Ship Modeling Through Research”. We provide support to our members in their efforts to raise the quality of their model ships.
The Nautical Research Guild has published our world-renowned quarterly magazine, The Nautical Research Journal, since 1955. The pages of the Journal are full of articles by accomplished ship modelers who show you how they create those exquisite details on their models, and by maritime historians who show you the correct details to build. The Journal is available in both print and digital editions. Go to the NRG web site (www.thenrg.org) to download a complimentary digital copy of the Journal. The NRG also publishes plan sets, books and compilations of back issues of the Journal and the former Ships in Scale and Model Ship Builder magazines.


