Richvee
-
Posts
389 -
Joined
-
Last visited
1 Follower
.thumb.jpeg.fc5d633a7b34428fcf19419a73d56d55.jpeg)
Recent Profile Visitors
3,483 profile views


-
 Looks great! Smart move not rigging the cutting tackle at this point. It would be a nightmare rigging that around all the running rigging.
 -
 Richvee reacted to a post in a topic:
Kate Cory by Capt. Kelso (Quint) - Model Shipways - 3/16" scale - Whaling Brig
Richvee reacted to a post in a topic:
Kate Cory by Capt. Kelso (Quint) - Model Shipways - 3/16" scale - Whaling Brig
-
Harvey Golden reacted to a post in a topic:
Kate Cory by Richvee - FINISHED - Model Shipways - 1:64 - solid hull
-
Looks fantastic. Are you planning on rigging the cutting in tackle? If yes, get that in before you get too deep into the braces and running rigging. It's a tough enough rig with nothing in the way. Hope you have fairleads drilled in the fore top if you're going to run bunt and leech lines. It's going to get crowded up there. Don't forget the fairleads on the front shrouds as well. I used bulls eyes
-
Richvee reacted to a post in a topic:
Kate Cory by Capt. Kelso (Quint) - Model Shipways - 3/16" scale - Whaling Brig
-
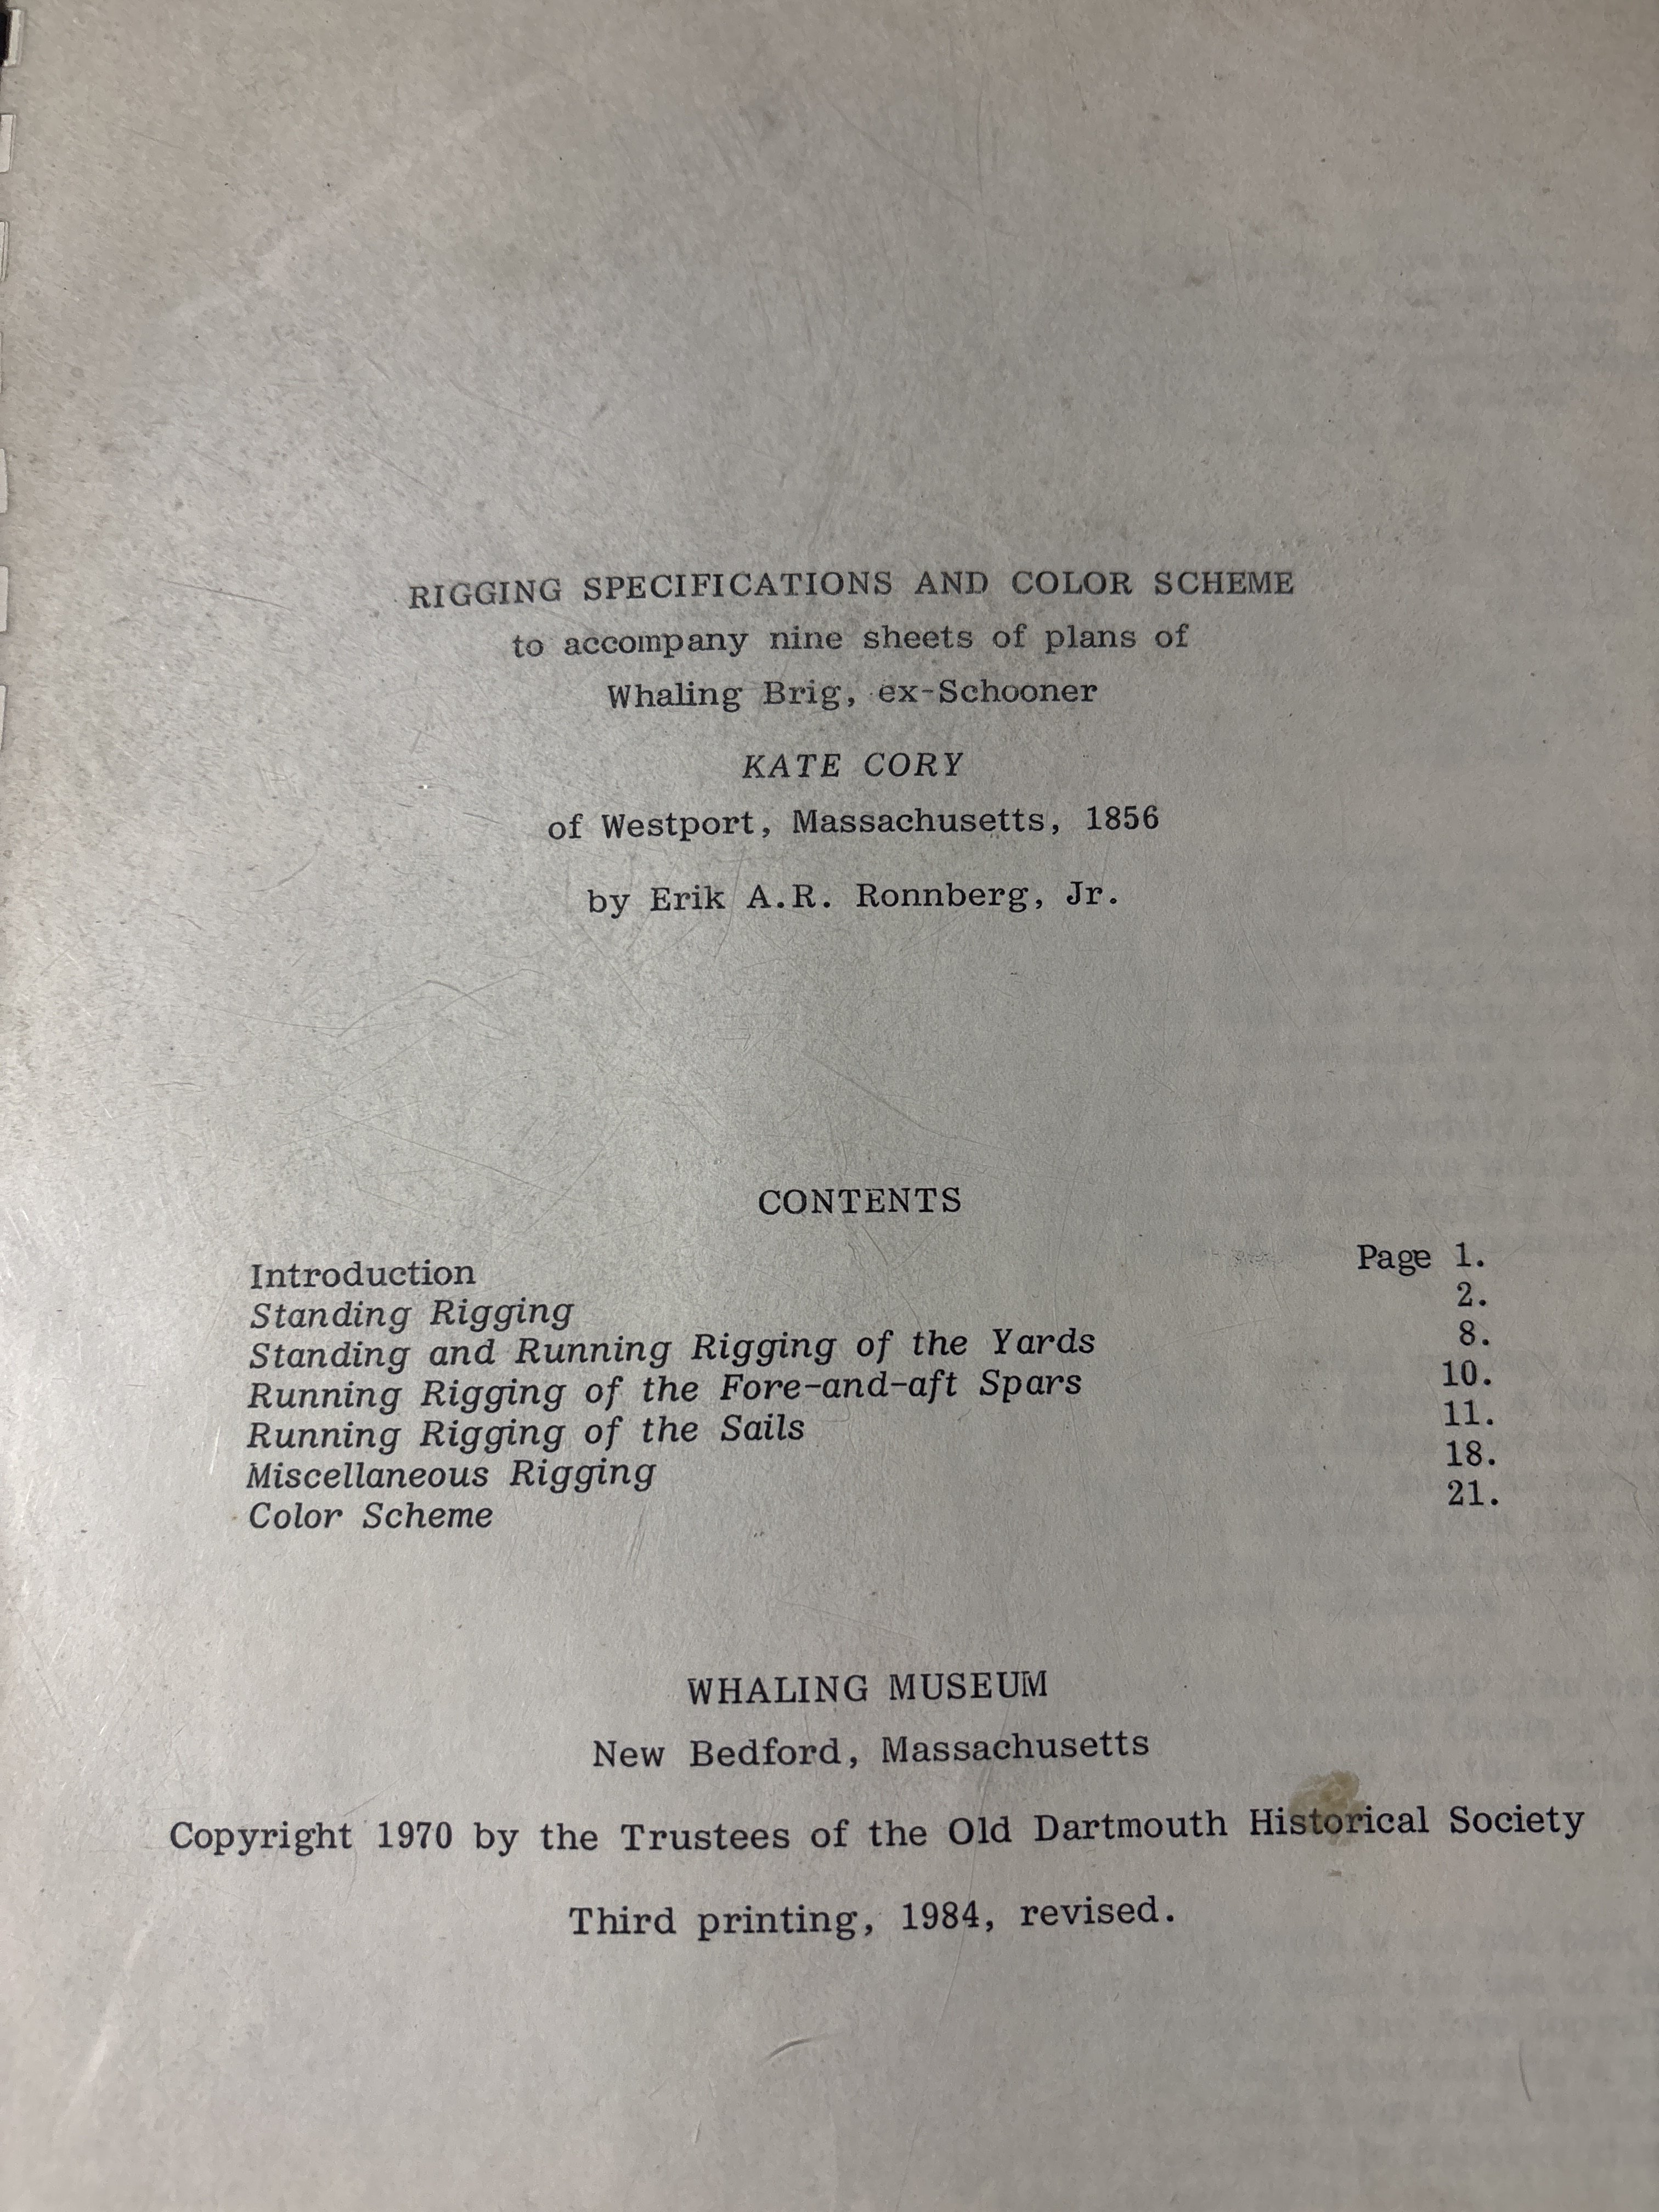
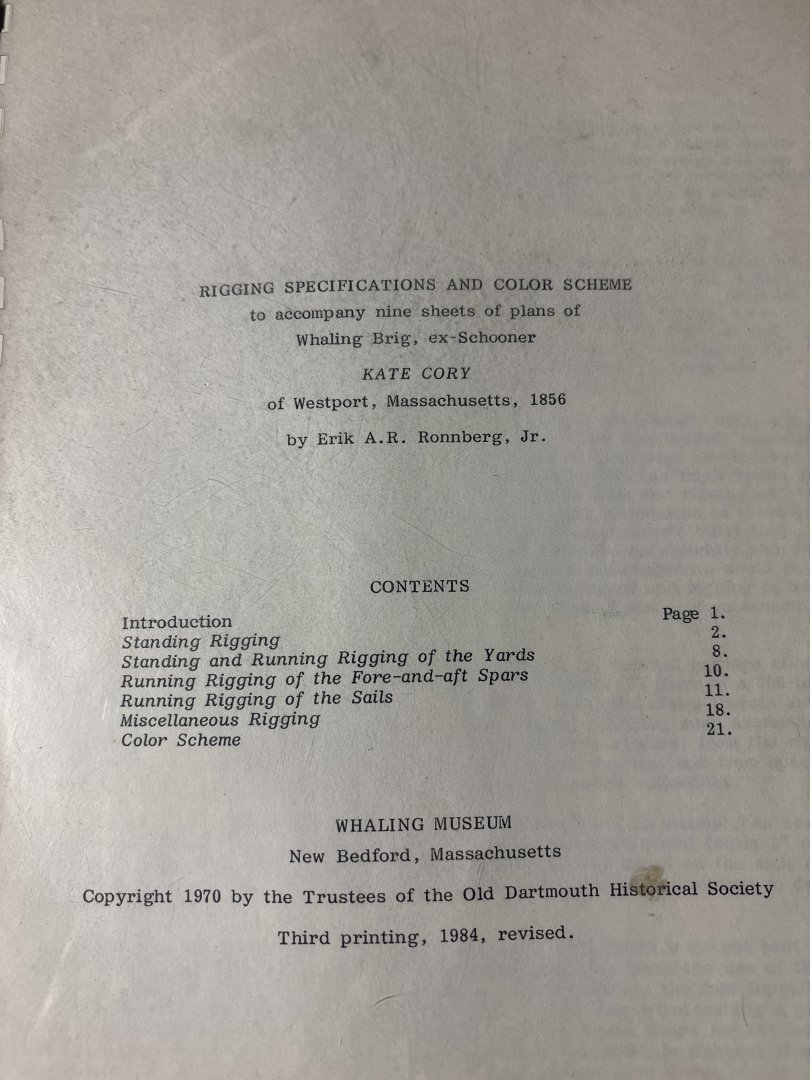
Tom was an asset to me as well. Being my first serious model, the booklet came in handy because it not only told you colors and diameters of ropes, it gave block sizes, where and how lines and blocks weee sized, or belayed, and the path of the running rigging. Wish I found your build sooner. I’ve been more focused on model railroading the past year and a half and haven’t spent much time here. Again - outstanding work!
-
Richvee reacted to a post in a topic:
Kate Cory by Capt. Kelso (Quint) - Model Shipways - 3/16" scale - Whaling Brig
-
Capt. Kelso reacted to a post in a topic:
Pride of Baltimore II by Richvee - Model Shipways - 1:64
-
Great work. Impressive build. When you got the plans from New Bedford, did you get the rigging specs and color scheme booklet by A. R. Ronnberg Jr? There’s a lot of great info in it.
-
Richvee reacted to a post in a topic:
Flying Fish by Jared - FINISHED - Model Shipways - 1:96
-
Richvee reacted to a post in a topic:
Medway Longboat 1742 by Ryland Craze - FINISHED - Syren Ship Model Company - 1:24 Scale
-
Richvee reacted to a post in a topic:
Medway Longboat 1742 by Ryland Craze - FINISHED - Syren Ship Model Company - 1:24 Scale
-
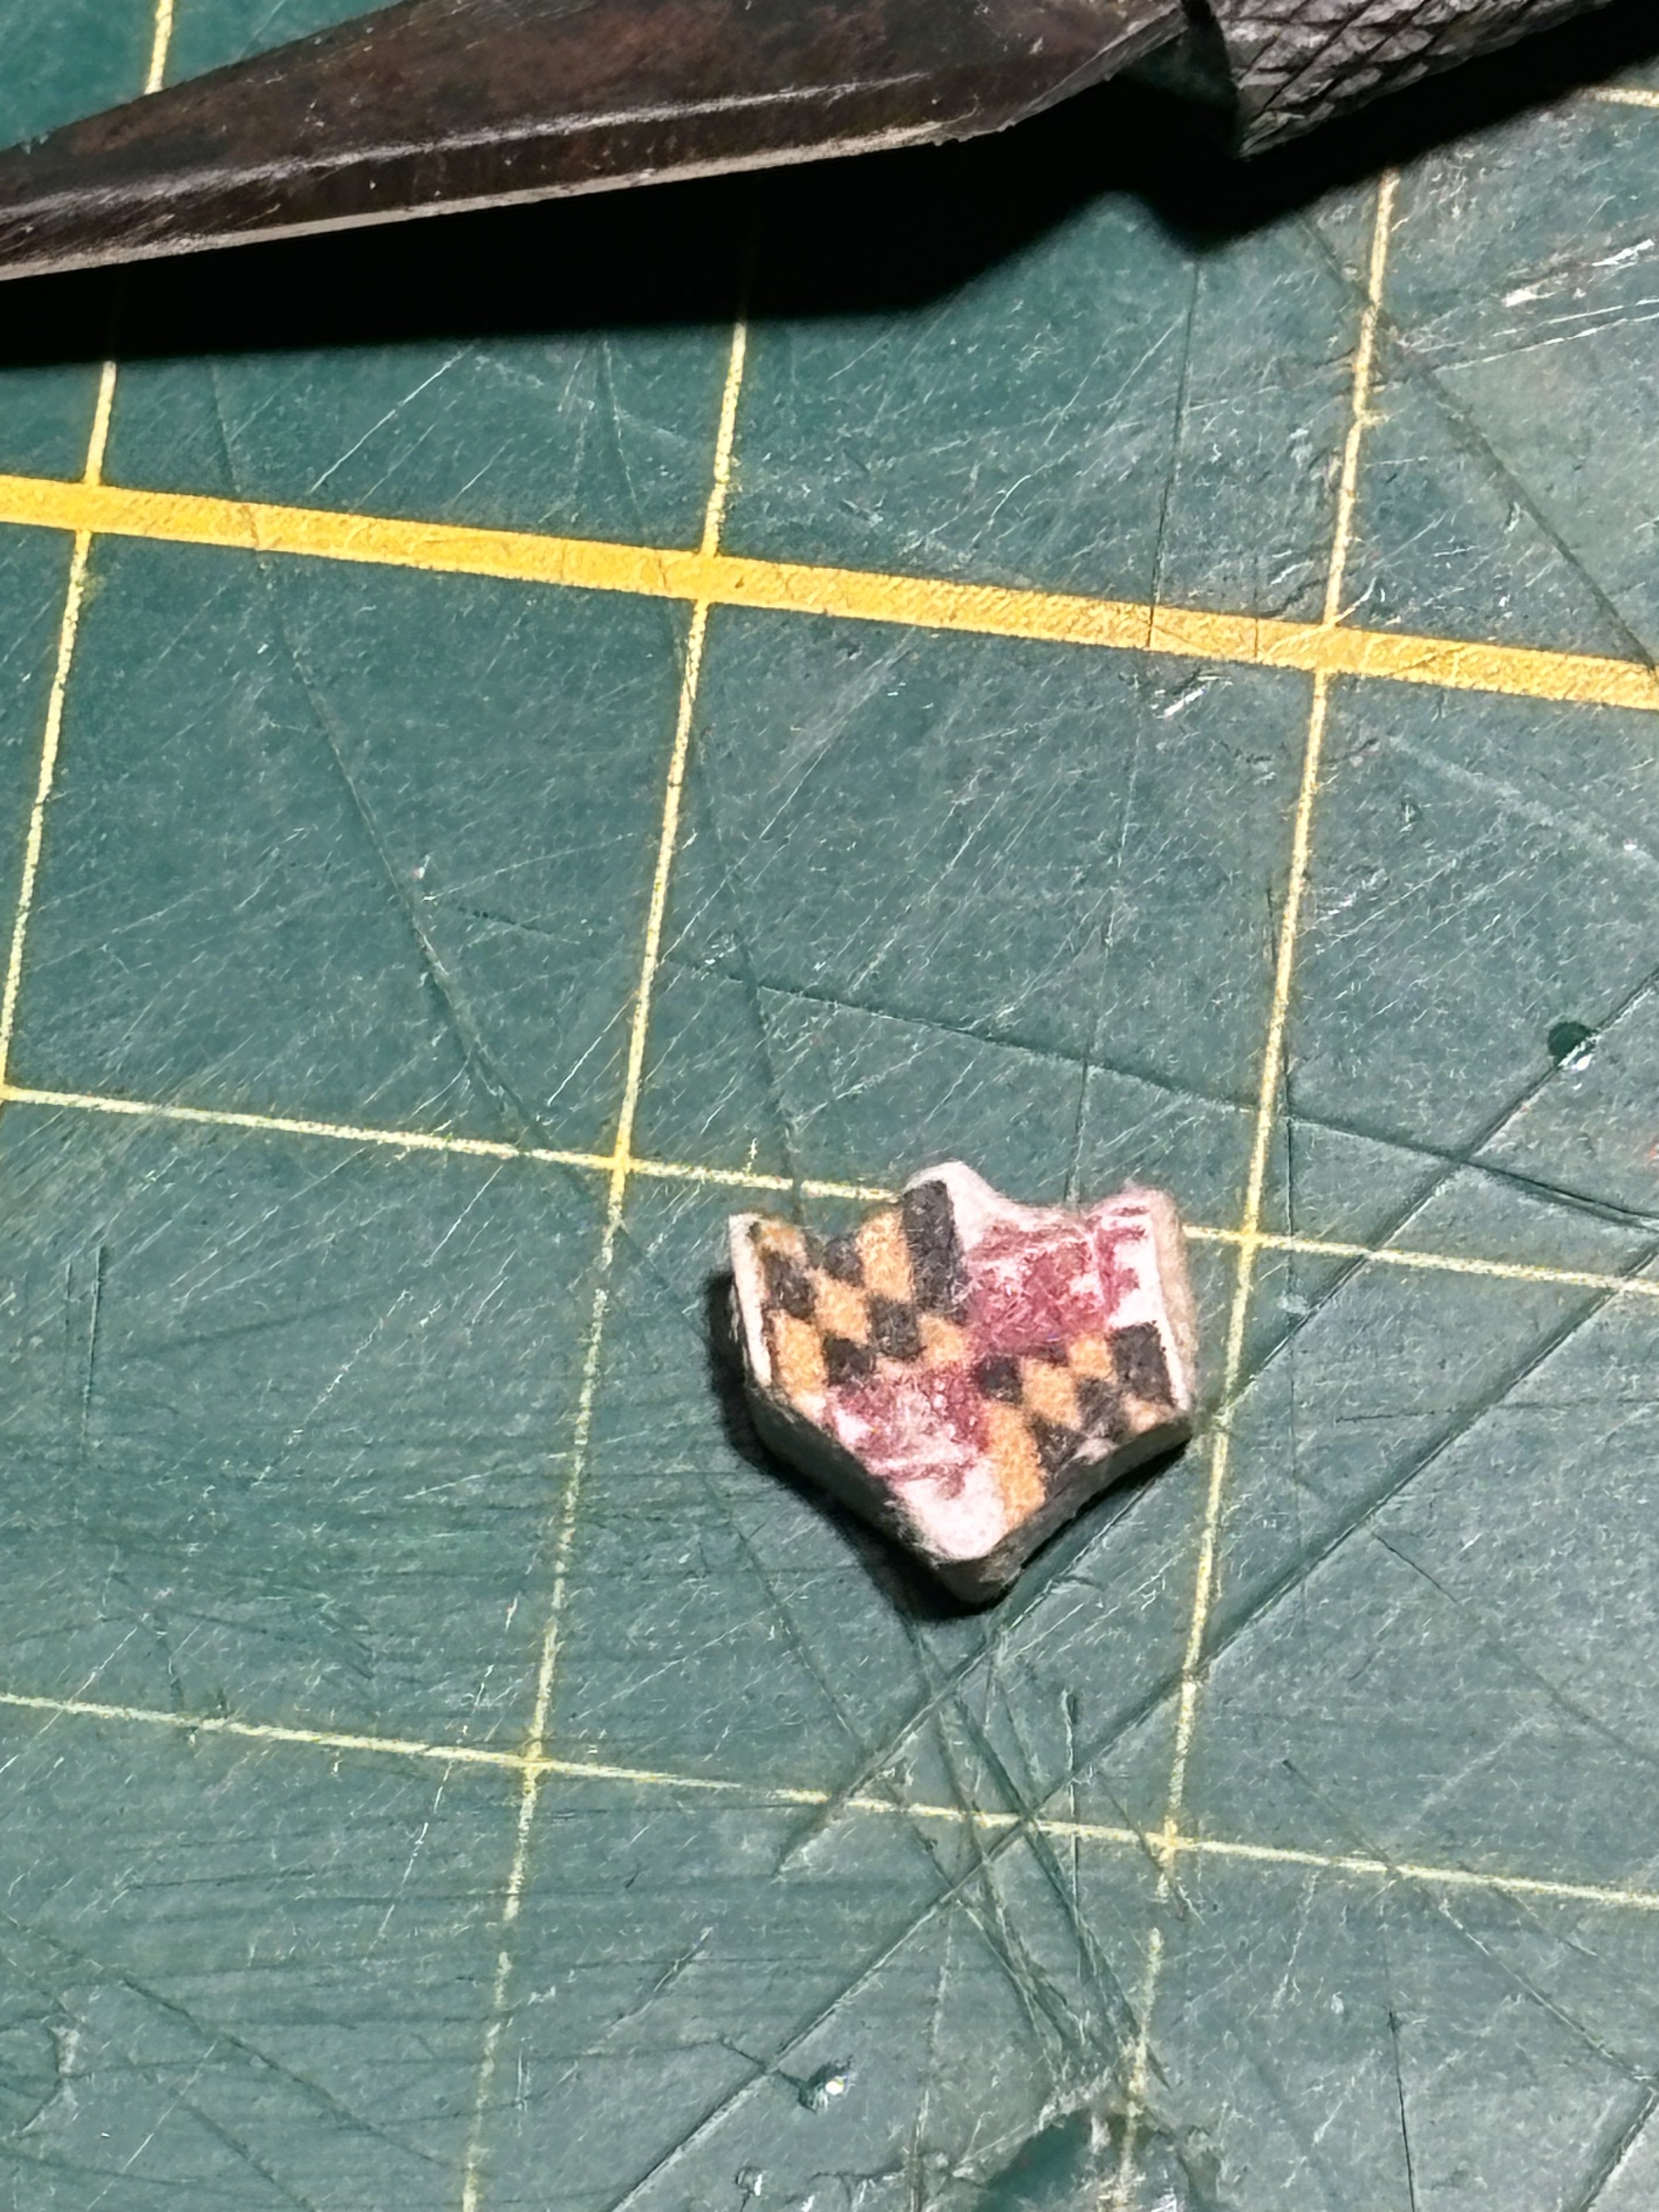
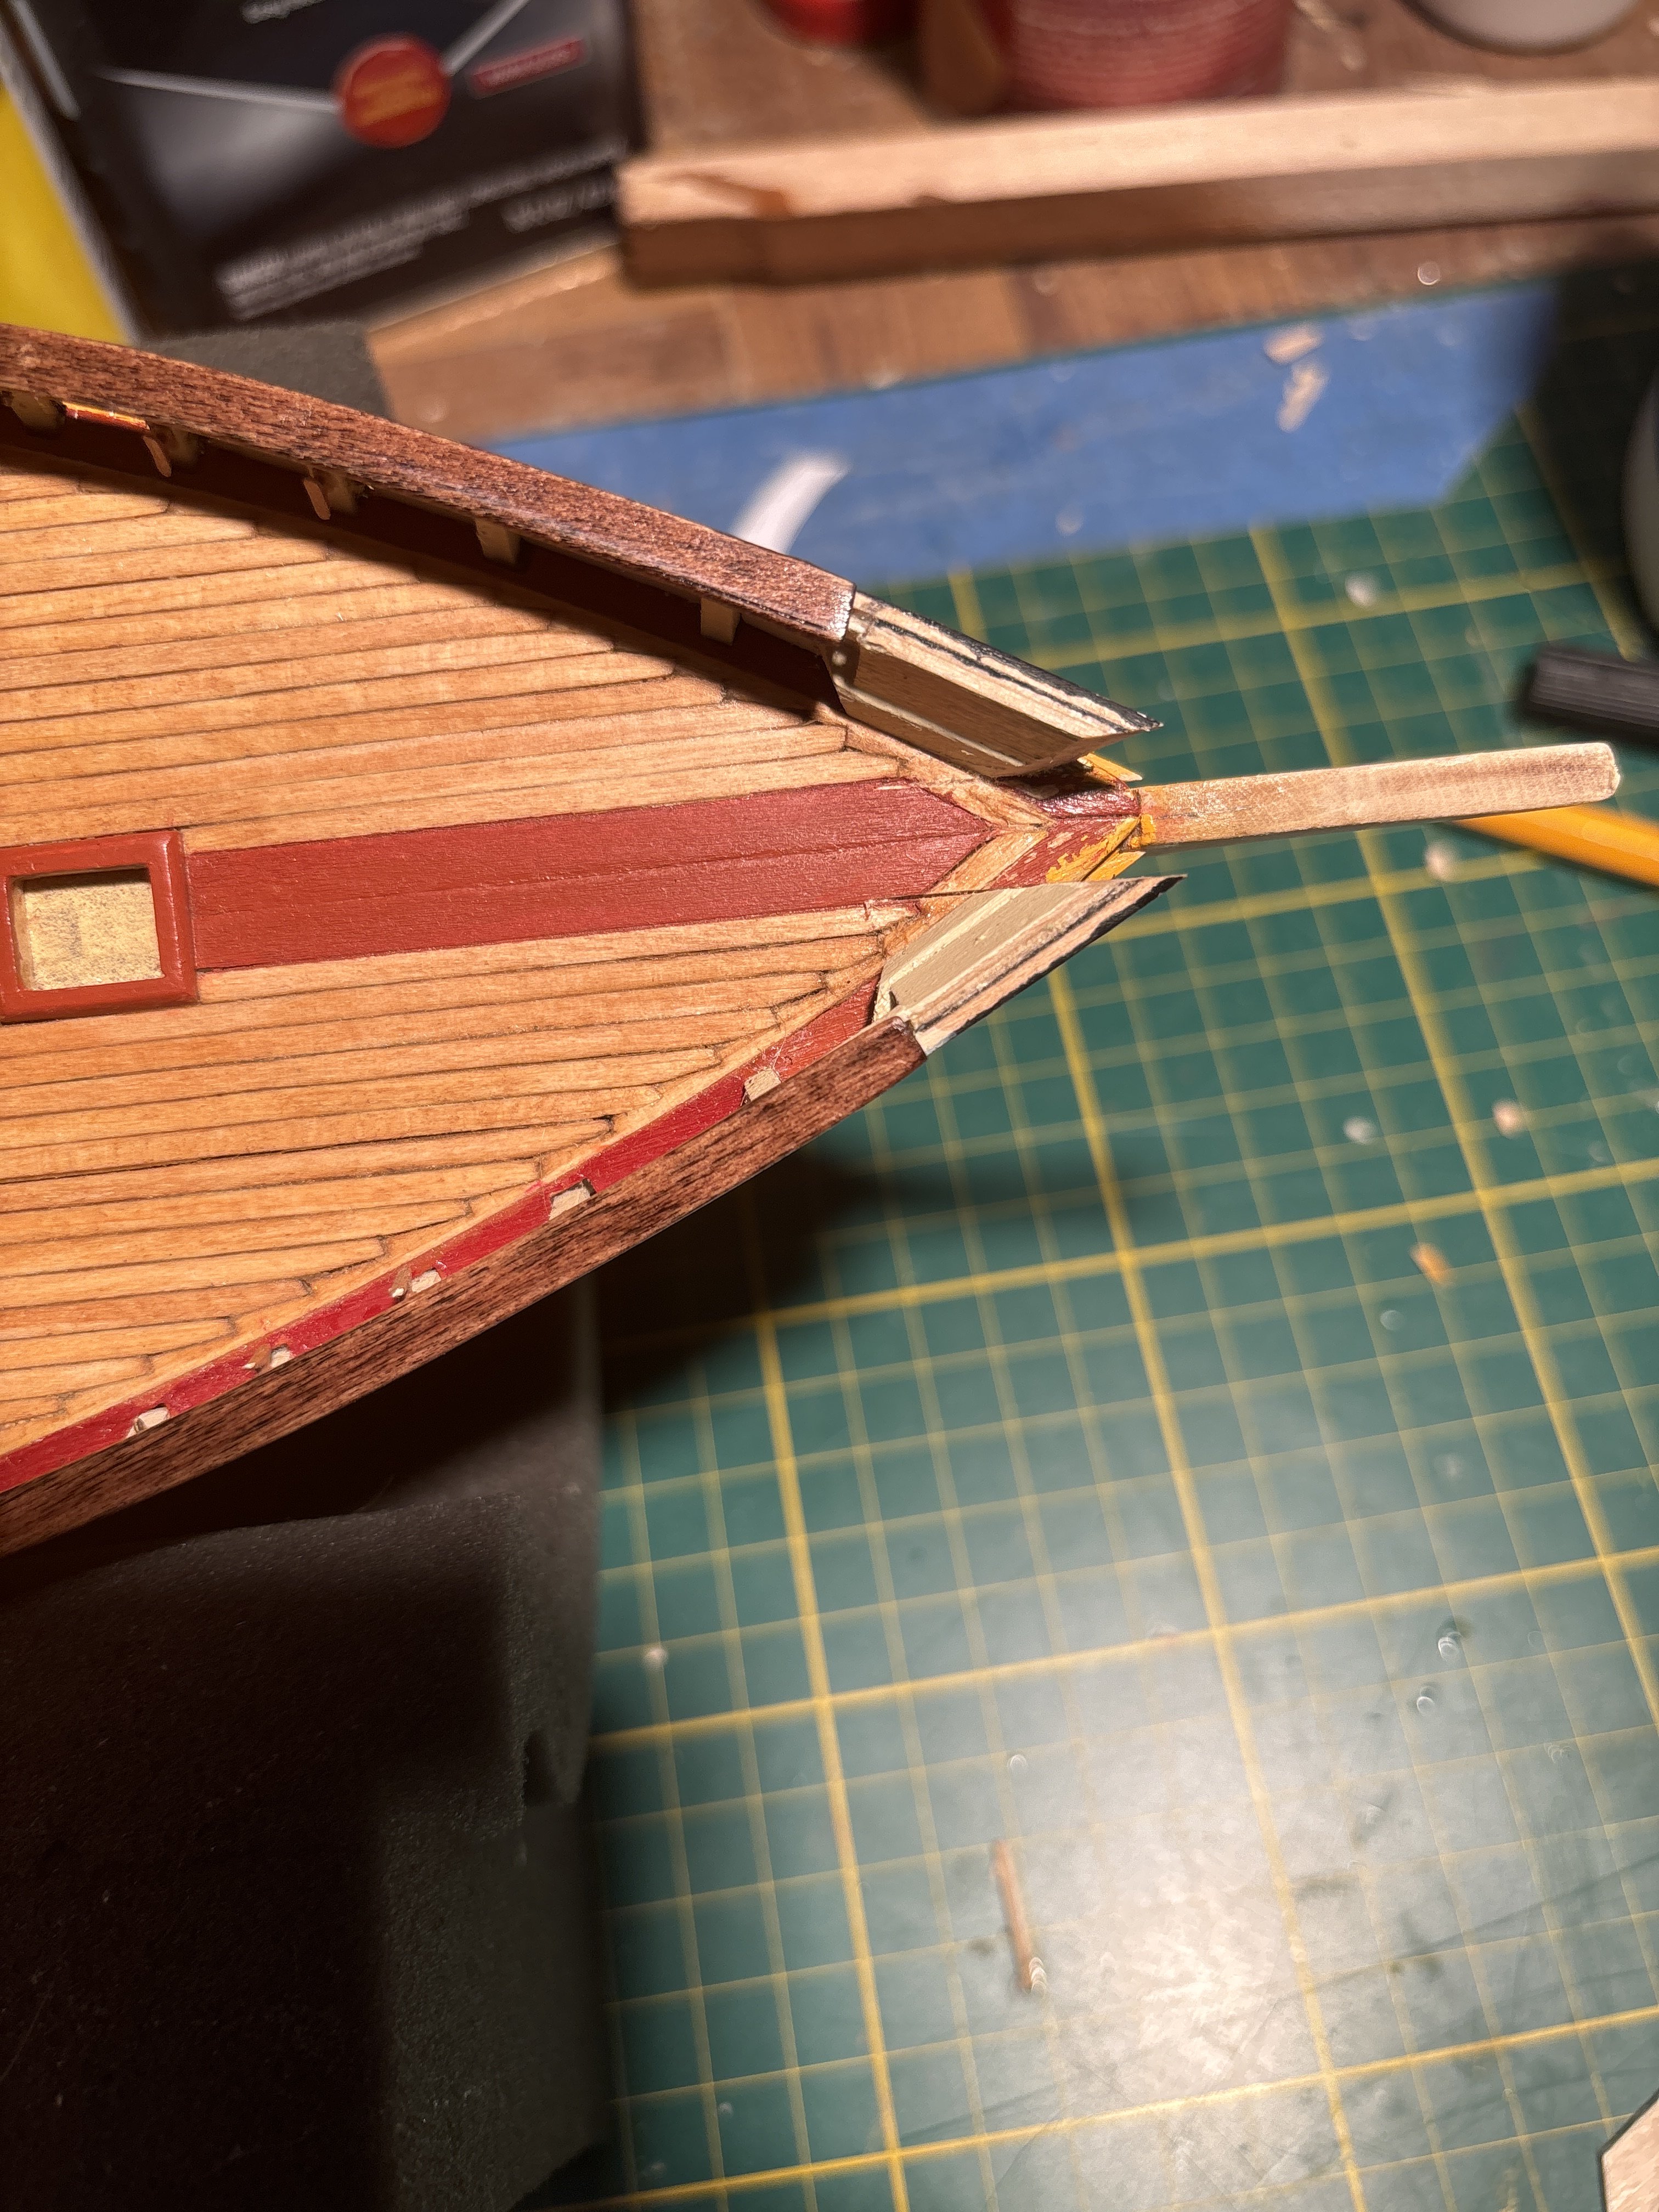
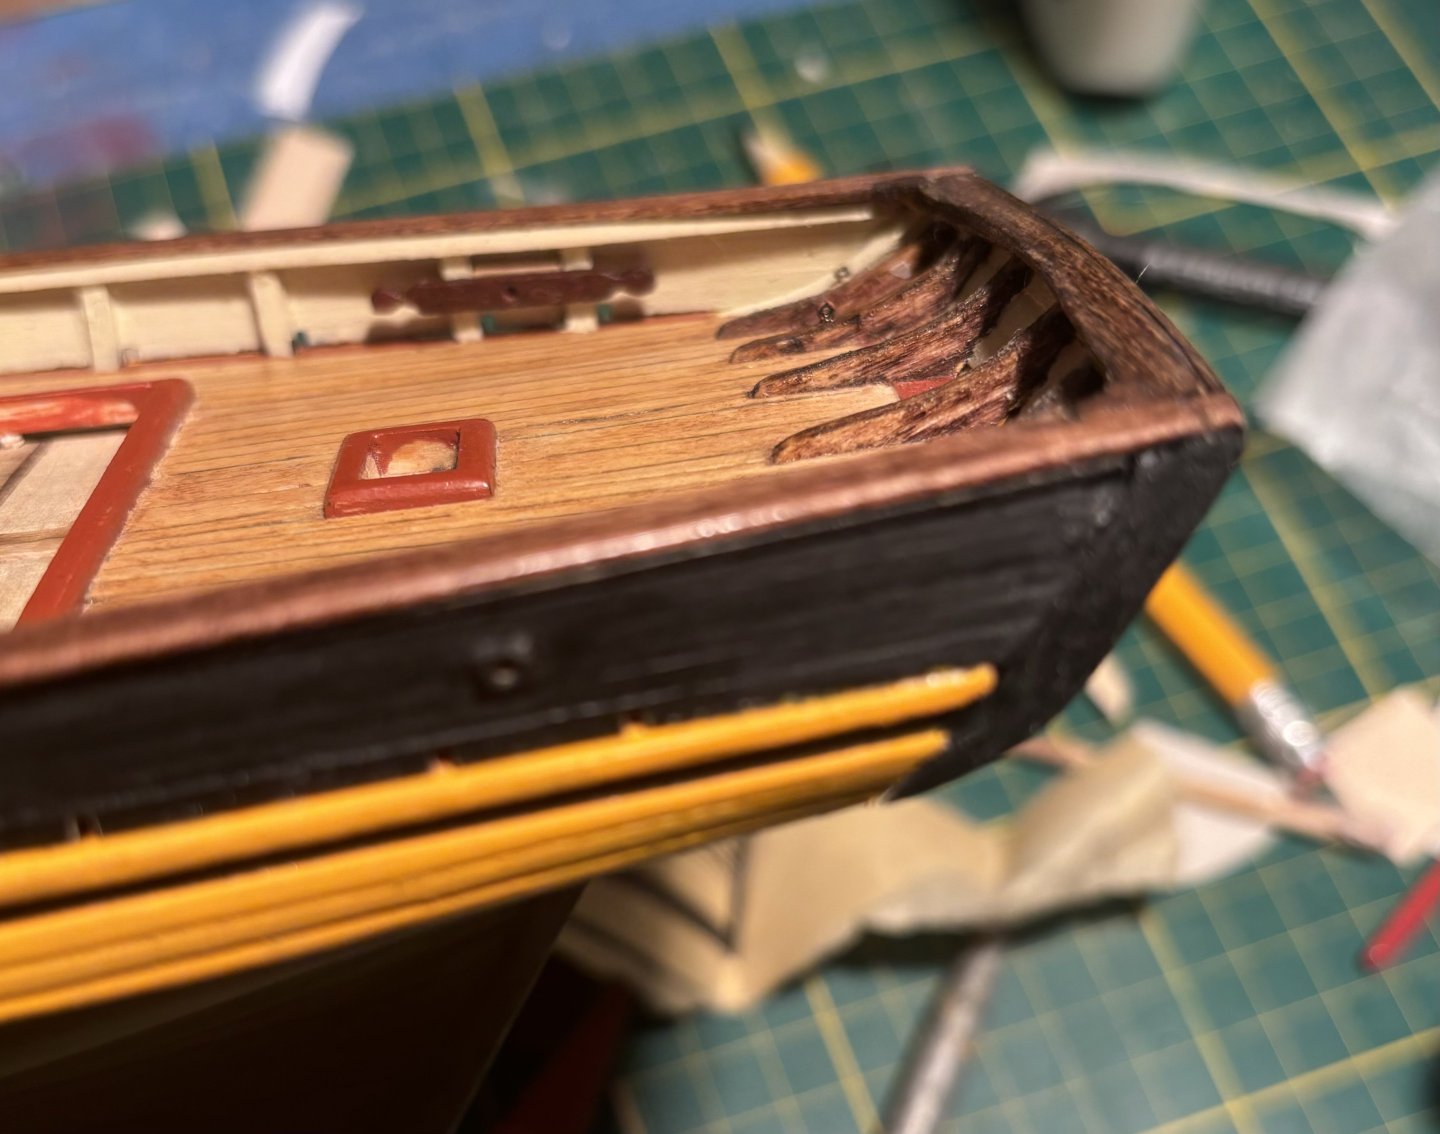
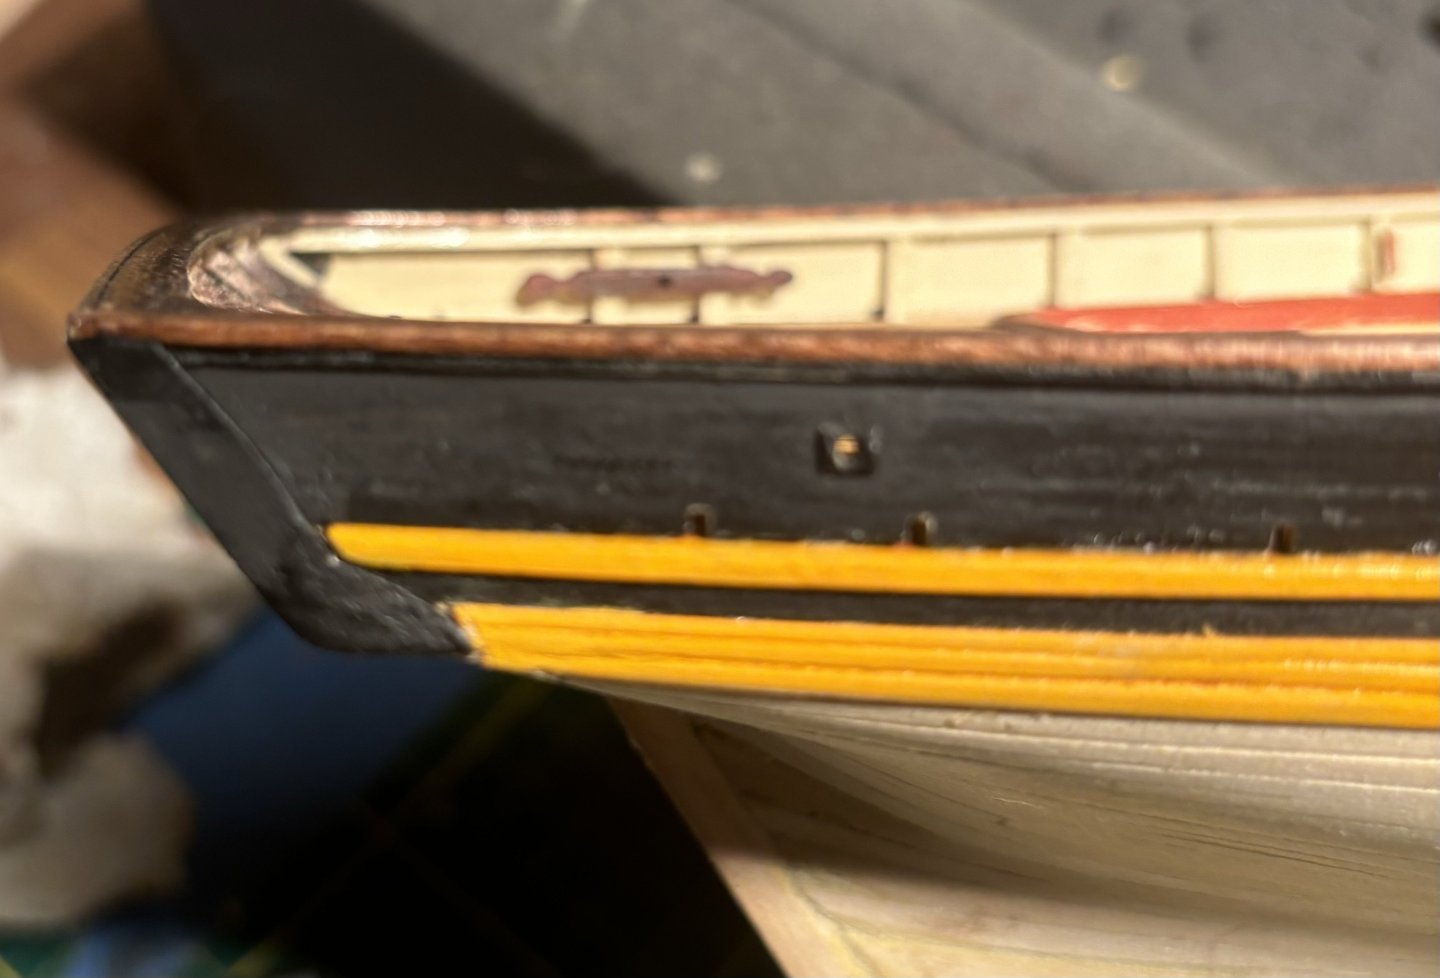
I printed out a tiny Maryland flag and made the shield for the middle of the transom. Can’t add that stuff until I get the letters on there. Some fresh paint in the fashion pieces and transom trim. While I wait for the letters to arrive, I guess I’ll turn to finishing the rail at the bow I also need to drill the howse pipe holes.


- 51 replies
-
- 3
-
-
- Model Shipways
- Baltimore Clipper
- (and 1 more)
-
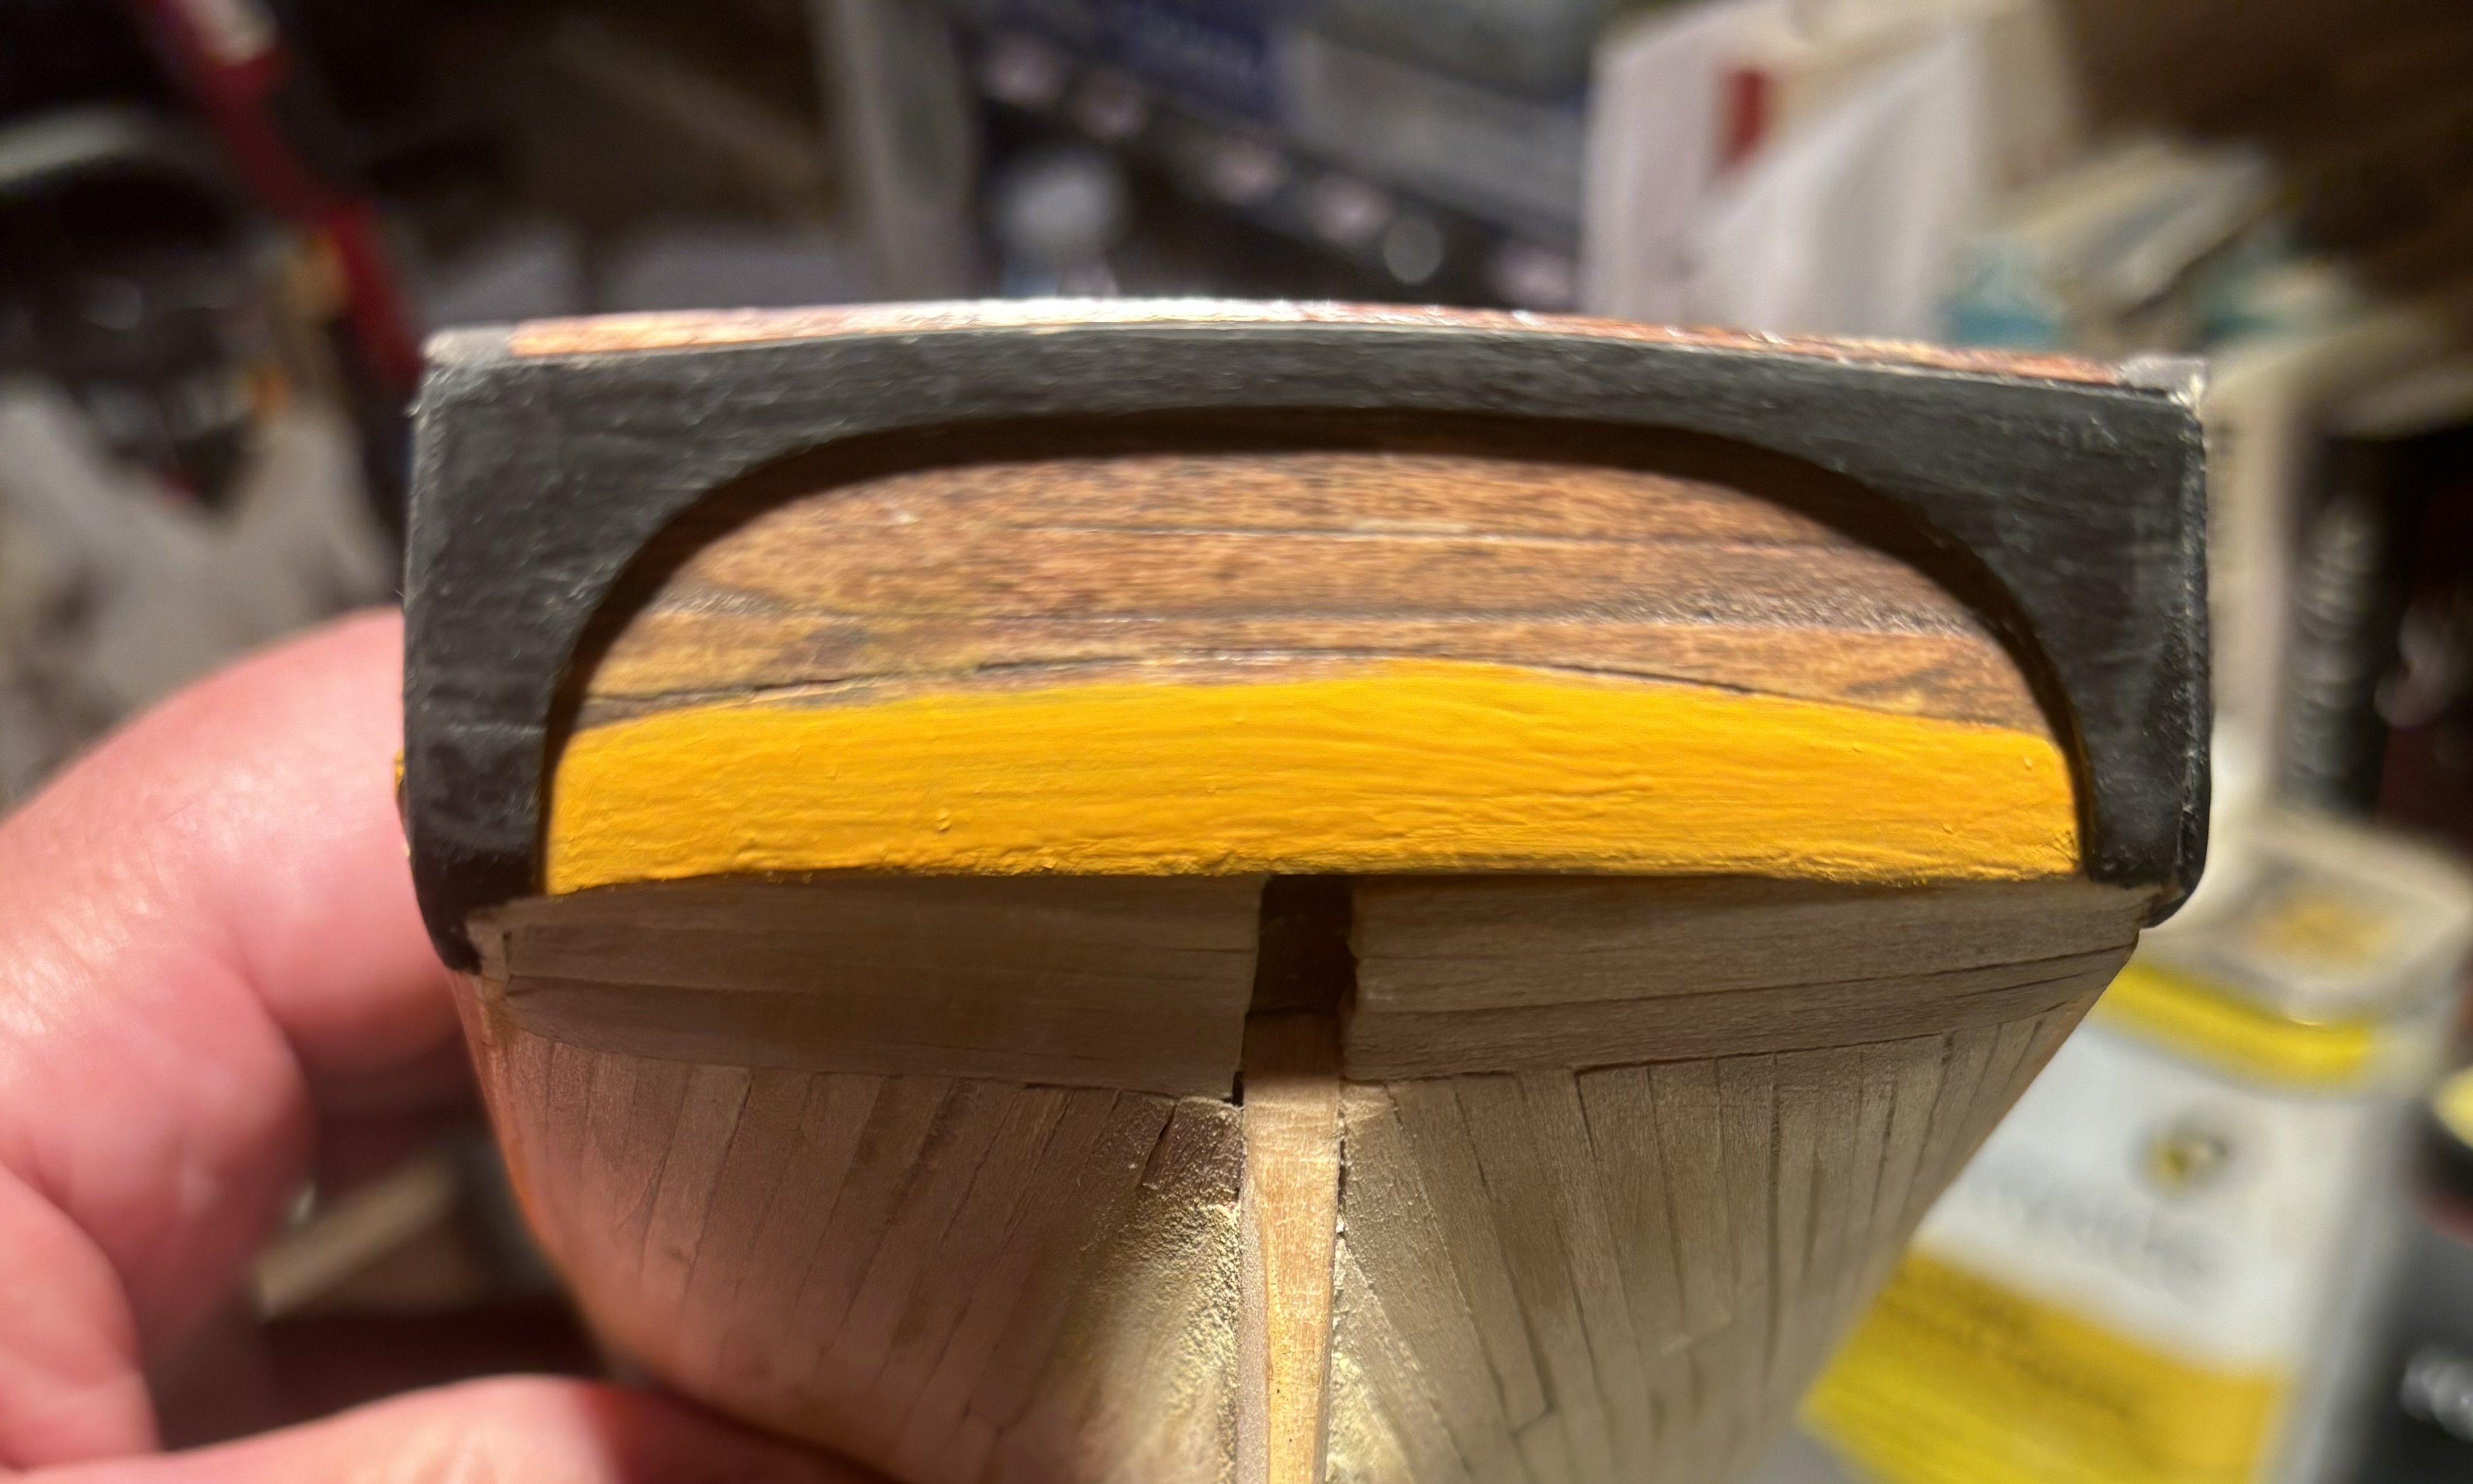
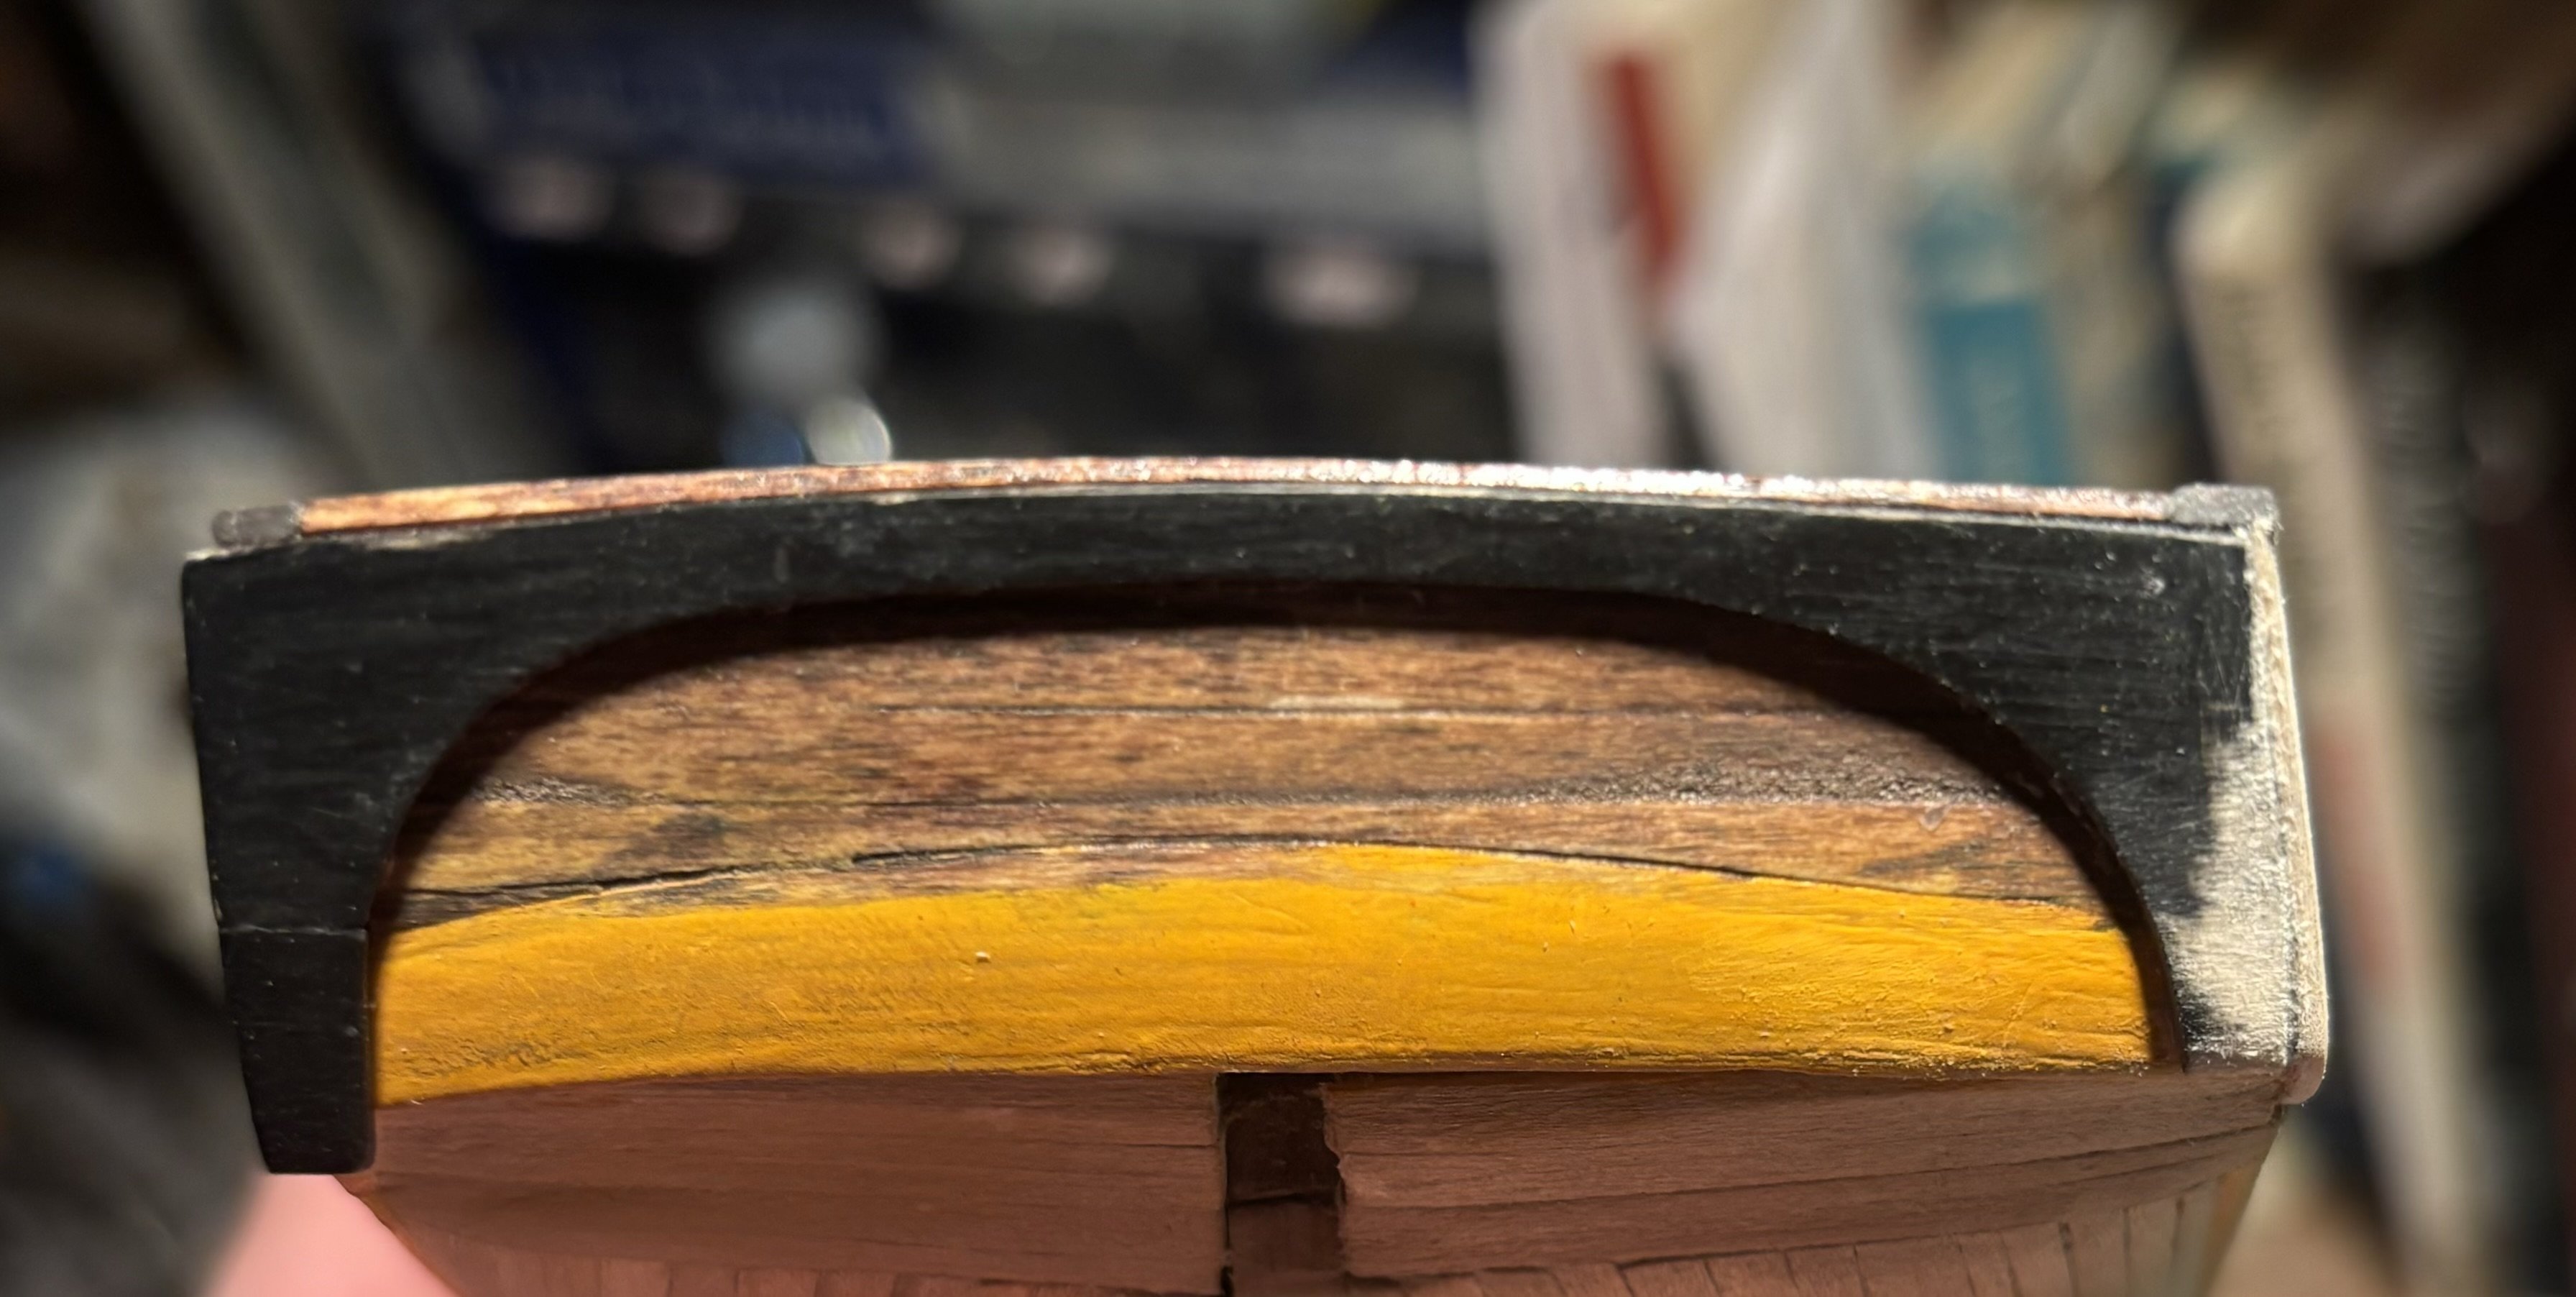
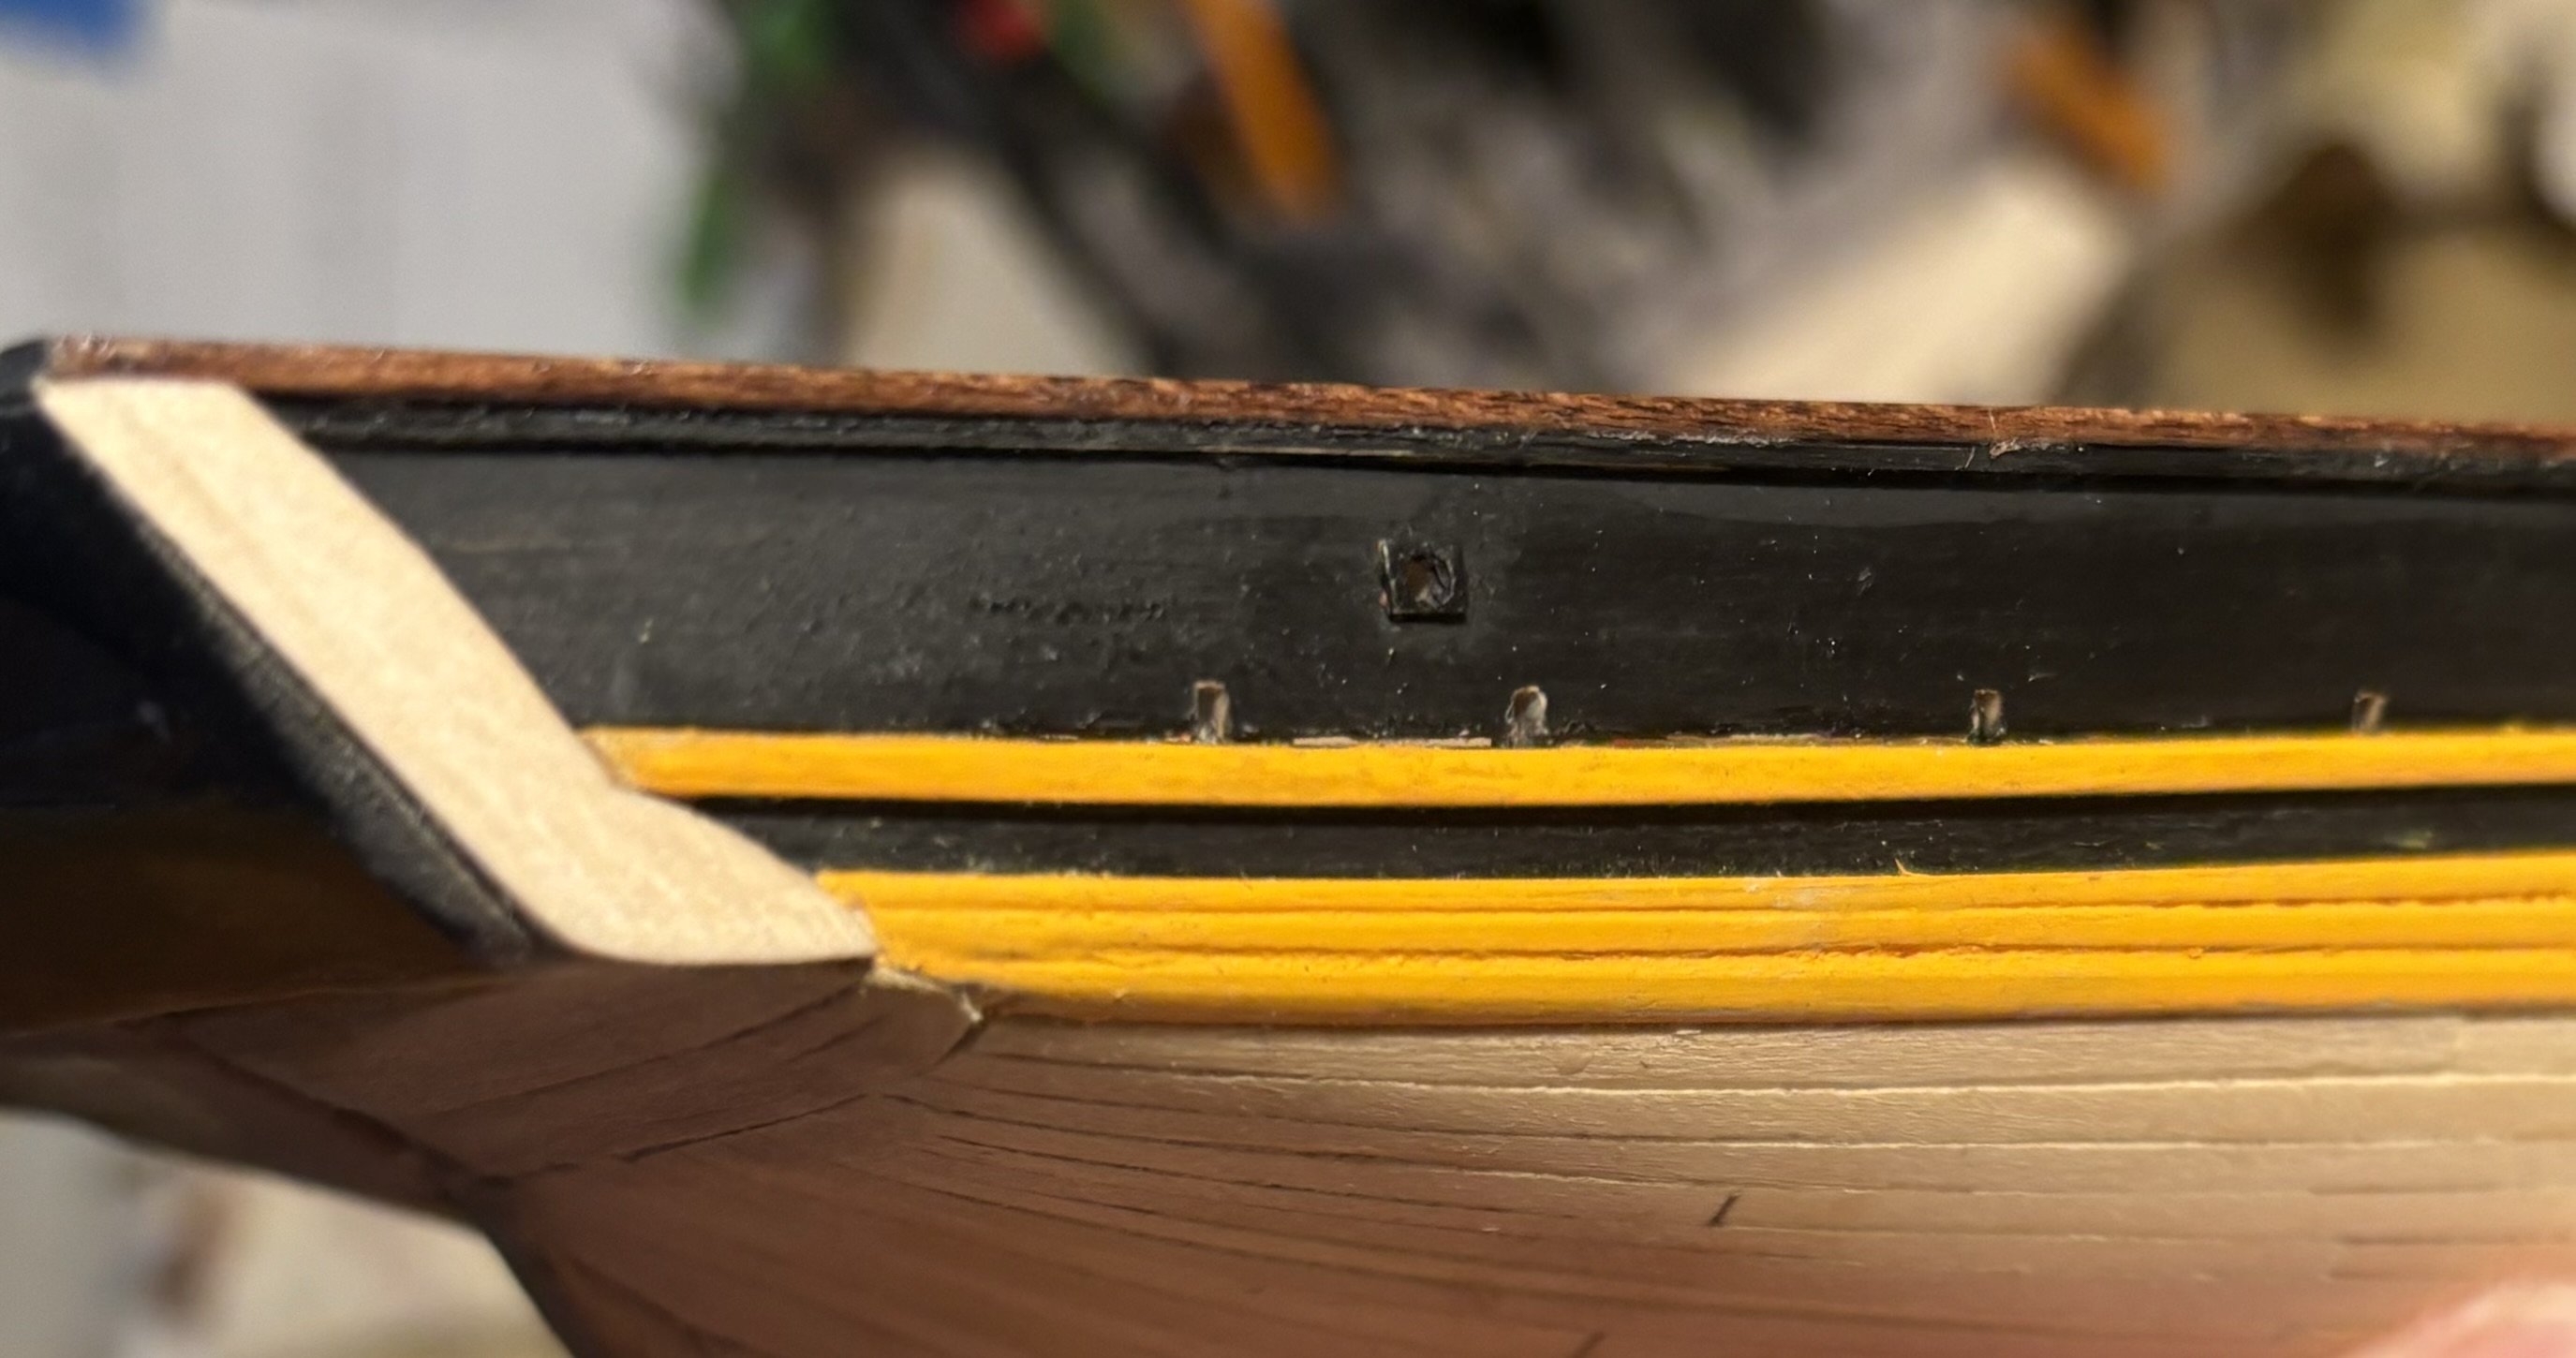
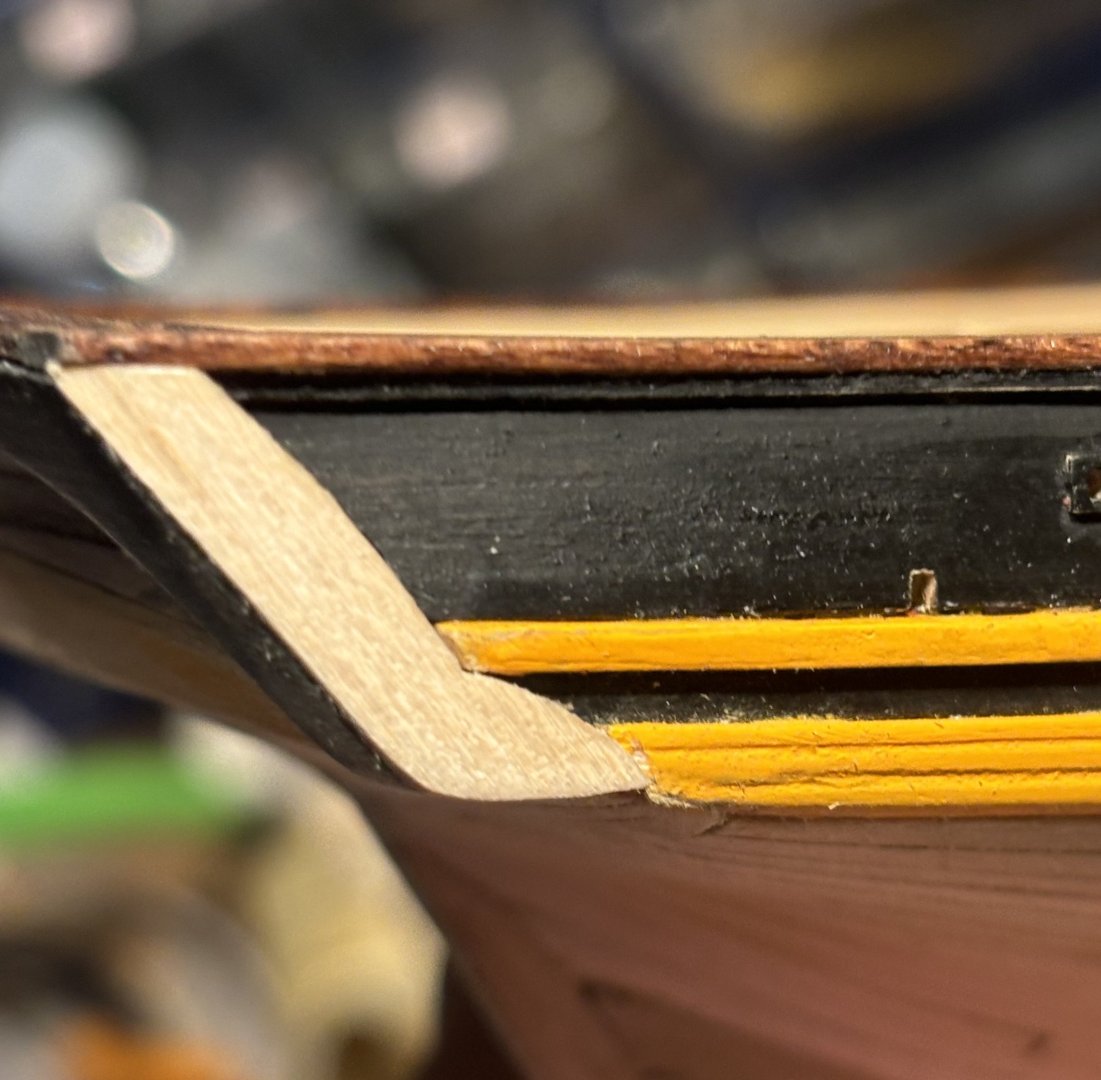
Work has been progressing at a decent pace. (Well, a decent pace for me😁) I stained the rails, and added quite a few coats of glossy wipe on poly, then I went about securing the rail. I then turned to the sternposts, stained and added the wipe on poly. I then cut and fit the stern rail in place. Again staining and finishing prior to attaching it to the model. Next up was the trim, and side fashion pieces for the transom. I knew this was going to be challenging, because somewhere along the line, the taper of the wales on the sides, and the edges of the stern were not exactly symmetrical-to say the least. So I knew I’d have to do some fudging to make it look at least passable. First I cut the stern trim from cardstock, transferred it to a 3/32” thick sheet, cut and worked it to fit, trying to make the inner curve mask the fact that the sides were slightly different lengths. It ended up looking like this. The fashion pieces were next. These took several attempts, and a lot of fudging from the actual plans to get an acceptable look. Some sanding and painting is next up. In the meantime, I’ve been thinking about the lettering for the transom. I ordered some dry transfer letters. We’ll see if I can apply them and get a decent result.


- 51 replies
-
- 1
-
-
- Model Shipways
- Baltimore Clipper
- (and 1 more)
-
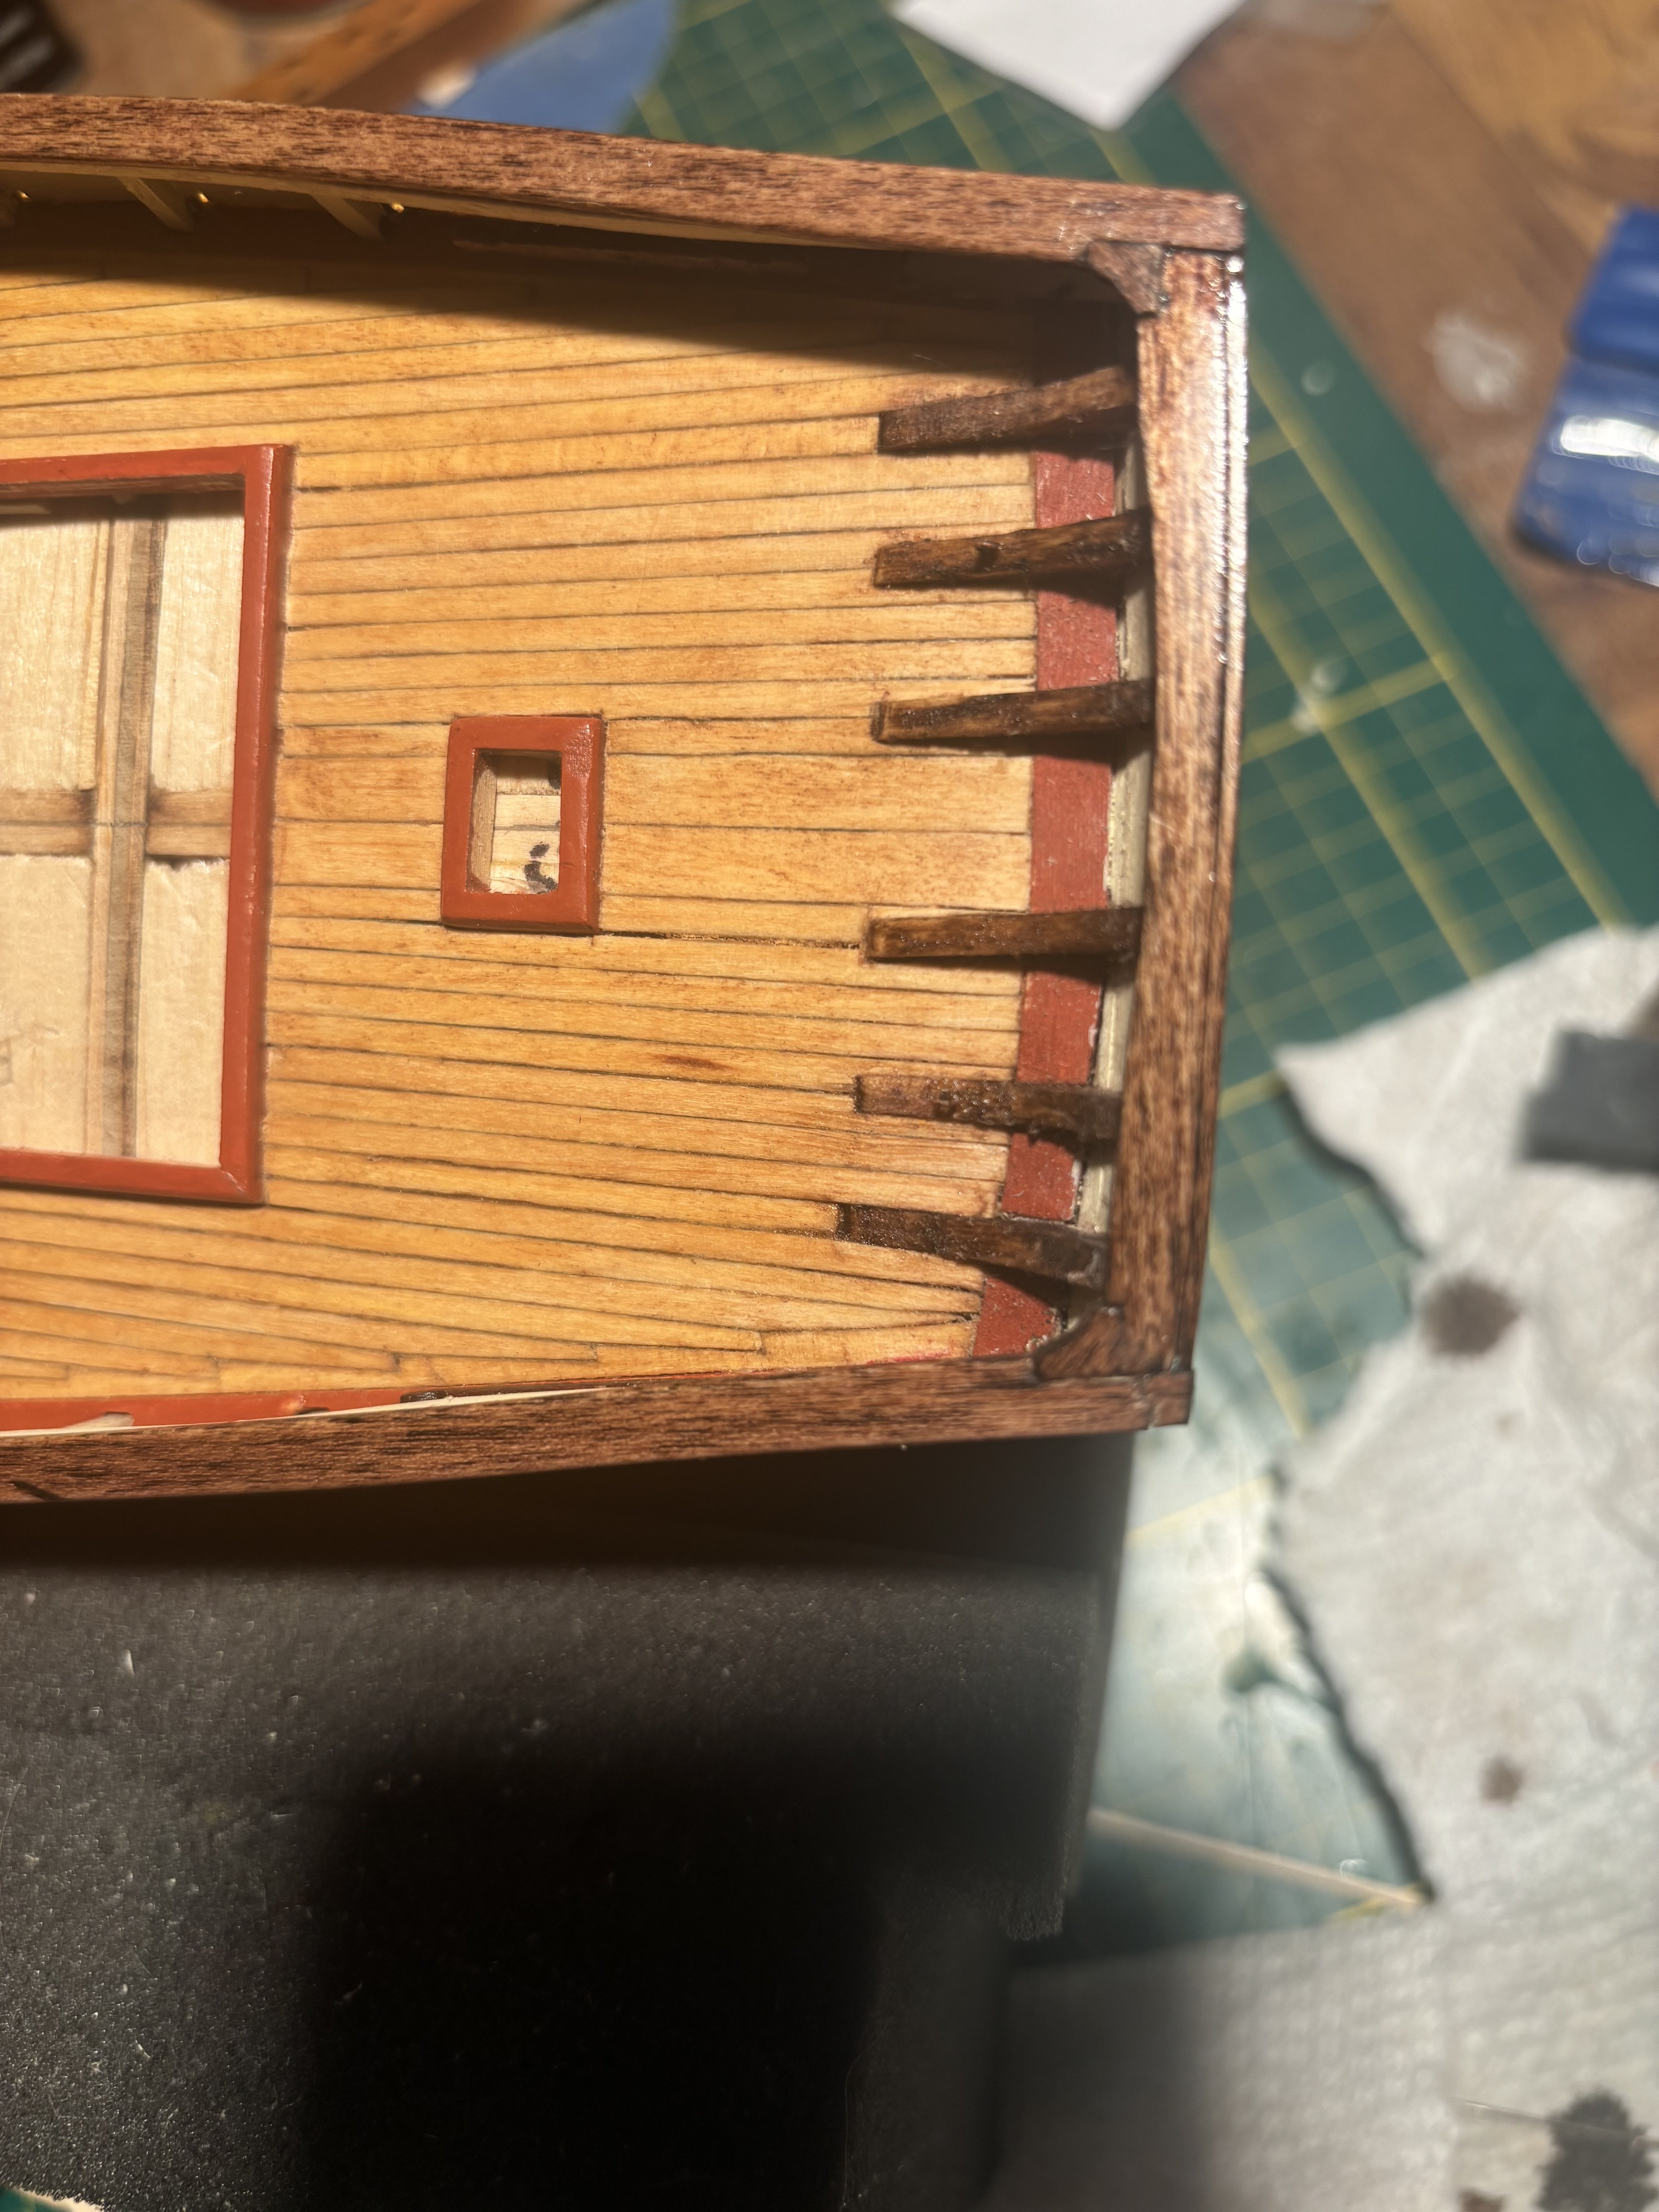
Thanks for looking in and liking! Finished cutting and sanding the top rails today. Here they are just loosely placed in approximate position. The starboard rail is NOT wider than the Port side. I guess camera angle is causing that. I don't think I can hold off dealing with that pesky transom any longer. I reordered some new stern knees because I broke one, and didn't set the angle of the two outside ones correctly. Now it's just a matter of getting a smooth arc across the knees and a rail secured over them. I think I'll smooth out the arc of the posts, cut the stern top rail, test fit, but not glue the stern rail in place until the side rails are mounted.
- 51 replies
-
- 2
-
-
- Model Shipways
- Baltimore Clipper
- (and 1 more)
-
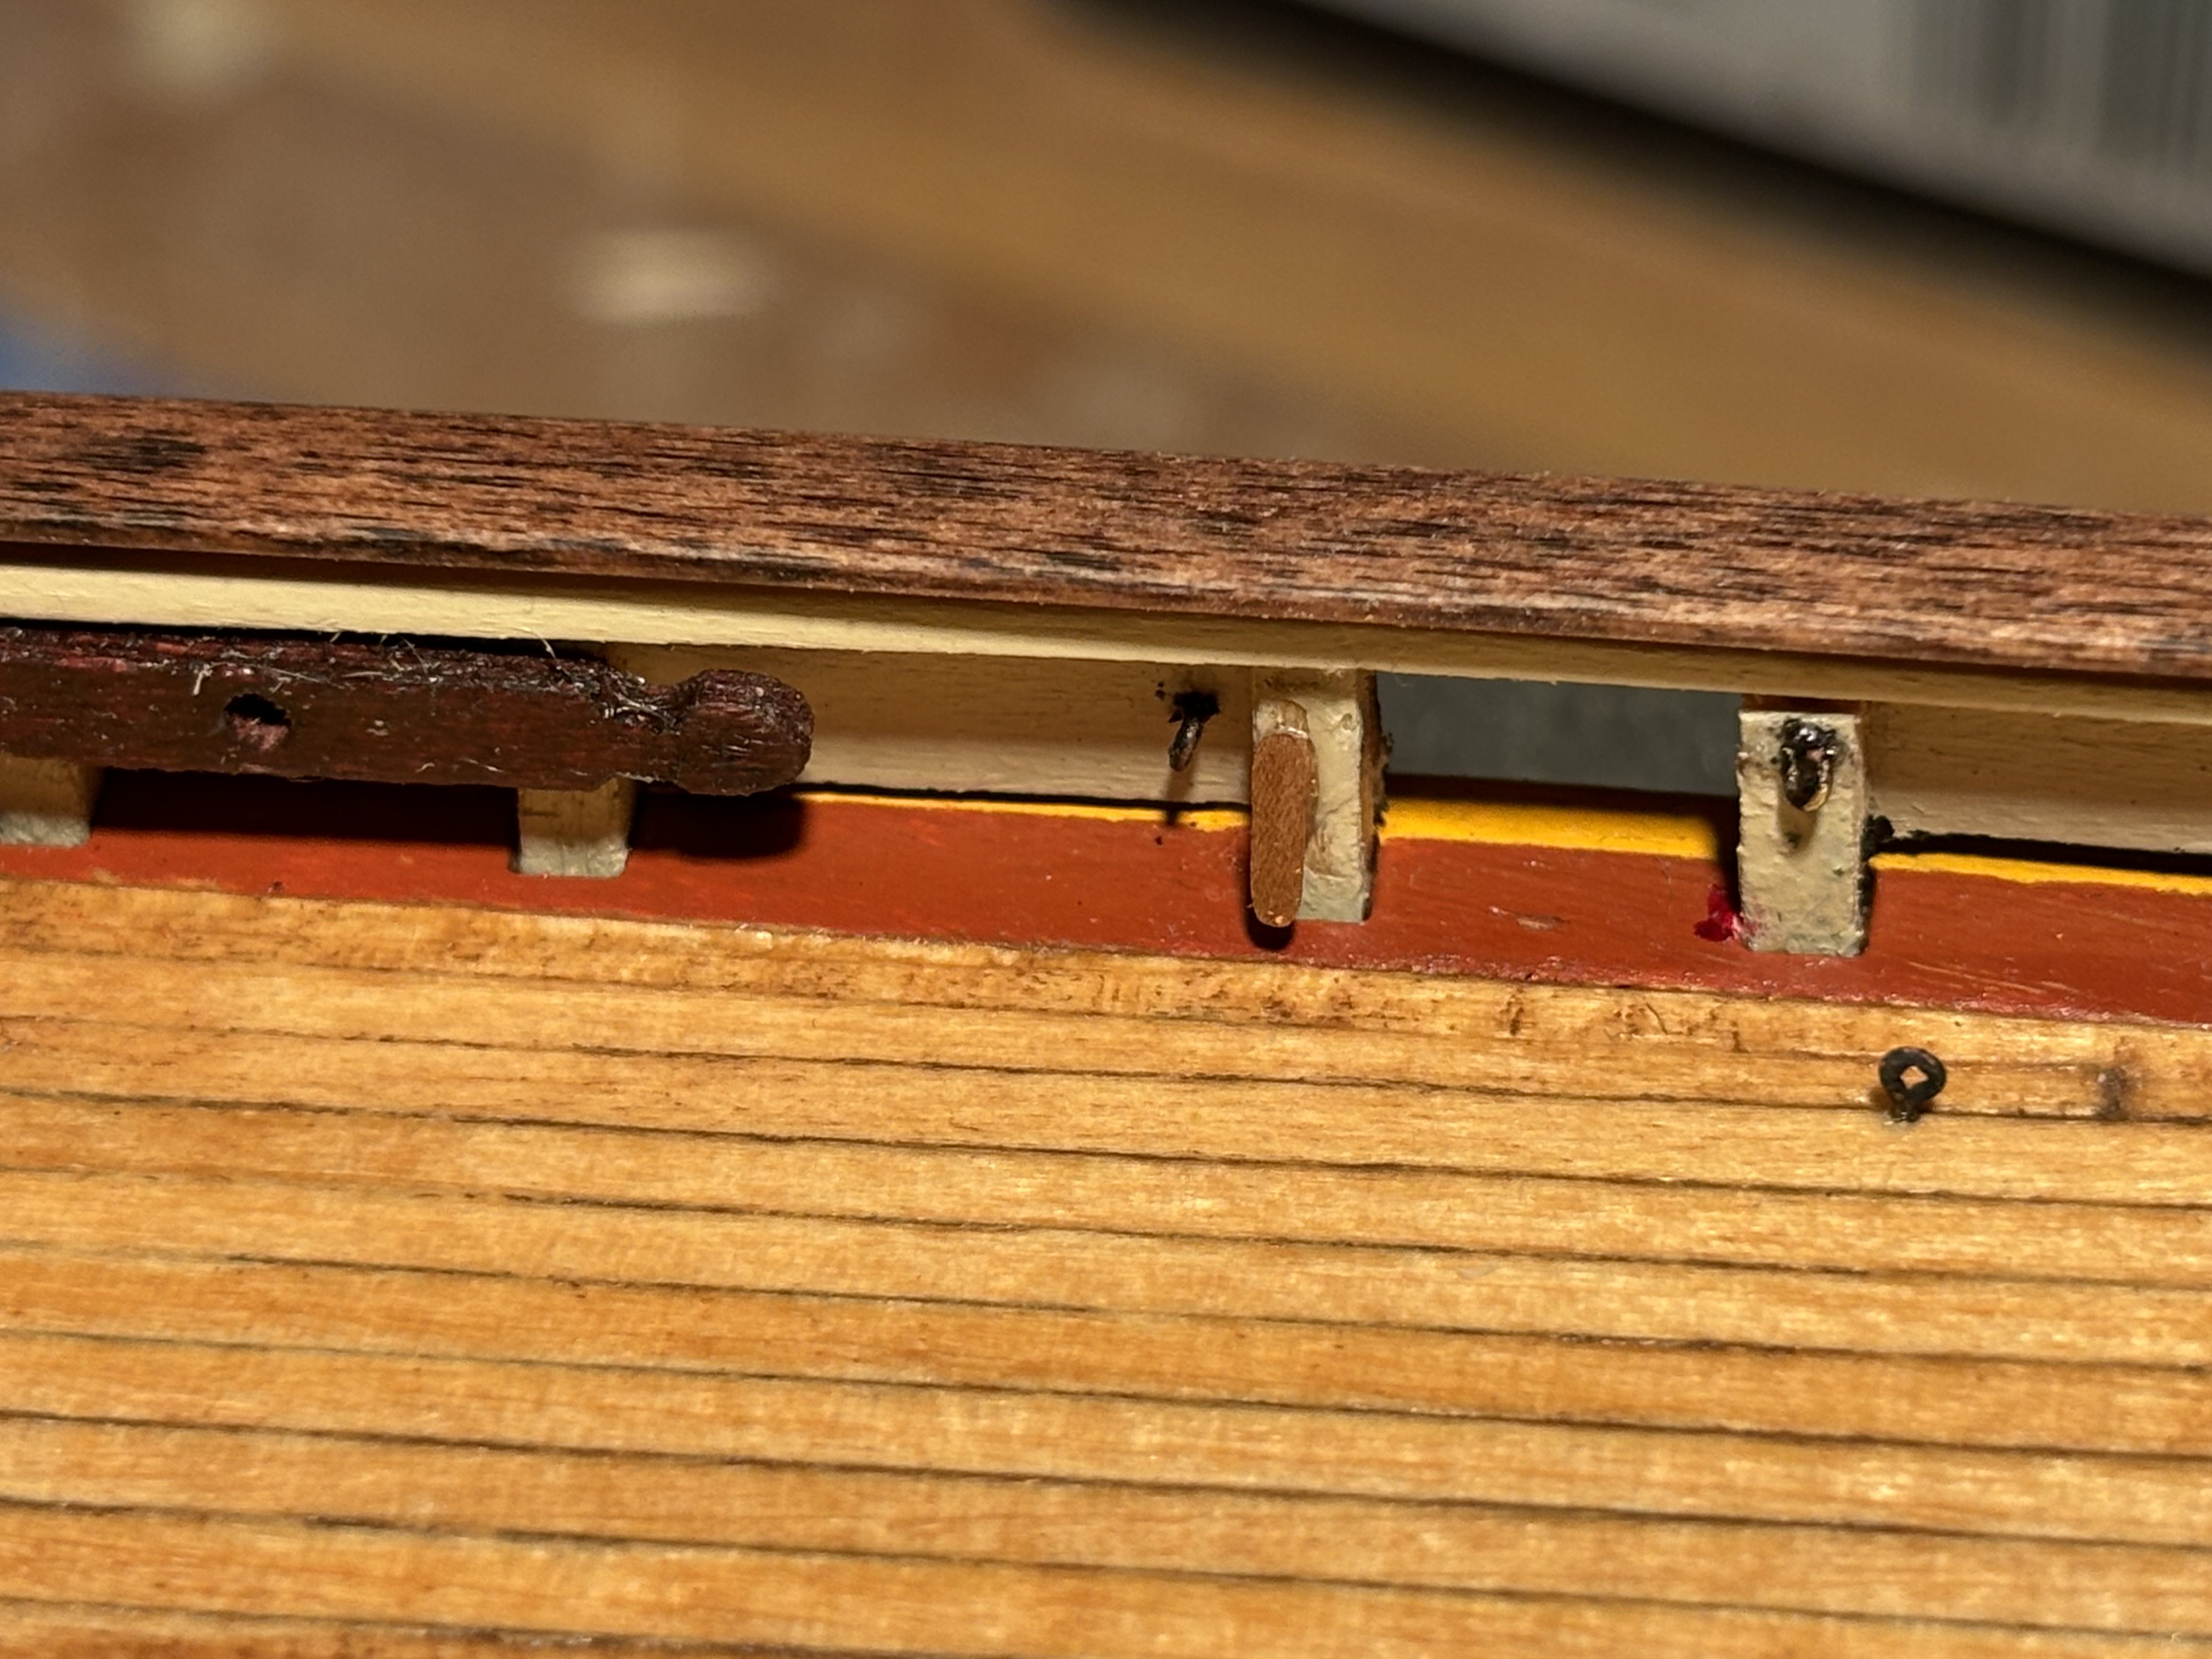
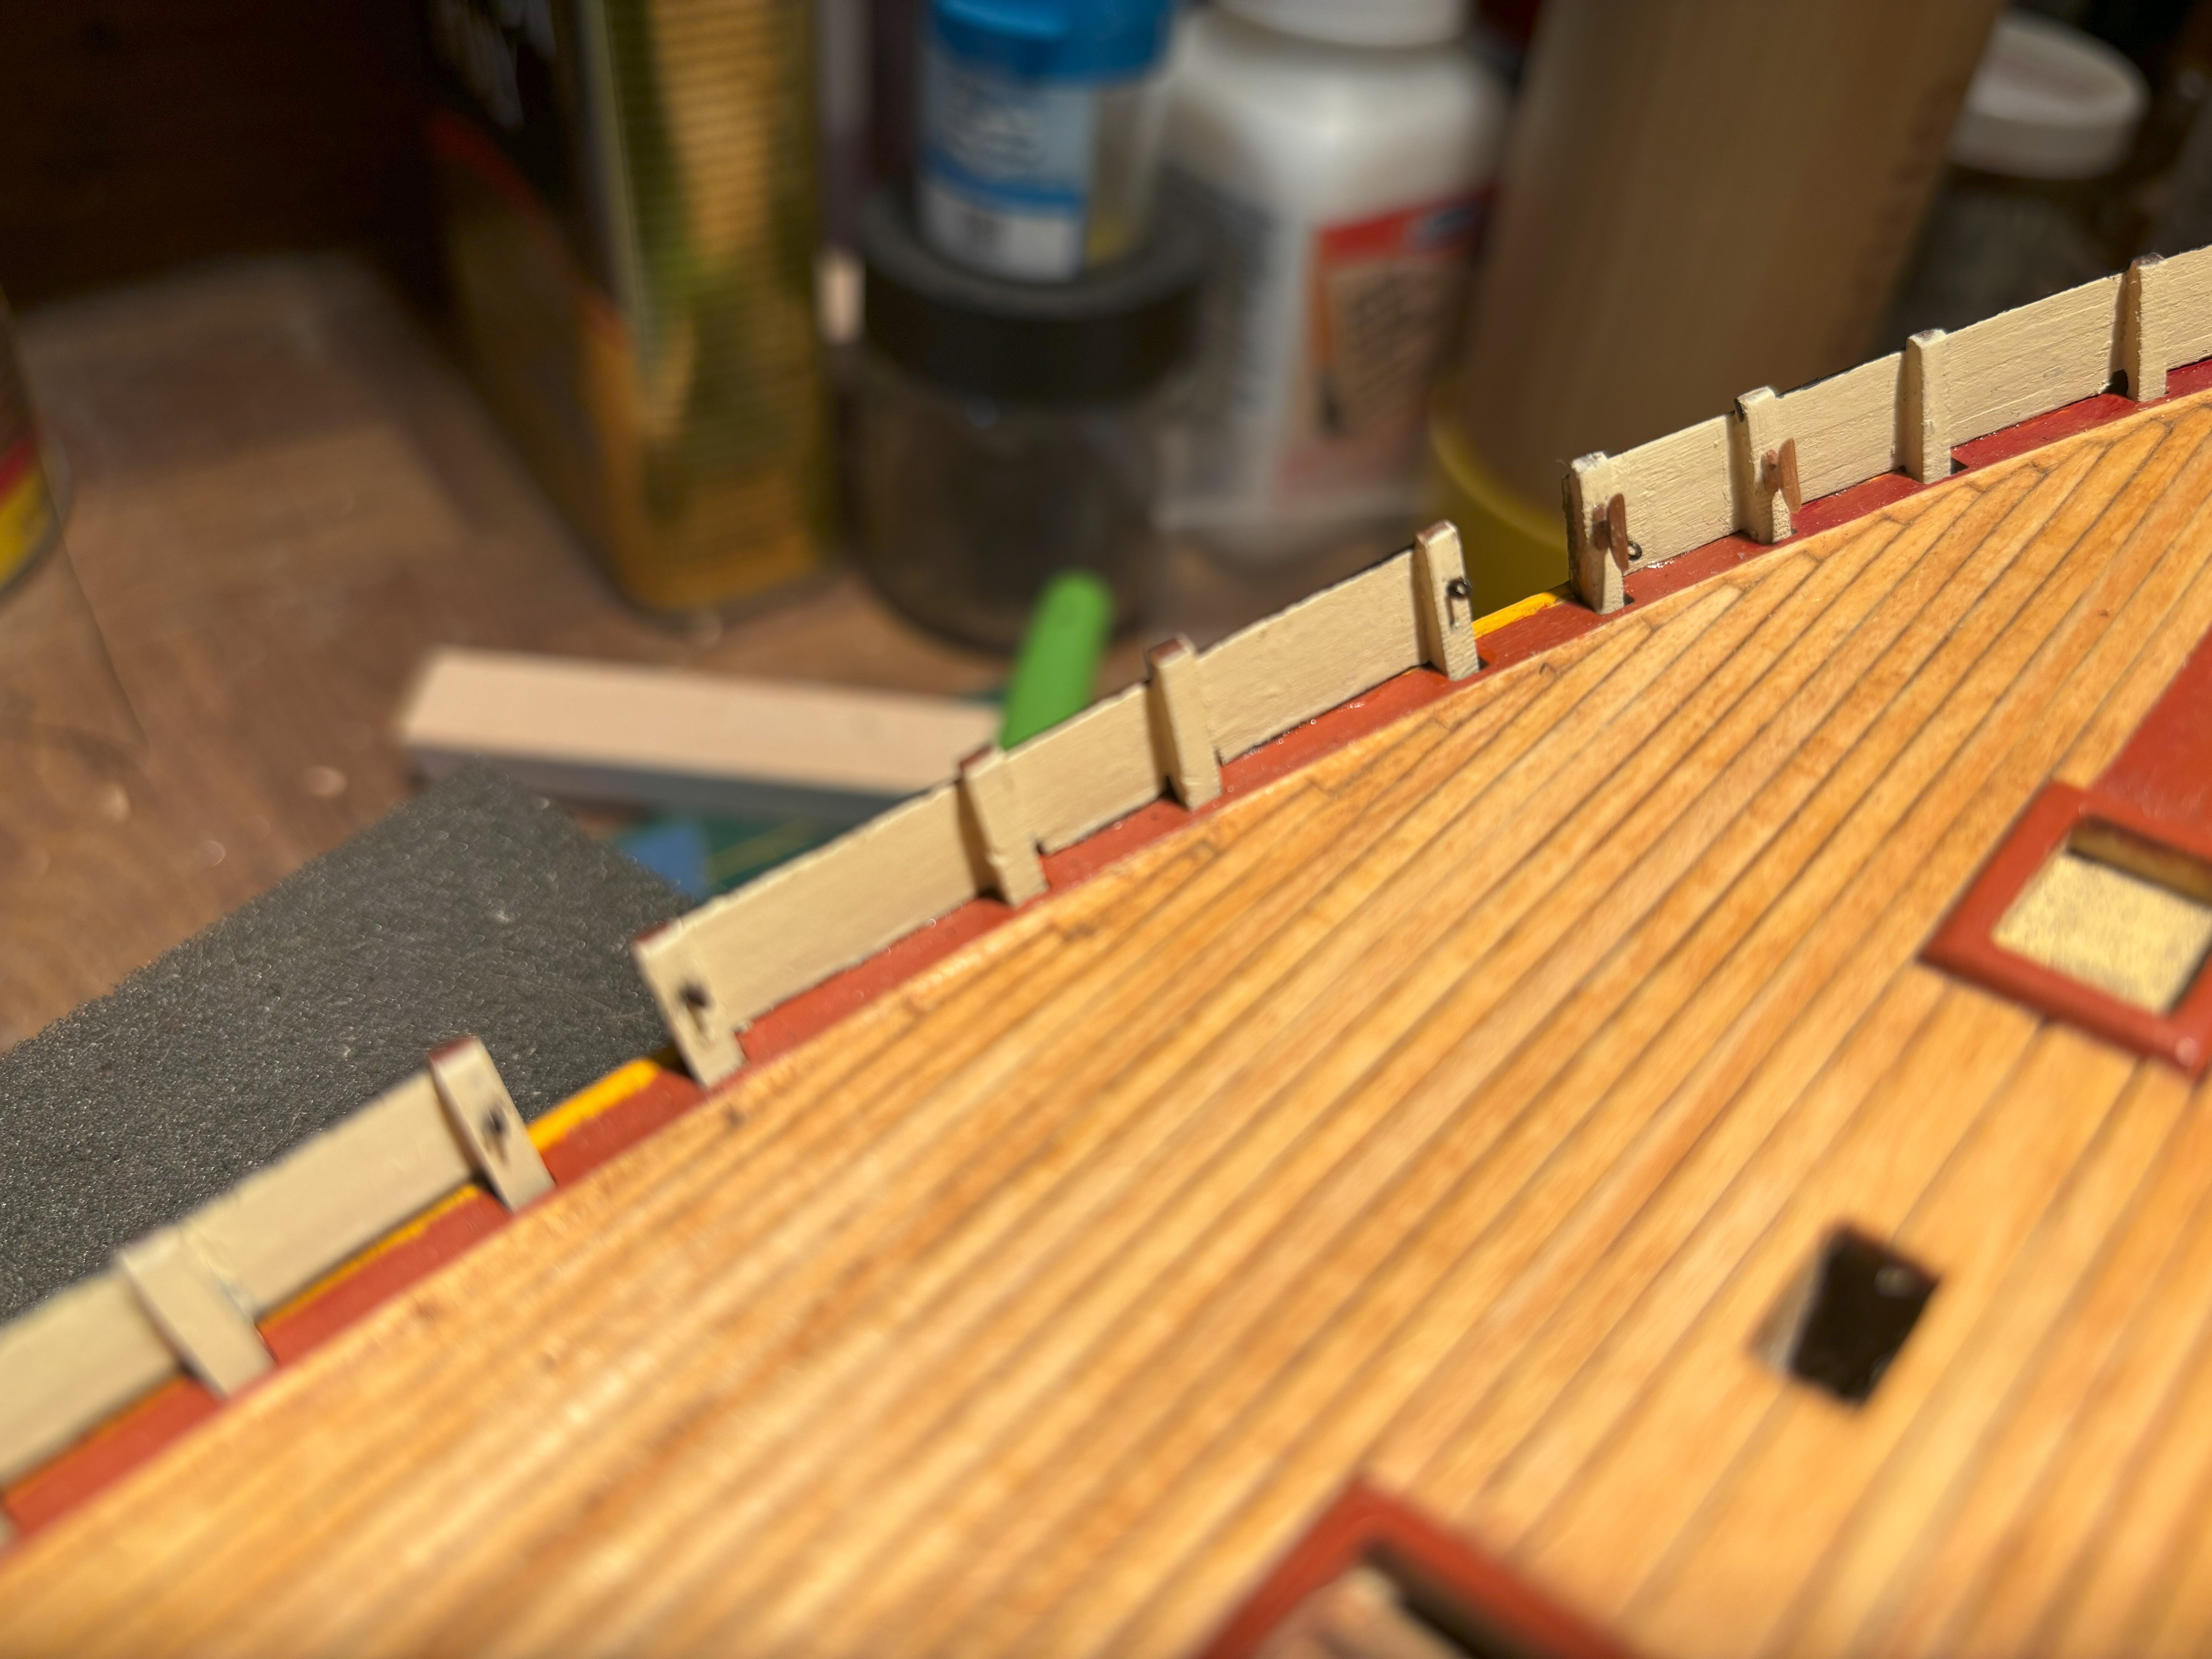
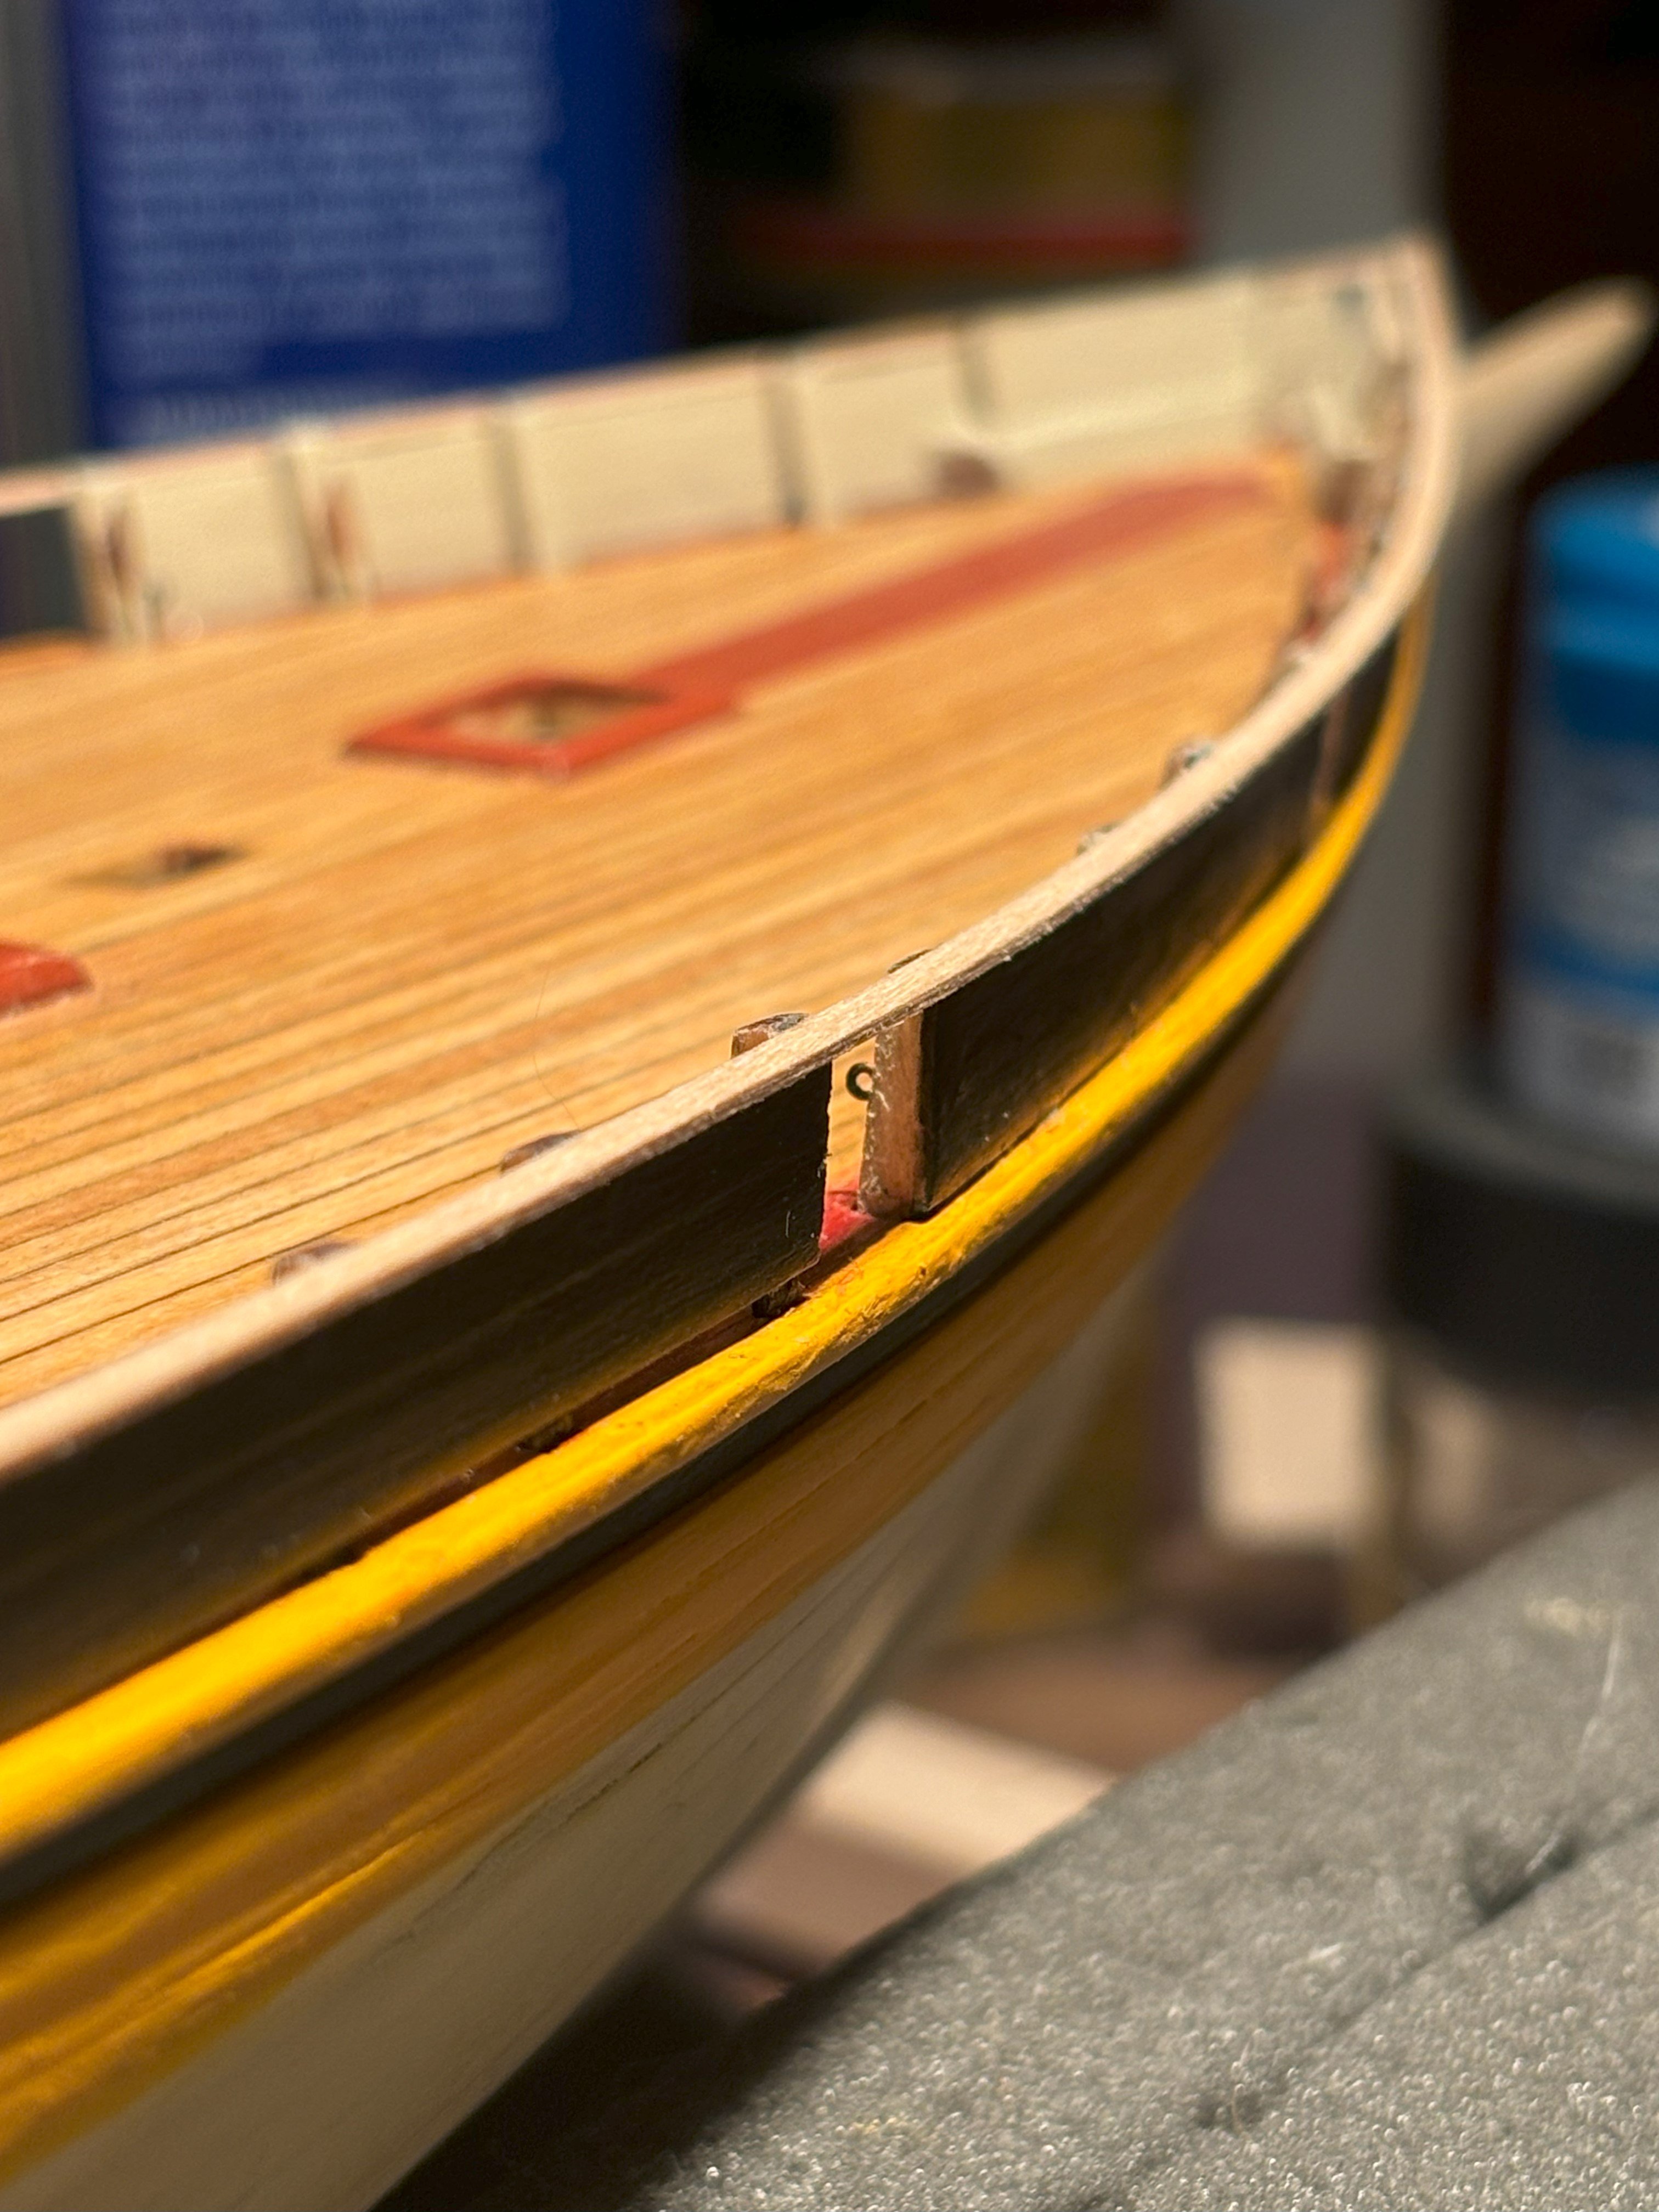
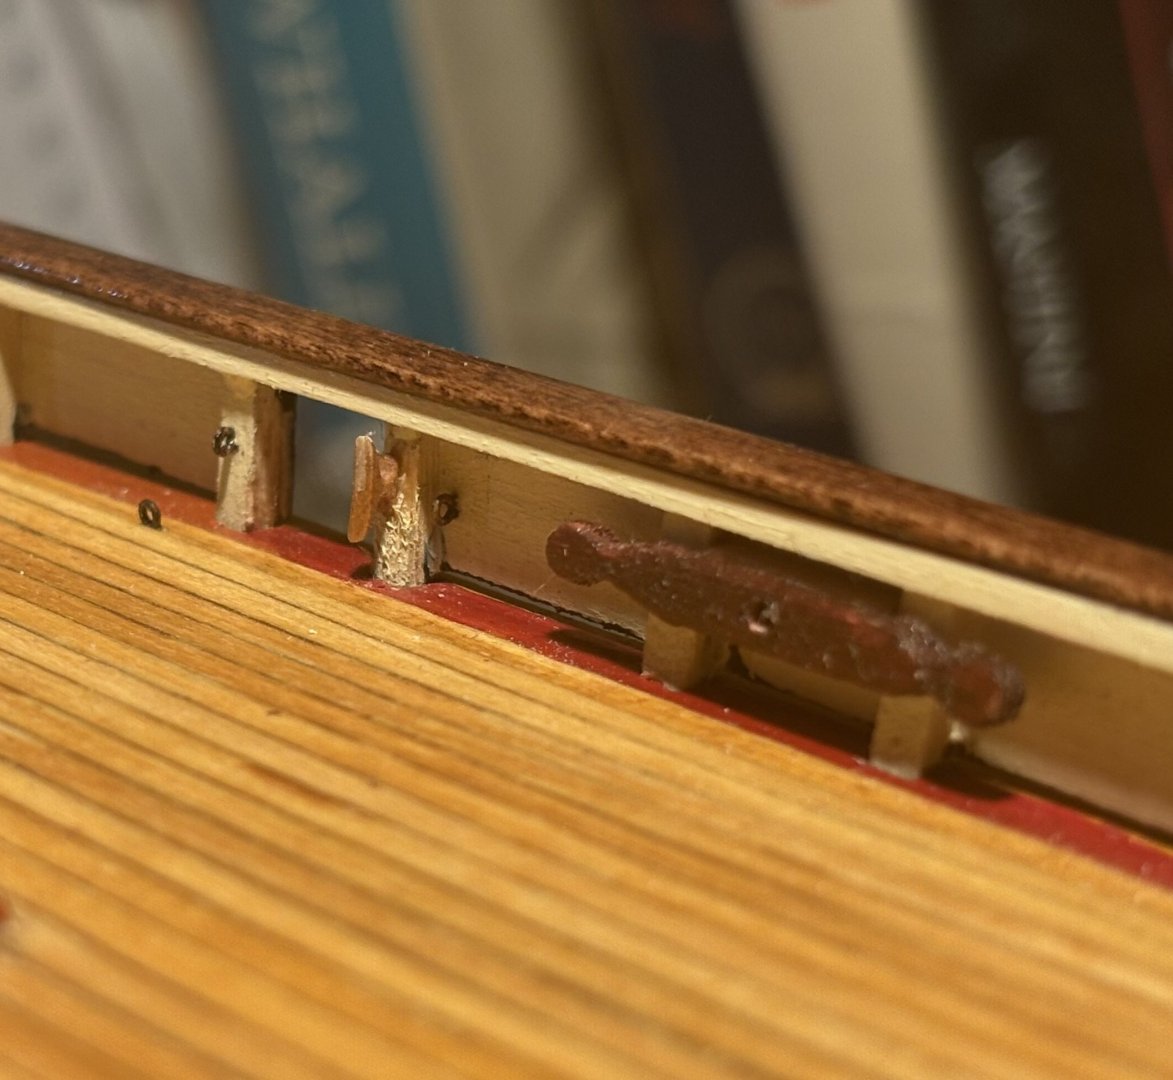
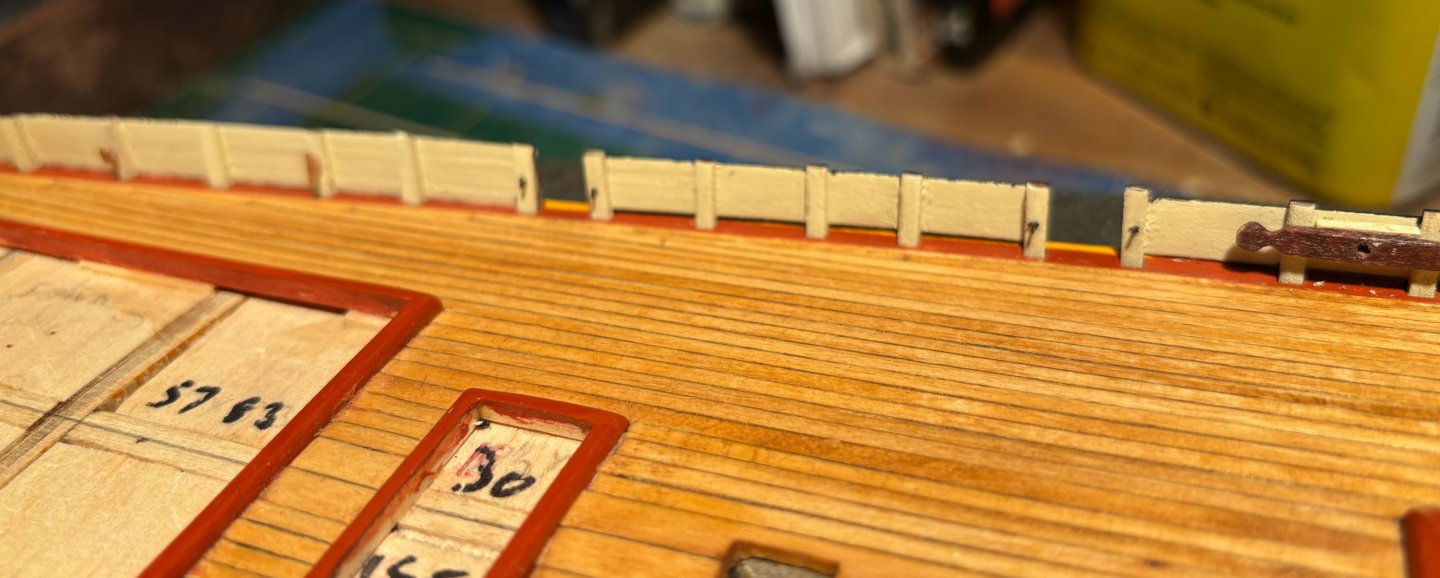
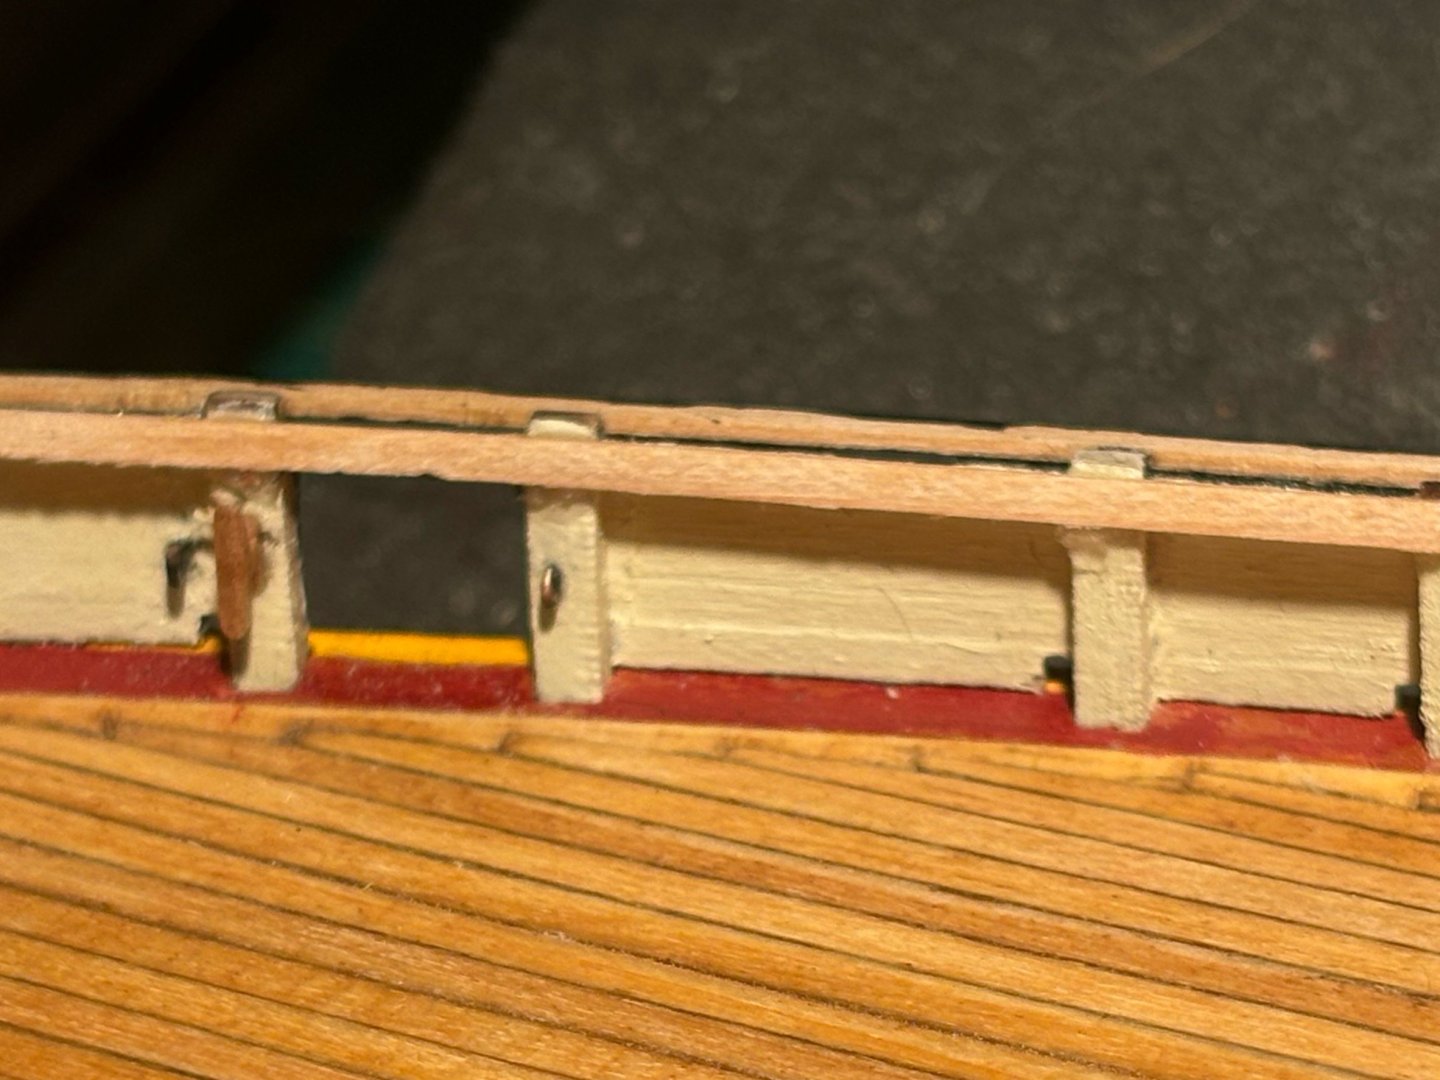
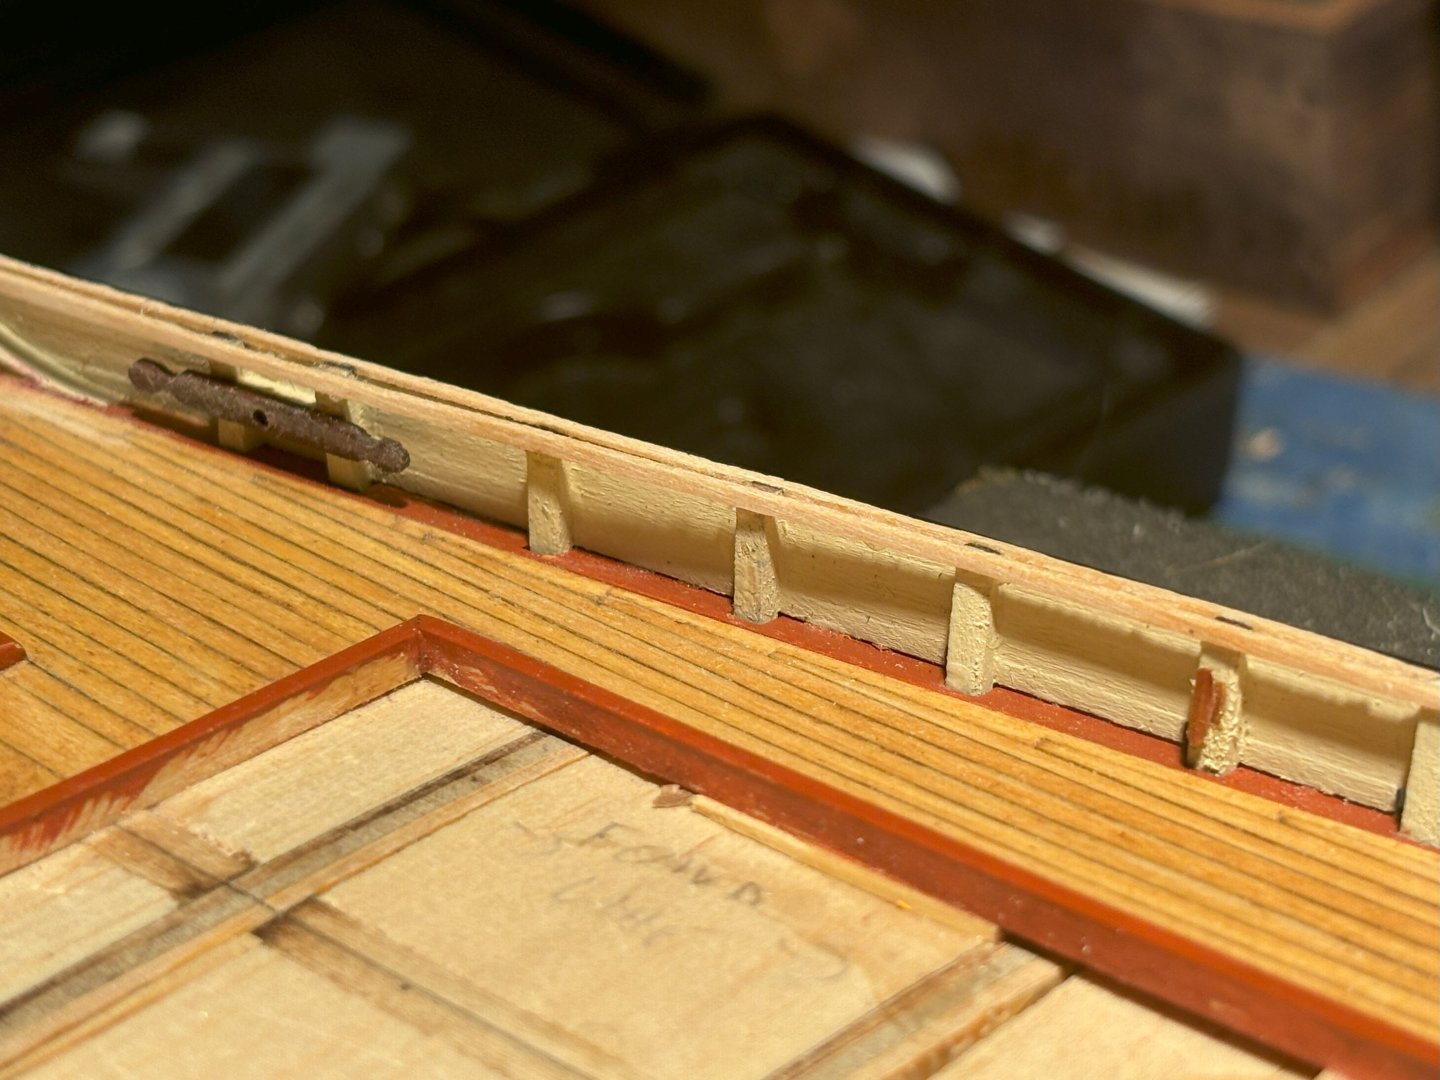
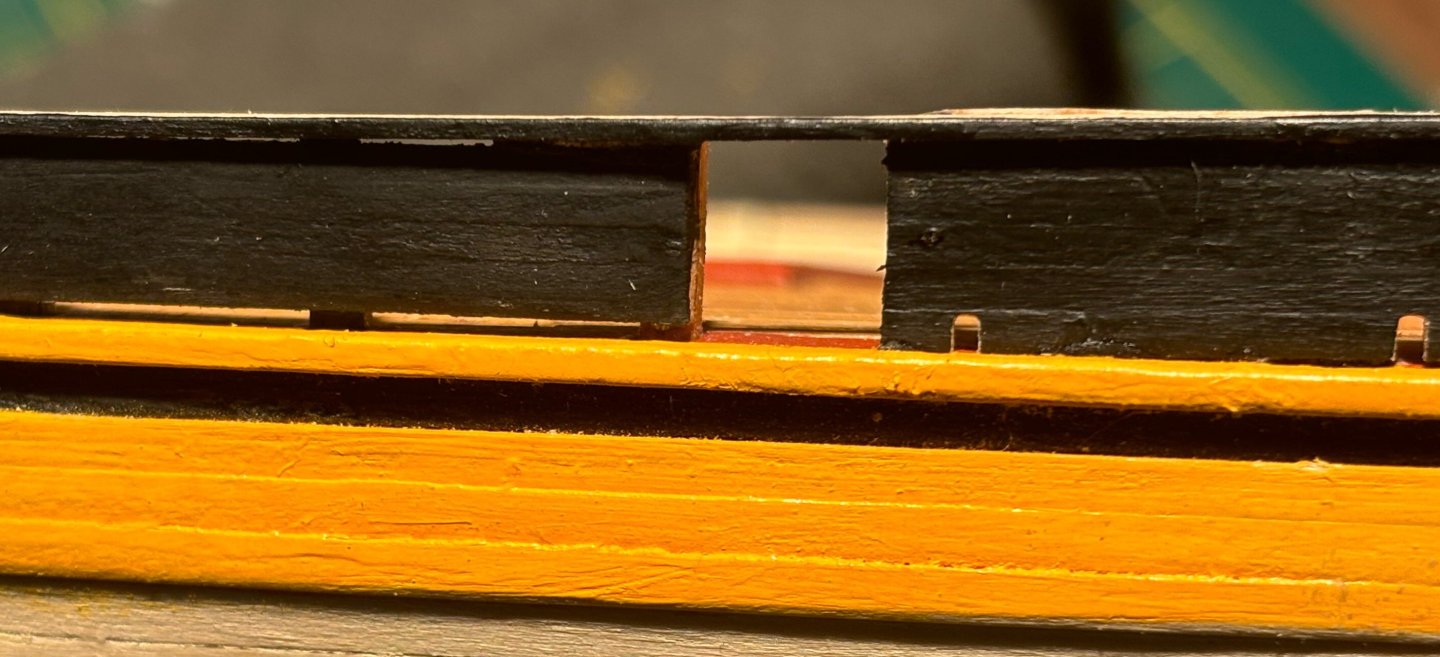
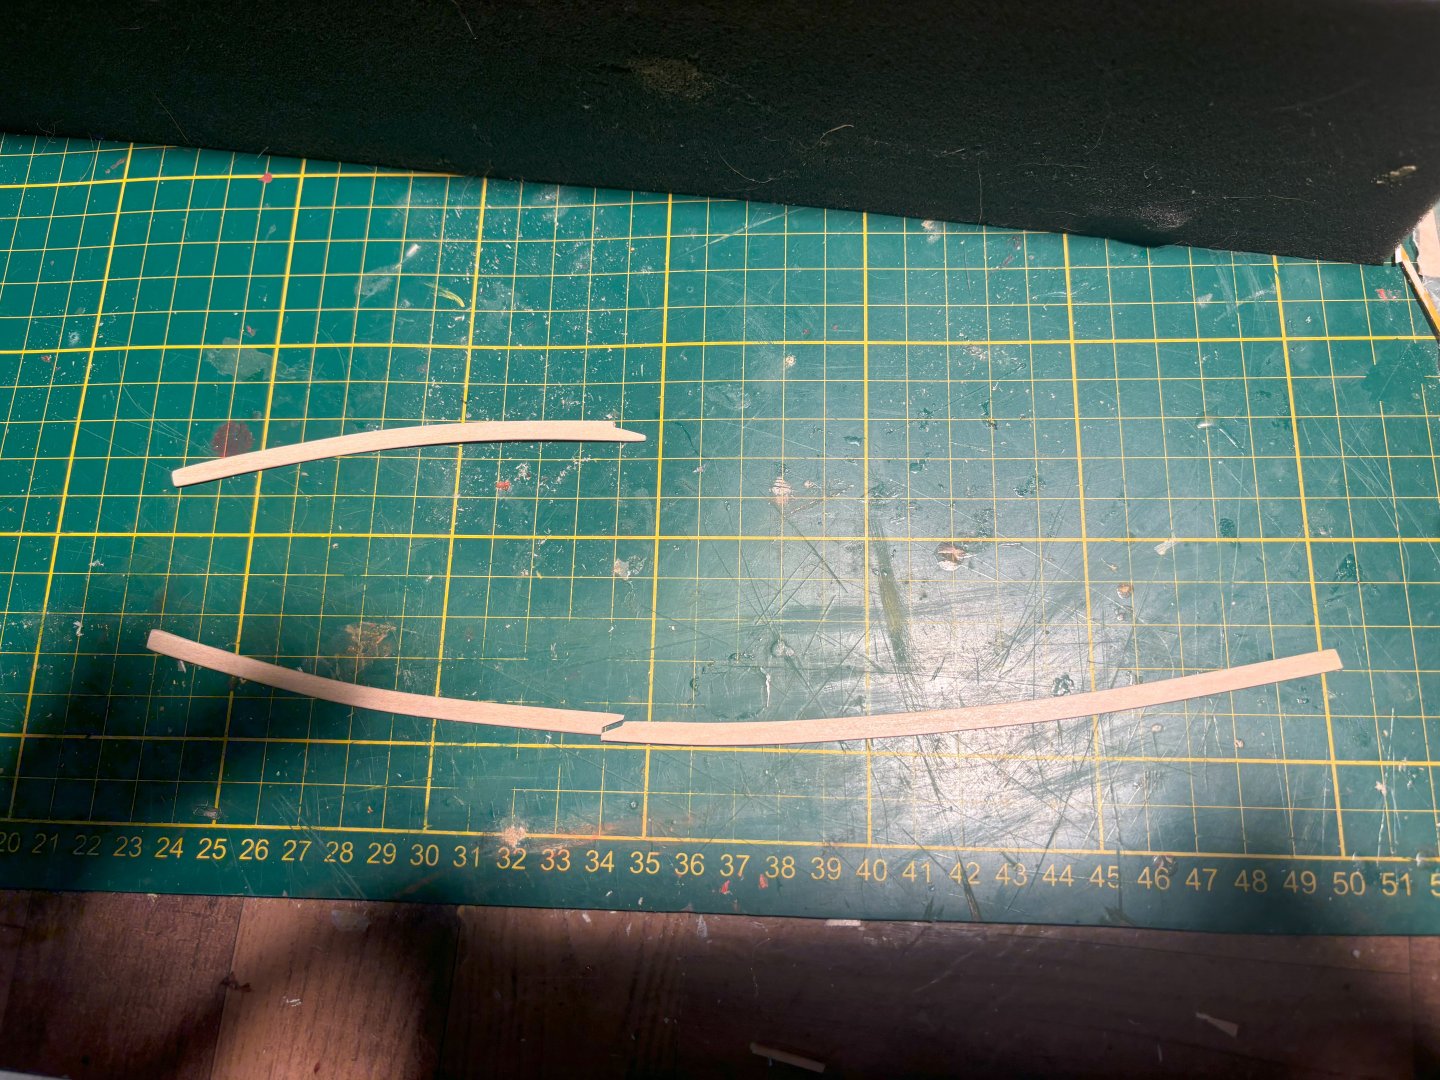
With baseball season over there's some more time to modeling again. Next up was adding cleats, eyebolts, calvils and mooring ports to the bulwarks. Painting and installing. Now that the bulwarks were in place, I added the stringers along the inside and outside that will sit under the top rail. I figured this would give me more area for the top rail to adhere to. Outboard stringer Once they were installed, I sanded the top to make the stringers and stanchions level to accommodate the top rail. Outboard stringer is painted. looks like I may have made those scuppers a bit large. 😔 Haven't painted the inboard stringer yet, but that will be done before the top rail is installed. I started making sections of the top rail. Cutting the right curve to follow the bulwark, a smooth edge, and a uniform width is proving to be quite challenging. I've been cutting the curve of the rail by taping a 1/2" wide, 3/64" thick strip to the workbench. flipping the hull upside down, and tracing along the outboard stringer with a sharp pencil, then cutting that curve about 1/16" past there, giving me the 1/32 overhang and an extra 1/32 to sand the side to round. Then with a divider, measure 7/32" in and scribe a line and cut the inside of the rail, that leaves me the extra 1.32" to smooth and round off the rail. I think I'll stain these pieces before installing. They are to be stained a mahogany color, and pictures of the real ship show they are varnished with a gloss. Here's the start of the rails And placed to test curve and width. So far, so good..Only took about 5 tries to get these three decent pieces done! You'll notice inboard stringer missing at the top of last picture..That's to accommodate the pin rails, which will adhere to the bulwark and the underside of the top rail.


- 51 replies
-
- 3
-
-
- Model Shipways
- Baltimore Clipper
- (and 1 more)
-
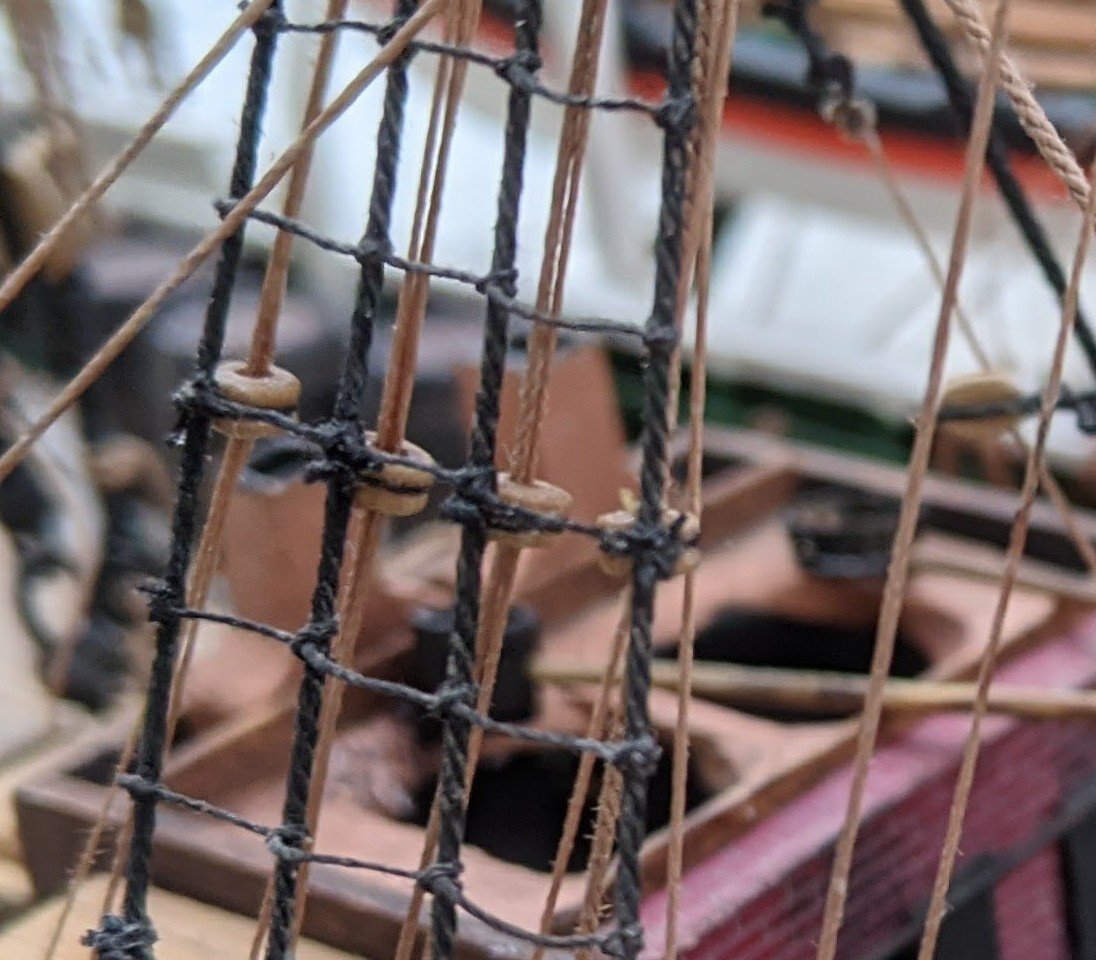
Ratlines look great. Glad you liked the sewing method. It ends up with a clean look, and so easy to adjust before gluing and cutting. I came across this technique back when I was a kid building the 1/8" scale Model Shipways Benjamin W Latham in the instruction book. Eric Ronnberg Jr knows a thing or two about modeling. 🙂
- 431 replies
-
- 1
-
-
- Flying Fish
- Model Shipways
- (and 2 more)
-
Use a needle. Obviously thinner than the shrouds, “sew” the ratlines through the shroud. You can cut each rung long, adjust the curve and tension, then when satisfied dab some diluted white glue to hold the ratline to the shroud. Let it dry, shave off the excess on the outsides of the shrouds.
- 431 replies
-
- 1
-
-
- Flying Fish
- Model Shipways
- (and 2 more)
-
Don't drive from Mystic to Boston without a stop in New Bedford. The Whaling museum is also a treat.
- 3,618 replies
-
- 3
-
-
- young america
- clipper
- (and 1 more)
-
Hi Jared. I've been following along silently. Great worK! I agree with Rick. The thinner line looks better. At this scale, I don't think you would lose much detail if you threaded the ratlines rather than tied them off. That might make working with the thinner thread easier. The naked eye can barely pick out the hitches anyway.
-
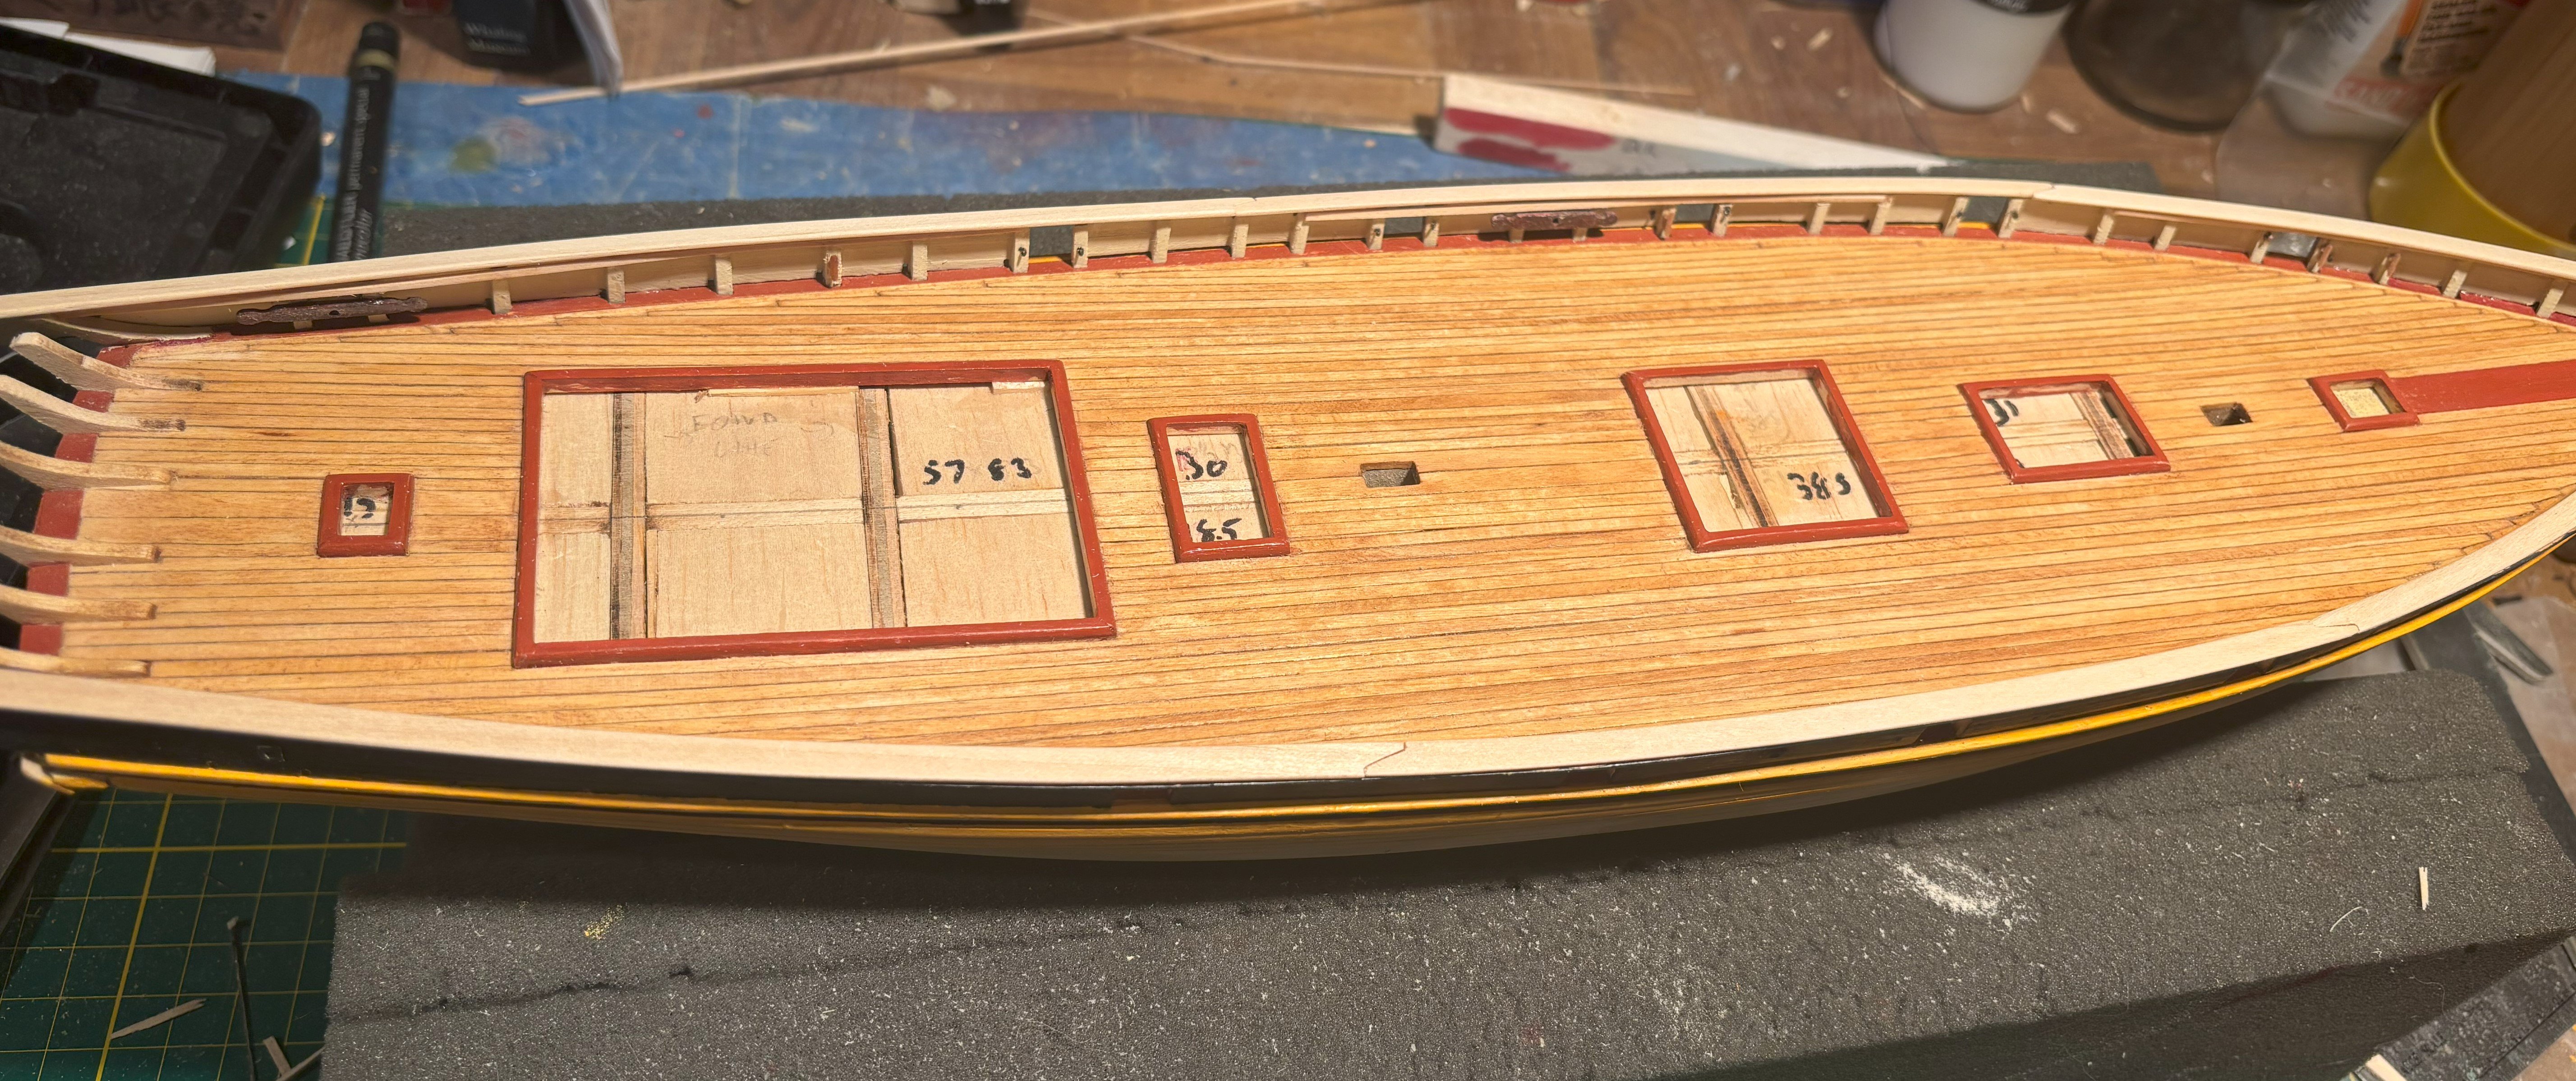
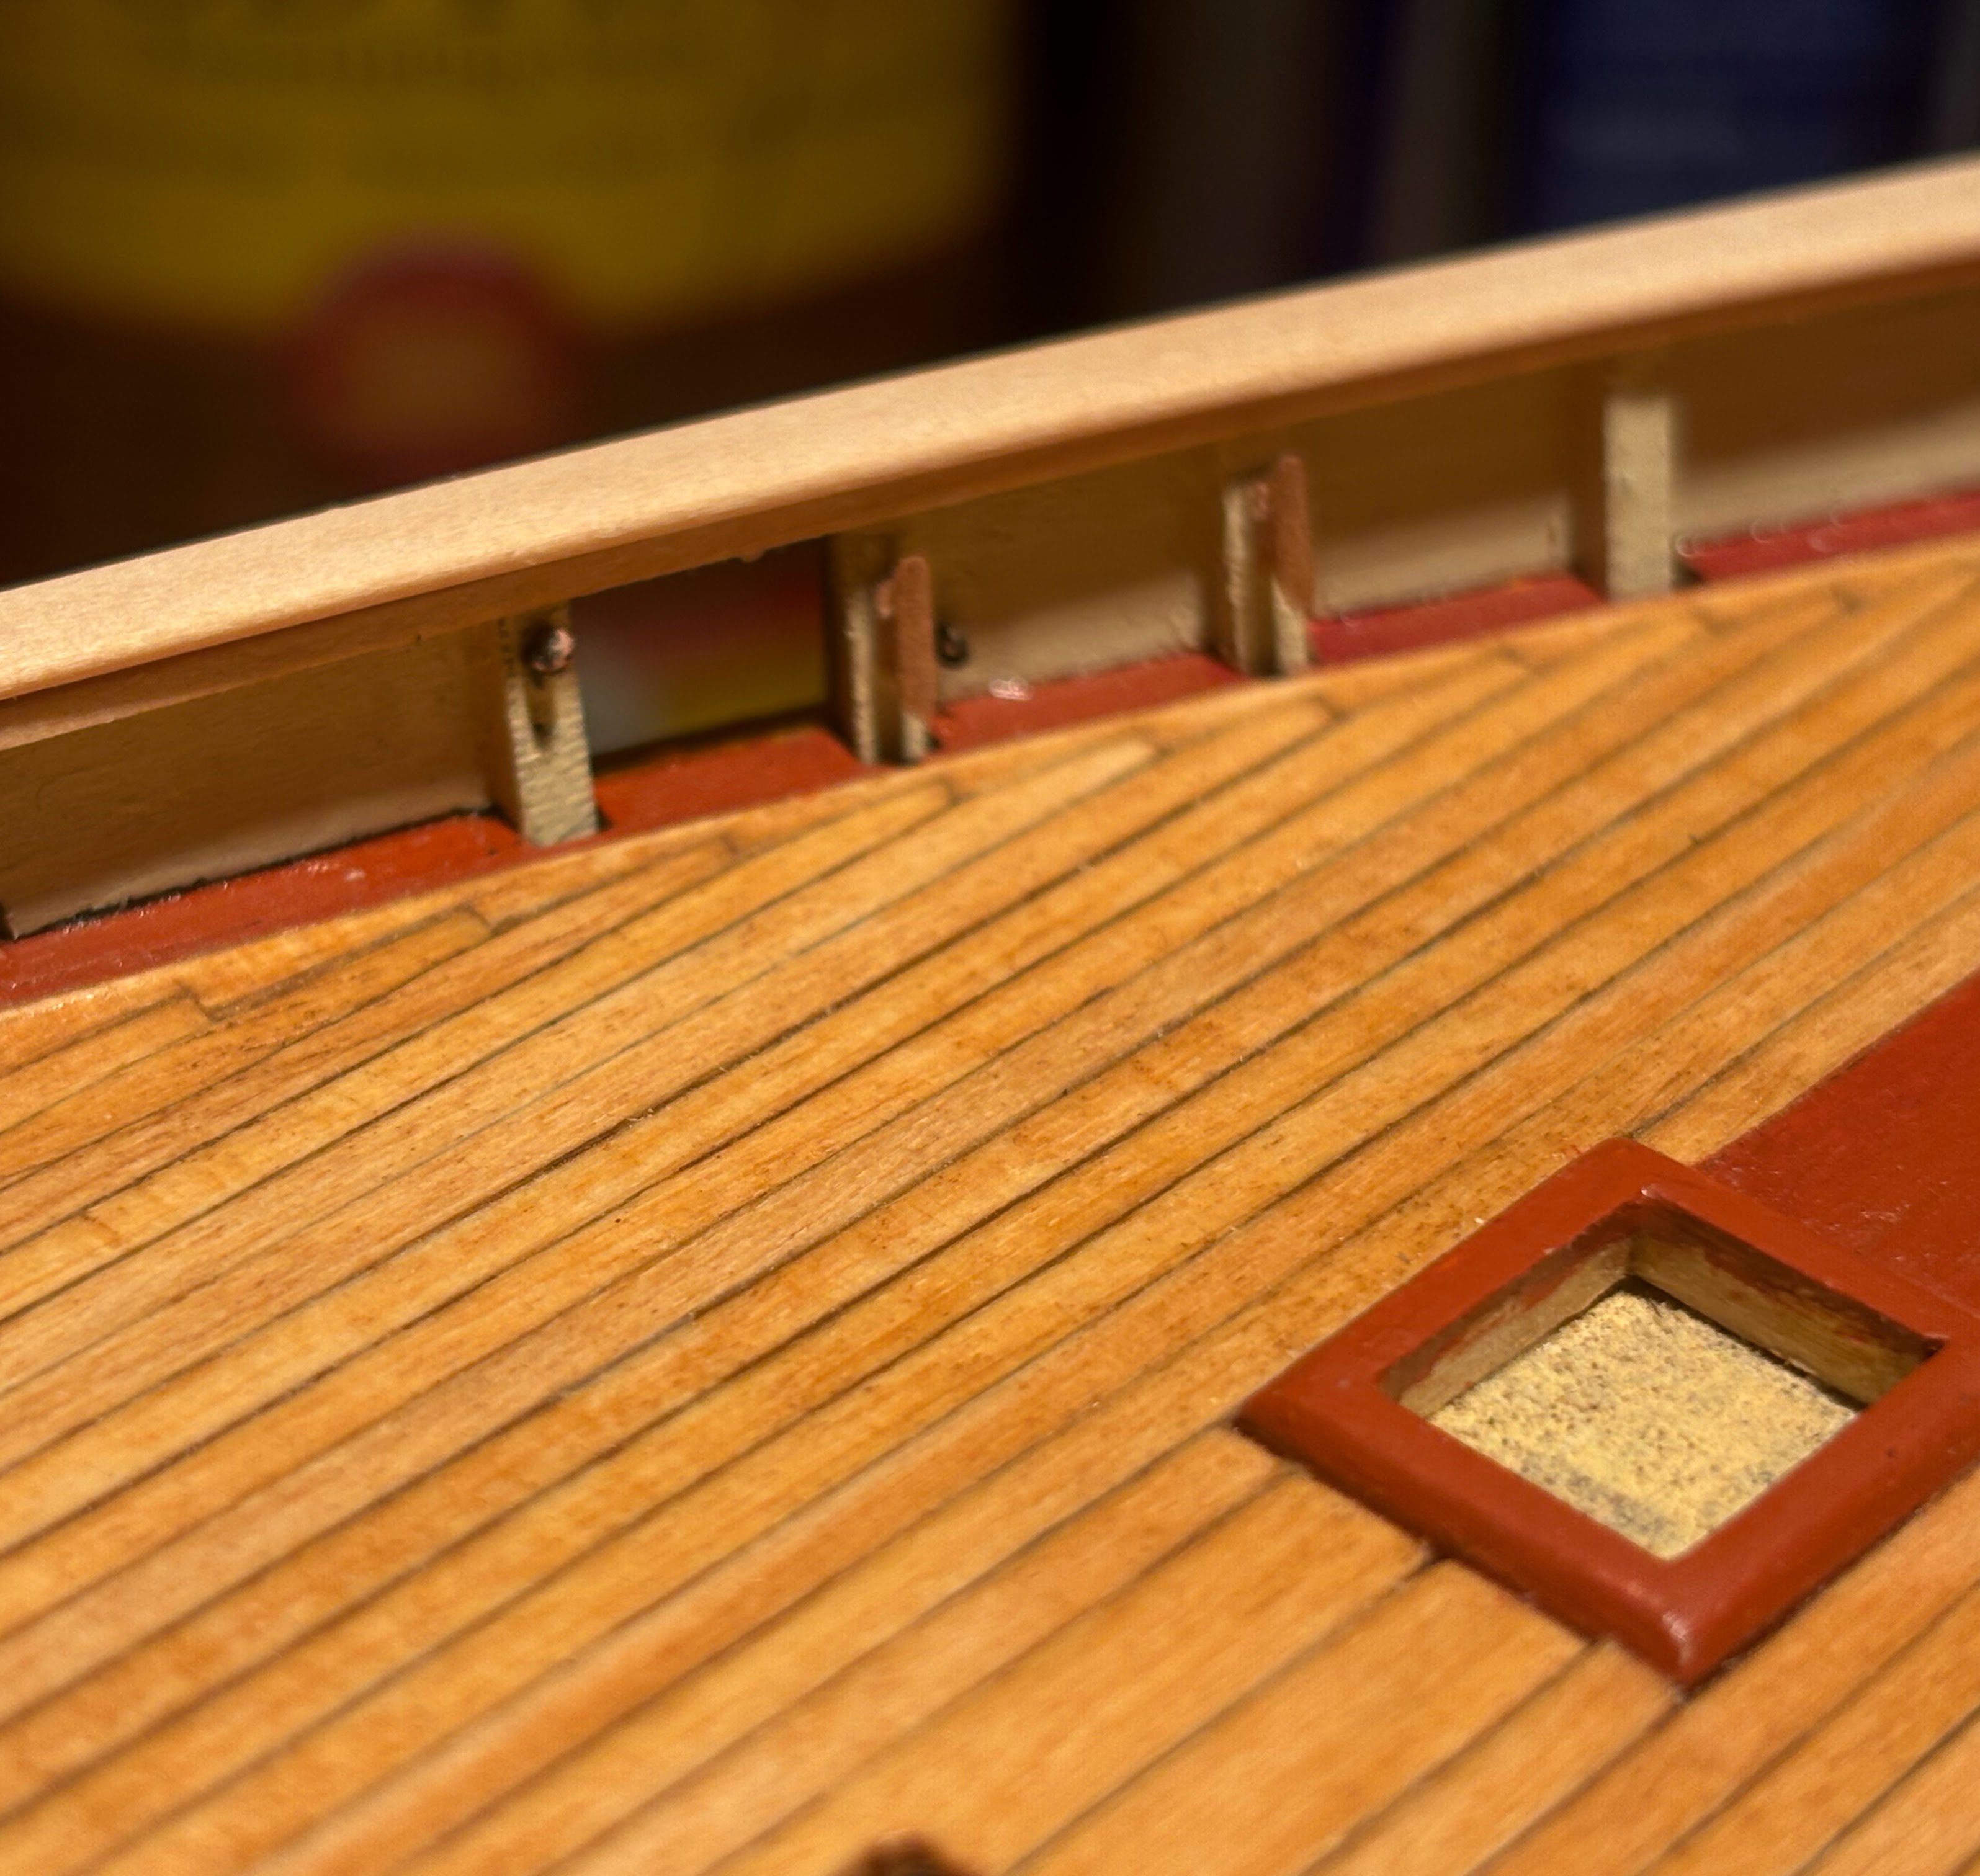
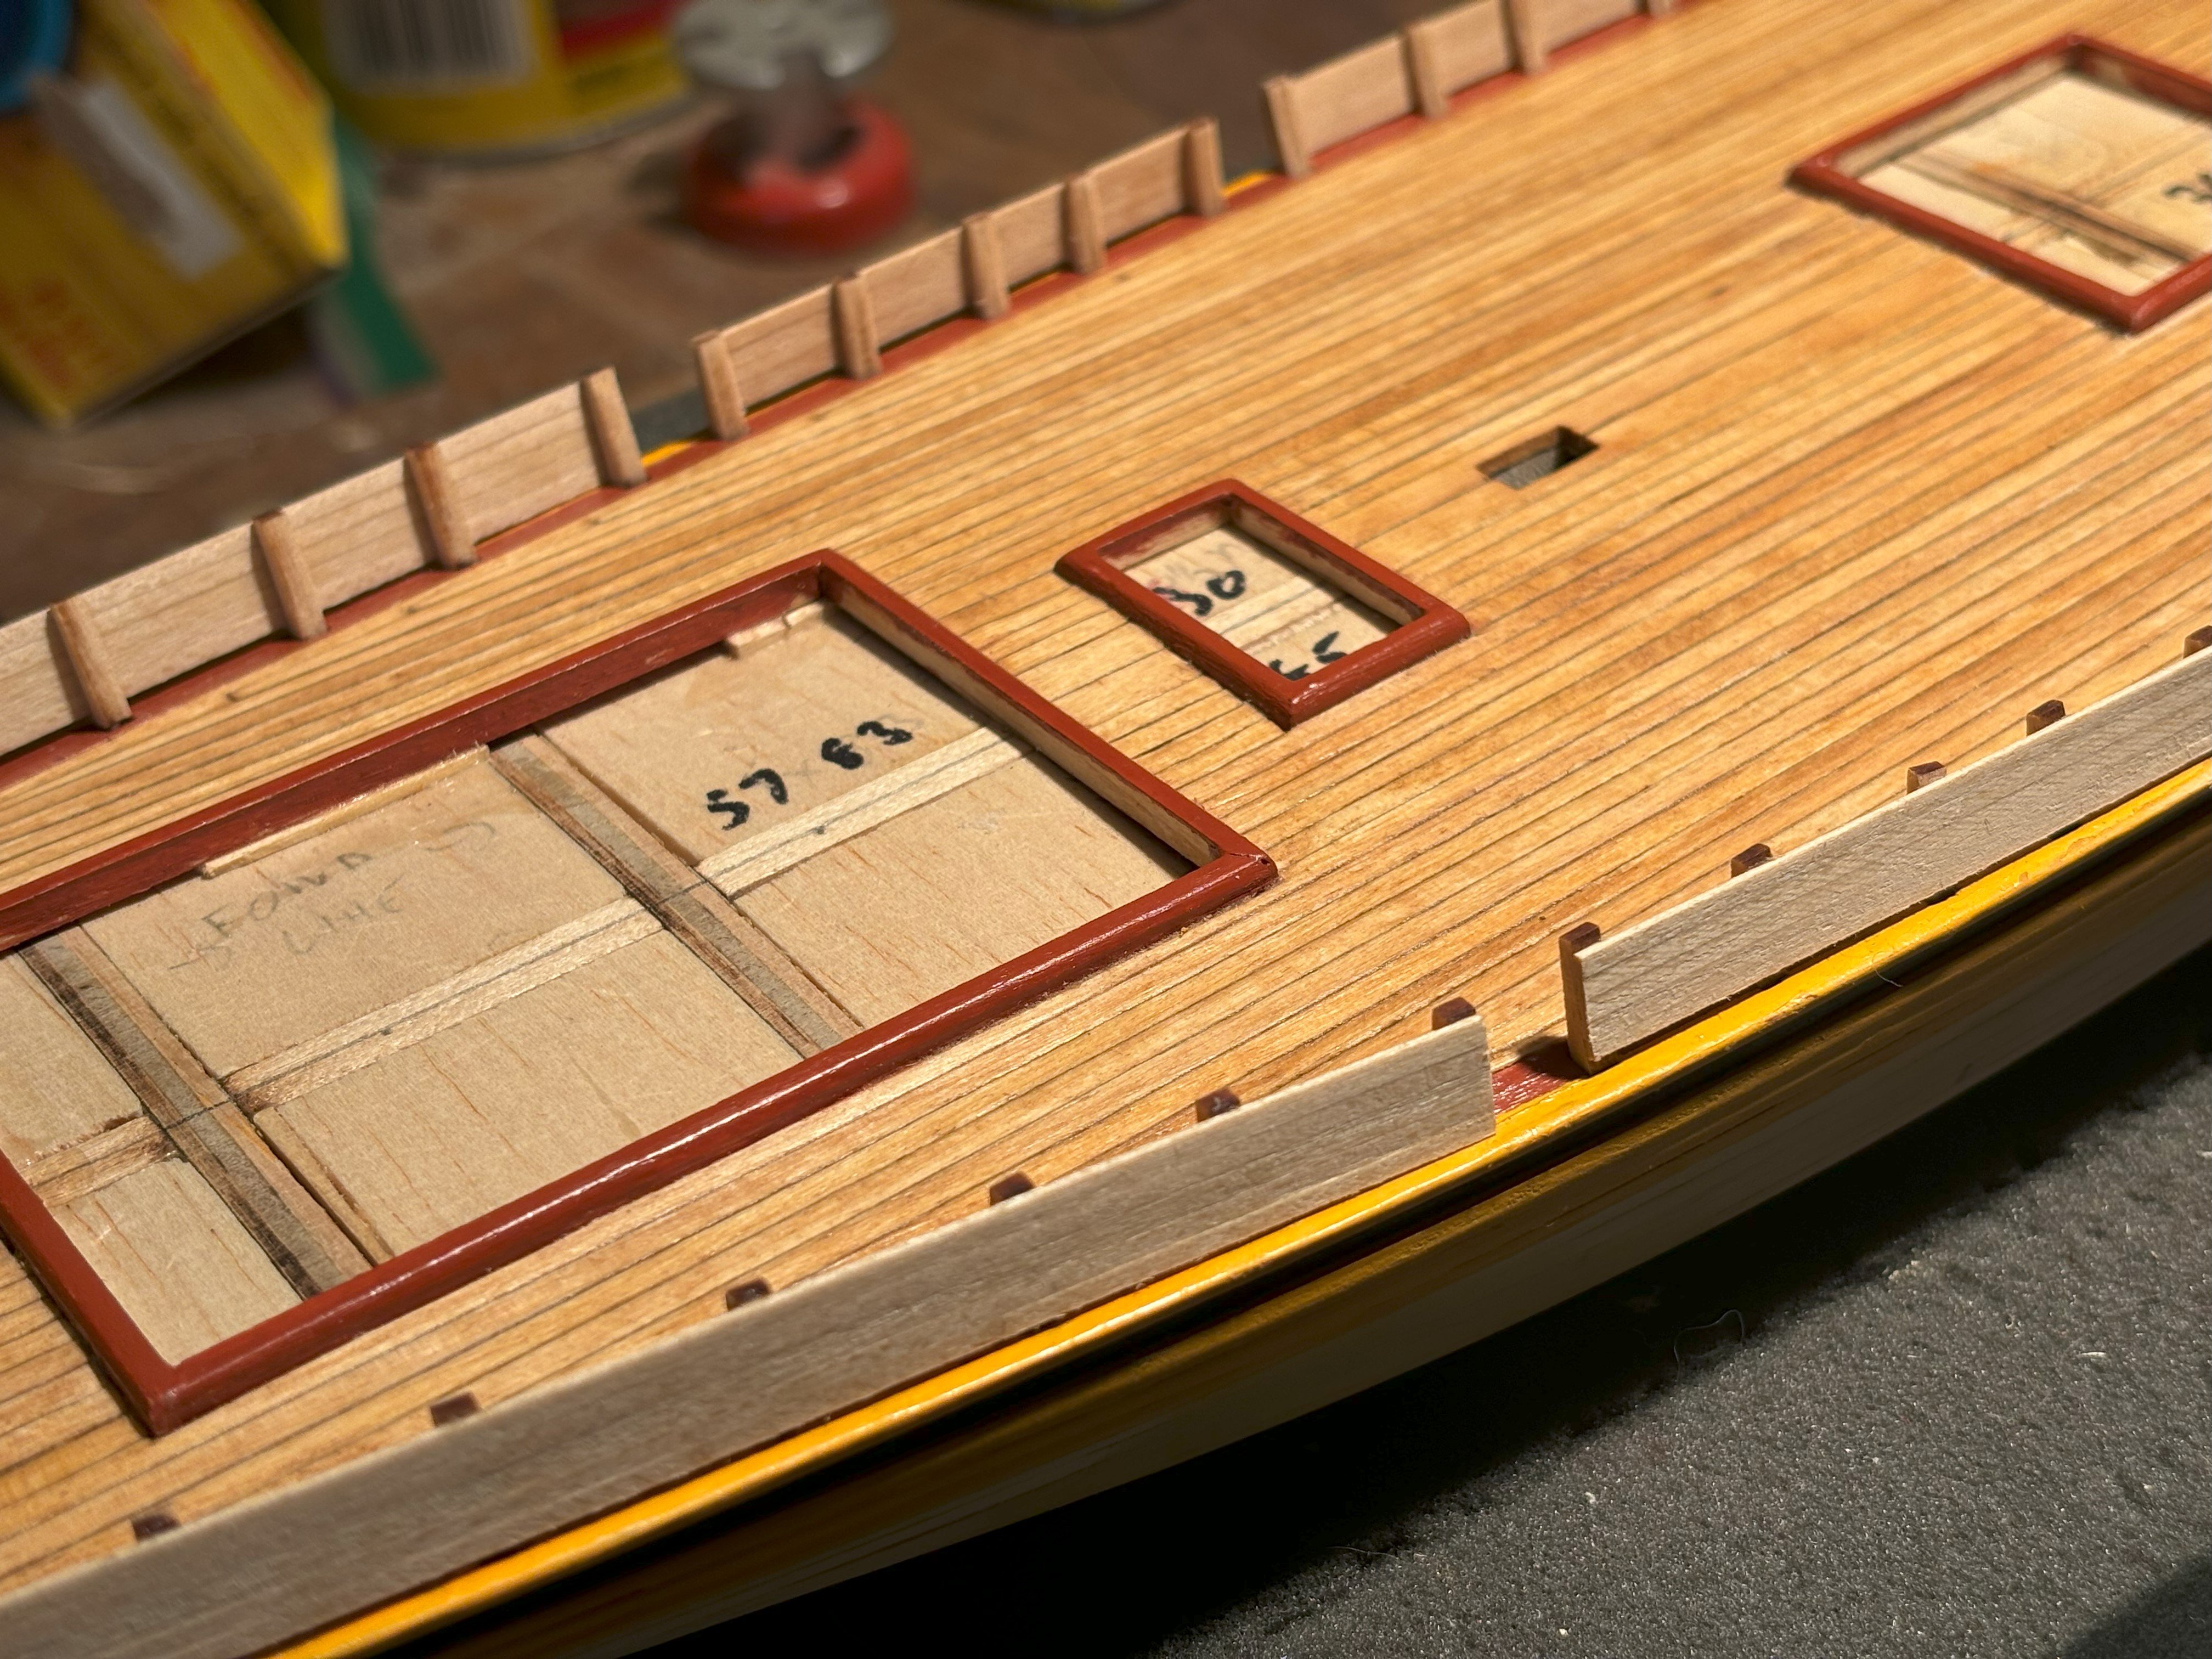
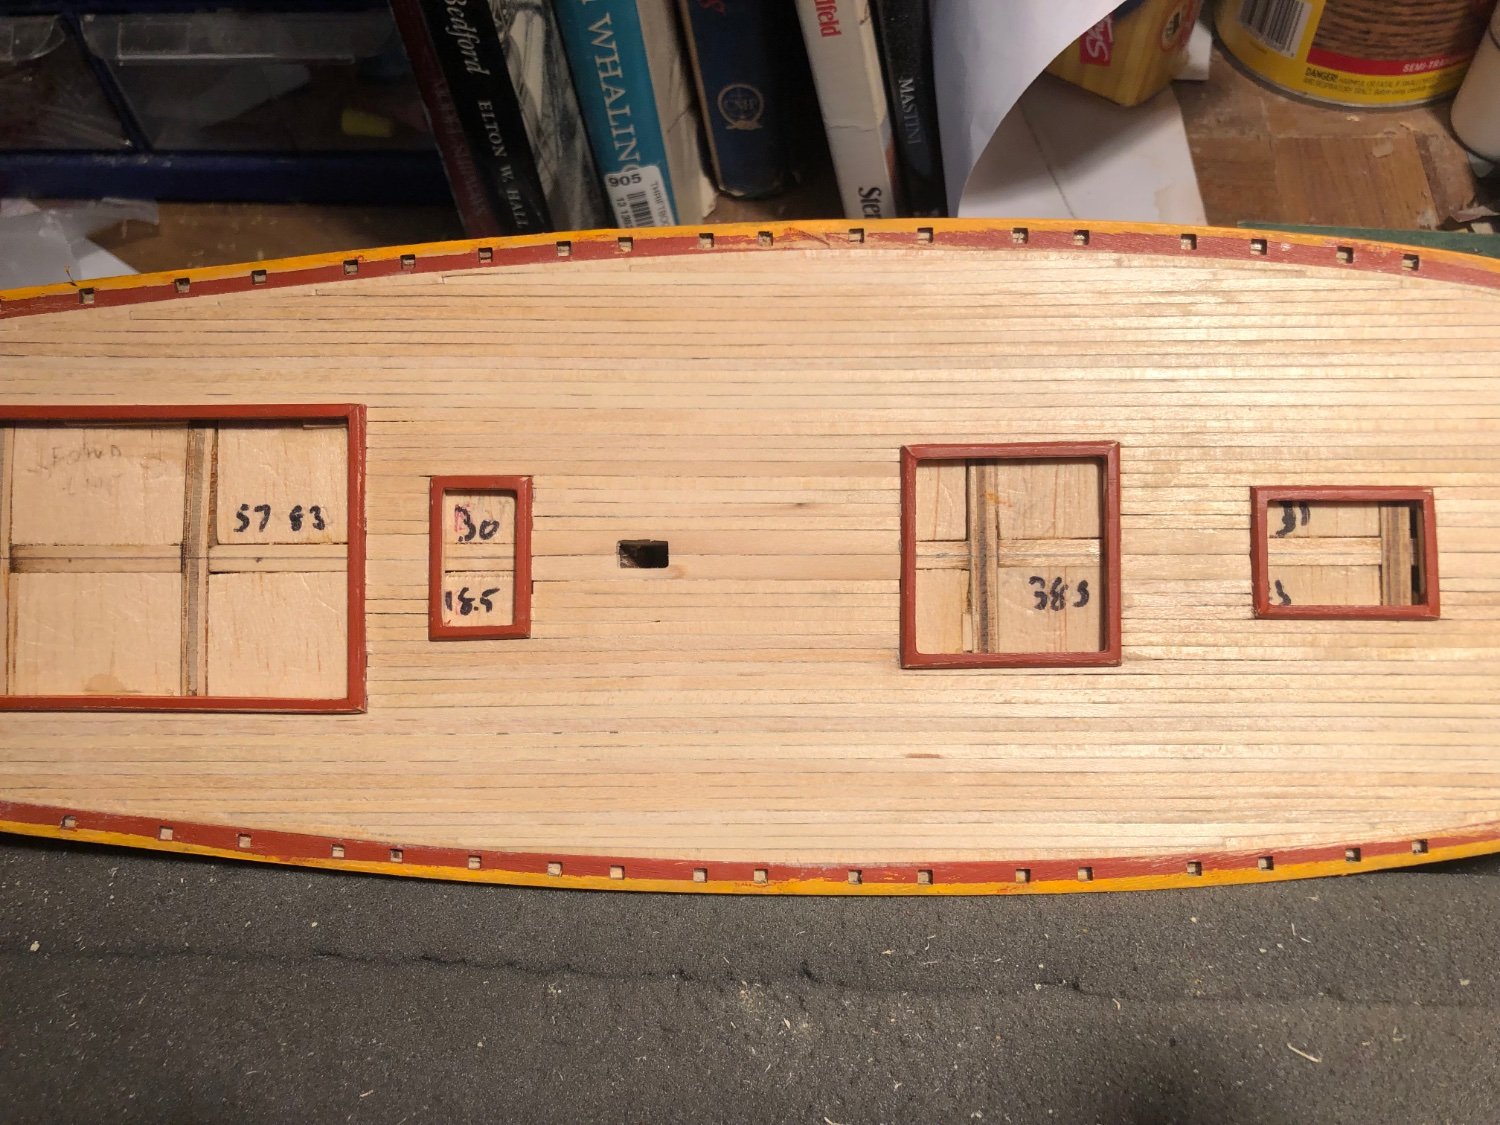
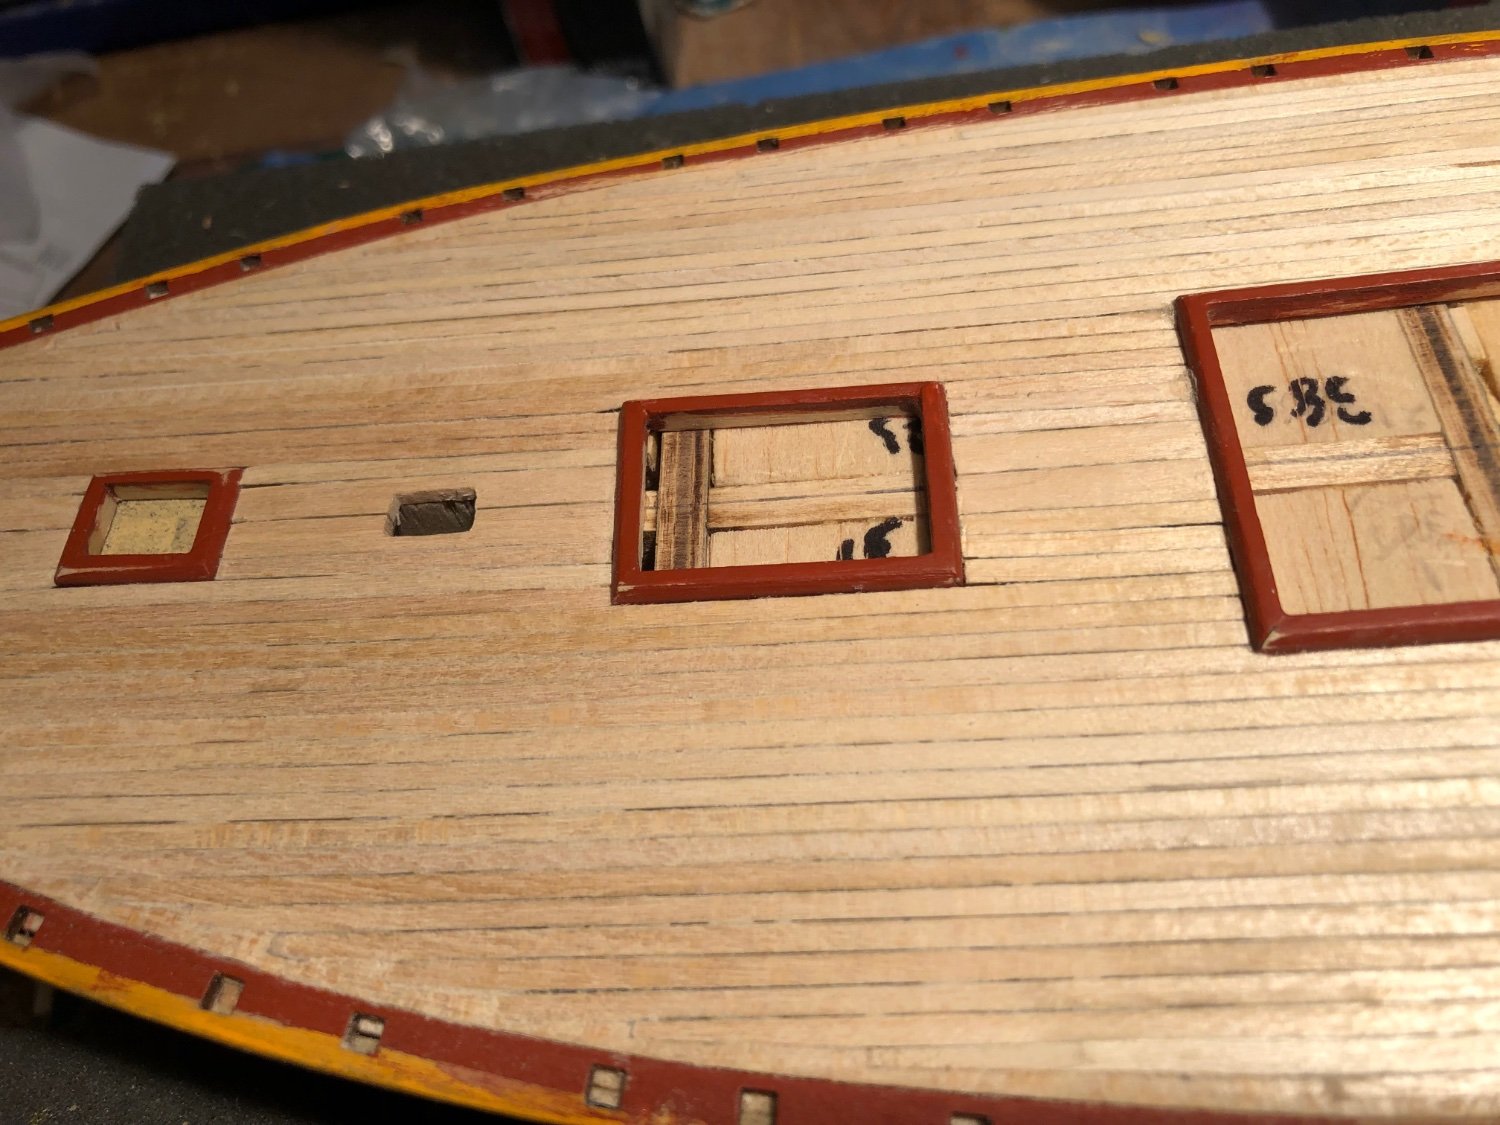
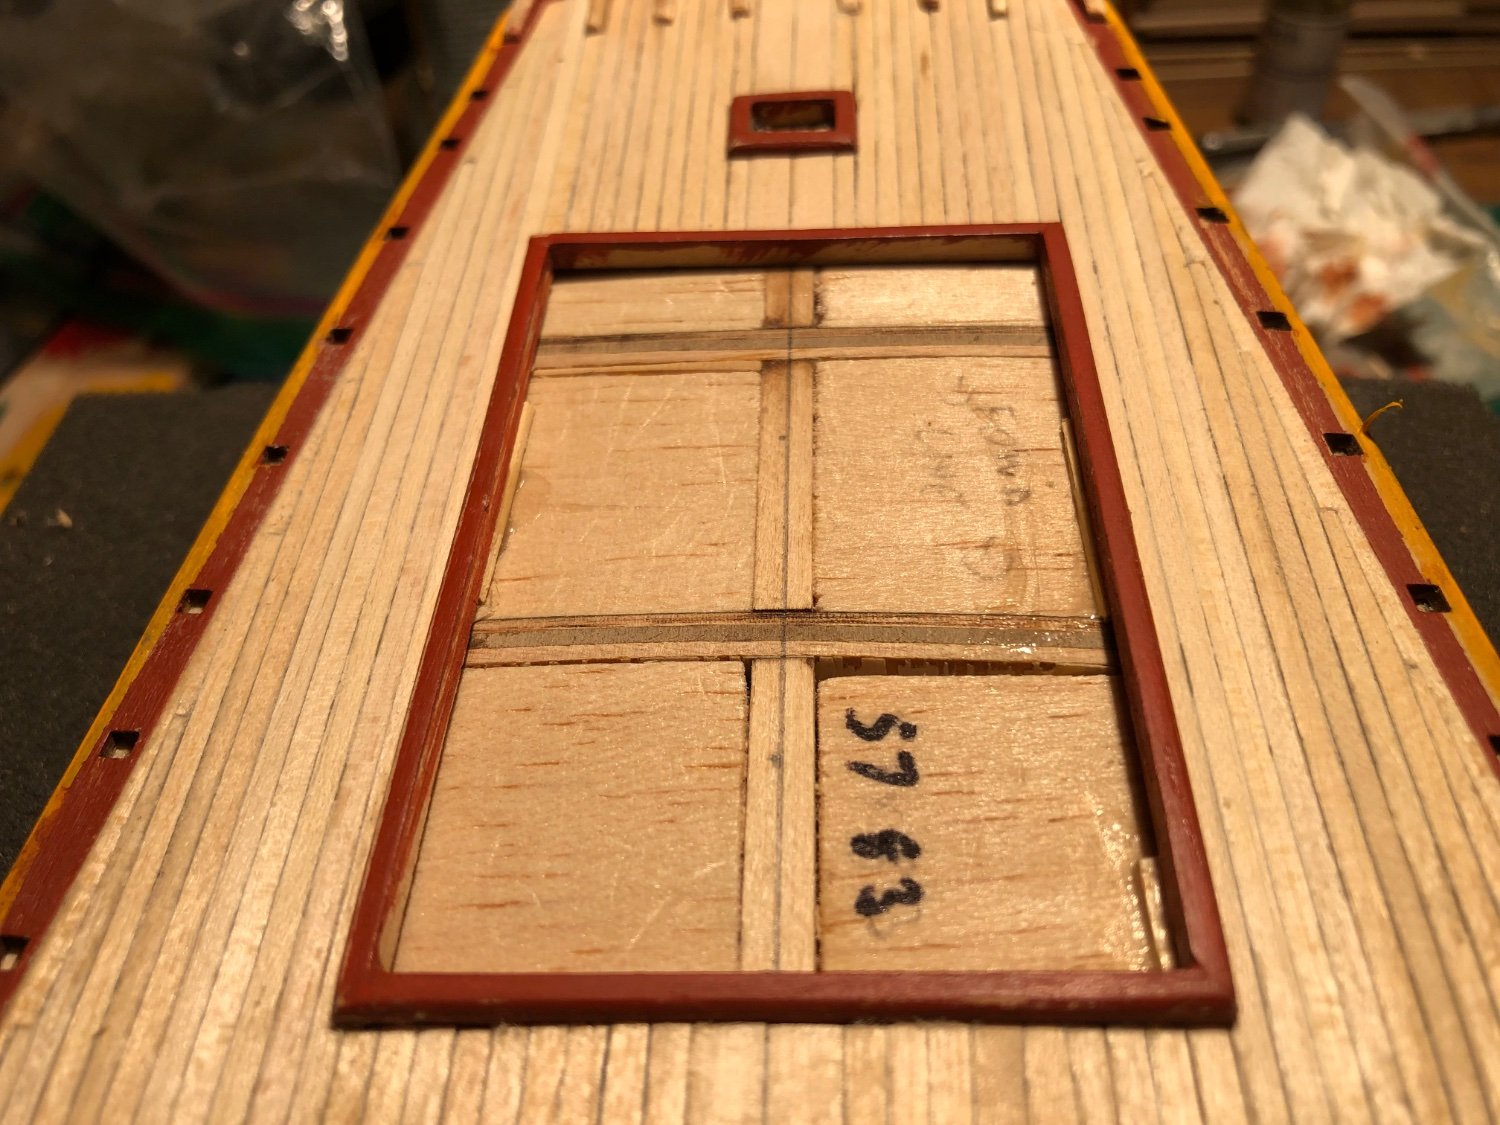
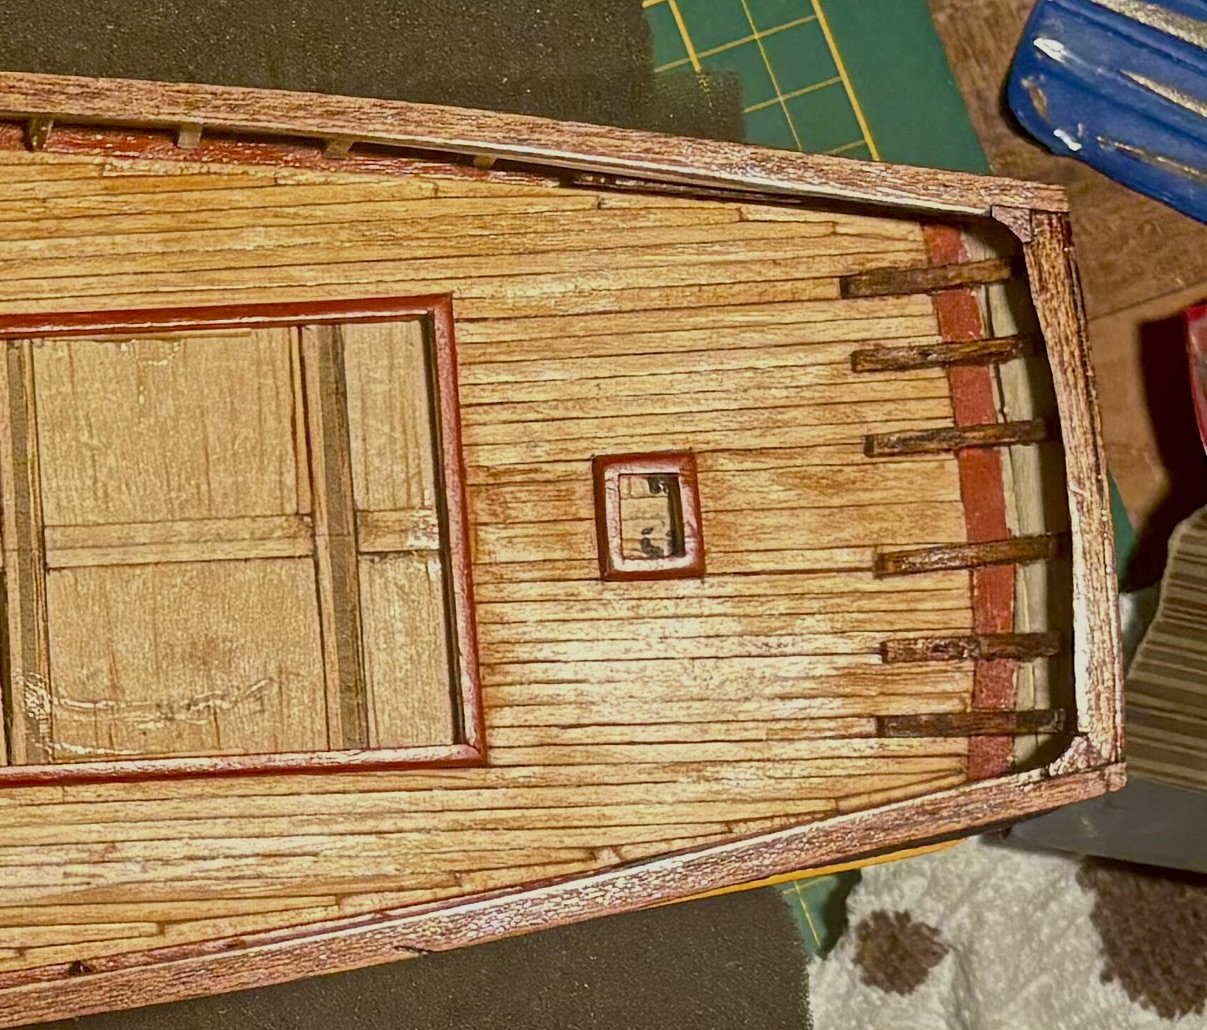
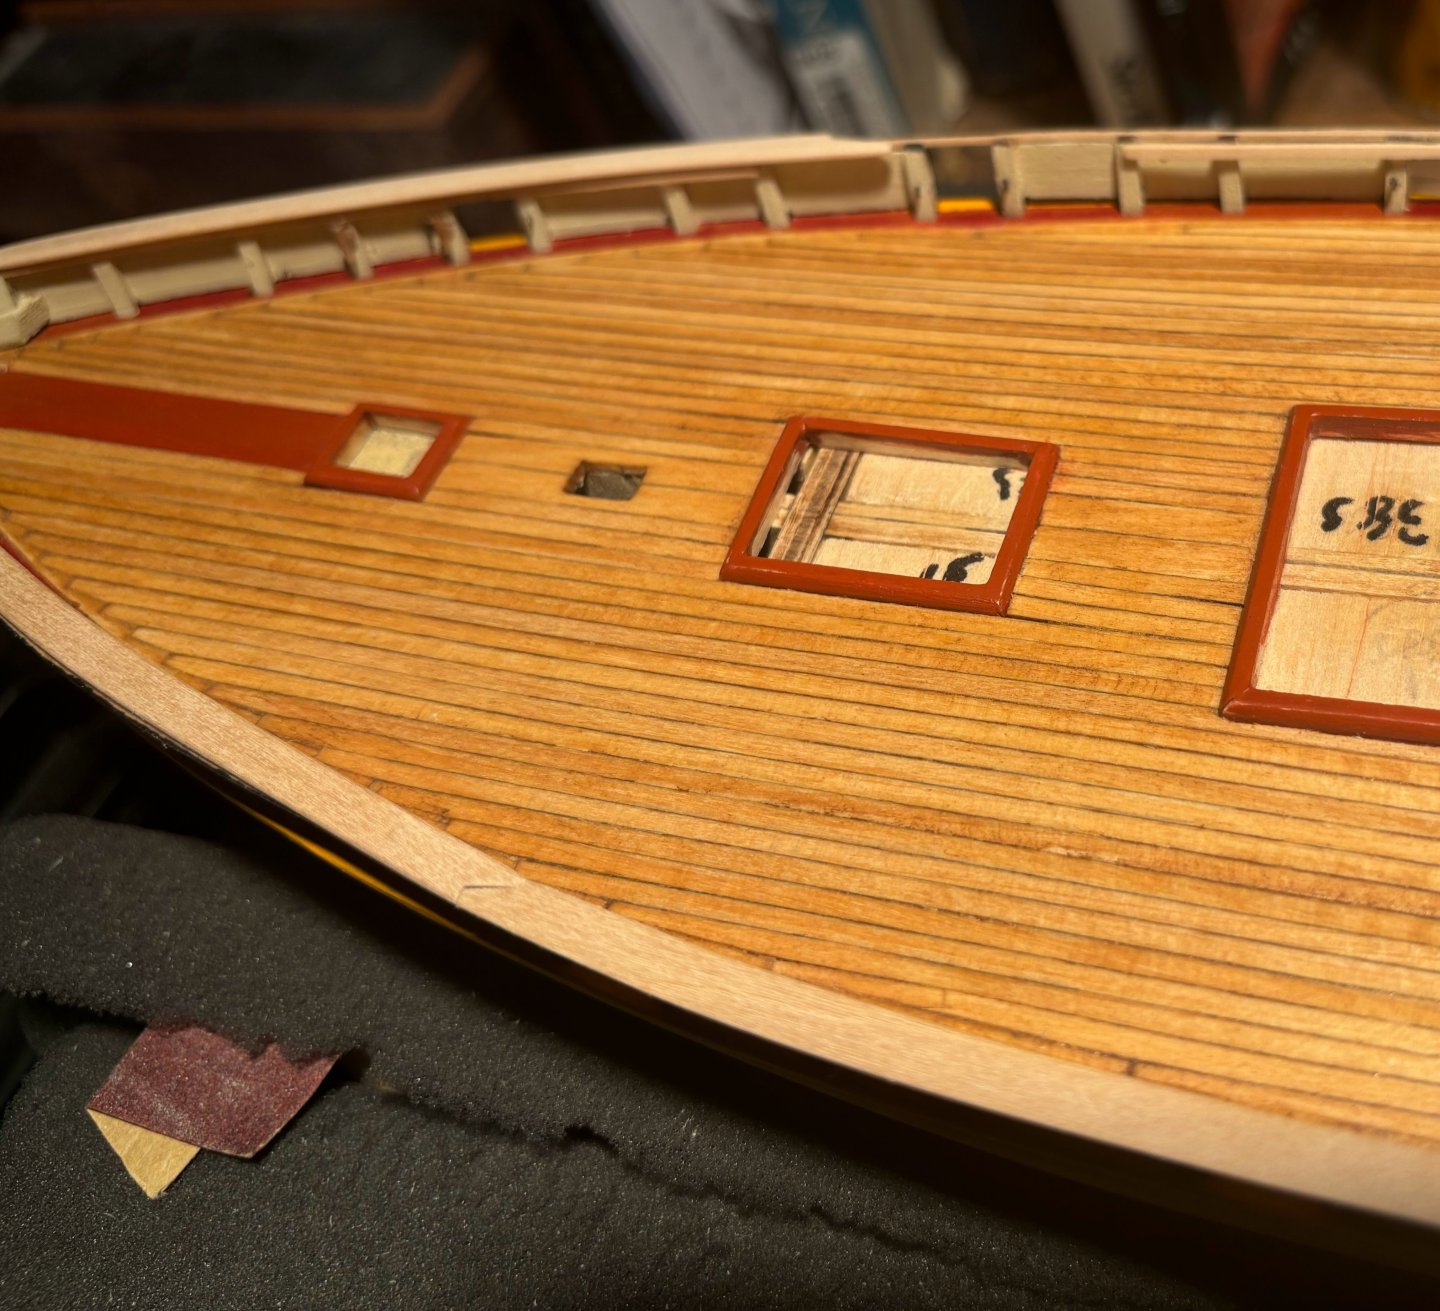
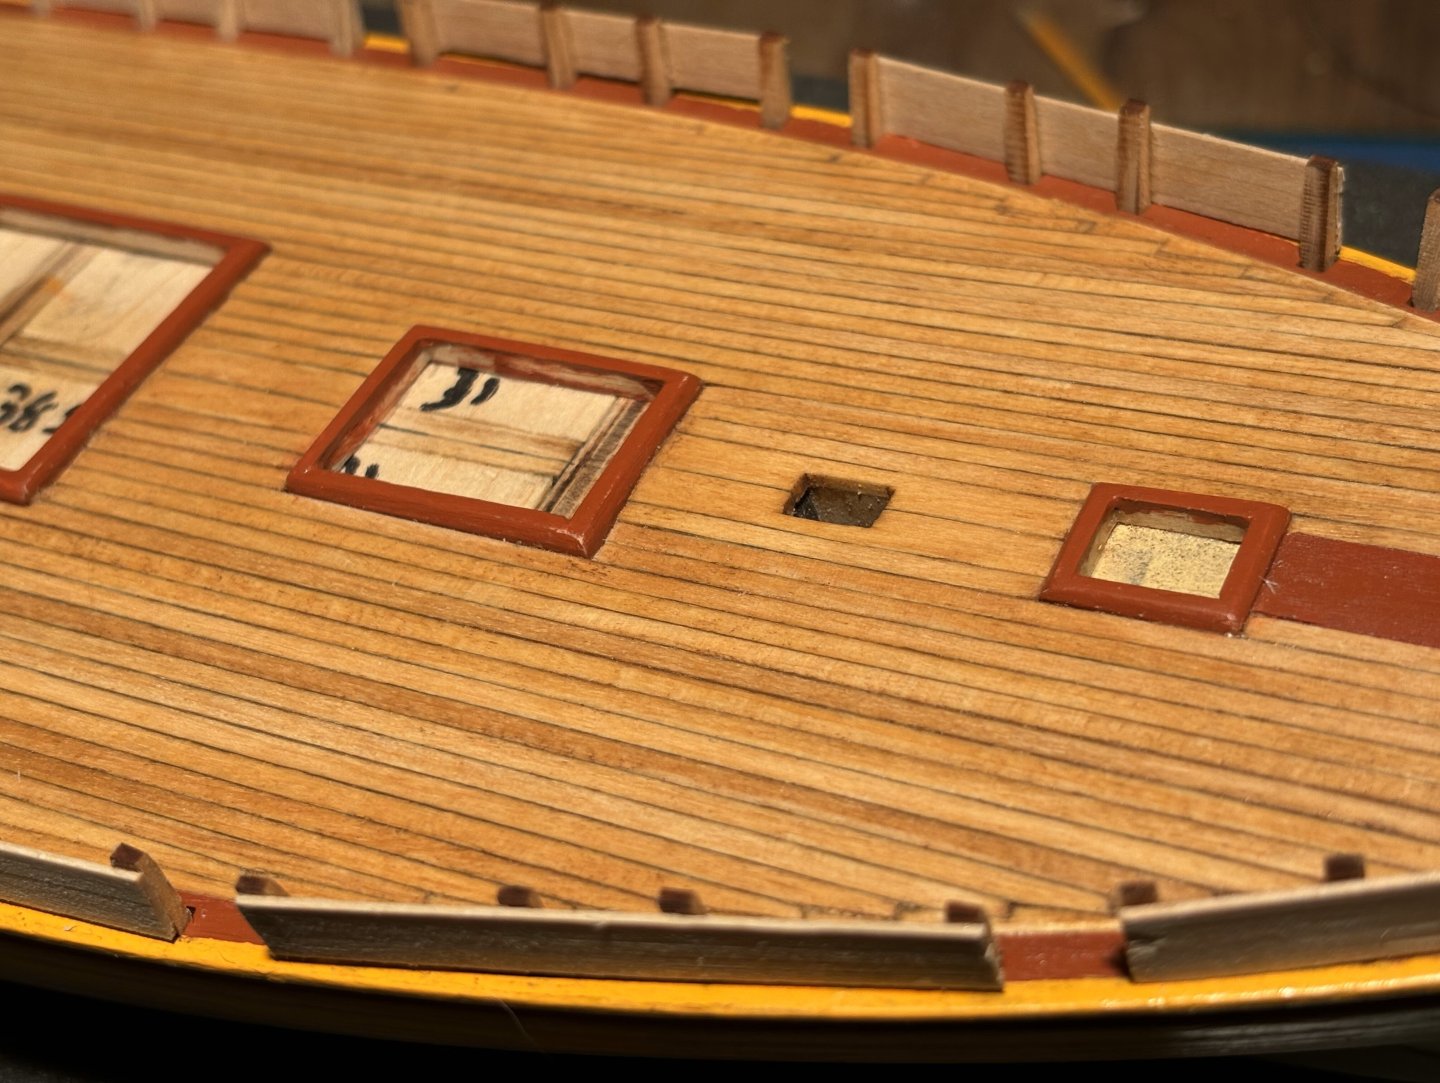
Ten months later, Finally some progress. I didn't realize I never added photos of the stained and poly coated deck. I have also completed the upper bulwark sections. I assembled them off the model. I will paint them and then instal them after adding some inboard details like cleats, rings, etc. The stringers are continuous pieces over the gunport openings, so I'll add them once the bulwarks are installed. Here's a few shots of the bulwarks. Nothing installed ..Just placed for a quick picture or two. Inboard details and paint next up. Hopefully it will be less than ten months before the next update!

- 51 replies
-
- 4
-
-
- Model Shipways
- Baltimore Clipper
- (and 1 more)
-
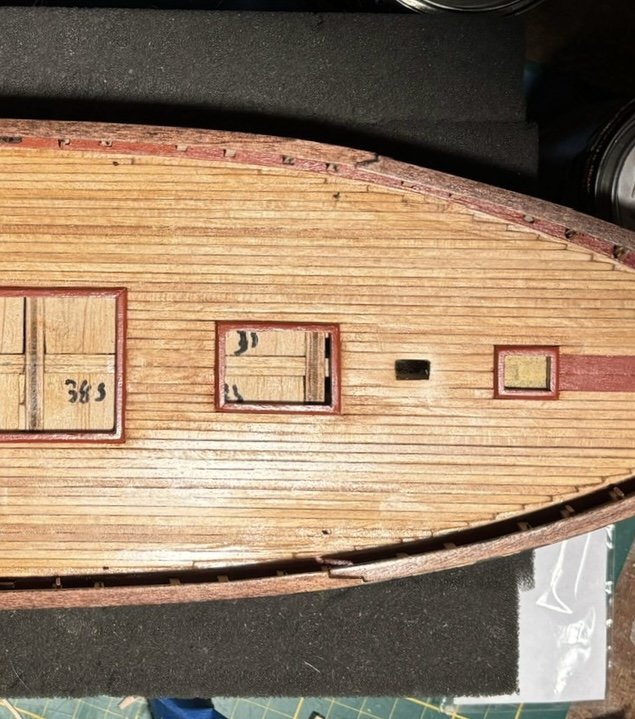
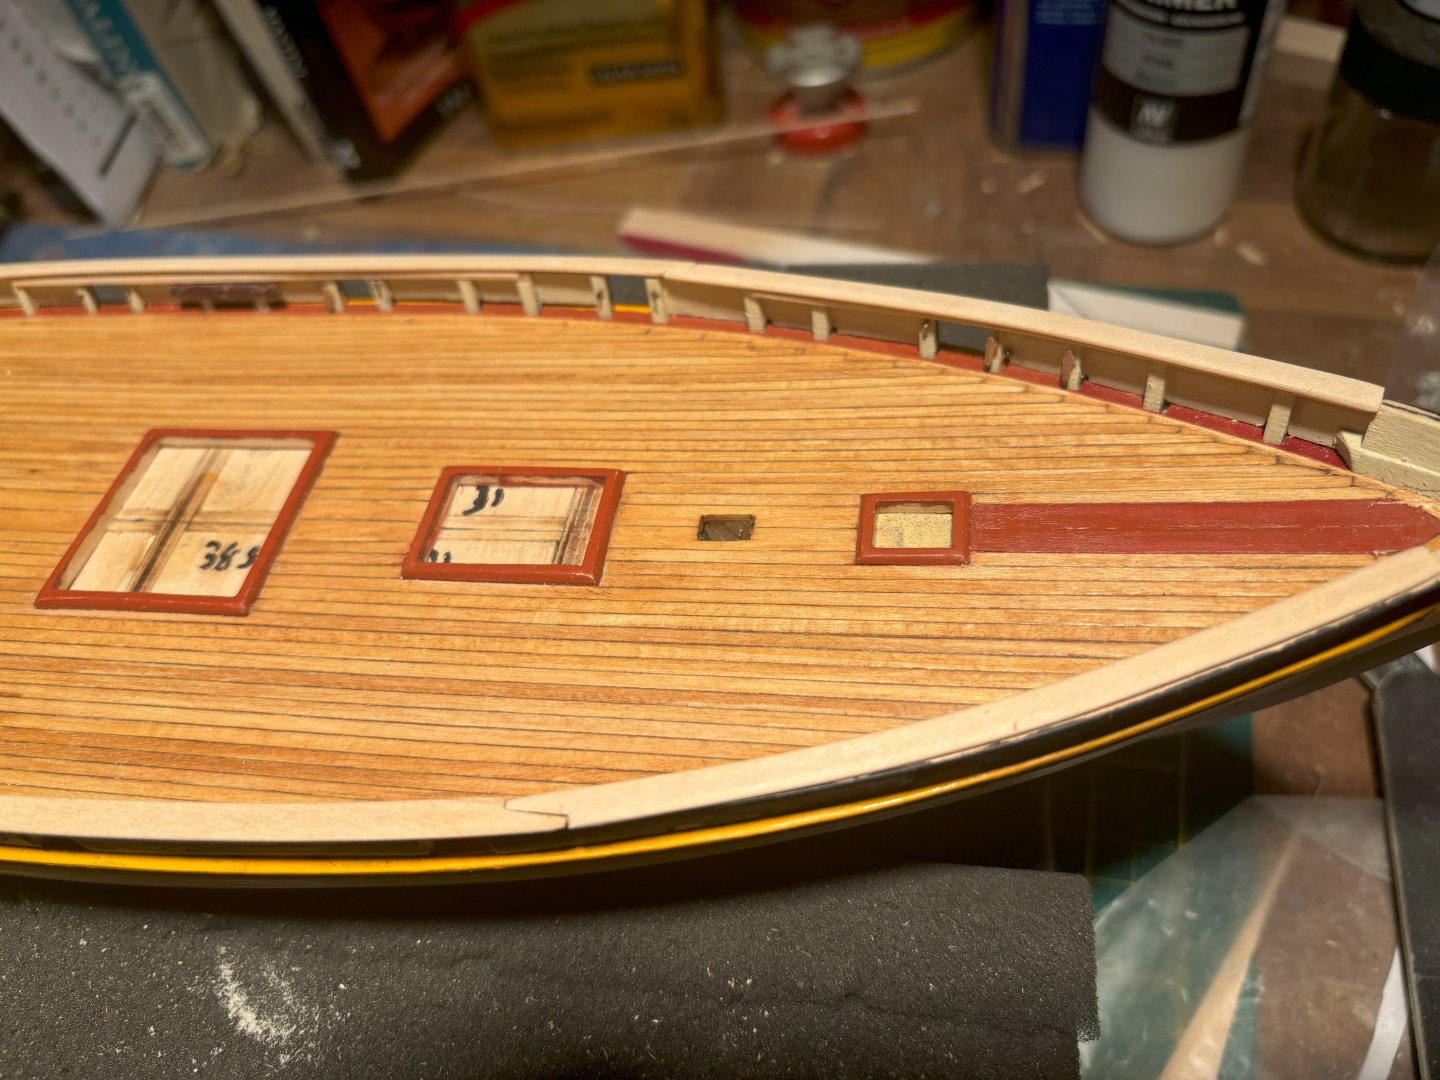
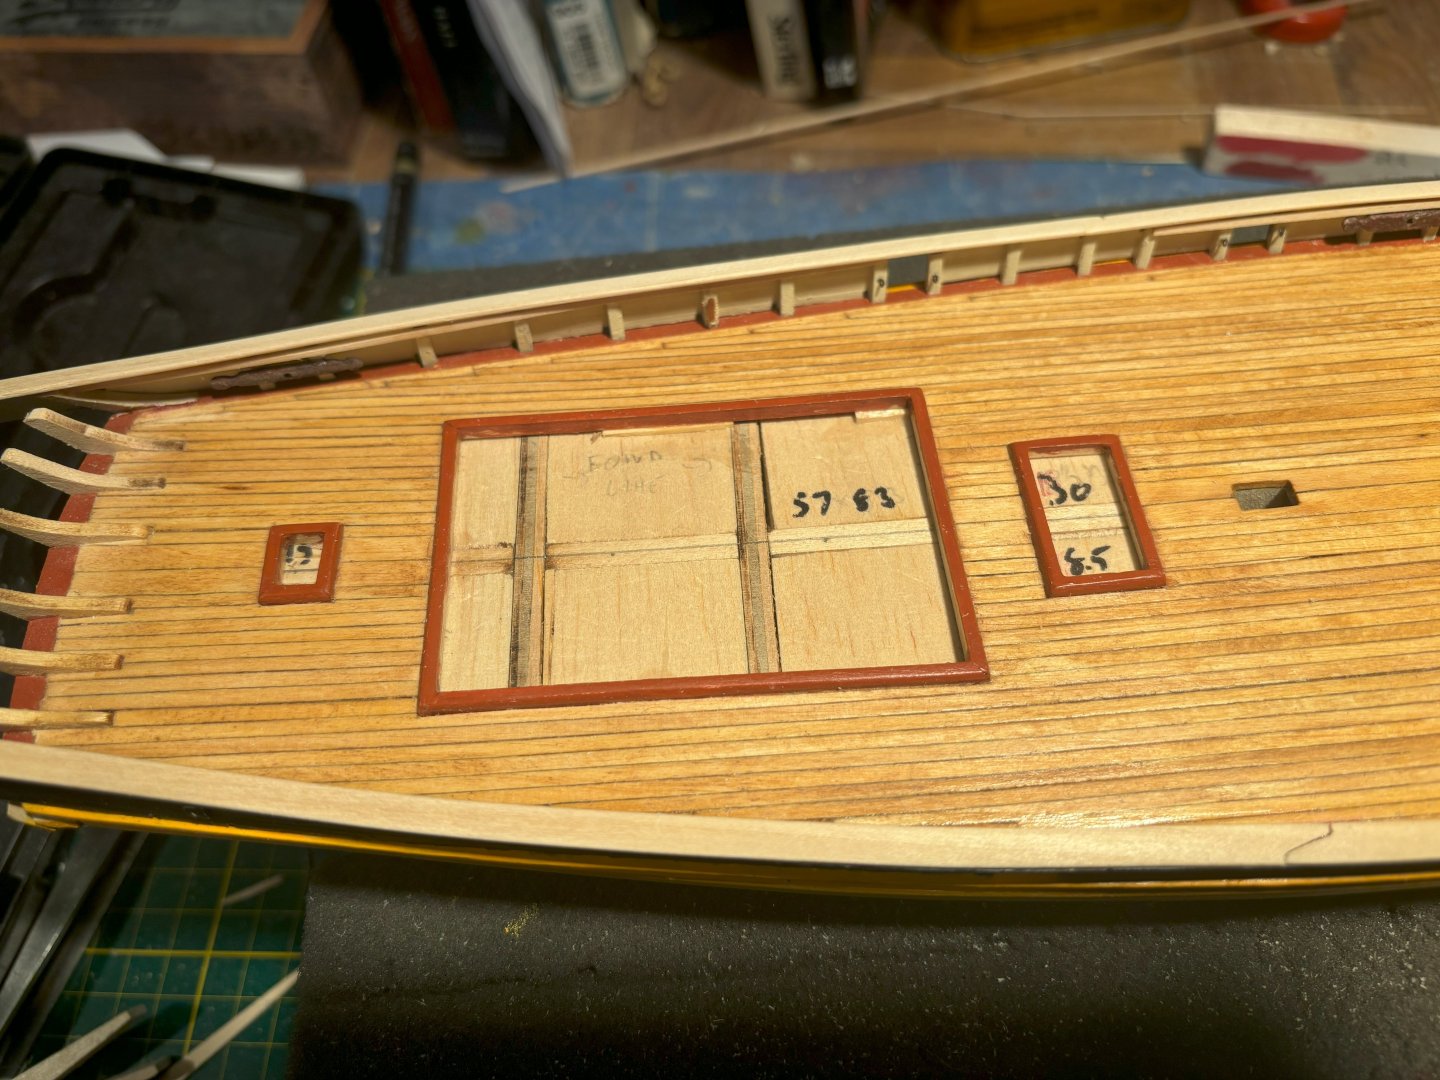
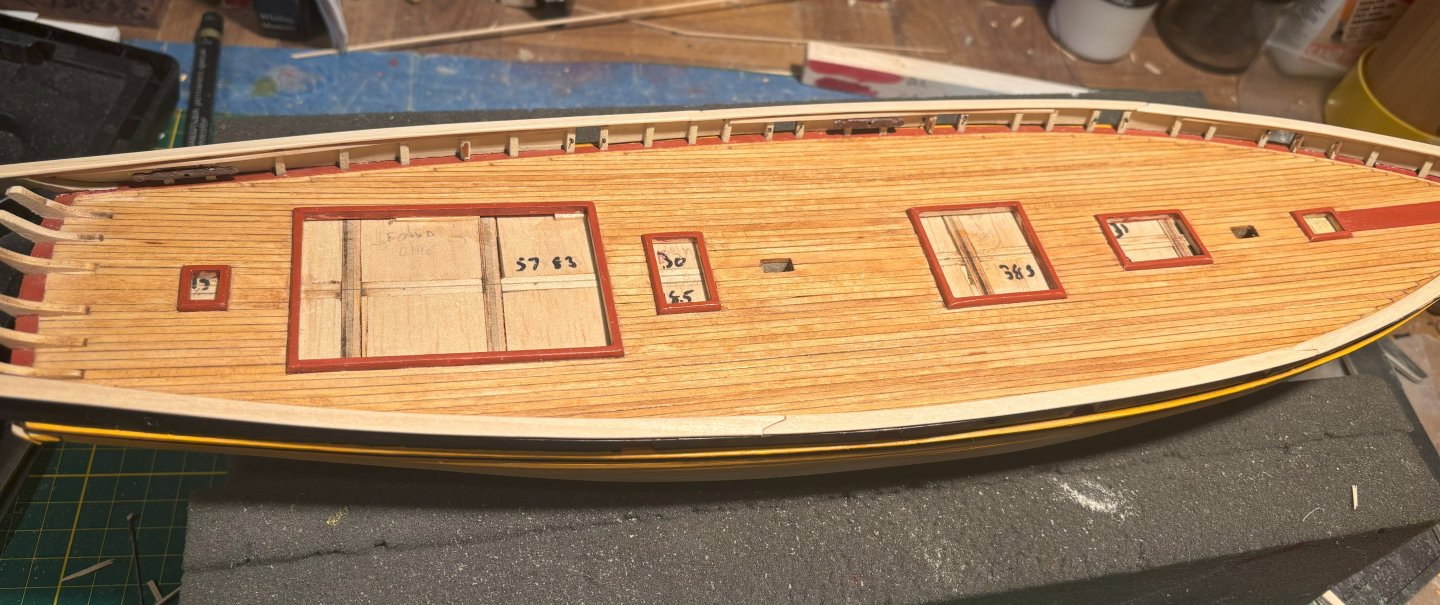
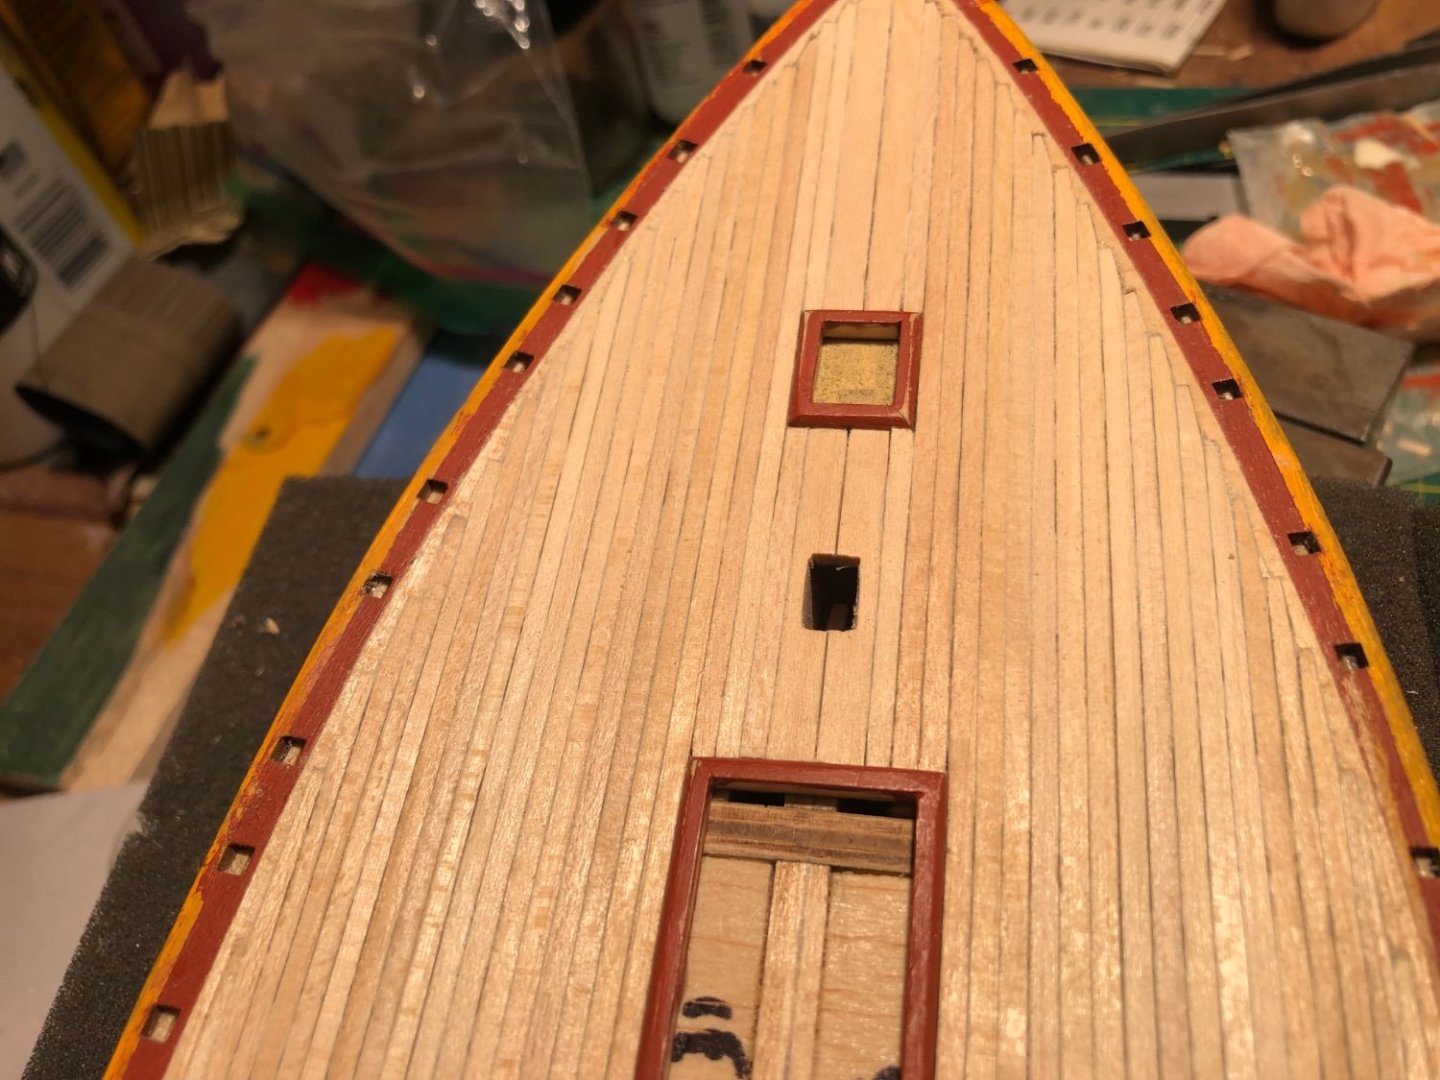
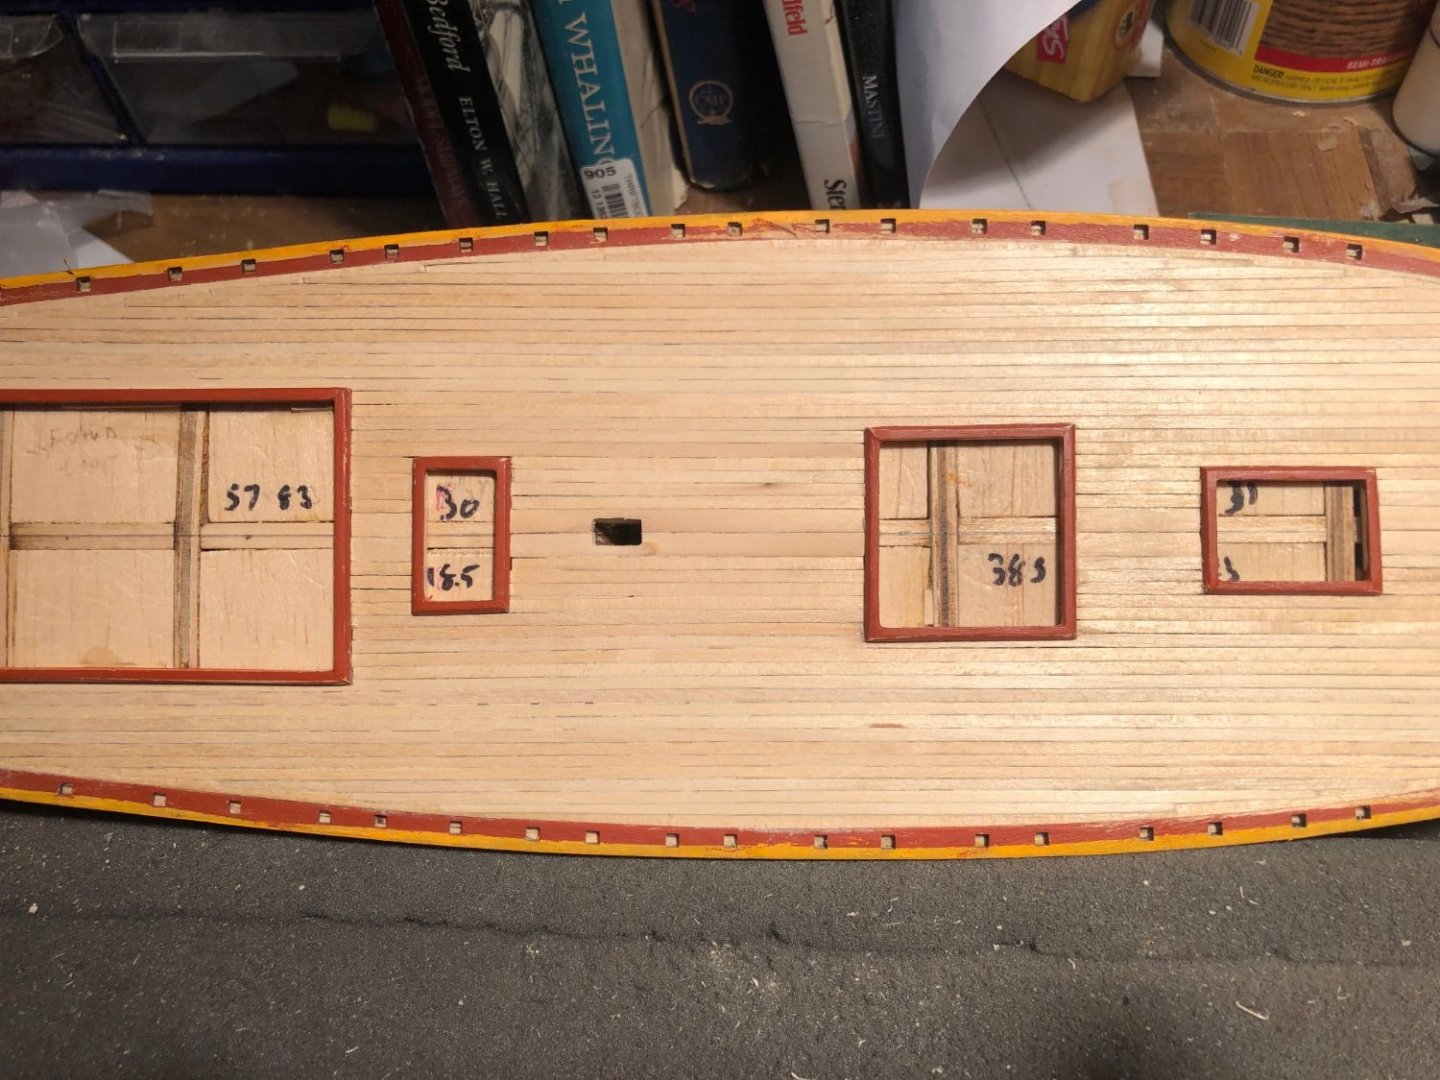
Deck planking completed. Next I’ll cut in the wide support planks for the fife rail and windlass. Then sanding and staining.


- 51 replies
-
- 4
-
-
- Model Shipways
- Baltimore Clipper
- (and 1 more)