Dharma66
-
Posts
19 -
Joined
-
Last visited
Content Type
Profiles
Forums
Gallery
Events
Everything posted by Dharma66
-
Maybe at weekend...
-
Just a brief update. I have, I believe, finally completed fairing. Work suddenly went crazy, and a couple of other time consuming things occurred, but I think I finally have it where I'm happy, including fairing of the transom, which was attached after the bulkhead/frames were done. I've been reading a lot about approaches to planking, and trying to get the corsage to commence in the few bits of time I've had. i expect life to calm down a little in a few weeks, so I'm unlikely to do anything before then, as I want to have a clear head and a few clear hours to set off in the right direction.
-
We're at exactly the same stage! I'll be following along, and trying to keep up!
- 50 replies
-
- 2
-

-
- 18th century longboat
- model shipways
- (and 1 more)
-
Quick update. I did as Steve suggested and prised and wiggled the bulkhead free. I did this straight after it was suggested so the glue hadn't time to fully cure. The next morning I cleared off the residue and reattached. I'm much happier with it. Unfortunately I've not had time to do anymore since, and may not get time before weekend
-
Absolutely stunning, beautiful.
-
Thanks Steve, you're right of course. I did think a couple of degrees could be accommodated by making sure everything is faired properly. But even if it could be, the only thing I'd ever see would be that one slightly wonky frame... We don't (to the best of my knowledge) have Elmers in the UK, and I'm not sure what the equivalent is. For other woodworking jobs, I'd normally use Titebond, which is, as the name implies, a very strong glue. For this, I went with plain old white woodworkers glue, so hopefully it will come away ok.
-
Test fitted, tweaked and glued the bulkheads today. Almost all of the bulkheads wanted to sit forward and high starboard, low and aft port side, so it took a little filing and repeated test fitting to get them to sit true without straining (with a tiny amount of force) against the clamps. Just two or three strokes with a file in the top right corner of the bulkhead slot was enough for most. None required this more than twice. Bulhead two leans back by 2-3 degrees. My bad clamping. I haven't decided yet whether to try to remove and reseat it, or let it pass, I'm not used to de gluing such tiny things, and I'm concerned about breakage...I suspect it will stay as-is, and serve as a reminder to check roll, pitch and yaw several times each... In theory I have time tomorrow to make a start on fairing... I may be slow, but I'll post photos of where I get to. On another note, I seem to have rather unexpectedly gained approval from the Admiralty to move indoors, into a permanent installation! This would be a big step forward, as my garage "workspace" - which is still not completely cleared of obstacles - is cold, draughty and dirty. So with any luck, I'll be knocking up (or maybe just buying) a new workbench in the spare bedroom sometime soon
-
Very nice! If I manage anything remotely like this I'll be delighted
- 335 replies
-
- 3
-
-
- 18th century longboat
- Finished
- (and 1 more)
-
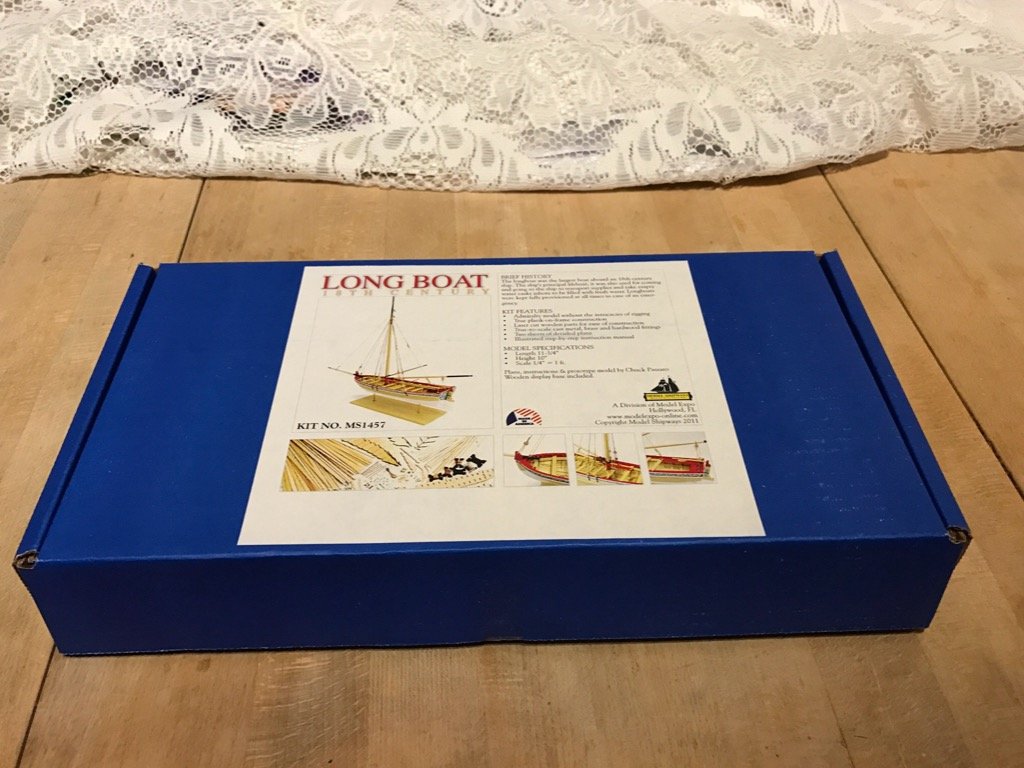
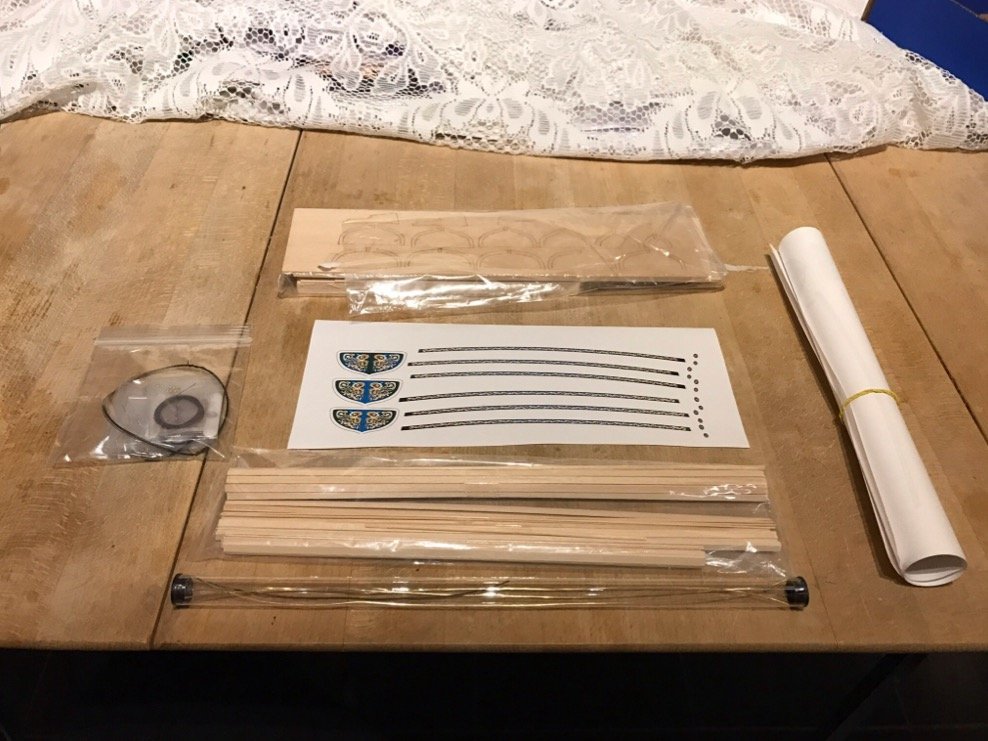
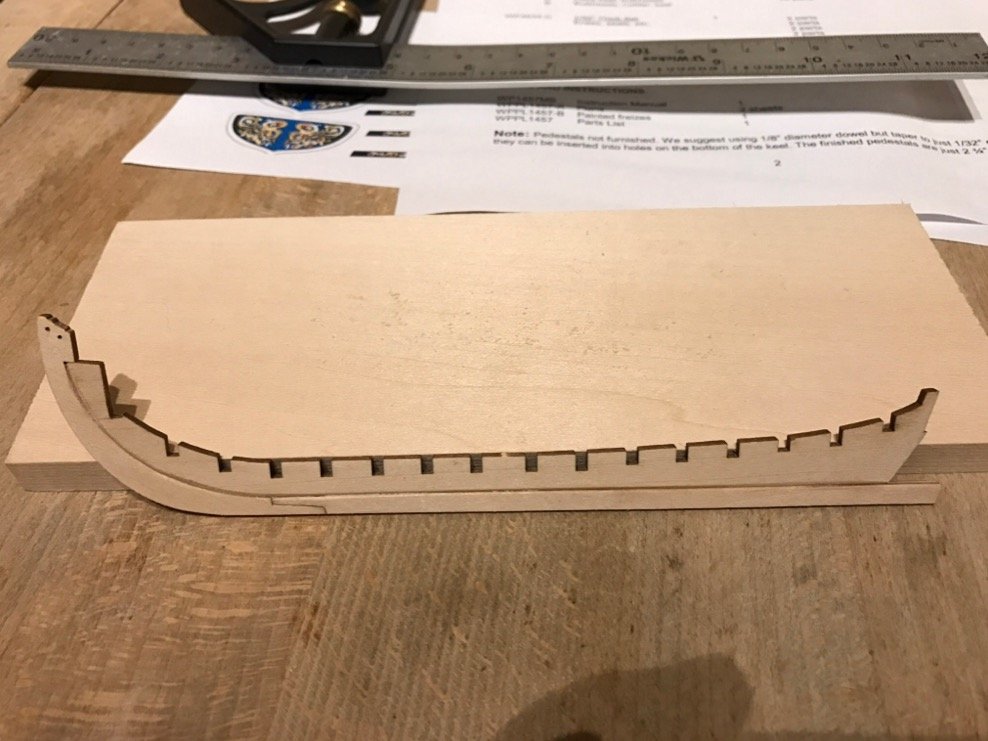
Got it! Bit of a palaver, but here's the first pics. first the box... And the contents ... I found a new use for my iPad...as a backlight to check for tight dry-fit joints... Todays progress amounts nuts to the rabbet, bearding and keel assembly. Just need to resize the photo...here we go: Tomorrow I'll dry fit the bulkheads/frames and see if I can find my small engineers squares...I fear I may need to buy a couple. Oh and small clamps. I thought I had small clamps, but they are ENORMOUS compared to this model. Anyone know a good source of genuinely teeny clamps in the UK?


-
Hello! This will be my first build log of my first wooden ship model. The box arrived today, and I've checked over the inventory list, and all is ok. As this is my first ever wooden model build, I will be doing it out of the box, especially as there are some challenging parts for a beginner! First thoughts? It's tiny. I knew it would be small, but it's tiny! I've taken a load of photos of work so far (very little!), but can't for the life of me figure out how to post them (I'm on an iPad). When I work it out I'll add them...
-
Well, no excuses now, the kit arrived... Build log log entry No. 1 to follow later this (UK) evening!
-
It's been dispatched... getting excited now! ...and I have an excuse for some tool shopping
-
Well, I nearly have the workspace sorted, so I've taken the plunge. After reading literally hundreds of pages of build logs, I've ordered Model Shipways 18th Century Longboat. I know it's down as an intermediate level kit, but a few people have managed to pull it off as a first build, and I'm hoping that if I go slow enough, and quadruple check everything, maybe I can manage it. I will be starting a log once I finally have the space in order (or on the kitchen table if it drags on too long!), as I am pretty certain I'll be hoping for a few pointers along the way!
-
Yet another amazing Cheerful build. I'm working my way through all of the logs, and the standard is simply not declining! Really inspiring, and I'm really falling in love with this wonderful design by Chuck. I was very pleased, though, Erik, to see that whilst this is only your second boat, you are an otherwise experienced modeller. Had this been the second "model" you'd ever built, I'd have had to hang up my tools
-
I read the whole of Chucks Cheerful thread, and thought to myself that no mere mortal could ever replicate that. You sir, are no mere mortal.
- 452 replies
-
- 6
-
-
- cheerful
- Syren Ship Model Company
- (and 1 more)
-
I've just spent the last two evenings reading this log from the start. It is absolutely staggering. The level of detail and precision is absolutely outstanding. It is a real honour to see a true master craftsman at work. Very, very inspiring. Many thanks, Chuck, for sharing with us!
- 1,051 replies
-
- 5
-
-
- cheerful
- Syren Ship Model Company
- (and 1 more)
-
Thanks for the warm welcomes. Im finally getting round to some clearing out this weekend. A couple of weeks and I should have some space back. I've been reading lots of build logs, and though the planking seems a little awkward in parts (for a beginner), I'm thinking perhaps Pickle may be my first build. I'll keep reading and pondering and try to make the final decision soon...
-
Thanks for the links Anja...my name is Phil Keith, I'm very much on the red side of the city
-
Hi, I've been lurking a while, and reading lots of information on this site. I'm brand new to wooden ship modelling, so new in fact, that I haven't yet started! I've done some plastic modelling over the years, mostly aircraft, but wooden ships have been percolating at the back of my mind for as long as I can remember. I've decided now is the time to try. I think it will be a little while yet before I get so far as purchasing a kit. I have probably 90% of the tools required by, virtue of previous modelling, and having worked a little in wood for other purposes, such as building electric guitars (purely for fun). But what I am lacking is space. My "workshop" is currently more akin to Steptoe's yard than a useful area to work in. So, I need to do some rearranging, chucking out, and negotiating with the missus in order to reclaim my space. This will, though, allow me to spend more time reading the couple of books I have, these fora, and the excellent articles at NRG. And it will also give me a little more time to make what seems now to be a huge decision, but ultimately is probably not really that huge...which kit to build first? There *may* be another Lady Nelson on the way...