HOLIDAY DONATION DRIVE - SUPPORT MSW - DO YOUR PART TO KEEP THIS GREAT FORUM GOING! (78 donations so far out of 49,000 members - C'mon guys!)
×

wtimlen
-
Posts
117 -
Joined
-
Last visited
Content Type
Profiles
Forums
Gallery
Events
Everything posted by wtimlen
-
 Hello Bruce, Interesting, I am at a similar point in my build of the Mary Taylor. You are a few steps ahead of me. You mentioned about dents in the hull, my trick to prevent dents is to seal it with a few coats of tinned Z-Poxy Finishing Resin to prevent dents. I am planning to copper plate my Mary Taylor with individual plates. I did my Blue Jacket Revenue cutter the same way as opposed to copper paint. I was pleased with my result. Also if you wish to see how I sealed my hull you can go to my "Yankee Hero" and "Revenue Cutter" logs. BTW: Good Luck with your build! Bill T.
 -
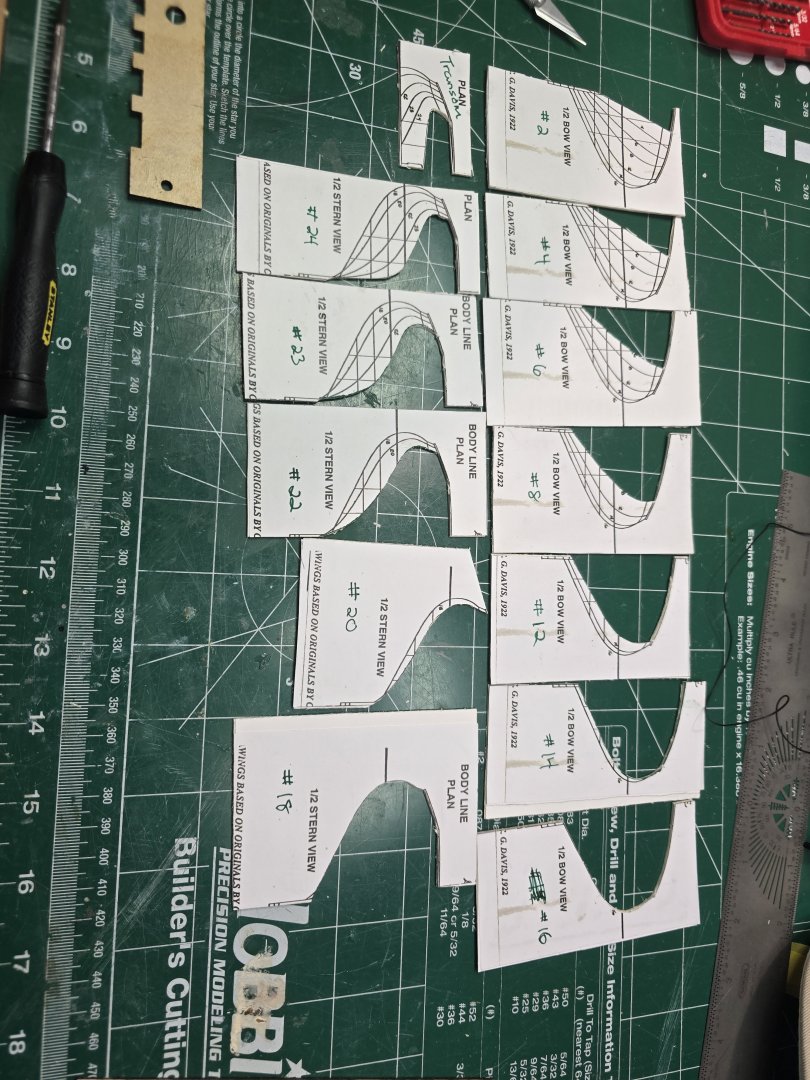
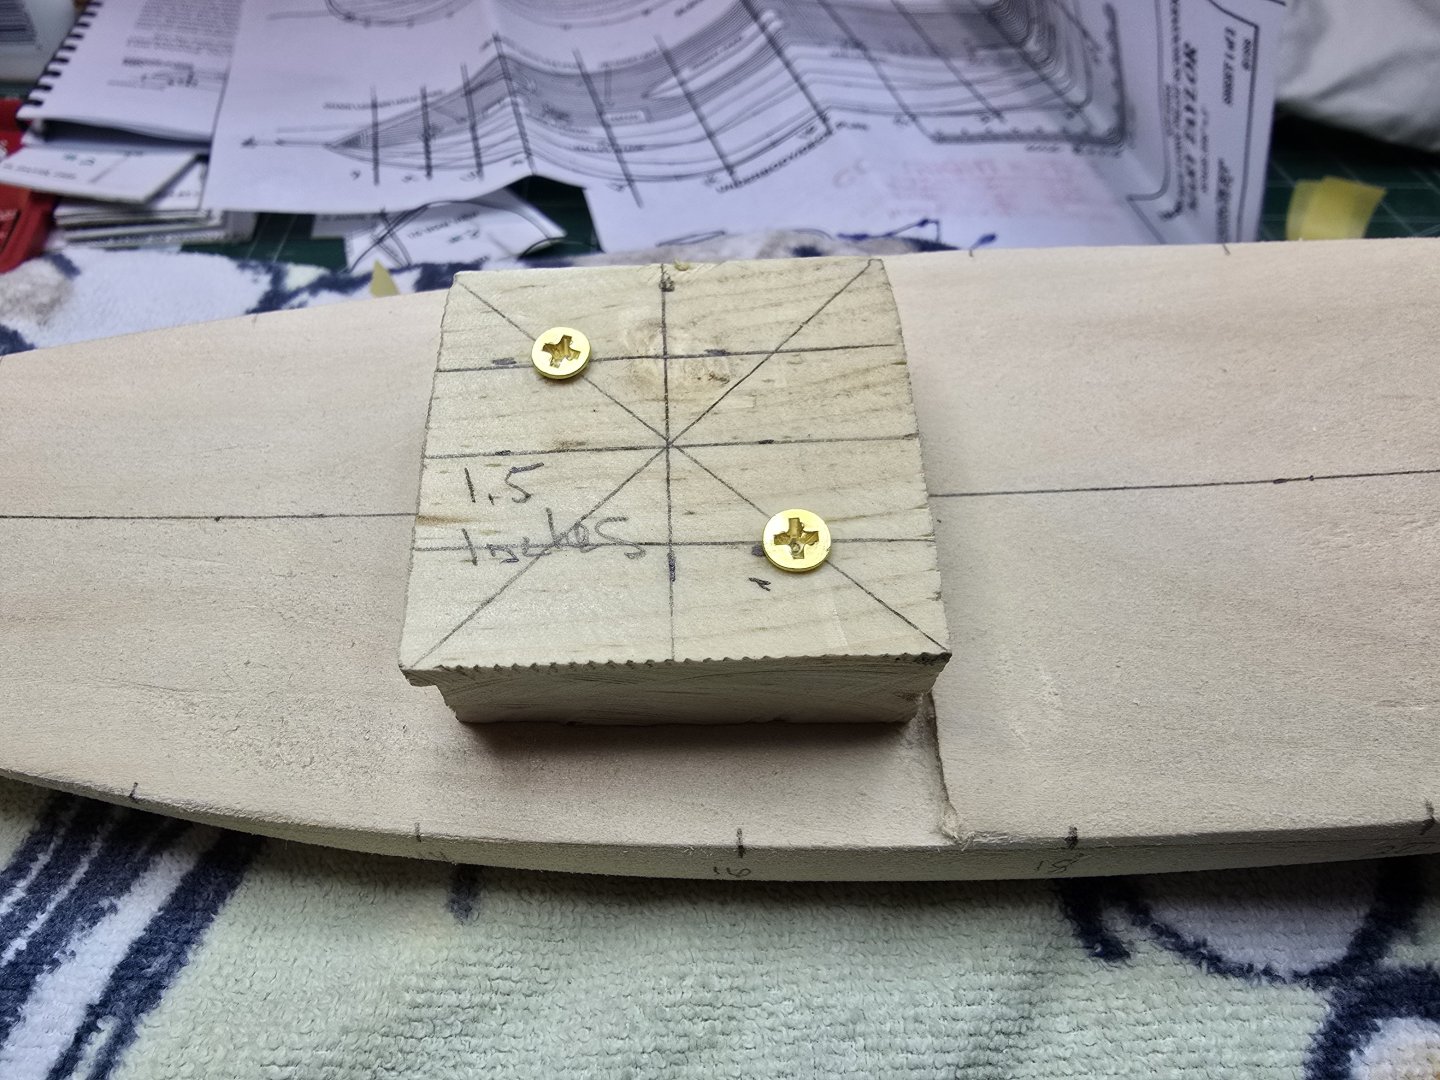
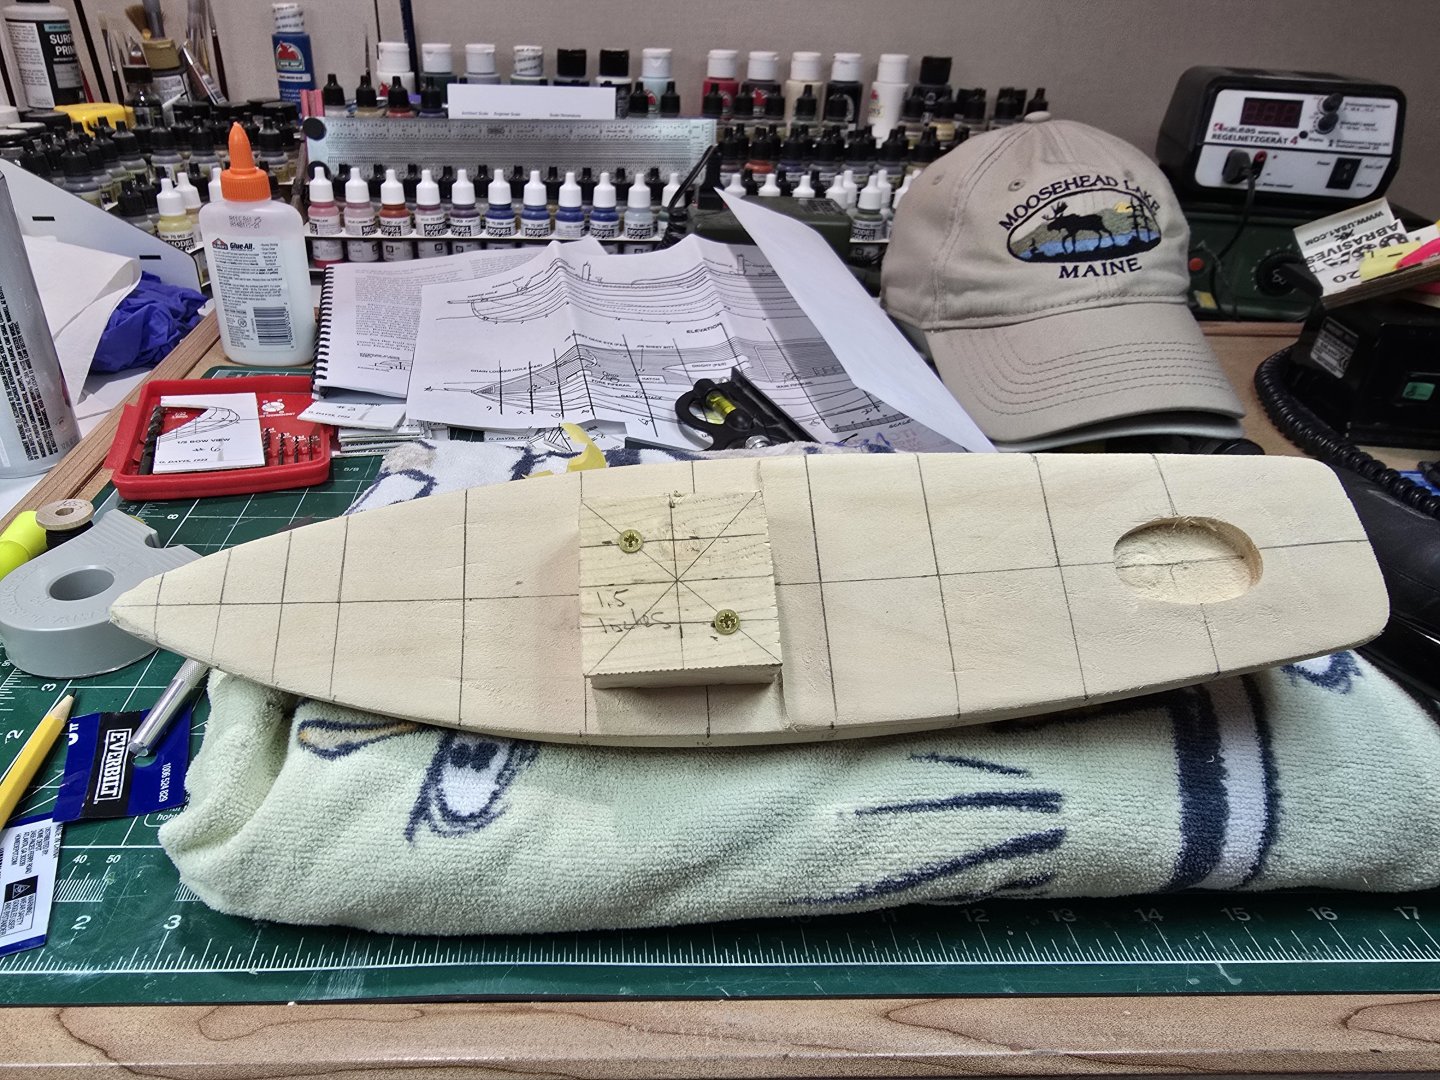
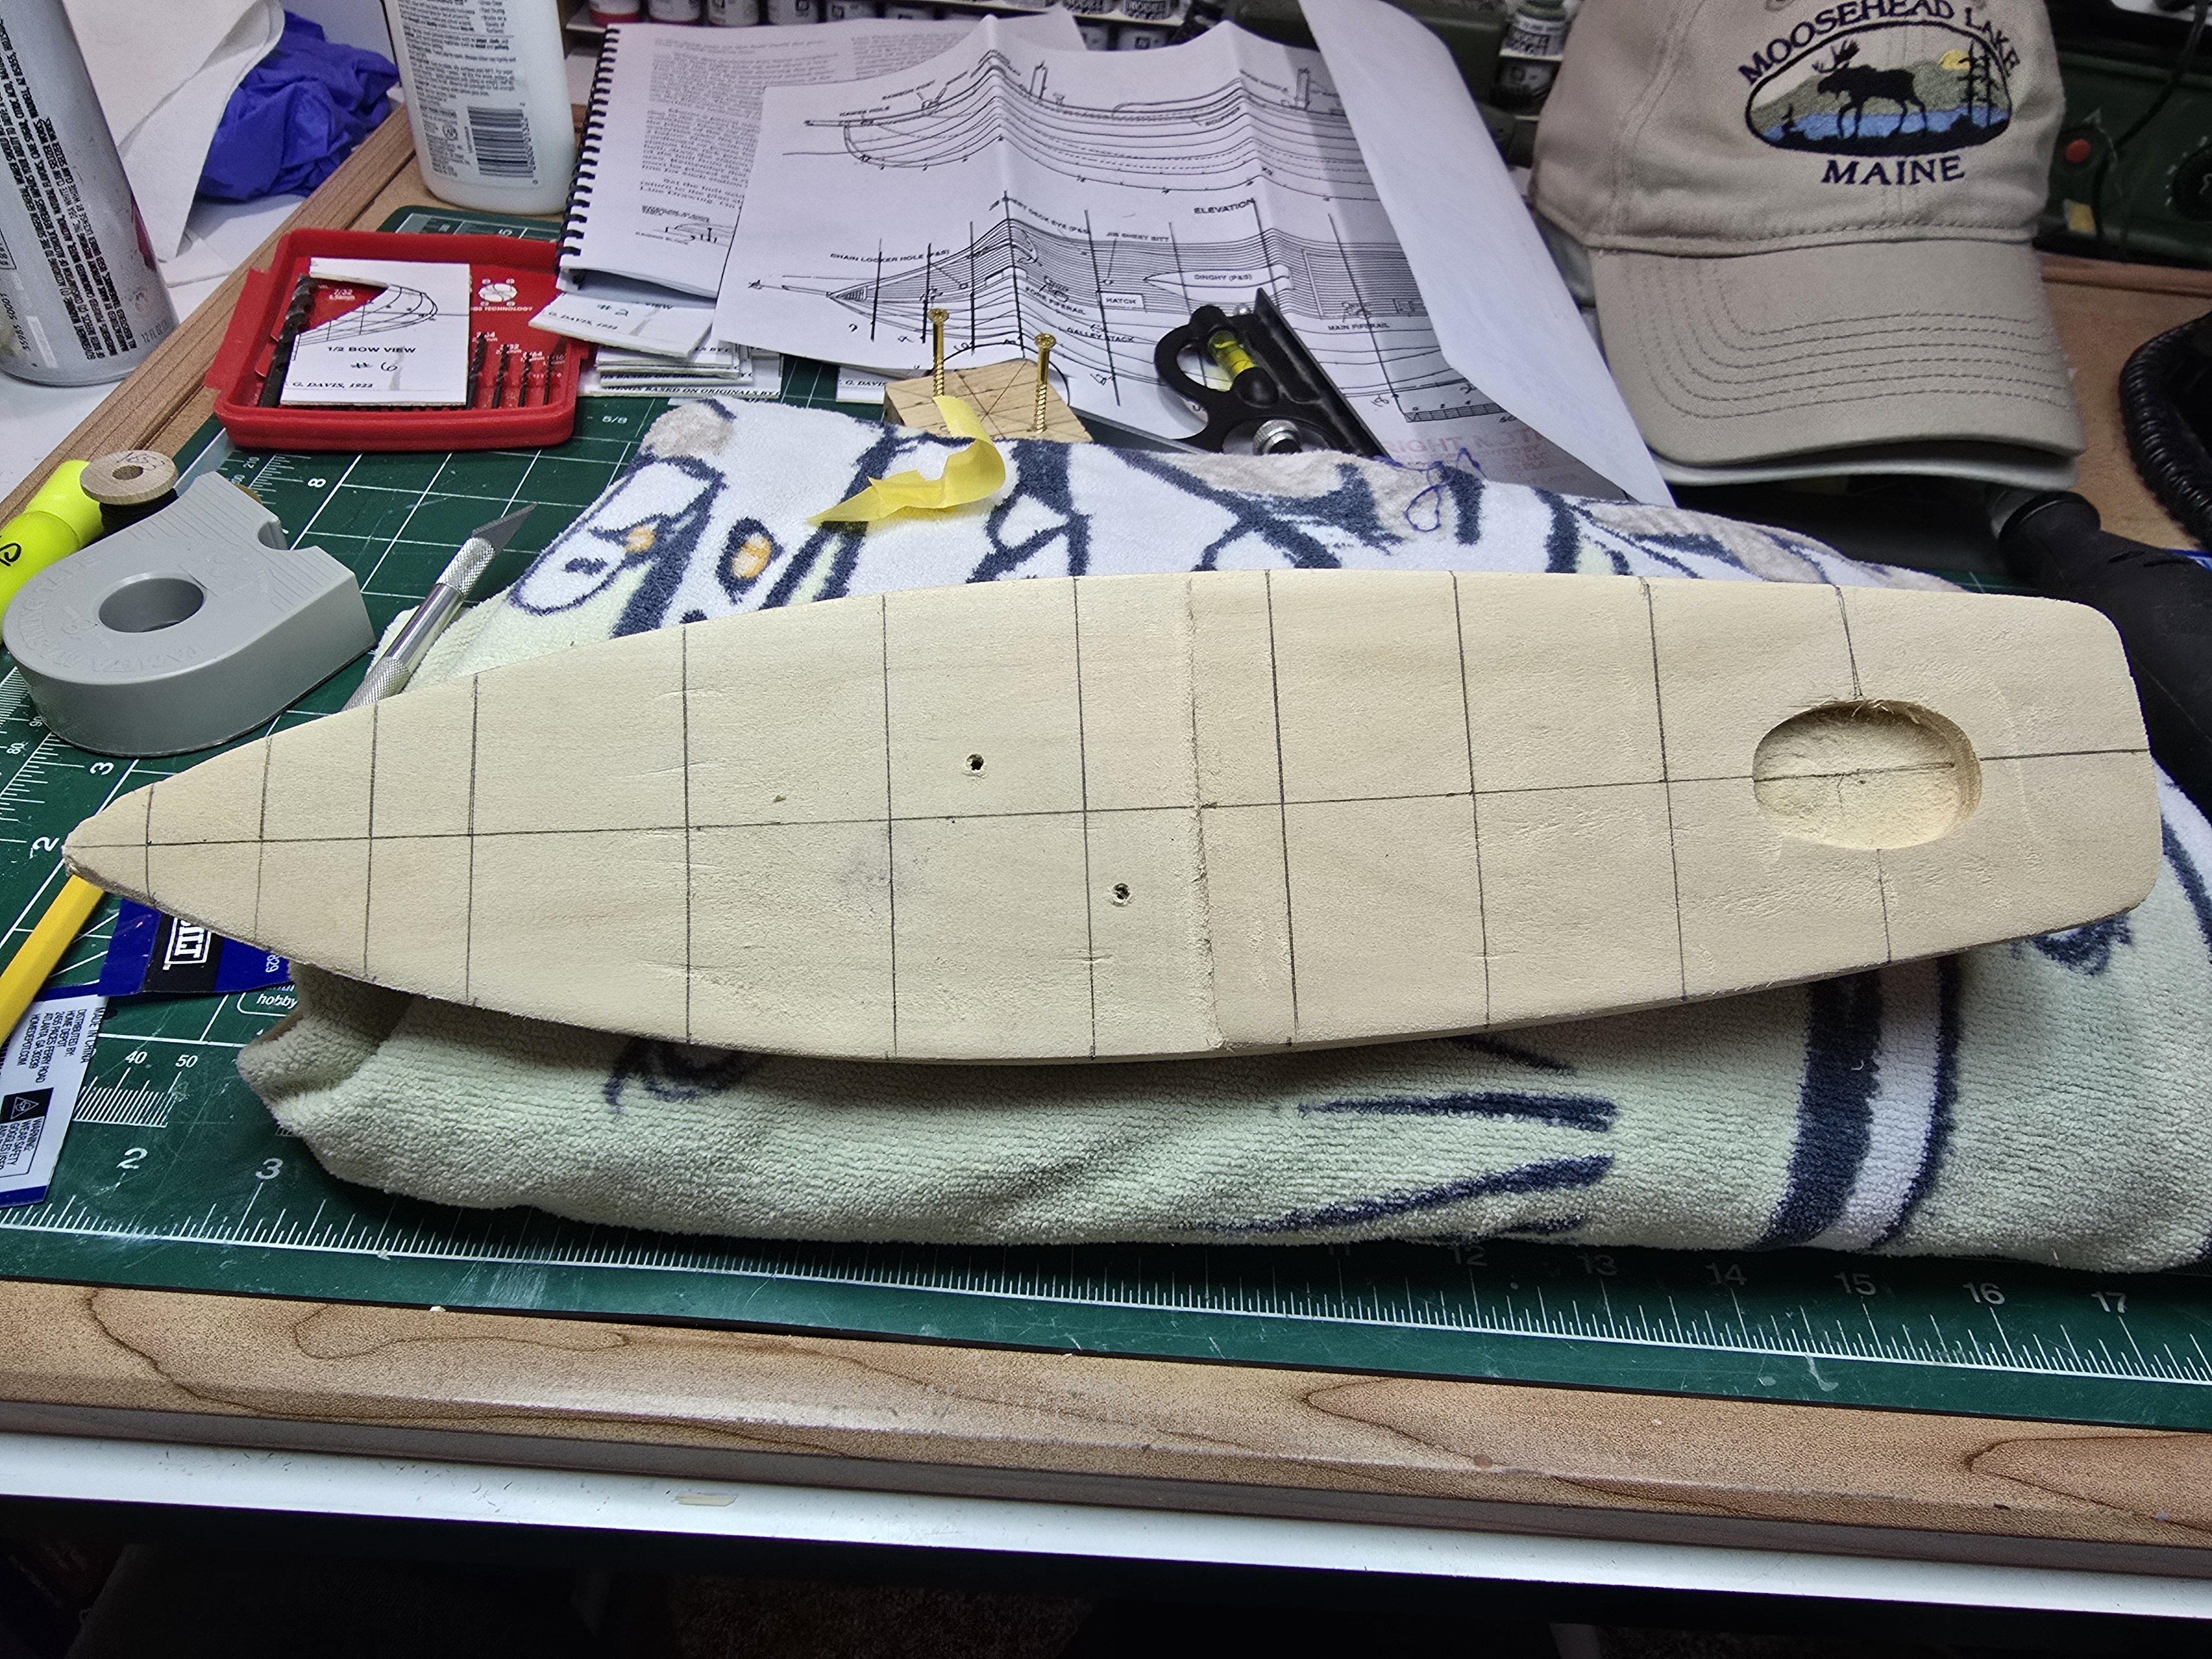
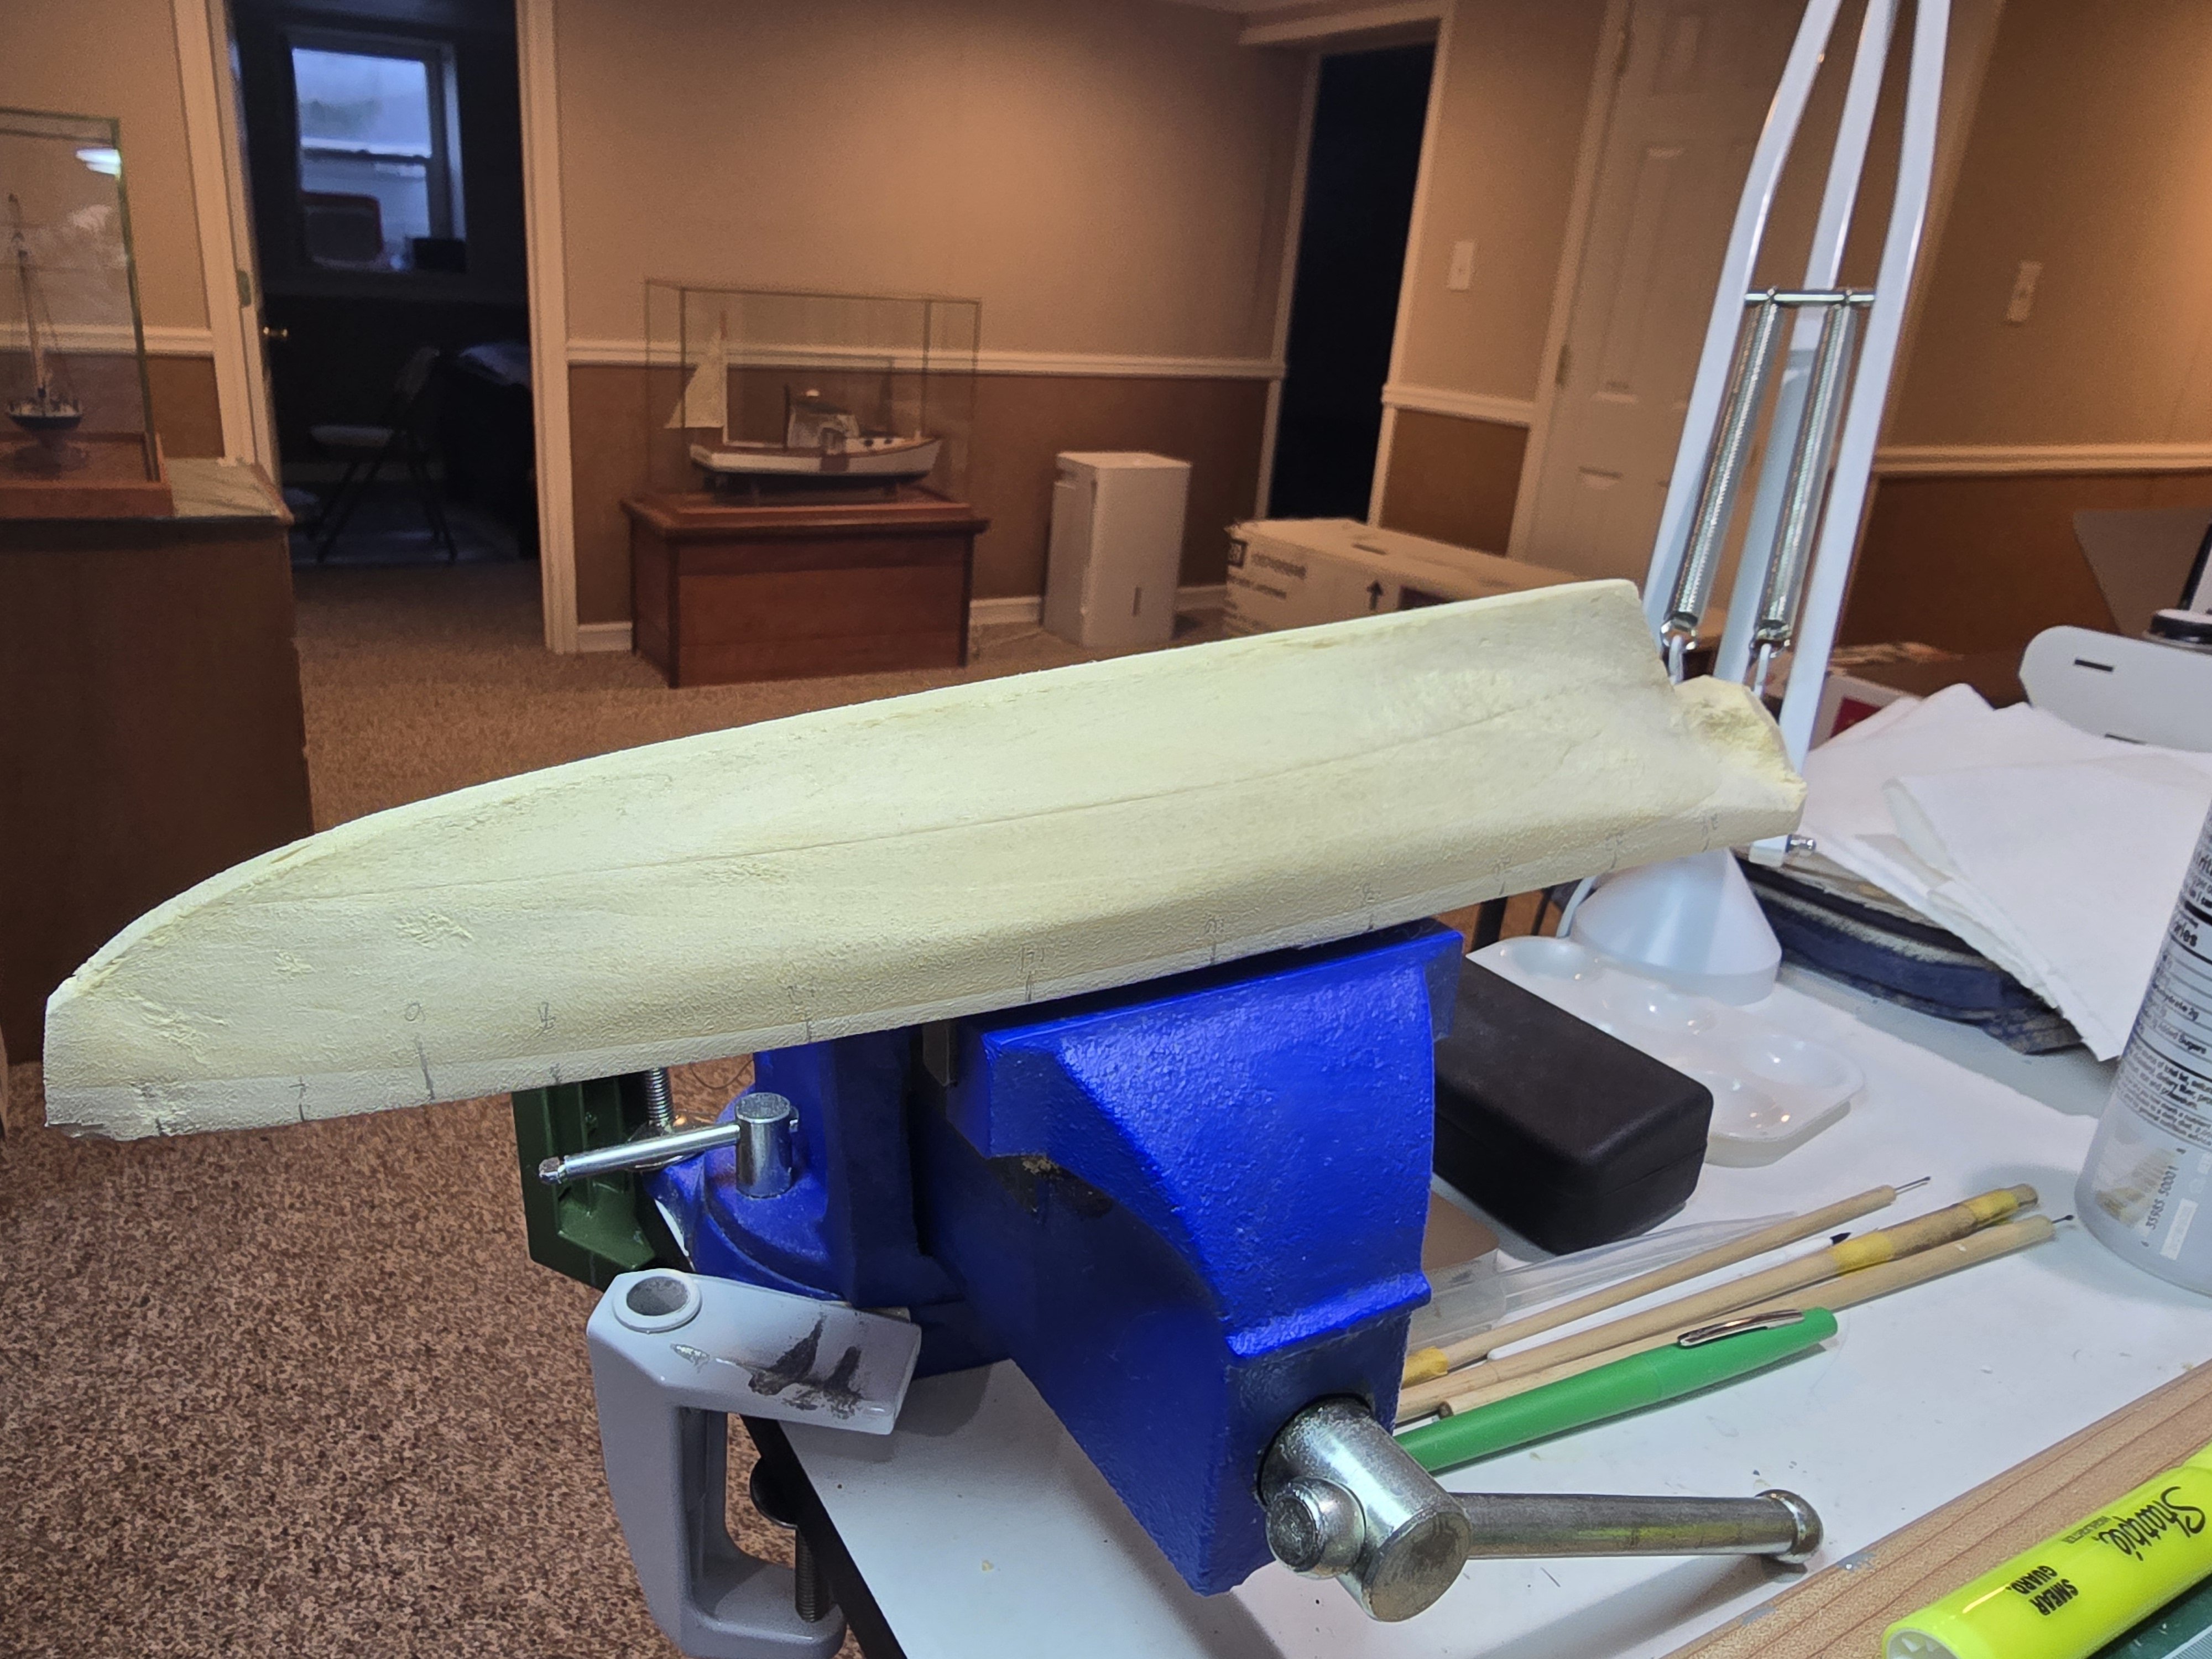
Hello Folks, Been a little distant however I have been working on the Mary Taylor. Just completed the templates and preparing to start the necessary evil process of shaping the hull. Steps completed so far: Measured the hull Made the templates: Used packing board for the back framed pictures to glue templates diagrams Completed the block and attached it the top of the hull which allows me to place it onto a vise to shape it with templates. Pretty basic steps however necessary ones. All the best! Bill T.
.thumb.jpg.0fd580e3184818cb70261e9978a0a76a.jpg)


-
Hello Folks, It is nice to back with the kind folks on MSW! By the title it's no secret that my next progression in my modeling journey is the BJ kit Mary Taylor. Like the BJ Revenue Cutter I will copper plate this kit, however I plan on going off the rails with the color scheme though. I have always been a big fan of the Thermopylae, therefore I will follow my Revell Kit color scheme (Green Hull with individual Copper Plates) . I never will win awards for accuracy (See my Yankee Hero and Revenue Cutter logs on MSW and one will see!). Excited to start this project, however I am immediately challenged to find a 1/16 Pounce Wheel. I bought the Excel Set and the Amati set of wheels, I will figure it out though (I hope). Nice to be back, all the best! Bill T.
.thumb.jpg.b44641b3661b7fc2288d2119775fd0e3.jpg)
-
Hello Schooner, Thank you for your kind words, learning coppering was challenging yet informative! I am planning to start a new project in December. Need a break! I looked up your build on the Alfred, amazing. Hopefully someday I will be able to accomplish similar results! Thanks again, Bill T.
- 89 replies
-
- 1
-

-
- bluejacket shipcrafters
- revenue cutter
- (and 1 more)
-
Hello Grandpa Phil, Thank you for your kind words over my 2 projects. This project was a good progression with a challenging copper sub project. I will start I new project in December, probably the Blue Jacket Mary Taylor or Smuggler. I am careful to be too ambitious and getting into something over my head. Thank you again and look for another build log in December! Bill T.
- 89 replies
-
- 3
-
-
- bluejacket shipcrafters
- revenue cutter
- (and 1 more)
-
Hello RCMDRVR, Thank you for your kind words learning coppering was fun! I am planning to start a new project in December. Need a break! I hope to hear from you soon, are working on a boat currently? If so and doing a build thread please let me know. Thanks again, Bill T.
- 89 replies
-
- 1
-
-
- bluejacket shipcrafters
- revenue cutter
- (and 1 more)
-
Hello Ryland, Thank you for your kind words over my 2 projects. This project was a good progression I thought. I will start I new project in December, probably the Blue Jacket Mary Taylor or Smuggler. I am careful to be too ambitious and getting into something over my head. Thank you and look for another build log in December! Bill T.
- 89 replies
-
- 1
-
-
- bluejacket shipcrafters
- revenue cutter
- (and 1 more)
-
Hello Dr PR, Thank you for your kind words learning coppering was fun! I am planning to start a new project in December. Need a break! Thanks again, Bill T.
-
Nic, Thank you again for kind words again, always good hearing from you. Torn between the Mary Taylor and Smuggler. Thanks again! Bill T.
- 89 replies
-
- 1
-
-
- bluejacket shipcrafters
- revenue cutter
- (and 1 more)
-
Thank you (!) Chris for your kind words again, progressing slowly. I think my next project will be either the Blue Jacket Mary Taylor or Smuggler. I think those are 2 ships I will be able to enjoy and learn from. Look for my post in December! Thank you again! Bill T.
-
Yes sir!, thank you for kind remarks and support. And yes, Cheers to you! Bill T.
- 89 replies
-
- 2
-
-
- bluejacket shipcrafters
- revenue cutter
- (and 1 more)
-
Thank you you for your kind remarks, I am grateful for attention and support. Bill T.
- 89 replies
-
- 1
-
-
- bluejacket shipcrafters
- revenue cutter
- (and 1 more)
-
Thank you Ryland, you have always made my efforts recognized. And for that I am grateful. 👍
Bill T.
-
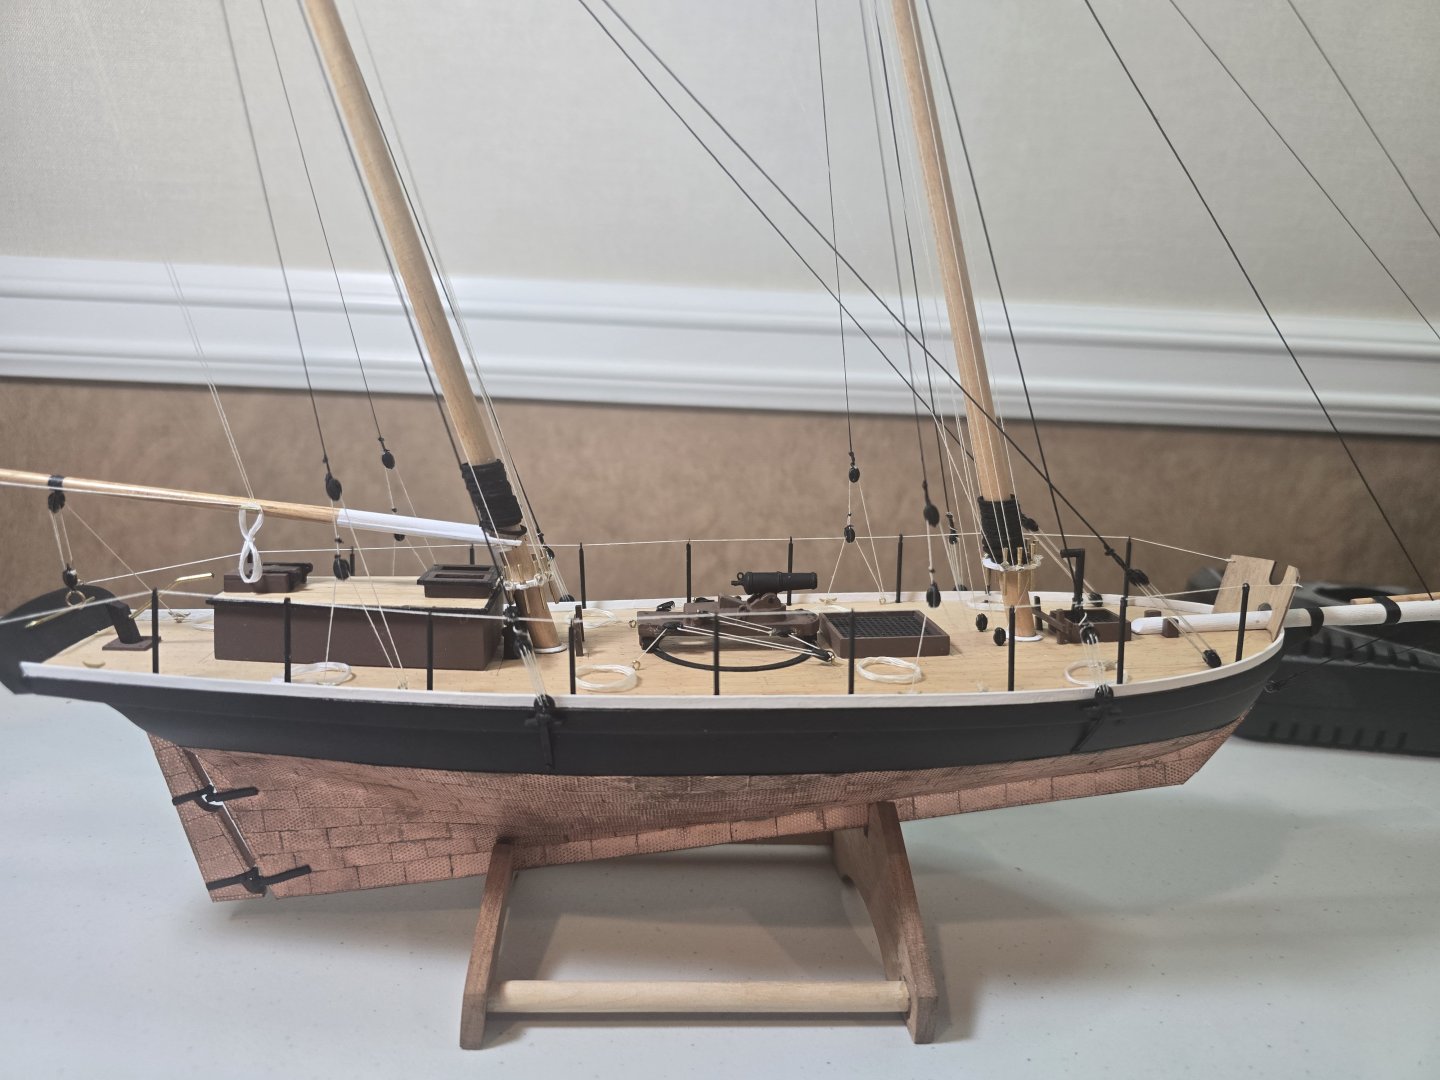
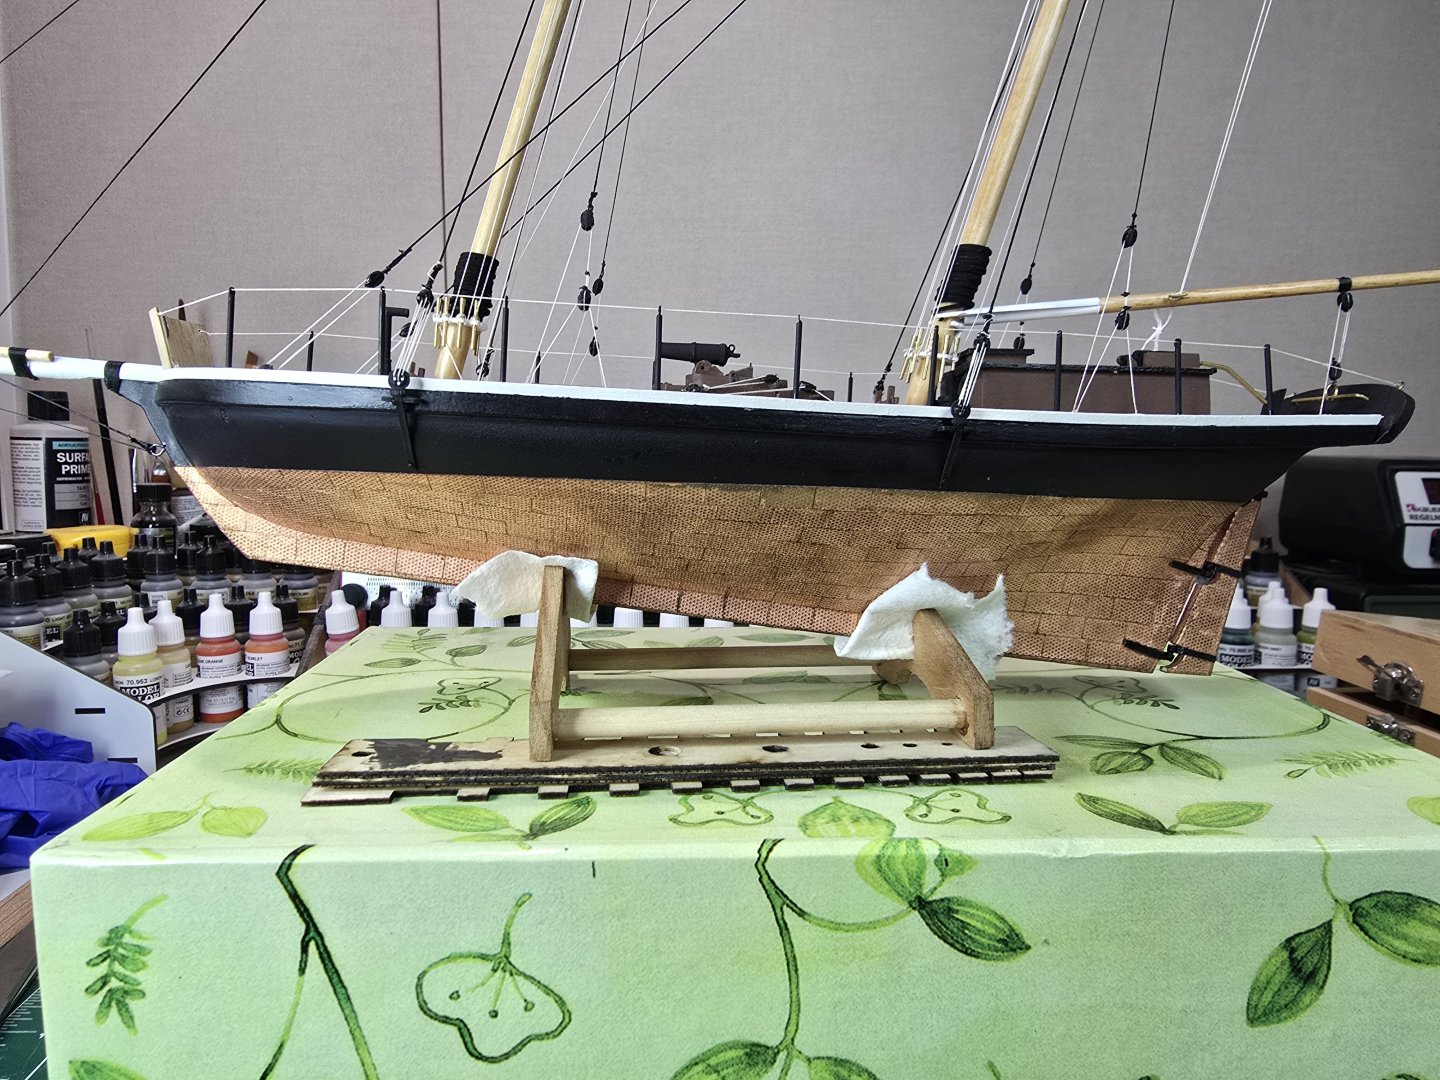
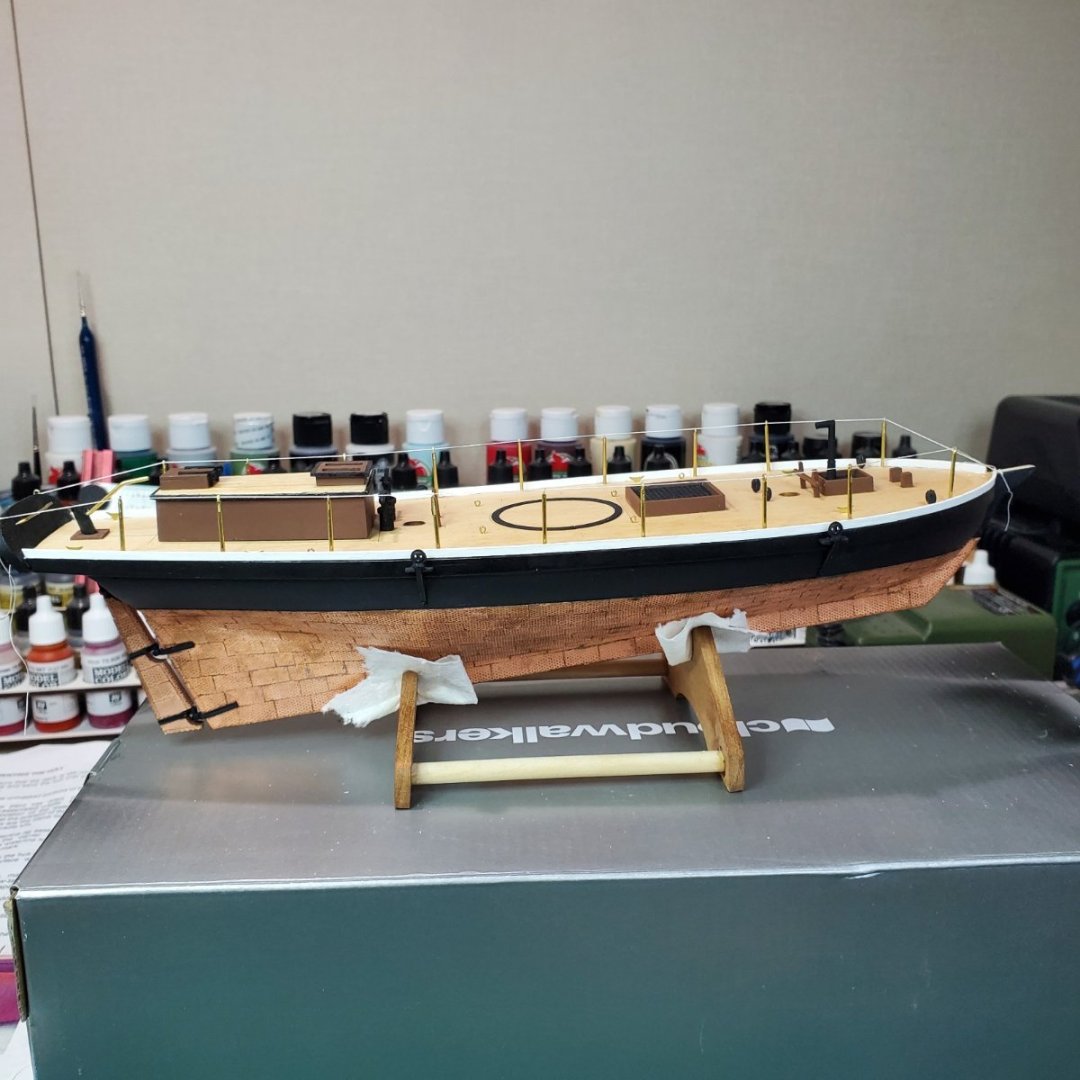
Hello Folks, Finally the Blue Jacket Revenue Cutter is complete, I still need to mount it in the case however ship is complete! Lot's of highs and challenges with this build over the 51 months! Challenges: Needed to restart the hull after over sanding beyond repair (biggest lessons learned normally come from my largest mistakes, that was a Biggy (LOL)) Not to give up on the boat, never quit. Highs: Coppering the hull! Referring to other builds for ideas and methods. Hoping my post would assist other modelers with their projects. Hearing from the kind people on MSW! Finishing the kit with using some of my own changes to the paint scheme and build to ad contrast (I will never win any awards for accuracy)! Mast Caps (Black) Aft Cabin Trim (Black) Toe Rails (White) Aft Cabin Ceiling (Deck Color) Deck Hatches (Black) Bowsprit Cap (Black) Finally lowering the Gaffs to emphasize the rigging. Some Notes: Seal the hull with epoxy/resin so the hull doesn't expand and contract (especially if coppering the hull) Rig the cannon on the deck prior to placing the masts on the boat. Affix all blocks to masts, gaffs, spars and decks prior to rigging. Drill all holes for Gaffs, Masts, Booms prior to affixing to masts / Bowsprit If coppering the hull, paint below to waterline copper and the Polyurethane the copper paint so the CA doesn't mess with the paint Most all "thank you" for all your kind comments and suggestions! Bill T.
.thumb.jpg.60986a6340593c3a0eb0be872987caea.jpg)

- 89 replies
-
- 14
-
-

-
- bluejacket shipcrafters
- revenue cutter
- (and 1 more)
-
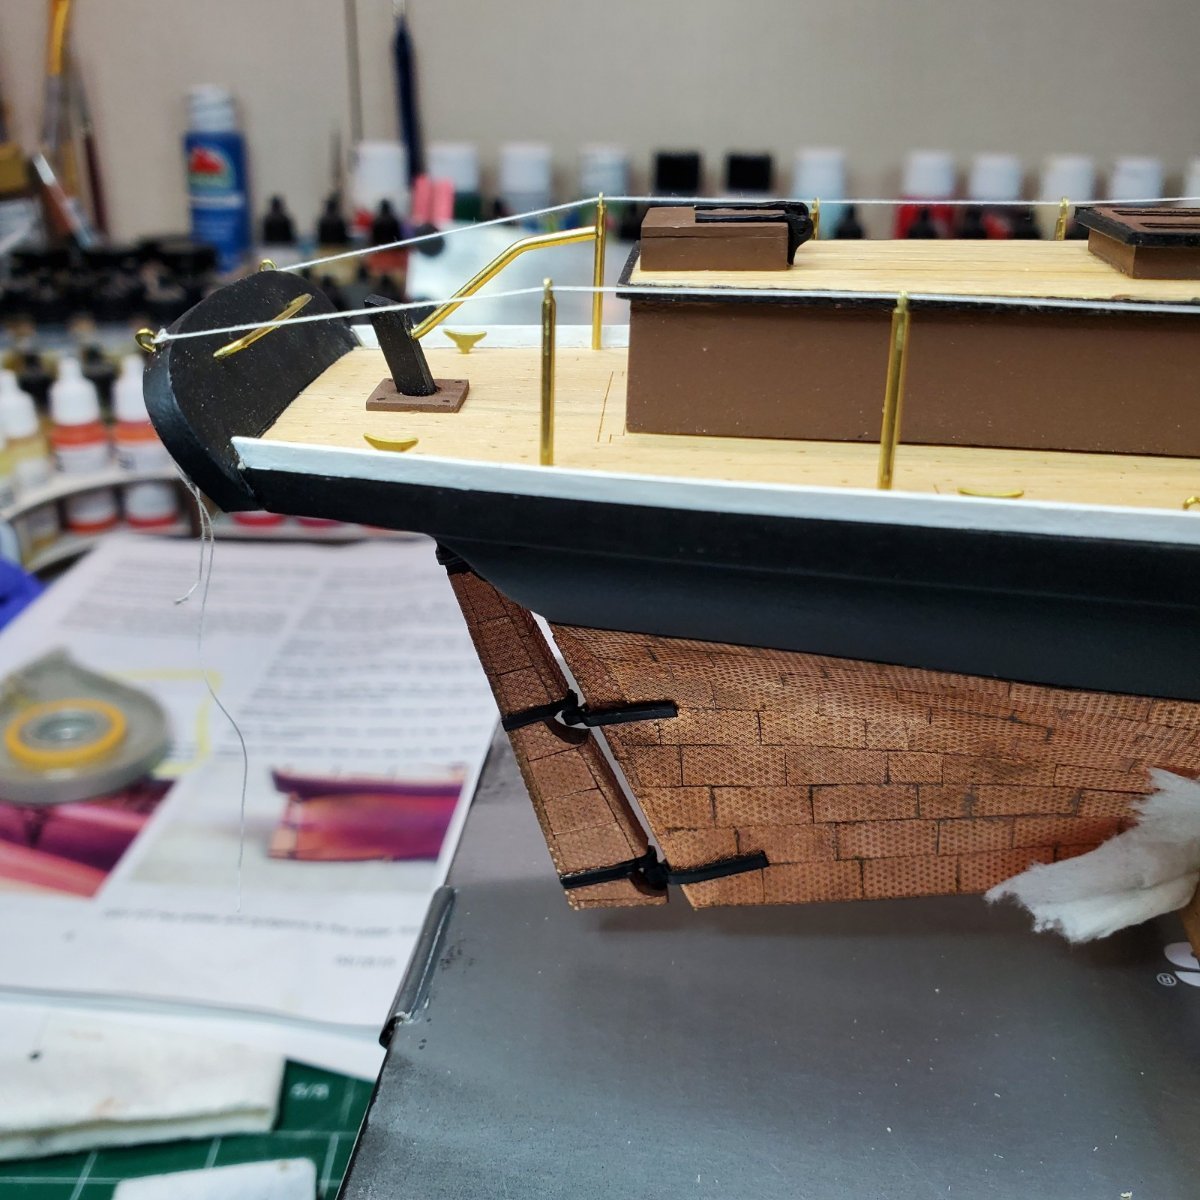
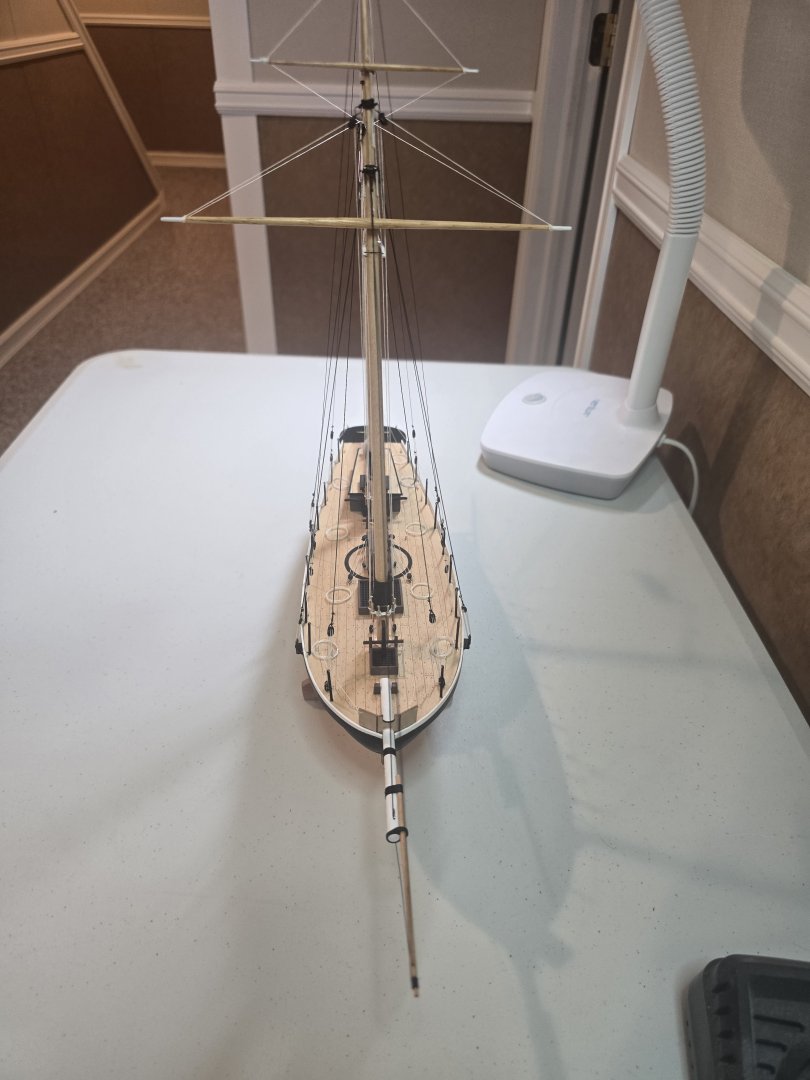
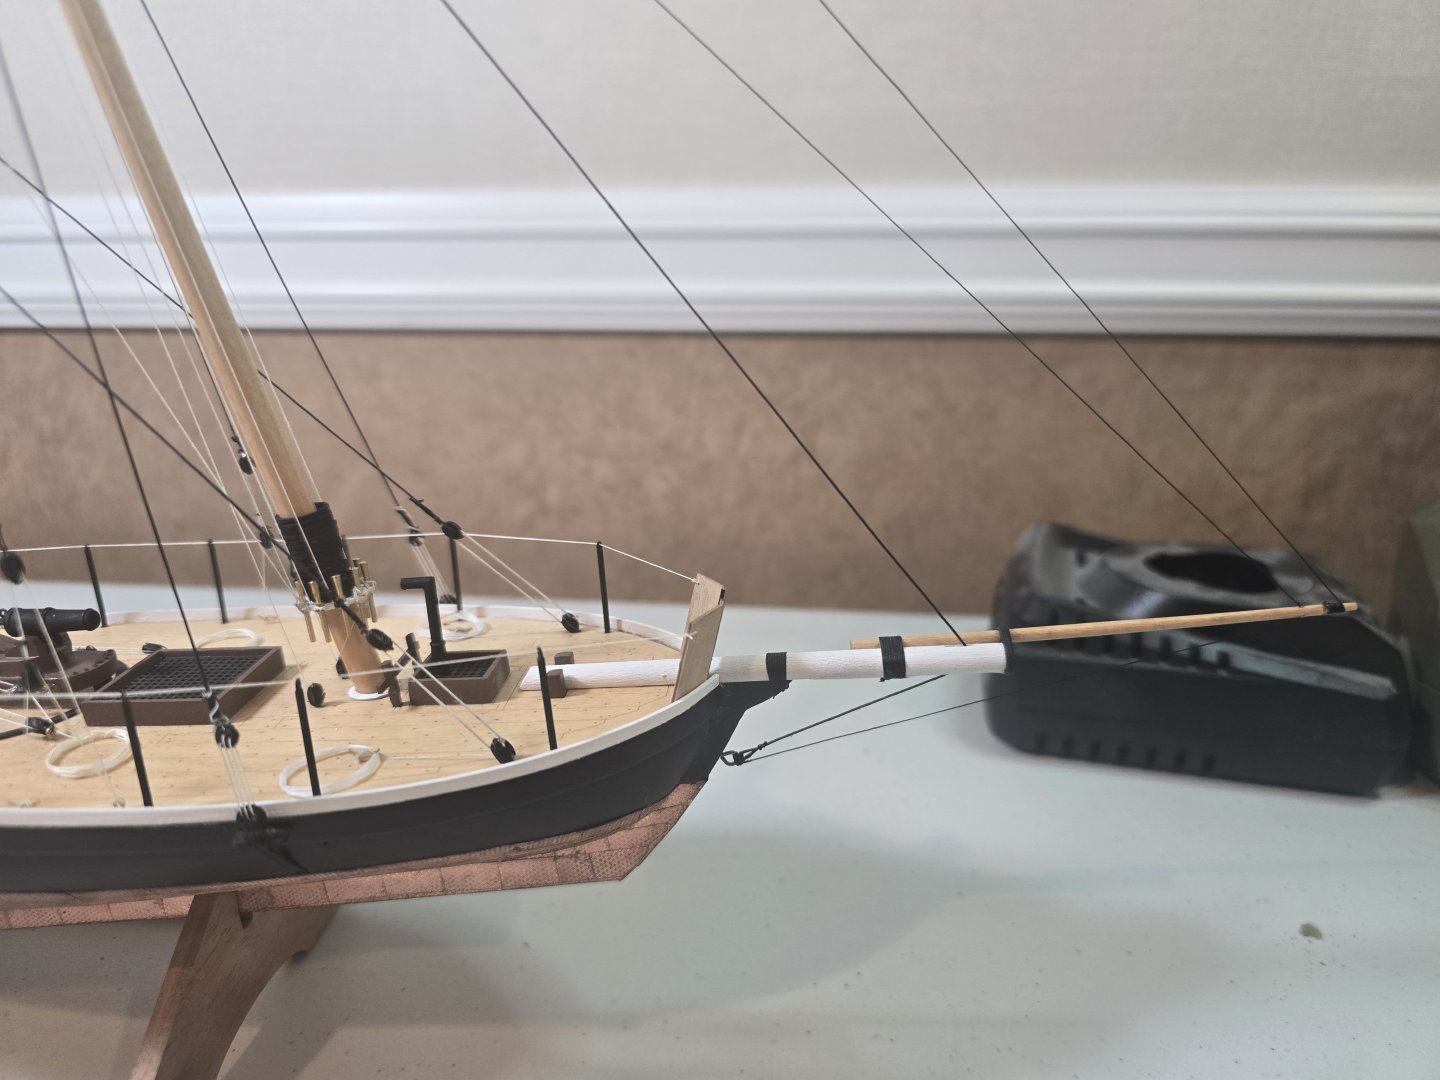
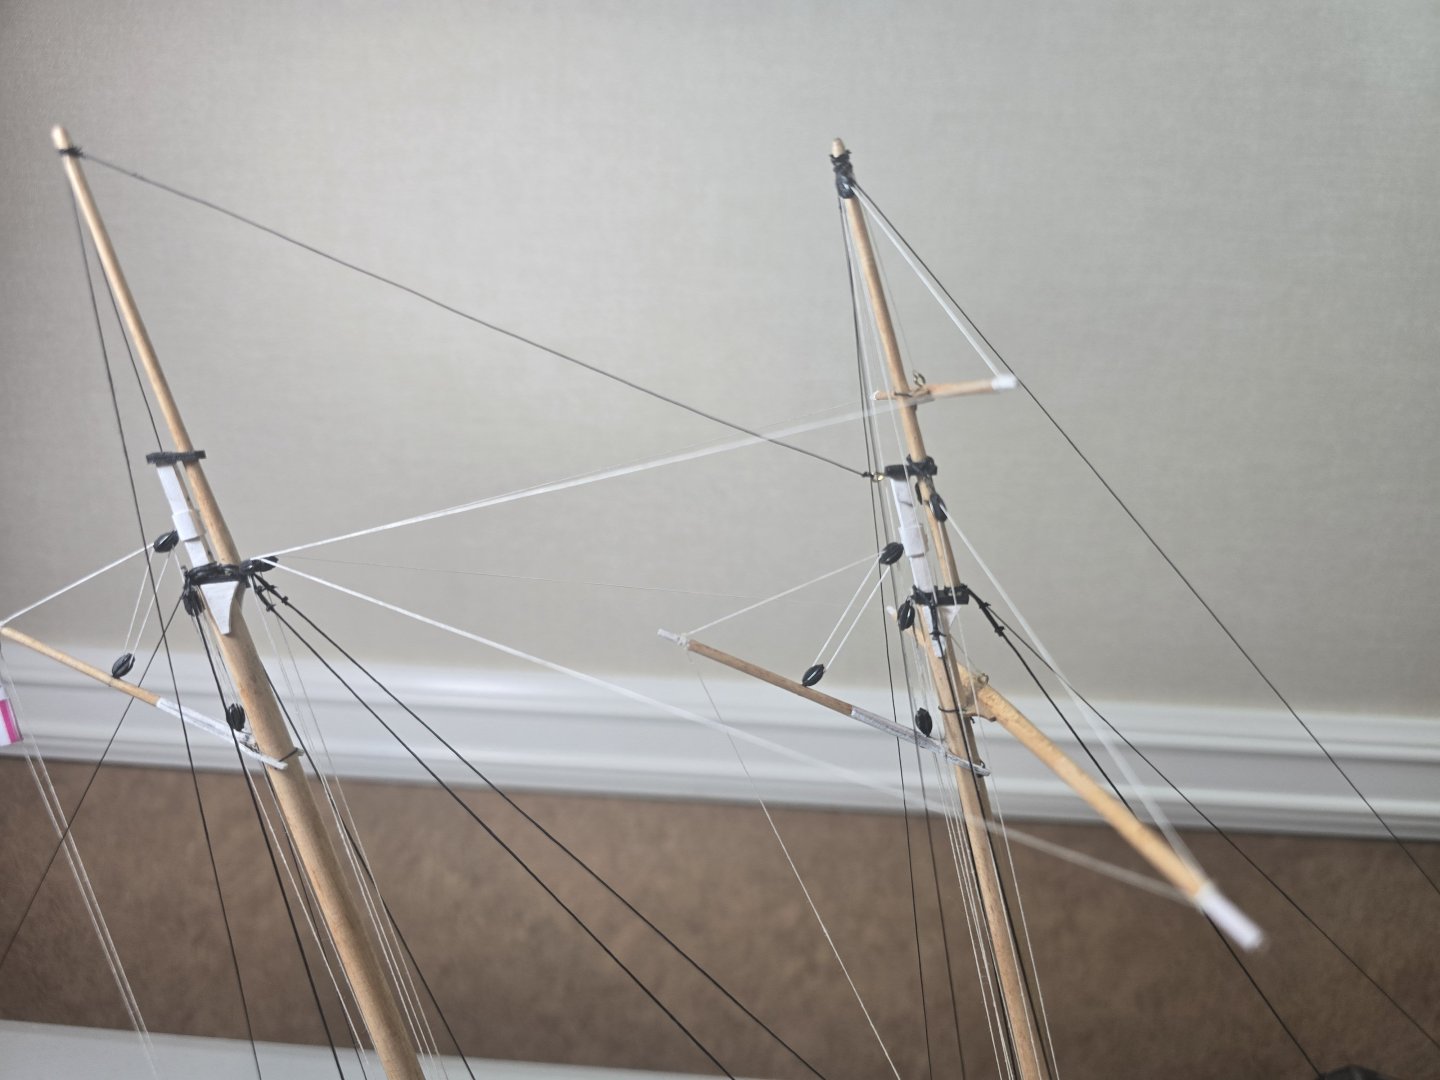
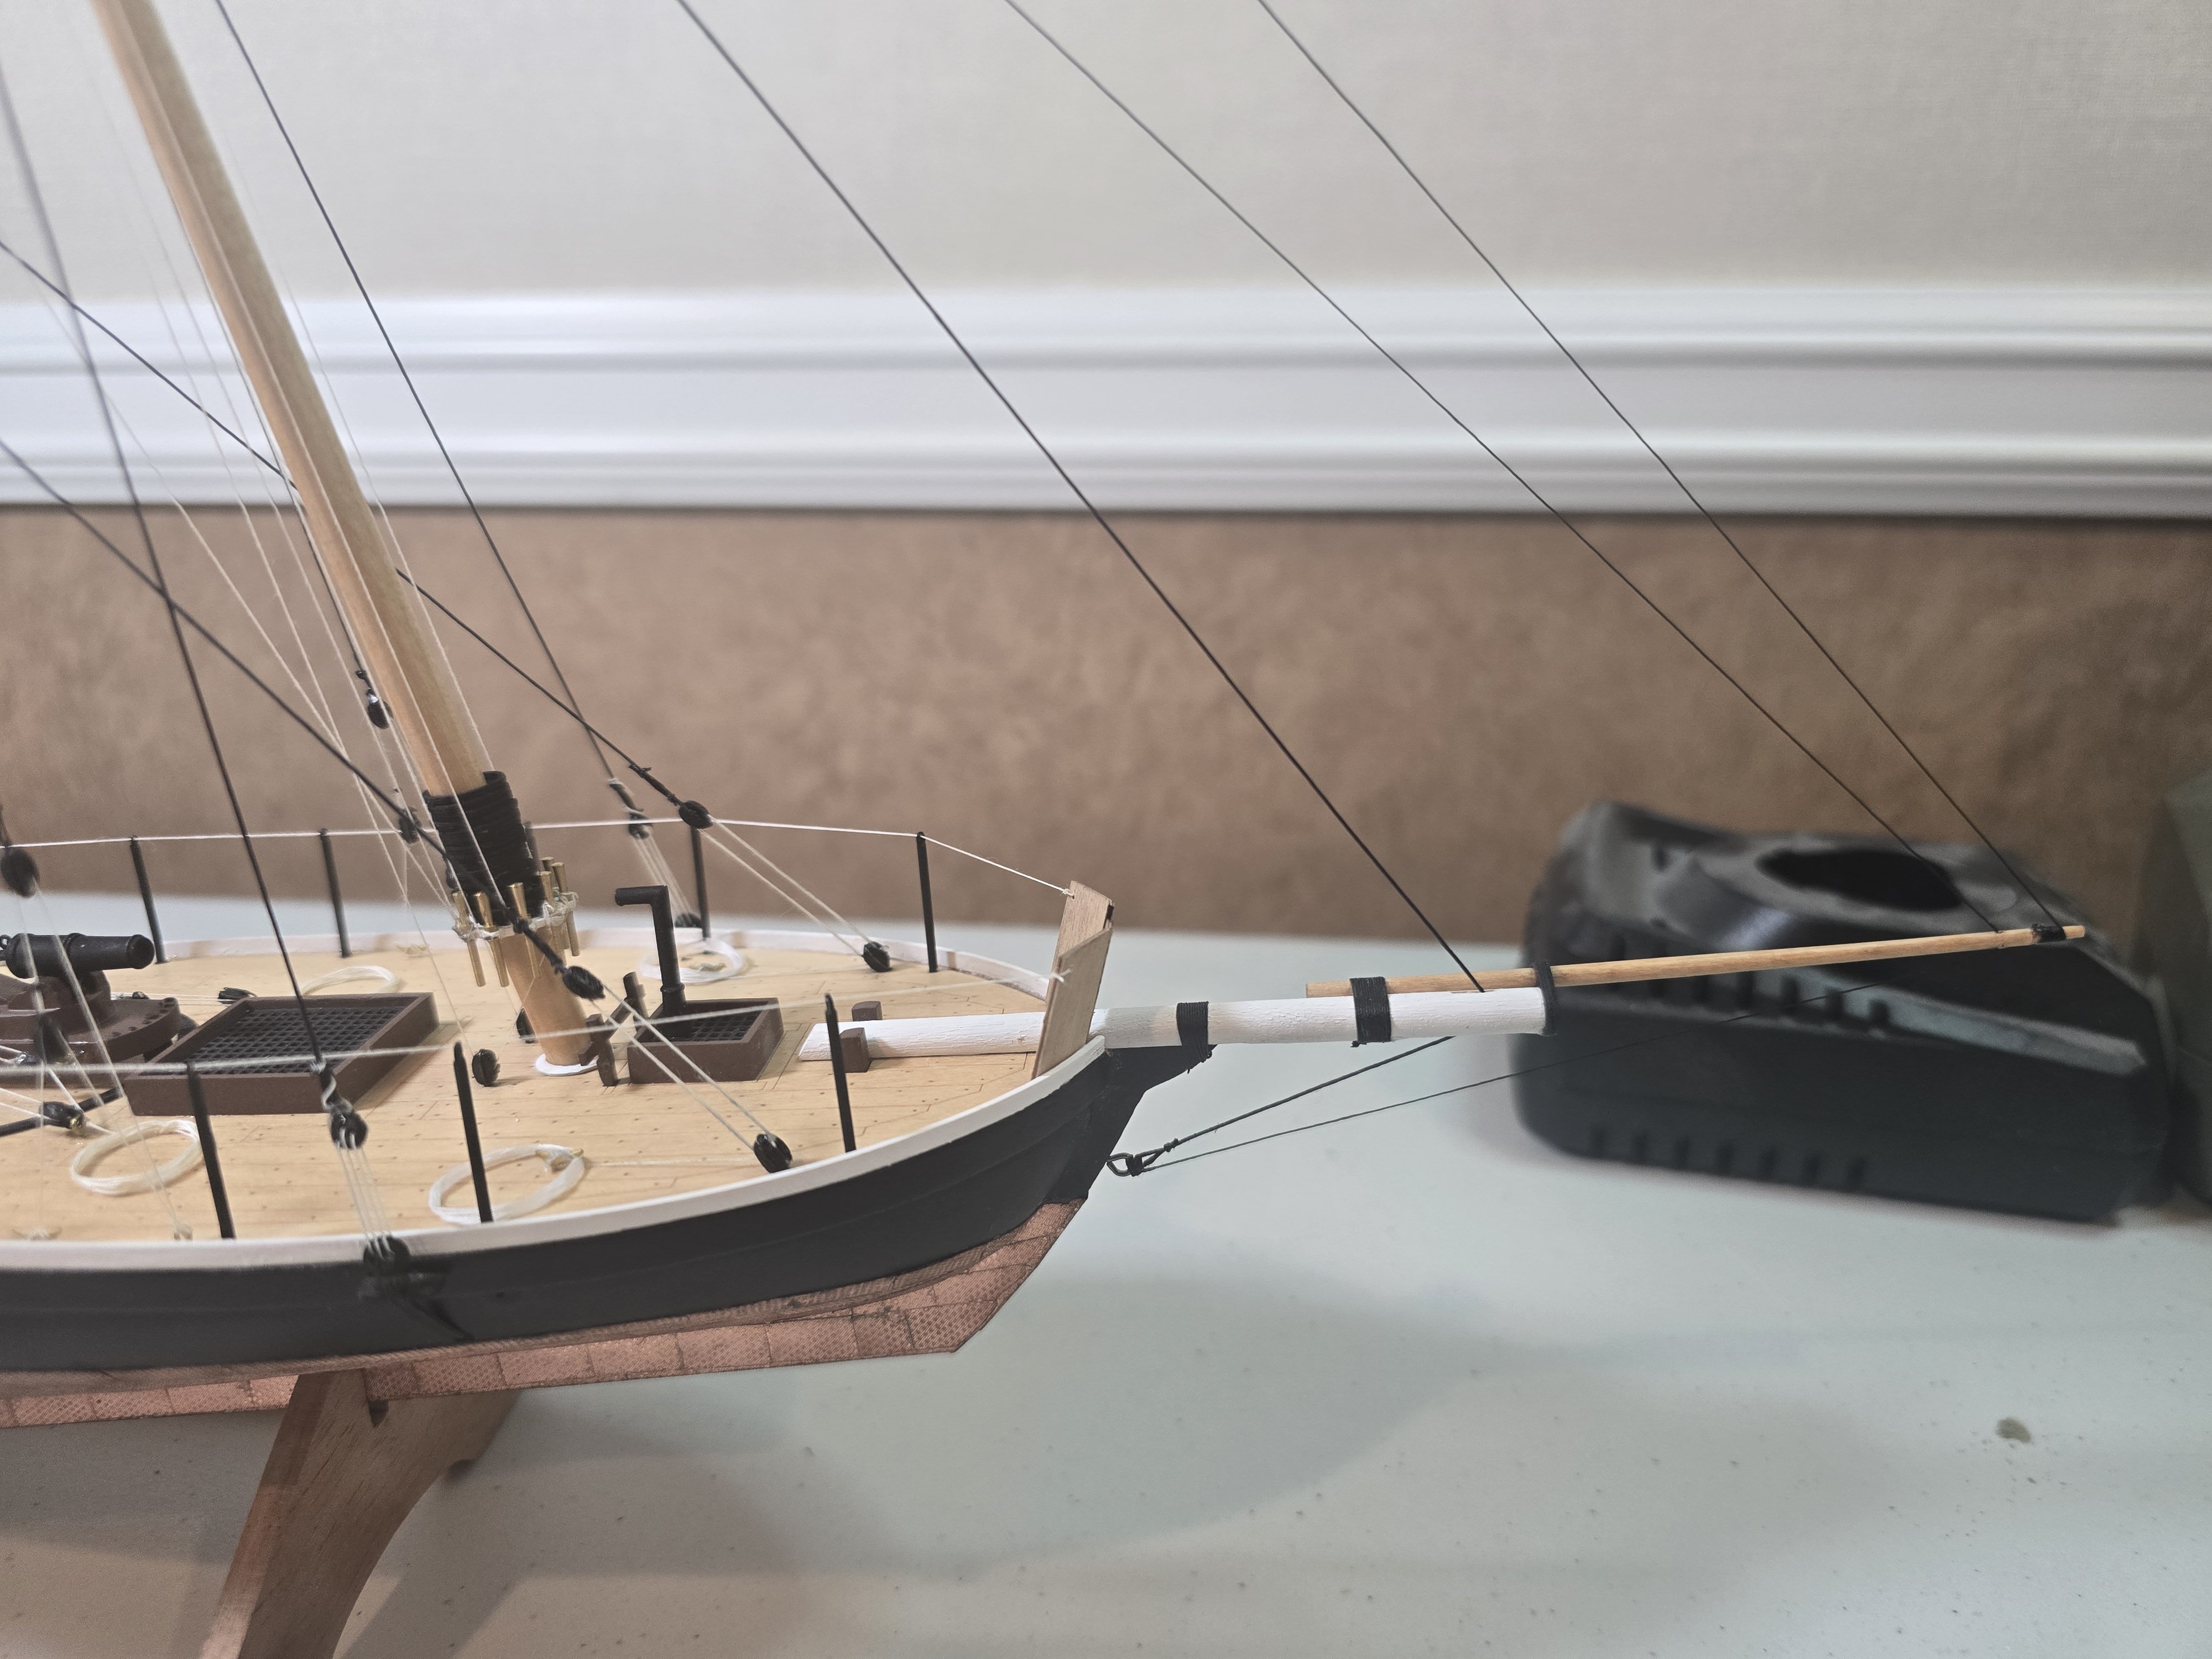
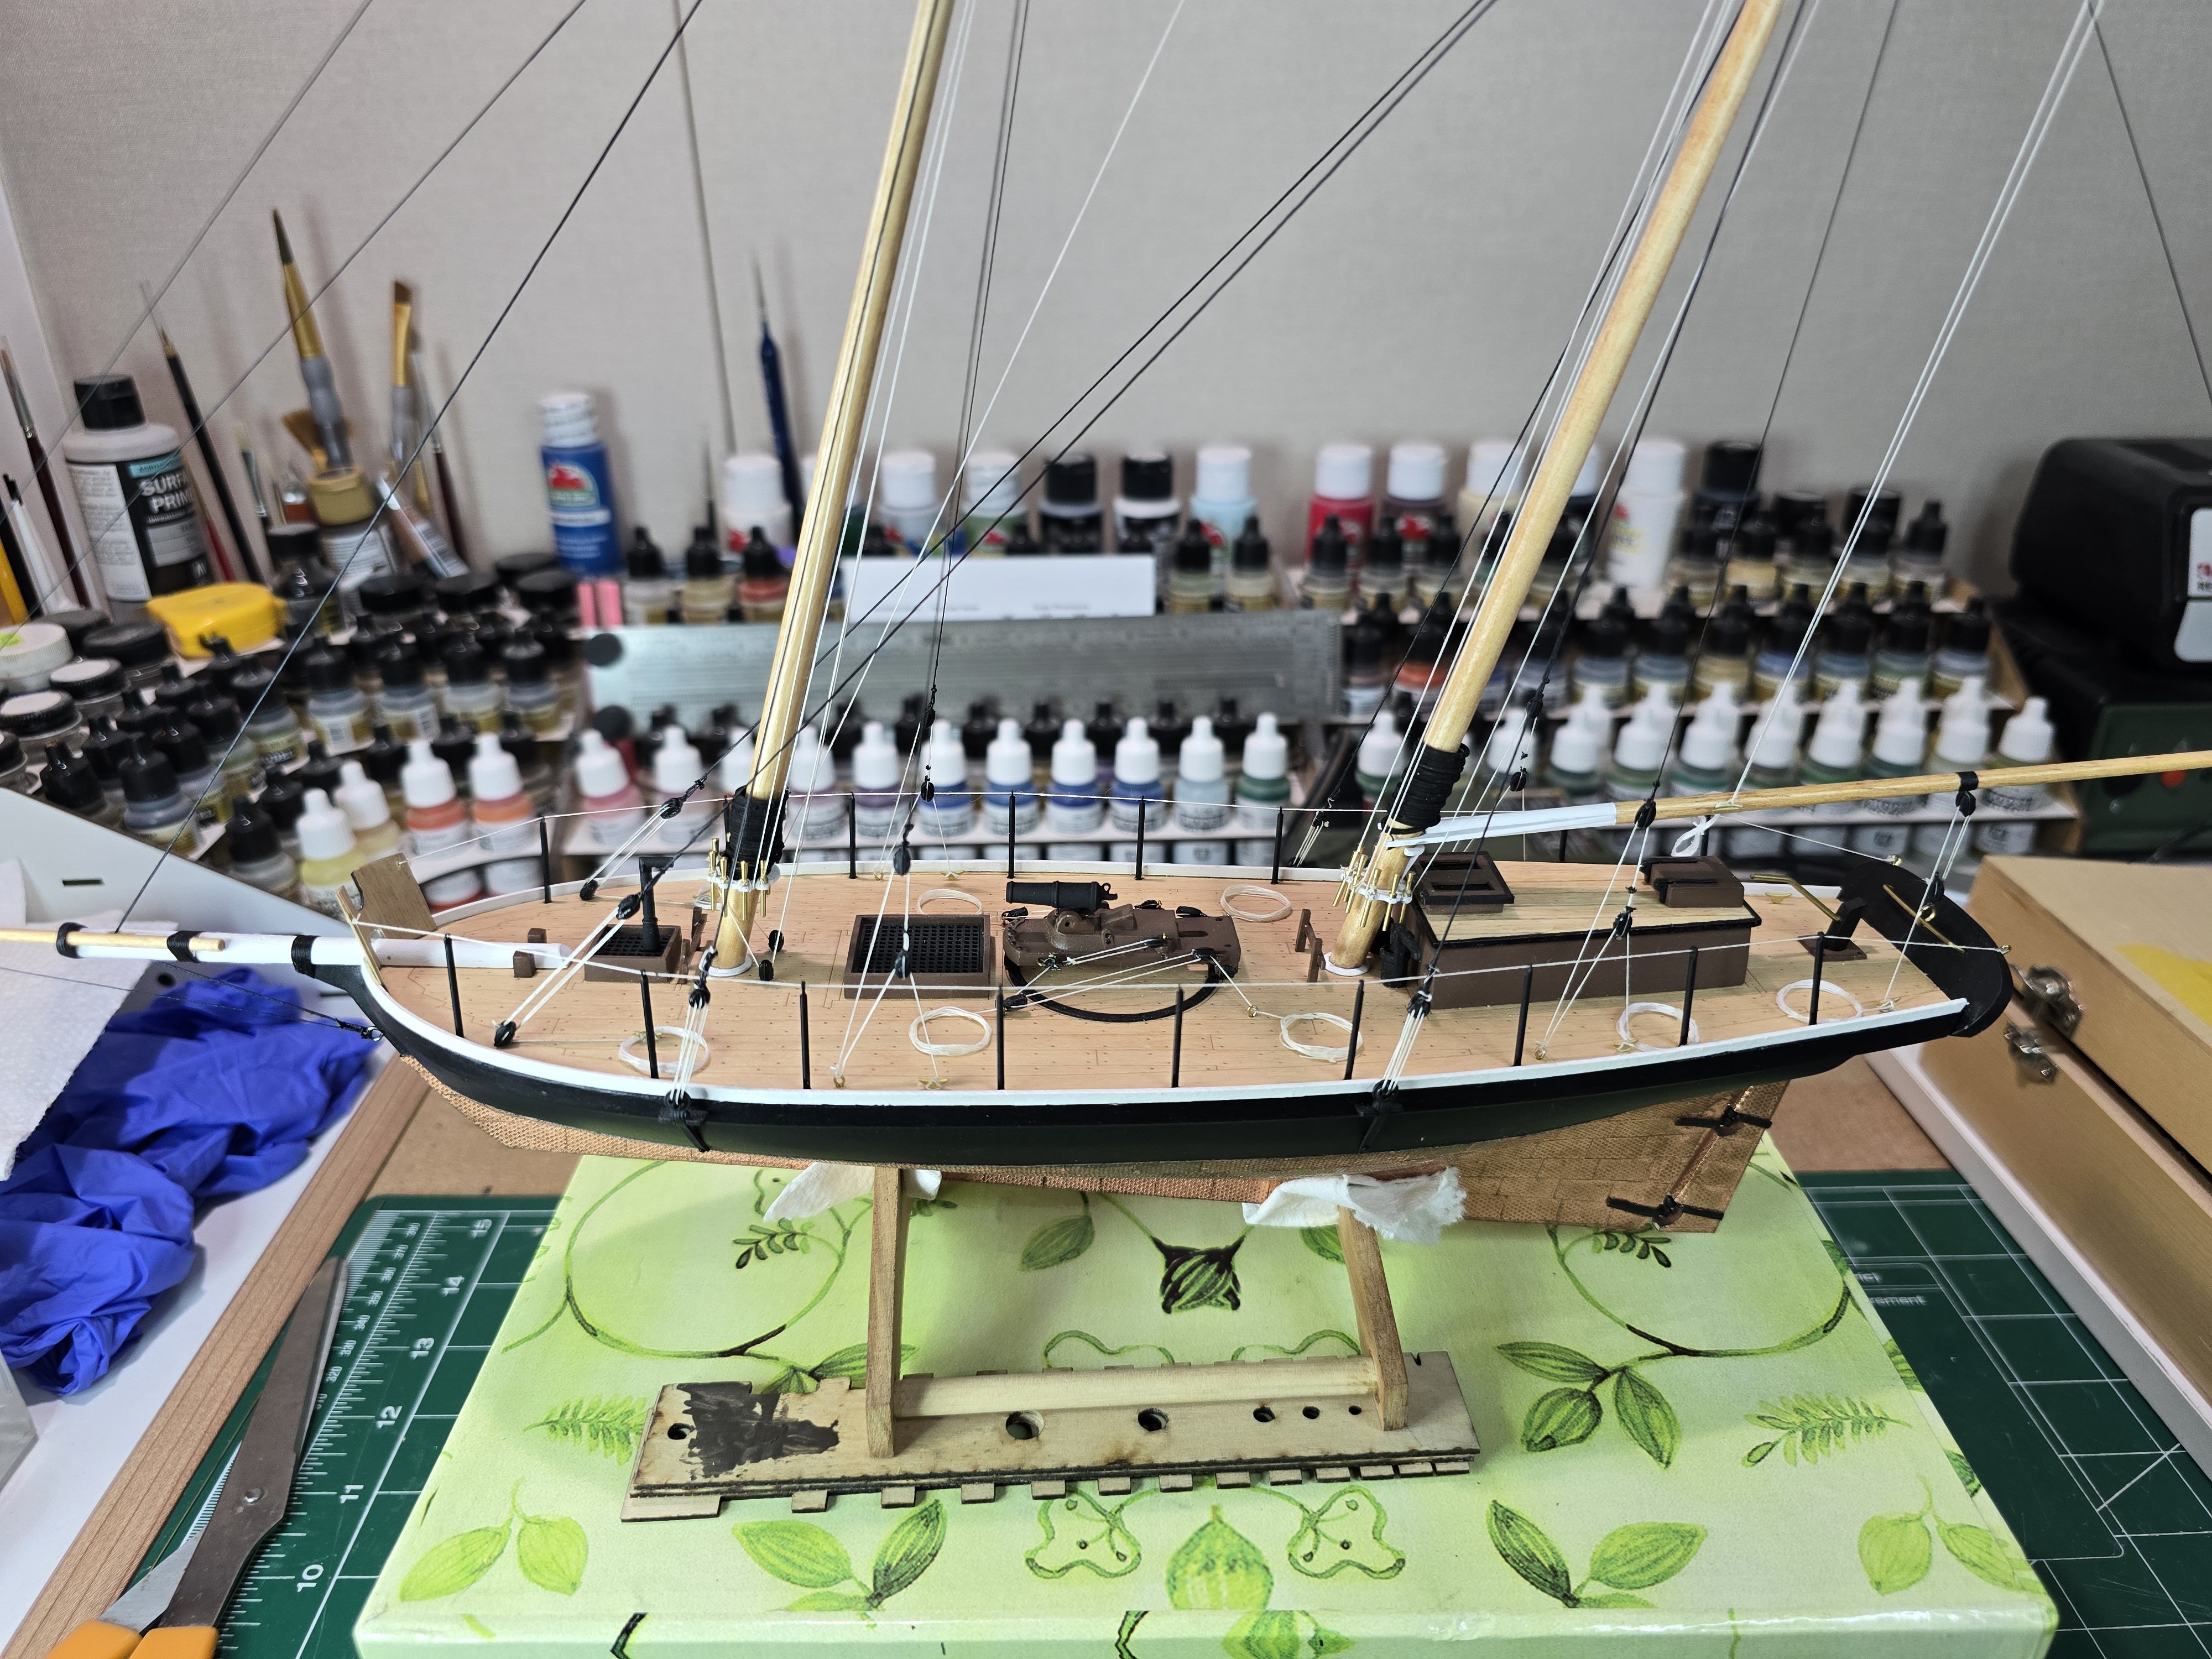
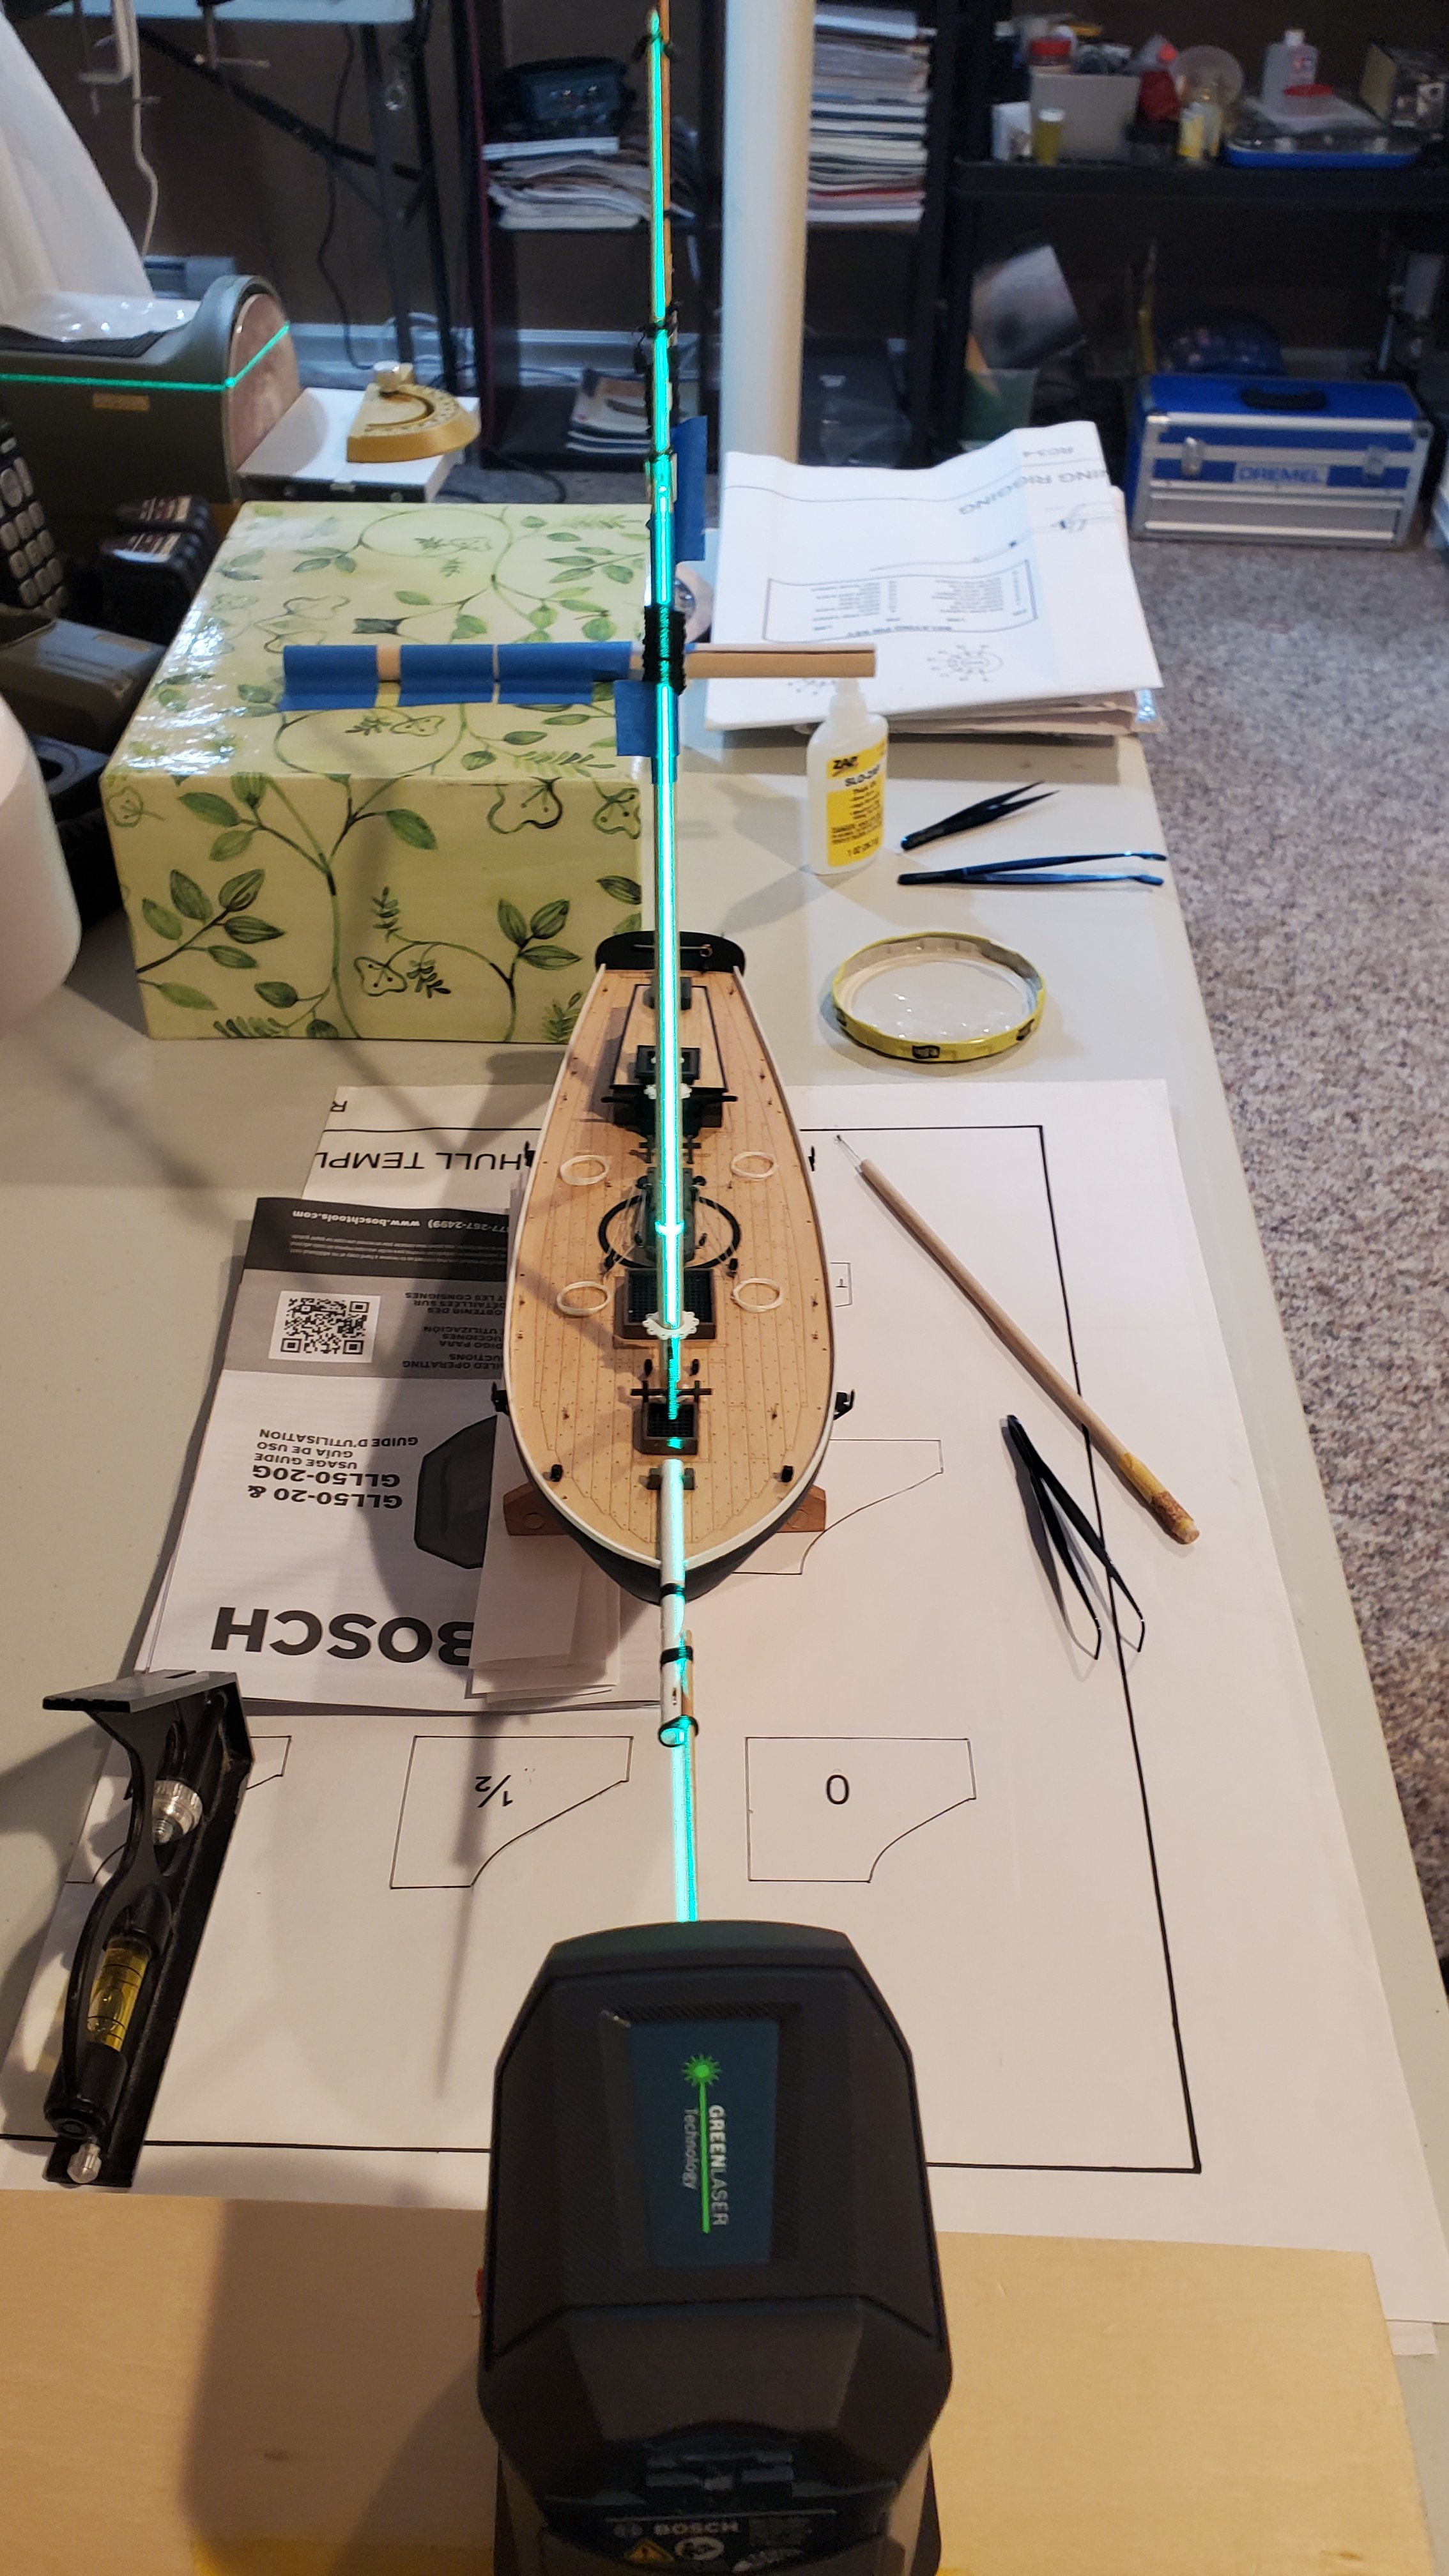
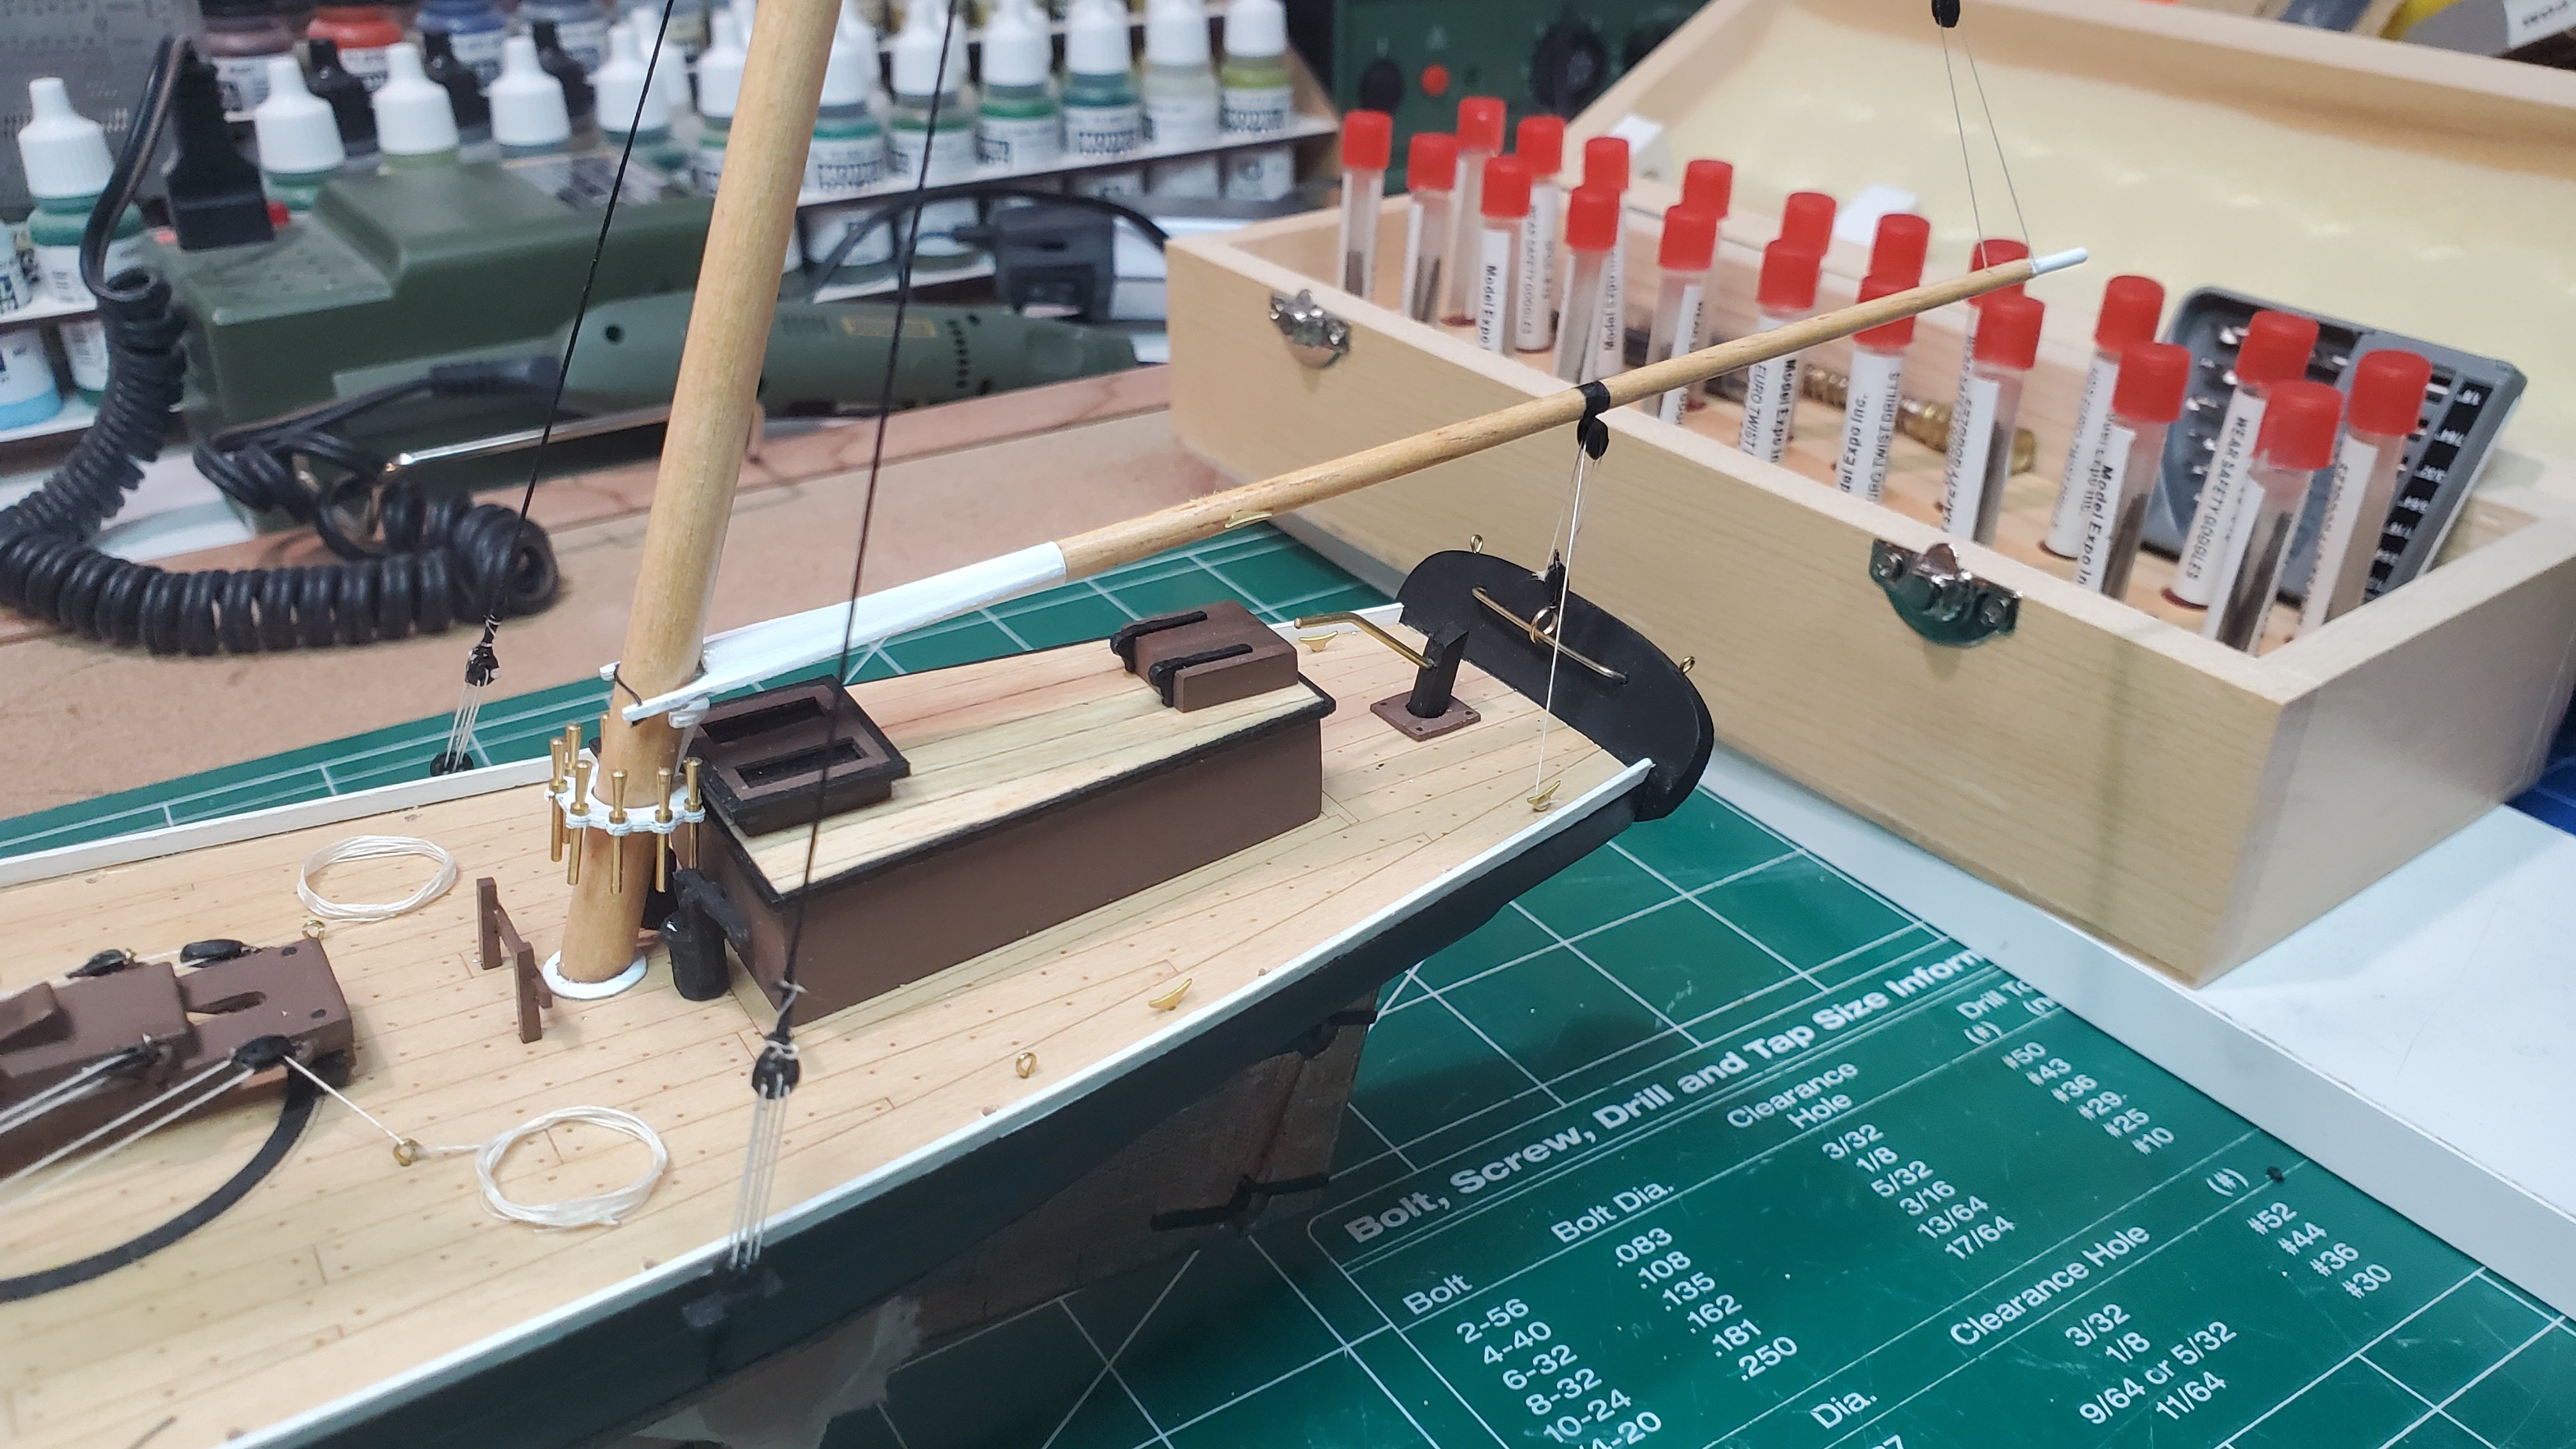
Hello Folks, I hope all is well with everyone this summer. Made progress on the BJ Revenue Cutter, into the rigging now. Below are some pictures and comments: Installed the Bowsprit, pretty straight forward and I haven't broken it yet. I did not install the forward Bulwark as of yet, I want to wait until I finish installing Boom and Gaffs. Hint: Test to make sure the Belaying Pins fit into the Spider after painting them and prior to "stepping/installing your Masts". I had to redrill the holes on the spider after the Masts were installed and Spider glued to the mast and in the hull. When re-drilling the holes I busted up one of the spiders pretty badly. It would have been much easier re-drilling the holes on the painted Spider prior to the mast installation while they were independent of the Mast. Used an electronic level to ensure the masts were installed perpendicular to the deck. This worked well I thought and recommend getting one ($85.00 Bosch GLL50-20G). The Shrouds and Boom installation was straight forward and worked out well. The boom ended up being a little off center, however I'm OK with it. Work is slow finally, hopefully I post more in the upcoming days. Be well! BT


- 89 replies
-
- 5
-
-
- bluejacket shipcrafters
- revenue cutter
- (and 1 more)
-
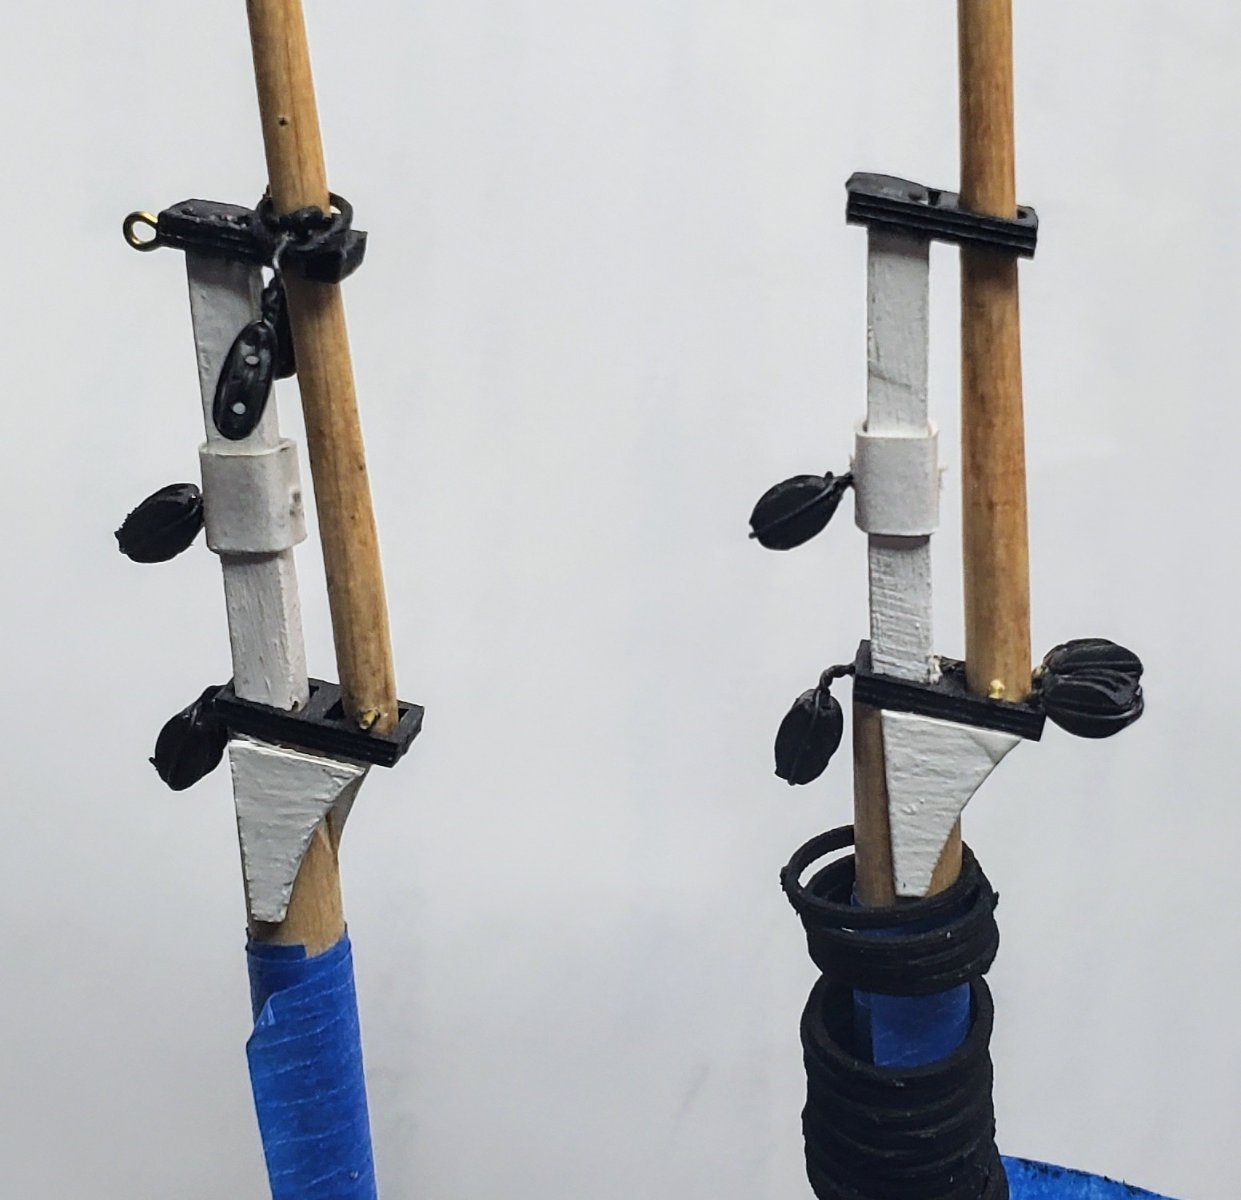
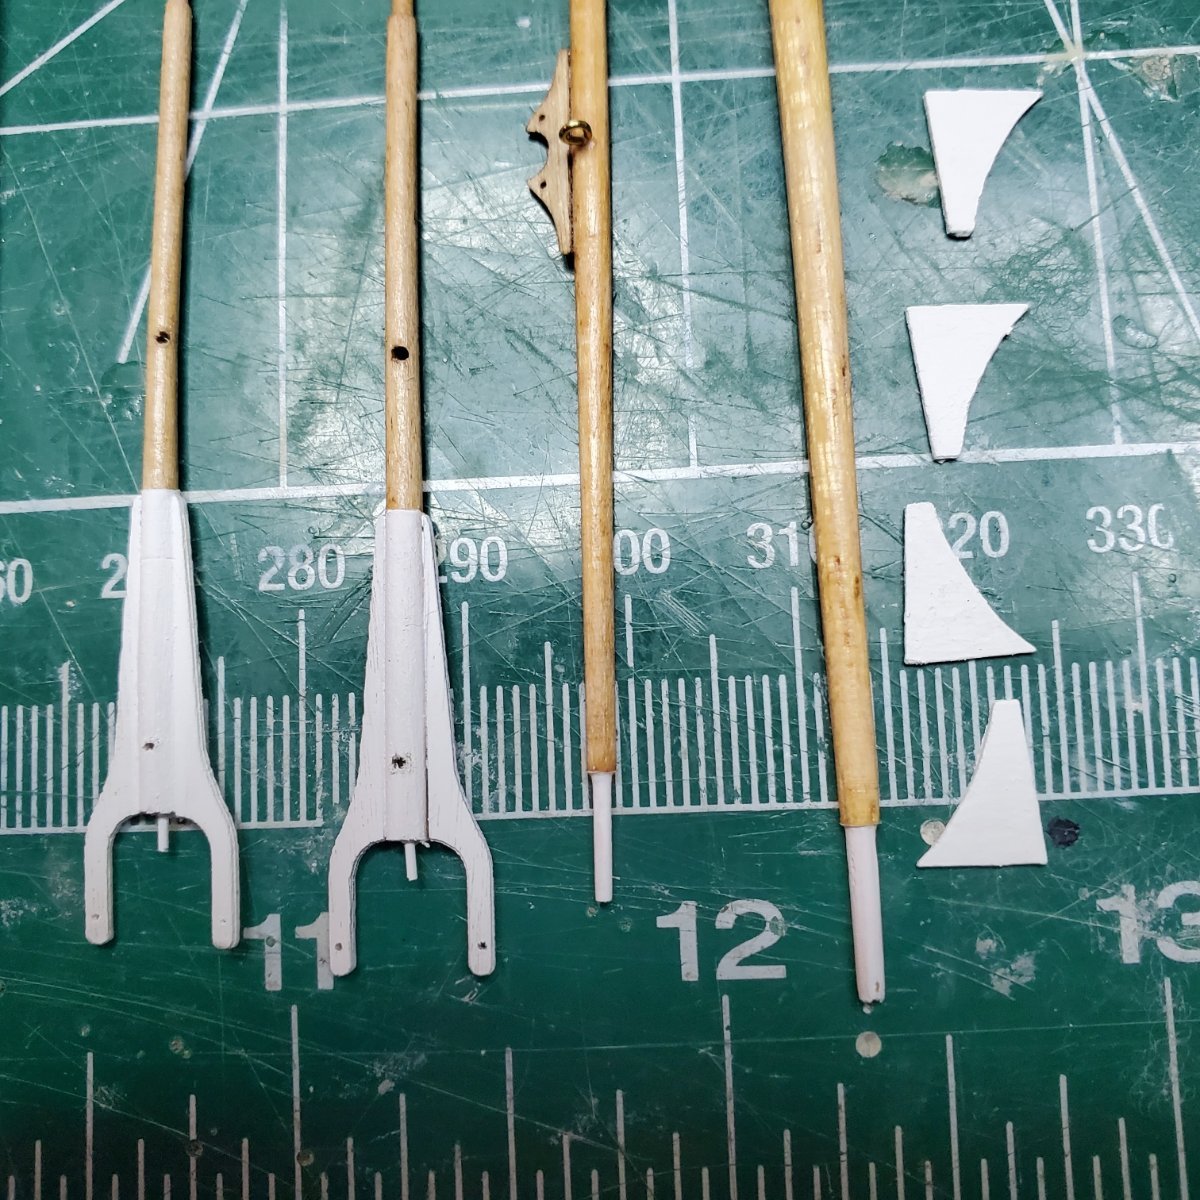
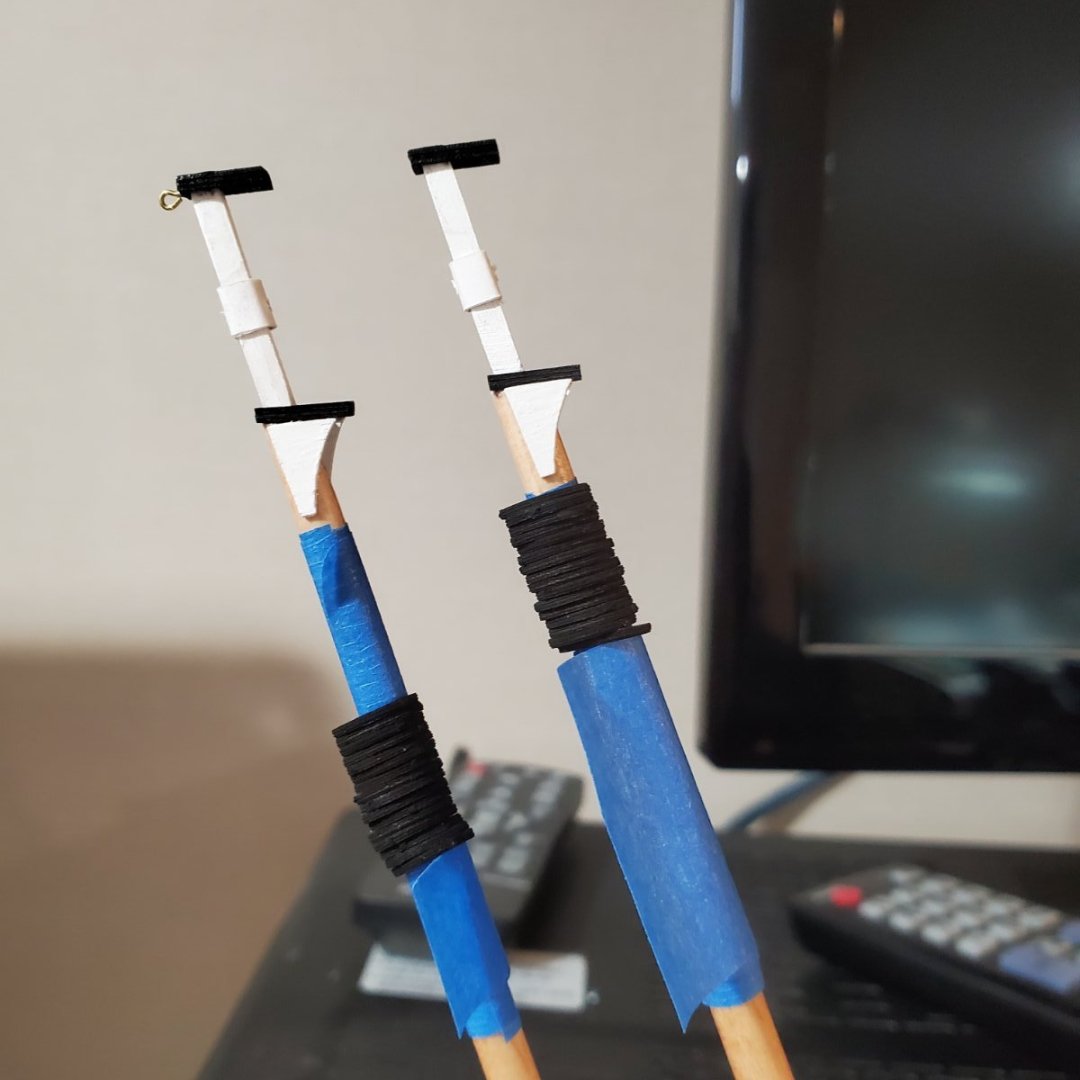
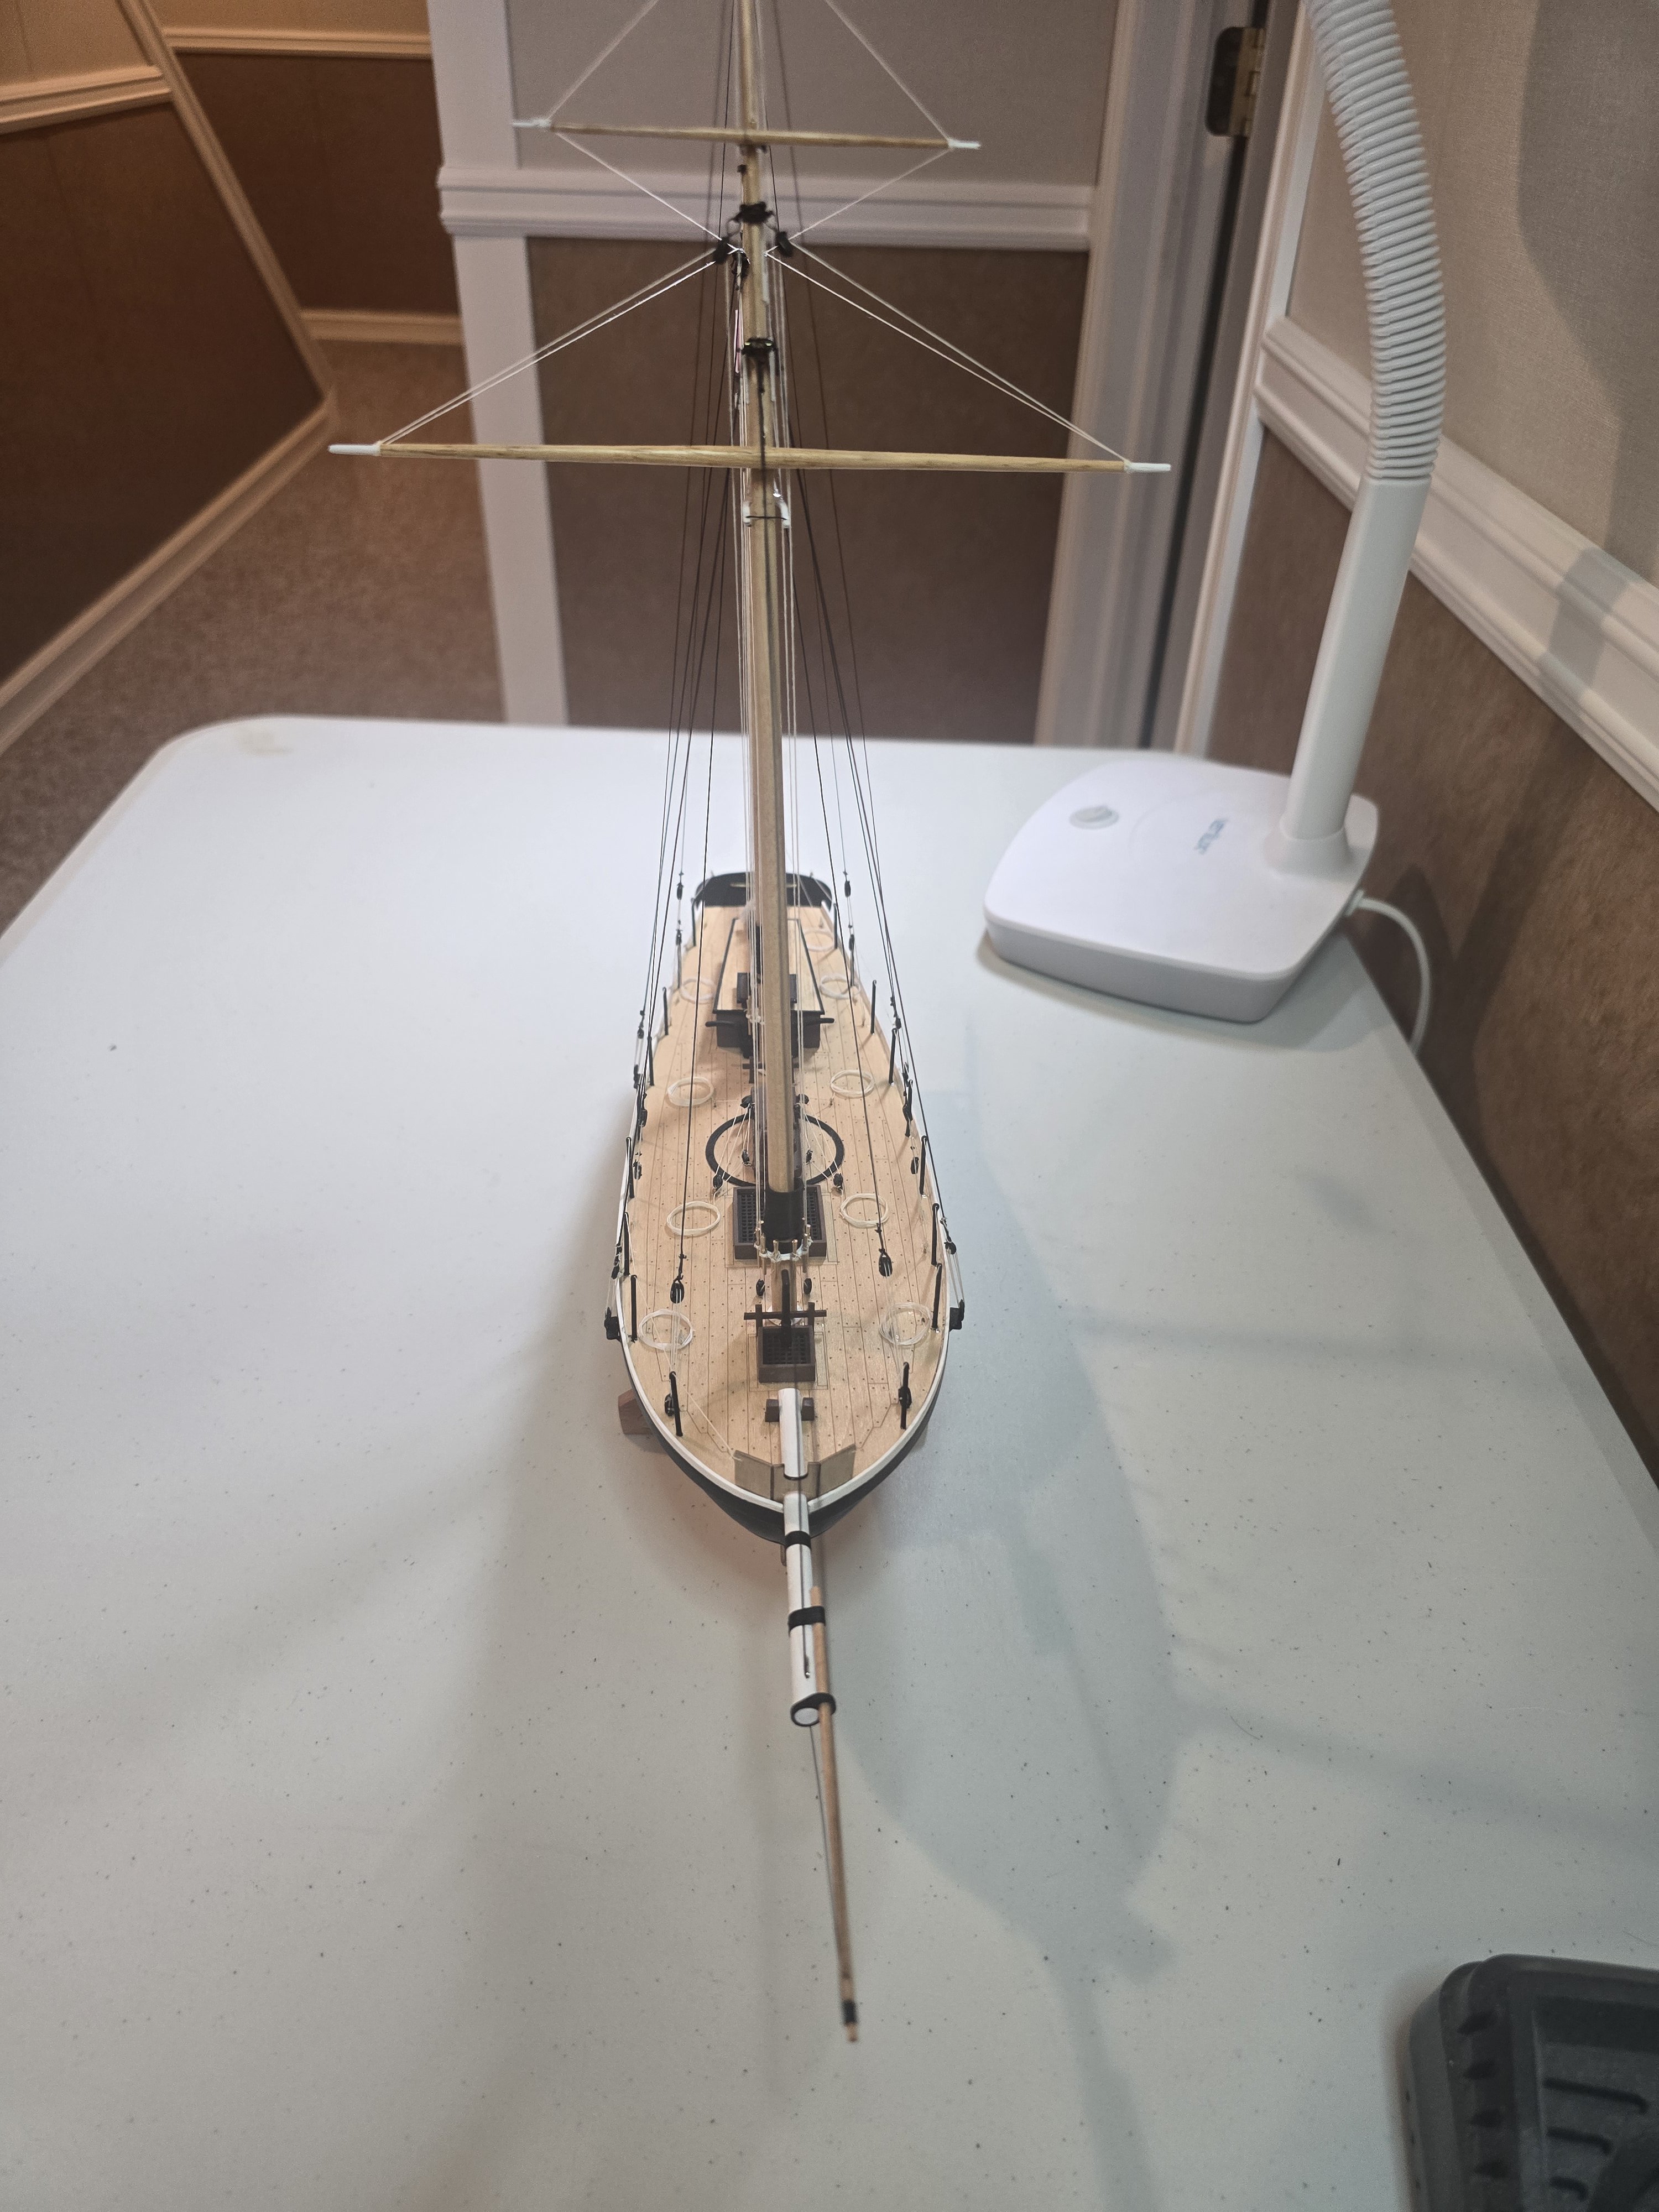
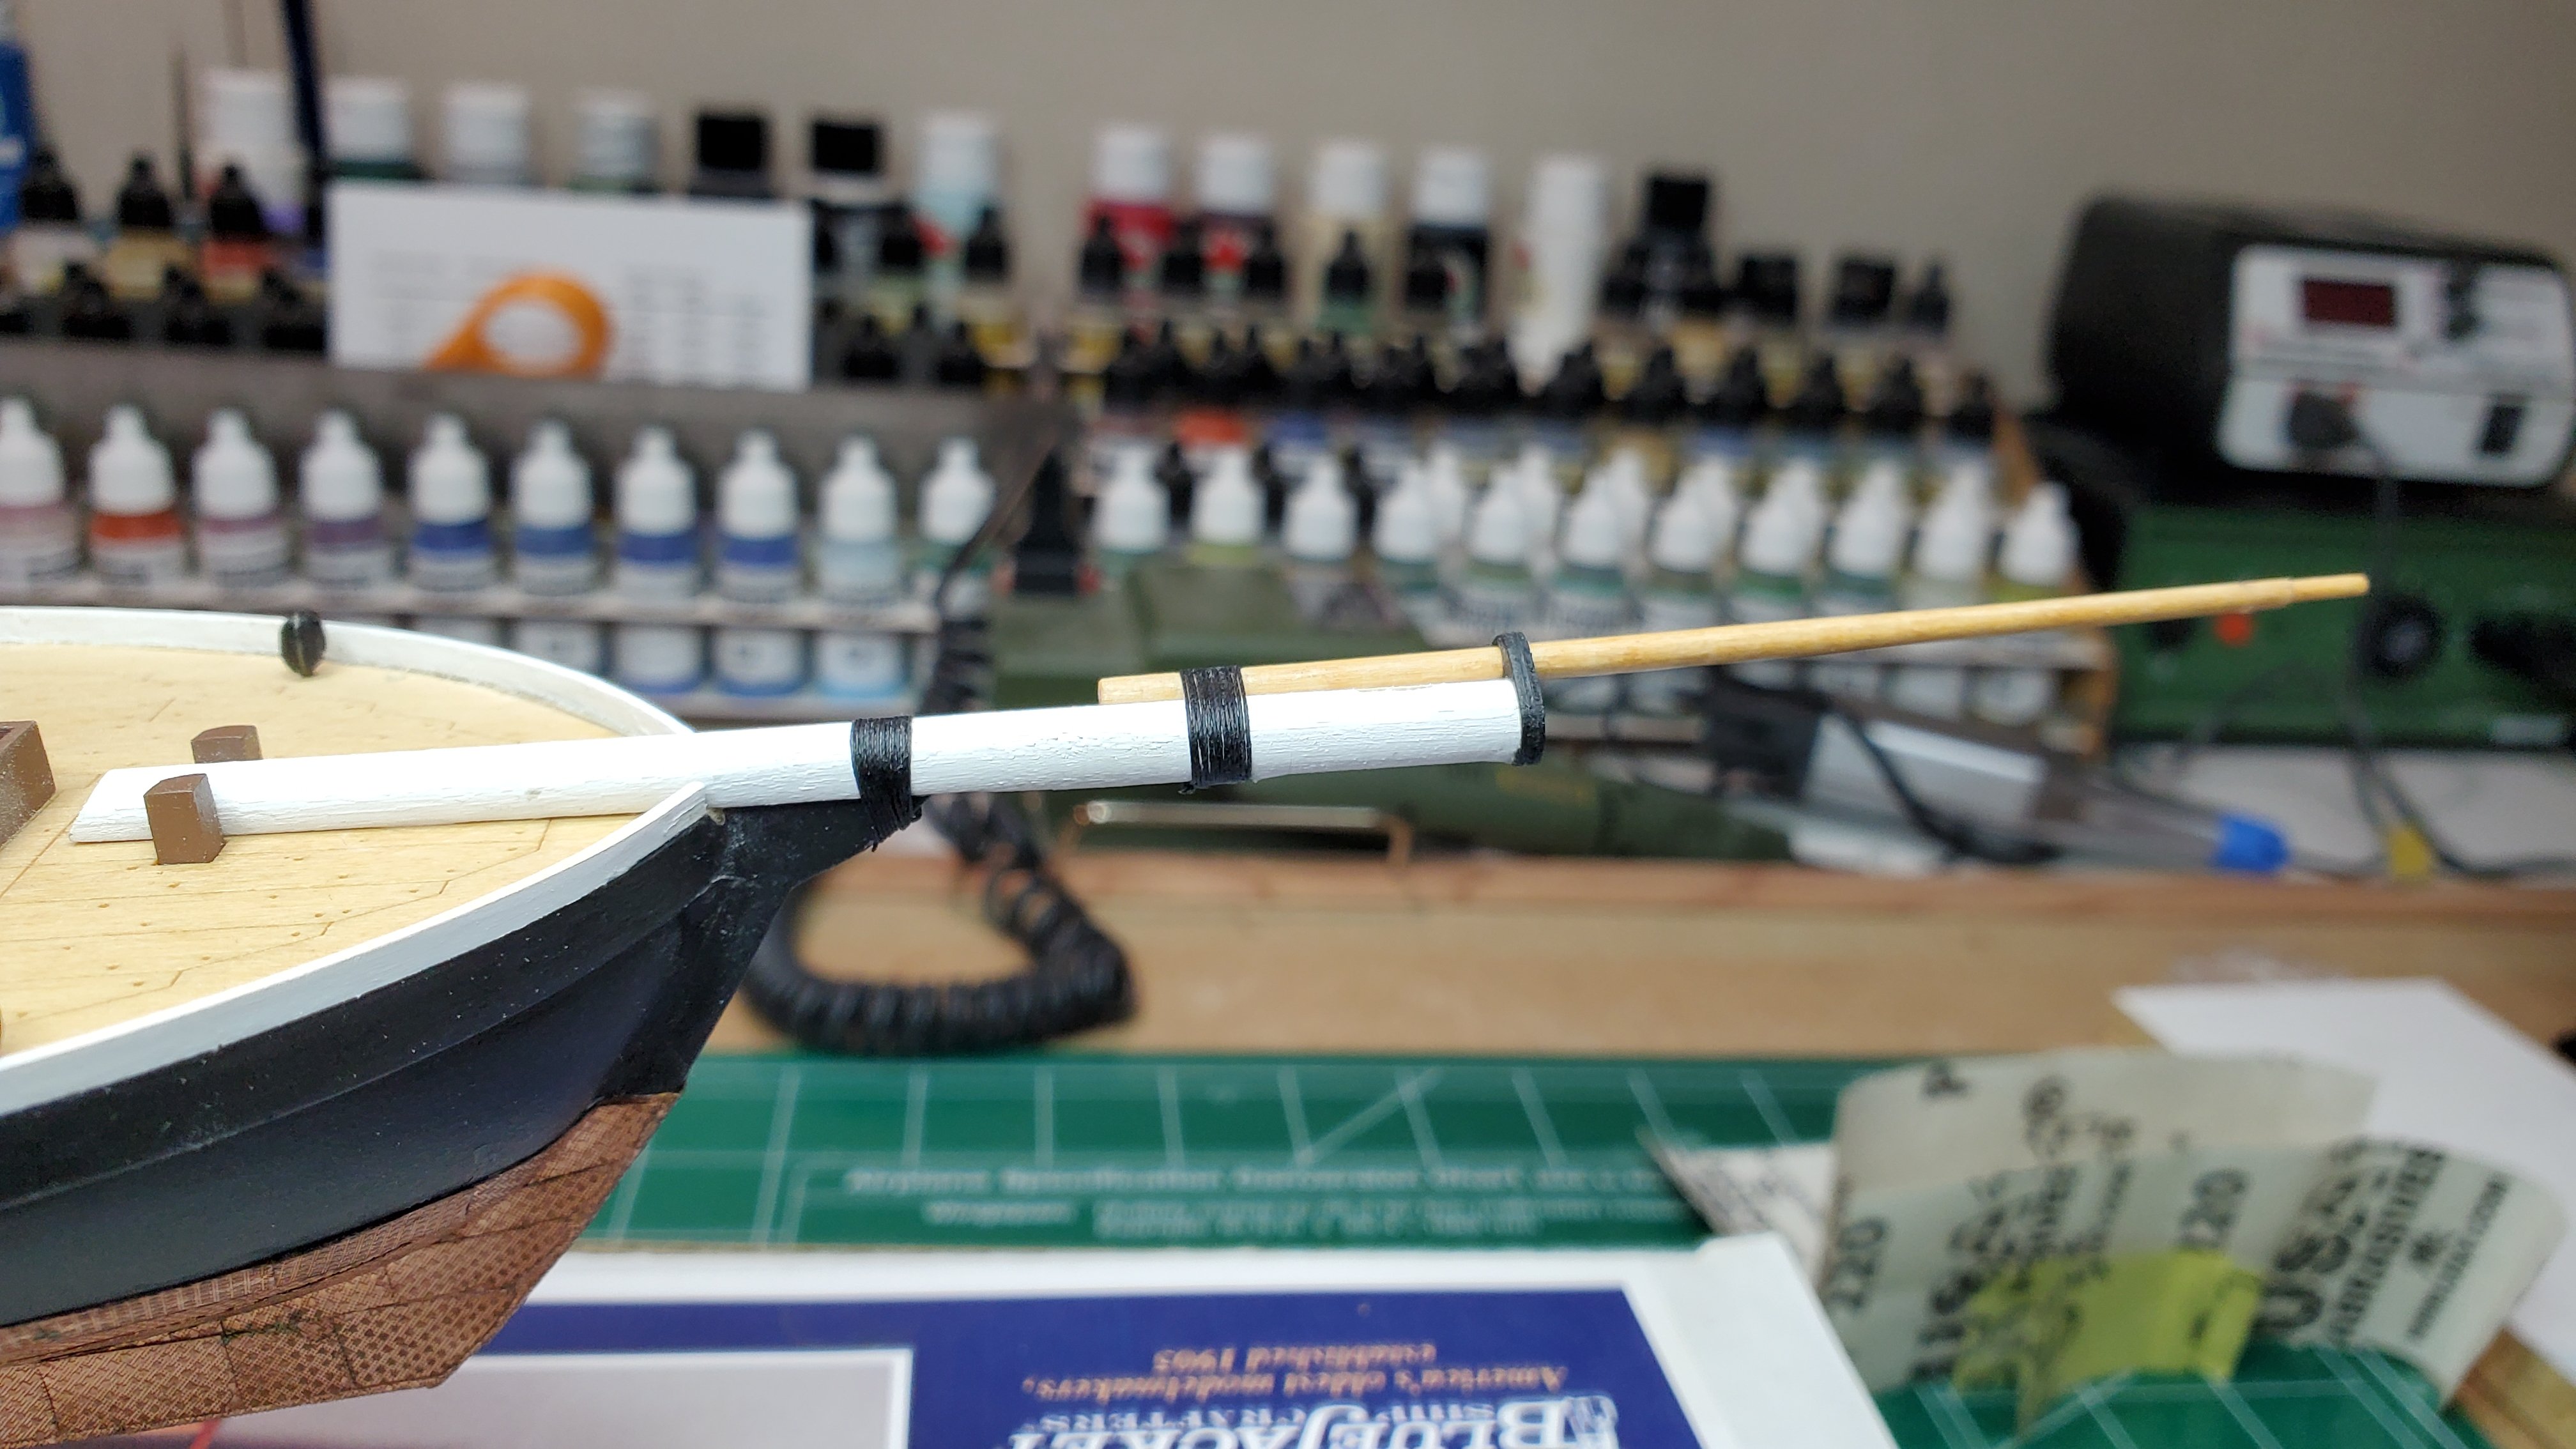
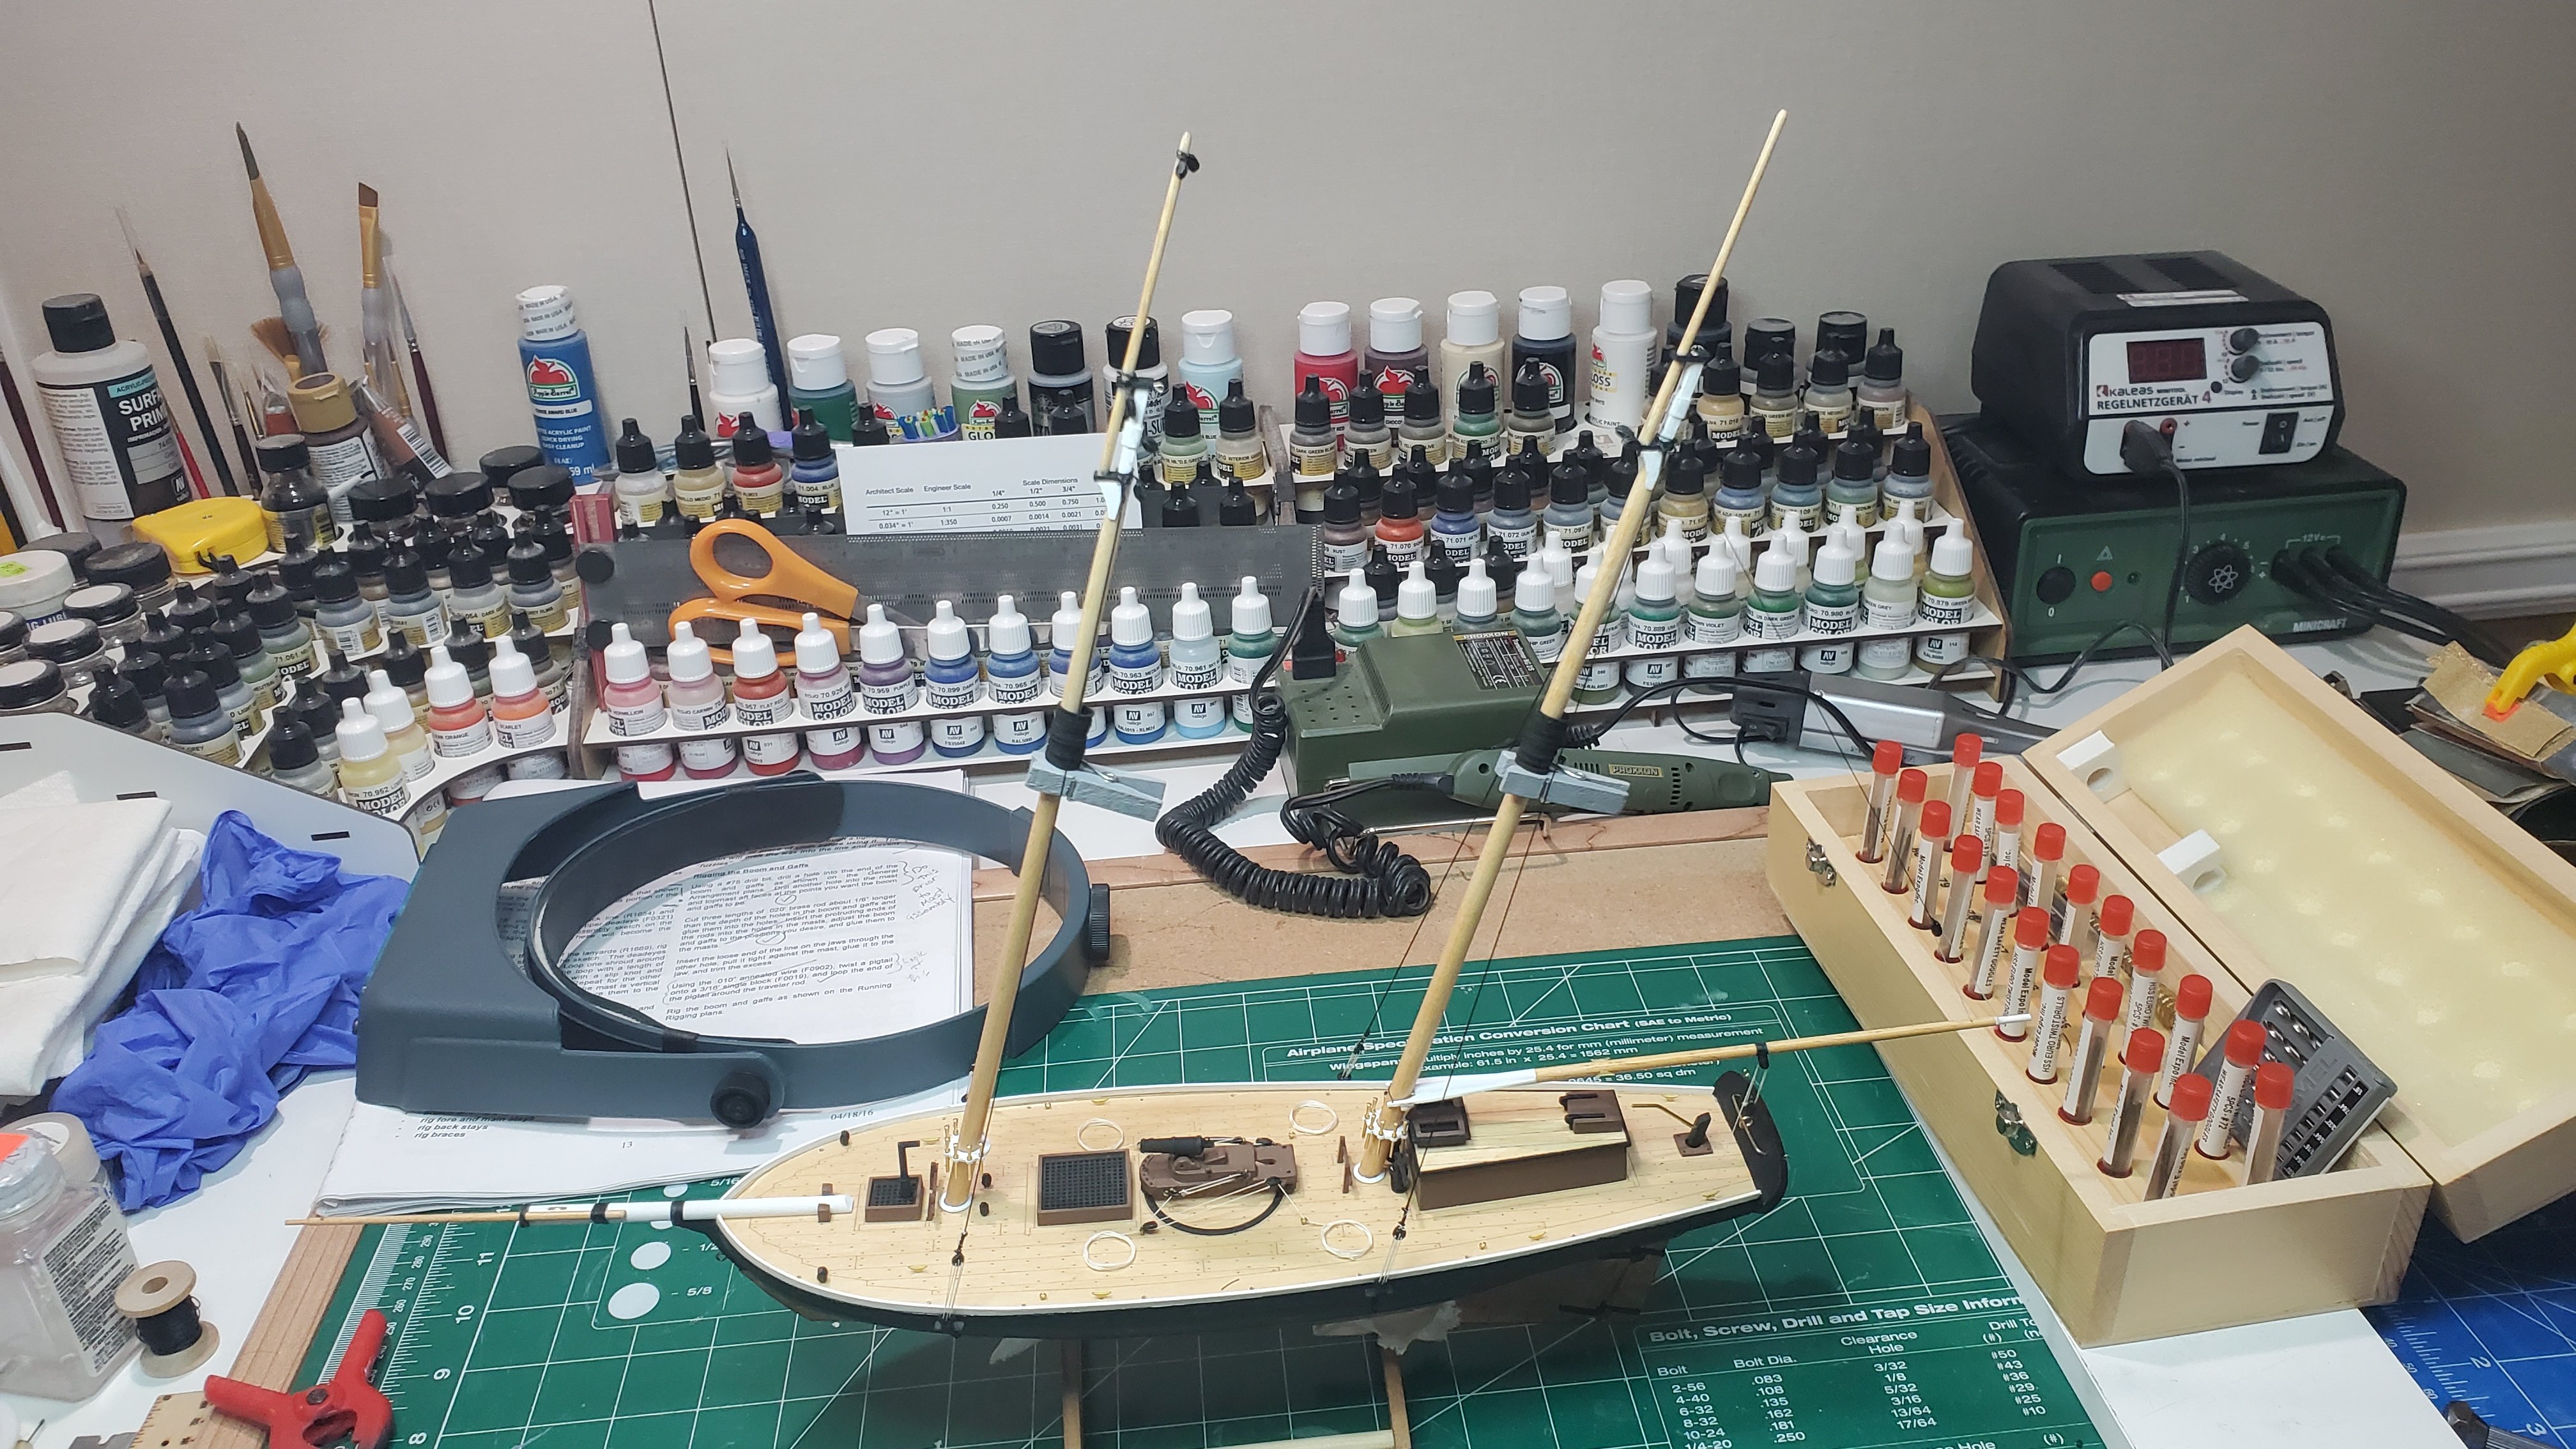
Hello Folks, Been a little busy at work, however I have kept up with the pictures when I could sneak in some time with the Revenue Cutter. All pieces are assembled and it is time to begin the process of rigging the model (finally). Some Notes on Spars, Masts and Bowsprit: Spars / Mast Caps: Be super careful drilling holes in these pieces for the blocks. I severed both a spar and a mast cap trying to drill holes for the blocks, next time I will use new drills and or probably just tie blocks using thread. Blocks and Spars: Dry fit the spars to the masts prior to gluing the blocks onto them to get the correct angle for them for rigging purposes, the blocks on the spars should be set at an angle so they meet nicely with the blocks on the mast (and vice versa mast blocks to spar blocks). Mast Caps: As usual did not follow the paint scheme, I painted the mast caps flat black (Tamiya XF-1). Bowsprit: Assembled as per instructions and gammoning completed as well. I painted the cap flat black (Tamiya XF-1). I will not glue this part onto the hull until I rig the cannon on the deck and I am completely ready to rig. I guarantee I will break the bowsprit (as I usually do). Next Post: Cannon rigging, and standing rigging (I hope). Be well all, Bill T.

.thumb.jpg.cd902afd4073a14305c9cf522431a073.jpg)


- 89 replies
-
- 2
-
-
- bluejacket shipcrafters
- revenue cutter
- (and 1 more)
-
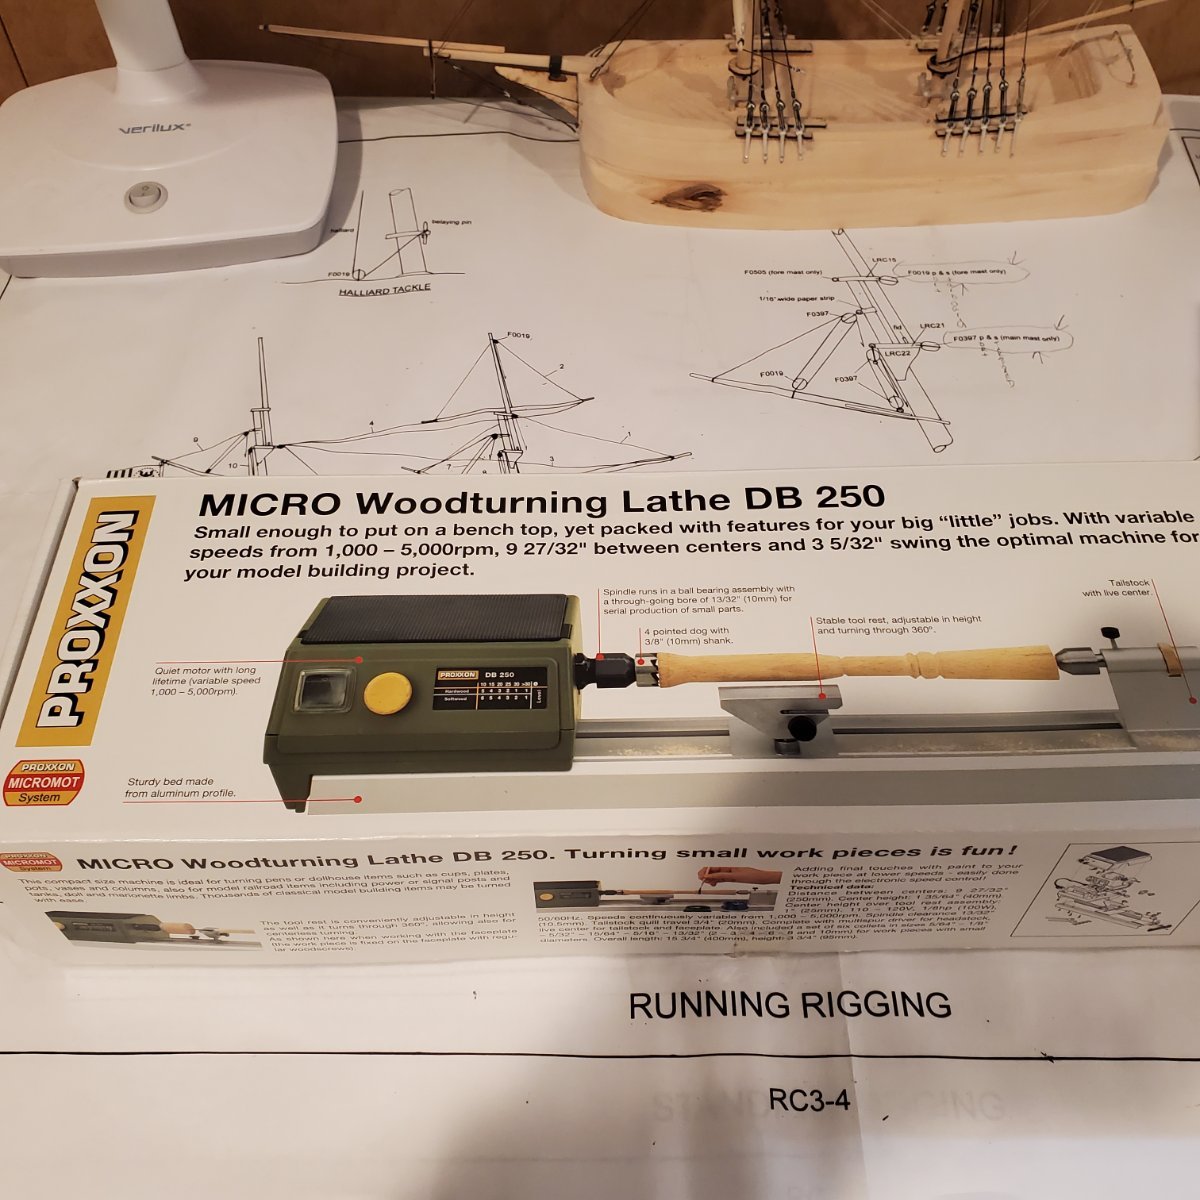
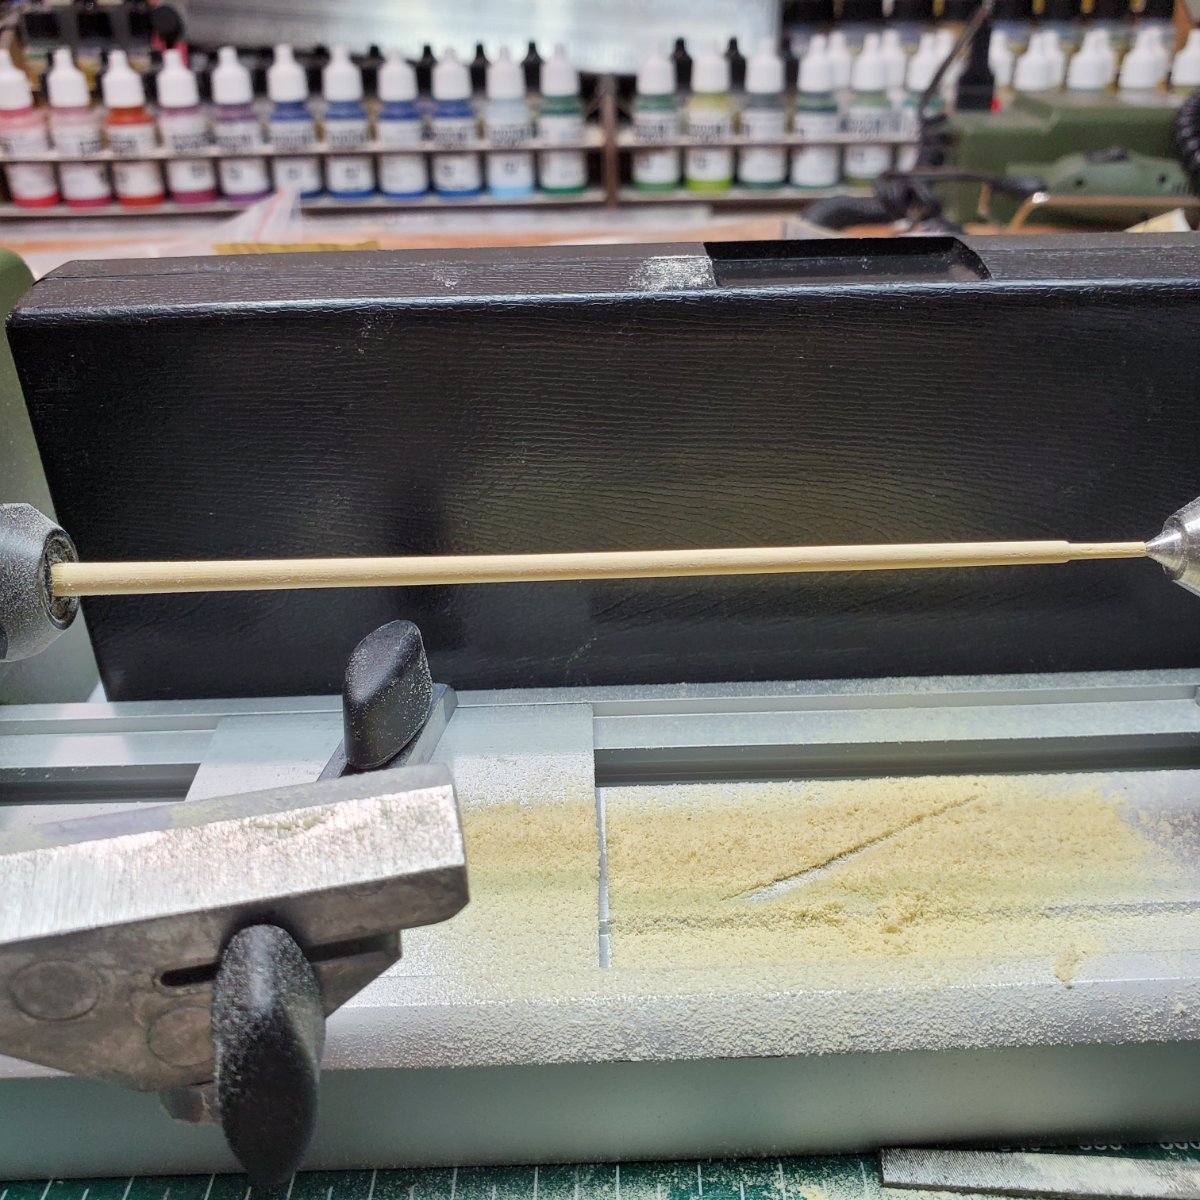
Good Tidings Brian, I used a Proxxon Micro Woodturning Lathe DB 250 I hope this helps!

- 89 replies
-
- 1
-
-
- bluejacket shipcrafters
- revenue cutter
- (and 1 more)
-
Some nice work there Eric! Cheers, Bill T.
-
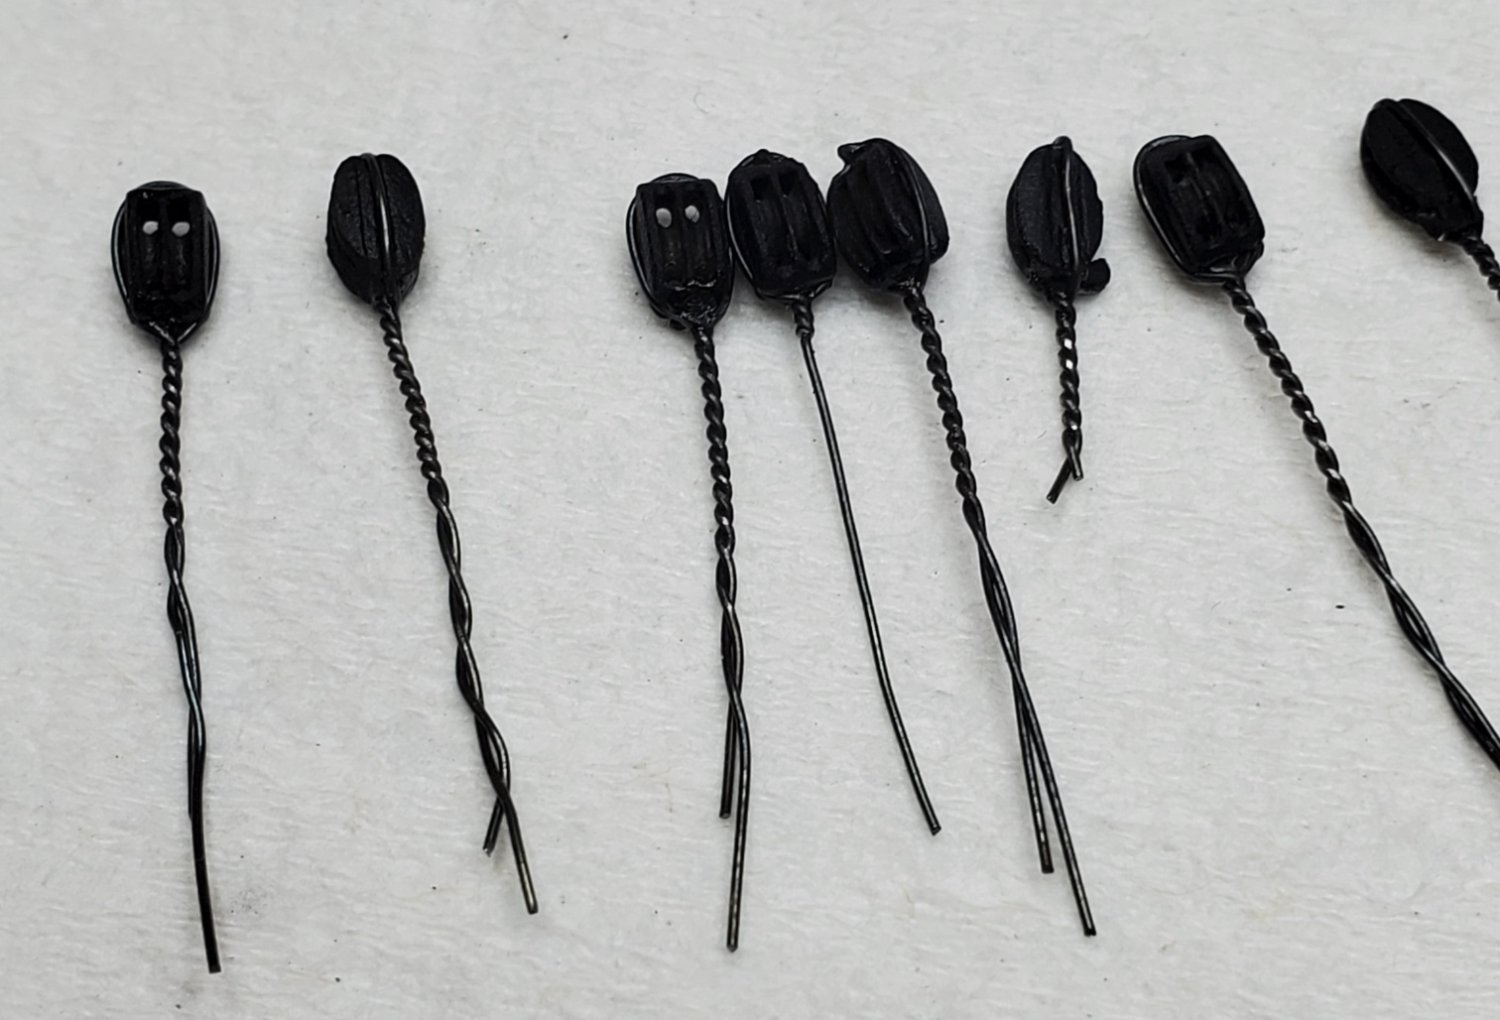
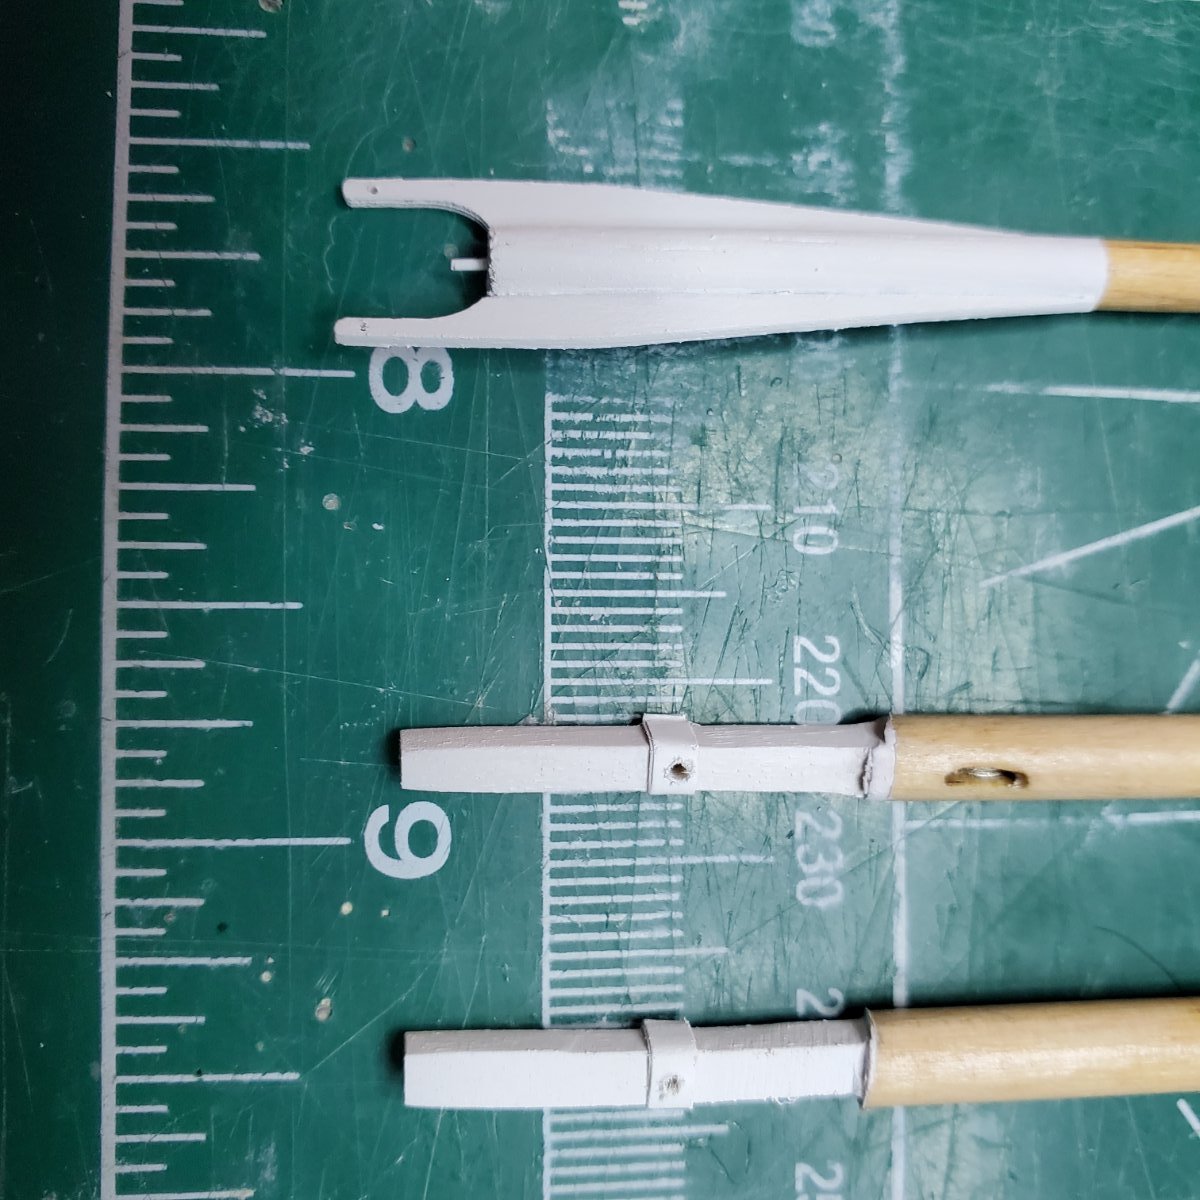
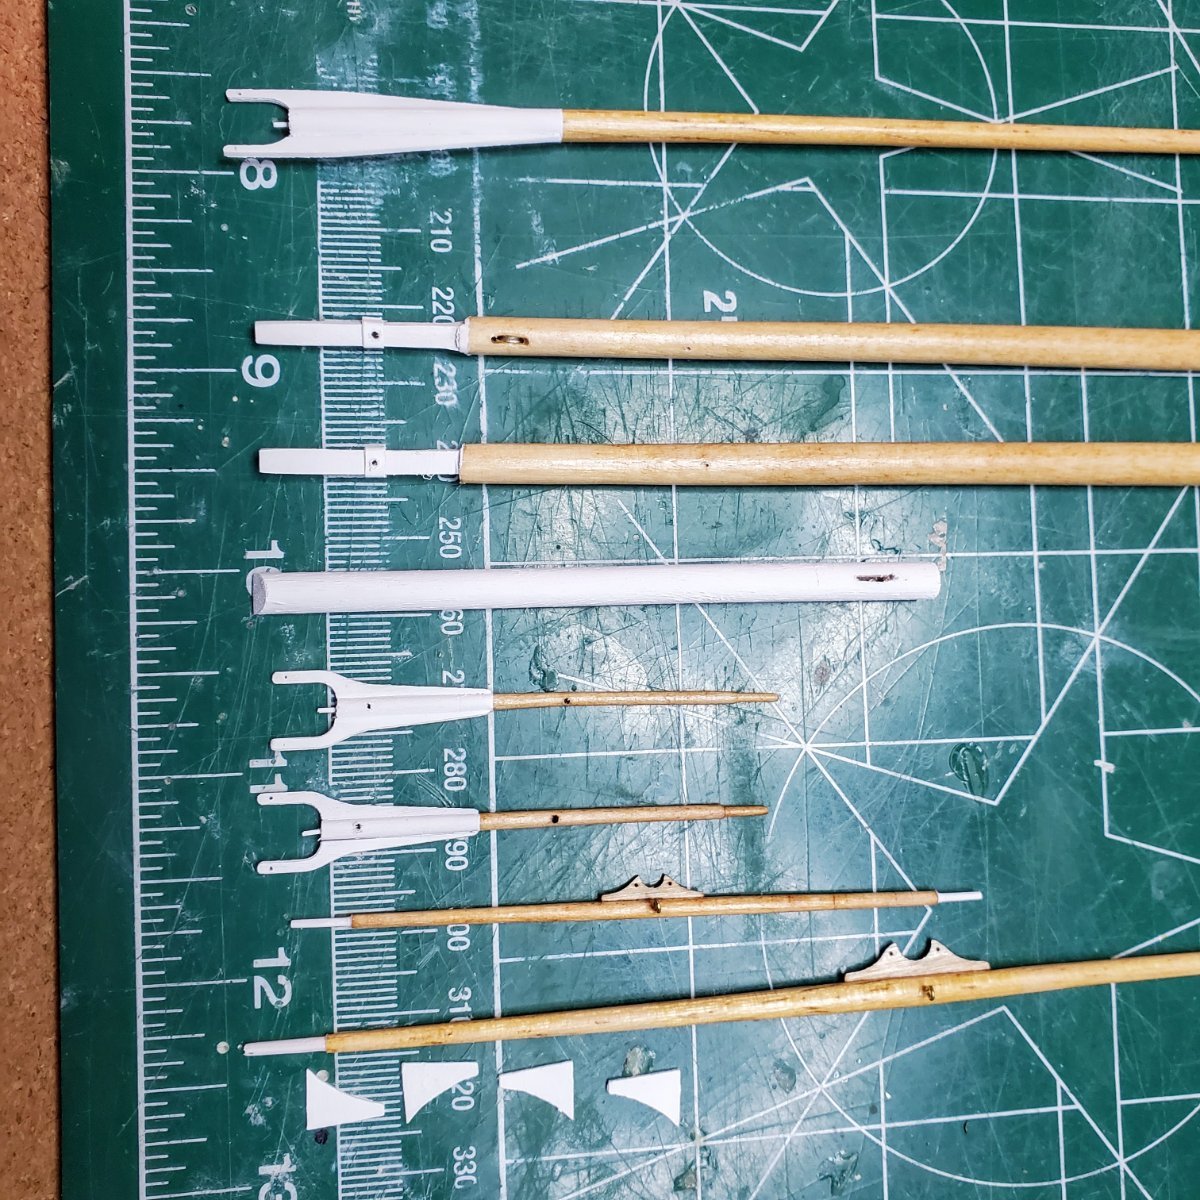
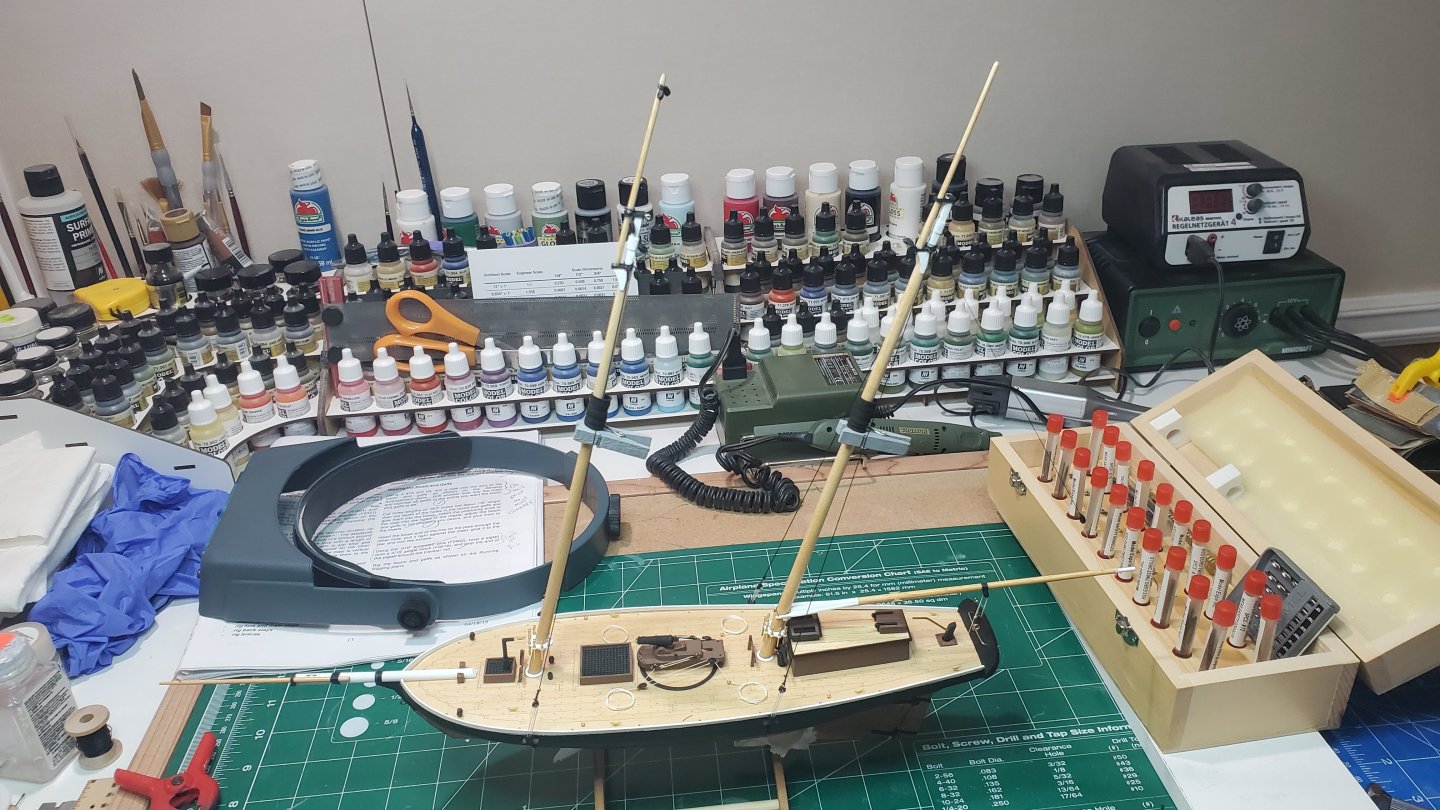
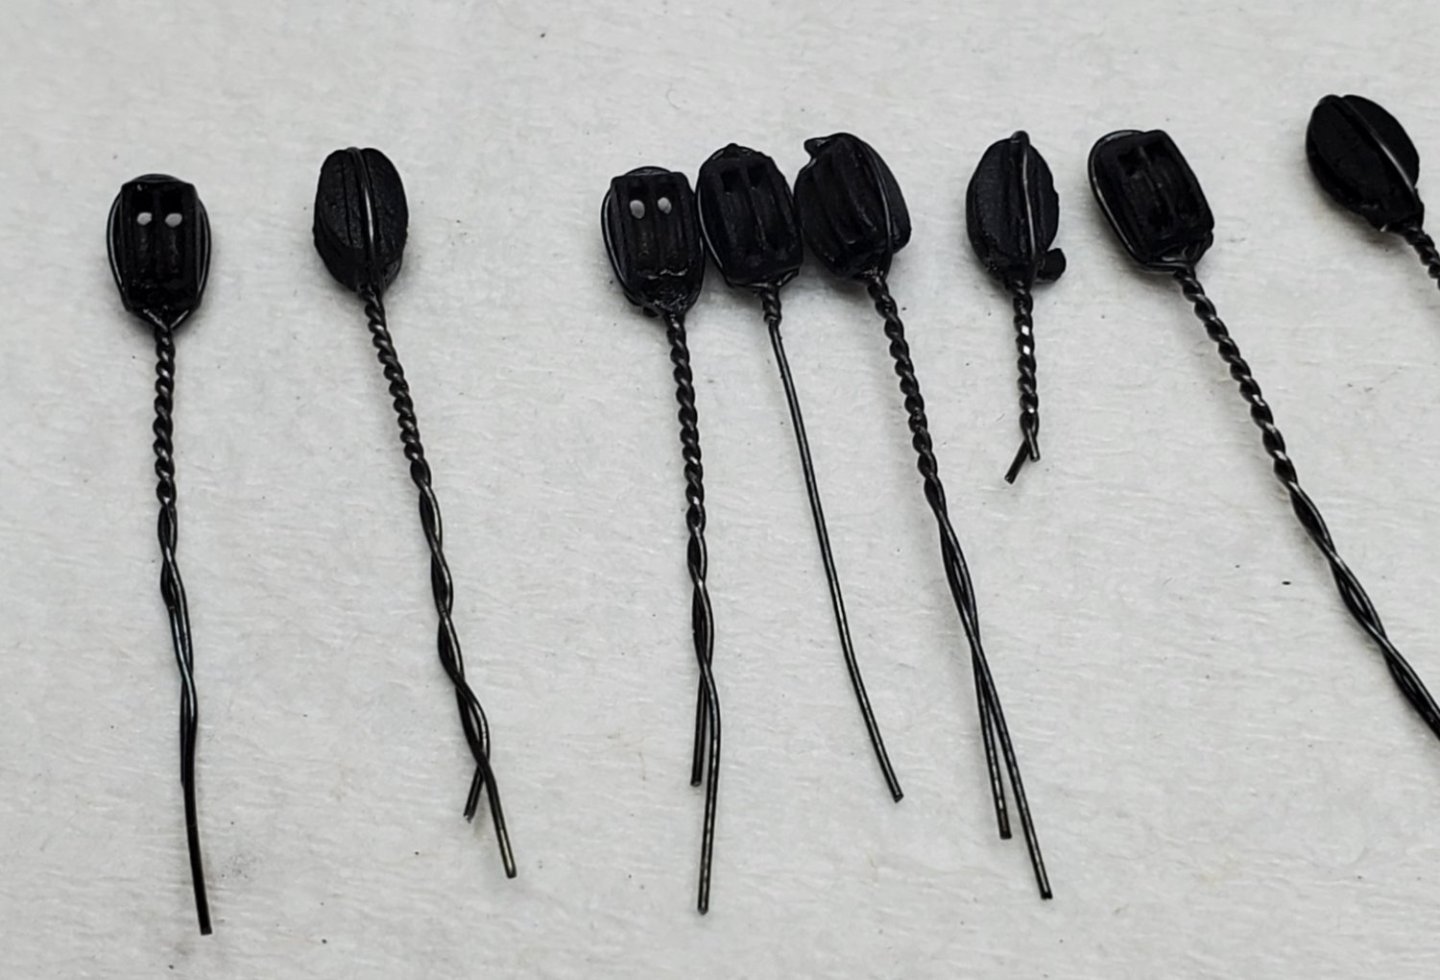
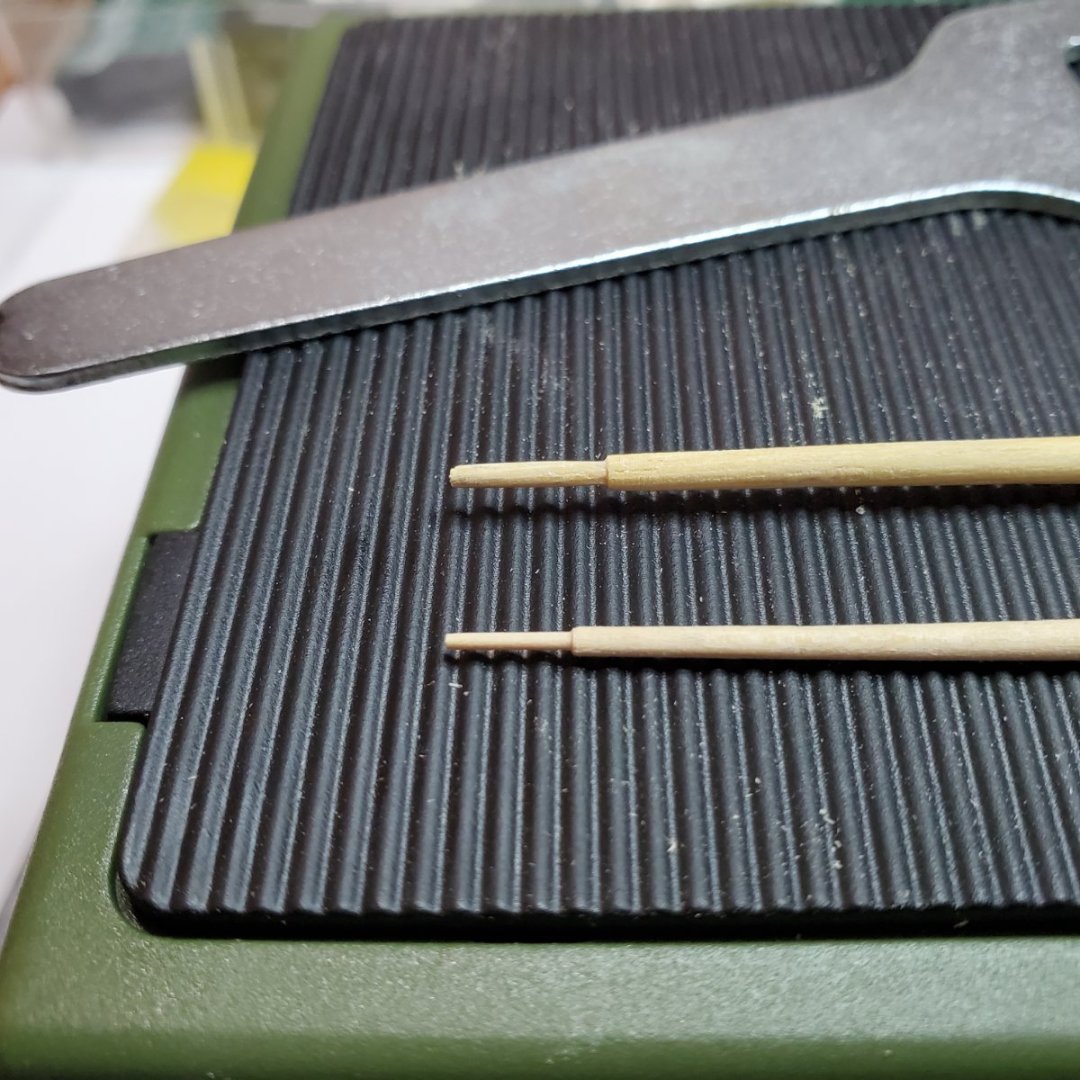
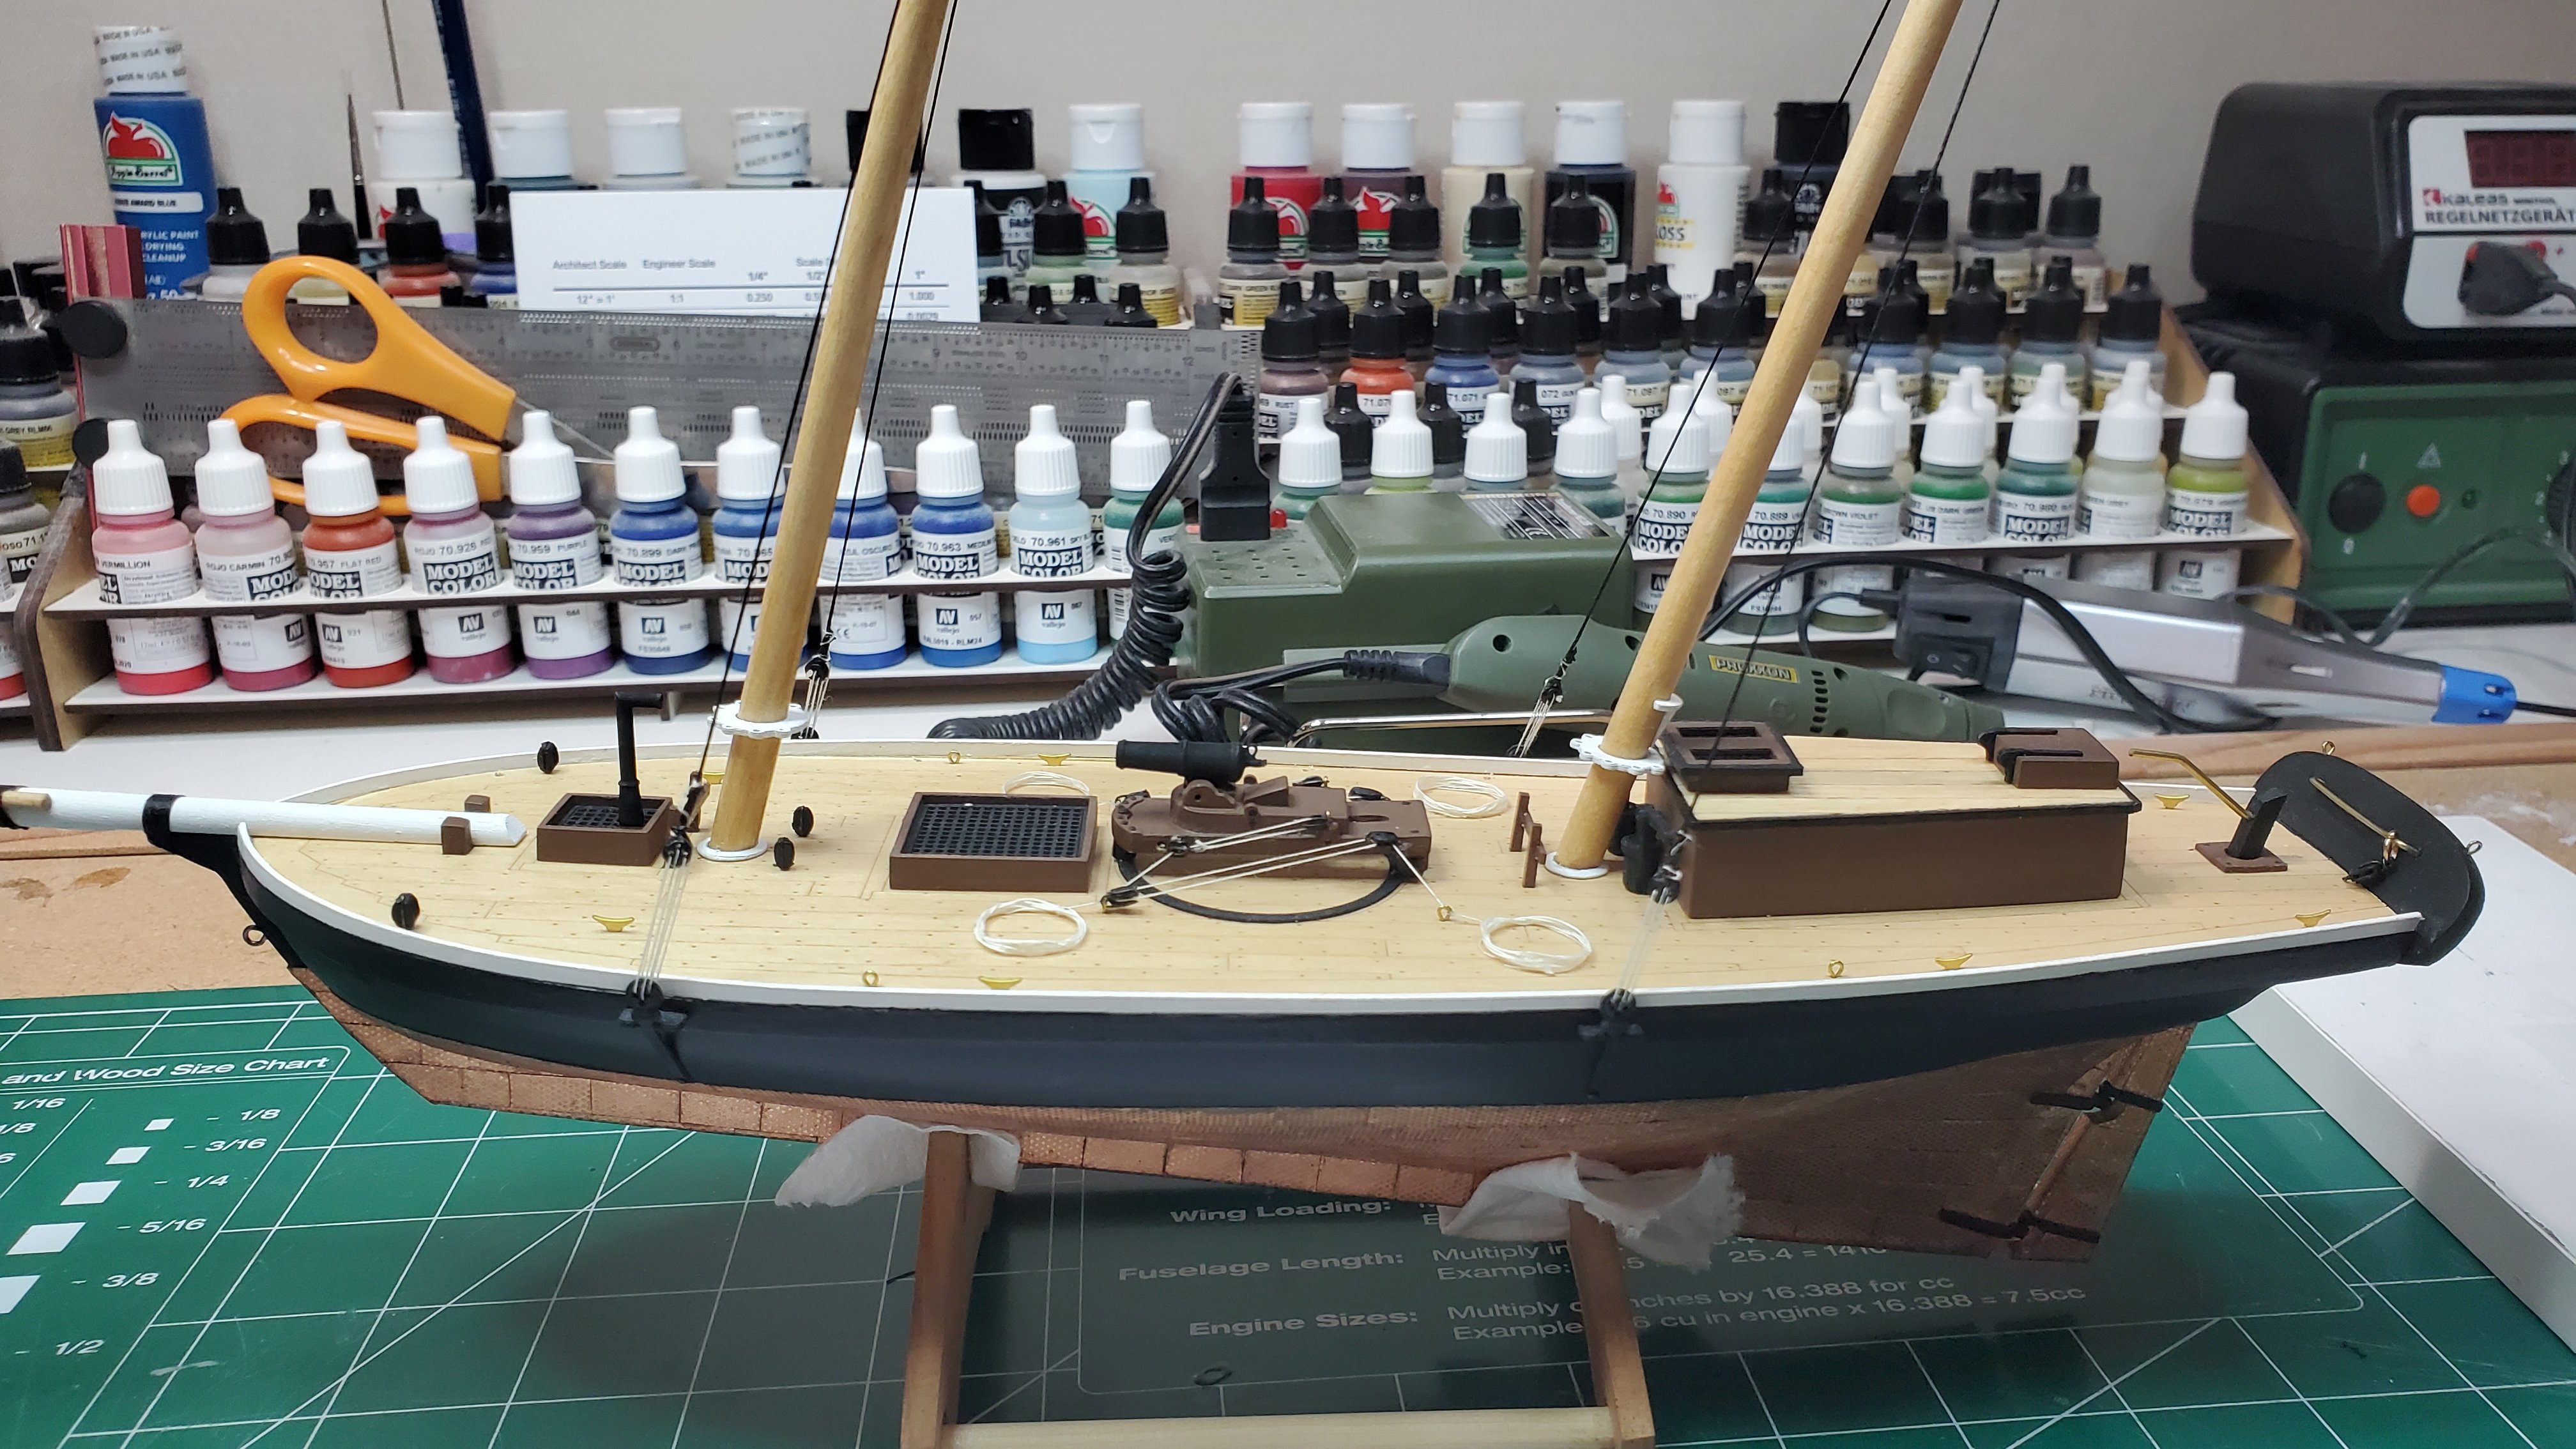
Hello Folks, Long time, no post. Work prevented me from doing work on the Revenue Cutter, however I kept up with my limited pictures. Work is beginning again on a regular basis and having fun again! All spars, masts are tapered, shaped, stained and sealed according to the Blue Jacket plans. Used a Proxxon Lathe to accomplish this portion, a real time saver. All holes are drilled. All remaining mast parts are painted (of course I strayed away from the original paint scheme) ready for assembly later today (I hope). I still need to do some final clean-up on the painted parts, sometimes it seems clean-up is a never ending process! In my next post will show the blocks with the pigtails completed. Tomorrow I hope to post the assembled masts. Nice to be back!


- 89 replies
-
- 5
-
-
- bluejacket shipcrafters
- revenue cutter
- (and 1 more)
-
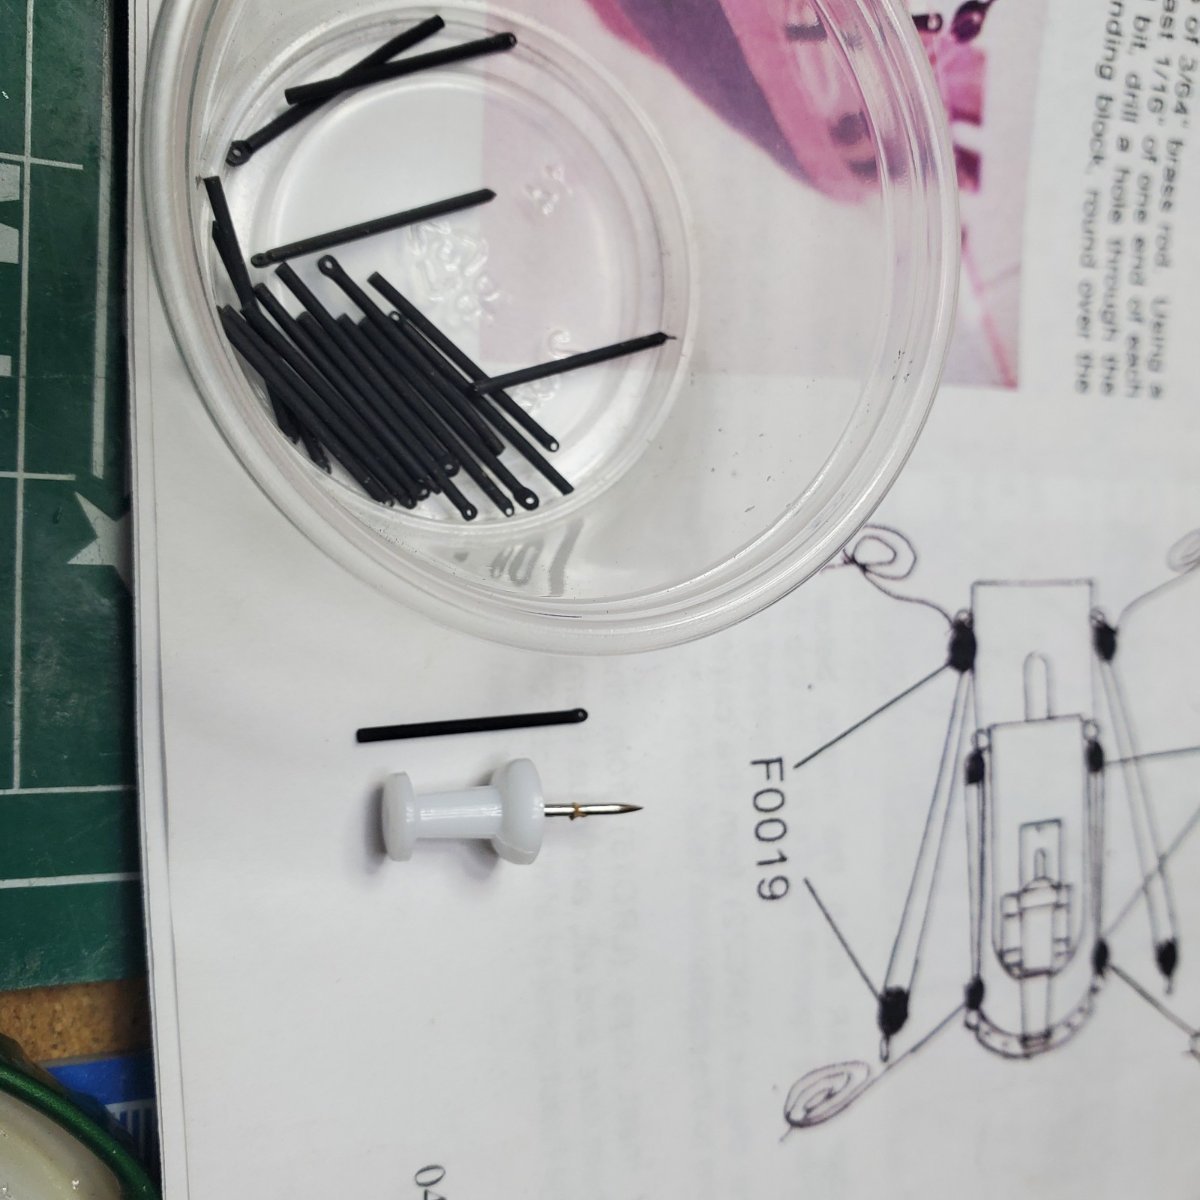
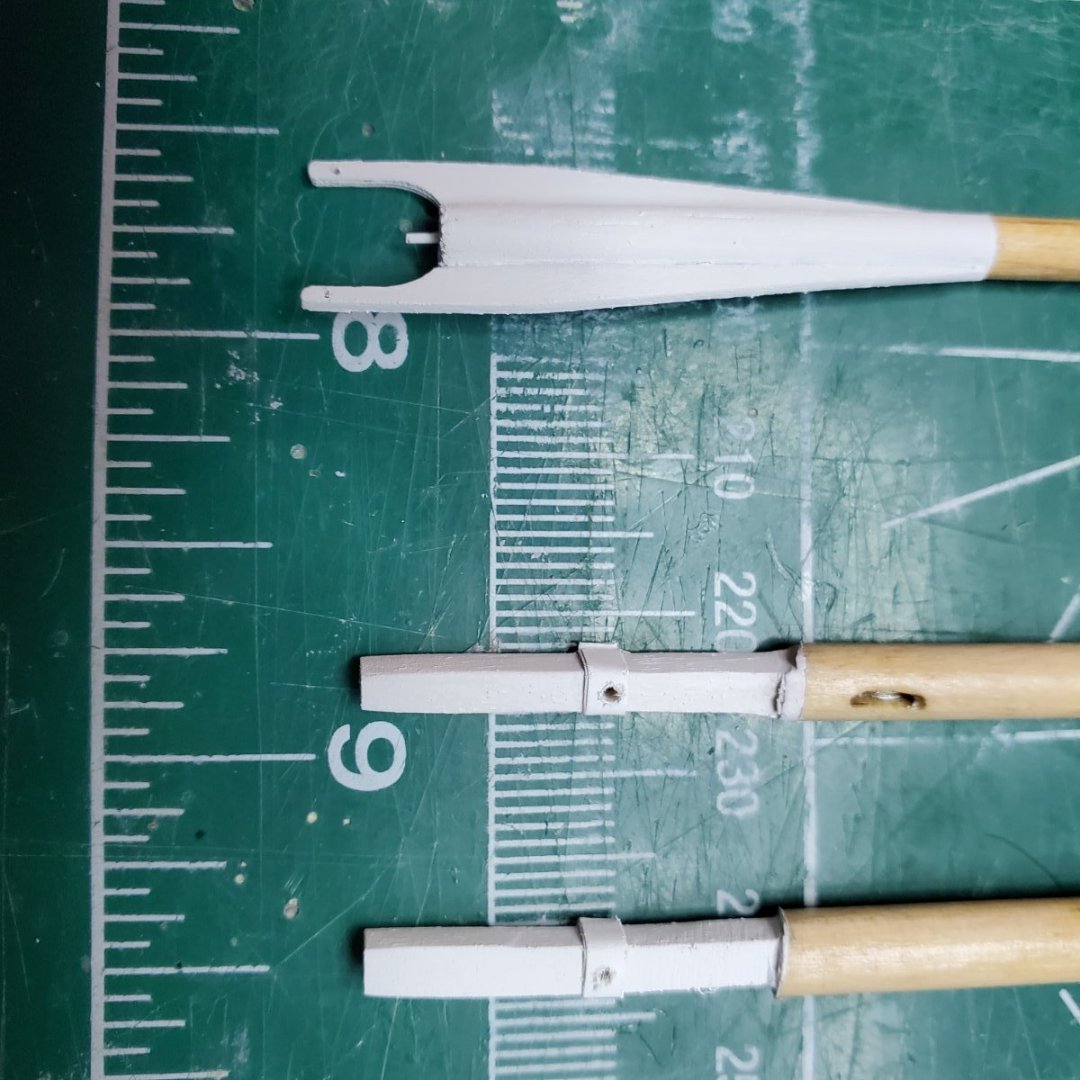
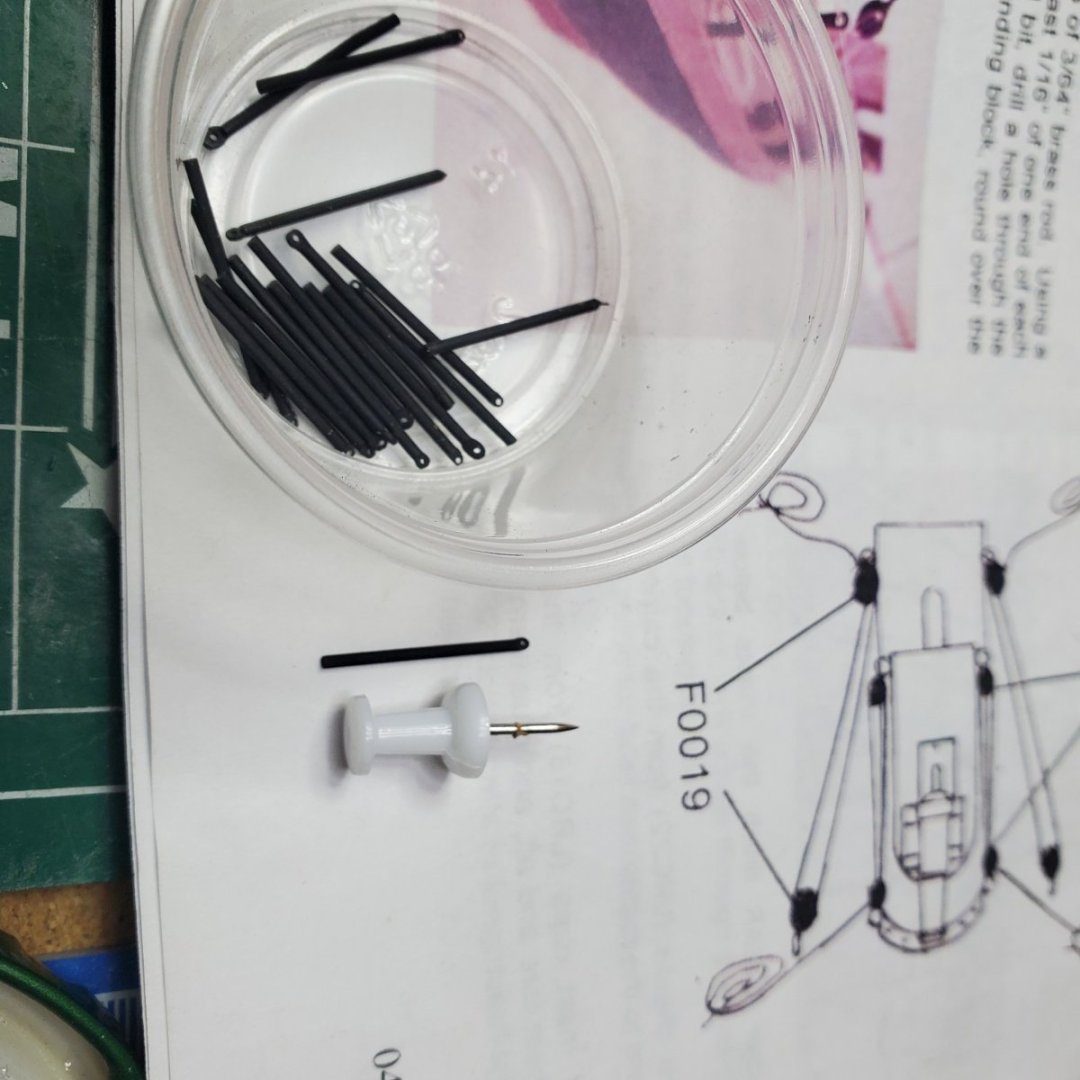
Hello CF, When referring to using a wire to attach the spar to the mast I am referring to a "Fid", I am about to use this method on my Blue Jacket Revenue Cutter. At the end of the Boom or Gaff which will butt up against the mast, drill a hole with a #75 drill bit. Then cut a piece of 0.020' brass rod (accessable from BlueJacket or local hobby store) that protrudes out 1/8" from the holes drilled into the Boom or Gaff. Glue the brass into the holes. Conversely, drill a hole into the mast where the Boom or Gaff are to be located on the Mast. Then just fit and glue the Boom or Gaff with the brass wire protruding into the mast hole drilled on to the mast. When rigging in general I always with inboard rigging and proceed to the outboard lines. I use this sequence to execute the rigging in general: Rig Boom and Gaffs Attach and Rig Yards Rig fore and main stays rig back stays rig braces I hope this helps, if not the people at BlueJacket are great at helping you through any difficulties you maybe having. I you wish, send me a picture of where you are at and will detail how I proceeded from where you are stuck. Good luck! Bill T.
-
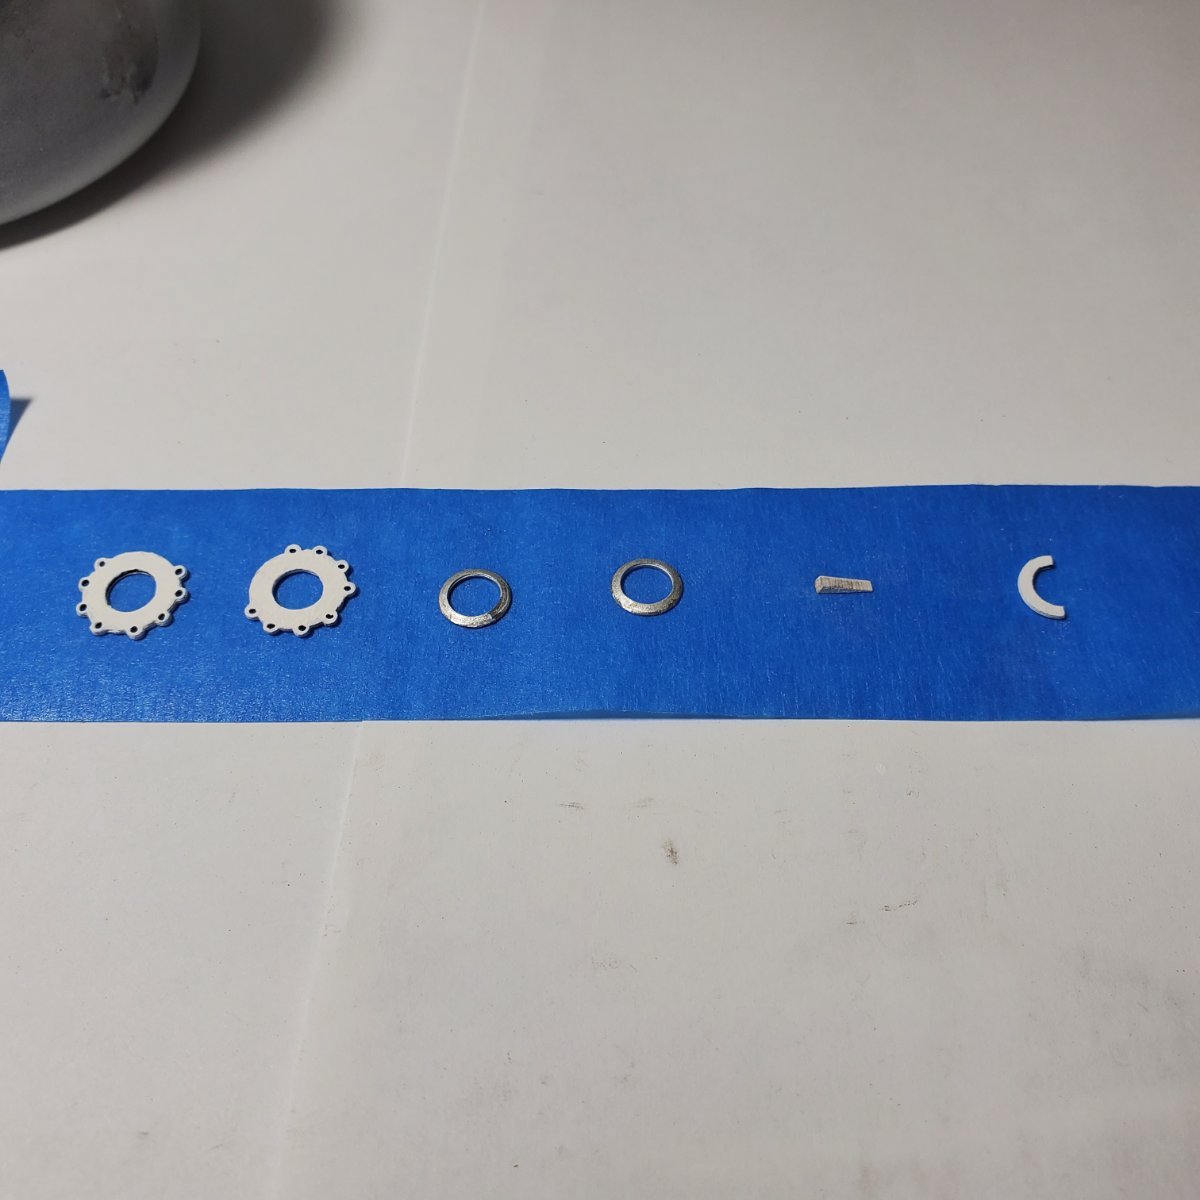
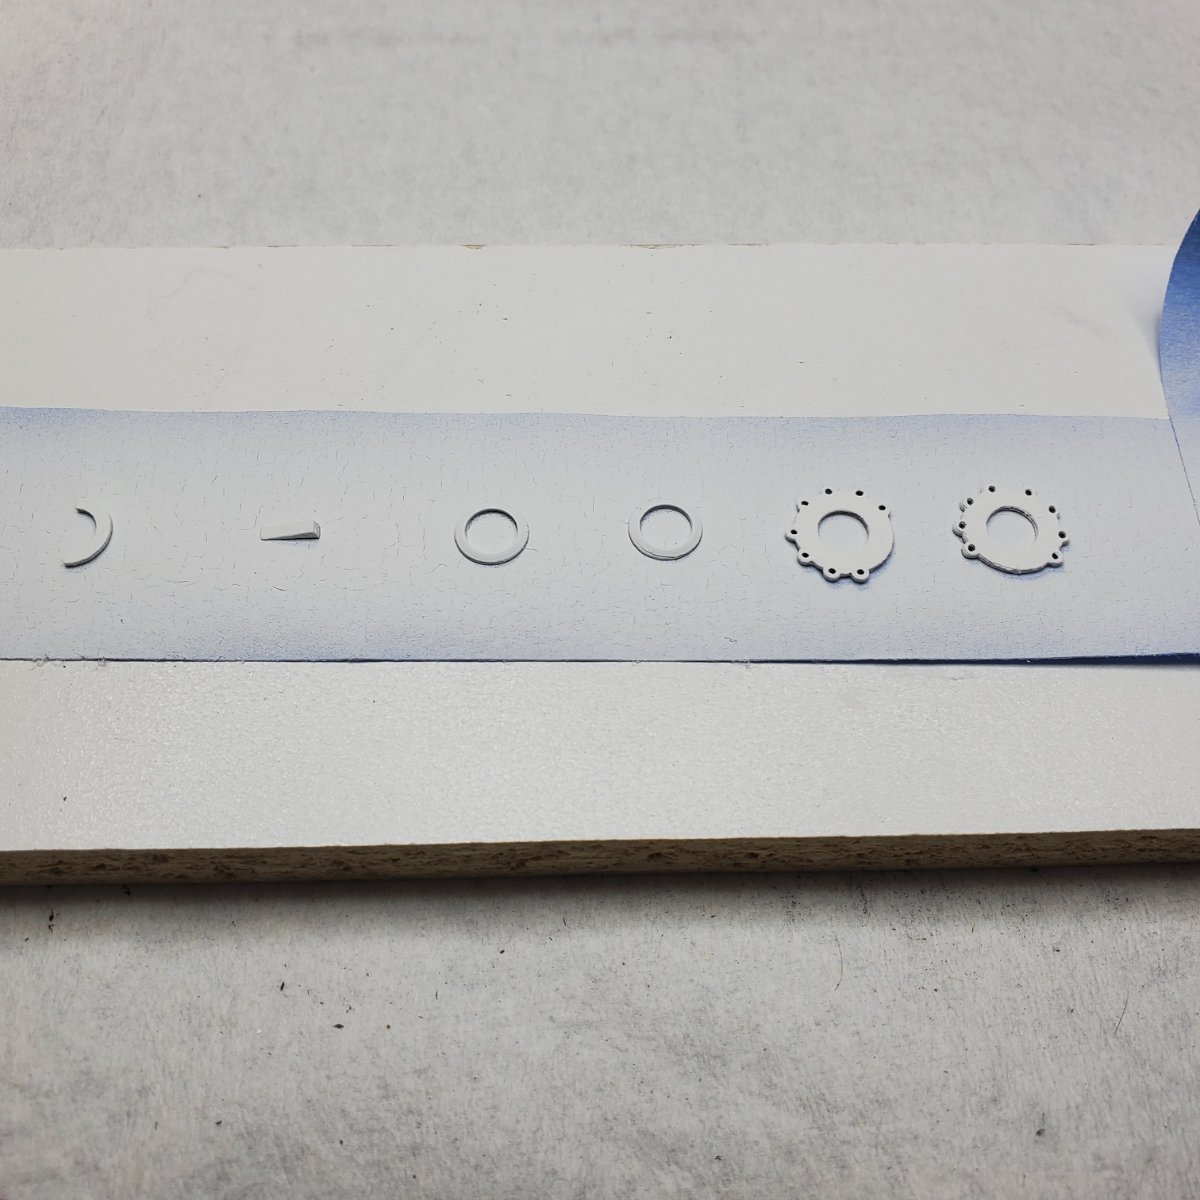
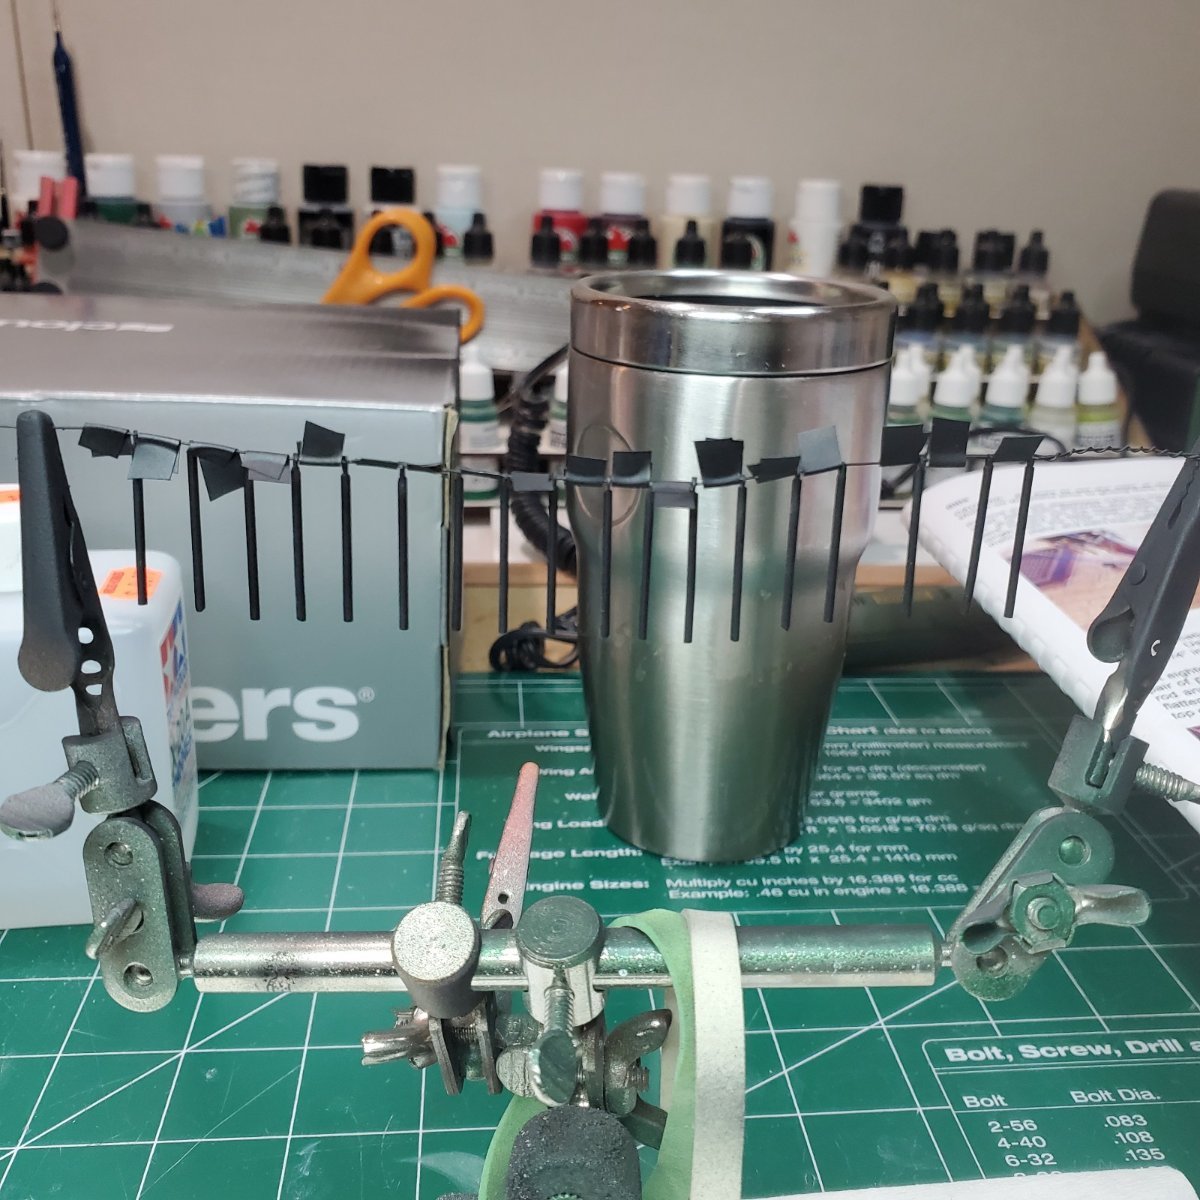
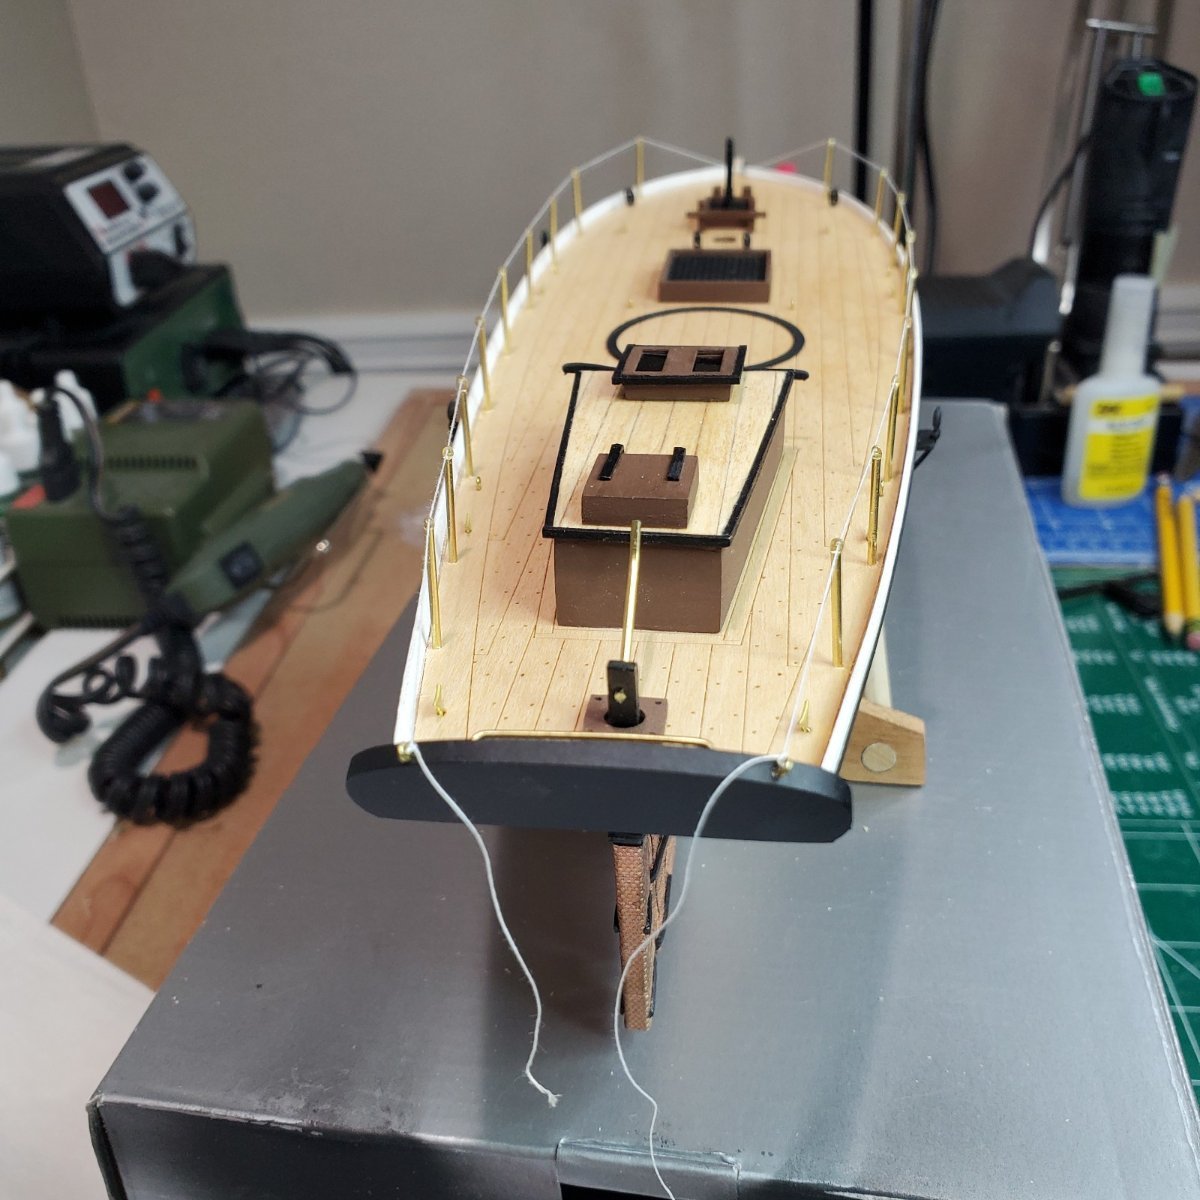
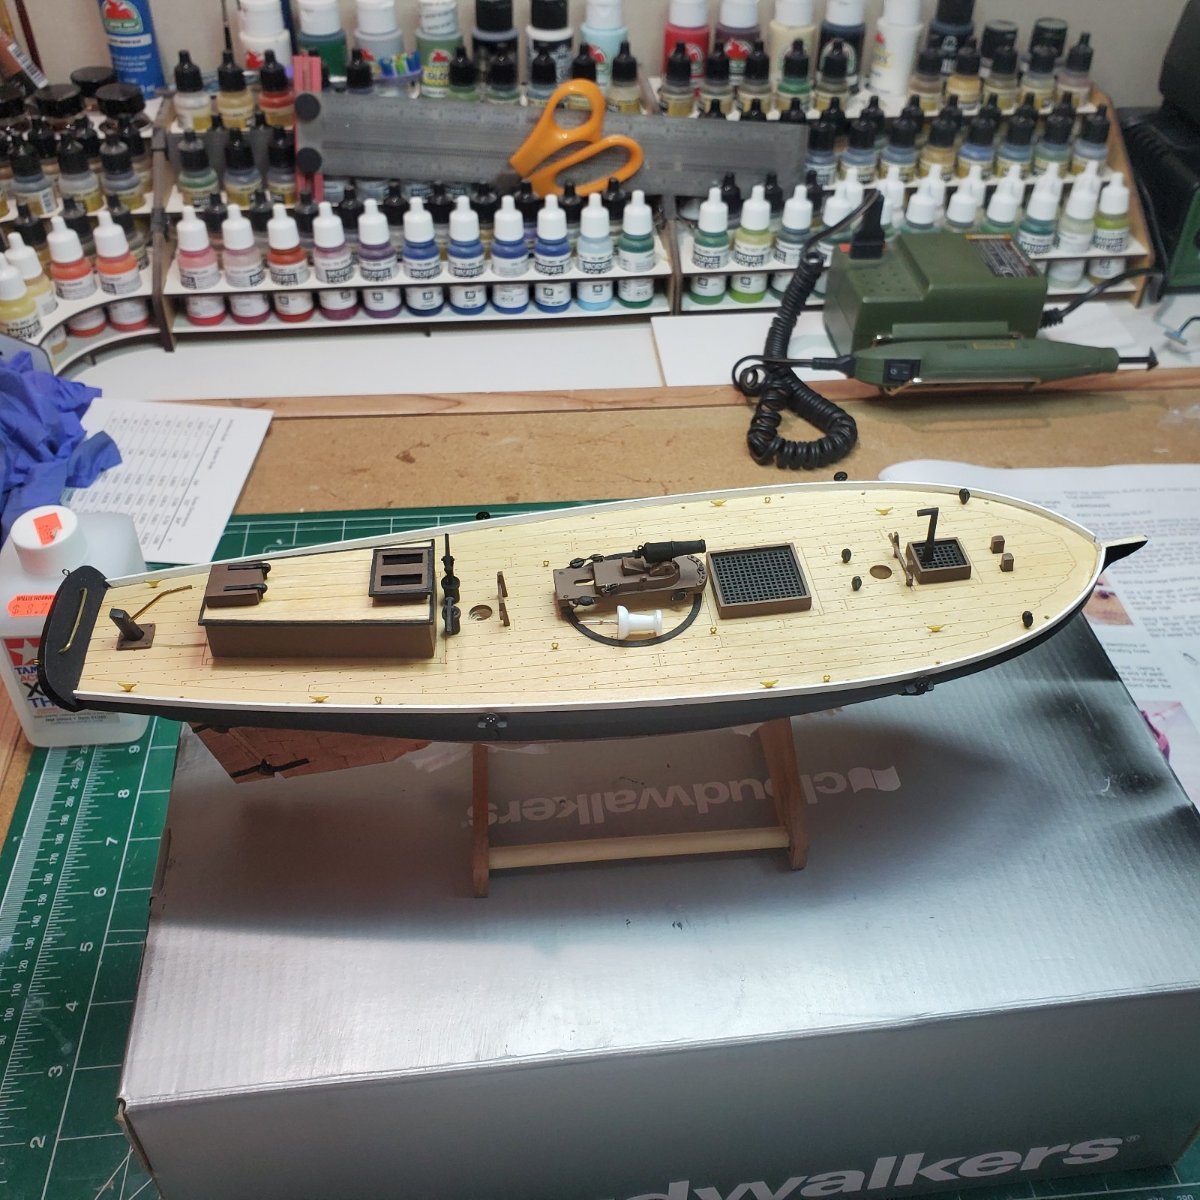
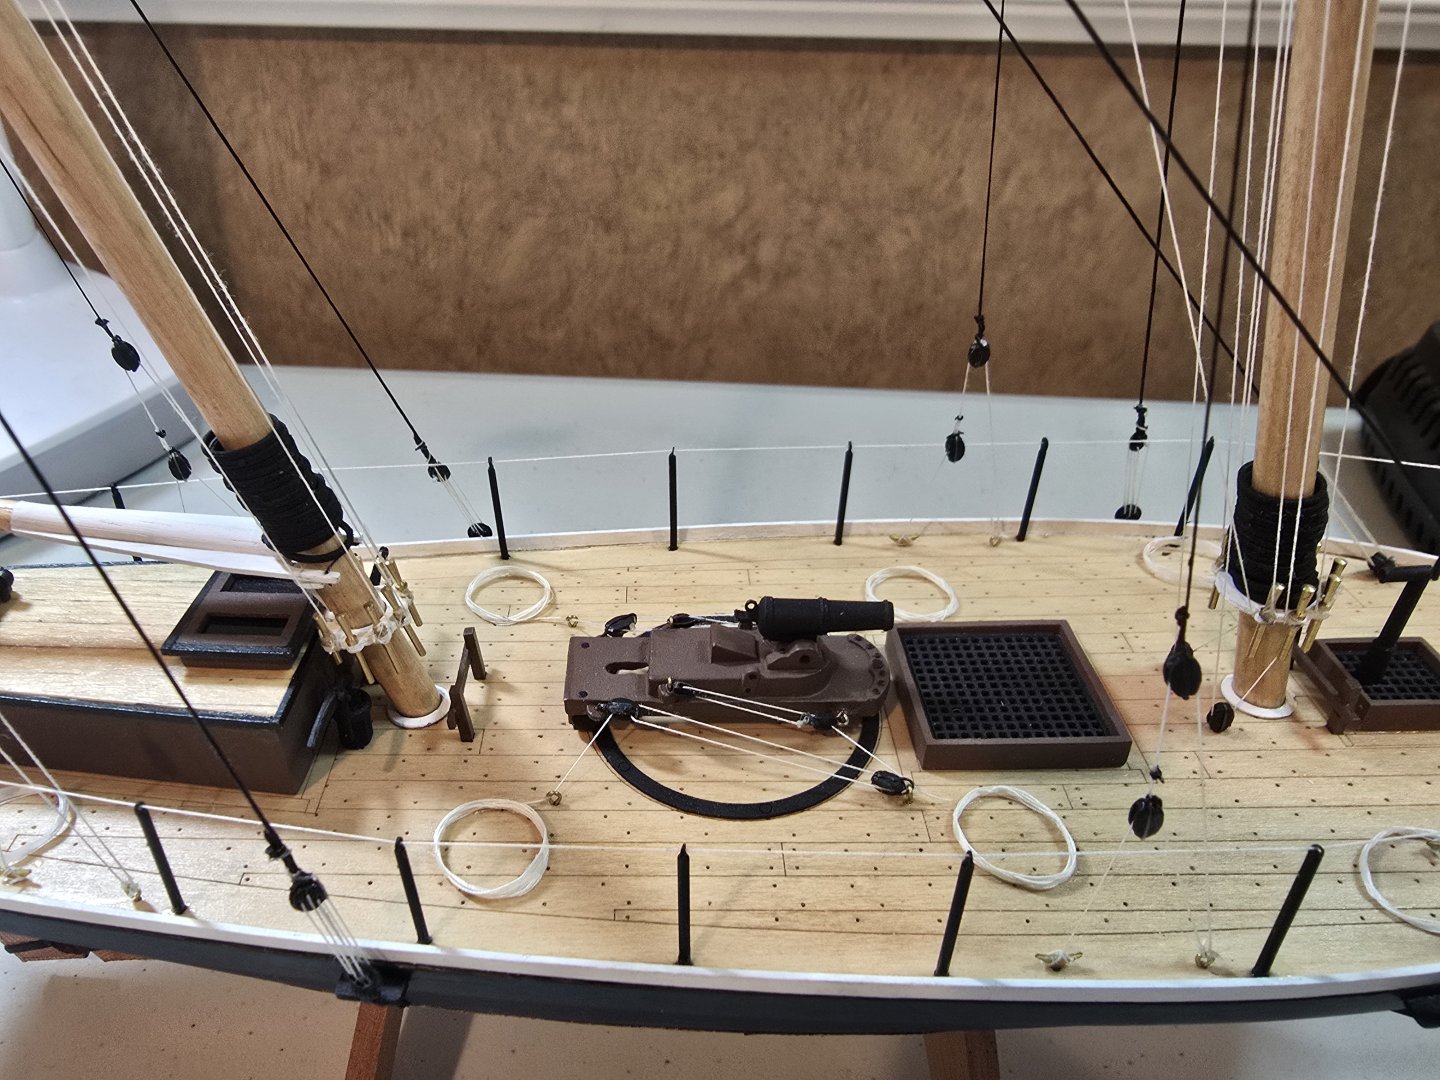
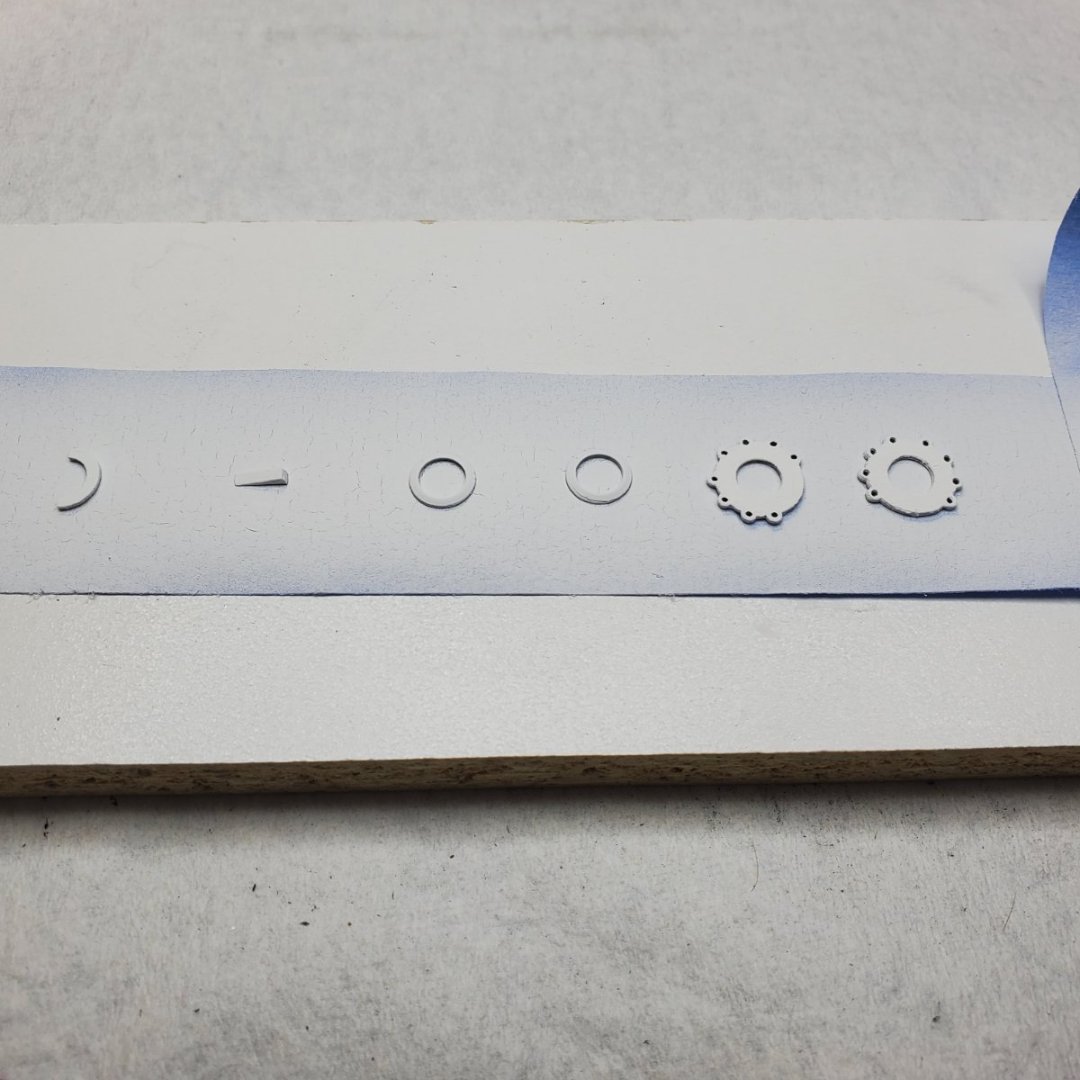
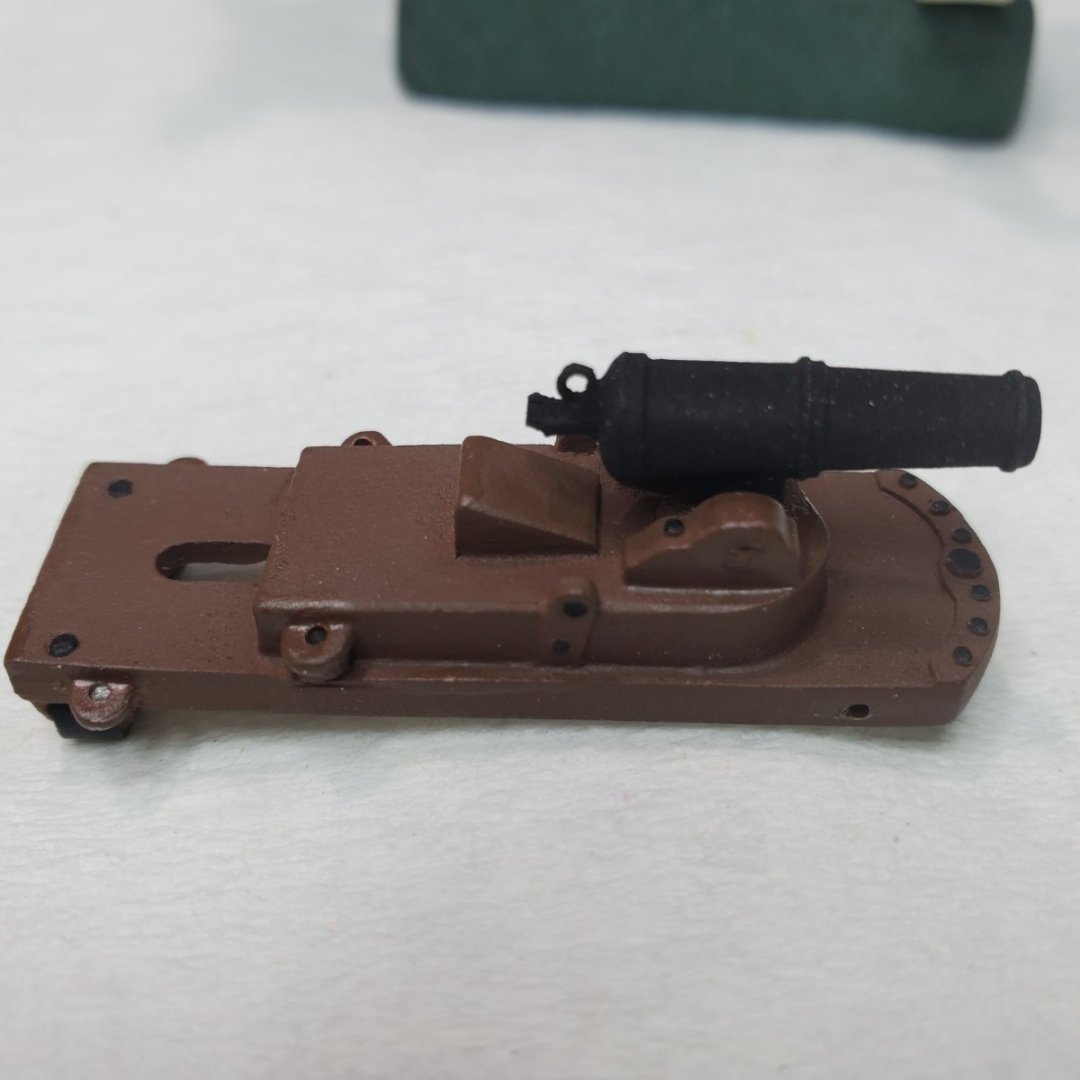
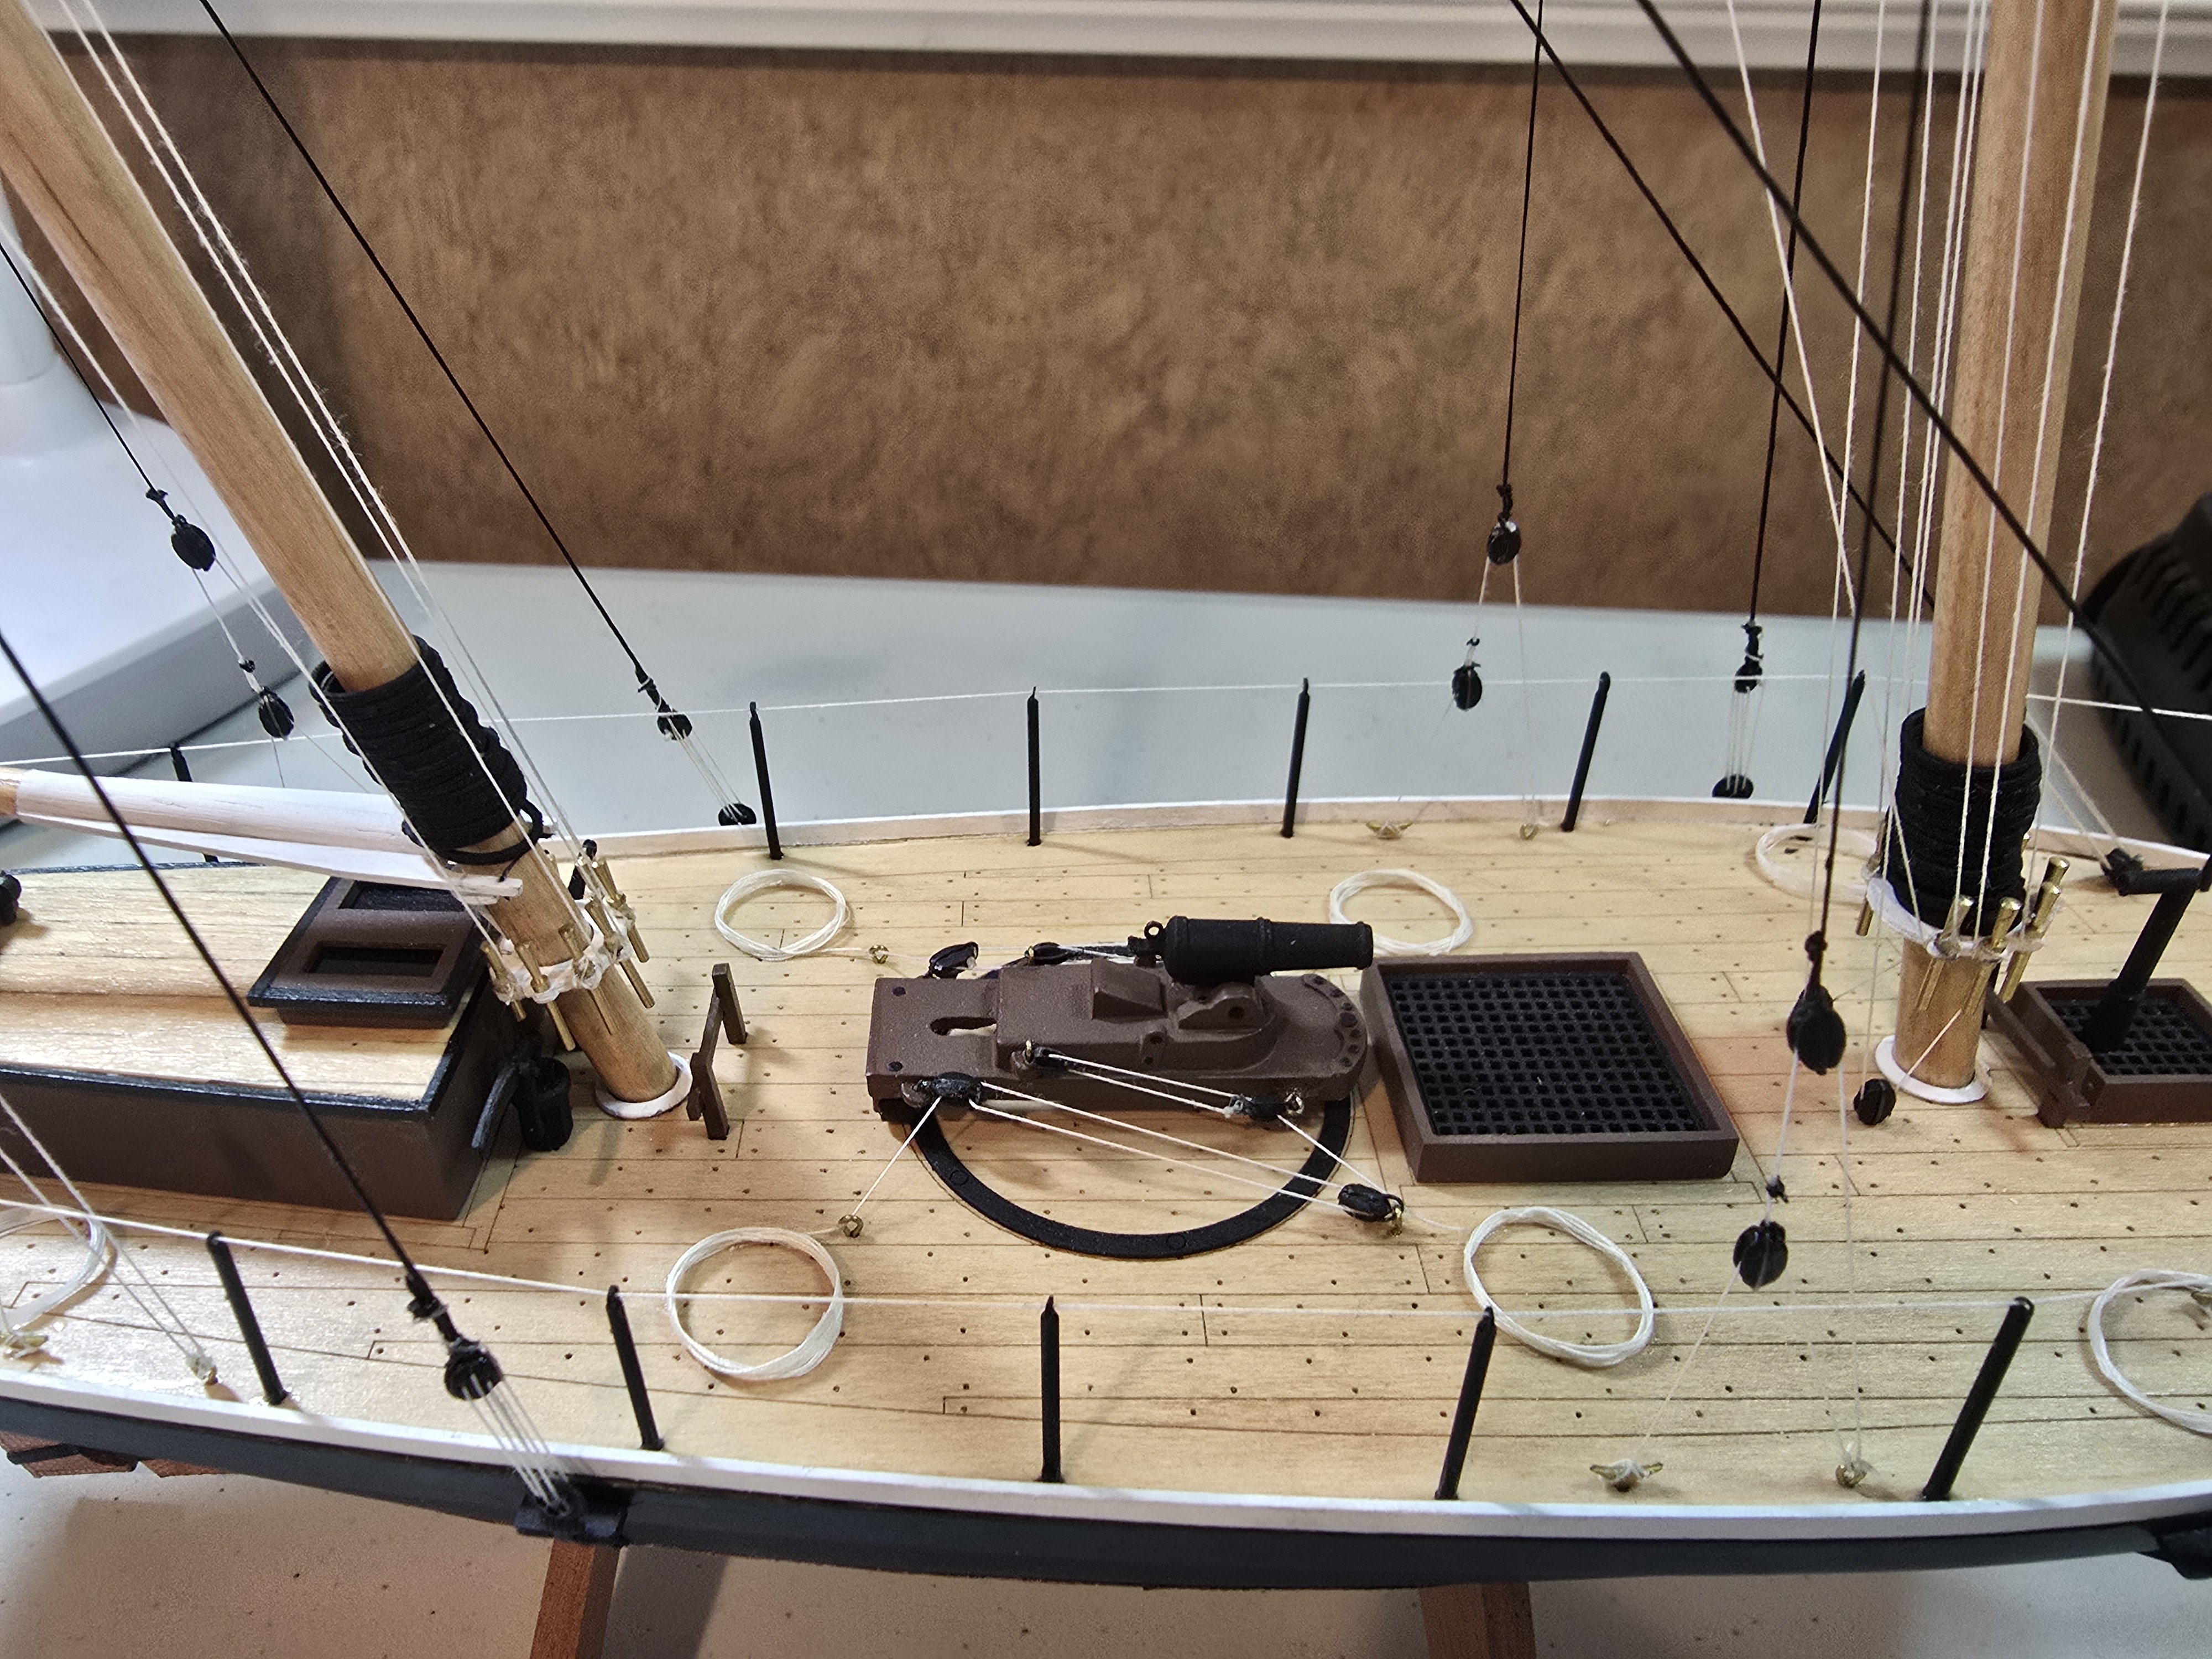
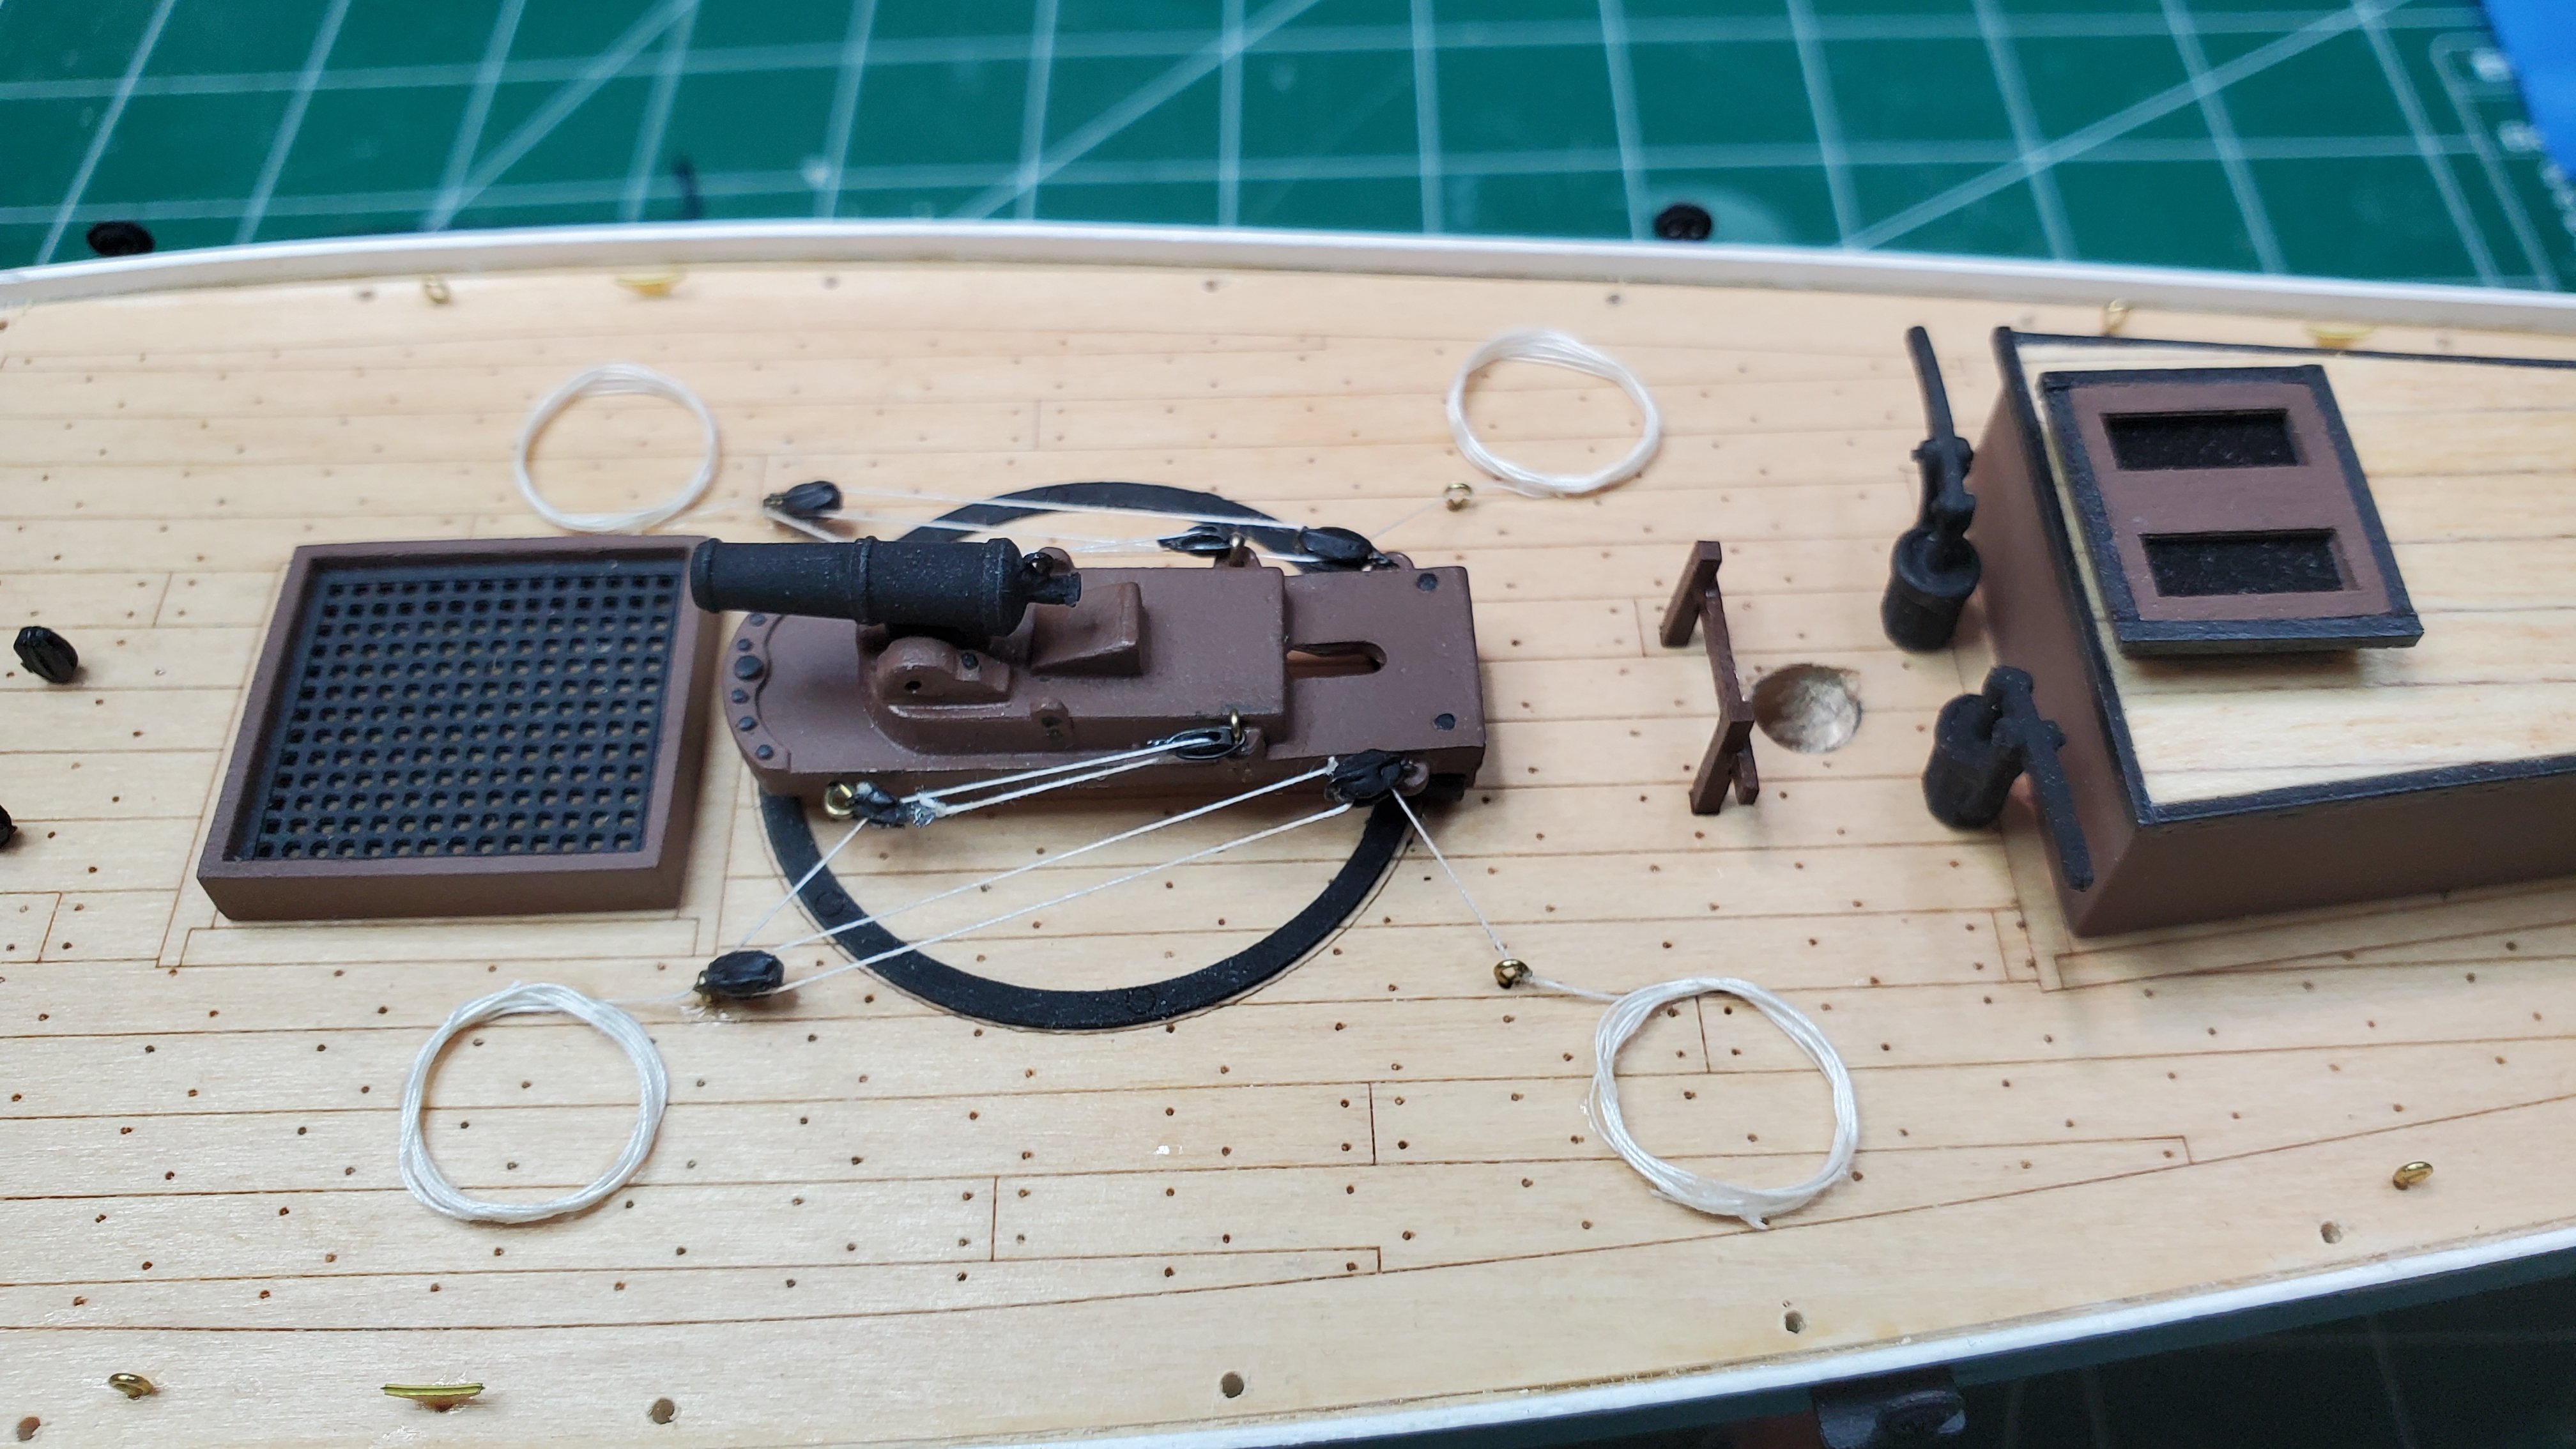
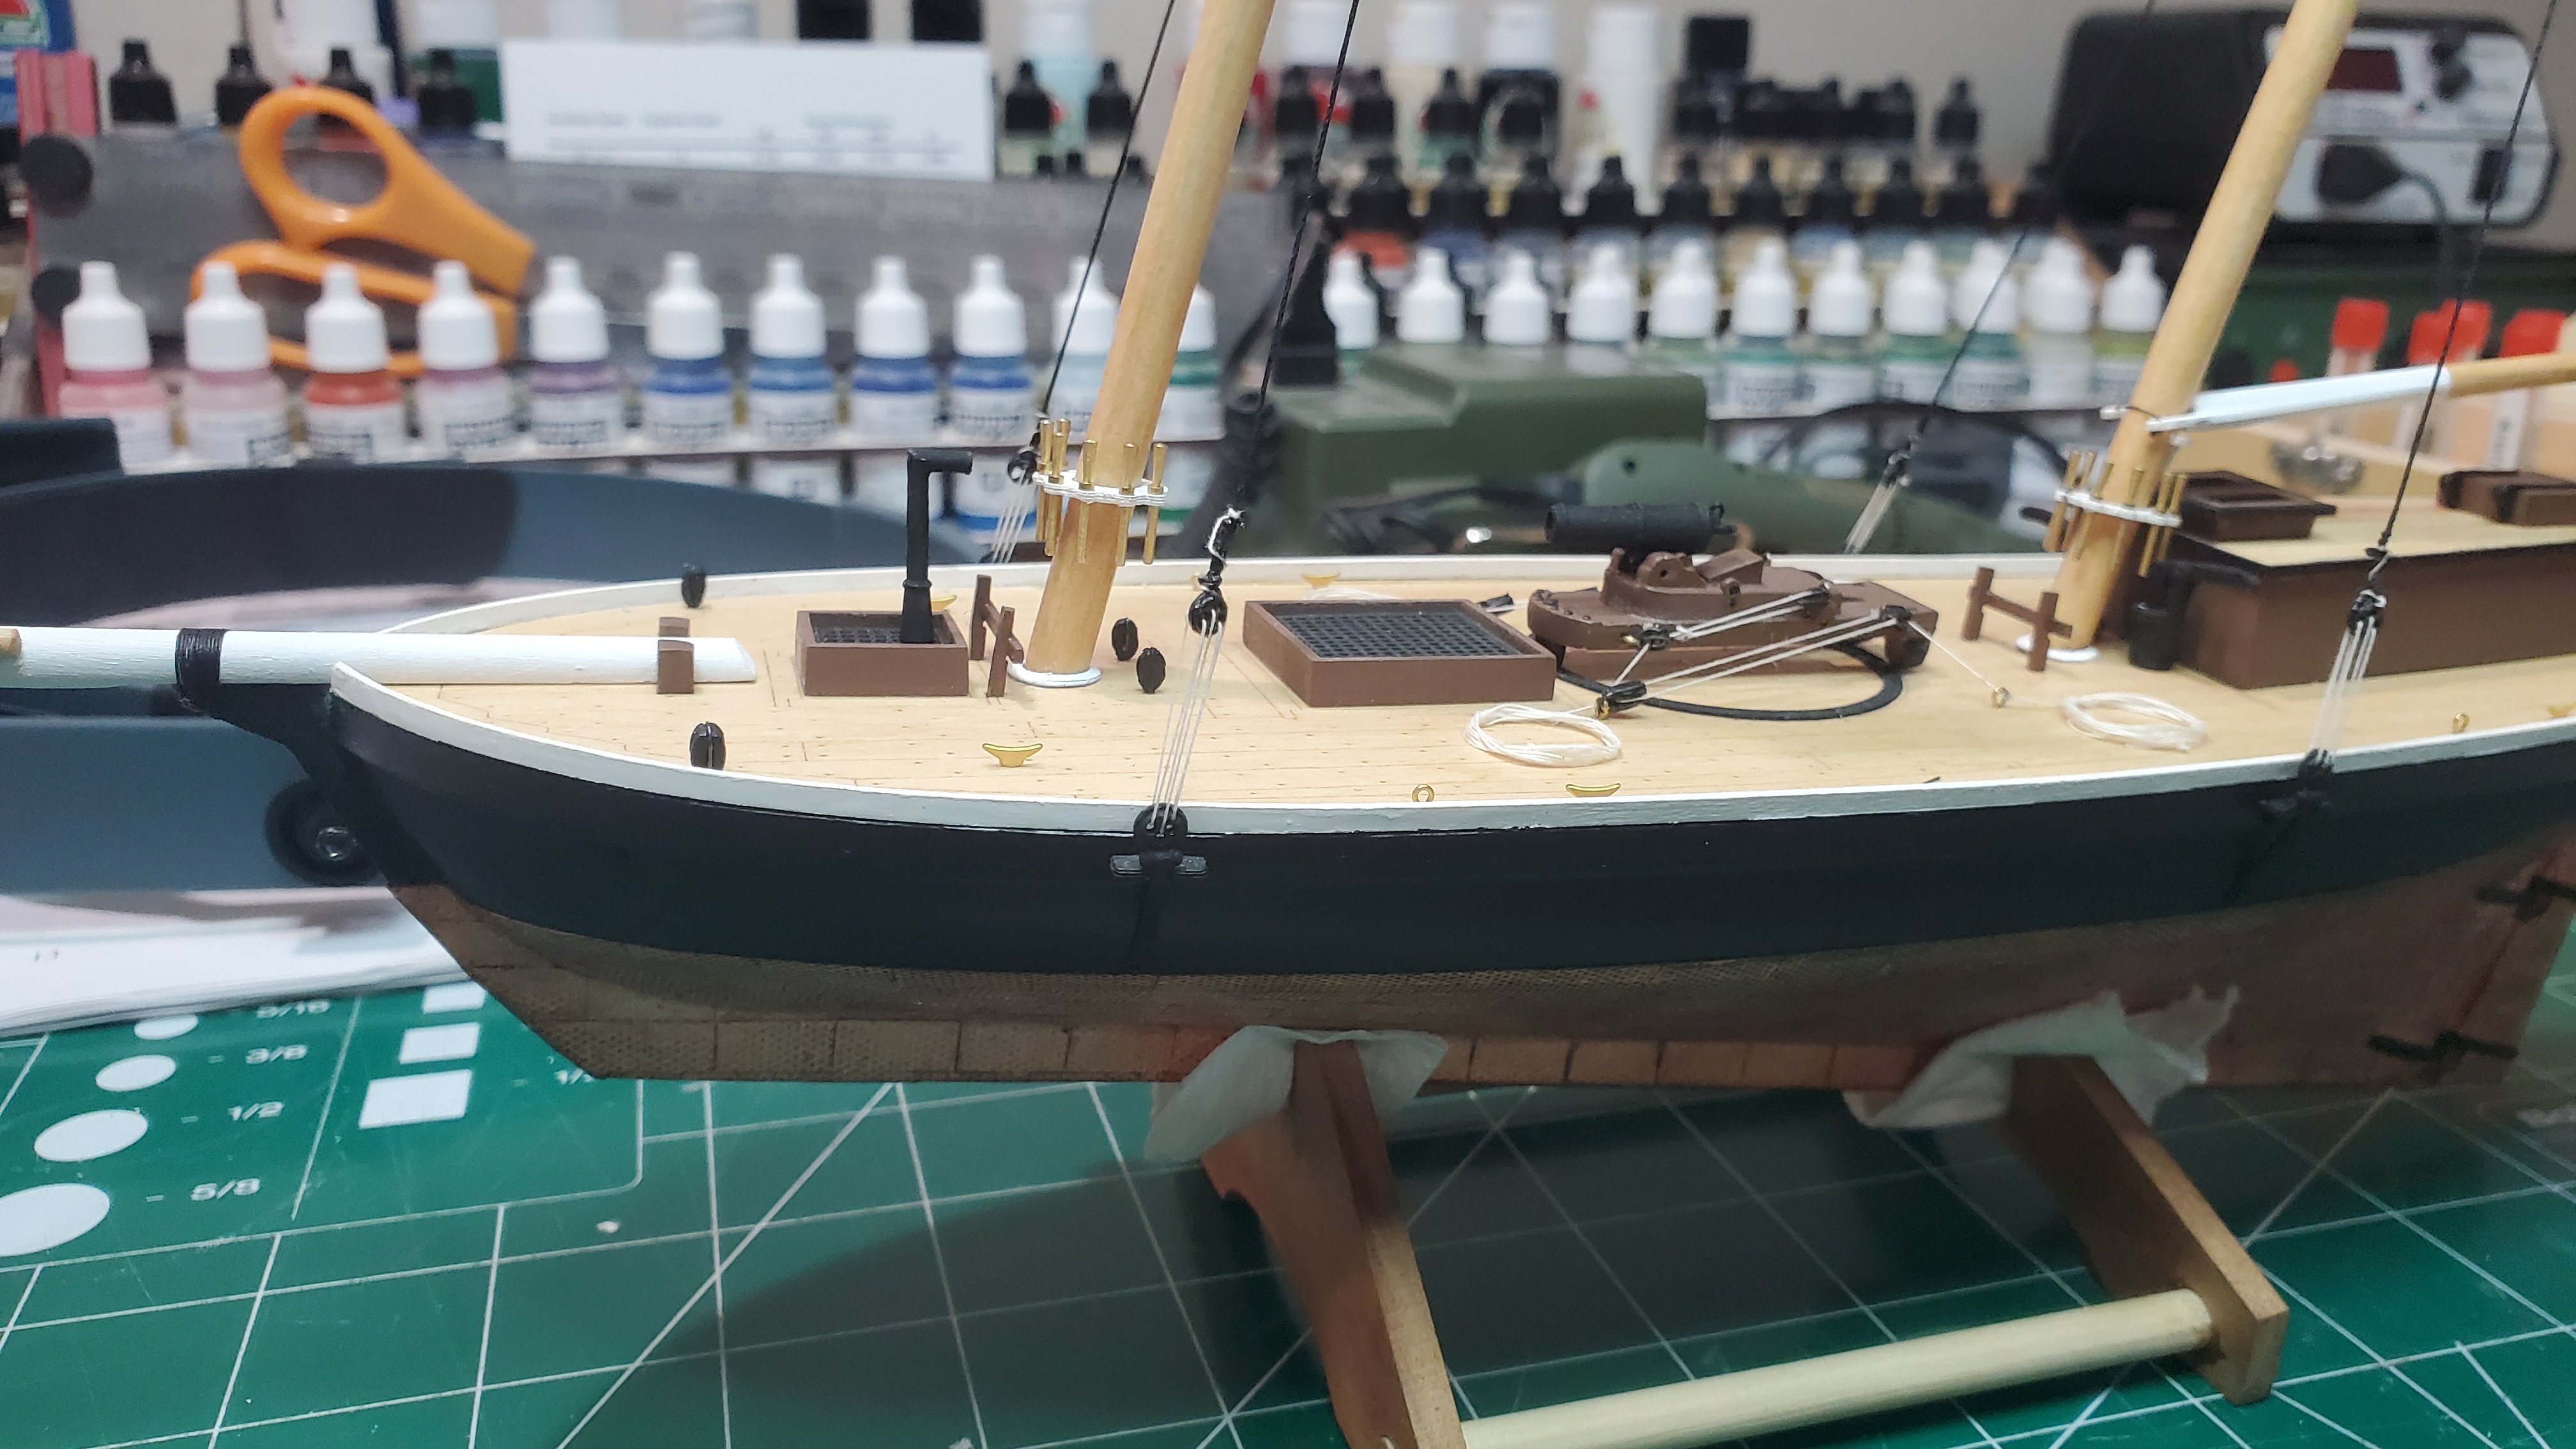
Hello Folks, Although posts have been few and far between doesn't mean the Revenue Cutter has been ignored (I kept up with my pictures though). I believe I am finally finishing up with the hull/fixtures and ready to move on masts and spars. Then my favorite part rigging. This post is as follows: I decided to color the stanchions black, I colored them using the Blue Jacket Brass Black #52. Then I sprayed them with Tamiya Flat Black (XF-1) and Flat Clear (XF-86). Pleased with the final result. Drilling the holes on the deck for the stanchions was slow process. I needed to bend a few stanchions to make the 90 degree angle. (I wish I knew a way to make a jig to ensure the holes were all the same 90" angle). All is well though. I test drove the stanchions prior to coloring them to ensure no roadblocks occur at the point I need assemble them onto the deck. I also rigged them at that time as well, just as a test. This portion was completed prior the coloring of the stanchions (FYI). Then it was onto the carronade, this was more challenging than anticipated. (This part was a "mini-kit in itself). Attaching the pigtails to the frame of the frame was challenging for me (especially for the 3/16" blocks!). I decided to use leftover eyelets from my previous rigging classes (which I highly recommend for anyone with rigging challenges) to assist me in affixing the blocks onto the carronade frame. It is now complete and placed aside for placement onto the deck. A lot of touch up work done for such a small piece on the deck. Thank god for my magnifying glasses! 🔍 Time to clean up a little bit and onto the mast and spars (I hope). Excited to try my Proxxon Lathe for the first time! Be well folks.


- 89 replies
-
- 5
-
-
- bluejacket shipcrafters
- revenue cutter
- (and 1 more)
-
Nice work, looking forward to next post.
-
Hello Ogontz, I hope all is well, I did have a little bit of an issue with this. One can not notice what I did under the white paint. My jaws broke, I glued them each separately onto each side of the spar. In other words, when it split each jaw I had 2 assemblies (for each spar) and it worked out well. I ended up having a gap the end of the jaws though, I closed the gap with some putty though and all was good. A little extra work, however I was pleased with the result. I hope this helps your dilemma. Good luck with your build, if you have a log I will look it up! Bill T.
- 57 replies
-
- 1
-

-
- finished
- yankee hero
- (and 1 more)
-
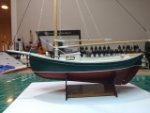
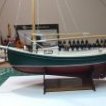
Hello Bob, Thank you so much for the kind words, the Yankee Hero by Blue Jacket is a great kit.

.jpg.3a5d08935d41061067b1ea9a145b9965.jpg)


.jpg.809a8040a2c8c06843789423656d3461.jpg)
.jpg.2142a0787dd87d882025b7709809aa65.jpg)


.jpg.26e625588a0ec00d04f5603ad8dcd831.jpg)