HOLIDAY DONATION DRIVE - SUPPORT MSW - DO YOUR PART TO KEEP THIS GREAT FORUM GOING! (Only 13 donations so far - C'mon guys!)
×

kearnold
-
Posts
100 -
Joined
-
Last visited
Content Type
Profiles
Forums
Gallery
Events
Everything posted by kearnold
-
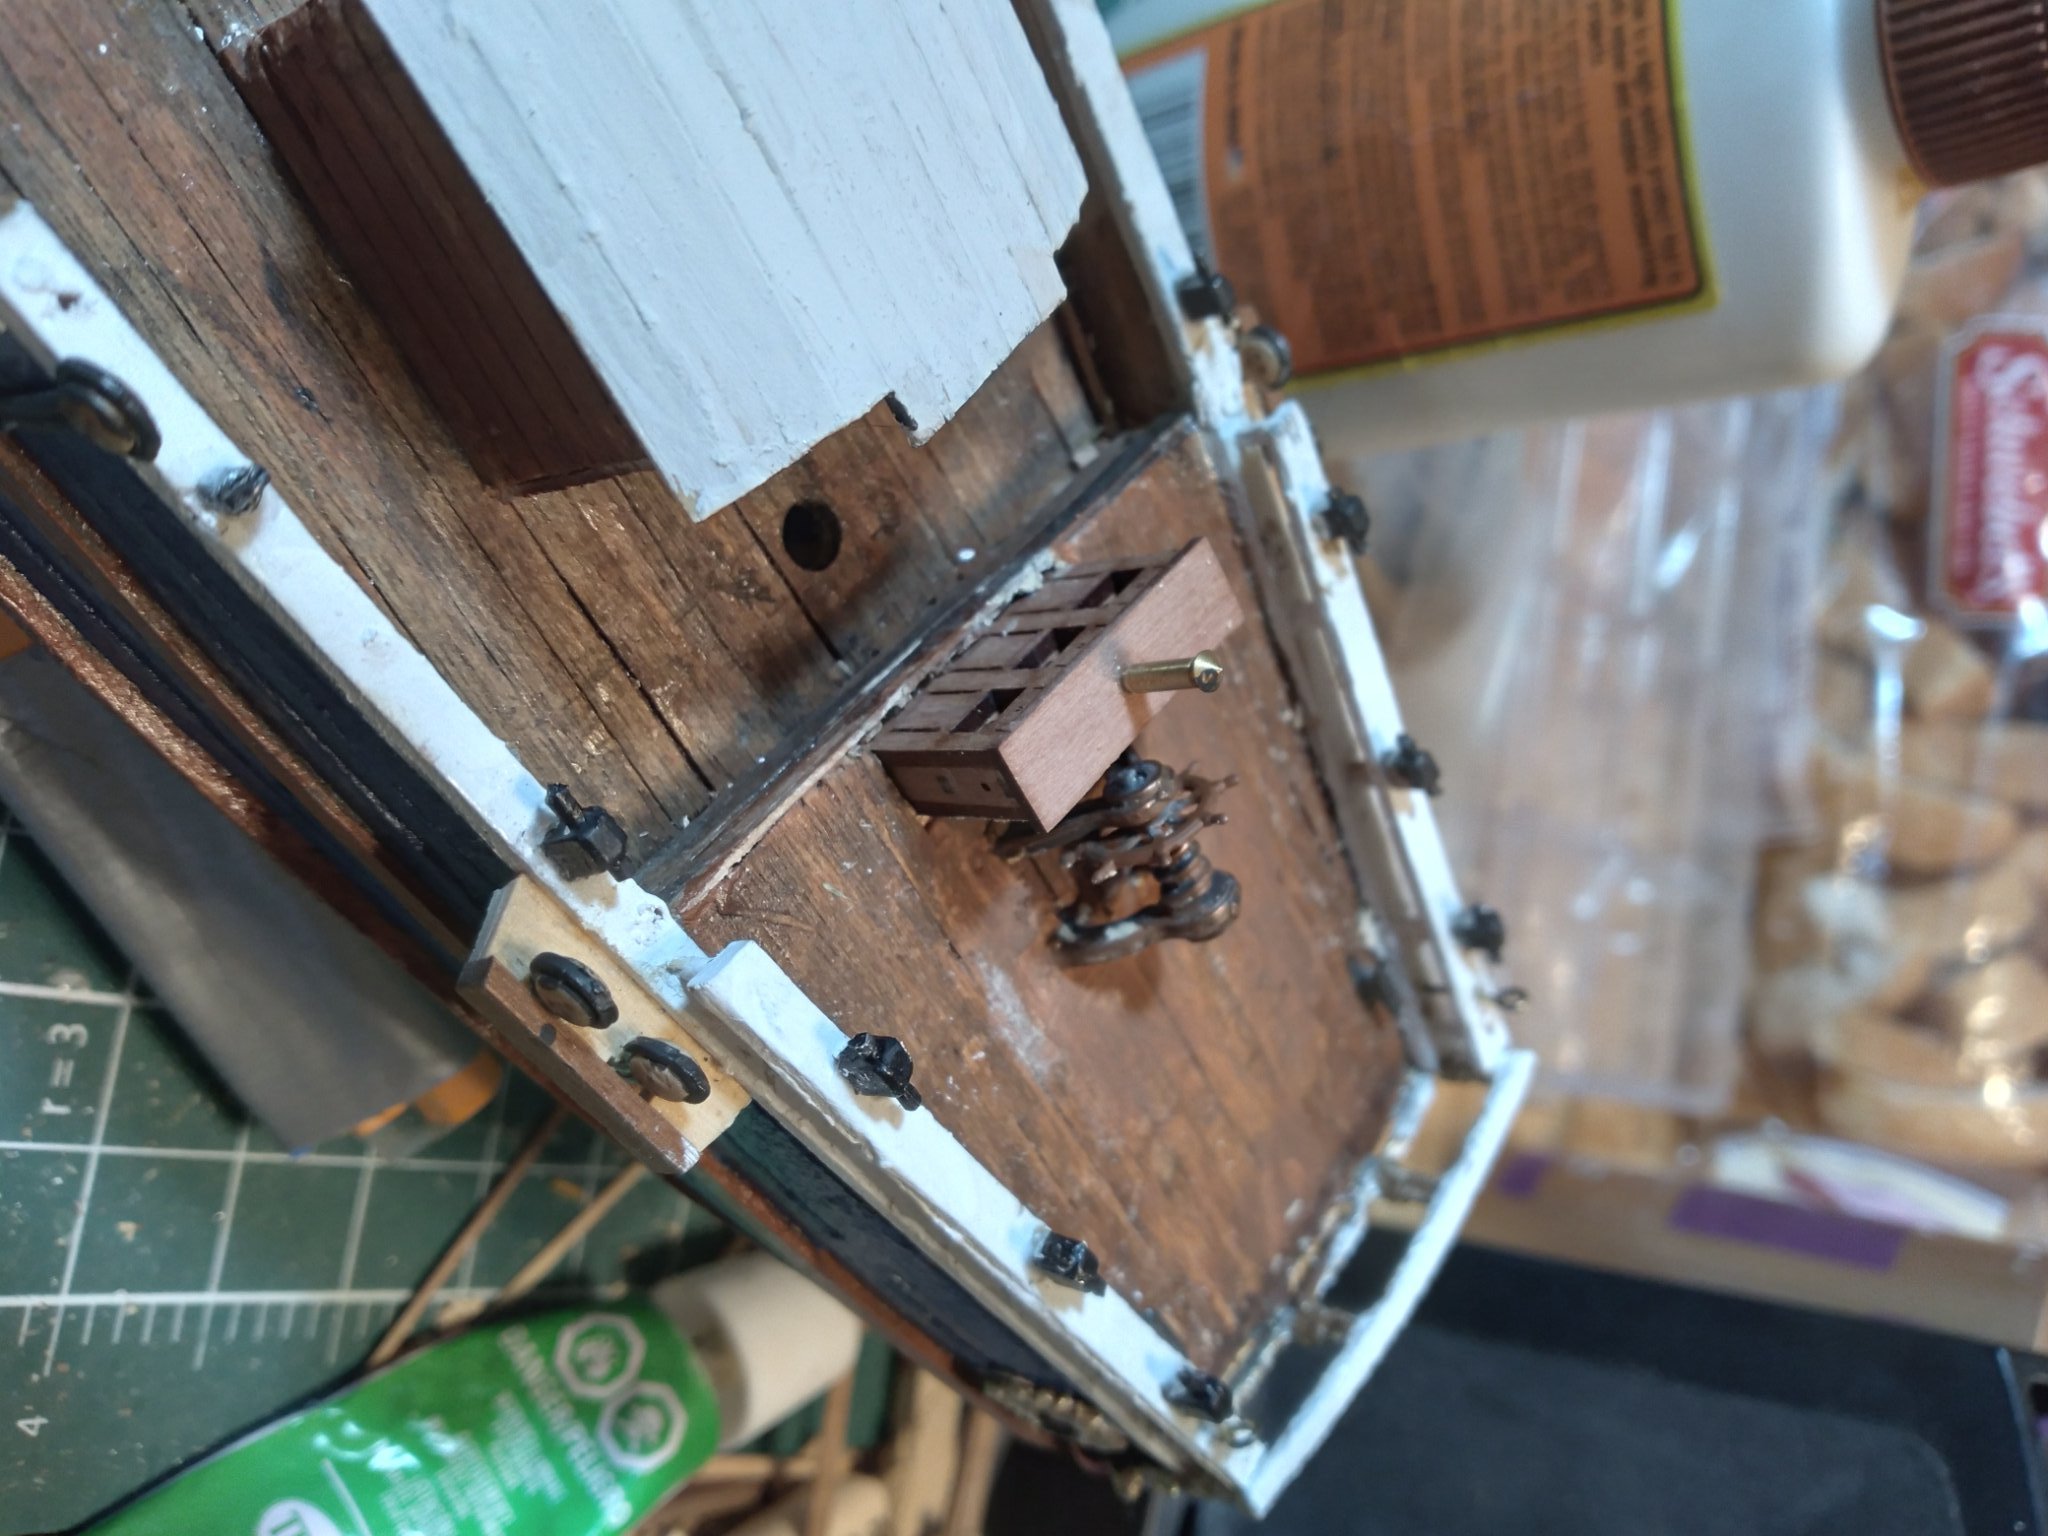
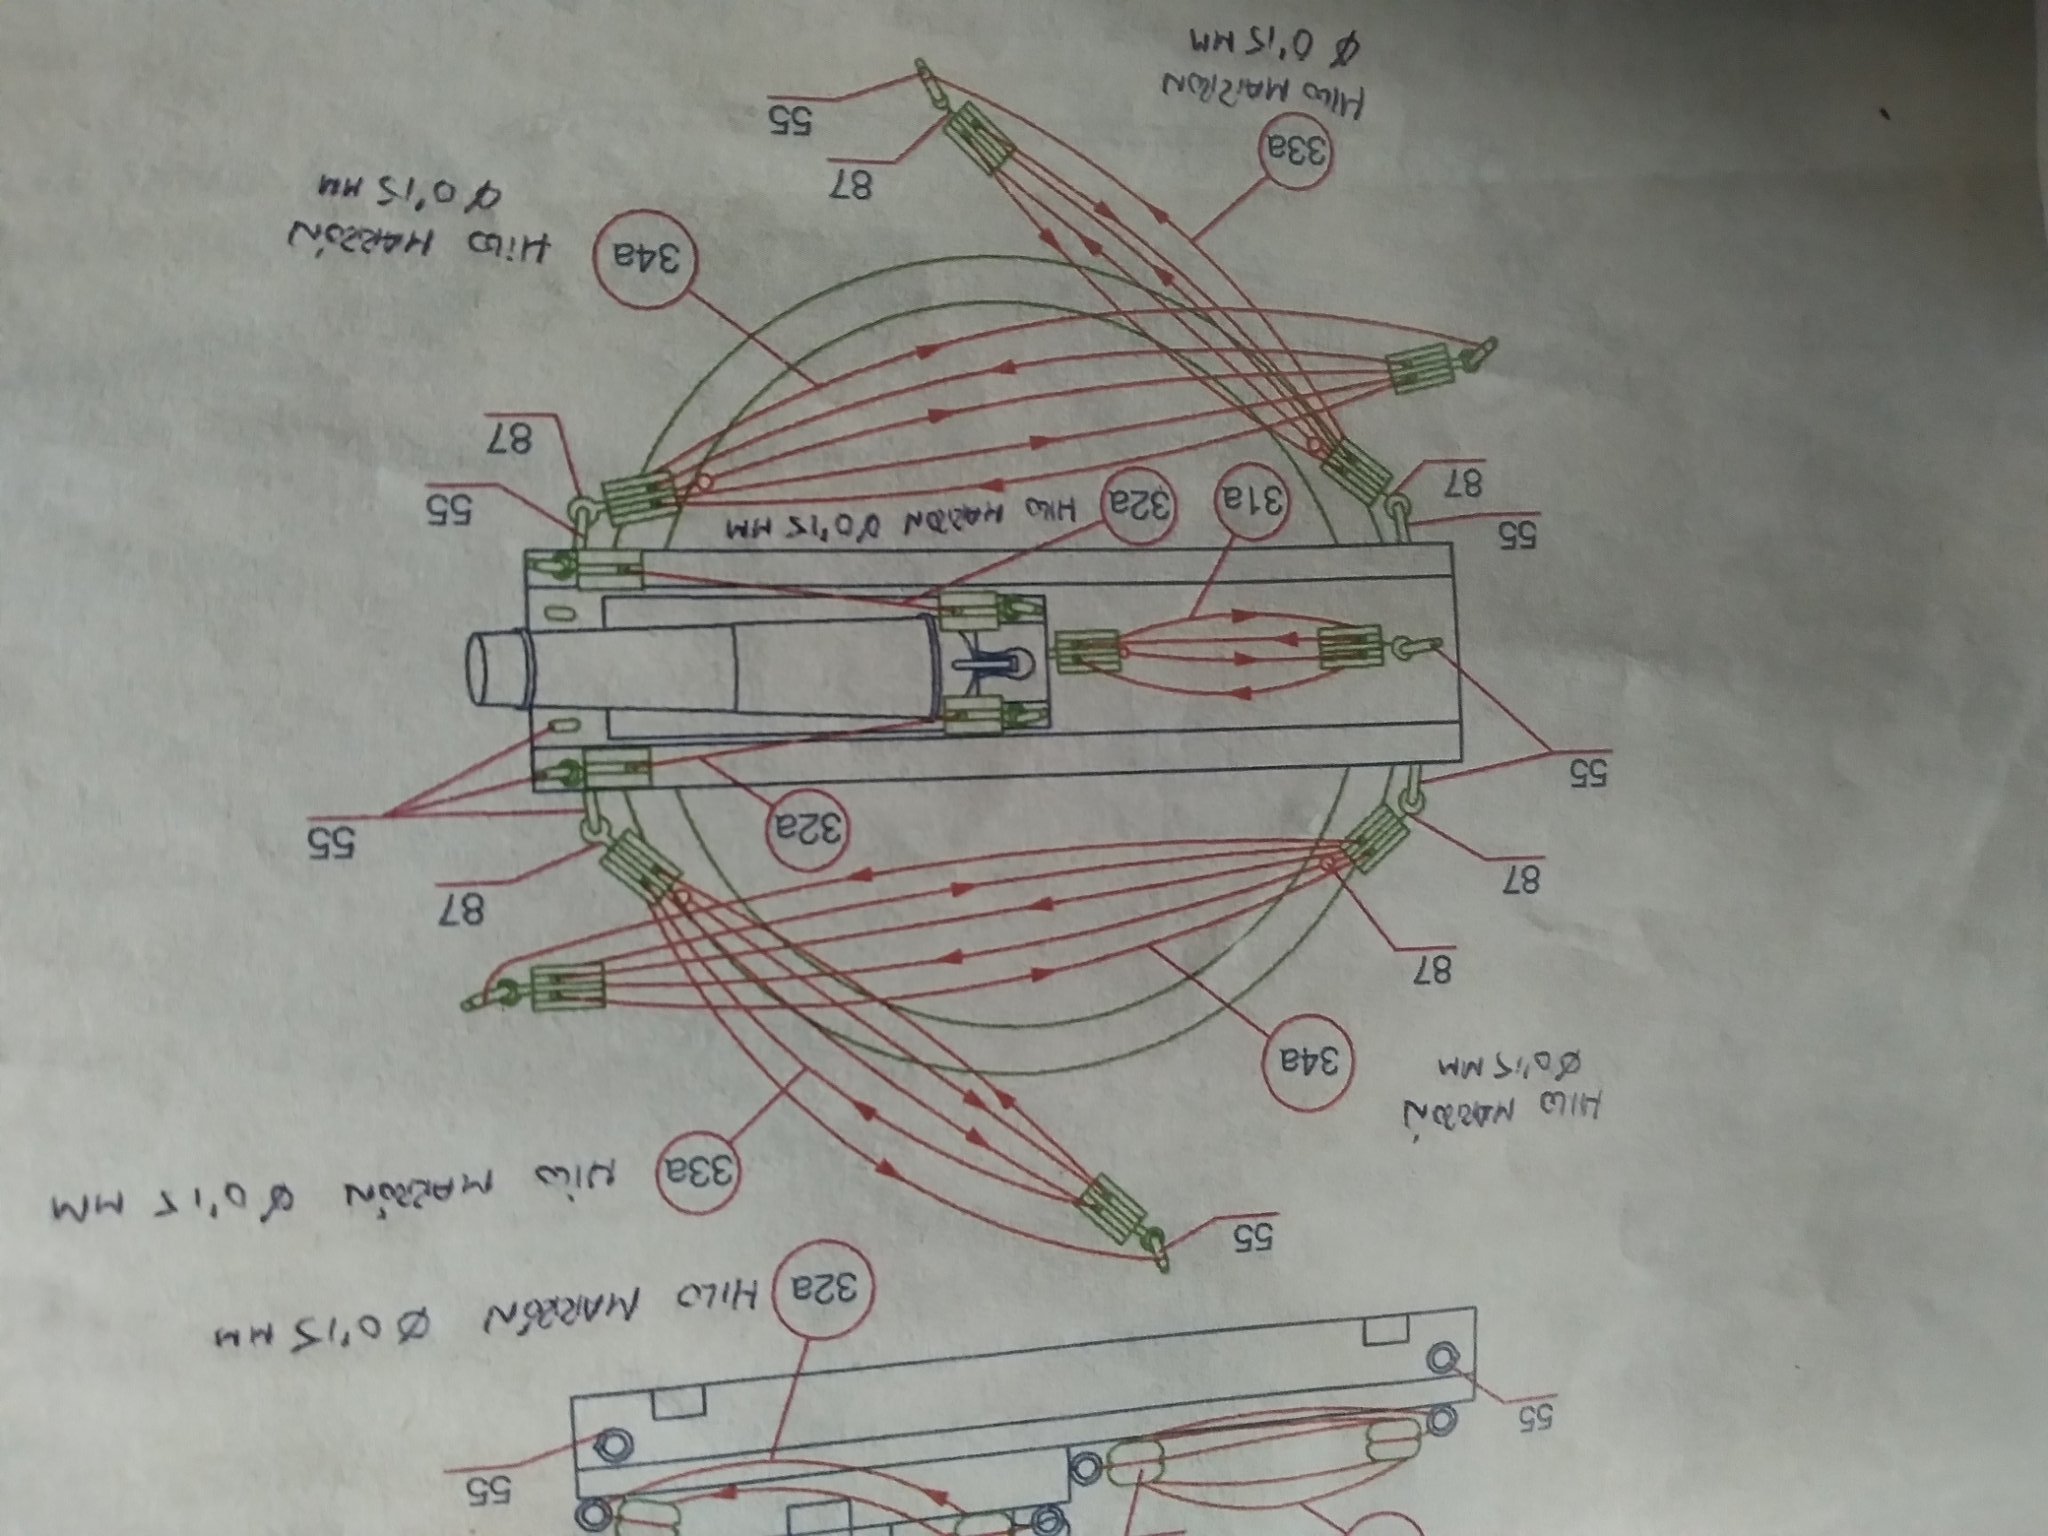
 I just did it the way the instructions showed. I'll see if I can fix it. where does the other cable go if it isn't around the spill?
 -
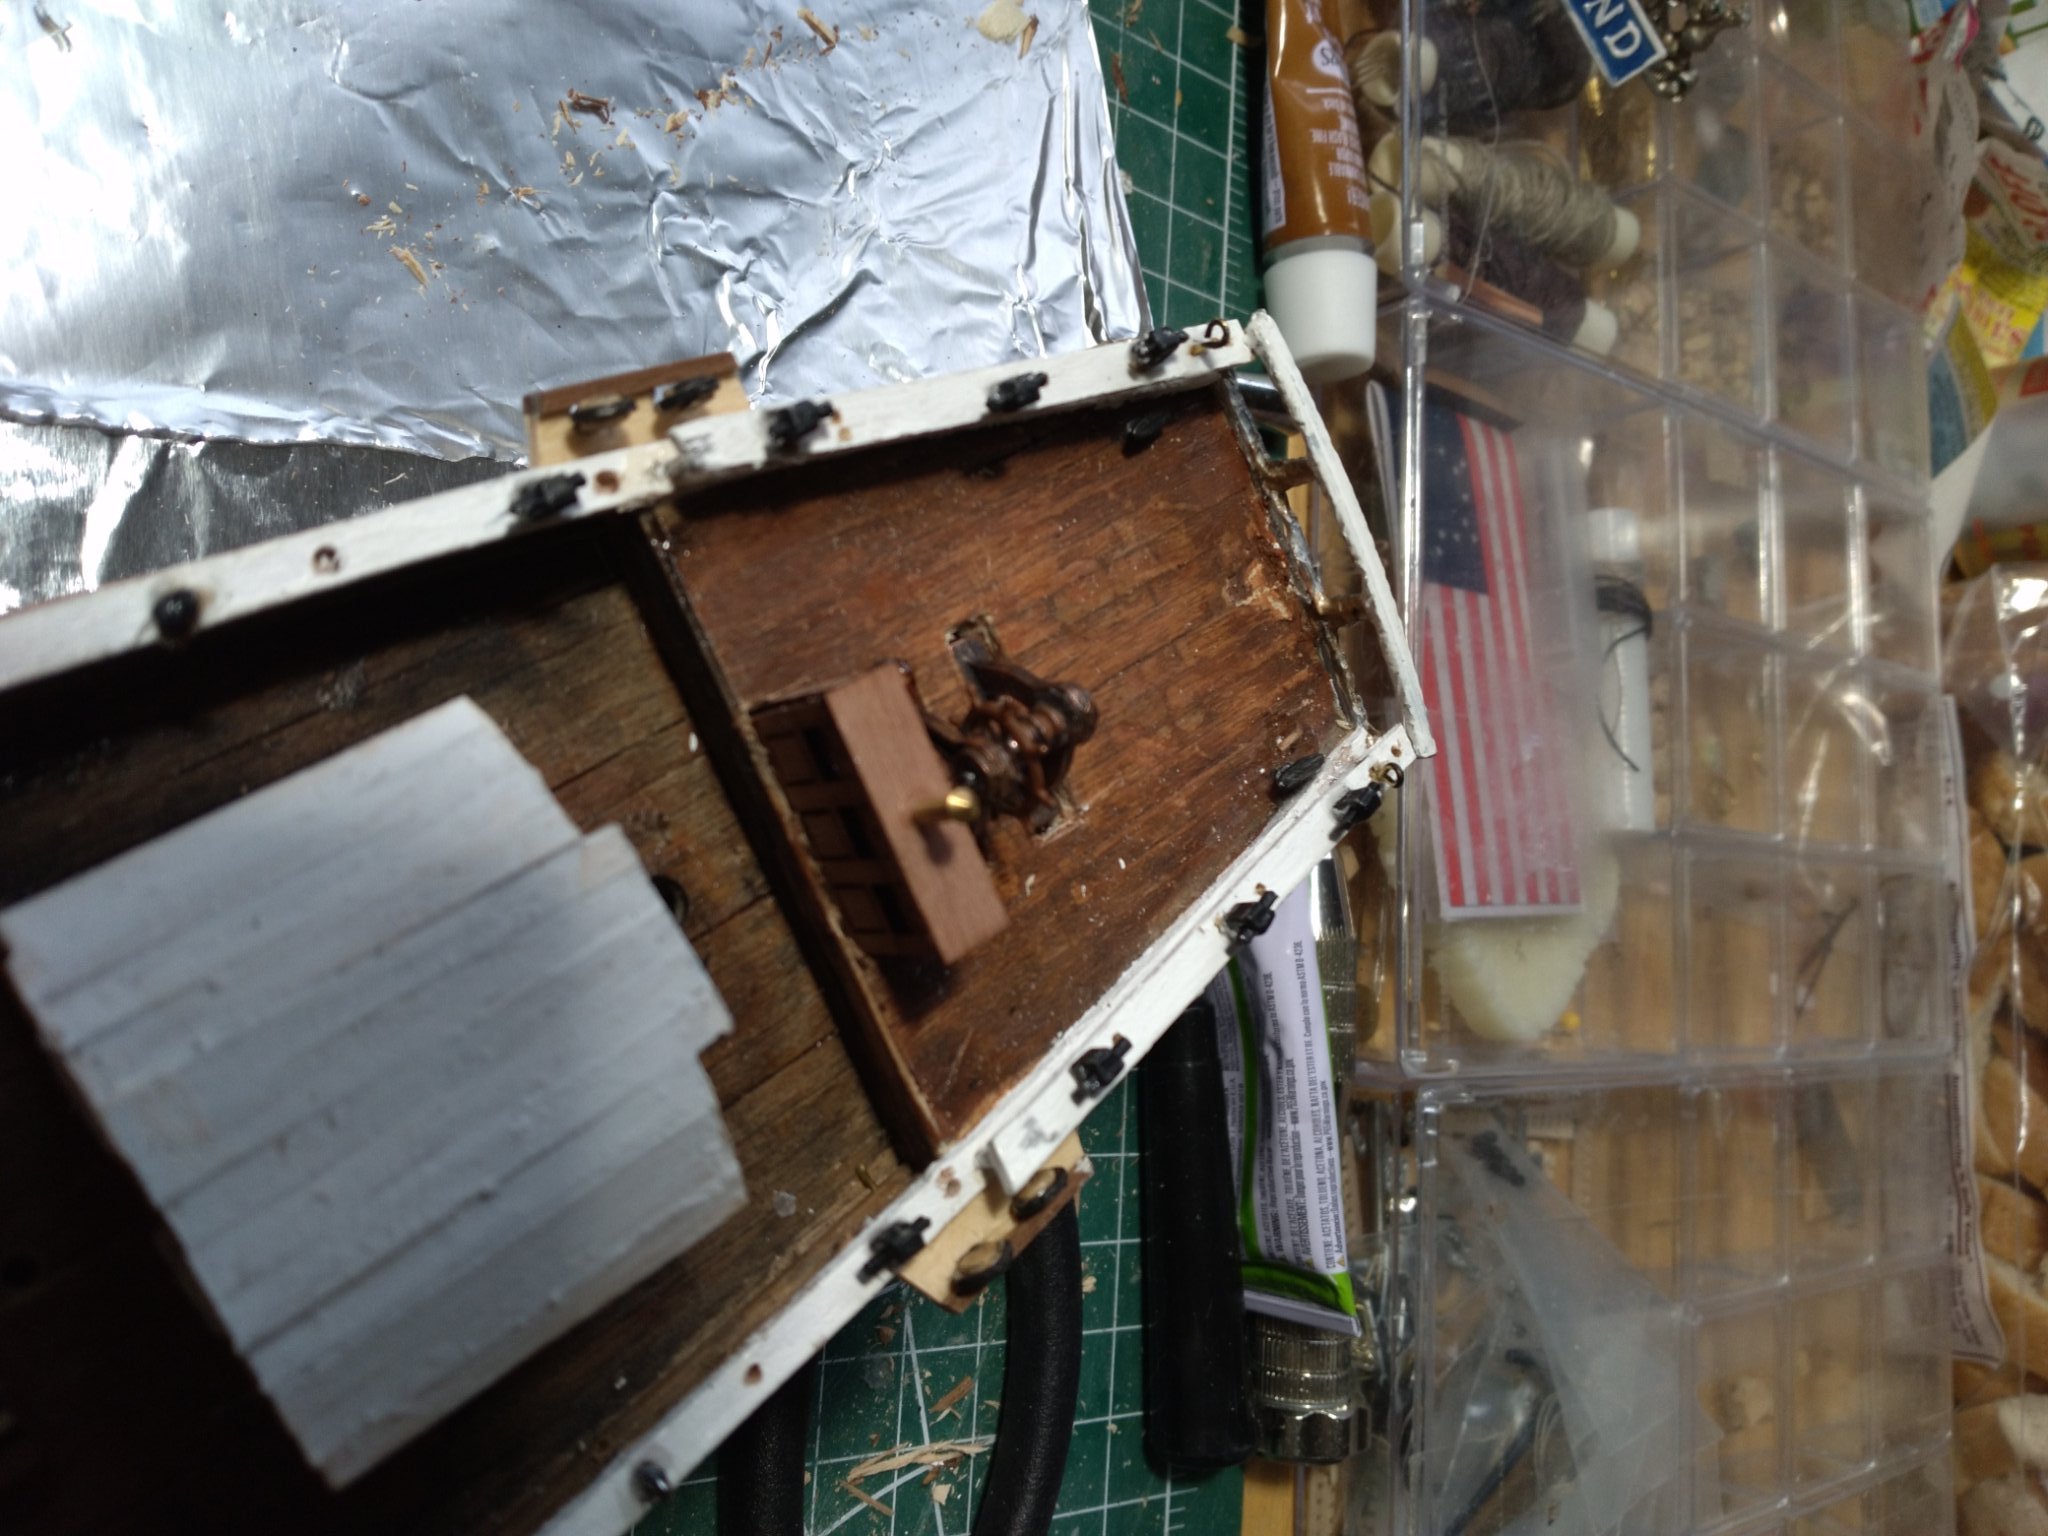
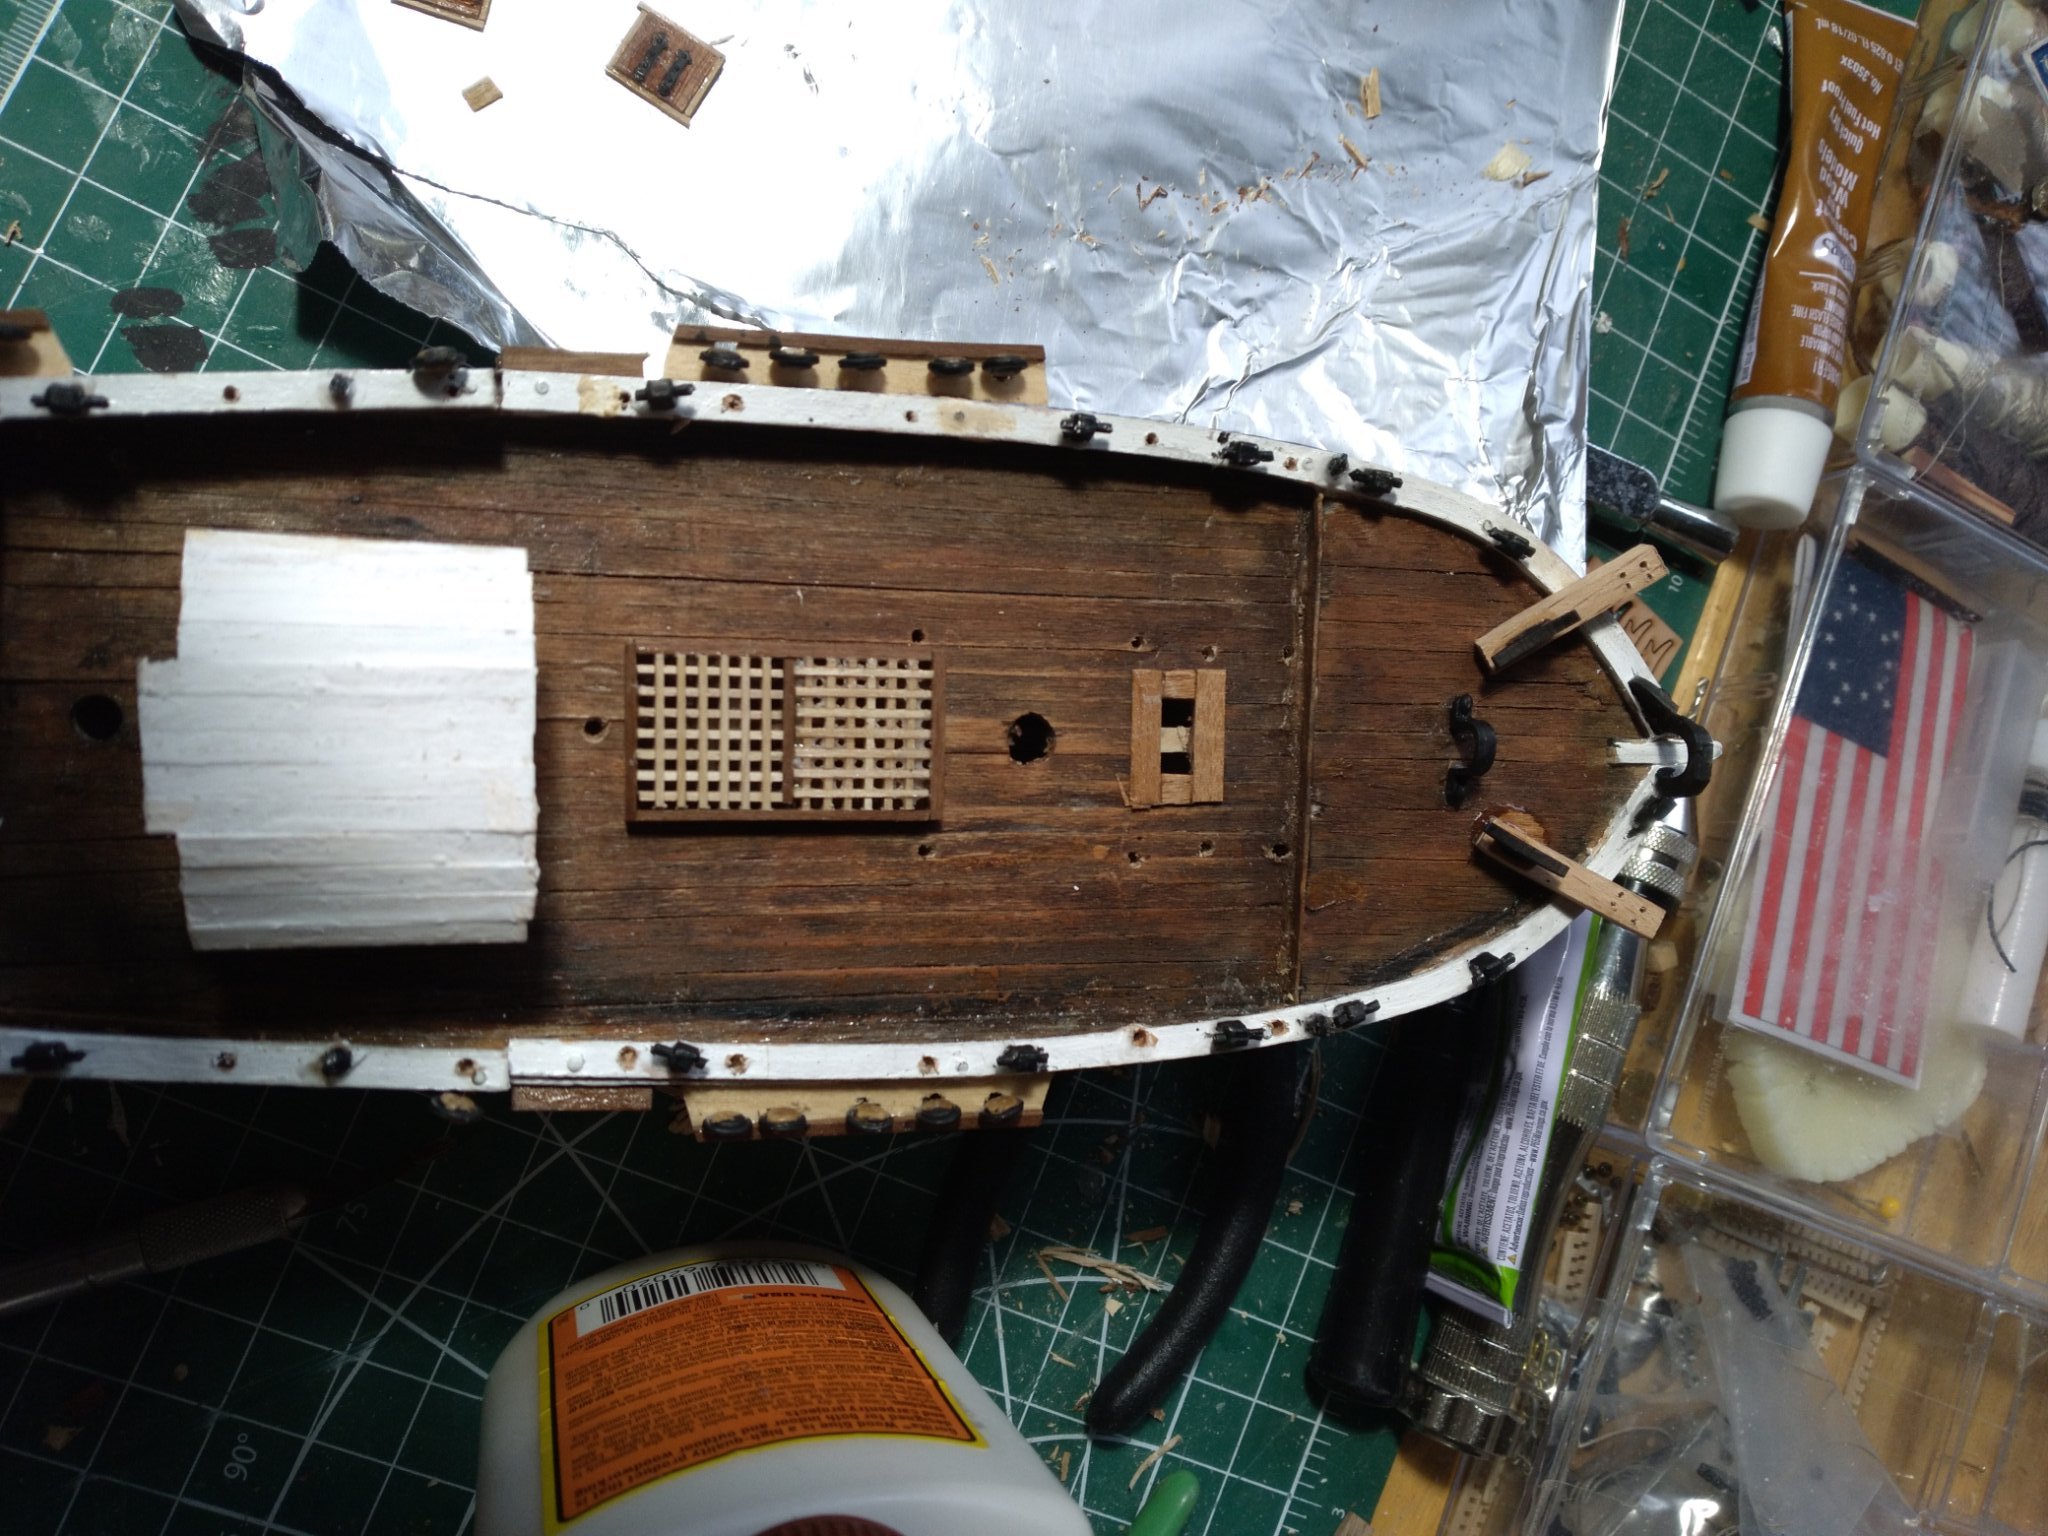
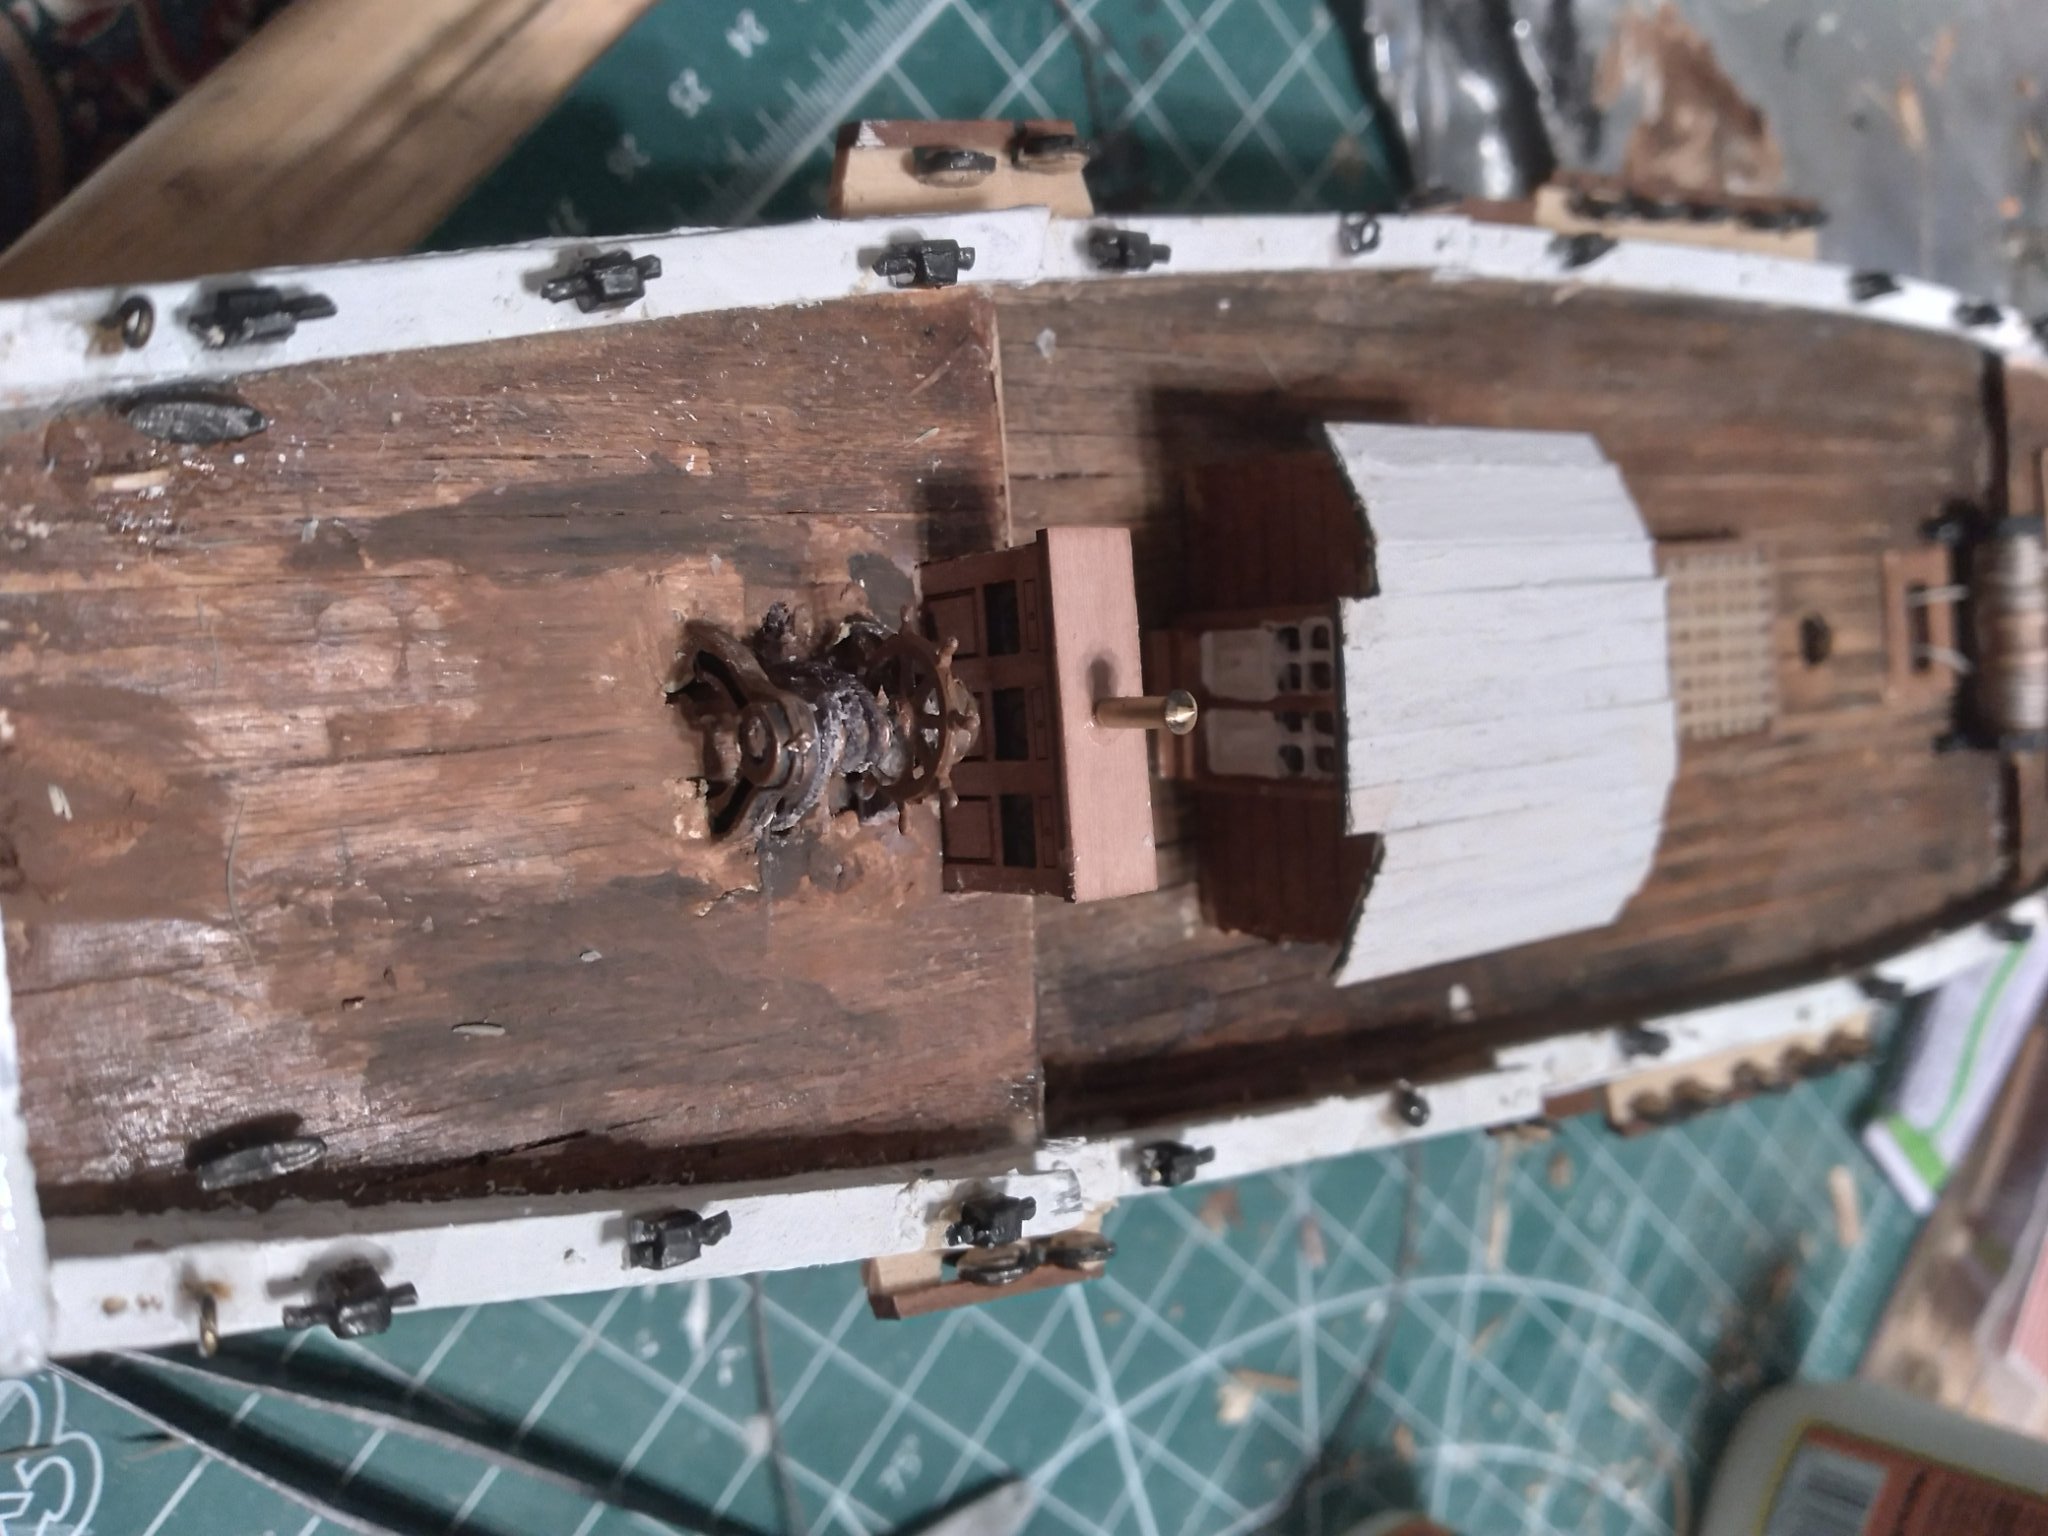
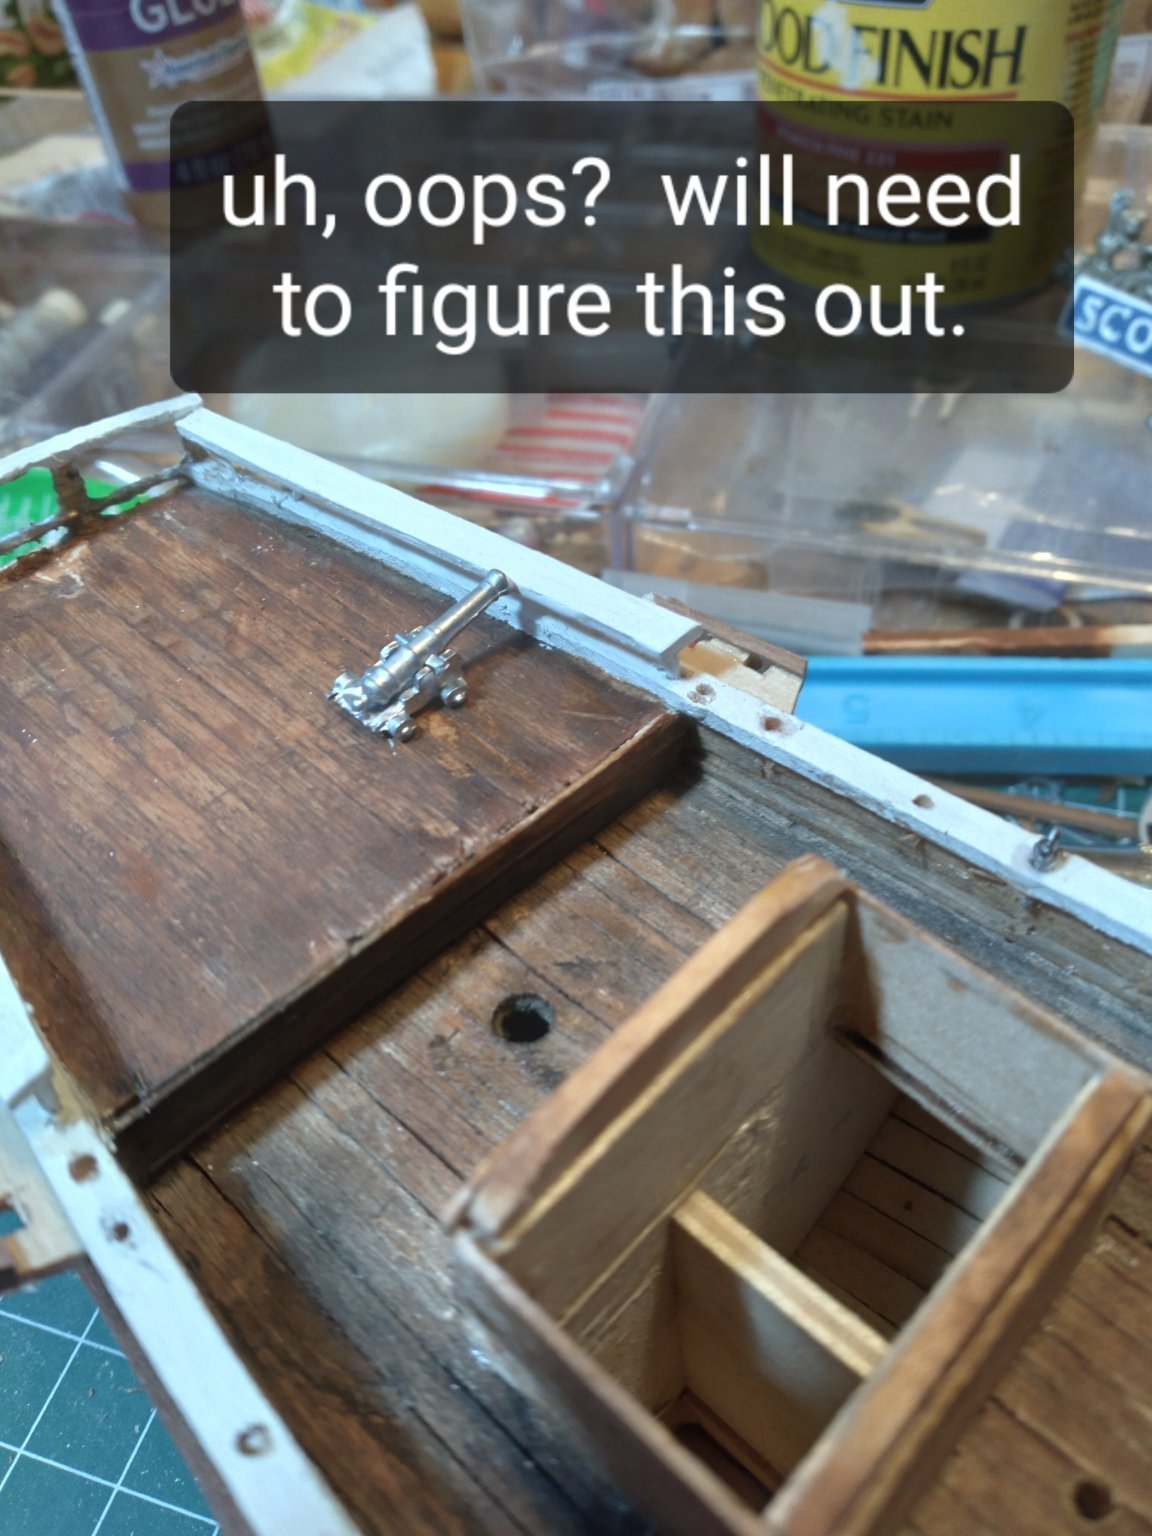
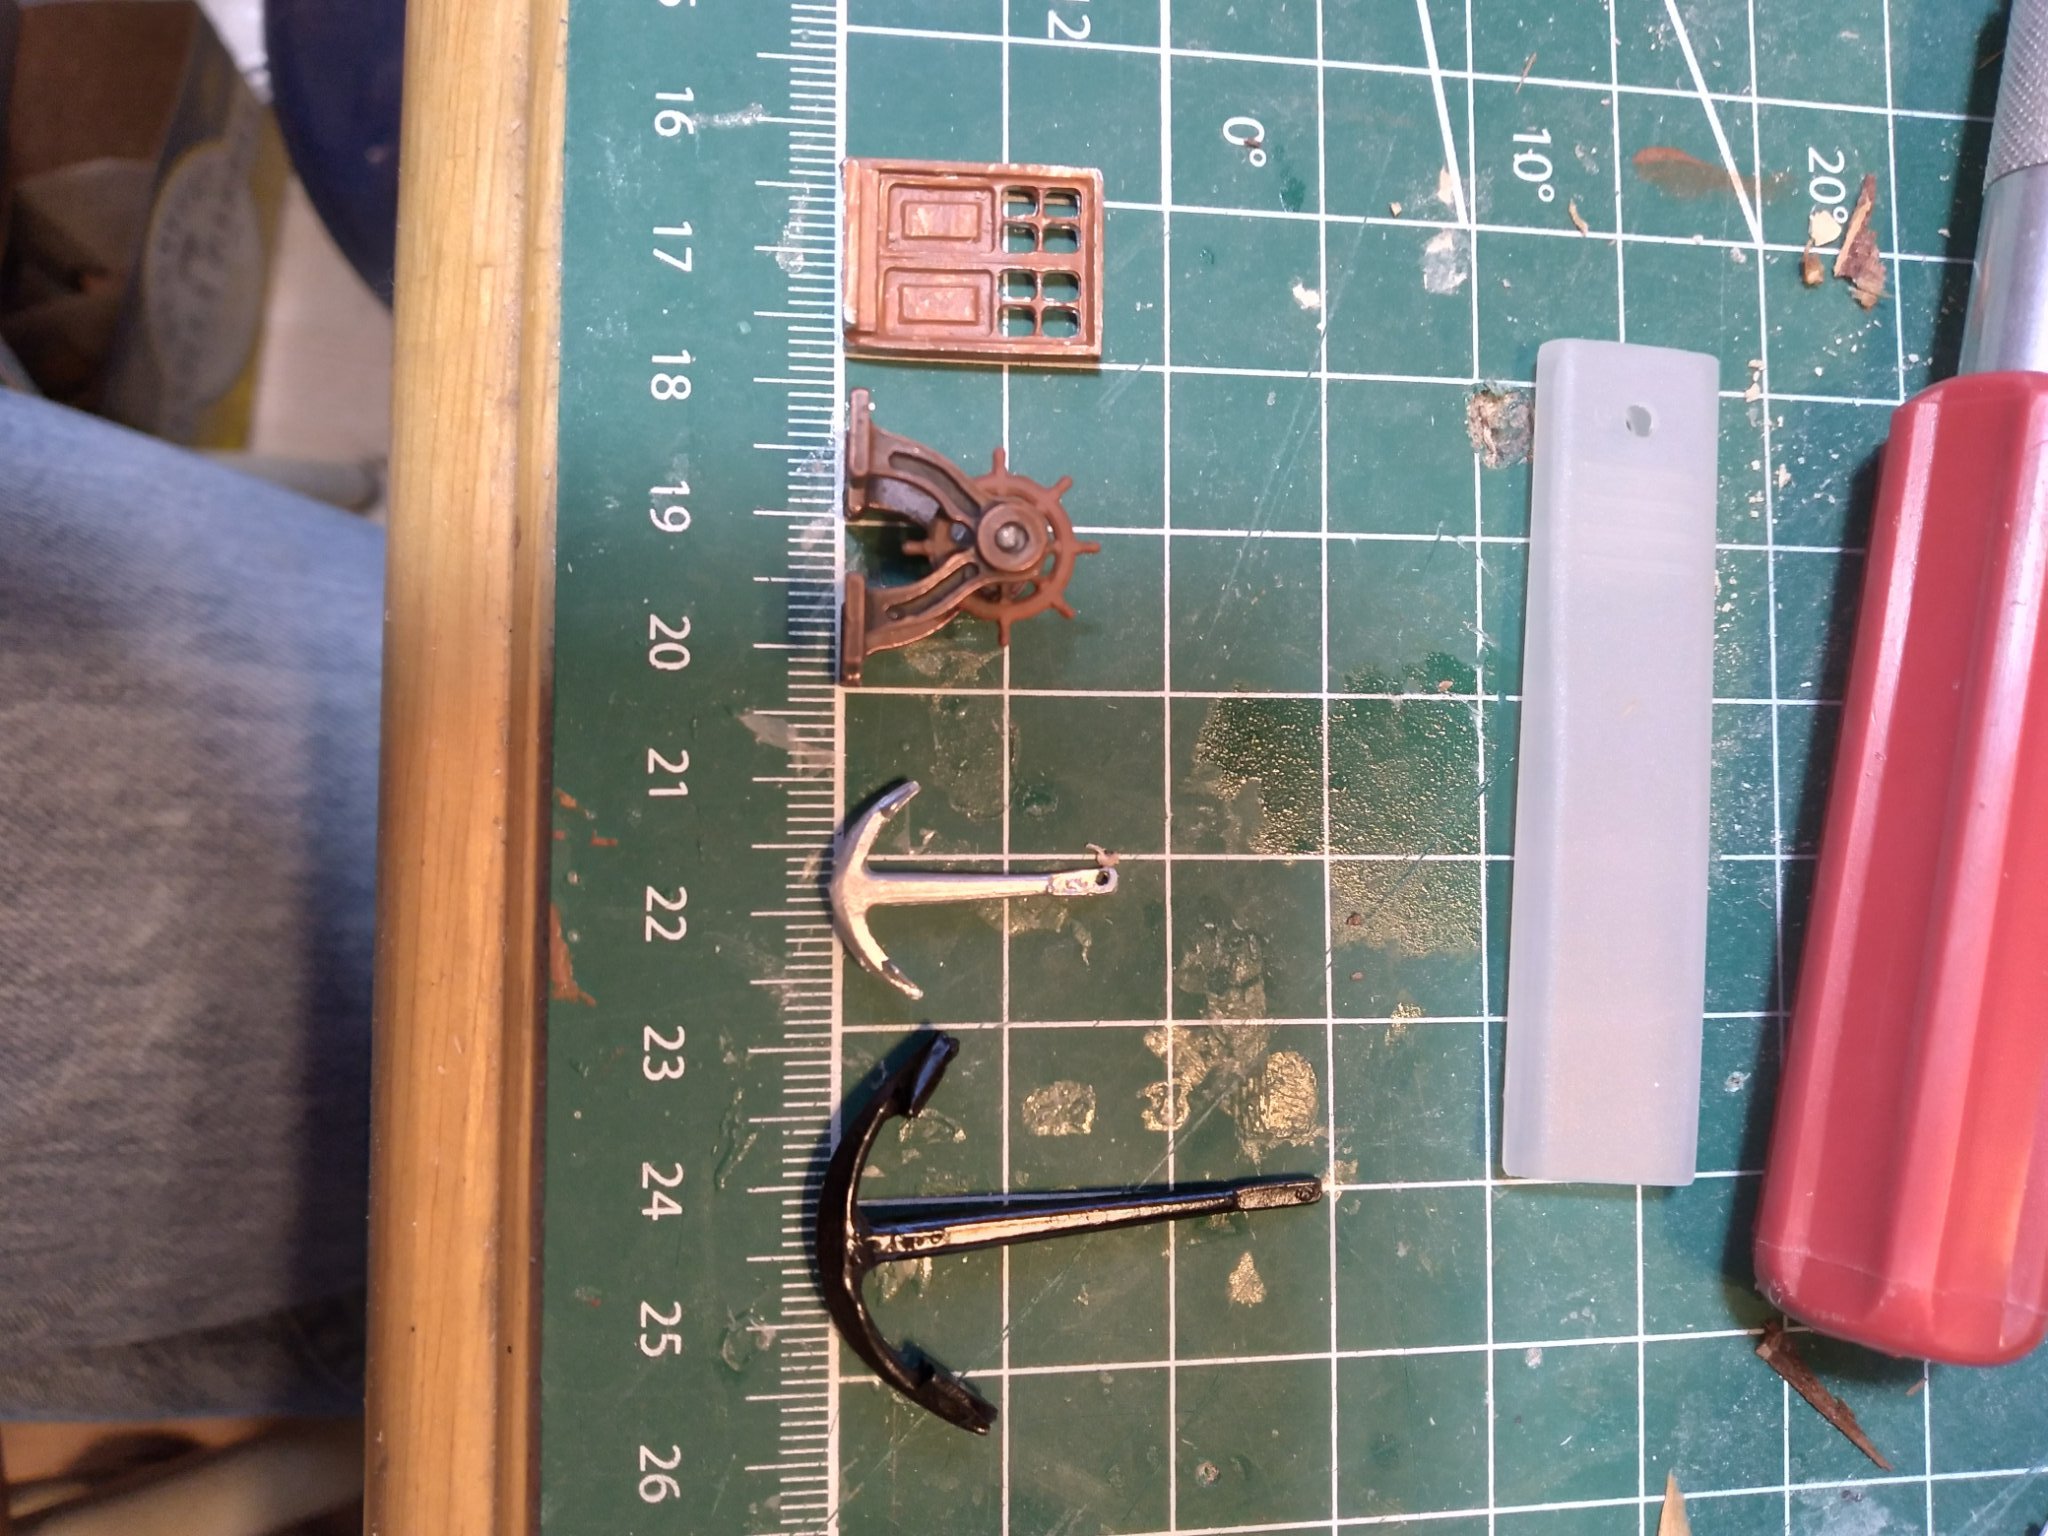
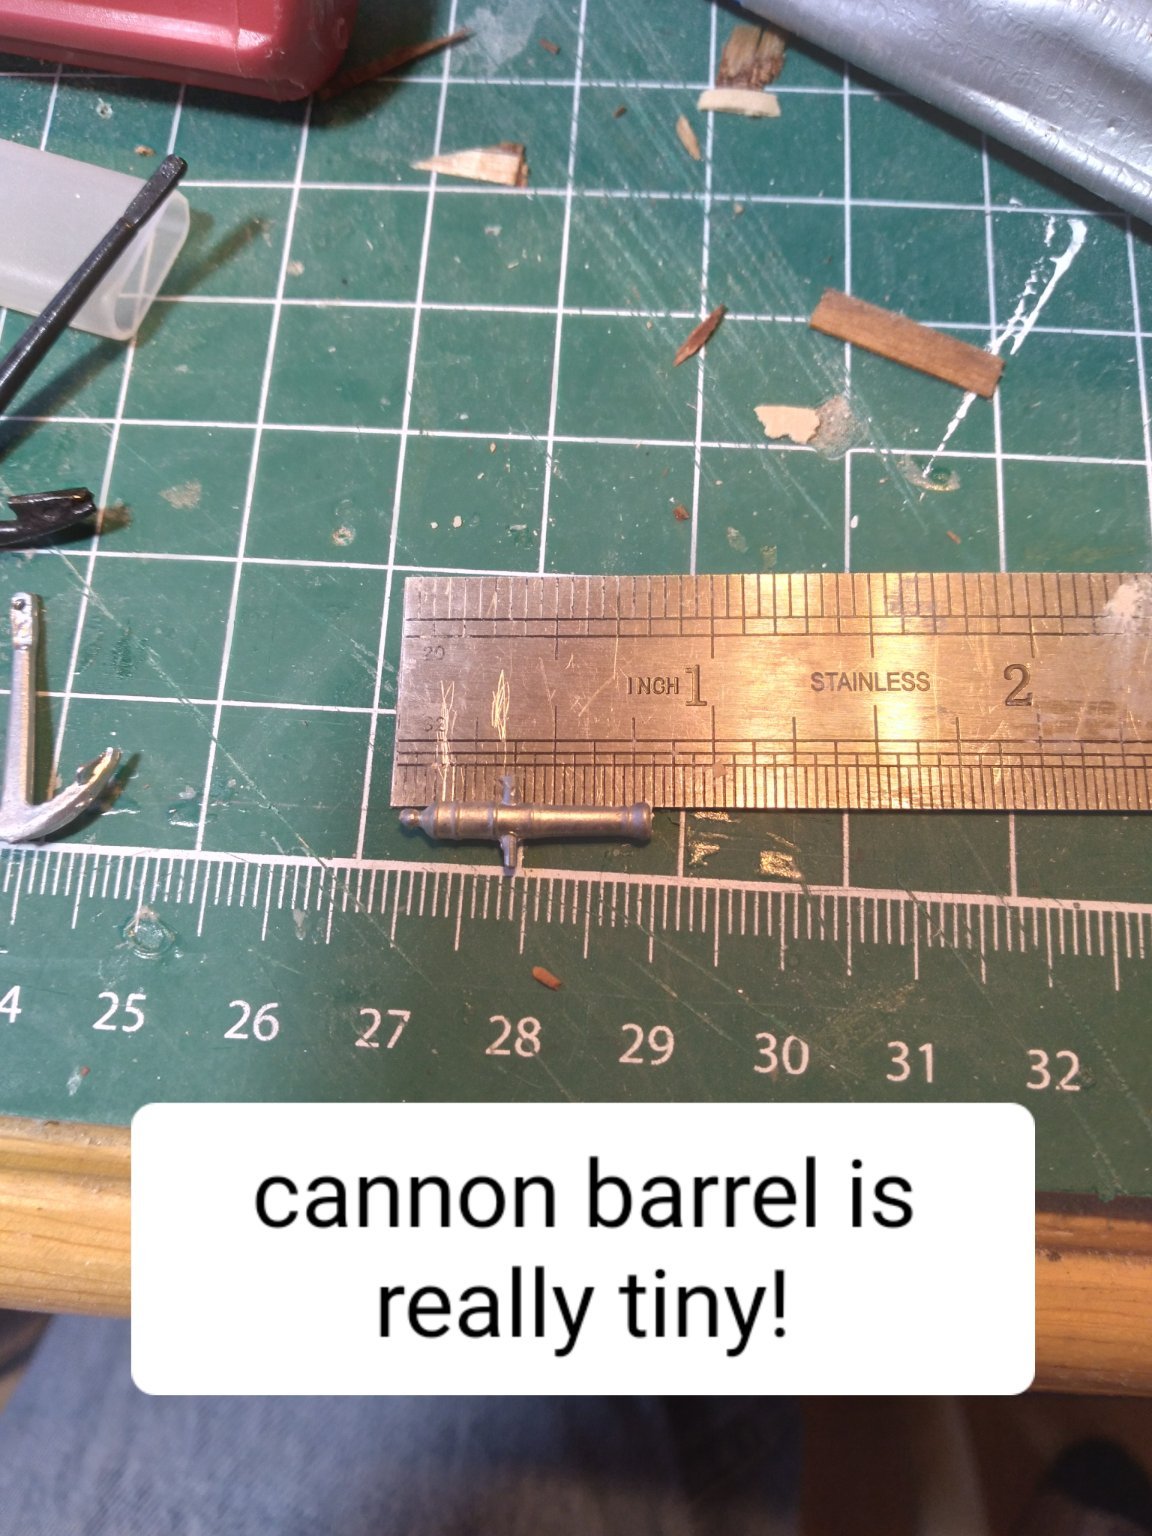
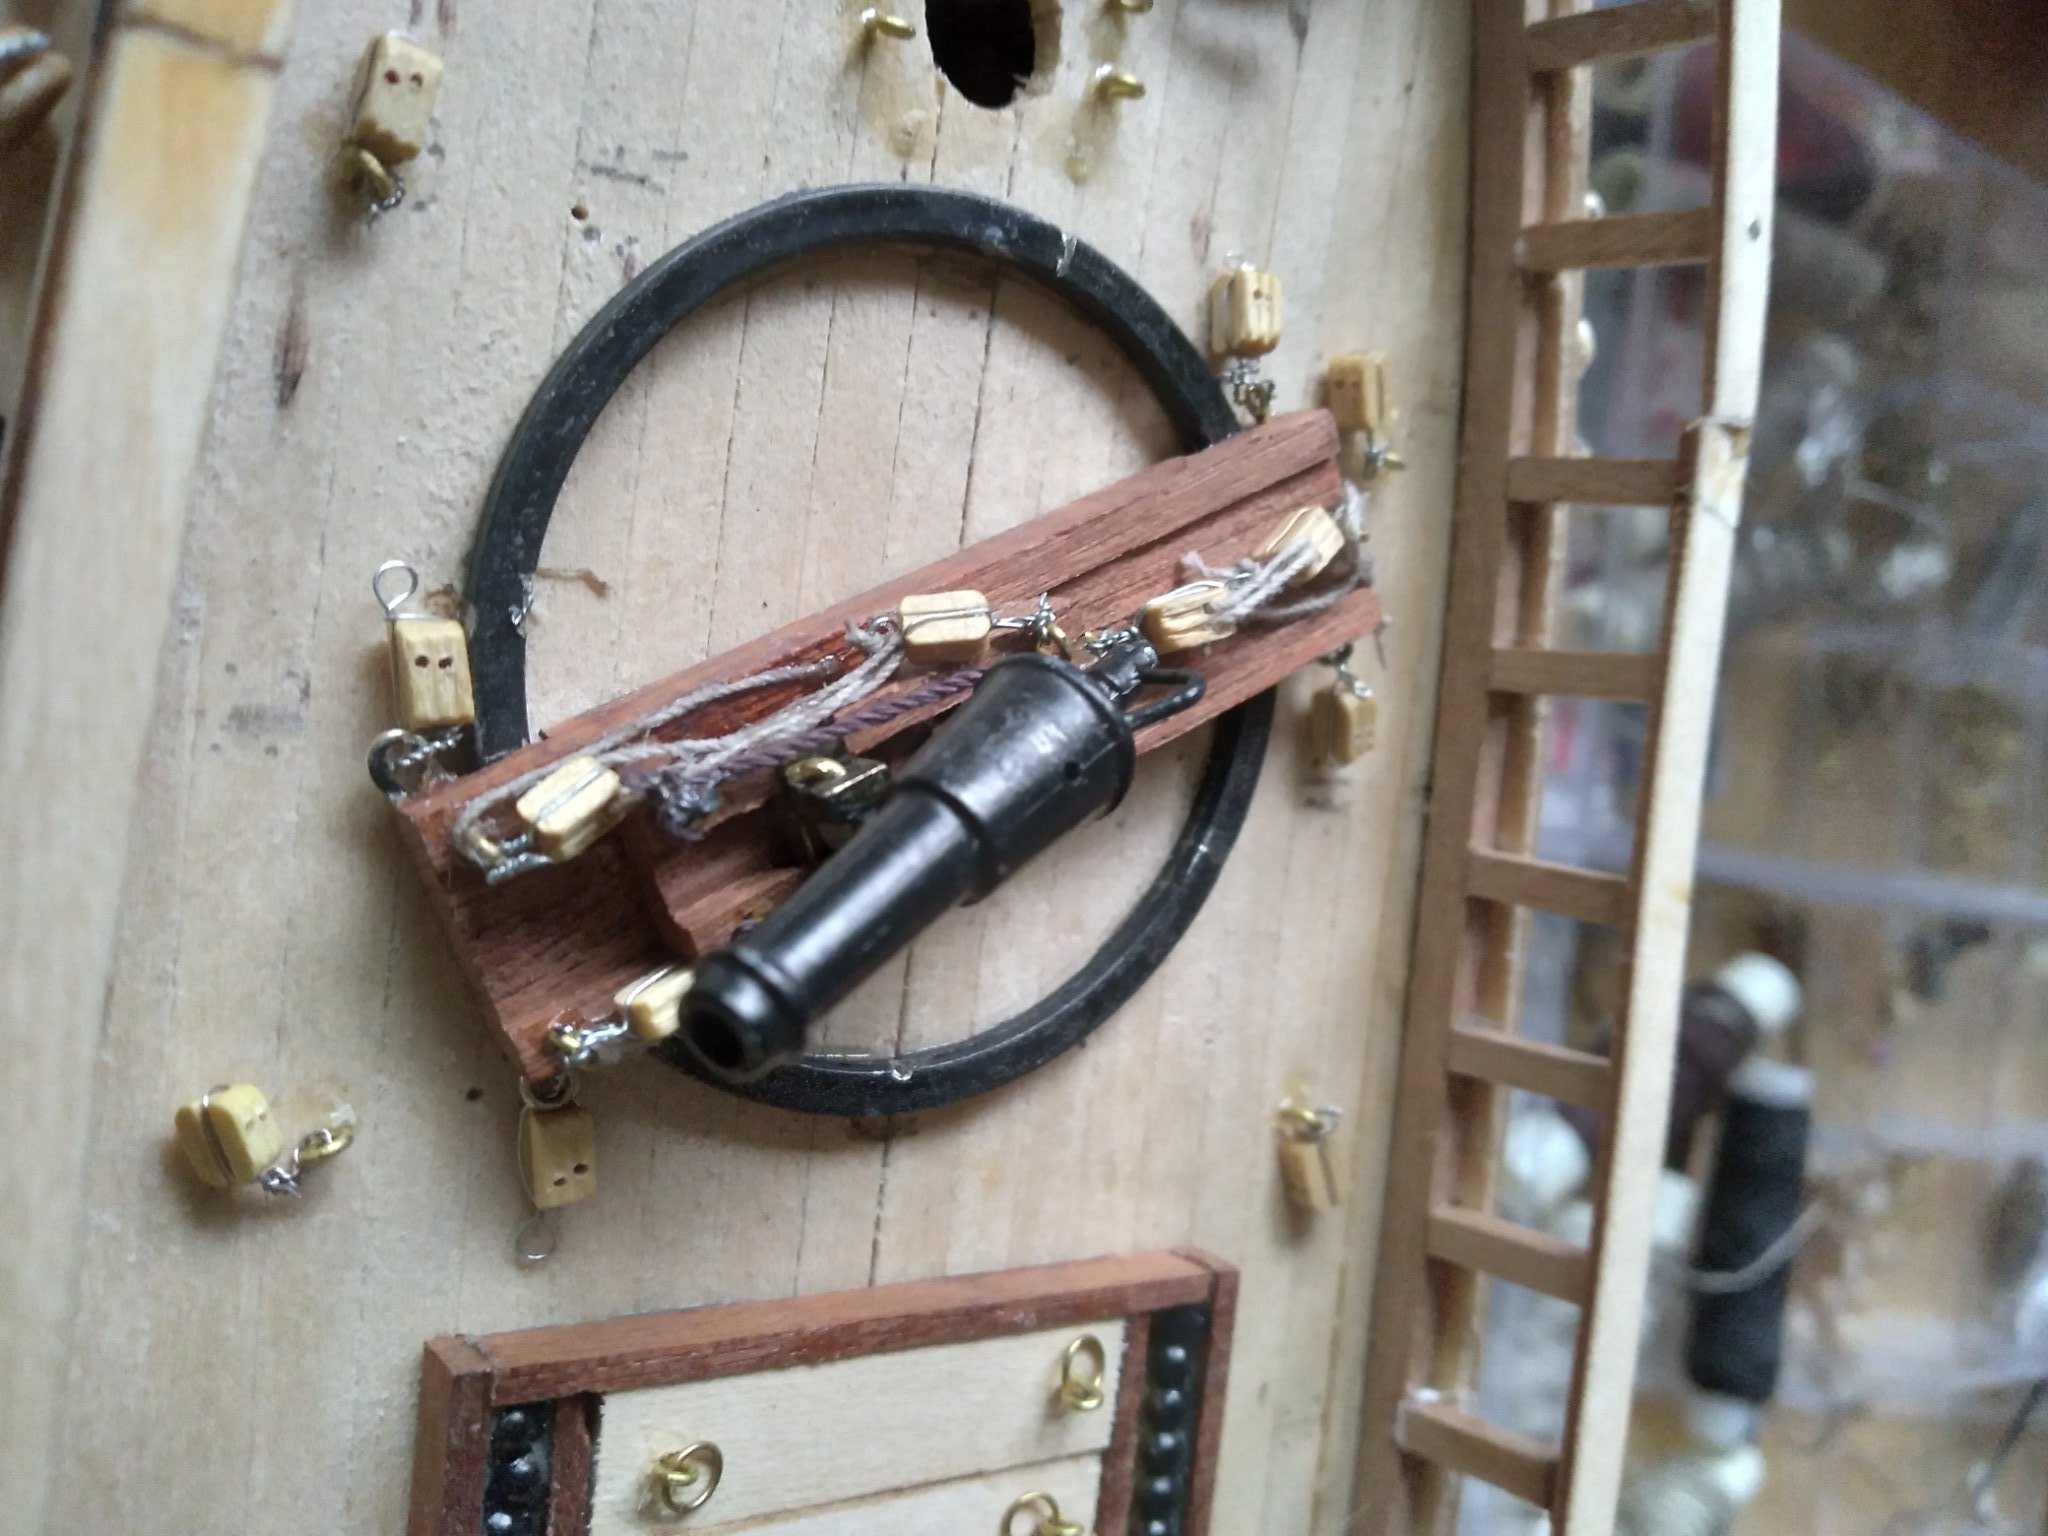
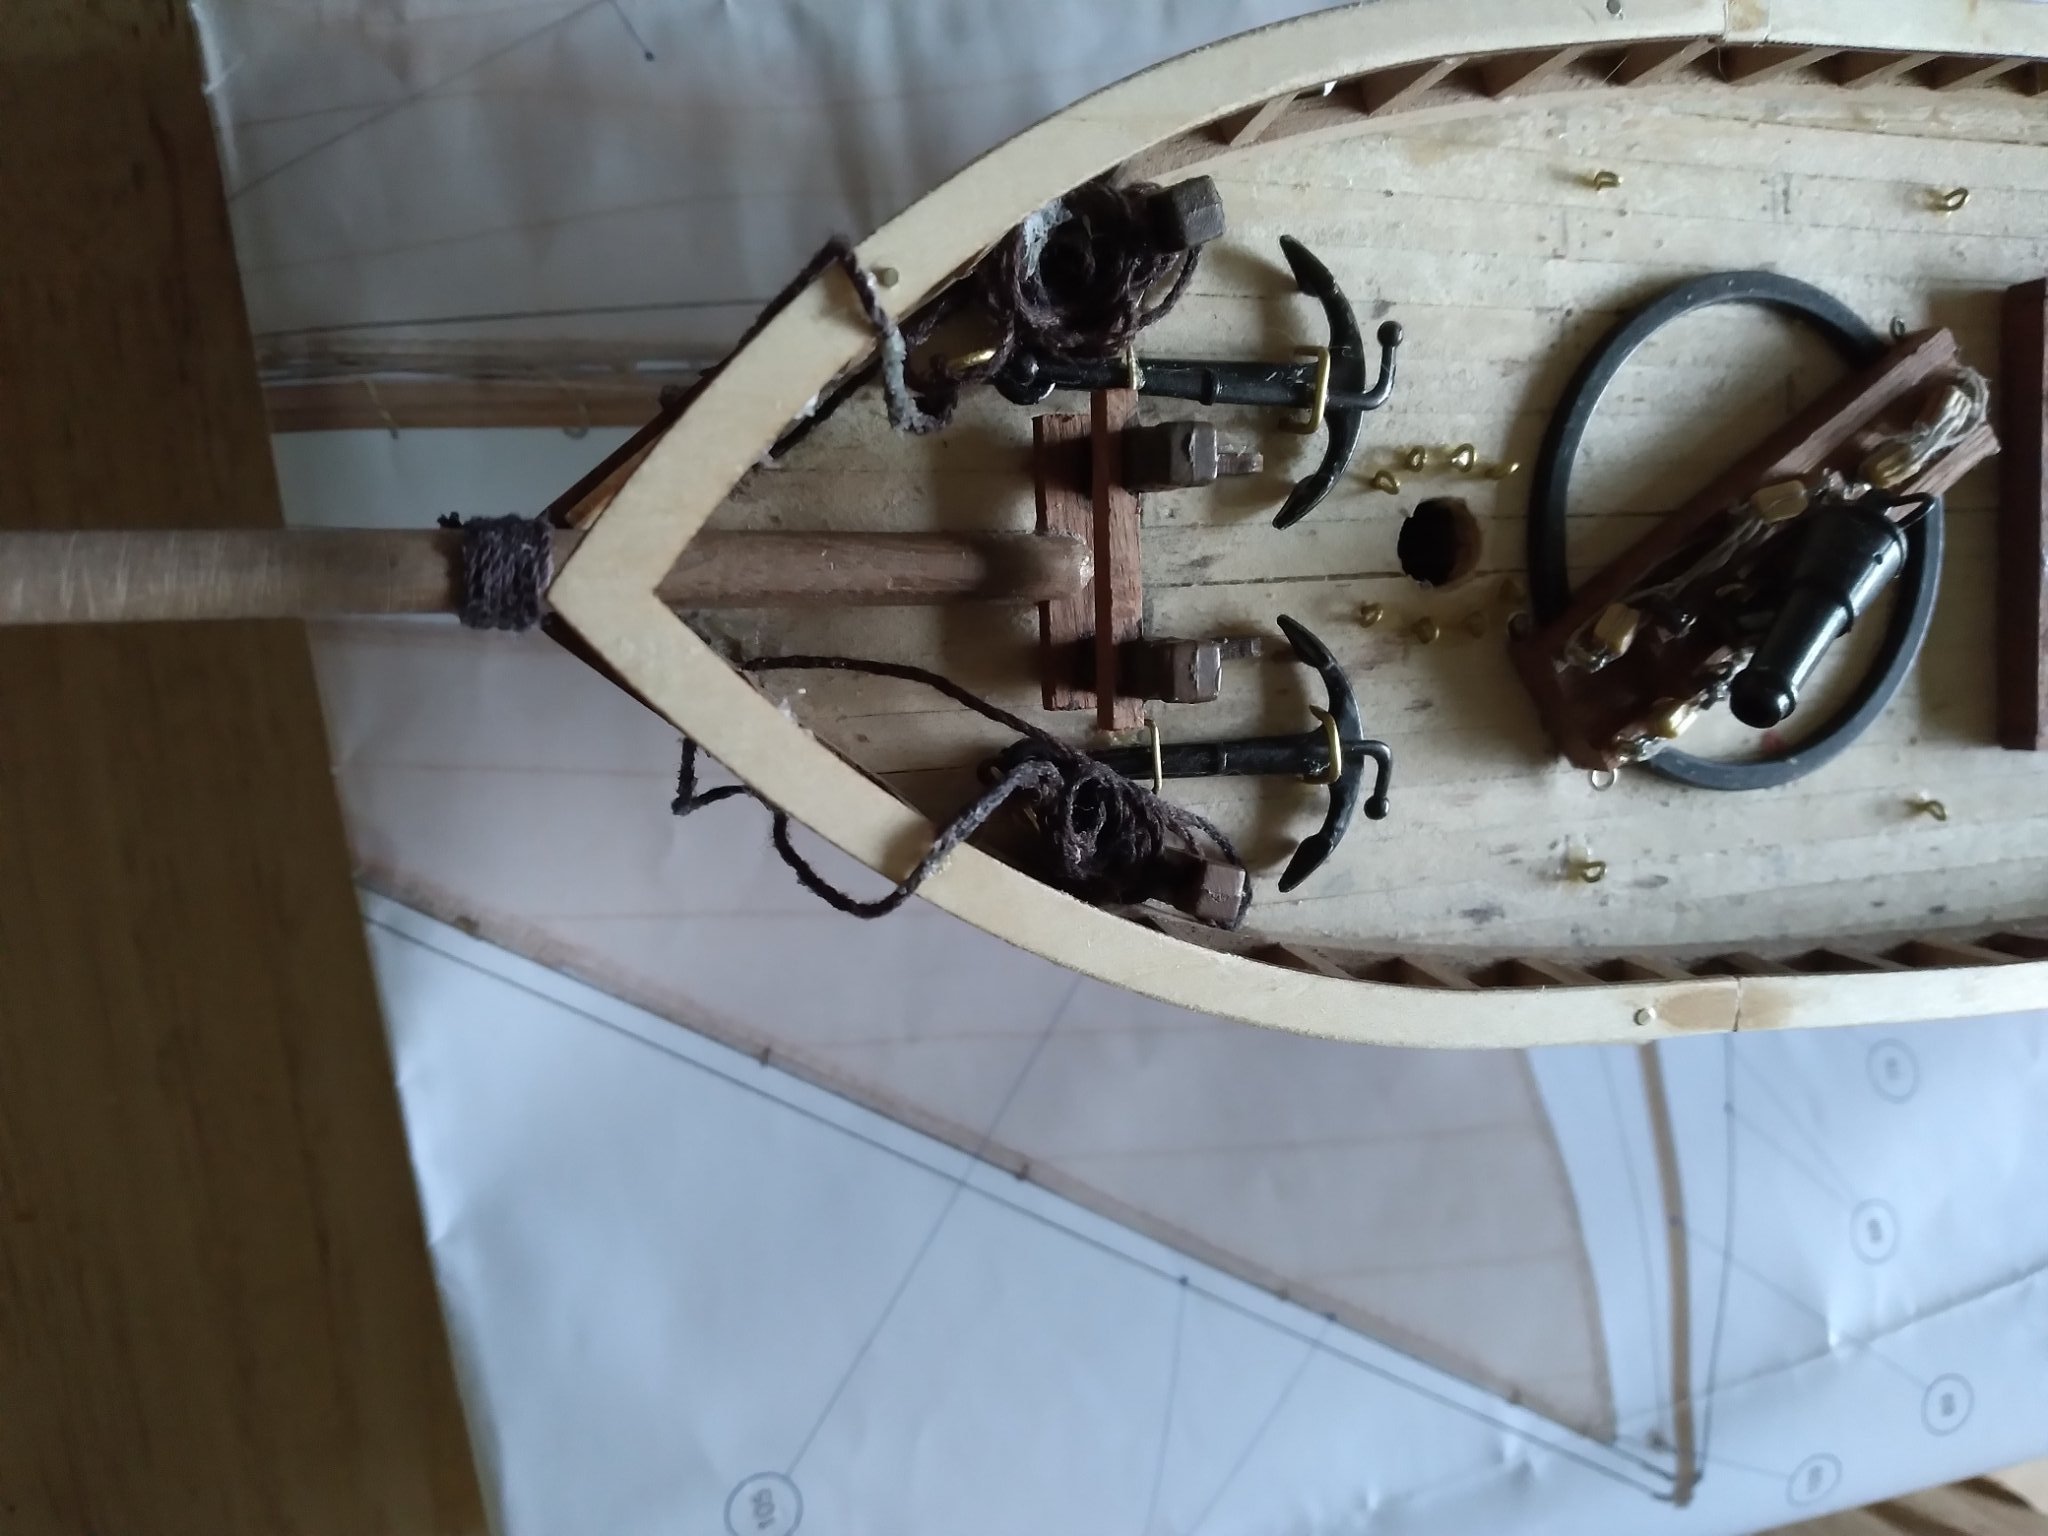
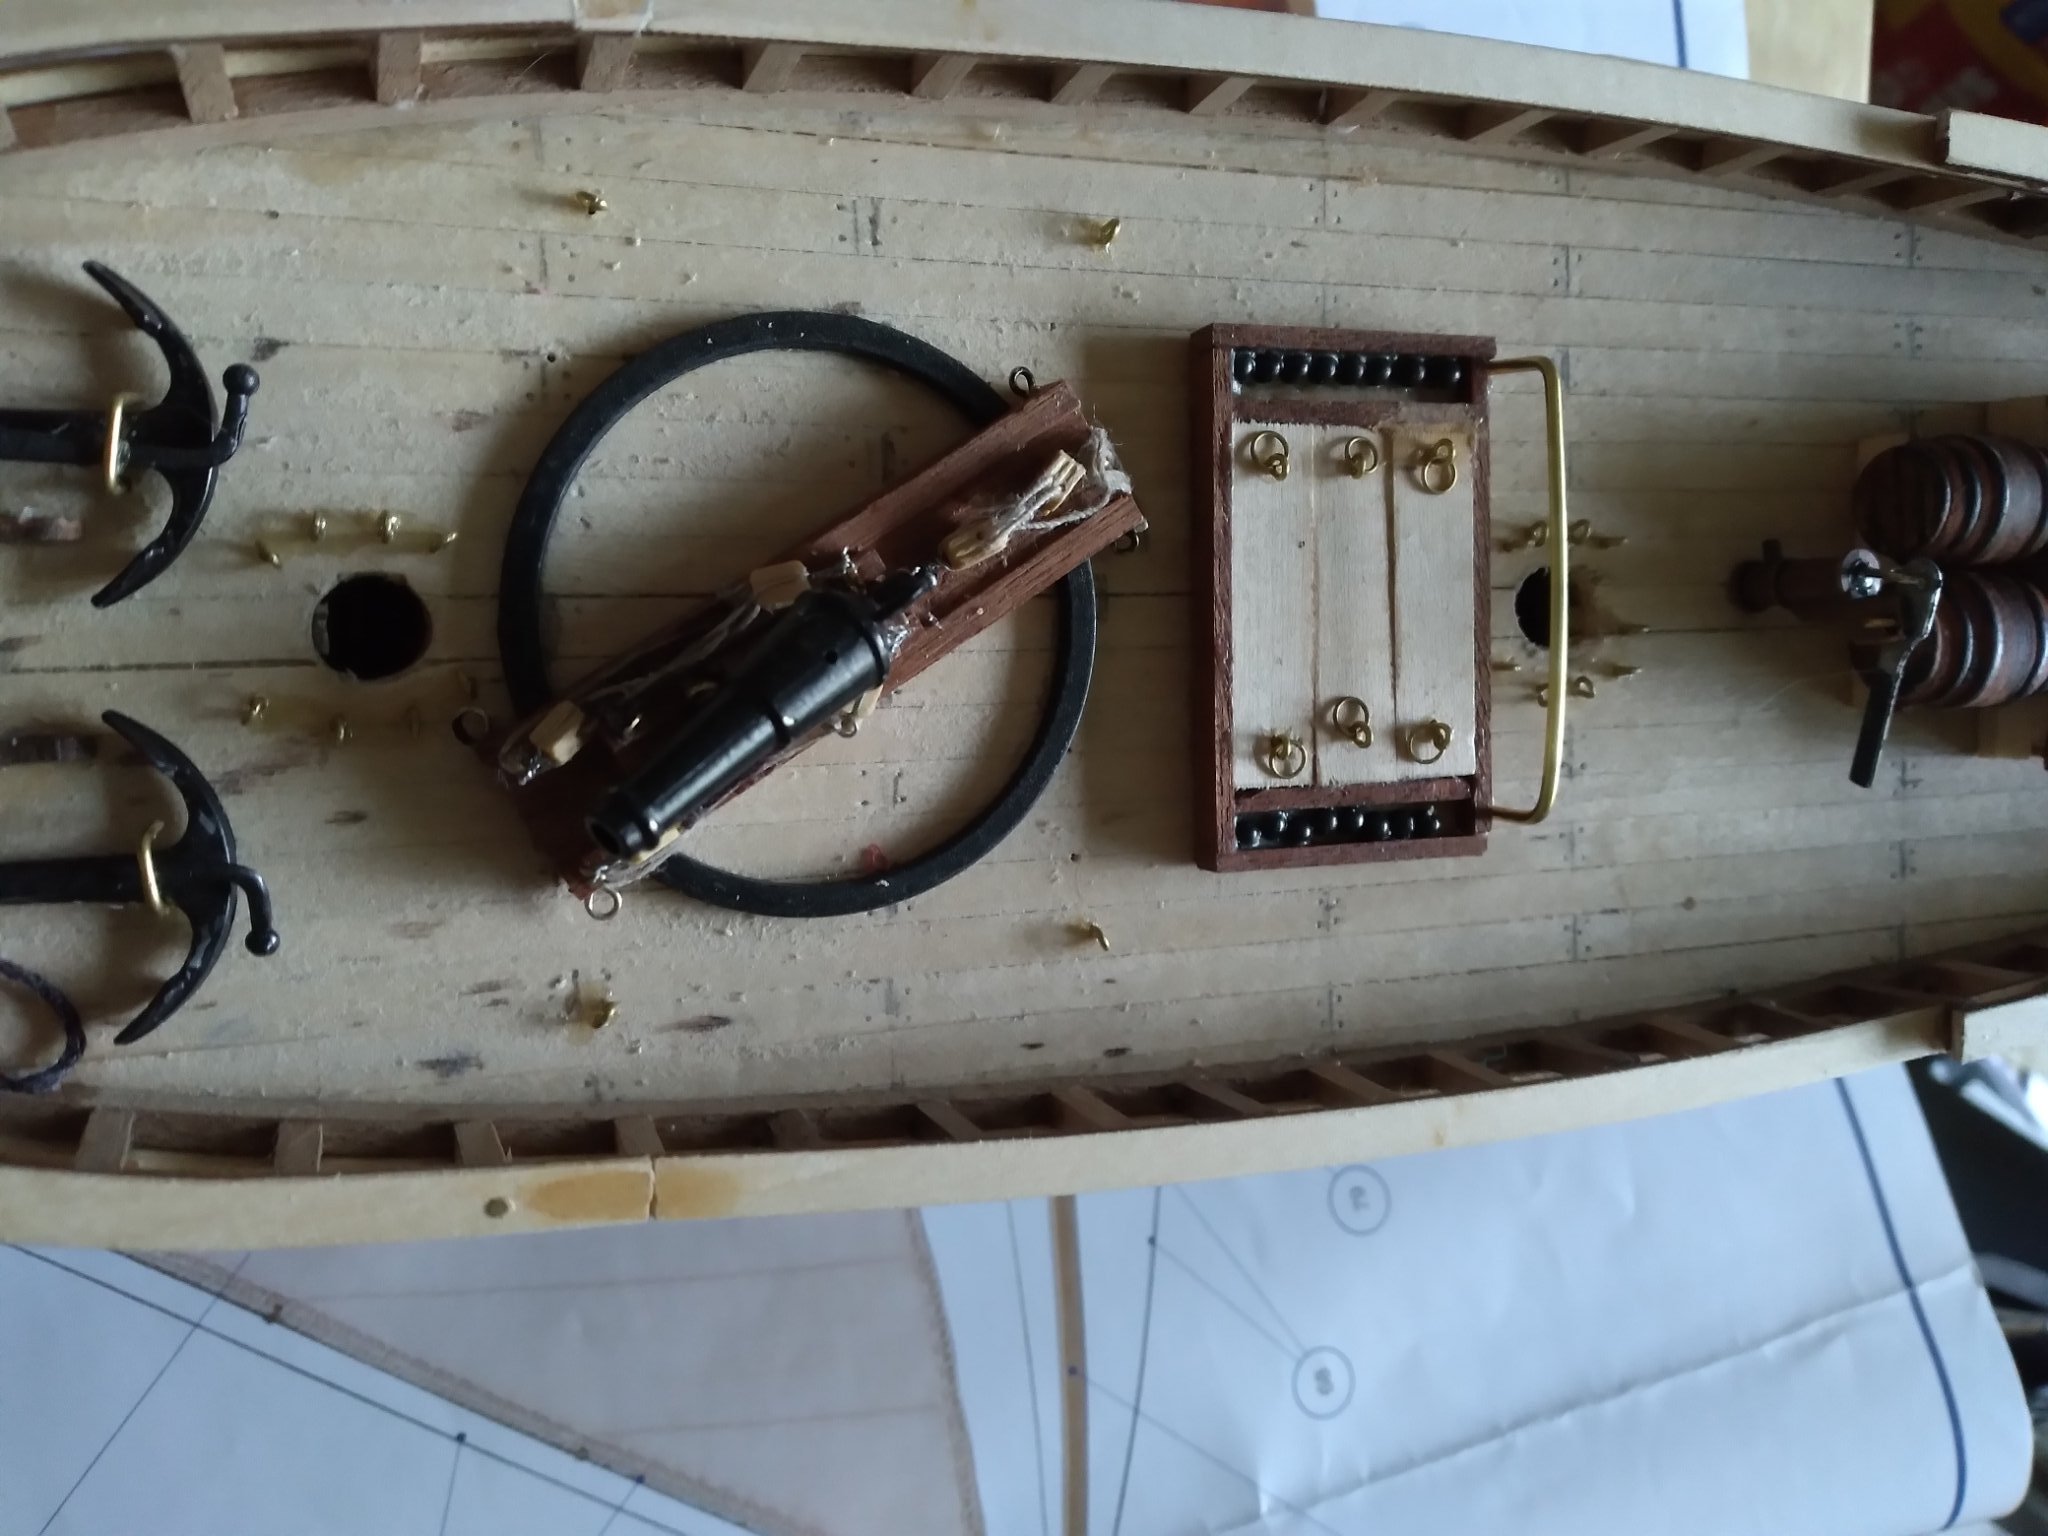
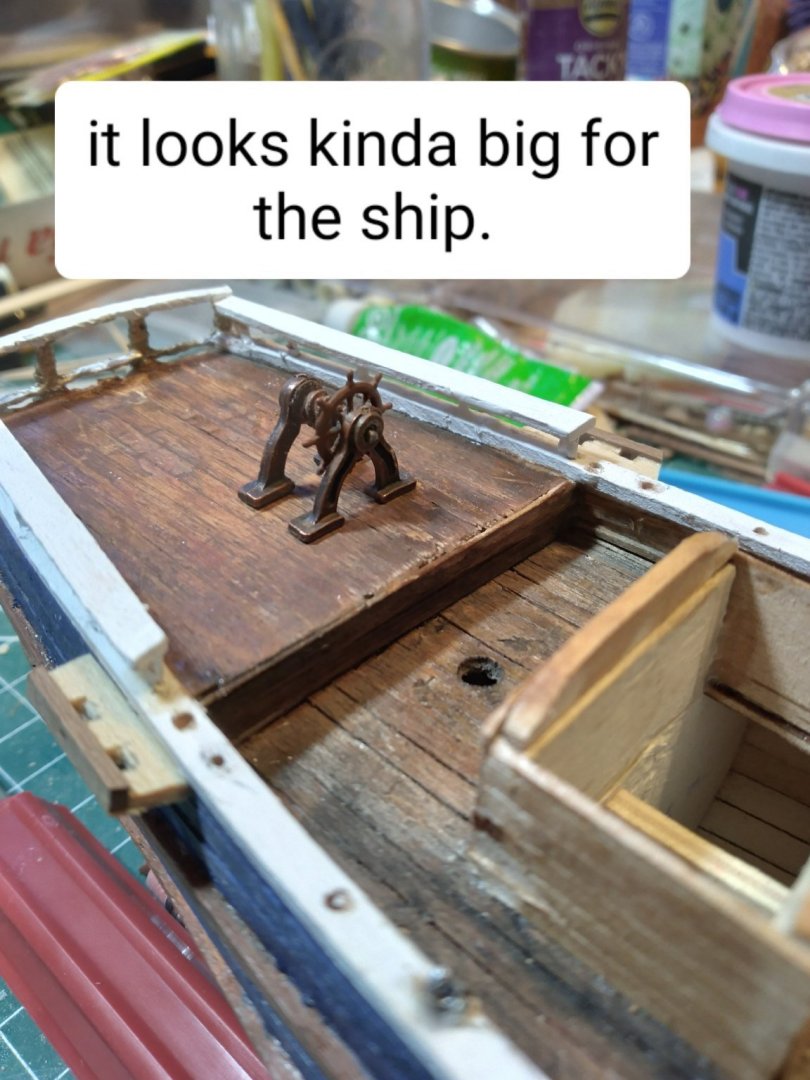
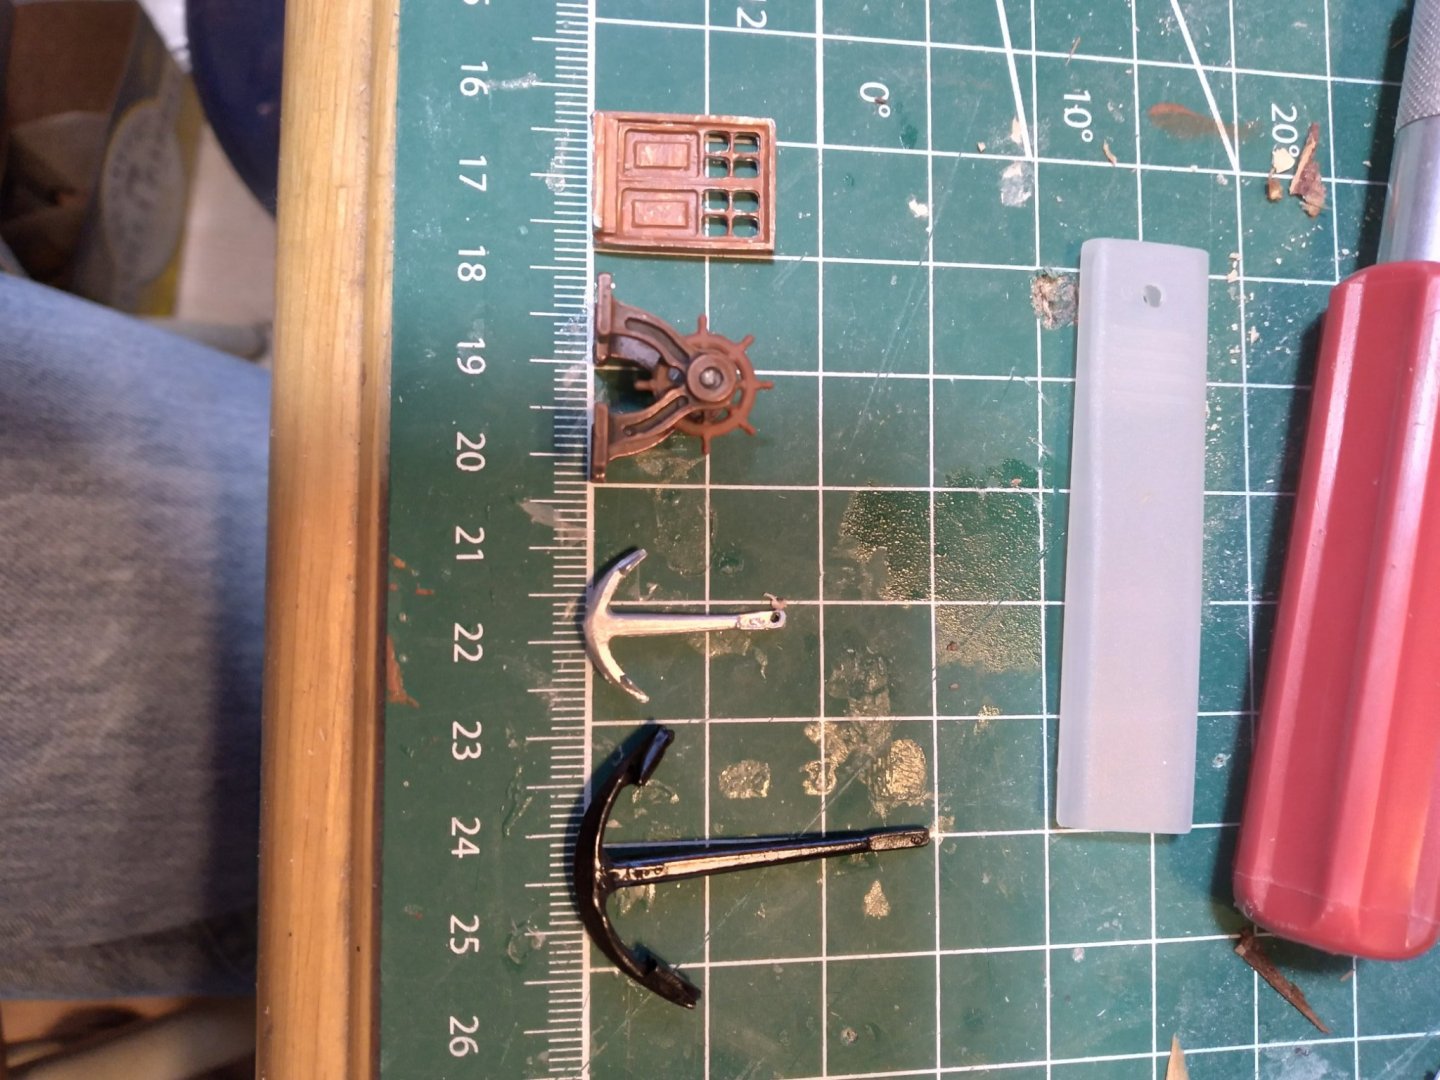
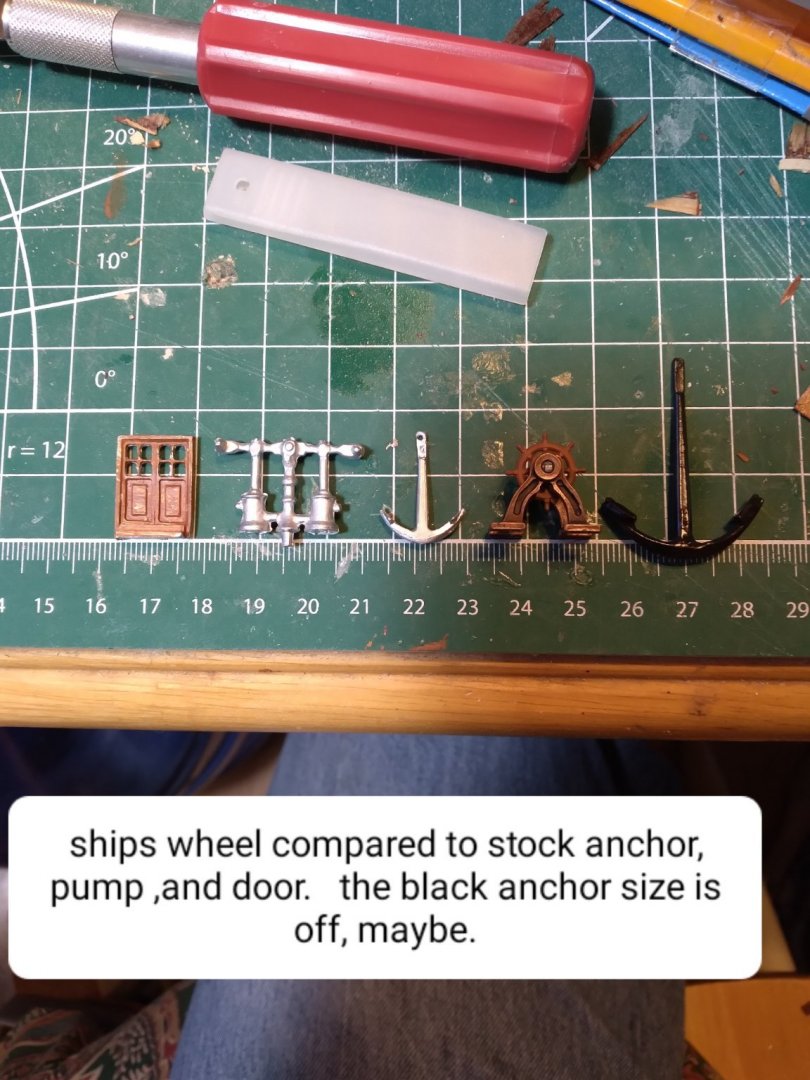
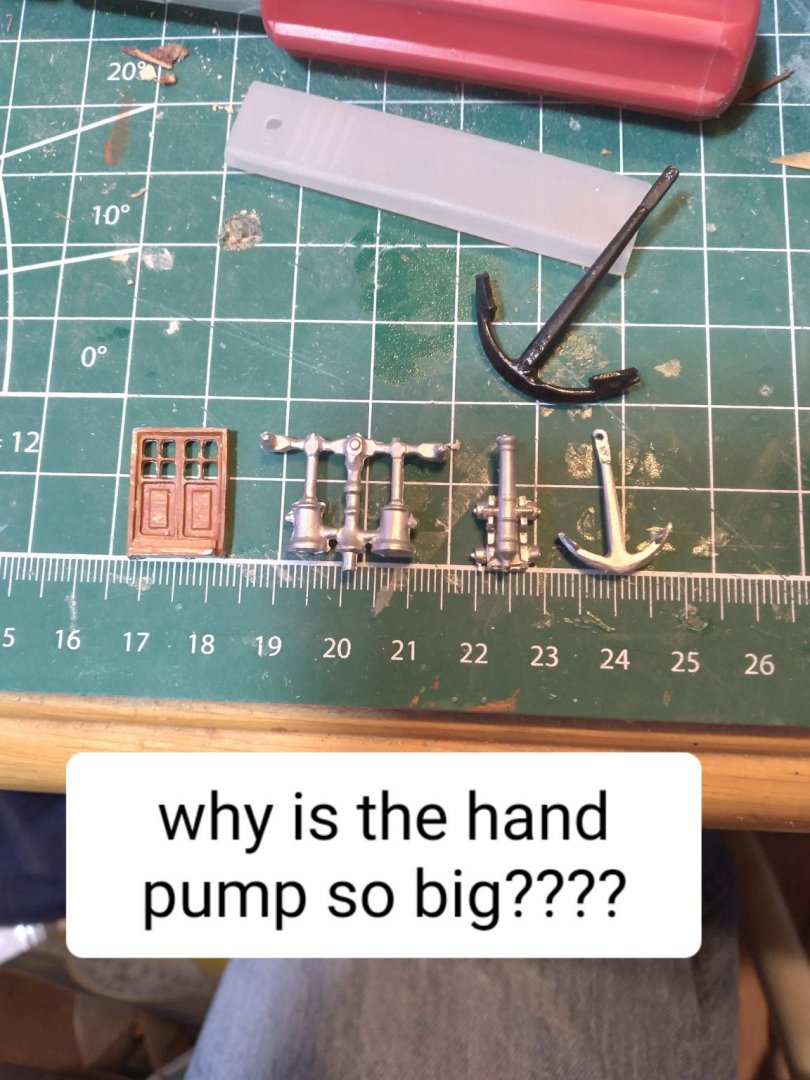
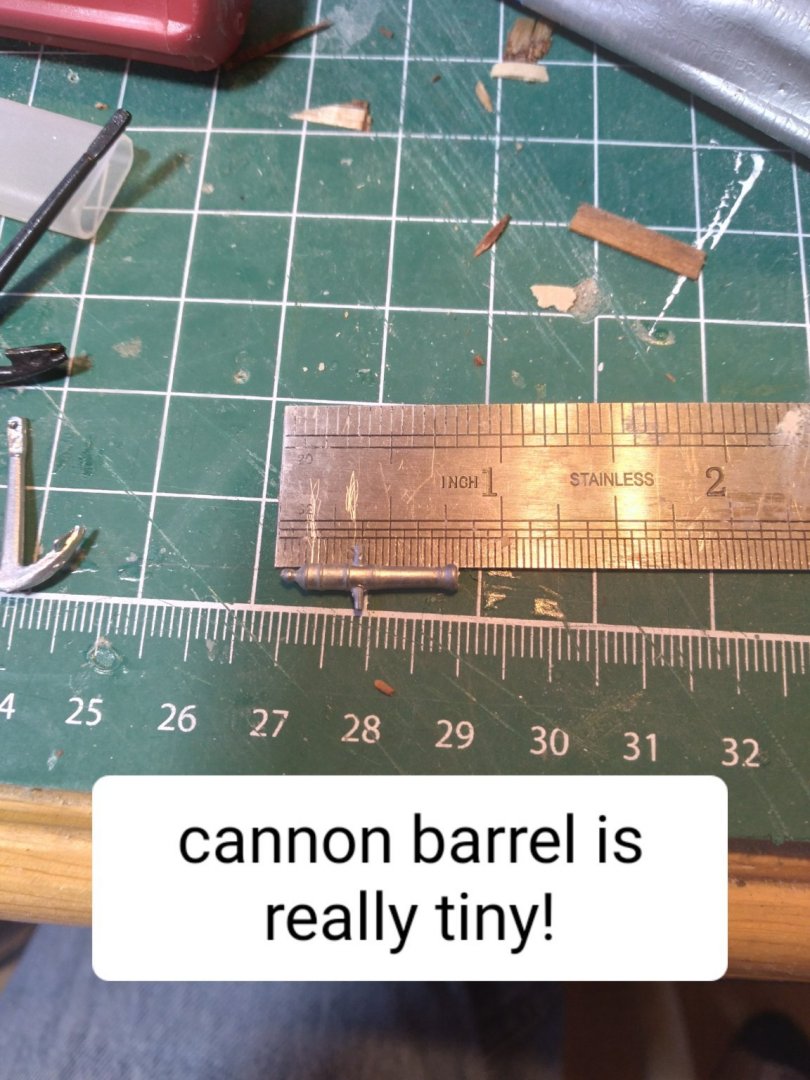
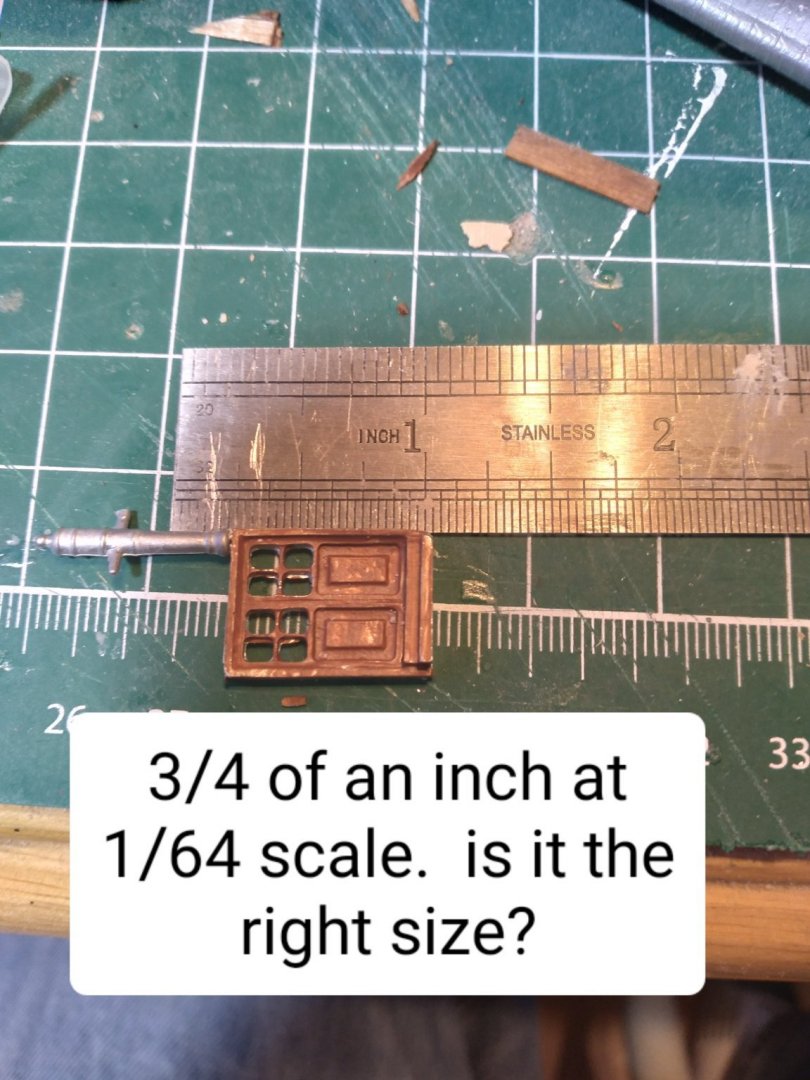
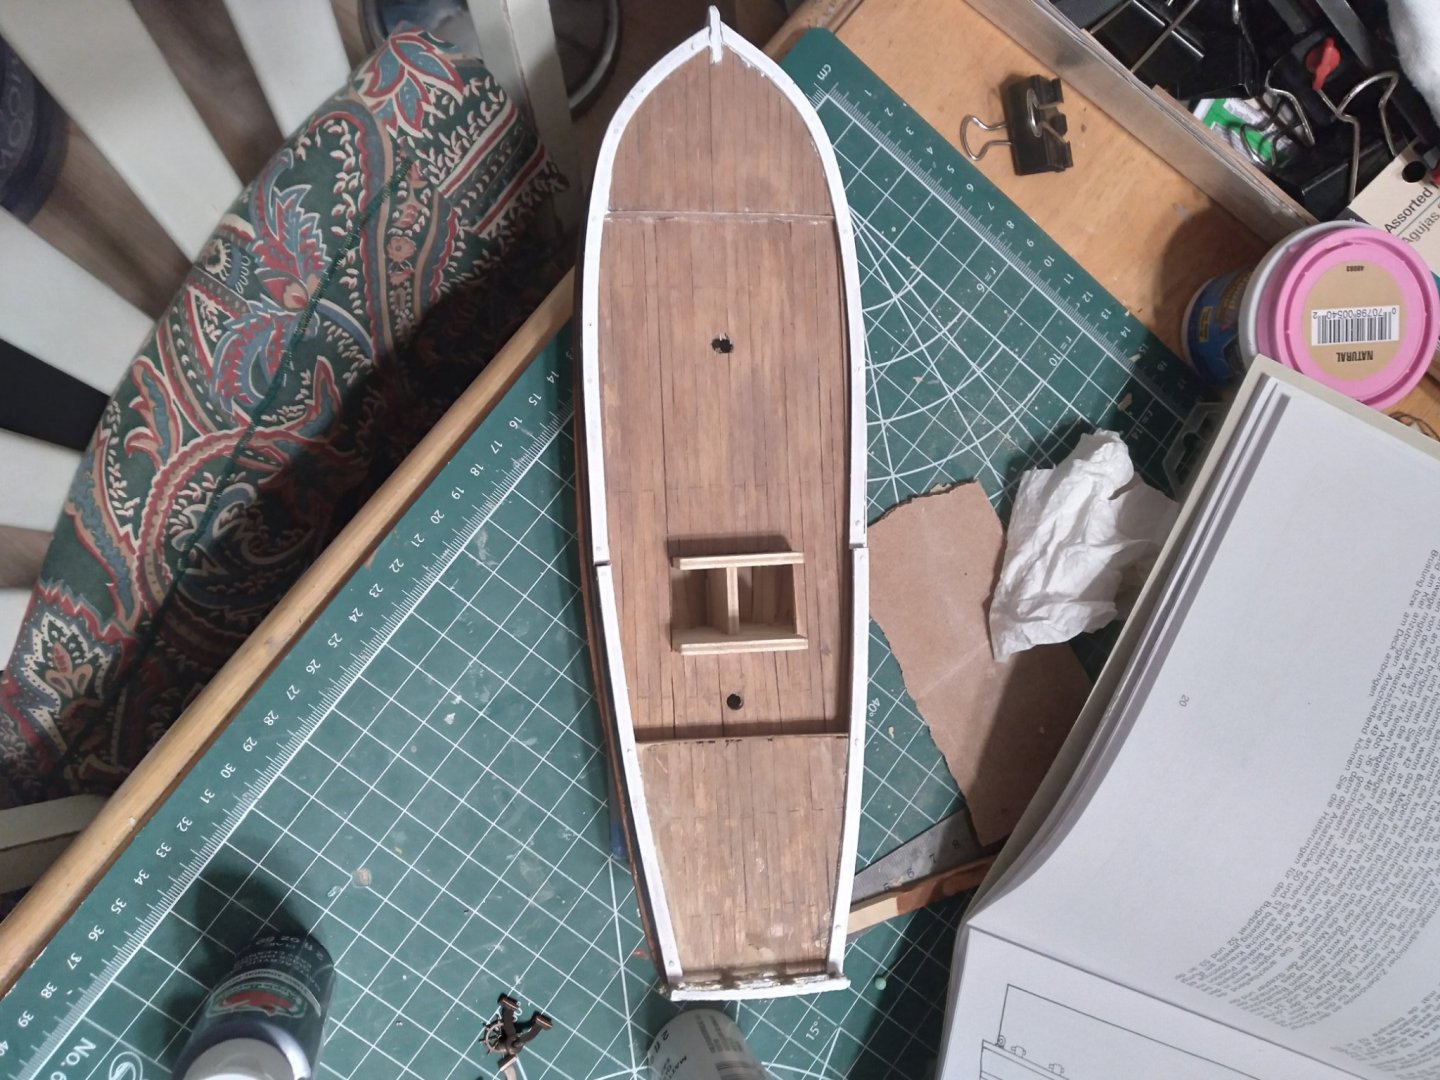
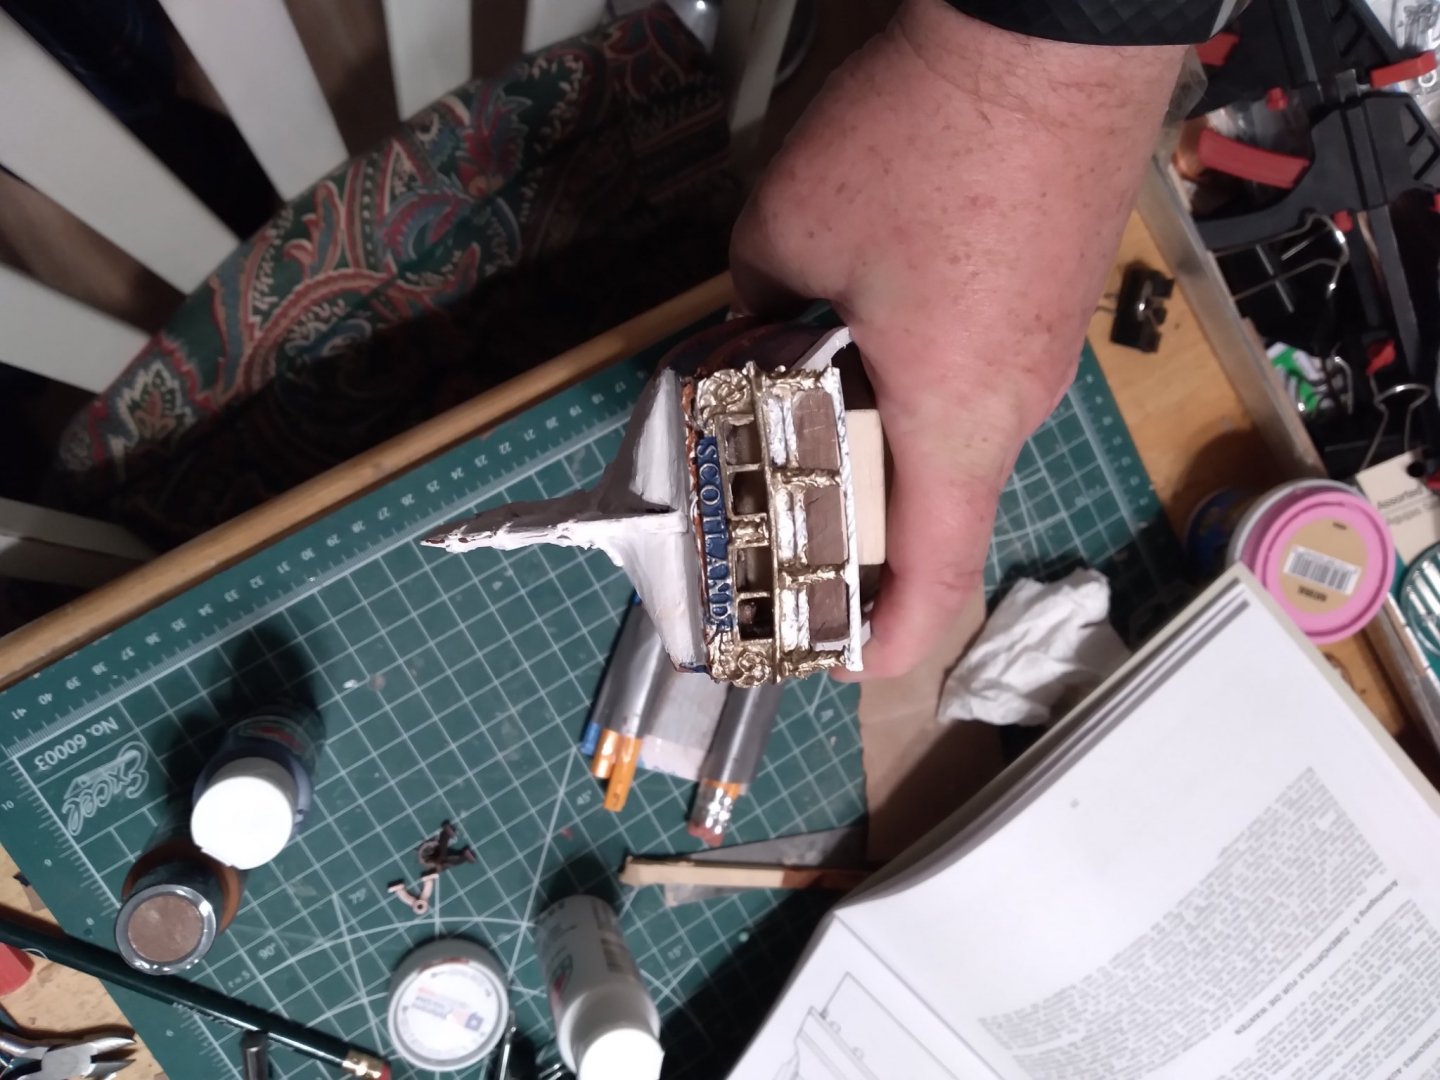
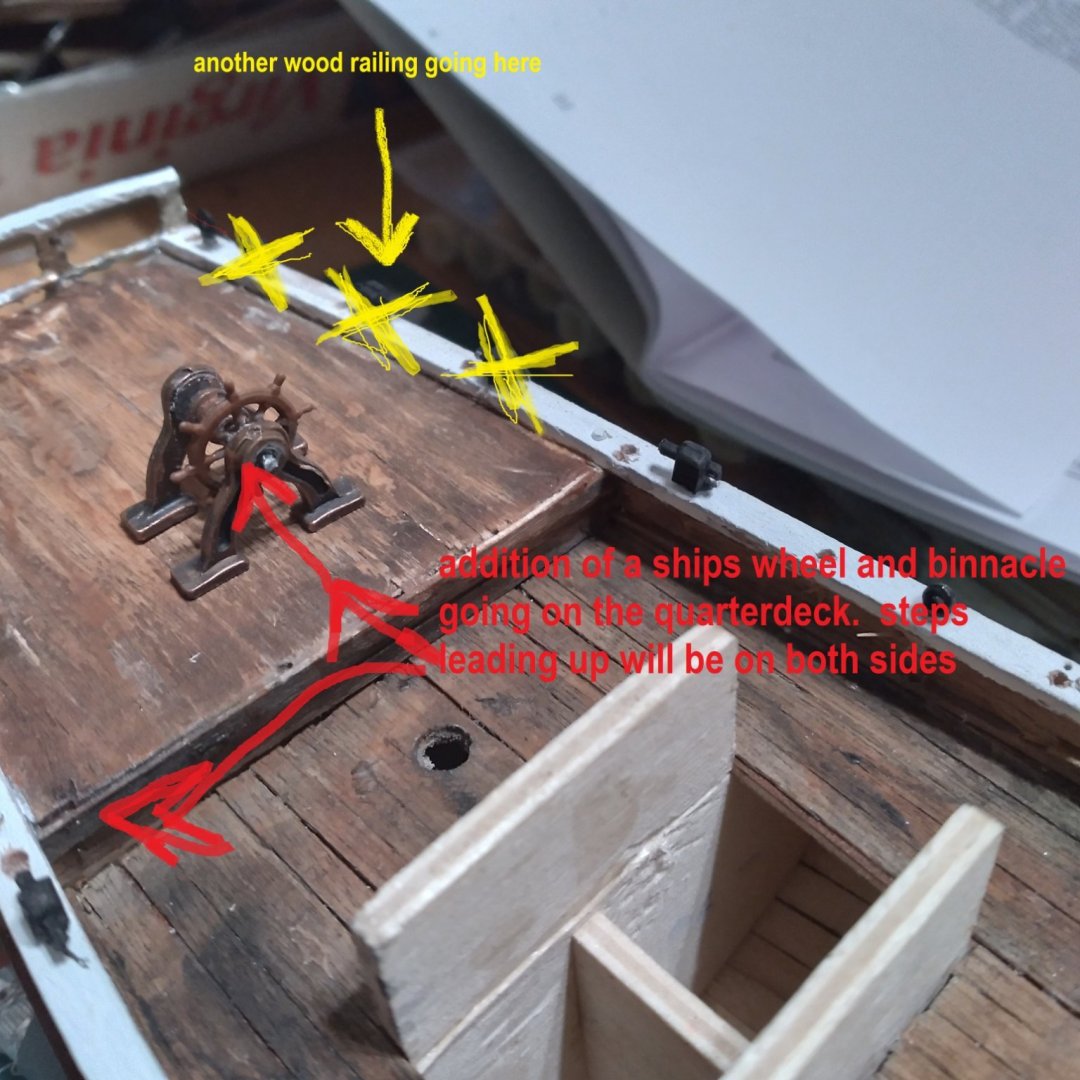
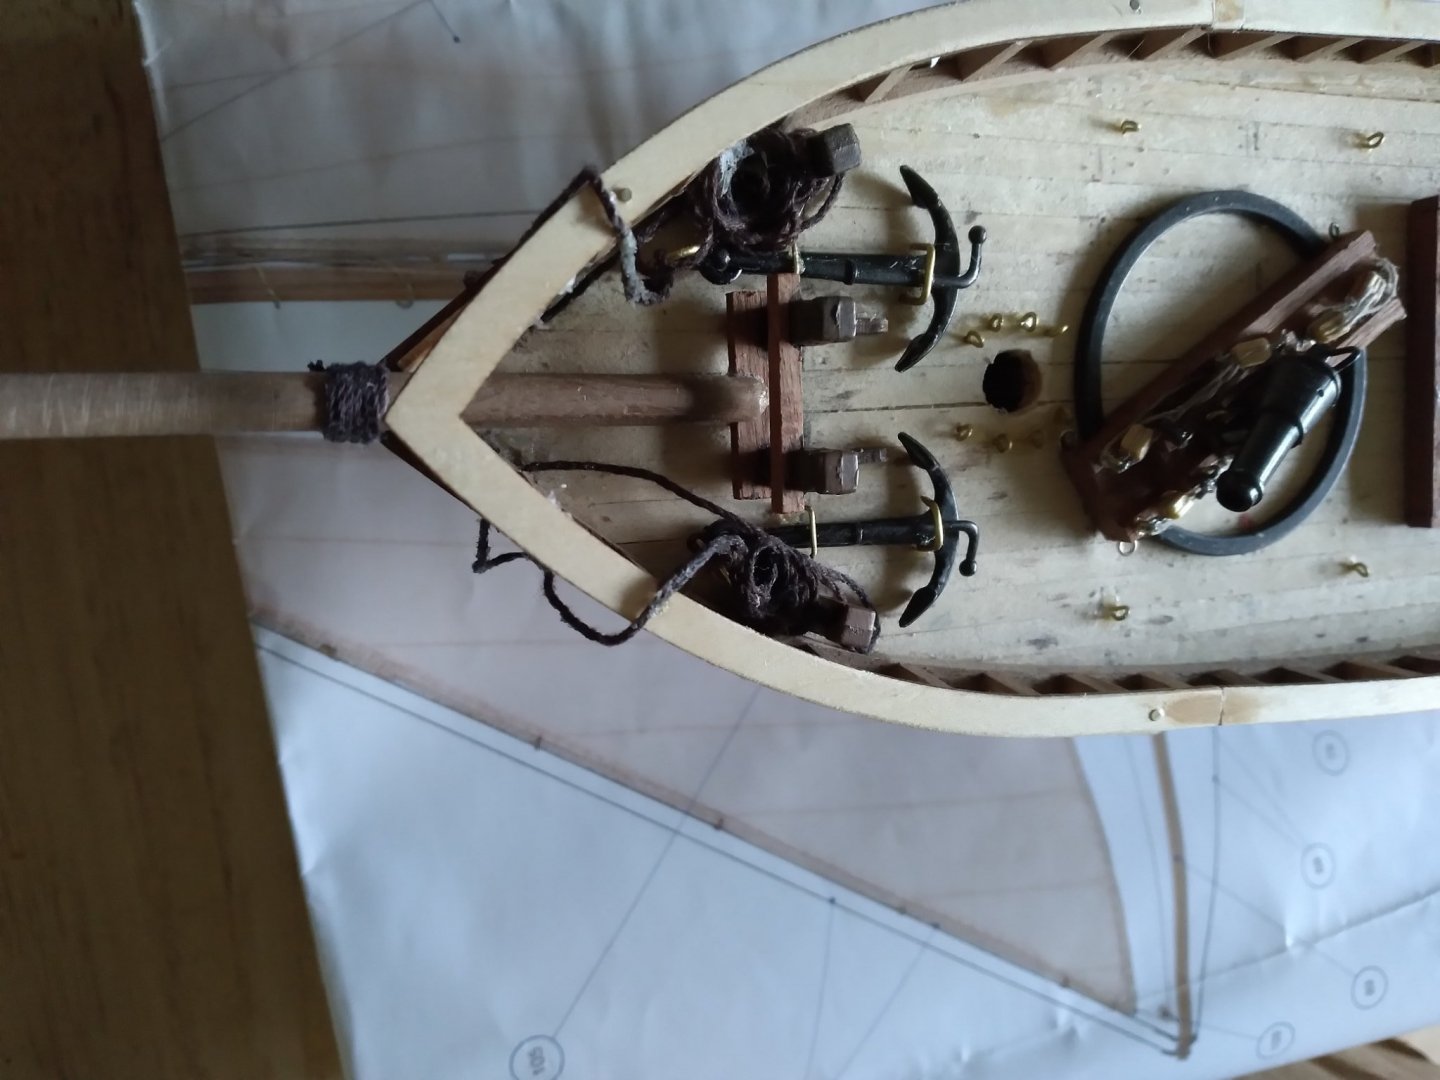
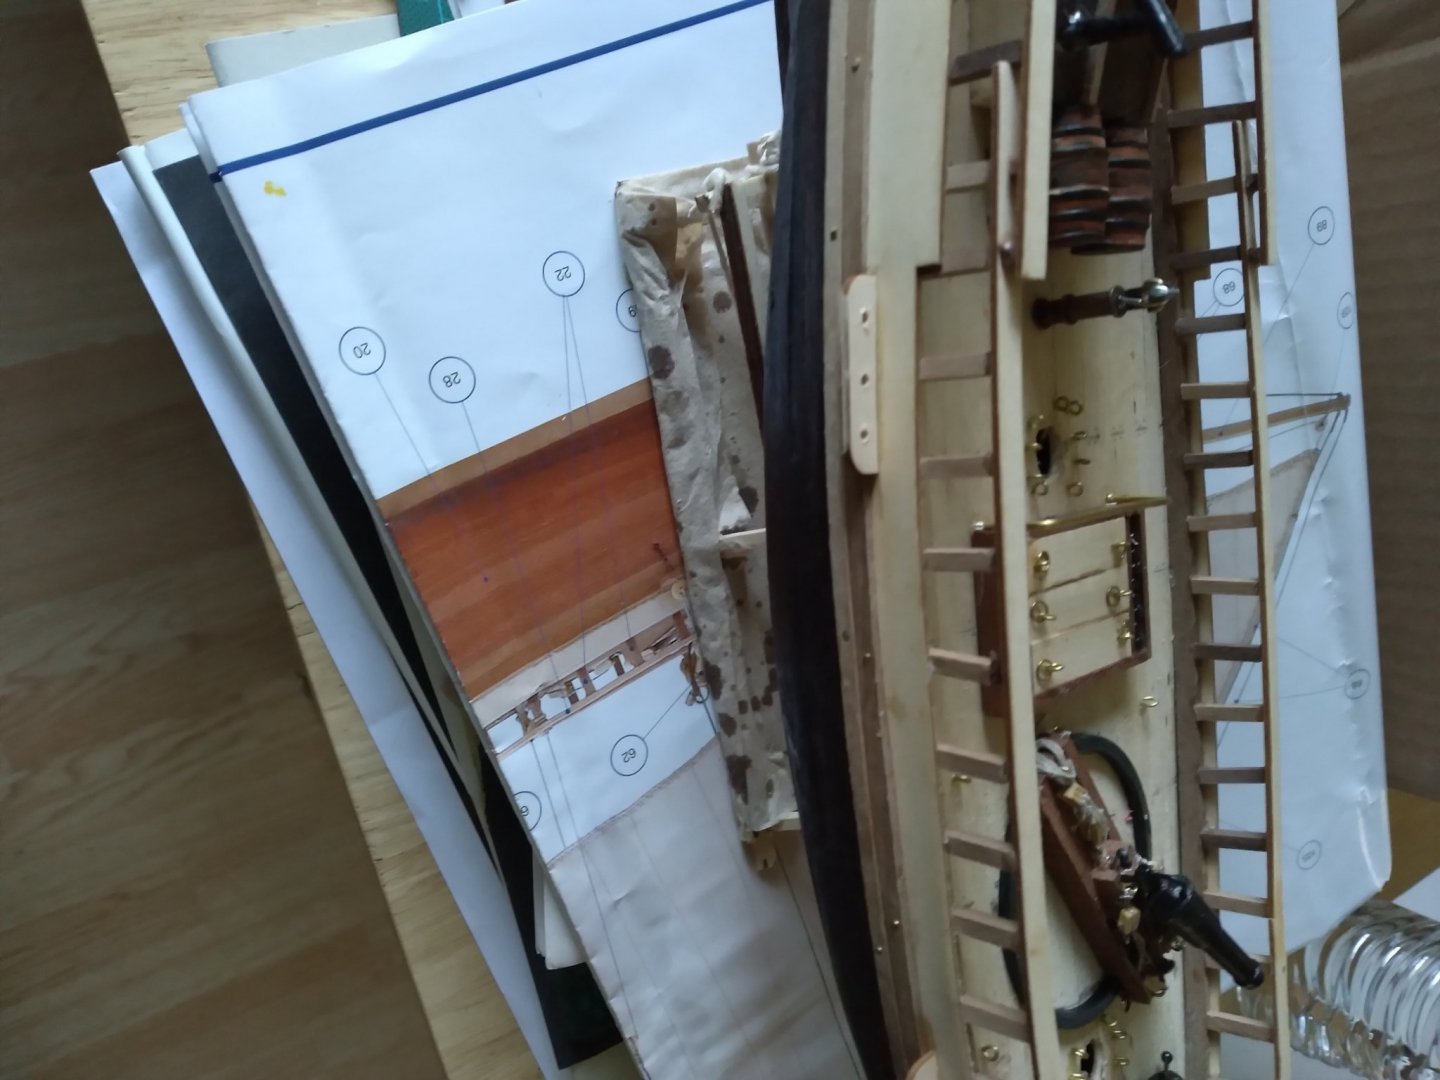
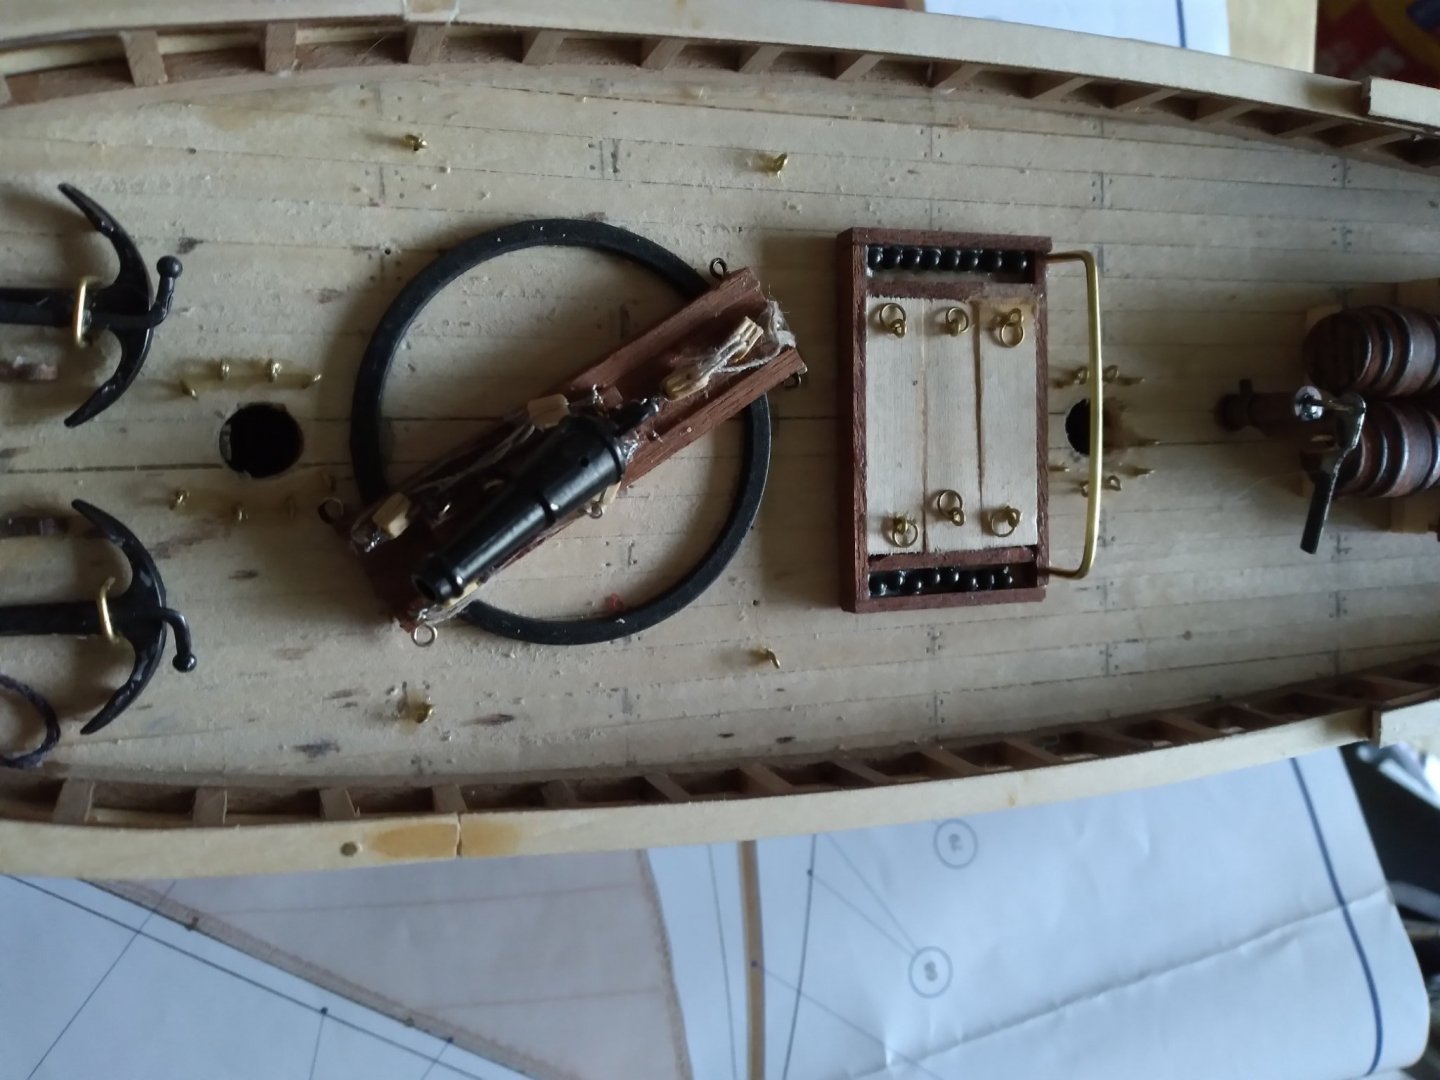
here are some more photos. I am worried the wheel will be to large compared to any figurines I may purchase. The cannon will have to be moved, or I cut a section of upper railing. The kits door cannon and anchor seem very small for the size of the ship. And what is going on with the bilge pump????


-
Thank you! At 1/64 scale what size mm stairs would I get to access the quarter deck? I am really bad at figuring the conversion out.
-
Scotland by kearnold - Corel - late 1700s early 1800s Kit Bashed Baltic Ketch is where I have started to add photos of the build
-
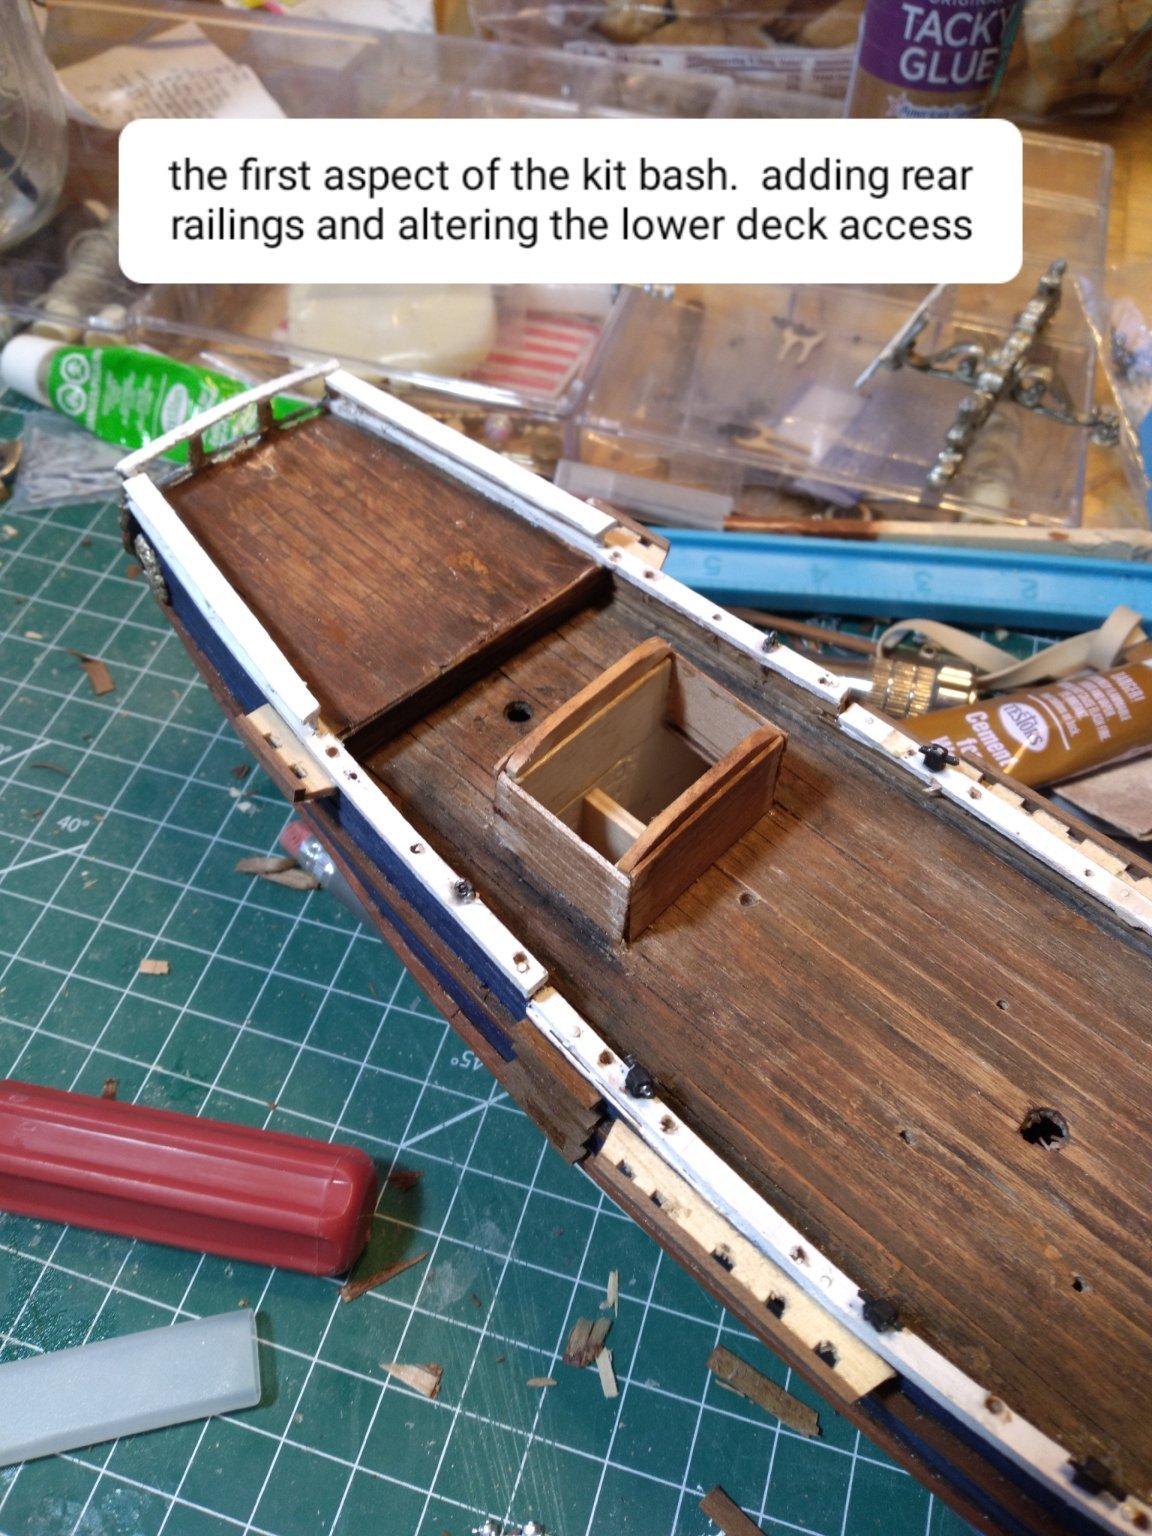
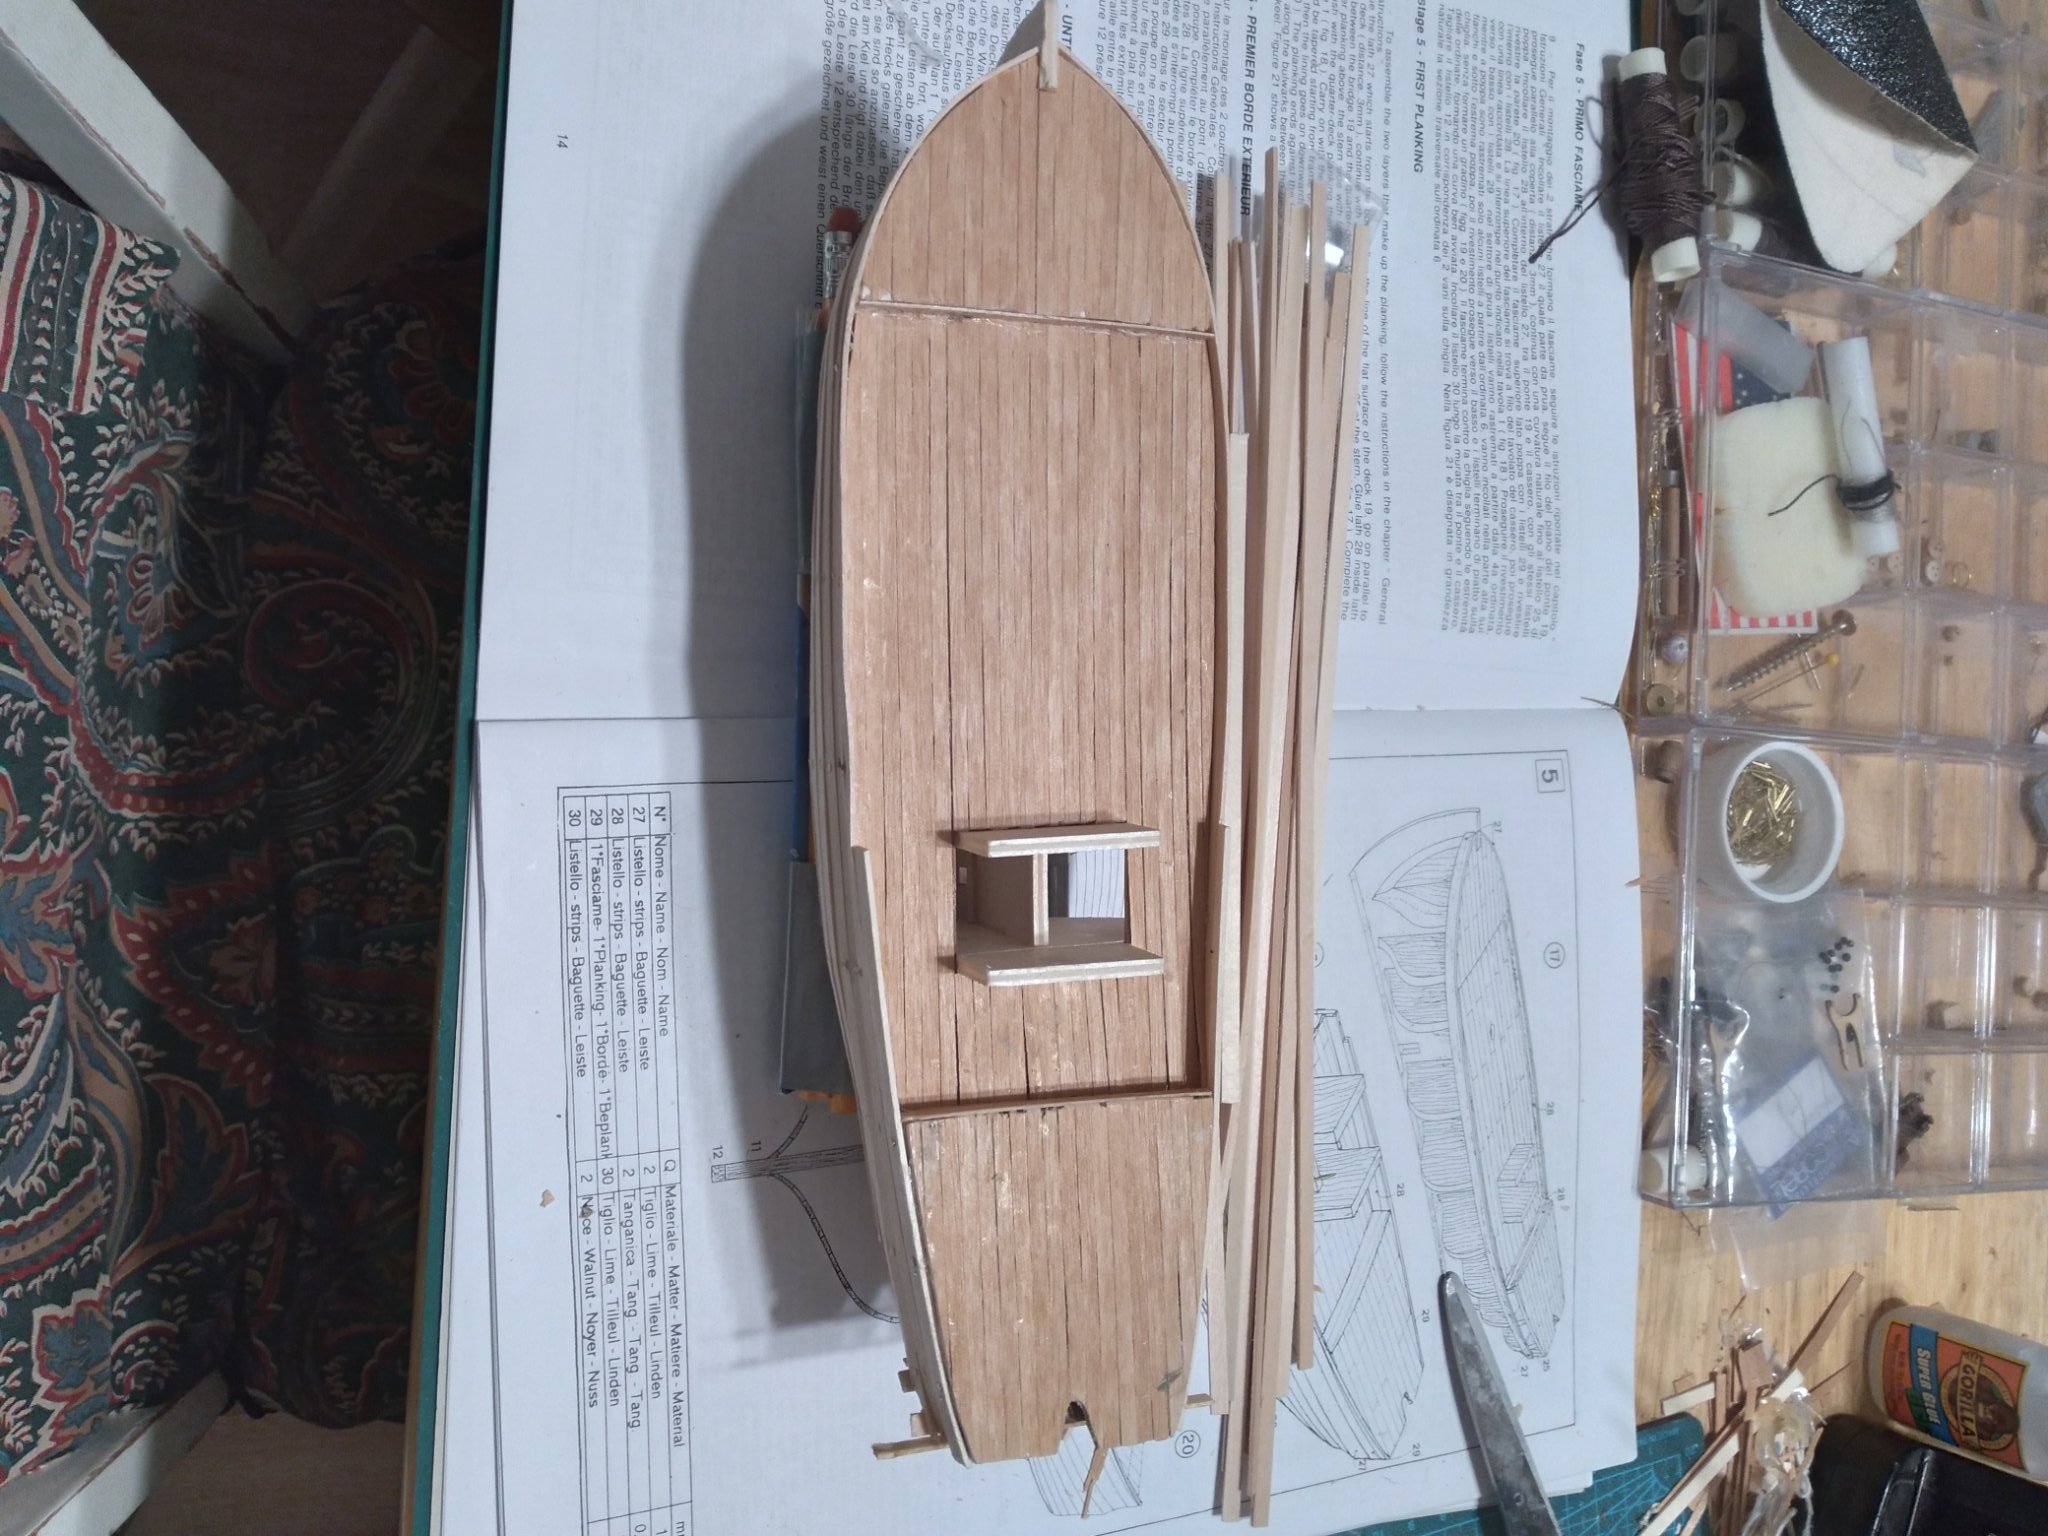
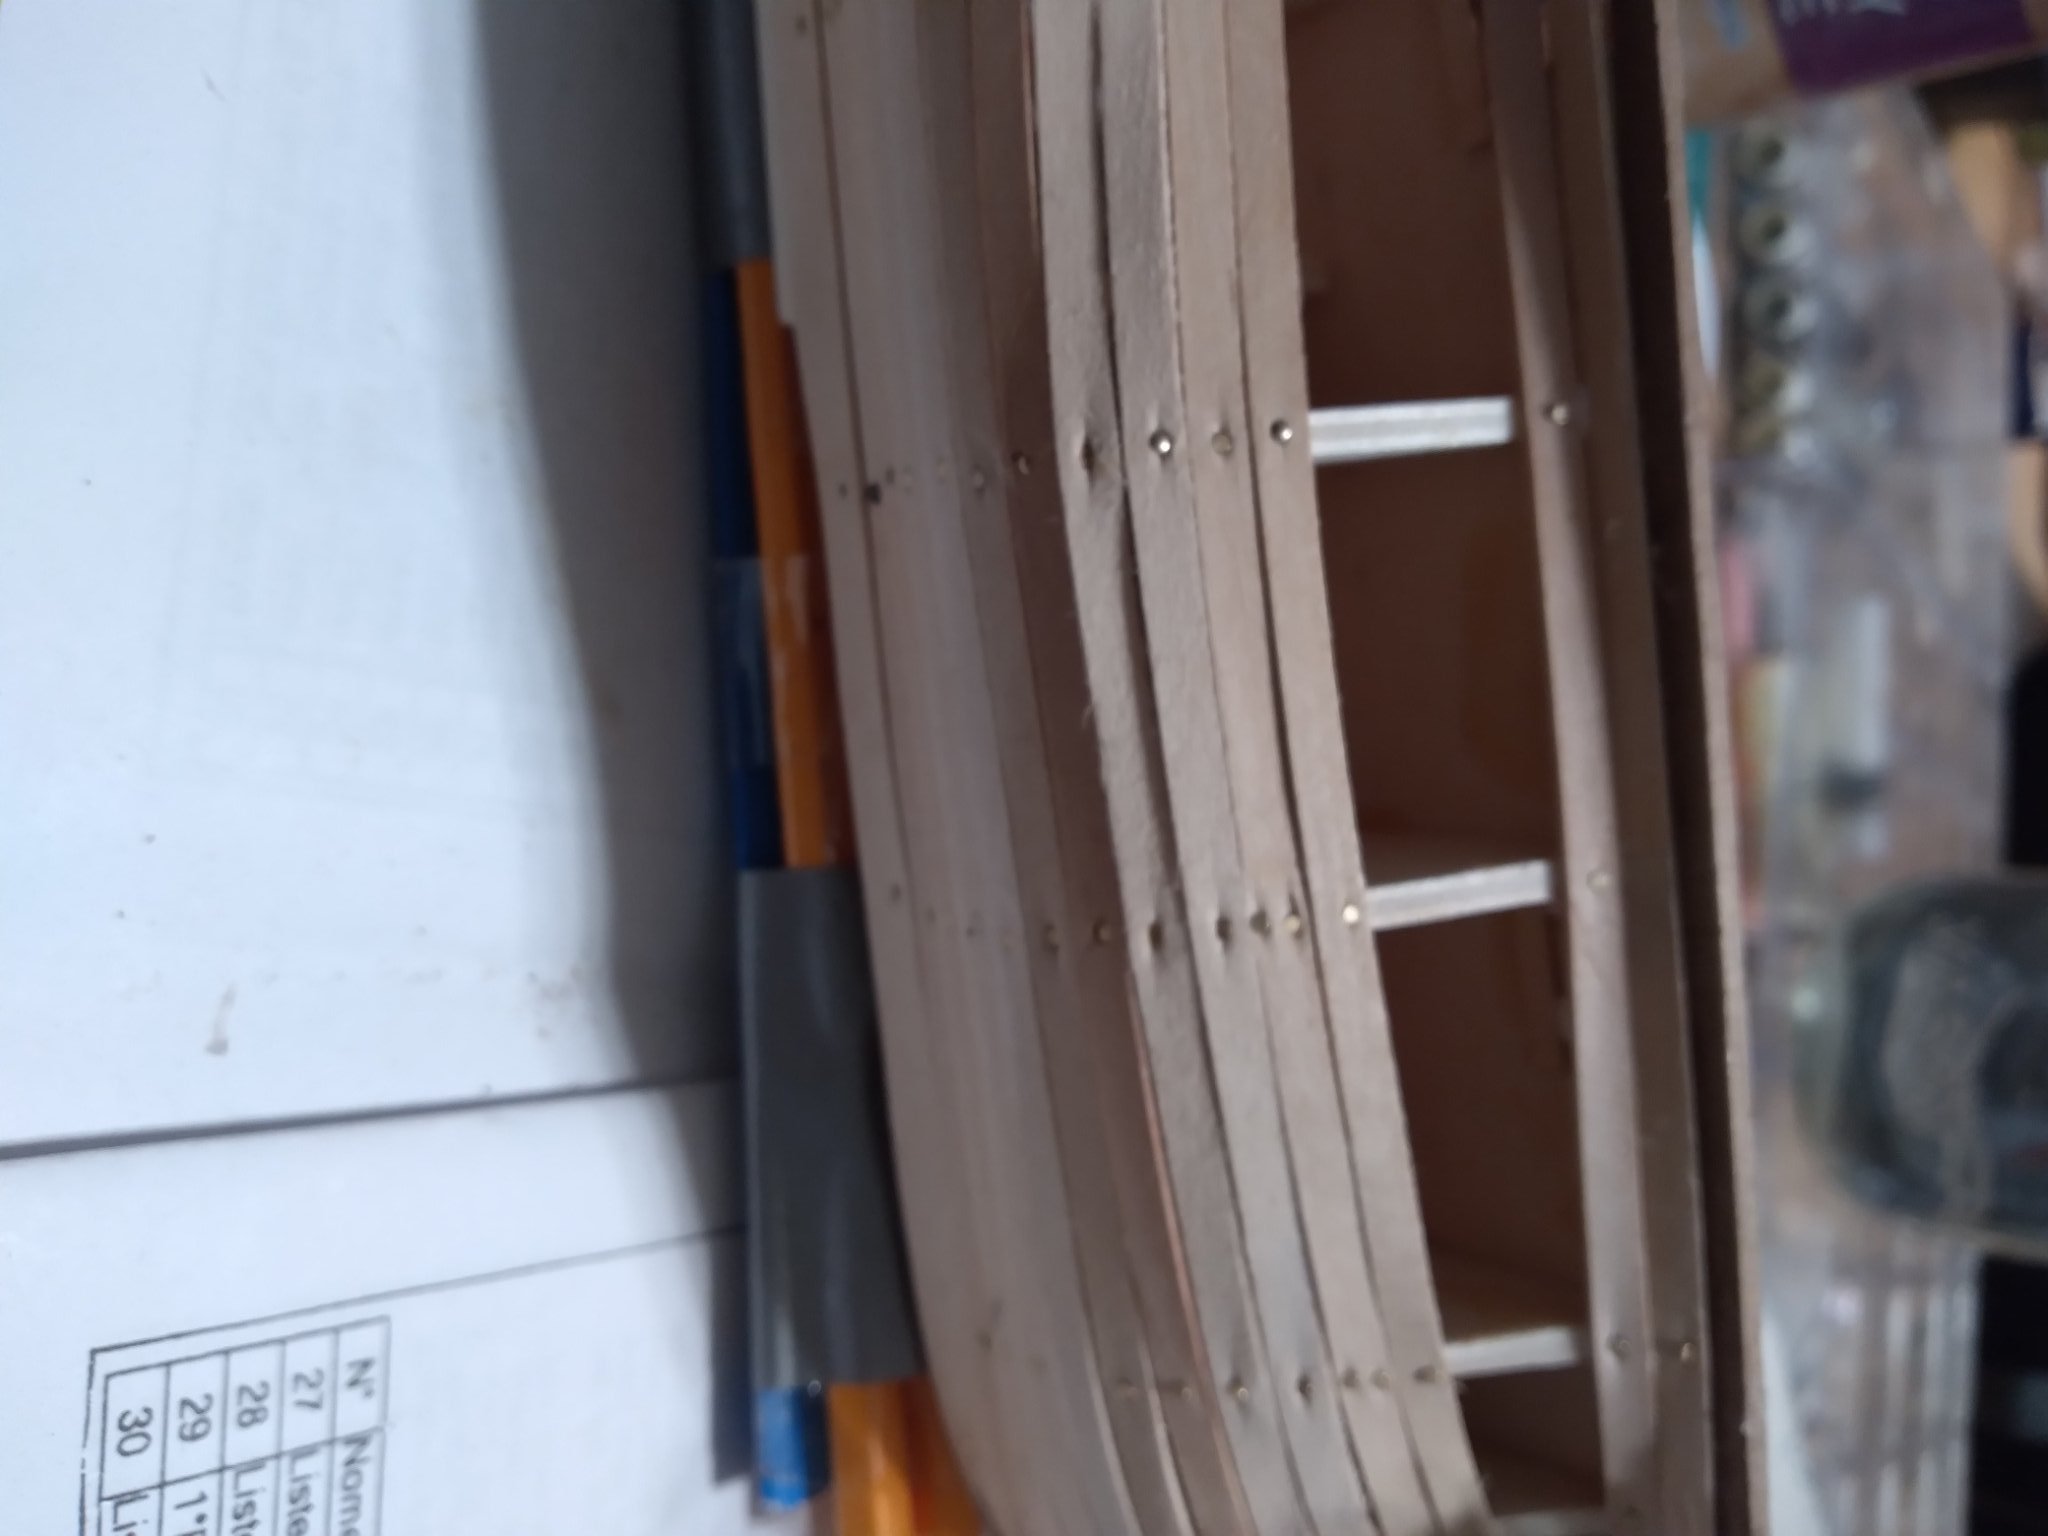
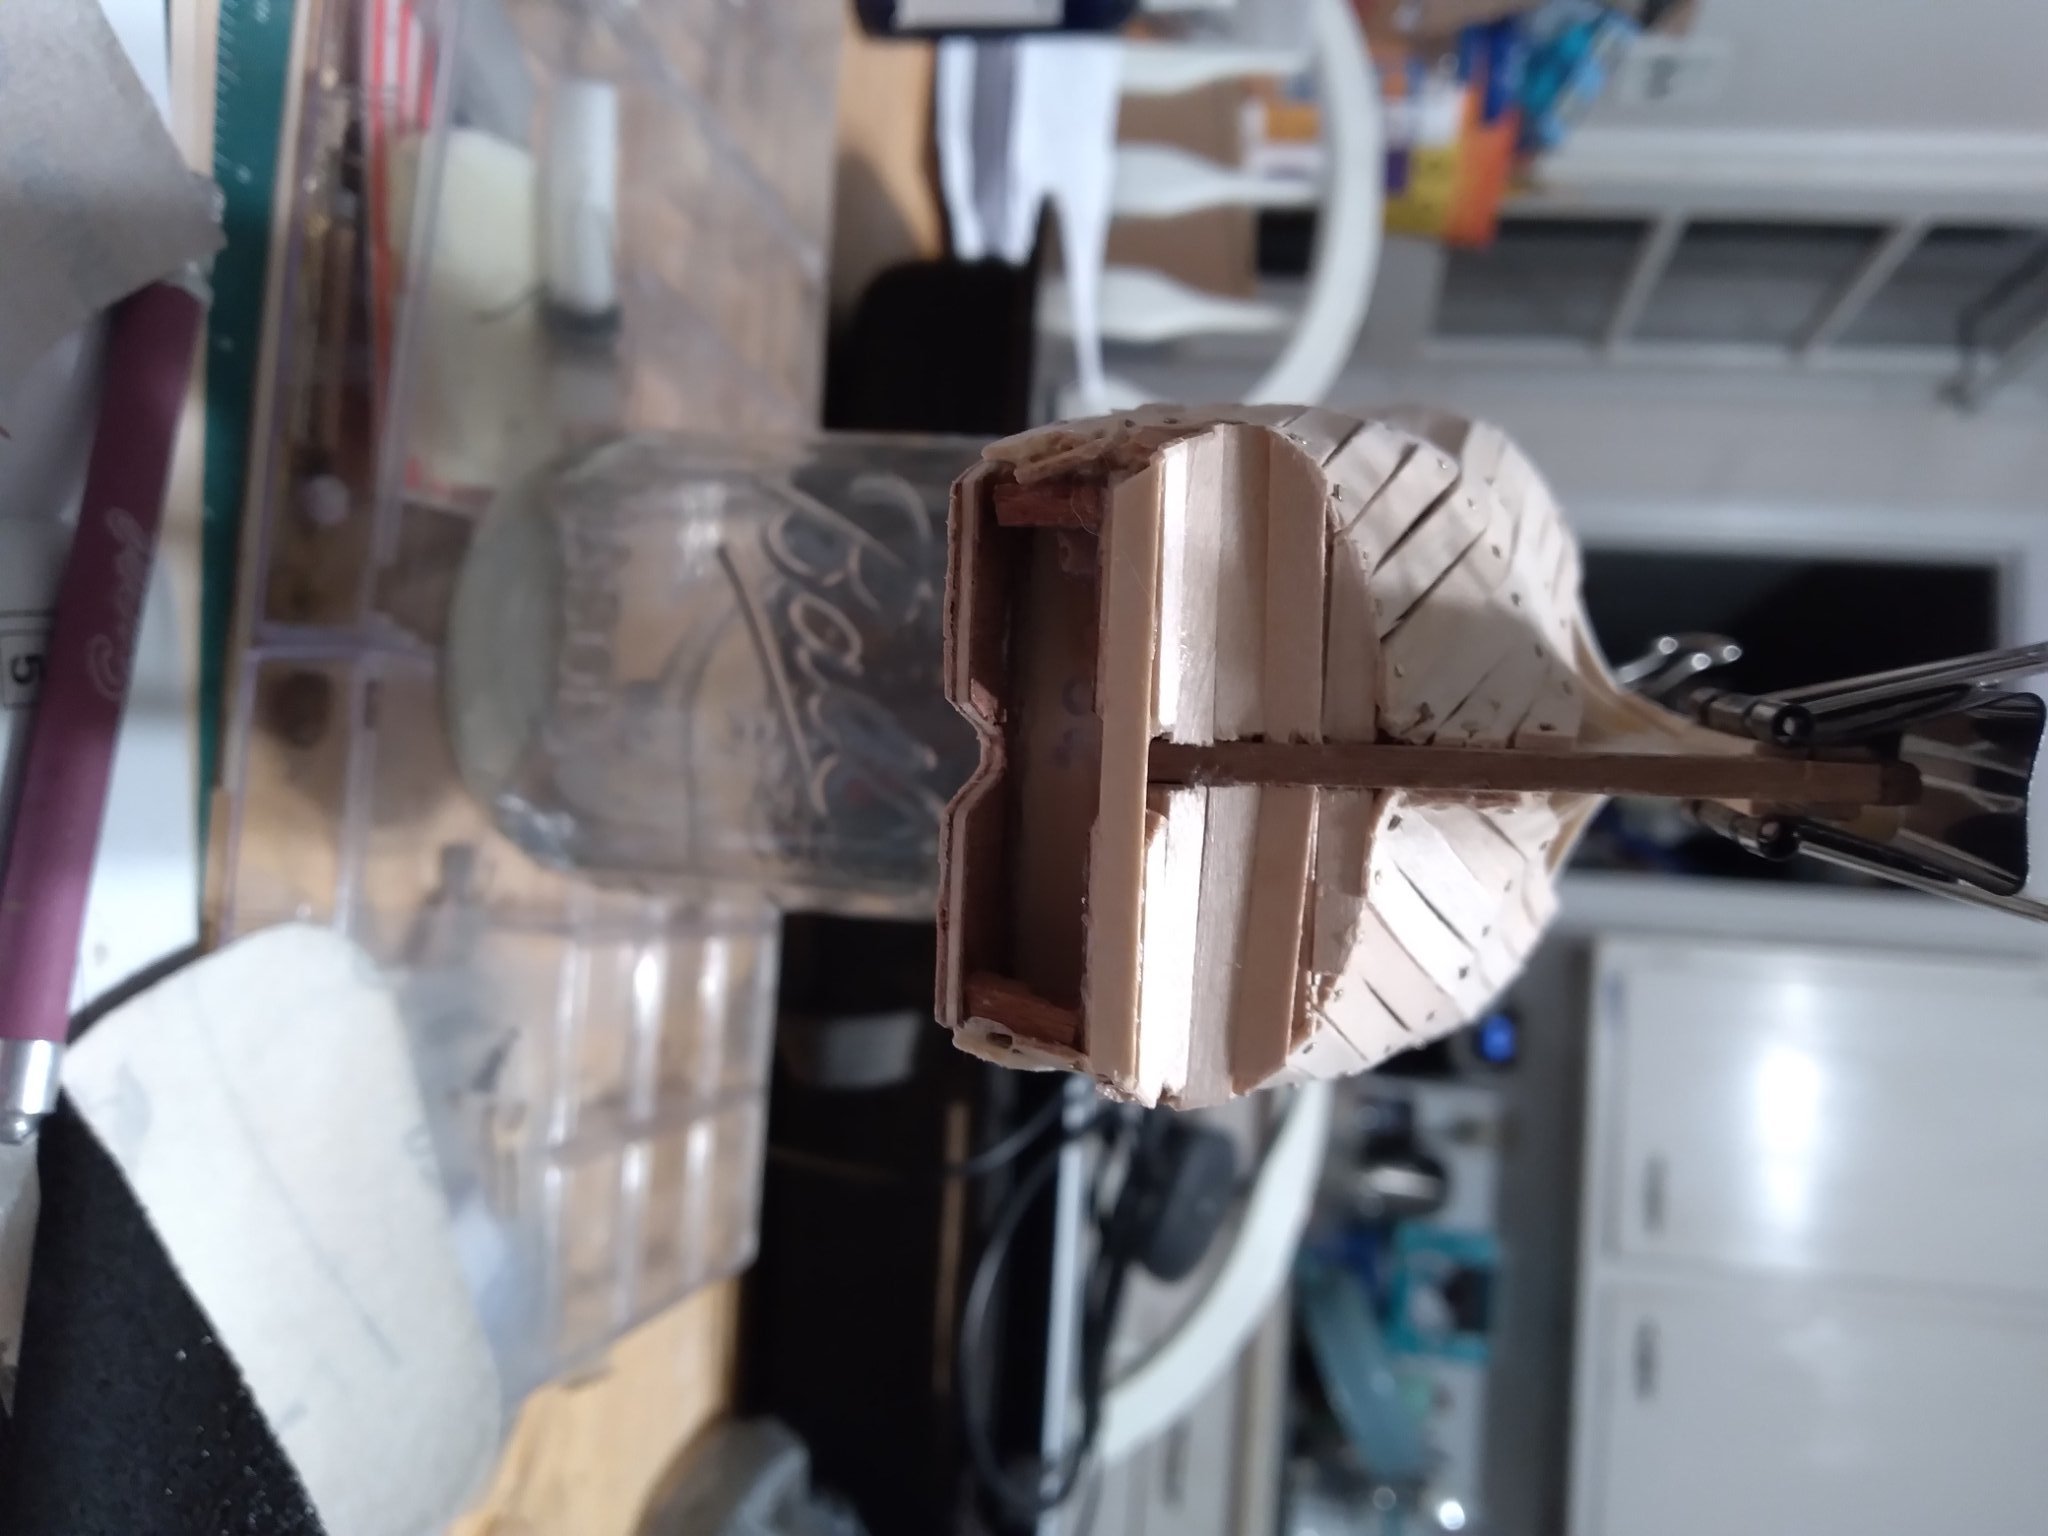
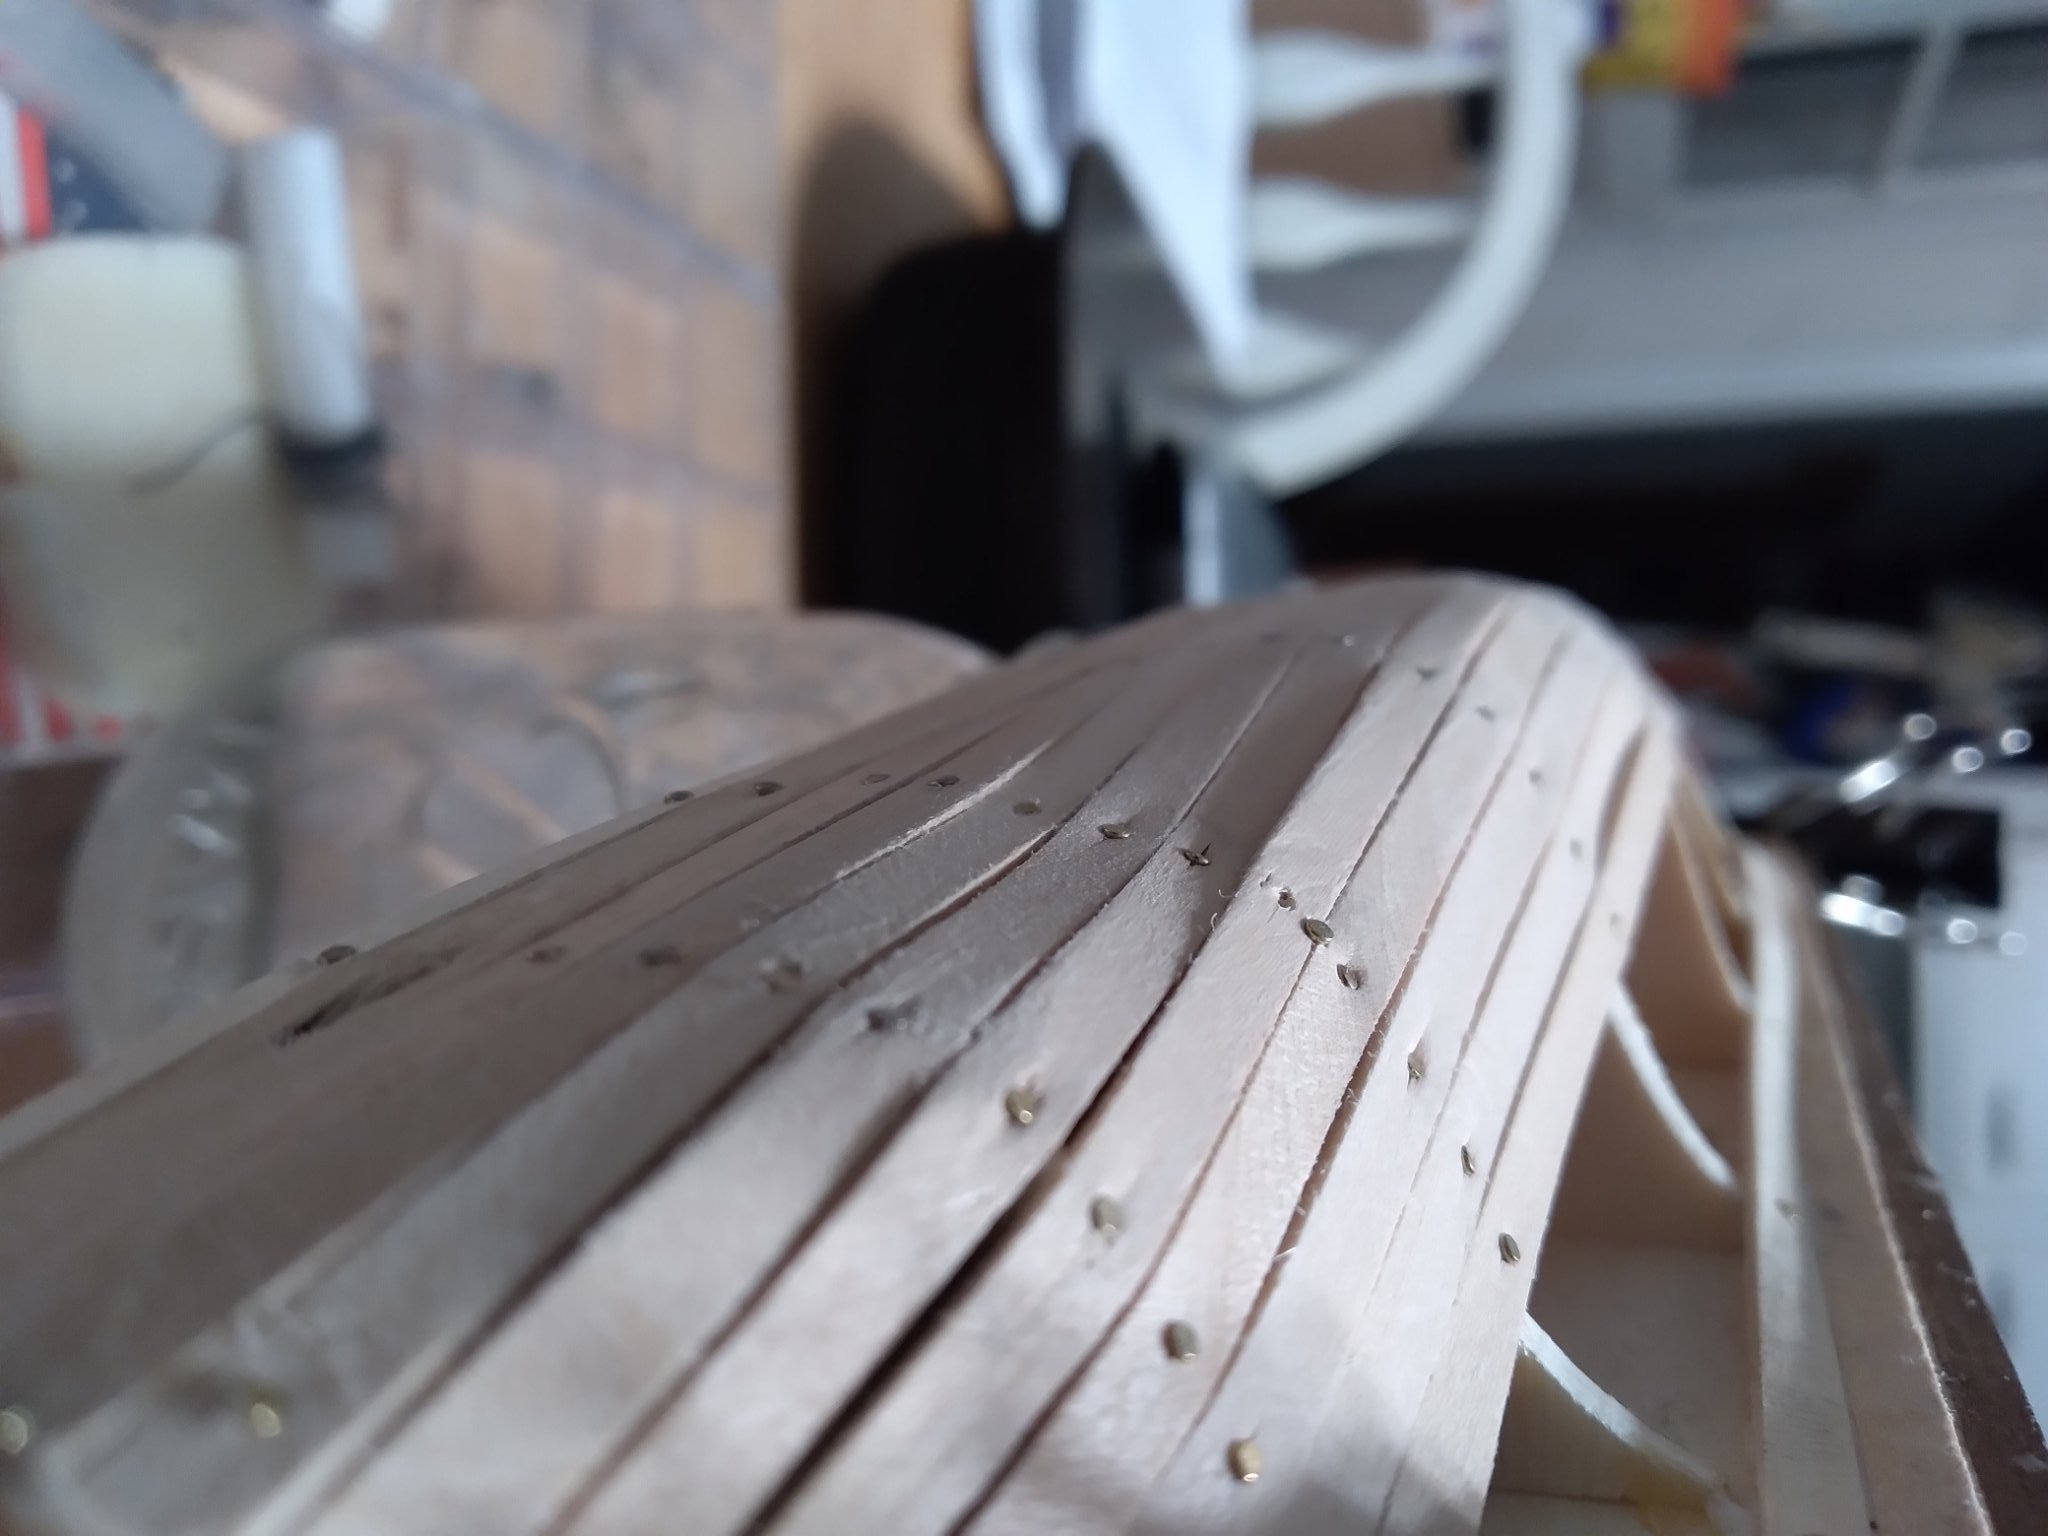
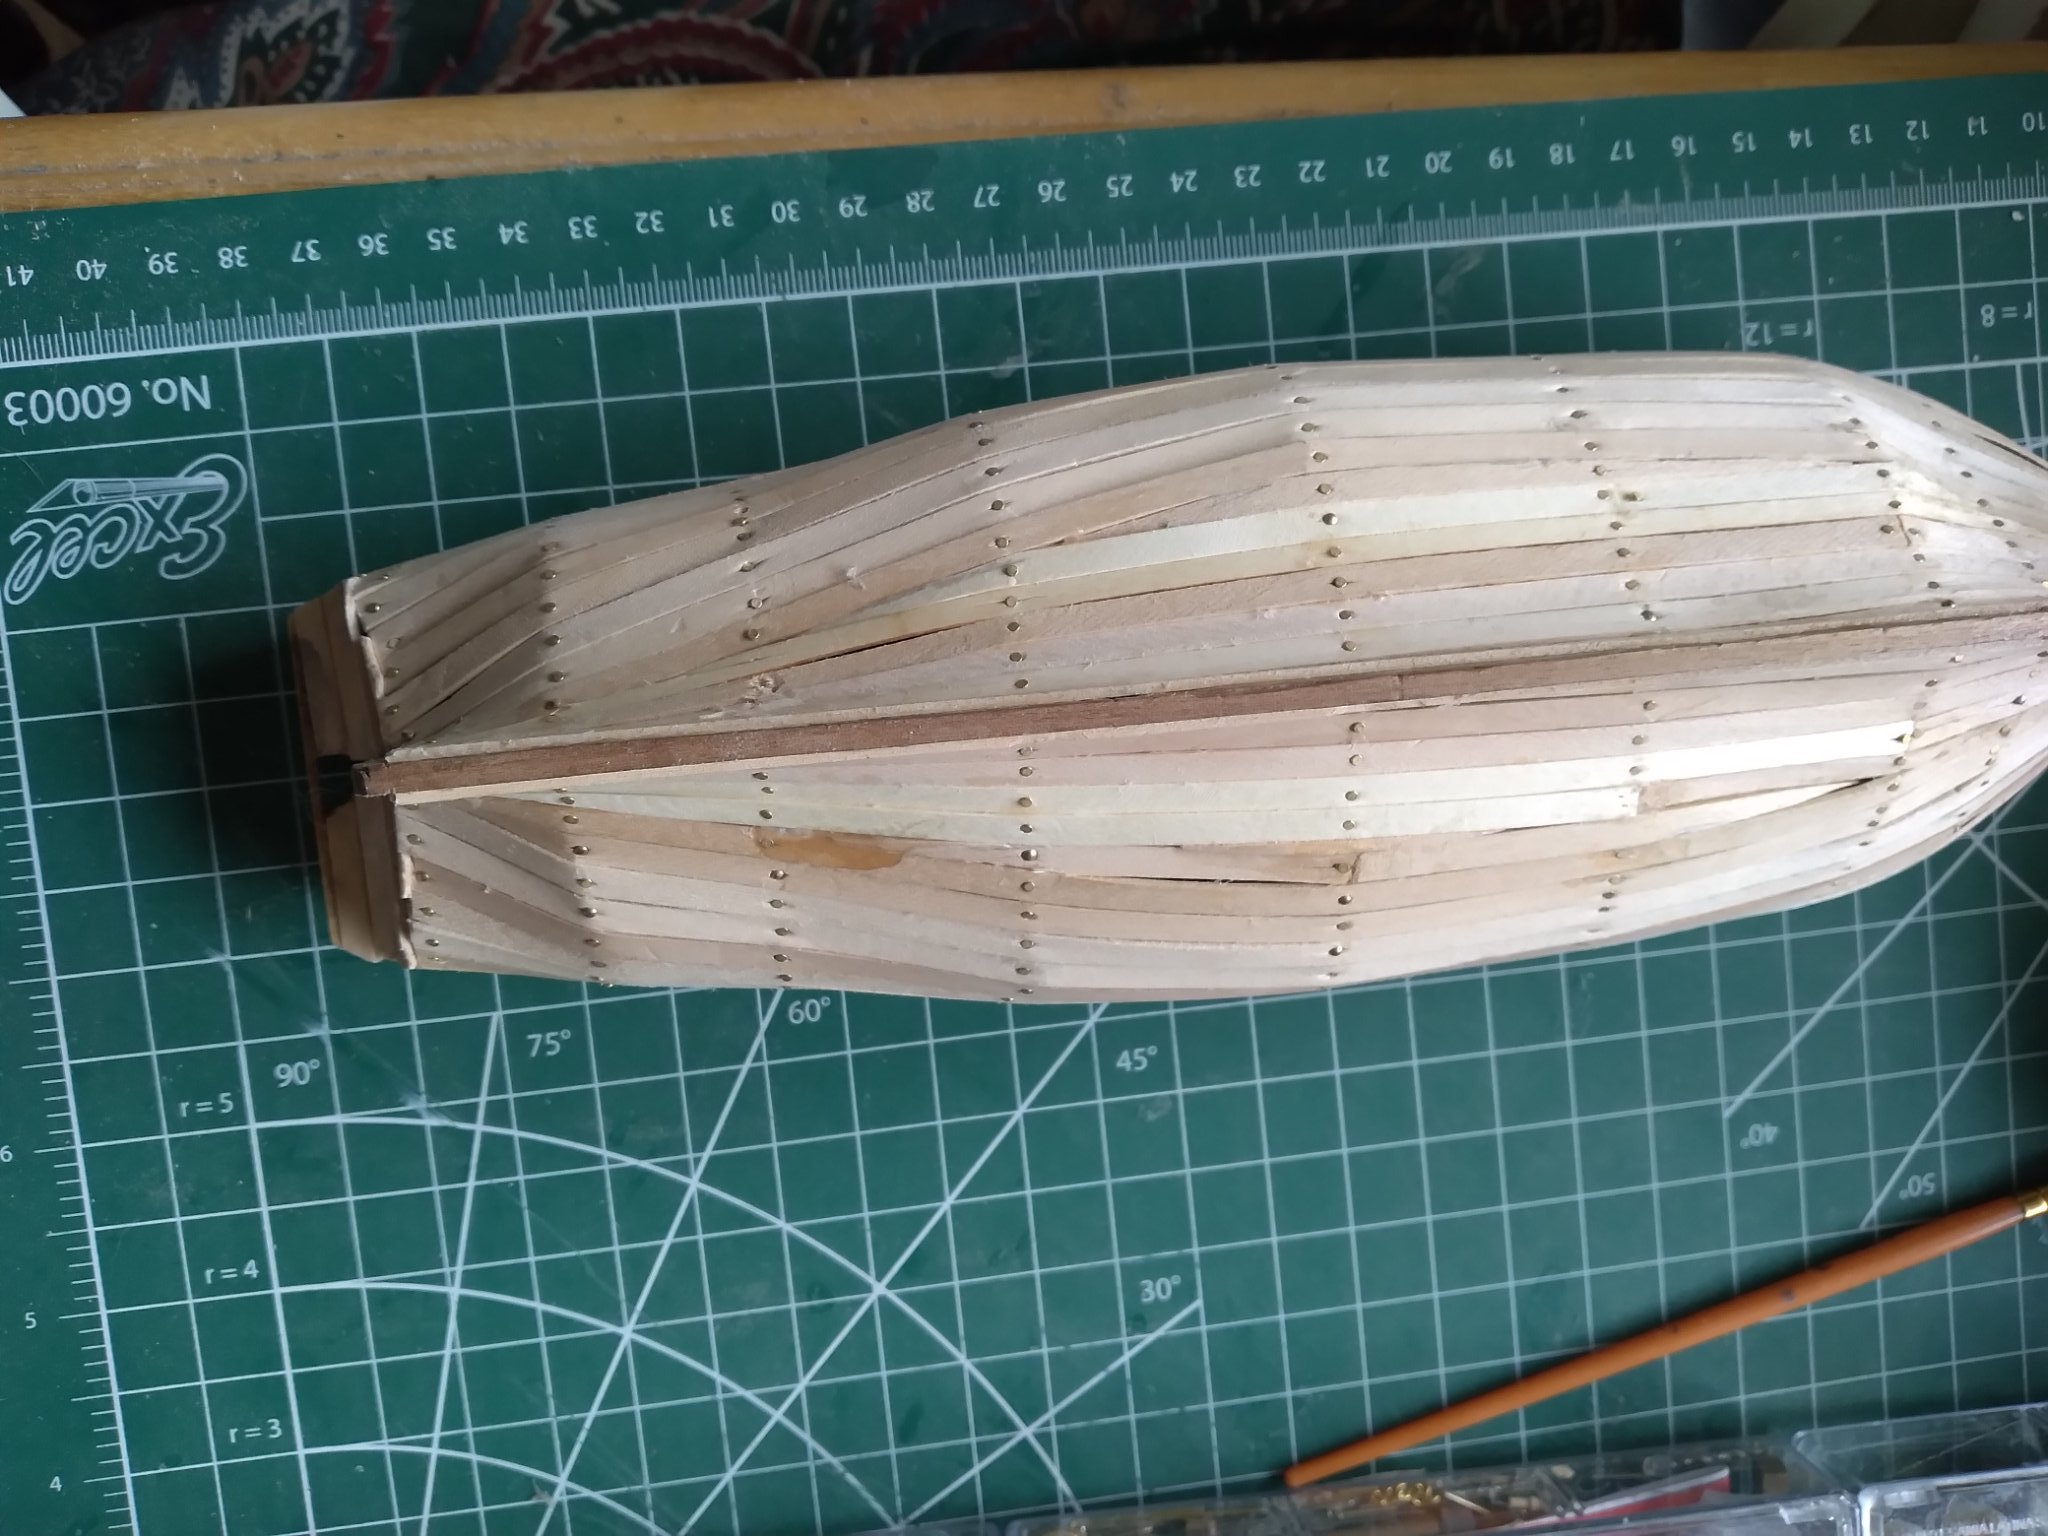
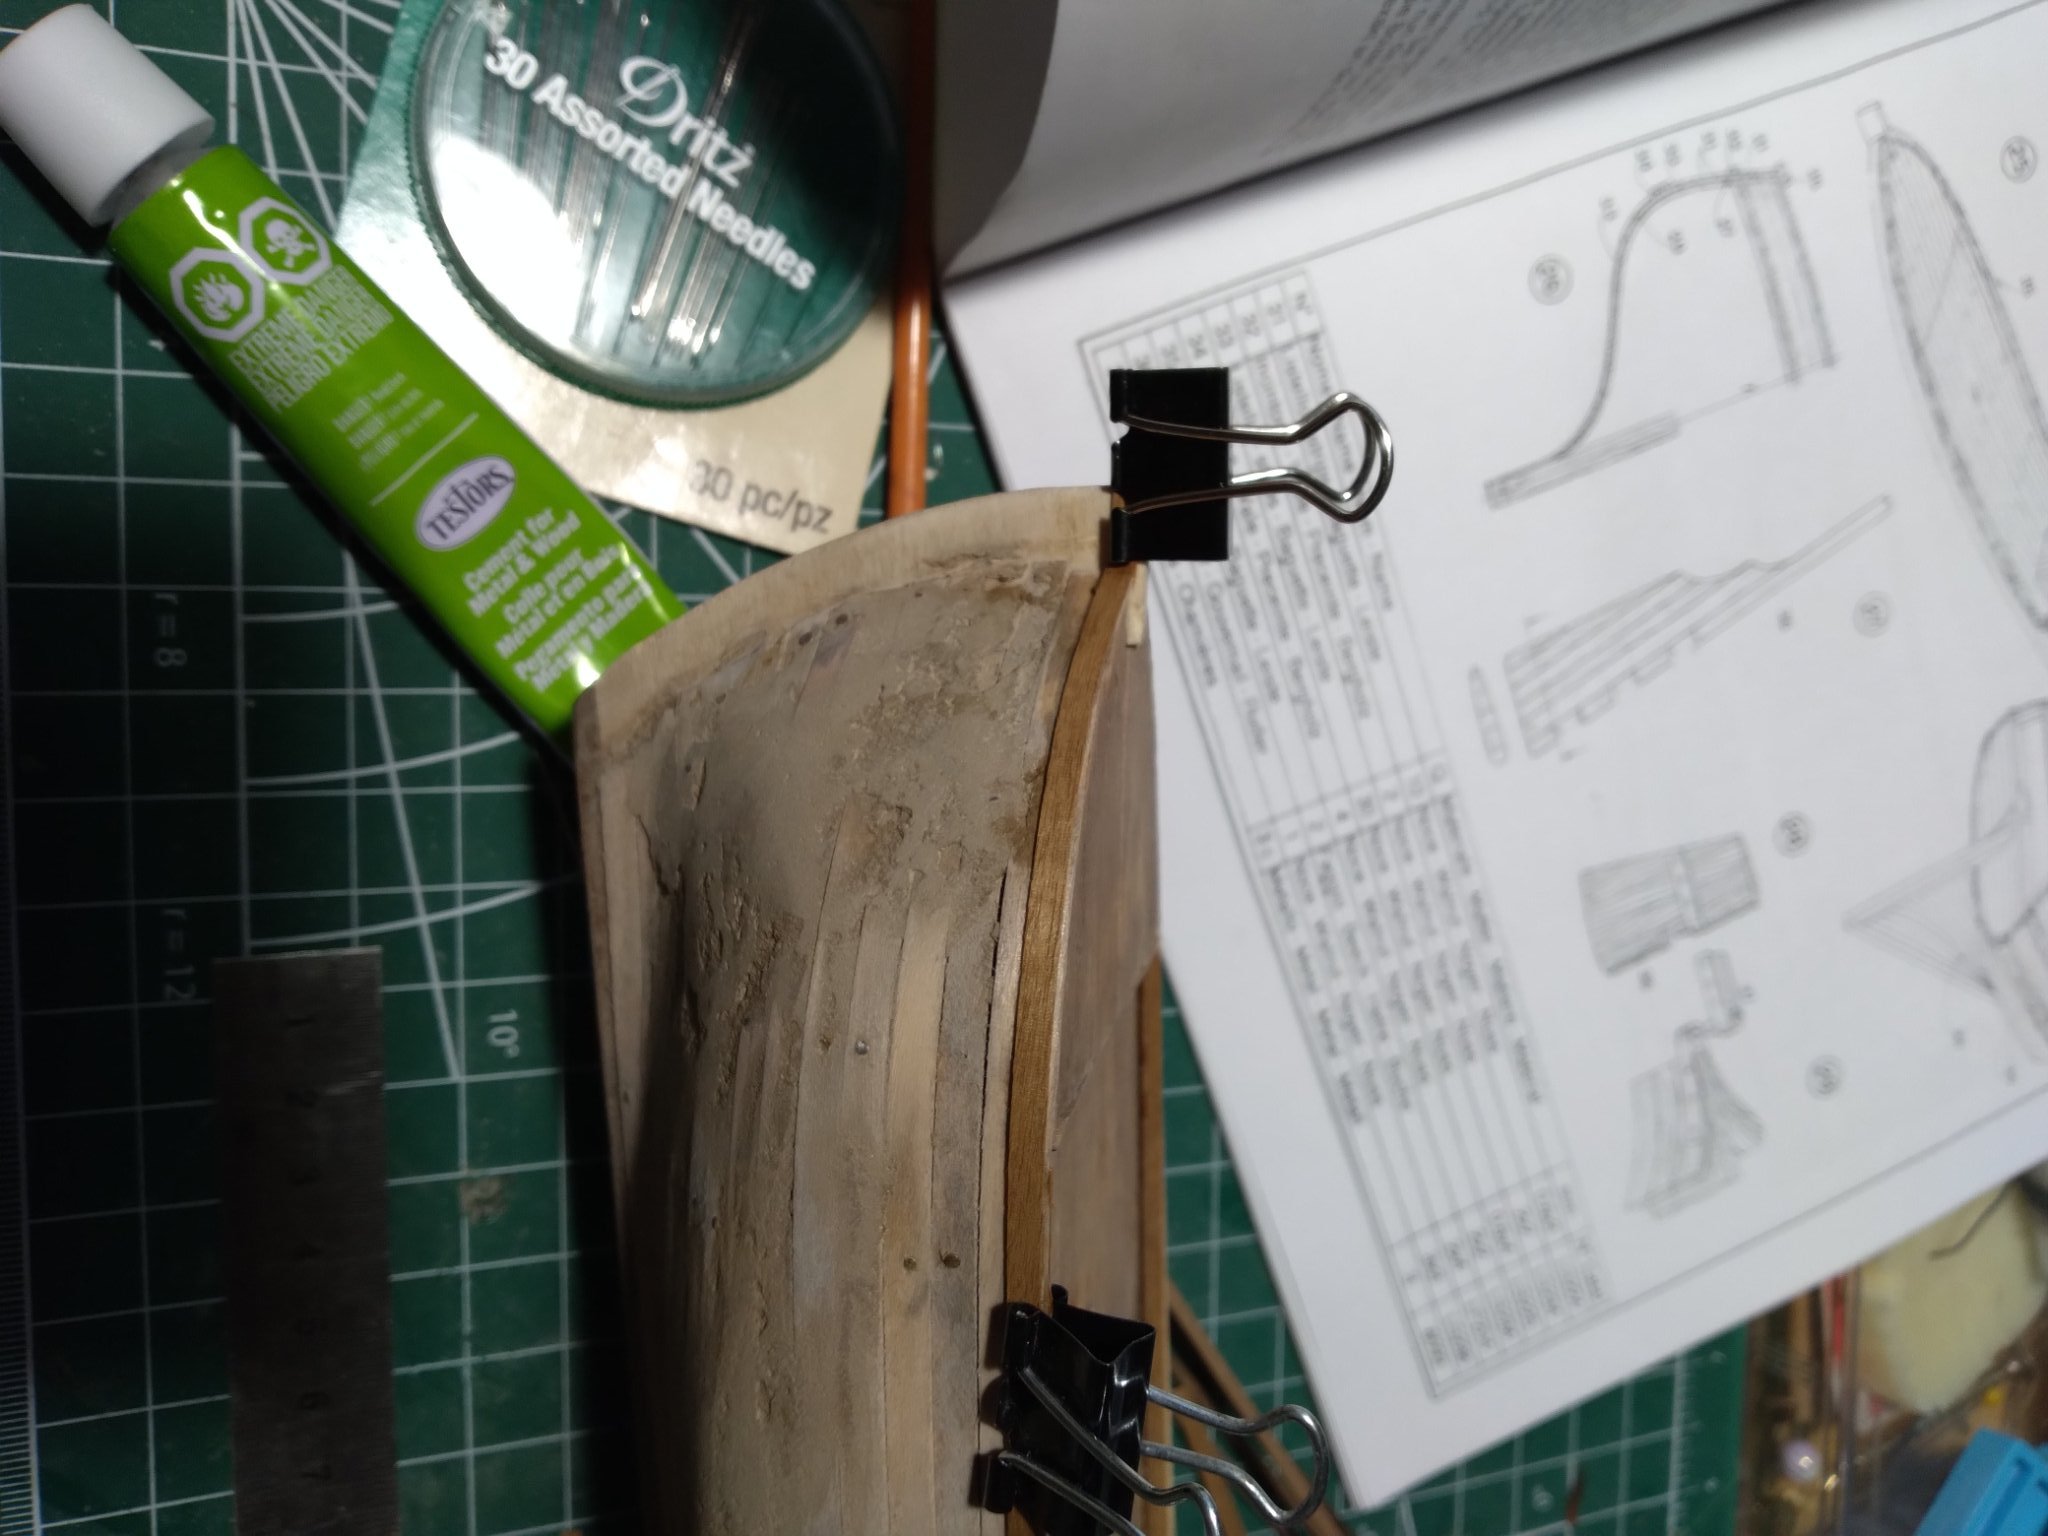
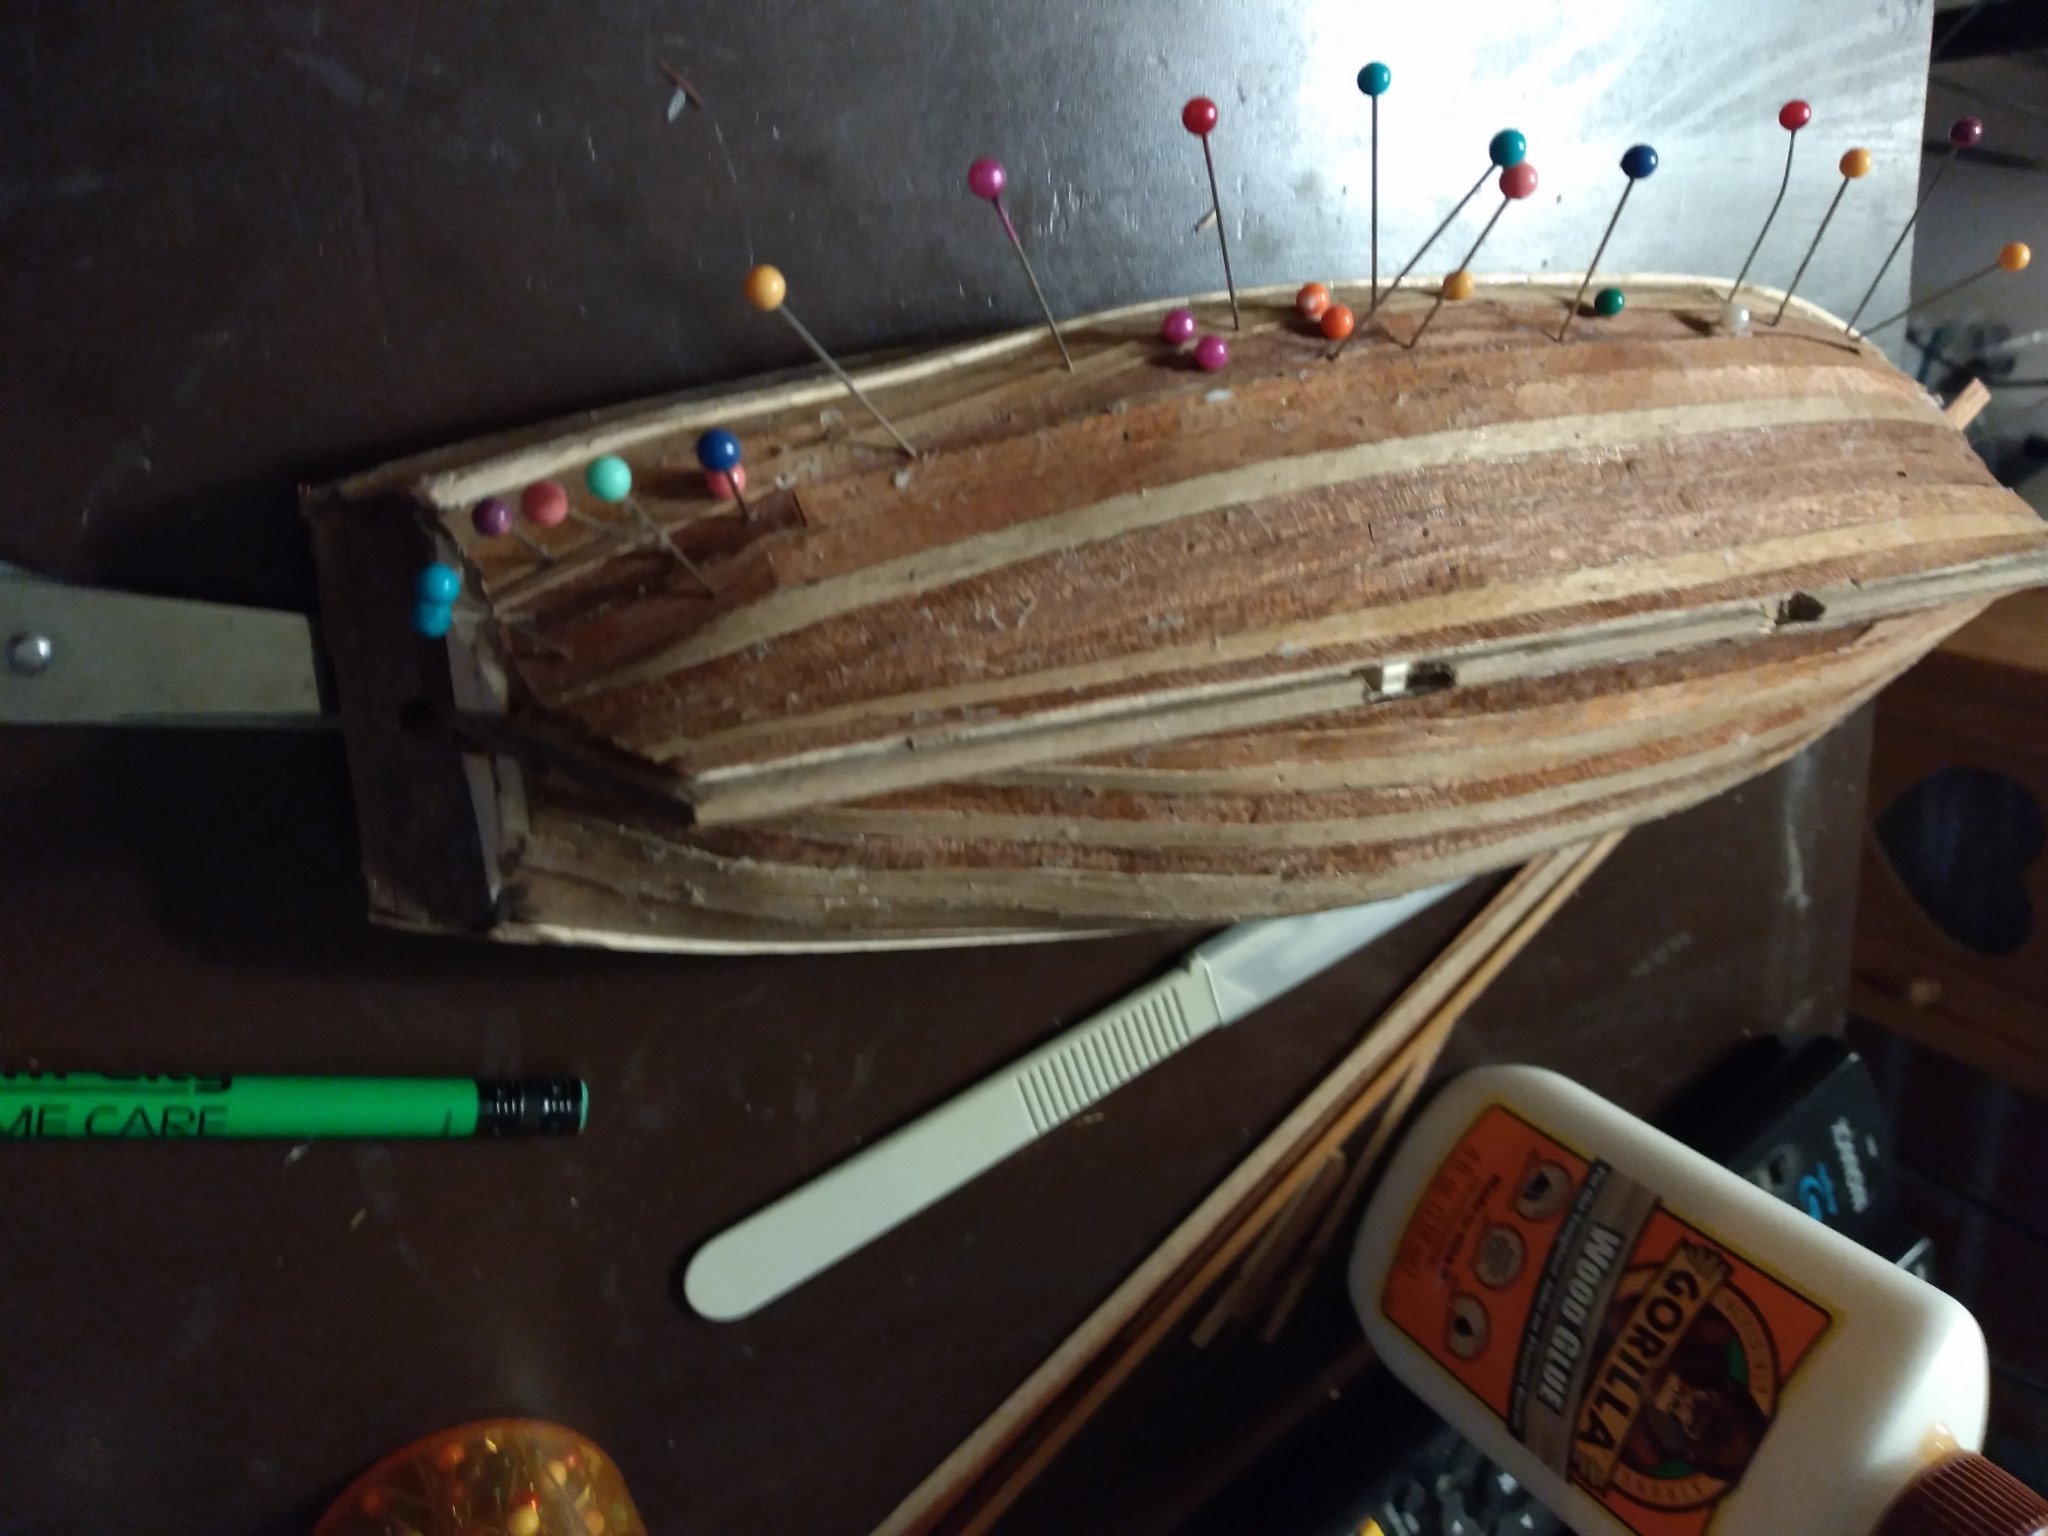
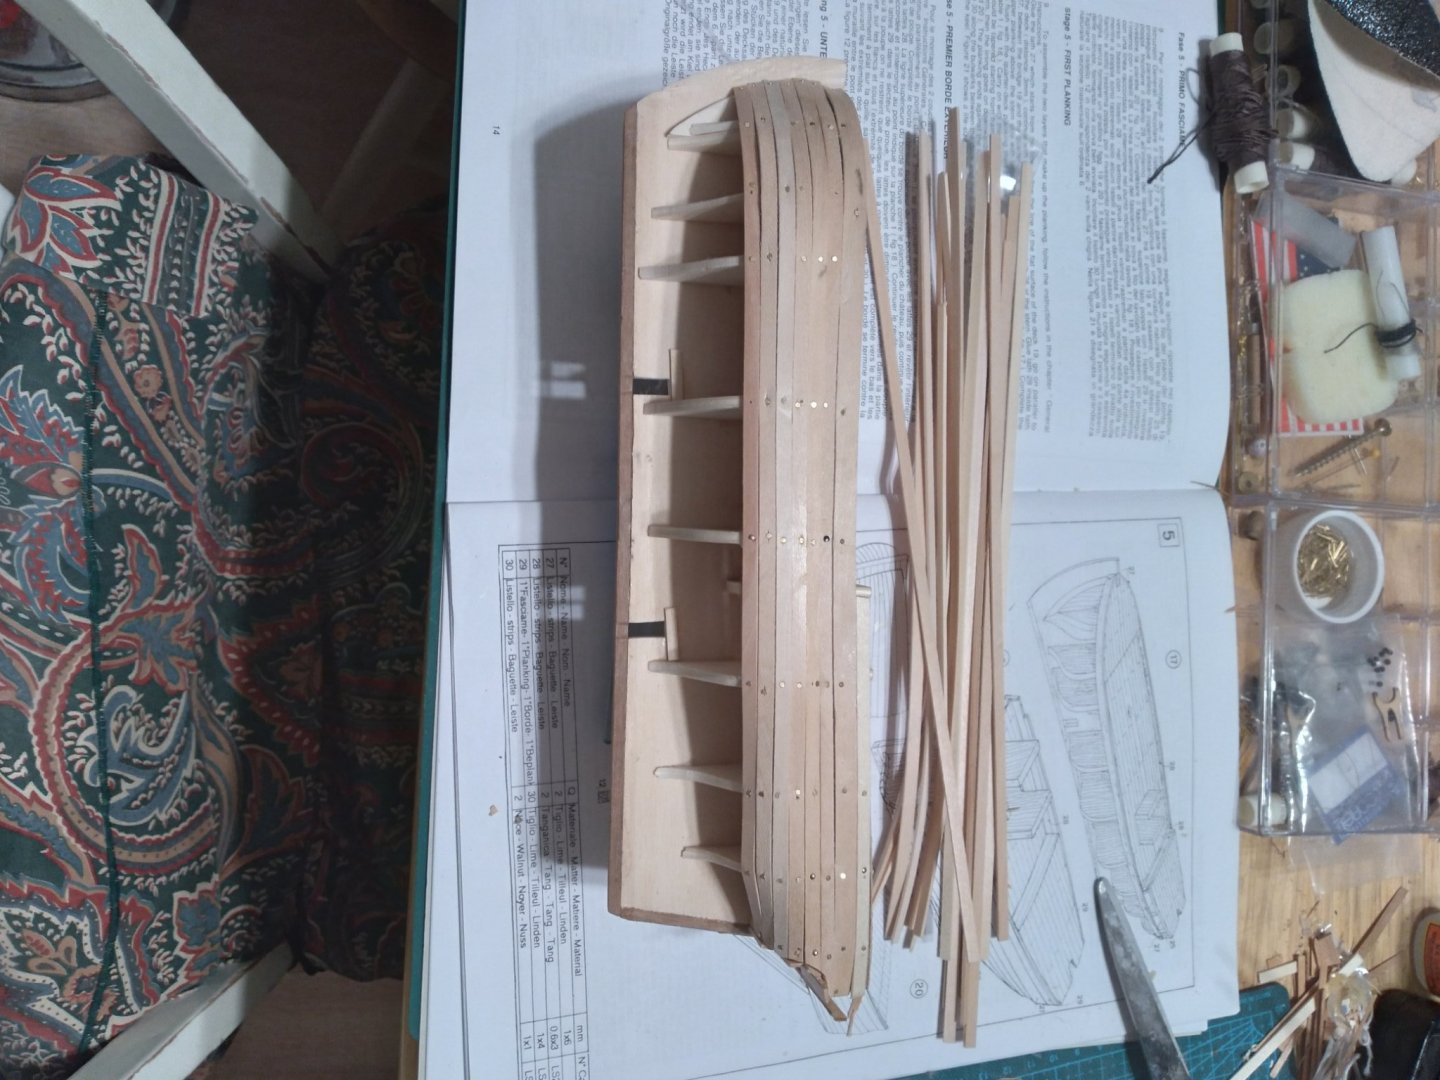
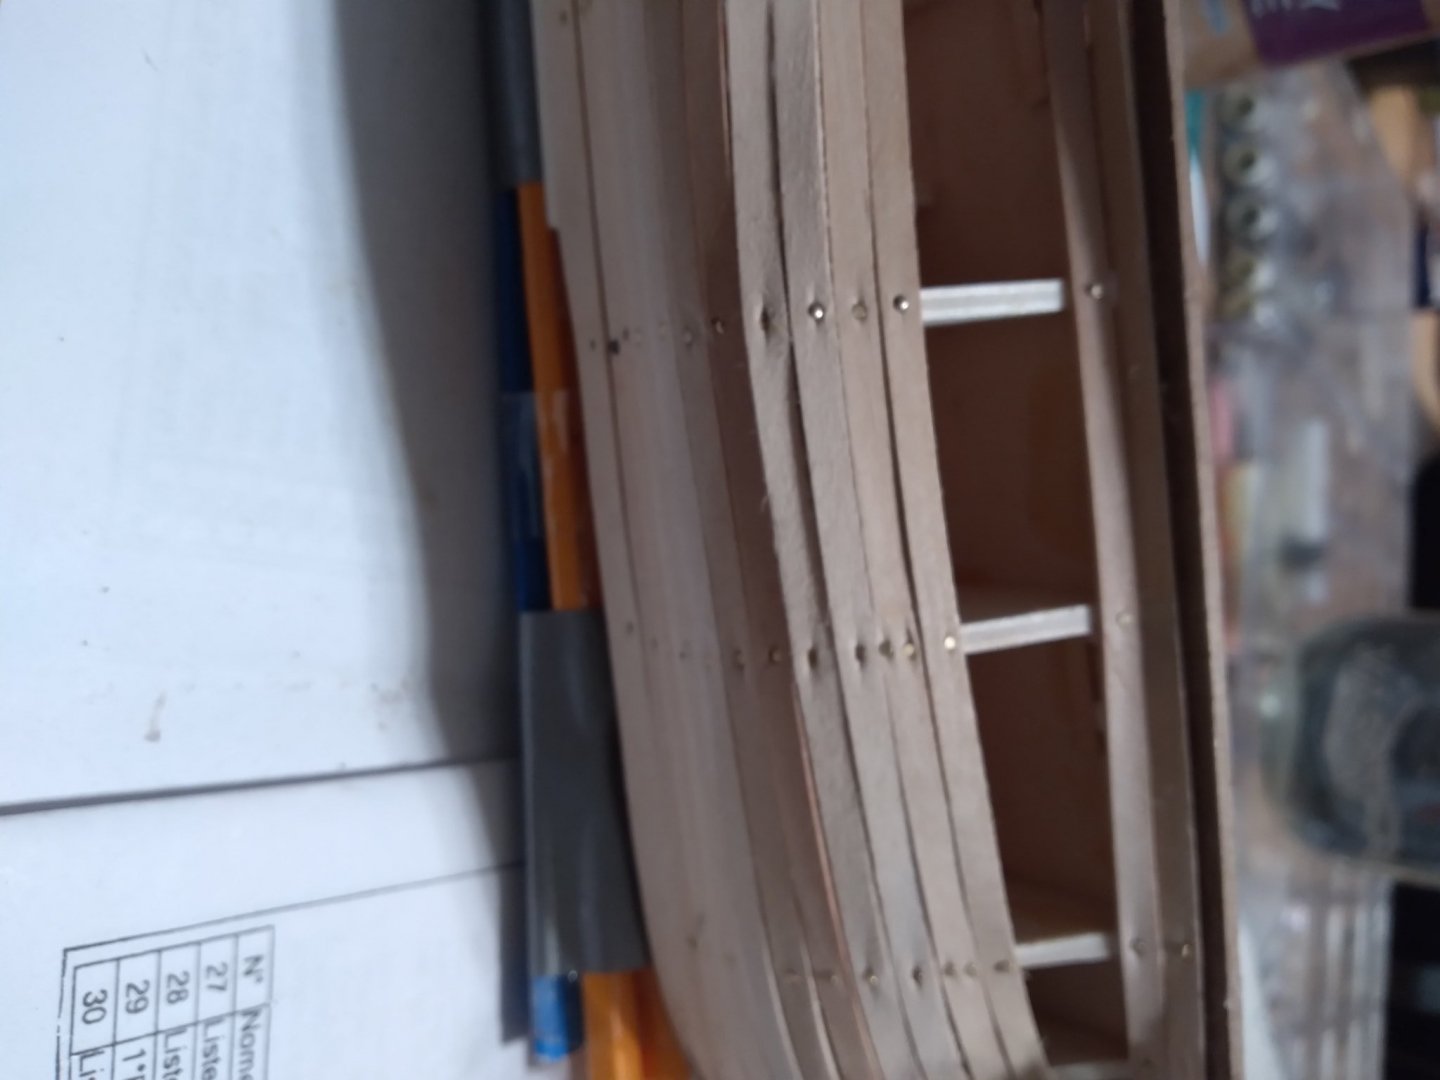
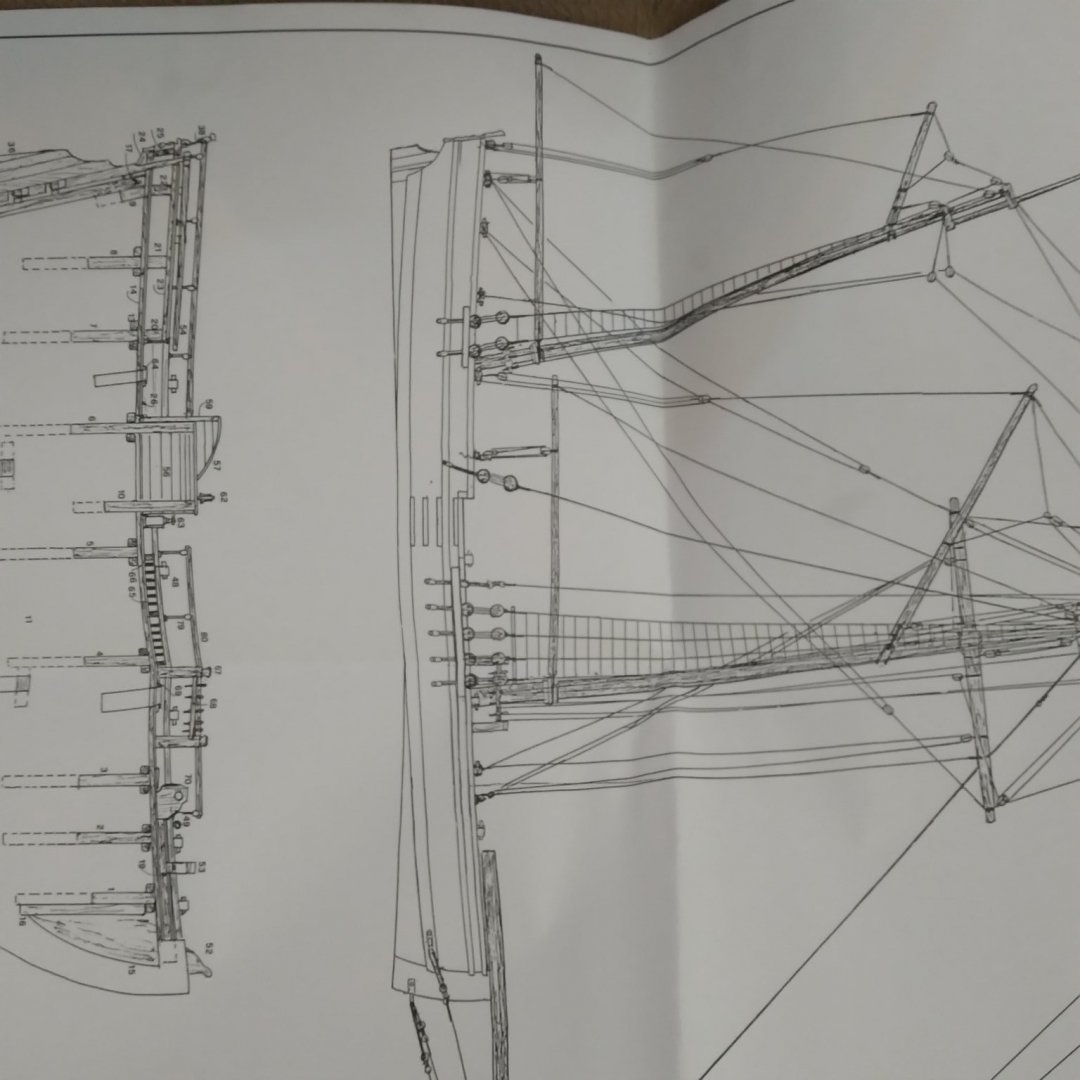
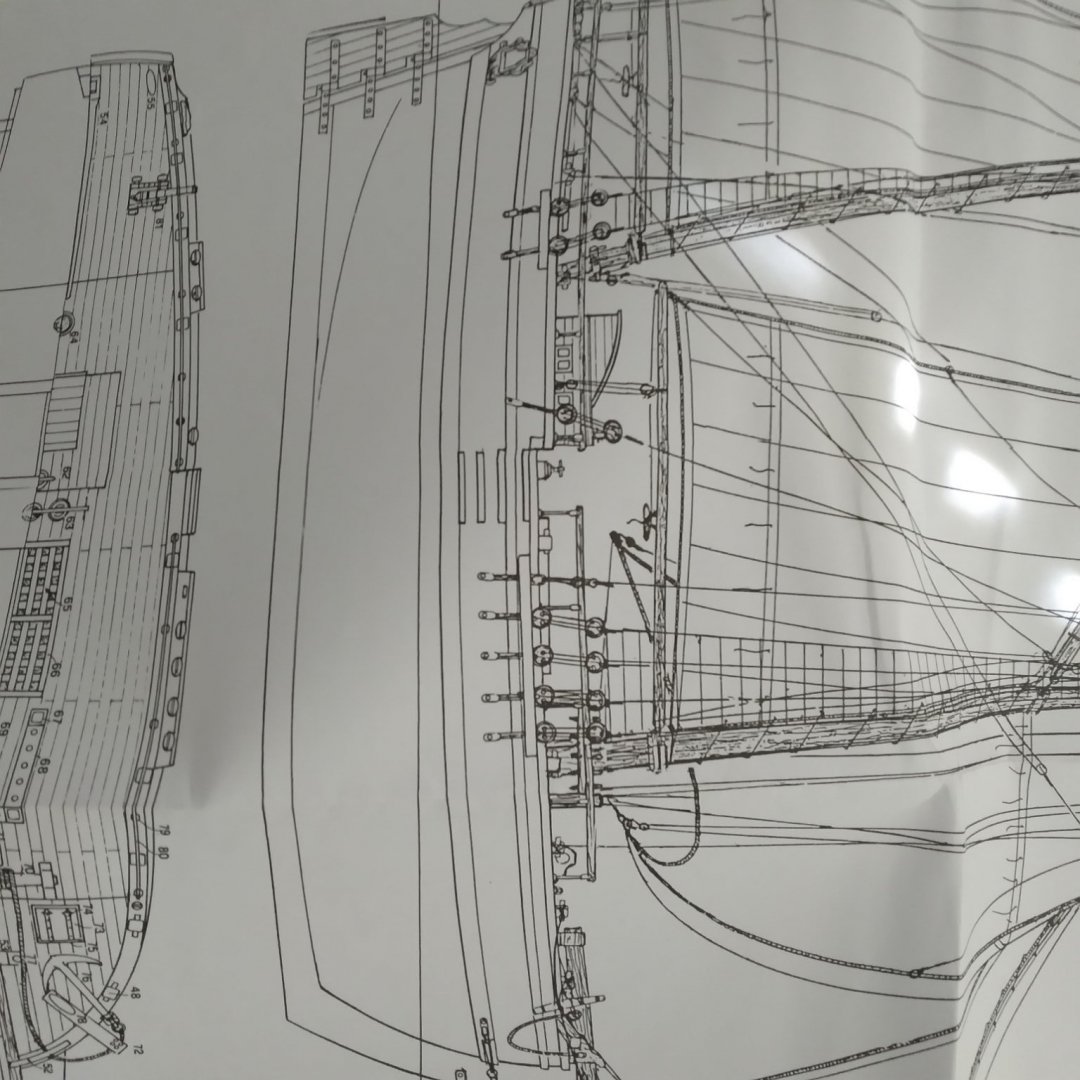
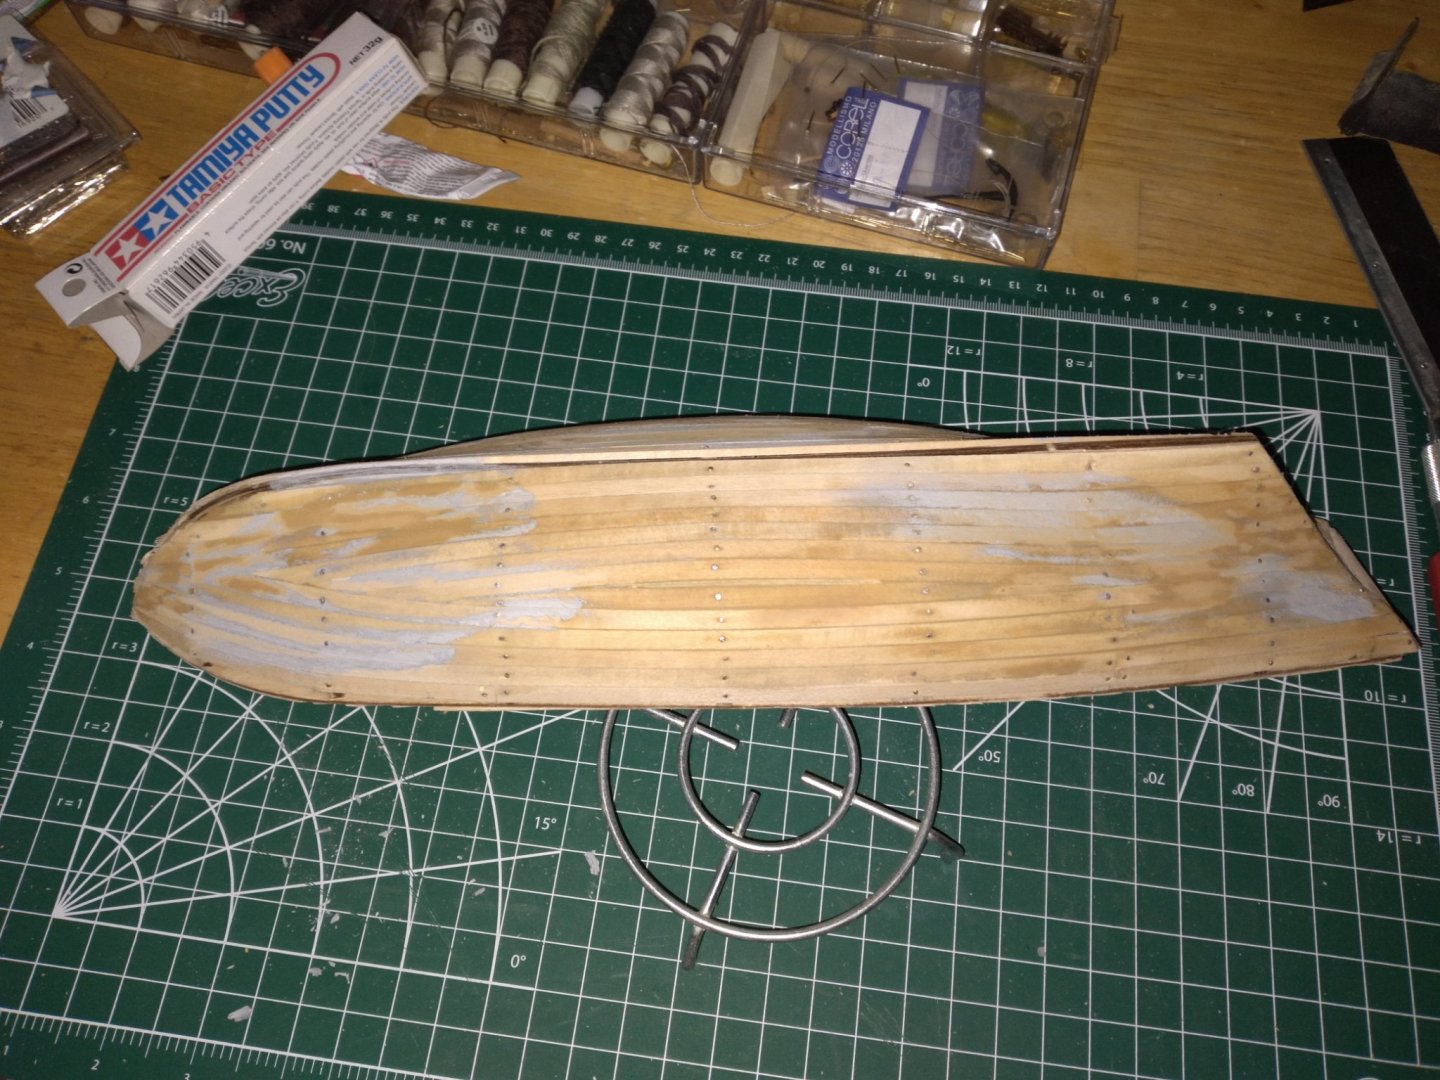
I started "kit bashing" my Corel kit, the Baltic Ketch "Scotland" to something I like a little better, and could quite possibly happened. I have never worked in 1:64 scale and to be honest, it is driving me bonkers. Here is a photo progression thus far. I thought I had photos showing how warped the keel and the frame was, but I can't seem to find them. I have since unbashed and am building the kit according to the instructions.


-
It is funny you mention "Scratch Build" as I am trying to figure out where to post photos of the build. As a kit build or with the mods as a scratch build.
-
I think, though not sure, it is a law that they can't be on it. Although I don't know of if it is a German, European, or American law. I know that the symbol was perverted, but for historical accuracy?
-
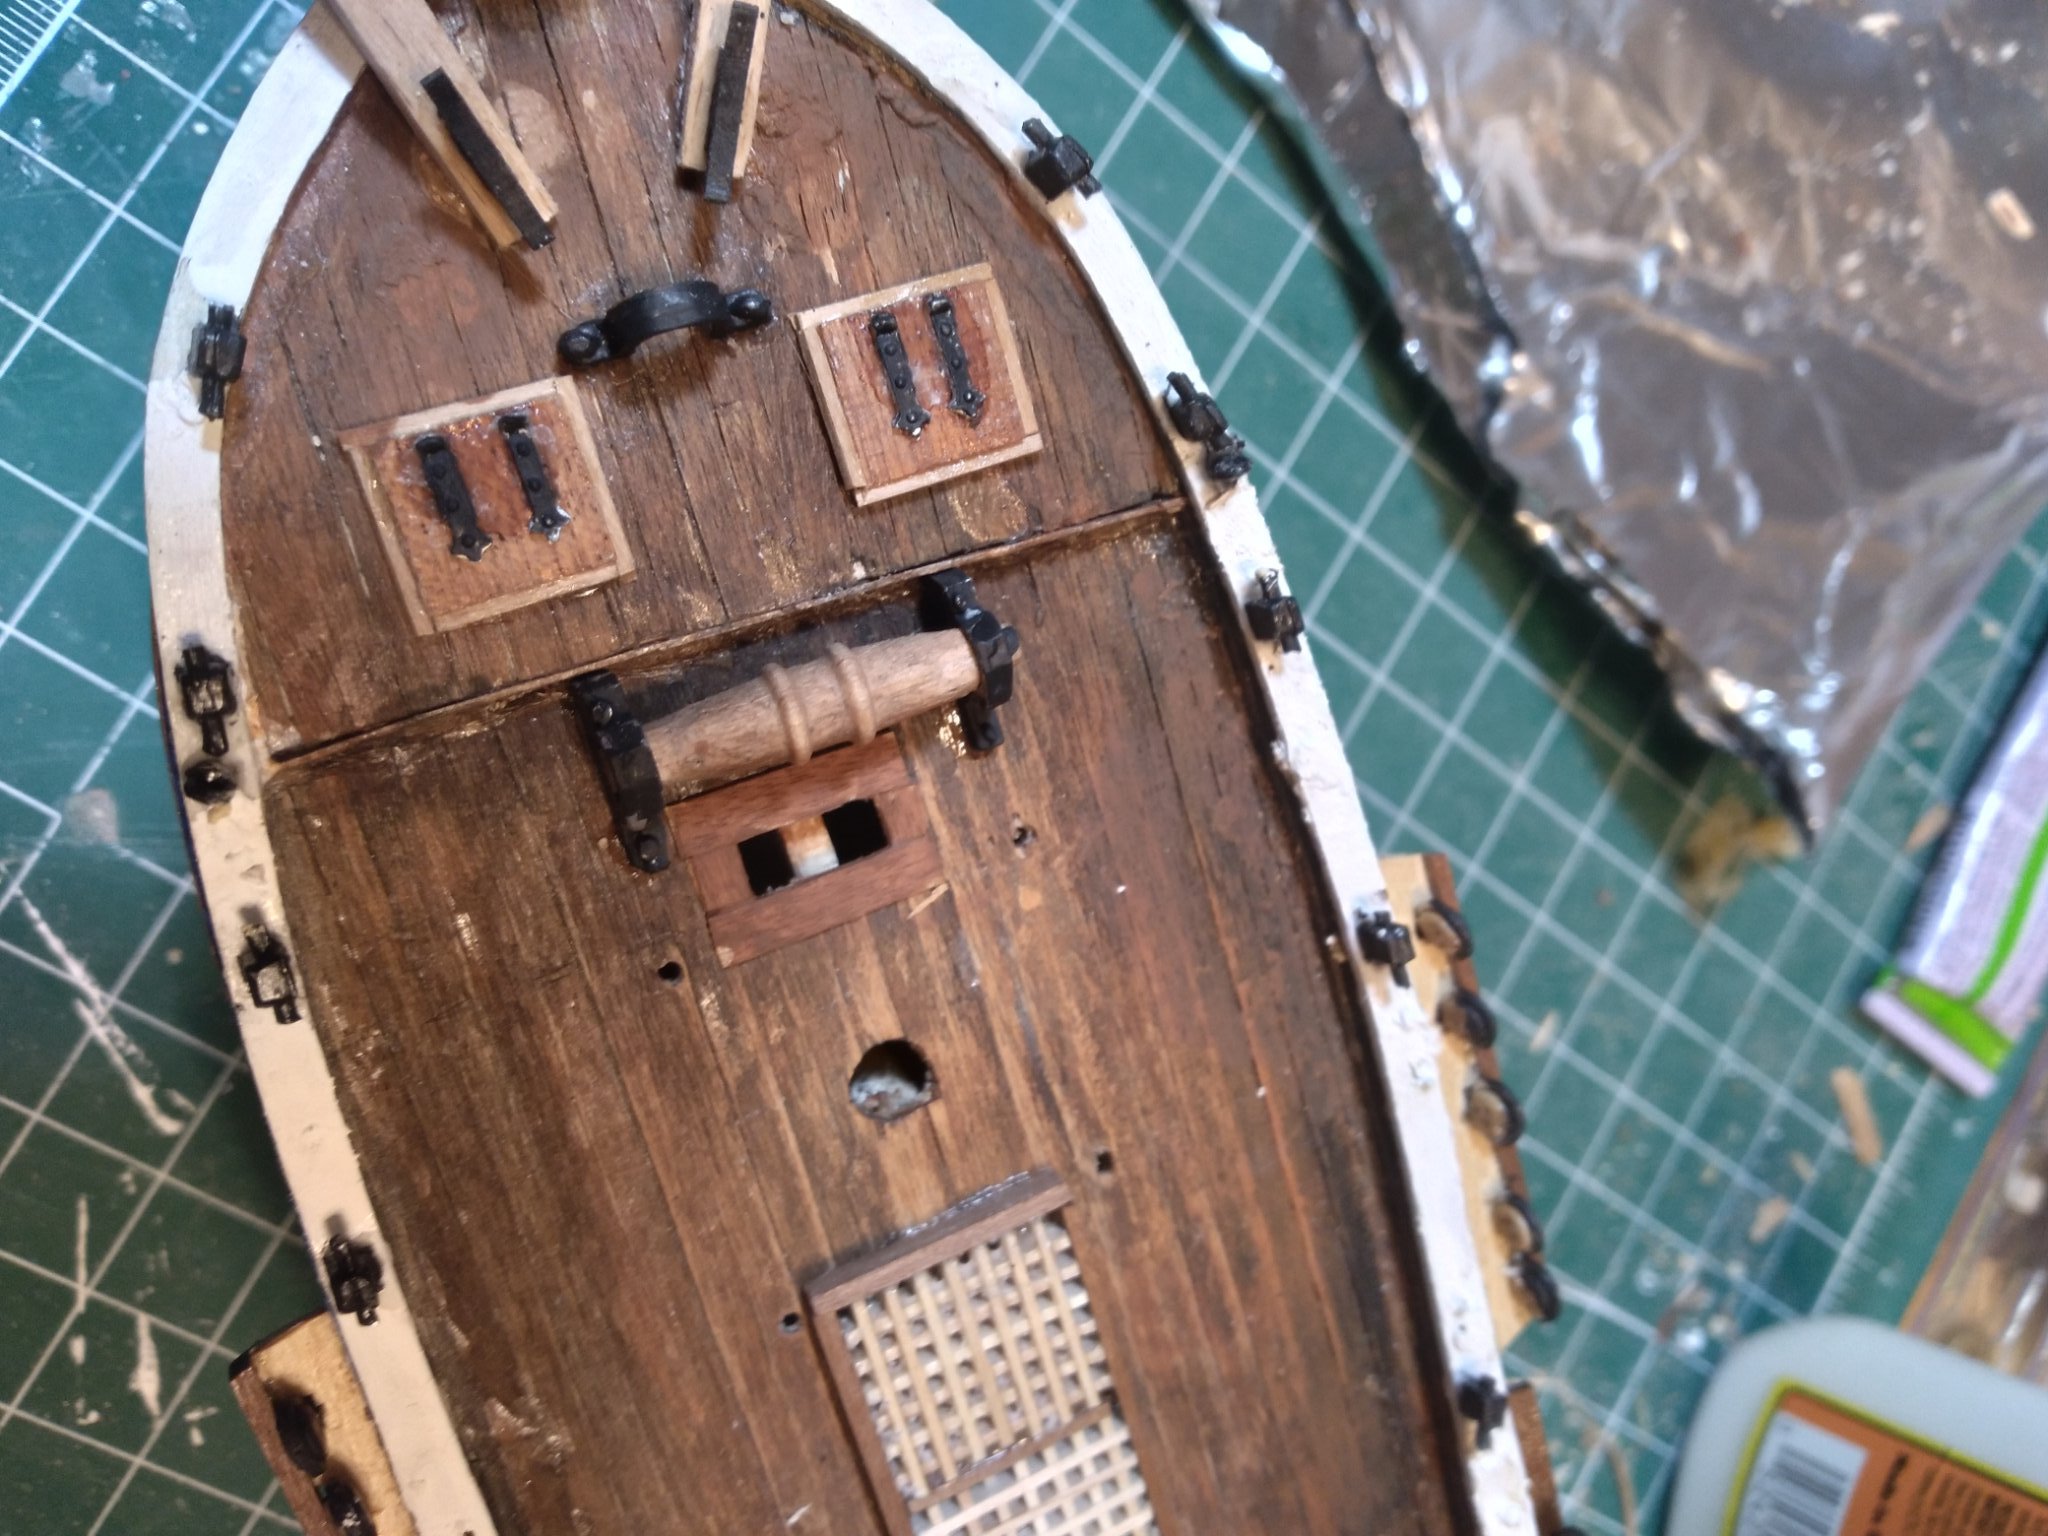
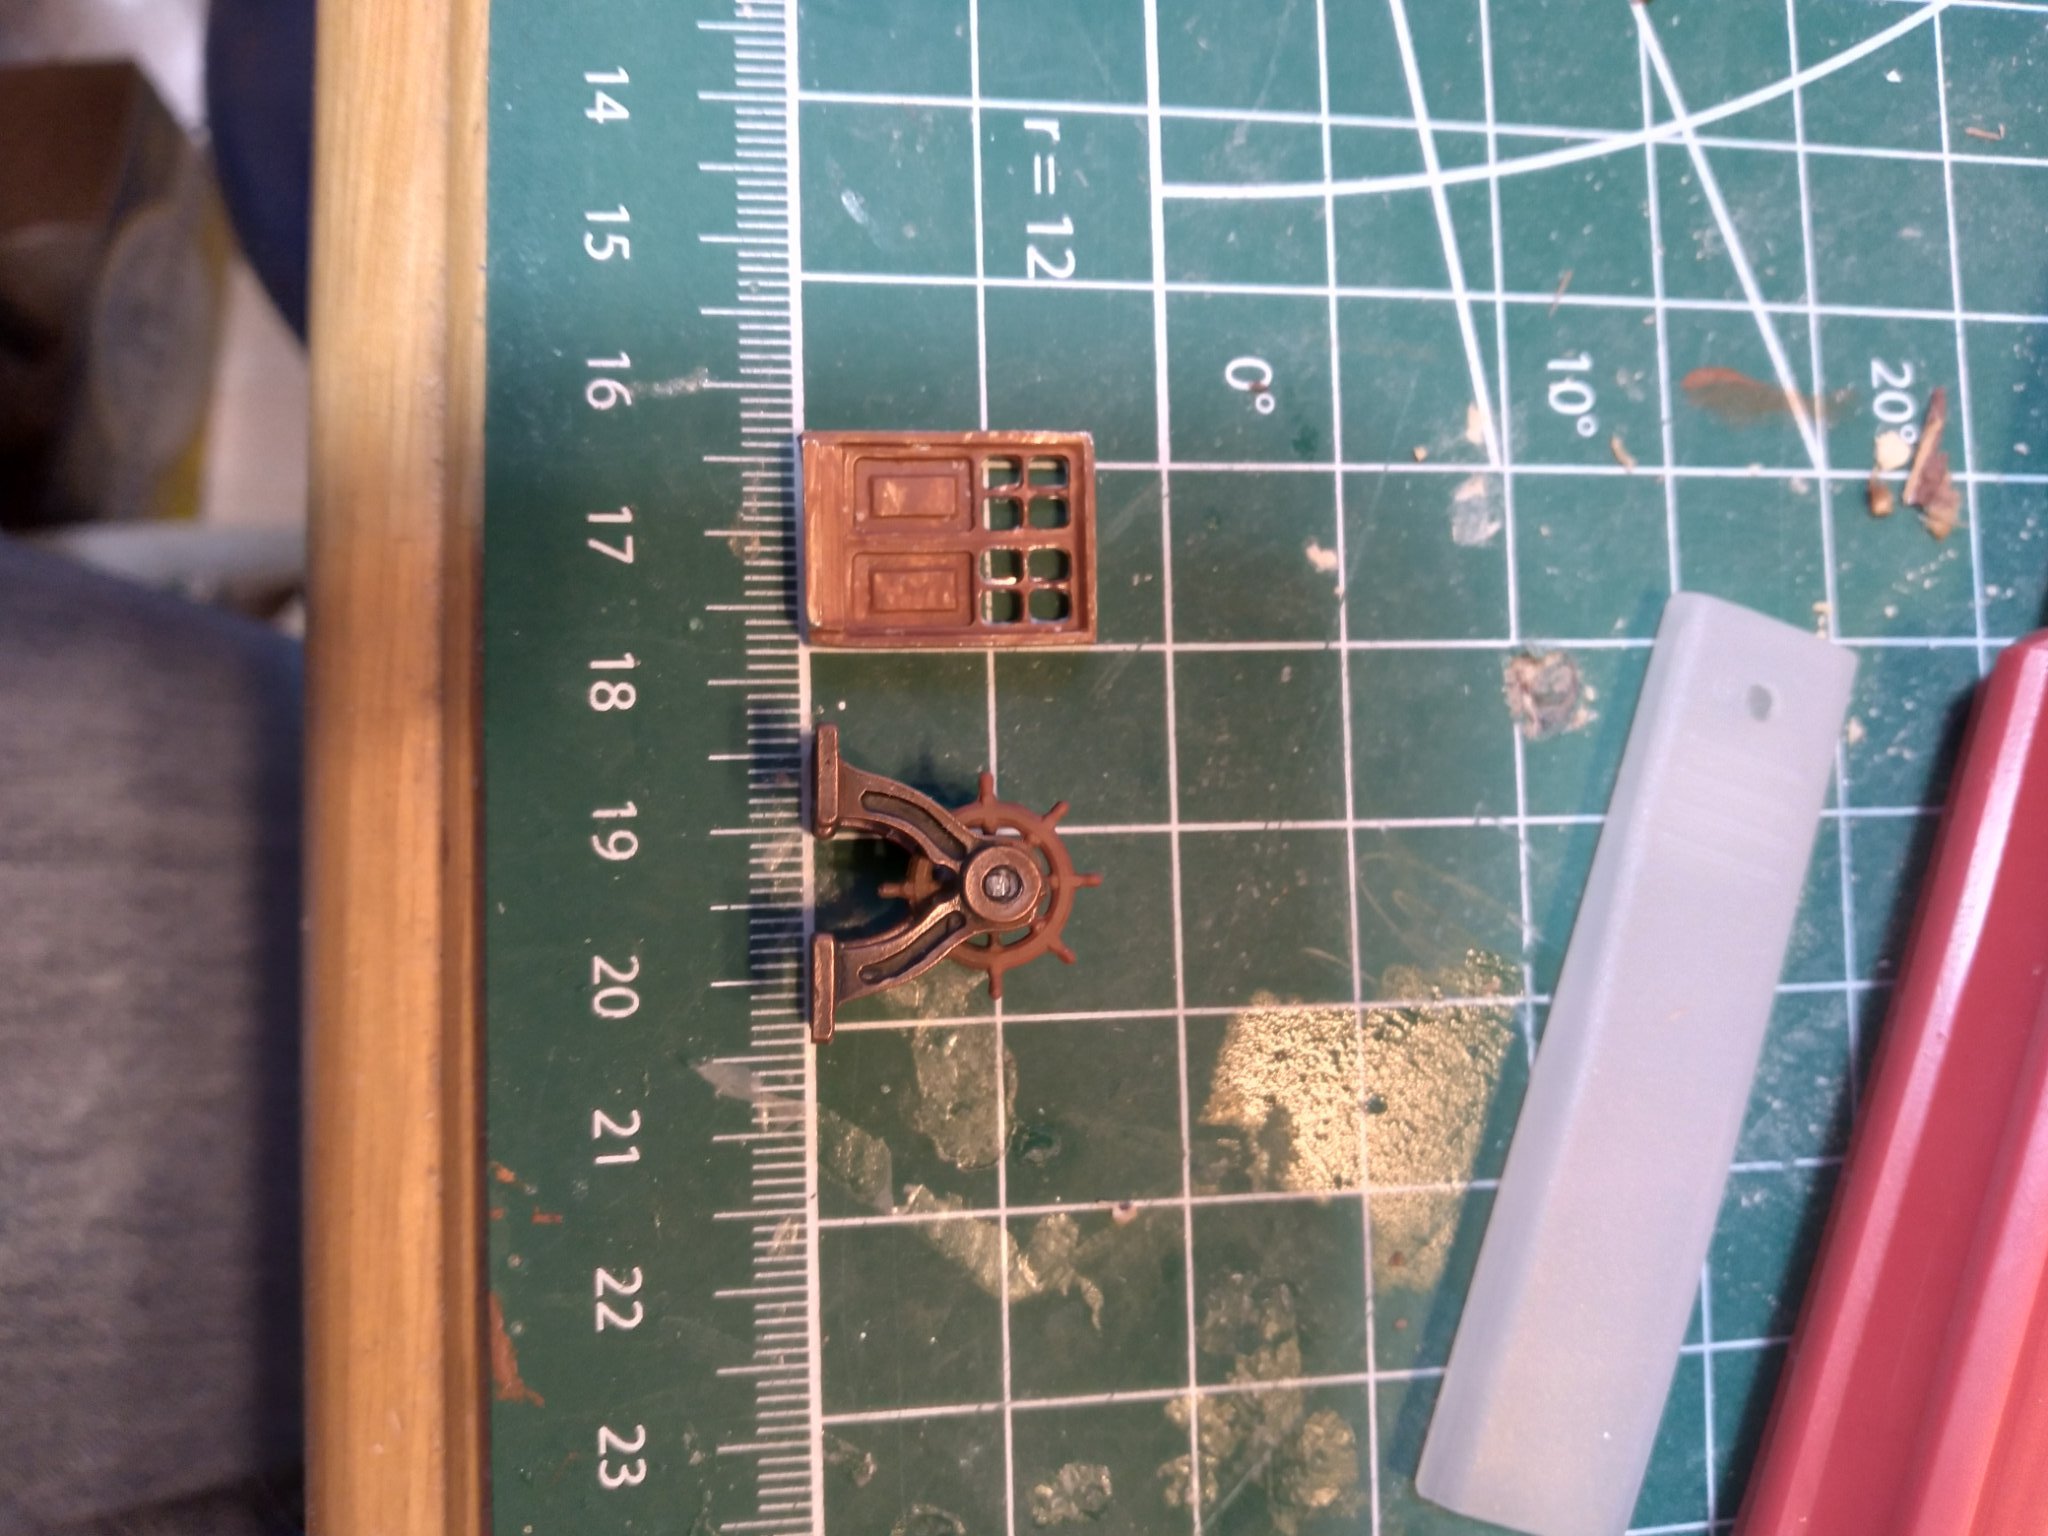
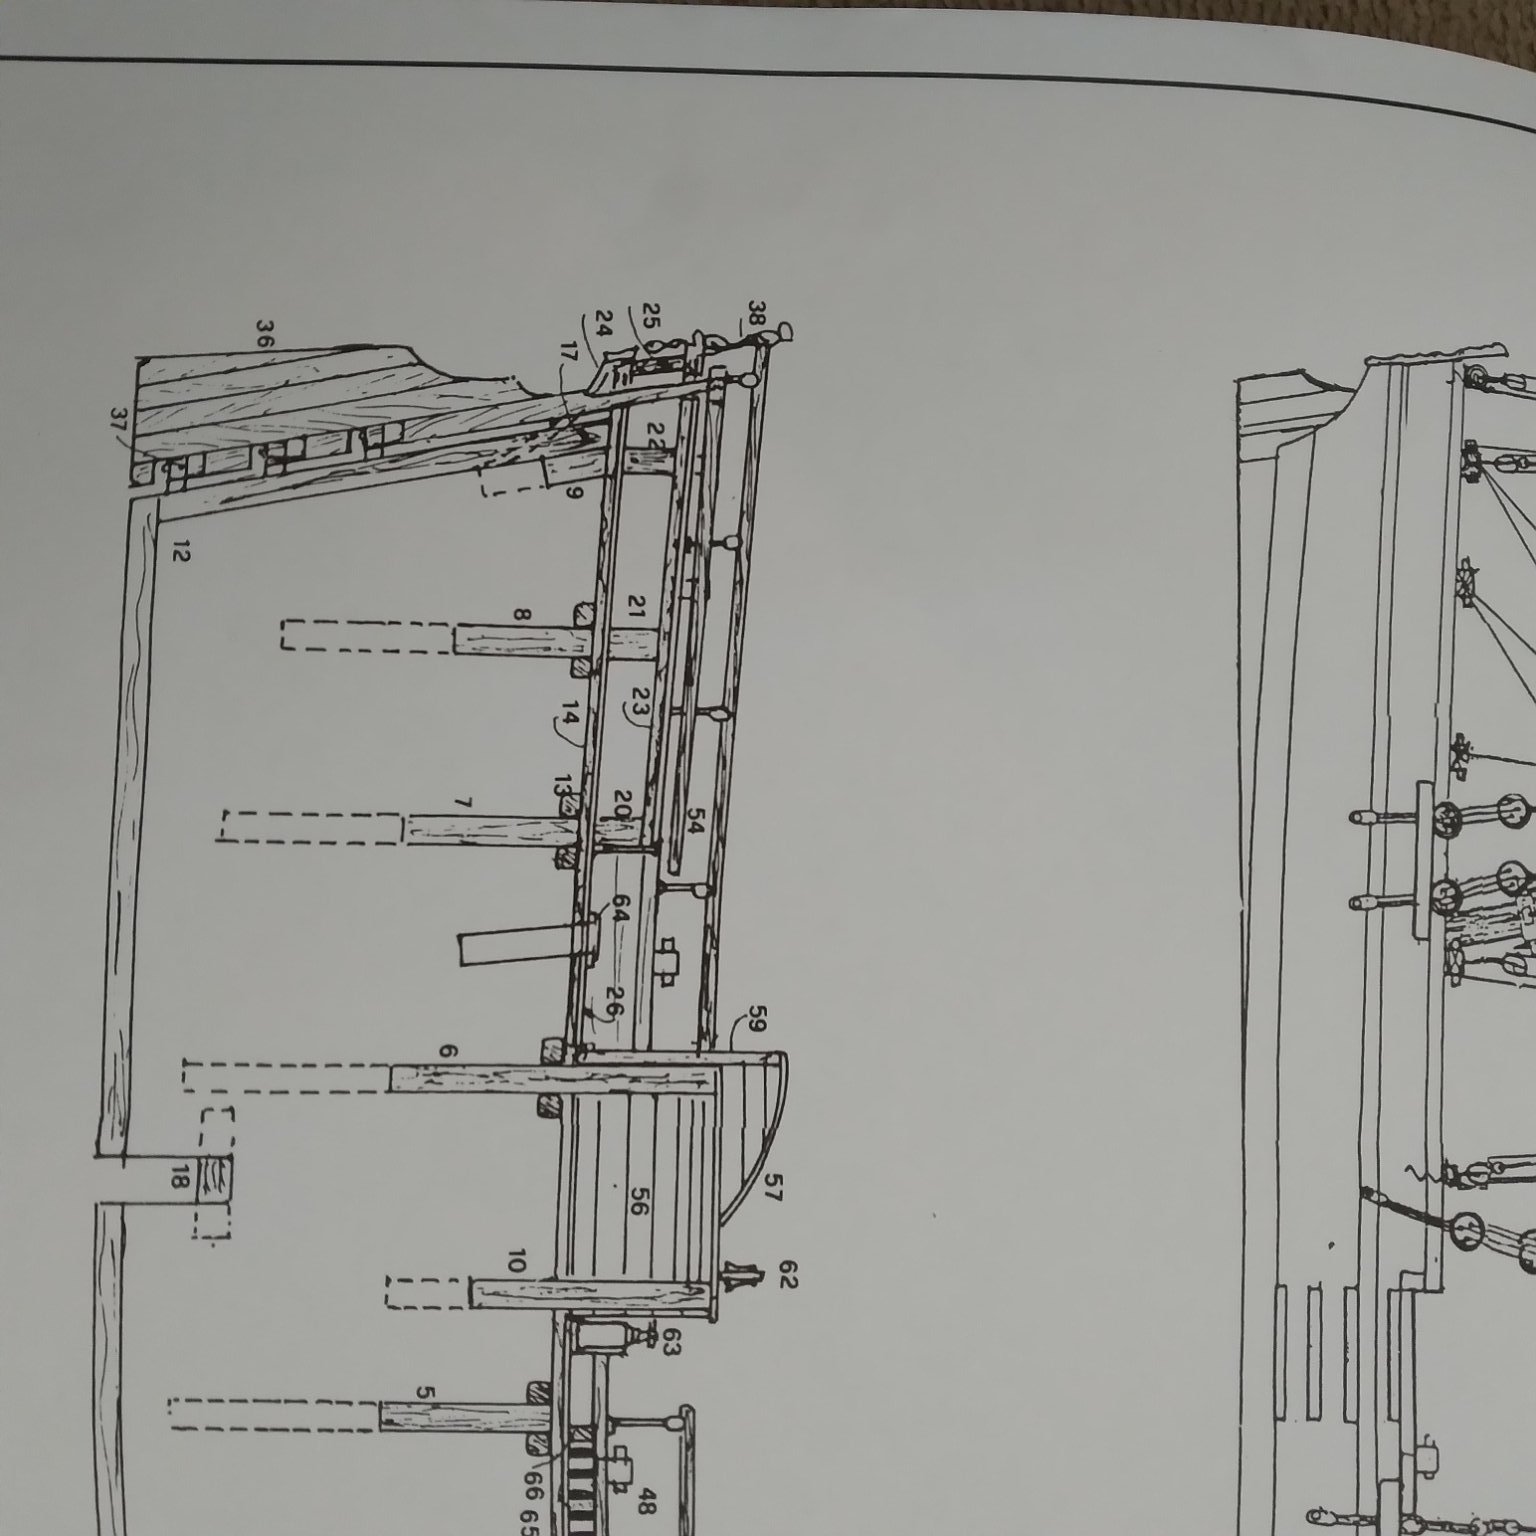
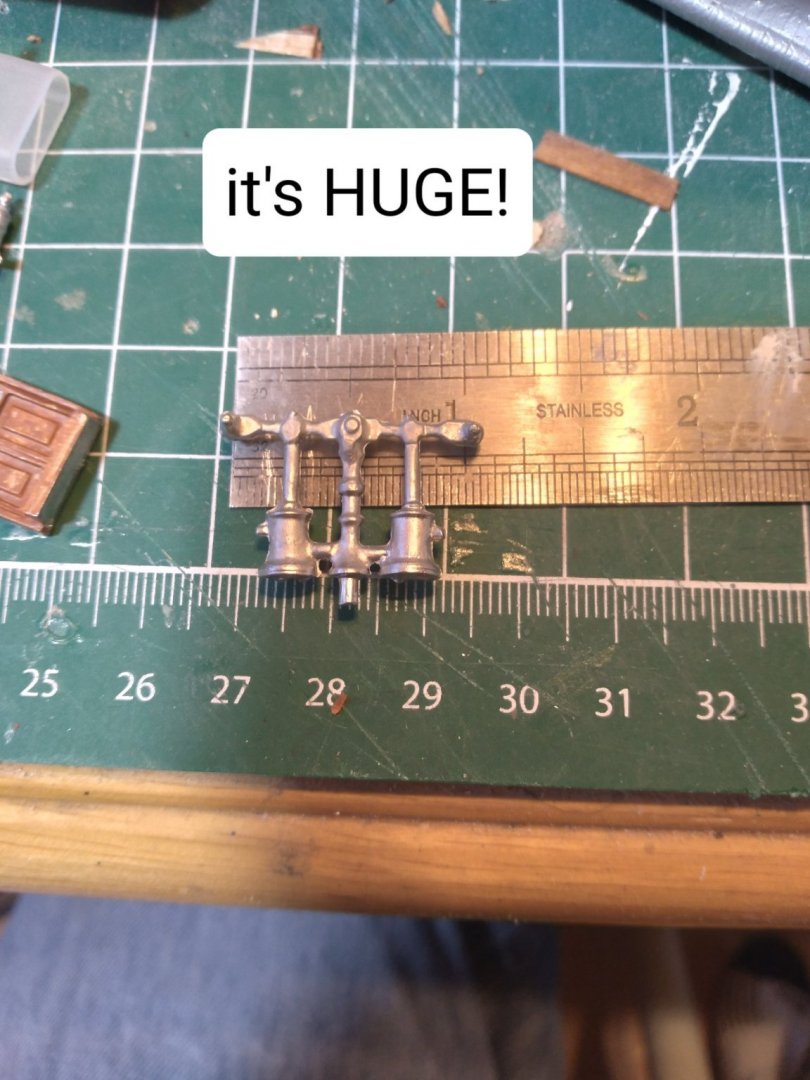
the base model is "The Scotland" I am changing the ship up some to something from the late 1700s to the early 1800s The metal items included are posts (supposed to be wood) supporting the belaying pin rack around the main mast. Doors, windows, etc. There are a series of short posts with a cross bar going through it. I think these are called bollards or bits, I am not sure though. One ship I built had these in cast metal and the post was "wood" and the cross bar was metal. The other build of the "Scotland" I have found here has all of the deck items painted black.
-
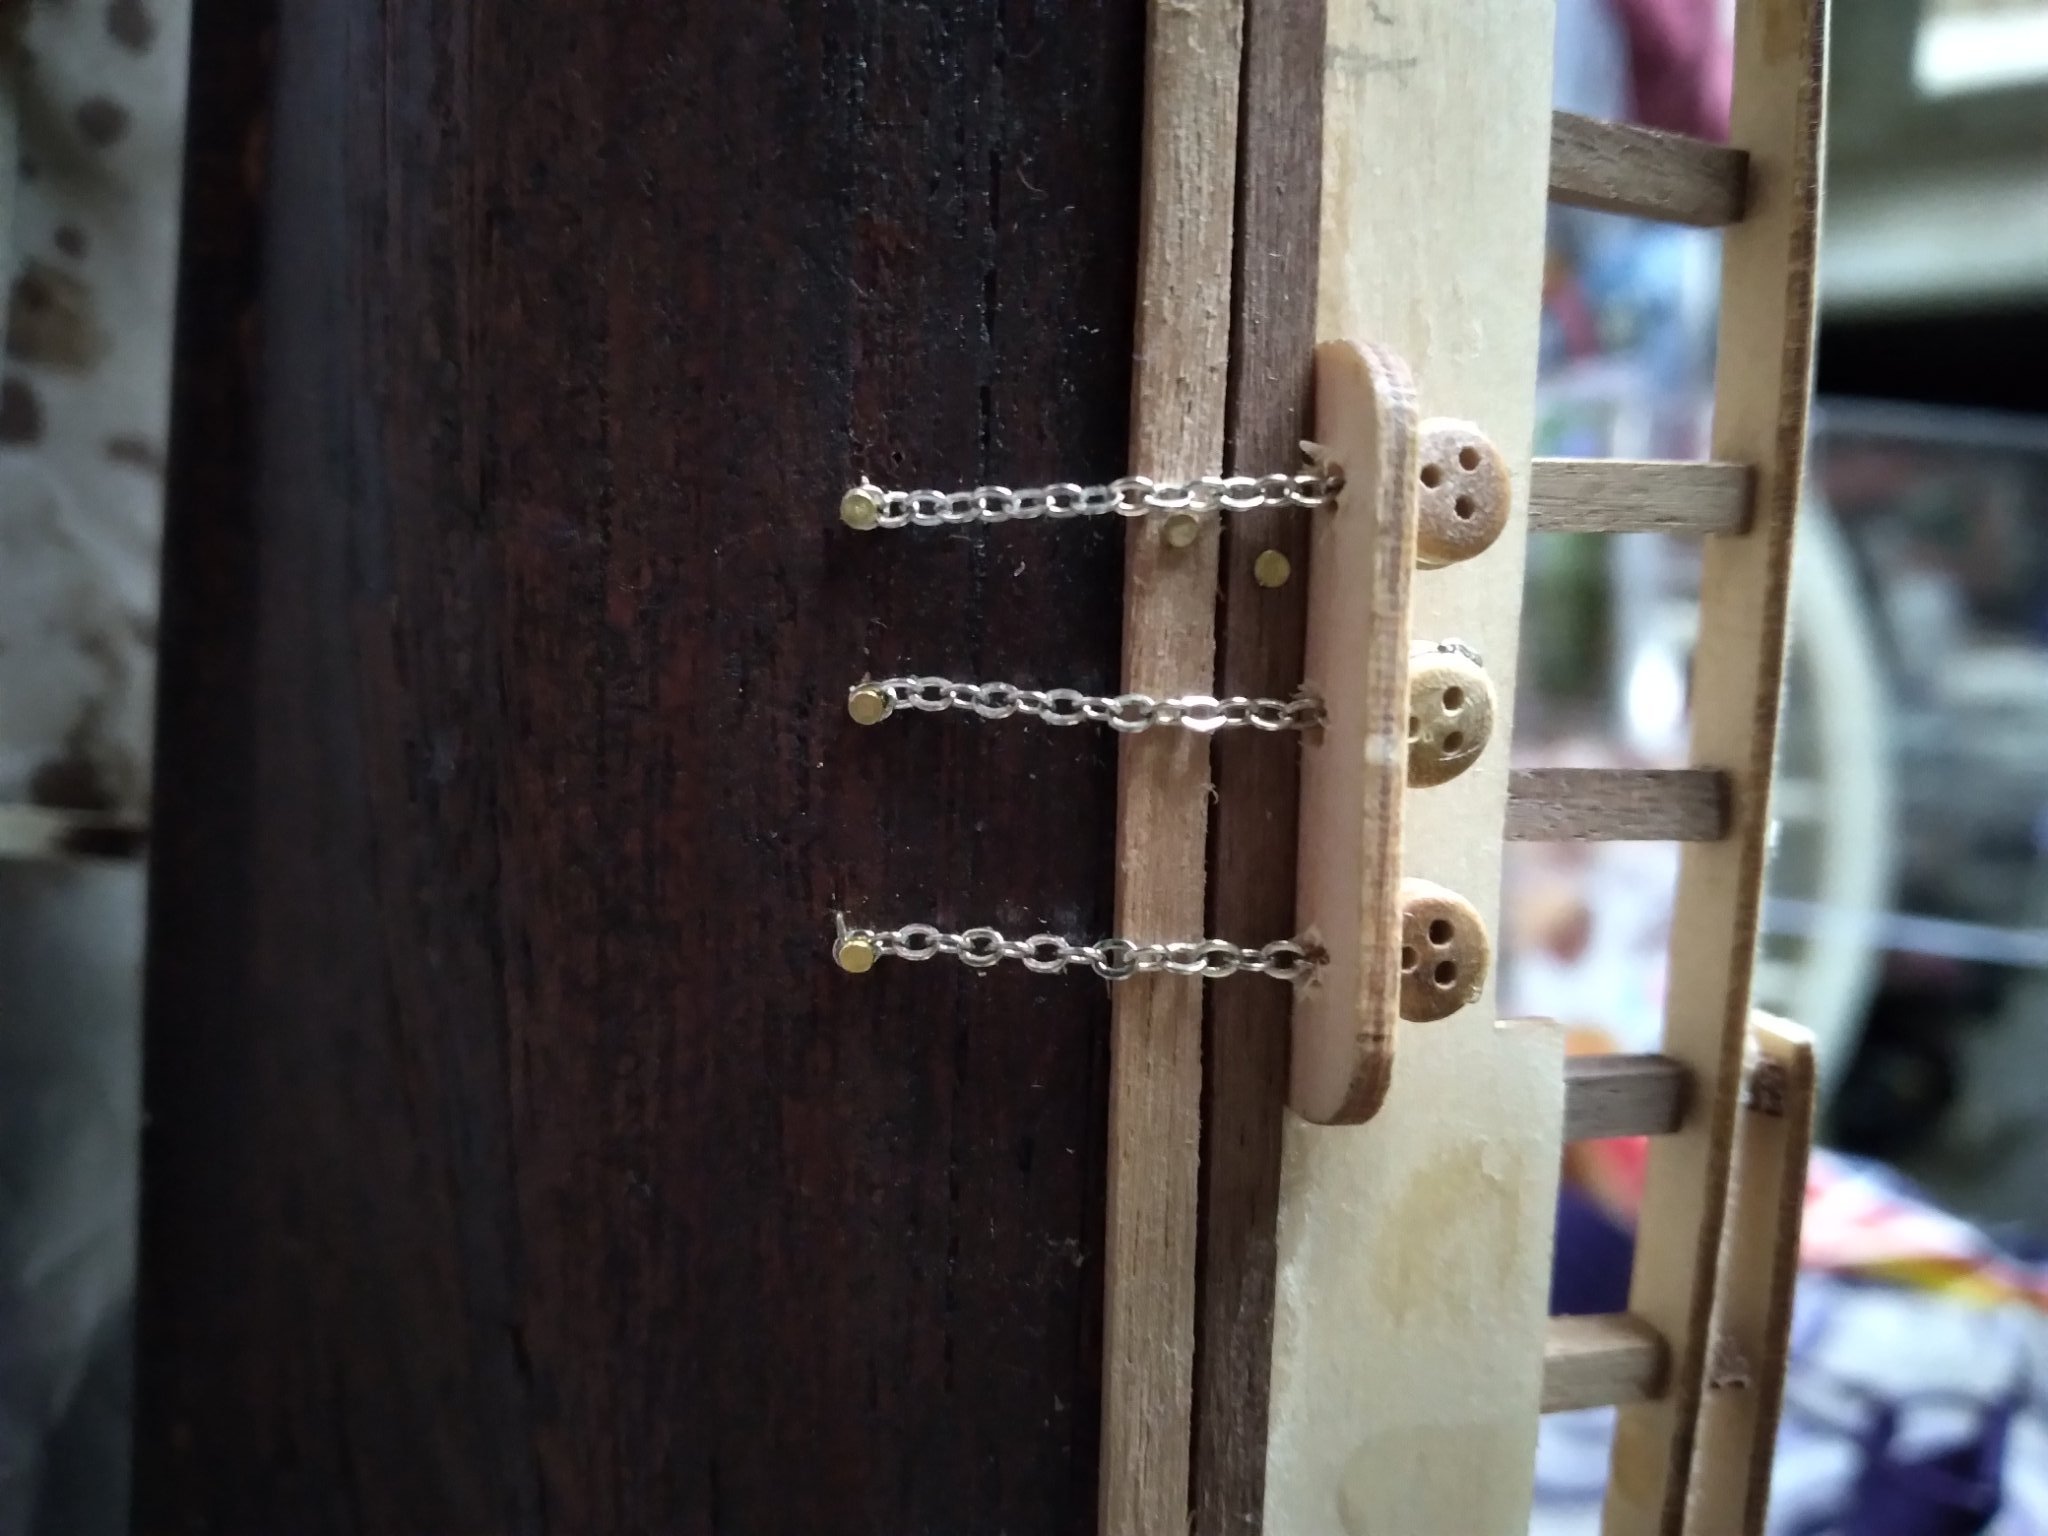
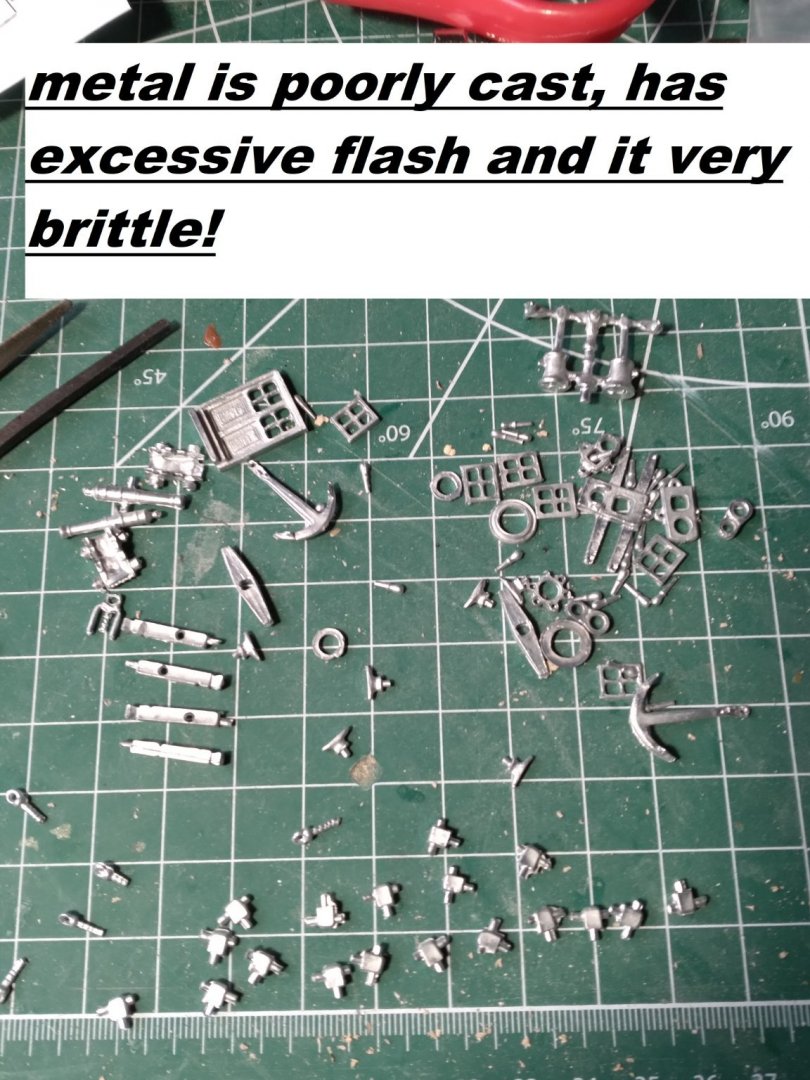
I searched for the answer here, but I may have used the wrong nomenclature, because I only got one answer and it didn t have the information I was looking for.. I have added the fittings to my ship, and they are all silver in color. I have not painted them, yet. The only other build for the same kit that I am making has them painted matt black. I am hazarding a guess they were made from either wood, or iron, possibly steel in the late 17, early 1800's?
-
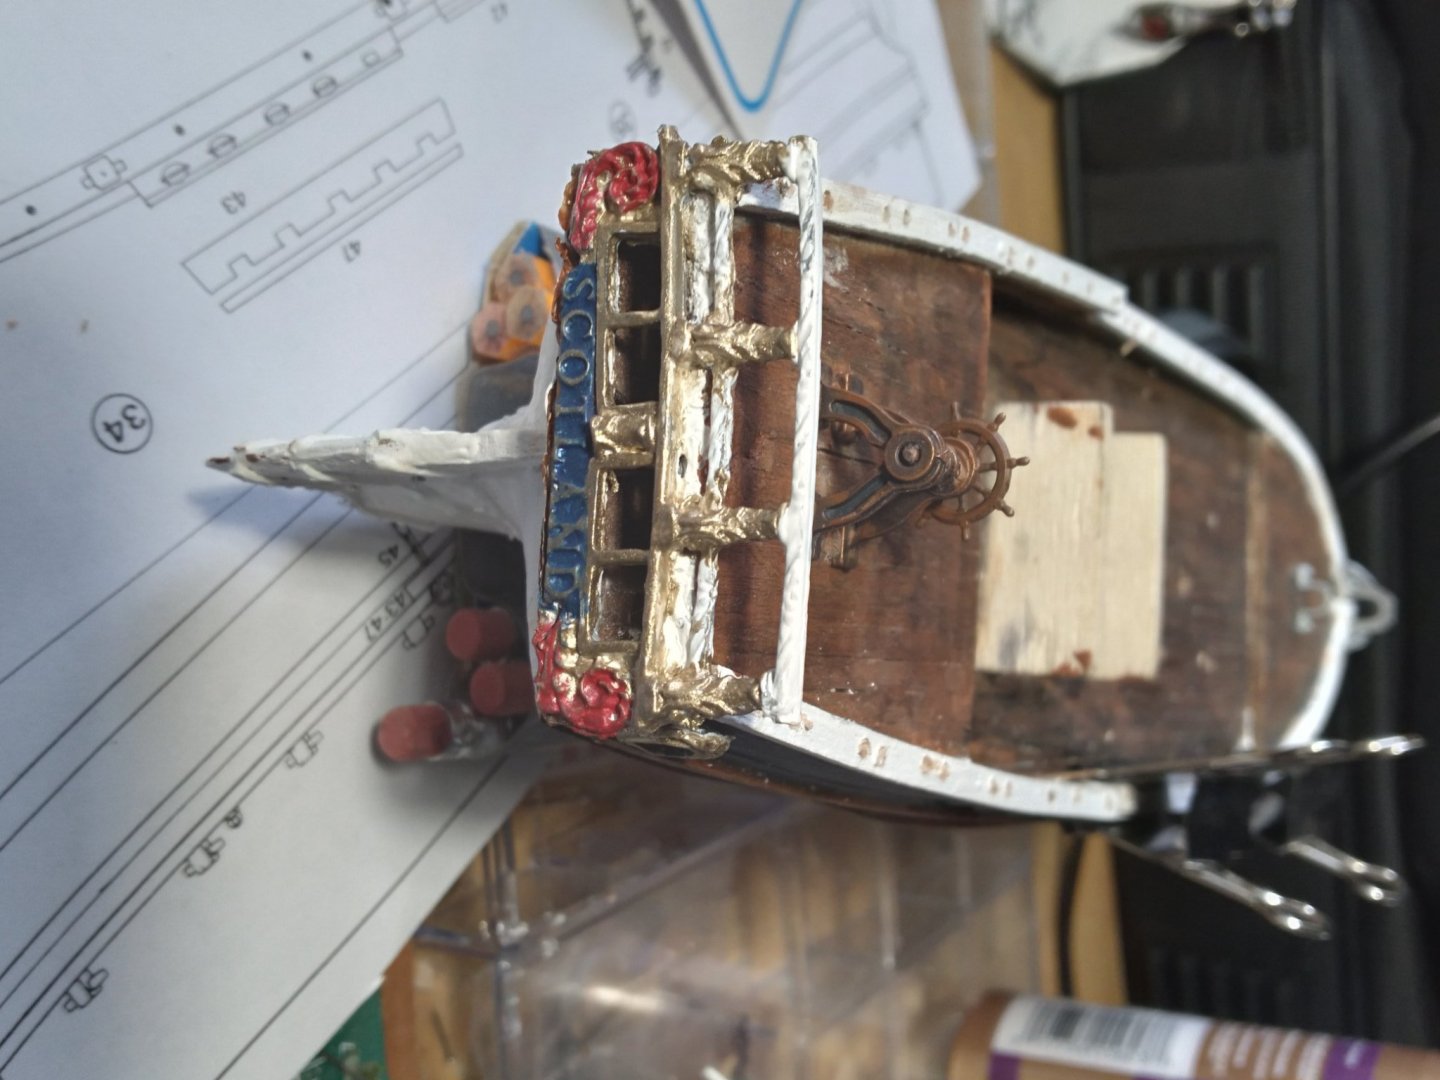
I am in the process of adding a wheel. and it's slightly forward of the circle. I need to decide on a compass case or something also.
-
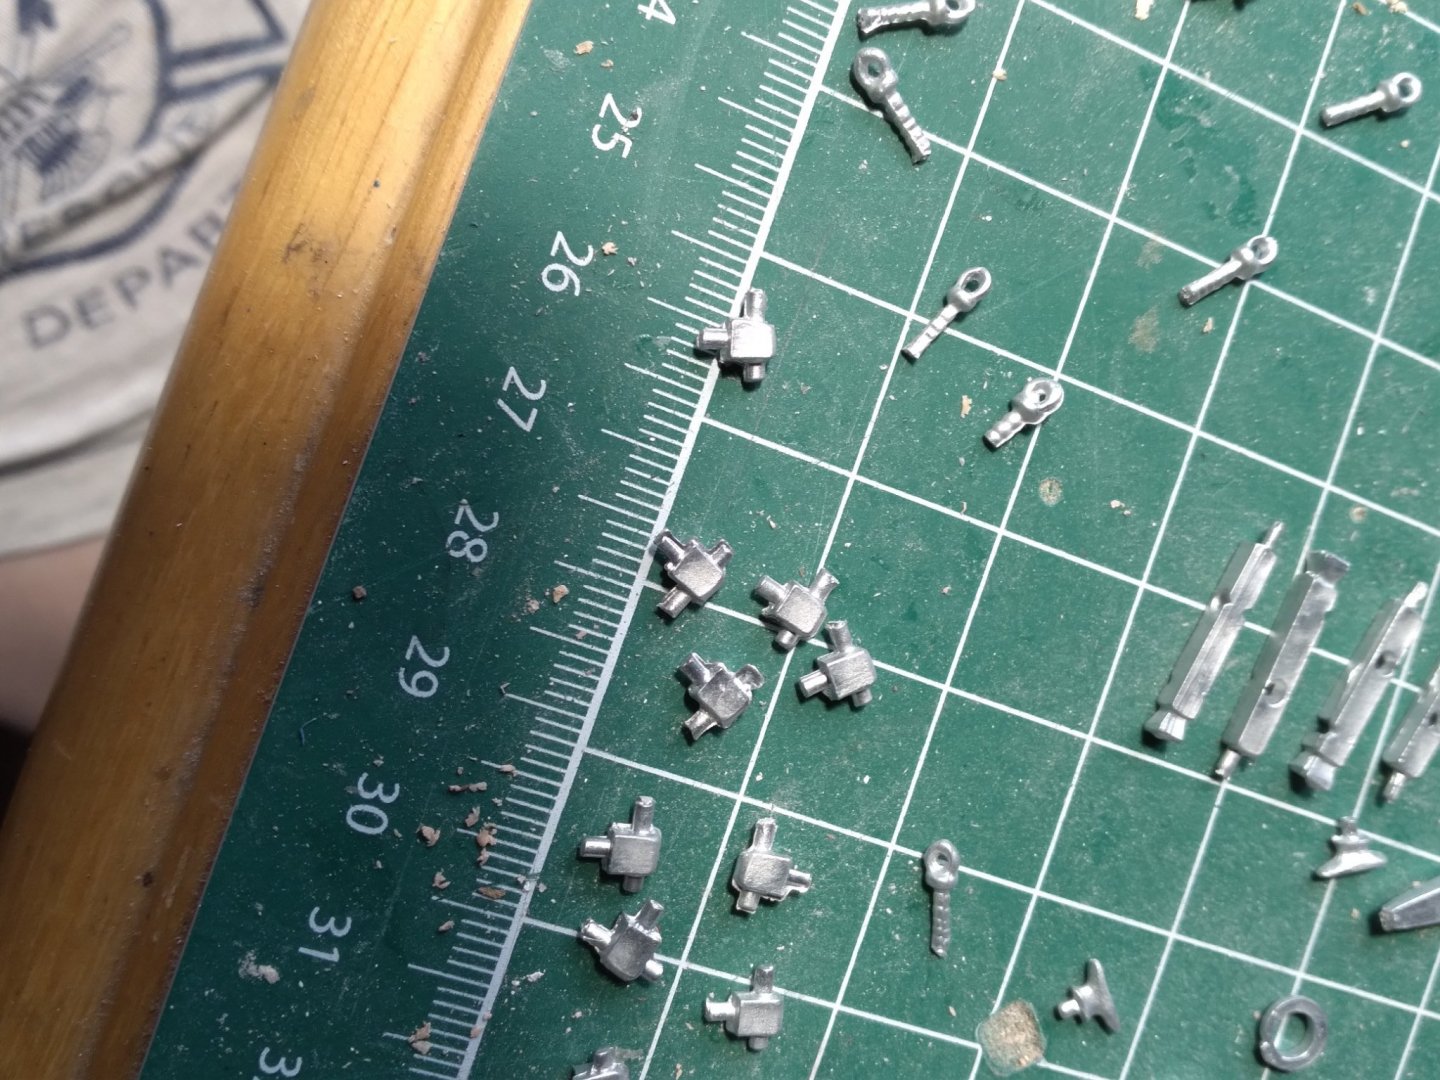
i have found the parts to be poorly cast and brittle.
-
Another update. On hold until some chain-plate and deadeyes I ordered from Cast Your Anchor Hobby finally show up some time this decade. I was told the 29th because as usual the excuse is "covid" I am waffling over using the triple blocks for the pull system on the cannon or just tieing it off like in the instructions
-
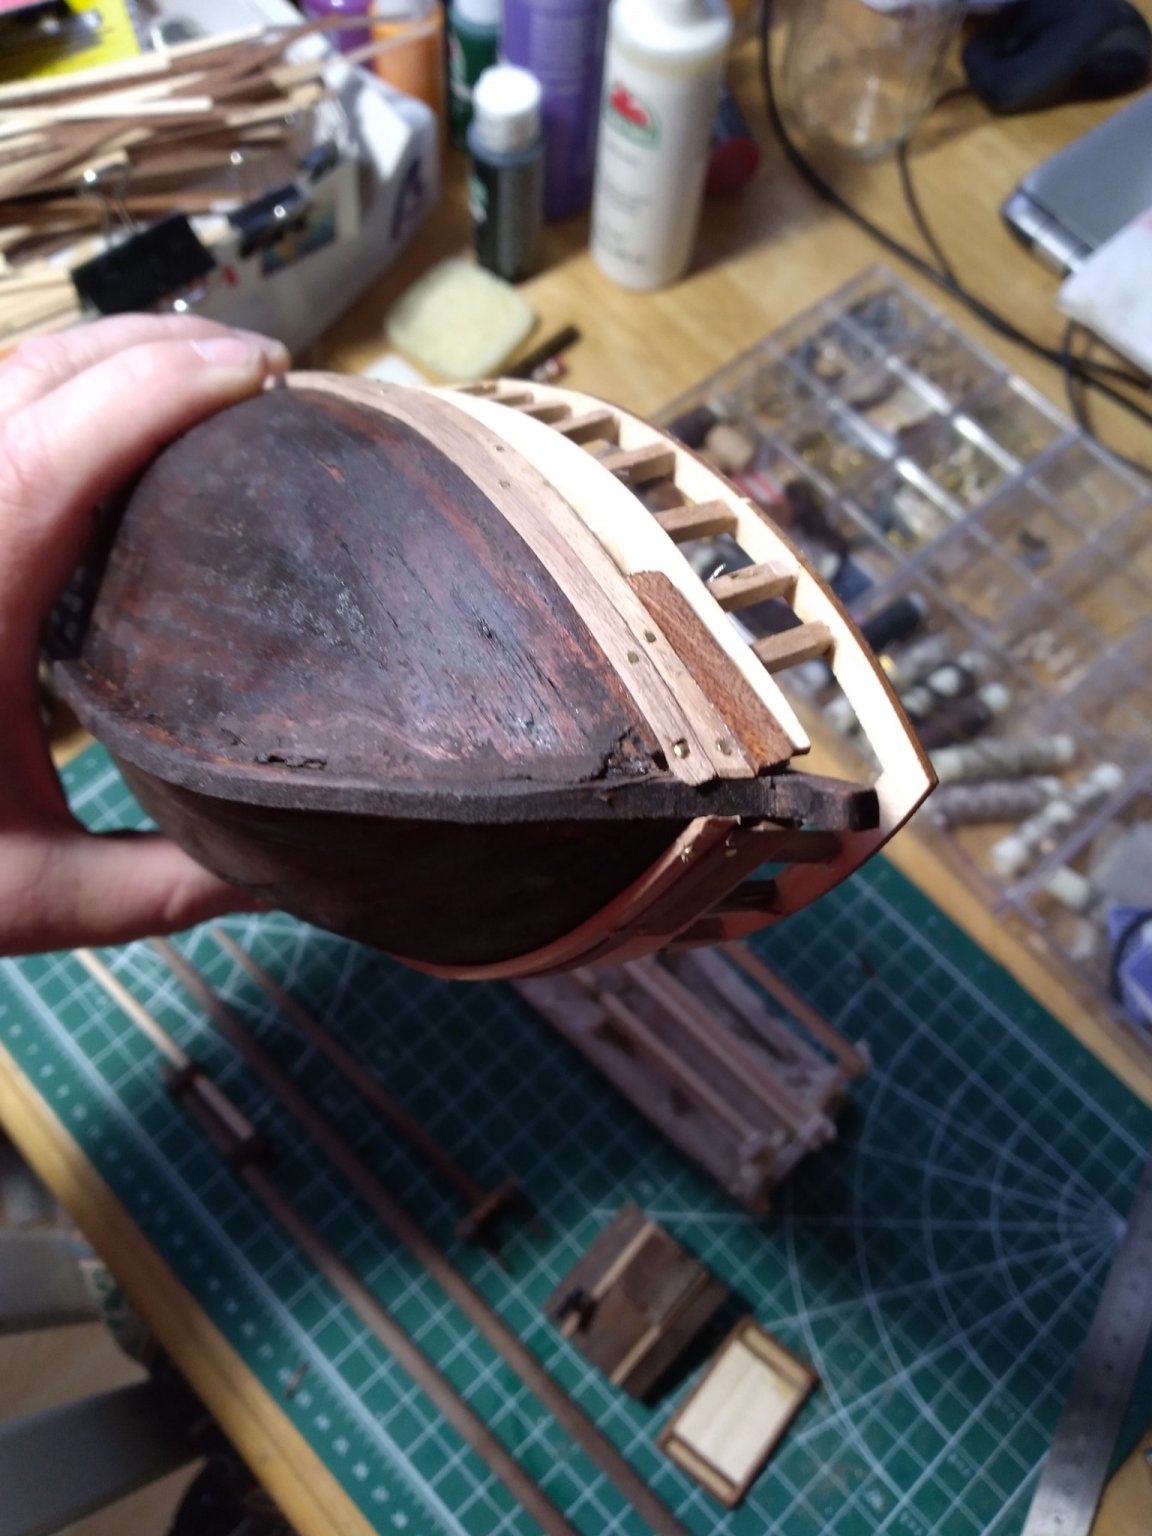
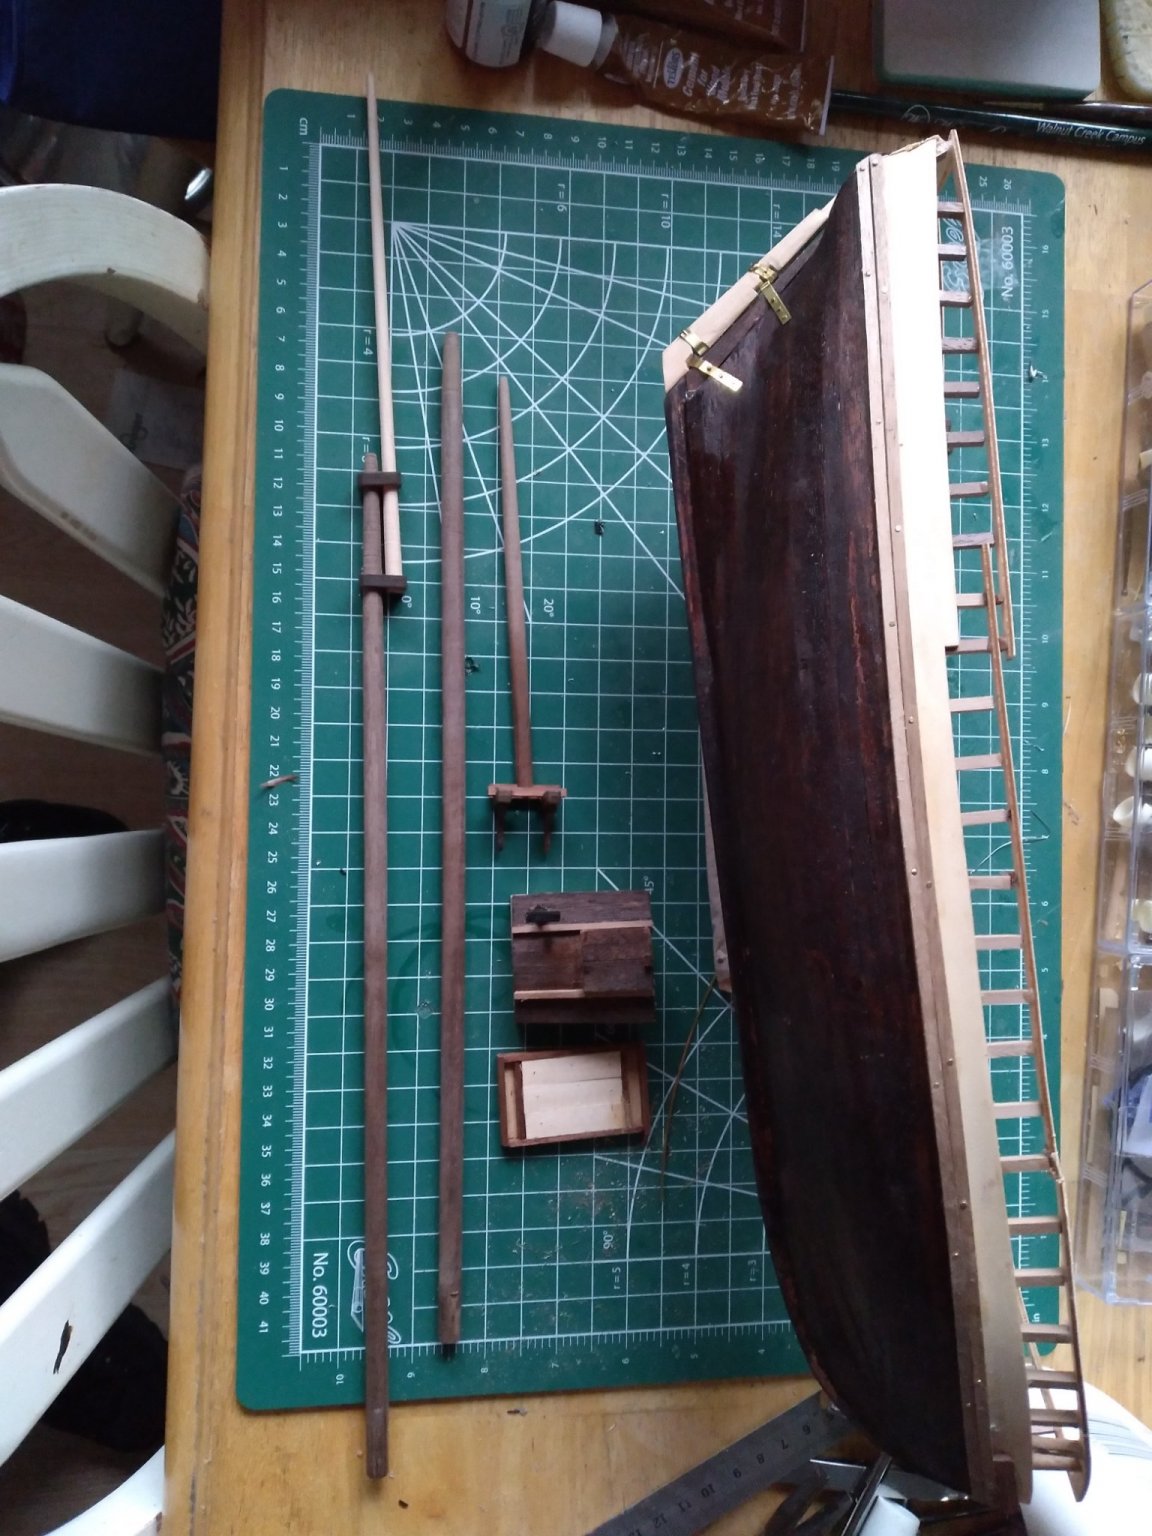
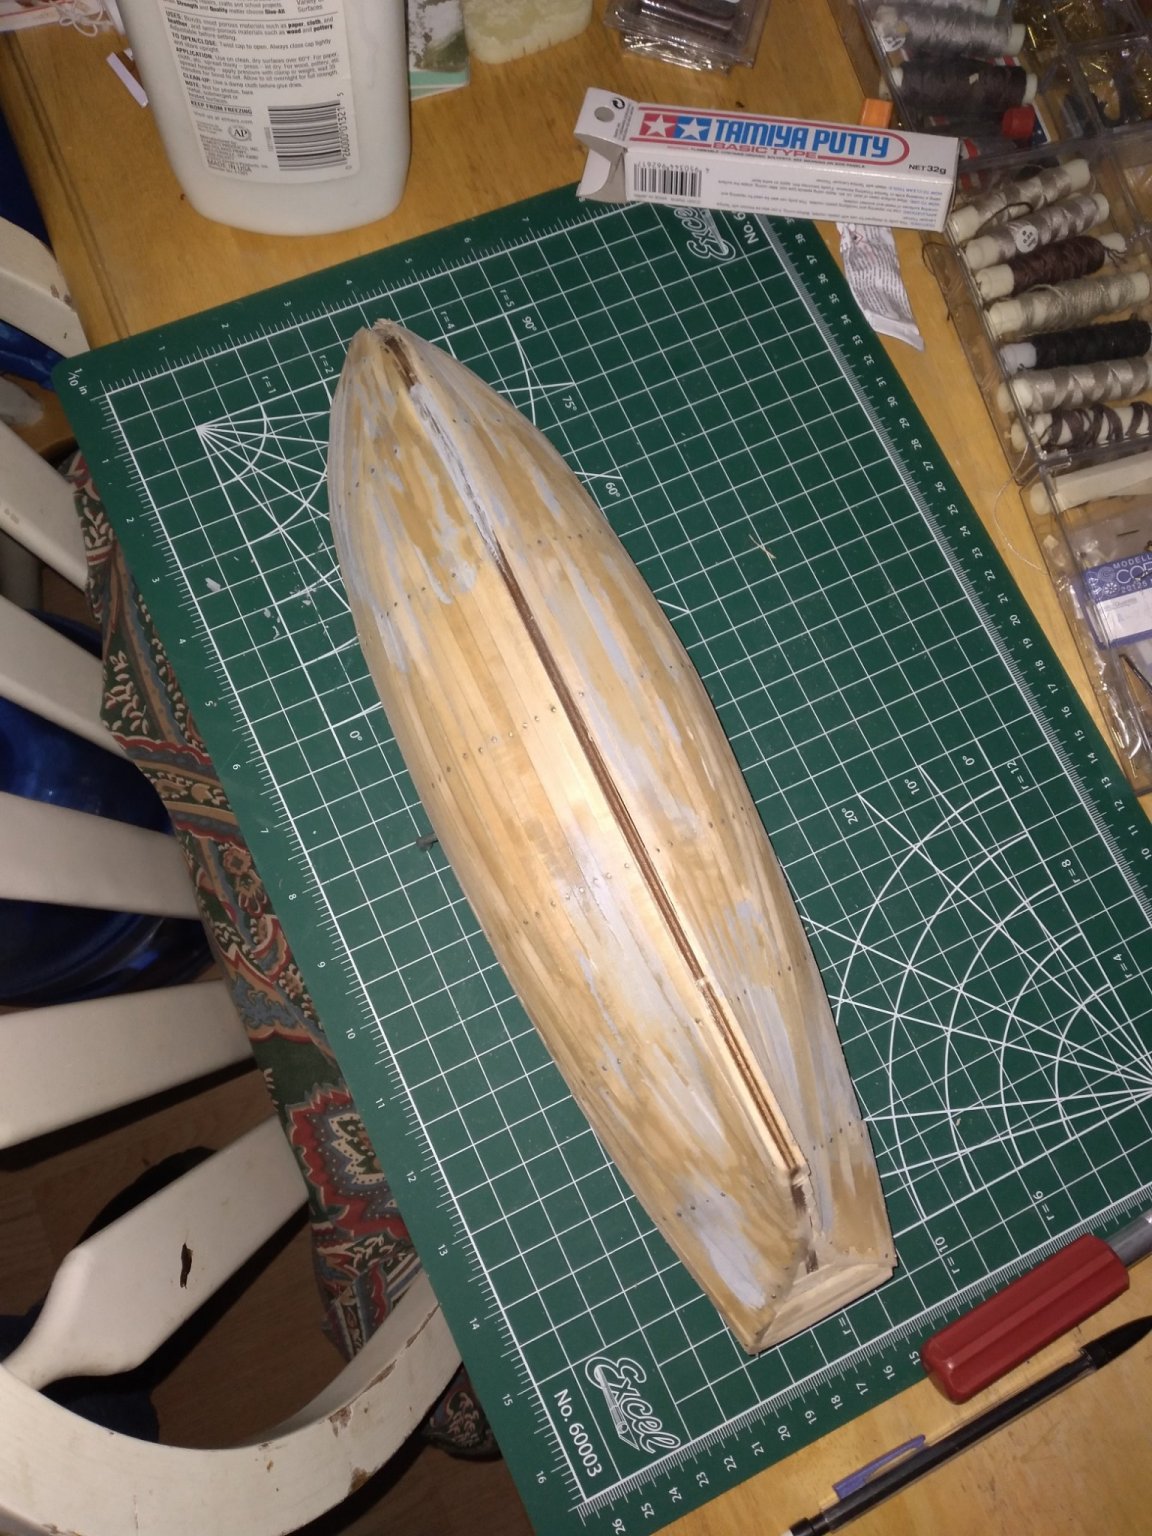
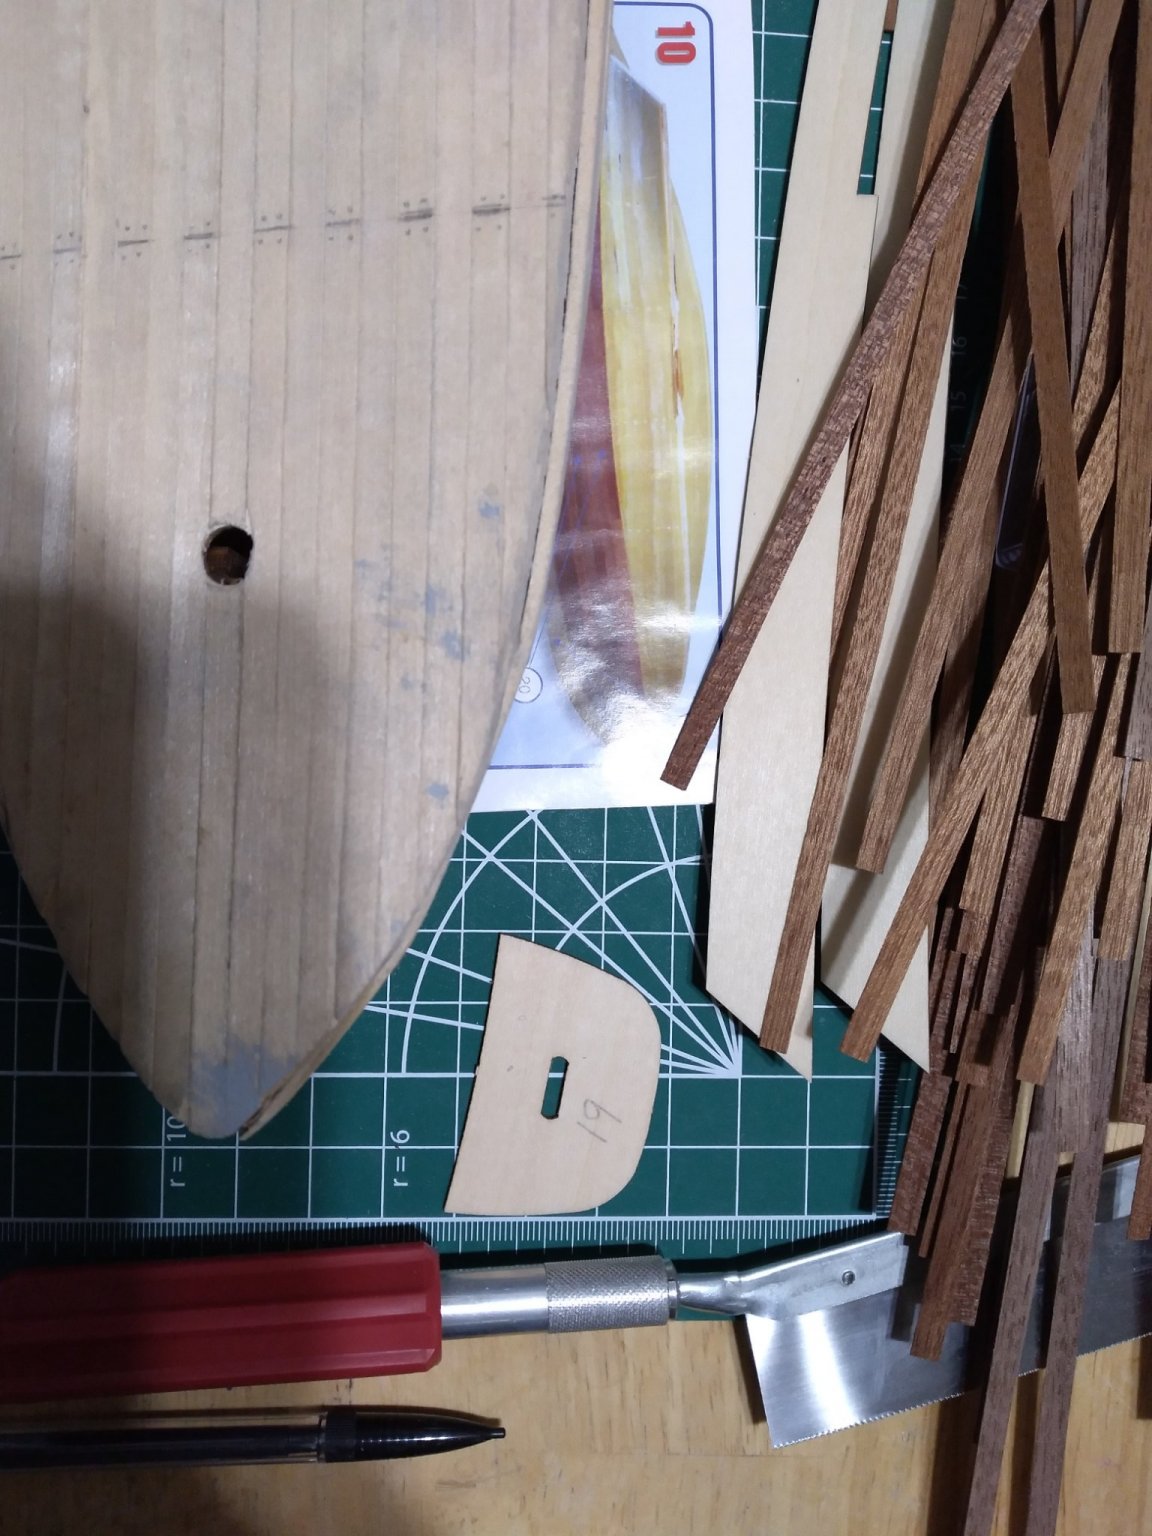
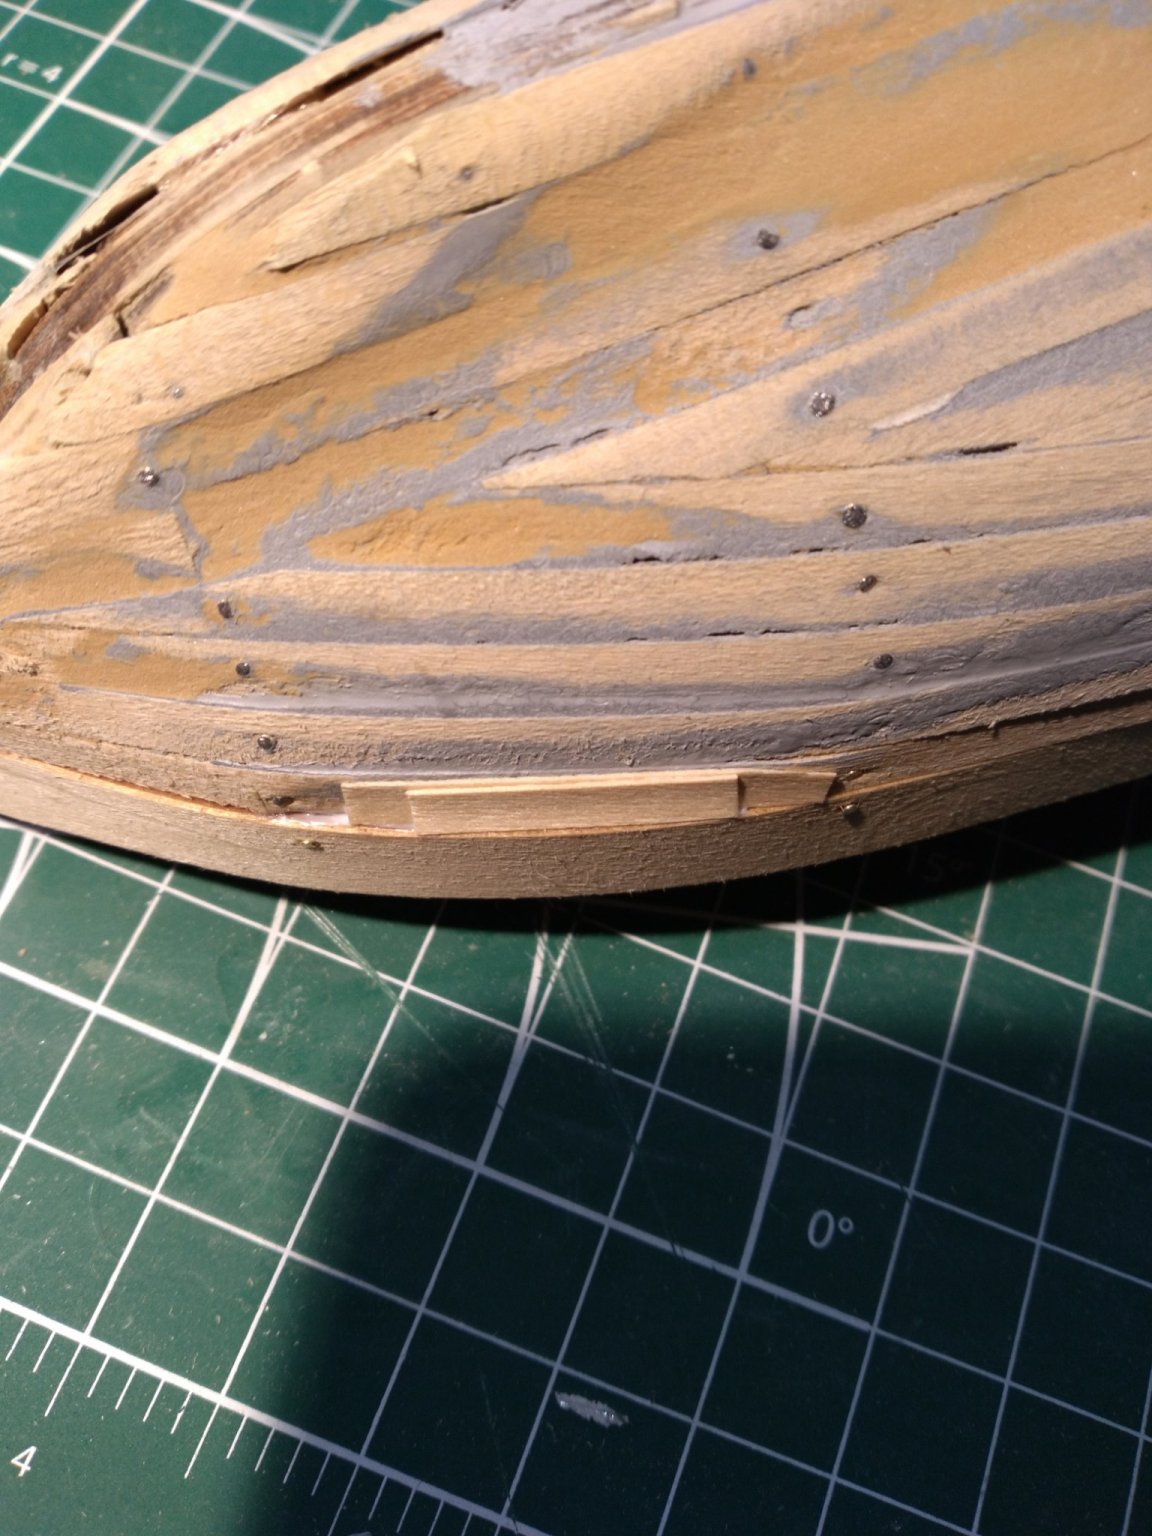
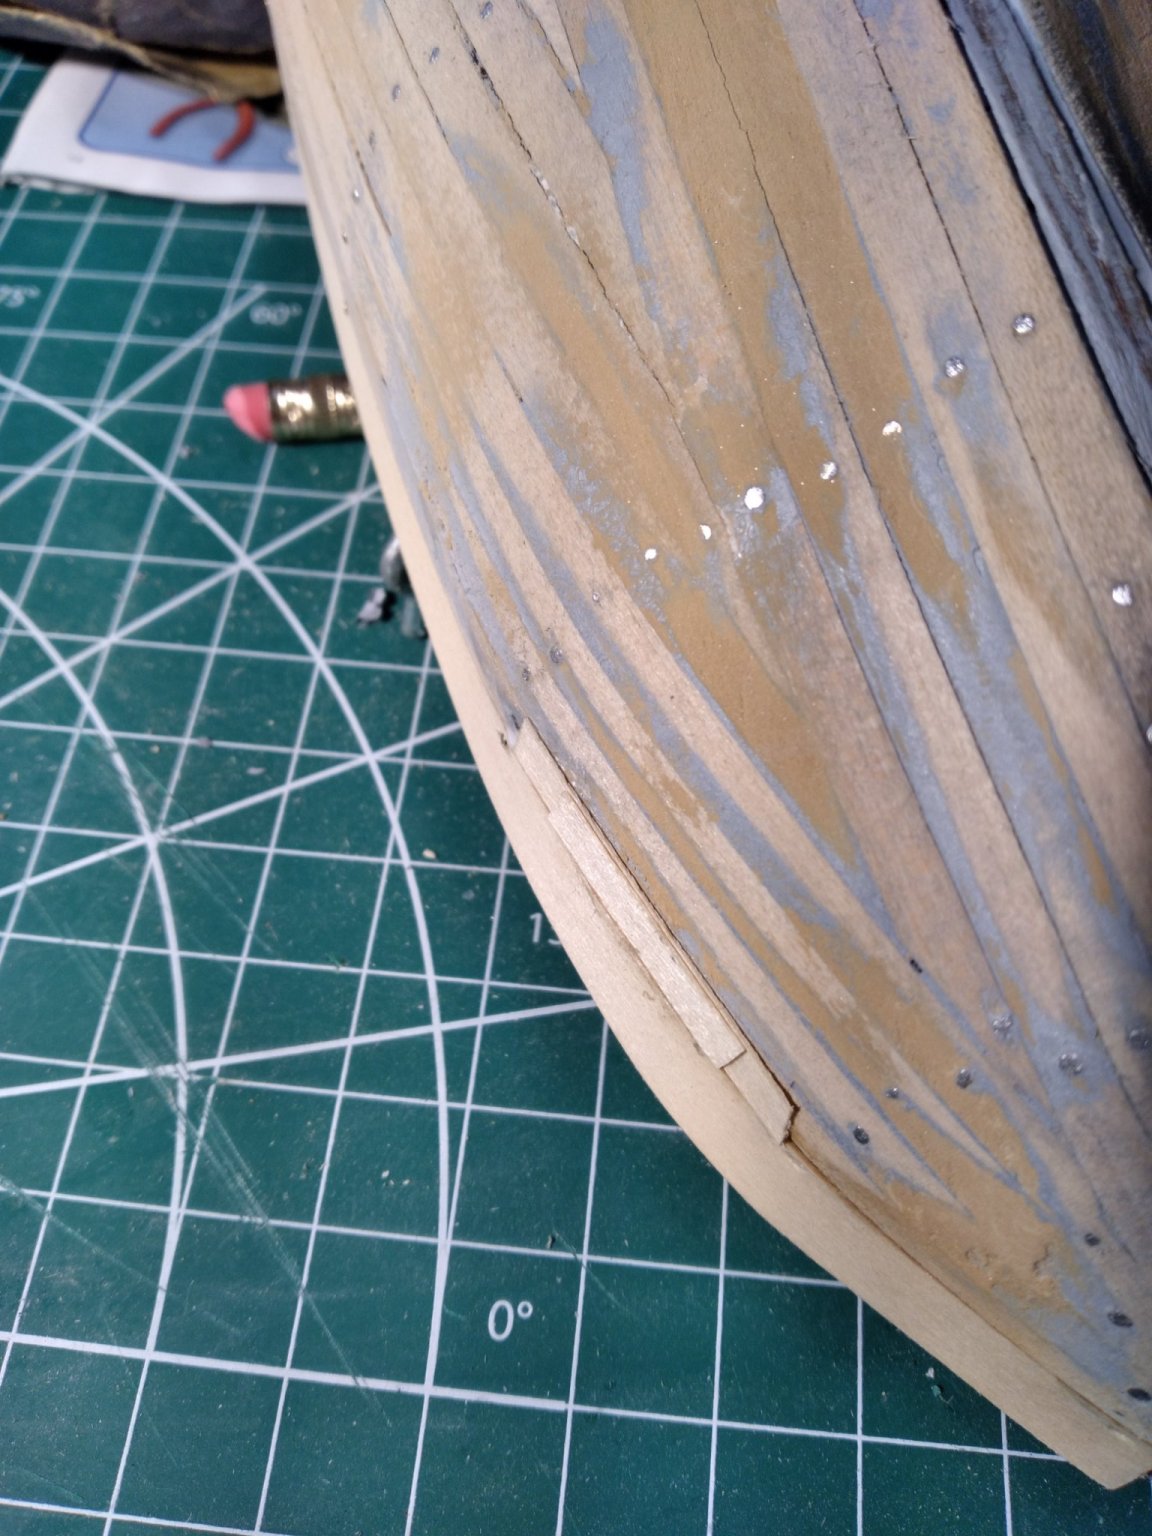
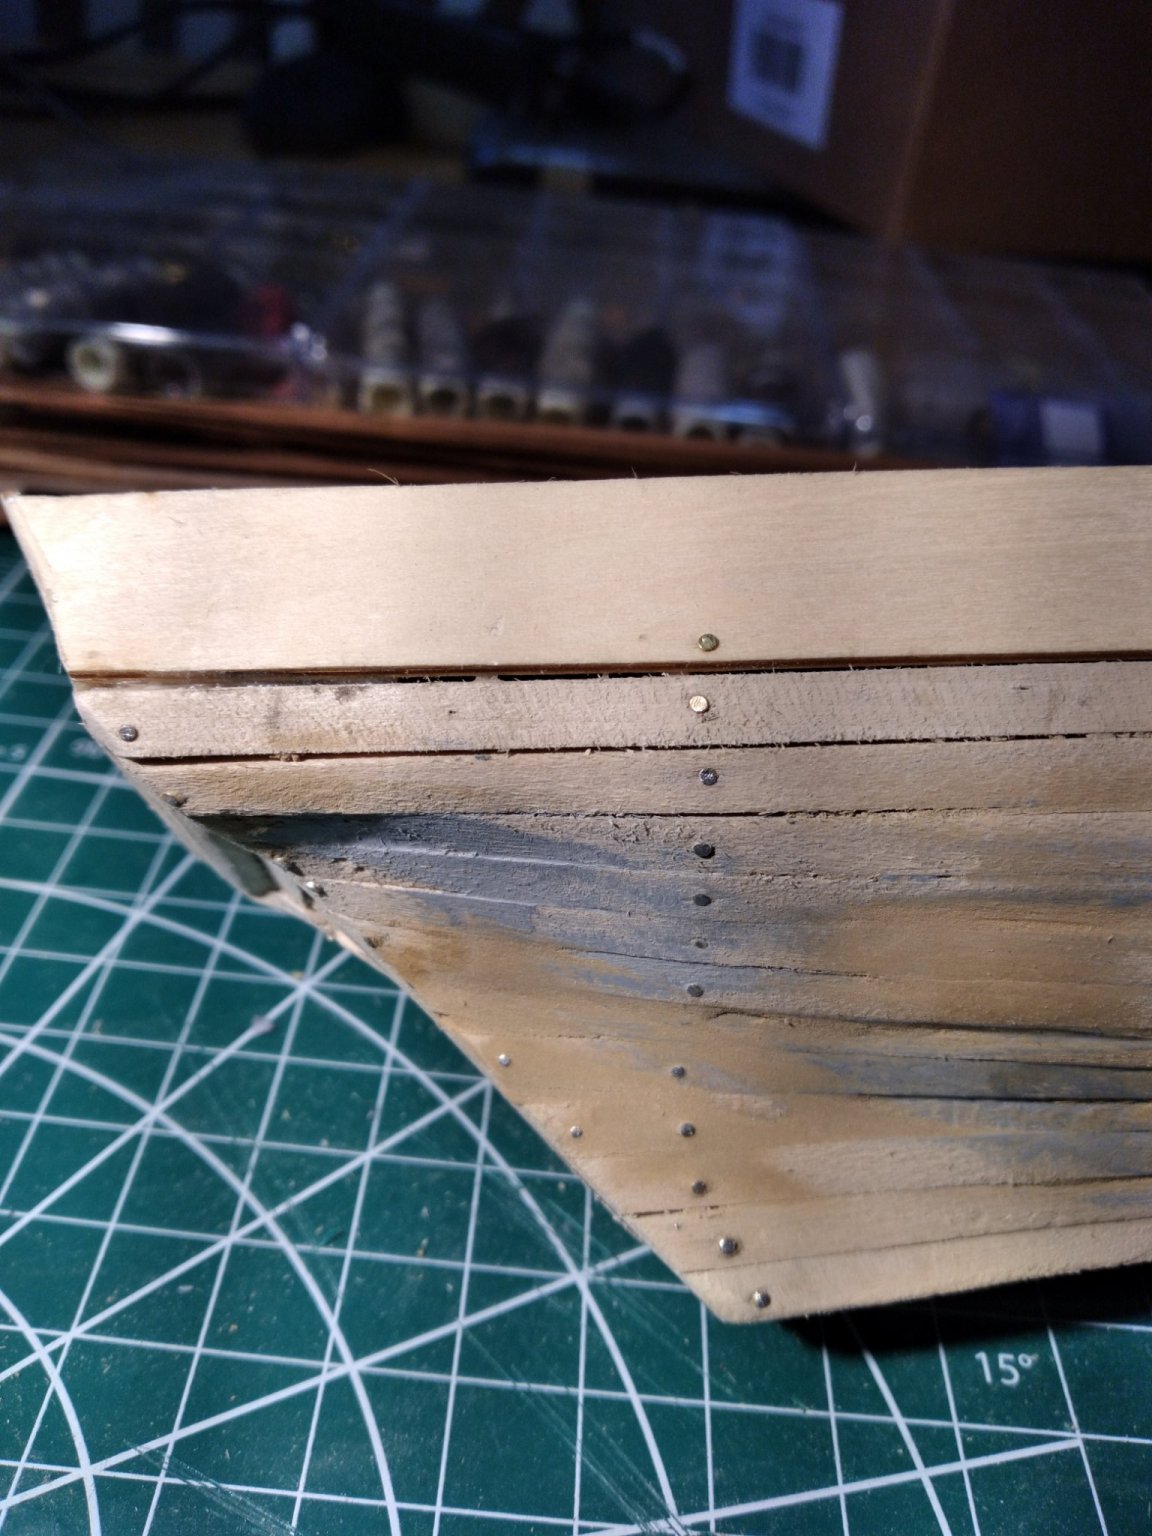
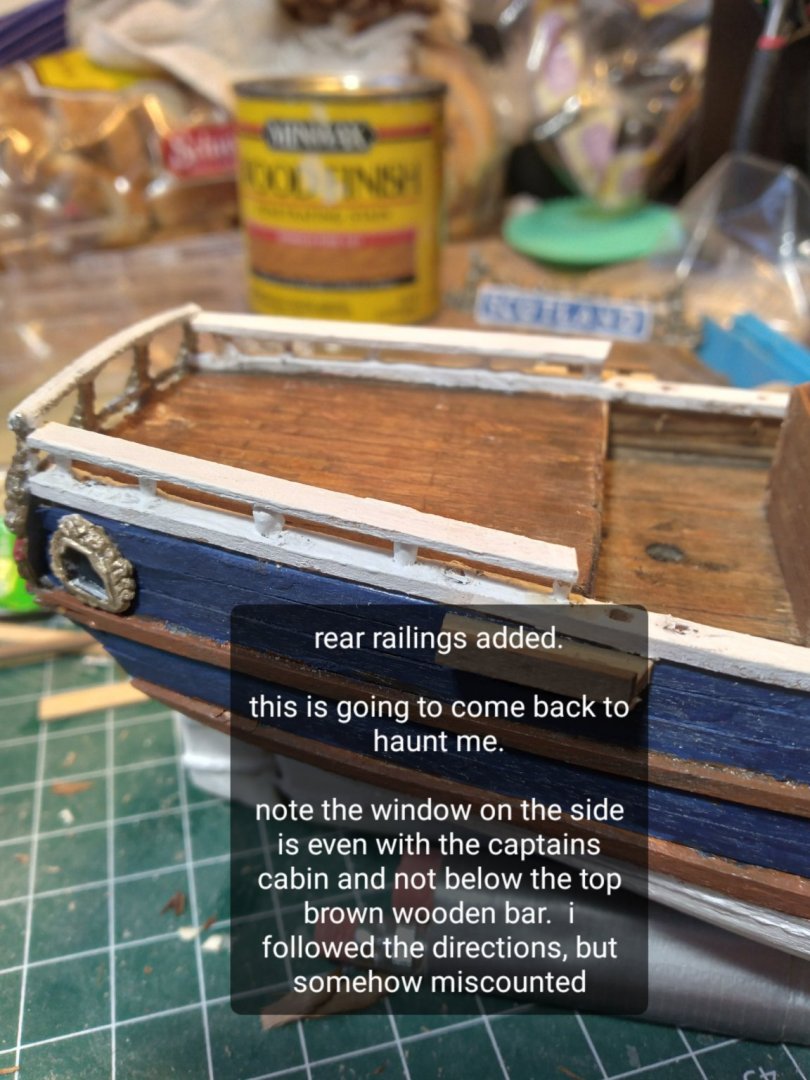
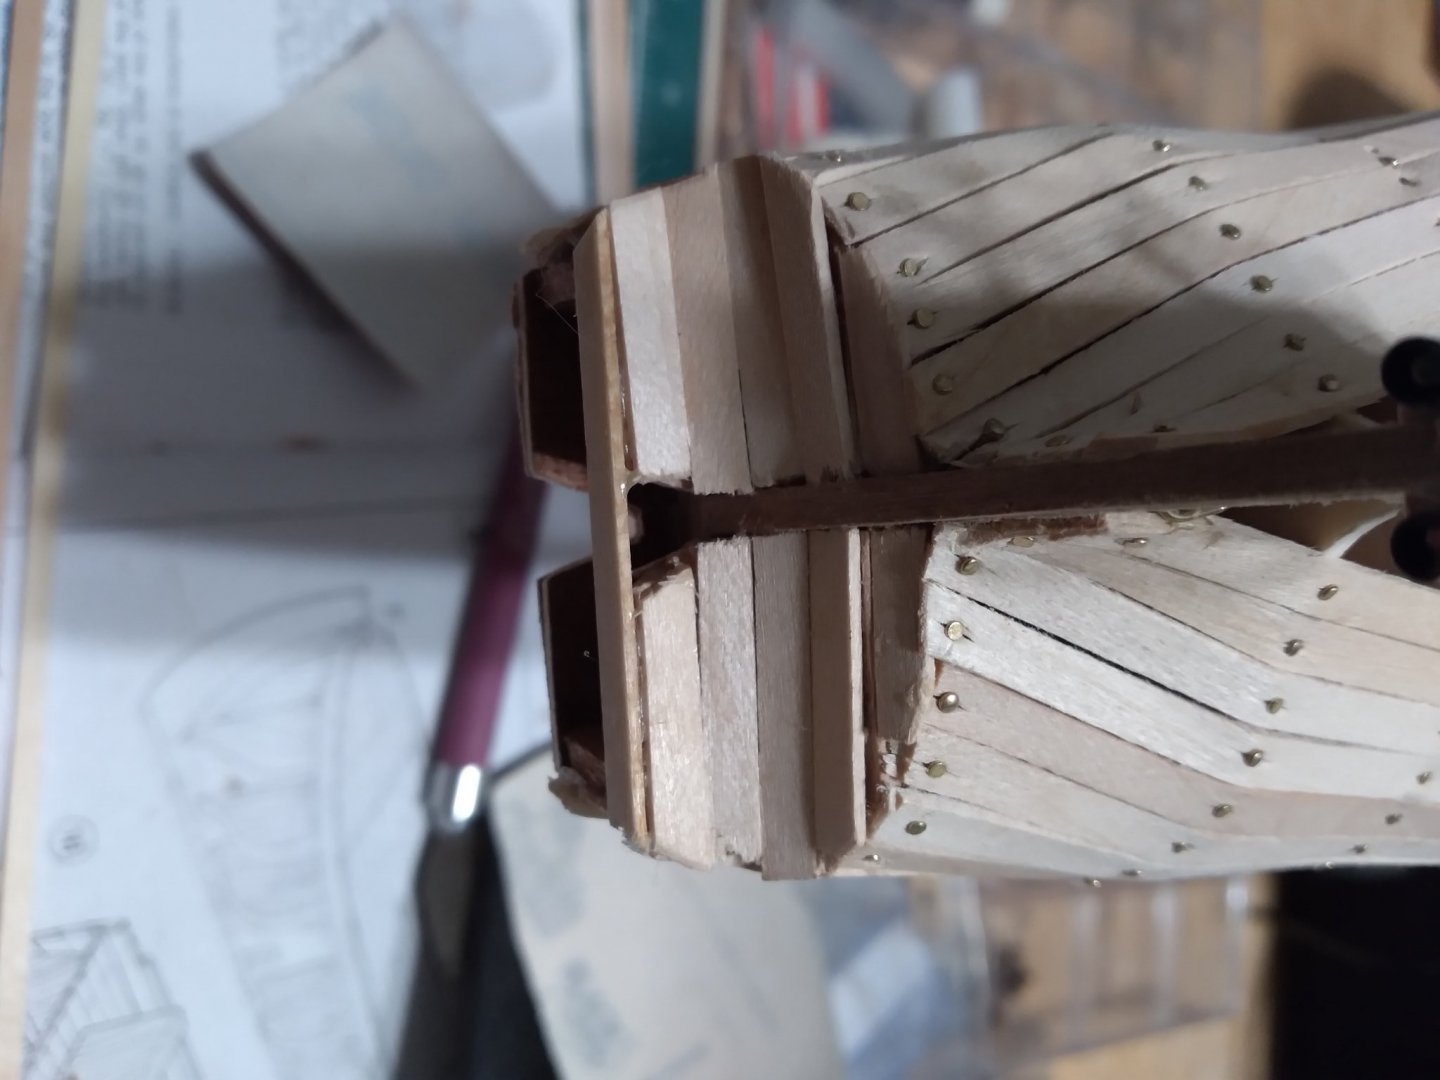
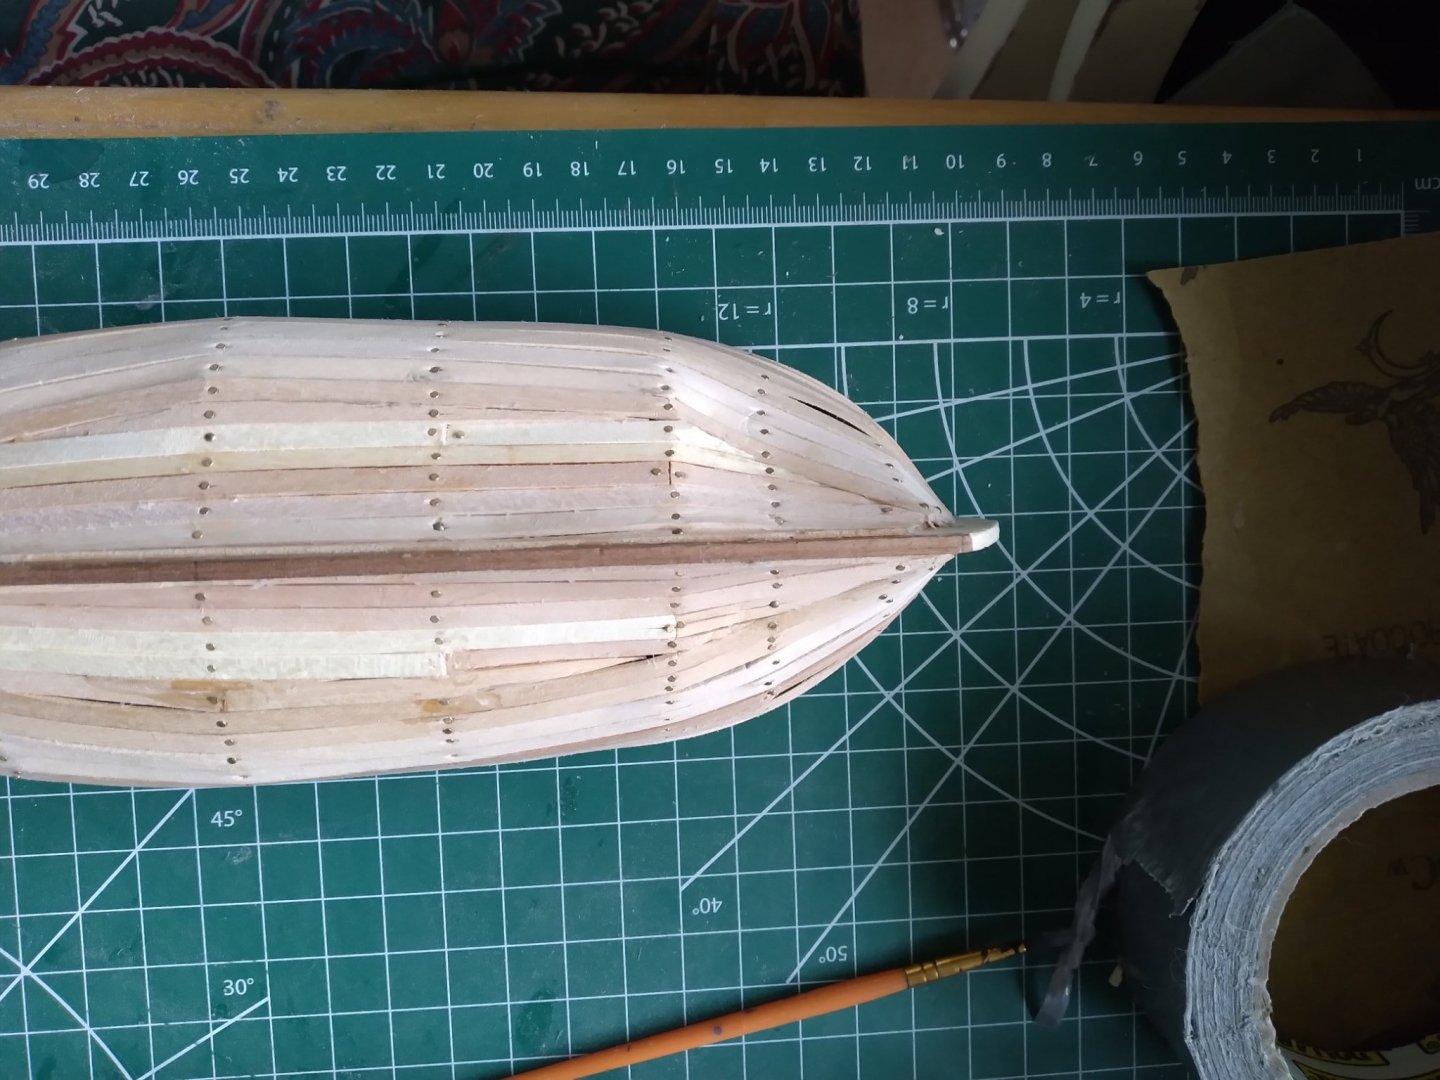
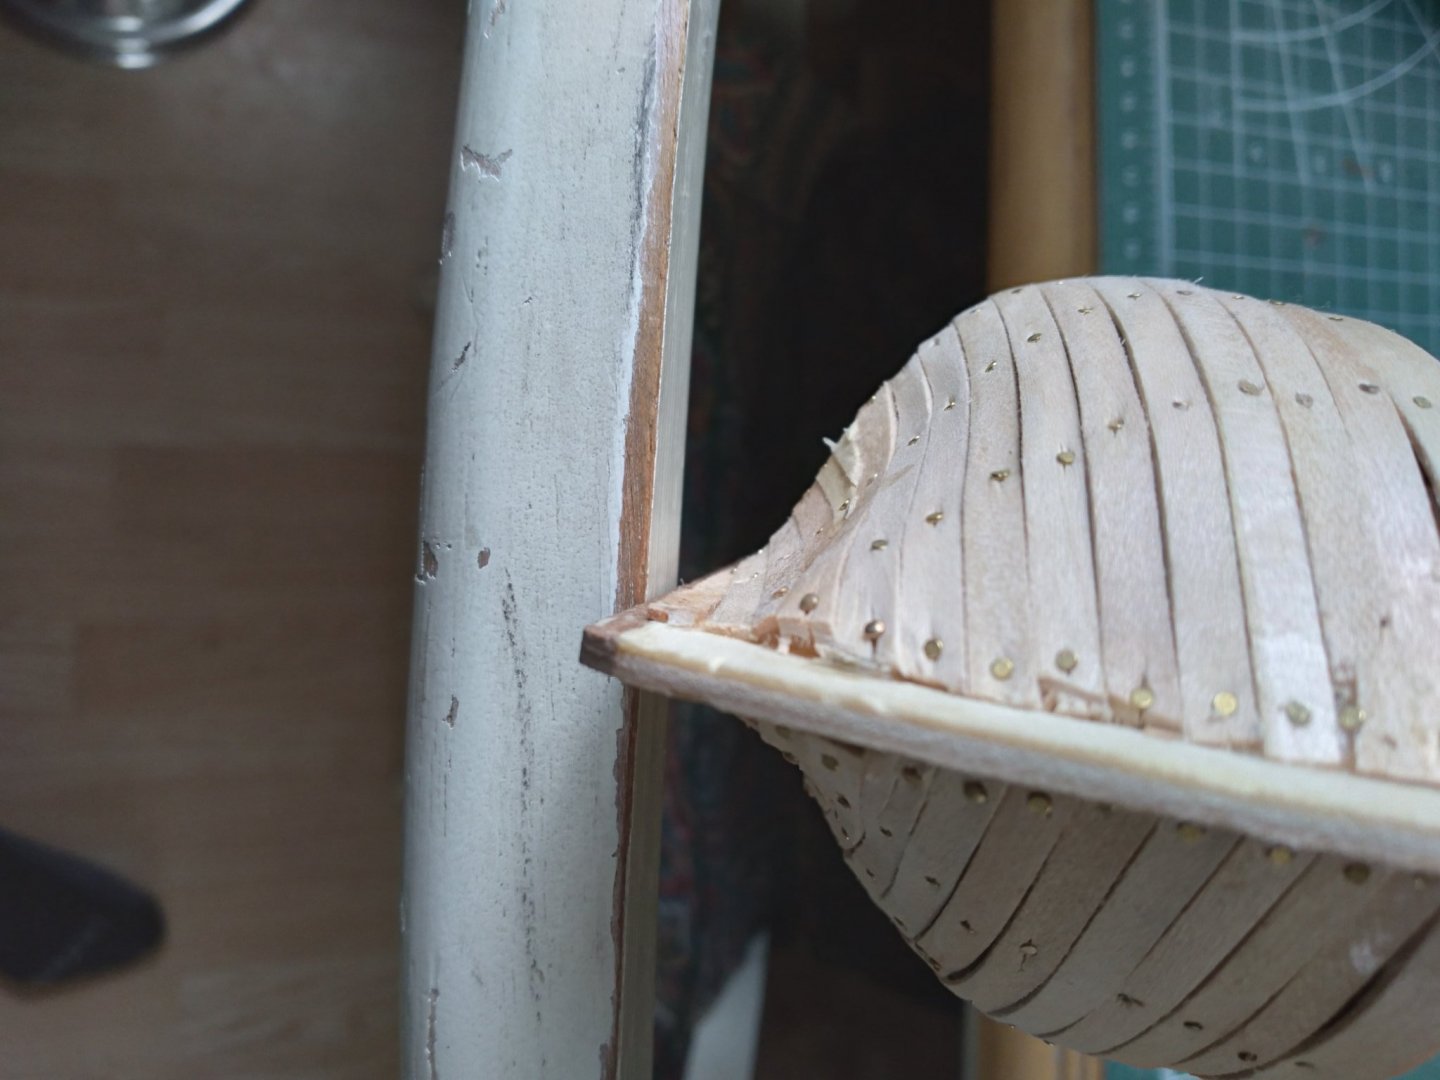
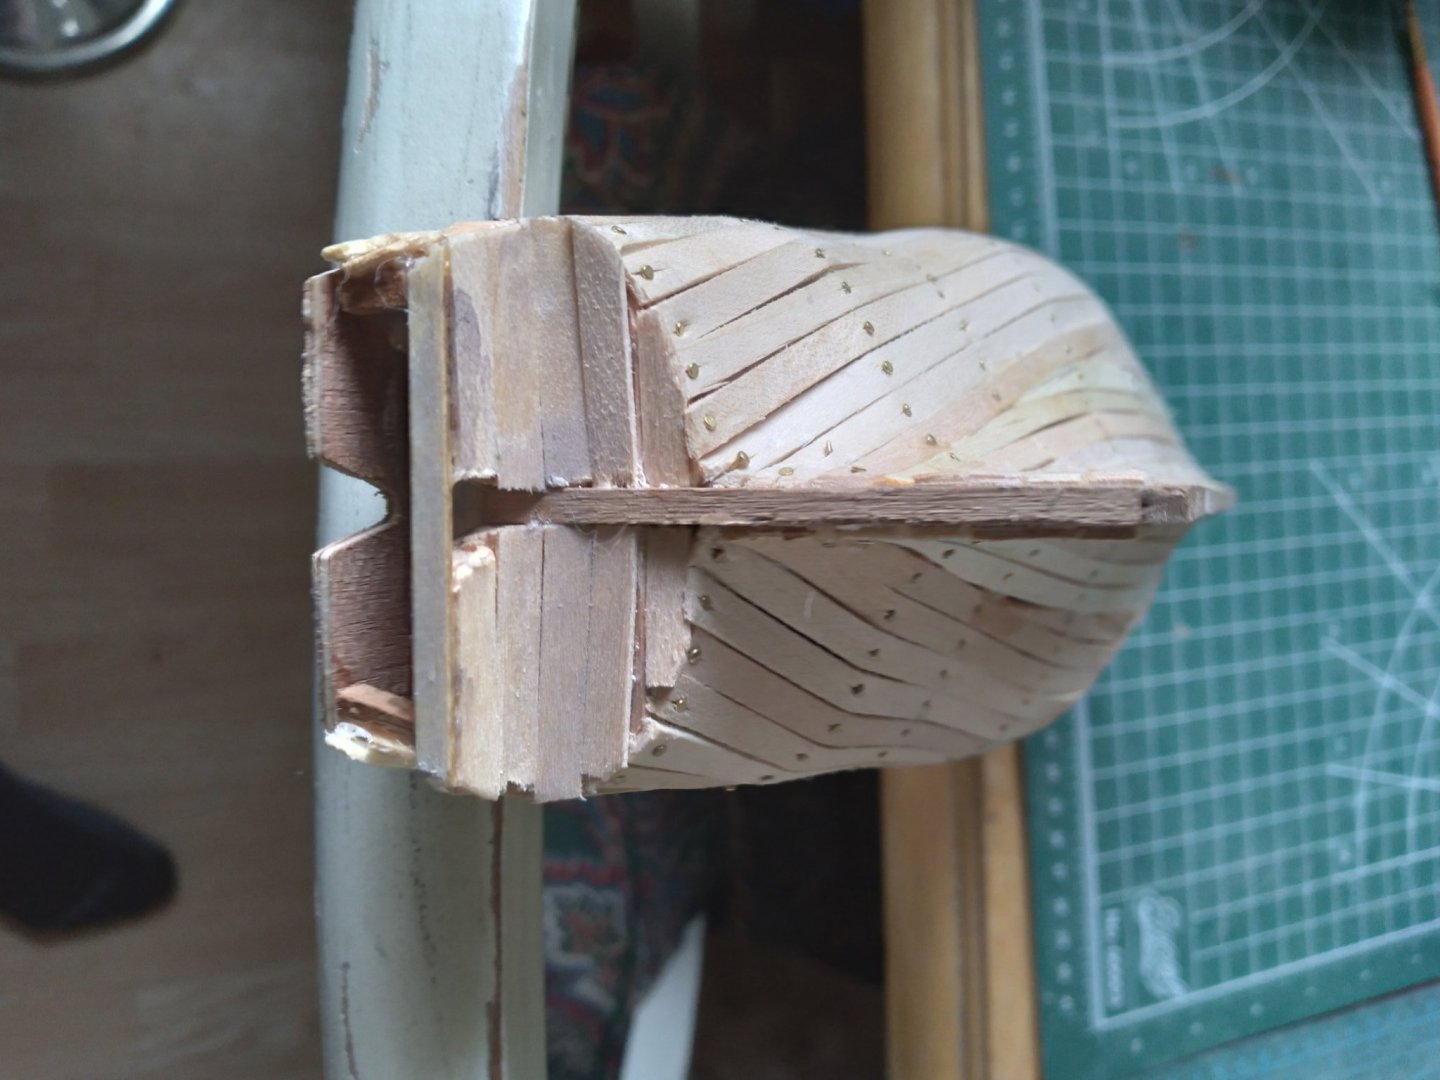
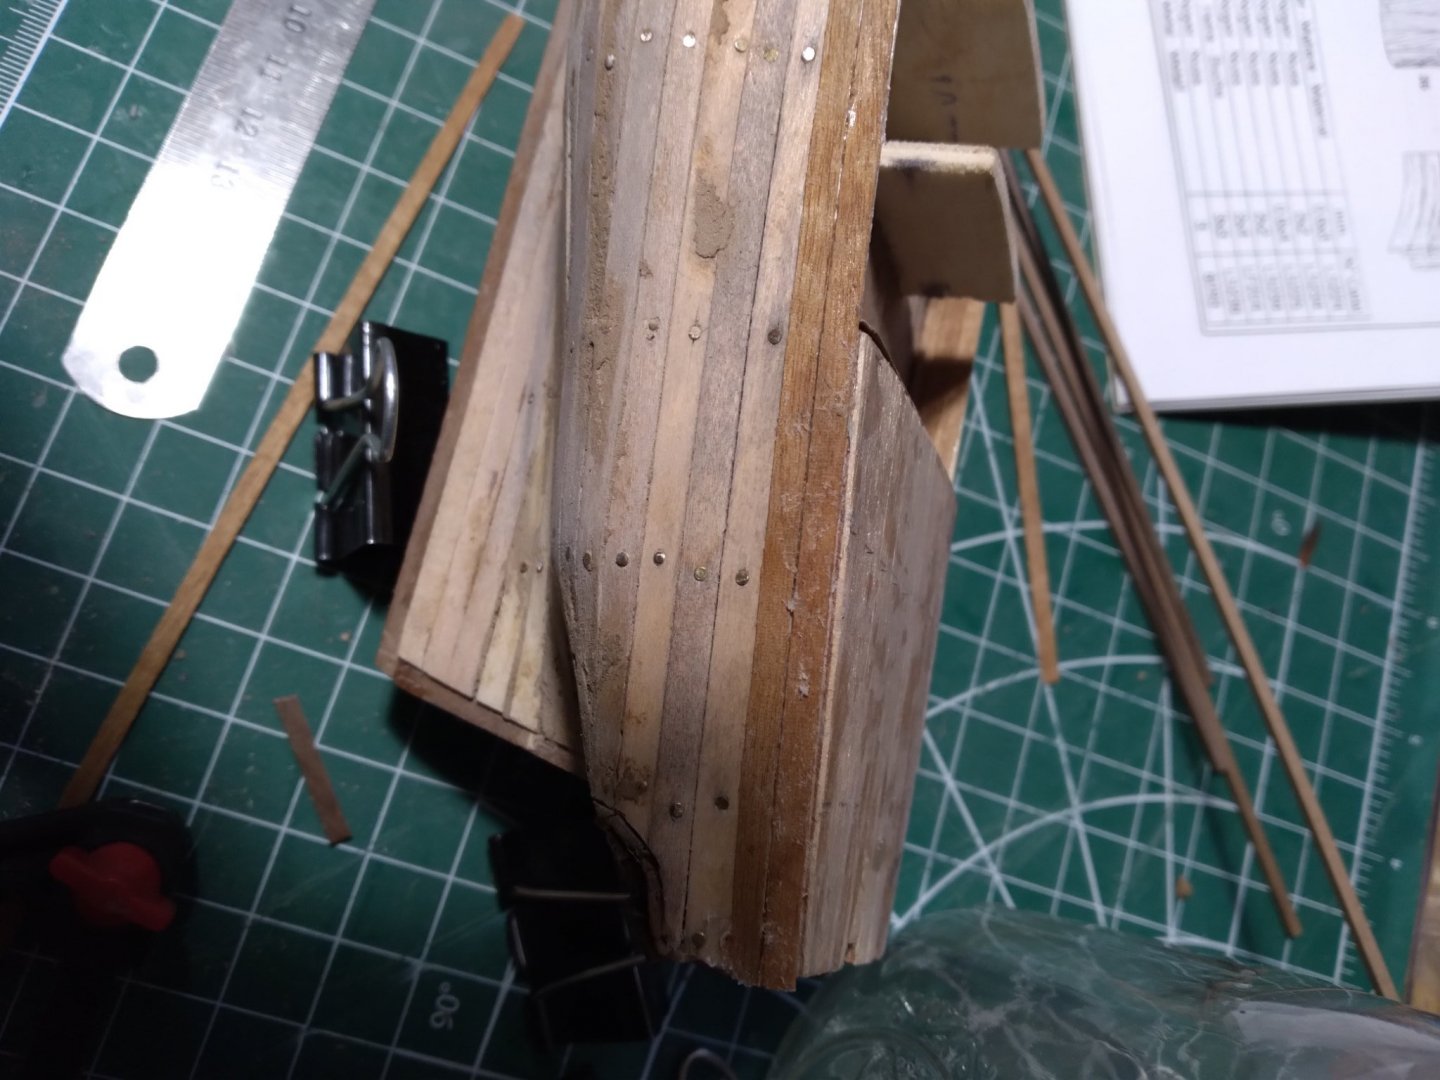
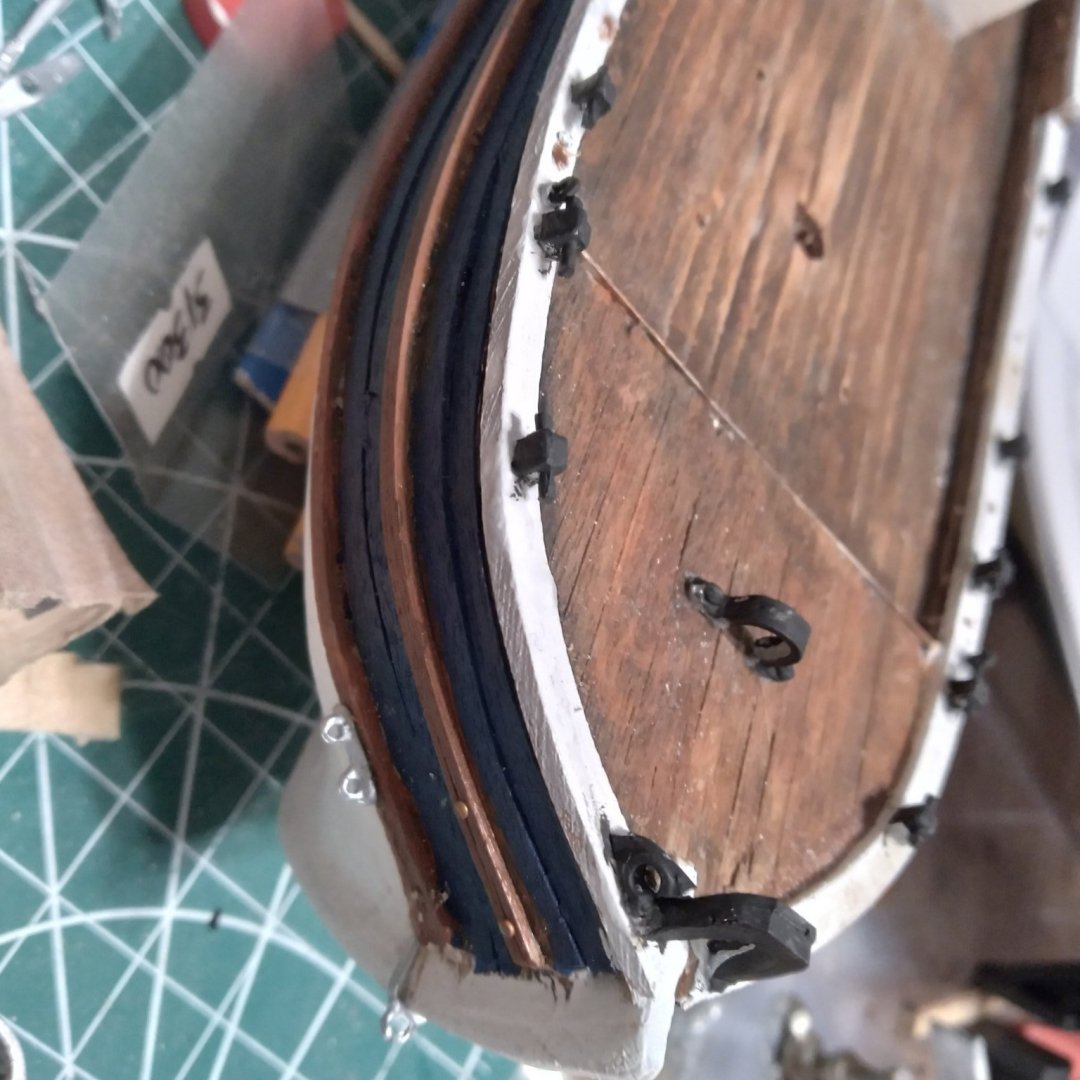
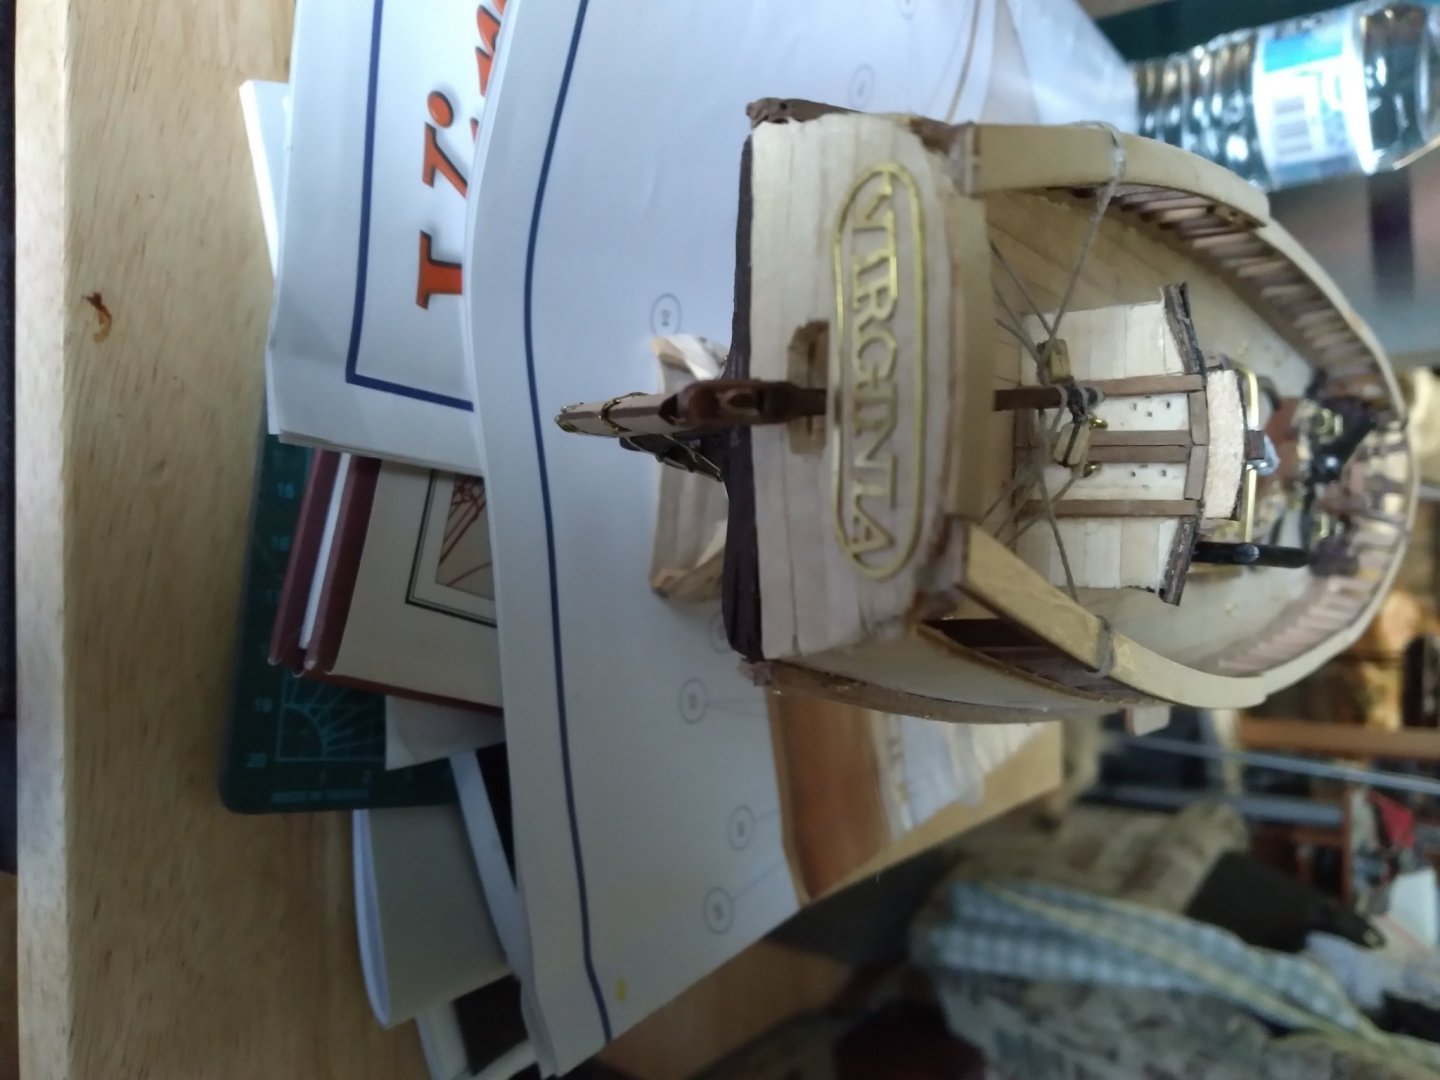
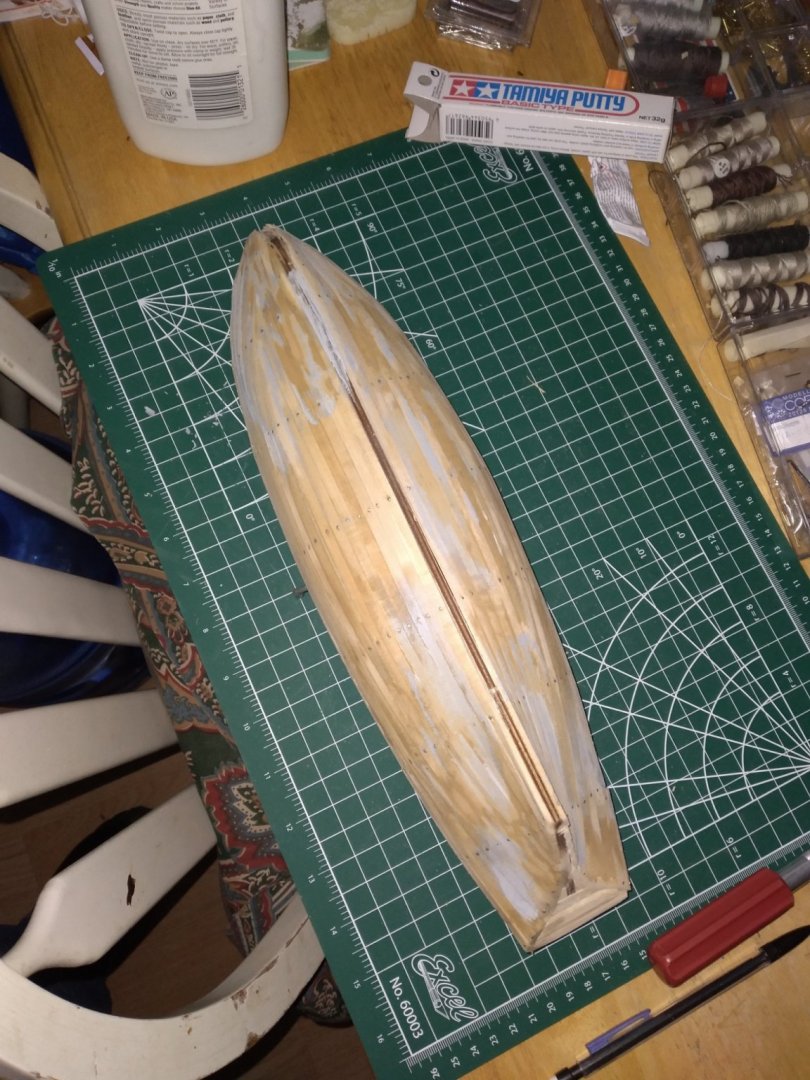
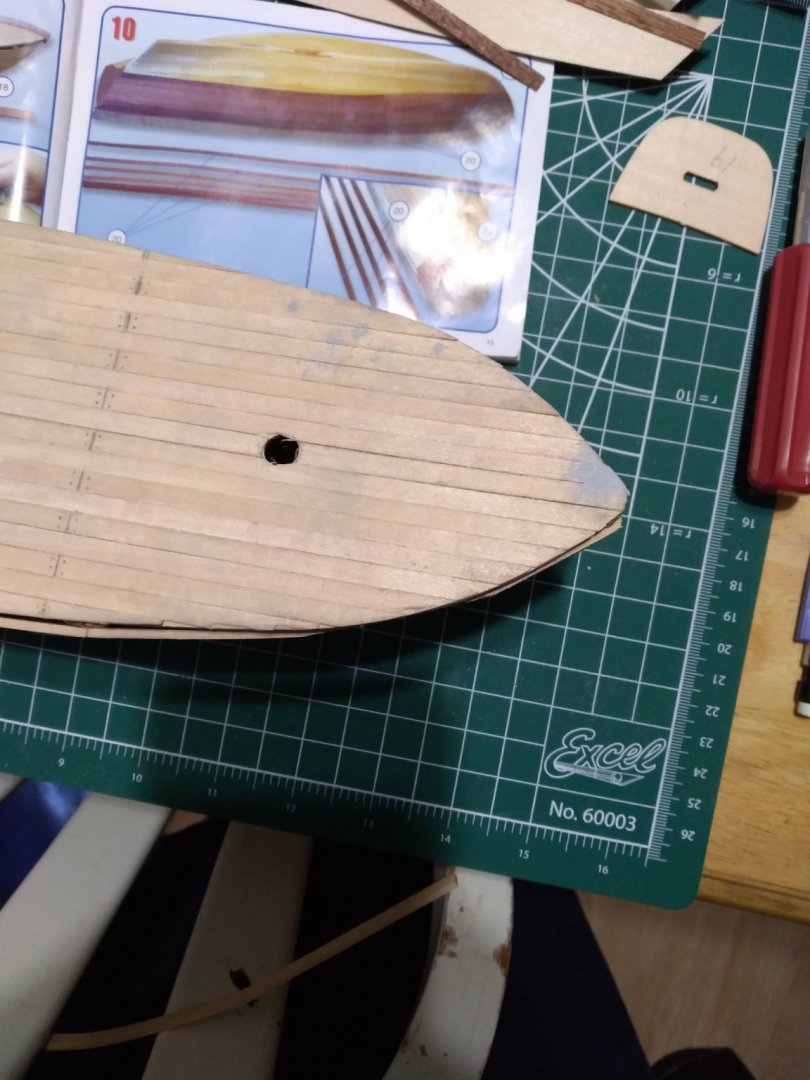
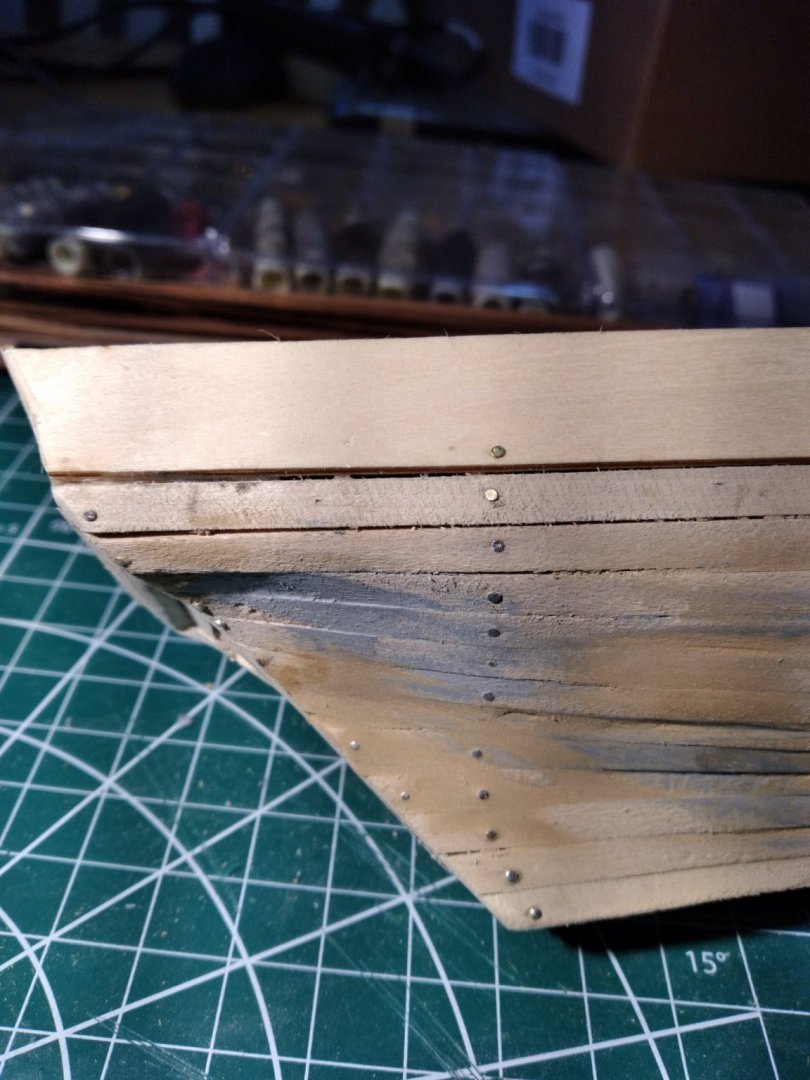
Sorry I haven't posted in a bit. Here is an update. I am not happy about the bow and the broken boards. I am hoping i can fill it and stain it.


-
Tool holder that makes it easy to see the tool?
kearnold replied to kearnold's topic in Modeling tools and Workshop Equipment
This is my problem too -
Tool holder that makes it easy to see the tool?
kearnold replied to kearnold's topic in Modeling tools and Workshop Equipment
I like this idea. It doesn't look like it takes up much space -
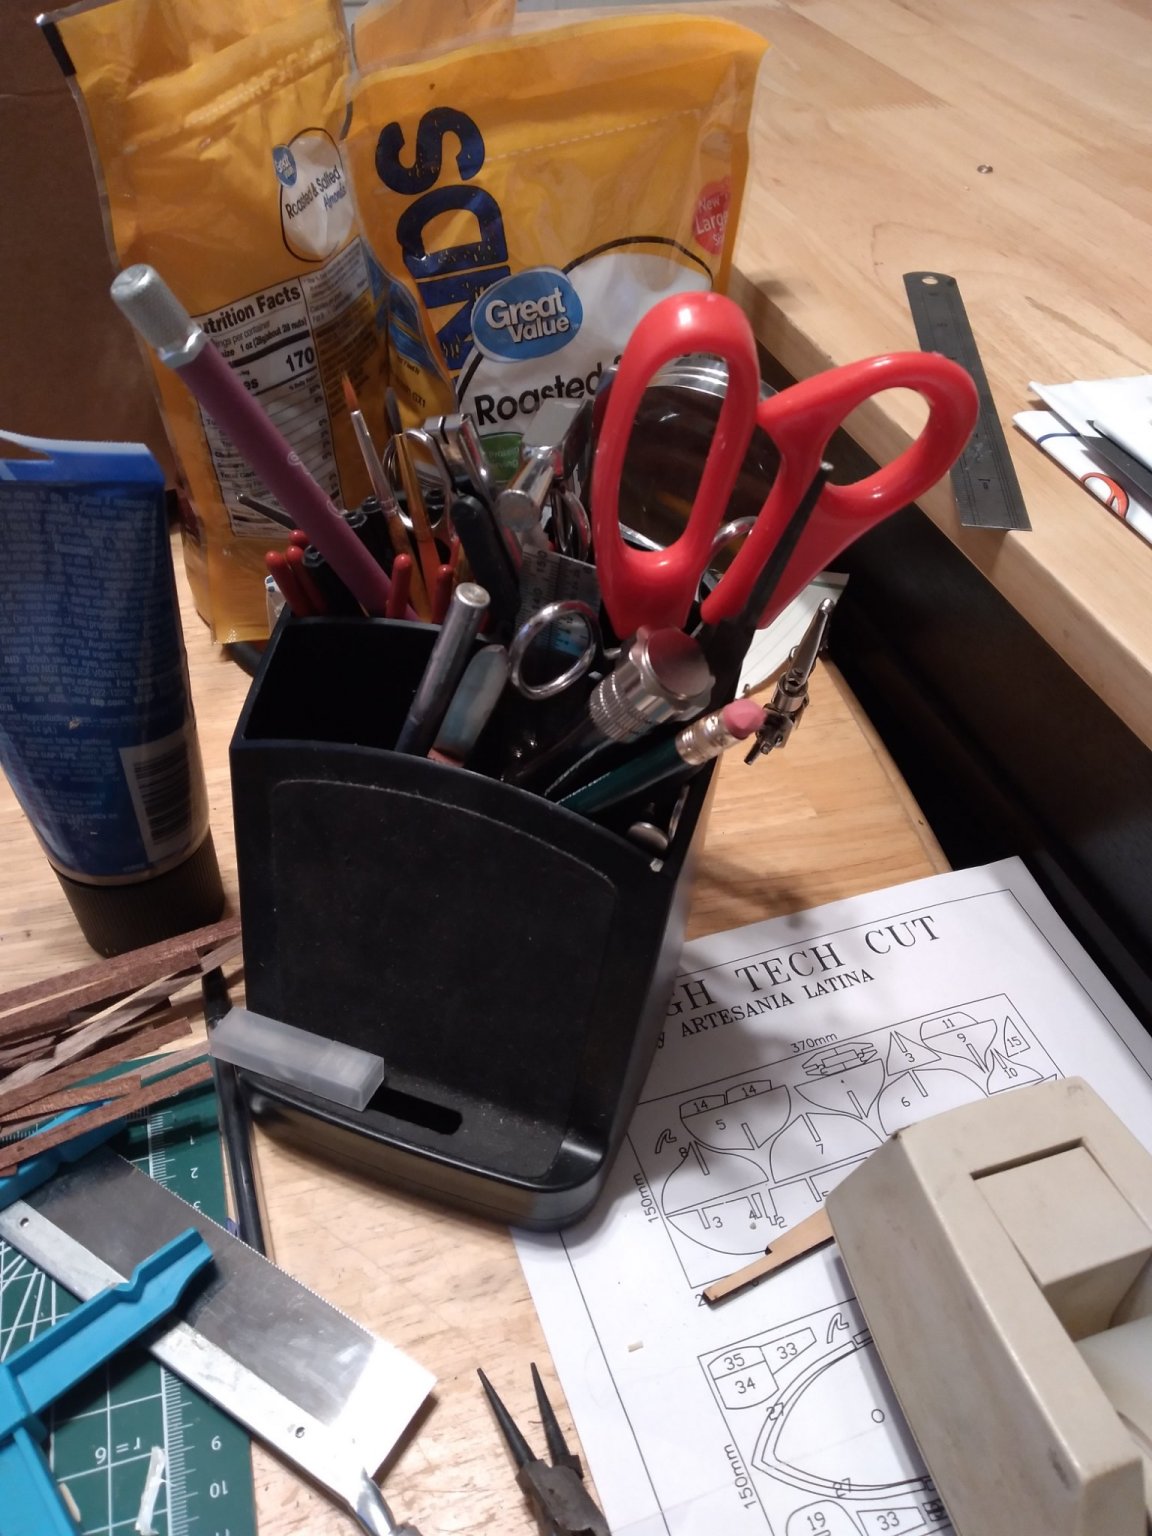
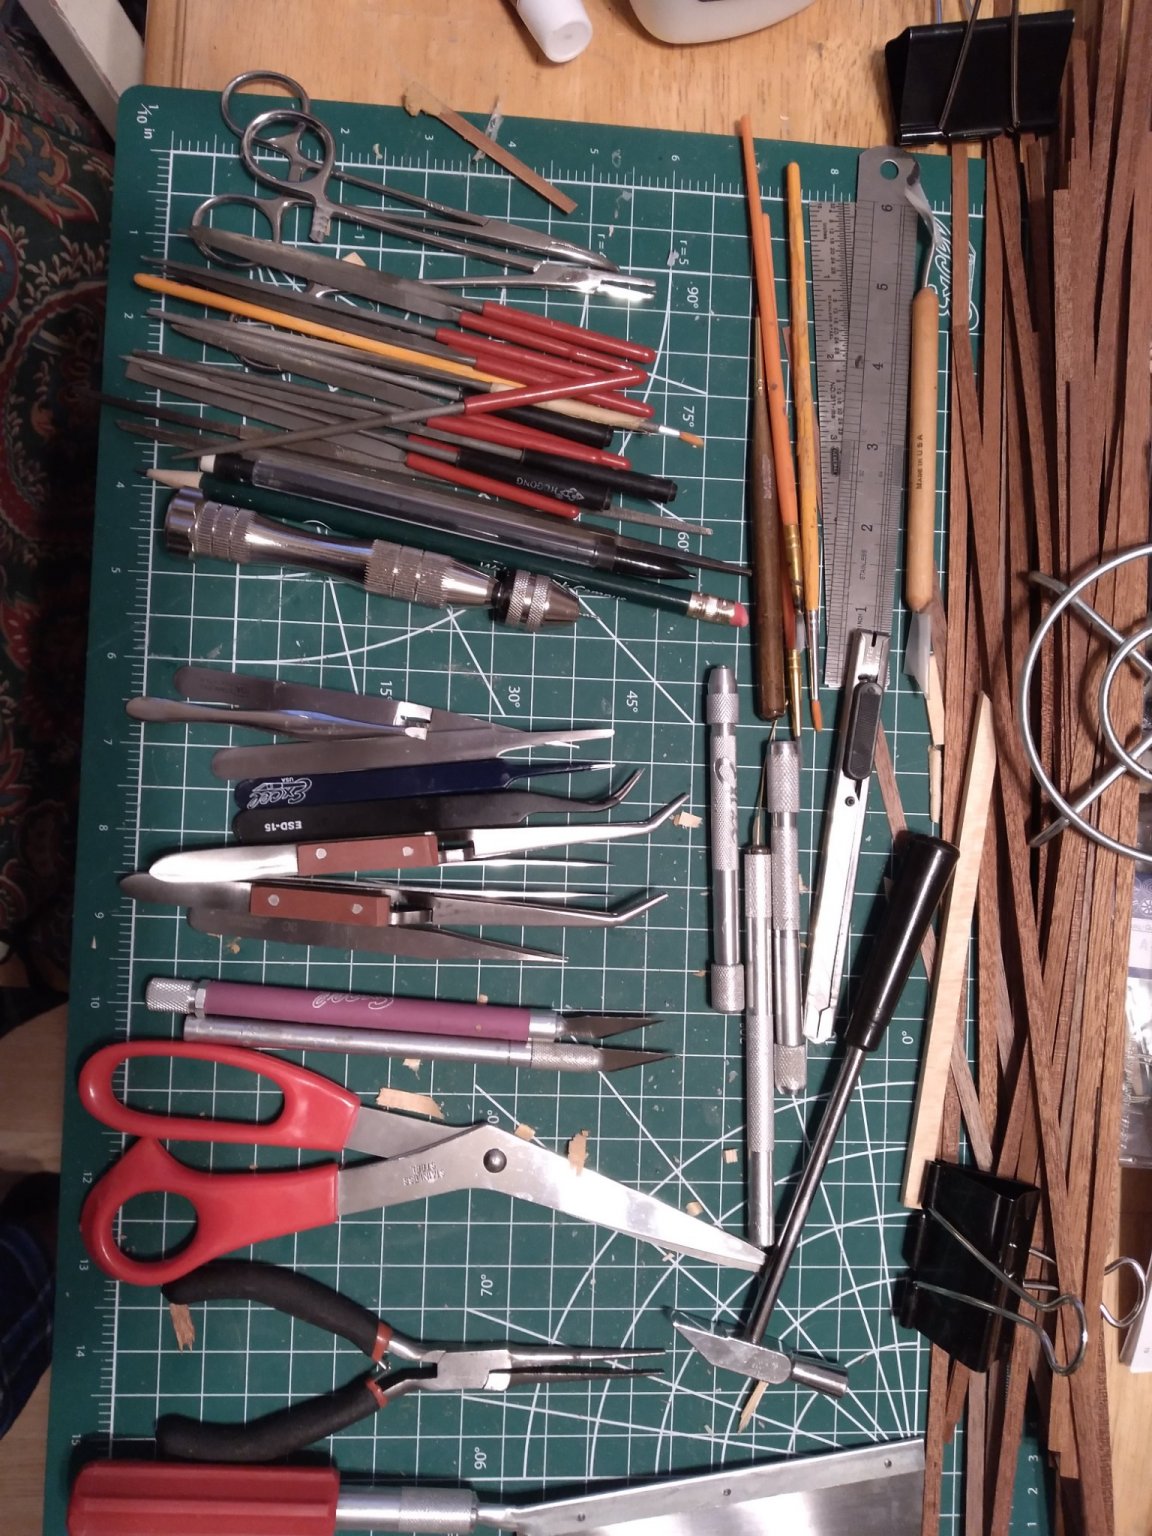
I have a very small space to use when working on my ships. My tools are all in a plastic holder that prevents me from seeing what is what, so I end up with them sitting on the cutting mat usually, and getting in the way. Craft/fish tackle cases never seem to have enough bins unless they are huge. And space is a premium. Is there a portable tool caddy on the market that doesn't take up a huge amount of space and let's me separately store them?
-
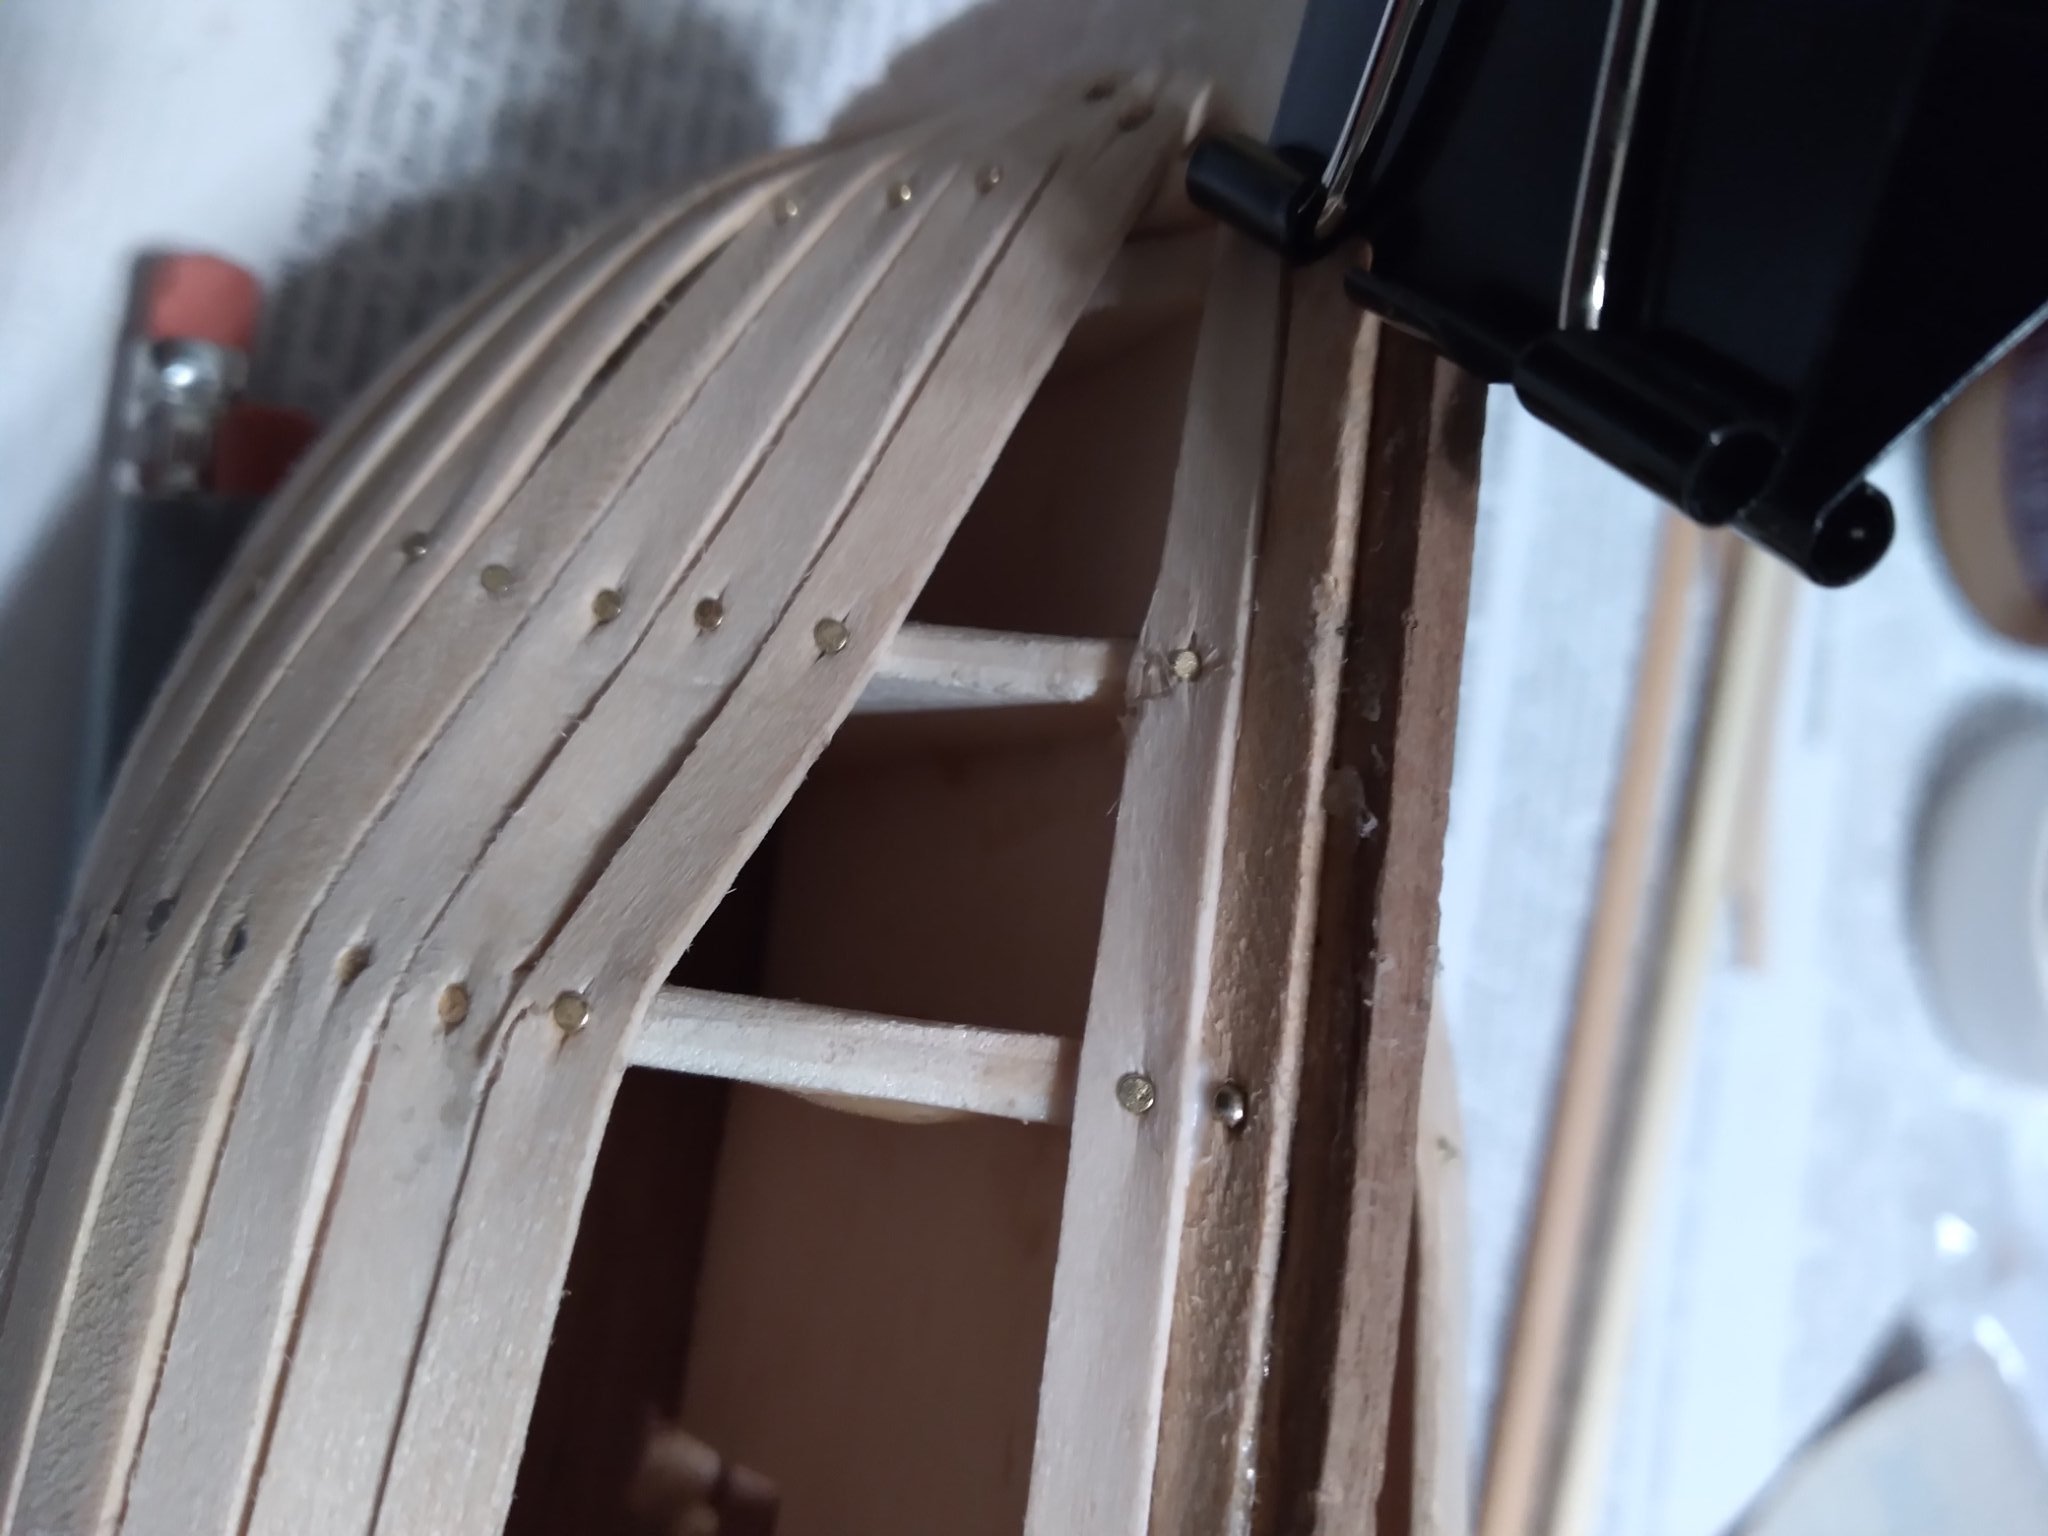
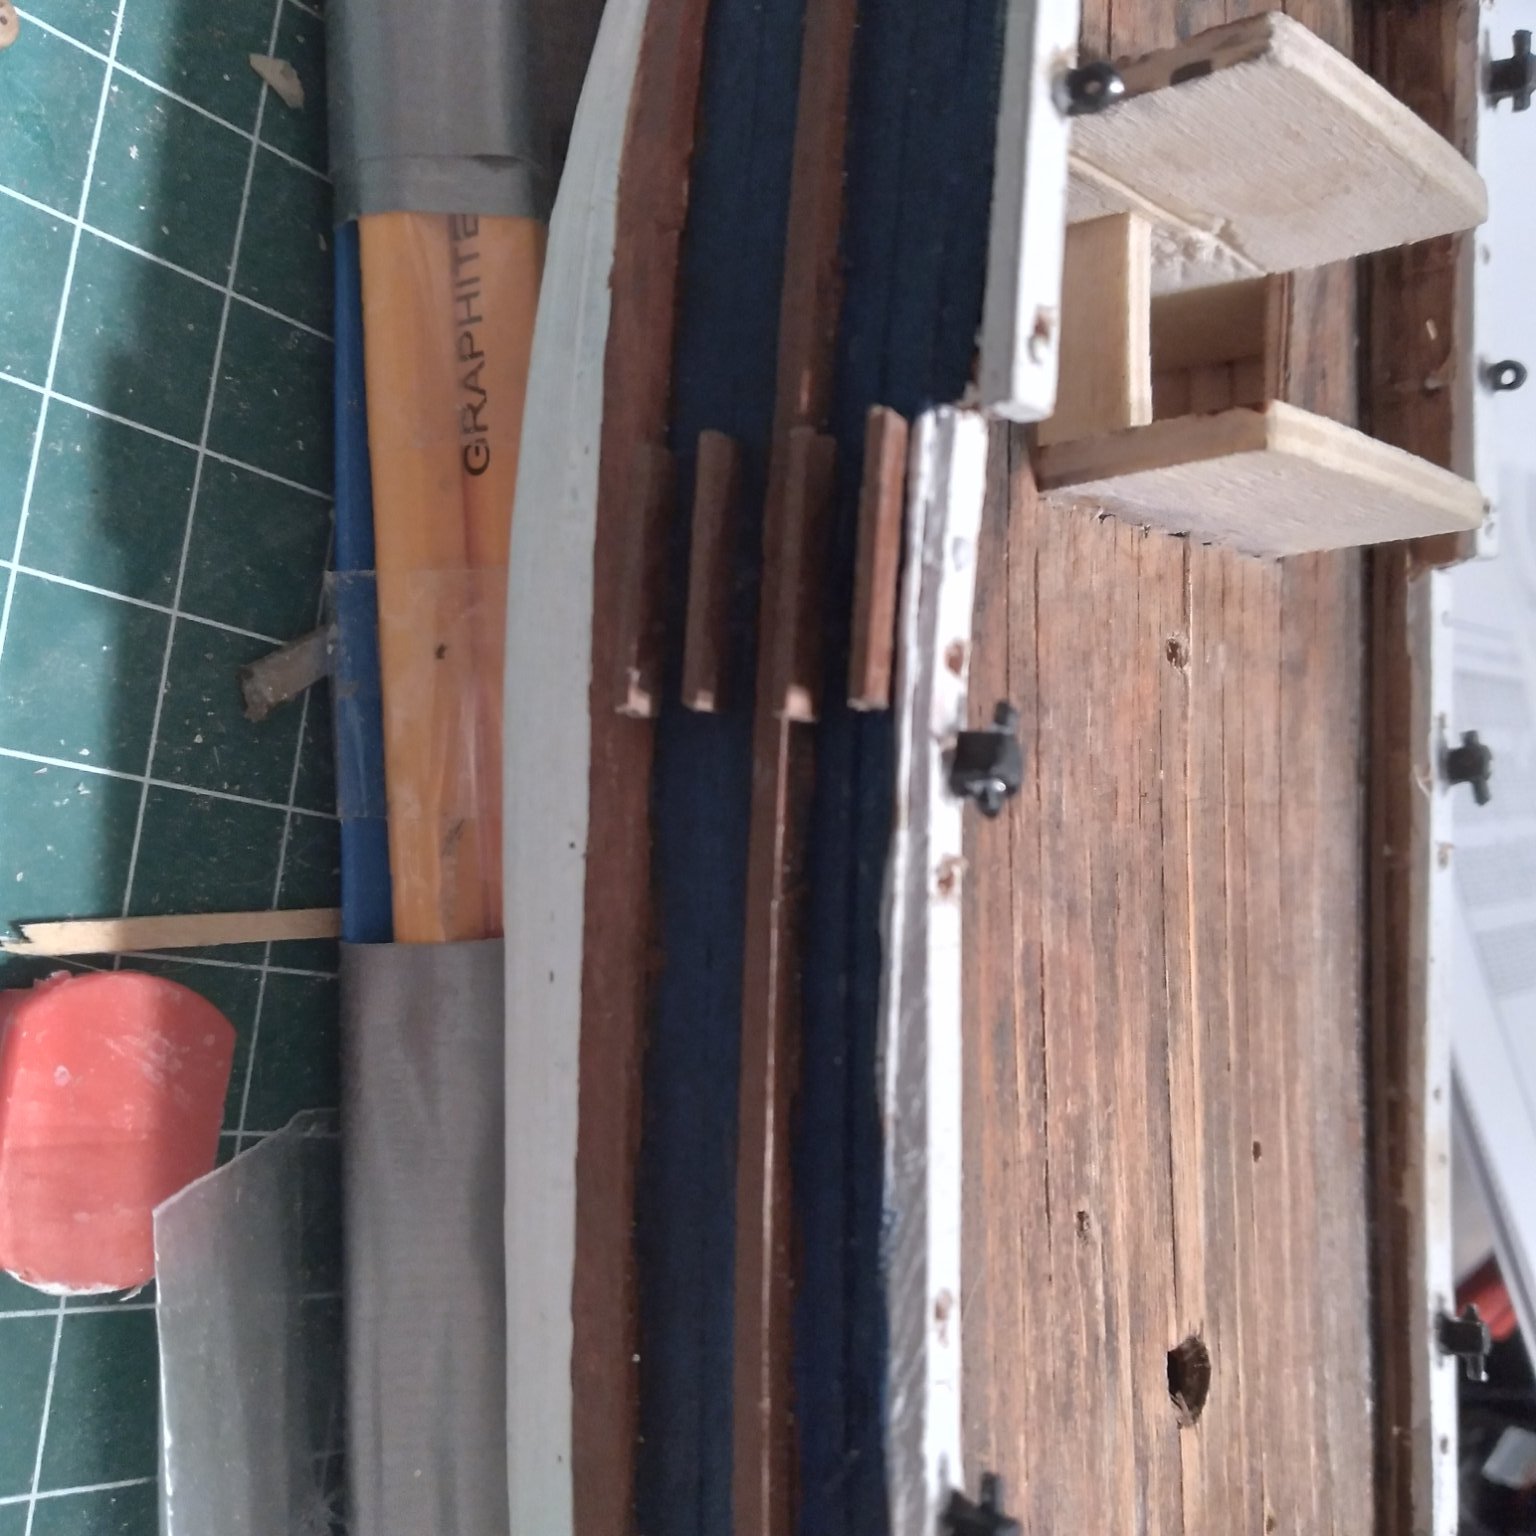
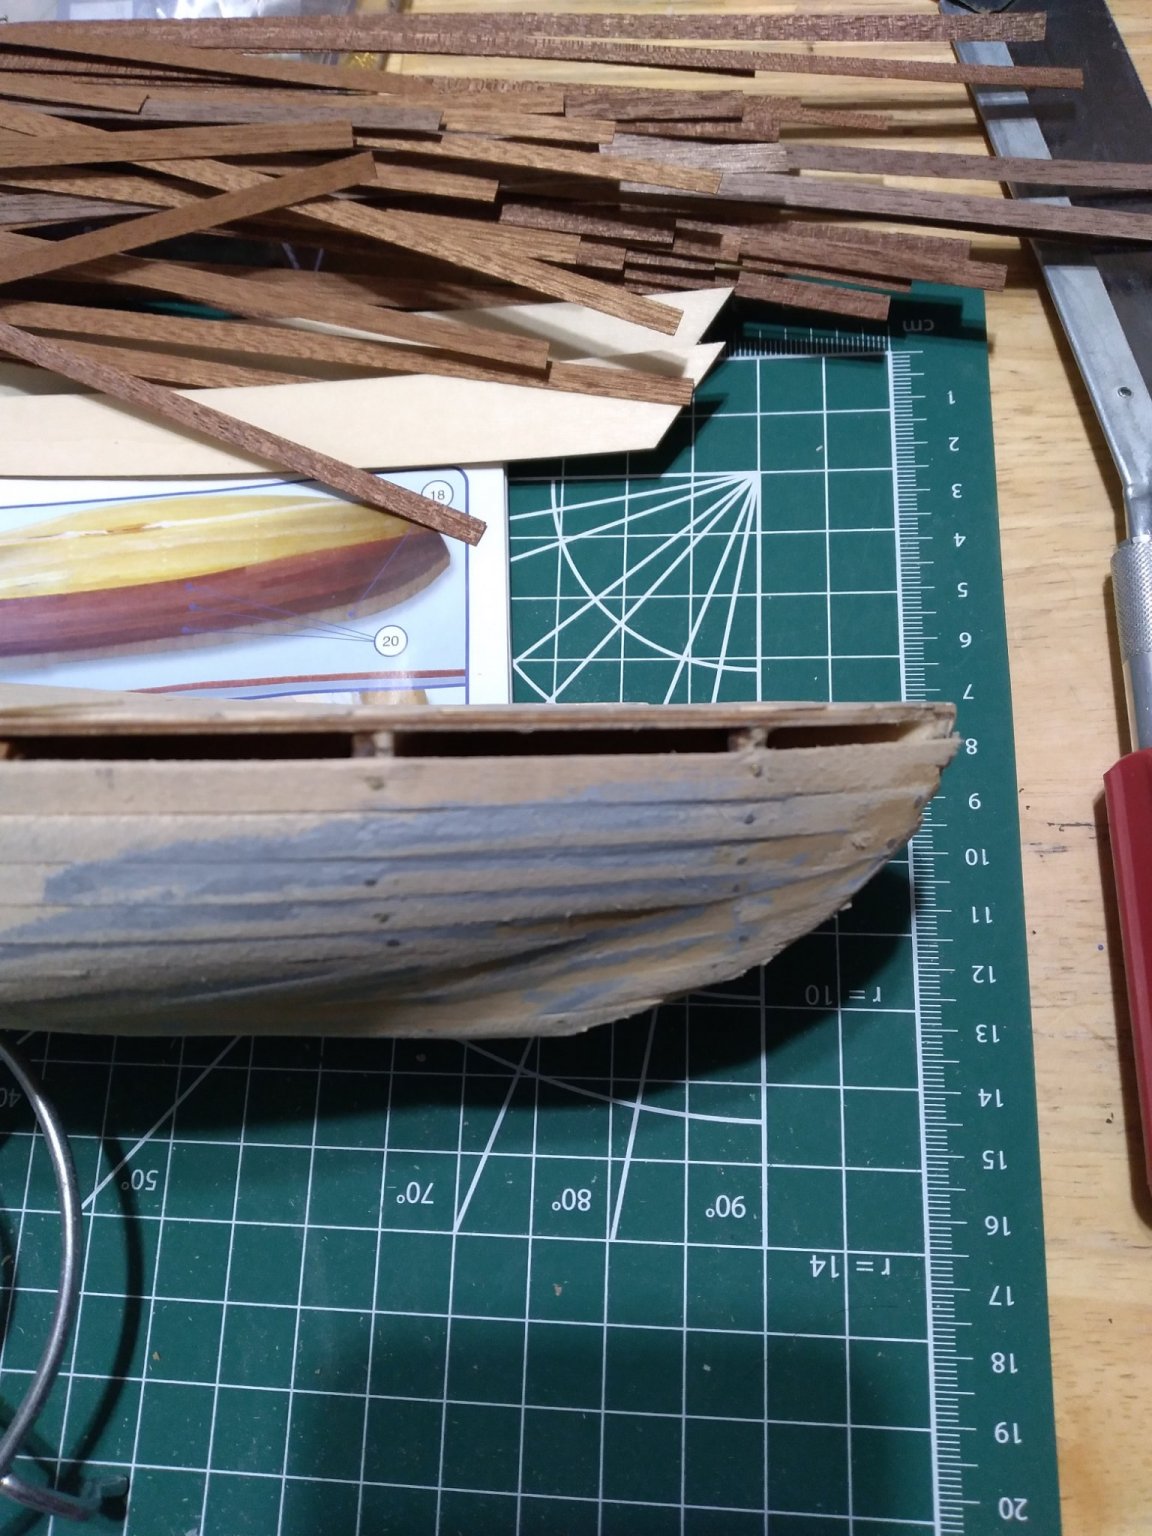
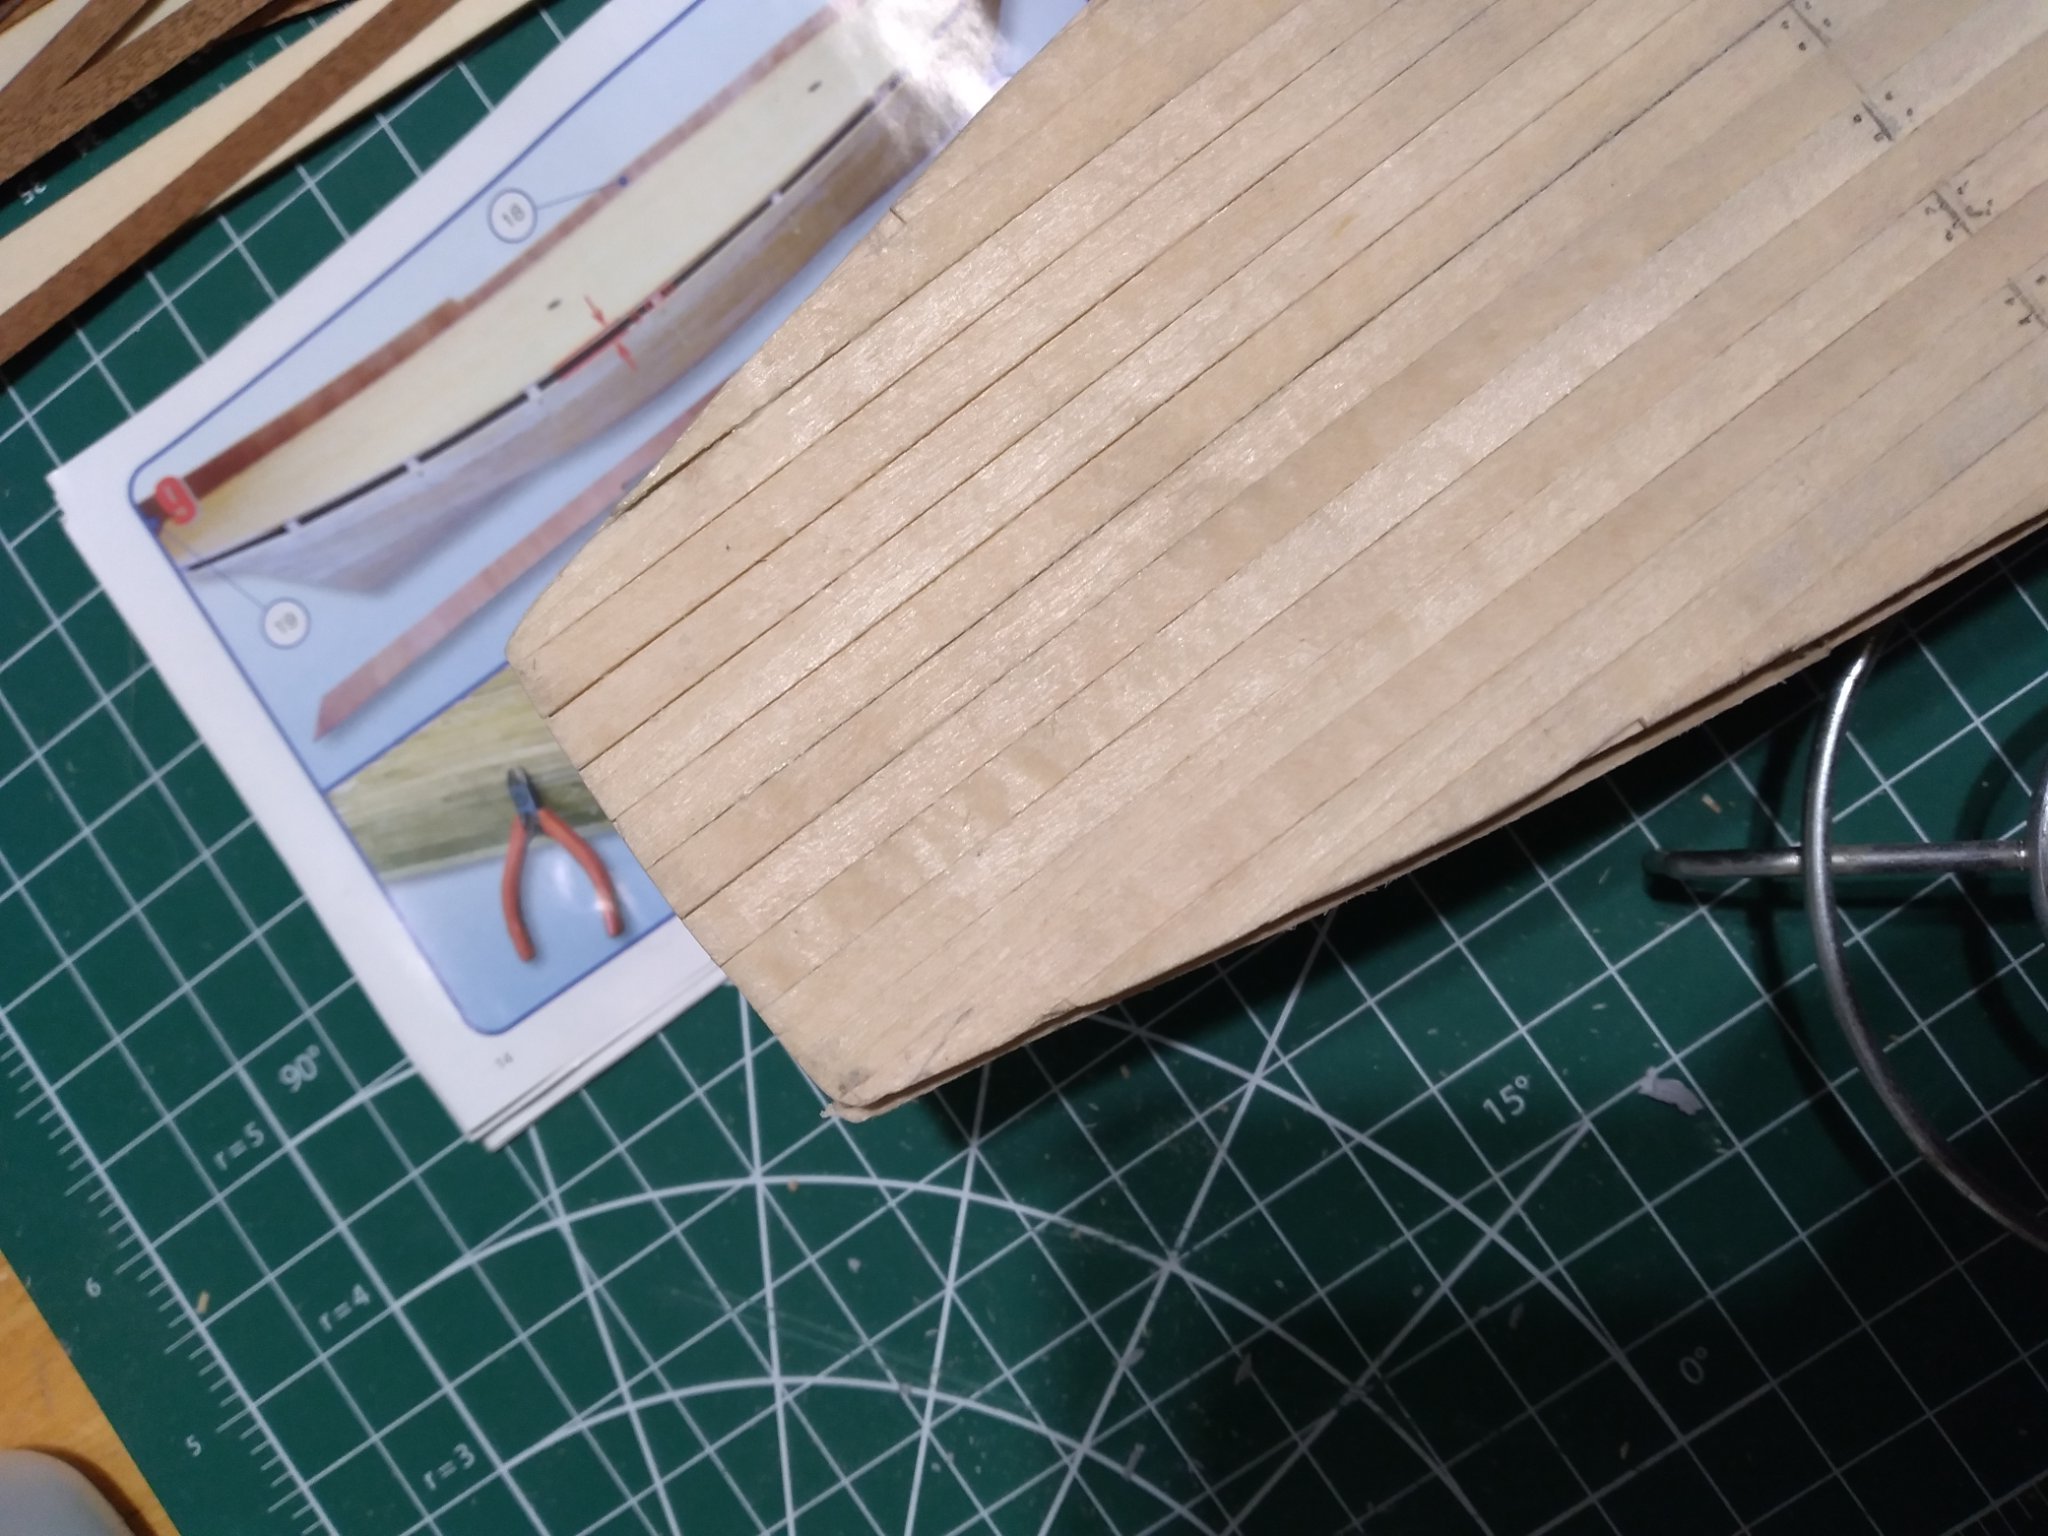
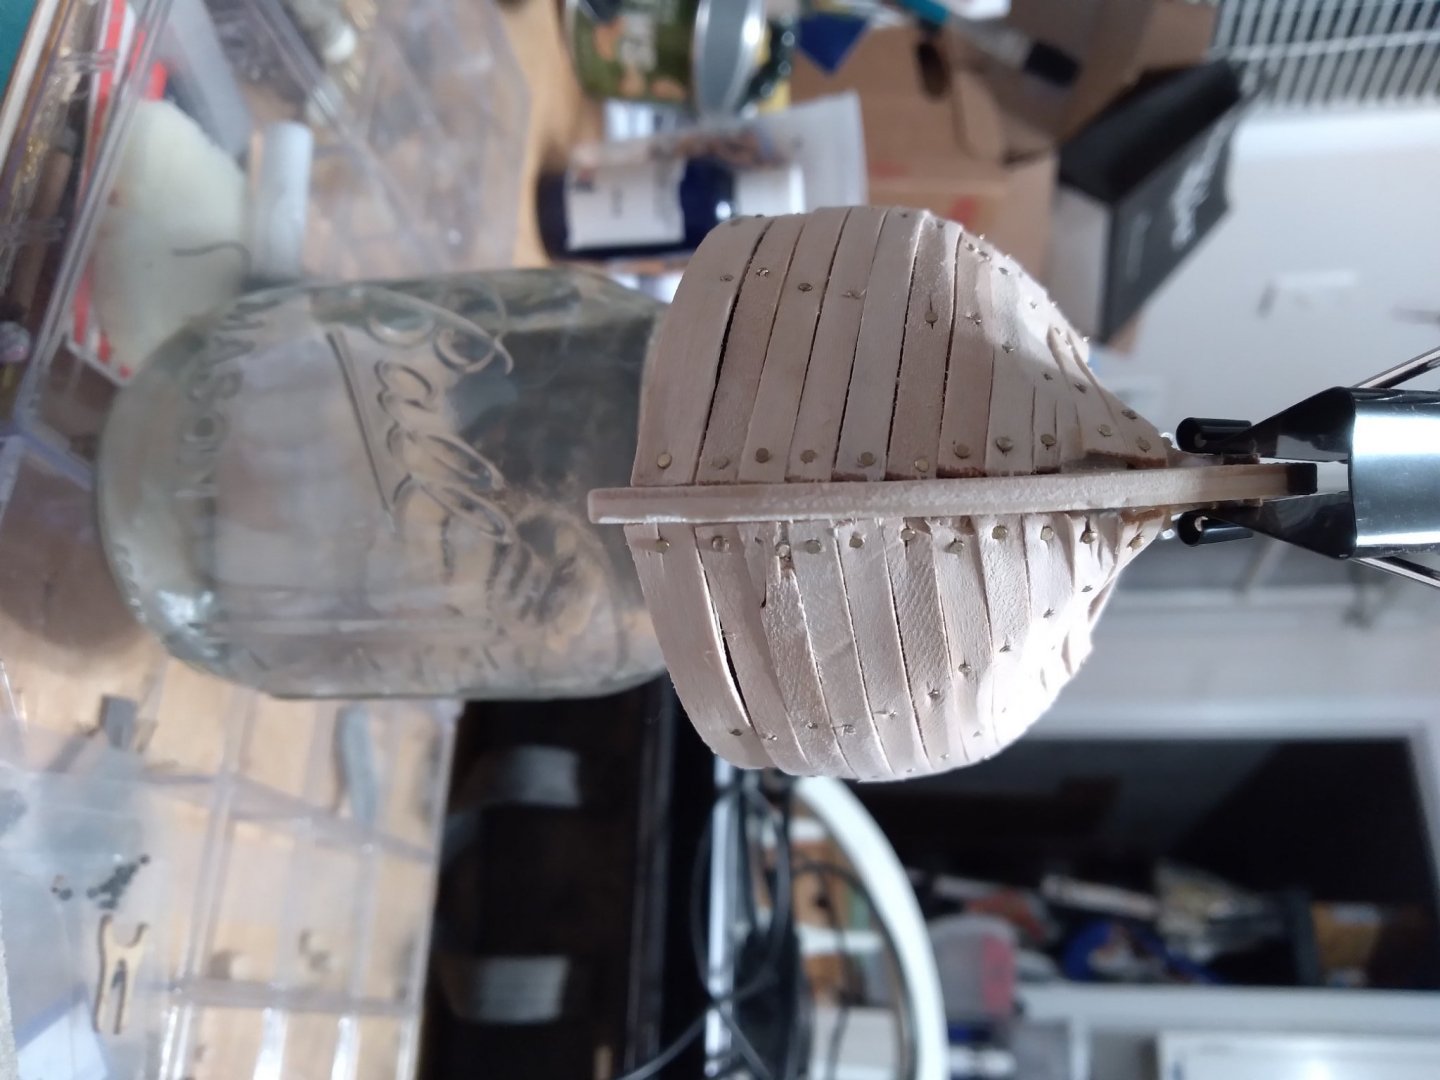
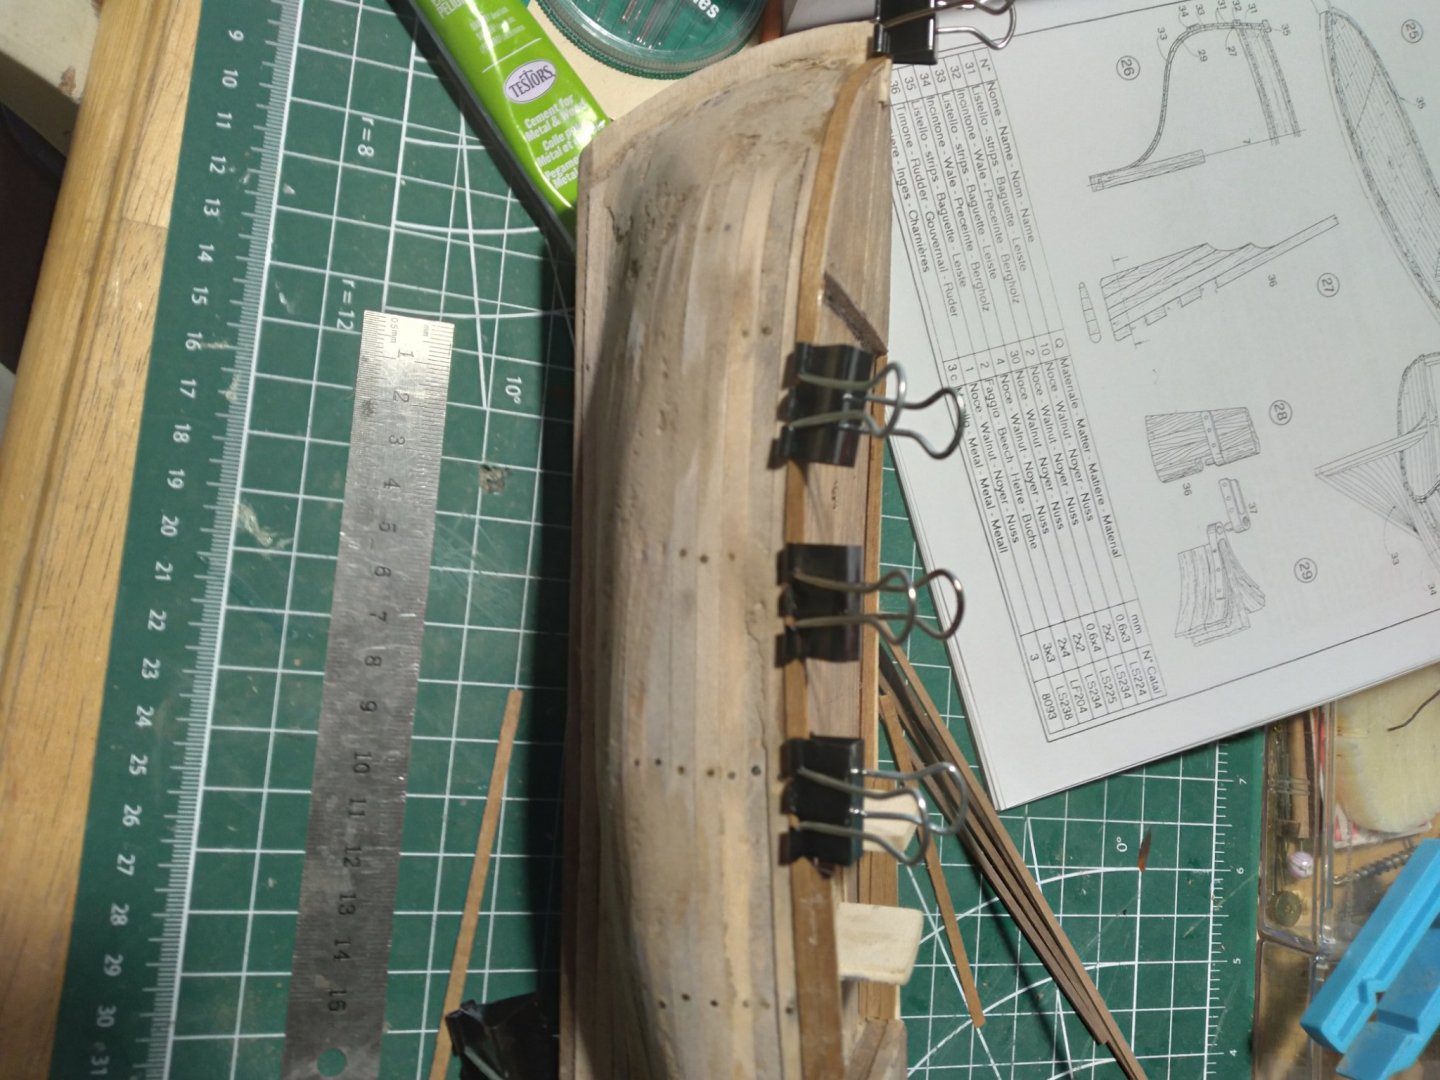
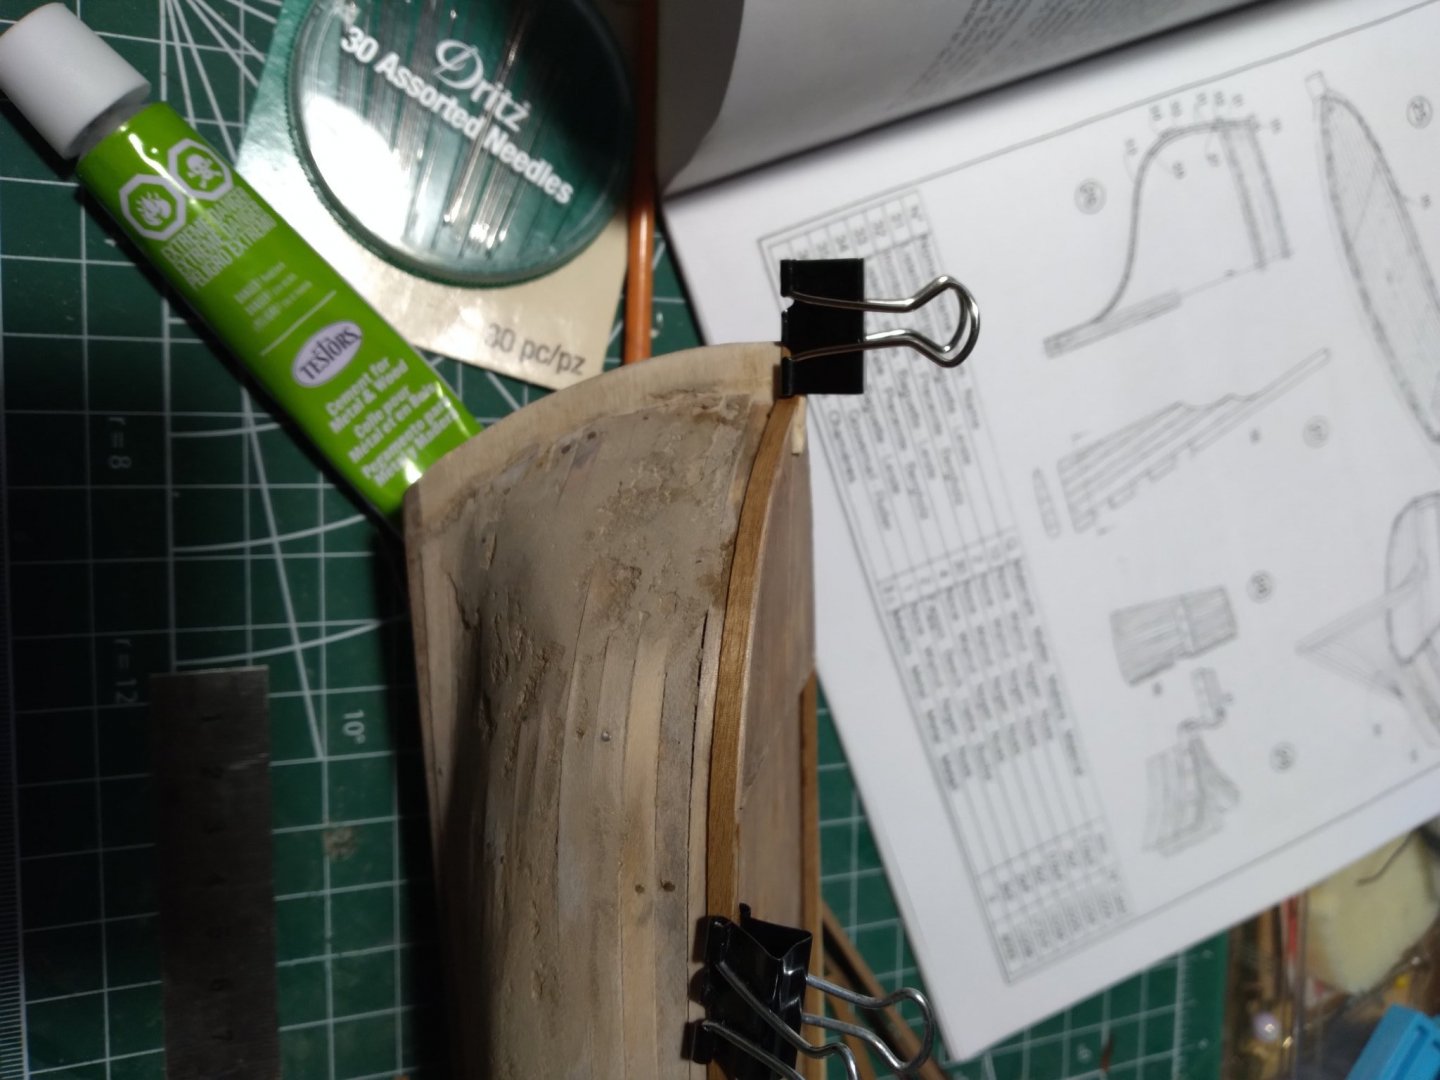
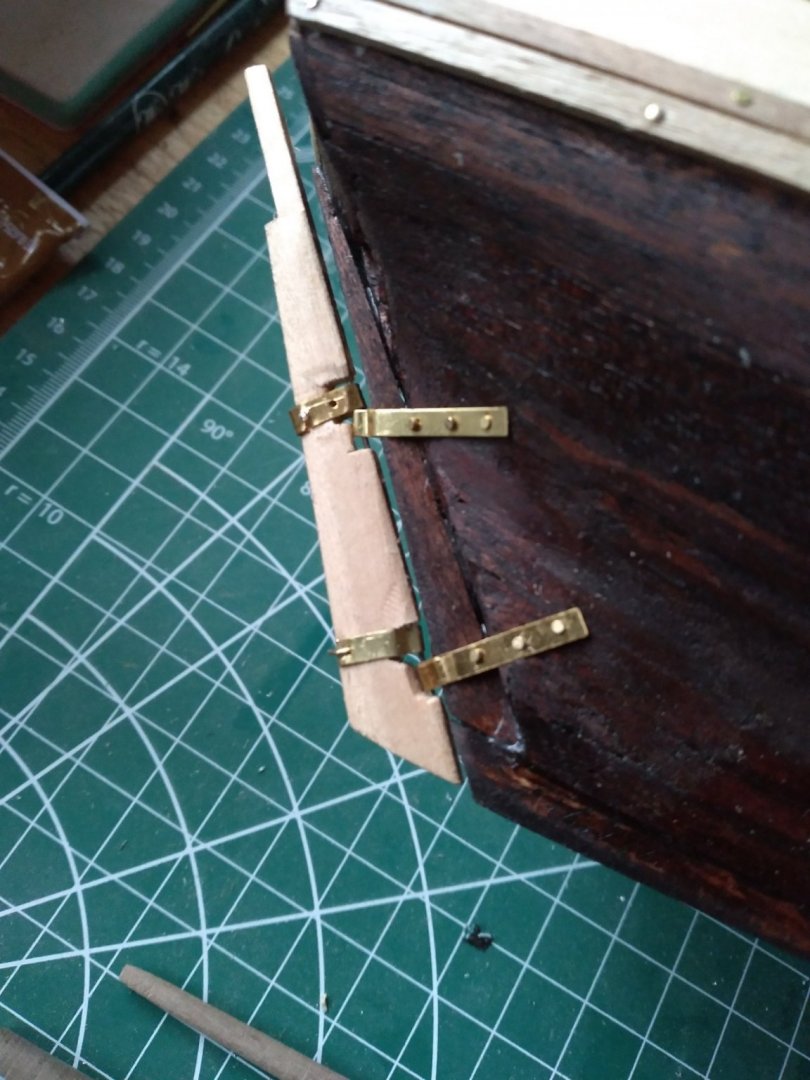
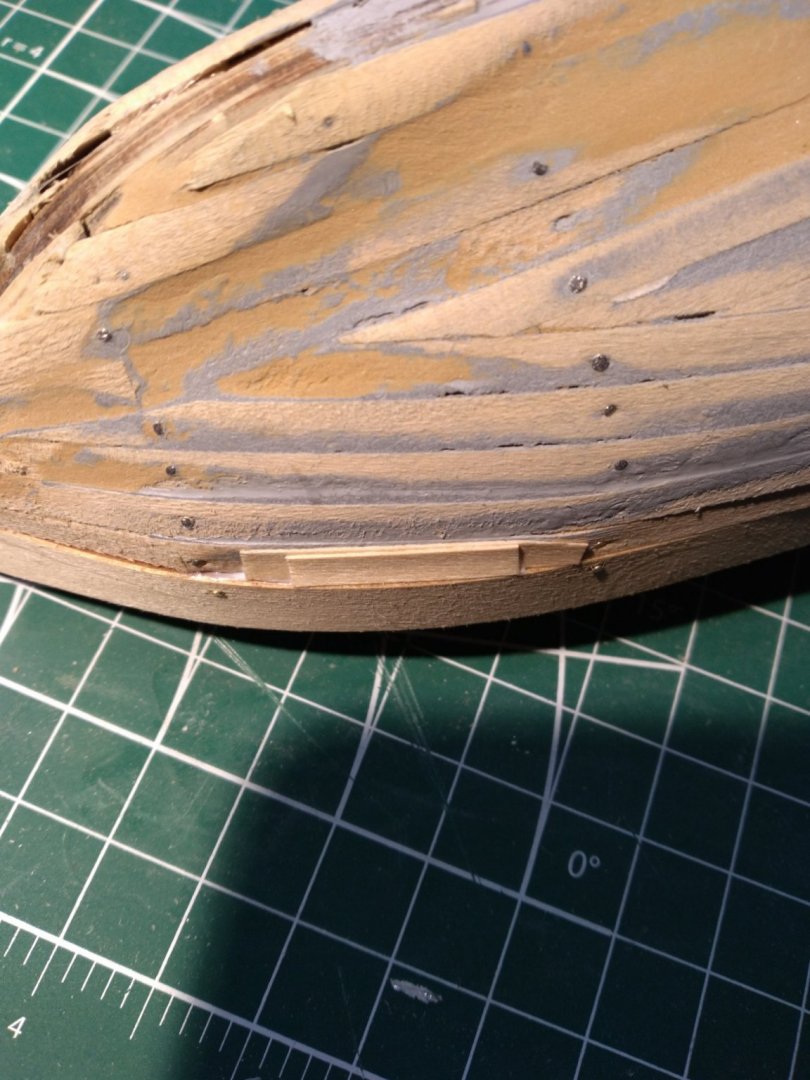
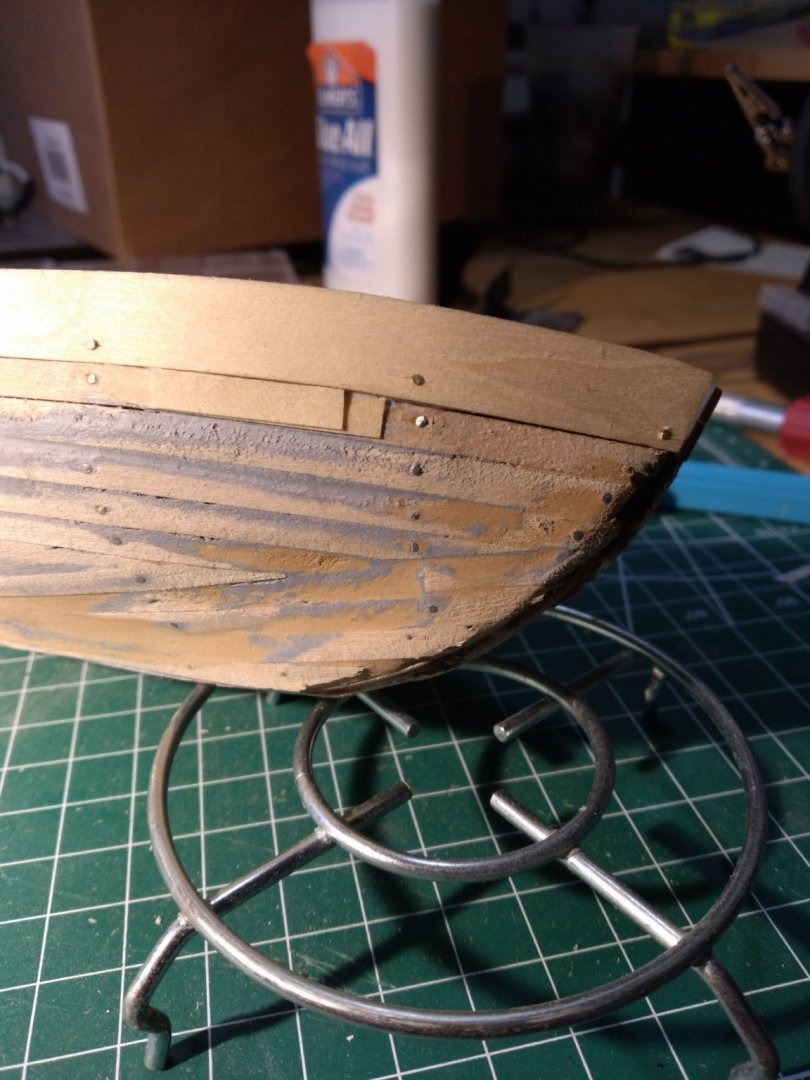
Issues with the deck to the frame size after first planks. When the bulwark was added it became more pronounced. Solution? I added some deck planking to fill the overhang. Once the glue is set I will sand it smooth. I trimmed 5mm from the bottom of the transom so the rudder bar would fit in its proper place, and after the bulwark dried I trimmed and sanded the bits sticking over. I will fill in any gaps with filler and sand it smooth


-
I suggest you check this one out. Its much better than mine will ever be. http://blog.clockwork-orrery.com/2017/12/08/virginia-1819-build-log-part-1/#comment-982
-
I will have to look into getting some of these
-
What are those?