


hamilton
-
Posts
1,933 -
Joined
-
Last visited
Content Type
Profiles
Forums
Gallery
Events
Posts posted by hamilton
-
-
Hi there:
I recently bought a 3-3/4" plank-on-frame ship's boat kit from Model Expo and have misplaced the sheet that came with it explaining how to scale down the plans. The plans provided in 1:1 are for the 5" boat and have to be scaled to suit the size of the kit in hand....
If anyone either has a rough and ready calculation or has the information on hand, I would greatly appreciate it. Thanks a lot!
hamilton
-
-
Hi Max:
No I haven't coppered a hull in a while - though the Syren is up on the shelf right now, so it won't be too long before I'm at it again. I've only done 2 coppered hulls - the Phantom and the Kate Cory. If you have something good to listen to while you're doing this task it's not that bad....keep at it and it'll get done eventually!
hamilton
-
Looking good in the summer sunshine! Bon voyage
hamilton
-
Hi Max:
Here we go! I've coppered 2 models and it is quite tedious! Question - did the copper plates come pre-cut on your phantom? I had to cut mine out of a wider (1/4") roll of copper tape.....have fun!
hamilton
-
-
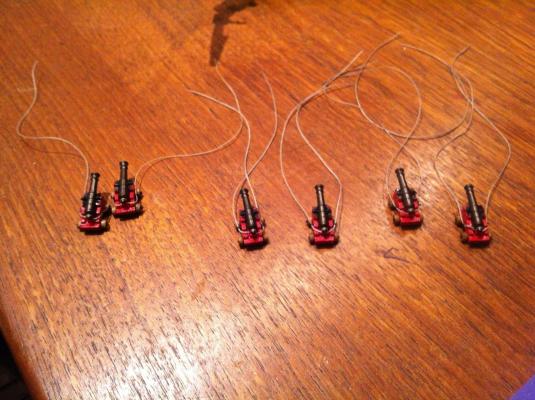
Thanks Mobbsie - I have some left over wire from another kit that is quite thin and might do the trick...the problem is that it would be the wrong colour....I may use sewing thread - I'll see how it looks anyway. And speaking of making it hard for myself - aren't you building the Agamemnon? Looks pretty hard to me!! Way more guns than I've had to deal with....
hamilton
-
-
Very helpful, Ferit! Thanks a lot - looks like I'll be adding some cleats! I'll have to scratch build these since the ones that came with the kit are way out of scale for that particular part - and at 1:100, I think I'll just add a simple rope rather than the tackle, which (as with the guns) will simply be way too tricky. Bye for now
hamilton
-
Thanks Mark - very helpful - I'll seek out info on the head rails in the other forum.
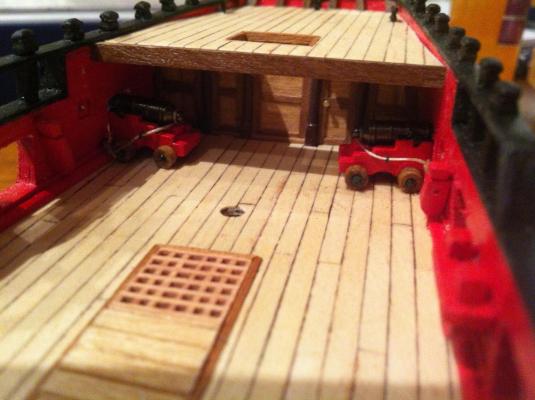
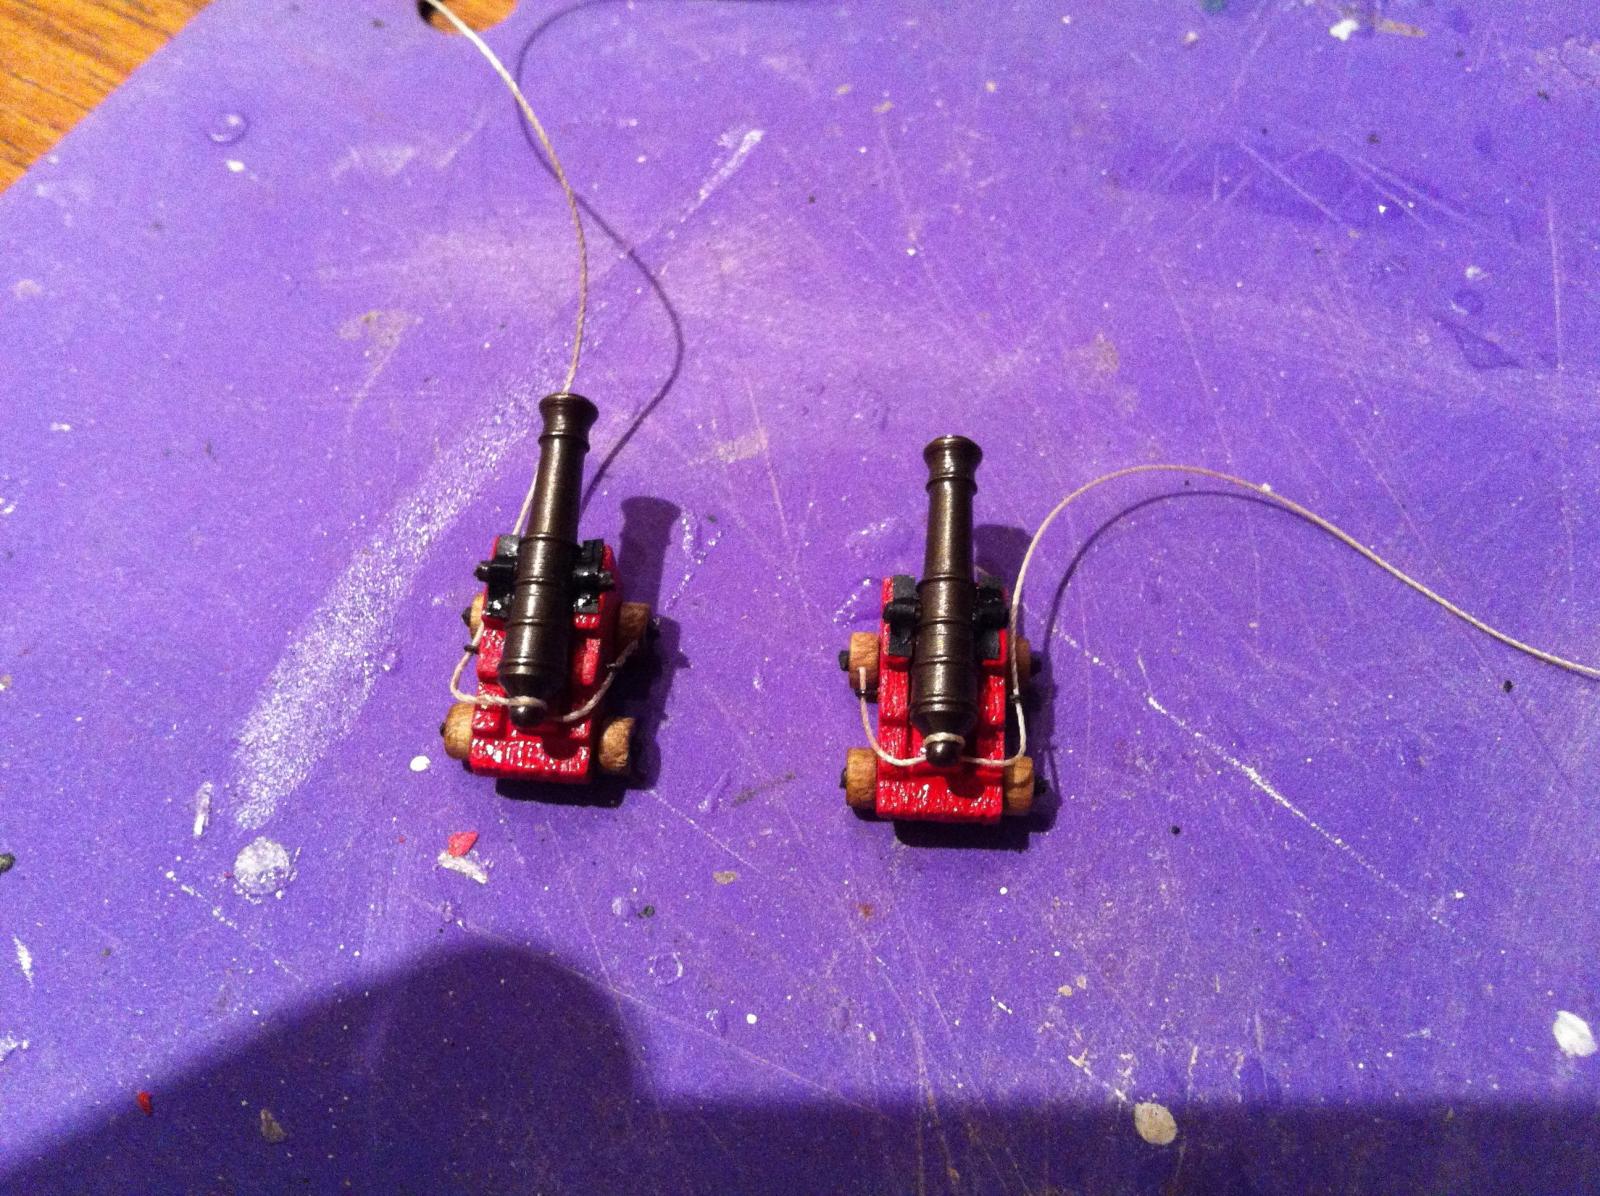
In the mean time, here's a brief update on the cannon rigging. I managed to get the breaching lines done on the 6 cannons aft. The aftmost cannon is only attached to the hull on the forward side, both because the aft side cannot be seen and because it would simply have been too tough to get back there.
Here are the photos.
hamilton

- ianmajor, augie, realworkingsailor and 4 others
-
 7
7
-
So I think I'm reaching a stage in the build where I have a lot of questions....any and all guidance will be appreciated, as always!
1. Would any molding that is interrupted by a gun port be continued on the gunport lid? I'm guessing yes....?
2. On the open gun ports aft, I would like to include the line that holds the gunport lid open (sorry for not knowing the proper name!) - I've seen these on several builds (including Ferit's Berlin), but I don't know how they are tied off inboard....? Any ideas?
3. The head rails are a bit of a daunting and baffling bit of modelling....but one part that particularly confuses me is the order of things. I'm tempted to make at least a dummy bowsprit to fit while I'm making the head rails - mostly because I will need to arrange the beakhead grating around it....but is this the usual (or an advisable) order of things? I'm going to make templates of the individual rails out of card stock and then cut them out of basswood sheets and then carve and sand them down to shape....this will be quite painstaking and no doubt frustrating, but....but the head timbers are also a bit mystifying - on some builds it seems that they are timbers made out of 2mm or 3mm square stock and fit between the rails. On other builds, it seems that they are wider pieces that butt against the stem and support the beakhead grating....I'm not exactly sure how to approach this - making the rails so that they also act as supports for the grating seems like a good idea from a structural persective, but I'm not sure if this is how I should go about it. I know this is a complex part of any build, and I imagine it's a difficult thing to explain. But any tips here would be greatly appreciated.
Thanks again all - I'll be starting on the cannon rigging tonight, so hopefully I'll have some photos to post by tomorrow. Bye for now
hamilton
-
Hi Jack:
Those mast caps look a lot different from the ones I had in my 1:100 Bluenose....at least from what I remember. Unfortunately, this was not a build that I extensively documents - I was building it on a schedule to give to a family friend as a birthday present....However, I do remember the quality of the dowels being very poor - very uneven grain and at this scale requiring a lot of gentleness and care in shaping the spars....
Anyway, it does build up into a very nice model once you get past some of these difficulties. Bye for now
hamilton
-
Wow Ferit! I come back from a week's vacation and here's what I've been waiting for - some very gratifying photos of an amazing build! I'll echo other people here - the ratlines look great and seeing the Berlin in a wide angle is very satisfying. The high angle shot looking to the deck captures the details you've added very well. A real inspiration!
hamilton
-
Just got back - and now you're off - travel safe Augie!
hamilton
-
Looking really beautiful!
hamilton
-
WOW! That's some serious commitment! Excellent work so far on the Phantom. I don't have any photos of my phantom to be honest - it was my first model and I was more focused on developing techniques than documenting the build. She's not sitting kind of sad on my son's window ledge....so many other modelling projects that I don't know when I'll get to her.....someday.
There are (or have been) some rehabilitation projects here on MSW.....there was a particularly detailed one on MSW1 by a fellow Canuck whose handle I can't remember - but I think it was of a clipper ship....the model was fished out of a trash can as I recall in a really sore state - watching her come back was a real treat - perhaps other forum members can fill in the blanks of my sketchy account....
hamilton
-
-
Hi Richard:
Leaving them natural might have made a nice contrast, but I still think these look really good. After all is said and done you will admire the ship overall. Great work here
hamilton
-
-
Hi Jack:
First of all, great work so far! I also replaced the anchor rigging (and the bobstay) with chain when I built this kit - it makes a big difference in the finished look.
As for the masts, approaches may differ, but mine is always to prepare the lower mast as much as possible prior to adding the topmast. At least you should NOT add the mast caps onto the masts before the topmast is ready to be fit. You will need to fit the mast caps at an appropriate position on the topmasts before adding the topmasts to the lower masts.
As for the shrouds, I've done it both ways - adding all masts and then starting on the rigging and rigging upward mast by mast. I prefer this second approach now because it avoids a lot of complications in positioning the lines. Adding the shrouds and stays before installing the lower masts, installing the masts rigging the shrouds and stays and then moving up. Doing this, though, you need to be careful to leave the opening in the trees for the topmast heel open and uncluttered by the shrouds & stays tied around....
I hope this makes sense....I haven't had a coffee yet....
hamilton
-
Beautiful work on the doors - I wish I had pursued this technique when I built this model! I'm now learning (in agreement with Ferit) that scratch building wins out every time. Anyway, great technique!
hamilton
-
Hello all:
Thanks for the words! Much appreciated. I'm now back from a lovely week on Hornby Island in the northern Straight of Georgia - I'll post a photo or two in a bit. It was nice to get away from the city, but I've been missing the modelling bench. I did have a bit of time to do some modelling up there - one of the lines had come loose on the Corel Flattie up at the cabin so I did a bit of rehabilitation while I was there....
Ferit - in answer to your questions - yes and yes. I will be rigging the cannons, but only with breaching lines (the scale is too small for the tackles). And I'll also be adding the sweeps - not until the very end of the build, since I'm afraid of snapping them off!
The breaching lines and cannon installation will be my next step. I'll then make the (closed) bridle ports and the (open) aft gunports (8, 9 and 10). After that I'll either start making the main deck features, or the head rails. I'm a little wary of the head rails - I'll need to put some very serious thought into them, so I'm trying to do other things while I turn my mind around the head....
Anyway, it seems I've also got a lot of catching up to do on the forum, so I'm going to go look around at all of your logs. Bye for now!
hamilton
-
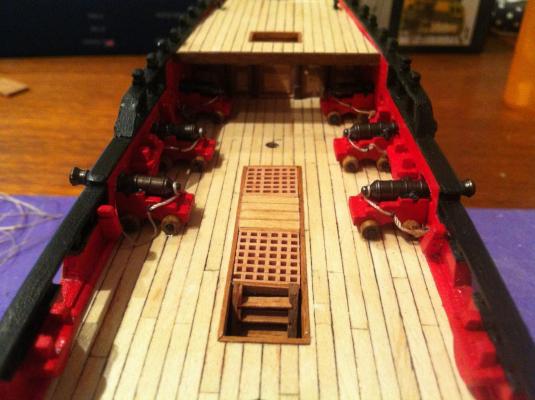
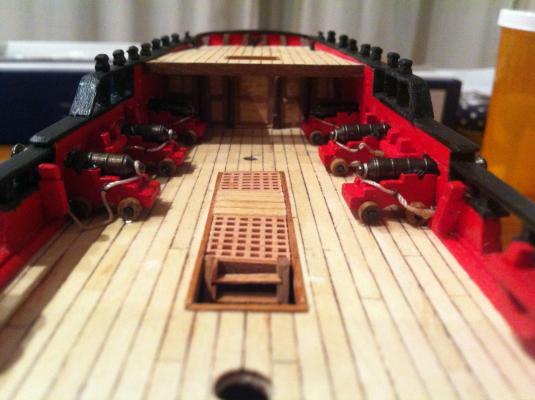
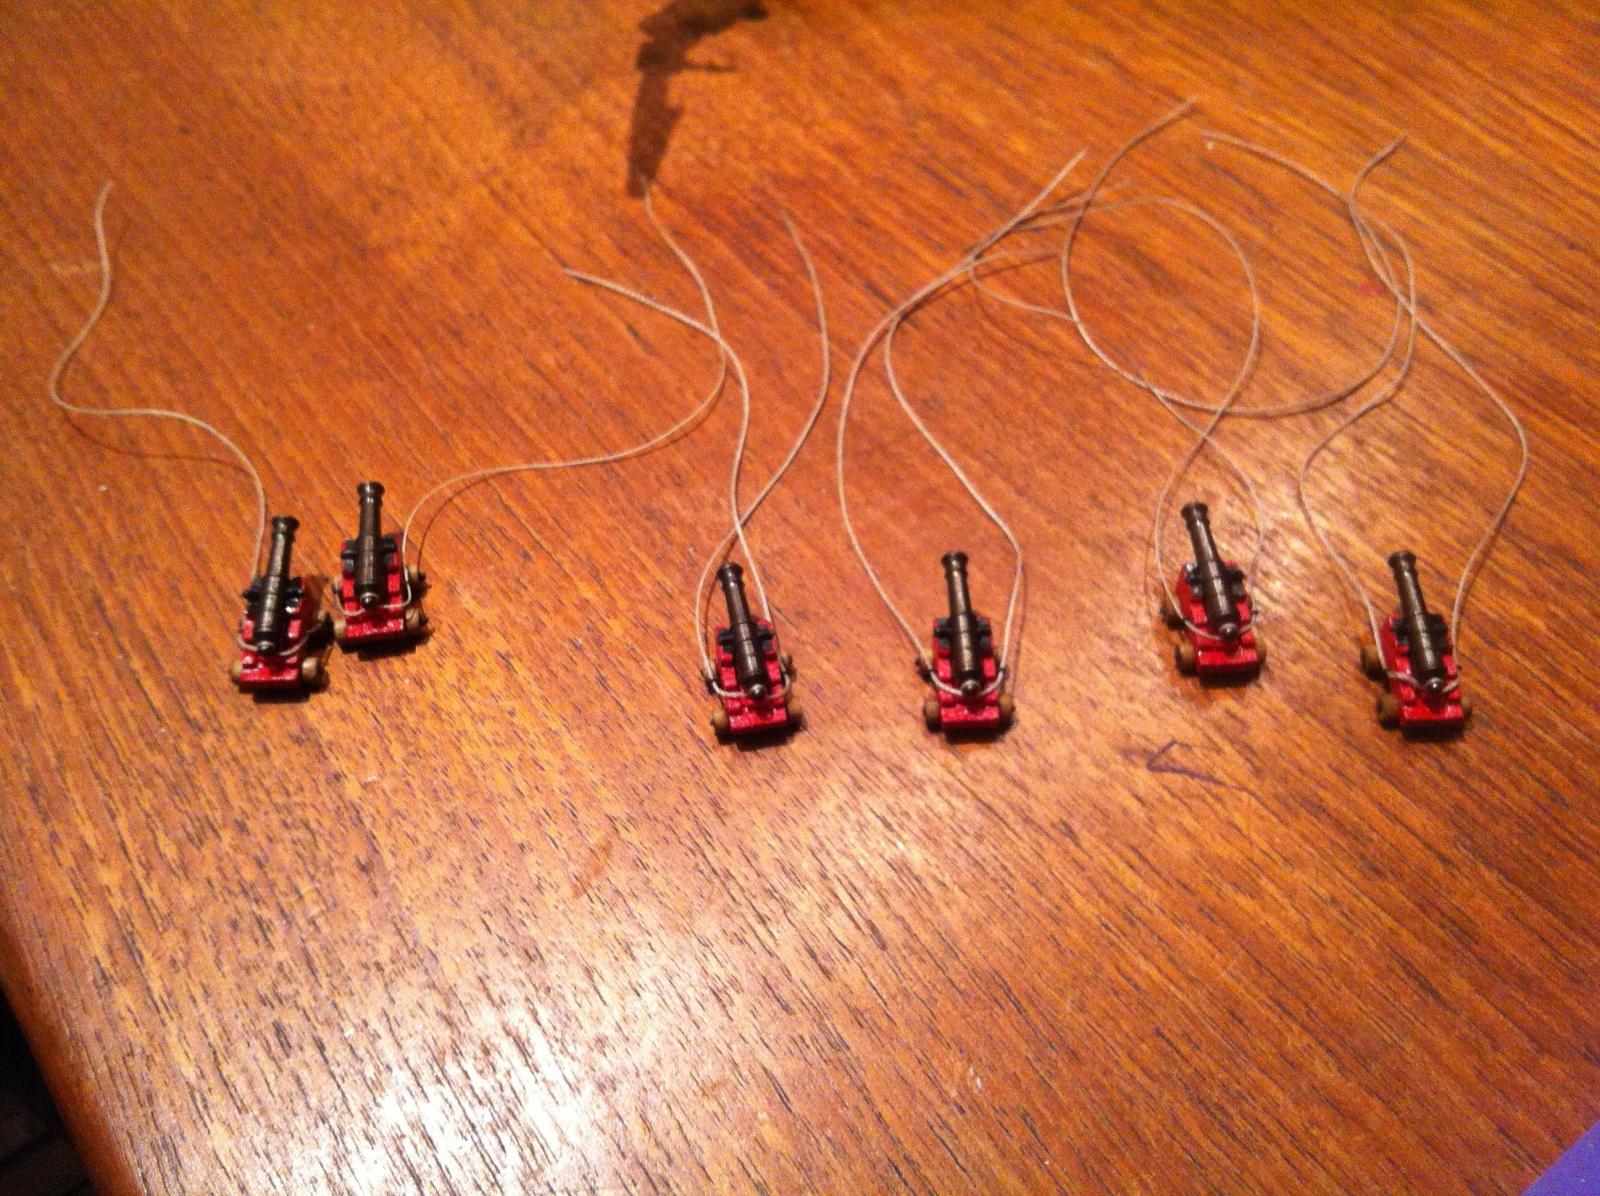
OK - so I found a bit of time tonight to finish making the cannons! I couldn't resist one more session before taking off - a week away from the "bench" will be tough!
So I finished the cannons - that's pretty much all there is to say. One thing that I noticed is that the aft gunports (8, 9, 10) are too low. As a result, I had to mount the guns at a different angle than the other 12. When I come back I'm going to adjust these gunports and re-do the cannons so things look better than they currently do...Anyway, to bed for an early morning. Here are the photos.
hamilton


-
Thanks Augie! It seems that once again, the Corel kit has fallen sort short of the mark - they include room for 10 ports on each side, while it is clear from Goodwin that there are 11 - the bridle port plus 10 gunports....I don't think this is a problem I could have fixed on this kit, even if I'd noticed it before...in any case, it looks like my "mongrel" Blandford will be an 18 gun ship with fwd bridle ports instead of a 20-gun ship.....oh well - back to packing and grocery shopping - bye until next week
hamilton


Scaling Model Shipways' p.o.f ship's boats
in Discussion for a Ship's Deck Furniture, Guns, boats and other Fittings
Posted
Clearly I'm an idiot - though my excuse is that I'm lazy (not exactly the best fall-back quality)....apologies for being dumb and thanks Mark for your kind response!
hamilton