hamilton
-
Posts
1,920 -
Joined
-
Last visited
4 Followers


Recent Profile Visitors
5,284 profile views


-
 hamilton reacted to a post in a topic:
Flying Fish by Rick310 - Model Shipways - 1/96
hamilton reacted to a post in a topic:
Flying Fish by Rick310 - Model Shipways - 1/96
-
hamilton reacted to a post in a topic:
Phantom 1868 by Greg Davis - Model Shipways - 1:48 scale - New York Pilot Boat
-
JacquesCousteau reacted to a post in a topic:
Phantom 1868 by Greg Davis - Model Shipways - 1:48 scale - New York Pilot Boat
-
 The plating looks really fantastic - once it weathers up it'll be even better! Am now seriously considering this model to replace the 1:96 one that got destroyed... hamilton
 -
hamilton reacted to a post in a topic:
Phantom 1868 by Greg Davis - Model Shipways - 1:48 scale - New York Pilot Boat
-
 Greg Davis reacted to a post in a topic:
Phantom 1868 by Greg Davis - Model Shipways - 1:48 scale - New York Pilot Boat
Greg Davis reacted to a post in a topic:
Phantom 1868 by Greg Davis - Model Shipways - 1:48 scale - New York Pilot Boat
-
Looks great! hamilton
-
hamilton reacted to a post in a topic:
Phantom 1868 by Greg Davis - Model Shipways - 1:48 scale - New York Pilot Boat
-
yvesvidal reacted to a post in a topic:
Phantom 1868 by Greg Davis - Model Shipways - 1:48 scale - New York Pilot Boat
-
Old Collingwood reacted to a post in a topic:
HMS Greyhound by Srenner - Corel - 1:100
-
I can see how the coppering might have slowed you down a bit....not the most exciting, but still an exacting part of the build...before my 1:98 phantom got destroyed, the copper plates had begun to age quite nicely. I like the way this part of a model interacts with the climate over time - reminds you that the work is a living thing! hamilton
-
hamilton reacted to a post in a topic:
Phantom 1868 by Greg Davis - Model Shipways - 1:48 scale - New York Pilot Boat
-
hamilton reacted to a post in a topic:
Phantom 1868 by Greg Davis - Model Shipways - 1:48 scale - New York Pilot Boat
-
hamilton reacted to a post in a topic:
USS Constitution by GGibson - Model Shipways - 1:76.8
-
Canute reacted to a post in a topic:
Big changes at Syren Ship Model Company...
-
Maxthebuilder reacted to a post in a topic:
HMS Echo by Hamilton - Admiralty Models - 1:48 - cross-section
-
KARAVOKIRIS reacted to a post in a topic:
HMS Echo by Hamilton - Admiralty Models - 1:48 - cross-section
-
KARAVOKIRIS reacted to a post in a topic:
HMS Echo by Hamilton - Admiralty Models - 1:48 - cross-section
-
thibaultron reacted to a post in a topic:
Big changes at Syren Ship Model Company...
-
Ryland Craze reacted to a post in a topic:
Big changes at Syren Ship Model Company...
-
It's good to hear that the kits will (in the future) still be available - I hope Chris will continue to make them available in chapters as yours so far have been....this makes them much more accessible to modellers on a more limited budget! hamilton
-
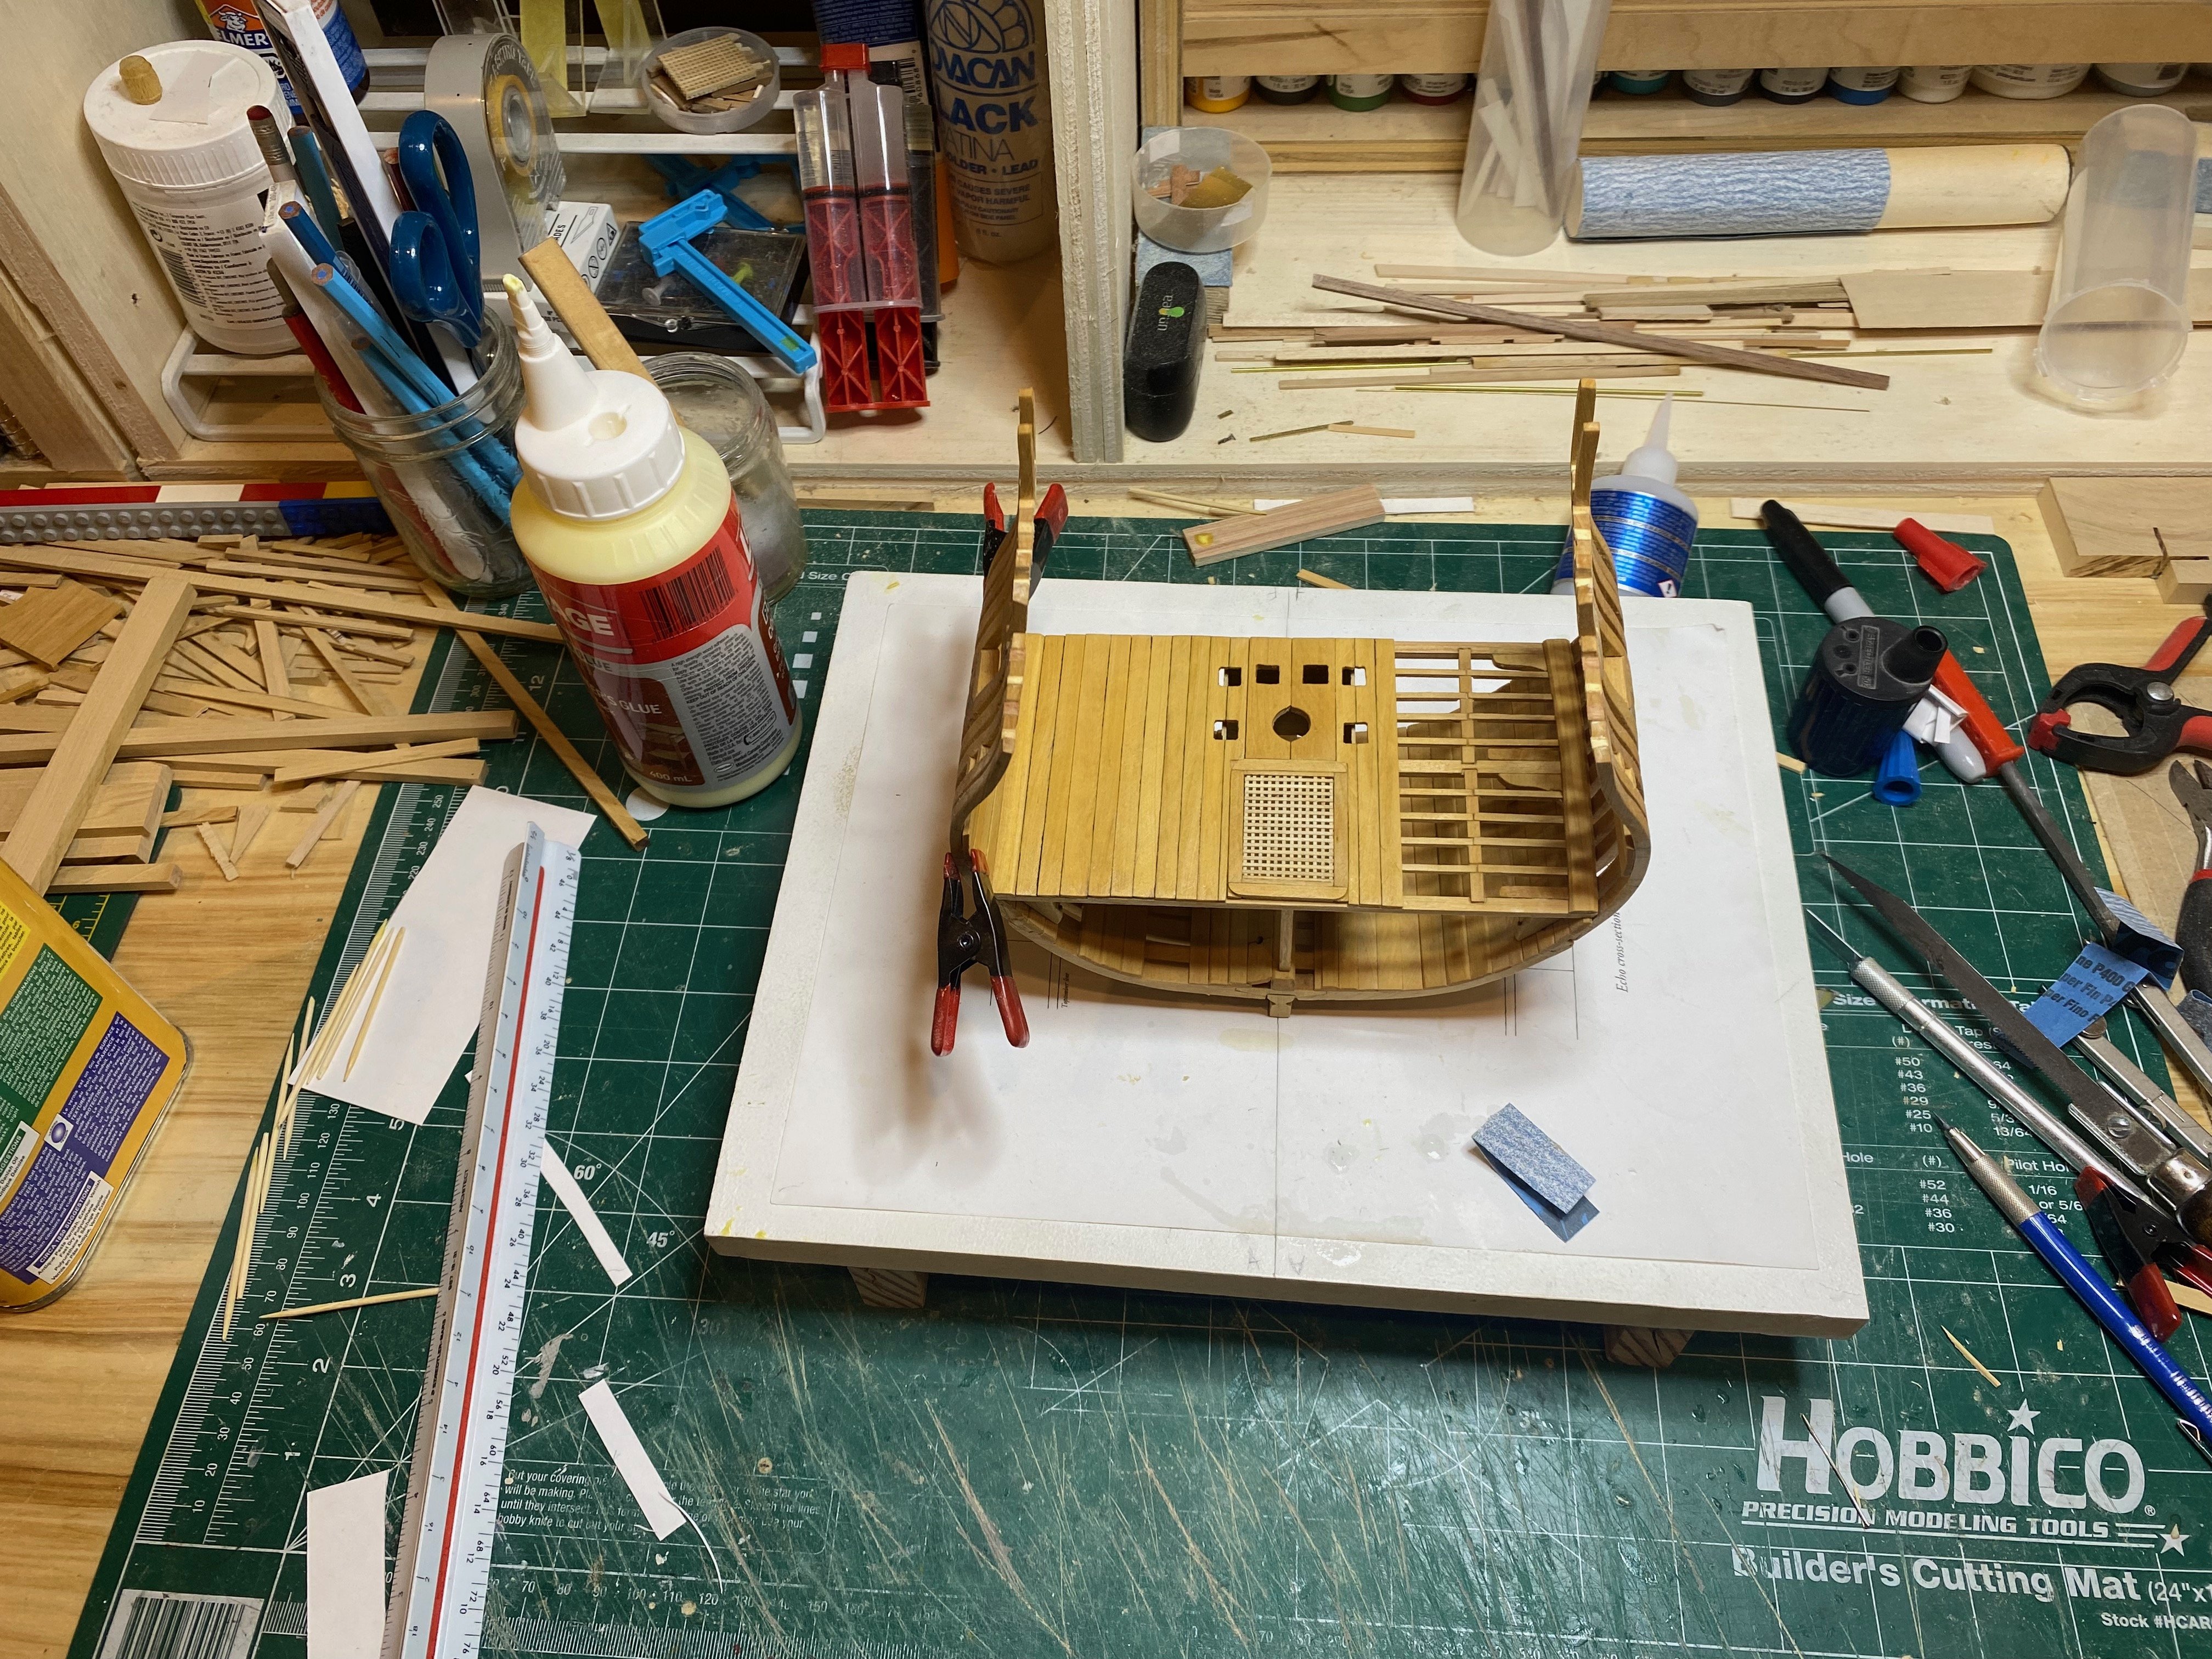
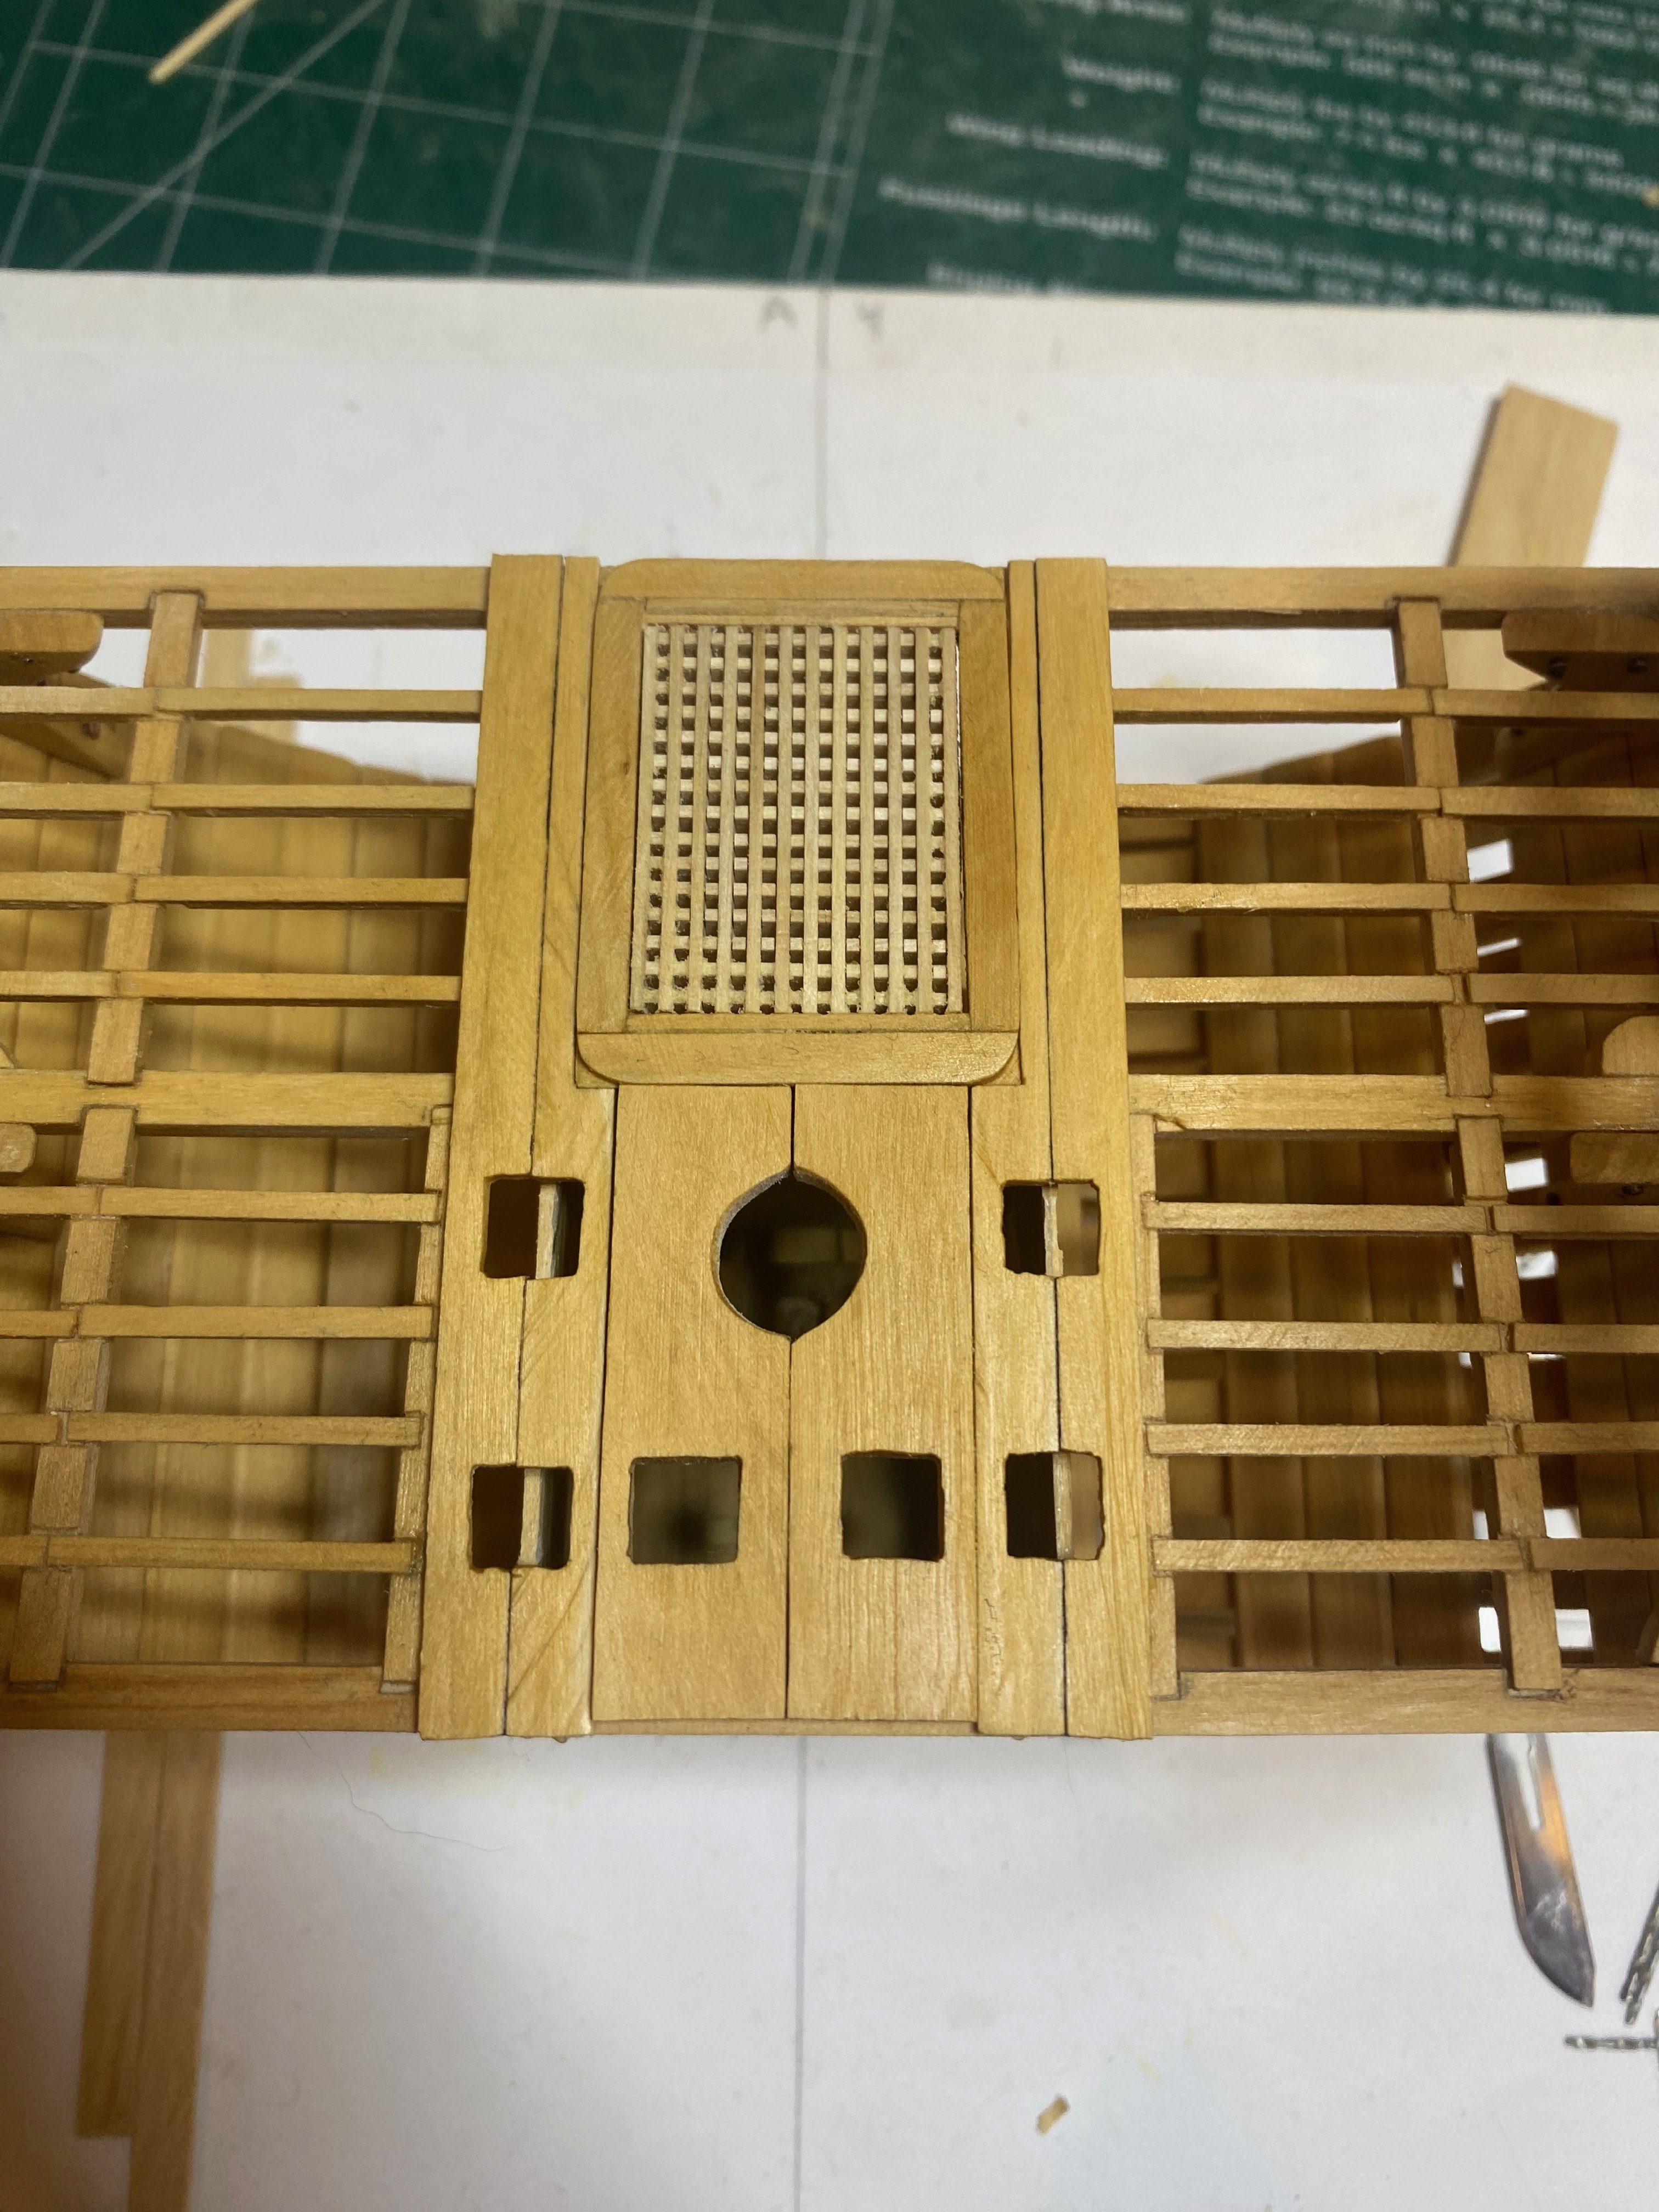
Thanks Druxey - I will make a couple of sanding jigs (concave and convex, using the deck beams as blanks to get the correct round-up. I have some 1/2" maple ply that I think I'll use for this purpose as it's mostly scrap anyway and will be firm enough to withstand some sustained kinetic action. Was thinking I'd sandwich a few pieces of this together to make a nice broad surface for the sanding of the beam arms. With the upper deck beams more or less completed and dry-fitting snugly, I think I can also proceed to a part of the build I'm looking forward to - making the bitt pins for the sheet and jeer bitts - the first bit of superstructural detail since I made the well... In any event, at this point I probably won't be able to get back to Echo until mid-July, and then we're out of town again at the beginning of August....sheeesh - this summer is vanishing rapidly.....and it's not even summer! hamilton
-
hamilton reacted to a post in a topic:
HMS Echo by Hamilton - Admiralty Models - 1:48 - cross-section
-
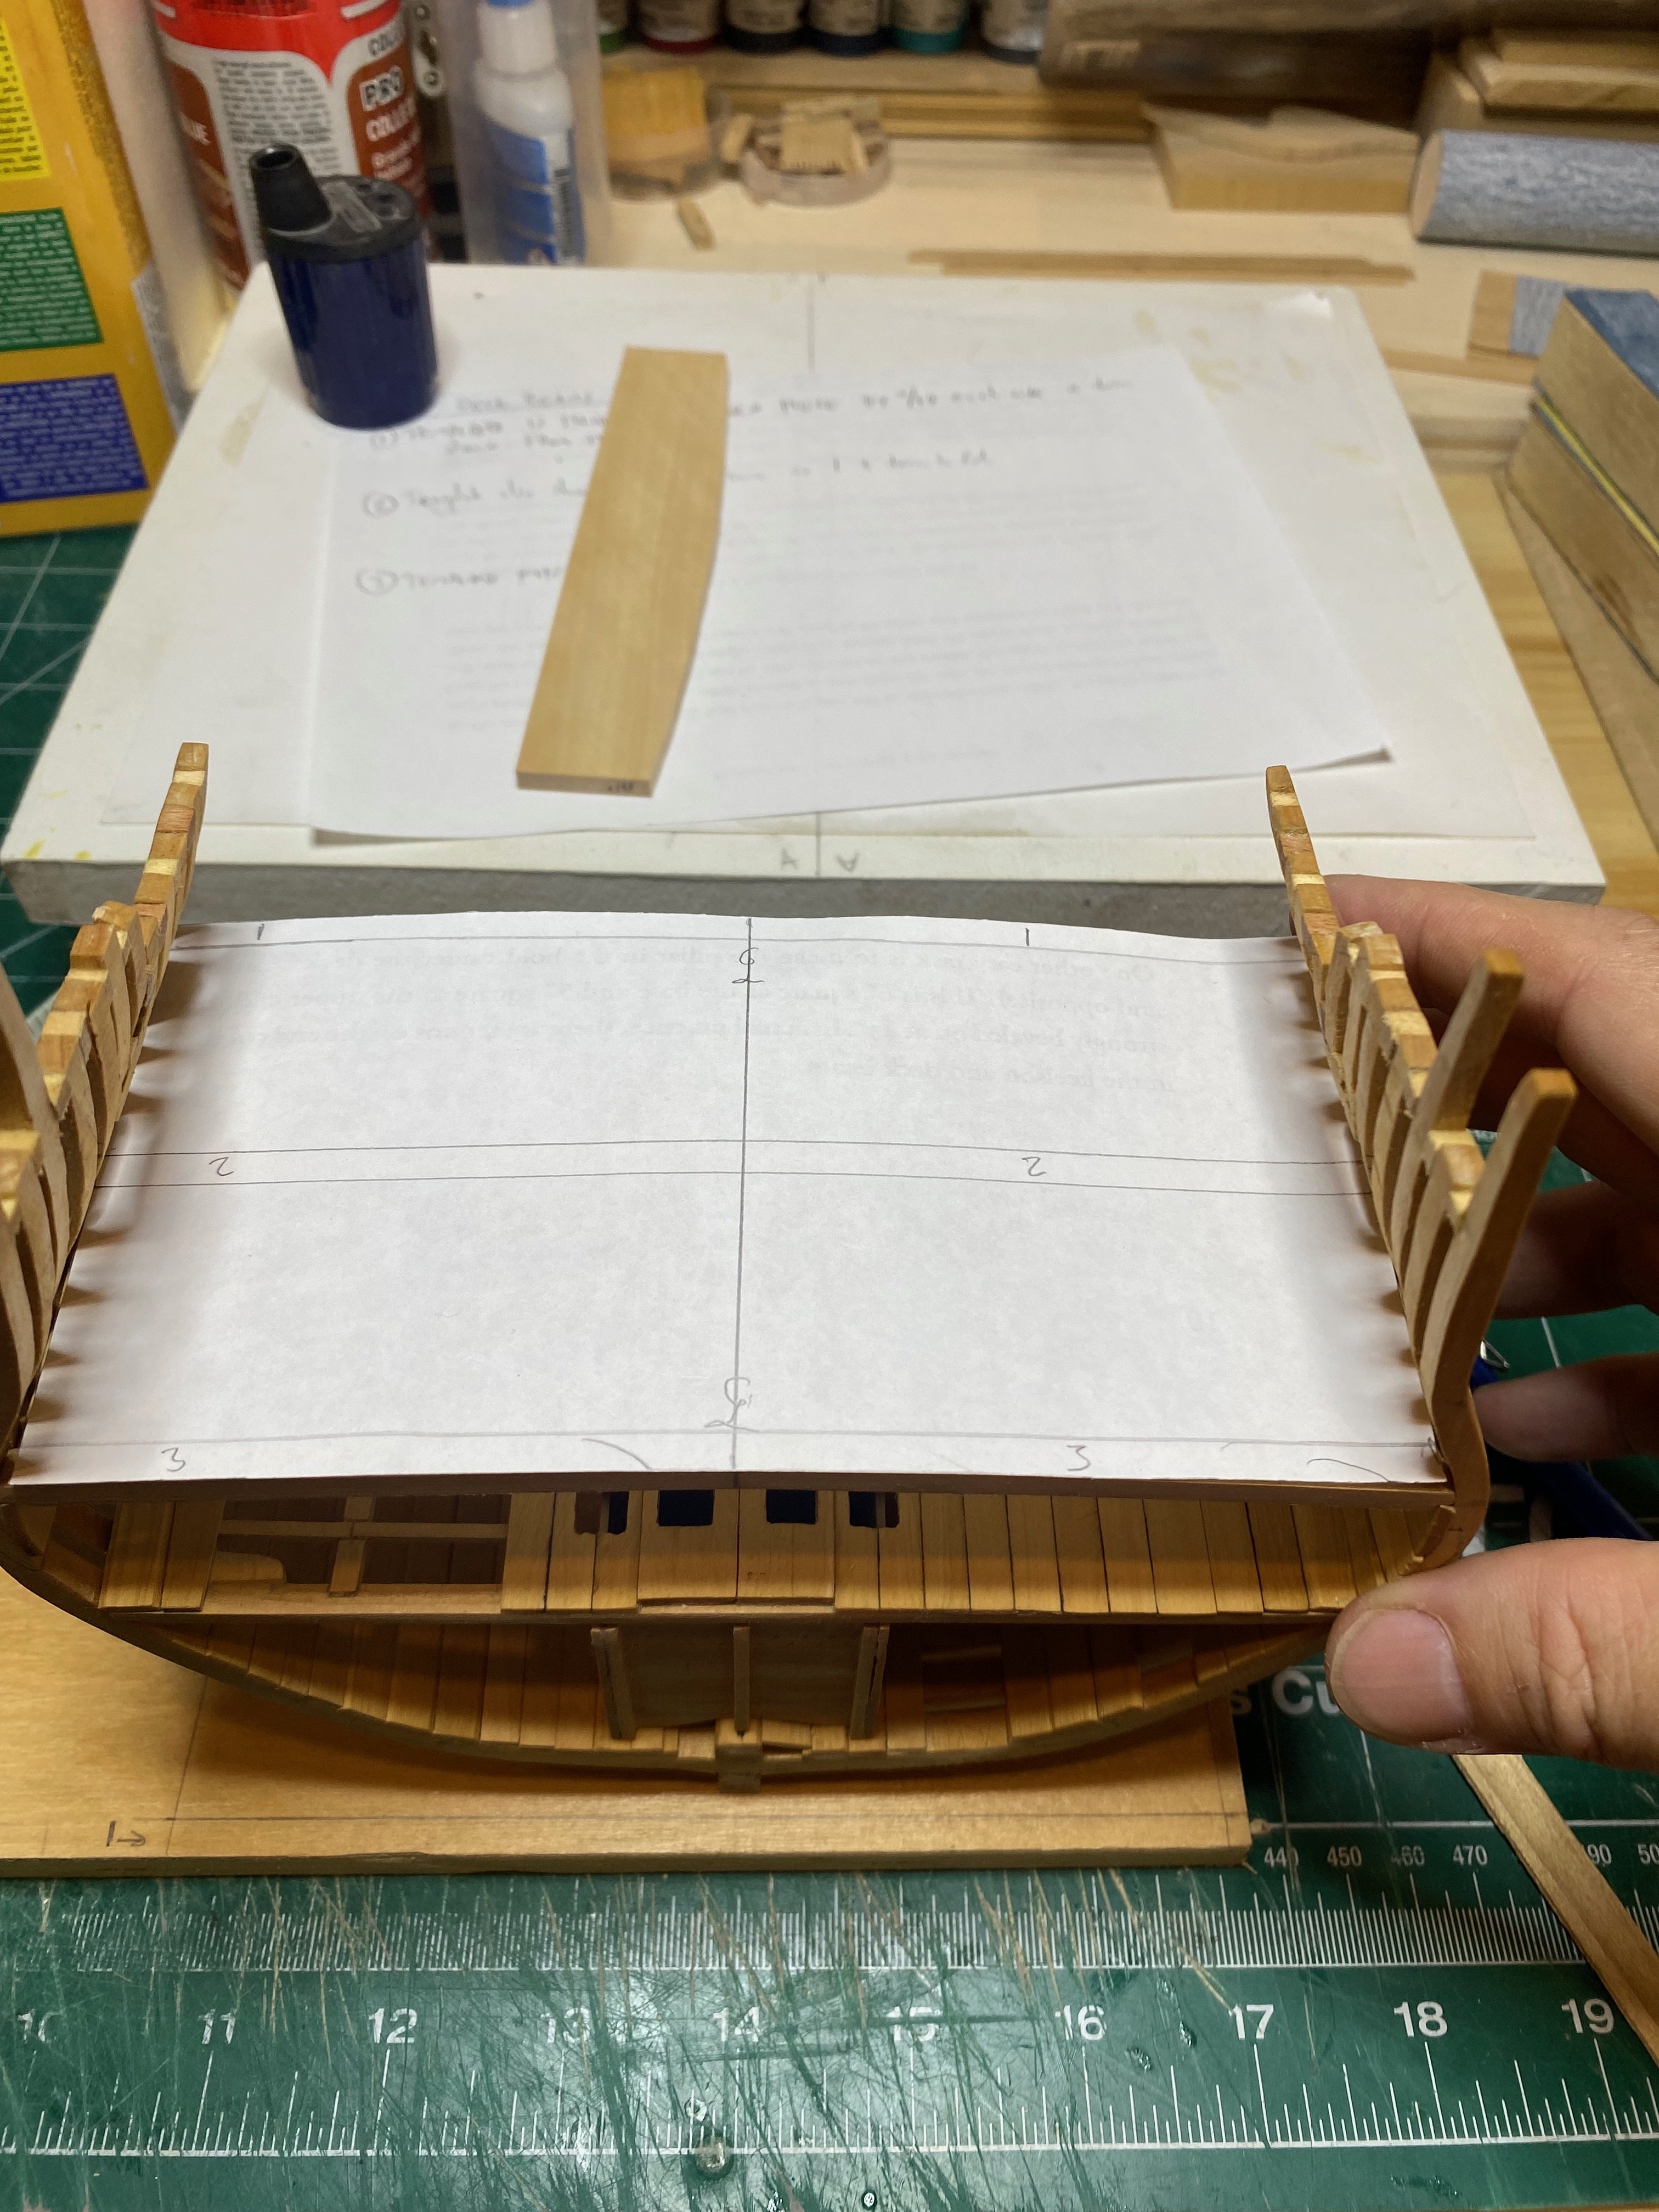
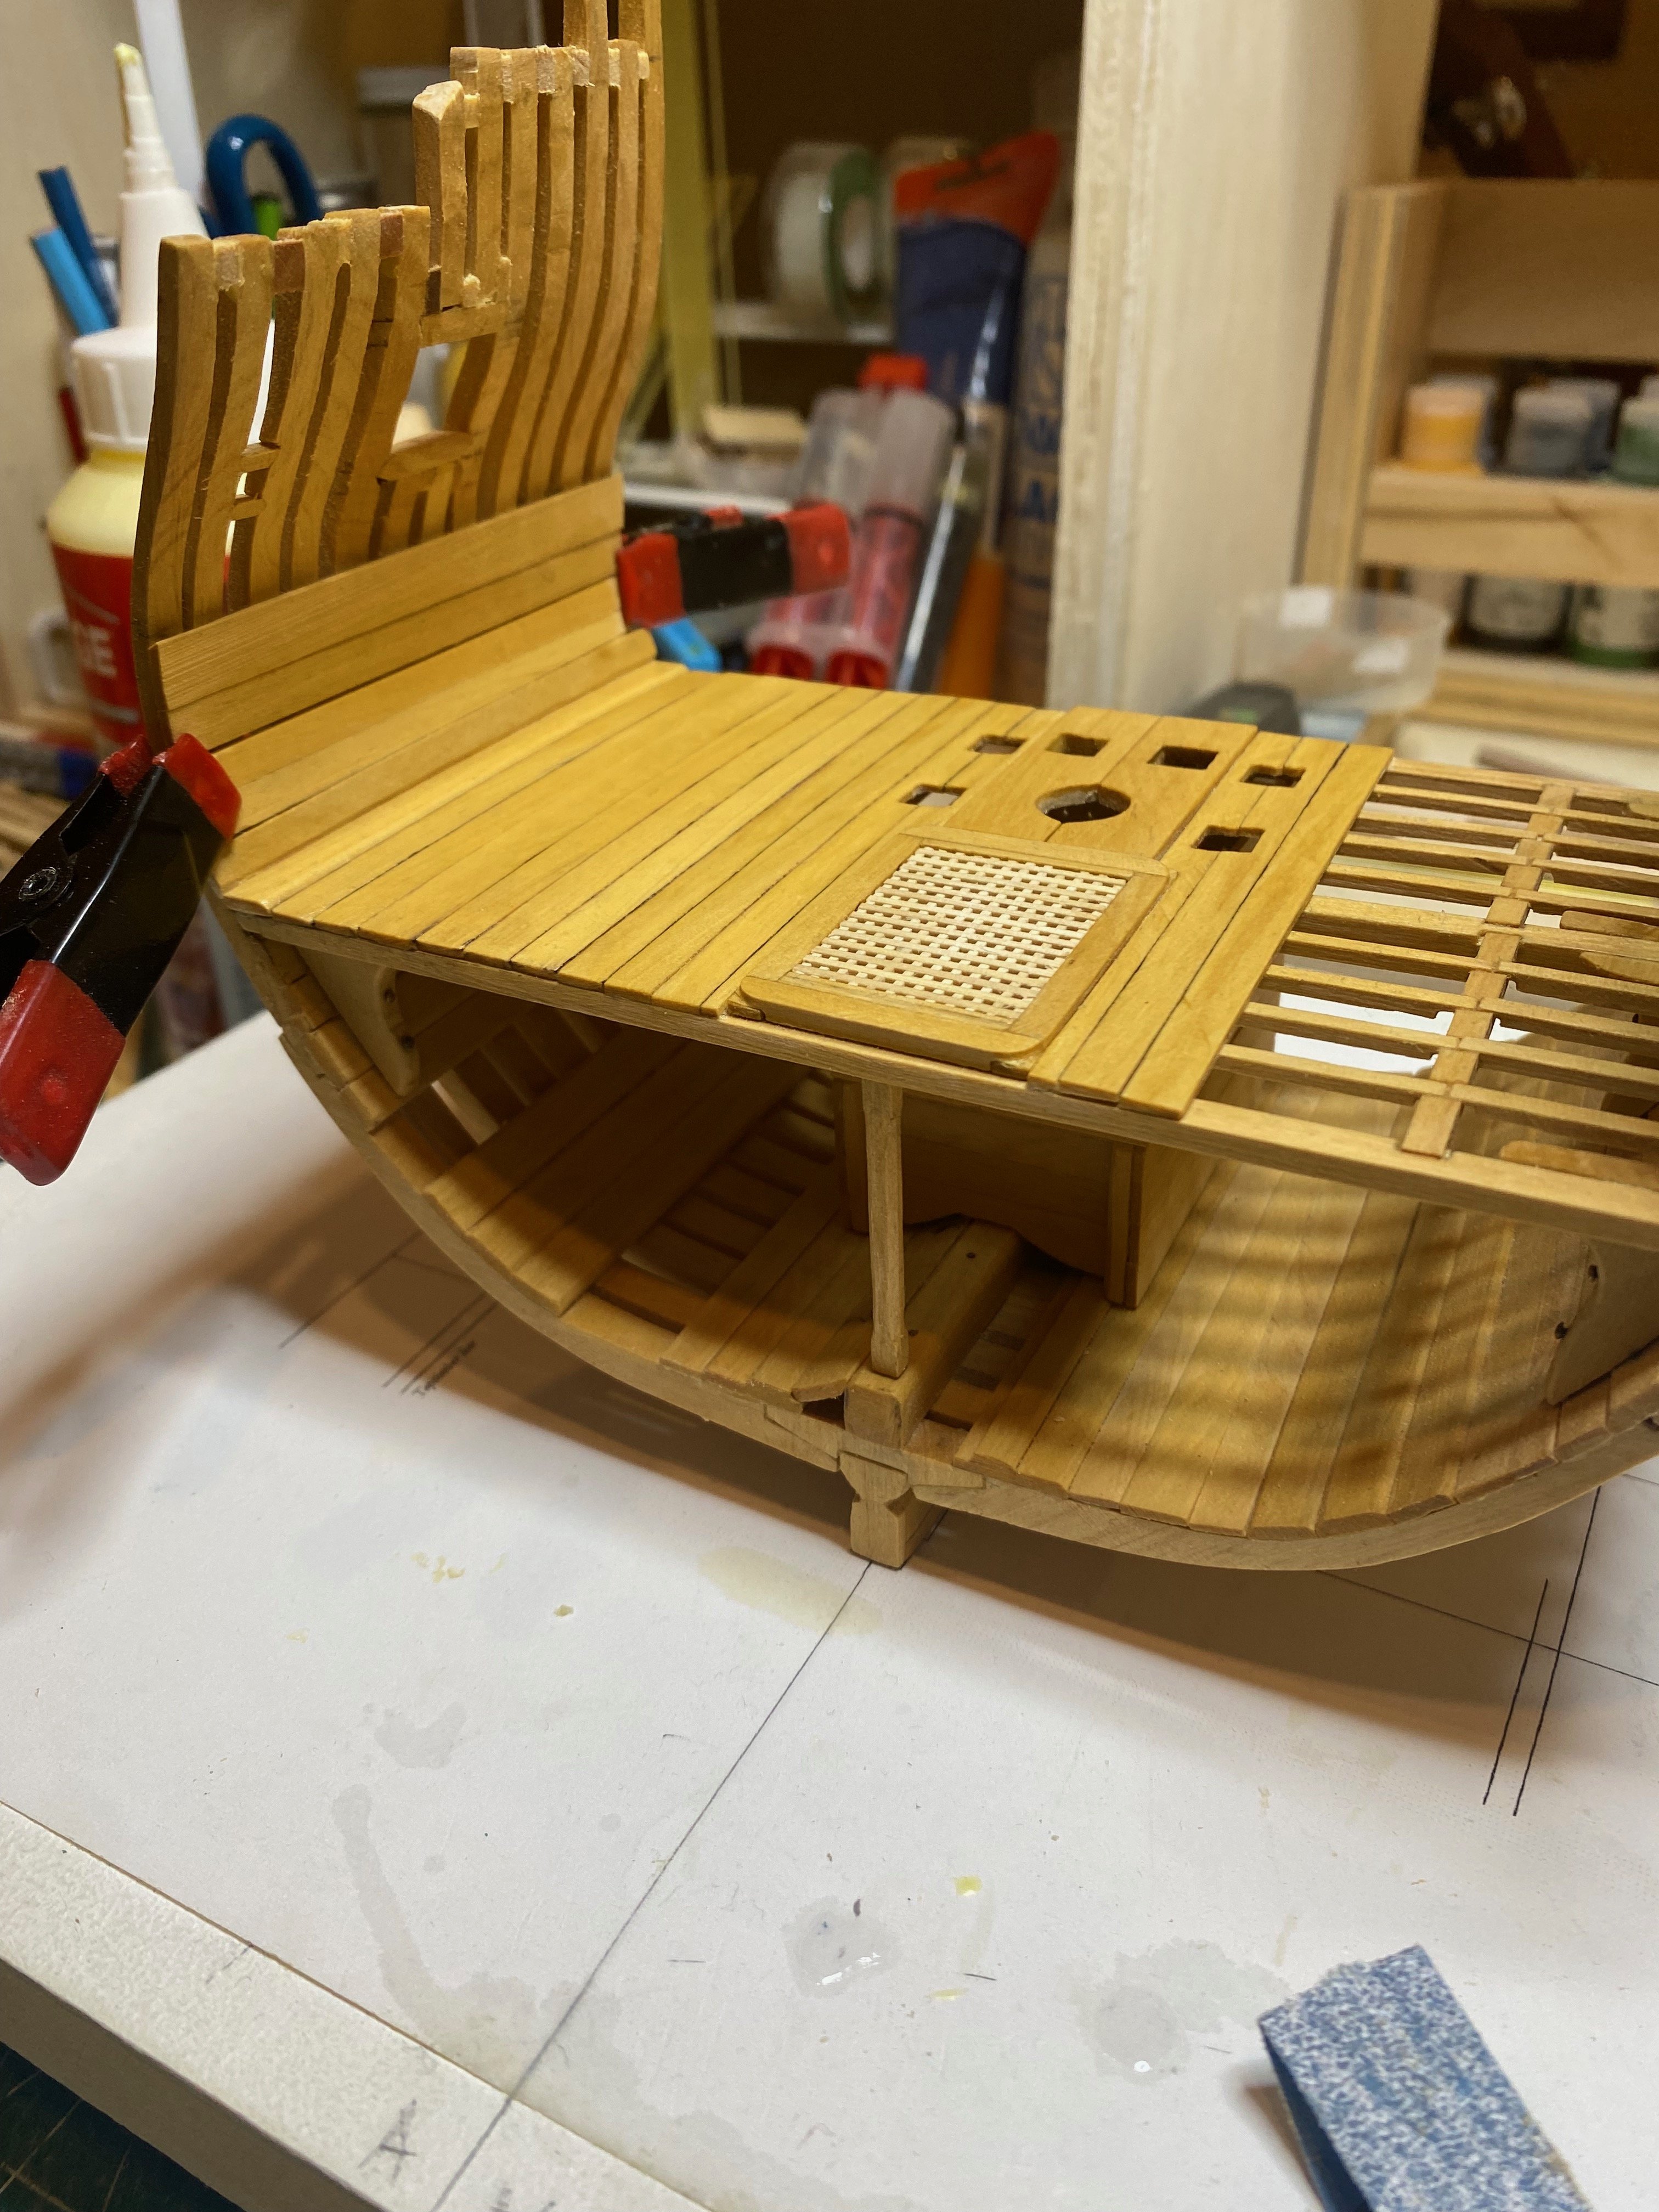
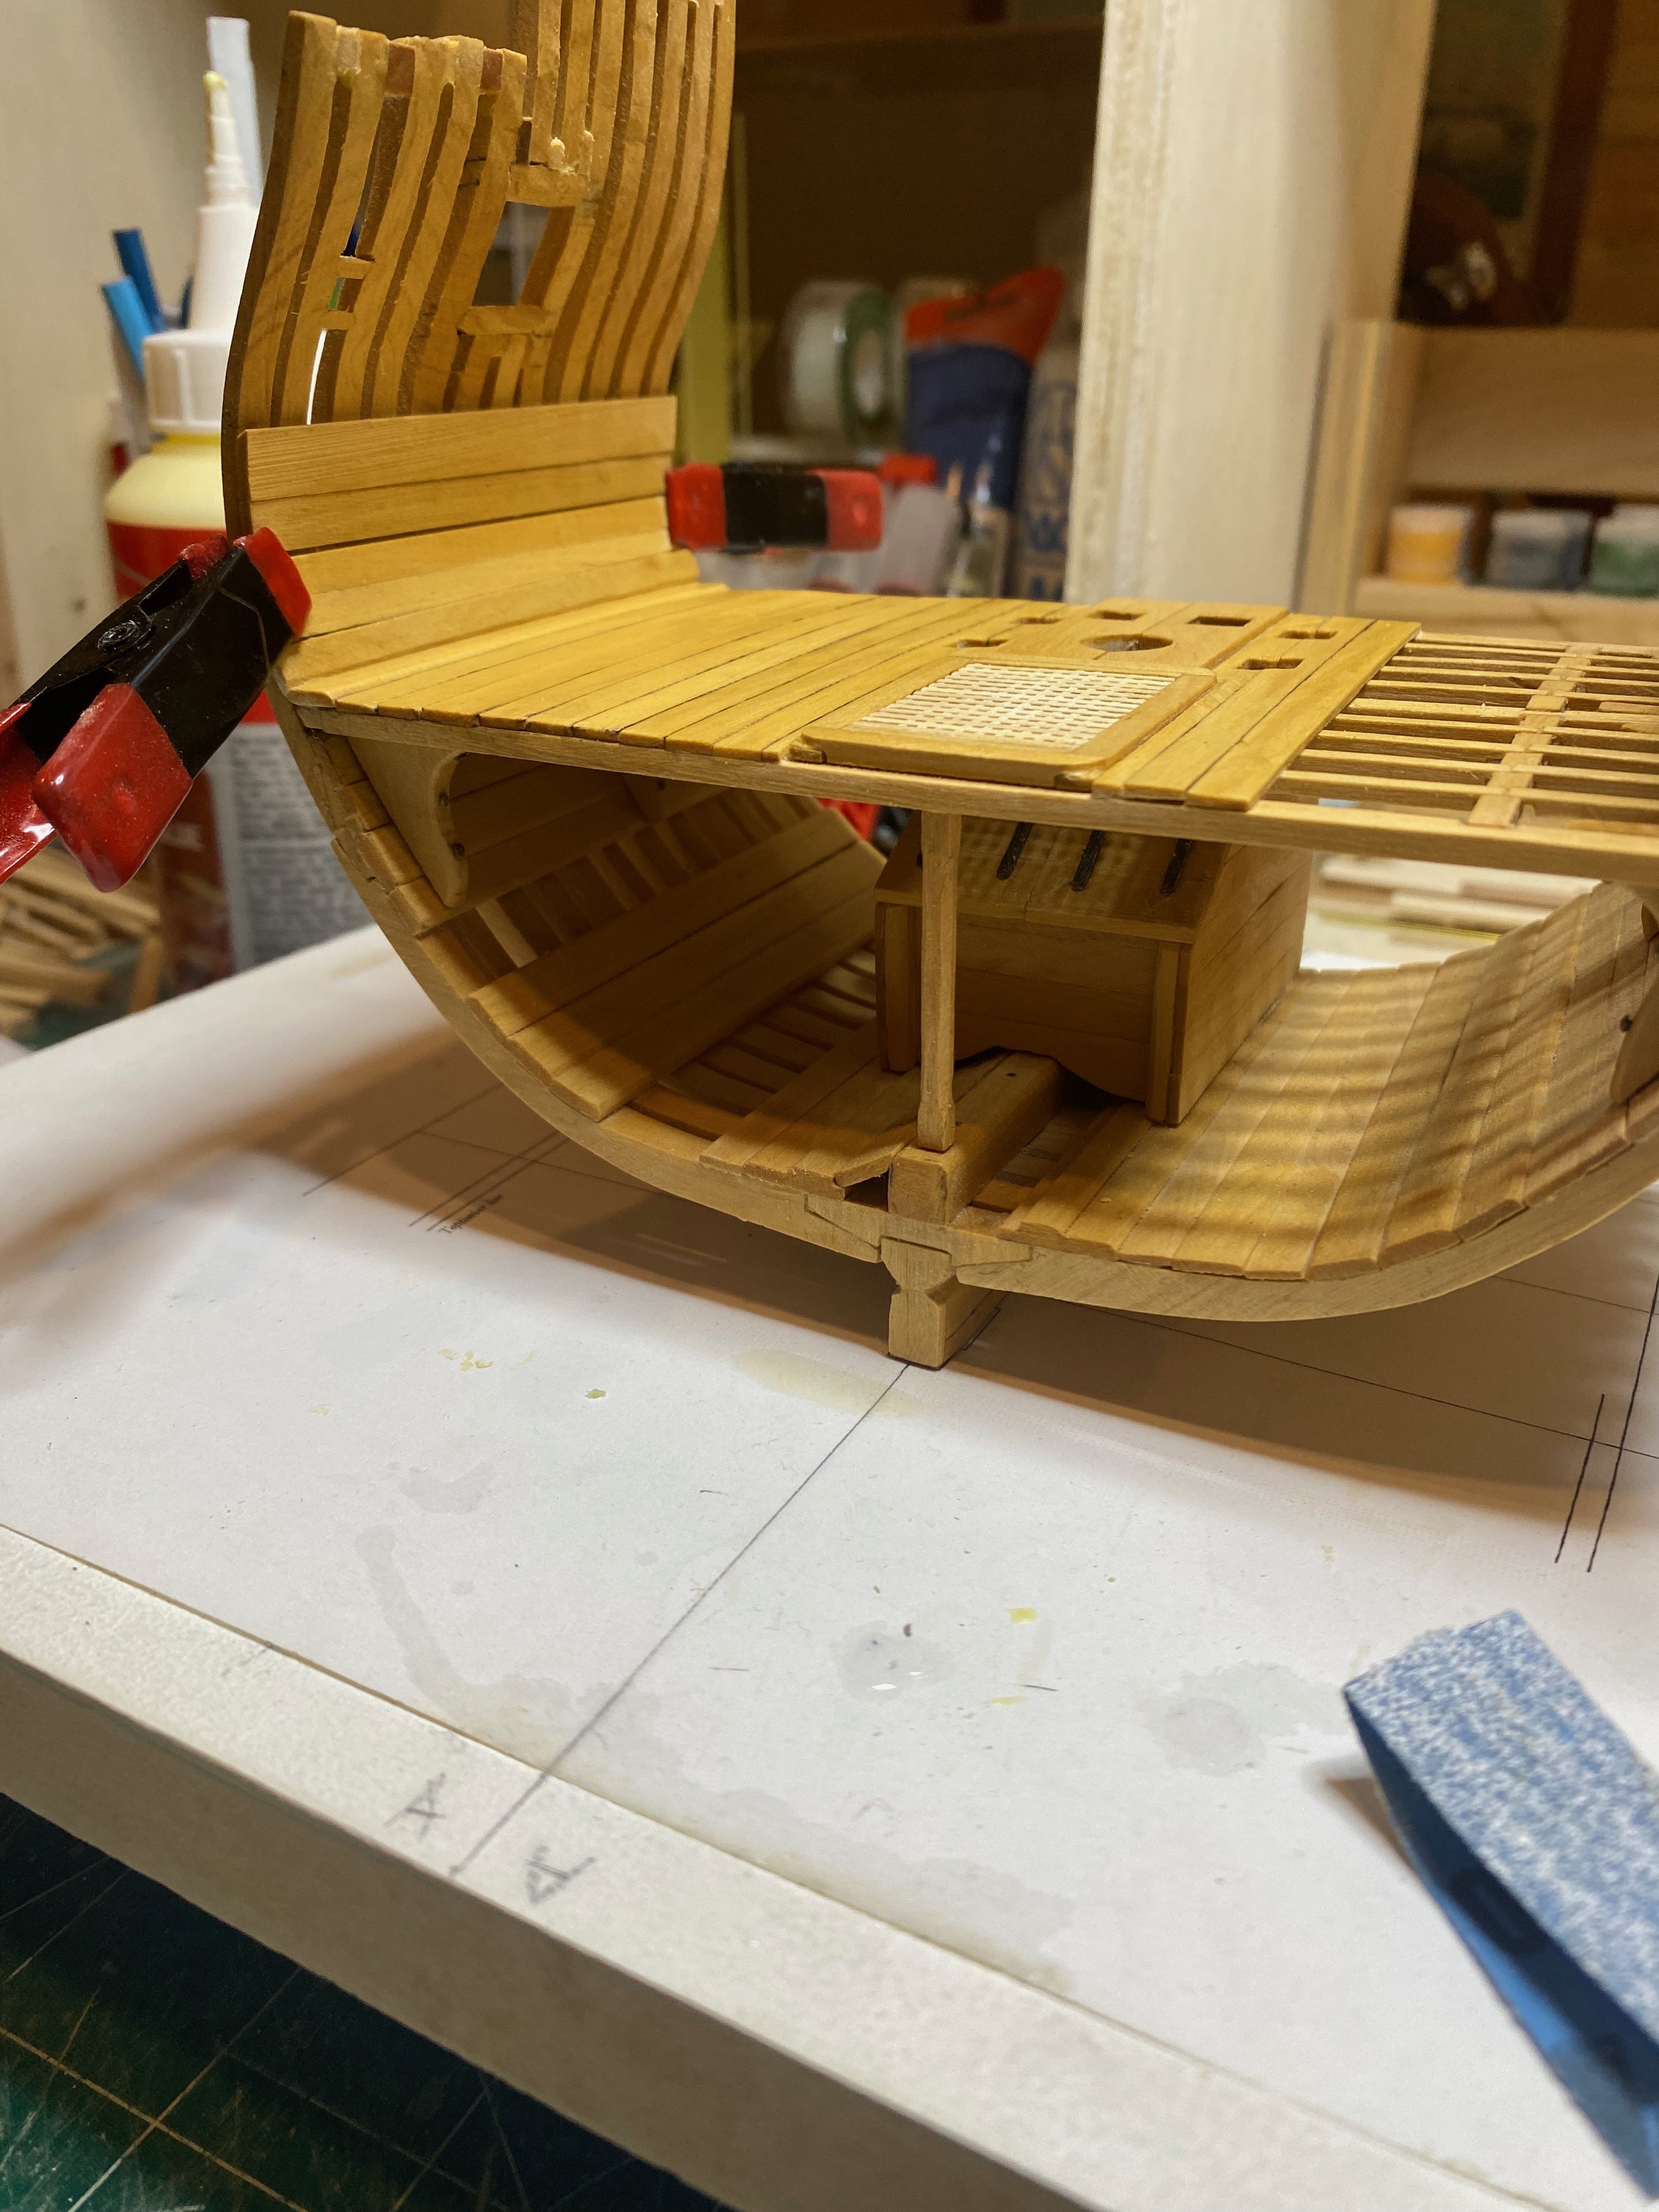
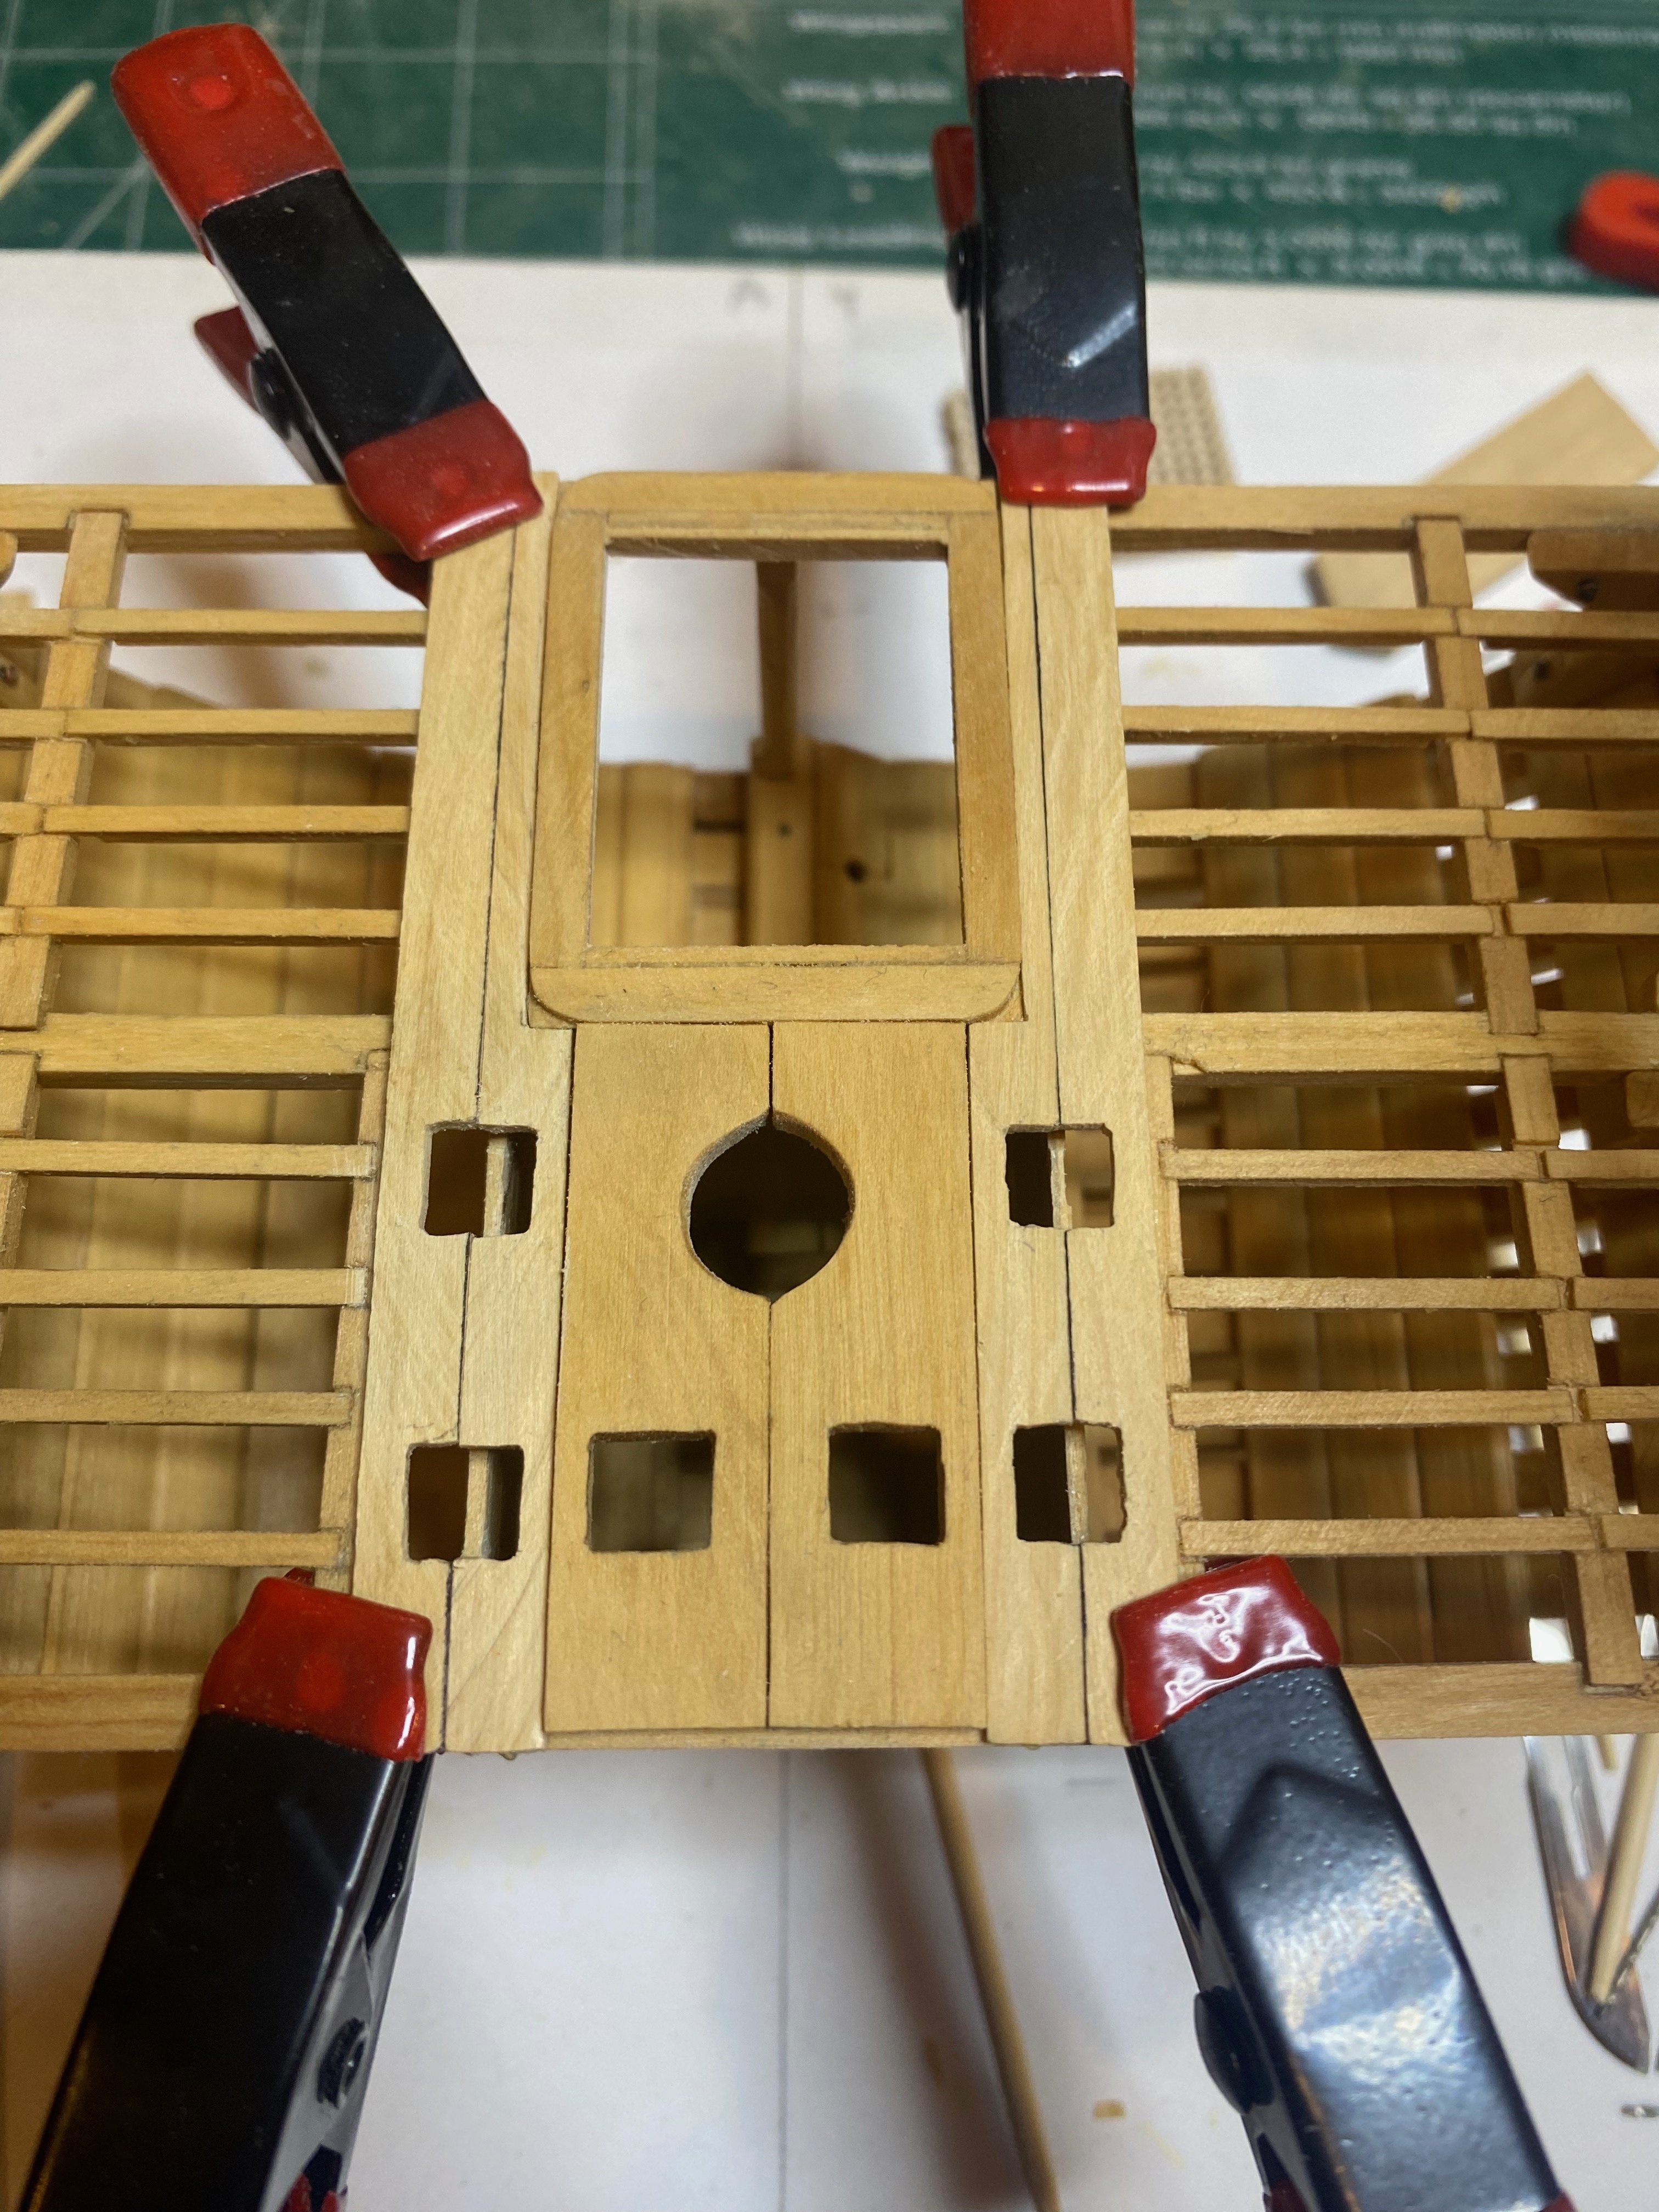
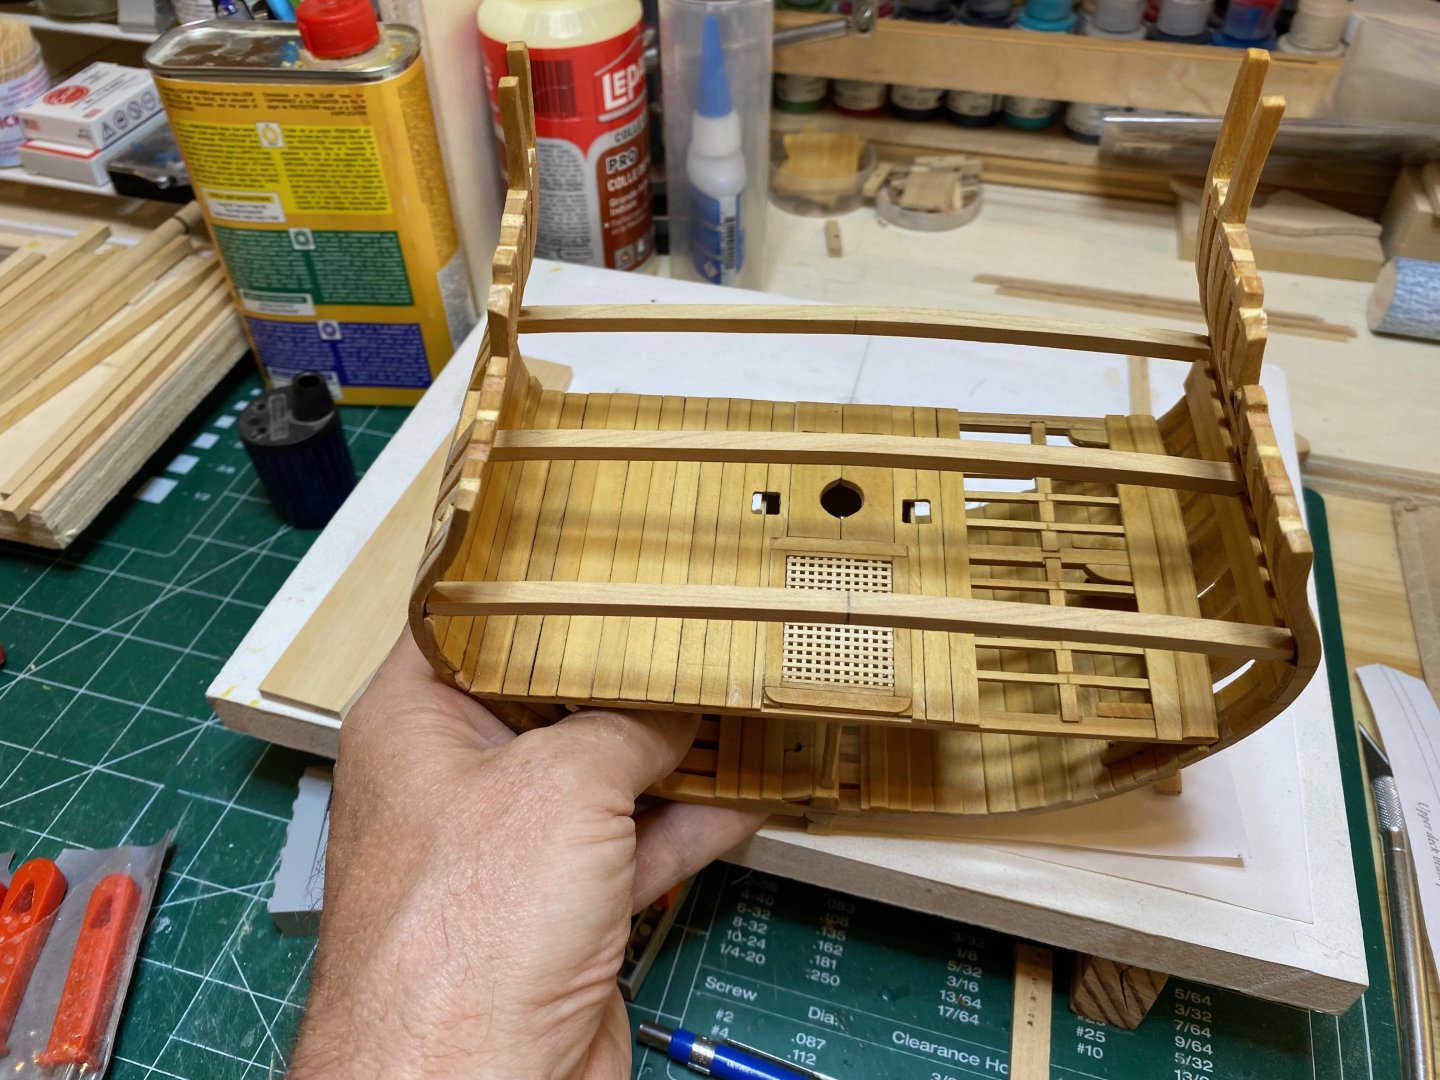
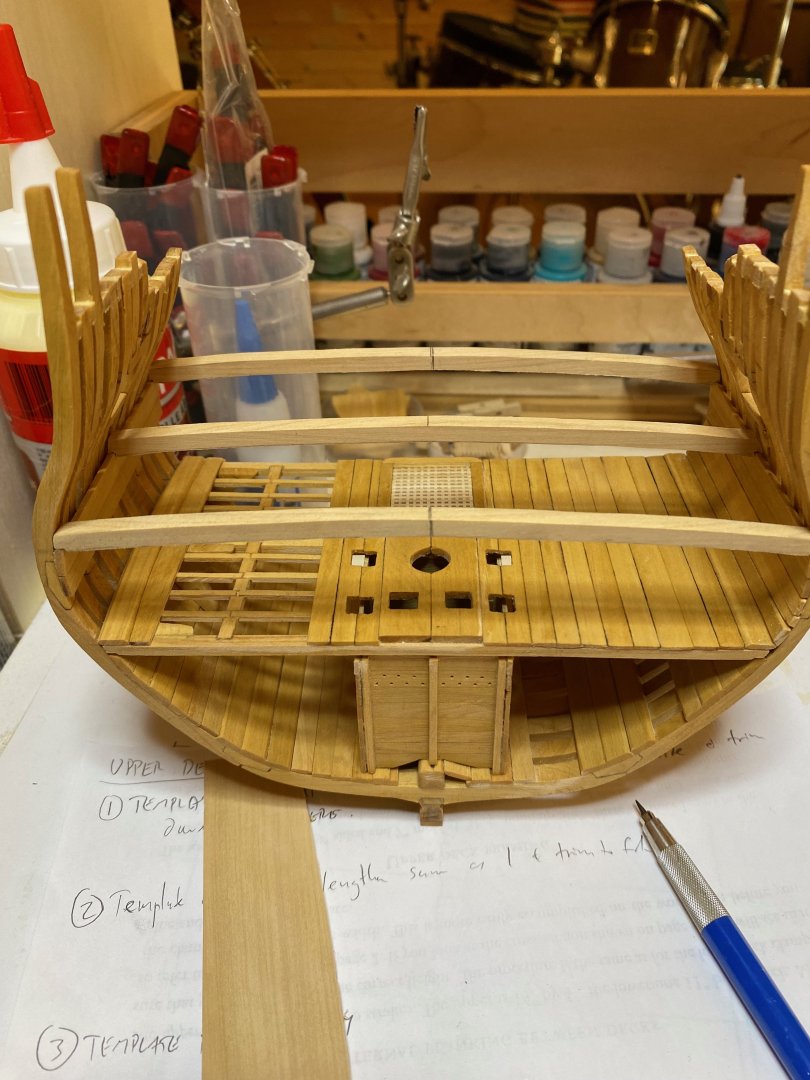
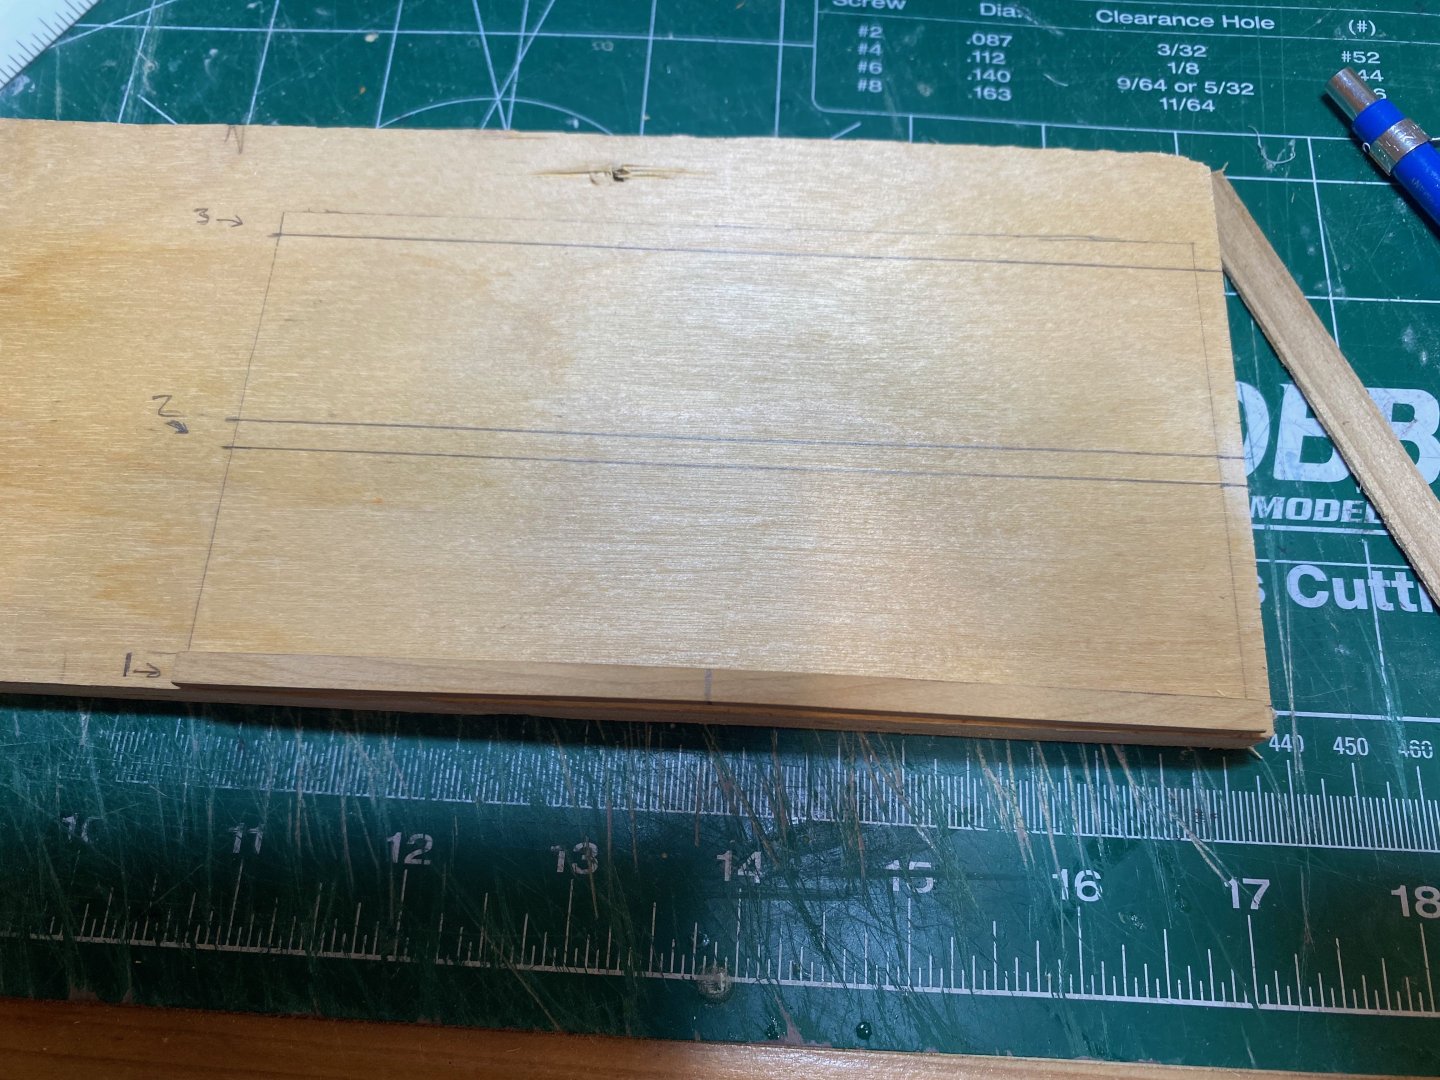
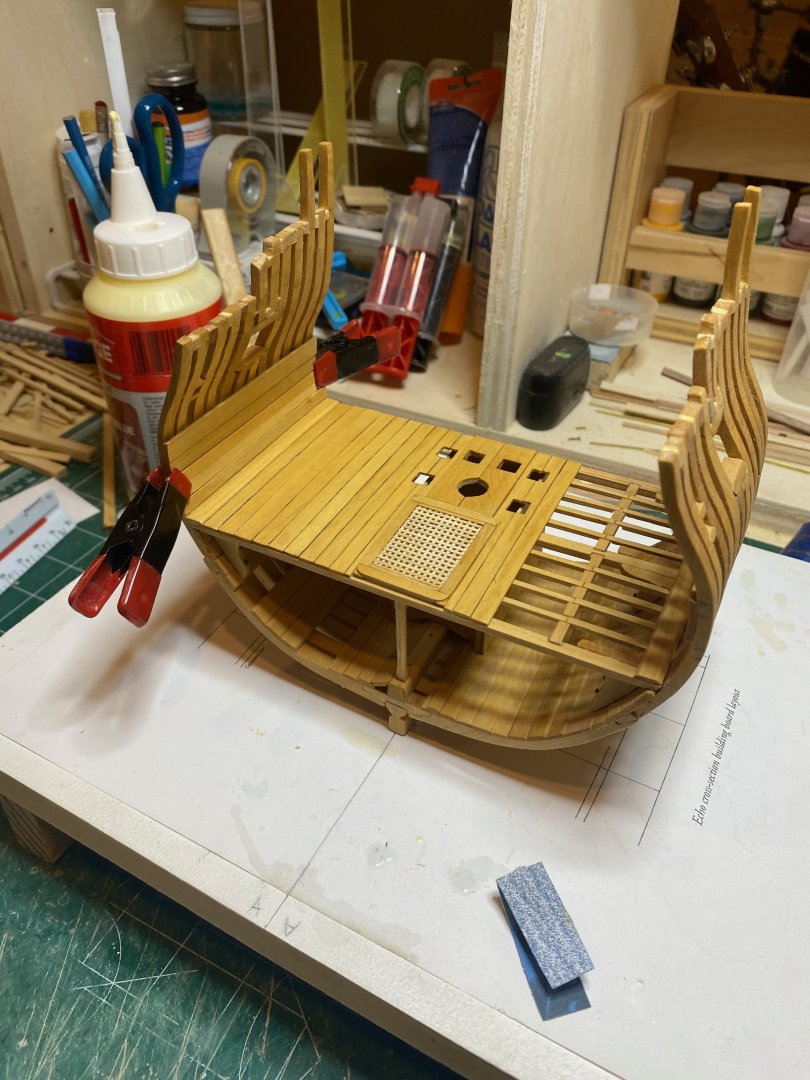
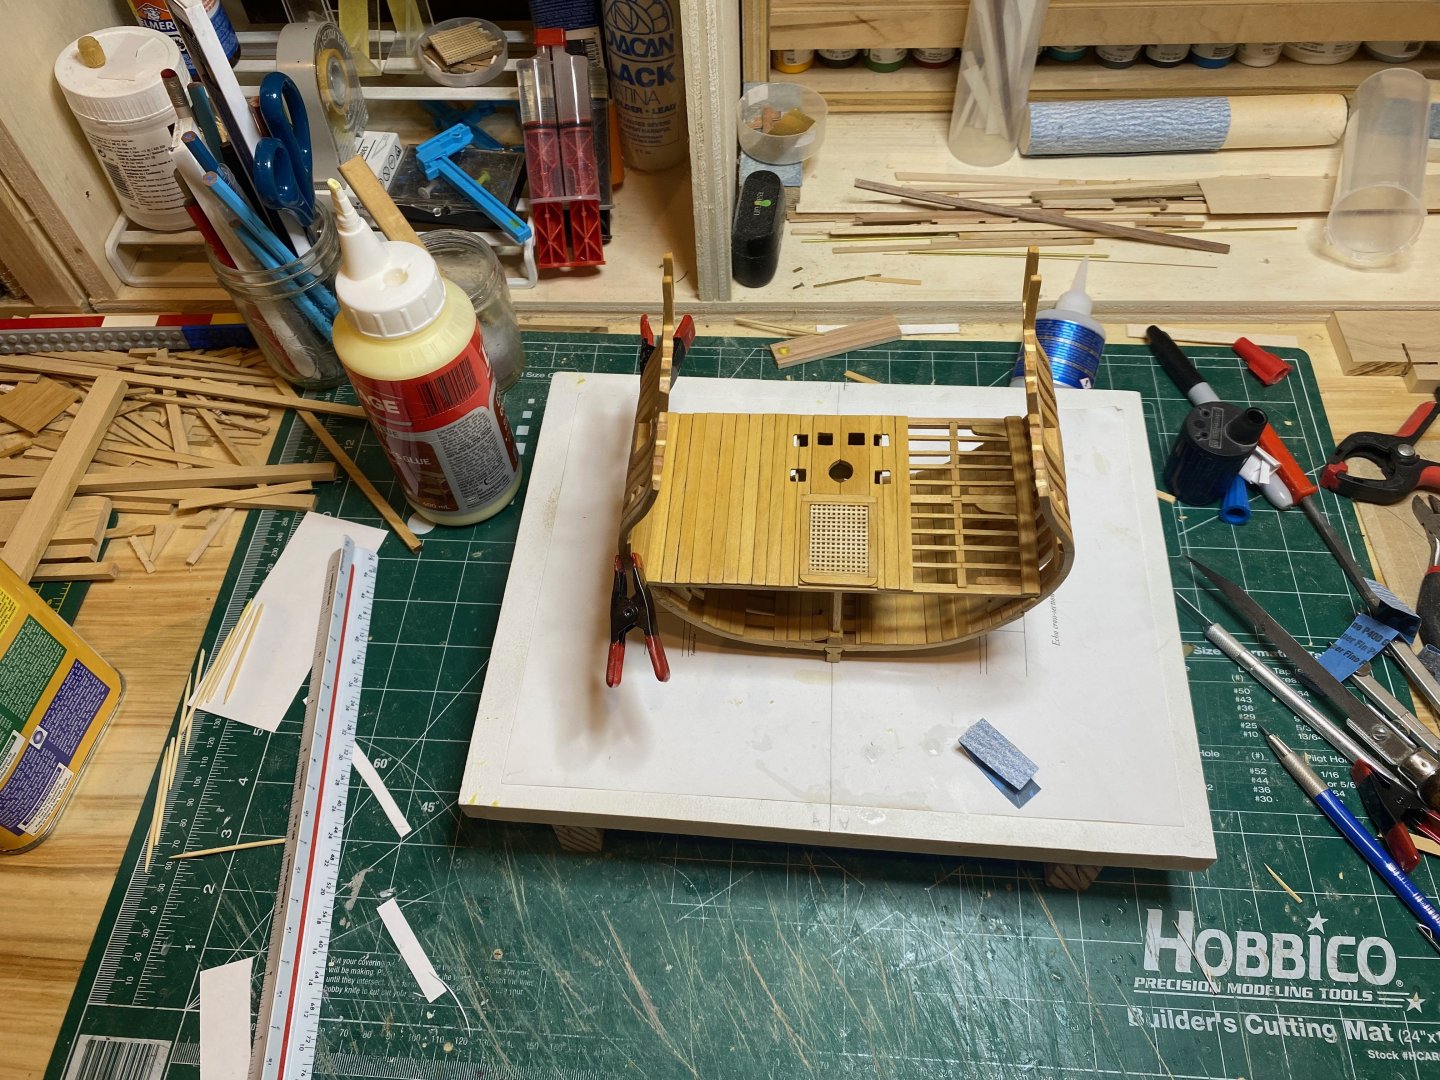
A bit more work on the upper deck framing. I've made all three of the deck beams and started to refine them (they're not quite finished but I'm not aiming for perfection, so....). My main task now is to make a framing jig so I can assemble at least the major components (beams, beam arms & carlings) off the model as I did with the lower deck. As of now I've gotten as far as making a template of the deck with the beams marked on. My model deviates slightly from the layout given in the practicum (modeller error is the blame here) so I'll use the drawings as reference for finishing the template. I had thought of making a simple jig - fitting a couple of 1" (scale) thick battens along the port and starboard side to simulate the deck clamps (into which beams are let down 1") and then a 5-1/2" batten down the centre line (the deck rounds up by 5-1/2"). We'll see how this goes and whether I need to expand on this basic concept..... I am a little concerned about the beam arms - these seem to be a little finicky to get right considering the round up needs to be sanded into them as well....I'm going to be away for a couple of weeks as of Friday and this week's a busy one getting ready to go, so it's hit or miss whether there'll be any time in the shop...but...in the meantime enjoy the photos and happy modelling. hamilton


-
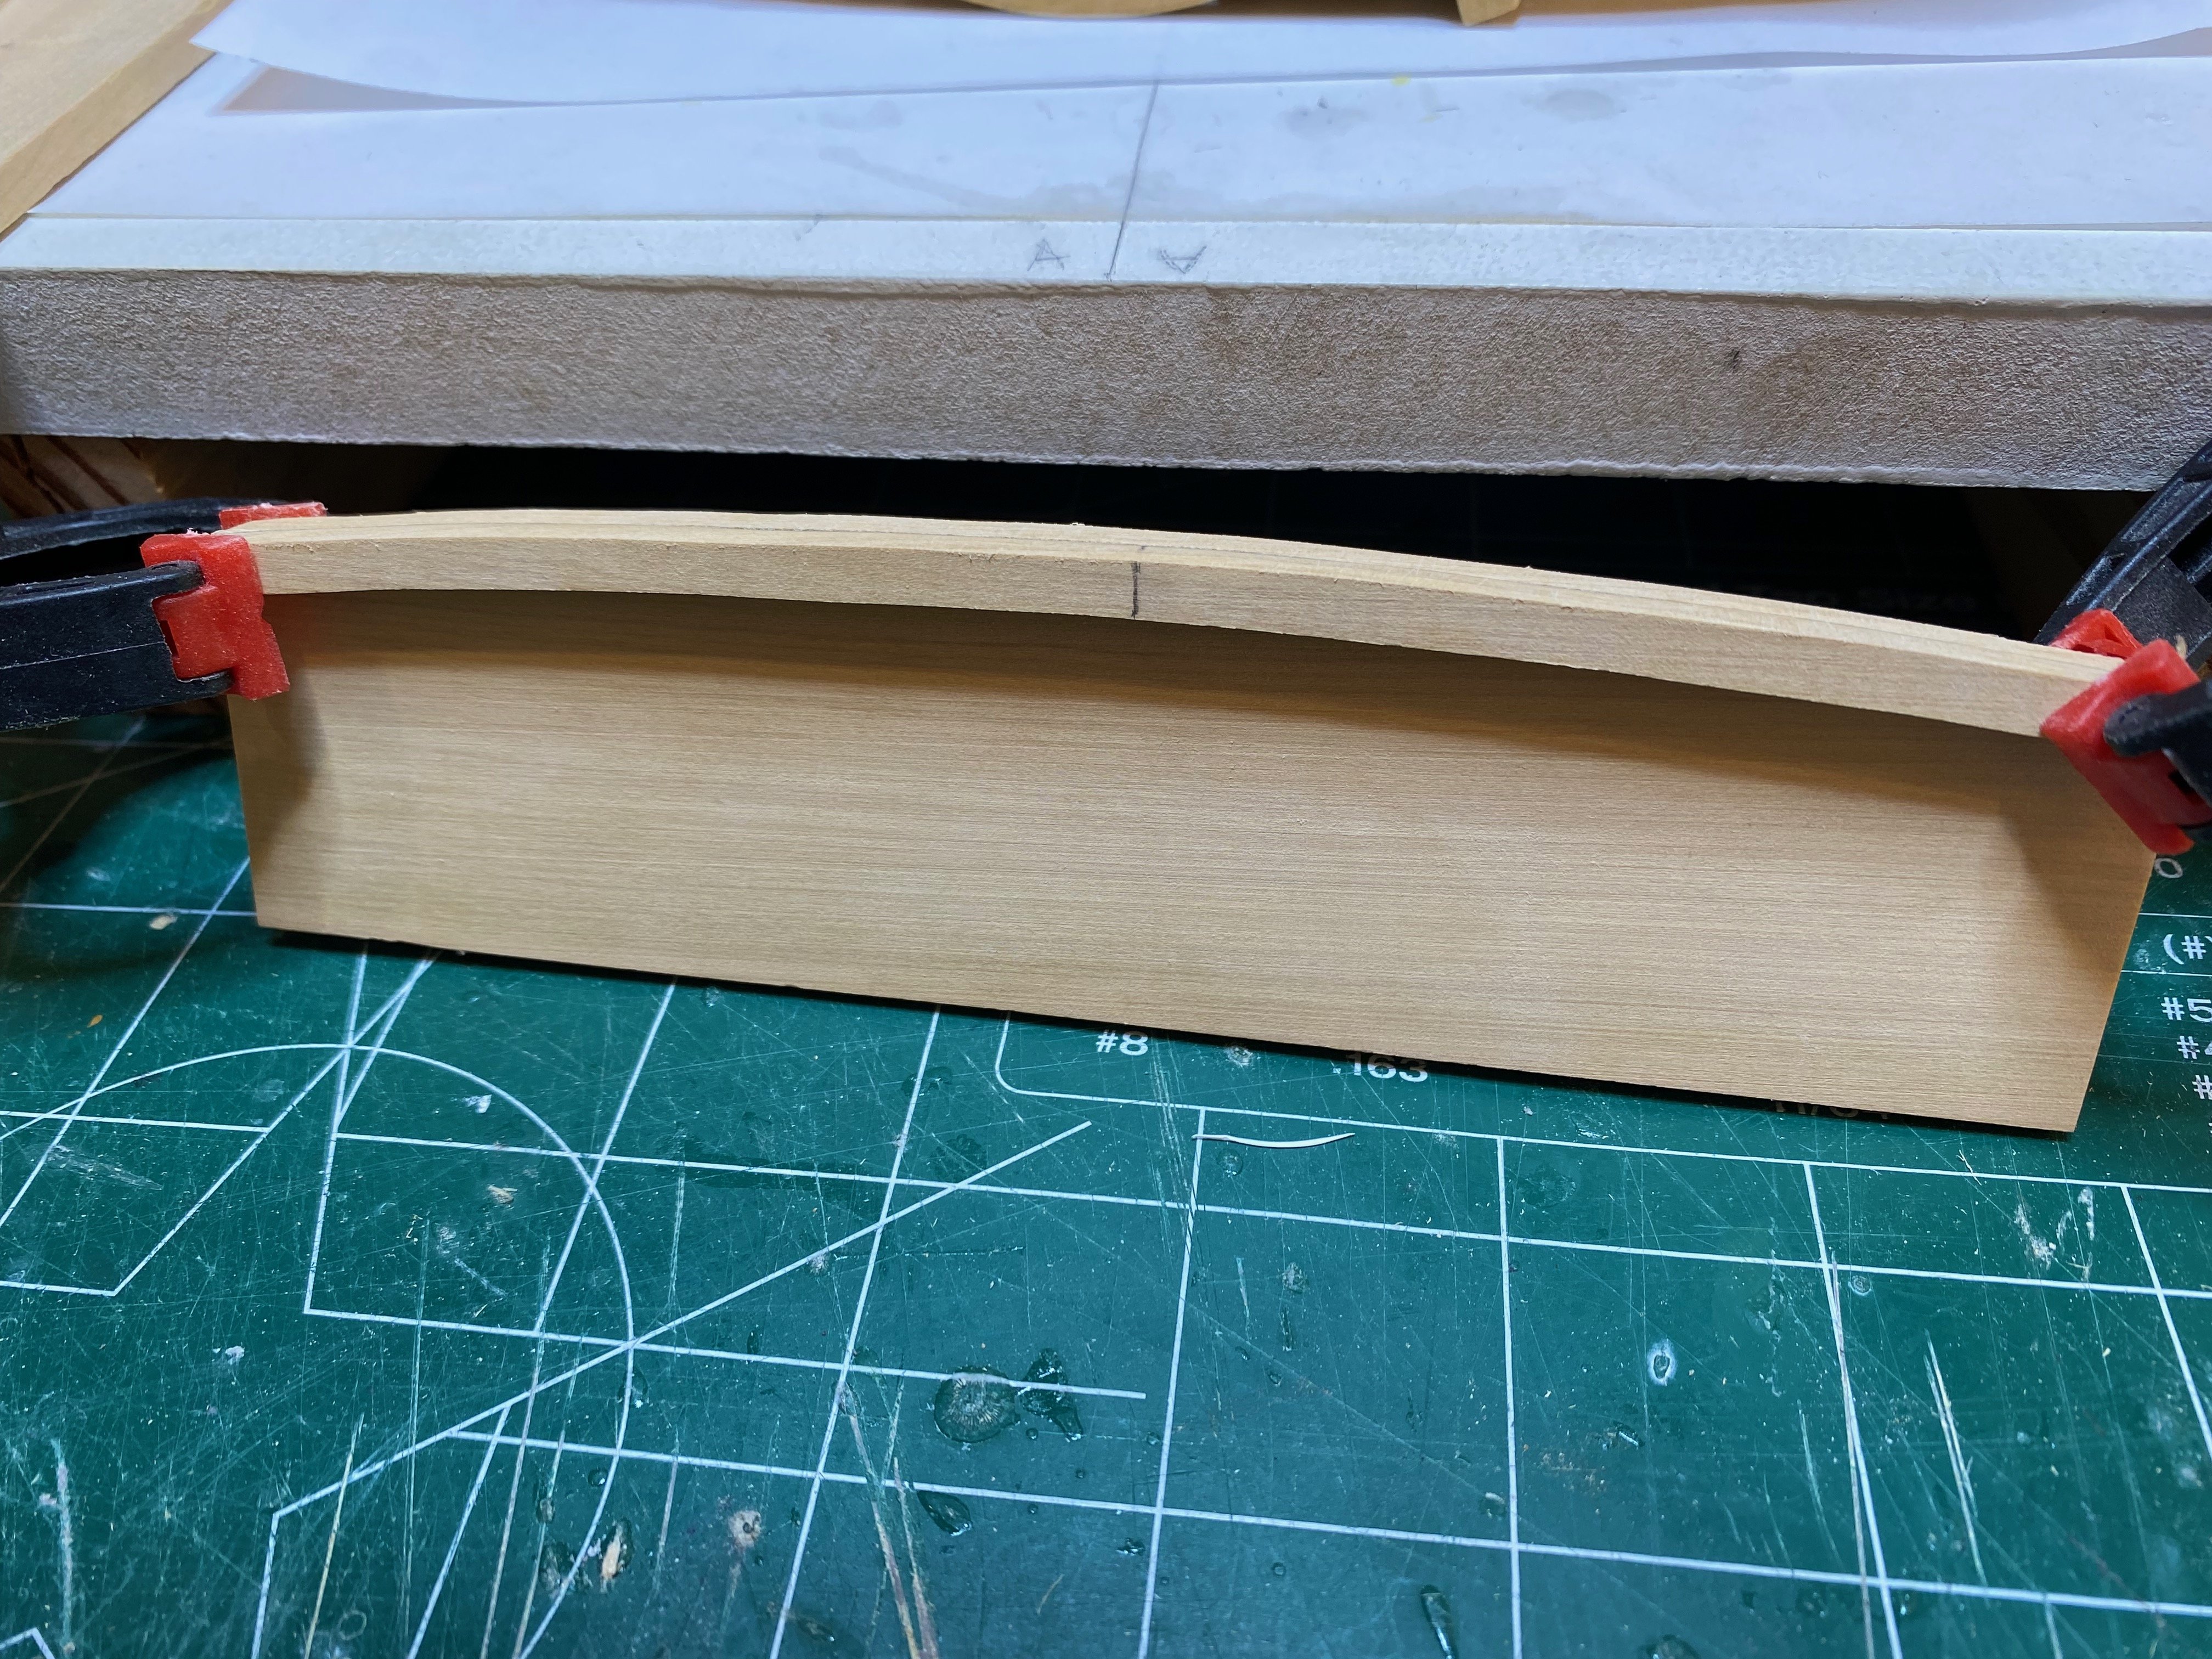
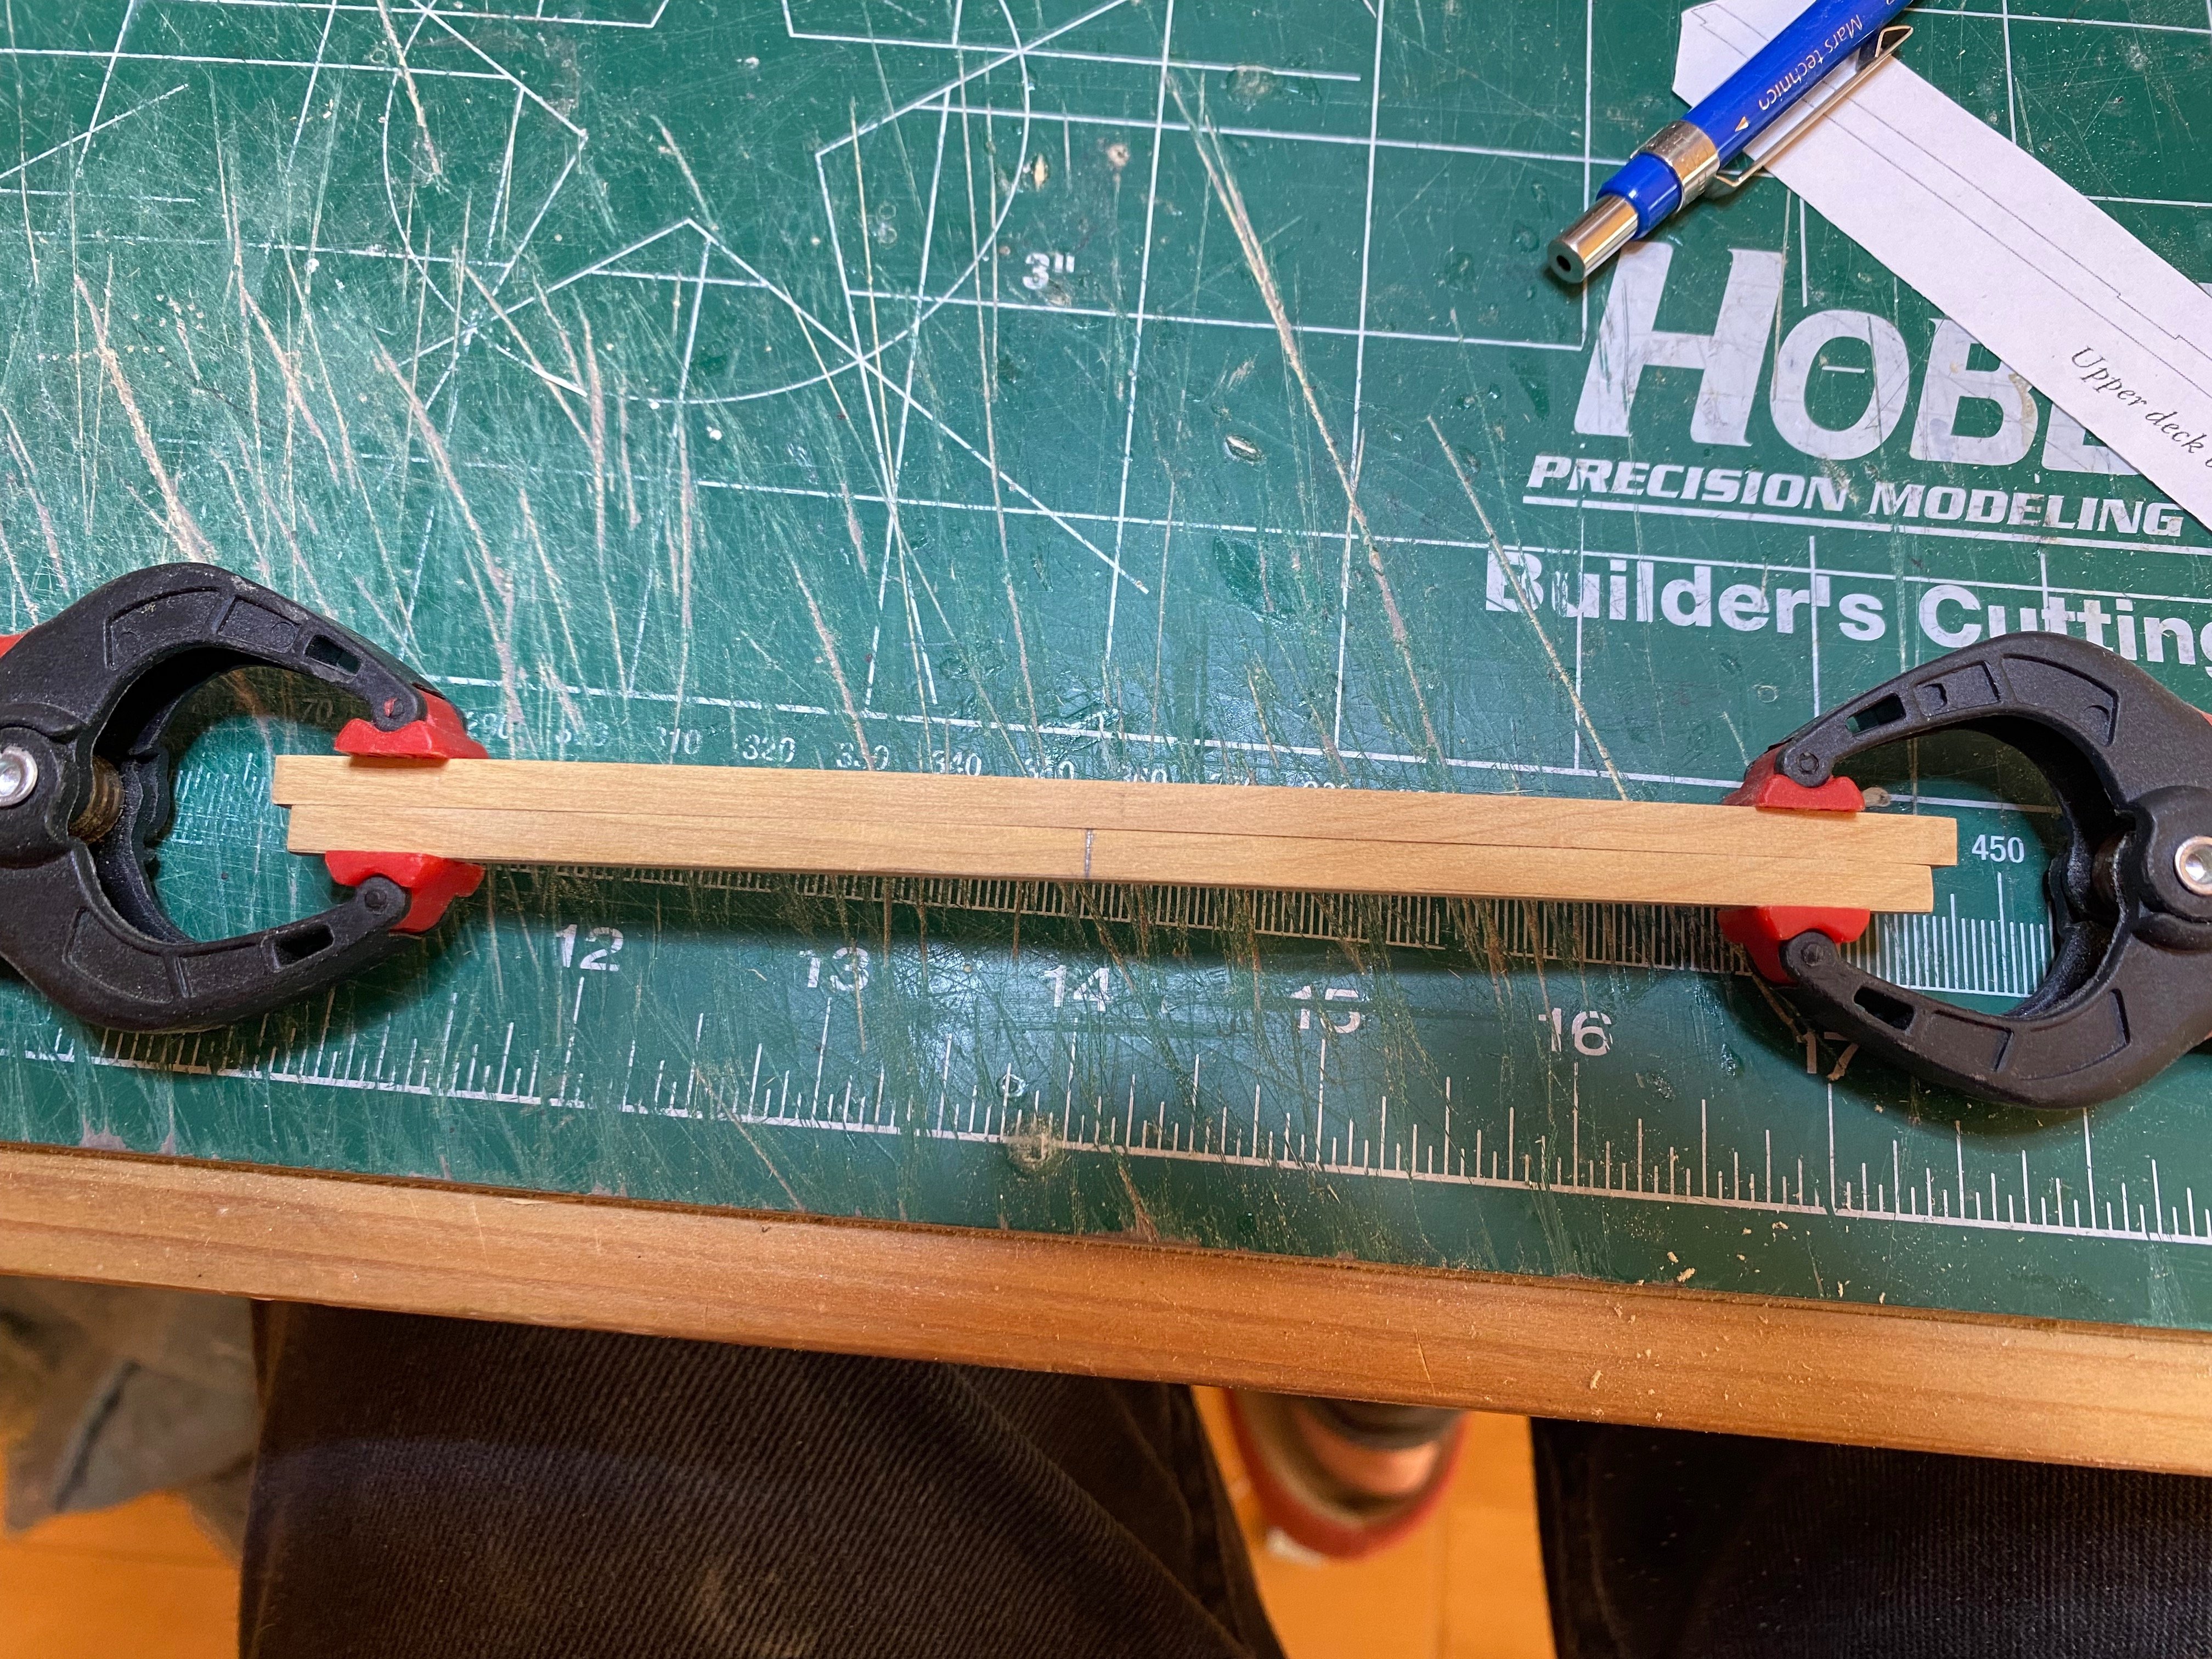
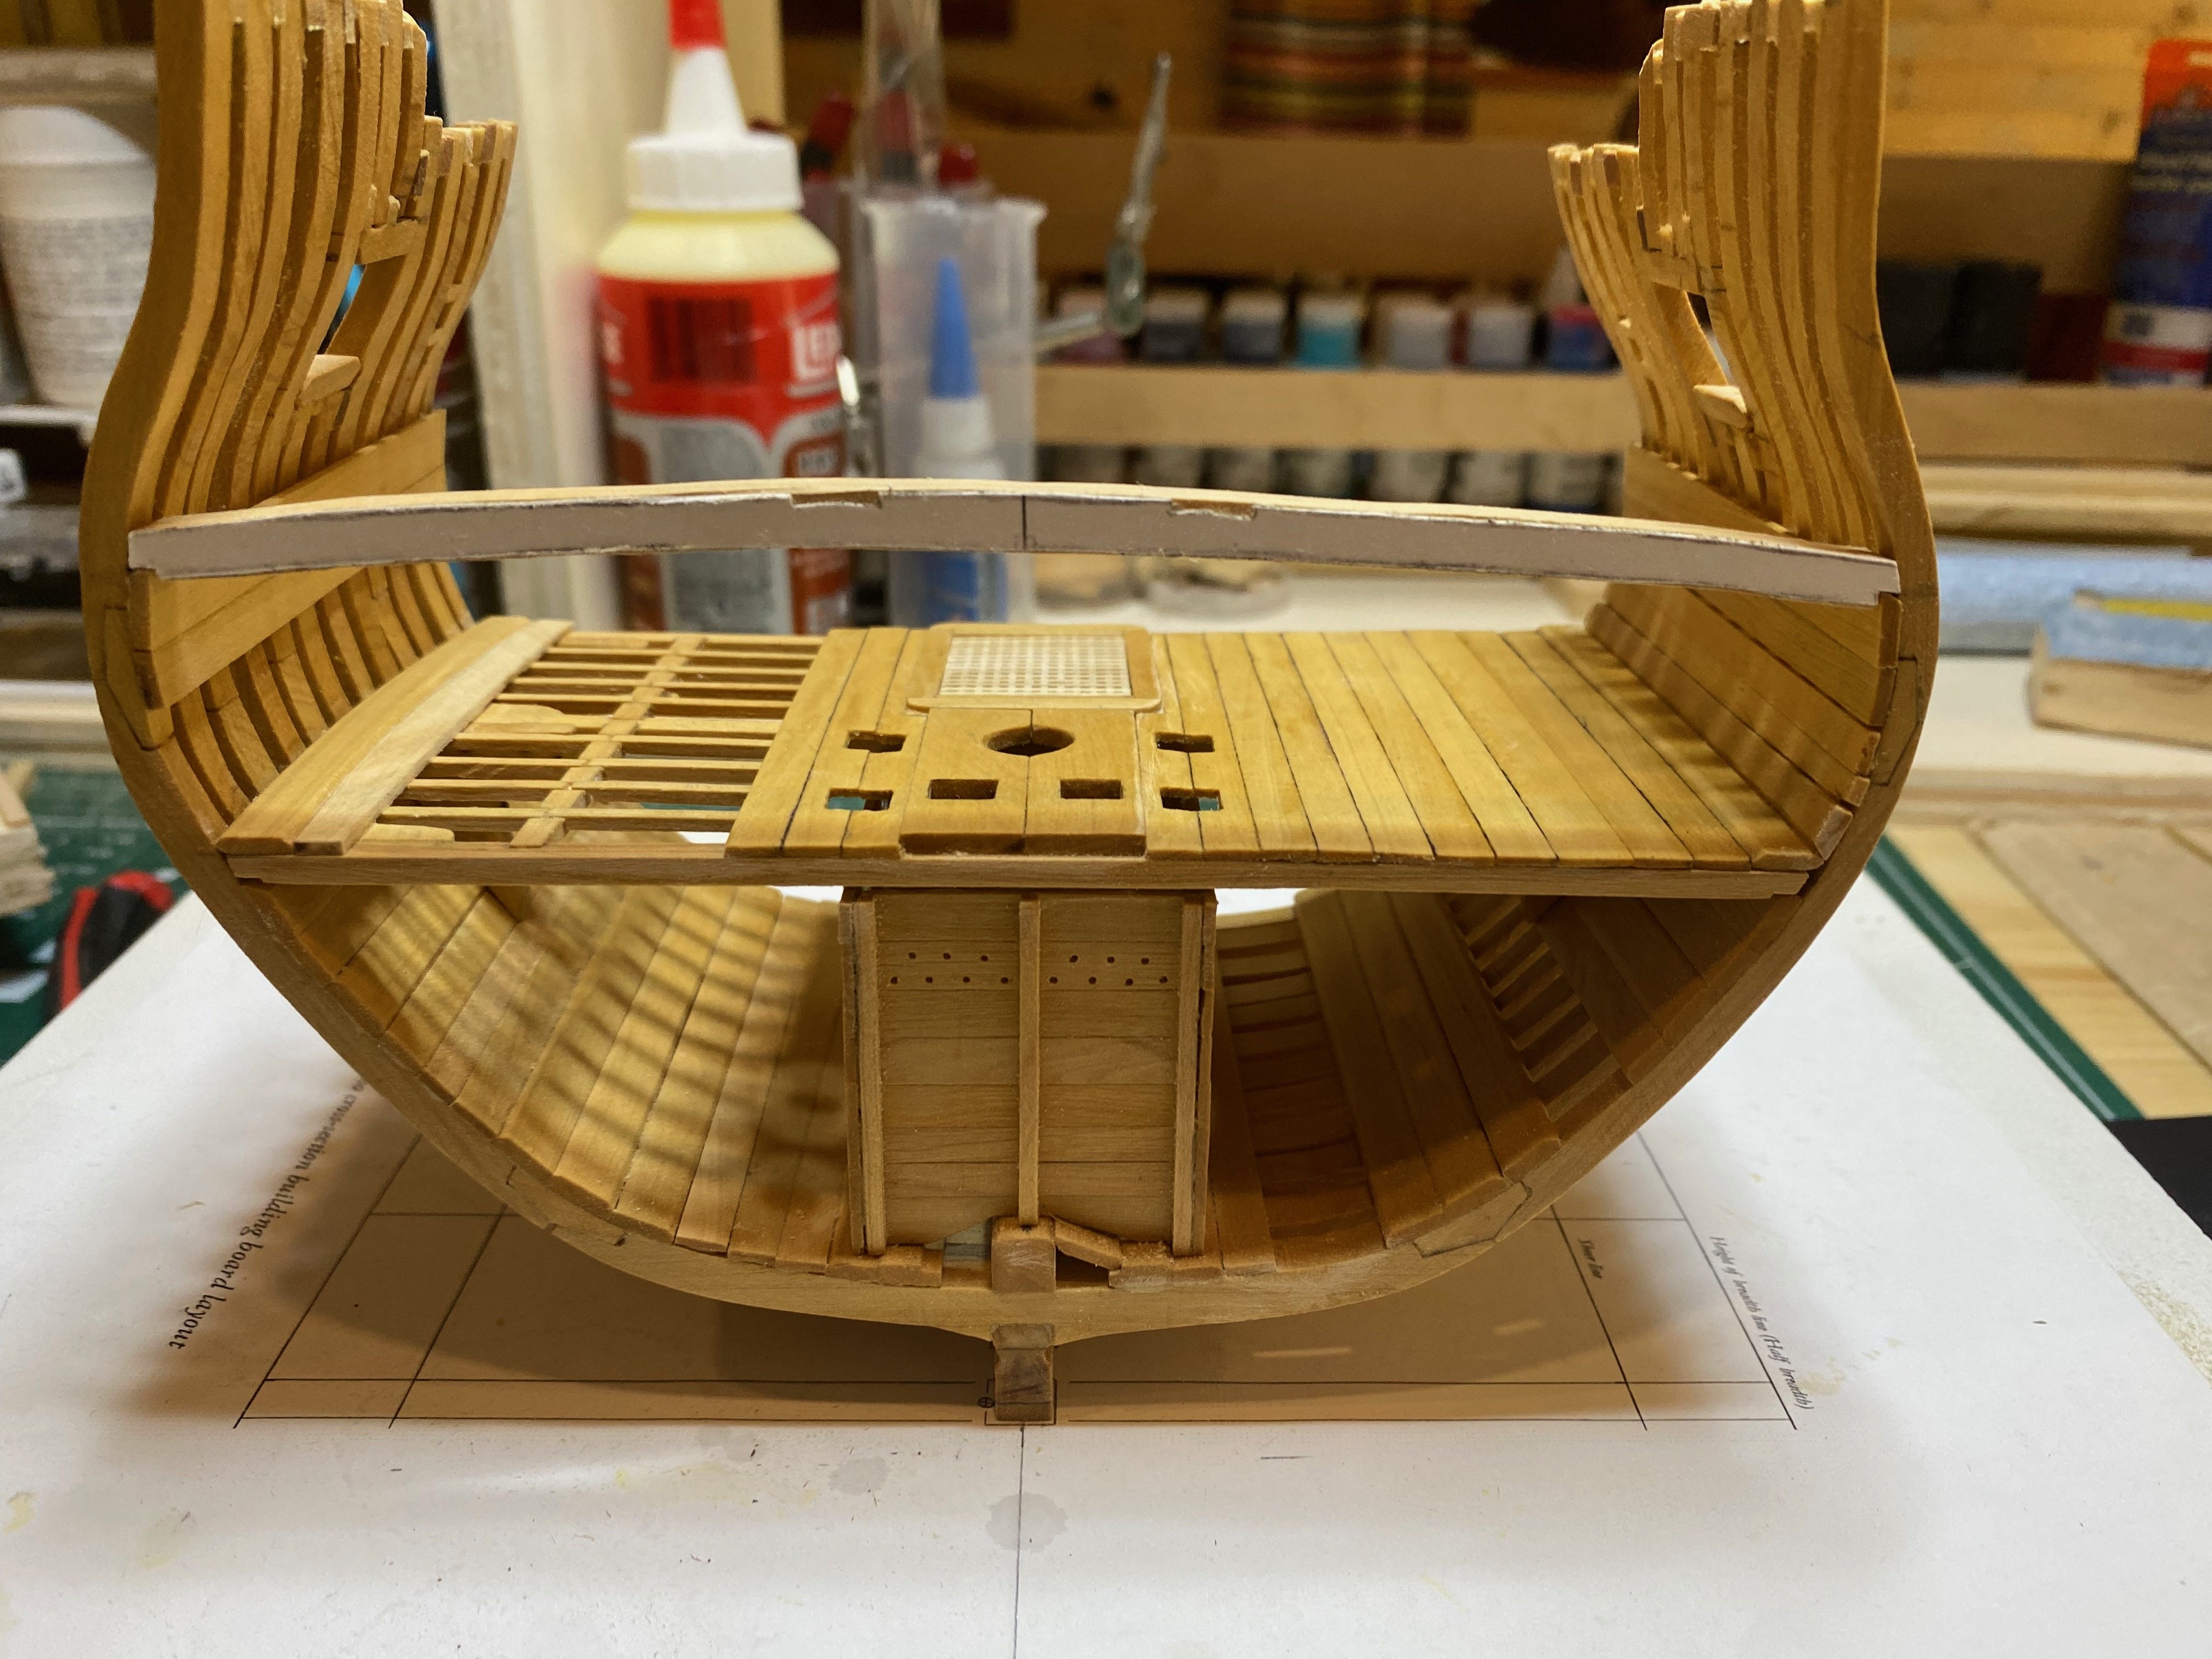
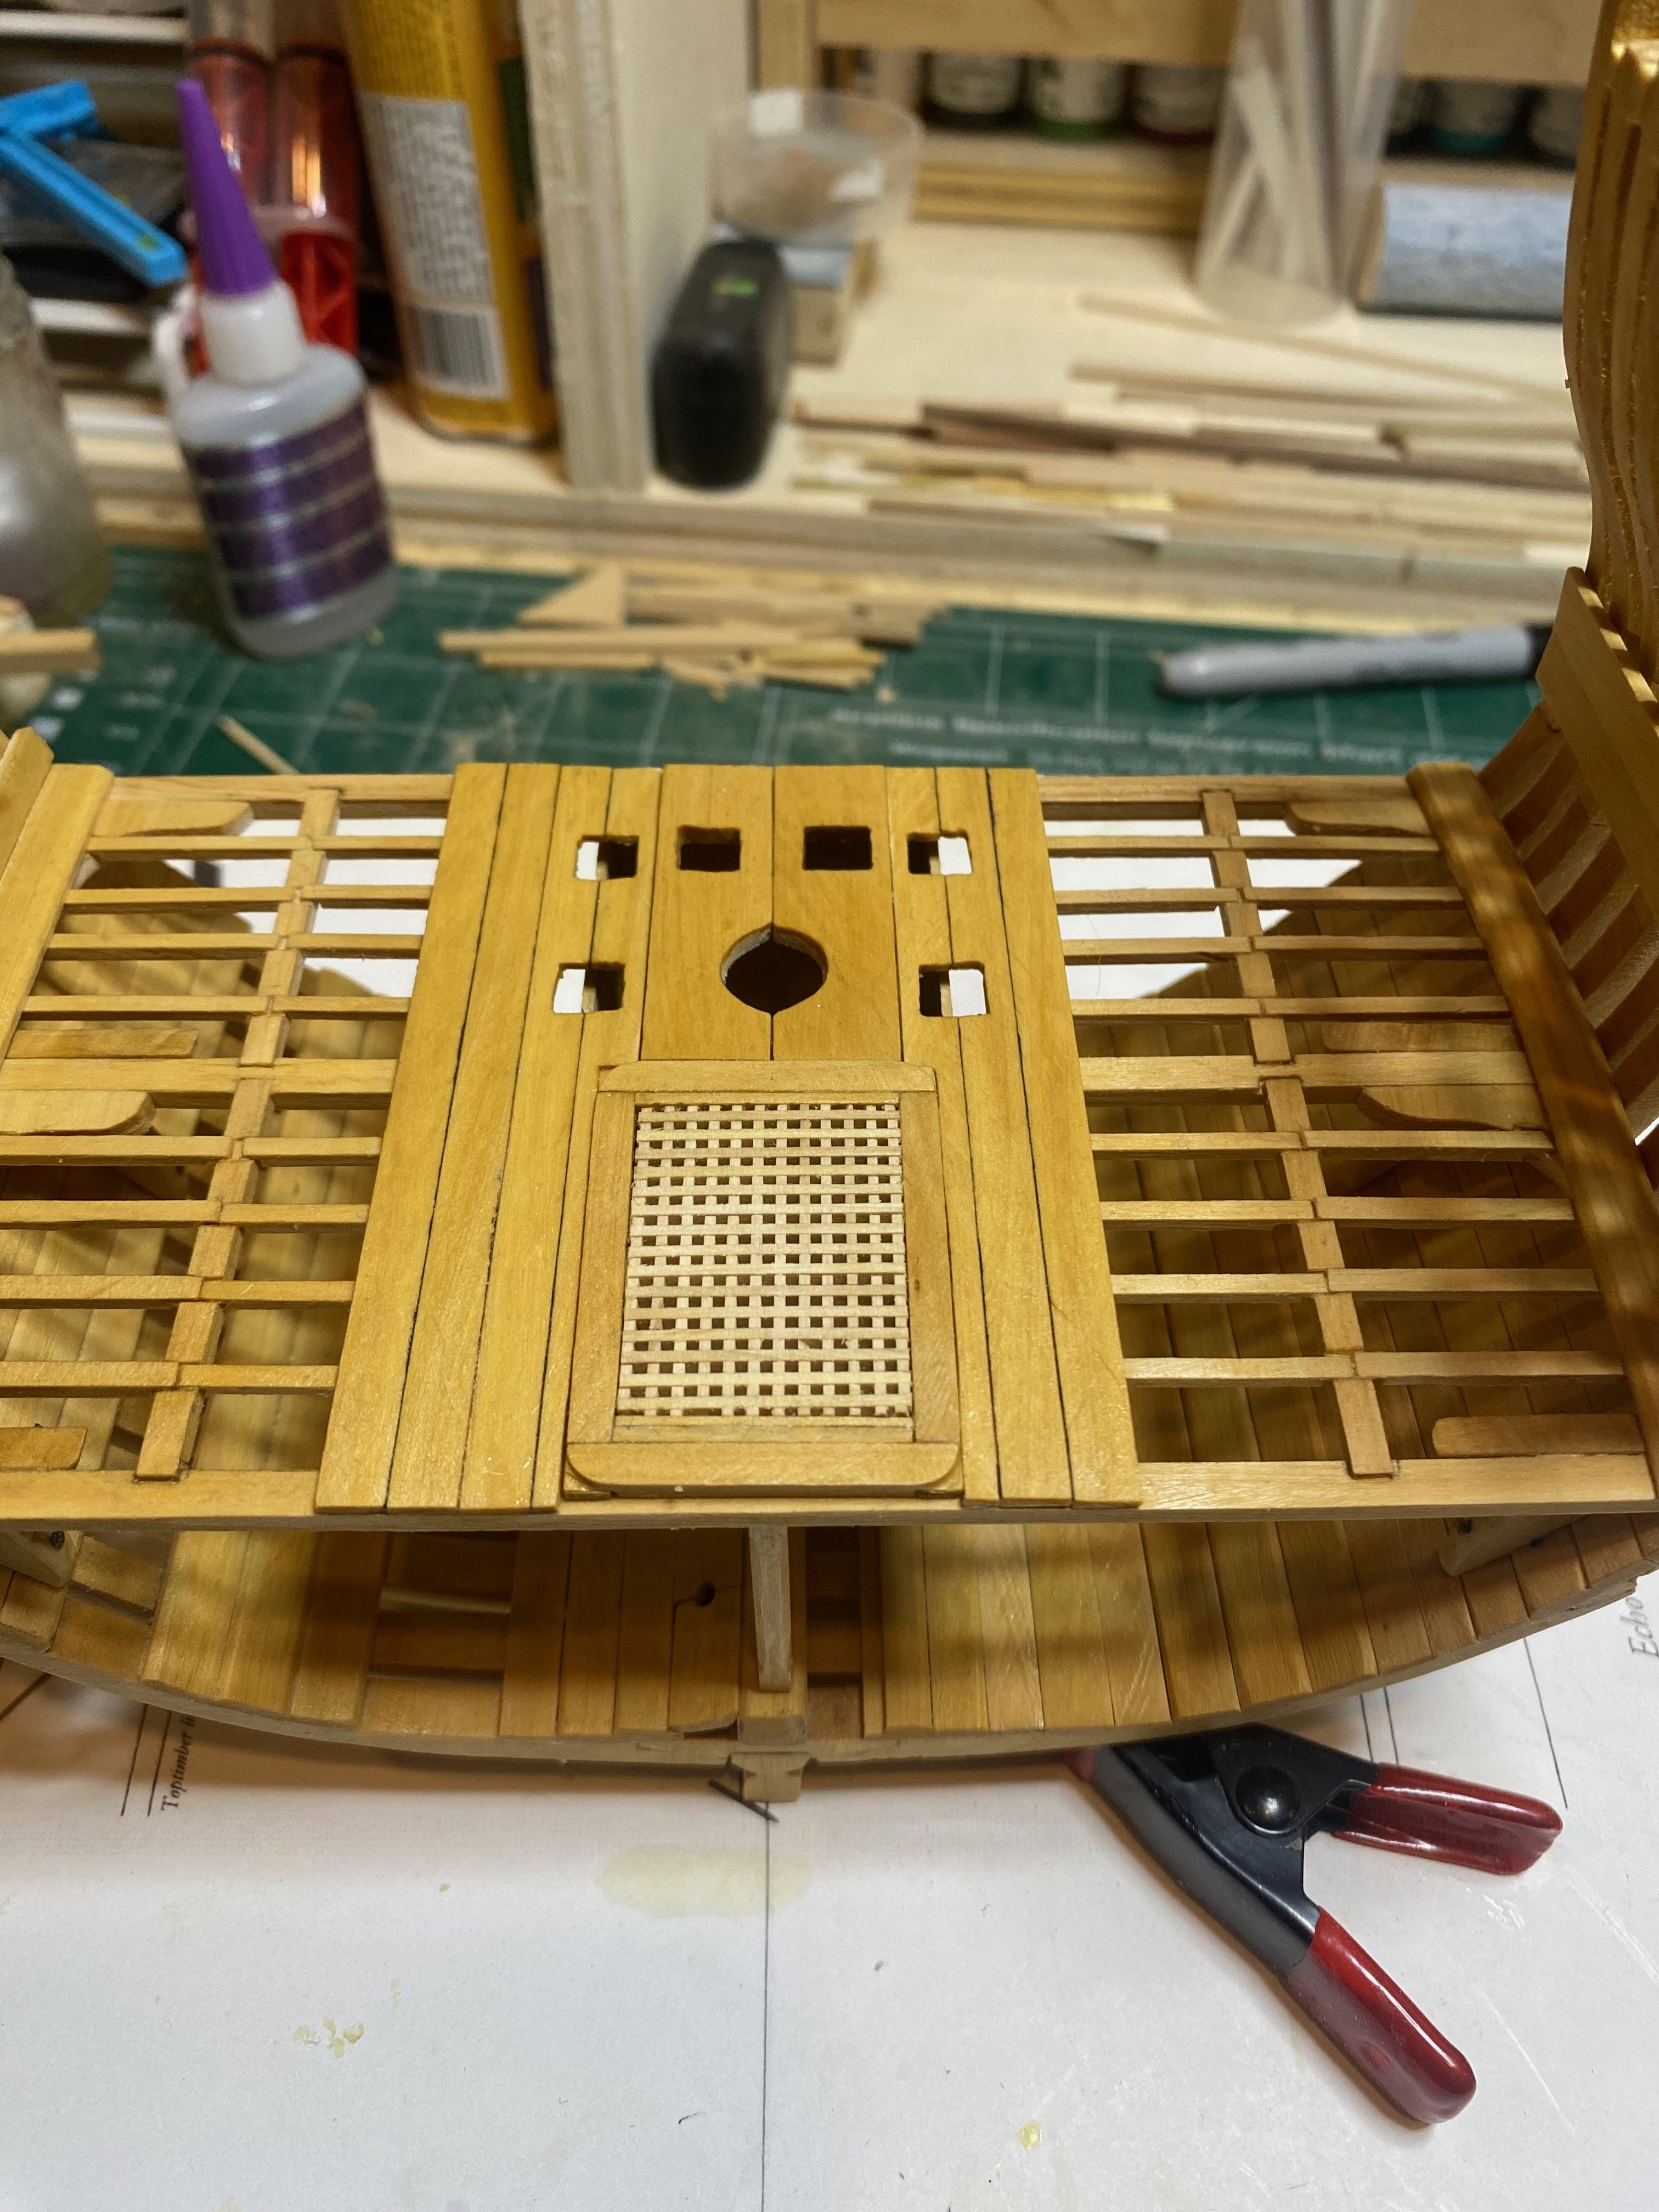
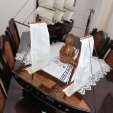
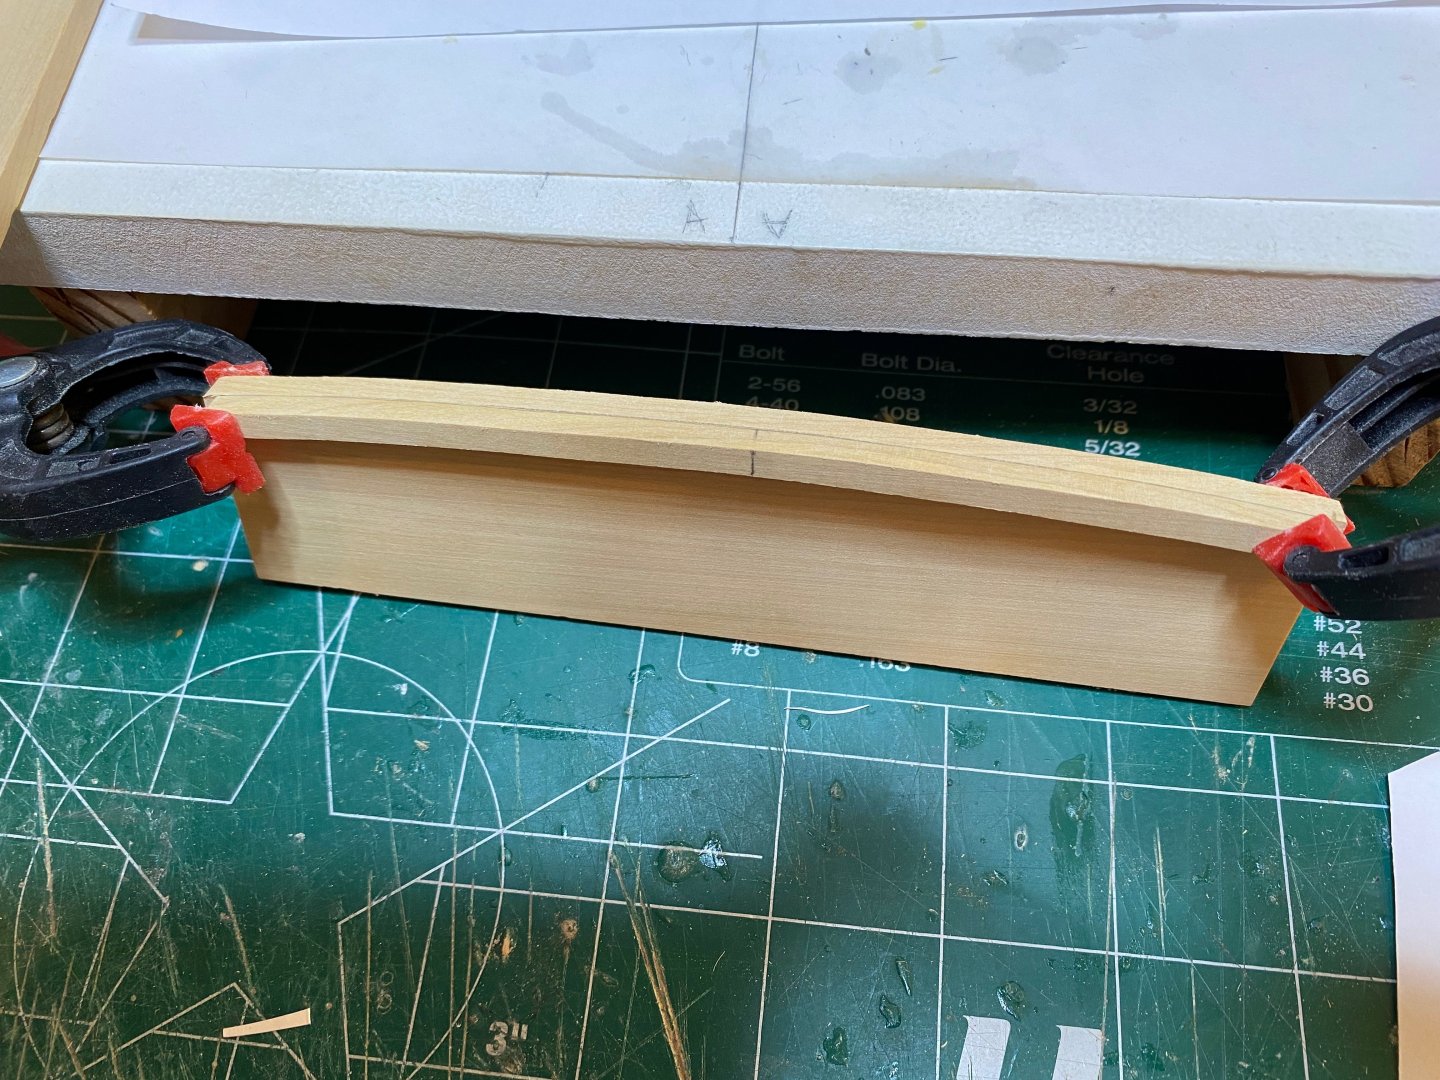
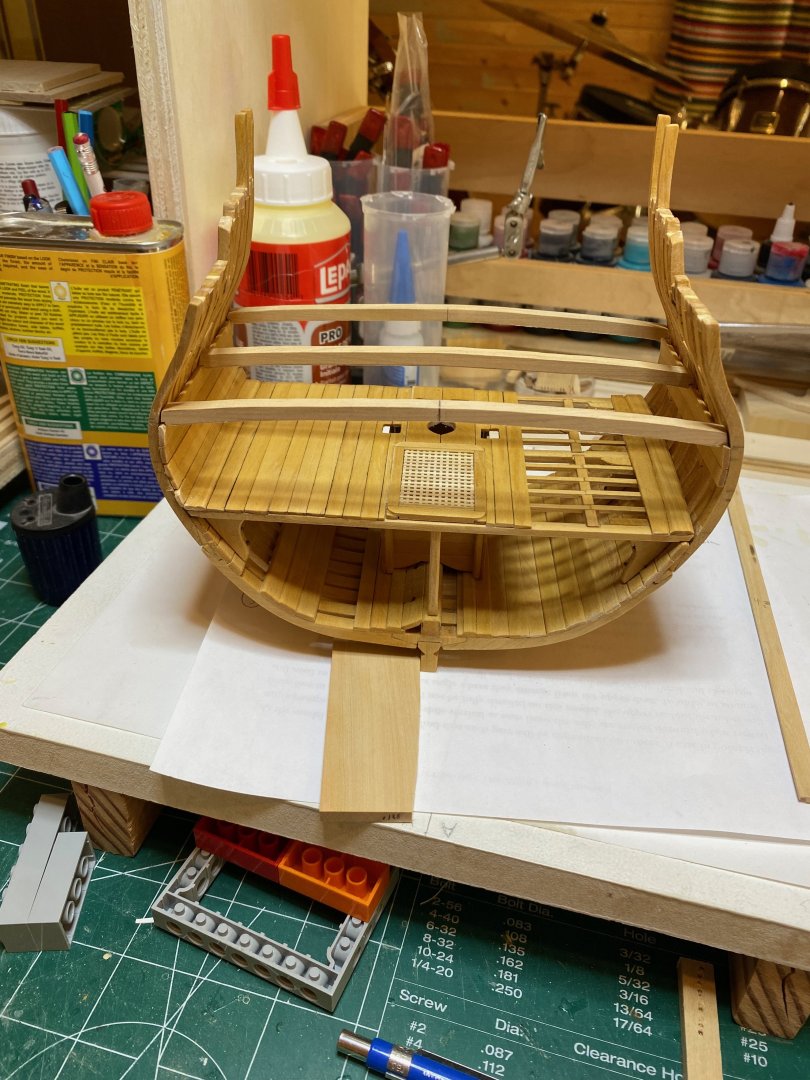
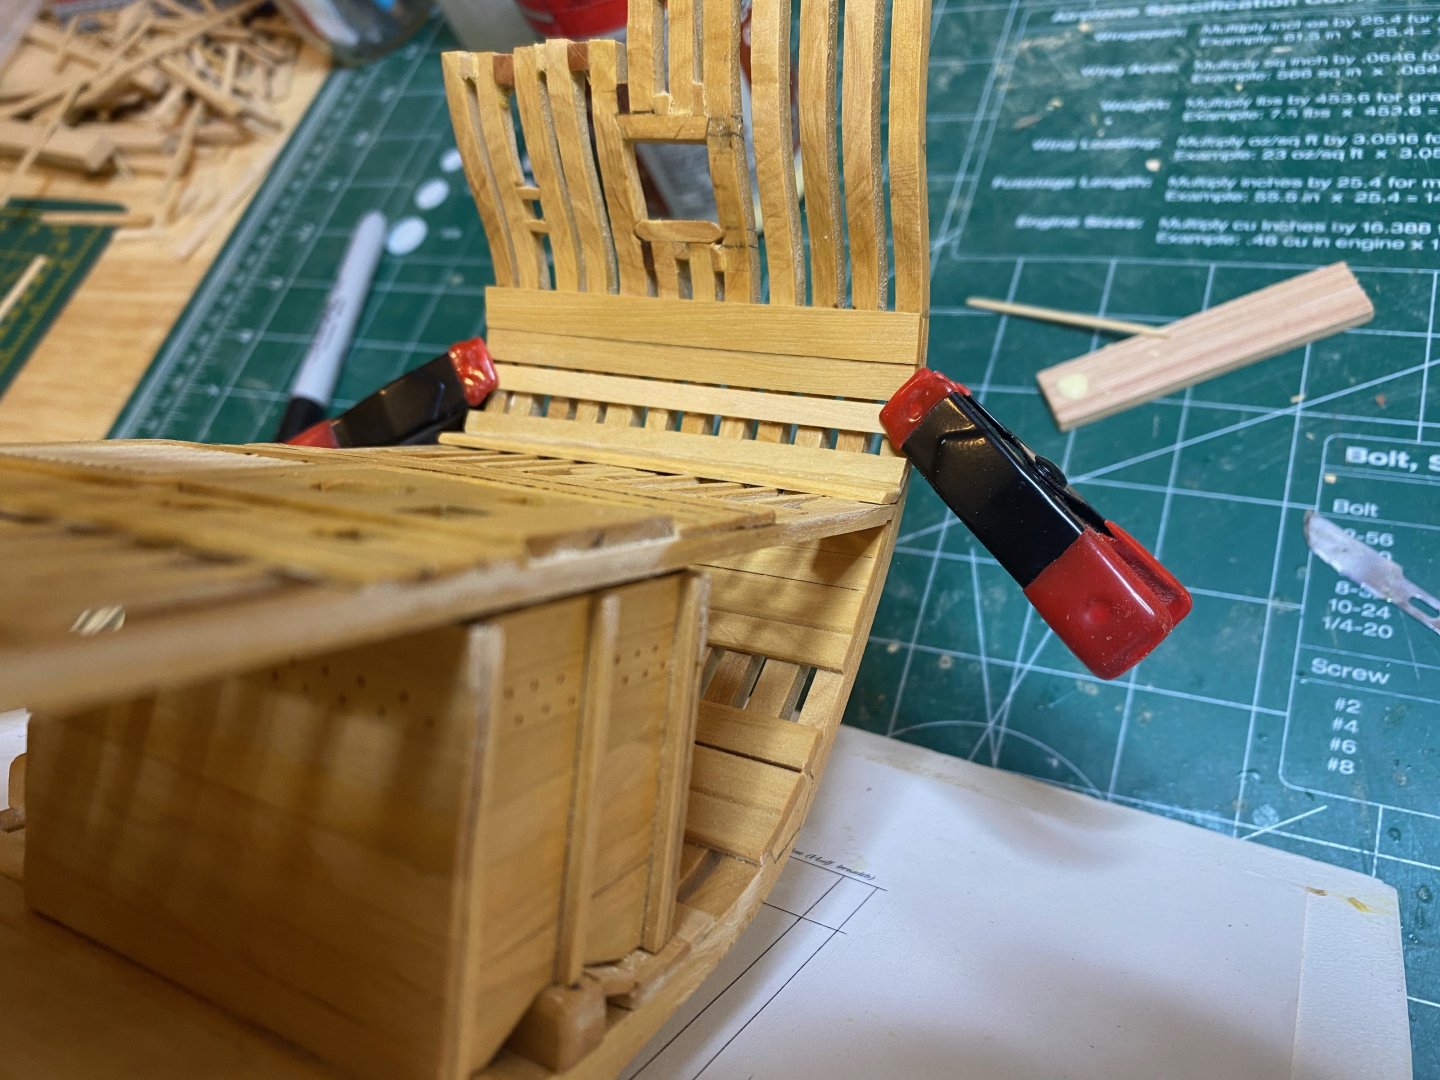
After another relatively long break, I've managed to find a bit of time to work on Echo this afternoon. No great strides forward, though I did manage to make a test of one of the upper deck beams. I made a template out of card paper using the drawing in the practicum against some carbon paper, and then rubber cemented this to some 9" boxwood that came with the original framing package. I think that next time I will simply use copies of the drawing itself, printed onto card. I think this will likely lead to a more accurate template and a better result. Fortunately I have enough of the 9" box to do a bit of testing before committing to anything. I had imagined that the test beam would be fit forward, but it ended up being a fraction to short for that purpose. But it fits perfectly athwartships in the aft beam position at frame 5. So even though right now the piece still looks very rough (as seen in the photos below) I hope I can tidy it up and perhaps use it since it does fit so nicely....I also made a strake of deck planking to fit in line with the port side lower deck waterway - not too difficult or exciting. The upper deck framing is going to be quite tricky I think - I'm not looking forward to making and fitting the beam arms and am a bit concerned about the beams being at the correct height.....but we'll see in the next little while how it comes together. Enjoy the photos and bye for now hamilton


-
Been a while since I checked in here - she's looking really nice, Yves hamilton
-
This looks like a very cool model! hamilton
-
At this scale the rigging gets very crowded indeed - I followed Lees for the entire rig of my version of this kit - it was a challenge to get everything just so, but Lees facilitates things through his period-based breakdown of rigging practice by period and rate. From what I've read here, Lees is a very good standard to work to. I also have no idea what the logic was behind the reversal of the preventer and stay in this case - but as we see all the time, questioning people who've spent their lifetimes learning about specific things is a good way to get things wrong, while following them is a good way of learning how to do things right. hamilton
-
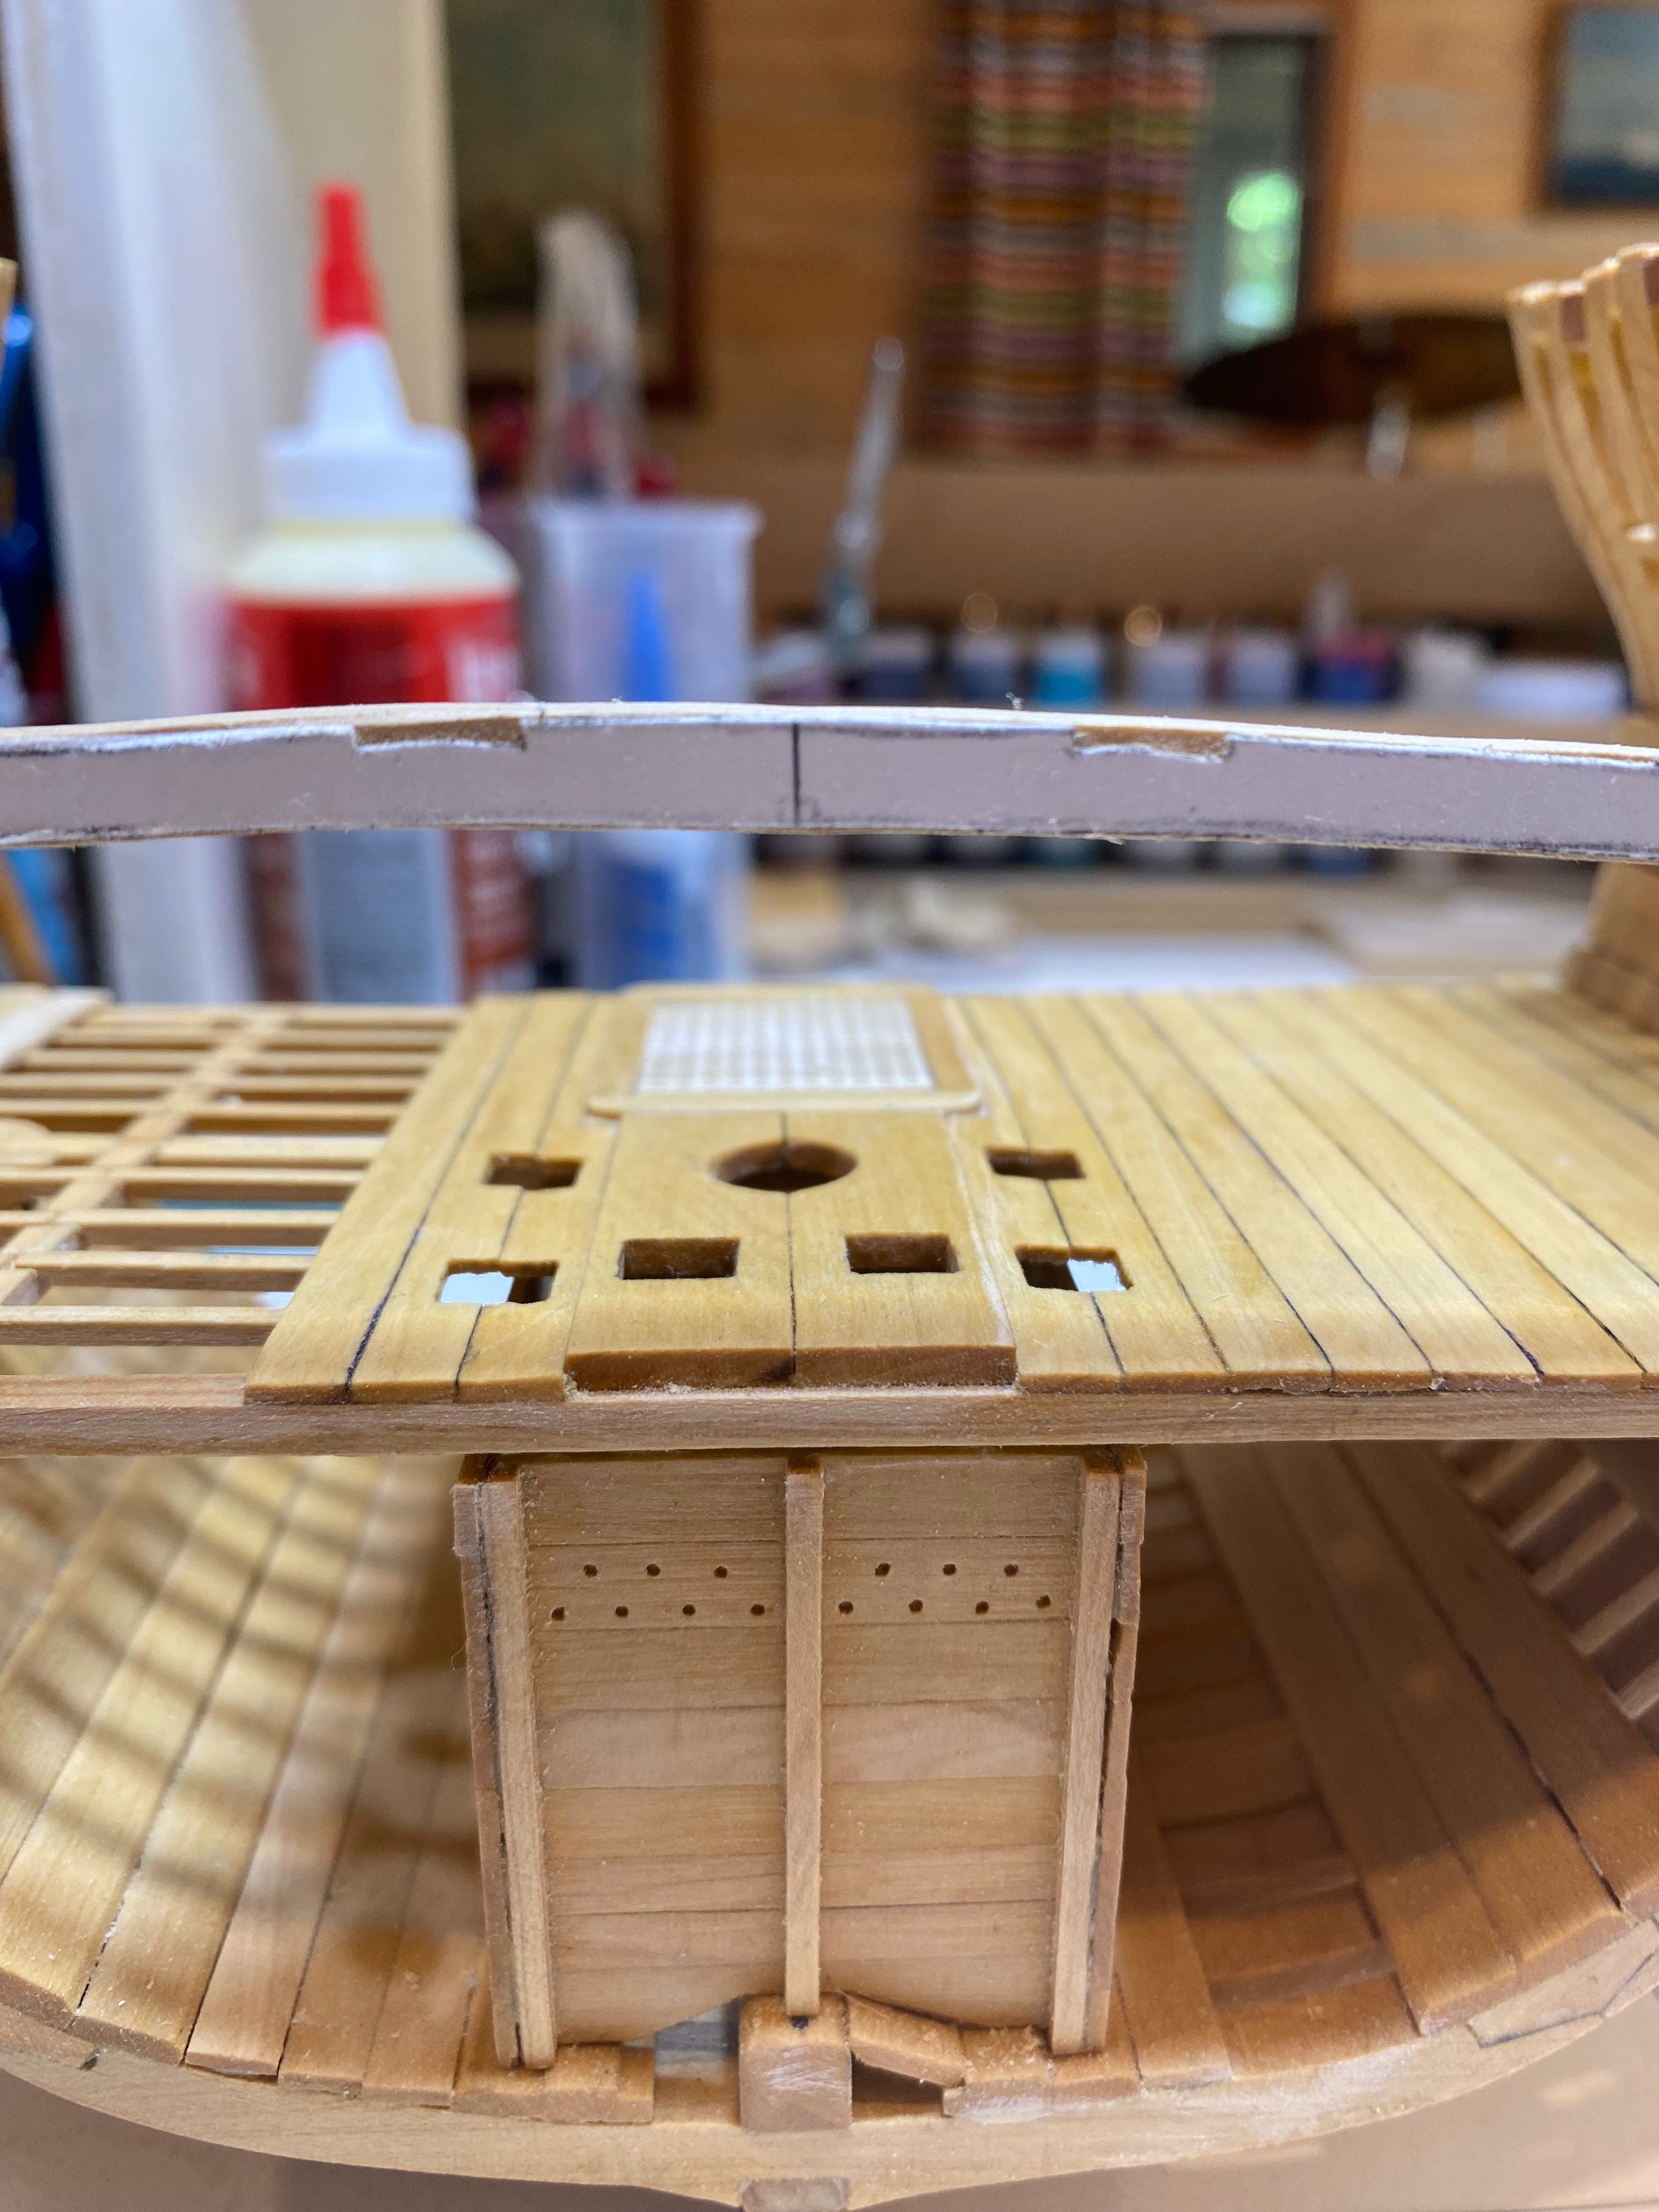
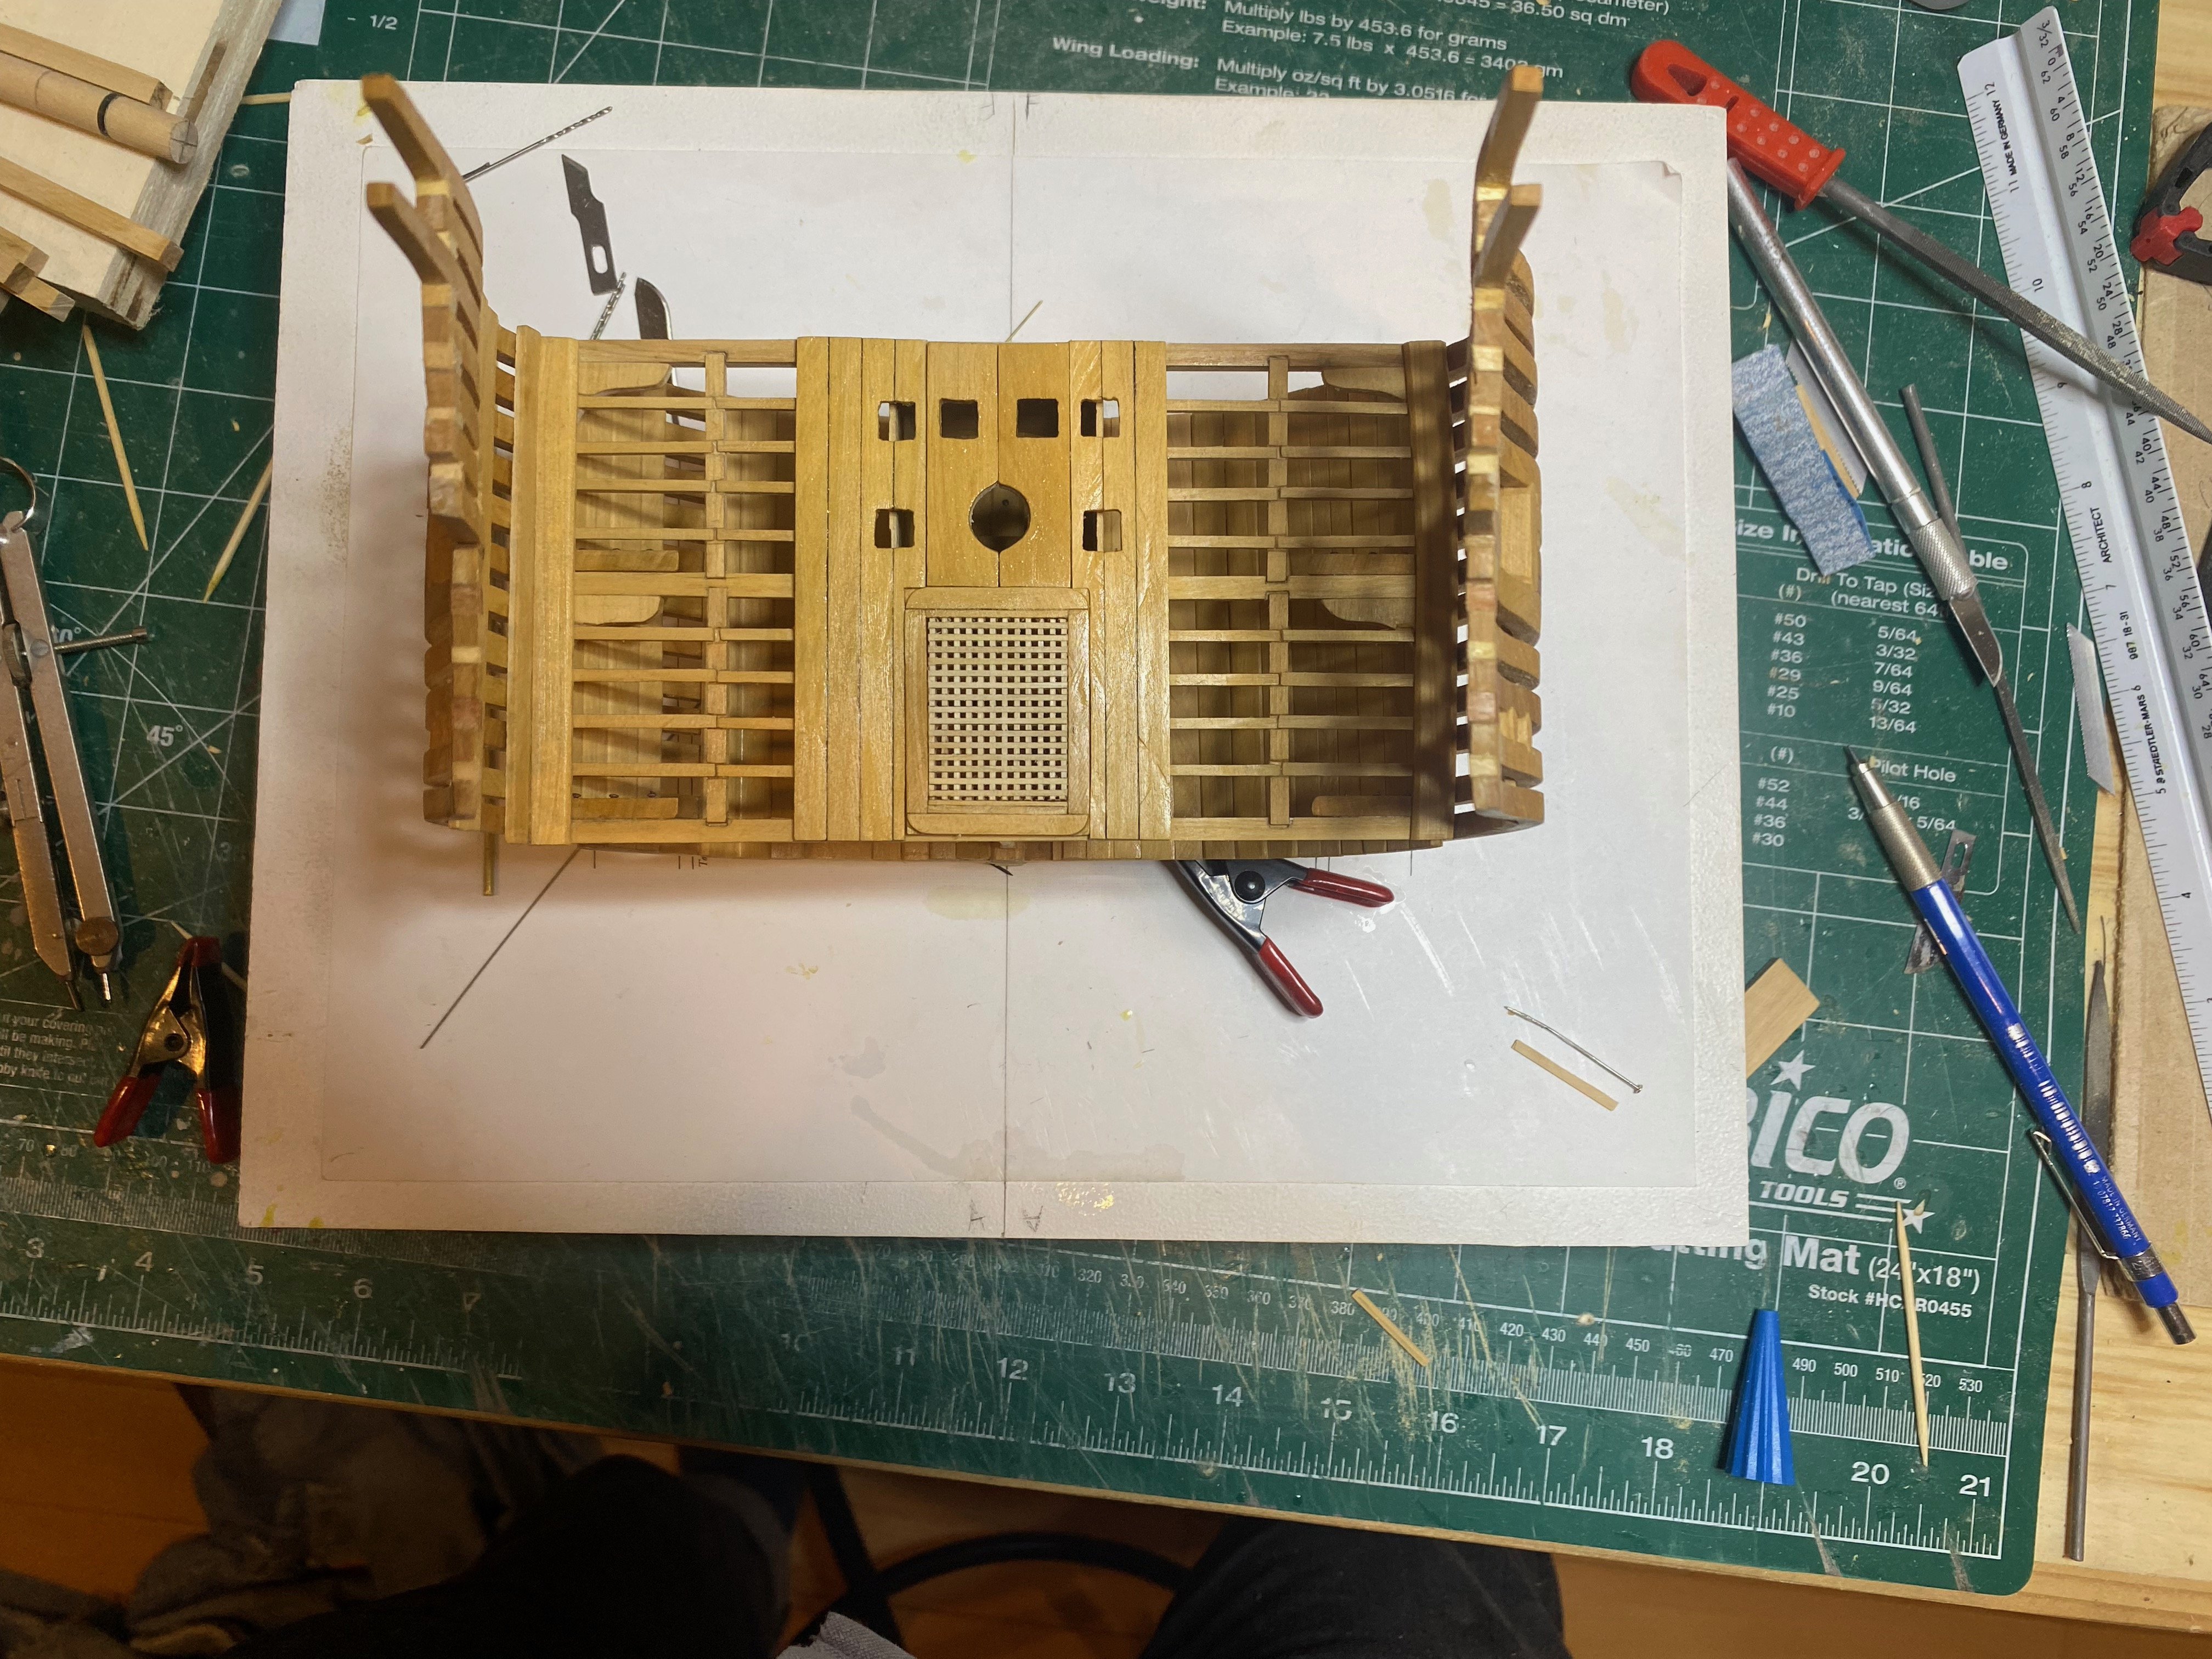
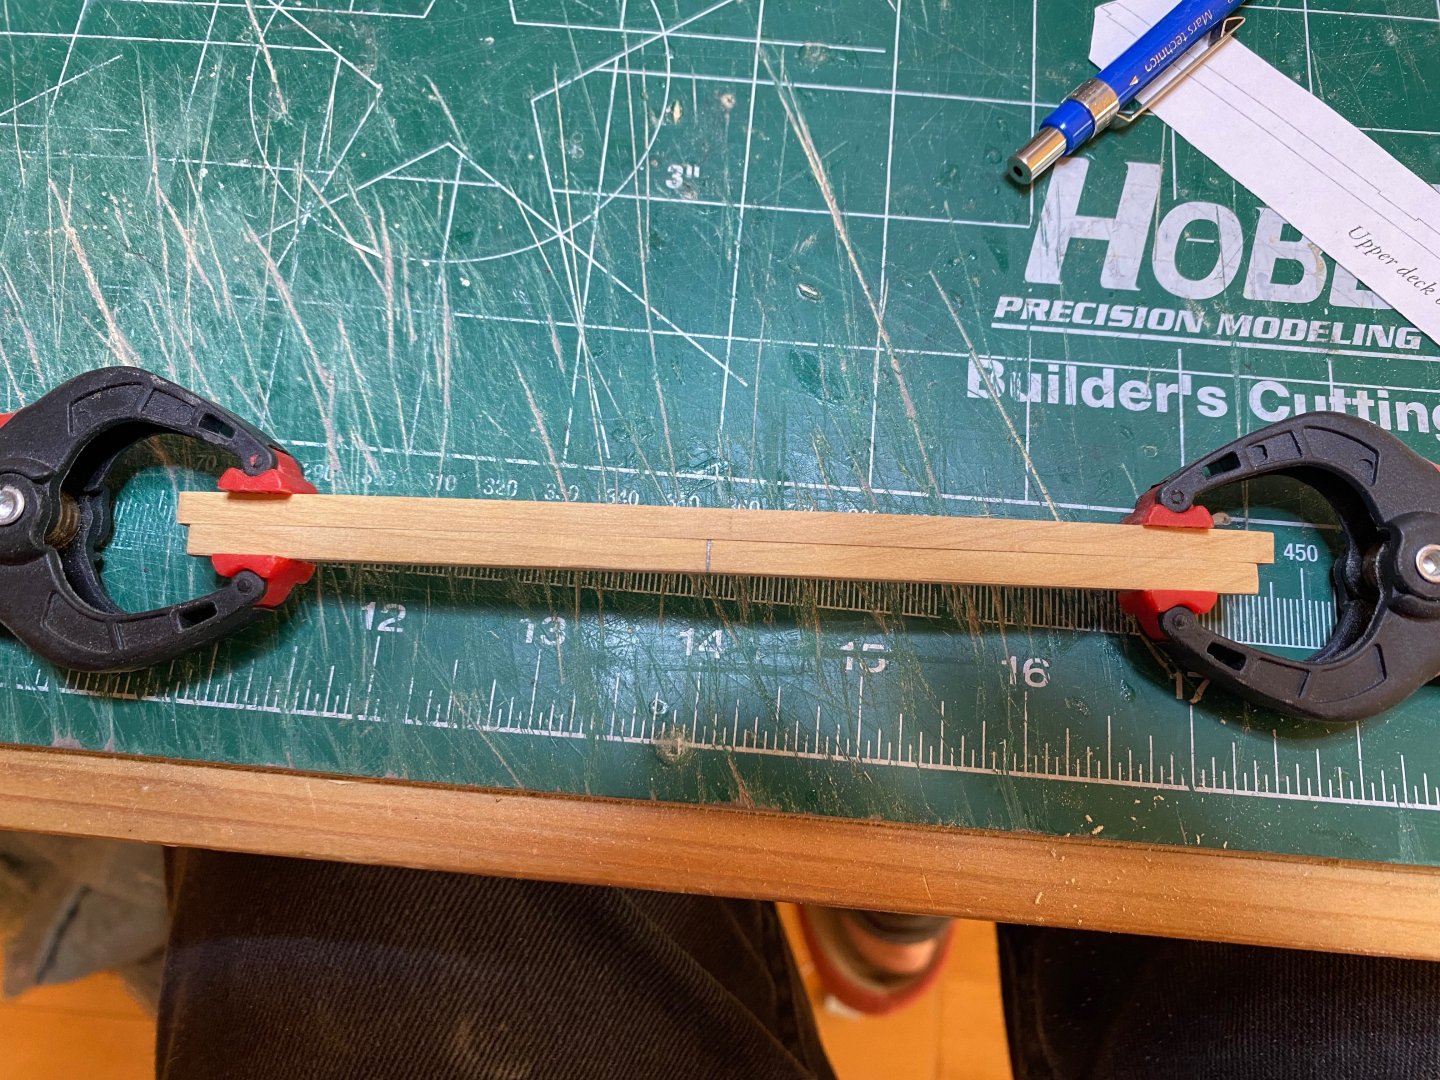
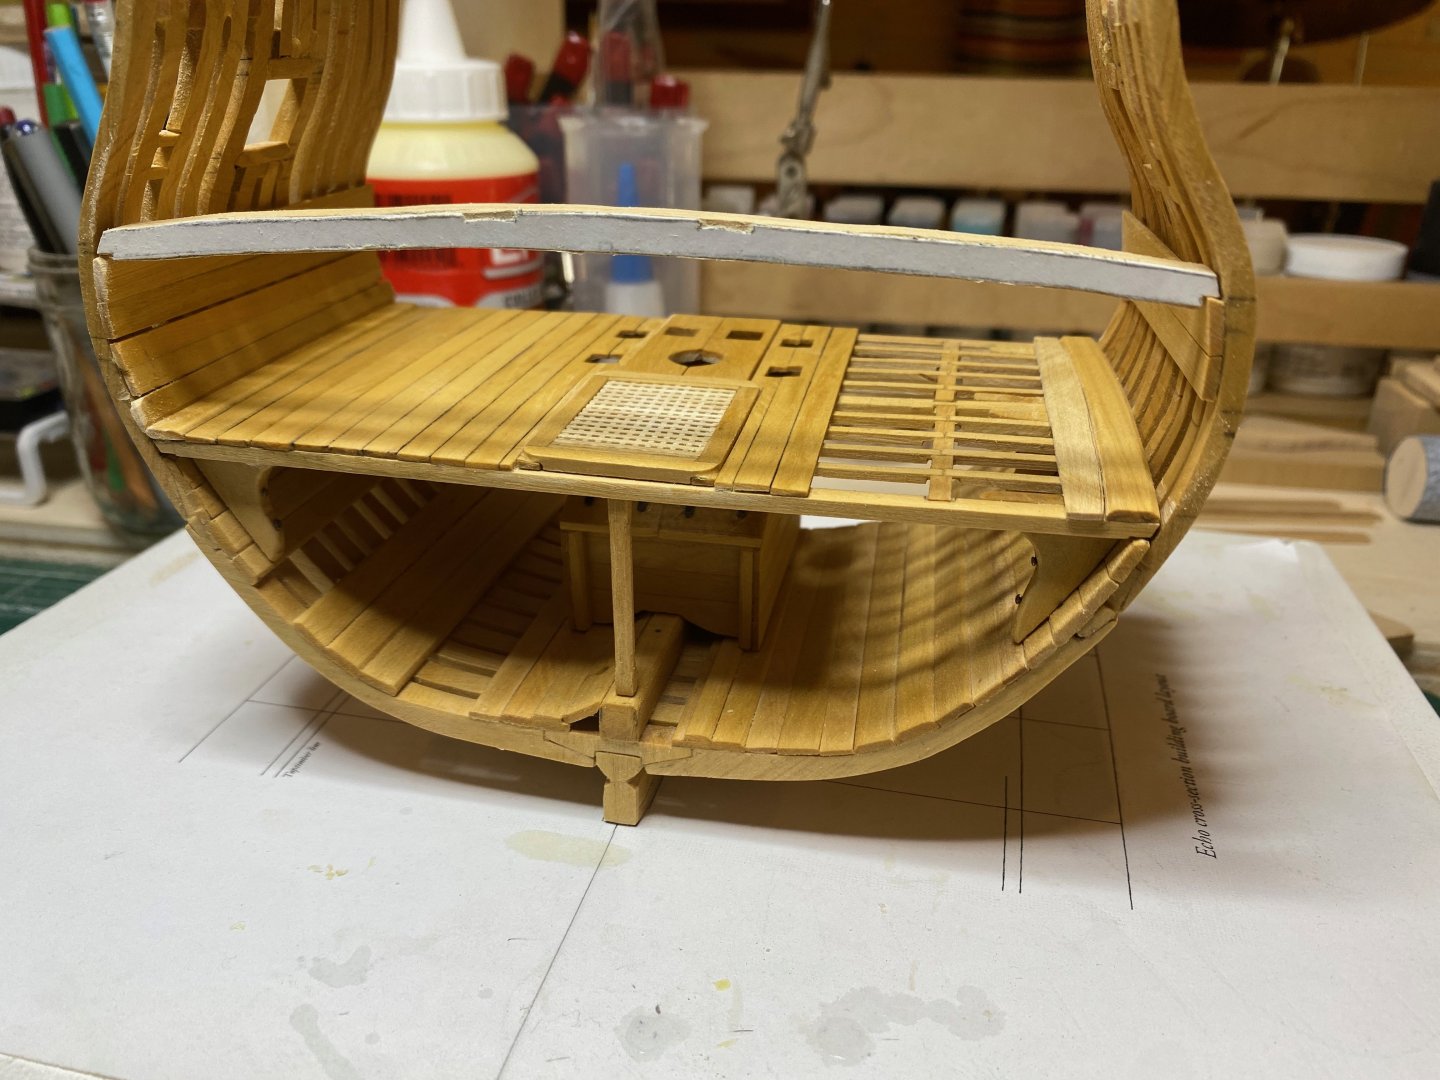
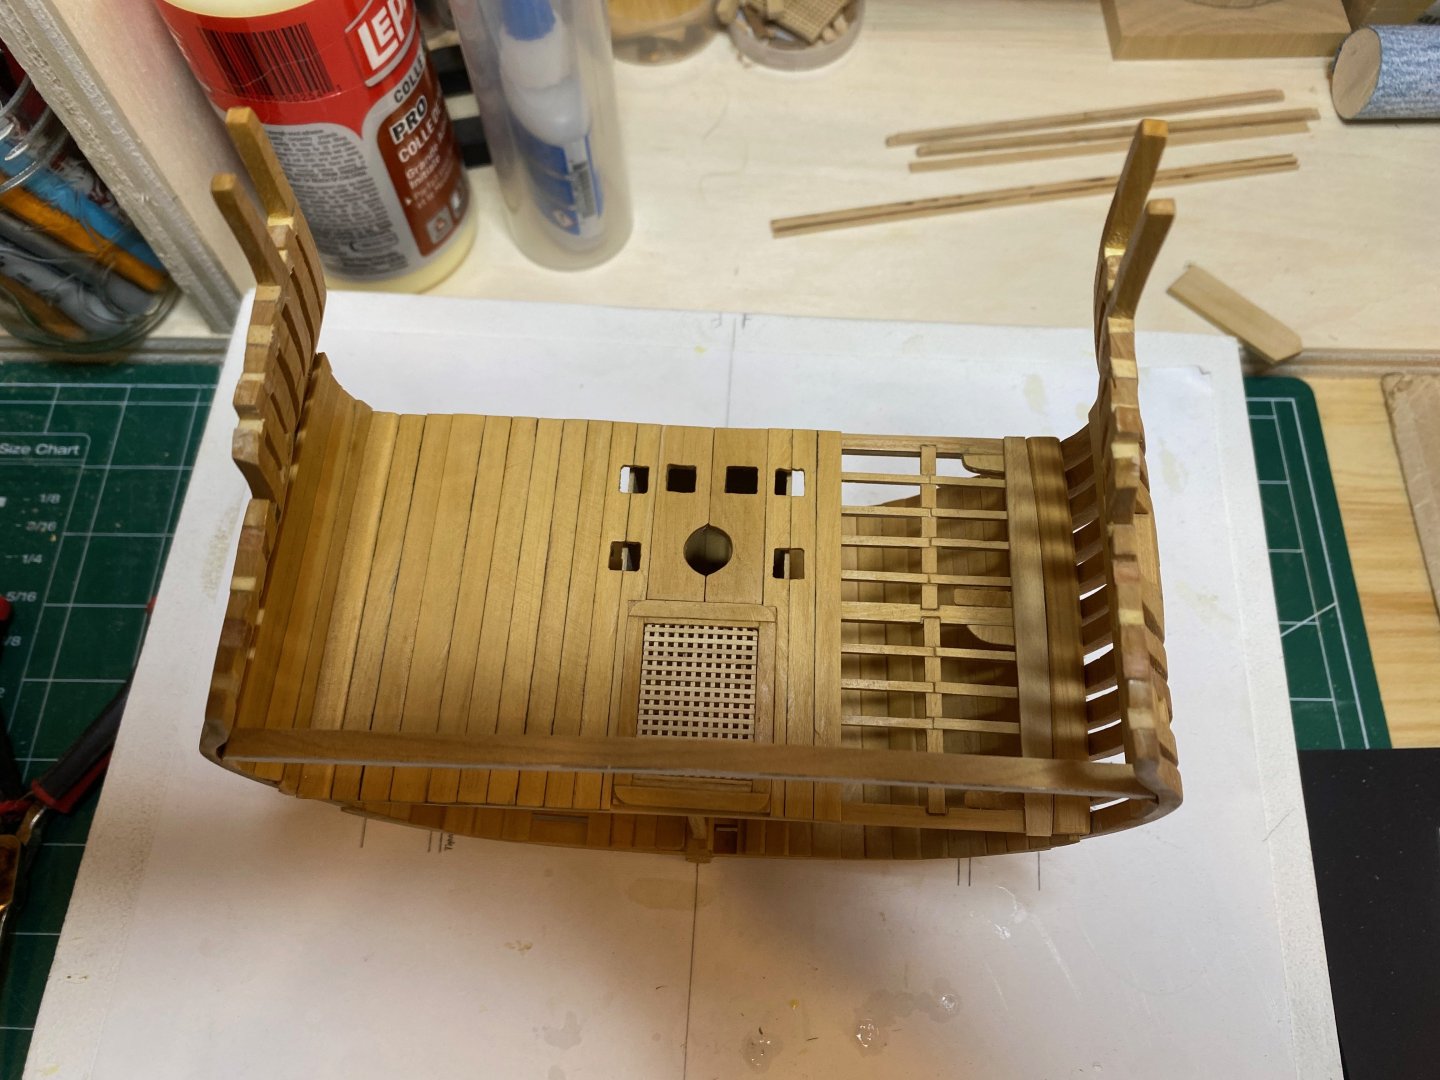
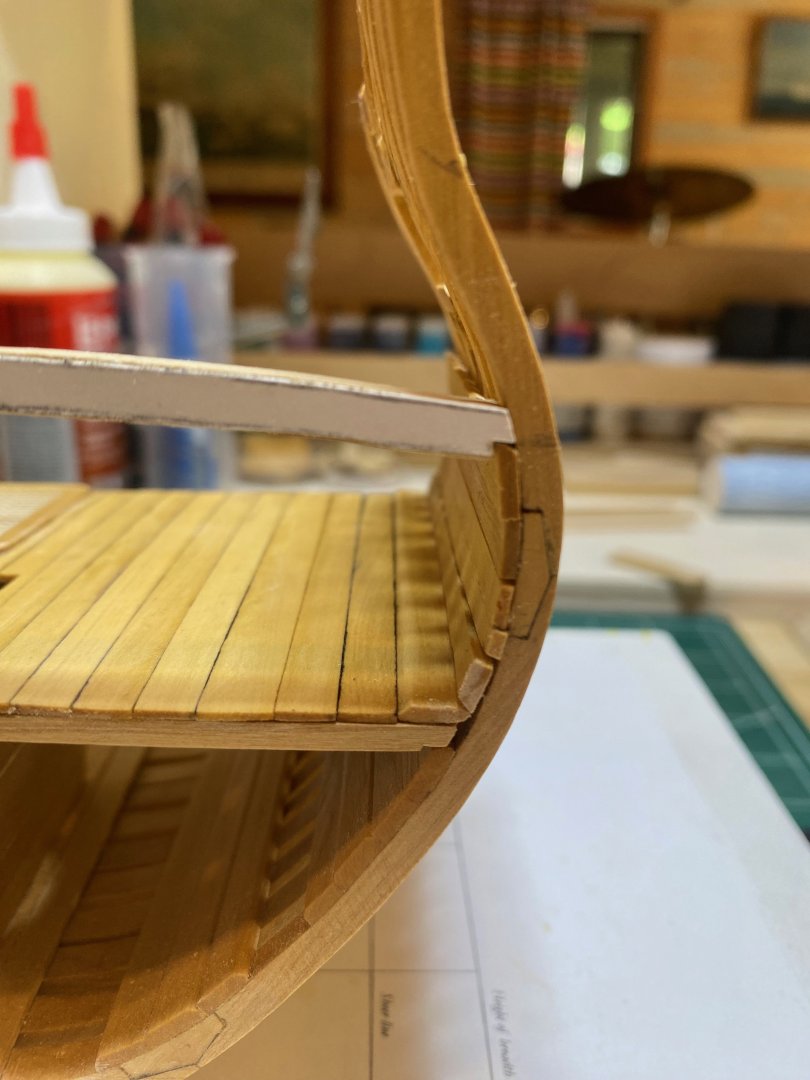
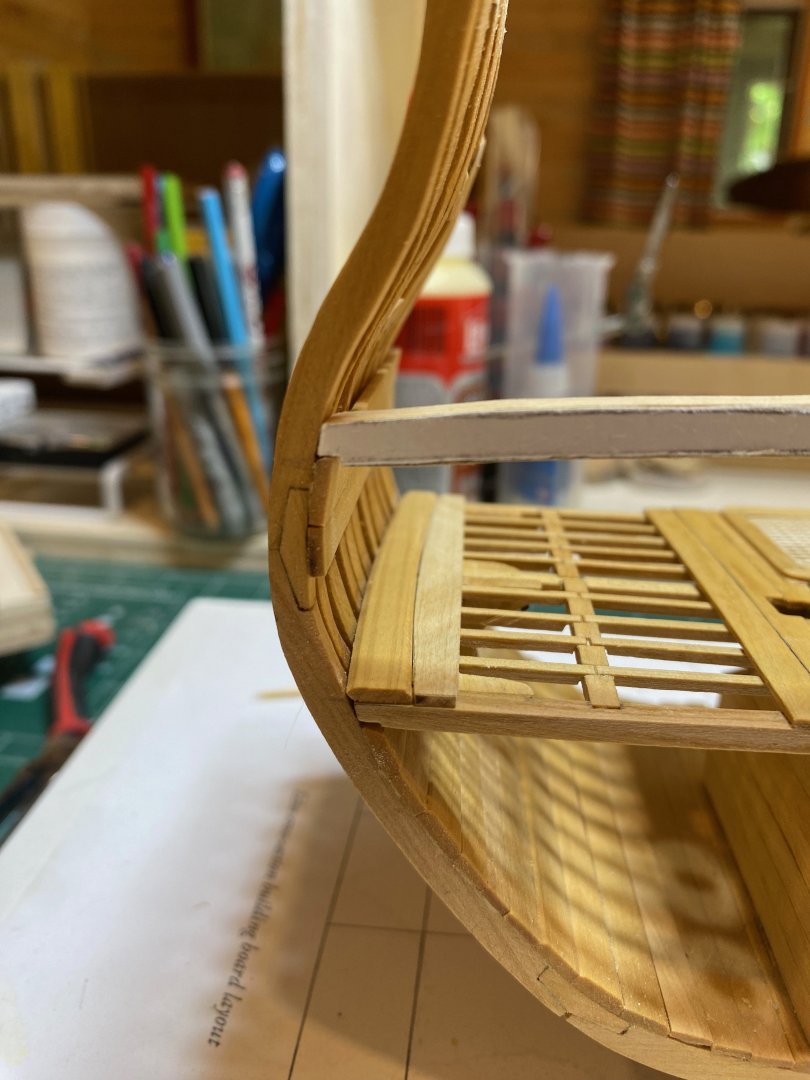
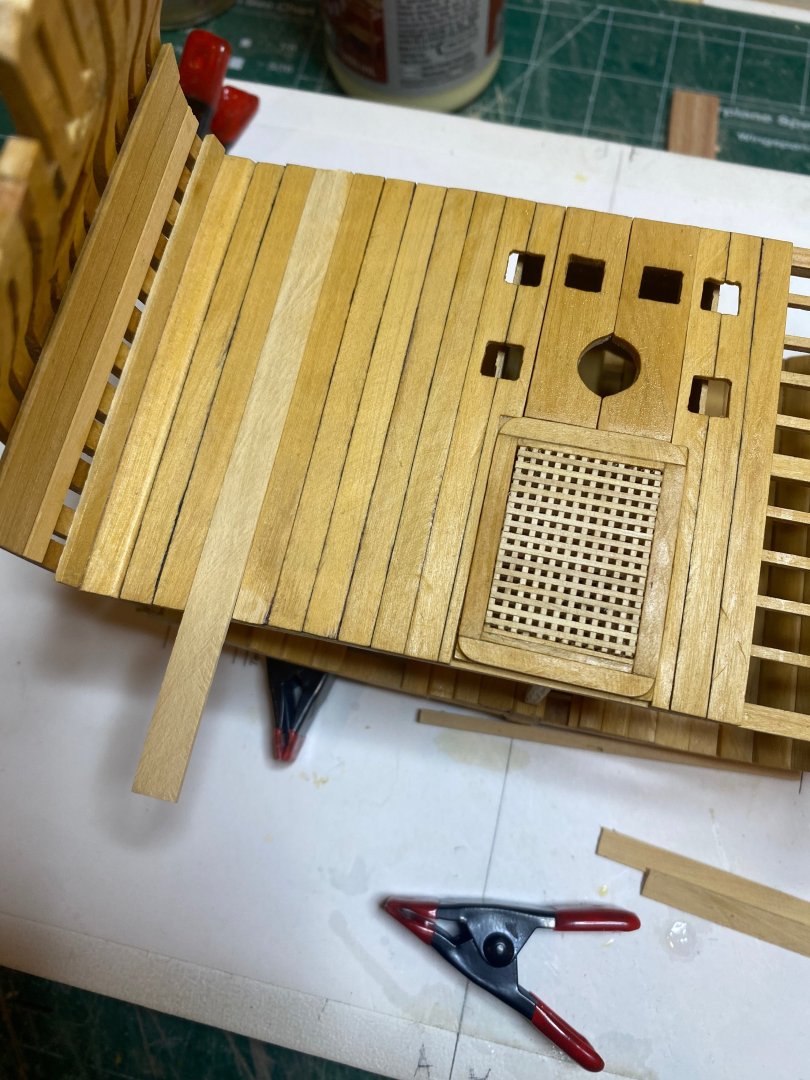
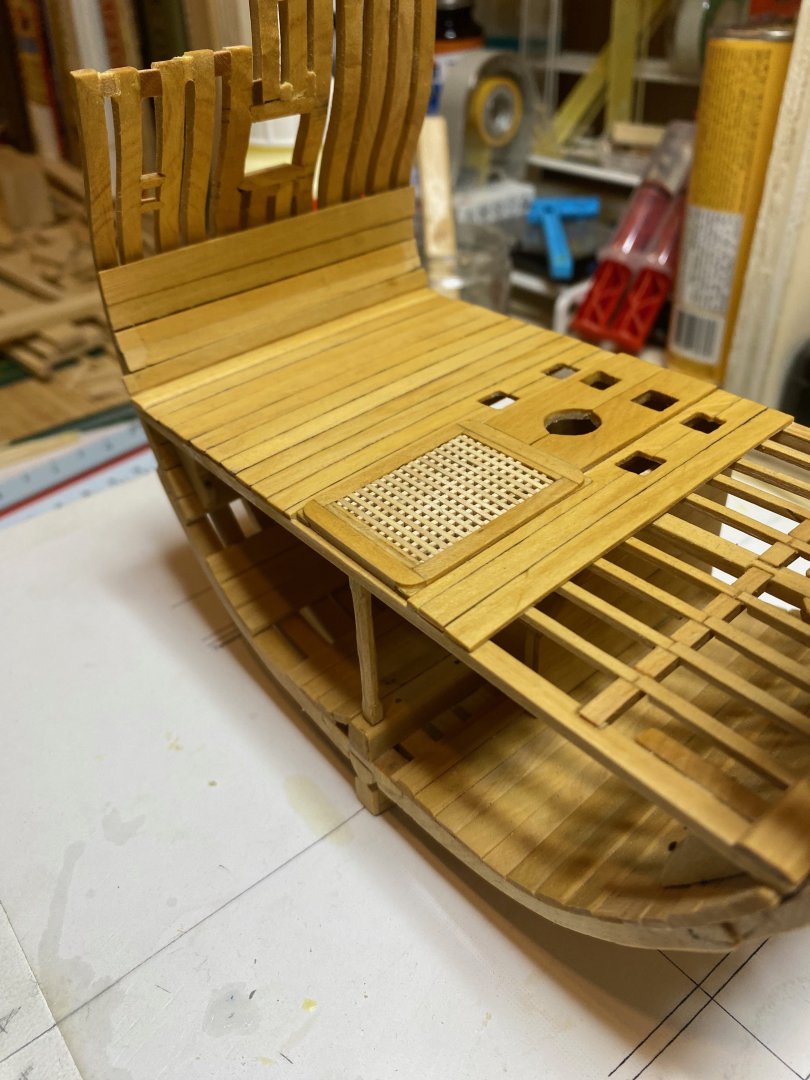
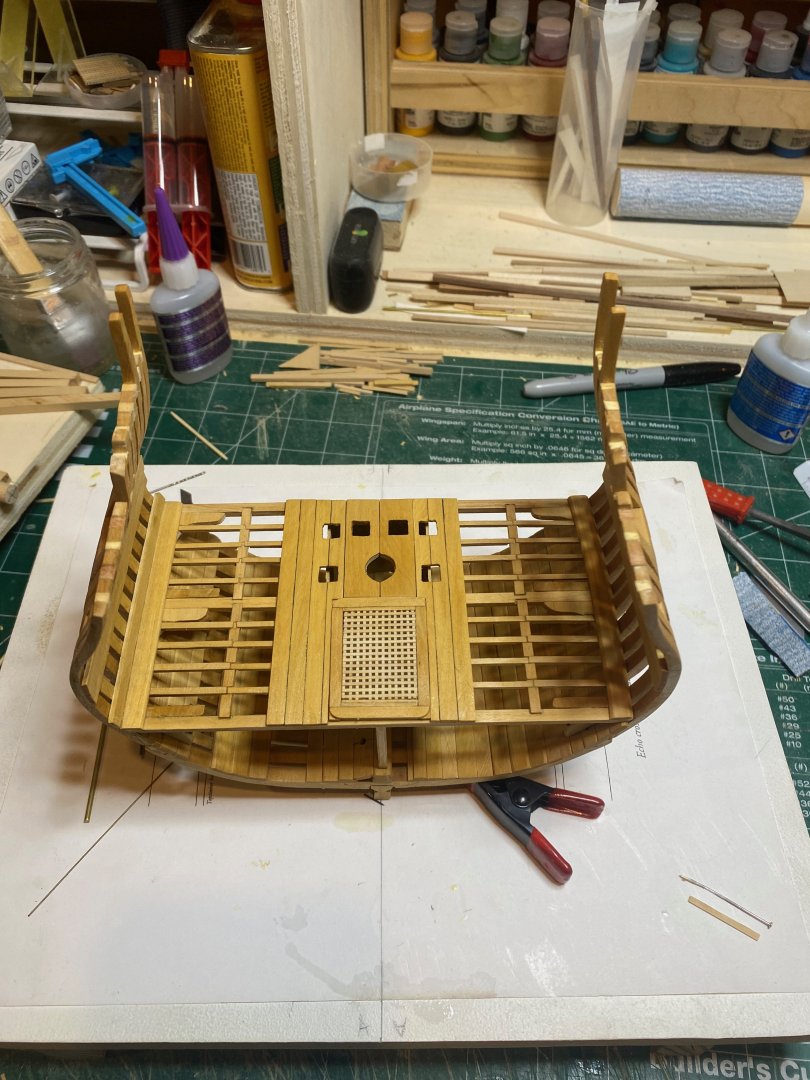
Last update of the day....the lower deck planking is now done, as are the ceiling planks on the starboard side. I ended up using 1 12" plank to round out the deck planking...it stands out a bit, but hopefully when the upper deck is done it will be a bit less noticeable. Bye for now hamilton


-
Managed to install a single ceiling plank this morning and to mill the remaining strips for the lower deck planking. I will have to fudge the planking a little bit, as the space to be filled is not exactly equal to the number of 10" wide planks that will fit there - there is a roughly 2" space remaining, so I'm going to mill a couple of 11" strakes to compensate for this - hopefully the difference won't be too noticeable at this scale. I'll also need to figure out the spirketing plank on the port side - this will require some spiling to fit against the curved waterway. I won't be fitting ceiling planks on the port side, in line with the overall concept of alternating the planking decks and hull) port and startboard. Externally, I'll plank the port side but not starboard below the wales, but I won't leave the frames exposed at all above the wales. hamilton
-
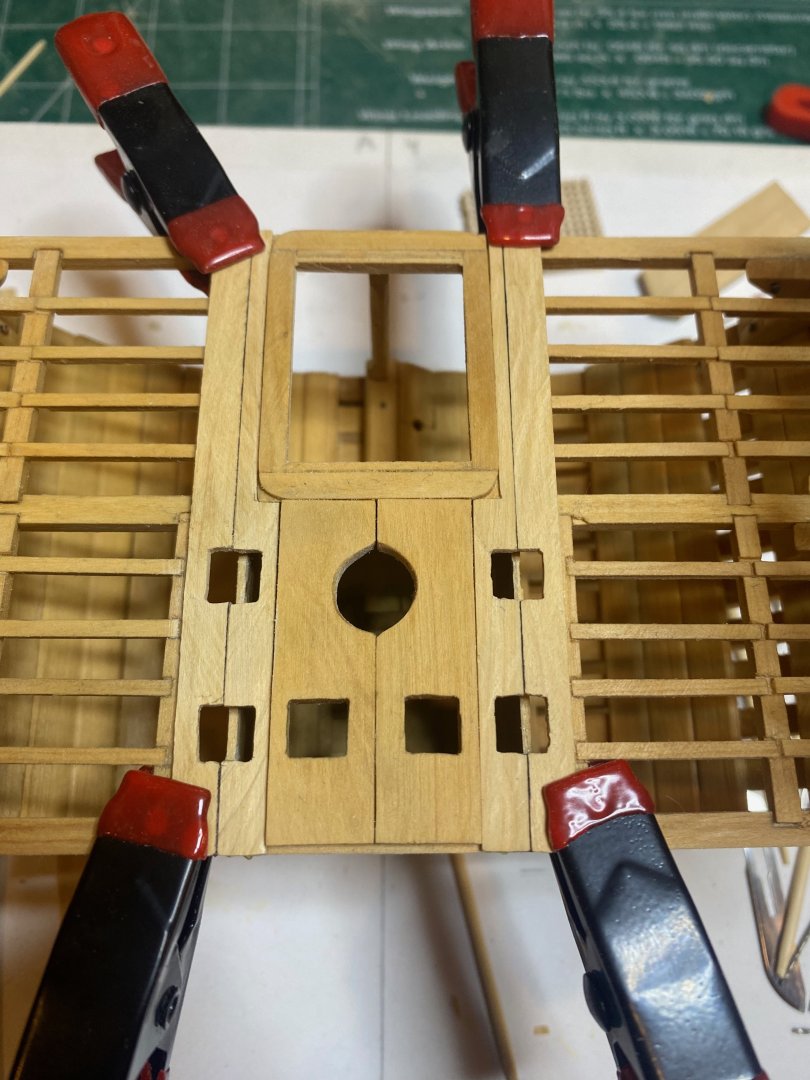
After a longer-than-expected break, I managed to put some time in at the bench today, working on the lower deck planking. I realised that I had forgotten, when I installed the strakes around the mast partners and hatch, to file out a notch for the passage of the break pump shafts...so I lightly pried those pieces off and completed that step - truthfully, I broke one of the originals in this process and made a new one to replace it! I had milled a relatively small amount of 10" x 2" boxwood for the deck planks - only 7 strips total. So after installing the strakes around the hatch/partners, I had only 5 strakes. My plan is to lay only 3 strakes outboard of centre on the port side and full plank the starboard side - this alternates with the full planking of the inner hull on the port side and only partial planking there to starboard. I will also lay a binding strake along the inboard edge of the port side waterway - this will have to be spiled on the side laid against the waterway to account for the slight curvature on that side - noted above.... Quick question - were the lower deck planks trunnelled? Hope you're all doing well - happy modelling and enjoy the photos. hamilton


-
Looking good Harlequin! This kit seems more sensibly designed than Greyhound. Are the strips supplied for second planking narrower? The first planking strips seem very wide for the scale - though the planking work itself is very good! hamilton
-
hamilton reacted to a post in a topic:
USS Constitution by Unegawahya - Model Shipways - scale 1:76
-
In the most famous version of the painting, Icarus is just a pair of legs sticking out of the water - typical Breughel humour! There is another version of the painting floating around that also shows Daedalus flying off in the distance...that would be much harder to render realistically! The model looks really nice! As small as it is, it has a grandness to it. hamilton