-
Posts
220 -
Joined
-
Last visited
Content Type
Profiles
Forums
Gallery
Events
Everything posted by Jobbie
-
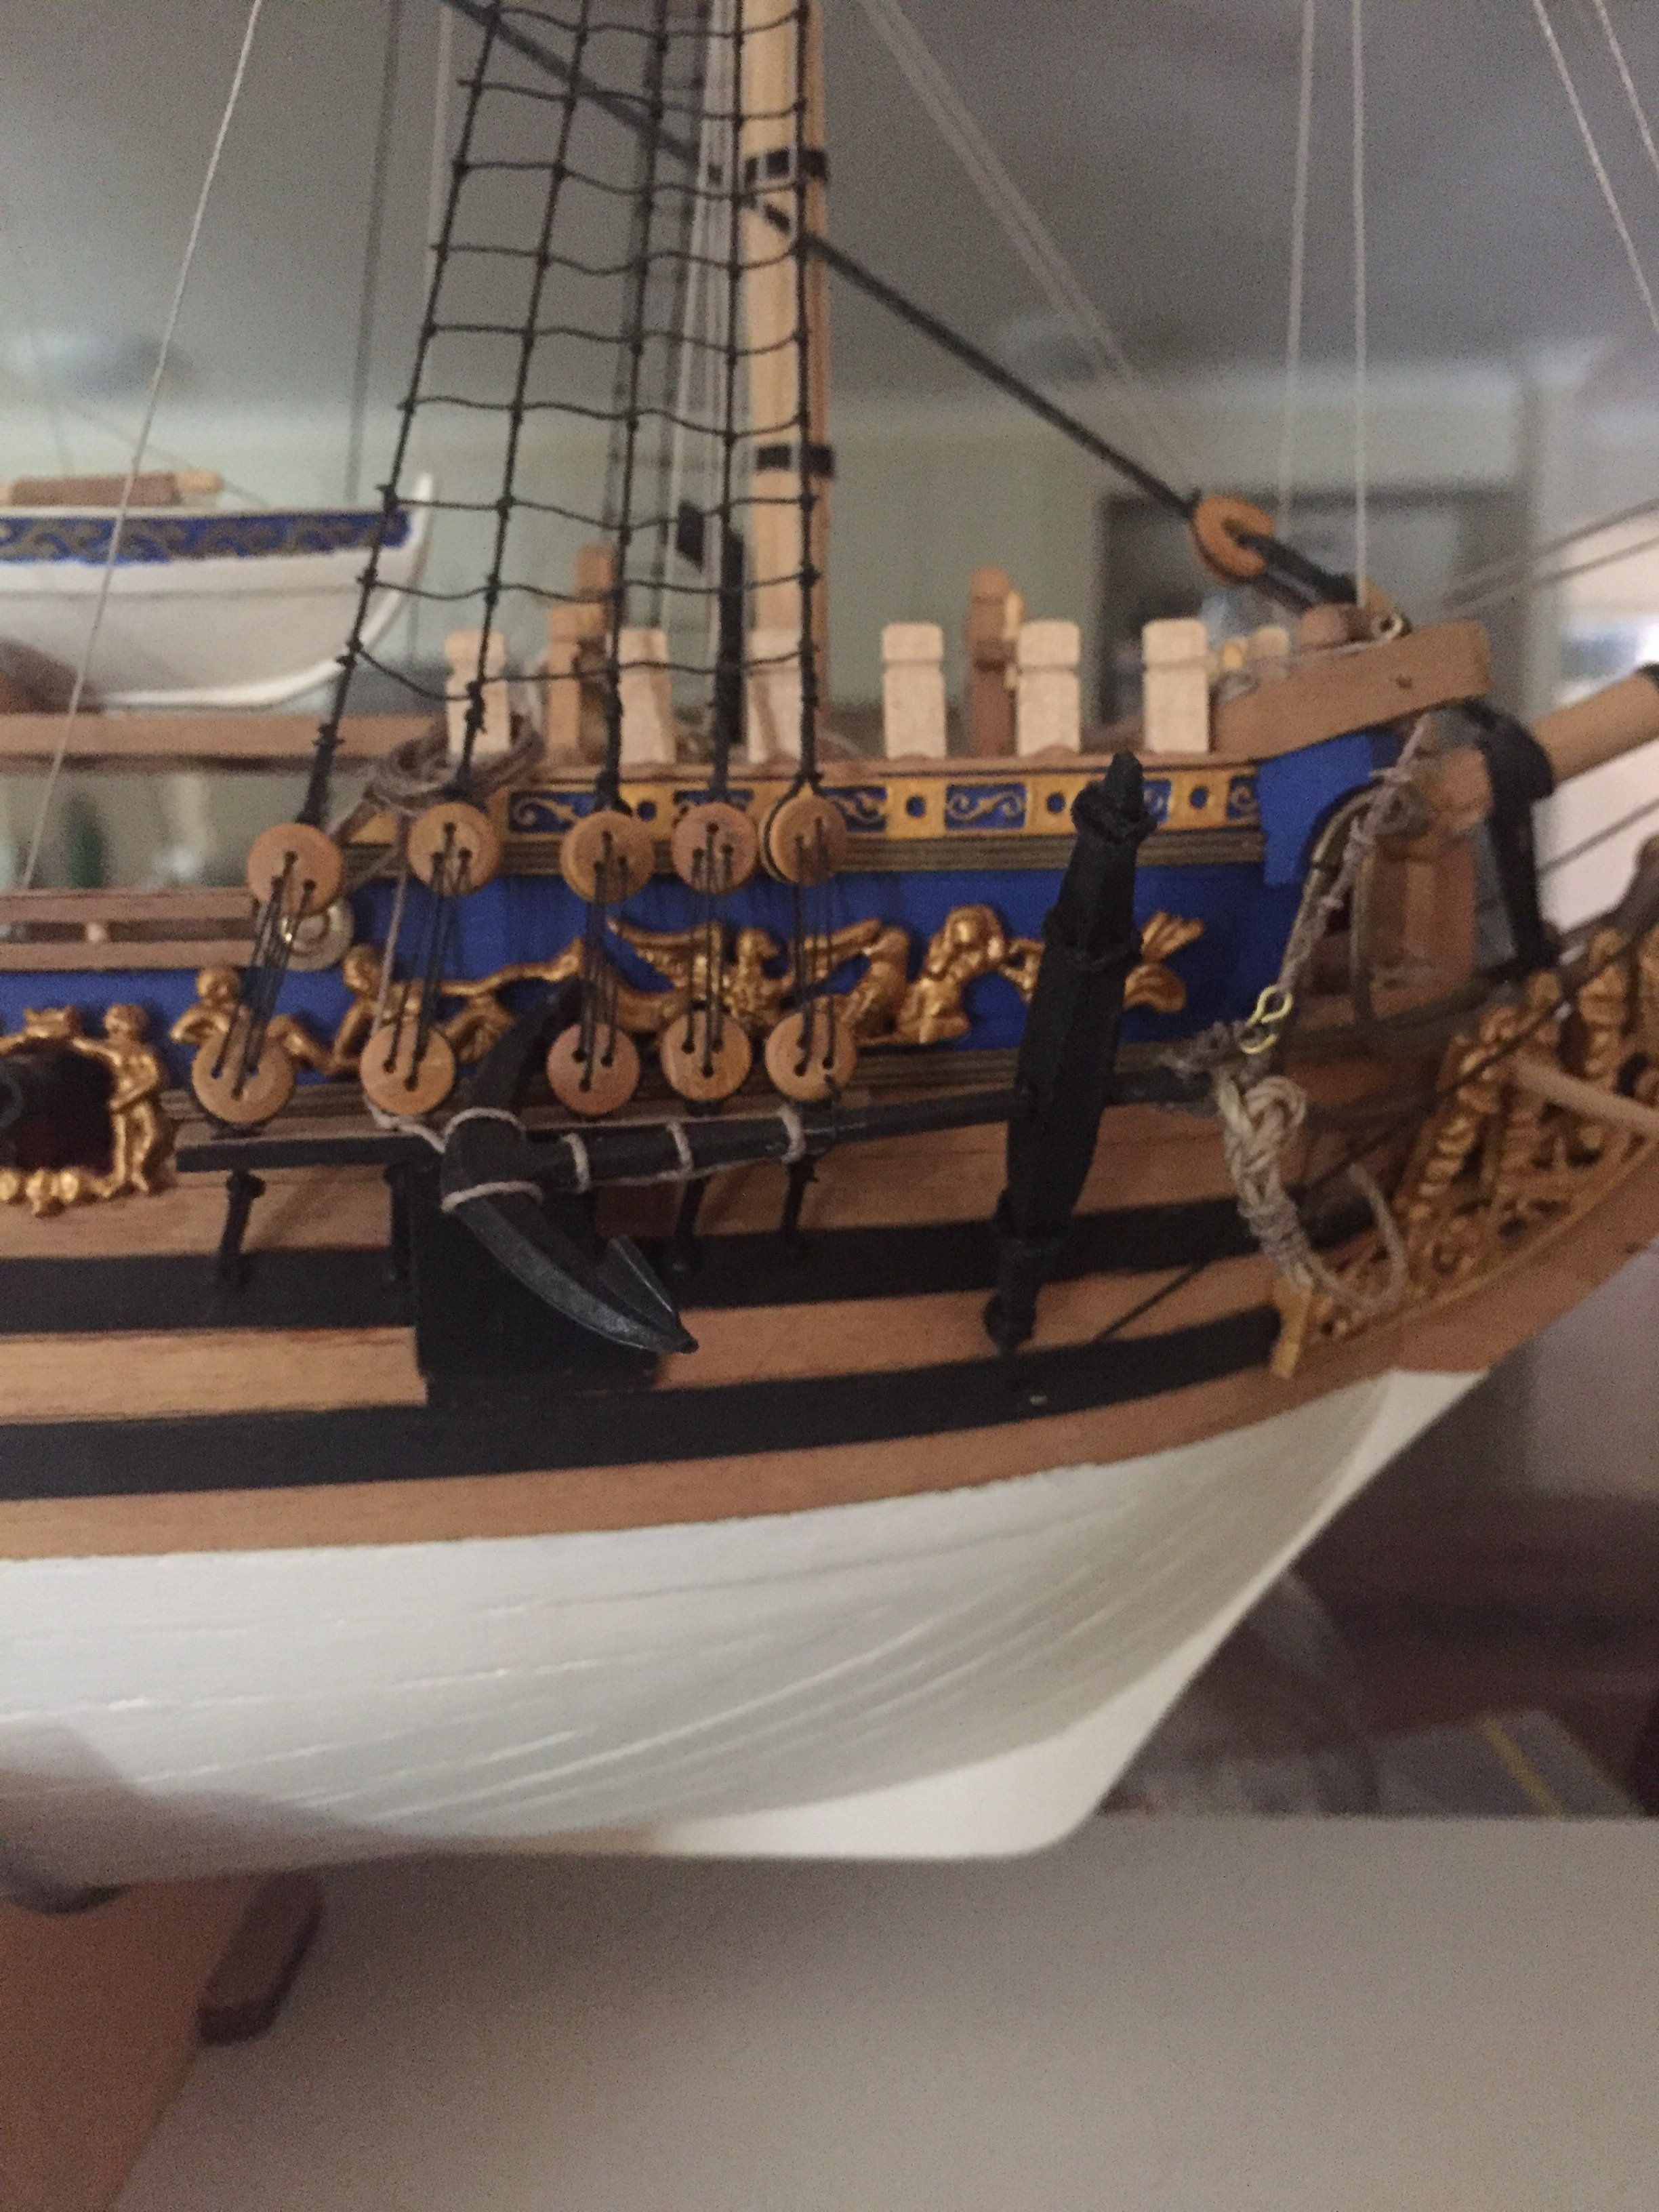
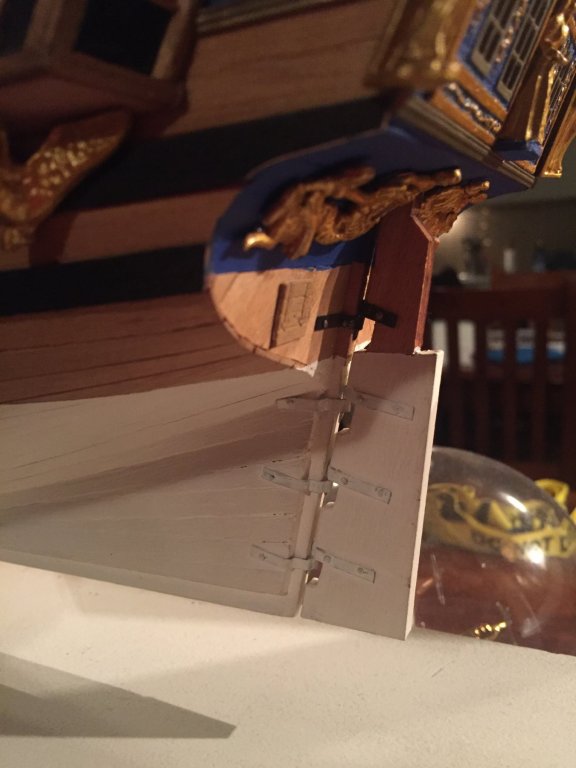
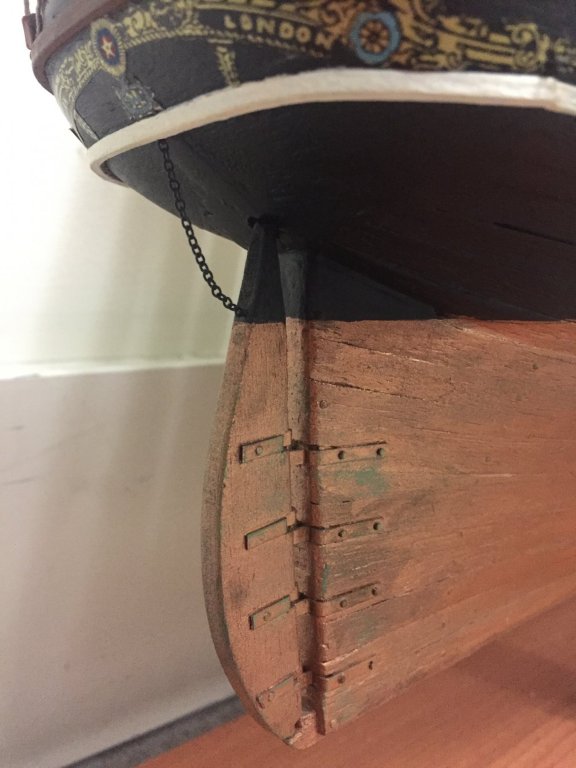
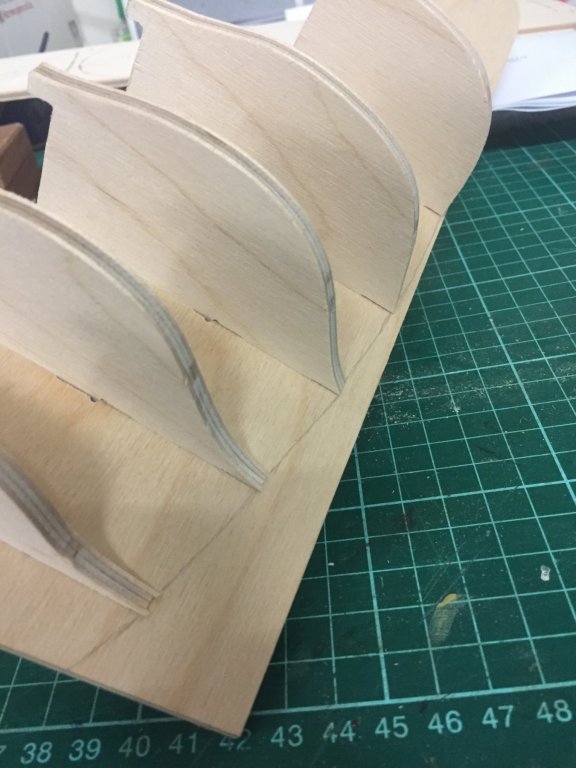
I plan to gradually taper the keel from the pencil line backwards- to subtract the thickness of the first and second layers of planking on each side. I’d like to not repeat the error I made on my previous builds (showing here), where the planking effectively doubles the keel width. My aim is for the keel stem to end up the same thickness as the rudder. I haven’t tried this before...What could possibly go wrong! 🤣
-
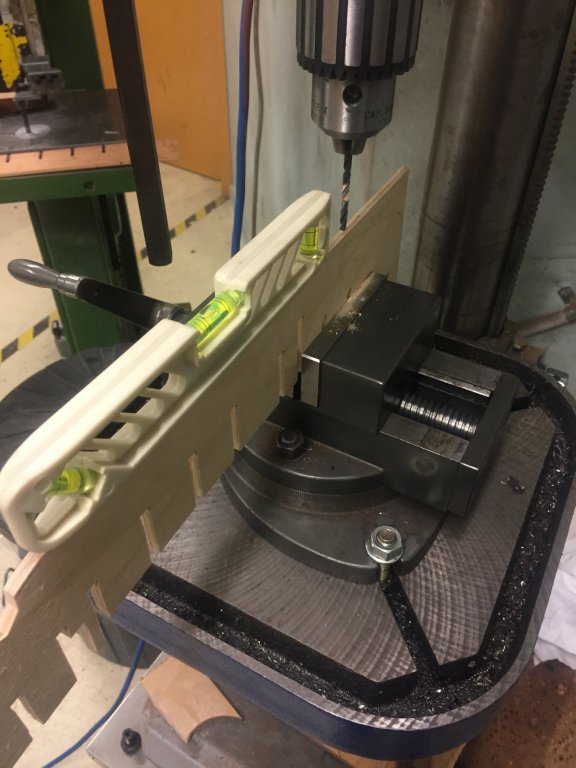
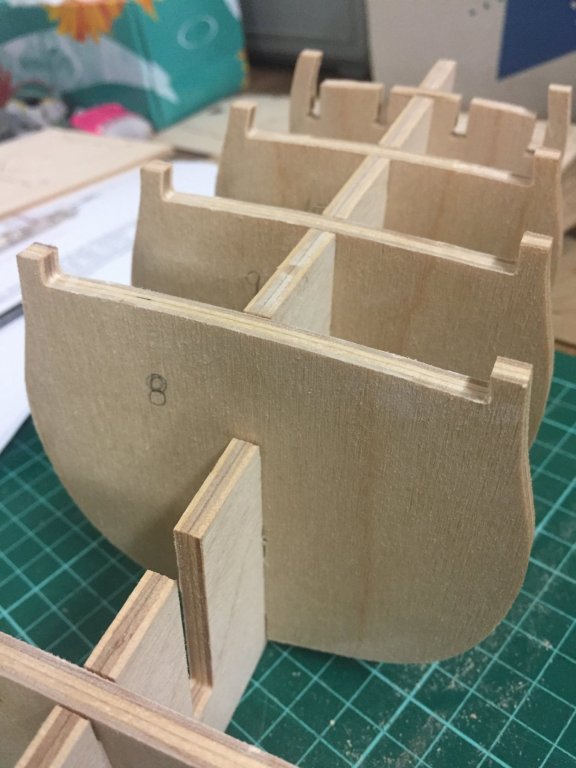
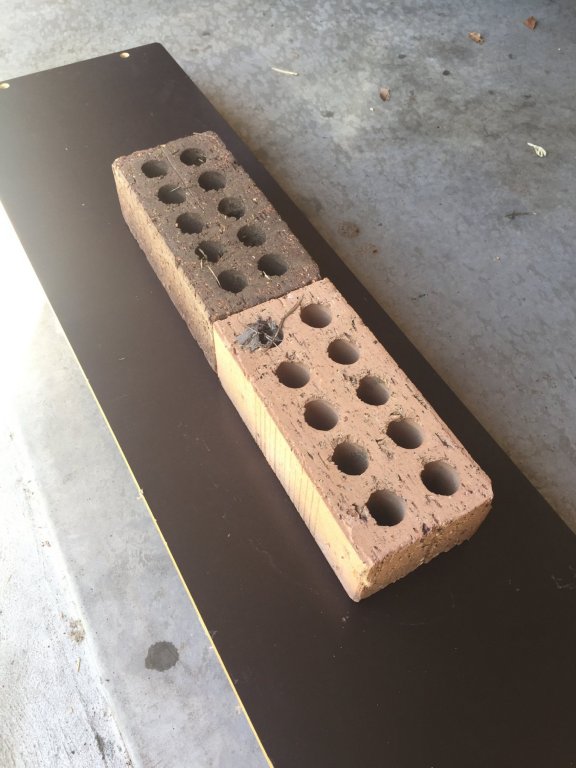
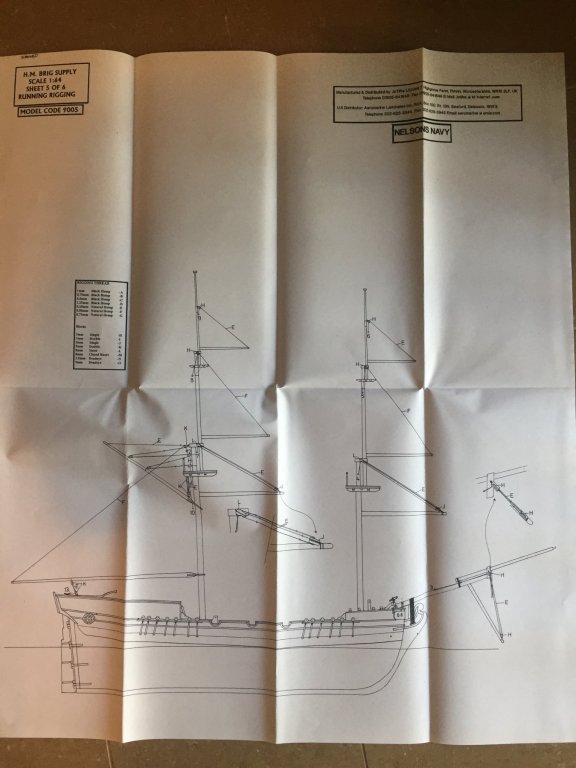
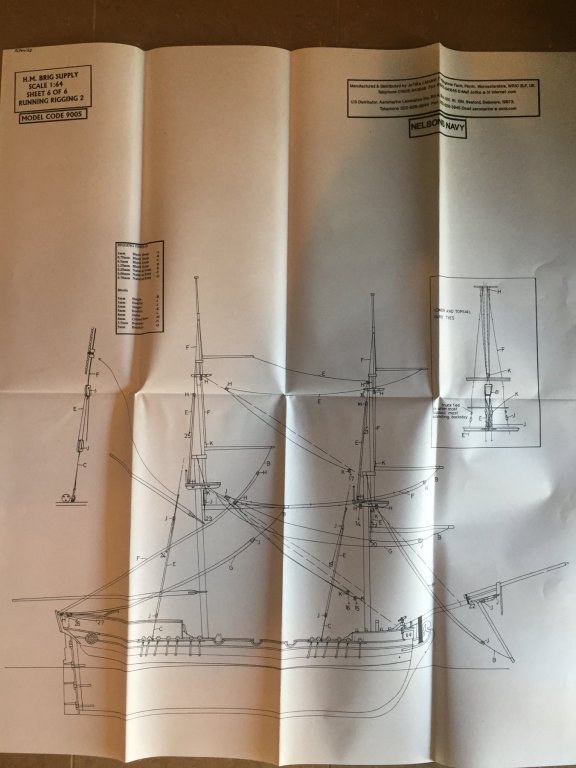
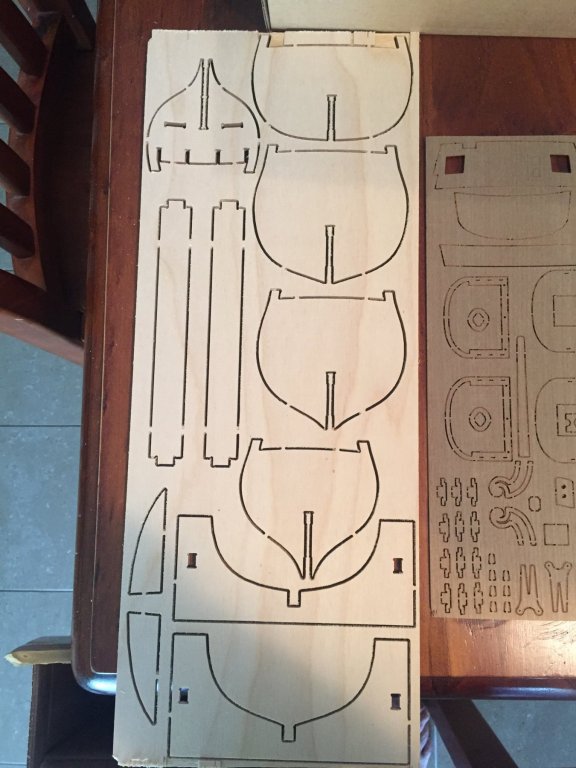
I am very impressed with this kit, though! Without any shims, filing or heartache, all the bulkheads are literally snapping into place on the false keel with absolutely no height adjustment necessary and no wobbling. I haven’t had a kit do that with such accuracy before! I don’t believe I’ll need to use Lego bricks as 90 degree set squares when I glue them together.
-
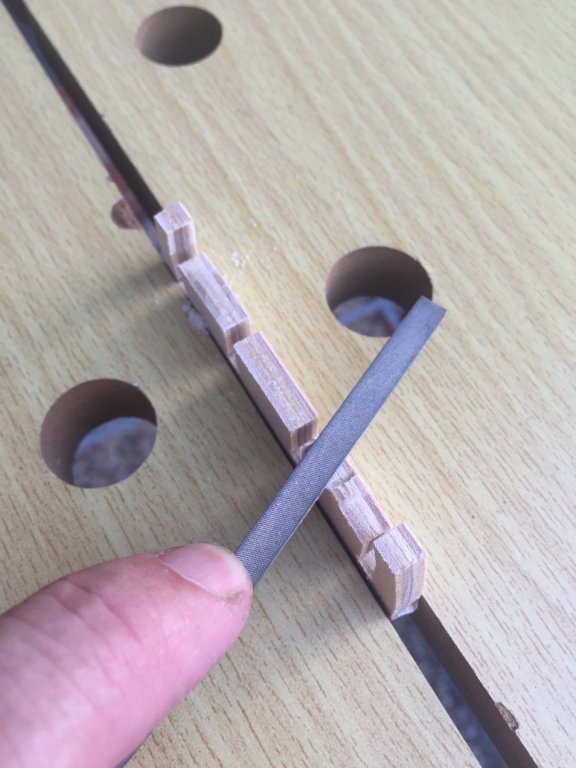
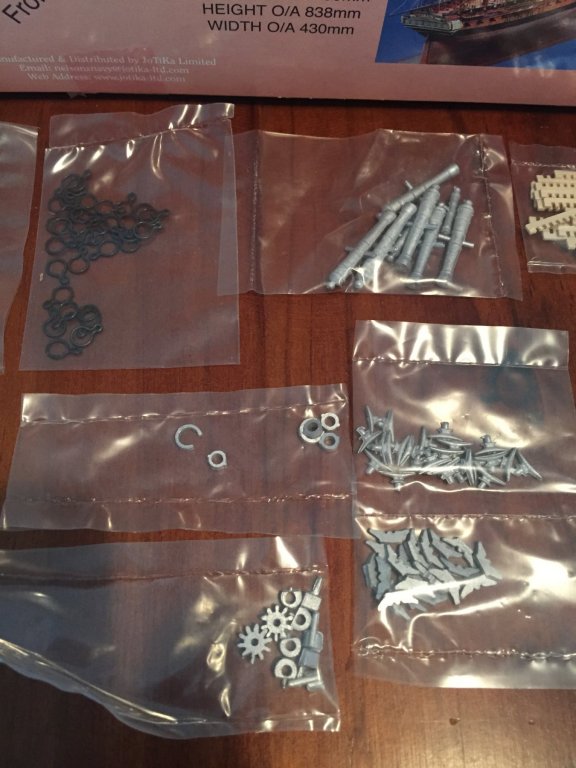
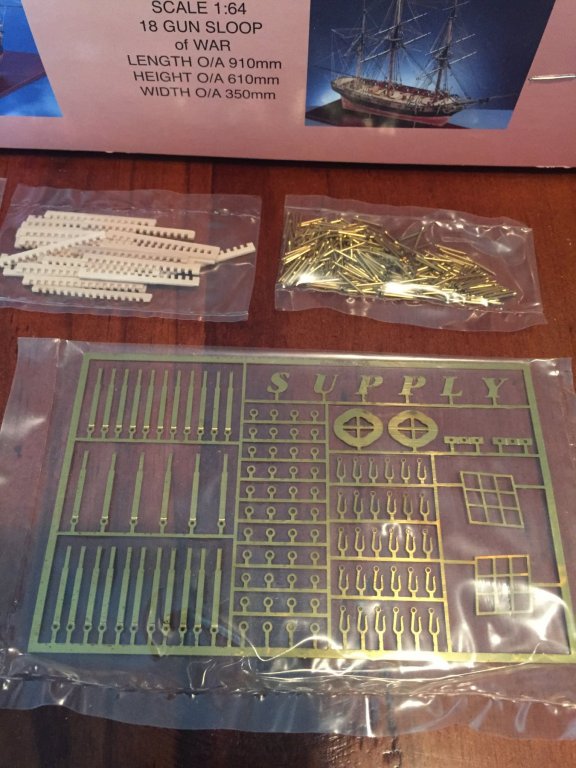
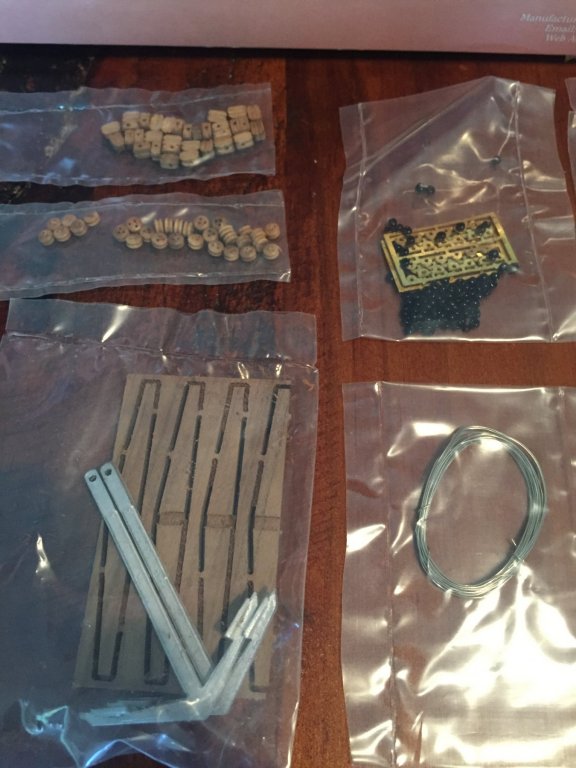
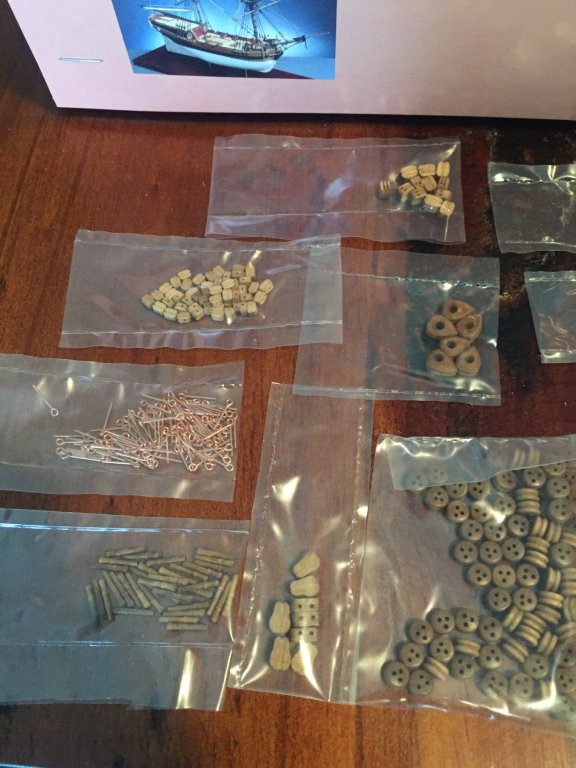
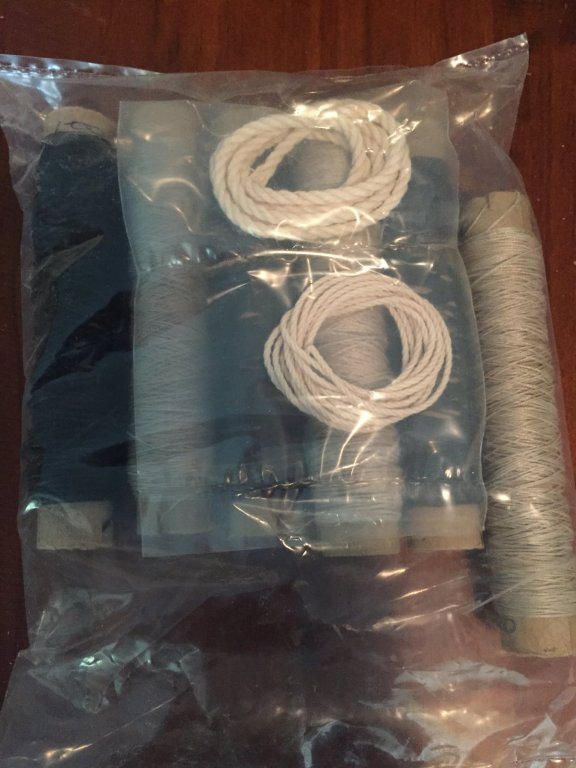
The fittings- All individually bagged photo-etched brass and tin cast. All look complete, at this stage. (I’ve registered my kit with the manufacturer, so I’m not worried about problems I may find later.) Most have burrs, flashing and cast marks, but a run-around with a file will clean them right up.
-
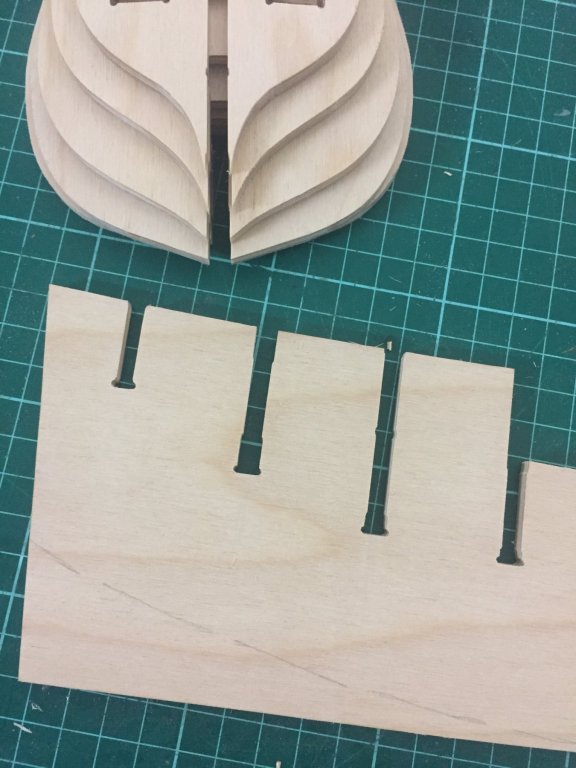
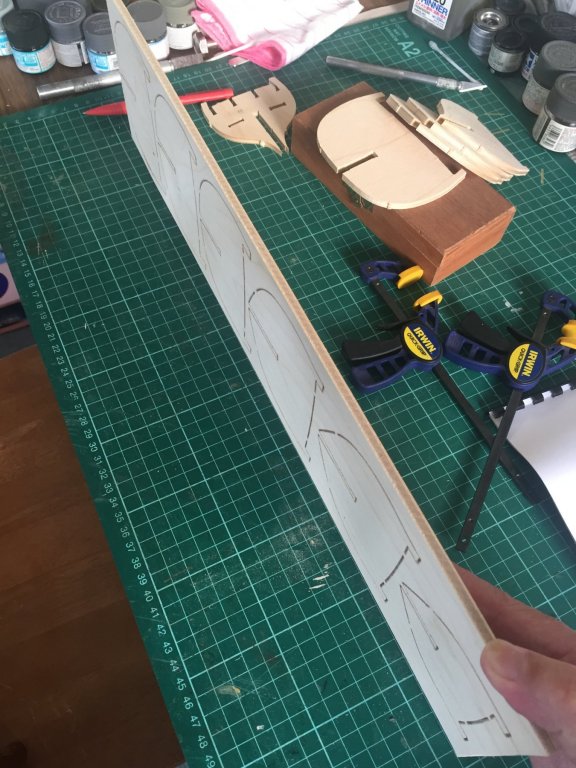
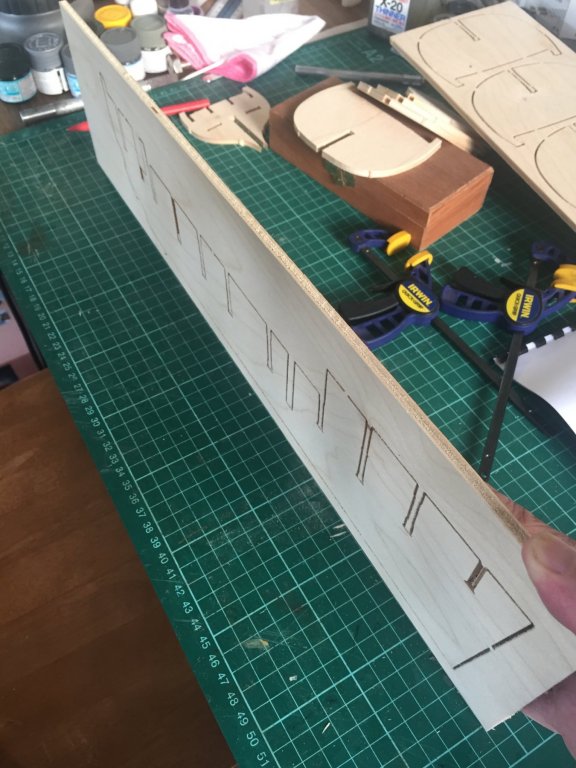
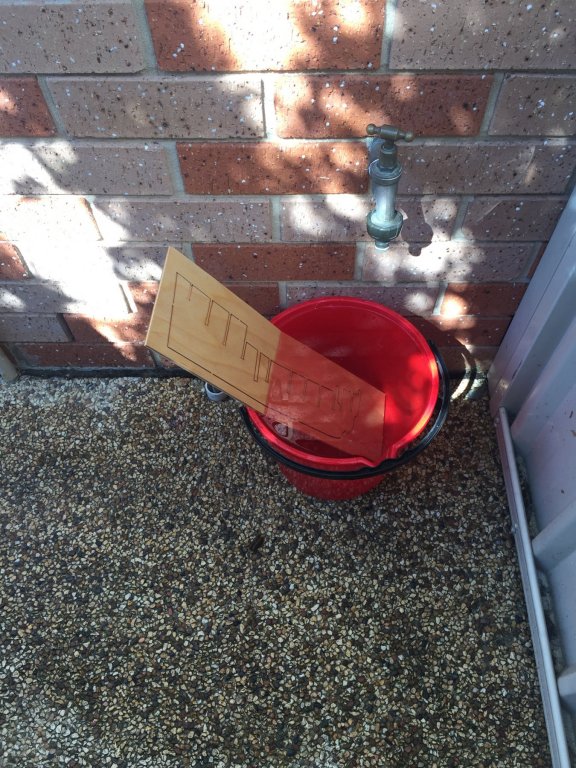
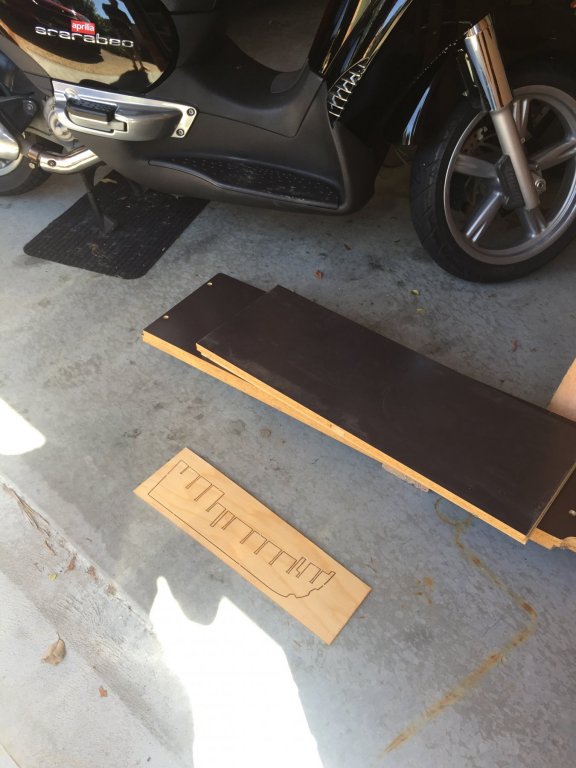
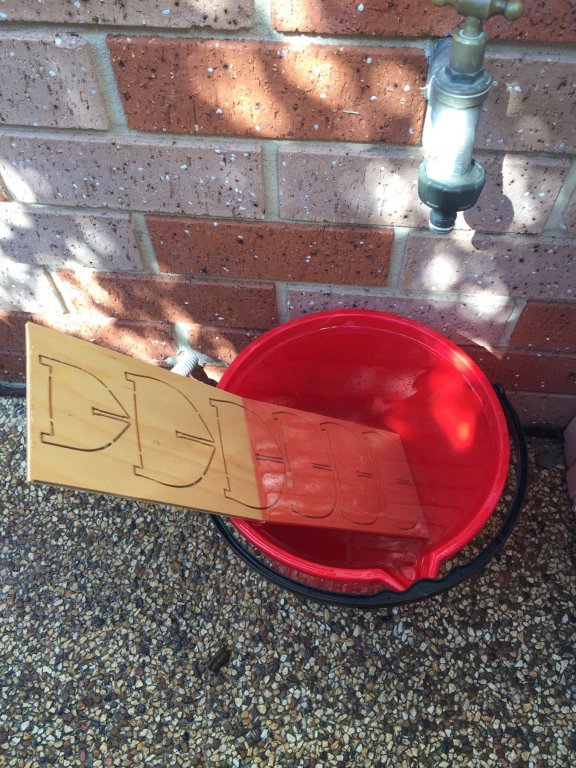
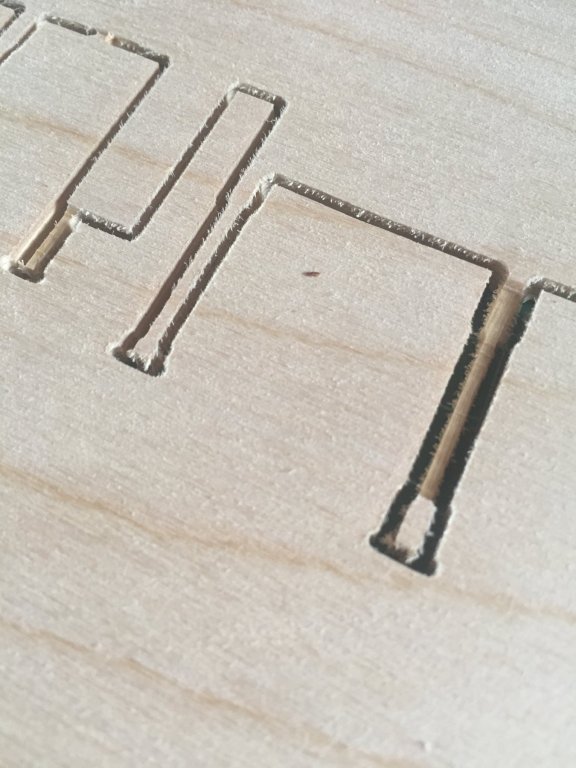
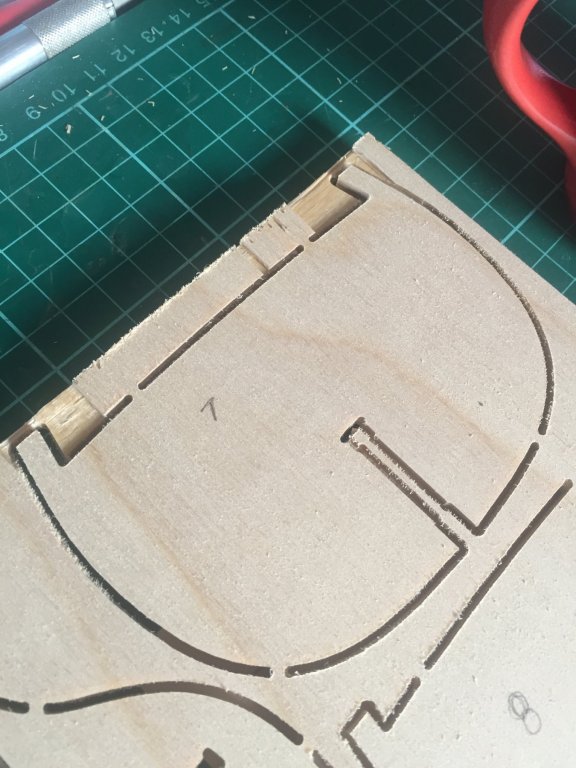
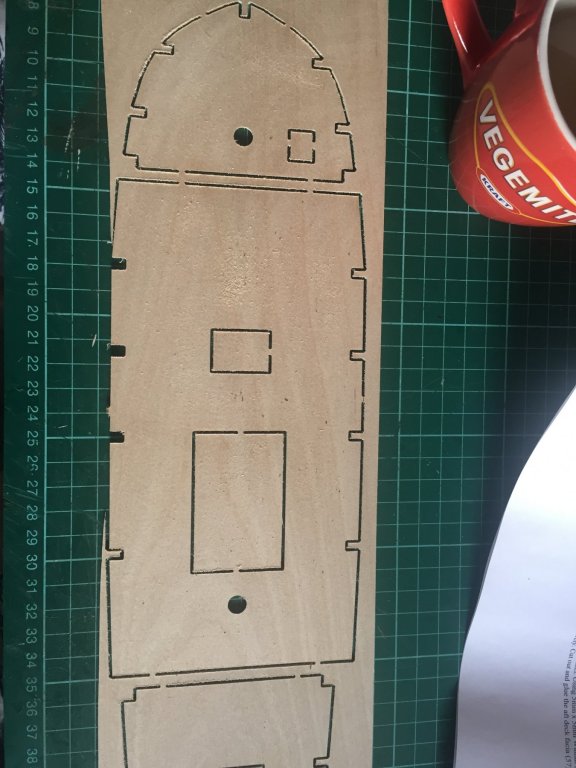
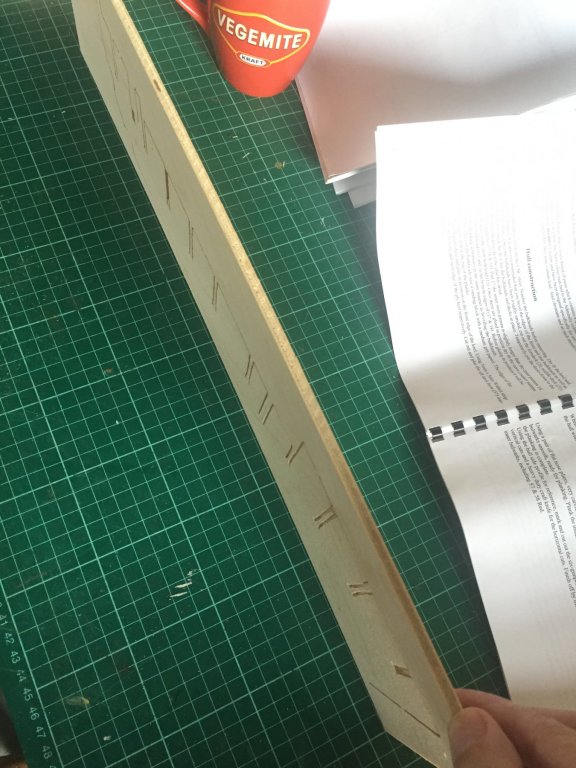
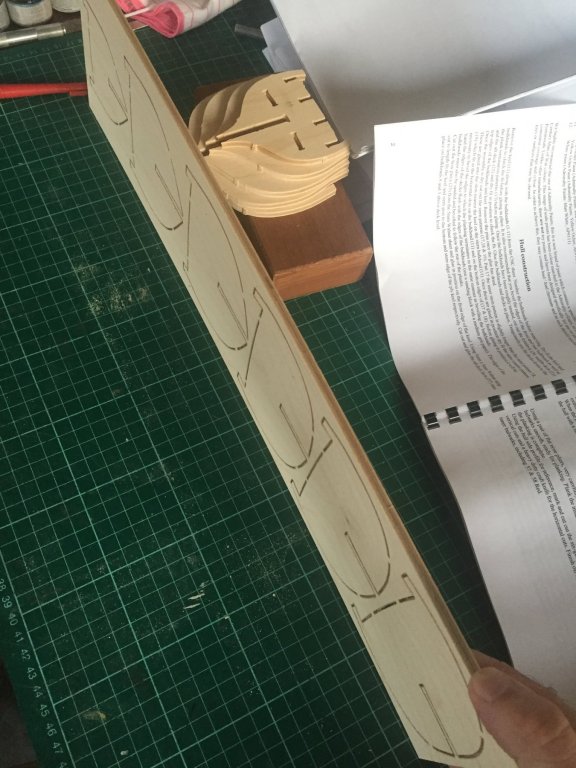
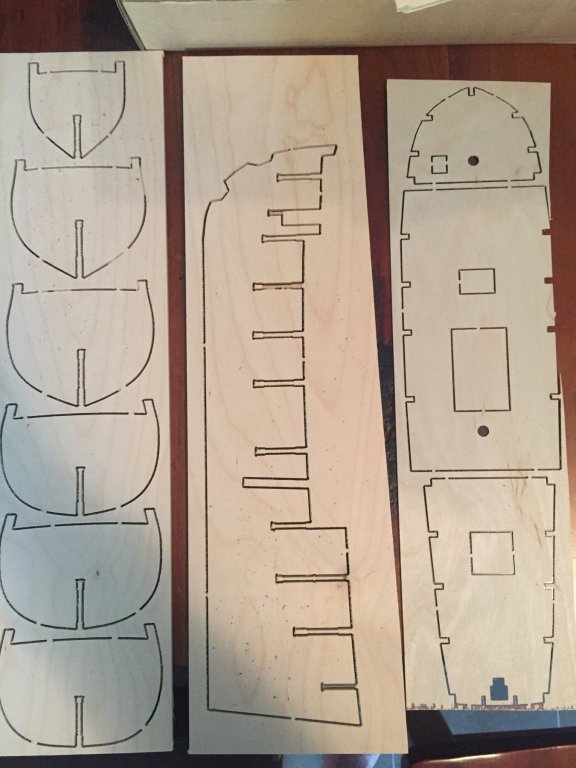
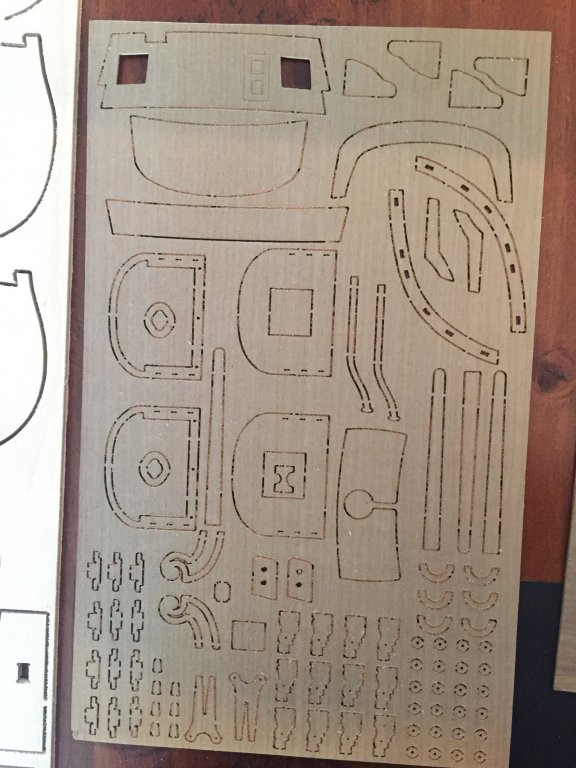
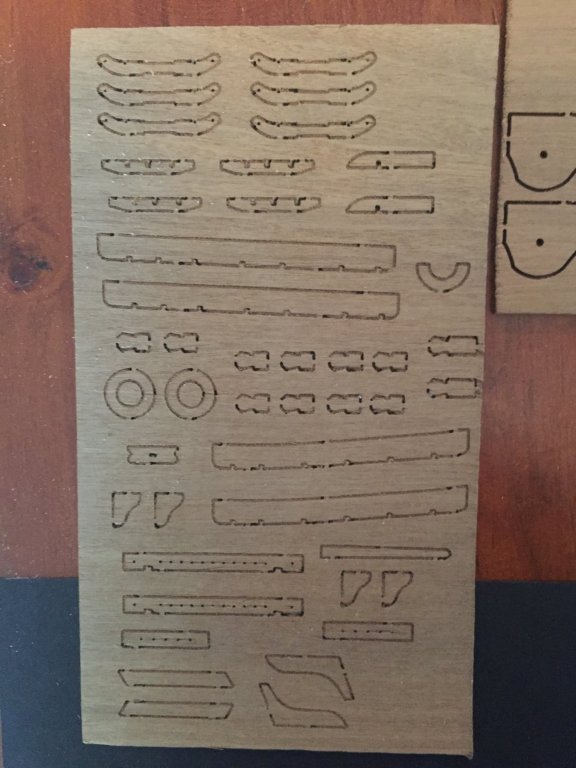
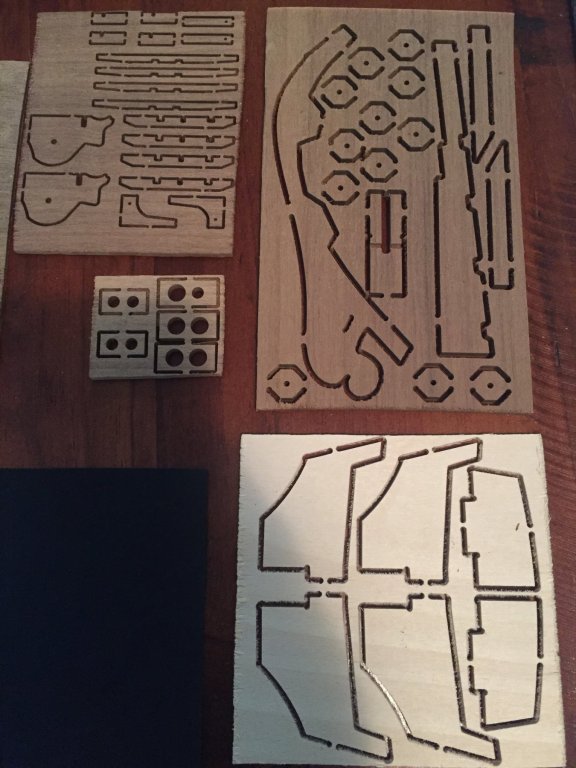
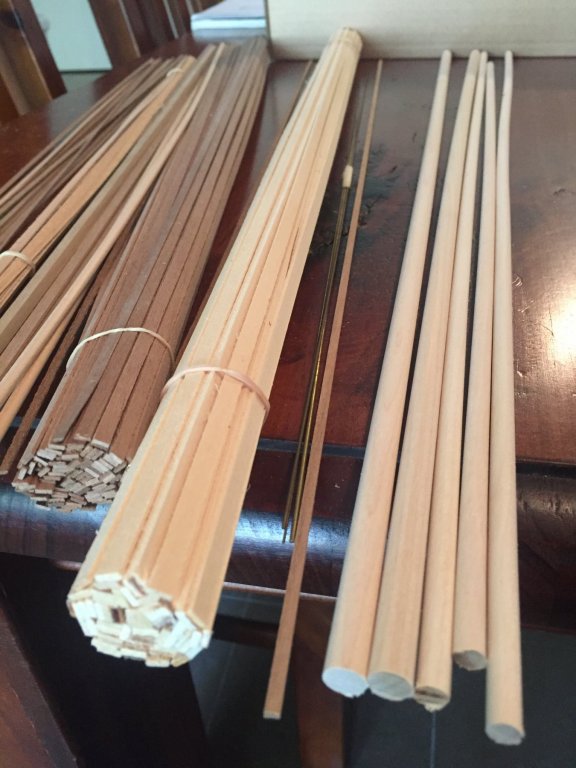
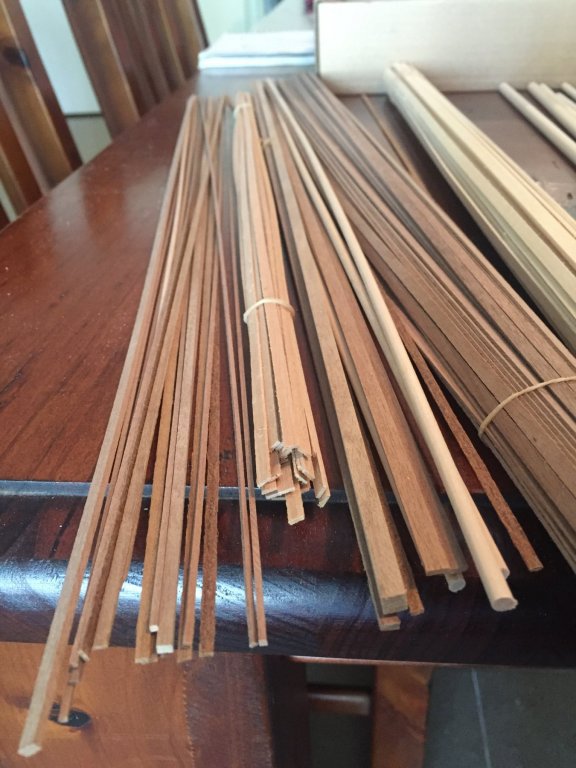
The wood- First thing that struck me when I opened the kit was the amount of sawdust. Because these kits are CNC-cut (Computer Numeric Controlled 3-axis lathe) and not laser-cut, the wood is machined and not burnt, so sawdust is simply a byproduct of the process, not dodgy quality control. I figure I’ll make plenty more sawdust anyway. The gaps in the smaller cuttings are filled with tightly compressed sawdust. I’ll keep it all there until I cut out the piece to prevent breakage.
-
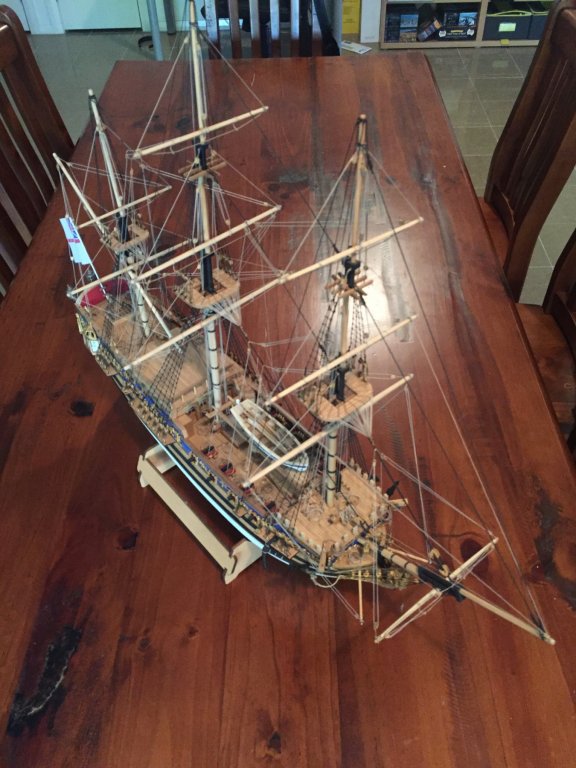
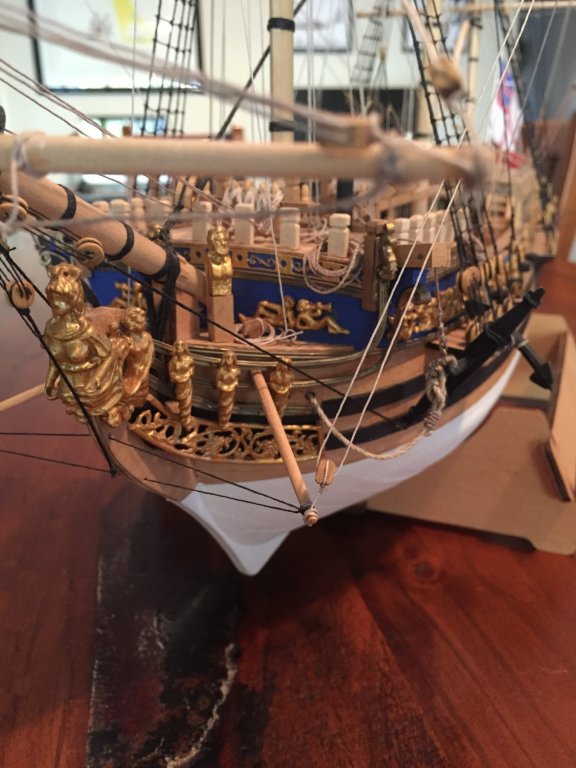
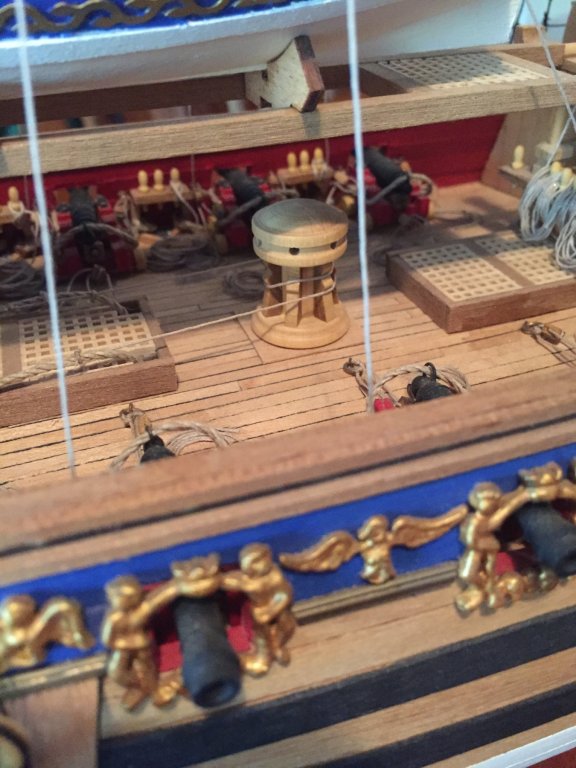
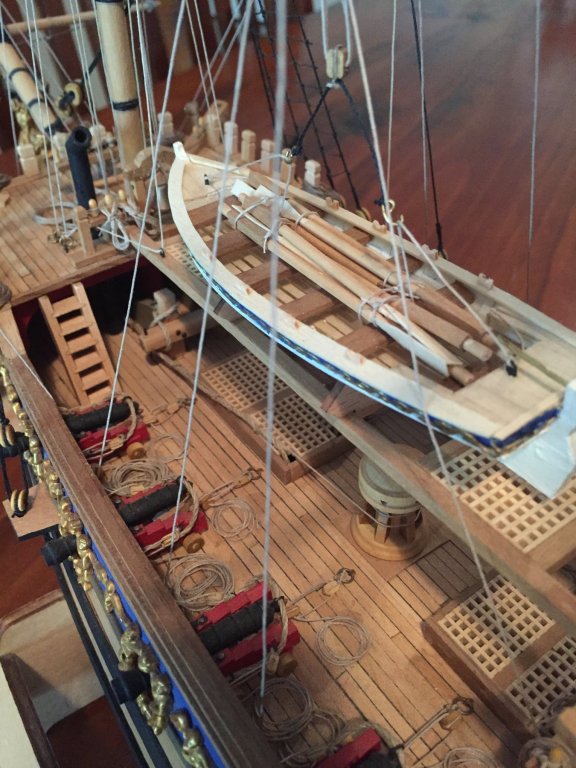
G’day. I’m a new member, so this will be my first build log. I’ve been trying to decide whether to commit to a log, as there are already finished logs of the same kit here, but I’ll do this for a couple of reasons: 1: To possibly aid newcomers overcome self-doubt in starting a kit. 2: To force myself to pay more attention to my own processes, because I find myself looking at details of kits I’ve completed and wonder “How the hell did I do that bit?” 3: To benefit from other member’s advice and thereby improve my own skills. I’ll try to detail the planking process because I think it’s the bit that worries new builders. And I won’t try to hide my shoddy workmanship. Feel free to pull up a pew. But grab a cushion, this may take a while.
-

Another hello from Newcastle, Australia.
Jobbie replied to Jobbie's topic in New member Introductions
Thanks for all your kind words. I've been probing around this forum for a few days now, and I'm in awe of the workmanship and good will of all members here. It's a nice place to hang out, and I think I'll be sticking around. -
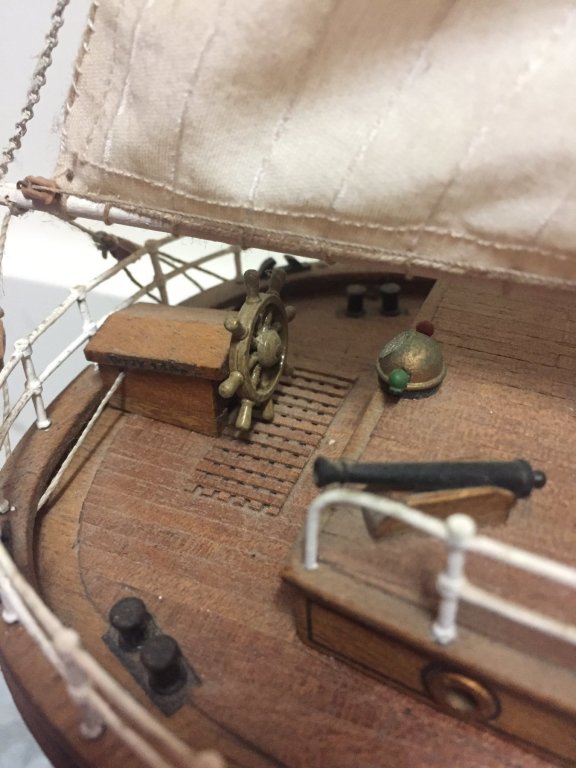
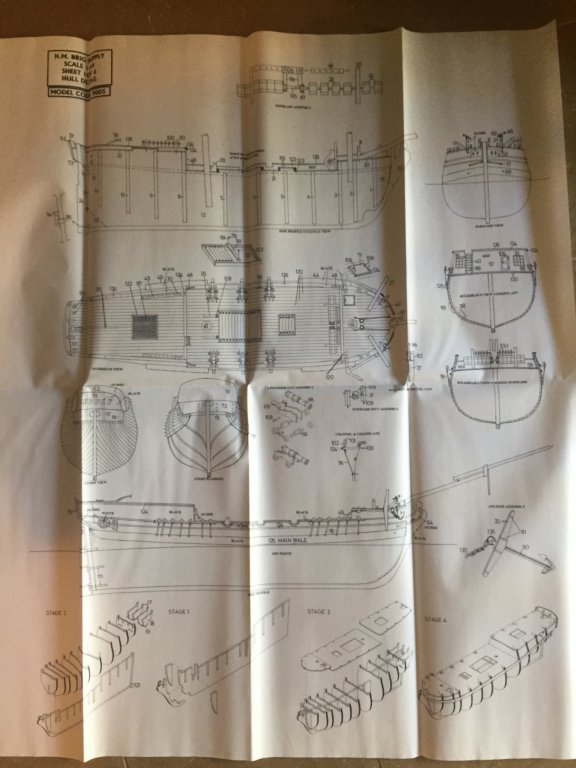
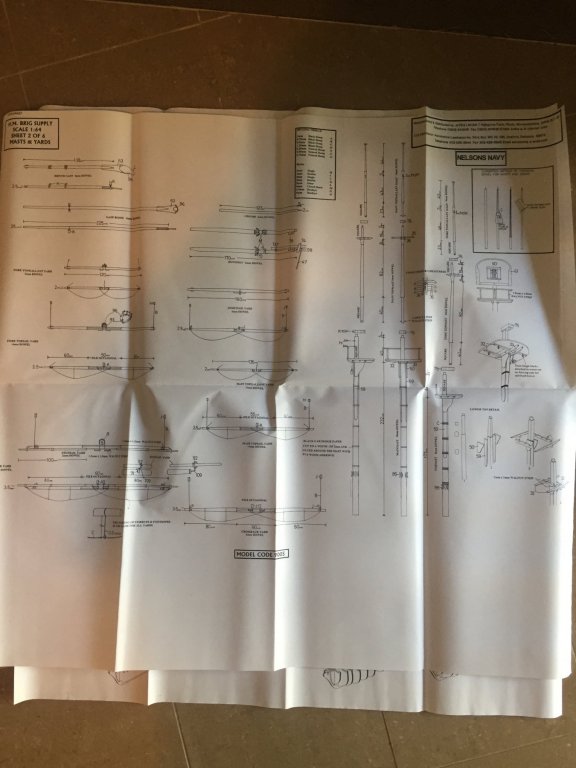
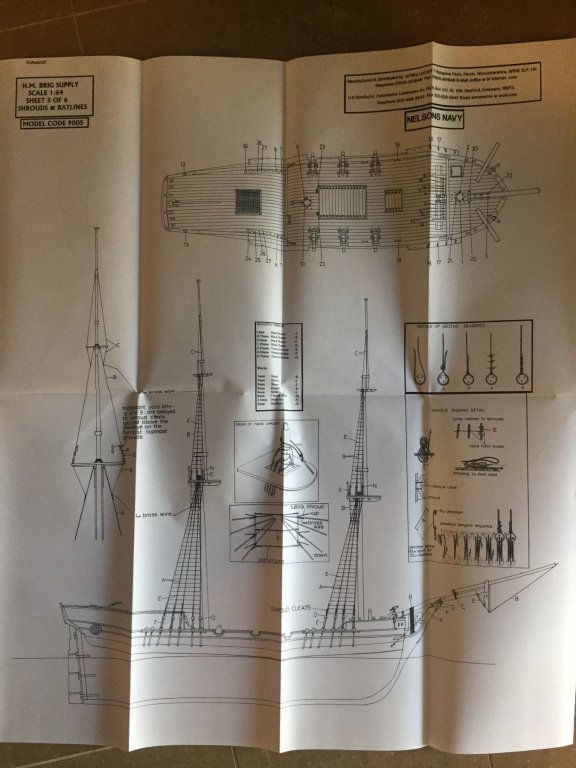
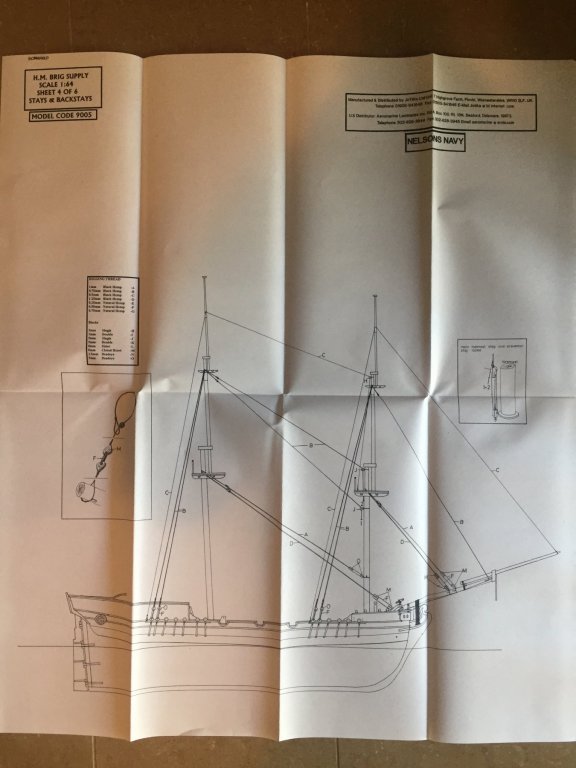
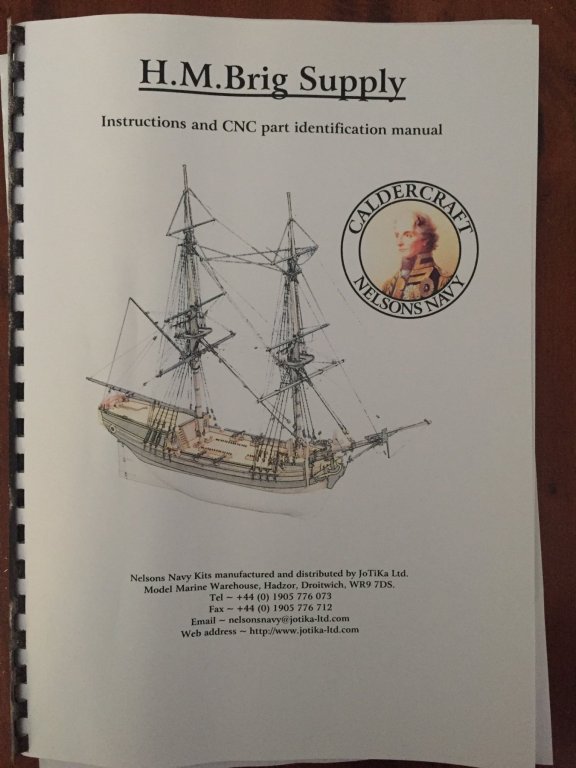
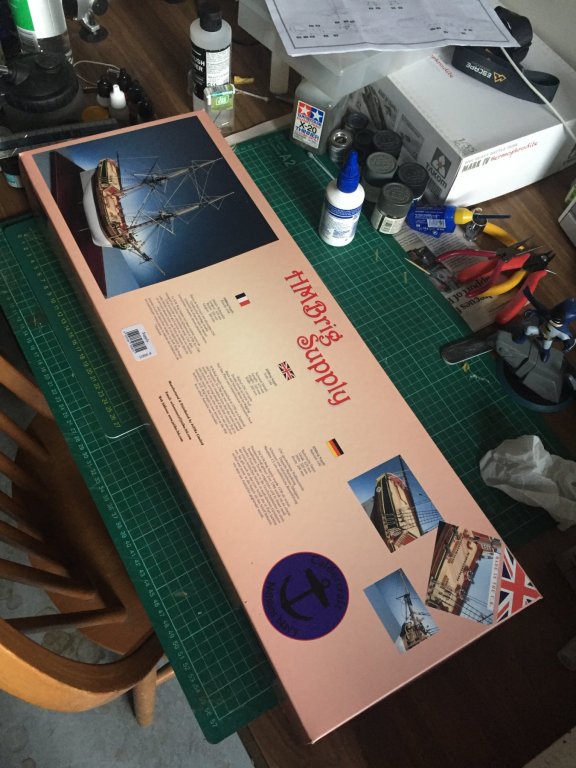
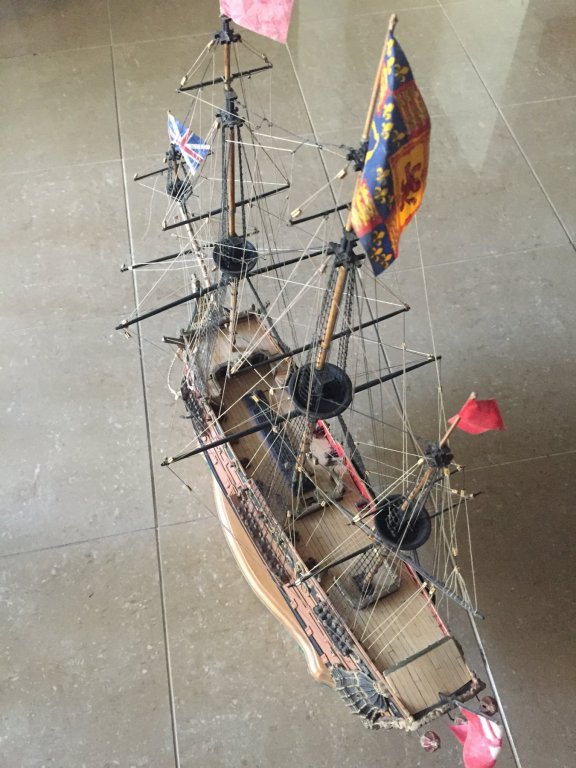
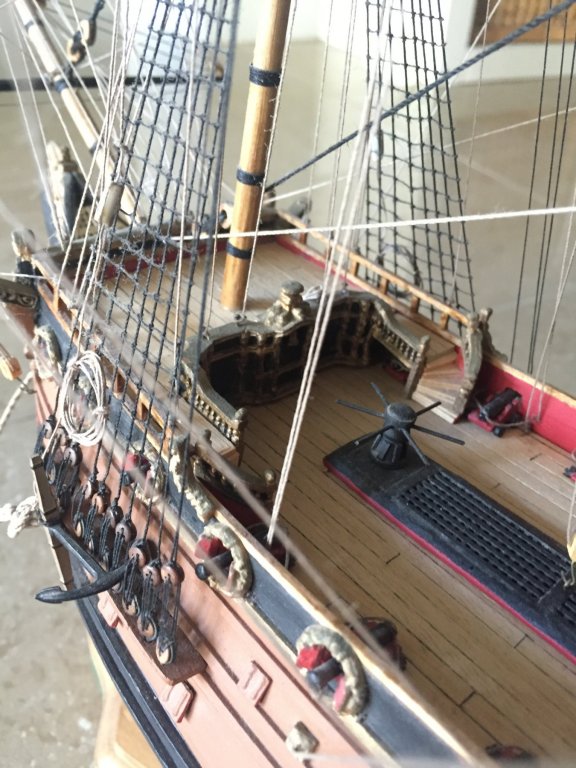
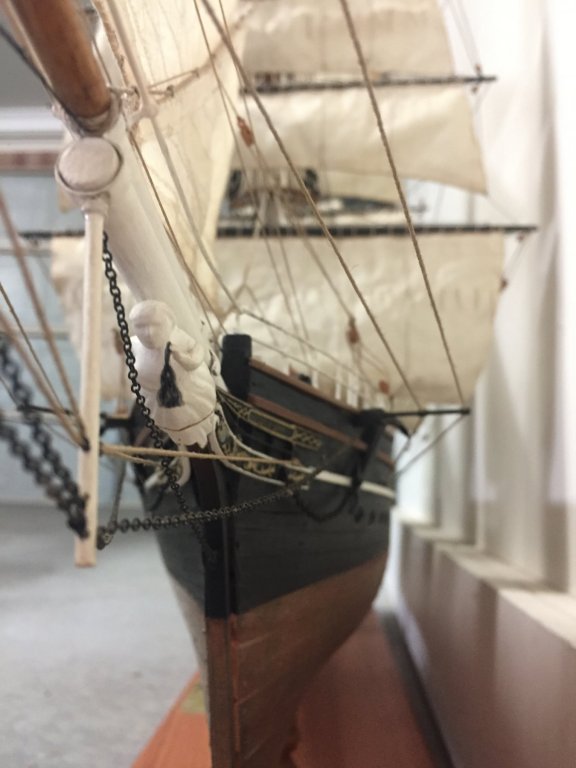
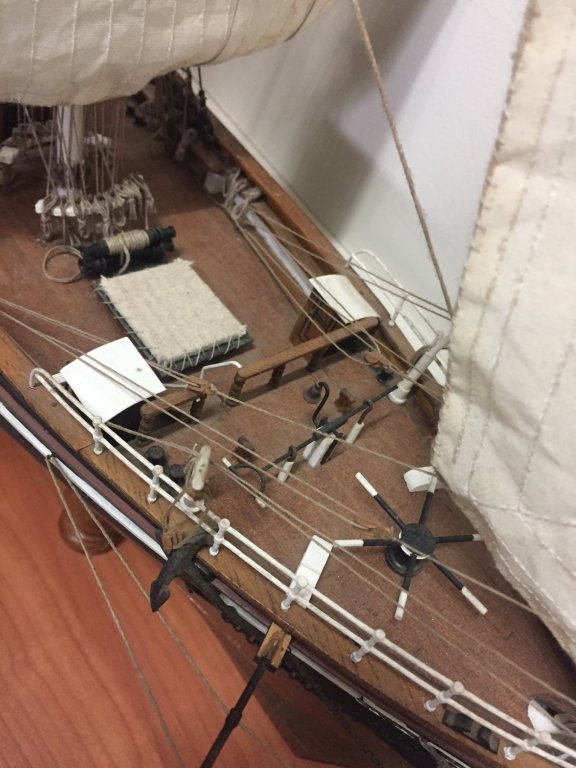
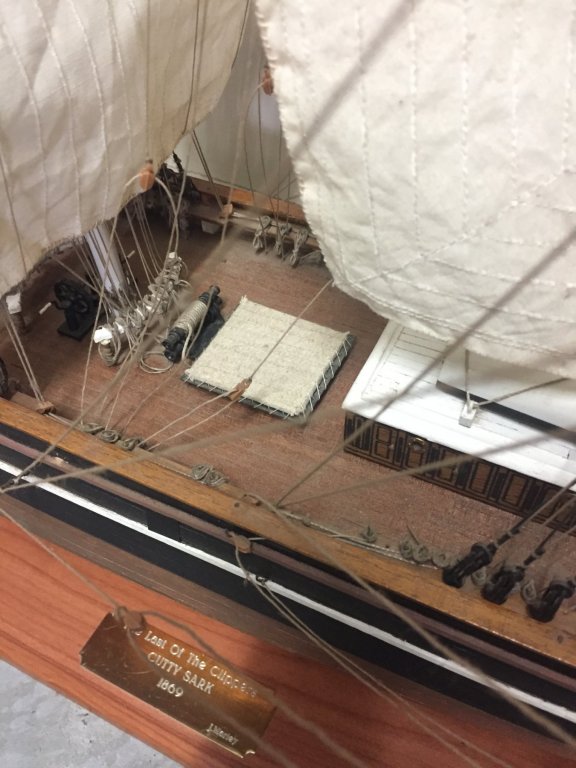
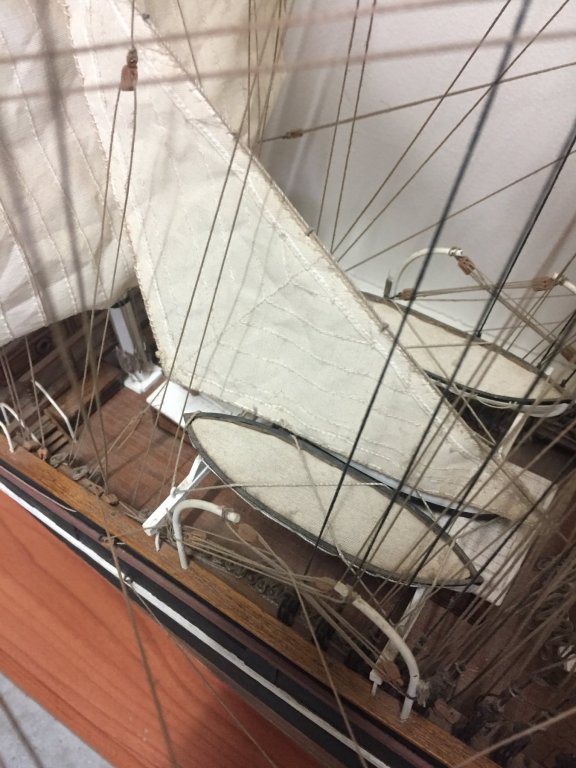
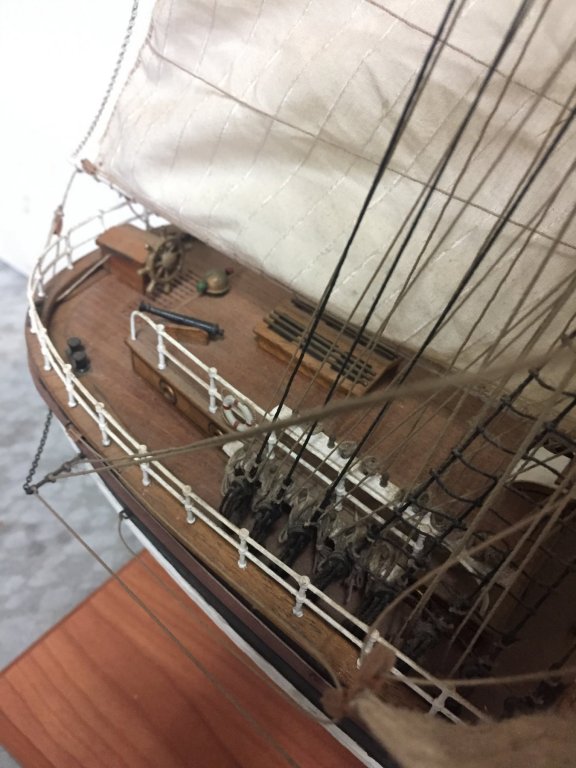
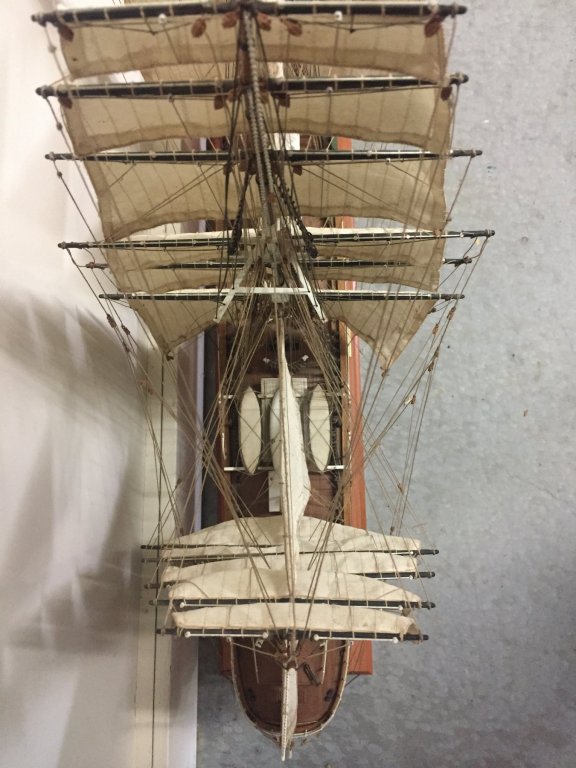
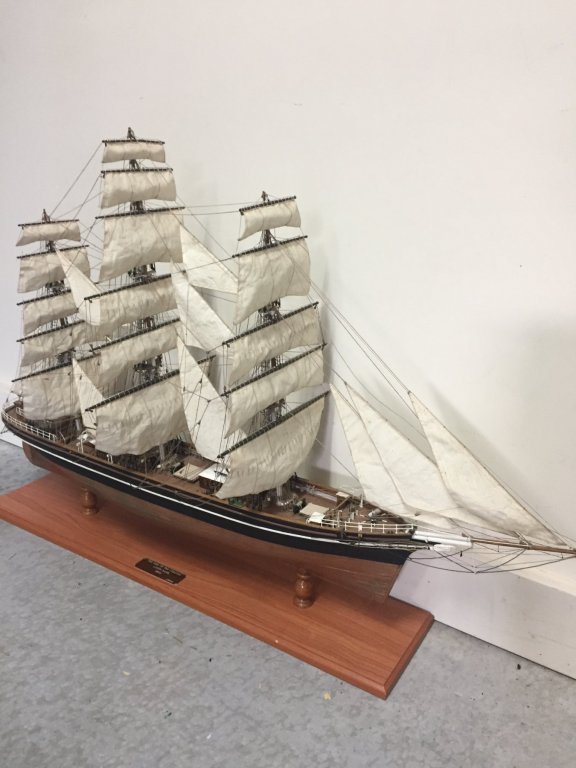
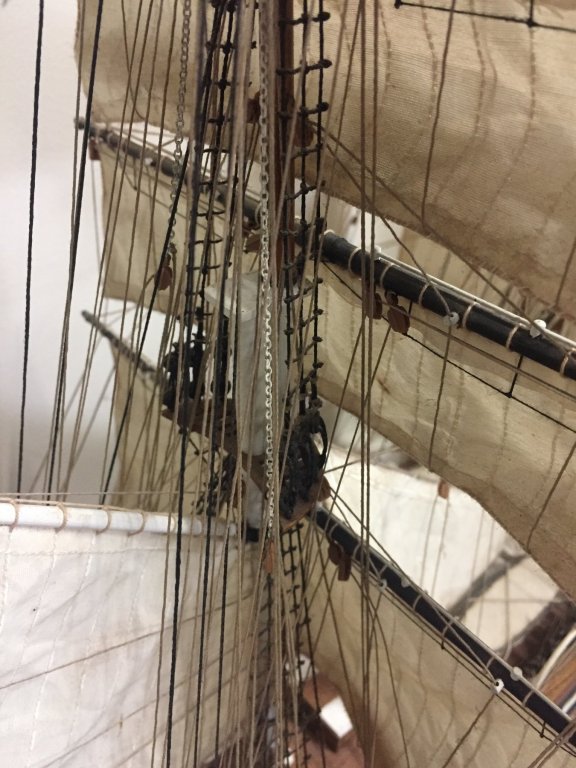
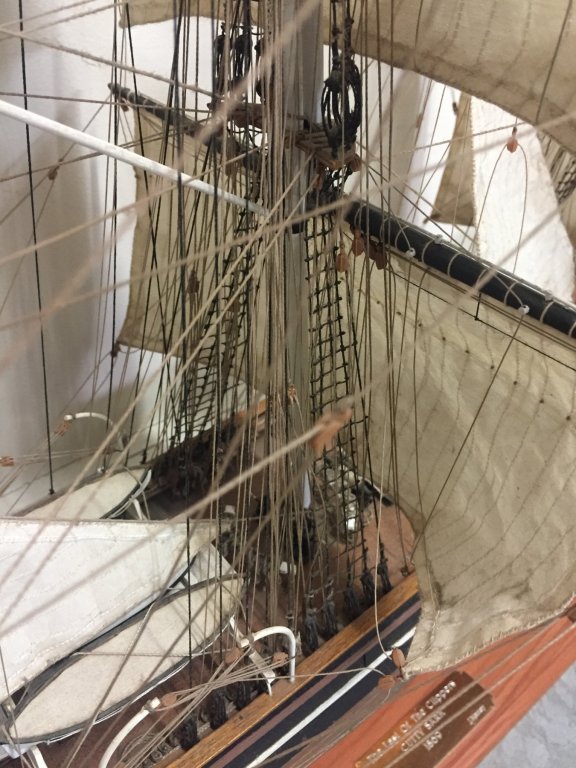
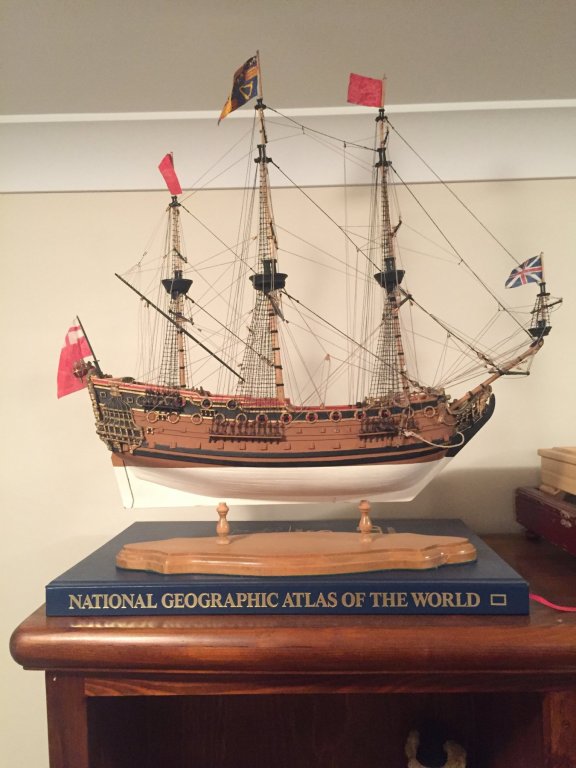
Hello. Thrilled to have found this forum. I’ve built the Billing’s Boats Cutty Sark, the Artesania Latina Swift, the Aeropiccola HMS Prince (small) and the Panart Royal Yacht Caroline. About to begin the Caldercraft HM brig Supply. Can’t wait!
About us
Modelshipworld - Advancing Ship Modeling through Research
SSL Secured
Your security is important for us so this Website is SSL-Secured
NRG Mailing Address
Nautical Research Guild
237 South Lincoln Street
Westmont IL, 60559-1917
Model Ship World ® and the MSW logo are Registered Trademarks, and belong to the Nautical Research Guild (United States Patent and Trademark Office: No. 6,929,264 & No. 6,929,274, registered Dec. 20, 2022)
Helpful Links
About the NRG
If you enjoy building ship models that are historically accurate as well as beautiful, then The Nautical Research Guild (NRG) is just right for you.
The Guild is a non-profit educational organization whose mission is to “Advance Ship Modeling Through Research”. We provide support to our members in their efforts to raise the quality of their model ships.
The Nautical Research Guild has published our world-renowned quarterly magazine, The Nautical Research Journal, since 1955. The pages of the Journal are full of articles by accomplished ship modelers who show you how they create those exquisite details on their models, and by maritime historians who show you the correct details to build. The Journal is available in both print and digital editions. Go to the NRG web site (www.thenrg.org) to download a complimentary digital copy of the Journal. The NRG also publishes plan sets, books and compilations of back issues of the Journal and the former Ships in Scale and Model Ship Builder magazines.

