HOLIDAY DONATION DRIVE - SUPPORT MSW - DO YOUR PART TO KEEP THIS GREAT FORUM GOING! (Only 13 donations so far - C'mon guys!)
×
Jobbie
-
Posts
220 -
Joined
-
Last visited
Content Type
Profiles
Forums
Gallery
Events
Everything posted by Jobbie
-
 Three days later. Is your son's condition still improving, Jeff? It's amazing how quickly an event like this can place things in their true order of importance.
 -
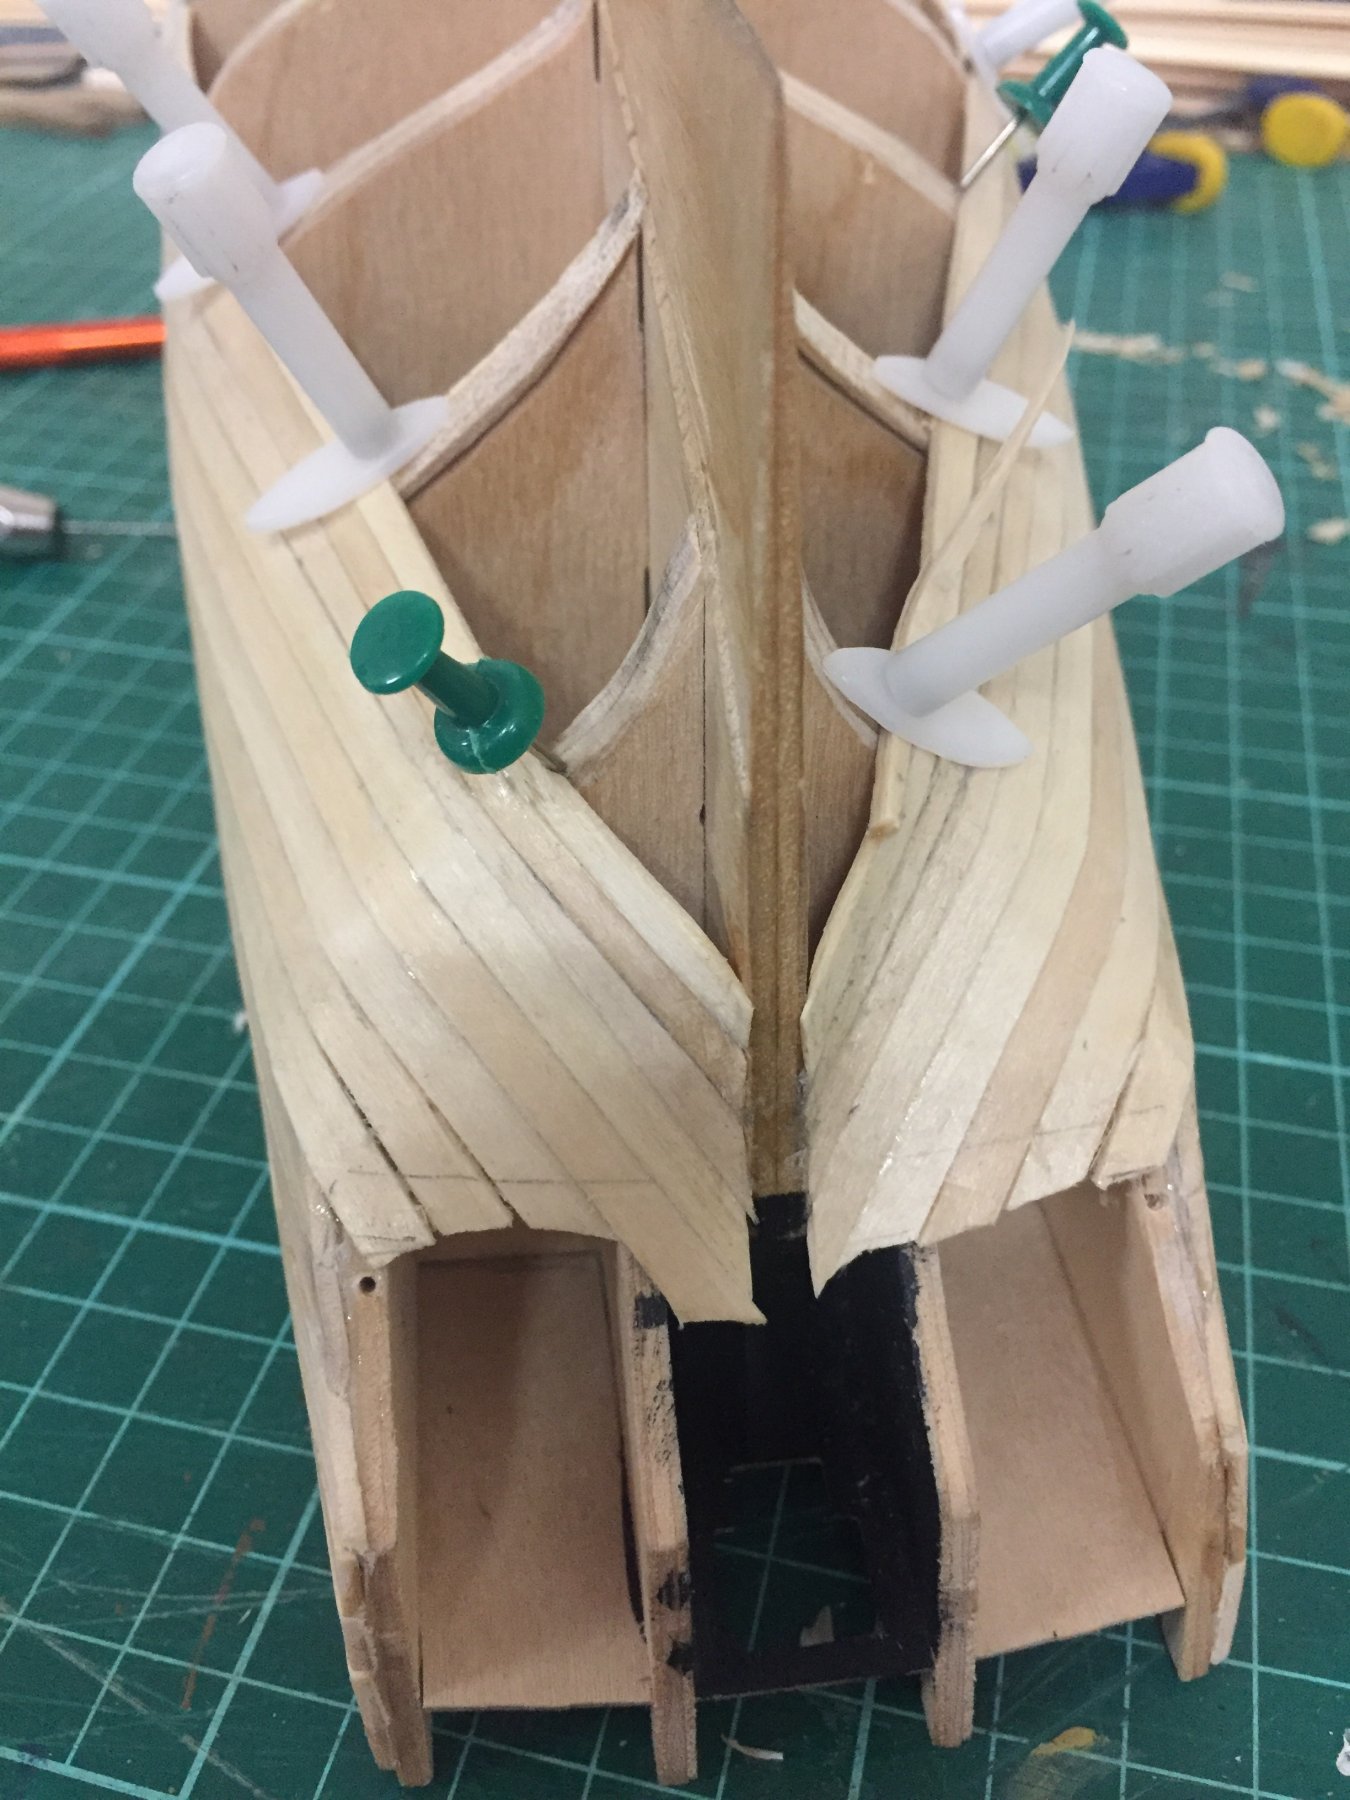
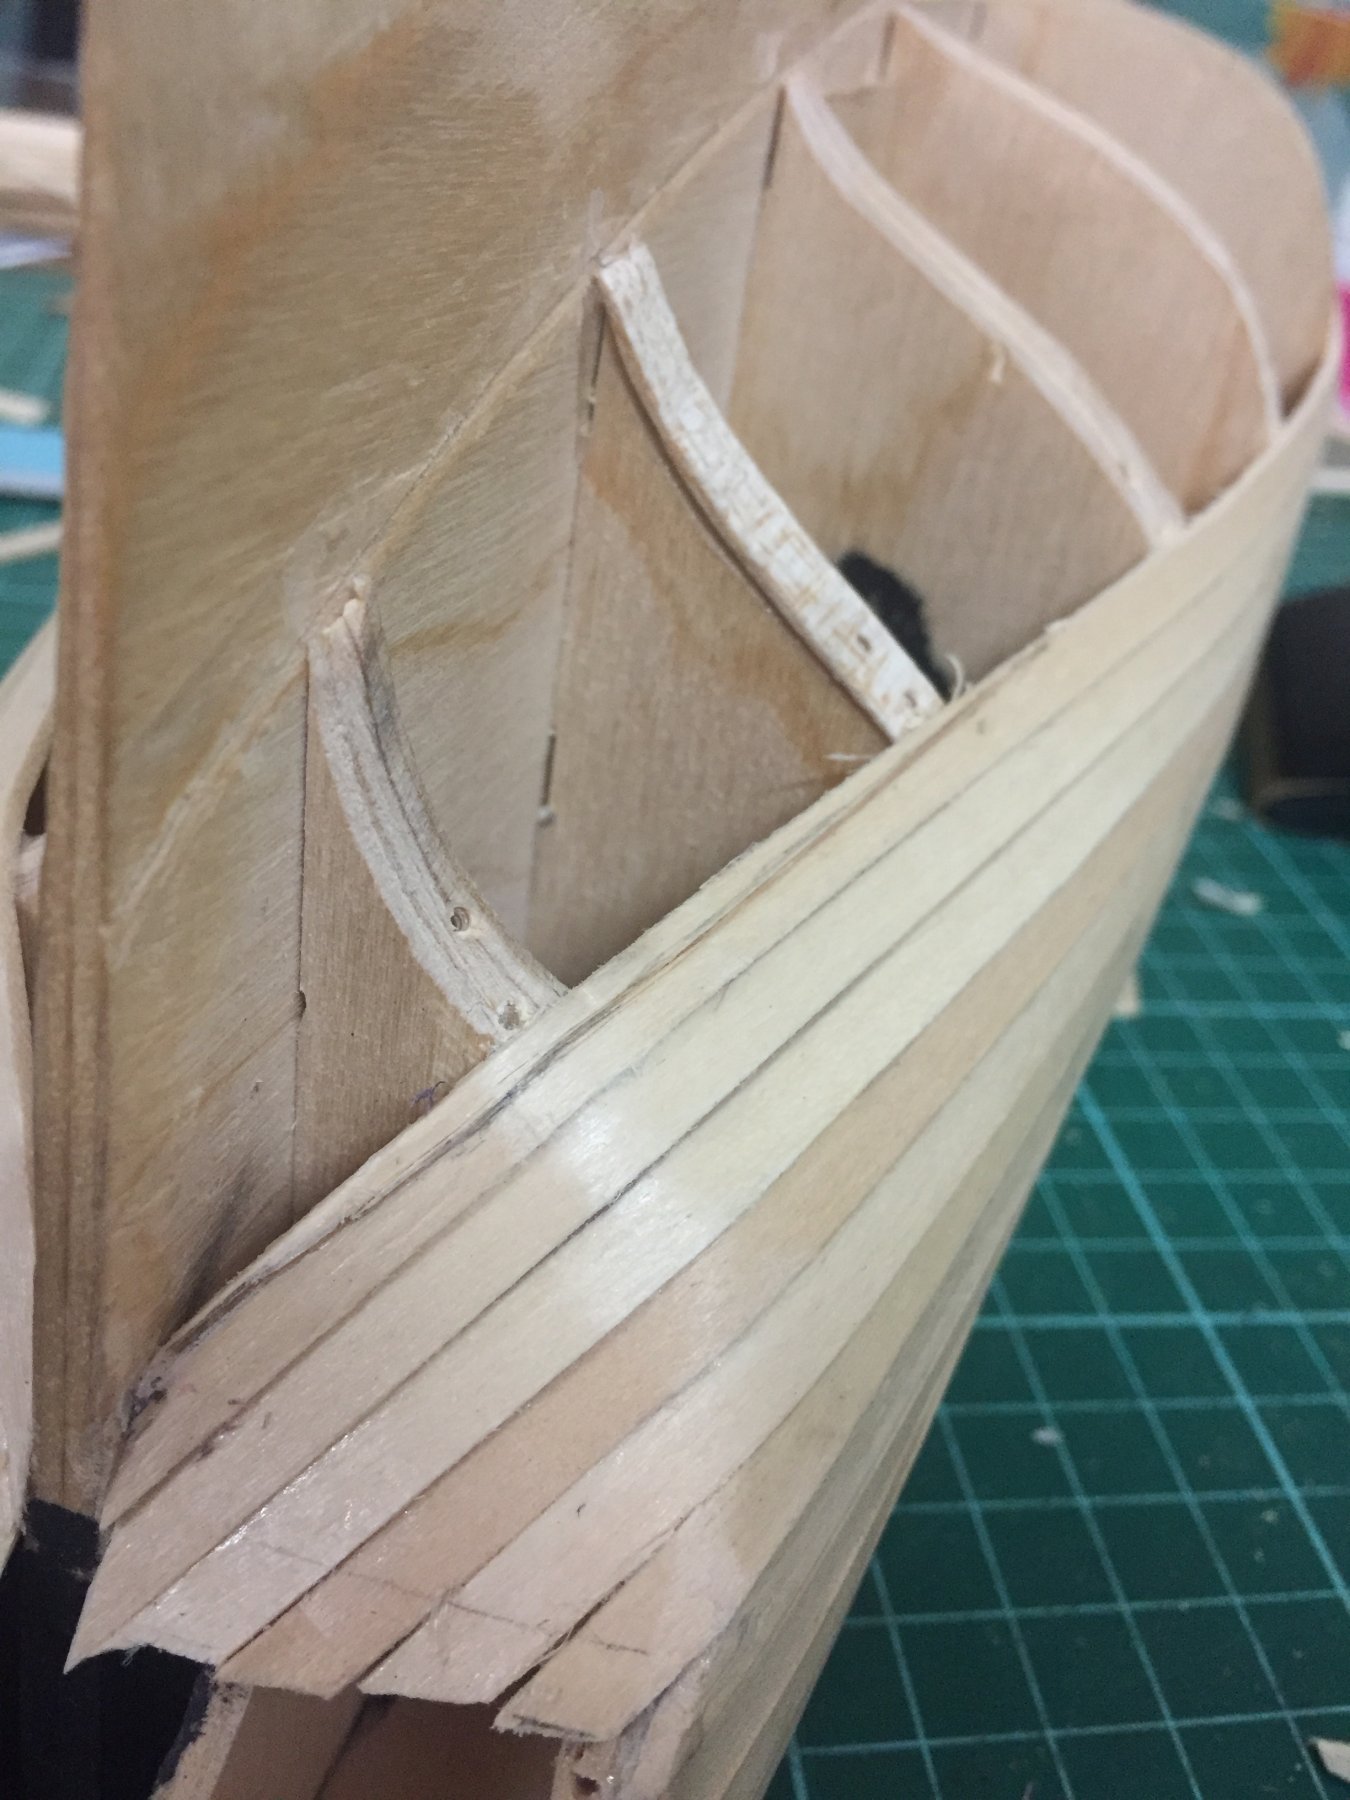
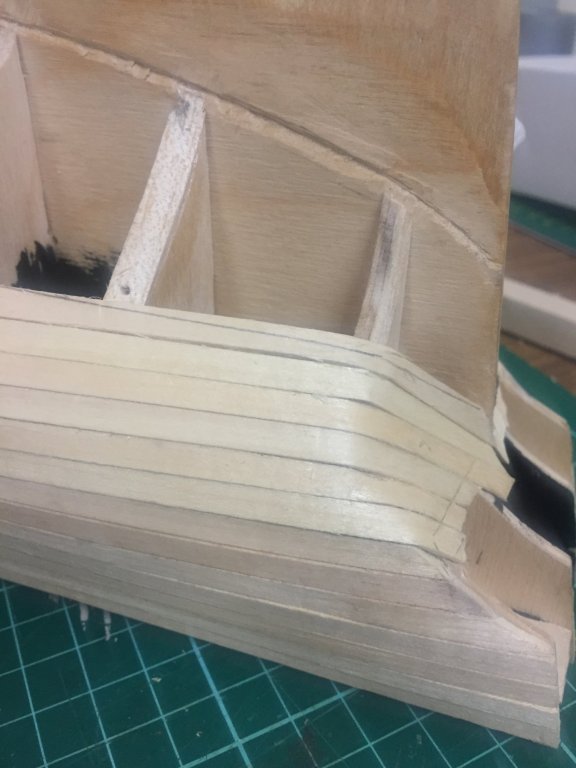
So far, three planks per side have been trimmed to half-width at the last bulkhead. I’m past the most acute area for warping of these planks. PVA glue has been used throughout, except for a dot of CA adjacent to the stern post. I know it’s not great, but I’m still chuffed by how she’s coming along.


-
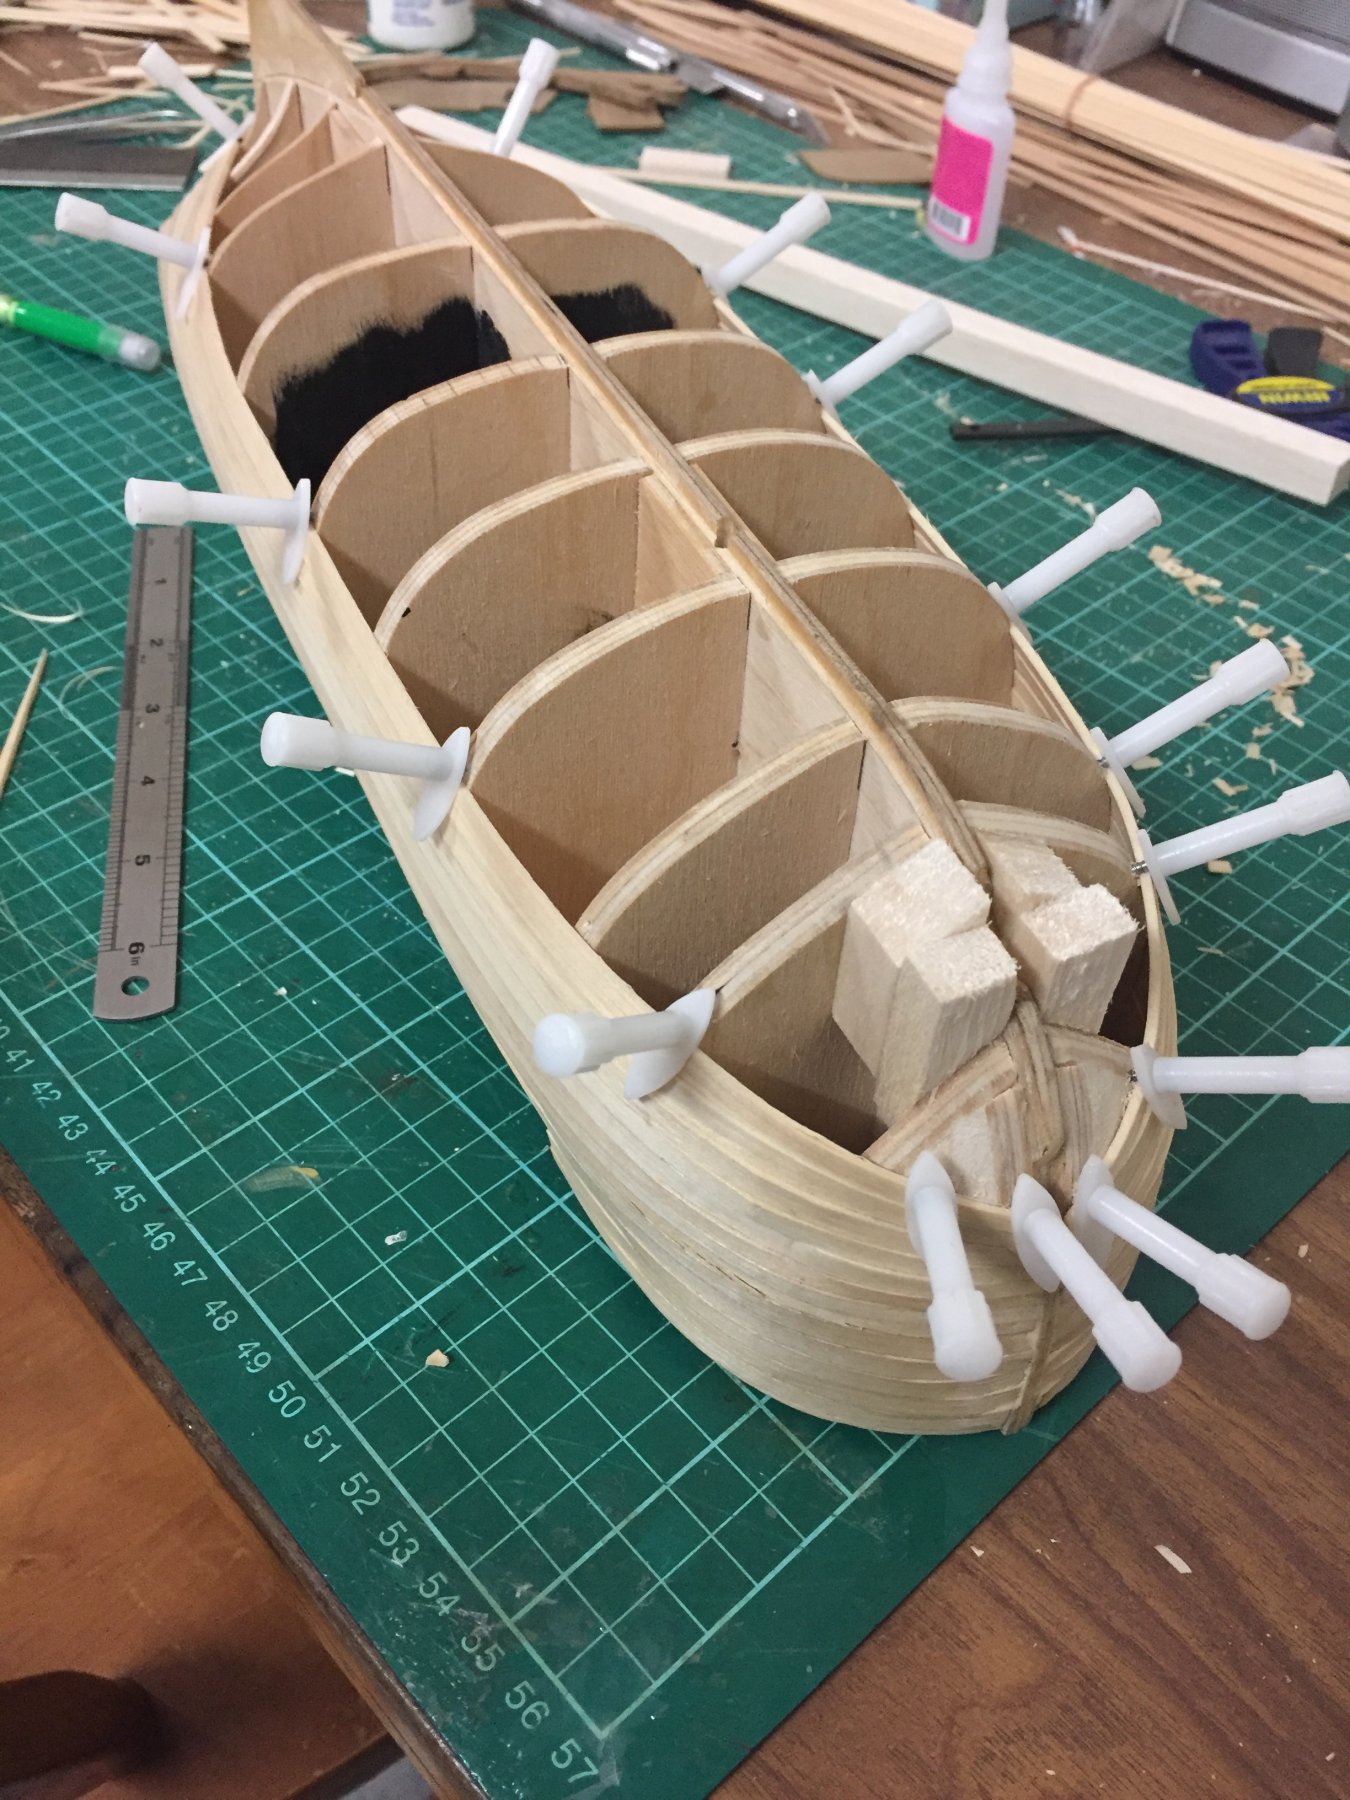
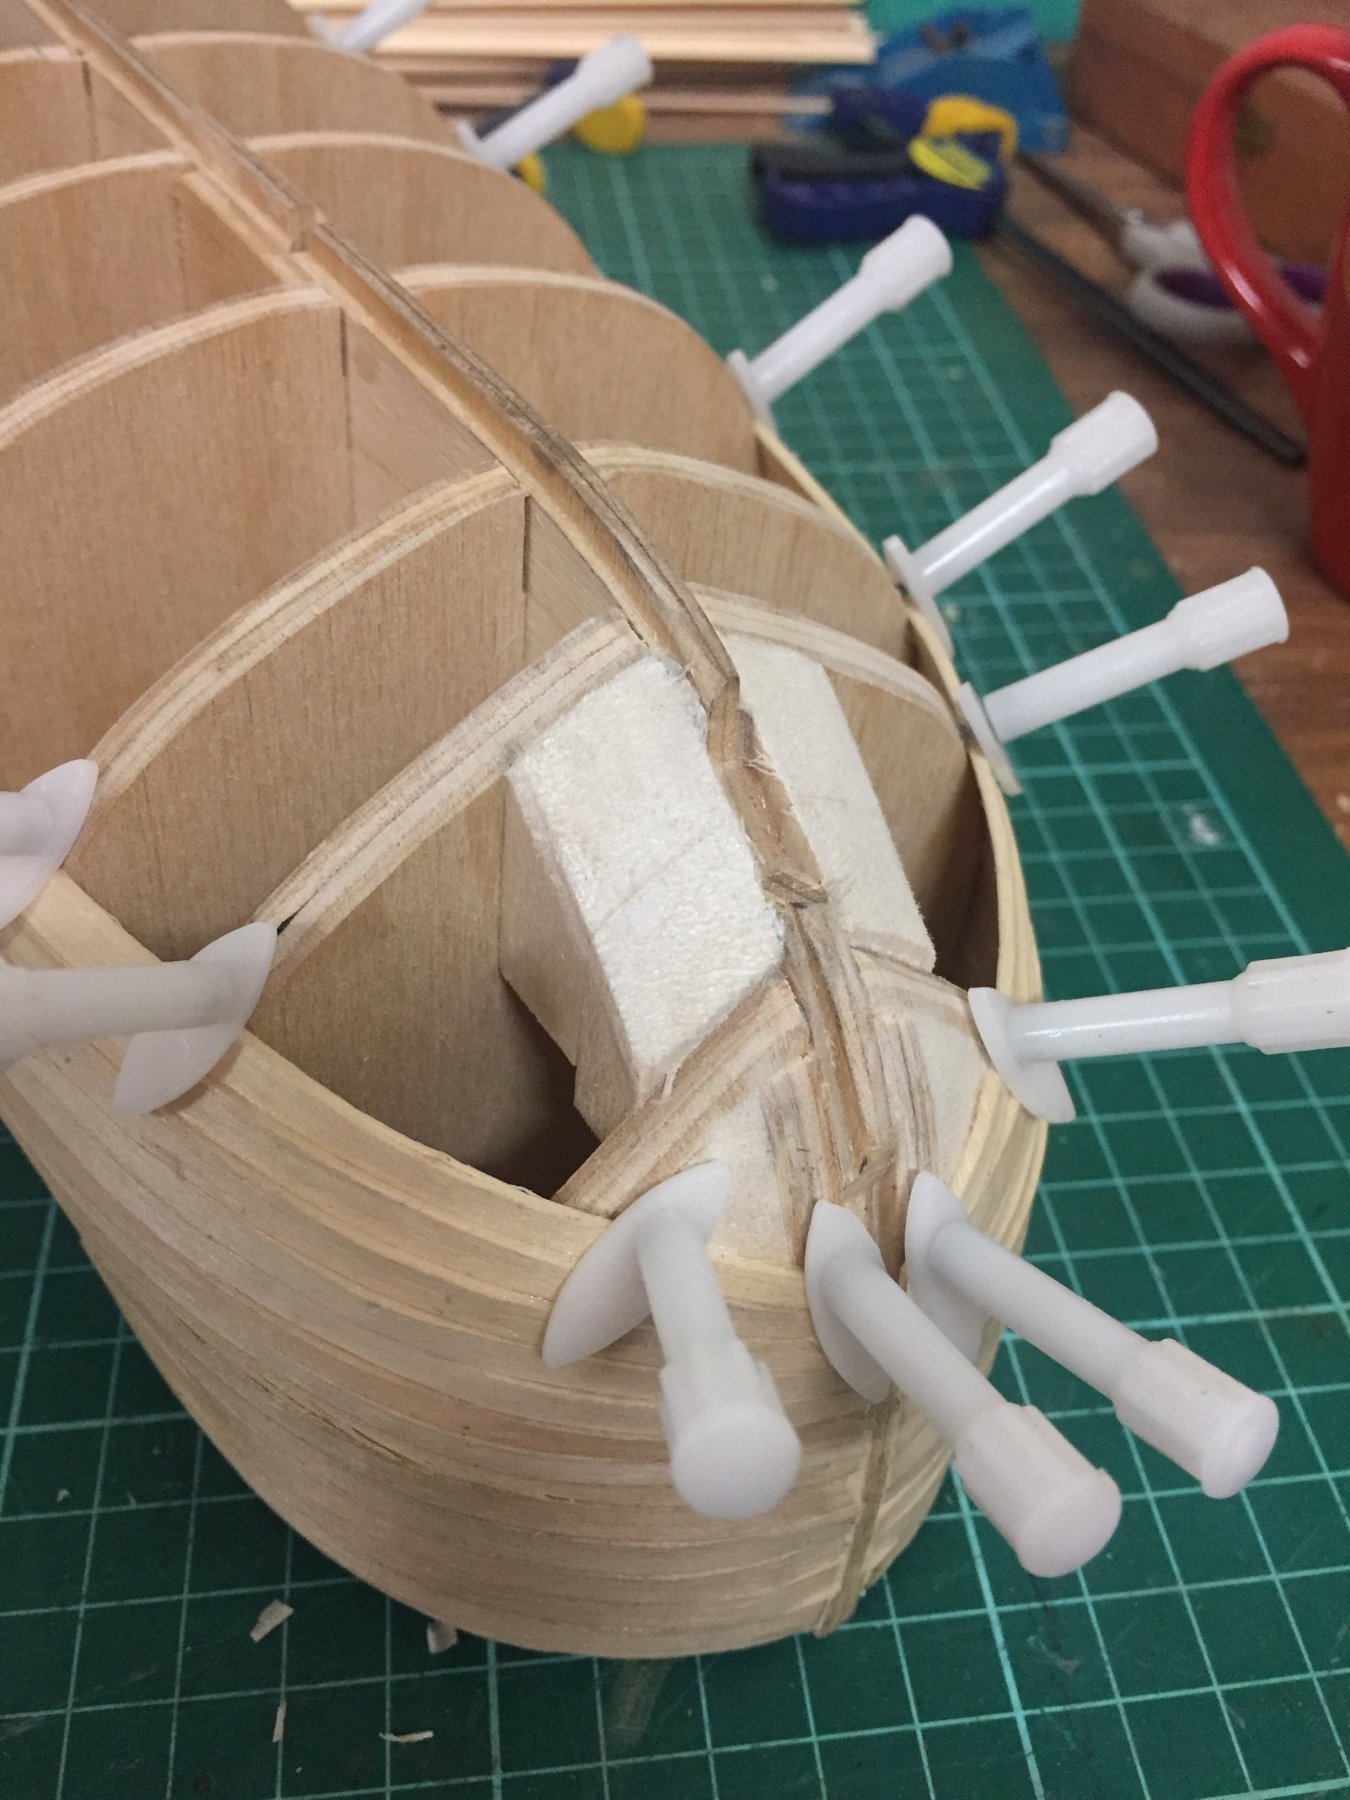
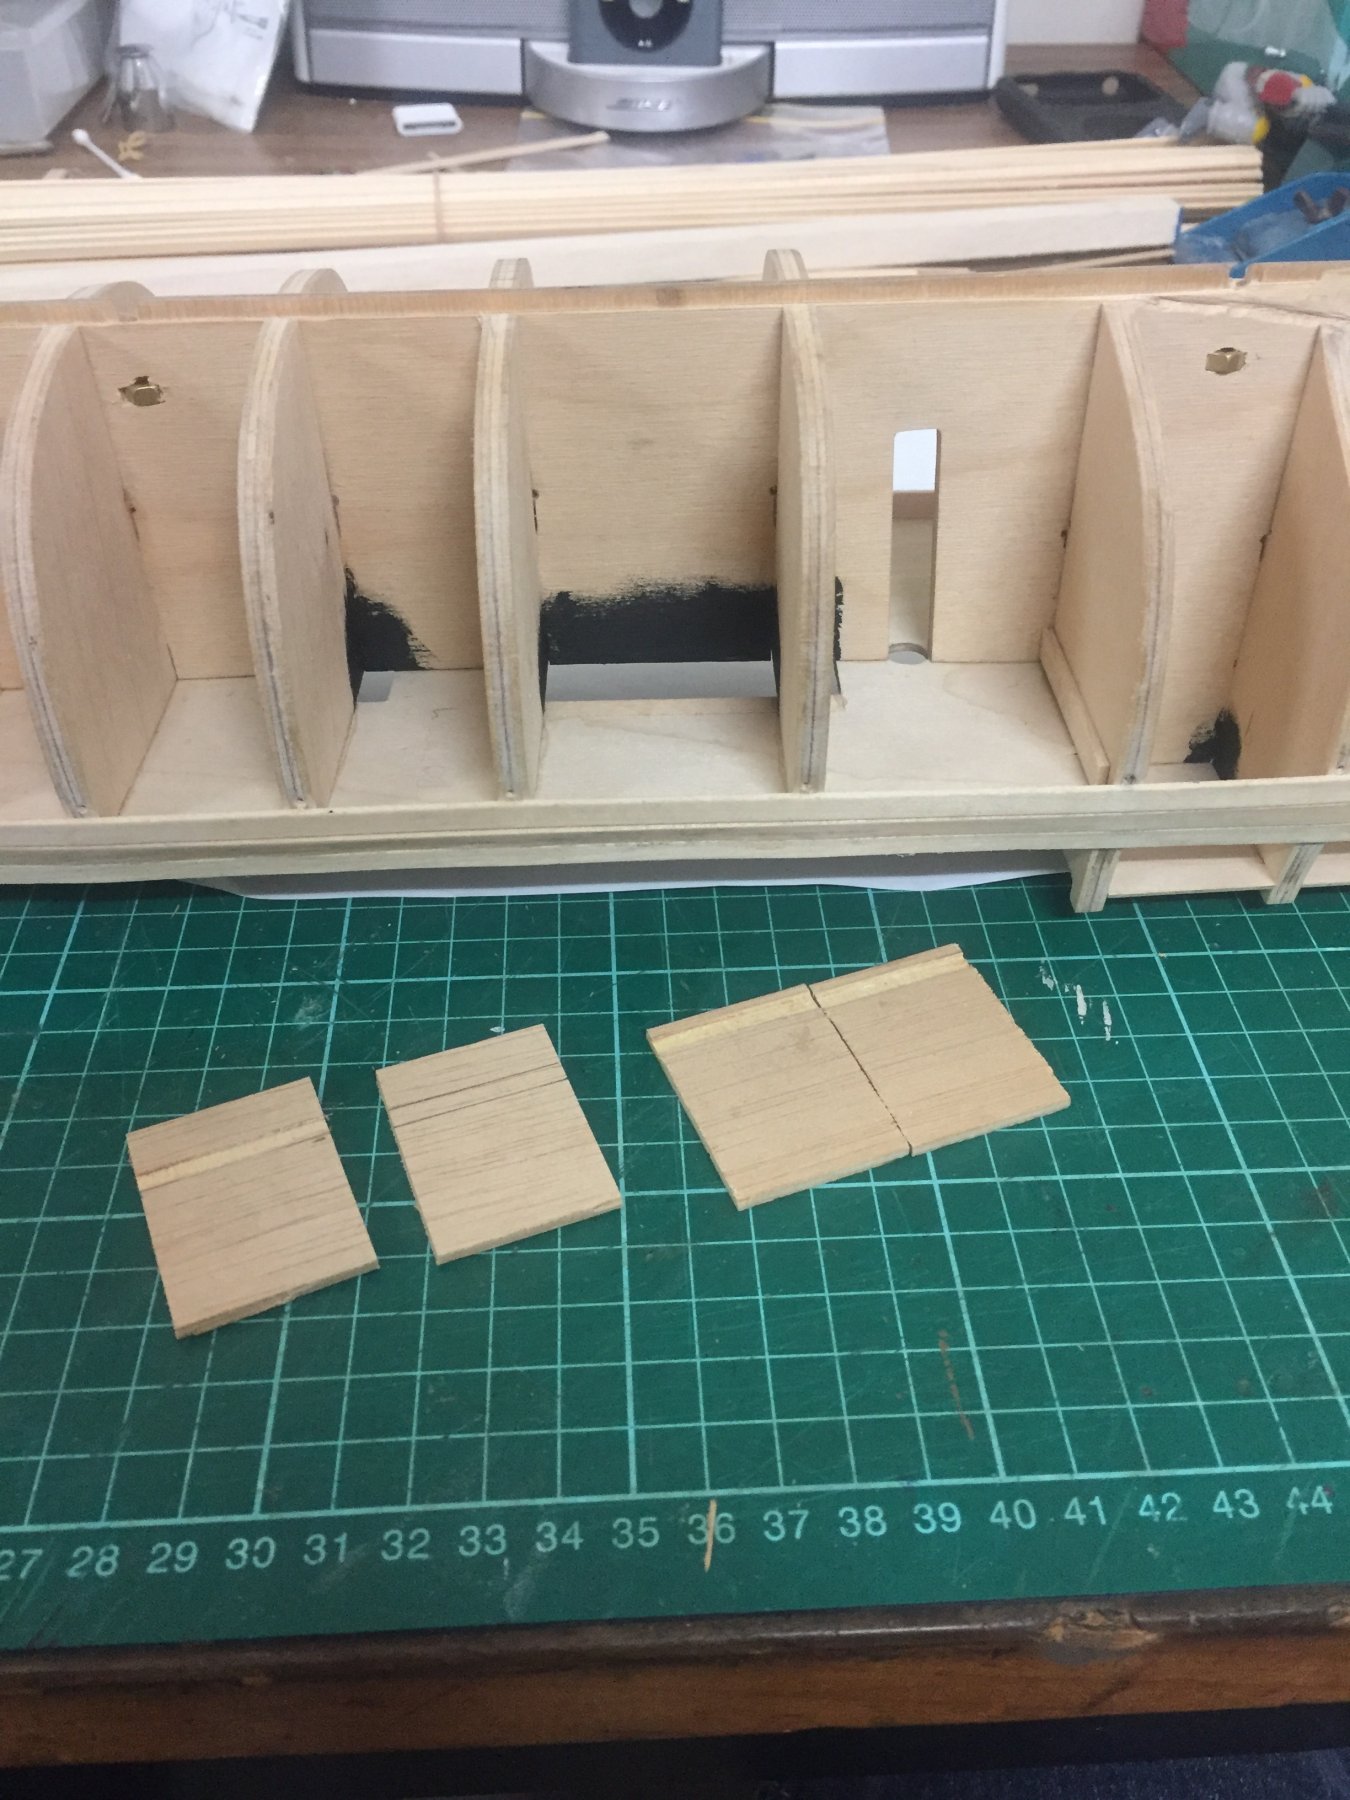
Thinking that I may end up needing a couple more balsa fillers near the bow, I’ve quickly glued and shaped them while I still have access.


-
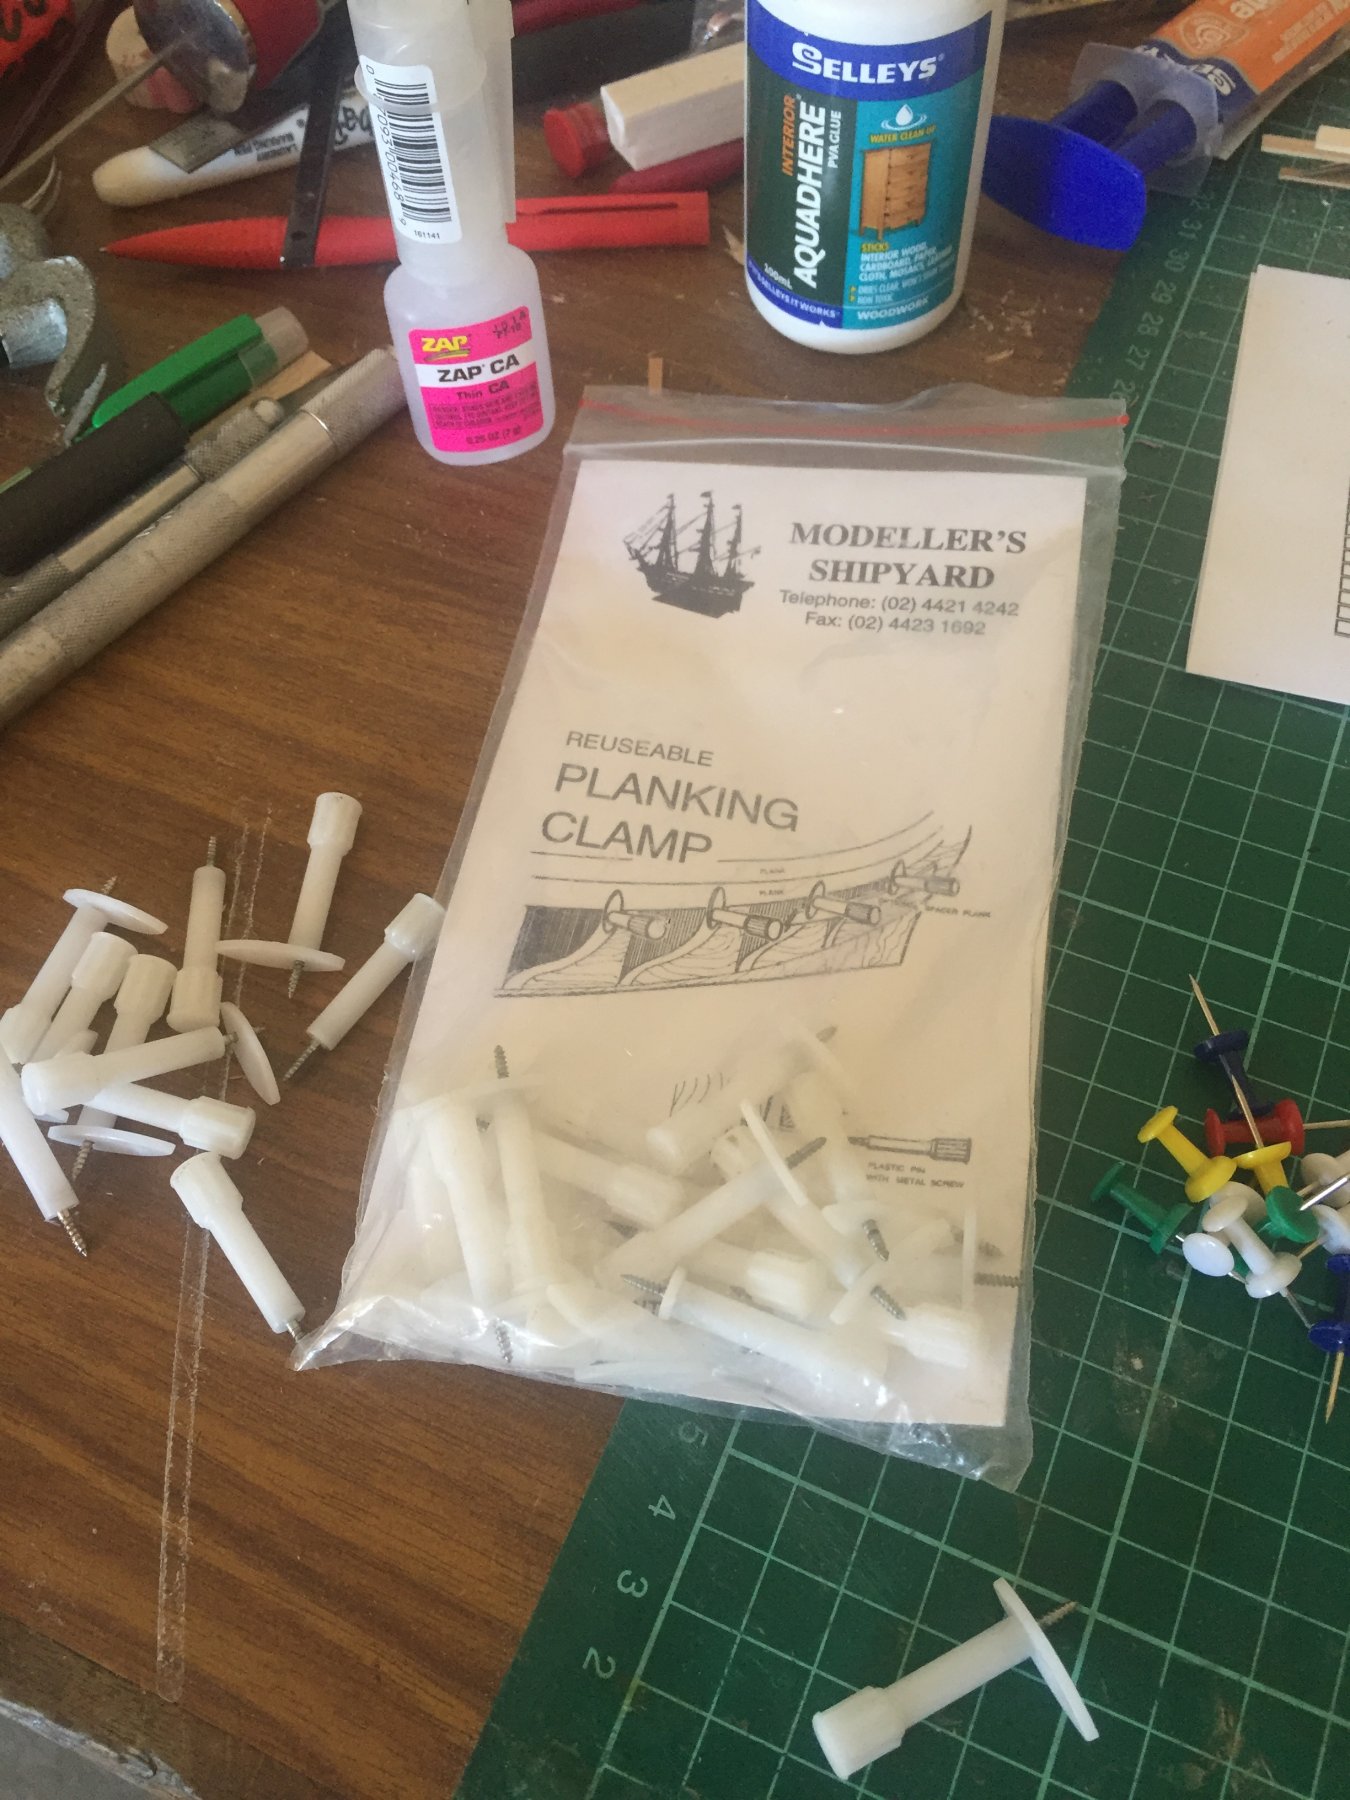
Oh, thanks, Jeff! I really like these planking clamps. I’ve used them on a few builds before. They’re not everyone’s cup of tea, but I like not having to press pins through the plank, if I can avoid it. I feel like I’m stumbling blindly through this build, but I’m also really enjoying it. I’ve been procrastinating about this stern planking and moving very slowly lately. Trying to achieve the quality of other builds on this forum is impossible, but inspiring. I may have found my way forward, but this phase will still take time.
-
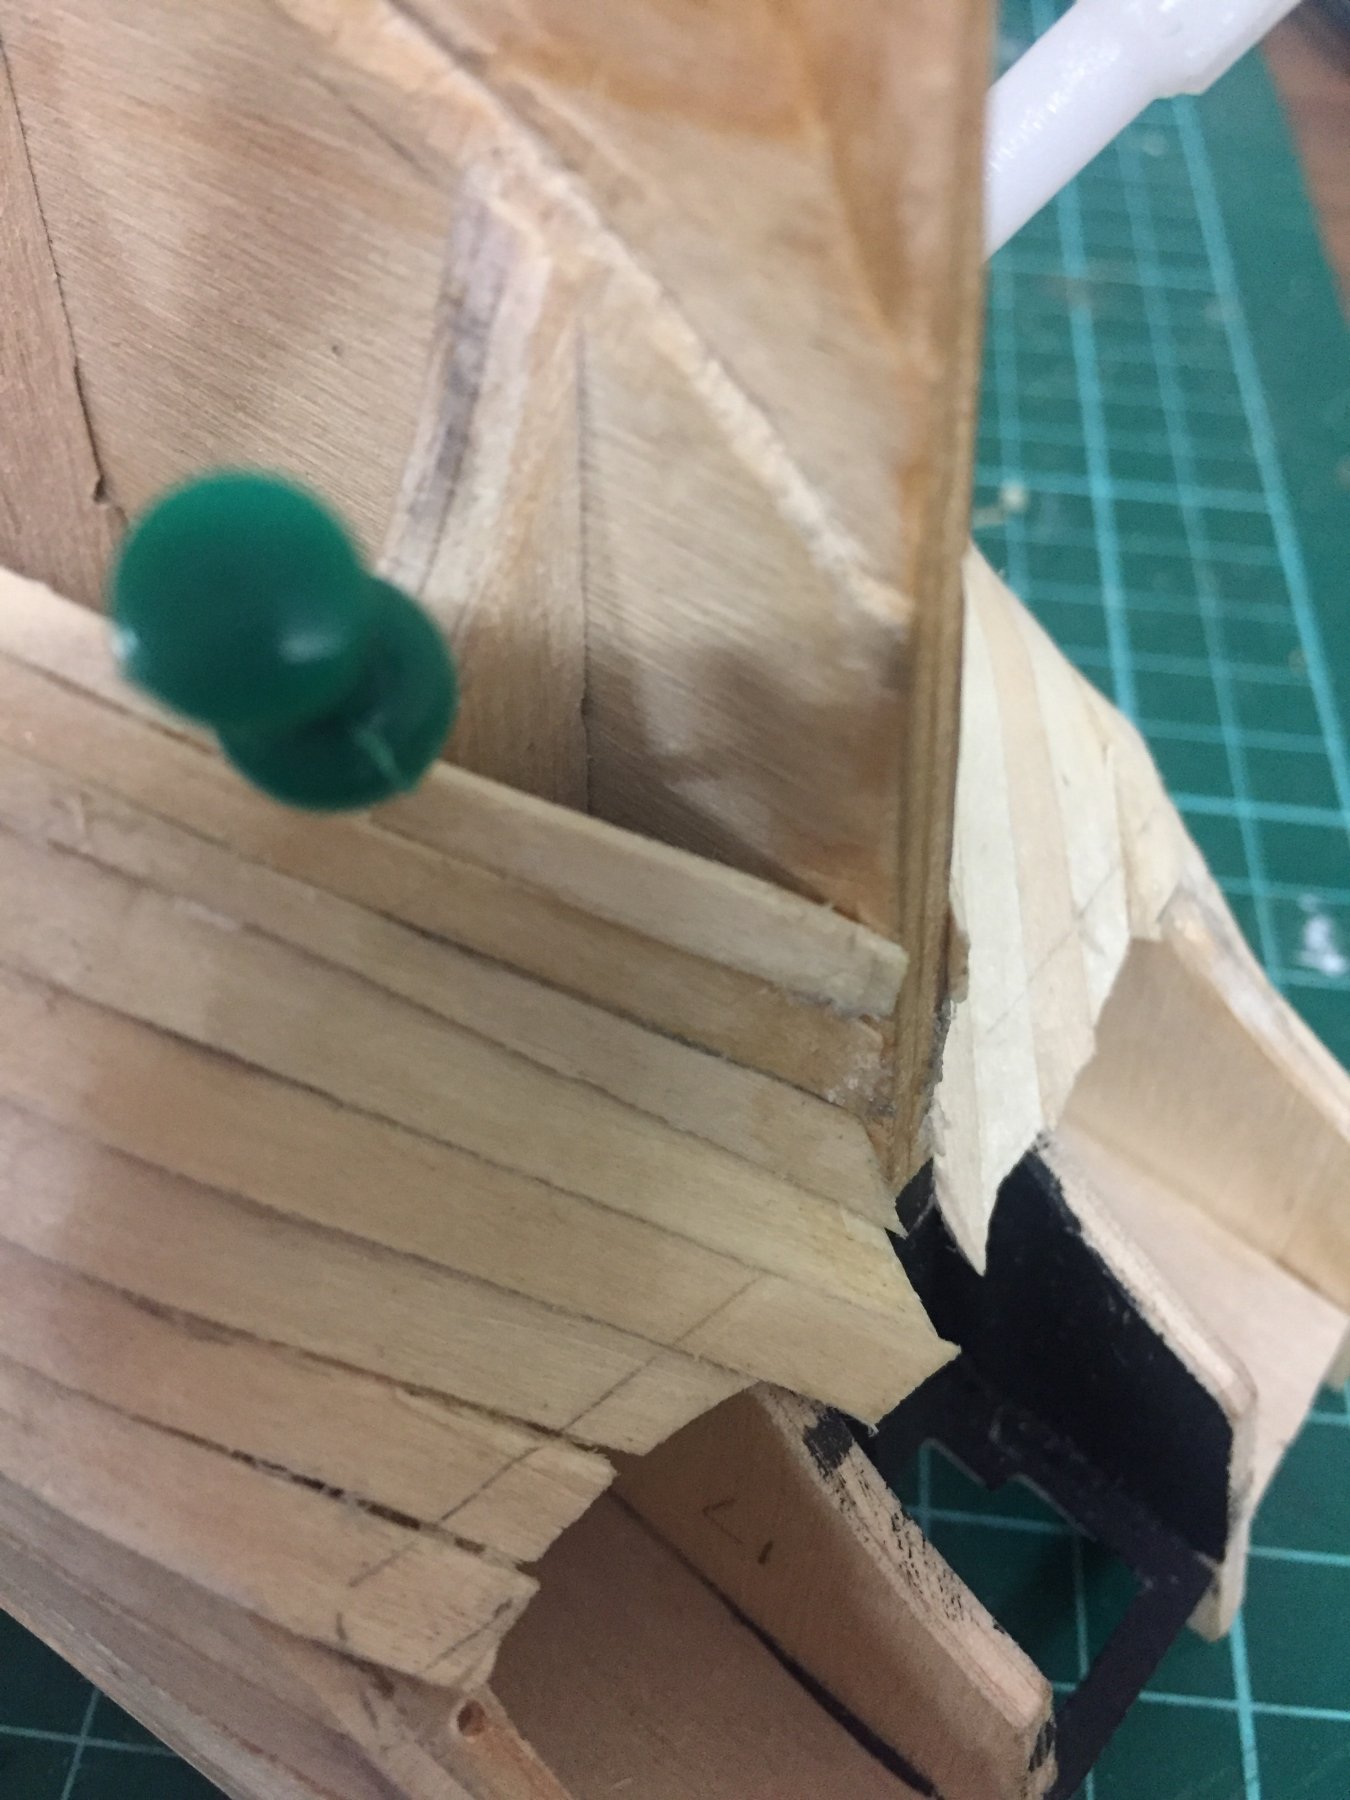
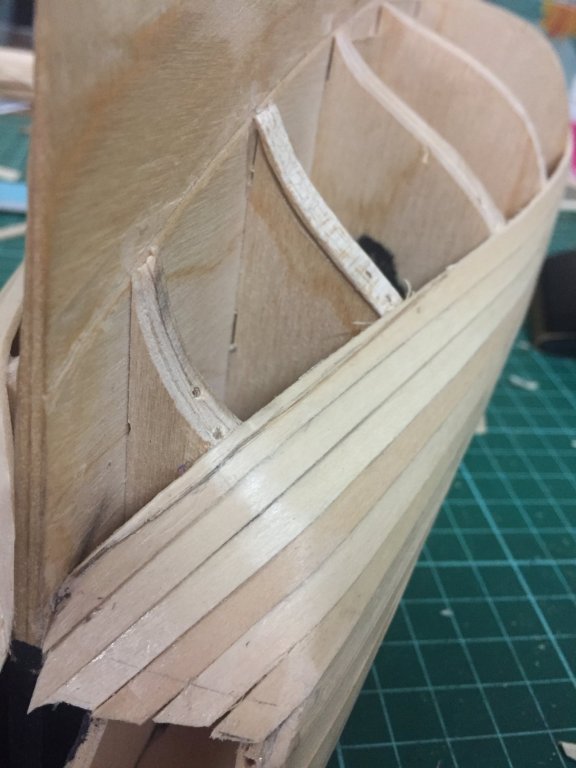
Why, thank you! Here’s the starboard side from a different angle. I really should have tried this method earlier.
-
I’m having trouble trying to persuade the planks at the stern to bend two directions at once. So I’m going to start tapering the previous plank to half width at the last bulkhead, then return to full width by the stern post.
-
Looking really good. I’d be quite chuffed if that were my build.
-
Not much to report. I’m wetting the planks, gradually bending the bow contour, measuring where the new plank starts to naturally overlap the previous one and slice from that point, forward to half width. Not as neat as I’d like, but no real problems so far. She’ll look better after a sanding, but I’m really enjoying myself. Any tips would be most welcome.


-
Very neat. Could you please explain in detail how you tree nailed the deck? Did you use wood filler? Ink? And what size drill? I'd like to learn from a master.
- 421 replies
-
- 1
-

-
- caldercraft
- granado
- (and 1 more)
-
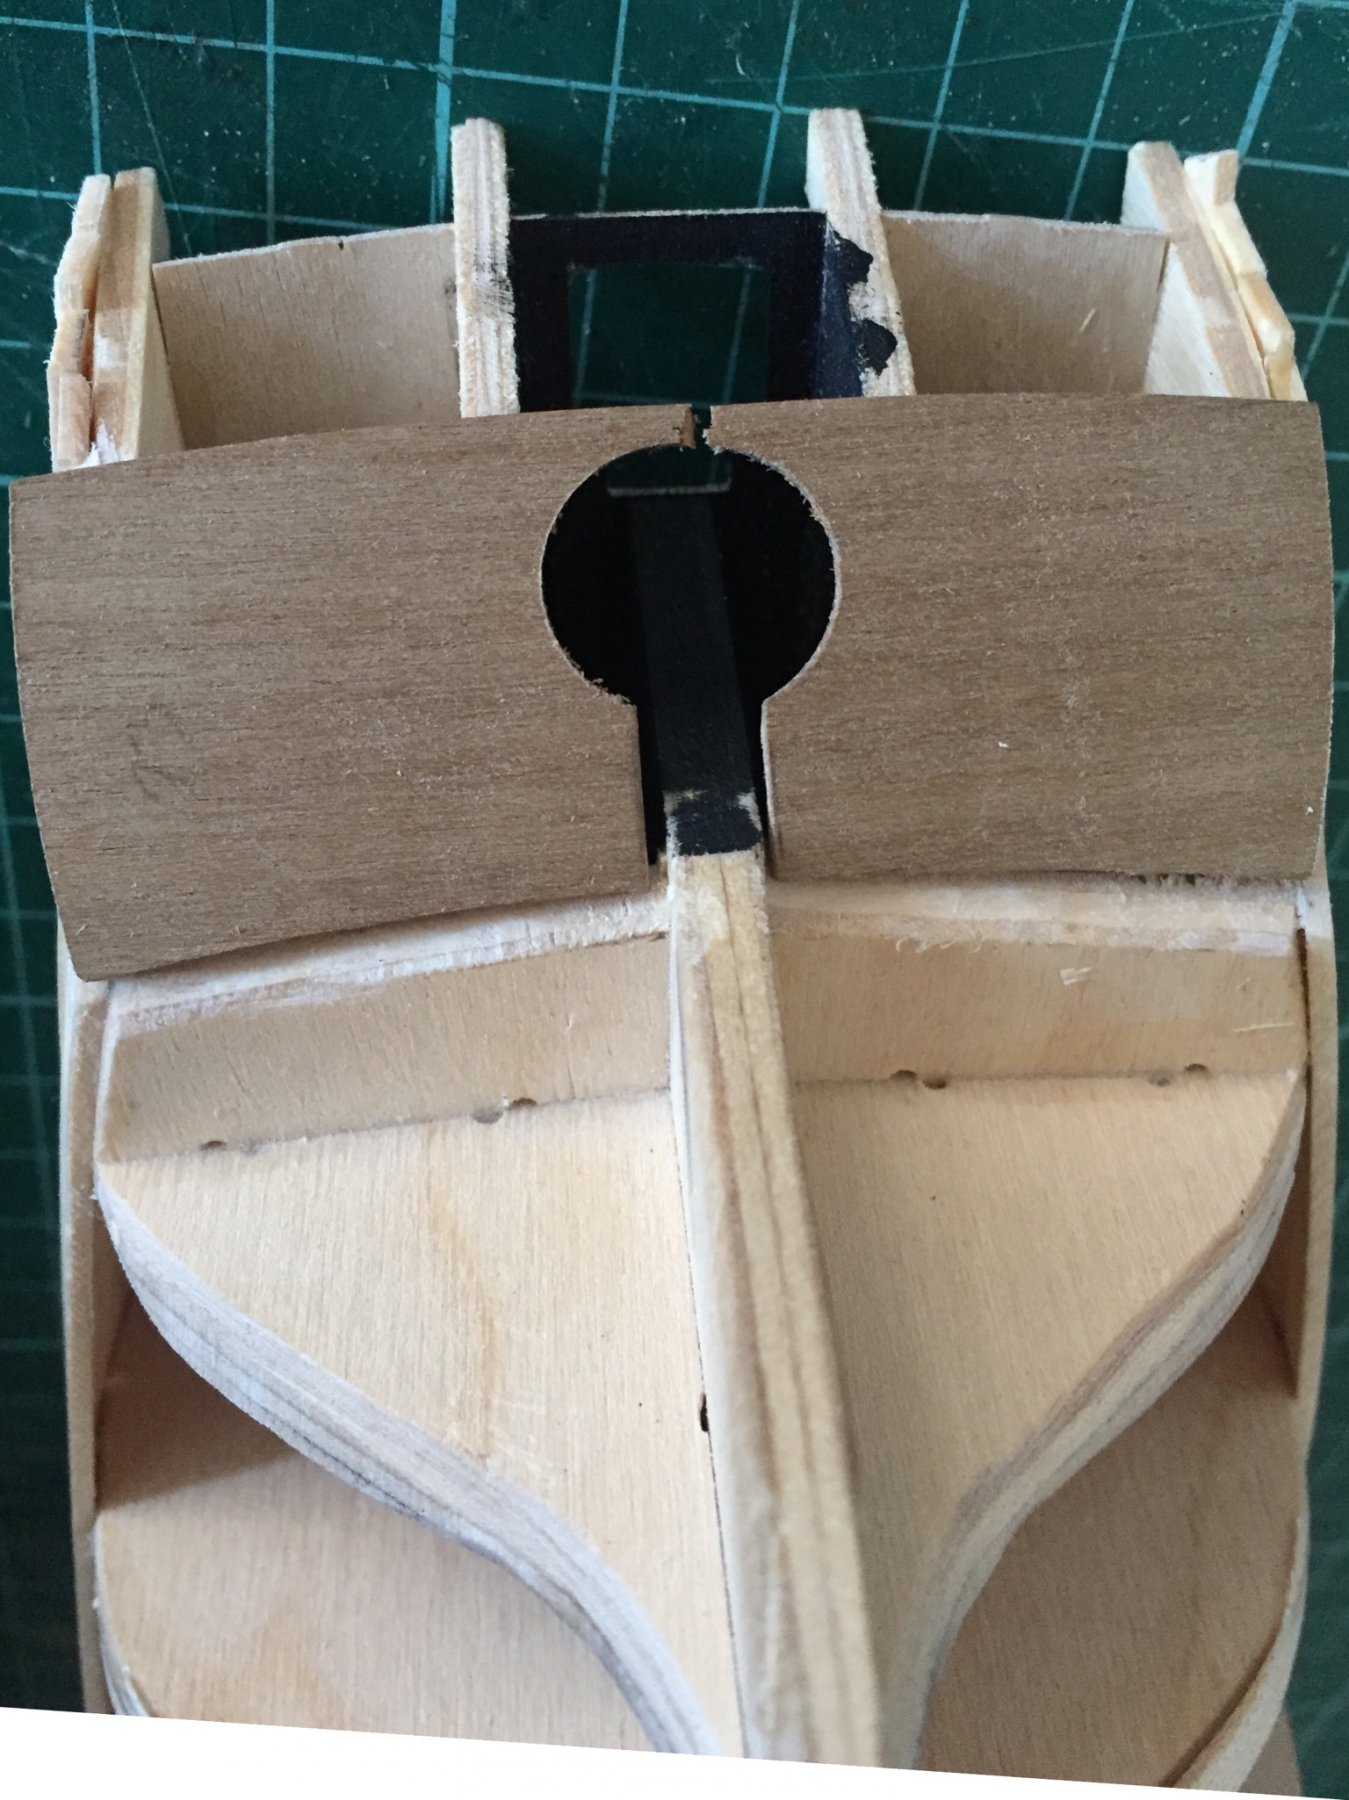
Bugger. Well, I guess that was always going to happen. No biggie.

-
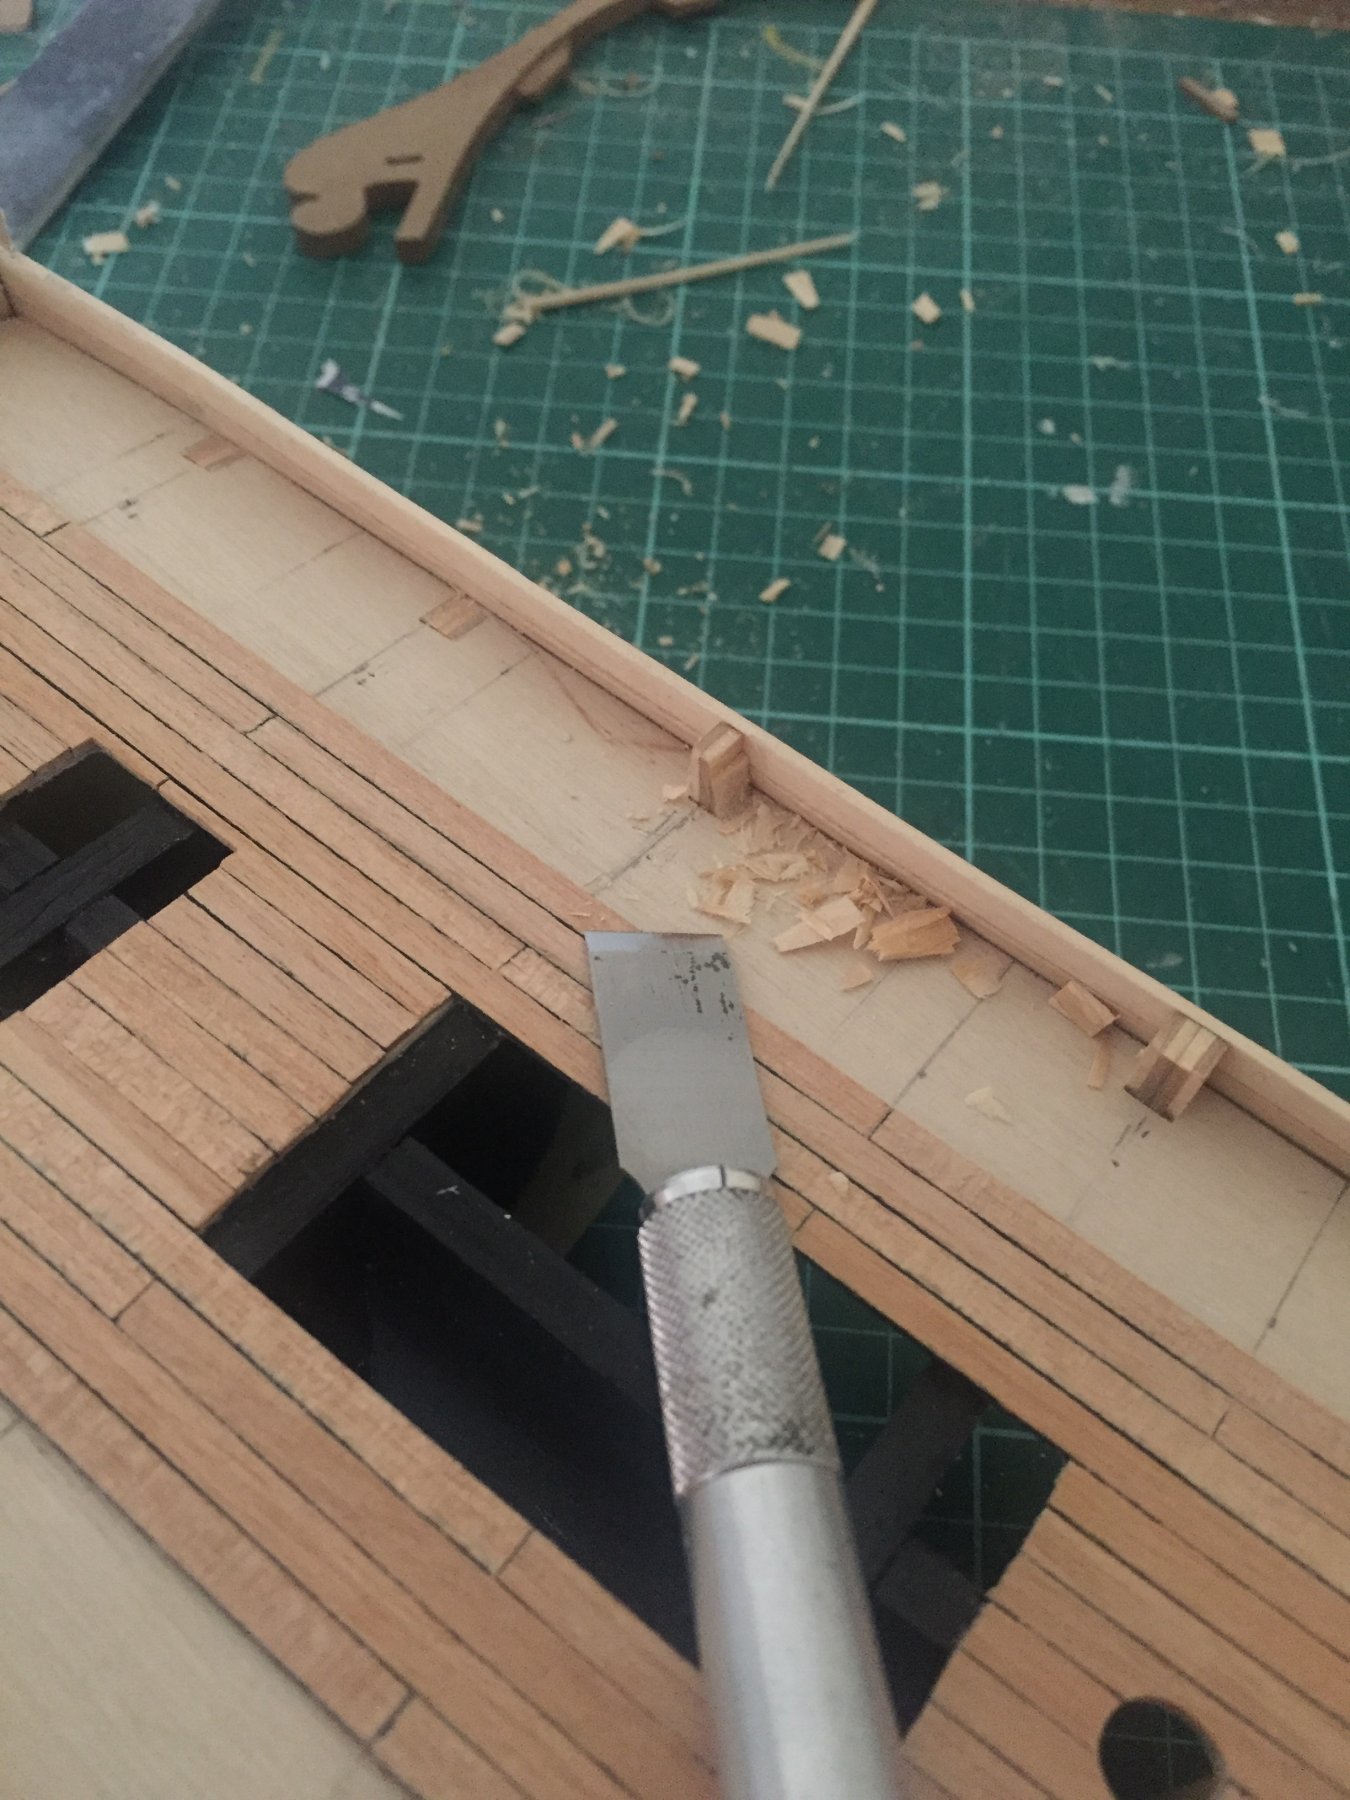
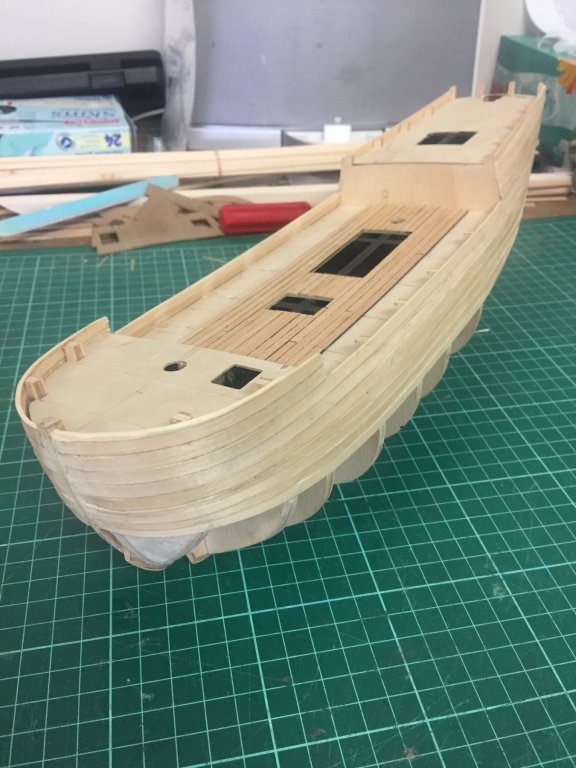
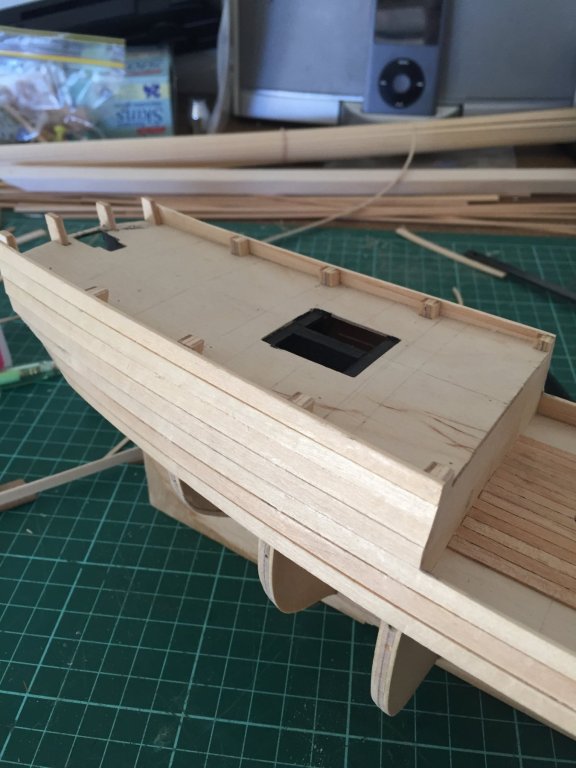
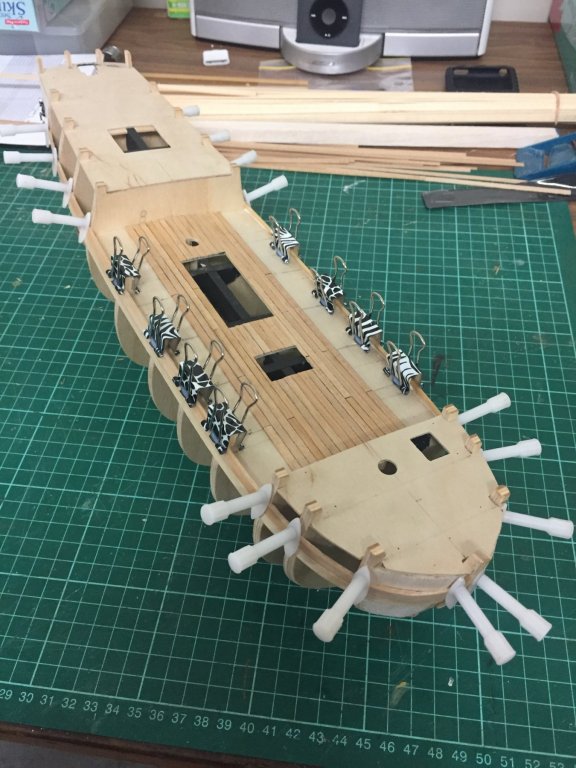
I’m doing everything in this order because I want to place a plank across the ship at the forecastle break and quarterdeck break, and I can’t because the bulwark caps are still in the way. I’ll cut away the caps, line the inside of the bulwarks and paint them ochre red before I finish planking the decks. That way, I’ll avoid getting paint on the deck planking.
-
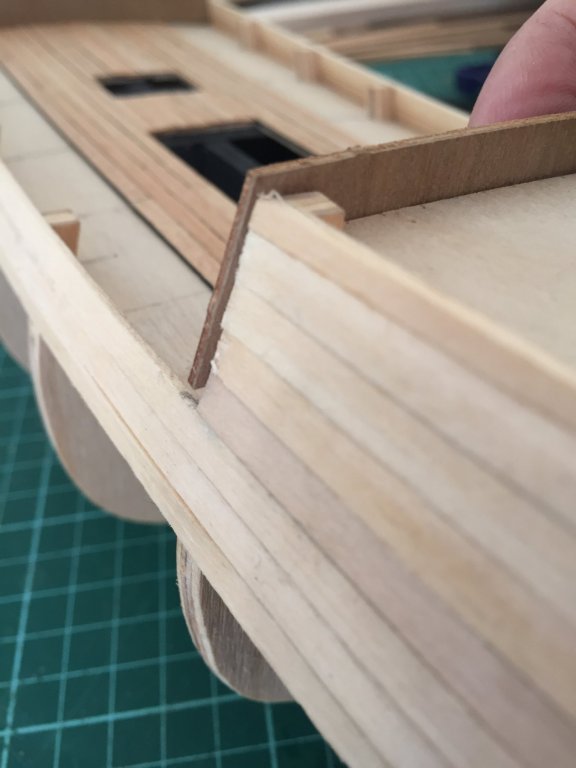
The forward facia is the reverse. I’m sanding the foredeck 1st planking flush with the facia so it sits over its width.

-
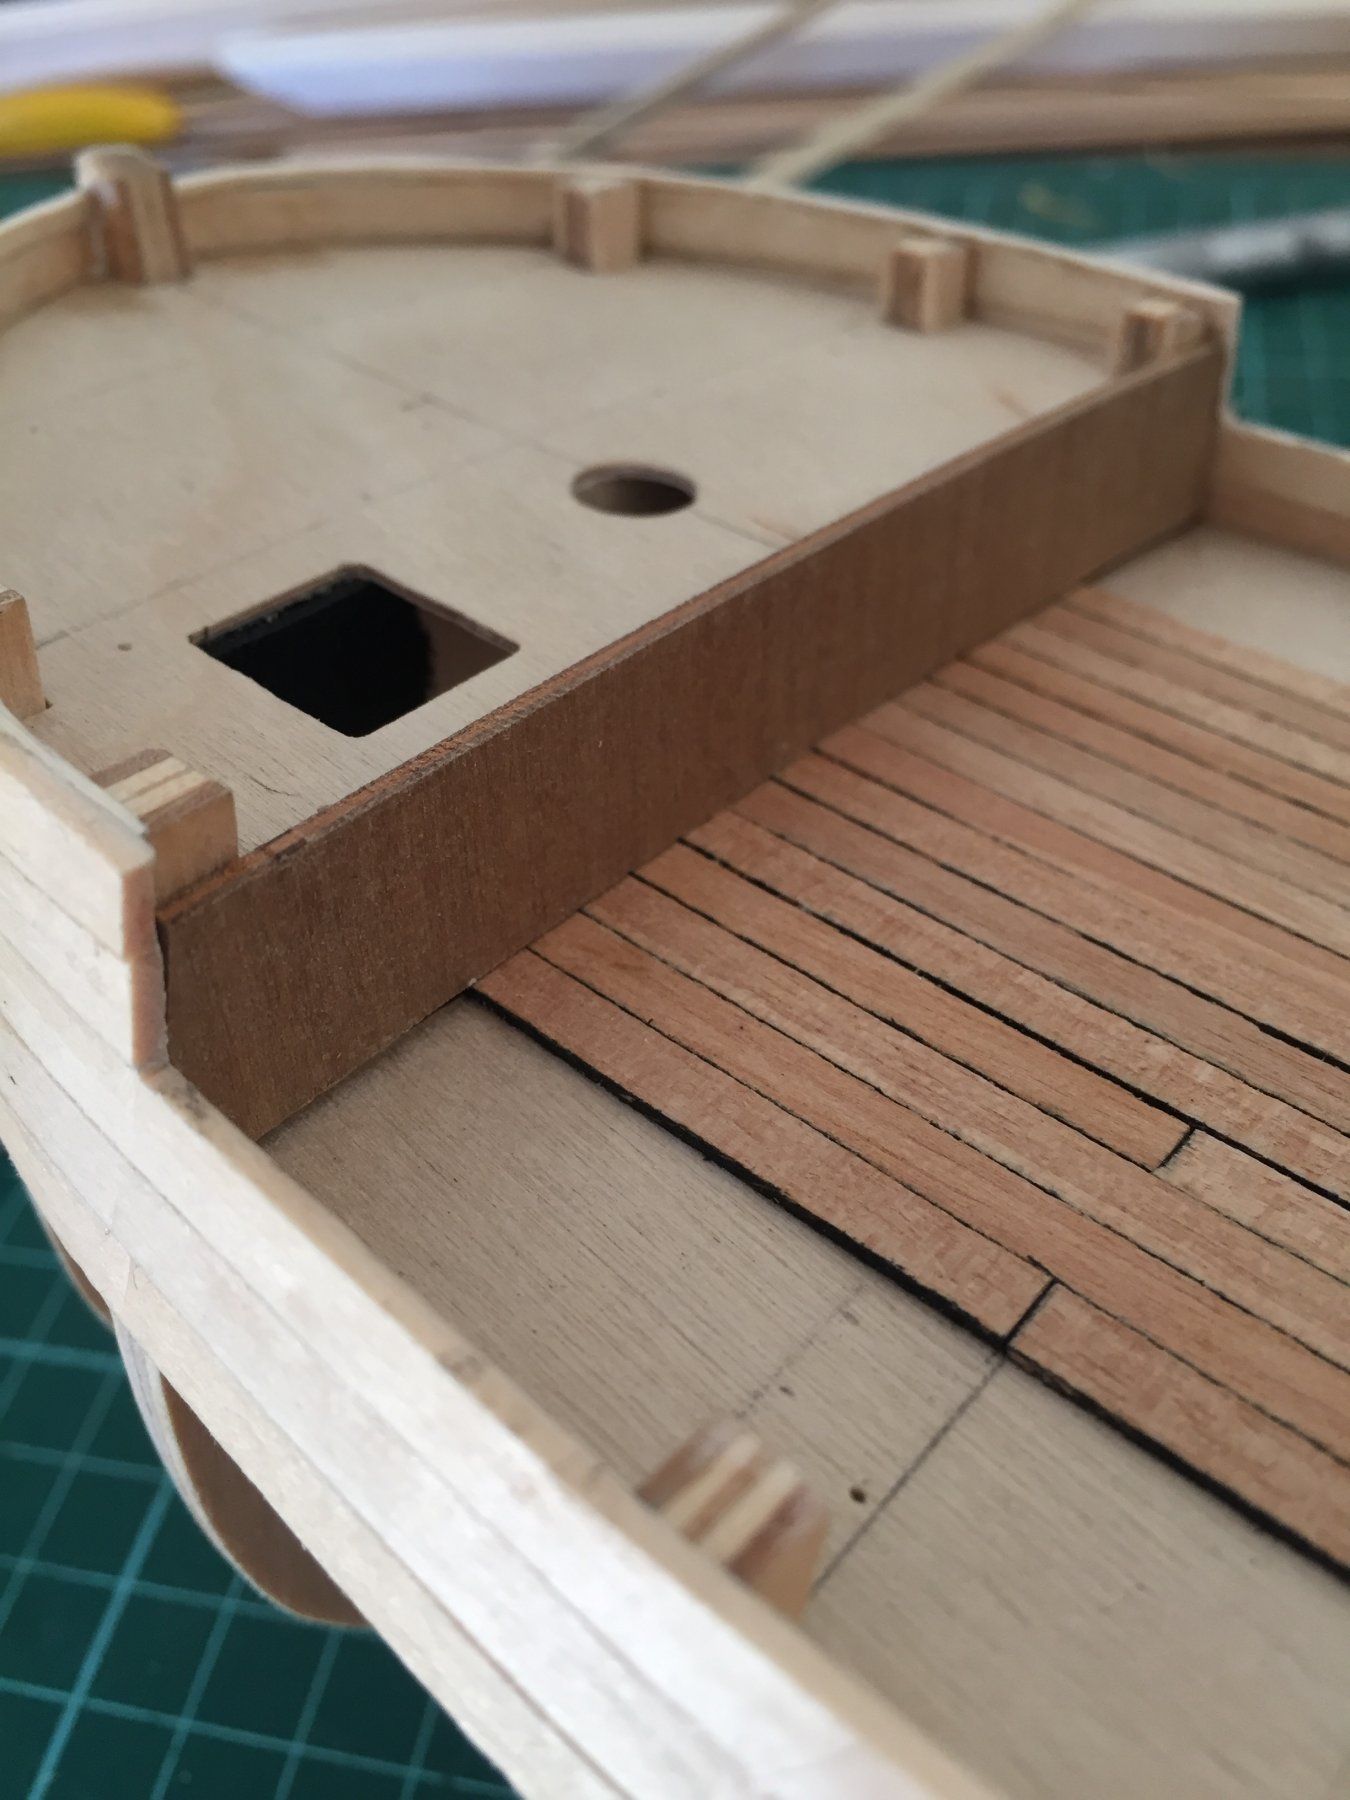
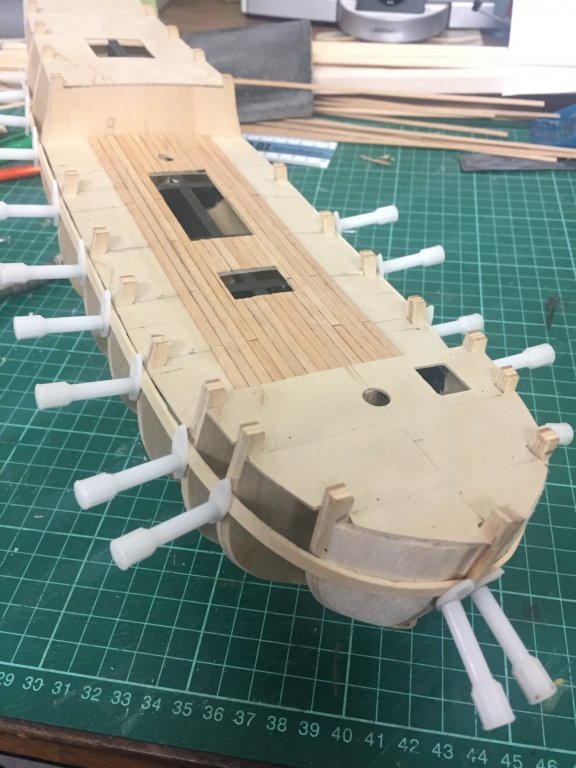
The quarterdeck hull planks are sanded level with the 8th bulkhead so the aft deck facia (part 57) sits flush. When I fix the facia in place, I’ll sand it’s outer edges to be flush with the width of the 1st layer planking. Eventually, the 2nd layer planking will terminate neatly with the forward wall of the facia.
-
Once the bulwarks are slightly past the height of the bulkhead caps, I’m sanding them back down to neatly meet the caps.
-
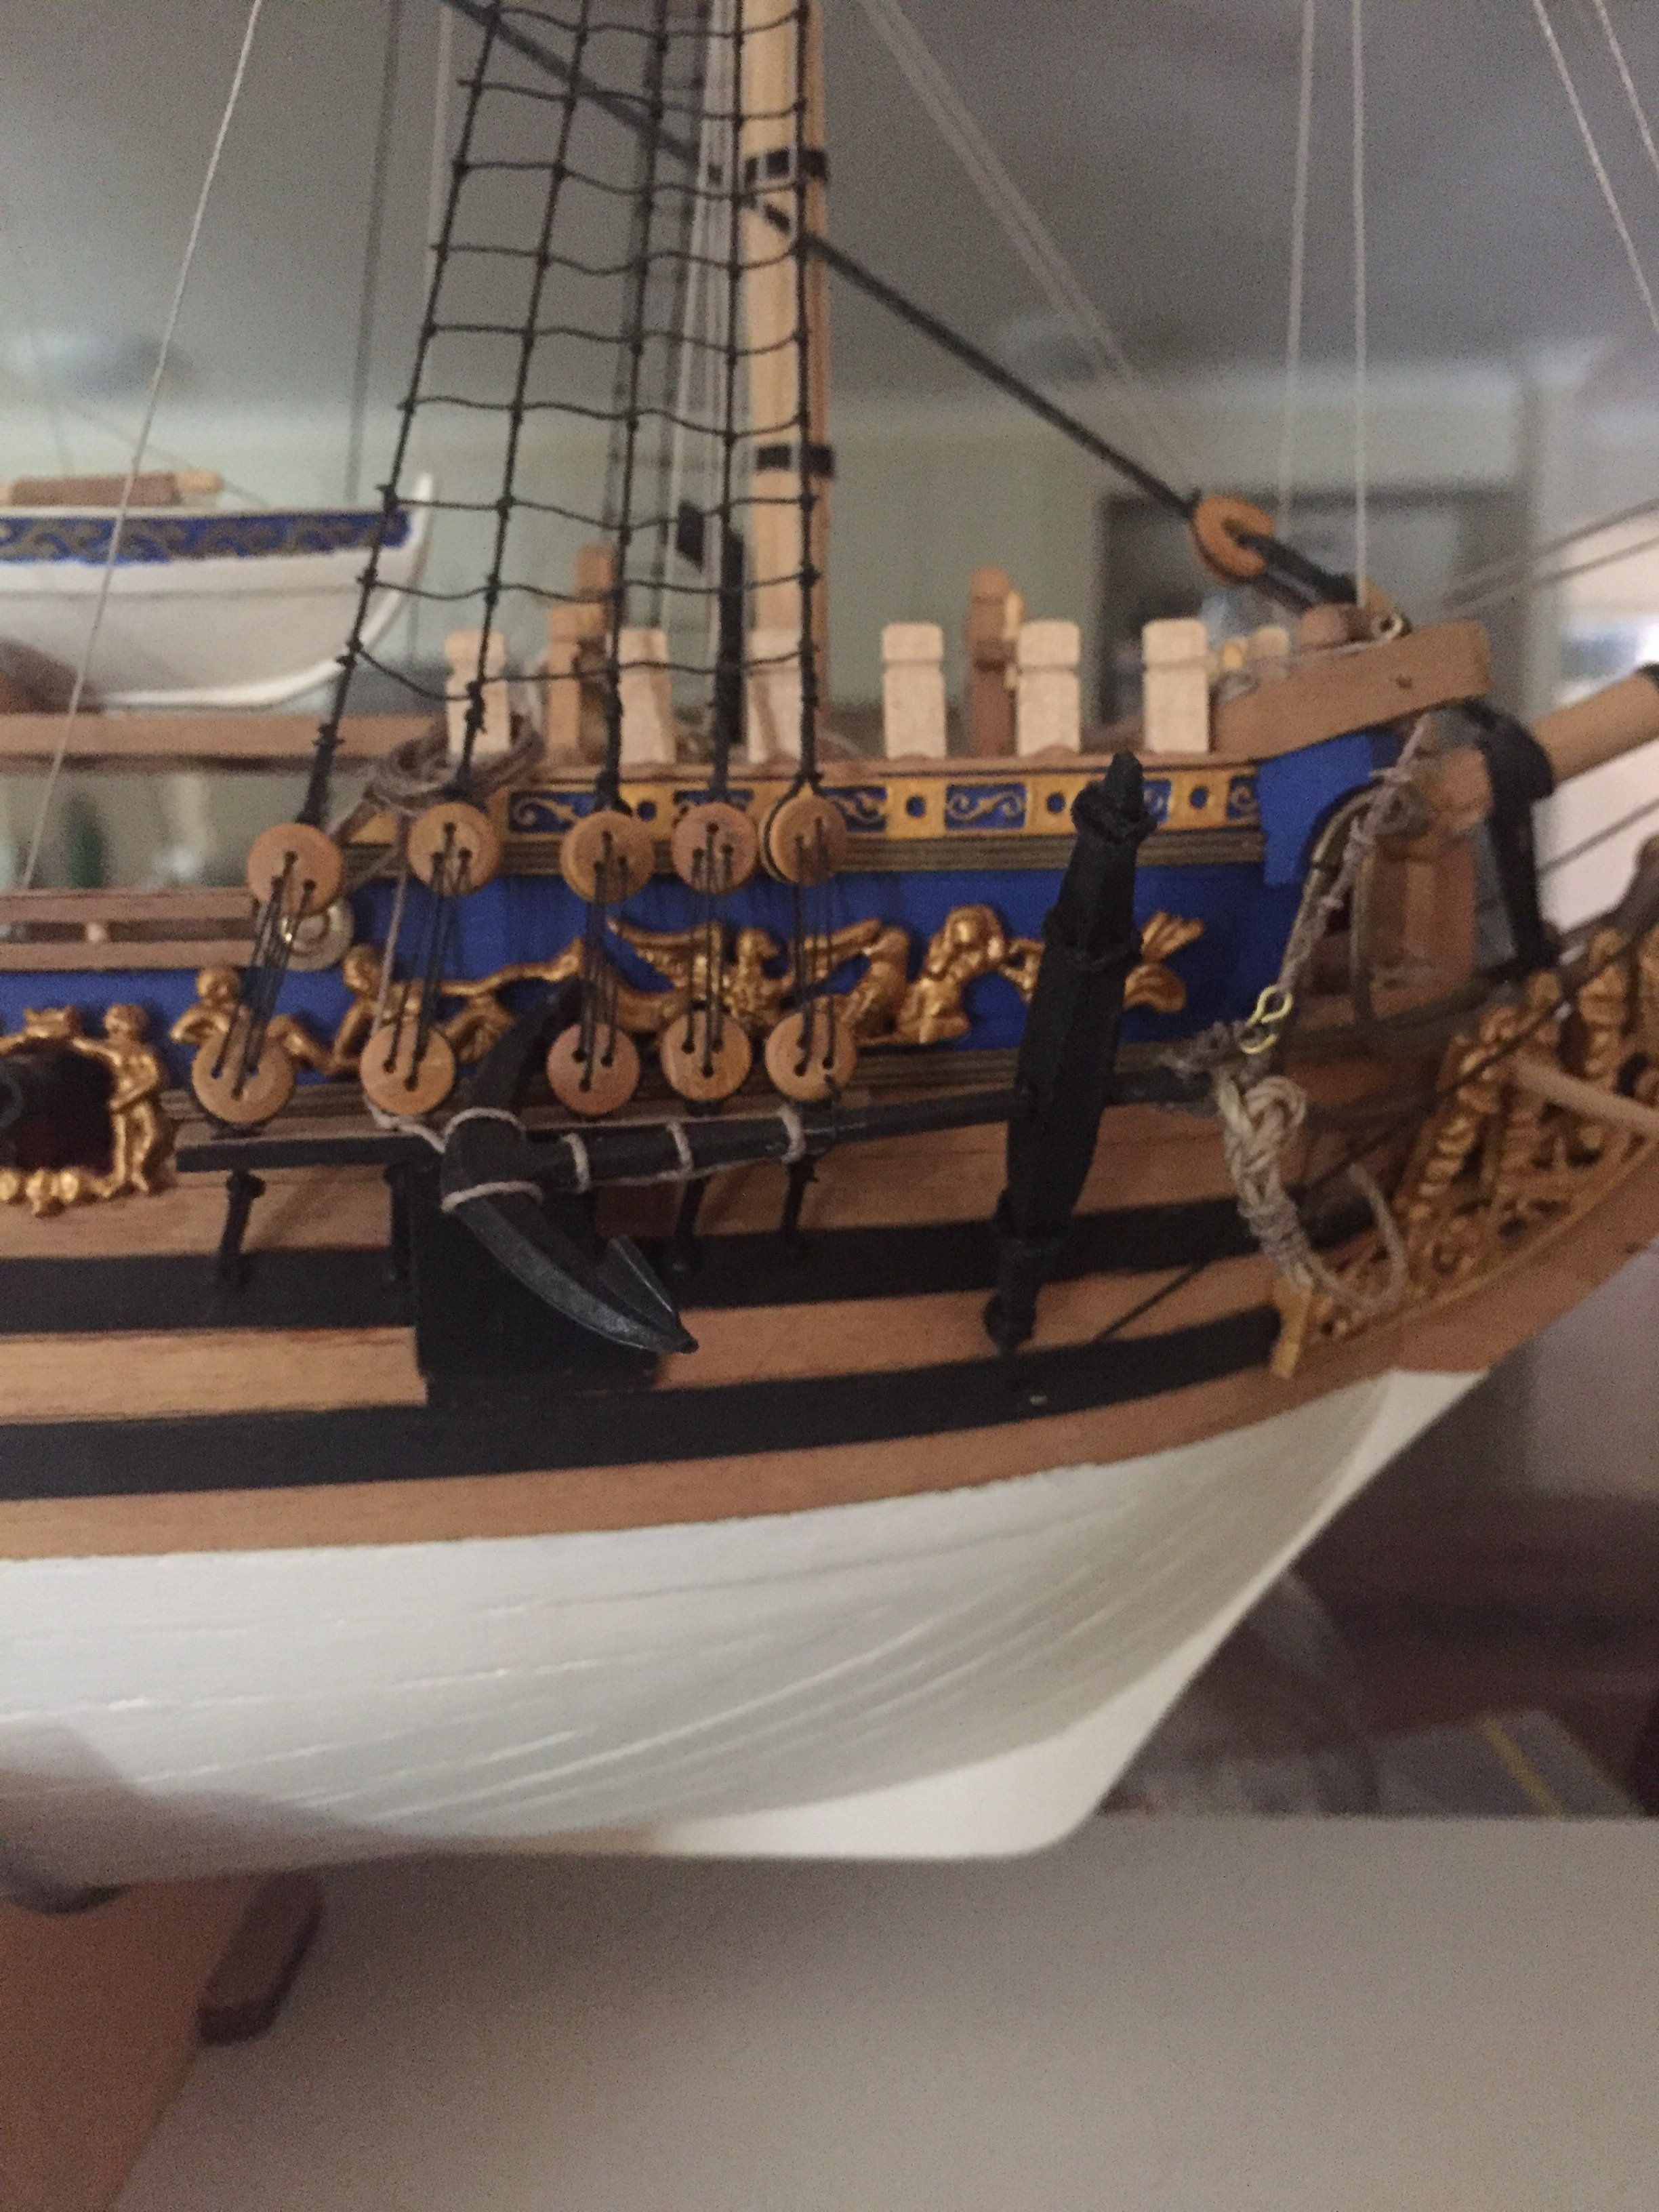
The treenailing was worth the effort. It looks great, I reckon.
-
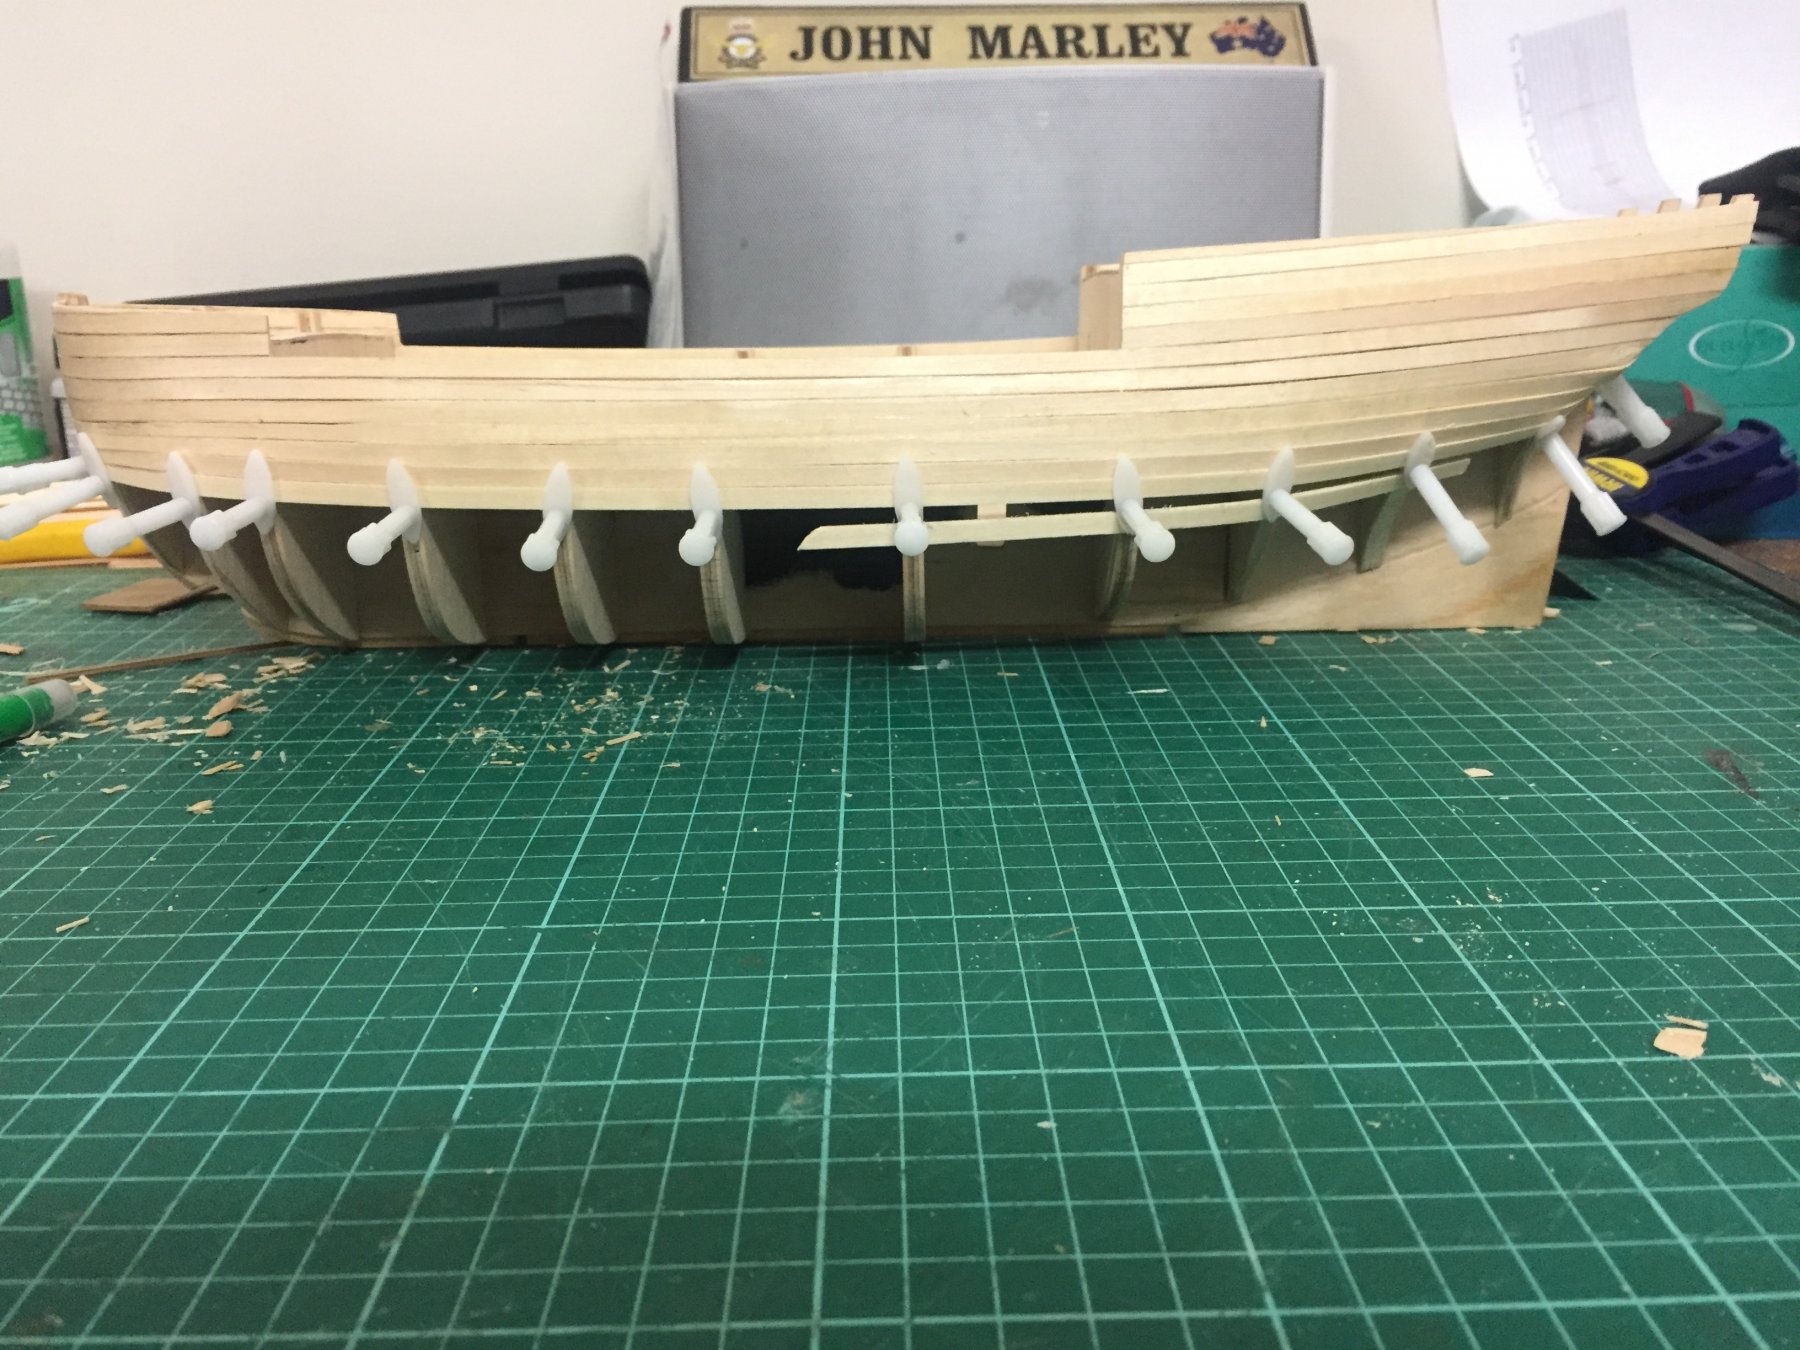
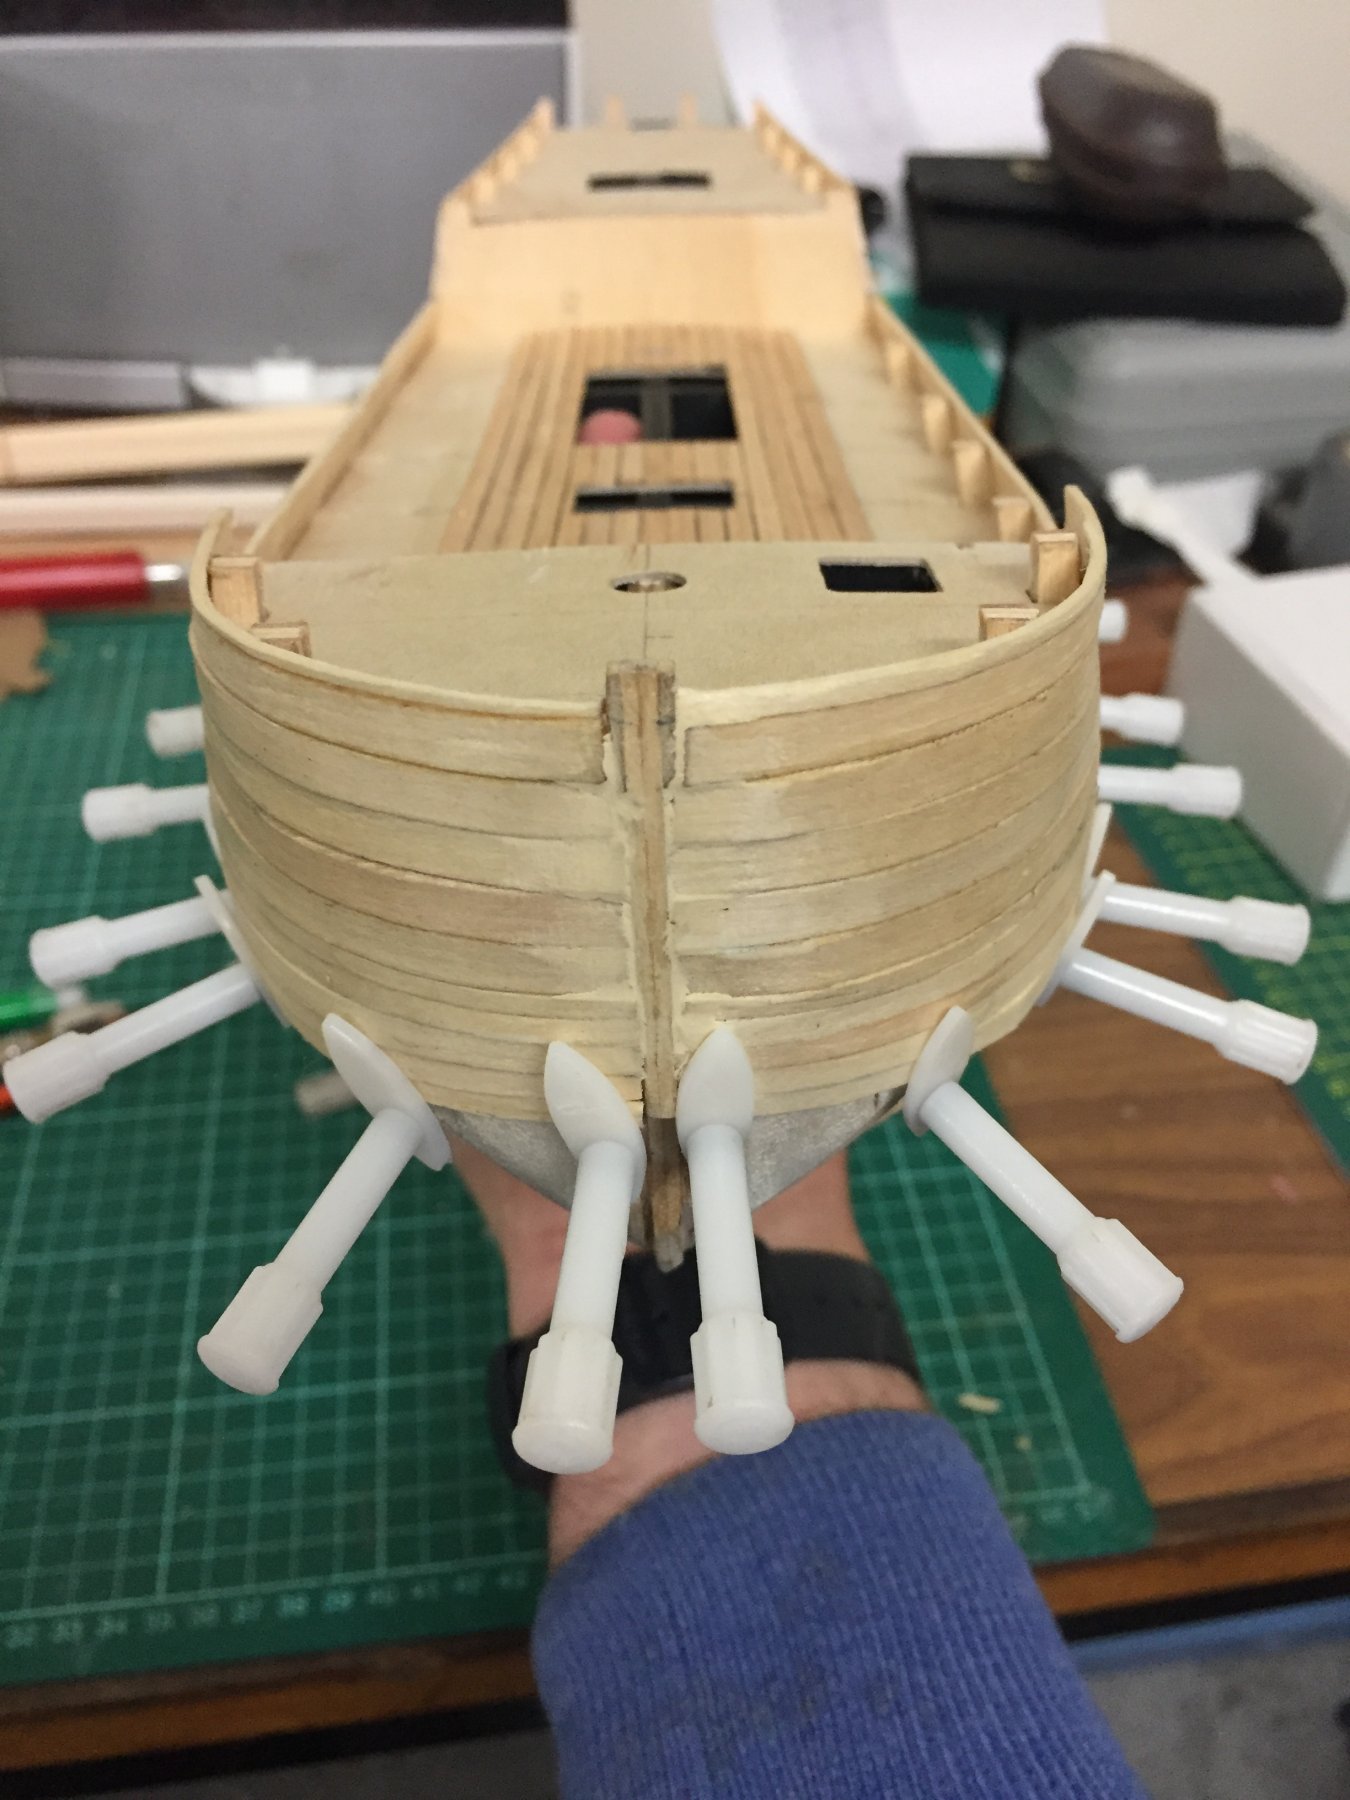
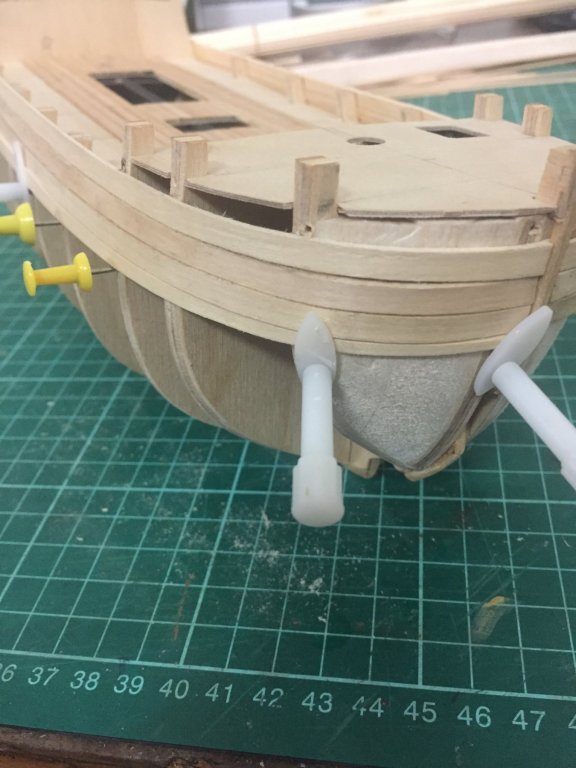
Thanks, Andrew. Two planks bent and dry-fitted to the bow. I’ll repeat this tomorrow with two more, so I’ll have four identical bends. Then I’ll glue one set on top of the other to reach the top of the bulwarks, keeping the bulkheads free of glue above deck level. Two more fitted to the rear, too.
-
I’ve been agonising about planking the hull, so I realise I had to break the deadlock. The only way I could do that is by charging forward. On my previous ship builds, I used an Artesania Latina plank bender on dry wood. For this one, I’ve been soaking the planks, bending them by hand and fitting them wet. As a result, they’ve shrunk, leaving gaps between strips when drying. This will not do. I’ve measured the distance between the keel and first plank at the widest bulkhead (89mm) and at the first bulkhead (55mm), Working myself into an imaginary frenzy about plank width and distances to the garboard plank....to hell with it.....Crack on! I simply measured half the plank width at the bow and from there, sliced to the fourth bulkhead, where it becomes full width. I pinned the plank in place while damp. I’ll let it dry over night and have a go gluing it in place tomorrow. There’s quite a bend at the transom, but it all seems to be fine at the moment.

-
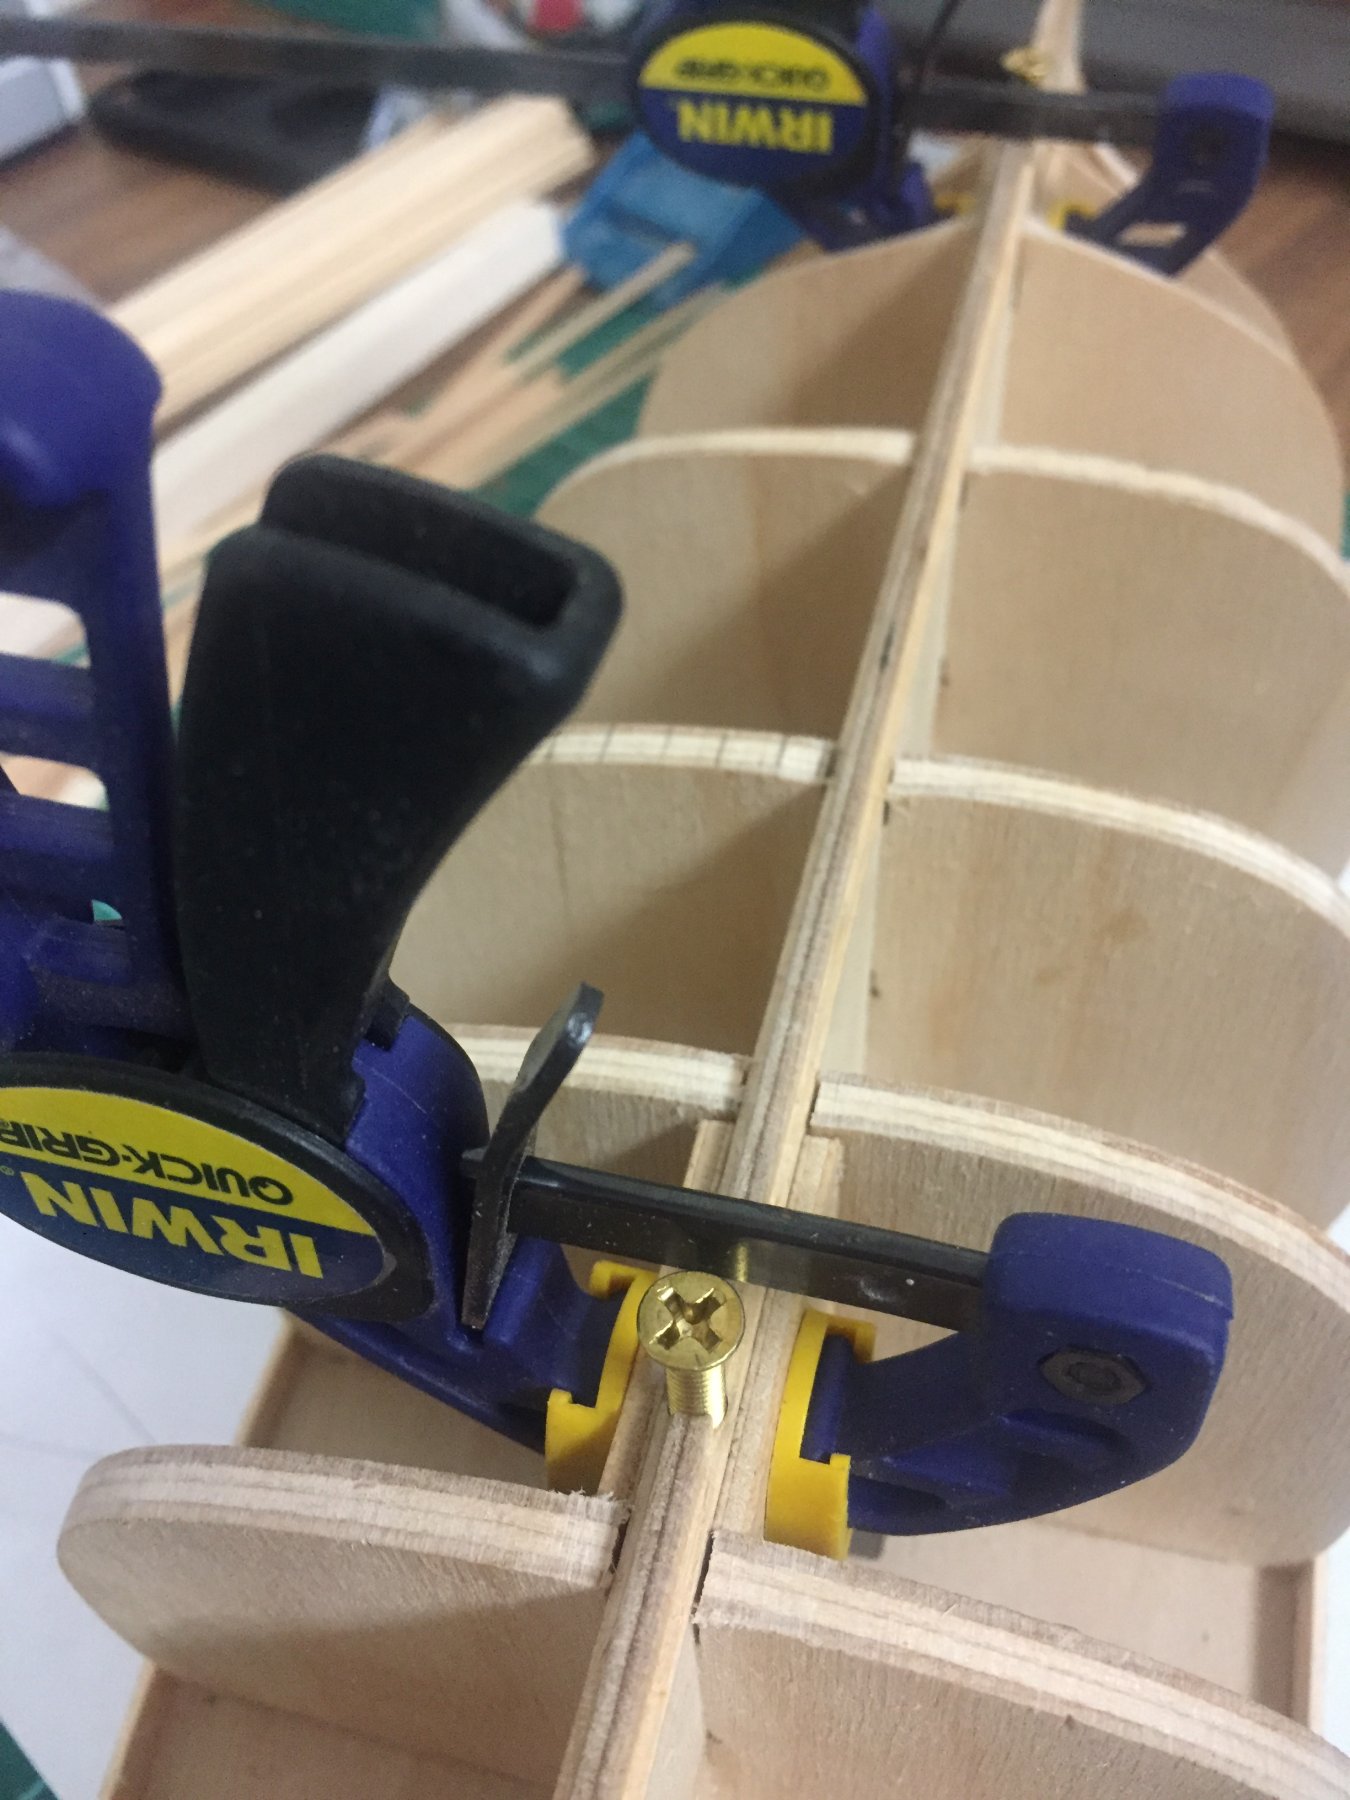
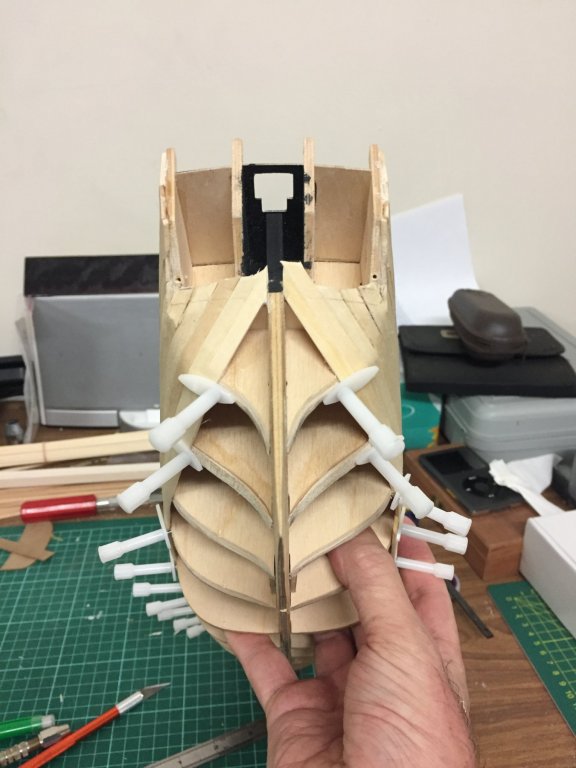
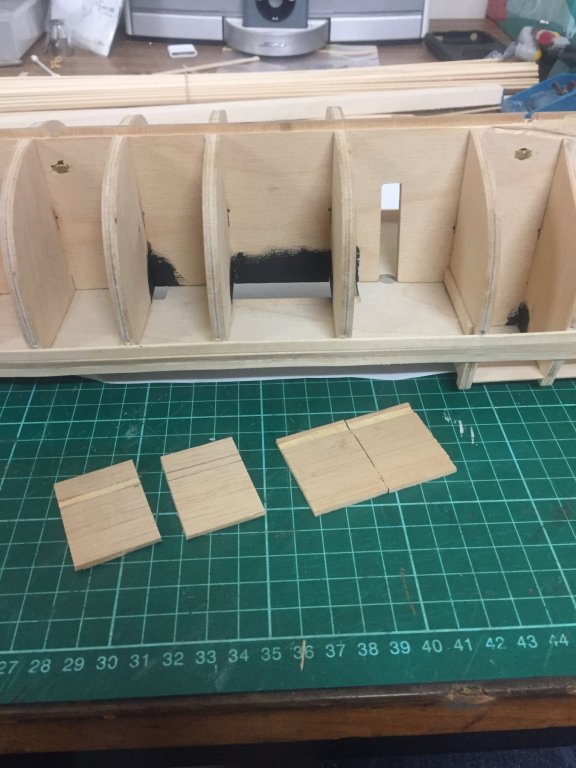
I’m jumping around a bit, but I’ve been thinking I really should strengthen the mounting nuts. So I grabbed some spare ply, measured the depth of the two nuts and removed the outer ply layer where the nuts would be so they can sit flush. I fitted the 5/32 screws to avoid alignment issues and clamped the doublers in place. Ok. I’m stalling.

-
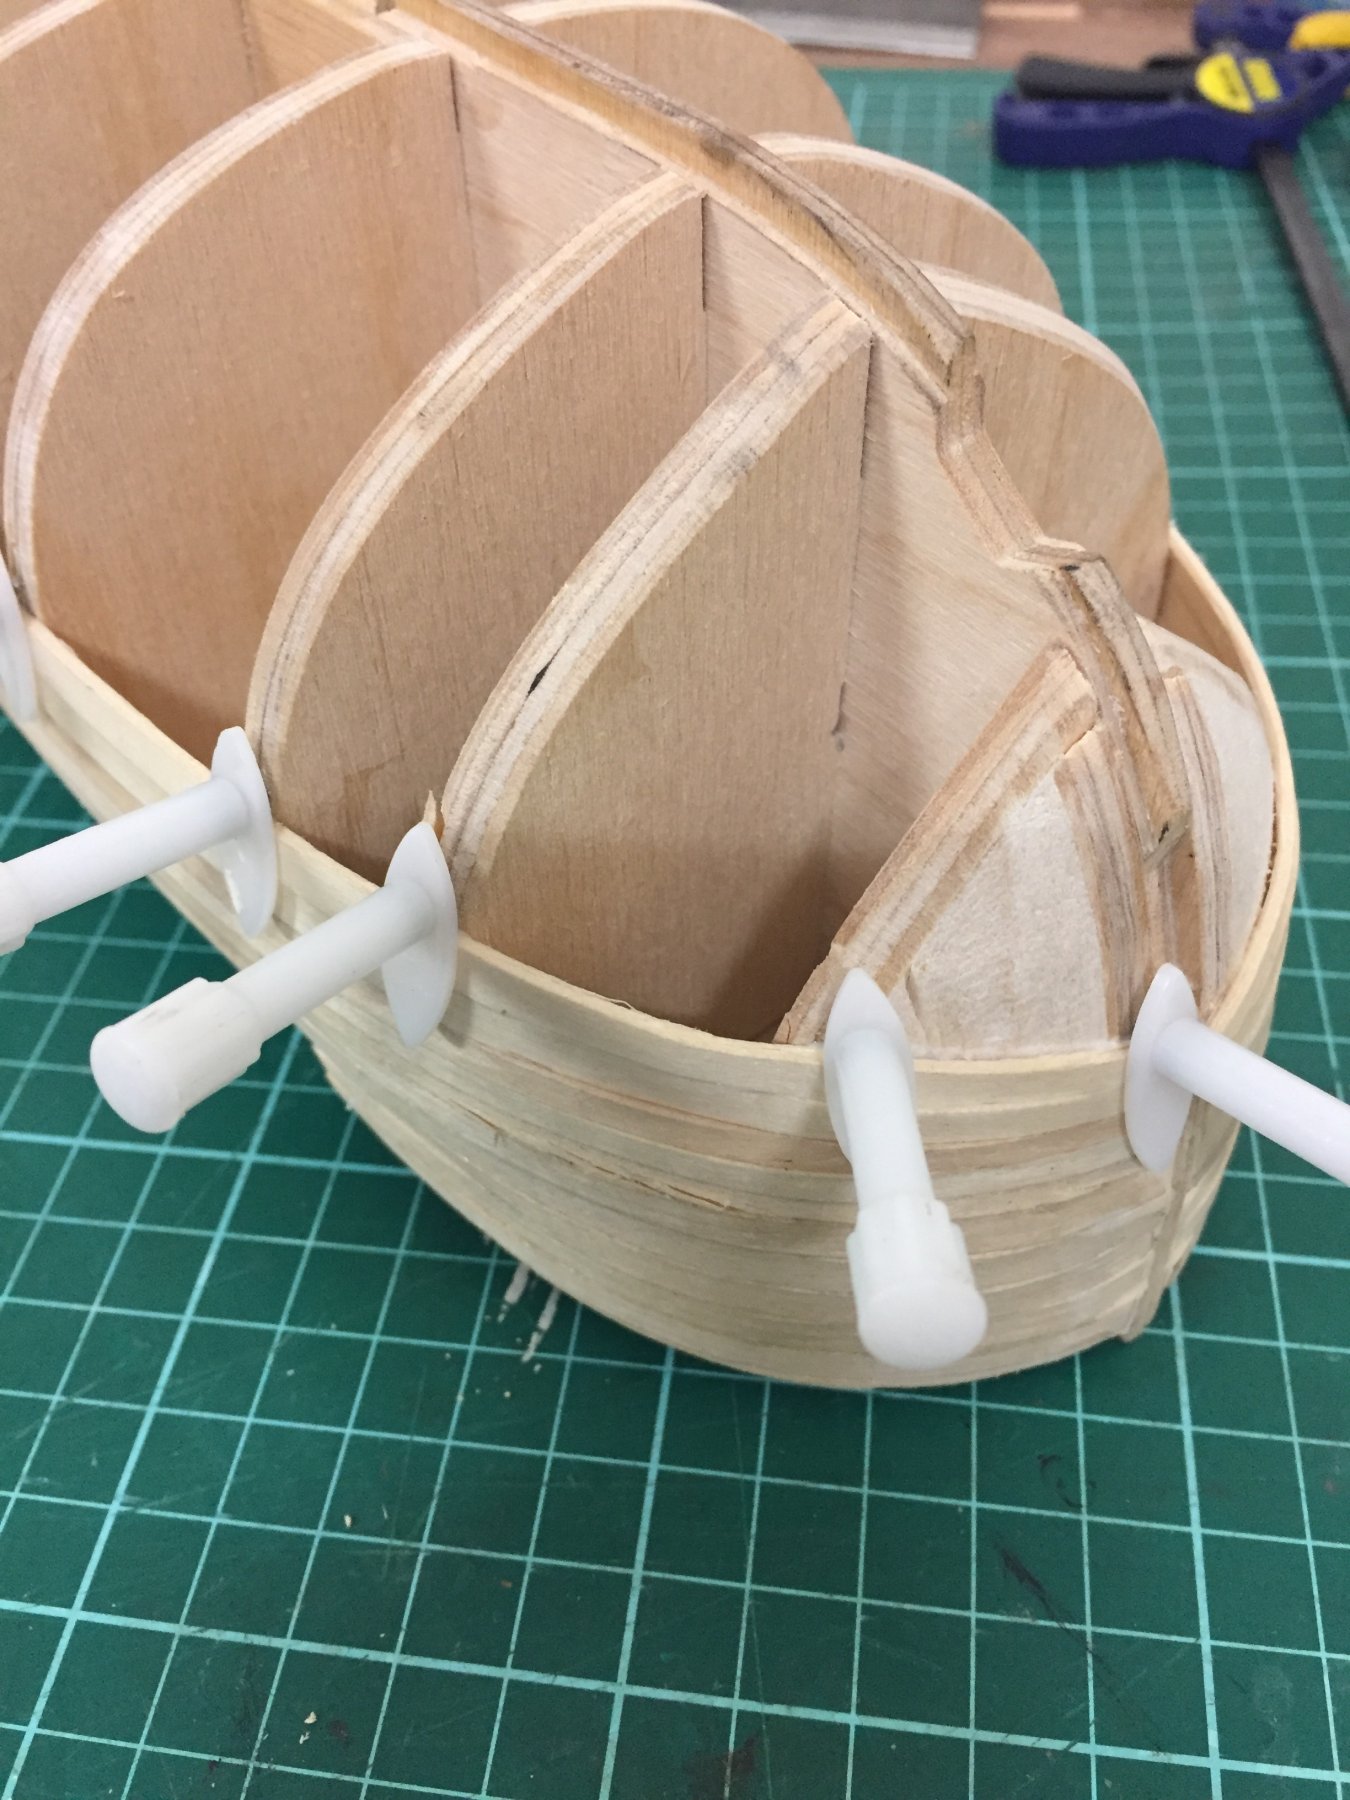
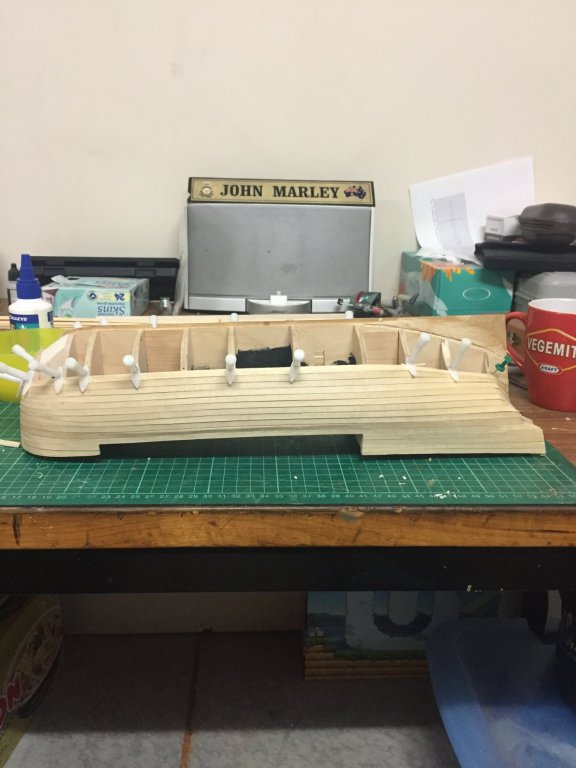
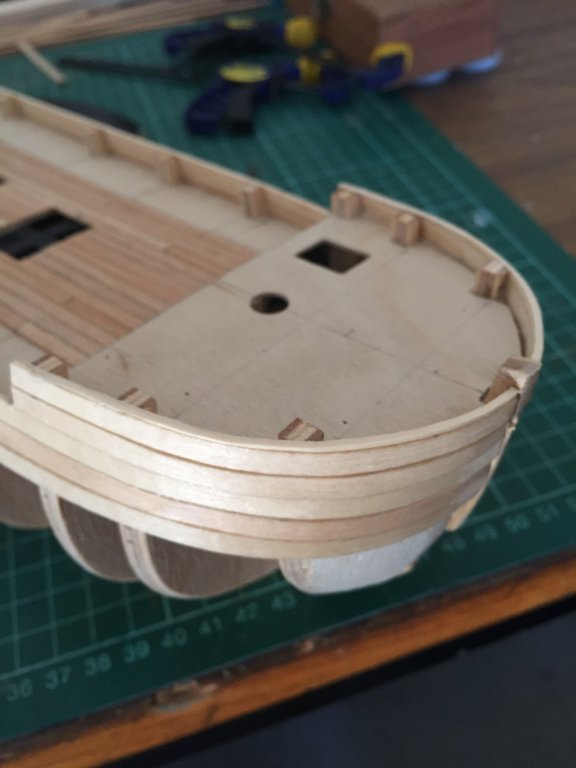
You’re all very welcome here. Third plank fitted. They align with the height of the bulwark bulkheads rather nicely.

-
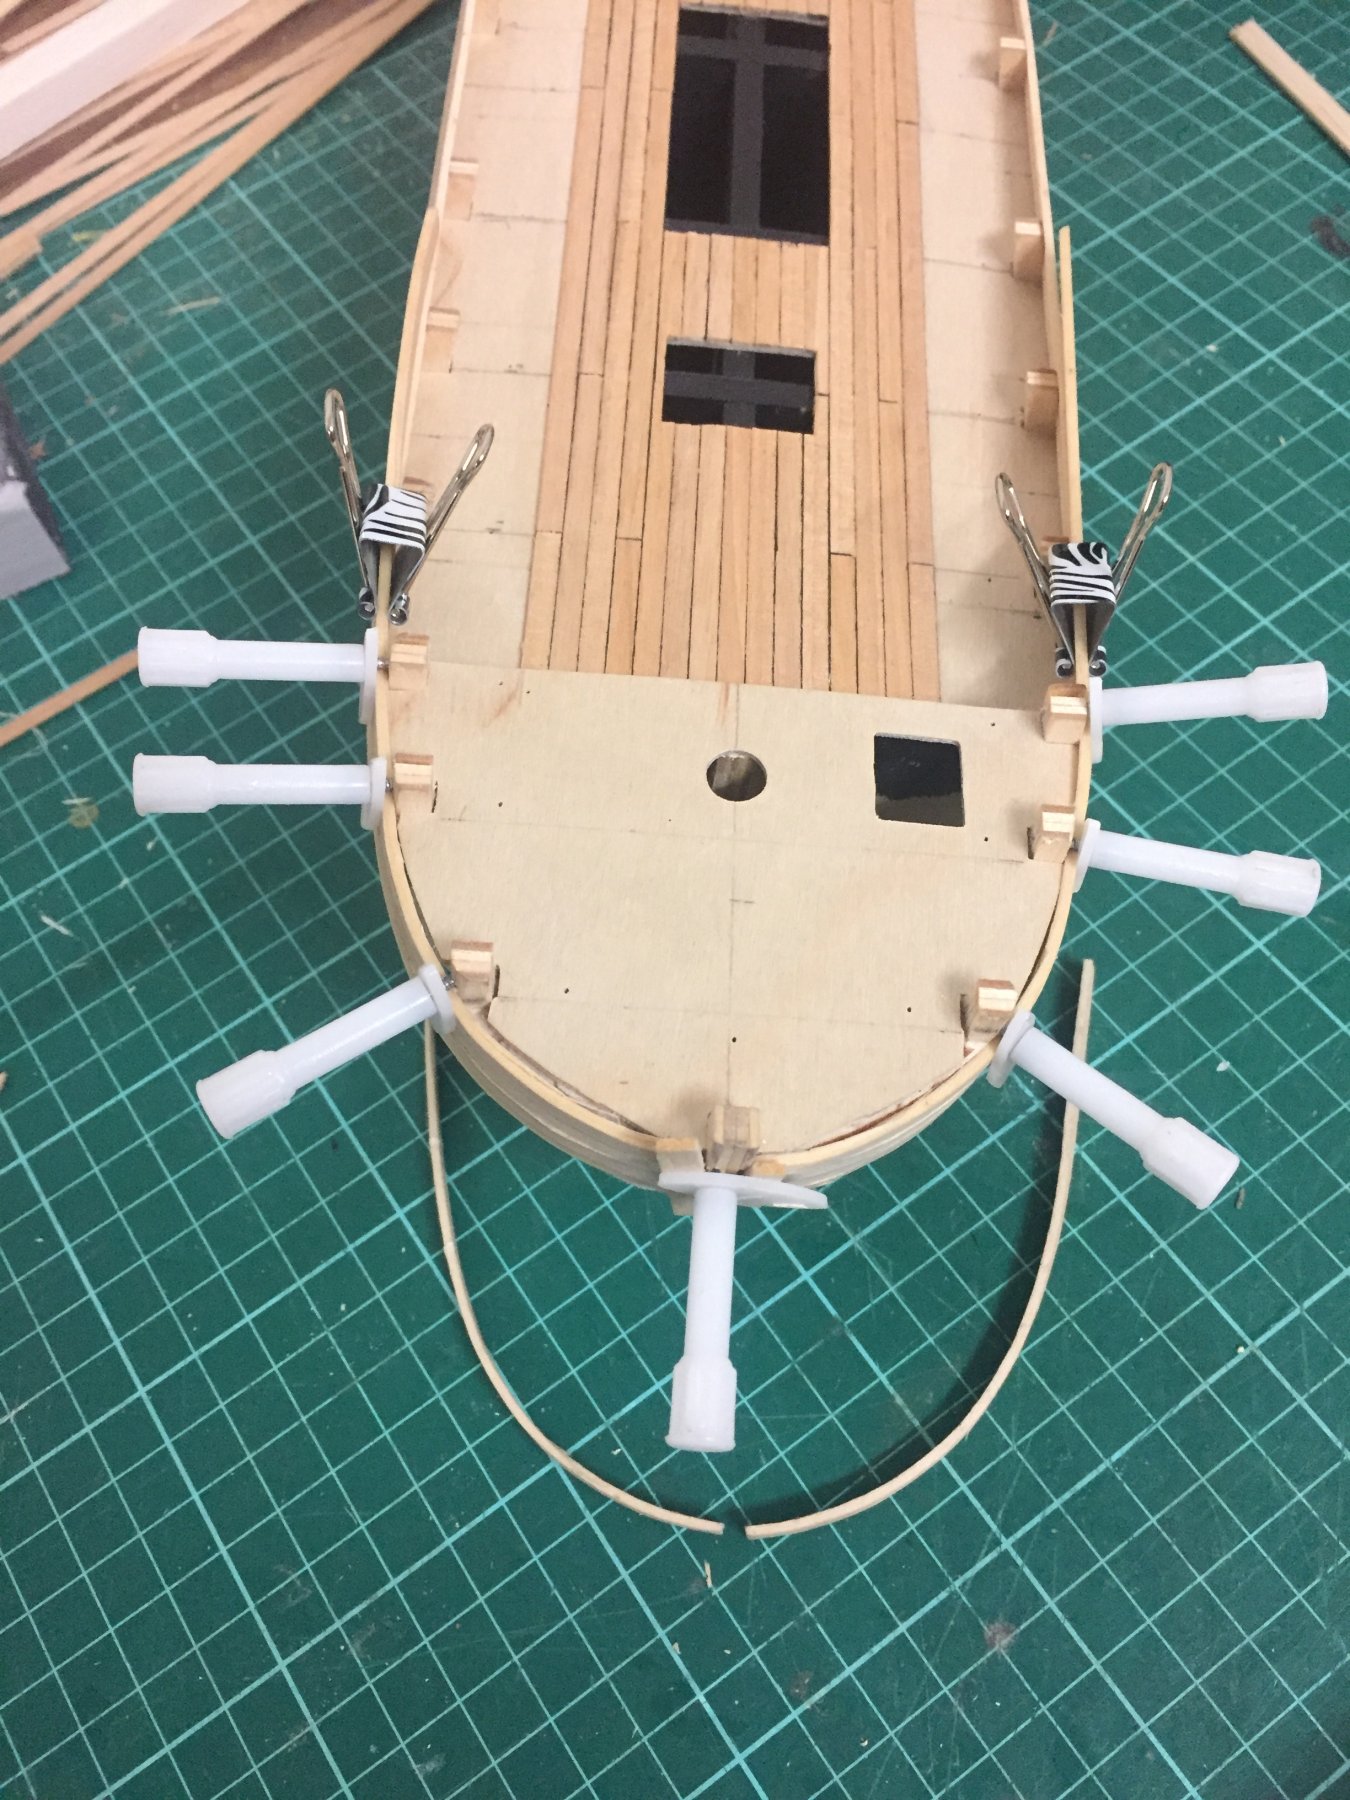
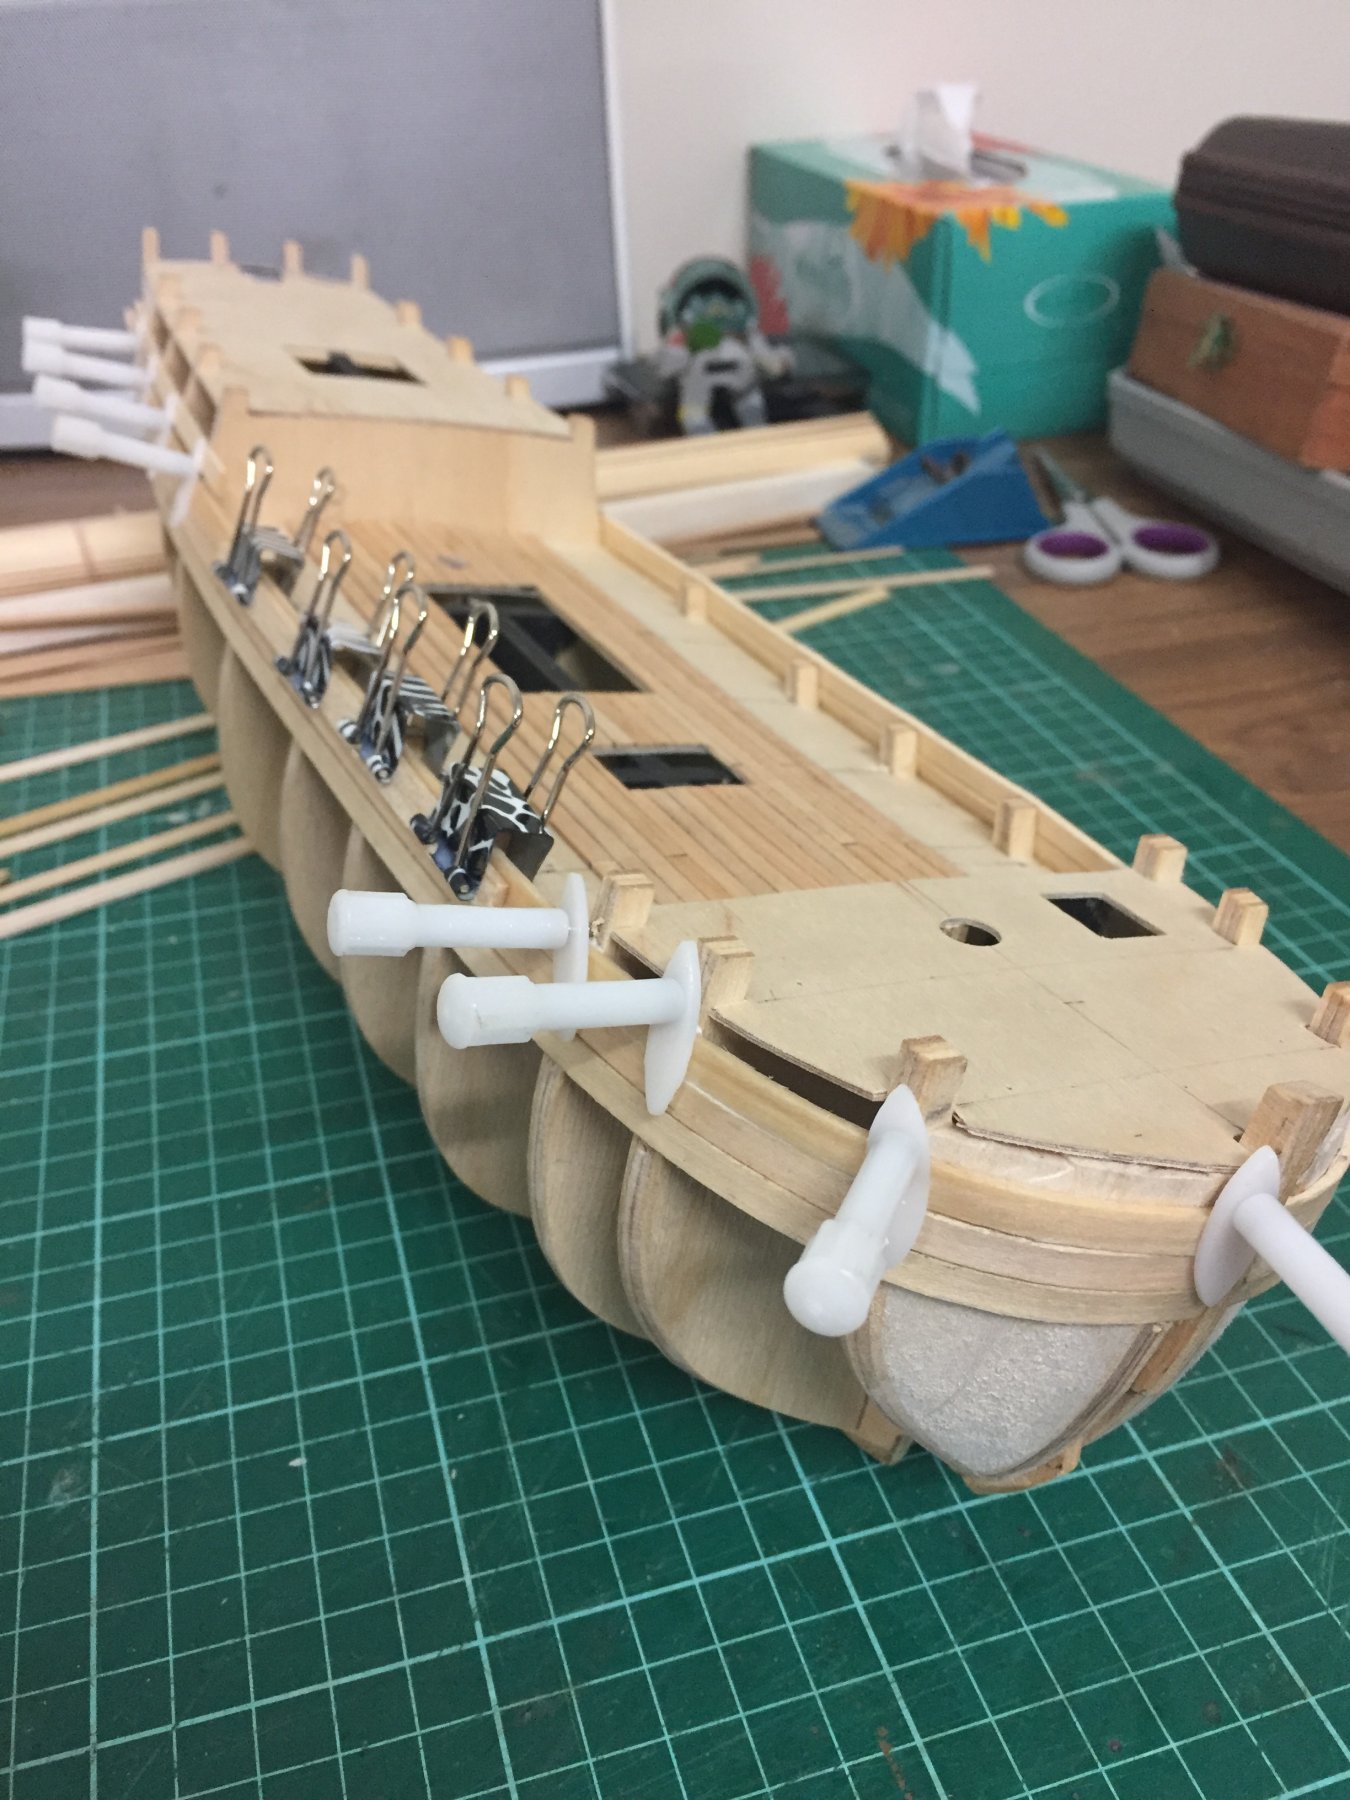
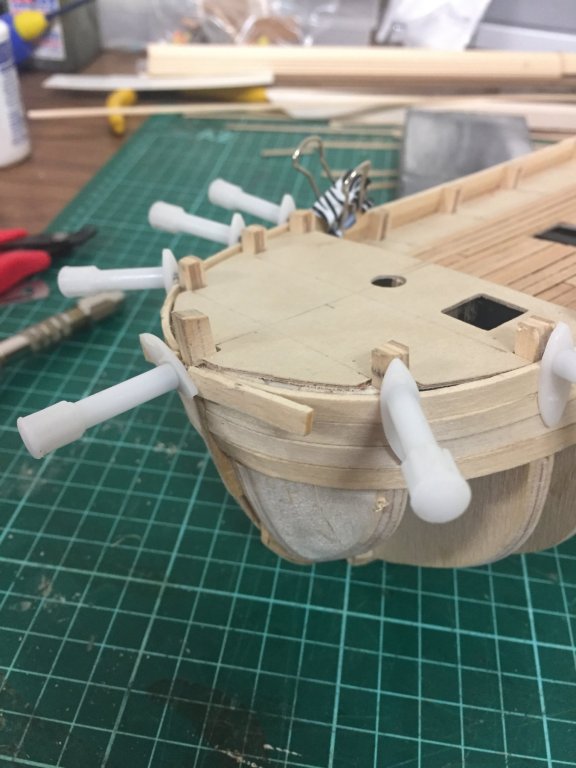
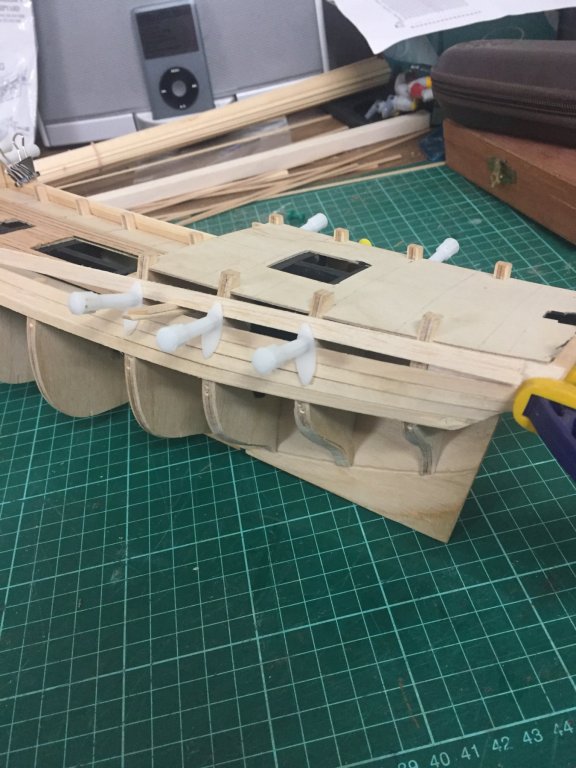
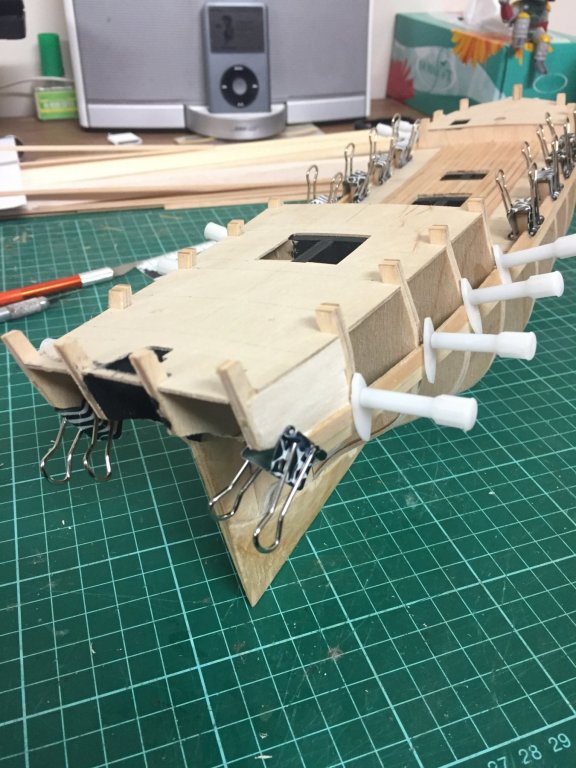
Working upwards, a second untapered plank is placed hard by the first. I’ve used PVA throughout, suplimented by CA on the bow filler. I haven’t applied glue to the main deck bulwark formers, as they will be removed later. Instead, a bead of PVA is applied along the edge of the plank, bonding the two planks to each other. Bulldog clips apply the necessary force to hold the bulwark shape while it dries overnight.

-
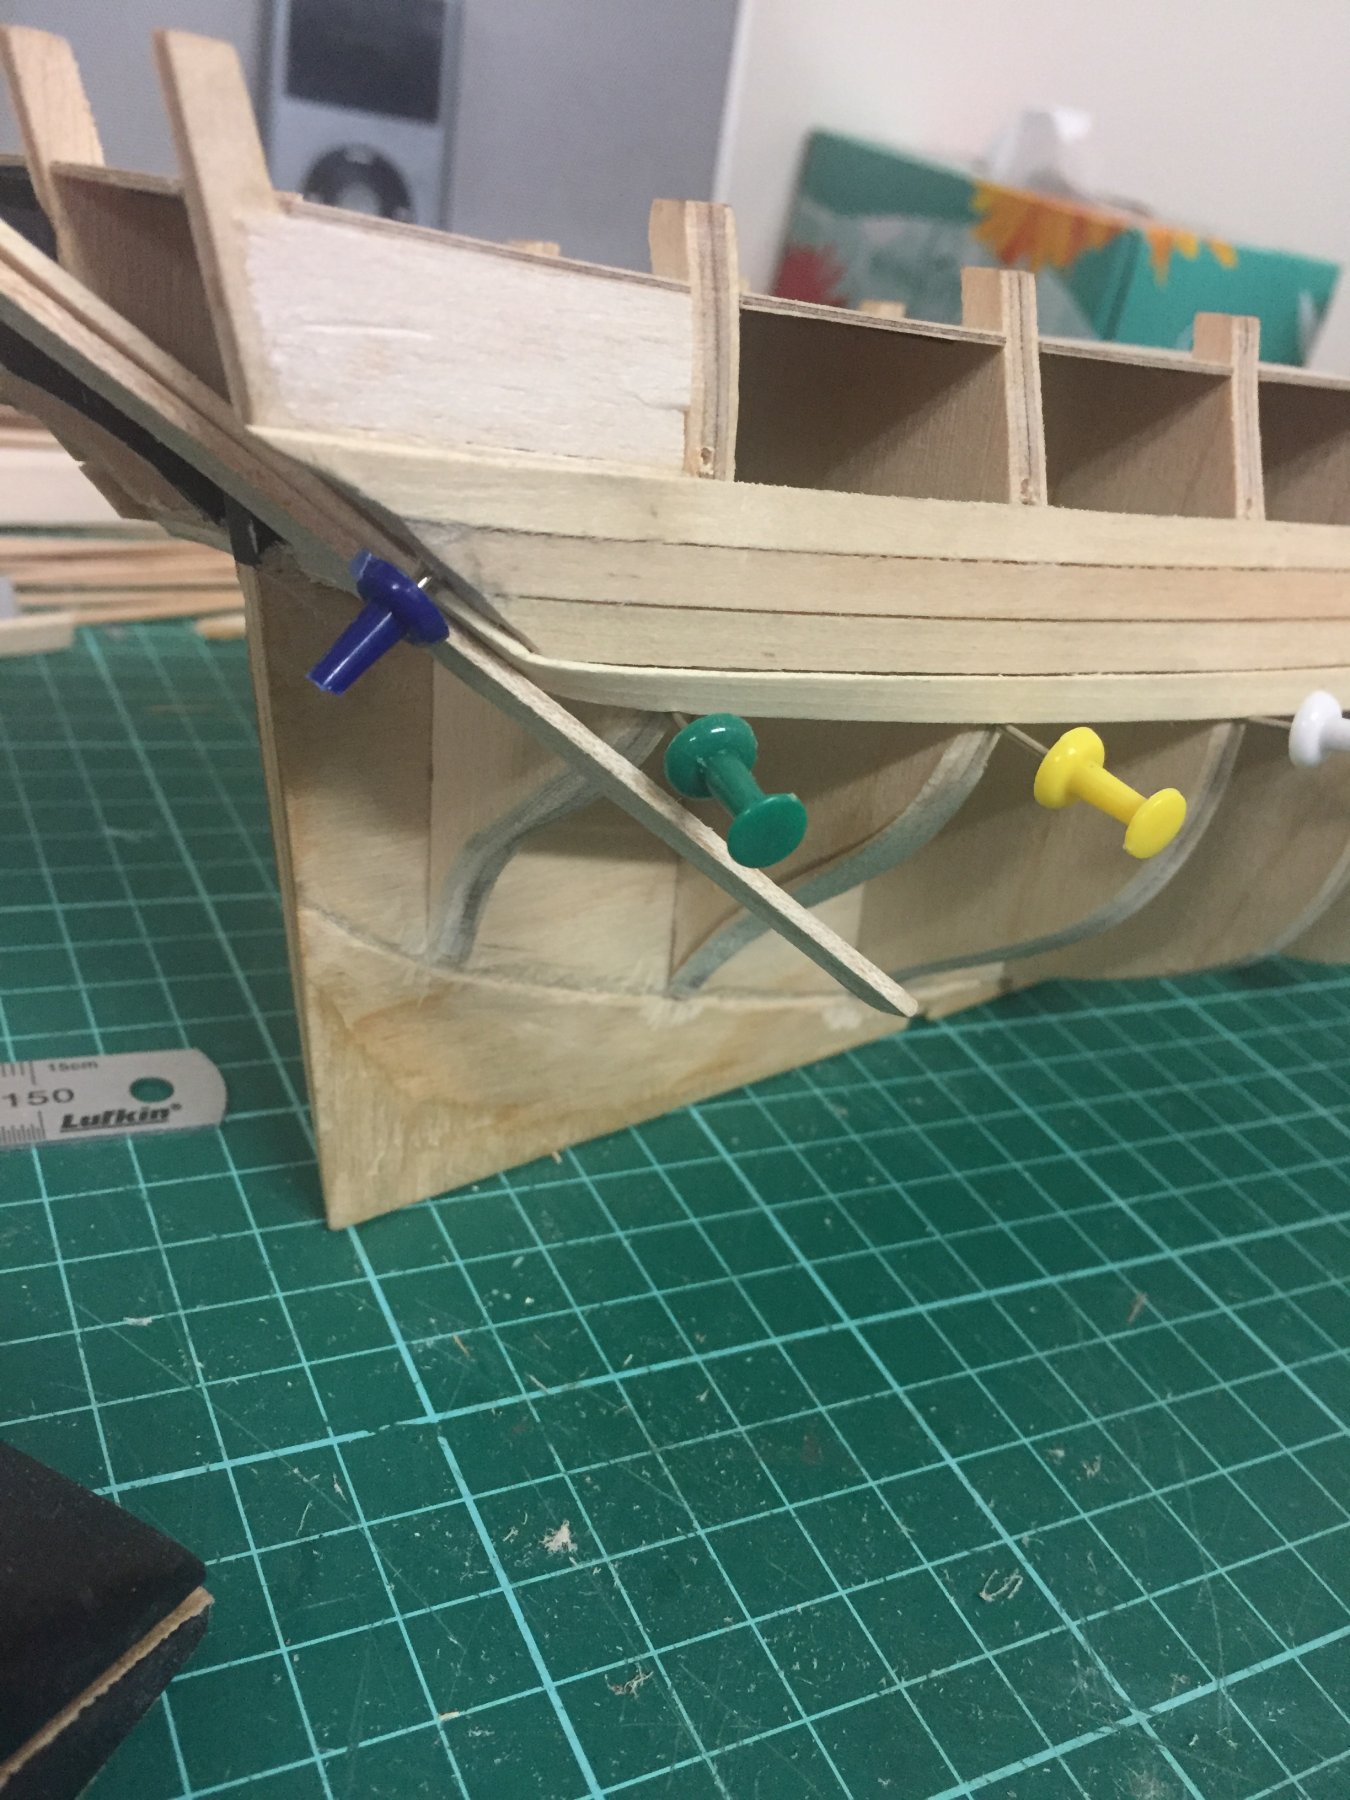
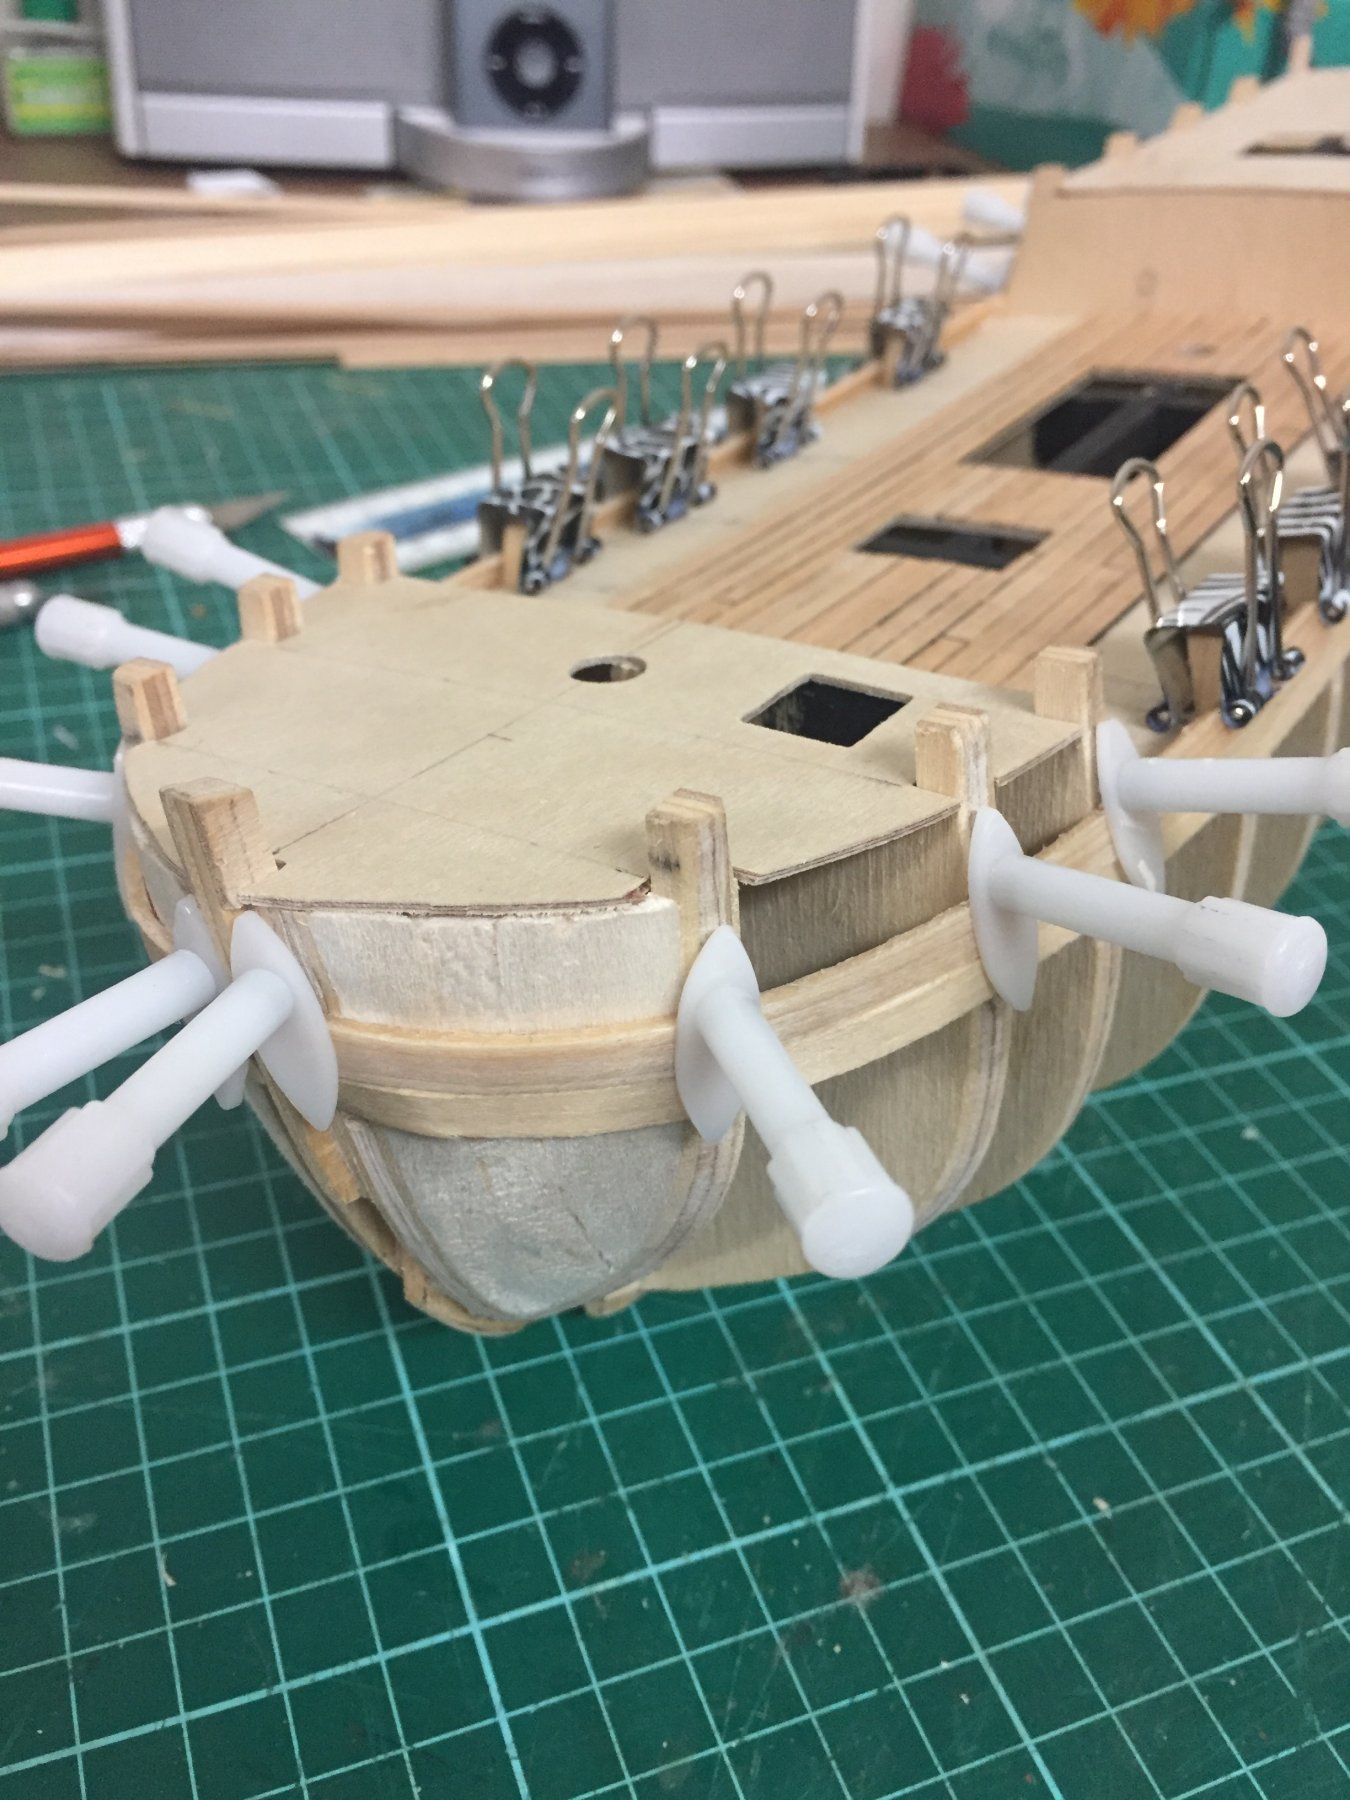
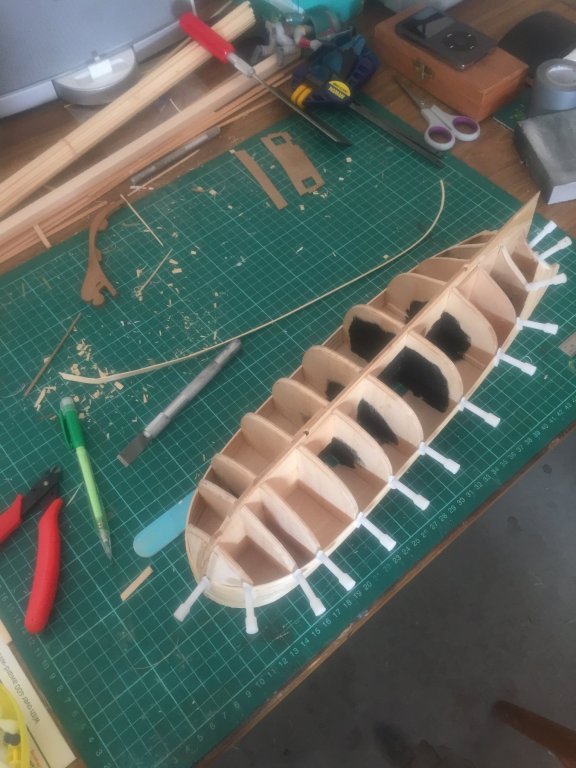
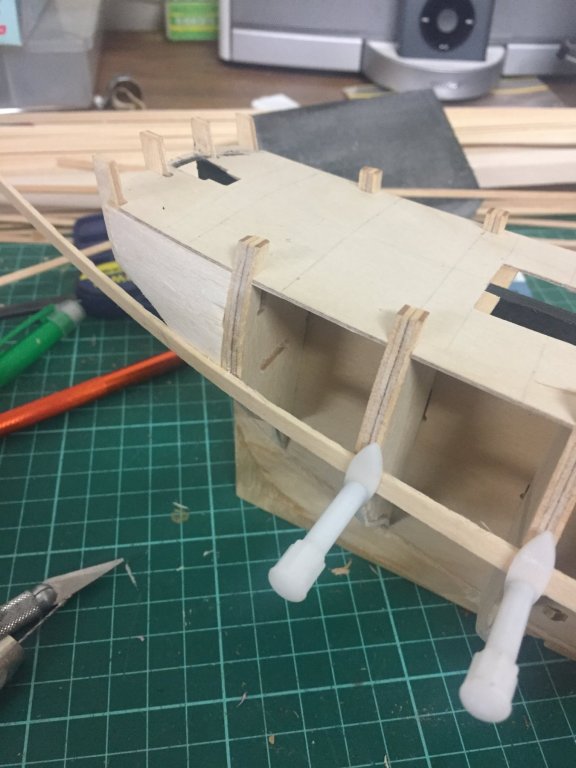
The instructions say to place the first plank at deck level. I’ve dropped them down slightly so they’re level with the underside of the false deck. This allows two full width planks to meet neatly with the top of the bulwark bulkheads. I haven’t trimmed the width of this first plank at all. I prefer using these planking clamps where I can. I bought them from Modeller’s Shipyard in South Nowra (New South Wales, Australia) 20 years ago. The business has since been sold, moved to Glenbrook (NSW) and renamed Modeller’s Central. They’re still available. The instructions for Planking Screw-Clamps read “These reusable screw-clamps are invaluable in the construction of plank-on-frame models. In use they simply screw into the edge of the plywood frames and the oval ‘foot’ holds the plank firmly against the frame, without marking, until the glue dries. The need for pins, etc, is eliminated. A loose spacer plank on the lower side or a scrap of planking material glued to the lower part of the foot ensures firm contact of the upper part of the foot with the plank being glued. As planking progresses, the planks cover the holes made by the planking screws. The number of screws required depends on the particular model but since planks are fitted in pairs (one each side) the ideal is two for each frame in the model plus a further two for the stem.” I’m pre-drilling the bulkheads with a #62 mini-drill before screwing in the clamps. I’ve also made a little balsa filler at the stern to assist gluing the plank in place. The lower edge of the plank sits flush with the horizontal former (part 19).
-
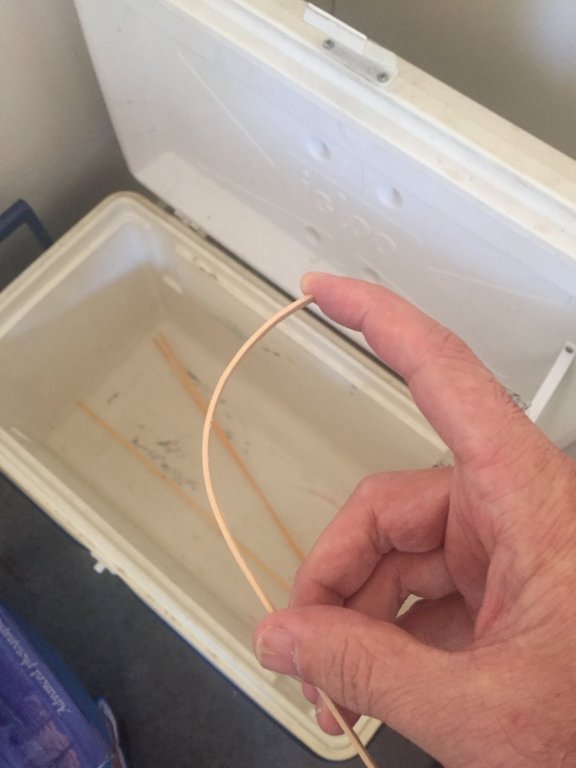
A good soak in water allows the wood to be gradually manipulated into a bend just by using the fingers.
-
Because the bulwark bulkheads are still in place, I won’t be able to complete the decking until I cut them flush at deck level. So I’ll move on to planking the hull. I’ll use a combination of planking screws and pins.