HOLIDAY DONATION DRIVE - SUPPORT MSW - DO YOUR PART TO KEEP THIS GREAT FORUM GOING! (Only 13 donations so far - C'mon guys!)
×
Jobbie
-
Posts
220 -
Joined
-
Last visited
Content Type
Profiles
Forums
Gallery
Events
Everything posted by Jobbie
-
 There are a couple of areas on the ship where holes in gratings, hatches and around the upper sternpost area where the plywood frame may be visible on the completed model. To help prevent this, I’ve employed one of my daughters to apply a bit of black craft paint to those spots. It doesn’t have to be neat, as it will all be quite dark in there later. Now the deck is ready to be permantly fixed in place.
-
Looking great, Rod. I’ll follow along as well.
-
Getting there...

-
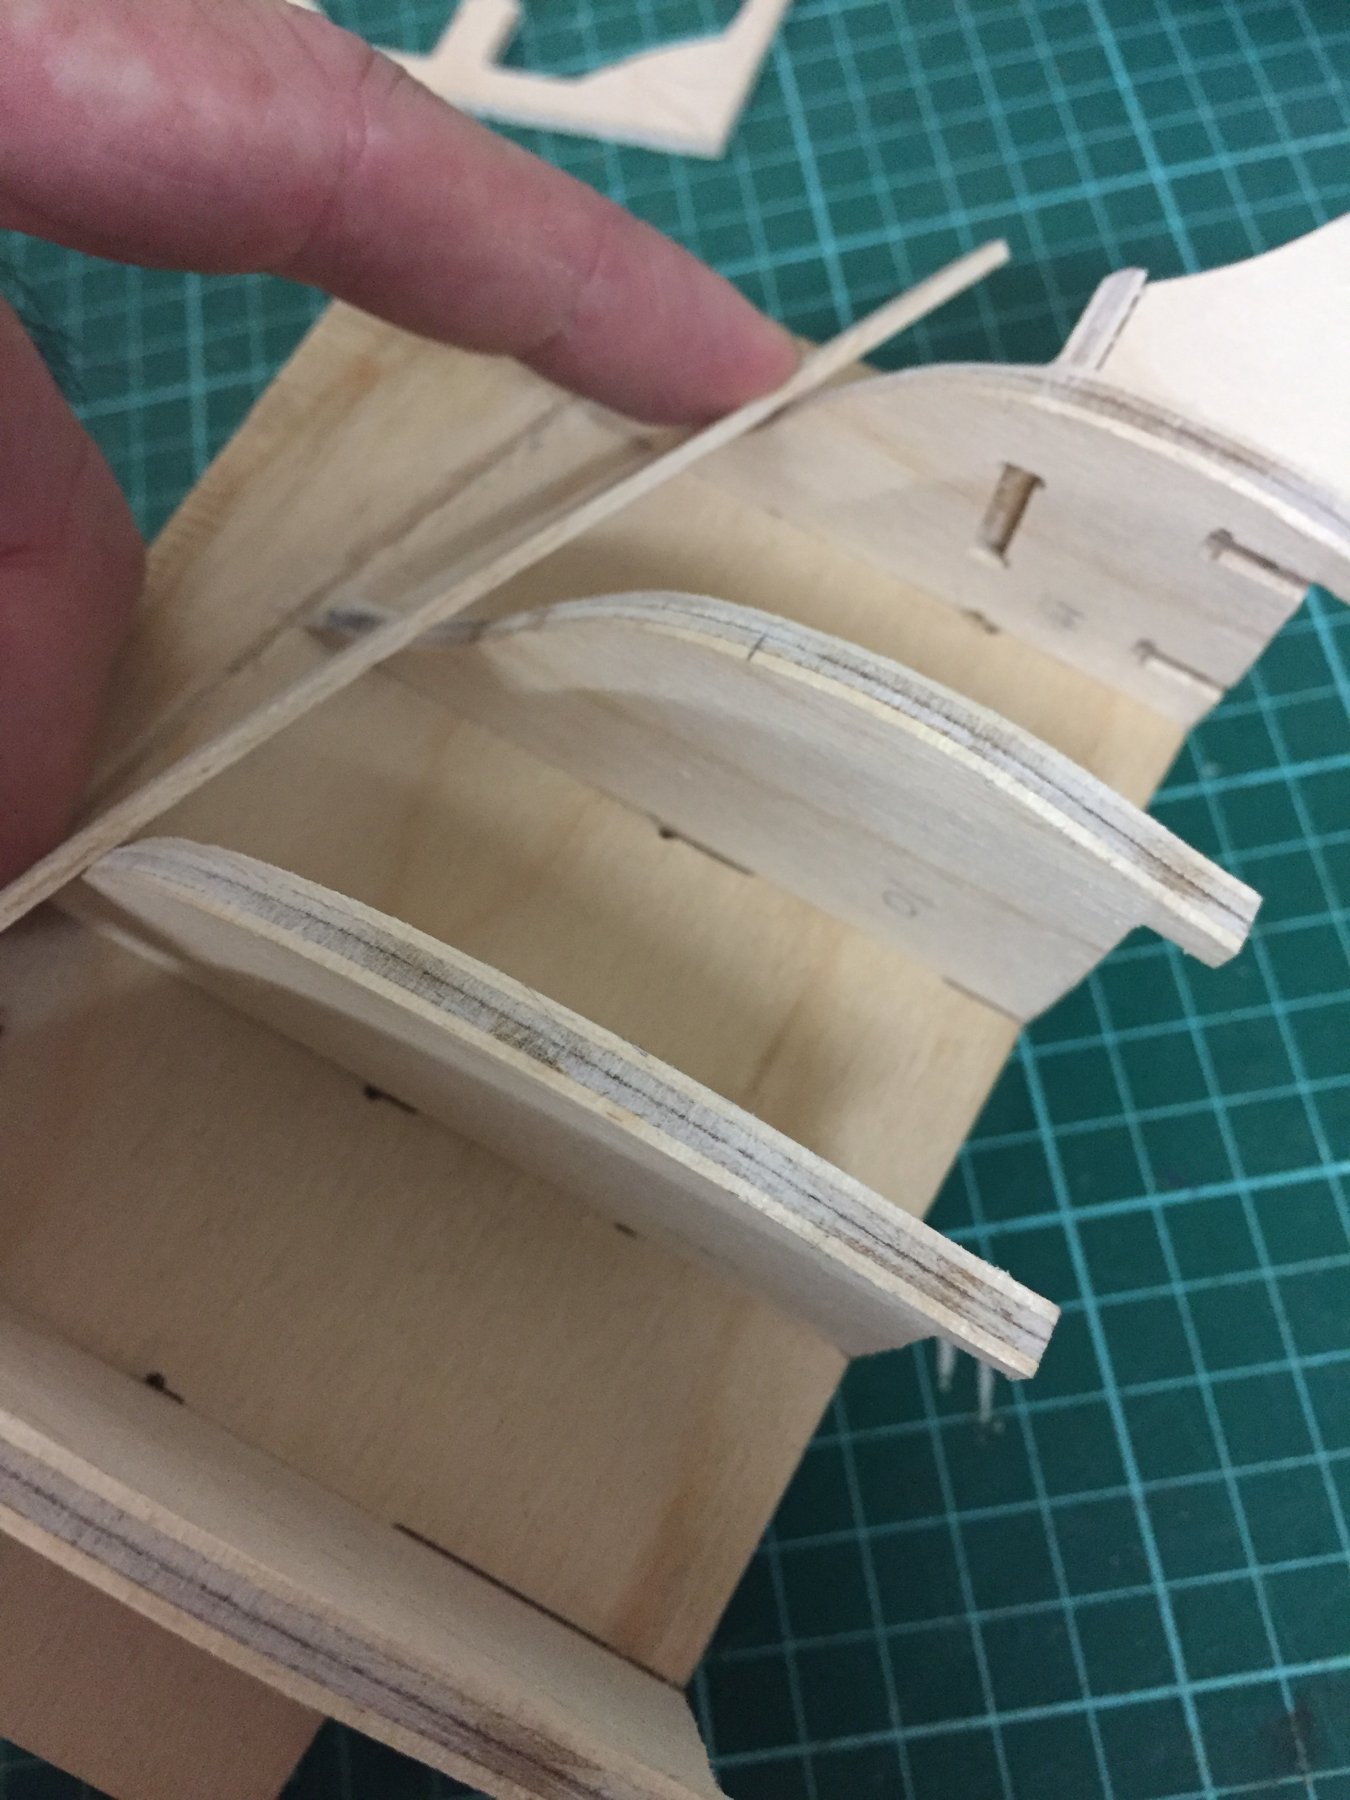
The curvature or the bulwark capping matches the curvature of the deck sheet.

-
Thanks very much for the feedback.
-
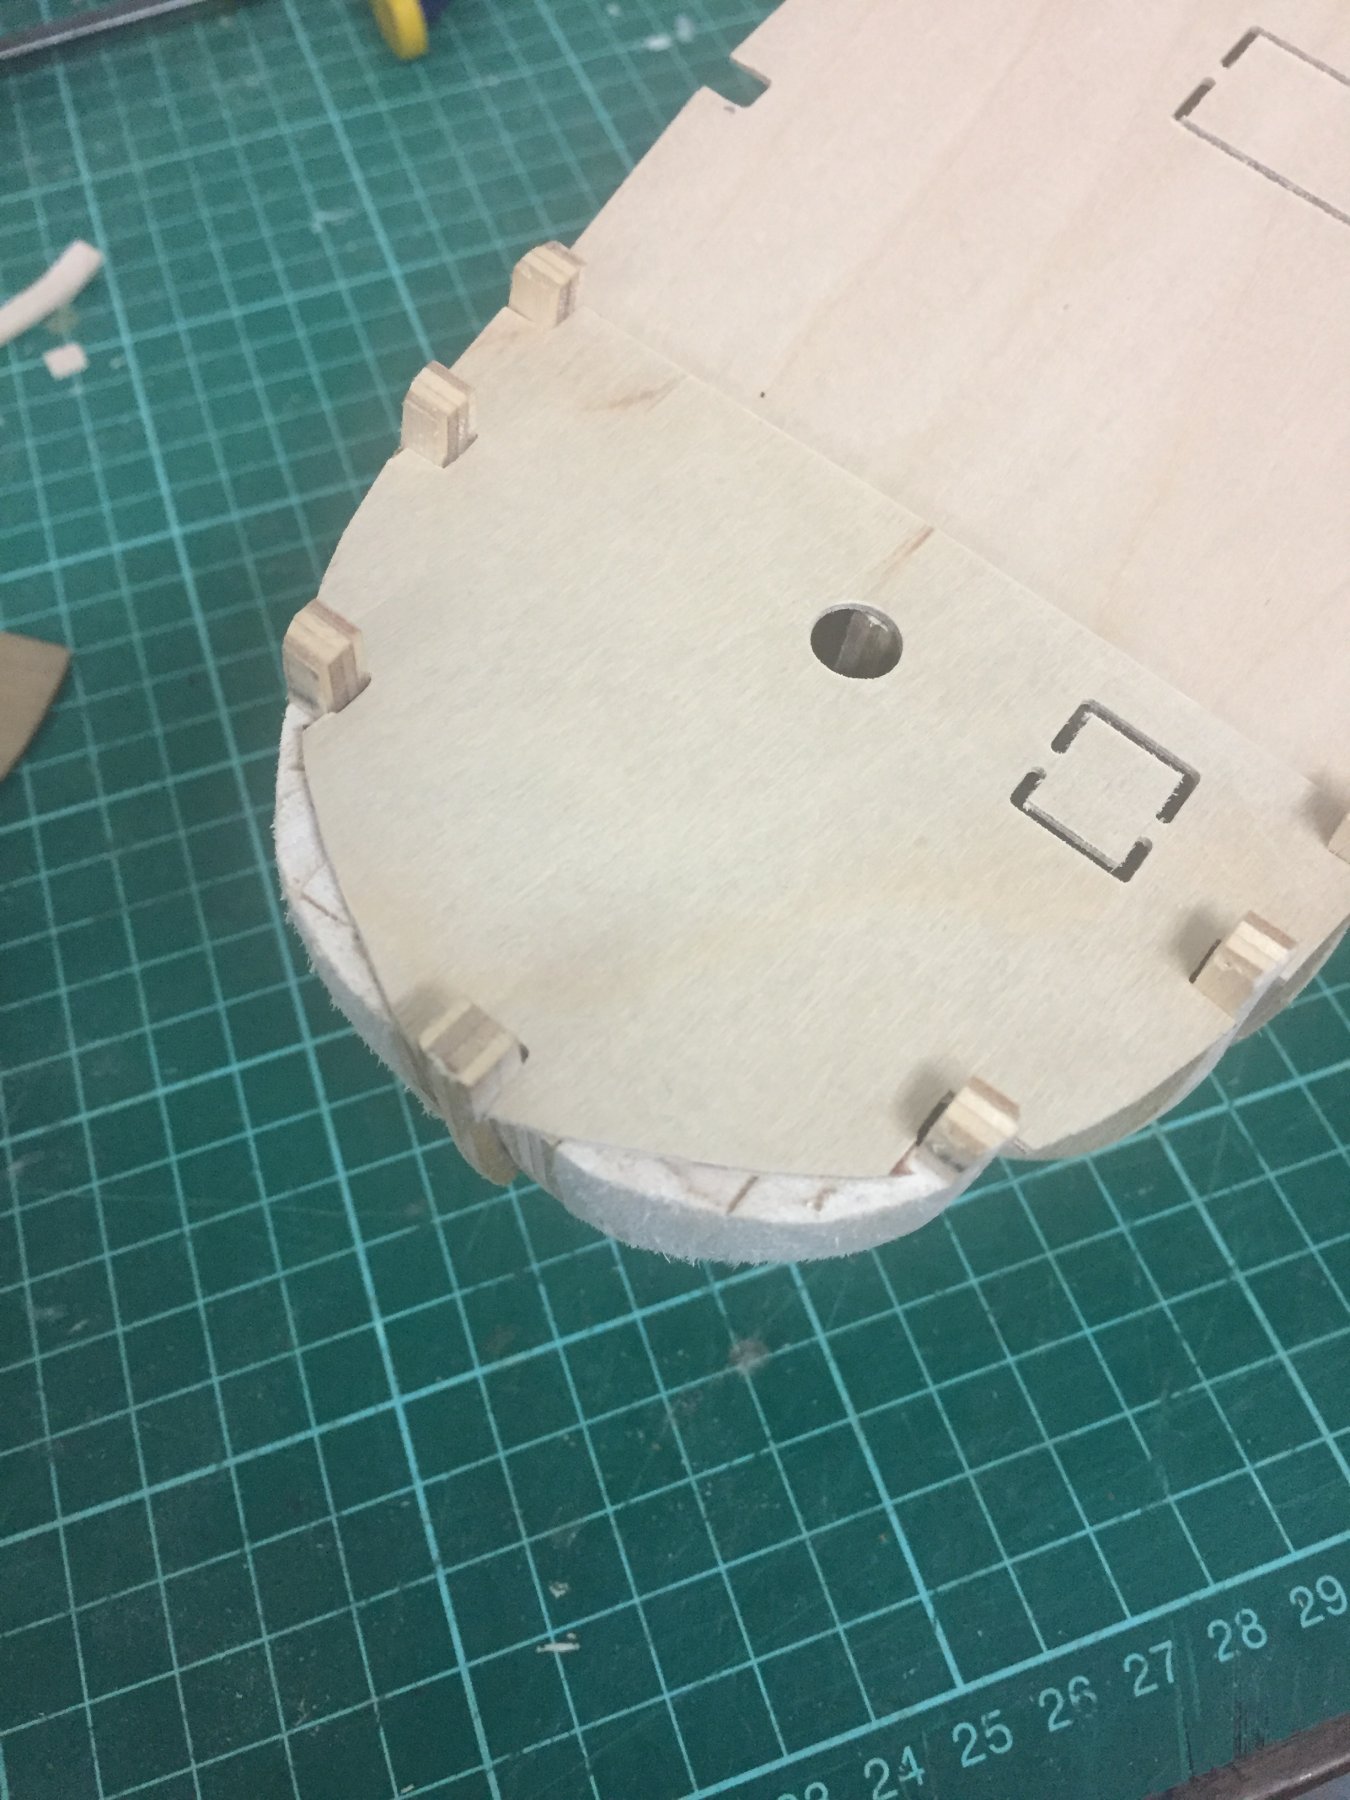
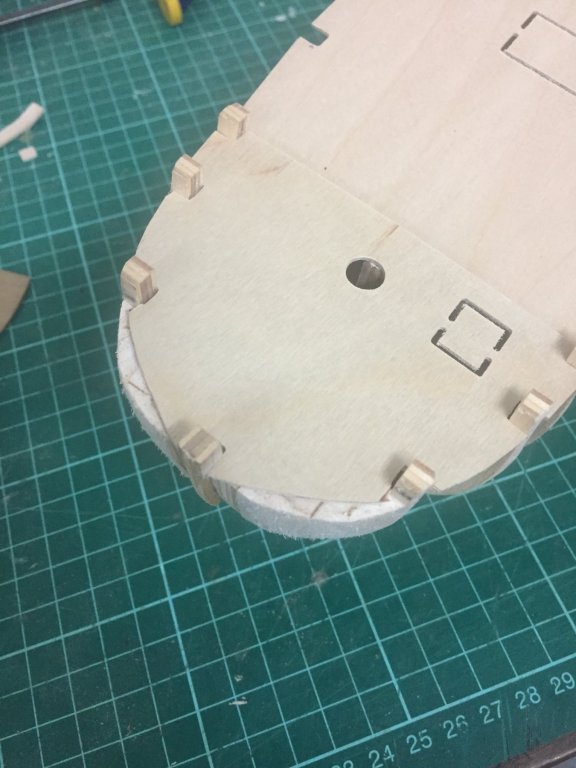
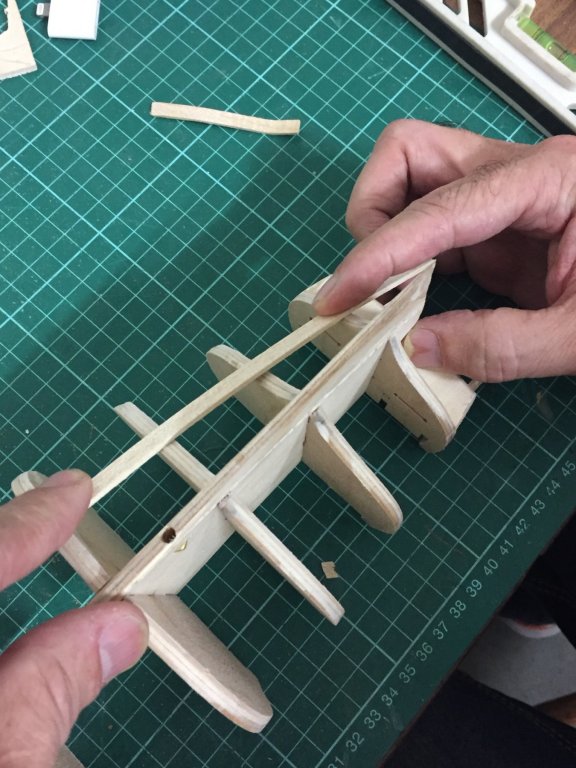
So, back to the rest of the profile...I’ve placed the forecastle deck on the frame and the bow contour differs from the rounded bow I’ve shaped. What say you? Should I make the deck match the bow, or make the bow match the deck?
-
Thanks for the insight. It’s somewhat pleasing to know it’s not just me. I’ll email JoTiKa tomorrow with these photos and hope they amend the program. Wouldn’t take much. She’s all good now.
-
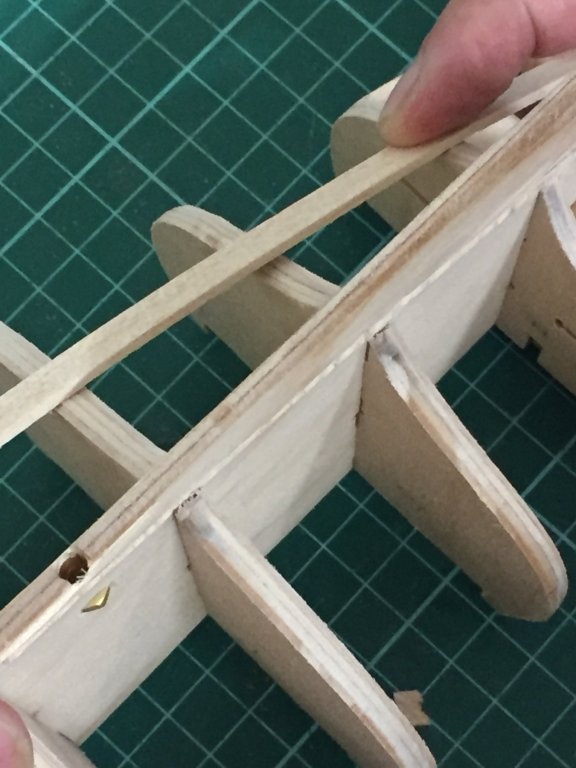
That’s what’s happening- I’m using a strip of balsa. Waiting for the glue to dry.
-
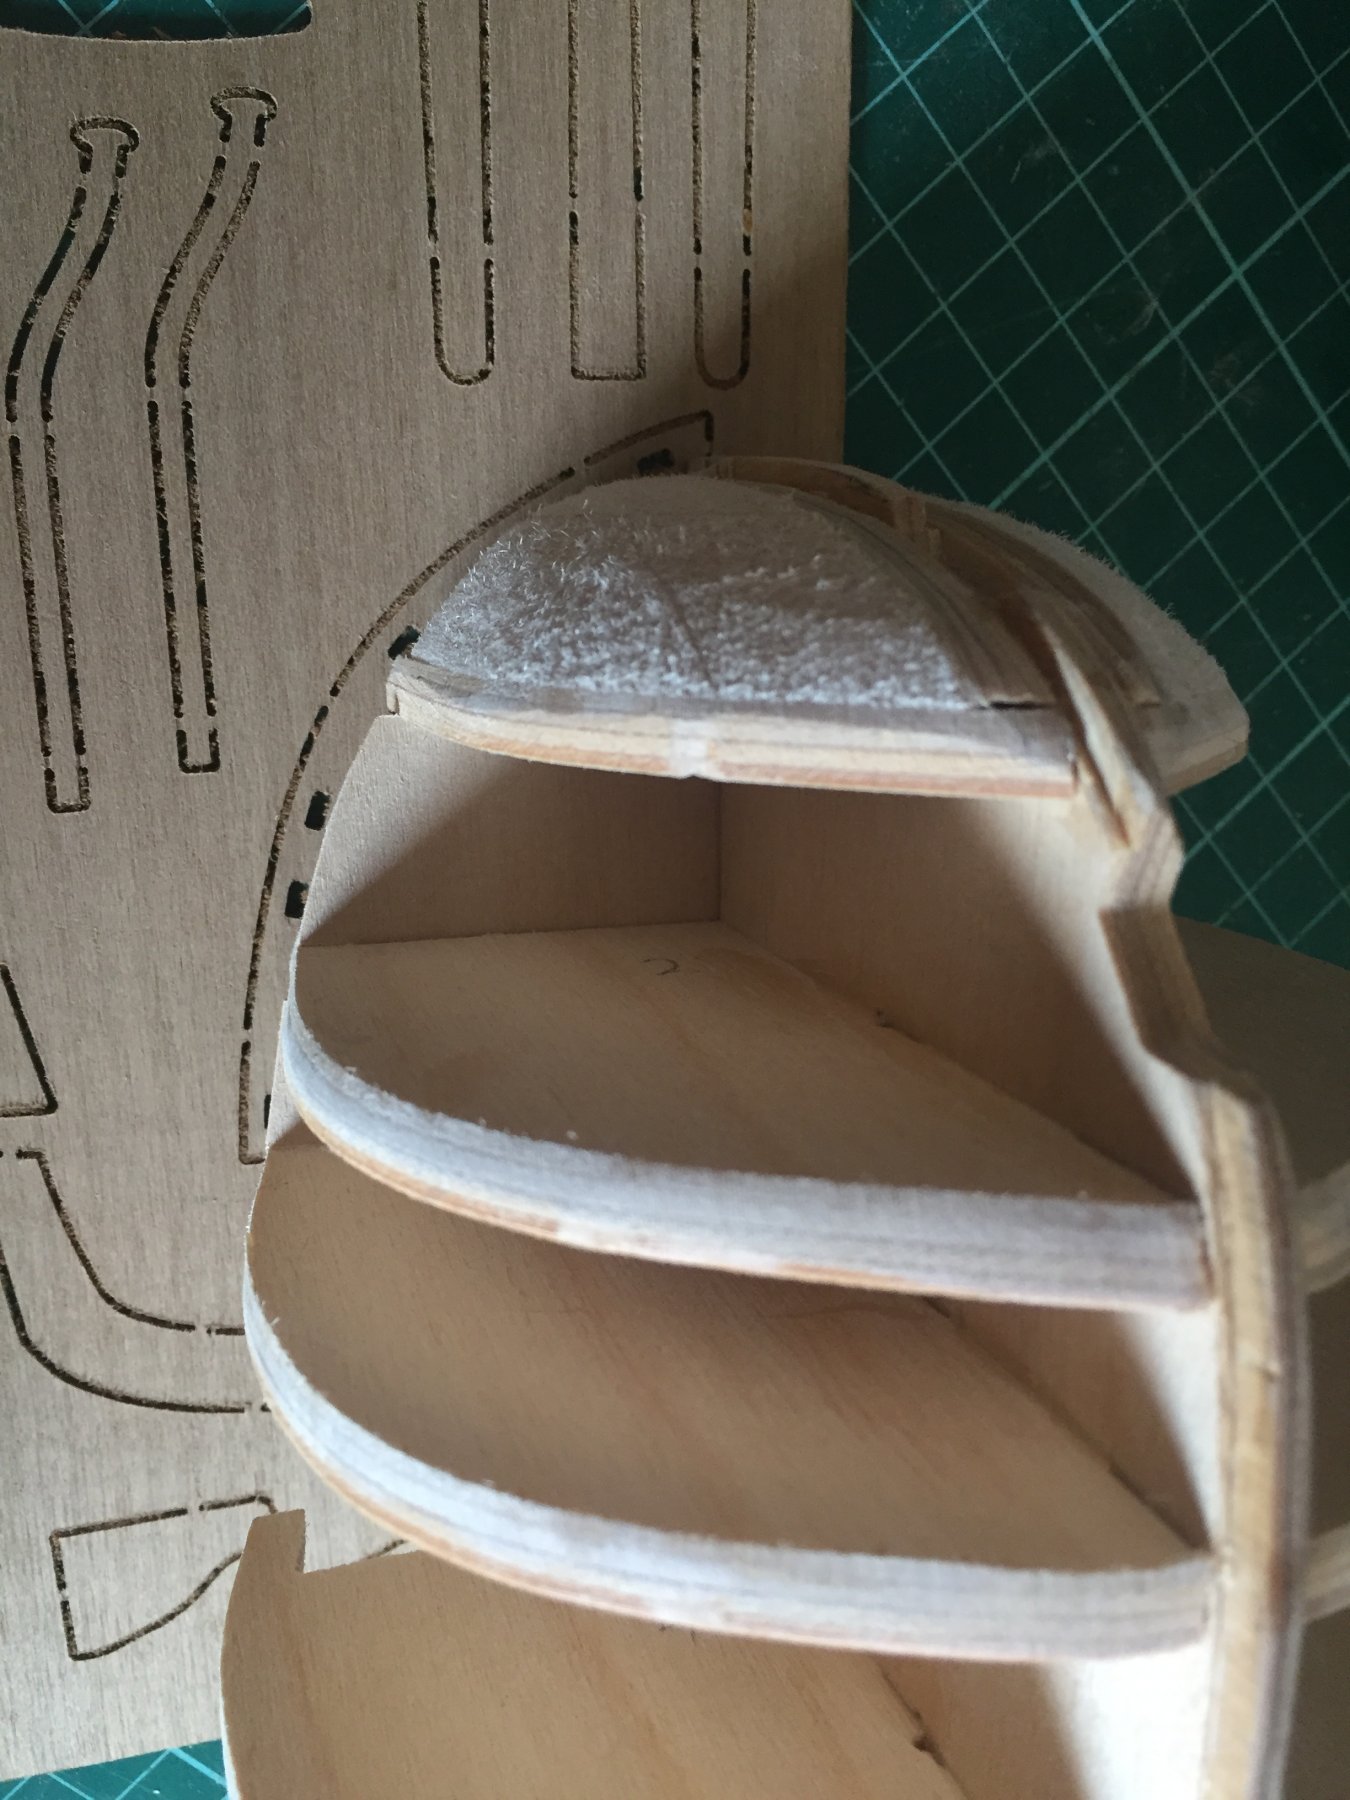
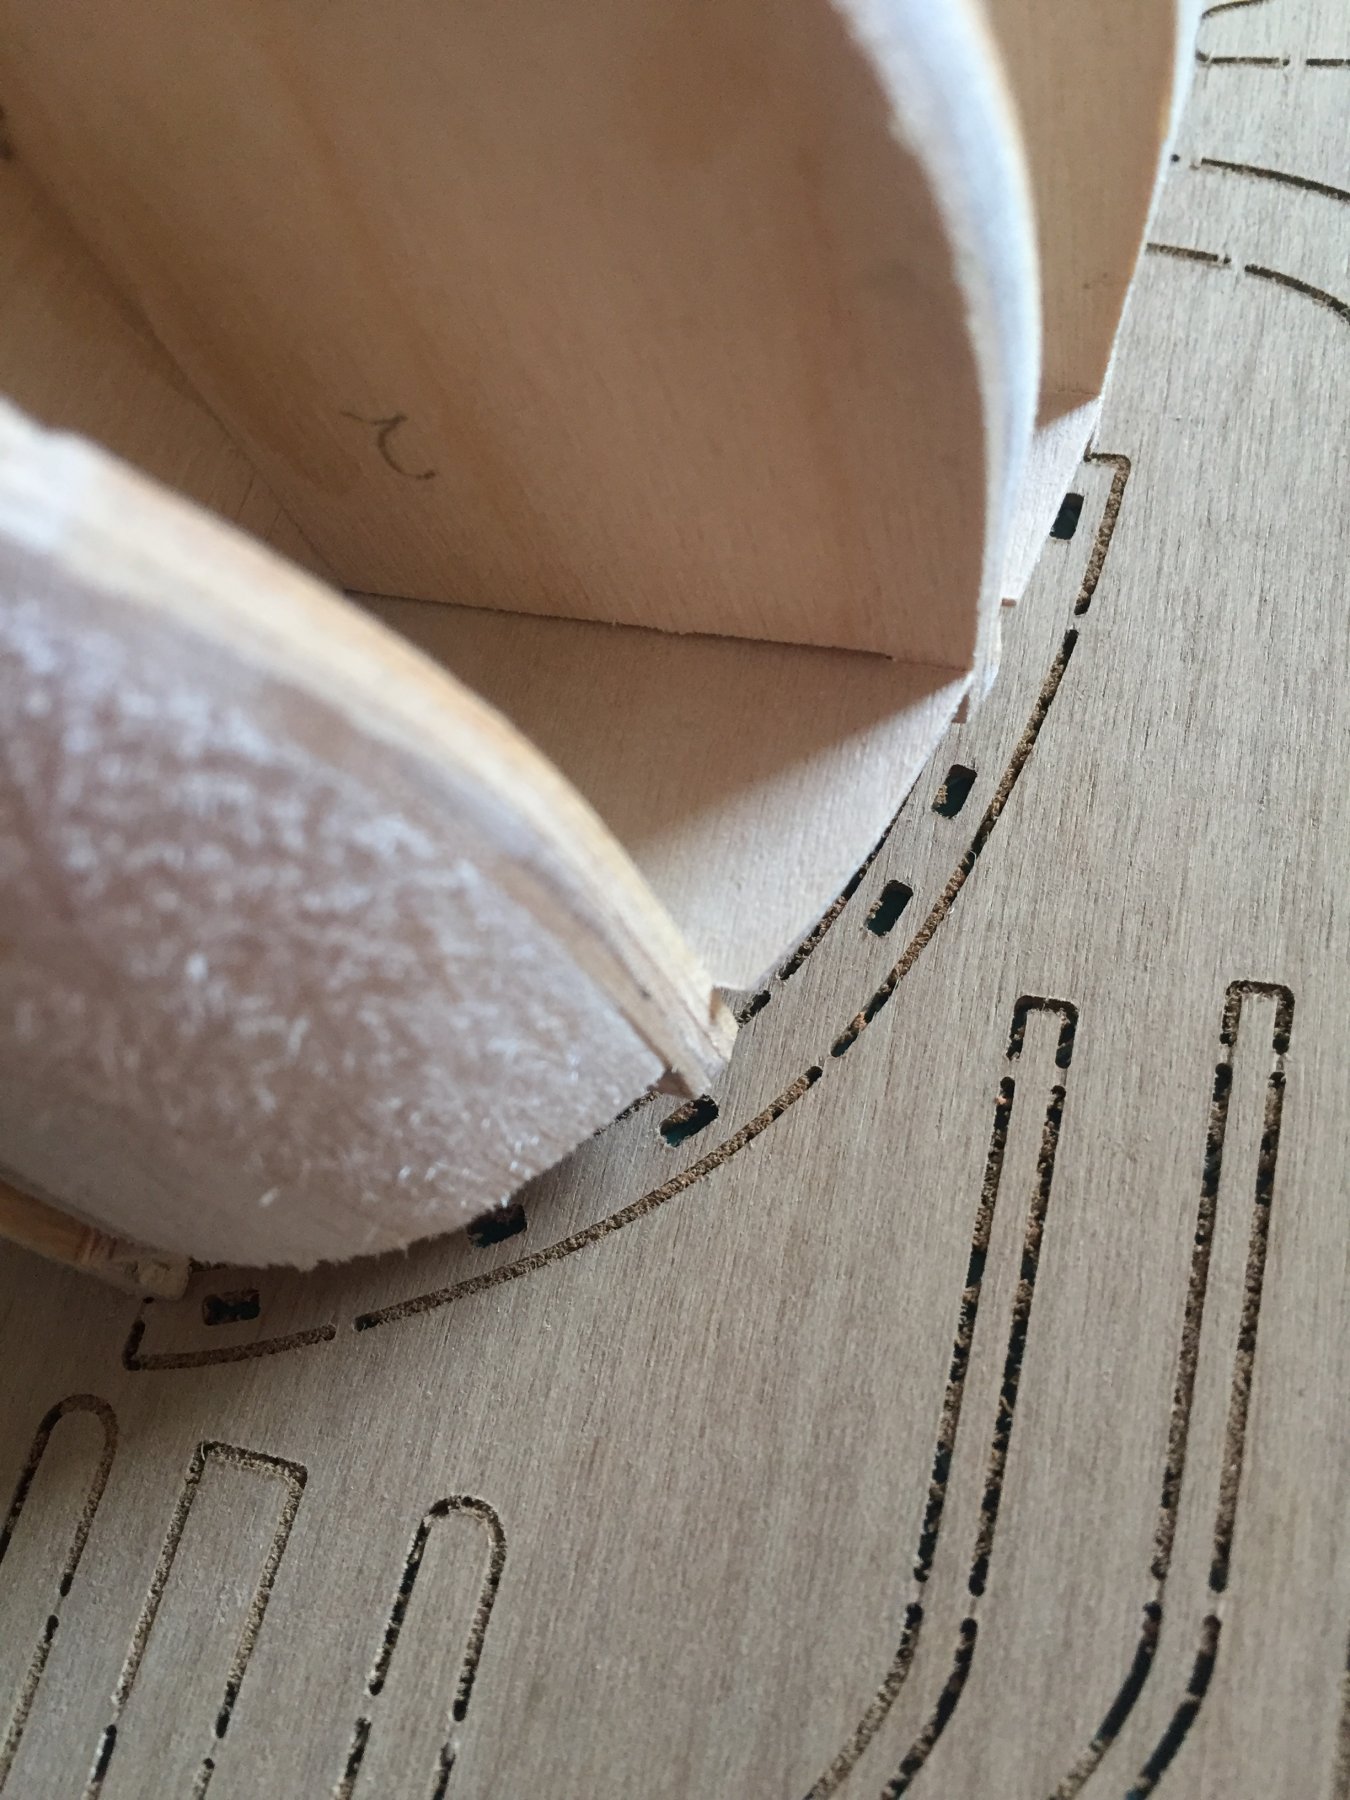
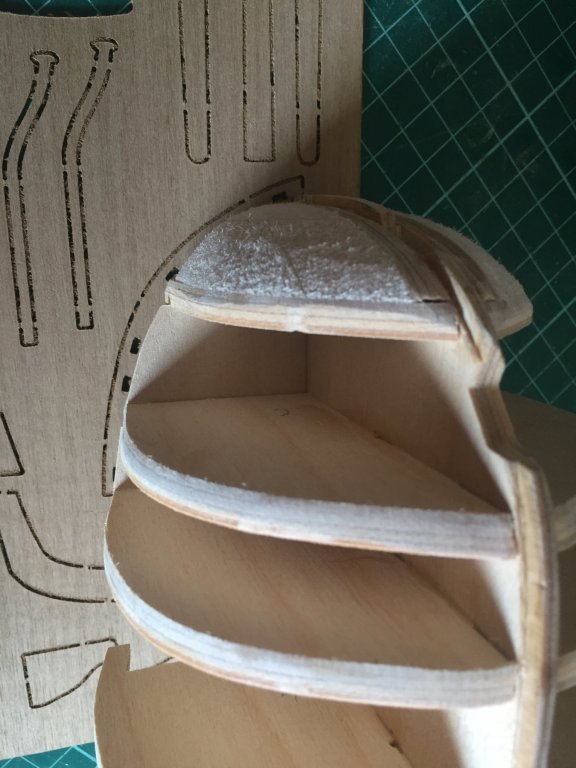
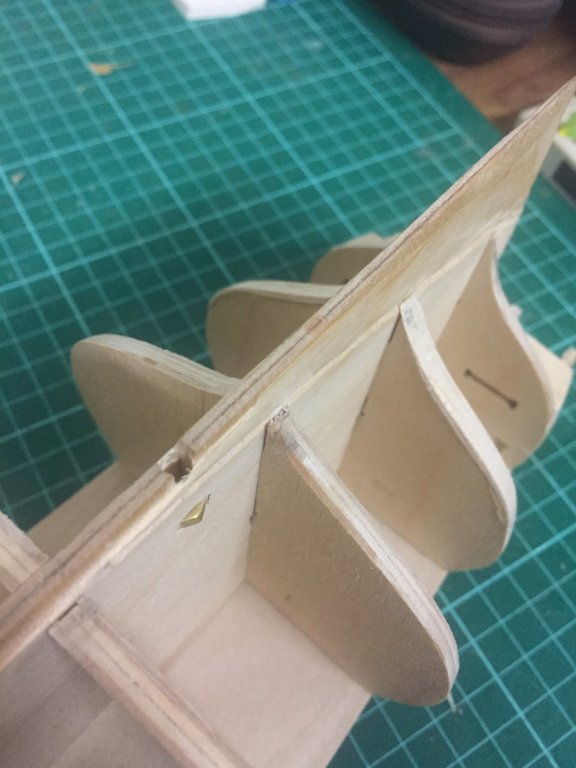
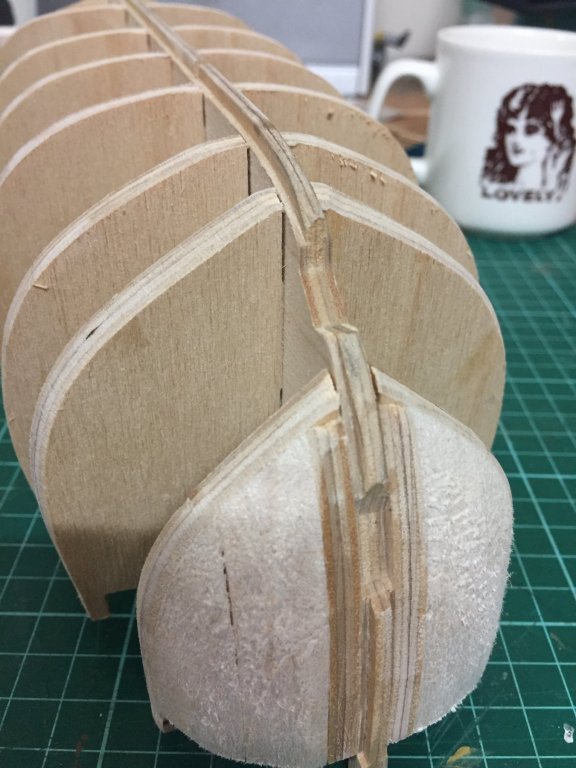
I’ve hit a bit of a snag. Bulkhead #10 doesn’t allow me a smooth curve to the stern. I’ll need to pad it out a bit to avoid a dip in the hull.

-
It’s starting to take shape.
-
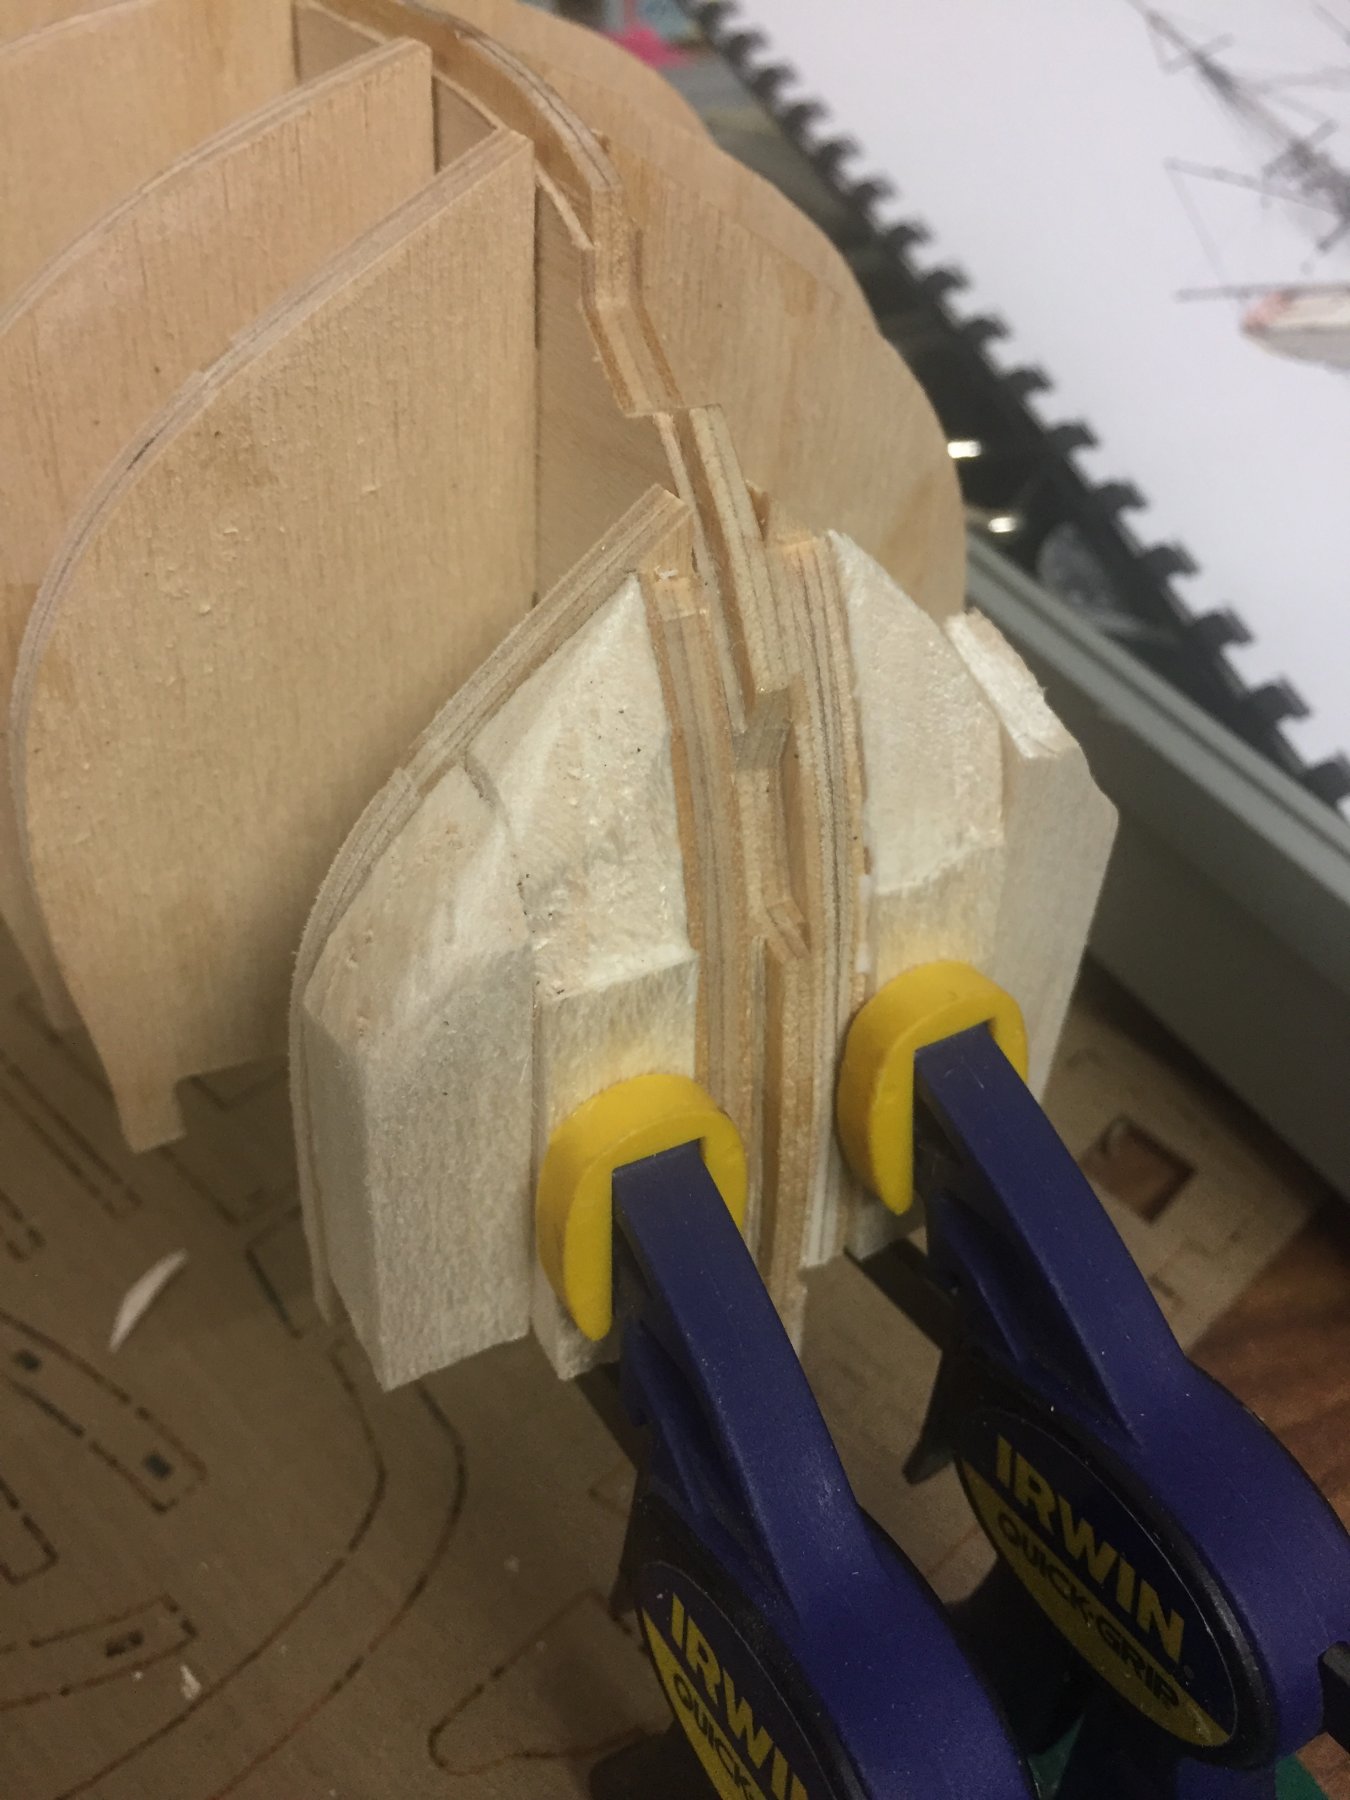
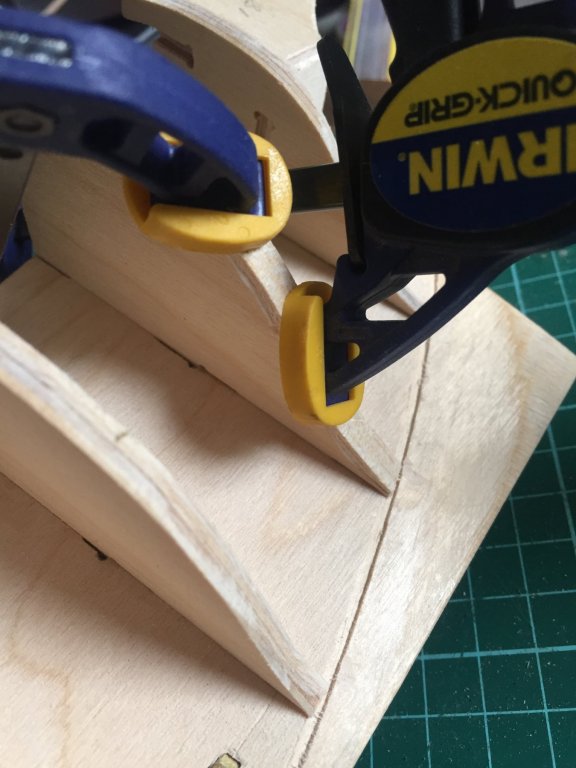
I’m using 12mm square balsa as bow contour fillers. Time will tell whether this is a stupid decision or not. I’ll let the Aquadhere dry overnight.

-
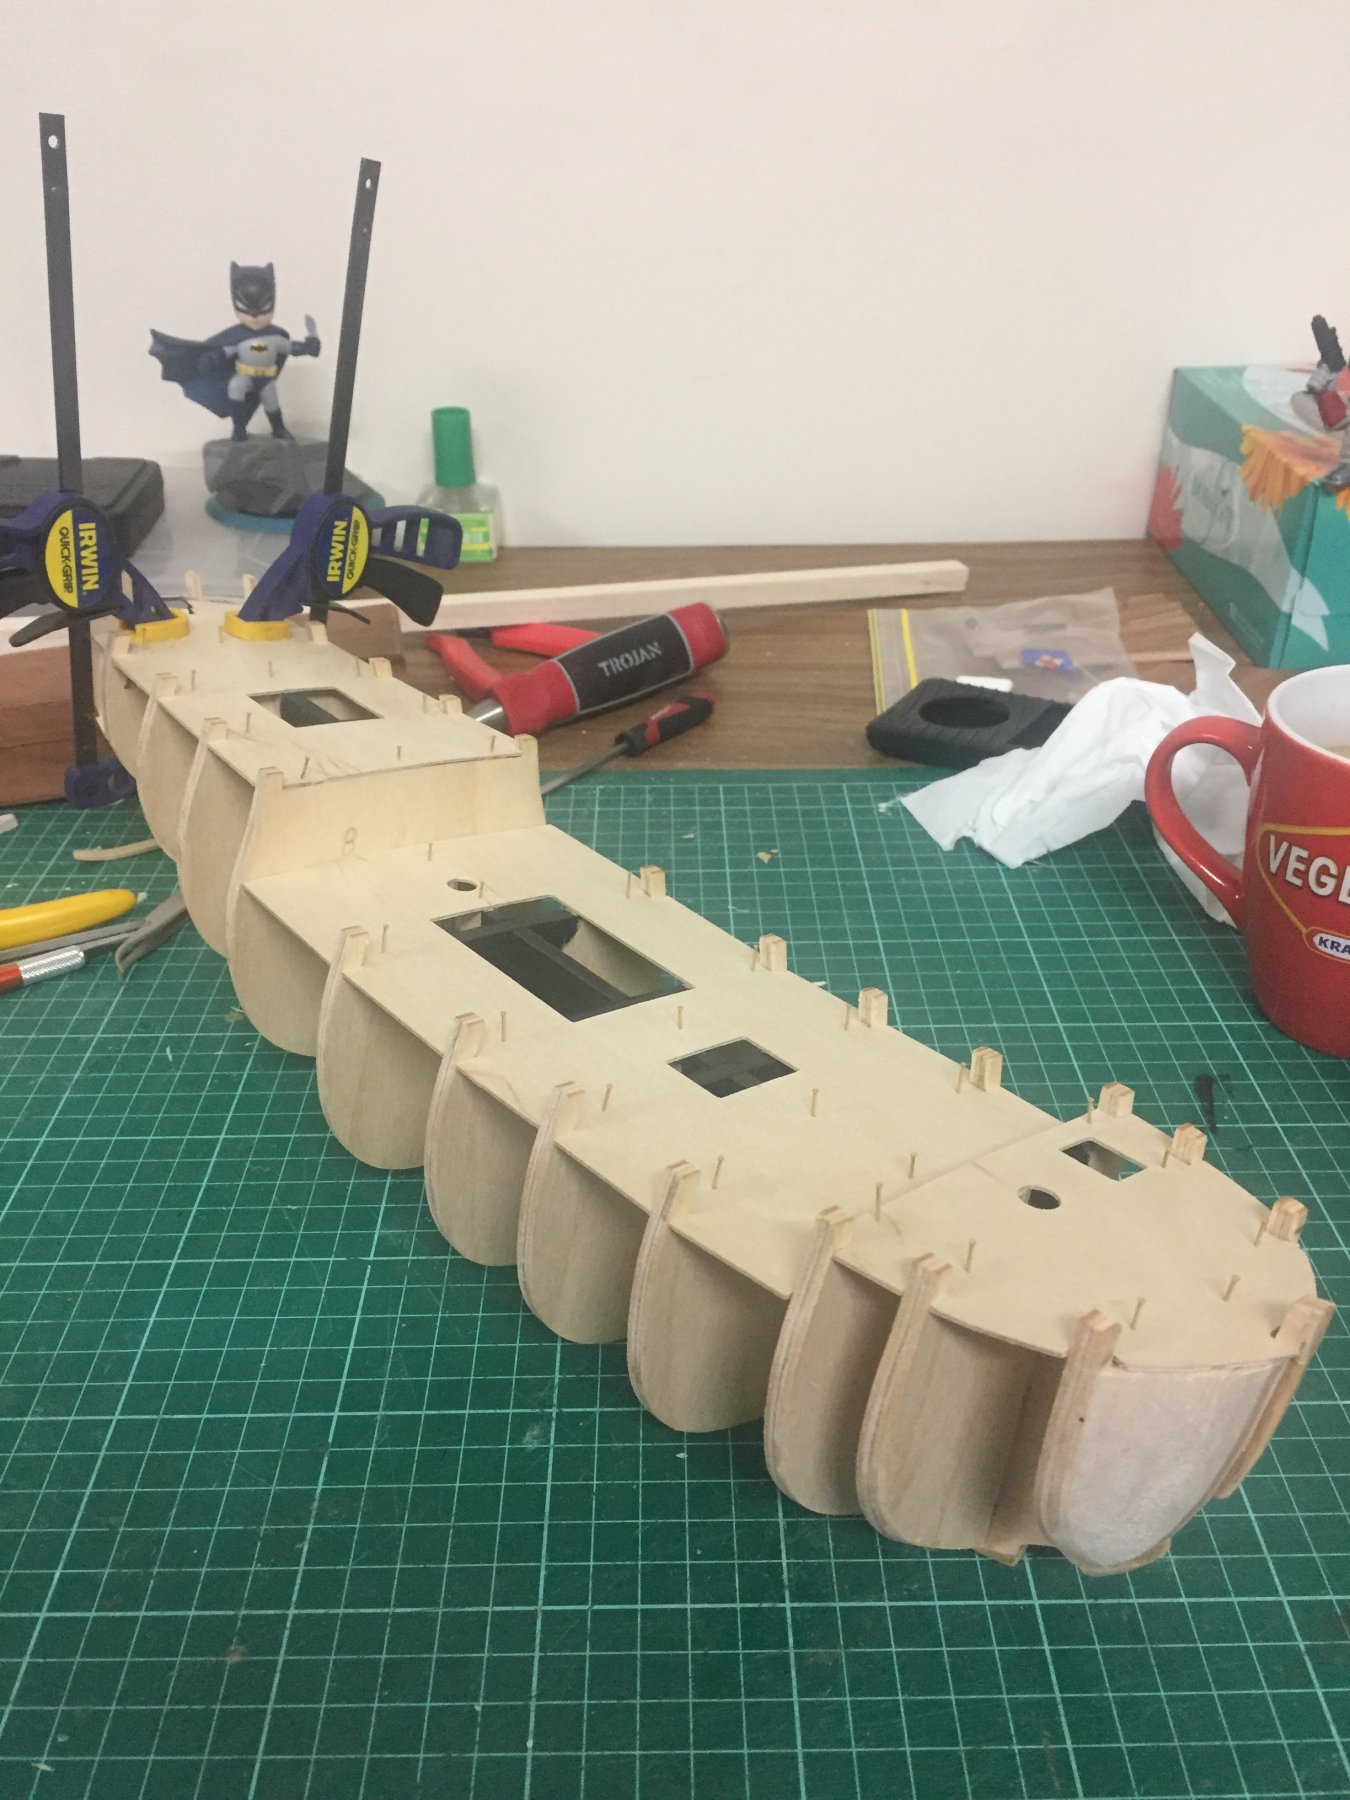
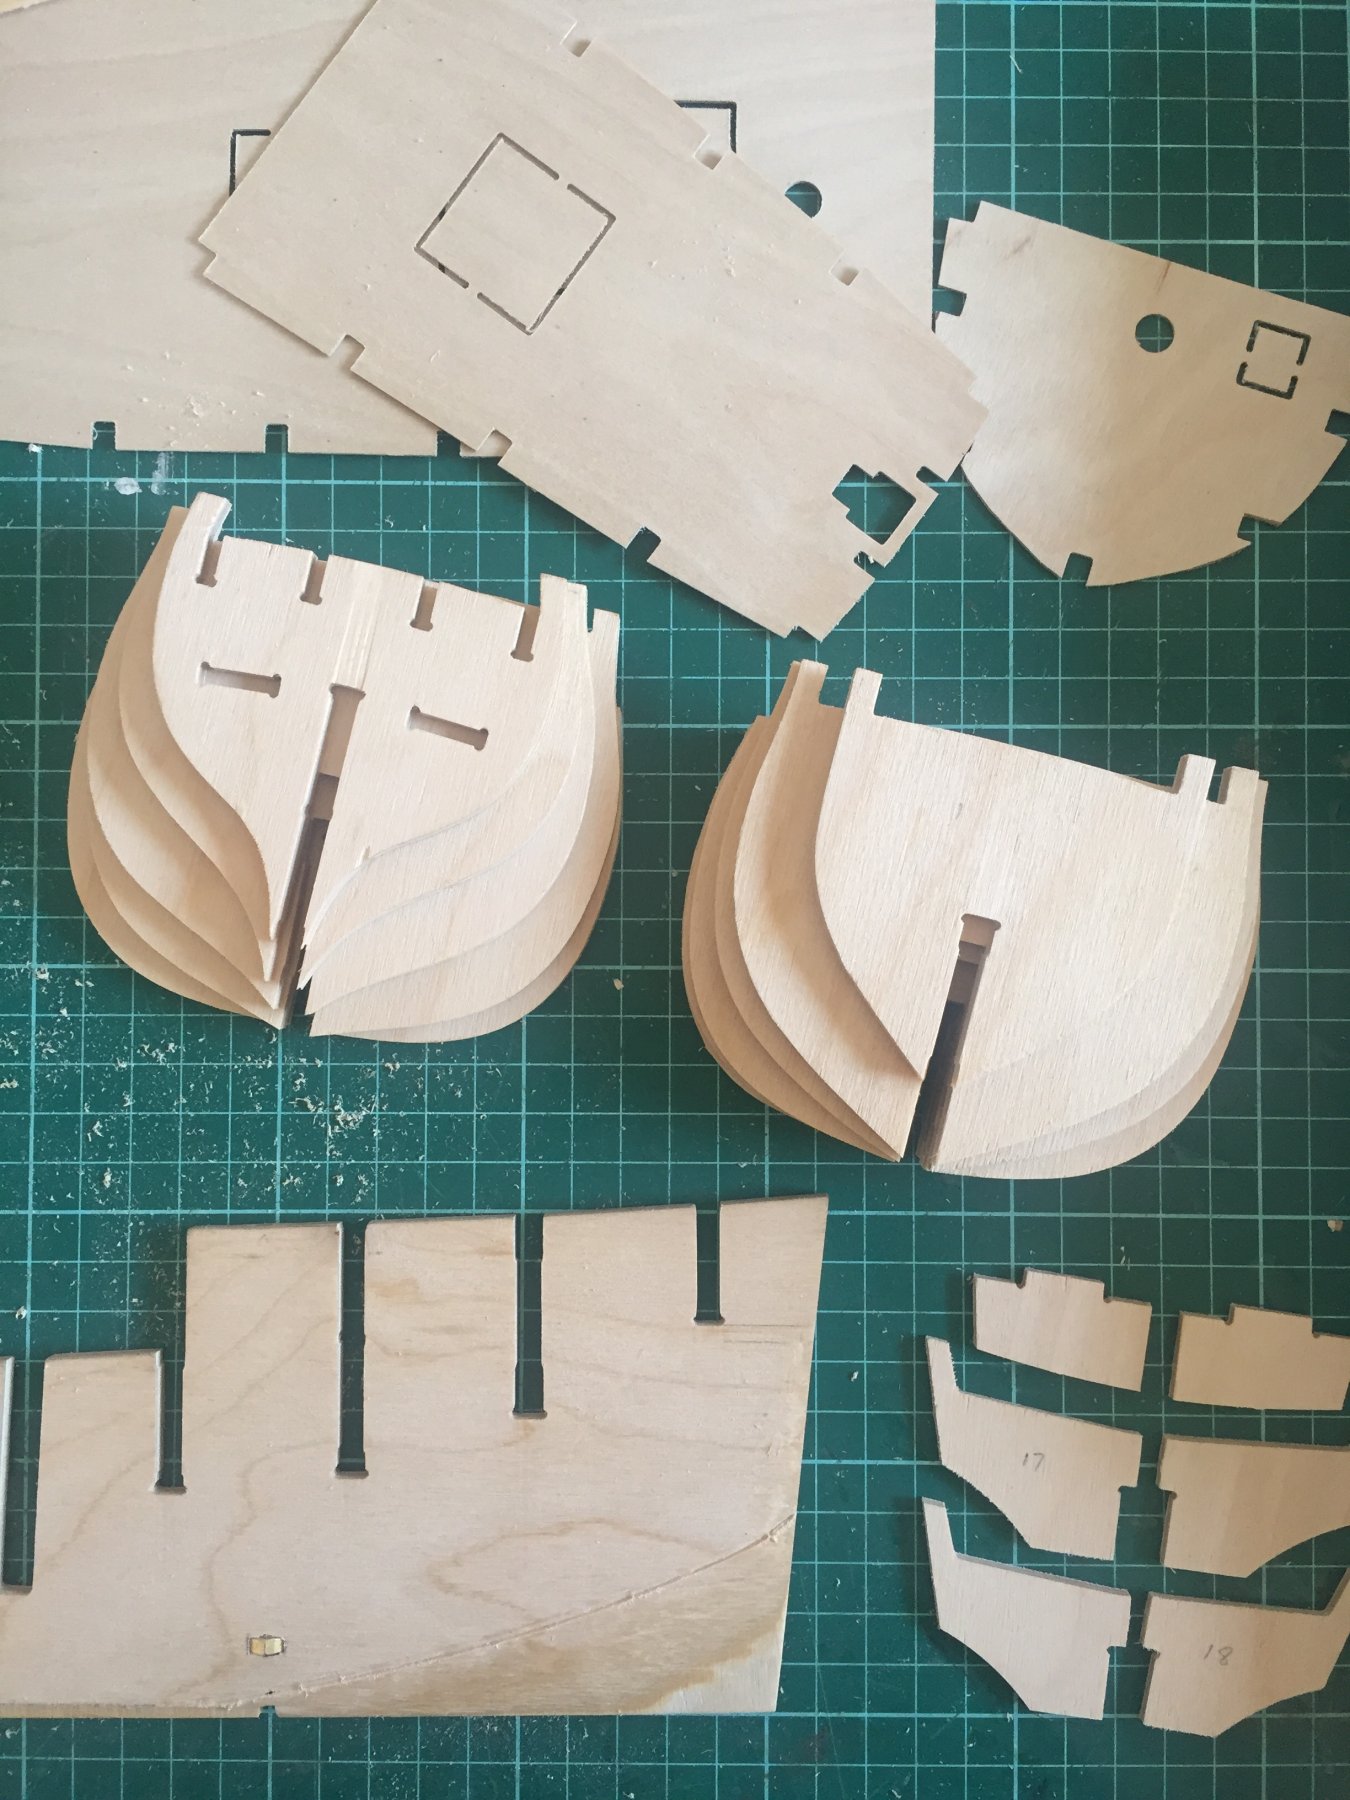
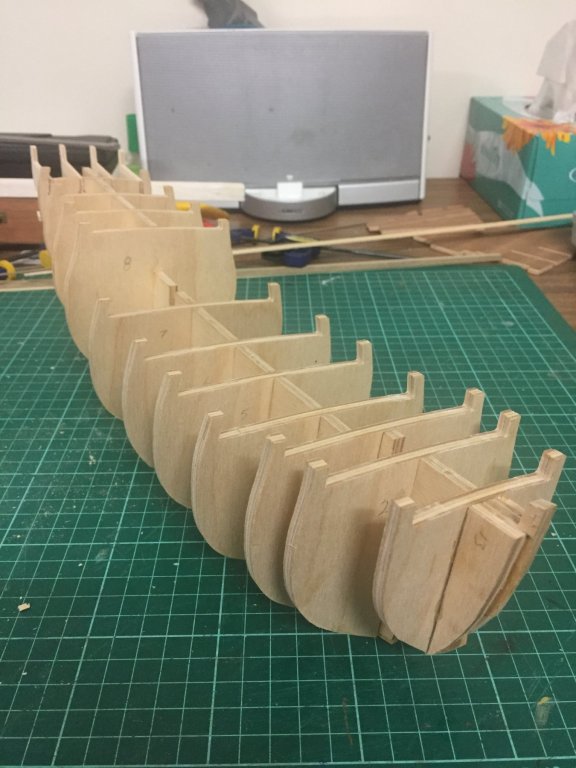
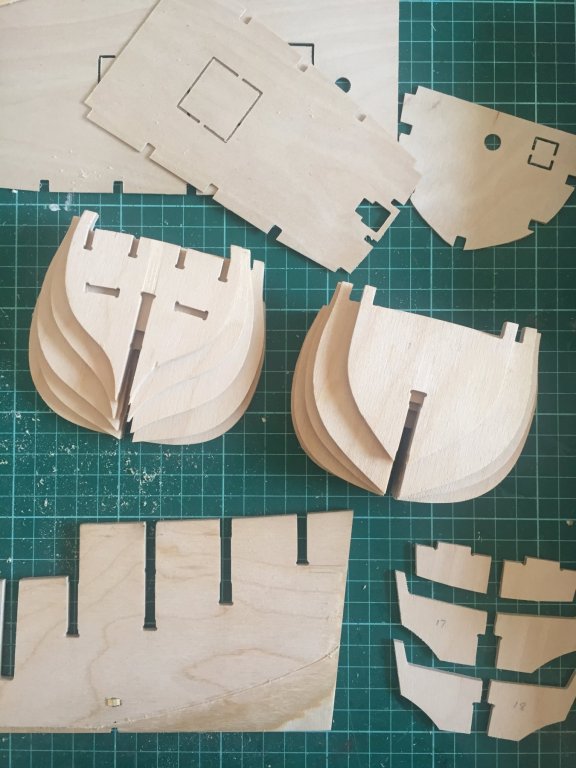
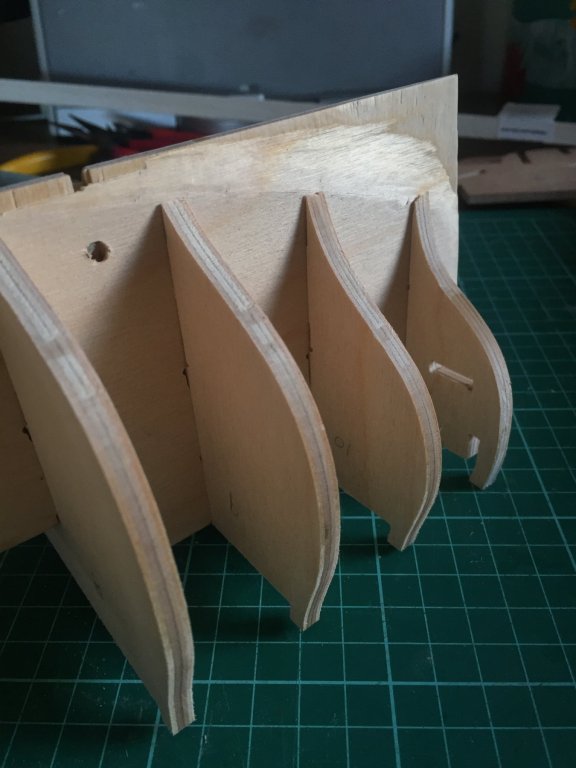
The completed frame before making fillers out of balsa.
-
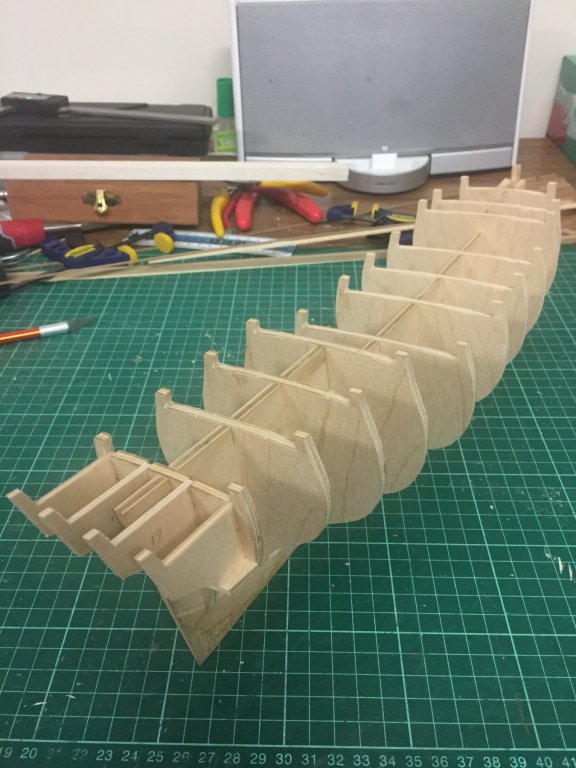
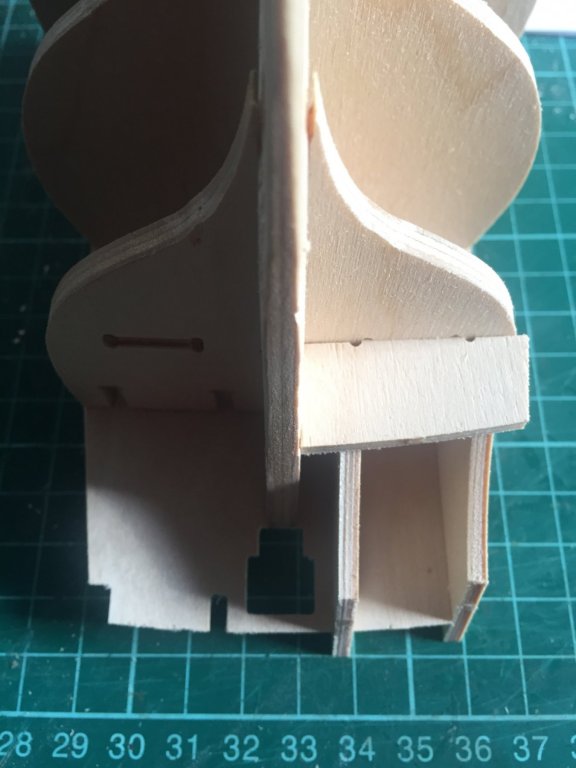
I used the dry-fitted quarter-deck to align the framing at the stern (parts 17, 18 & 19) before gluing with Aquadhere (PVA).
-
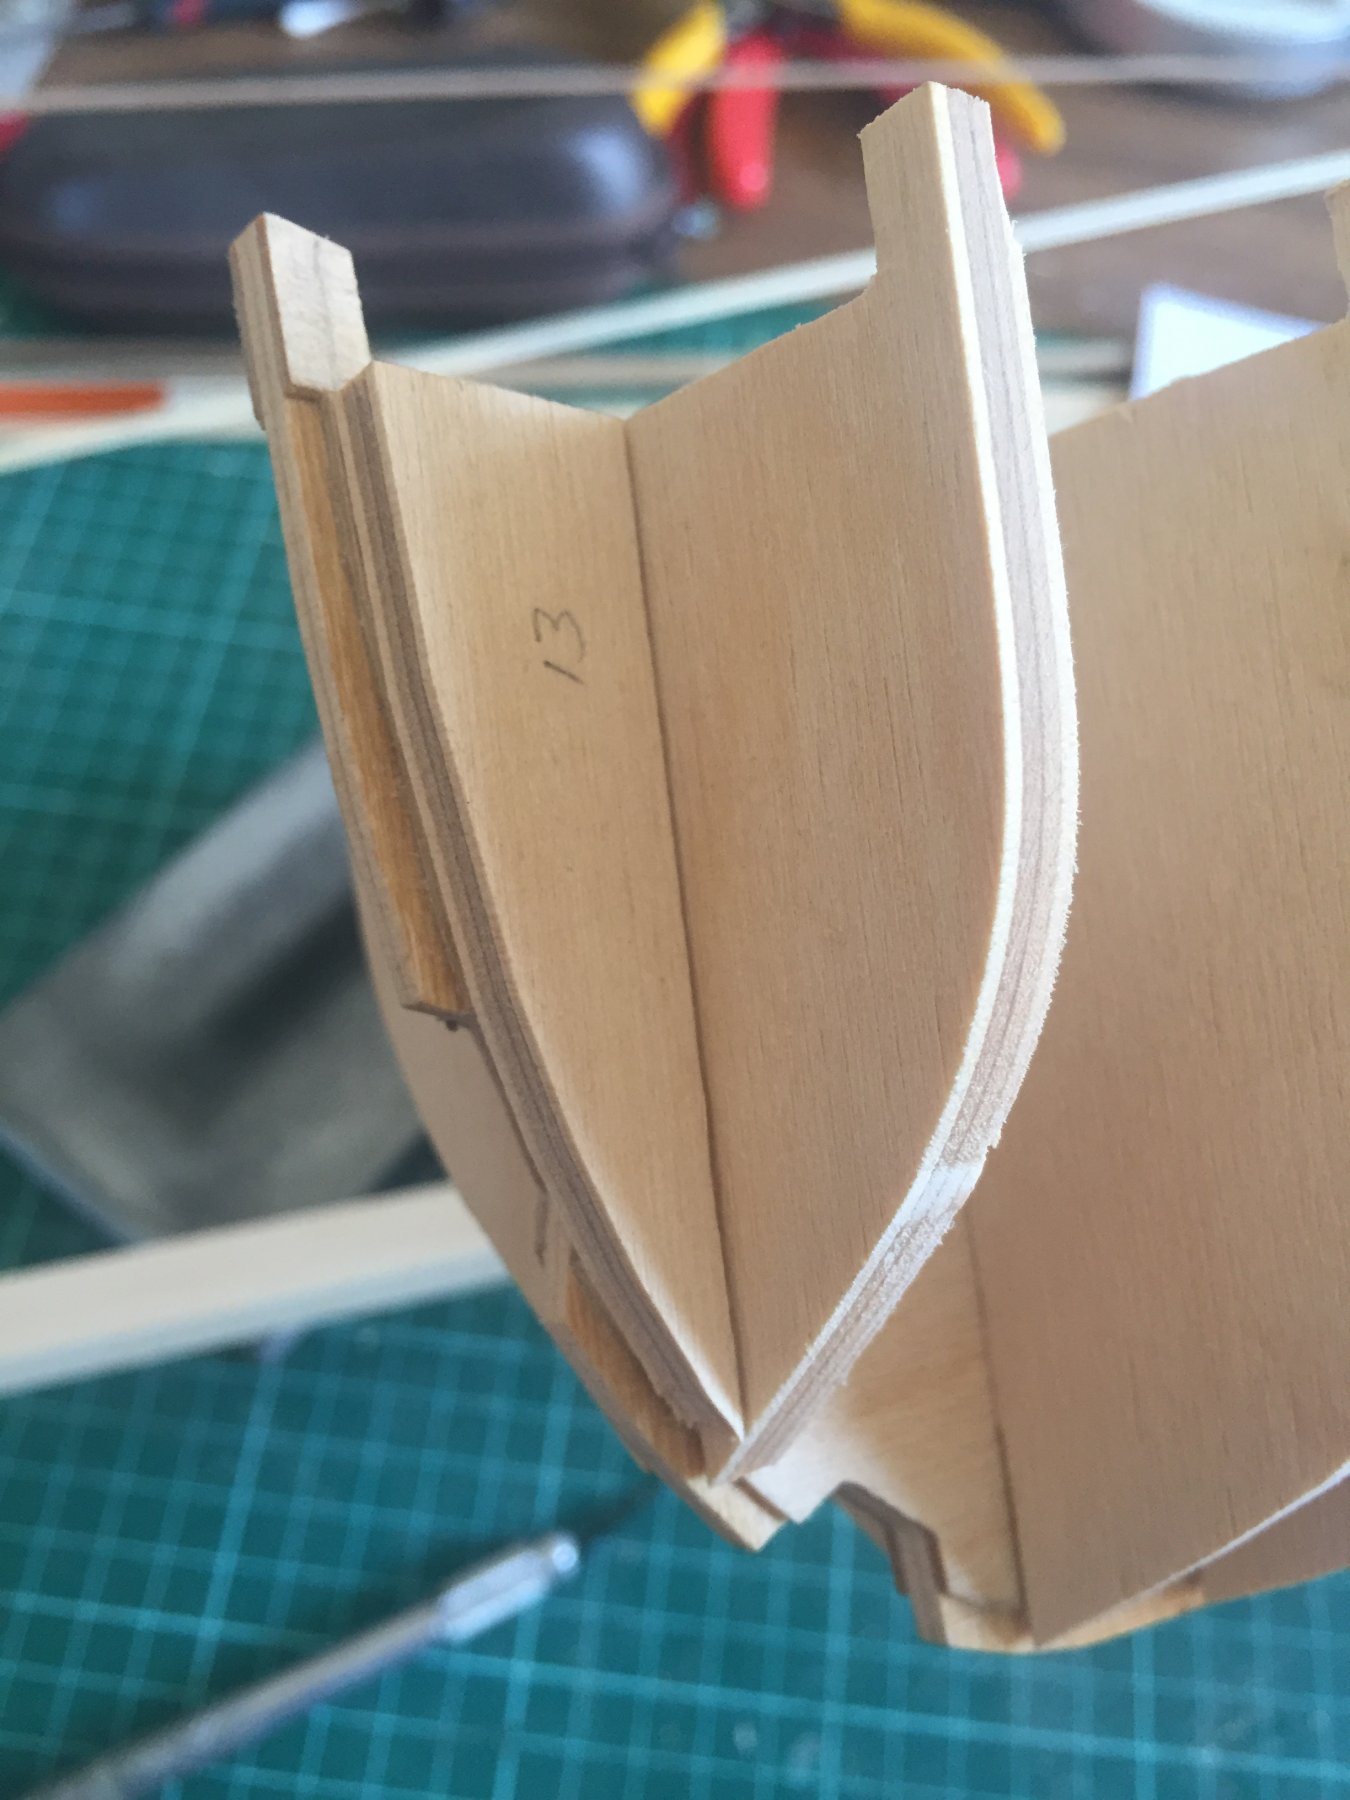
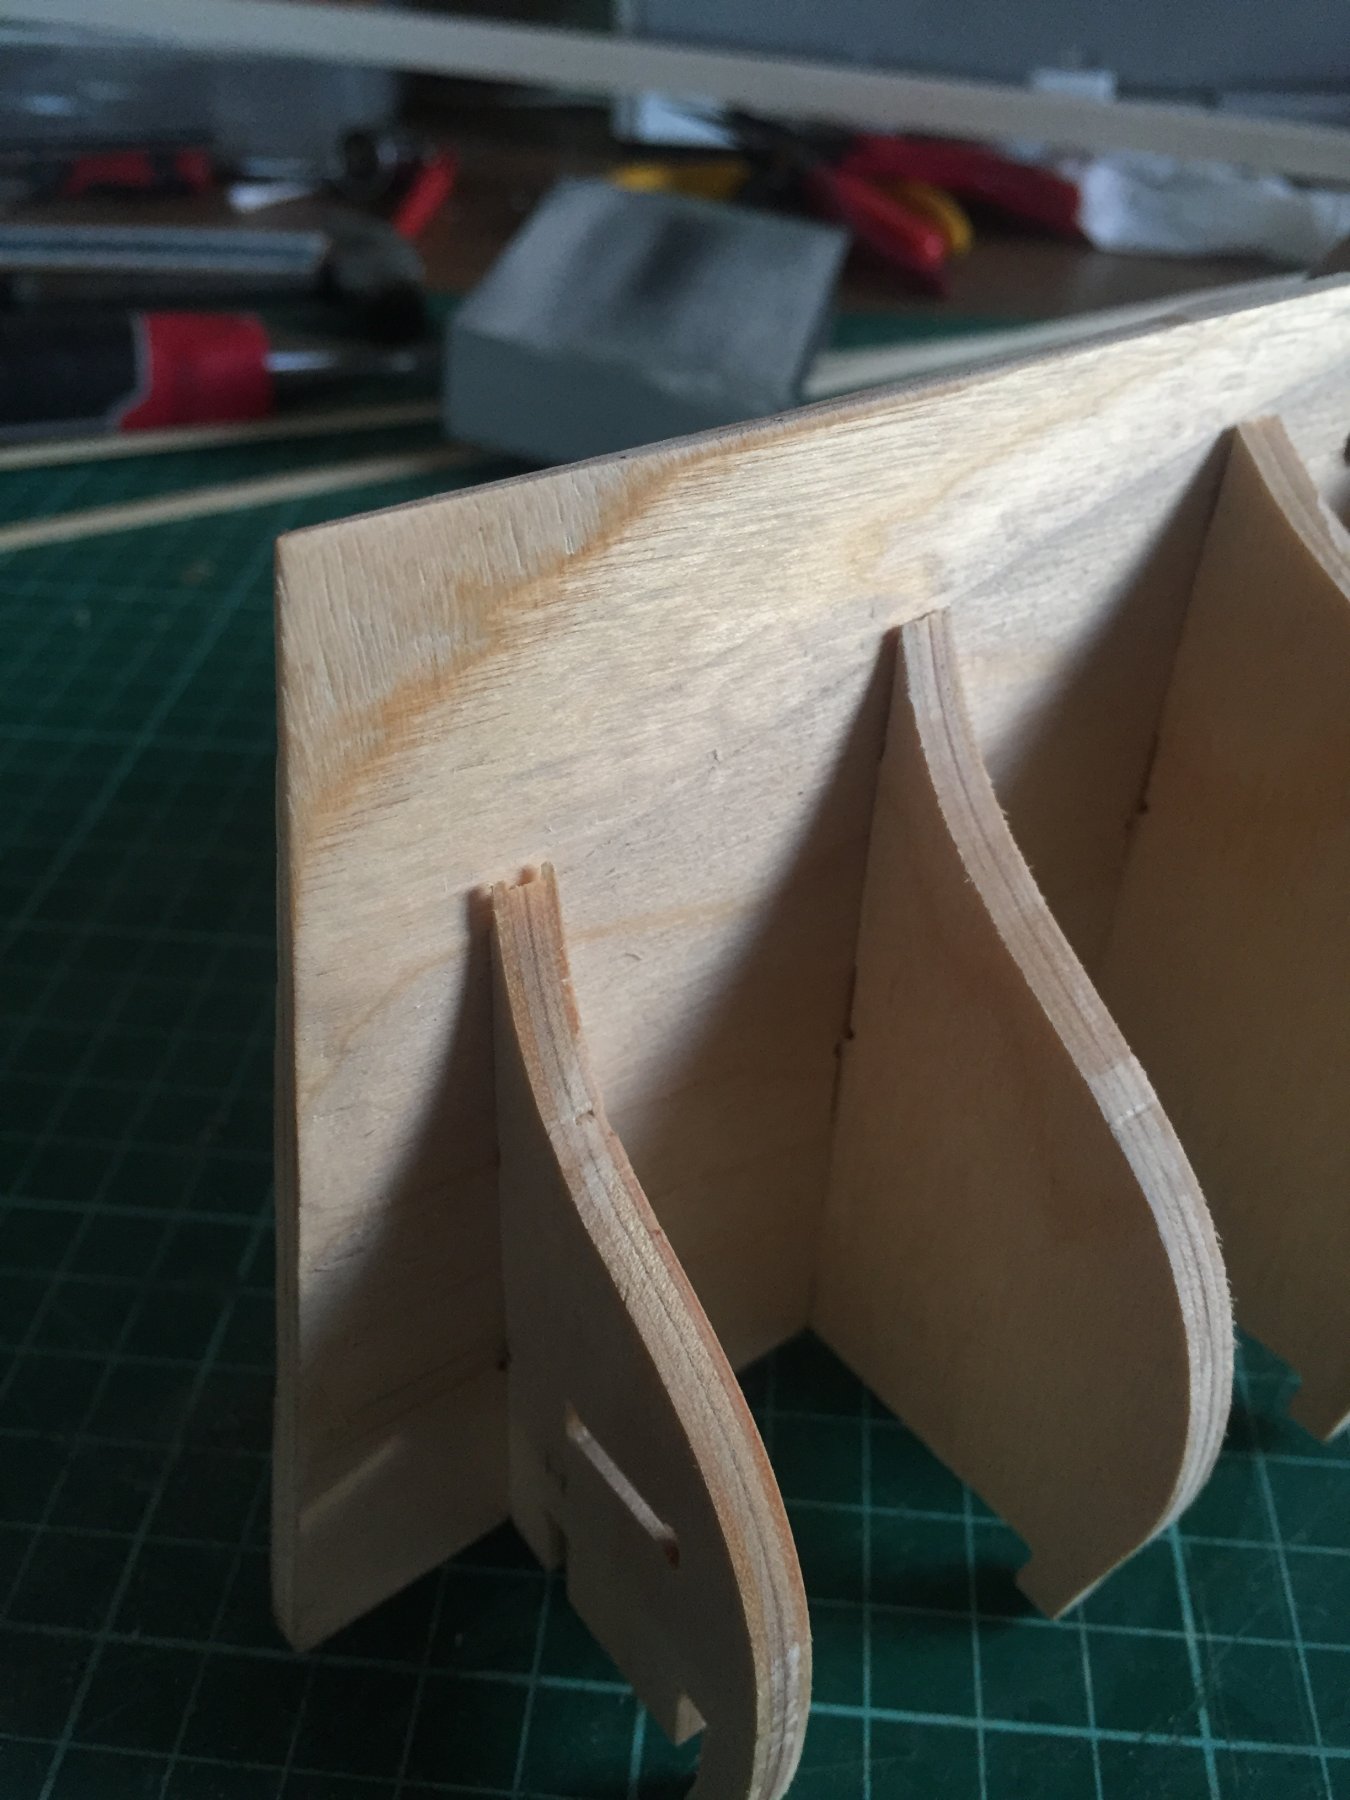
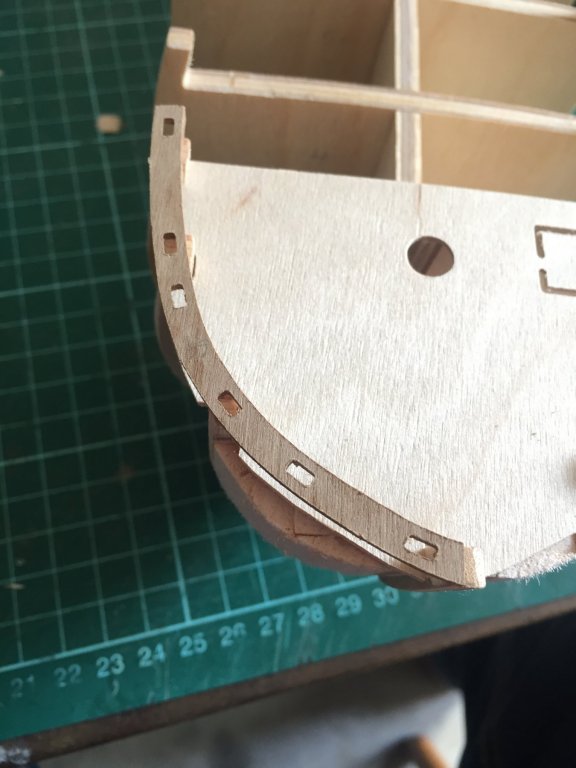
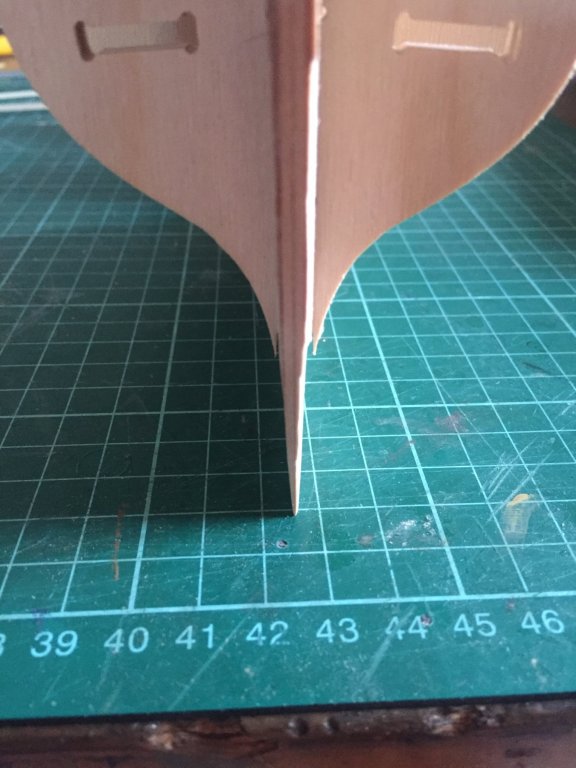
You can see in this photo that the bulkheads extend lower than the rebate. I intend to sand the bulkheads back so they finish at the rebate line. I want the planking at the bottom to be level with the false keel, and the thickness of the planking (lower right) is the depth of the rebate.
-
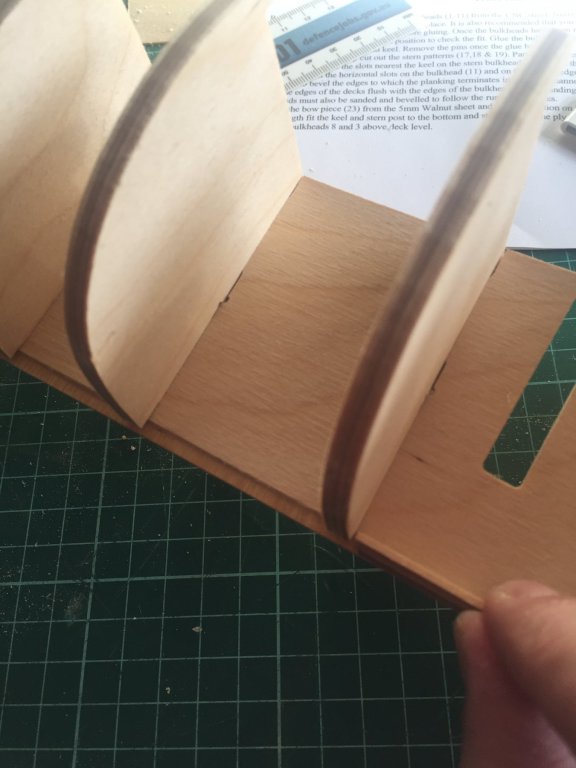
That was straight forward. Happy with that fit now. The instructions state “It is also recommended that you bevel the edges of the front and rear bulkheads as well as the plank termination patterns before gluing.” Yeah, nah. I’ll choose to wait until the skeleton’s assembled, glued and dried before profiling the hull.


-
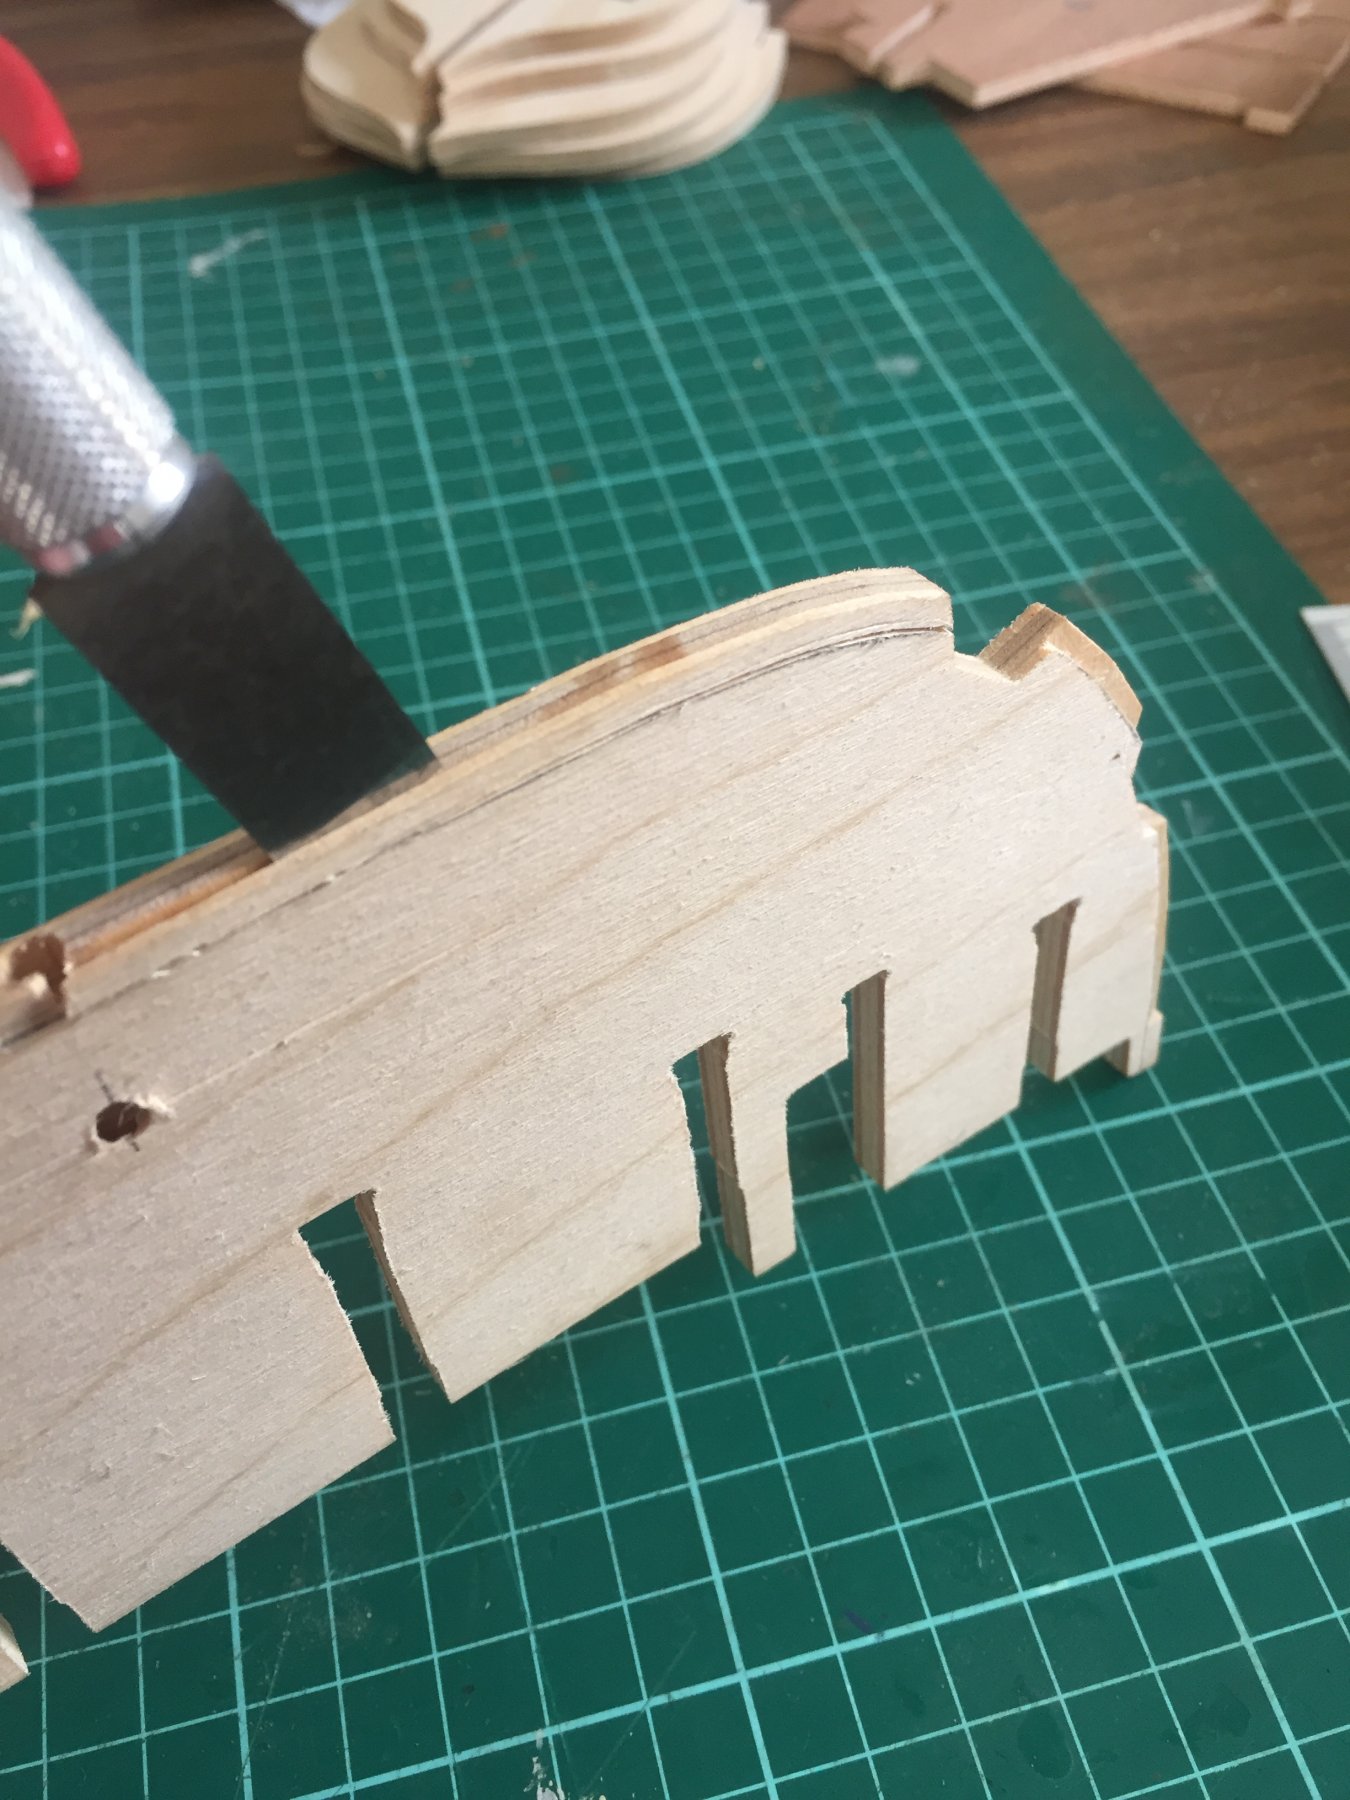
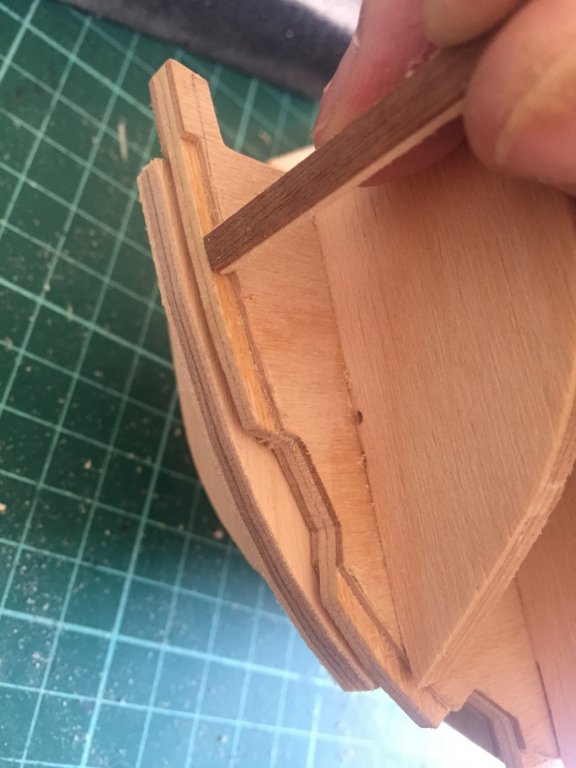
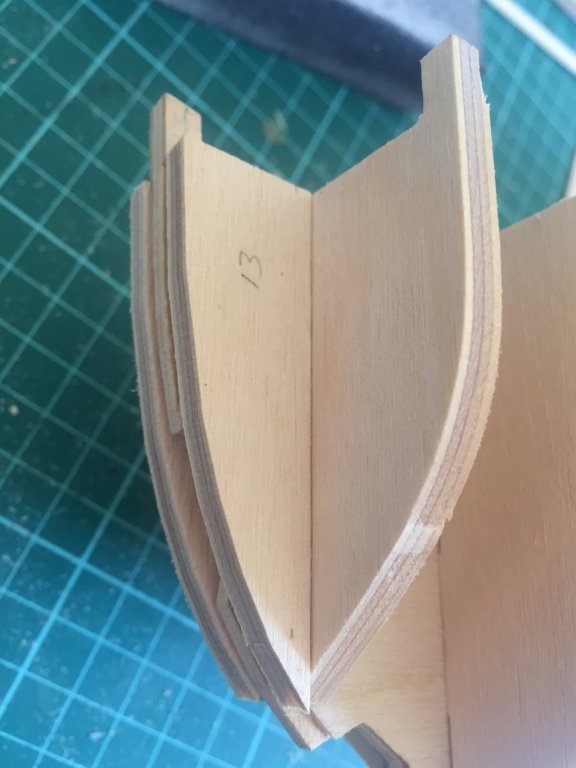
Ok, I’ve hit my first snag. As I’ve established the rebate to be the thickness of the first and second planking (2.6mm), the plank termination patterns (2x item 13) are now too large and need to be reduced by 2.6mm. I’ll use a finger plane and take it off the rear face to maintain the leading edge profile.
-
Time to finally Aquadhere these things together...
-
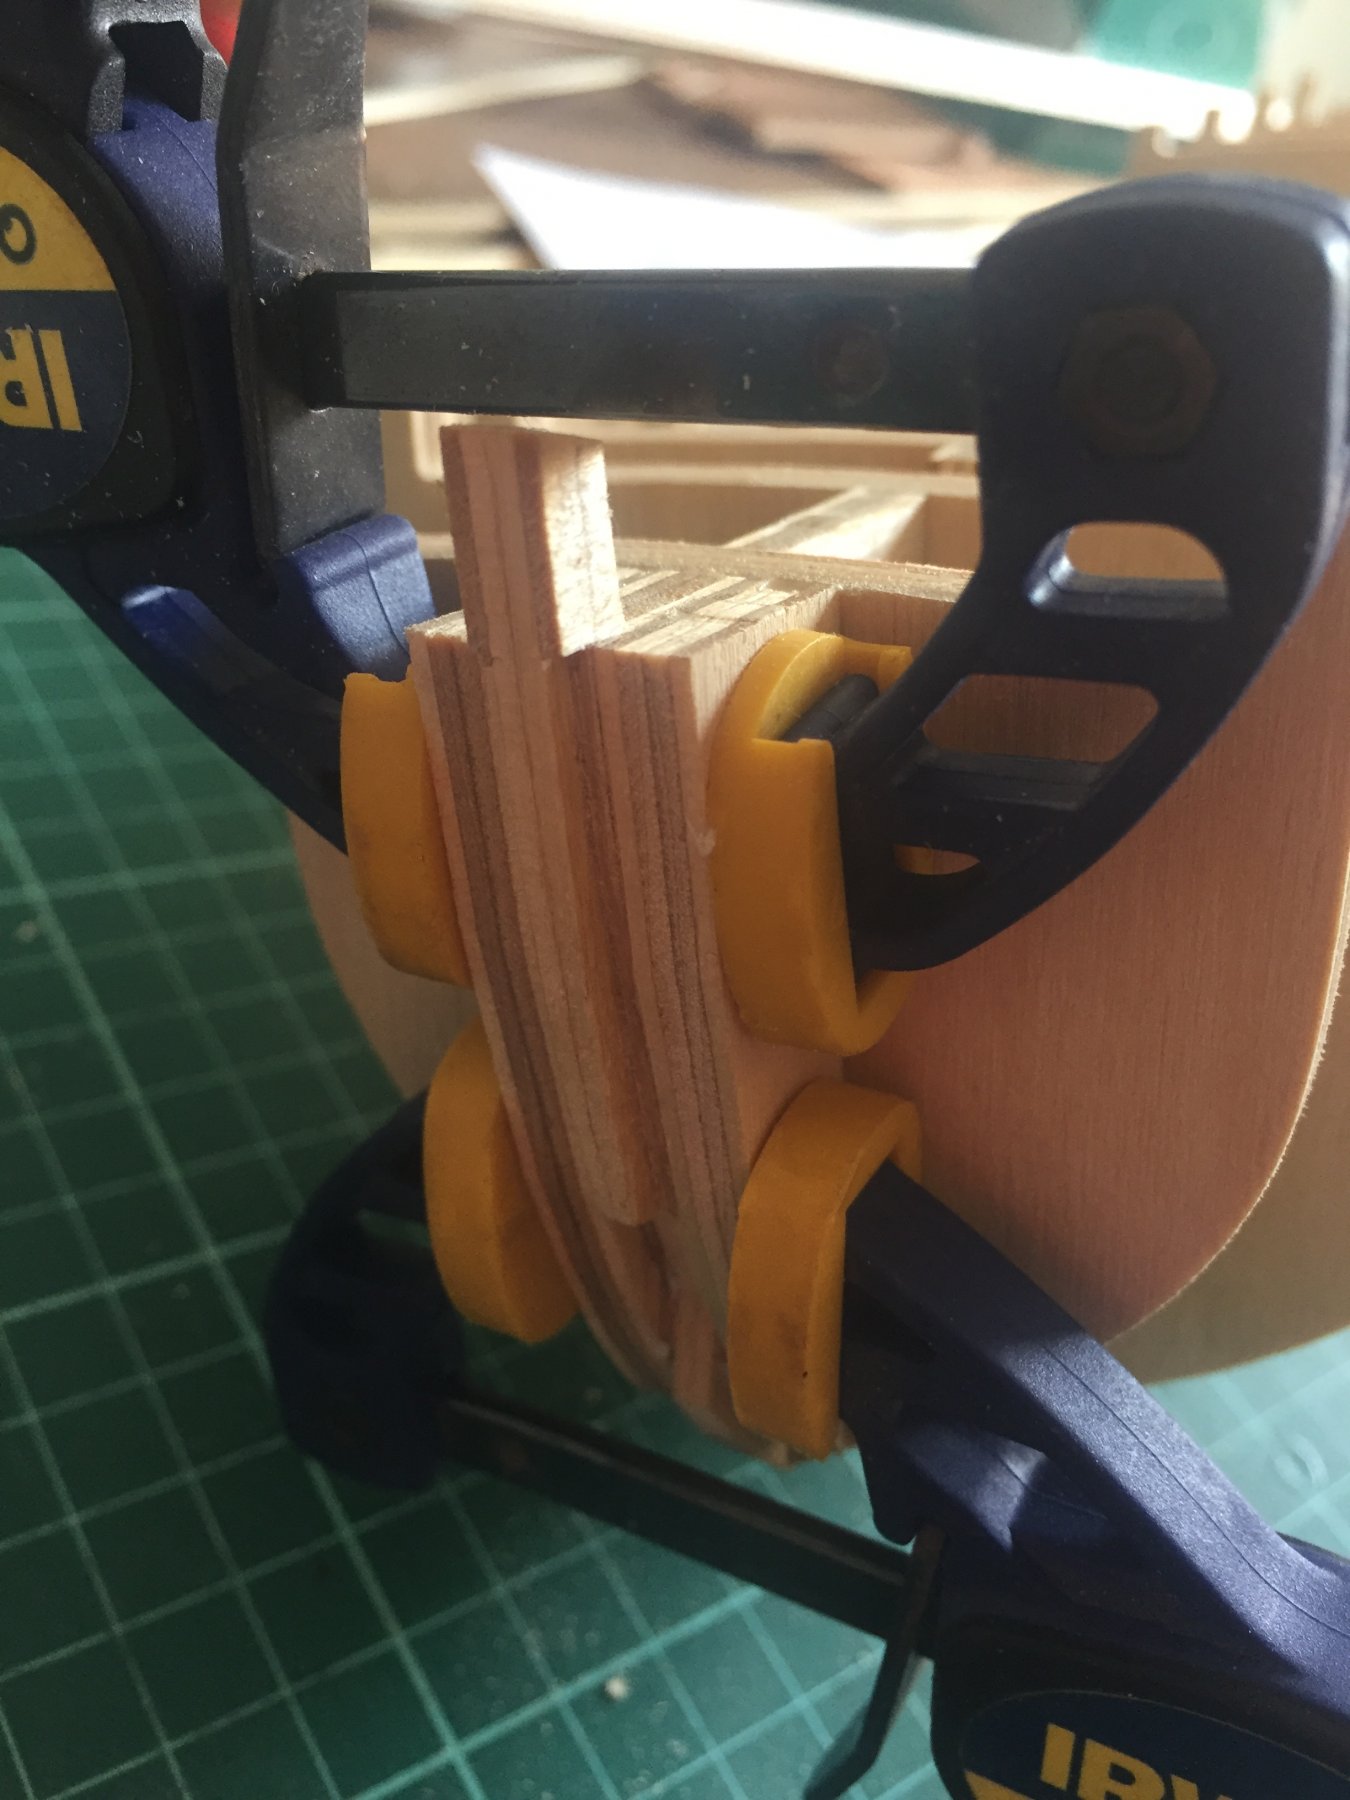
I press-fitted 2x 5/32 nuts for pedestal mounting later. I was going to Araldite them in place, but they’re not going anywhere. I don’t feel the need for a ply sandwich, either. Also, I’ve taken Rob’s advice to terminate the first planking at the bearding line, so I’ve formed a shallow rebate there.
-
Looking great, Donn! Which brand and shade of paint do you choose for the Red ochre?
-
This is seriously nice work, Rob. Lots of good guff, too. I'm very much impressed. (I'm a huge fan of the Aubrey-Maturin series, too.)
-
Ah! Righto. I'll consider doing it that way. Good tip. Ta.
-
Yeah, John, the Fly looks fantastic! I mainly chose this one because it's quite literally the ship that founded my nation. My wife's ancestors were part of the first fleet, but they didn't have a choice. 🤣
-
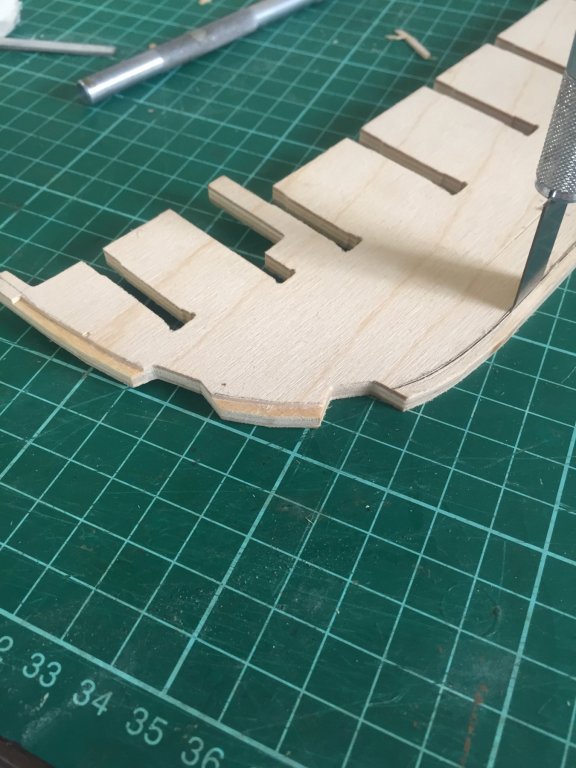
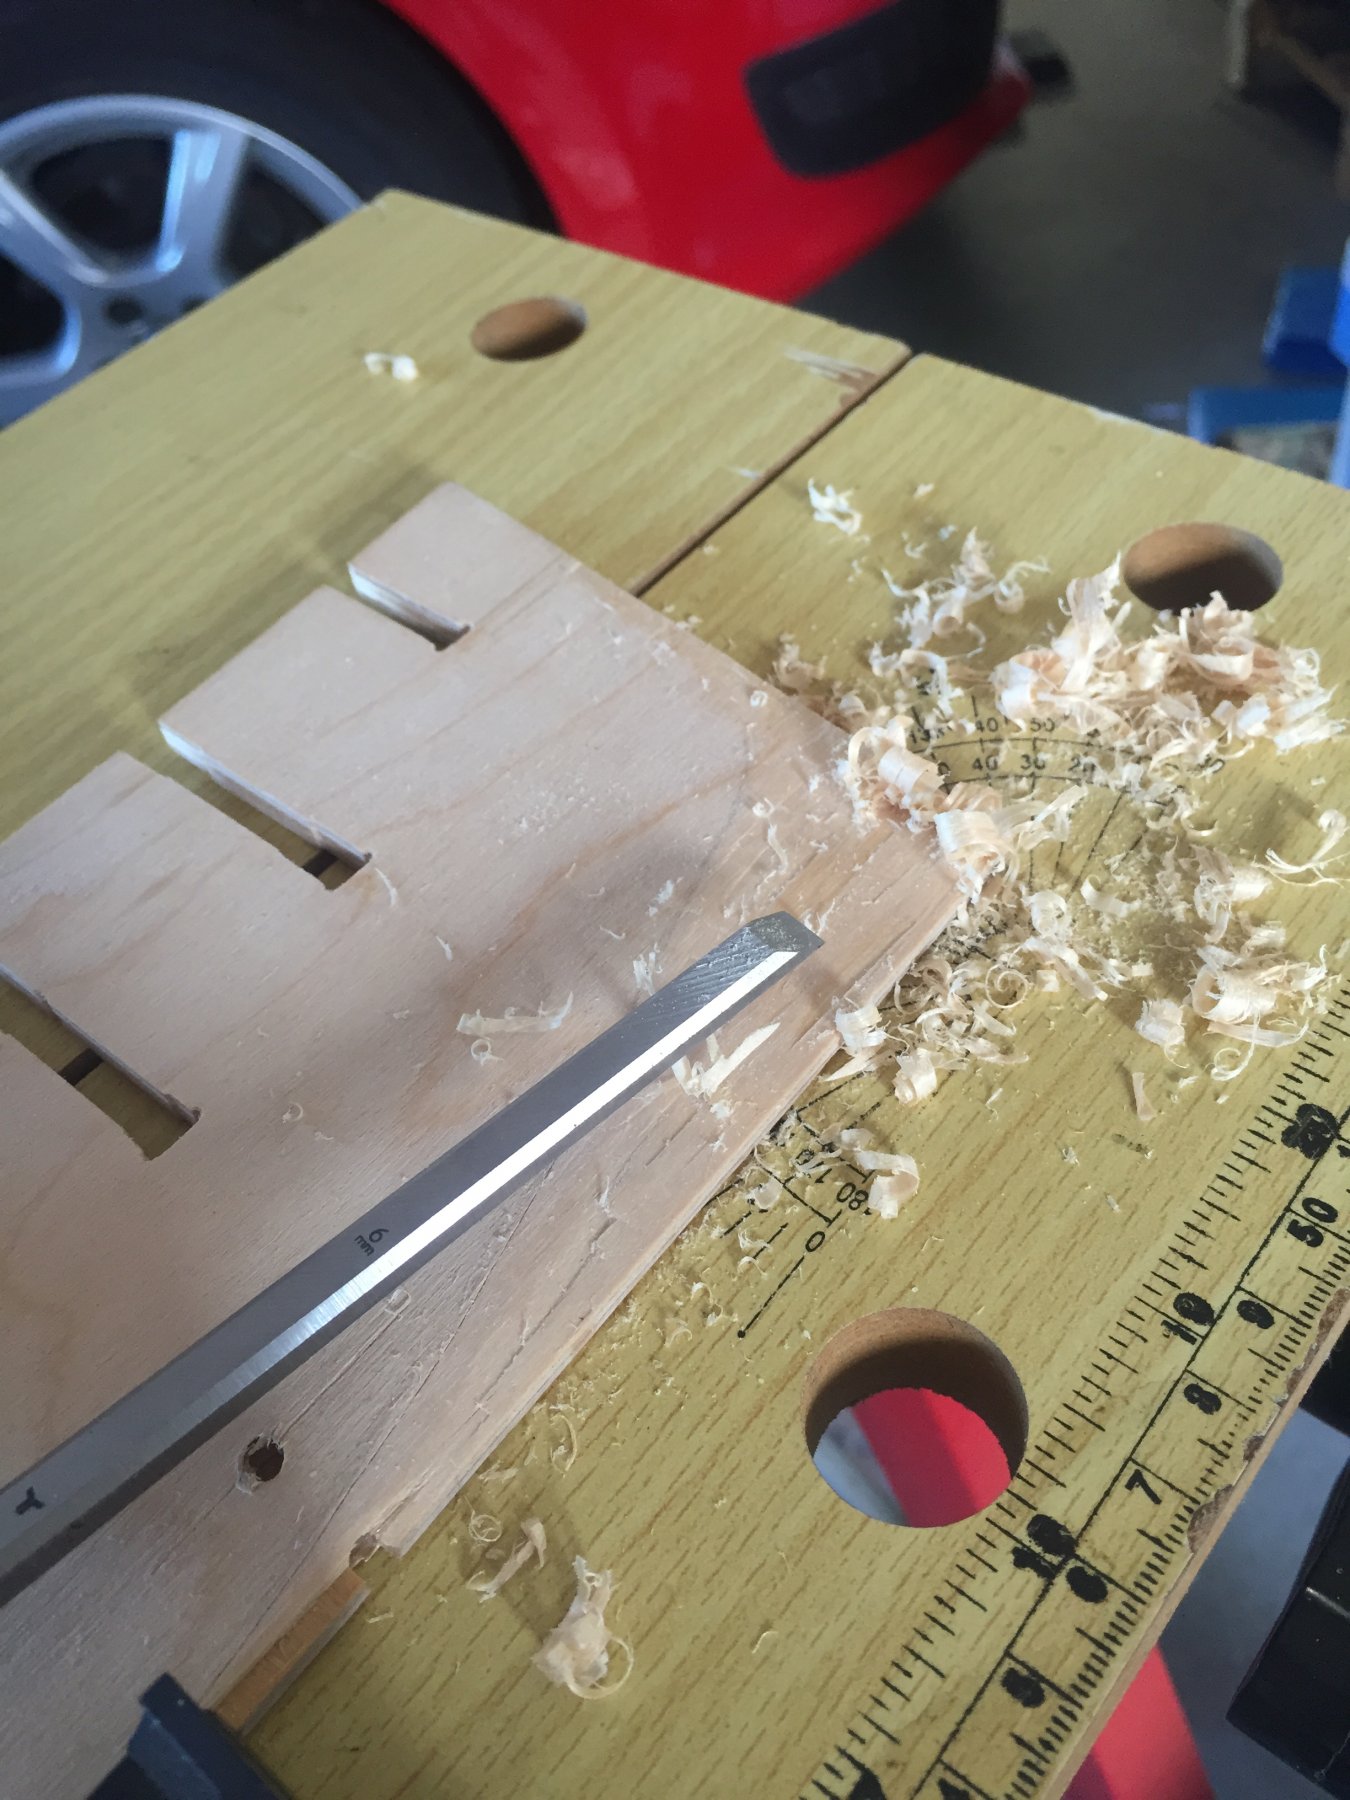
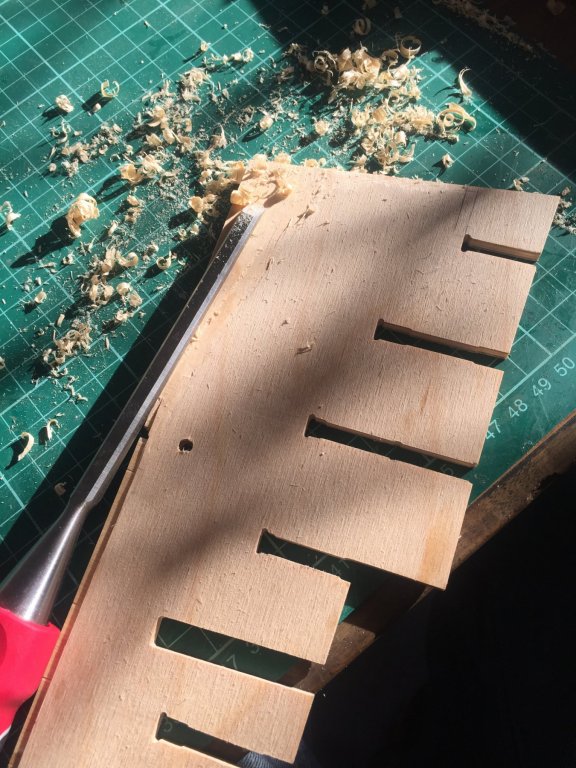
Using a 6mm chisel, I’ve tapered from the previously marked bearding line down towards the keel. The false keel’s width is 5.25mm. The thickness of two lots of double planking by themselves (representing a first and second layer each side) is 5.26mm. There’s only so much wood I could remove...


-
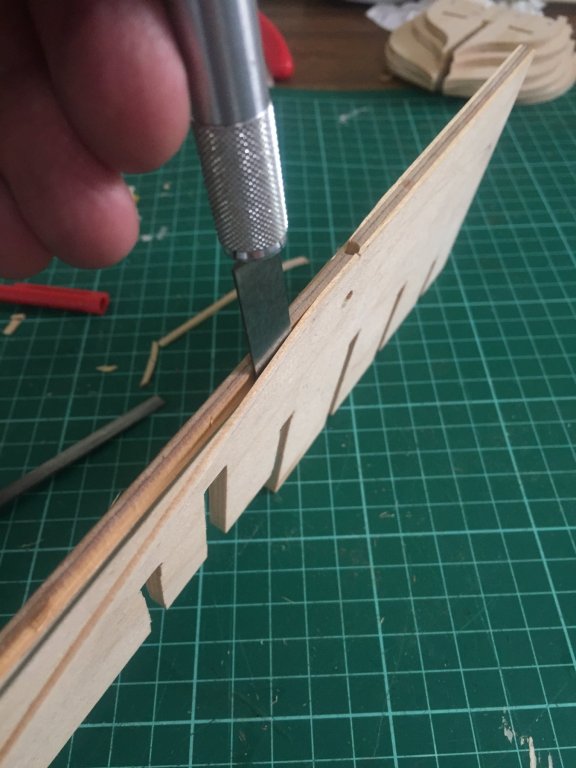
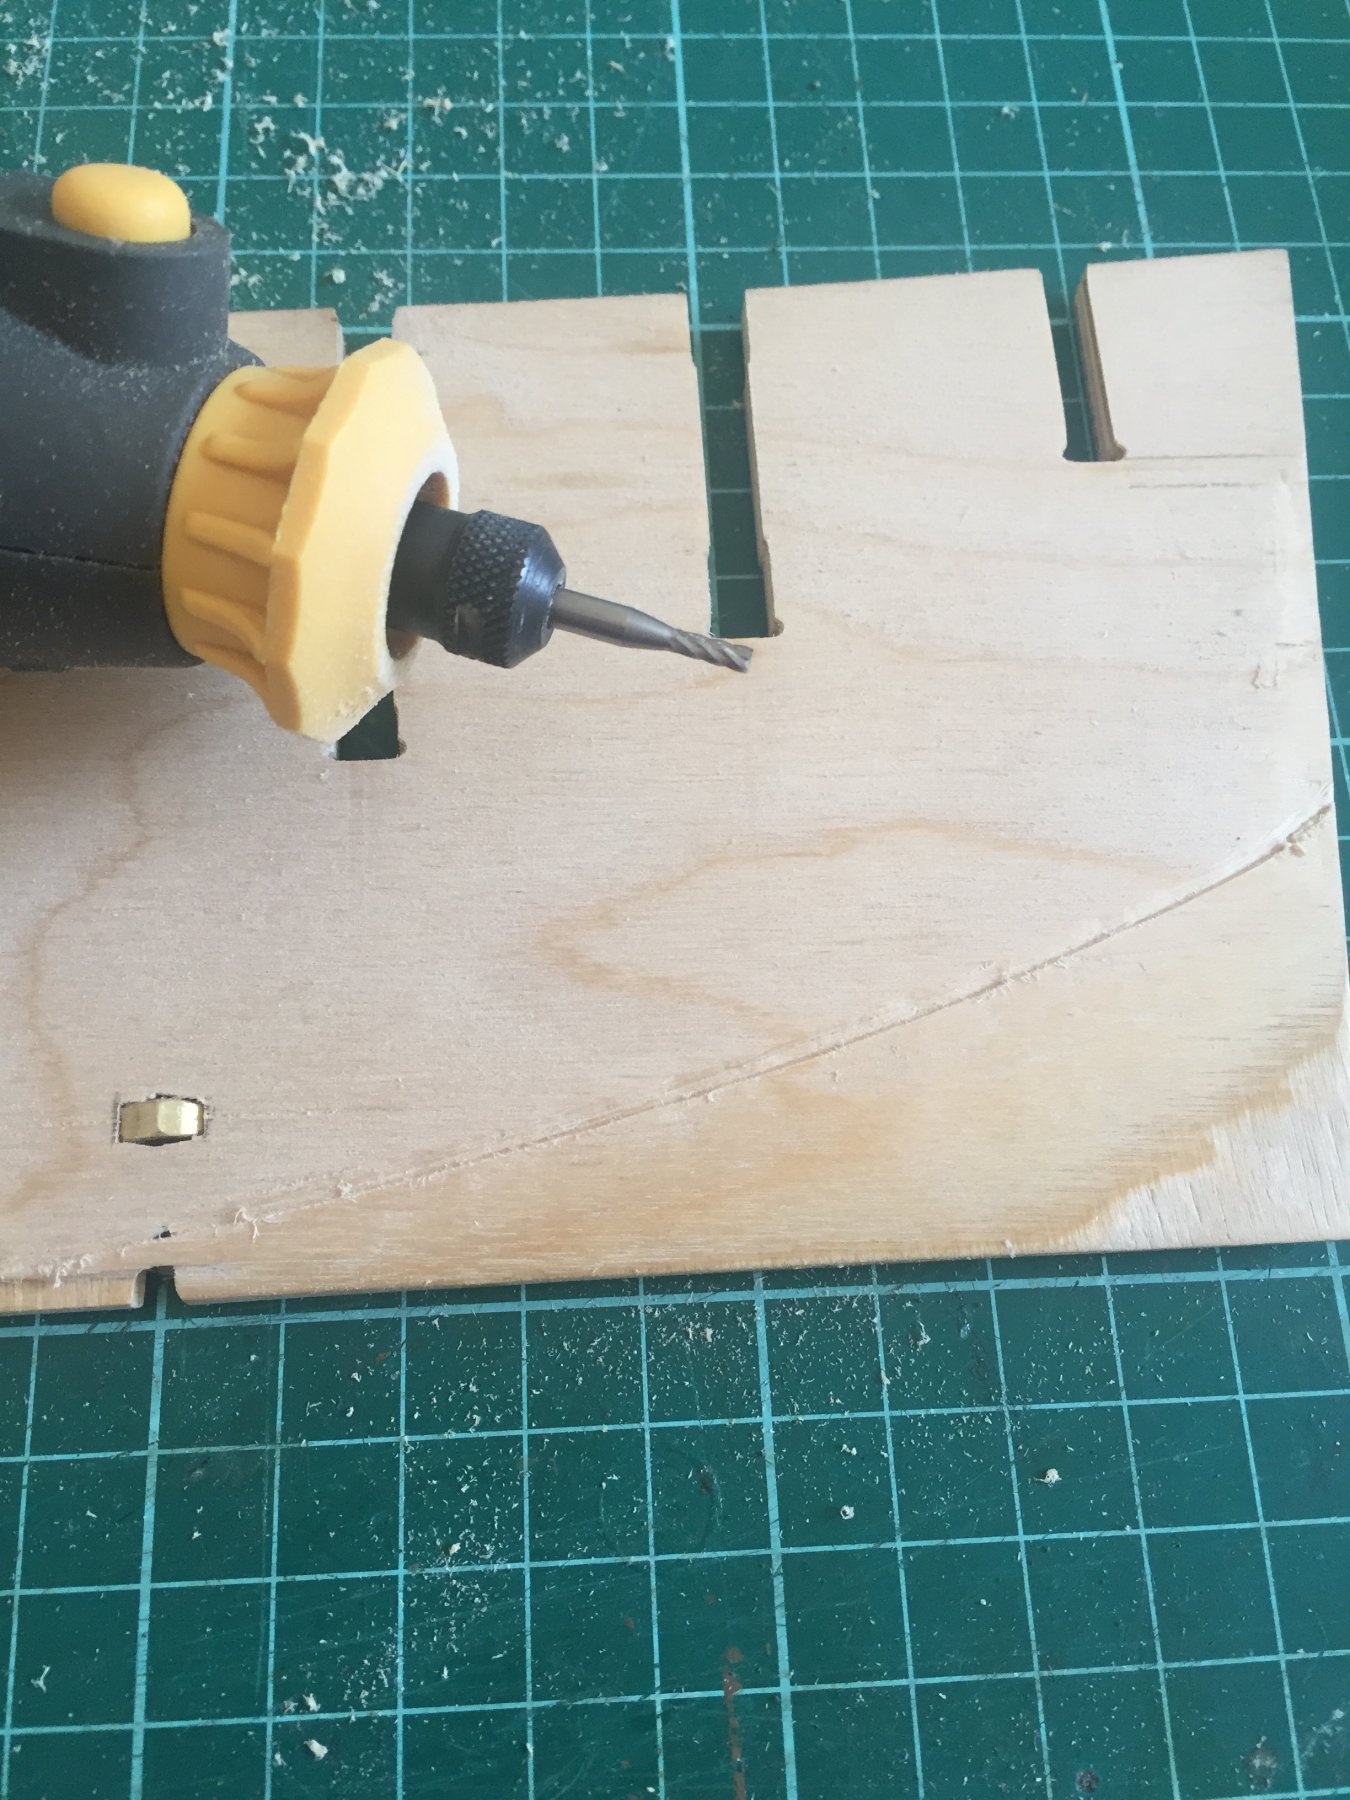
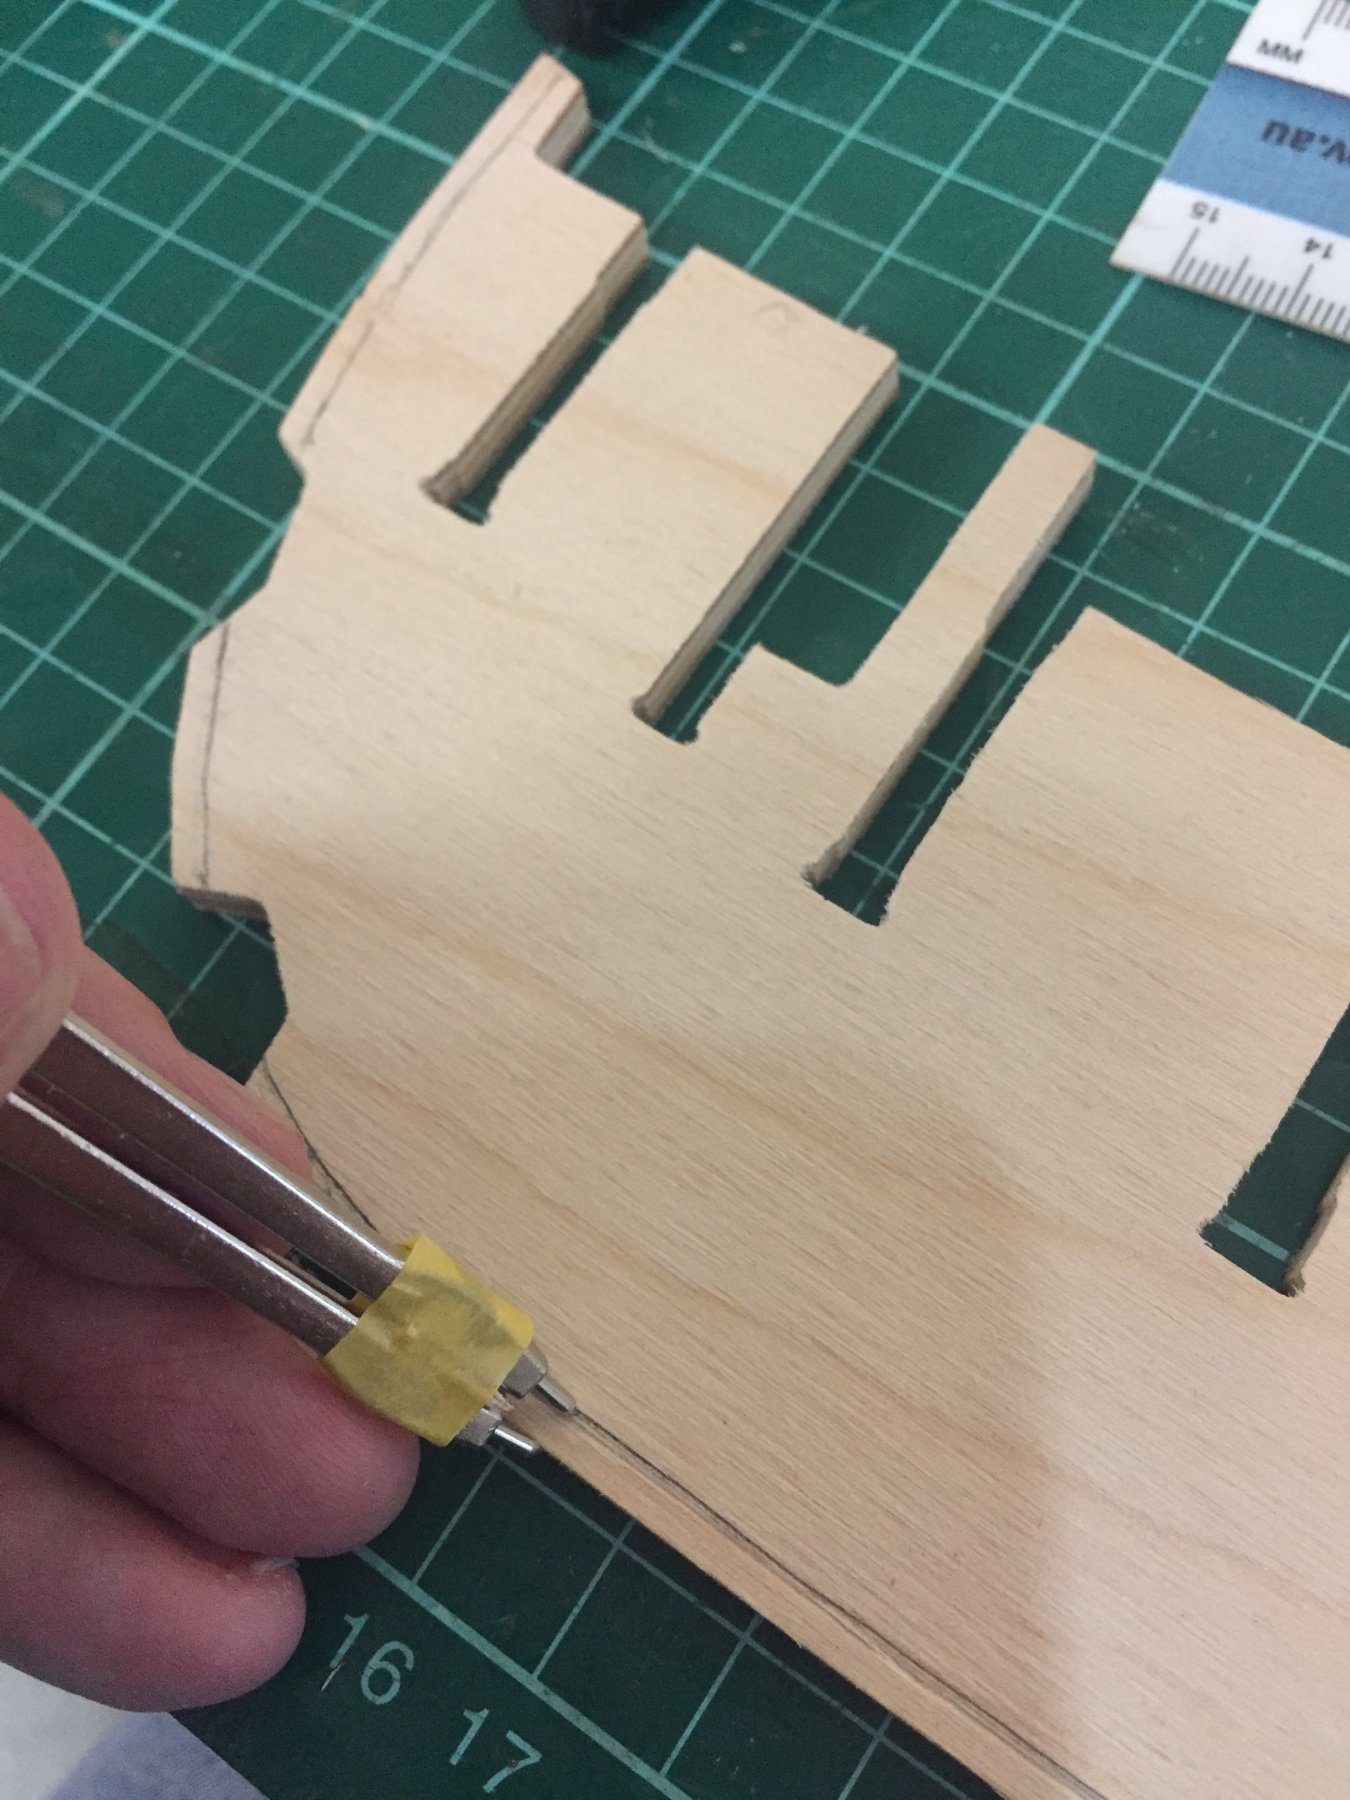
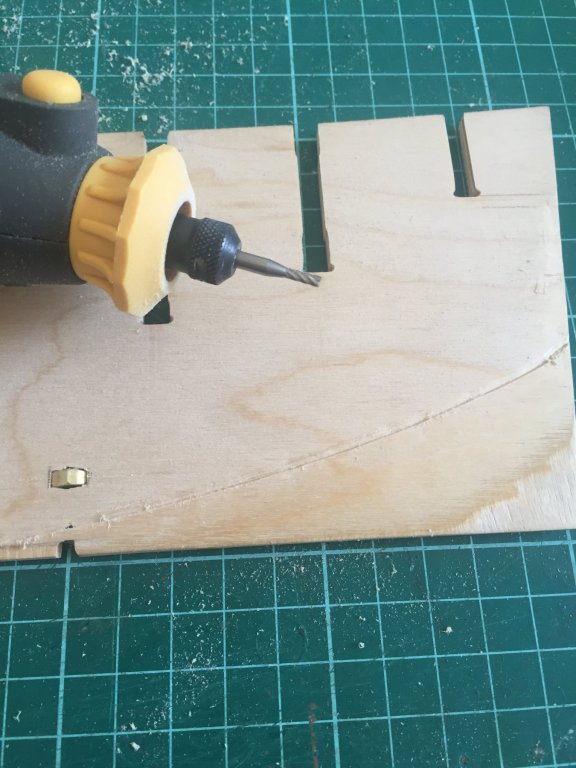
Marking along the keel with a pair of dividers adjusted to the thickness of the first and second layers of planking (2.65mm), I scribed a line along the keel. Then, with an X-acto blade, I removed the first layer of ply to form a rebate.