HOLIDAY DONATION DRIVE - SUPPORT MSW - DO YOUR PART TO KEEP THIS GREAT FORUM GOING! (Only 13 donations so far - C'mon guys!)
×
Jobbie
-
Posts
220 -
Joined
-
Last visited
Content Type
Profiles
Forums
Gallery
Events
Everything posted by Jobbie
-
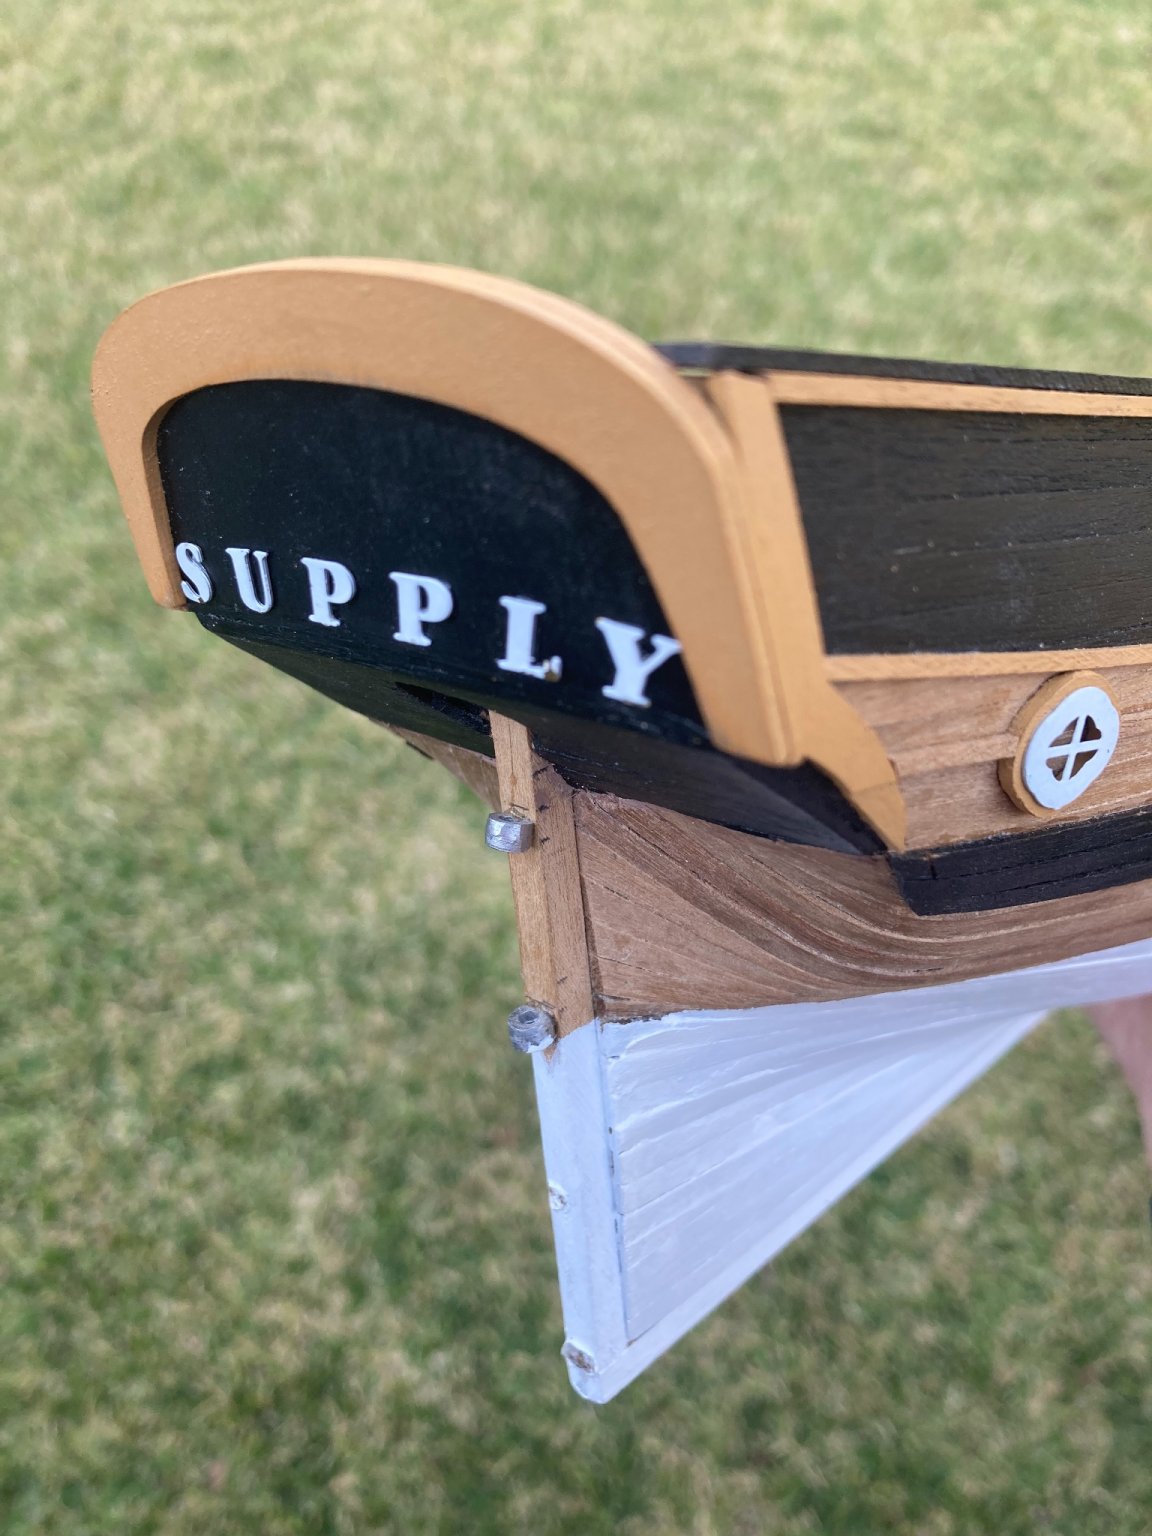
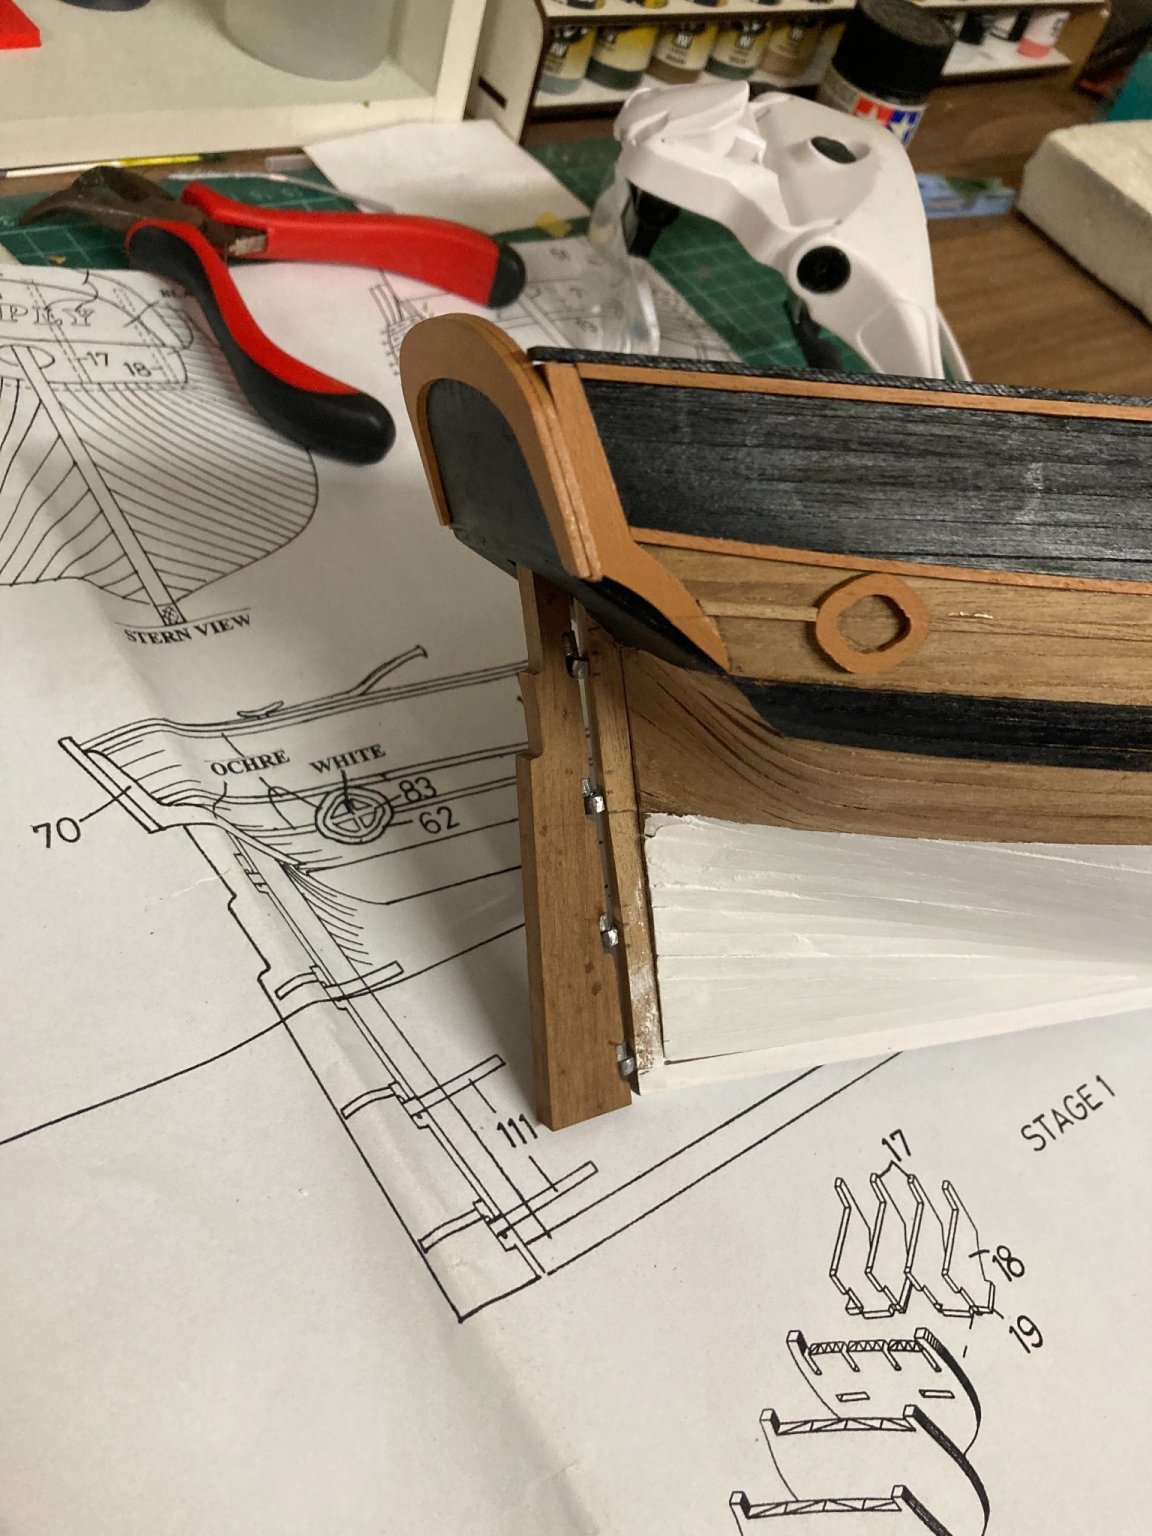
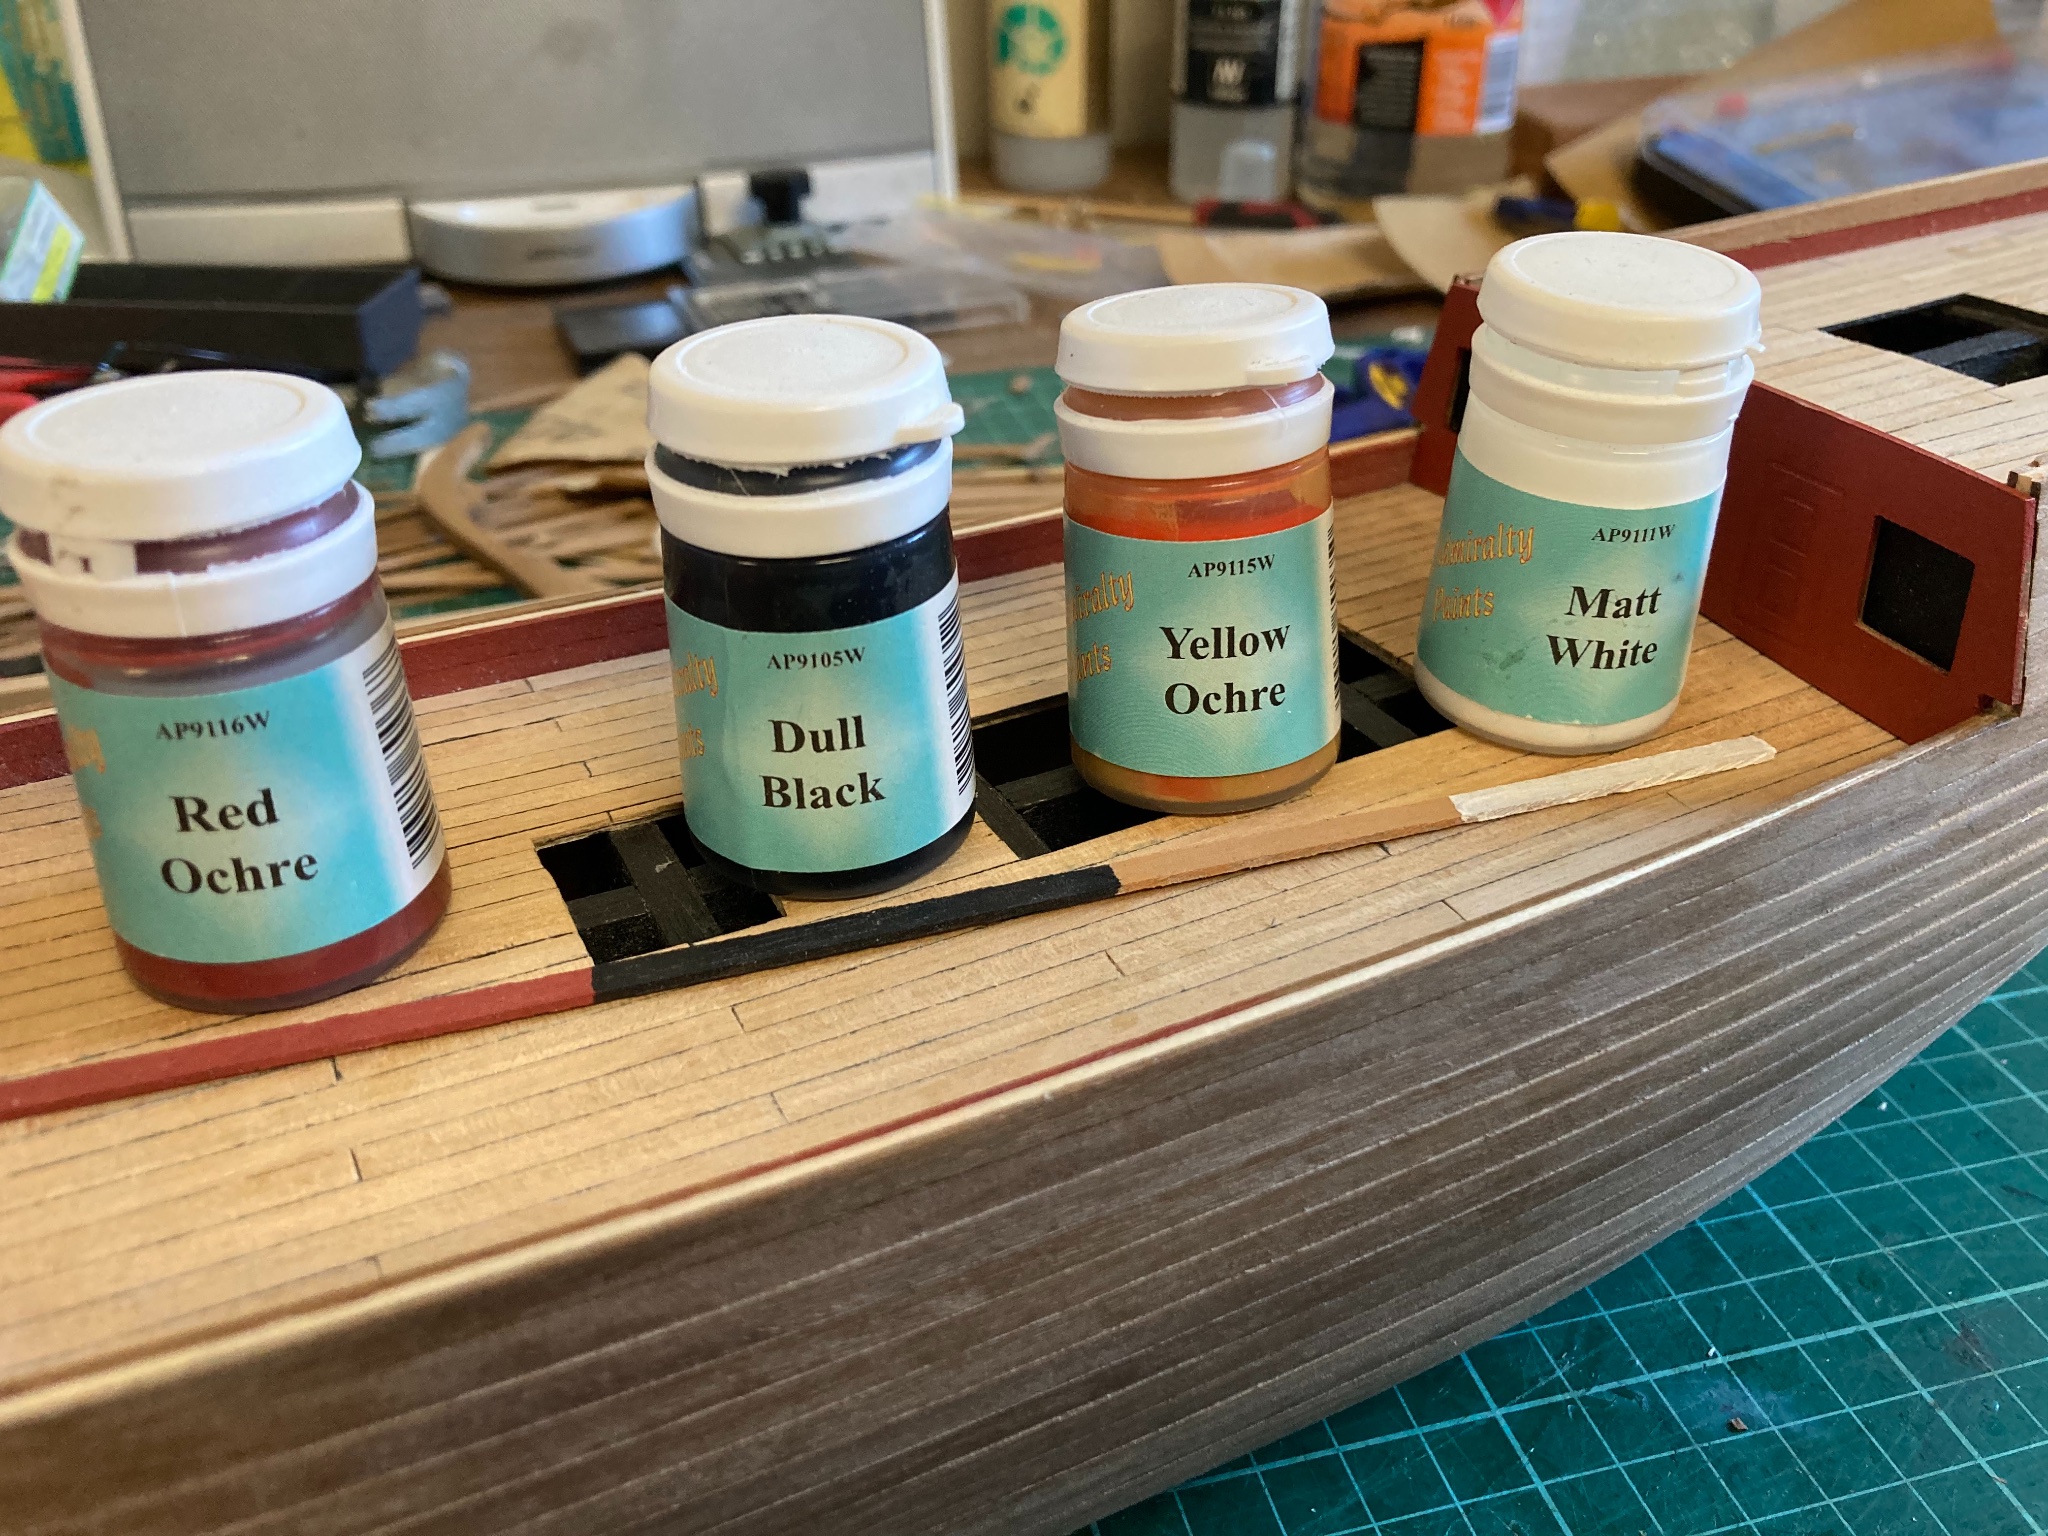
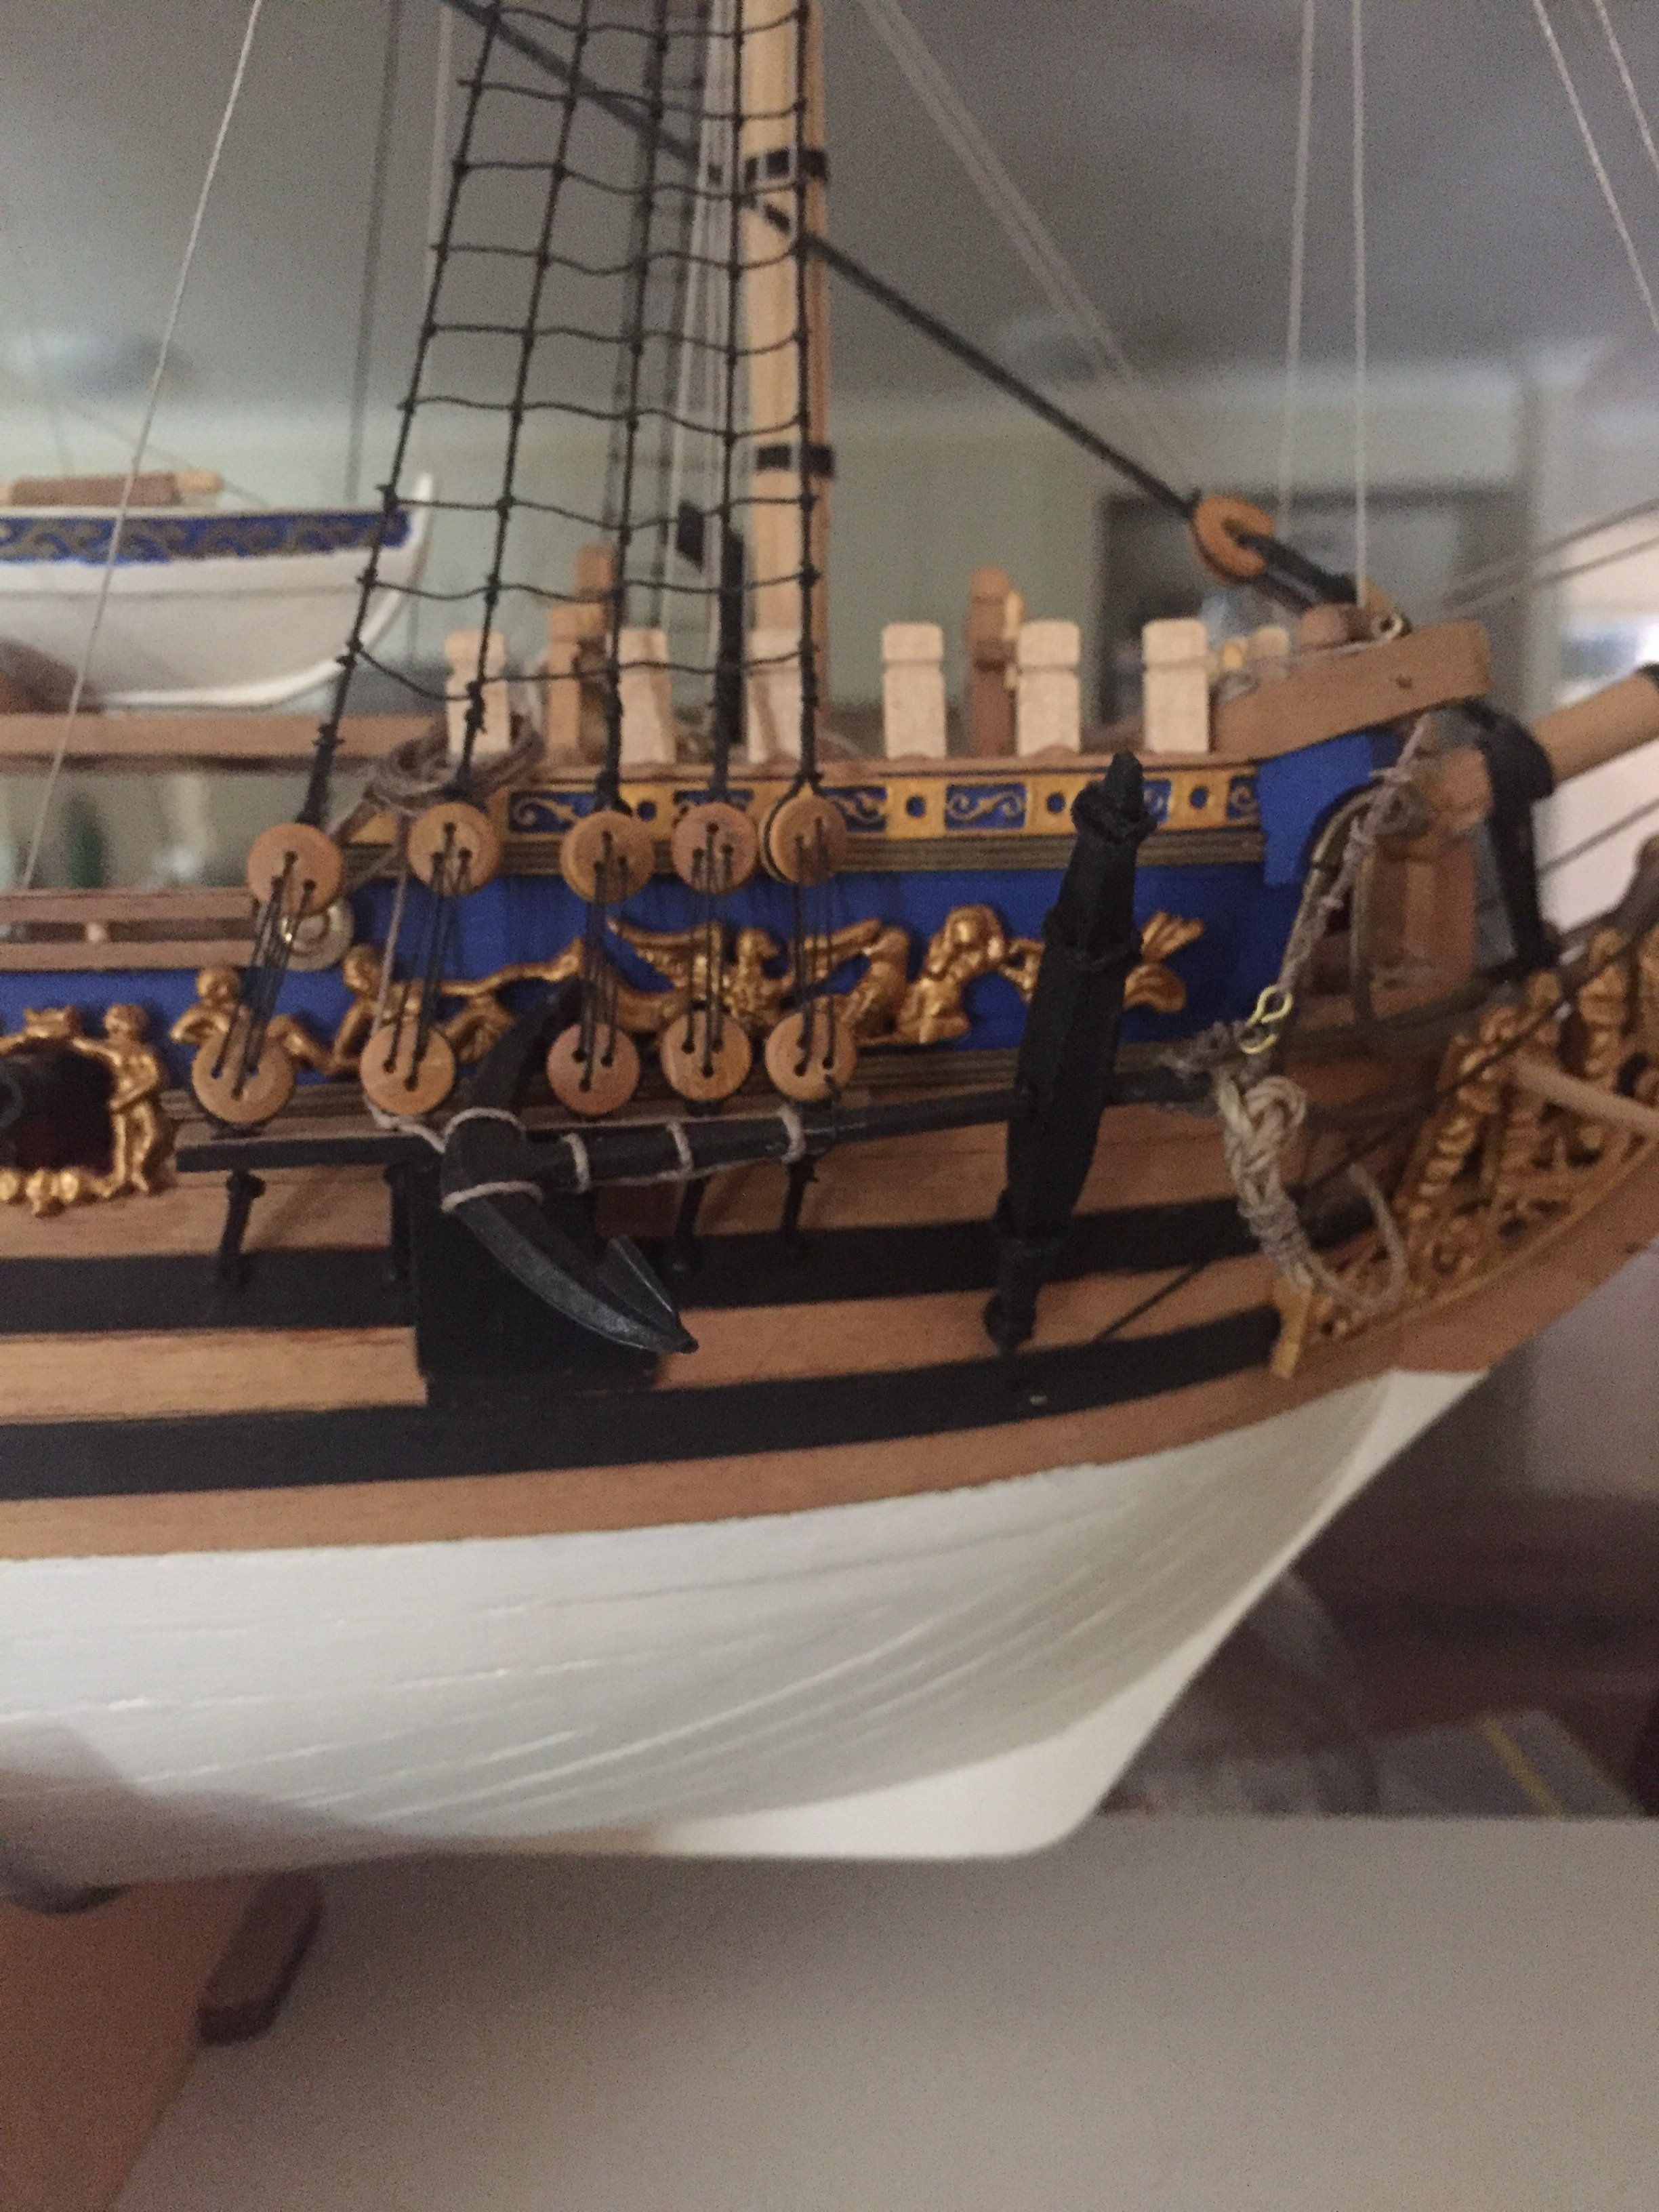
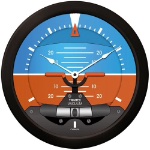
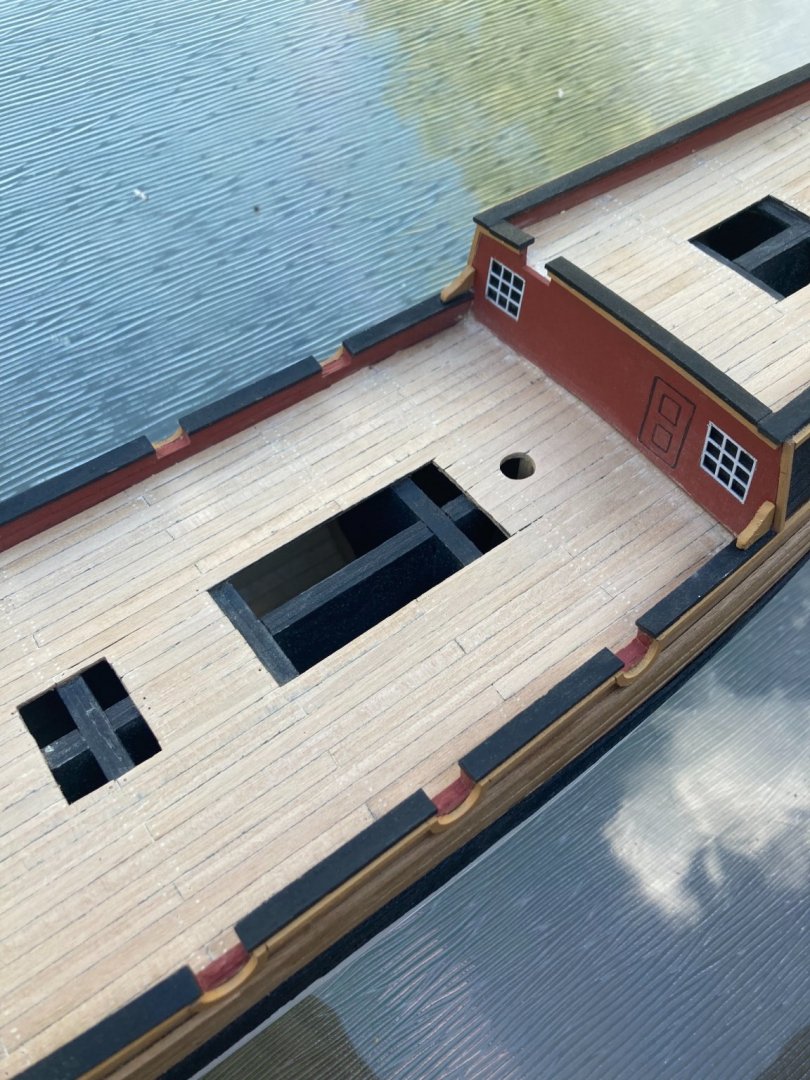
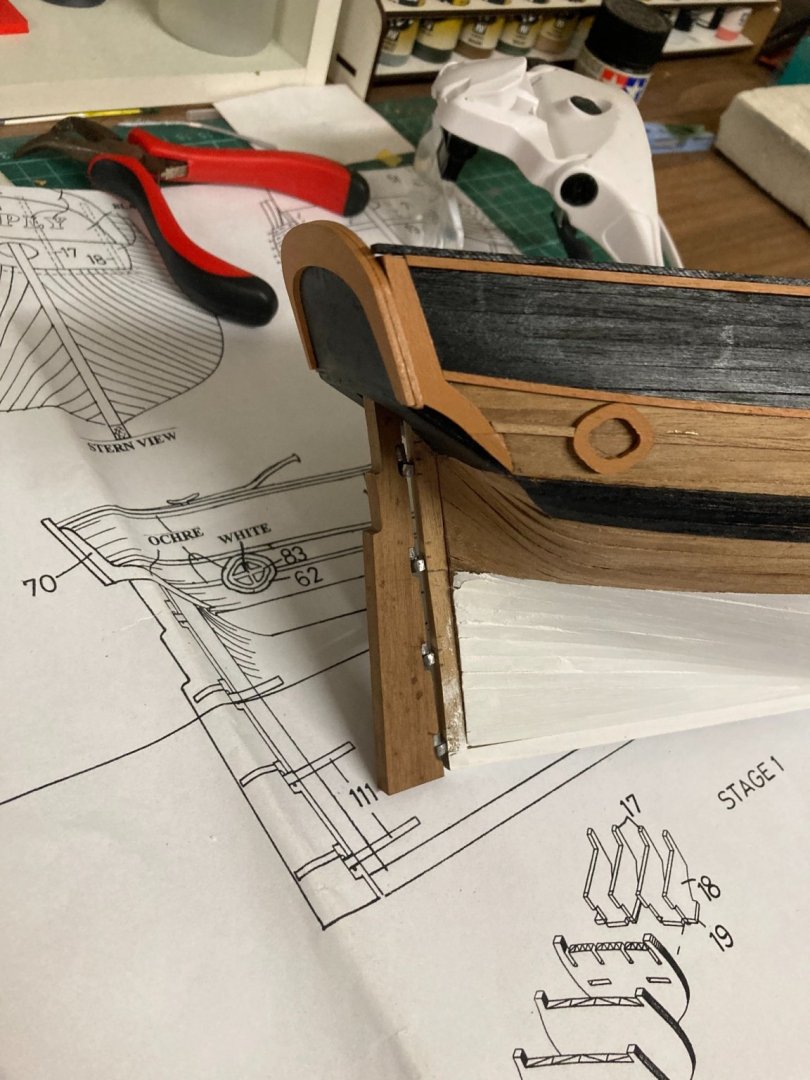
 The brass lettering ‘SUPPLY’ and four window frames are primed with a Tamiya rattle-can and airbrushed white Vallejo Air. They’ll require a little touch-up after cutting from the sprue. They’re attached with a two-part epoxy, Araldite. The prow’s painted Admiralty paints’ dull black, helping to cover up the unsightly Cabot’s ‘antique walnut’ putty. (Bad colour choice by me.) It’s amazing how little additions make a lot of difference.
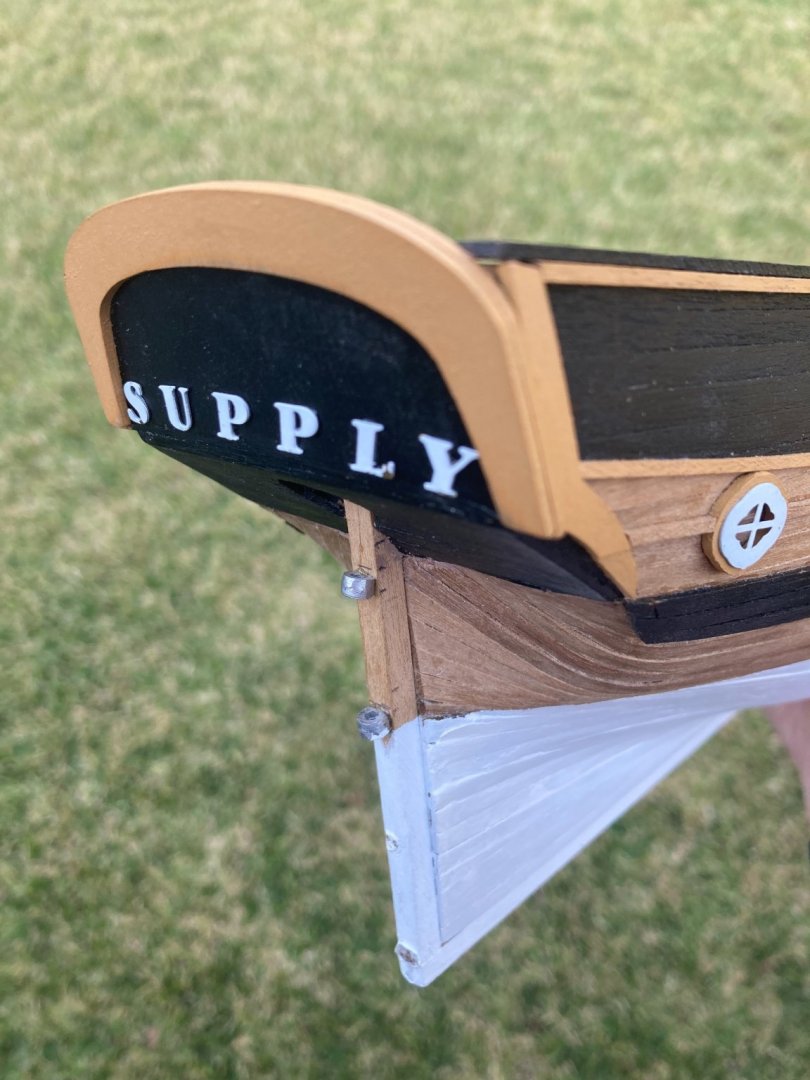
-
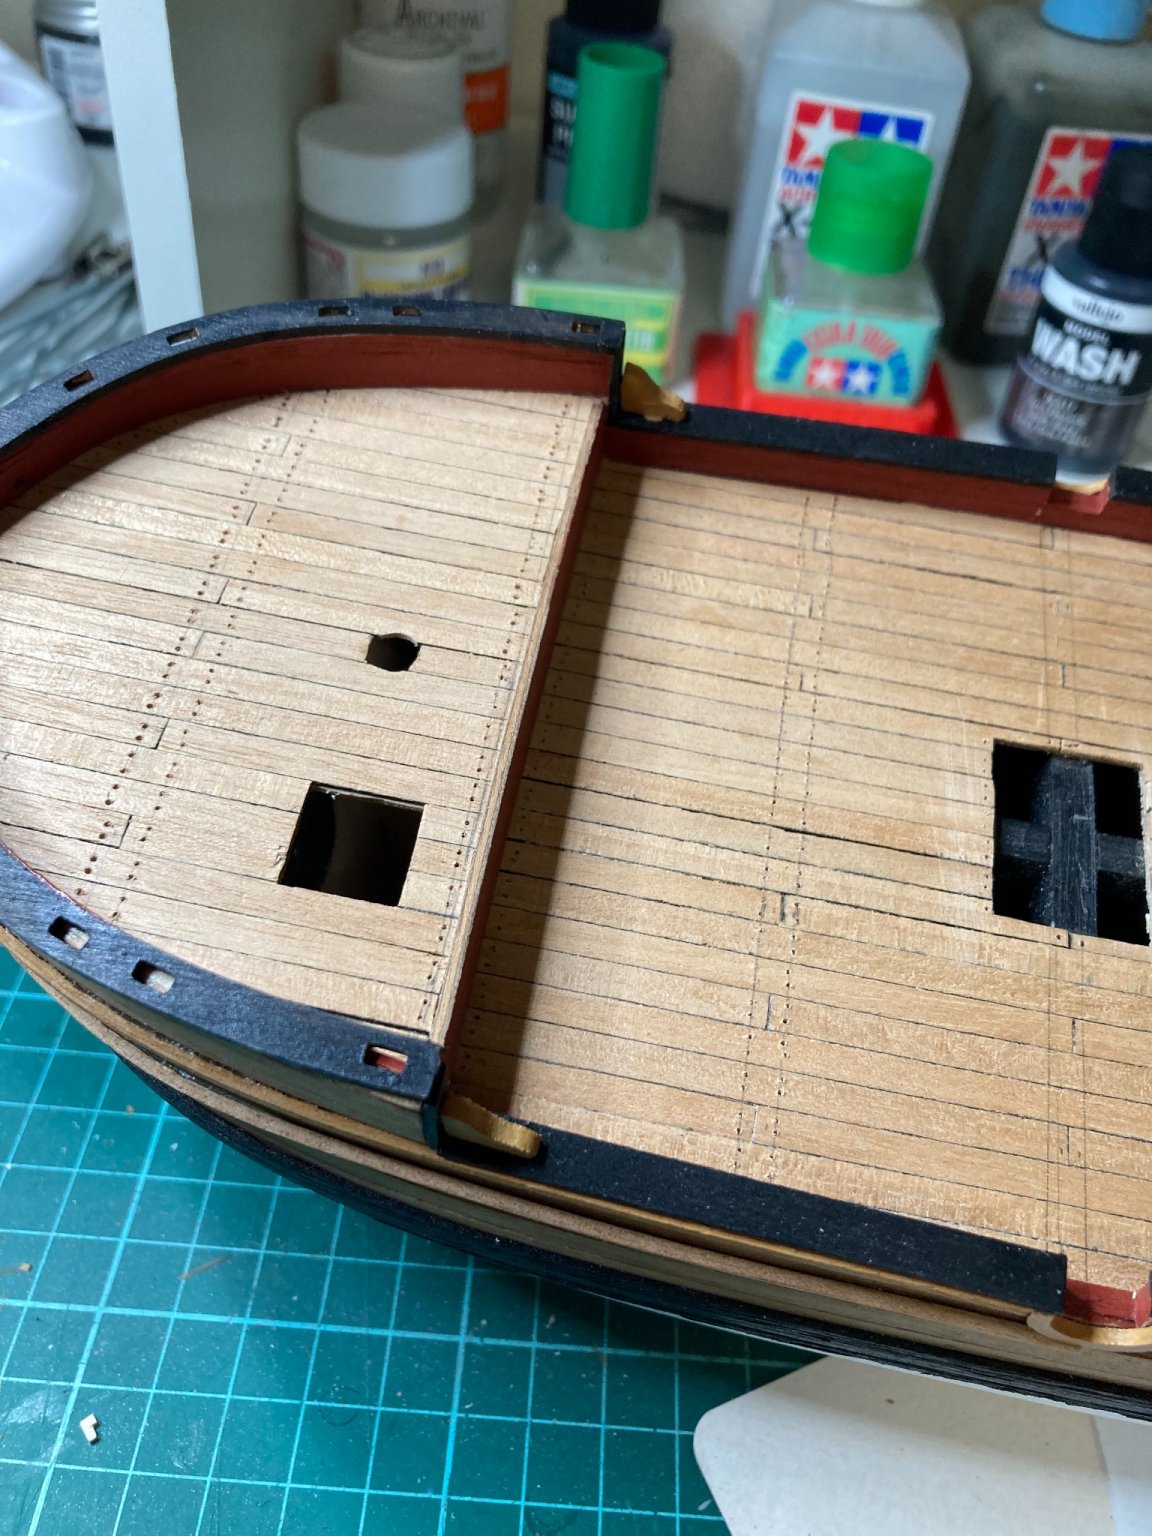
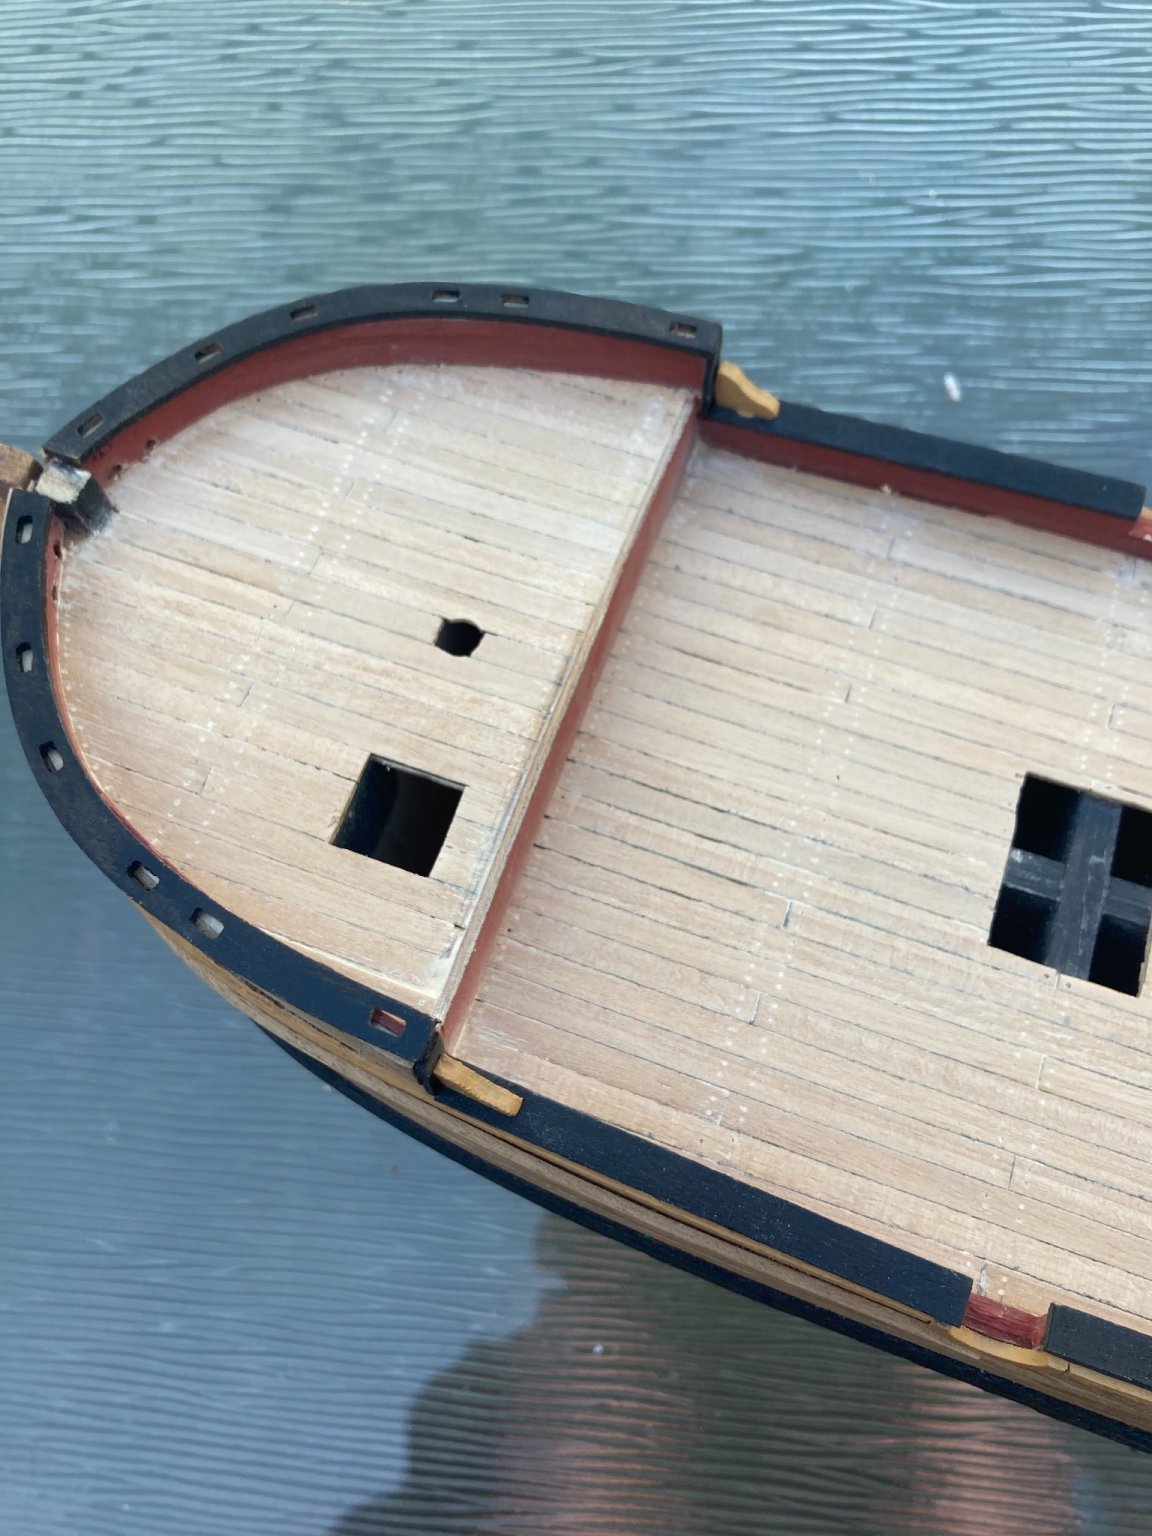
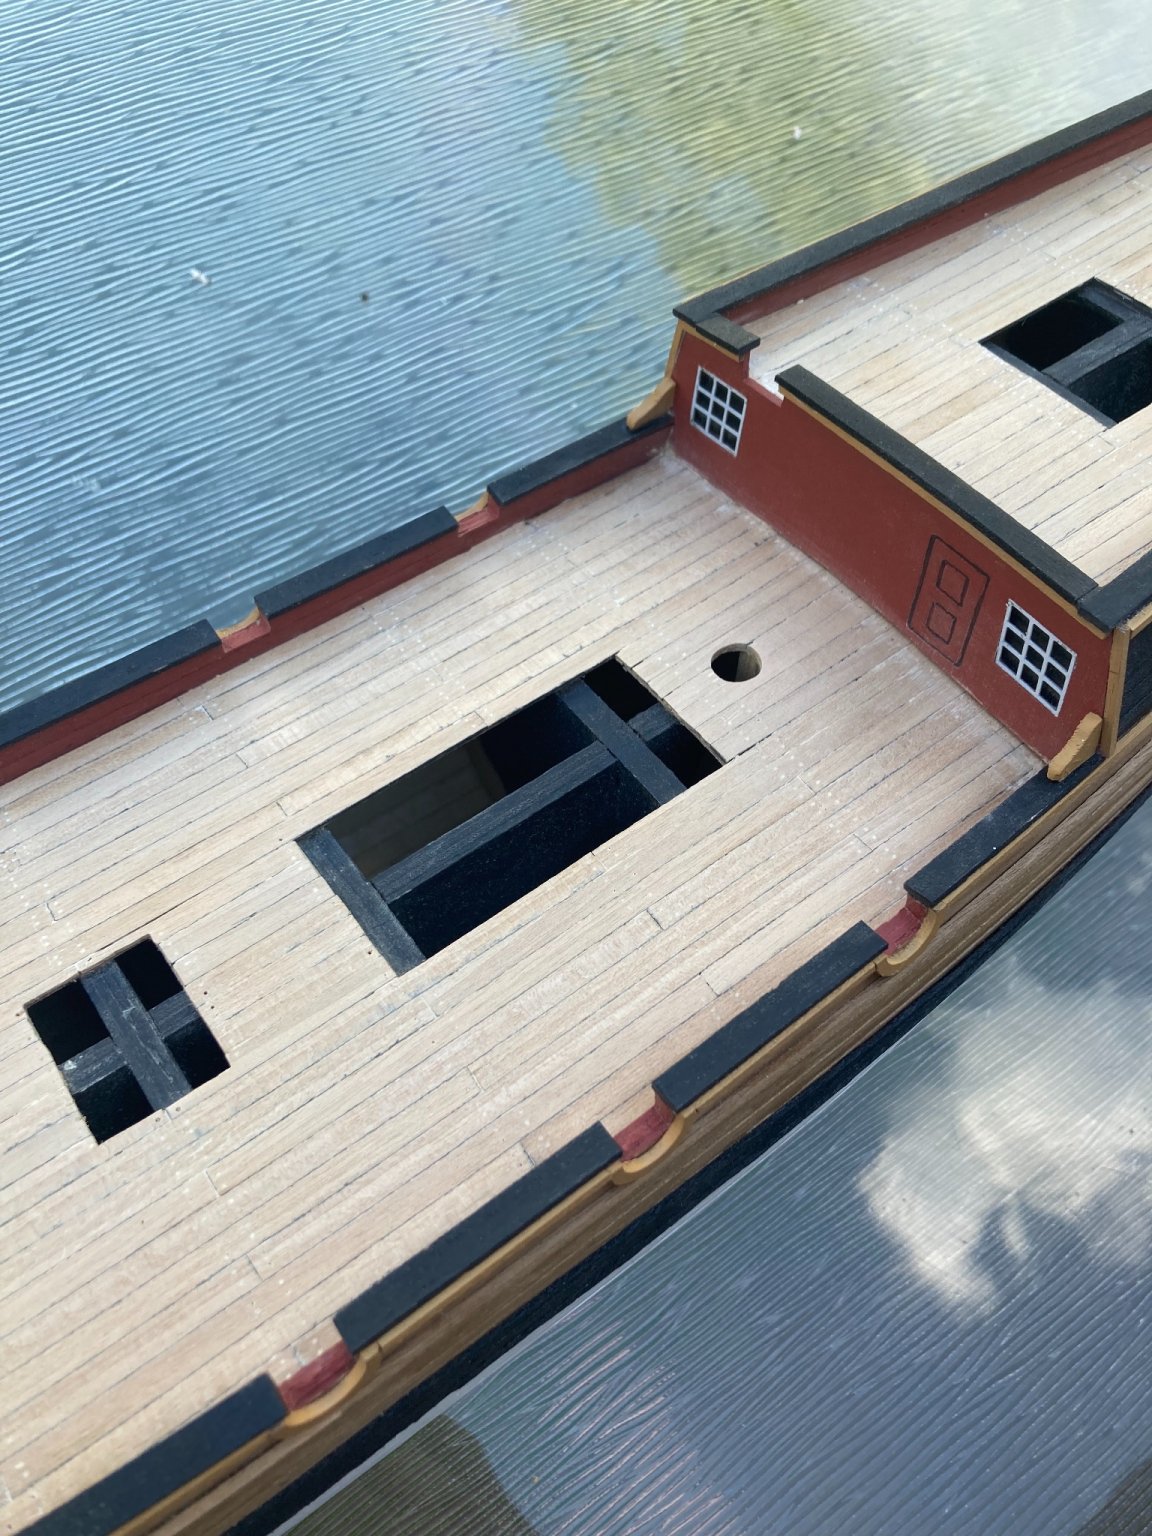
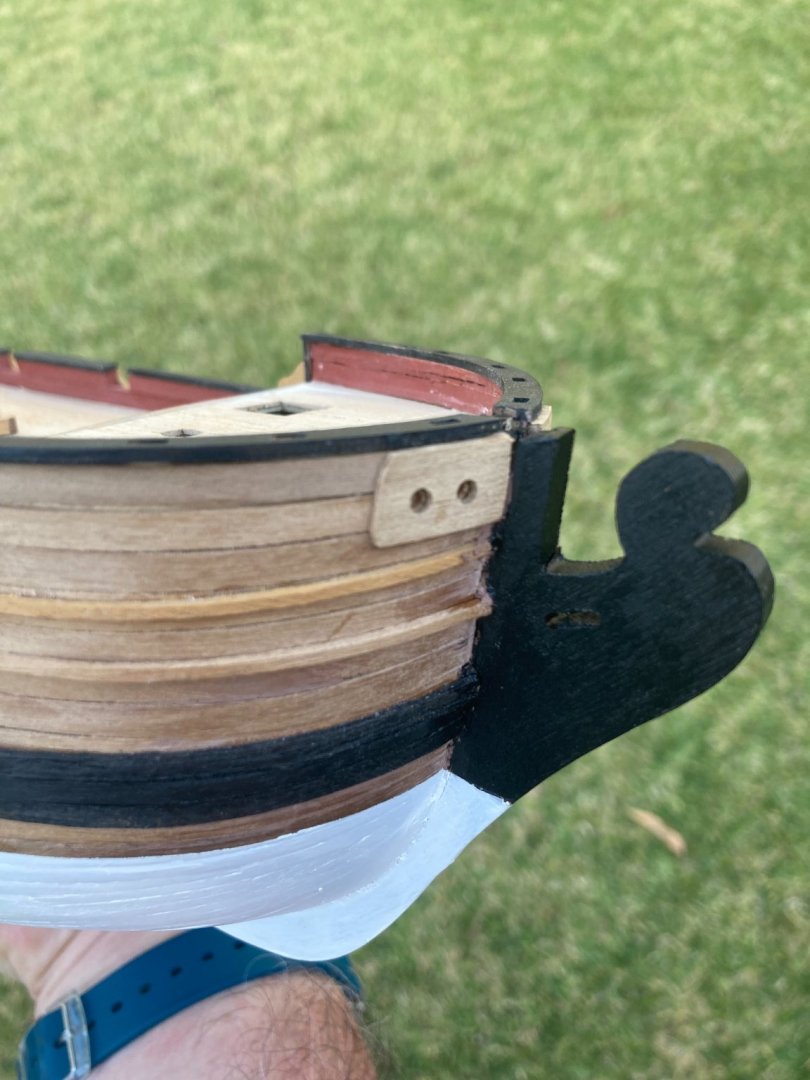
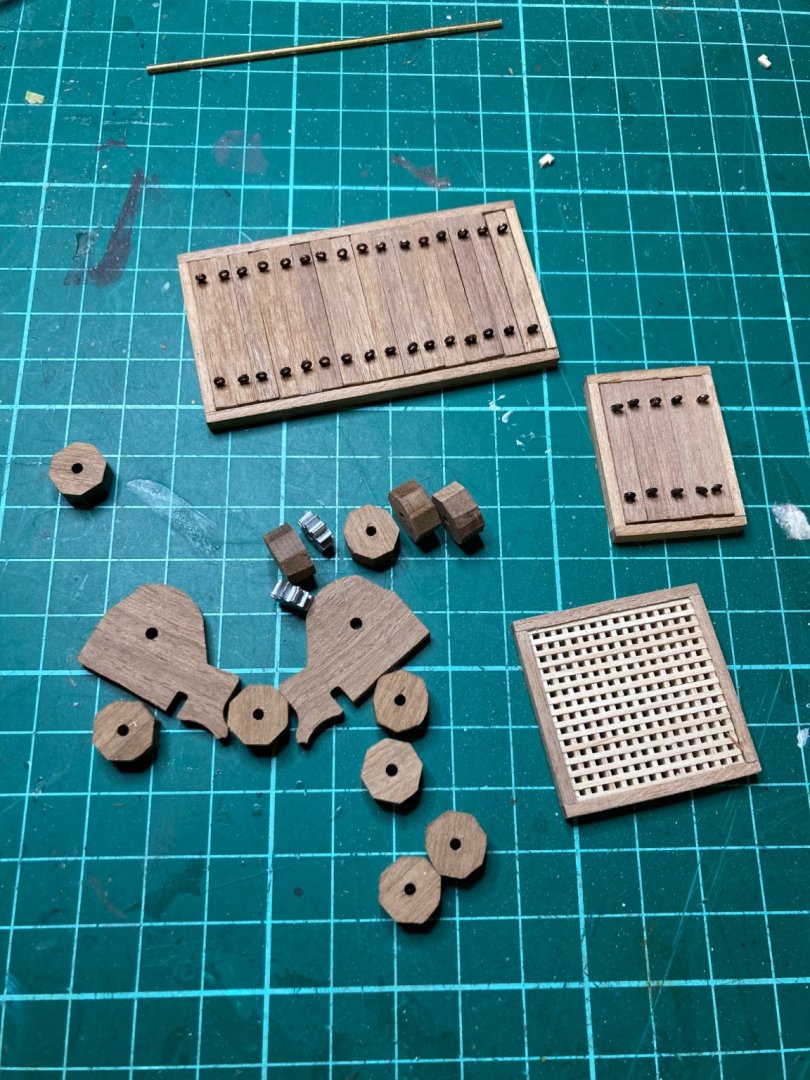
Hatches made following the plans, but I’ve reduced the width of the main hatch from 42mm to 37mm. This is in order to make more room for the train-tackle behind the canon along-side. I imagine the forward hatch on the main deck covers a ladder, so I left it’s dimensions as is. Copper eyelets on the hatch-planks are painted black to represent iron. I didn’t attach a brass ring to them, because in my mind, they’re removed by two blokes, one each side, holding iron rods with a T-handle at one end and a hook at the other. Second ring would get on the way and not be useful. That’s my excuse, anyway. Grating is glued to the quarter-deck, making sure the fully visible strips run fore and aft.
-
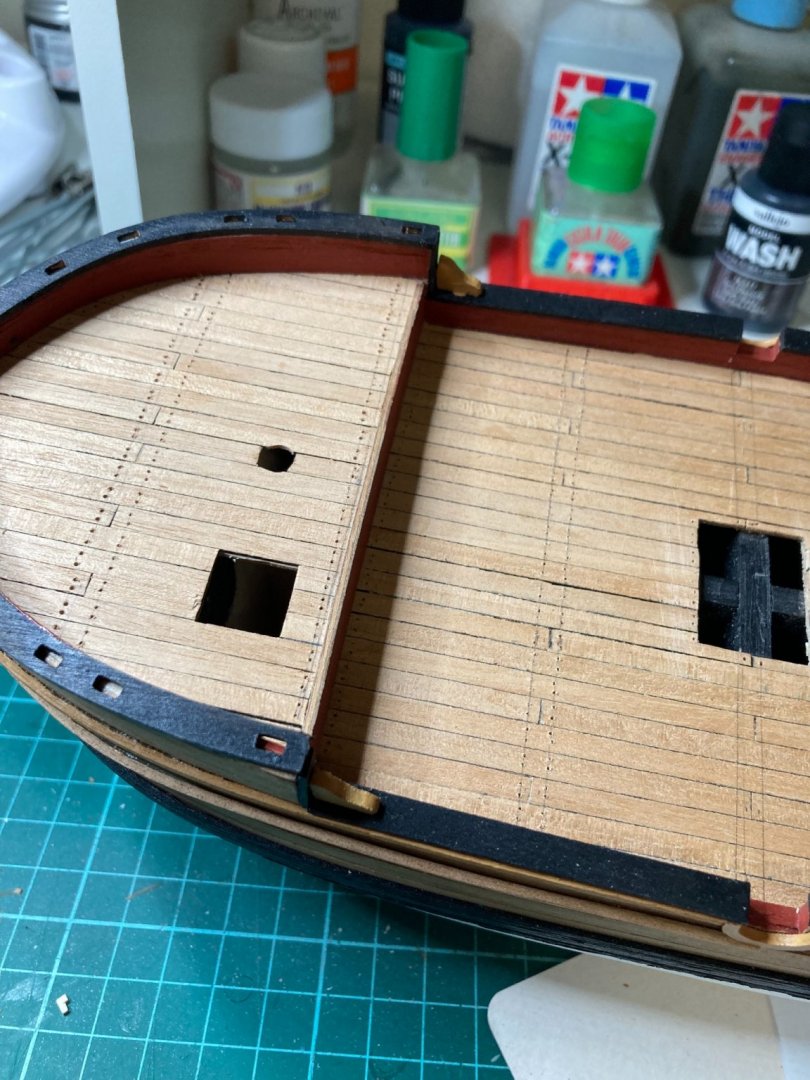
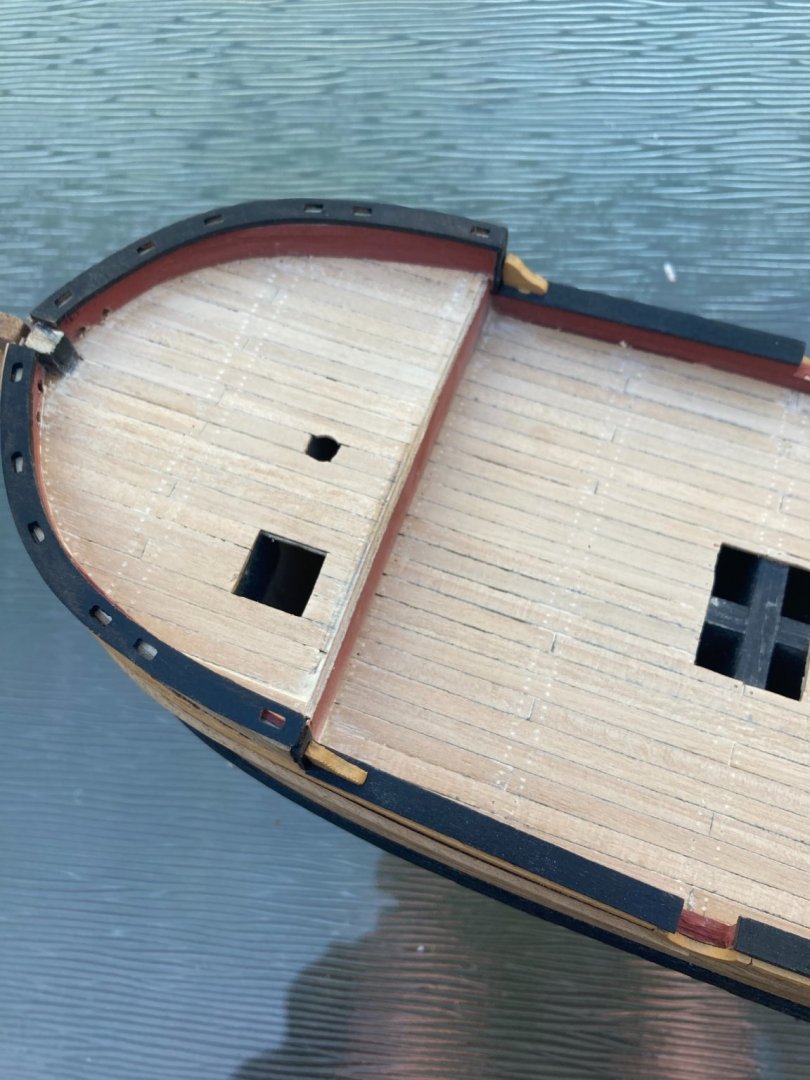
Well, I knocked the rudder off already. Oh well, I’ll put it back later. I’ve been drilling hundreds of holes on the decks, and filling them again to simulate wooden plugs over nail-heads. Maybe next time, I’ll actually take five minutes to look up reference photos first…I drilled about double the amount I should have. I wanted to complete the deck properly before I attach the hatch covers and grating.
-
Amazing progress! I’m taking years to build mine. You’re miles ahead! Looking awesome, Richard.
-
I’ve literally been avoiding hanging the rudder on it’s hinges for months, because they were not cast too well. I’ve been working on plastic aircraft kits for a while instead…and really enjoying that. We’re in COVID-lockdown in Newcastle, Australia, so I’m waiting for stuff to arrive in the mail. (Adhesive silk/PE seat-belts for a 1:48 Bf109E & bare metal foil for a ‘58 Edsel.) So, broke out the ship again while they ground to a halt. The rudder was hung in less than an hour, and I loved doing it. The mojo’s high at the moment. We may see more progress tomorrow.
-
As per my Facebook post, I'd personally finish the shrouds and ratlines before anything else. I'd make sure all the blocks that should be under the fitting tops are in place. She's looking great.
-
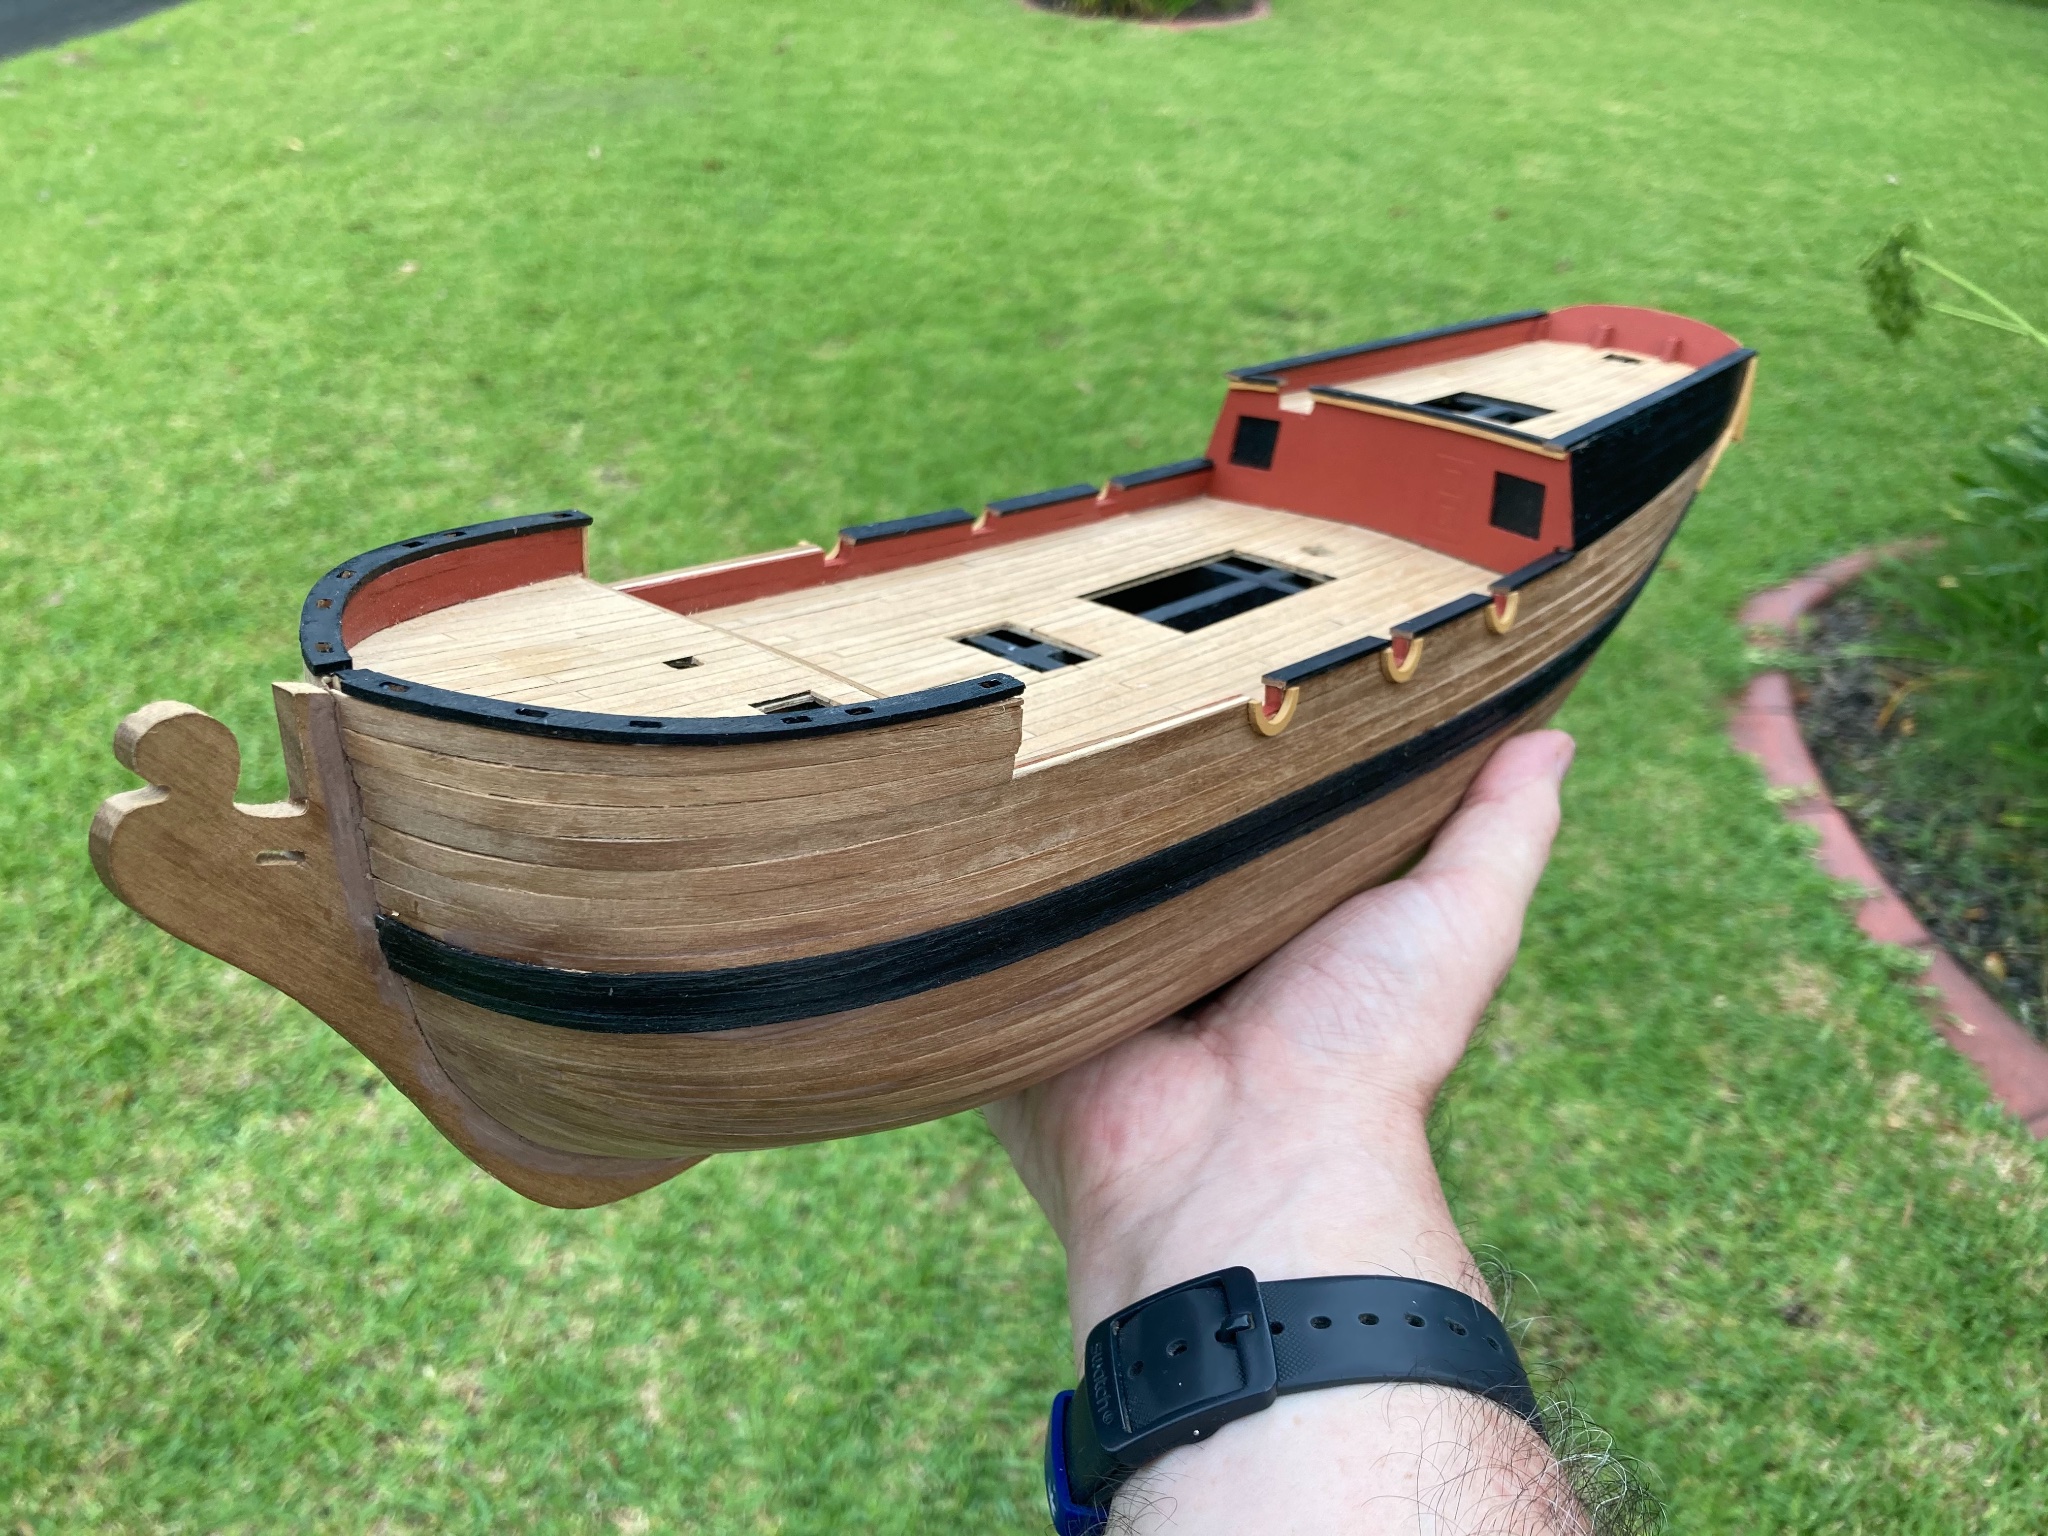
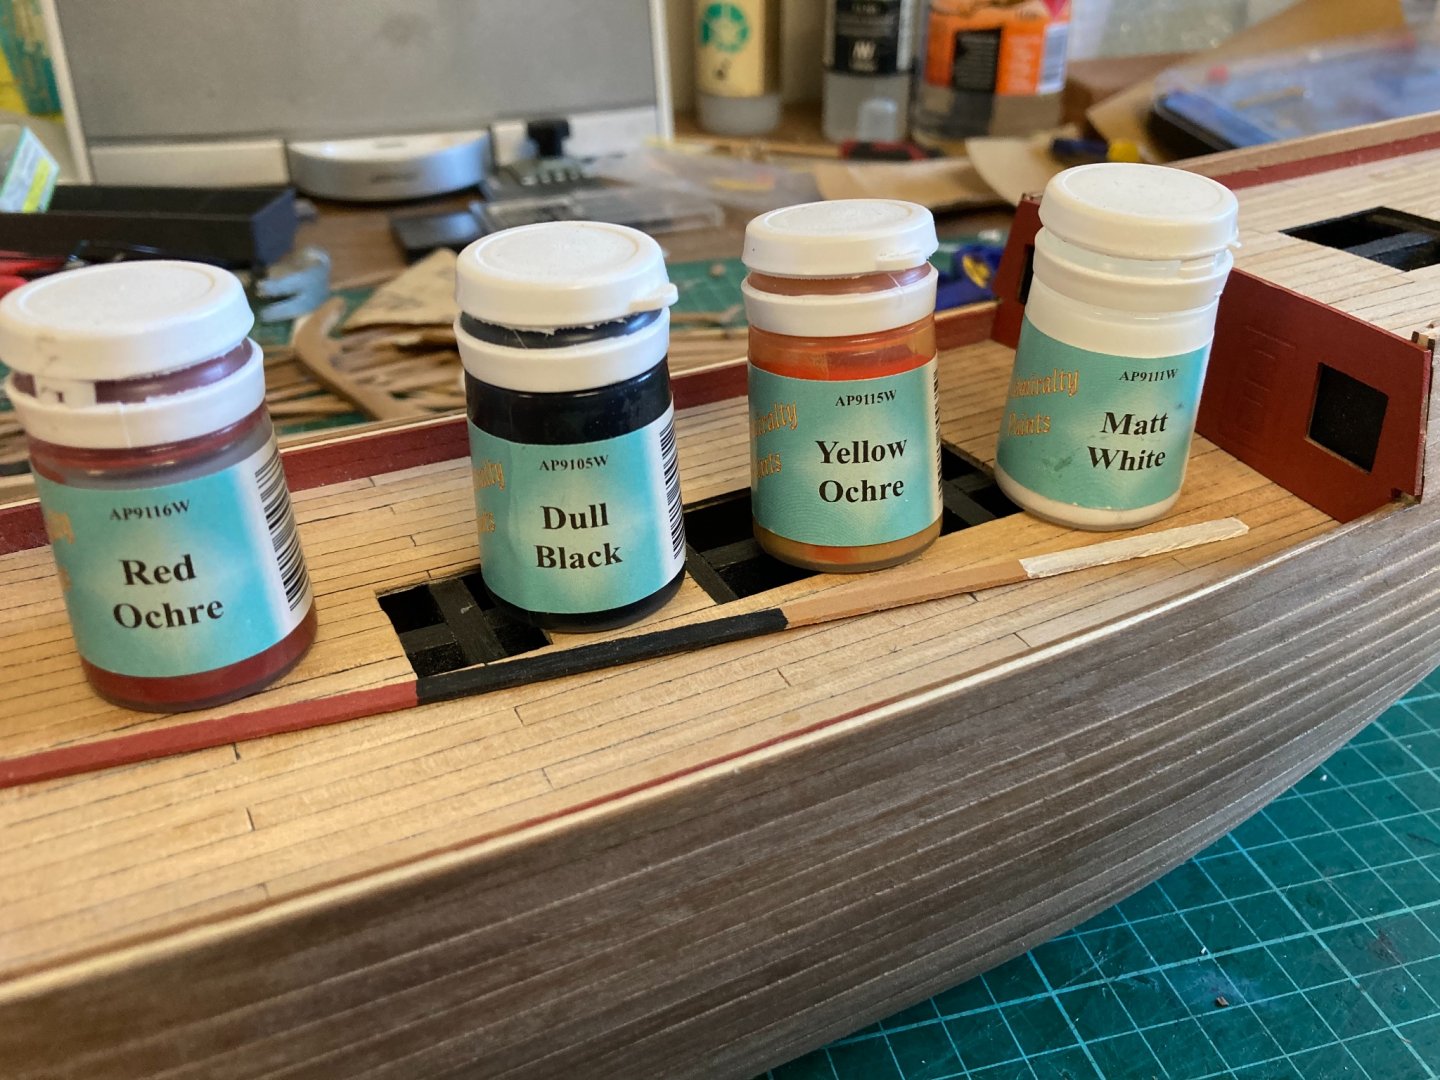
Uncharacteristicly, I’ve made a fair bit of progress this weekend. Main wale pre-painted, placement measured from the plans and glued with CA. I’ve also fitted most of the bulwark capping rails.

-
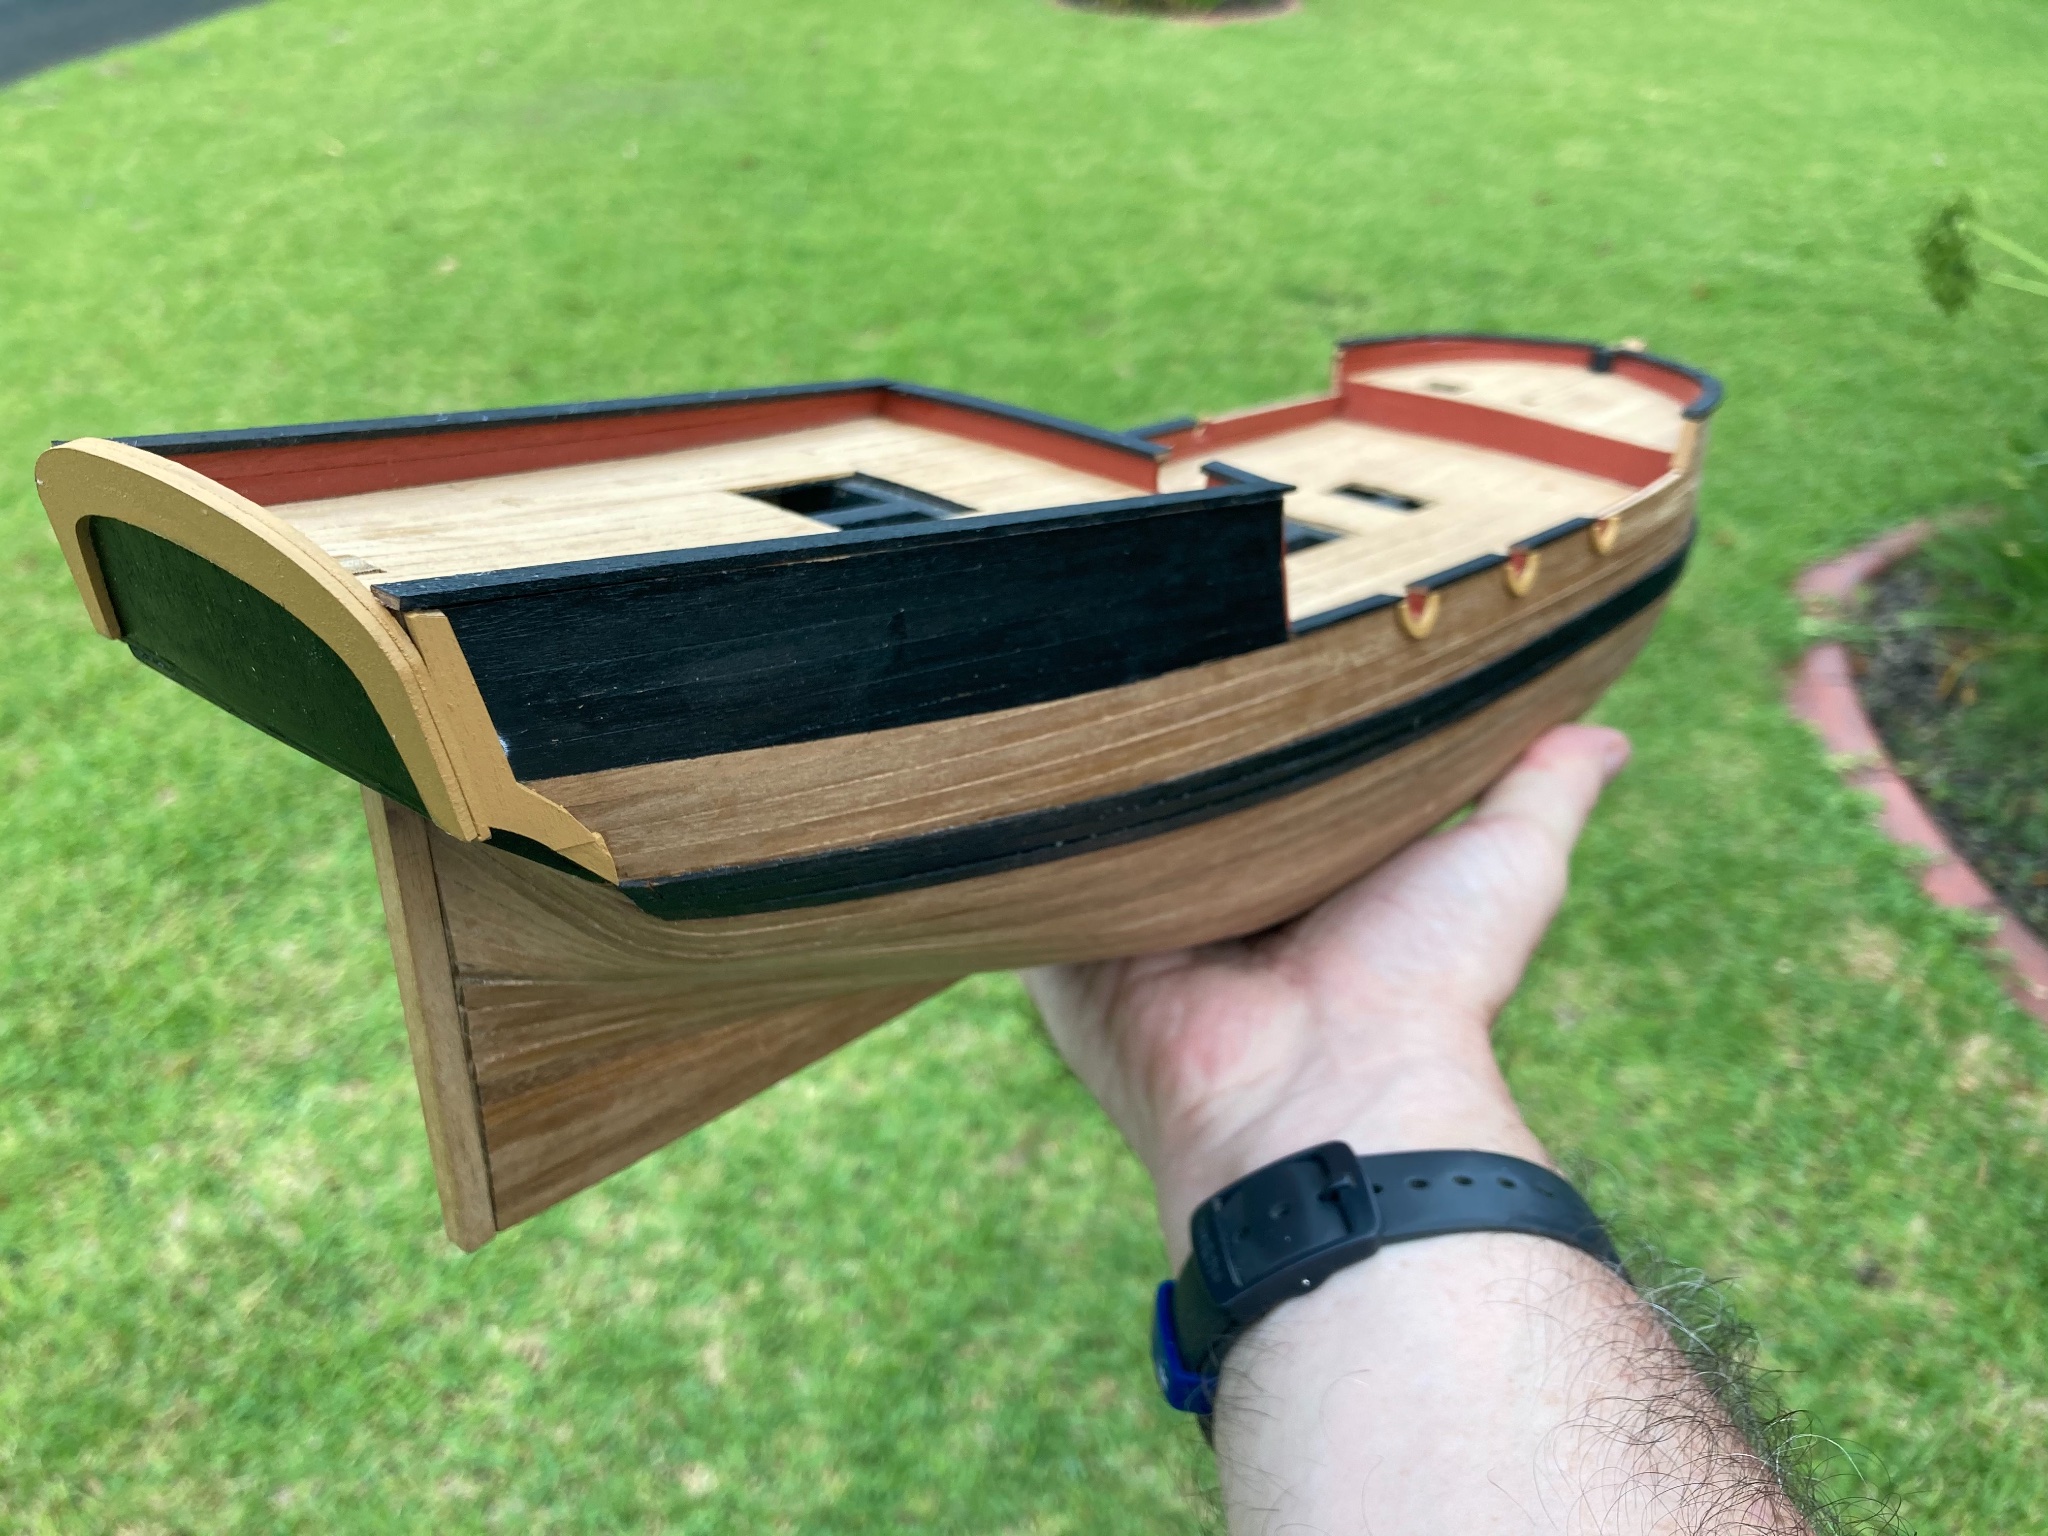
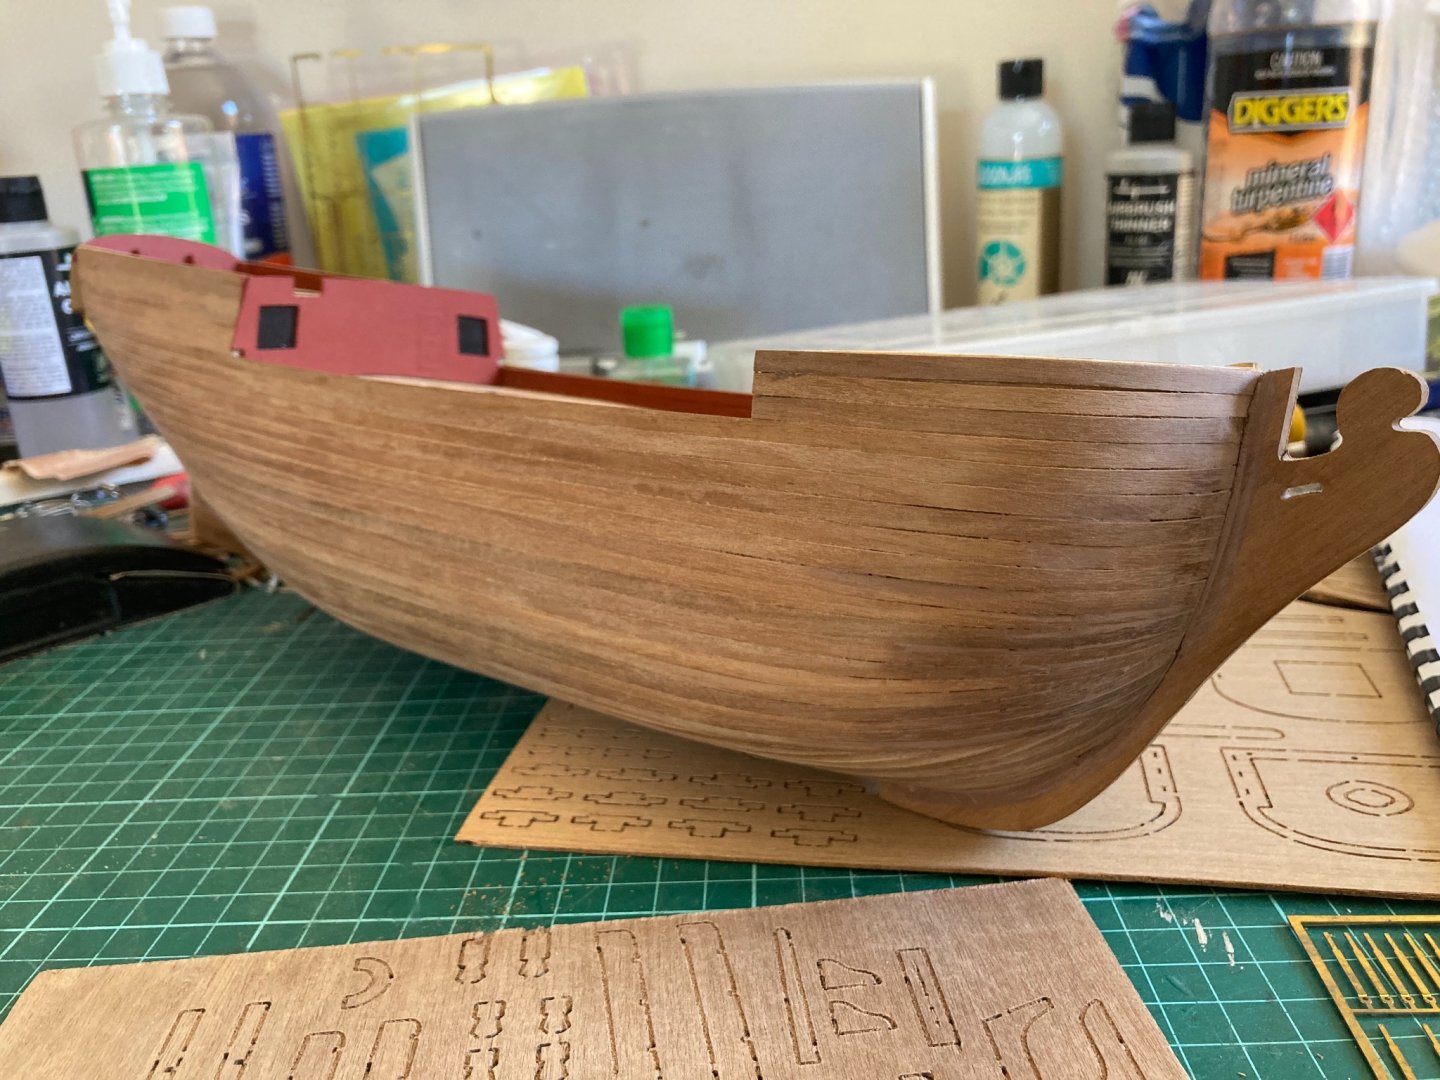
Sanded. Filled. Cabin facia fitted. Stem fitted. Stern facia fitted. Rudder post fitted. Canon ports cut (Not shown.) She’s starting to have a little colour applied. I’ve spent some time thinking about whether or not to make some stern windows. I’ve decided not to- I quite like the way the kit looks without them.

-
I reckon I’ll pull up a pew for this one. She looks wonderful, Mike. I loved the reference to the good doctor, too.
-
Second planking is now complete. I know the method I’ve used is completely incorrect, but I’m happy with how she’s coming along. And I’m enjoying myself. I’ll trim the rubber post and finish the rear counter next.

-
A great build. Thoroughly enjoyed reading and following it. Thanks.
-
She looks fantastic, Vane. It would be a shame not to finish her. Although, have you considered completing her in the “Admiralty” style? Stubs of the lower masts with no rigging? It’s just that it looks to me that you’d rather crack on with the three Caldercraft kits instead. You could always return to the Corel kit later?
-
She’s looking fantastic! I’ve got this kit in my stash, so I’d like to follow the rest of your build. 👍🏼
-
I’ve not felt the need to add extra planks (stealers) at the stern yet. My shoddy workmanship below the waterline will be sanded, puttied and eventually painted white, hiding a myriad of sins. or should I try copper plating? I don’t believe the original ship would have been coppered. Thoughts?


-
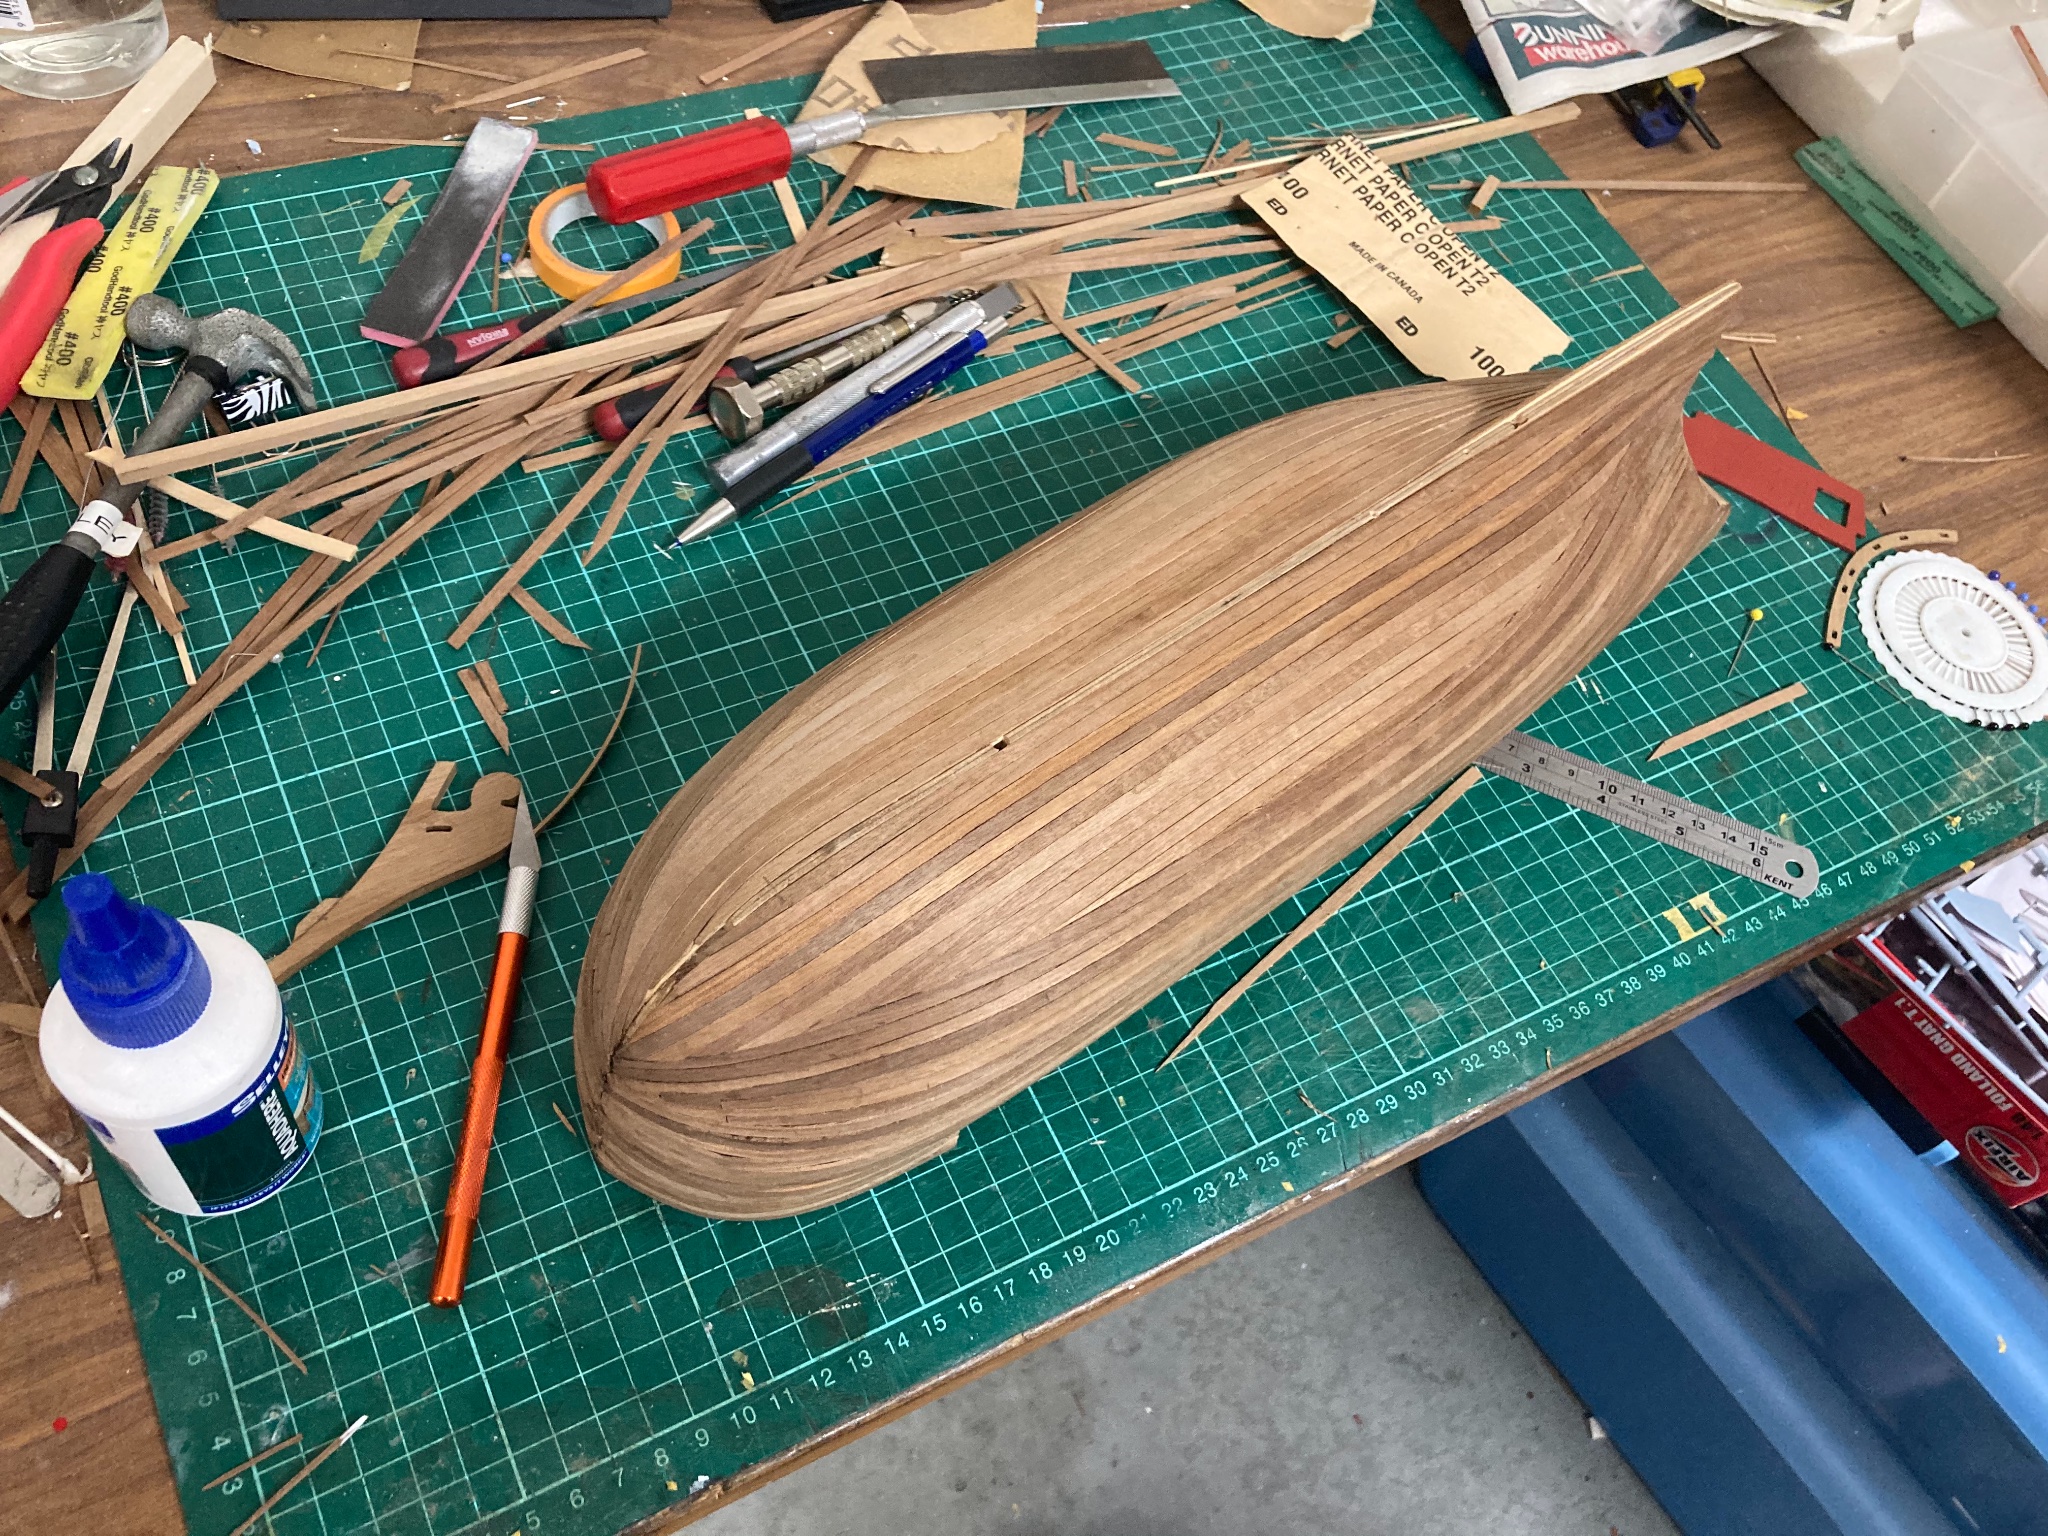
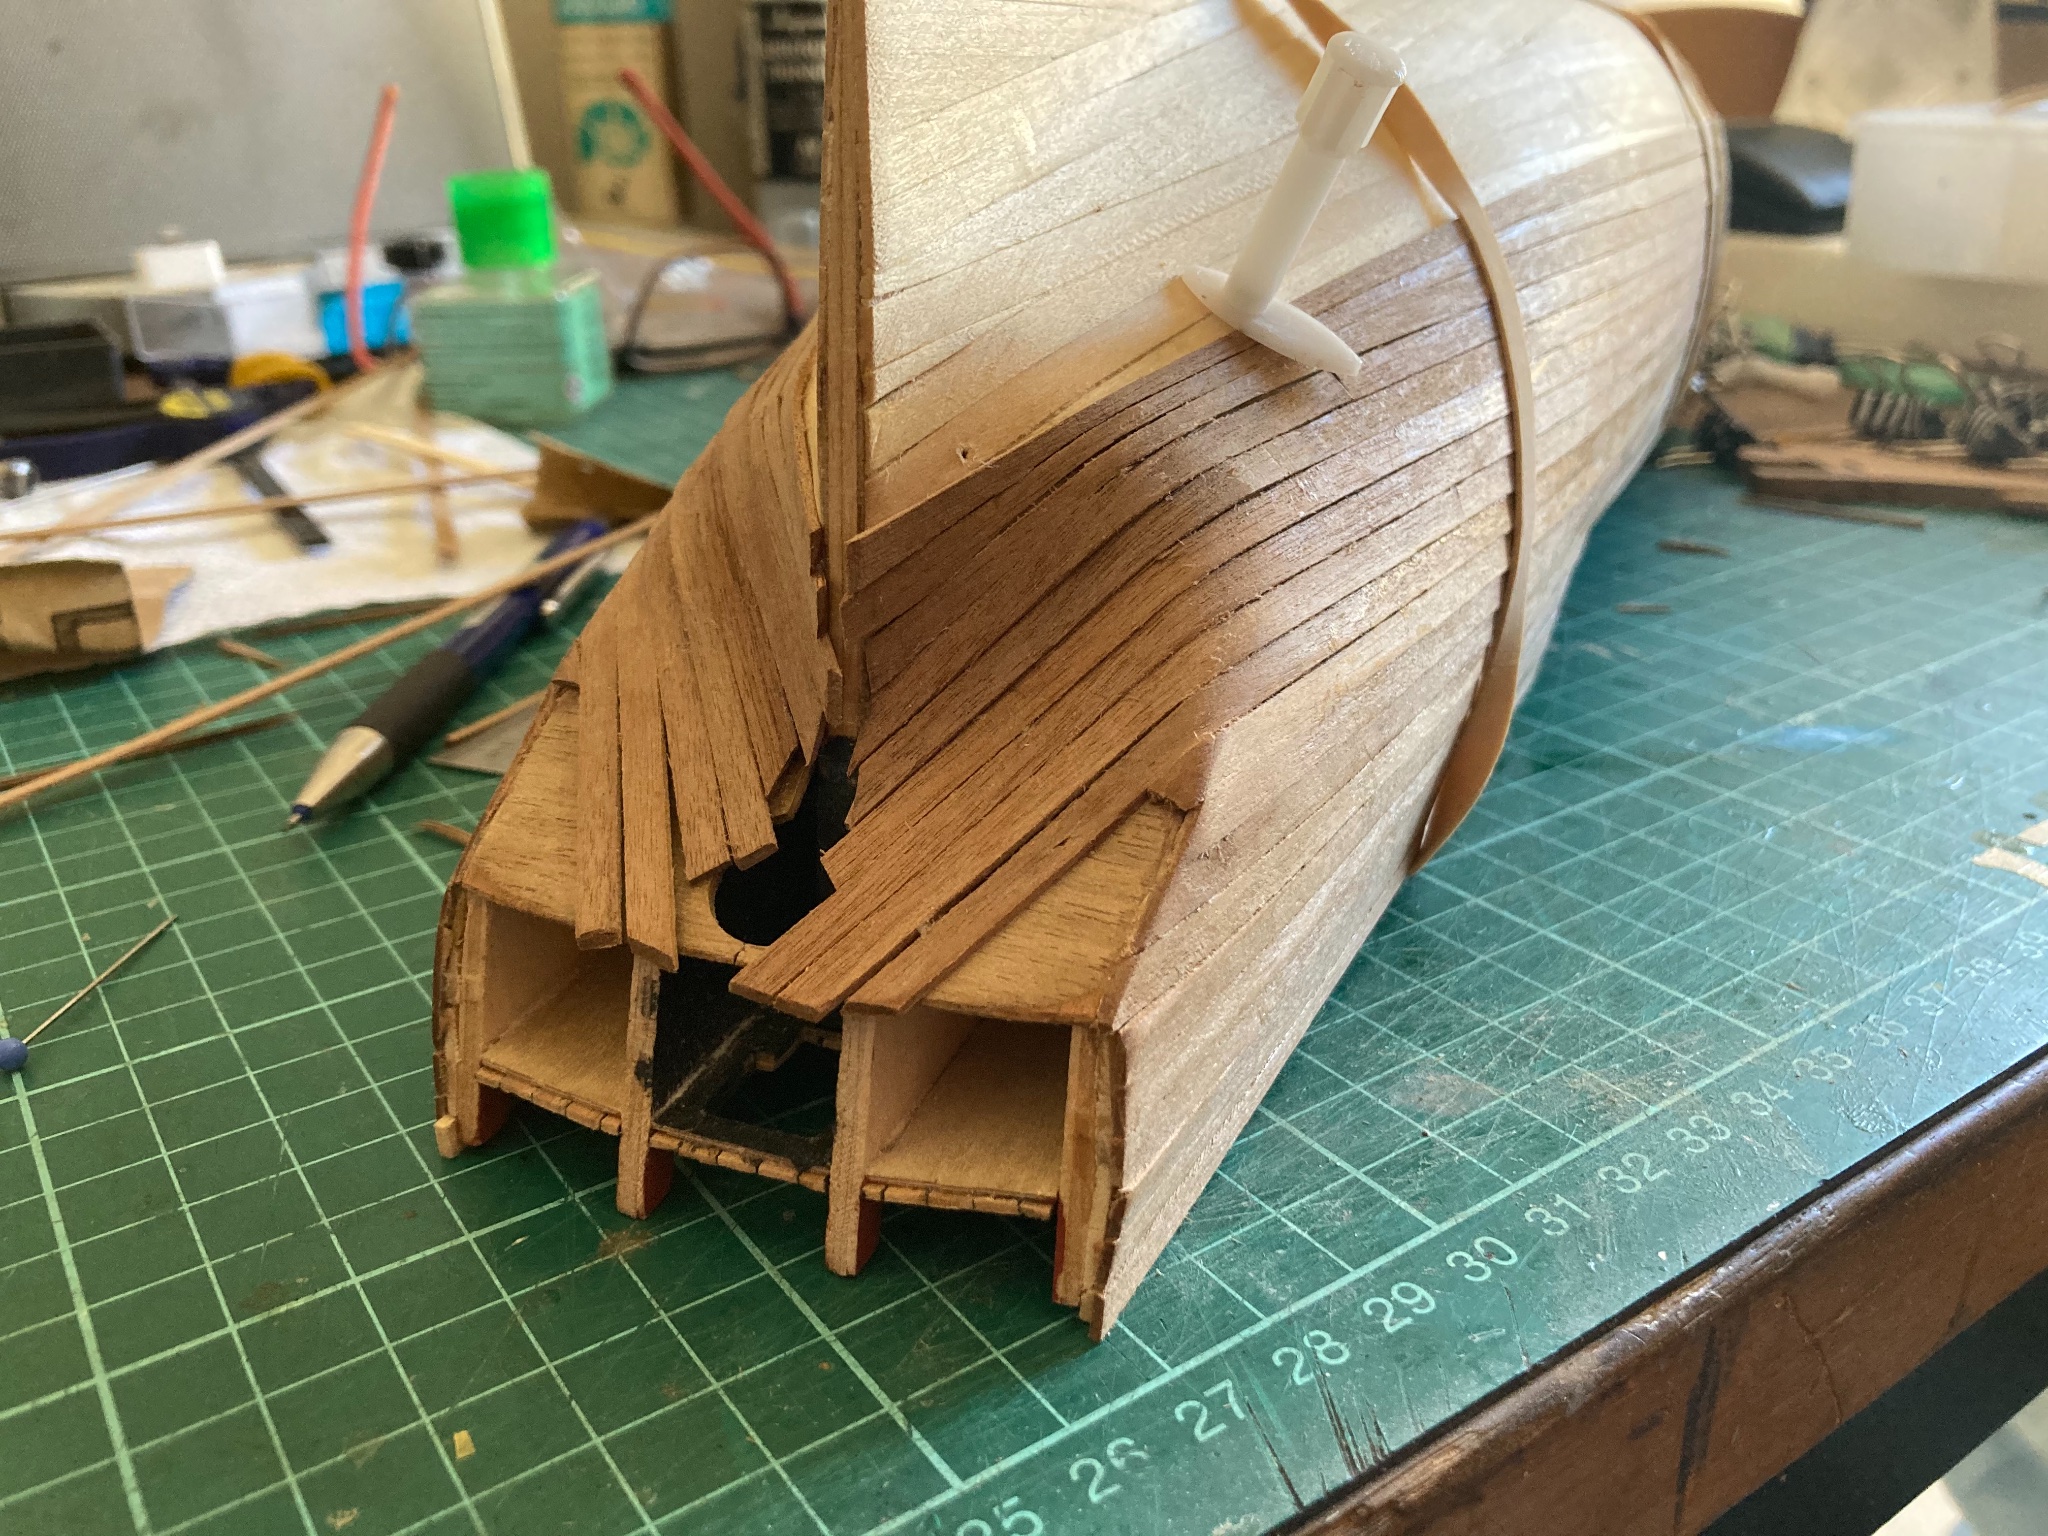
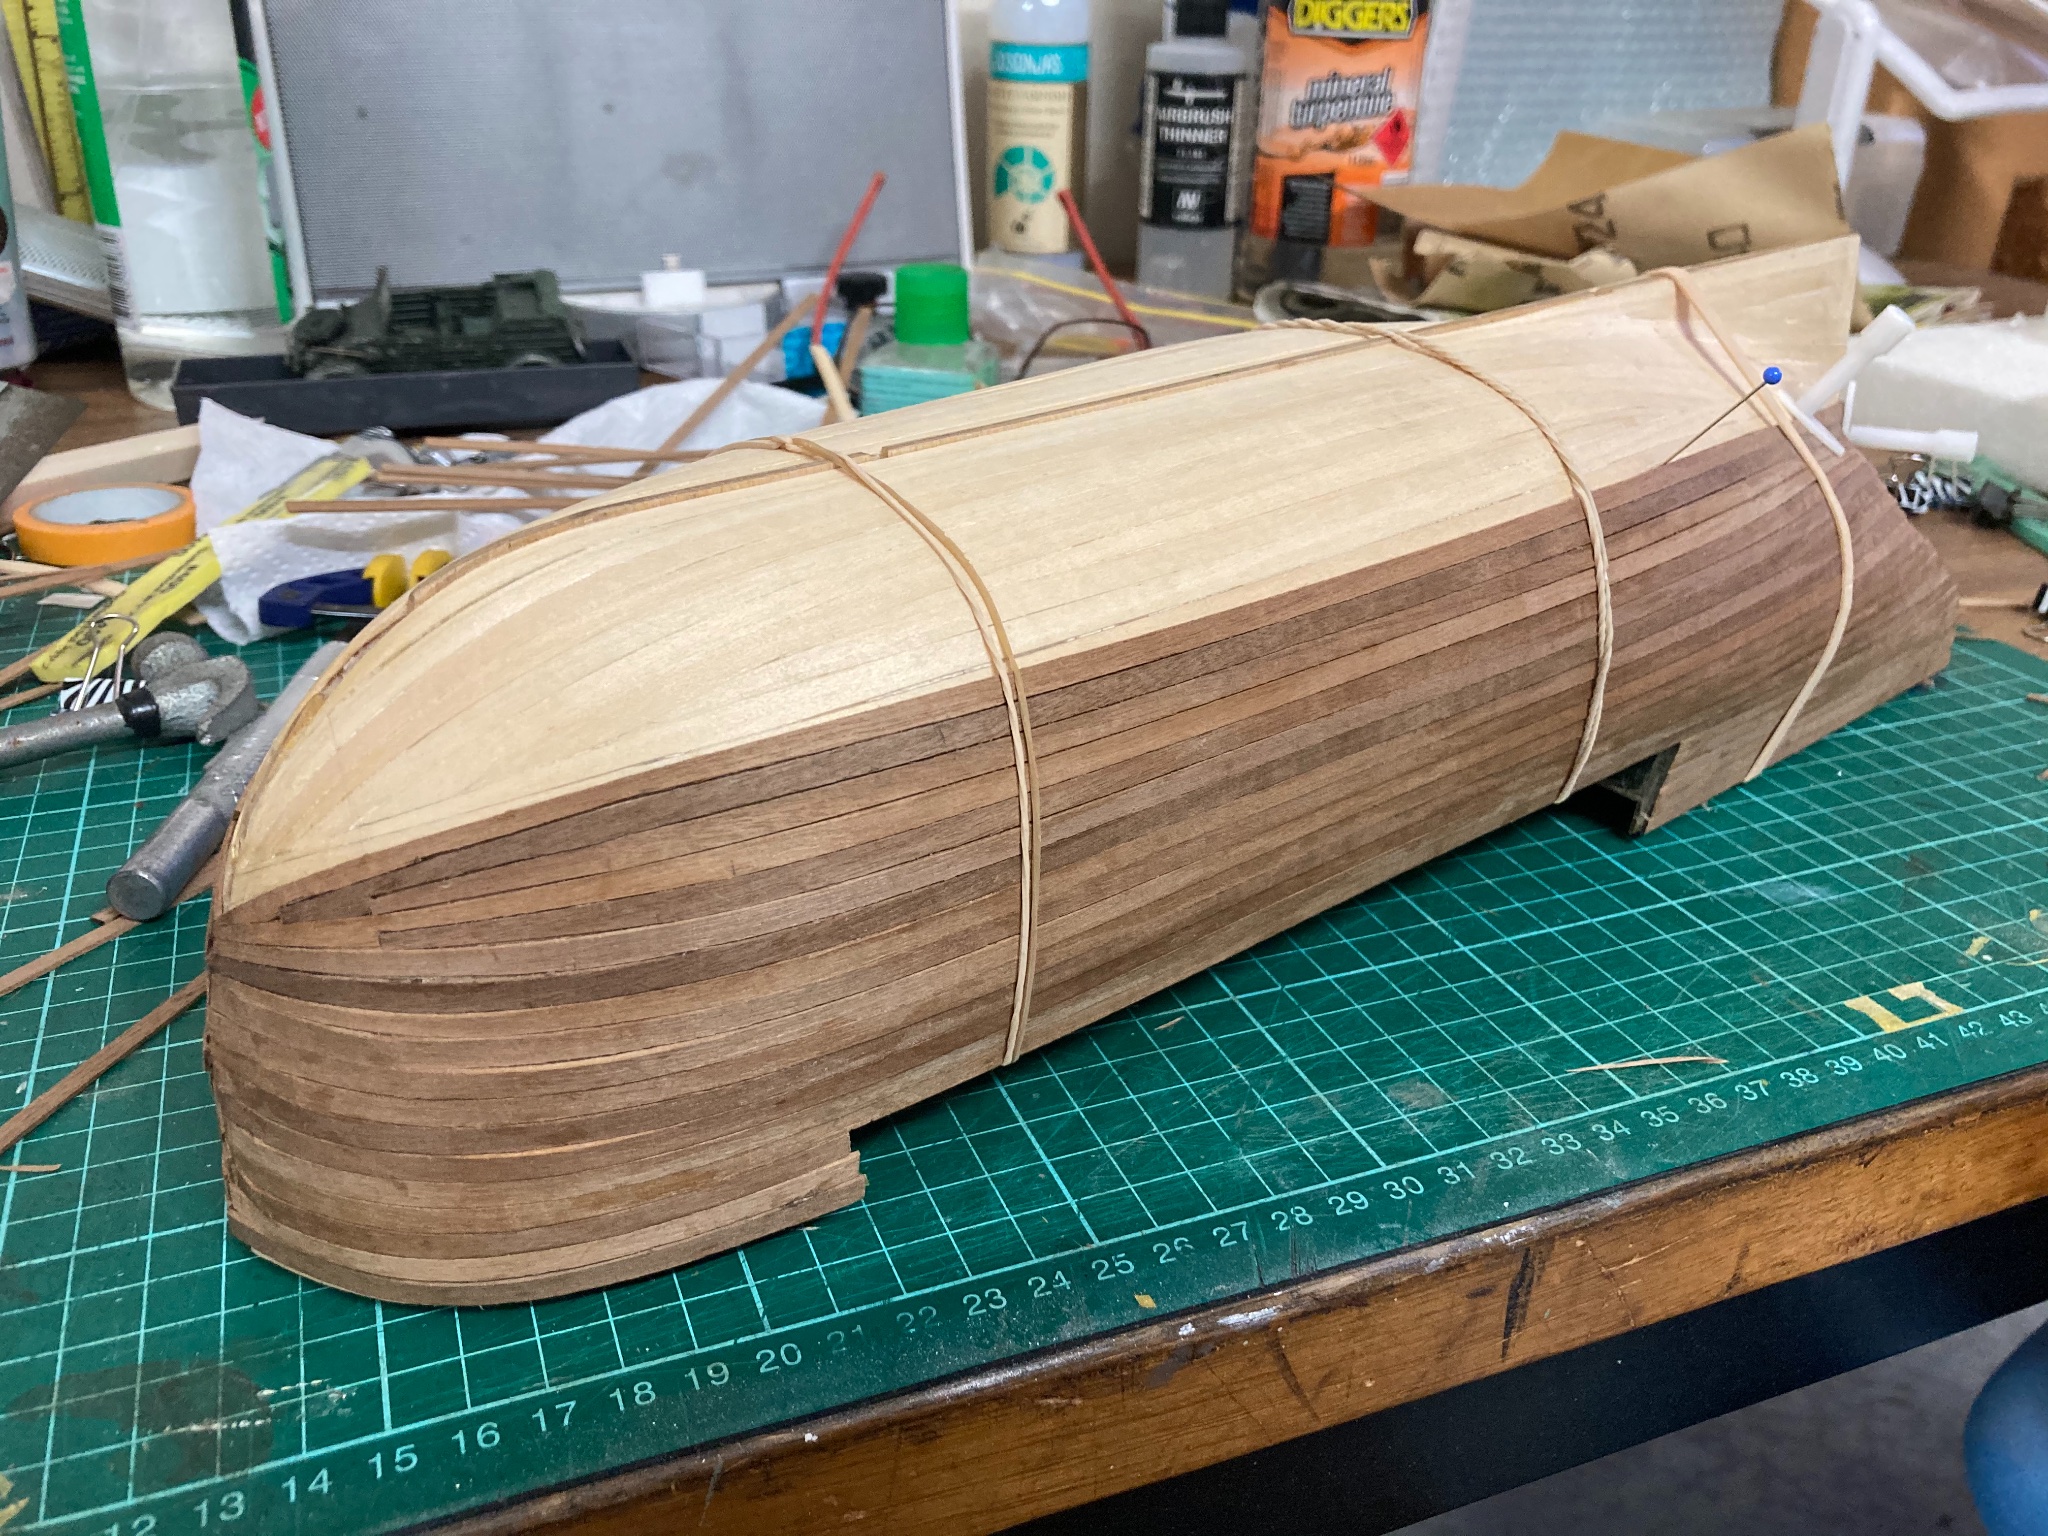
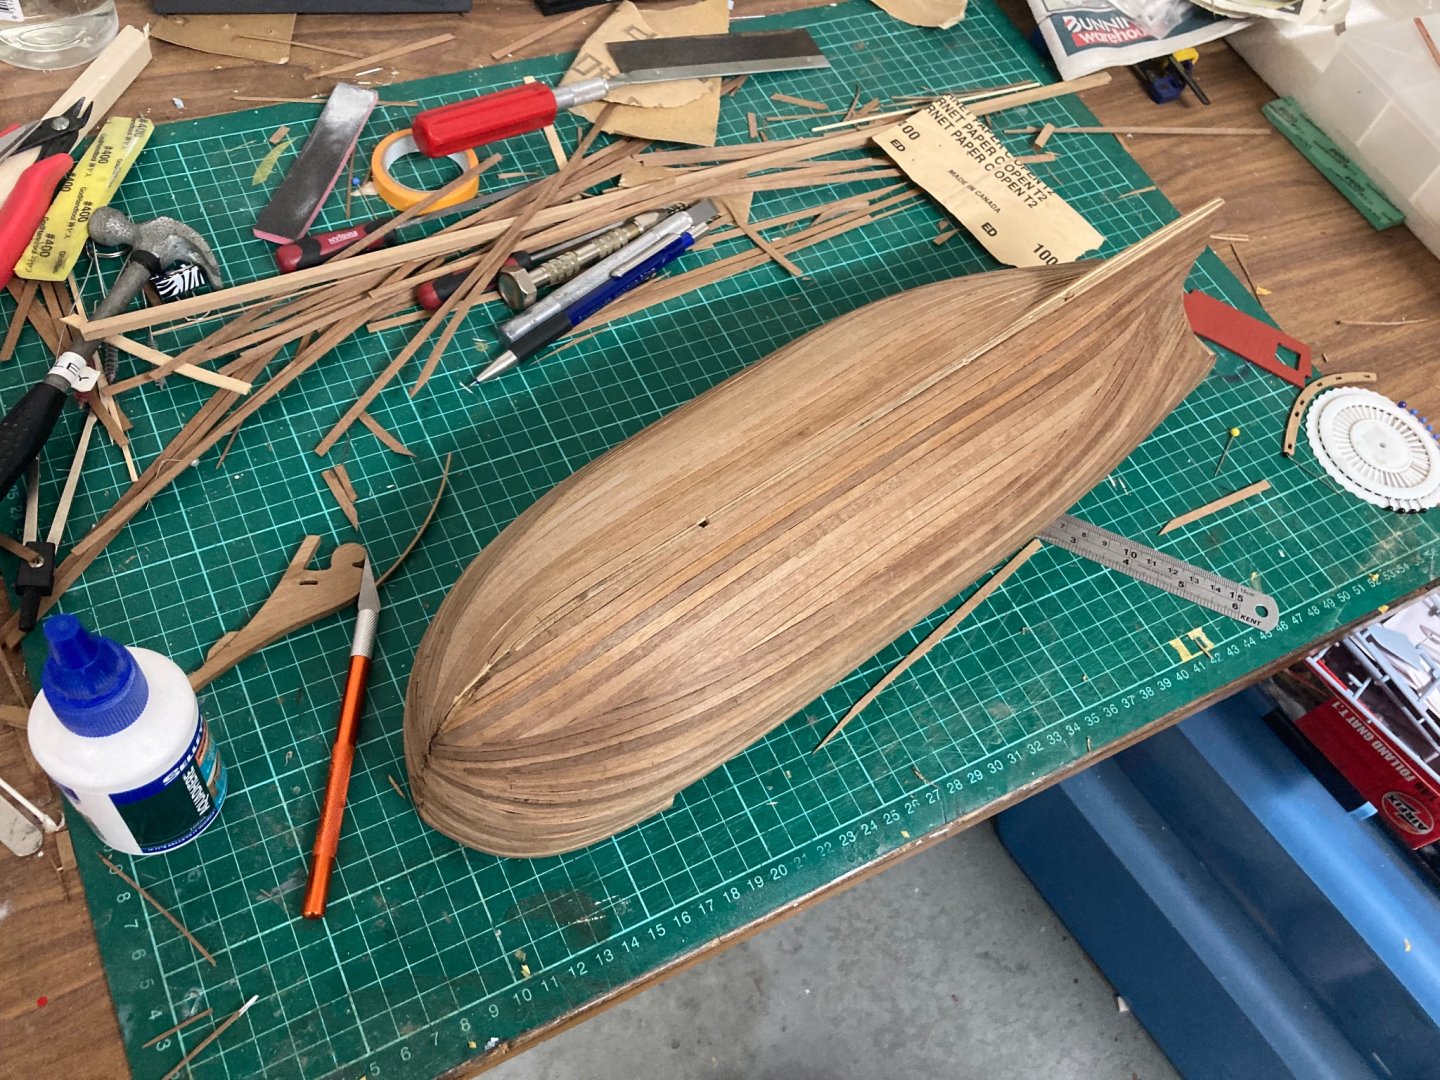
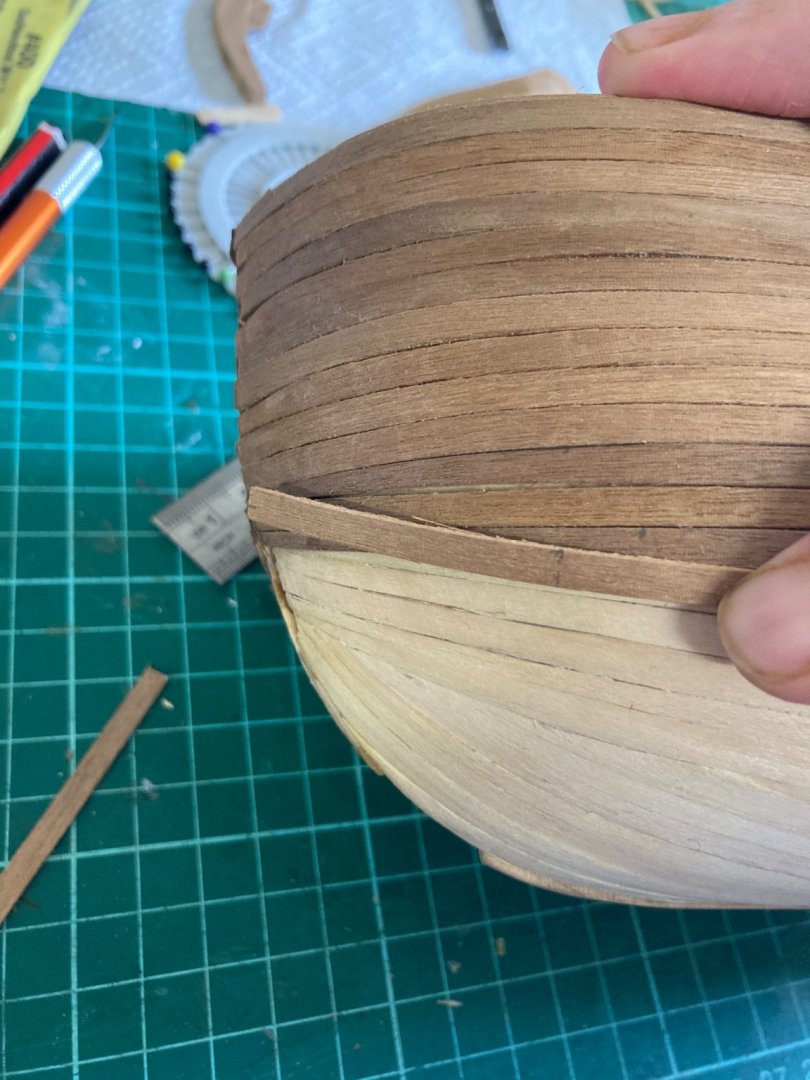
Drop-planks are a method of careful trimming plank edges into arrow-heads no less than half their full width, so they can be interlocked with adjacent, similarly trimmed planks in order to decrease their total width at the bow. By this method, I’ve been able to trim five planks down together to terminate at one plank-width. It’s the first time I’ve tried it on a kit. It takes a while to do, but I’m pleased with the results so far.


-
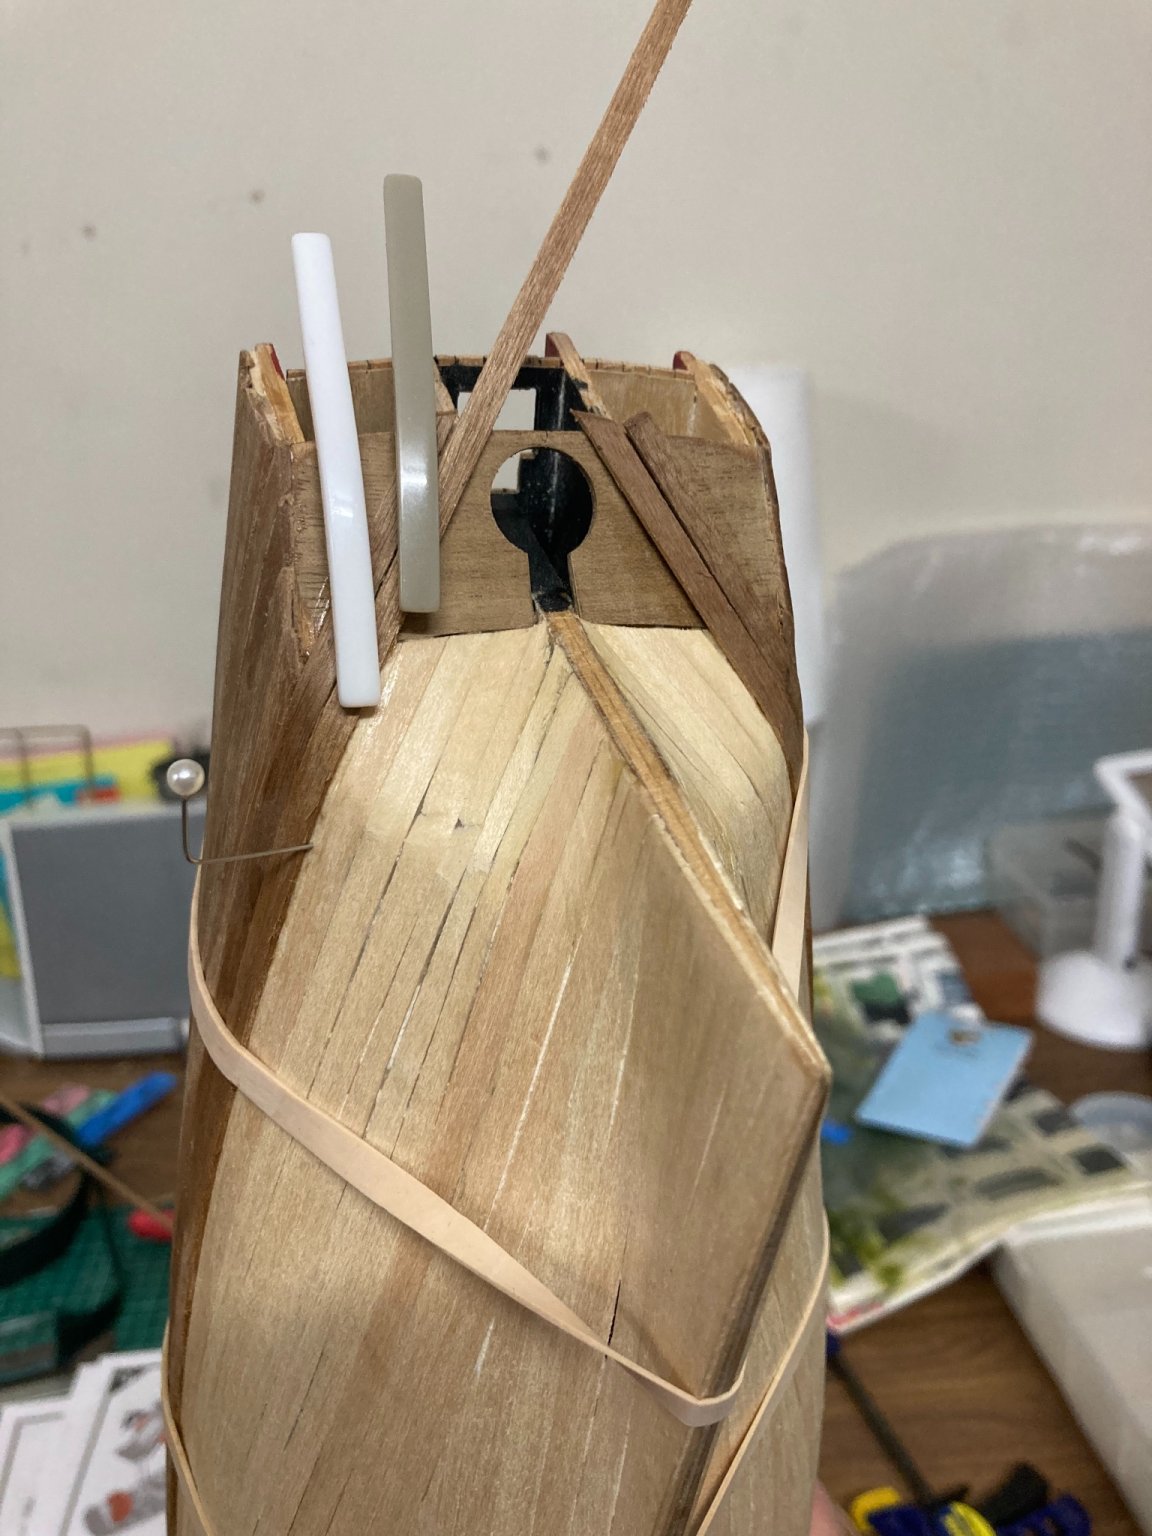
After raising the level of the poop’s bulwarks two planks, I was able to fit eight planks down before I felt the need to begin to taper them. After I’ve cut three further planks at the bow down to half their width, I found the next plank would need to be cut down more than it’s full width allows. The solution? Drop-planks.
-
Looking really good, Hoppy.
-
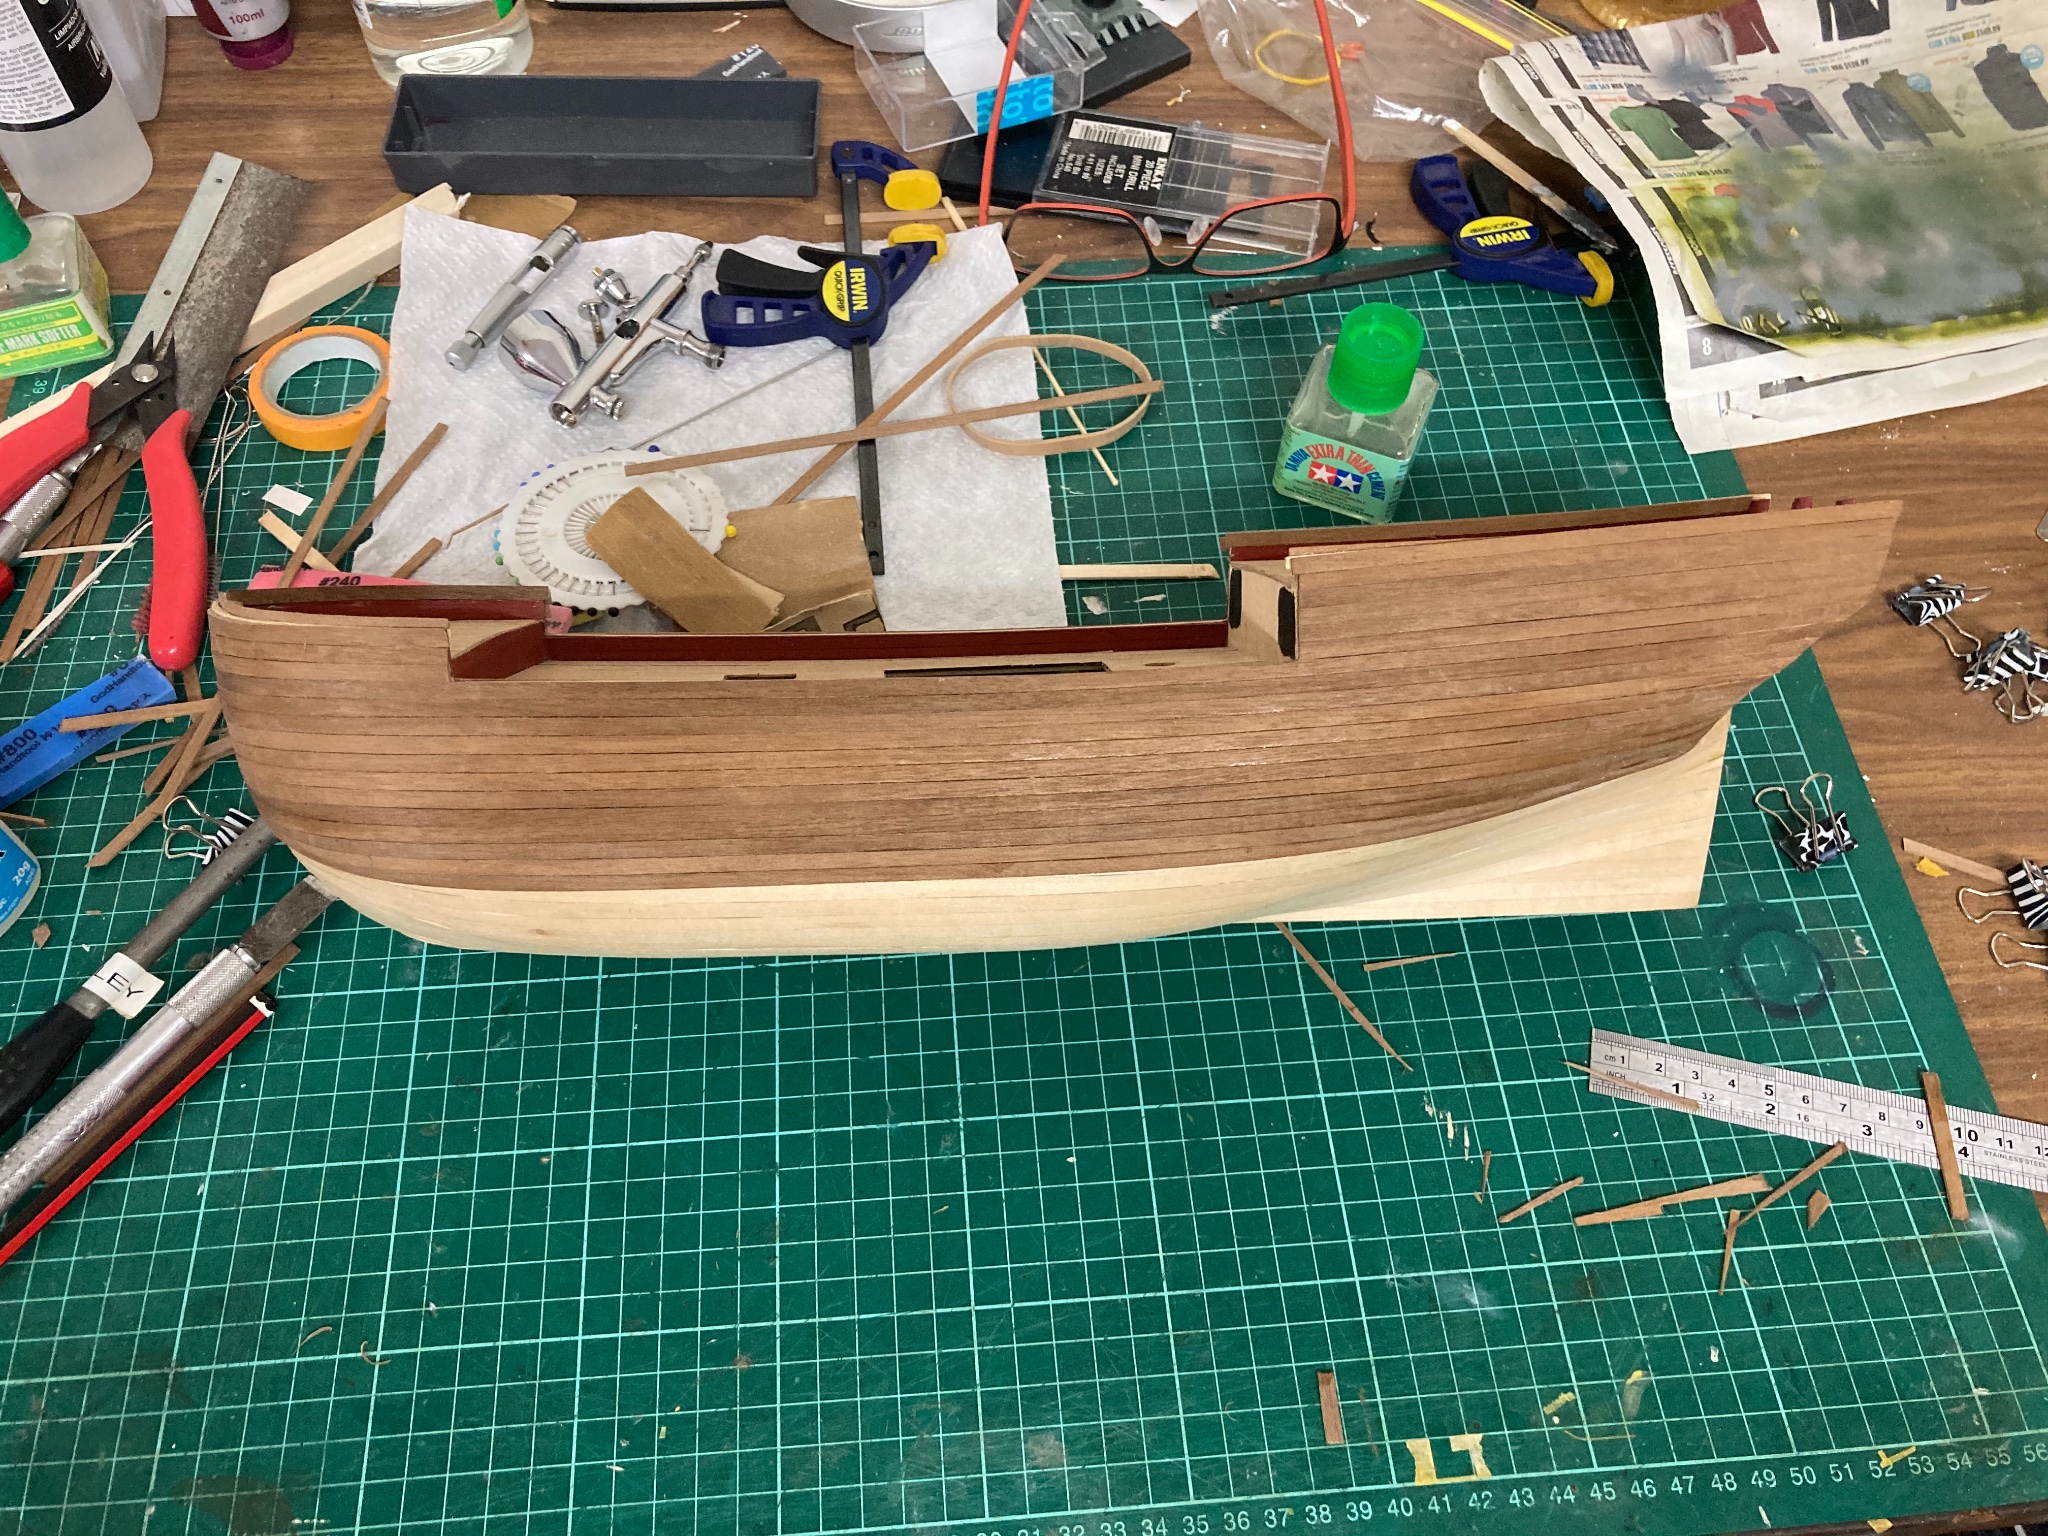
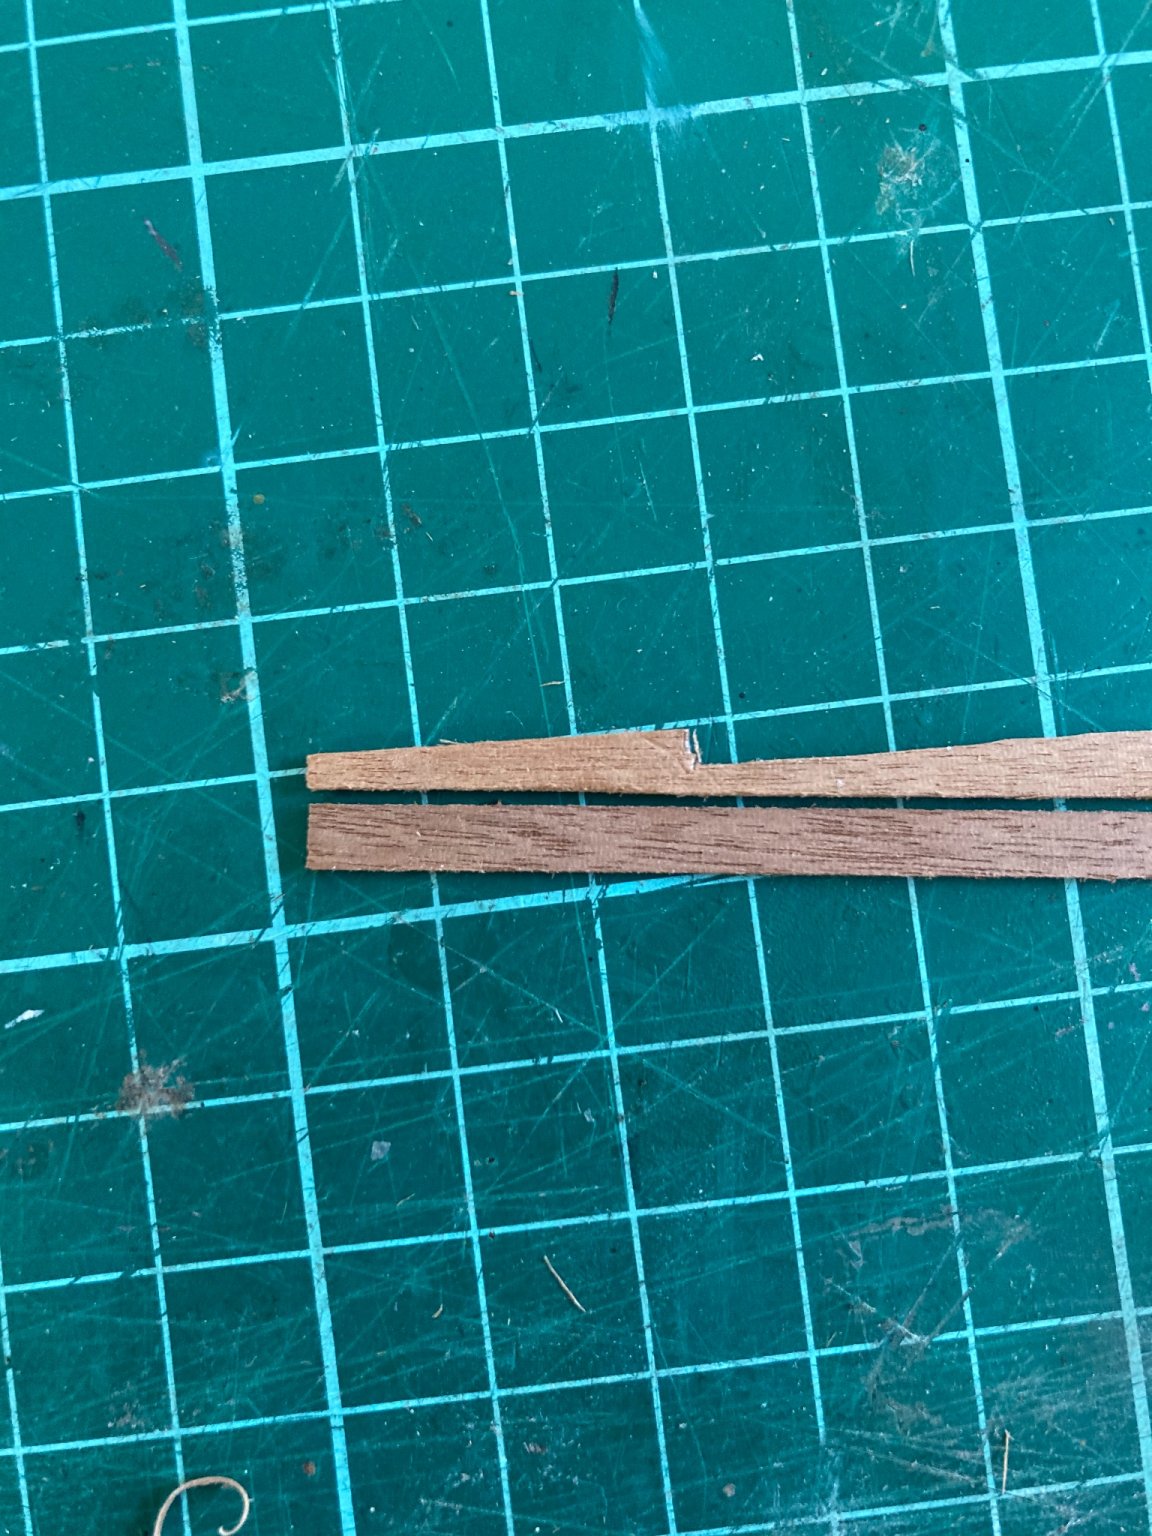
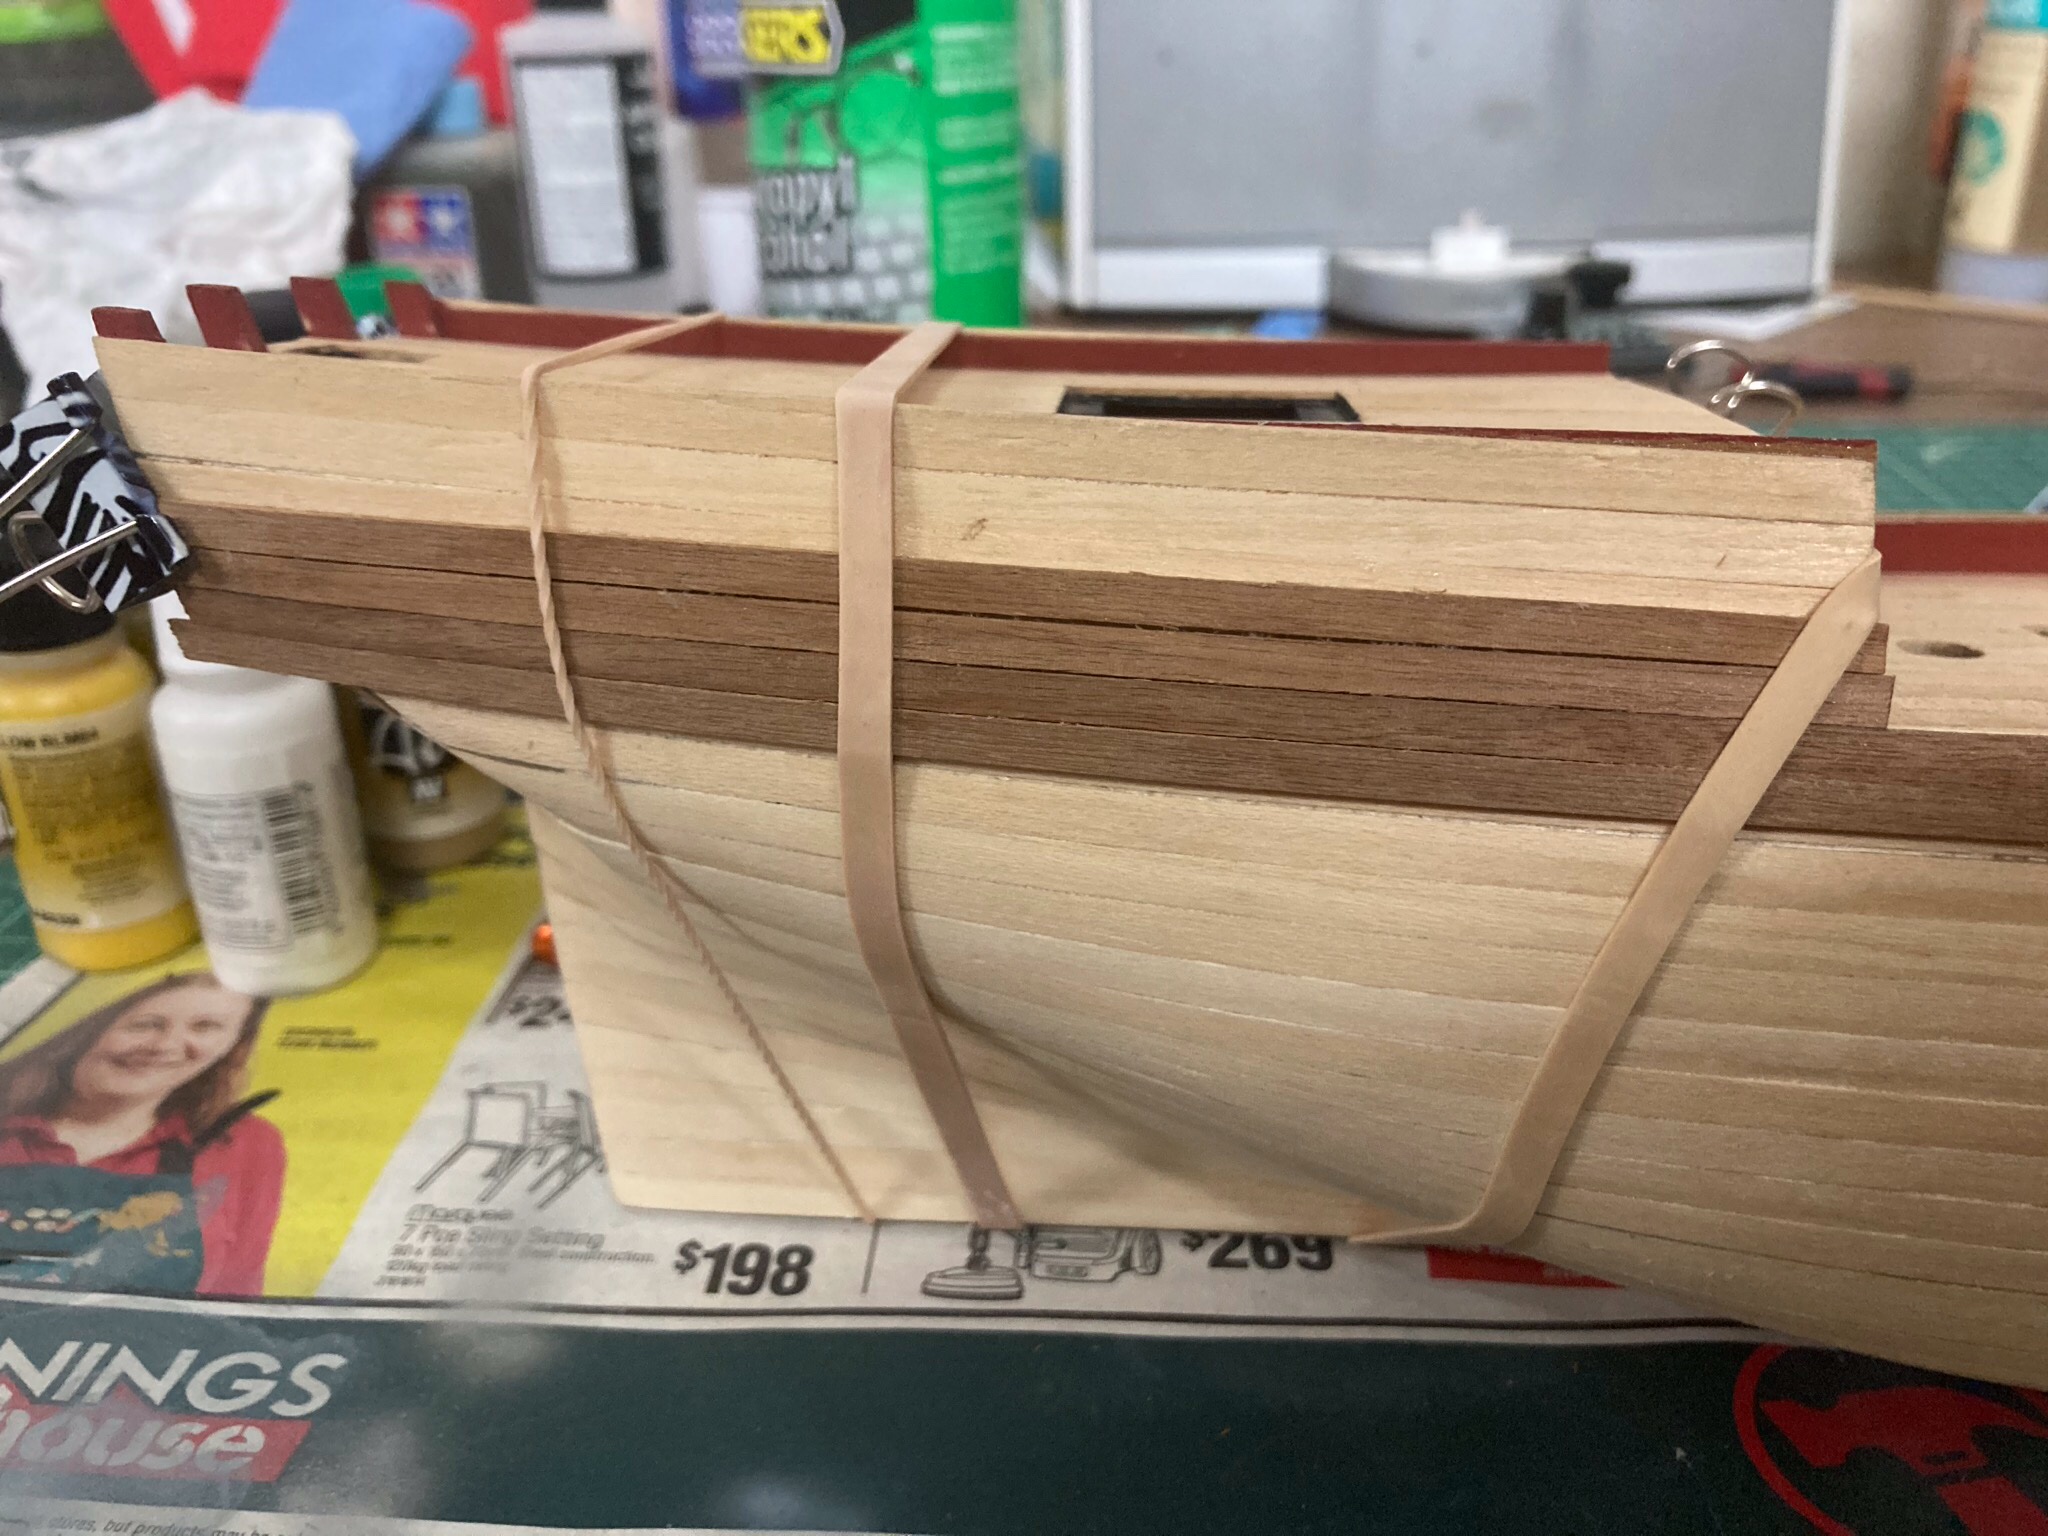
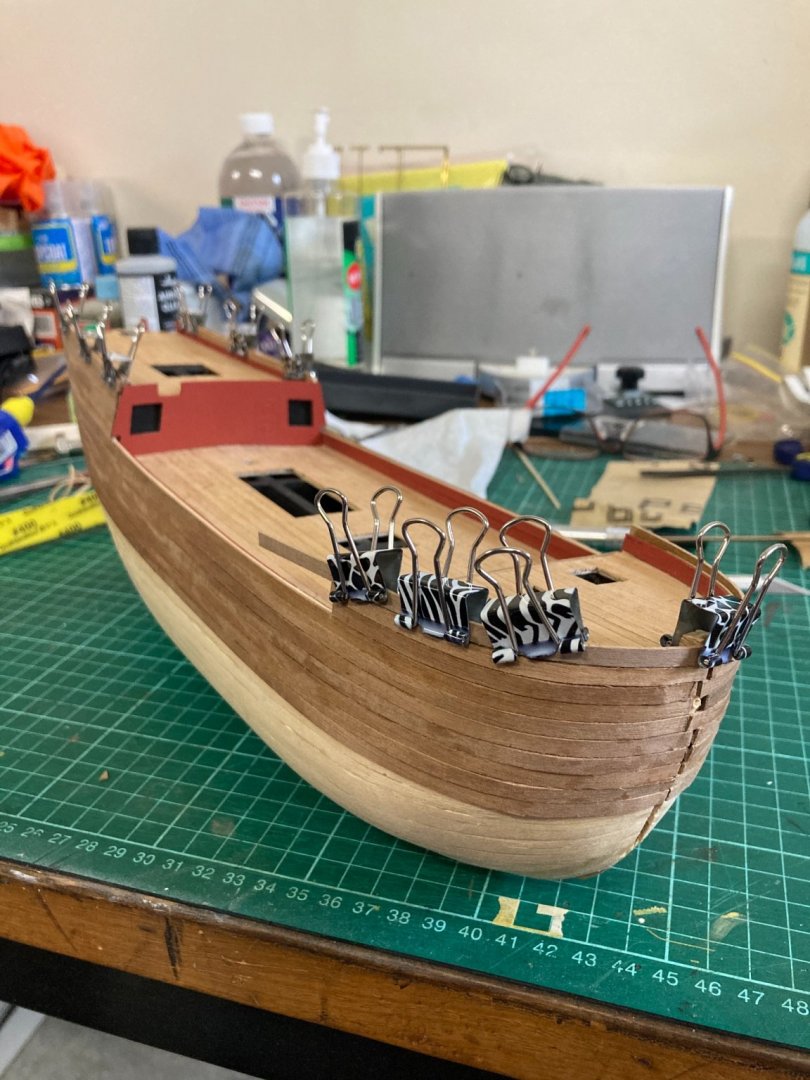
I’ve realised I hadn’t built up the height of the quarterdeck planking far enough to meet the front facia or the rear transom’s frames (painted red). So I’m building up a measured half-width plank on either side. Beechwood centre with cyanoacrylate at the lower edge, then walnut inner and outer linings.

-
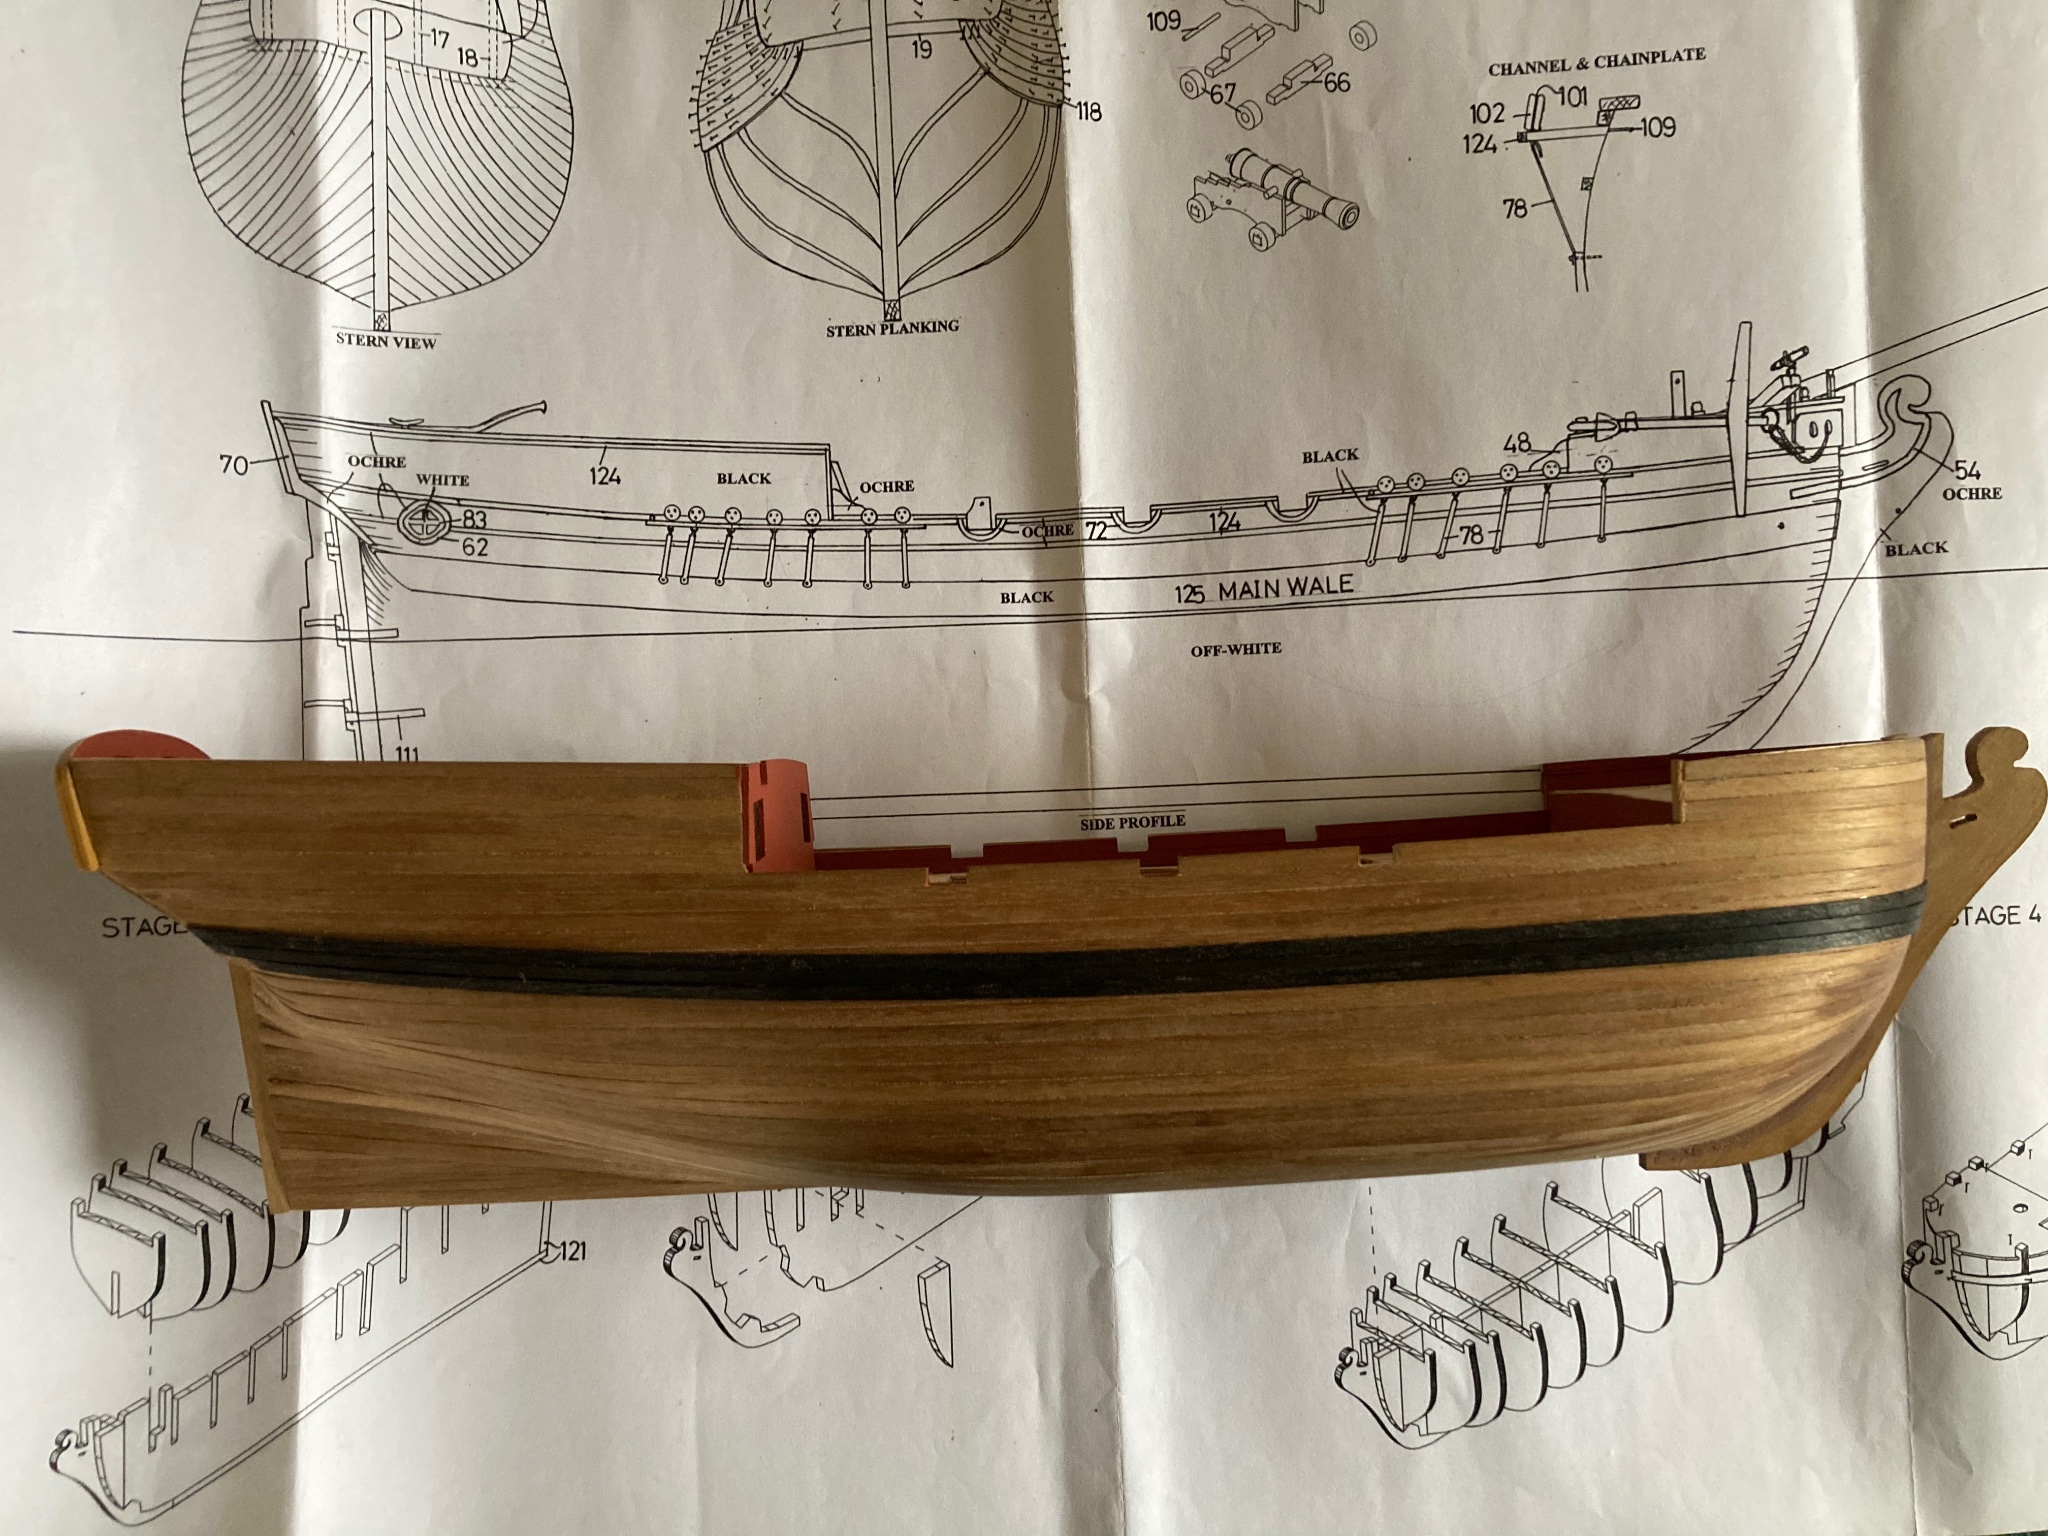
Sziggy8, my understanding is that on the actual British Admiralty built ships, the external planks were about 25 feet long. 25 feet is 7620 millimeters. On my kit at 1:64 scale, that equates to 119mm (4.68”). Quite a usable length, really. For second planking, that should look great, I’d imagine. I’m not choosing to do that because: a : I’m by no means an expert and my method is clearly riddled with errors. b : I’m very much loving the kit but it, too, is clearly riddled with errors. c : It’s too late, I’m committed now! The ship models I’ve built so far have all been shorter in length than the wood strips supplied with them, so...yeah...full length planks. My next kit isn’t, so I’ll probably try sectional plank cuts for the hull’s second planking. The first planking’s hull planks have to align with the ribs, of course.
-
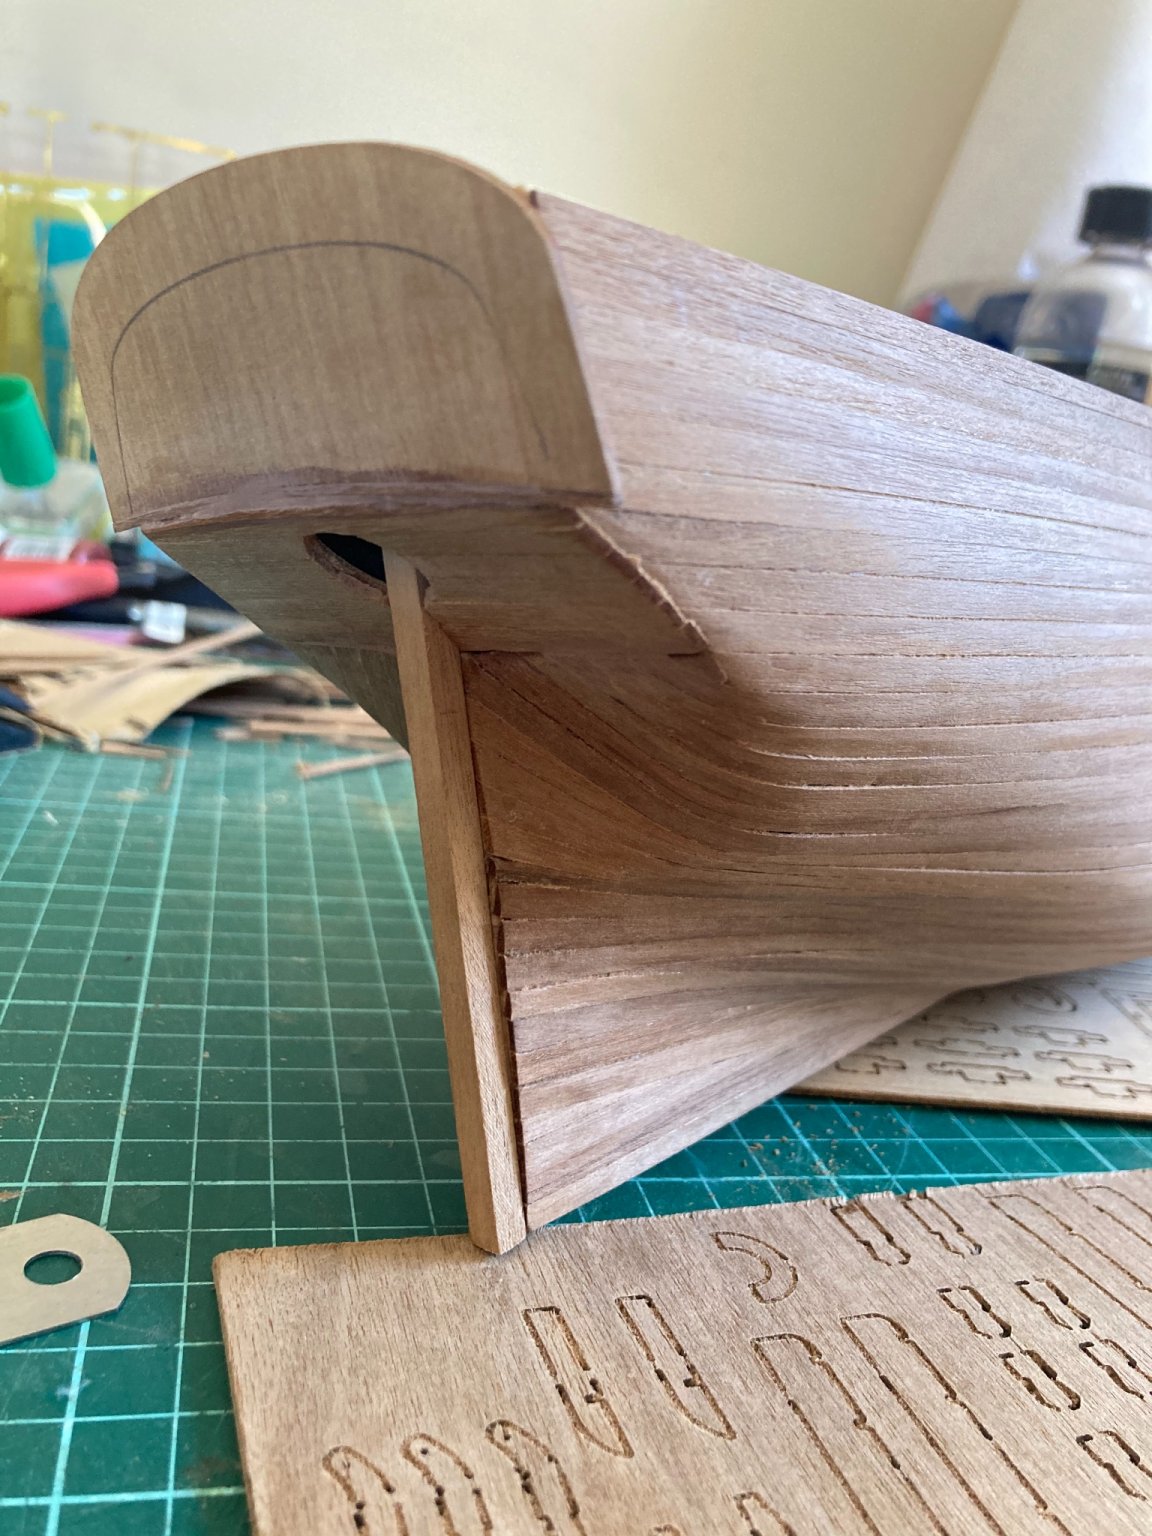
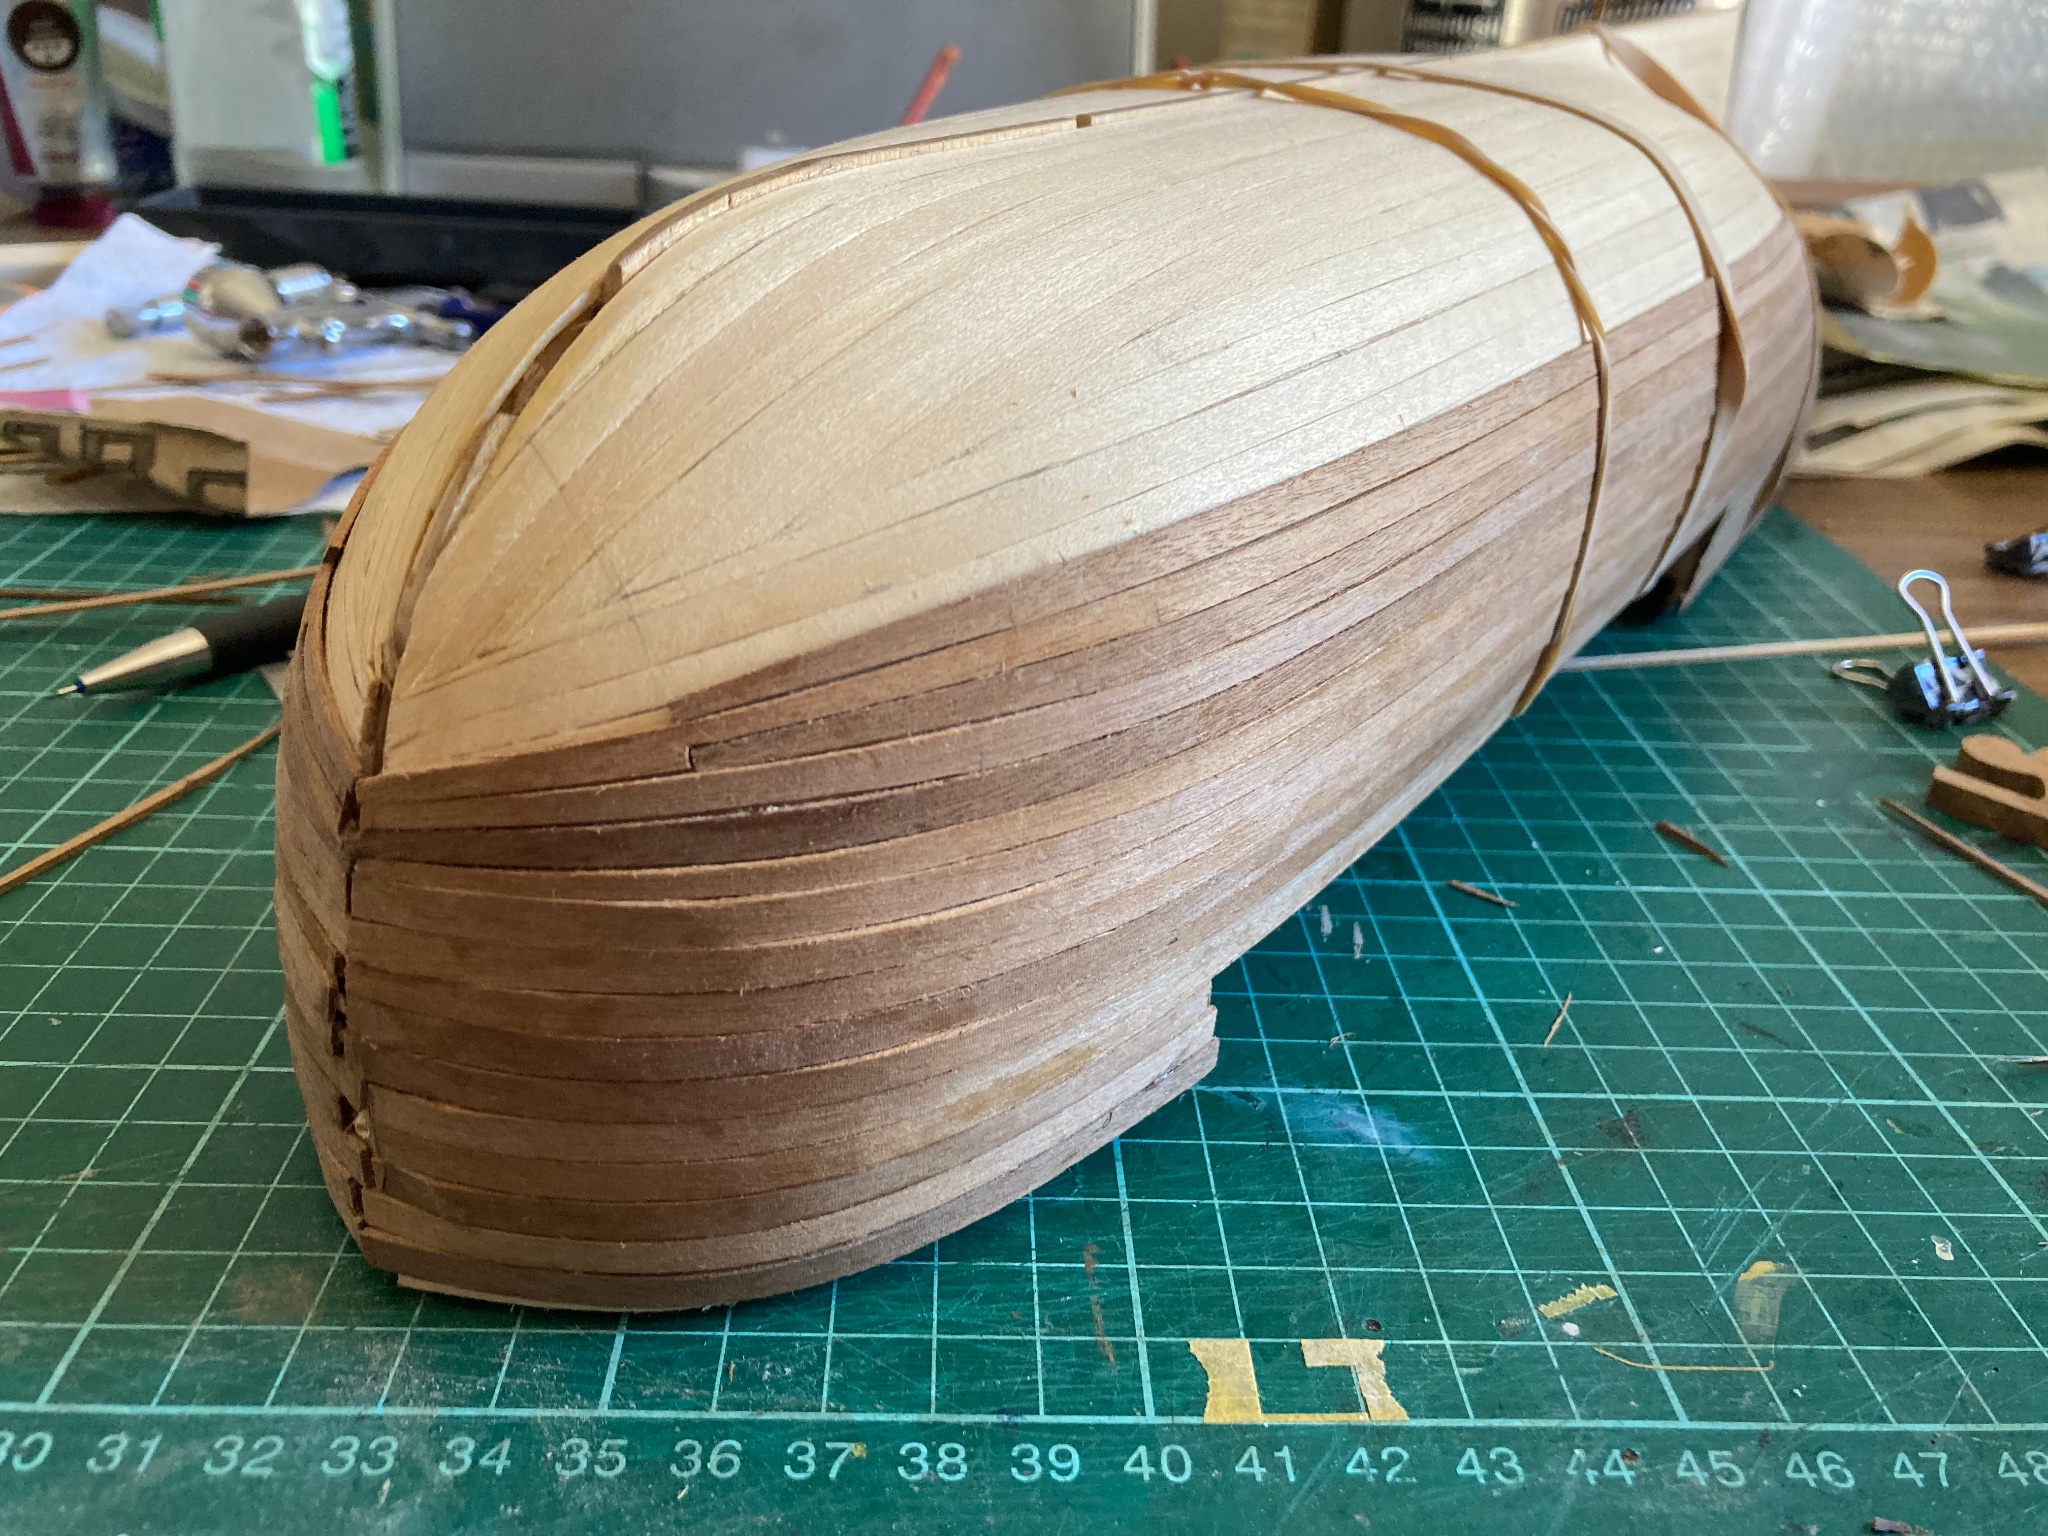
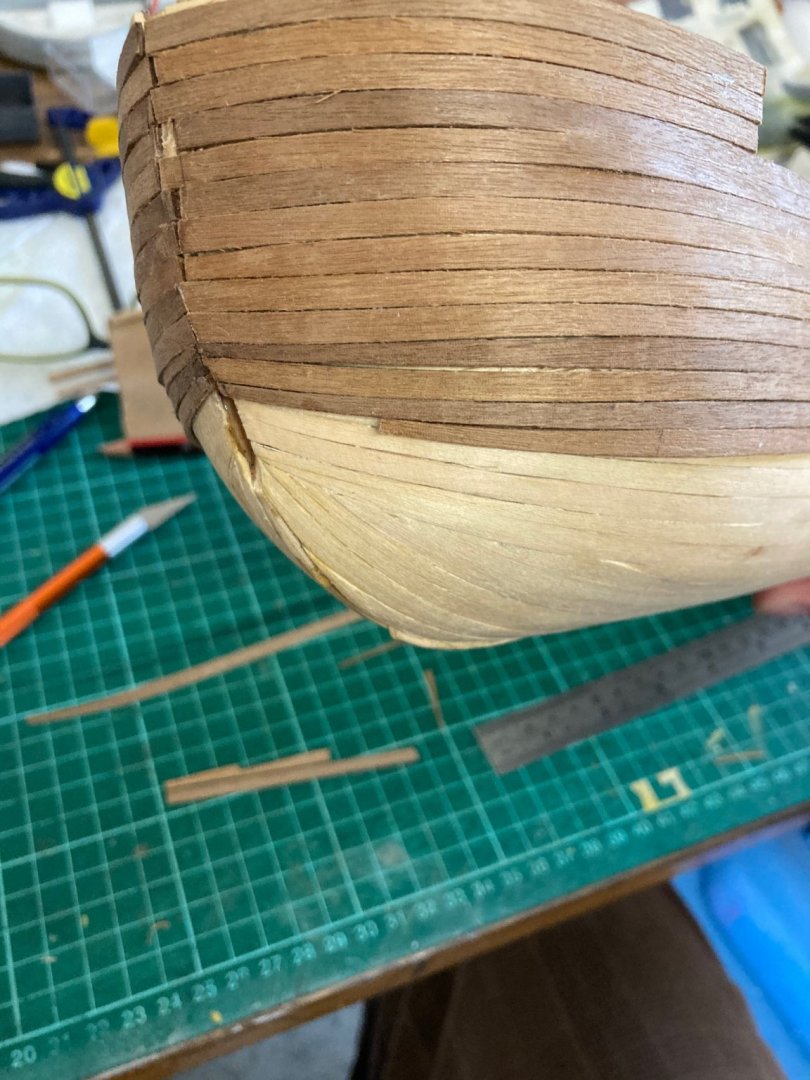
This is how I’m planning to complete the troublesome stern- I’ve planked the sides down to a point shown, and sanded them flush with the sternplate. I’m going to attempt to plank up to where the beechwood ends (yellow arrows), then cut/sand their ends in a line, and plank horizontally above that. (red lines).

-
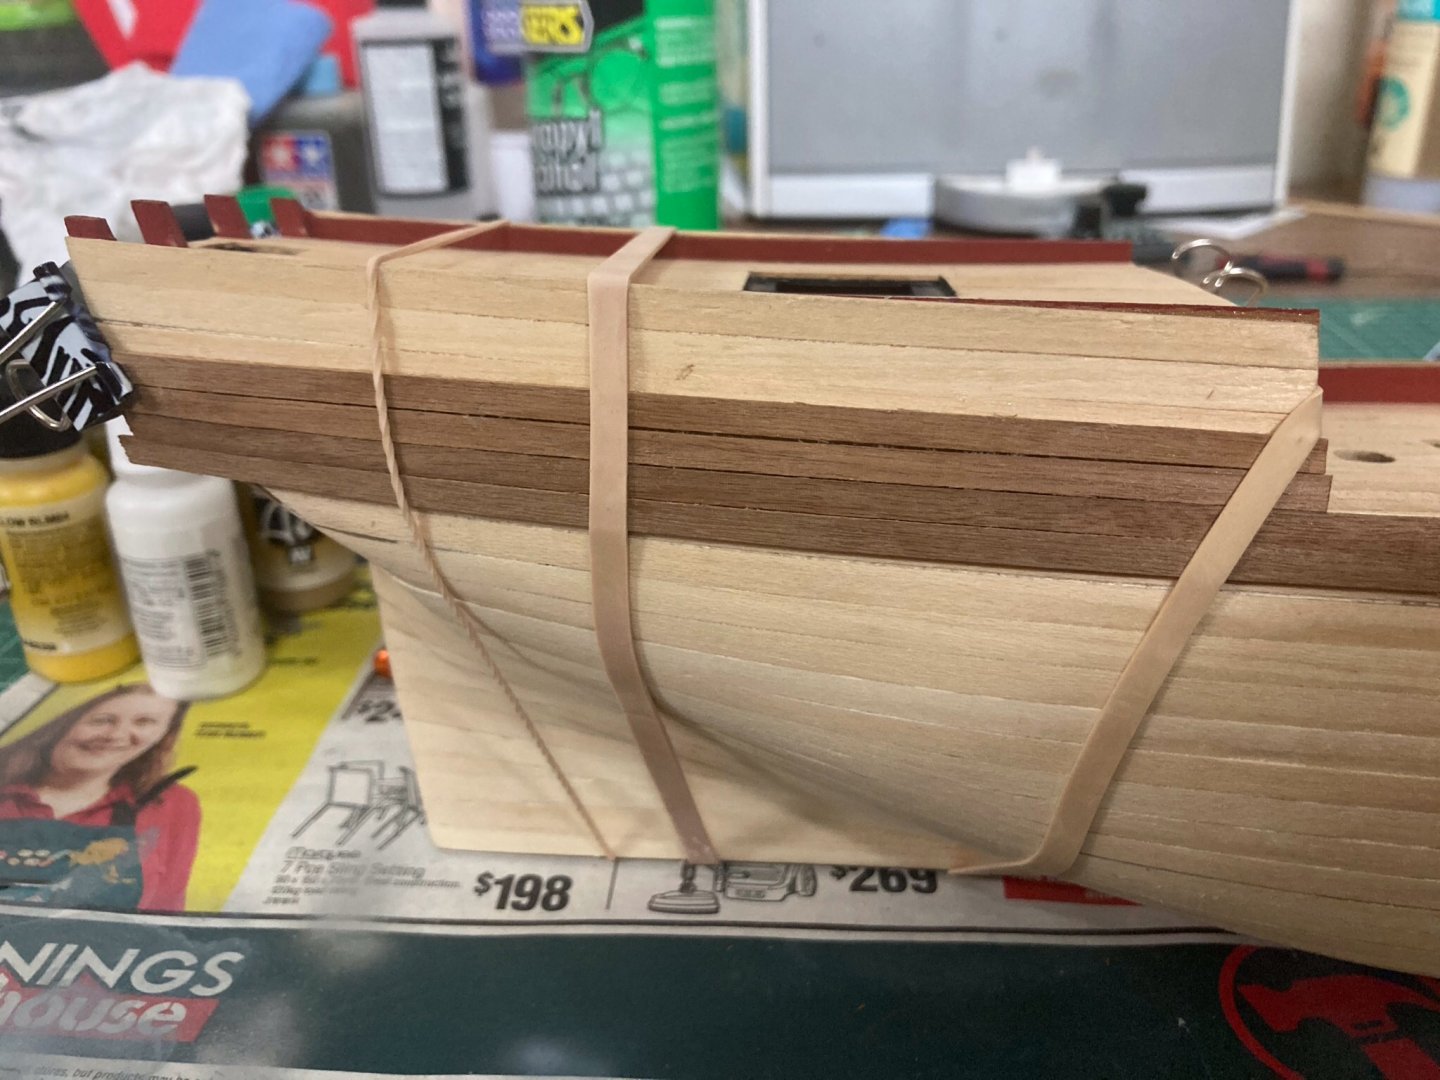
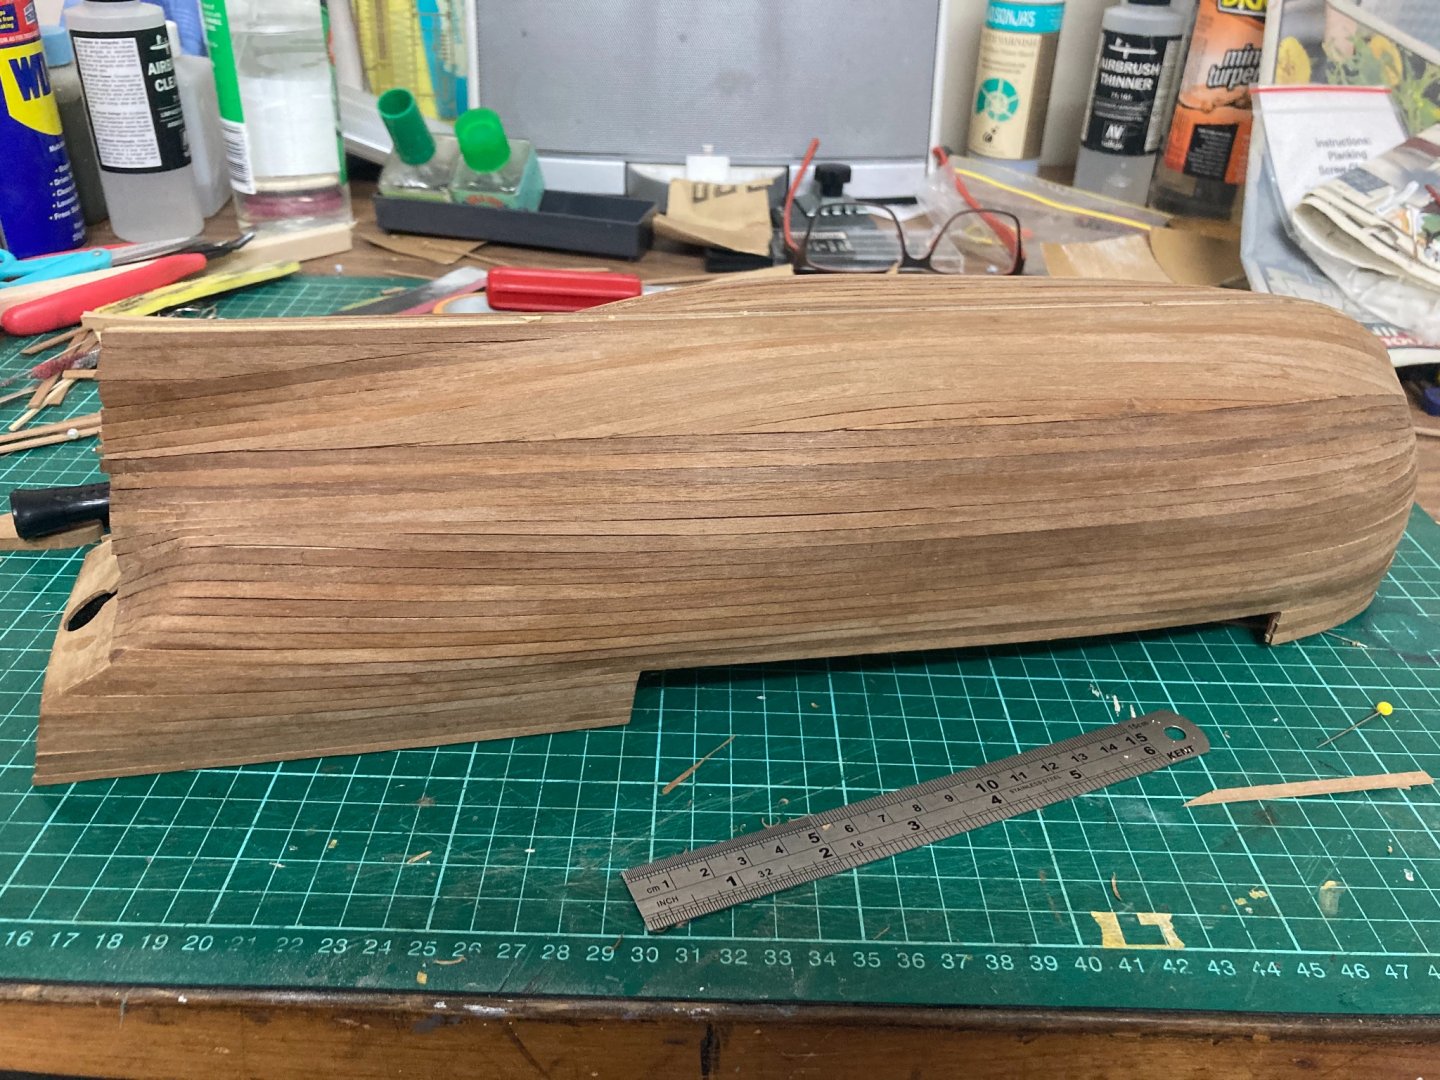
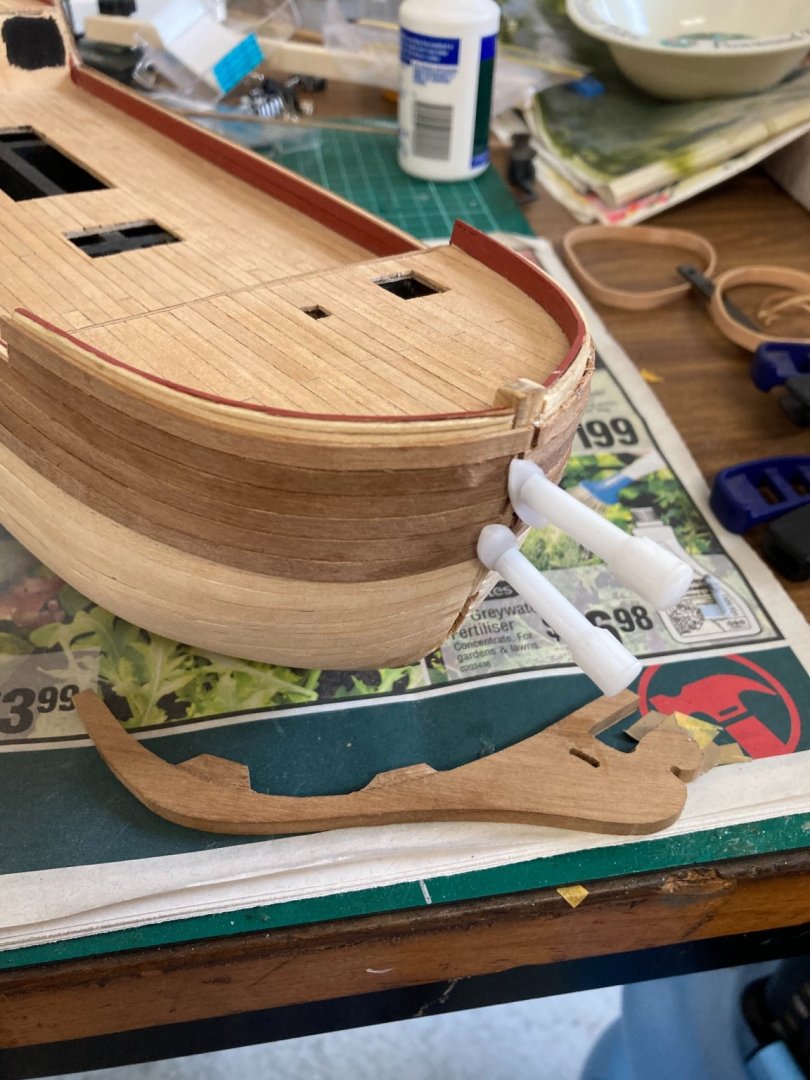
There’s a false prow on this kit. I can use that to cover any dodgy work, so I’m using planking screws on the central frame to hold the bent planks until the PVA glue dries. So far, so good. Only time will tell.
-
Wow. It’s been a year-and-a-half since I’d lay a plank on this ship! No real reason- I’ve simply enjoyed building plastic aircraft for a while instead. I’ve had health problems, too: One spinal disc replacement surgery later... I cleaned up the garage and had to move the hull in the process, and I’ve suddenly found new motivation for this....which is odd, because I’ve been given aircraft kits for Christmas that really motivated me, also. I glued four planks today and really enjoyed it. I’m back!