sjanicki
-
Posts
227 -
Joined
-
Last visited
Content Type
Profiles
Forums
Gallery
Events
Everything posted by sjanicki
-
Hi Nic, Thank you! The kit was a blast
-
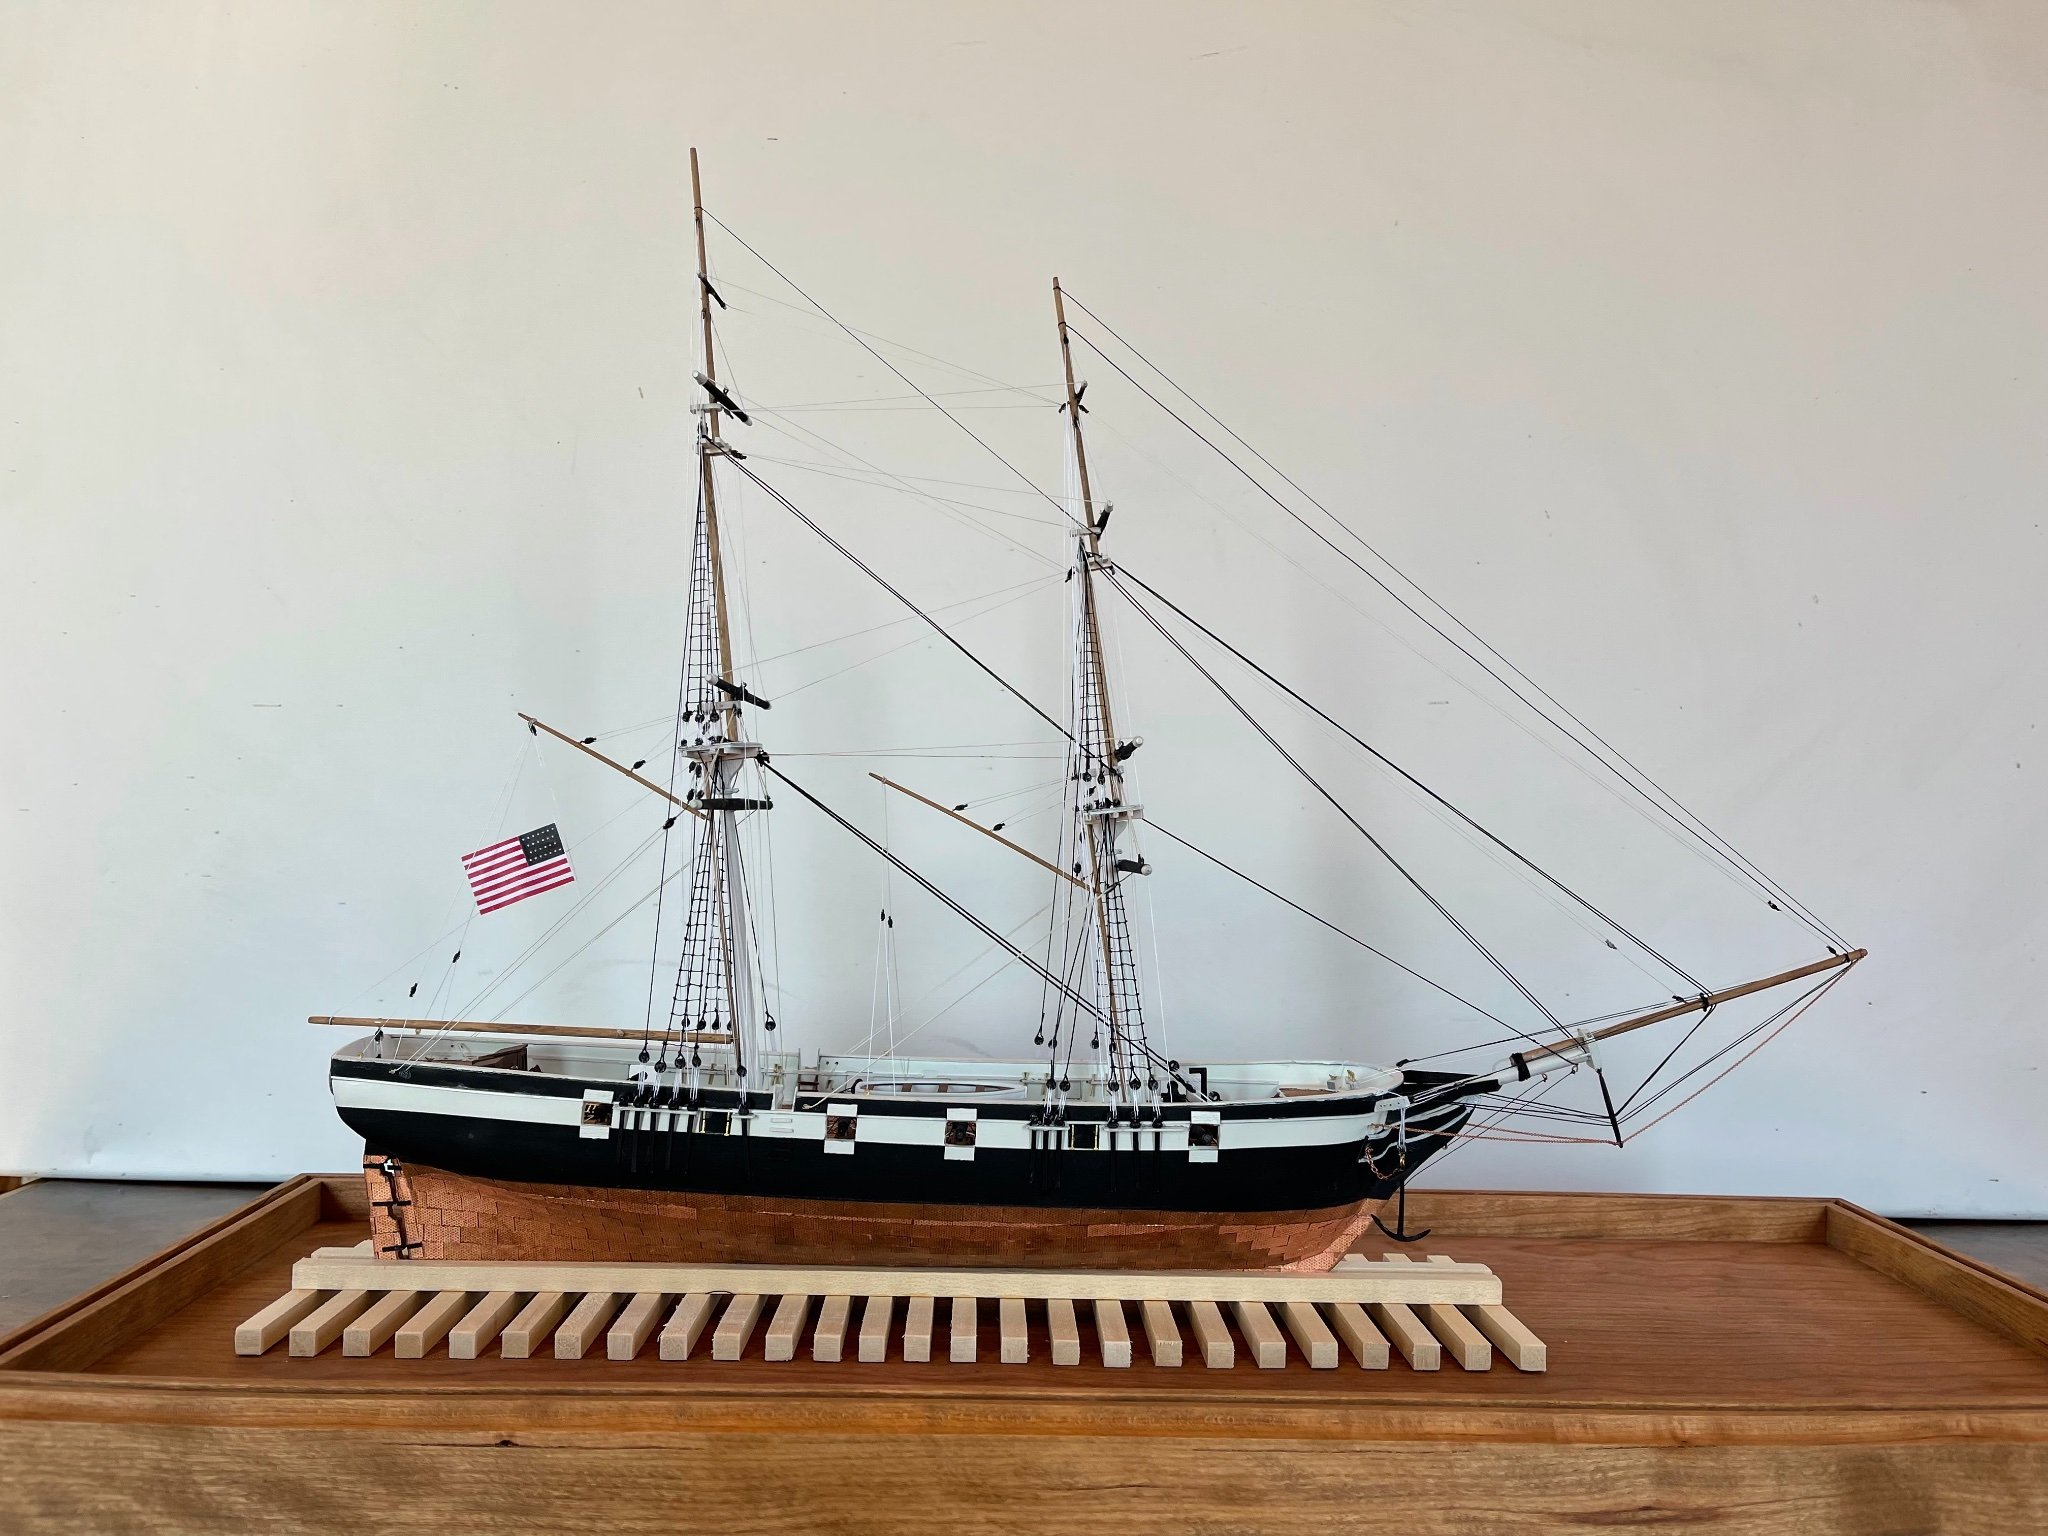
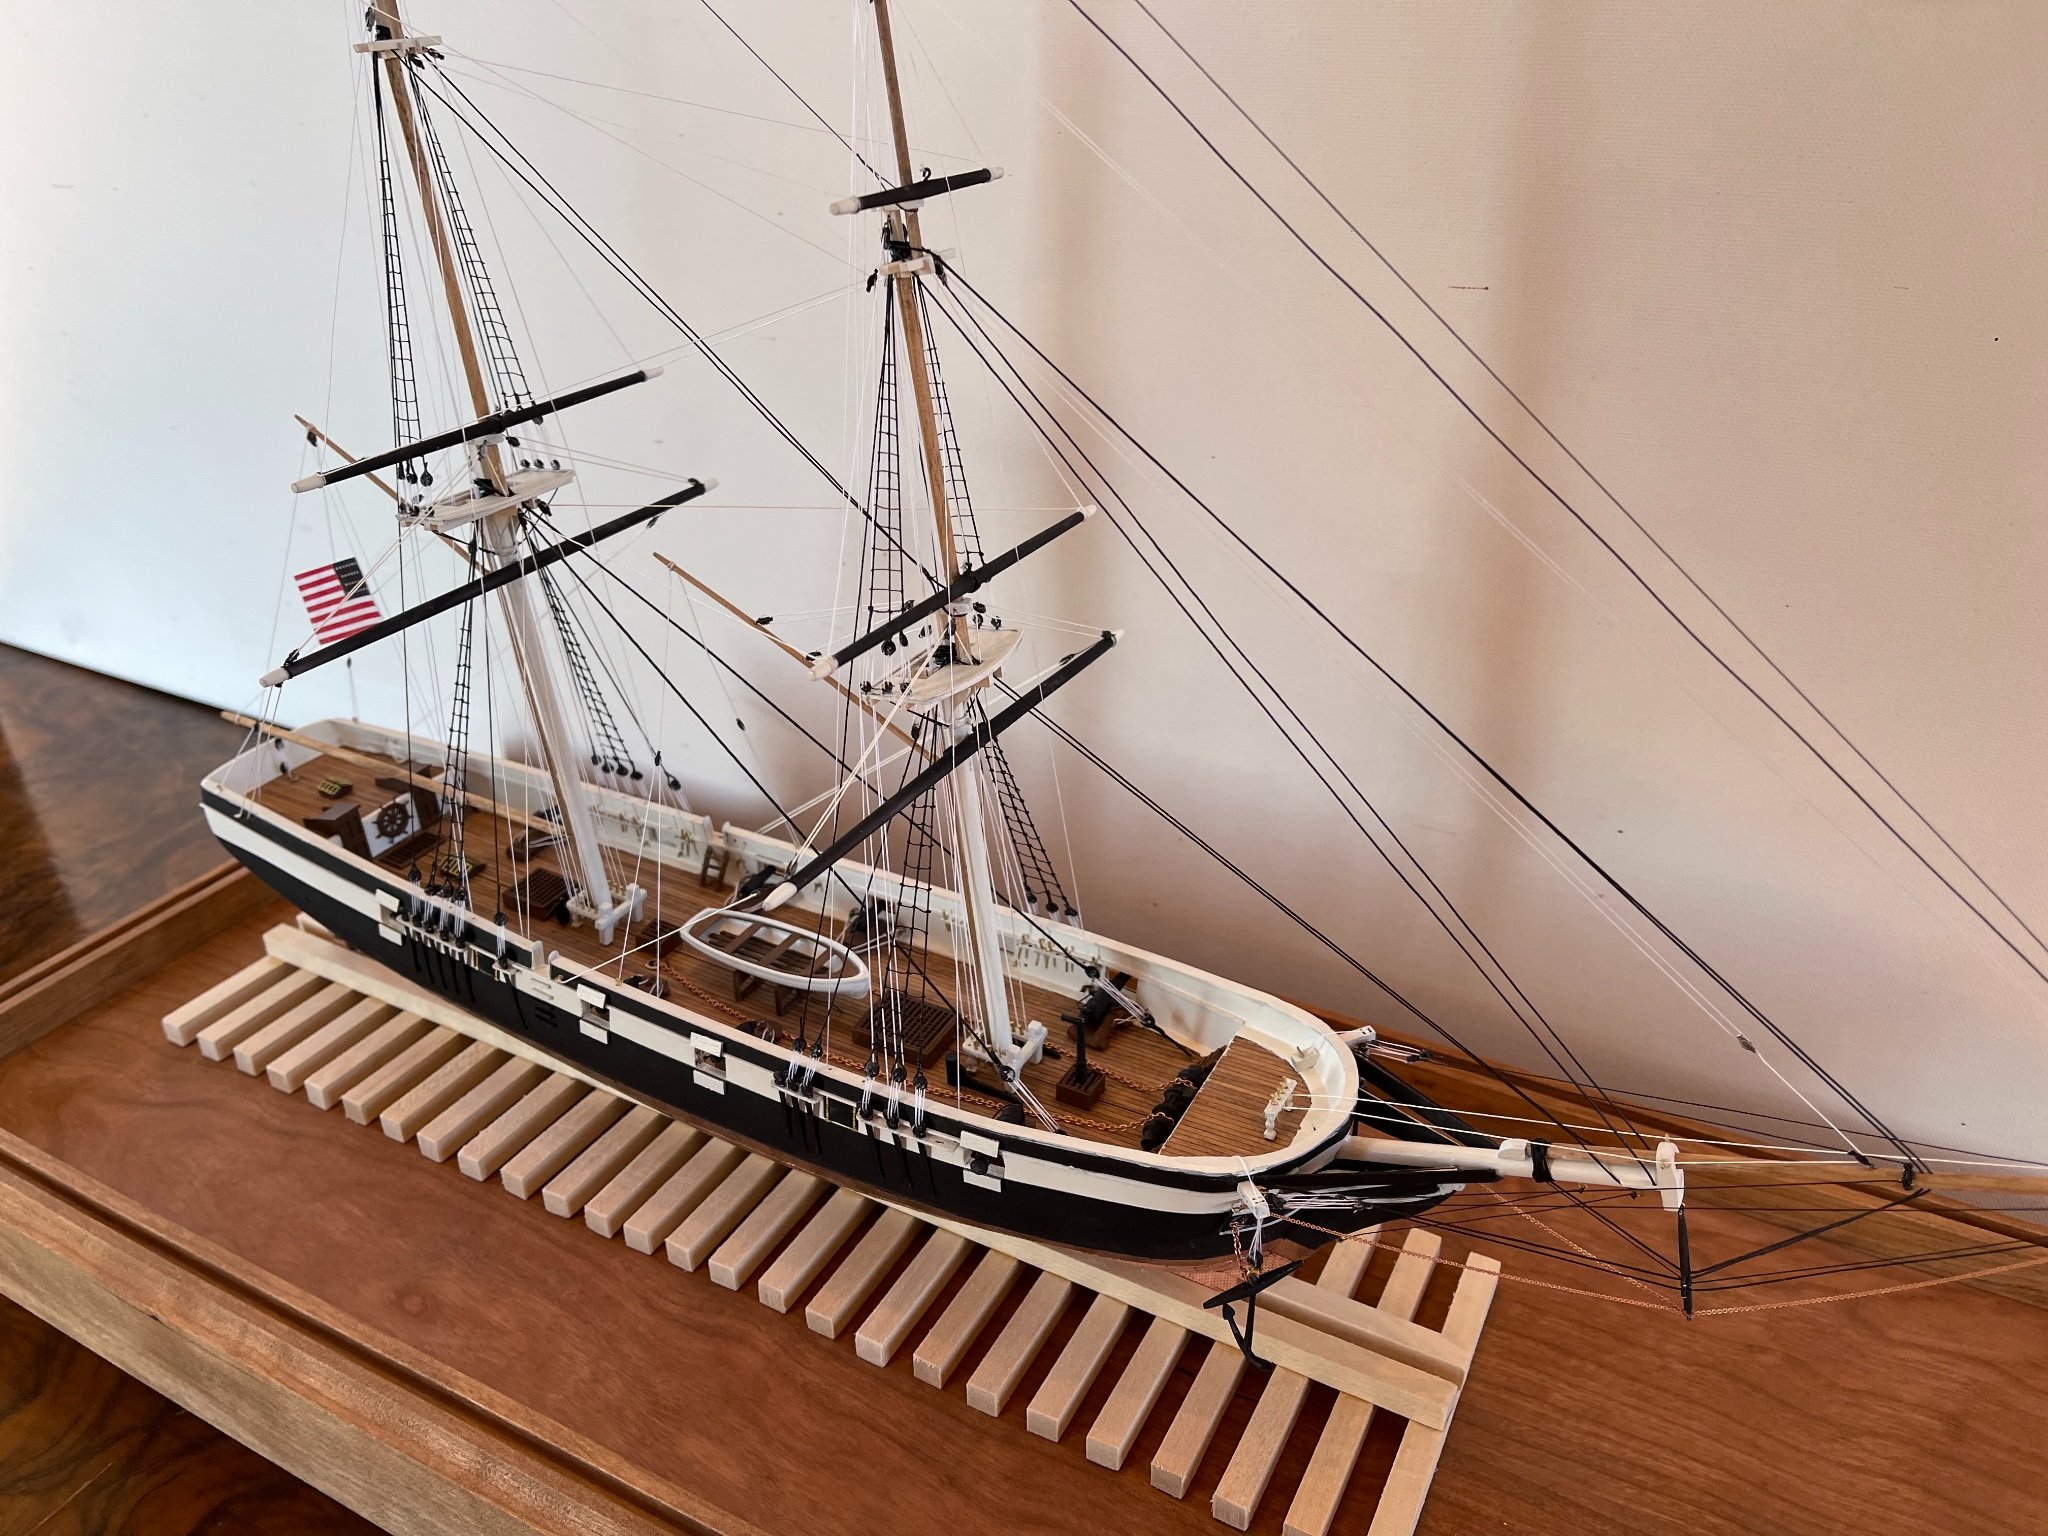
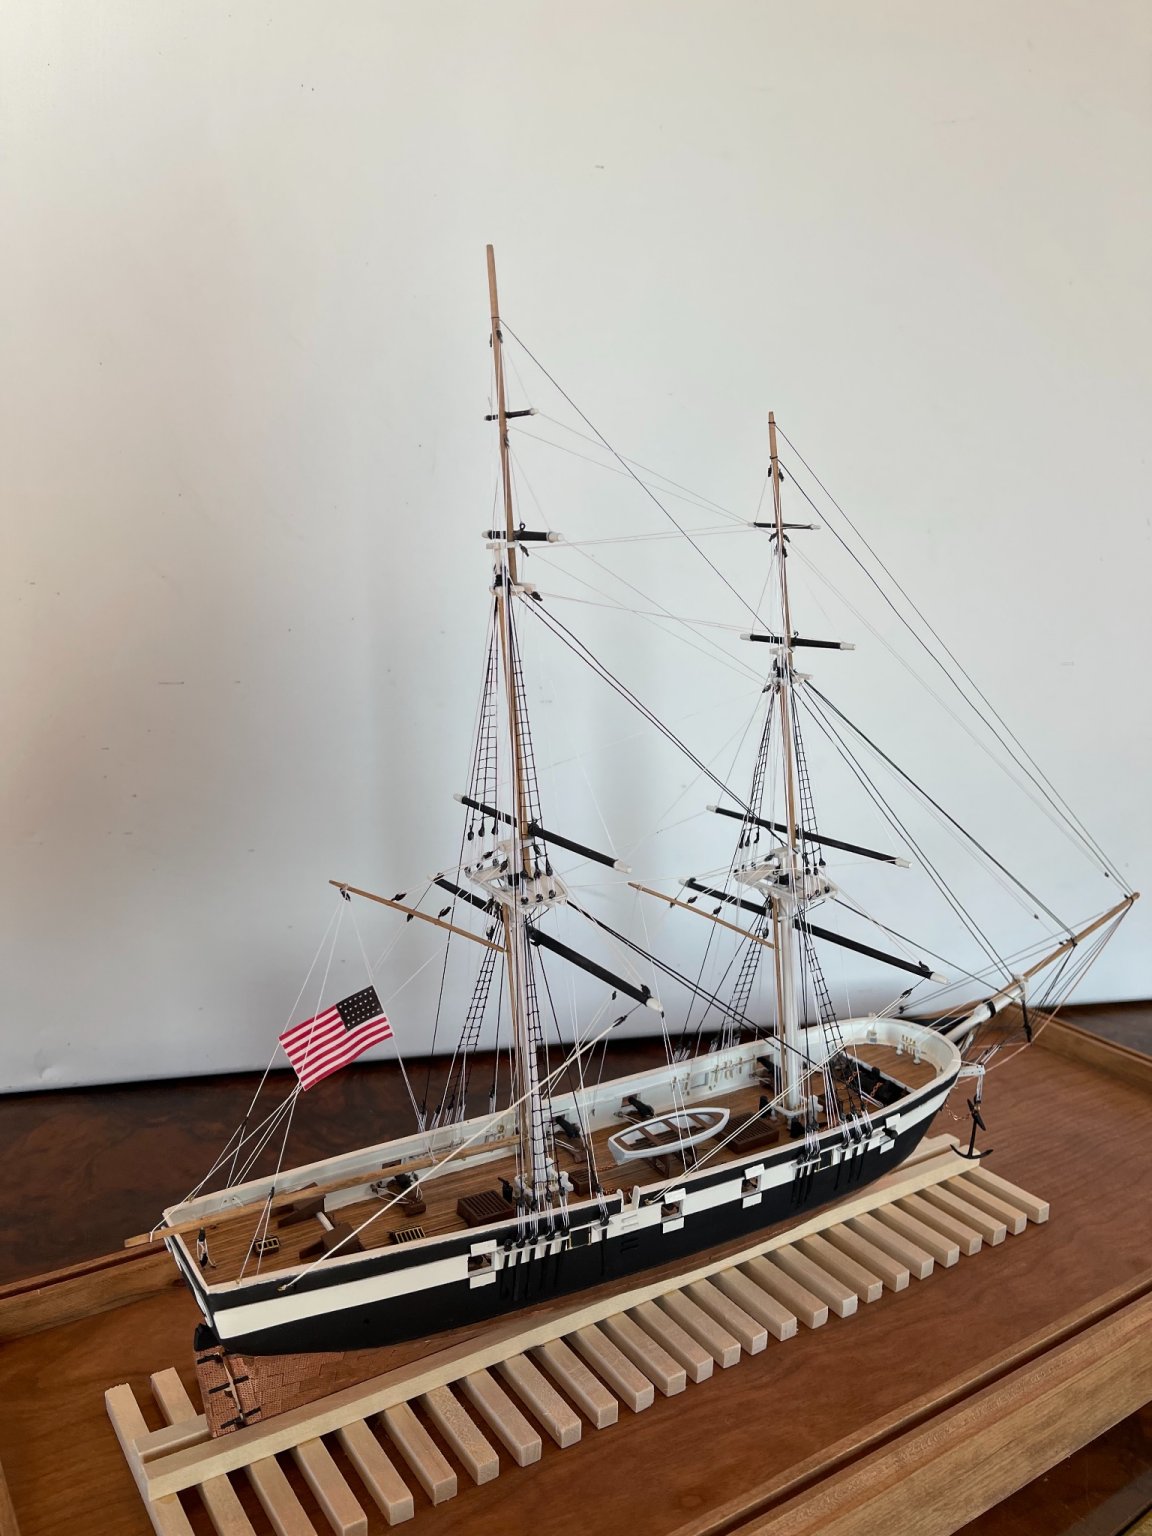
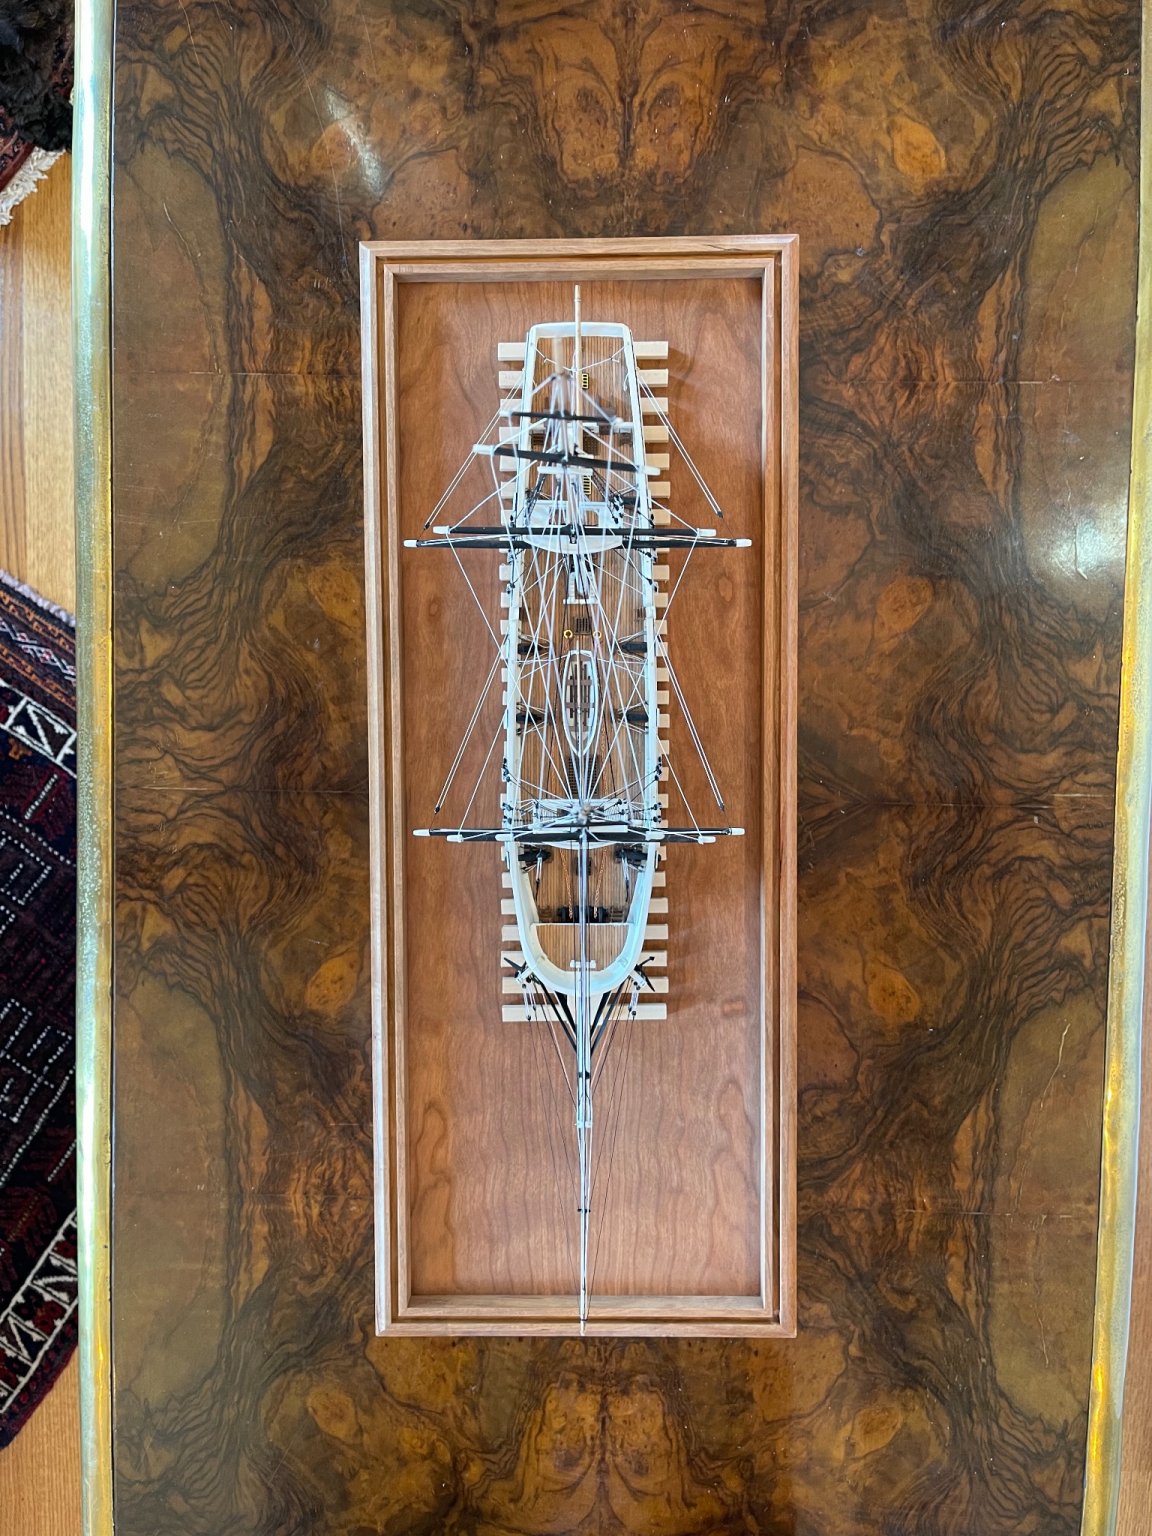
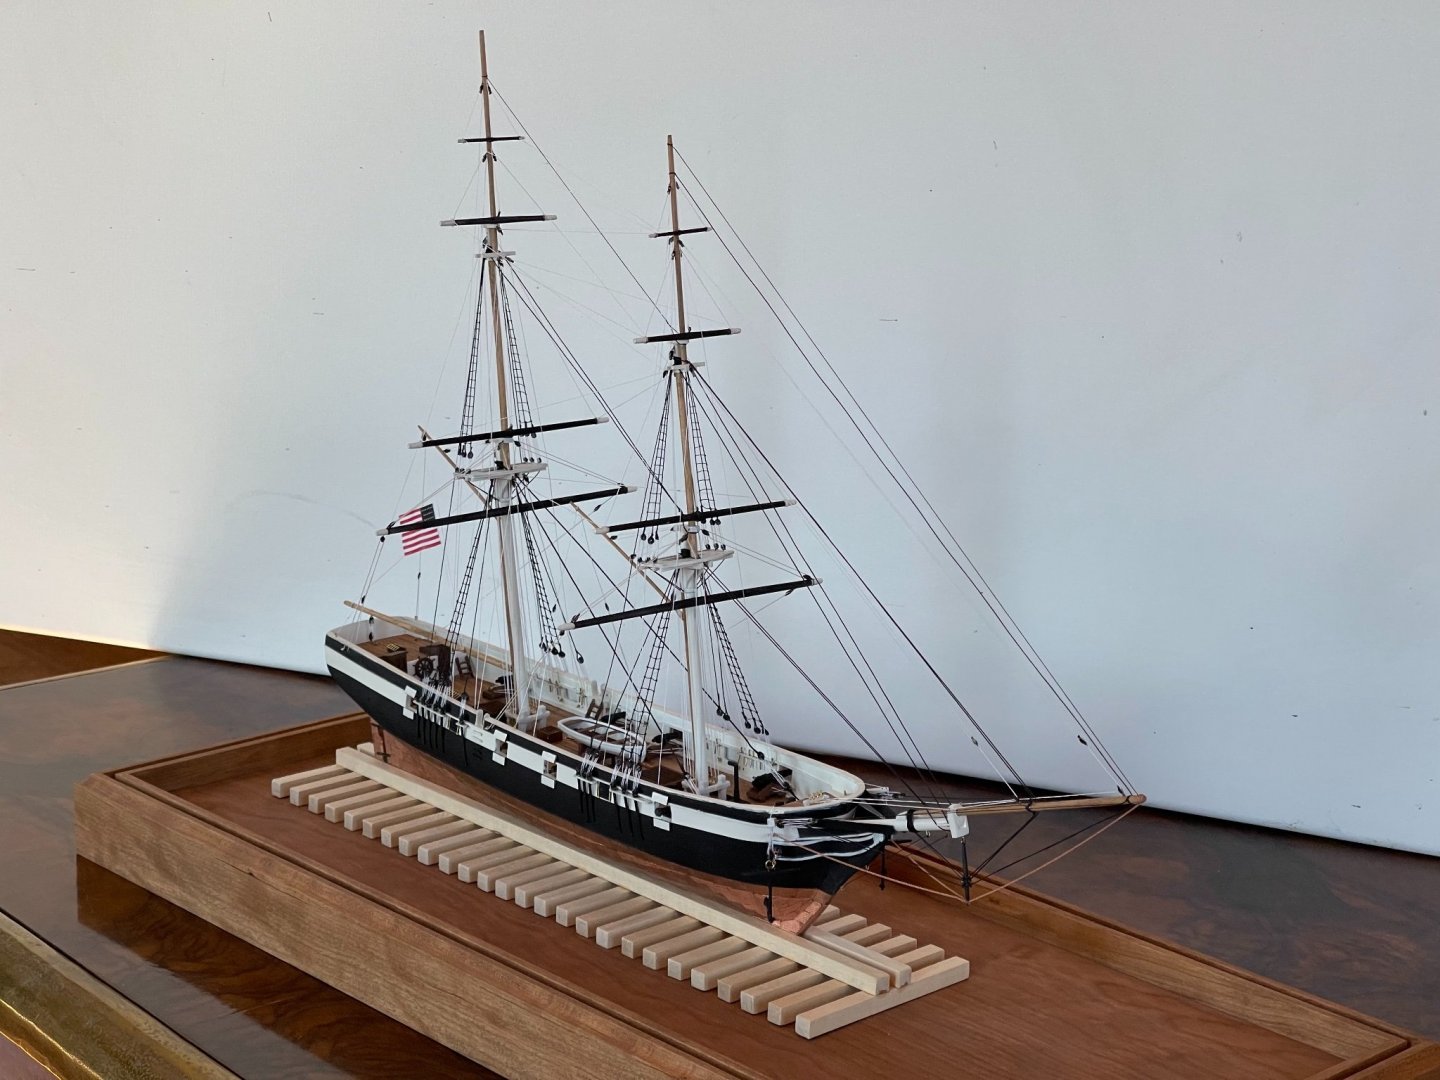
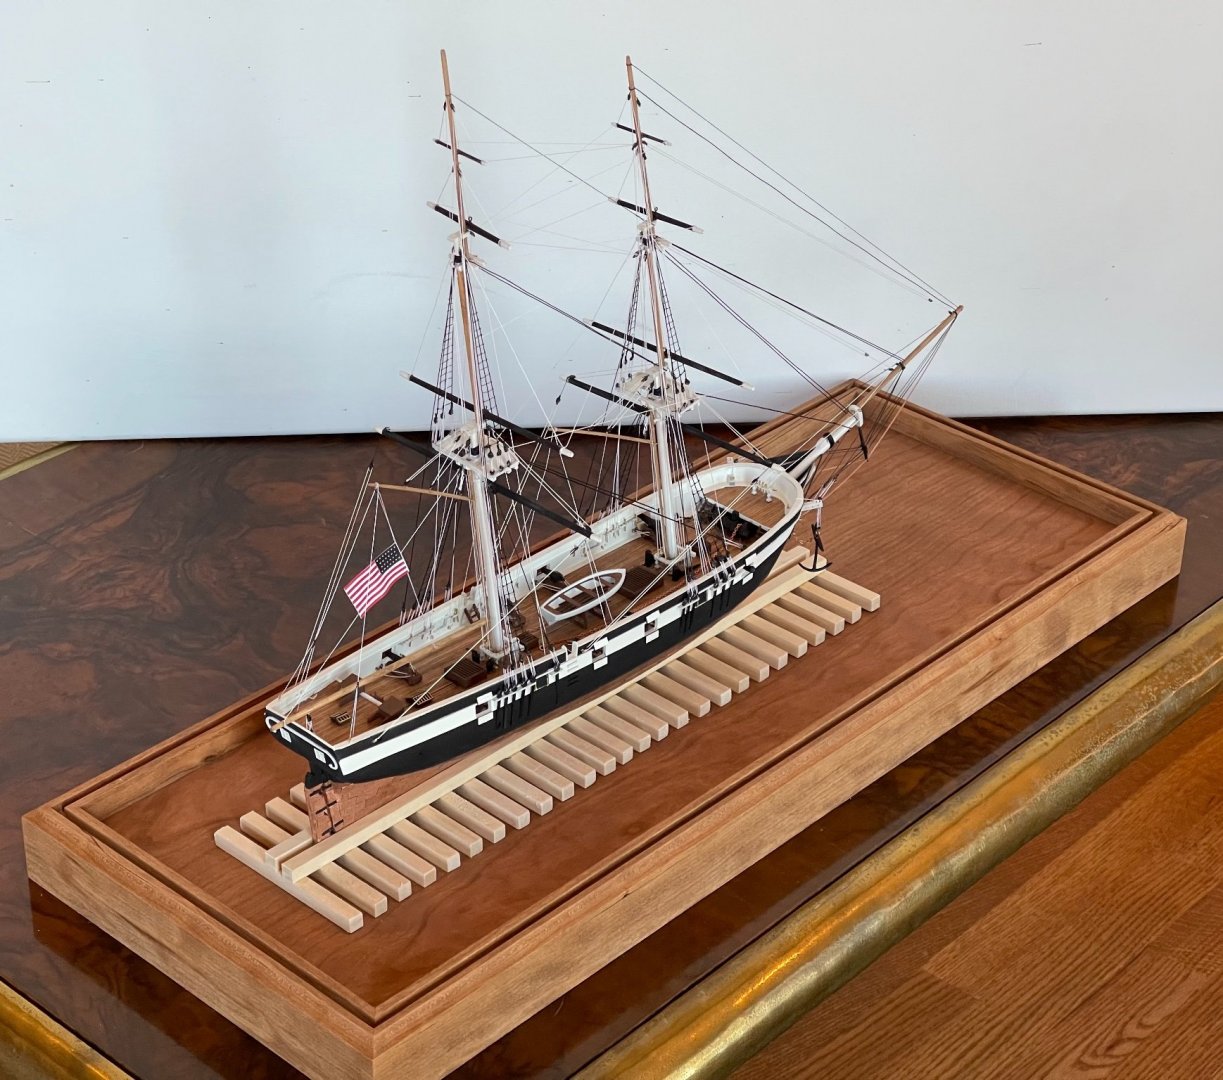
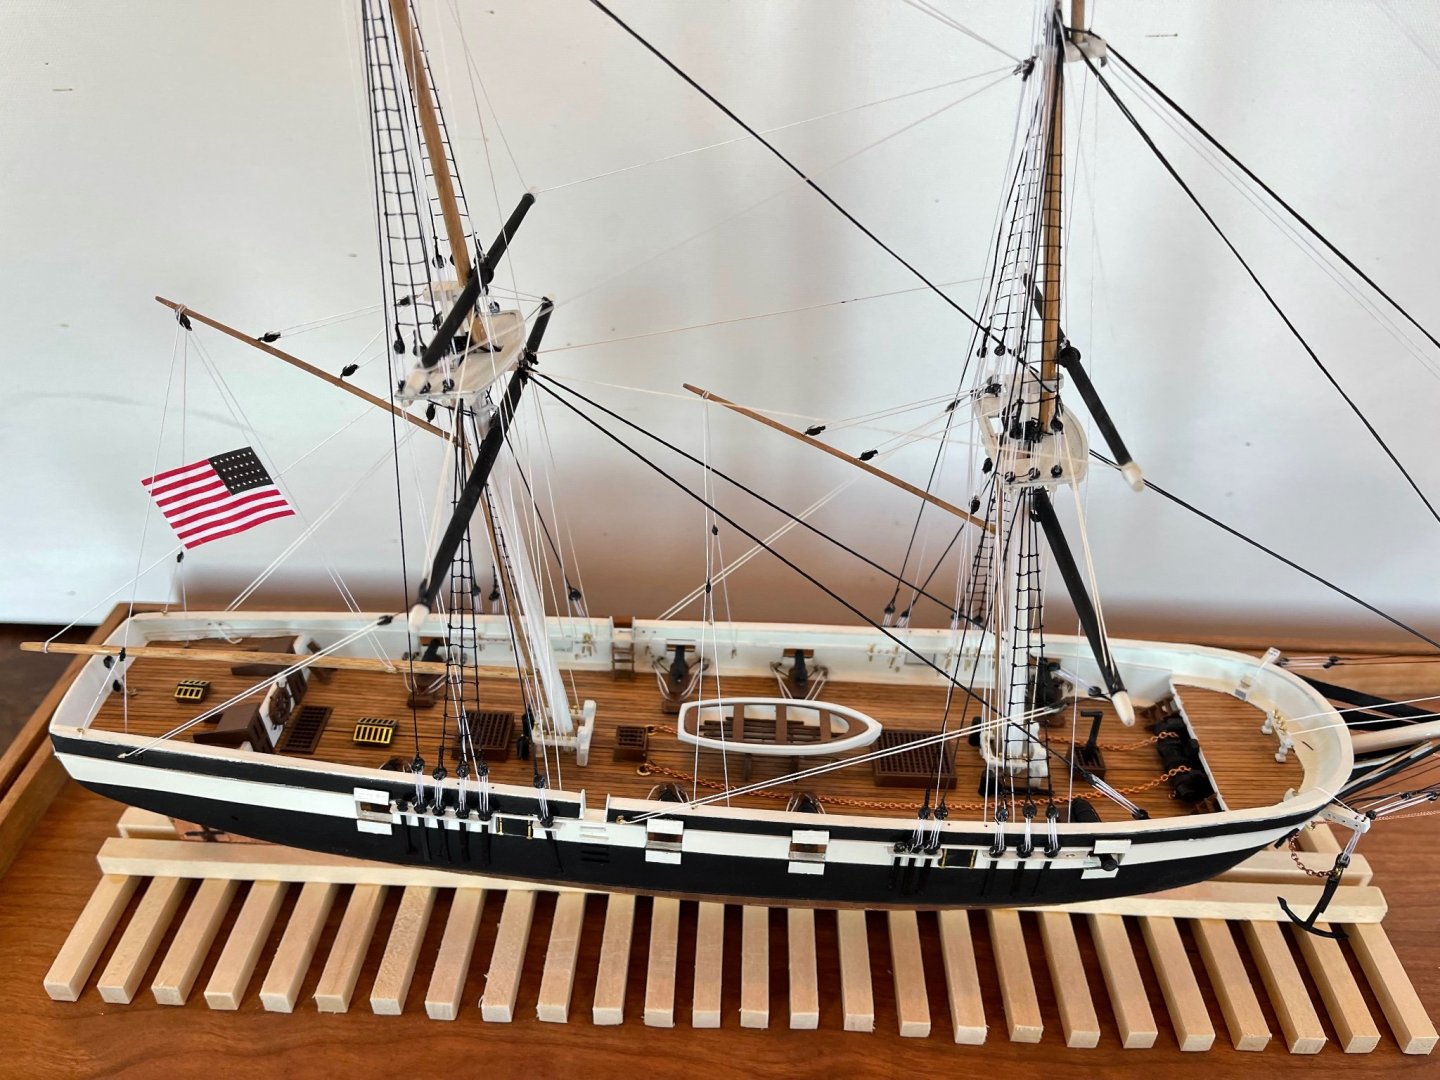
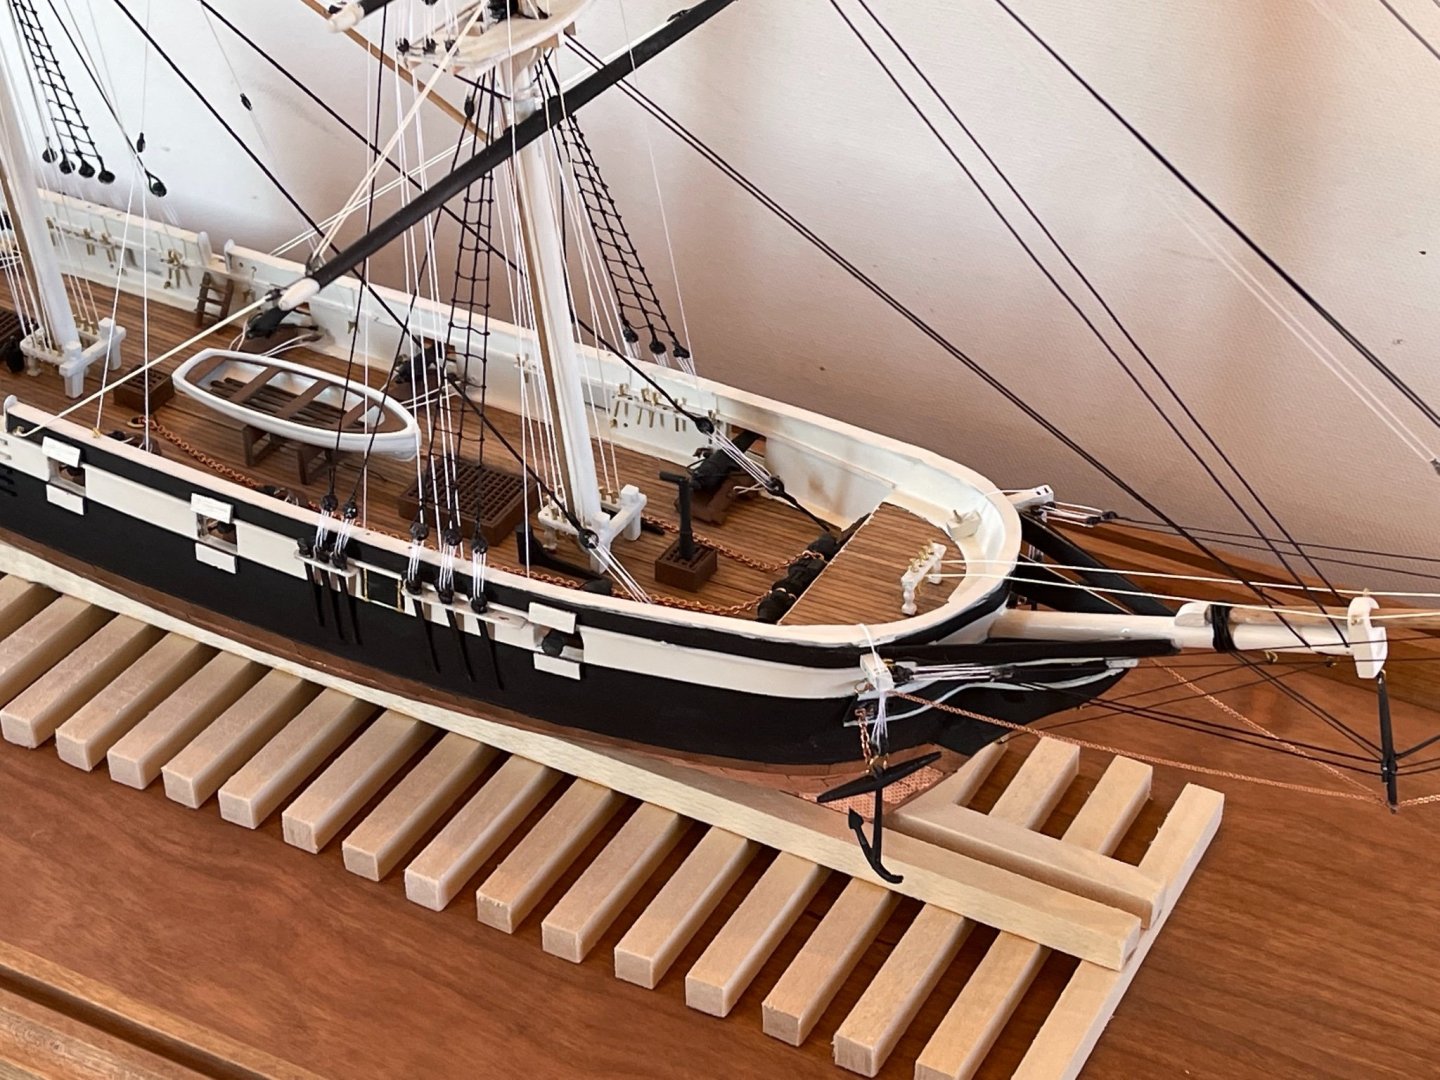
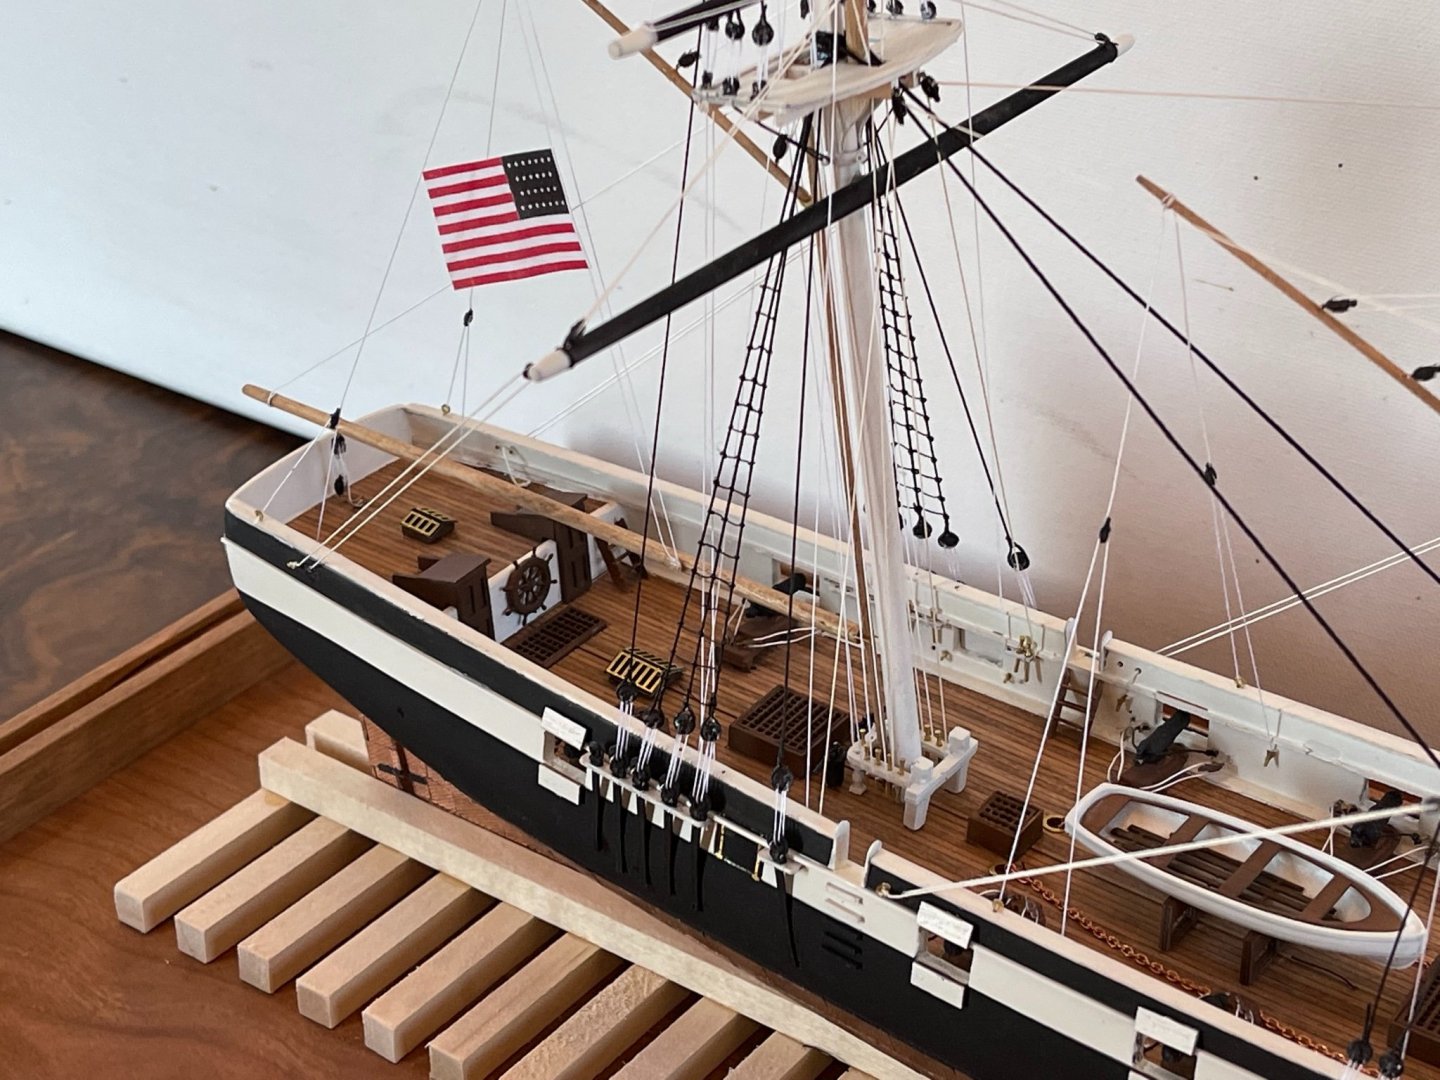
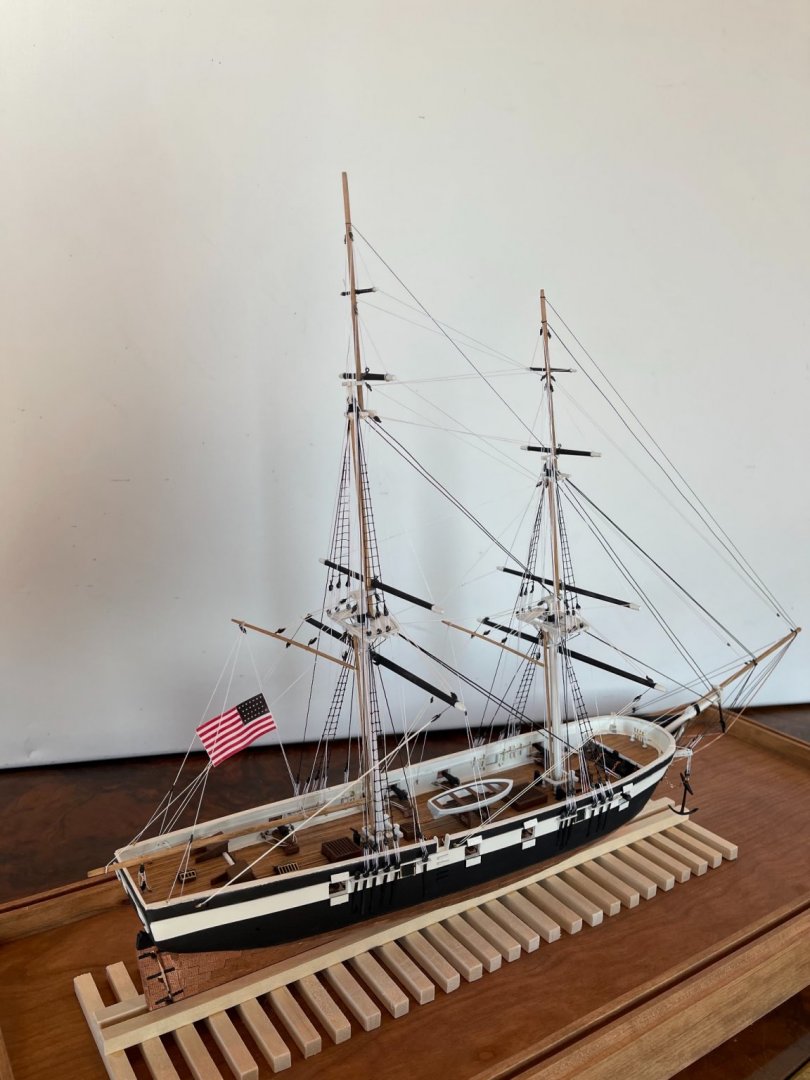
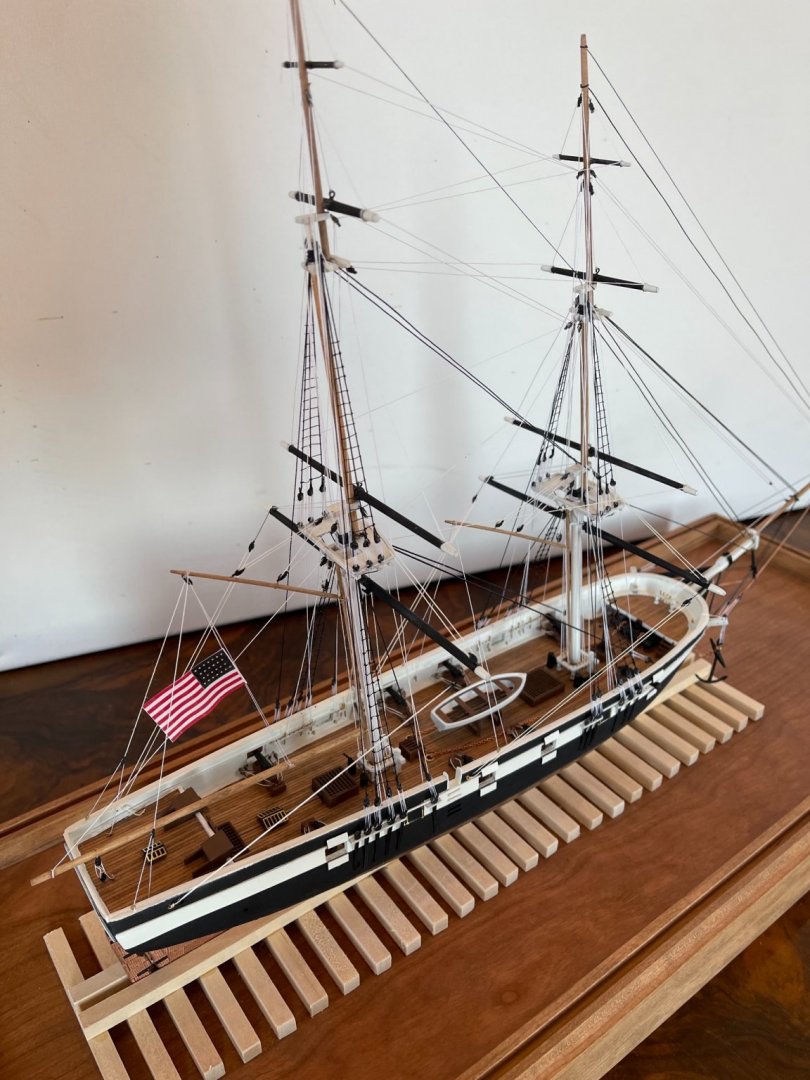
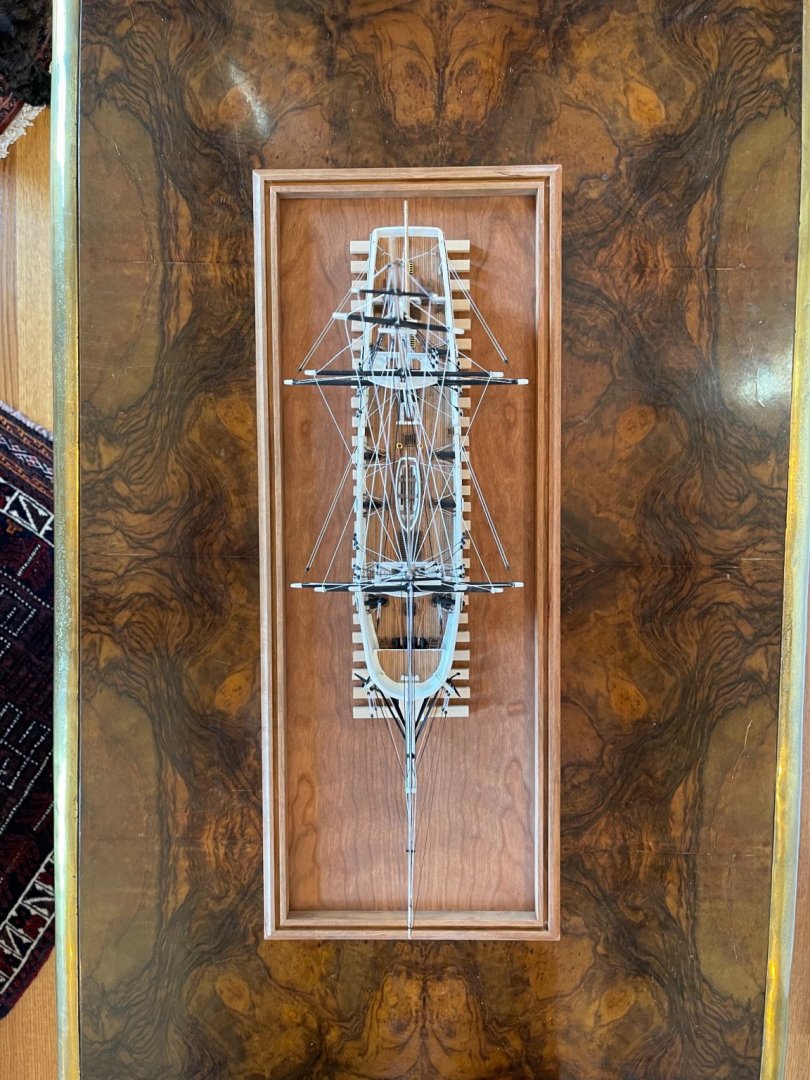
I finished the ratlines and a number of other small details and hung the flag! Although I need to add a number of rope coils I am calling her finished for now since I am moving next week and she needs to get placed in my office for safe keeping. Overall so incredibly happy with how the Perry turned out. I learned so much on this build and am glad that the she didn’t turn out as the USS Putty! Would really recommend this kit to someone looking to improve their skills.


- 85 replies
-
- 11
-

-

-
- perry
- BlueJacket Shipcrafters
- (and 1 more)
-
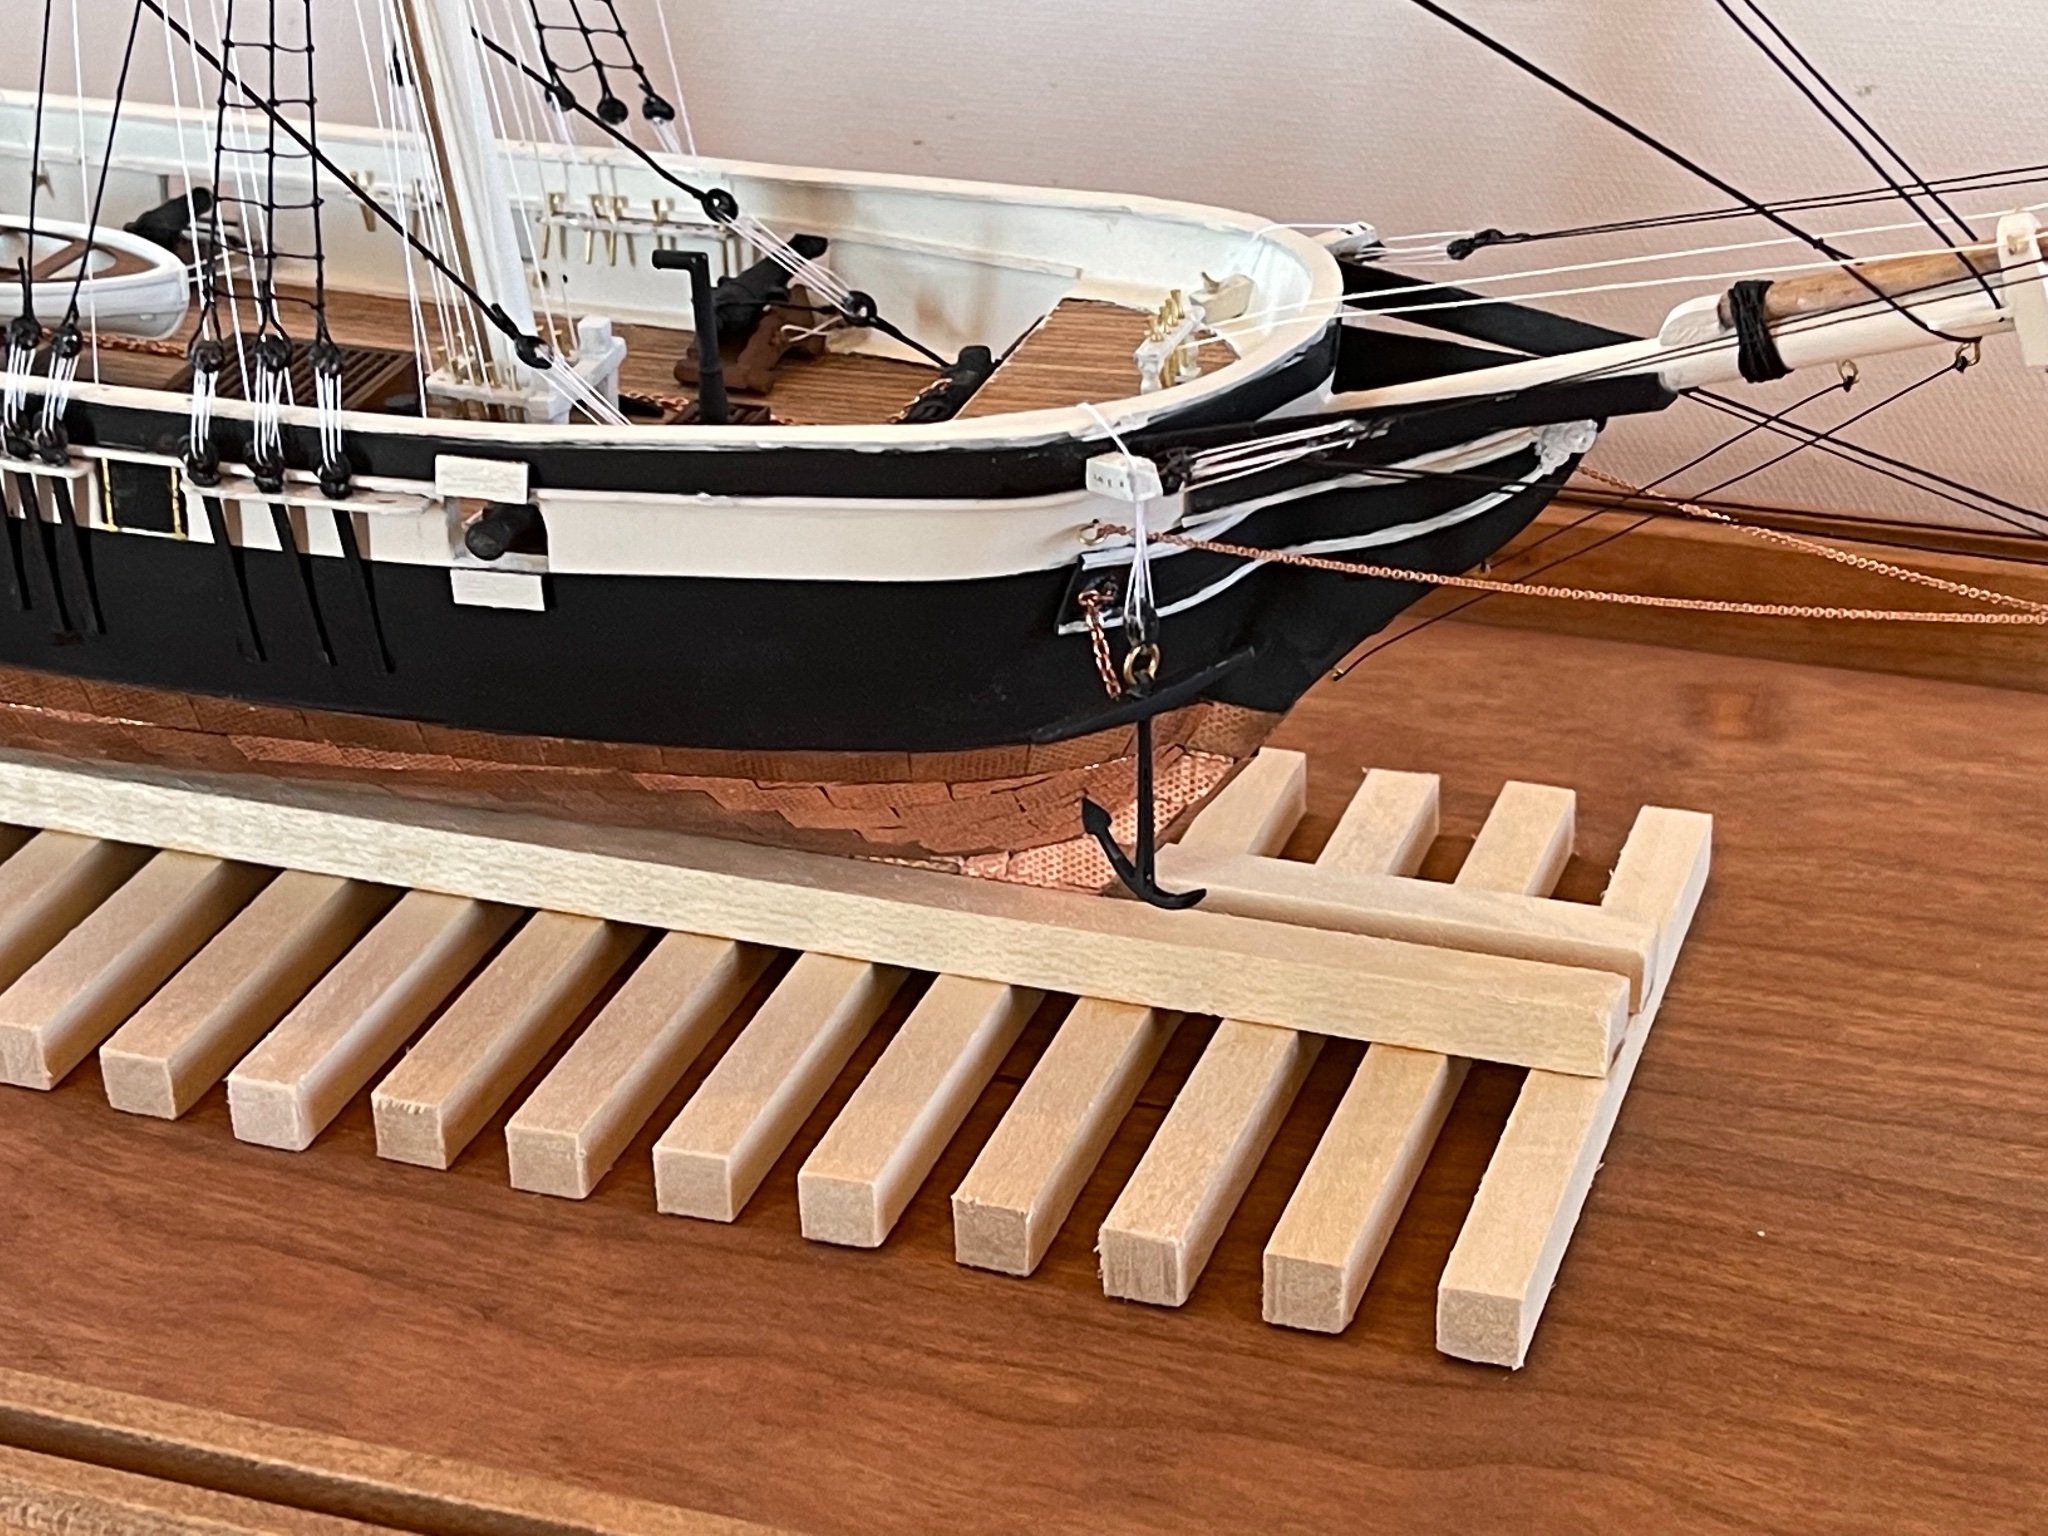
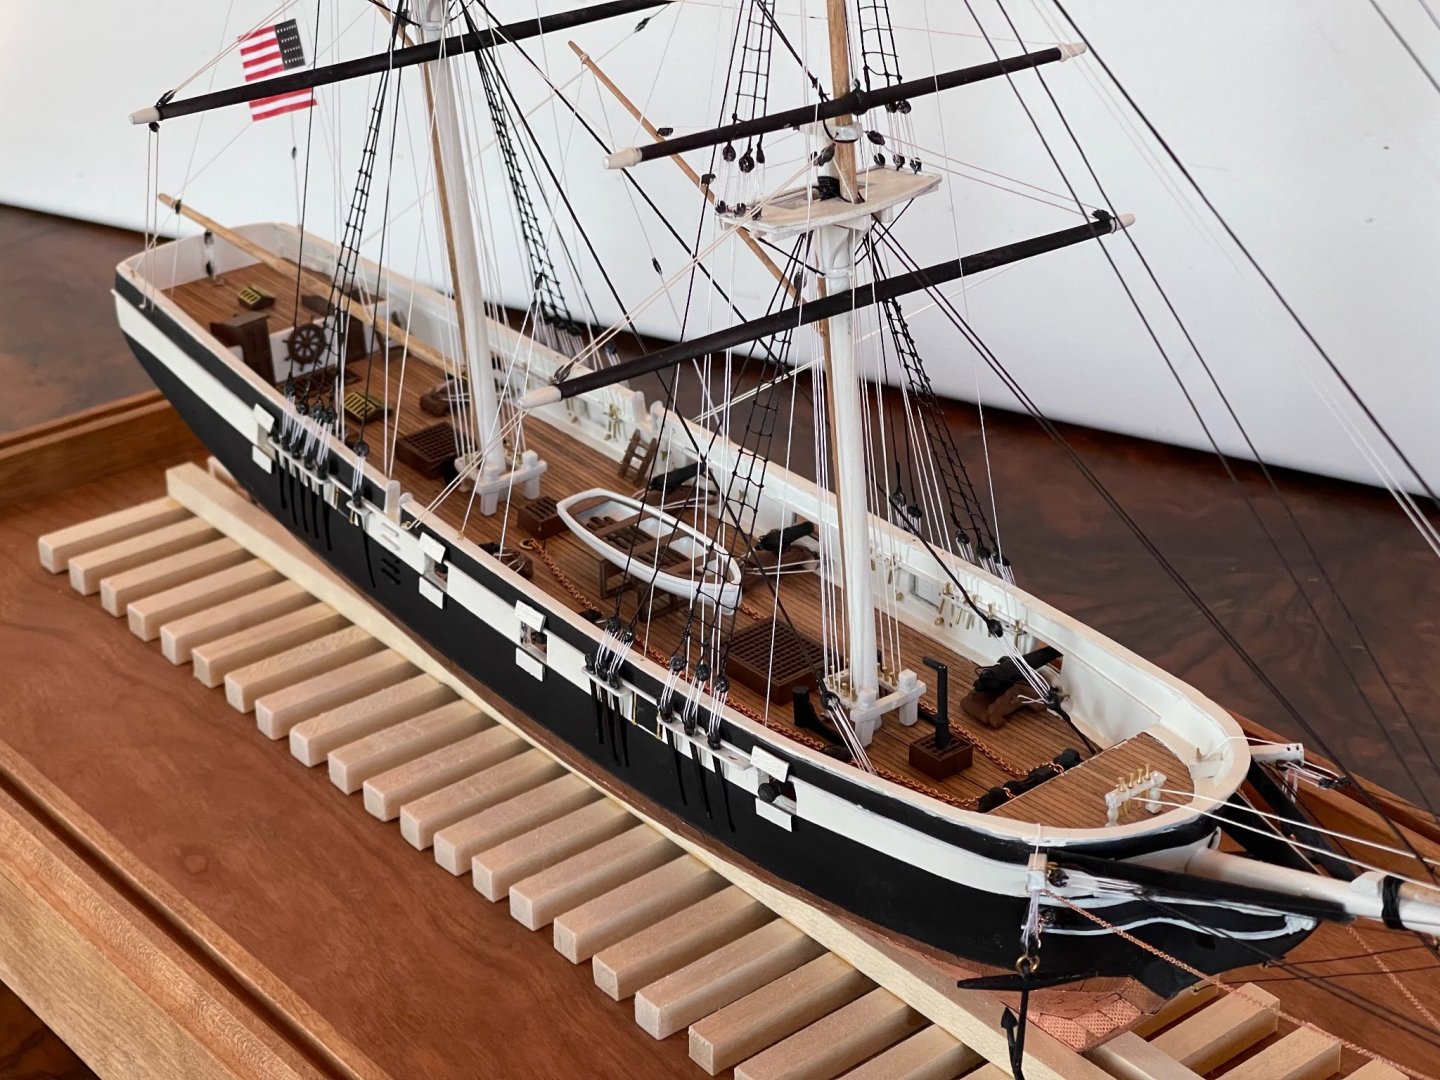
More progress over the long weekend! Hung the anchors and tied the lower ratlines. A little slow but it’s really coming along

- 85 replies
-
- 3
-
-
- perry
- BlueJacket Shipcrafters
- (and 1 more)
-
Thank you! Tbh I have been very impressed by the kit.
-
More progress this weekend on the rigging. Not shown, but the case kit arrived and I stained it. Nearly complete!

- 85 replies
-
- 4
-
-
- perry
- BlueJacket Shipcrafters
- (and 1 more)
-
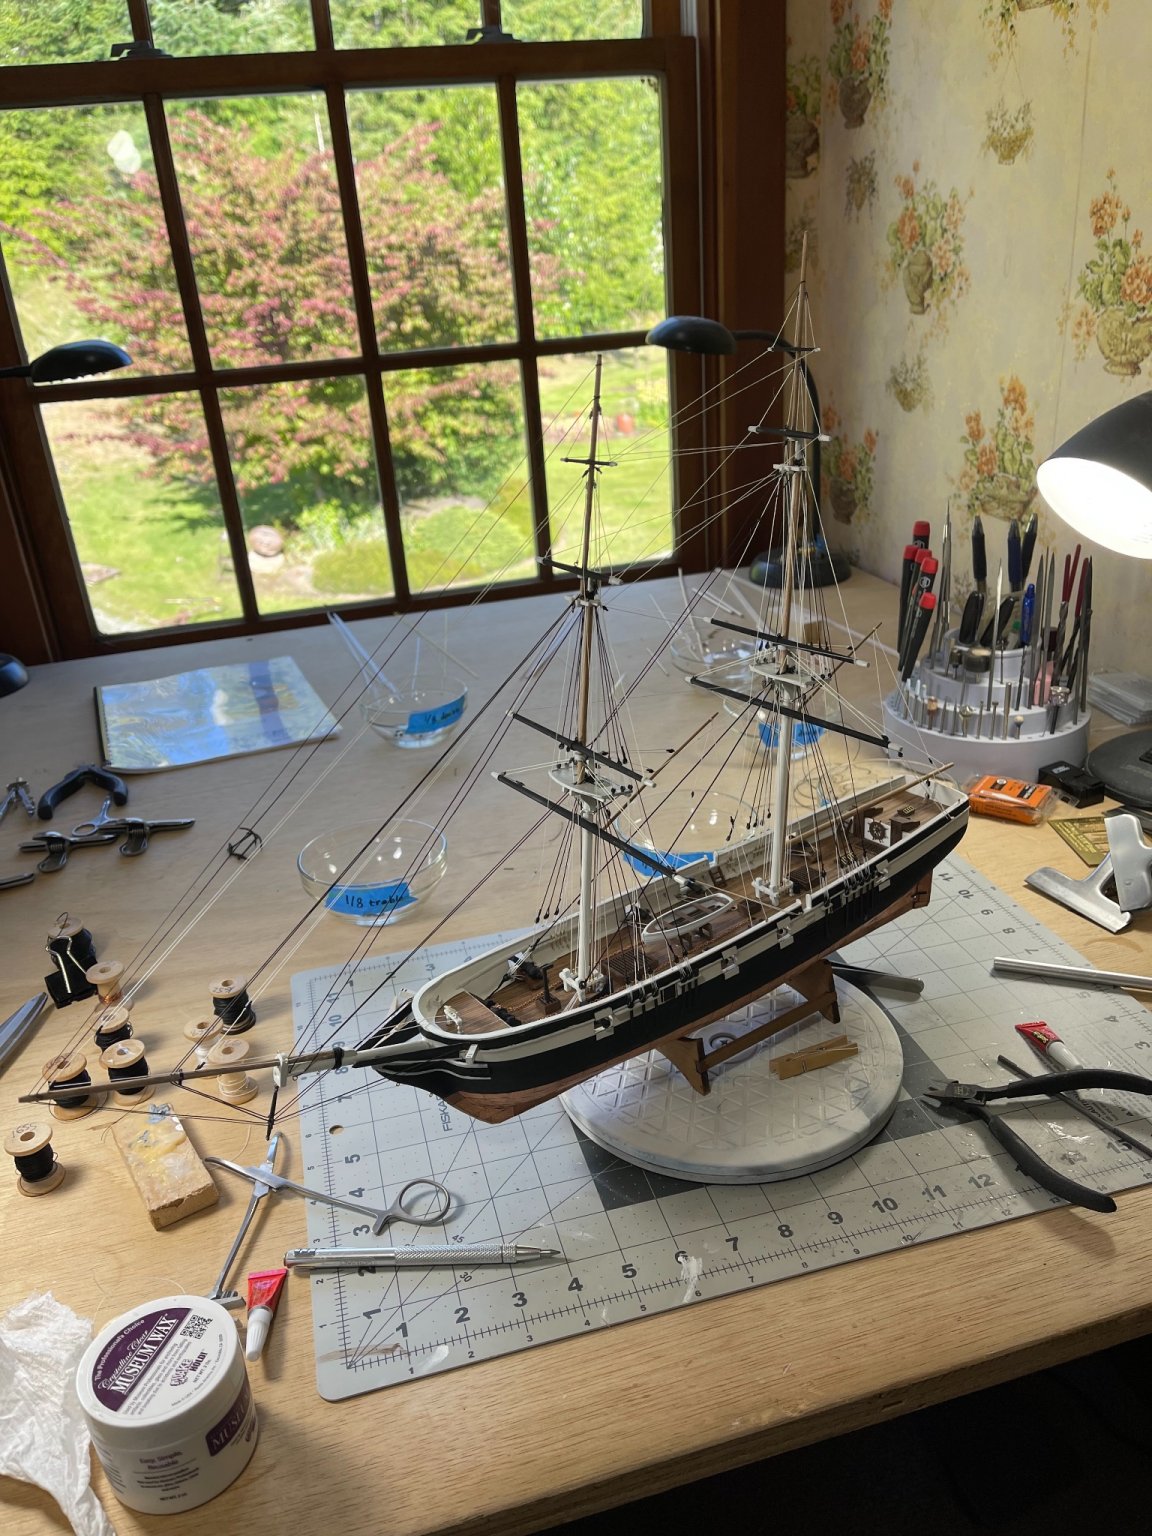
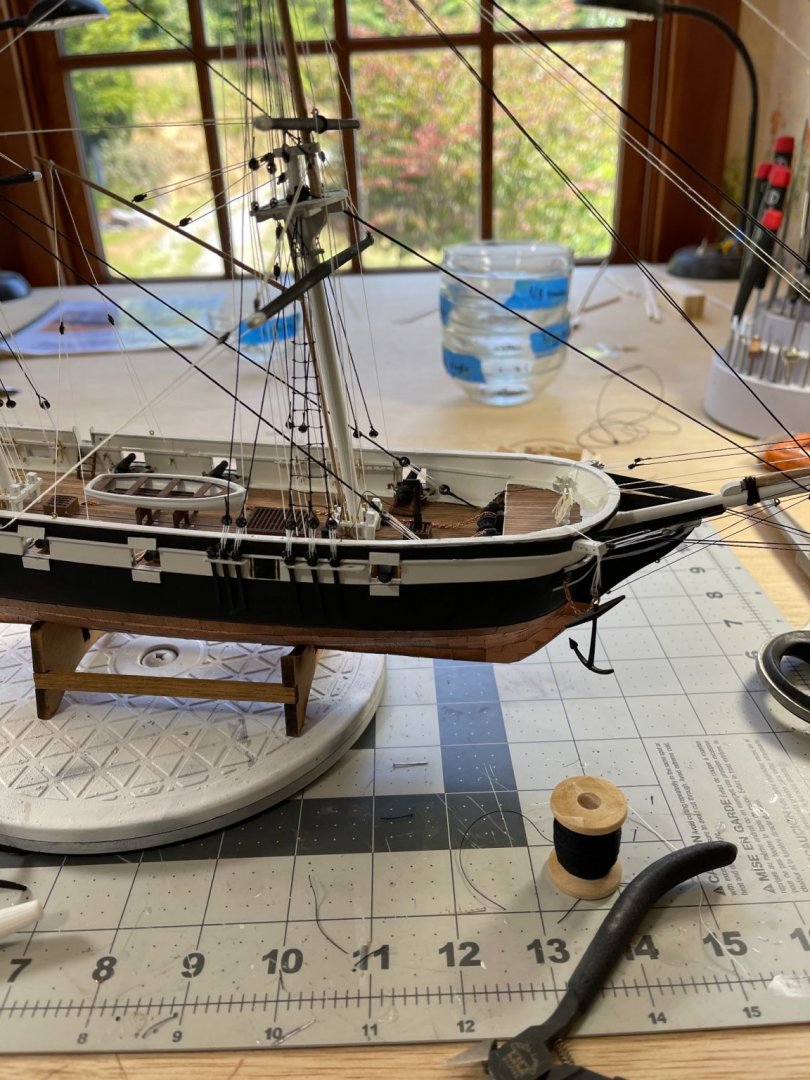
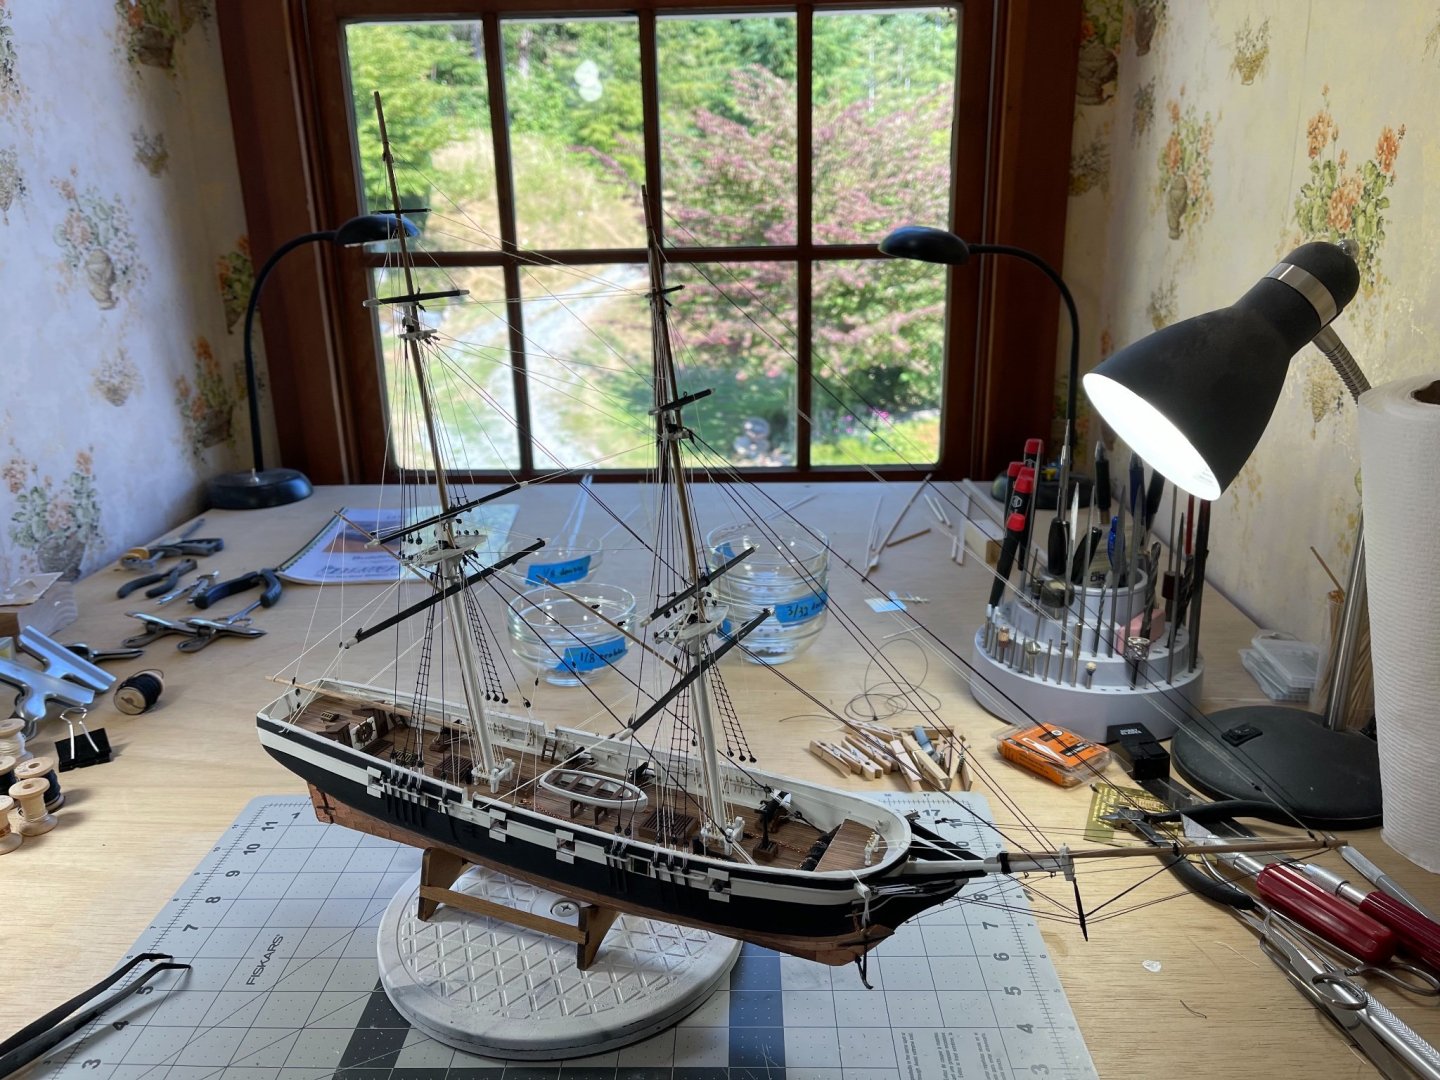
Spent quite a bit of time today nearly completing the running rigging! Next up will be a little more running rigging and then the standing rigging.
- 85 replies
-
- 2
-
-
- perry
- BlueJacket Shipcrafters
- (and 1 more)
-
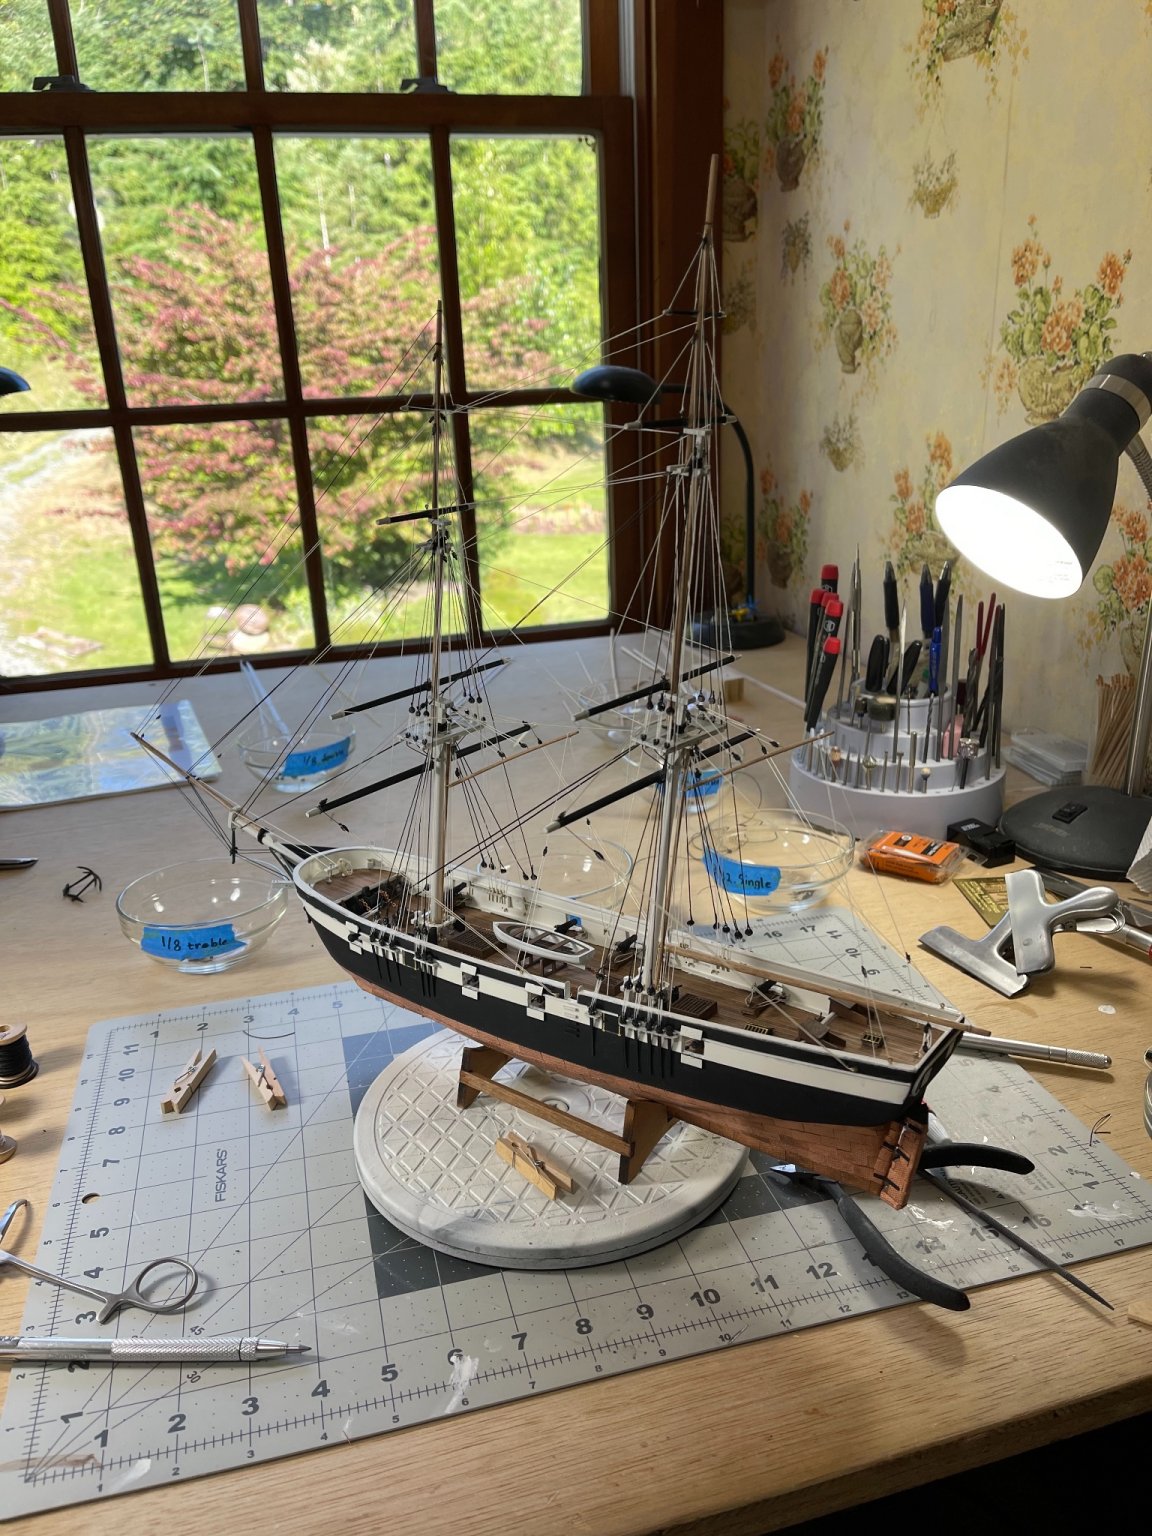
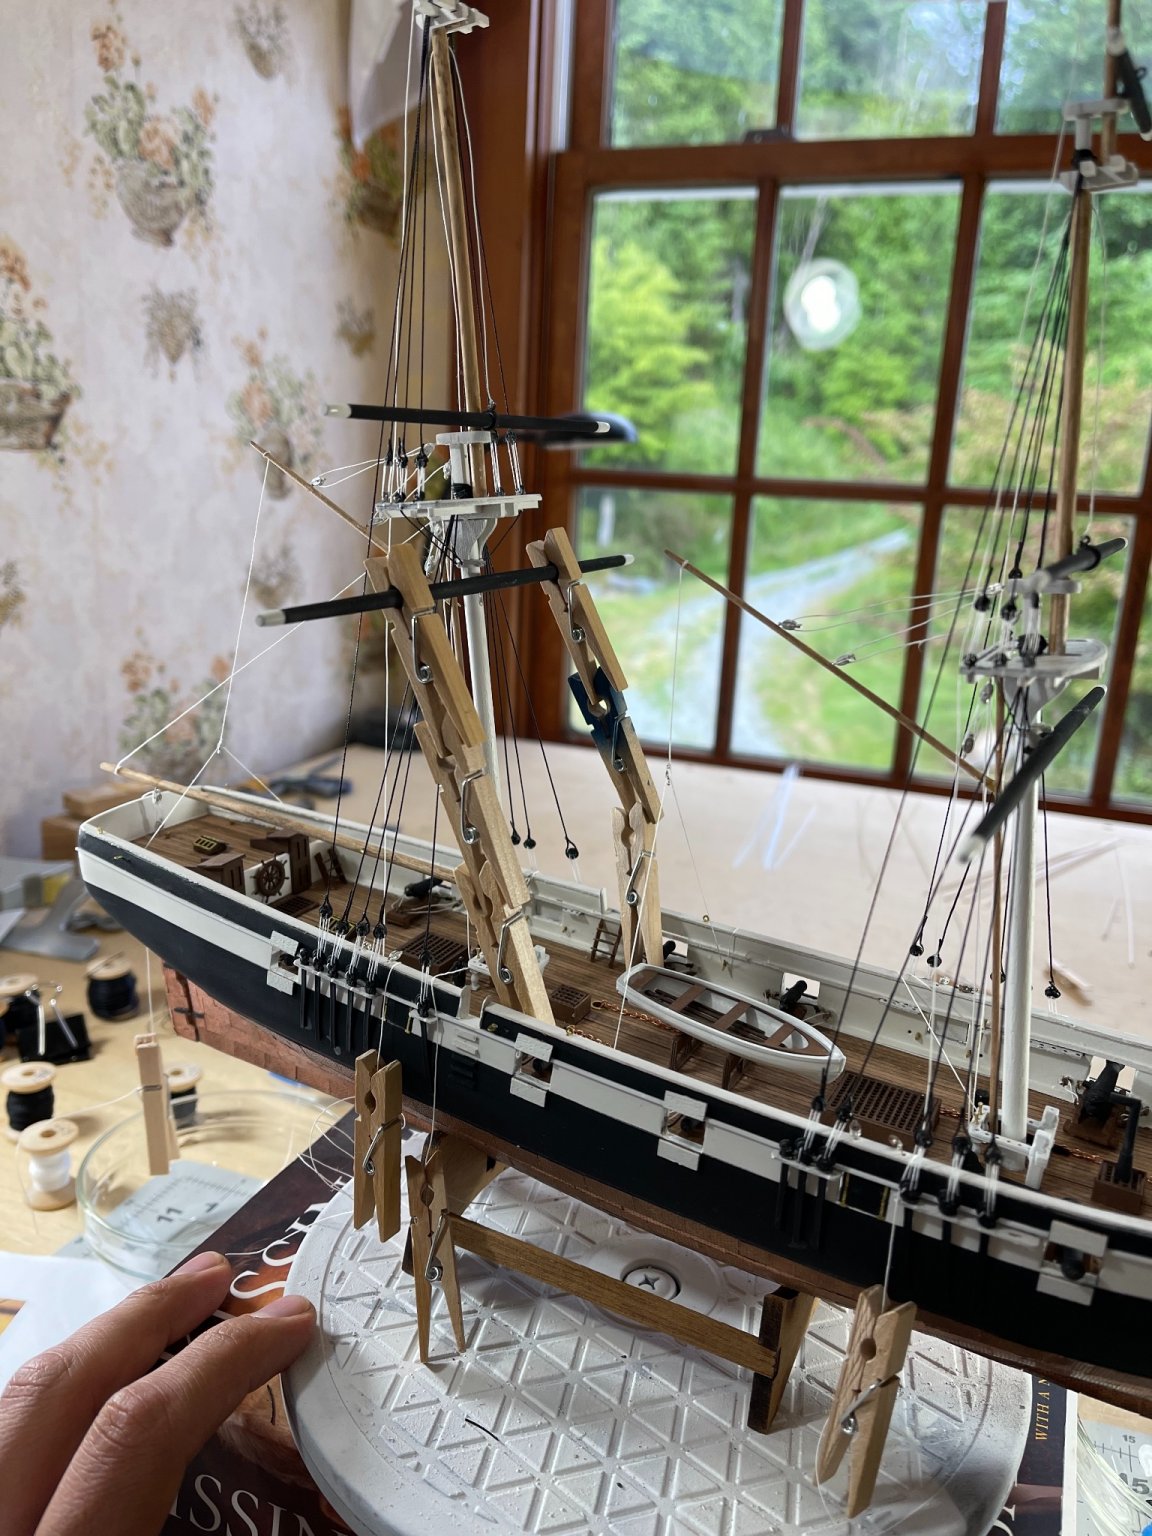
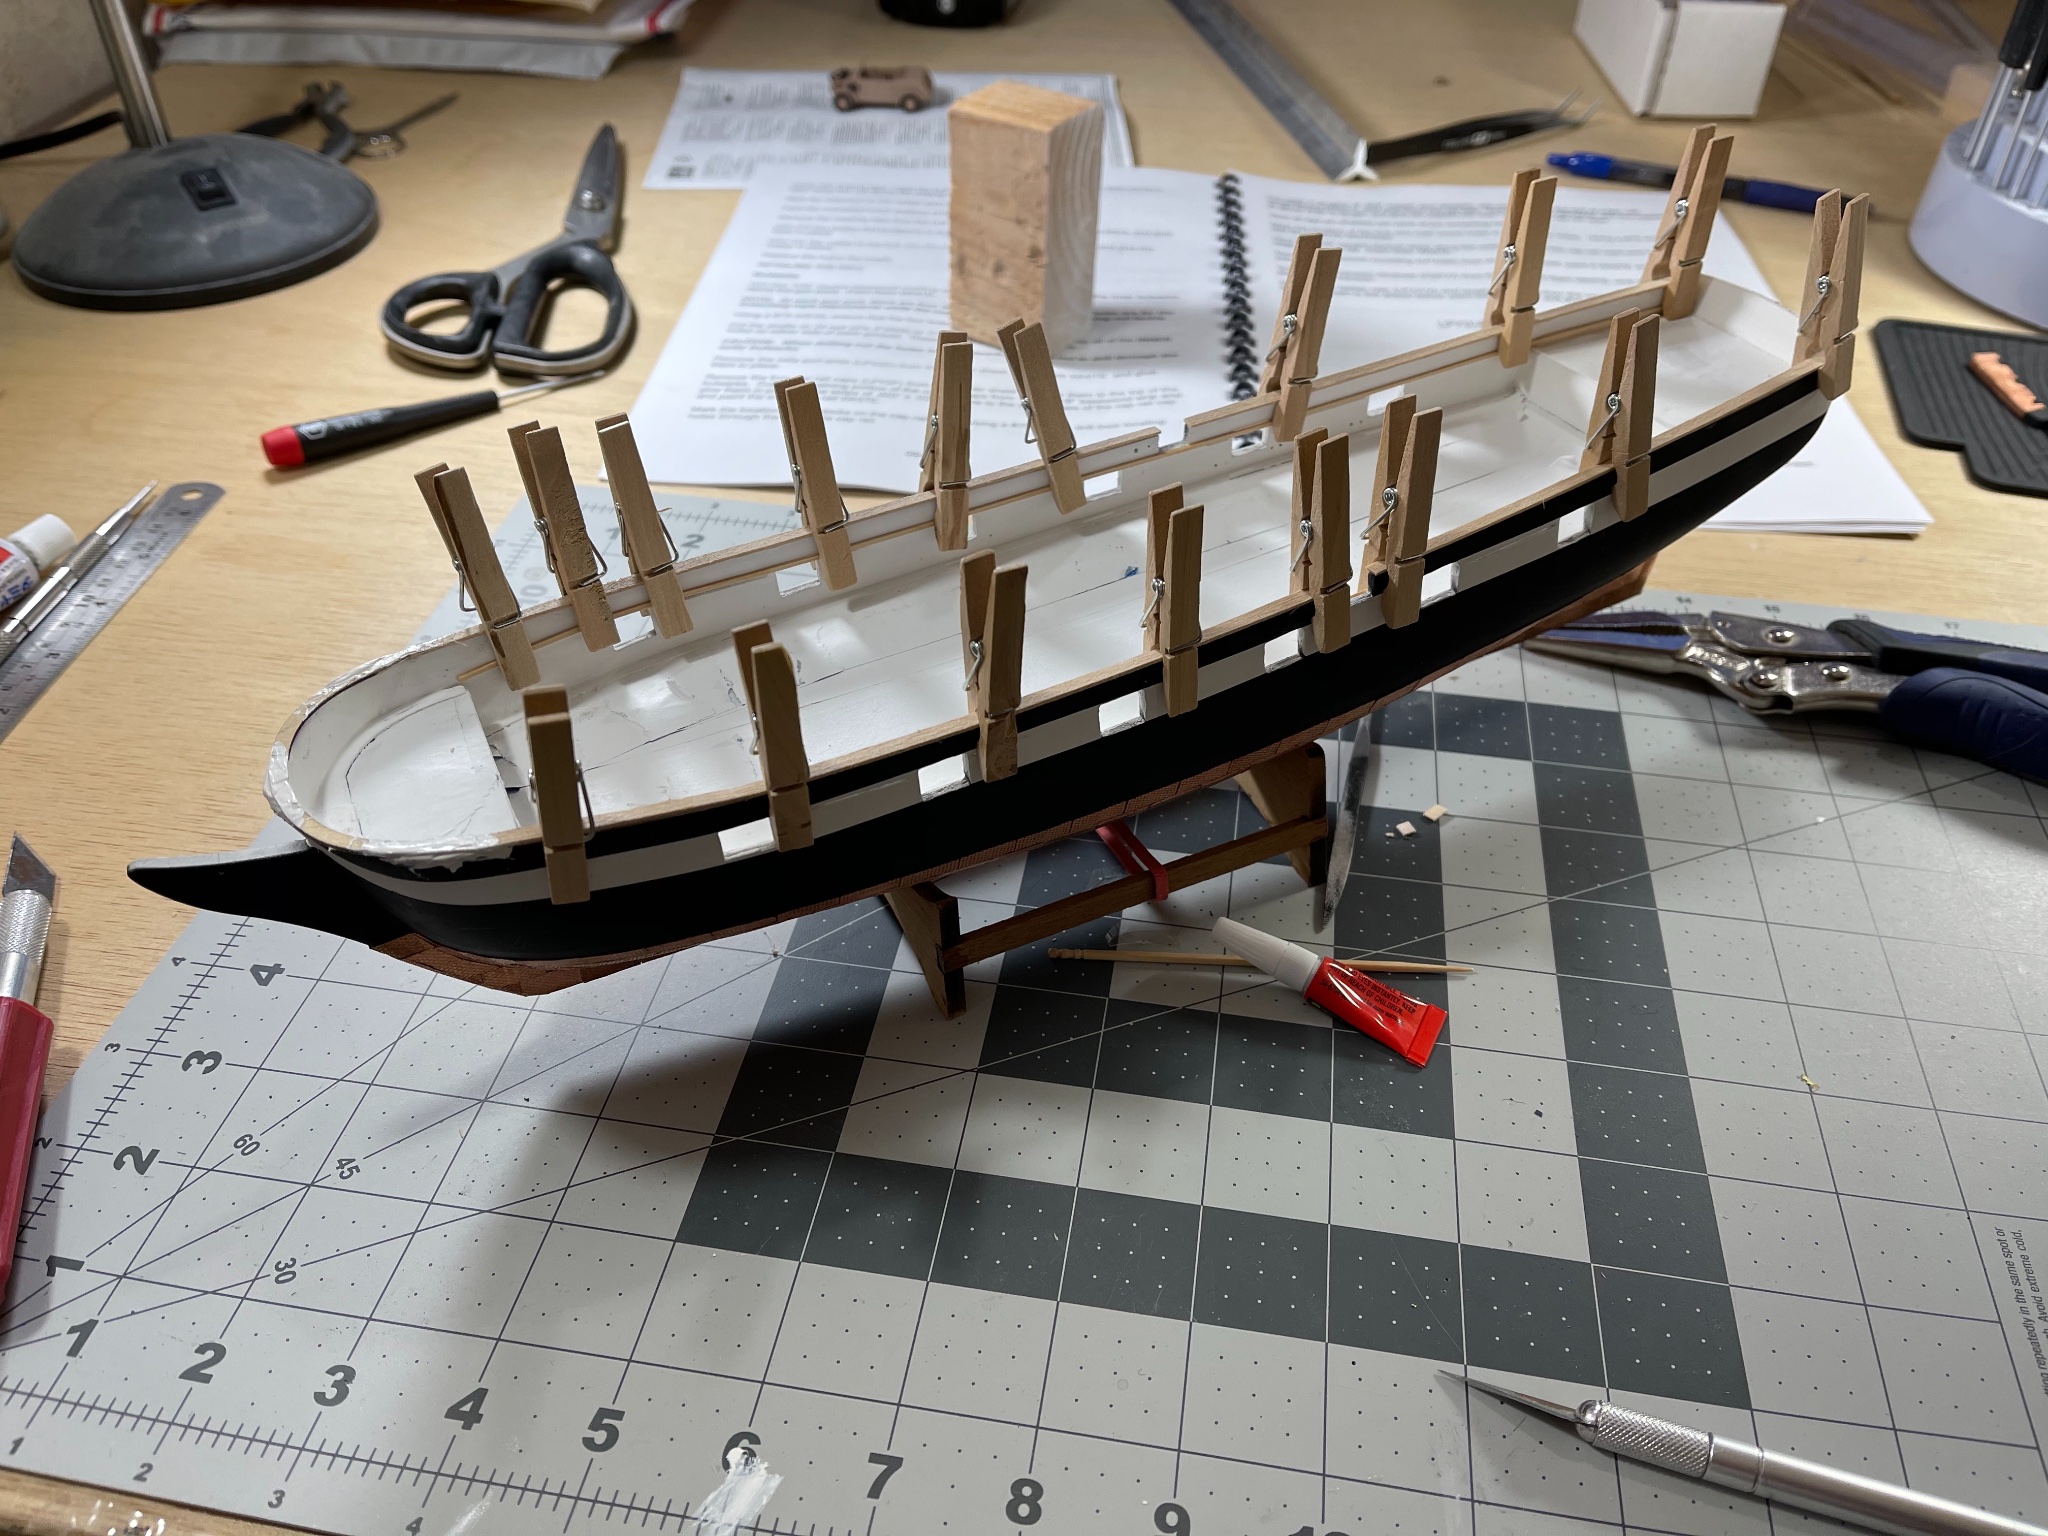
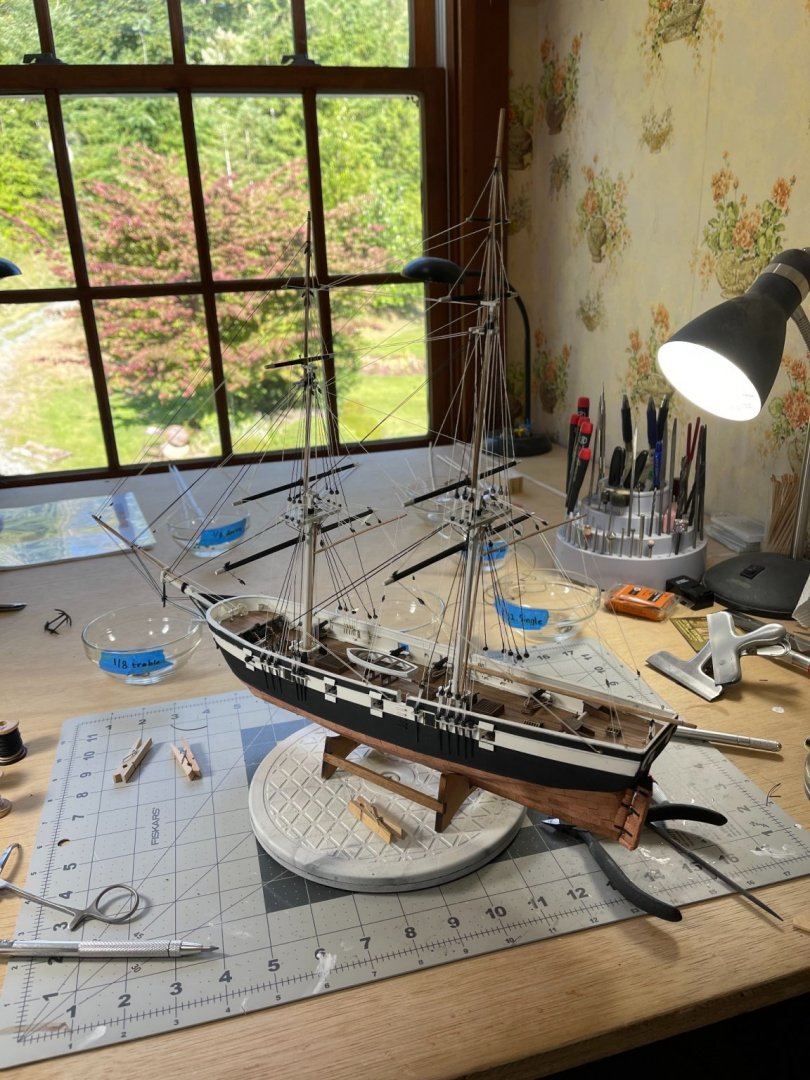
Made quite a bit of progress today on the upper shrouds and installing the yards! Needed to improve a clamp for the yards… Still haven’t tied off any of the lines yet as I am waiting until all are installed to ensure they can be tightened together.

- 85 replies
-
- 2
-
-
- perry
- BlueJacket Shipcrafters
- (and 1 more)
-
Rigged the lines to the booms and gaffs last night. Going to keep chugging and making steady progress!

- 85 replies
-
- 3
-
-
- perry
- BlueJacket Shipcrafters
- (and 1 more)
-
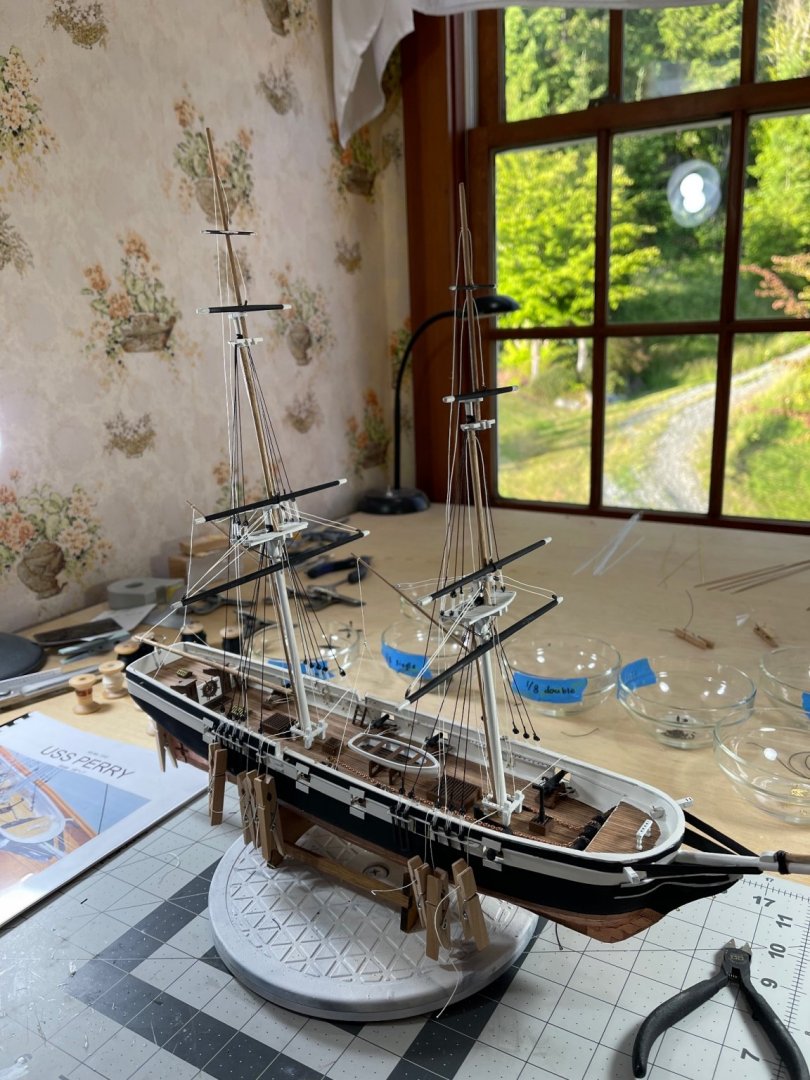
Mounted the boom and gaffs last night! The lines aren’t tight yet
- 85 replies
-
- 4
-
-
- perry
- BlueJacket Shipcrafters
- (and 1 more)
-
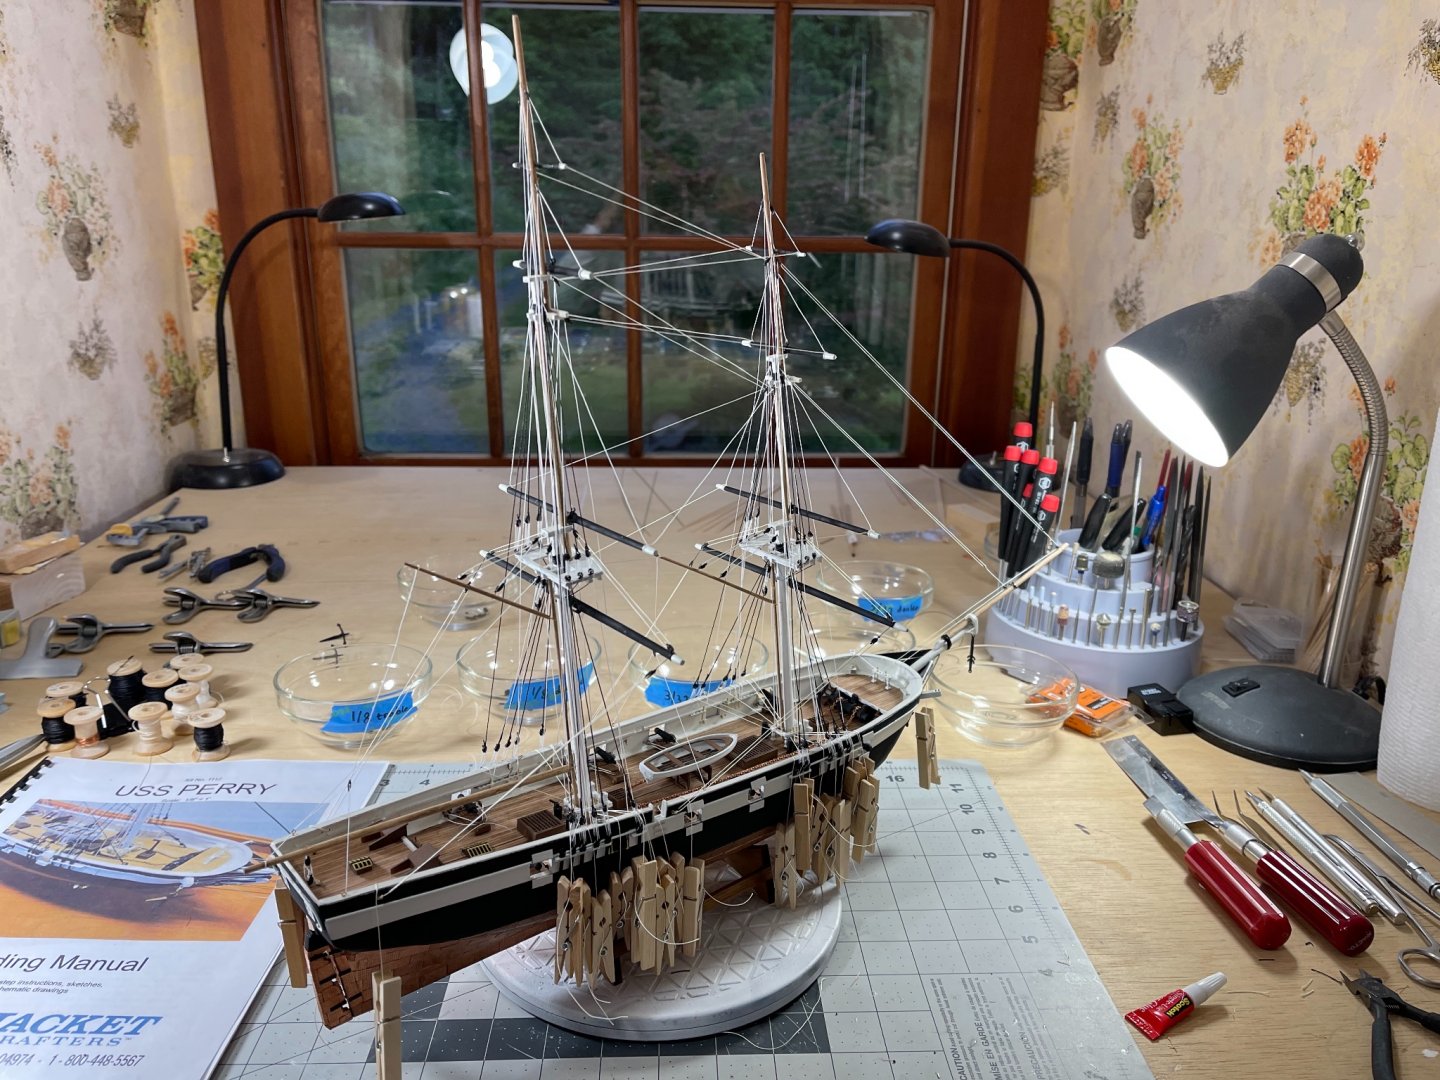
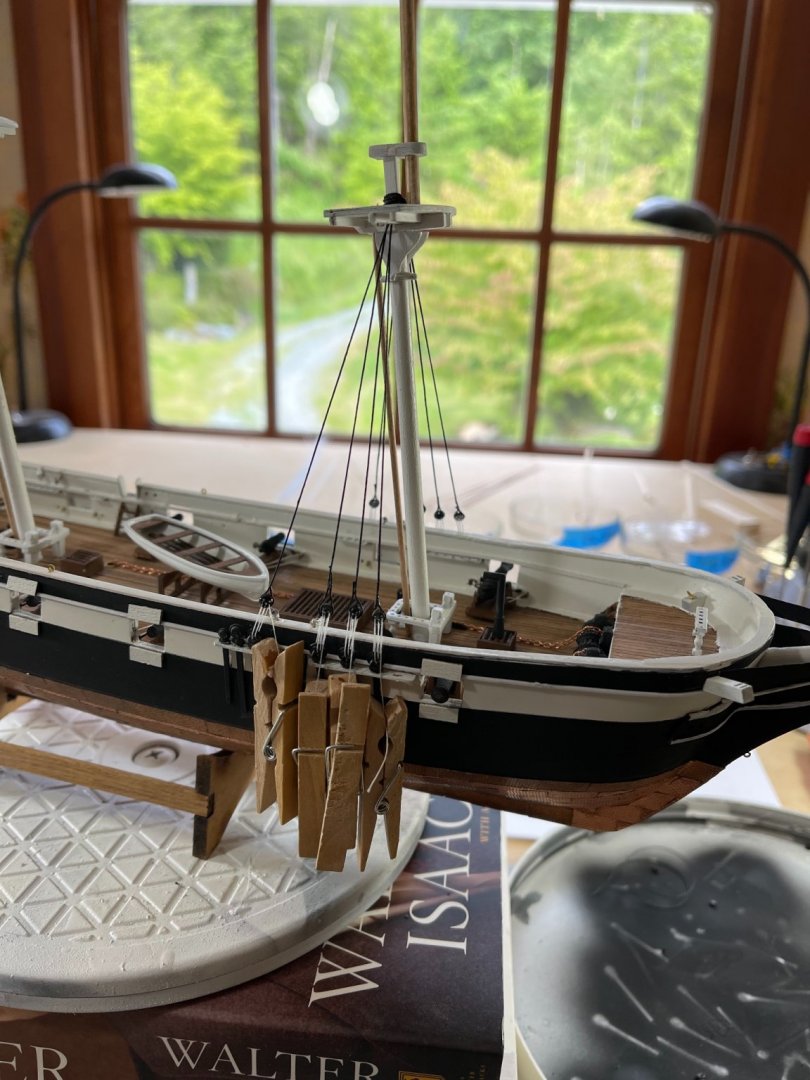
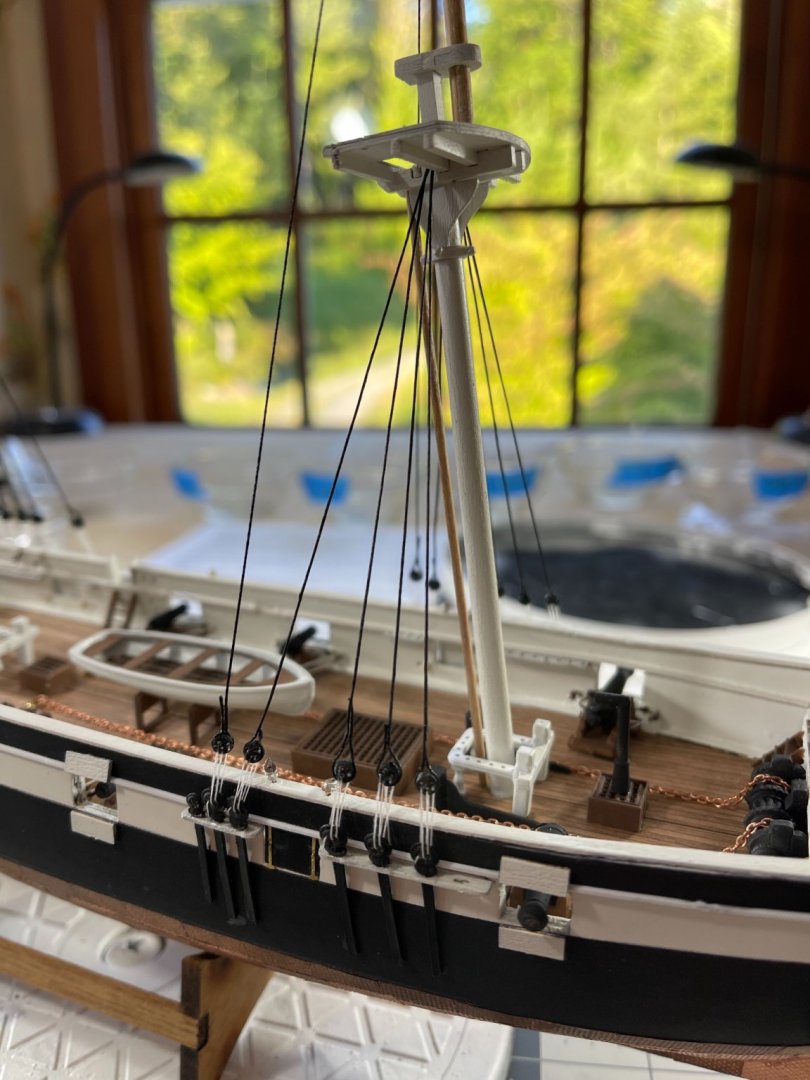
Some progress today on the Perry! Installed the deadeyes on the ship as well as the shrouds and back stays for both main and fore mast. Getting the lanyards even such that the dead eyes were level and shrouds taught was a time consuming endeavor.
- 85 replies
-
- 1
-
-
- perry
- BlueJacket Shipcrafters
- (and 1 more)
-
Thank you! The scale has really been a great learning experience!
-
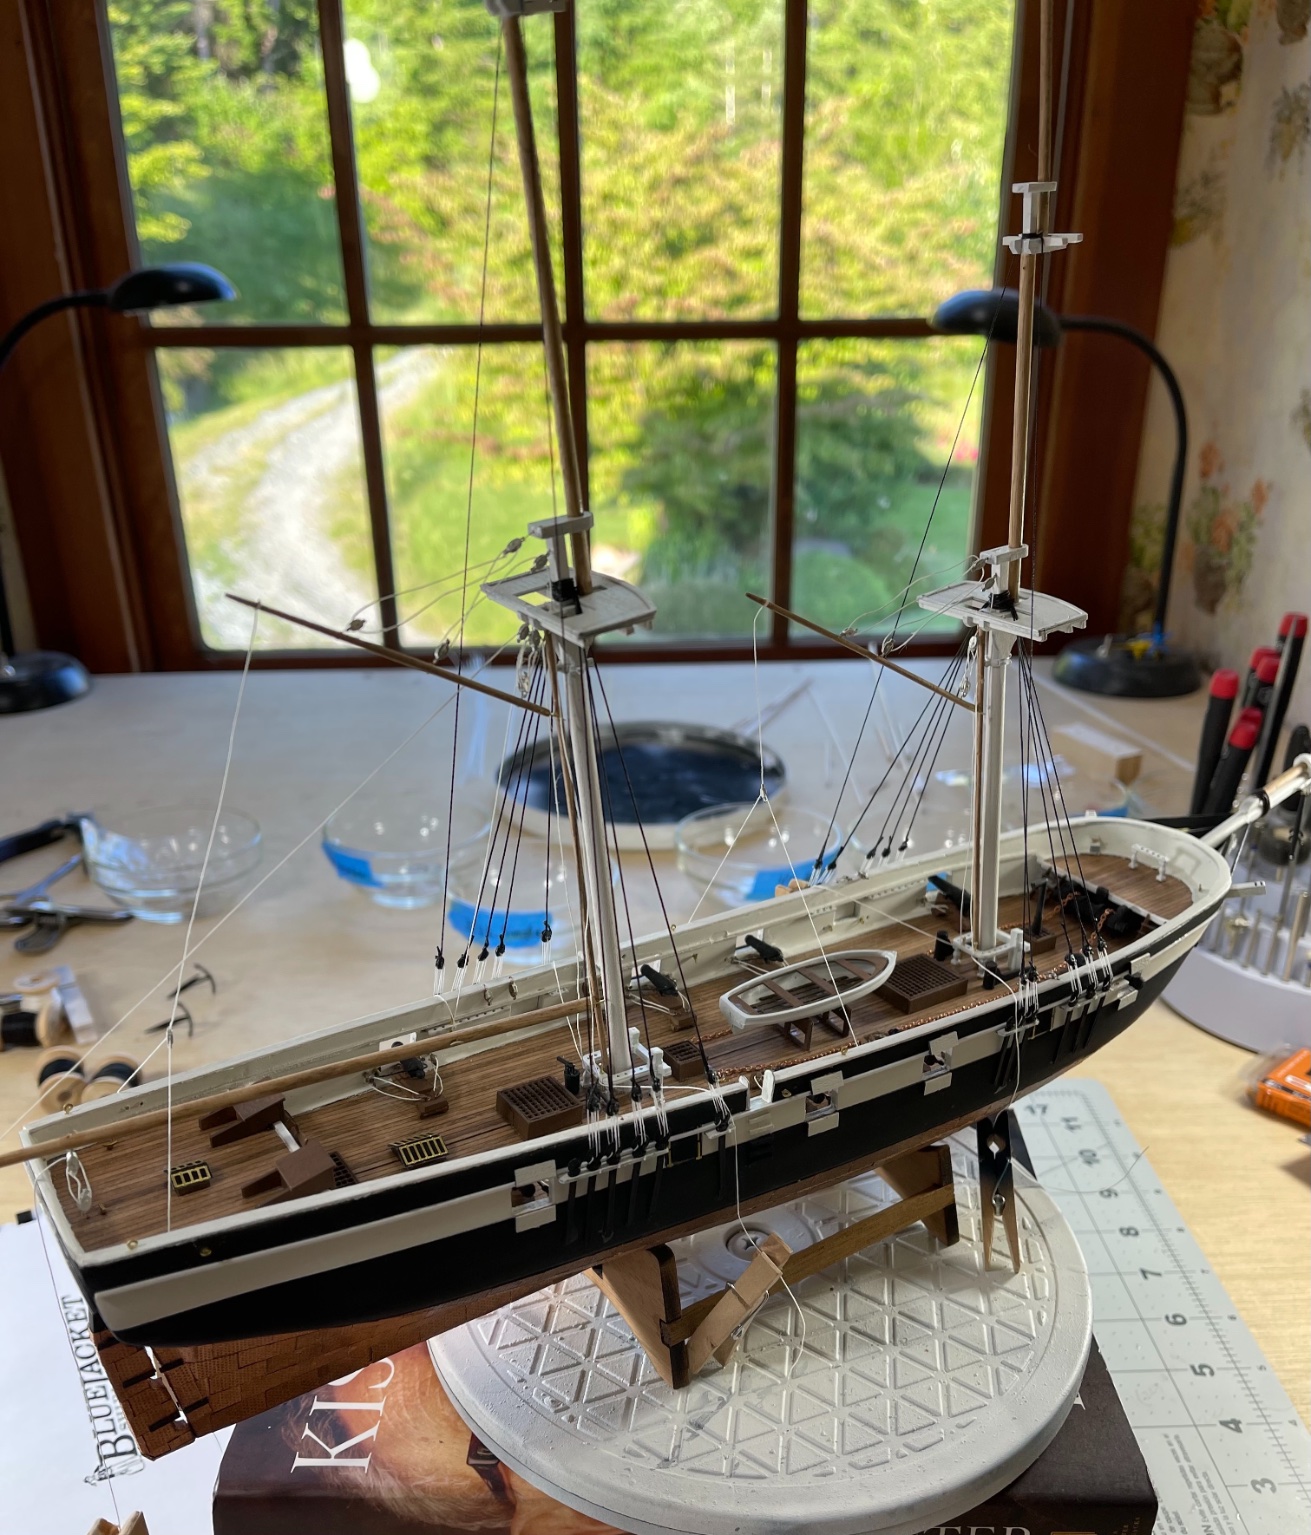
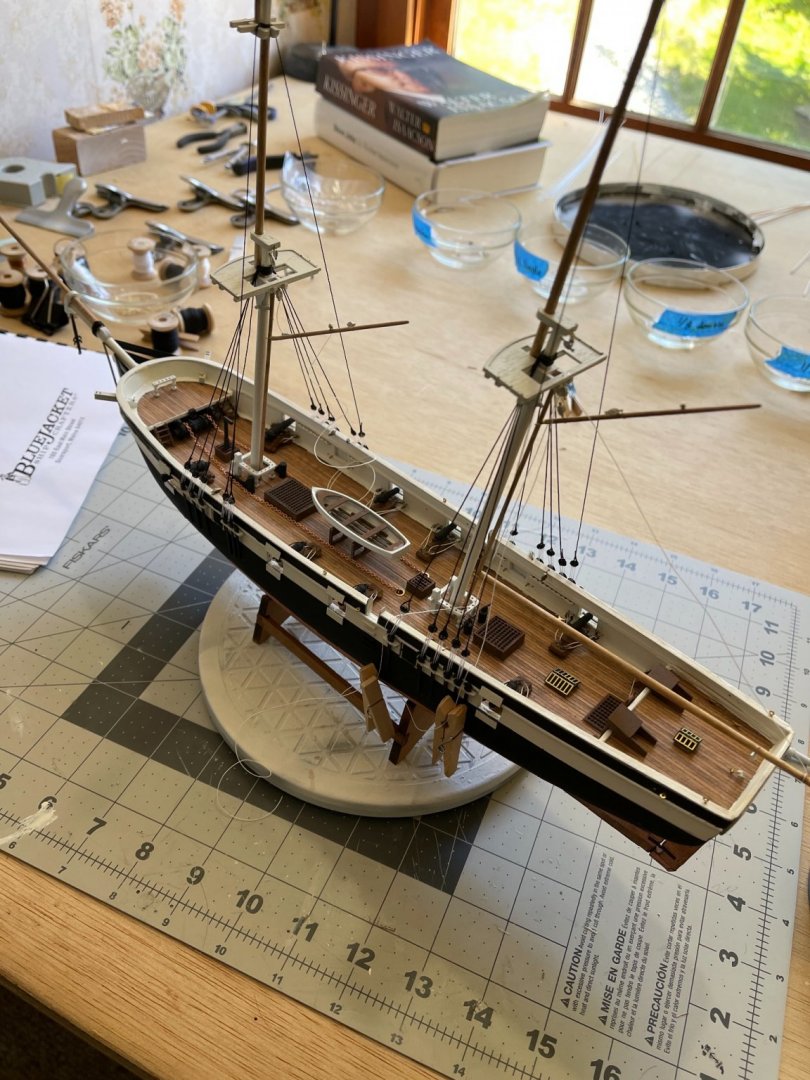
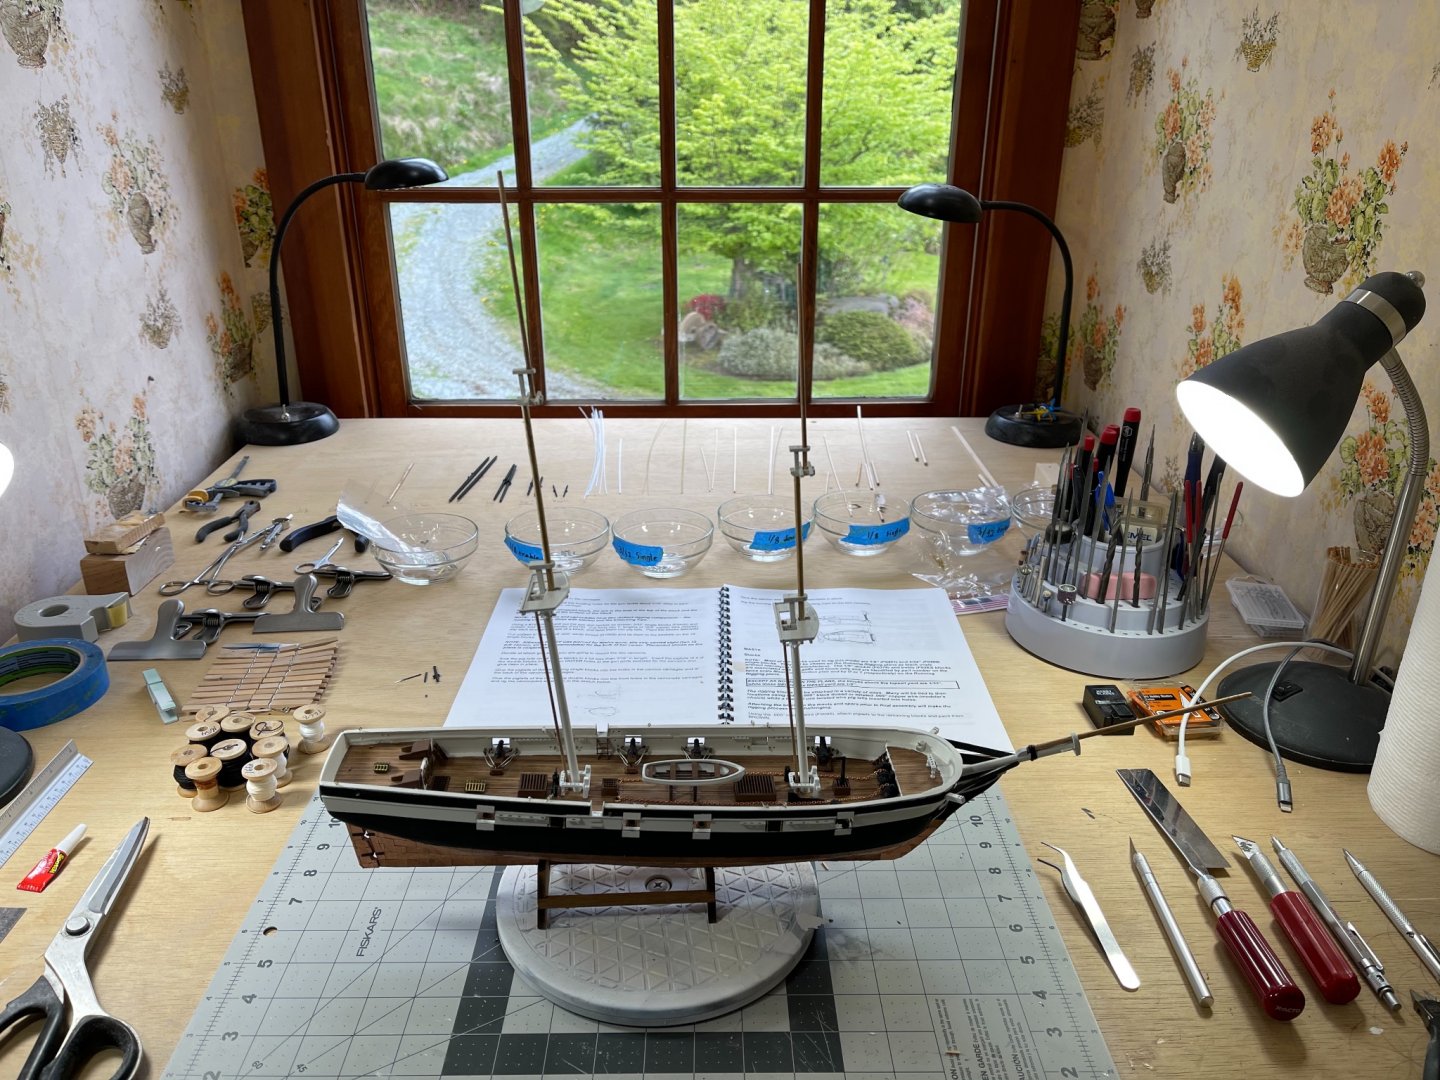
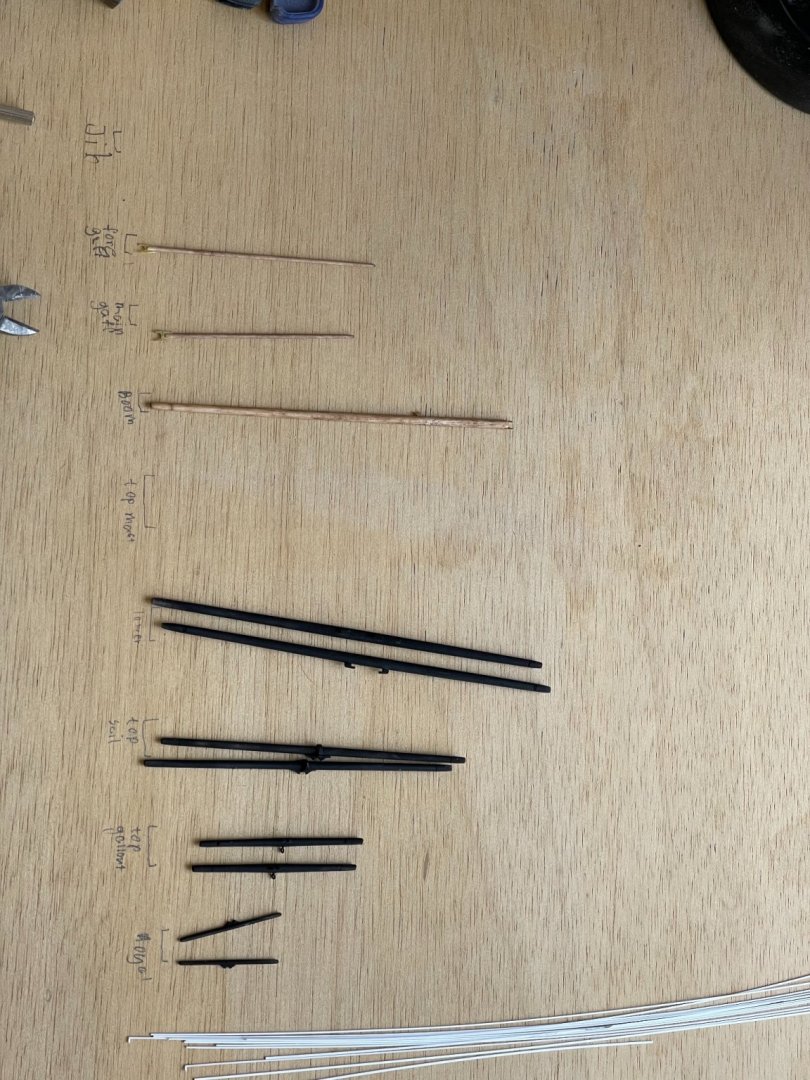
I spent most of the weekend making great progress on the Perry! I installed the pintles and gudgeons on the rudder as well as finished rigging the final two cannons. I next assembled and painted the bowsprit and bow components as well as the bow jib pole. I also managed to shape and paint all of the wooden rigging components. I also assembled the masts. Next up will be rigging and more rigging! I am very happy with how this model is turning out :)


- 85 replies
-
- 2
-
-
- perry
- BlueJacket Shipcrafters
- (and 1 more)
-
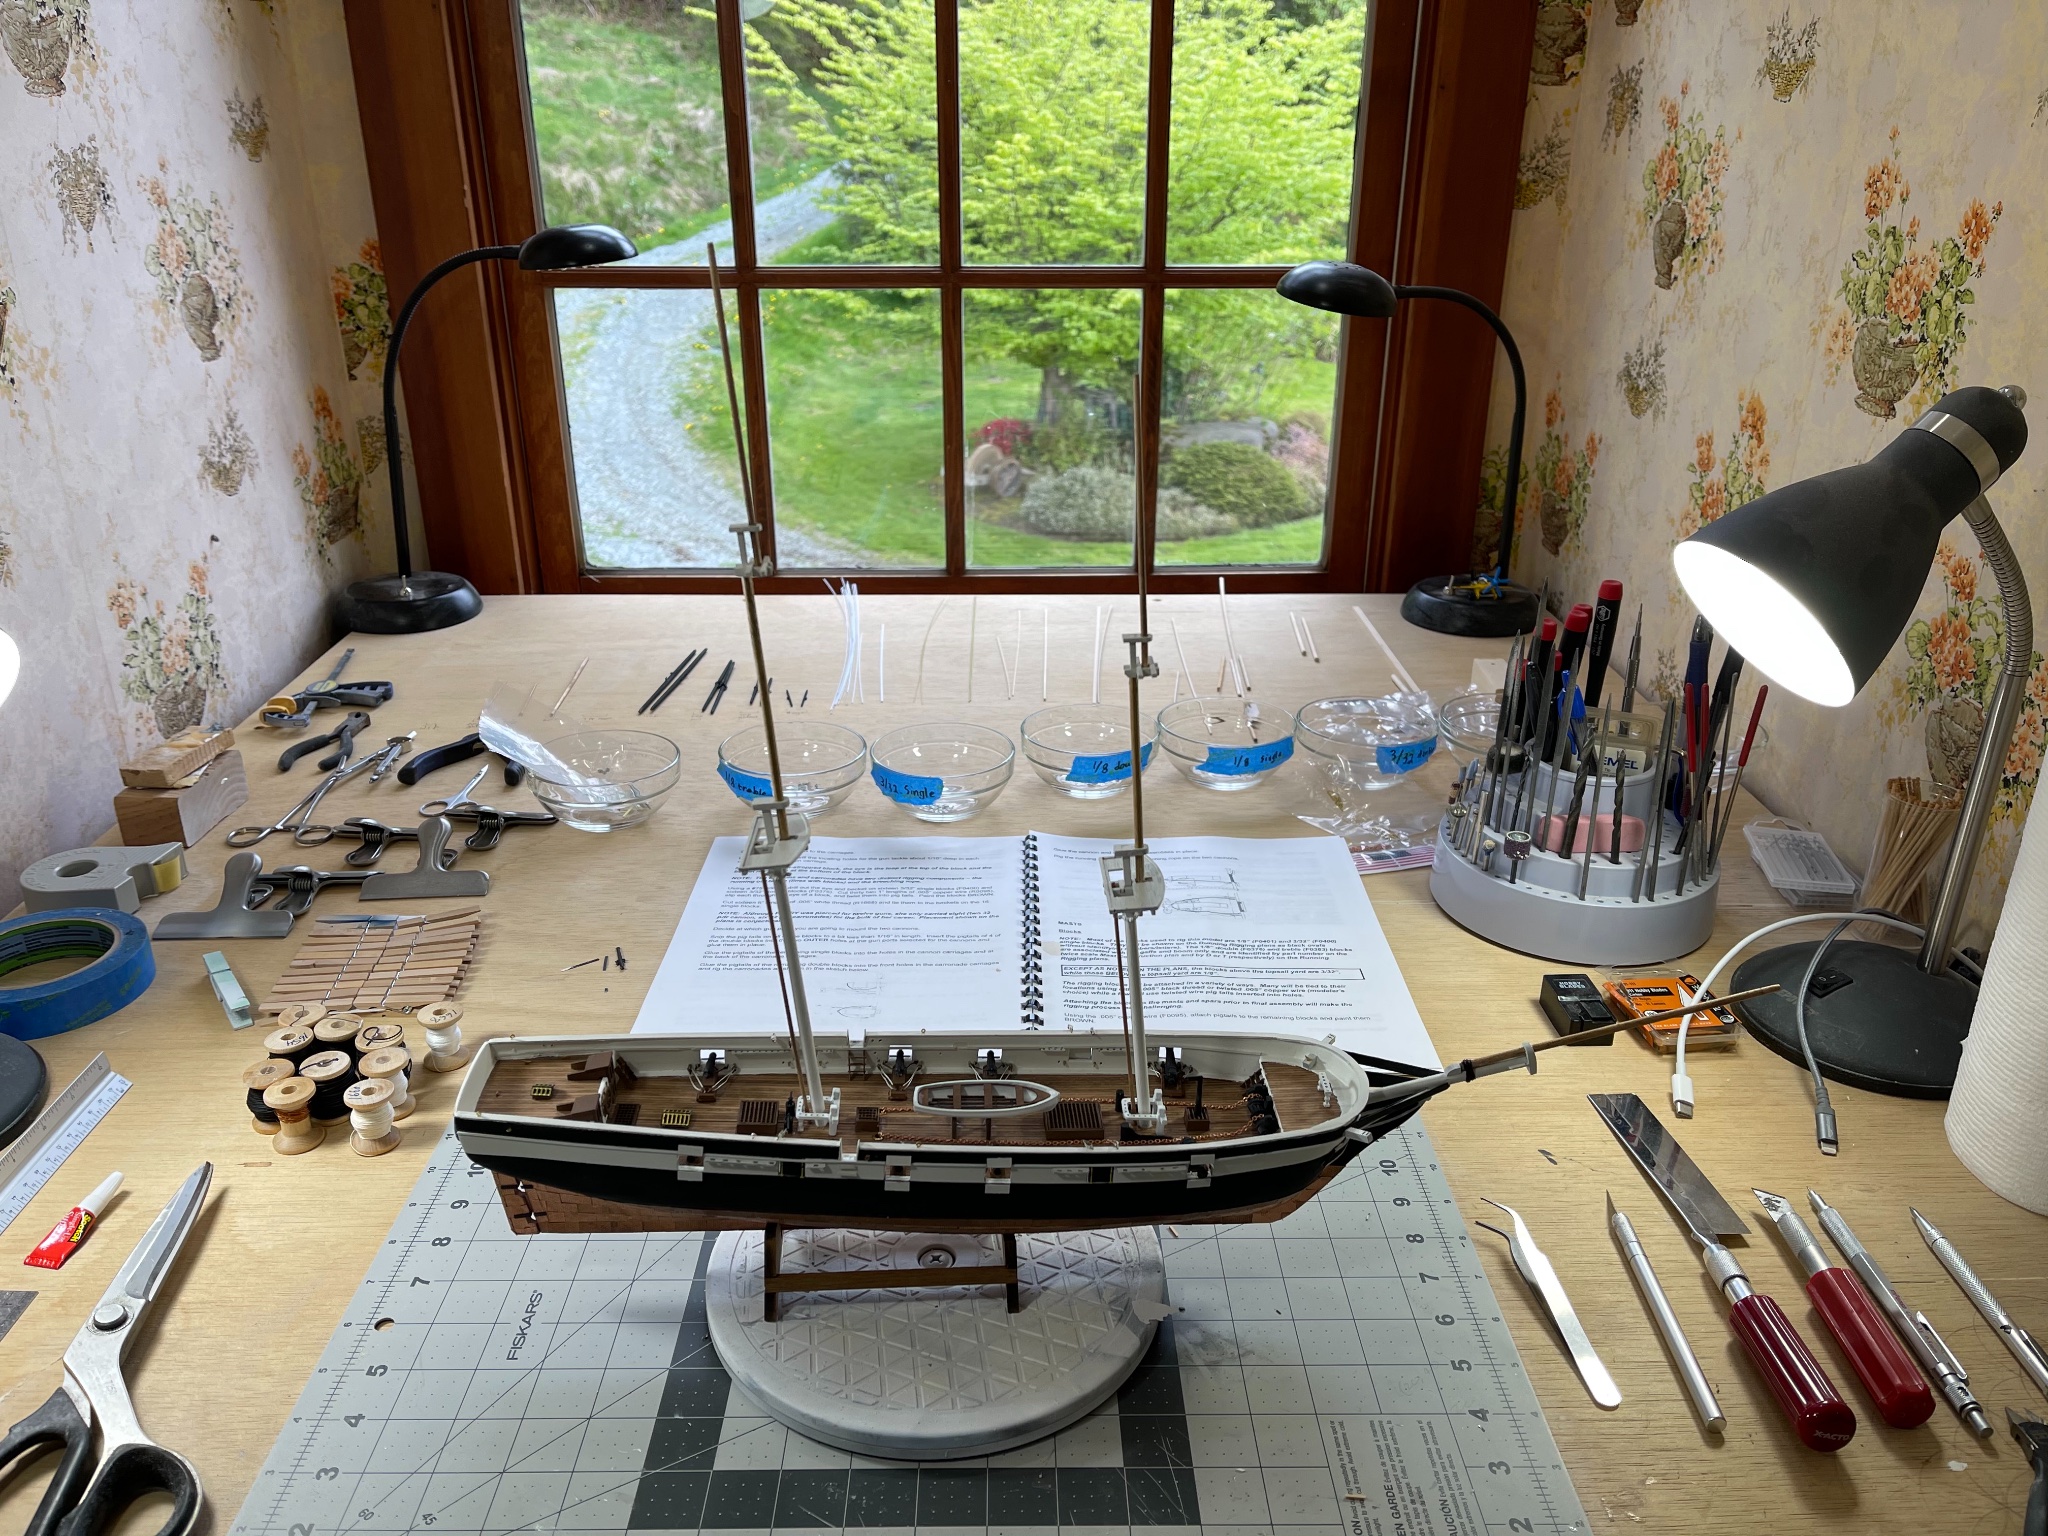
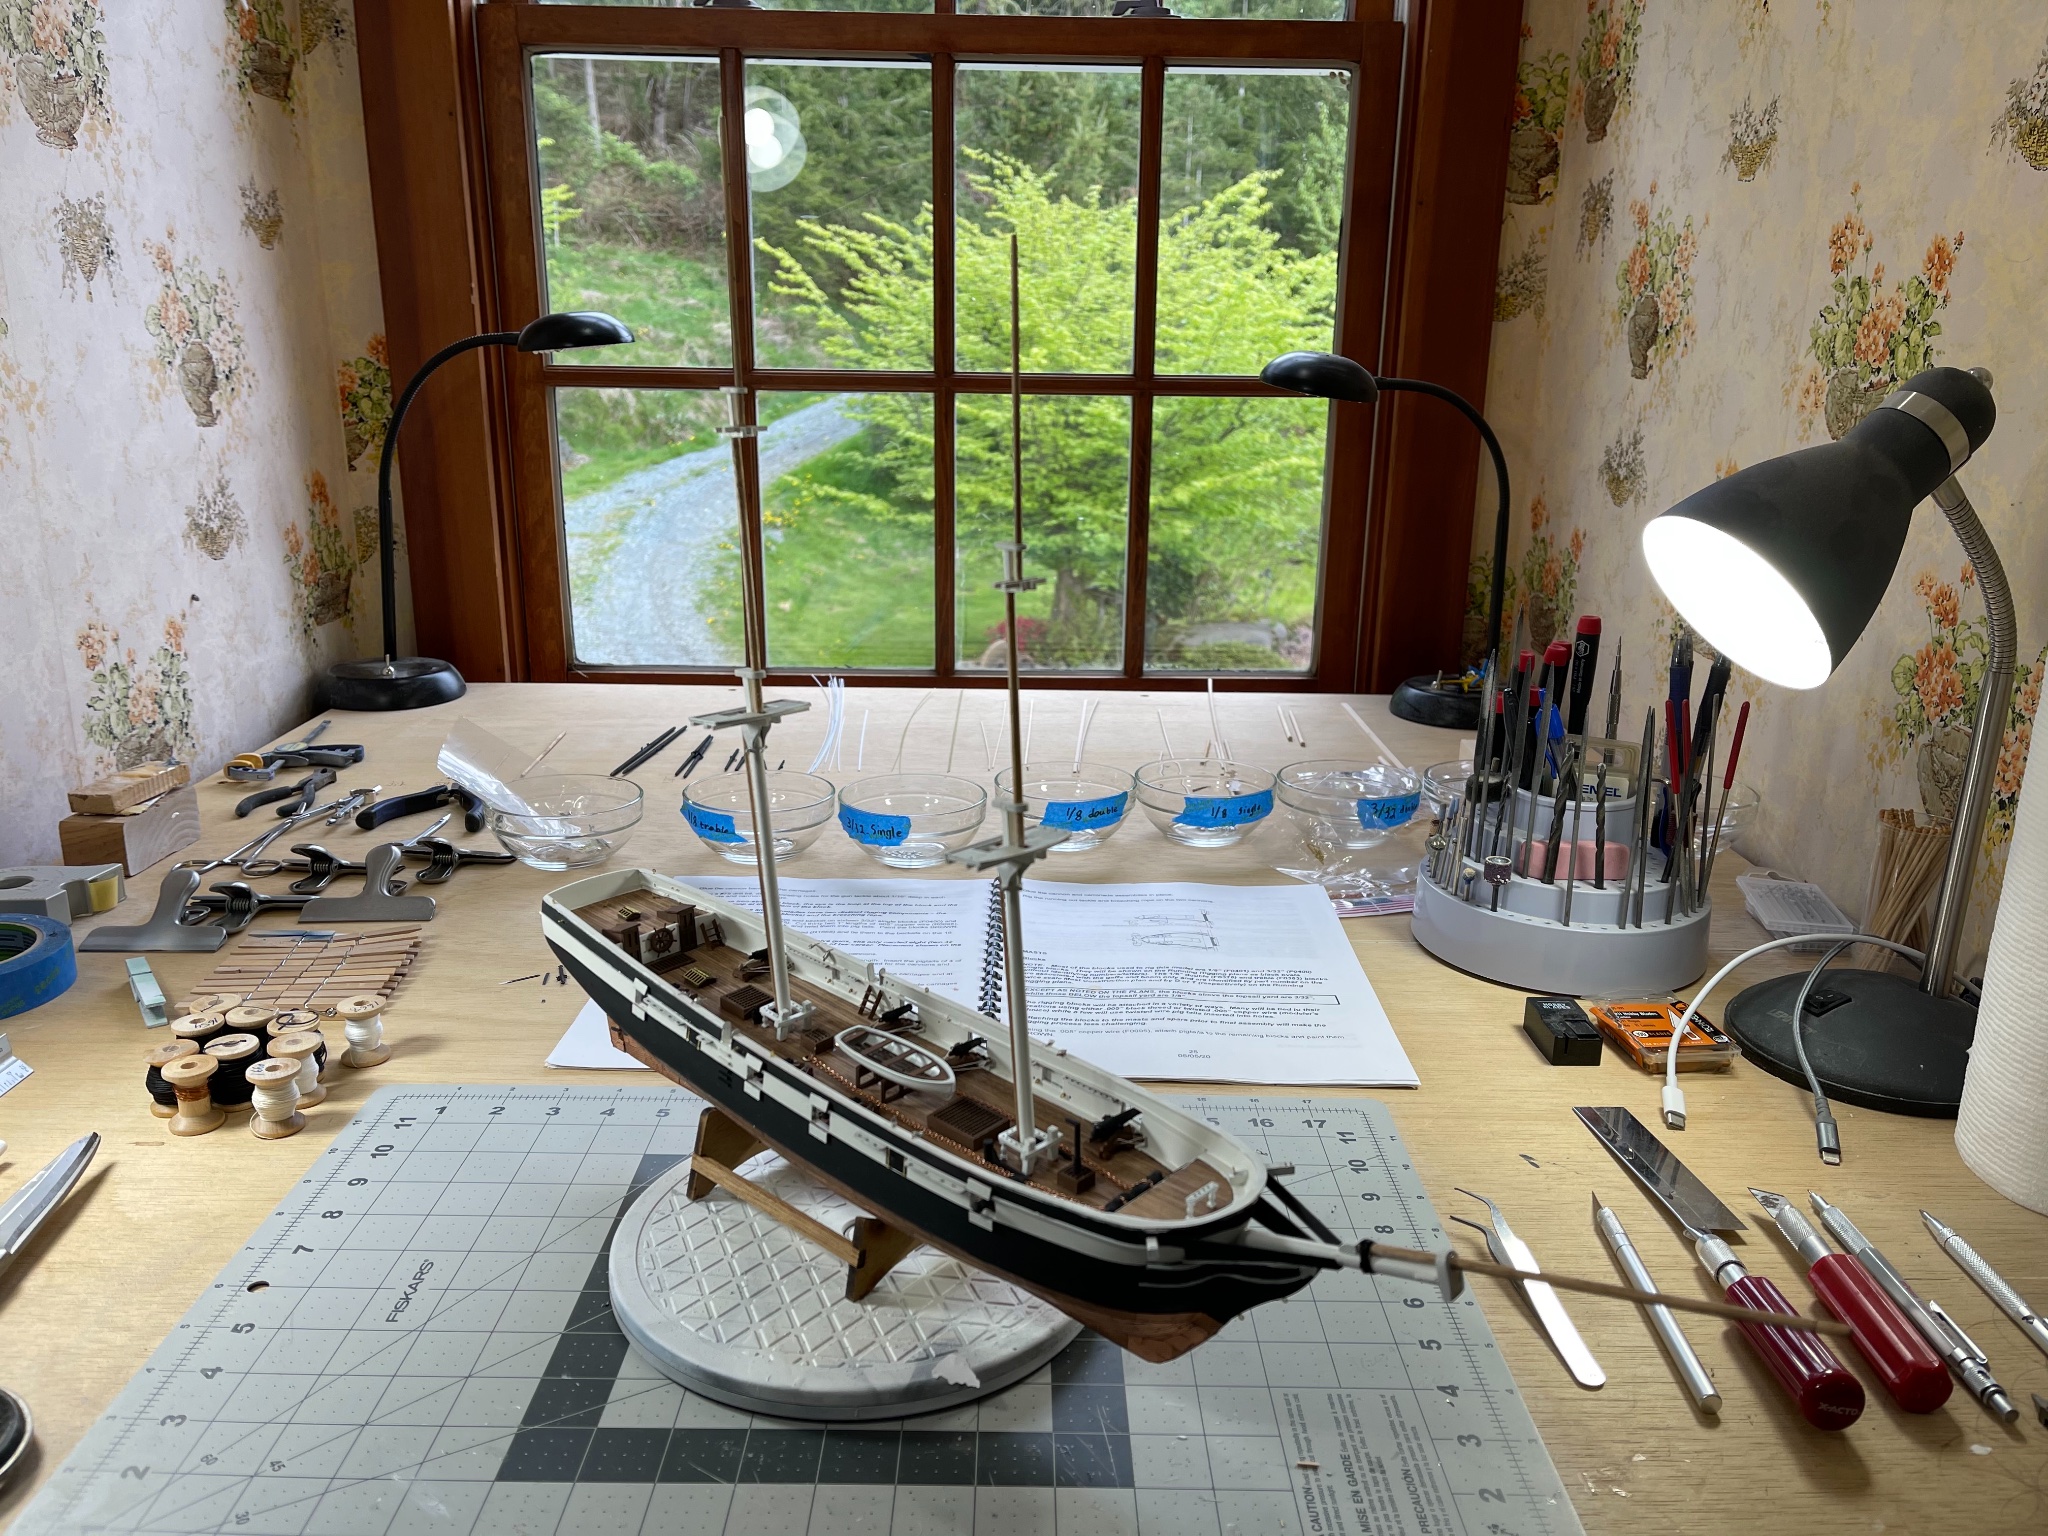
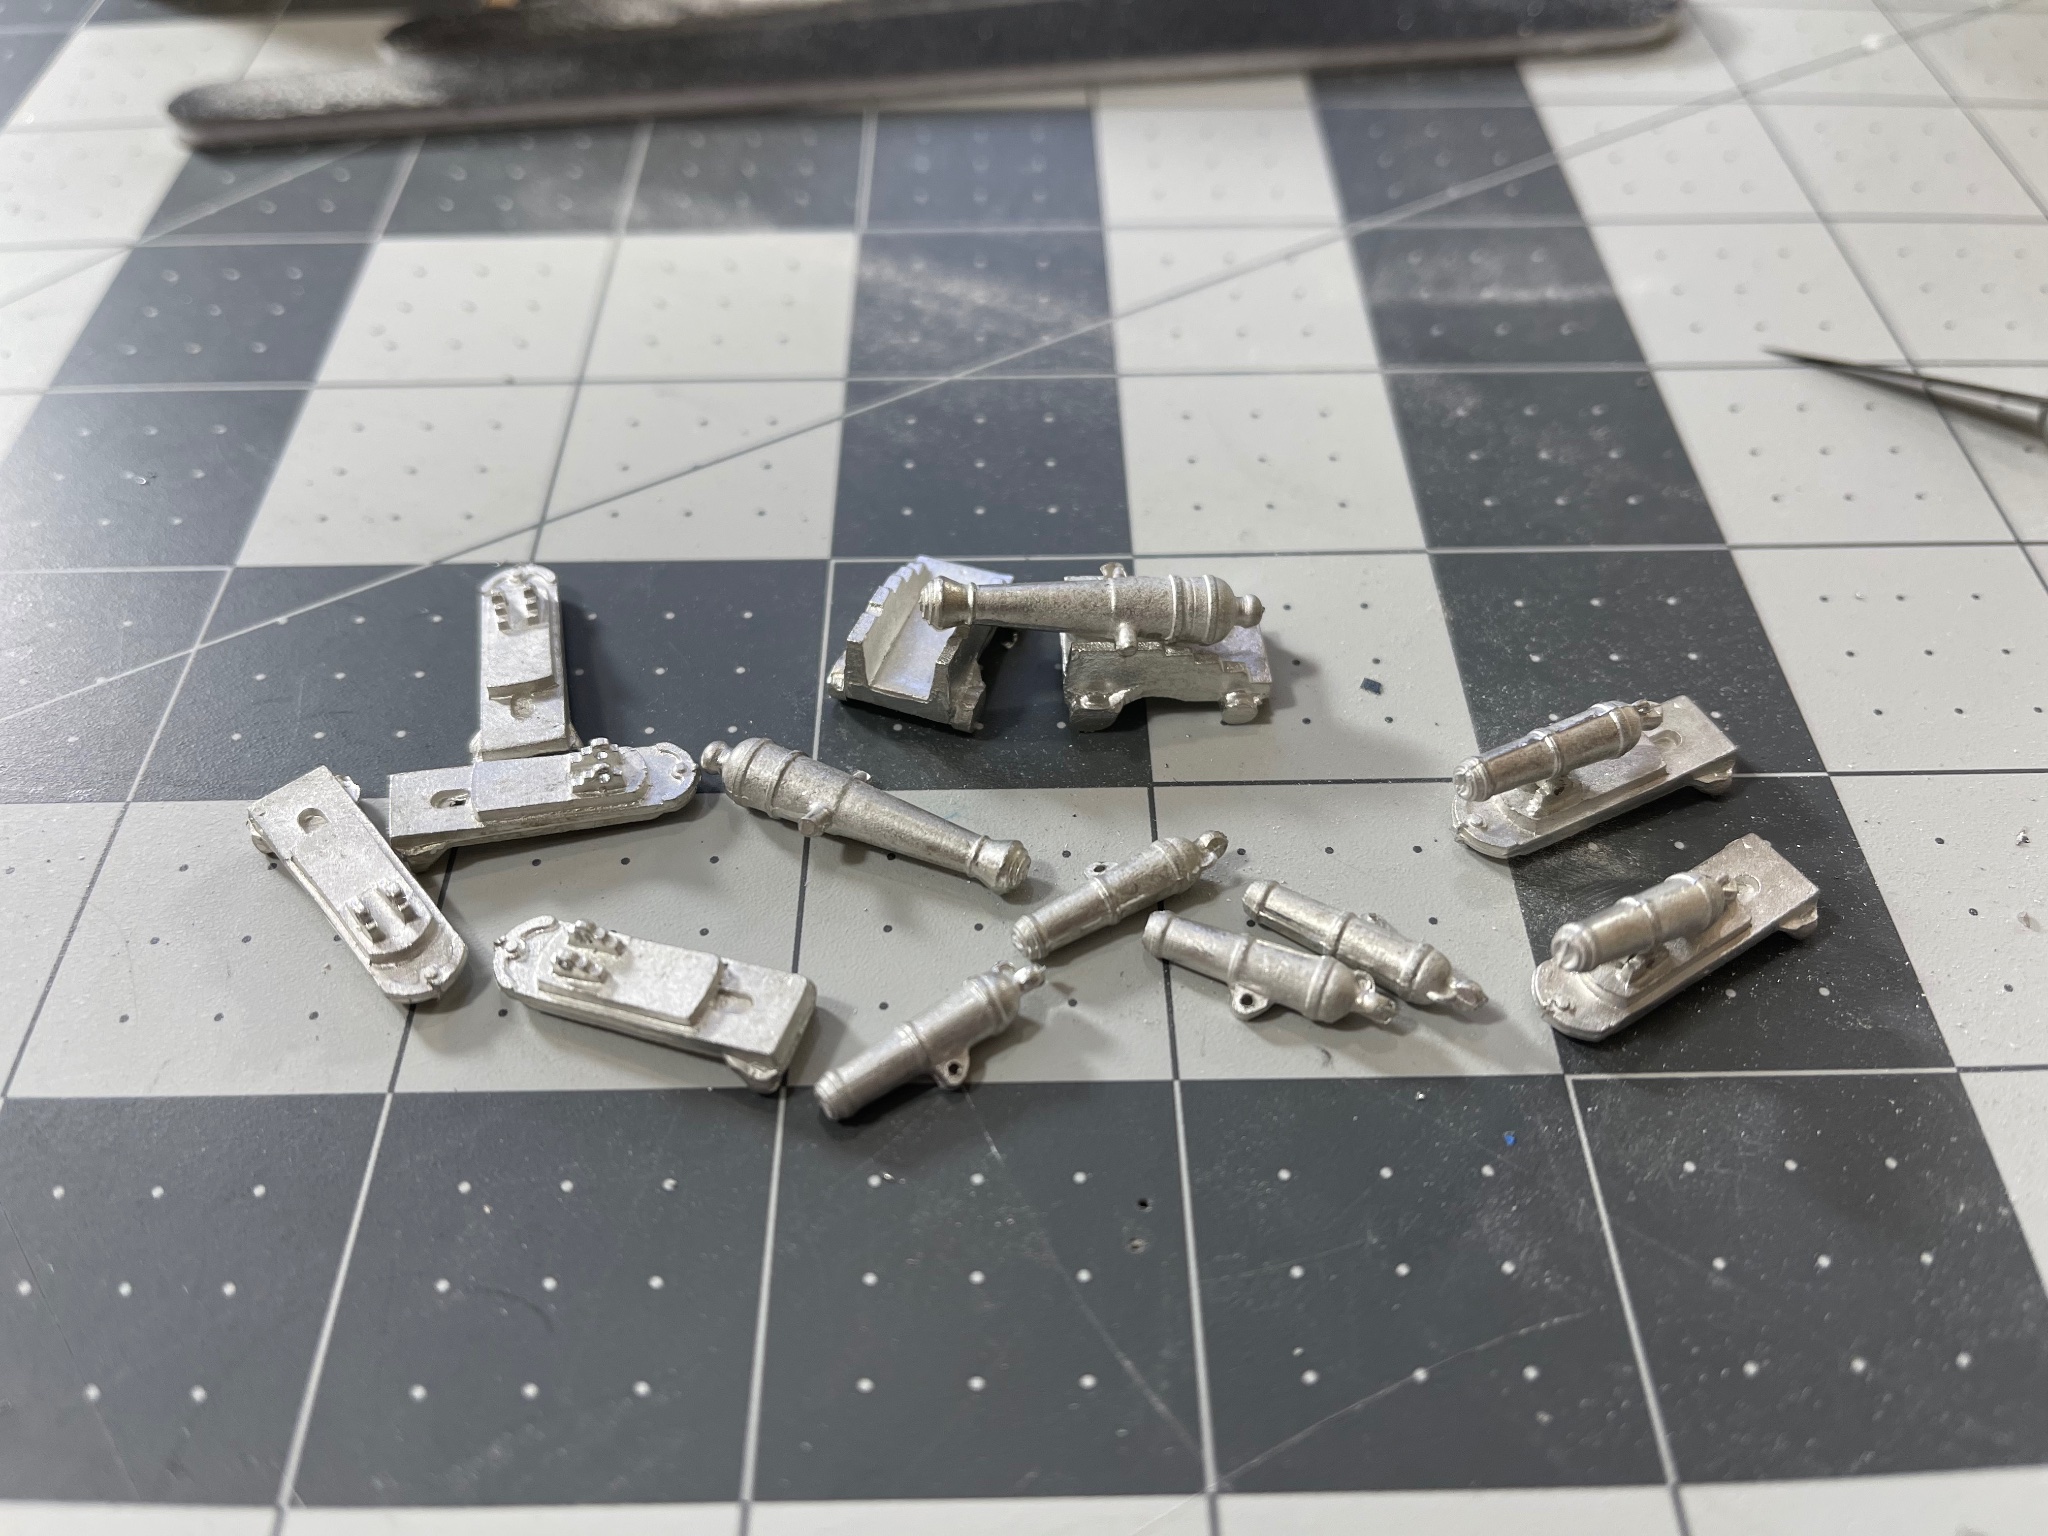
This weekend I made some progress on the Perry after a little break. I started by cutting the lower masts to length and assembling the various components. The laser cutting is well done so it when together rather fast. Next I glued down and rigged the cannons and carronades. It actually took quite a bit longer than I anticipated but I am happy with the results! Still a little more to do on the forward cannons rigging though. I also spent some time just organizing the litany of cast fittings so I could stay on top of things. slow but steady progress!

- 85 replies
-
- 2
-
-
- perry
- BlueJacket Shipcrafters
- (and 1 more)
-
Thank you! I hope once I finish this model nobody who visits my office thinks to read the build log and expose my various learning experiences on this one....
-
A little bit of progress last night! Installed the various deck cleats, eye pins, and blocks that are mounted on the cap rails. I also drilled the holes through the whales where various rigging lines will pass. Next up will be rigging the cannons and carronades!
- 85 replies
-
- 6
-
-
- perry
- BlueJacket Shipcrafters
- (and 1 more)
-
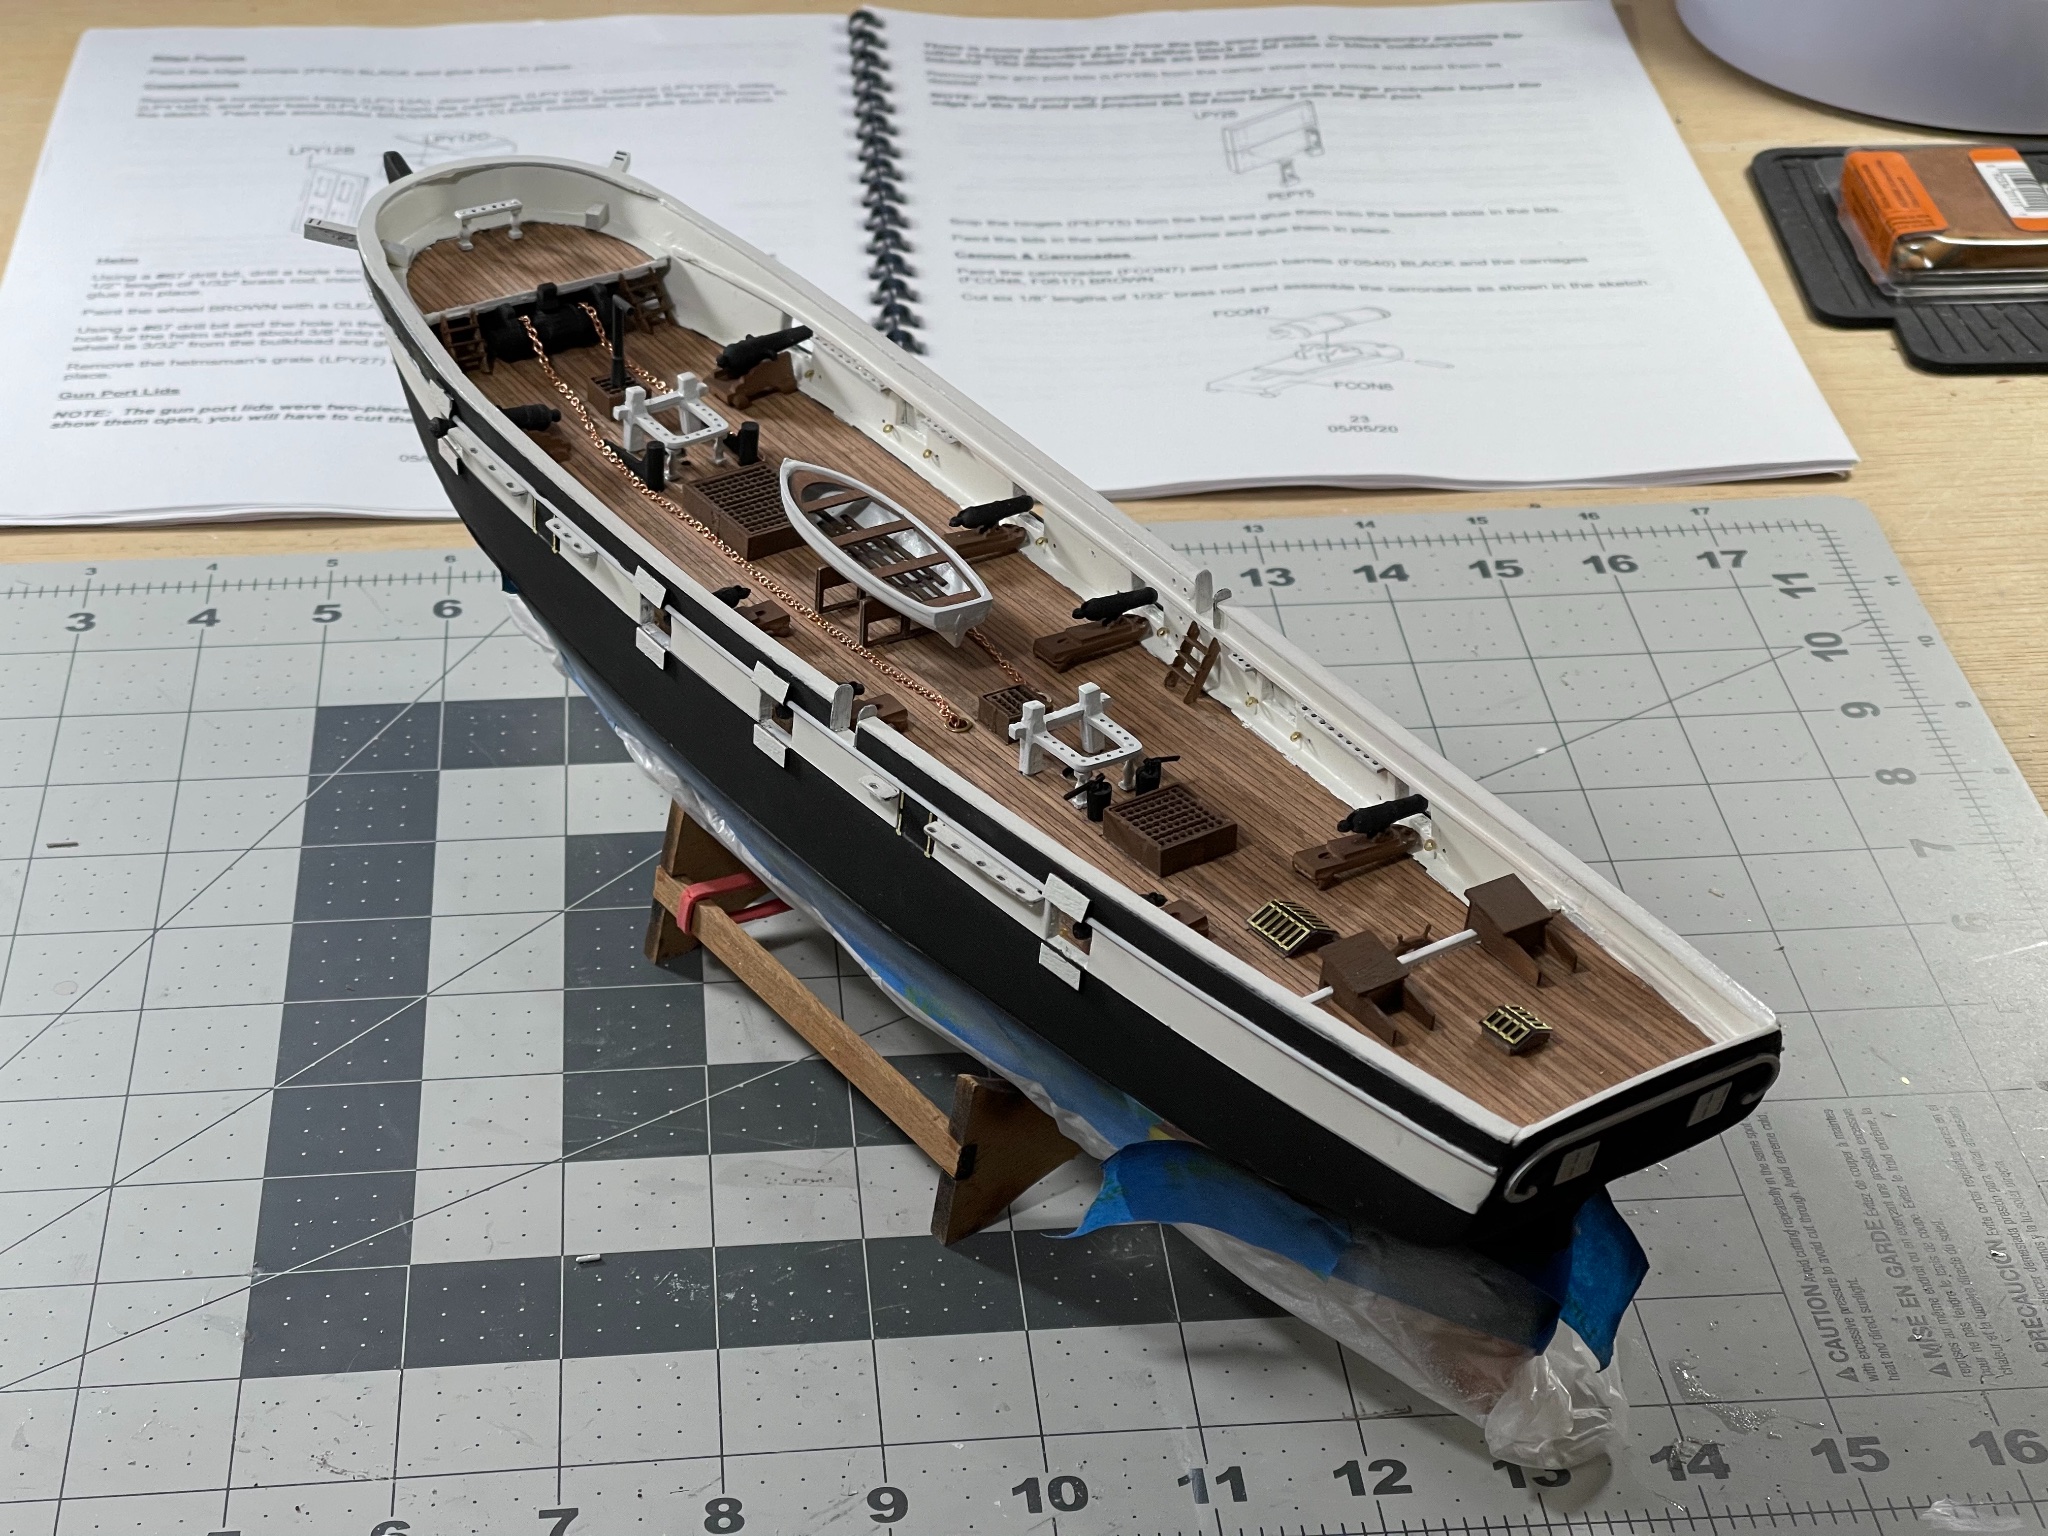
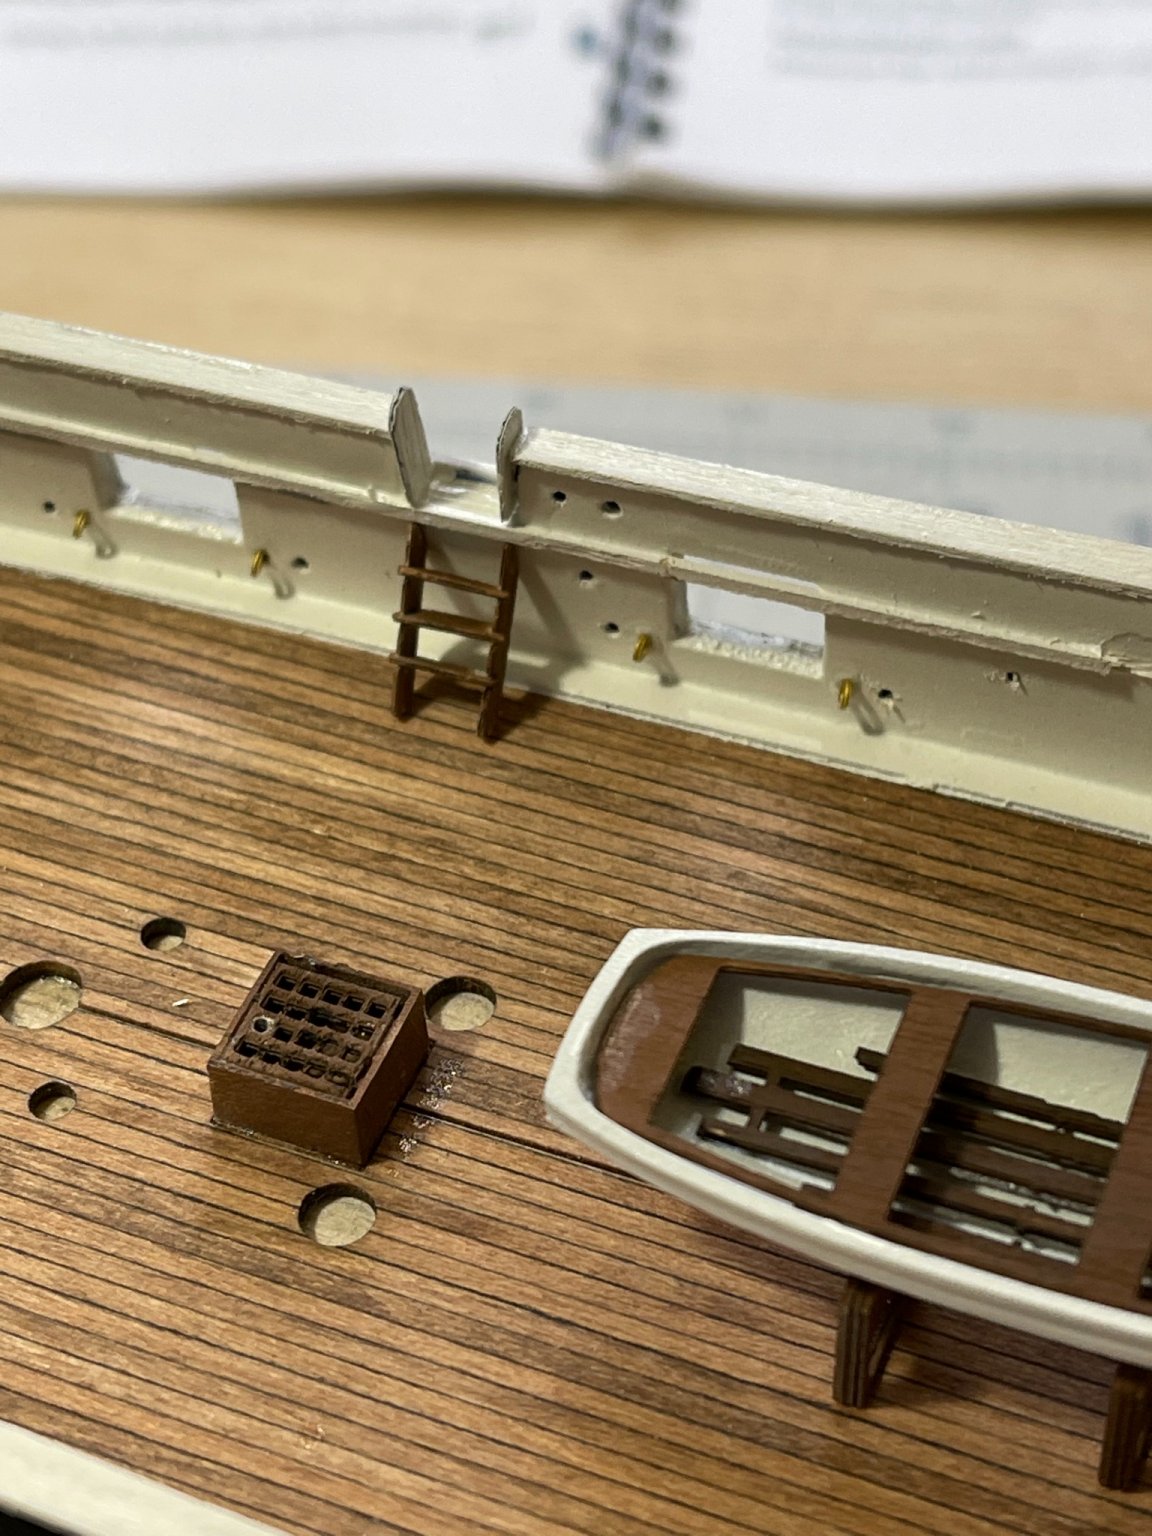
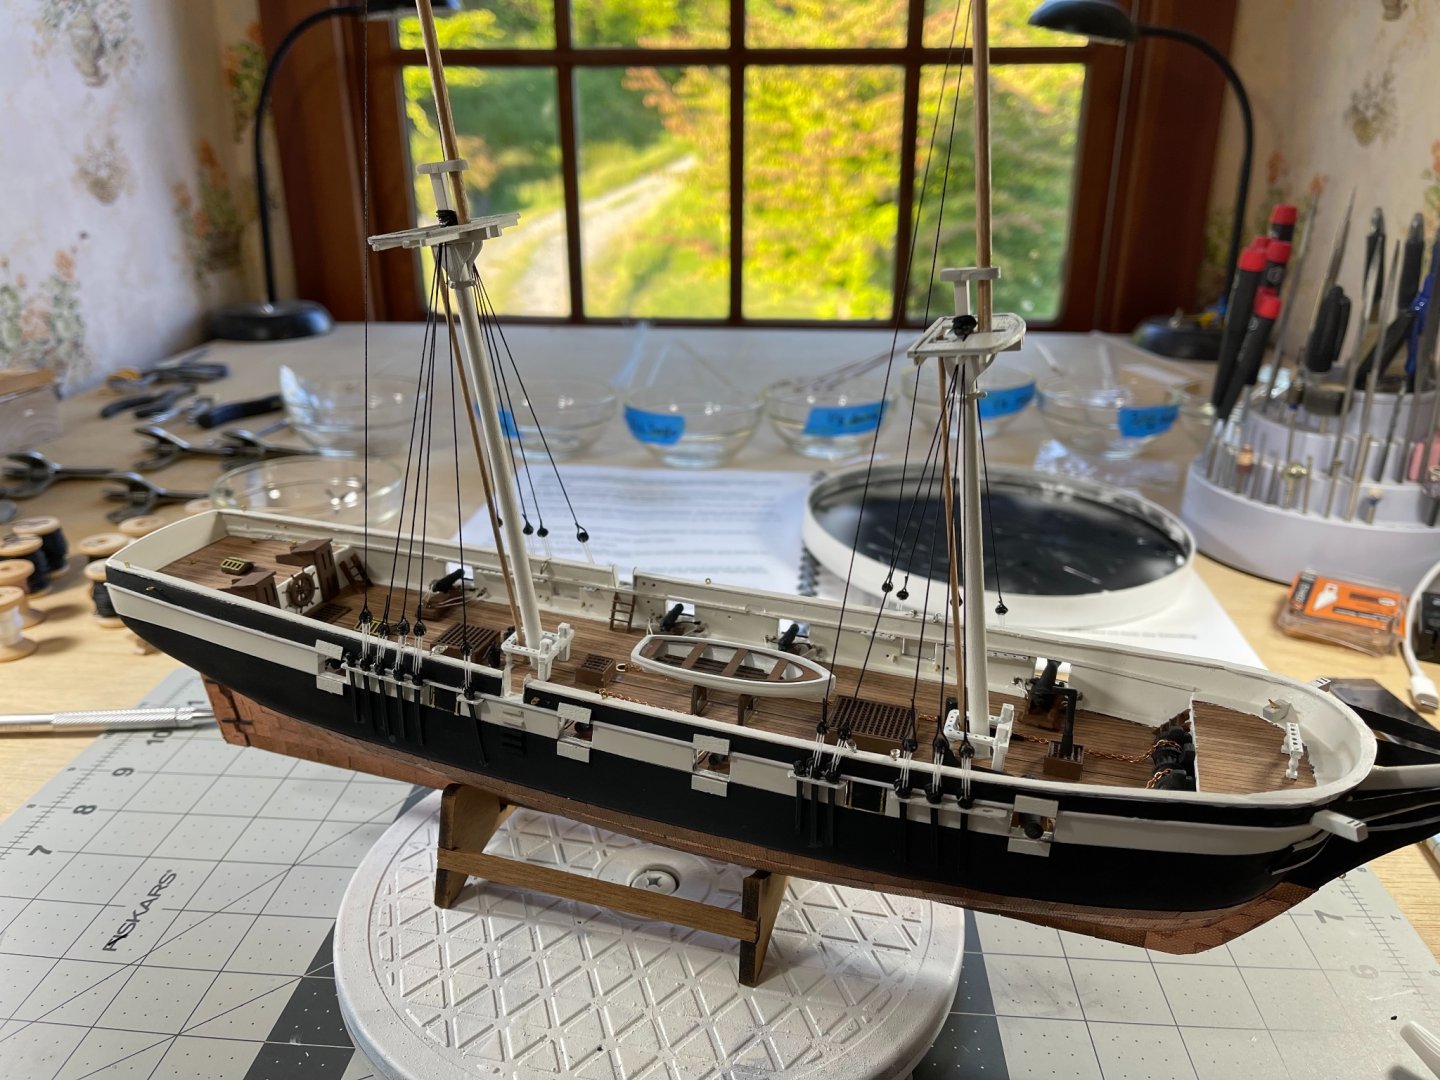
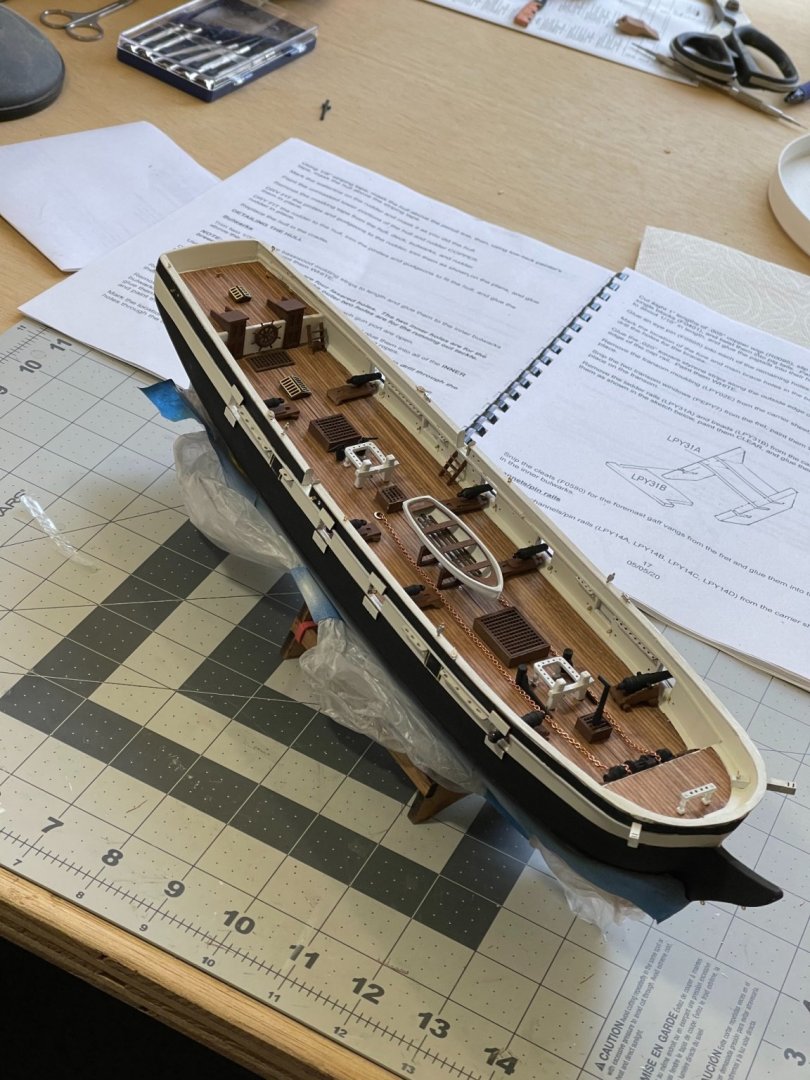
Made quite a bit of progress today! Painted and installed the gun port lids (both the open and closes ones). The hinges that are included actually look great. I test fit the cannons and carronades to see how they looked. I installed both Main Deck Fife rails as well as the Forecastle Deck Pin Rail. I also installed the cat heads. I actually cut them in two pieces to avoid cutting through the hull. I installed all the channels/pin rails as well. This took a while to clean out the slots where they penetrate the hull. I was somewhat careless when painting and paid for it here by having to sand out the slot larger. I also installed the forecastle ladders, windlass ratchet, chain scuttles, and anchor chains.


- 85 replies
-
- 4
-
-
- perry
- BlueJacket Shipcrafters
- (and 1 more)
-
Made some additional progress today on installing the Riding Bitts, Skylights, Windlass Barrel, Bilge-pumps, and Galley Stack. I also mounted the cannons and carronades to their carriages. Next up on the gun port covers, car heads, fife rails, deck pin rails, and channel pin rails.
- 85 replies
-
- 3
-
-
- perry
- BlueJacket Shipcrafters
- (and 1 more)
-
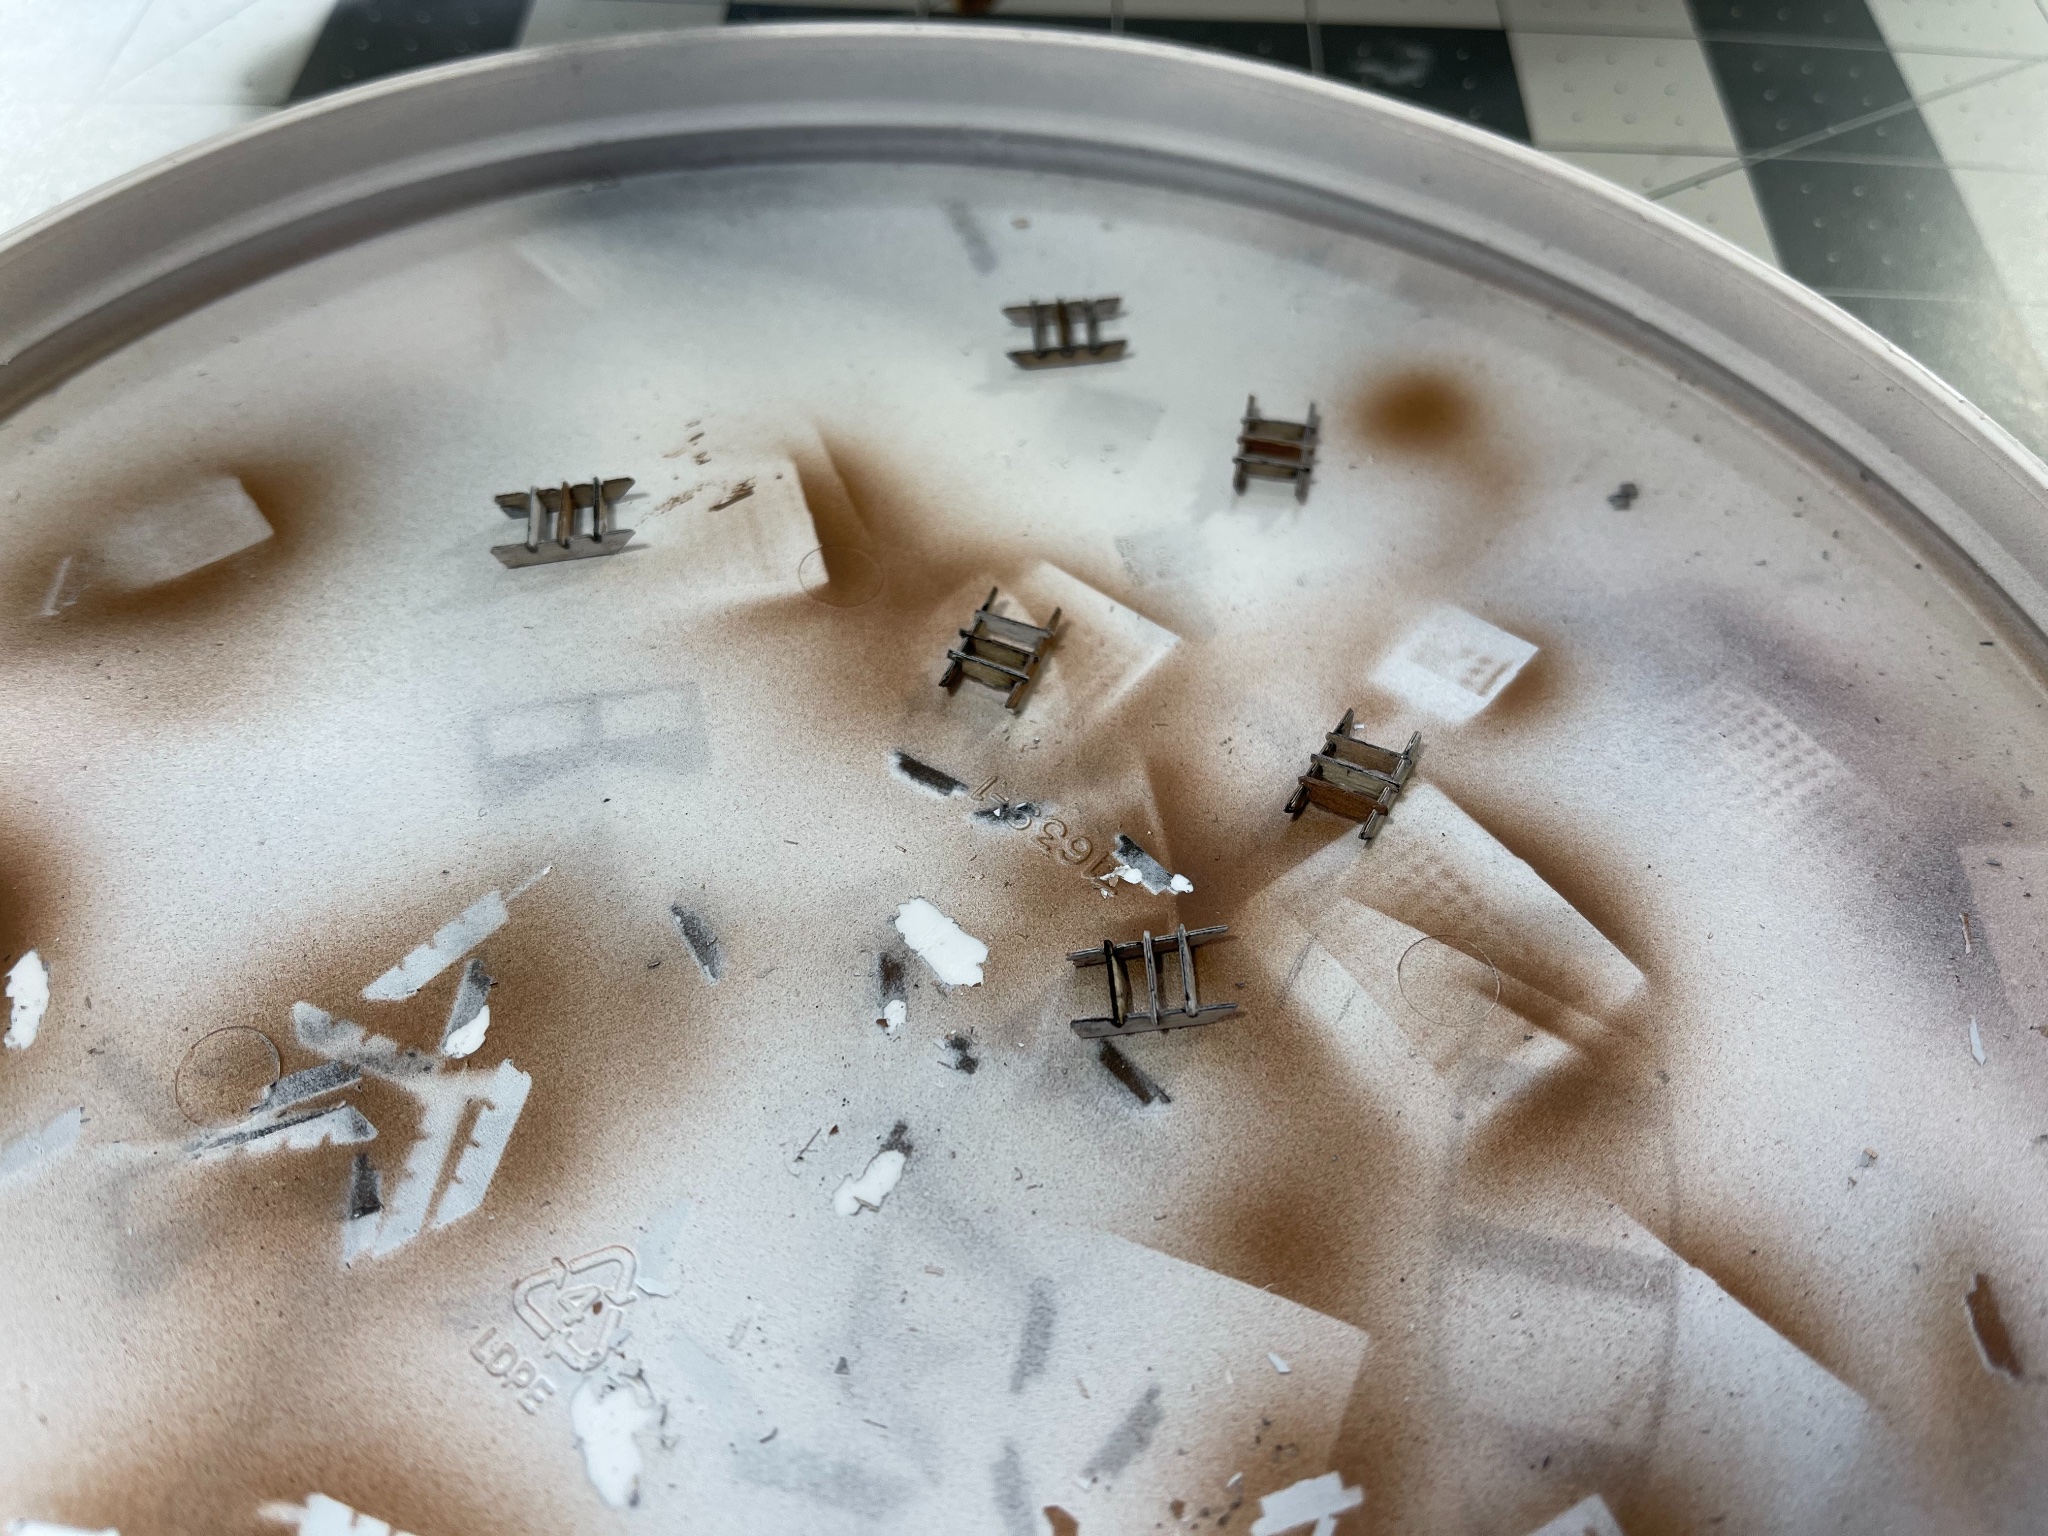
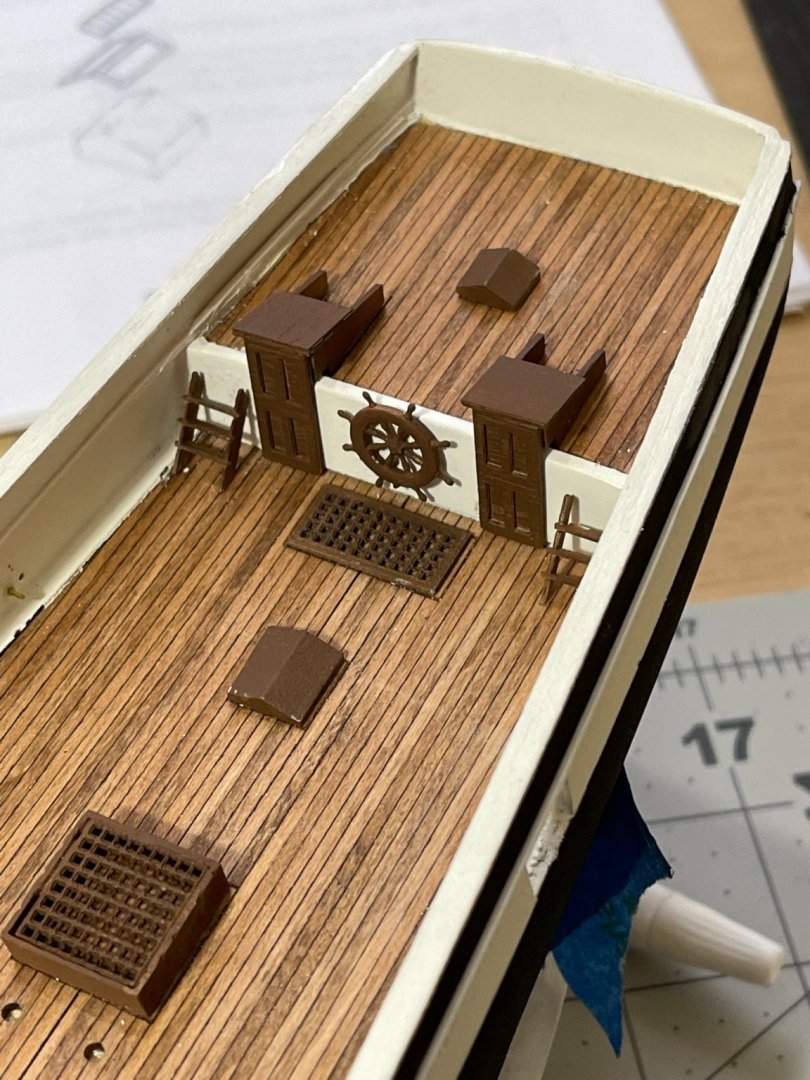
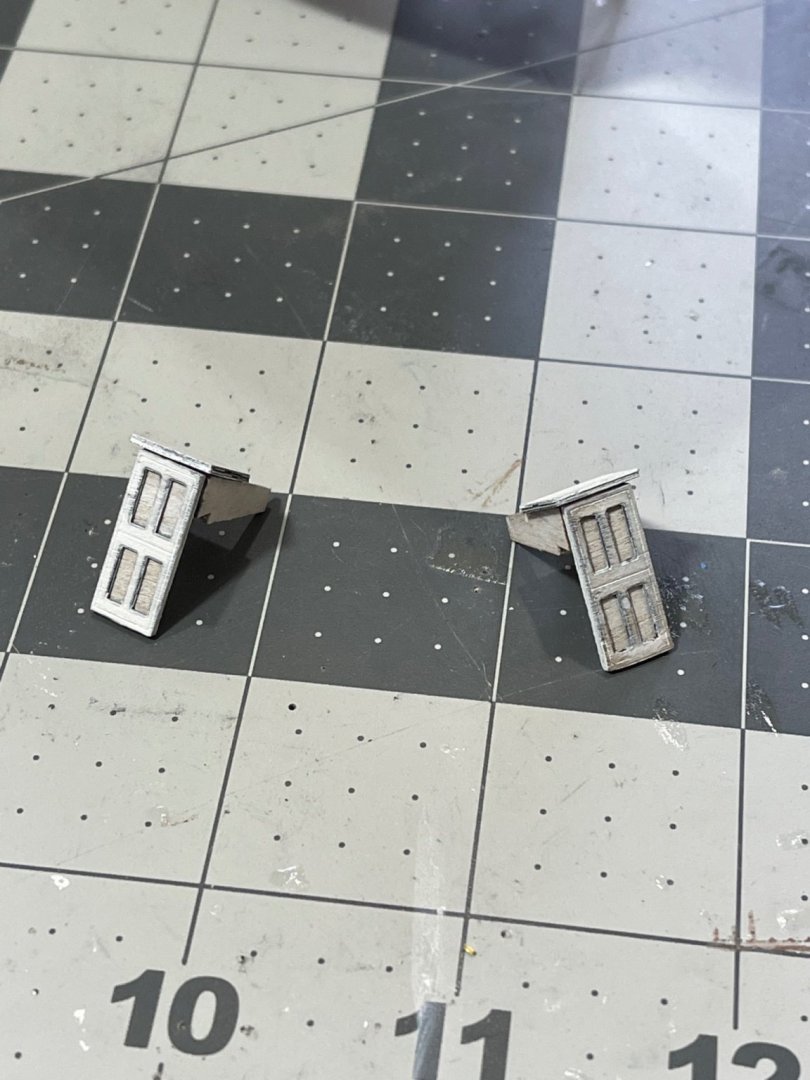
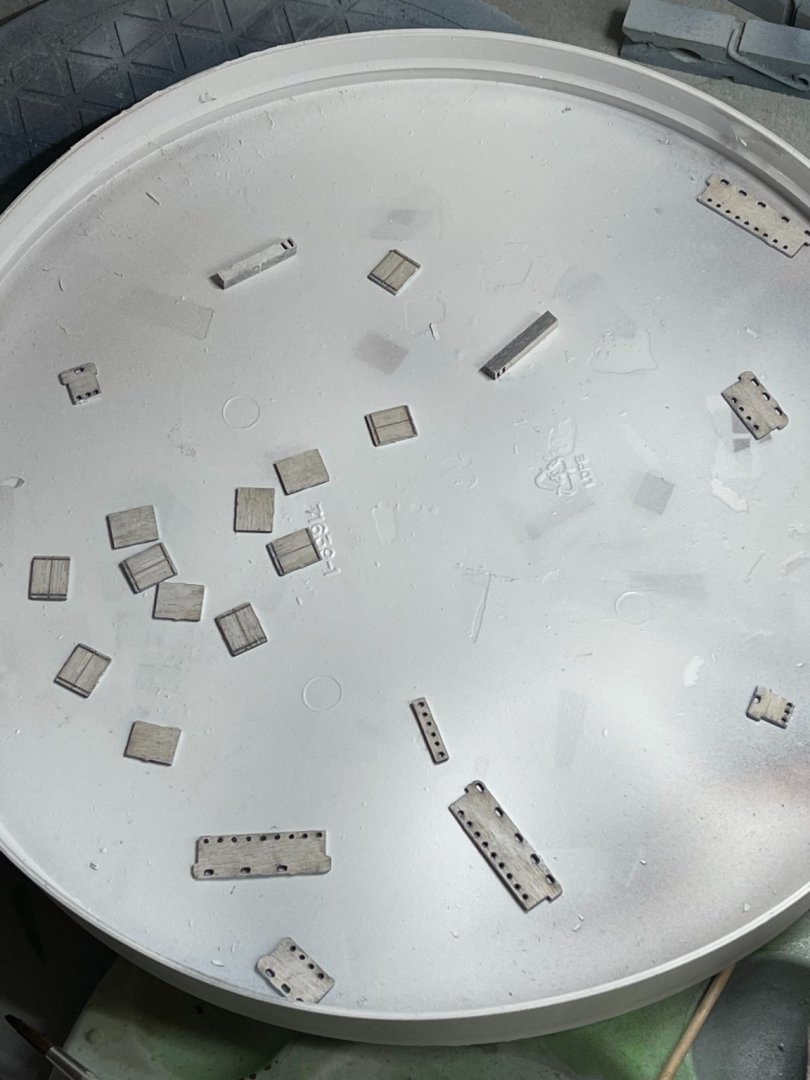
Made some more progress this afternoon! Assembled, painted, and installed the cabin doors as well as the stairways. Next I removed a number of laser cut components and primed them. I also primed and painted a number of cast metal deck fittings including the windlass and skylight roofs. Trying to keep up the slow steady progress!


- 85 replies
-
- 4
-
-
- perry
- BlueJacket Shipcrafters
- (and 1 more)
-
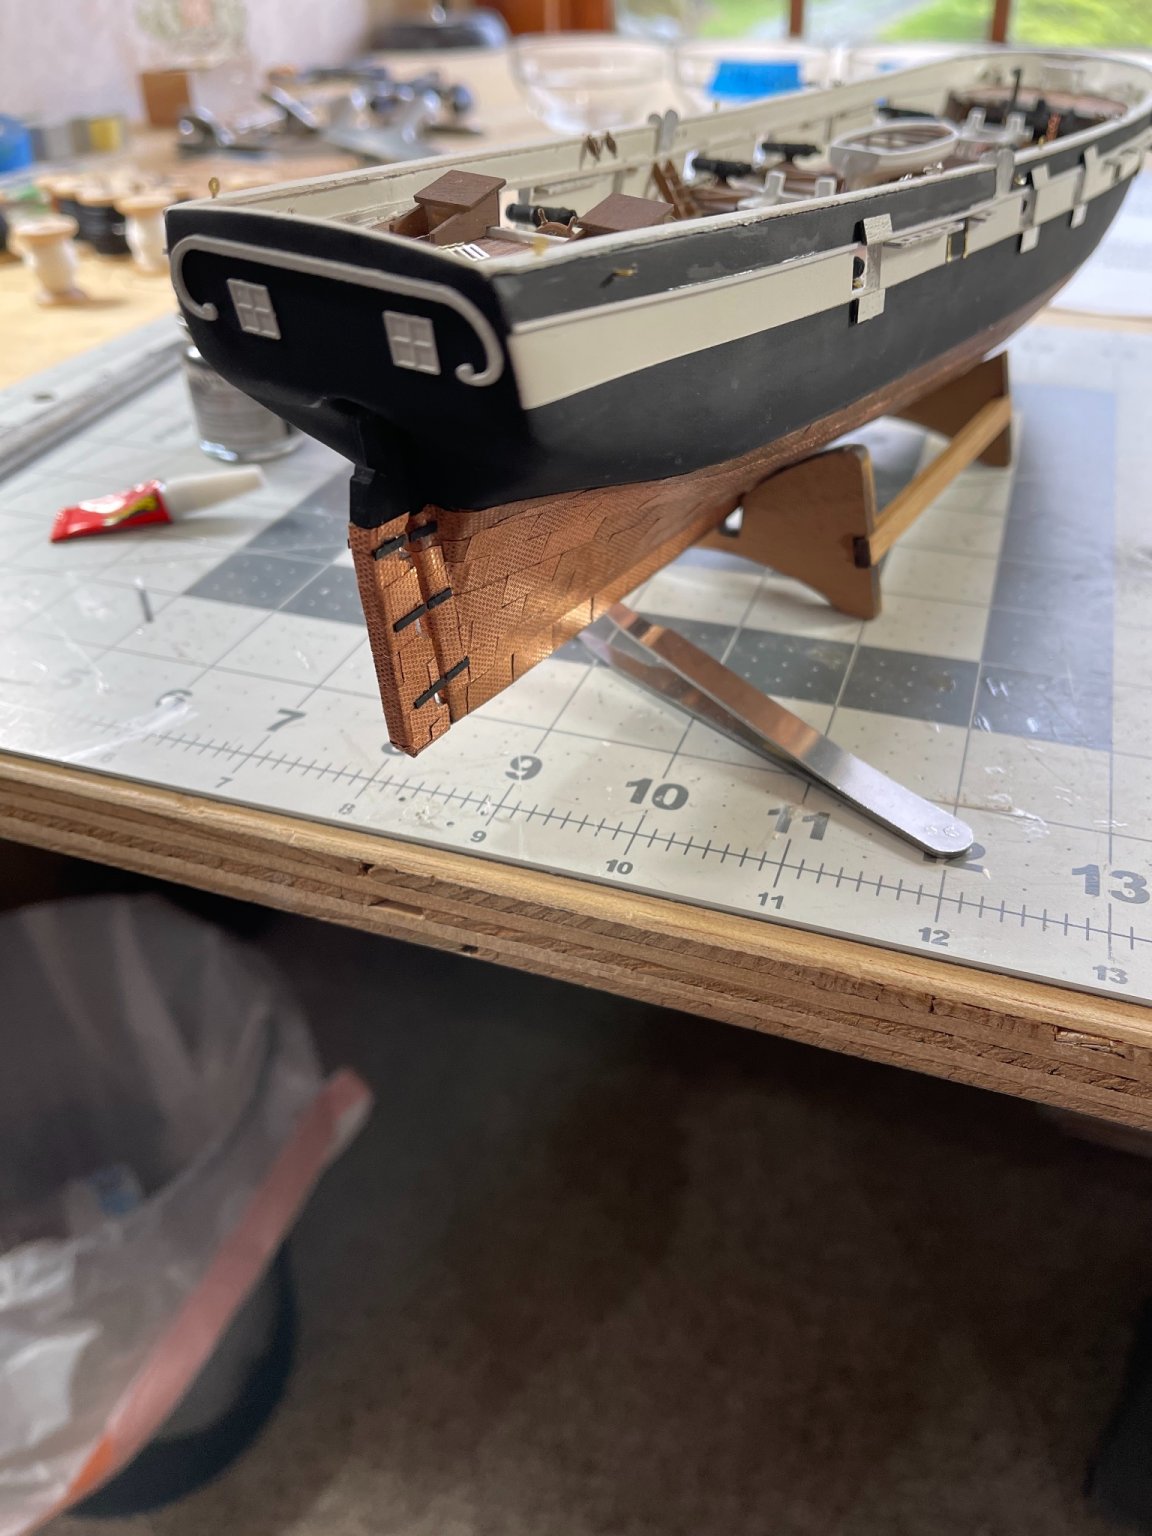
Thank you! I am actually quite proud of the copper platting on this ship. My first foray into copper plates was on the Revenue Cutter and learned a lot (read made plenty of mistakes). Going to try and continue with the regular progress!
-
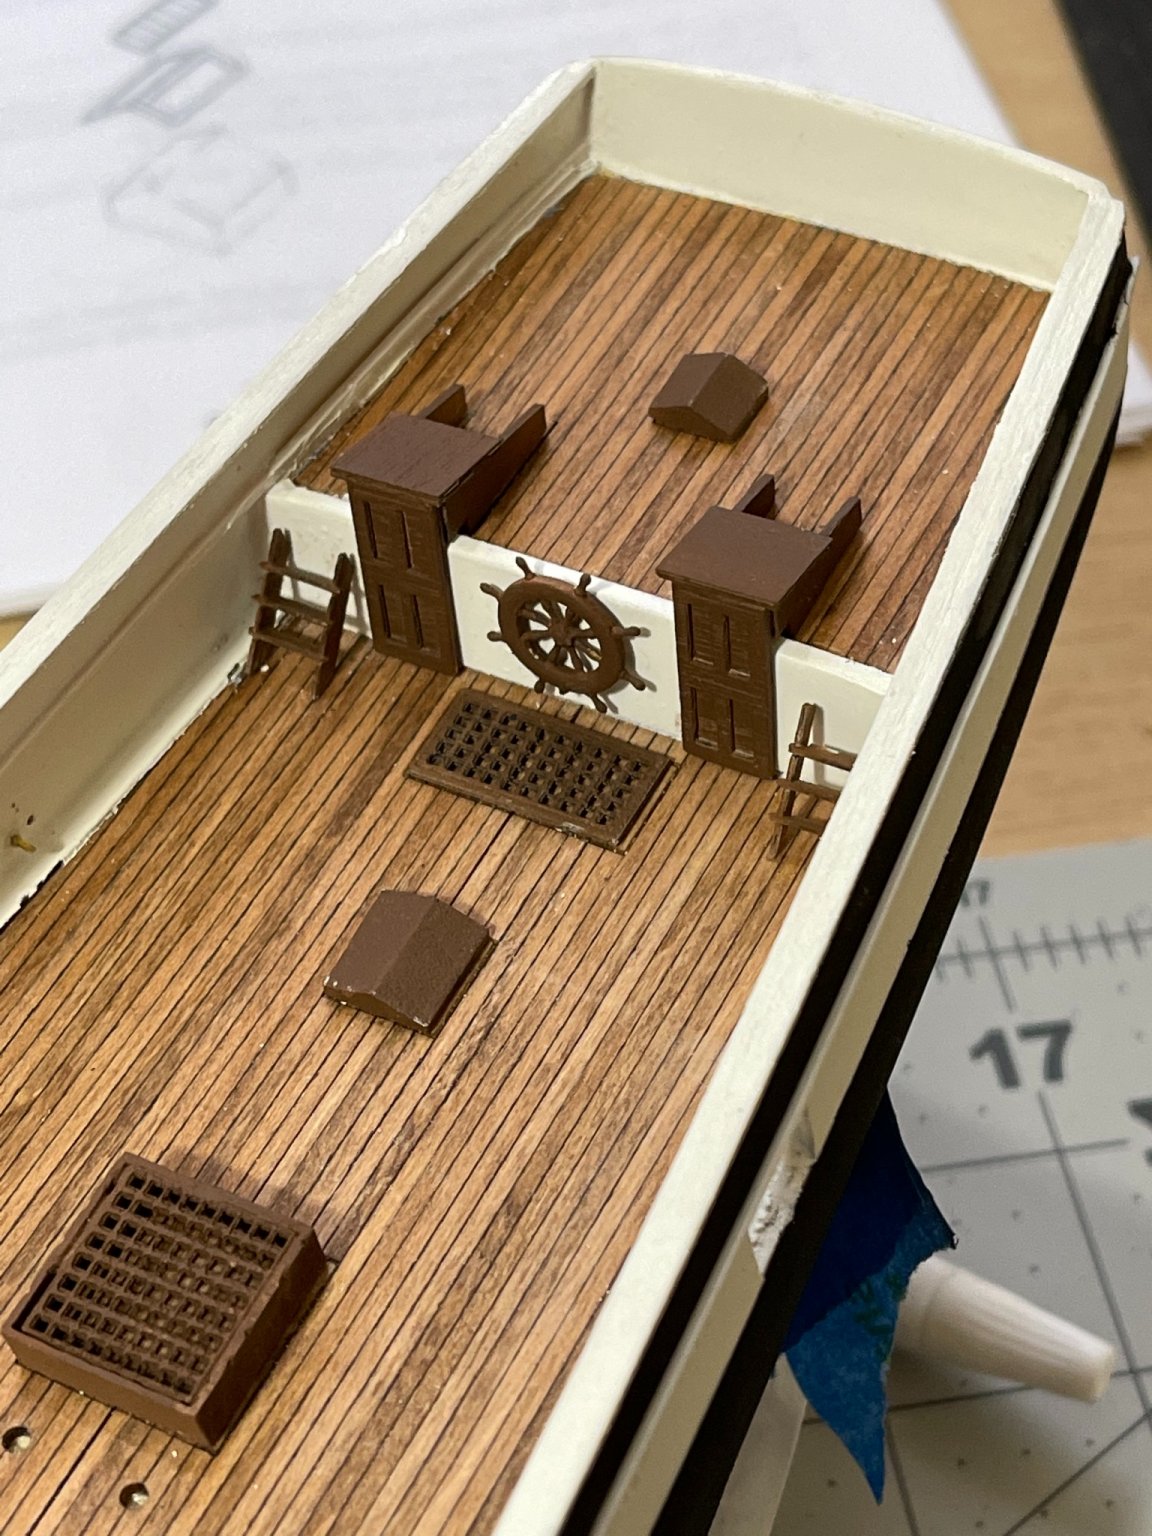
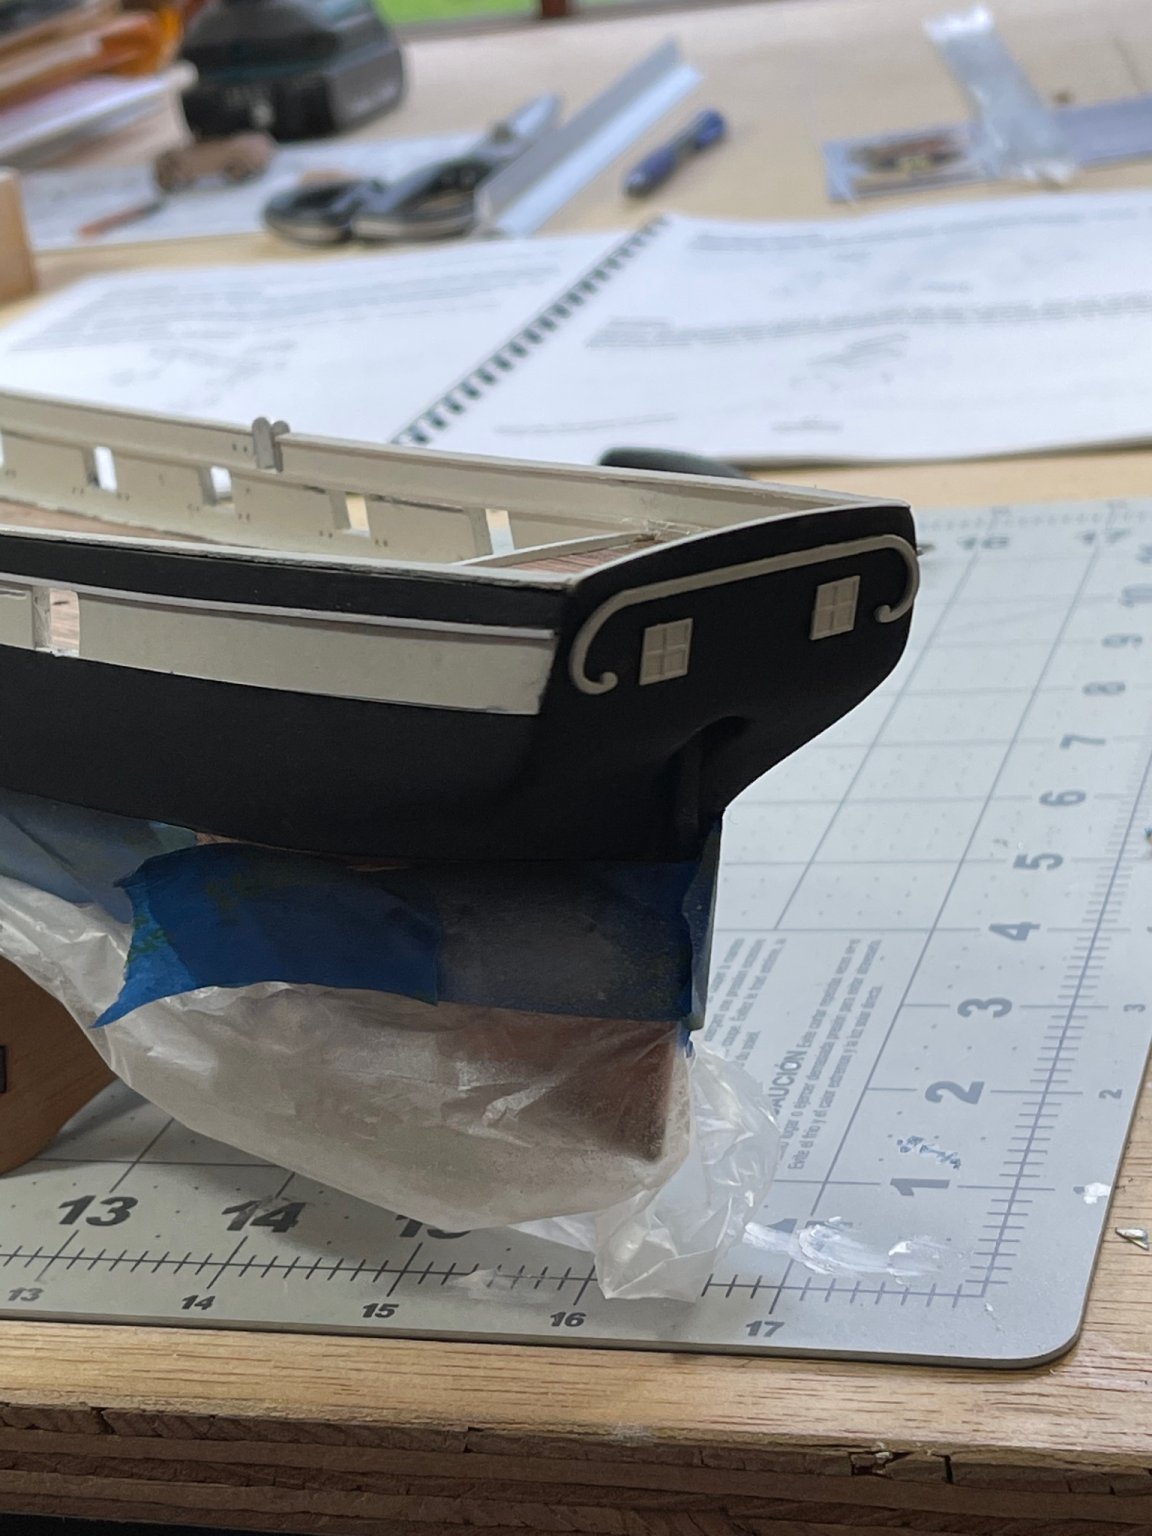
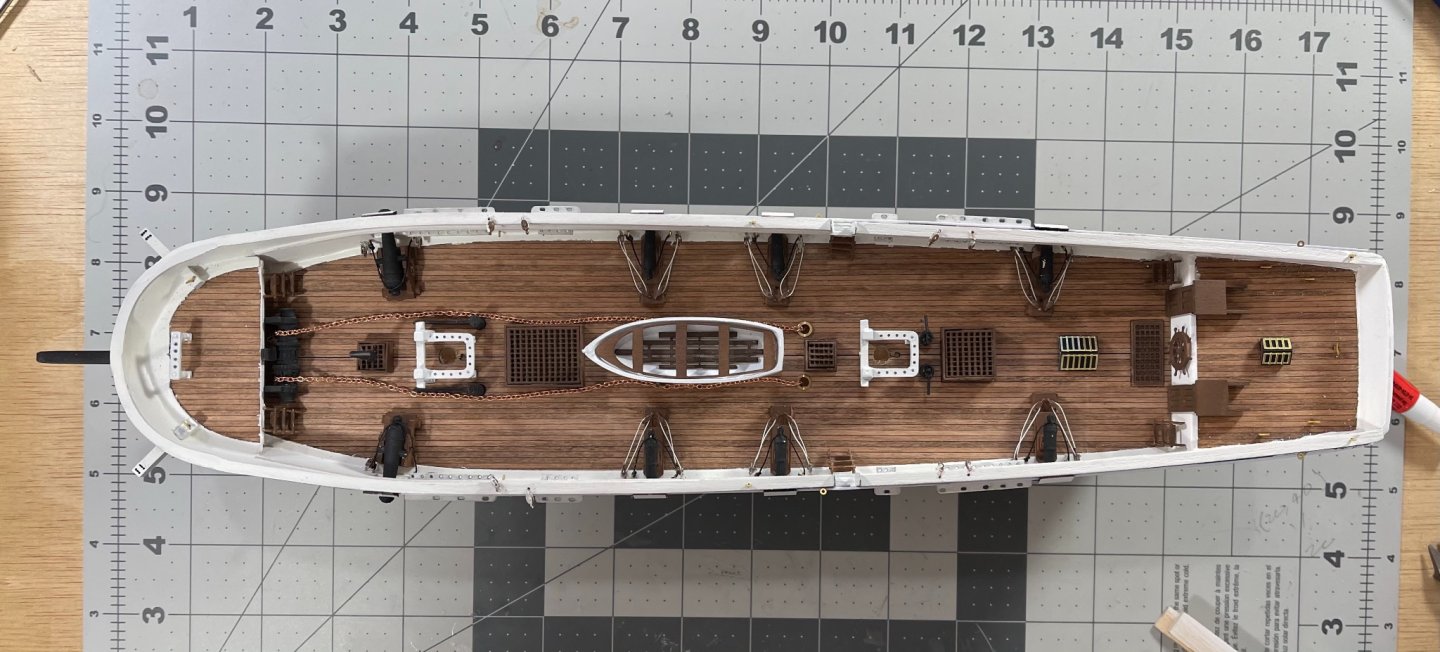
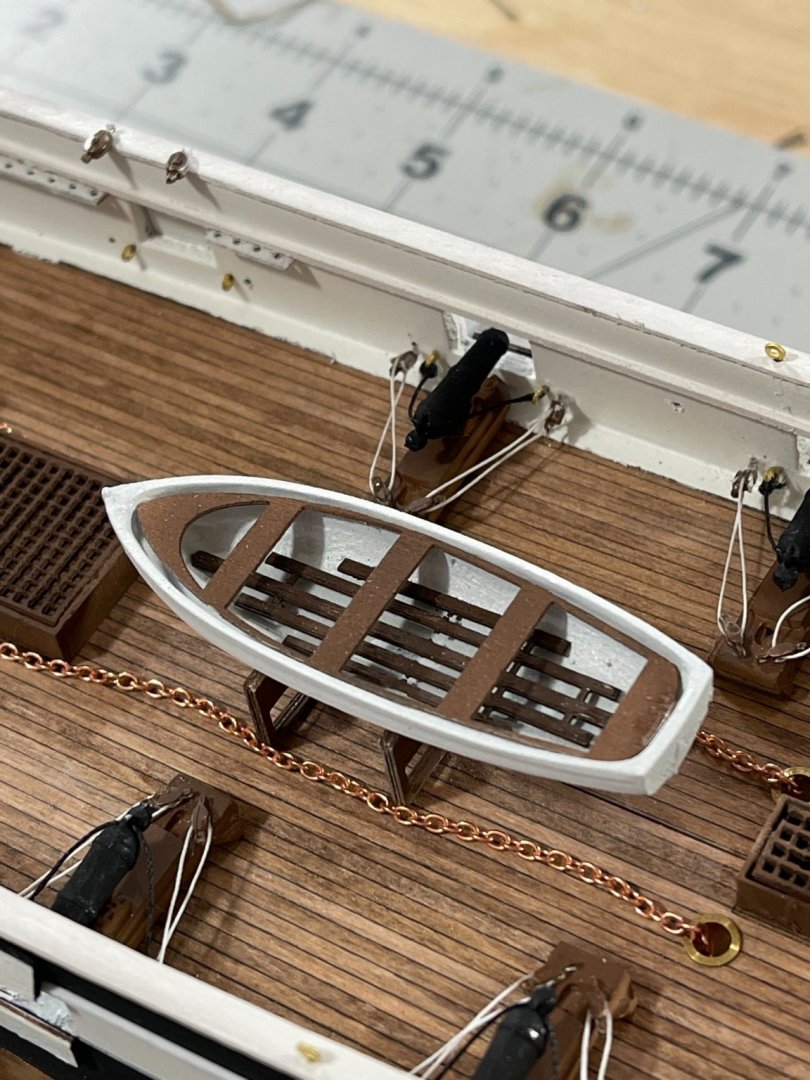
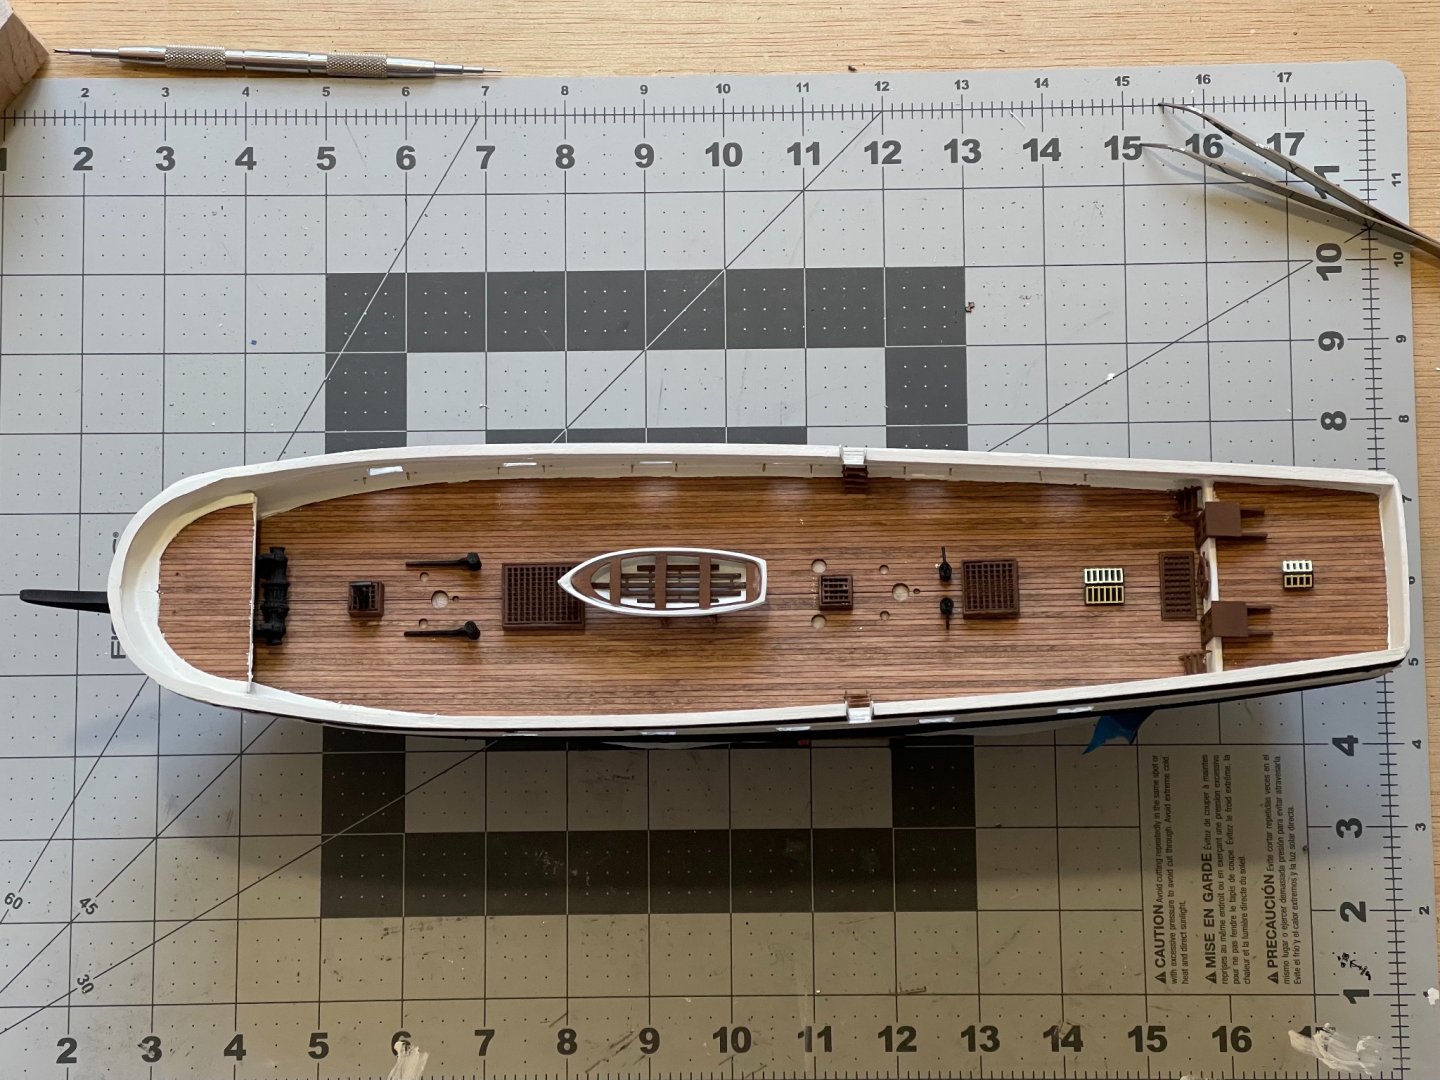
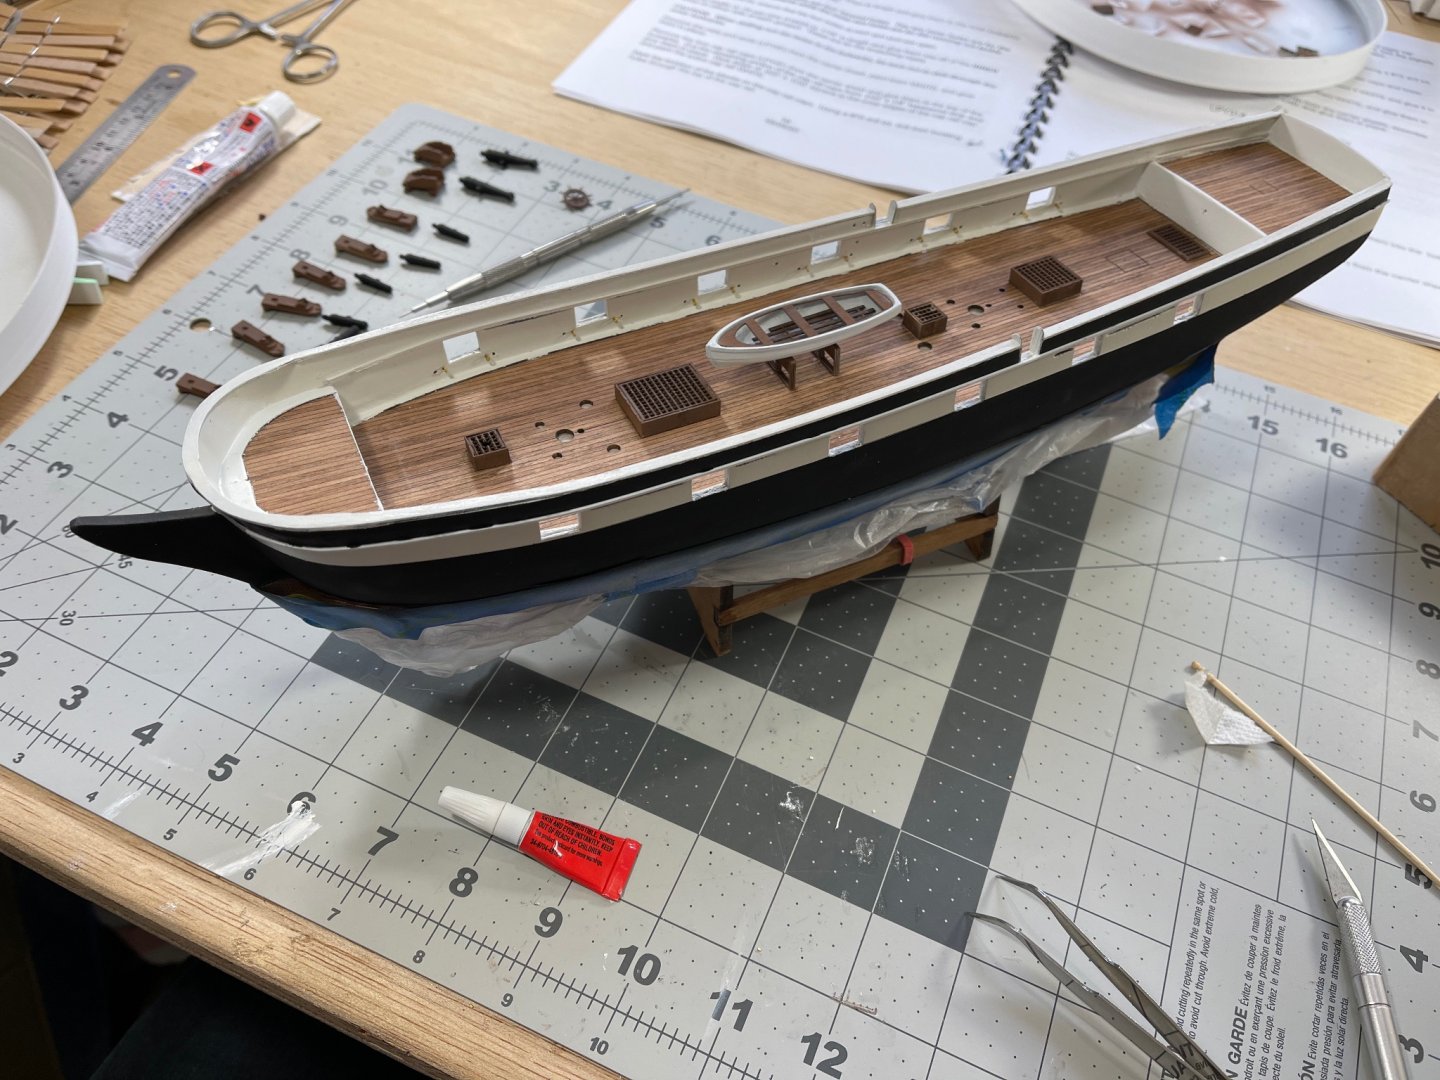
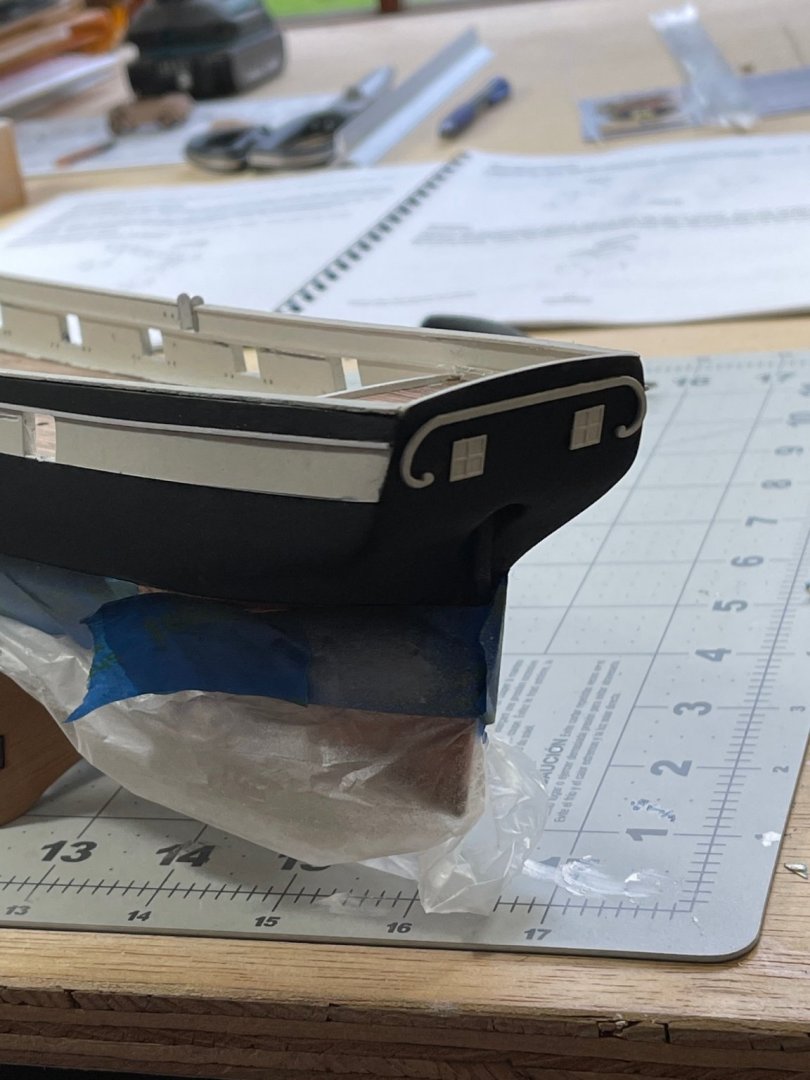
Started off by installing the trim molding on the stern of the ship as well as the cabin windows. Next up was assembling the ladders. I primed them after this picture. Finally I mounted the various deck grates and long boat. I also assembled the long boat decking. I also mounted the various eye hooks for the cannons. Next up is just continued work on the deck fittings!

- 85 replies
-
- 5
-
-
- perry
- BlueJacket Shipcrafters
- (and 1 more)
-
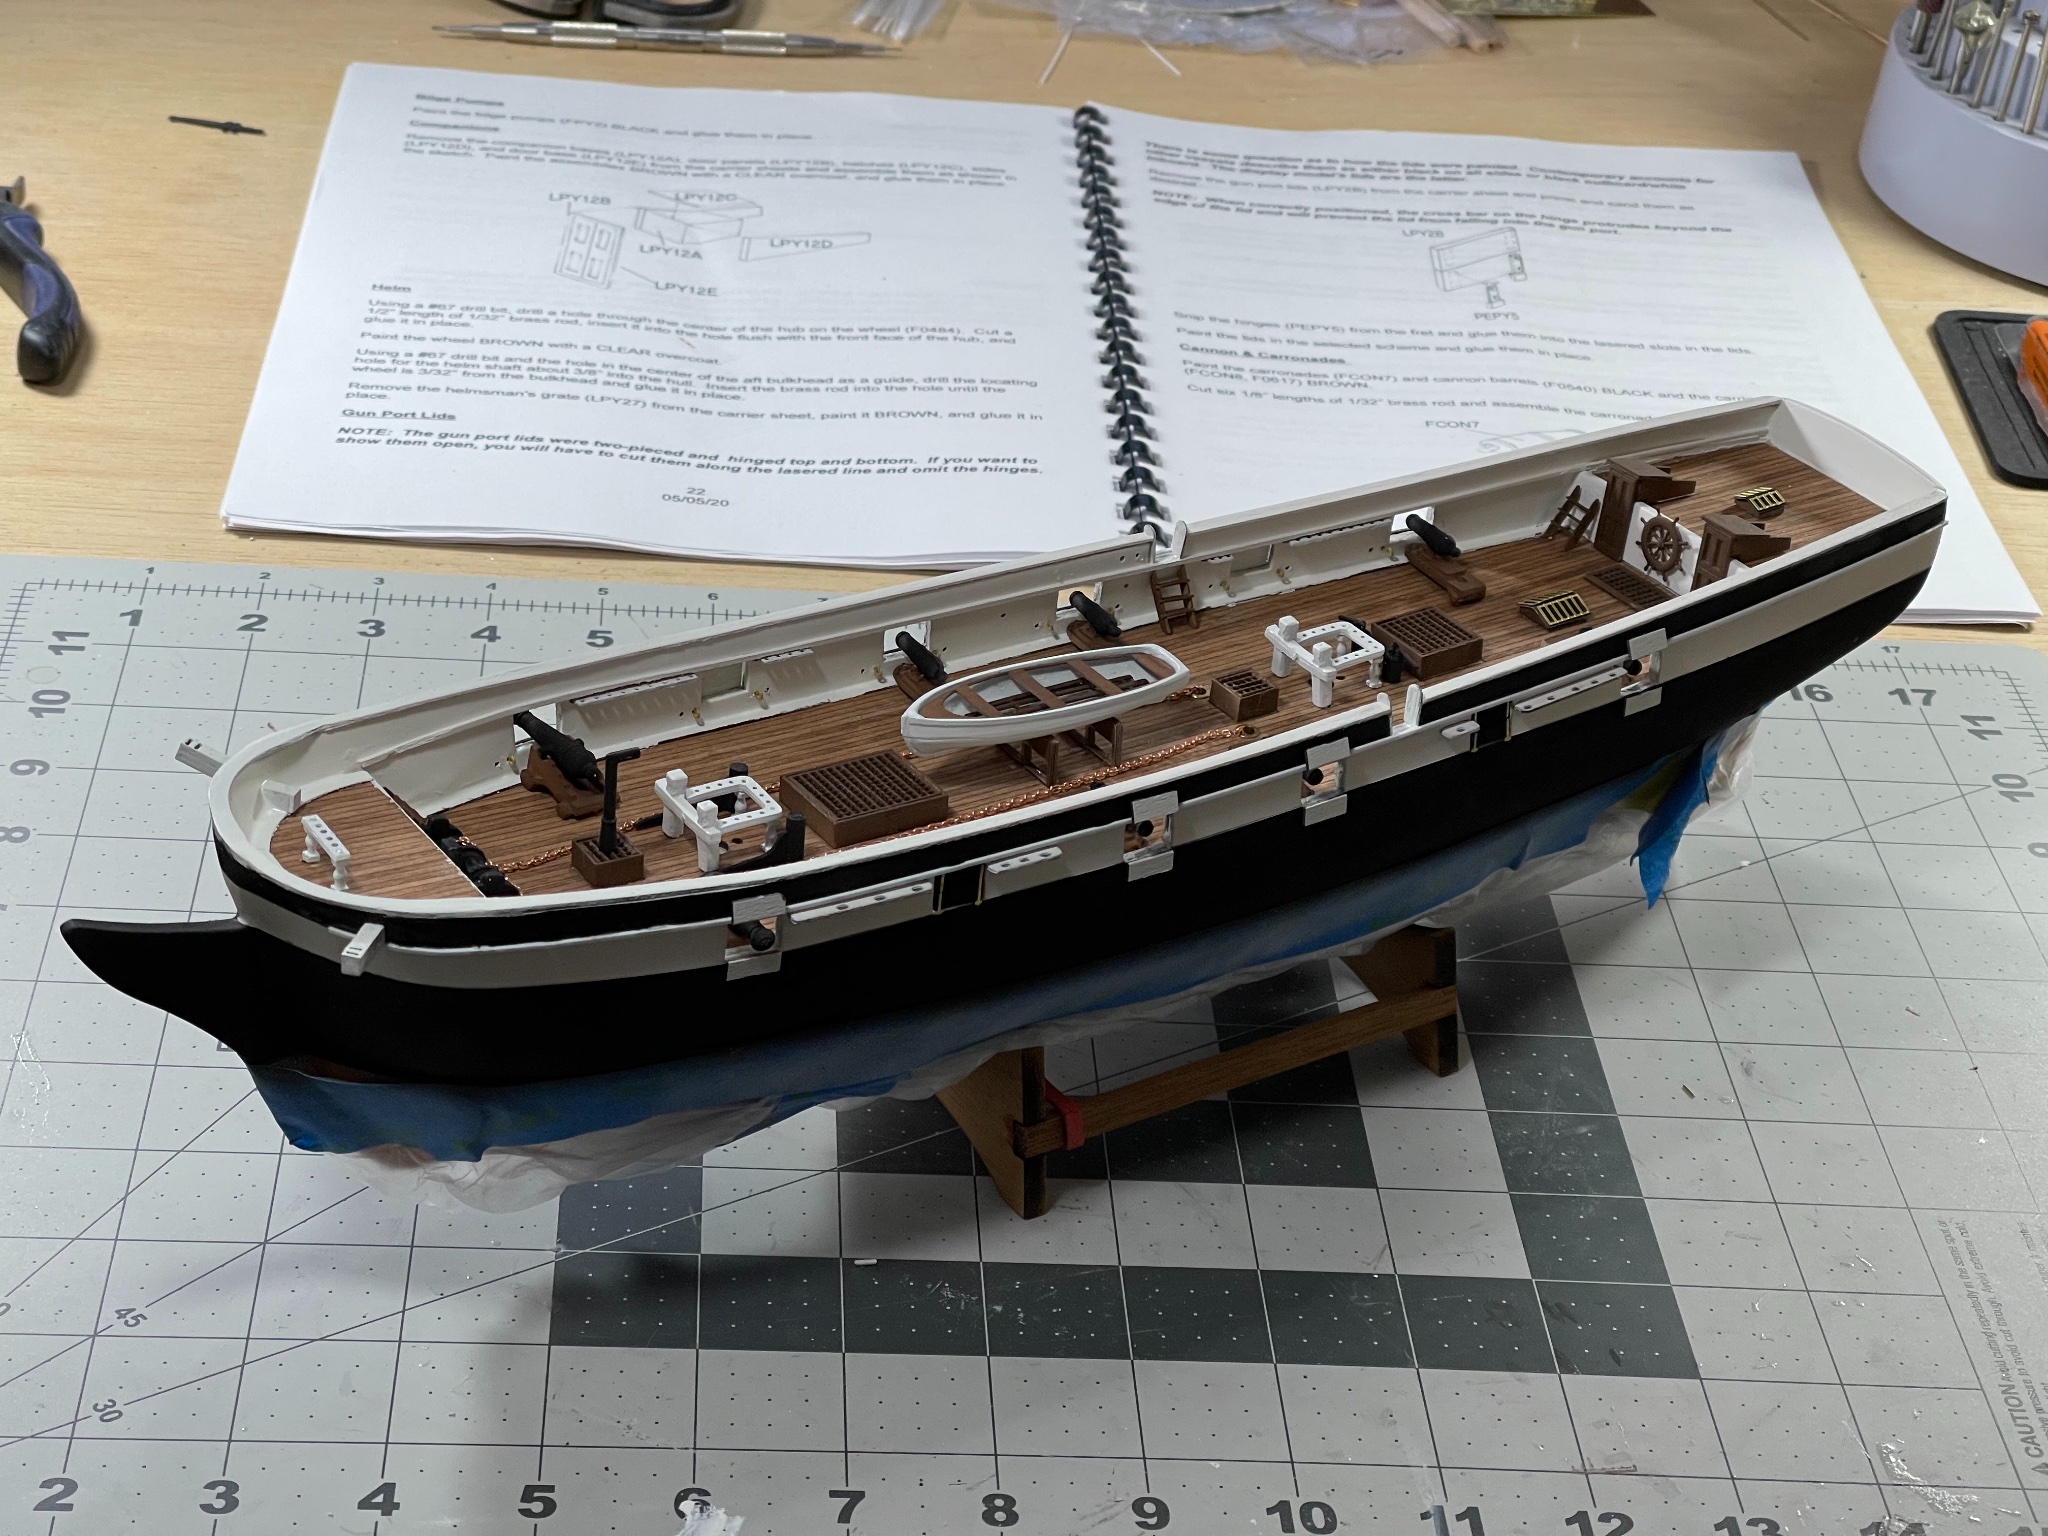
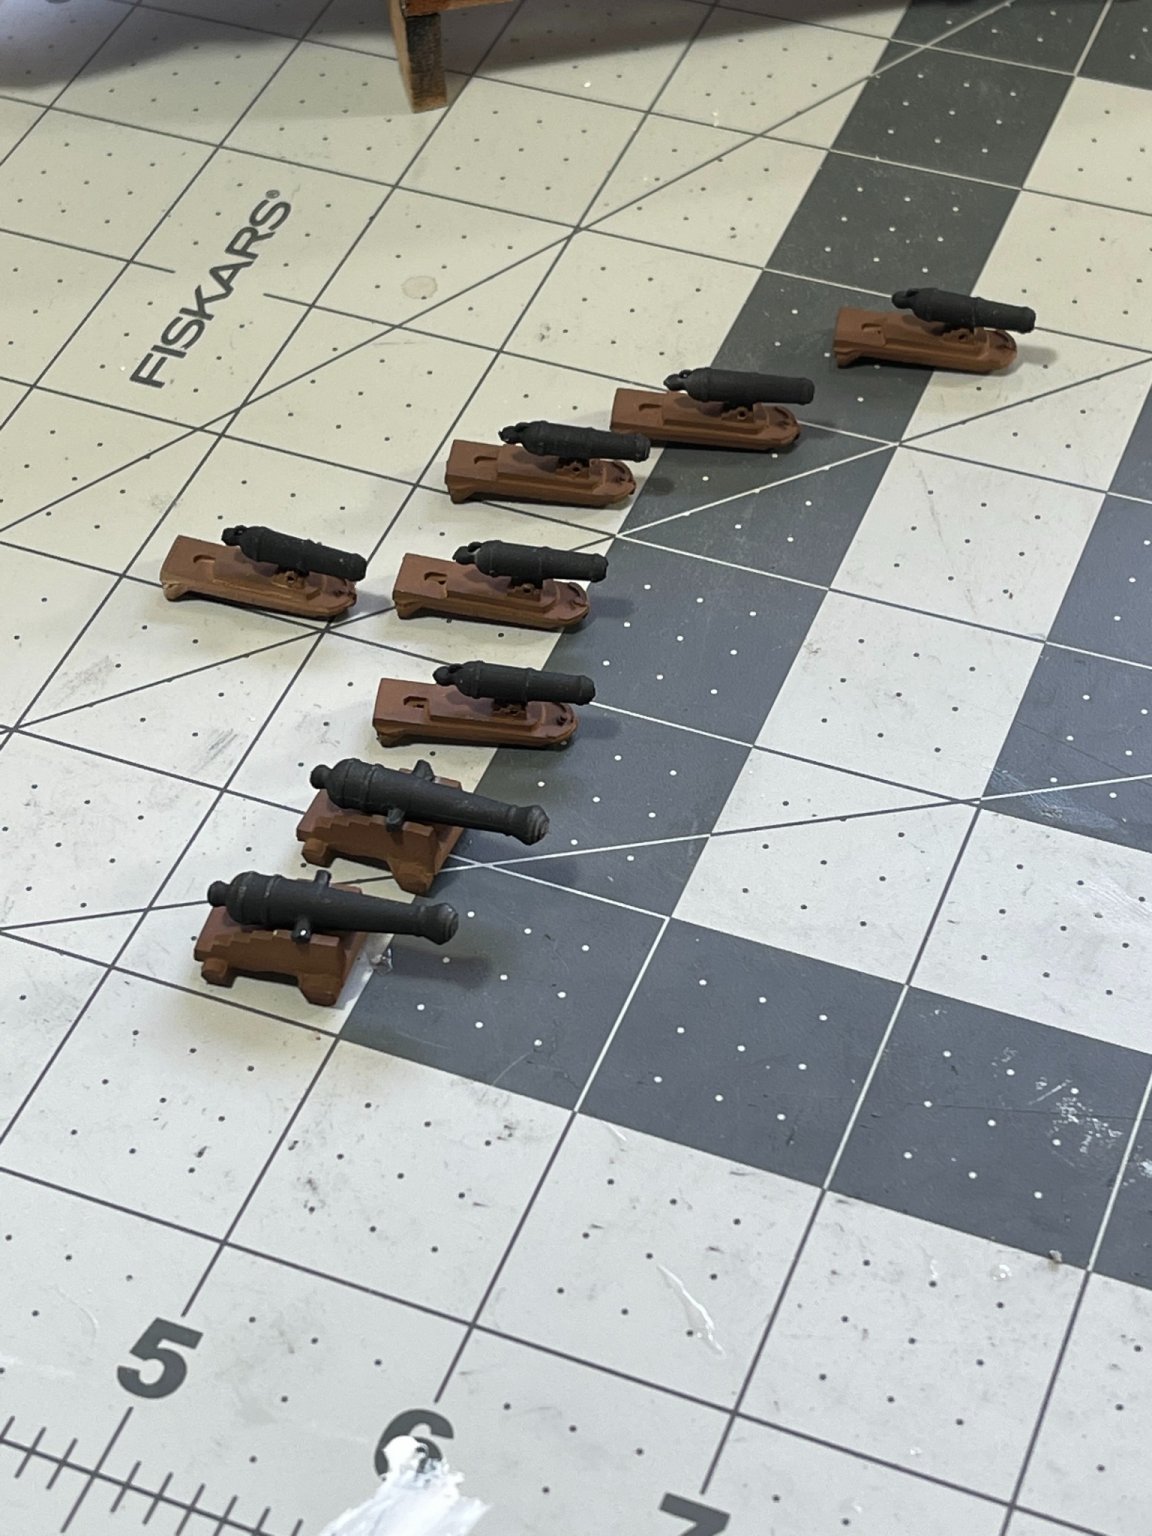
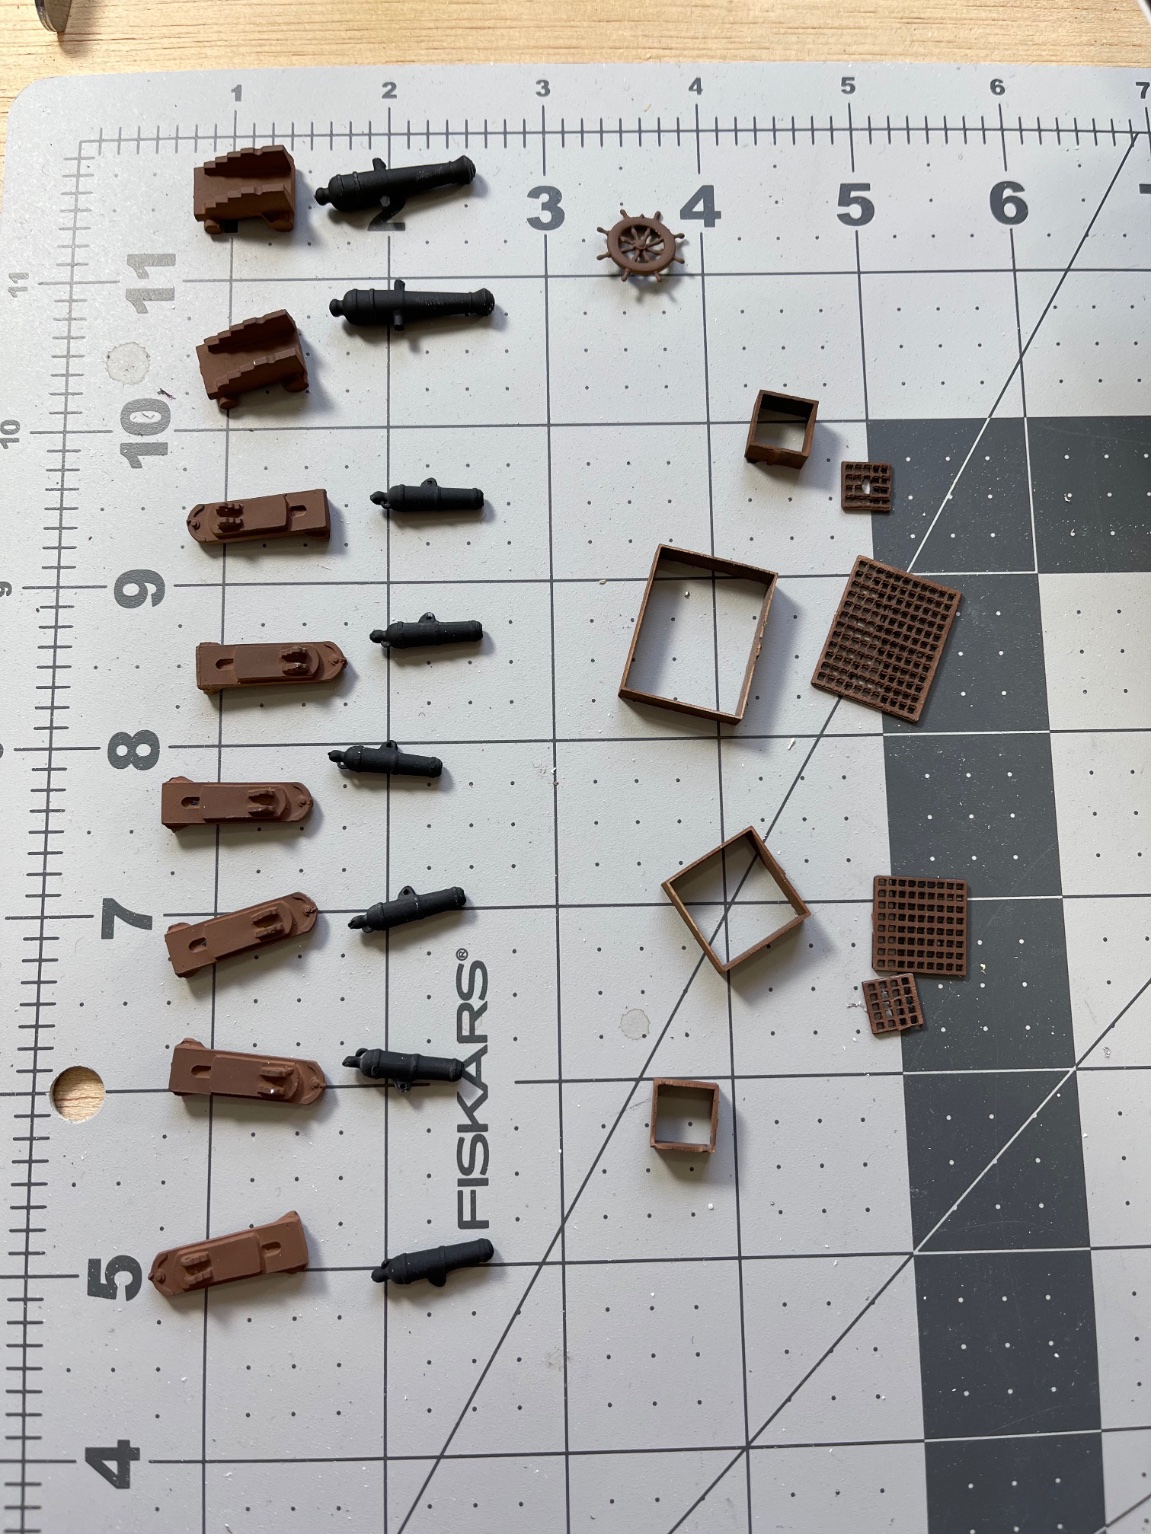
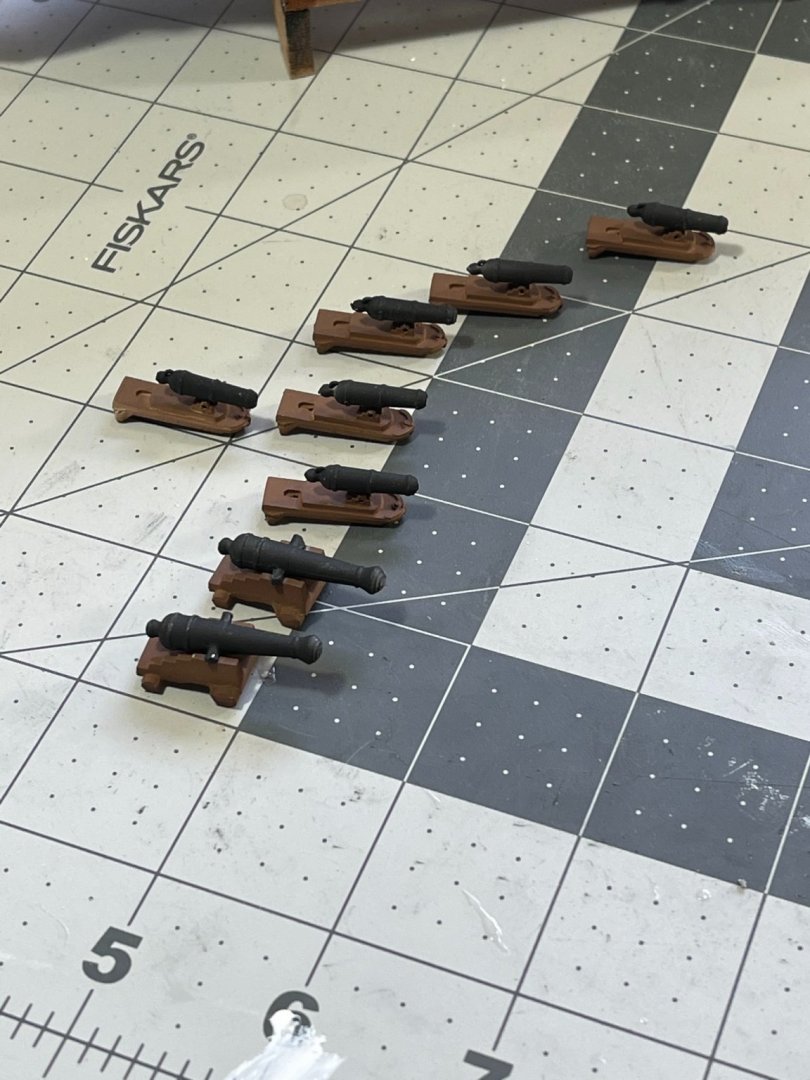
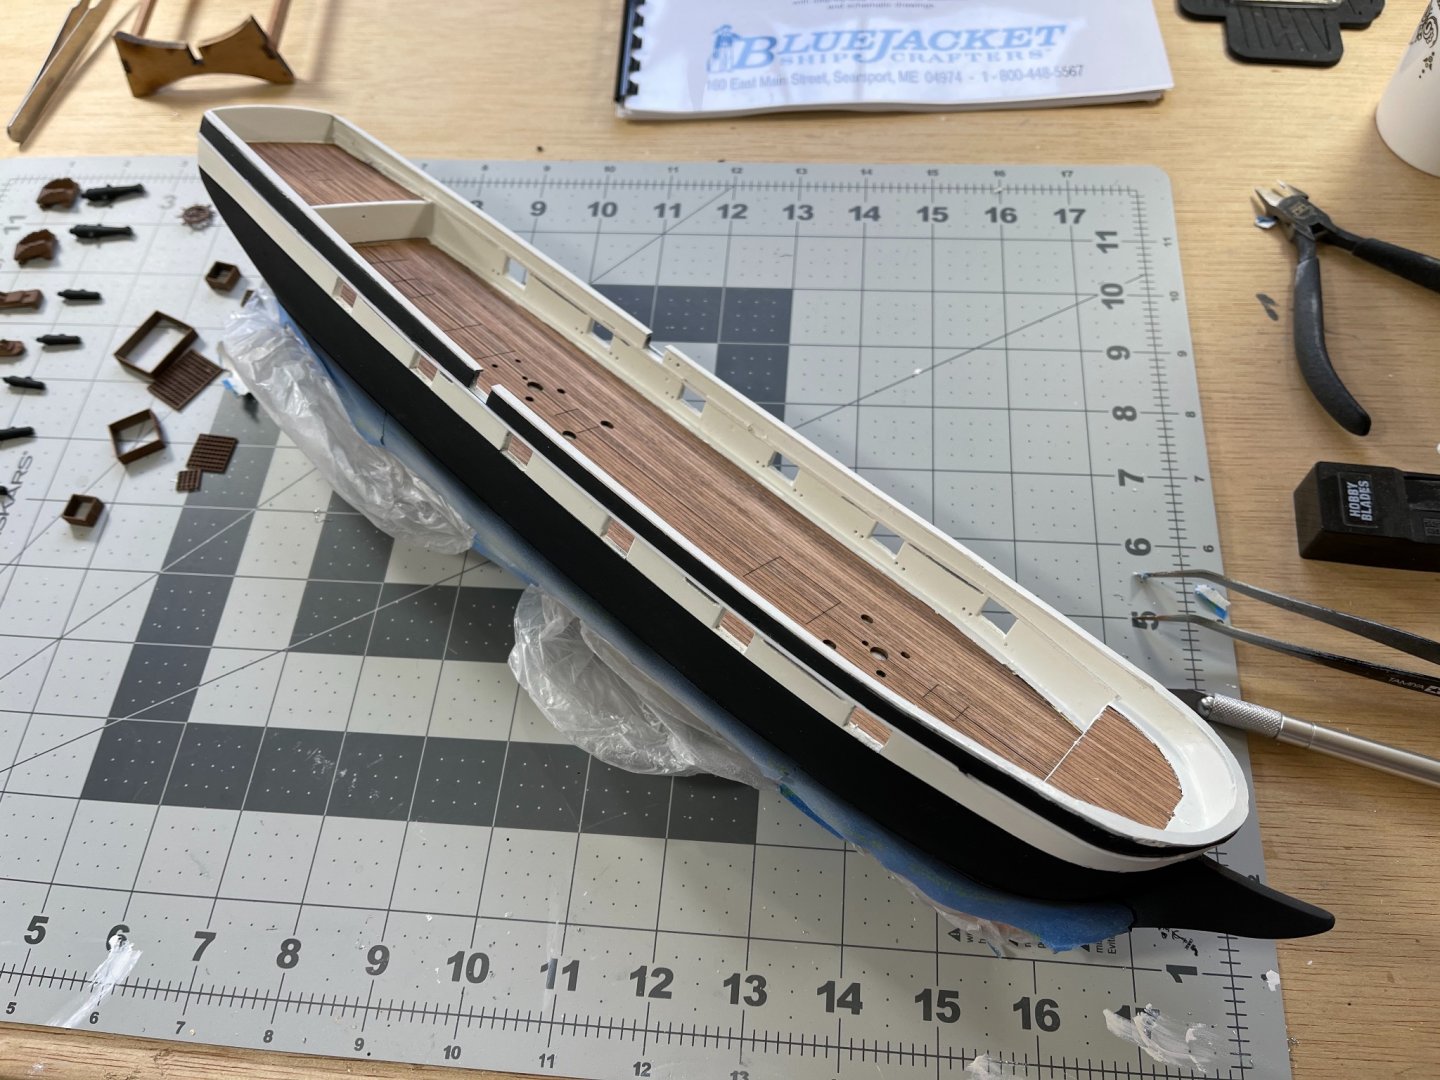
More progress this weekend! I touched up the paint on the hull and removed the masking from the deck to begin the details there. Painted the cannons and carronades as well as some of the deck grates.

- 85 replies
-
- 3
-
-
- perry
- BlueJacket Shipcrafters
- (and 1 more)
-
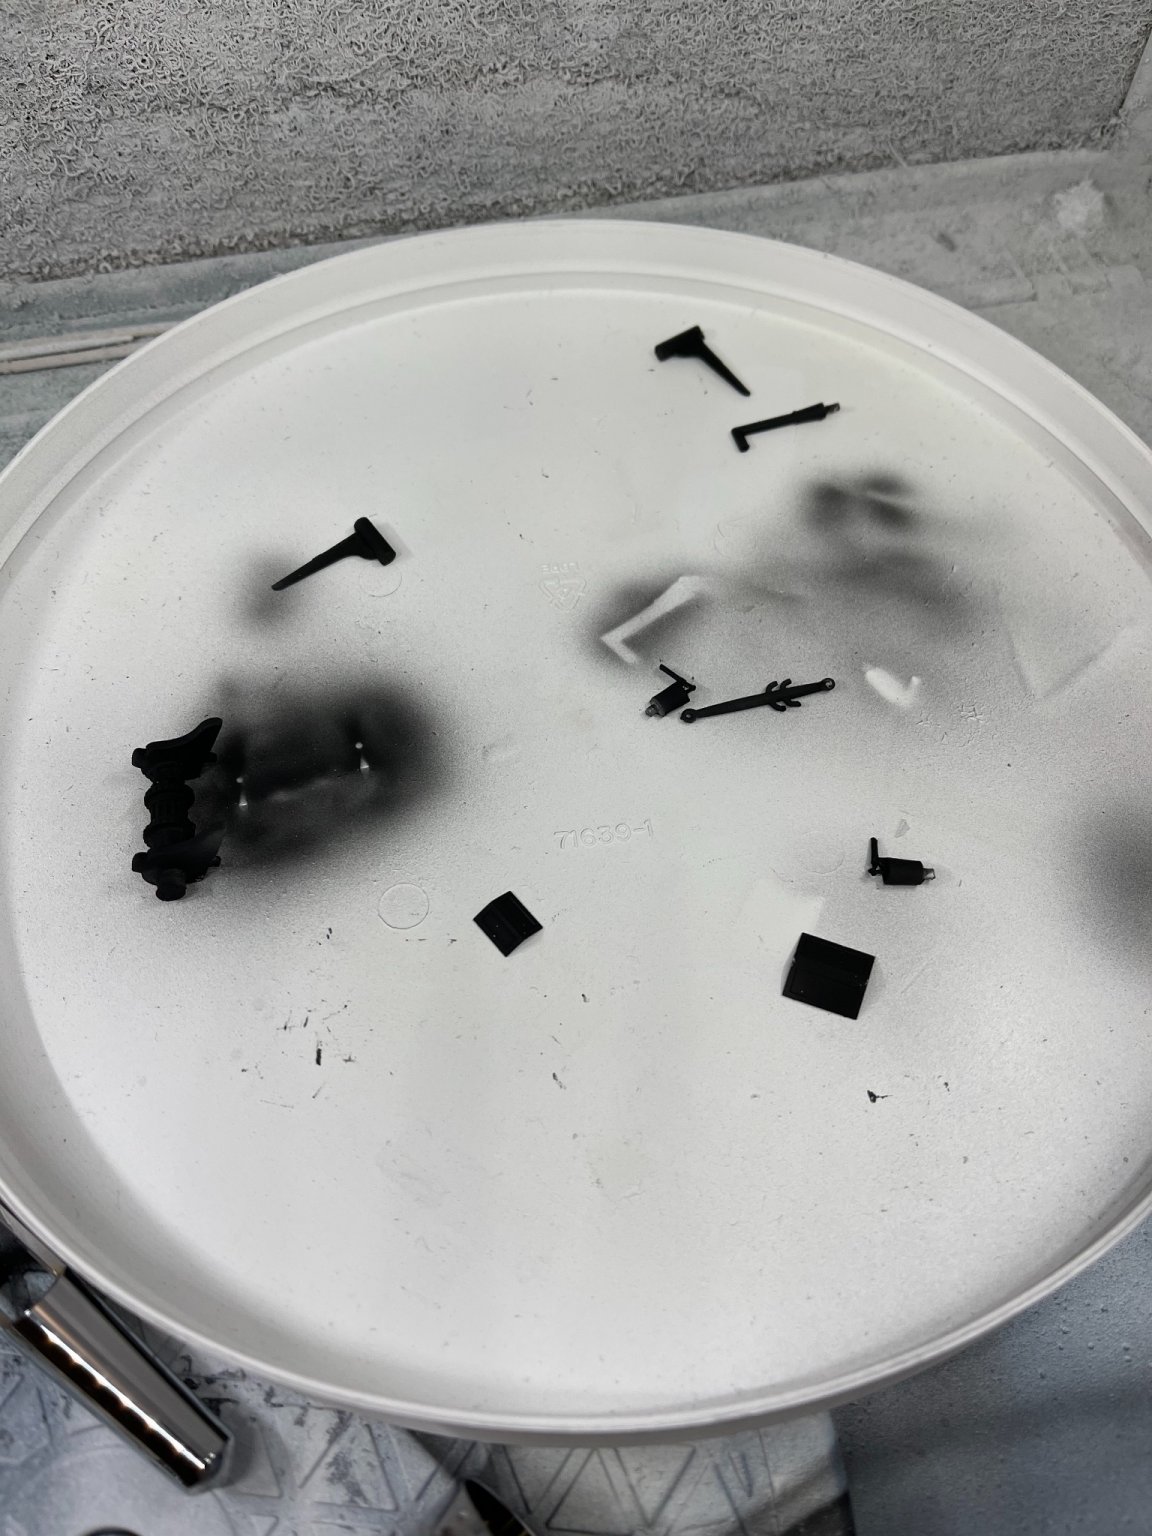
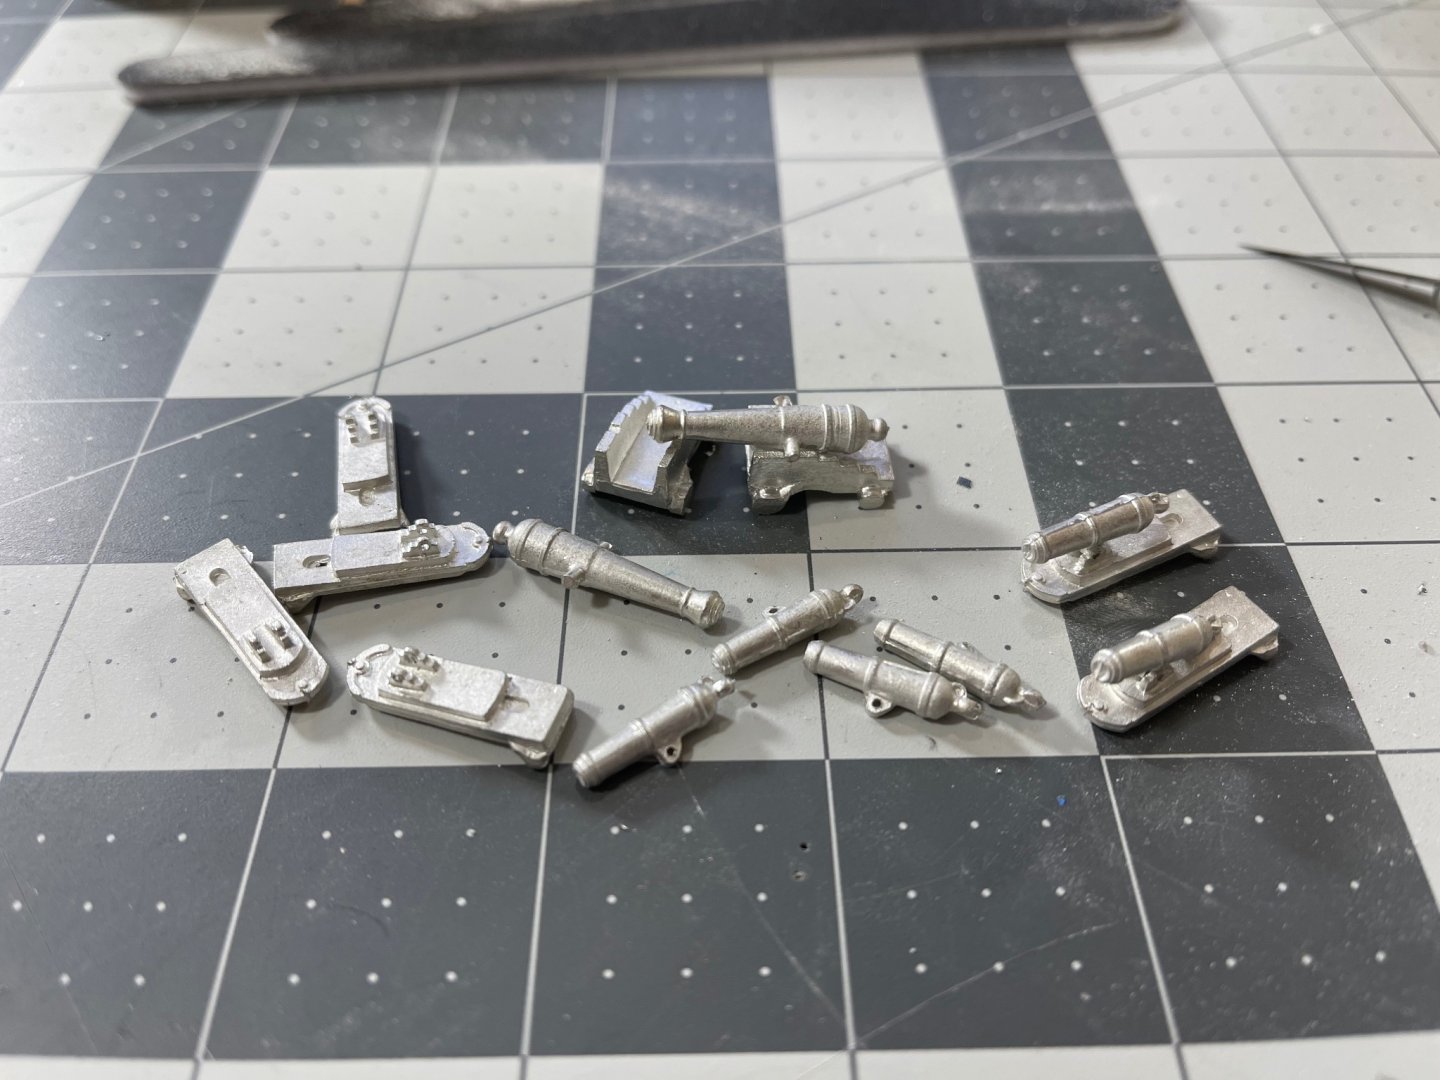
Another slow but productive day on the Perry! Primed the cannons and carronades. Painted the cap rails as well. Trying to make regular progress!
- 85 replies
-
- 4
-
-
- perry
- BlueJacket Shipcrafters
- (and 1 more)
-
Finally back at it! Spent a little time getting up to speed at where I had left the model and just getting myself re-acquainted with the plans. Next I installed the cap rails and inner bulwarks moldings. Next I collected a number of pieces I anticipated needing to prime and primed them. A slow day but back to making progress


- 85 replies
-
- 3
-
-
- perry
- BlueJacket Shipcrafters
- (and 1 more)
-
@ahb26 Thank you! A number of crazy things this year but hoping to get back into this project over the long weekend! I haven't forgotten about it
- 85 replies
-
- 1
-
-
- perry
- BlueJacket Shipcrafters
- (and 1 more)
-
Looking forward to watching your build! It’s a wonderful kit that is a great way to build your skills!
- 89 replies
-
- 3
-
-
- bluejacket shipcrafters
- revenue cutter
- (and 1 more)