HOLIDAY DONATION DRIVE - SUPPORT MSW - DO YOUR PART TO KEEP THIS GREAT FORUM GOING! (Only 75 donations so far out of 49,000 members - C'mon guys!)
×


sjanicki
-
Posts
227 -
Joined
-
Last visited
Content Type
Profiles
Forums
Gallery
Events
Everything posted by sjanicki
-
Thank you for the compliments! The plates really make the model so engaging to look at. Do you have a build log? Would love to follow along
-
After examining the hull again I realized that one half of the waterline was in the wrong spot This resulted in me needing to remove a couple rows of plates, re-mask, paint, and re-install with new plates another row. A little frustrated at my mistake but it’s fixed now. On to making progress again!


- 85 replies
-
- 10
-

-
- perry
- BlueJacket Shipcrafters
- (and 1 more)
-
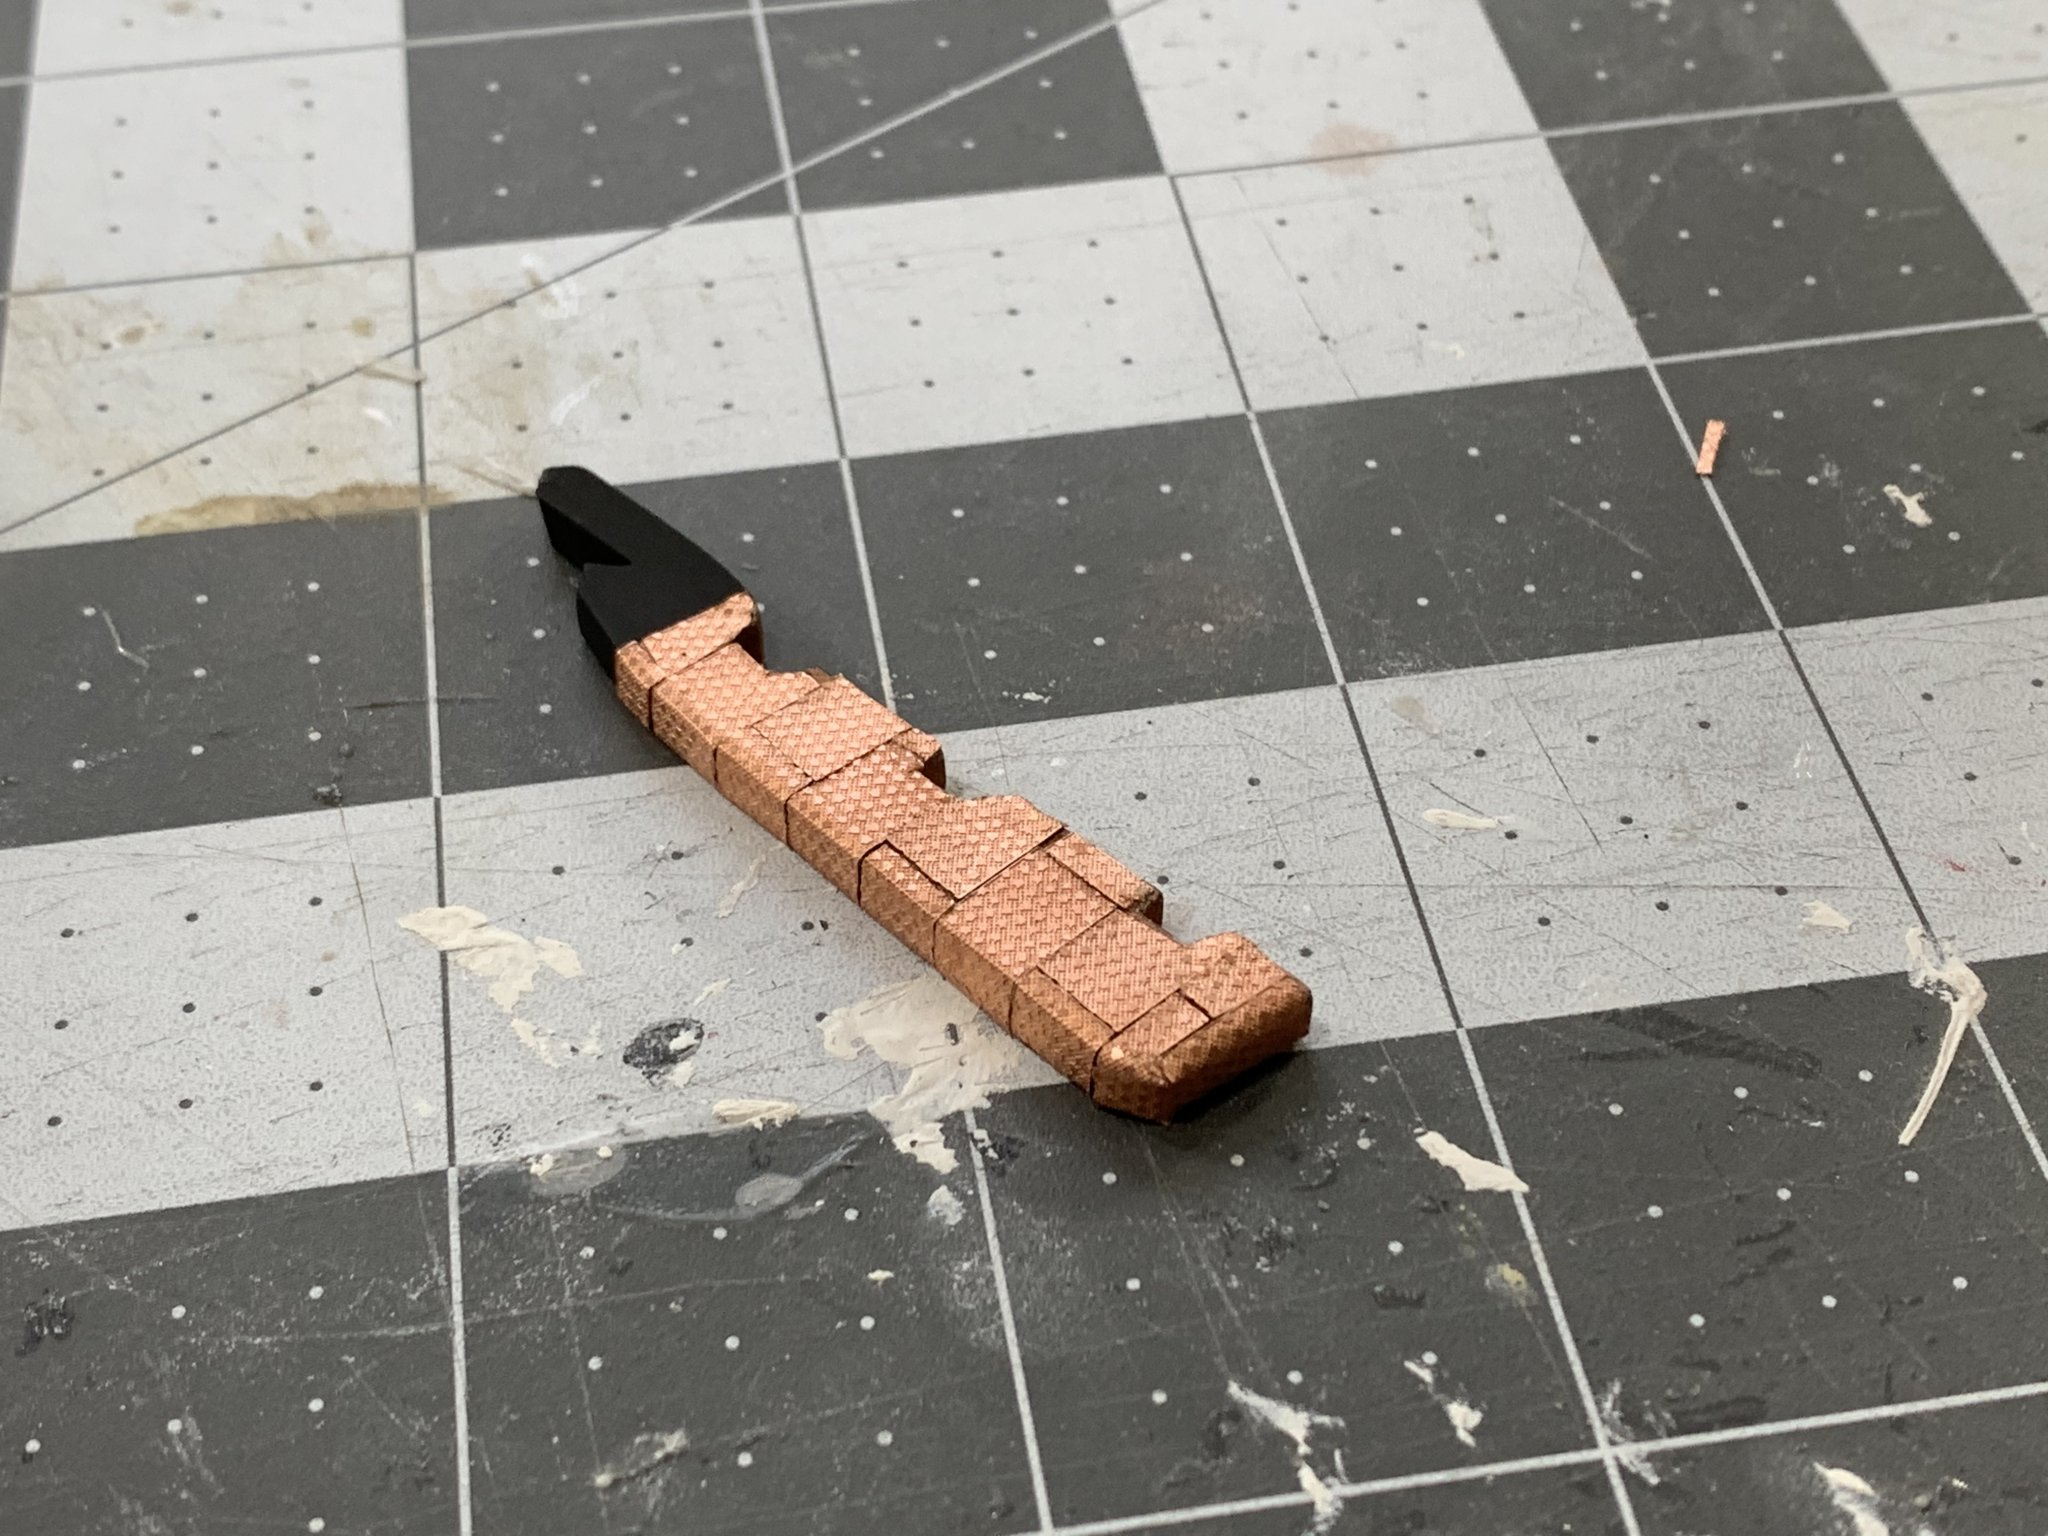
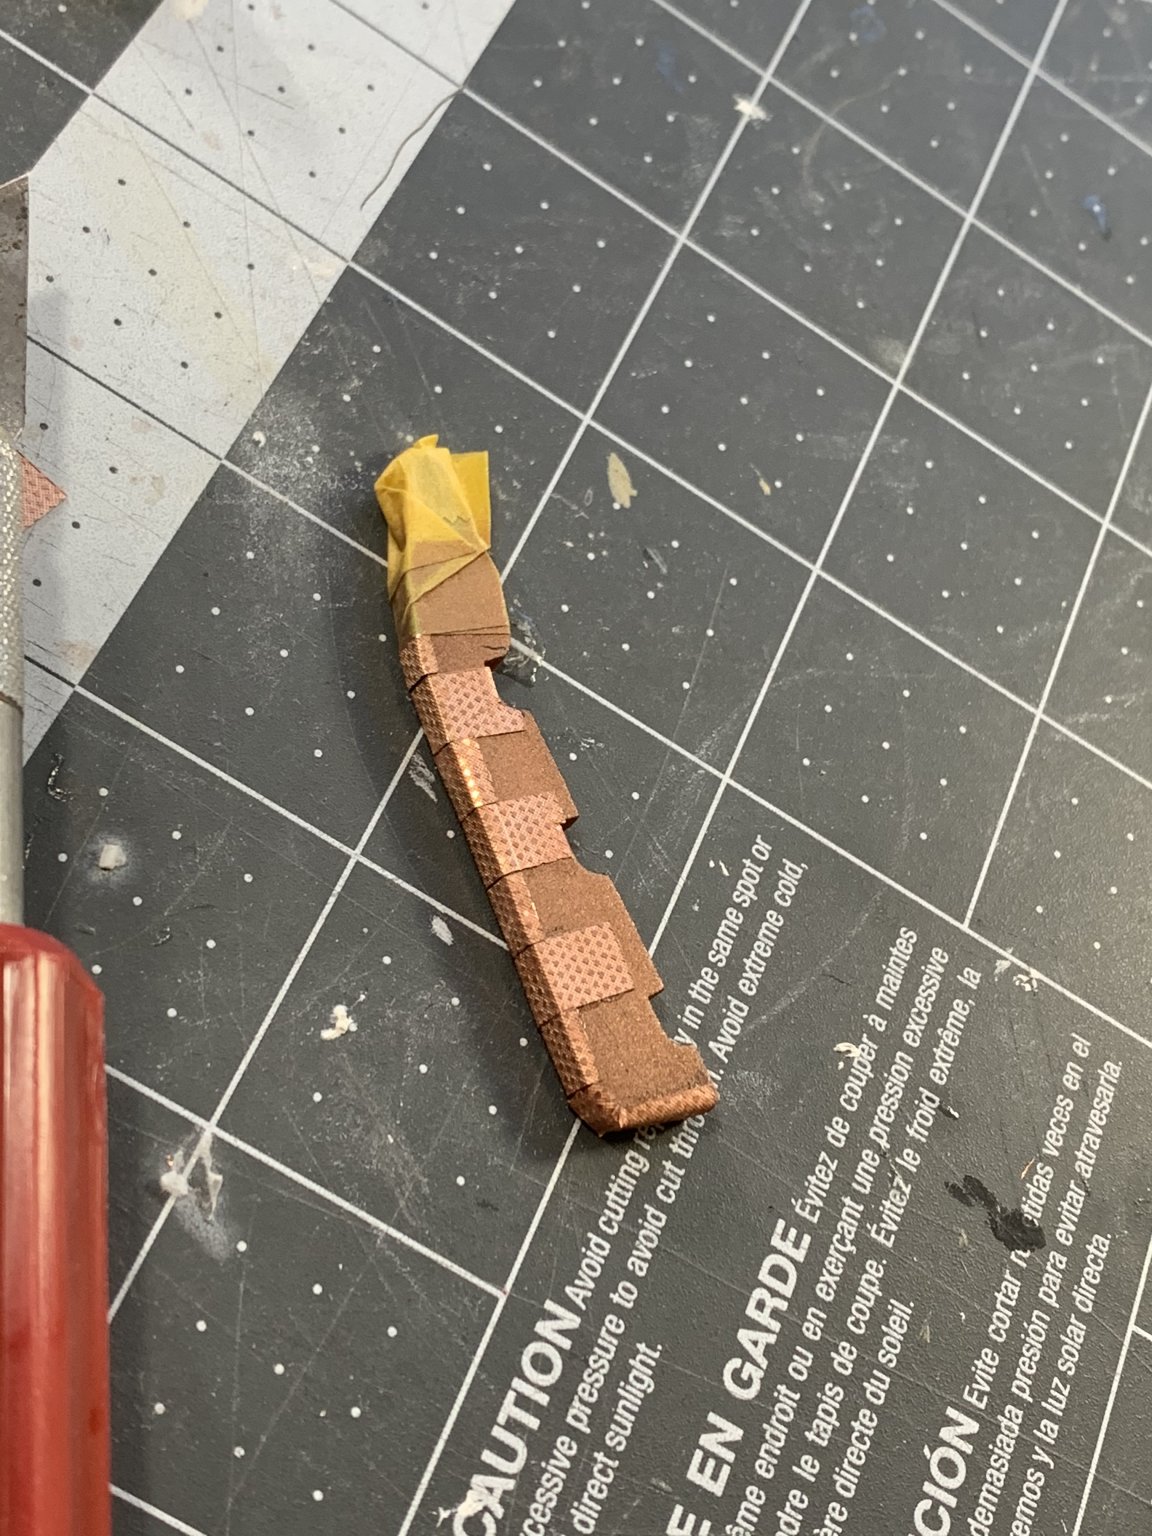
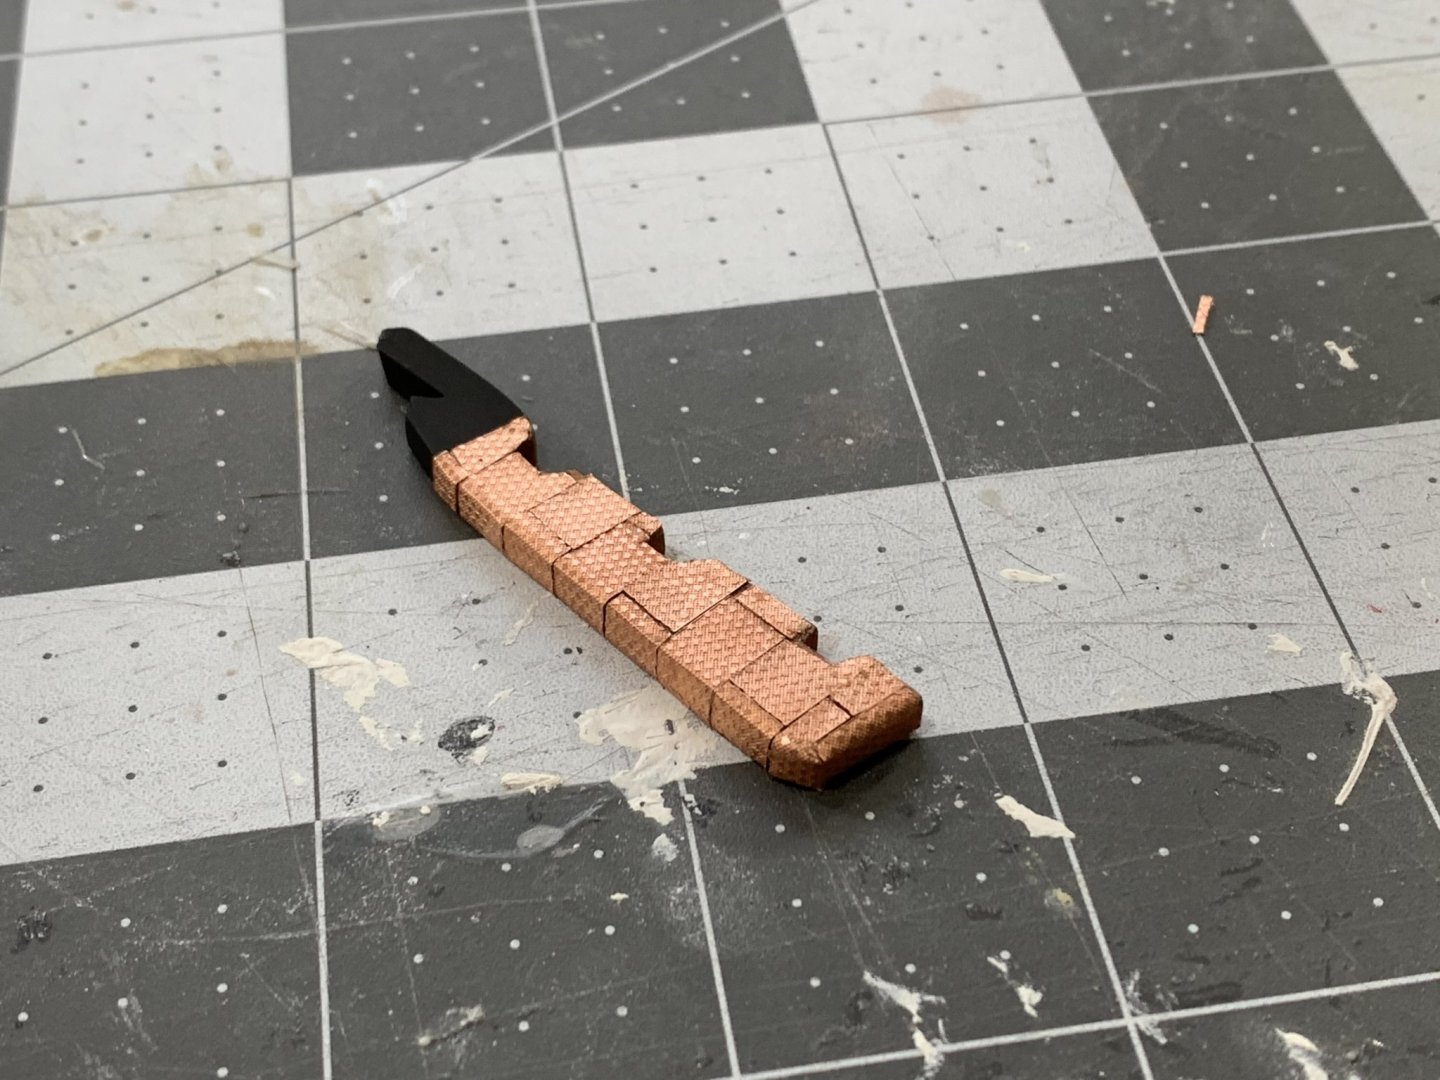
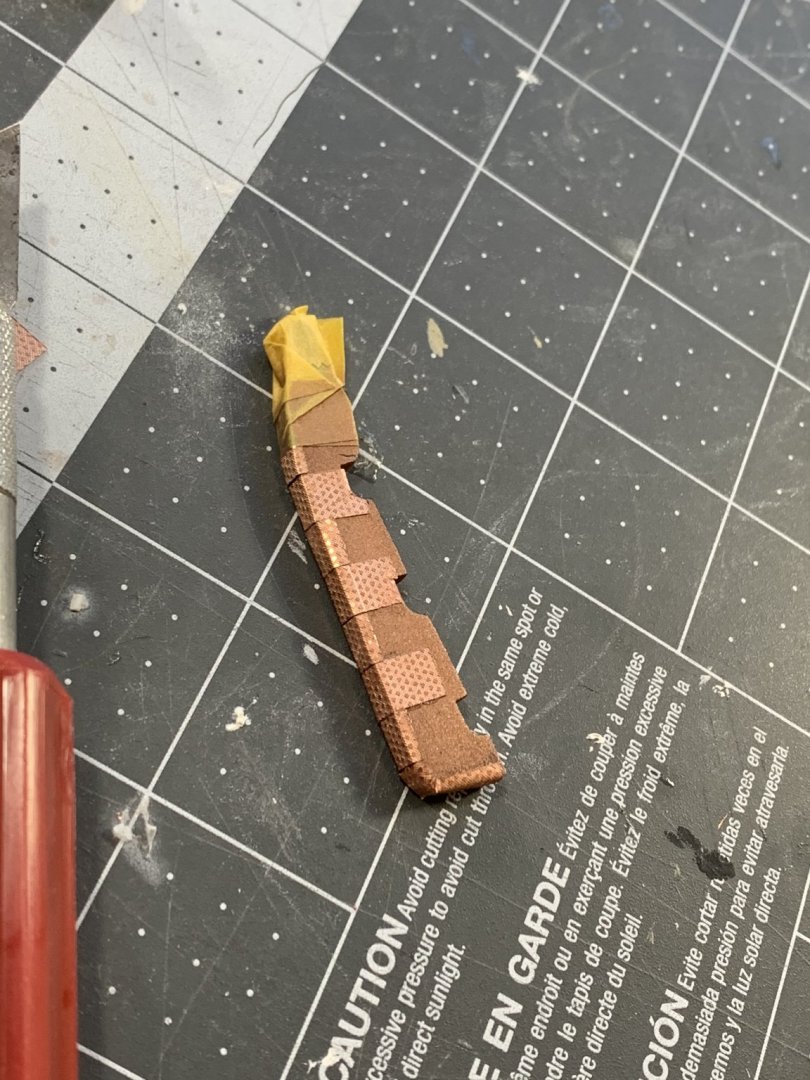
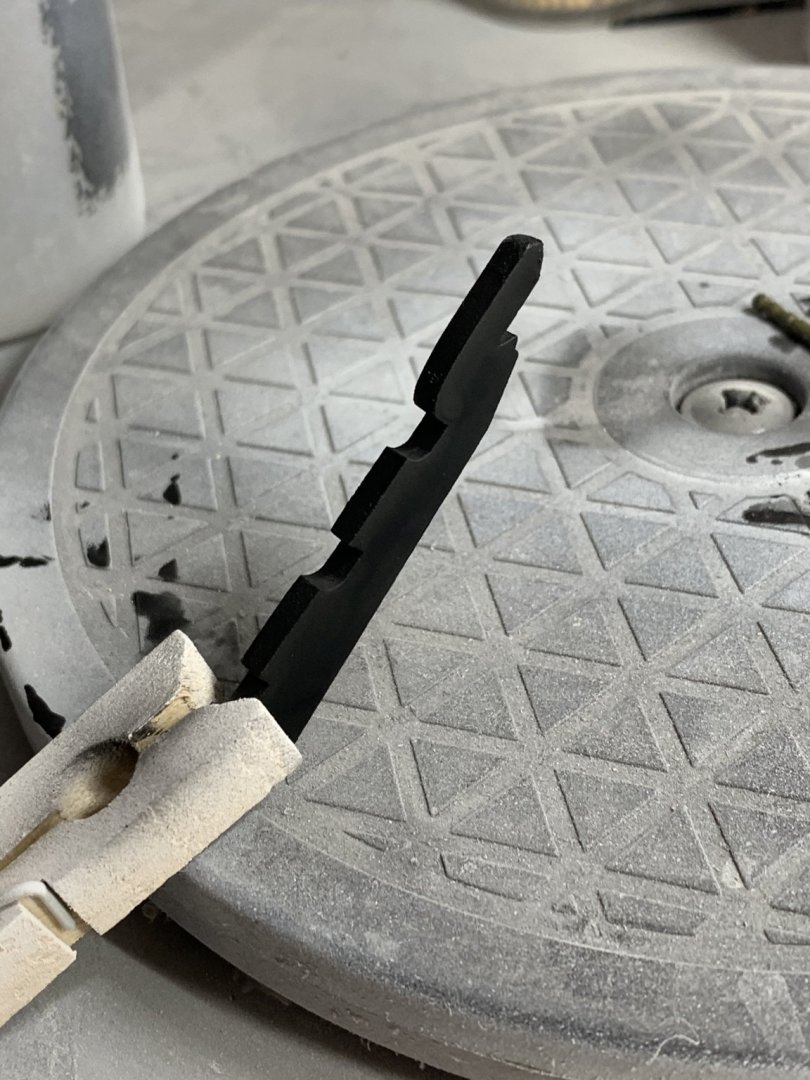
Finished off the copper plating on the rudder! This completes all for copper plating on the model which feels like an accomplishment for sure!
- 85 replies
-
- 5
-
-
- perry
- BlueJacket Shipcrafters
- (and 1 more)
-
Although I didn’t have a lot of time tonight I am trying to make at least consistent progress. A few copper plates but making a little progress is better than no progress.
- 85 replies
-
- 3
-
-
- perry
- BlueJacket Shipcrafters
- (and 1 more)
-
Blackening Britannia Metal
sjanicki replied to stevenmh's topic in Metal Work, Soldering and Metal Fittings
Hi @stevenmh and @Osmosis, could you possibly explain the difference between blackening britannia and just painting it? The reason I ask is I have a number of Britannia fittings on my current build that will need to be colored black at some point. On my previous builds I painted them but perhaps the blackening you mention will provide a superior finish. Thank you! -
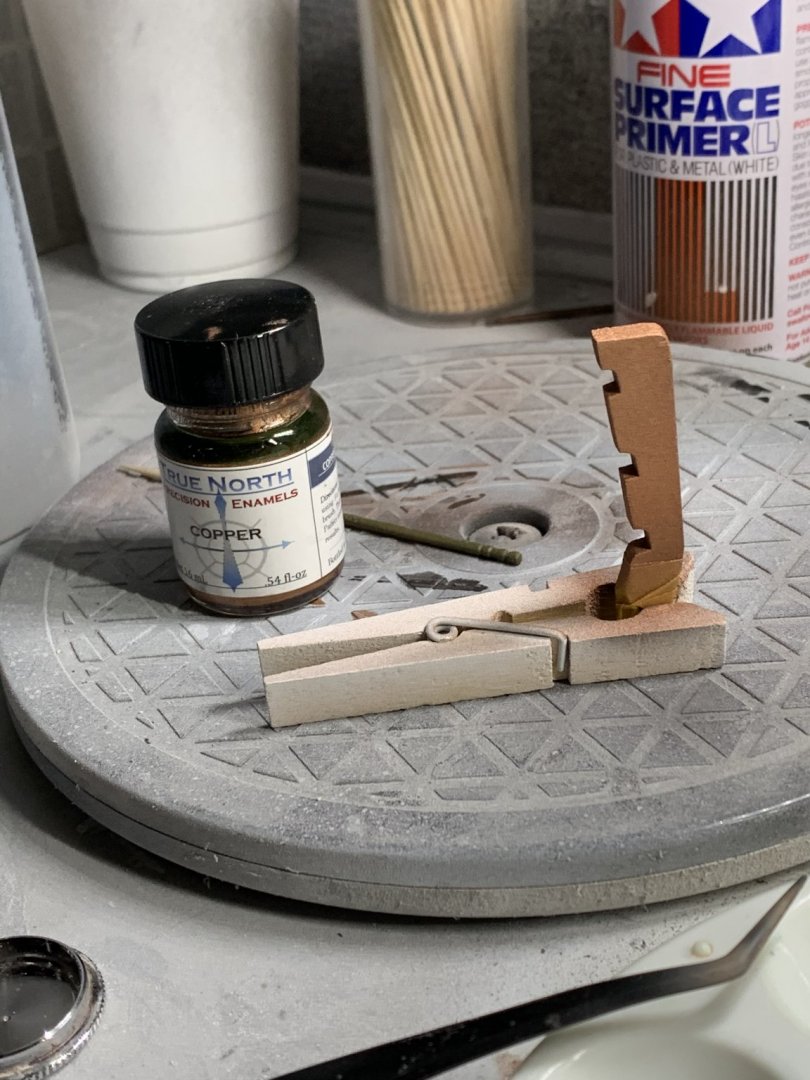
Another night with slow progress. Just had time to paint the copper base layer in the rudder. Next up is (what I anticipate will be) the last bit of copper plating on the model. I am still amazed at how much better this plating turned out than my last attempt.
- 85 replies
-
- 5
-
-
- perry
- BlueJacket Shipcrafters
- (and 1 more)
-
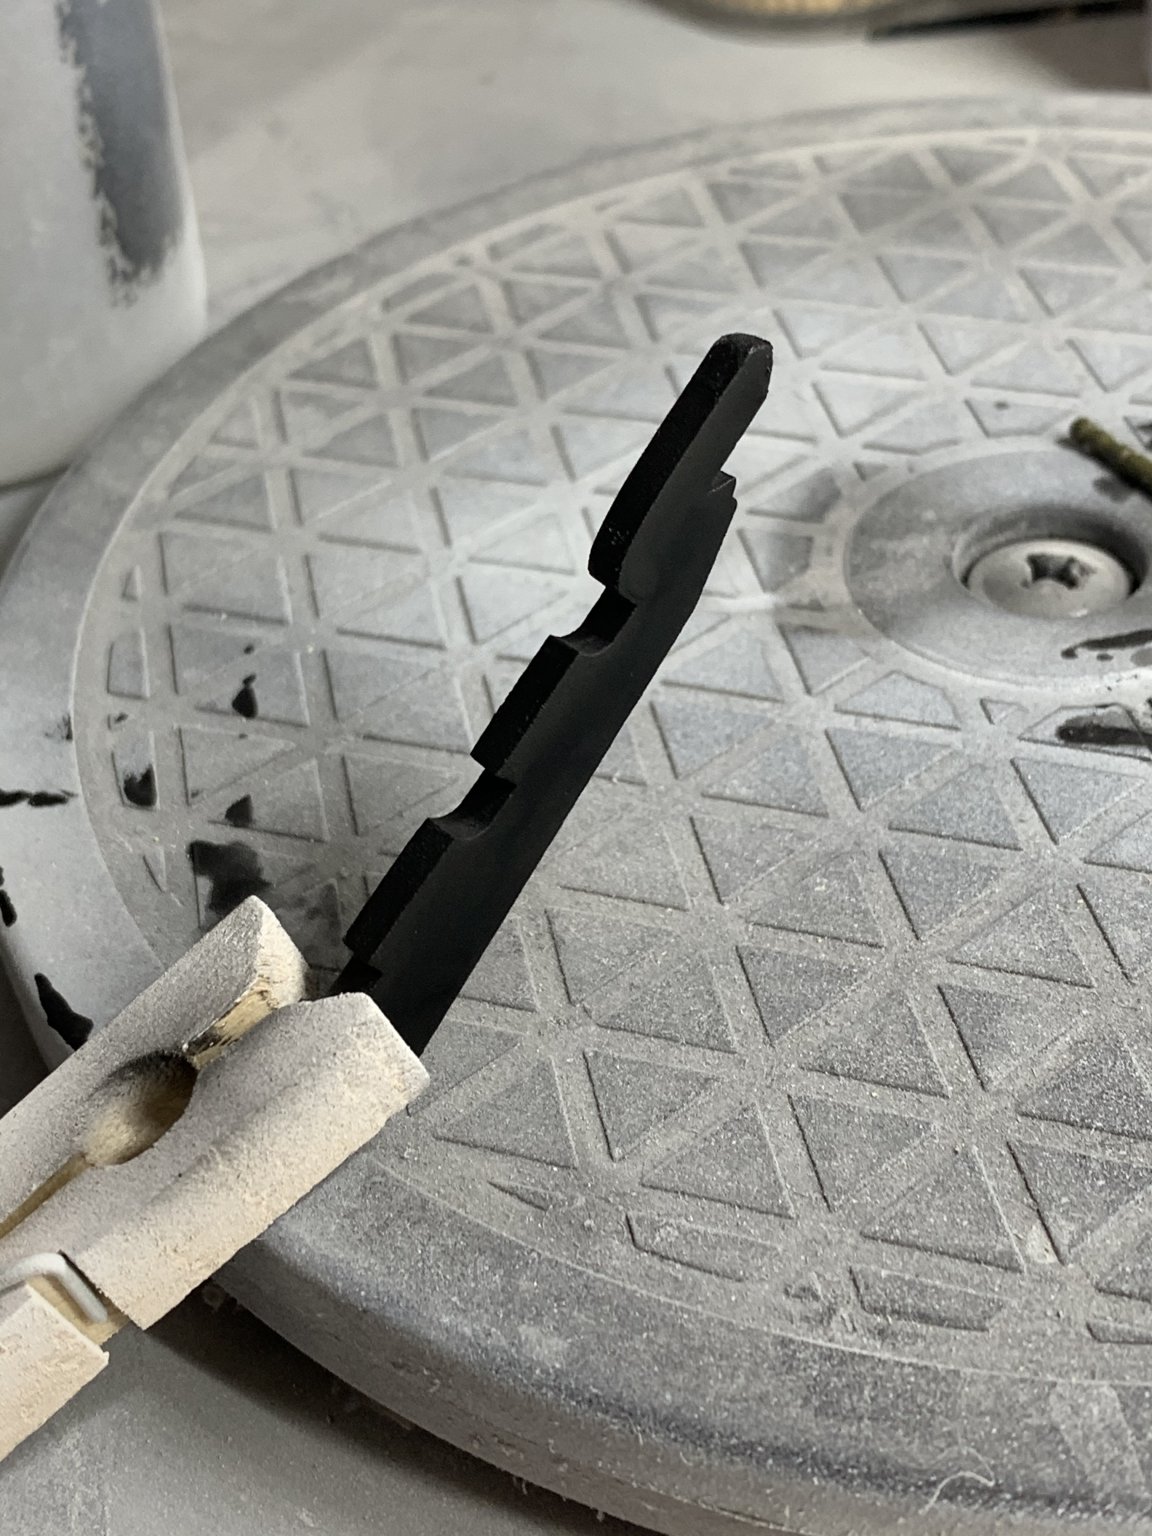
Made a little progress tonight painting the rudder. I realized I should have done this when I painted the hull. Next up will be painting a base layer of copper underneath where the copper plates will go on the rudder. Also, thanks everyone for the likes!
- 85 replies
-
- 5
-
-
- perry
- BlueJacket Shipcrafters
- (and 1 more)
-
Thank you @MrBlueJacket! Made a tiny bit of progress today on the bulwarks detailing as well as rudder finishing. Hoping to continue this progress throughout the week.
-
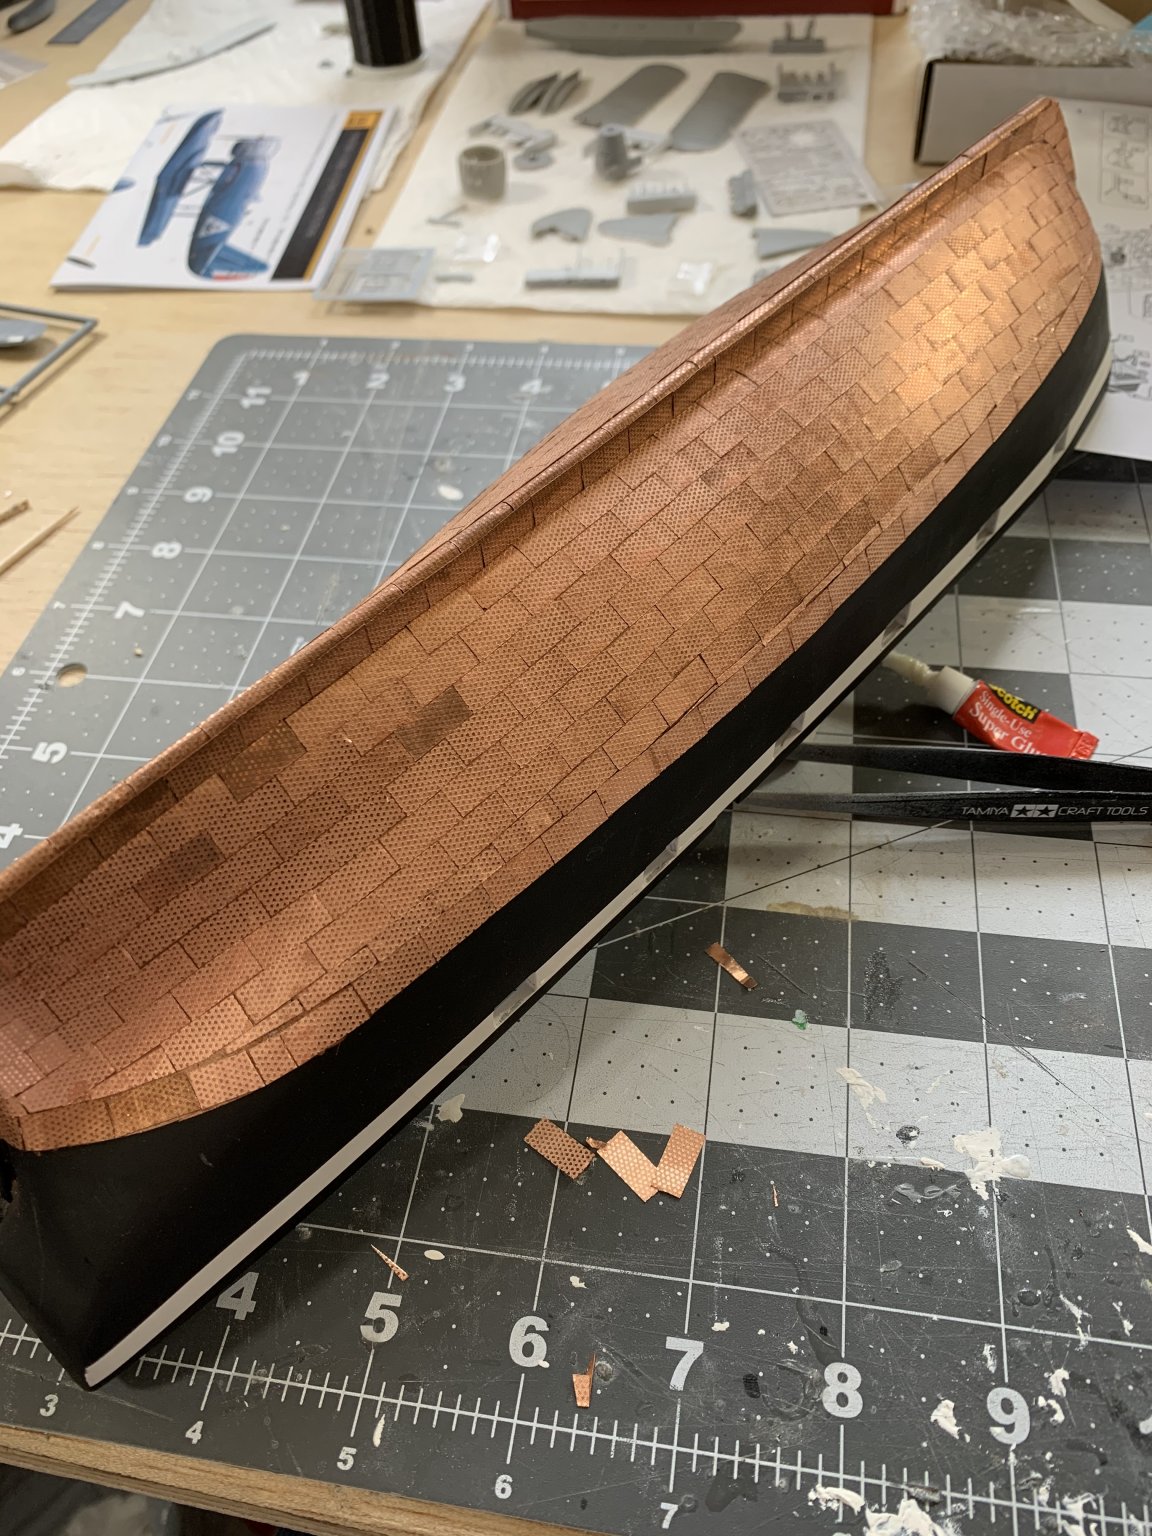
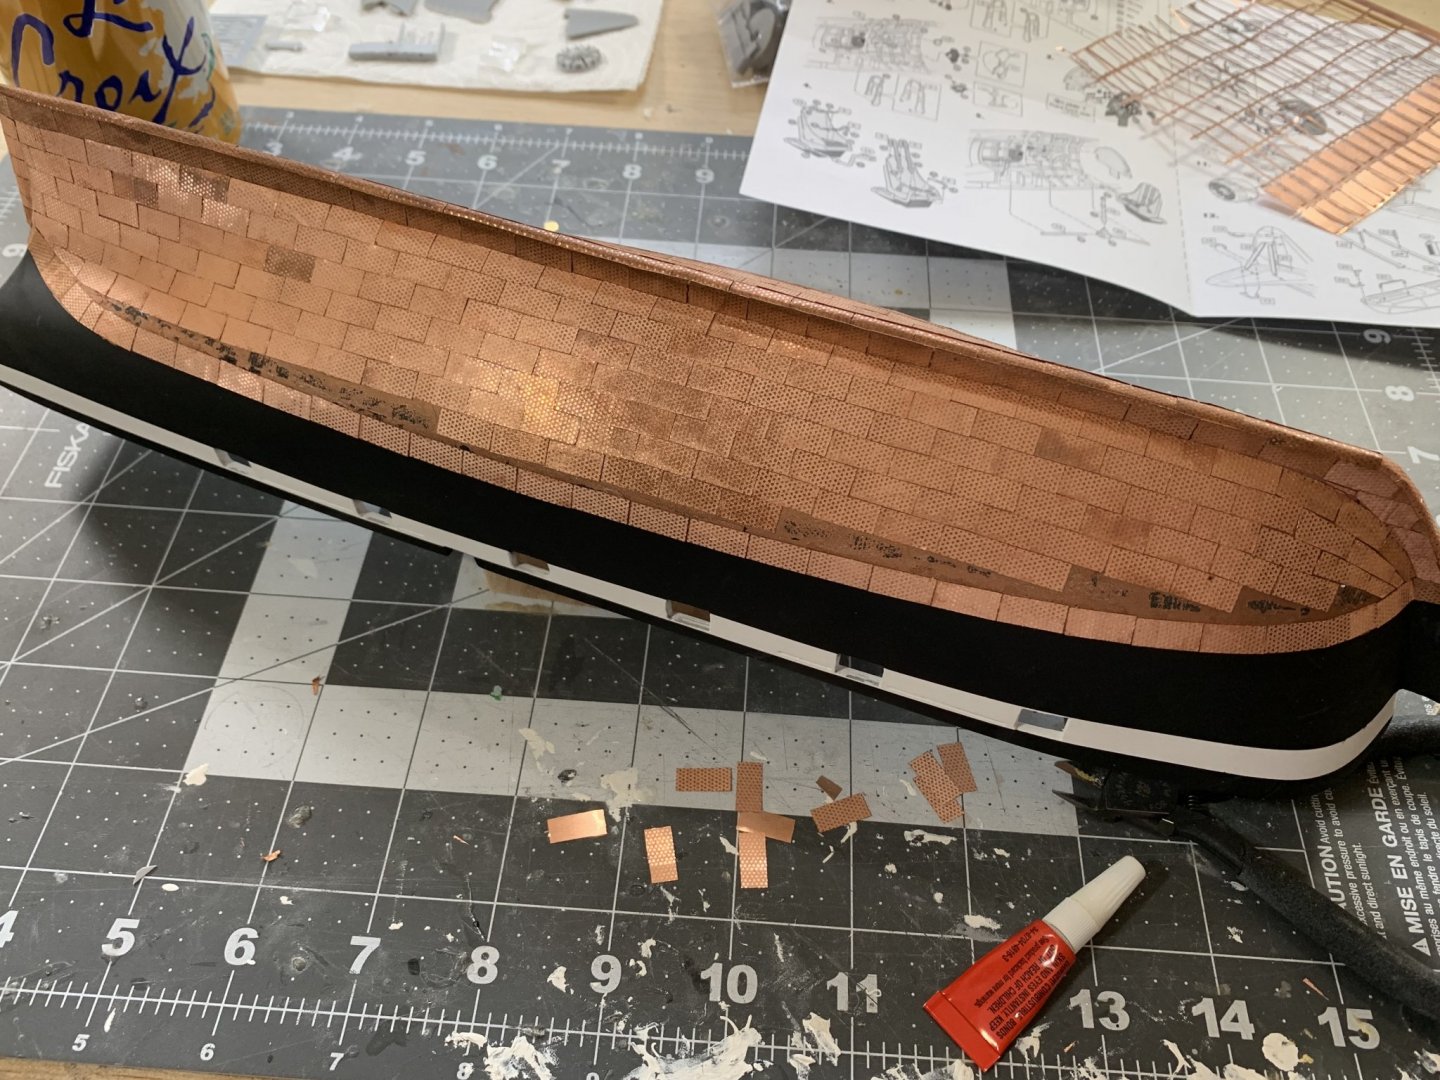
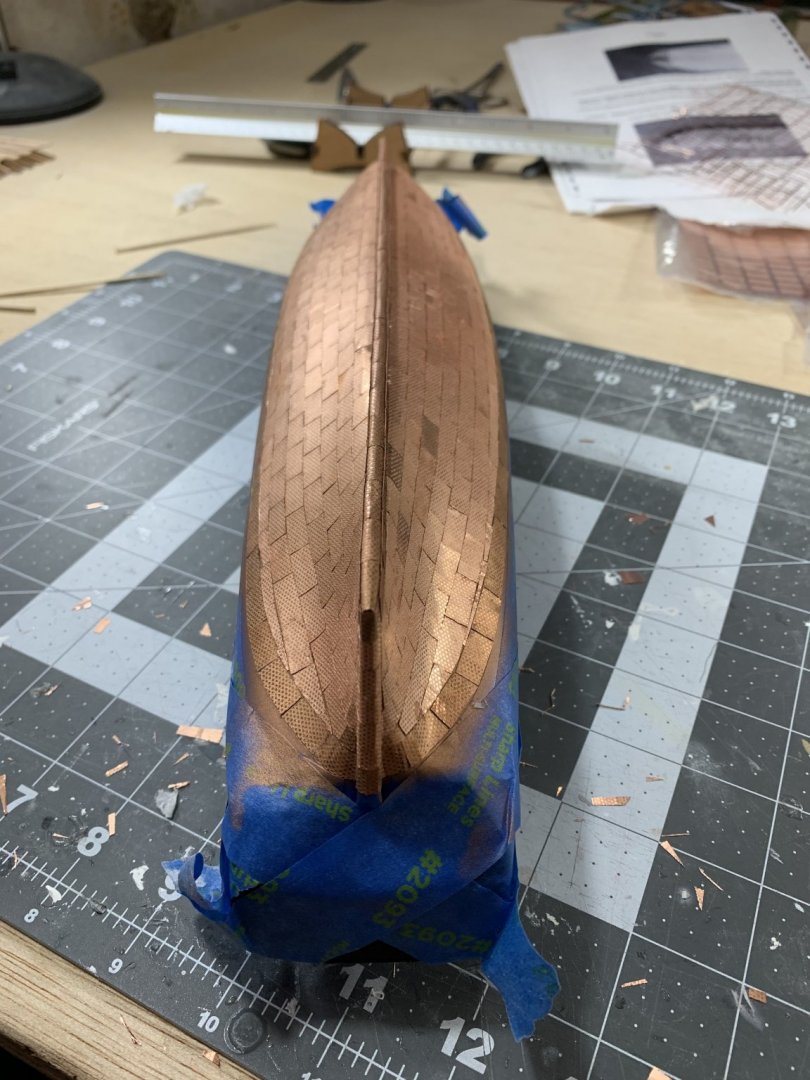
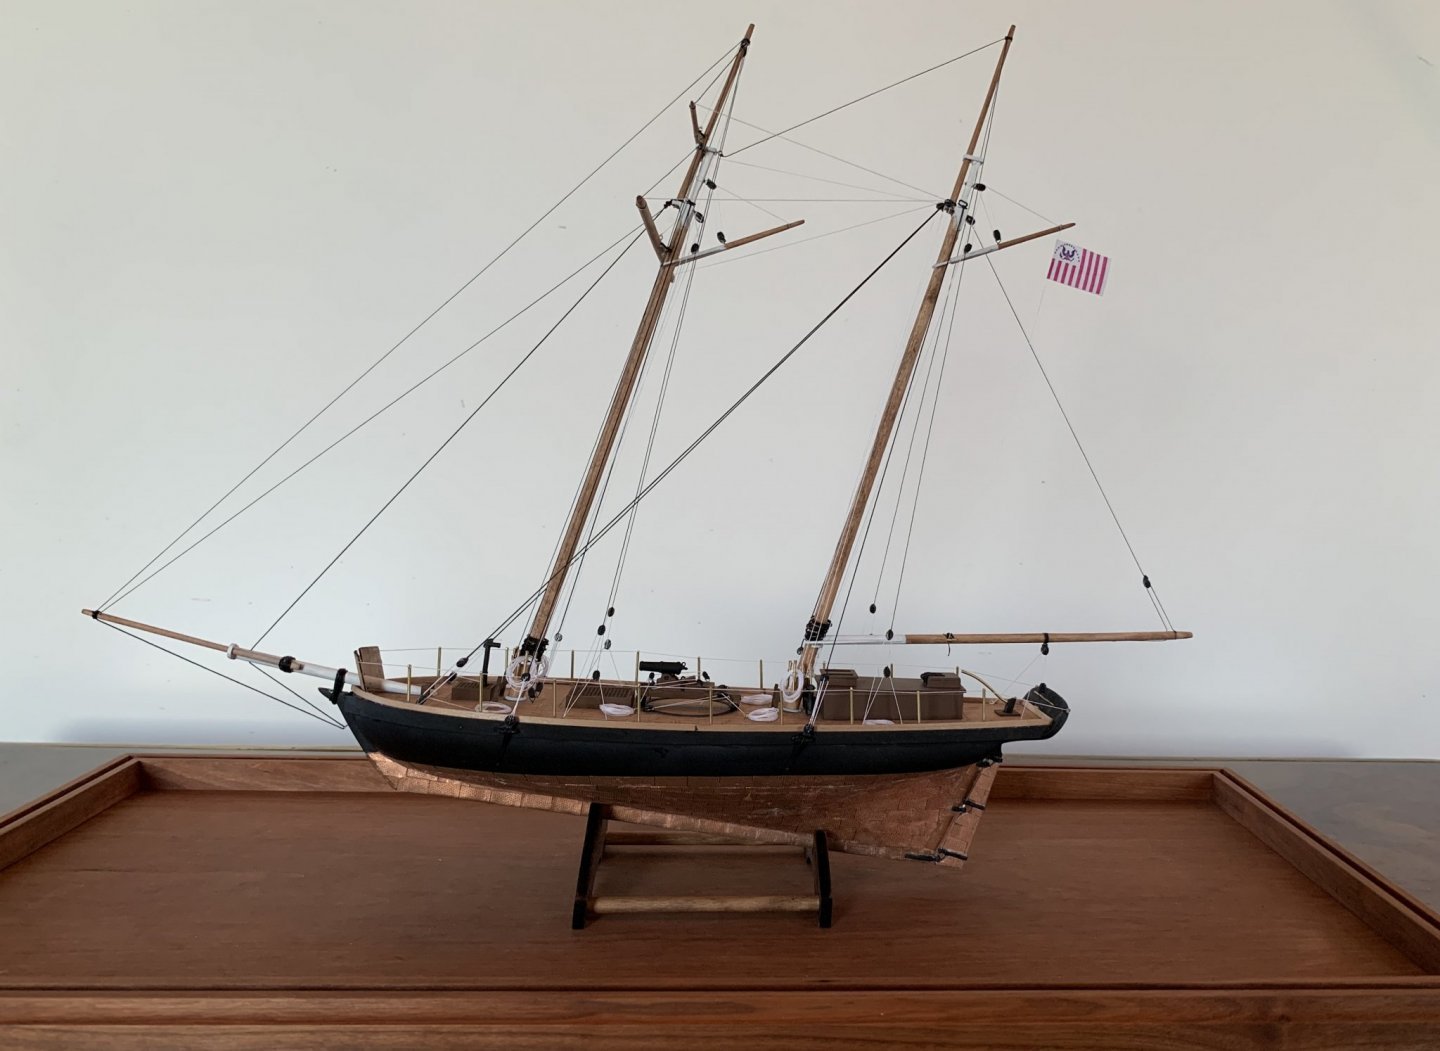
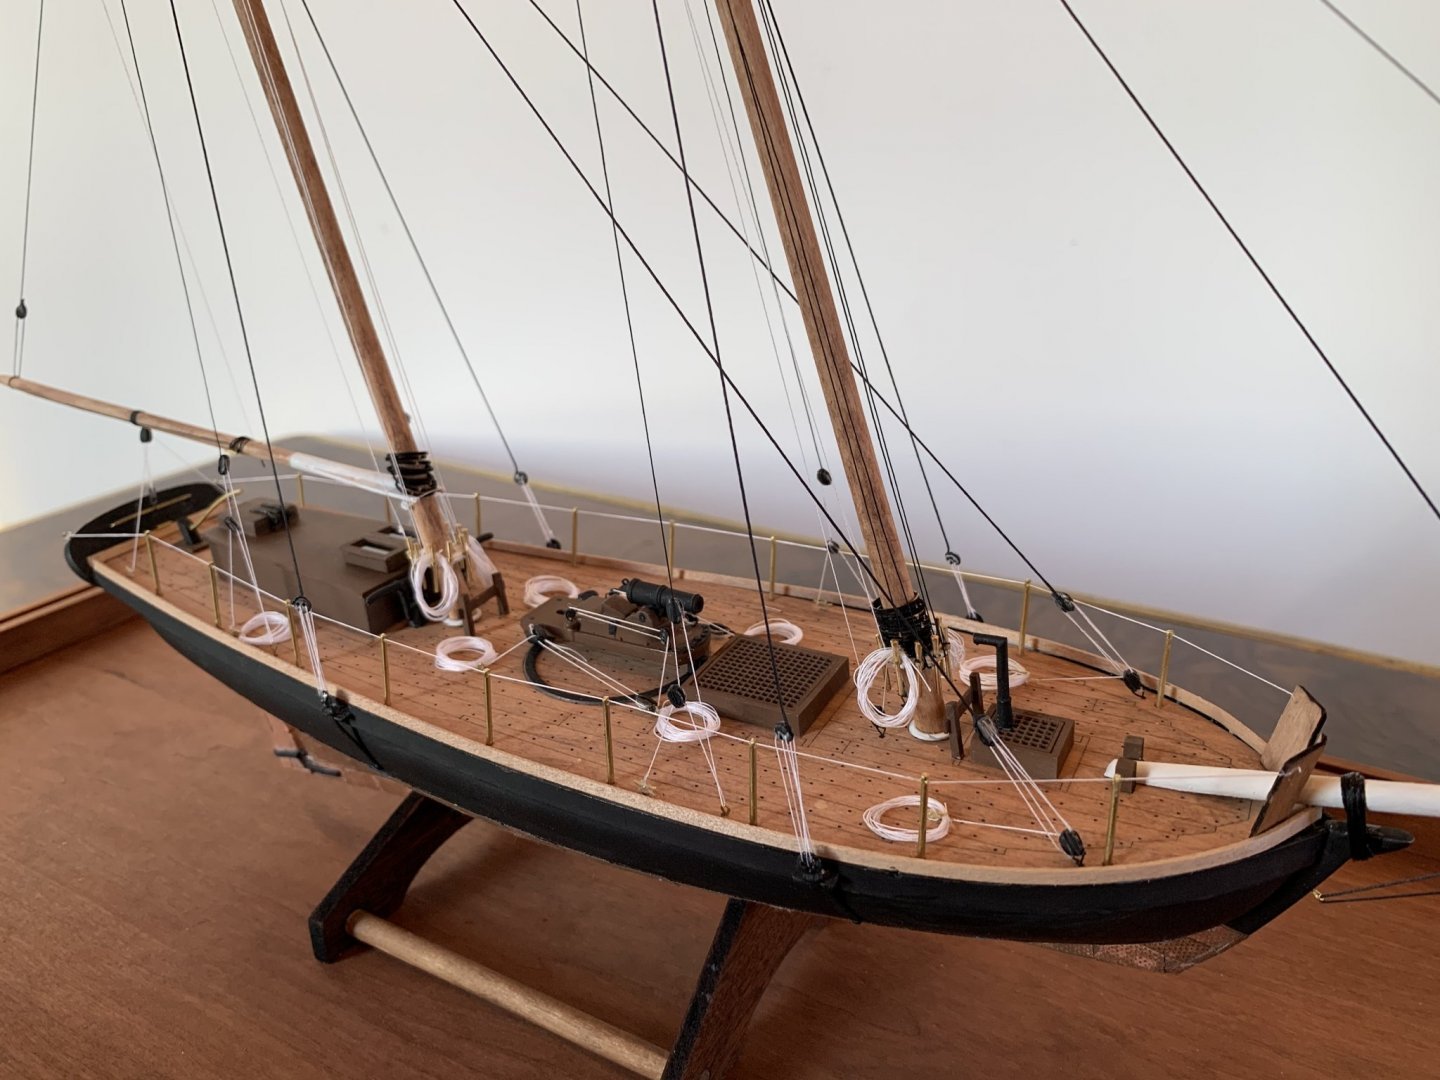
Finished the copper plating on the main hull! Although a pale shadow of some other models on this site I am actually quite happy with the results. A vast improvement over my previous work on the Revenue Cutter. Next up are the forcap rails general bulwarks detailing. Also, I need to copper plate the rudder as well. On another note, Bluejacket sent me a new instruction manual with the previously indicated errors fixed which I thought was really an awesome customer service gesture! Especially at no cost


- 85 replies
-
- 10
-
-
- perry
- BlueJacket Shipcrafters
- (and 1 more)
-
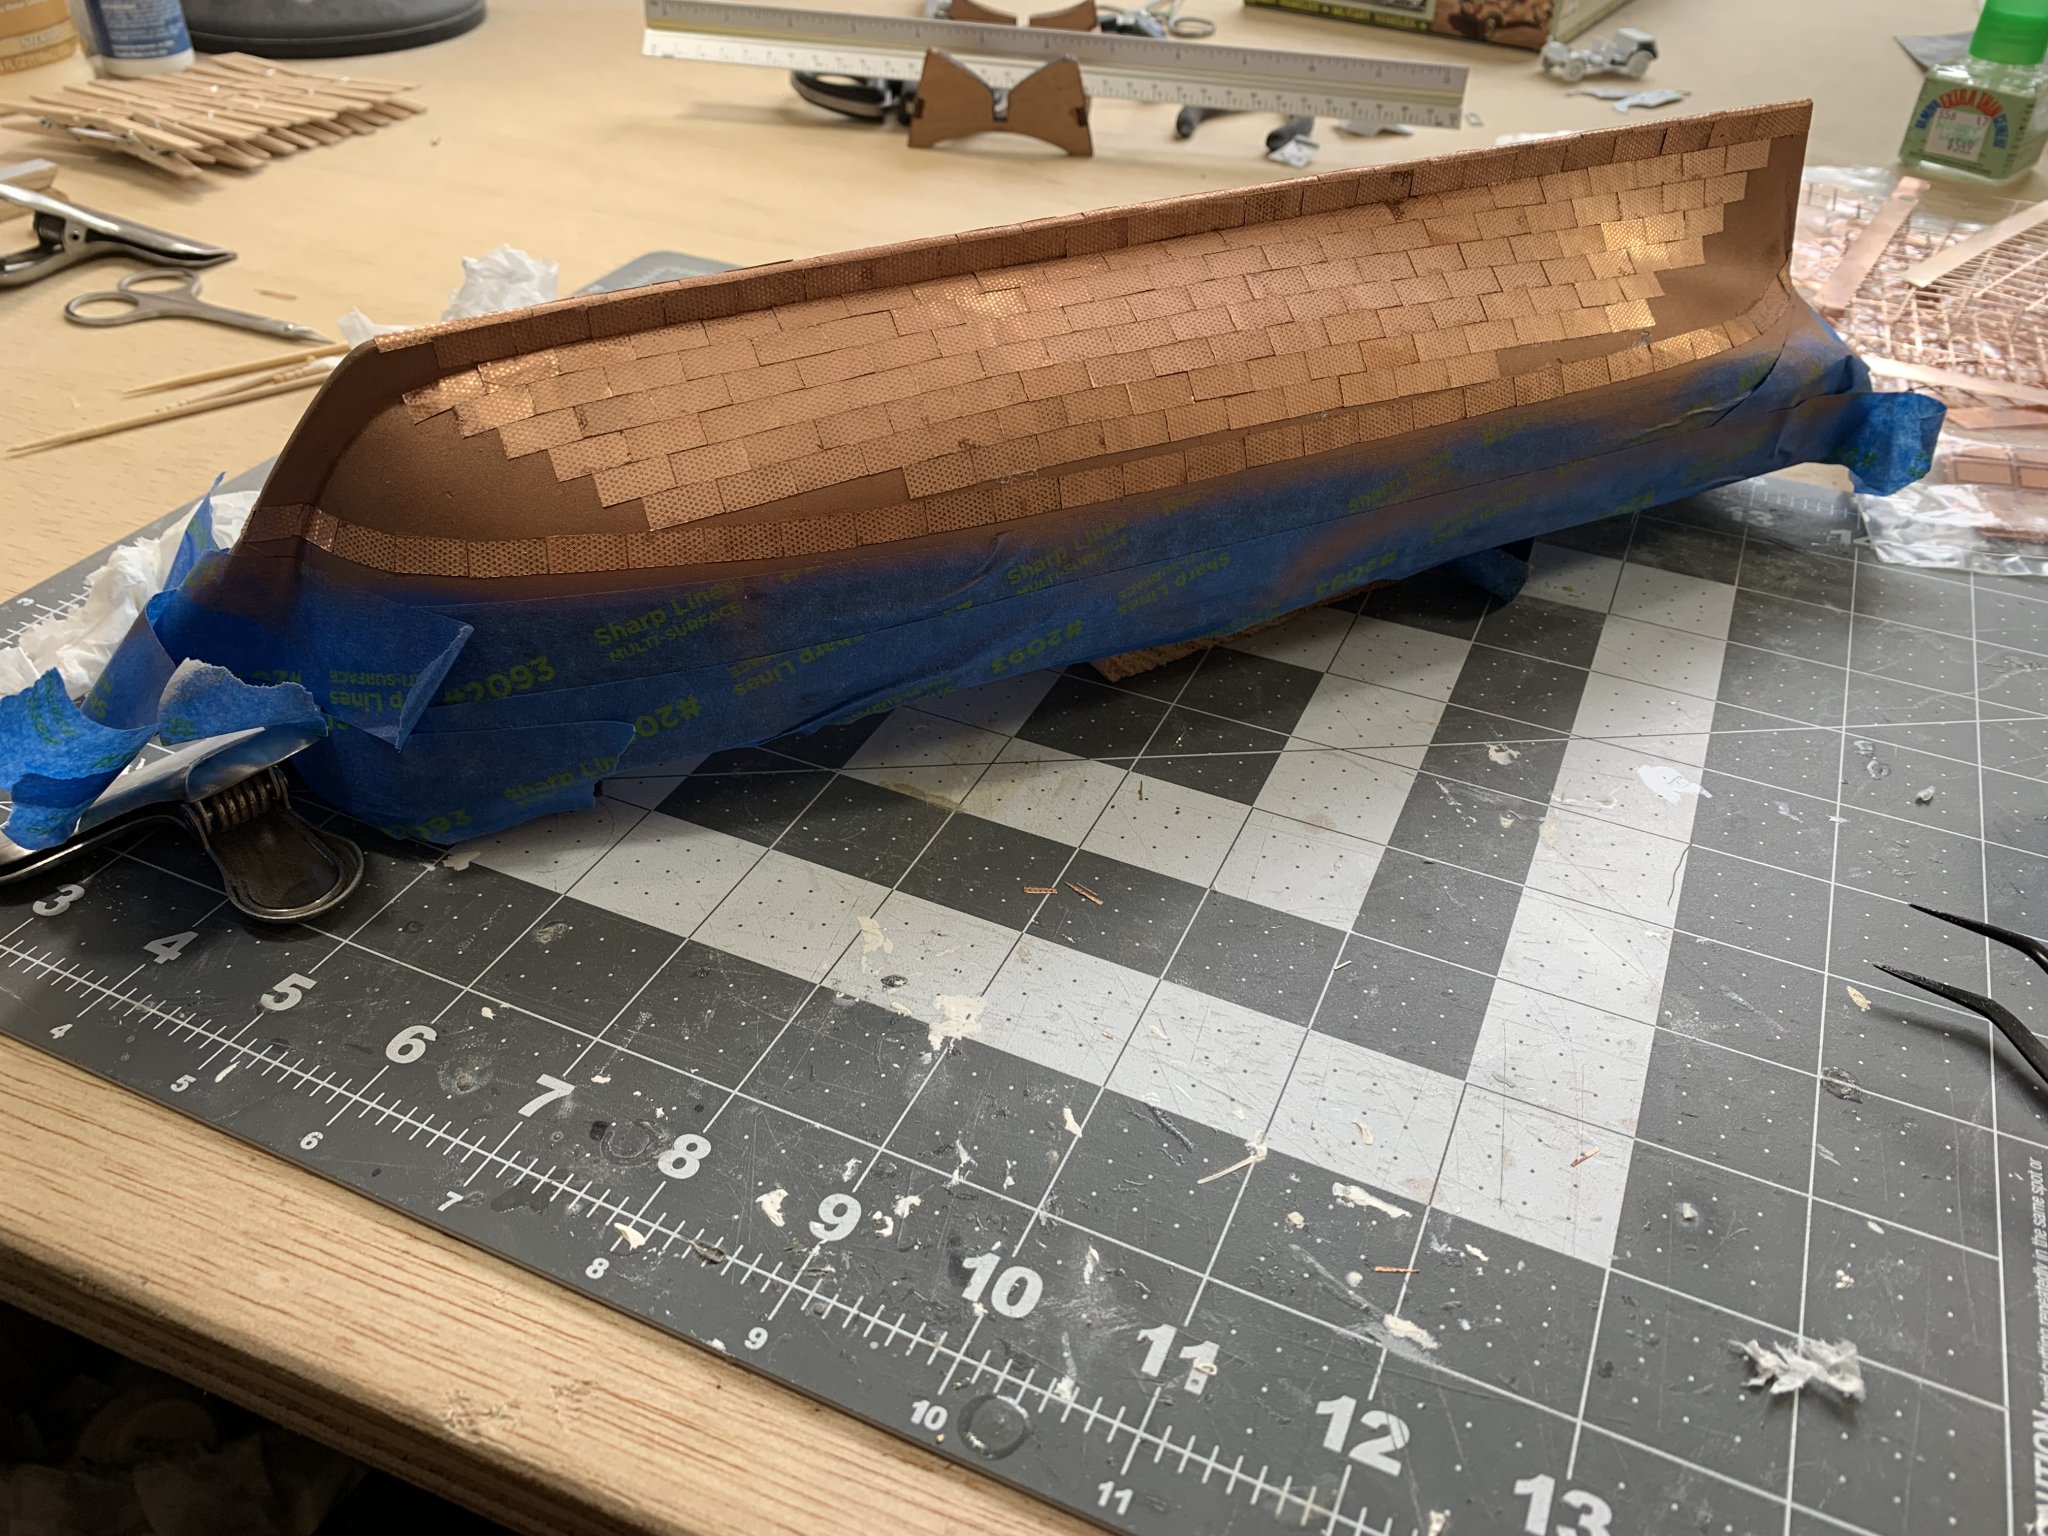
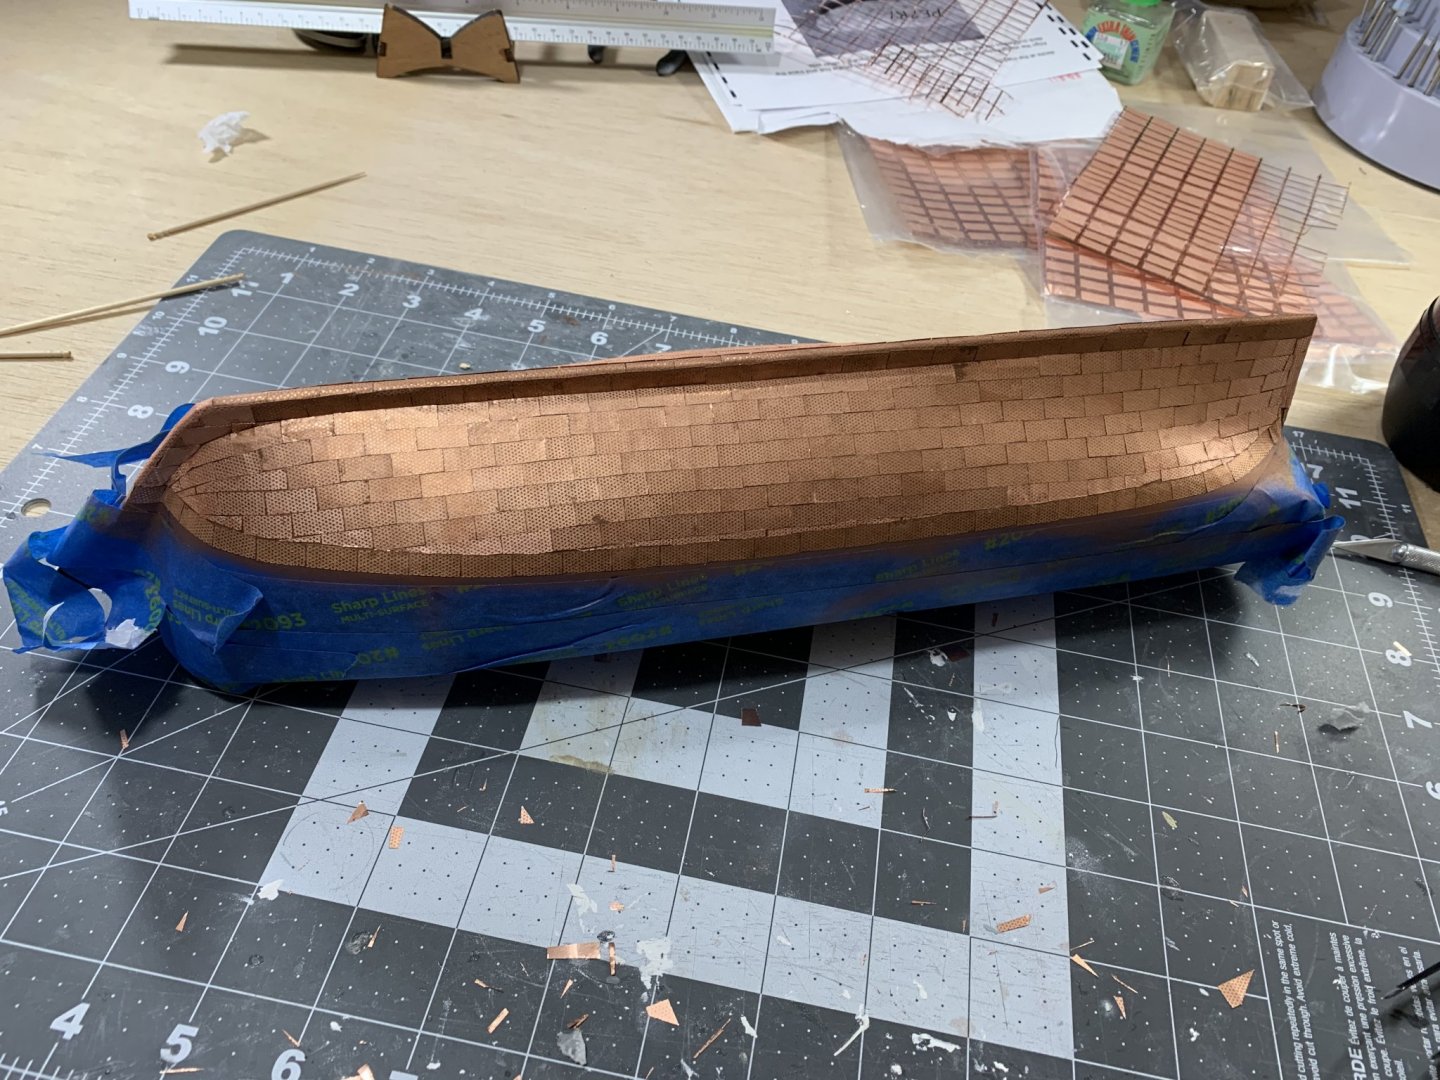
More progress on copper plating! Mostly starting with the main open area and will fill in the custom cut pieces all at once.

- 85 replies
-
- 8
-
-
- perry
- BlueJacket Shipcrafters
- (and 1 more)
-
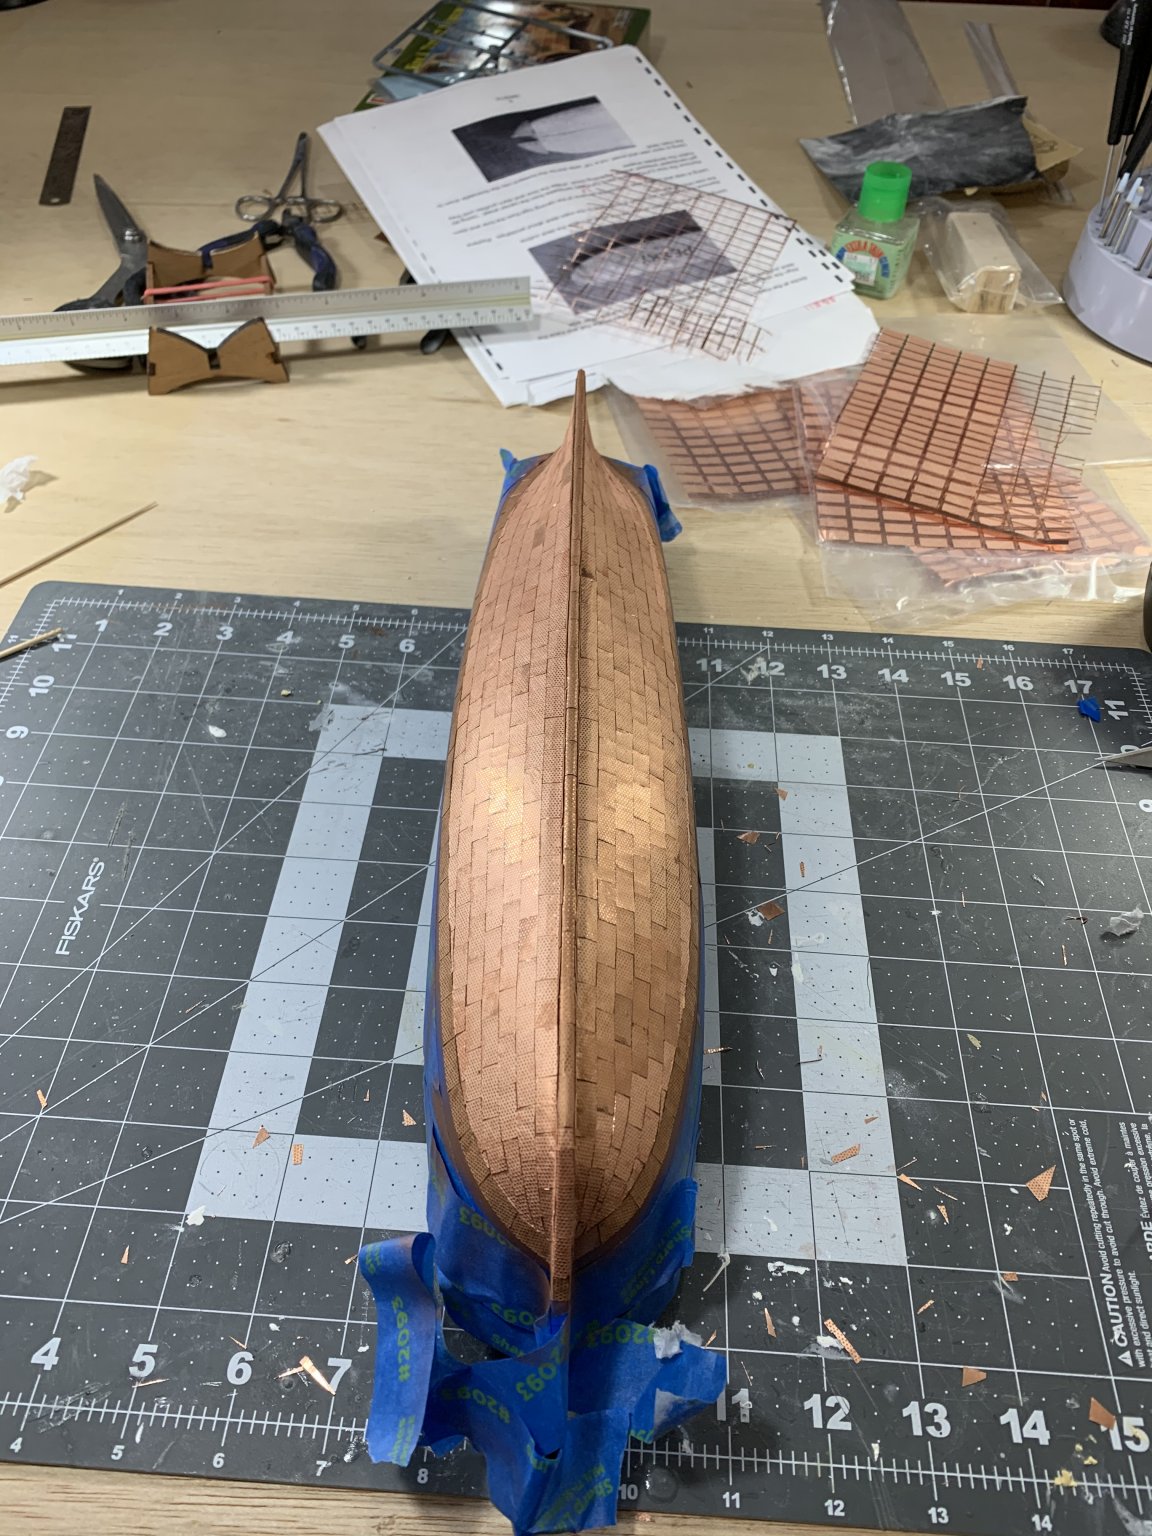
More progress on plating tonight! I have found that shaping each plate before flying it down allows the plates to sit much flatter and look way nicer. Overall happy with the progress!


- 85 replies
-
- 9
-
-

-
- perry
- BlueJacket Shipcrafters
- (and 1 more)
-
More progress this afternoon around the bow and along the keel.


- 85 replies
-
- 7
-
-
- perry
- BlueJacket Shipcrafters
- (and 1 more)
-
The quality of your copper plating is beyond imagination. Incredible work! I just started plating mine and will definitely use your spectacular work for inspiration.
- 358 replies
-
- 1
-
-
- occre
- santisima trinidad
- (and 1 more)
-
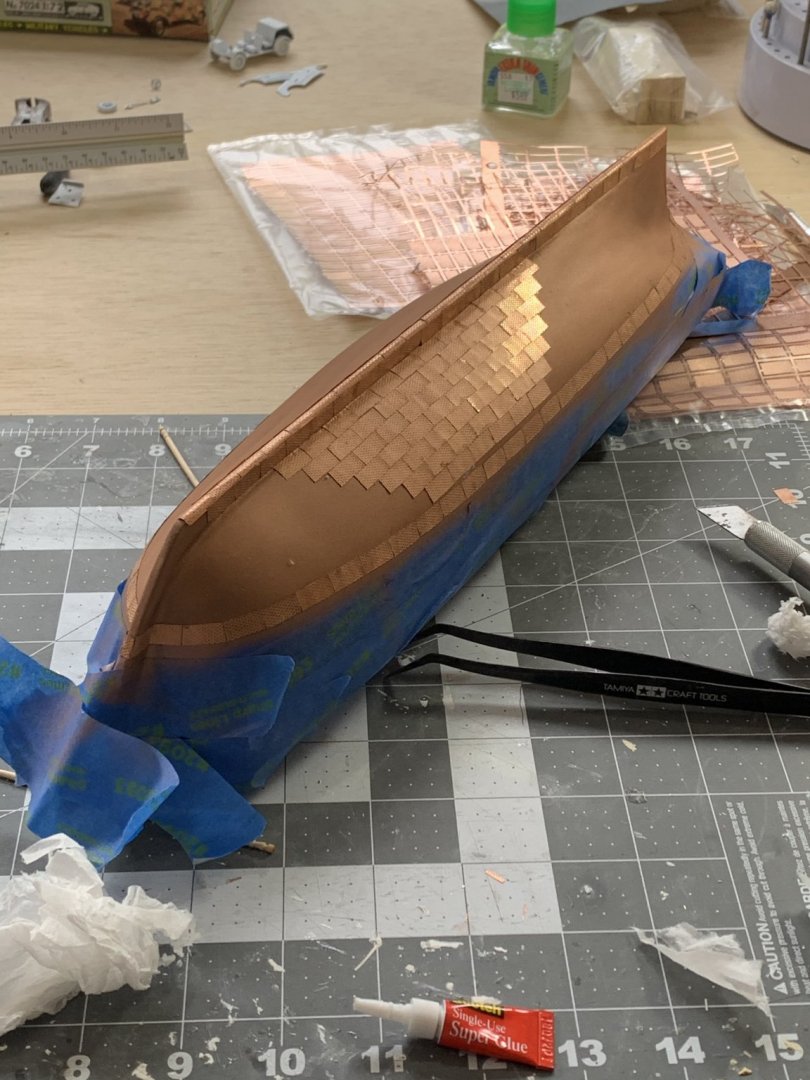
Starting the copper plating process tonight! It is a little bit slow but super rewarding. Next step is just more plating
- 85 replies
-
- 9
-
-
- perry
- BlueJacket Shipcrafters
- (and 1 more)
-
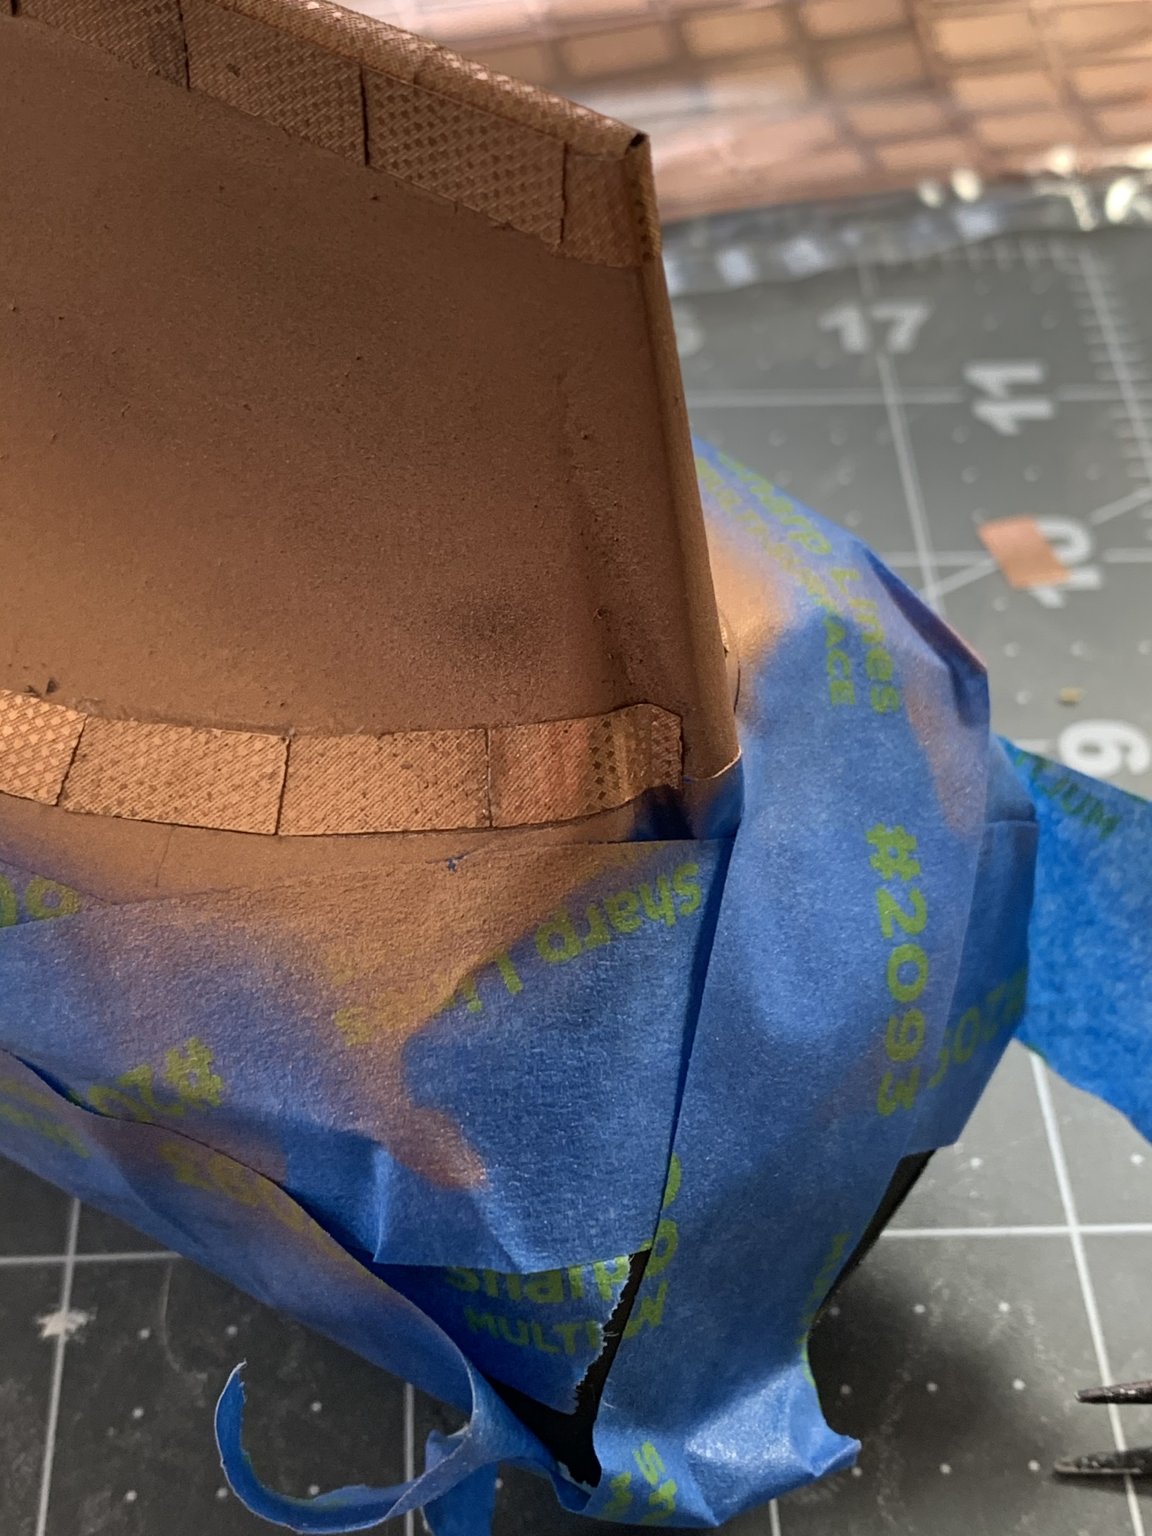
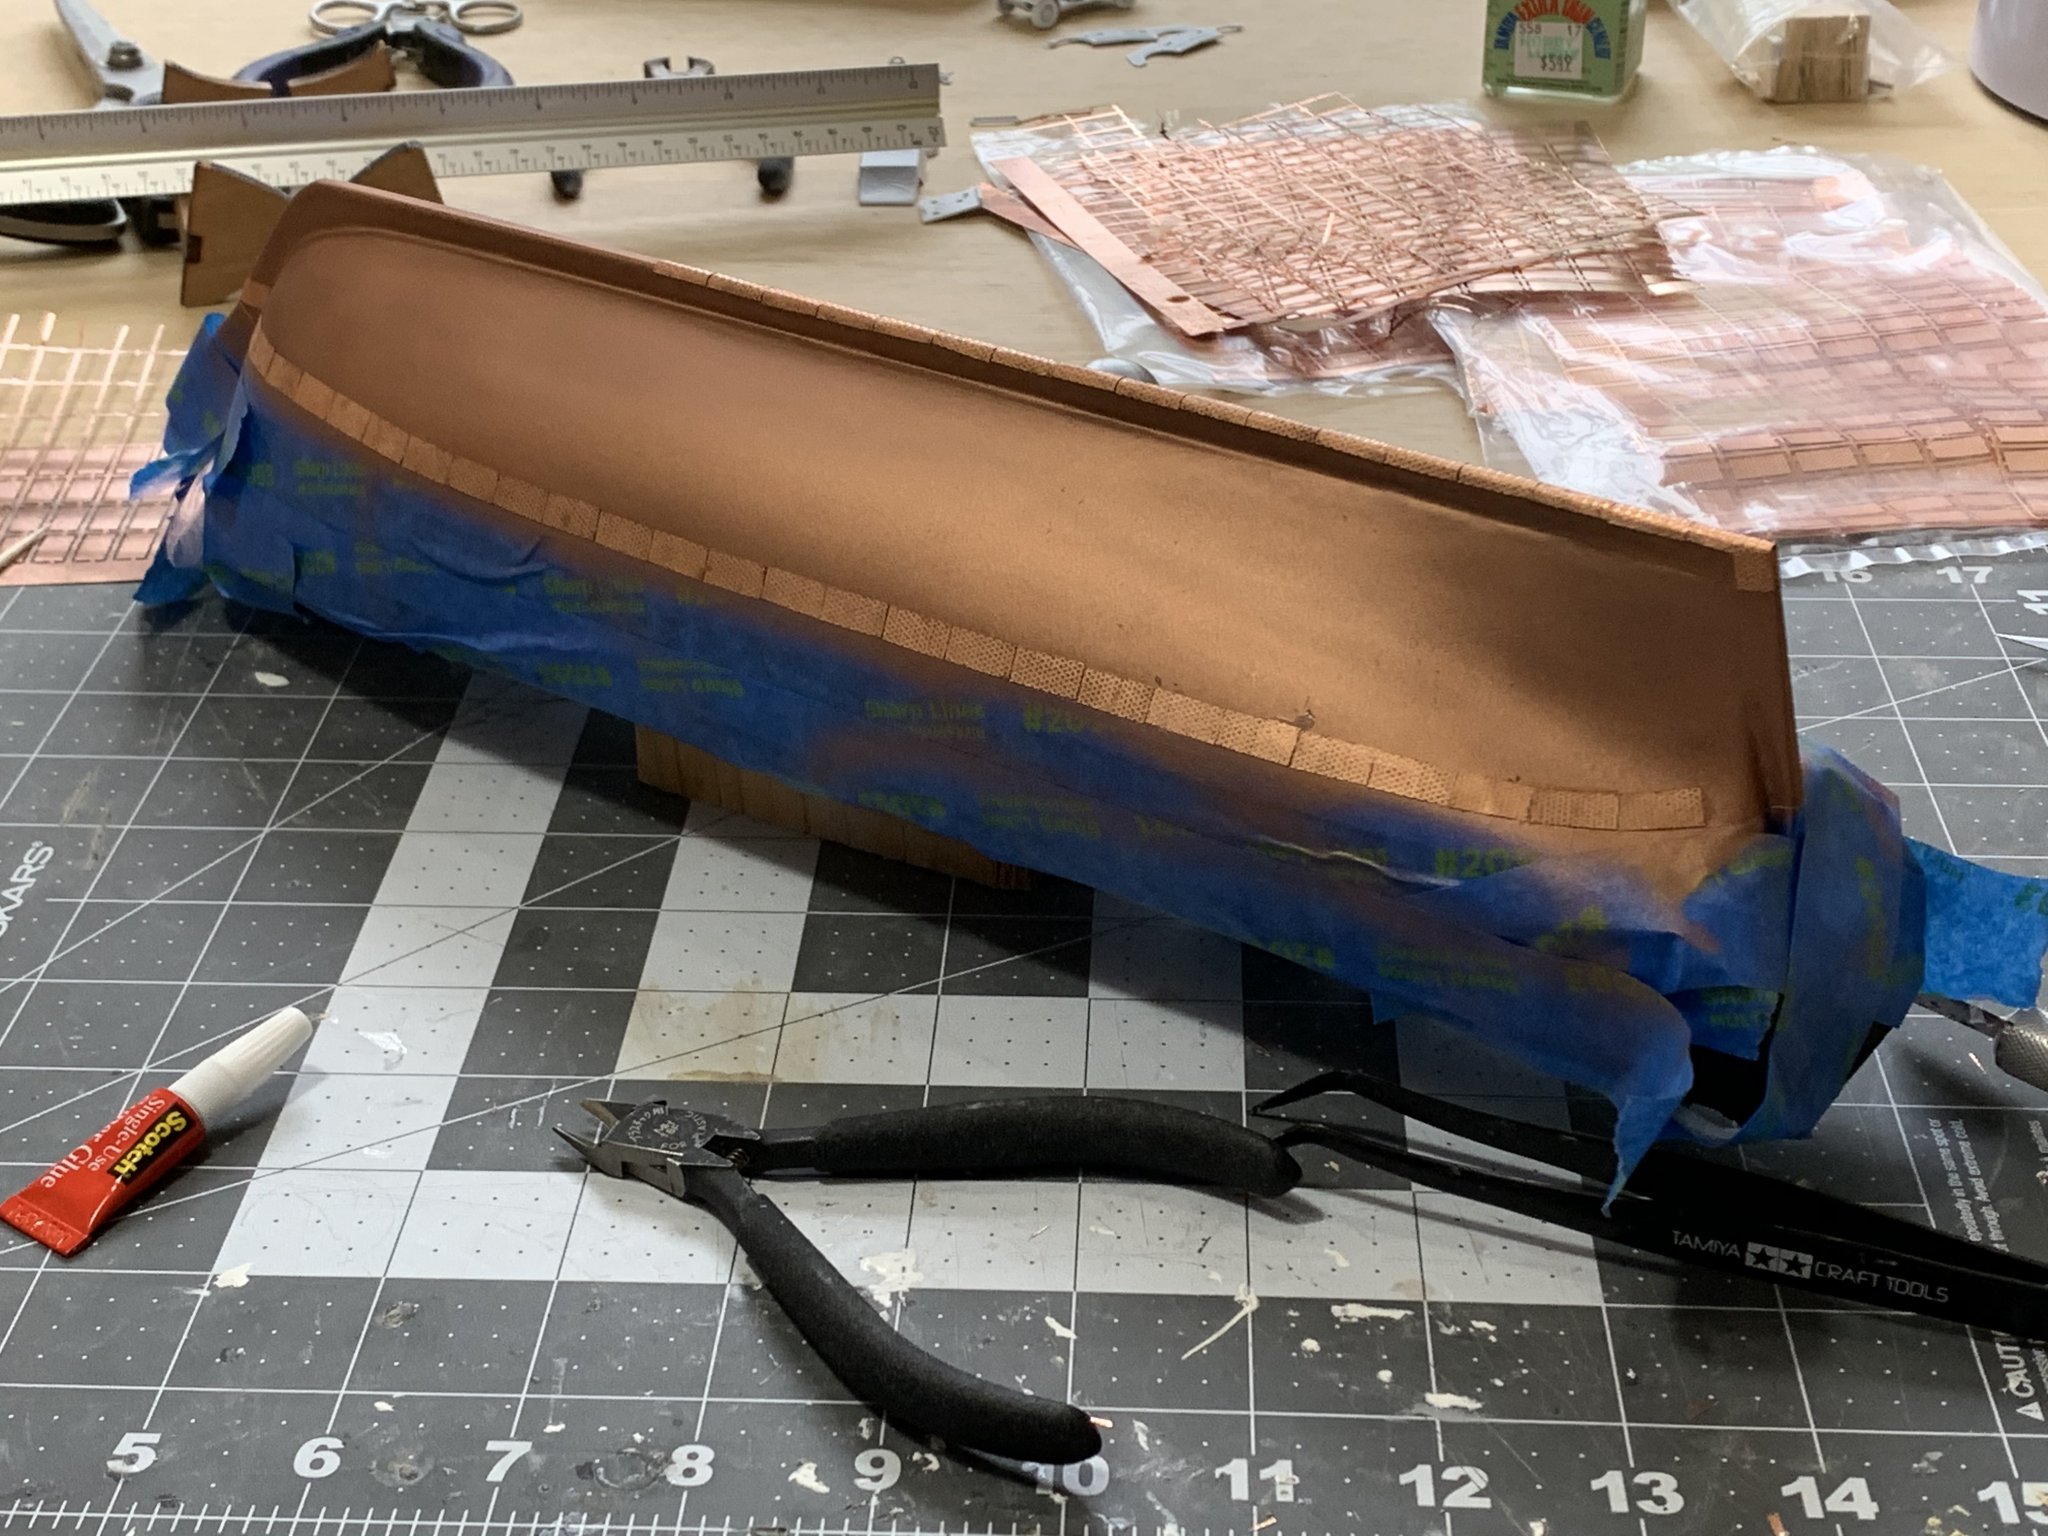
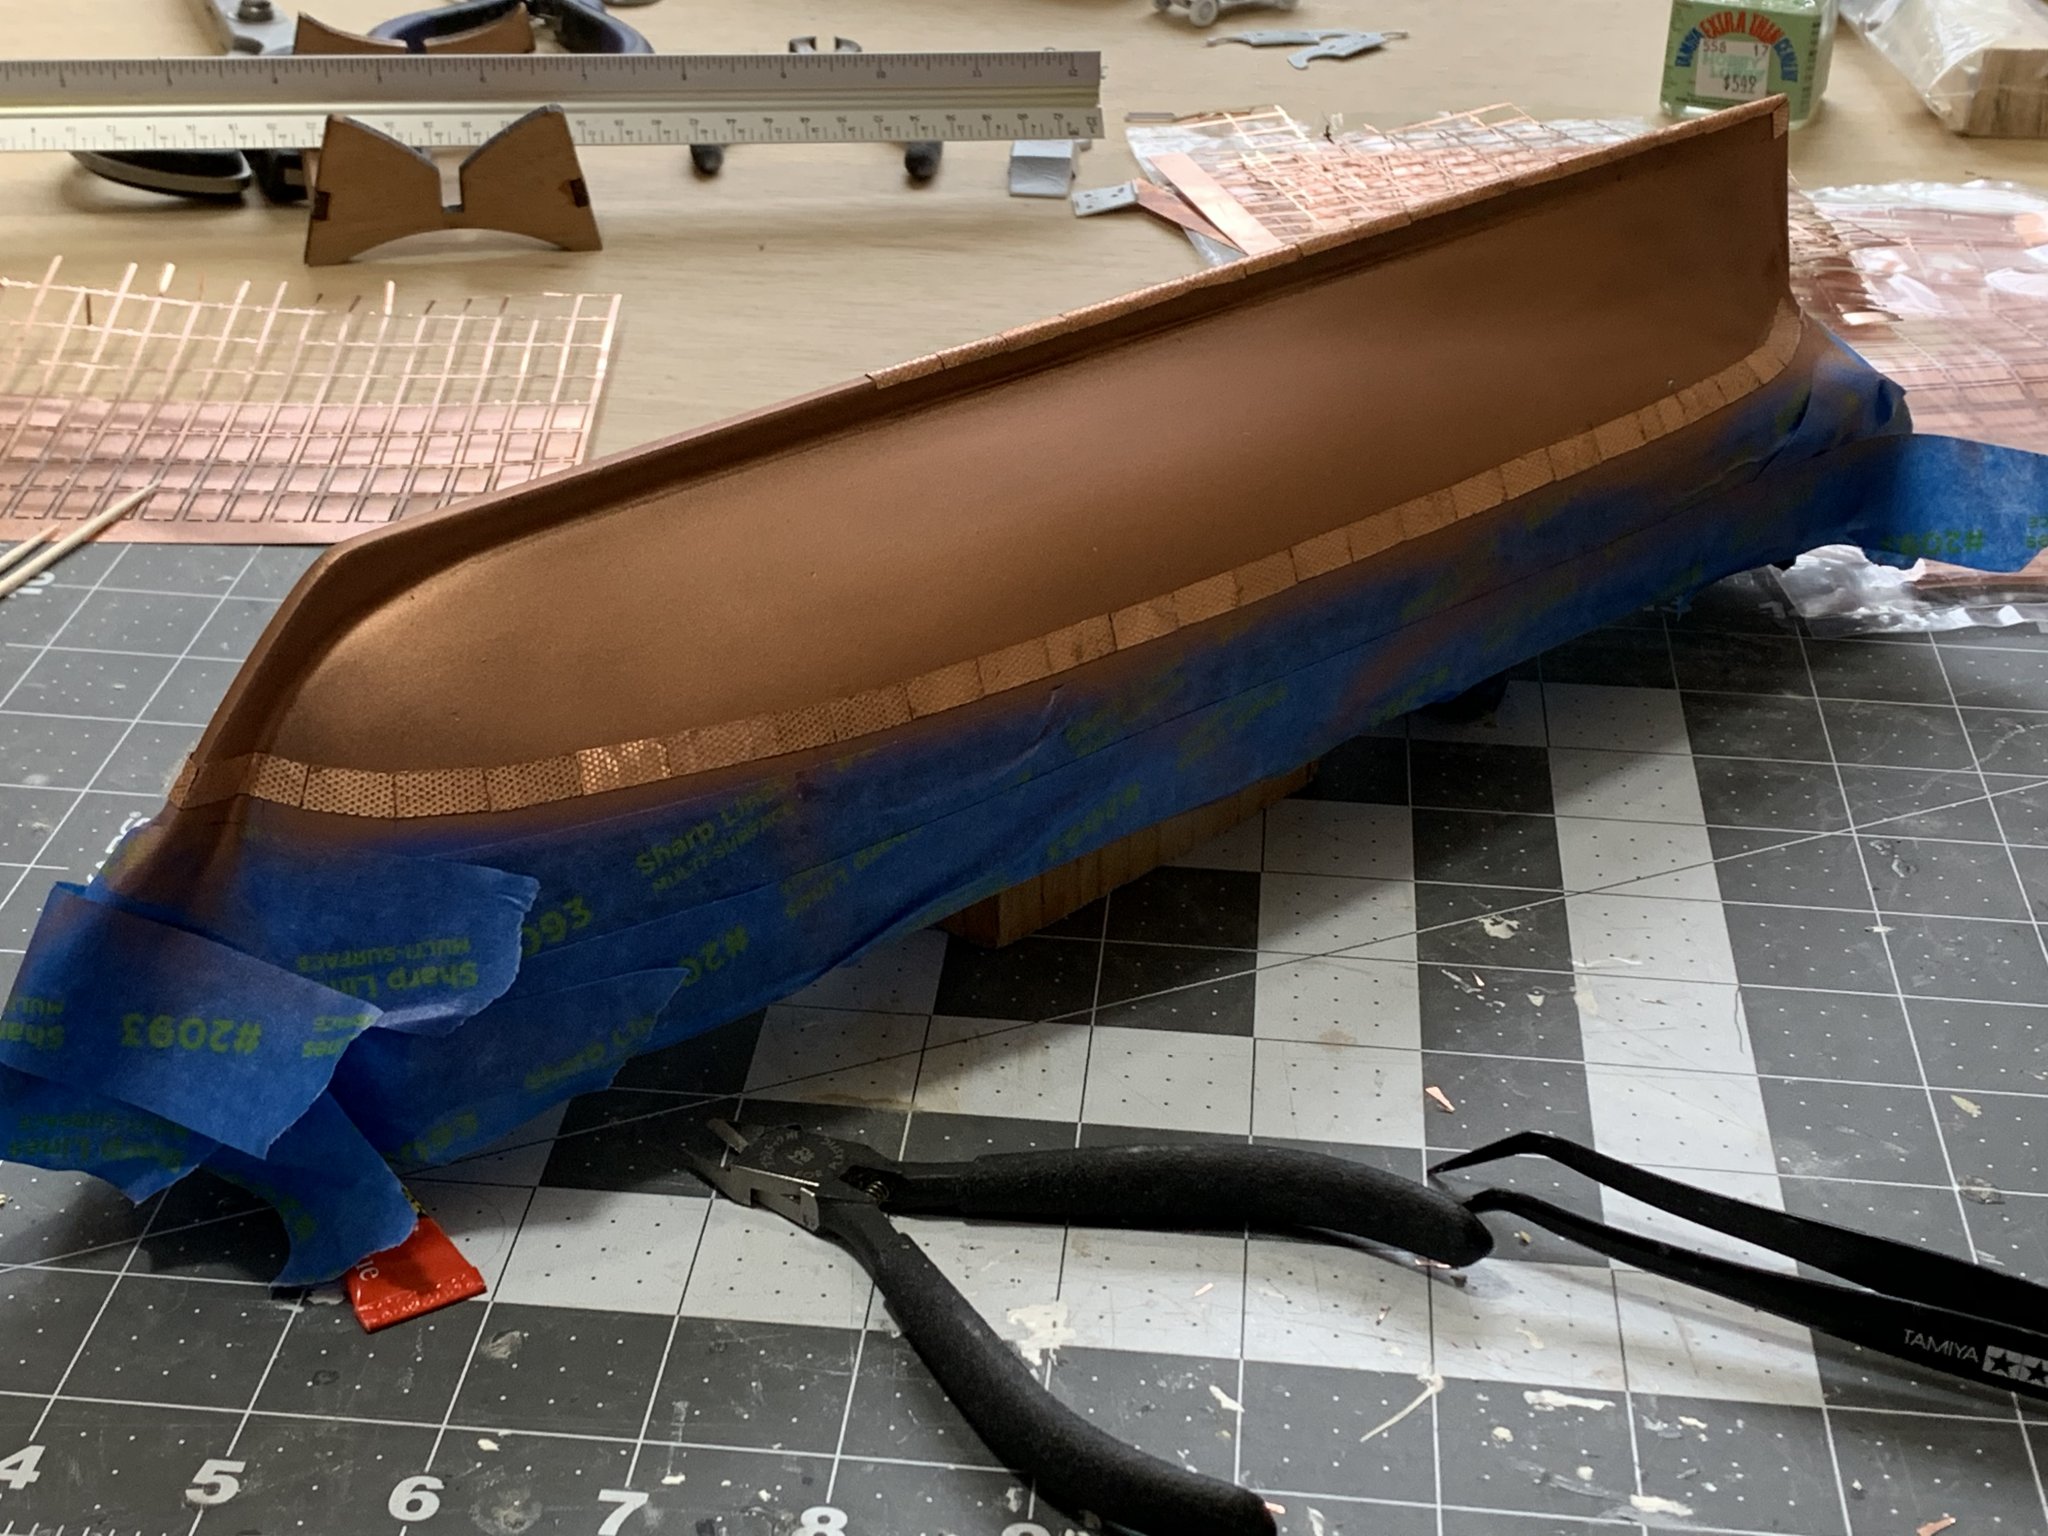
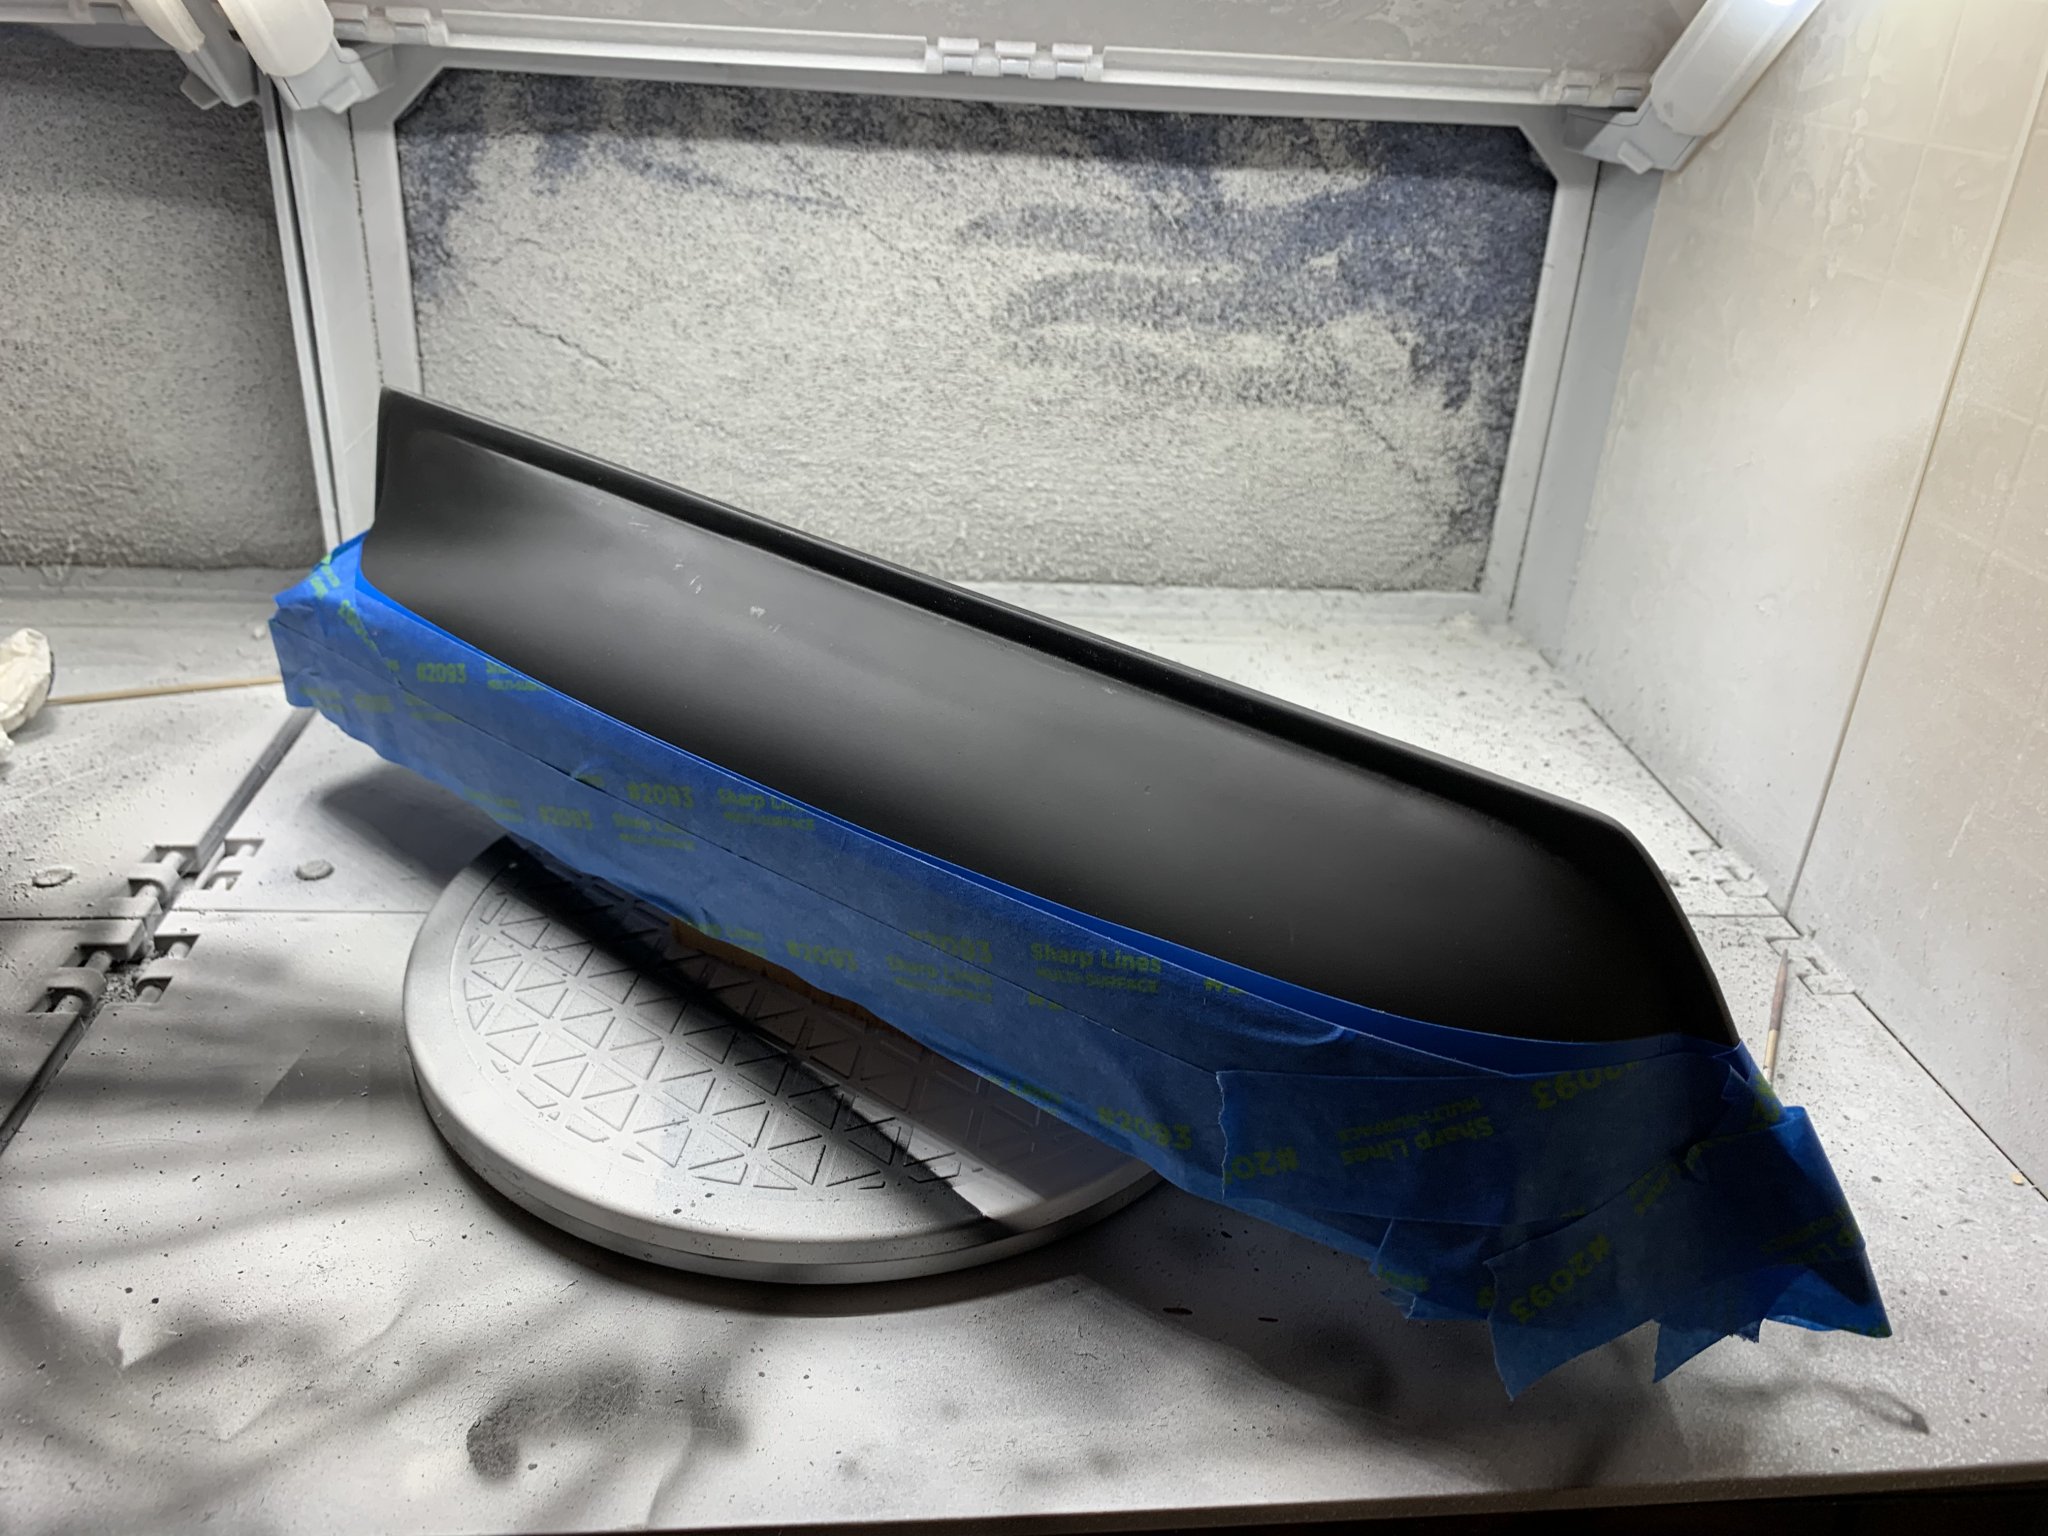
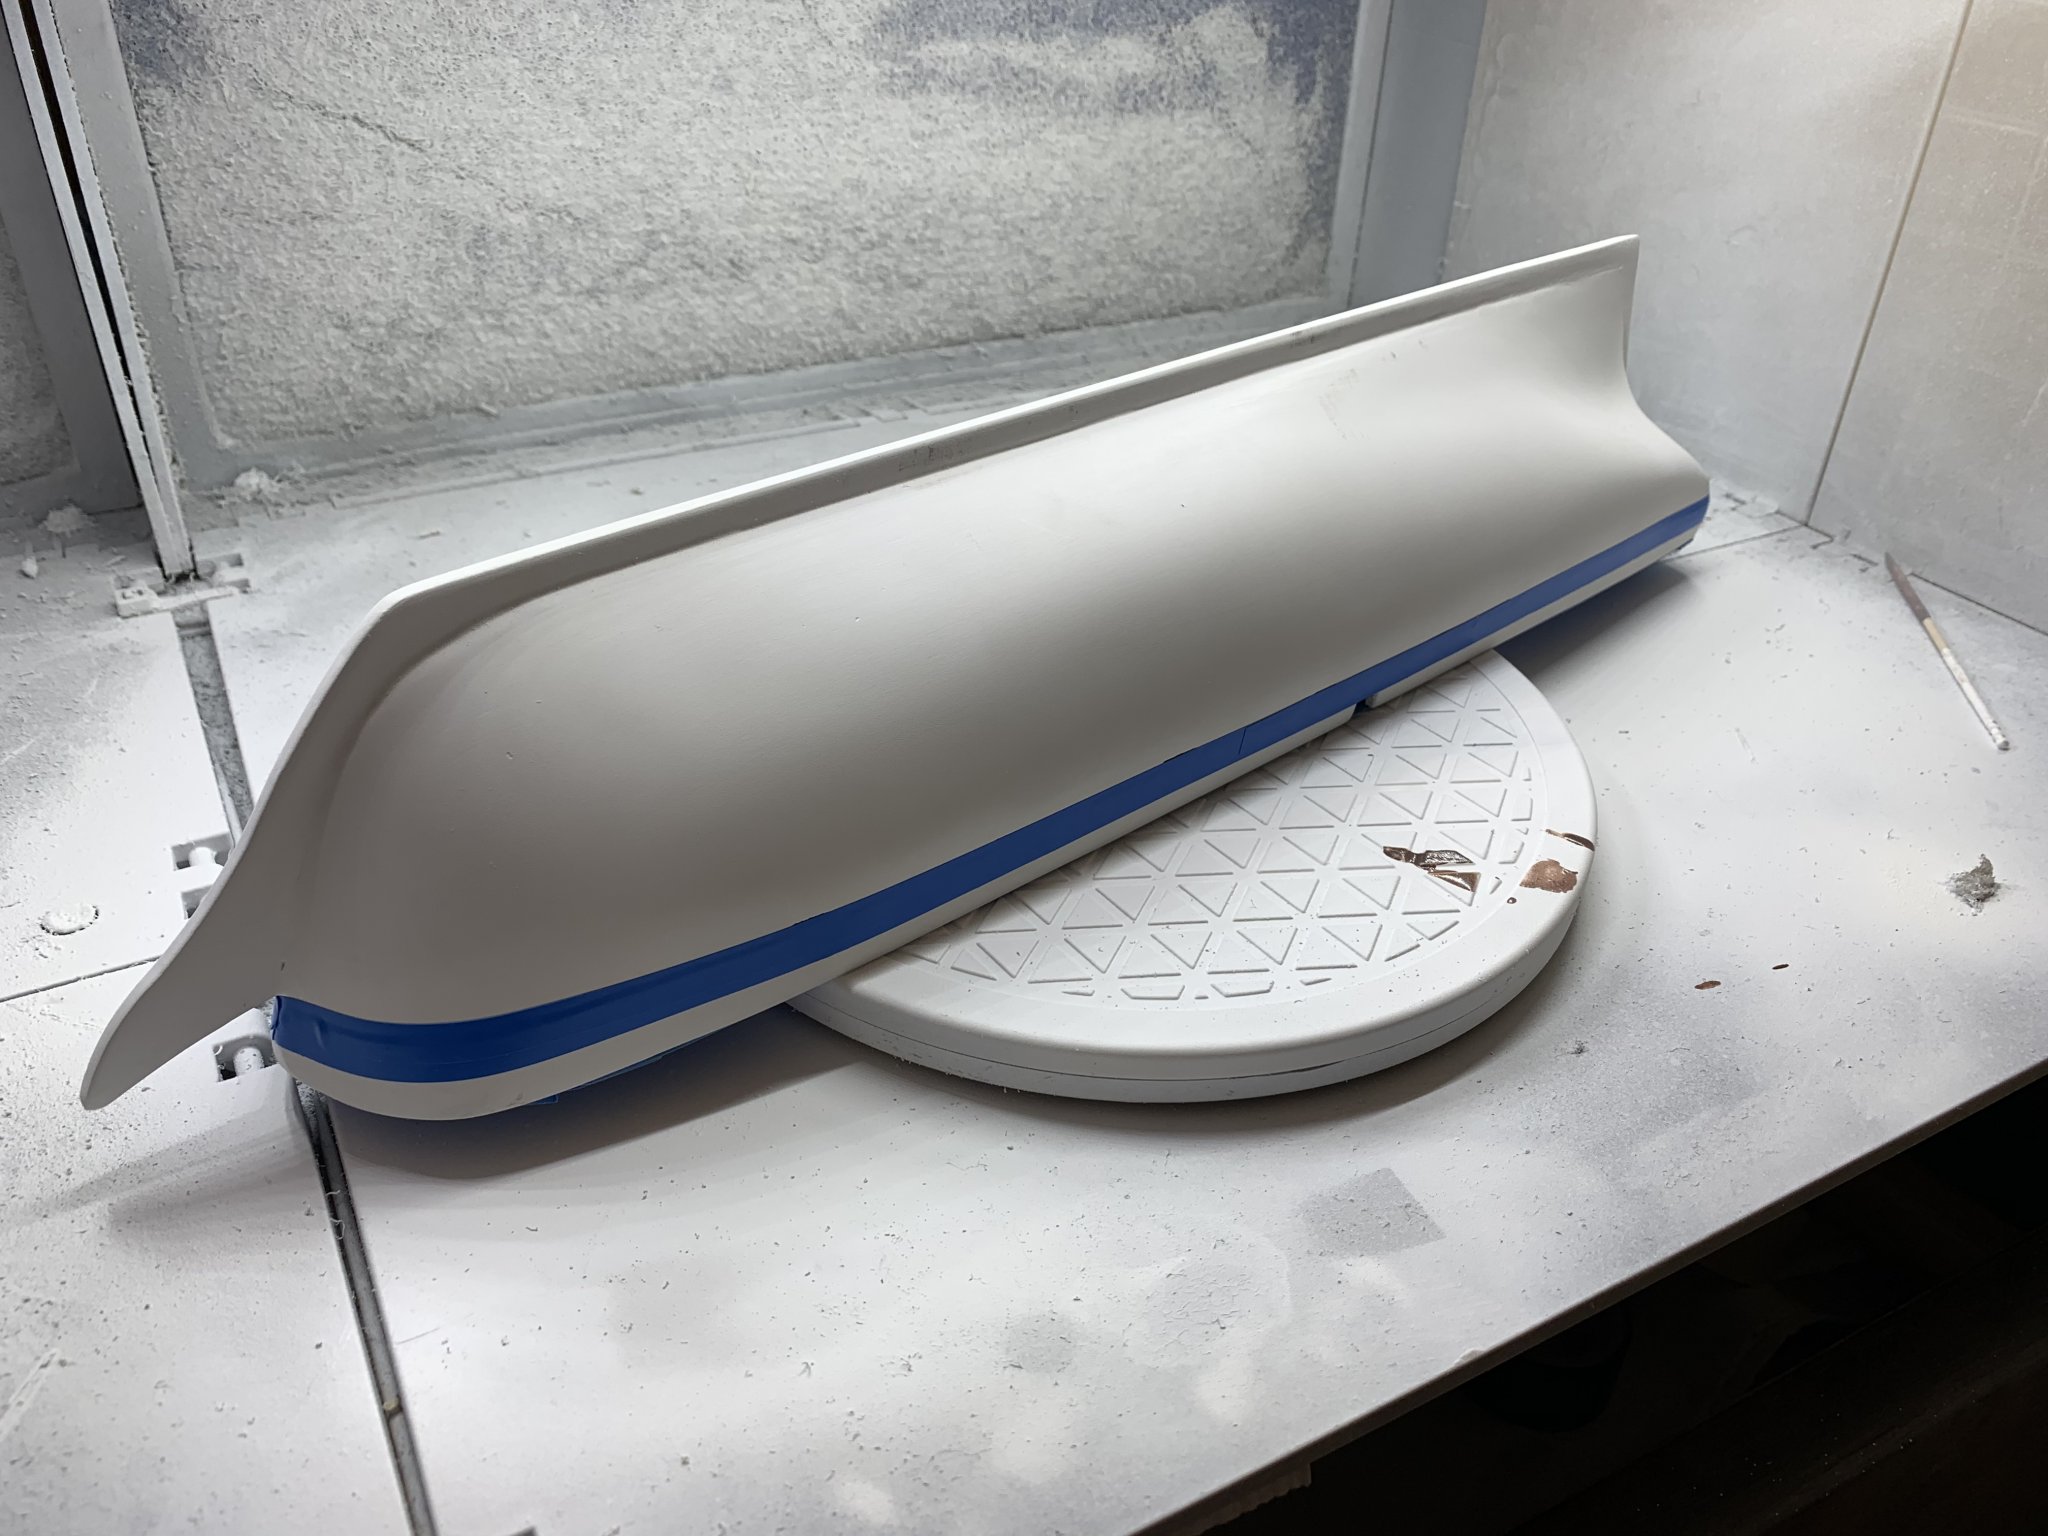
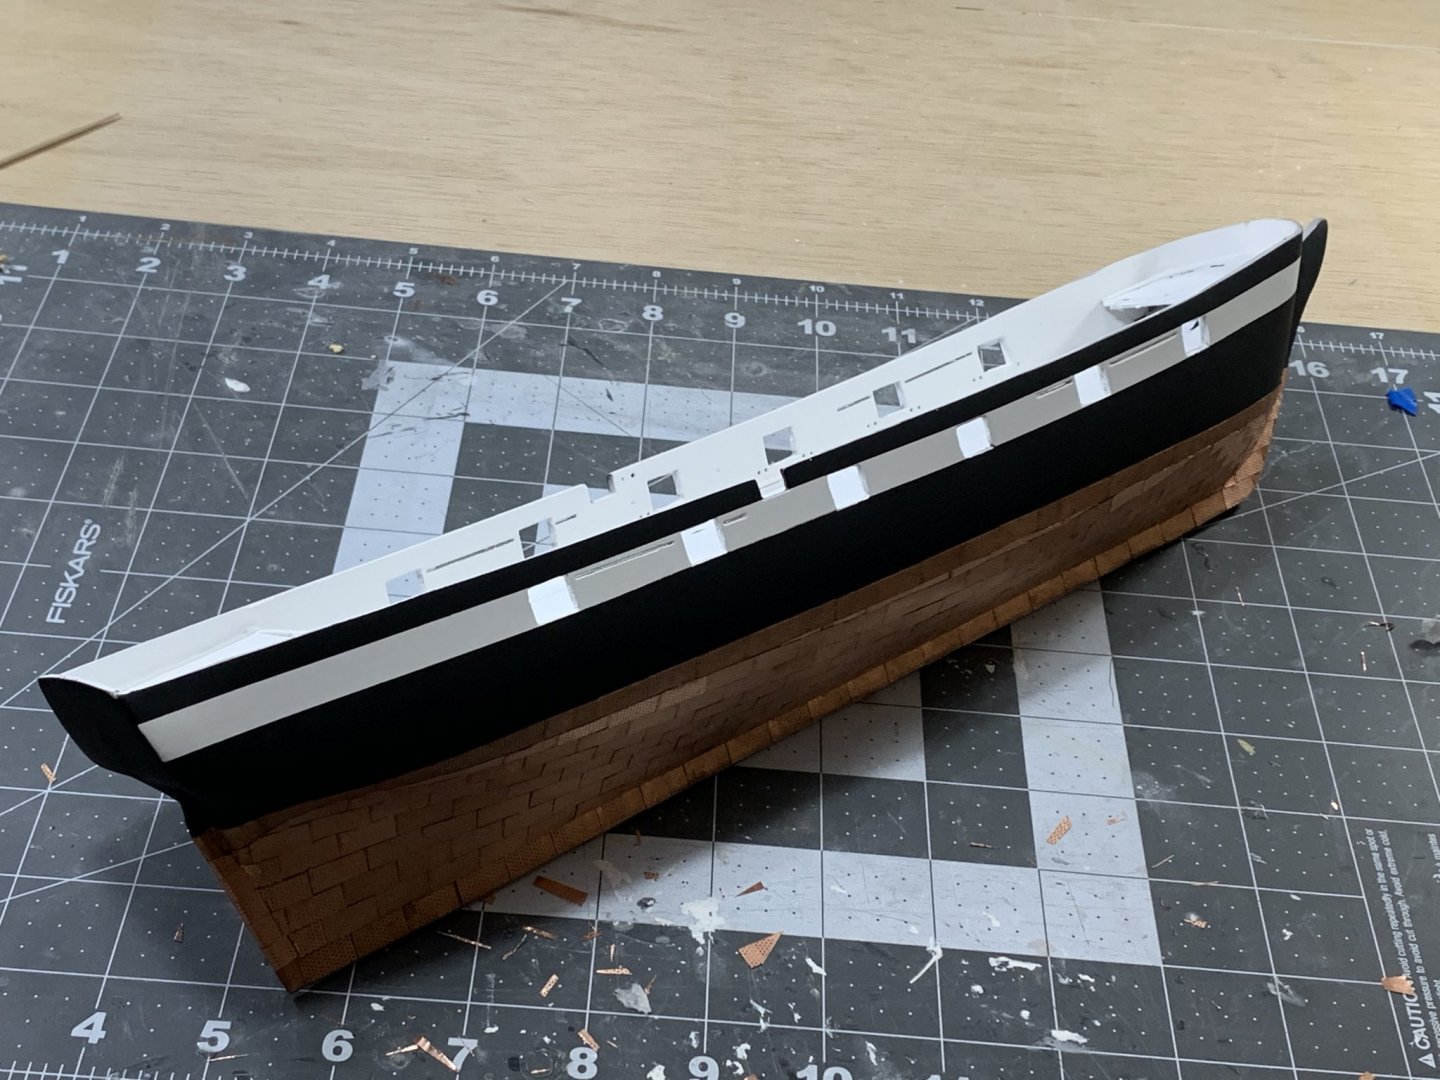
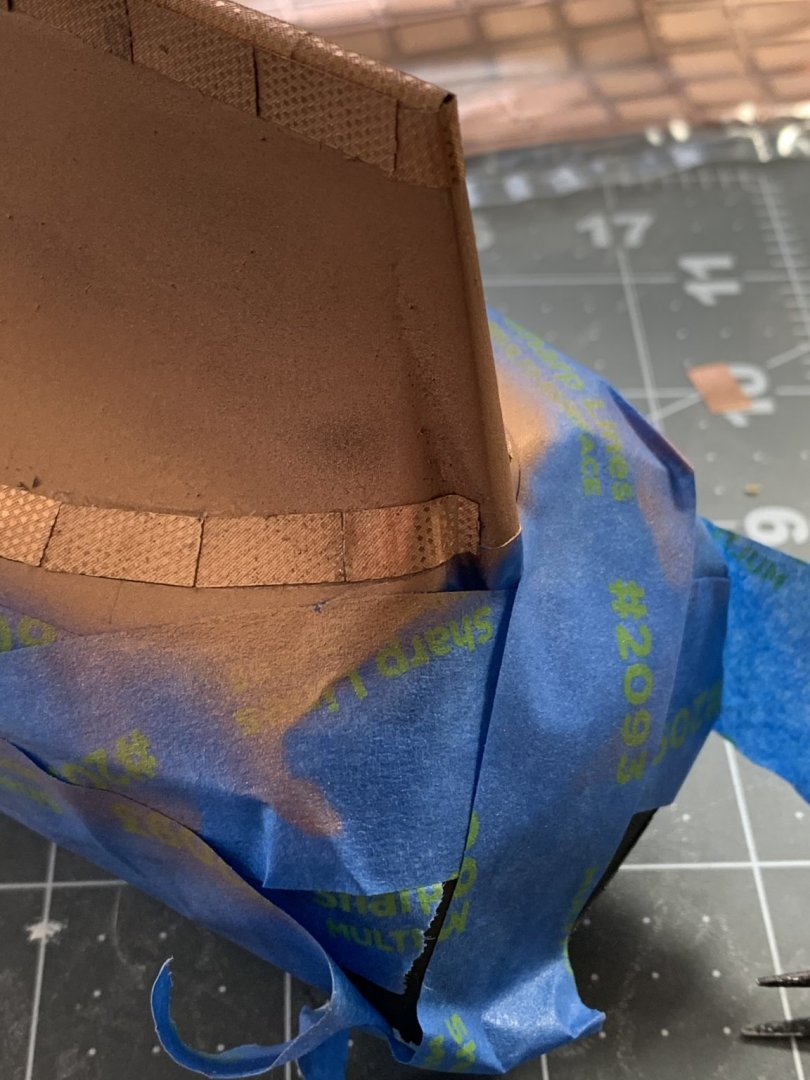
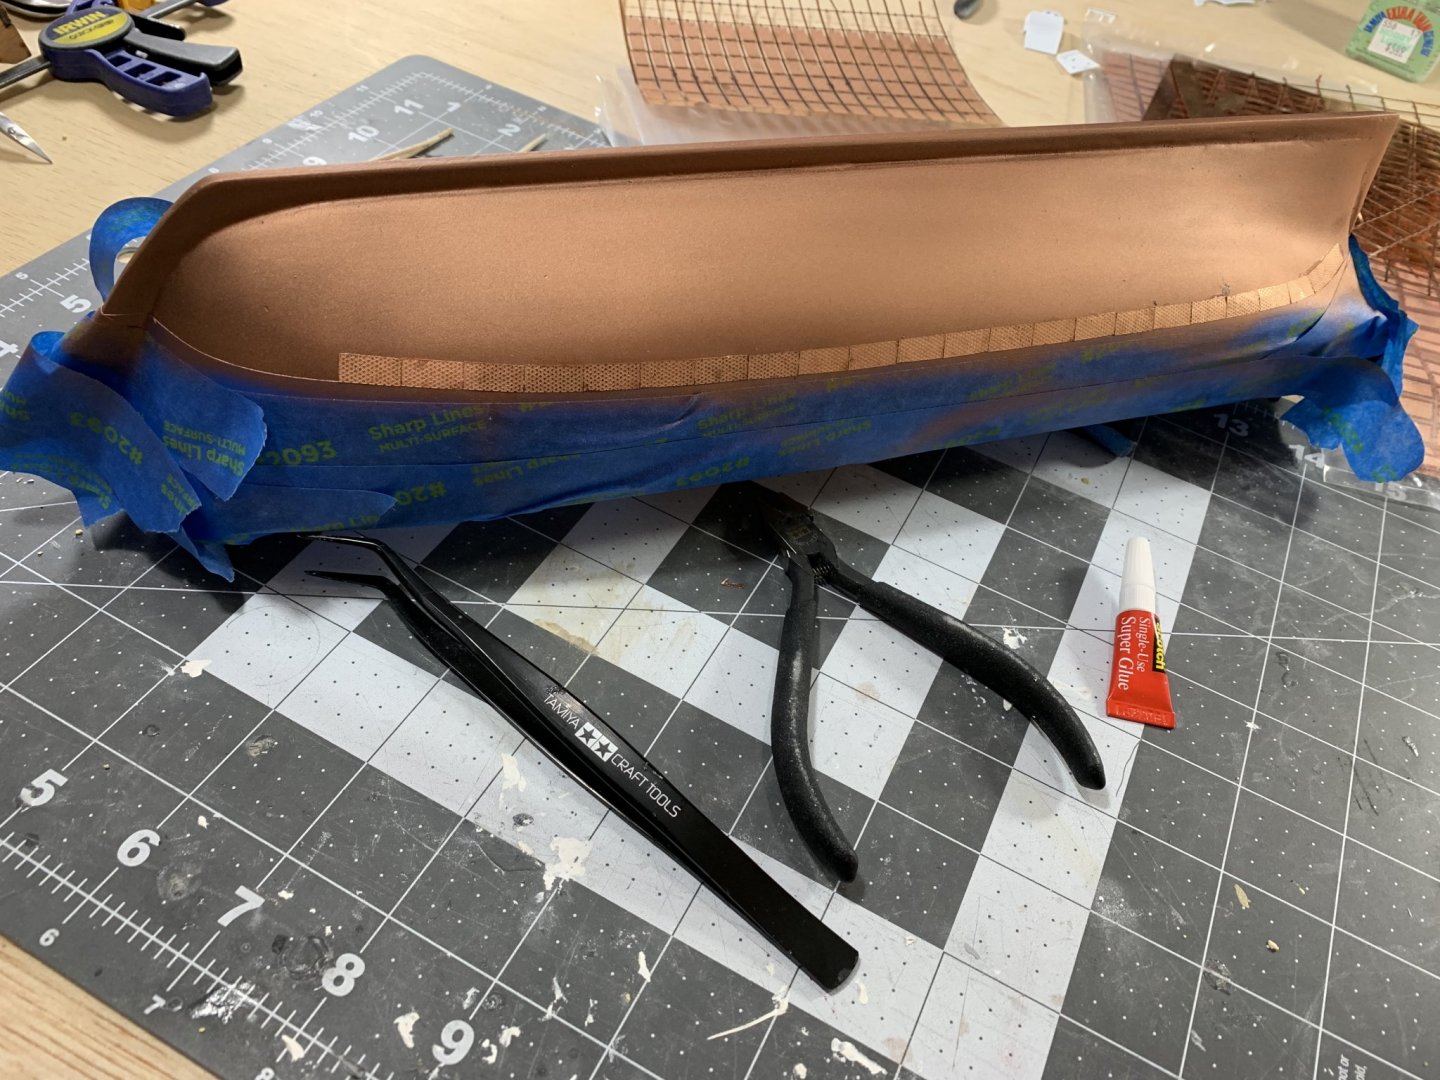
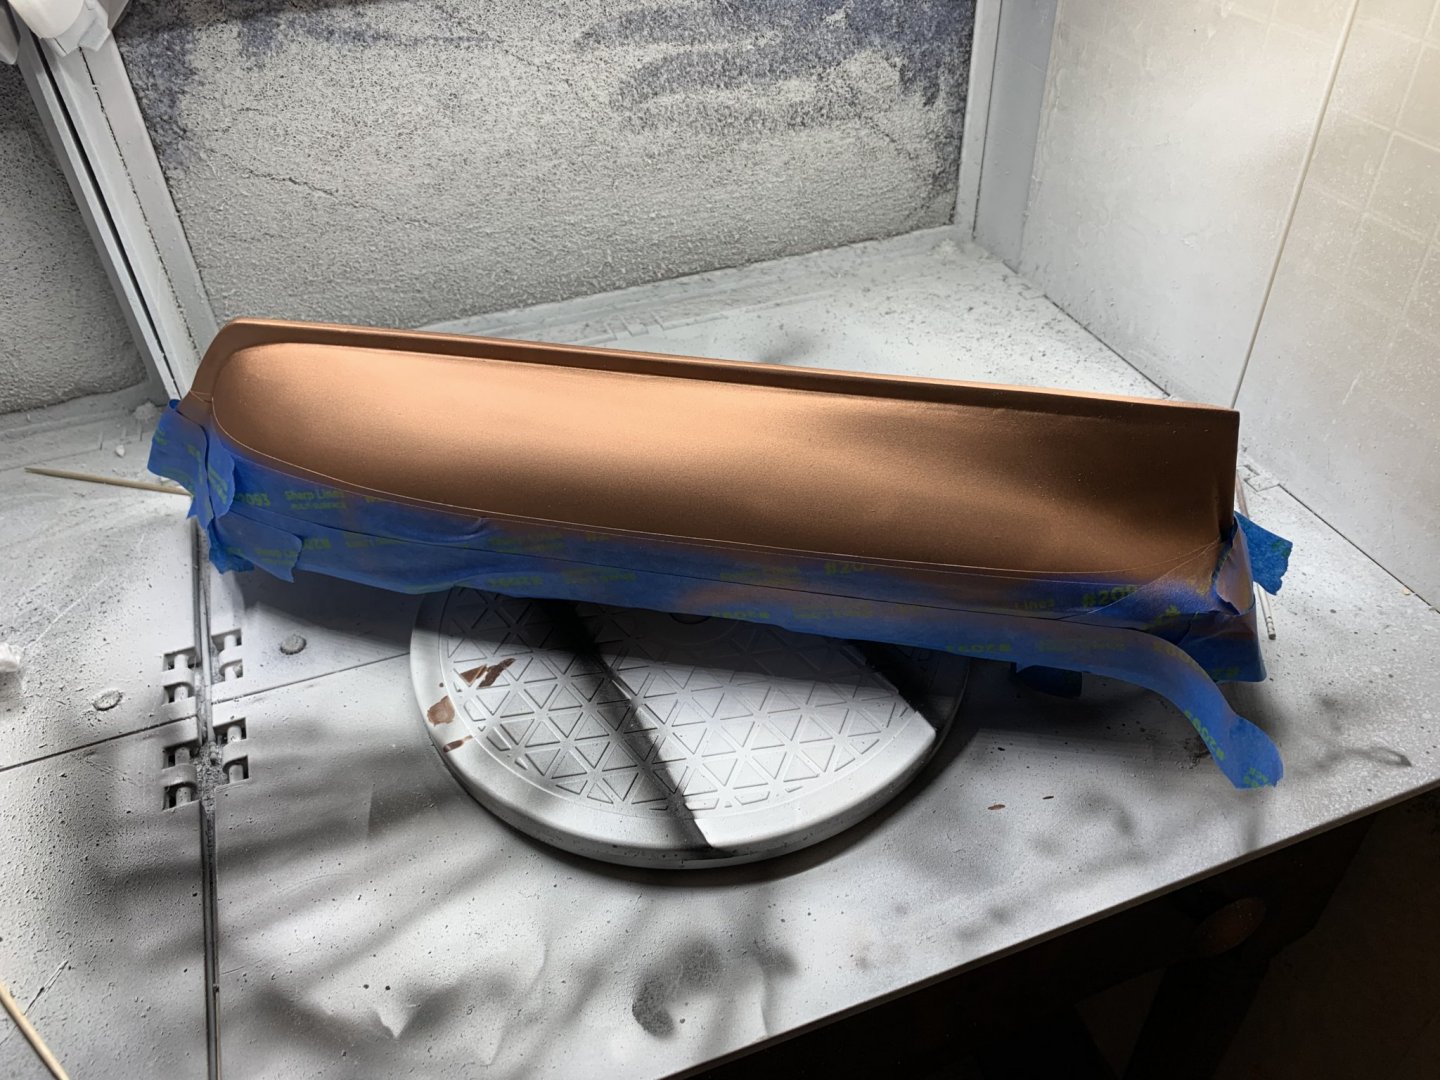
Marked the waterline with the included waterline marking jig. Next I masked off the waterline with rubber pin-striping tape to more easily follow the contour of the waterline. This was an awesome tip a follow forum member provides during my last build. Next I used normal masking tape to mask off the remaining above water portion of the hull. Finally I painted it copper as a background layer for the copper plating which will come next.


- 85 replies
-
- 8
-
-
- perry
- BlueJacket Shipcrafters
- (and 1 more)
-
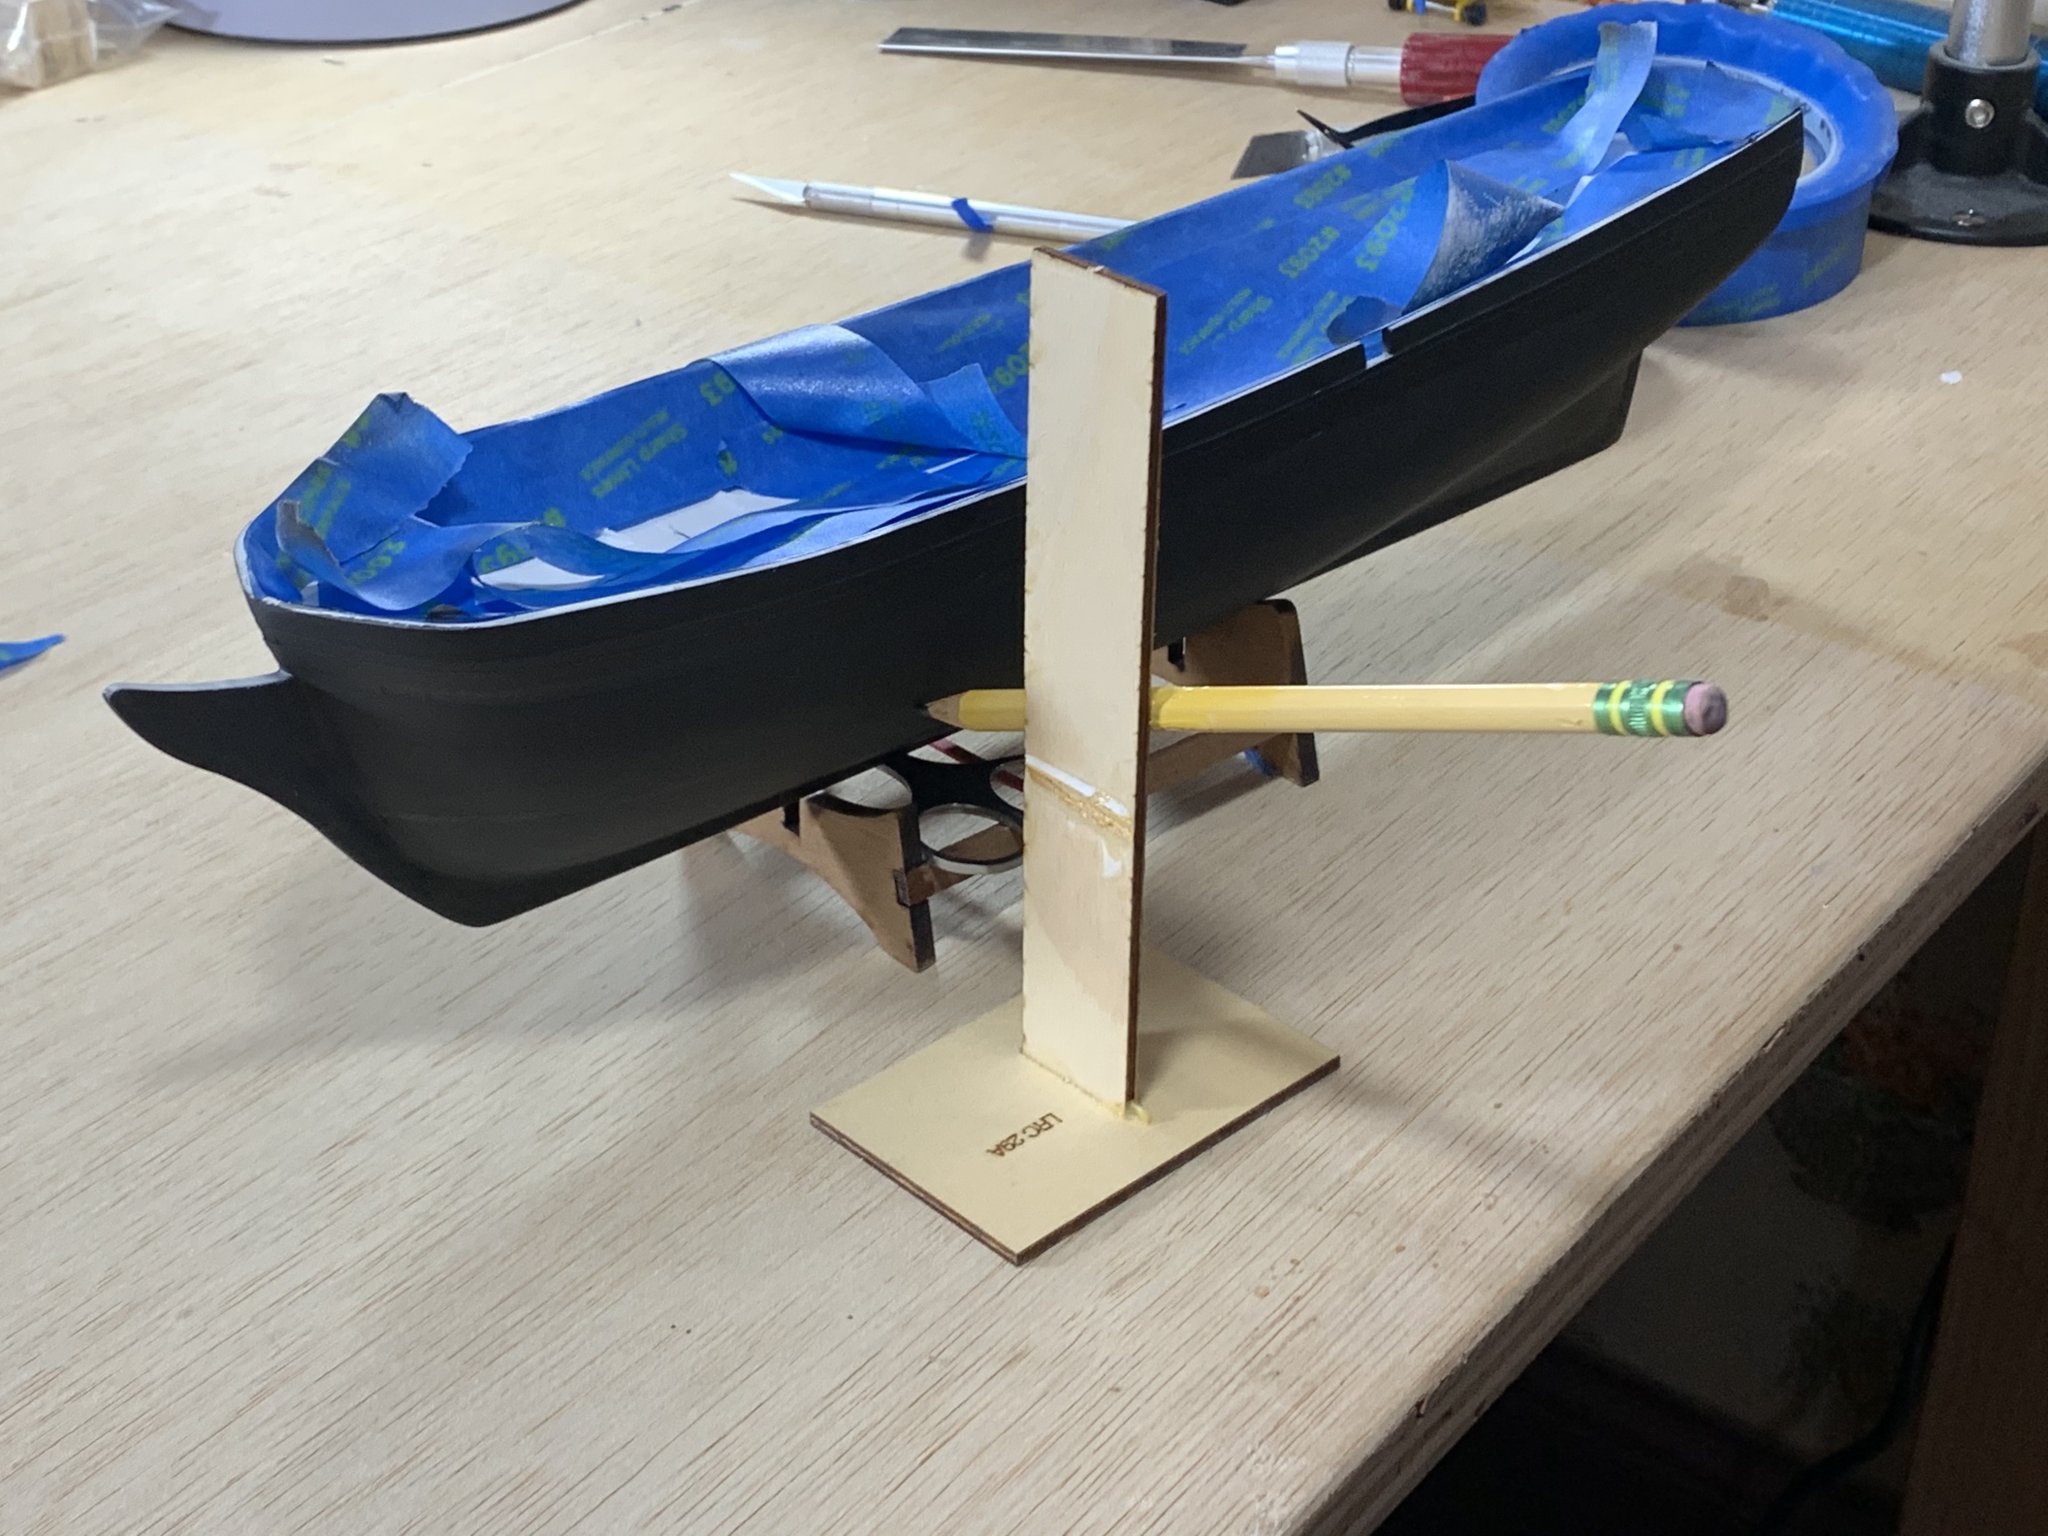
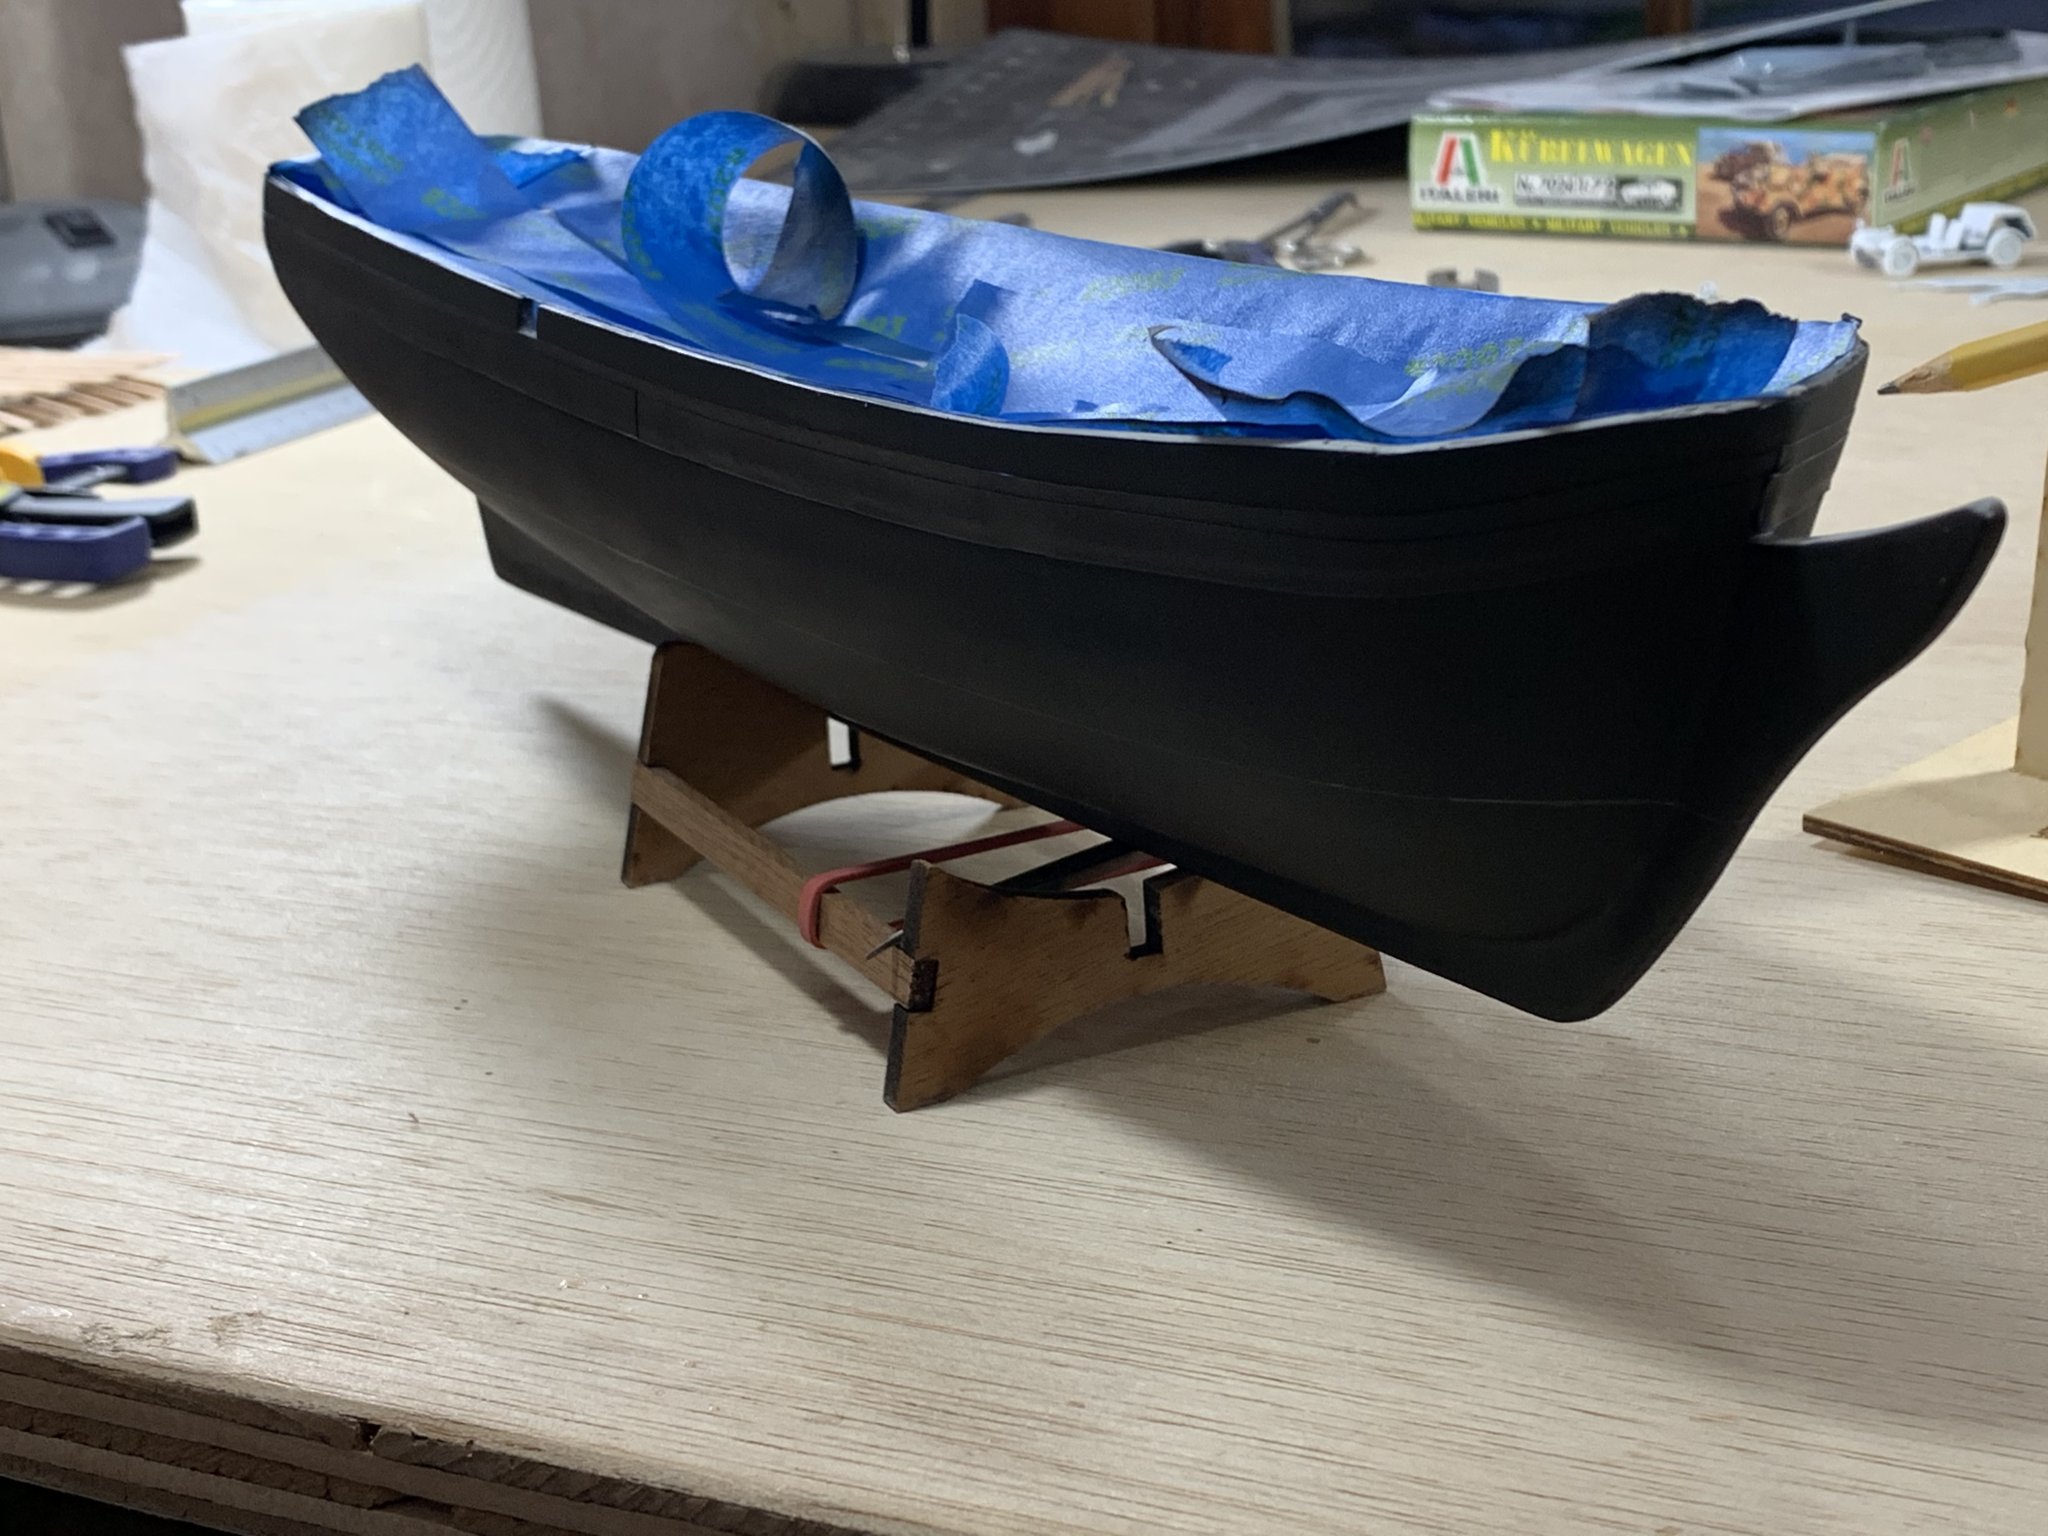
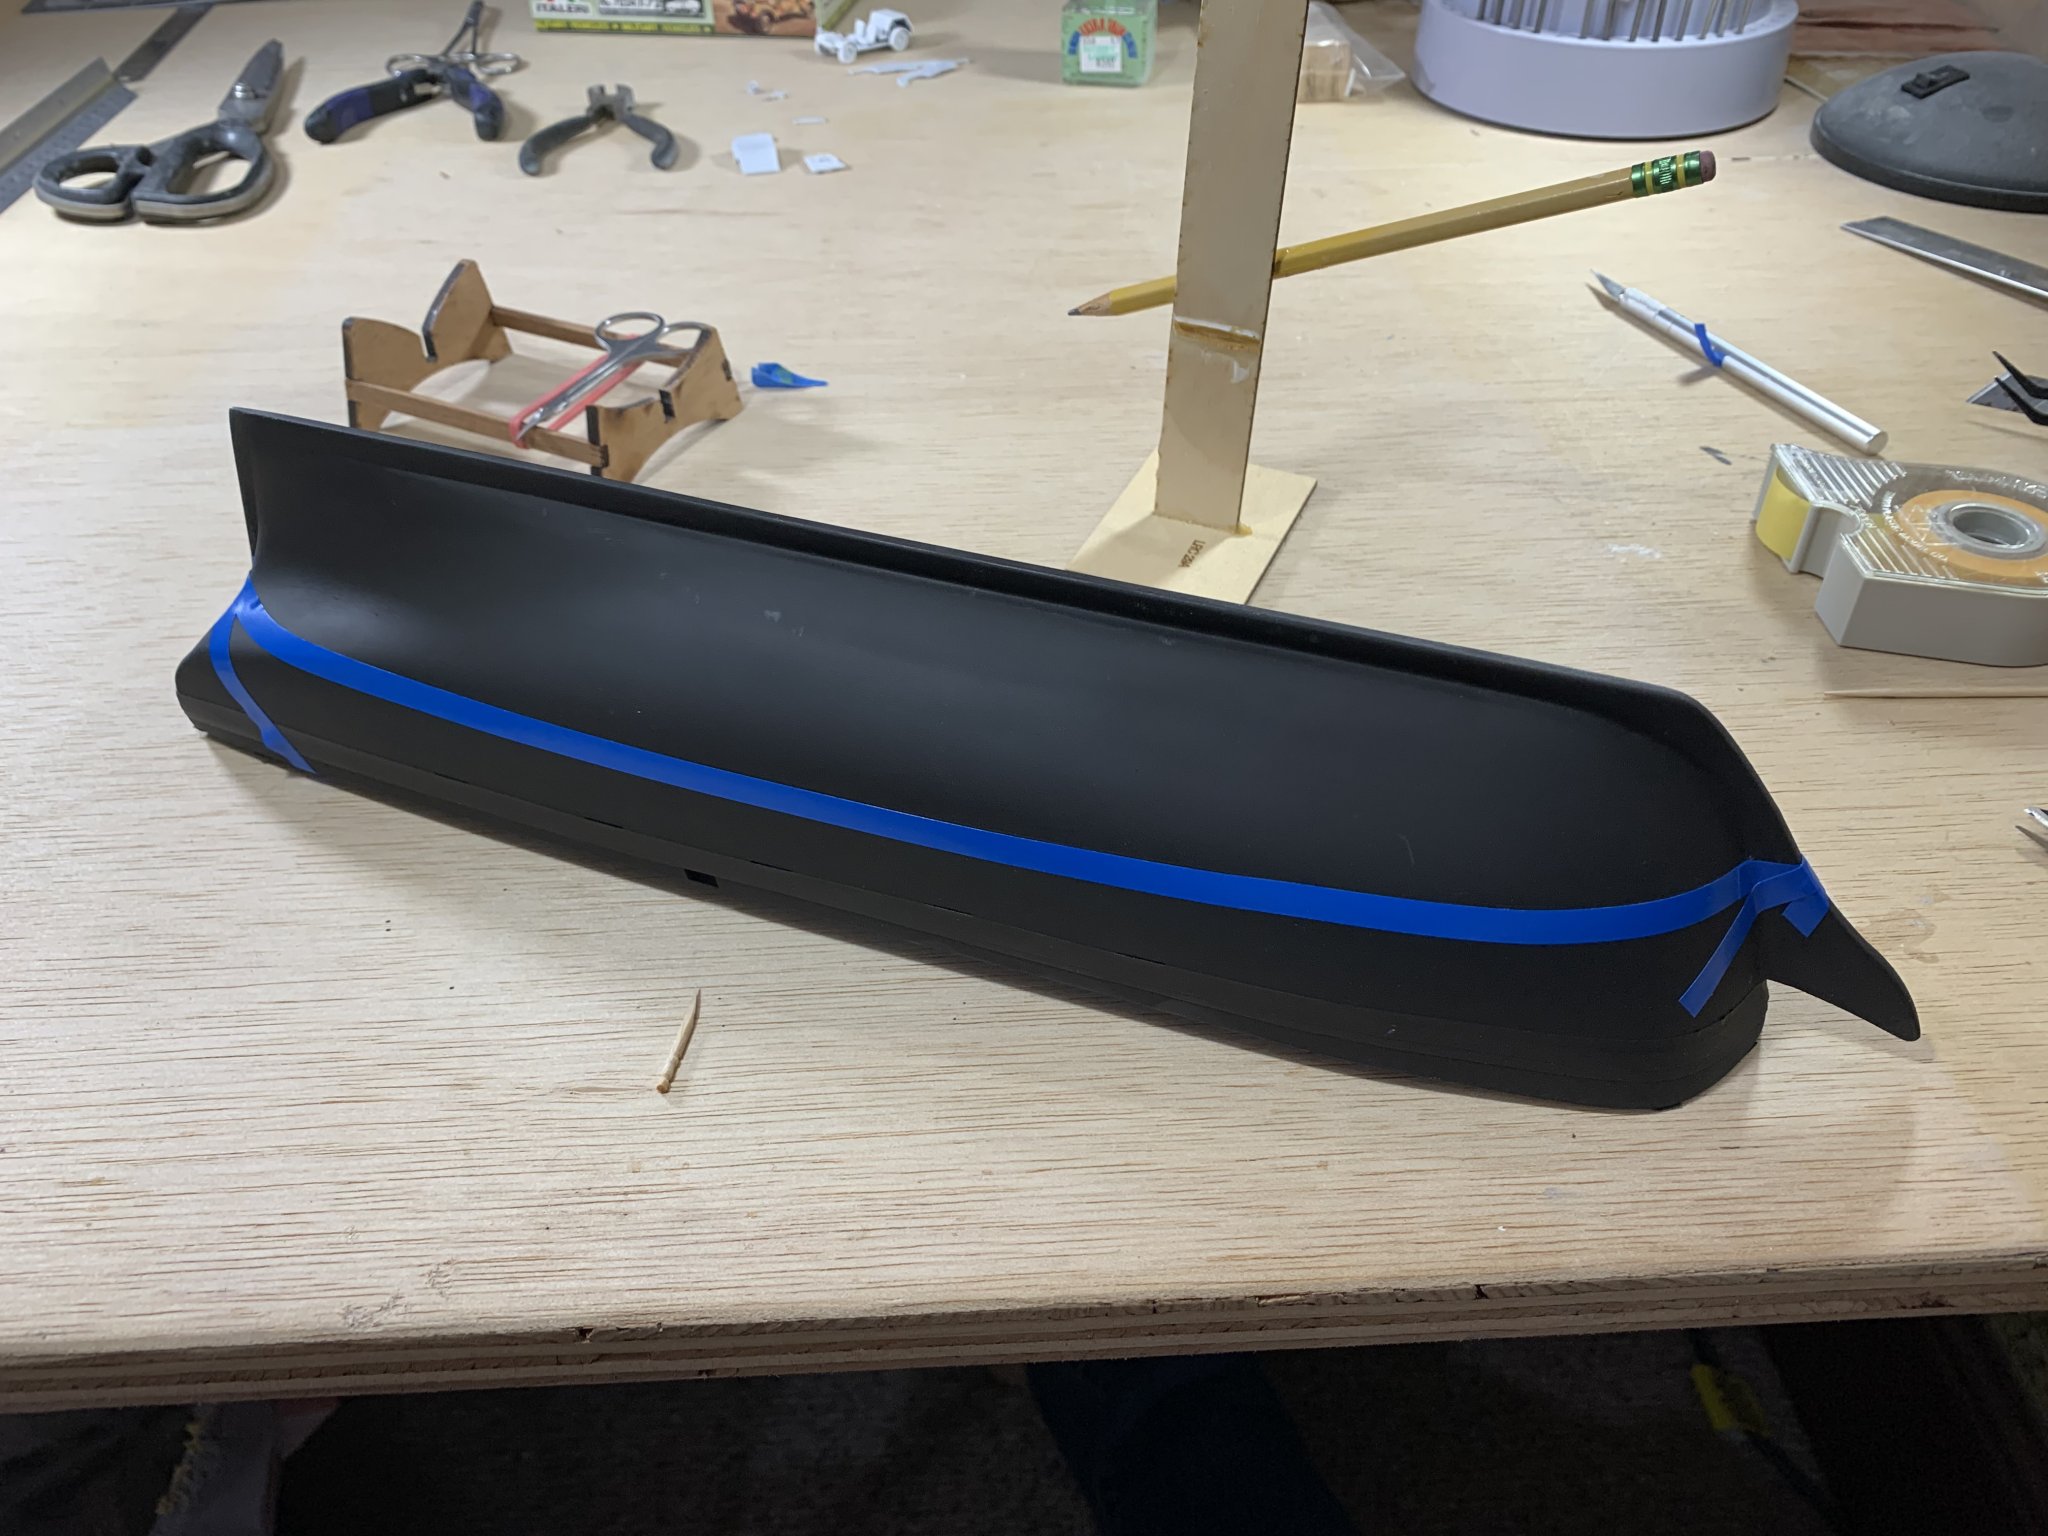
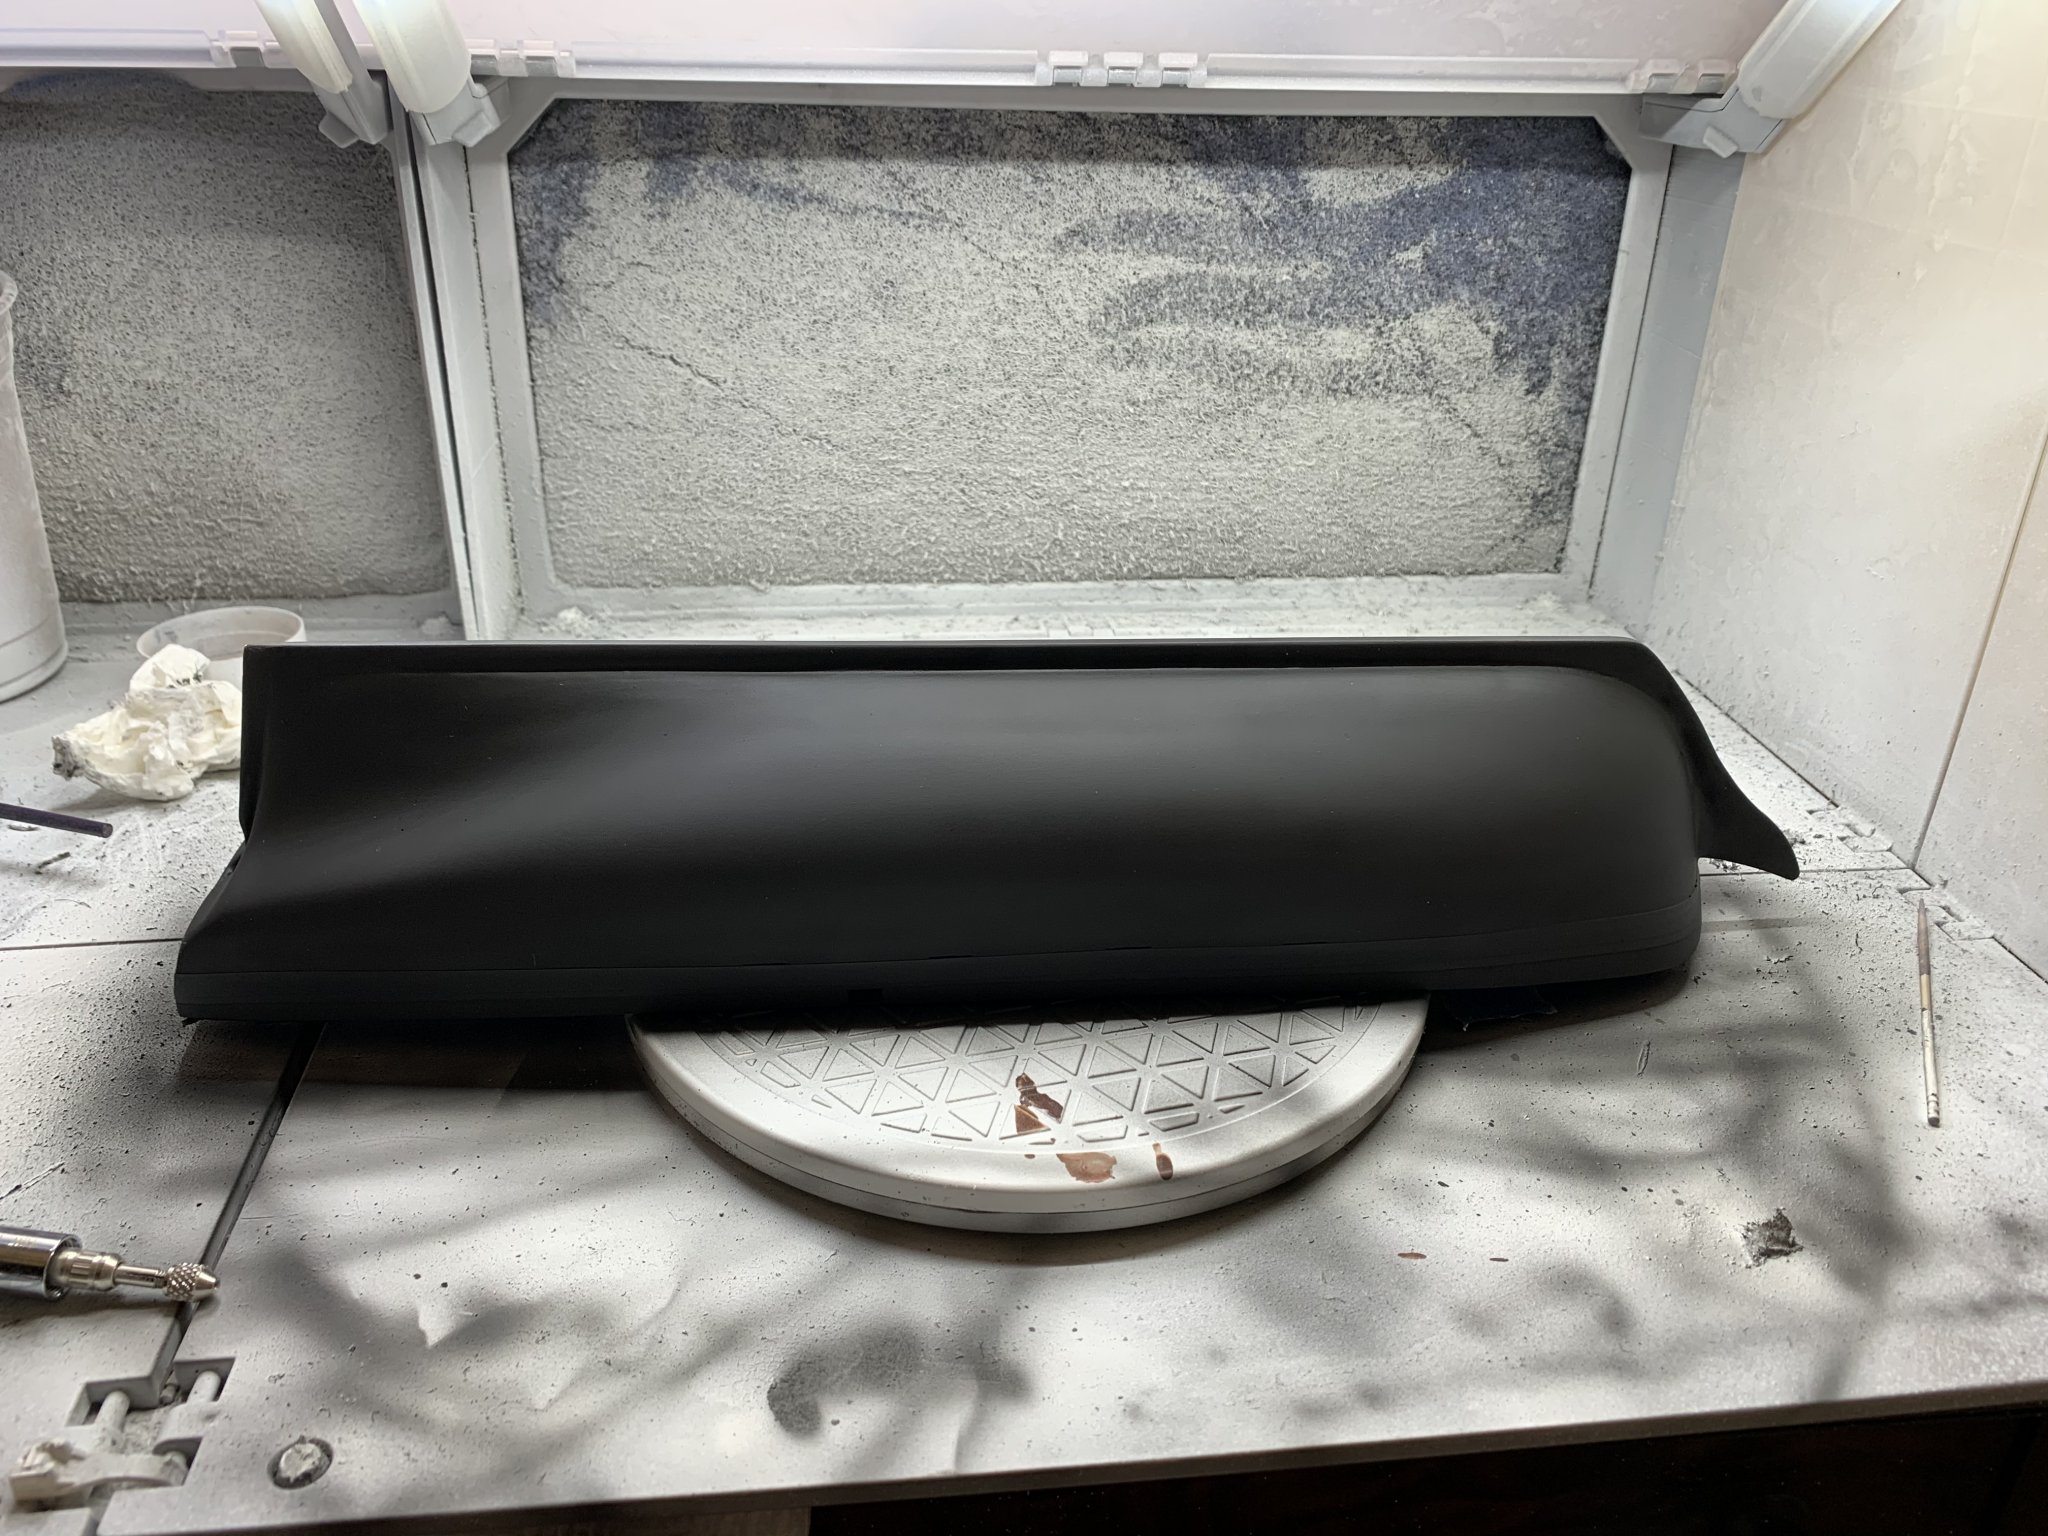
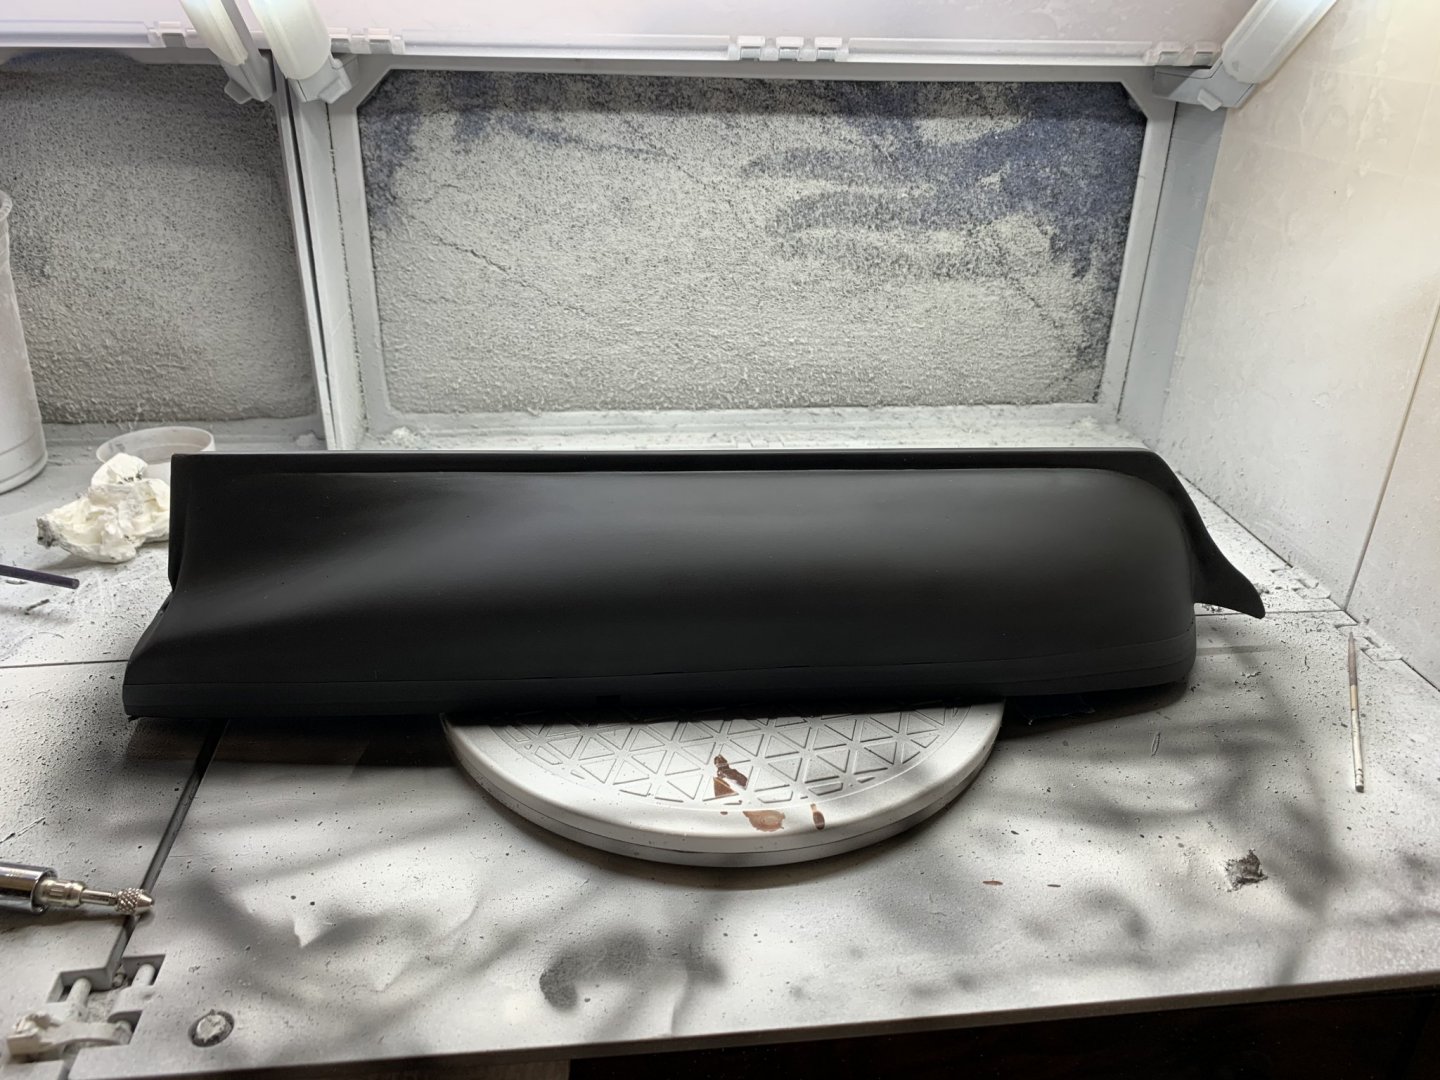
Masked off the gunport stripe and painted the entire hull flat black. Next up is marking the waterline and painting below the waterline copper. After that it will be time for some copper plating.

- 85 replies
-
- 5
-
-
- perry
- BlueJacket Shipcrafters
- (and 1 more)
-
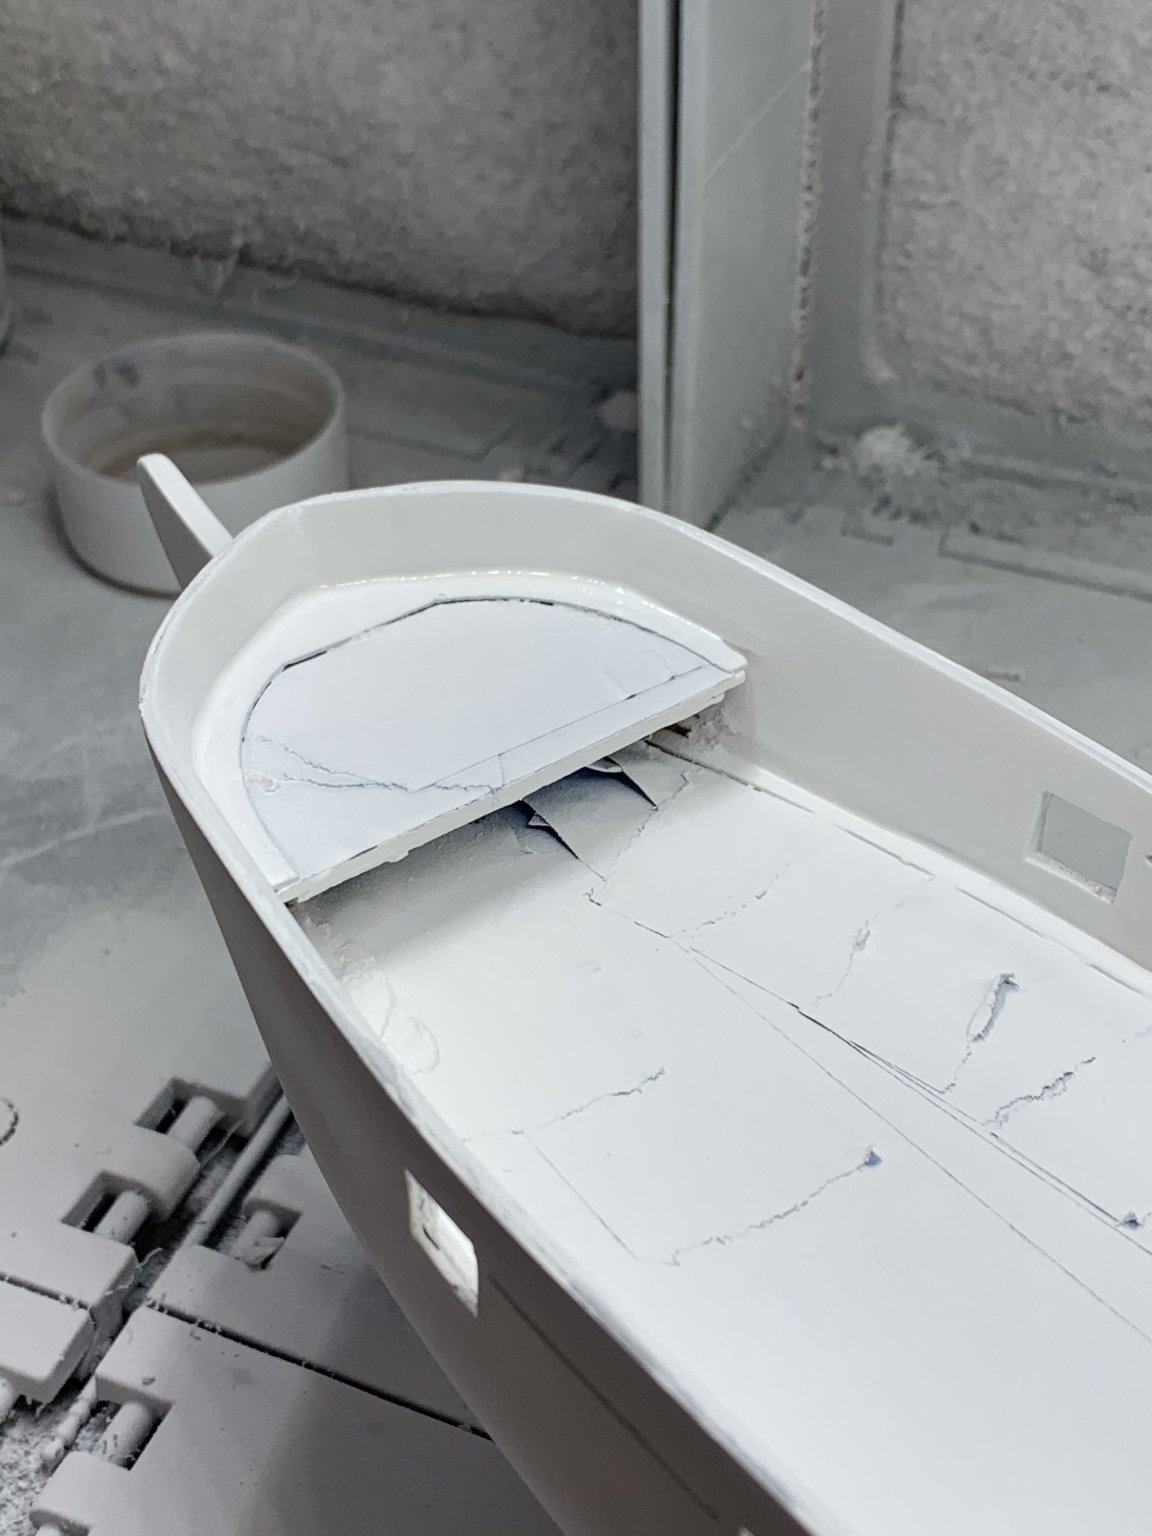
I took the opportunity to do some touch ups along the inner waterways. There were a few unsightly gaps that became obvious after the initial primer. After some sanding and primer the forecastle modification doesn’t look bad!


- 85 replies
-
- 5
-
-
- perry
- BlueJacket Shipcrafters
- (and 1 more)
-
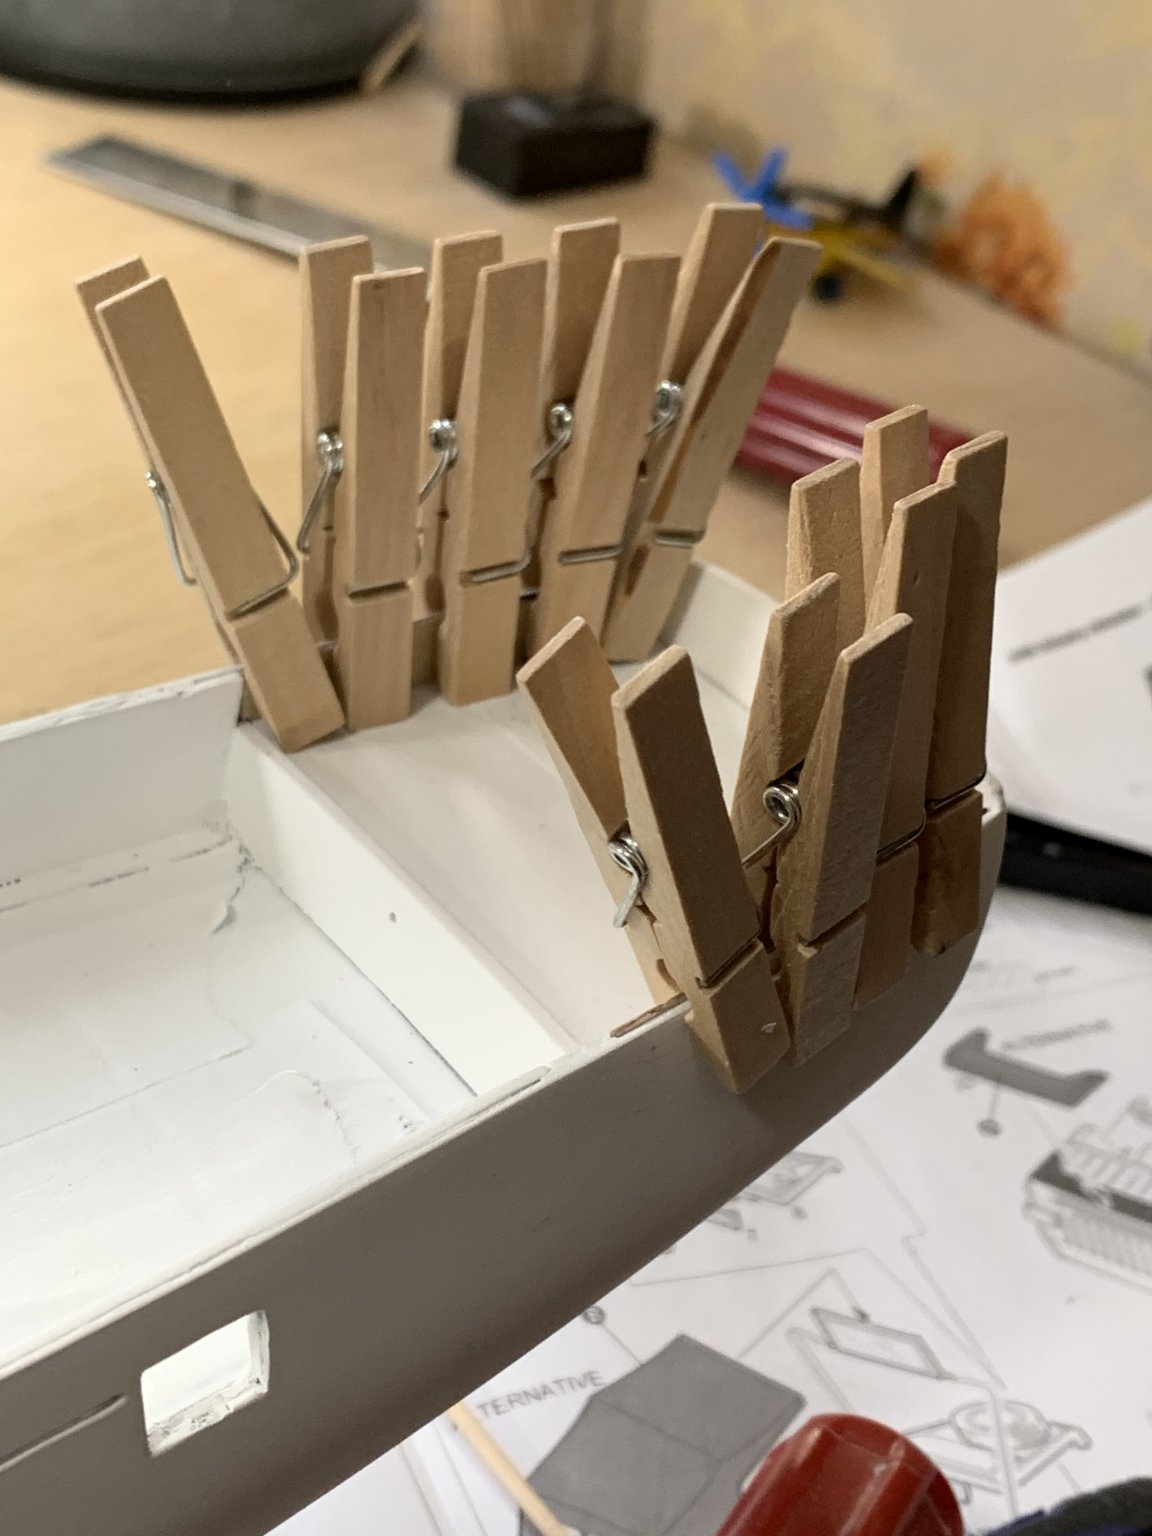
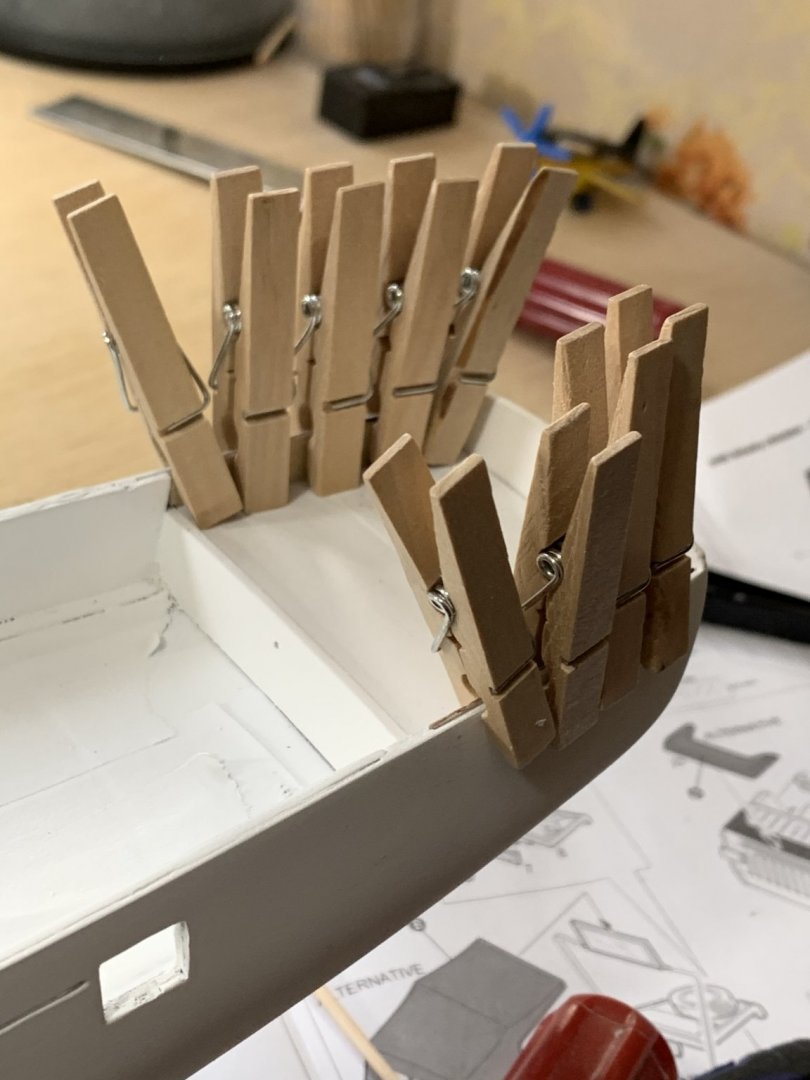
Also, here are the rear inner bulwark extensions being glued in.
- 85 replies
-
- 5
-
-
- perry
- BlueJacket Shipcrafters
- (and 1 more)
-
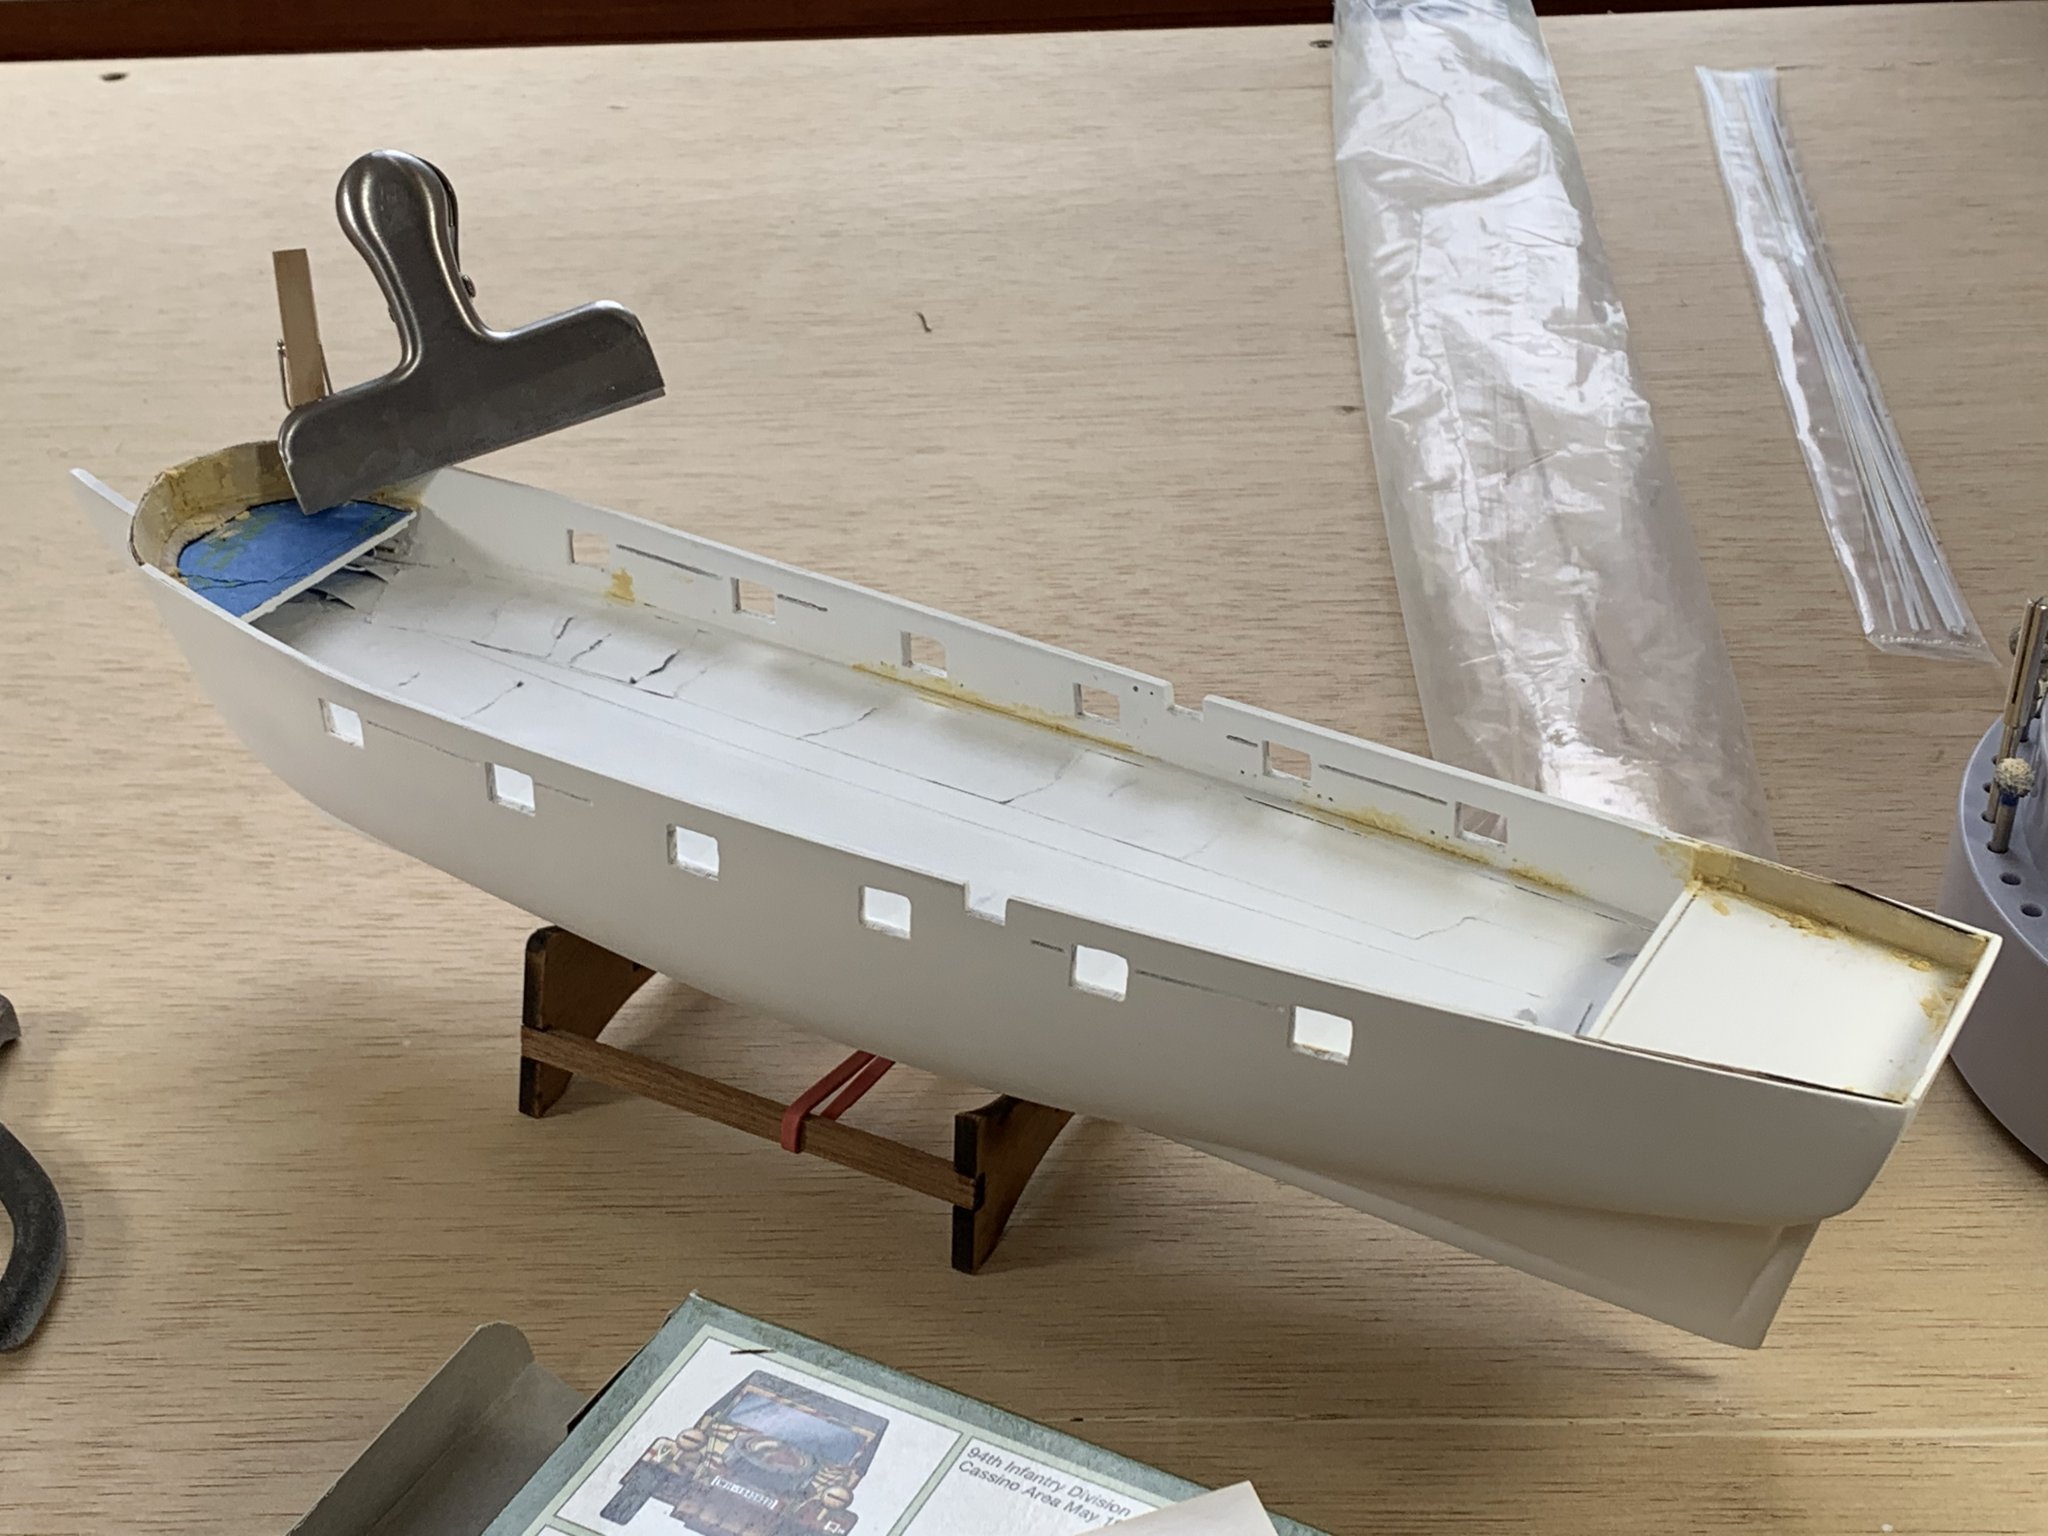
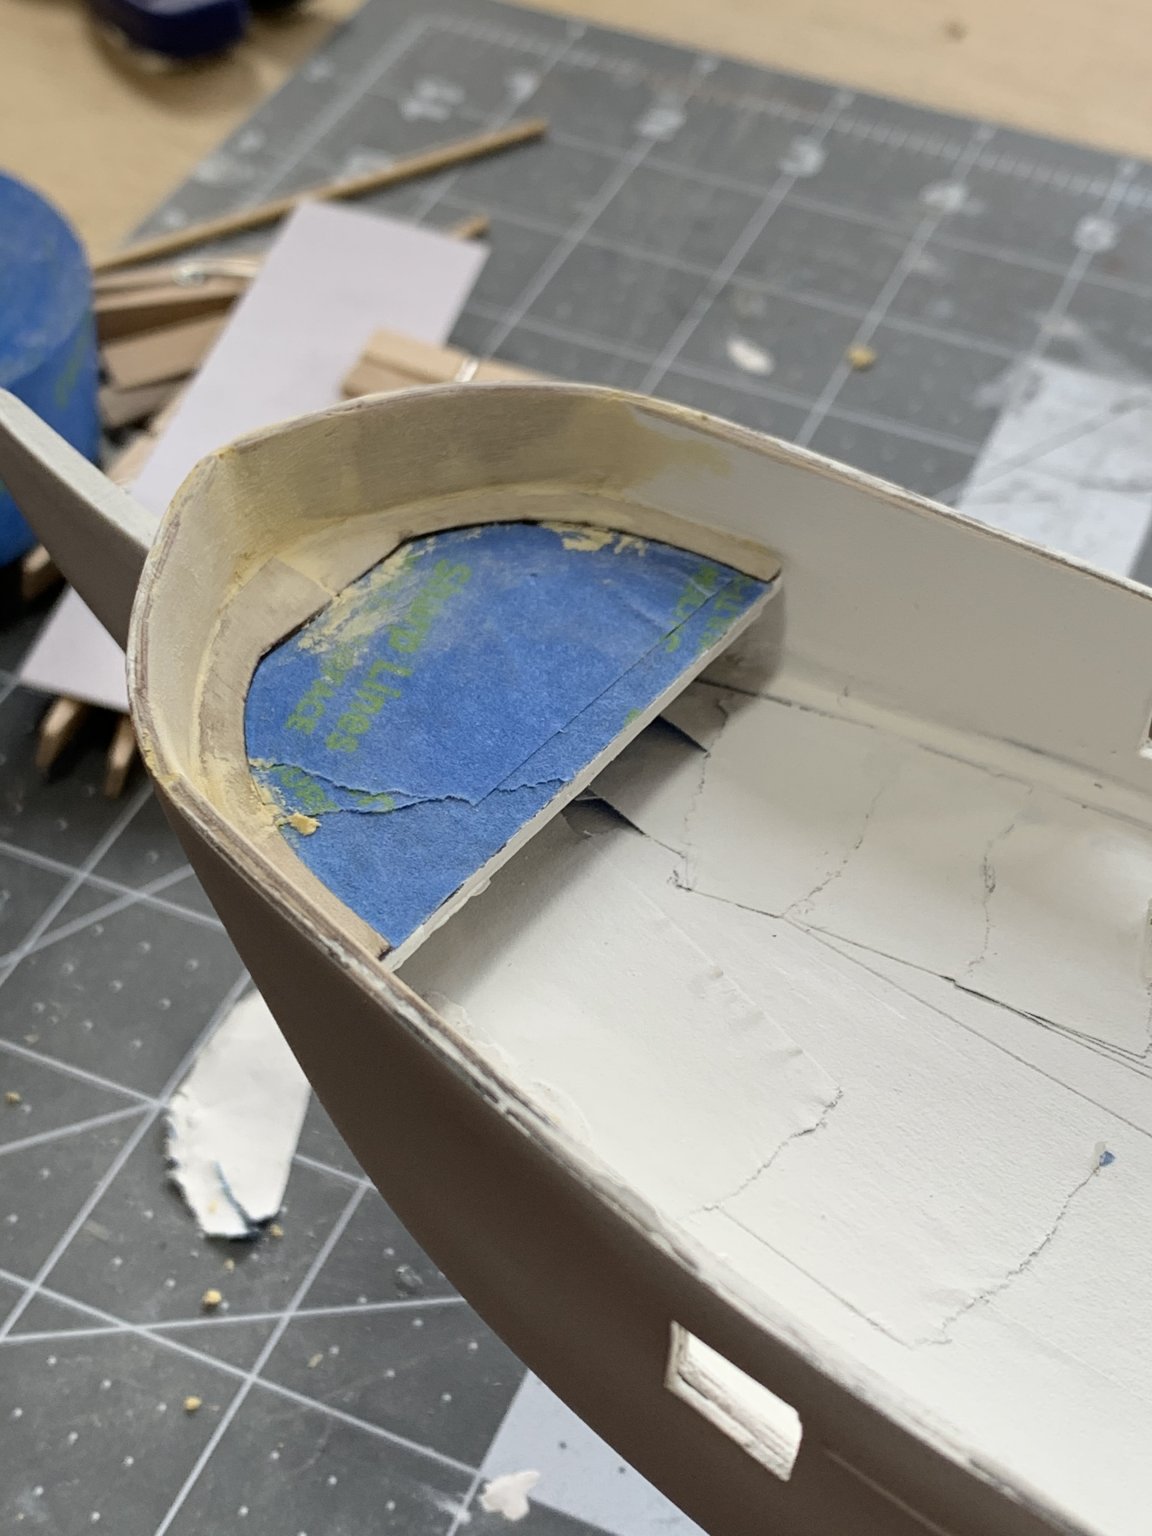
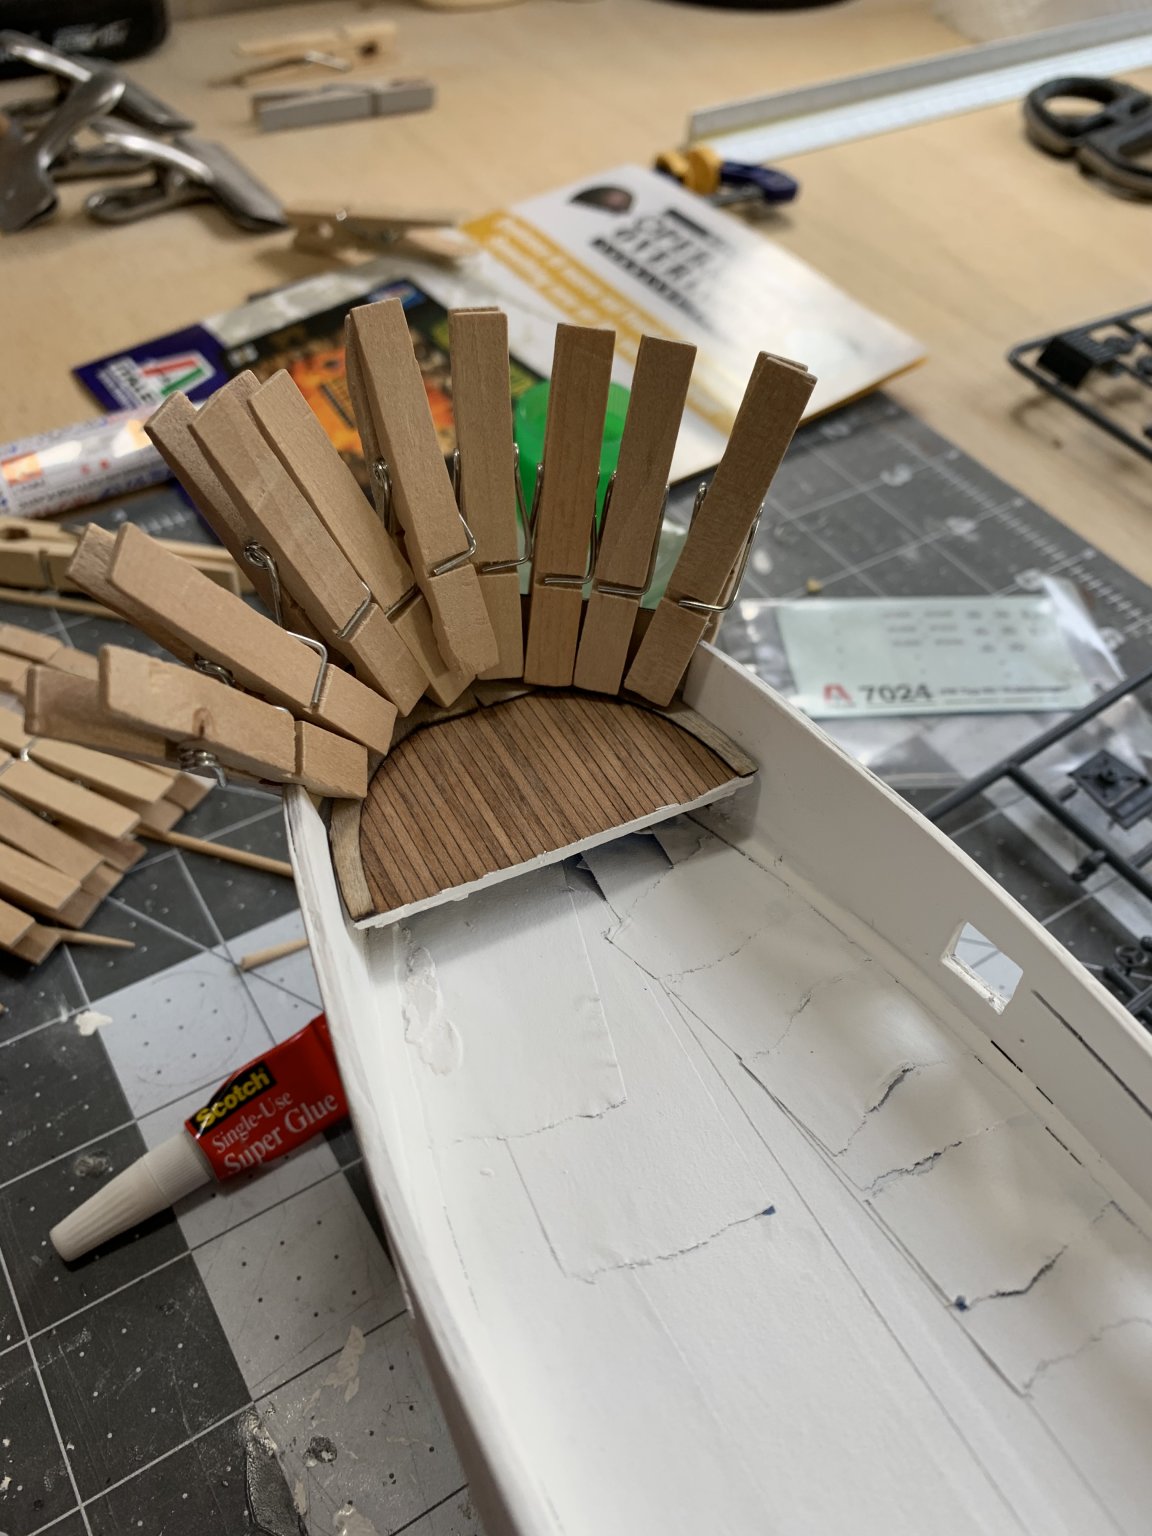
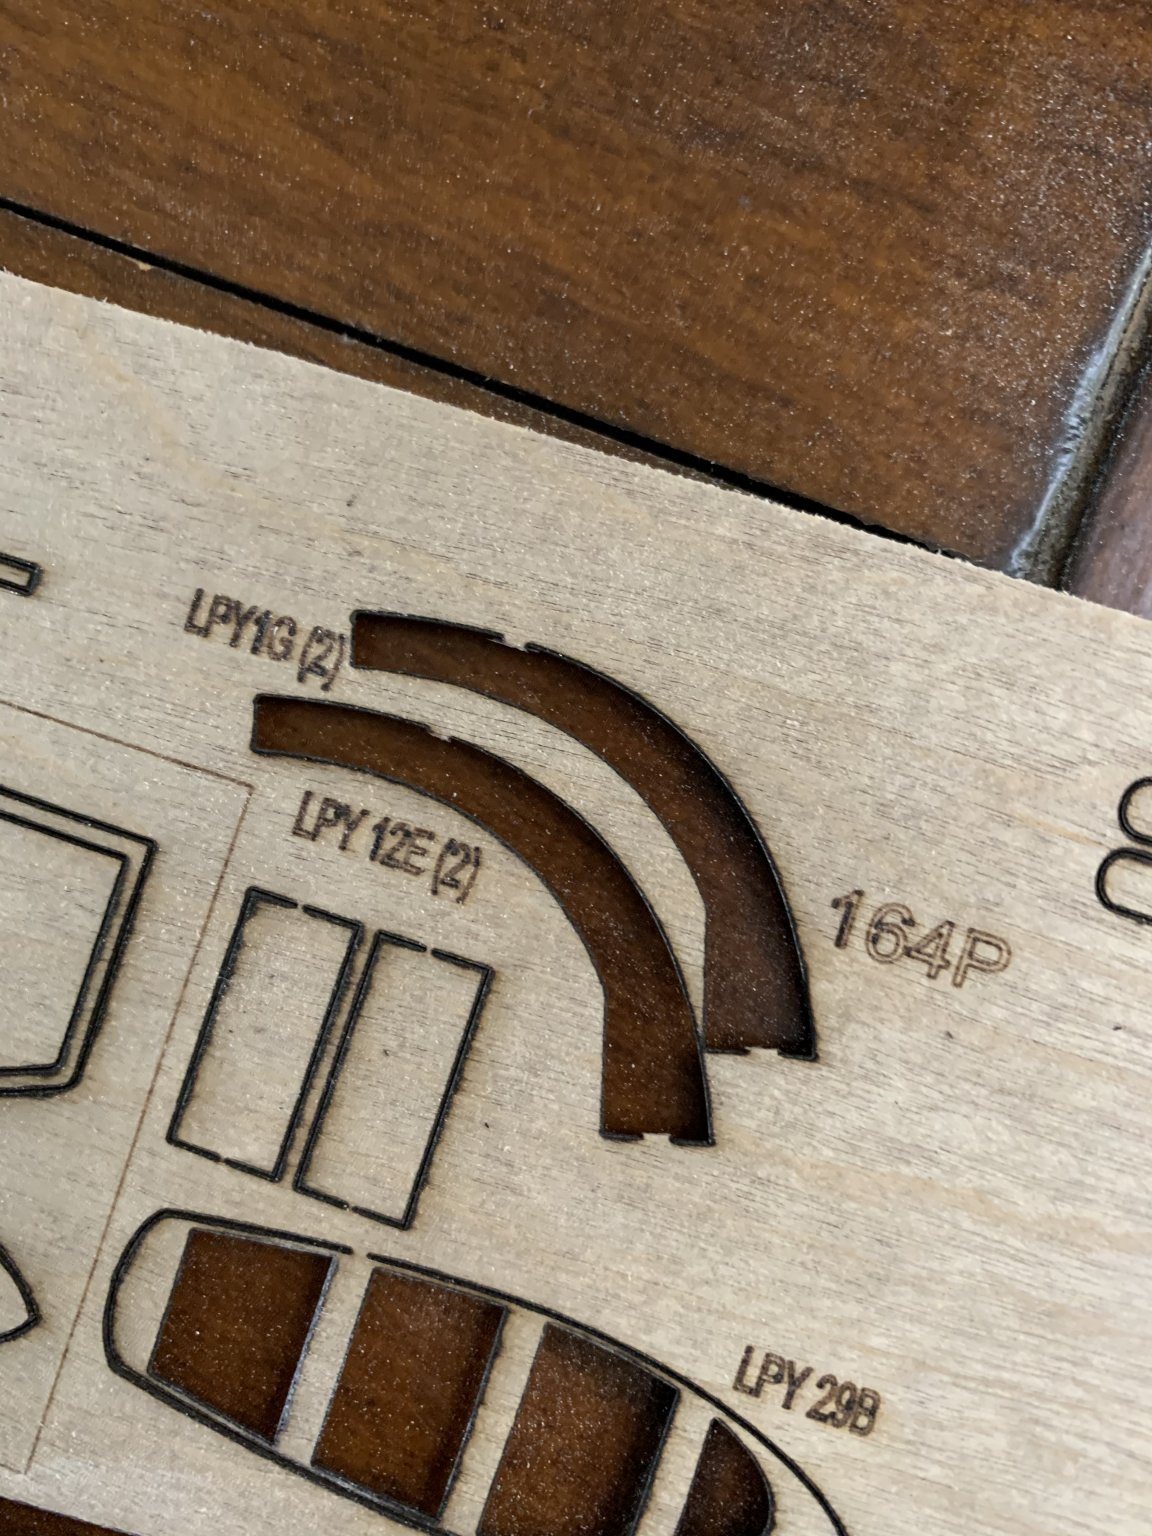
I just realized a mistake in the plans/instructions so heads up for anyone else making this model. The forecastle waterways should be installed at the same time as the main waterways. These are “LPY1G” on the lasercut sheet. There is not mention of them on the plans or the instructions (that I have seen). Anyways, was looking through the pictures of the completed model and noticed my mistake. This will require some additional painting/priming but shouldn’t be a big issue. Of further note, the instructions make no note of having to lengthen the inner bulwarks over the top of the forecastle and rear deck so a few filler pieces need to be scratch built. The cutouts for the forecastle waterways. The scratch built inner bulwark extensions being glued in. See the forecastle waterways glued down.


- 85 replies
-
- 8
-
-
- perry
- BlueJacket Shipcrafters
- (and 1 more)
-
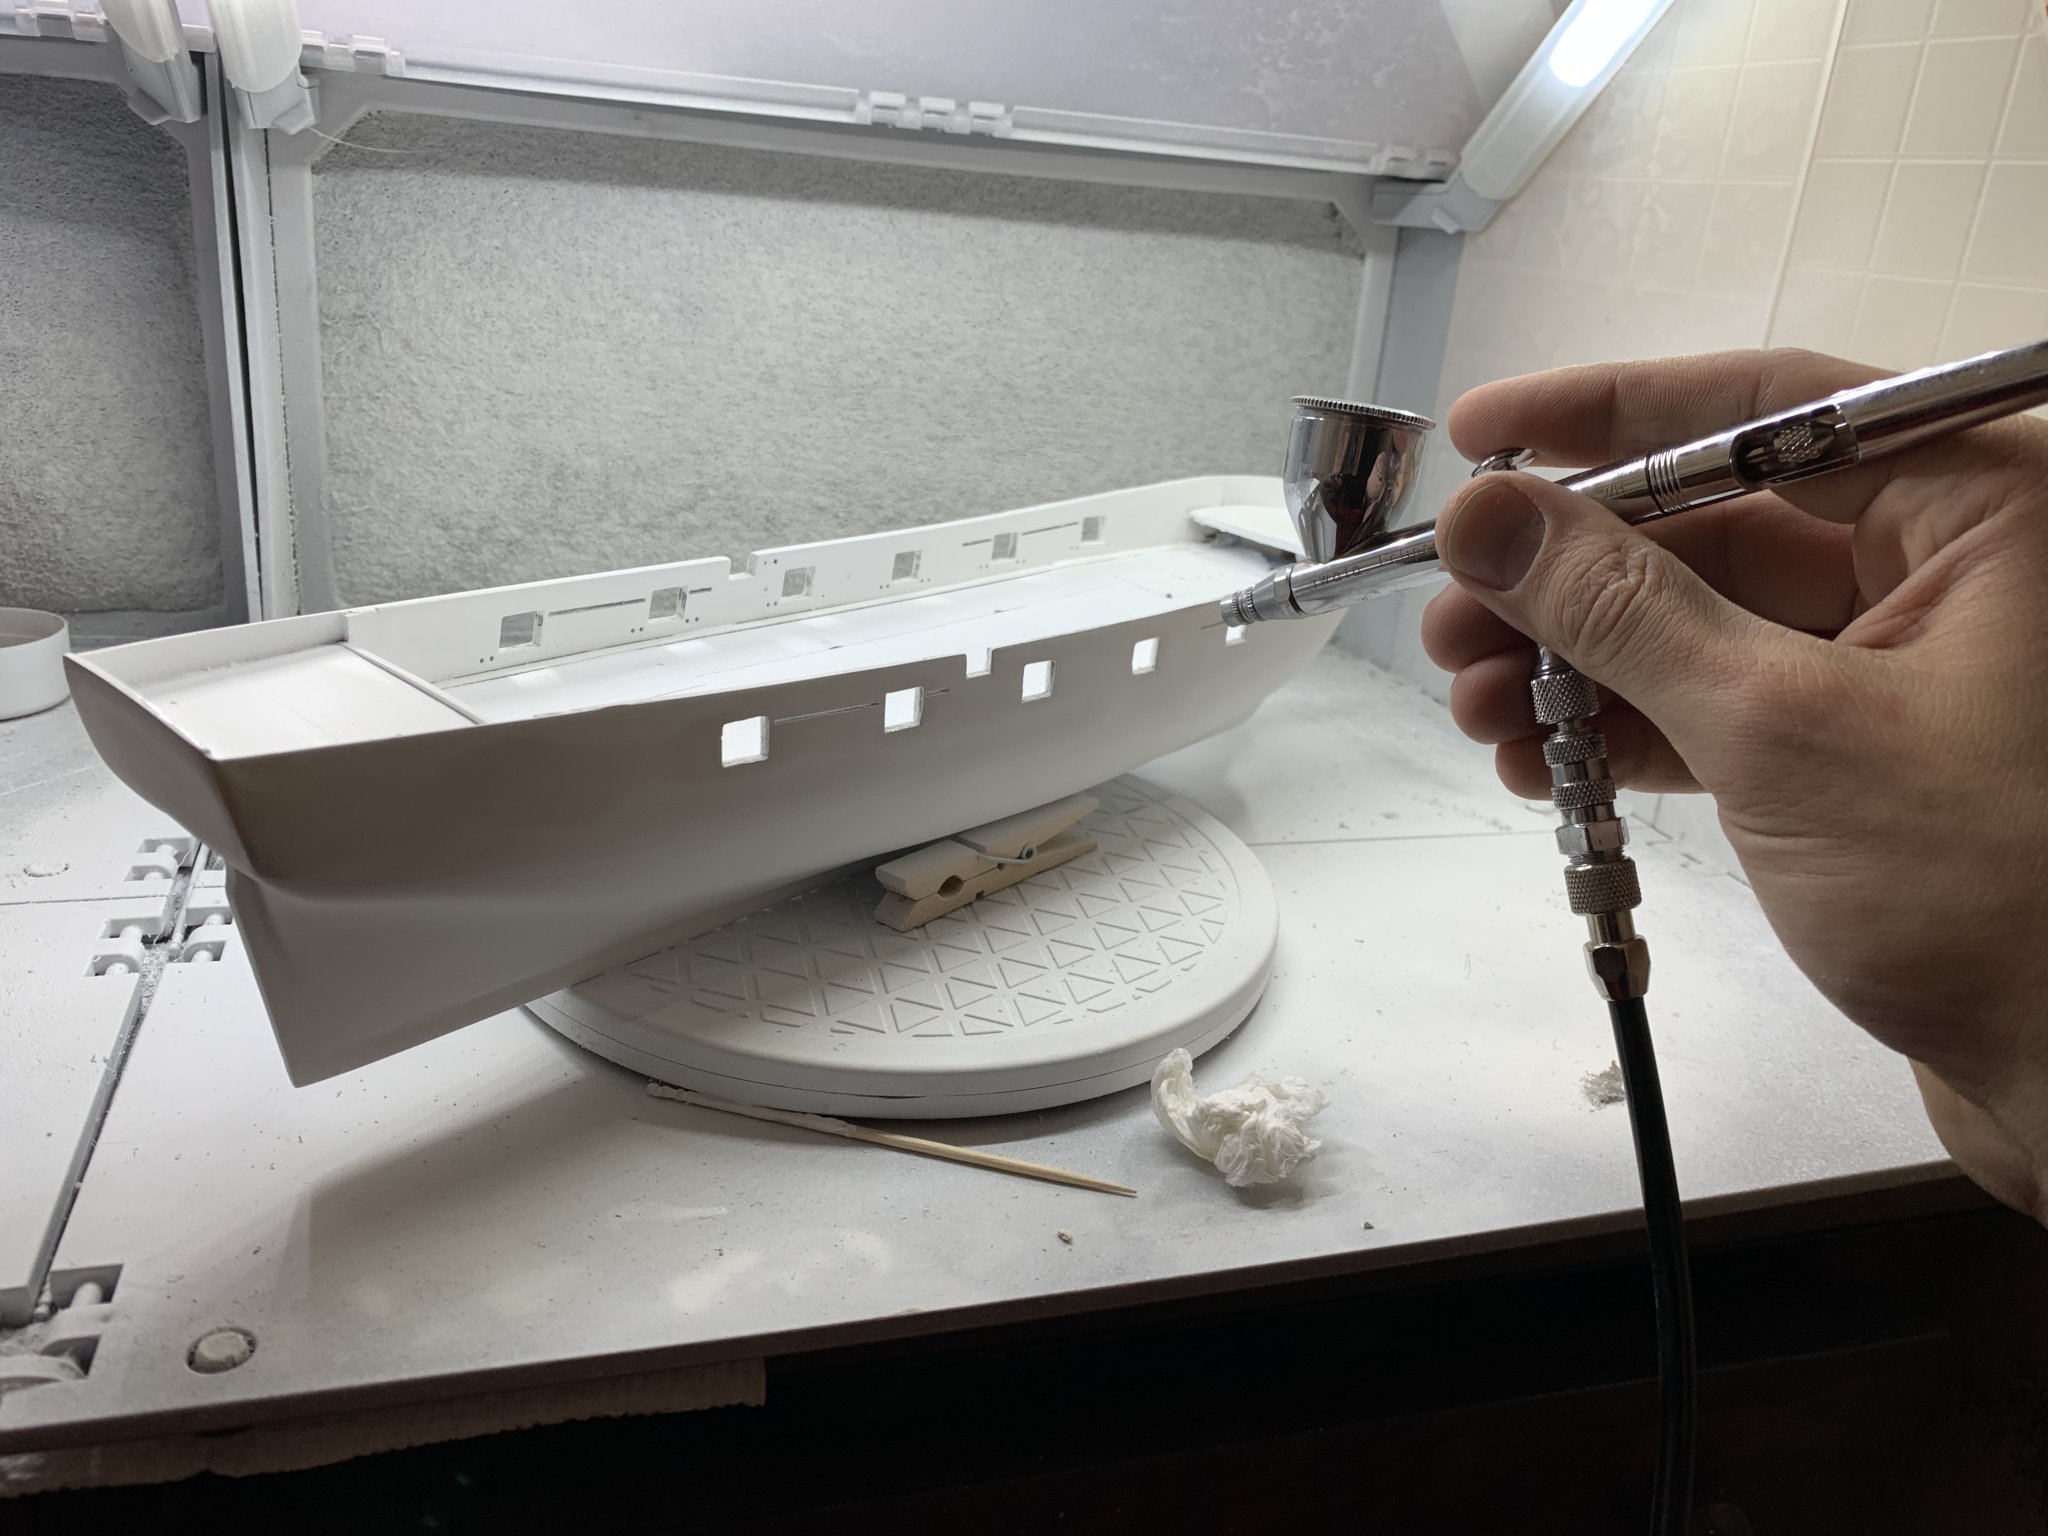
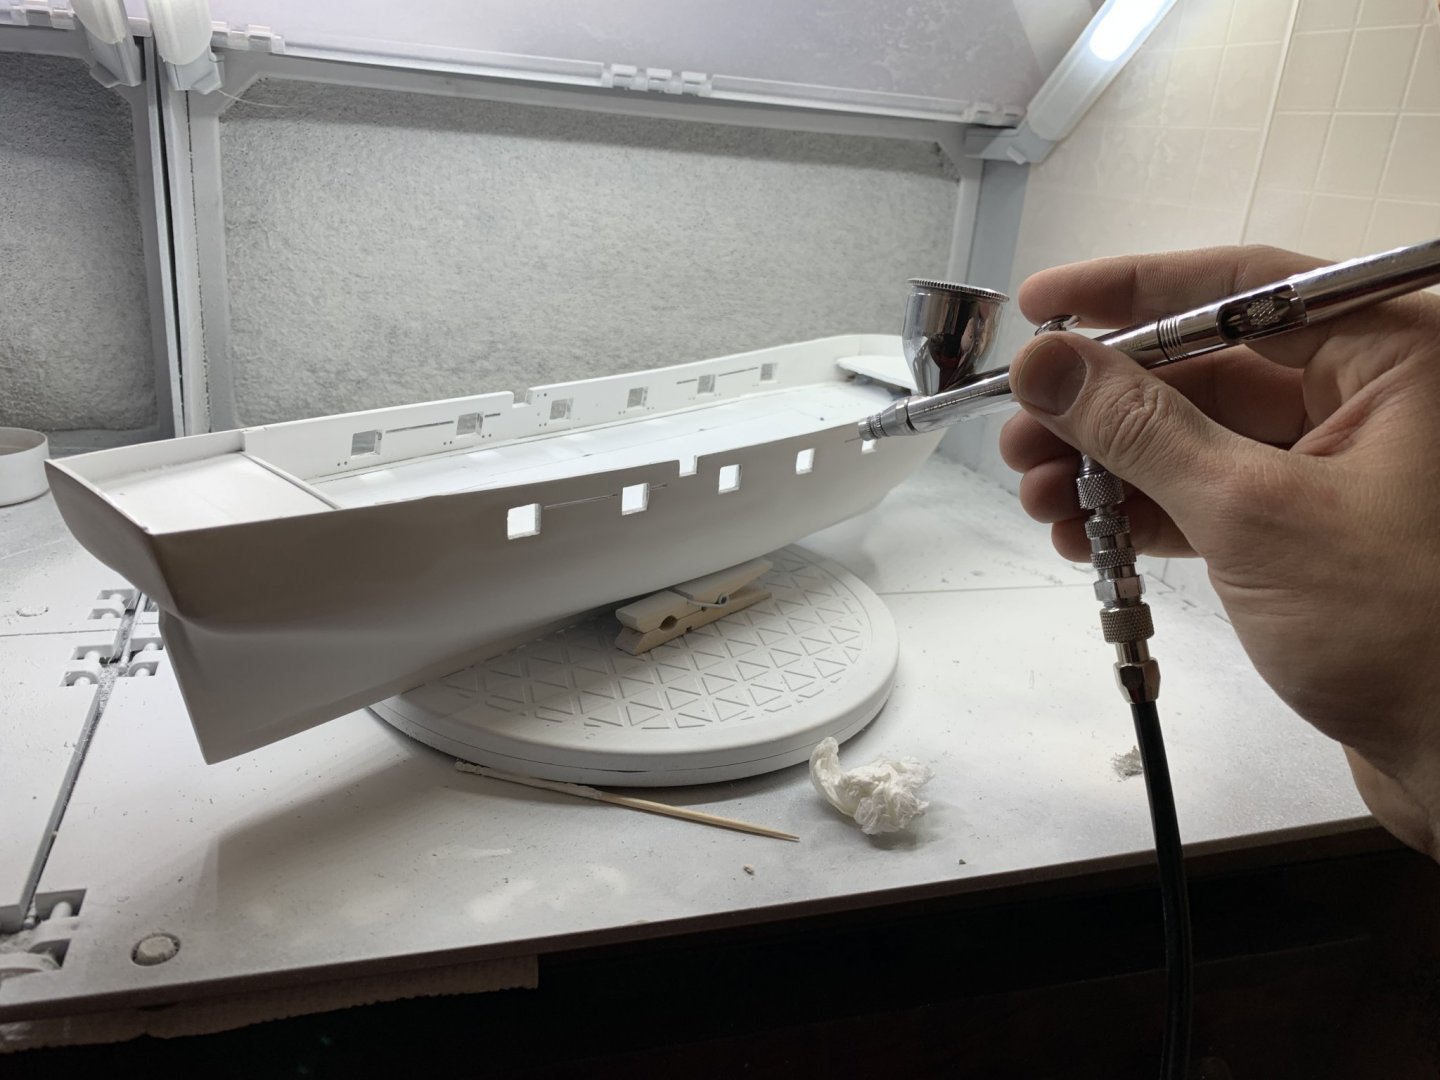
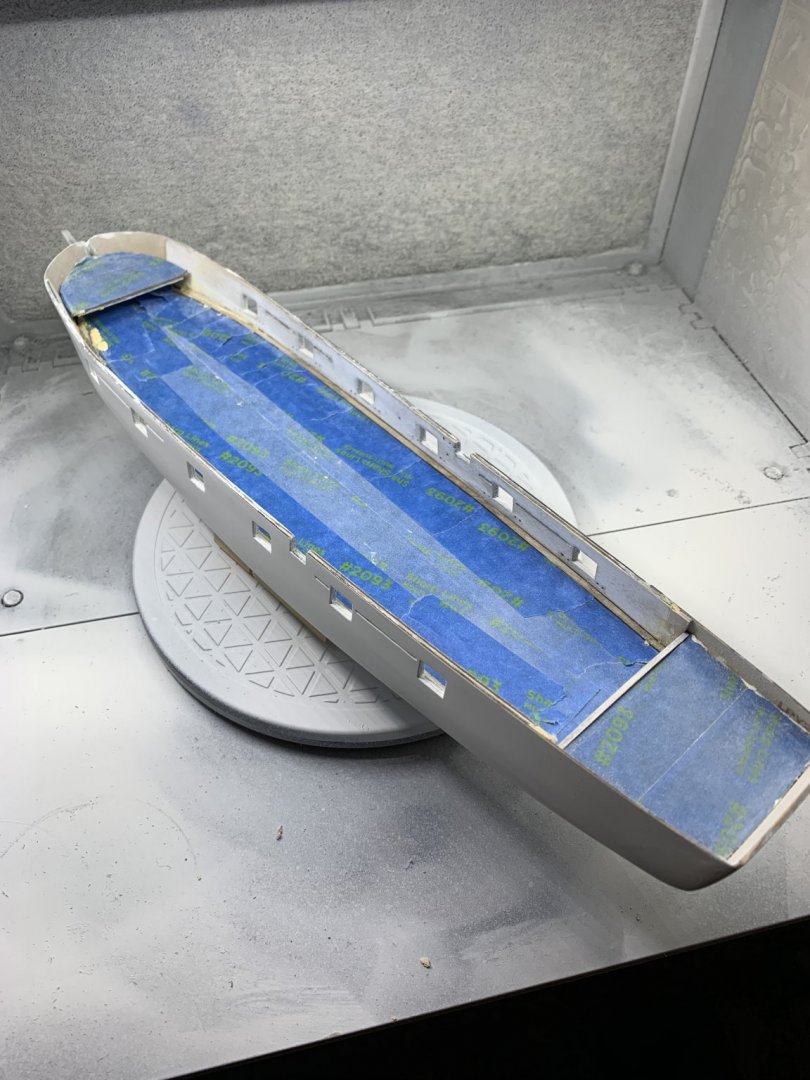
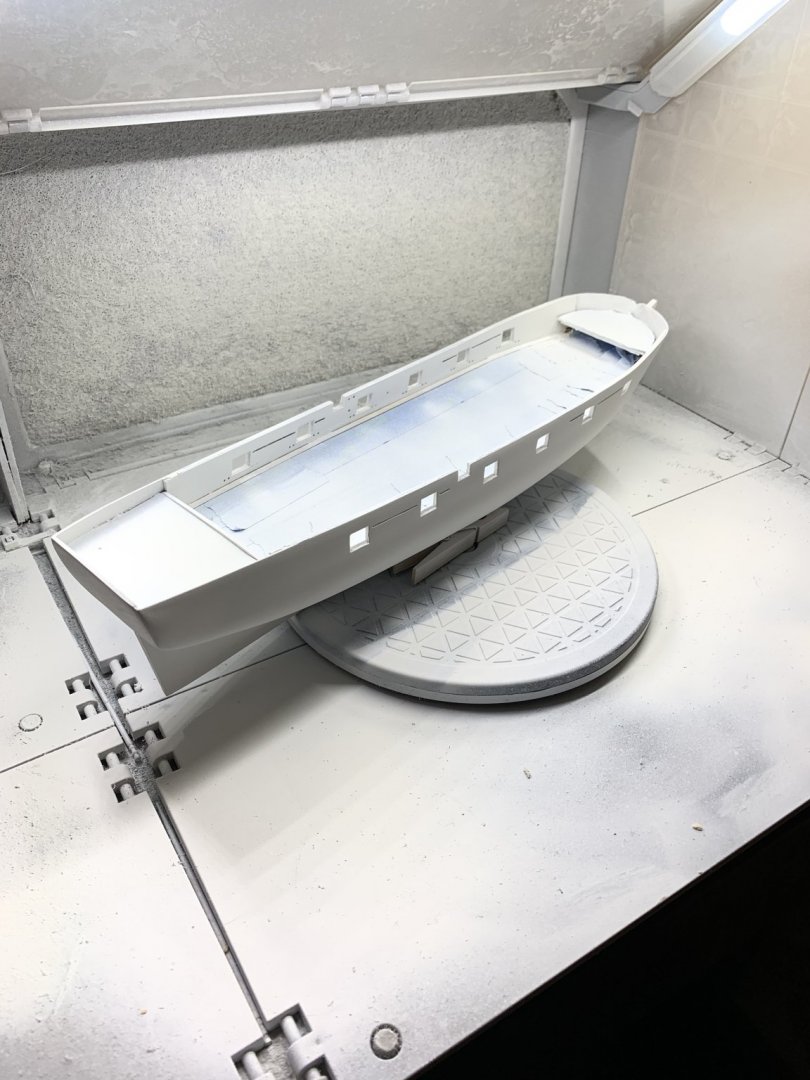
@Keith S thanks for the compliments! The smaller scale is definitely a learning experience for me as well. Airbrushed around the gun-ports and inner bulwarks white. Difficult to see with the white primer but it looks fairly good. Next up is to mask the insides of the gunwales and along the gun ports to pain the rest of the hull black.
- 85 replies
-
- 6
-
-
- perry
- BlueJacket Shipcrafters
- (and 1 more)
-
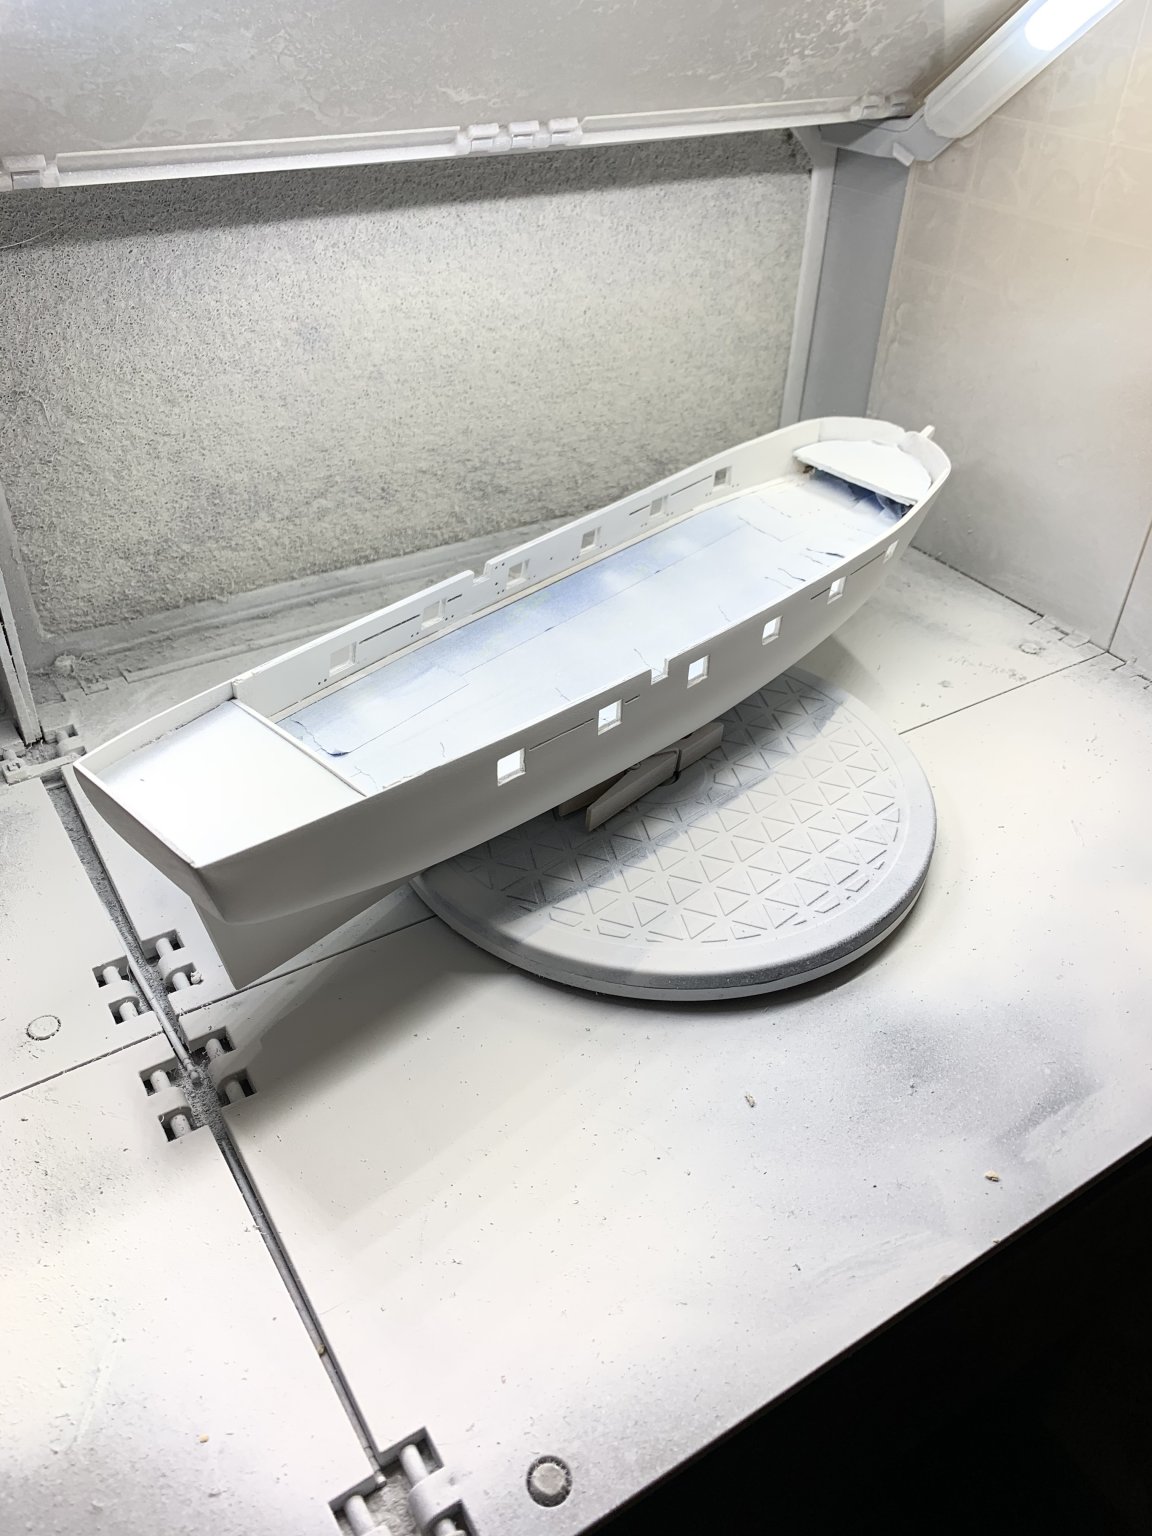
Added the waterways last night and primed them. Getting ready to paint the hull!
- 85 replies
-
- 7
-
-
- perry
- BlueJacket Shipcrafters
- (and 1 more)
-
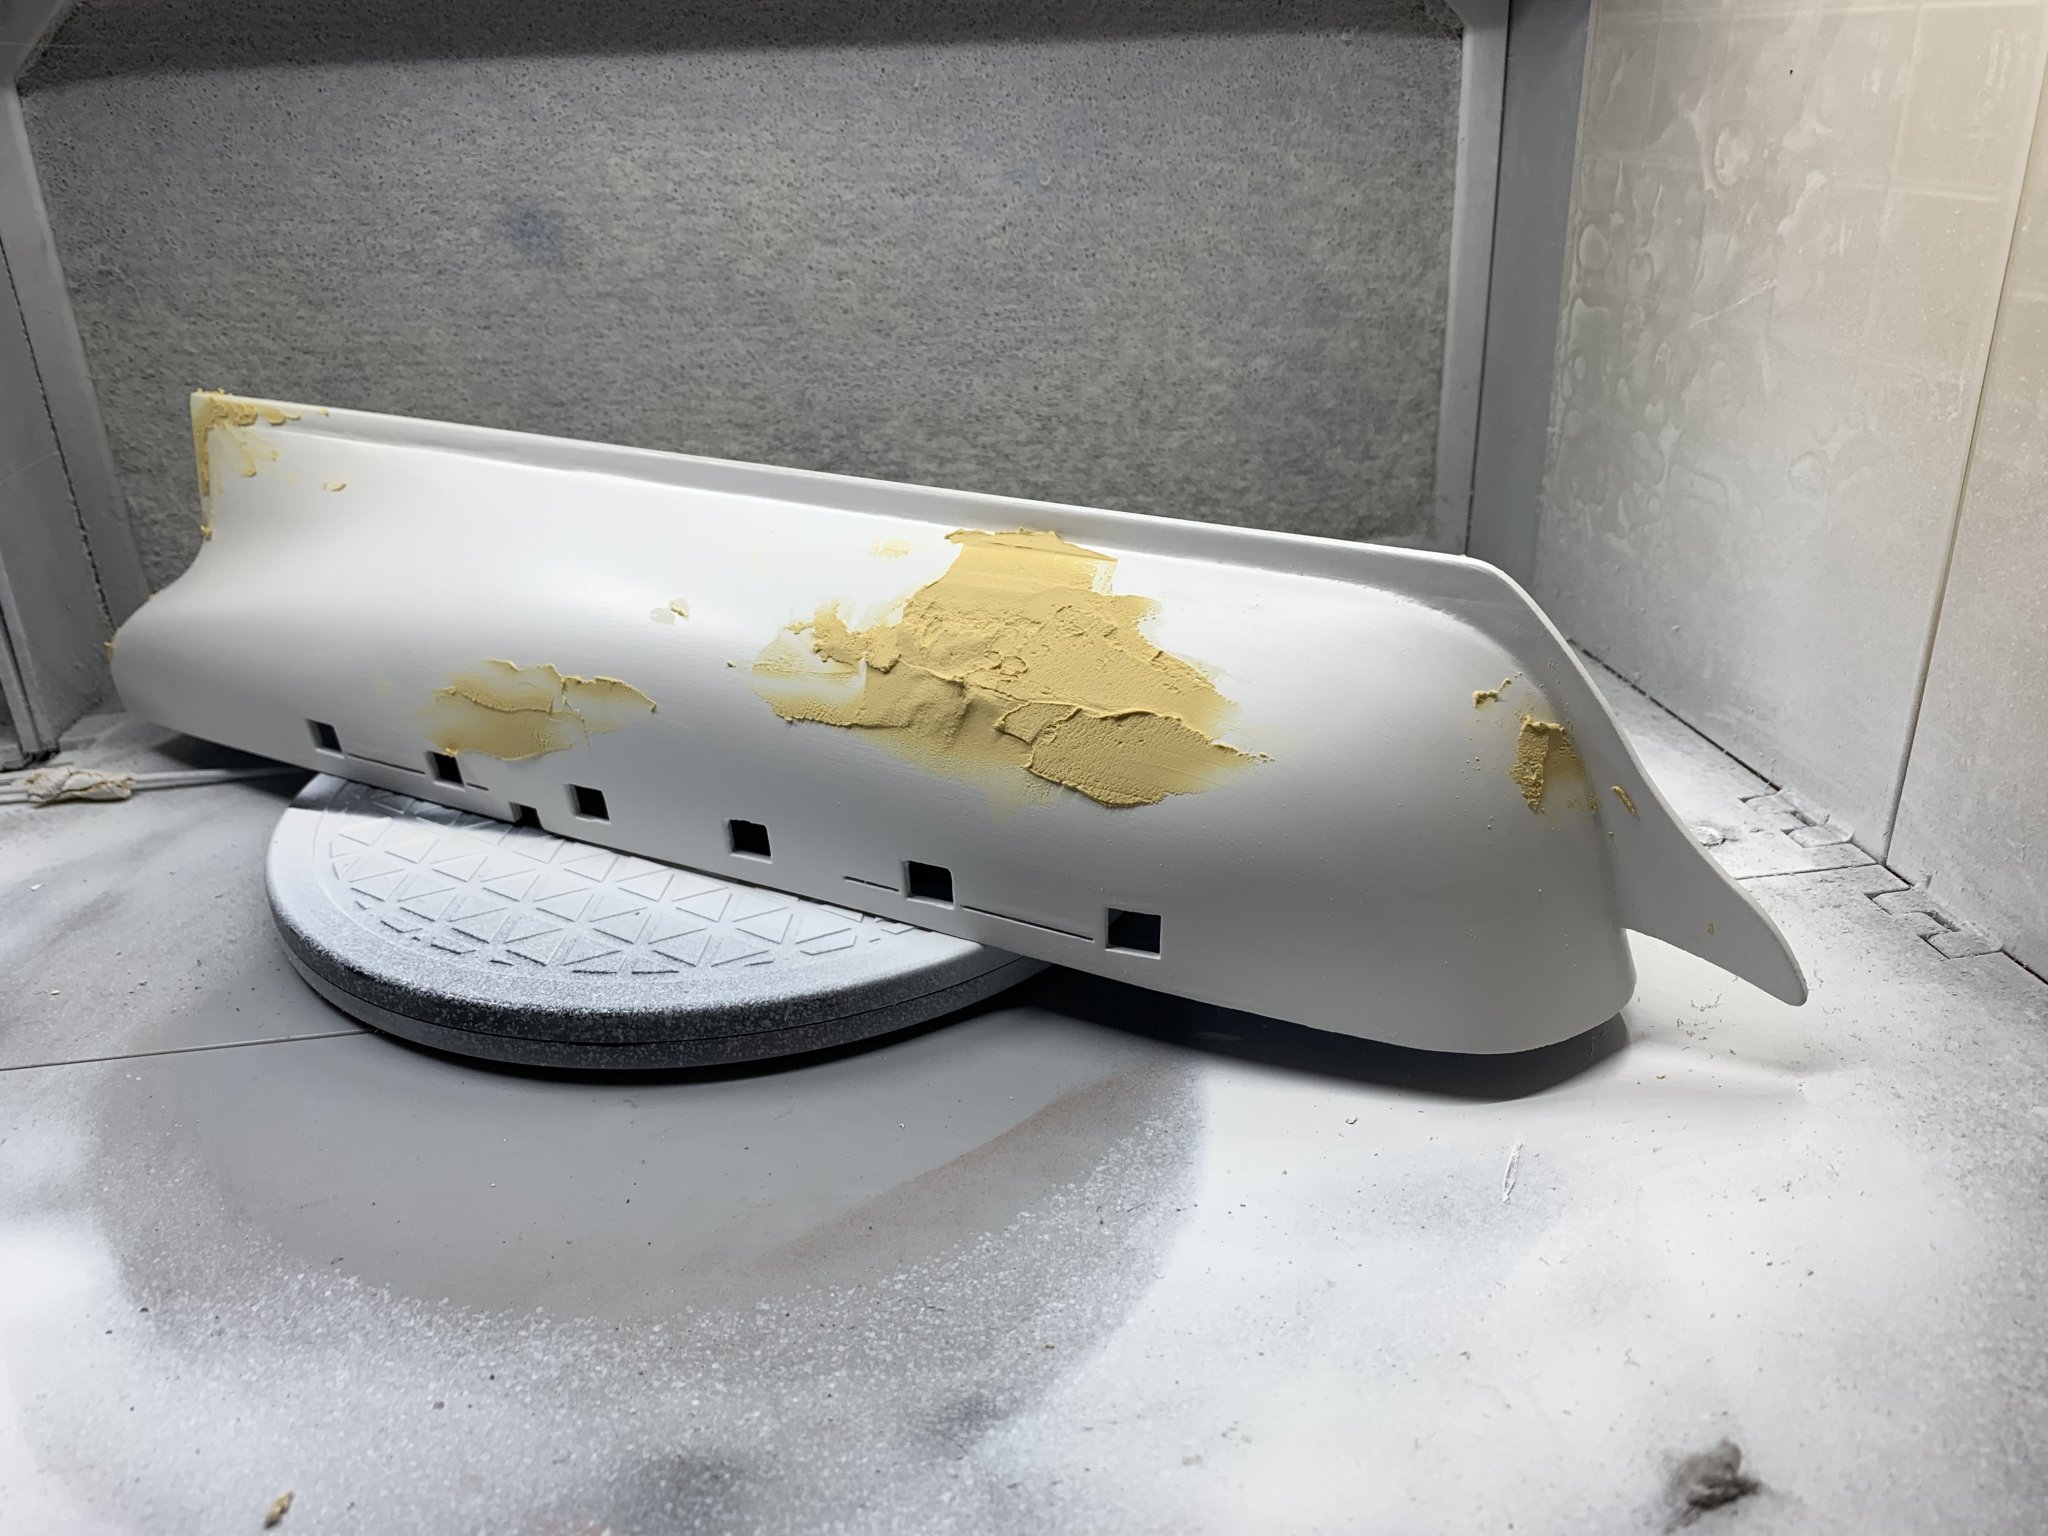
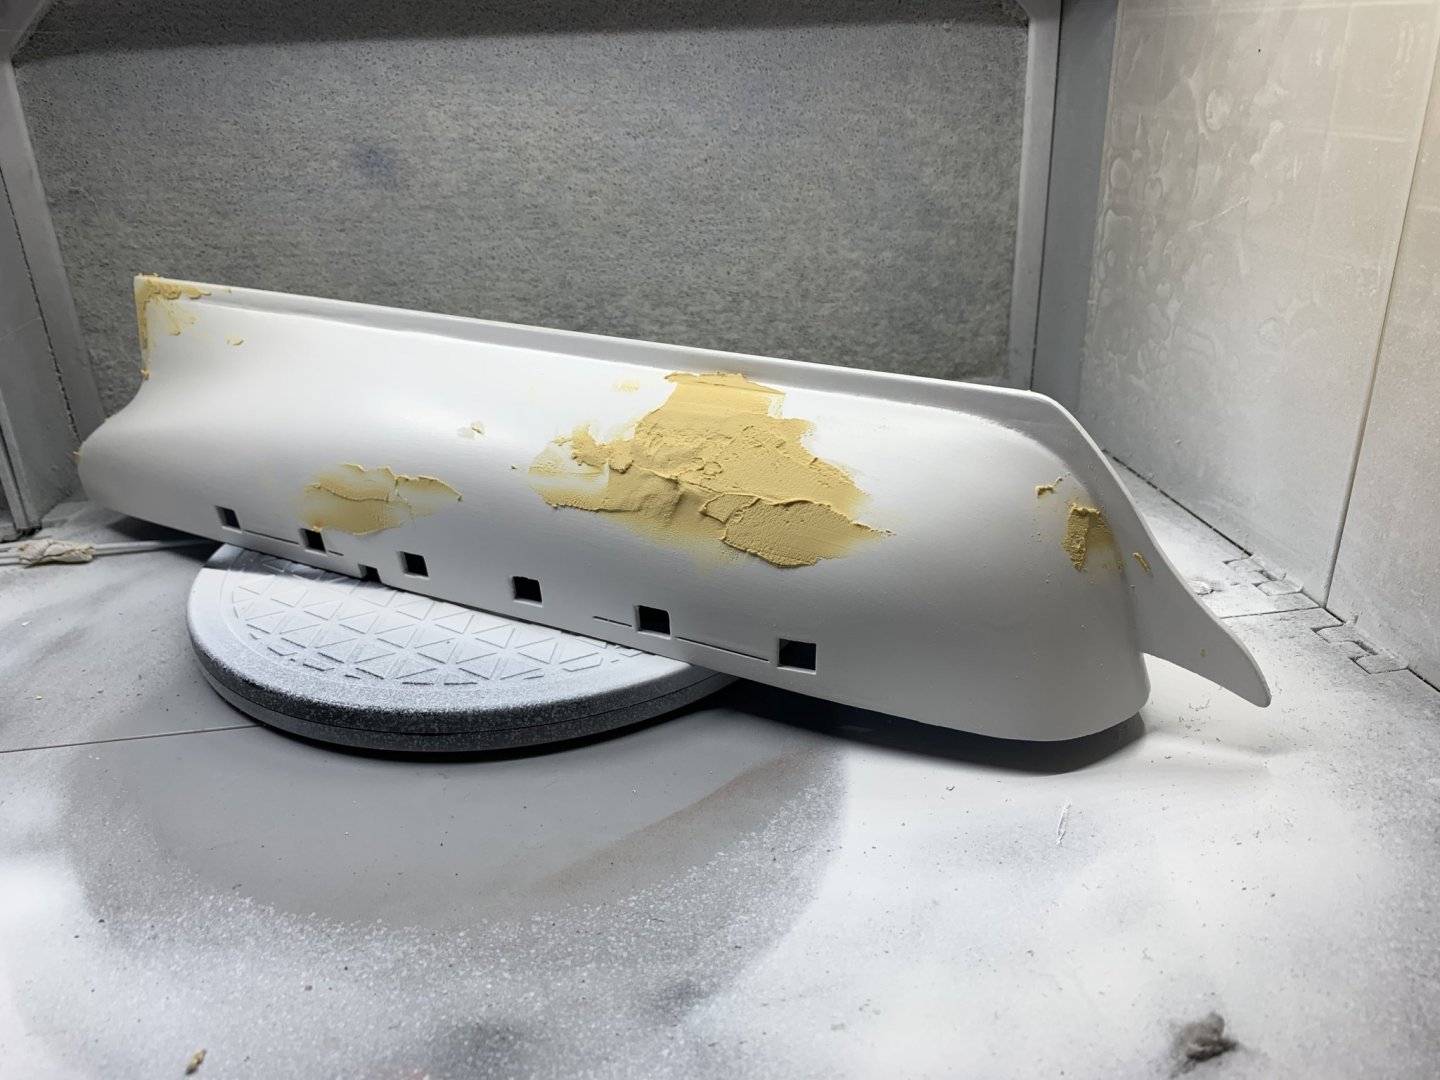
Added what I hope will be the last bit of filler on the ship. There was a very small wave in the hull that you could see with certain lighting that I wanted to fix. Going to sand and prime again tonight and hopefully move on to installing the railing etc to paint the hull.
- 85 replies
-
- 7
-
-
- perry
- BlueJacket Shipcrafters
- (and 1 more)
-
Towards the bottom on the first page of my build - I really over sanded. Ironically, I over sanded on the USS Perry as well, though not quite as drastically. Some forum members recommend I re-name it the USS Putty lol
-
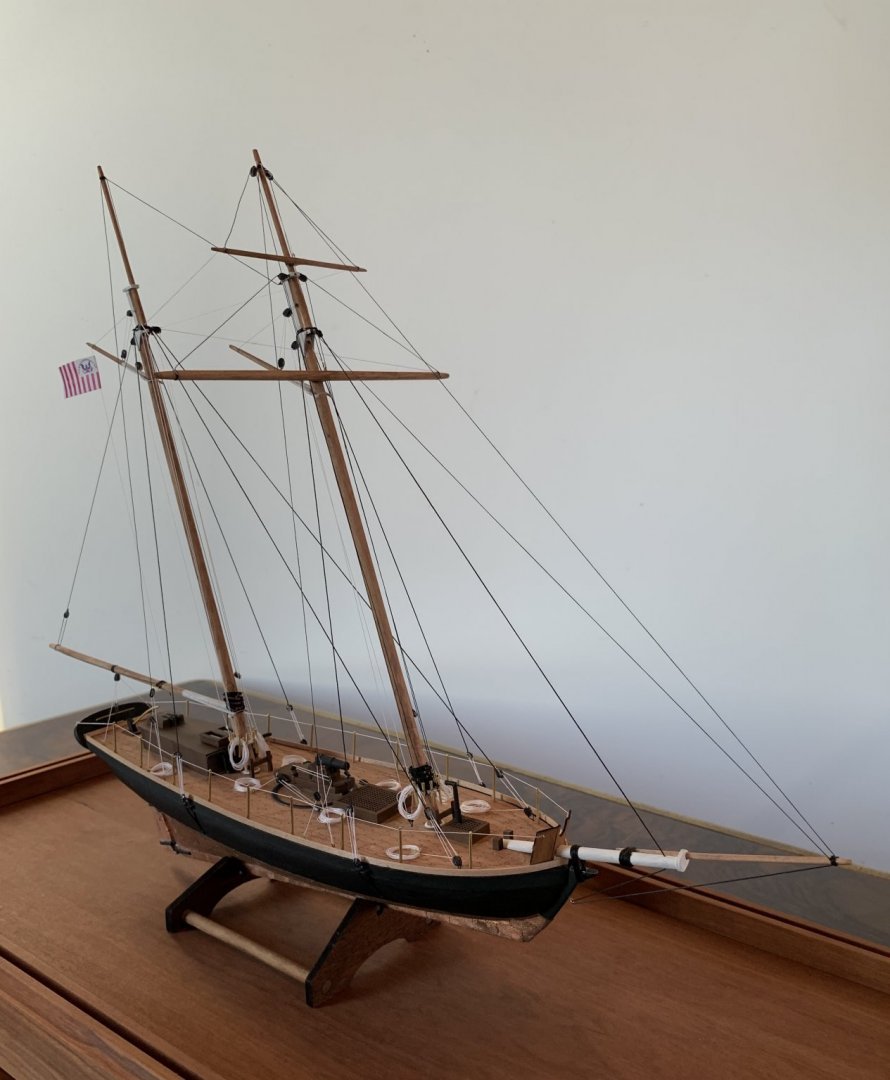
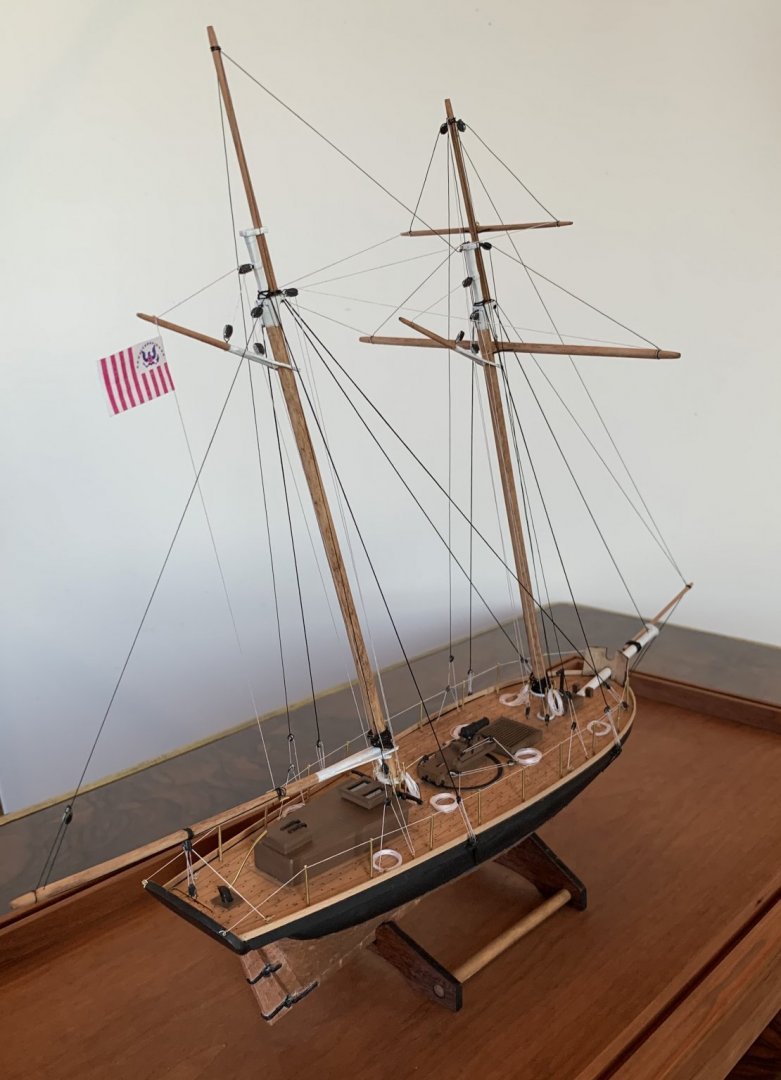
It builds into a model you will be super proud of!
- 2 replies
-
- 2
-
-
- revenue cutter
- BlueJacket Shipcrafters
- (and 1 more)
-
@Tony Dee, I made a similar mistake on the stern of my revenue cutter when I was carving the hull. I used a combination of basswood and putty to get the shape back. Feel free to take a look here: Good luck!