sjanicki
-
Posts
227 -
Joined
-
Last visited
Content Type
Profiles
Forums
Gallery
Events
Everything posted by sjanicki
-
Hi @Tony Dee, Having built the Revenue Cutter I can attest that it is a great kit and a tremendous learning experience. Feel free to take a look at my build log here: As you can see throughout the log I made a number of mistakes and tried to fix them. Hopefully it will help you on your build! I'll follow your thread so feel free to ask away if you have any questions. Looking forward to your progress!
-
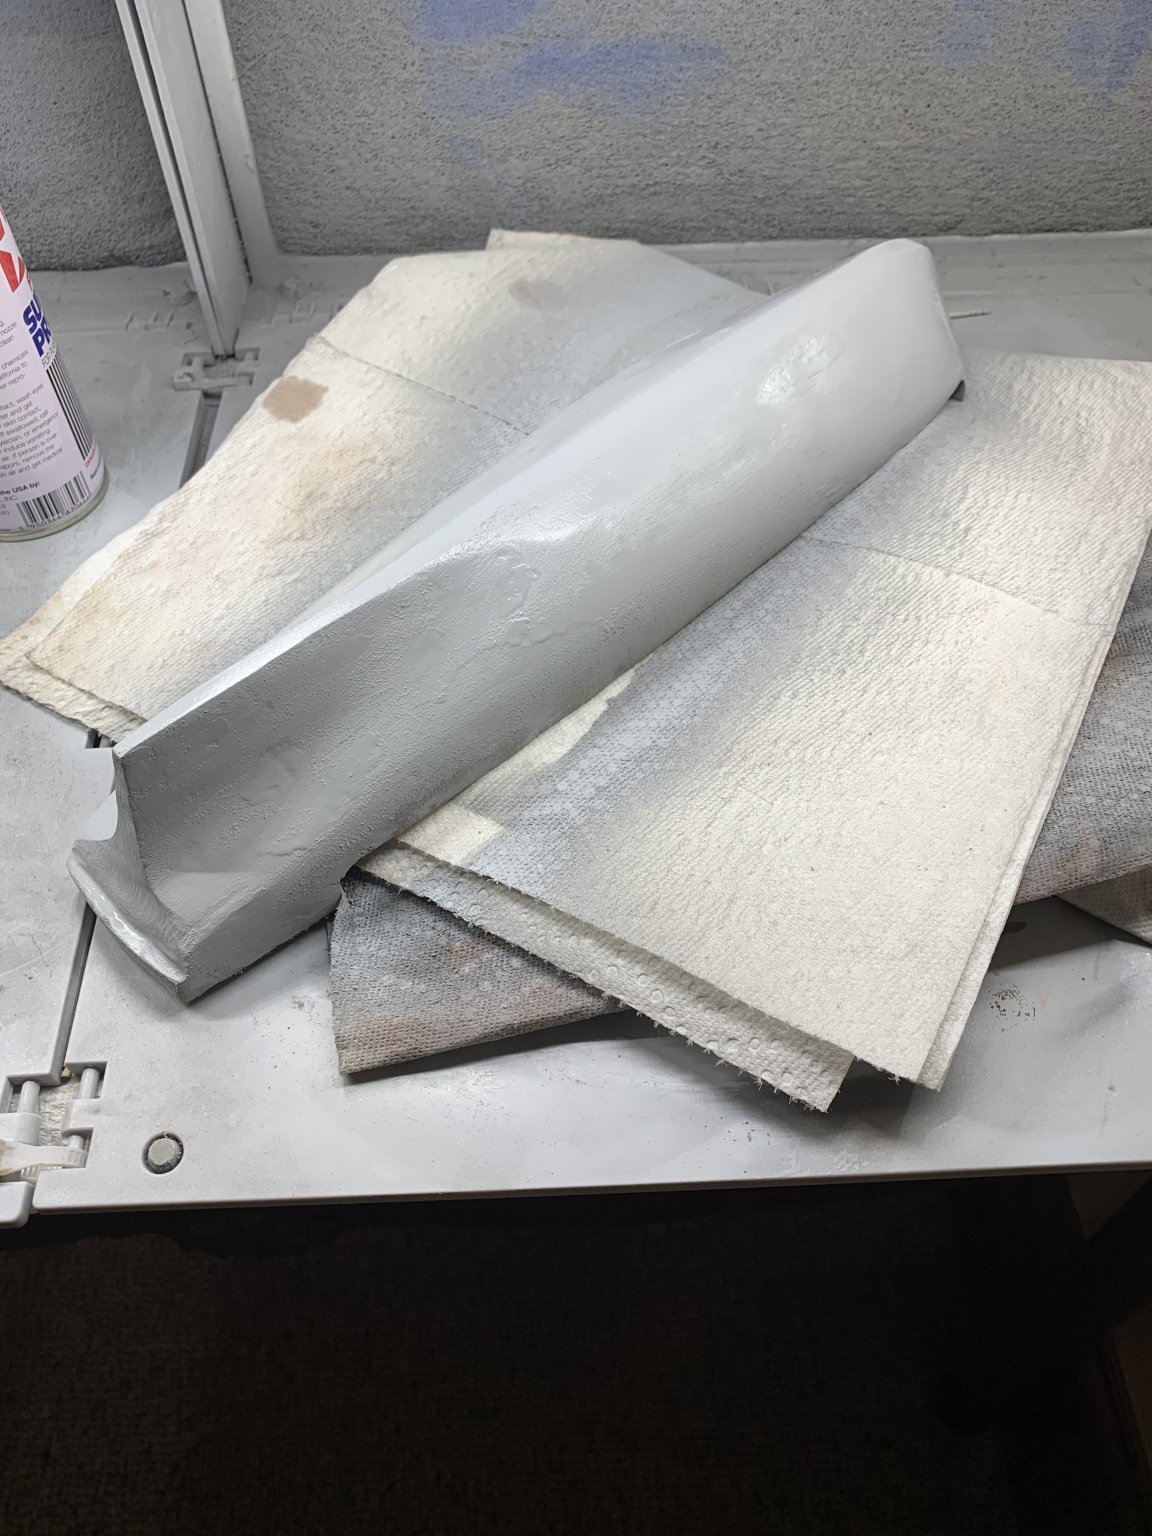
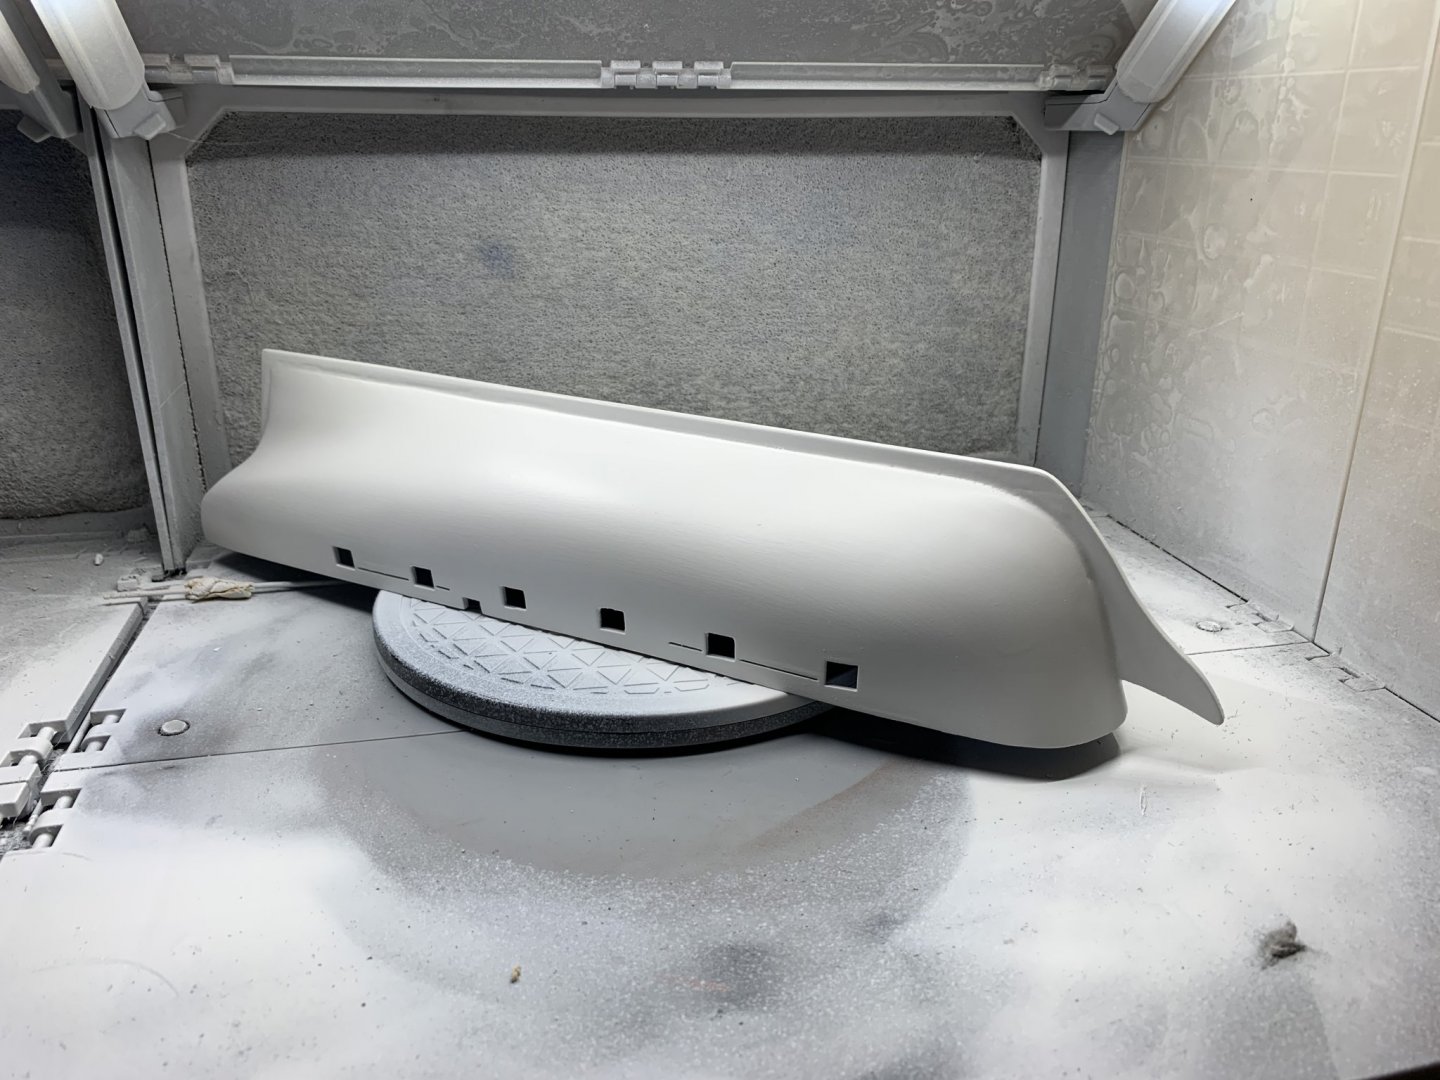
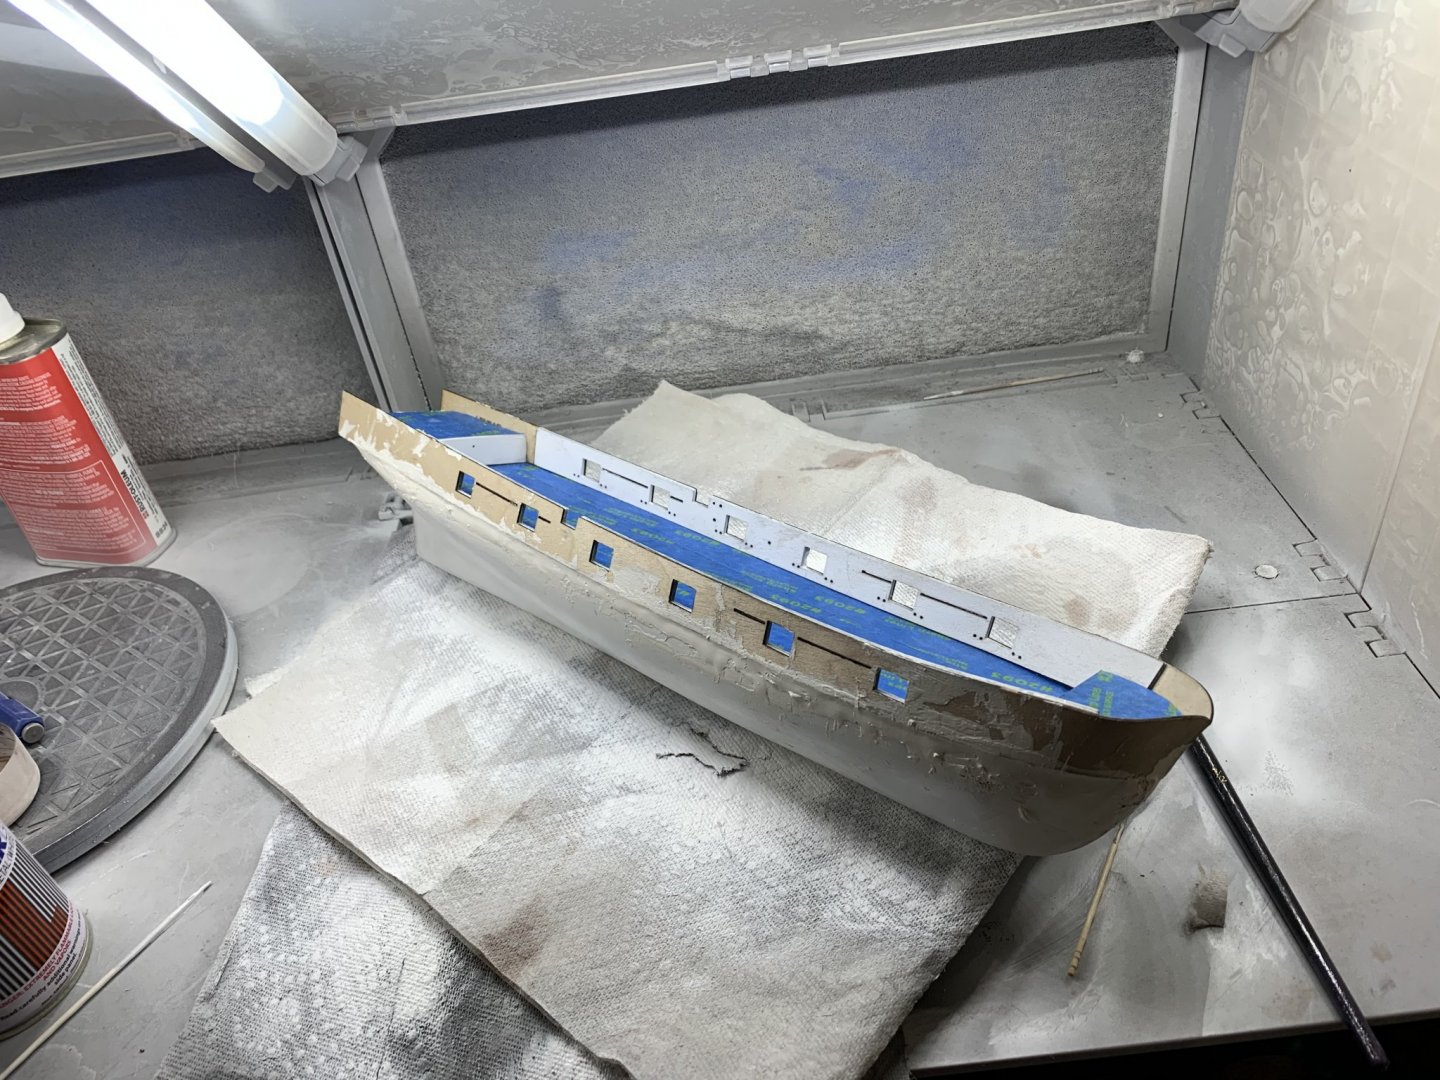
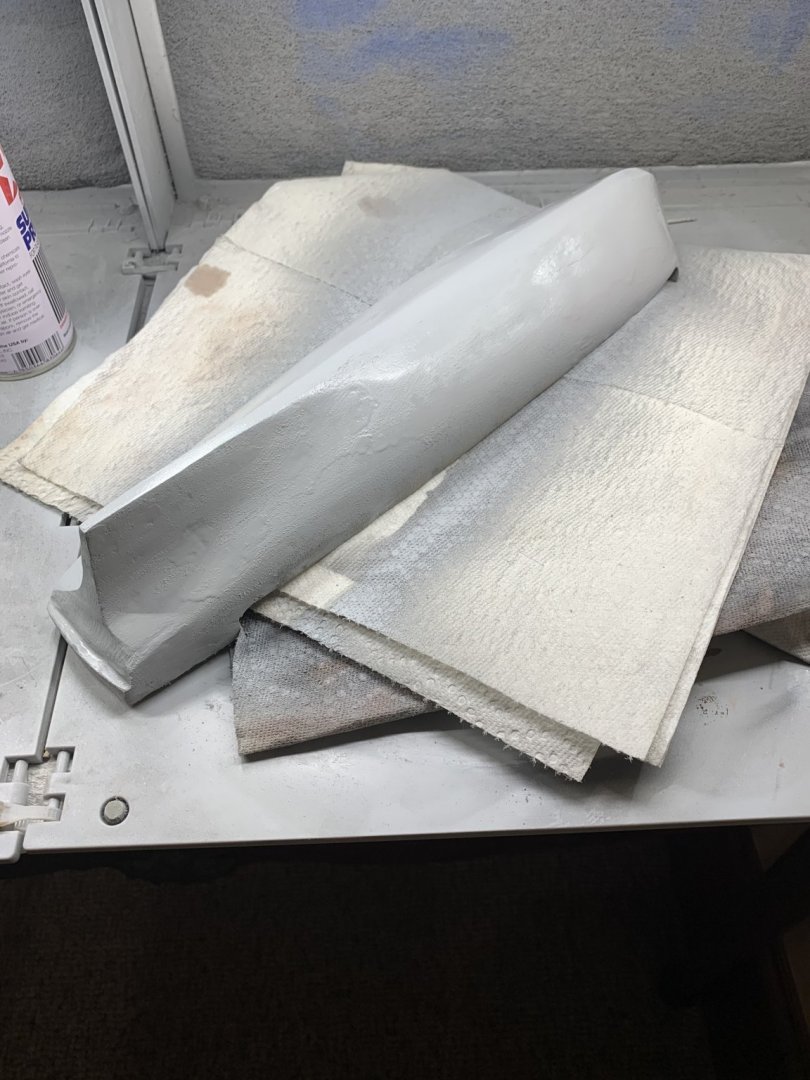
Spent the weekend sanding and priming the hull a number of times to get it looking correct. A bit more work but it’s looking good!
- 85 replies
-
- 7
-

-
- perry
- BlueJacket Shipcrafters
- (and 1 more)
-
Thank you @mtaylor! @steamschooner my thoughts exactly! And thank you! I did make a little more progress last night on shaping the hull as well as mounting the keel. Going to prime the hull next to get an even color so I will know what/if more shaping is required. Thanks for all the likes guys!

- 85 replies
-
- 6
-
-
- perry
- BlueJacket Shipcrafters
- (and 1 more)
-
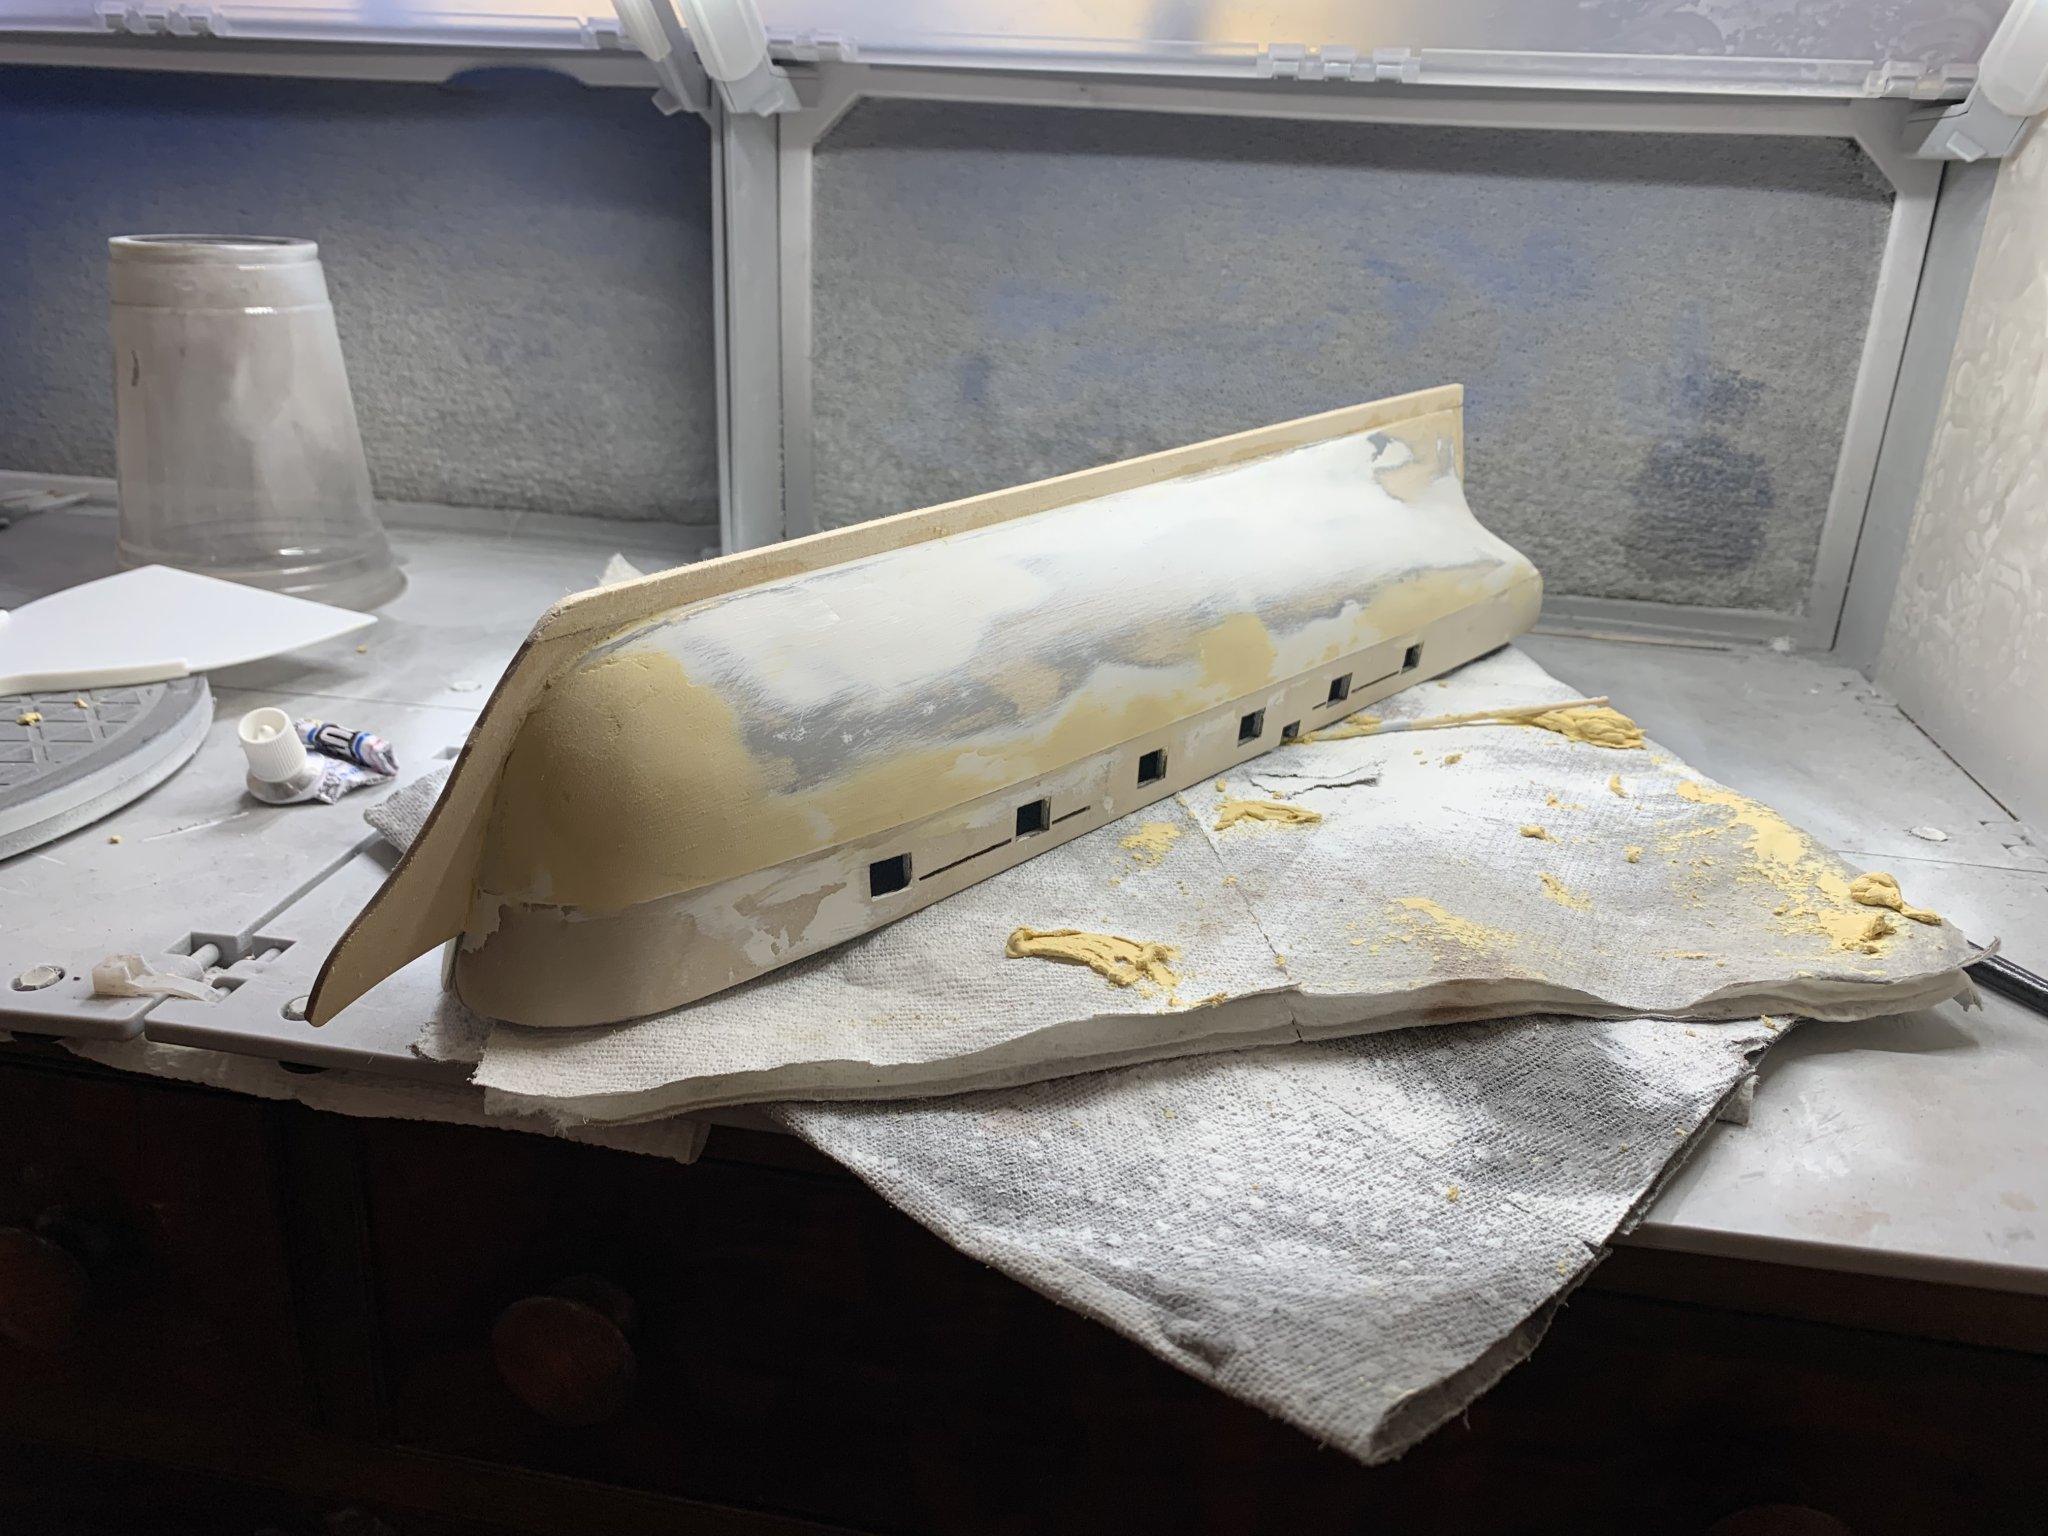
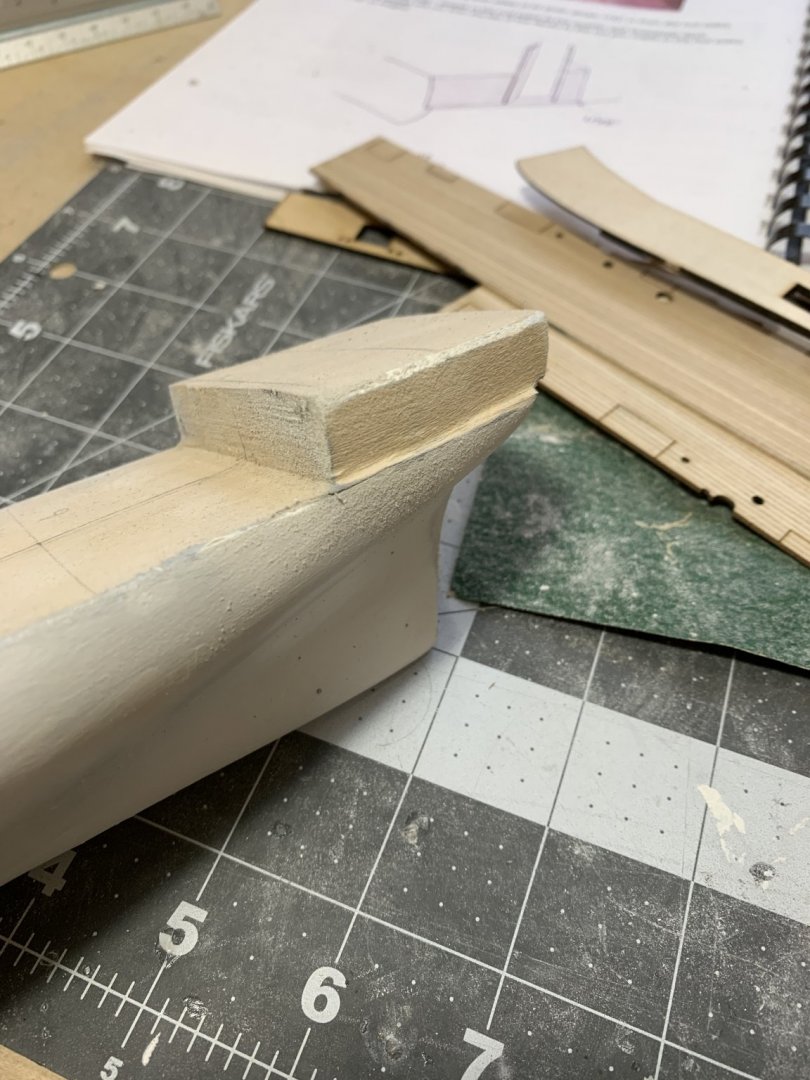
Mounted the transom last night and more putty. I switched colors of putty to more easily see where I need to remove material.
- 85 replies
-
- 5
-
-
- perry
- BlueJacket Shipcrafters
- (and 1 more)
-
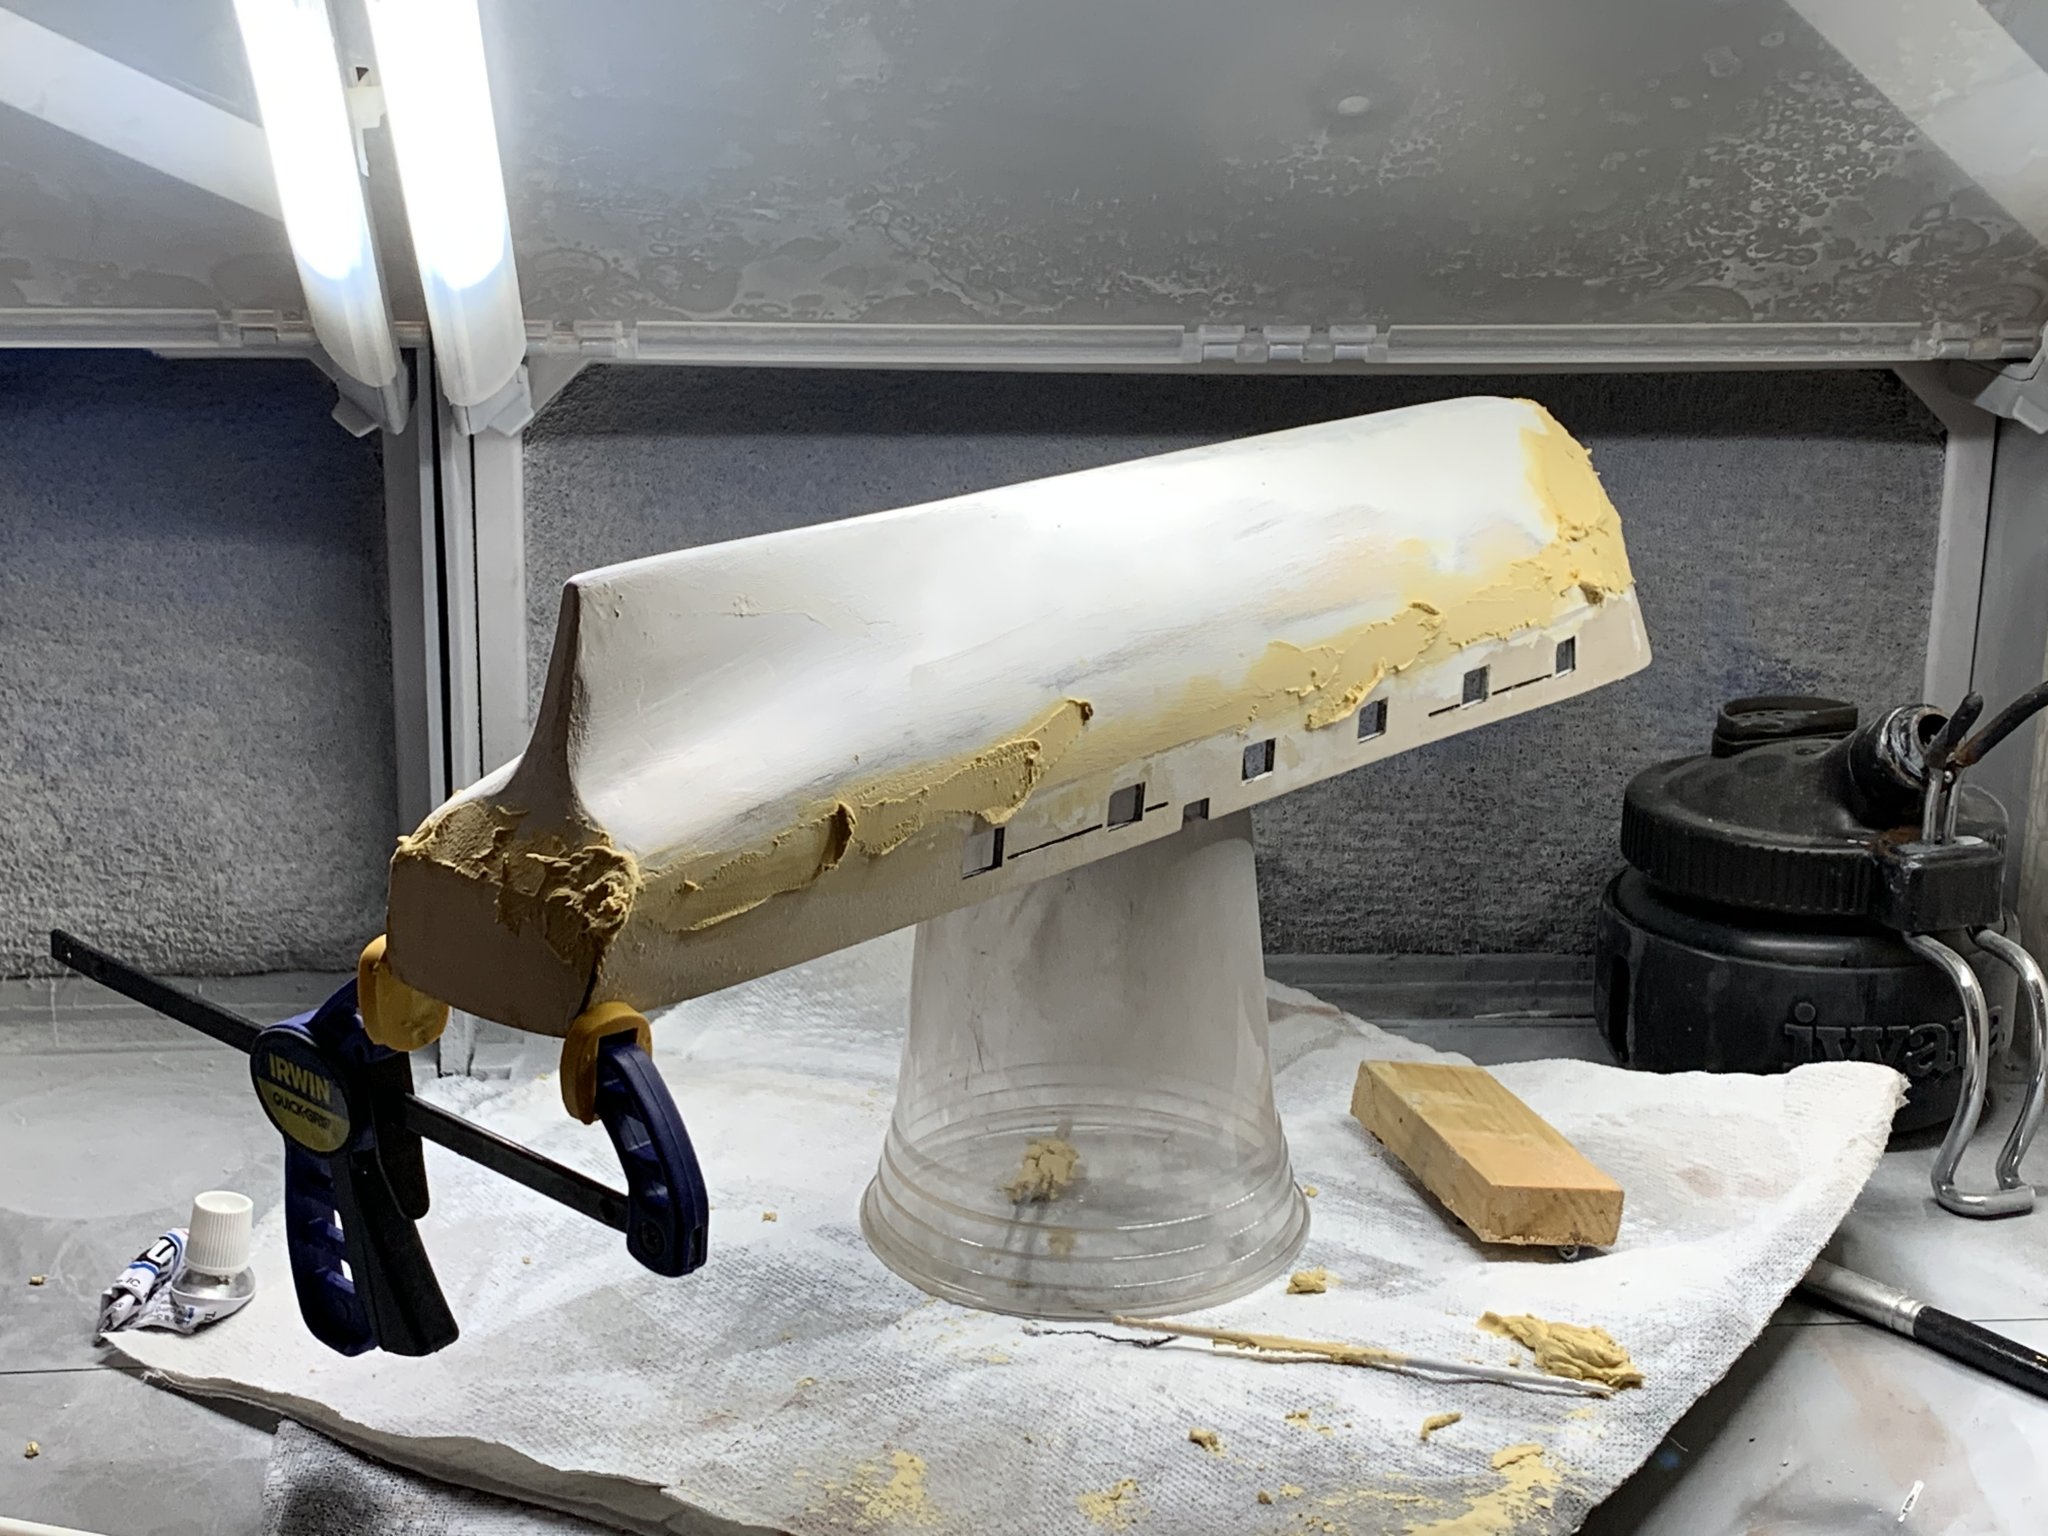
A little more progress tonight with sanding and adding putty to the hull. Slow but steady!

- 85 replies
-
- 7
-
-
- perry
- BlueJacket Shipcrafters
- (and 1 more)
-
I know! I am so incredibly impressed by modelers who build their ships with the bare wood exposed - they don't have the options of using putty like this. Hopefully I'll get there!
- 85 replies
-
- 2
-
-
- perry
- BlueJacket Shipcrafters
- (and 1 more)
-
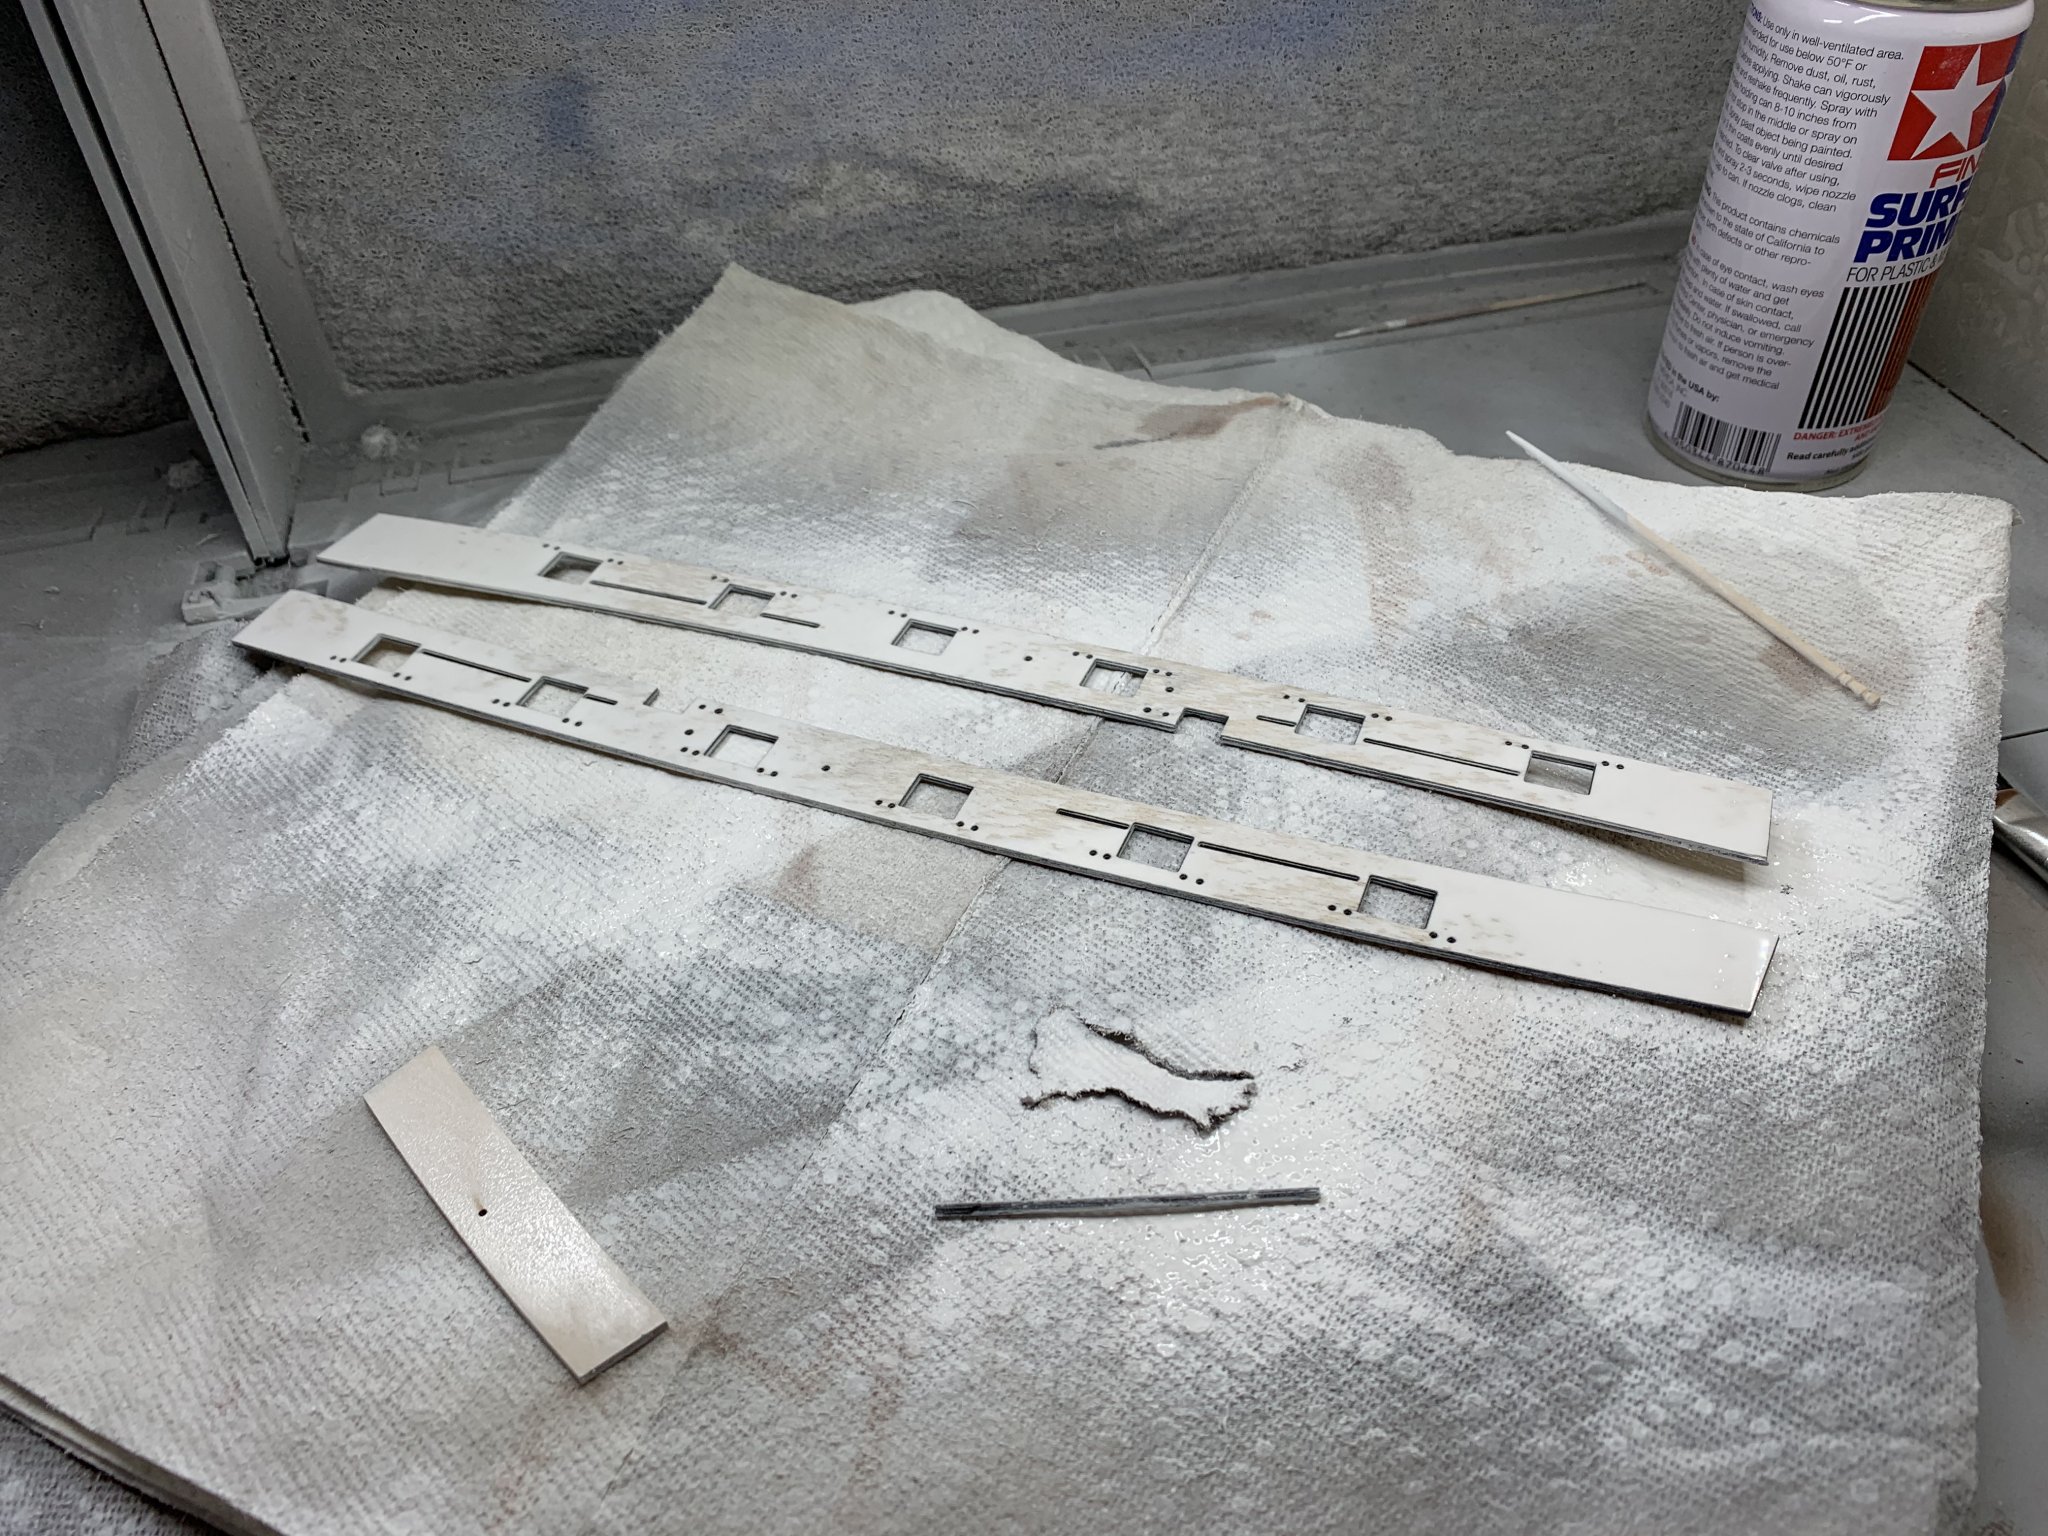
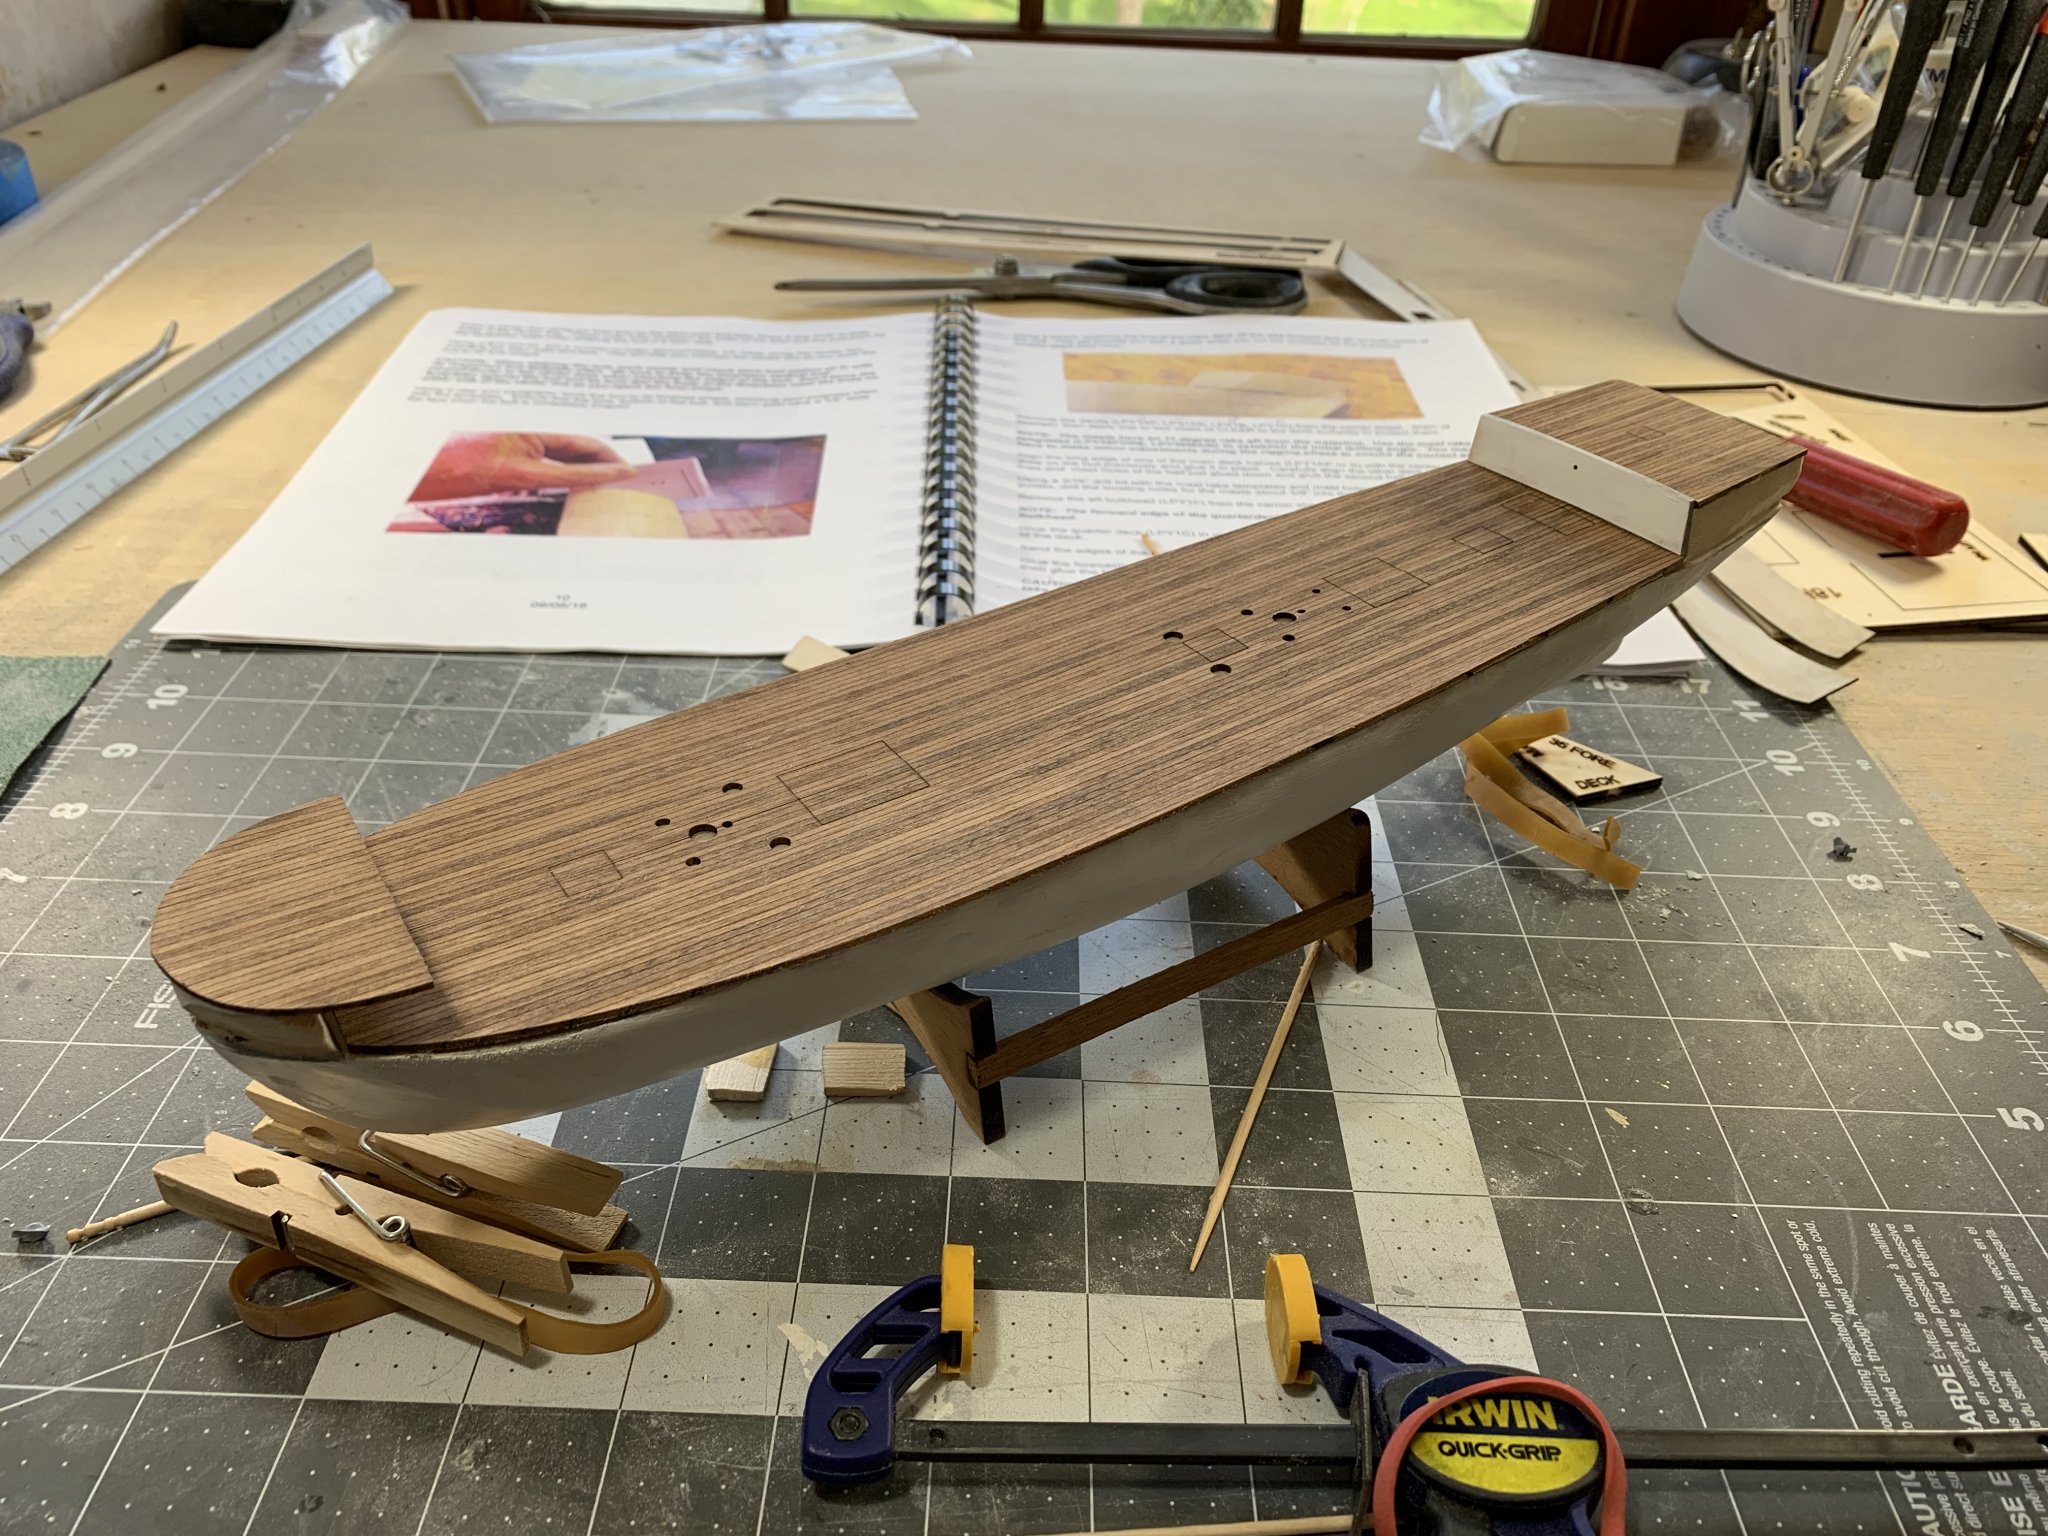
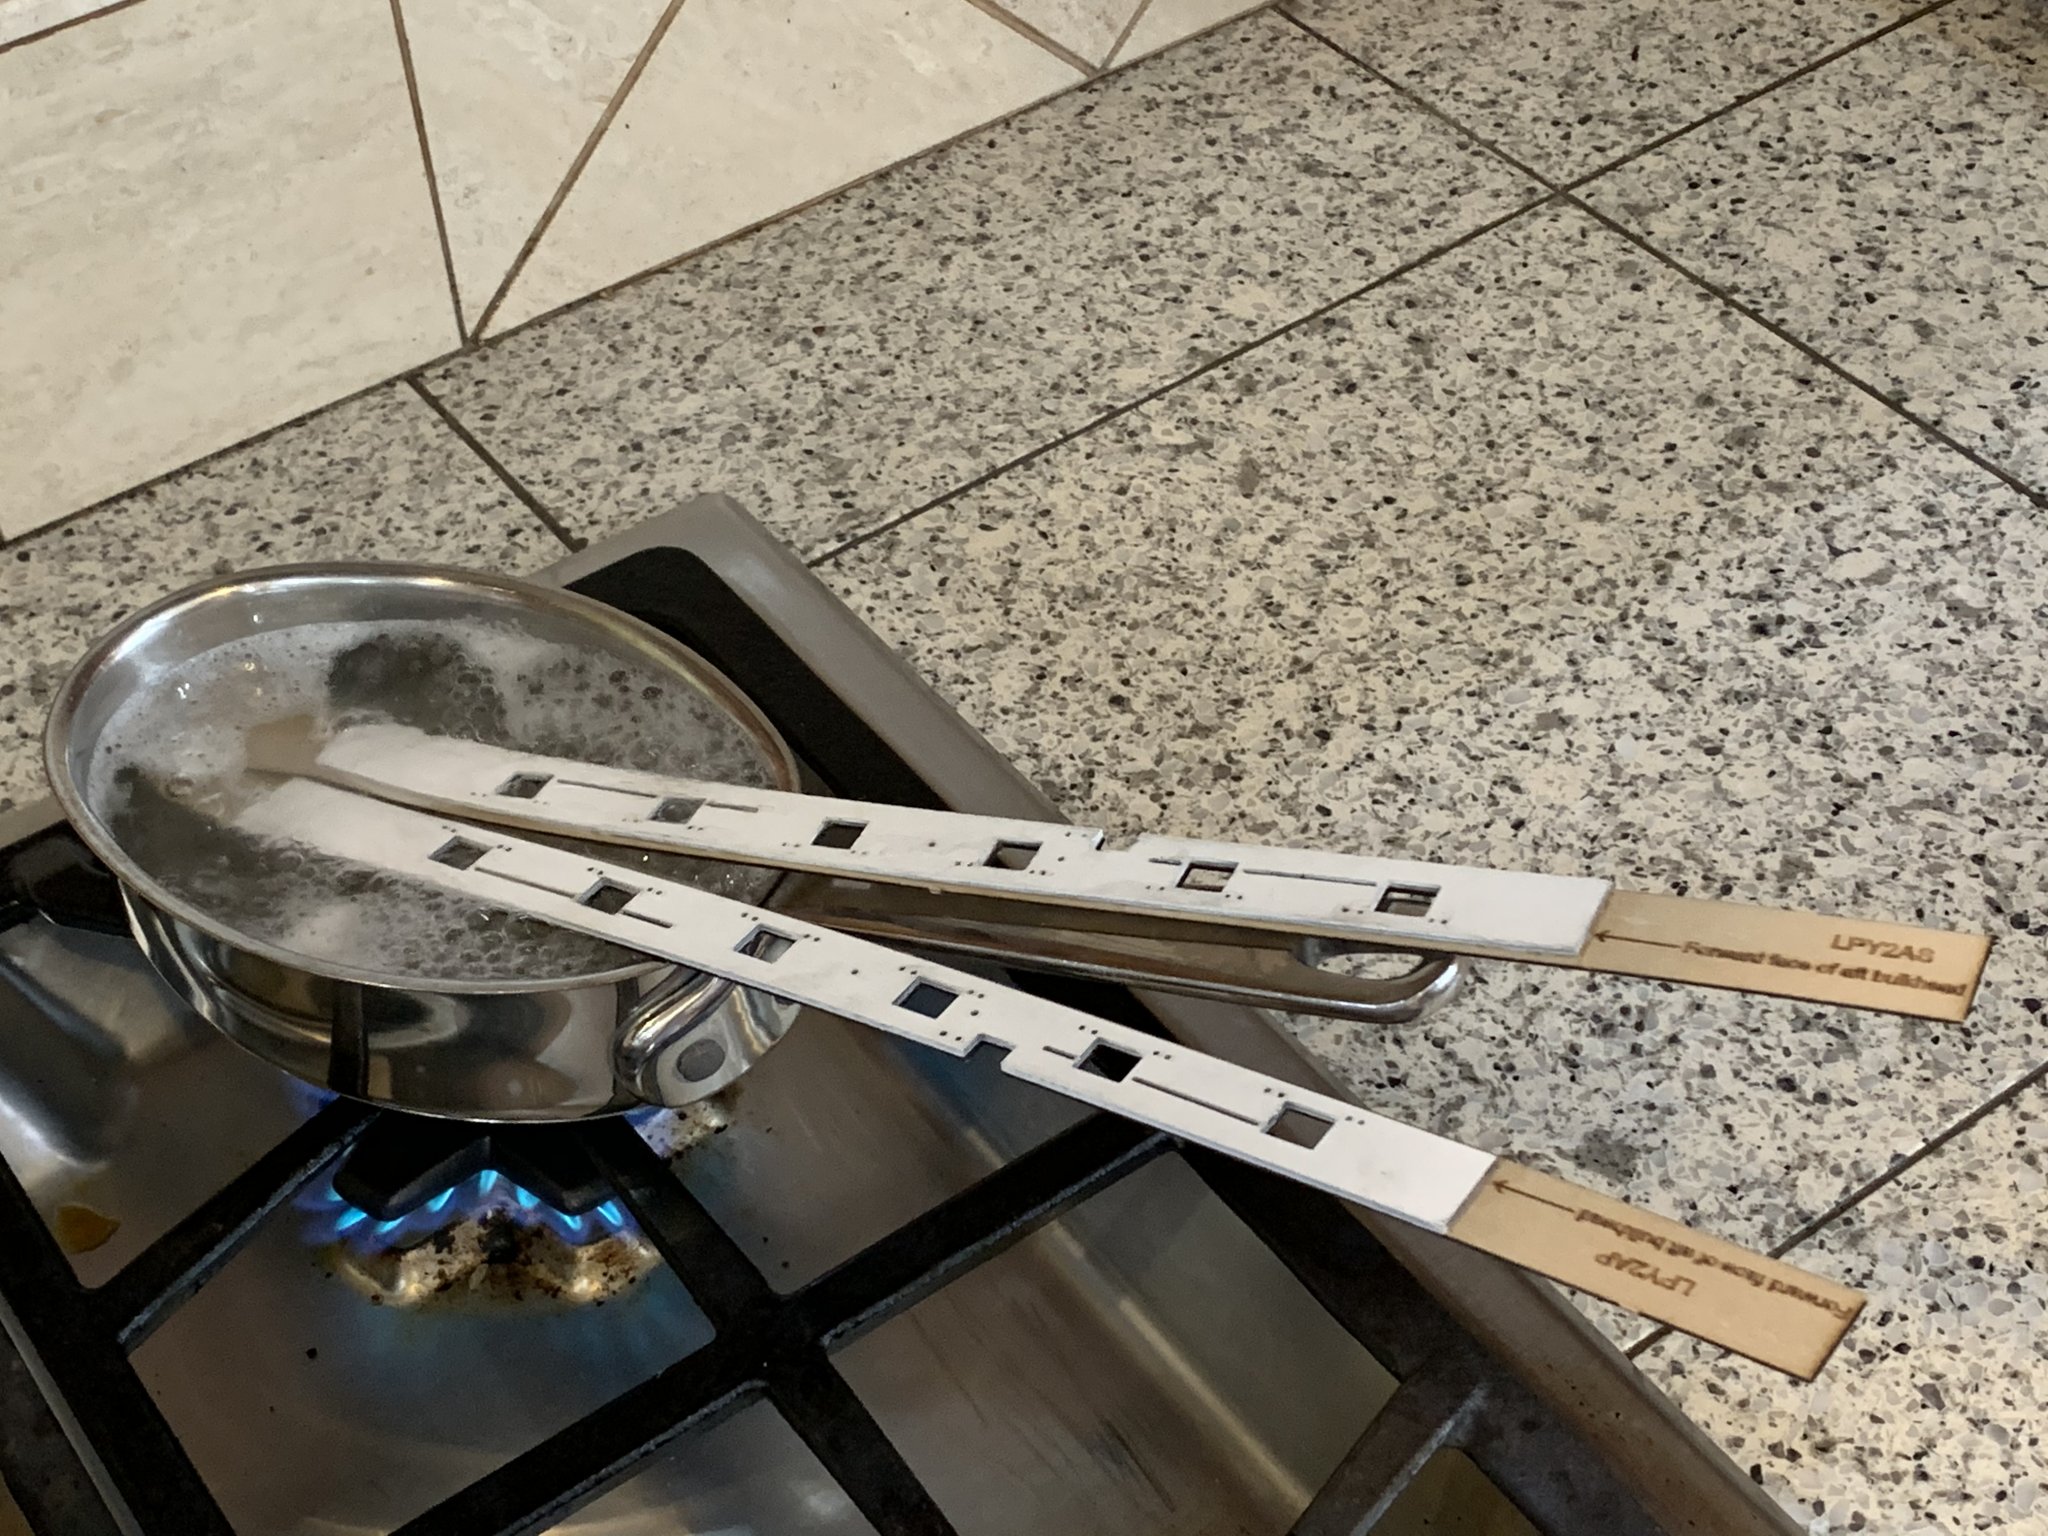
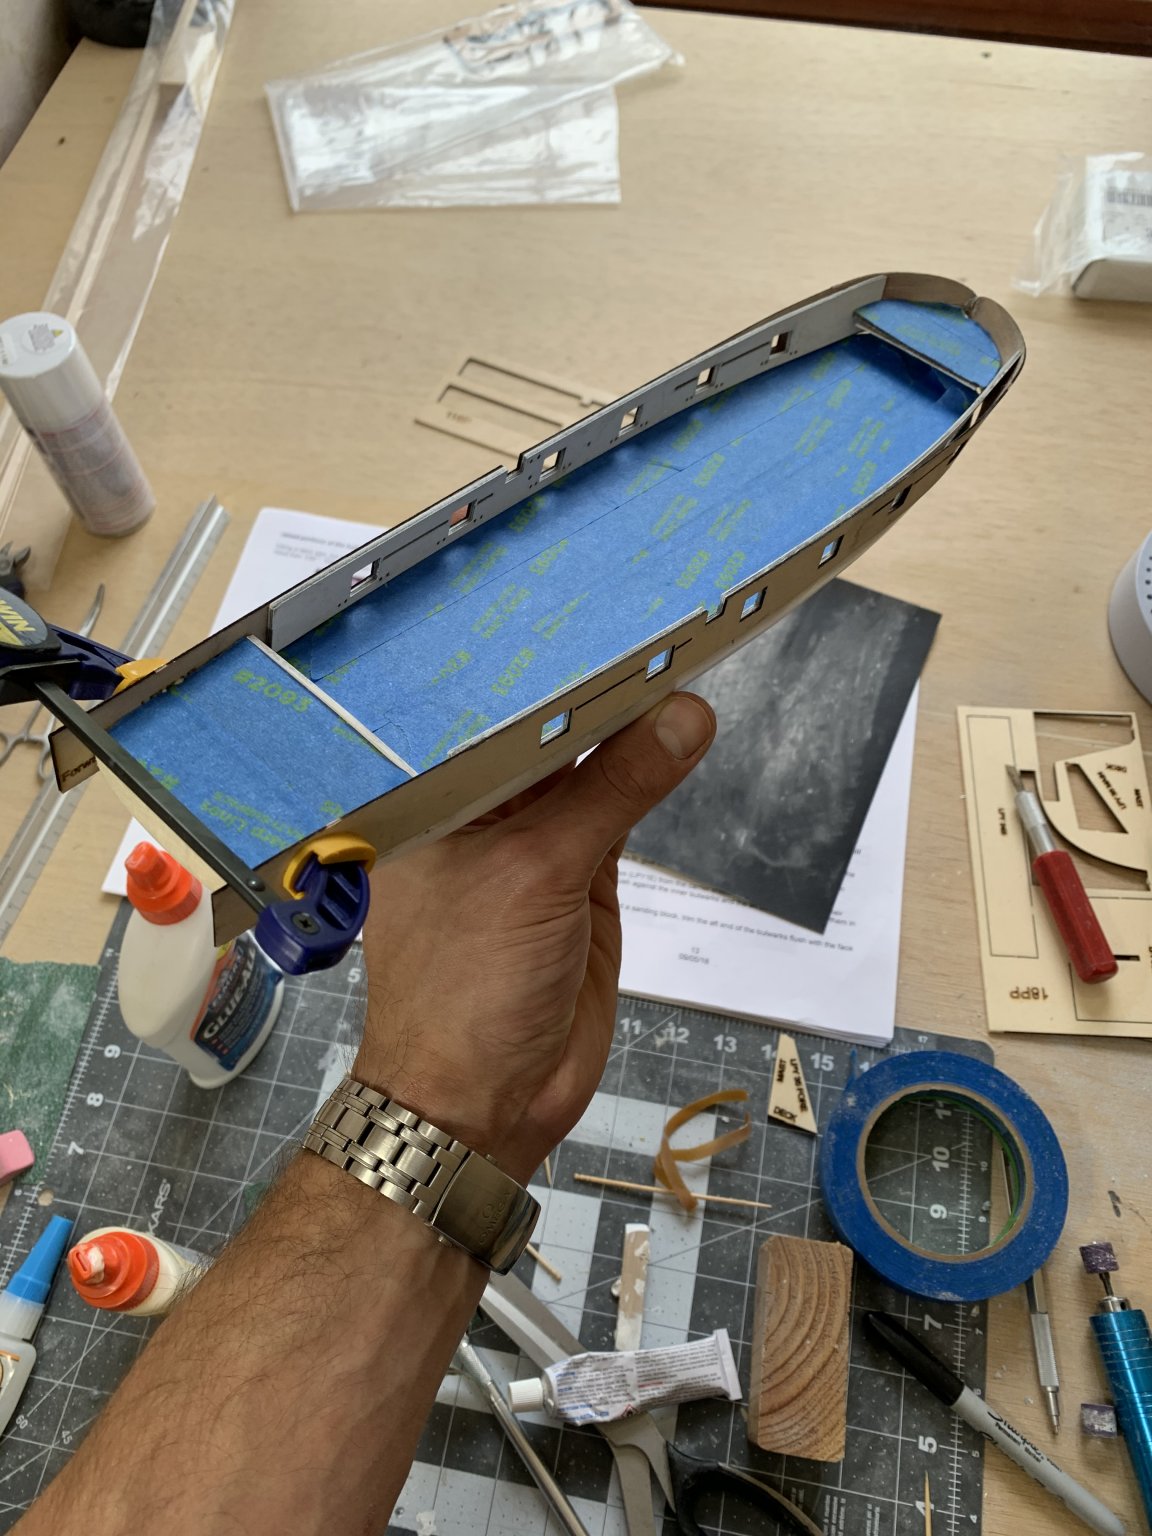
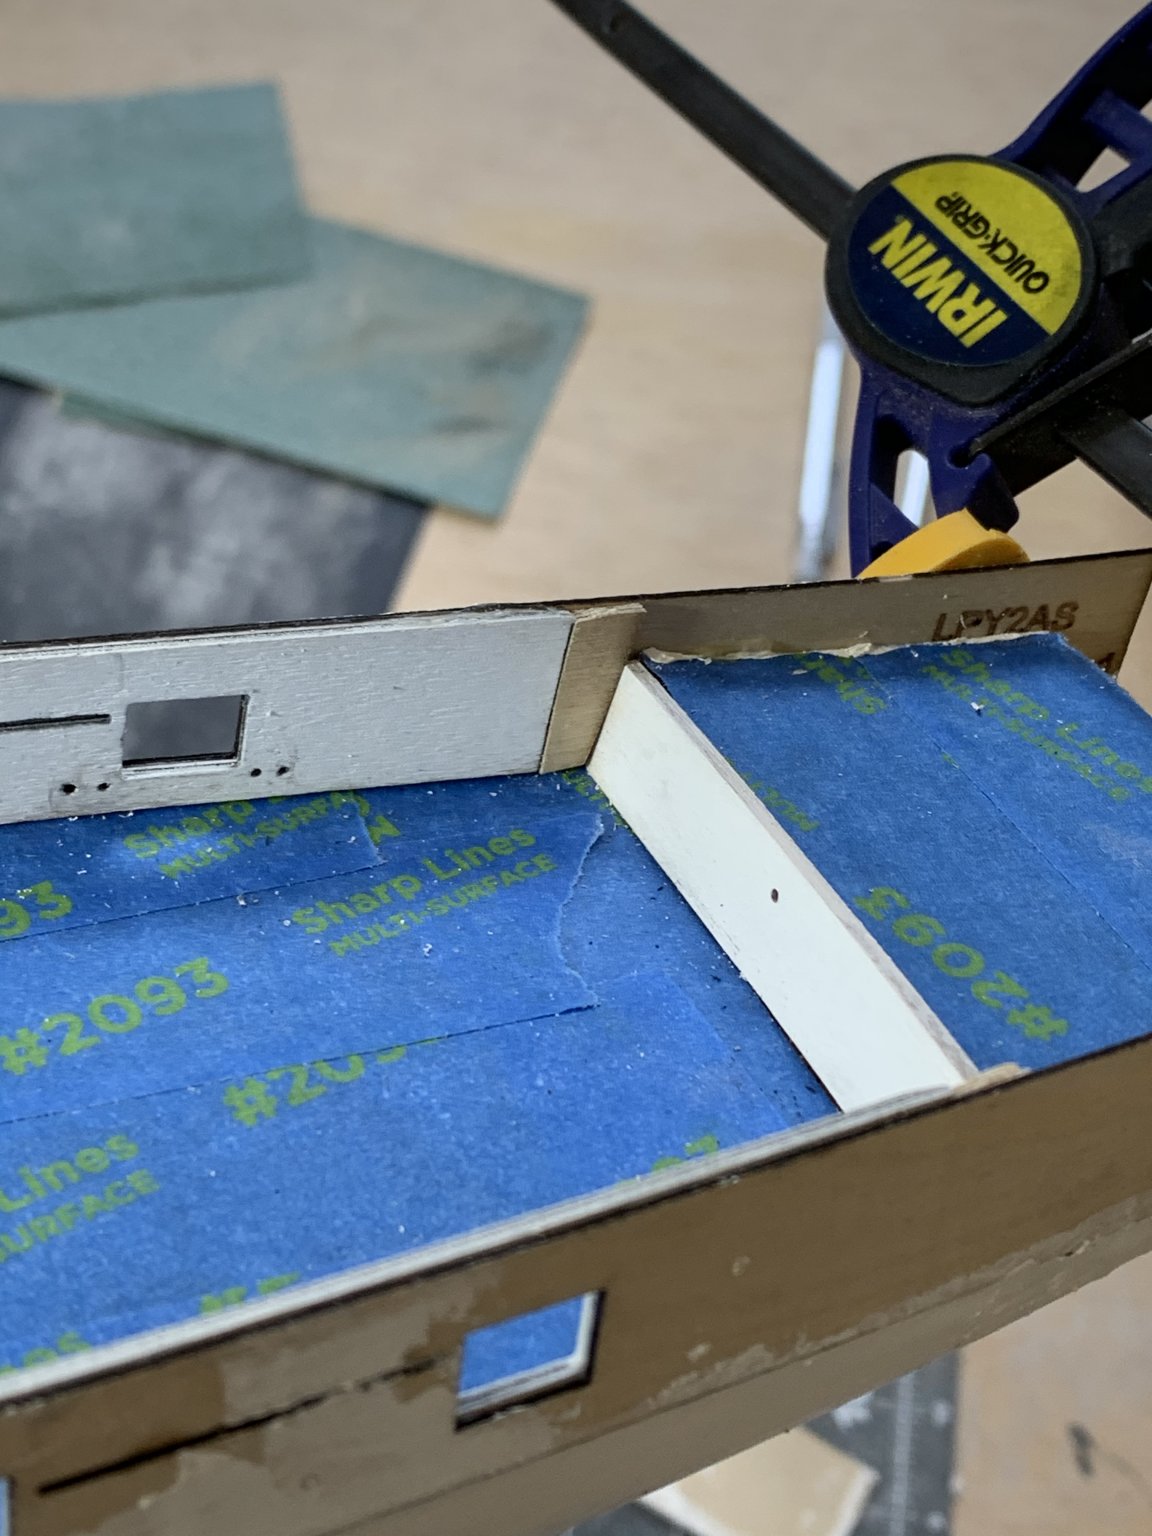
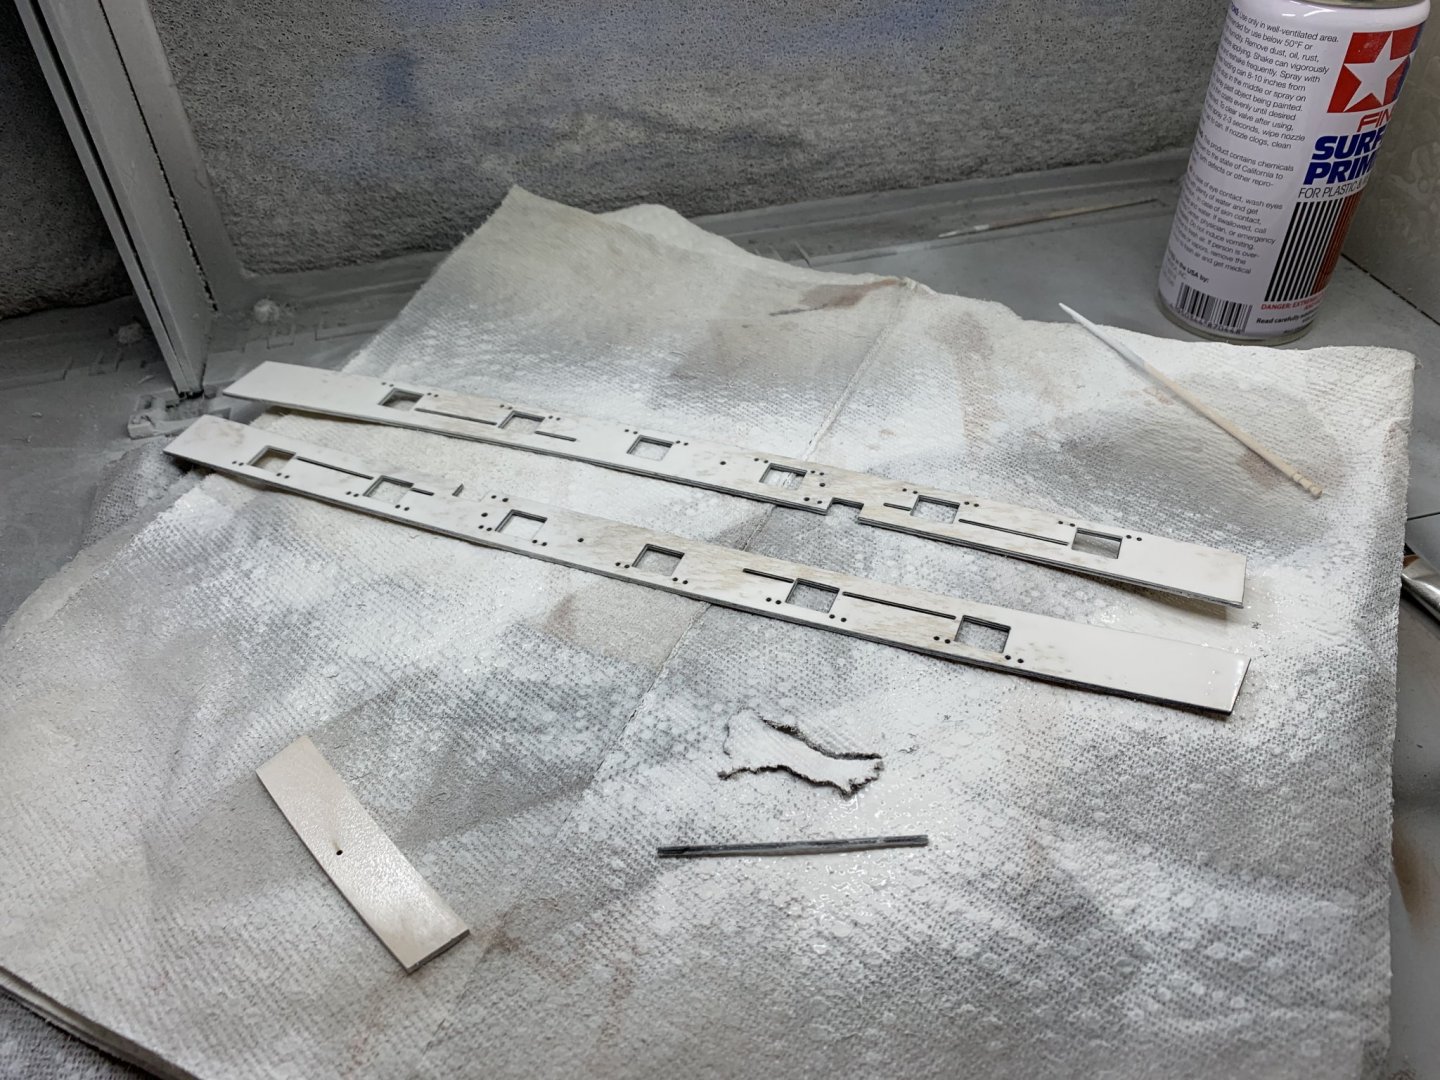
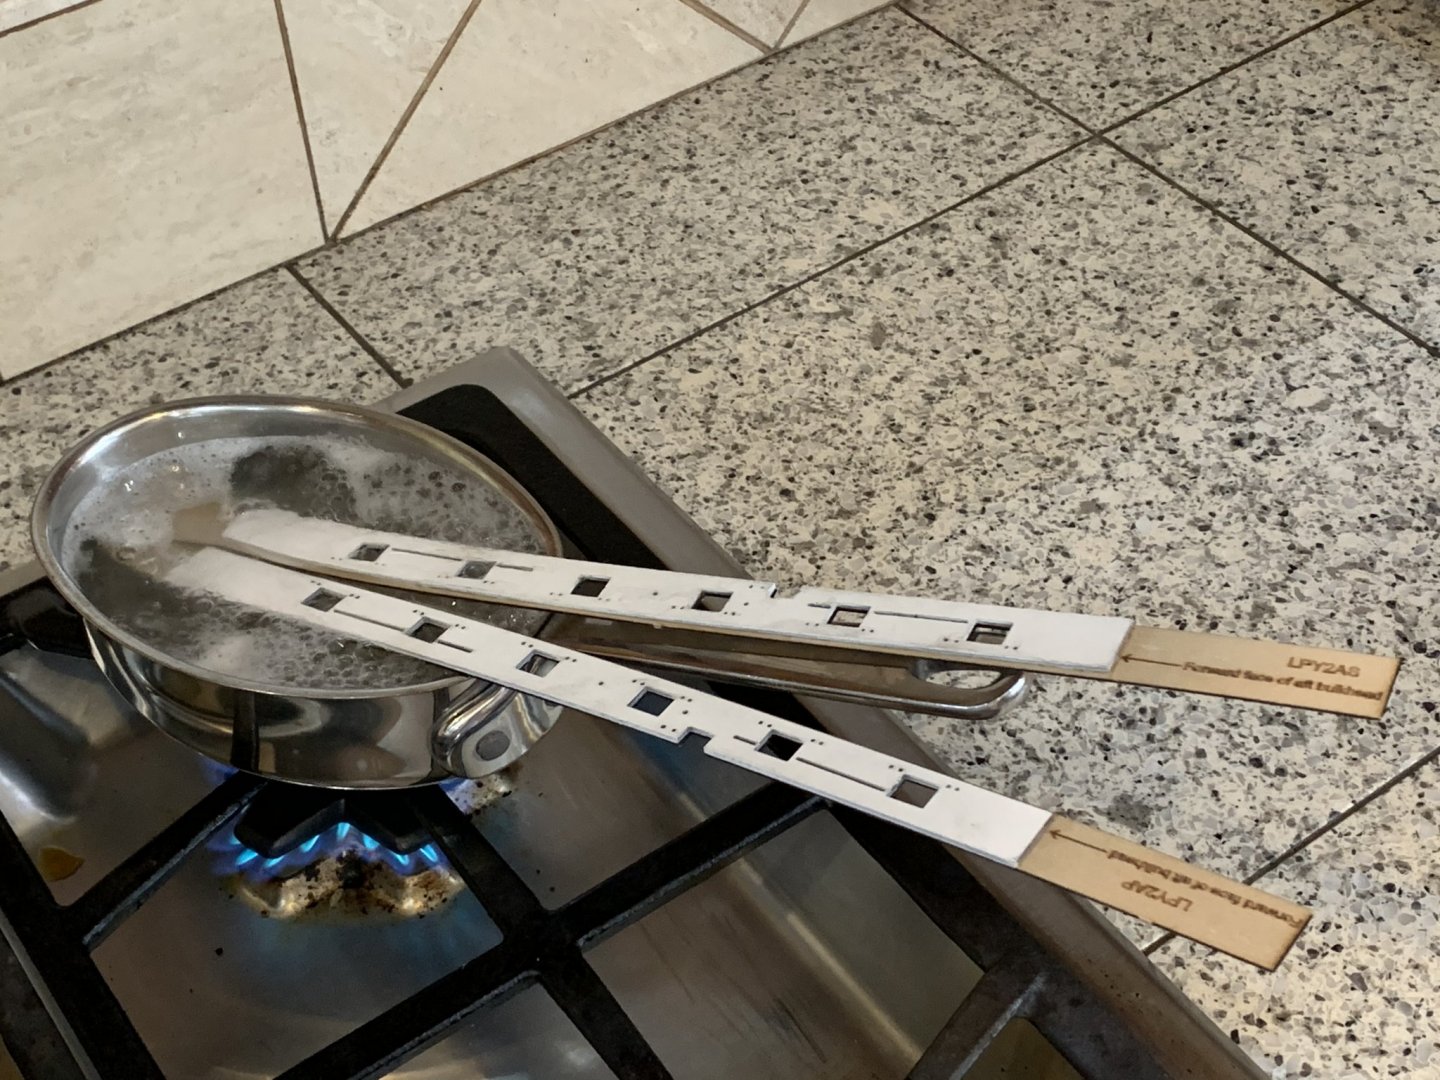
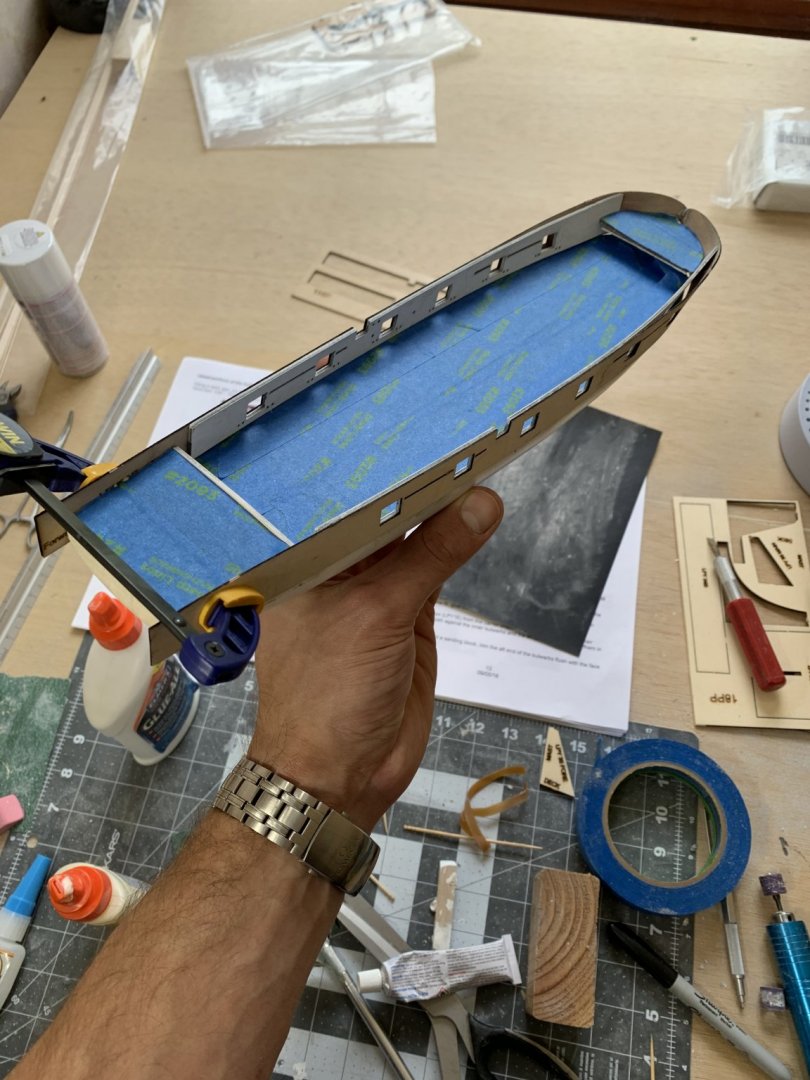
Made some great progress this weekend on the Perry! Glued the decks in place after the stain dried. I sanded and primed the inner gunwales before glueing them together (probably not needed at this point but I thought it would be easier to sand post prime before they were mounted). After glueing the inner and outer gunwales together I boiled them in hot water to make bending them to shape easier. After gluing them in place and bending them to shape the inner and outer gunwales delaminates towards the front. Notice the towards the bow in the upper picture. Some glue and clamps fixed this. Next I added putty along the seem between the gunwales and the main hull. Once this dries I'll sand it smooth. Probably my inexperience, but once installed there was a .25” gap between the back of the inner gunwale and the front of the rear bulkhead. I cut a small piece and glued it in place to fill this gap. Some primer, putty, and sandpaper will make it look like it didn’t happen. Proud of this weekend’s progress!


- 85 replies
-
- 7
-
-
- perry
- BlueJacket Shipcrafters
- (and 1 more)
-
Yes! There are a number of such touches on the kit that can really help in the precision of the final product (especially for a novice like me).
- 85 replies
-
- 3
-
-
- perry
- BlueJacket Shipcrafters
- (and 1 more)
-
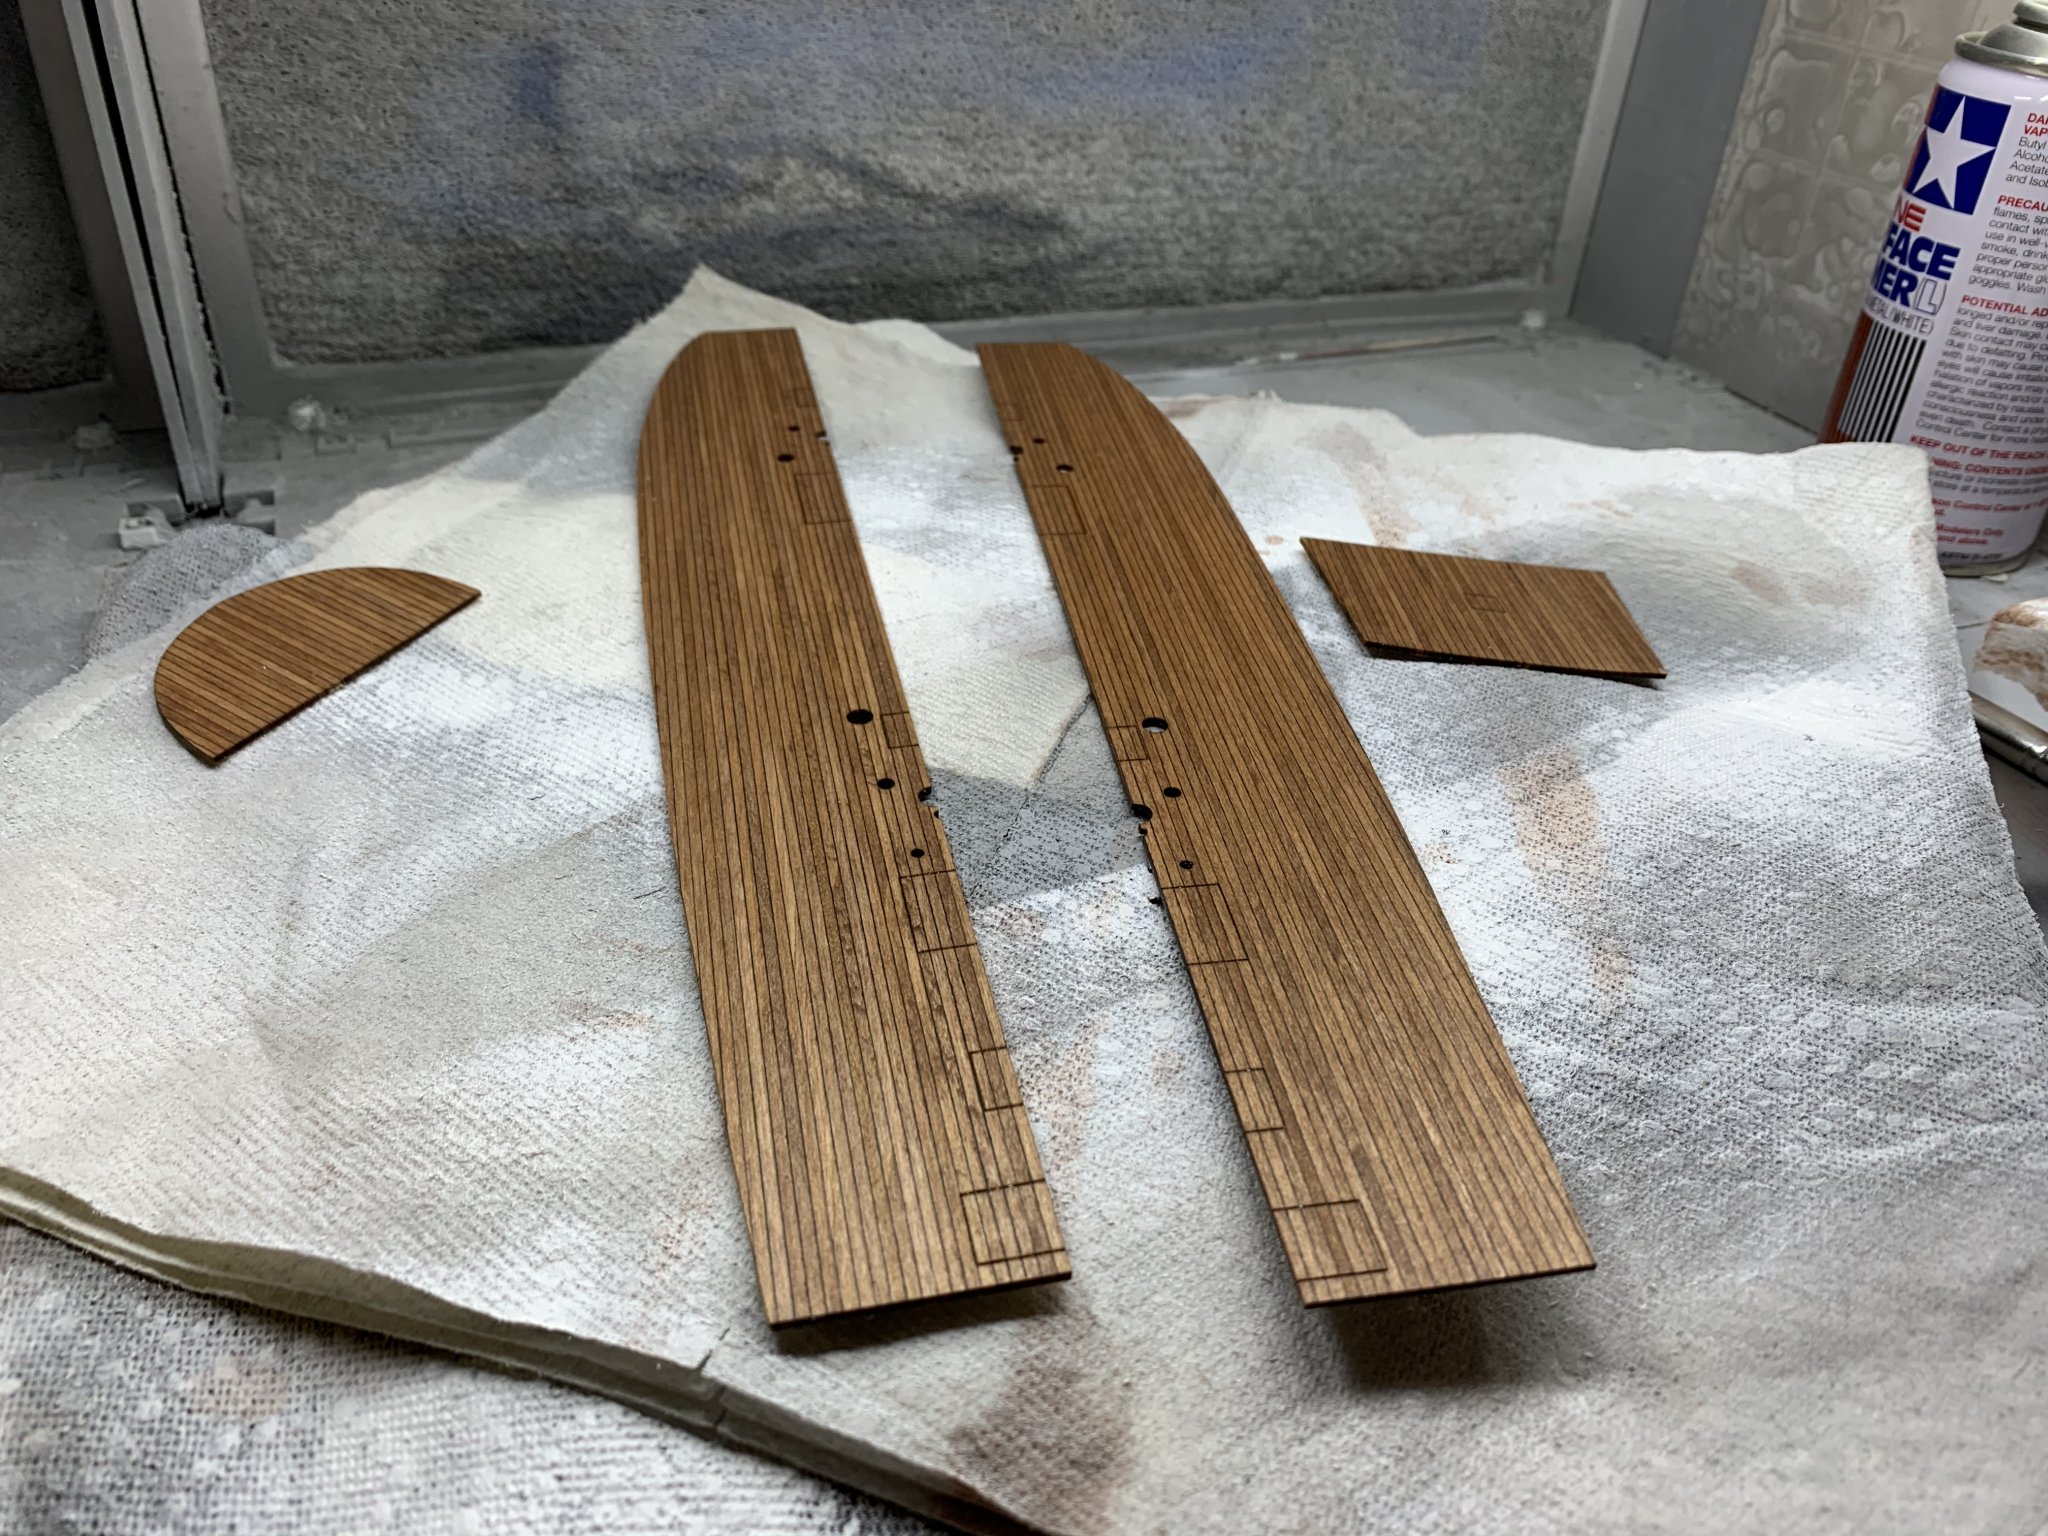
Making slow but steady progress! The hull shape is looking much better and I have carved out the spots for the bulwarks to be installed. Stain the decks in anticipation of installing them with the bulwarks. Hopefully I’ll make some more progress this weekend! So far the build has been a ton of fun and continues to push my skill level

- 85 replies
-
- 7
-
-
- perry
- BlueJacket Shipcrafters
- (and 1 more)
-
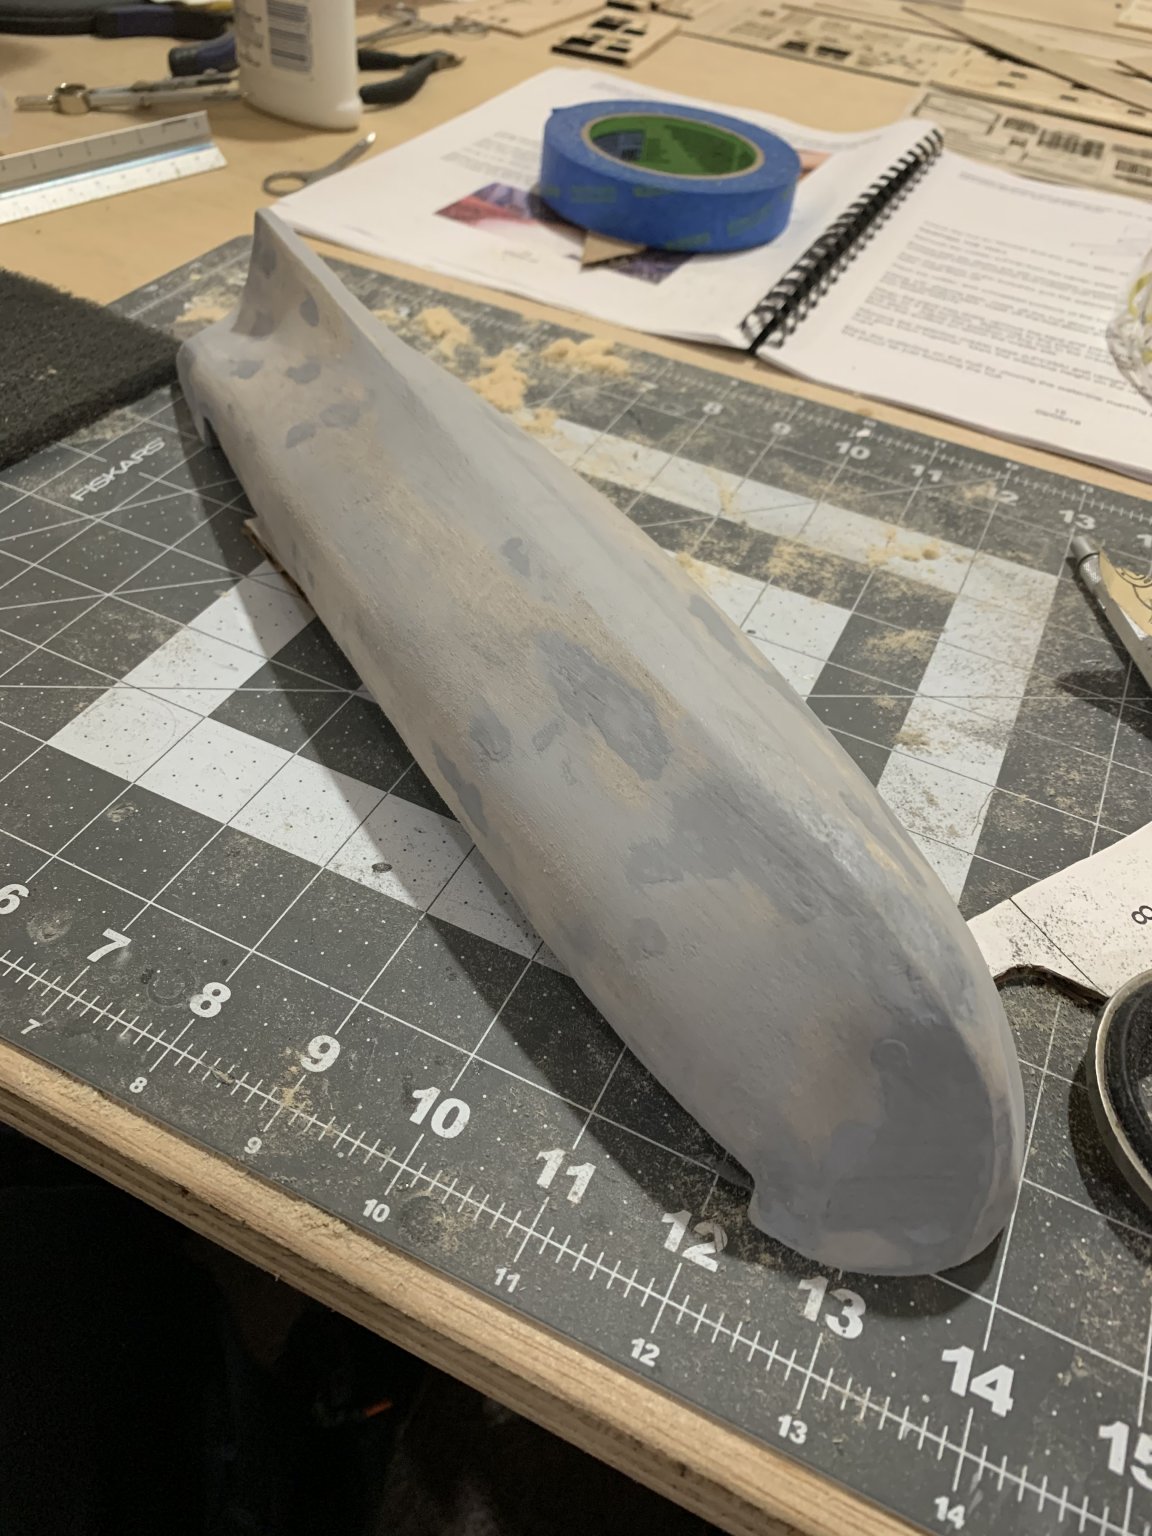
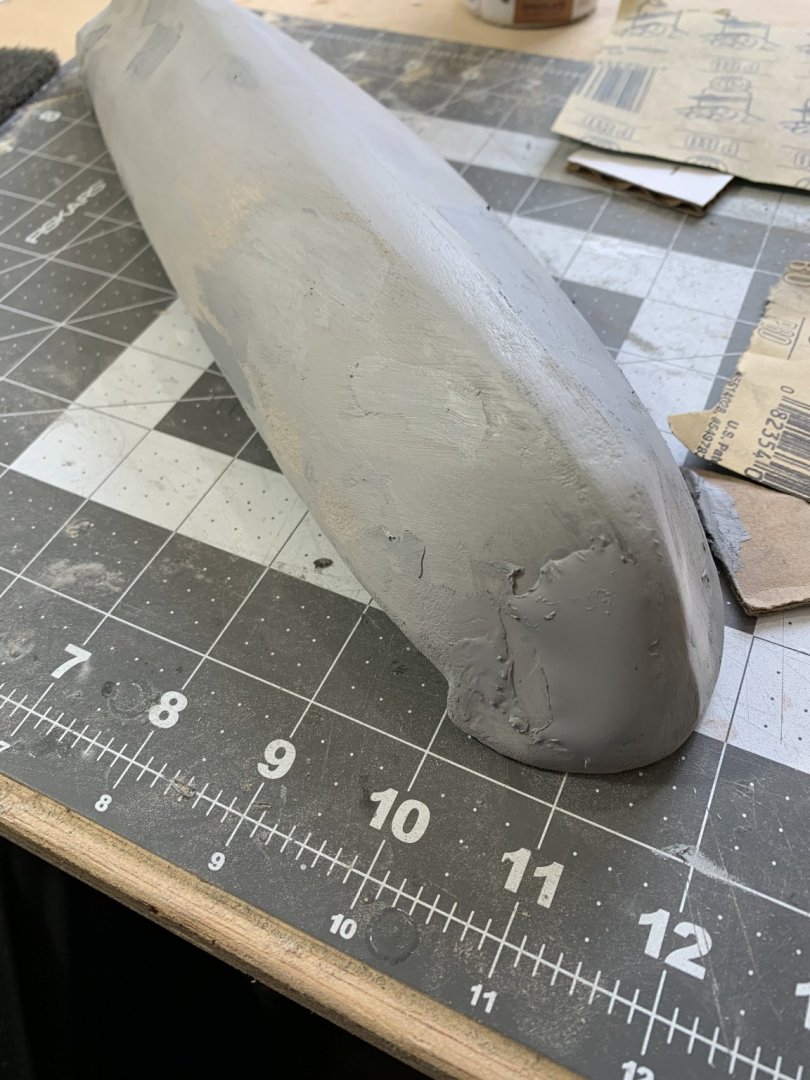
Changed up the putty color to better see my progress as I sand. It’s nearly there! One more sanding and another coat of primer should do it. After this ordeal I have such insane respect for modelers who build ship hulls with the bare wood showing. It will take a tremendously long time before my skills are at that level
- 85 replies
-
- 5
-
-
- perry
- BlueJacket Shipcrafters
- (and 1 more)
-
Totally agree @MrBlueJacket! Hopefully I'll be back on track soon. Definitely learned a bit about being too aggressive with the power tools though...
-
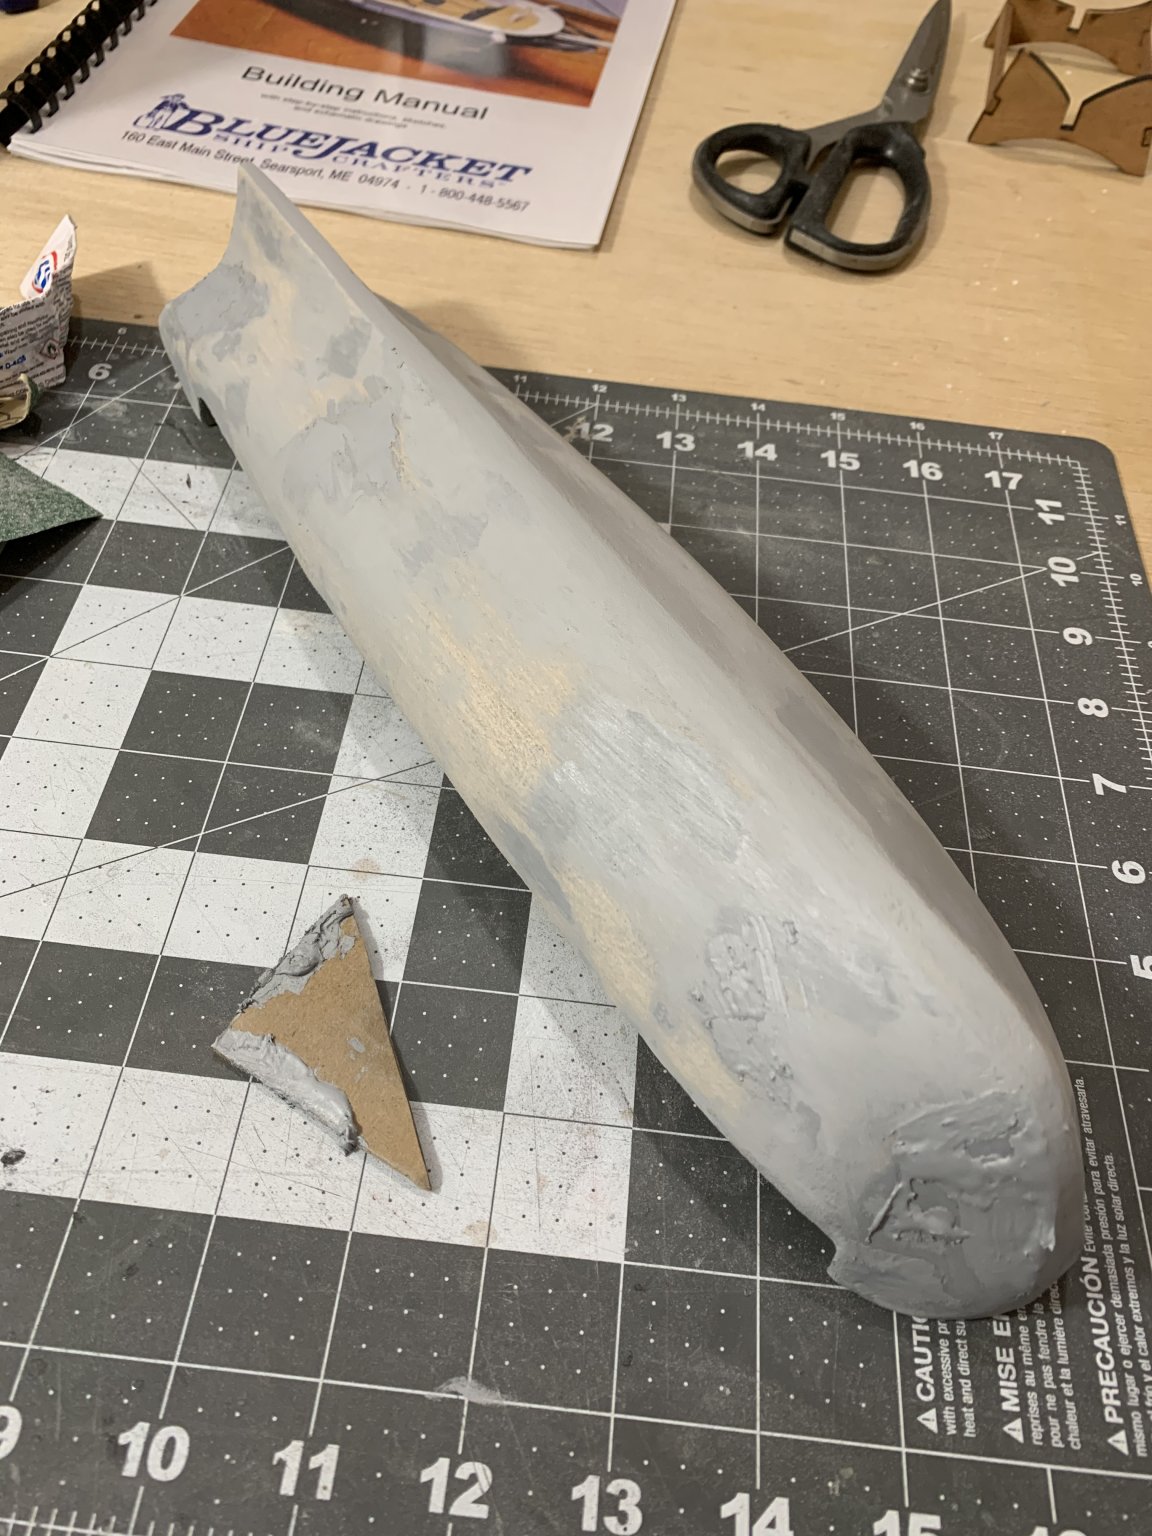
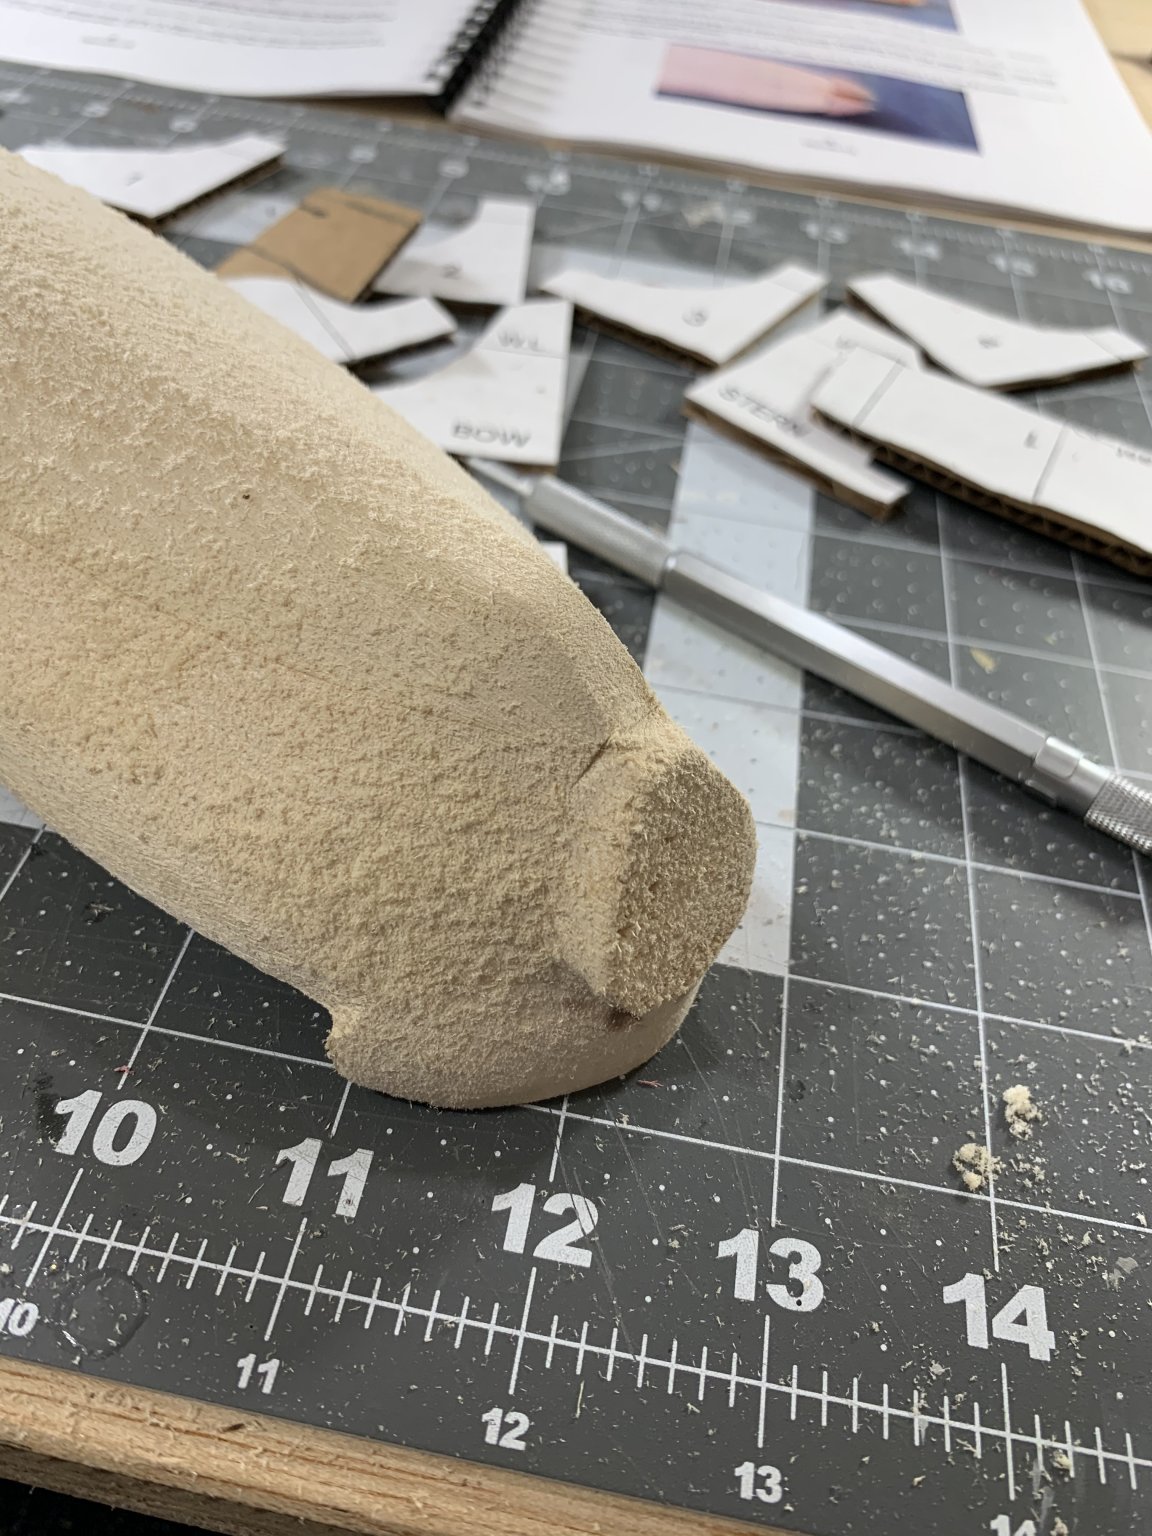
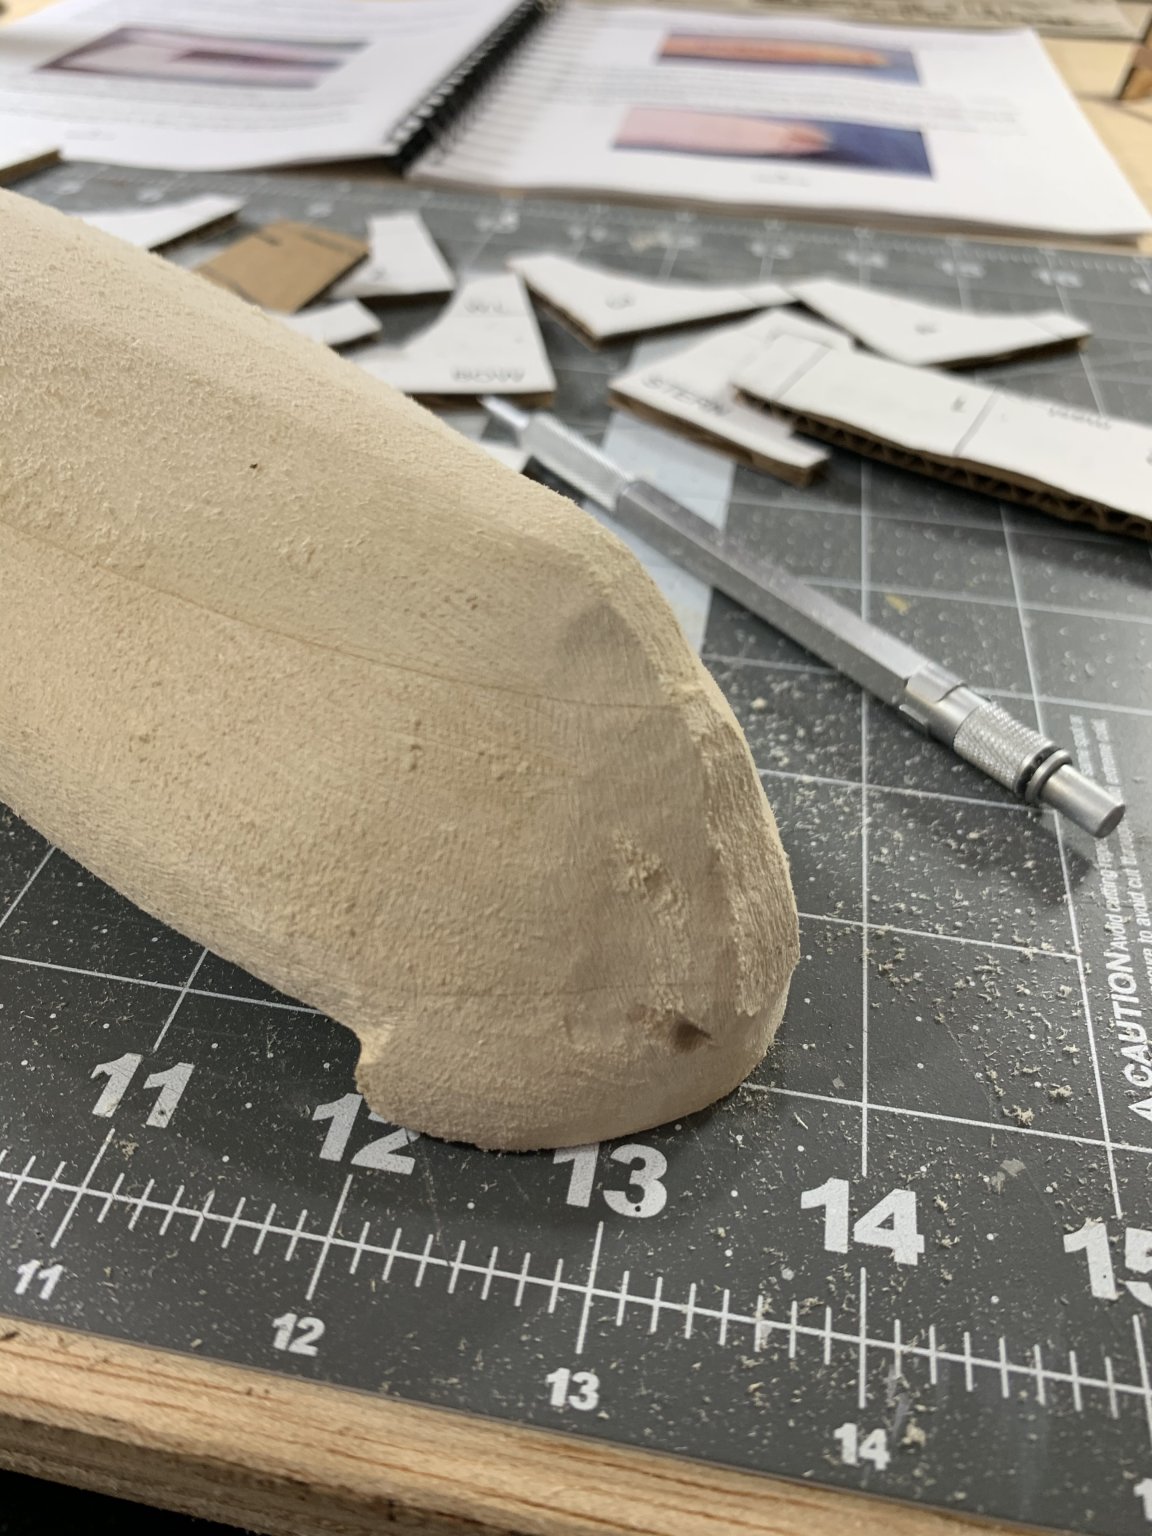
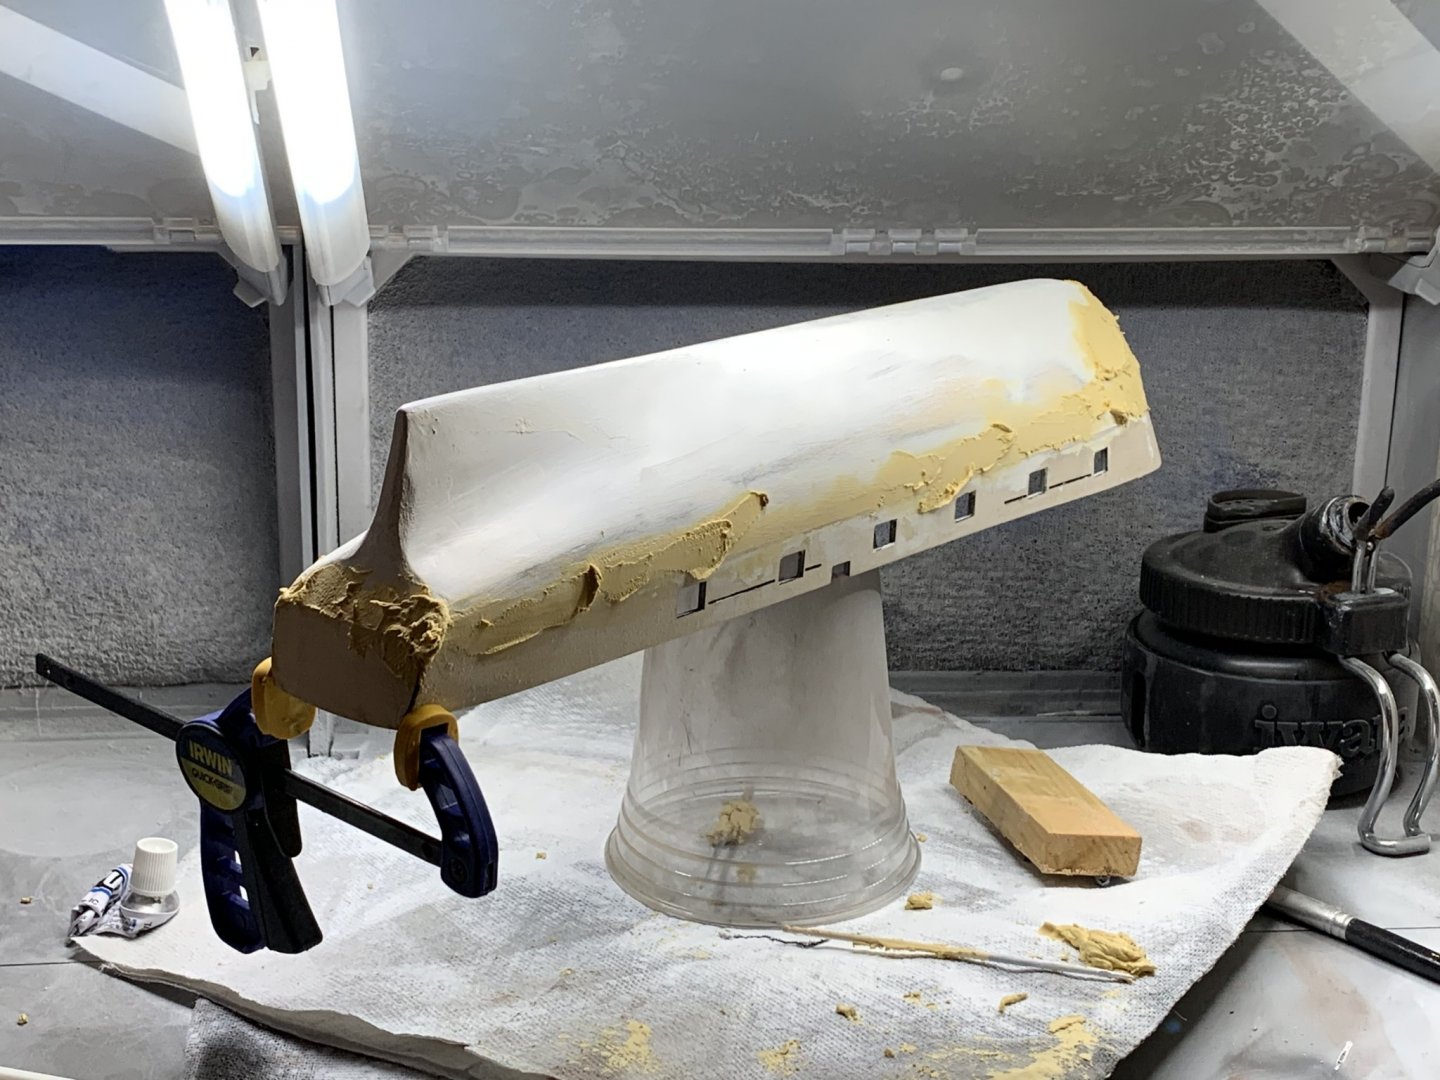
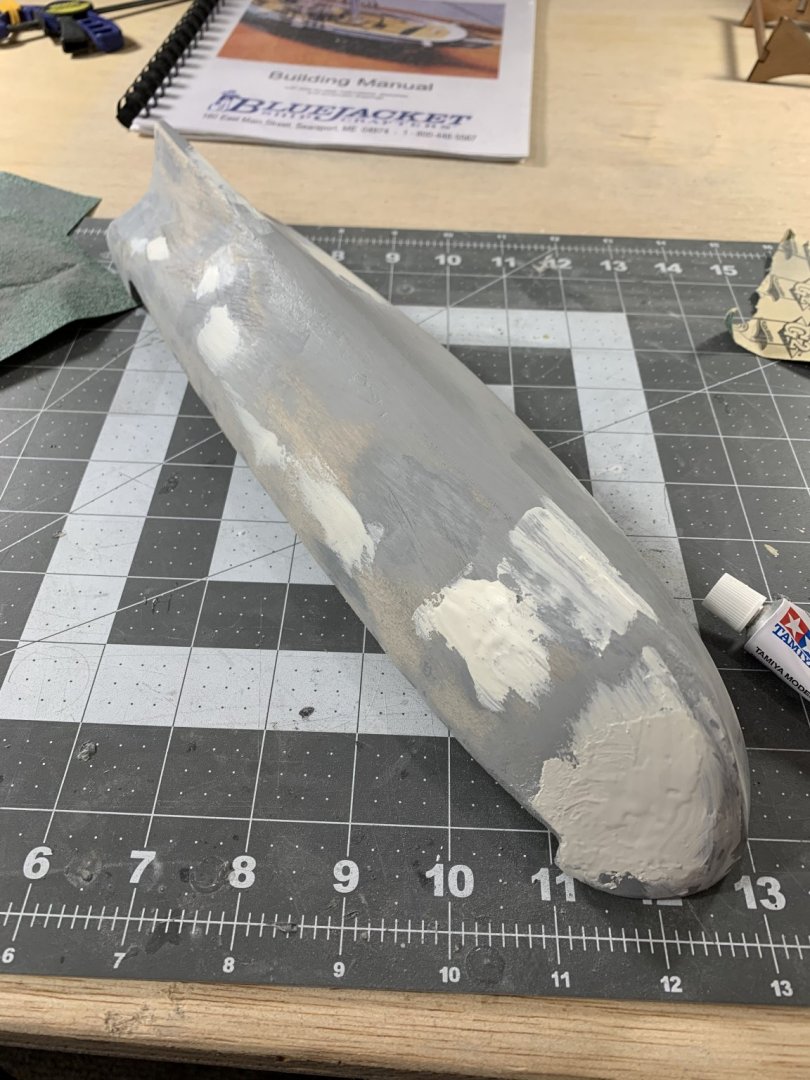
Slow but steady repairing my mistake on the bow. Adding putty and then sanding to shape repetitively until it looks right. Getting close! Its hard to tell in this picture but the rest of the hull is looking great! After I paint it and apply the copper plating hopefully nobody will be able to see my mistake

- 85 replies
-
- 4
-
-
- perry
- BlueJacket Shipcrafters
- (and 1 more)
-
So in trying to shape the bow properly I over sanded the port side and am now working to build the shape back with putty. The power tools are great until you go too far 😱 Hopefully I should get the shape right soon.
- 85 replies
-
- 7
-
-
- perry
- BlueJacket Shipcrafters
- (and 1 more)
-
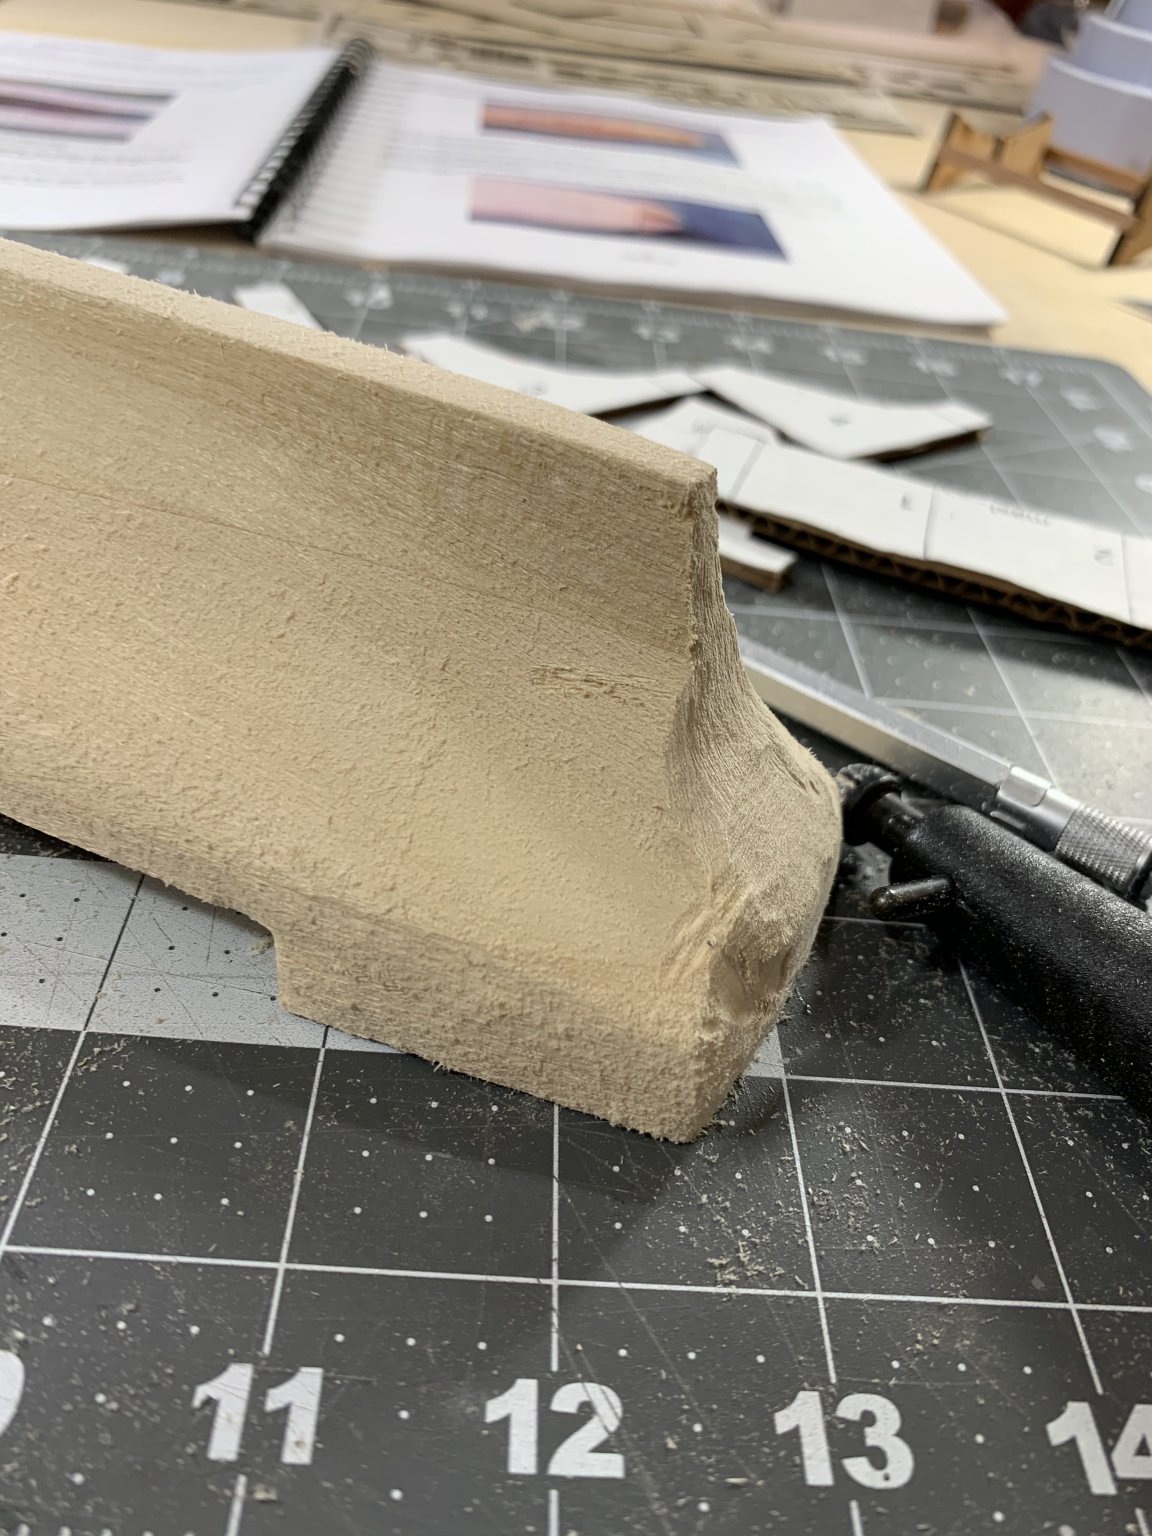
Sorry for being offline for a bit. Back at it making progress! Lots of hull carving and a coat of primer. More work at the bow is required to get the shape just right.

- 85 replies
-
- 4
-
-
- perry
- BlueJacket Shipcrafters
- (and 1 more)
-
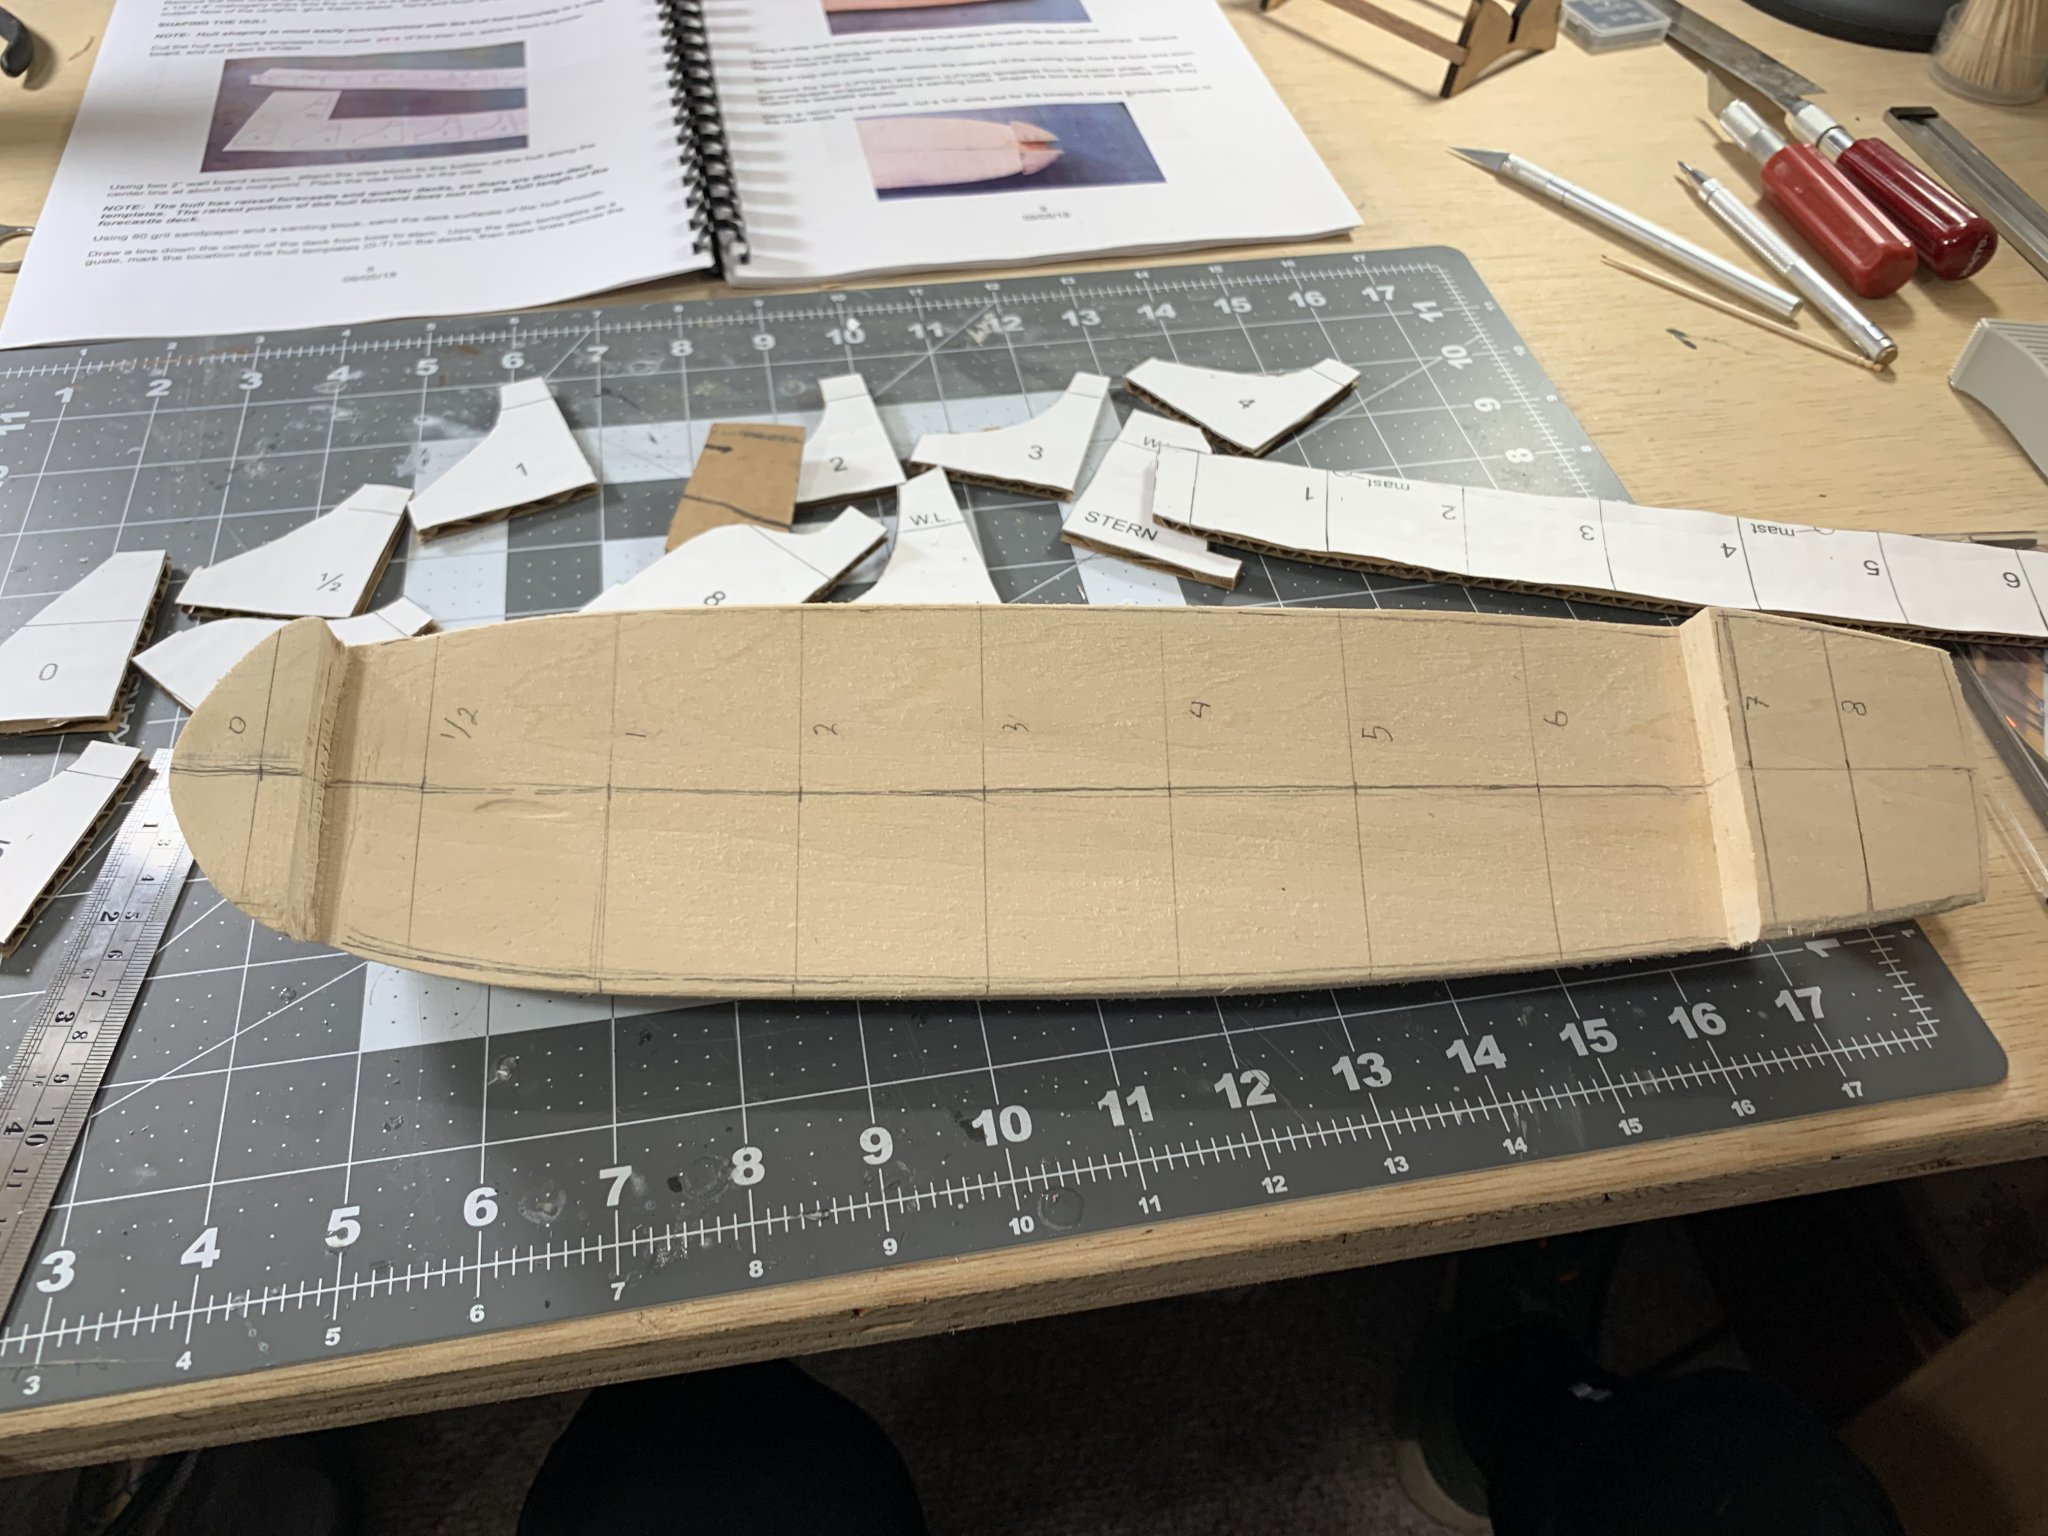
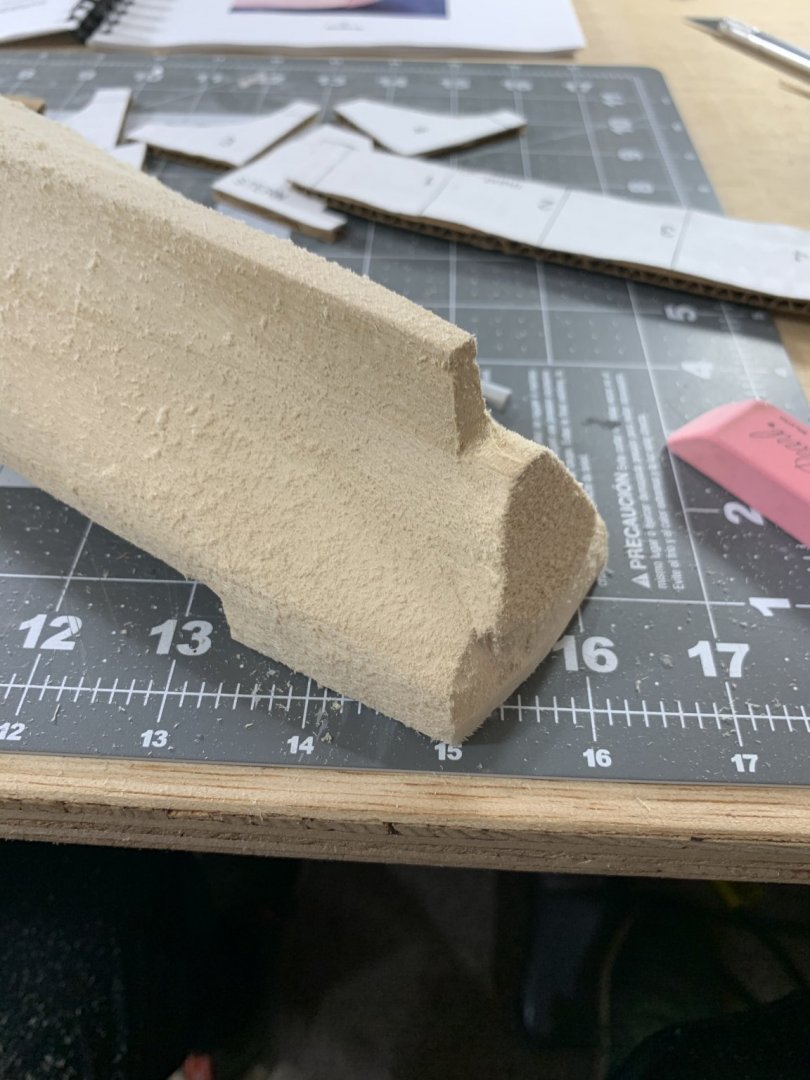
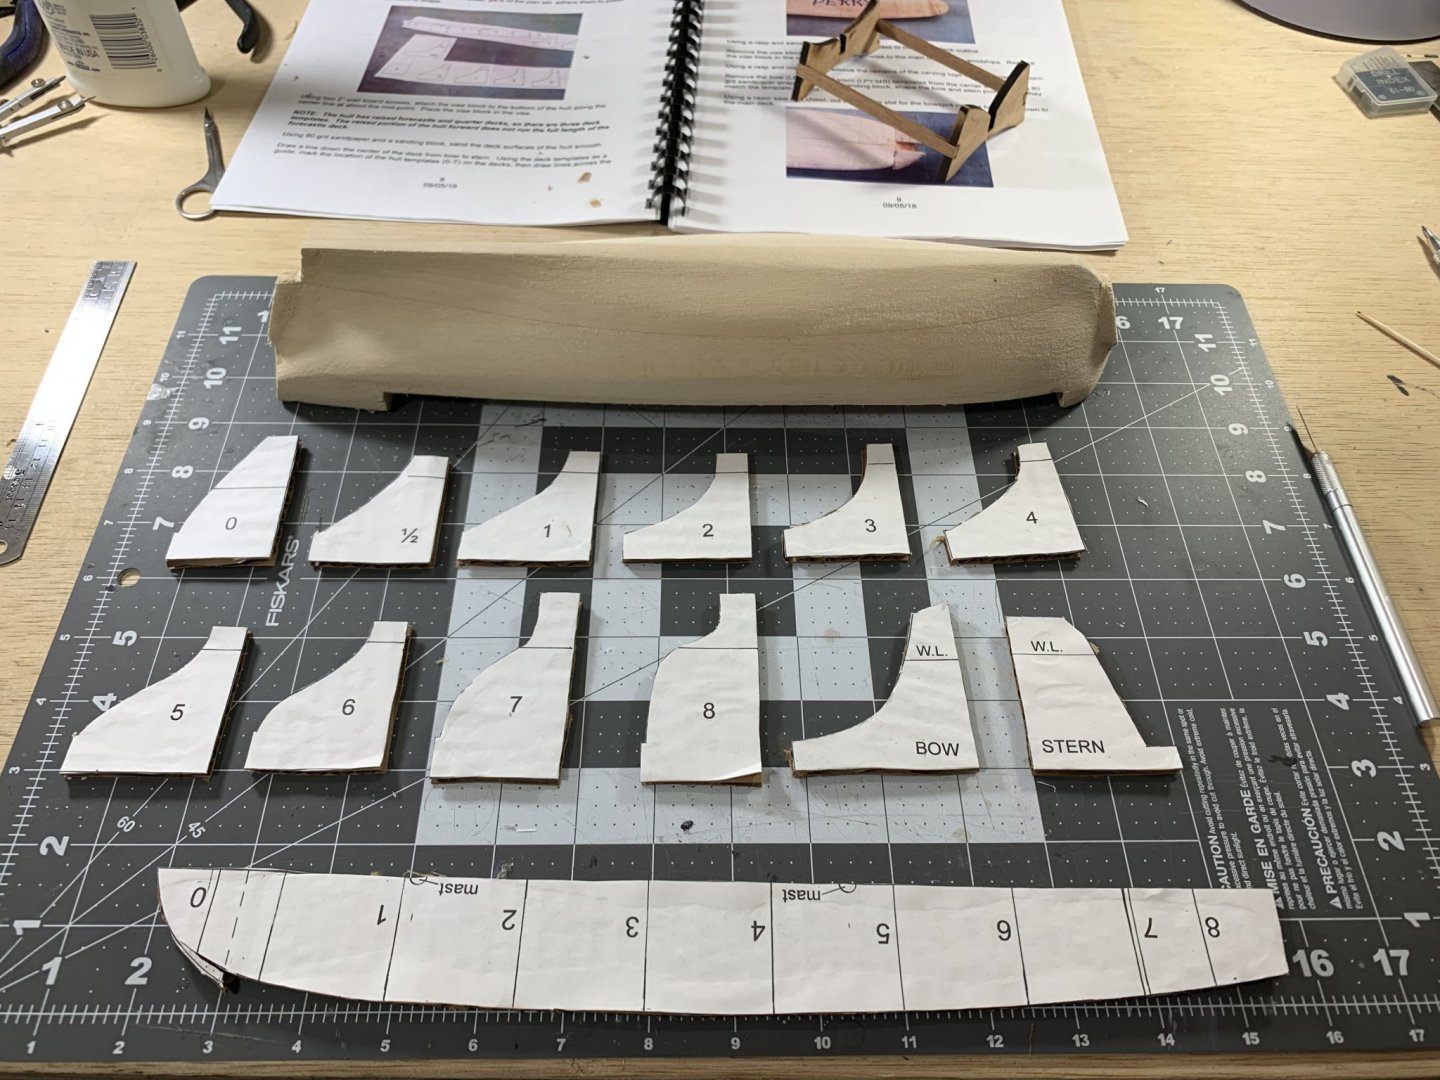
Made a little progress tonight in marking the hull template locations as well as some rough shaping work Here are some before and after photos of removing the carving lugs from the hull. It’s amazing how fast a rotary tool removes wood. Still in the rough shaping phase but moving along


- 85 replies
-
- 10
-
-
- perry
- BlueJacket Shipcrafters
- (and 1 more)
-
@KHauptfuehrer thank you! The homemade lathe utilizing a carpenters drill worked very well to make the gaffs and booms. Your Constitution is absolutely a work of art by the way. Incredibly impressed
-
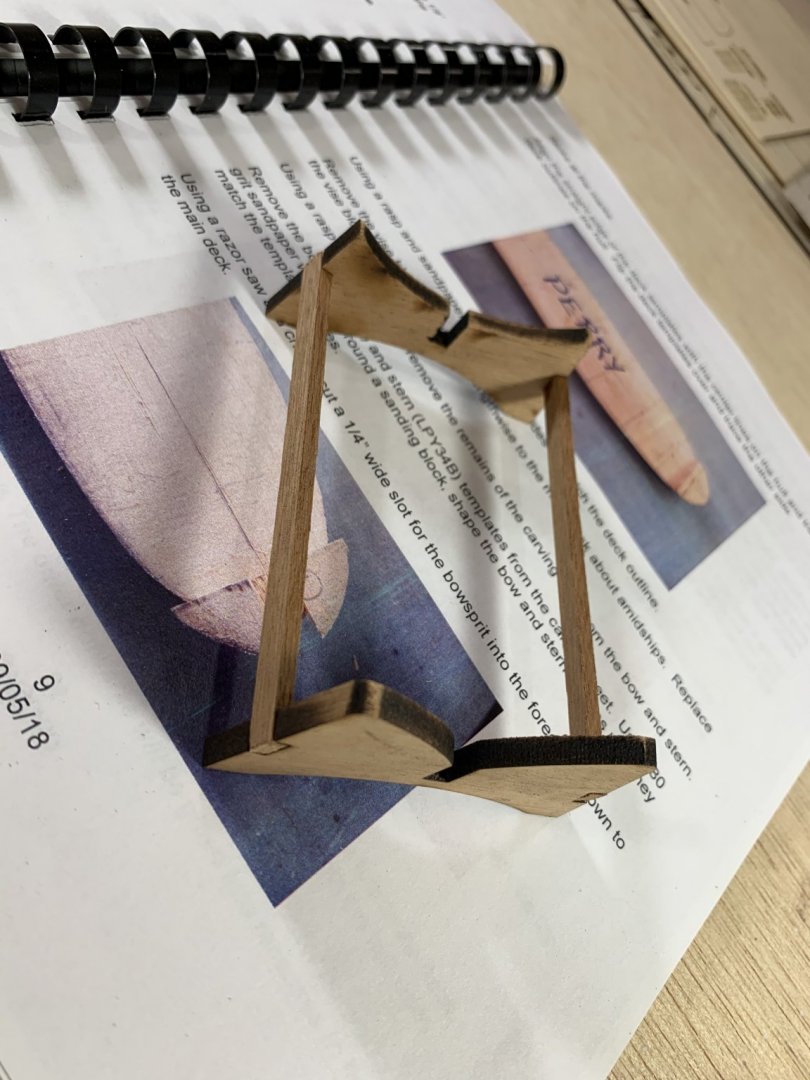
@RickyGene I do agree that their kits are sometimes expensive, but at least in my experience, the customer service has more than made up for the cost. I officially started the build tonight. Pretty much all I accomplished was to cut out the hull templates and assemble the hull cradle but “a journey of a thousand miles begins with the first step” as they say. Also, opened up the laser cut parts and I was very impressed!
- 85 replies
-
- 5
-
-
- perry
- BlueJacket Shipcrafters
- (and 1 more)
-
@ccoyle actually I agree! I found being able to reference other people’s build logs of the same ship to be hugely helpful. @Jonathan11 Thank you! I am excited for it
- 85 replies
-
- 2
-
-
- perry
- BlueJacket Shipcrafters
- (and 1 more)
-
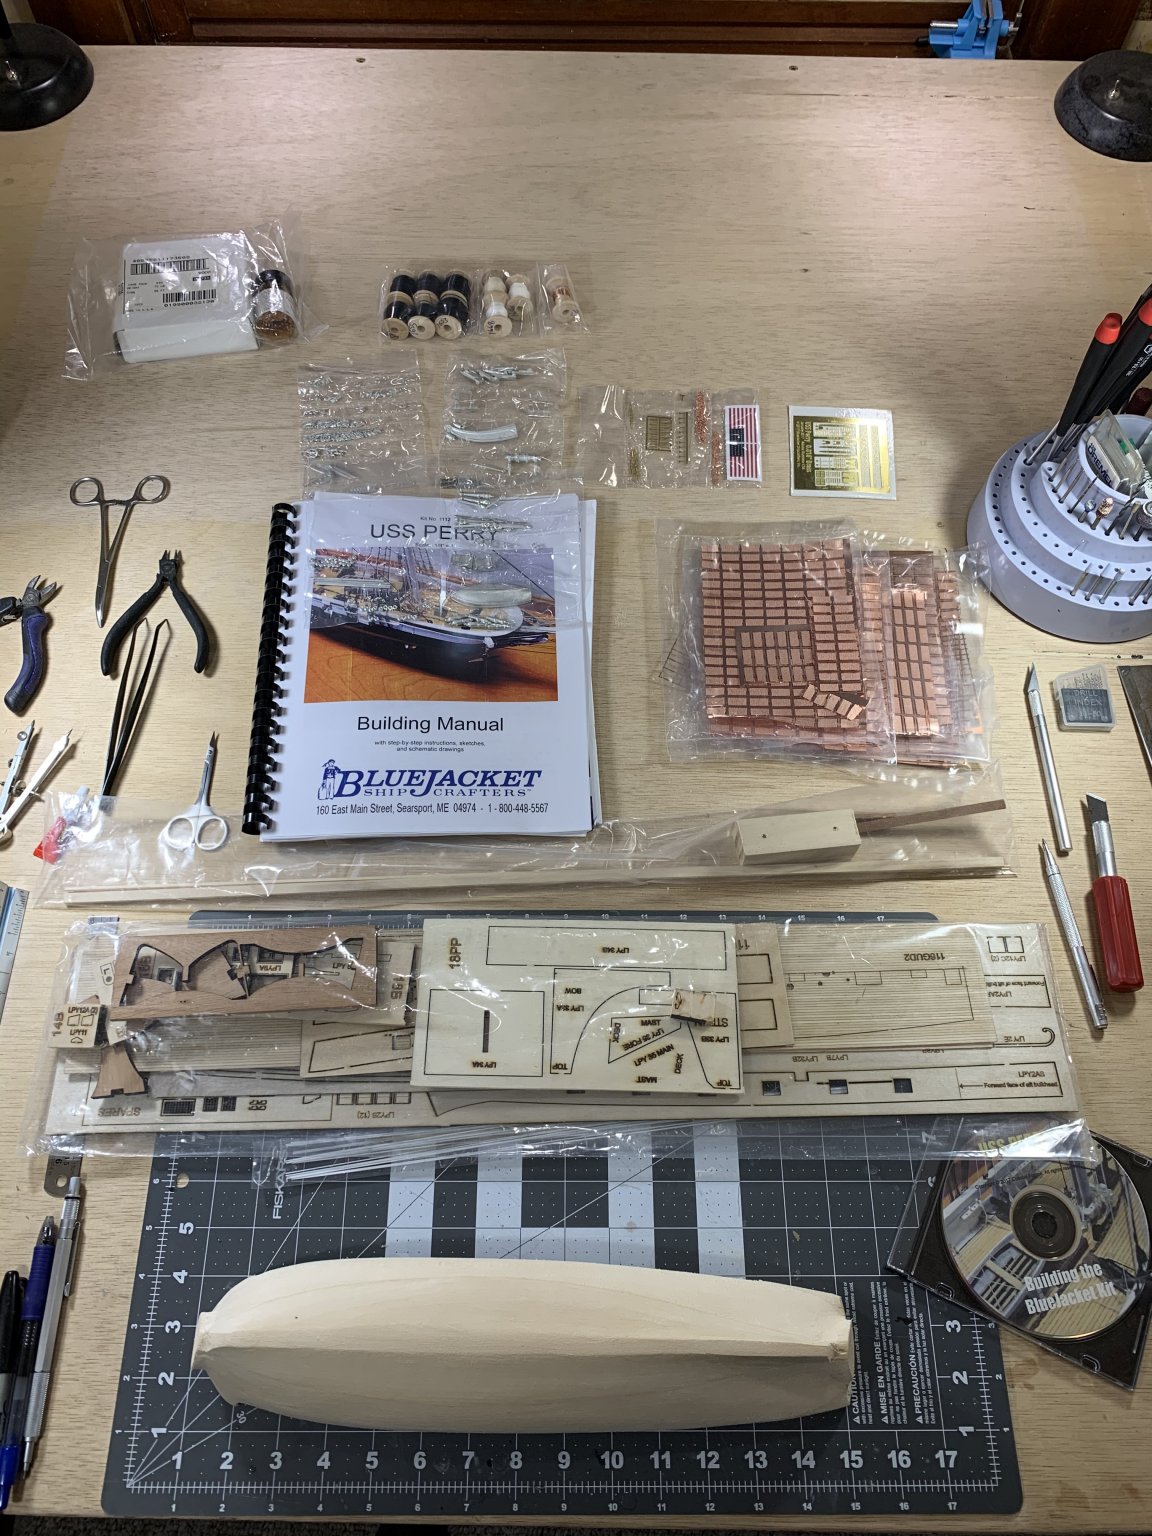
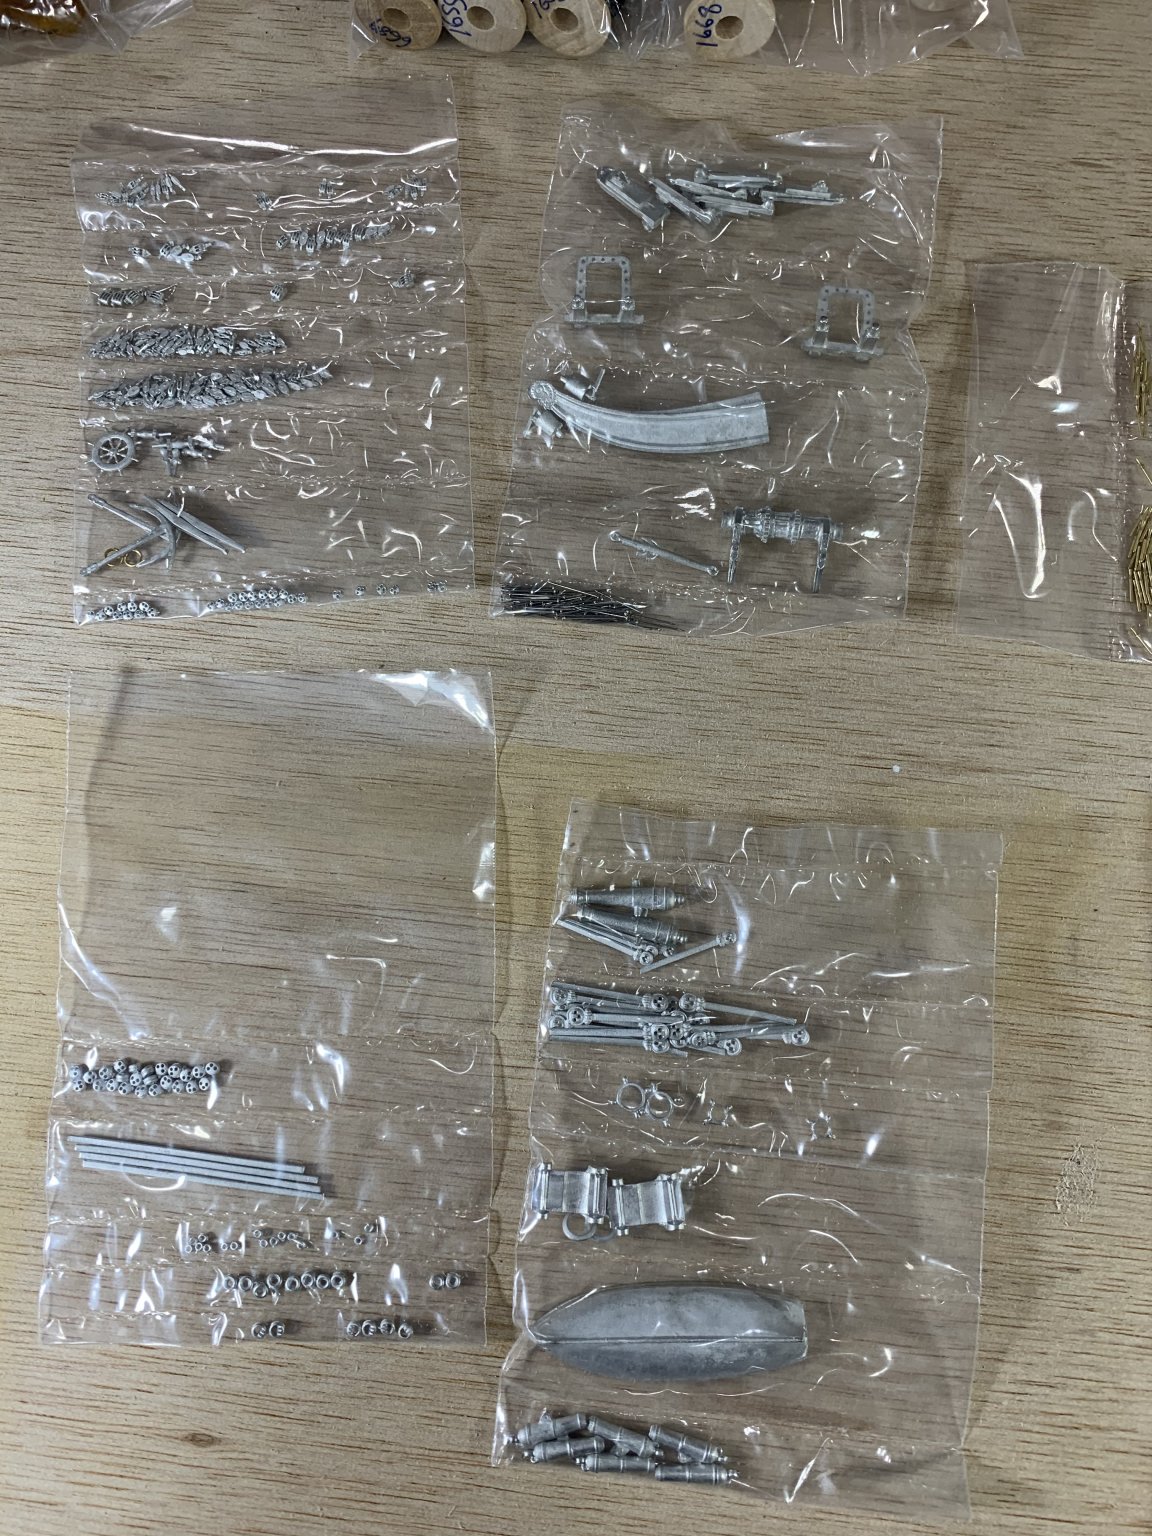
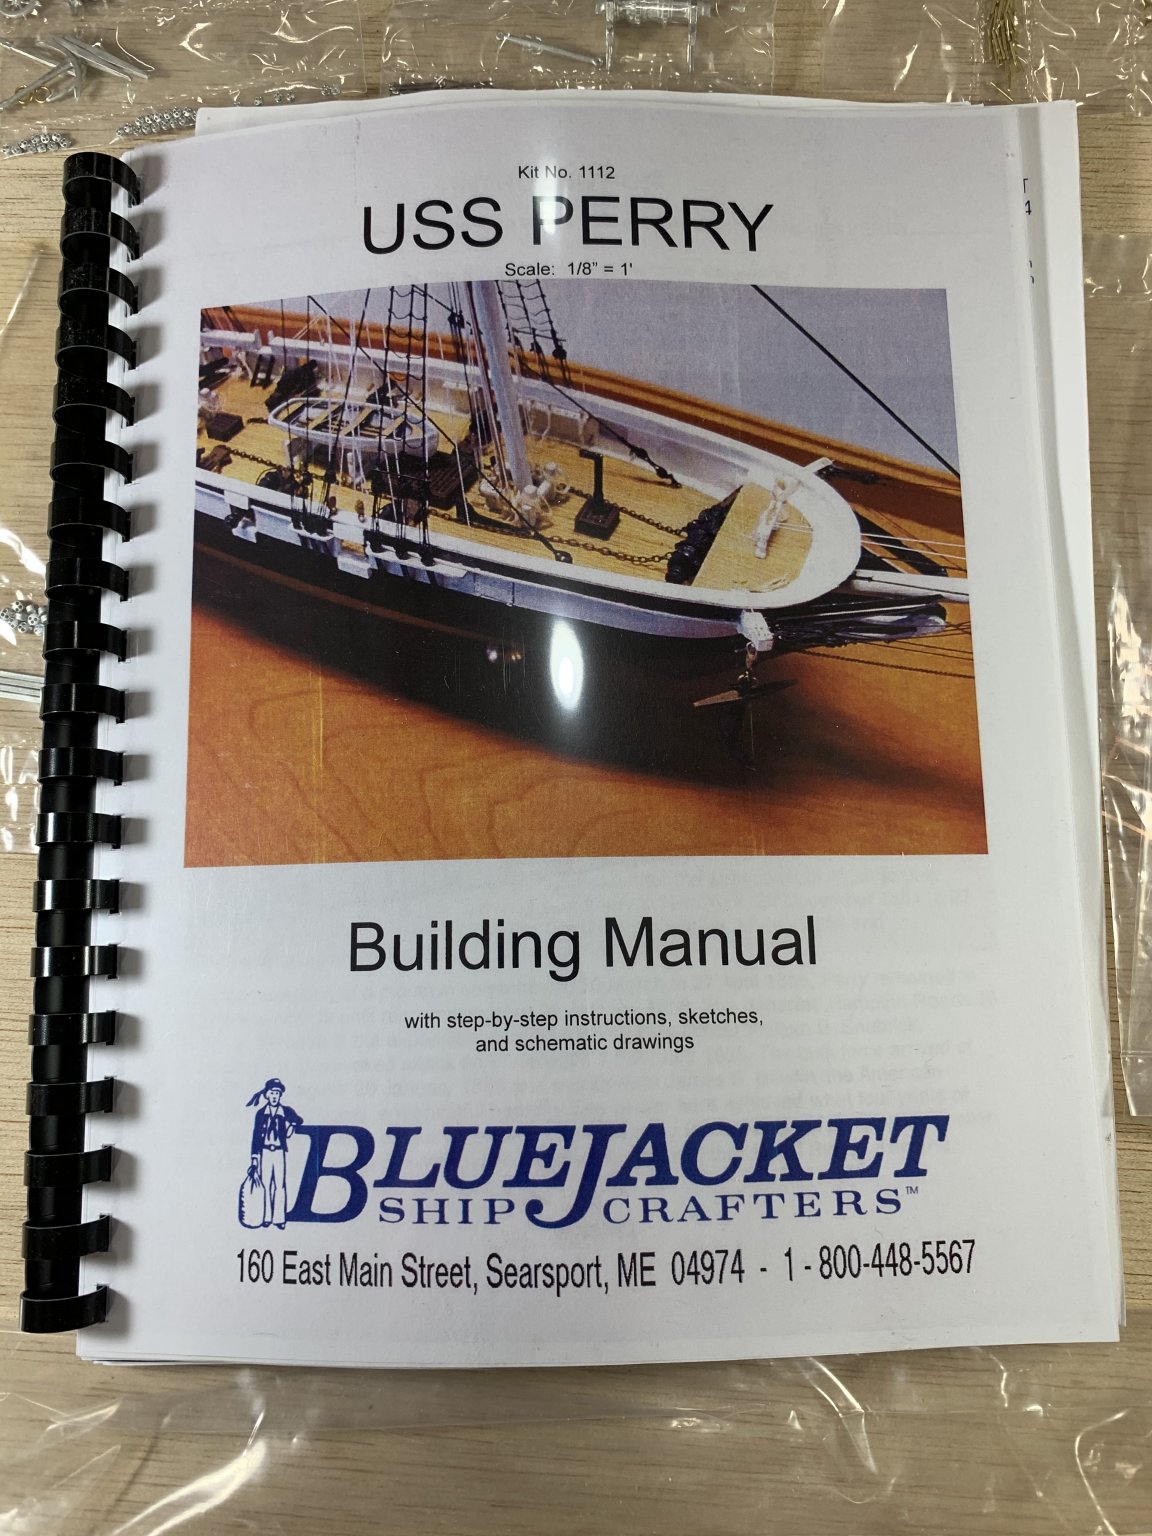
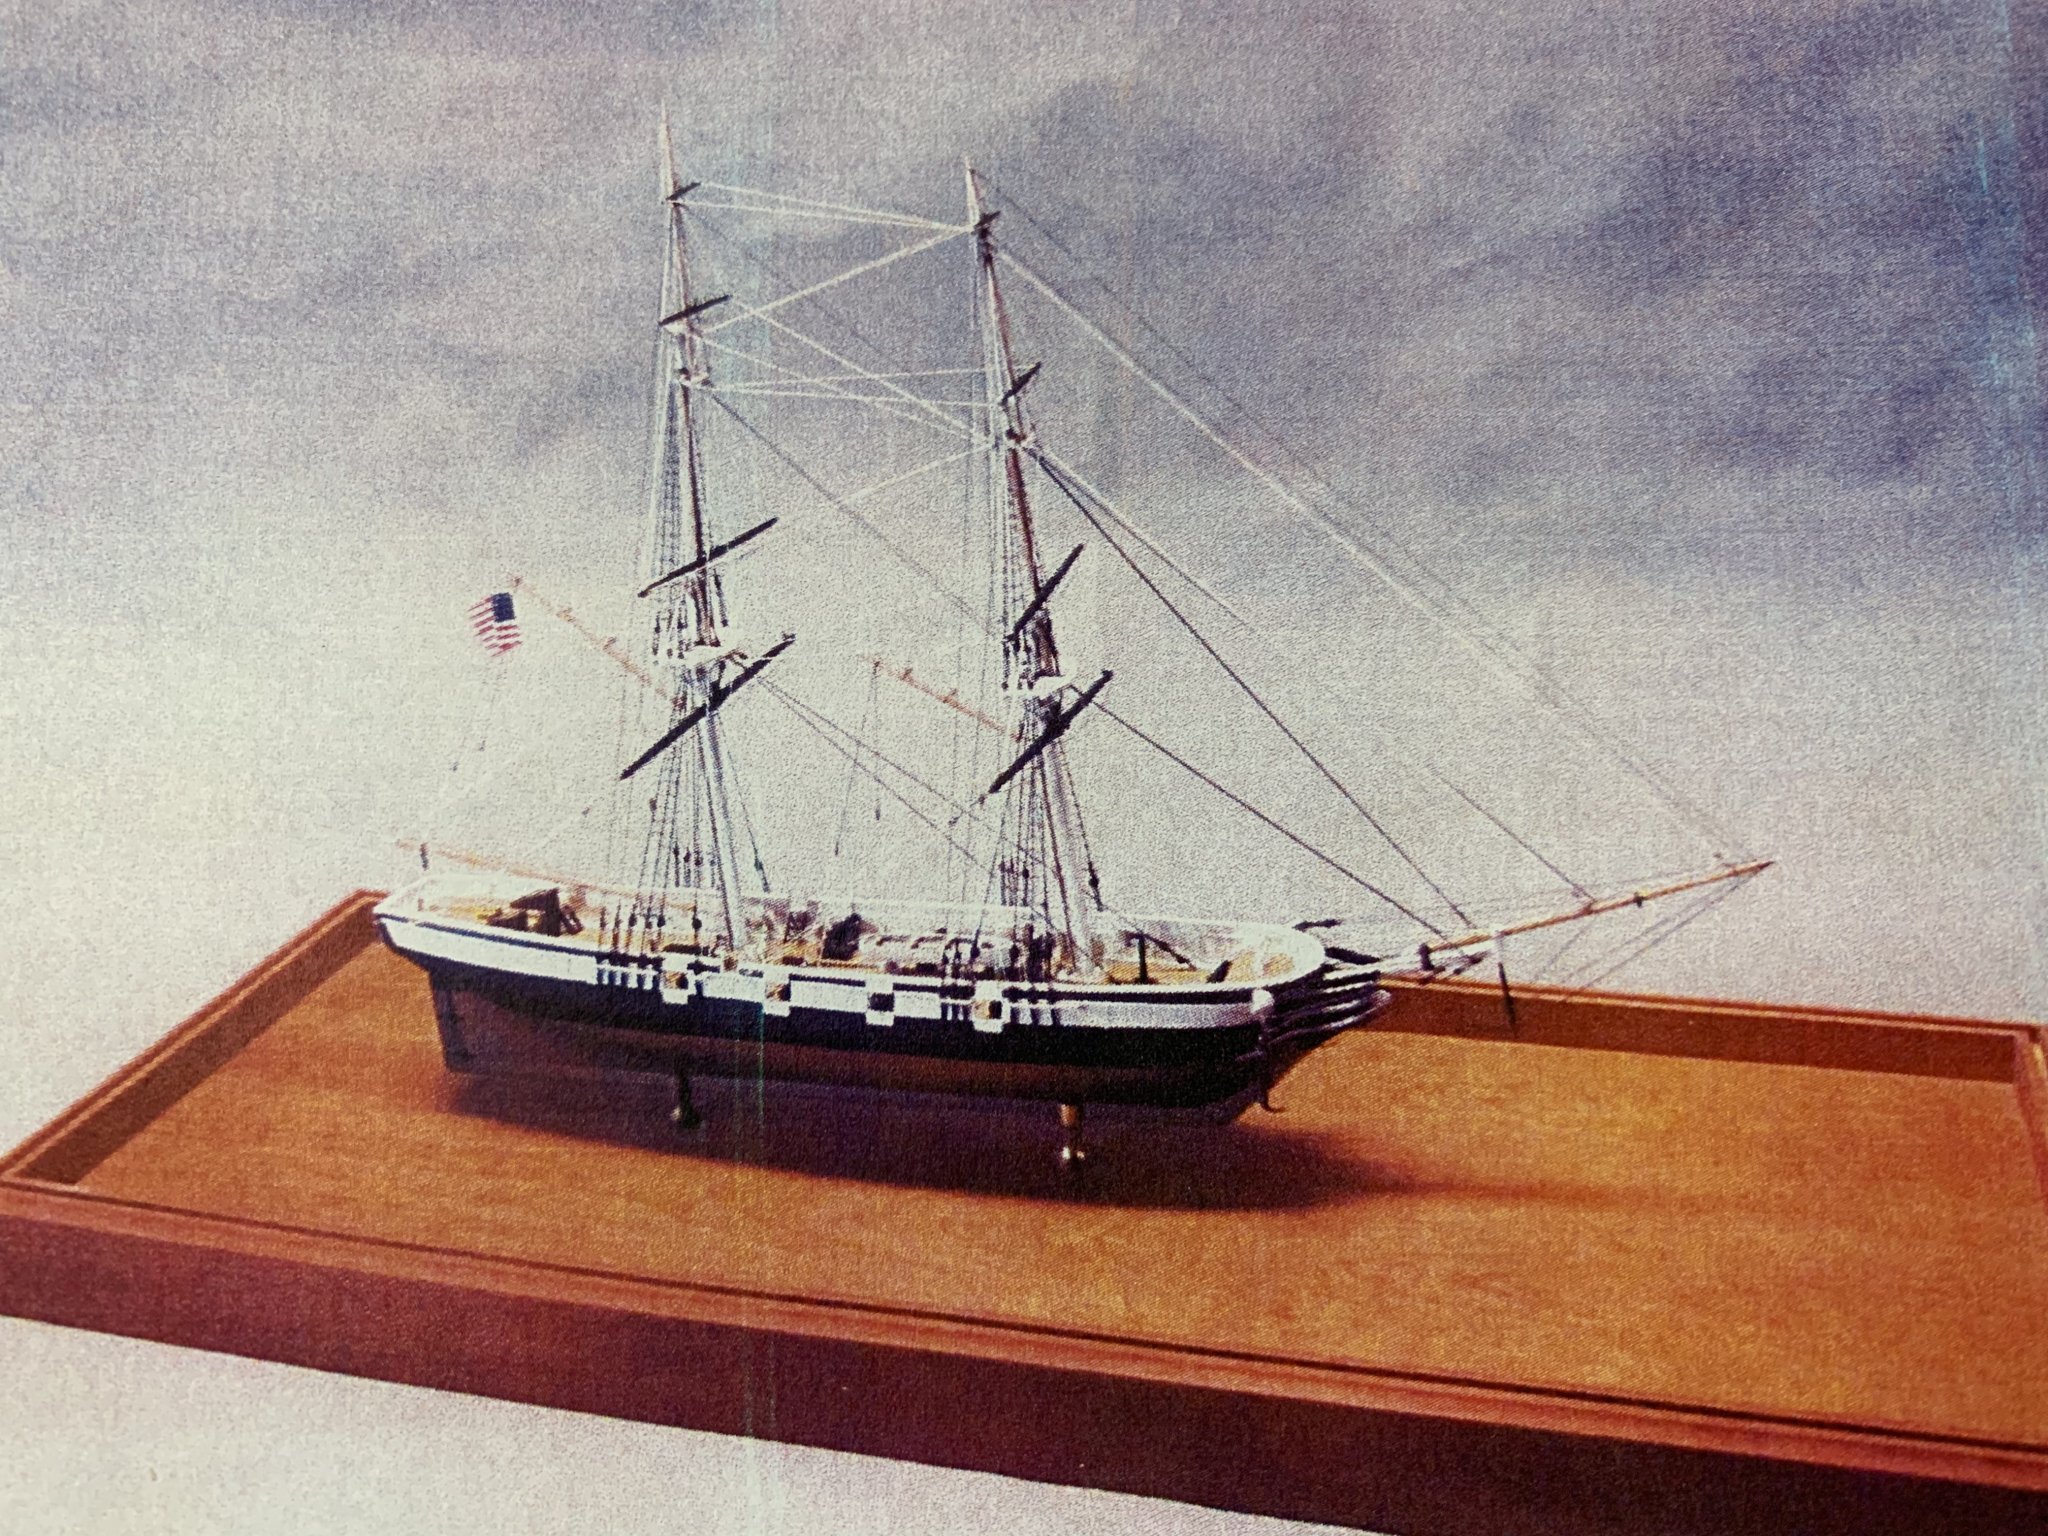
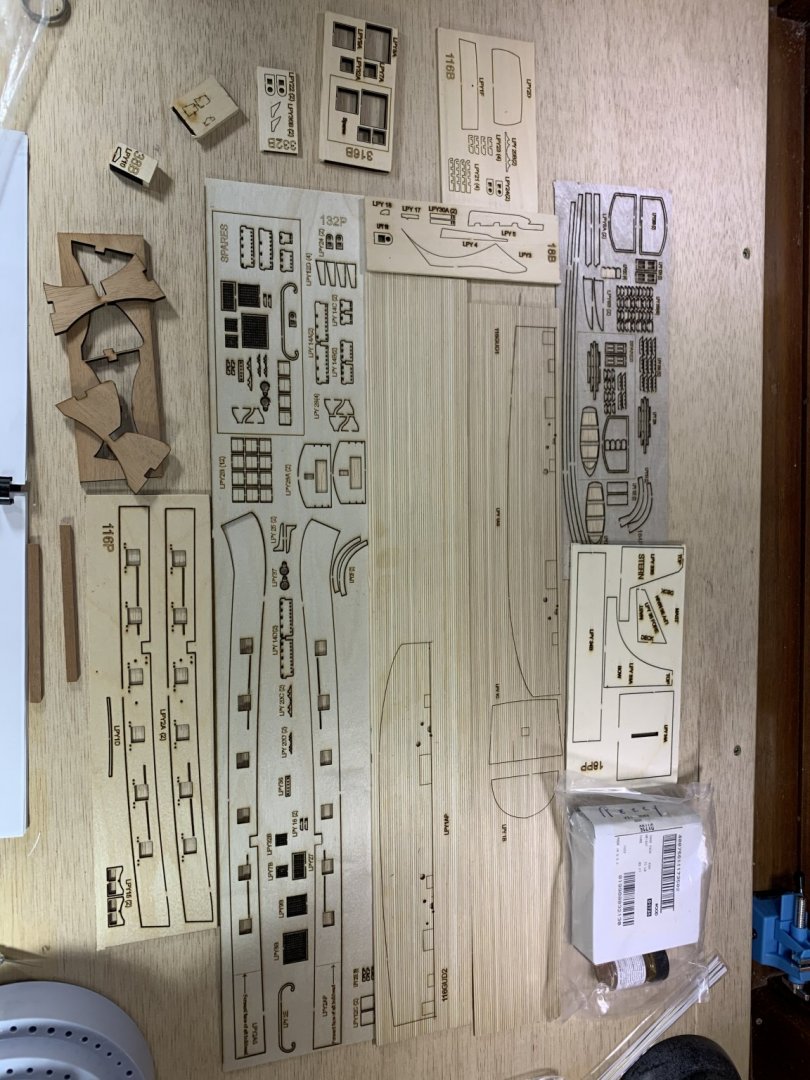
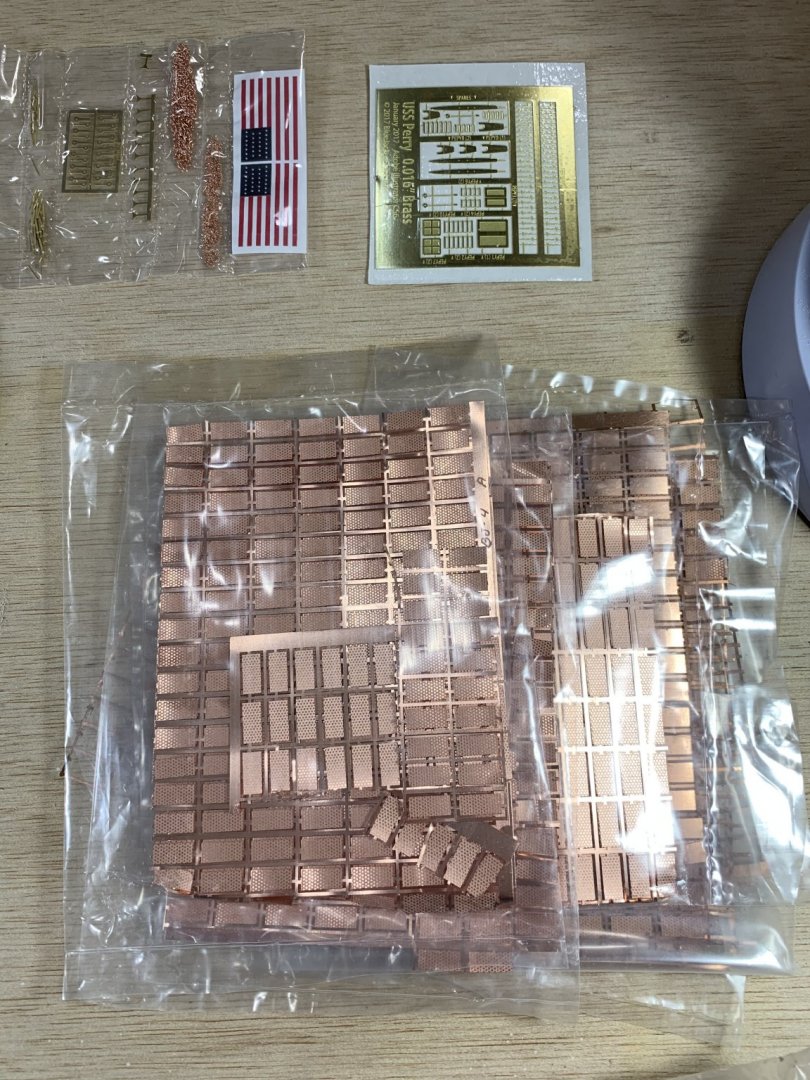
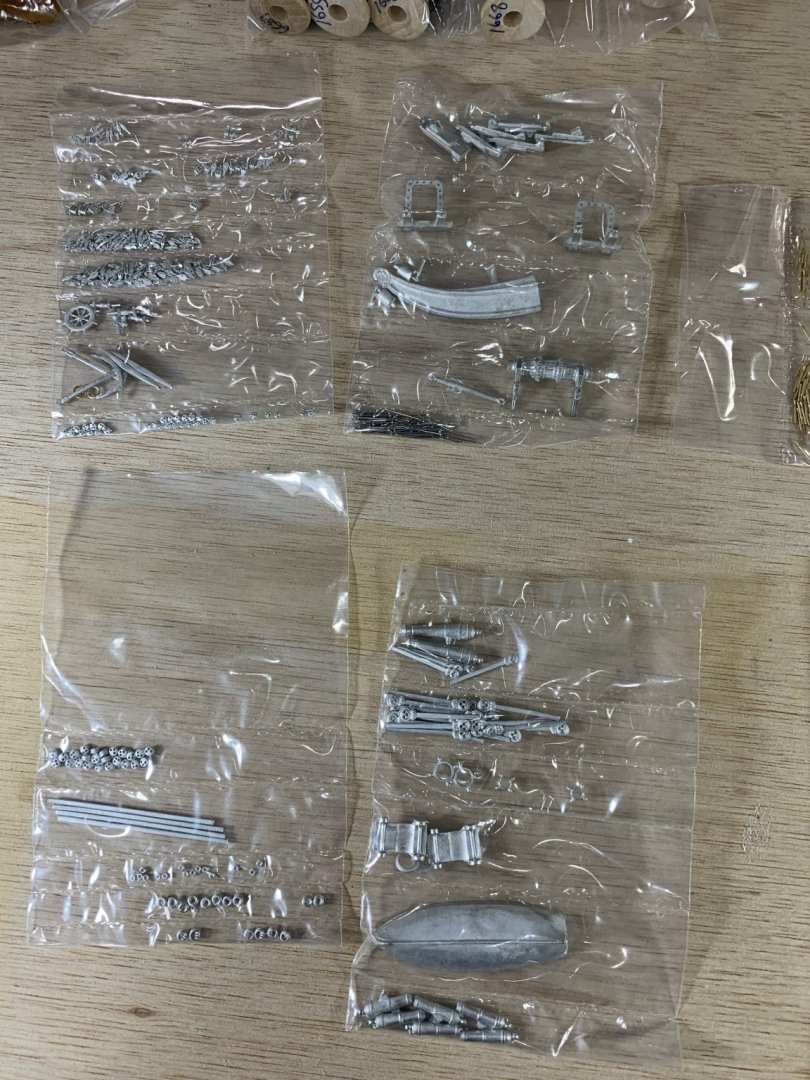
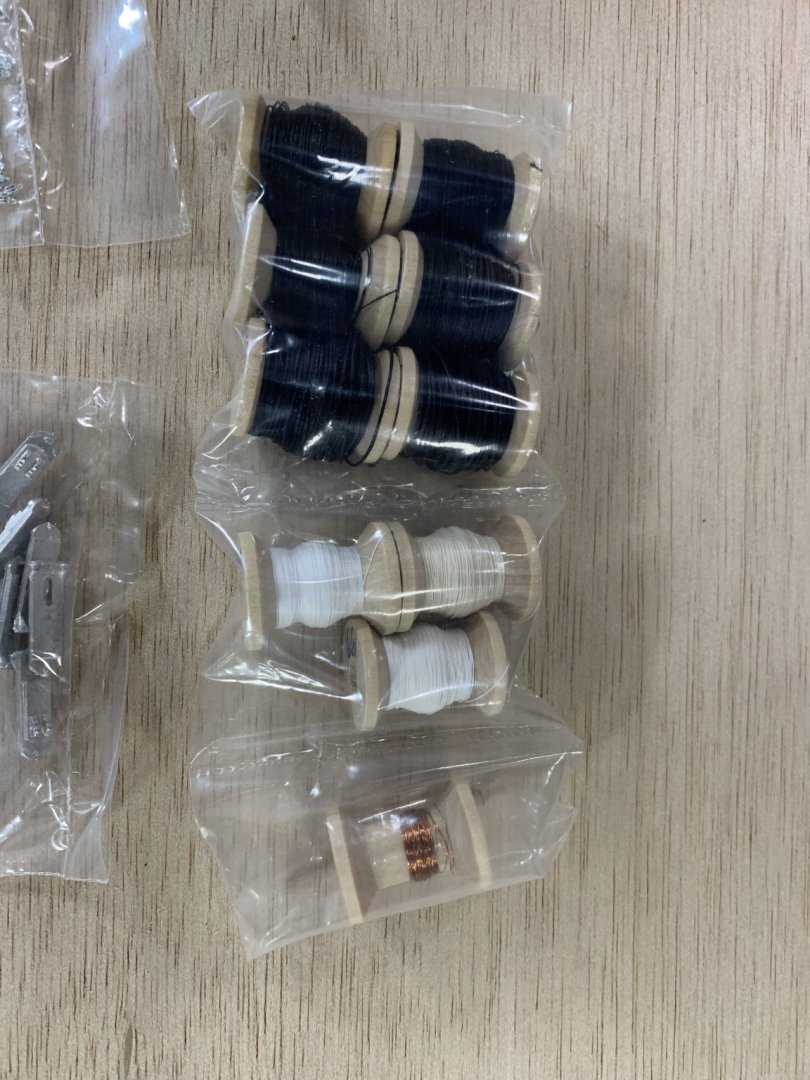
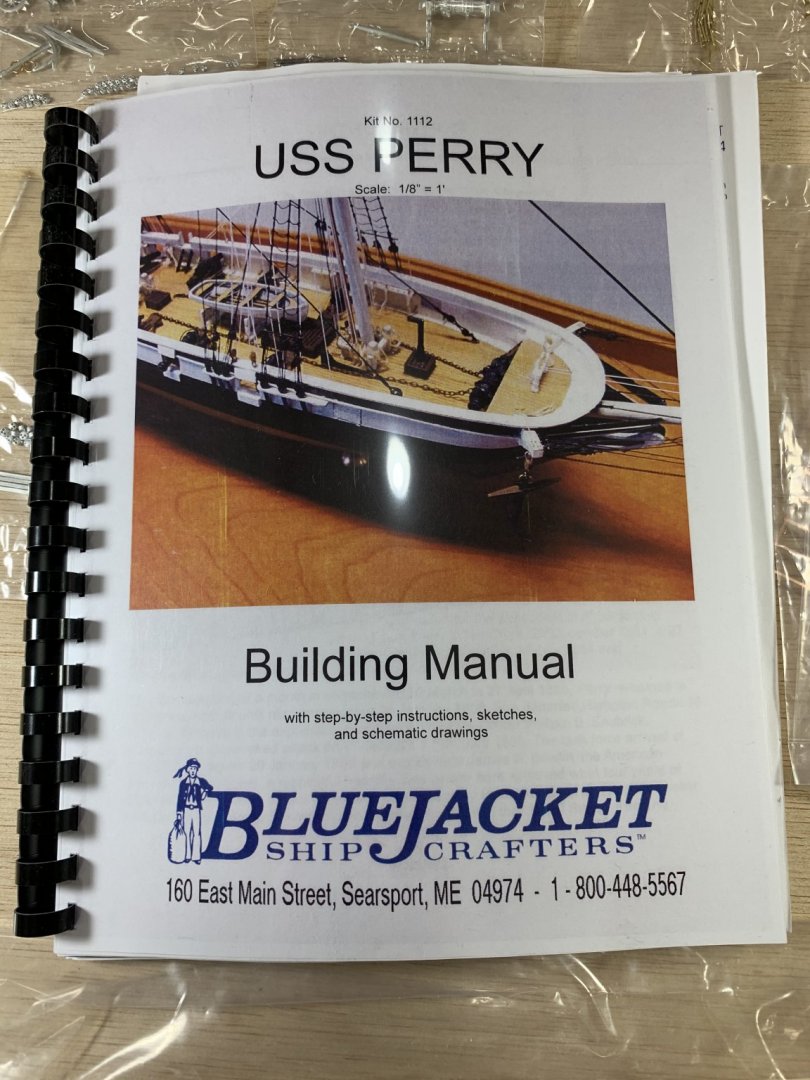
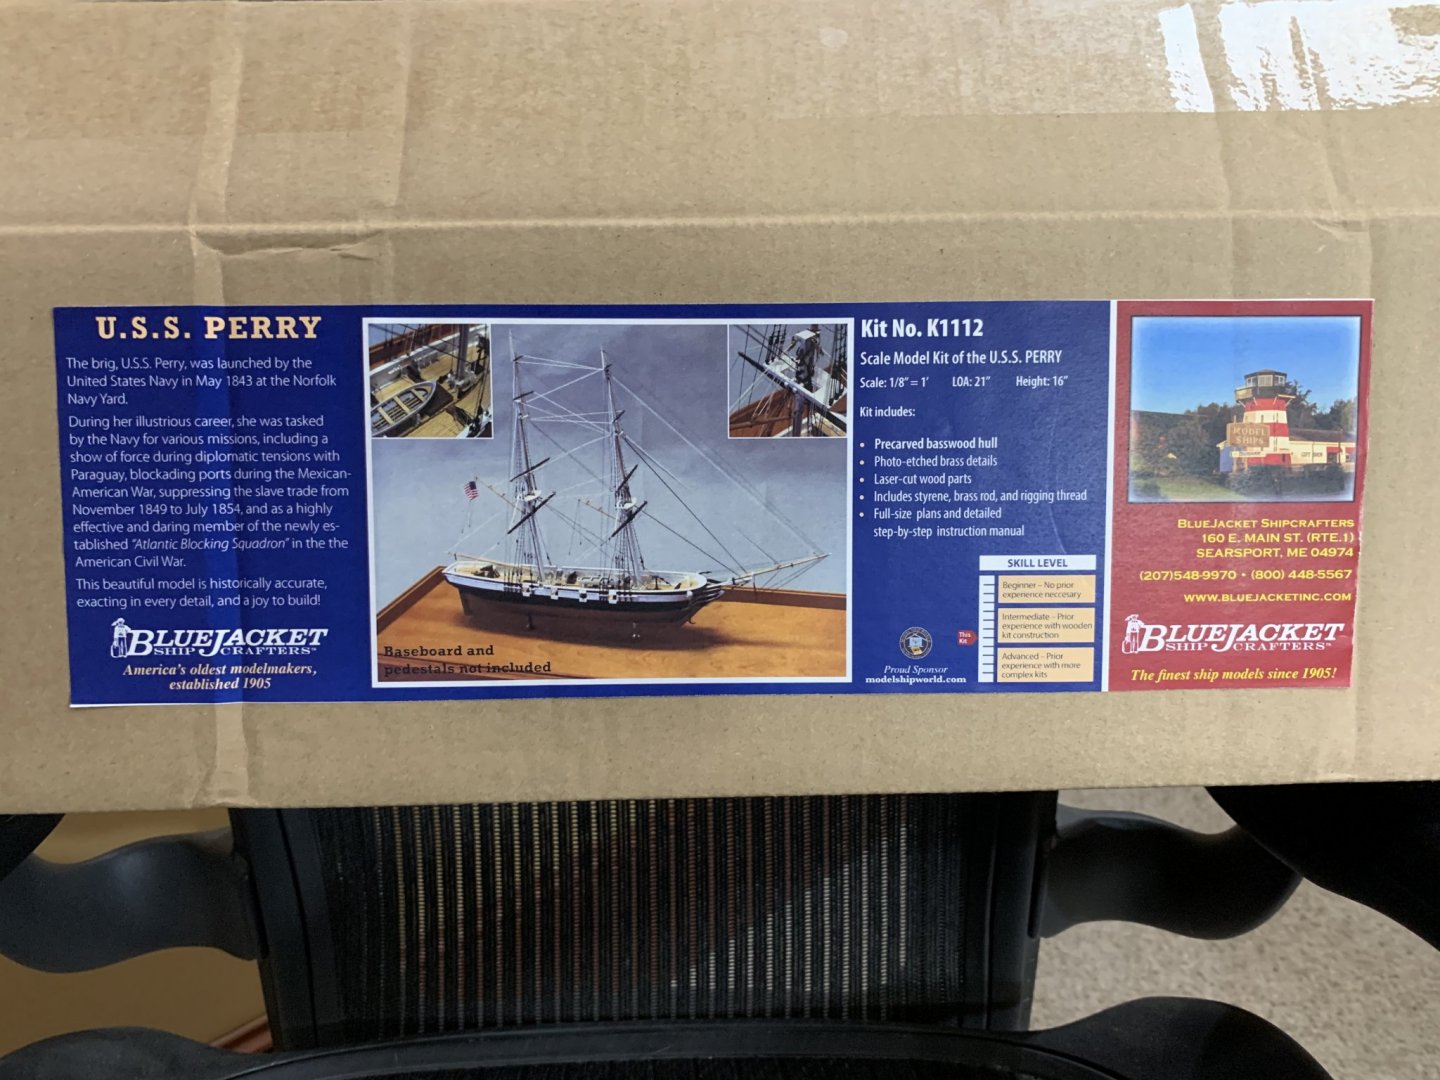
For my next model ship I chose the BlueJacket USS Perry - a brig that was heralded as “the fasted ship in the navy” when it was launched. I chose this model to continue building my skills, in general ship construction as well as copper plating and more complex rigging. The kids has a machine carved basswood hull, an extensive laser cut wood kit, many cast fittings, a rigging kit, and quite a few photo etched parts as well. I also ordered the optional paint kit, photo CD, and copper plates. The kit comes in a heavy cardboard box with a color label with a description of the ship. After copper plating the Revenue Cutter I am excited to try my hand again with my additional learnings. The kit contains a number of well done cast fittings. With the Revenue Cutter only having three different sizes of rigging this is certainly a step up! The color instruction manual is very detailed with many great illustrations to complement the photos on the photo CD. The book begins with a nice photo of the completed ship. Super looking forward to diving into this model! Also, I believe this is the first build log of this particular model so I would really appreciate peoples input and comments as I move along.


- 85 replies
-
- 8
-
-
- perry
- BlueJacket Shipcrafters
- (and 1 more)
-
@GrandpaPhil thank you! @ccoyle thank you! And thanks for the compliment on the DVII! It’s actually by fiddlers green and was a fun build
-
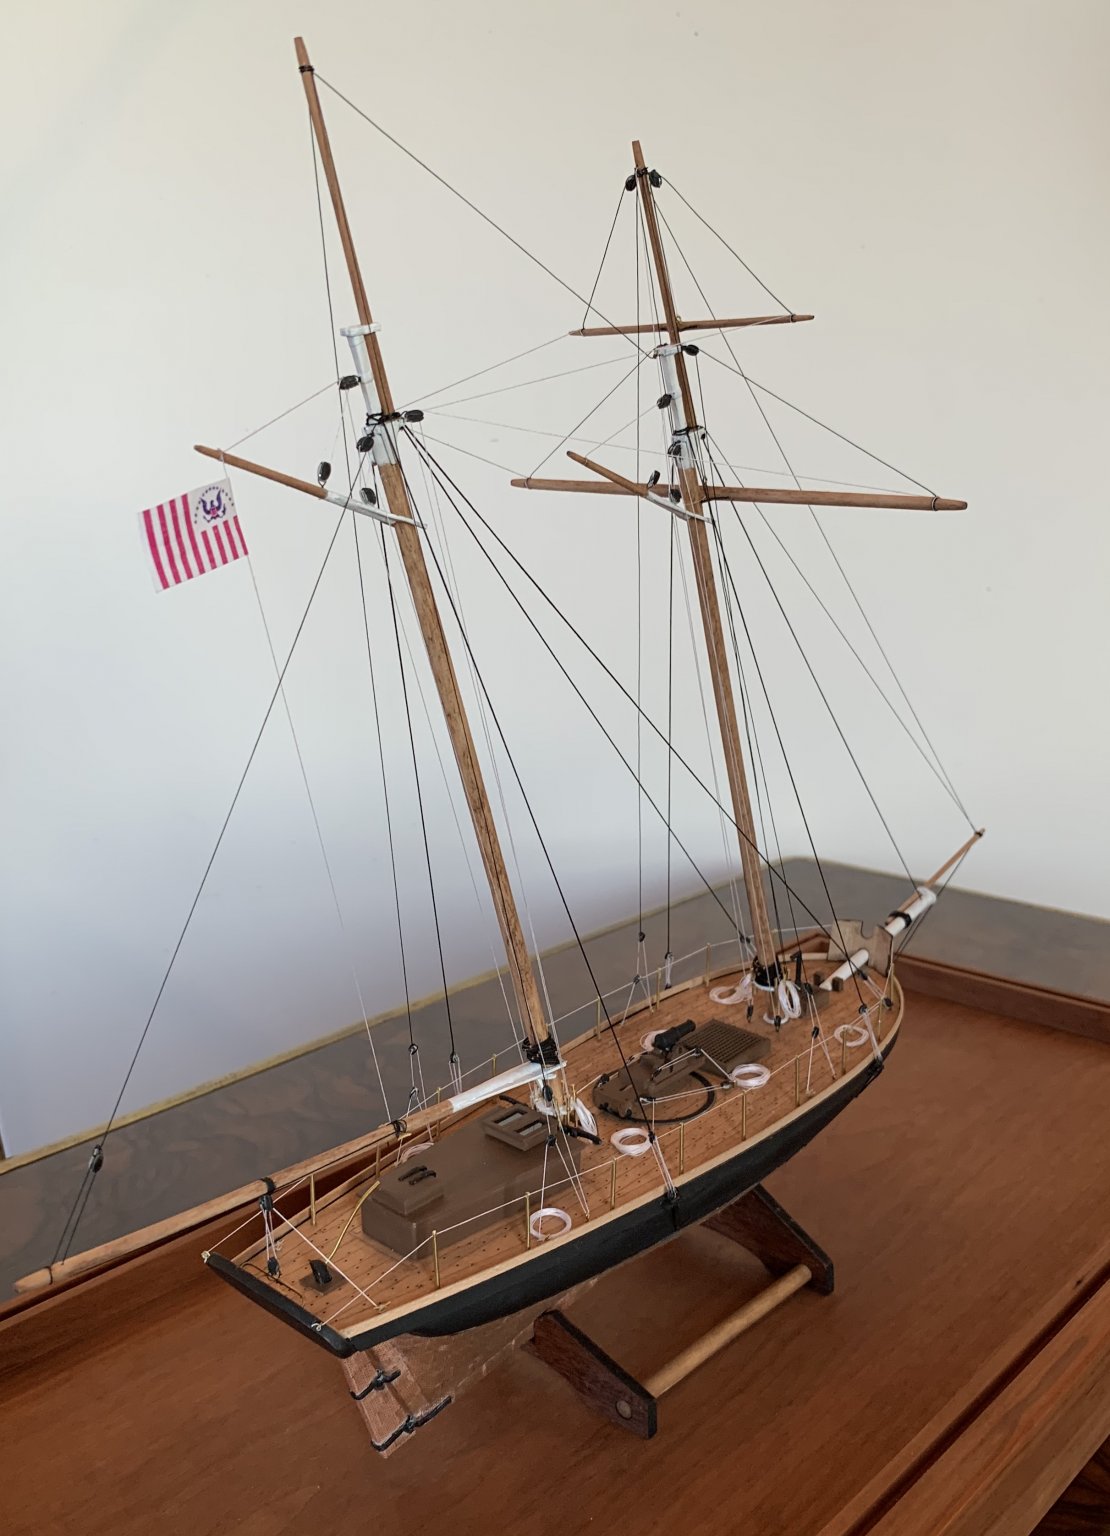
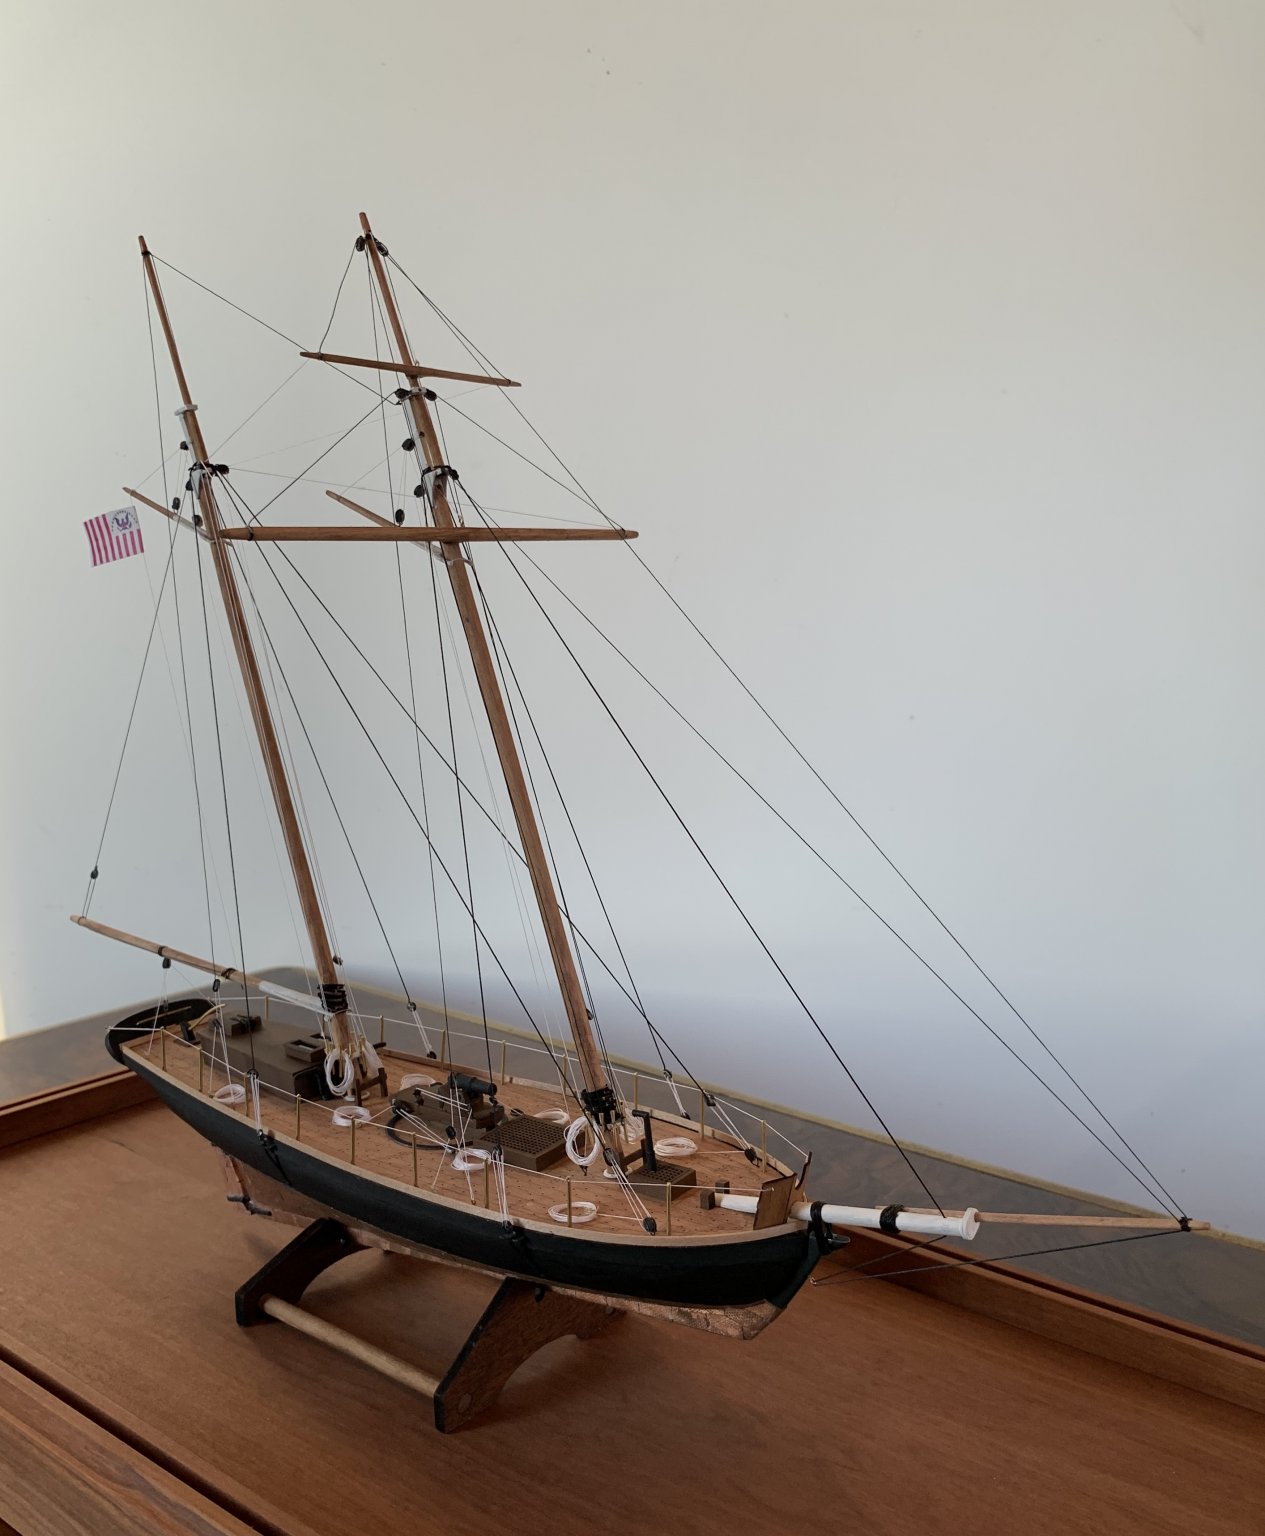
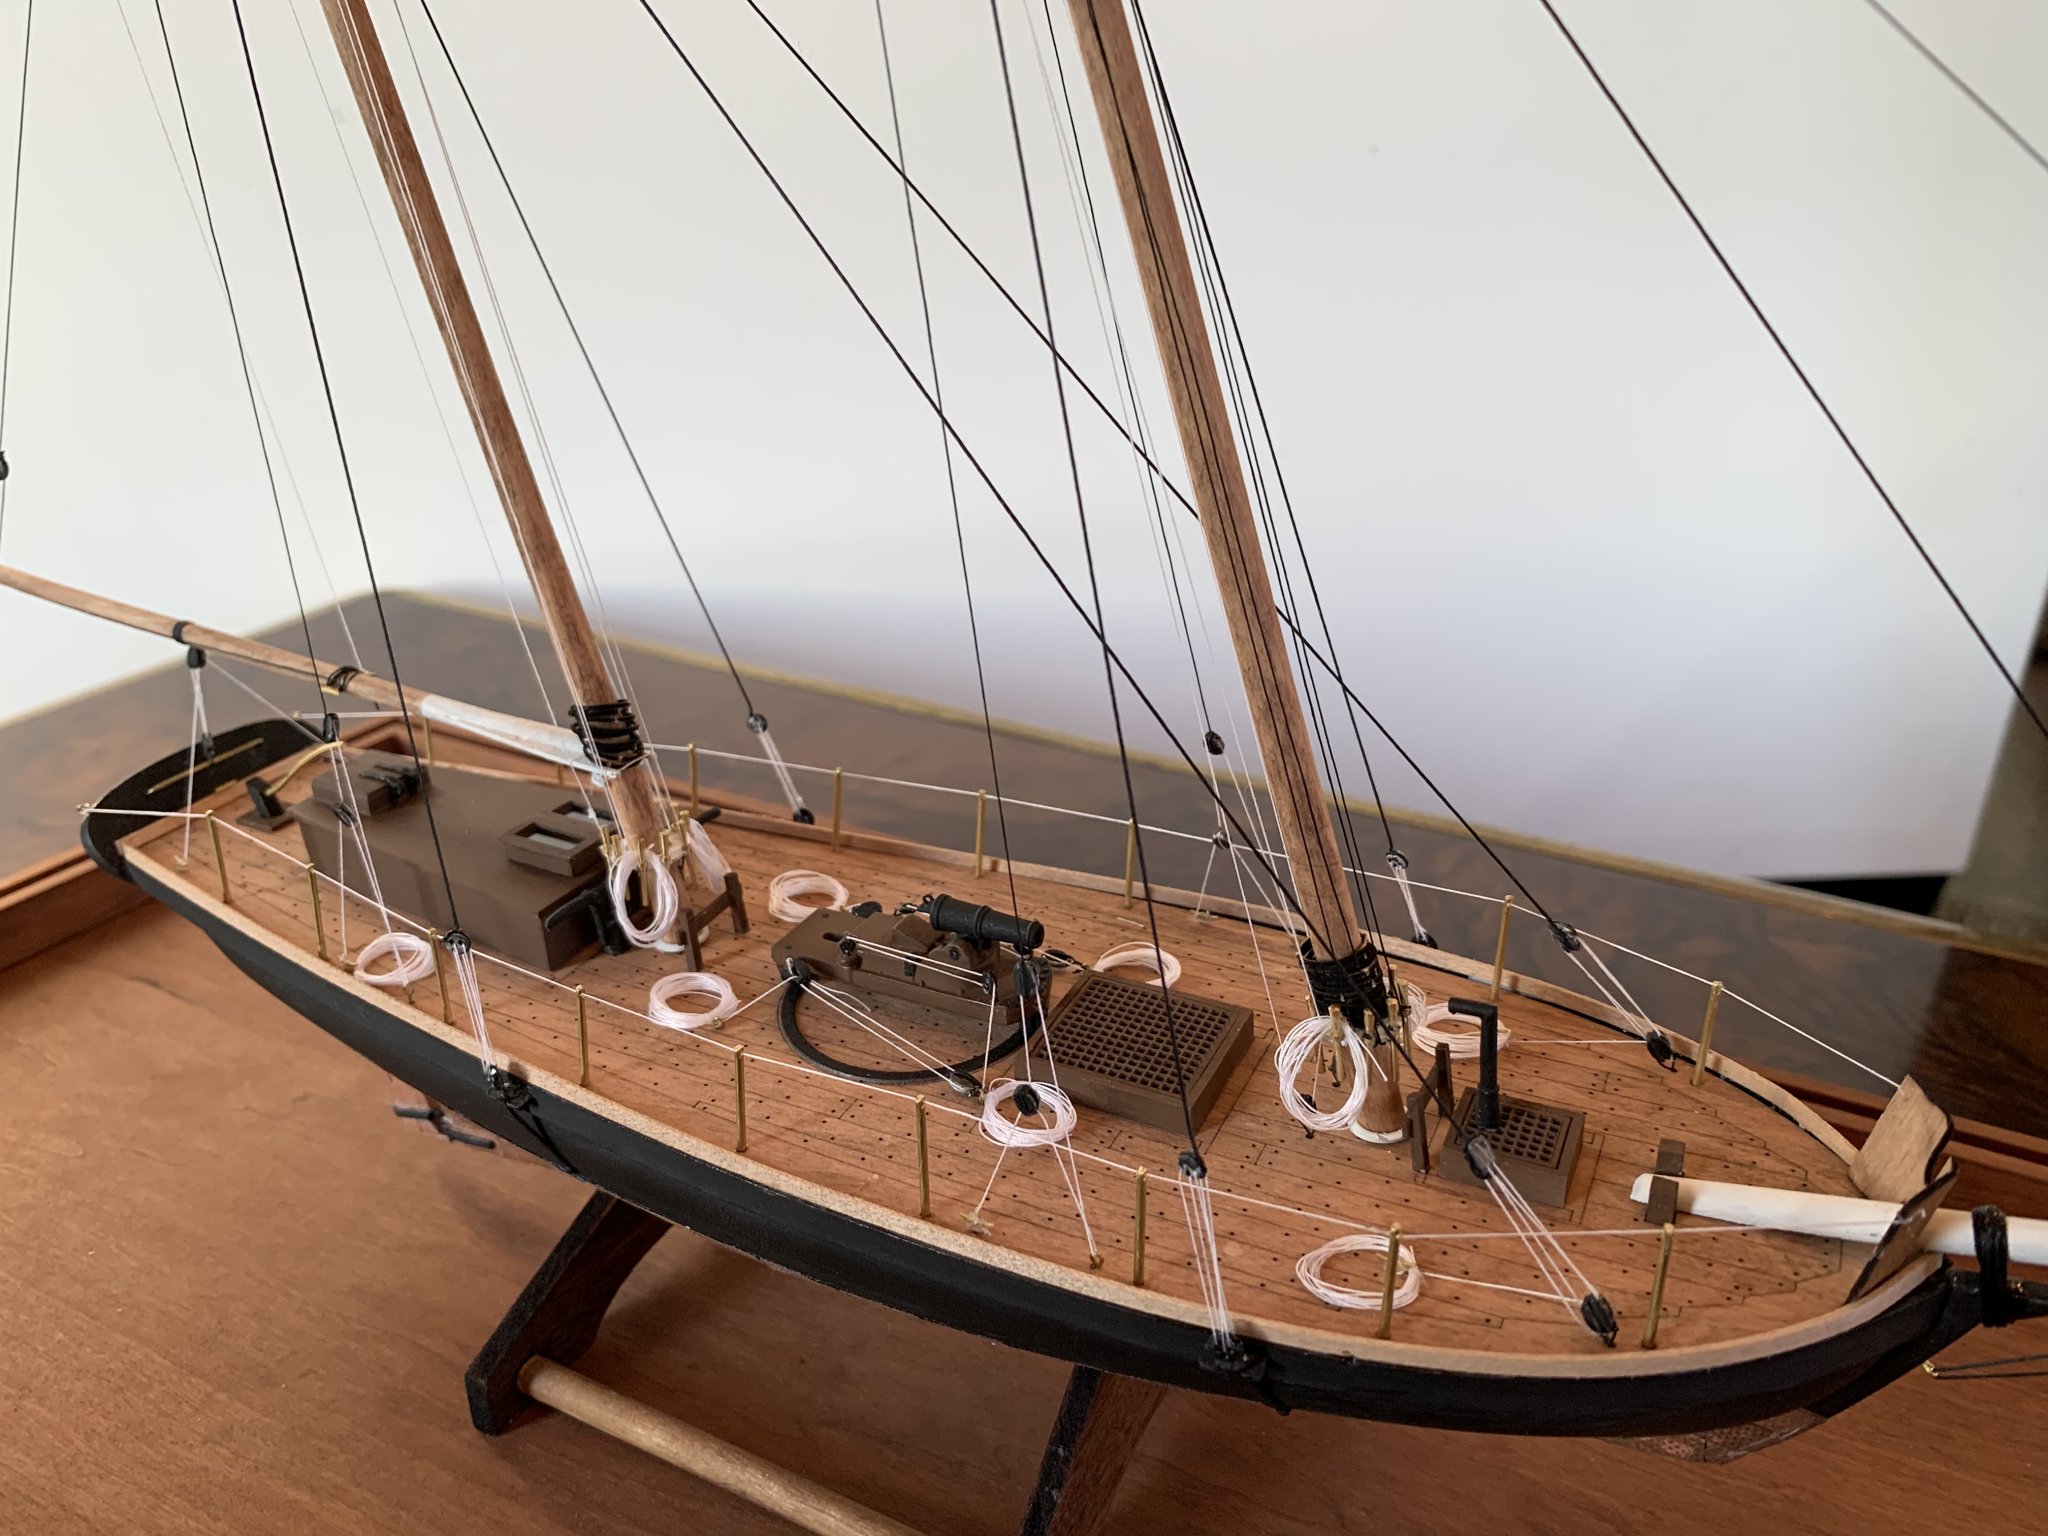
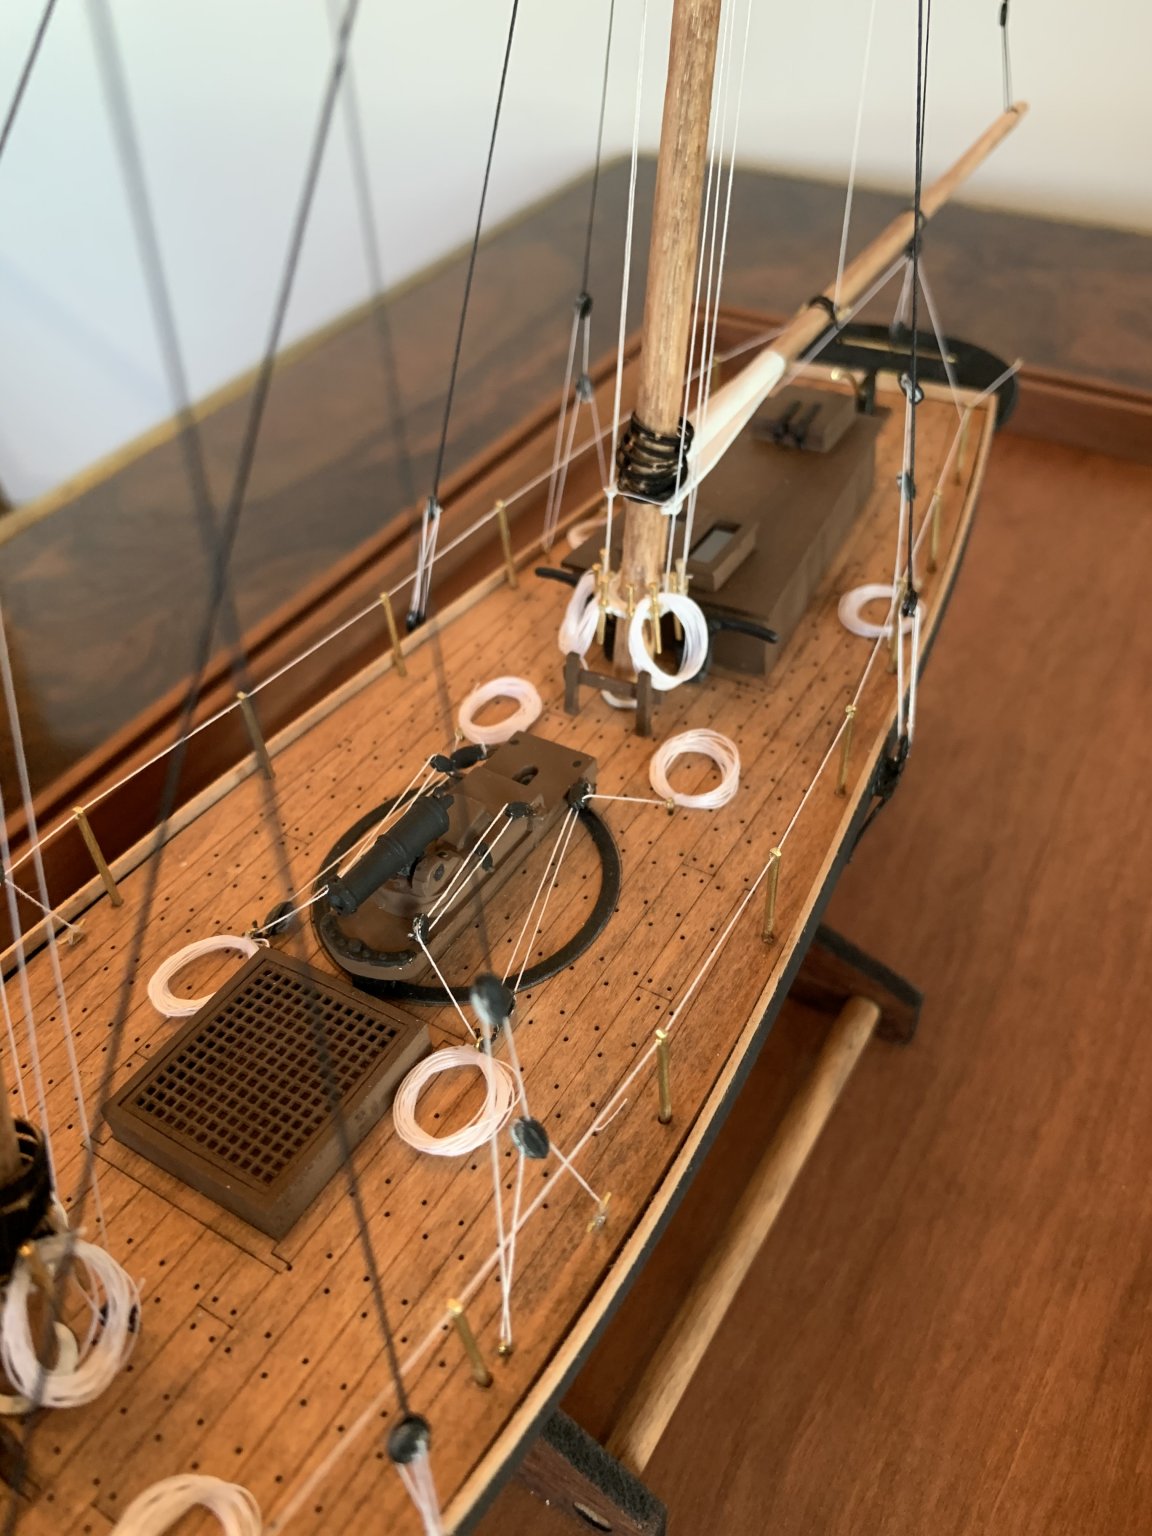
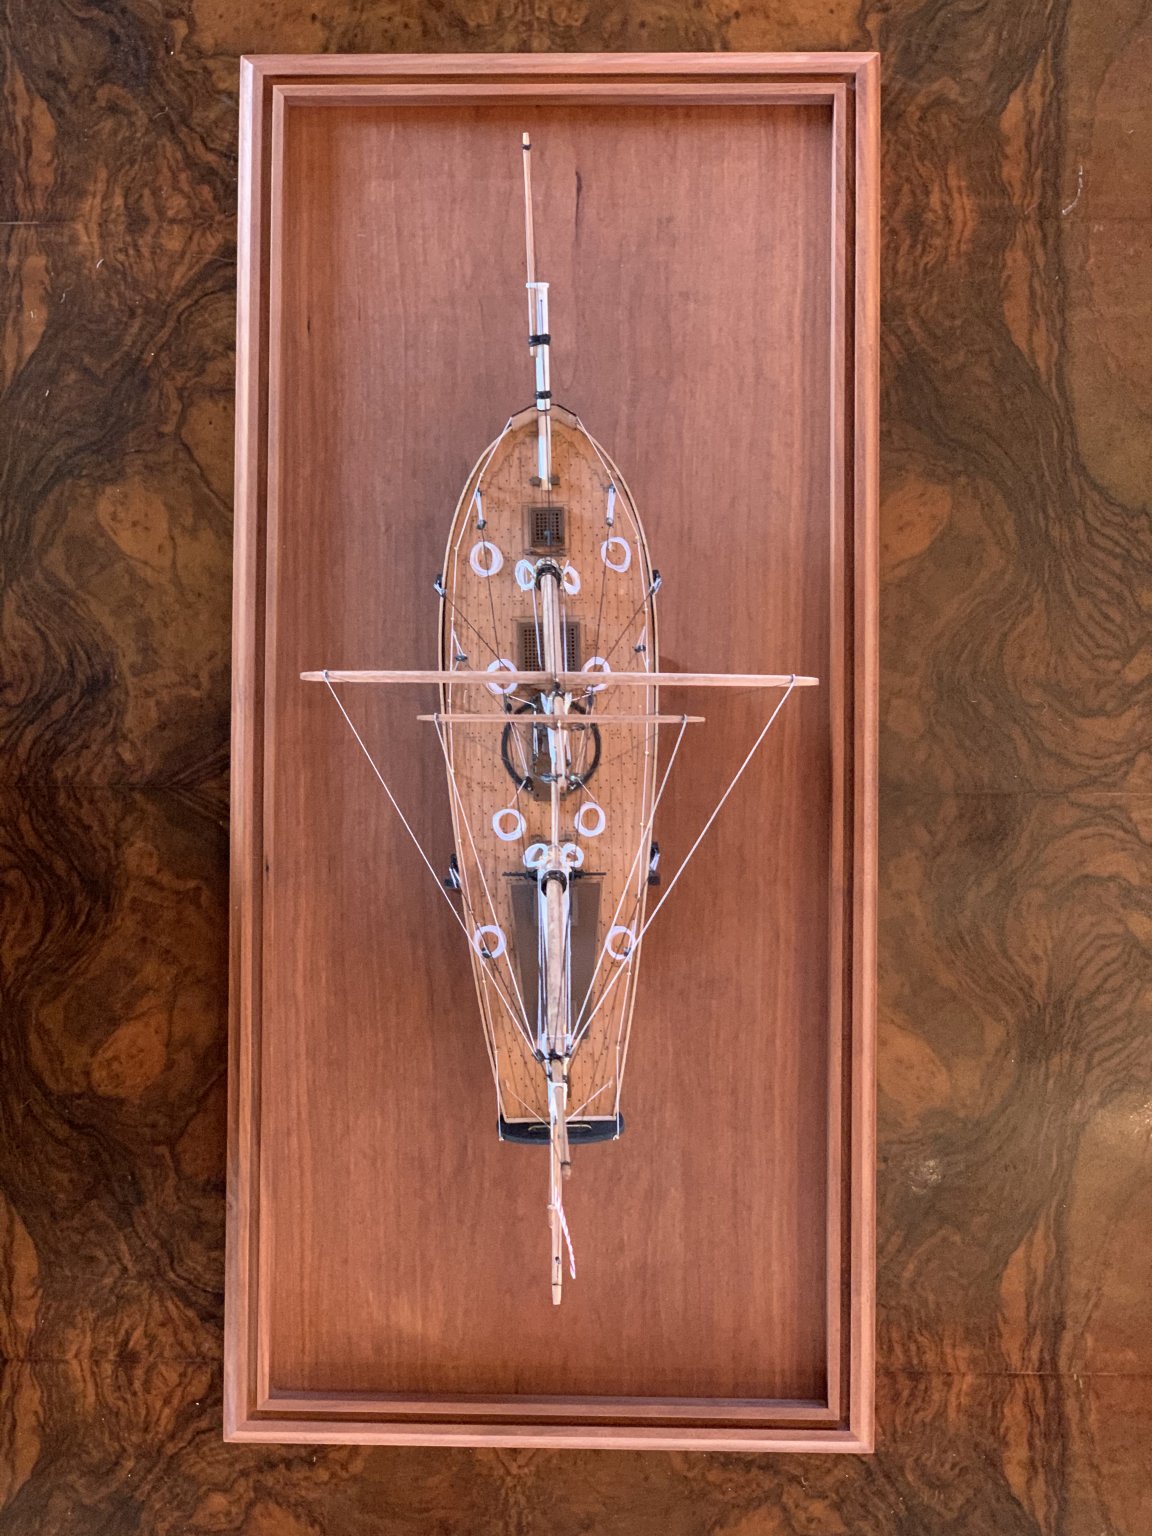
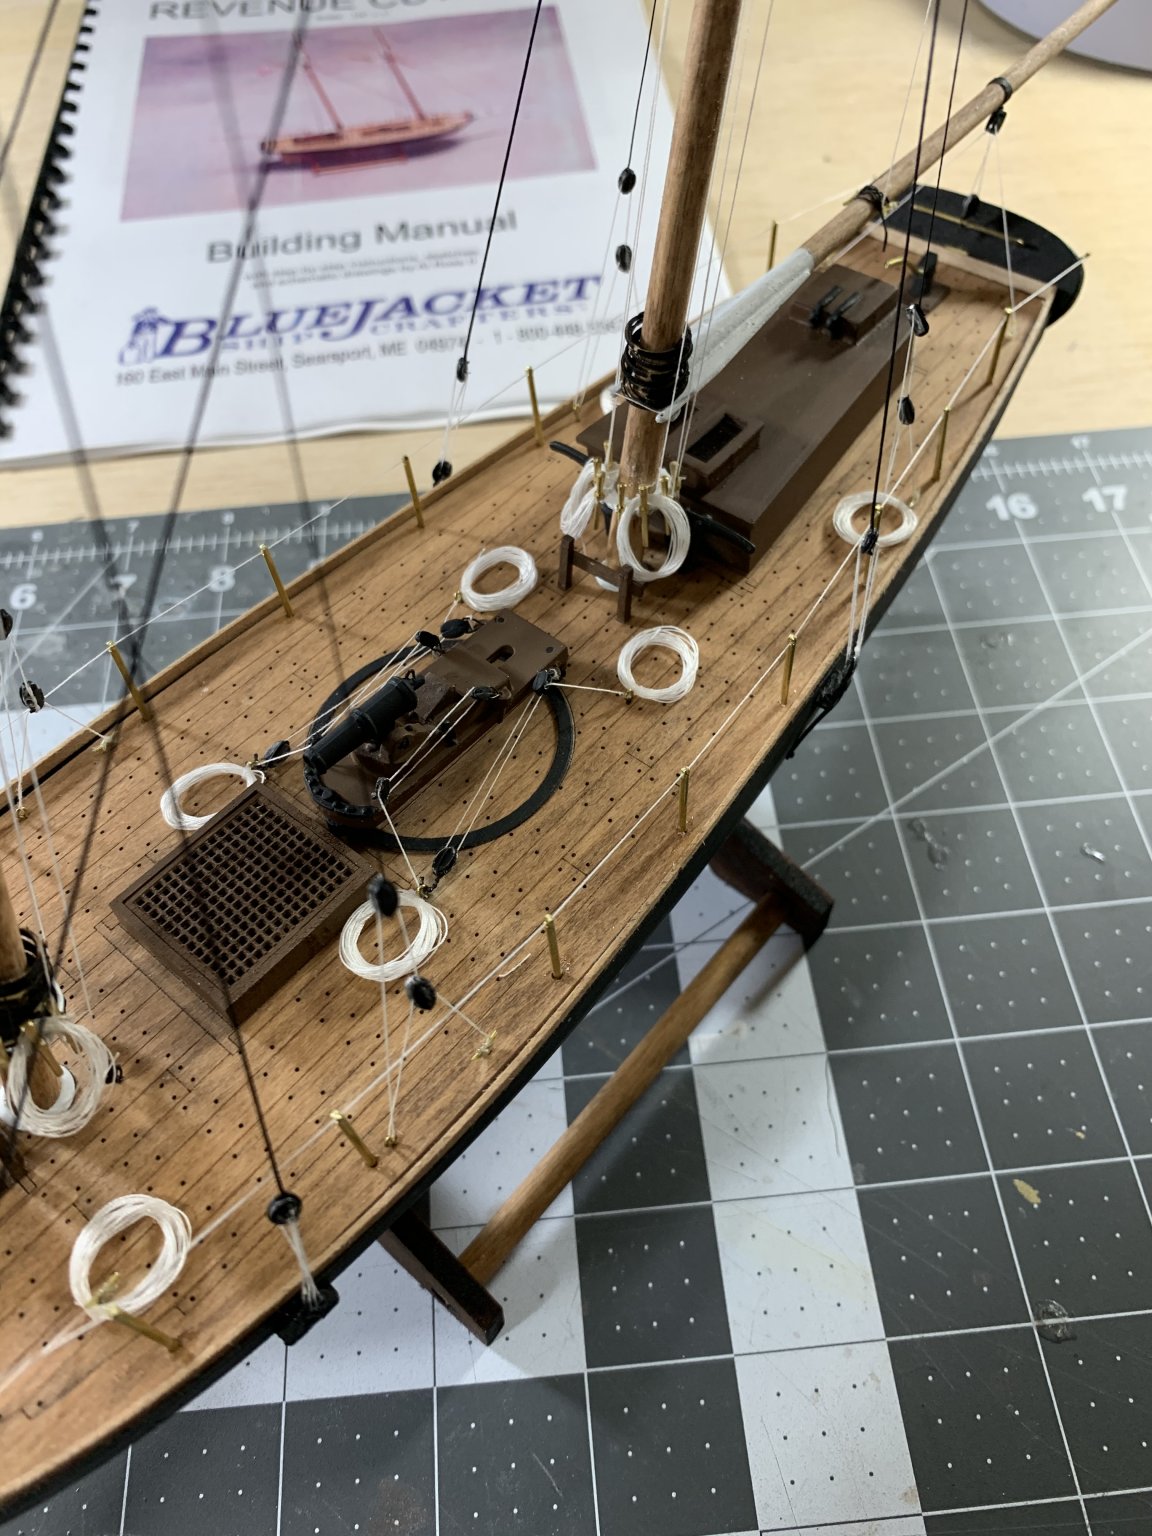
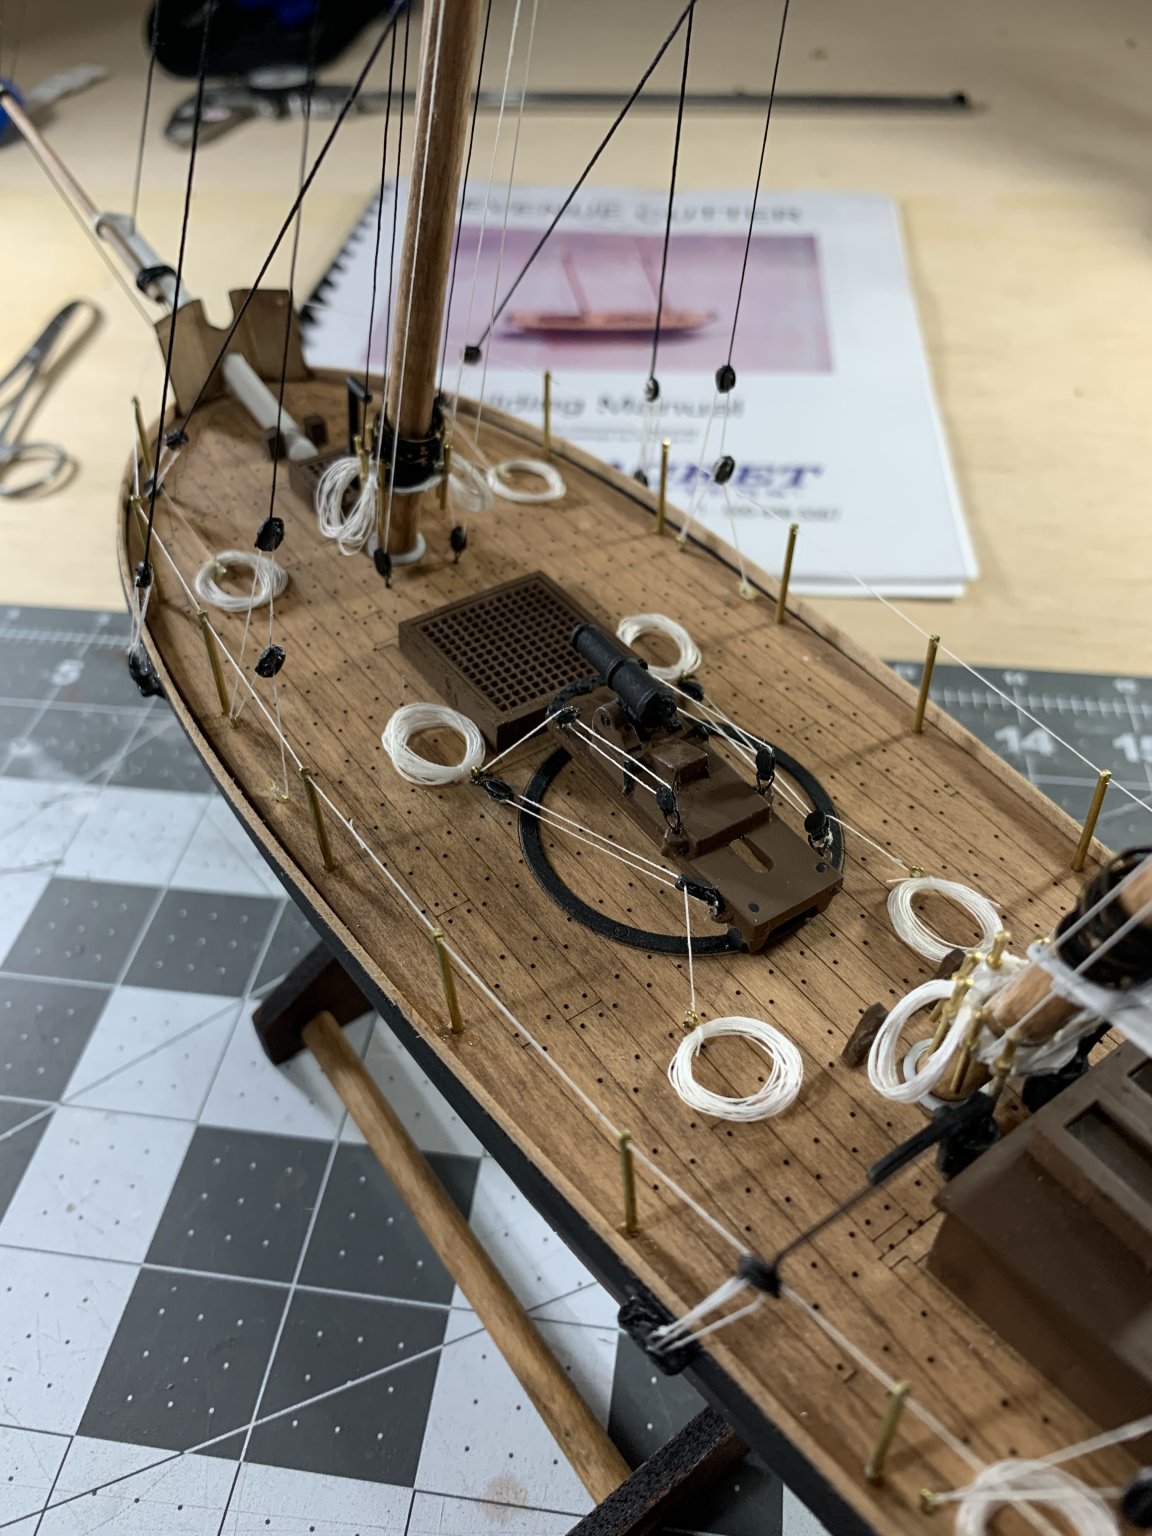
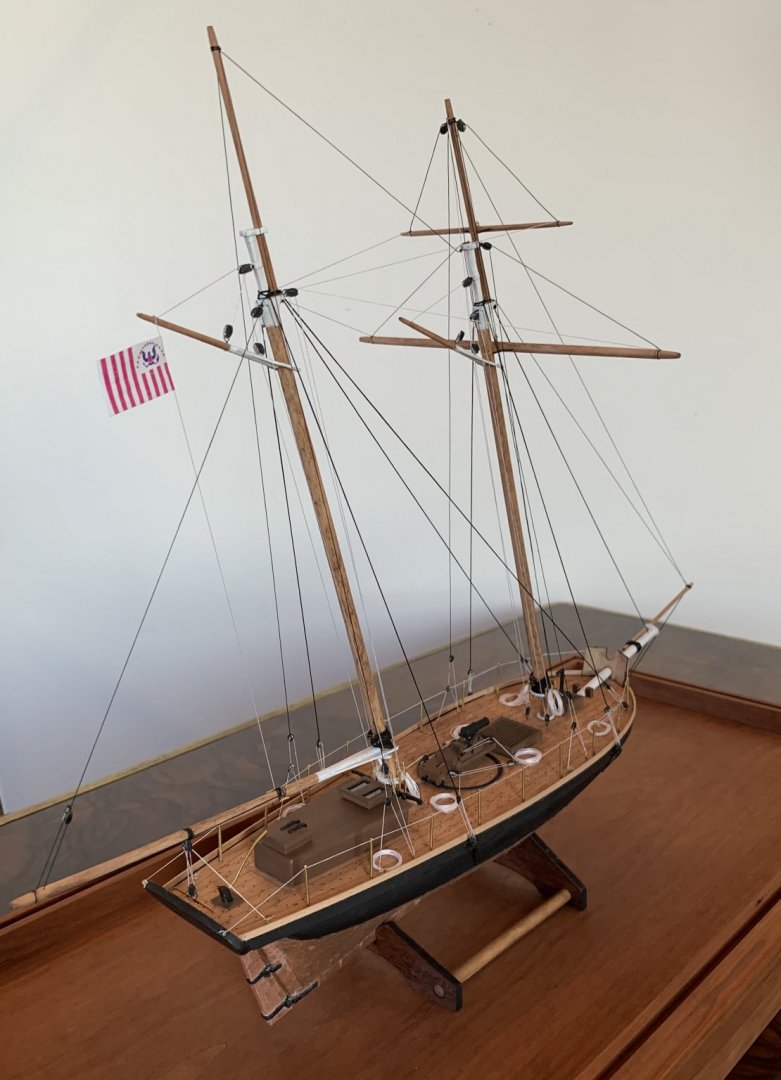
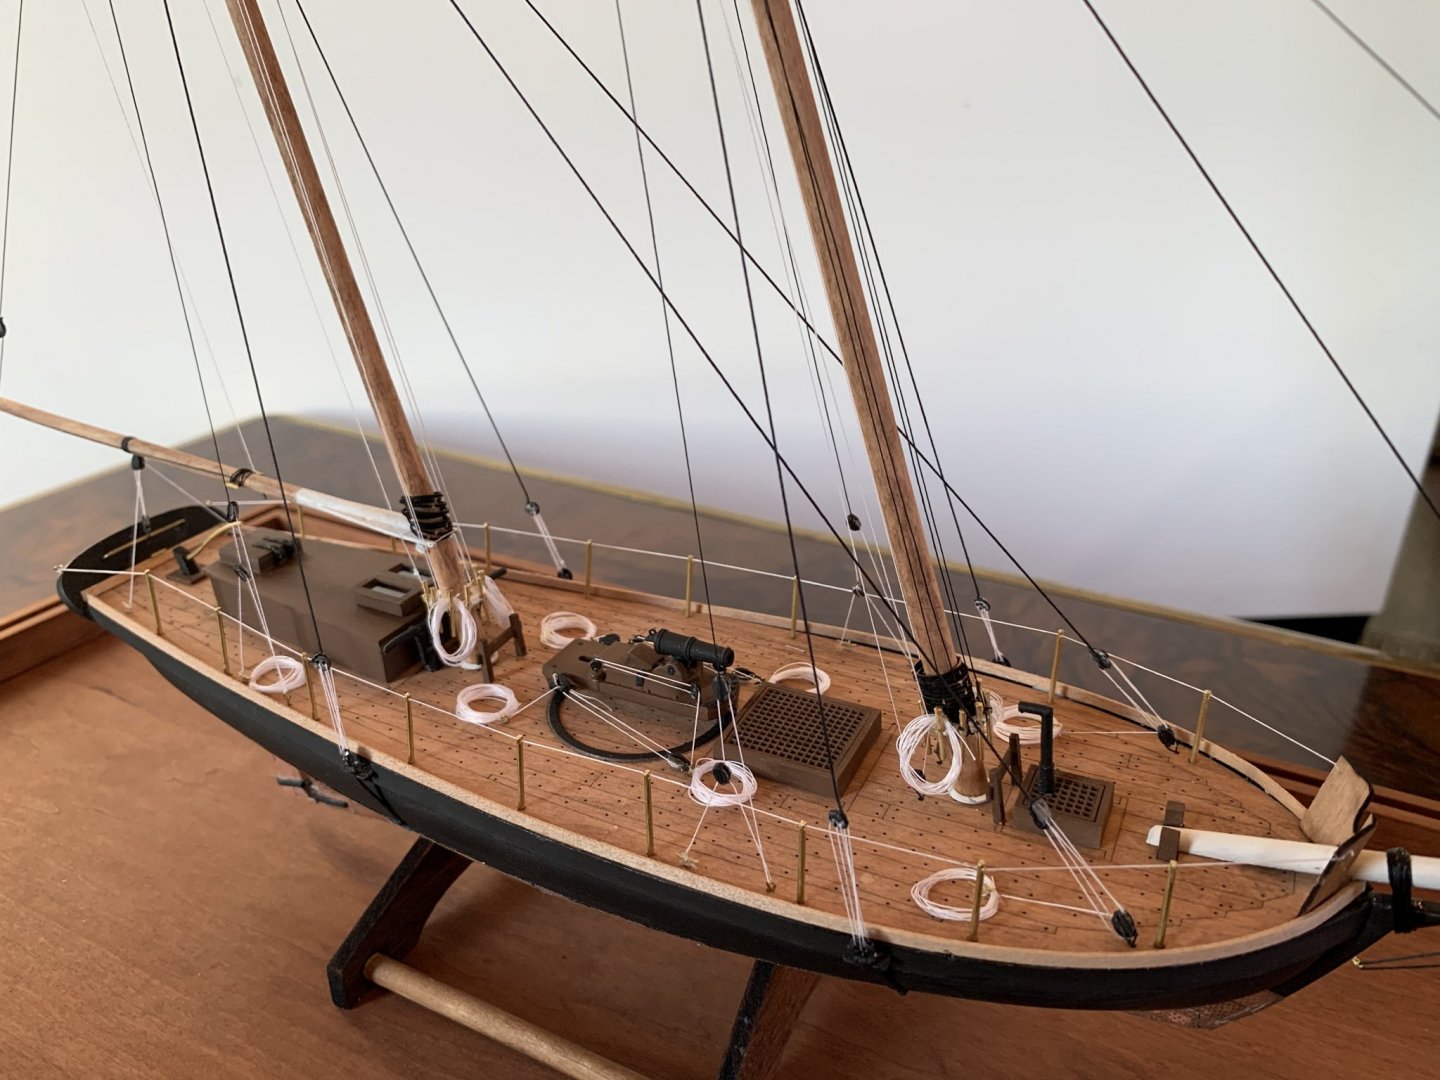
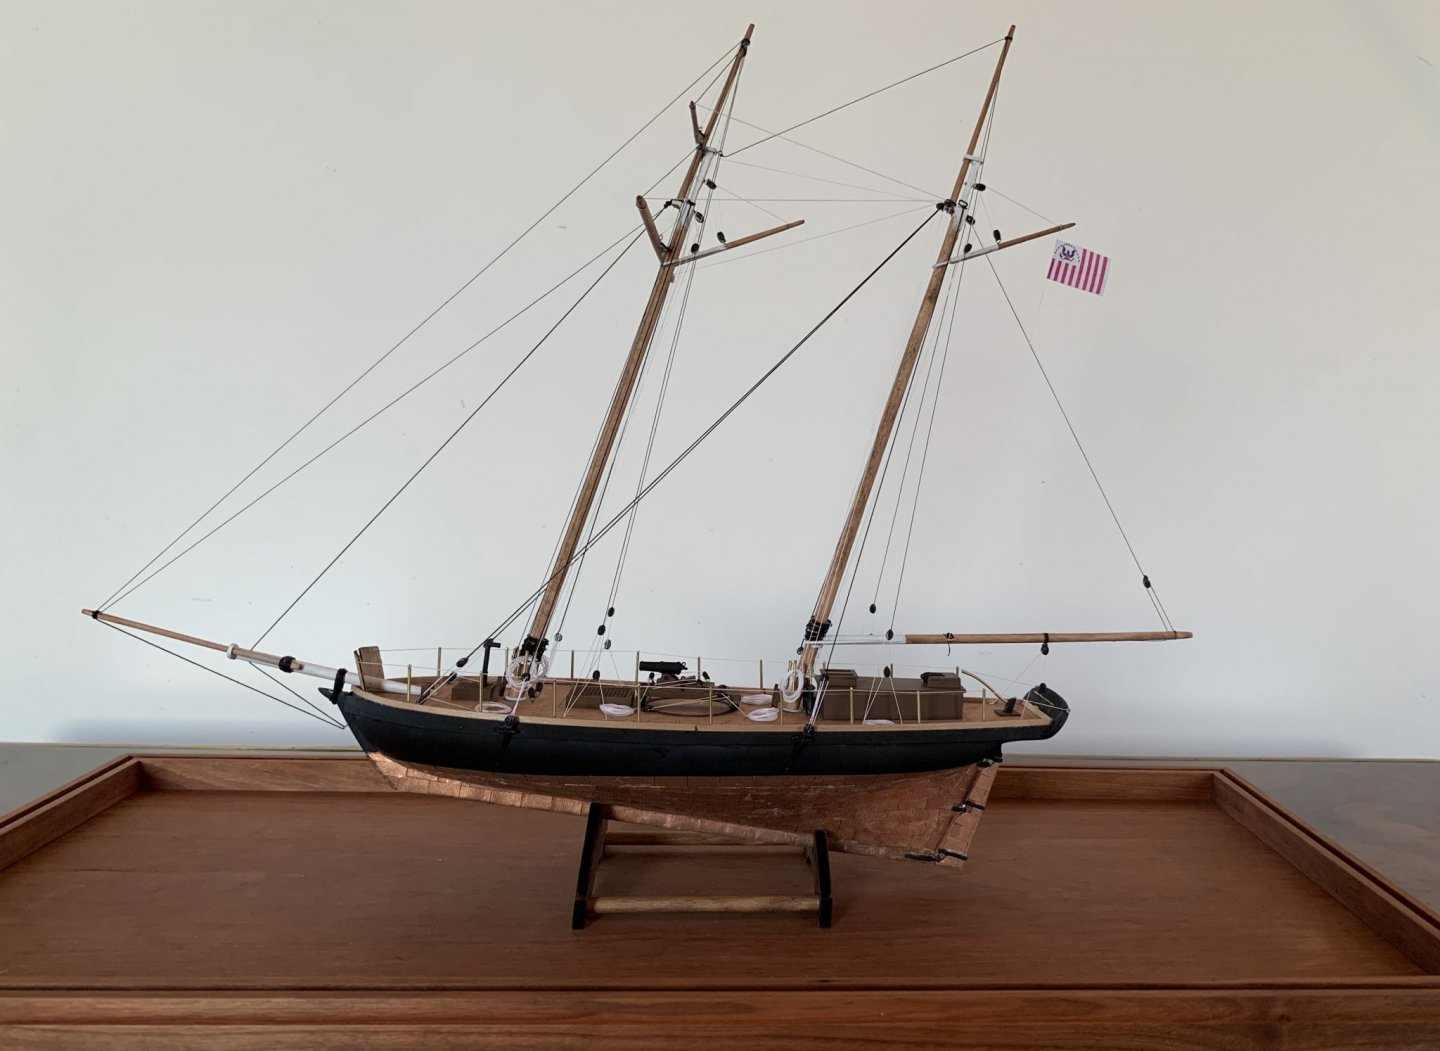
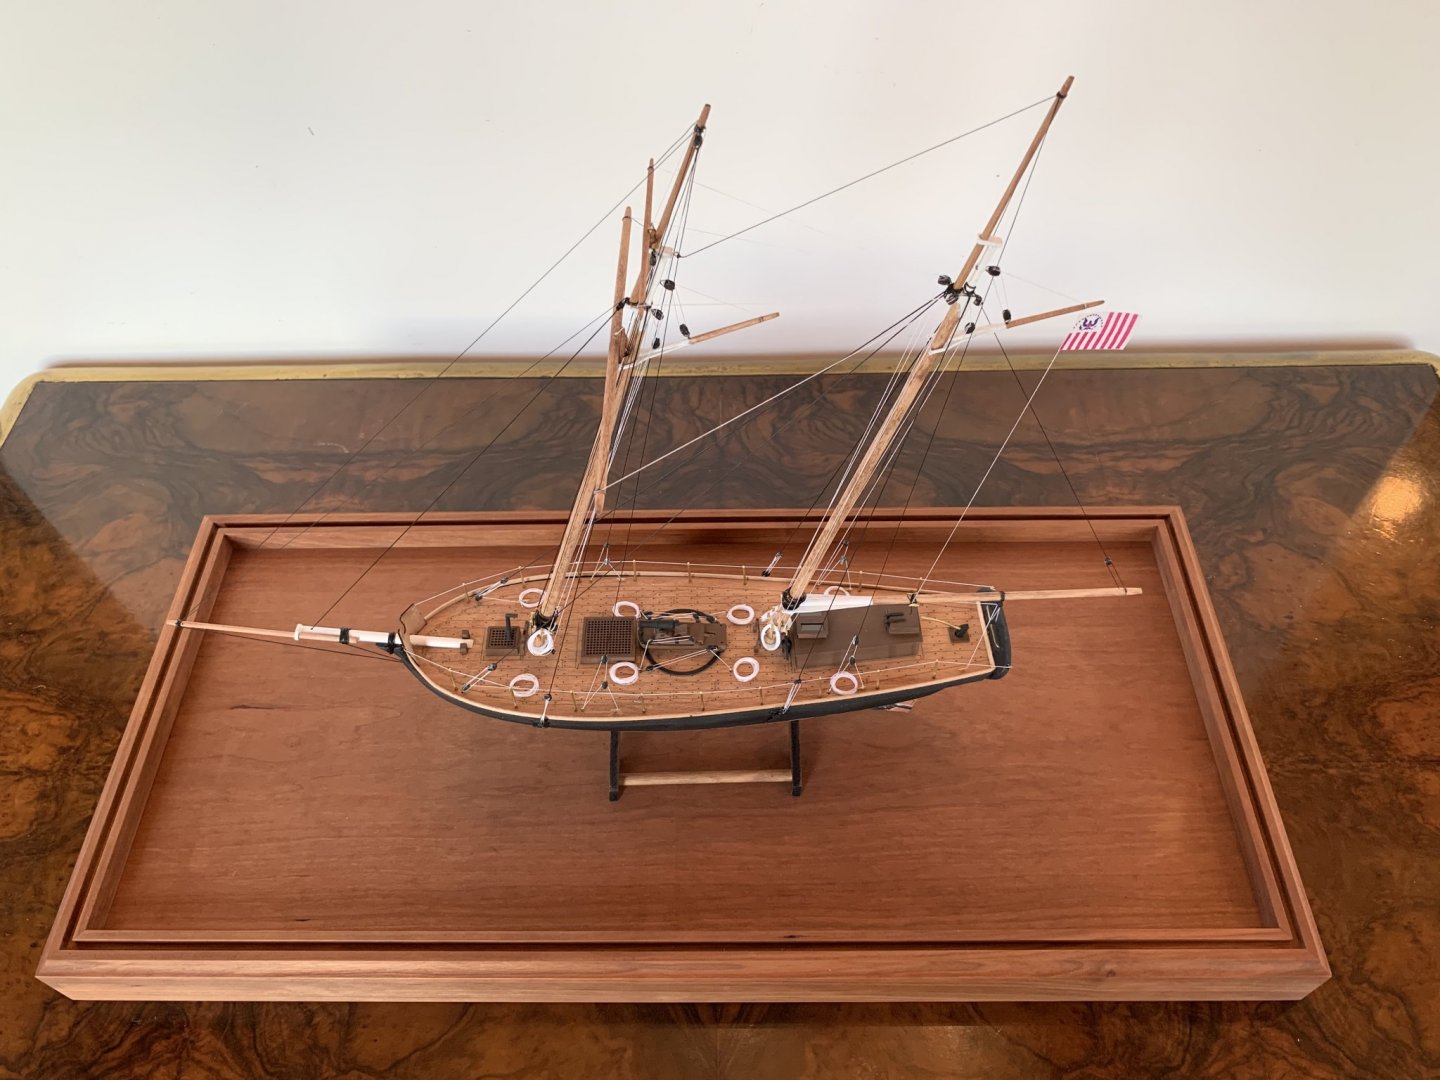
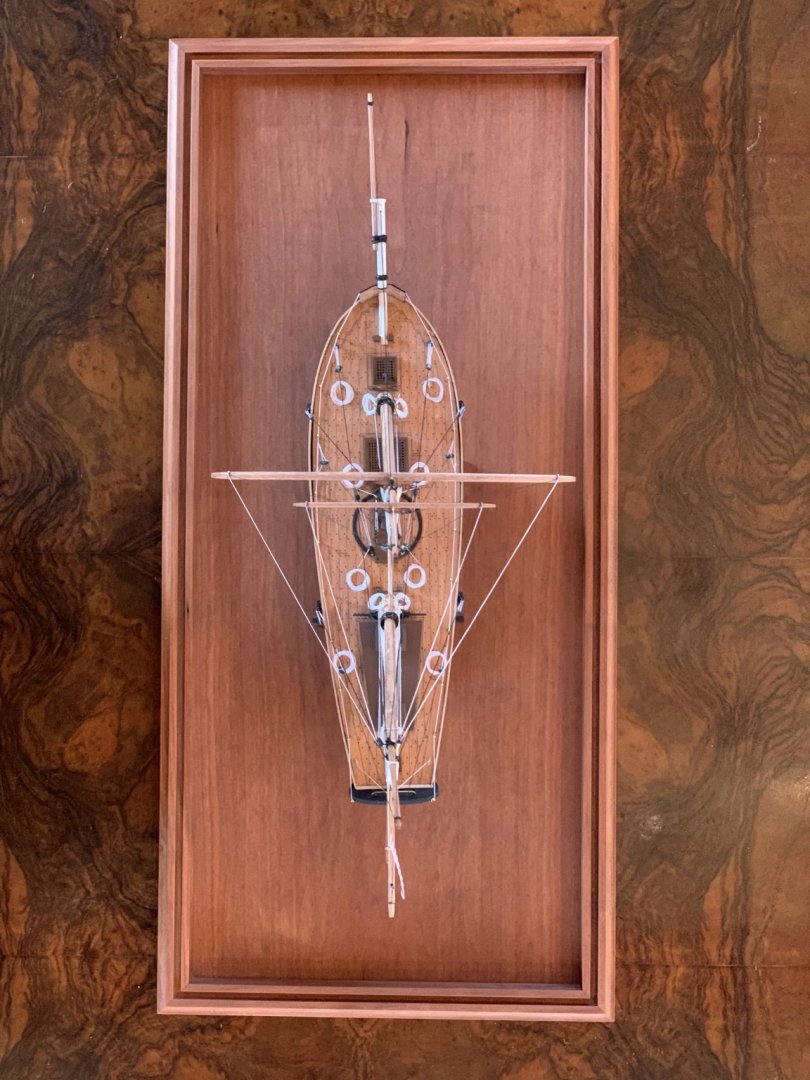
Posting some finished photos of the Revenue Cutter. Overall super happy with how it turned out!

- 104 replies
-
- 12
-
-
- revenue cutter
- BlueJacket Shipcrafters
- (and 1 more)
-
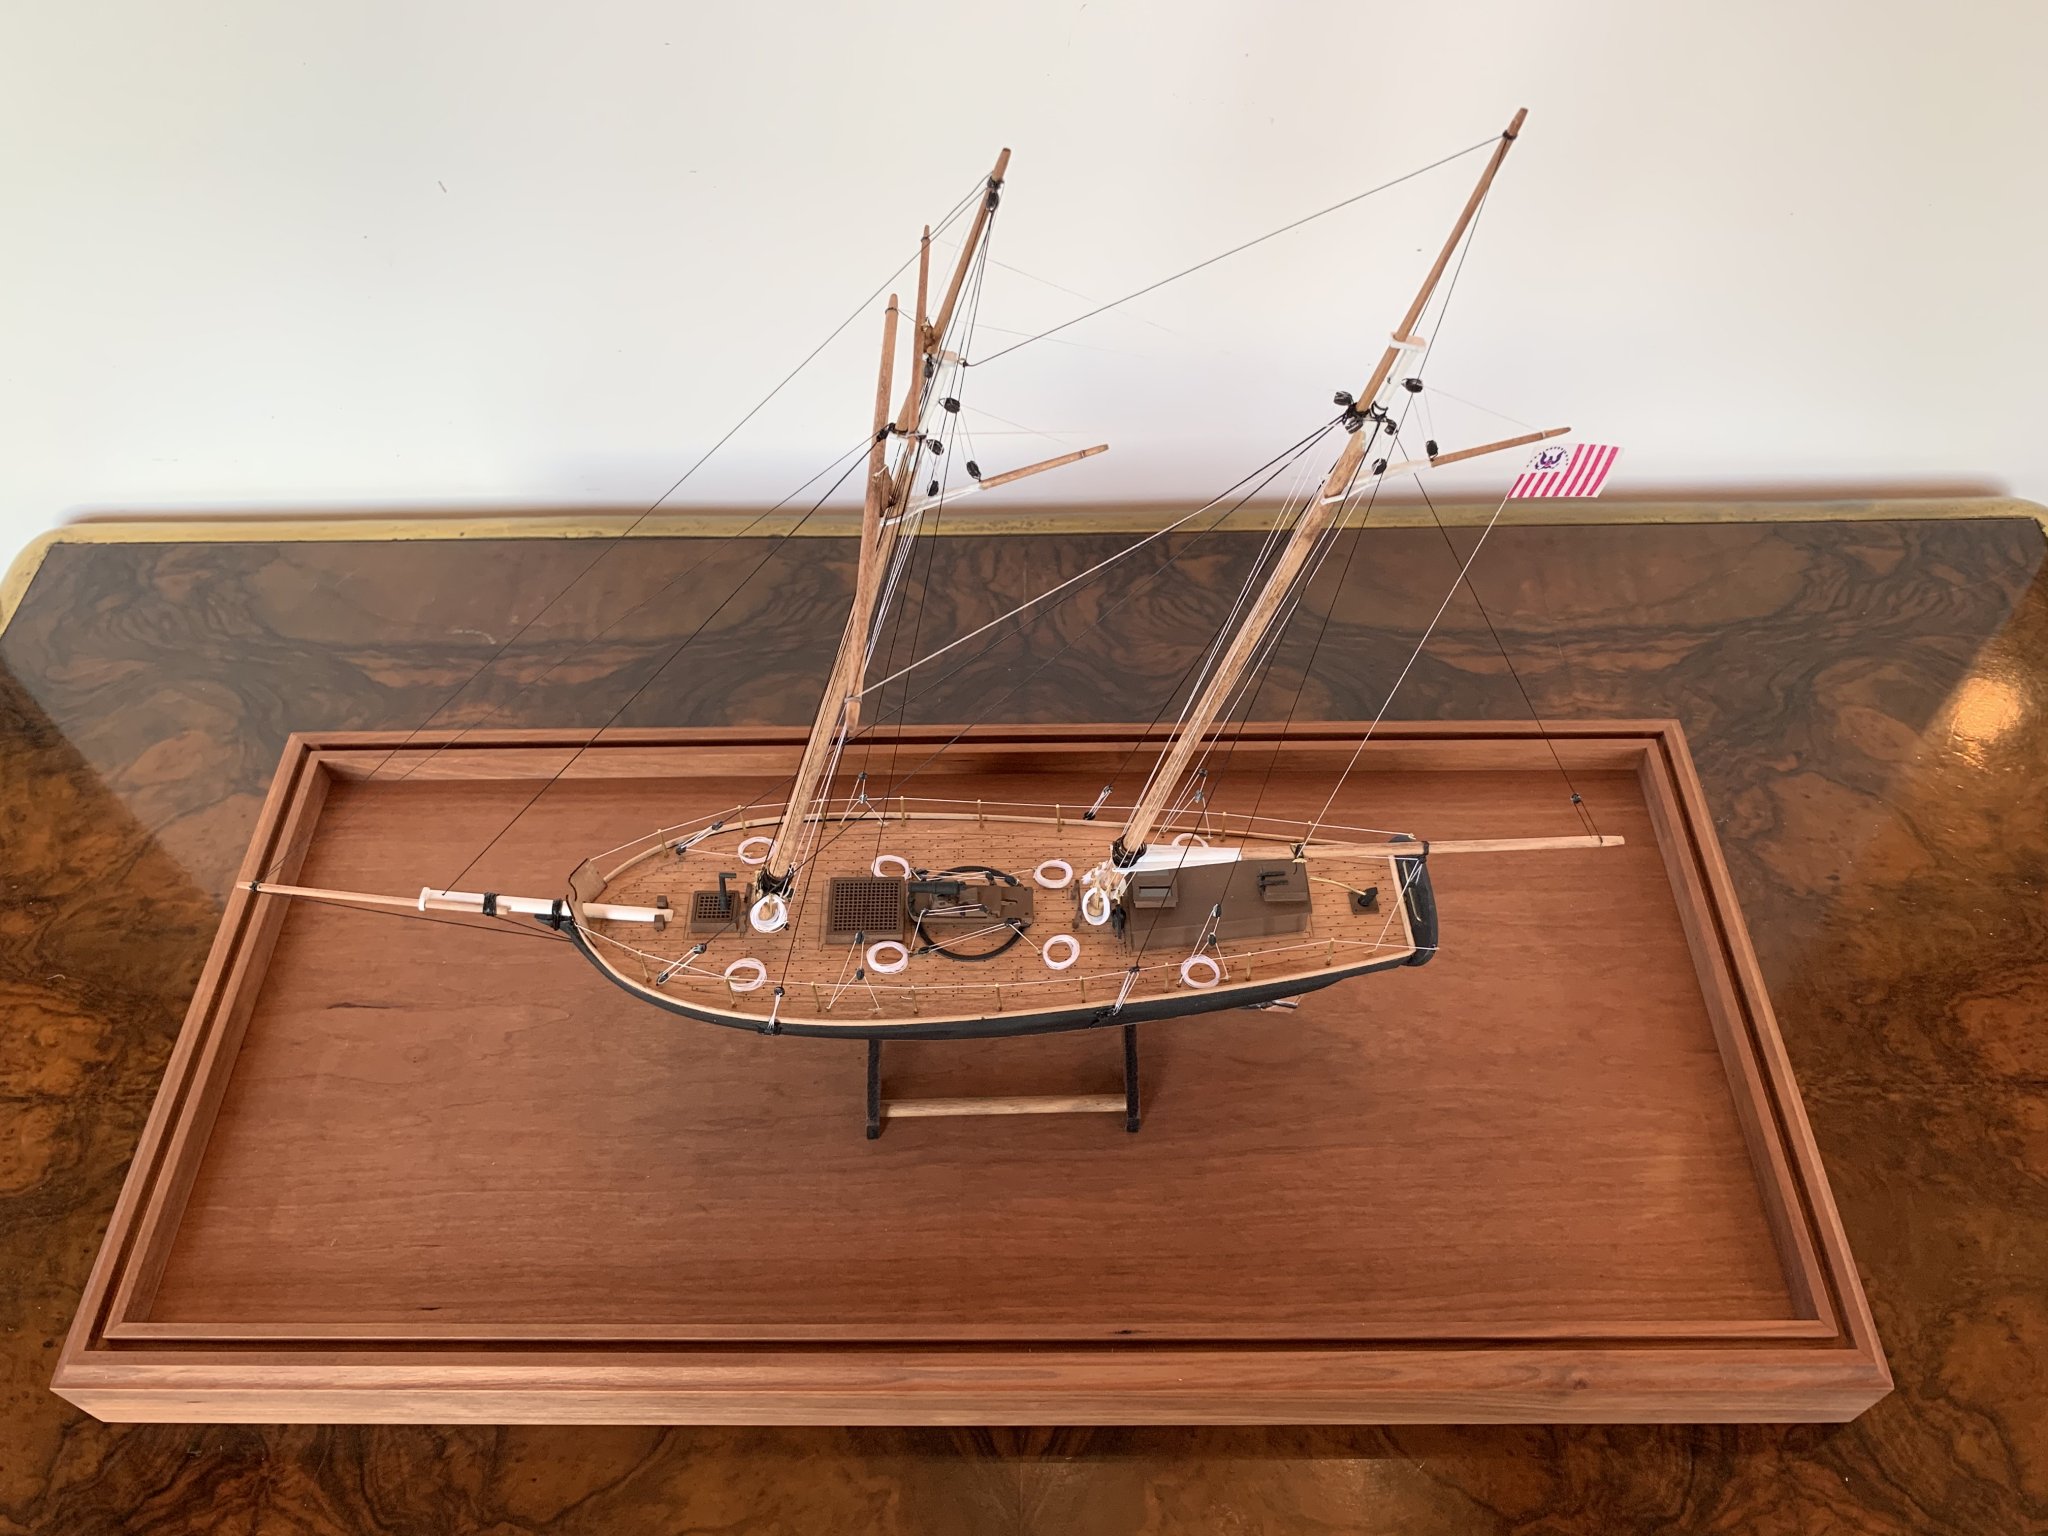
@MrBlueJacket thank you! I stained the case kit as well and I am picking up the glass this afternoon so I should be able to take some high quality photos to share (hopefully tonight). Really learned a ton on this kit btw!
-
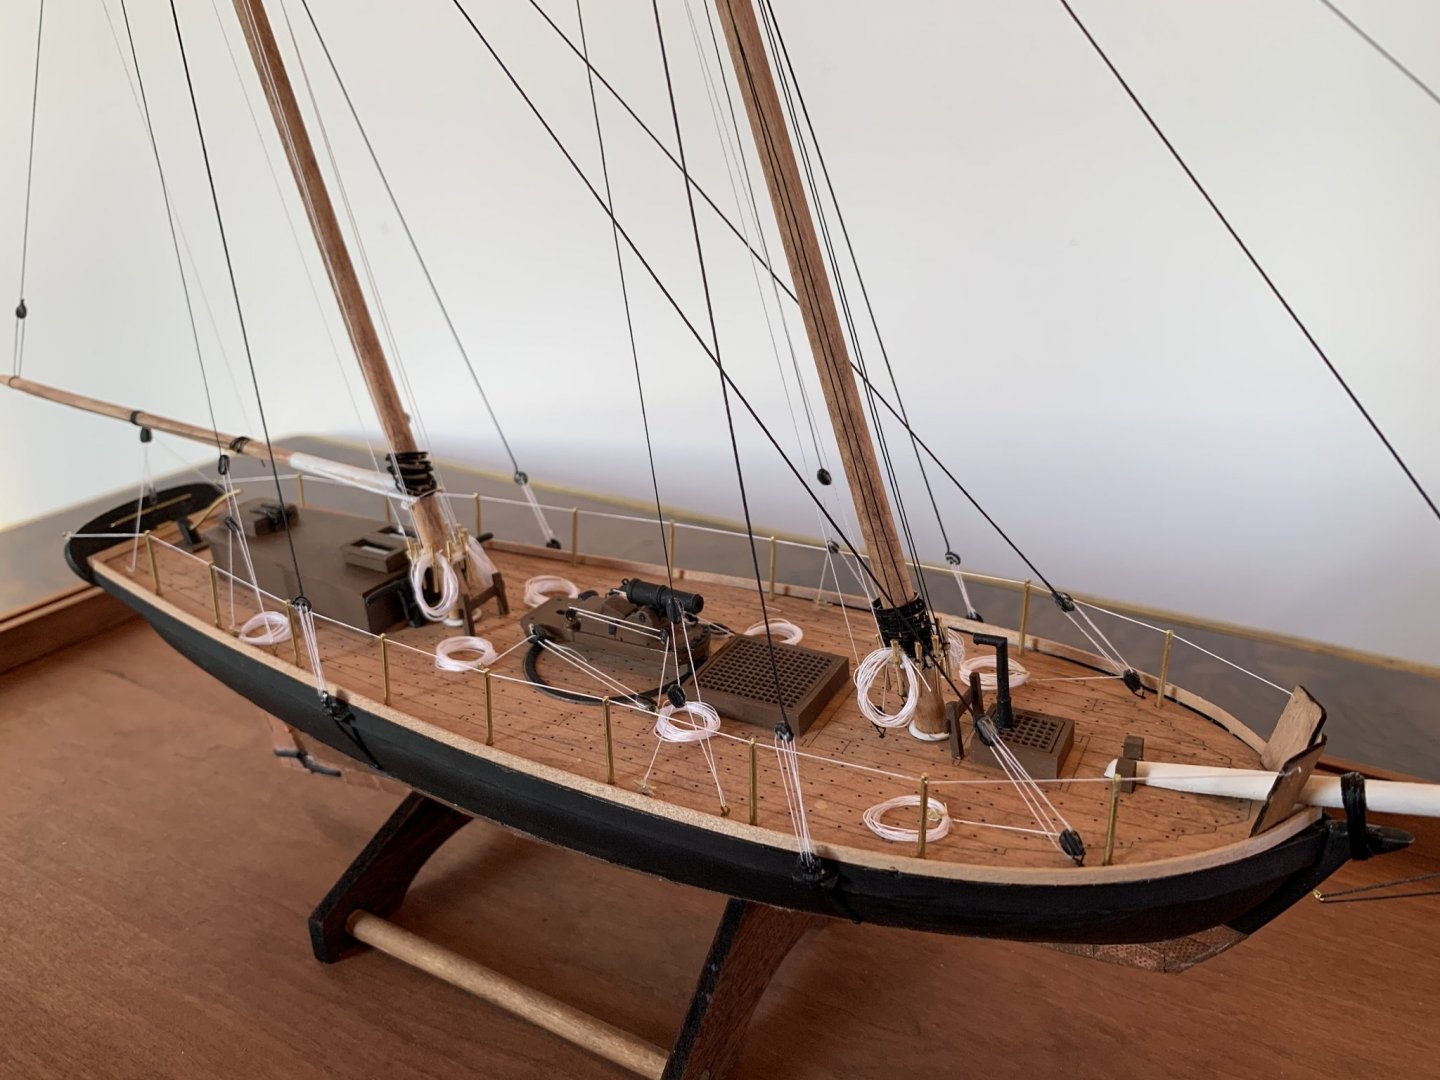
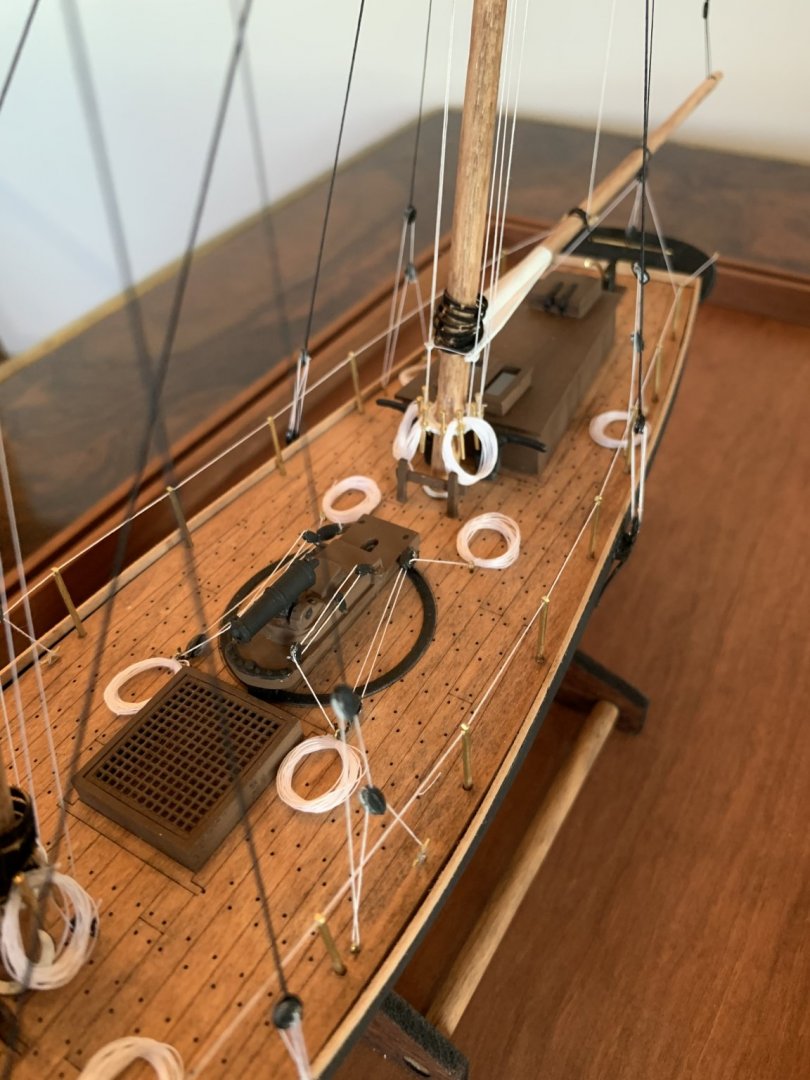
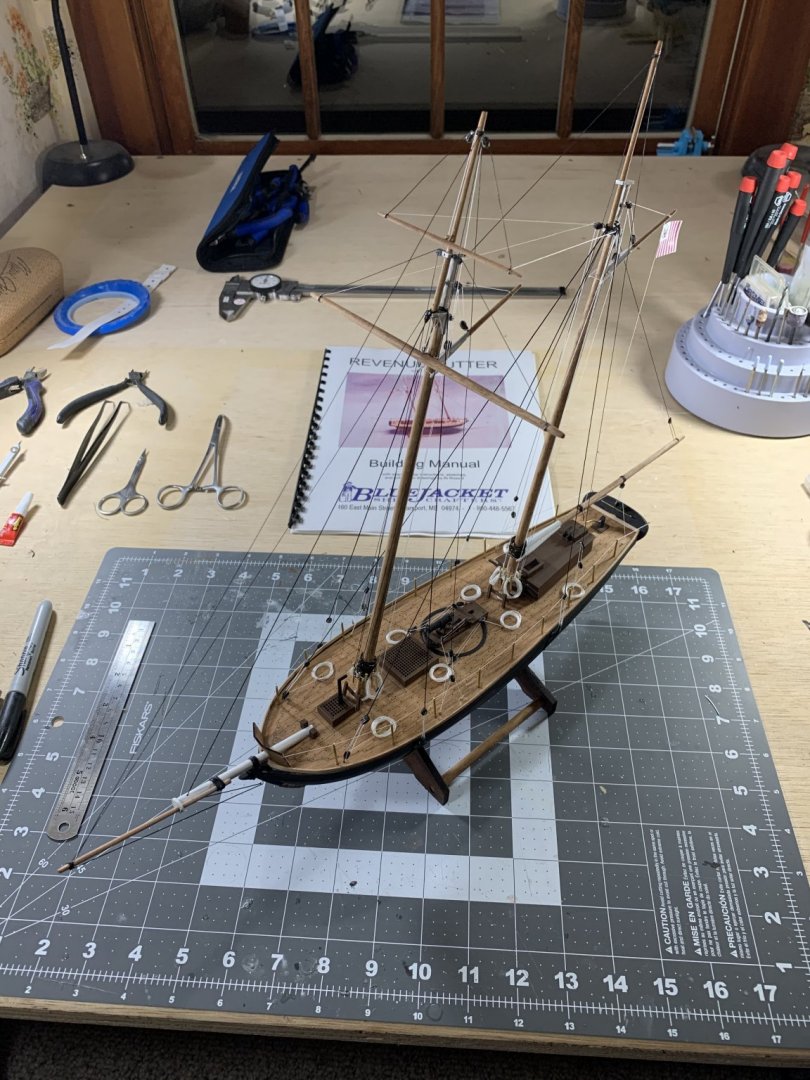
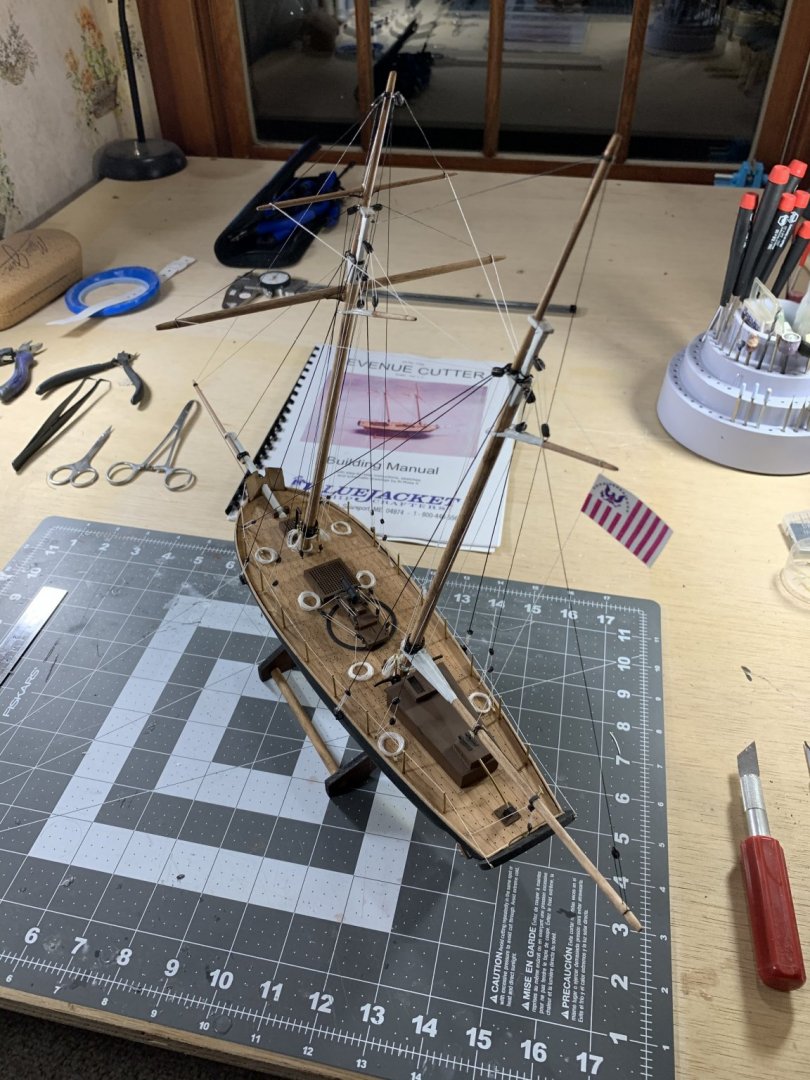
So calling the revenue cutter finished. I still need to finish the case as well as take some high quality photos but finished the rigging tonight. Super happy with how it turned out!

- 104 replies
-
- 6
-
-
- revenue cutter
- BlueJacket Shipcrafters
- (and 1 more)