sjanicki
-
Posts
227 -
Joined
-
Last visited
Content Type
Profiles
Forums
Gallery
Events
Everything posted by sjanicki
-
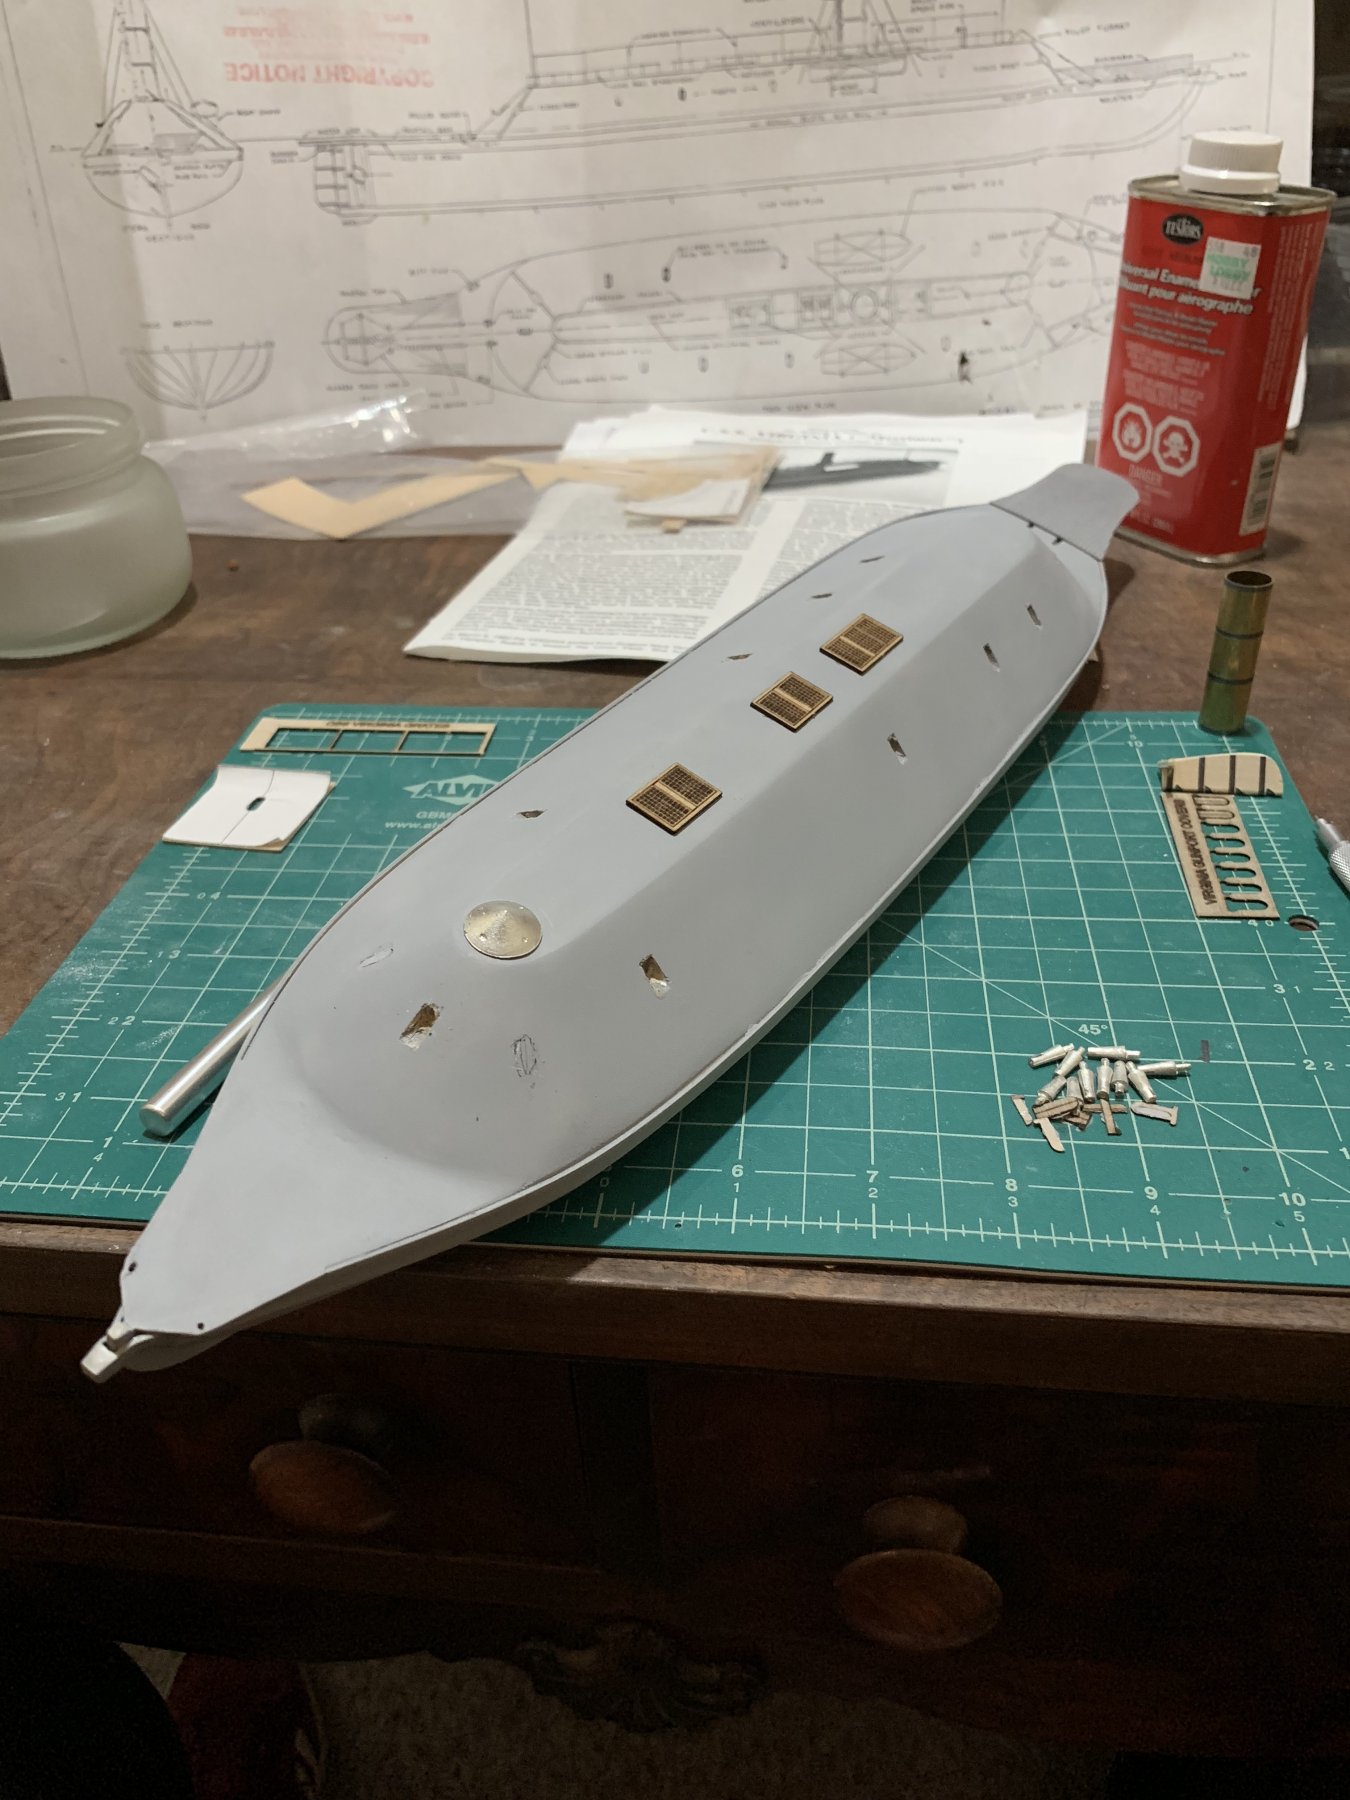
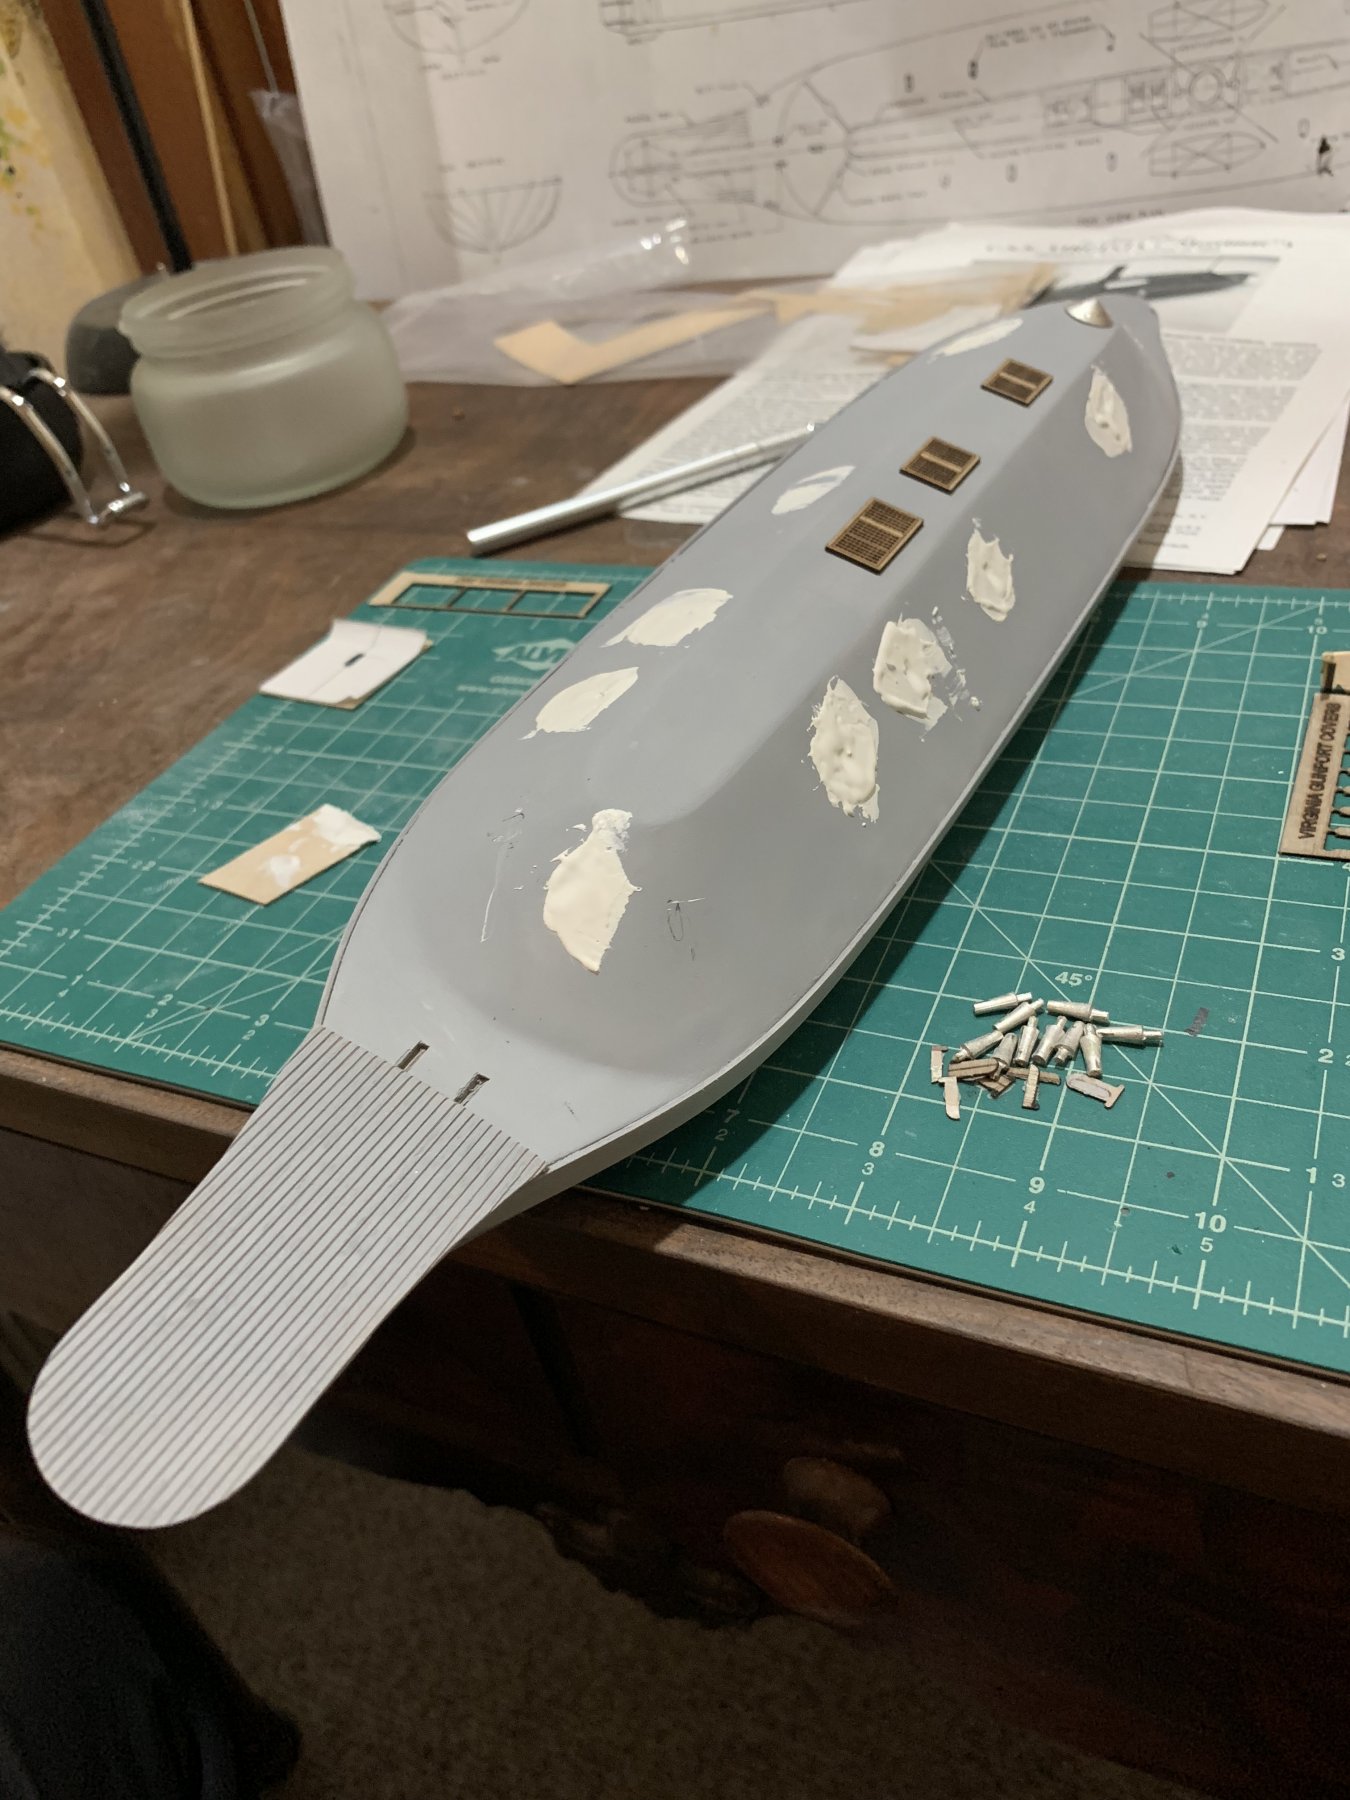
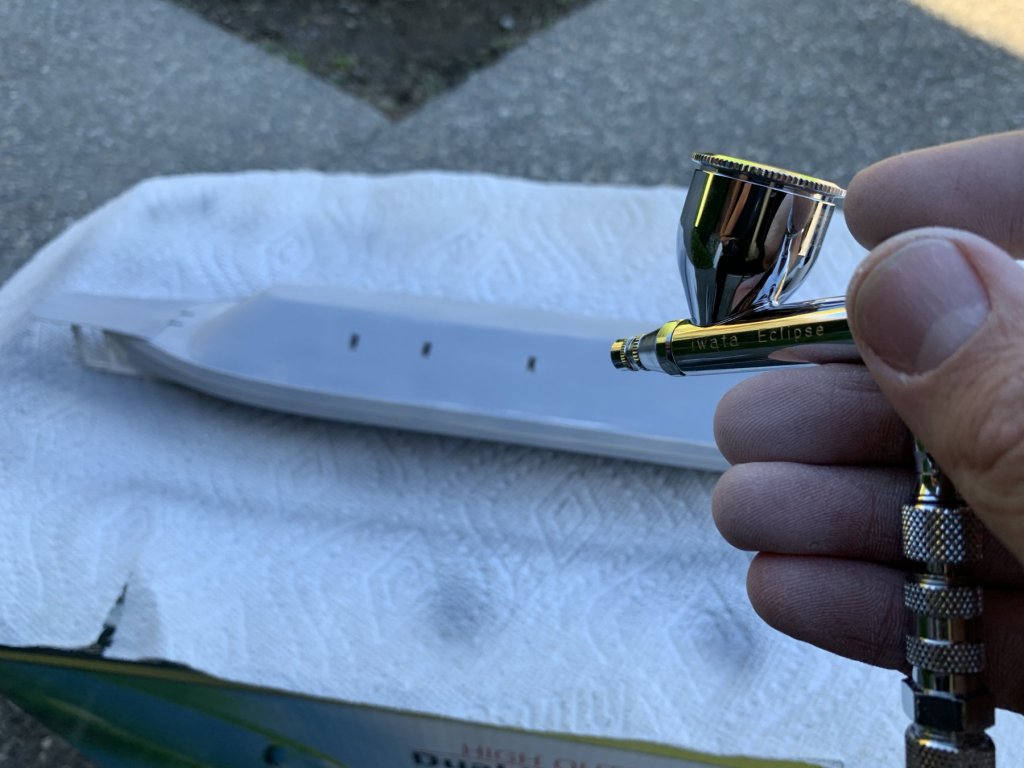
Didn't have much time tonight but removed the cannons and cannon covers and then put some putty in the holes. I am glad I can cover up these mistakes so easily. Hopefully I'll be back to making progress again by the end of the weekend. Also, I should be happy about this little mishap because I can try a different method this time on cutting the gun ports. I used an exacto knife and a chisel last time. Is there a better method people would suggest?


- 43 replies
-
- 5
-

-
- virginia
- BlueJacket Shipcrafters
- (and 1 more)
-
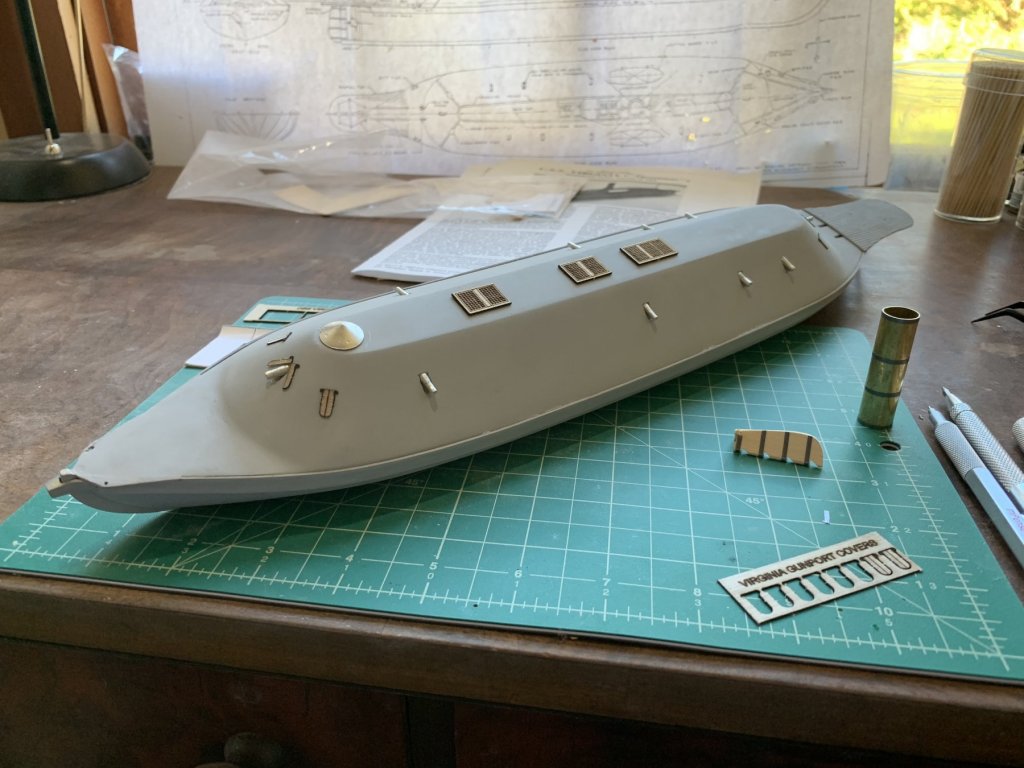
Had to travel this week for work and while waiting for my flight I was examining these pictures and realized I cut all of the gun ports with the template upside down. So I’ll have a bunch of re-work to look forward to this weekend. In retrospect I shouldn’t have just used the template blindly but verified the ports to the plans before cutting them all. Well I guess you learn the most from your mistakes 😜
- 43 replies
-
- 4
-
-
- virginia
- BlueJacket Shipcrafters
- (and 1 more)
-
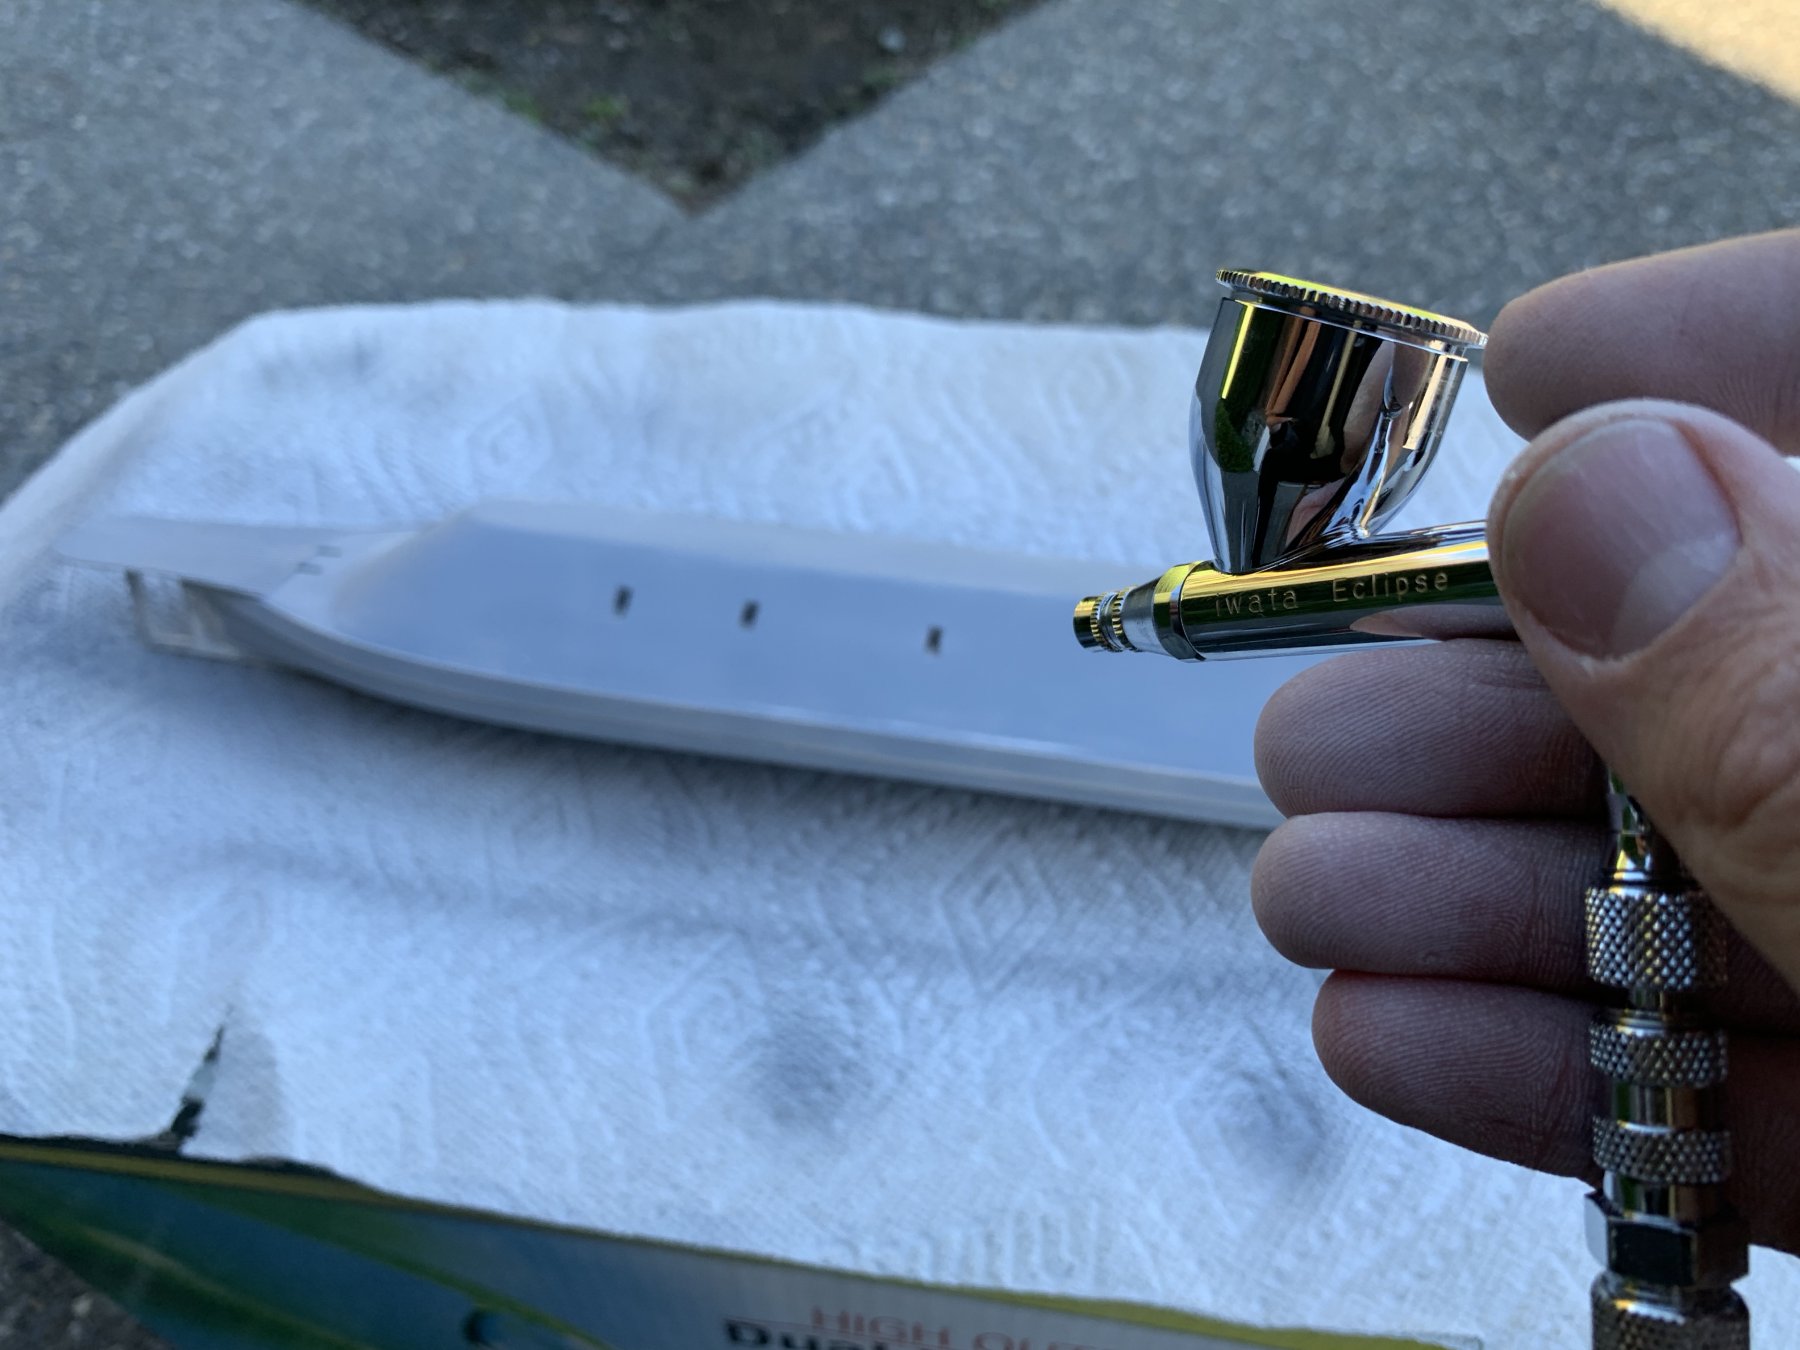
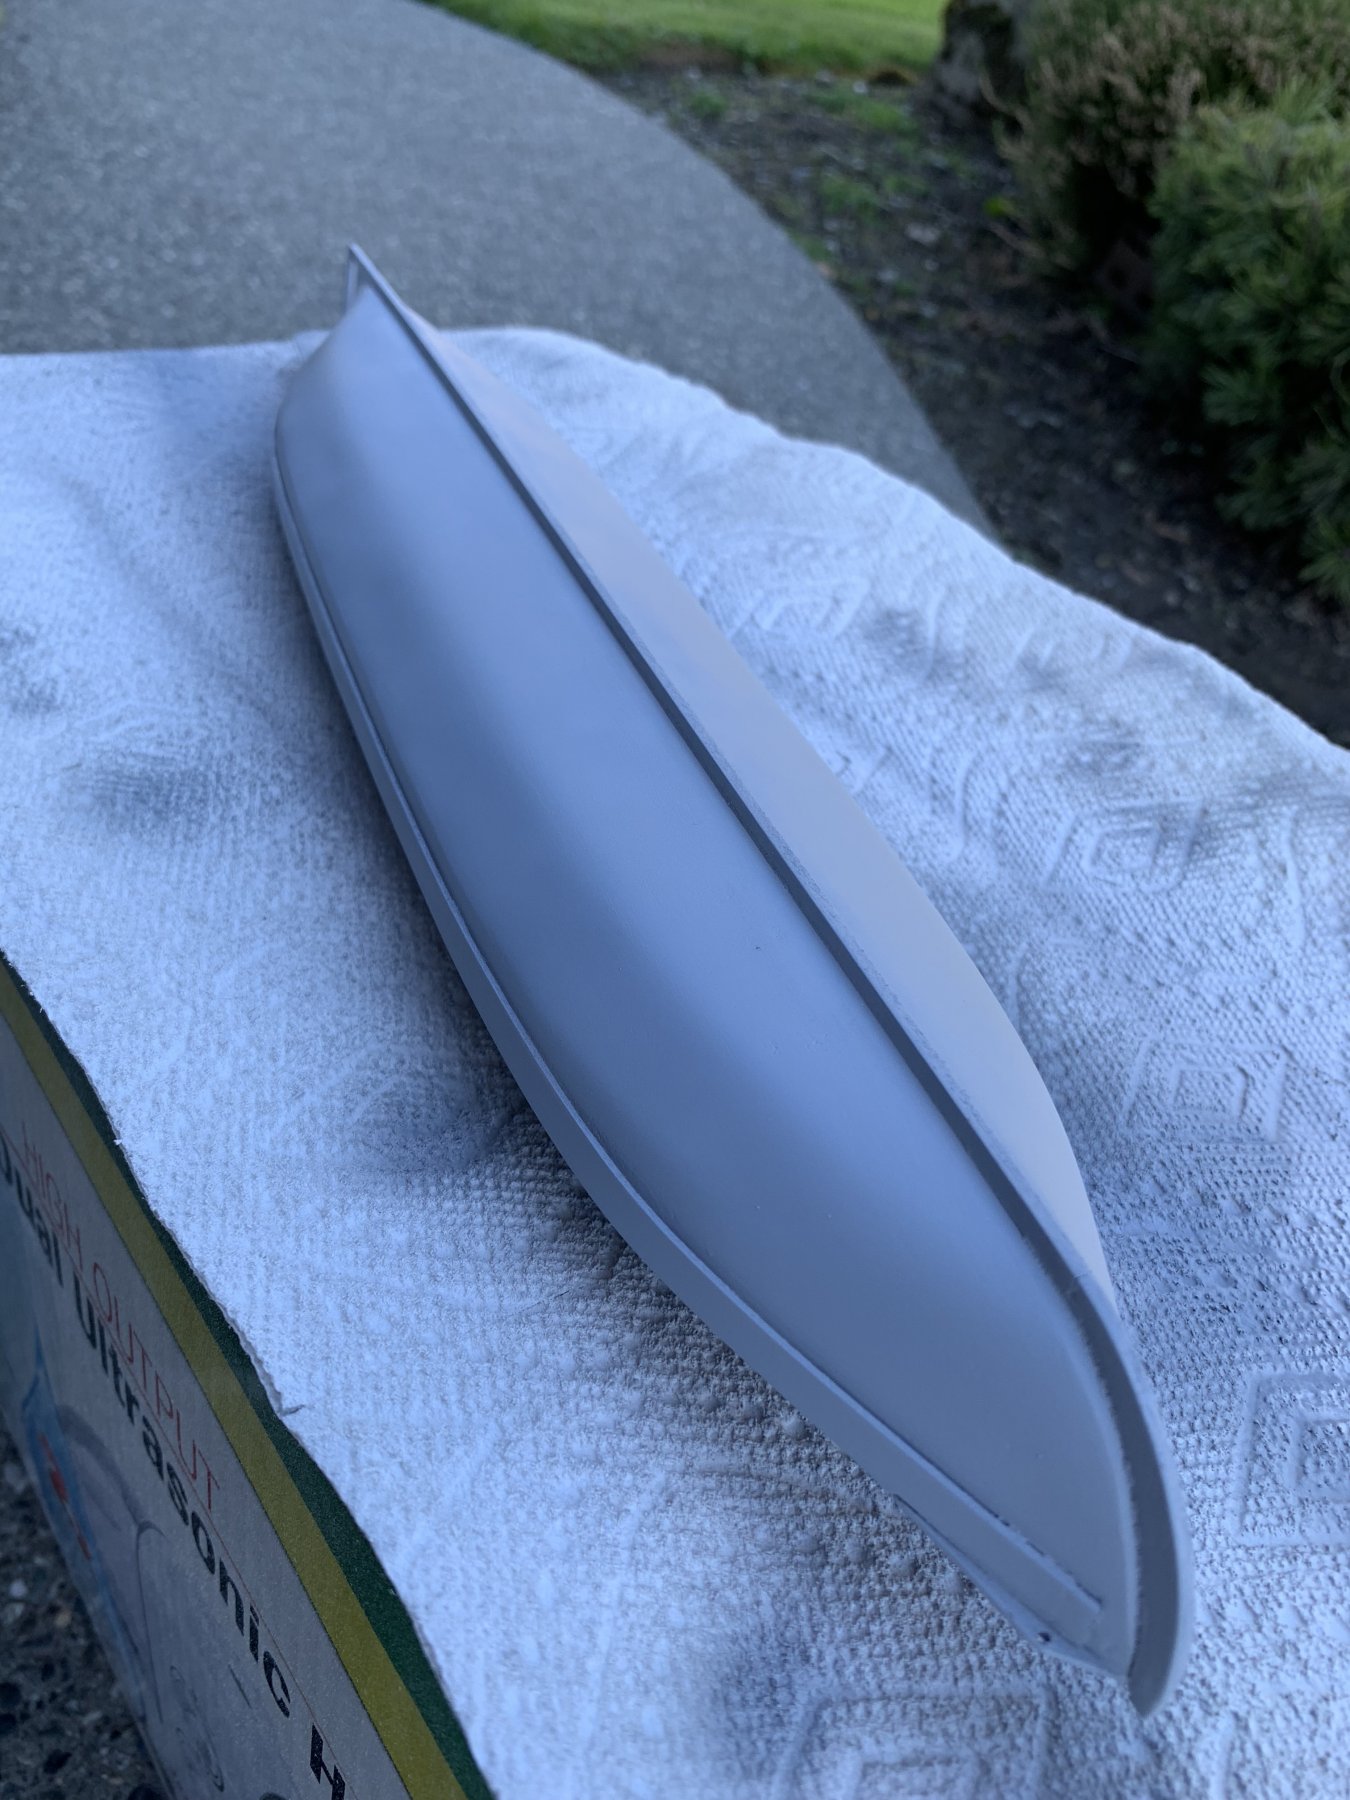
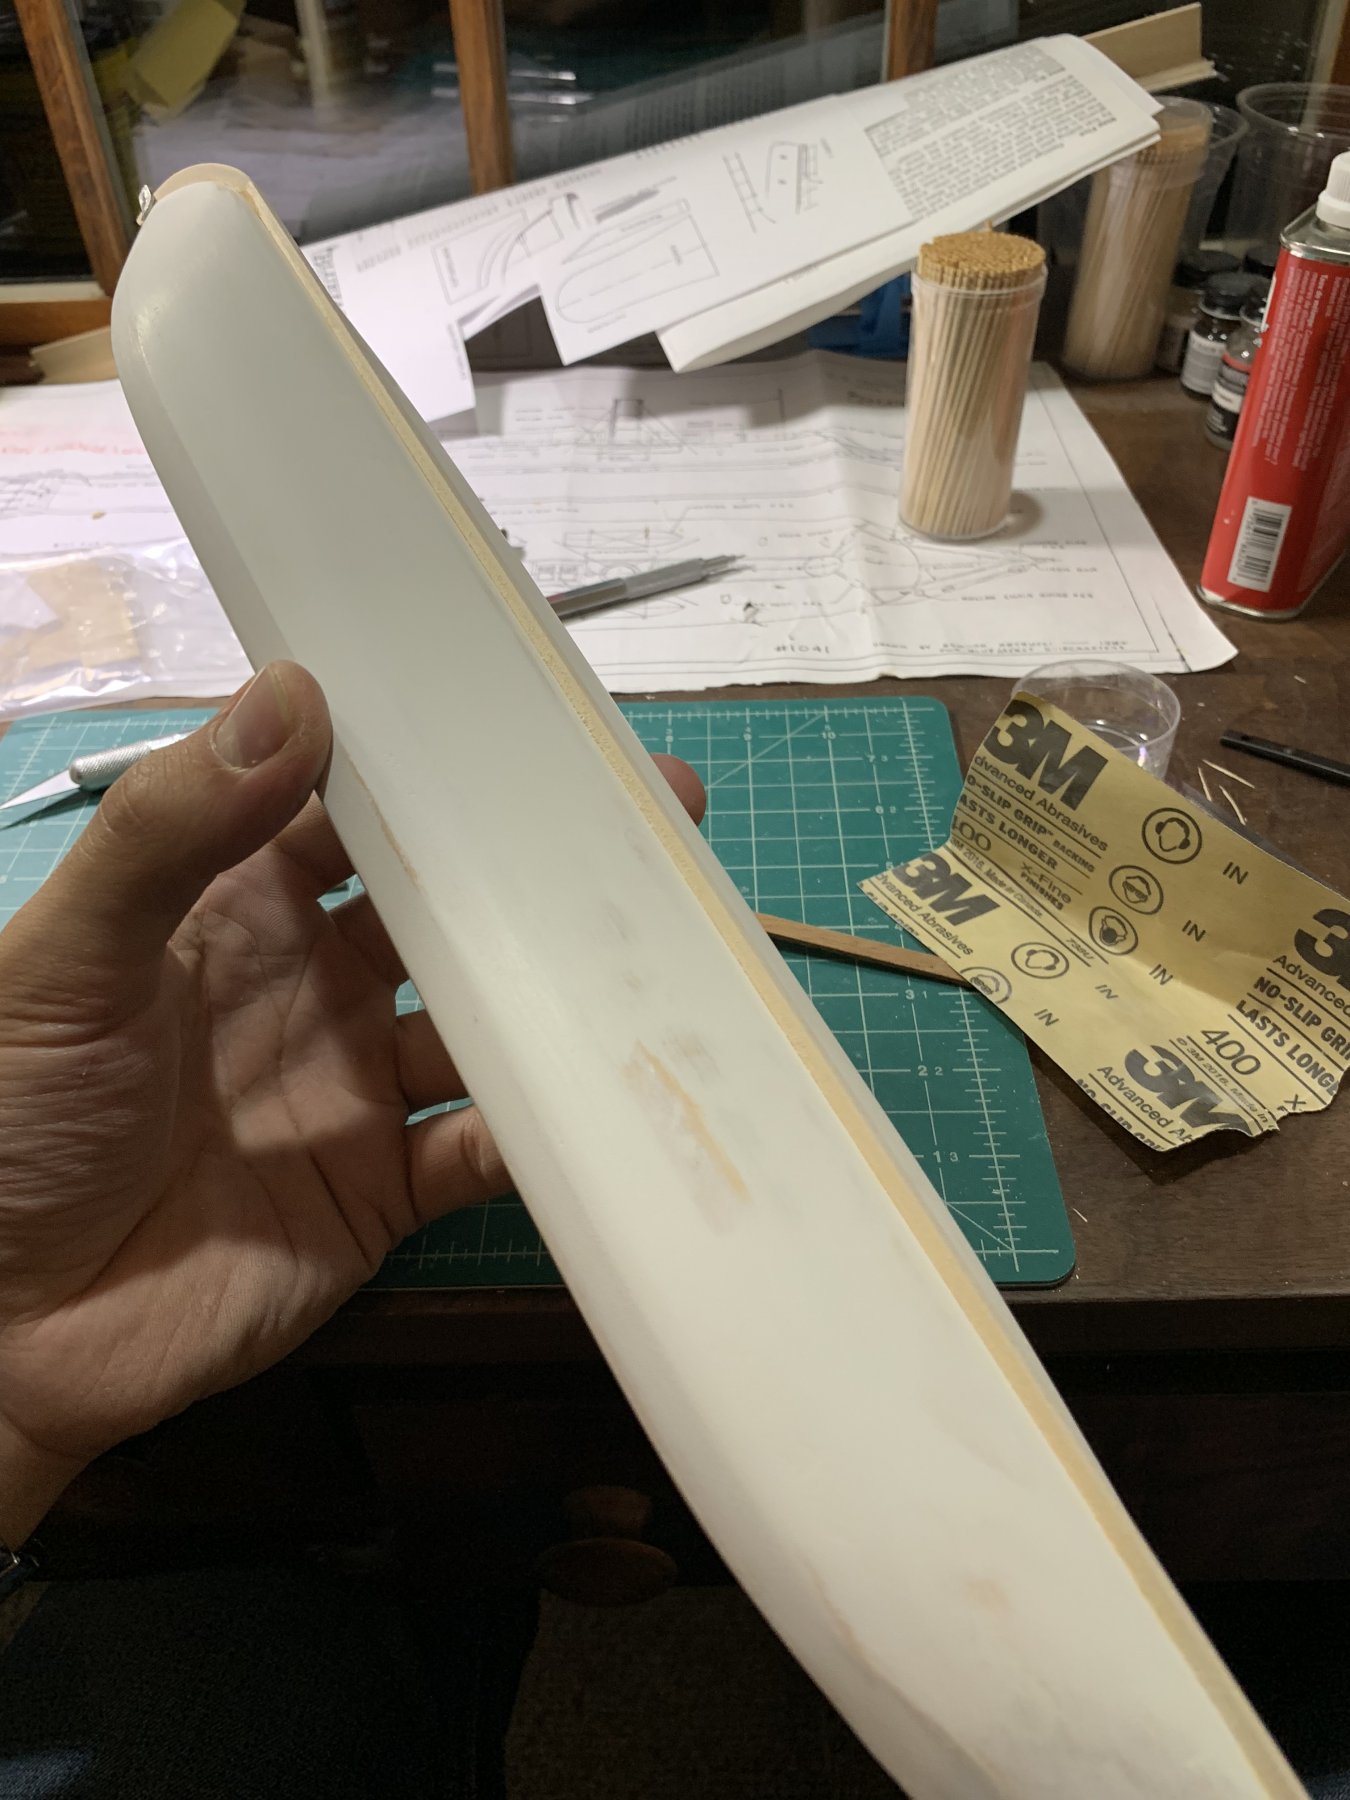
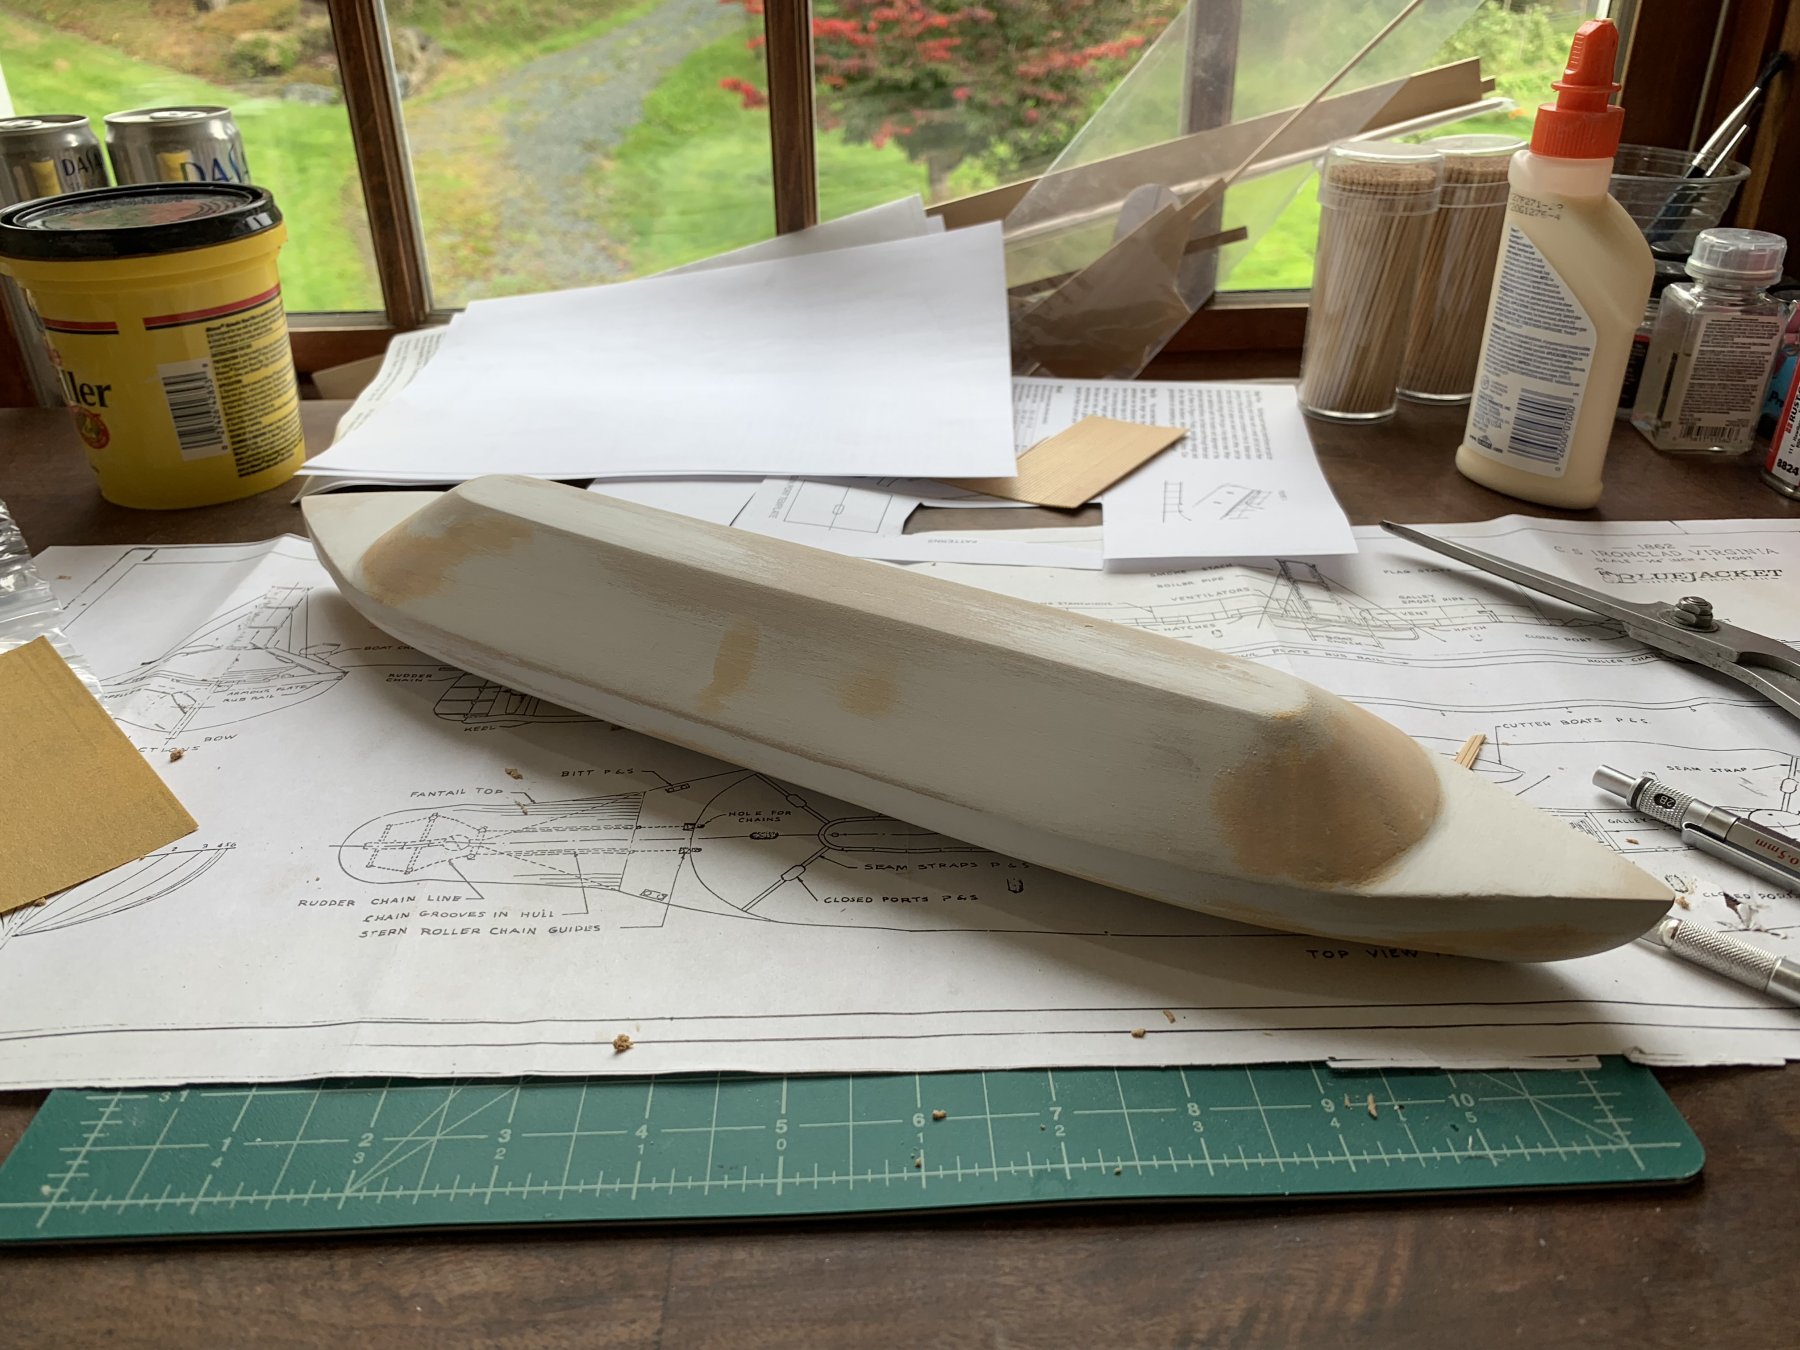
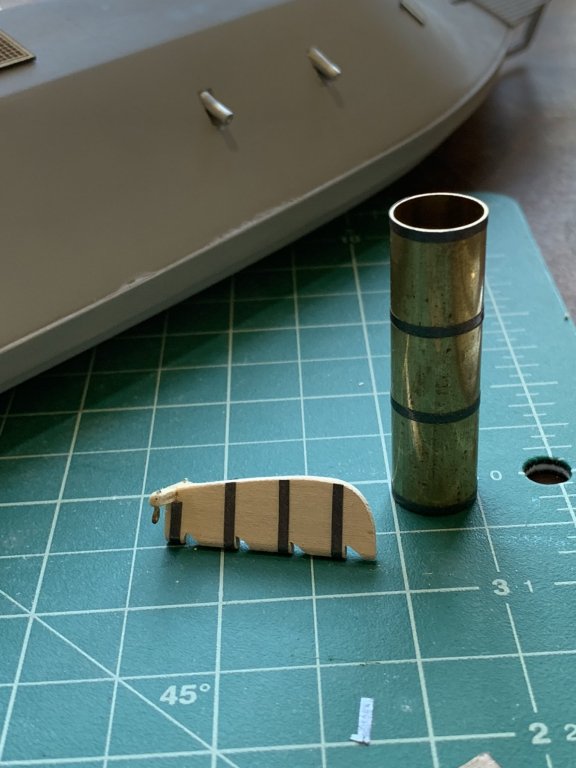
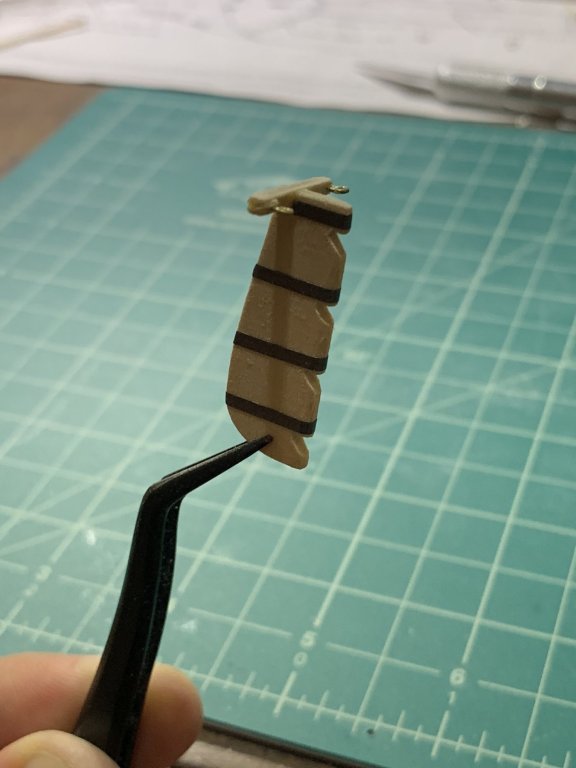
Spent some time today taking advantage of the nice weather to be able to make progressive passes of puttying, sanding, and priming. I don't have a formal paint booth so the priming needs to be done outside. As the weather gets worse I'll probably need to get some form of paint booth setup - I welcome suggestions people have. Unfortunately I over sanded a bit on the bow so it took a bit of time to re-work but I think the end result isn't bad. After a number of passes I think the hull looks fair and smooth enough. Once the hull was ready, I mounted the cannons, cannon port covers, pilot house, and grates. I also added the striping tape to the stack as the instructions suggest.


- 43 replies
-
- 8
-
-
- virginia
- BlueJacket Shipcrafters
- (and 1 more)
-
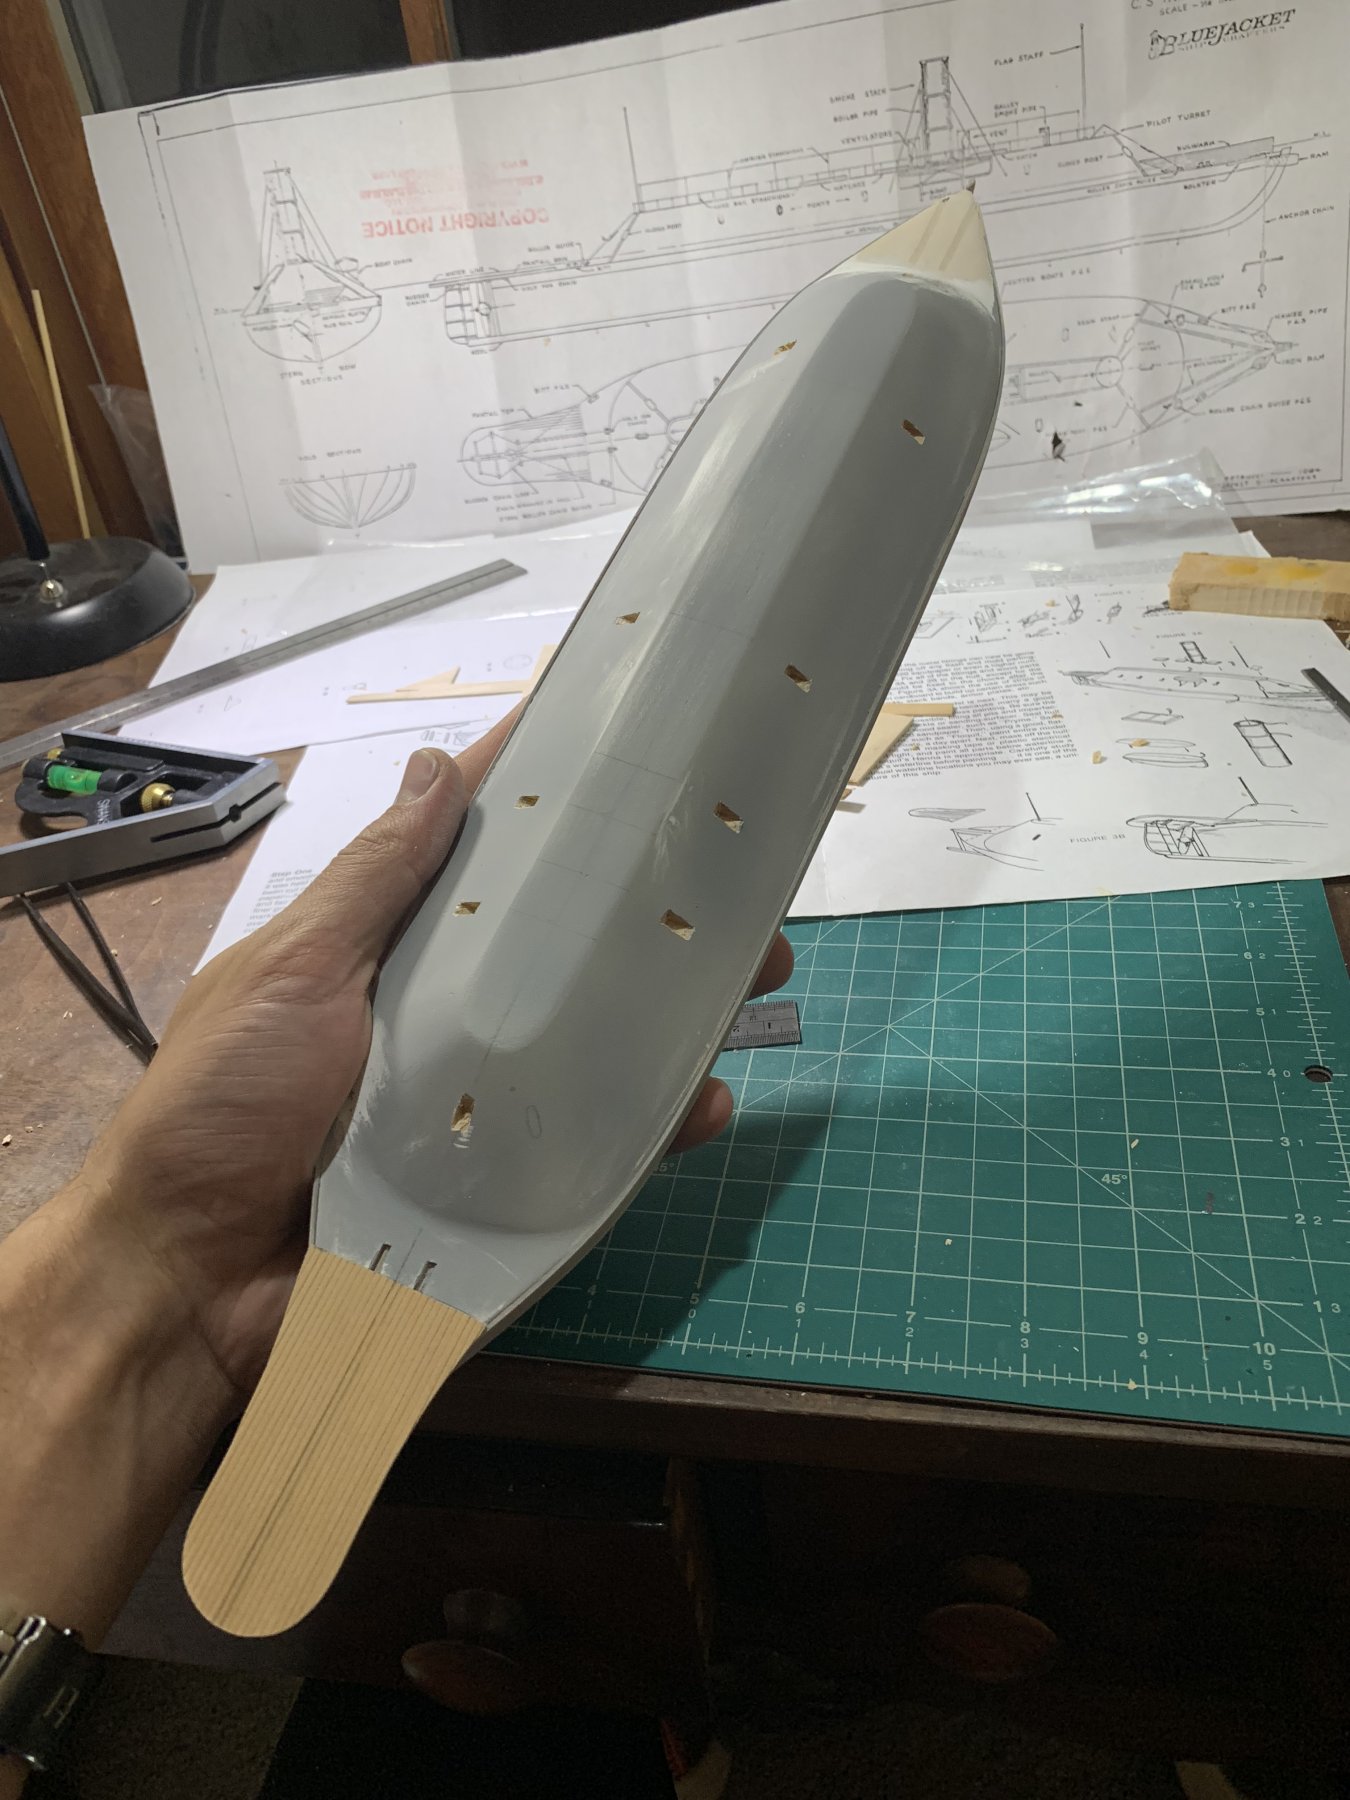
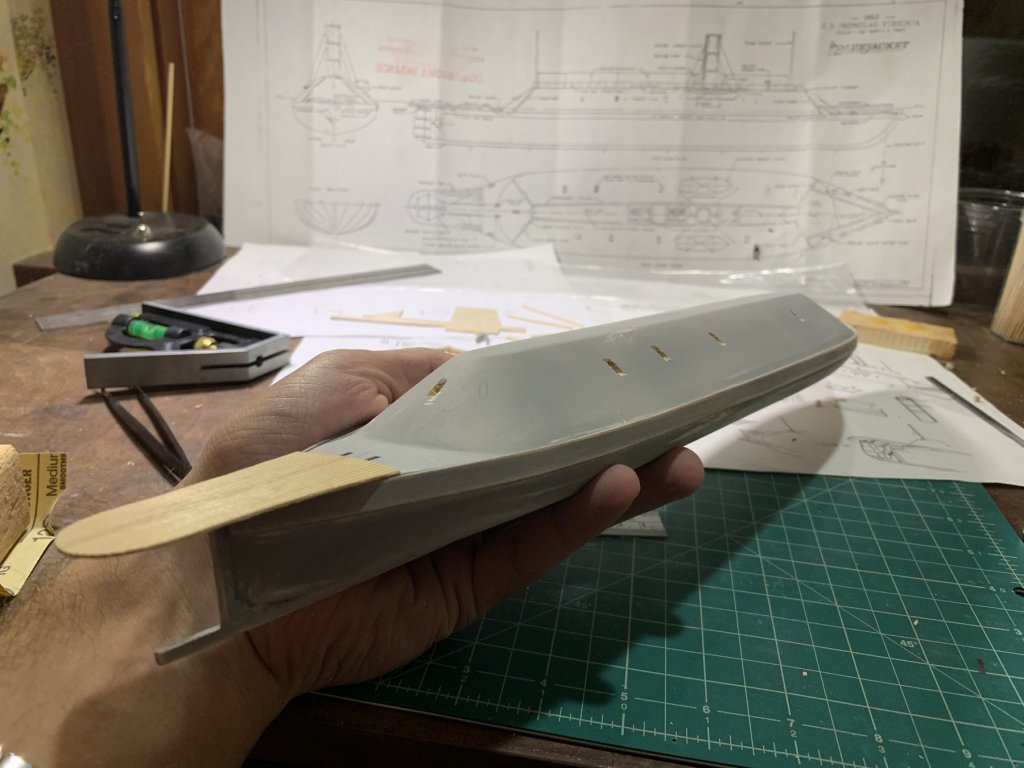
Made a bit more progress tonight roughing out the cannot ports as well as mounting the fan tail. Was careful to note that the cannon ports are off center to each other from side to side. Really happy with how it's turning out! Up next is mounting the anchor supports, propellor guard, and a first coat of black paint.

- 43 replies
-
- 4
-
-
- virginia
- BlueJacket Shipcrafters
- (and 1 more)
-
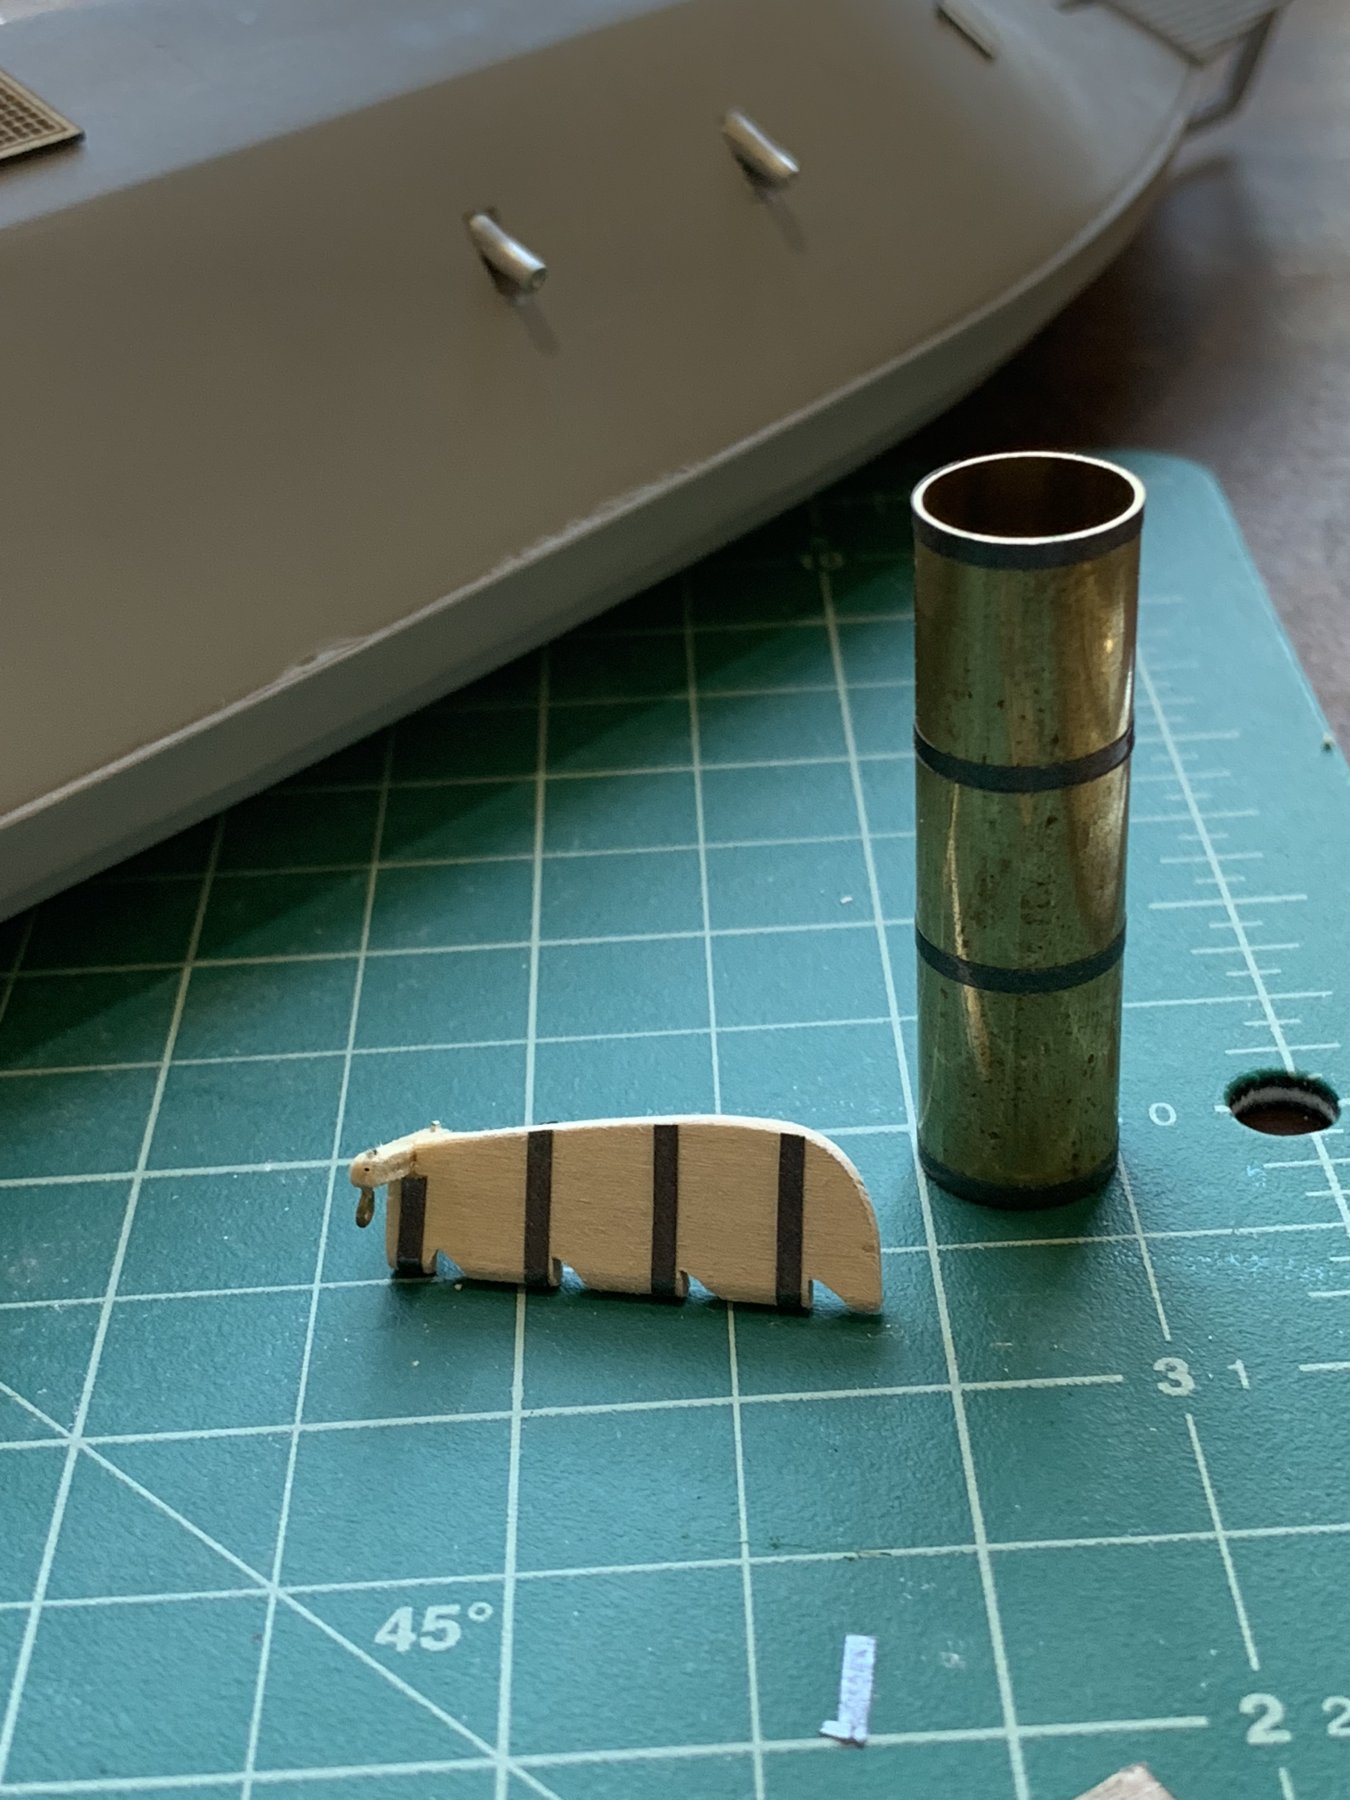
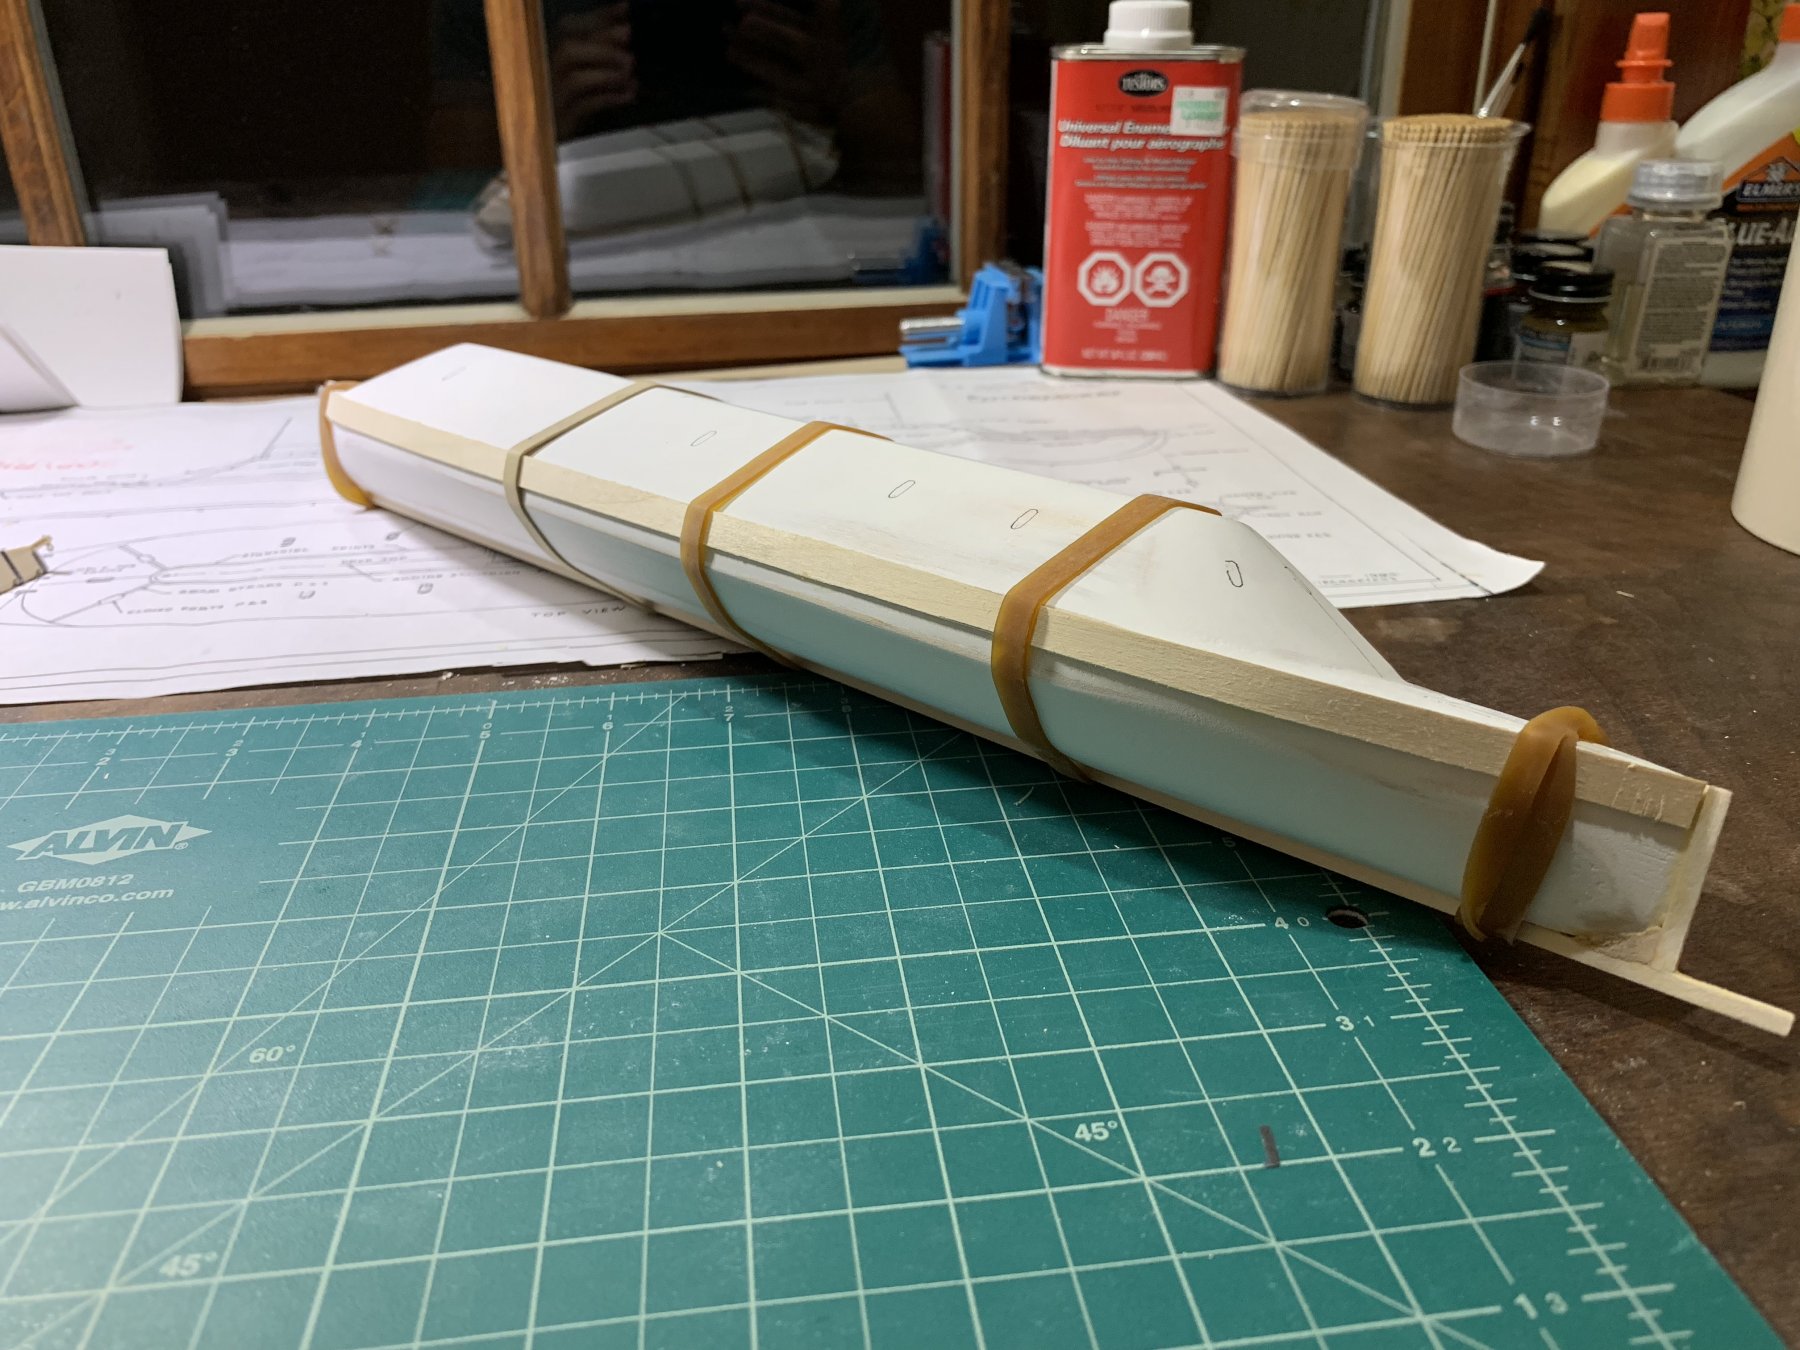
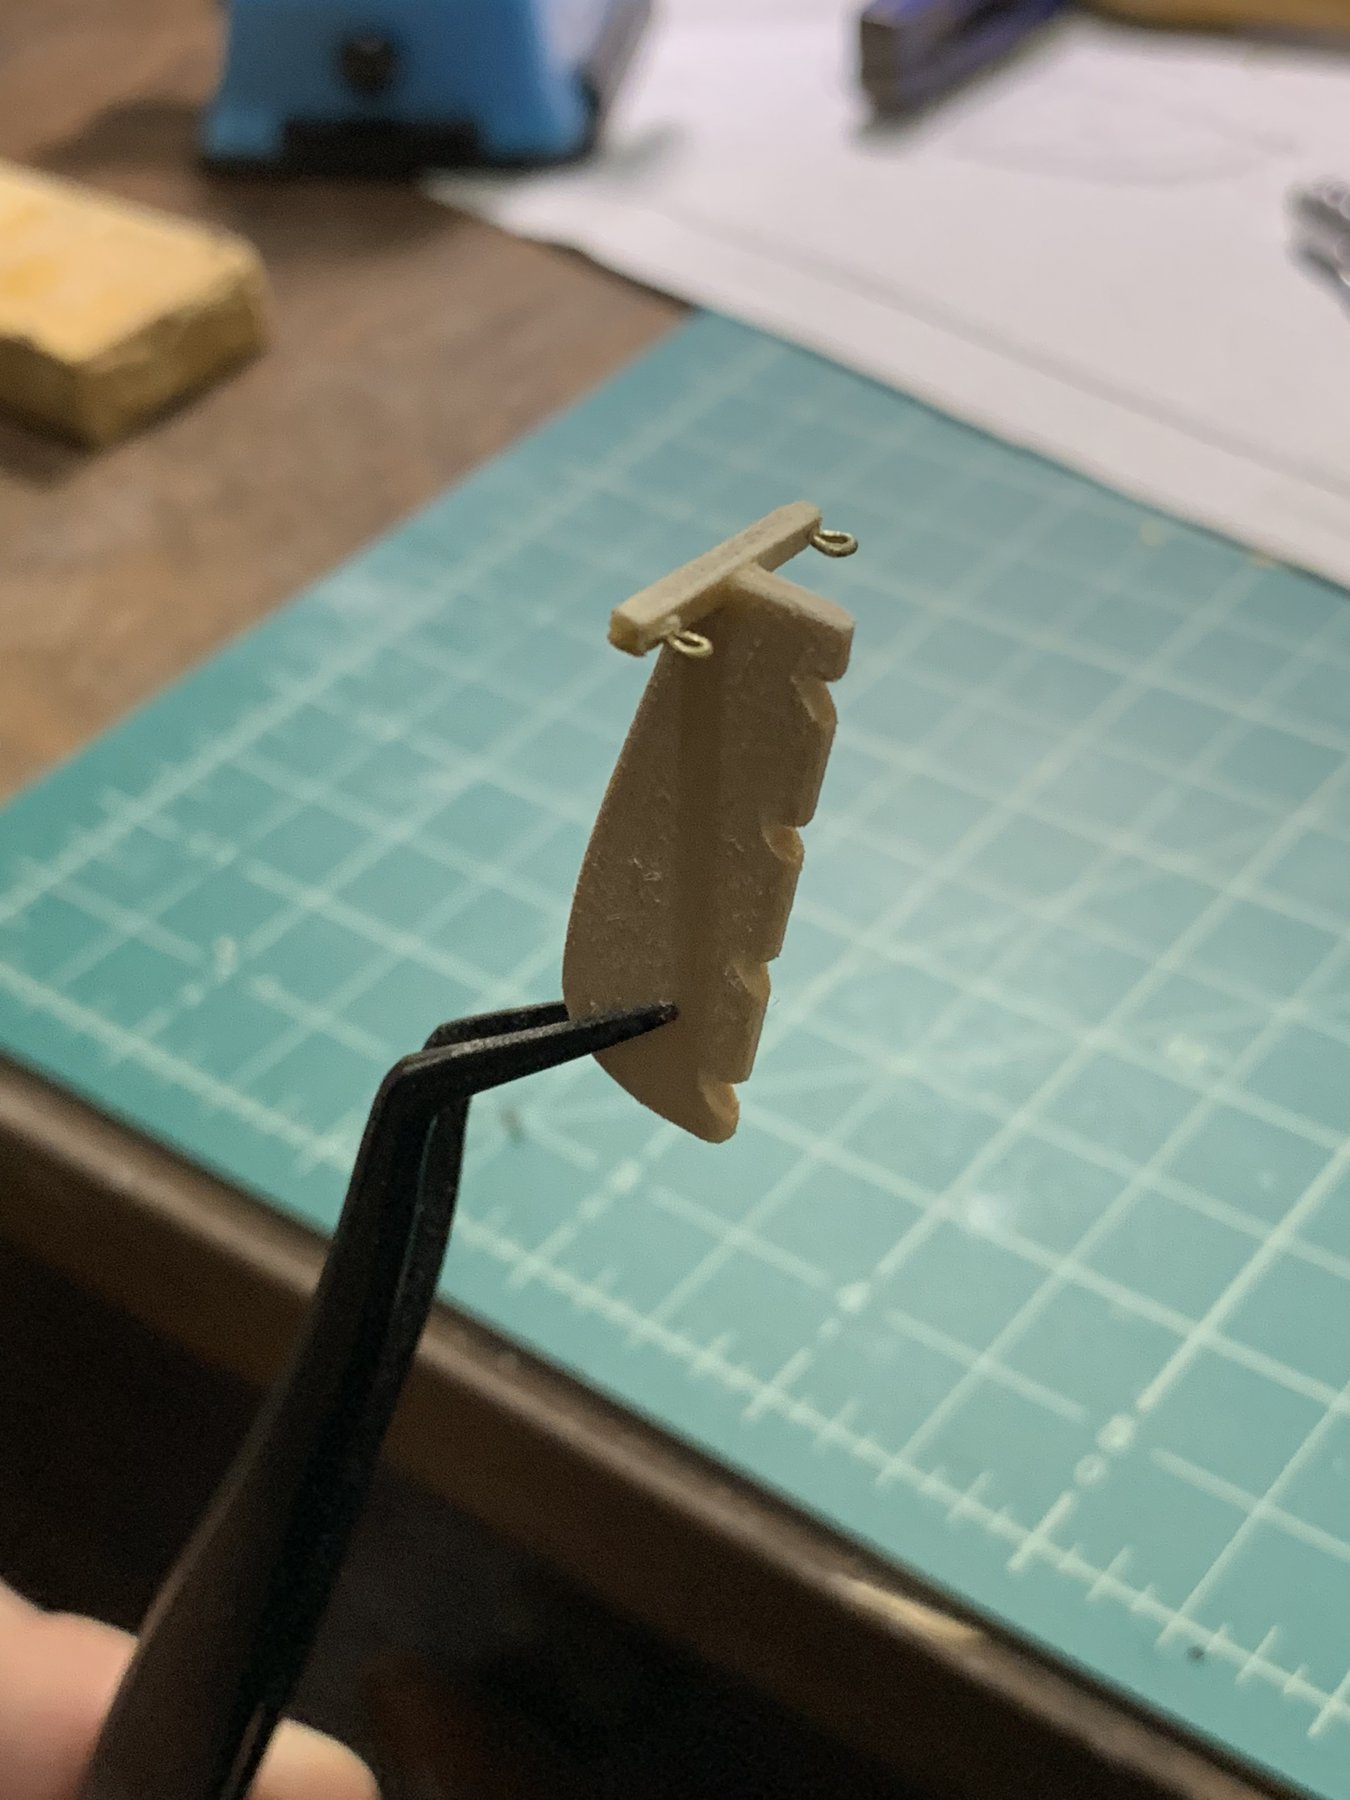
Made a little progress on applying the striping tape to the rudder assembly. Actually pretty happy with how it turned out. Now that I am happy with how it turned out I can get started on the various other locations requiring the striping. Also installed the armor bands (1/32 x 3/16 base wood strips) along the water line using a number of rubber bands and some clamps. I'll really need to work on my planking skills if I ever want to attempt a POB model.

- 43 replies
-
- 2
-
-
- virginia
- BlueJacket Shipcrafters
- (and 1 more)
-
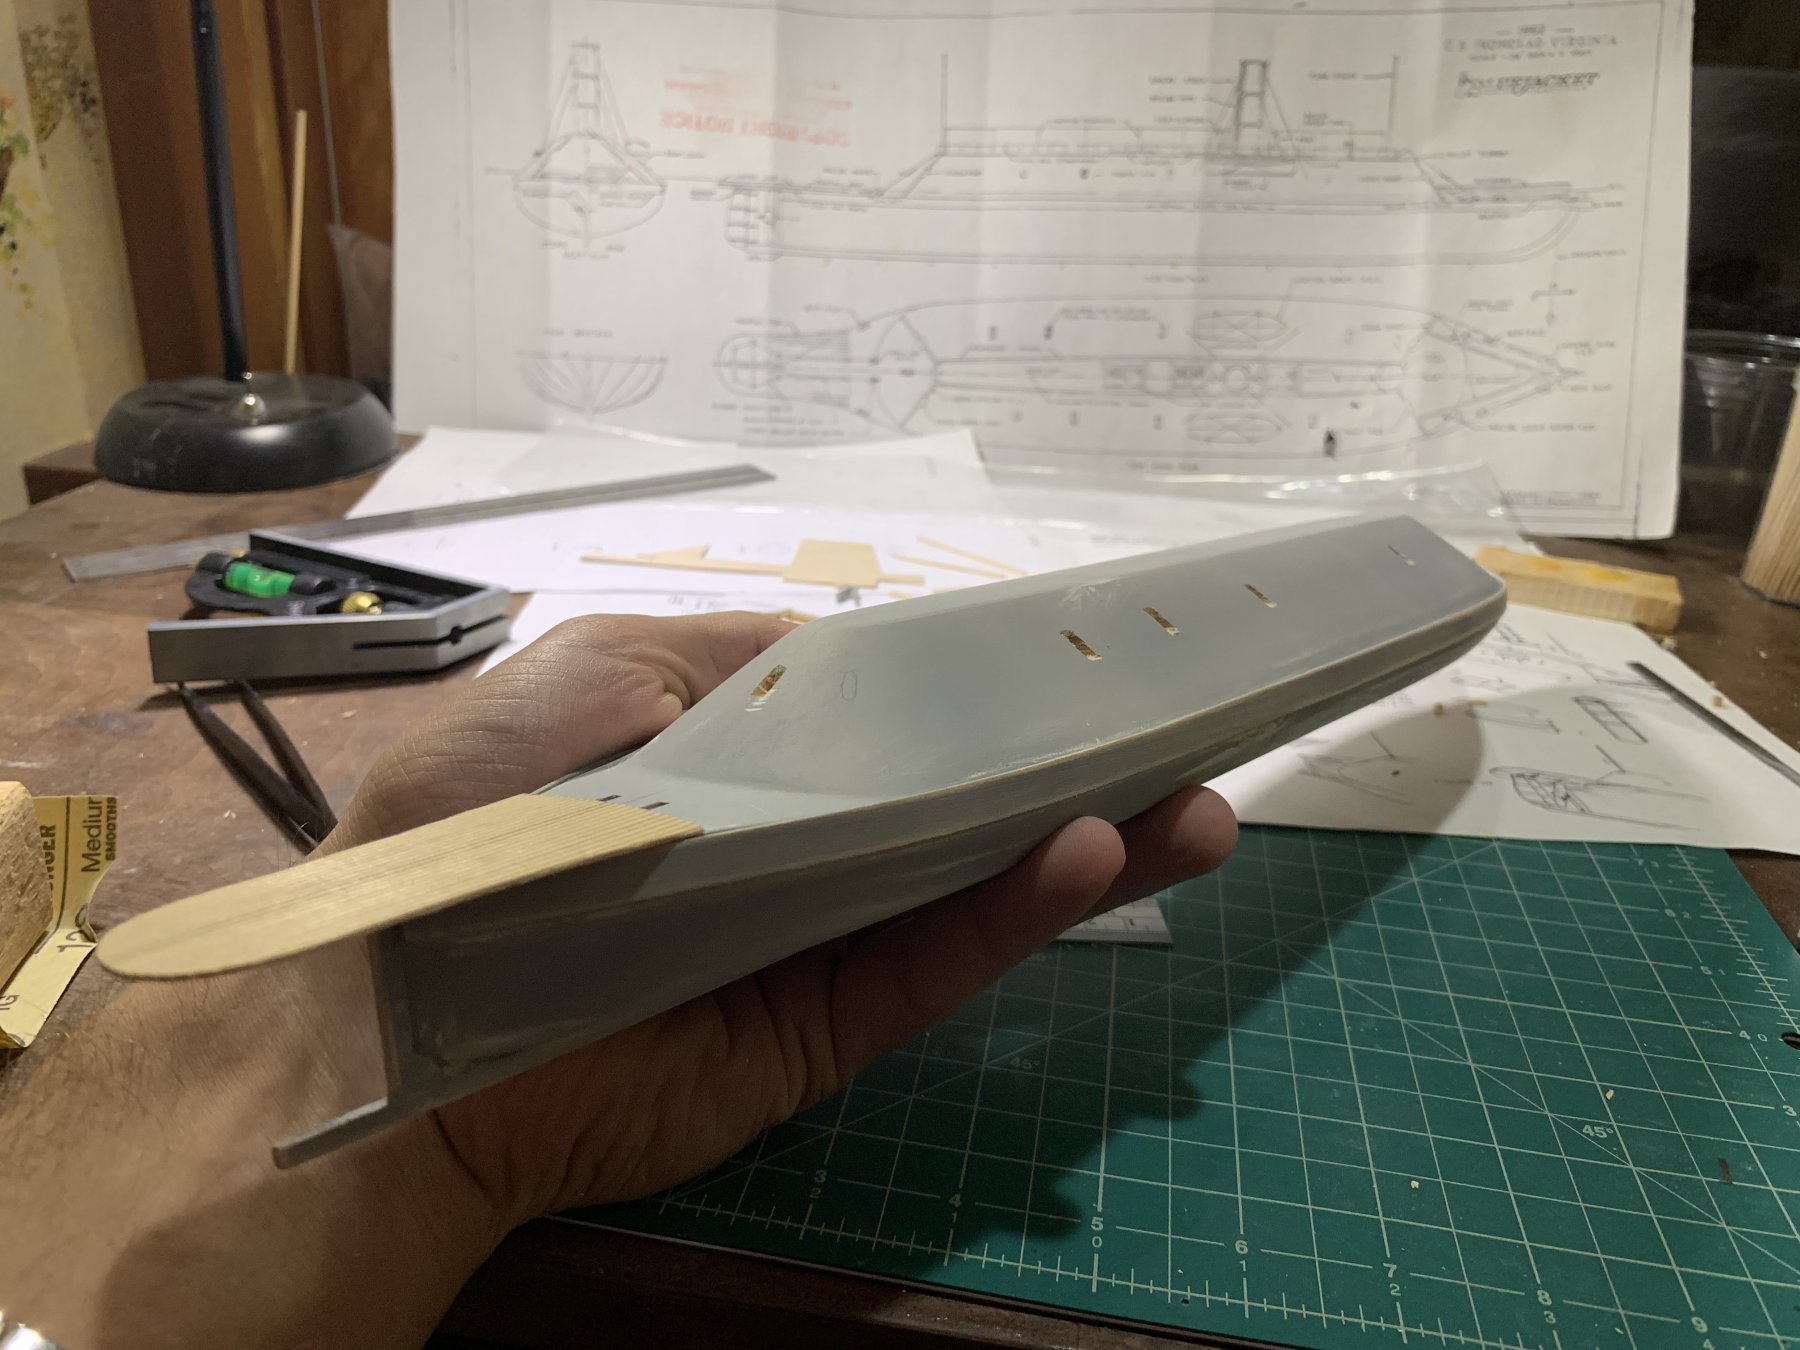
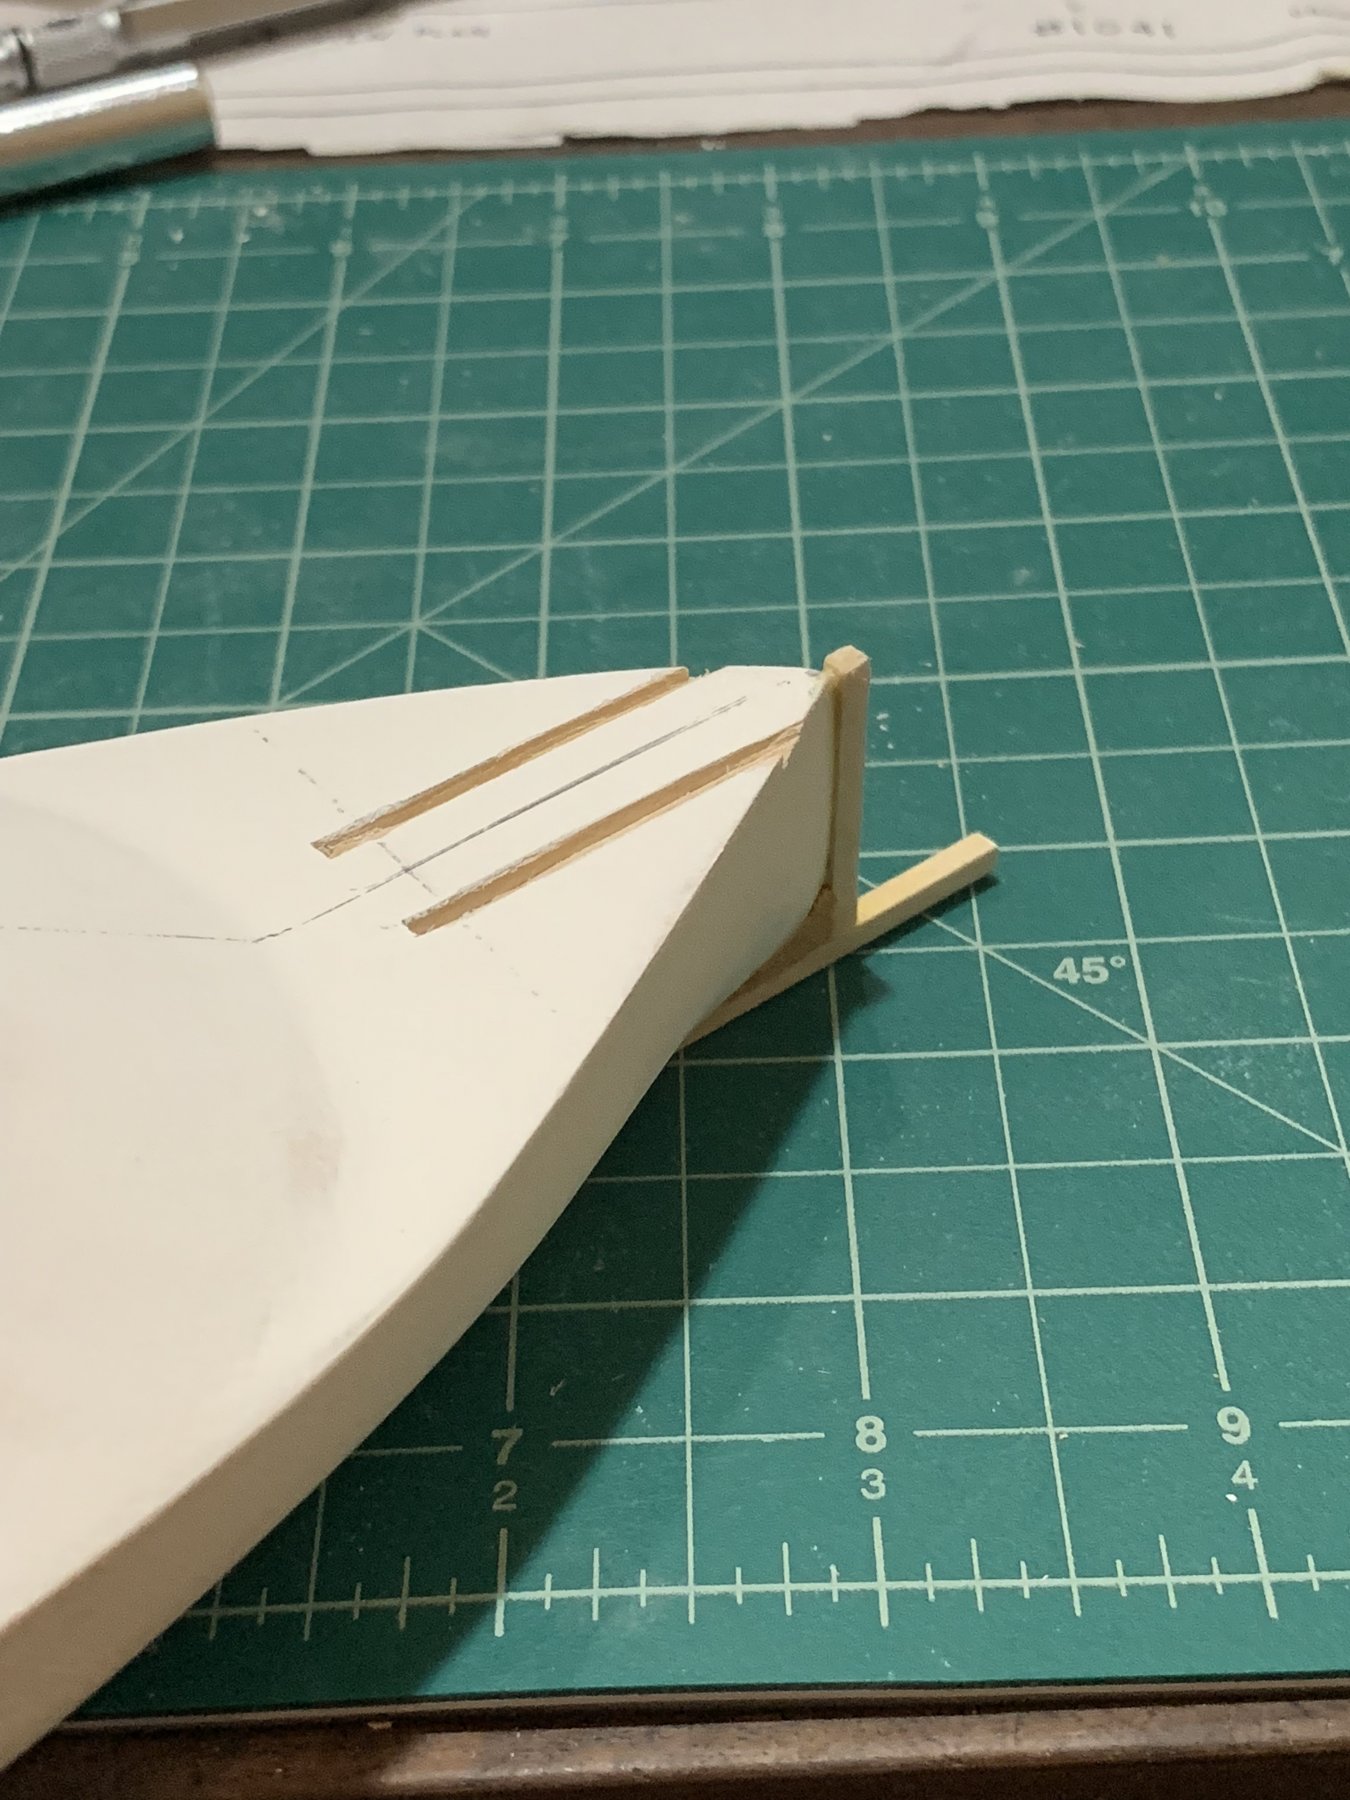
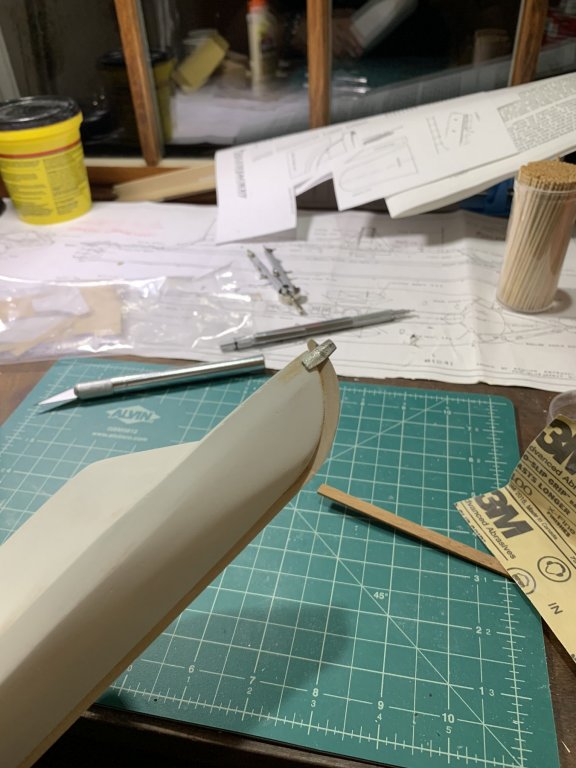
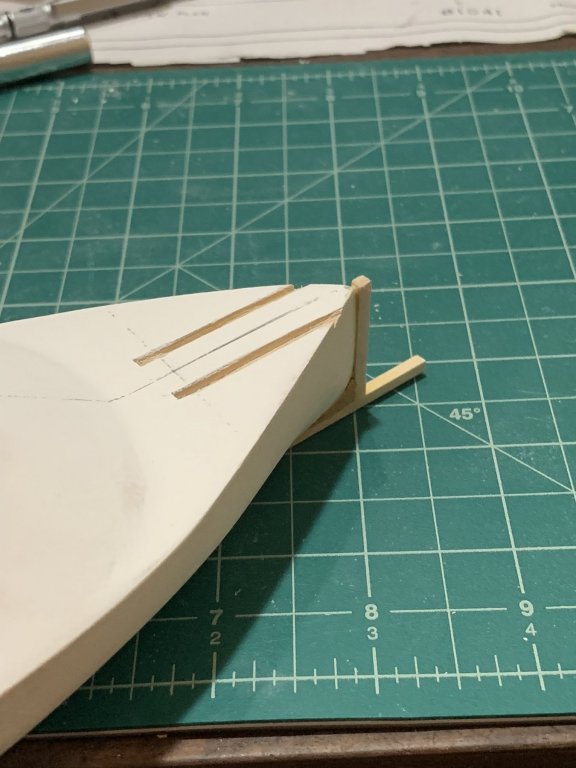
So I repaired last night's mistake on the hull and mounted the main part of the keel and bow. Also, dry fit the ram as well. Took a first pass at the grooves that the chains for the rudders run through under the fantail. I'll probably make them a little deeper as well. Up next is the armor belt on the sides, fantail, cannon holes, and anchor holes on the front. I hope to get all of the wood parts installed and a first coat before installing the various metal pieces. Is this usually a good order to do things in? When working with the wood I inevitably go back to doing bits of re-work and I think it may be difficult to do with various metal pieces attached.
- 43 replies
-
- 4
-
-
- virginia
- BlueJacket Shipcrafters
- (and 1 more)
-
Made both forward and backwards progress tonight. Made some great progress on the rudder assembly. Happy with how it’s going together. Unfortunately, I also made a bit of a mistake on the hull with an exacto knife, though nothing that can’t be fixed with a bit of wood spackel.

- 43 replies
-
- 3
-
-
- virginia
- BlueJacket Shipcrafters
- (and 1 more)
-
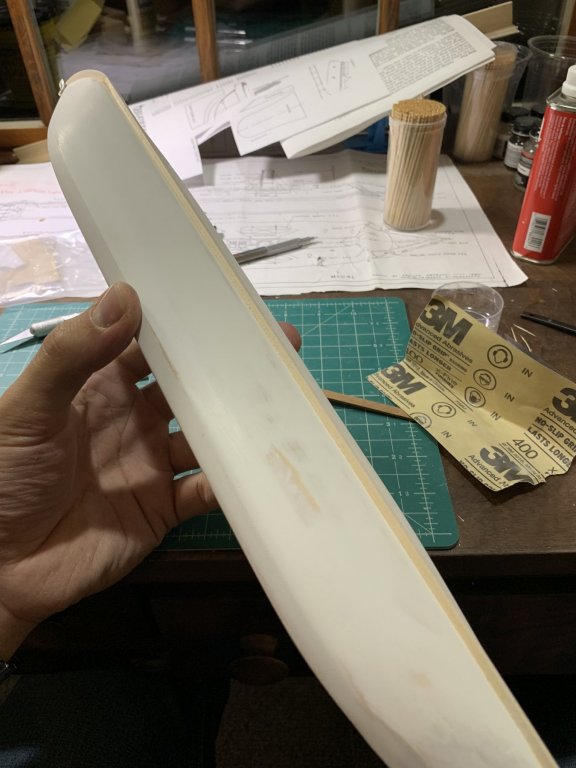
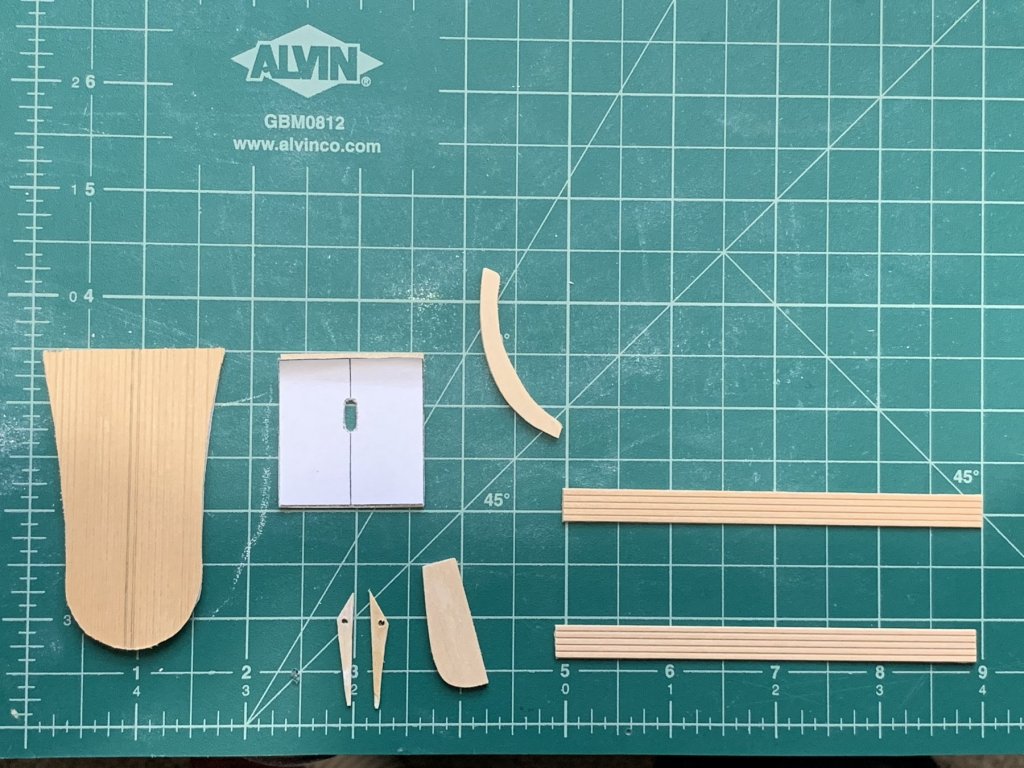
Getting the hull pretty close. Made several successive sanding, filler, and primer passes to get the shape better as well as smooth and fair. Also, cut the various pieces from the flat stock in the kit. Need to do a bit of sanding on them next. I’ll pick up some 1/16” stripping tape tomorrow for the various accents on the stack, rudder etc.

- 43 replies
-
- 3
-
-
- virginia
- BlueJacket Shipcrafters
- (and 1 more)
-
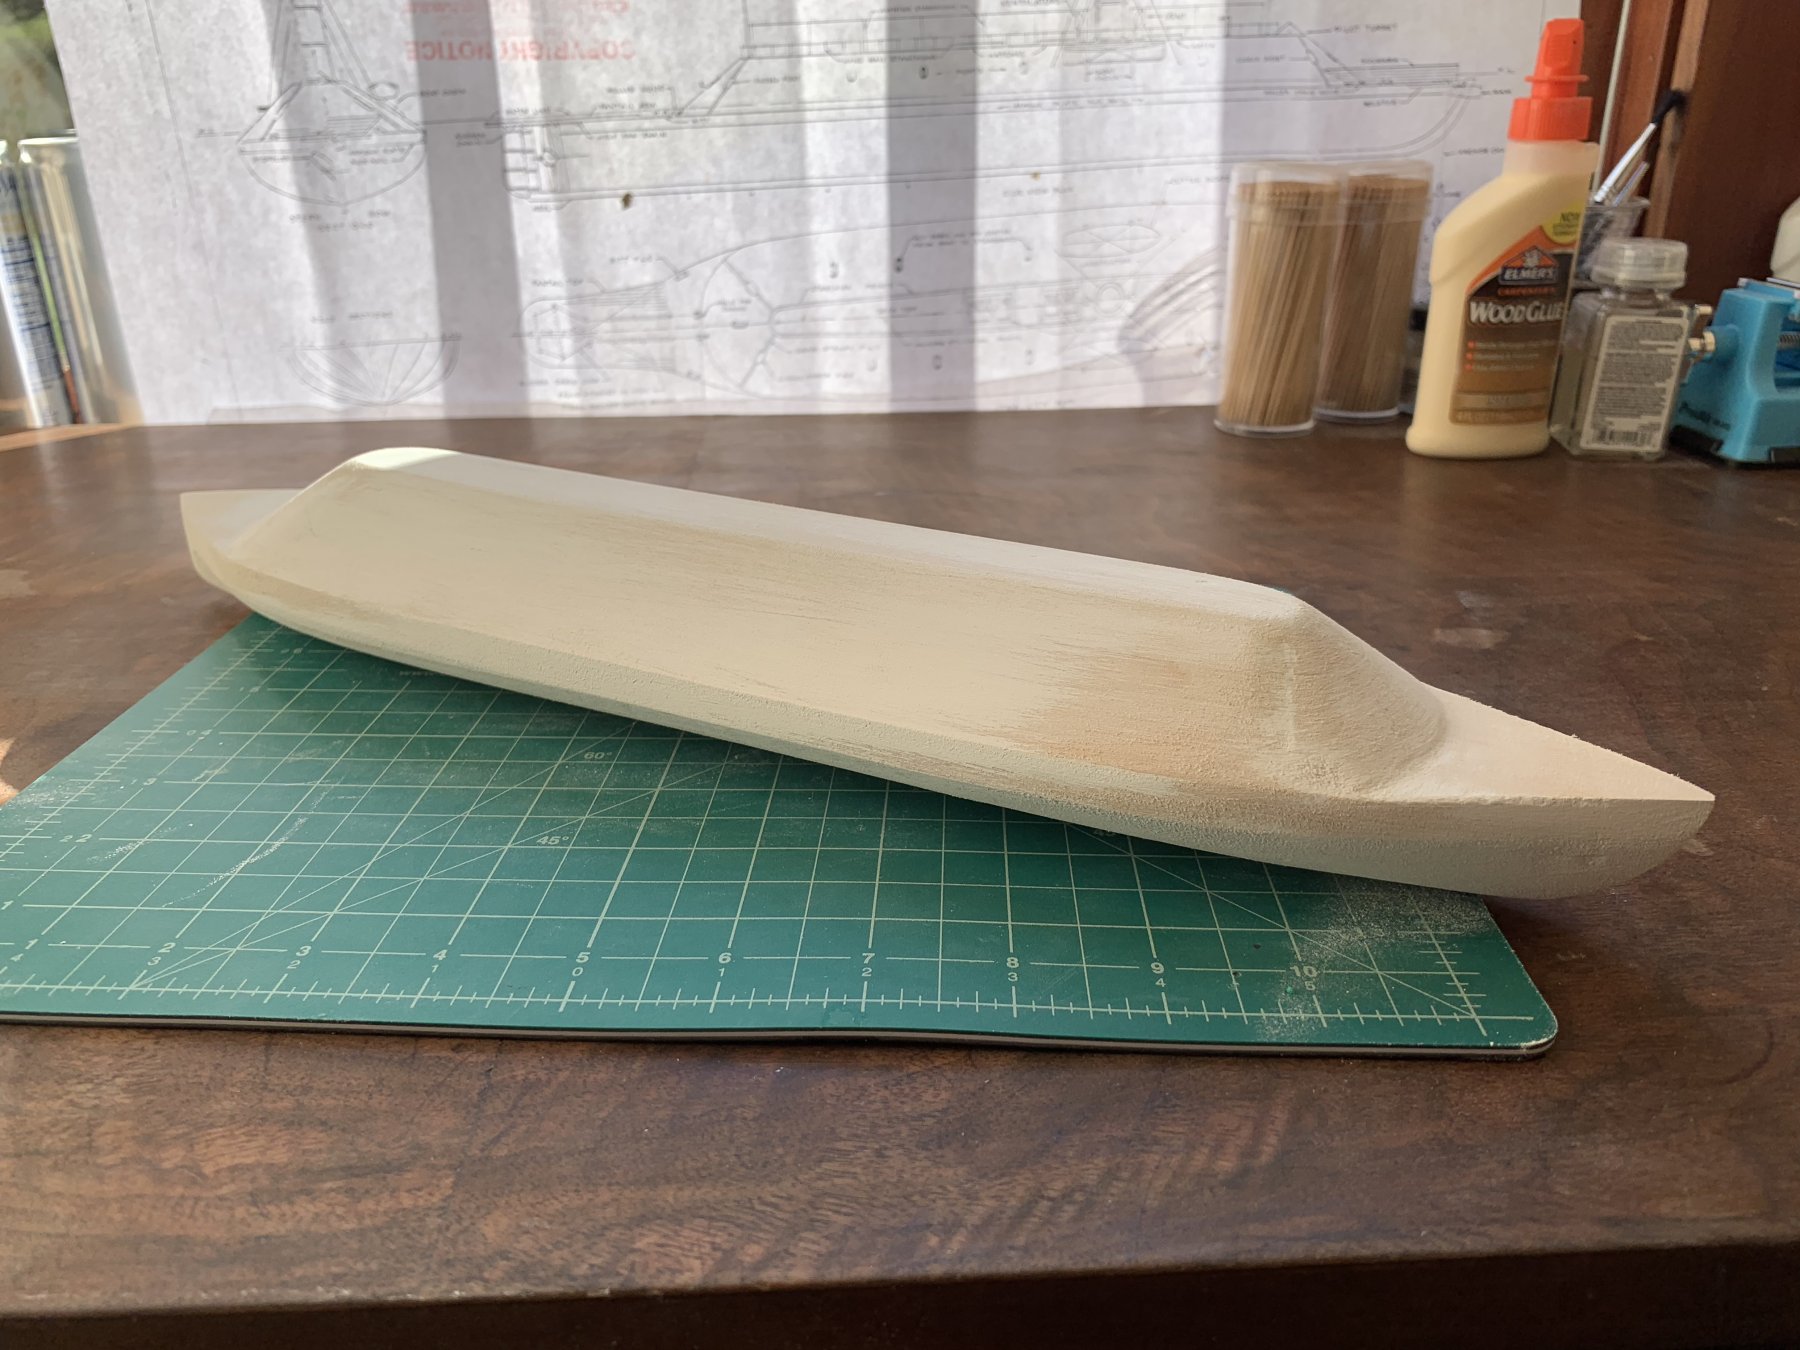
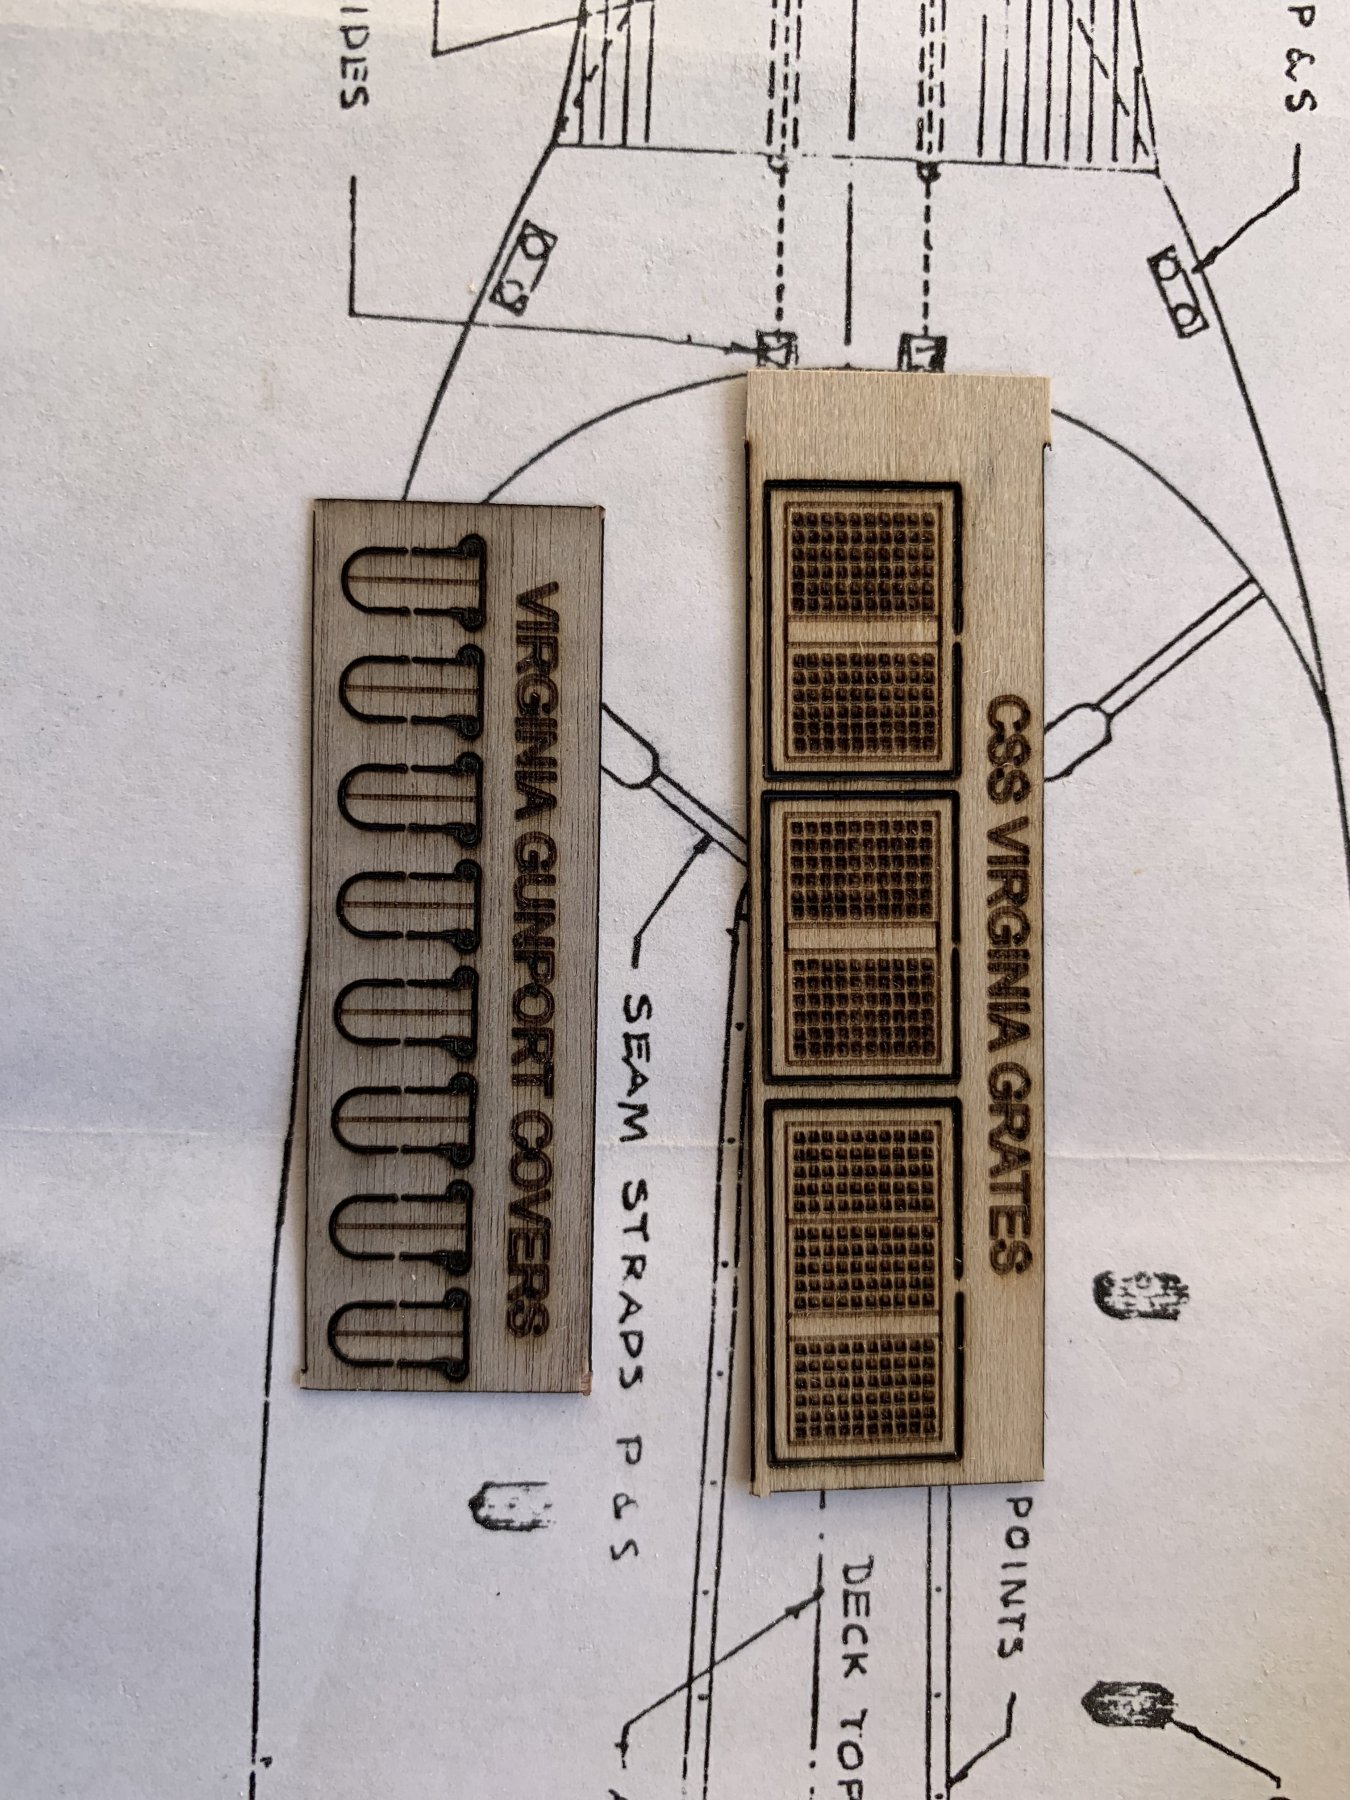
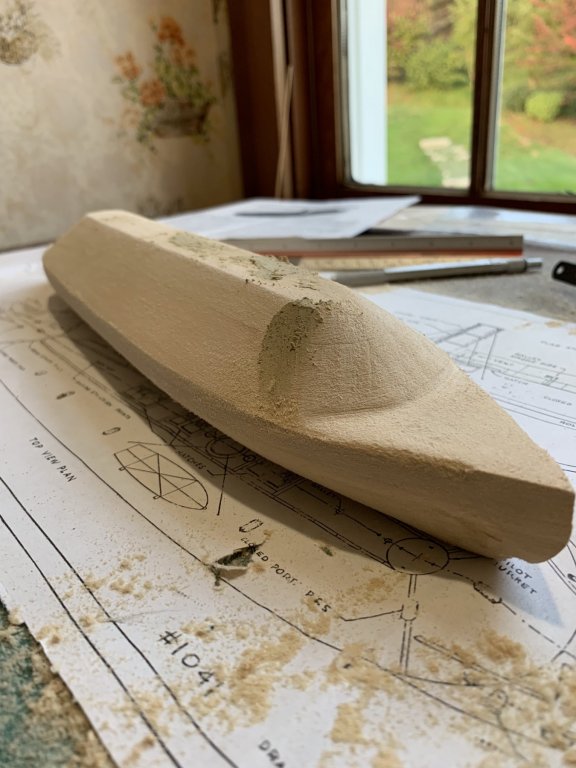
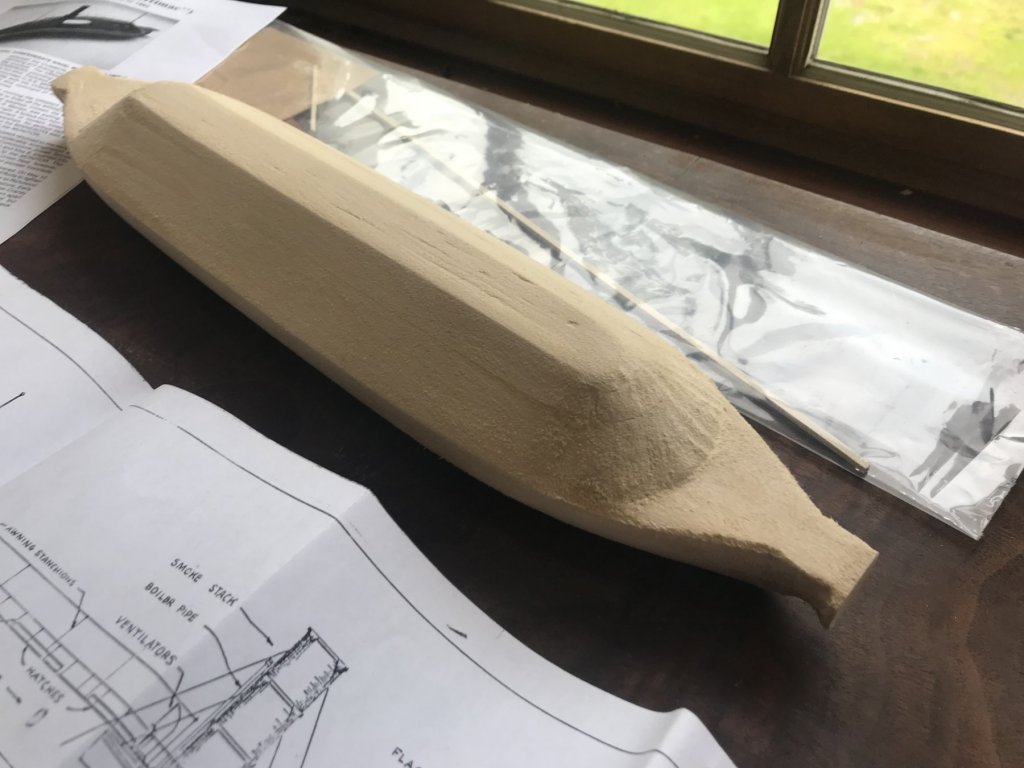
Made some more progress this morning on shaping the hull. Applied several layers of primer too, which help in sanding immensely. For the most part the general shape is there. Going to pick up some wood spackle to fix a few small mistakes on my part and hopefully finish the shaping by the end of the weekend. I'll need to go over it with finer sandpaper as well. On another note, @MrBlueJacket was kind enough to send me some laser cut parts to add further detail to the model. I believe these are included with the kit now. Really appreciate their customer support.


- 43 replies
-
- 2
-
-
- virginia
- BlueJacket Shipcrafters
- (and 1 more)
-
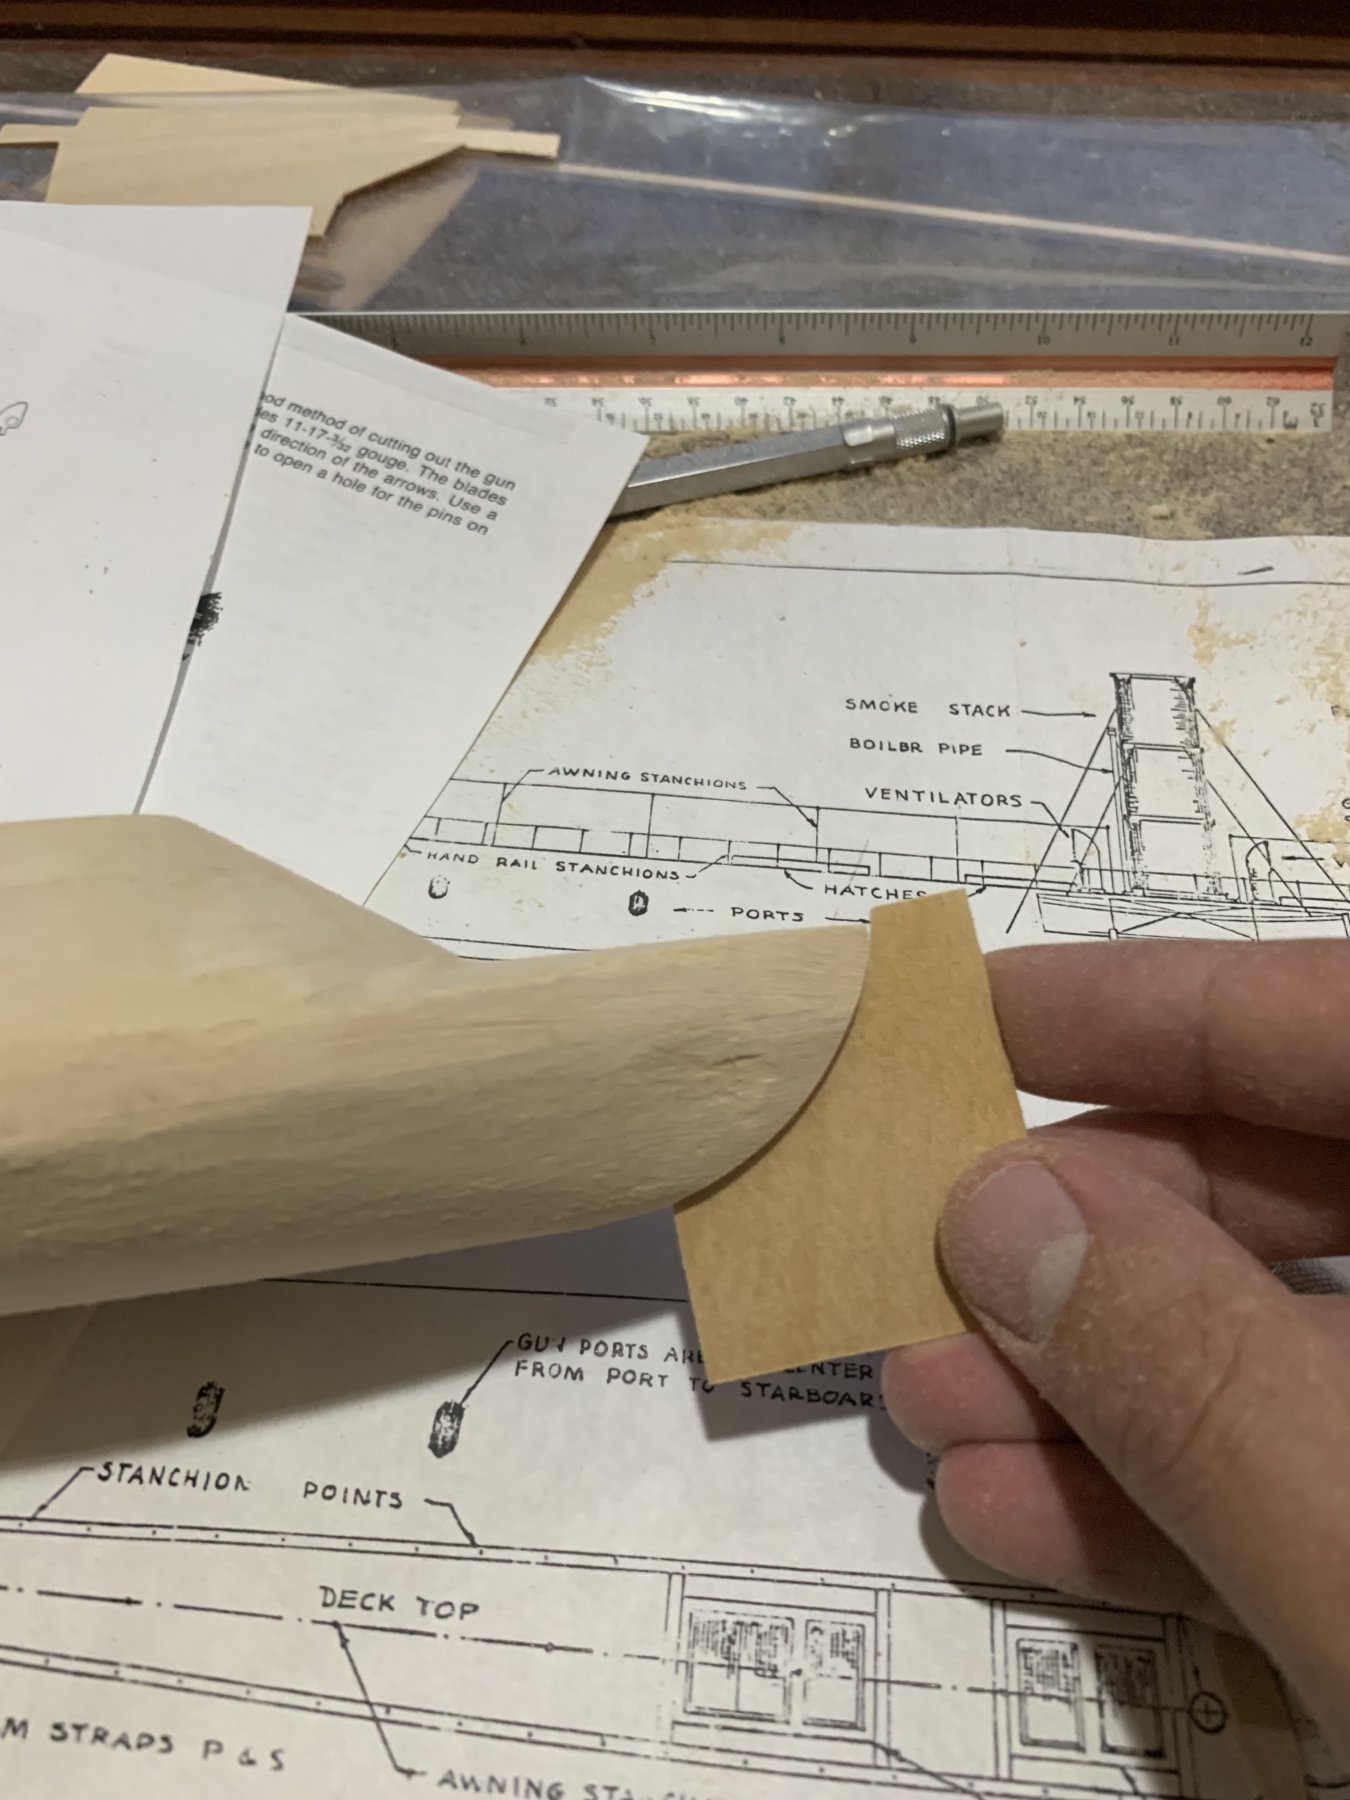
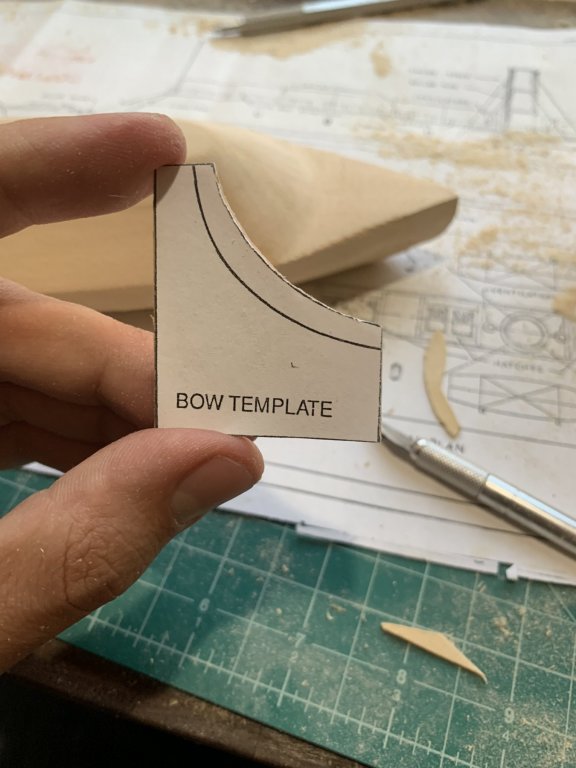
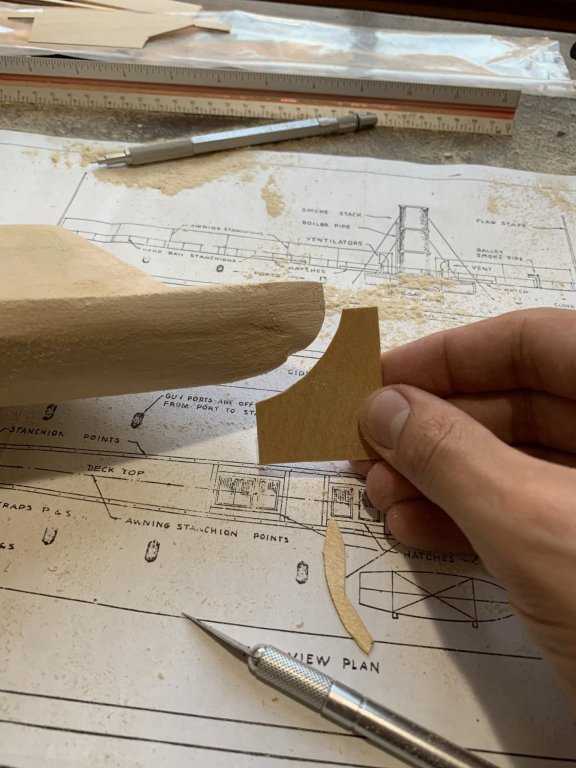
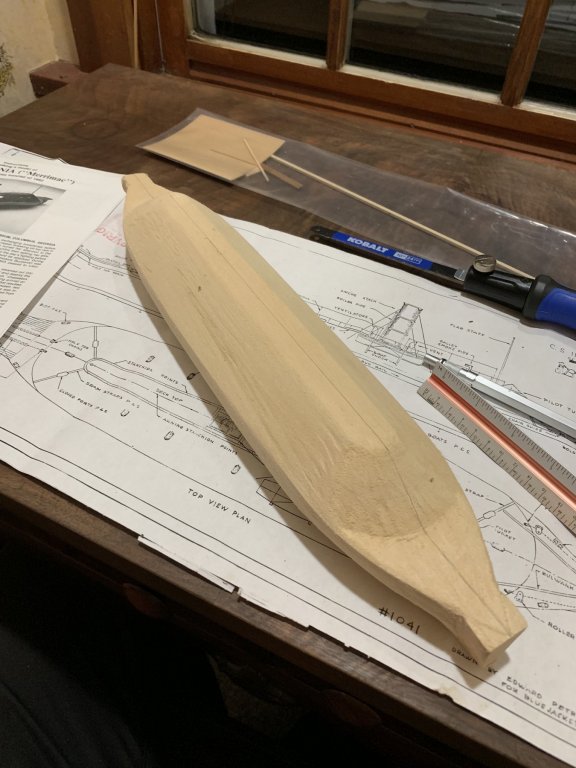
Been referencing @MrBlueJacket's build log of the Virginia and it has been extremely helpful. Made a little bit of progress this evening on shaping the bow of hull. Photocopied a couple sets of the plans to make the patterns out of the supplied wood. Cut out the bow template. My initial shaping of the hull was way off so a bit of re-work was required. After a bit of sanding it started to look pretty good! I am still fairly inexperienced at this hobby but encouraged by my progress so far.

- 43 replies
-
- 3
-
-
- virginia
- BlueJacket Shipcrafters
- (and 1 more)
-
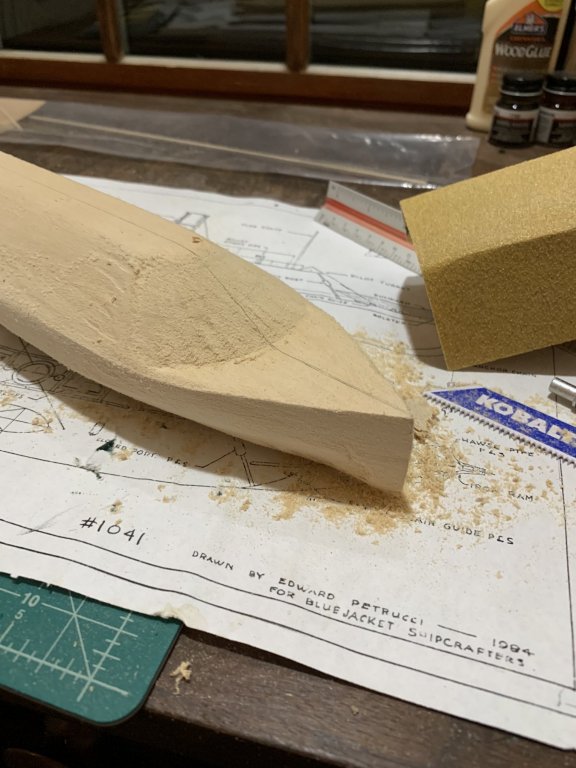
Made a little more progress this evening shaping the hull. Filled some small pit marks with spackle and continue to take special care to keep the sharp corners the plans mention. Specifically along where the casement meets the forward and aft decks. Obviously a long ways to go but making progress!
- 43 replies
-
- 5
-
-
- virginia
- BlueJacket Shipcrafters
- (and 1 more)
-
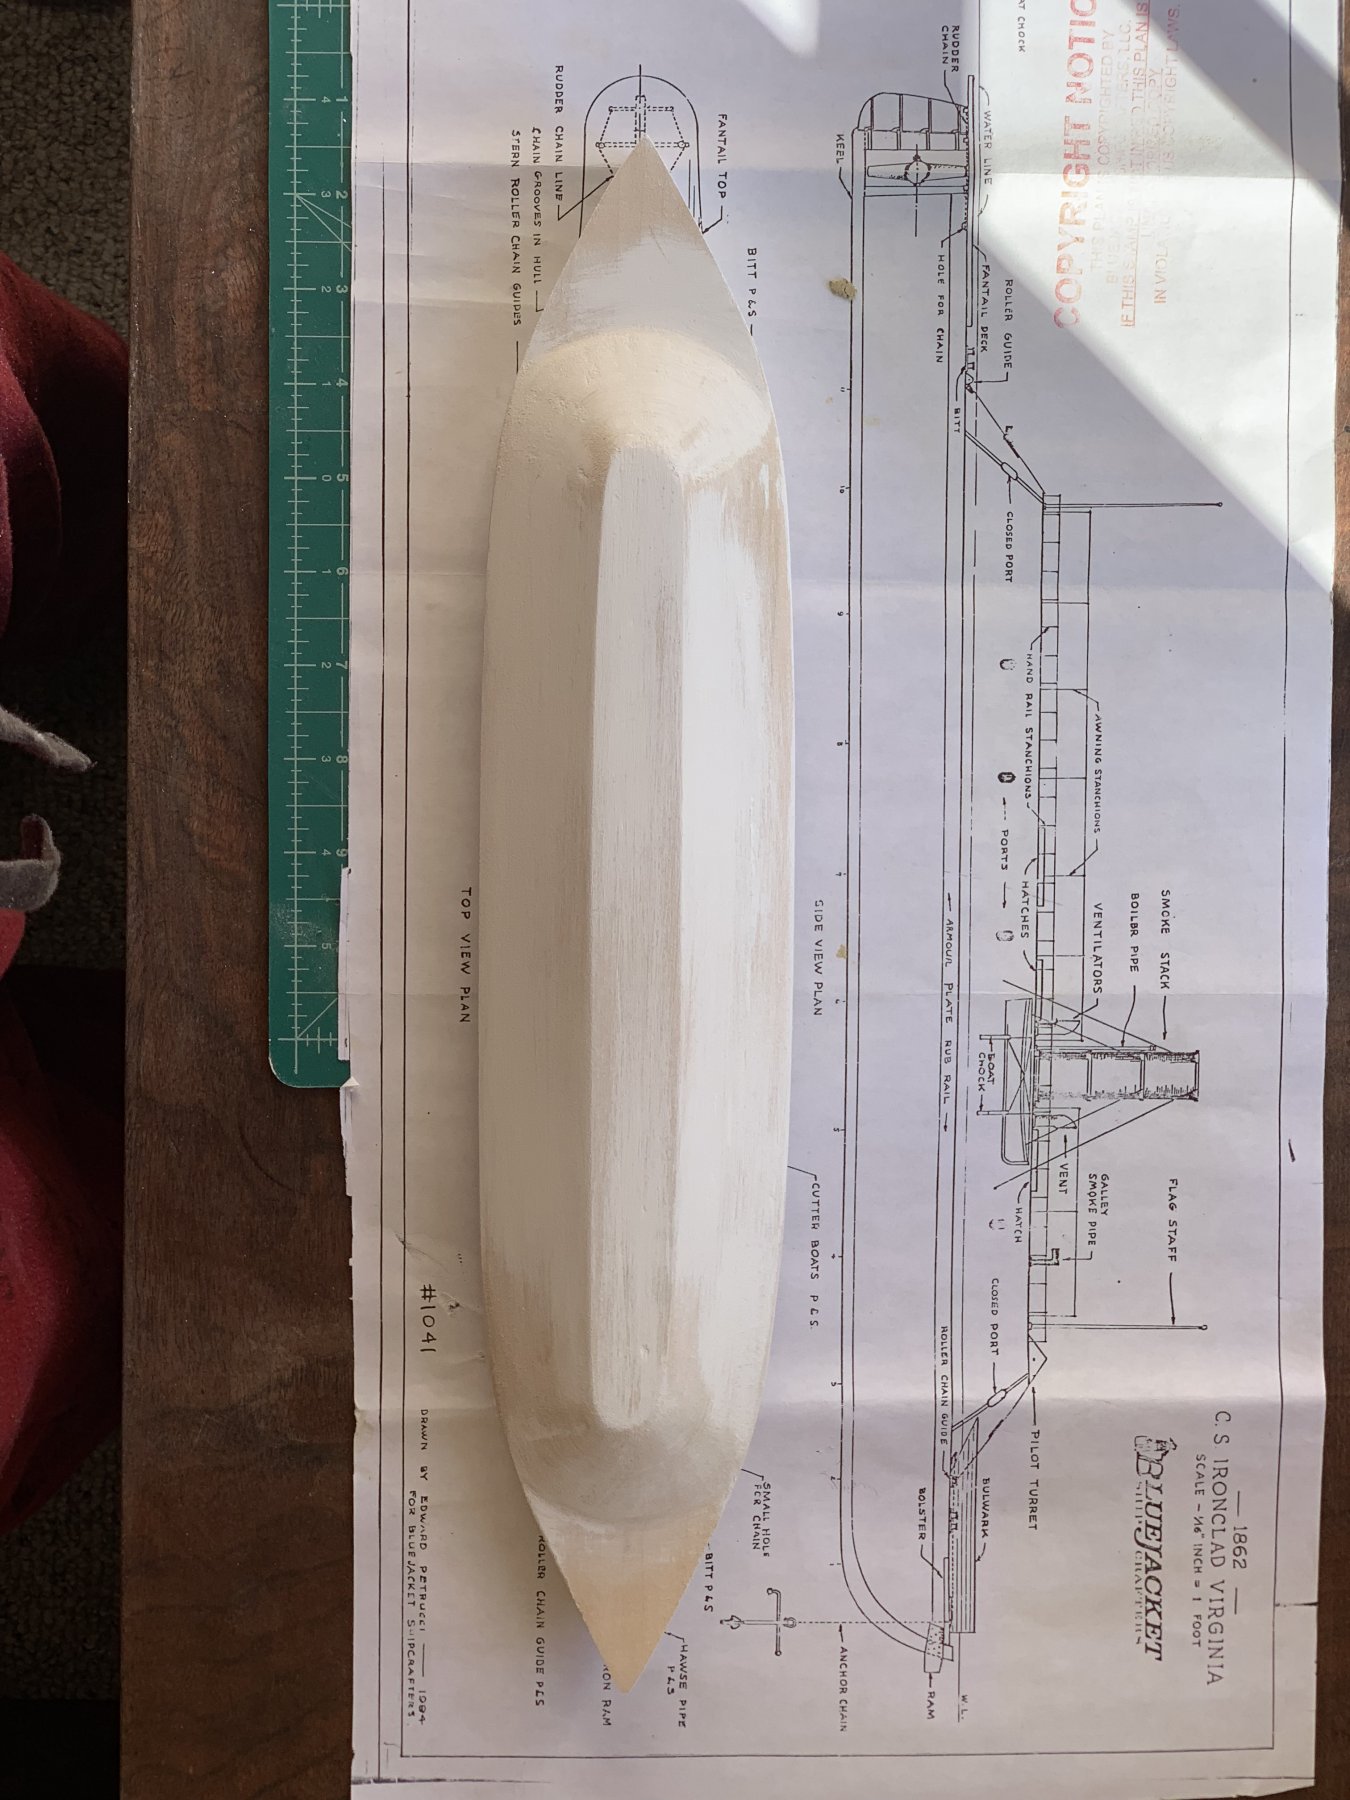
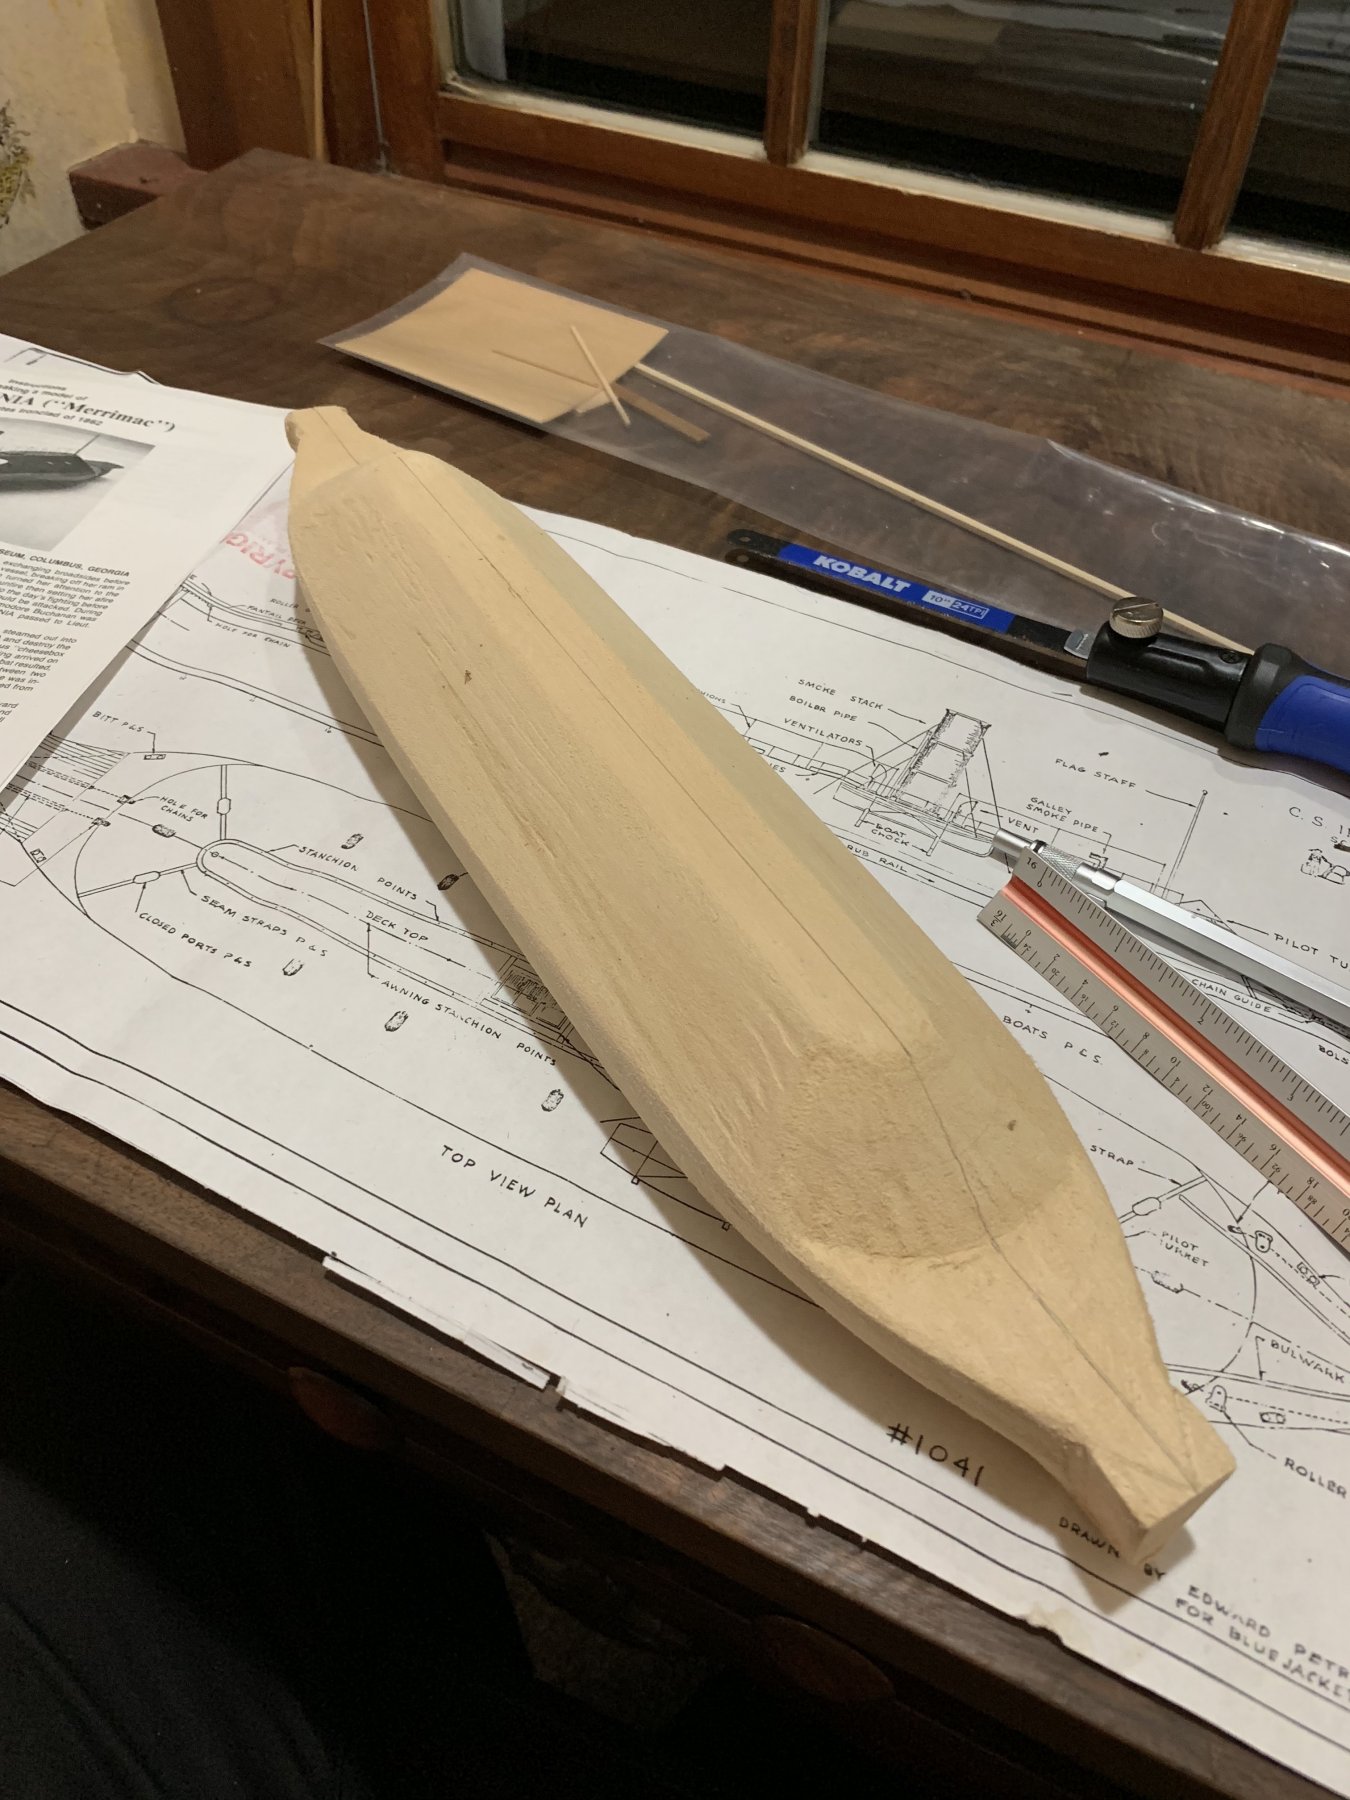
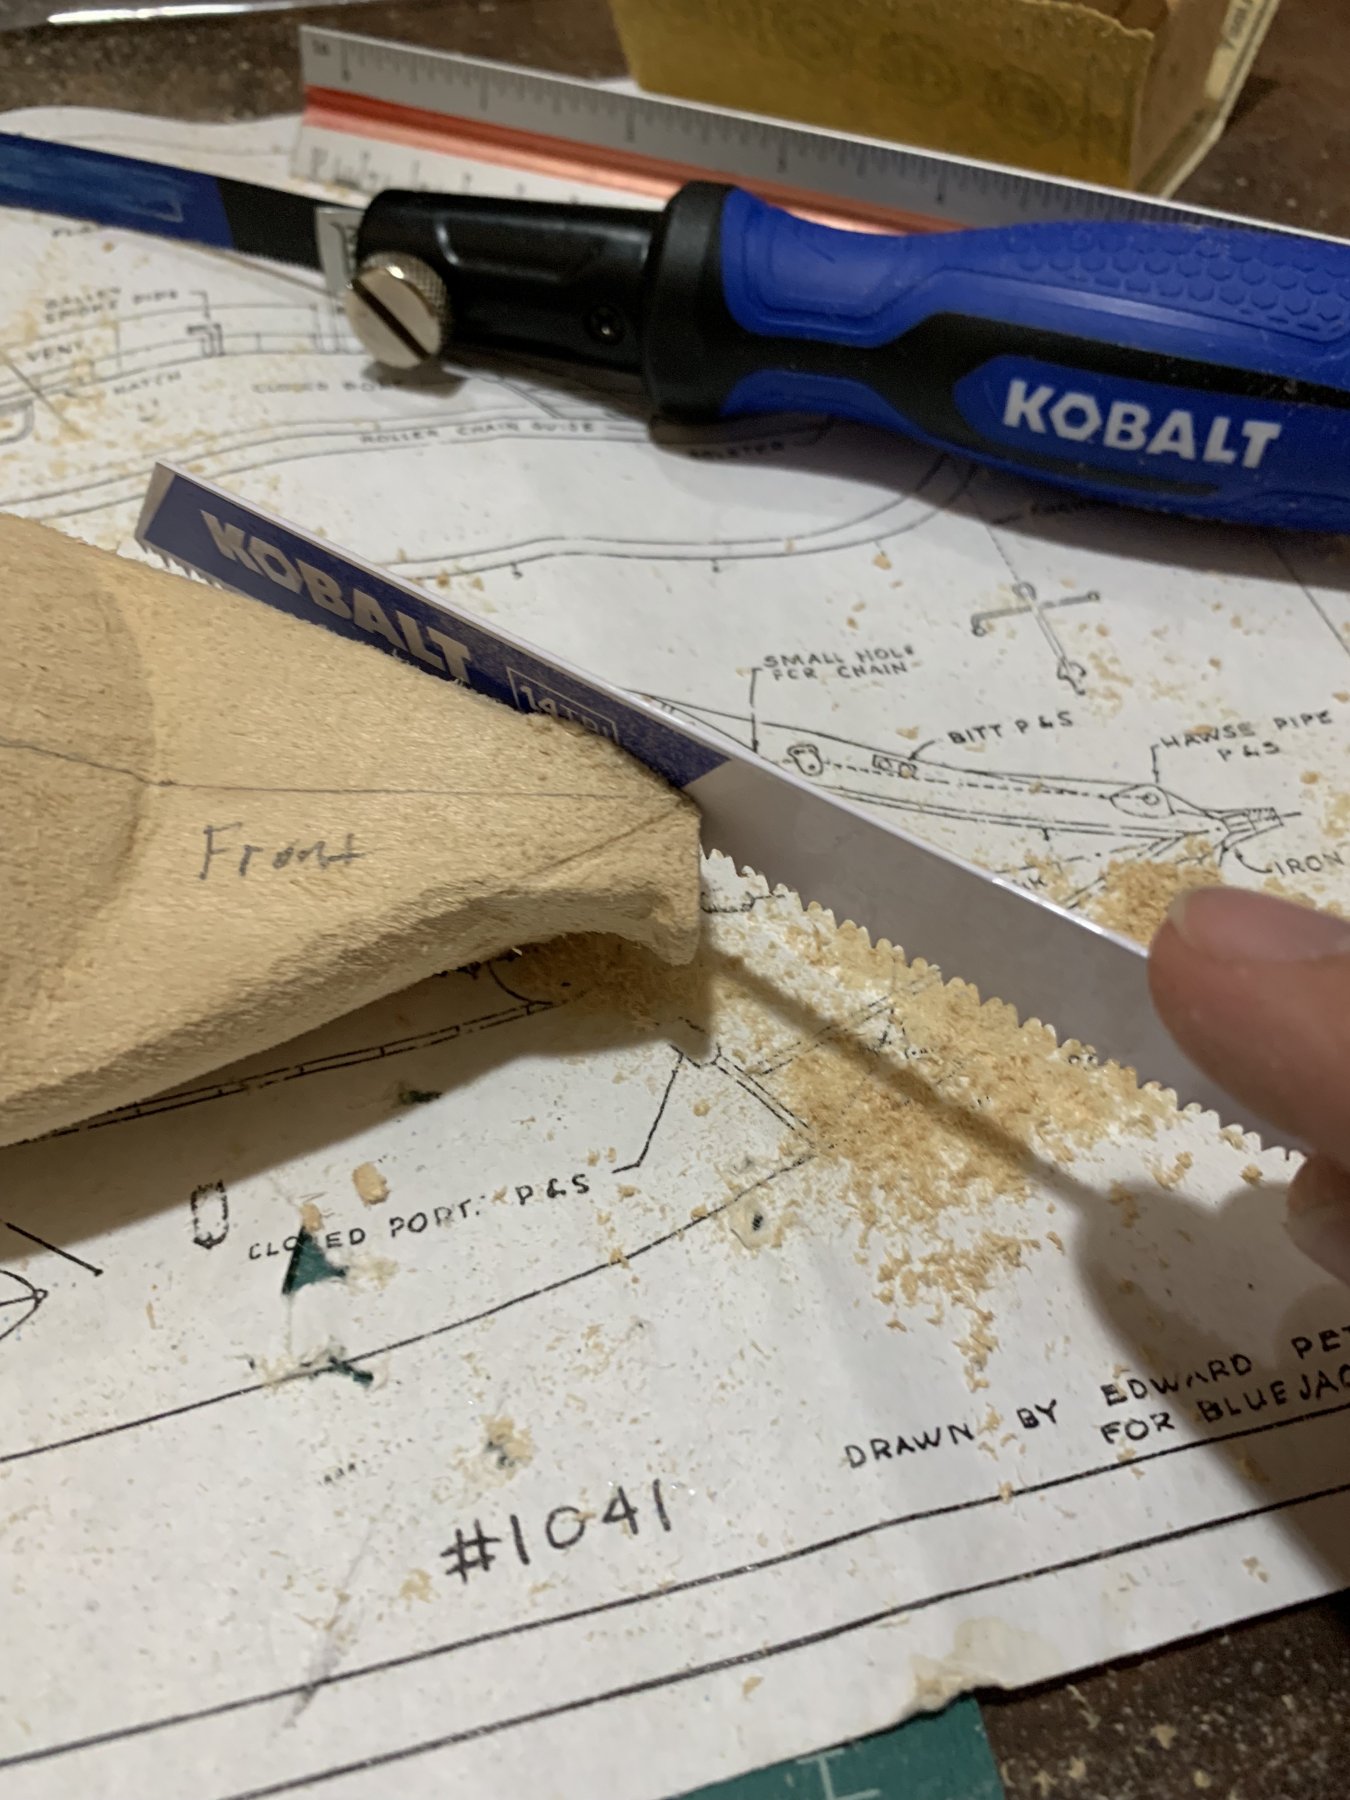
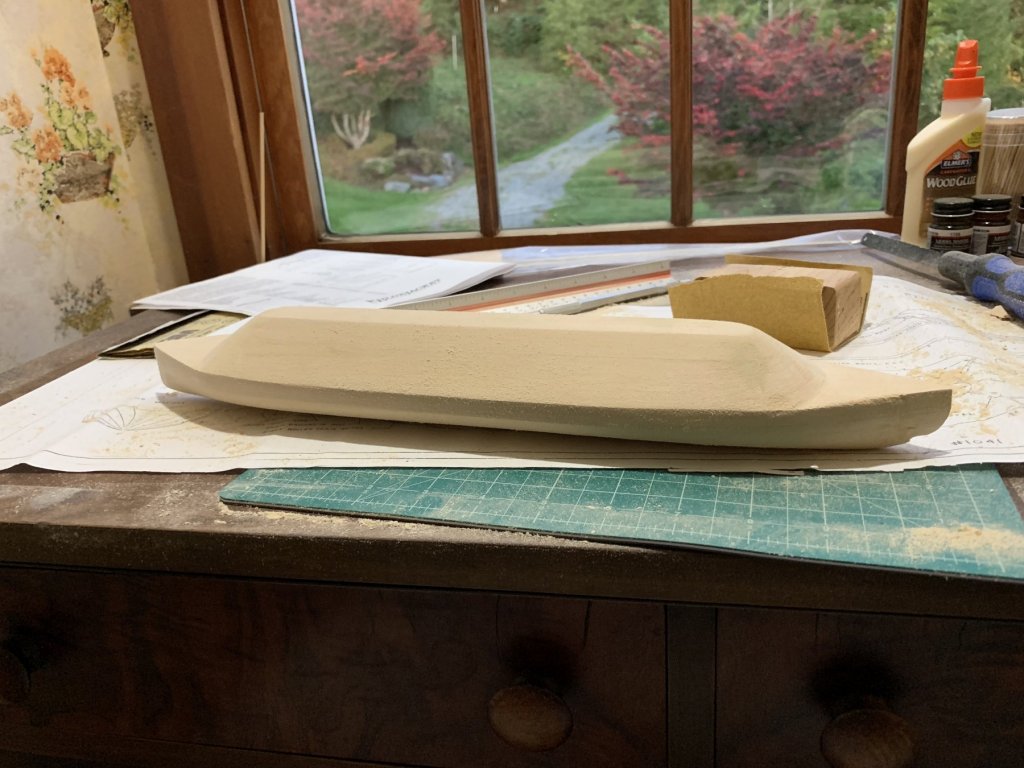
Finally getting back to this after a busy summer. Started off by drawing a center line as the instructions recommend. Next cut down the extra wood on the back as well as the front. Took the majority of the excess off with a small saw and then cleaned up with a wooden block and 80 grit sandpaper. Not sure if this is the best method so I welcome any feedback people have. Glad to be back at it making progress!

- 43 replies
-
- 4
-
-
- virginia
- BlueJacket Shipcrafters
- (and 1 more)
-
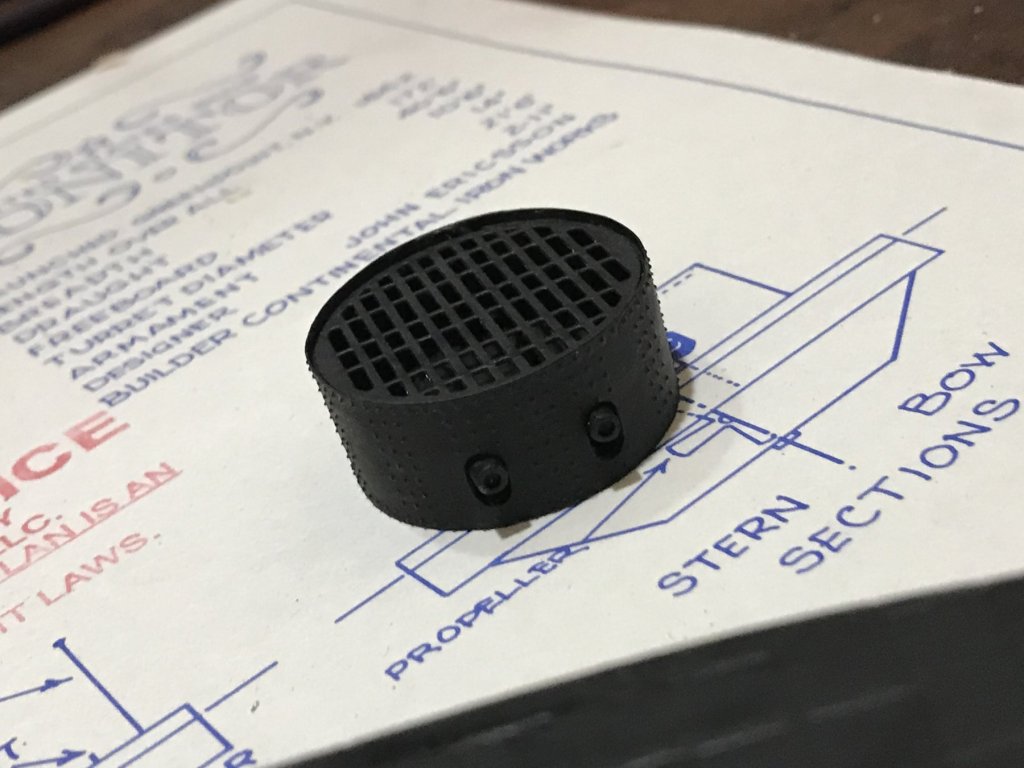
@MrBlueJacket this looks phenomenal! Having finished the USS Monitor I have started a build log of the CSS Virginia. One question though, what did you do to make the grates on the top of the ship? I'll likely be using your build log as a reference.
-
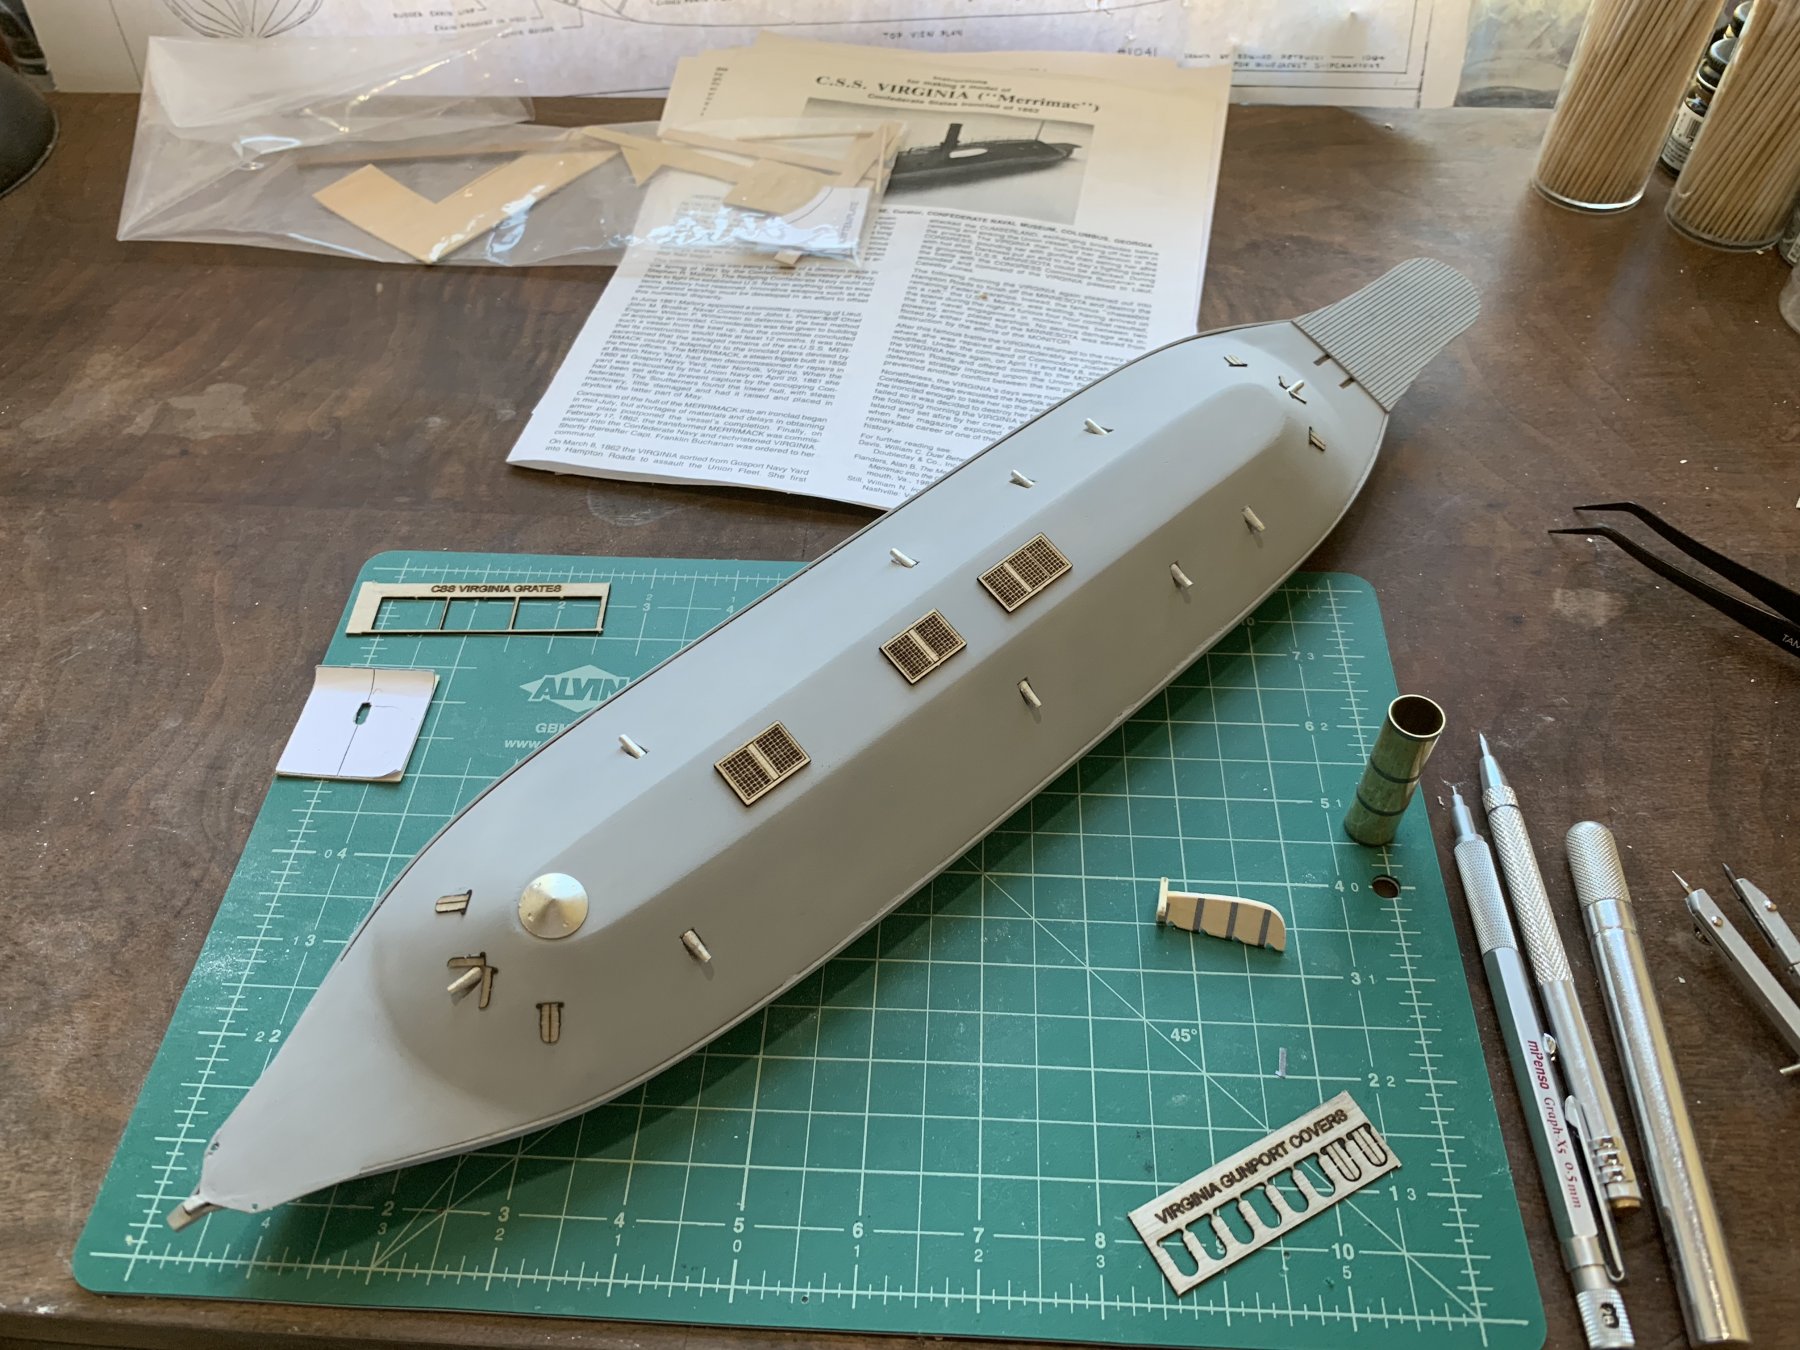
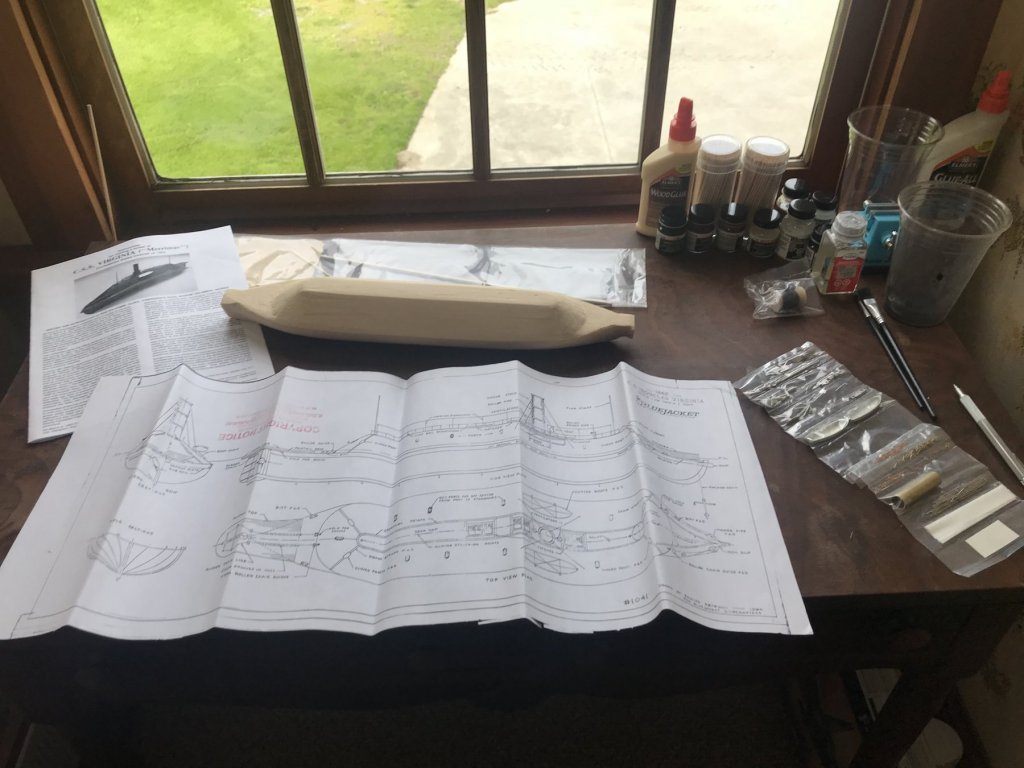
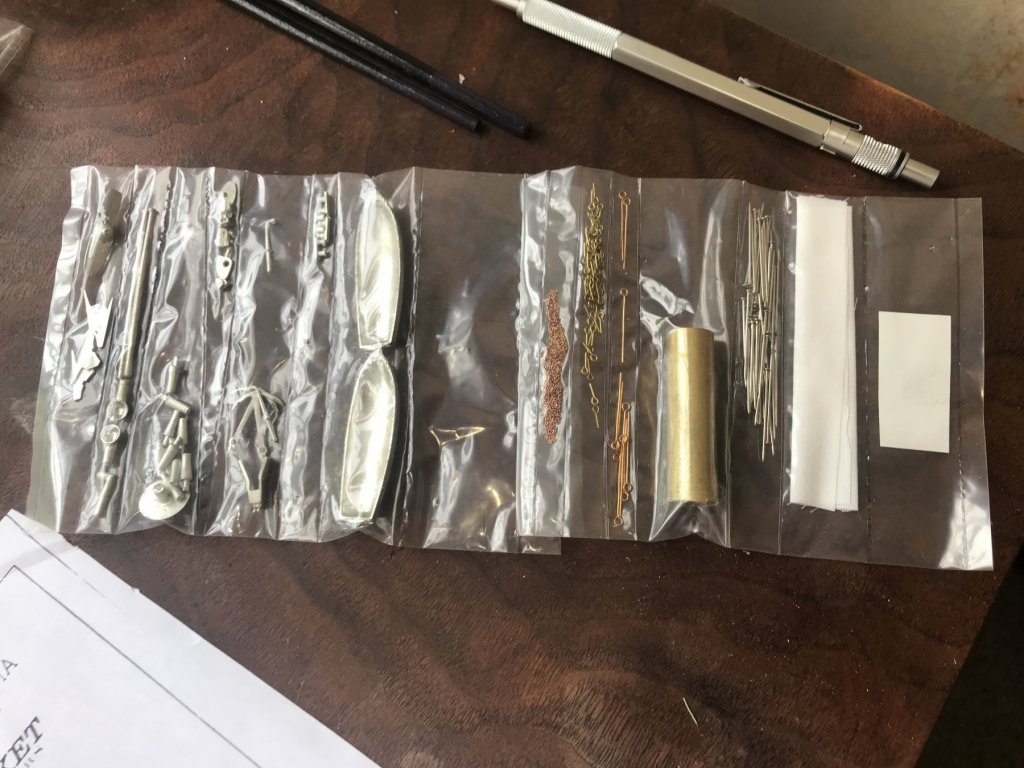
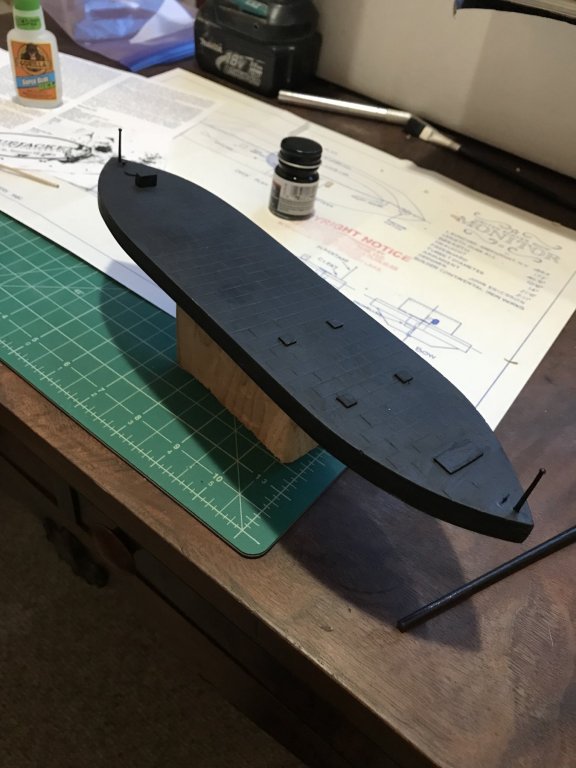
Hi All, After having been away from the hobby for a while I purchased the combined USS Monitor and CSS Virginia kits from Bluejacket. I completed the USS Monitor and a build log if it can be seen here: Now moving on to the CSS Virginia. It is a noticeably more complex kit than the Monitor but of equally high quality. The hull is well formed and the various metal pieces come in a nice segregated and sealed bag. The plans are also well drawn and quite descriptive. Thanks to @MrBlueJacket and company for again making a great kit. Looking forward to getting into the thick of building it. The kit contains a number of individual metal pieces all nicely packaged. I couldn't resist setting the completed USS Monitor next to the bare hull of the CSS Virginia for scale.
- 43 replies
-
- 8
-
-
- virginia
- BlueJacket Shipcrafters
- (and 1 more)
-
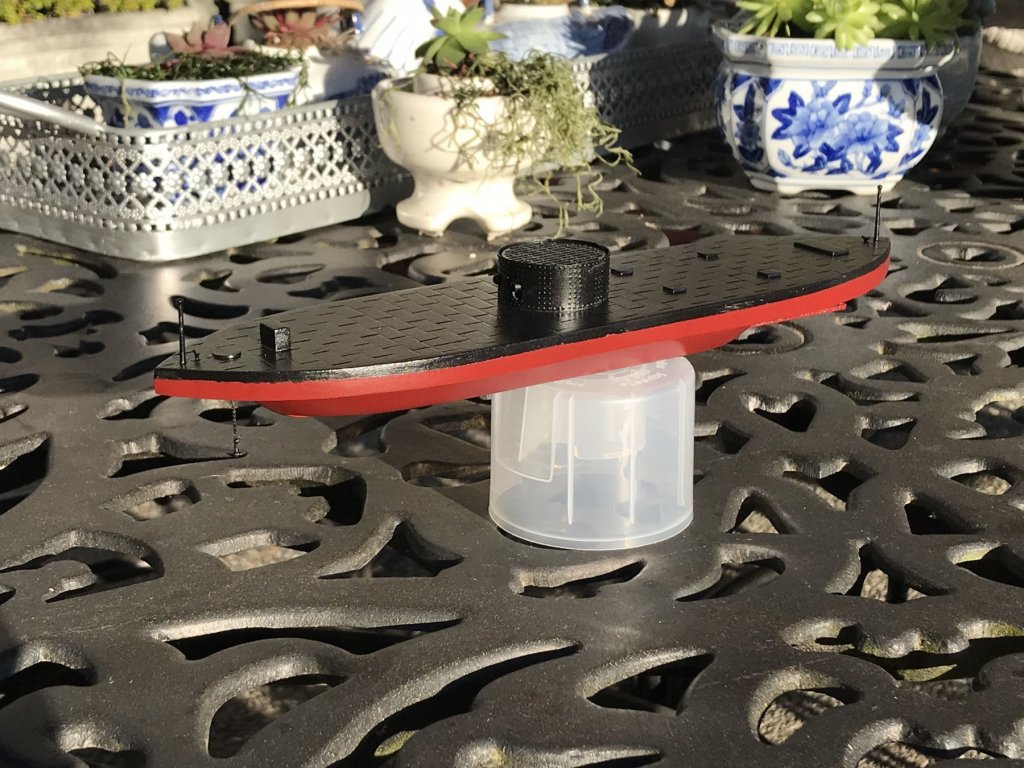
Nice enough weather tonight to take her outside and capture some completed shots. So happy with the result! I am finally calling her finished. Excited to get started on the CSS Virginia next. Would highly recommend this kit to anyone looking for a fun build.
-
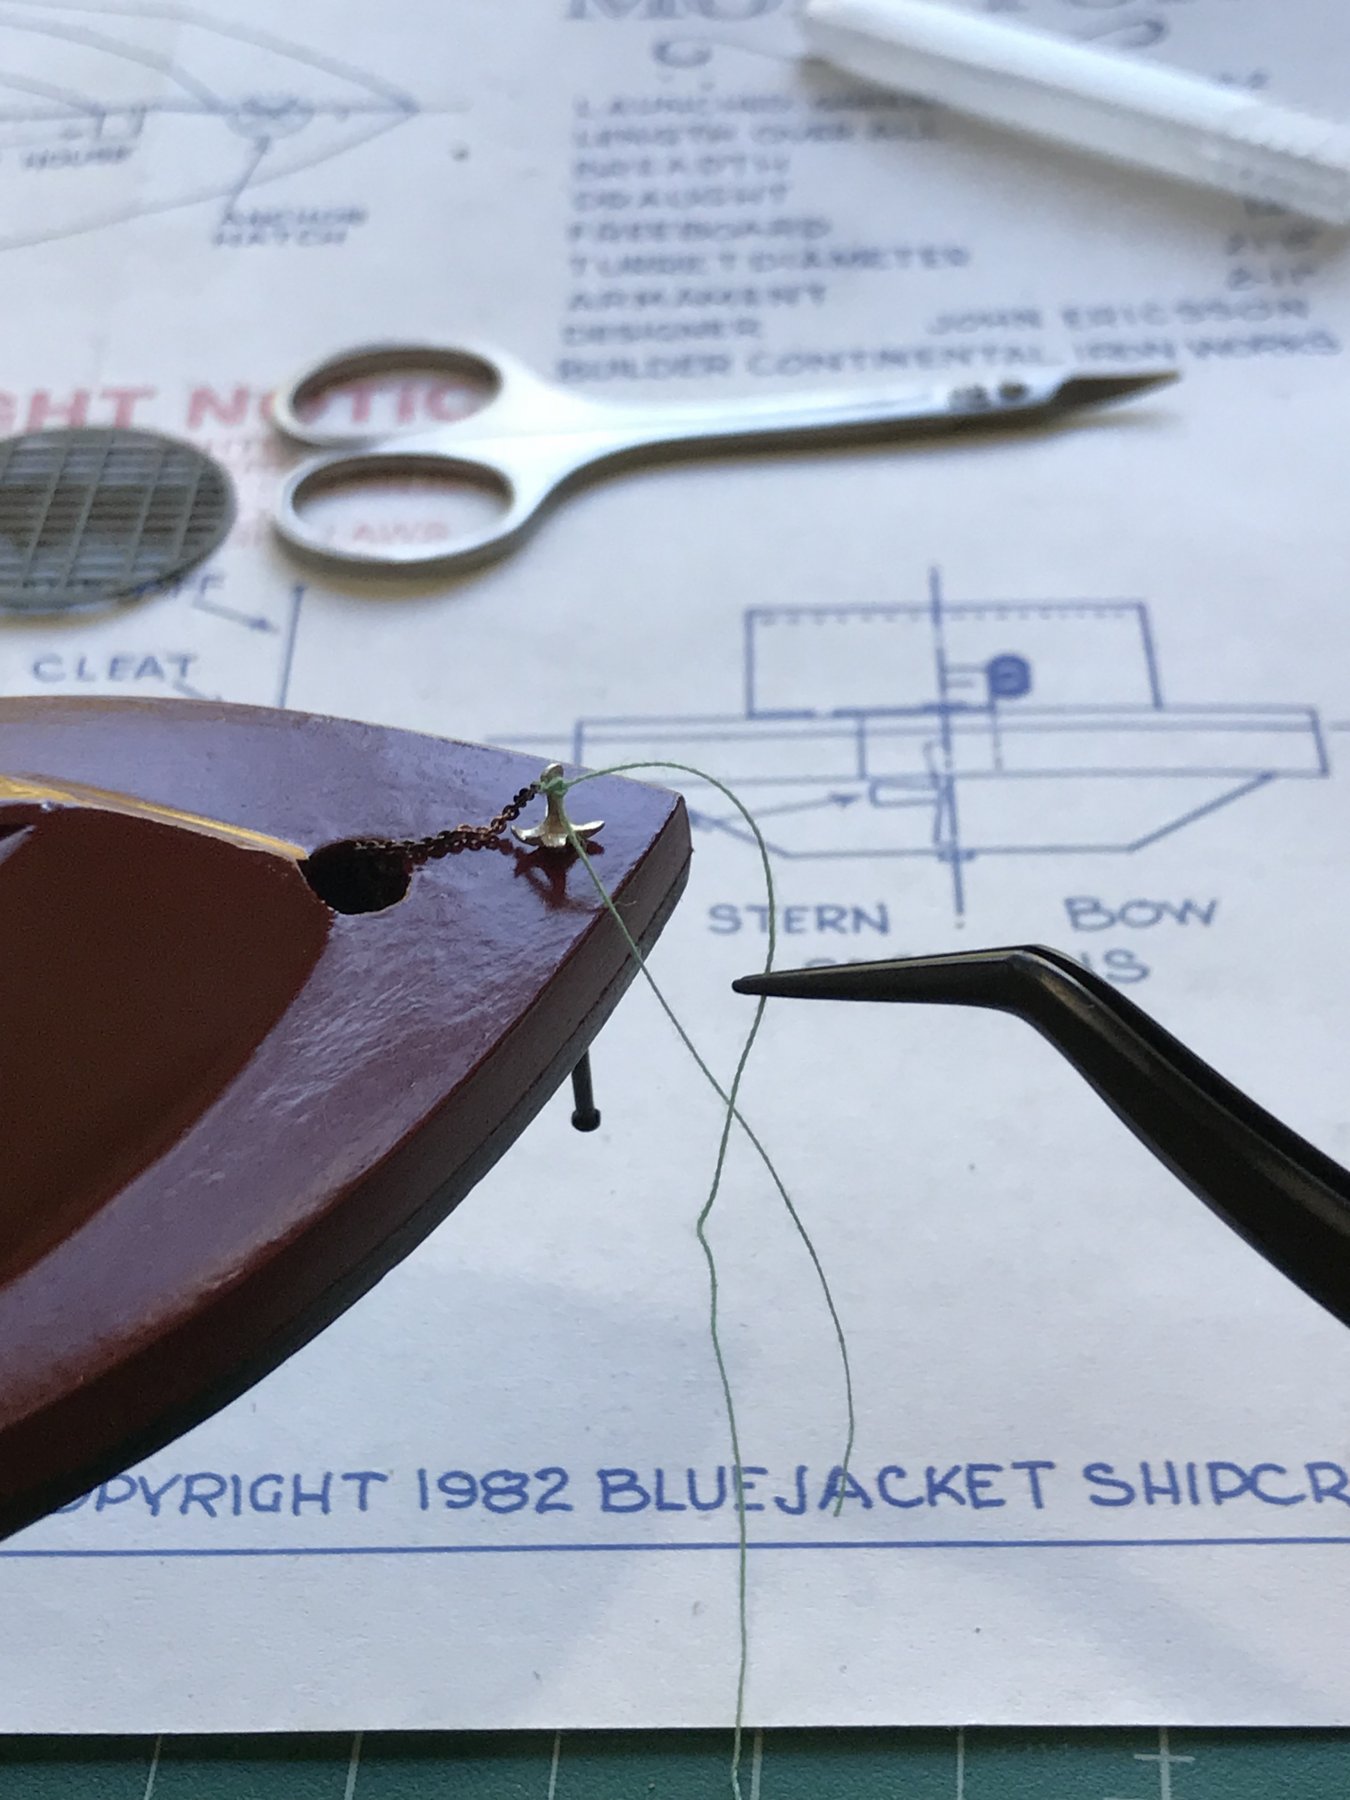
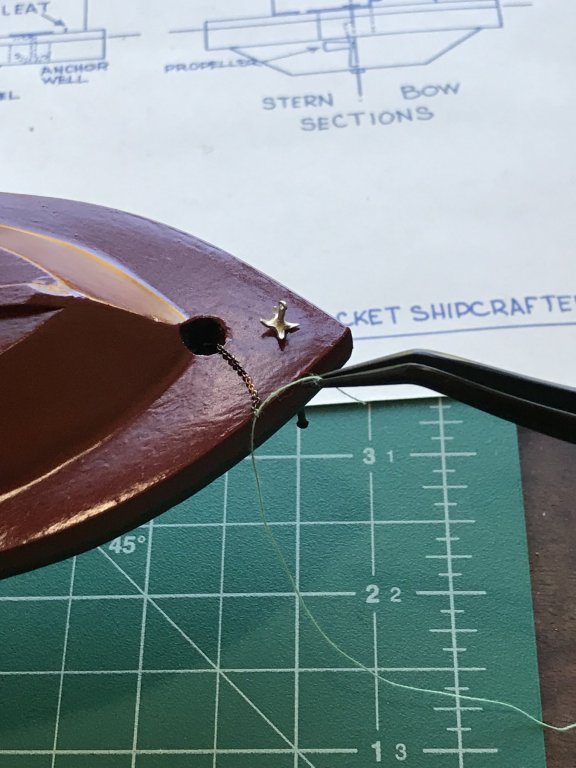
So I realized I had forgotten to attach the anchor to its chain when I had posted before. Not too much work to get it connected though - quick bit of thread work.

-
Sorry for not posting in a while, haven't had time Made a ton of progress on the Monitor this weekend and am basically calling her done! Few little things like the flags but mostly done. Took some marginal photos but should be able to take some better ones outside this week maybe. Anyways, I am extremely happy with how the model turned out, especially as my first foray back into the hobby in years. Special thanks to @MrBlueJacket and company for making such a fine little model. Next up are some quality finished photos and then the CSS Virginia!

-
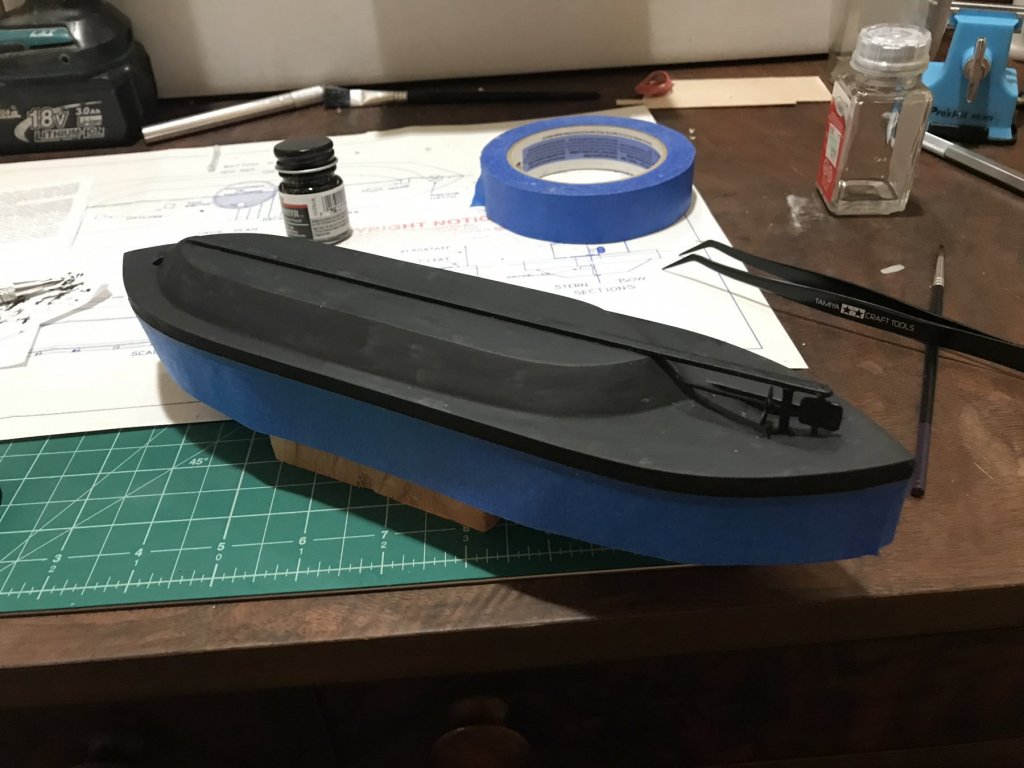
Only had like 10 minutes tonight but managed to mask the freeboard to get ready to paint below the waterline. Very happy with how it is turning out!
-
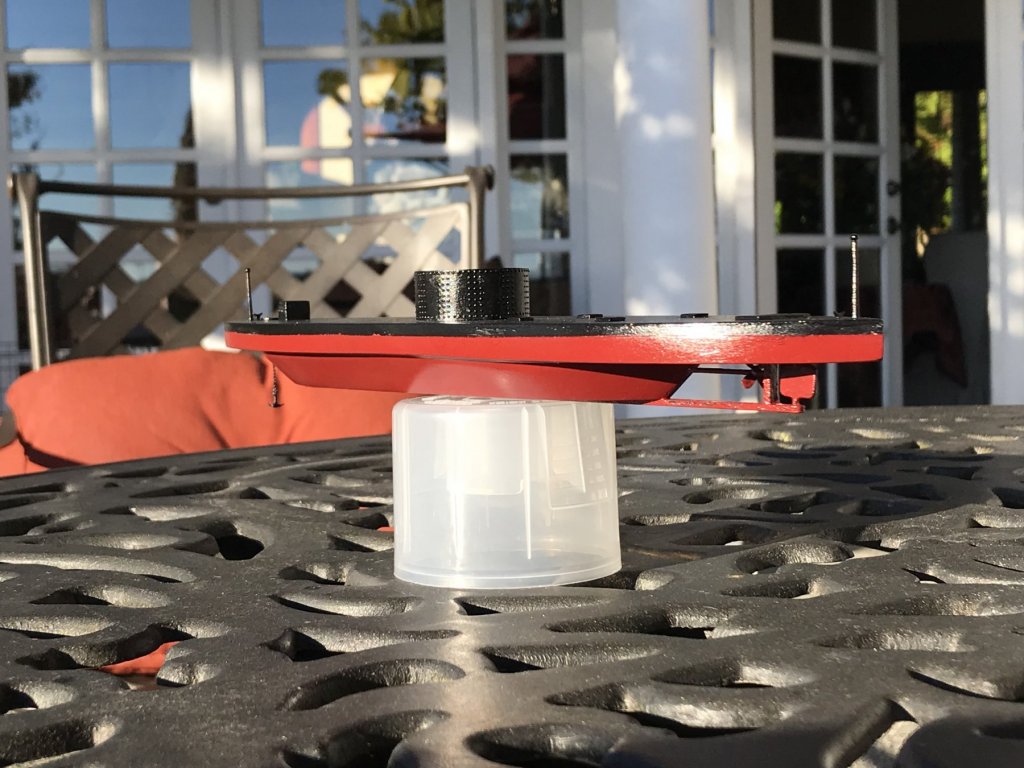
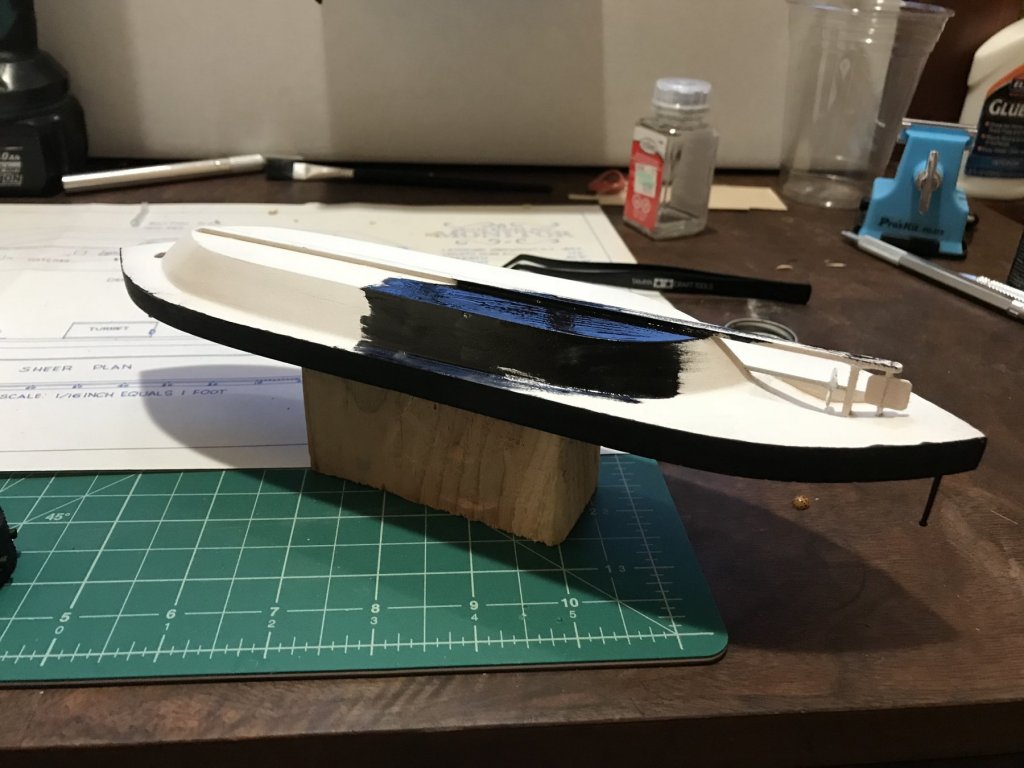
Ron, thanks! Just getting back to it. Painted the first coat of black under the waterline. Will paint it a nice shade of red once the black dries. Super happy with how it is going so far!
-
Jim, thanks! Life has gotten in the way a bit but hopefully can make some more progress tonight or tomorrow after work.
-
Jim Rogers and Canute, thanks for the rivet resources! Spent a little time last night doing a little fine sanding on the paint. What do people think of adding a clear coat to the model? The paint kit included a clear coat but would it be overly glossy?
-
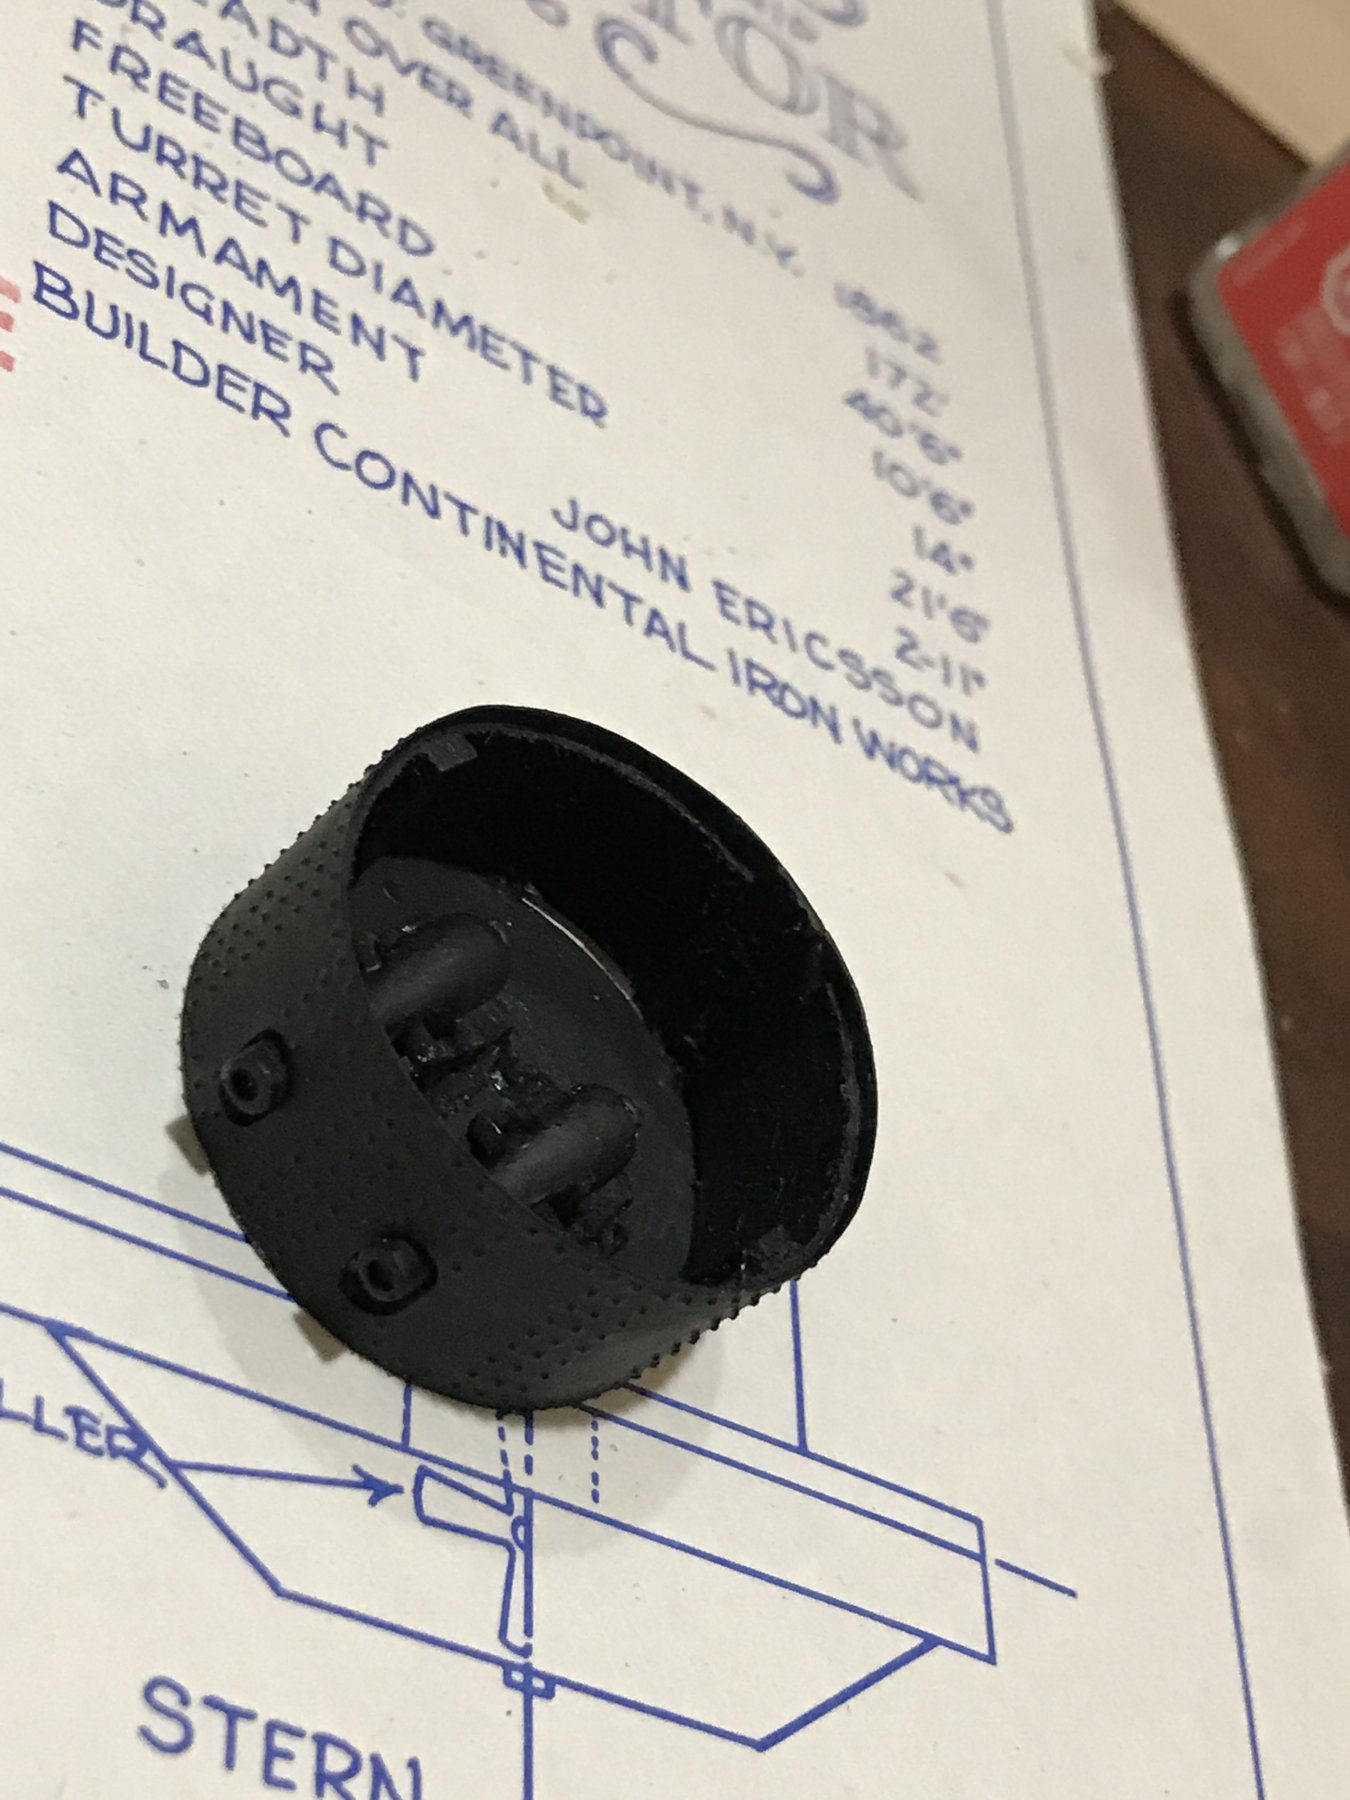
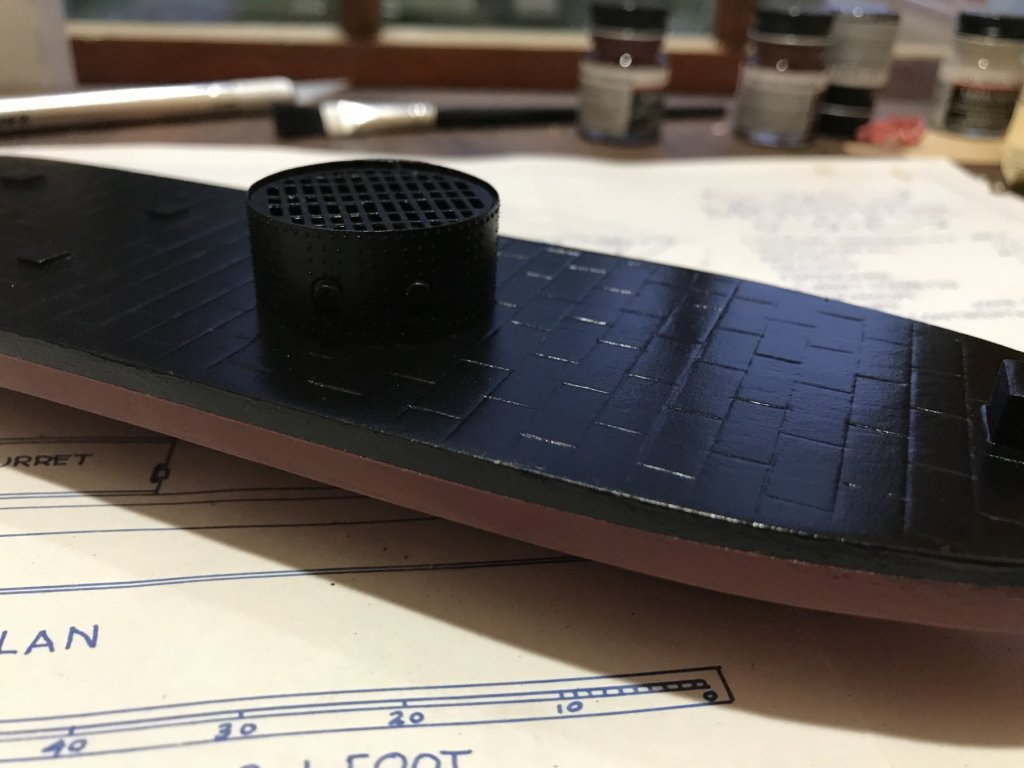
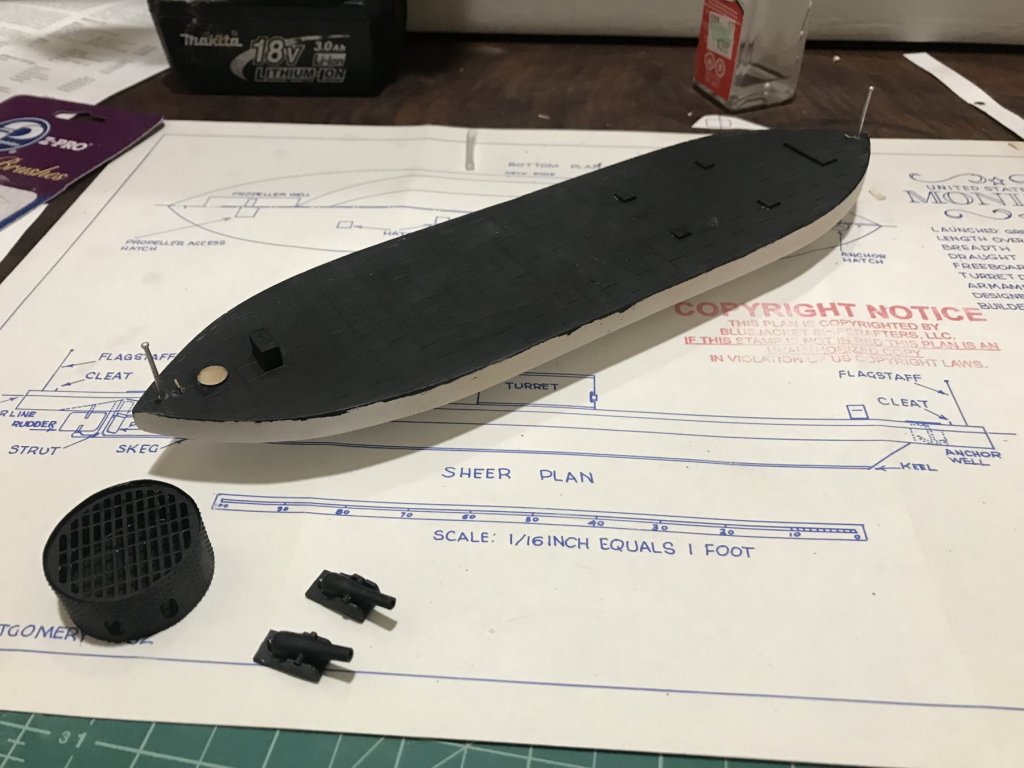
Thanks MrBlueJacket and Ragove for the kind words. As for the deck plates I just used a simple scribe as the instructions suggested - so a little less time consuming then the individually embossed rivets. Had just enough time tonight to add another coat of paint as well as mount the dahlgrens into the turret. Very happy with how the turret has turned out after painting Up next is seeing how the deck looks after the paint dries and any touchup required and then painting below the waterline.

-
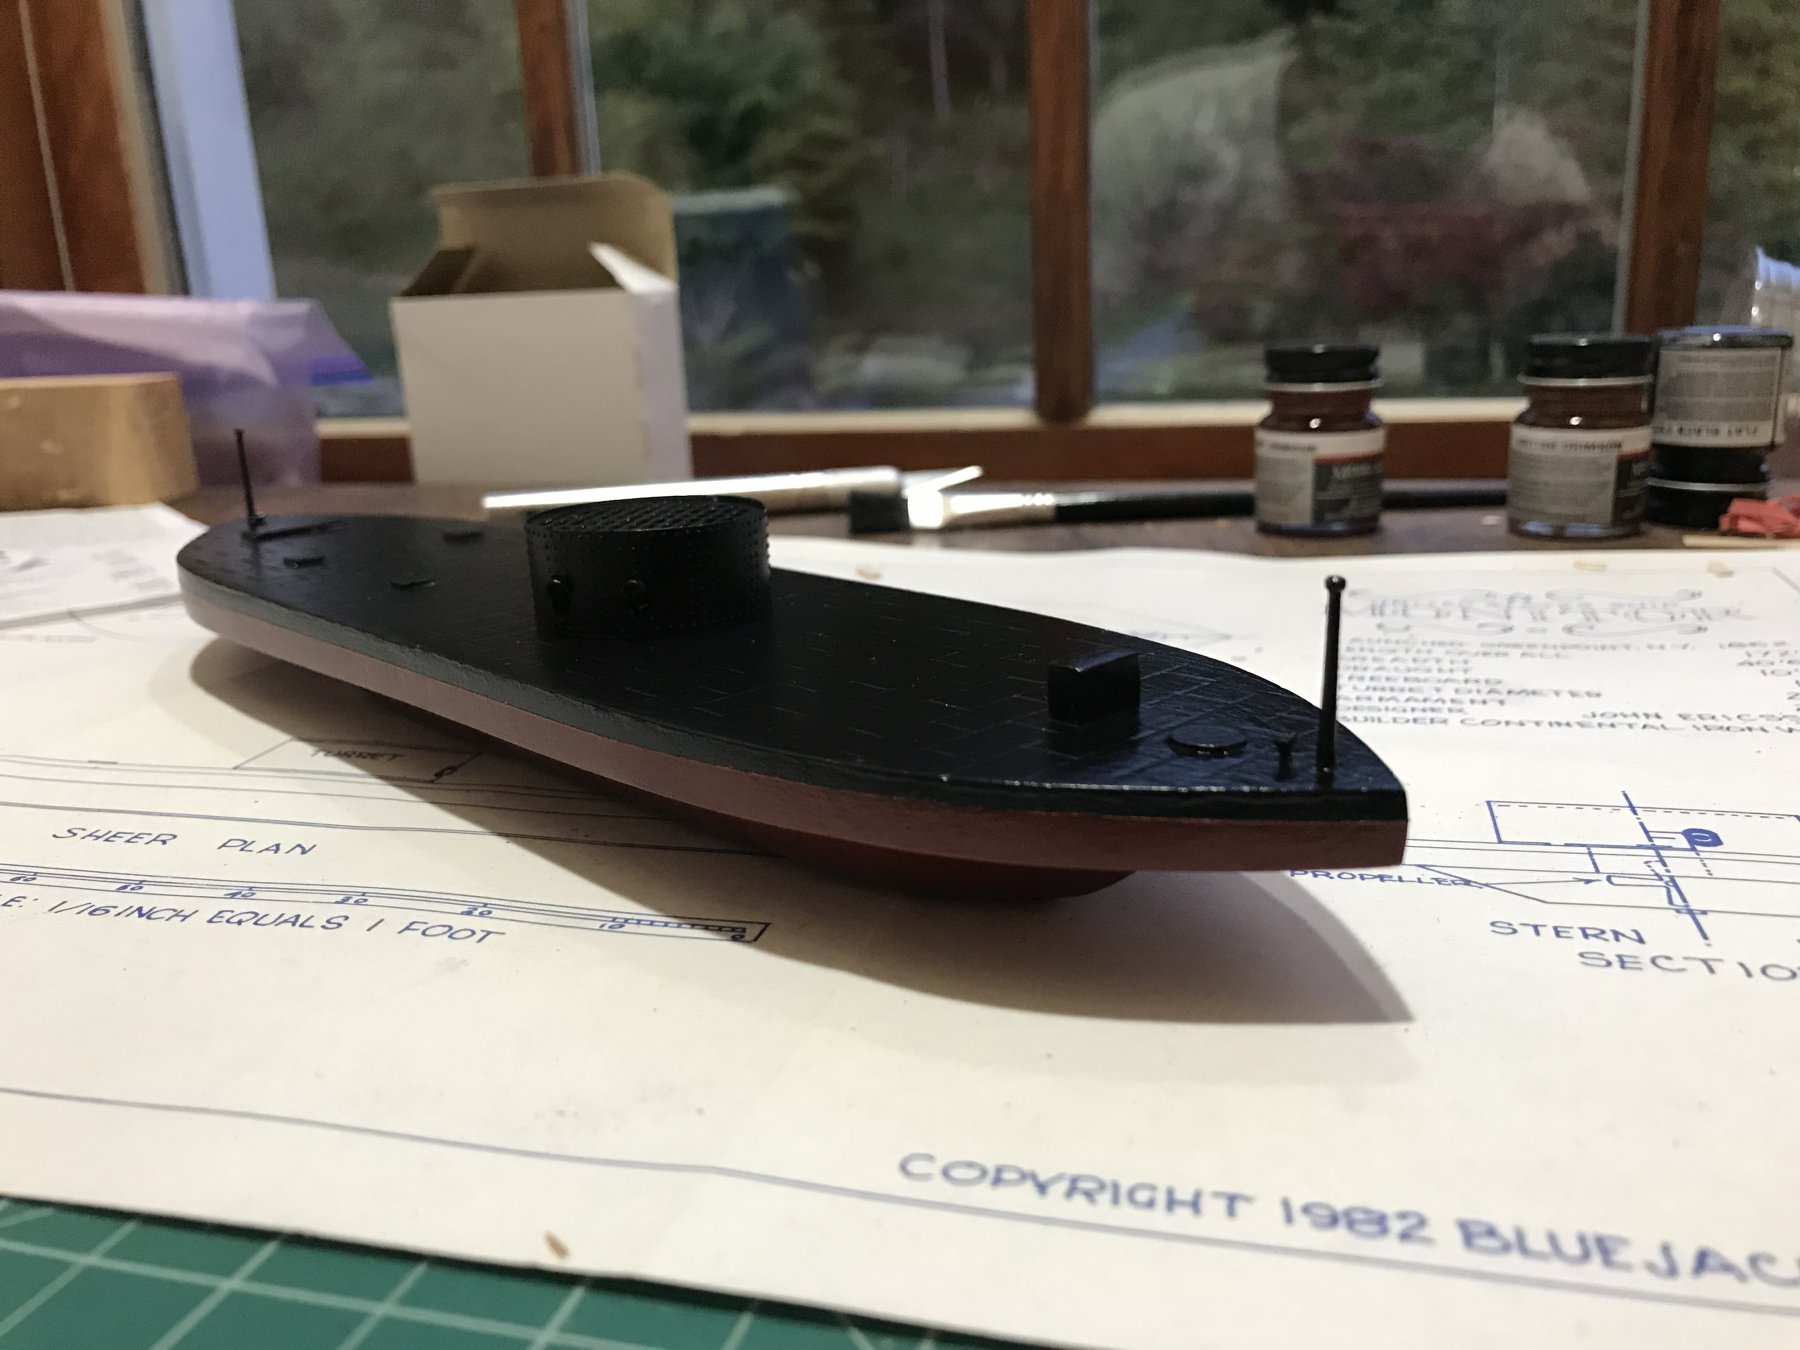
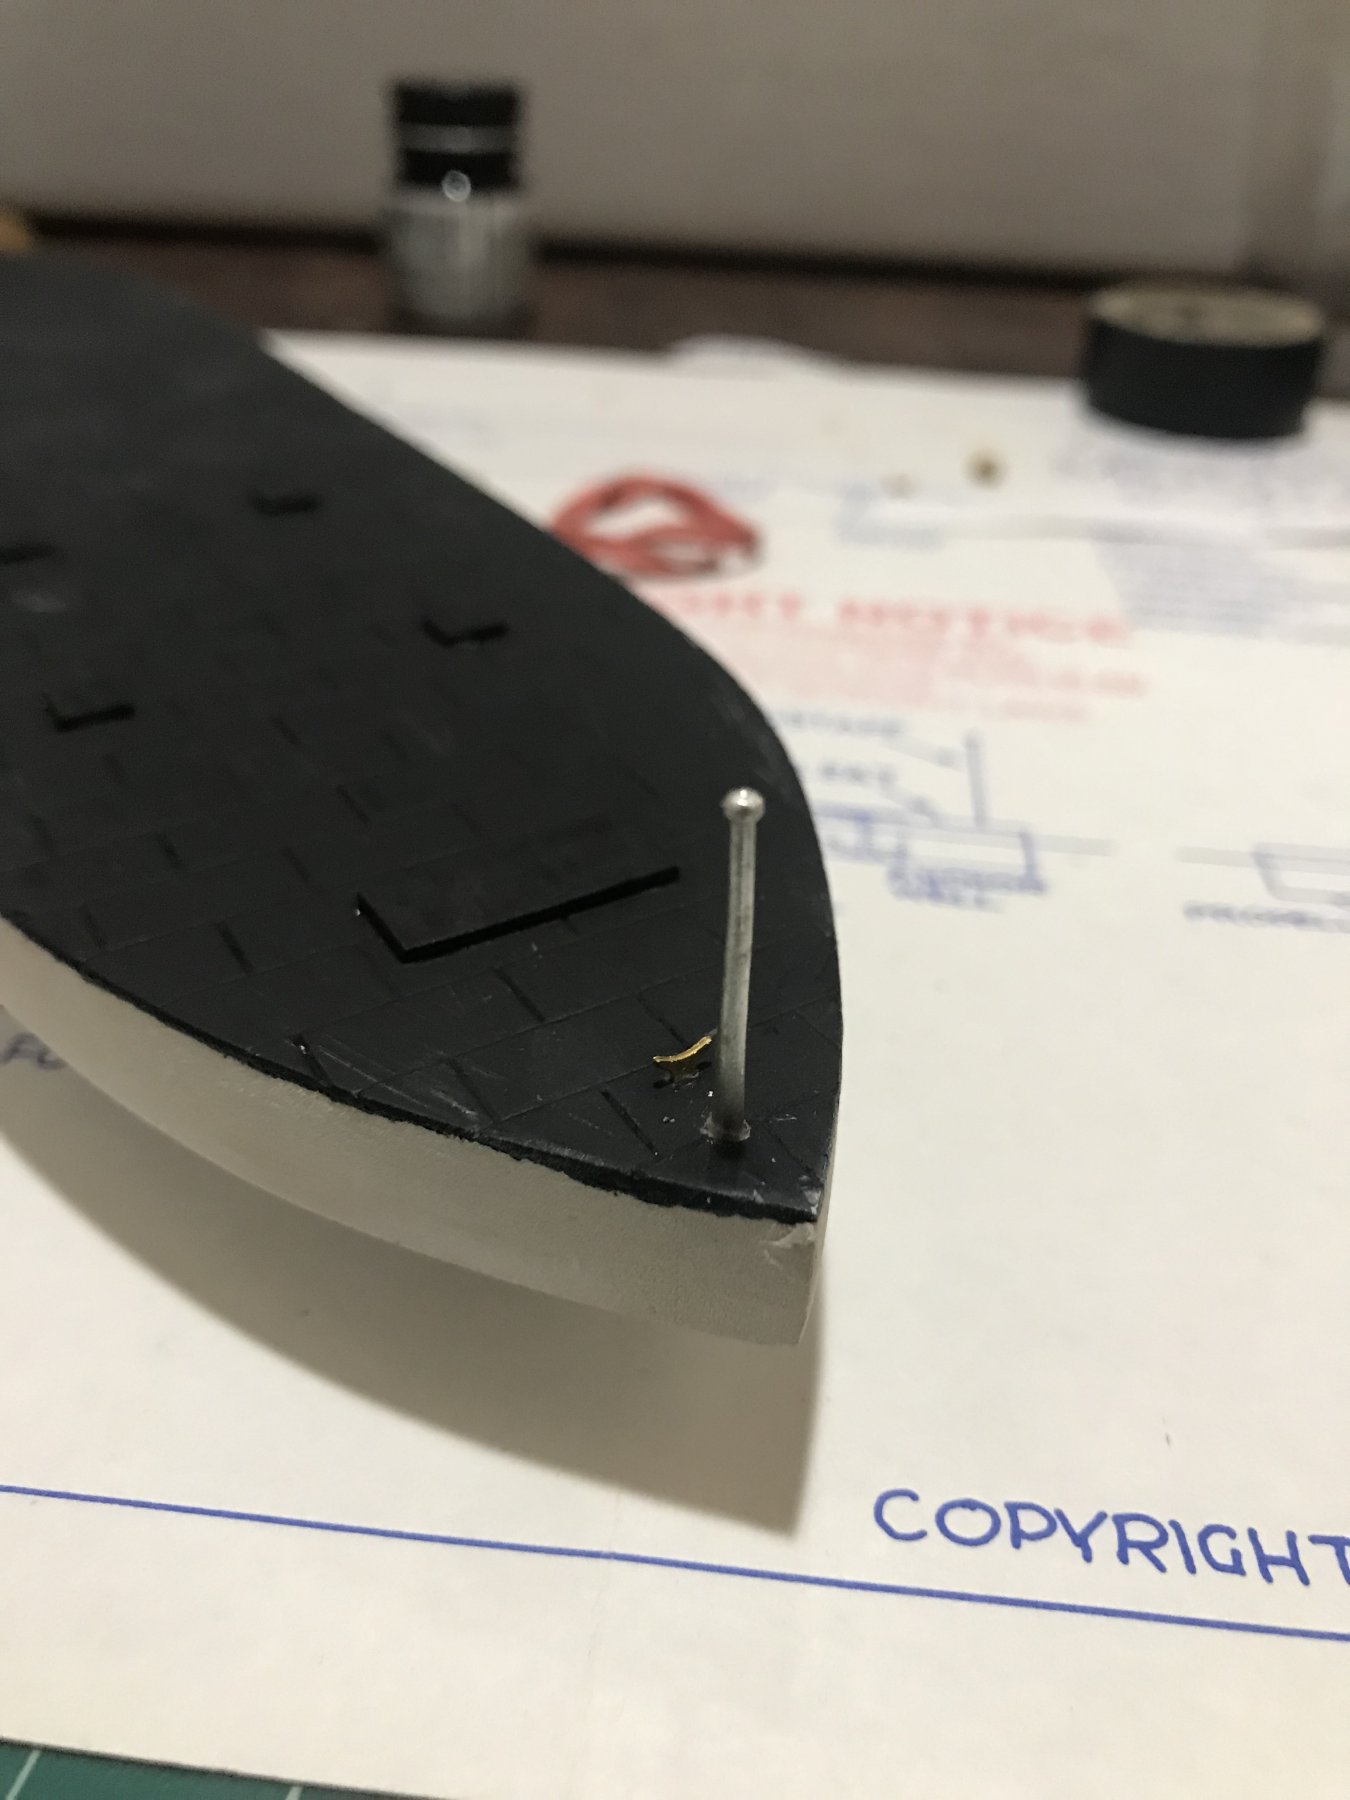
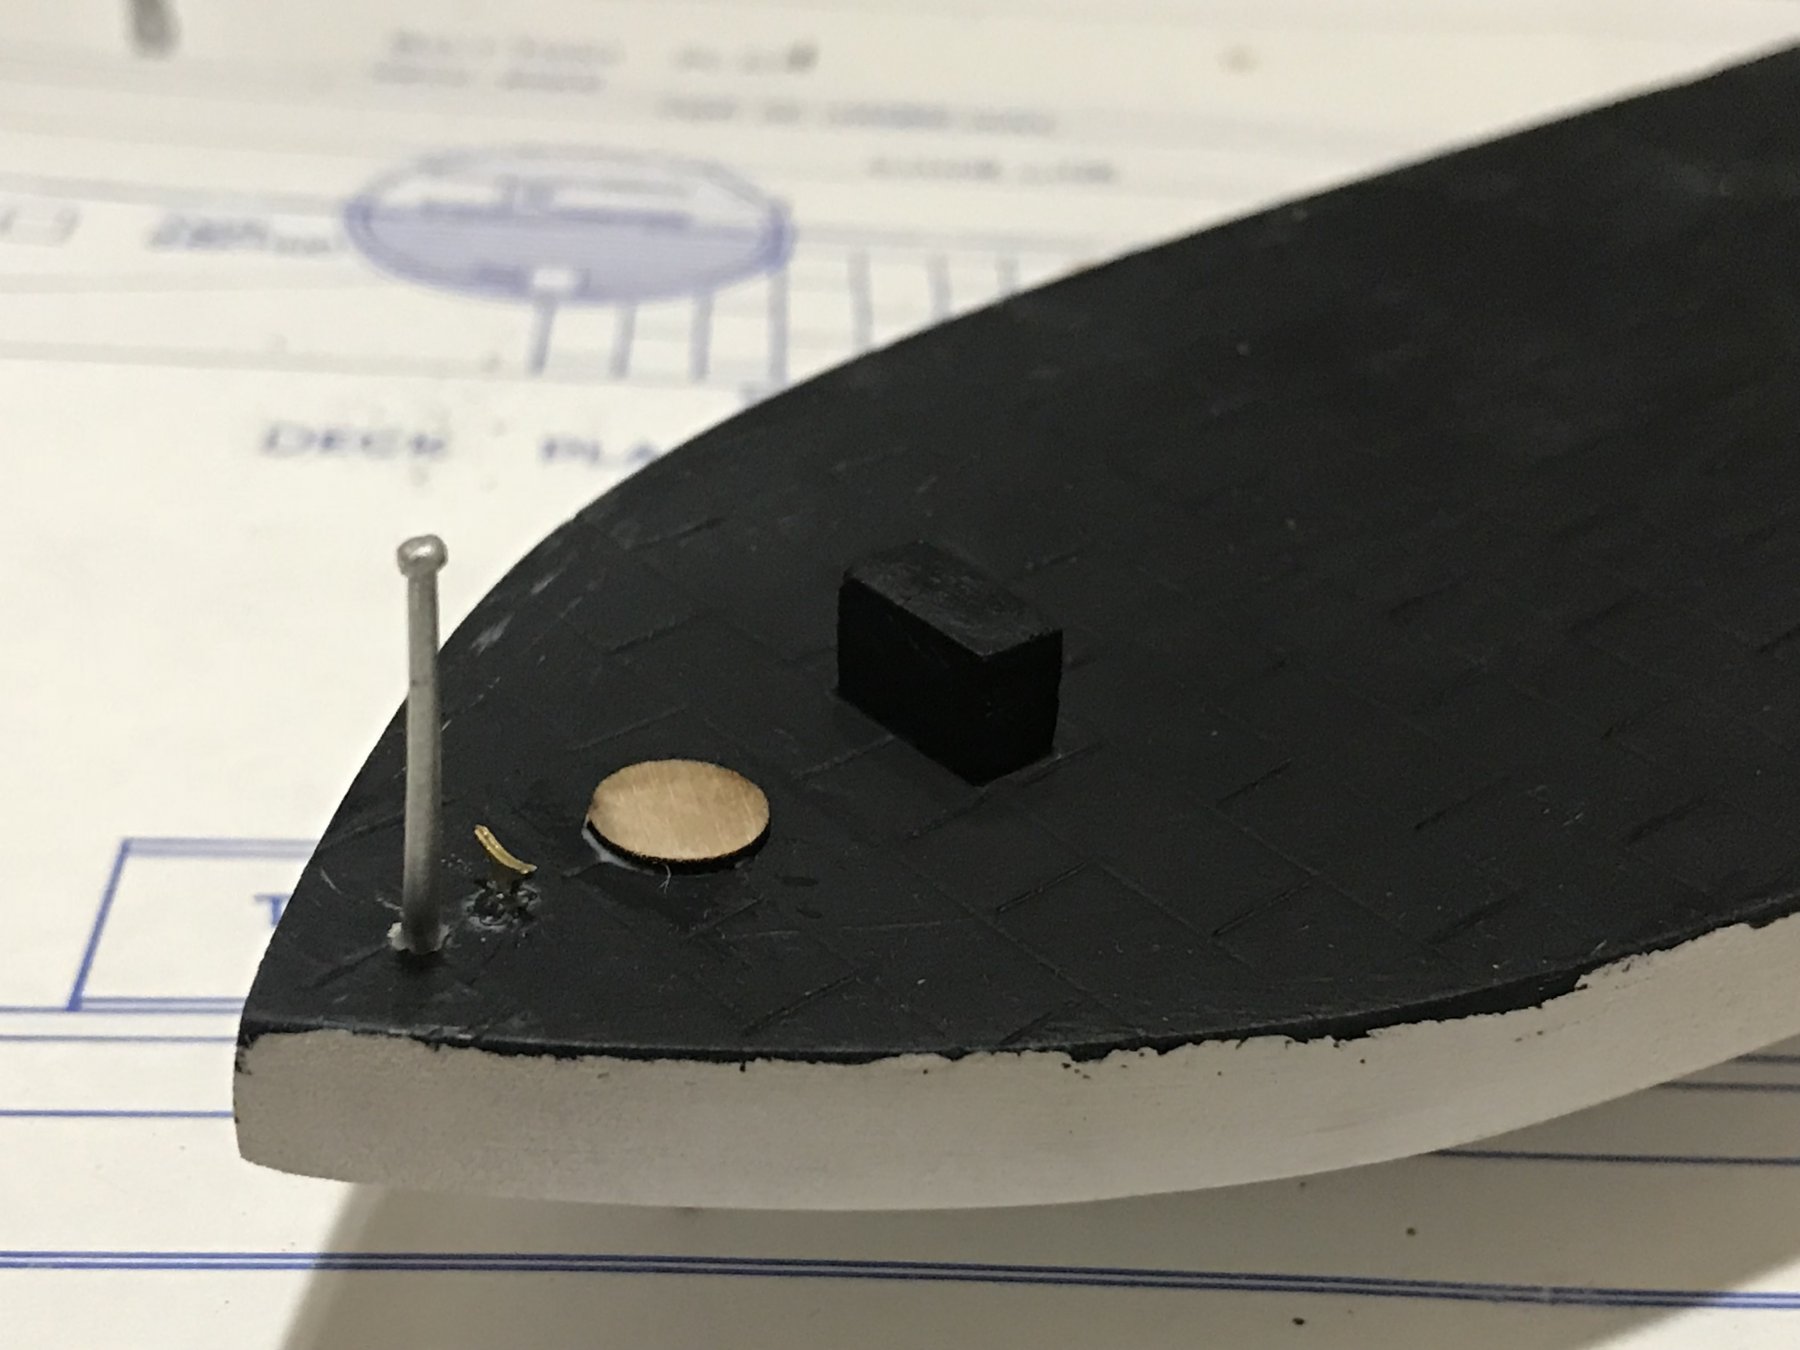
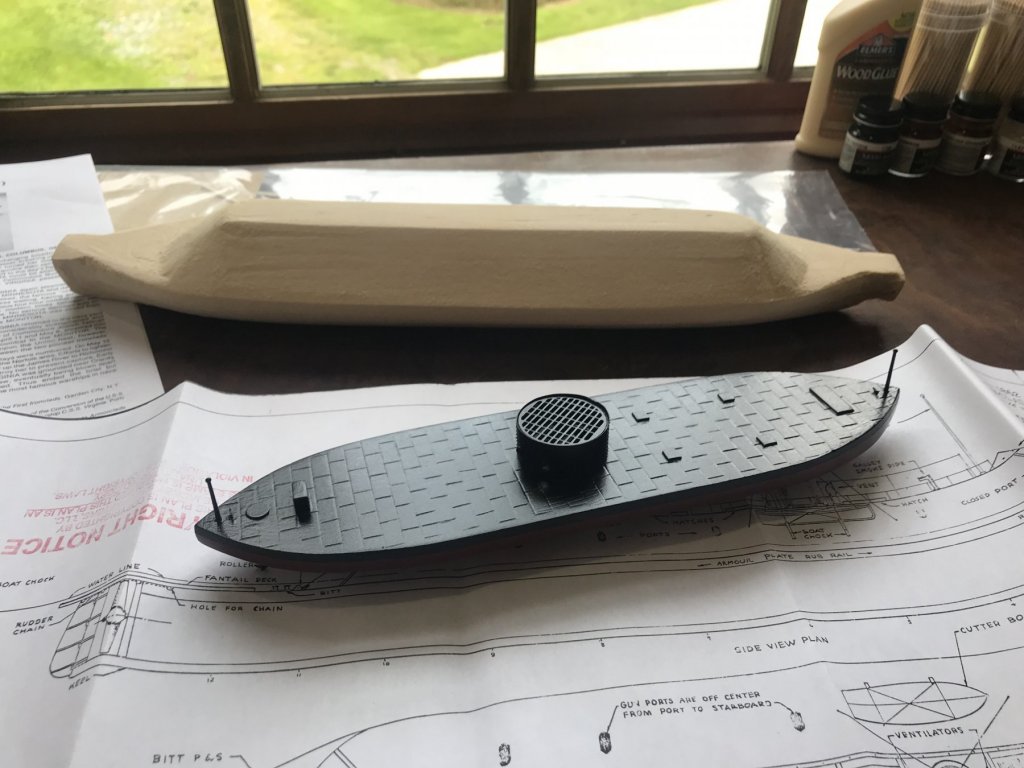
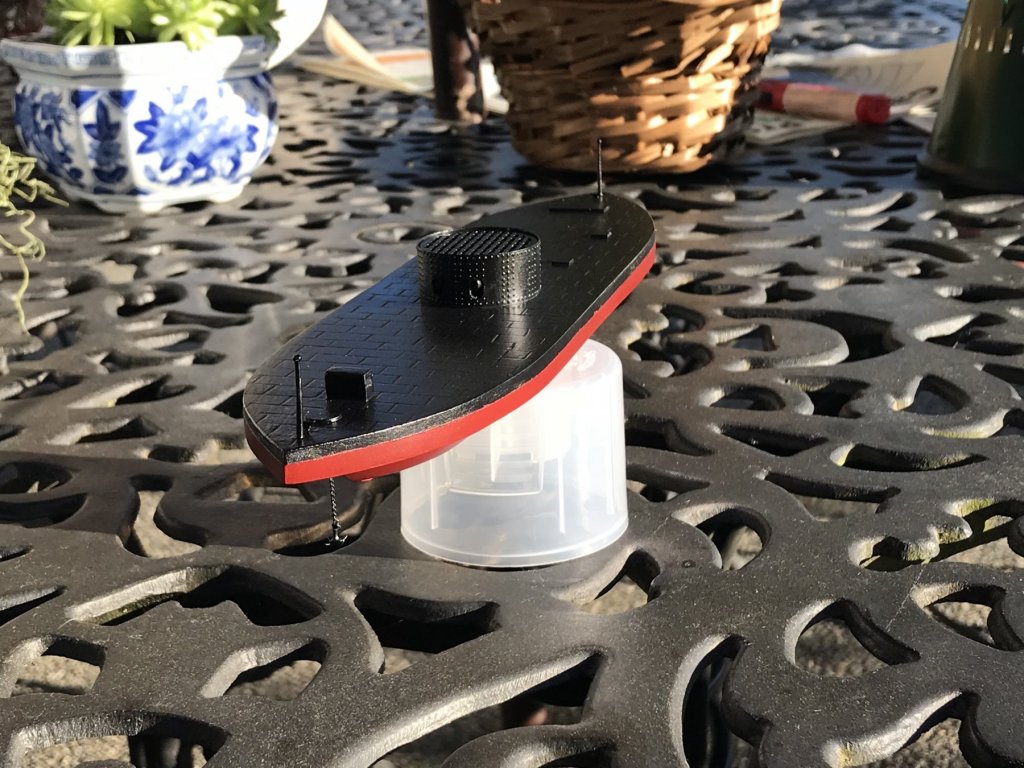
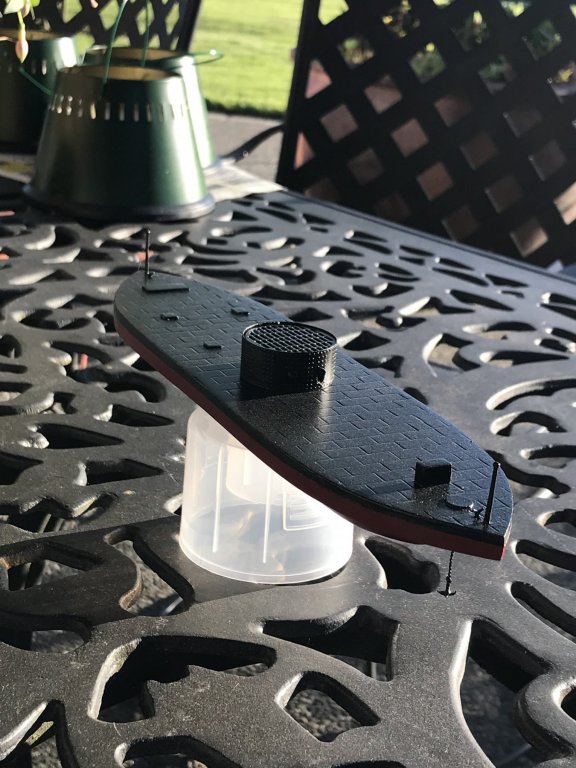
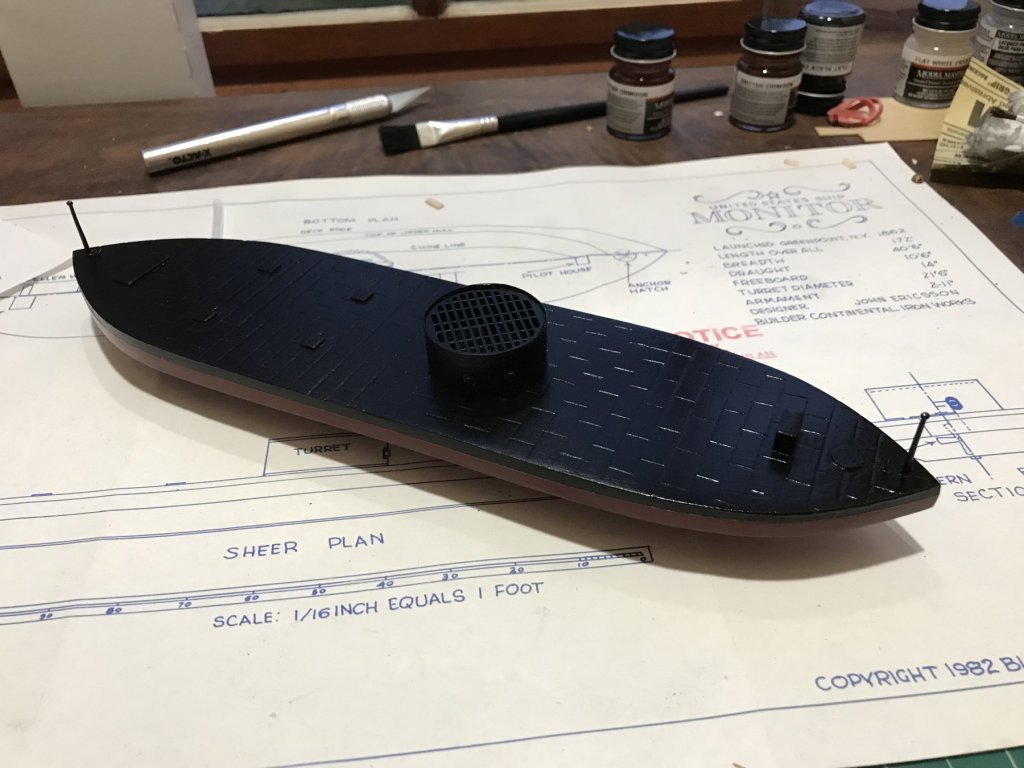
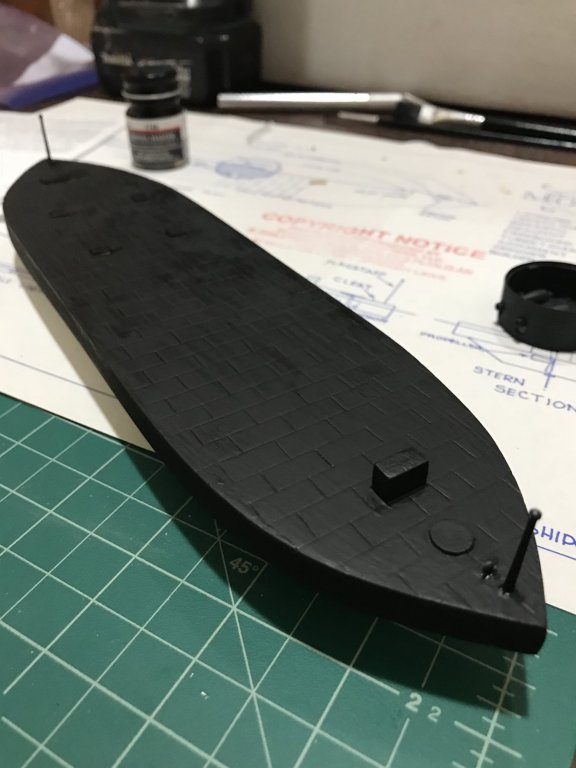
So had enough time tonight to get a few things done. Installed the deck, anchor, and propellor hatches as well as the mooring cleats, flagstaffs, pilot house, and anchor chain. Also got a quick first coat of black pain on the deck. Some of the primer is still showing through so at least another coat will be required. Progressing Very happy with how the deck platting pattern turned out in this photo.


-
Thanks Mark and John for the encouraging words! Thanks Keith for the cool jig idea. May try to make one for the CSS Virginia model next. Next up on the Monitor is painting so hopefully will have a bit of time for that tonight.