HOLIDAY DONATION DRIVE - SUPPORT MSW - DO YOUR PART TO KEEP THIS GREAT FORUM GOING! (Only 68 donations so far out of 49,000 members - Can we at least get 100? C'mon guys!)
×


mispeltyoof
-
Posts
91 -
Joined
-
Last visited
Content Type
Profiles
Forums
Gallery
Events
Everything posted by mispeltyoof
-
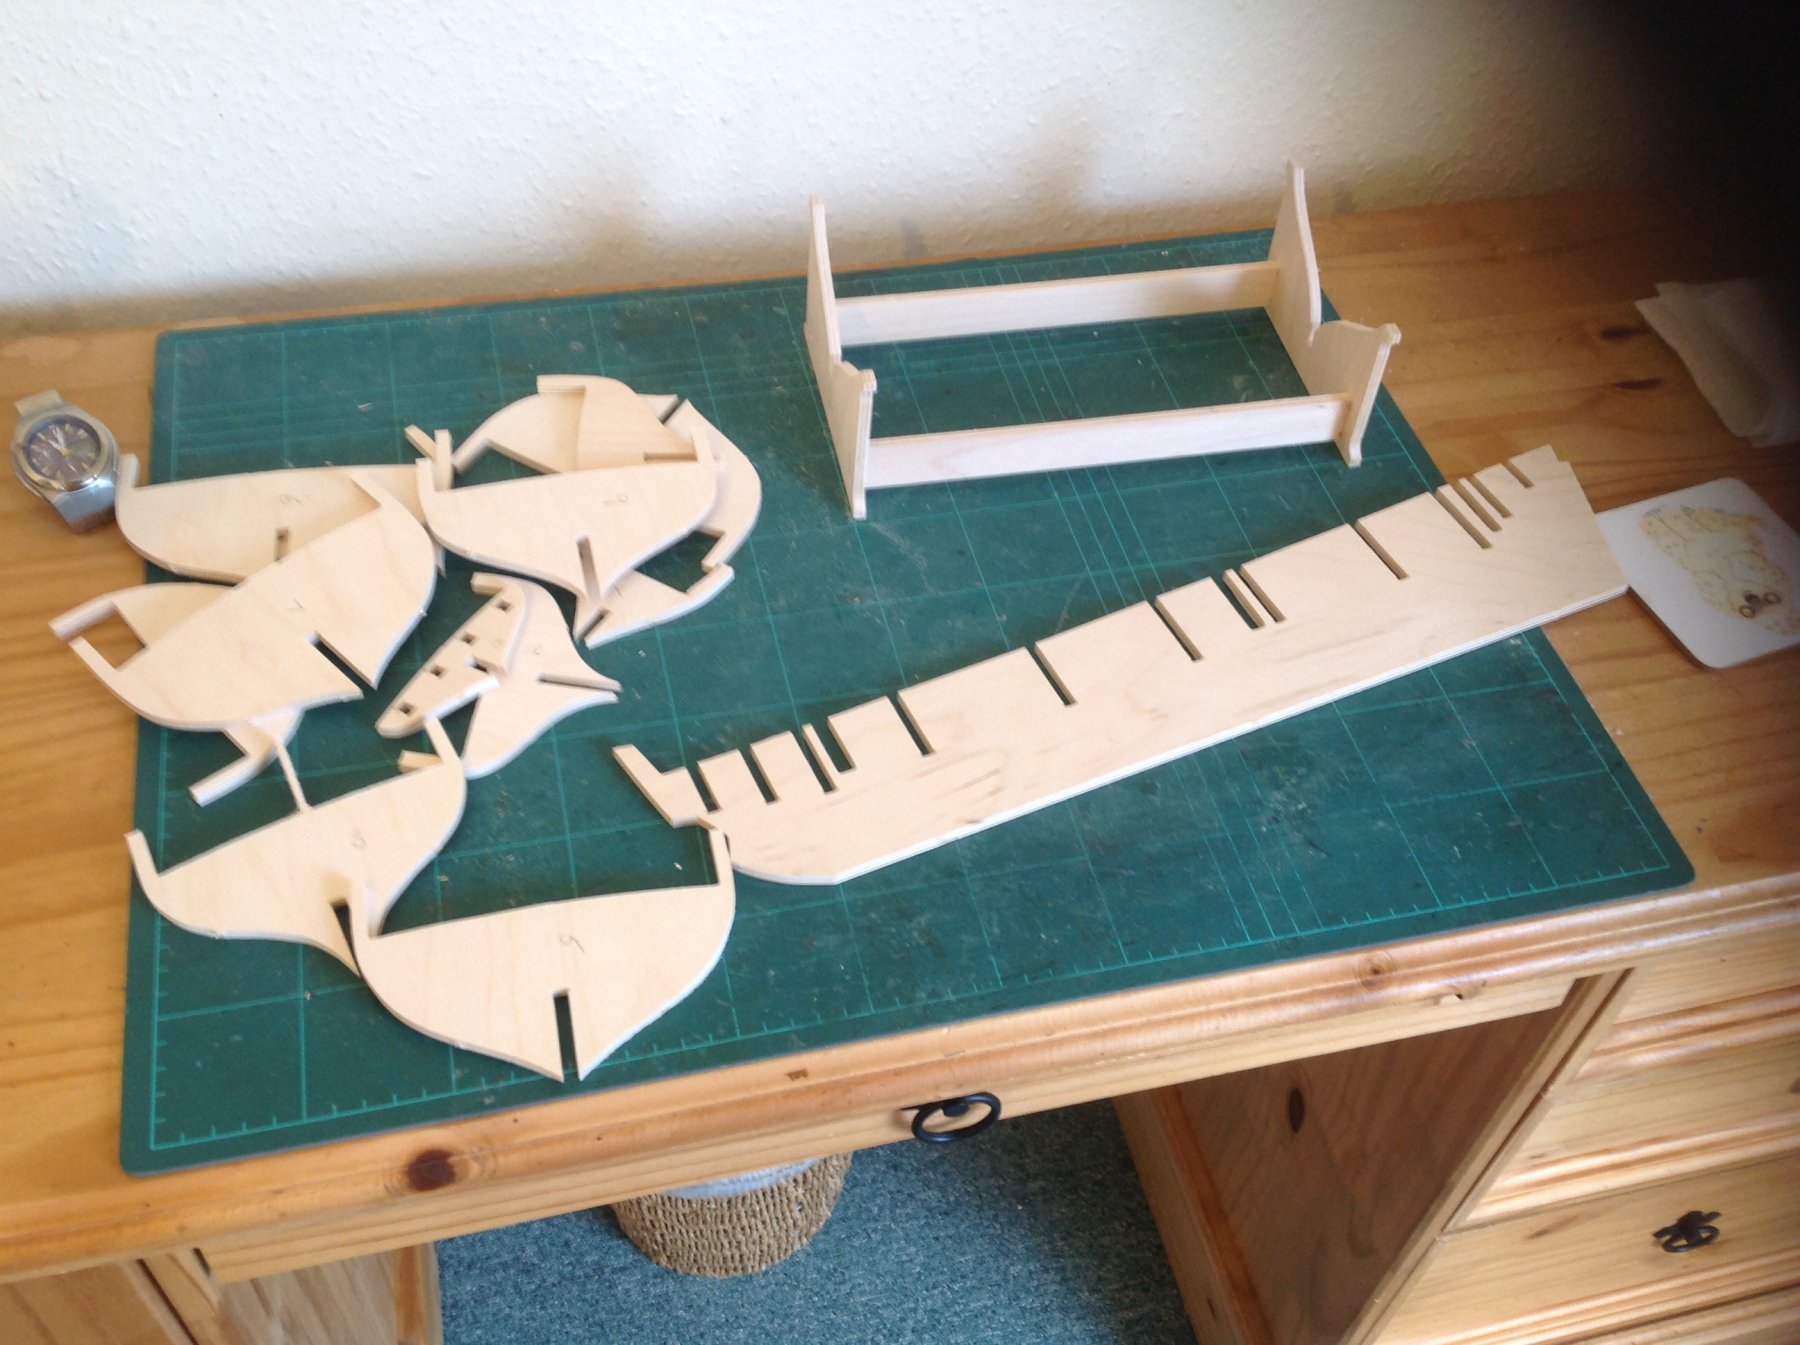
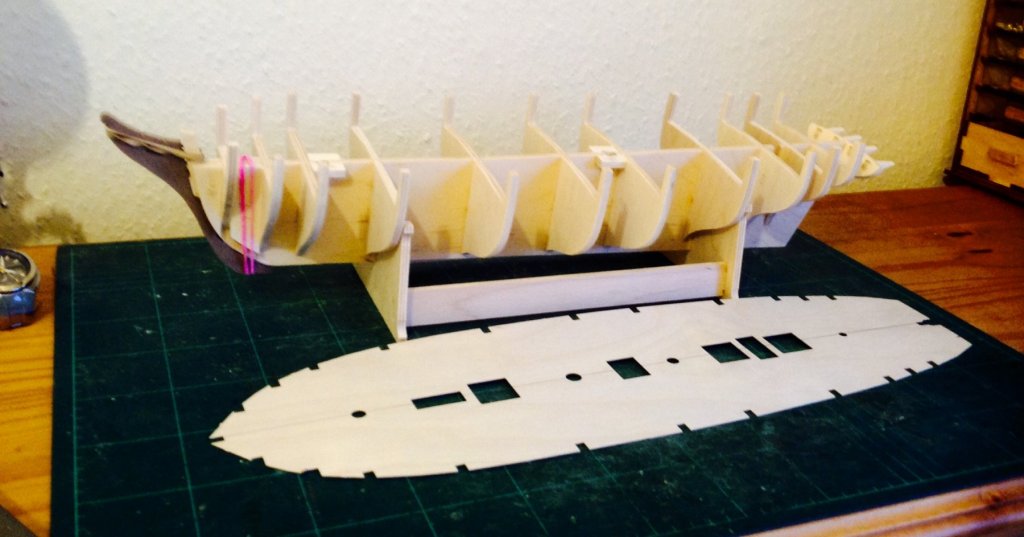
 Begun the Caldecraft Snake kit. Impressed with quality of components although with the very high price paid should be. Also impressed with the provision of a cradle to build the ship all providers could easily supply.All components seem to be there for now. All bits fit well with a small amount of filing. But when dry fitting the false deck it appears that it us well out if kilter to match up with the bulwarks. Tomorrow's job will be to try to match the deck up with bulwarks for fitting presumably by much sanding ,cutting and filing to get them to line up. One problem I can see is the false deck is incredibly thin and flimsy so vulnerable to splitting.
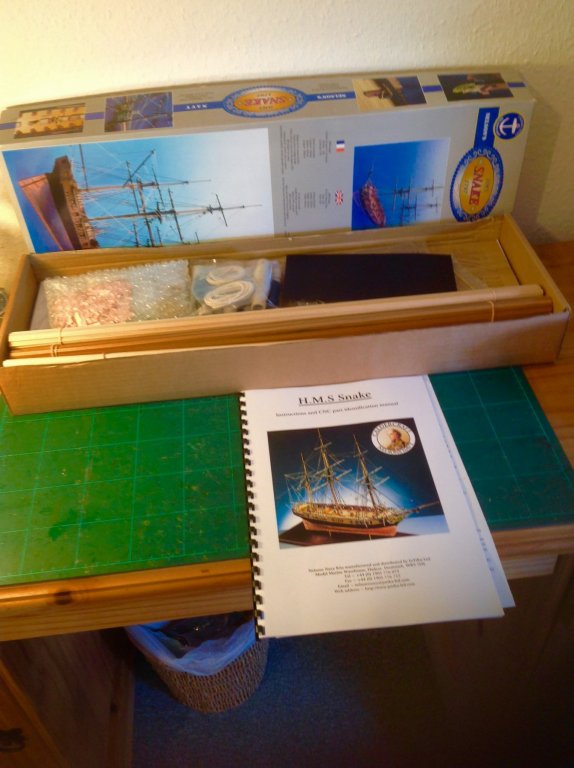

- 31 replies
-
- 6
-

-
- snake
- caldercraft
- (and 1 more)
-
Caldecraft HMS Snake. Opening box and checkout parts list today.😋👏👏
-
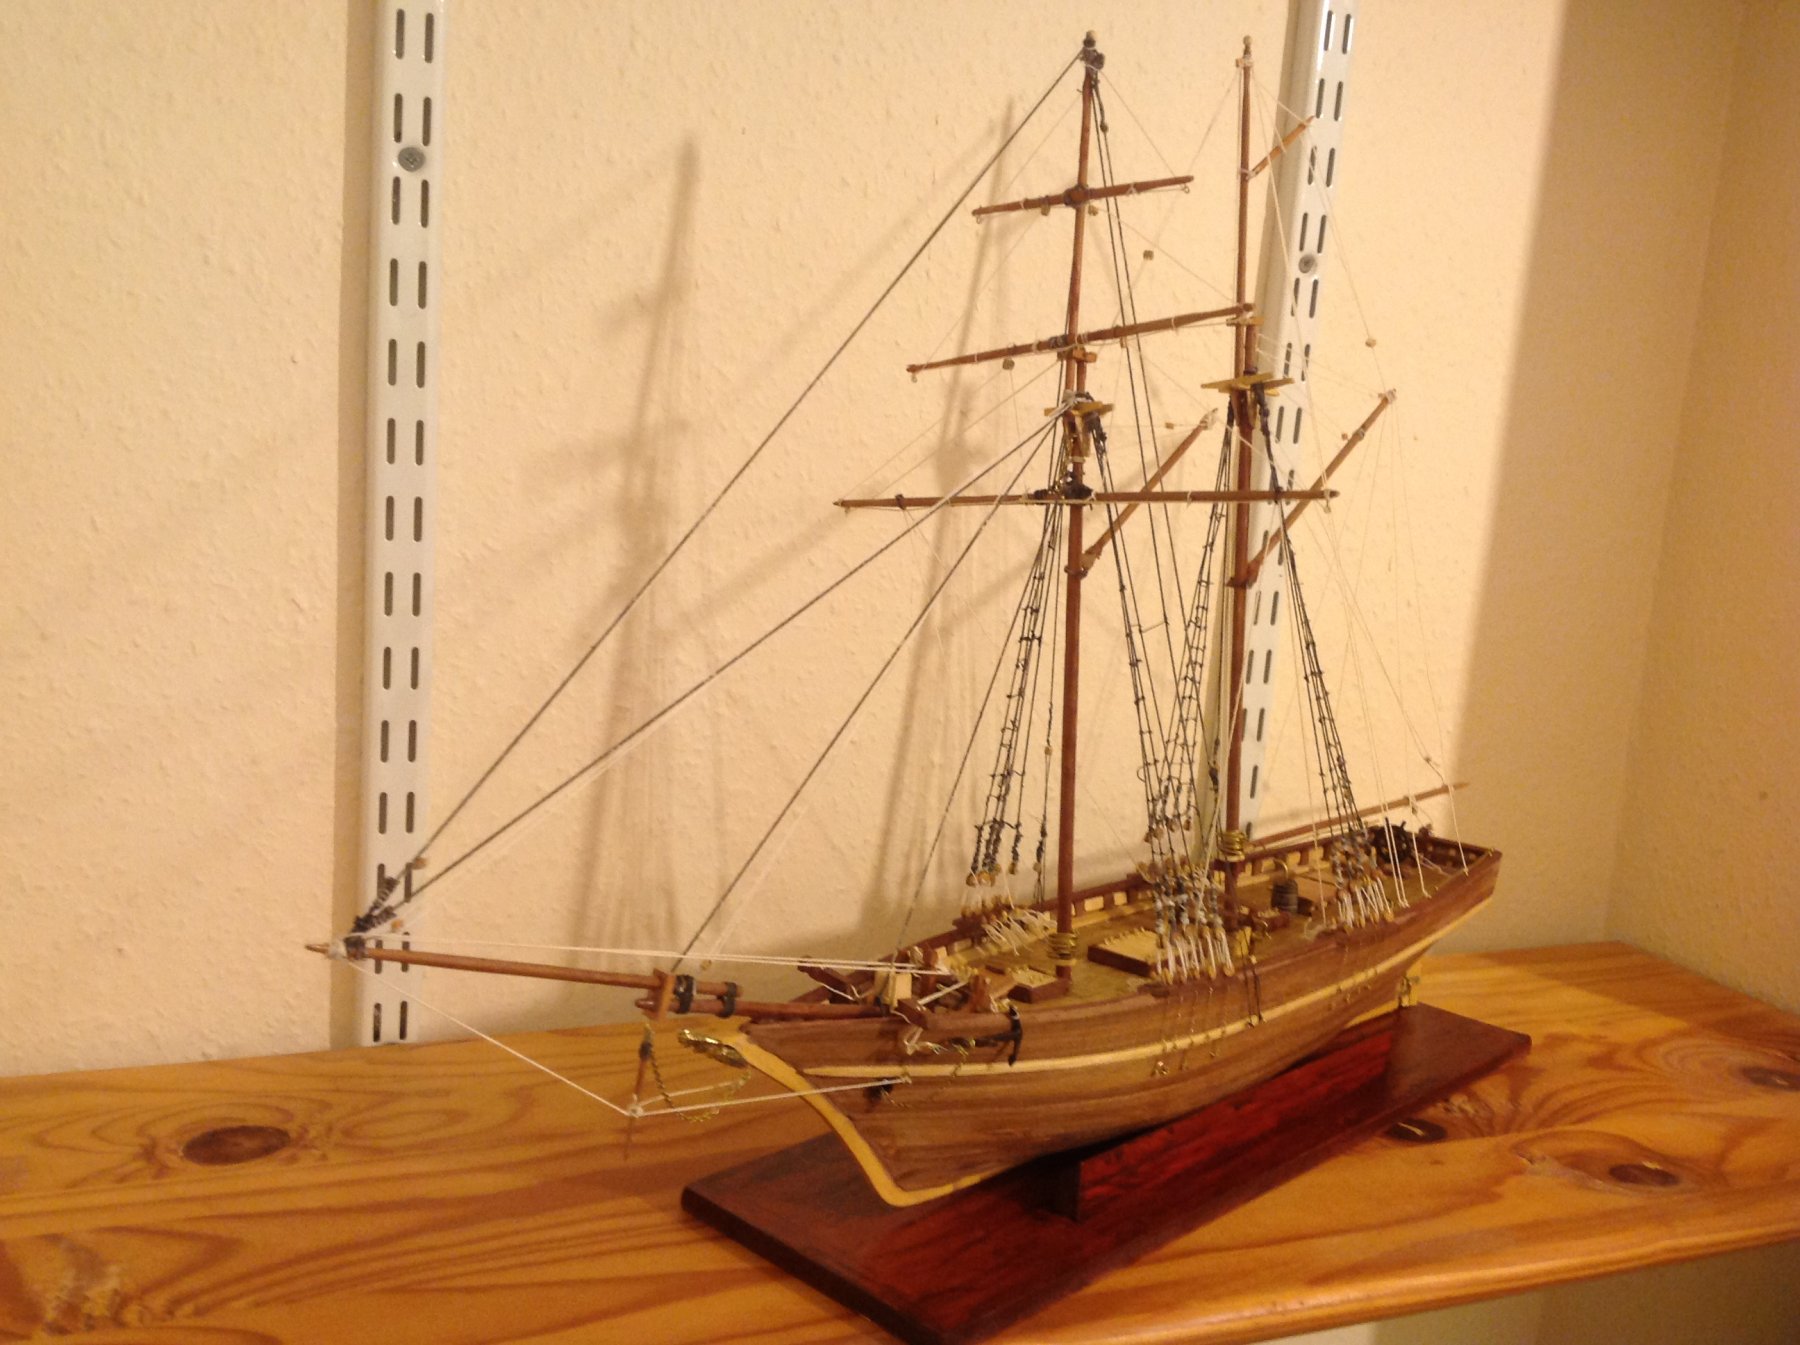
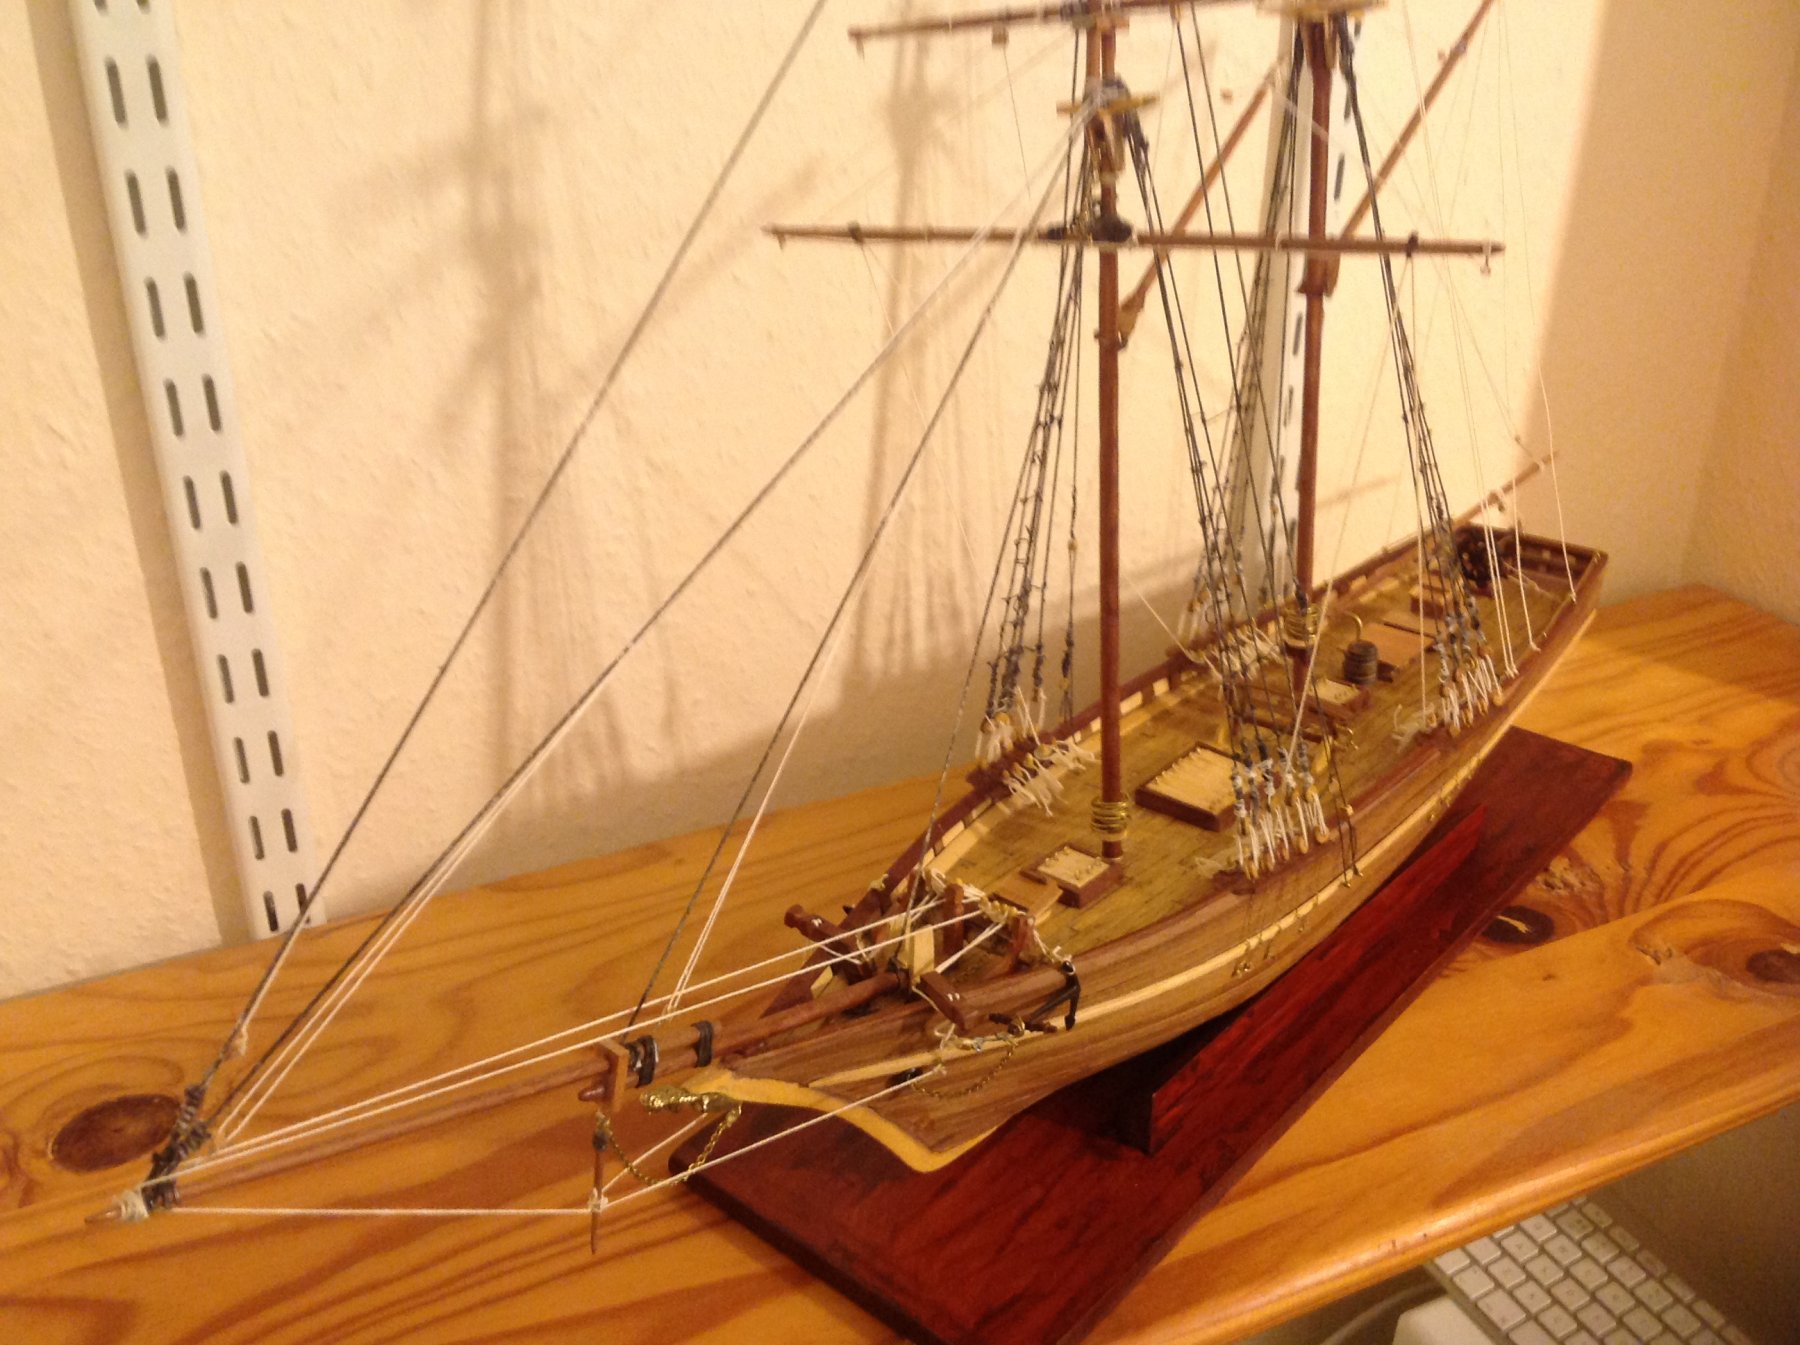
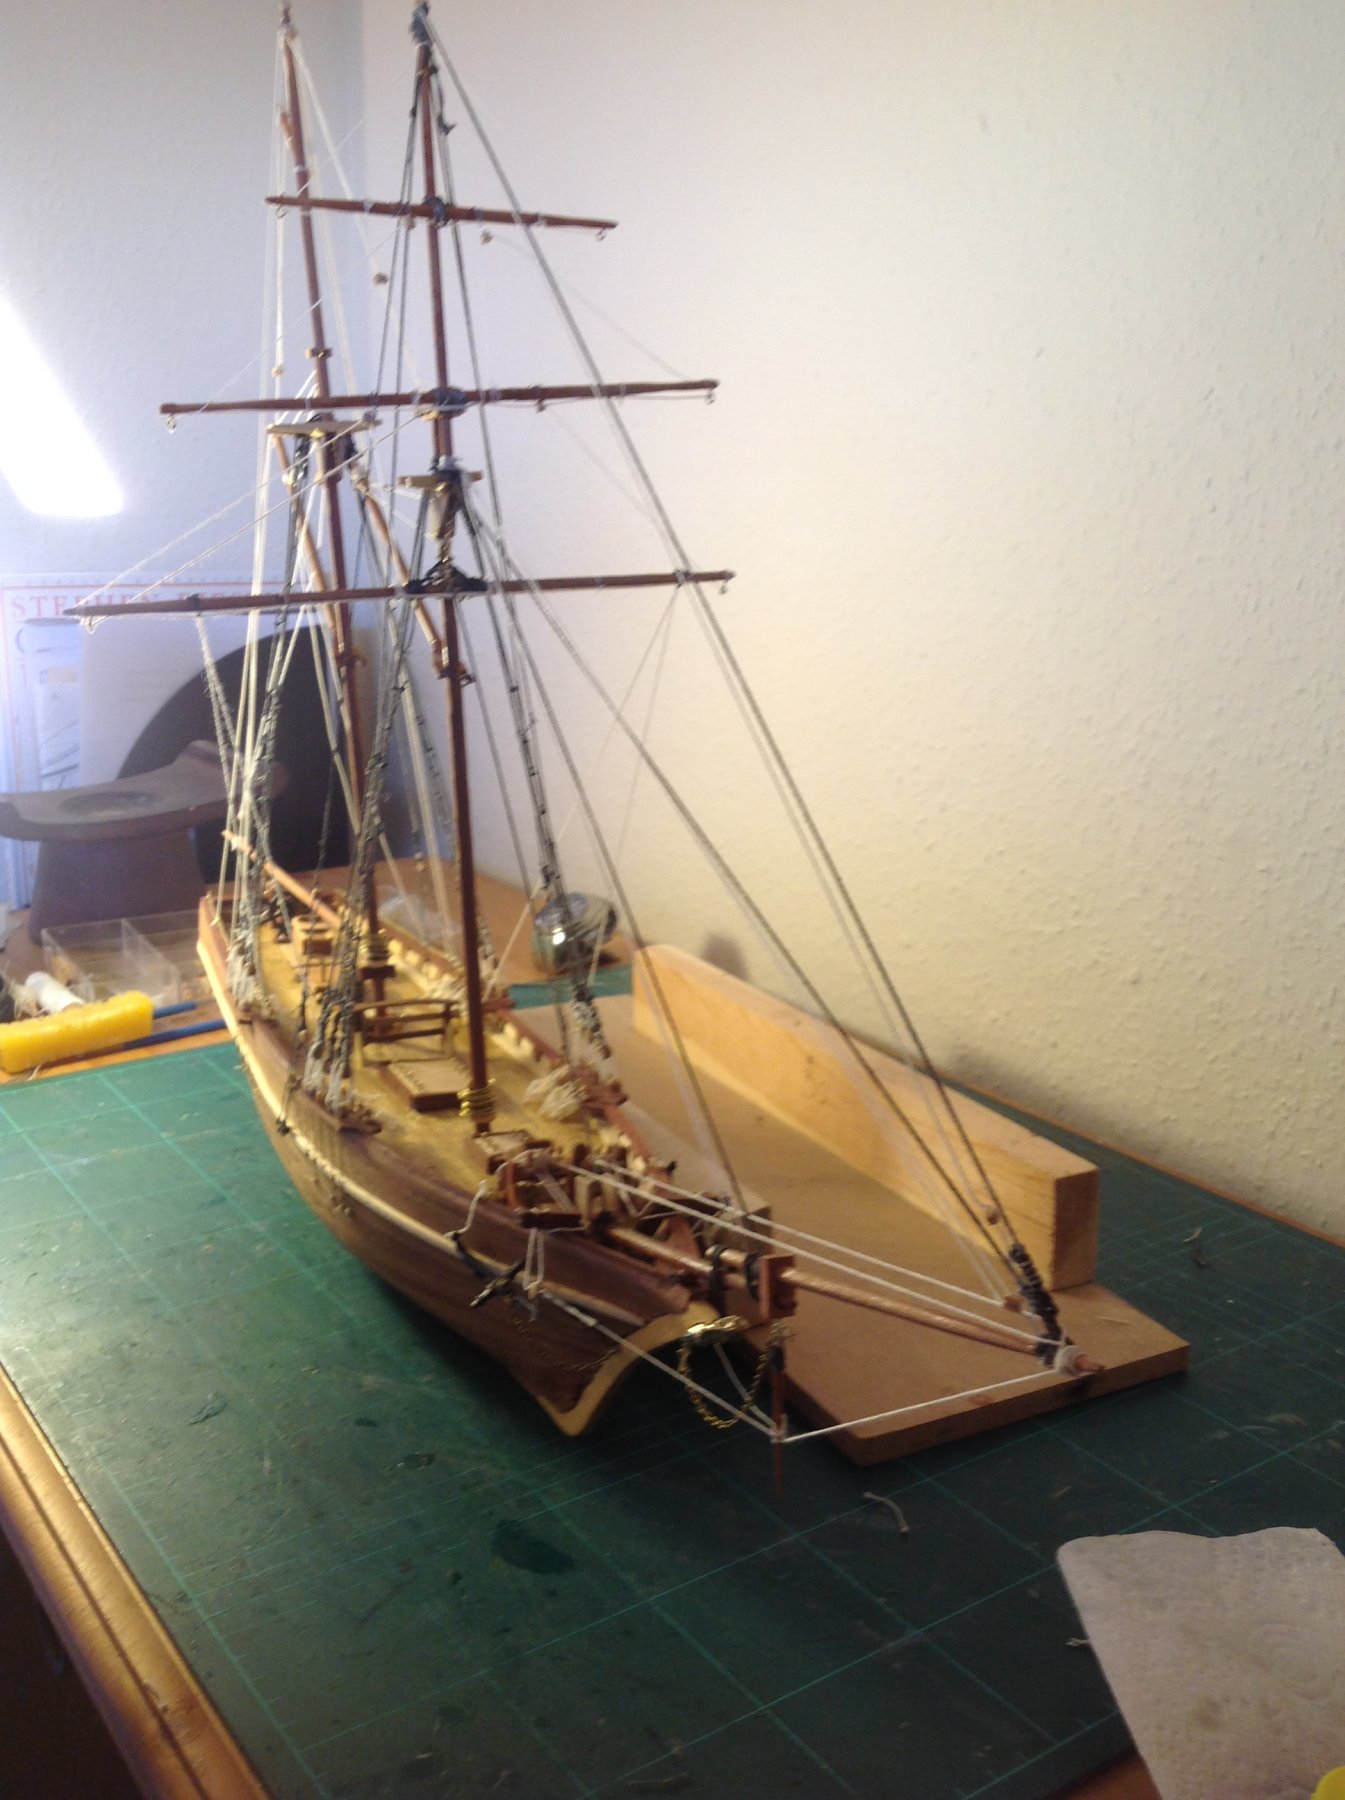
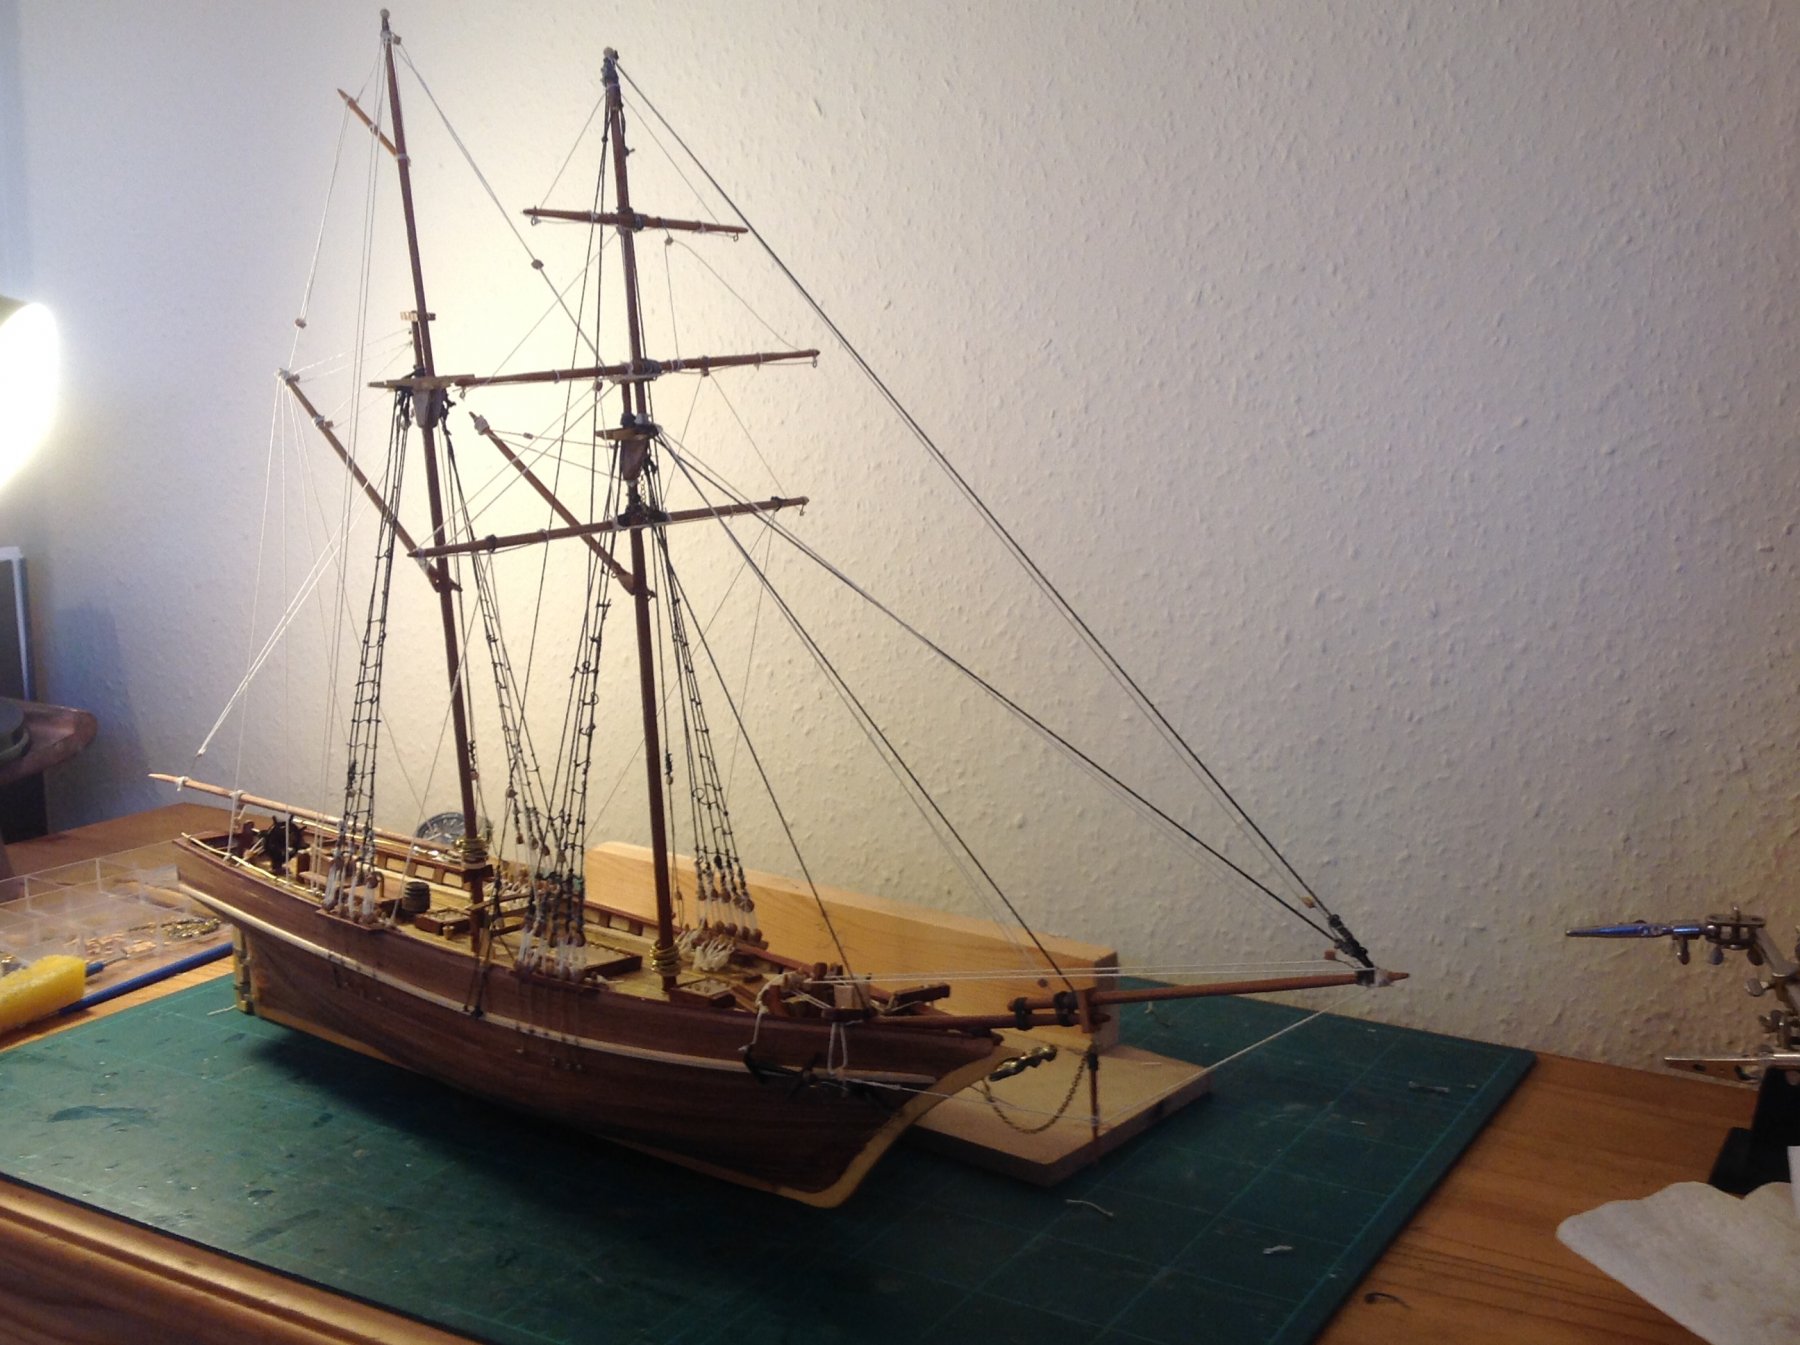
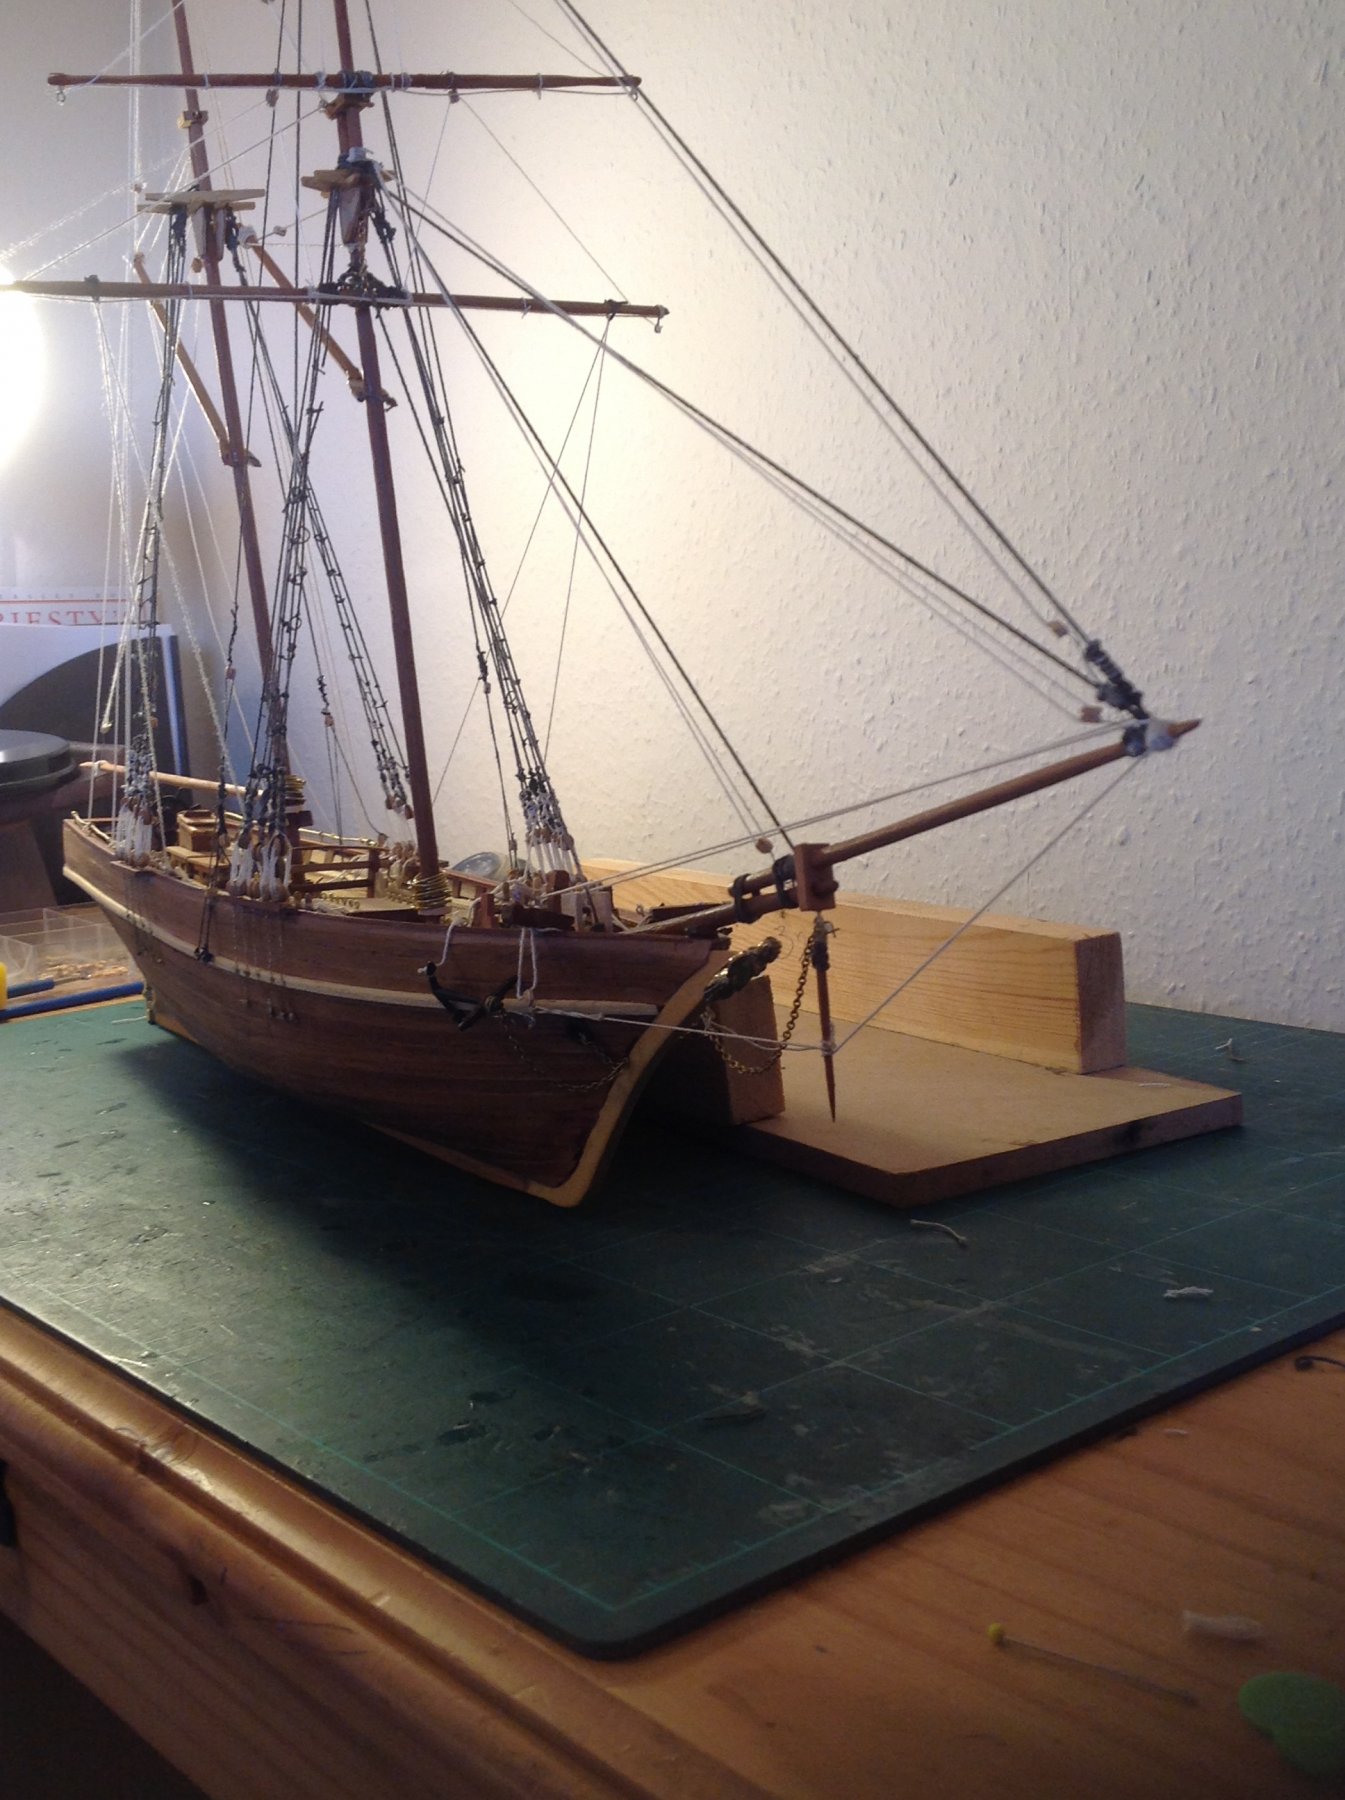
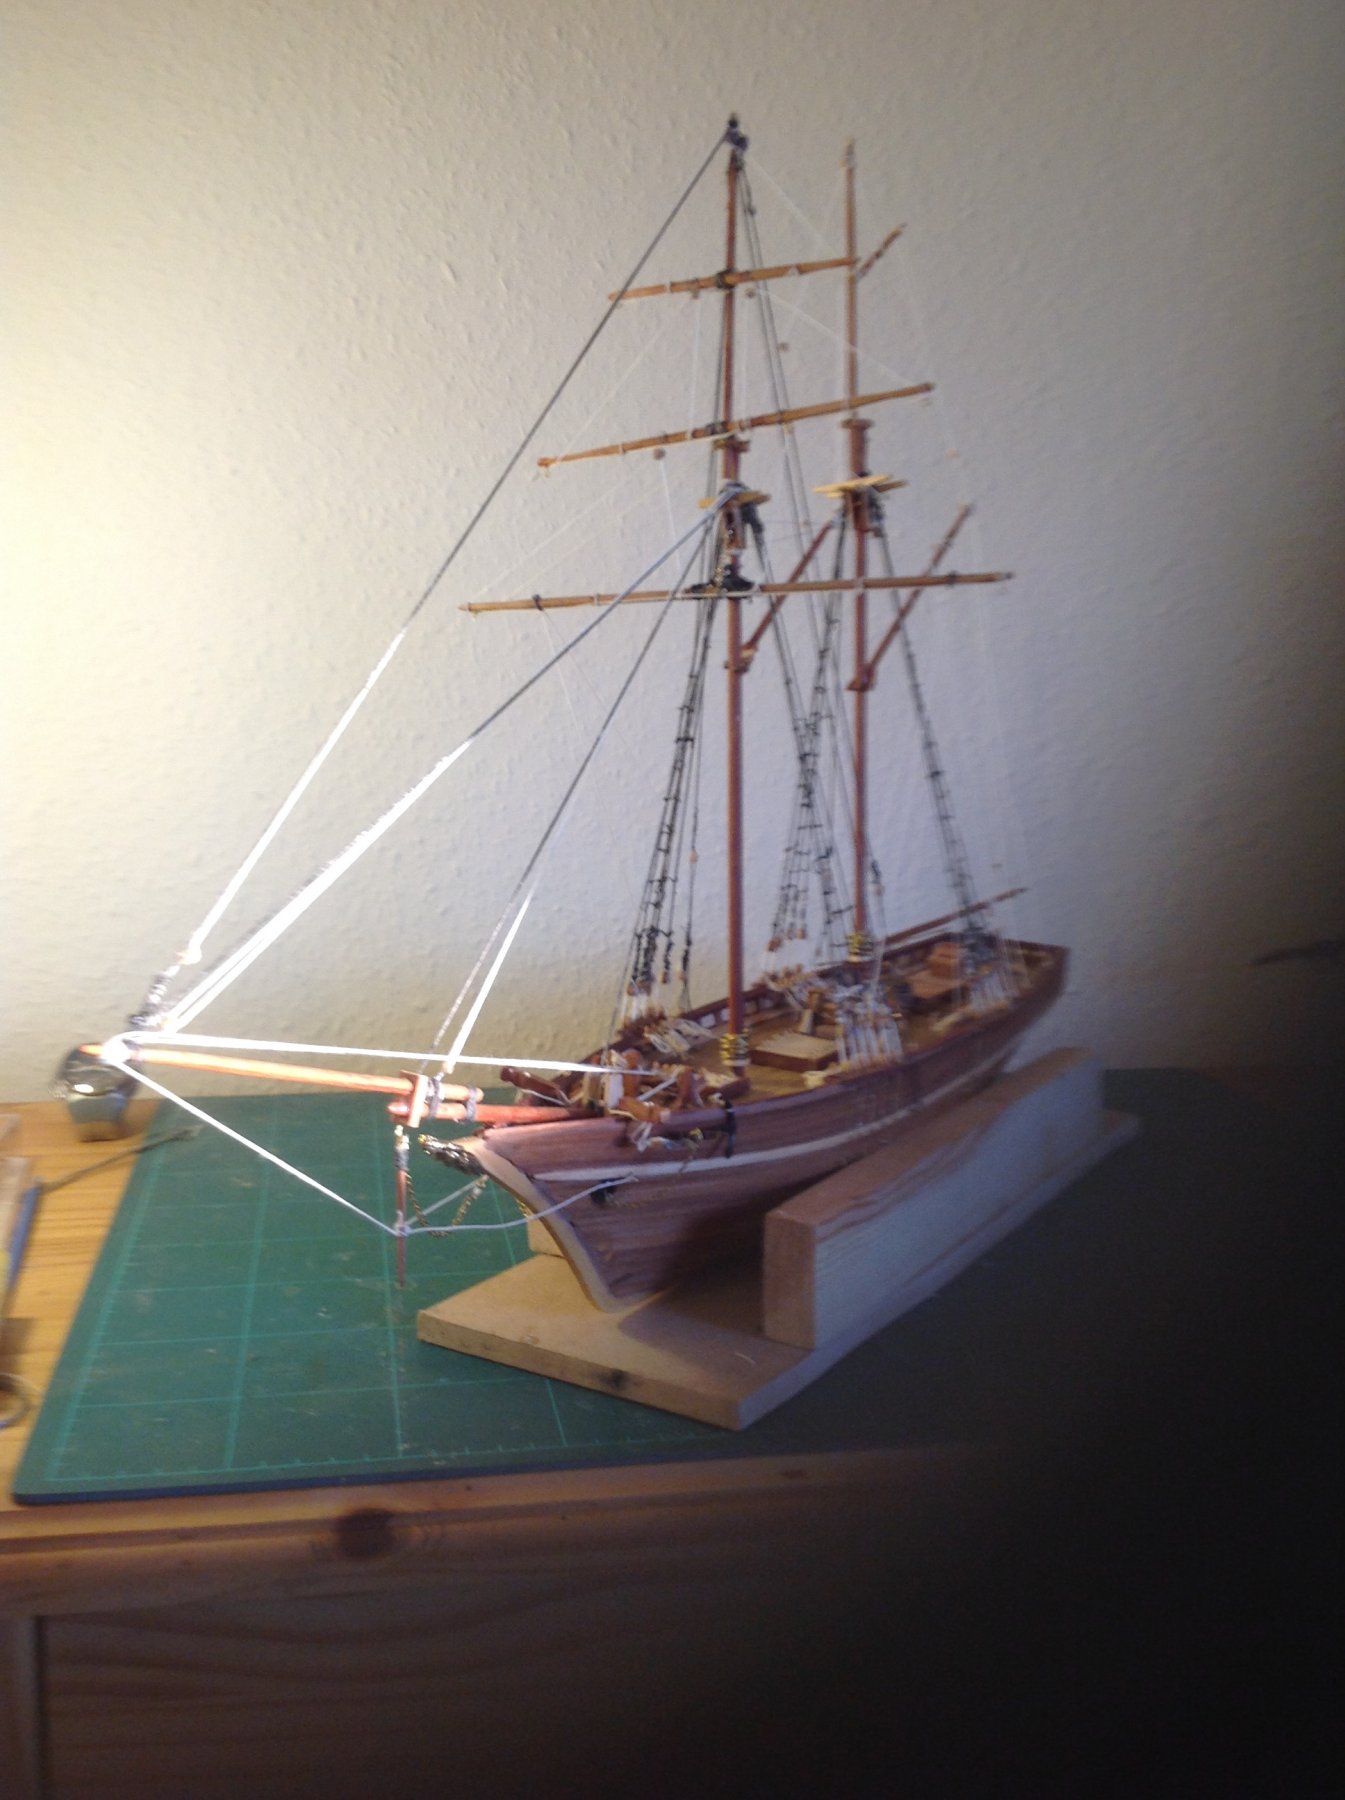
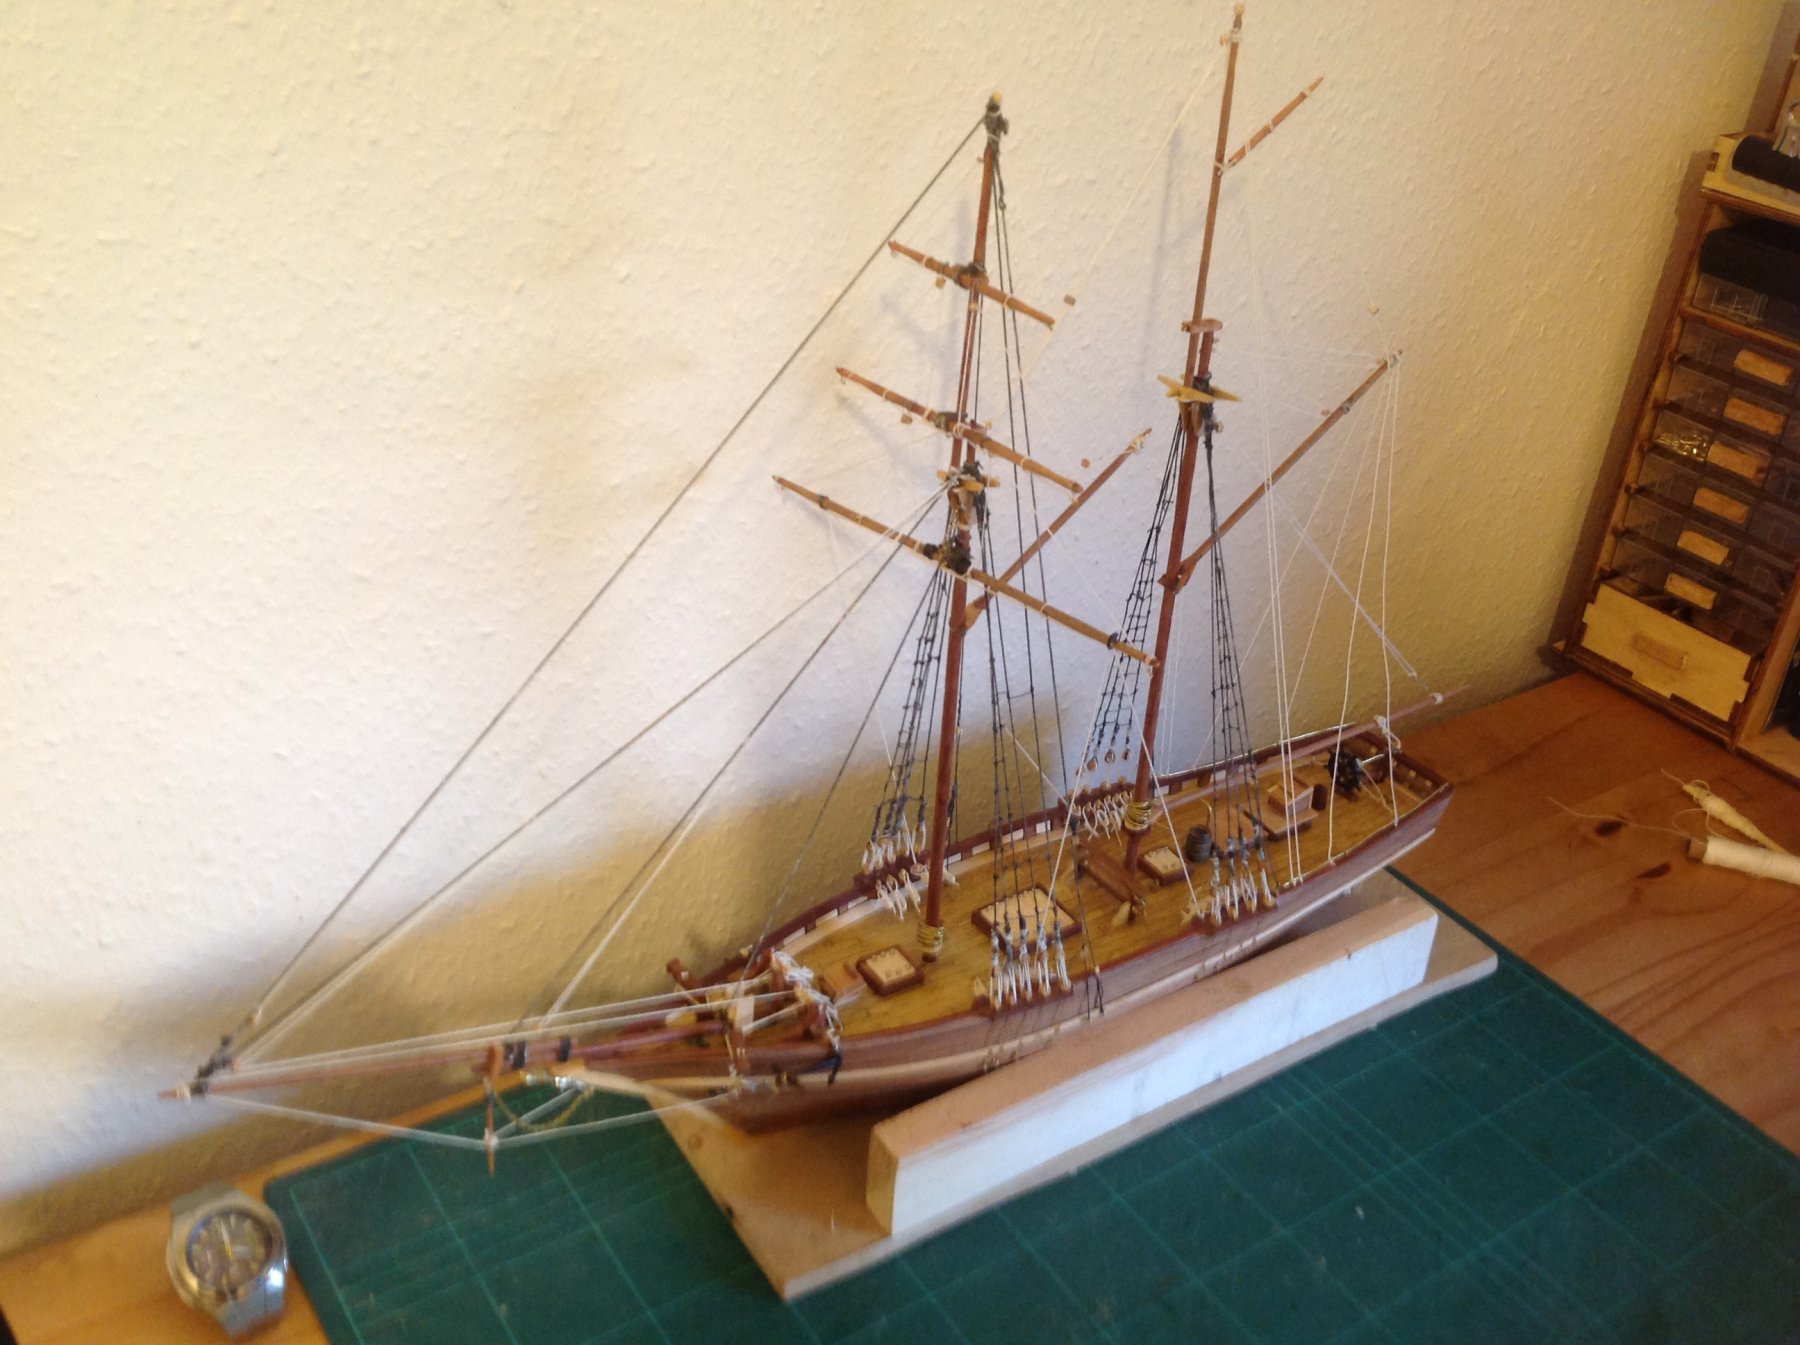
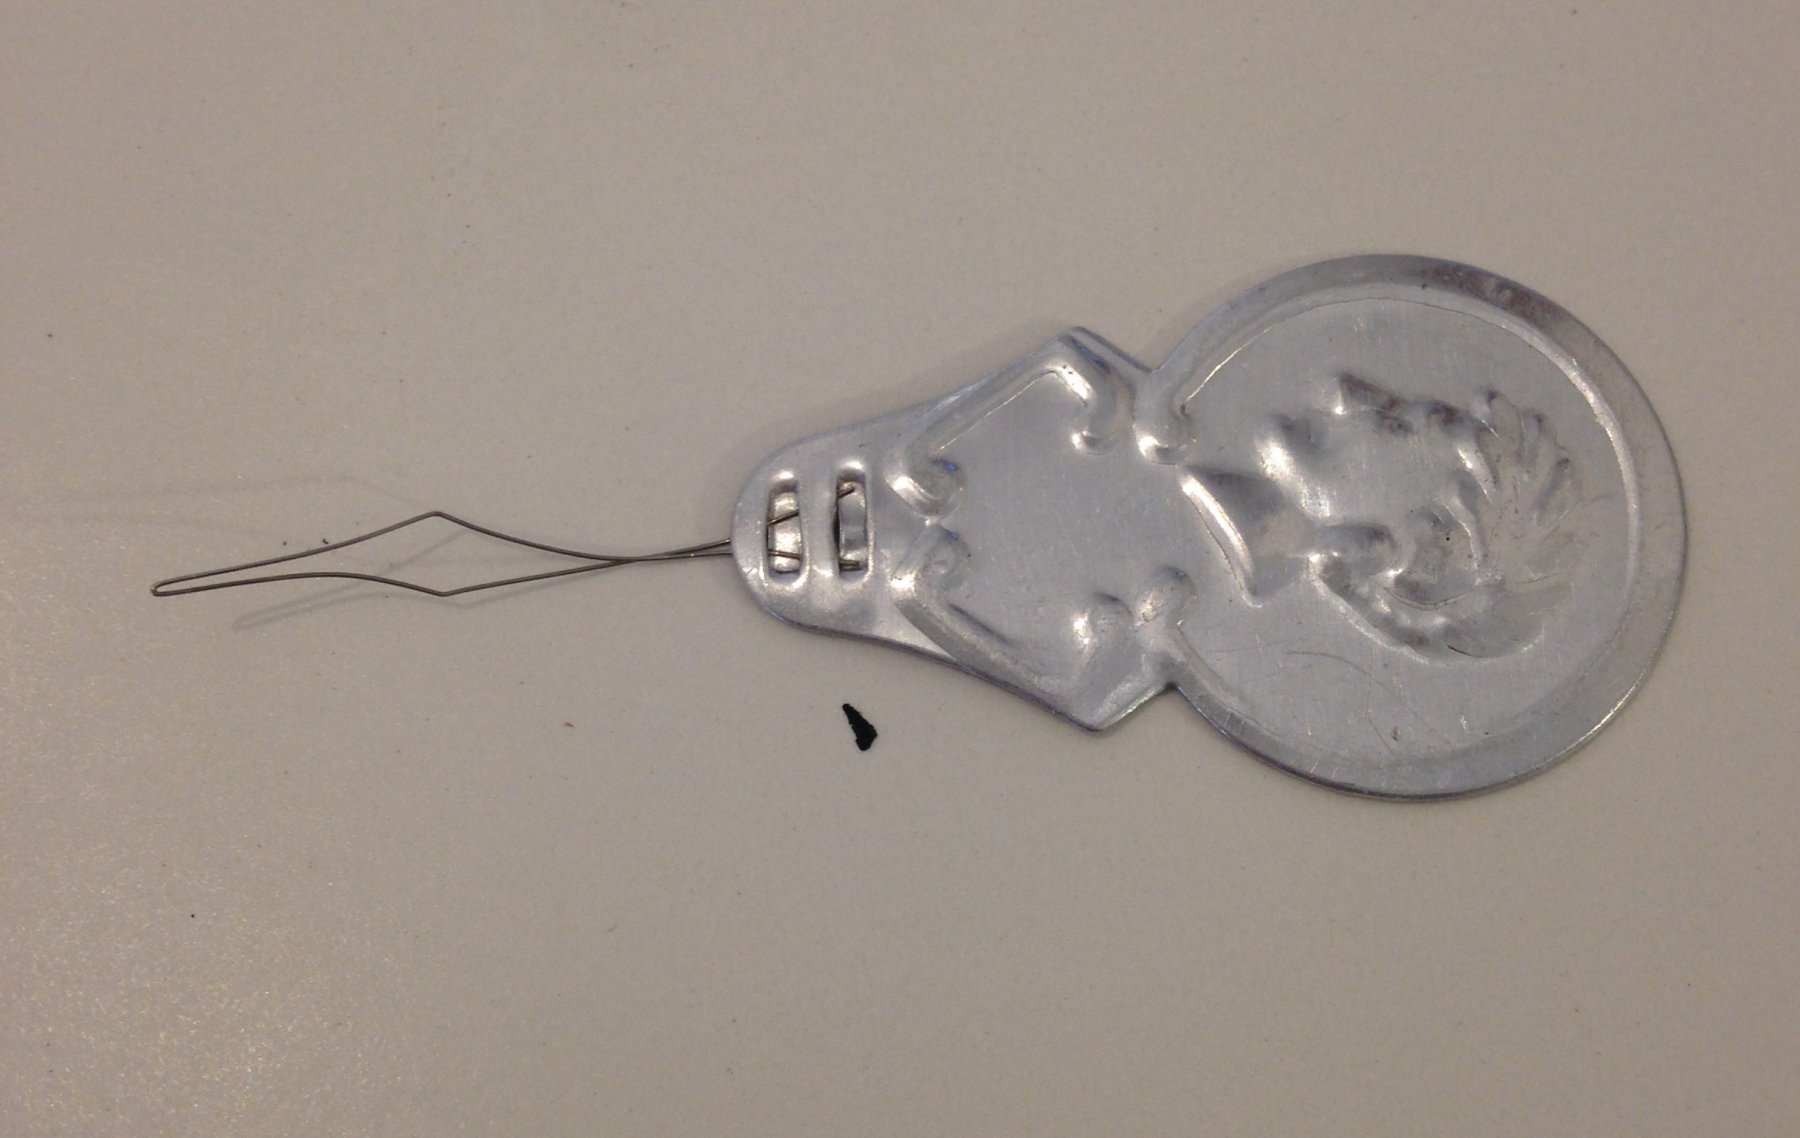
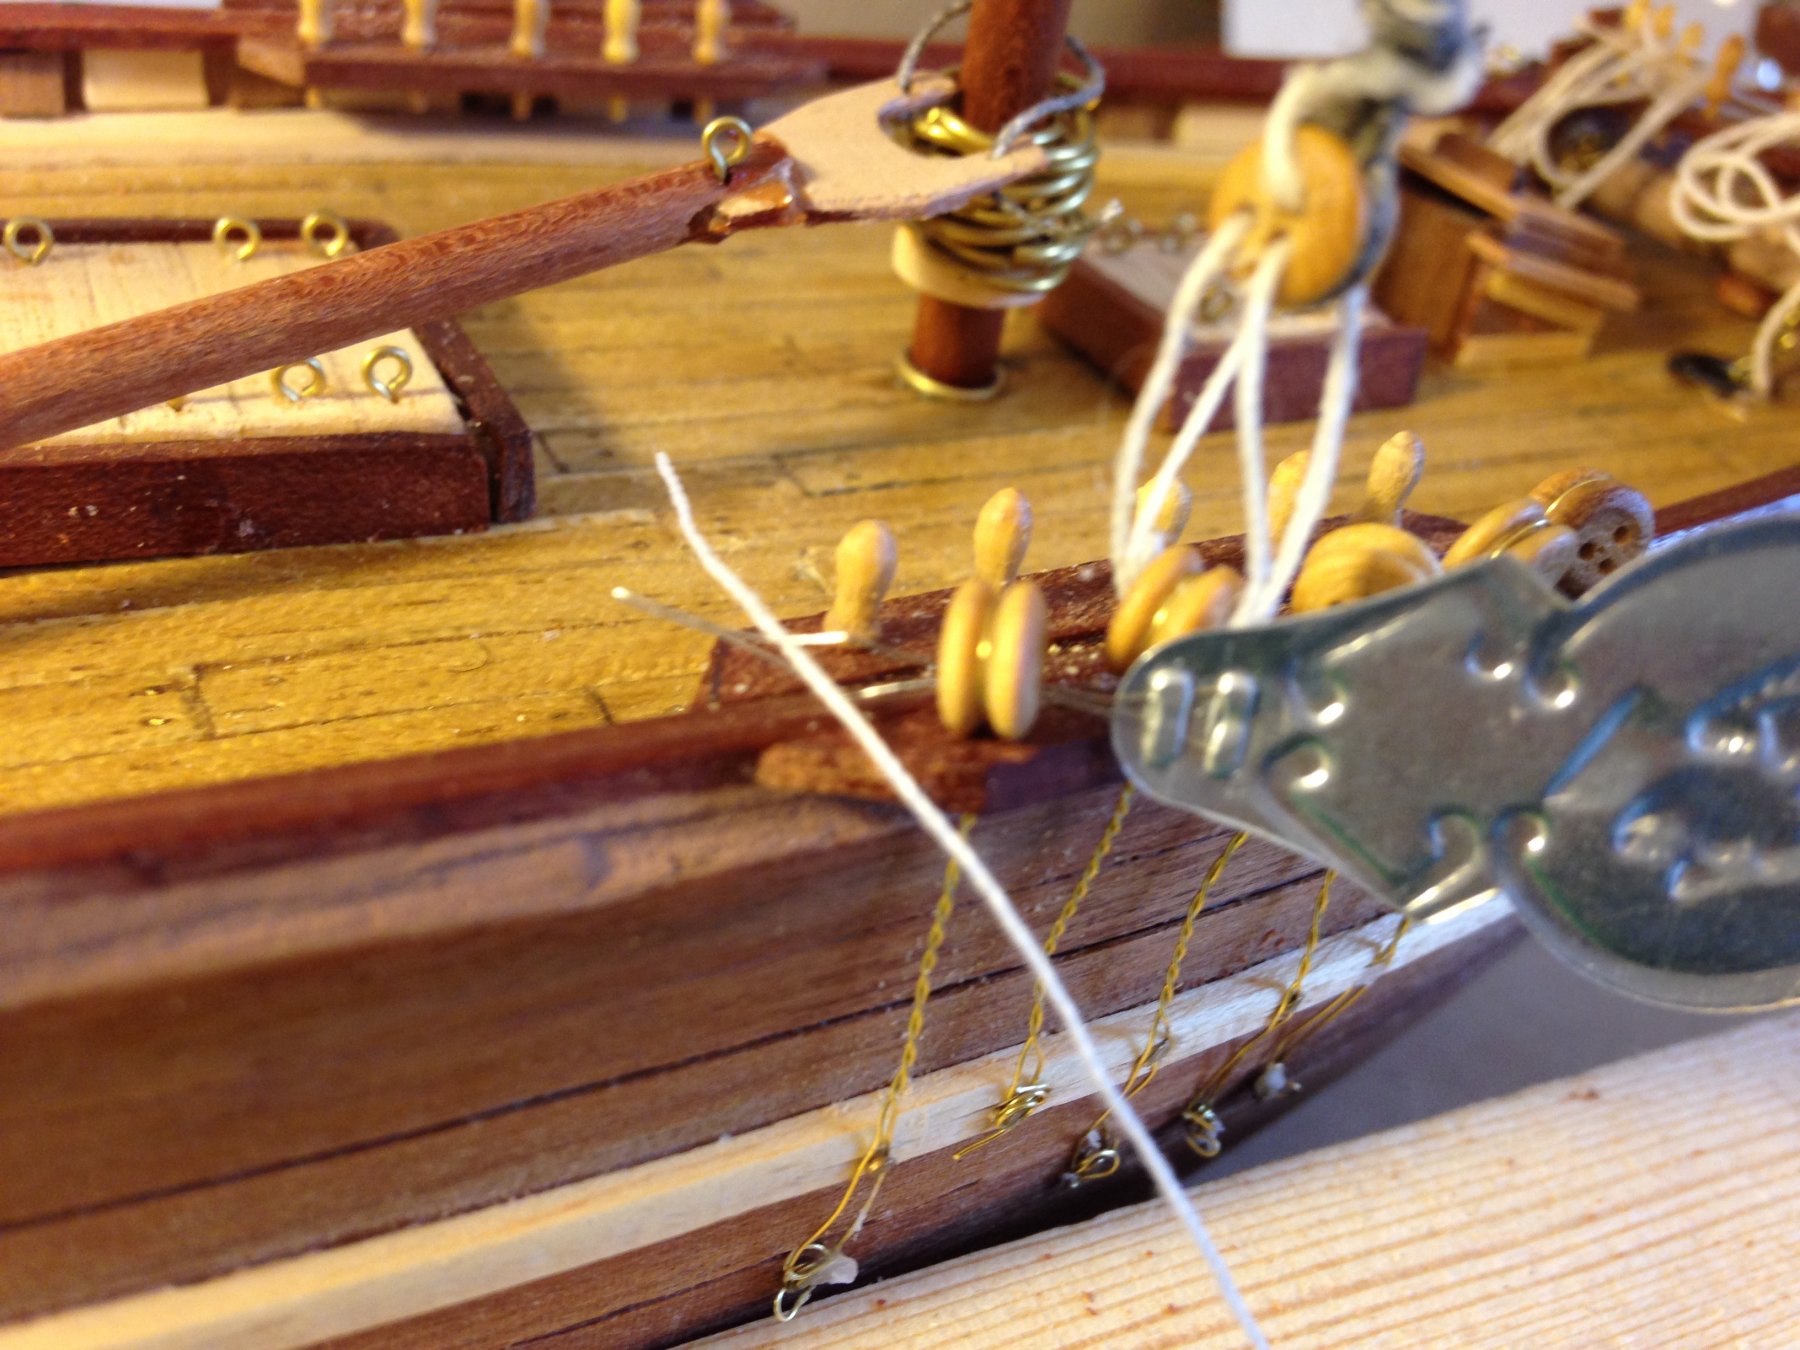
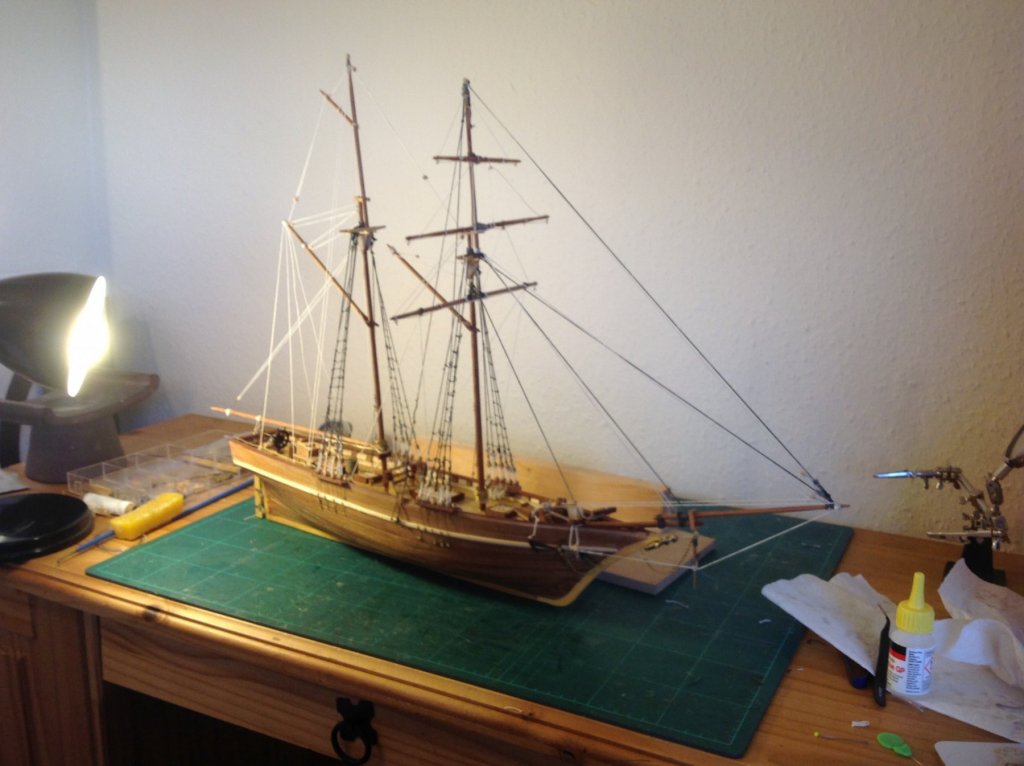
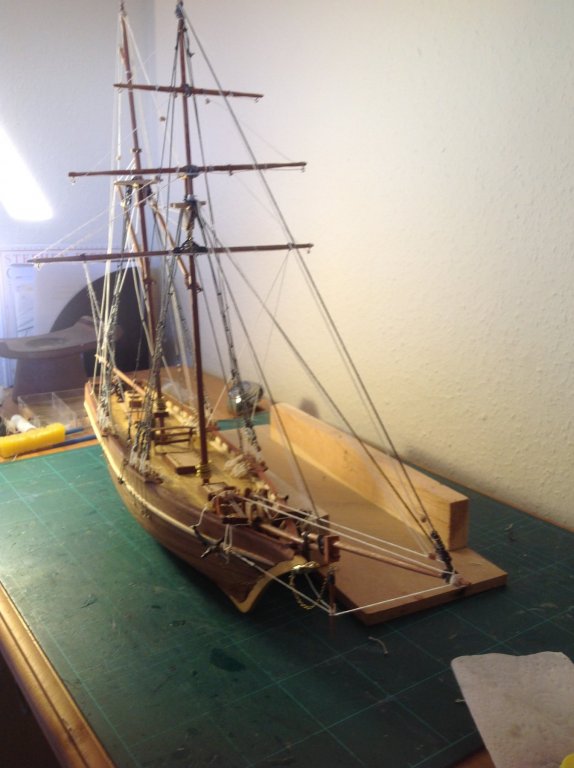
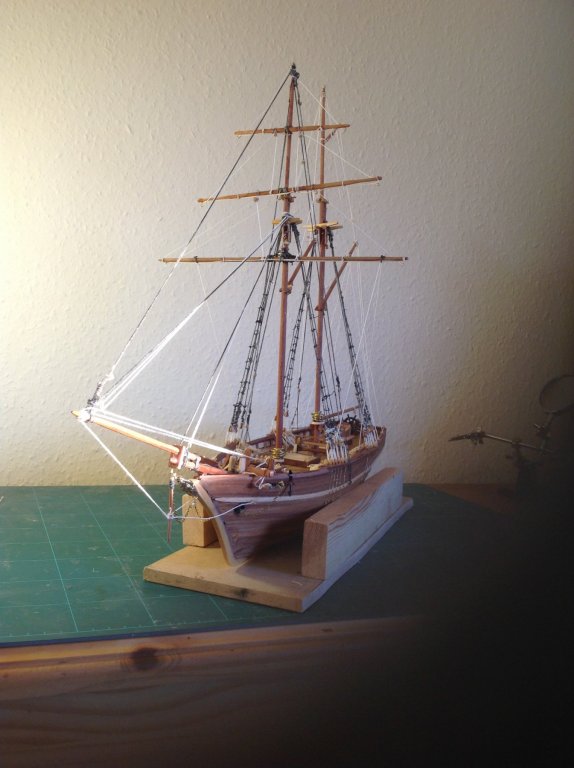
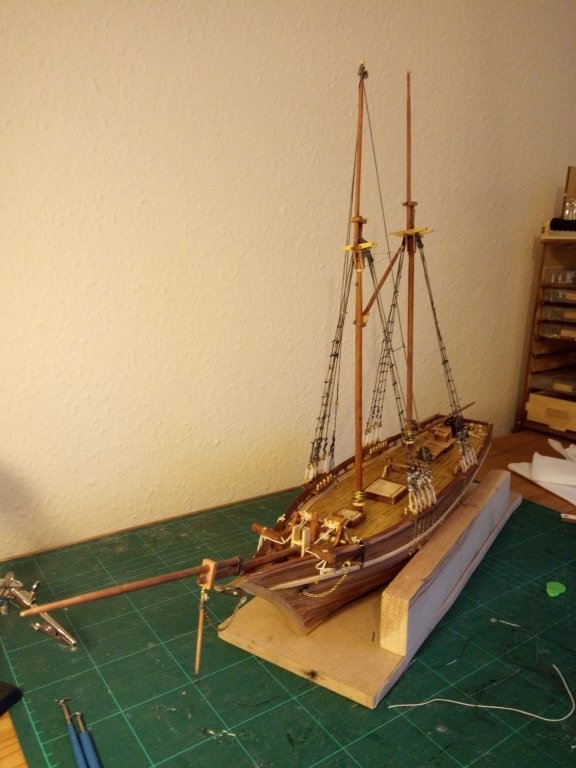
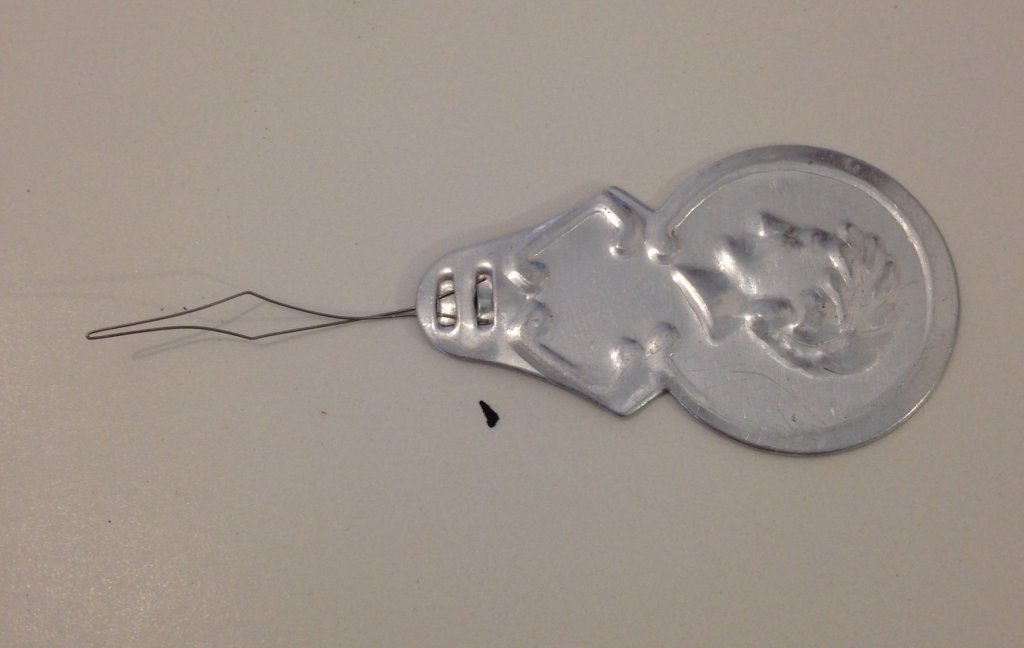
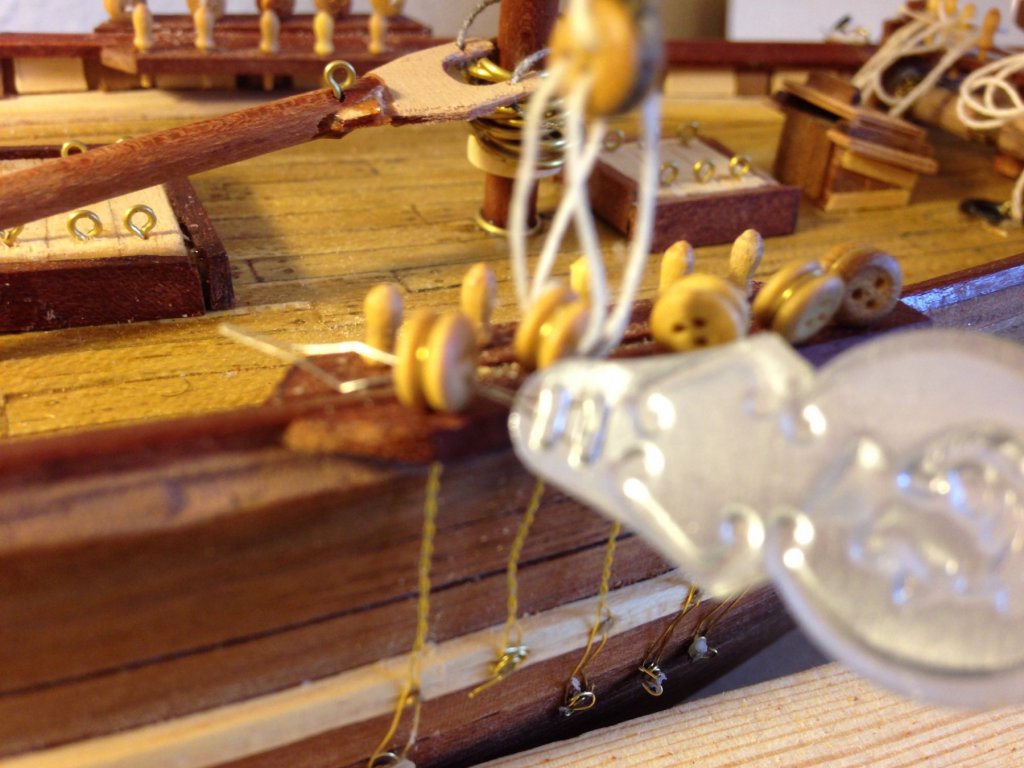
Scottish Maid now completed after 600 hours. Many errors but I am reasonably pleased with my efforts. I have included a pic of my use of a fork ( ask a responsible adult for permission before borrowing 😉)for constructing the looped belaying pins ropes. After studying the rigging bible I decided to drop some of the highly complex rigging as I thought it would be visual noise for the viewer. One huge error was to attempt to add the belaying pin rope loops after the complex rigging was completed. Now I need to decide what I'm going to about a display mount. May make a cradle or go fir a column approach. Caldecraft HMS Snake has arrived and will be the next project.


- 87 replies
-
- 2
-
-
- scottish maid
- artesania latina
- (and 1 more)
-
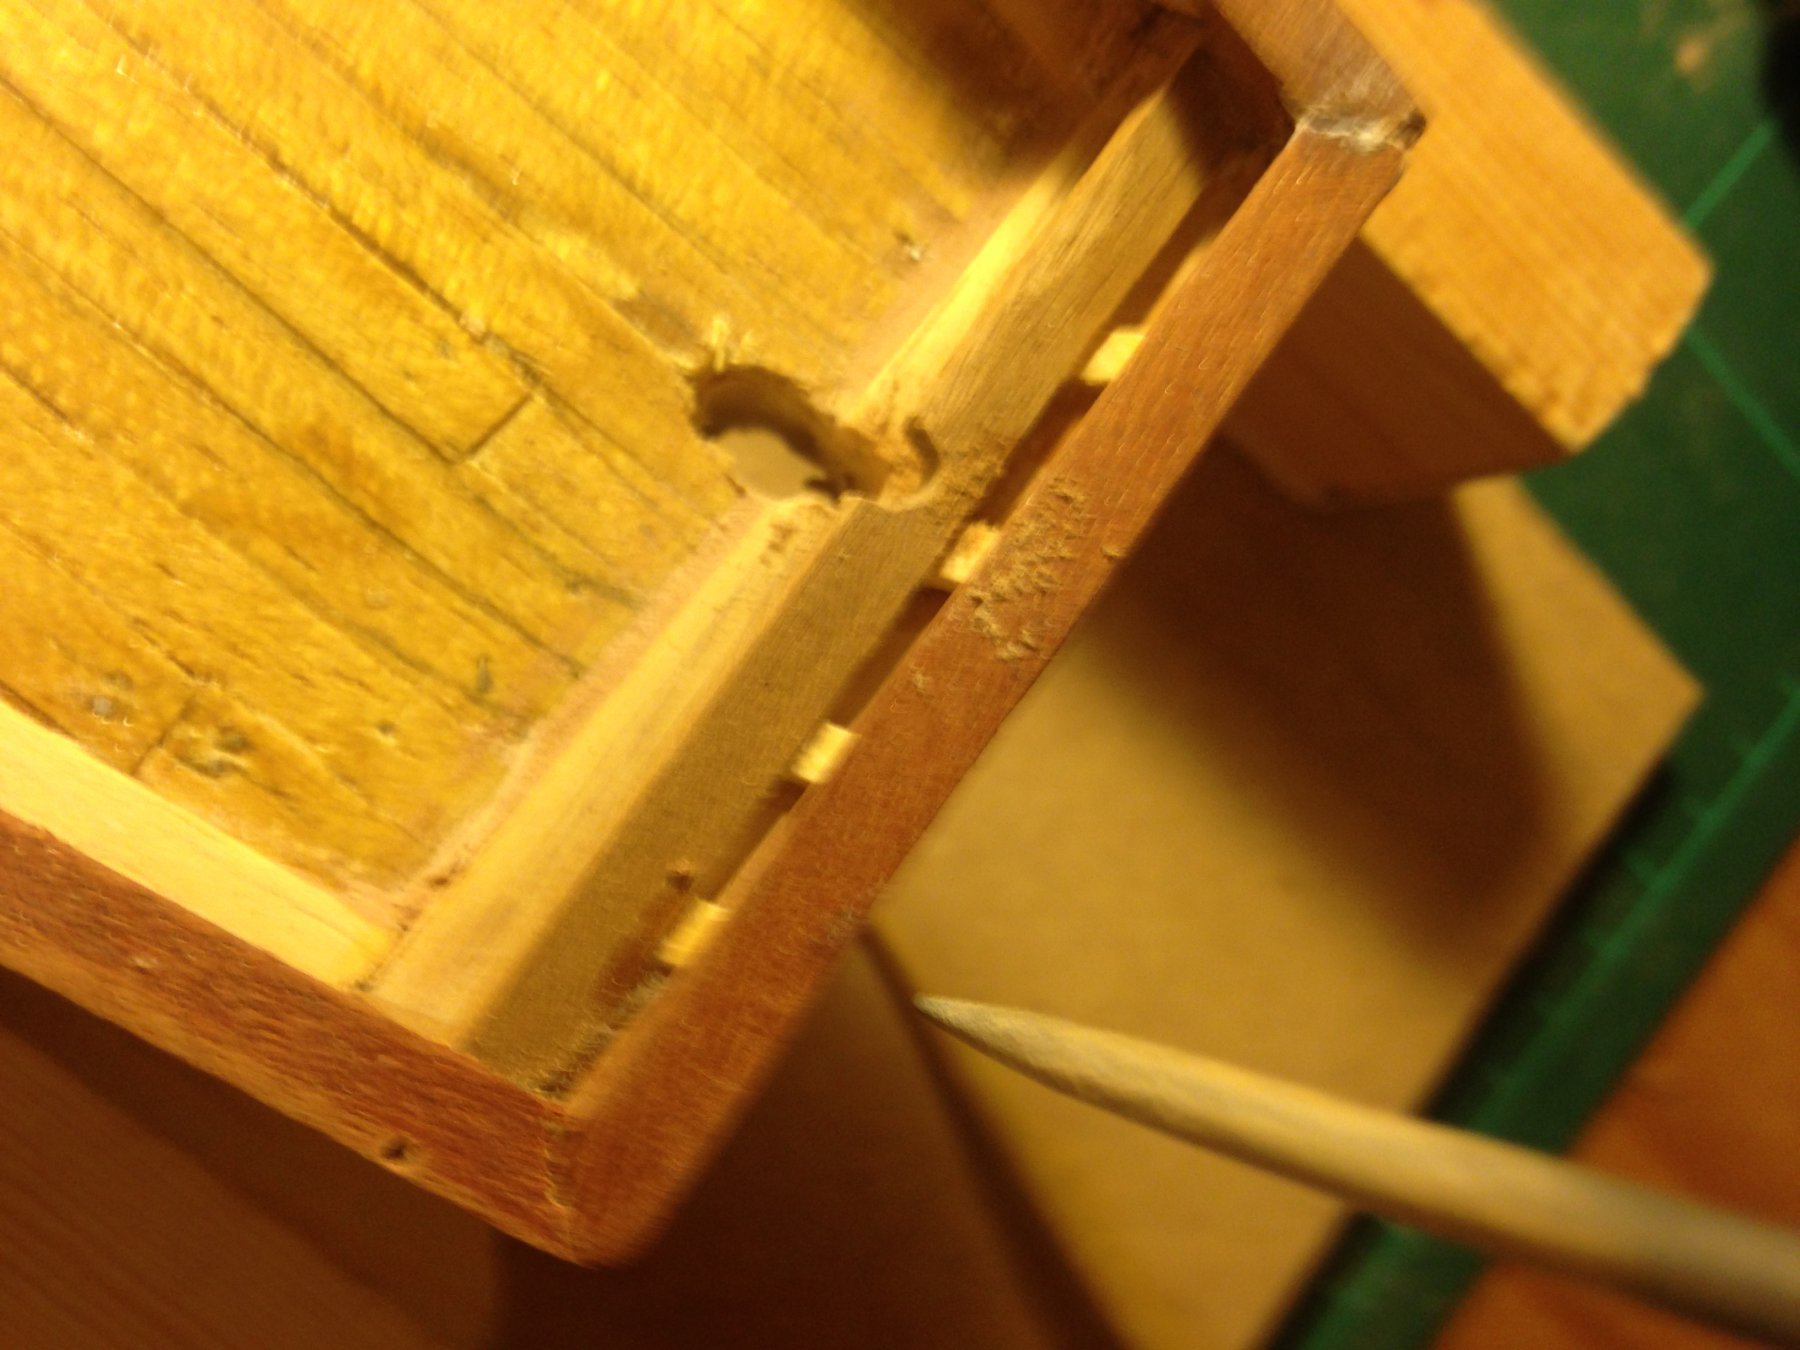
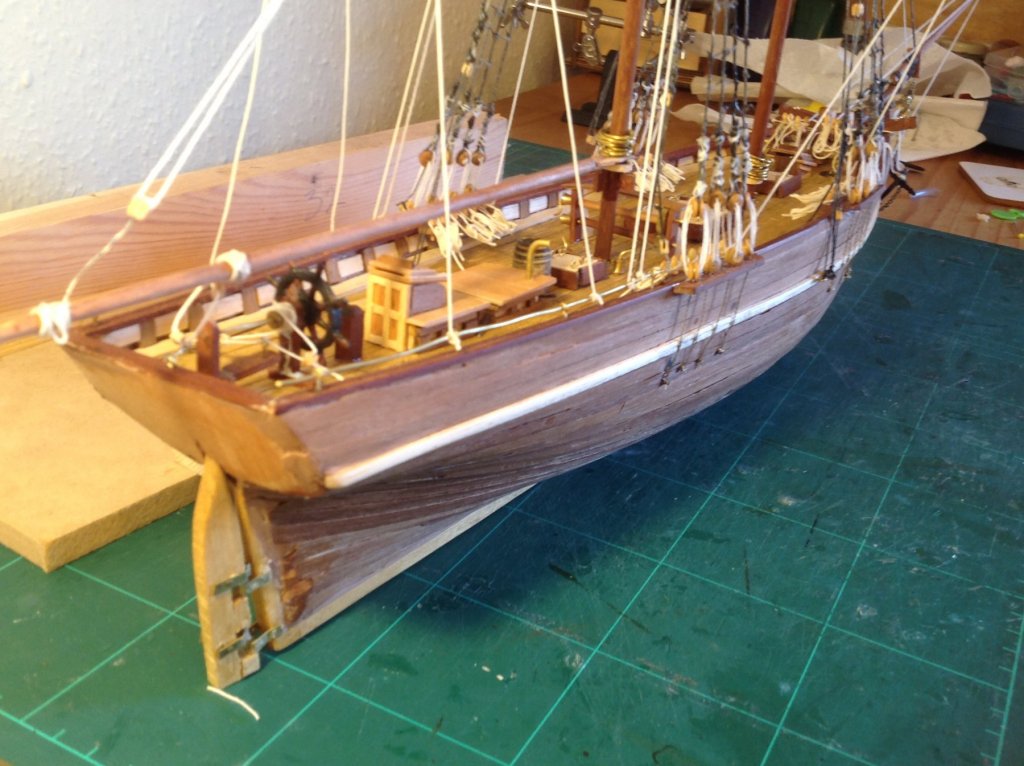
You're right ! I had to creatively "scratch" build the rudder area. The reason being that after I had finished the hull and planking without hitch when I came to fit the rudder I realised that my overhanging stern didn't overhang quite enough! Still have no idea how or why but clearly I couldn't contemplate a total rebuild so had to be creative and change the rudder fitting . Thankfully all looks good and looks as though it's right ( so long as you don't know what it should be 😁)
-
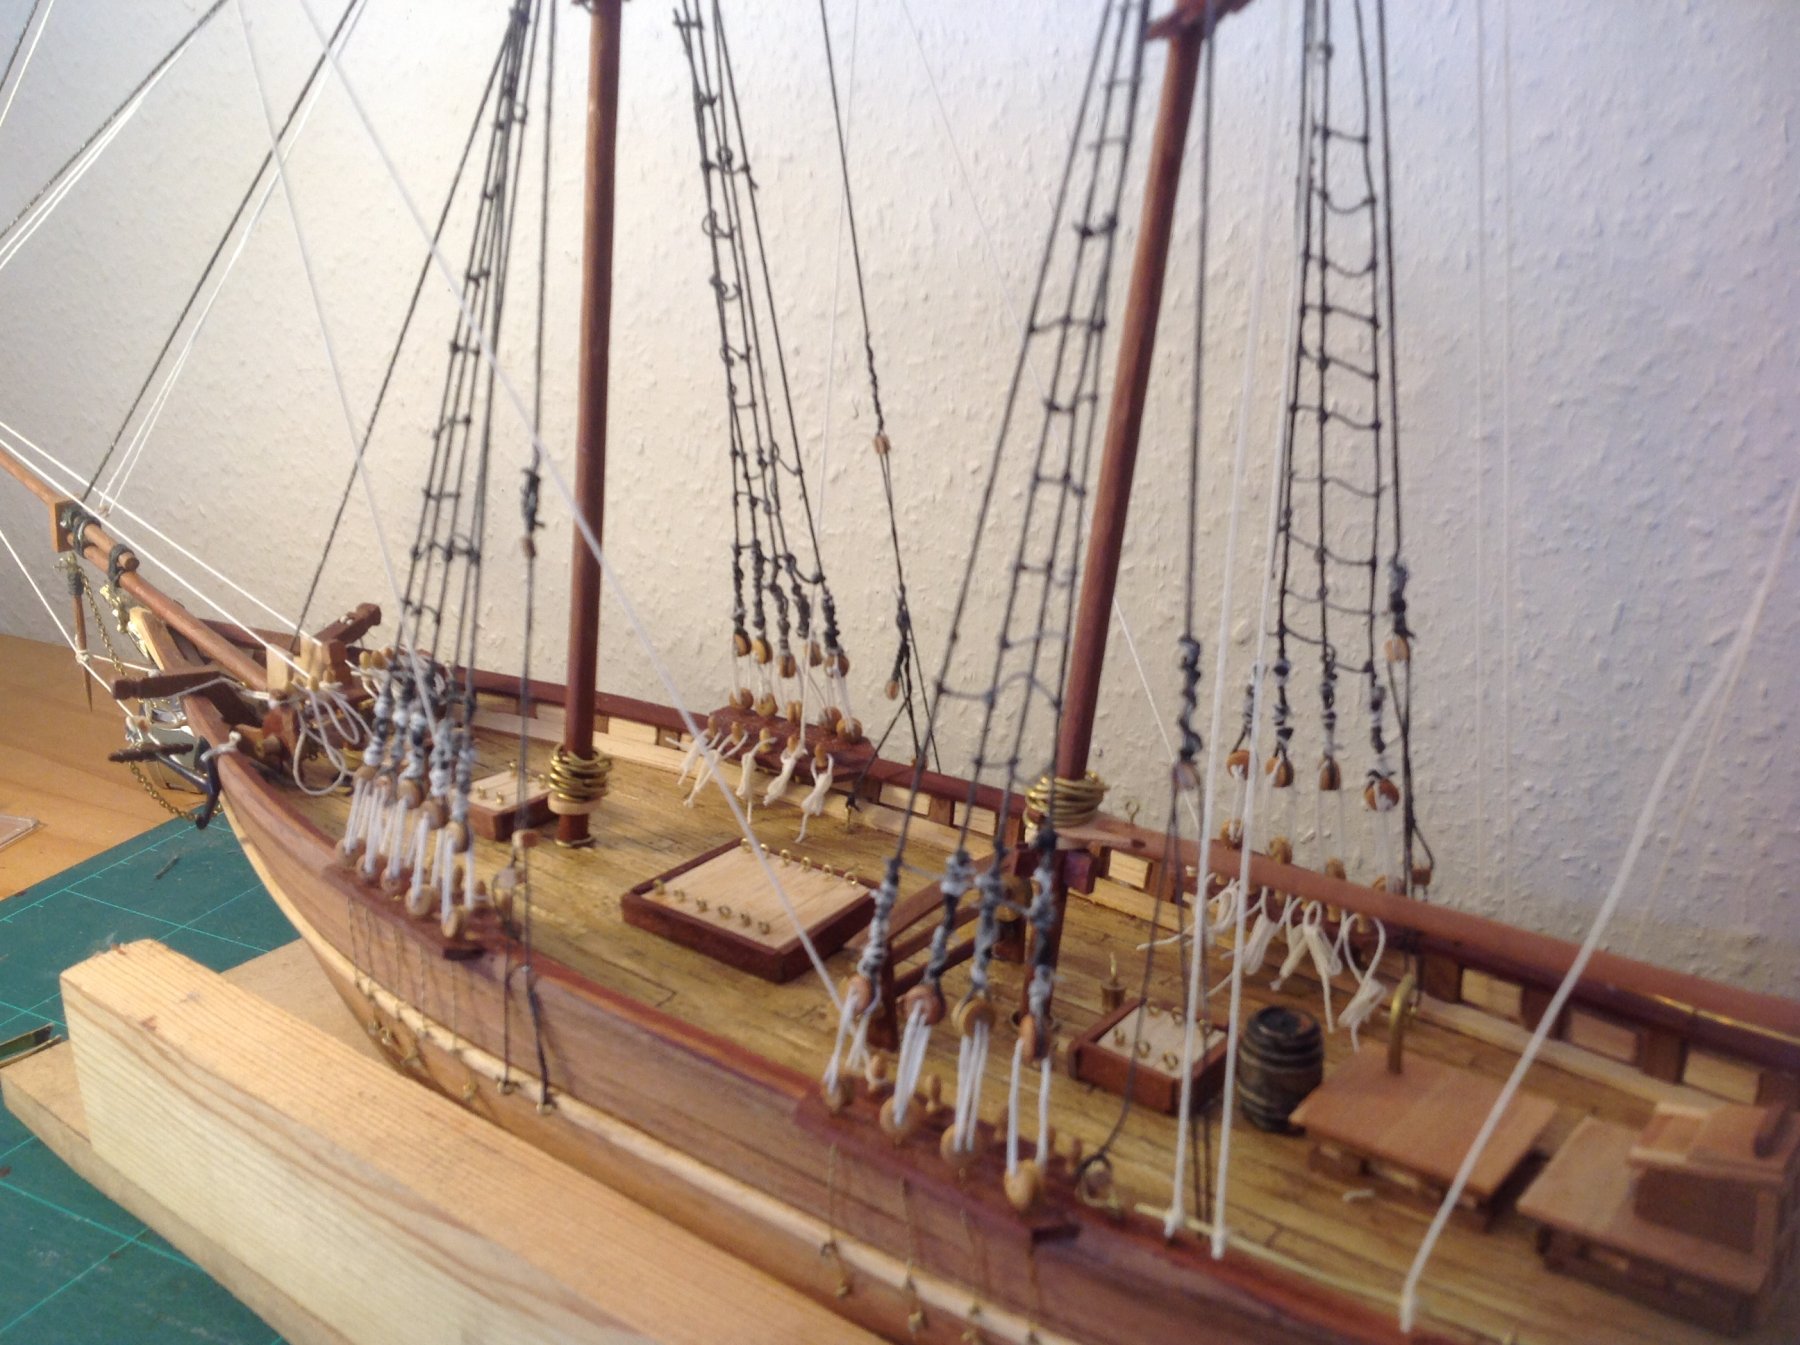
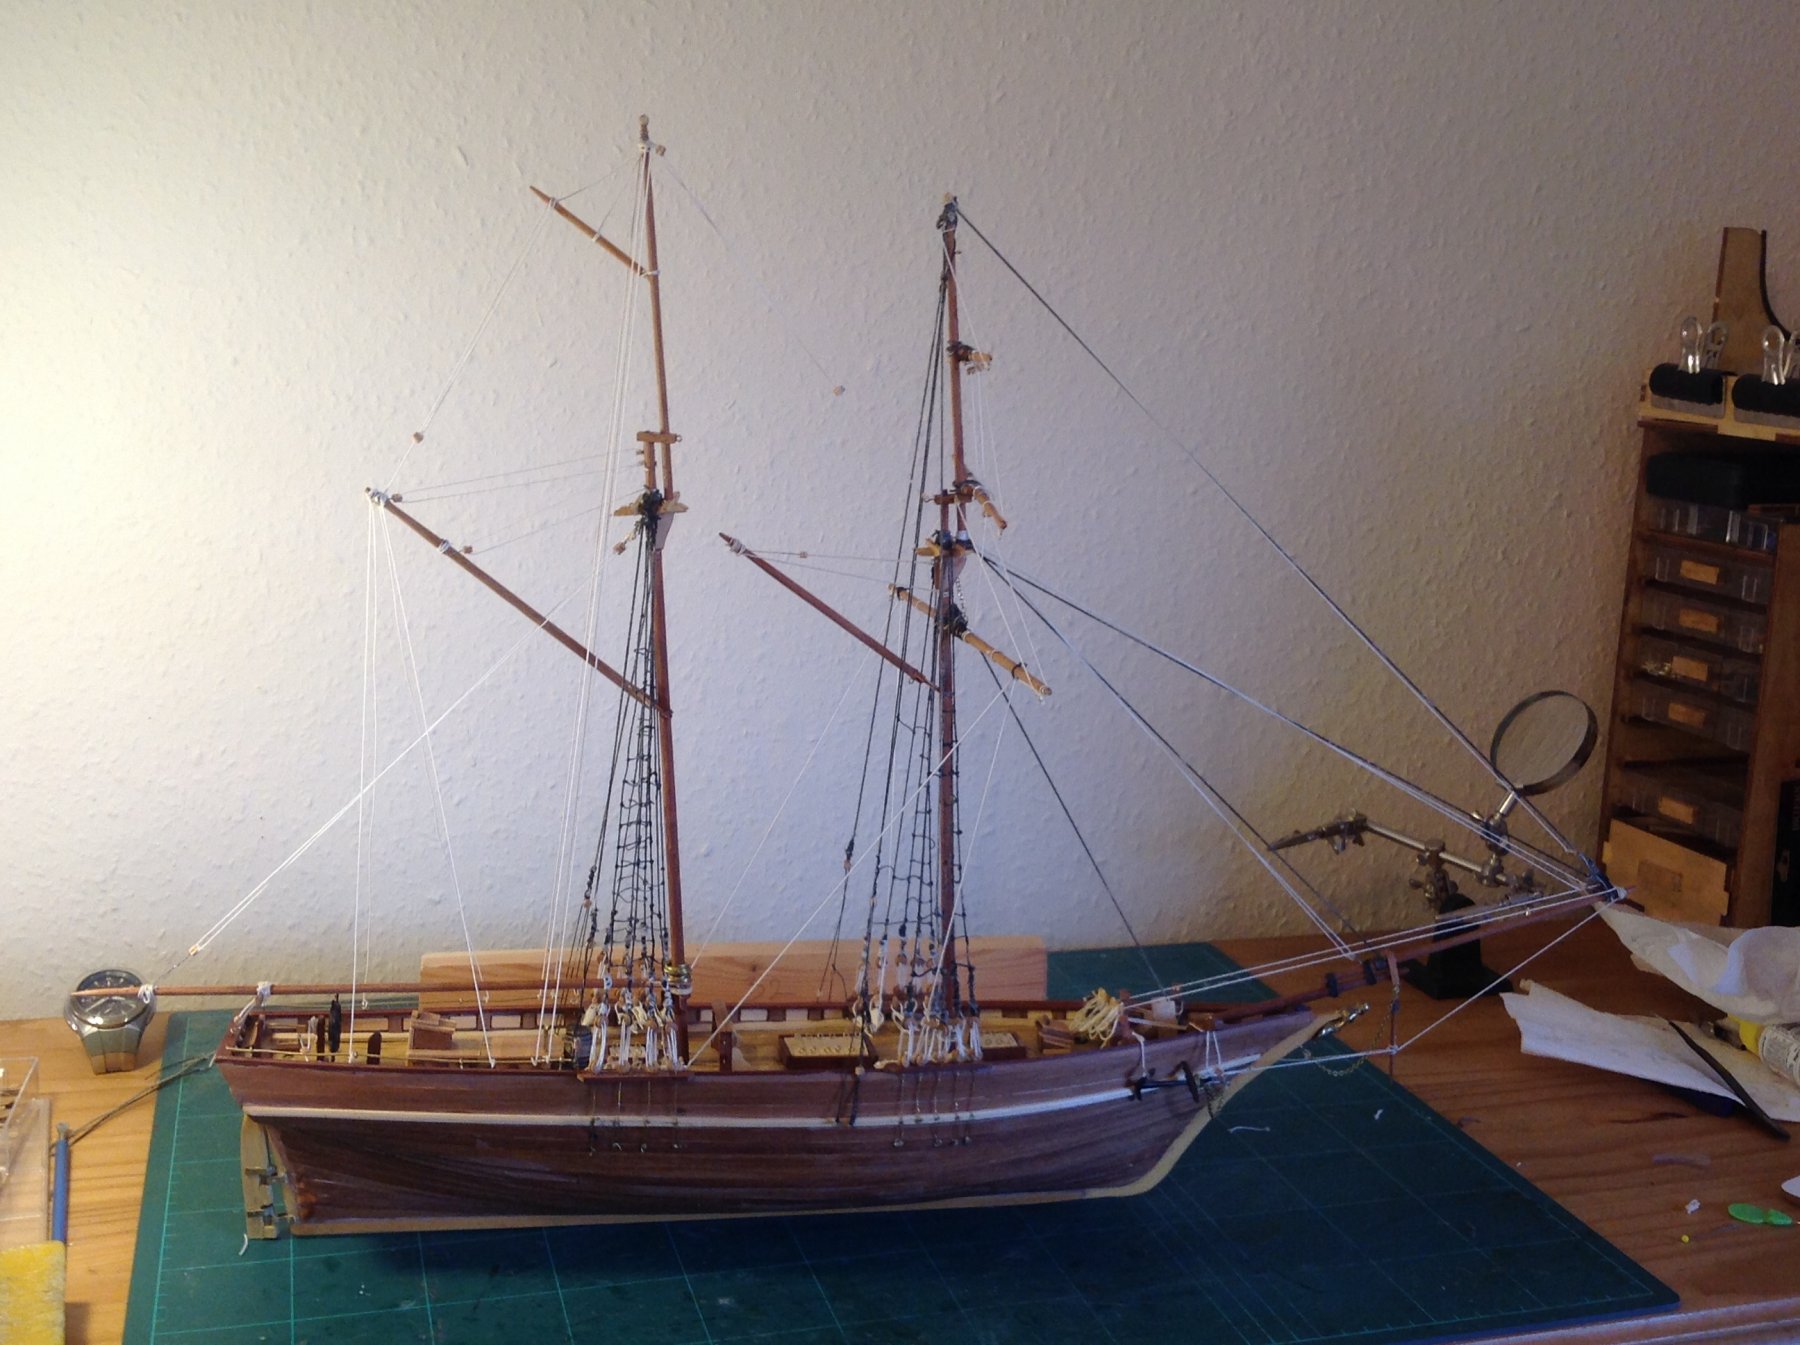
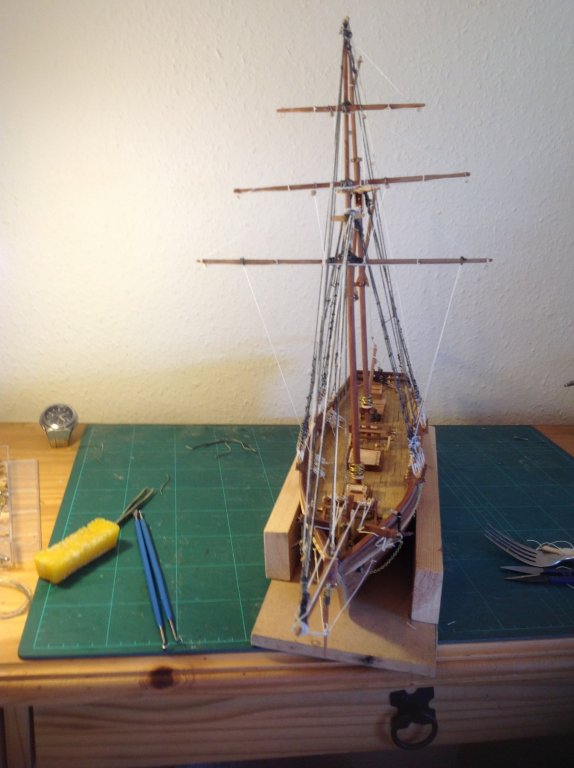
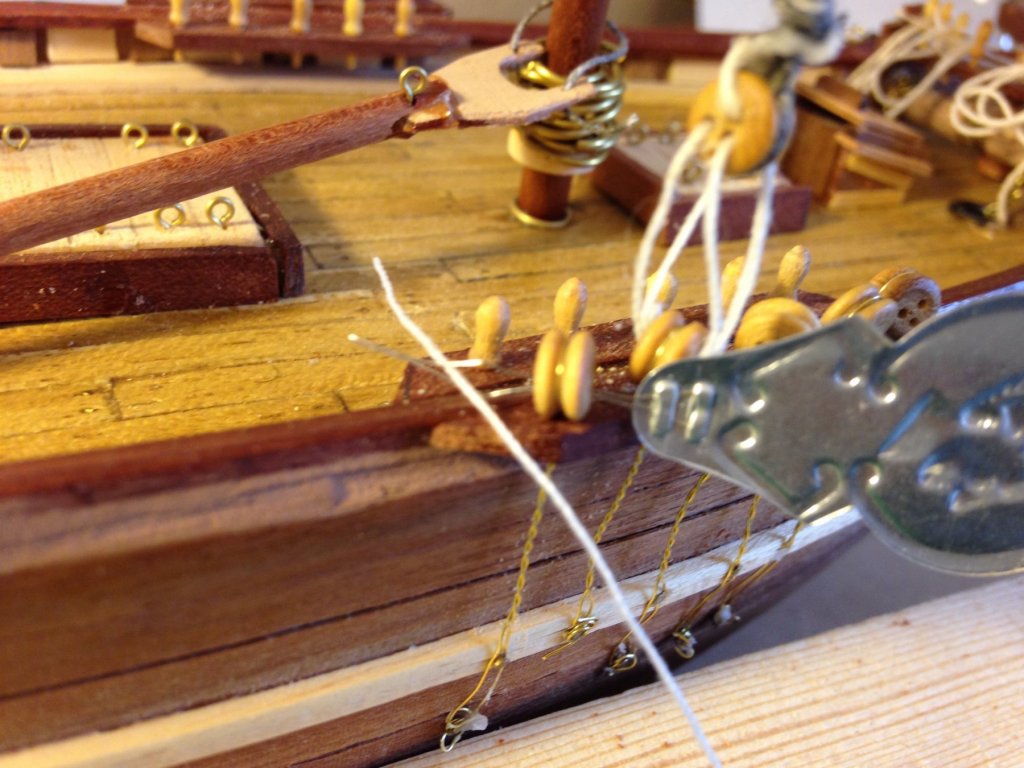
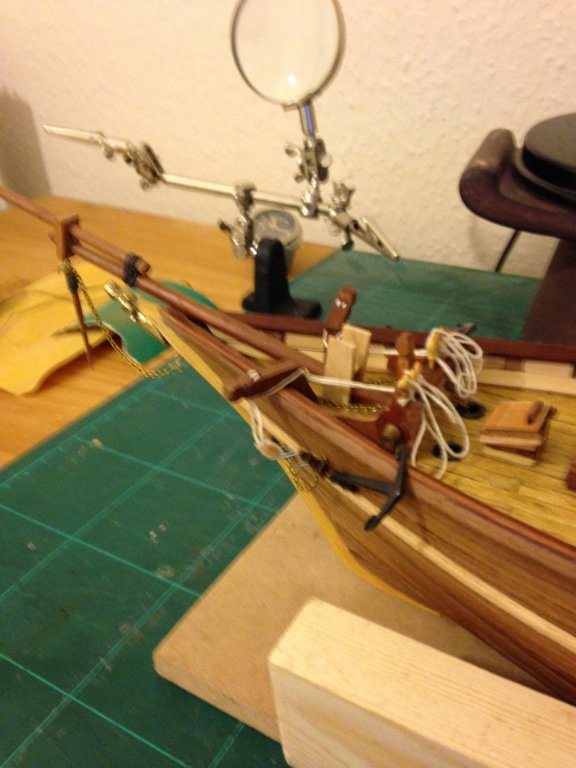
Shrouds and ratlines completed after numerous restarts! At least I managed to complete using knots rather than glue :)Bought some rigging tools from Amati but found them useless. Maybe I don't know how to use them . I find their long handles hard to manipulate so all work done with a small nosed tweezers and my trusty needle threader. Still somewhat clumsy and not all level but slowly improving. Still finding seizing very difficult. Now to fit gaffs ,yards and working rigging.
-
A simple needle threader has changed my life after spending a couple of hours attempting to thread a deadeye with aged eyes and fingers. The threader can be inserted through the tiniest hole ,thread passed through the wire and simply pulled back through. Perfect every time....brilliant

-
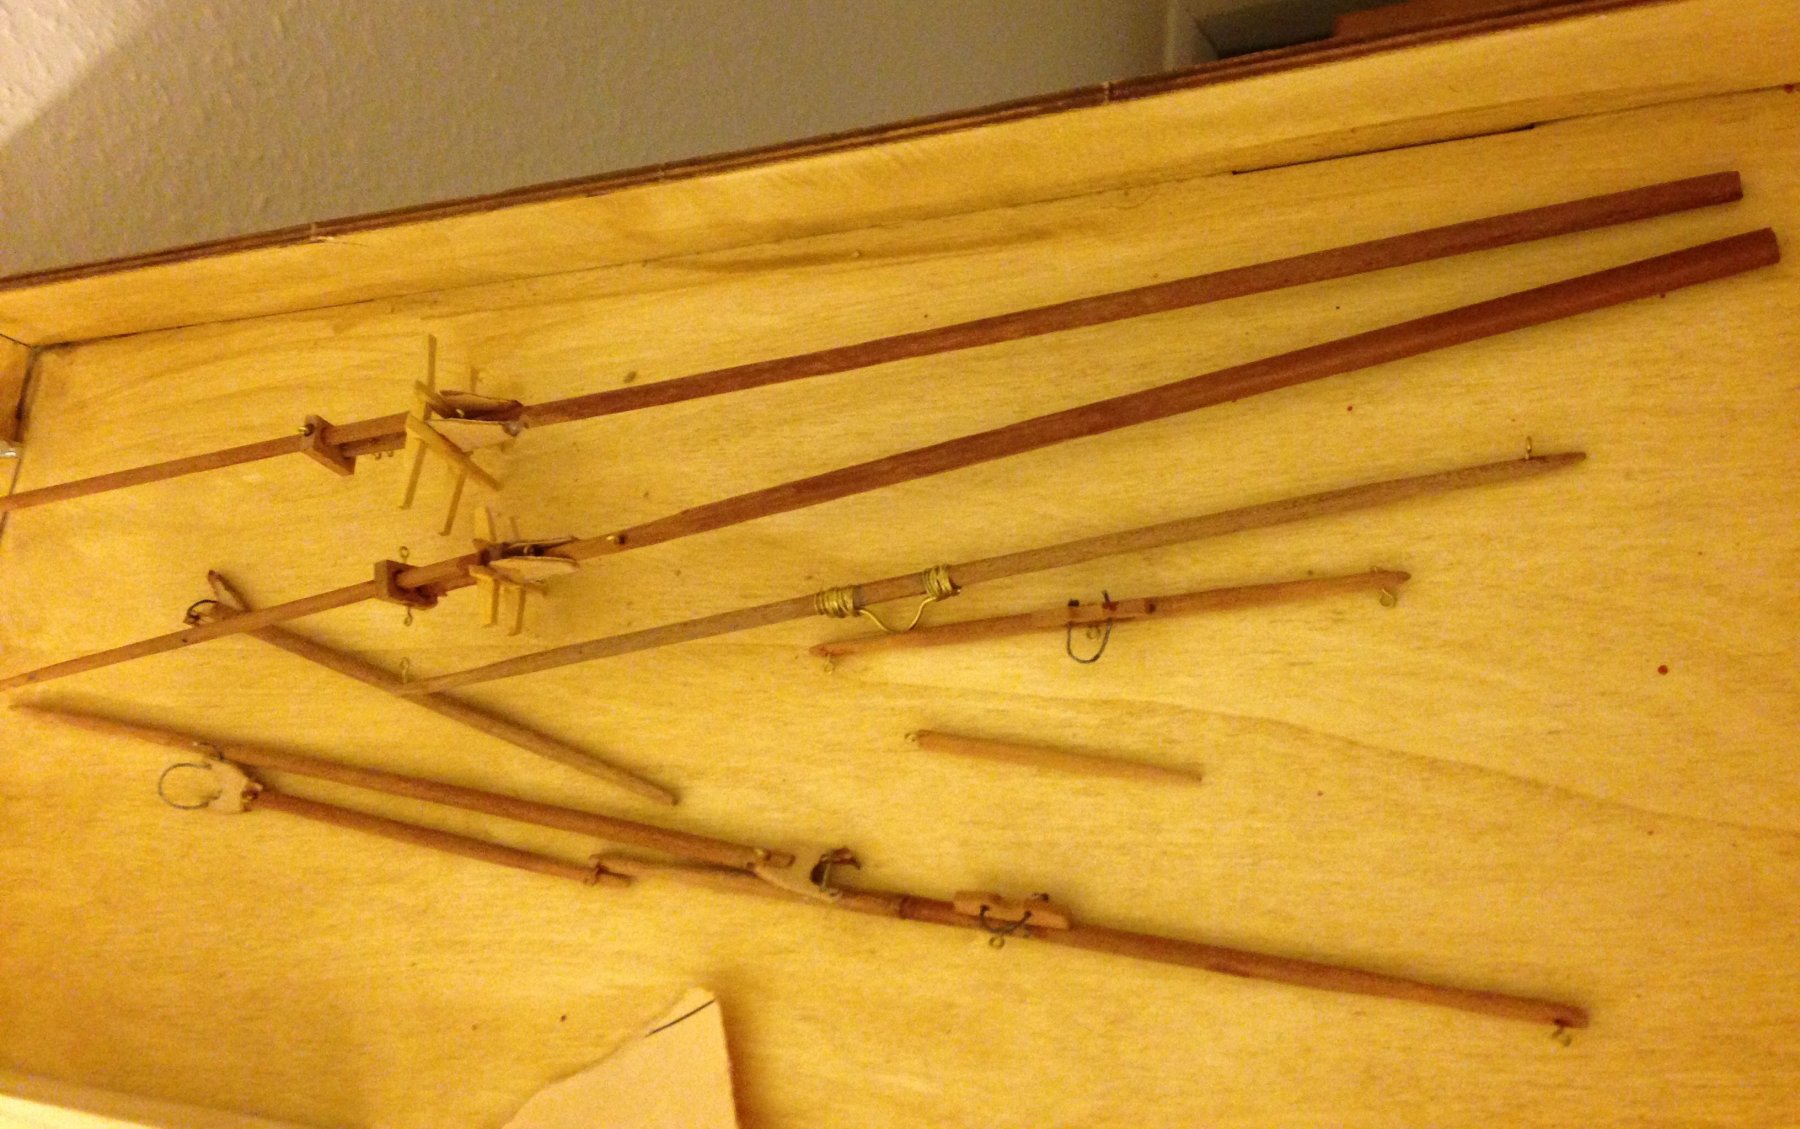
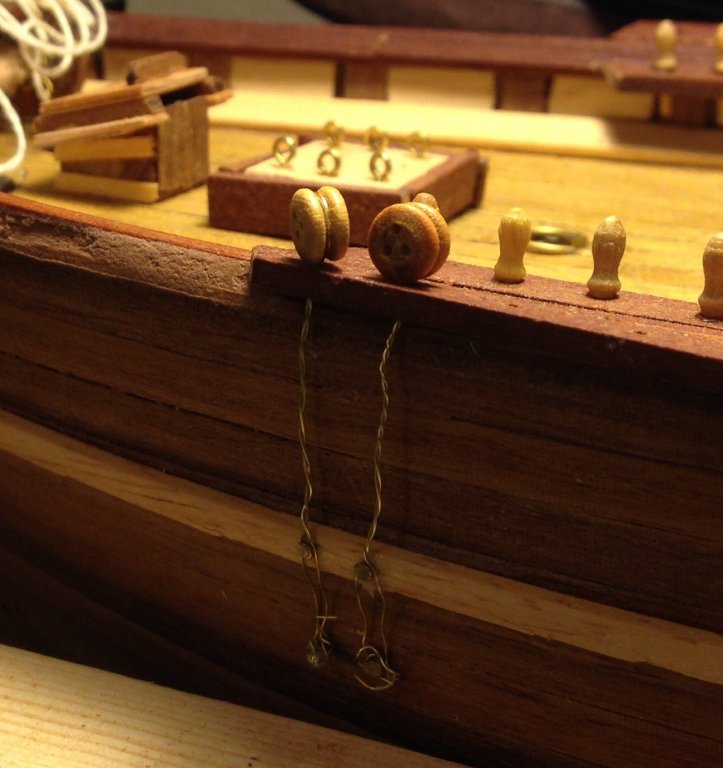
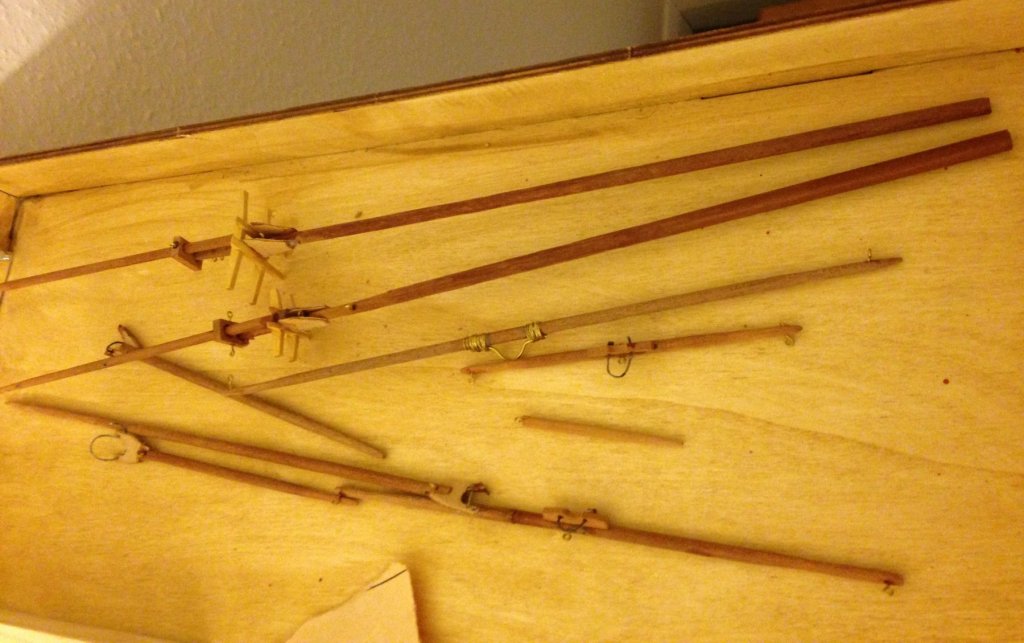
Masts and yards finished. Instructions say they should be fitted before constructing dead eyes. This doesn't seem logical to me as you need to manipulate the hull to fit the deadeyes and hammer in the brass fitting nails so I am leaving the masts off until later. Begun to fit the deadeyes.
- 87 replies
-
- 1
-
-
- scottish maid
- artesania latina
- (and 1 more)
-
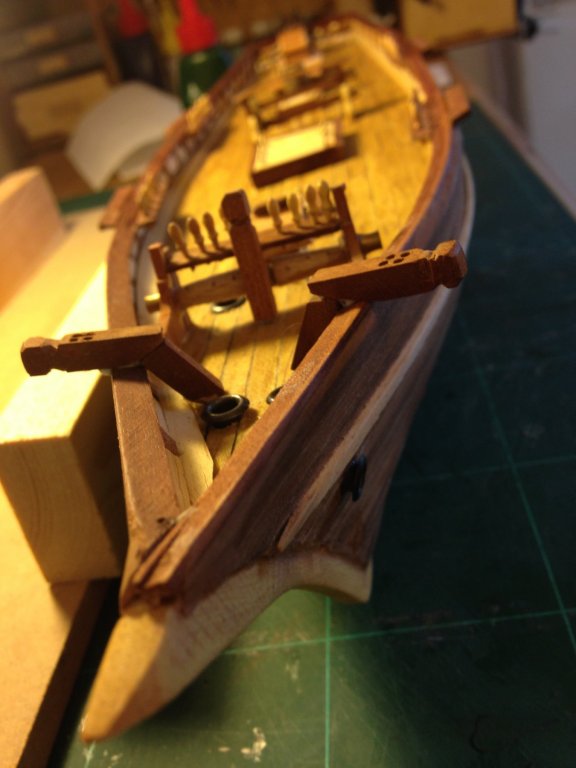
One thing I'm finding with this kit( maybe the latest version is different) is that instructions can be vague to the point of being totally confusing . An example being the anchors . They are metal but aren't mentioned anywhere in my instructions. On the box they have a large ring moulded on the top.In reality they are blank and tiny. This meant me constructing two rings out of spare brass wire then lashing them to the top of the anchors. The minimal drawing in the instructions show them attached by hooks fitted to blocks. The hooks aren't in the kit and the blocks provided don't have the two grooves for the ropes shown in the diagram only one. I had to look on this site and YouTube to learn how to scratch build this stuff. This isn't a complaint simply an observation. The learning curve I have undergone has been great. This is where all build blogs (hopefully including mine) gives inspiration to others and especially novices like myself to realise you're not the only one baffled for a day or two by confusing or non exultant instructions.
- 87 replies
-
- 1
-
-
- scottish maid
- artesania latina
- (and 1 more)
-
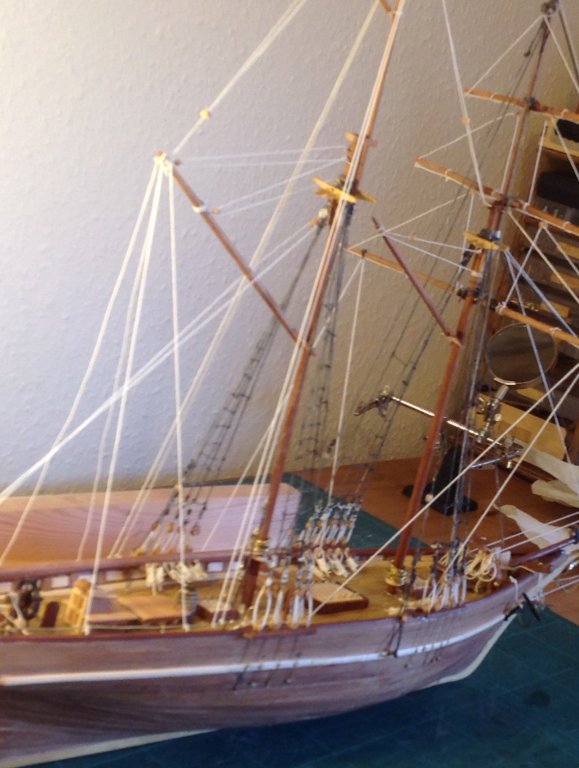
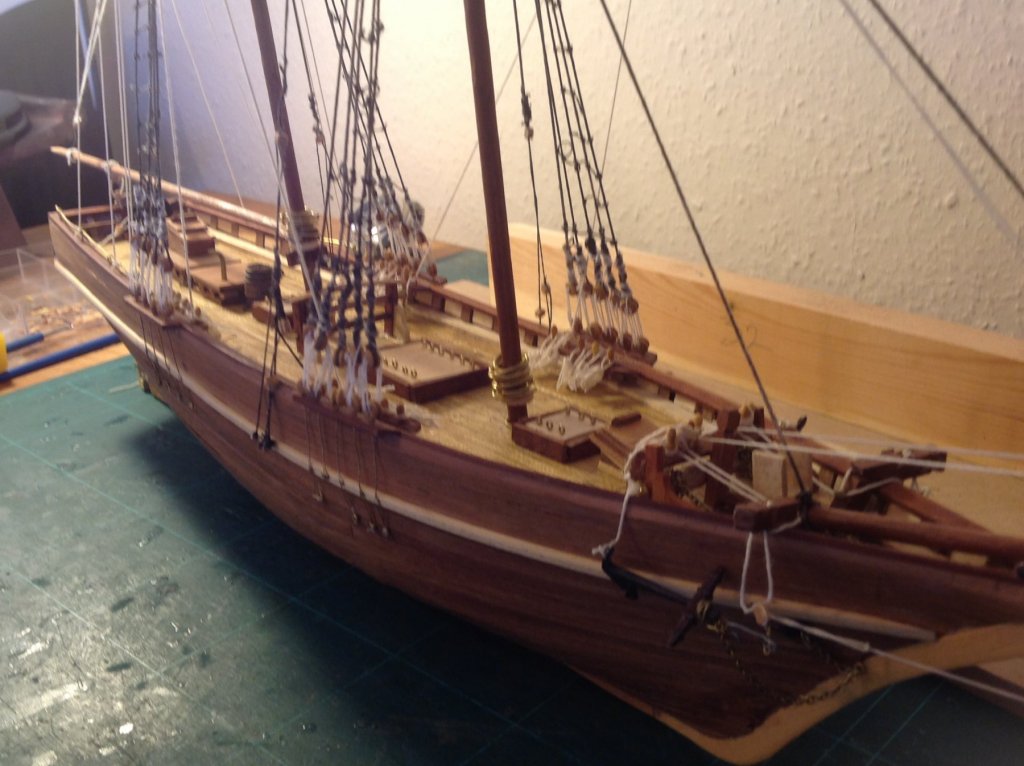
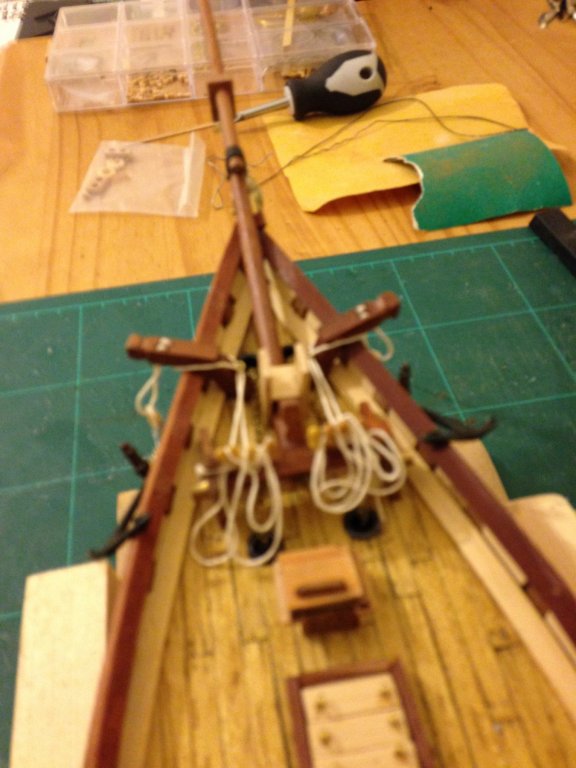
Still clumsy and inept but I'm inordinately thrilled with my first real attempts at working with ropes. Learnt how to lash ropes, make hooks and complete cats heads. This hobby is ridiculously enthralling as so much study,research and learning of new skills is involved .😉😉😉😉
- 87 replies
-
- 2
-
-
- scottish maid
- artesania latina
- (and 1 more)
-
Thanks for the tips Glenn. Now gardening duties finished I have more time for shipbuilding each day. Plus the more I do it the more "hooked"I become!😉
-
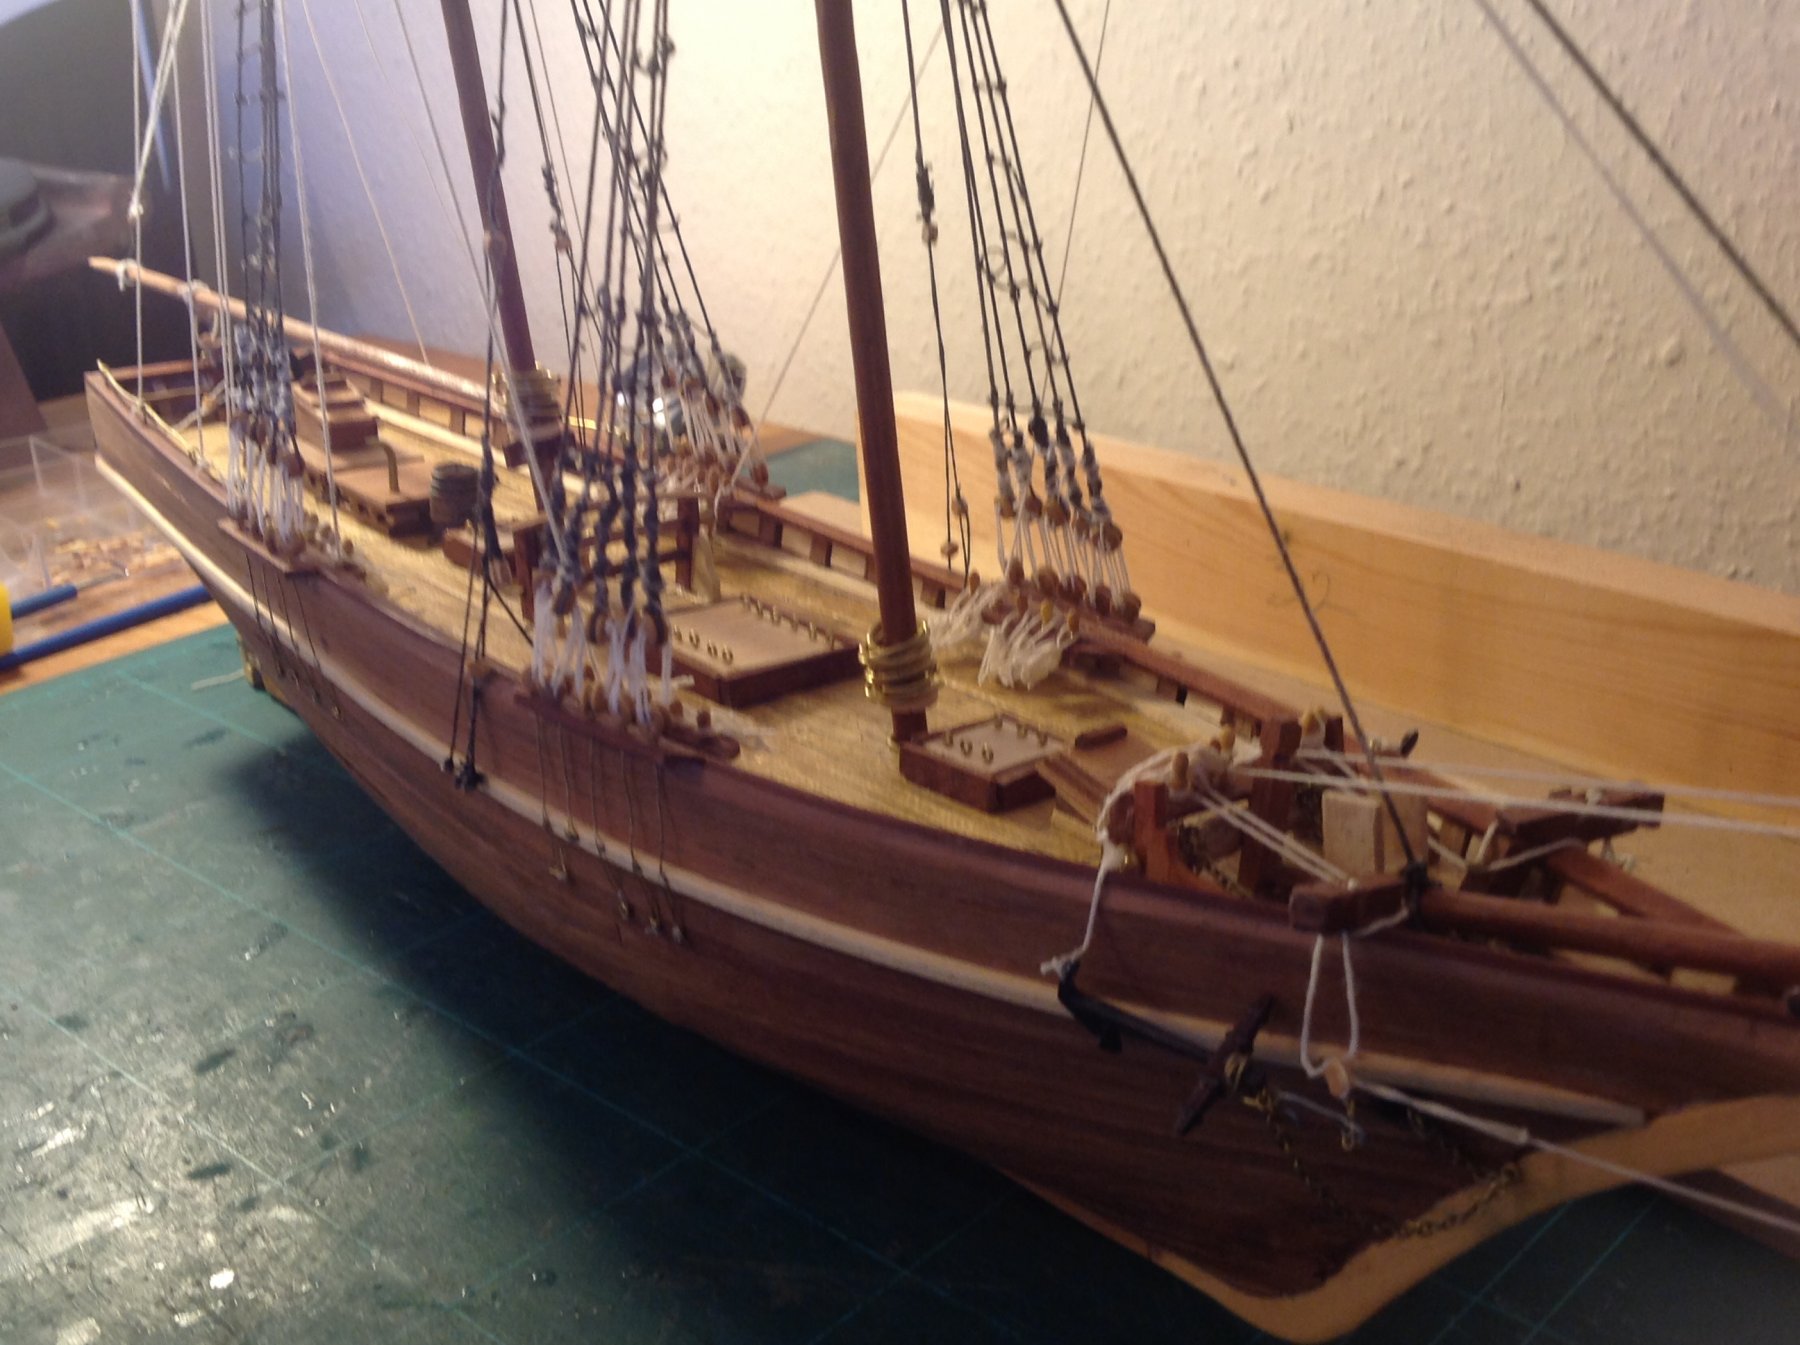
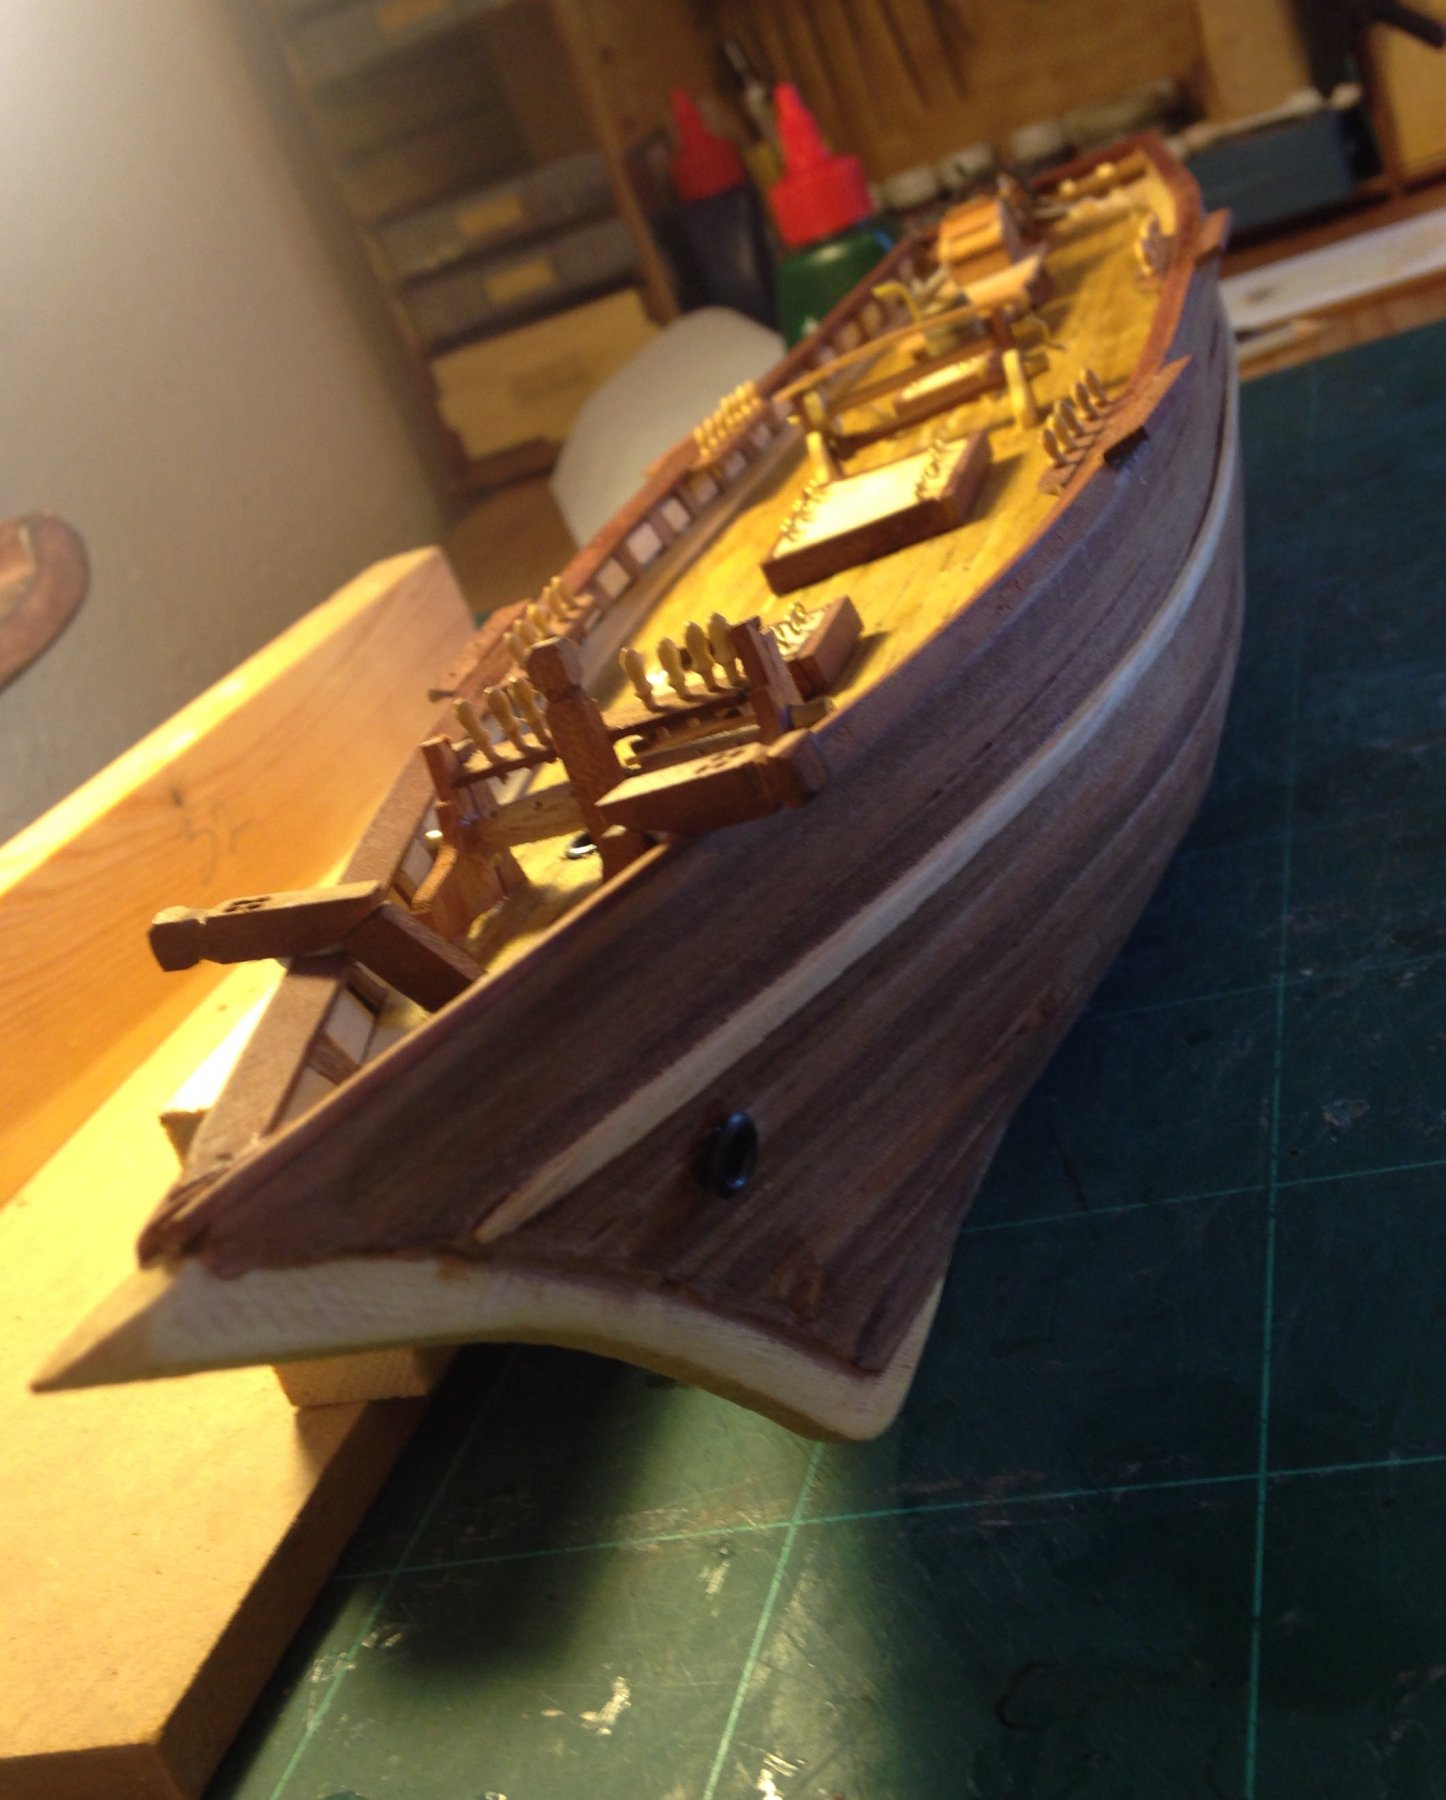
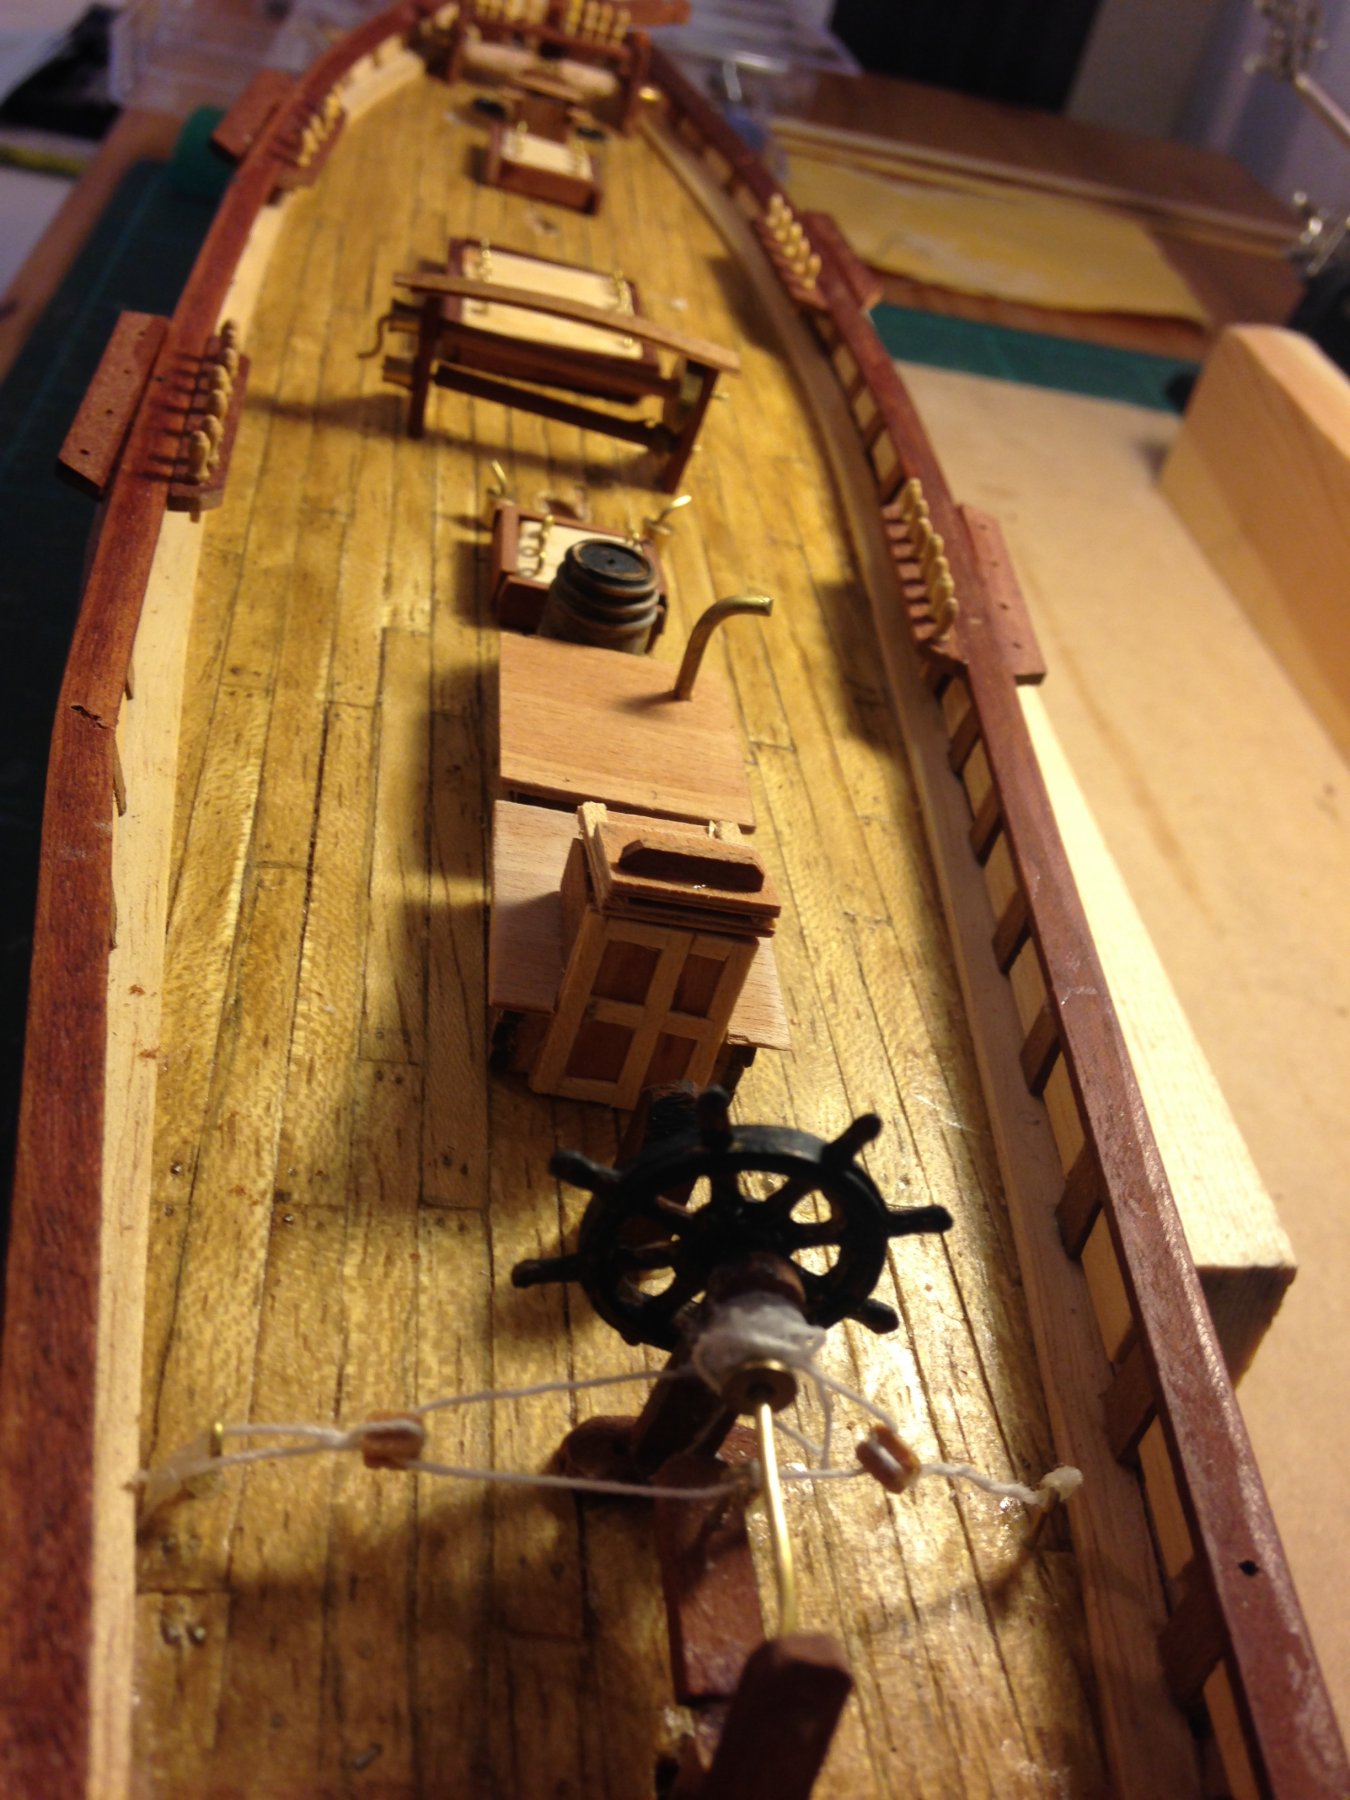
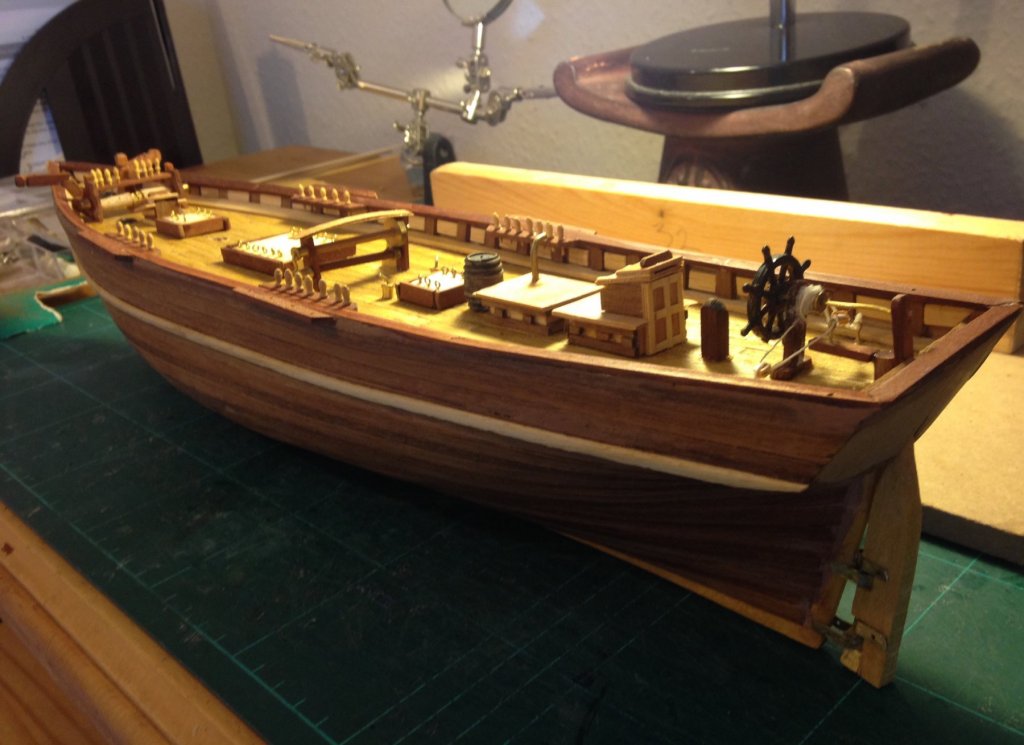
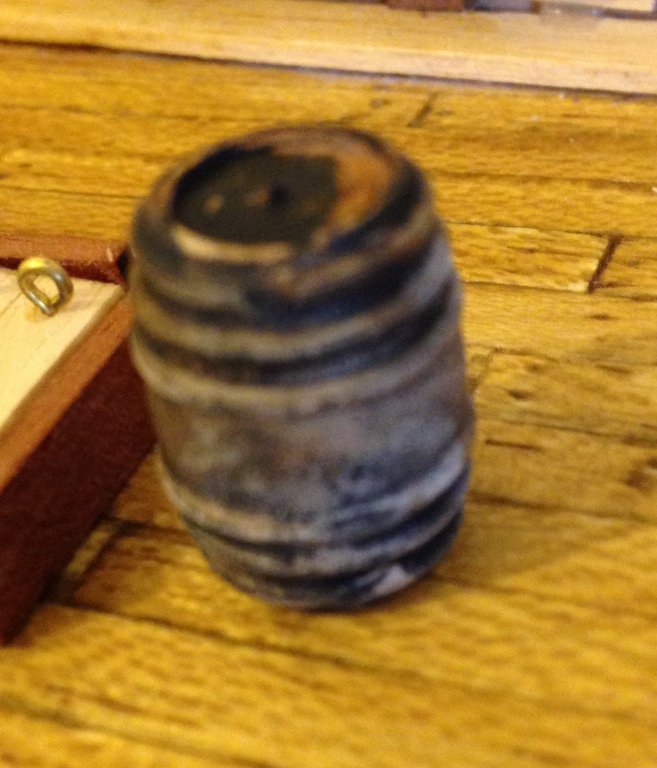
Update as now virtually completed the hull. Next to start on sanding the masts to shape . Learnt never to allow super glue near rope work . Weathered the scuttle butt as the kit provided a light yellow plastic barrel which I thought looked horrible. Sorry I don't know how to put text in-between photos so can't put comments on relative pics. l


- 87 replies
-
- 5
-
-
- scottish maid
- artesania latina
- (and 1 more)
-
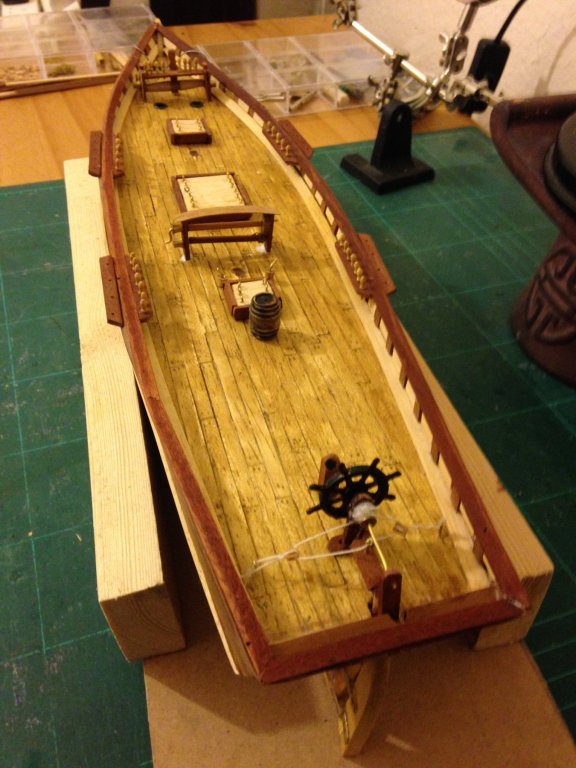
My kit ,dated 1979, tells me to find the wooden block and hand carve the rudder . Then drill a hole straight through the hull to enable the 3mm. Rudder post to poke through ready to connect to wheel/ rudder assembly.What fun and jolly japes this involved .Then after gritting my teeth and drilling through the hull I had struggled to build I inserted the helm/ rudder assembly. As a reward I oiled the hull so it looked better. 😆


- 87 replies
-
- 3
-
-
- scottish maid
- artesania latina
- (and 1 more)
-
Glad the new kit has stopped the torment of trying to sideways bend of the bulwarks. The helm axle appears to require a large wooden rudder to have to top half sanded into a 3mm cylinder than a hole drilled all the way through the ship from below through into the deck ( no room !) . So I may have to redesign it .
-
I understood that the Scottish Maid was built for speed and was used to transport fruit from the Azores back to the UK so did sail in warm seas for much of her life.
-
Trickiest job yet. Soaking (for several hours) then trying to bend the very dense Ramin capping rails for the bulwarks. Now trying to work out what on earth the instructions mean by the "helm axle". Haven't worked it out but will now view everyone else build logs and see if that helps me.

- 87 replies
-
- 2
-
-
- scottish maid
- artesania latina
- (and 1 more)
-
Thanks Glenn BTW I must have dropped some nails when planking the deck as I now have a giant marracar !😂Good job it's a static model
- 87 replies
-
- 1
-
-
- scottish maid
- artesania latina
- (and 1 more)
-
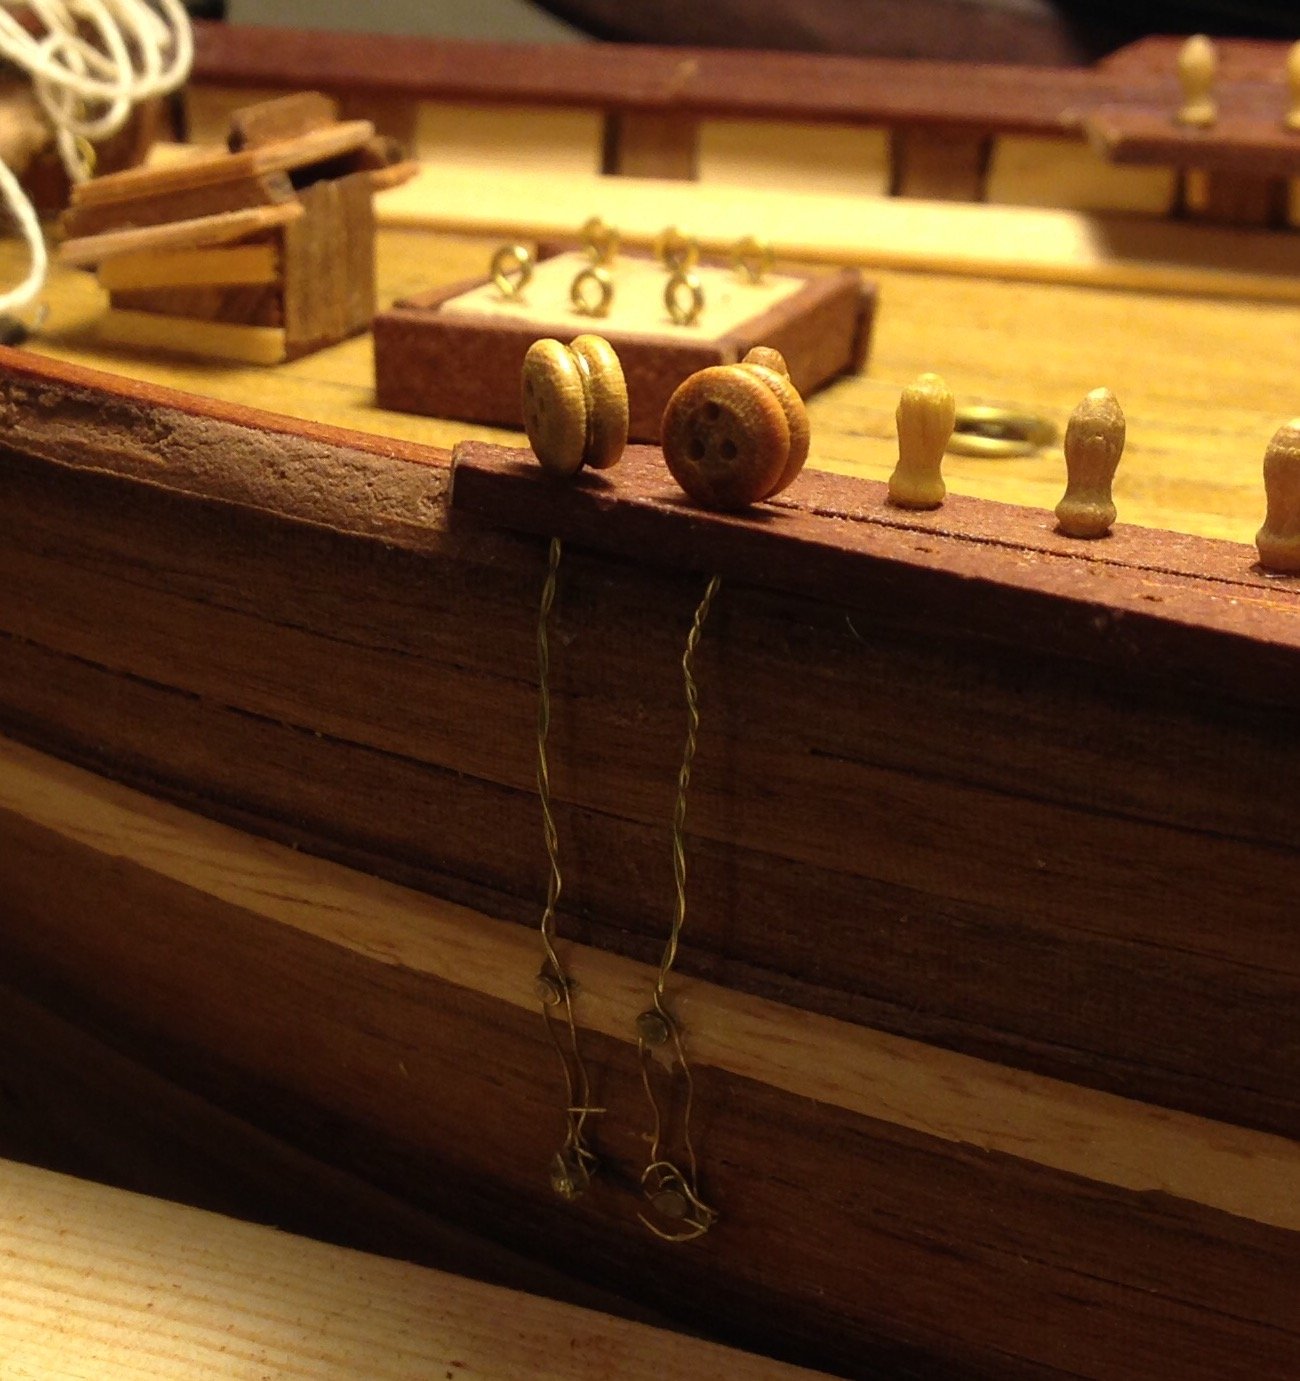
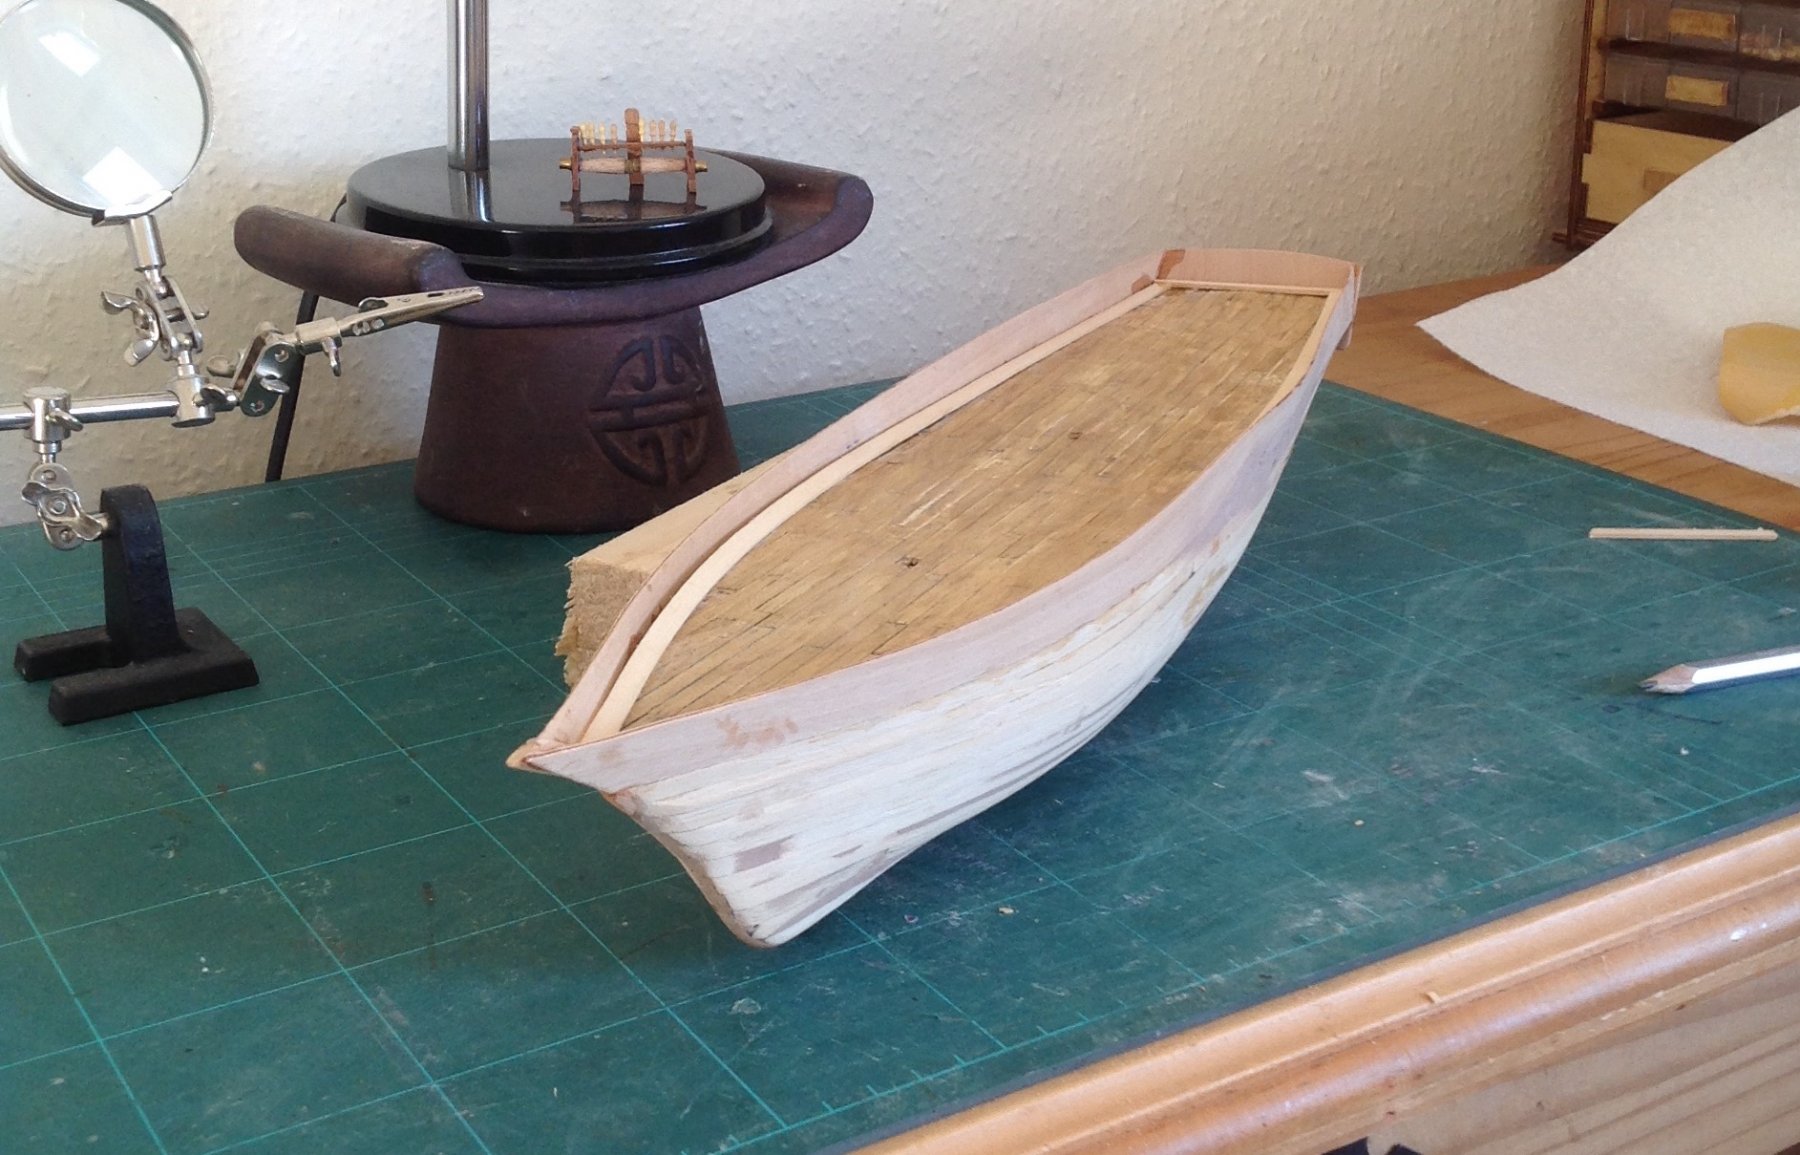
Glenn I marked the holes in the deck as I thought the reinforcing wooden blocks would be easier to find when the time comes. I did build a couple of pieces of deck furniture whist waiting for glue to set:)) My next build will also be HMS Snake when I can afford it:) I was inspired by Steve Priske's video on YouTube of his commisioned build of HMS Snake
-
As I work on the "Maid" beginning to recognise mistakes and what is needed. Relooking at my deck planking I would like to get the joints lined up correctly and reproduce caulking between them. I'm going to replank on top as I wouldn't ever be happy knowing I could do better. Saw on a build log on here that the builder had used black paper but I can't work out what he means. Any advice on caulking or is it just a matter of painting the edges? Any advice greatfully received as always
-
Definitely the best and most enthralling.
-
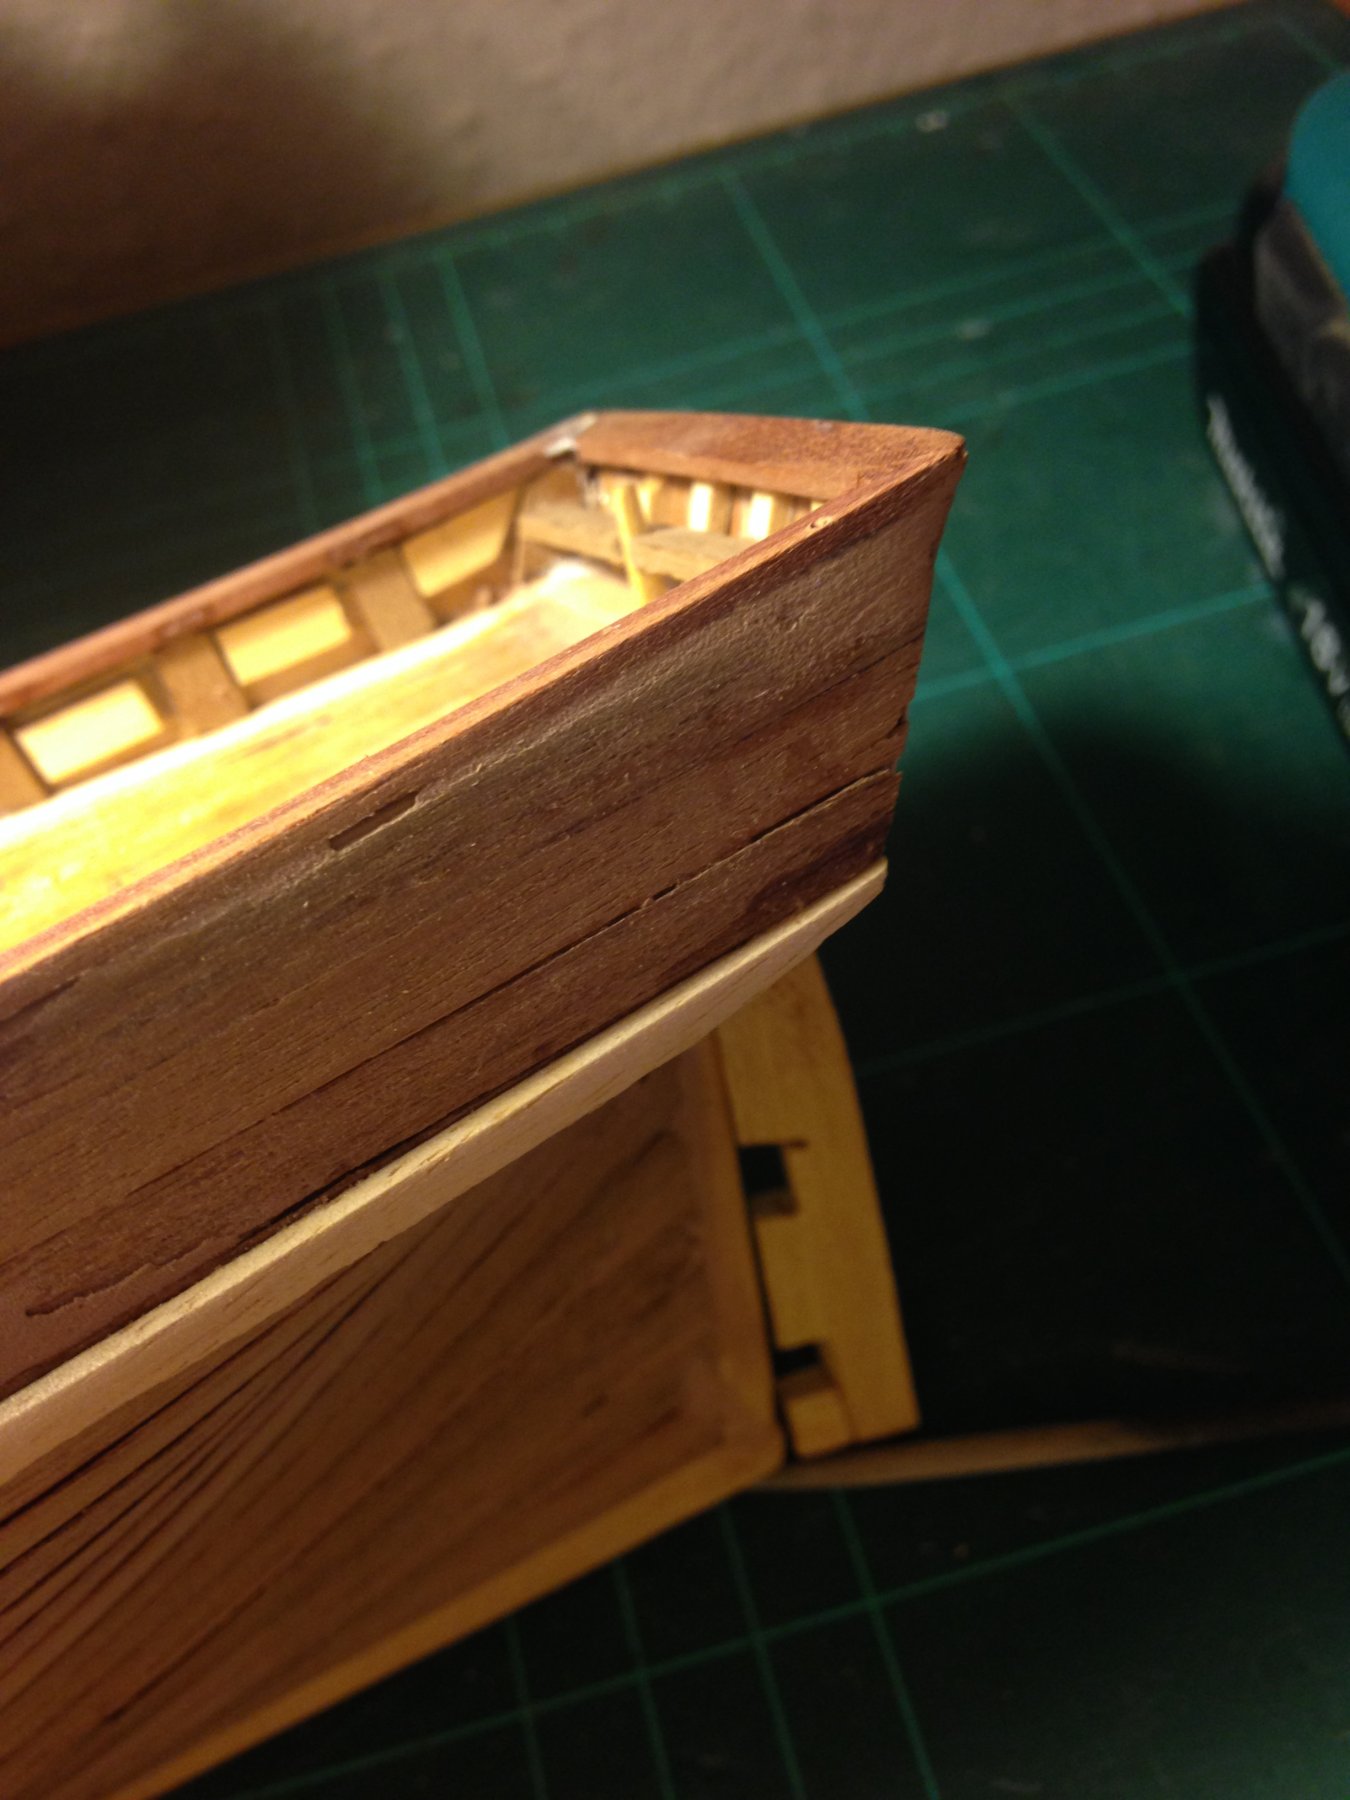
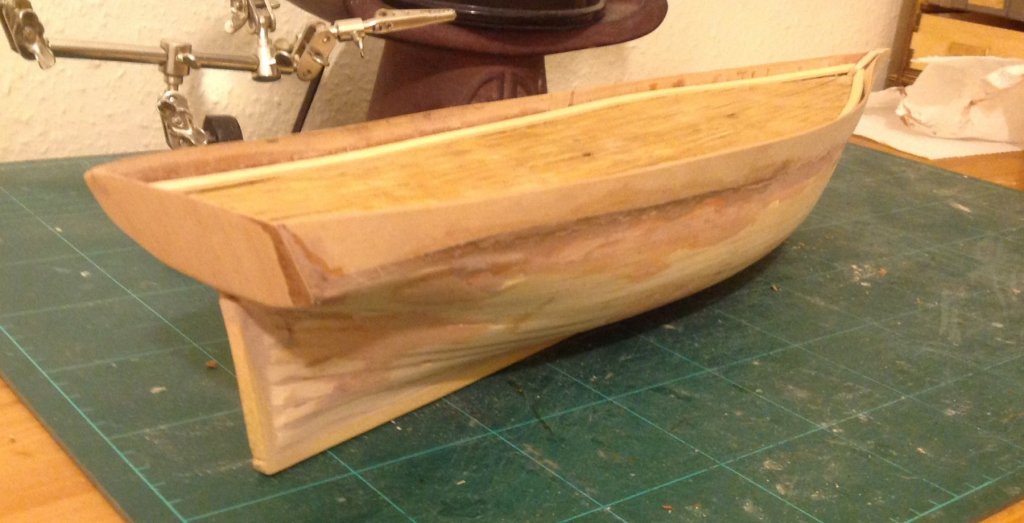
Keel and transom fitted plus bulwarks levelled.
- 87 replies
-
- 3
-
-
- scottish maid
- artesania latina
- (and 1 more)
-
Thanks for sharing your pics Grandpa Phil. Encouraged me greatly. Excellent planking job there sir as looks a tricky job. I will spend much time on my second planking as I obviously dont wish to put filler near my walnut planking.
- 87 replies
-
- 1
-
-
- scottish maid
- artesania latina
- (and 1 more)
-
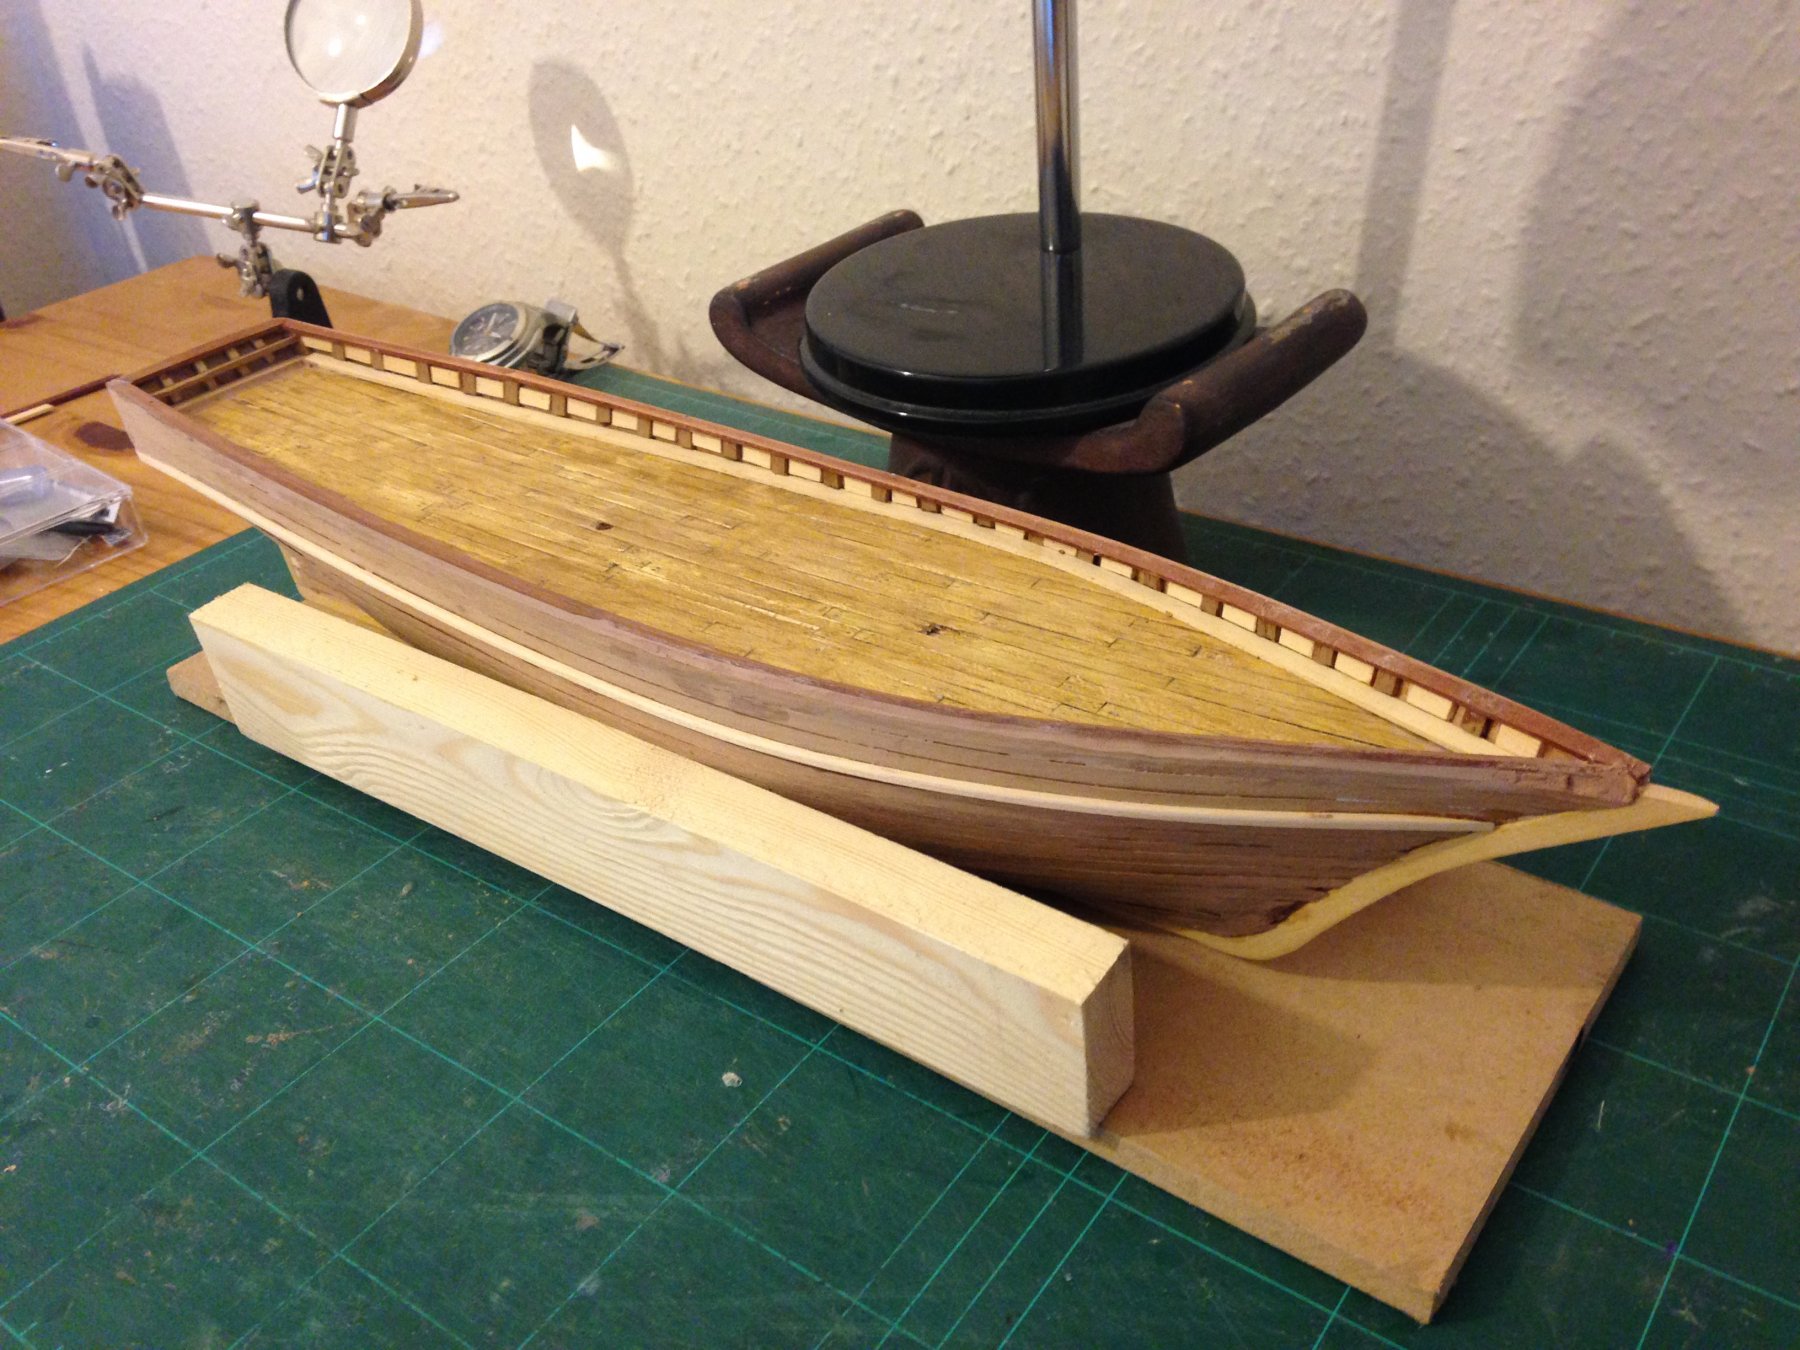
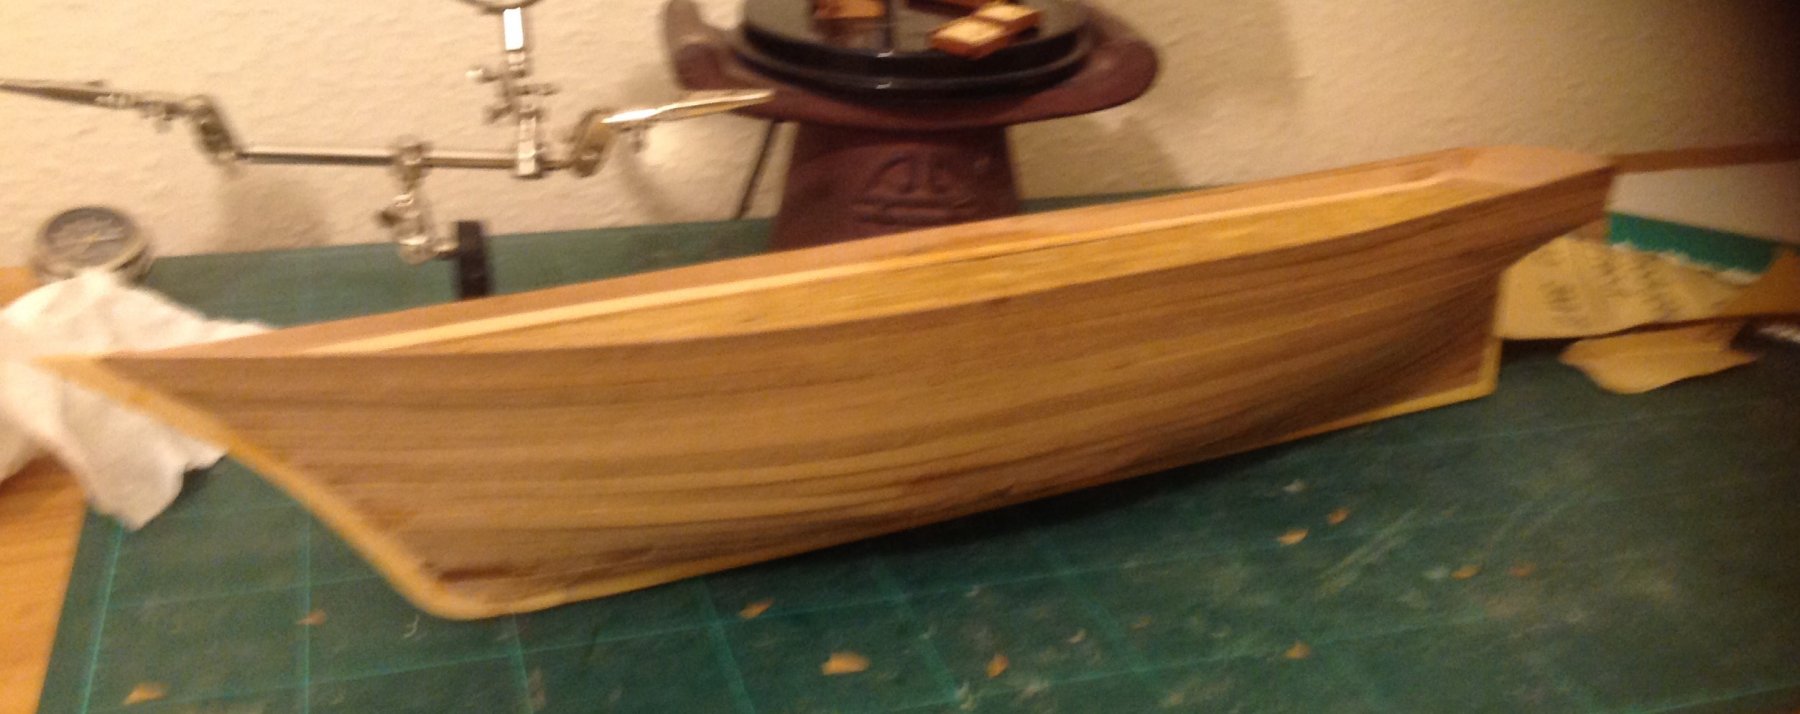
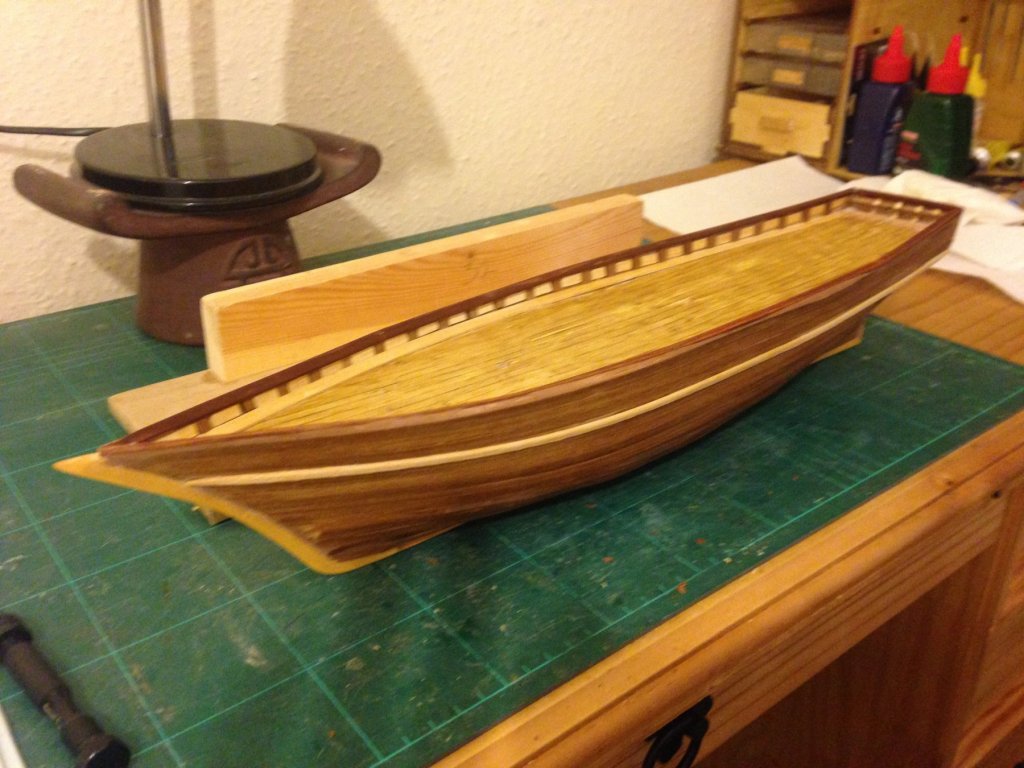
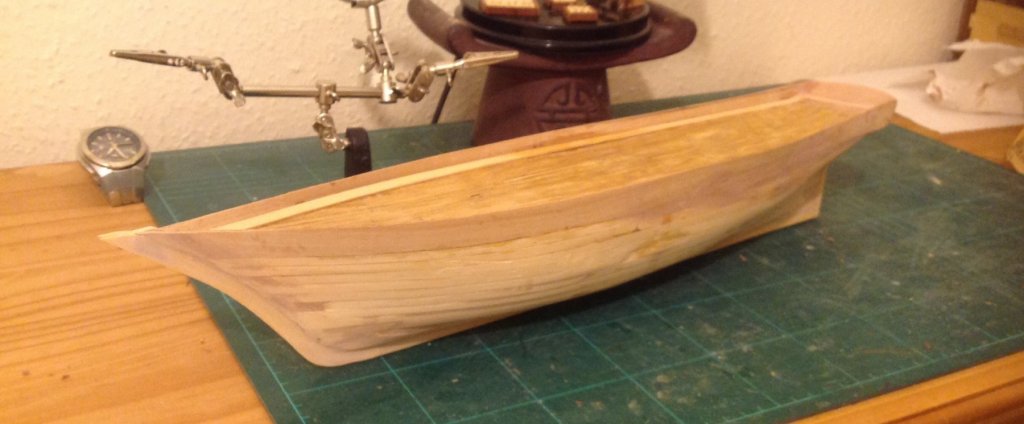
My naive attempt to forego filler went by the board as thin gaps appeared when sanding. She has gone from looking like firewood to actually looking more like a ship now:) Had many problems fitting bulwarks and waterways but now fitted and ready for detail filing/sanding to finalise a closer fit. I'm in a dilemma as to wether to fit the keel before or after my second walnut planking. I will surely need to do some filling to ensure a perfect fit between the keel and false keel. Do I risk marking my planking with the filler or plank over the top of the sanded filler? I have only experience of two kits but must say how superior the Artisan kit is ( but twenty plus years old so may be a better quality than now) to the new Billings Bluenose I have finished. The wood is higher quality and more plentiful plus there is no plastic to be seen. The Billings had many plastic parts. Including dead eyes which were badly formed and poor quality wood.

- 87 replies
-
- 3
-
-
- scottish maid
- artesania latina
- (and 1 more)
-
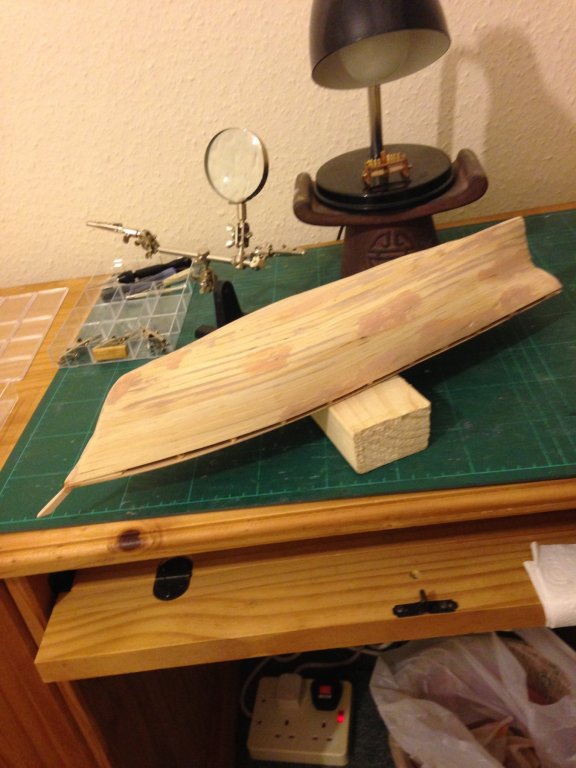
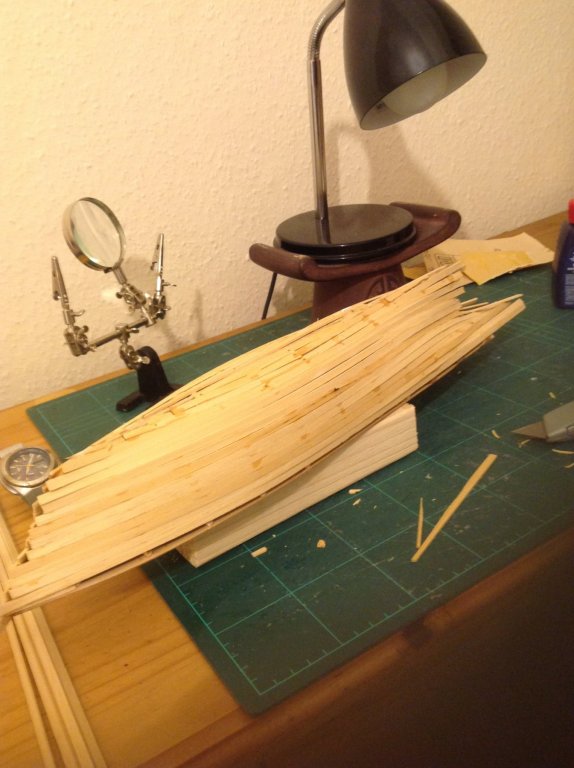
Posting my "car crash" planking to share with others like me who see the wonderful builds on here and despair of their own efforts. I have decided then rather then fill the in enivitable gaps with filler I'll do what the original makers did and fill the gaps with slivers of lime wood. Hopefully it can only get better 🤞
- 87 replies
-
- 2
-
-
- scottish maid
- artesania latina
- (and 1 more)