HOLIDAY DONATION DRIVE - SUPPORT MSW - DO YOUR PART TO KEEP THIS GREAT FORUM GOING! (Only 68 donations so far out of 49,000 members - Can we at least get 100? C'mon guys!)
×


mispeltyoof
-
Posts
91 -
Joined
-
Last visited
Content Type
Profiles
Forums
Gallery
Events
Everything posted by mispeltyoof
-
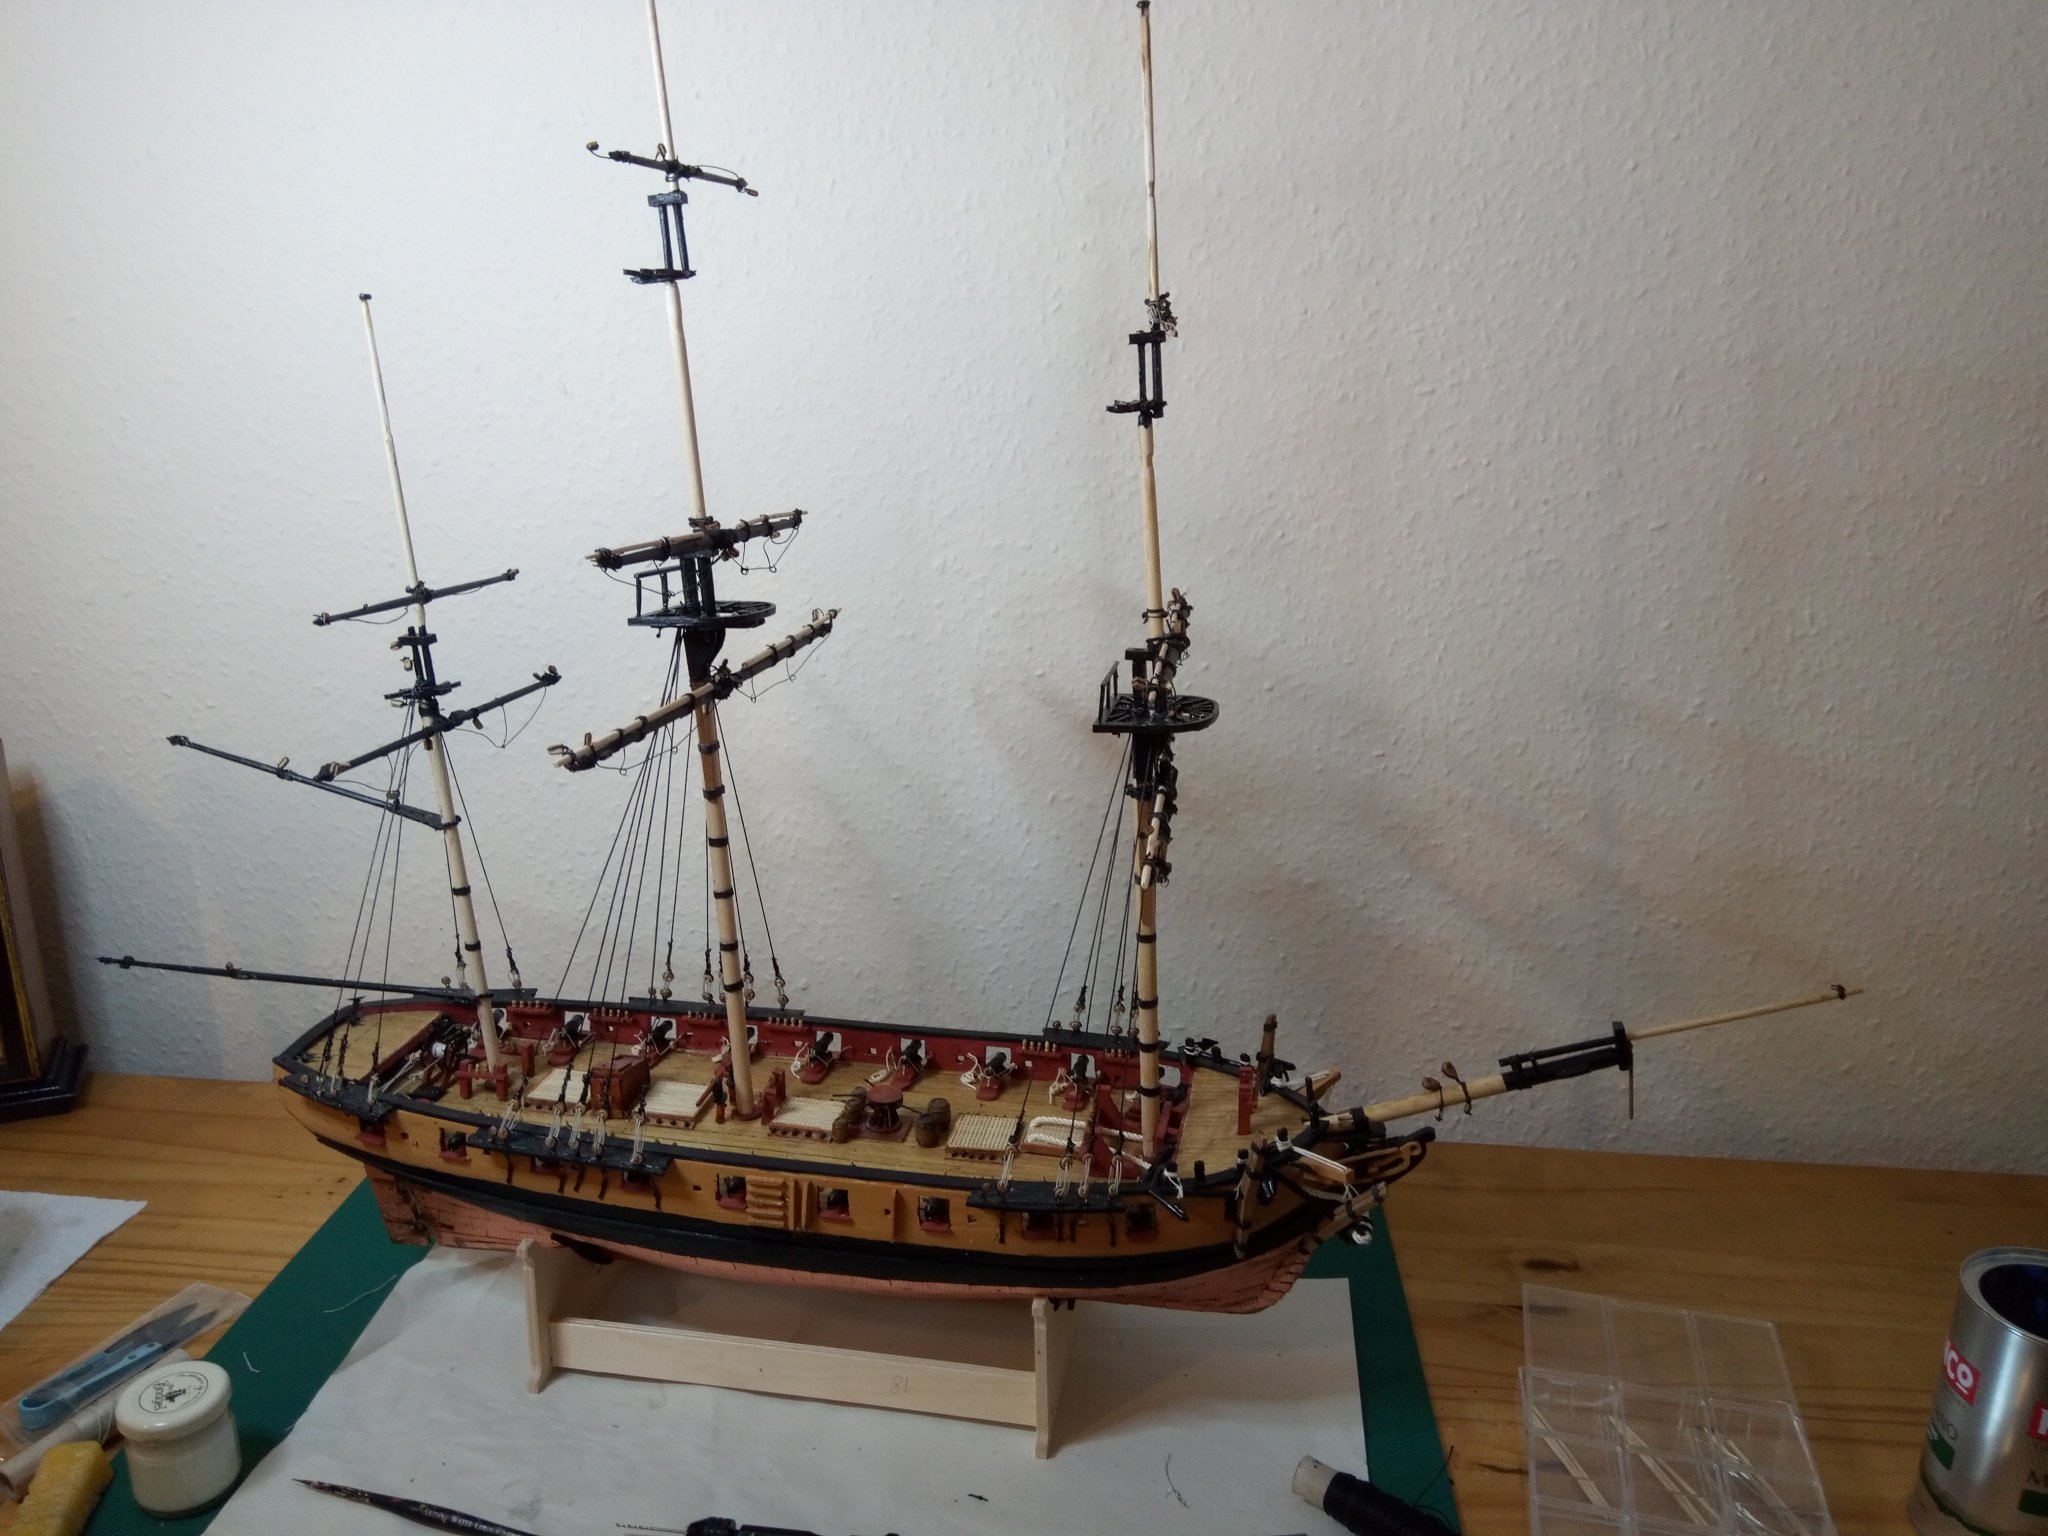
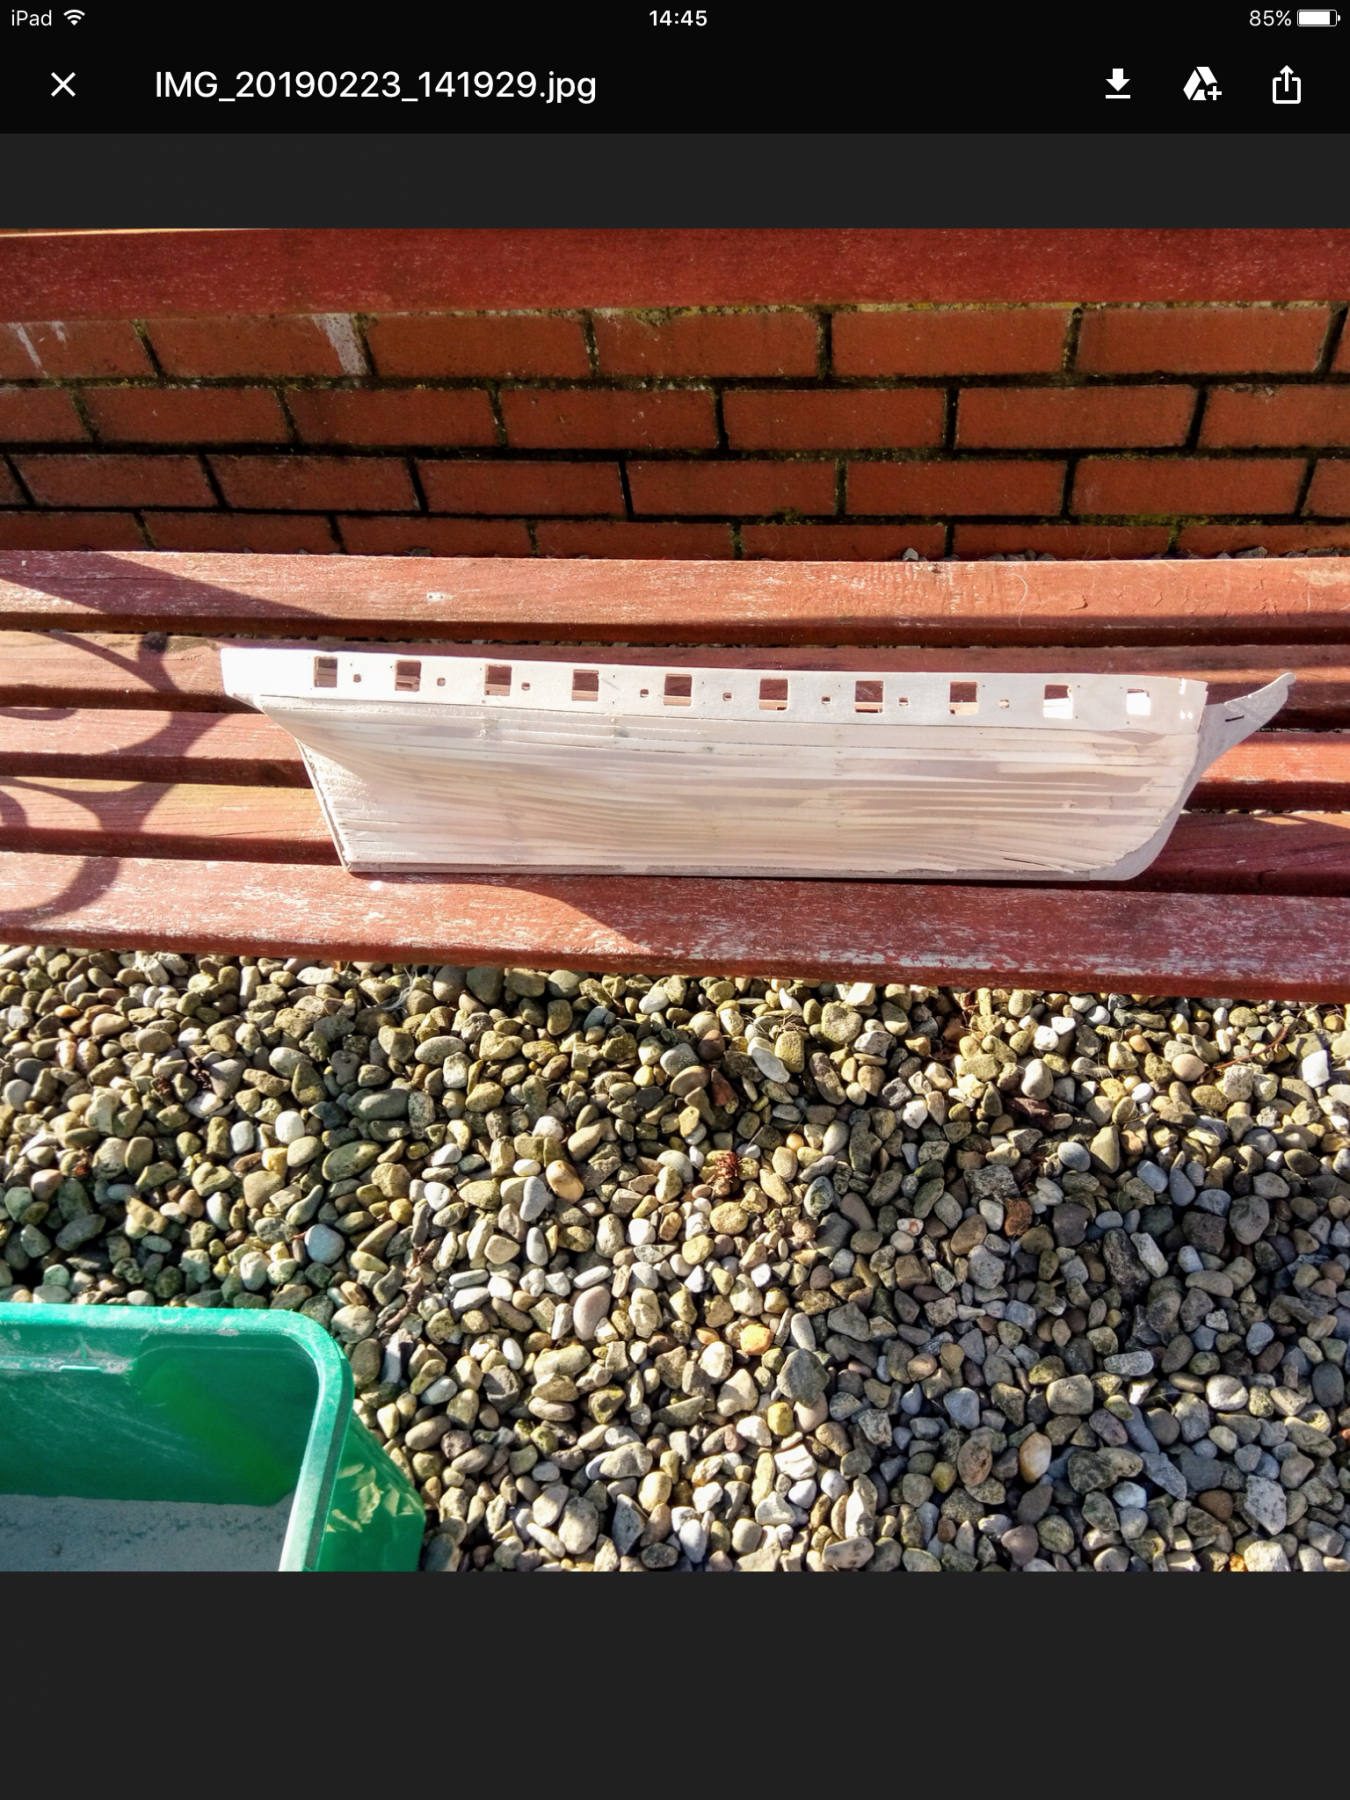
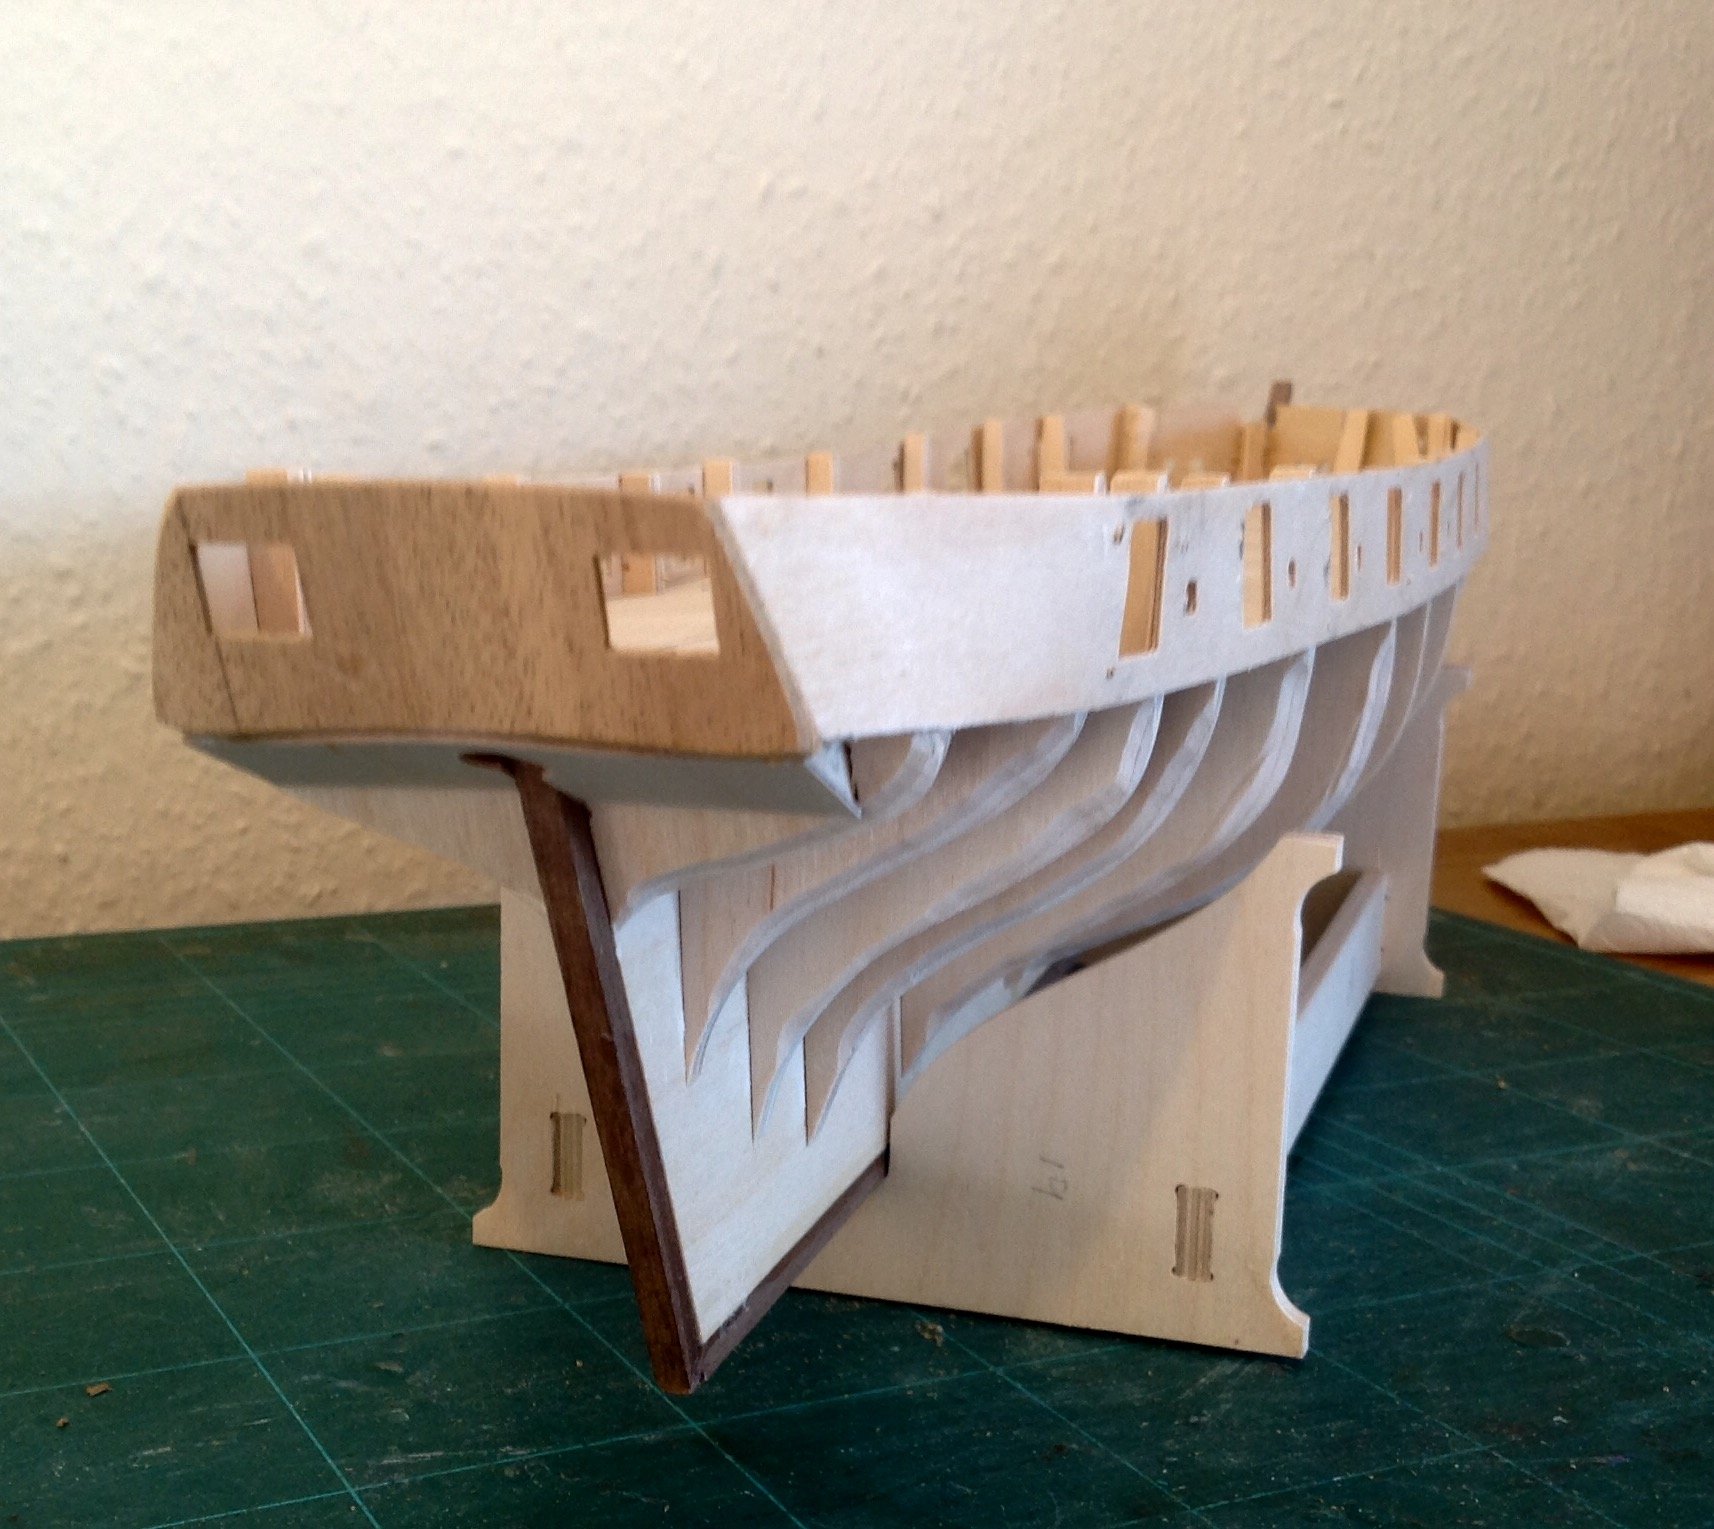
 Begun my Panart HMS VICTORY. This is the kit with the boats and copper tiles. First reactions that the kit contents are high quality with straight ,unblemished wood. The instructions and plans are minimal. If I cut out the English instructions and glued them on to sheets would only just about cover two A4 sheets. This us my fourth wooden build and although sellers say beginners could attempt this kit I would doubt it. I have had to stare at the simple plans (only two sheets cover the whole hull build) for days to try to understand what to do. However ,eventually could figure it out(only because I'm not a novice. Downloaded Caldecraft's instructions which help a little .Moving on to bevelling the bulwarks before thinking about initial planking. My instructions say virtually nothing and don't mention bevelling etc as does Caldecraft's but my initial look suggests that the bulwarks don't need excessive shaping but will spend as much time as needed to get this crucial stage as perfect as possible.
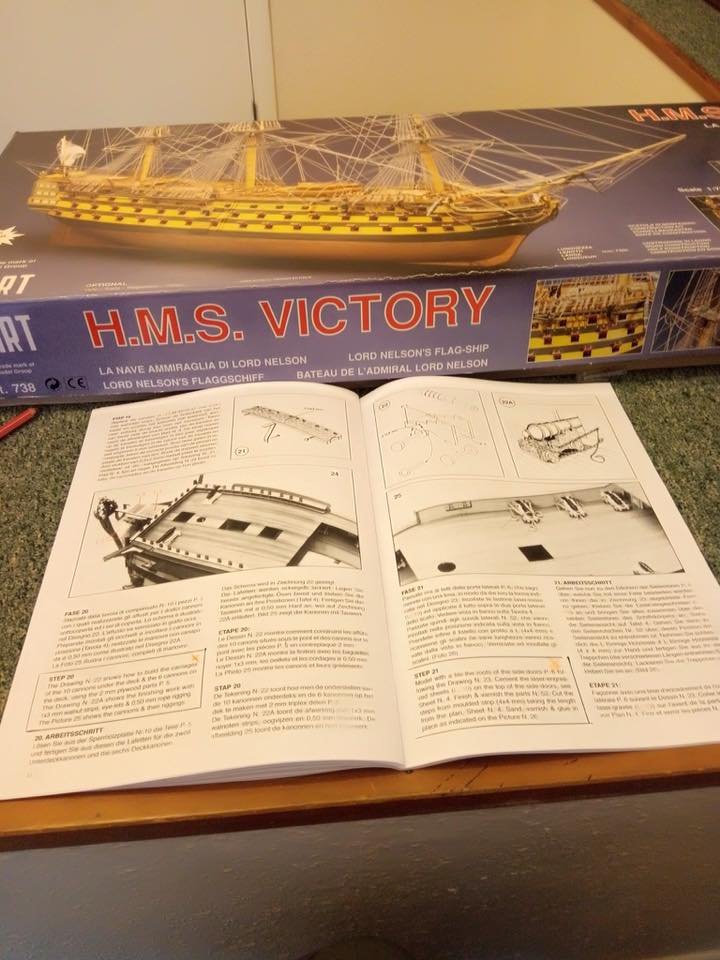

-
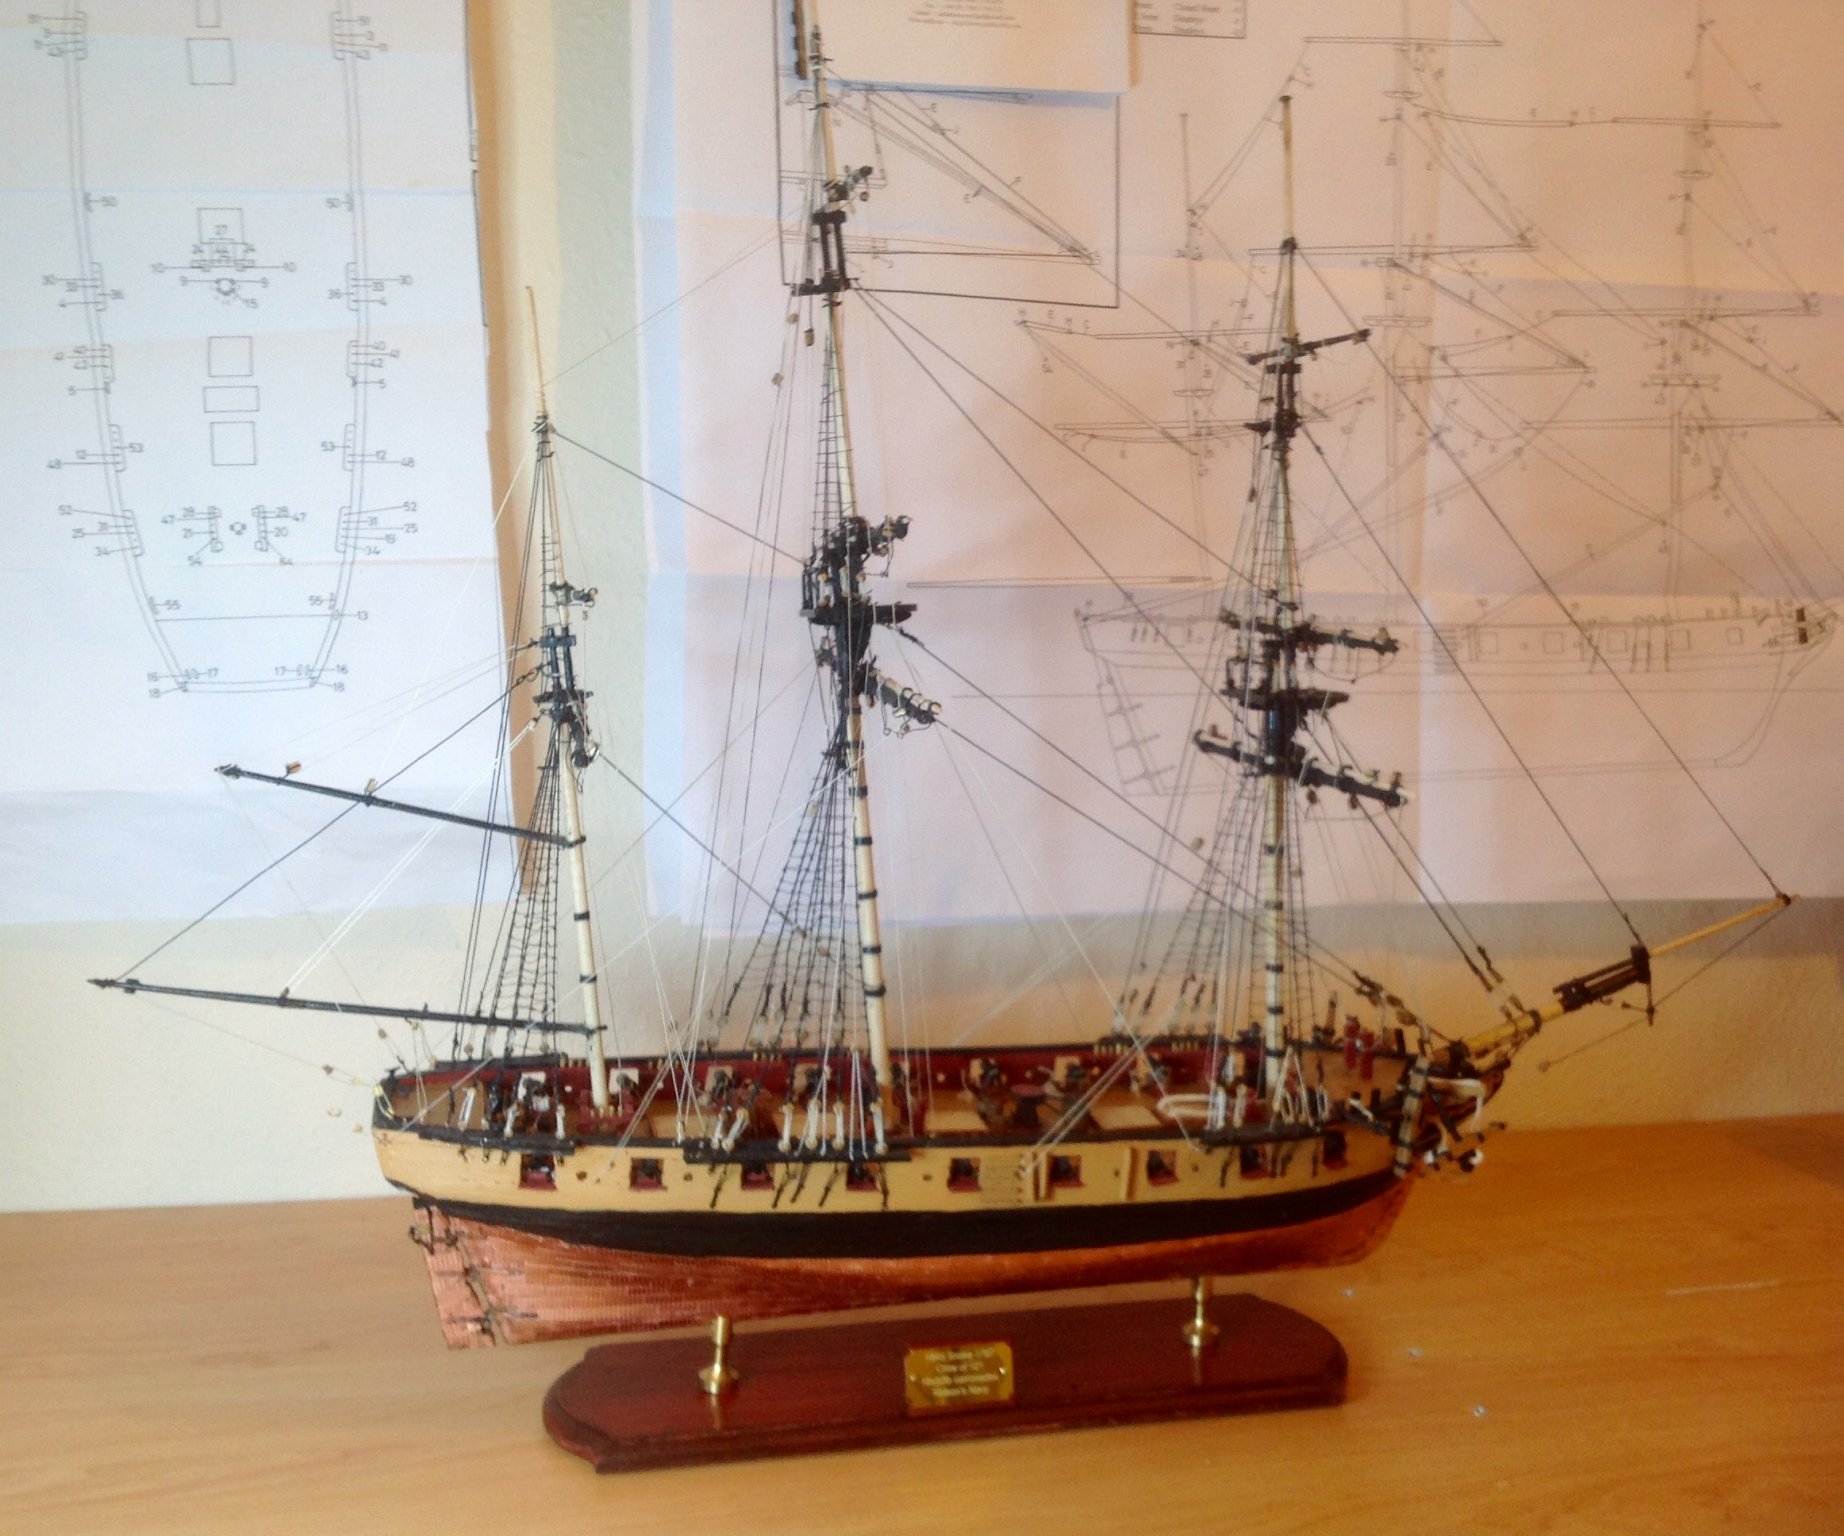
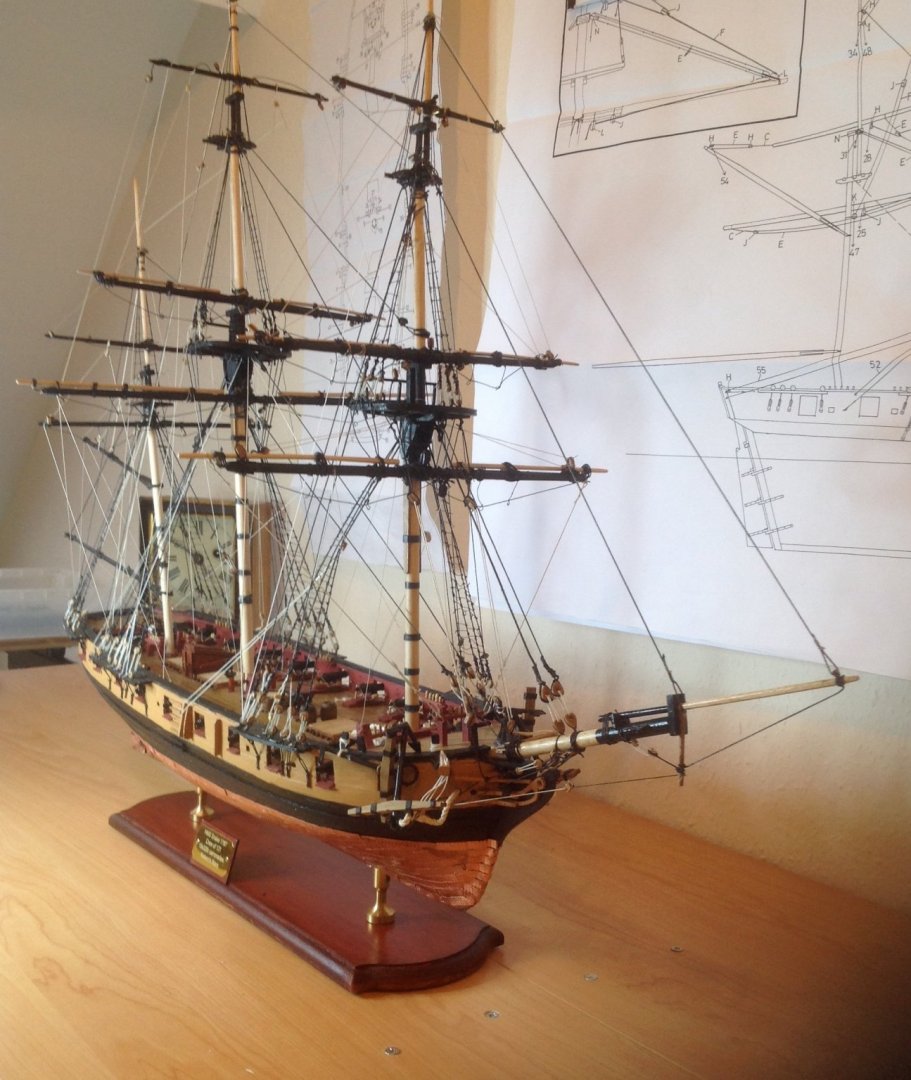
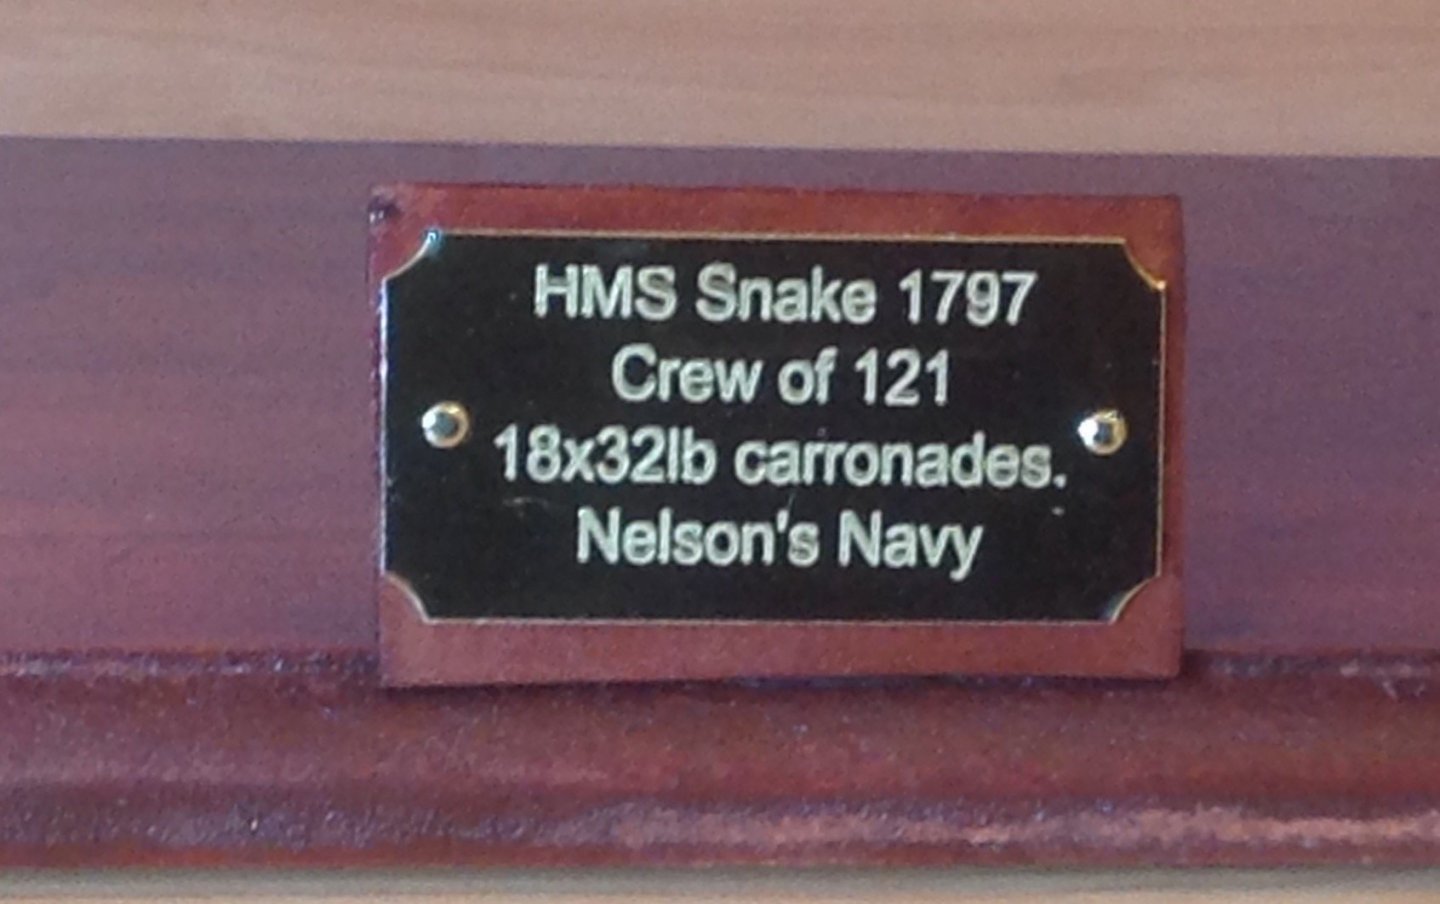
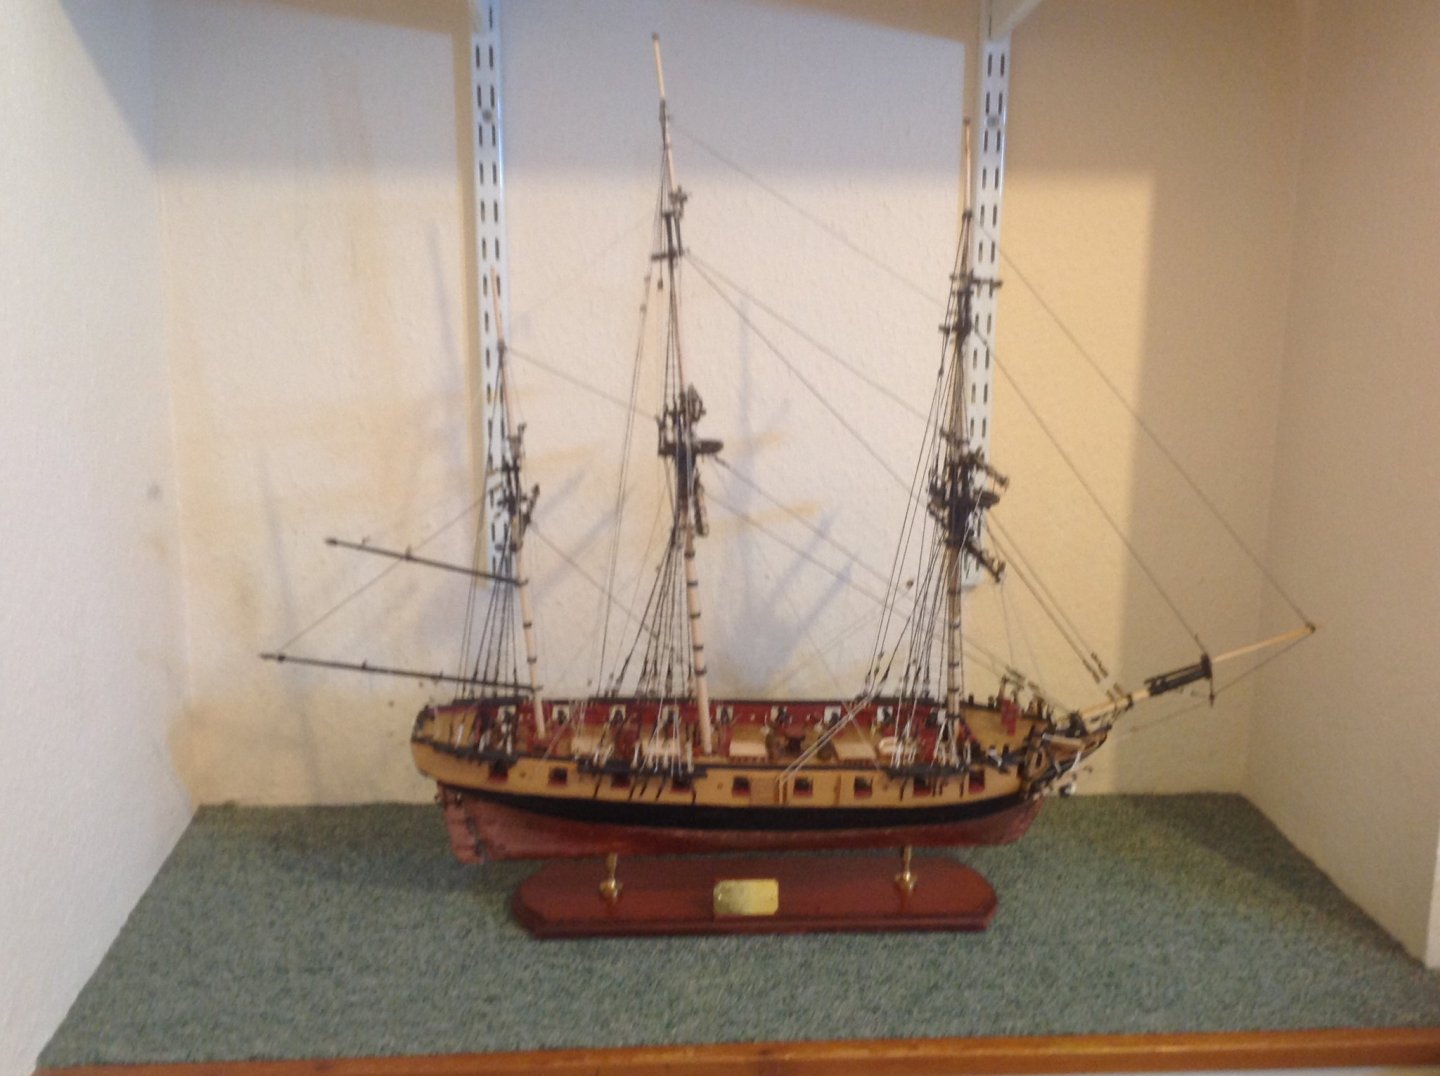
Finished my Caldecraft. HMS Snake. Twelve months of great pleasure and satisfaction peppered with many moments of confusion and frustration. Excellent kit,instructions and plans very good. All materials present and good quality. Not perfect but never can be but I'm happy with it.Next is the Victory ,not sadly the Caldecraft version (£900 beyond the pale for me) so the Panart version which is half the price and still has all the boats and copper tiles. Many good reviews and complete recommendation from Cornwall Model Boats who stated that they think after the Caldecraft this is by far the best. They also mentioned that Mantua make two Victory kits ,both the same scale but the Panart by far the best as contained ships boats (separate kits in their own right) and the tiles. Will probably post bits of progress on here over the next fifteen years😂


- 31 replies
-
- 6
-

-
- snake
- caldercraft
- (and 1 more)
-
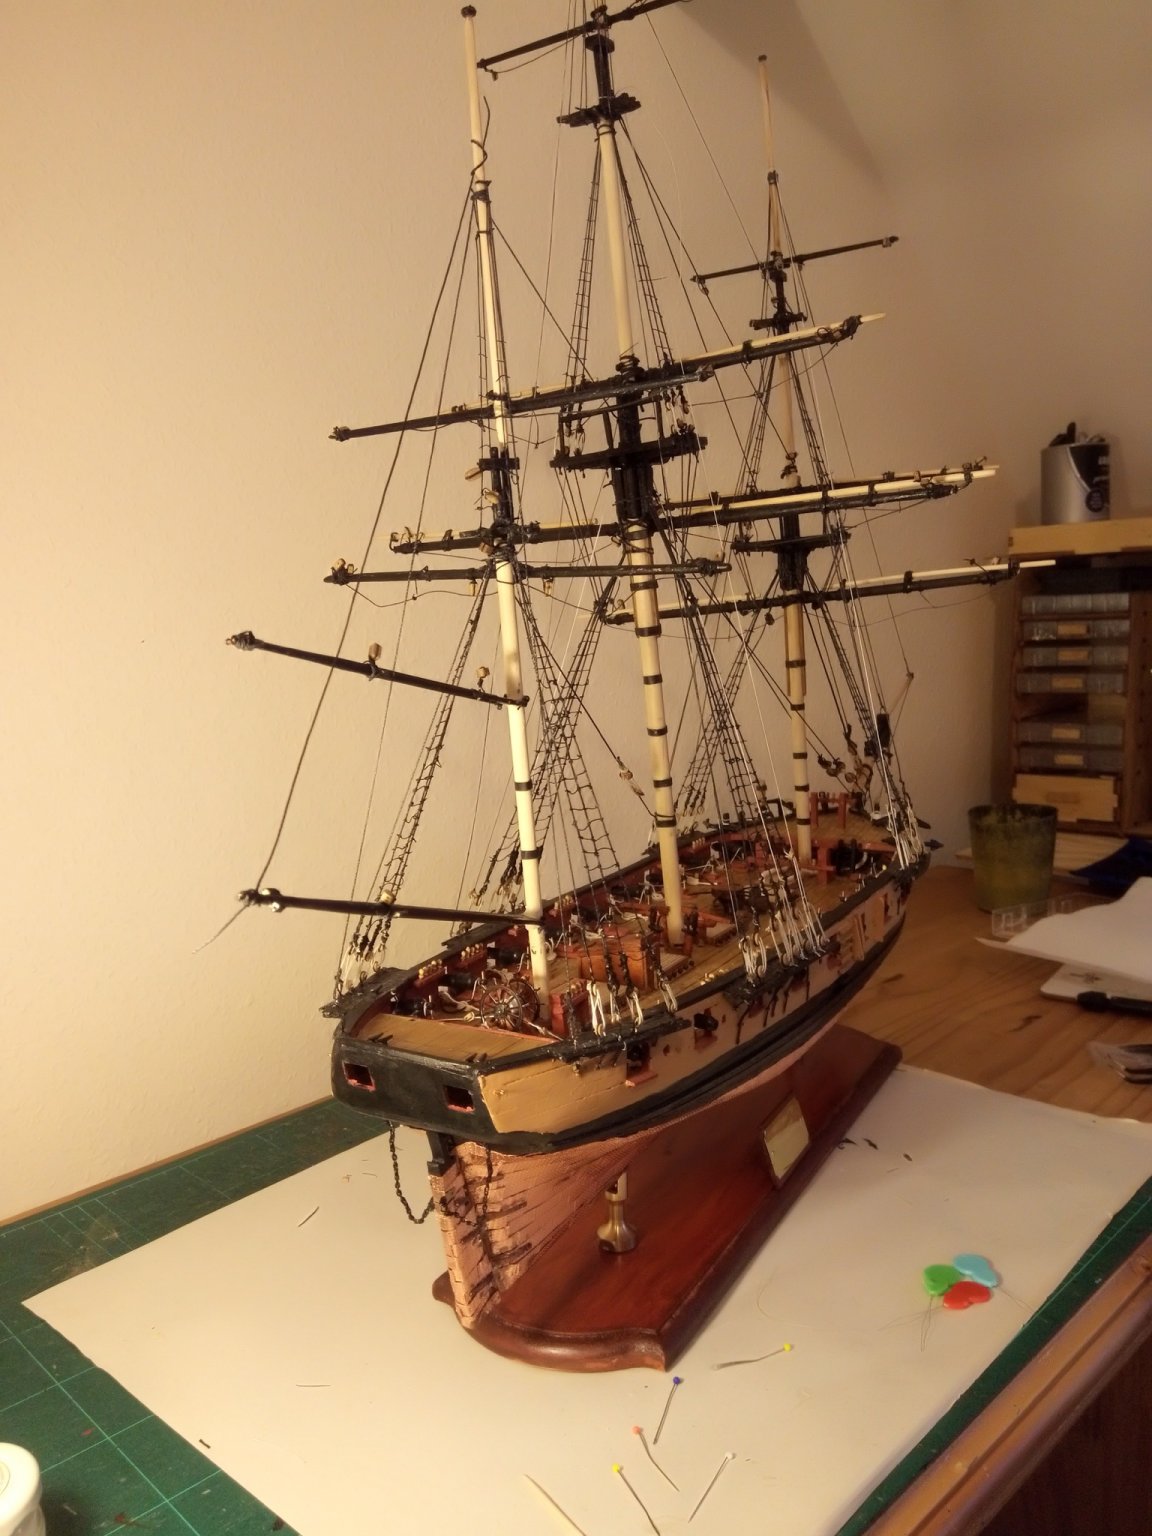
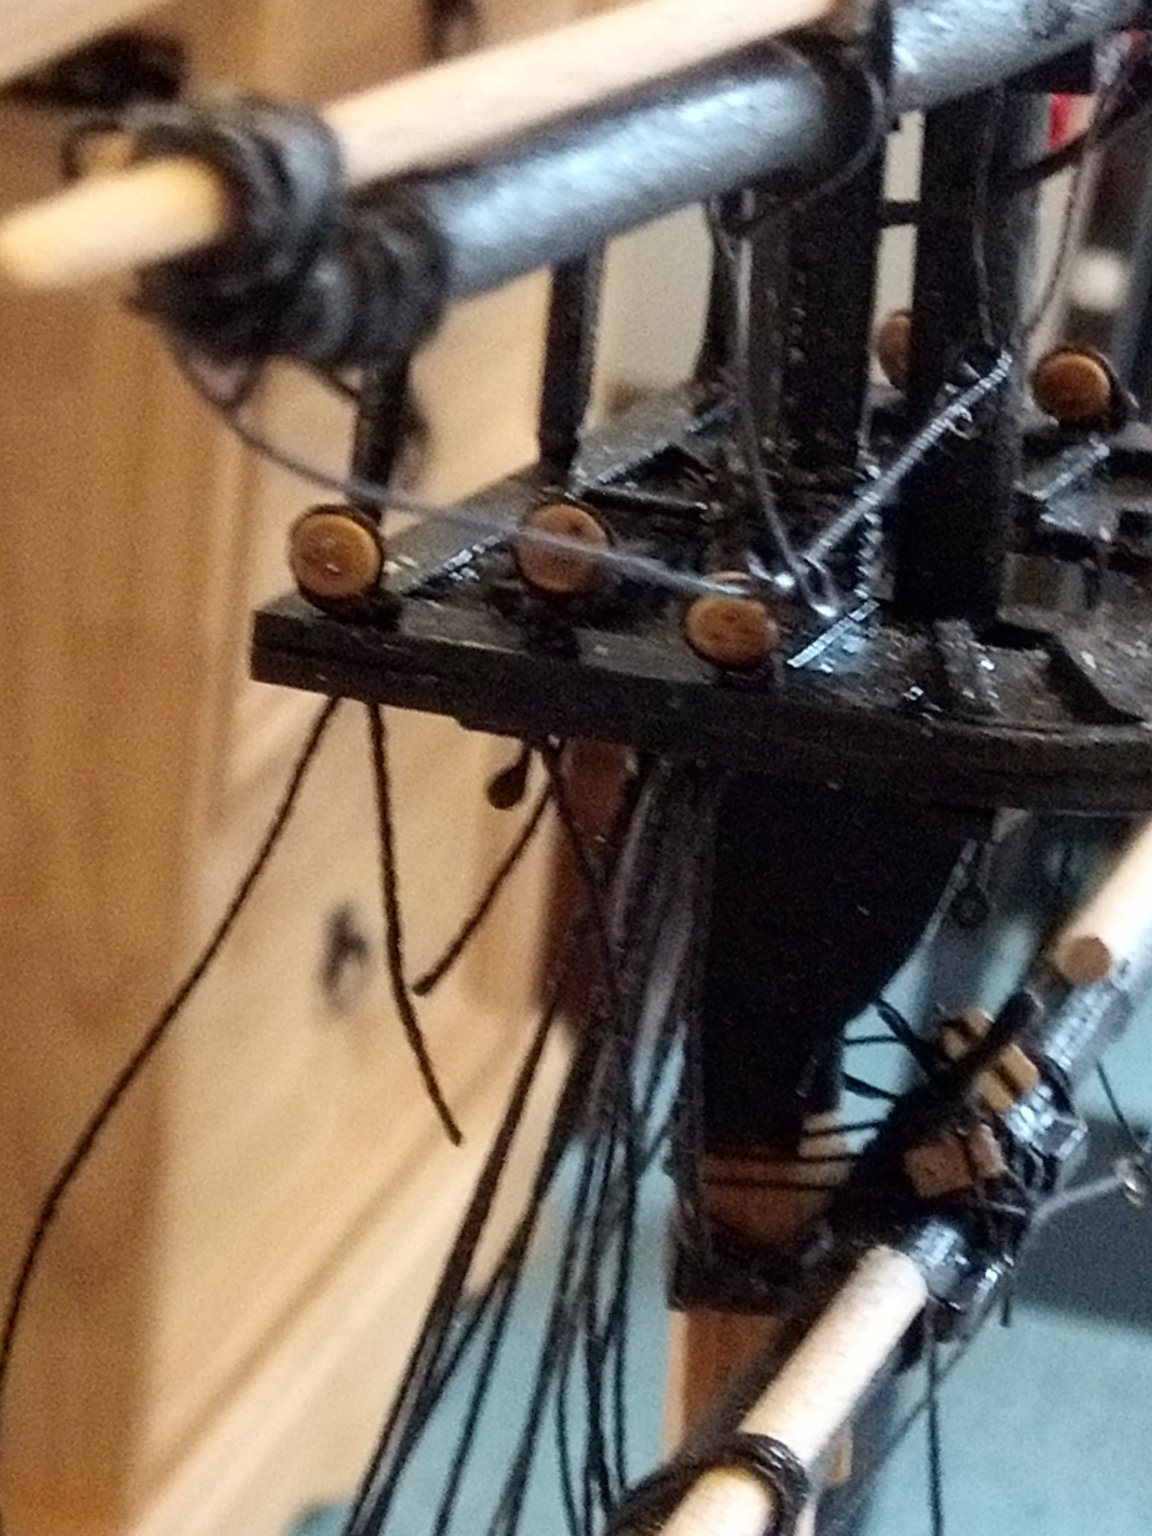
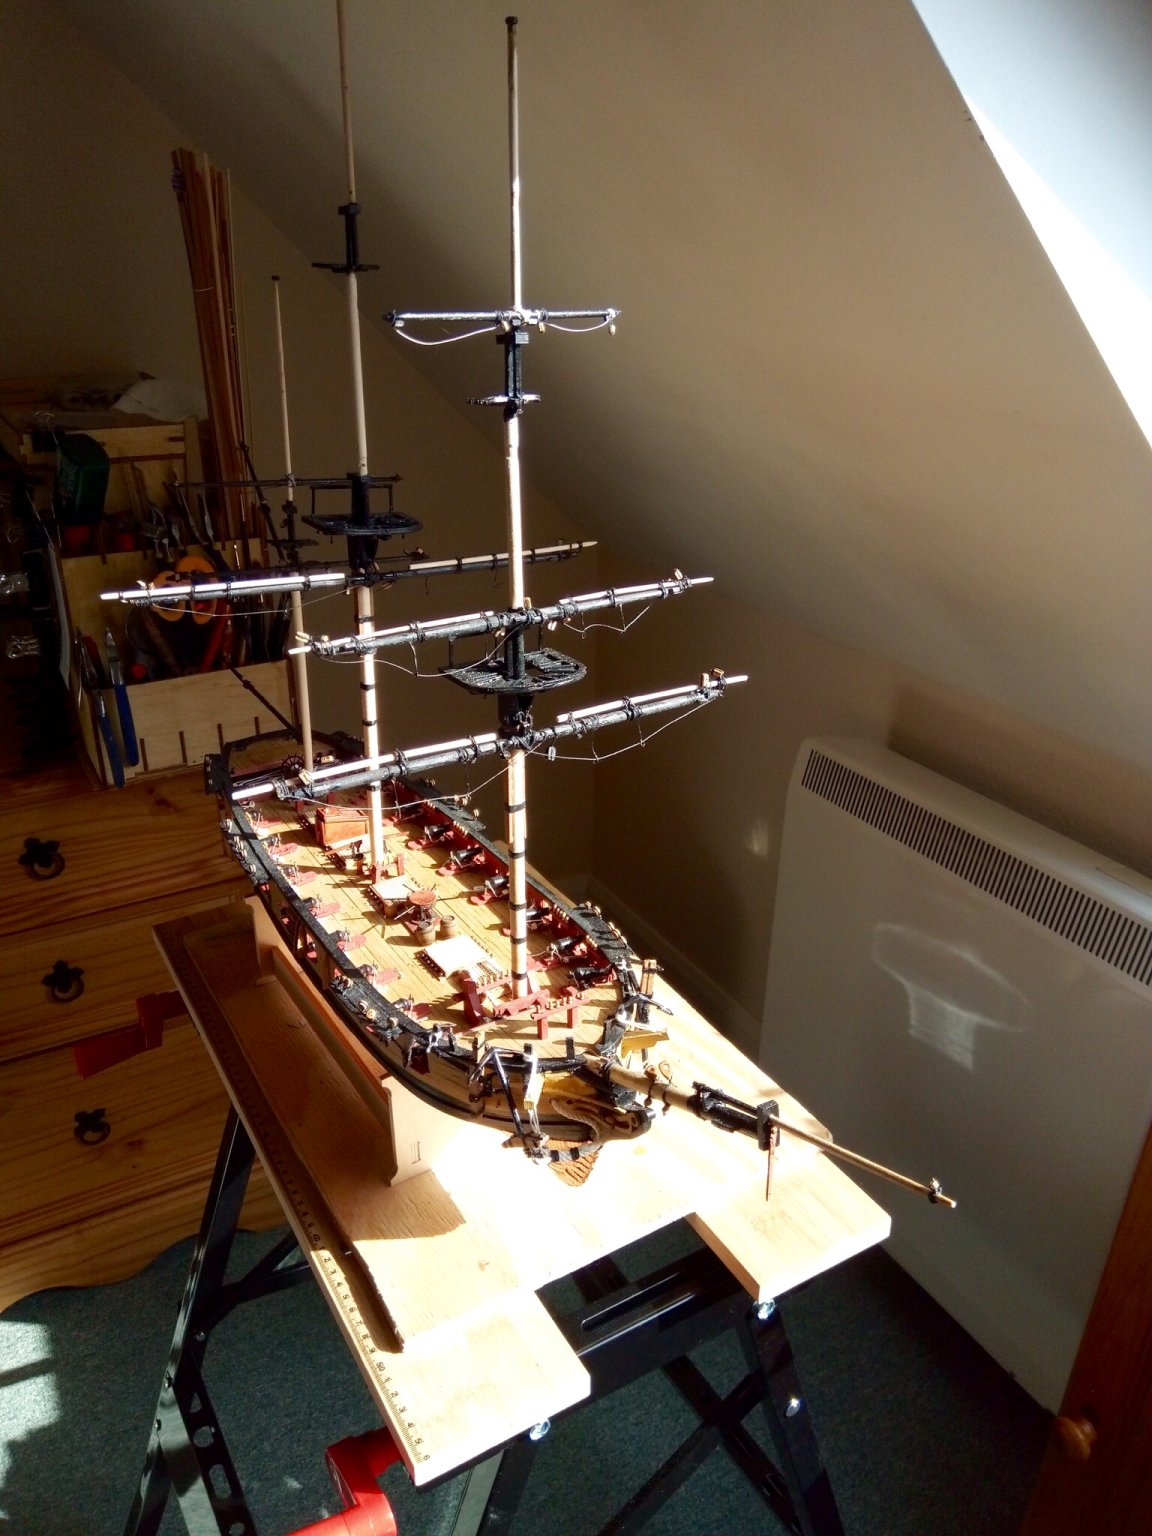
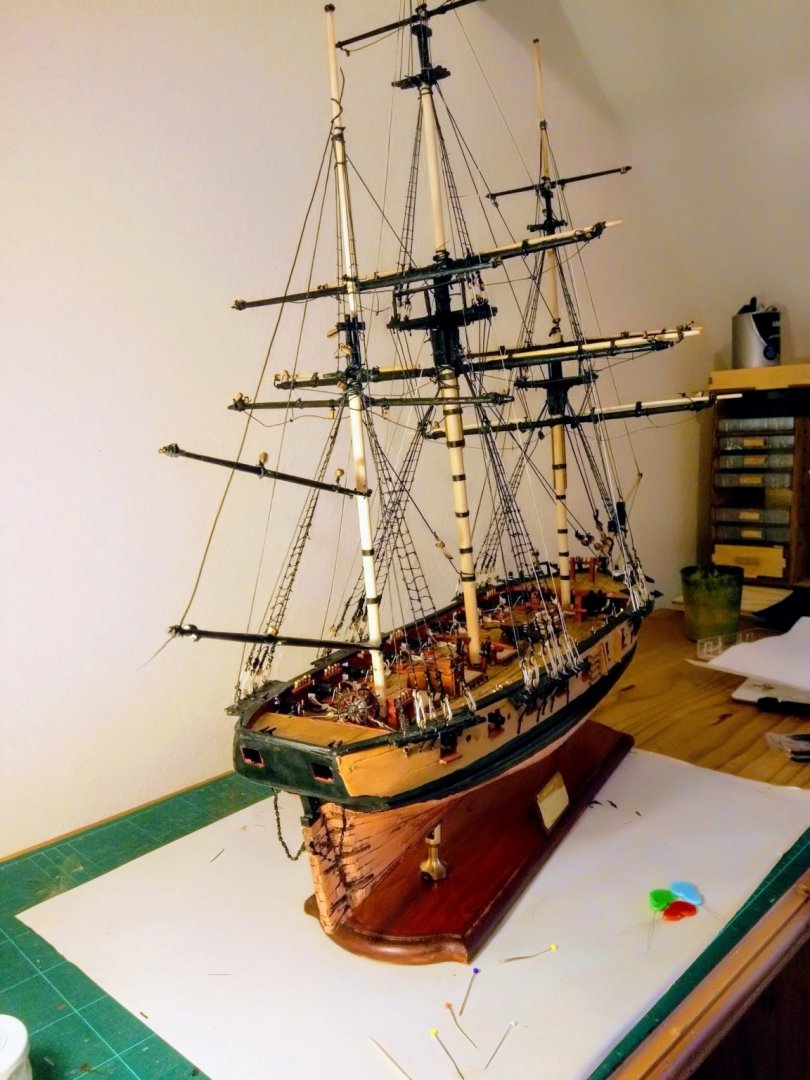
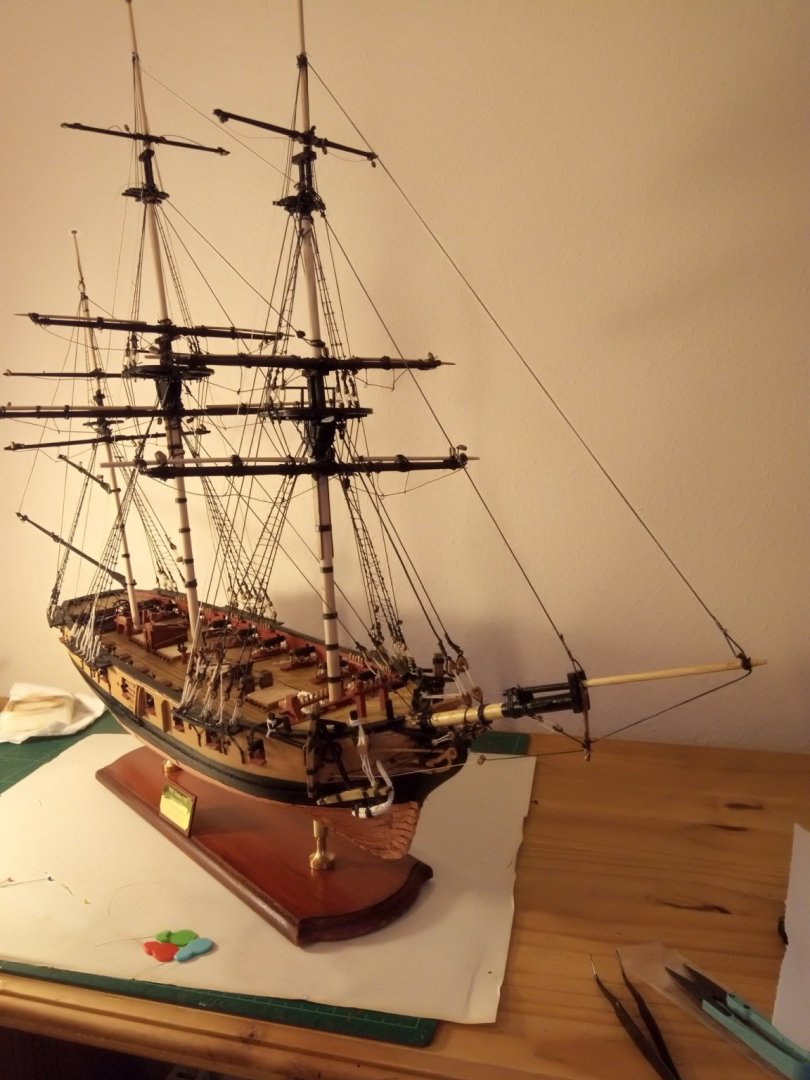
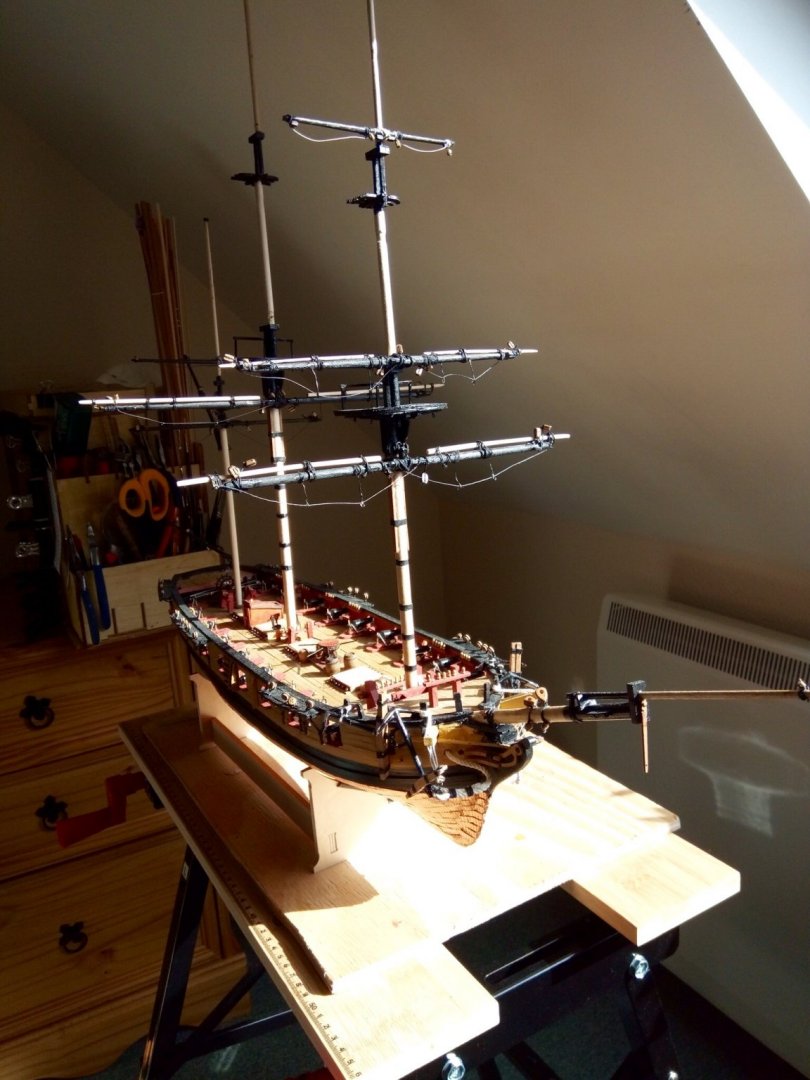
Rigging progressing without two much trouble although I needed to attune my vision to "seeing" what the plans indicated as to what went where and attached to what.

- 31 replies
-
- 2
-
-
- snake
- caldercraft
- (and 1 more)
-
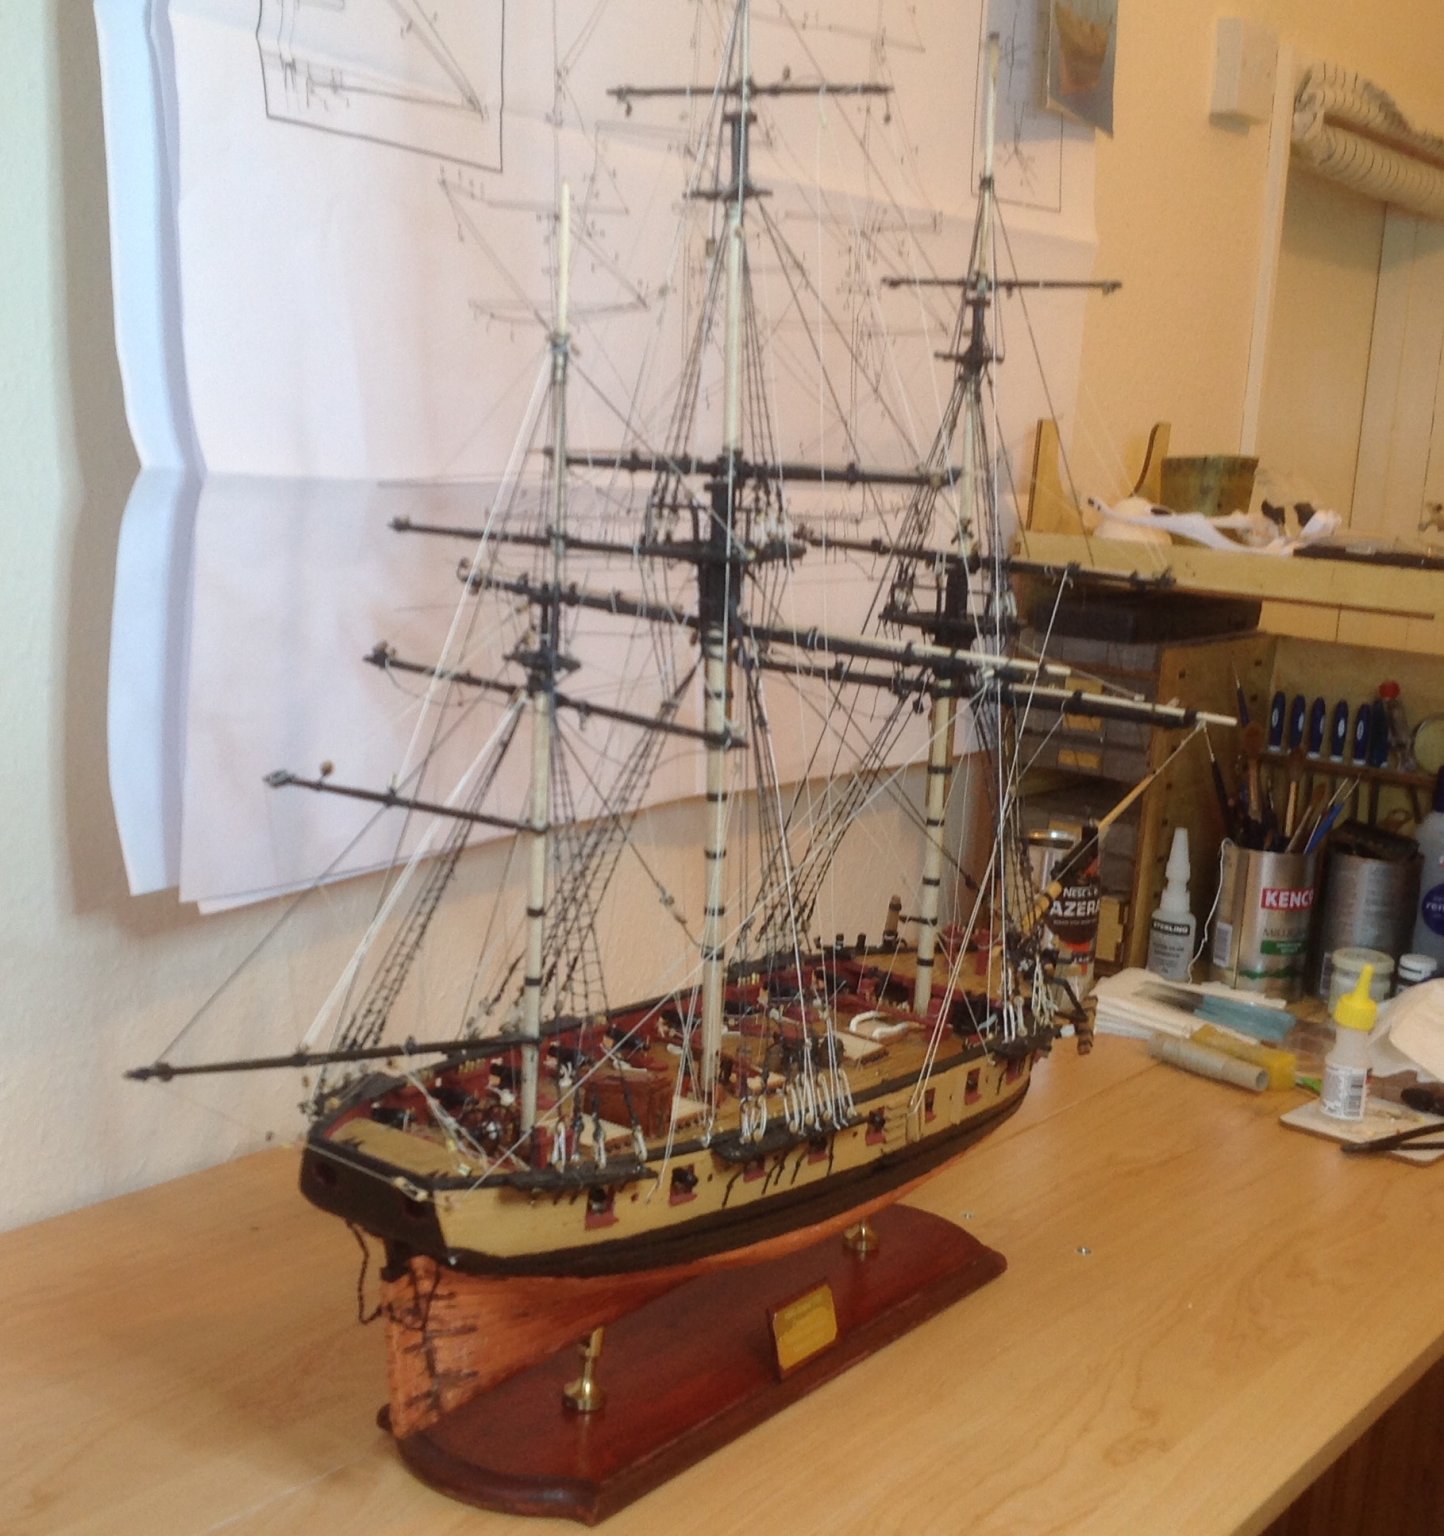
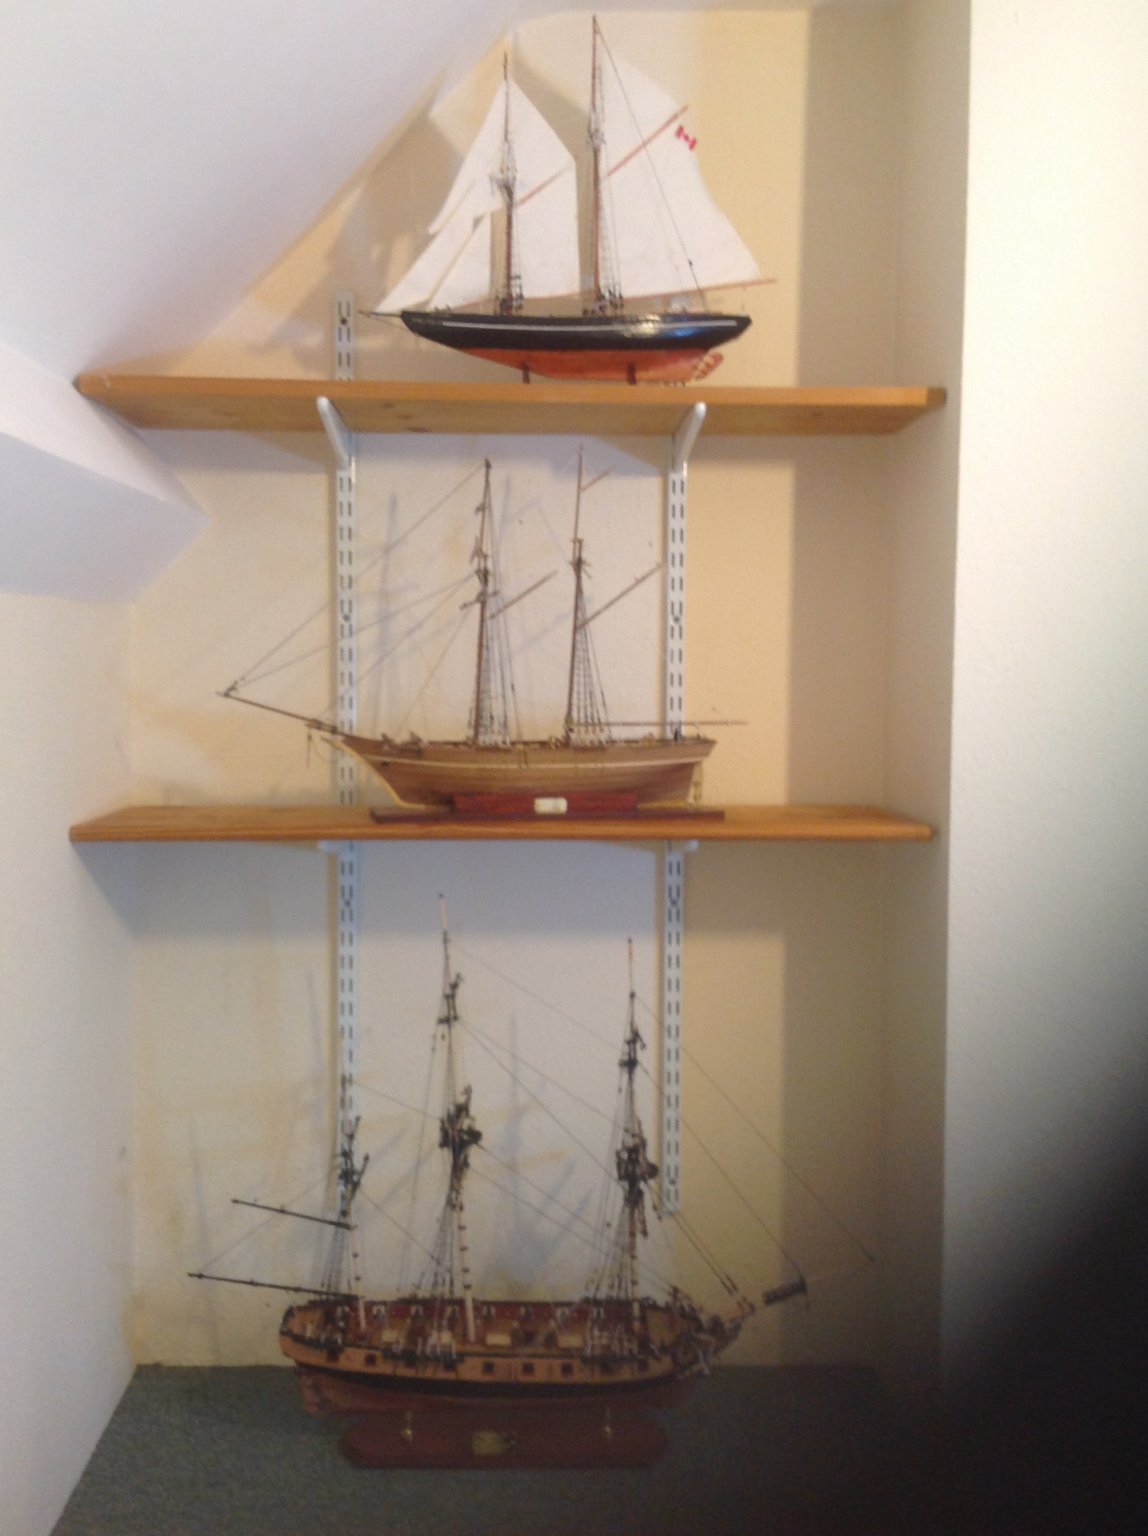
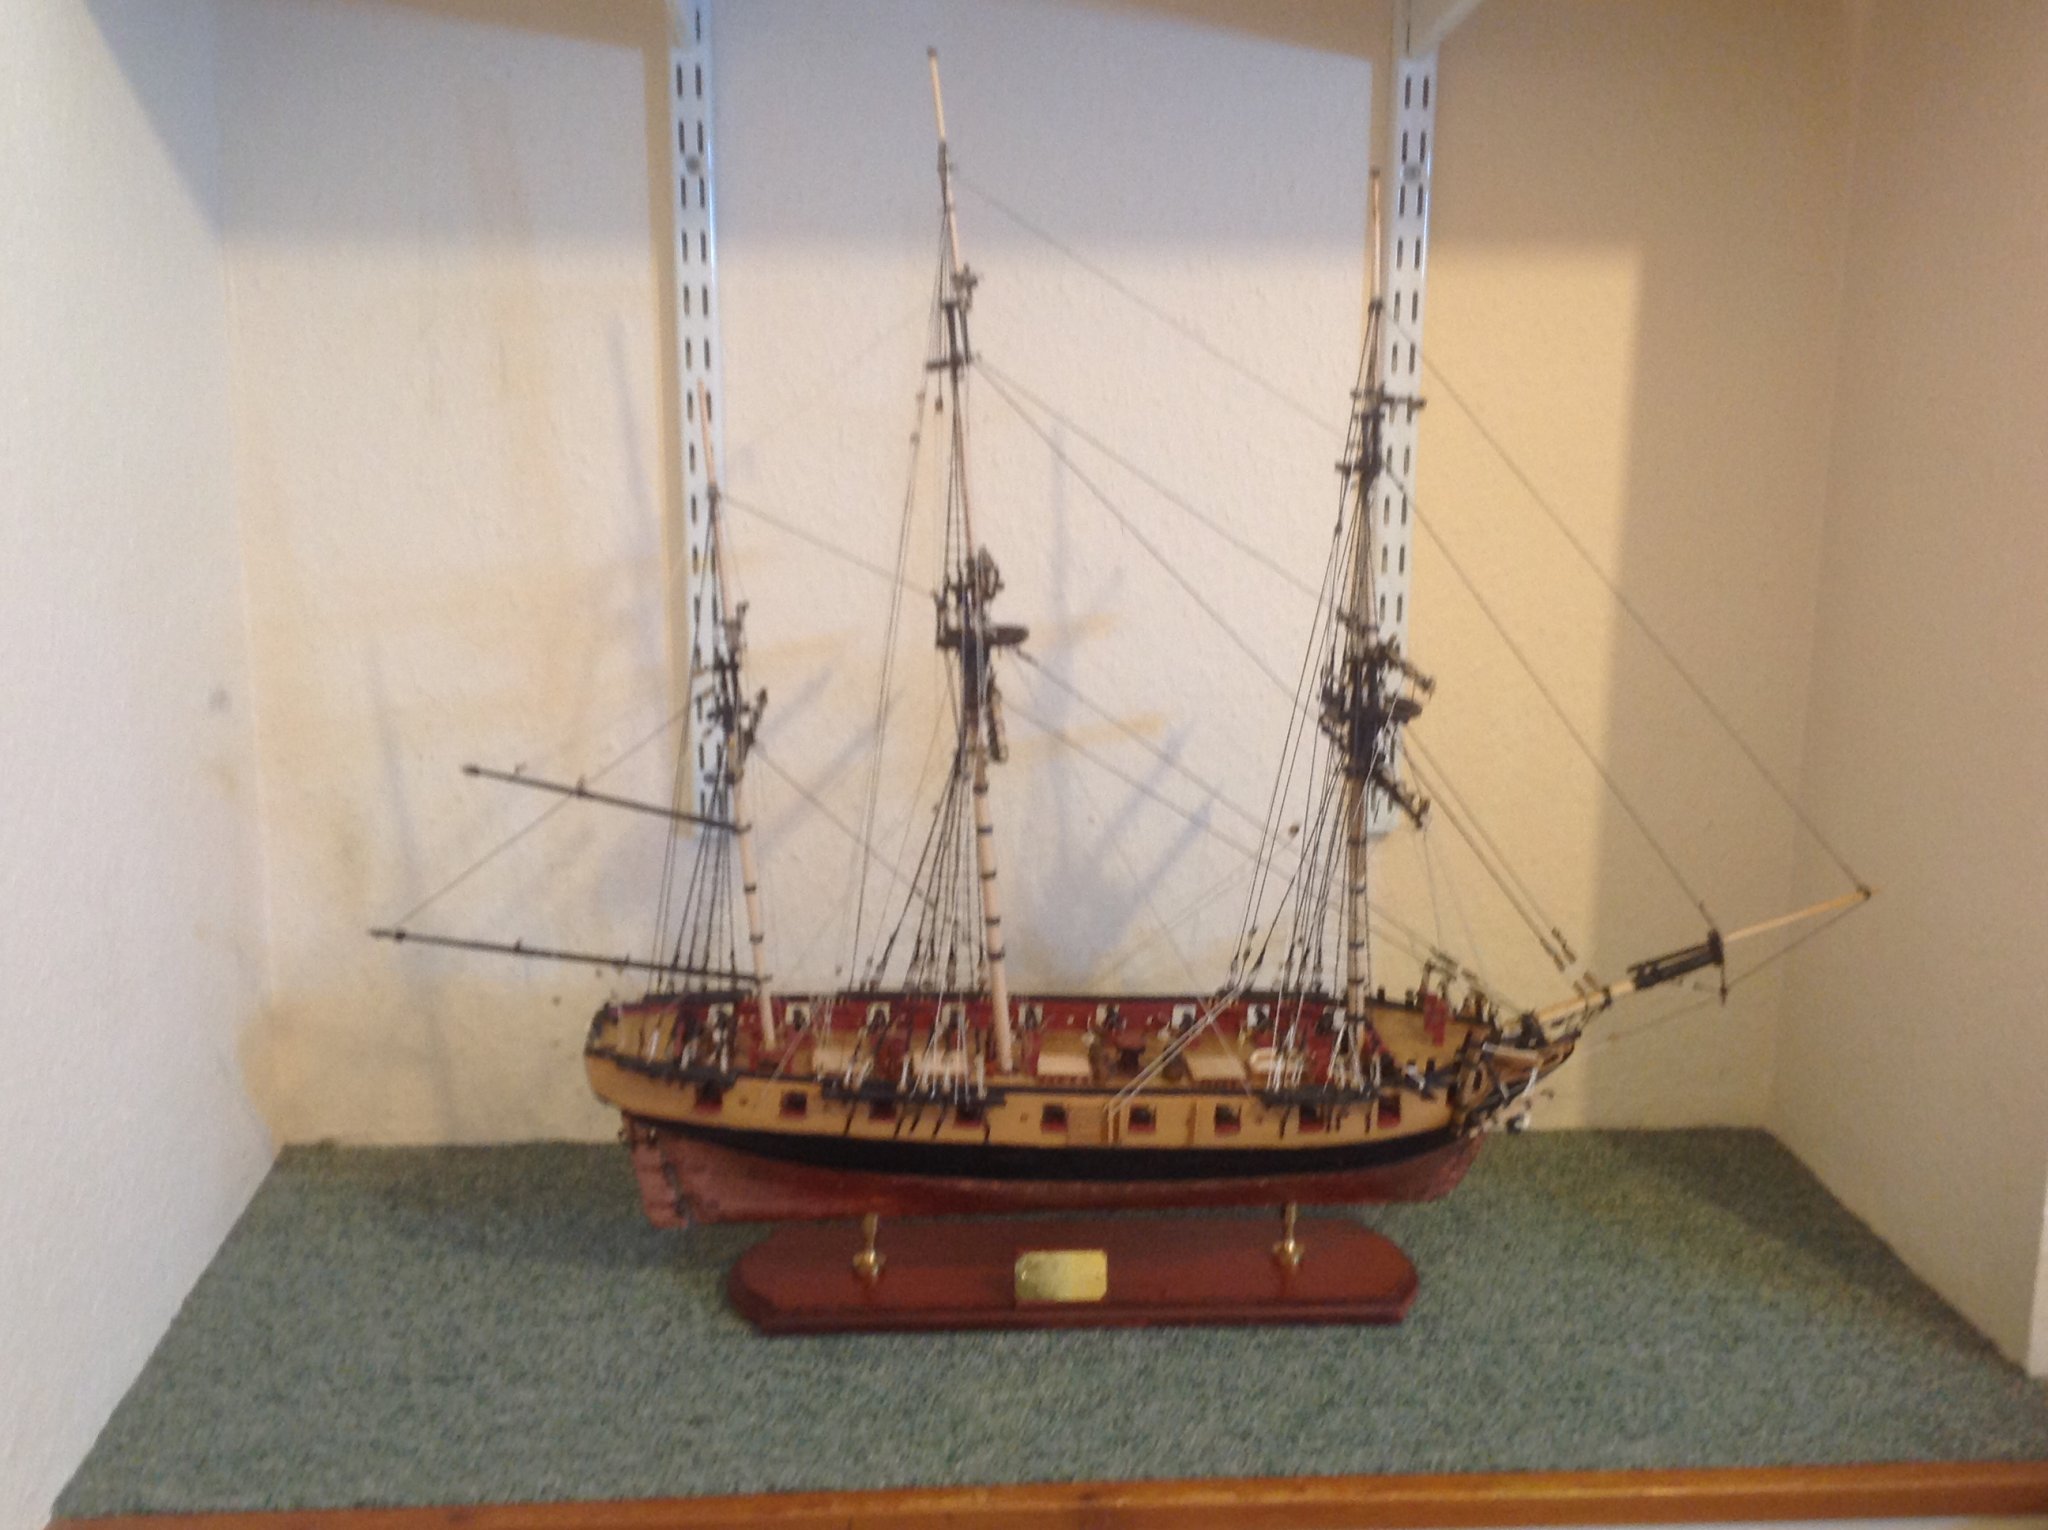
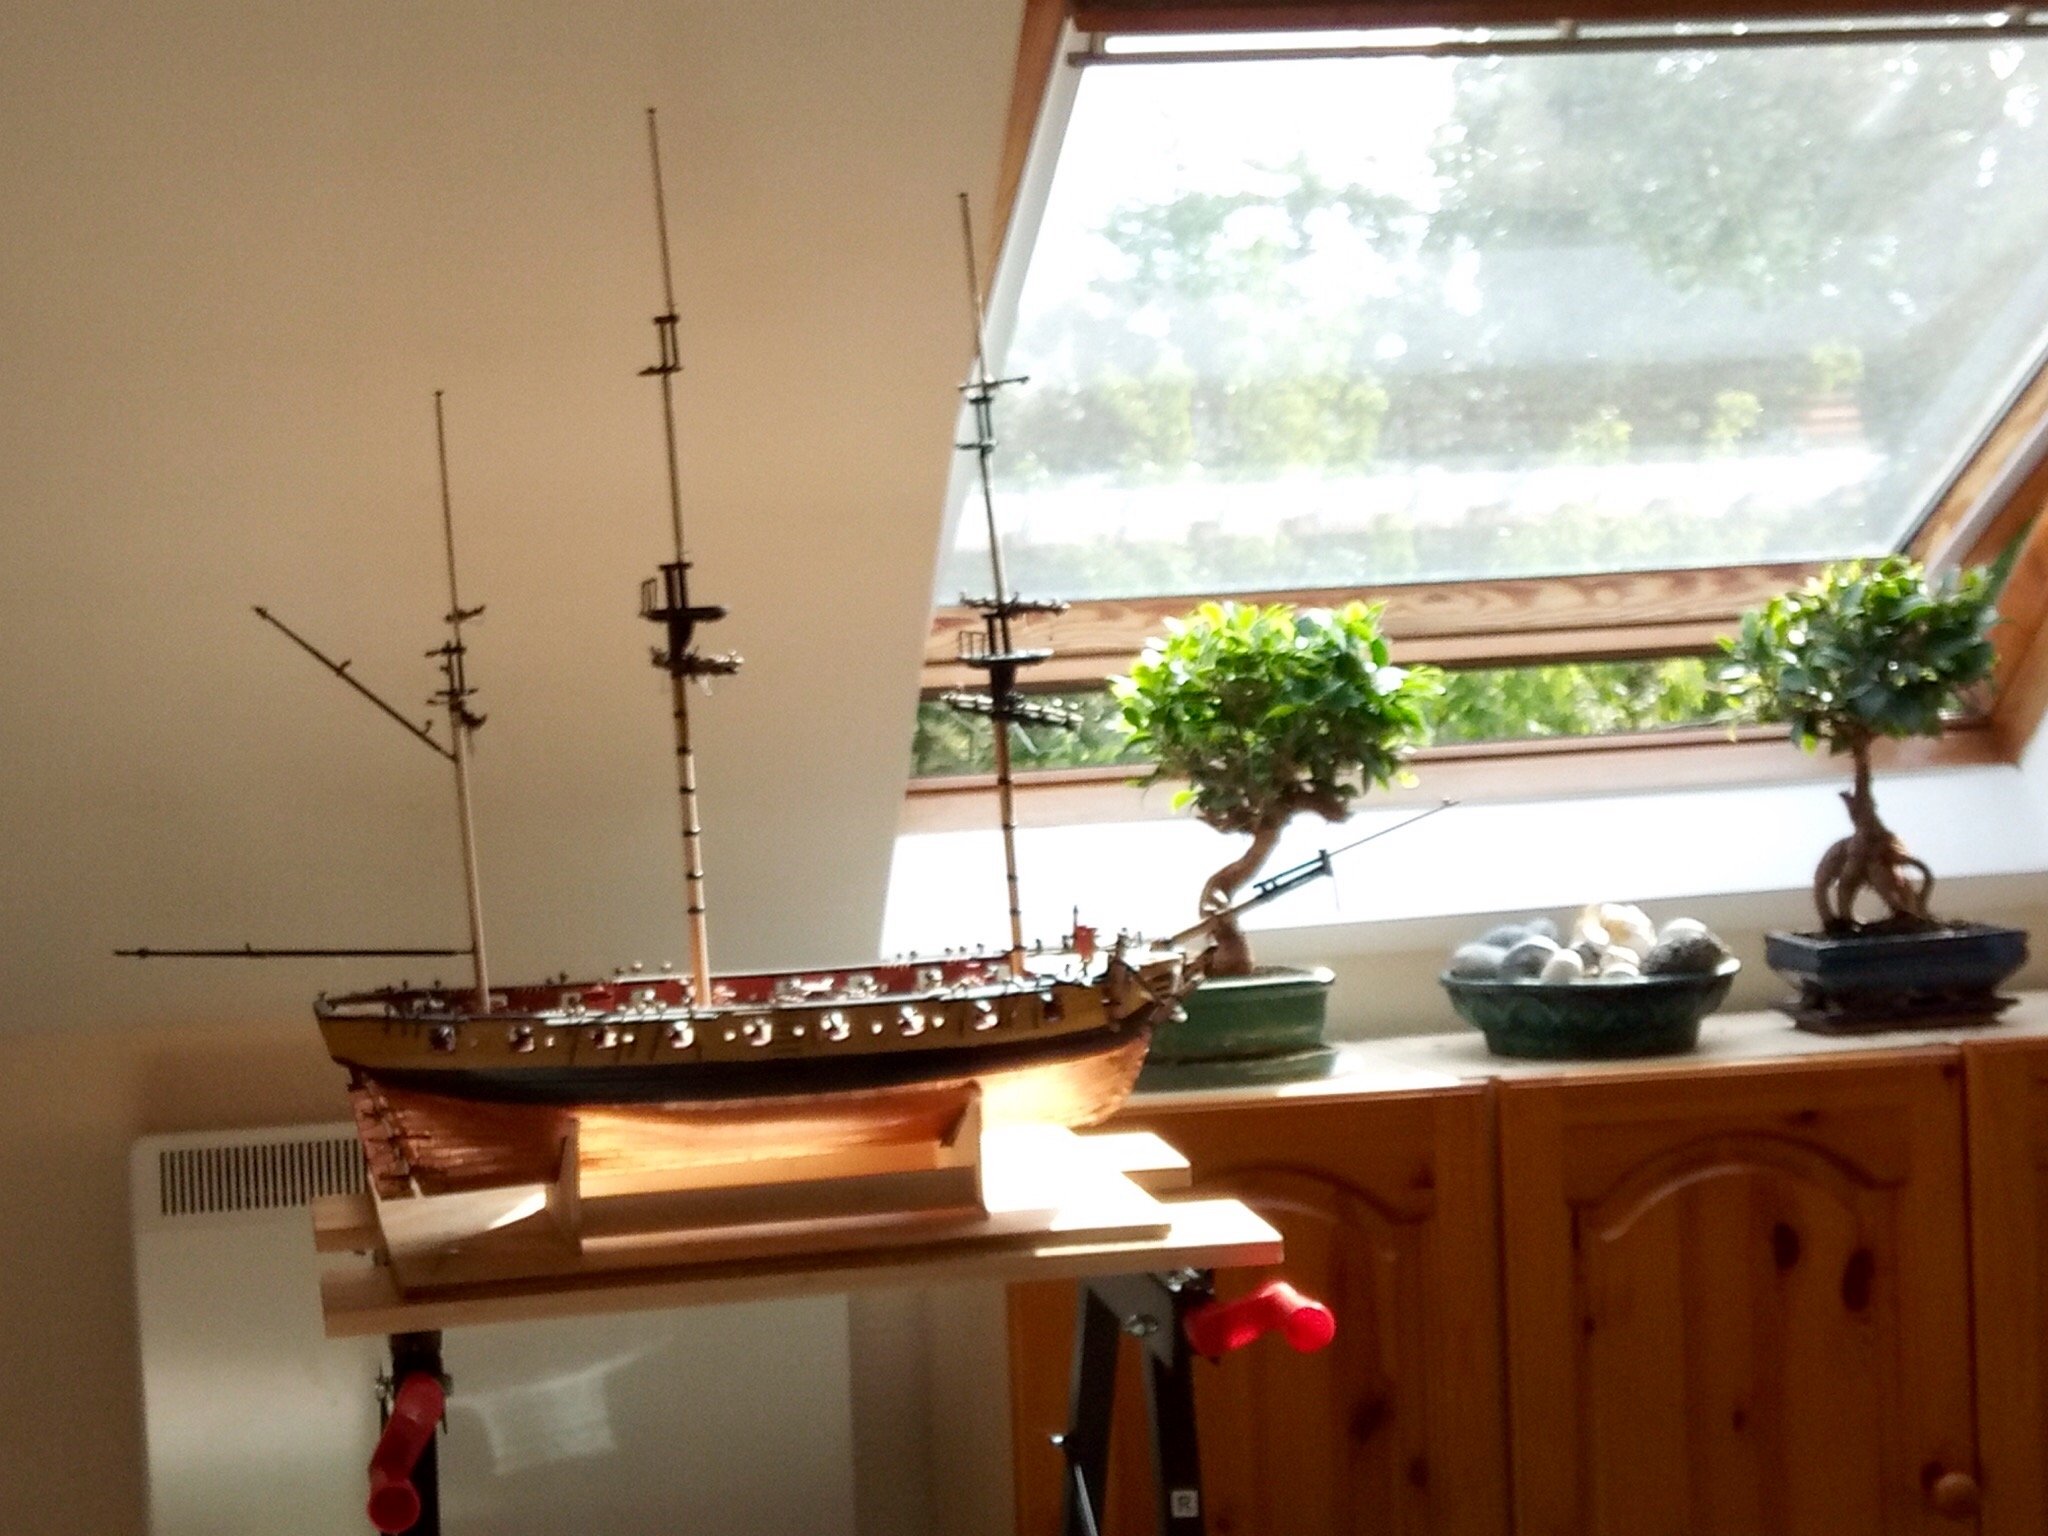
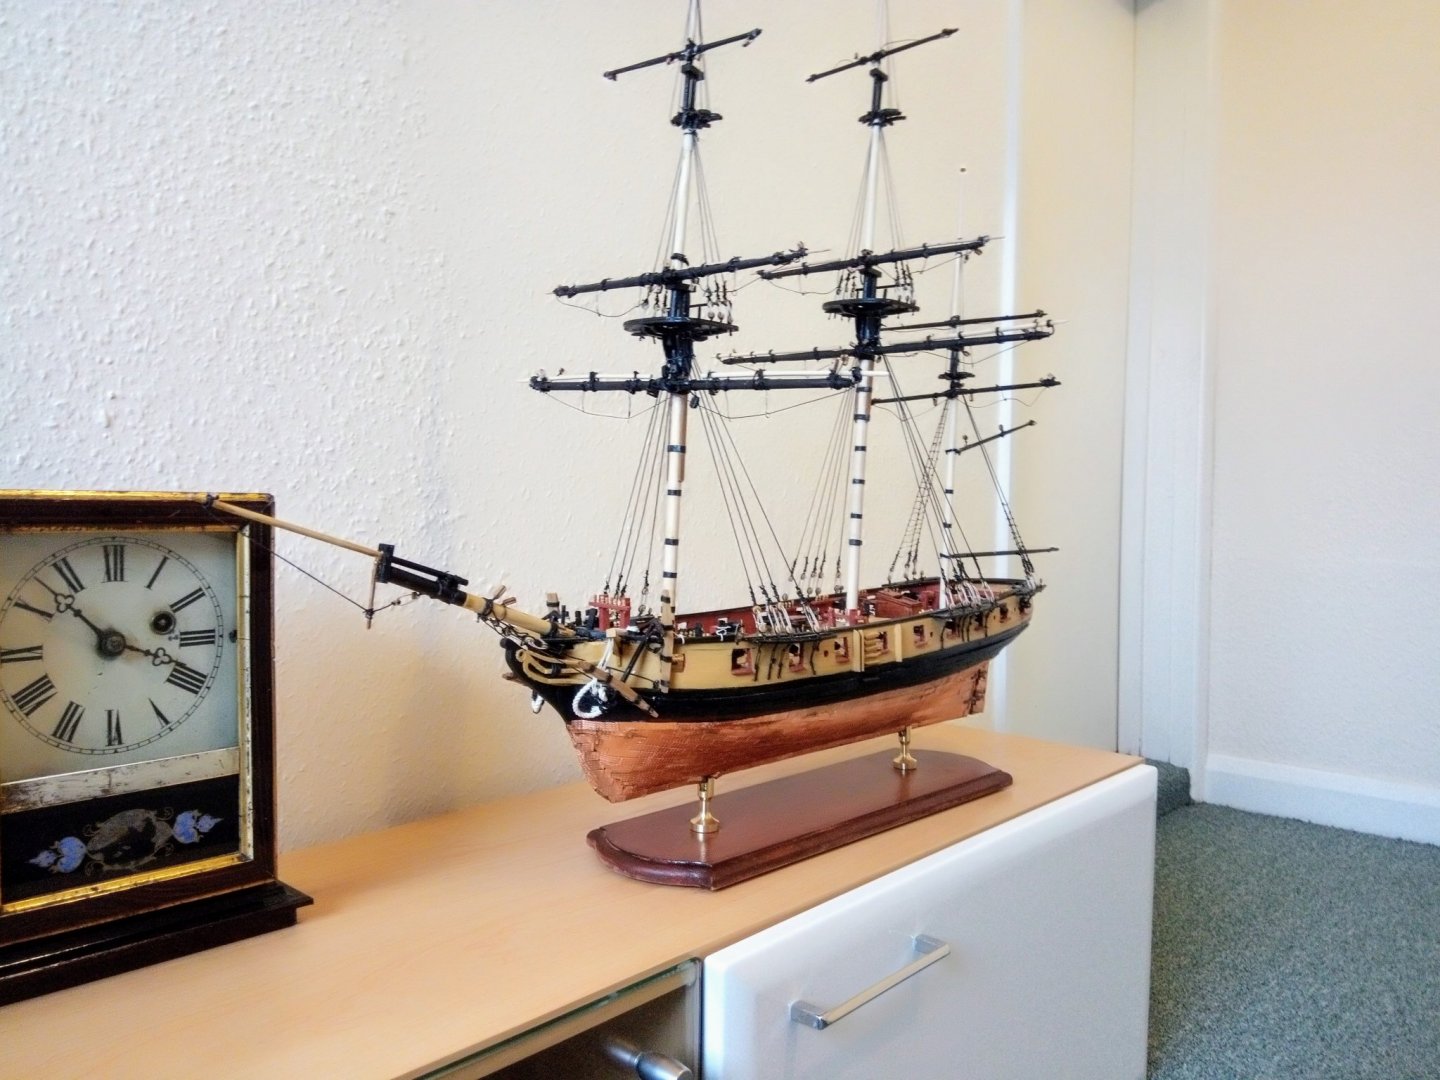
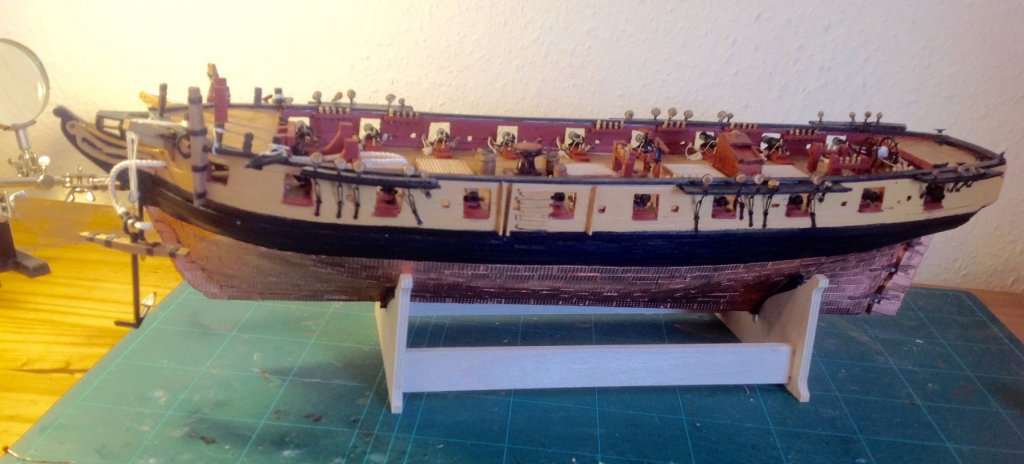
I realise I should have planned fitting display columns whilst building the keel.Still "bit the bullet" and drilled and screwed through plinth and brass columns into keel. Really pleased with the result,particularly pleased with the plinth which was a very reasonably price MDF one from a Cornwall Model Boats (£6). The MDF was smooth ,grained finish so after five coats of mahogany varnish with a sanding between each then finished of with a wax polish it looks remarkably like solid mahogany. Next back to the countless knots to complete rat lines and finish rigging.
- 31 replies
-
- 3
-
-
- snake
- caldercraft
- (and 1 more)
-
Caldecraft HMS Snake build continues as lovely summer weather falters and gardening jobs diminish.Now time to rig her shrouds. Caldecraft say to rig lower then upper shrouds. This uncovered a dilemma as the upper shroud deadeyes are secured to a brass wire bar attached to the lower shrouds which would really involve attaching the ratlines first. As I can see why Caldecraft say do ratlines last I attached the upper shroud deadeyes by threading ropes through the holes then knotting them below and adding a tiny touch of superglue to fix them. Another touch at the base of deadeyes to ensure they are firm enough to thread the upper deadeyes.
-
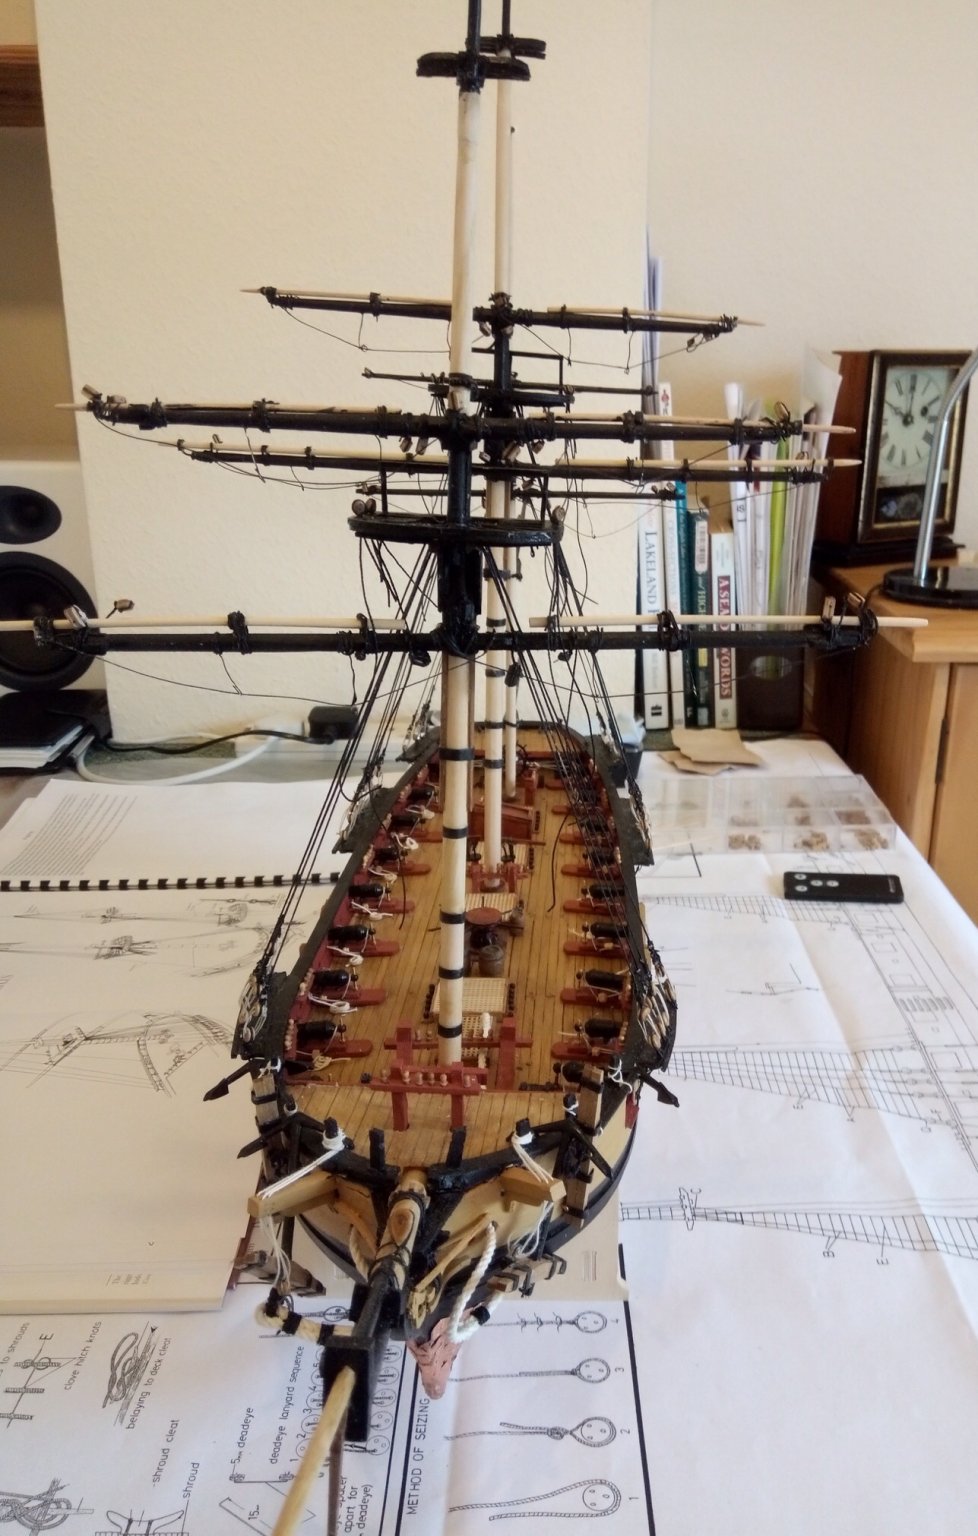
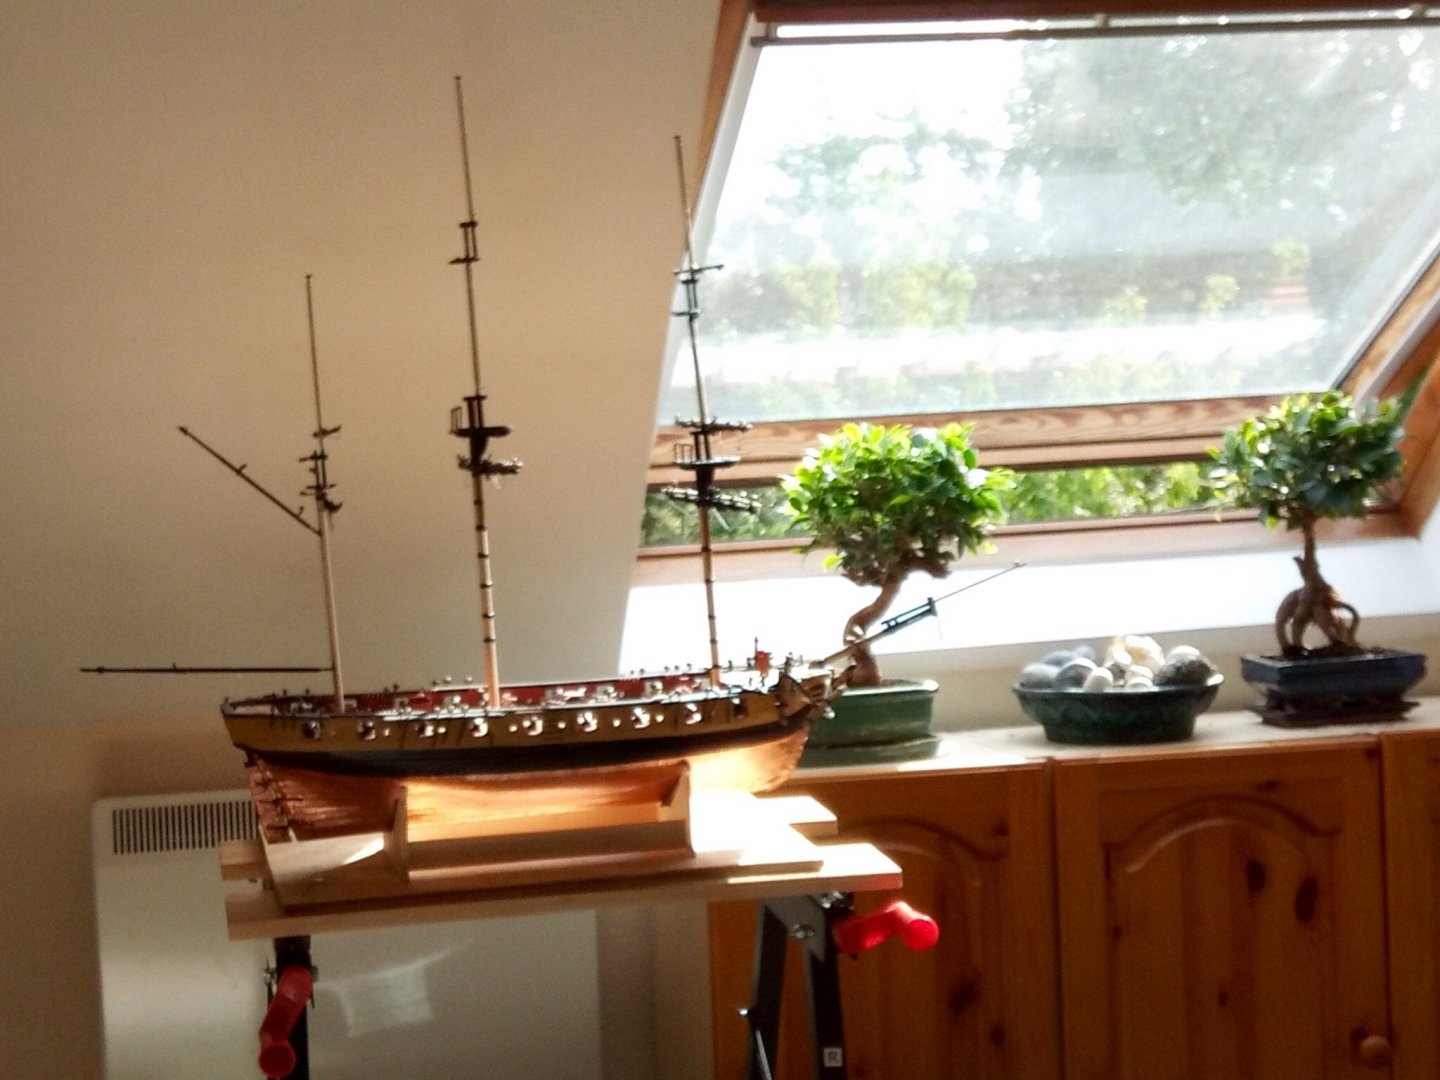
Caldecraft HMS Snake update. Masts constructed and now begun the yards..Tricky with poor eyesight but rewarding as is everything in this hobby. Massive rule for all novices never use liquid super glue near thread always medium viscosity. Nine months in and progressing well after struggles to understand the brief instructions . Next the thrills and spills of rigging😱


- 31 replies
-
- 2
-
-
- snake
- caldercraft
- (and 1 more)
-
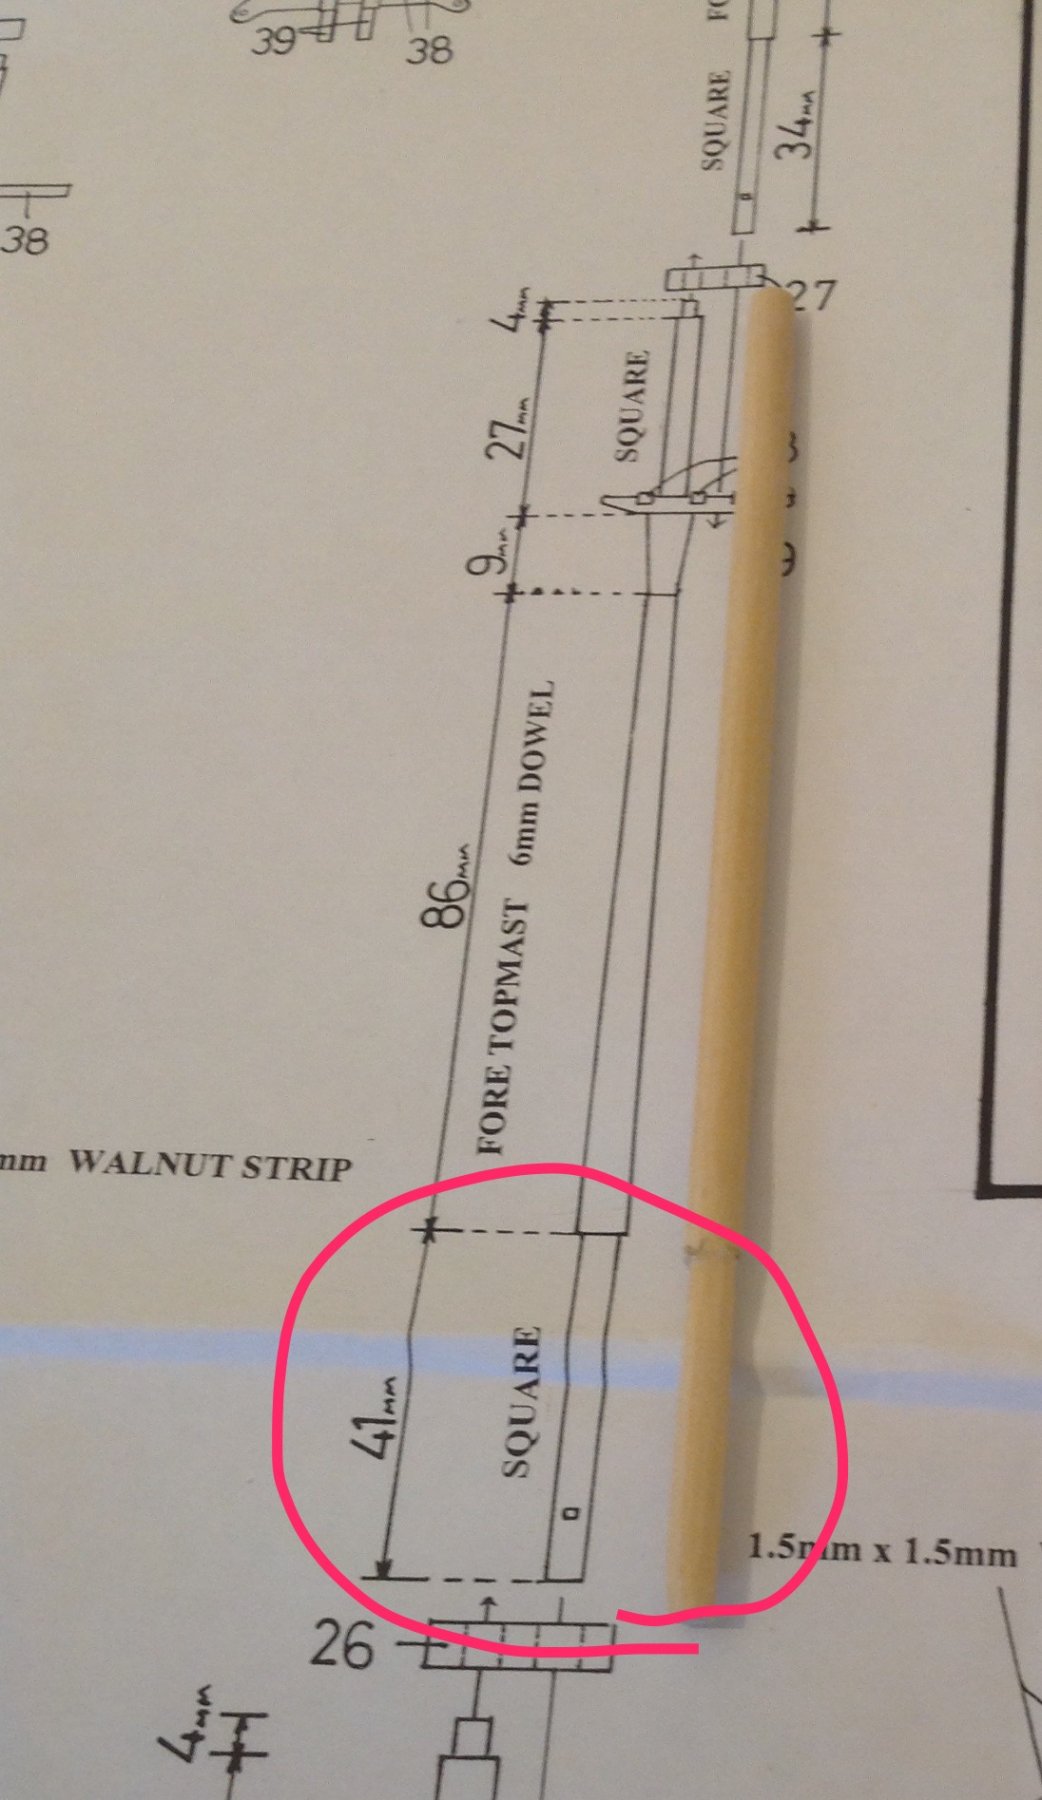
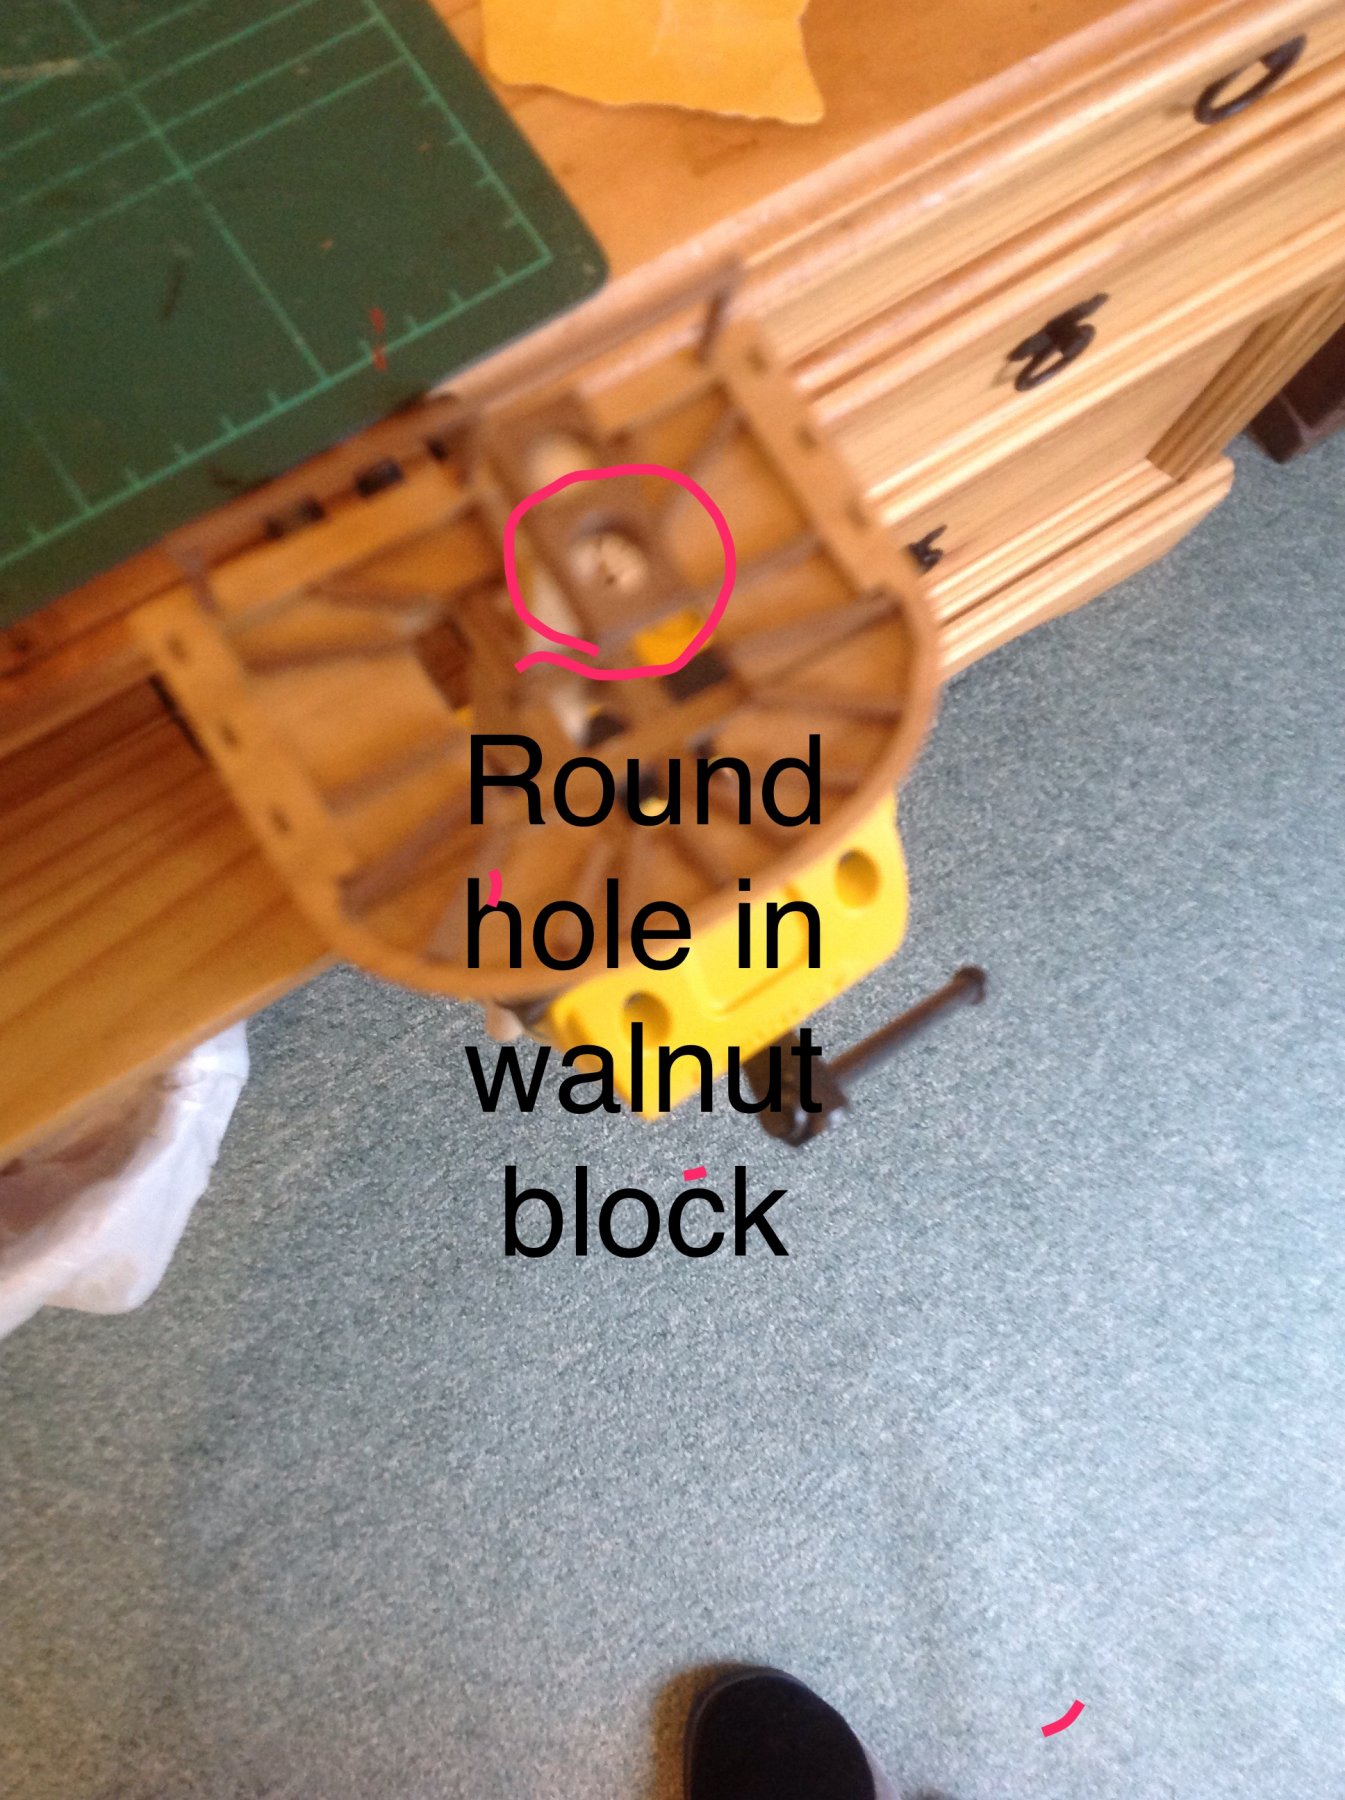
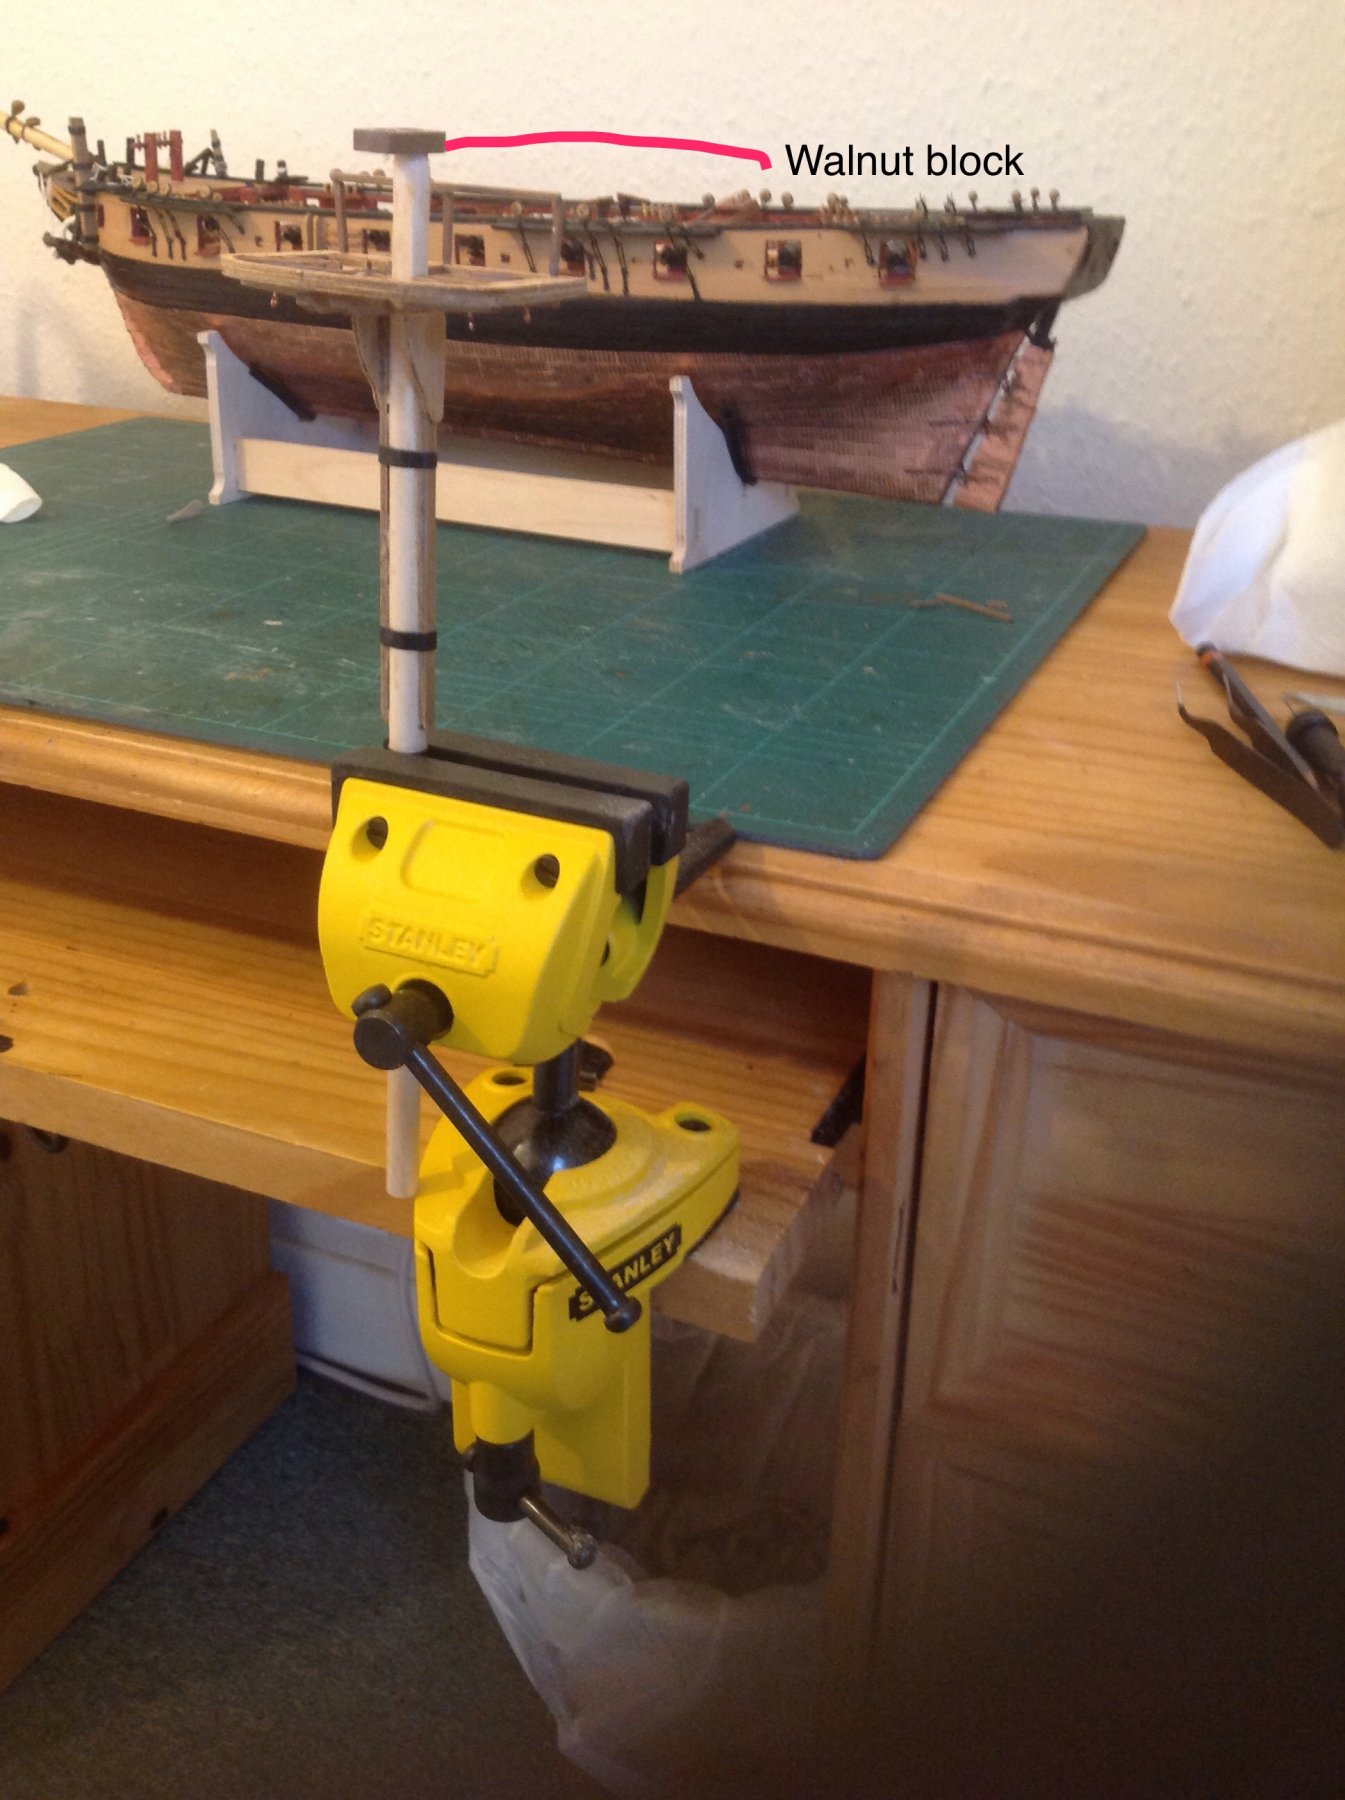
Building fore mast. Plans for upper mast say file square. The hole in the walnut block is round so I will file the softwood mast round rather than attempt to file the walnut hardwood block square.😉


- 31 replies
-
- 2
-
-
- snake
- caldercraft
- (and 1 more)
-
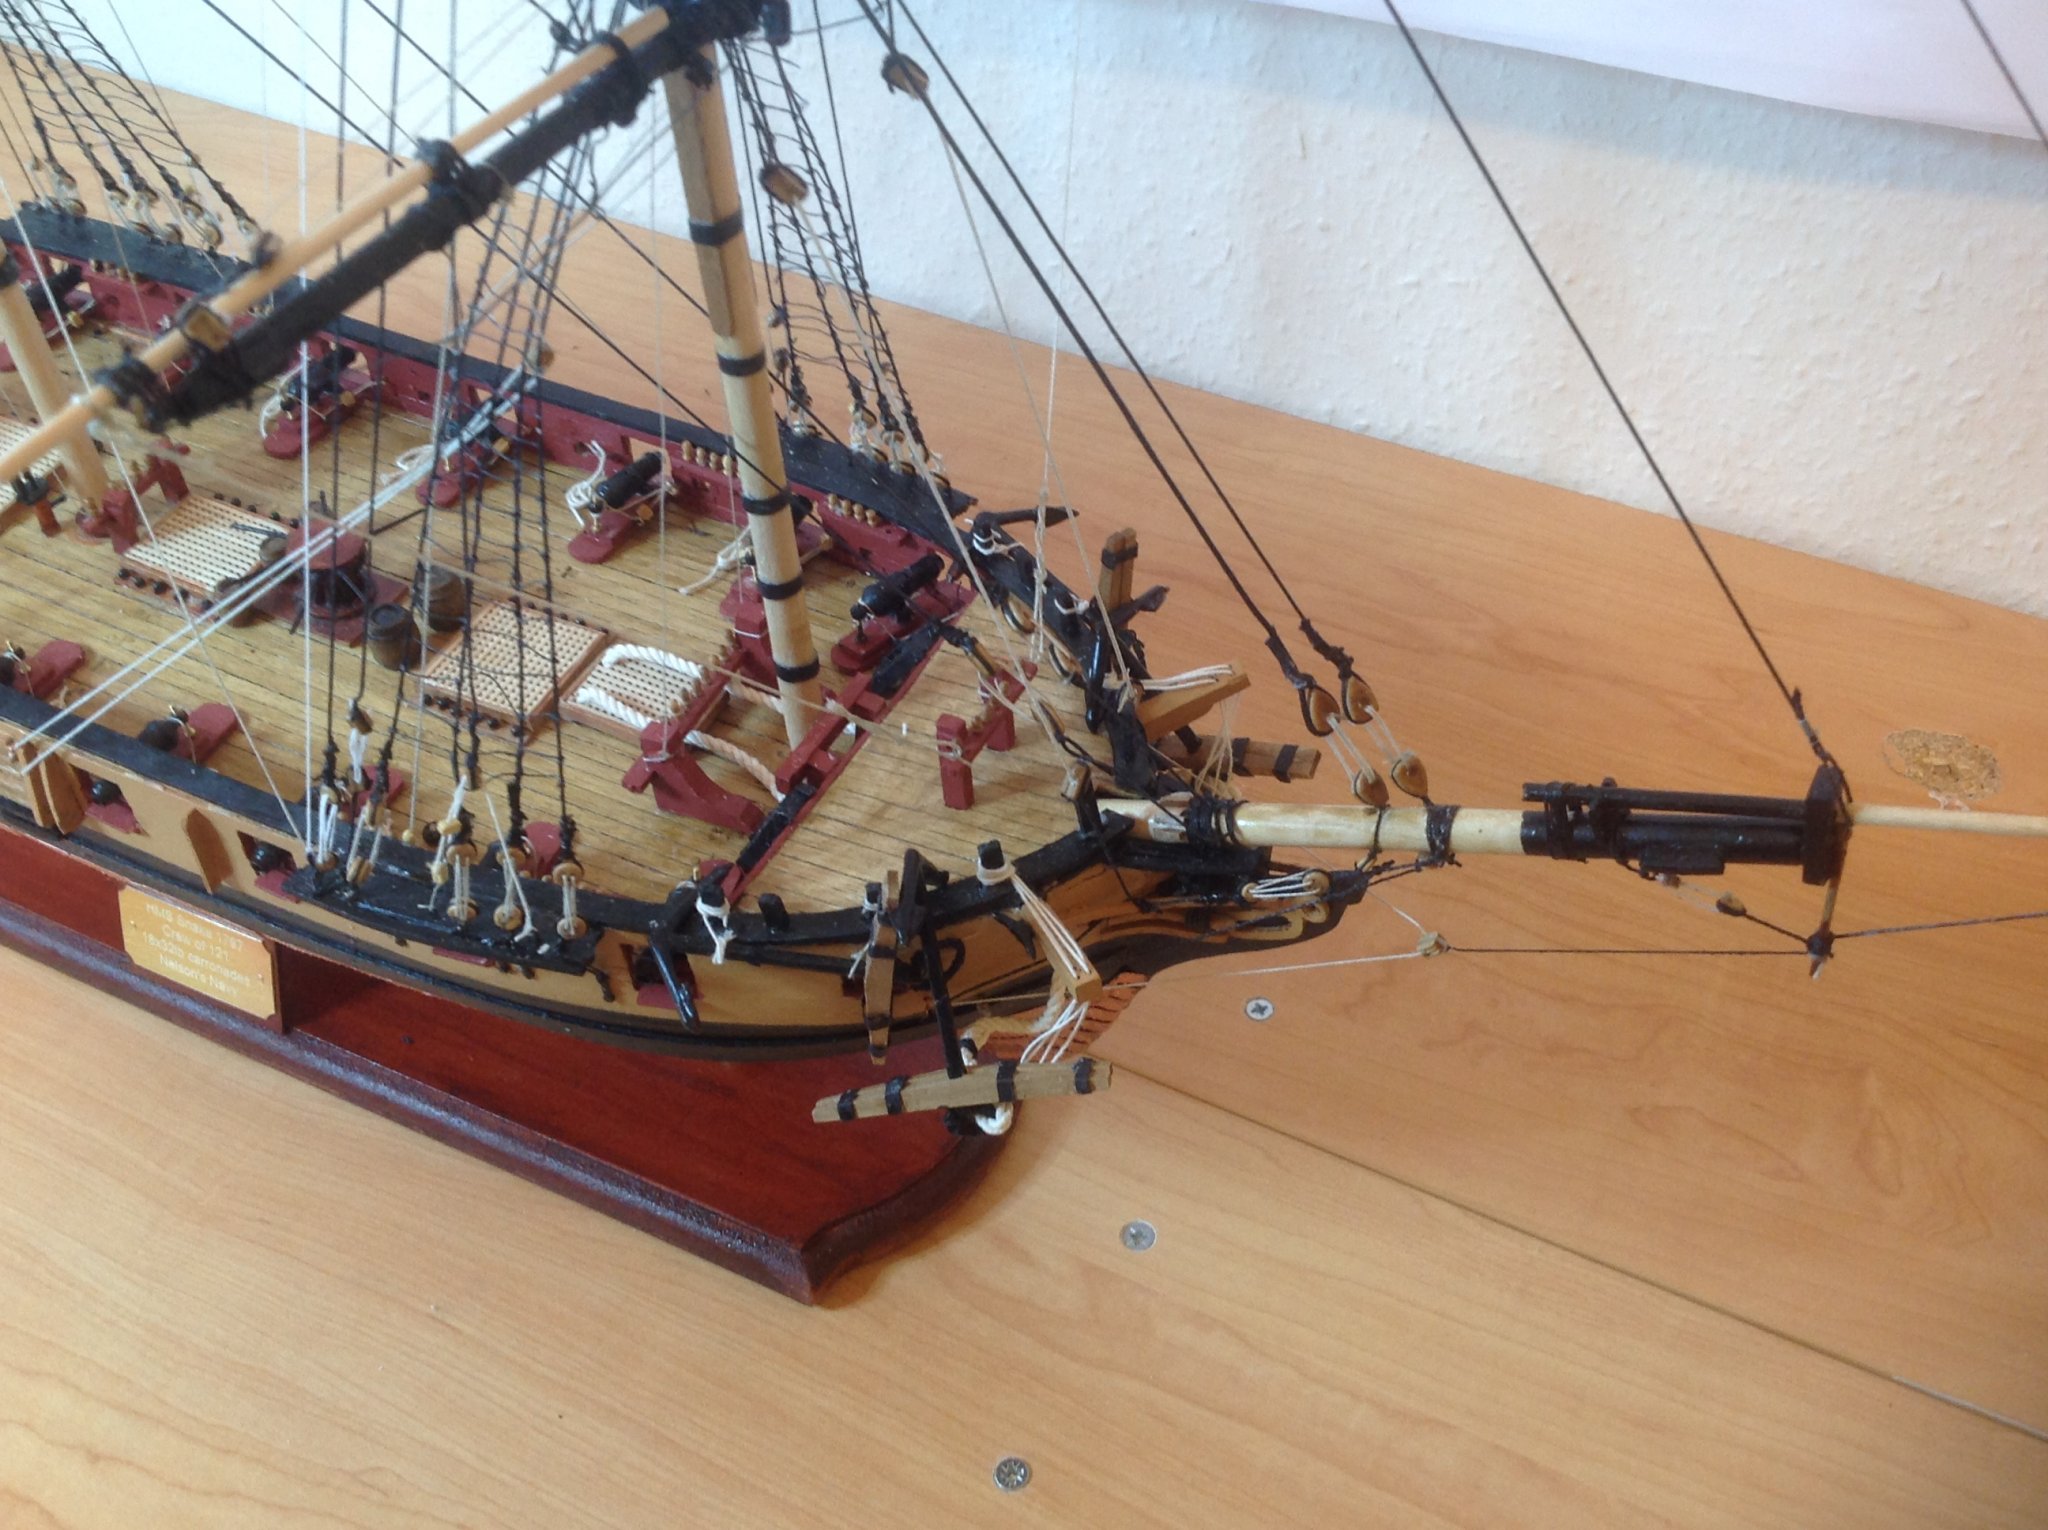
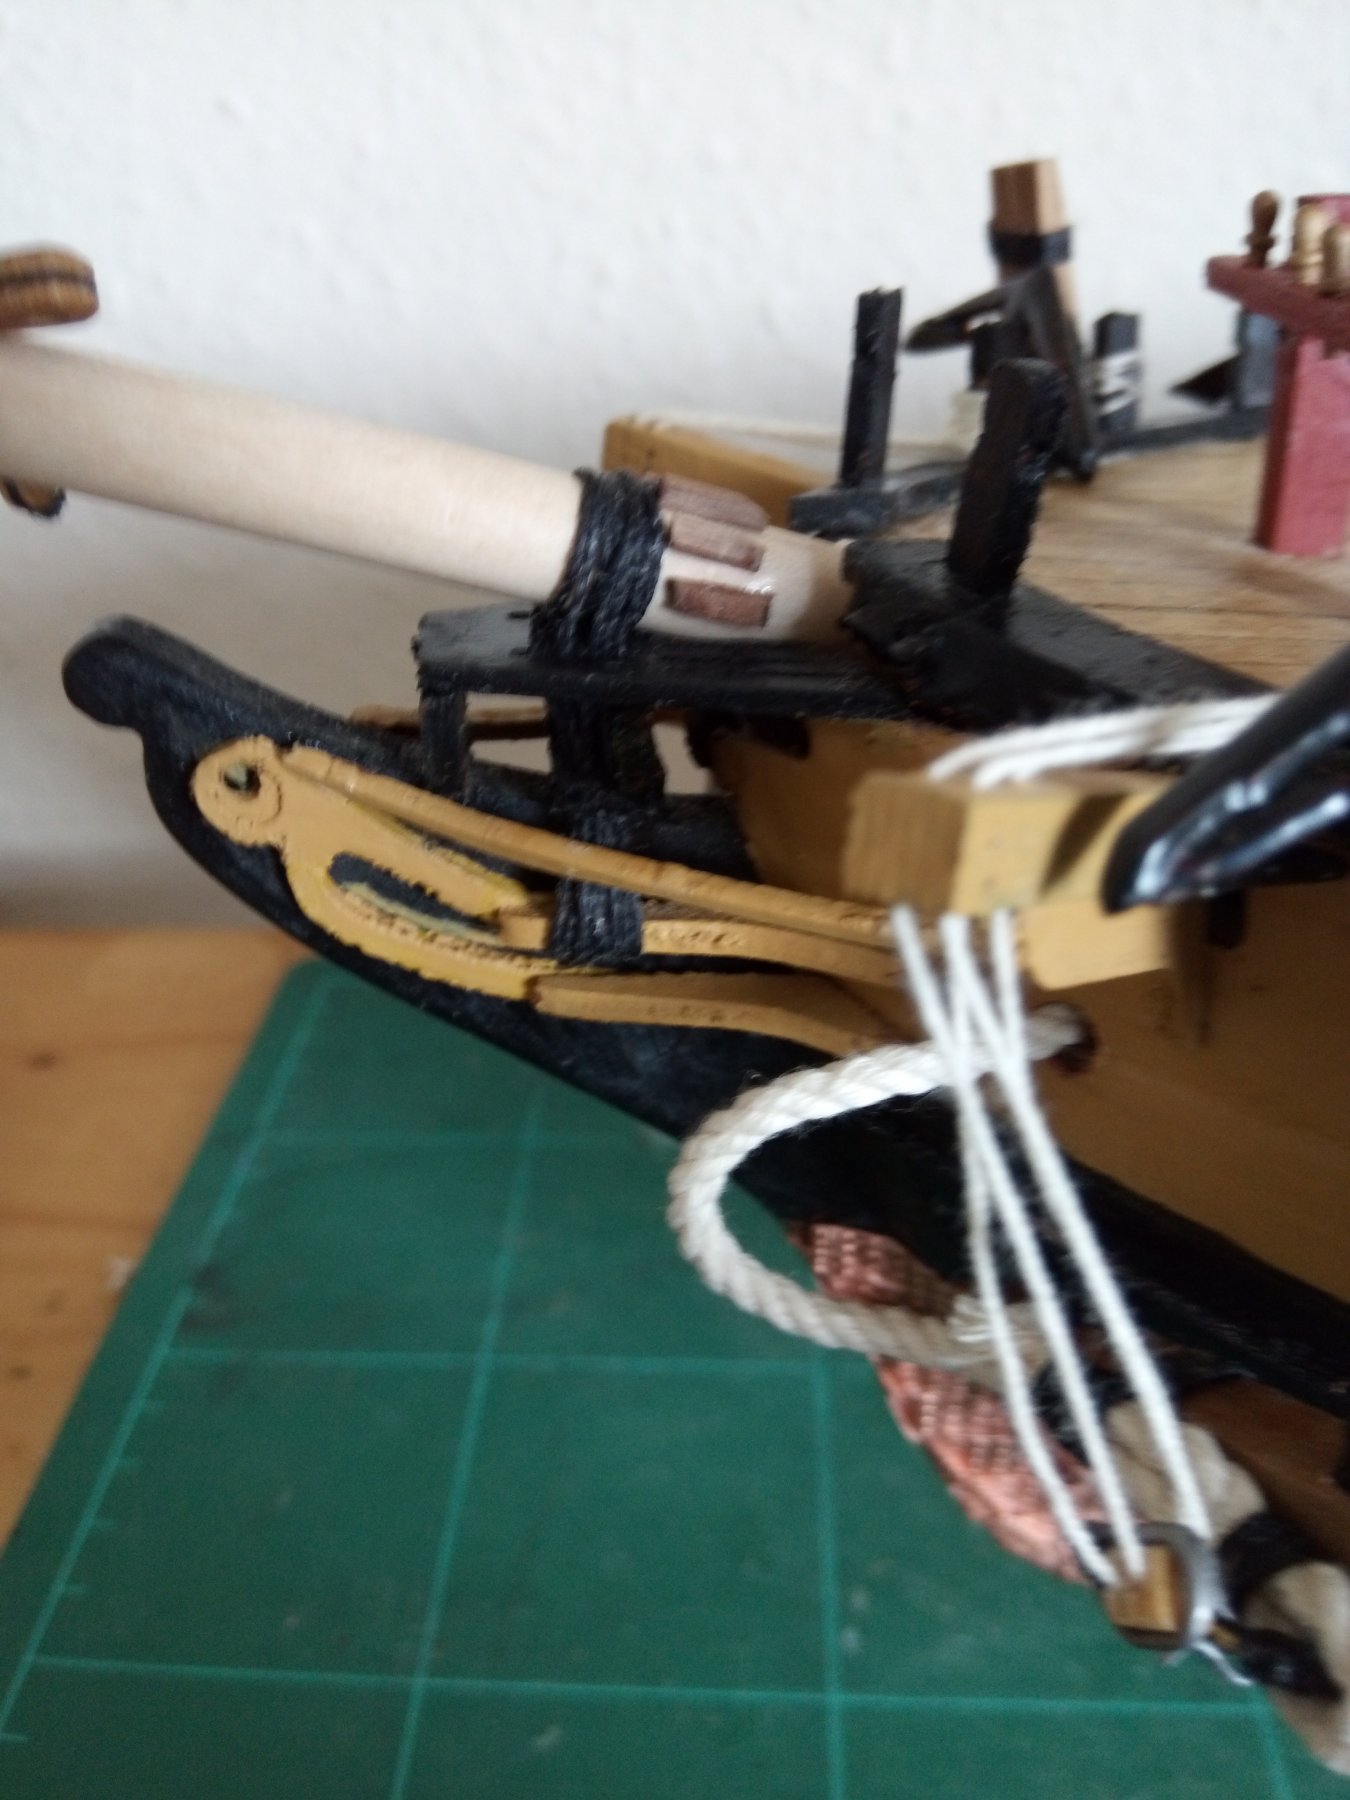
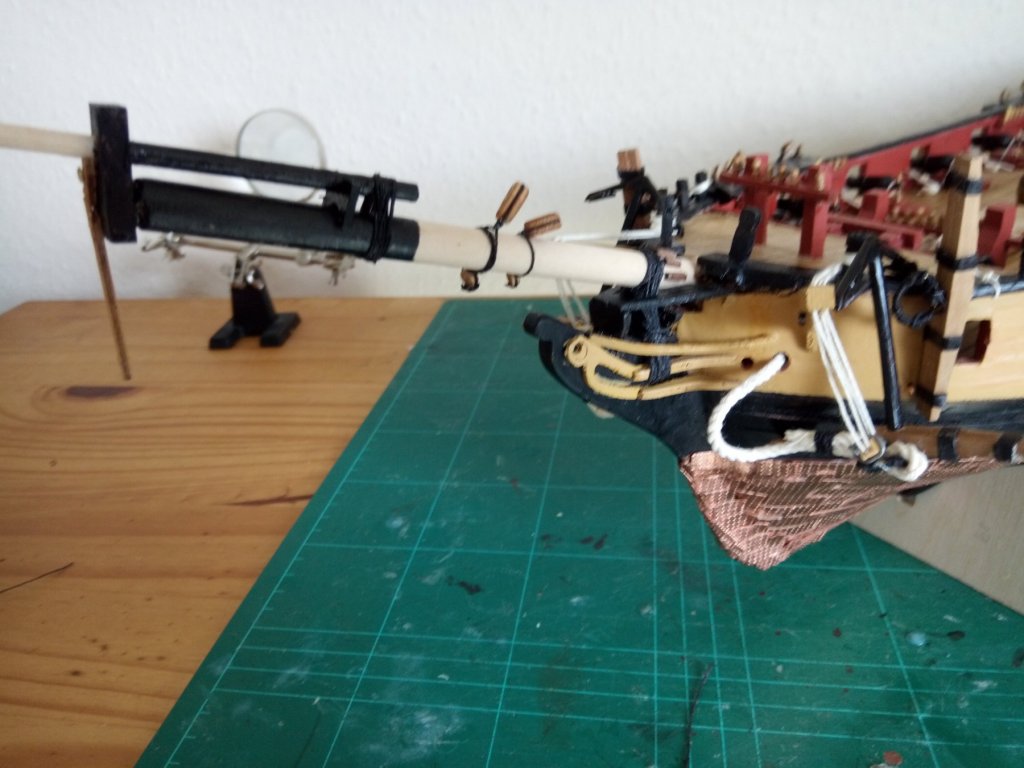
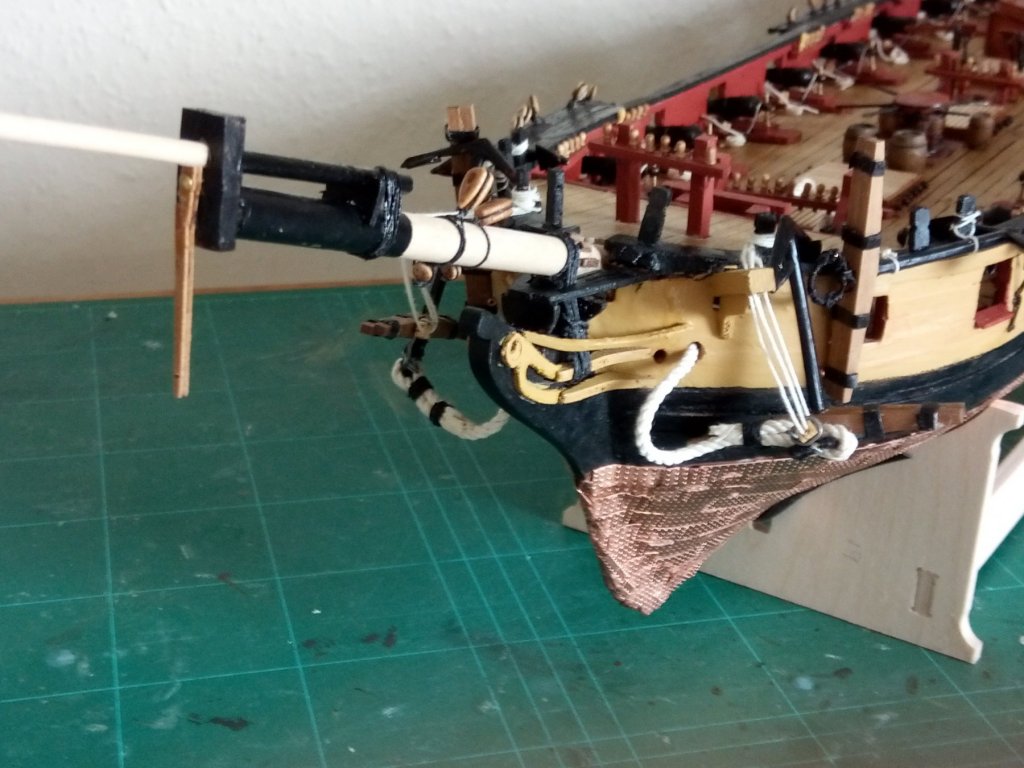
Completed Gammoning on the bowsprit.A week ago never heard of gammoning so had to research, My Peterson Rigging "bible" studiously ignores the existence of such a thing and the instructions no help. After much research pleased with my average attempt but like many of these tasks if I did it again would be much better. I decided to use the .75 thread rather than the .5 required by the instructions as it seemed very thin and just didn't look right. I used 48inches of waxed thread which was just about right, cut any less and you'll be in trouble.I was lucky in my guess for the cleats (apart from one!) but anyone reading this should consider gammoning before fitting the cleats as they should butt up to the gammoning.

- 31 replies
-
- 2
-
-
- snake
- caldercraft
- (and 1 more)
-
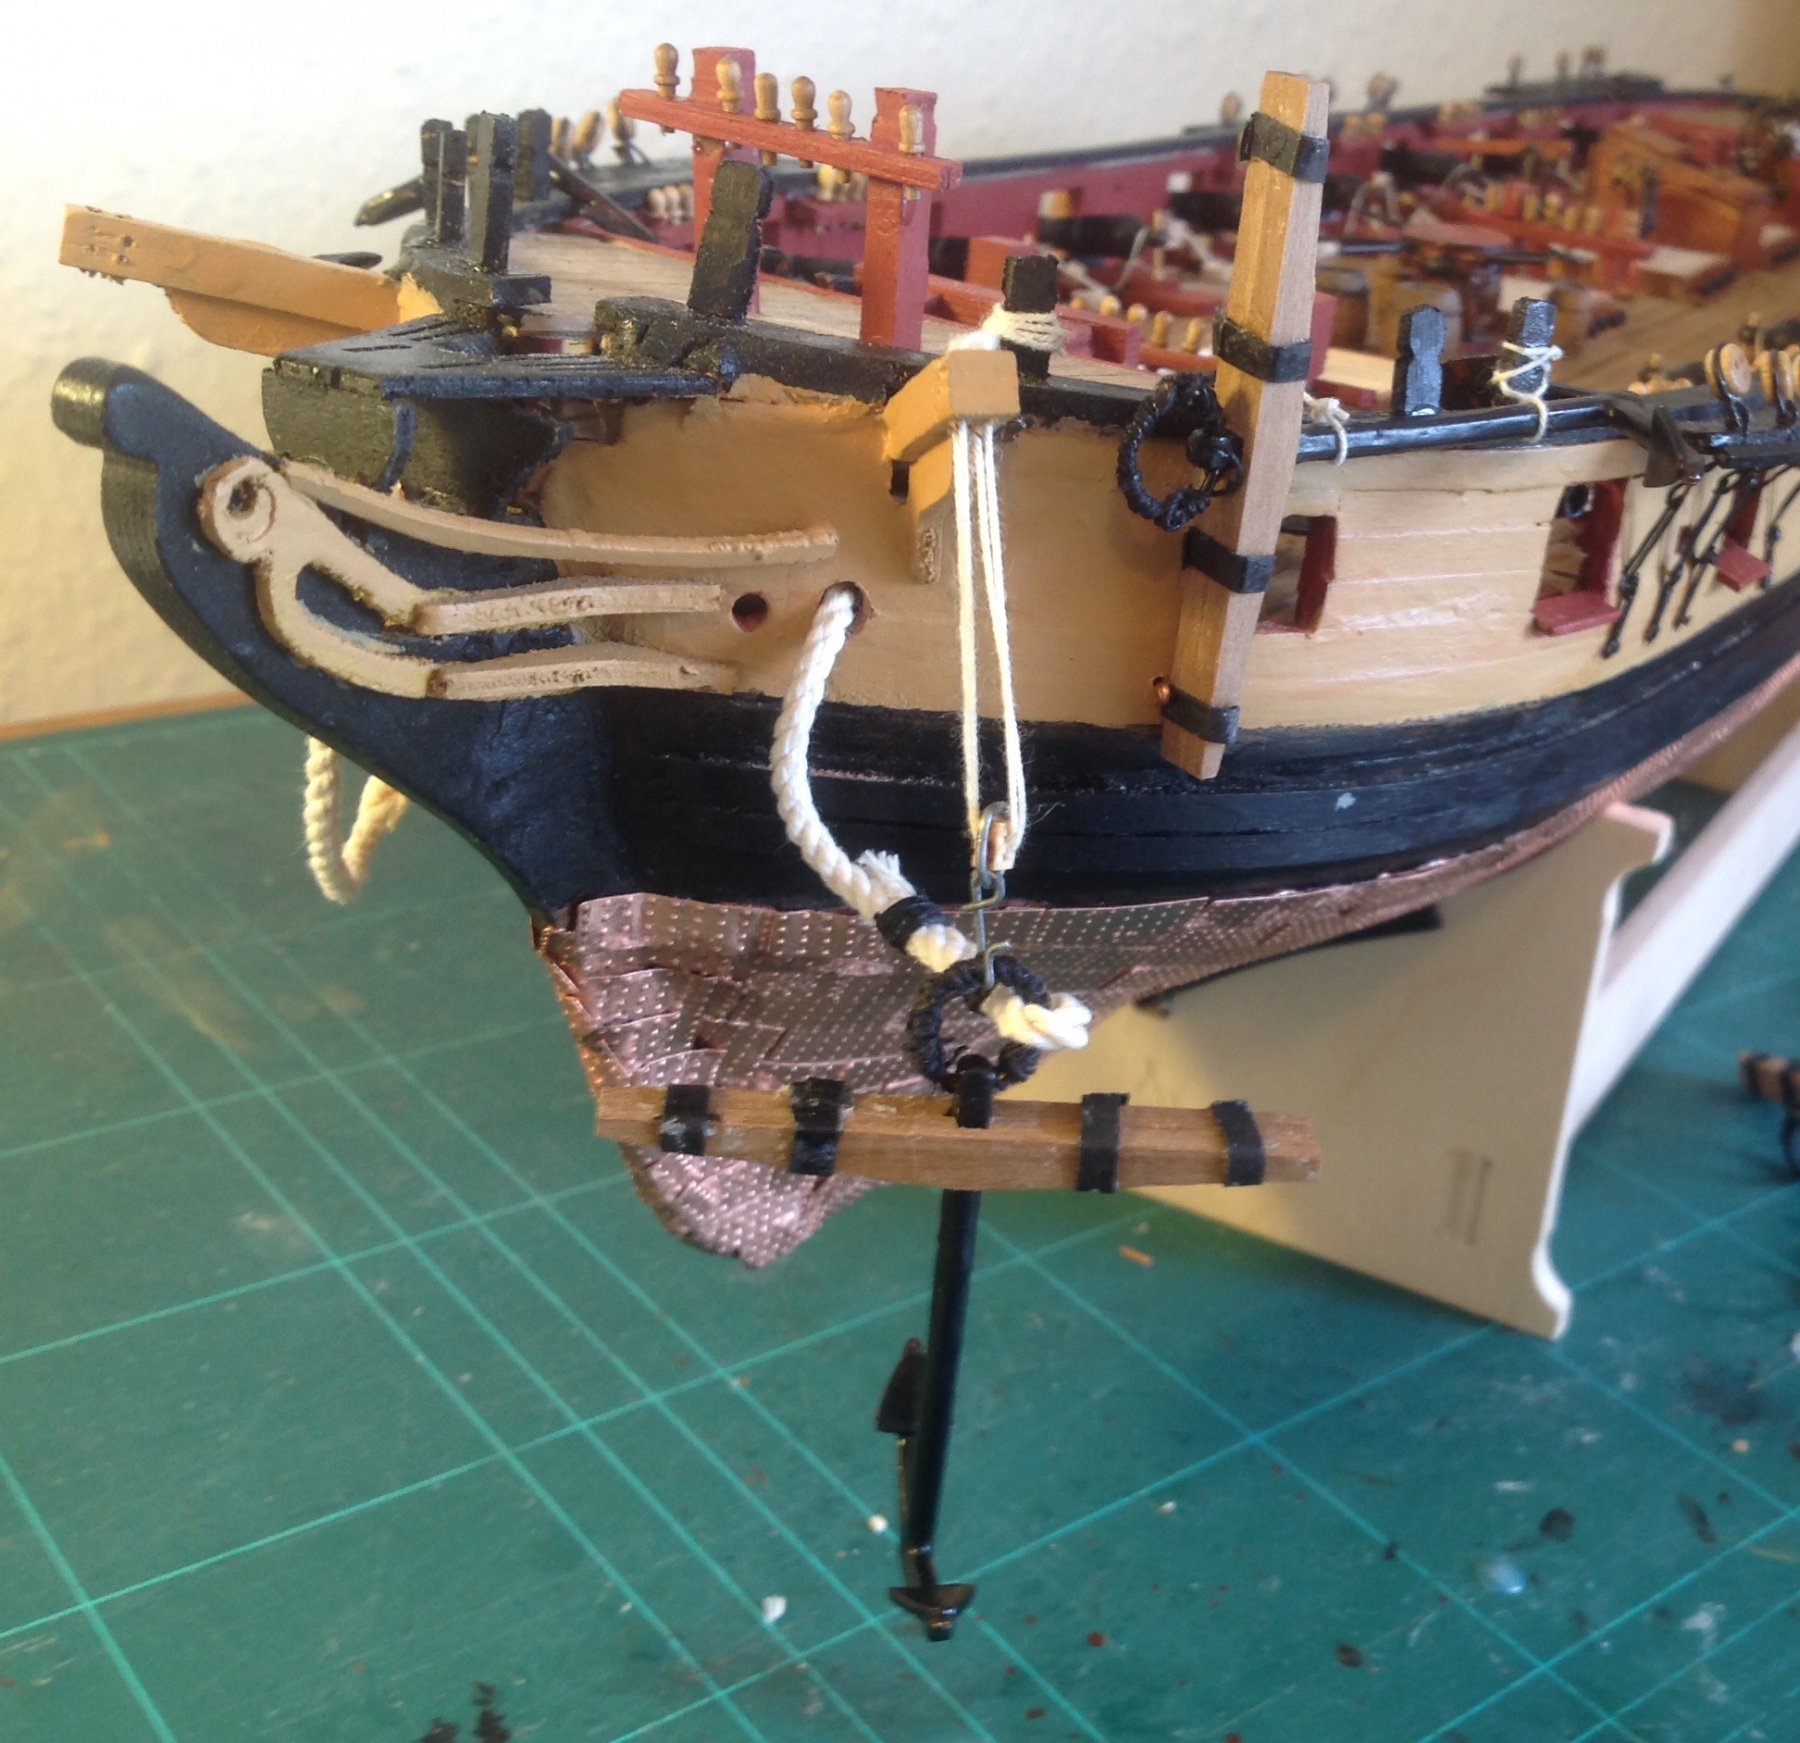
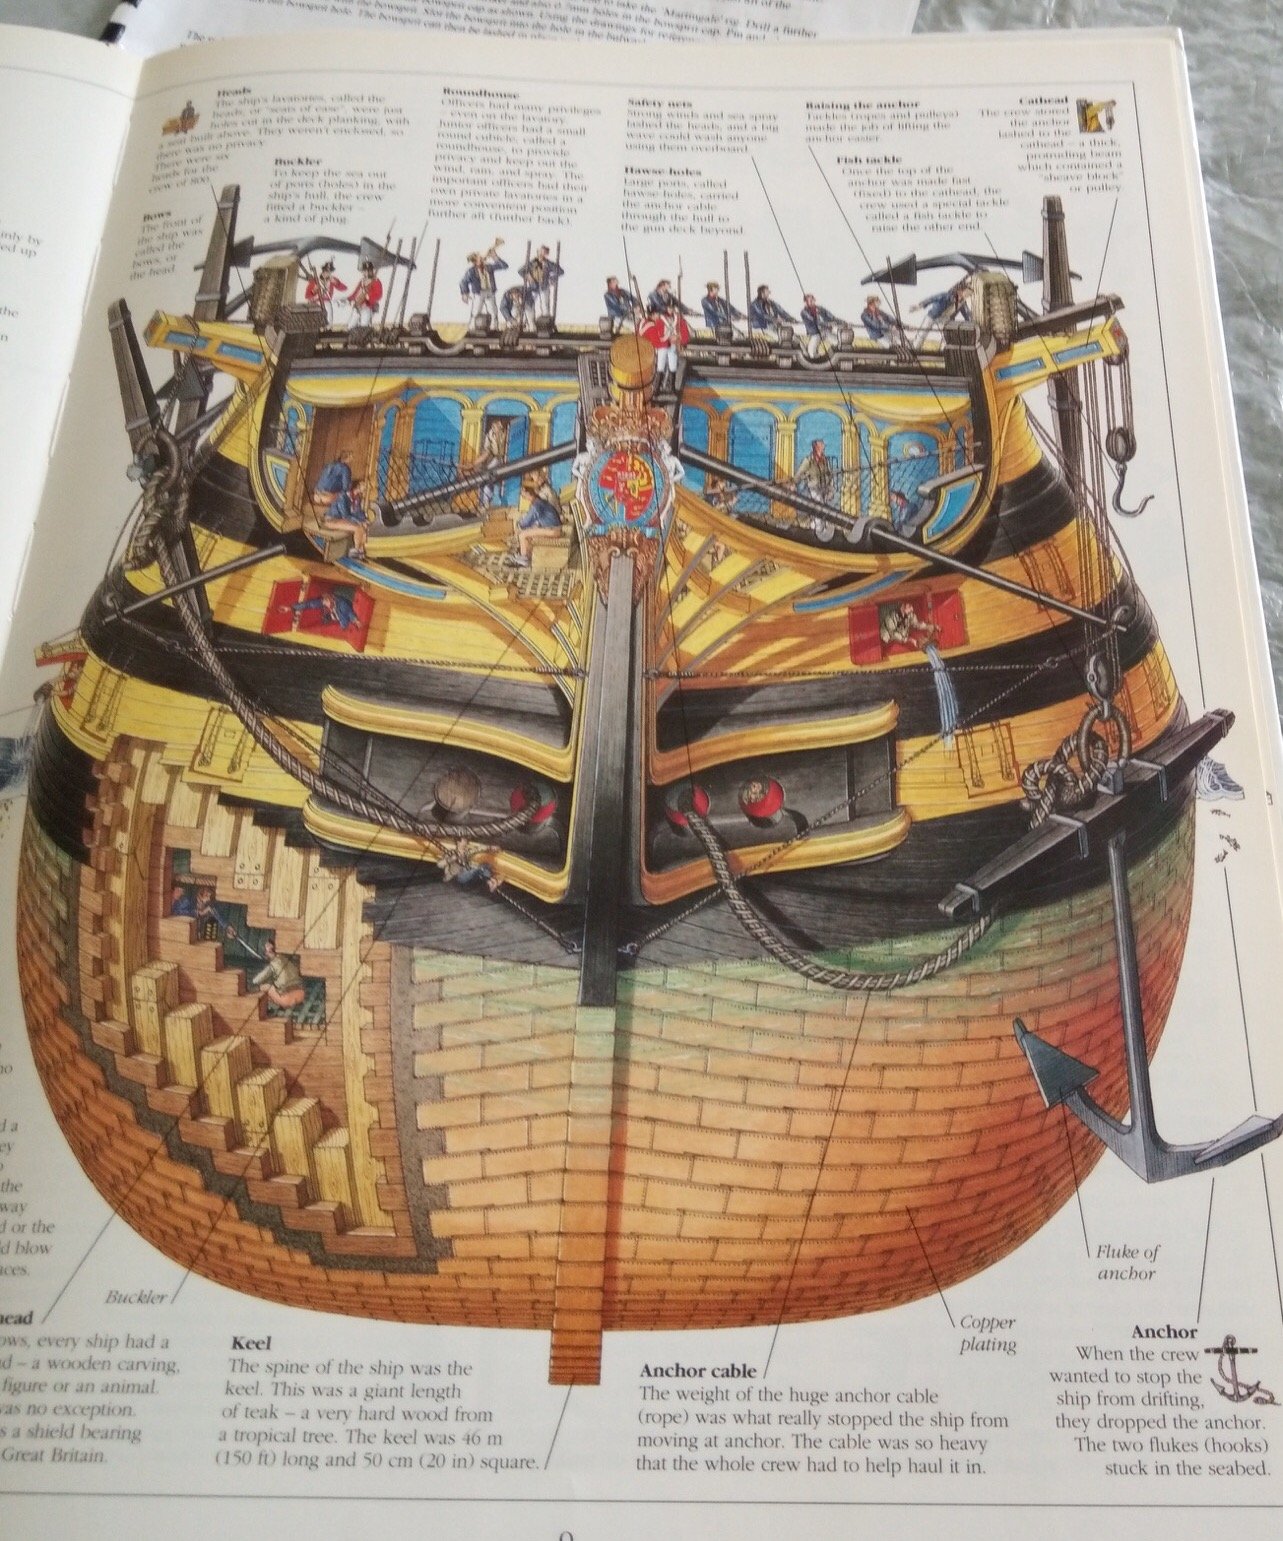
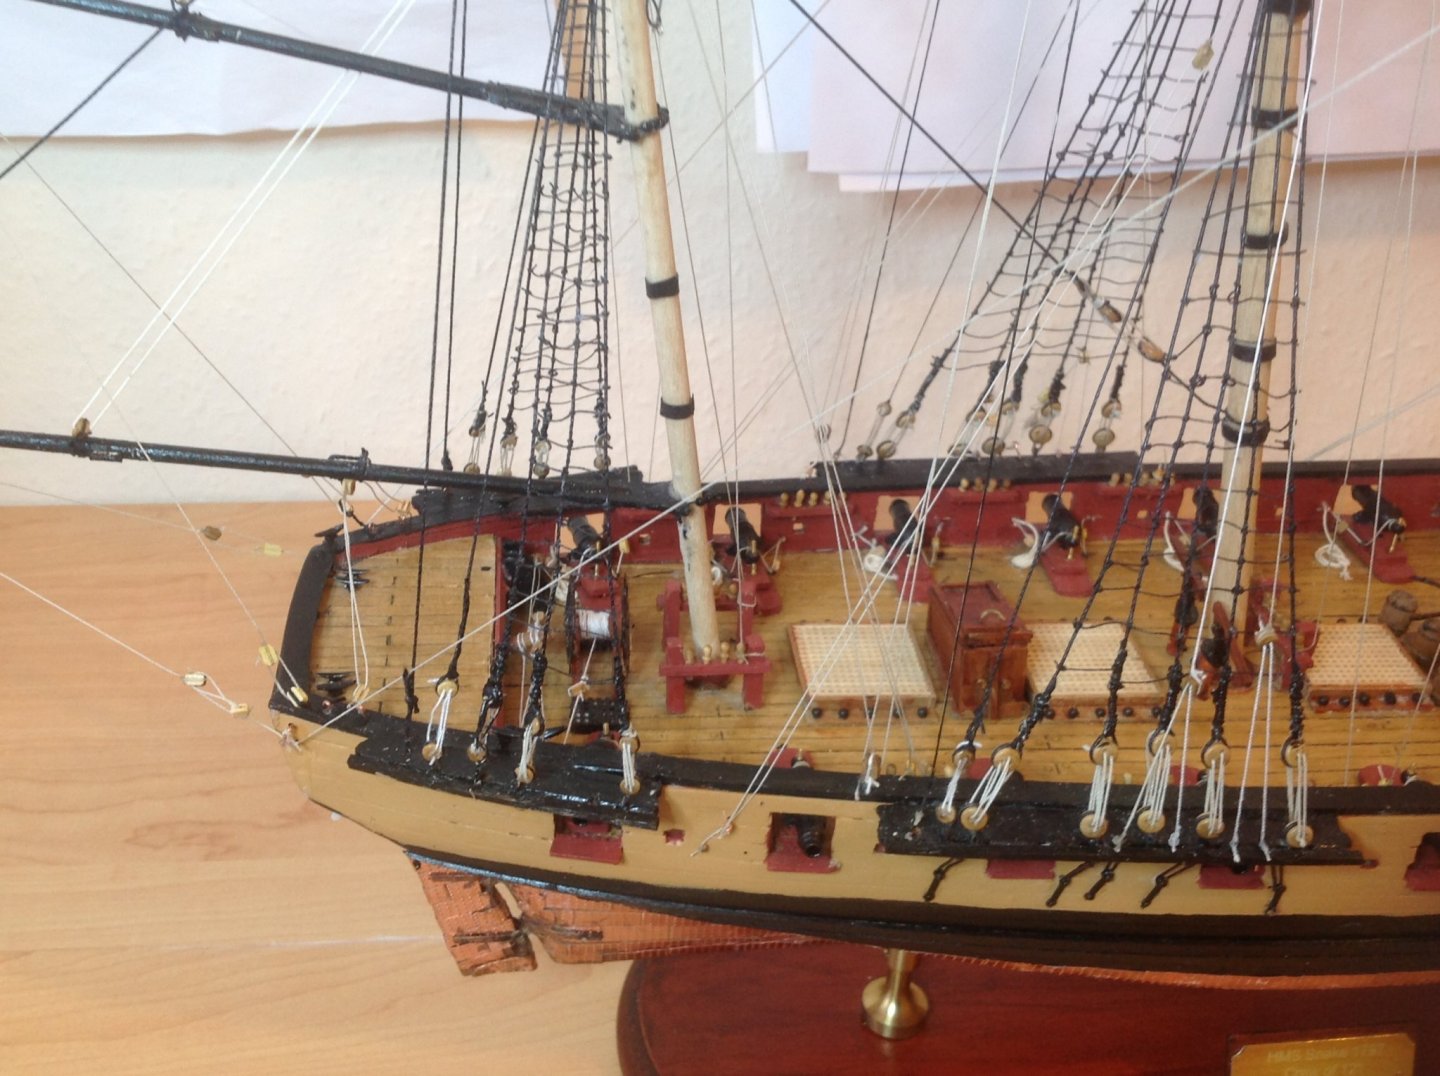
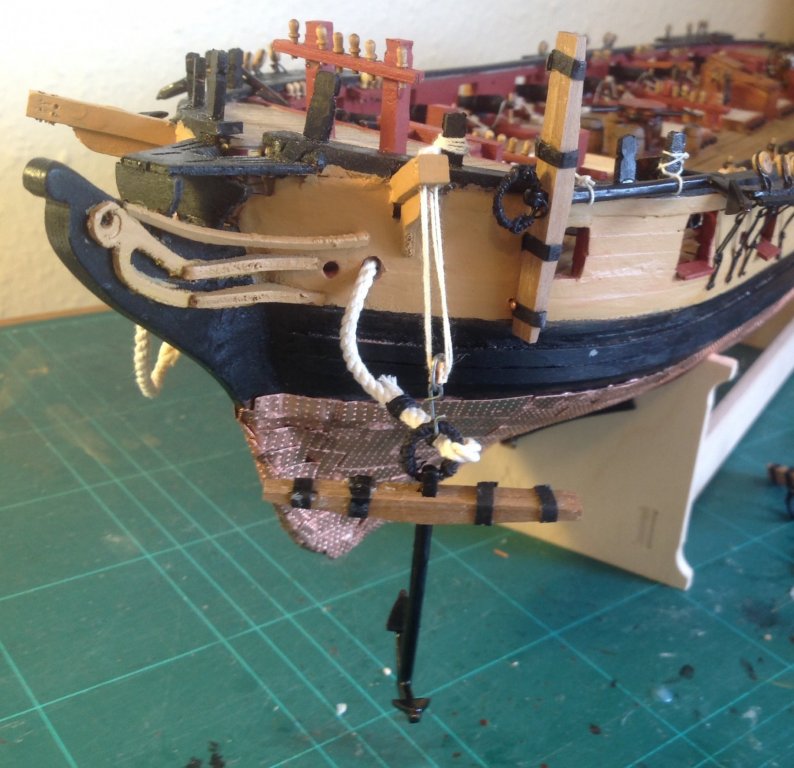
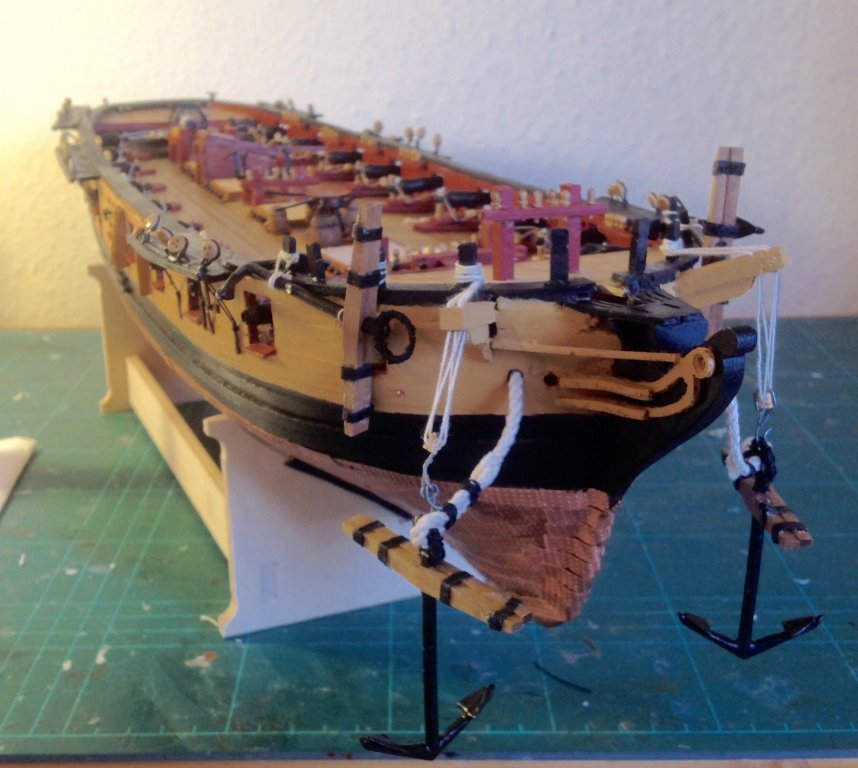
Building my HMS Snake and got to fitting the anchors. The instructions and plans appeared to be very simplistic in so much as basically saying tie them to the side. I thought this would mean in reality that the couldn't be used and didn't look right. After looking at paintings and drawings of ships of the line I realised that they were loose at the side of the bow ready to be dropped by the crew when required .The clearest schematic was in Stephen Biesty's Cross Section book. I find this book an invaluable reference source.

- 31 replies
-
- 5
-
-
- snake
- caldercraft
- (and 1 more)
-
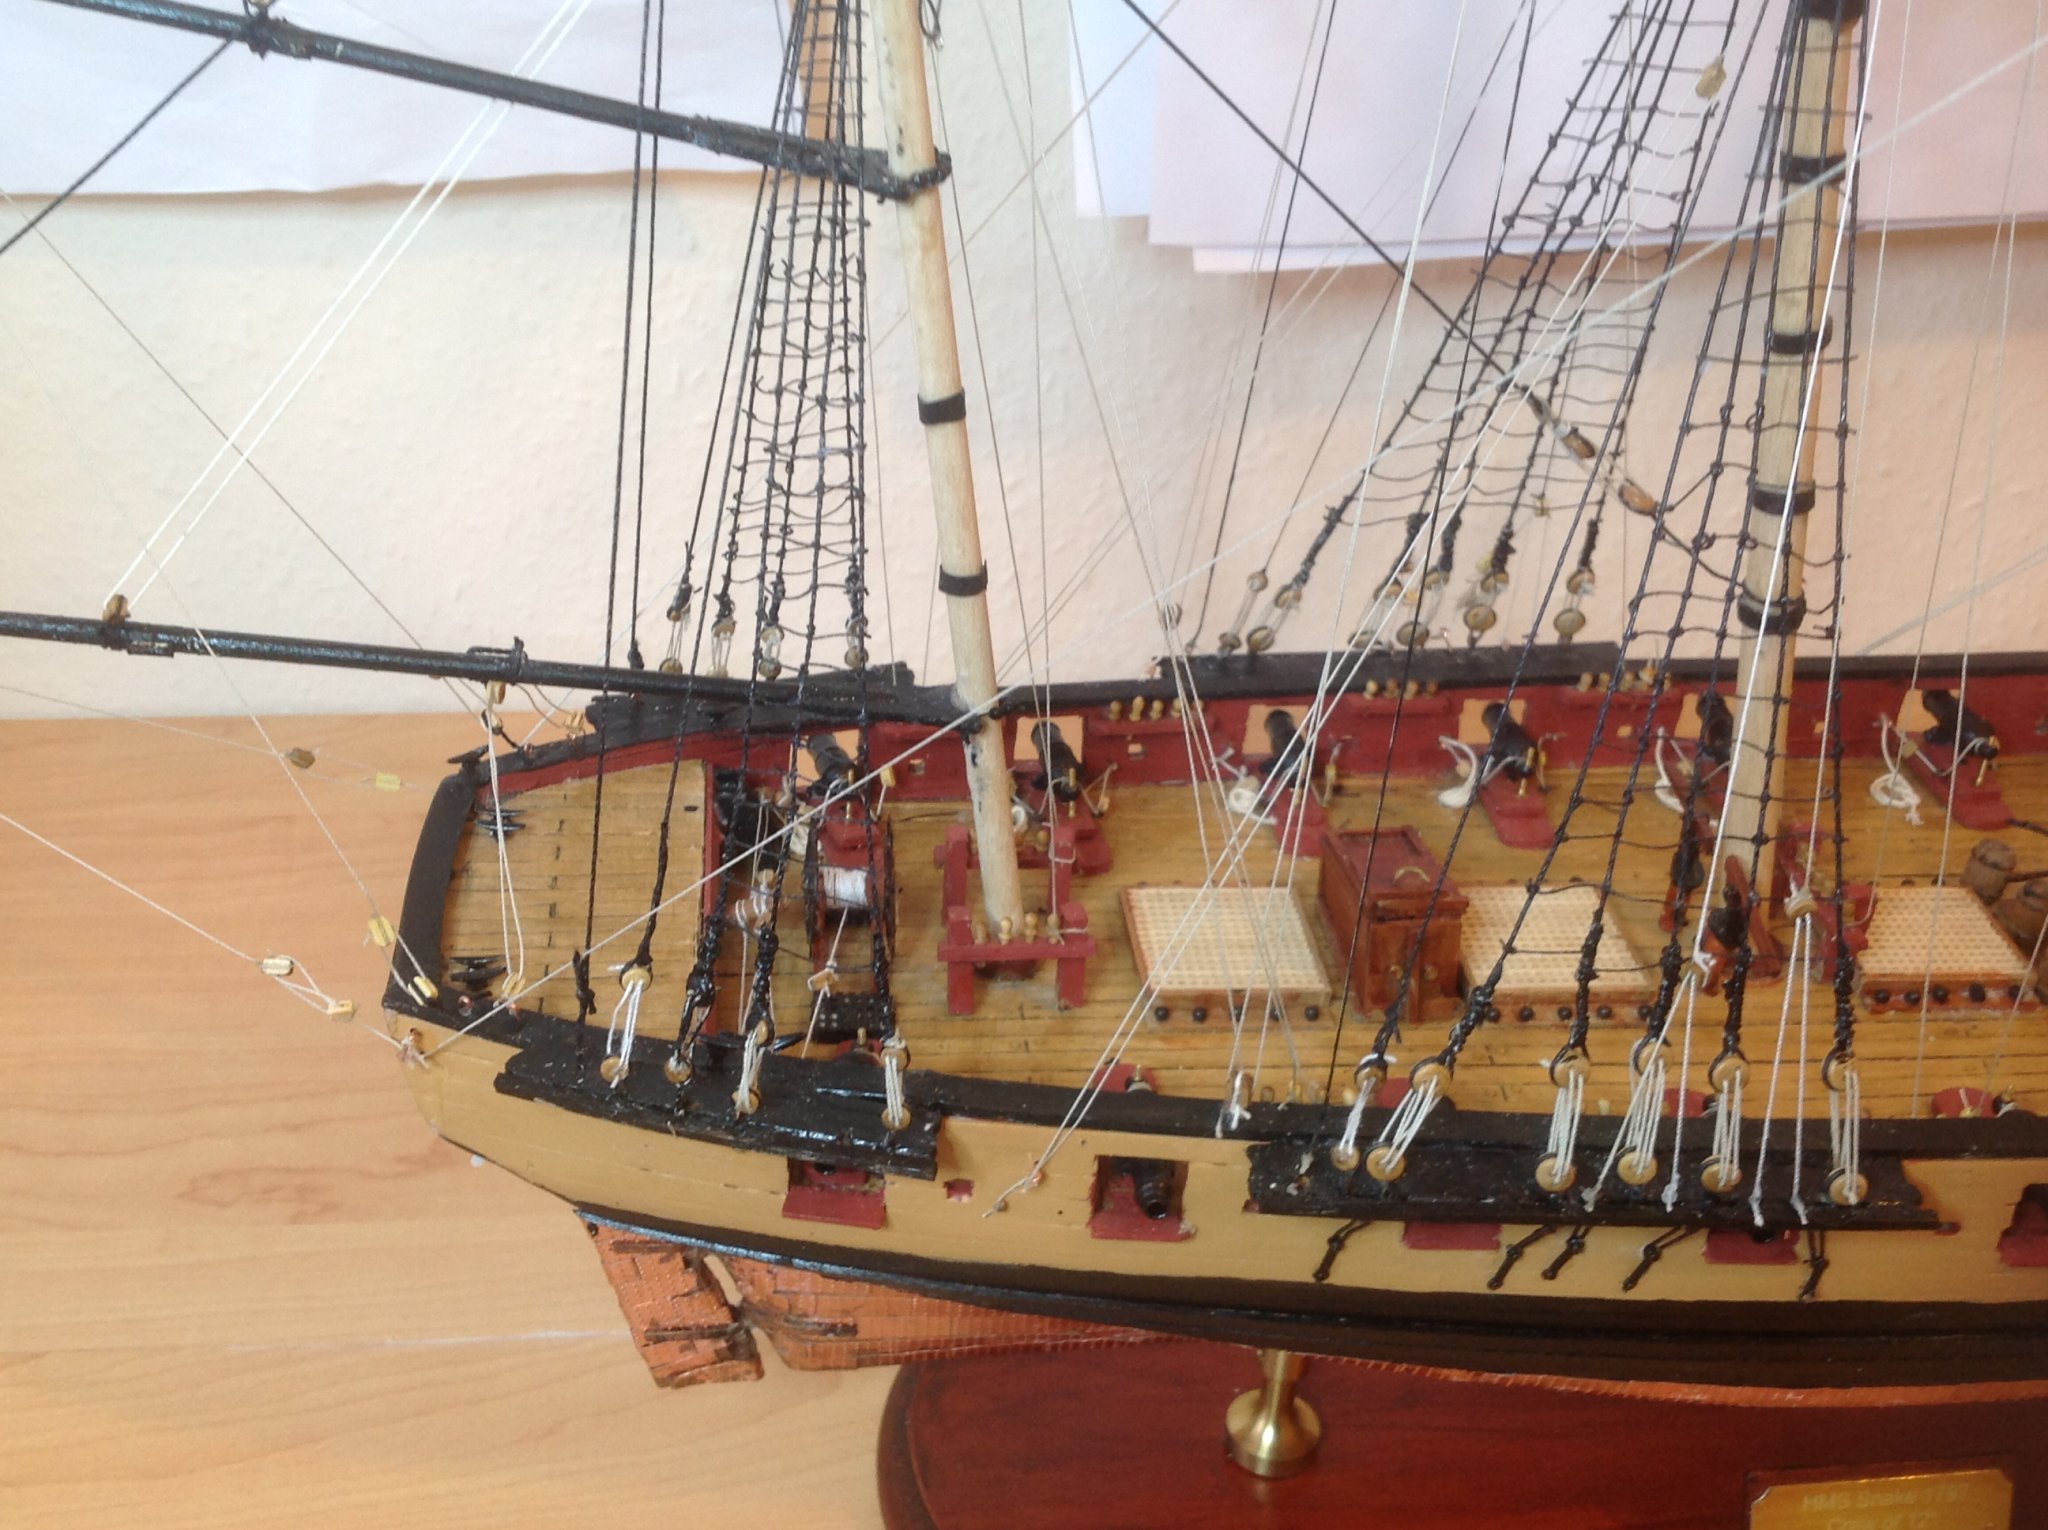
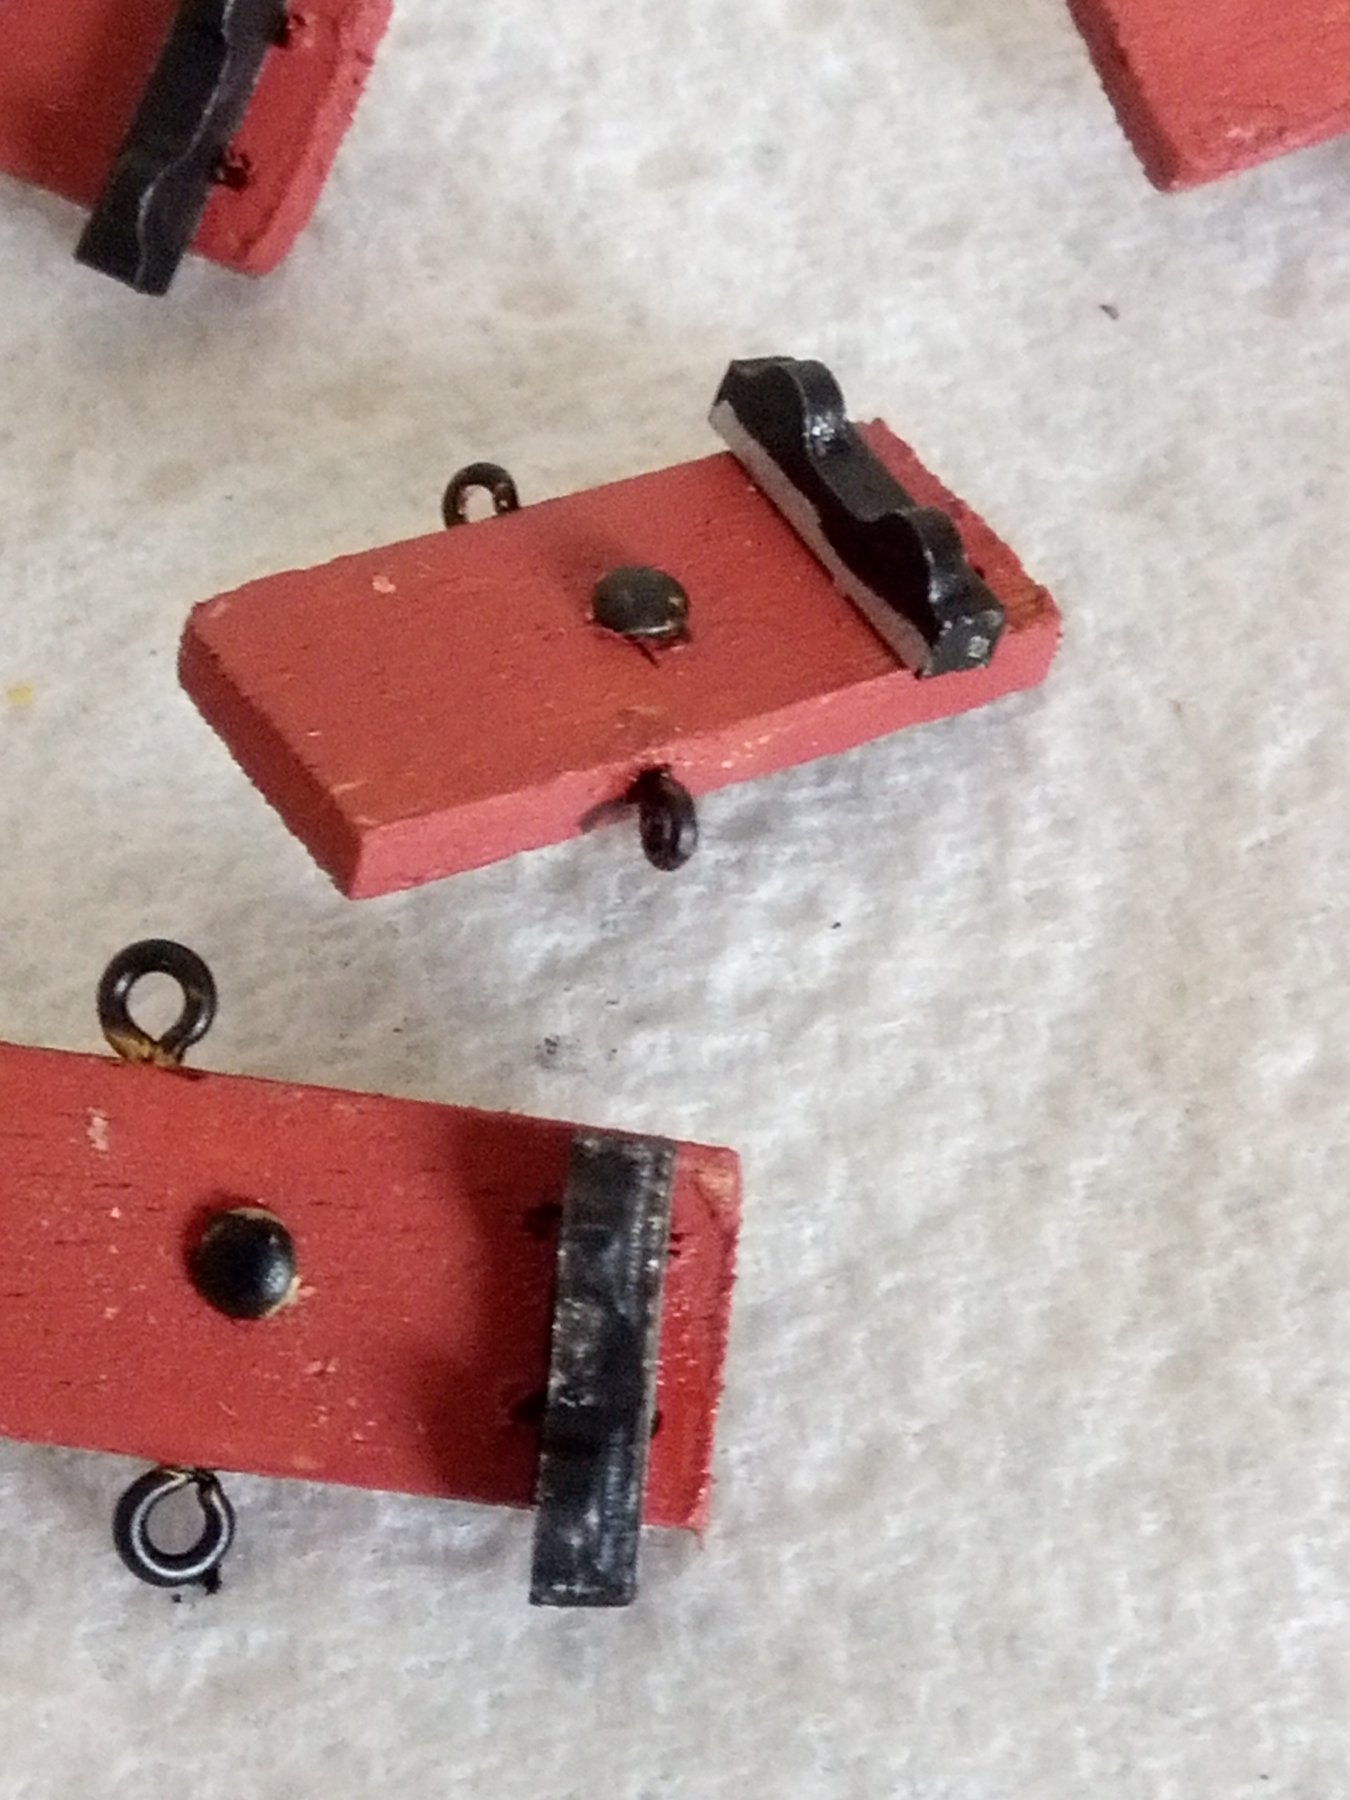
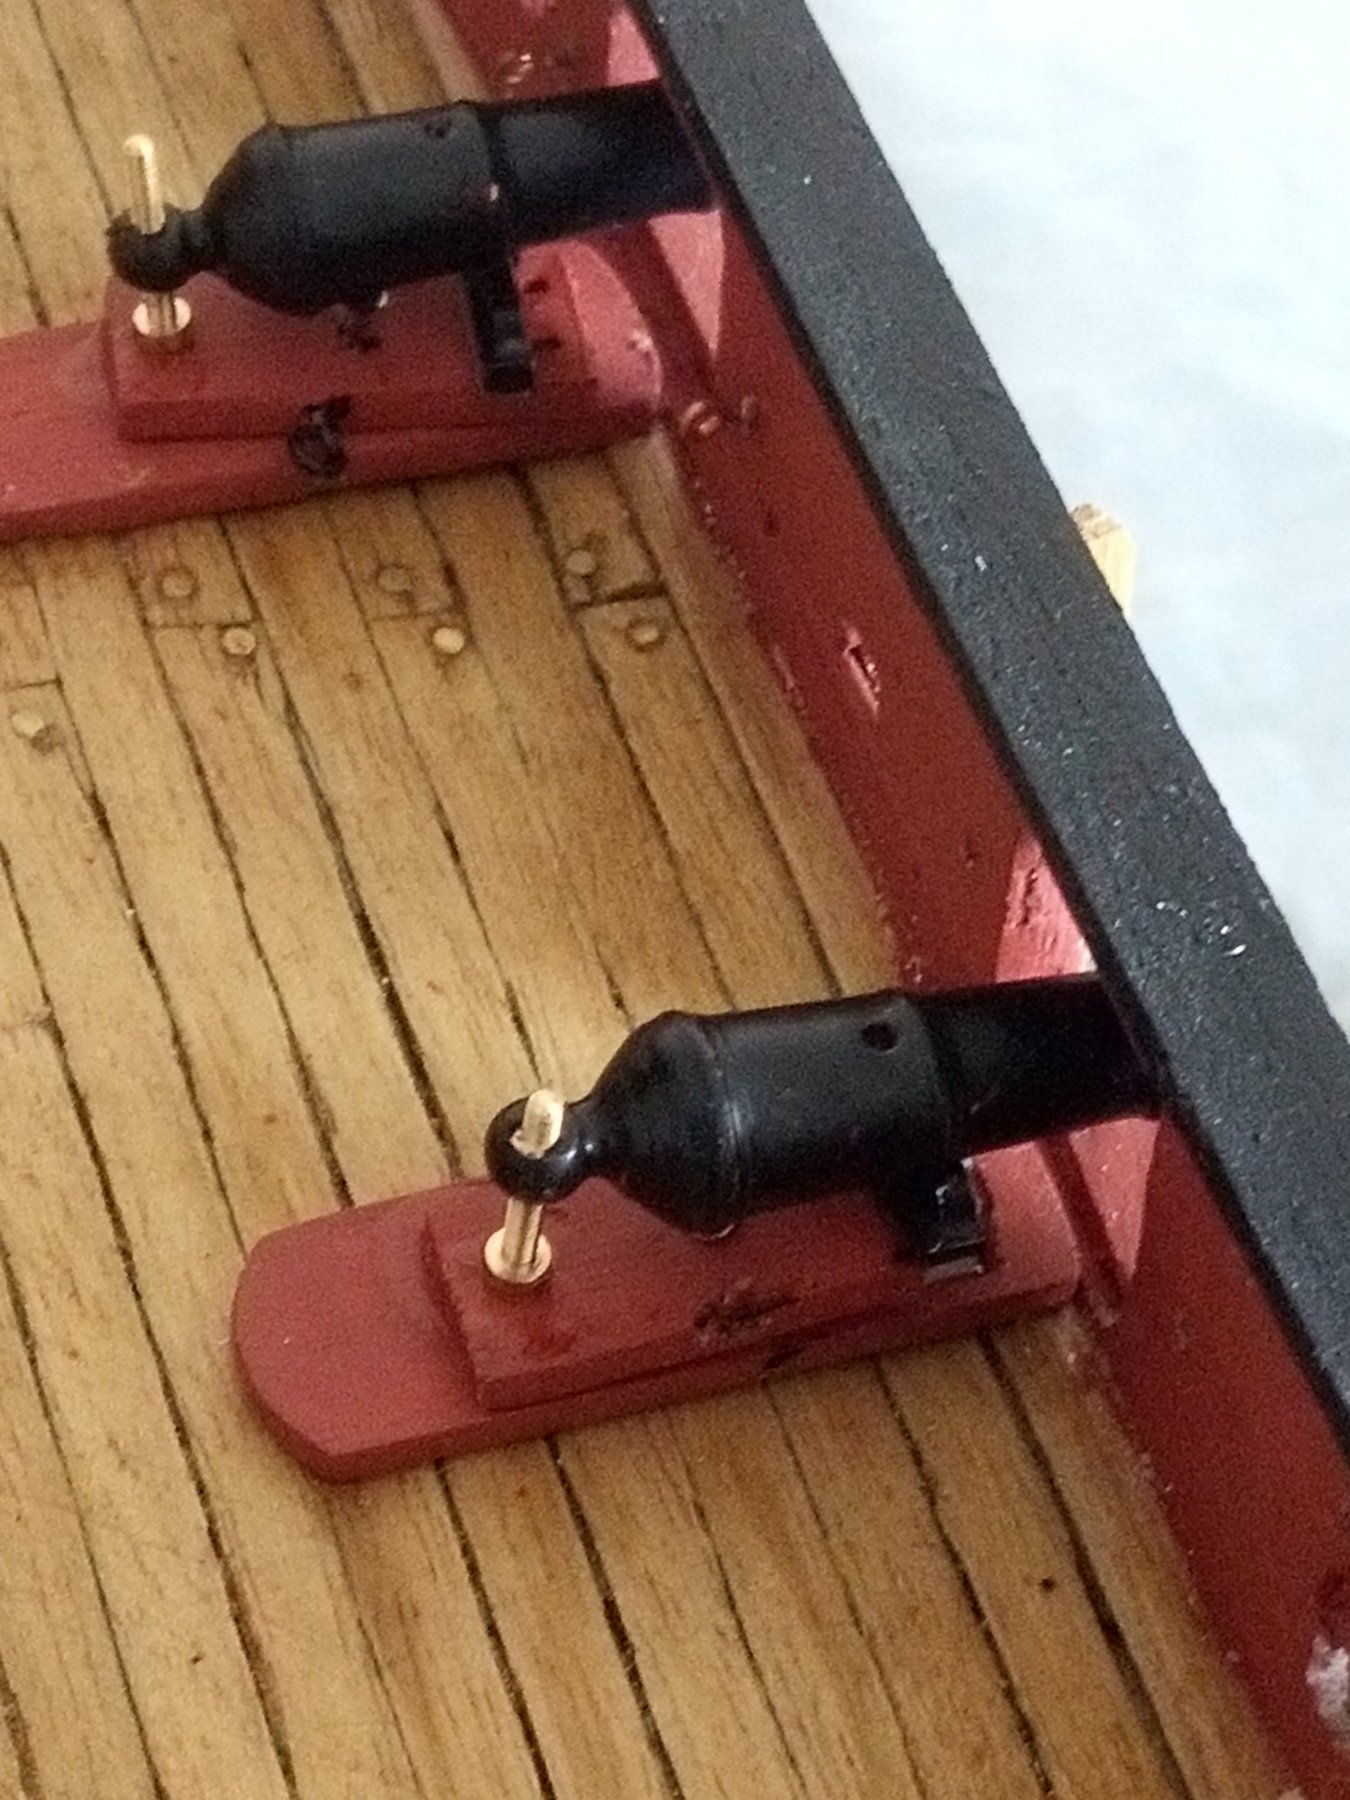
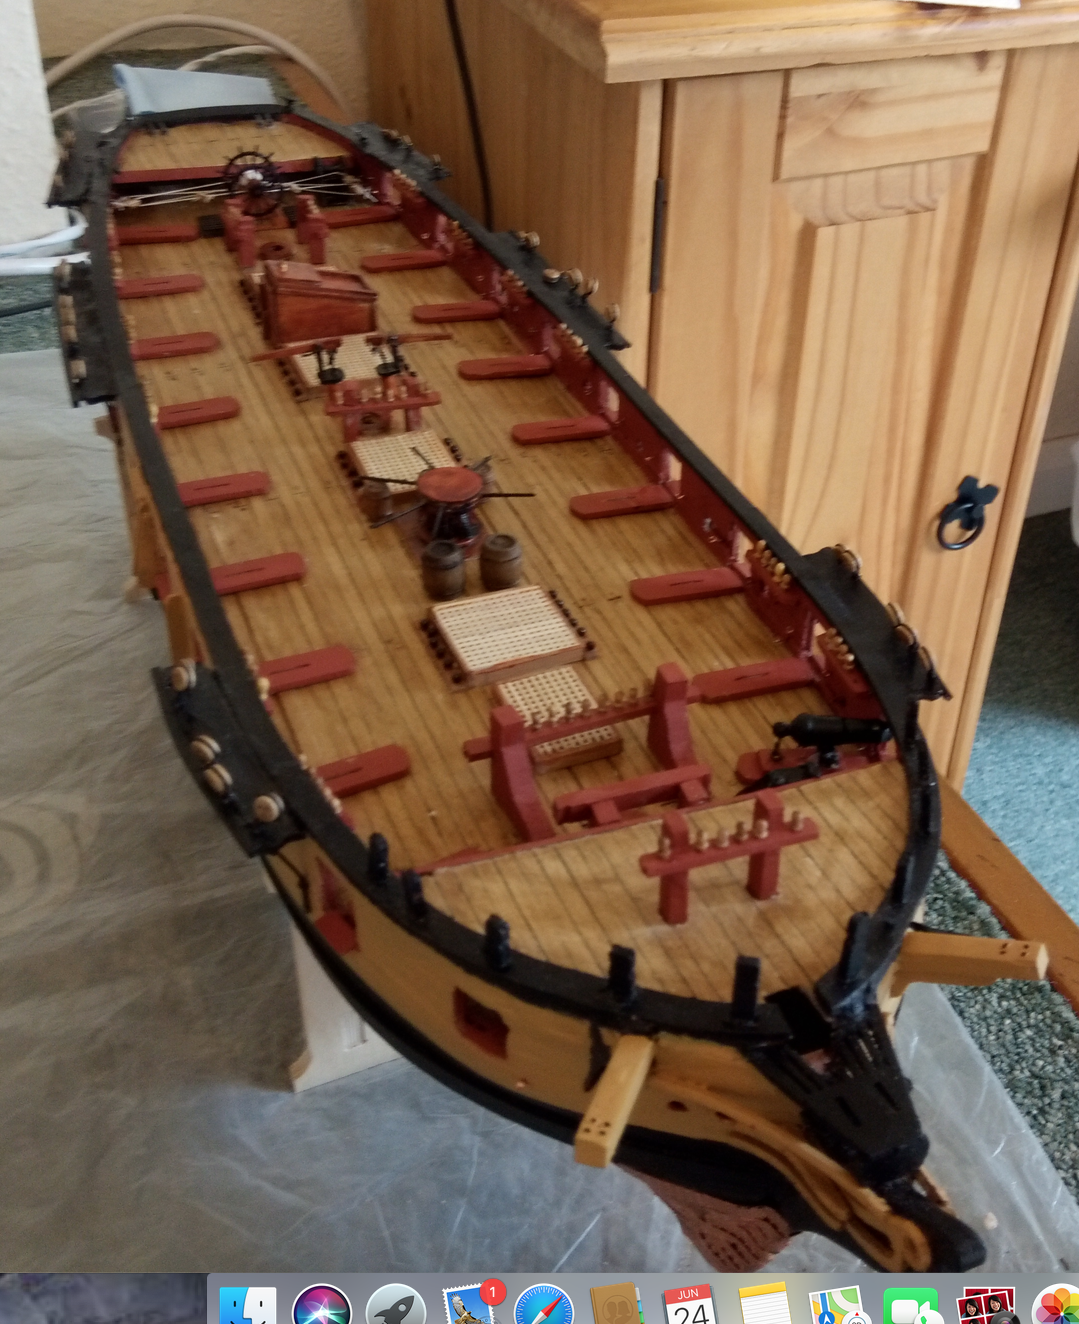
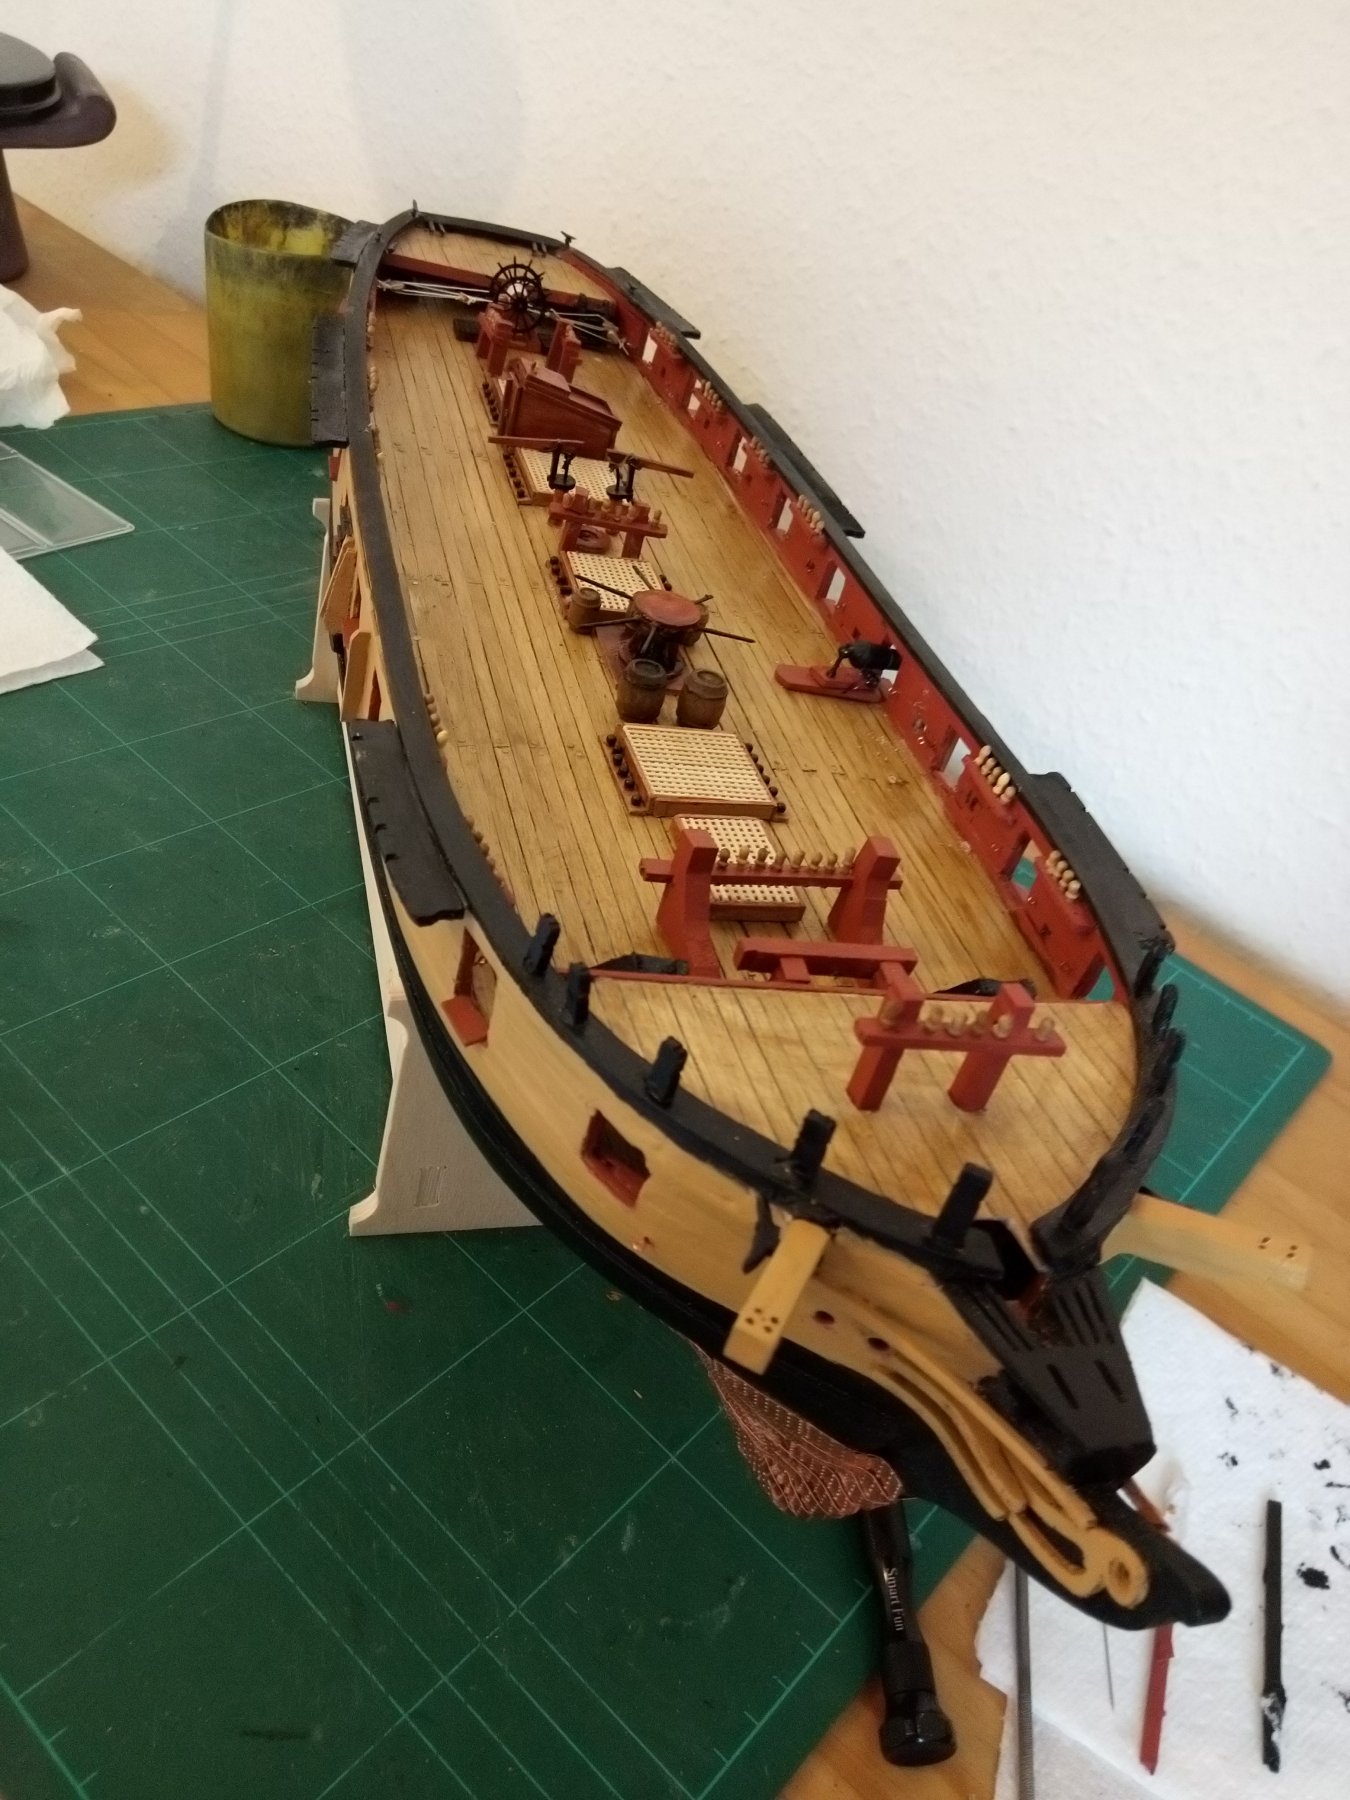
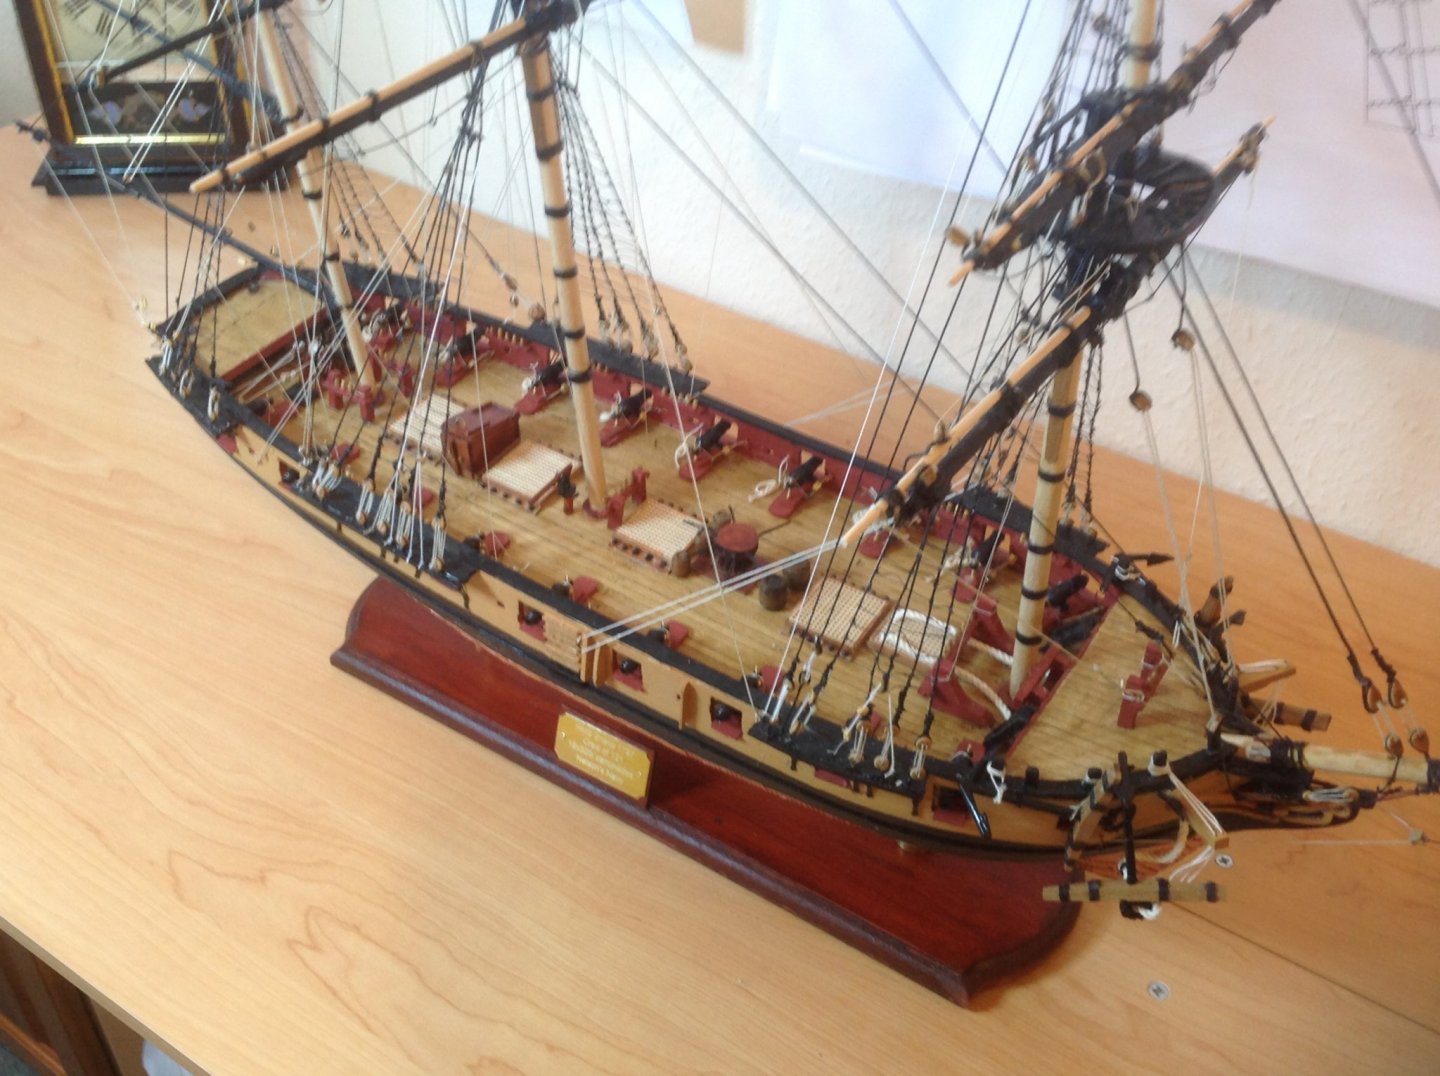
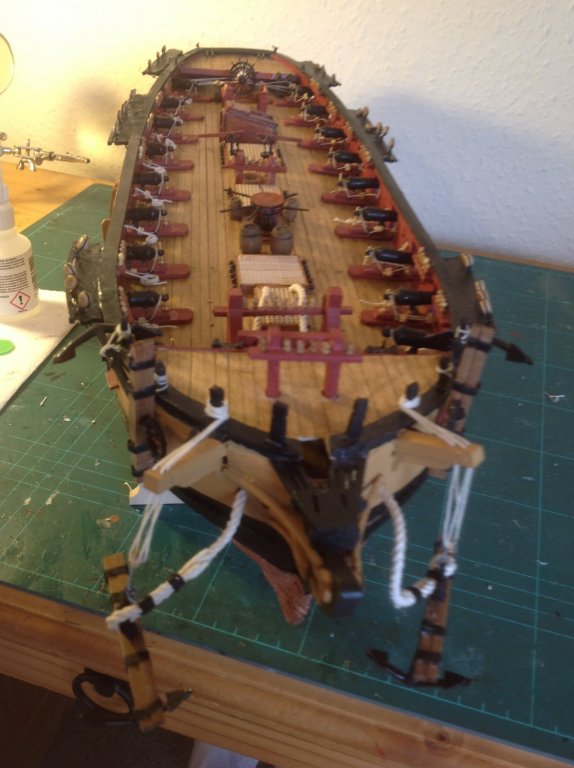
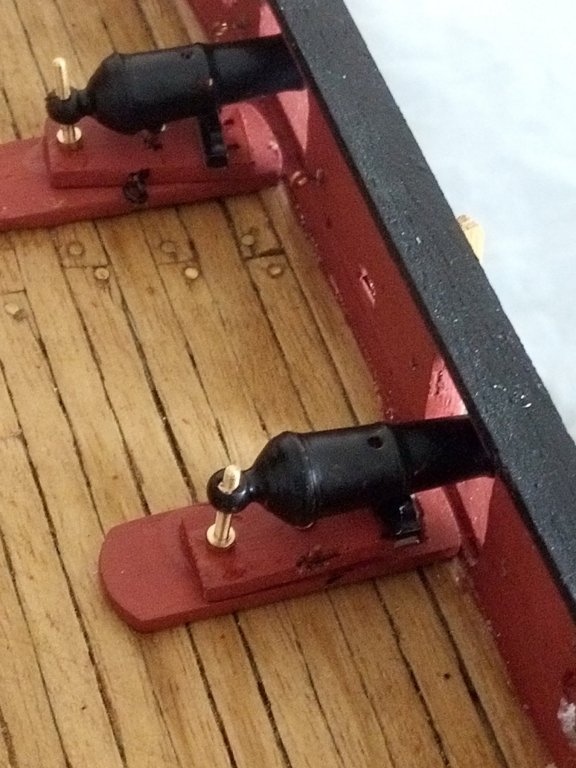
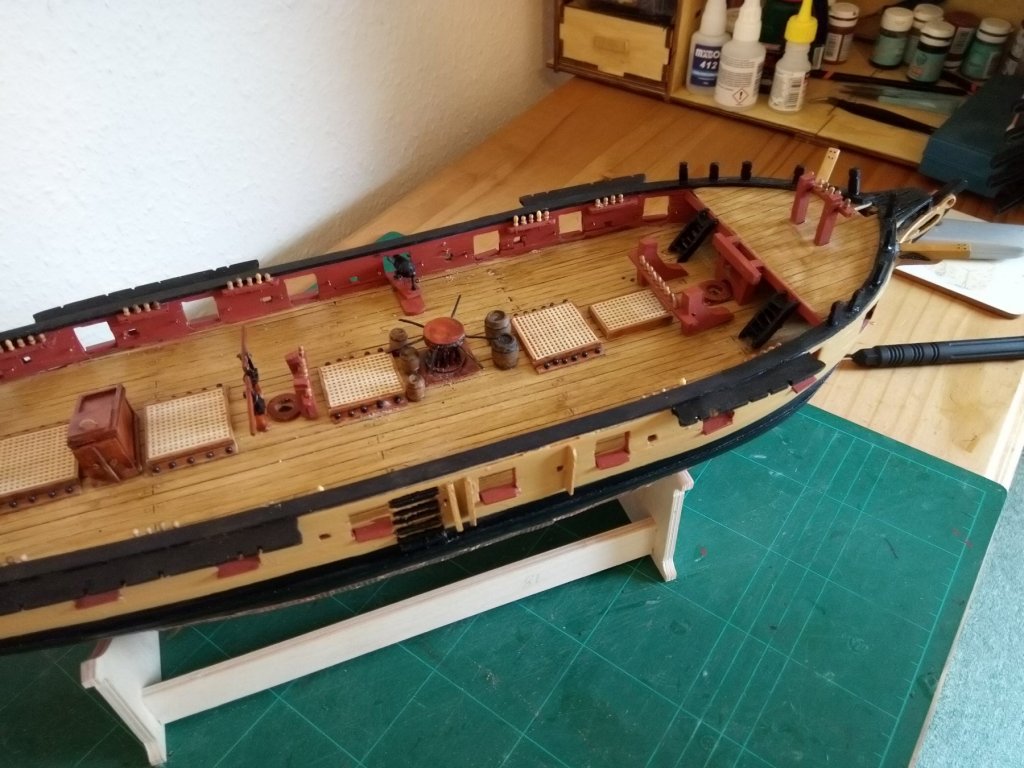
Reached the point to install the guns. (apparently once they are on a ship they are called "guns") Once I"d built the deck and bulwarks tried a carronade and there was always going to be a problem to fit. As the deck and bulwarks were as near perfect as possible thought I deal with it when the stage reached. It became obvious that the guns were far too high for the gun ports. I abandoned the wheels at the rear of the trolley. That lowered the guns then I thought why waste them and replaced the fiddly assembly to support the barrels and replaced them with the "wheels". When I also abandoned the triangular fastenings to the outside of the gun ports they all fitted well. As no-one but me would see the barrel supports the omission of the wheels on the rear pale into insignificance compared to the correct height of the carronades

- 31 replies
-
- 4
-
-
- snake
- caldercraft
- (and 1 more)
-
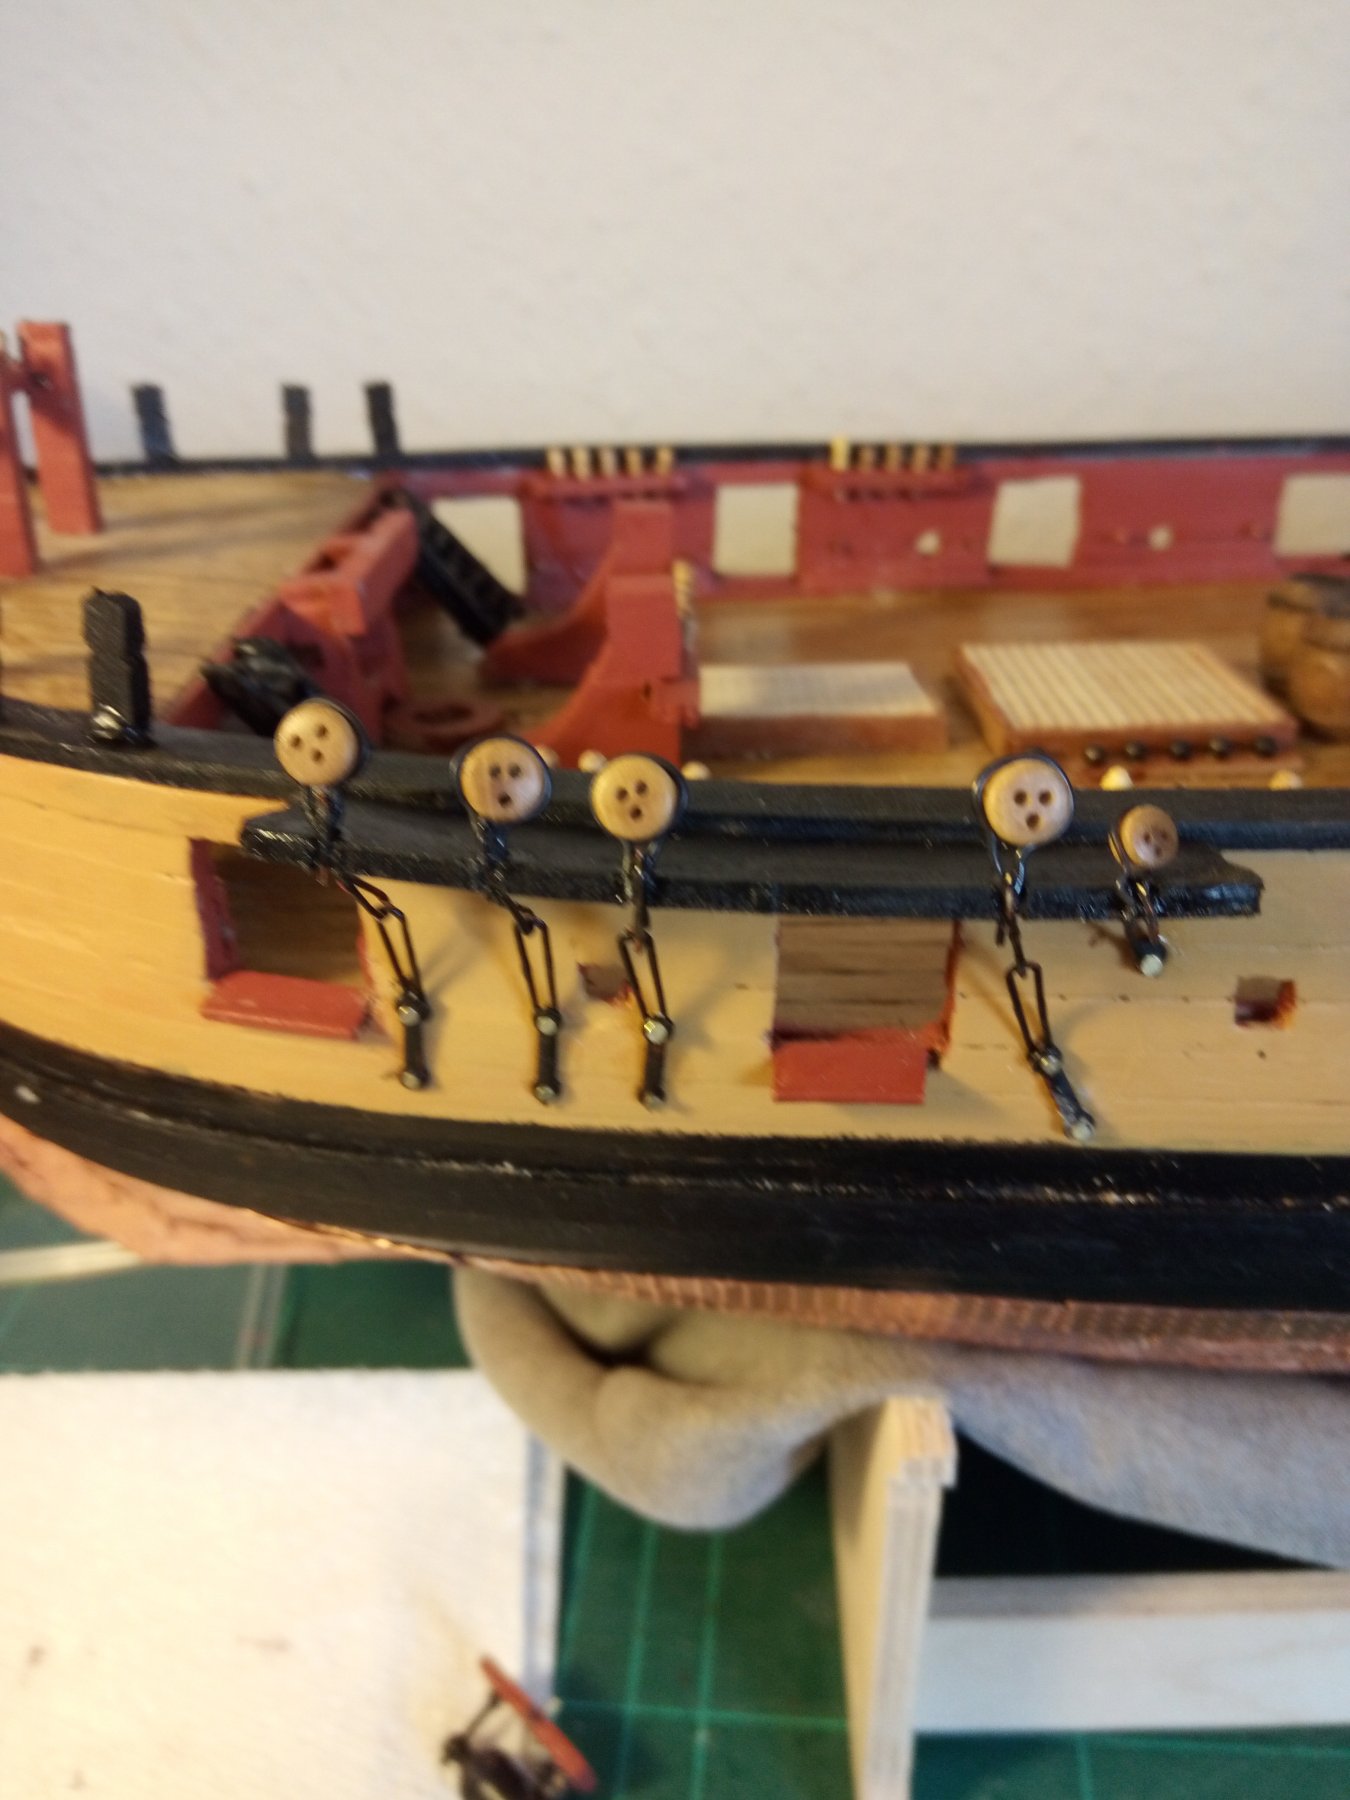
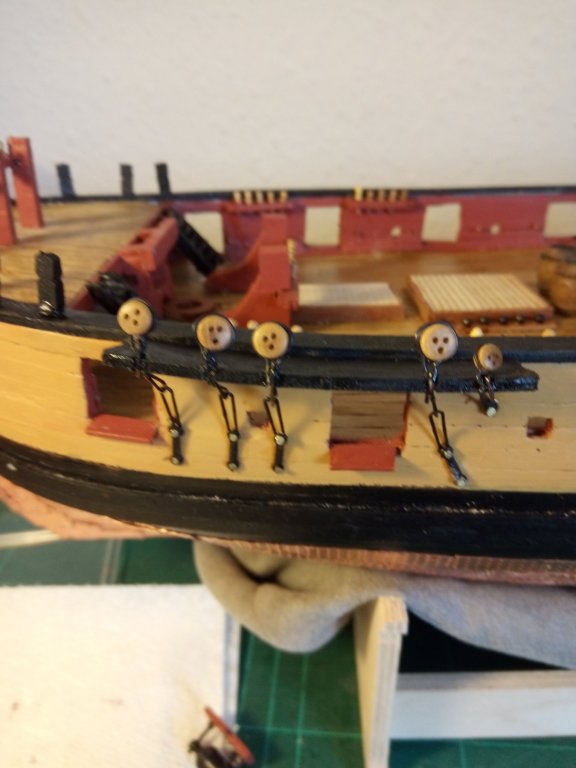
An antidote to all the wonderful builds on here I will share my "senior disaster " day to encourage all bumblers here. I have reached the point on my Caldercraft Snake build where I am constructing chainplates. As I realise after researching for a couple of days about how to construct these as sadly the instructions are for people who have a clue what they are doing I began to construct them. Thats when I discovered that for some reason my whale was too low . Never mind too late now Ill just fit them regardless as I cant move the Whale at this stage. Then I notice that the channels don't match up on Port and Starboard sides! Realised that DOH when I fitted the channels I looked at the plan and fitted one side then fitted an identical batch on the other side without turning the ship round so now onone side the three channels are reversed. So rip them all off and start again. I realise that I am the only aged ,partially sighted and brain dead idiot on here as clearly everyone else is a master builder but what the hell I still love this hobby to bits.:))


- 31 replies
-
- 7
-
-
- snake
- caldercraft
- (and 1 more)
-
Moving onto the channels next before the carronades as I figure fitting the channels may involve me in much turning and twisting of the hull and I don't want all the guns falling off constantly.
-
The sills came with the kit. I'm supposed to pin the carronades to the sills with supplied triangular brackets. When I tried a dry fit found the gun barrels can't possibly fit under the top of the gun ports so will fasten the guns directly to the deck .
-
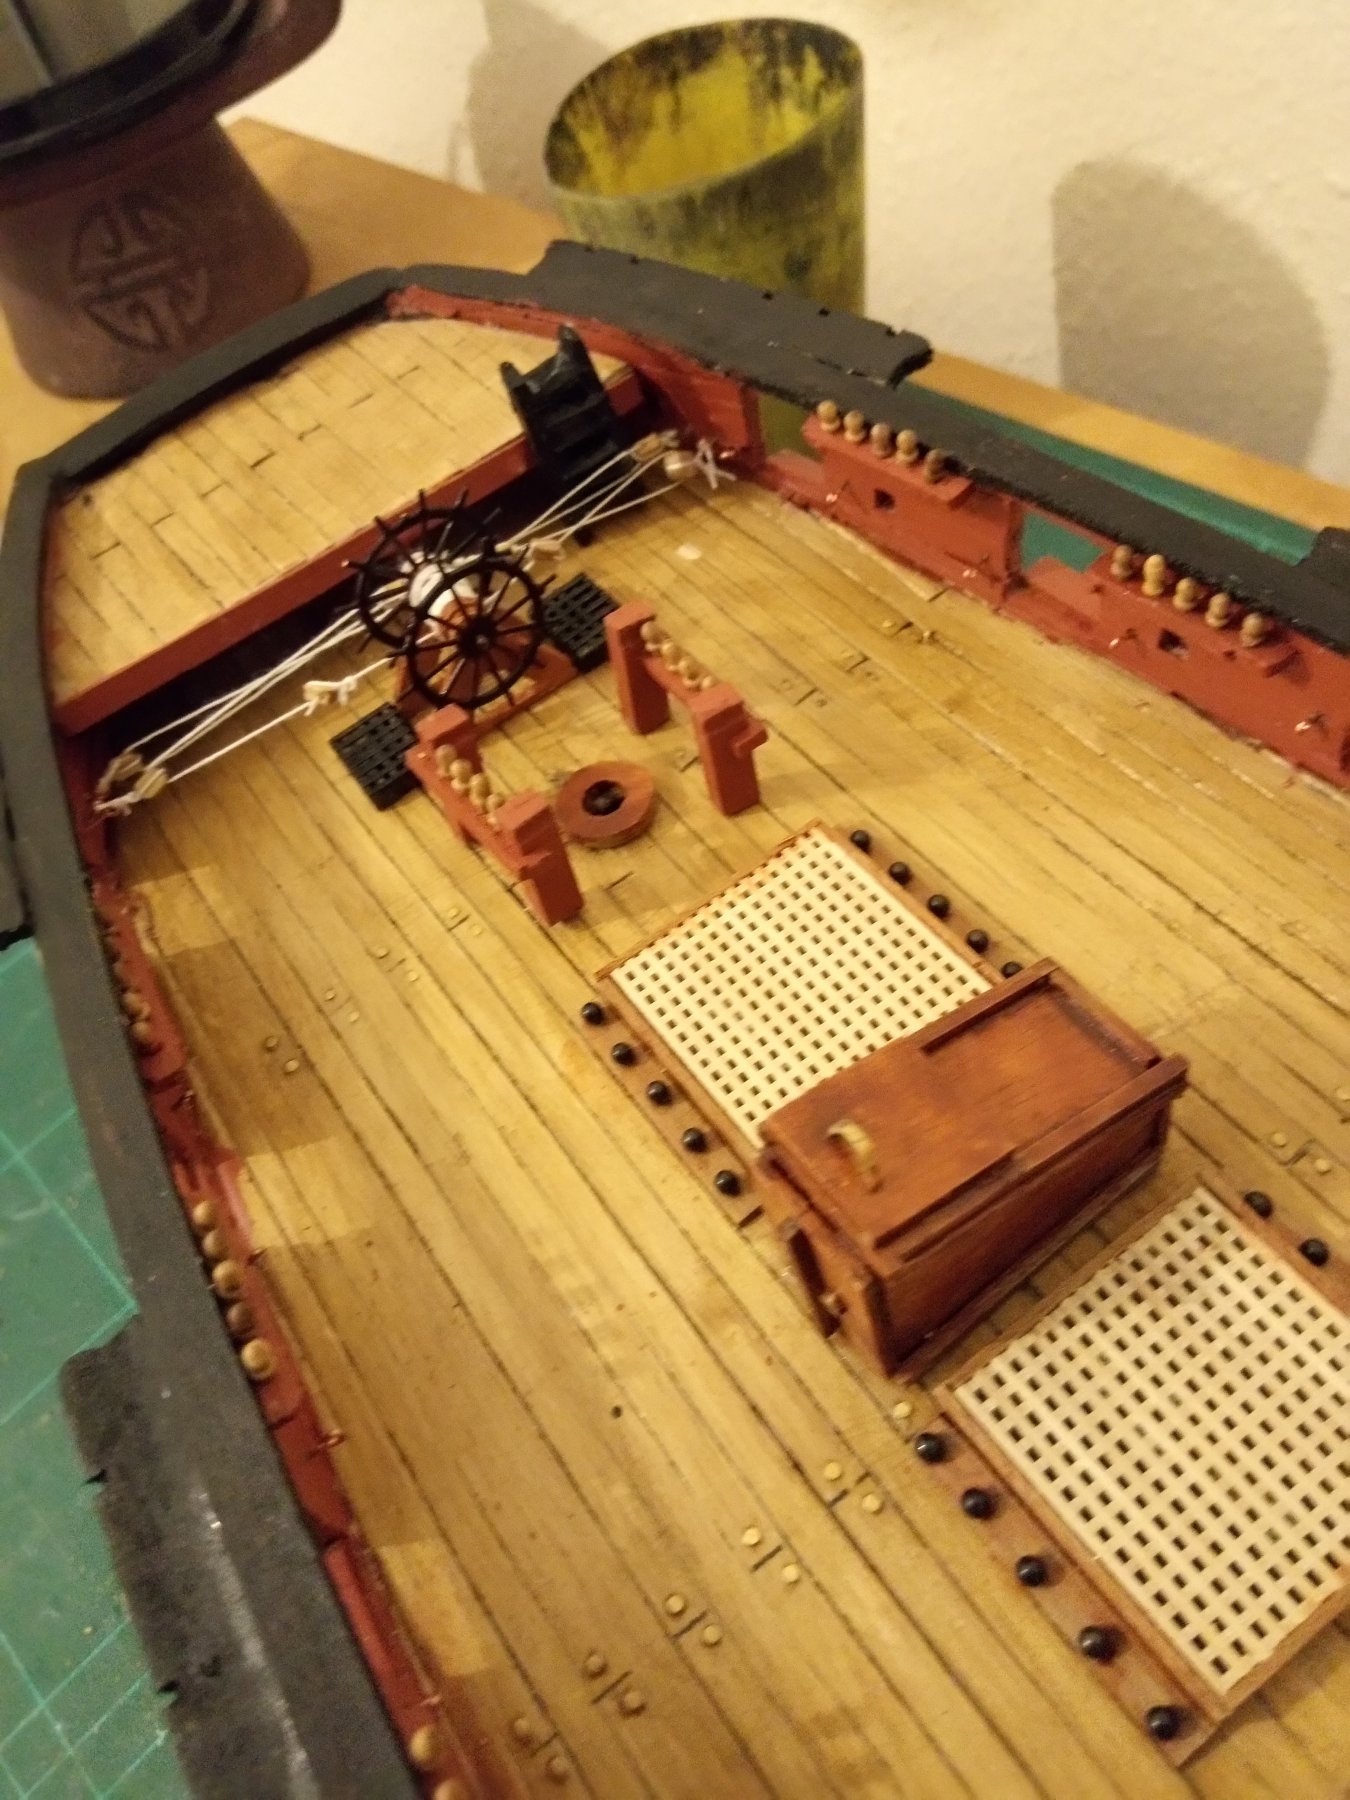
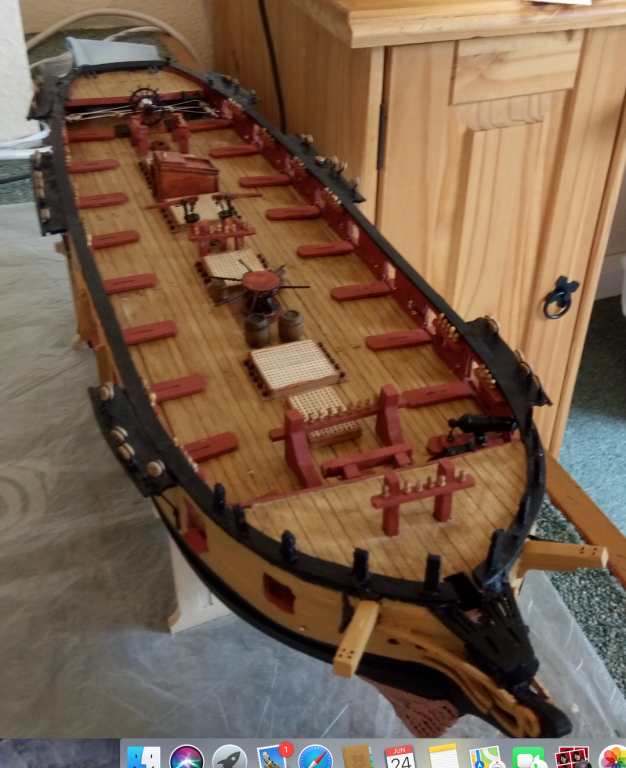
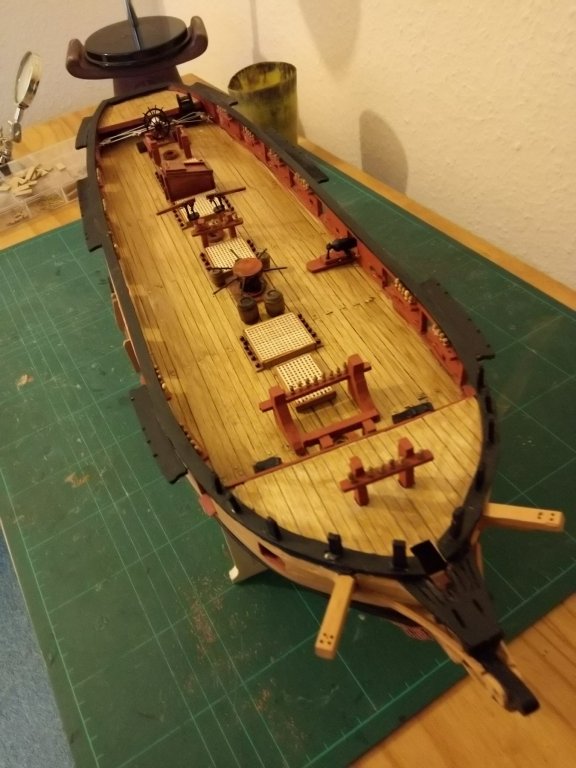
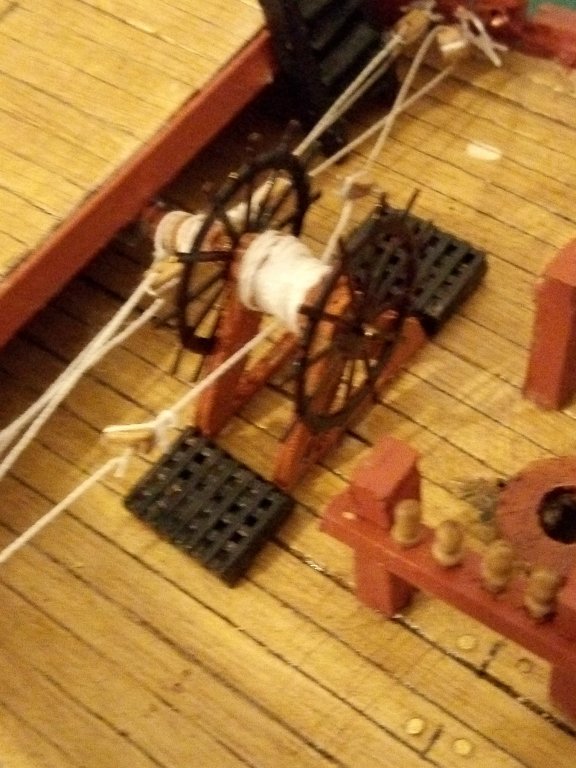
Started installing deck furniture. As stated above i think Ill install the carronades and attach ropes etc before making access more difficult with ships wheel and tackle etc.

- 31 replies
-
- 6
-
-
- snake
- caldercraft
- (and 1 more)
-
Decision time. Started to install furniture on deck . Instructions say rig wheel assembly with ropes etc and fit all pin boards along bulwarks before installing cannonades. I wonder if I may find attaching gun ropes and blocks difficult if fitted last so may install all the guns first and then rope ships wheel assembly etc later.
-
Excellent !Especially impressed by your planking. Very well done indeed Nate.
-
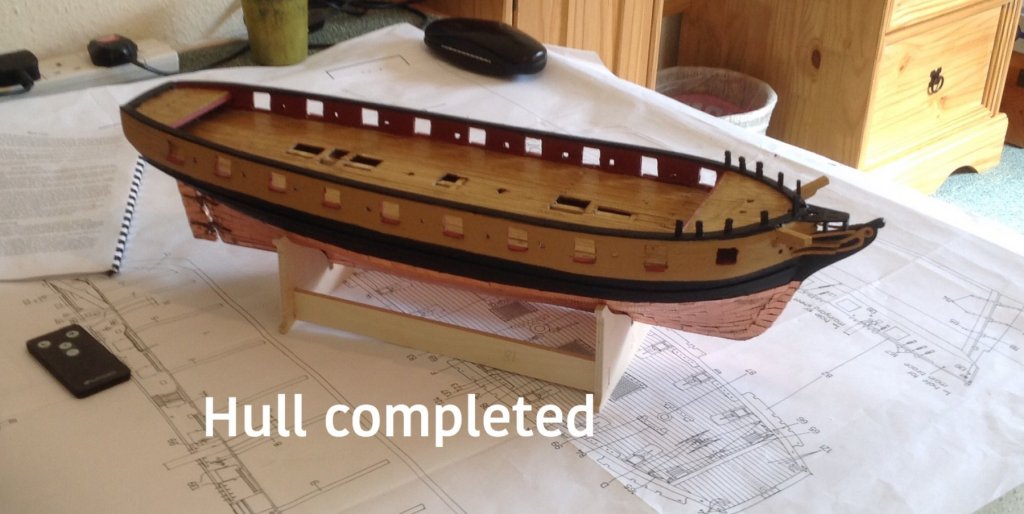
Been a while since update as lengthy processes reached e.g. Planking and coppering. As I wanted my ship to be as "organic" as the original ship I didn't follow the often used trend to apply layers of filler ,primer and undercoat before applying the 900 copper plates. Although this makes the surface similar to moulded plastic and makes the job far easier I couldn't see the point of bothering with the second layer of walnut planking to simply bury it under filler. I know that a response may justifiably point out you can't see the planking under the tiles but I would always know it wasn't the same as the original Snake.😉

- 31 replies
-
- 8
-
-
- snake
- caldercraft
- (and 1 more)
-
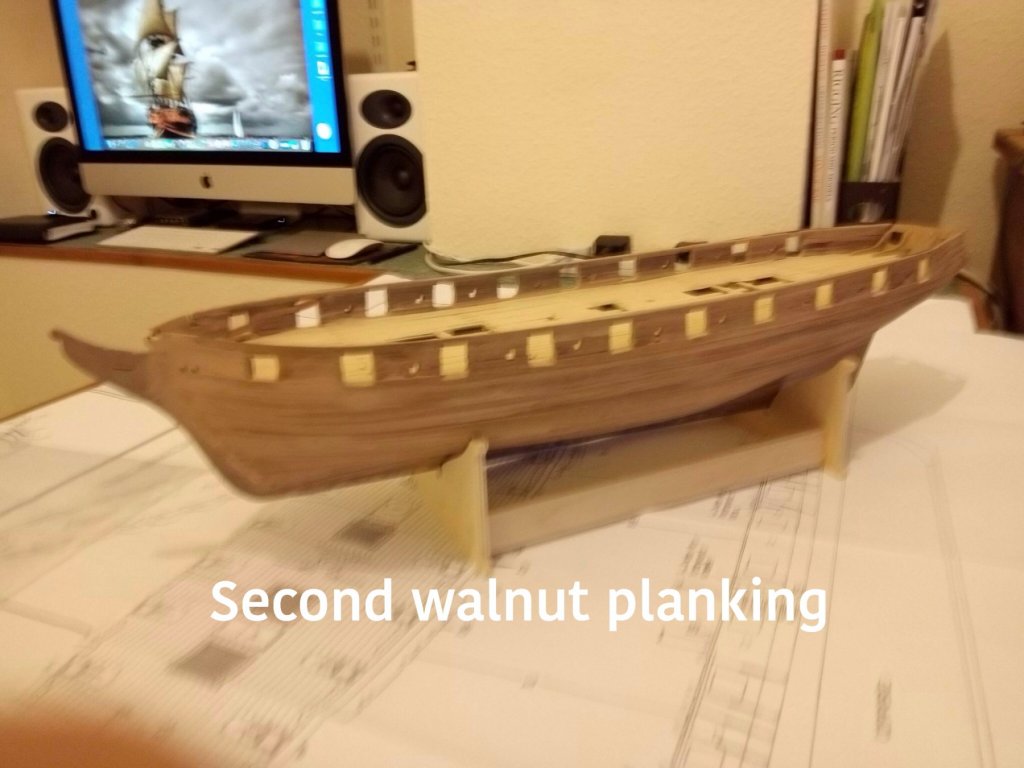
I agree re working with walnut.Definately not the easiest to cut ! My timber for the whales were difficult to find in the box as,like yours,they were different thicknesses and identifying them involved some degree of guesswork.Your planking looking good and definately superior to mine.
-
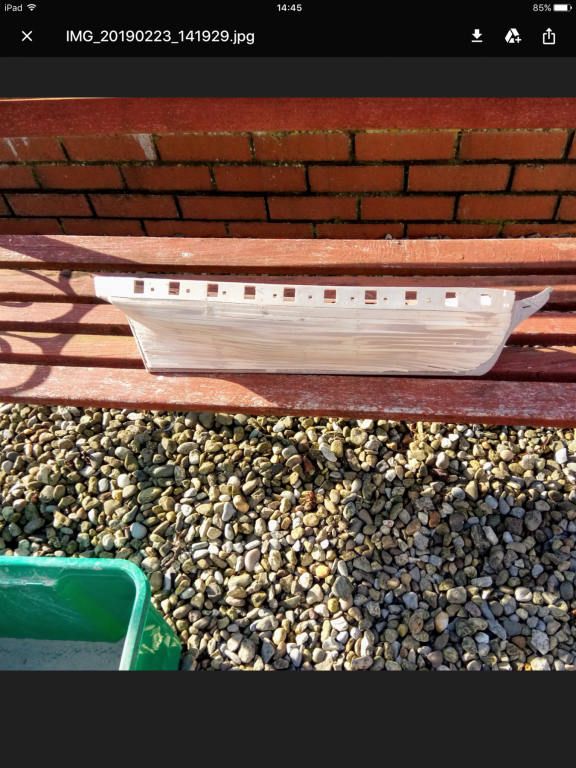
Beautiful sunny day here in Scarborough UK so took opportunity to carry out the sanding on my first planking. Lemon wood on Caldecraft HMS Snake outdoors. Horrible job up in my hobby room. Need to tidy some slight unevenness with light paper before second planking in walnut.

- 31 replies
-
- 6
-
-
- snake
- caldercraft
- (and 1 more)
-
The bulwarks problem solved as I discovered in a hard to spot comment at the bottom of a paragraph that I have to somehow saw off the frames above the false deck that the bulwarks were glued to in the first place. This should be an interesting challenge!
- 31 replies
-
- 2
-
-
- snake
- caldercraft
- (and 1 more)
-
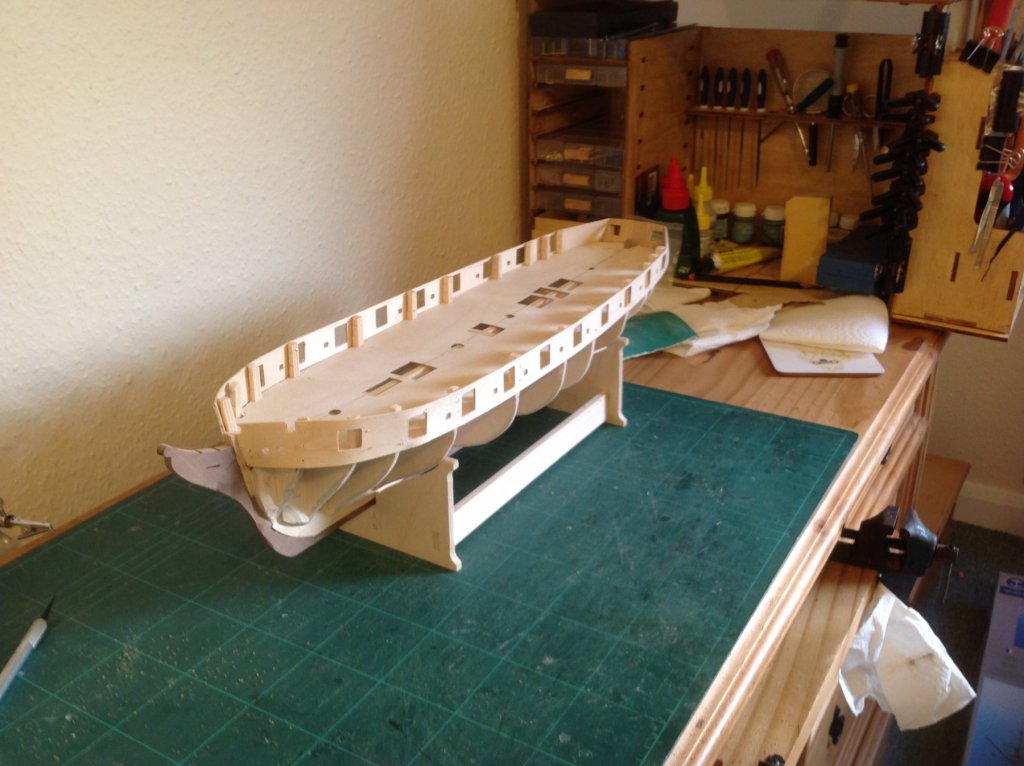
Now my dilemma begins! The instructions say fit the internal supports to the stern but they need to go on top of the deck planking which comes much later. The innner bulkhead planking baffles me completely. The bulwarks don't fit all the gun porrts which I have to paint after planking. So do I scratch build a frame round the gun ports before planking otherwise I have only an empty space where I should be painting in red ochre.I think I'd be better sorting this before planking the deck. The instructions want all the hull planking finished before any of the above. Reckon I'll sort out my own order of construction but one always has the worry that you'll regret mindlessly following what, appear to me ,to be illogical sequences of construction.
- 31 replies
-
- 1
-
-
- snake
- caldercraft
- (and 1 more)
-
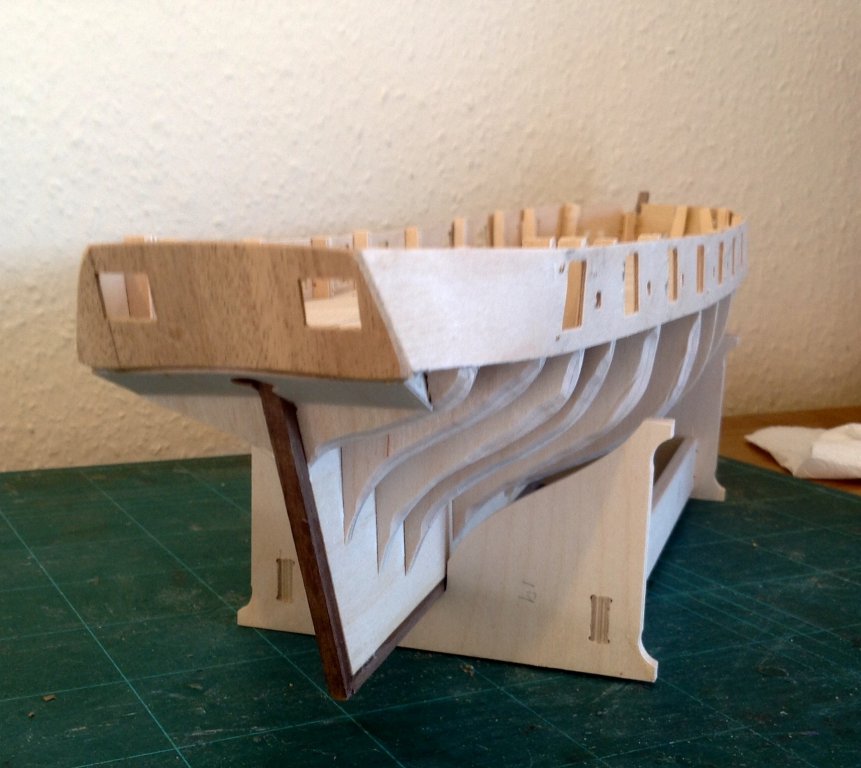
Got the deck on. After gently teasing the three bulwarks on the front of the left side until it started to slide down into position. Did the same with the front right hand side and the whole deck suddenly clicked down into position,! As per the recommended method in their instructions. Then fitted bulwarks and stern without too much hassle
- 31 replies
-
- 4
-
-
- snake
- caldercraft
- (and 1 more)
-
Hi Im building the Caldecraft snake and am baffled by the instructions for bulwark inner planking. Looked at builds on here but can't see how it is supposed to work. I gather that I should use the walnut planking as I will be using on the second external planking. The bulwarks don't fill all the gaps at each side of the gun ports. Do I find some wood and build a frame round them before planking?I understand I will need to paint around each gun port with red ochre. Any help /advice much appreciated. Thanks