GeorgeKapas
-
Posts
297 -
Joined
-
Last visited
Content Type
Profiles
Forums
Gallery
Events
Everything posted by GeorgeKapas
-
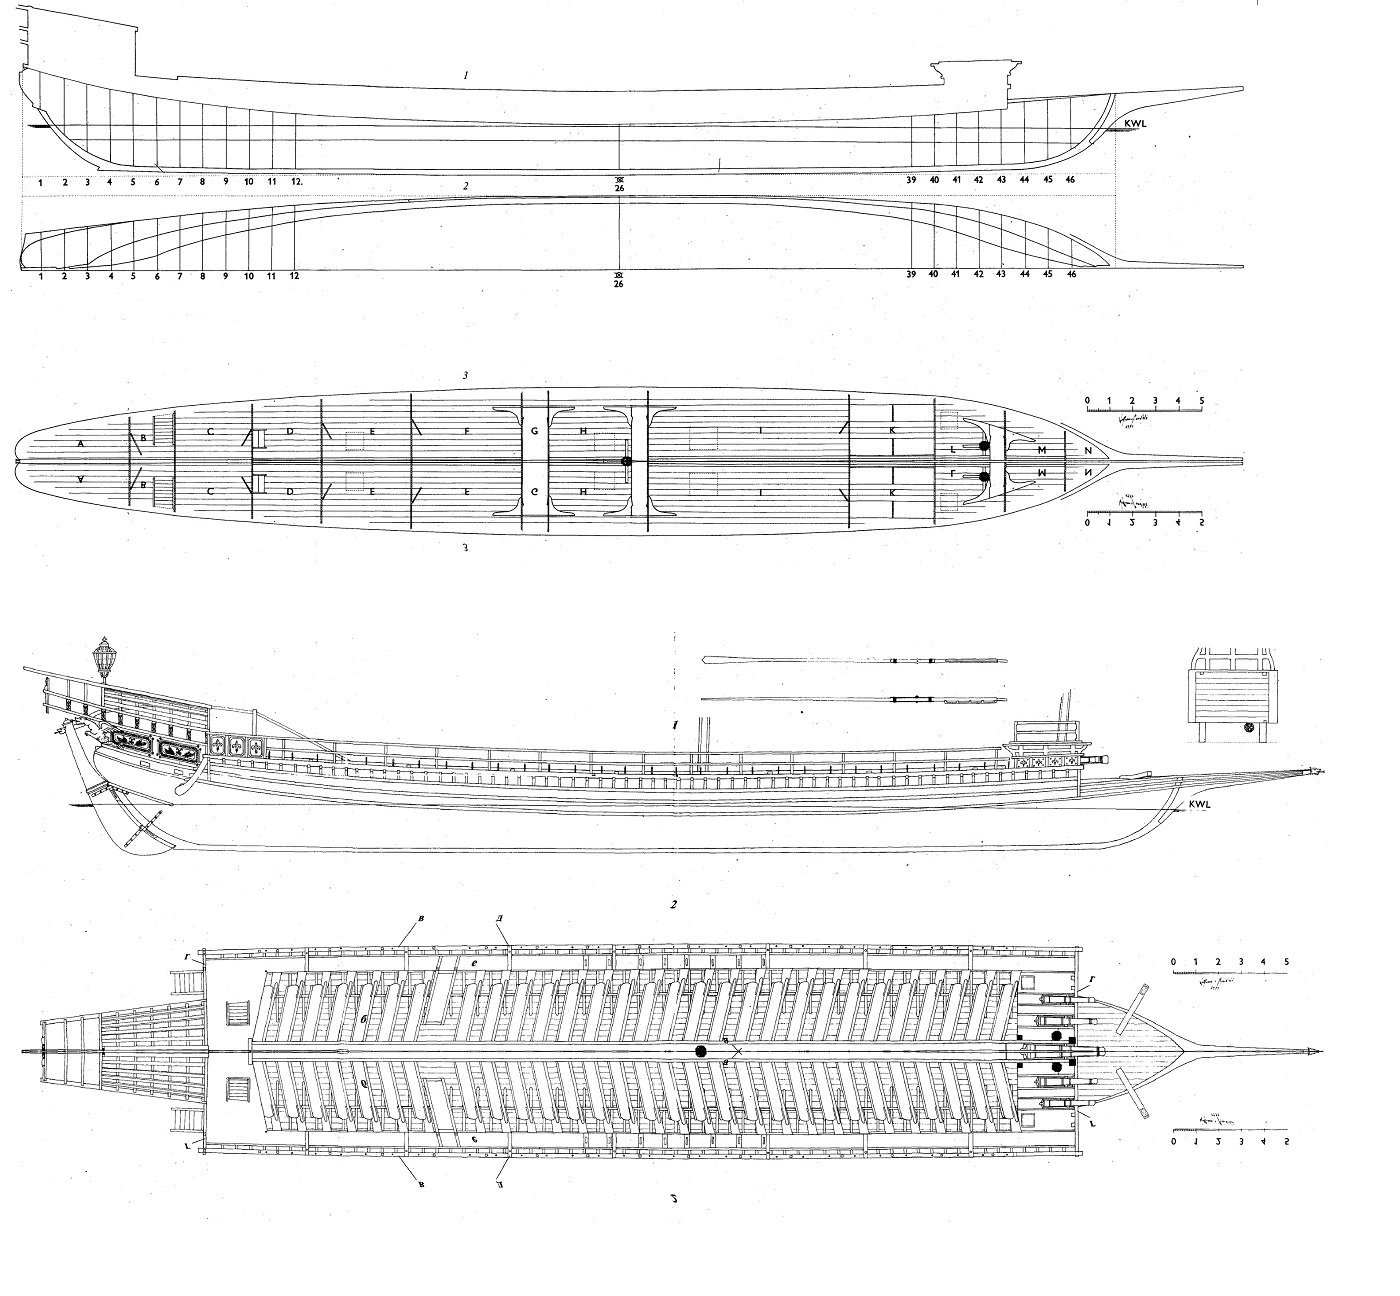
 So this was a project I started after my friend and naval historian Emir Yener send me the plans of the ship, that he found archived in Russia and had them redrawned. He will publish them along with an article about the ship, so unfortunatelly I cant really post them properly here. Needless to say, I had to try and built it. In fact I have grown to love scrathbuilding ships, especially smaller scaled ones, and this built proved a great lesson for me, as I had only built few ships from scratch, and no ship of the line, or even proper fully rigged ship. My initial thought was to just make a waterline hull to test methods and technics, but the scope grew and grew. Later I added the underwater hull, then I decided to fully rig the ship, and by the end, add a waterline sea-diorama base for her. The project took 8 months of several back and forths, mistakes and a lot of downtime when I was preocupied with other activities and models.. Half way through, and before starting the rigging of the ship, I decided to donate it, once finished, to the Naval Museum in Istanbul. Indeed, last week I visited Emir in Istanbul, took Mahmudiye to the museum, which accepted the small model to my great pleasure and honor. I want to thank Emir Yener for the plans of the ship, as well as for his hospitality! This is going to be one my usual threads, that I will post in the next few hours all of the built, from start till its completion.
 -
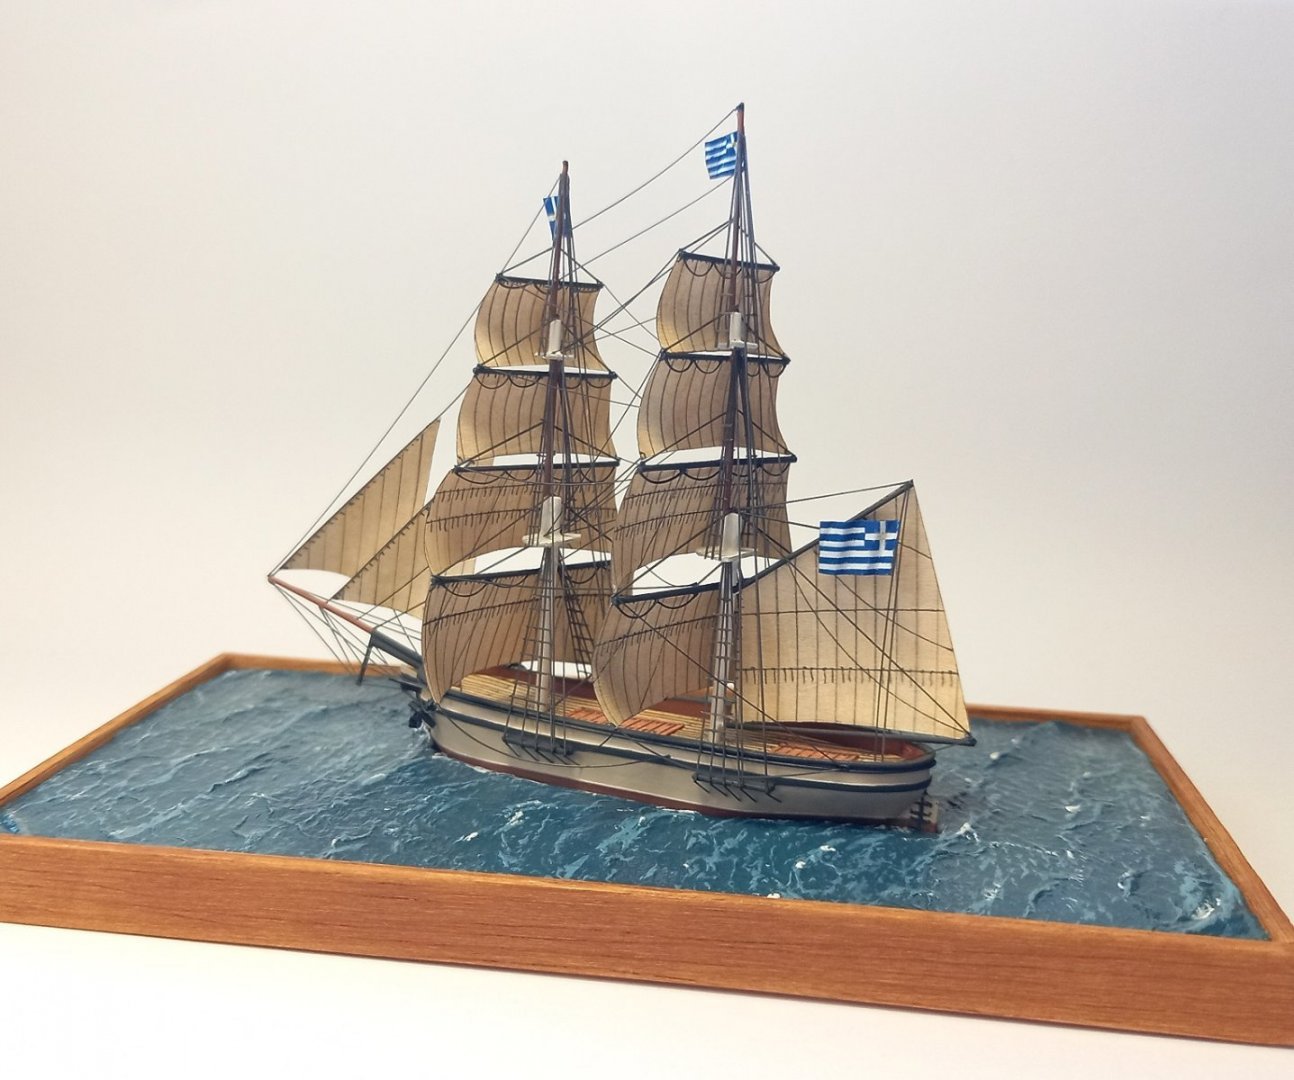
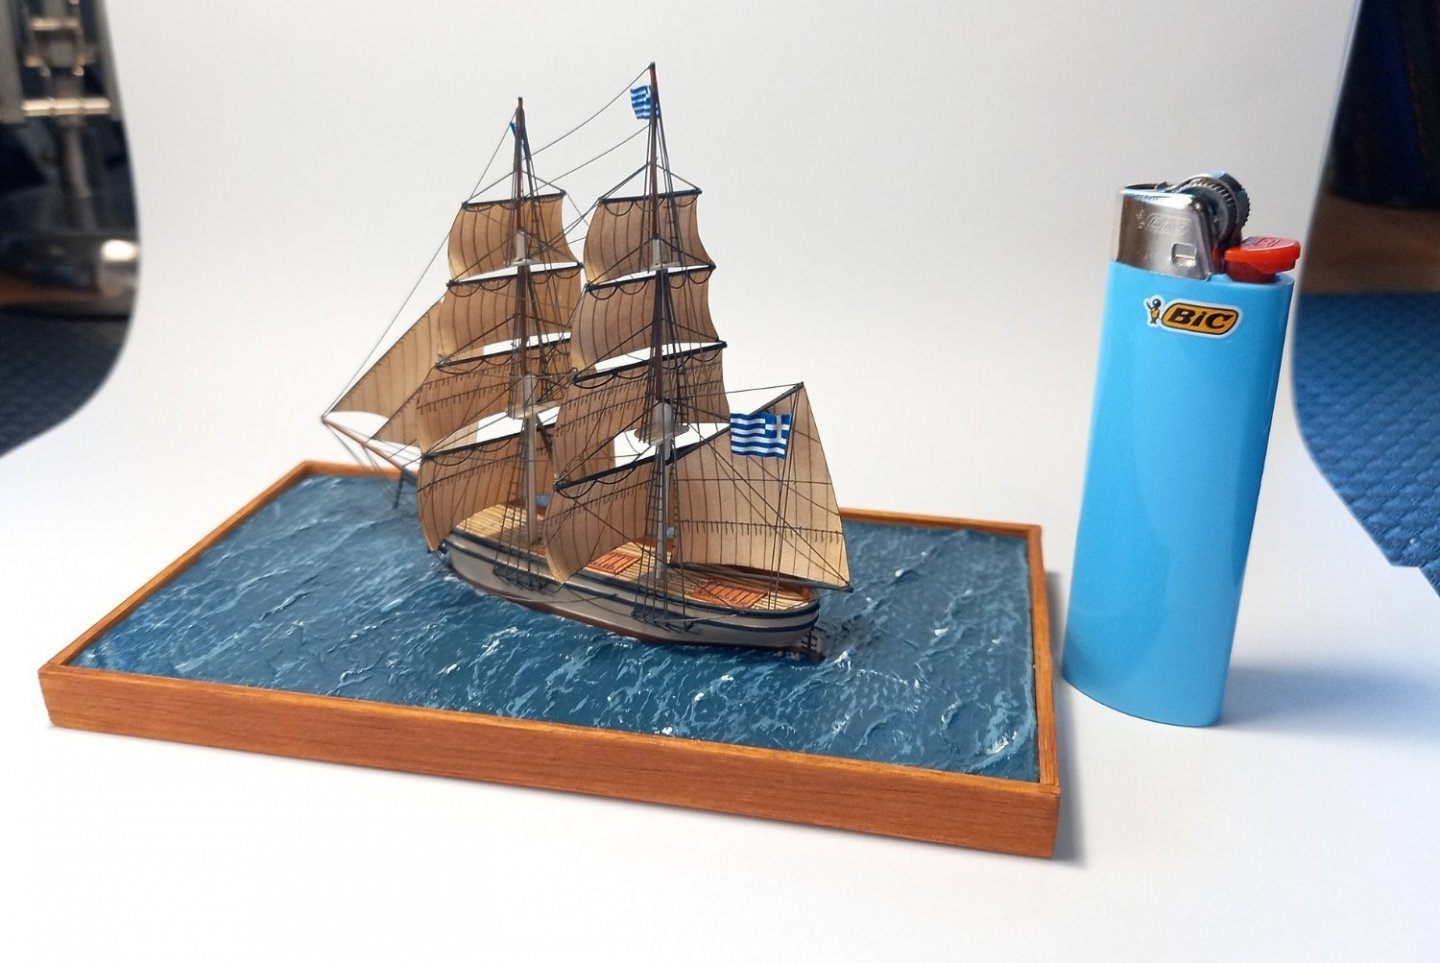
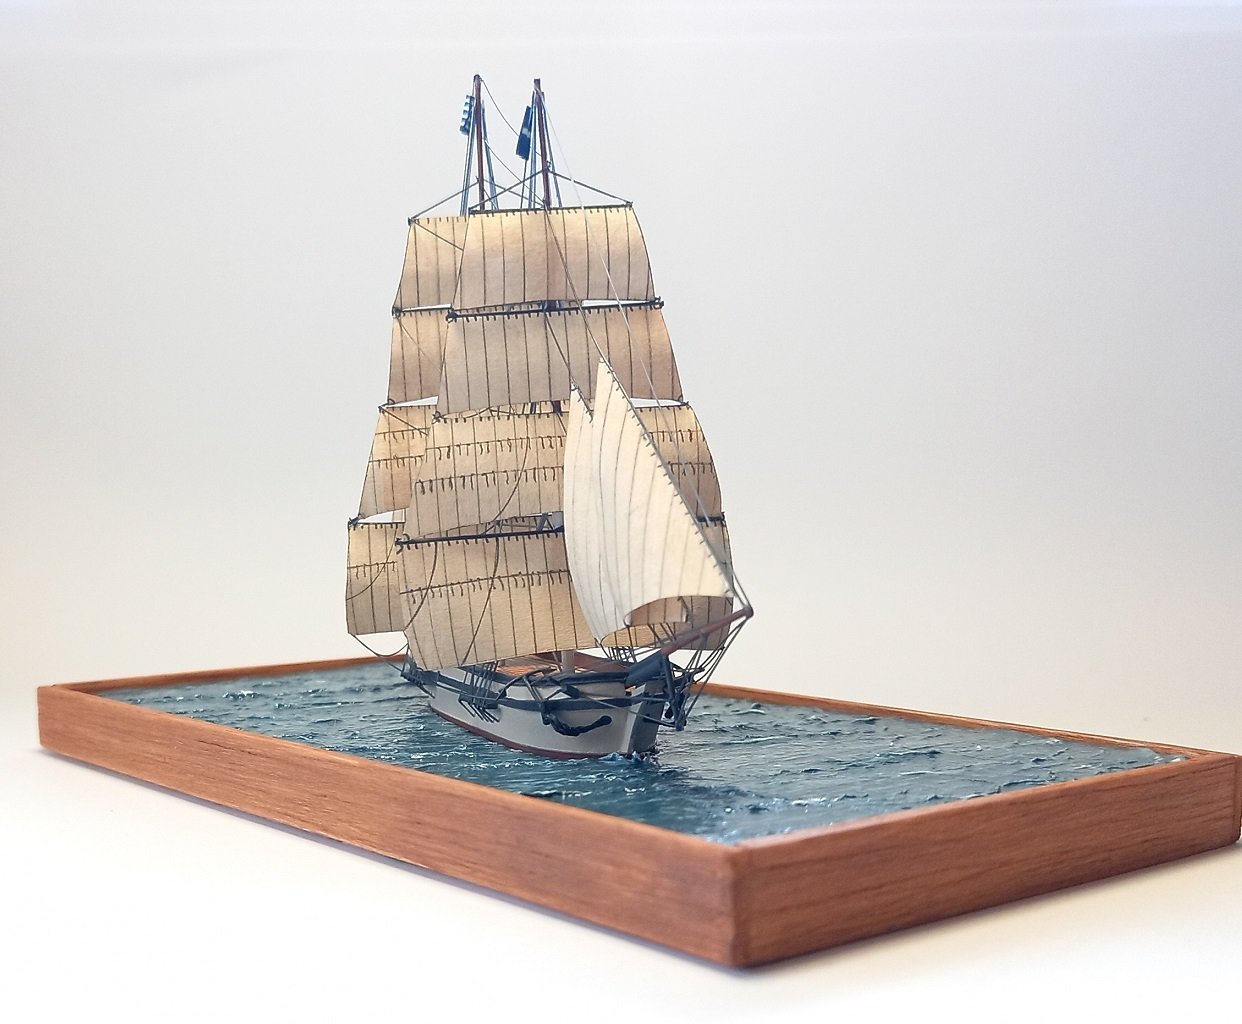
Good evening all! Another small test project, which building process I forgot to record.. It is in fact my first small scale scratchbuilt square rigged ship. Mostly an exercise on the rigging method at such a size, on a generic and rather simple base and hull, representing a 19th century greek merchant brig, circa 1/350, waterline. A single-post thread, with the end result straight away. If mods think there is no much point please delete.


- 1 reply
-
- 7
-

-

-
- merchantman
- Brigs
- (and 2 more)
-
My great thanks Hubac's Historian! Indeed an interesting observation about the capstan. Maybe I'll just leave it as a deck hole, we'll see. I have been busy with modeling and I realized I haven't posted my latest scratchbuilt projects either... There were also many real life problems I had to attent to. More updates coming today!
- 22 replies
-
- 5
-
-
- royal louis
- heller
- (and 1 more)
-
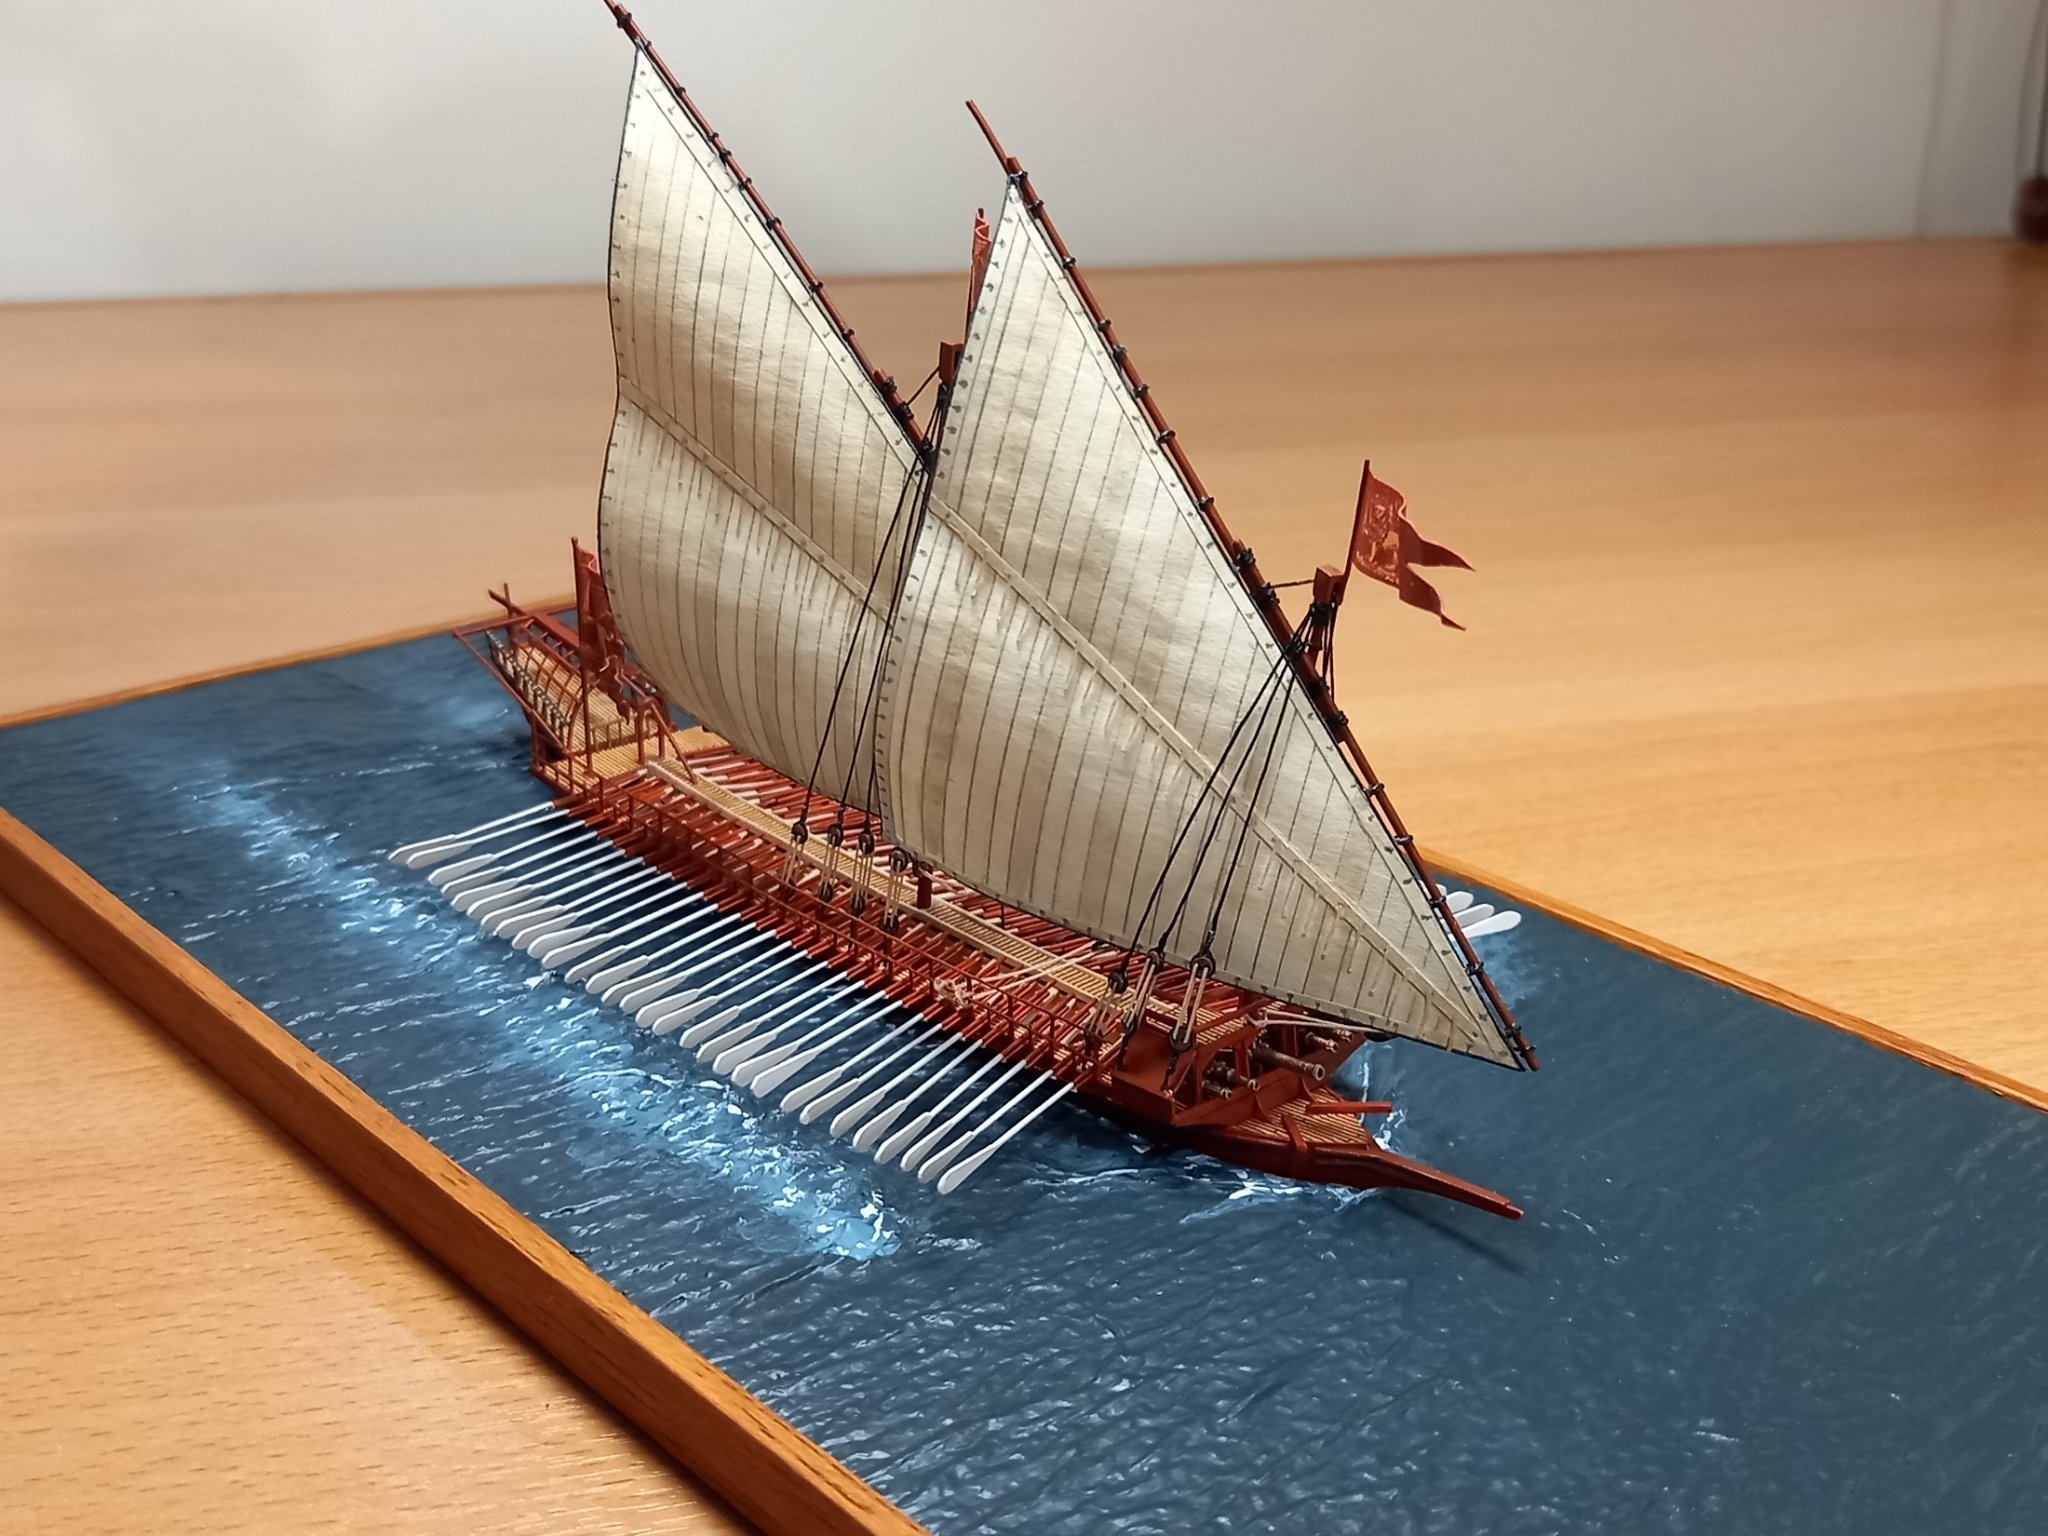
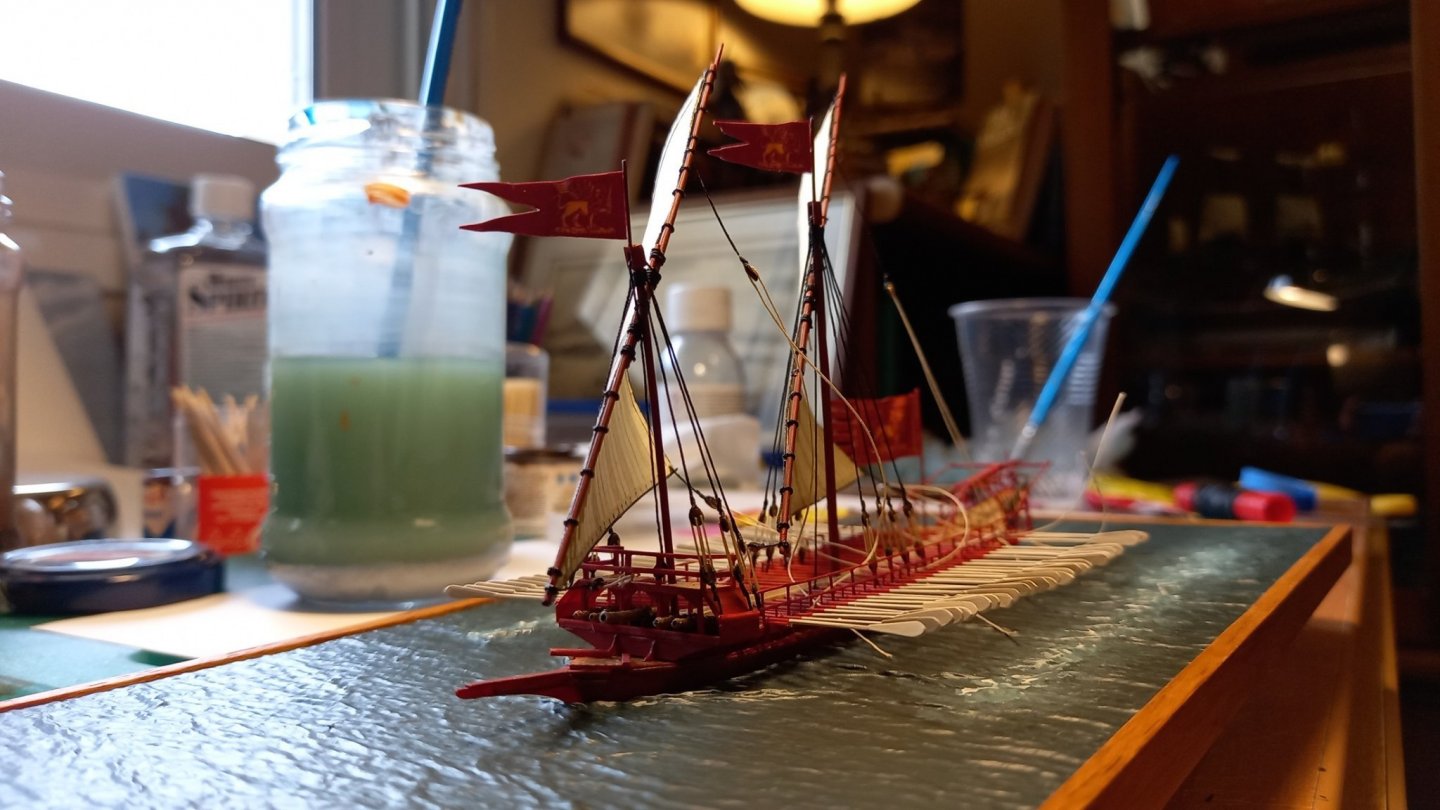
Perhaps each bench to be a single paper cutout of 5 men from the waist up? Their arms might be formed from notches to the paper bent at a 90 degree. I didn't like some tests of this though. But this reduces the pieces to be made to 60 "groups". In any case, I will have to return to her sooner or later, with the original base plan. Yes , the sea is soft paper with woodglue, painted with acrylics. This time I ommited glossing it, and it does look better more matte at this scale.
-
300 oarsmen in fact I dont know how I can do such a thing without looking terrible, and without taking too much time..
-
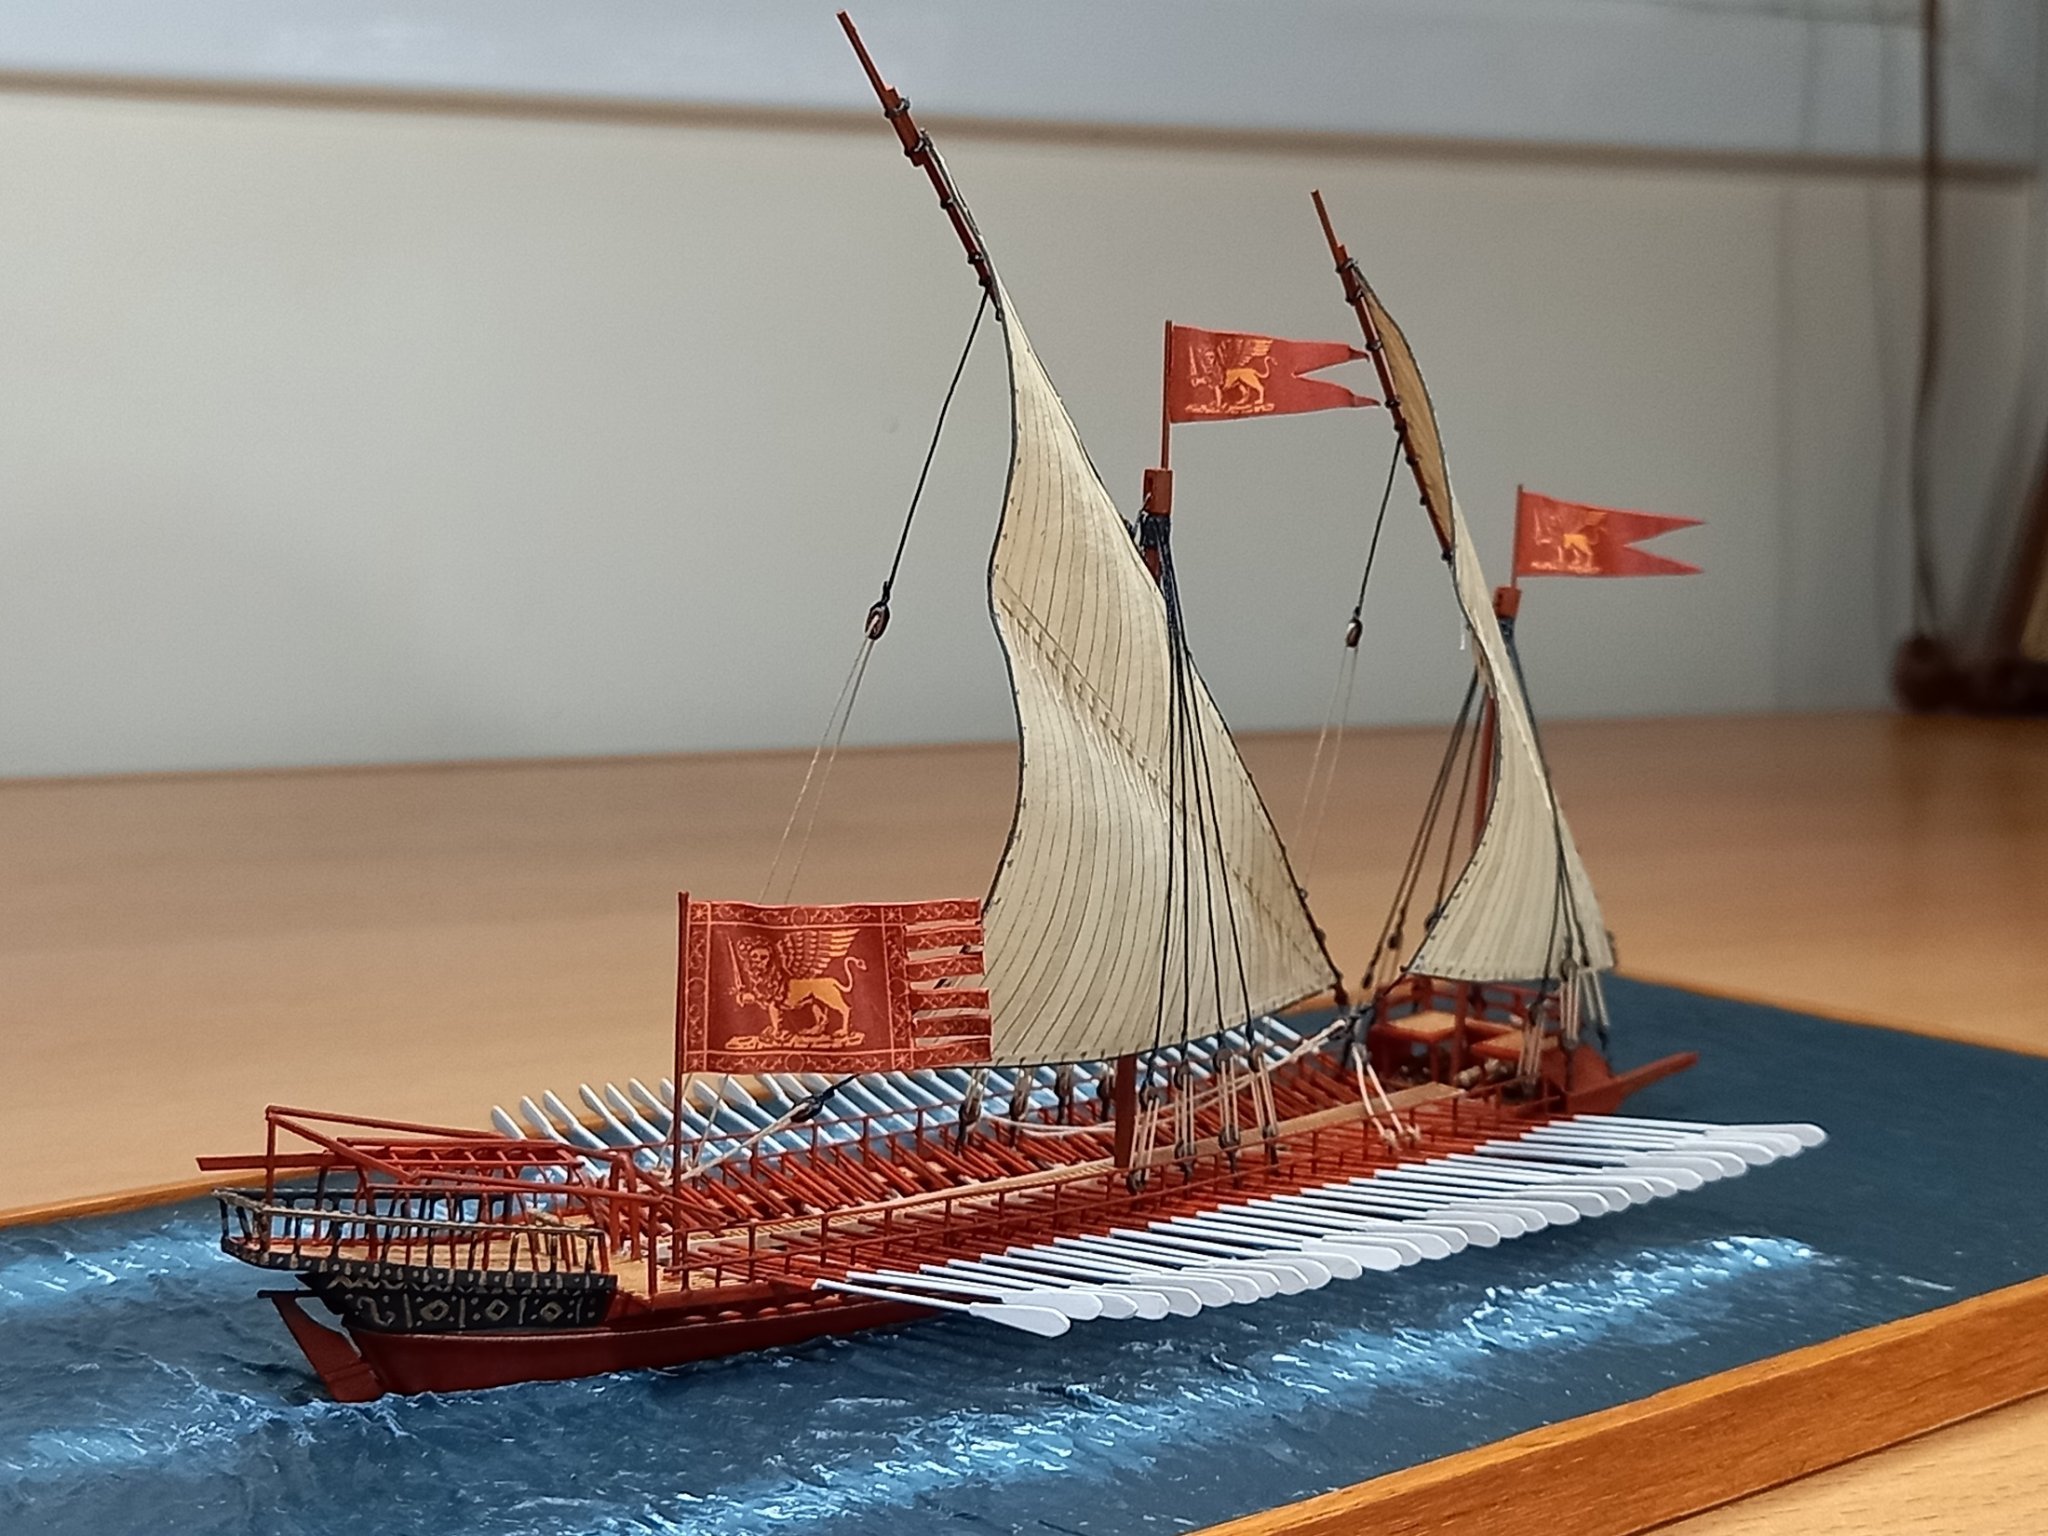
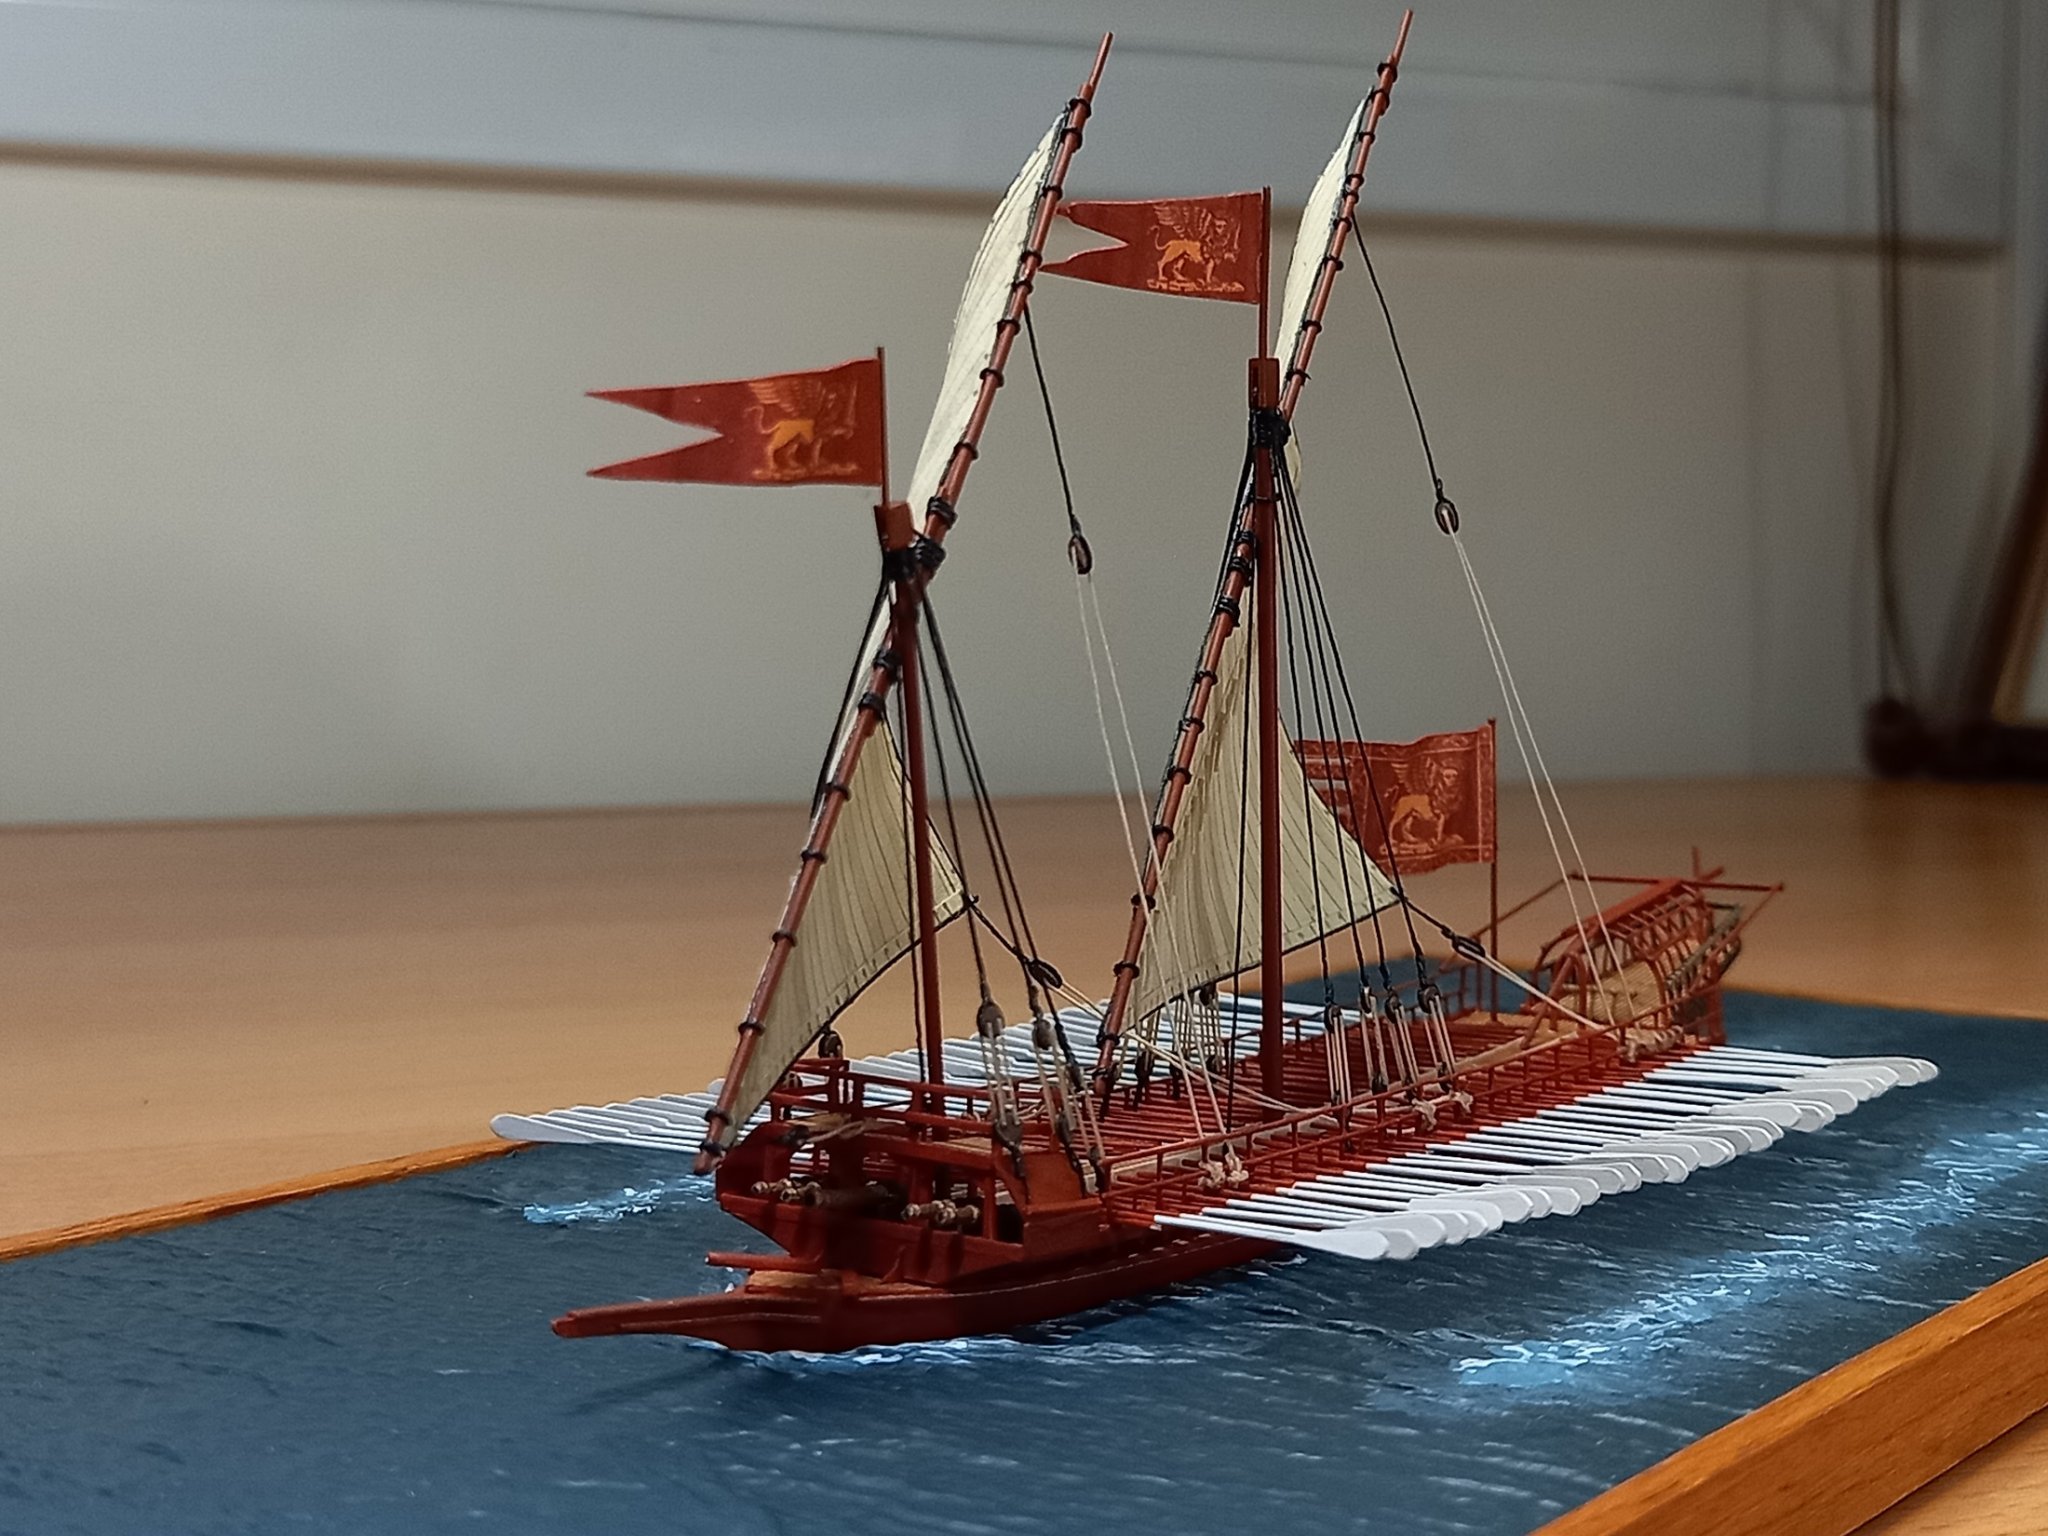
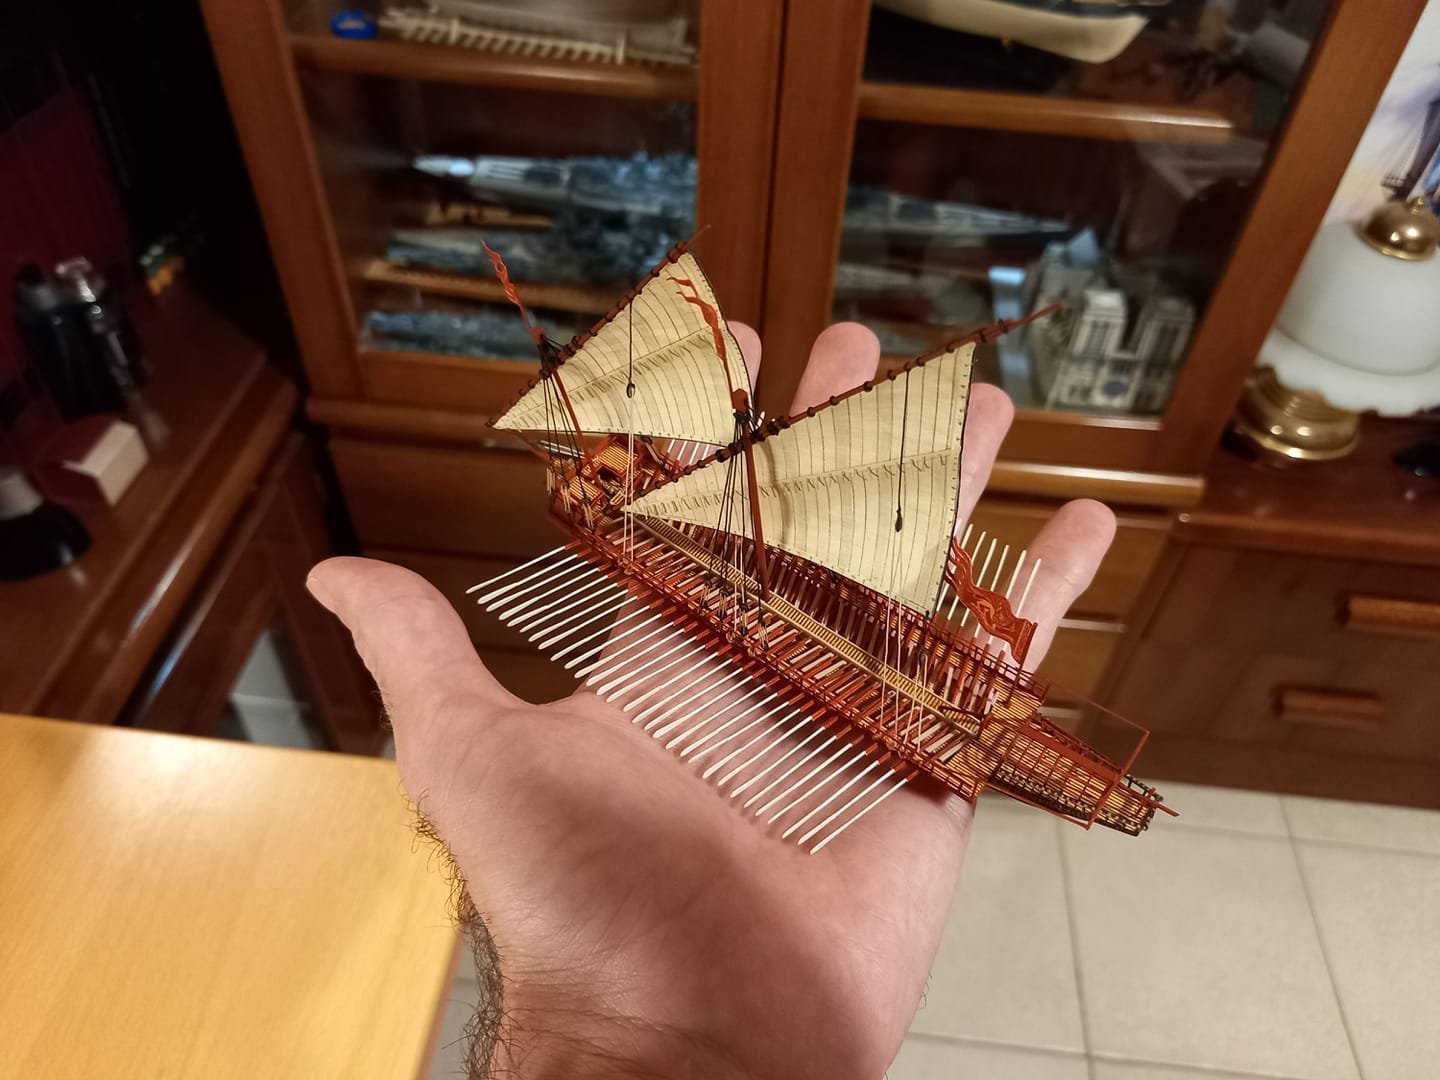
So for a test built it went fair enough. Many firsts for me, and many back and forths. A lot of improvement happened, and as usual, the next built will improve on the previous one. Here is on my hand for scale. I may revisit the thread if I make a new base as originally planed.
- 25 replies
-
- 13
-
-
-

-
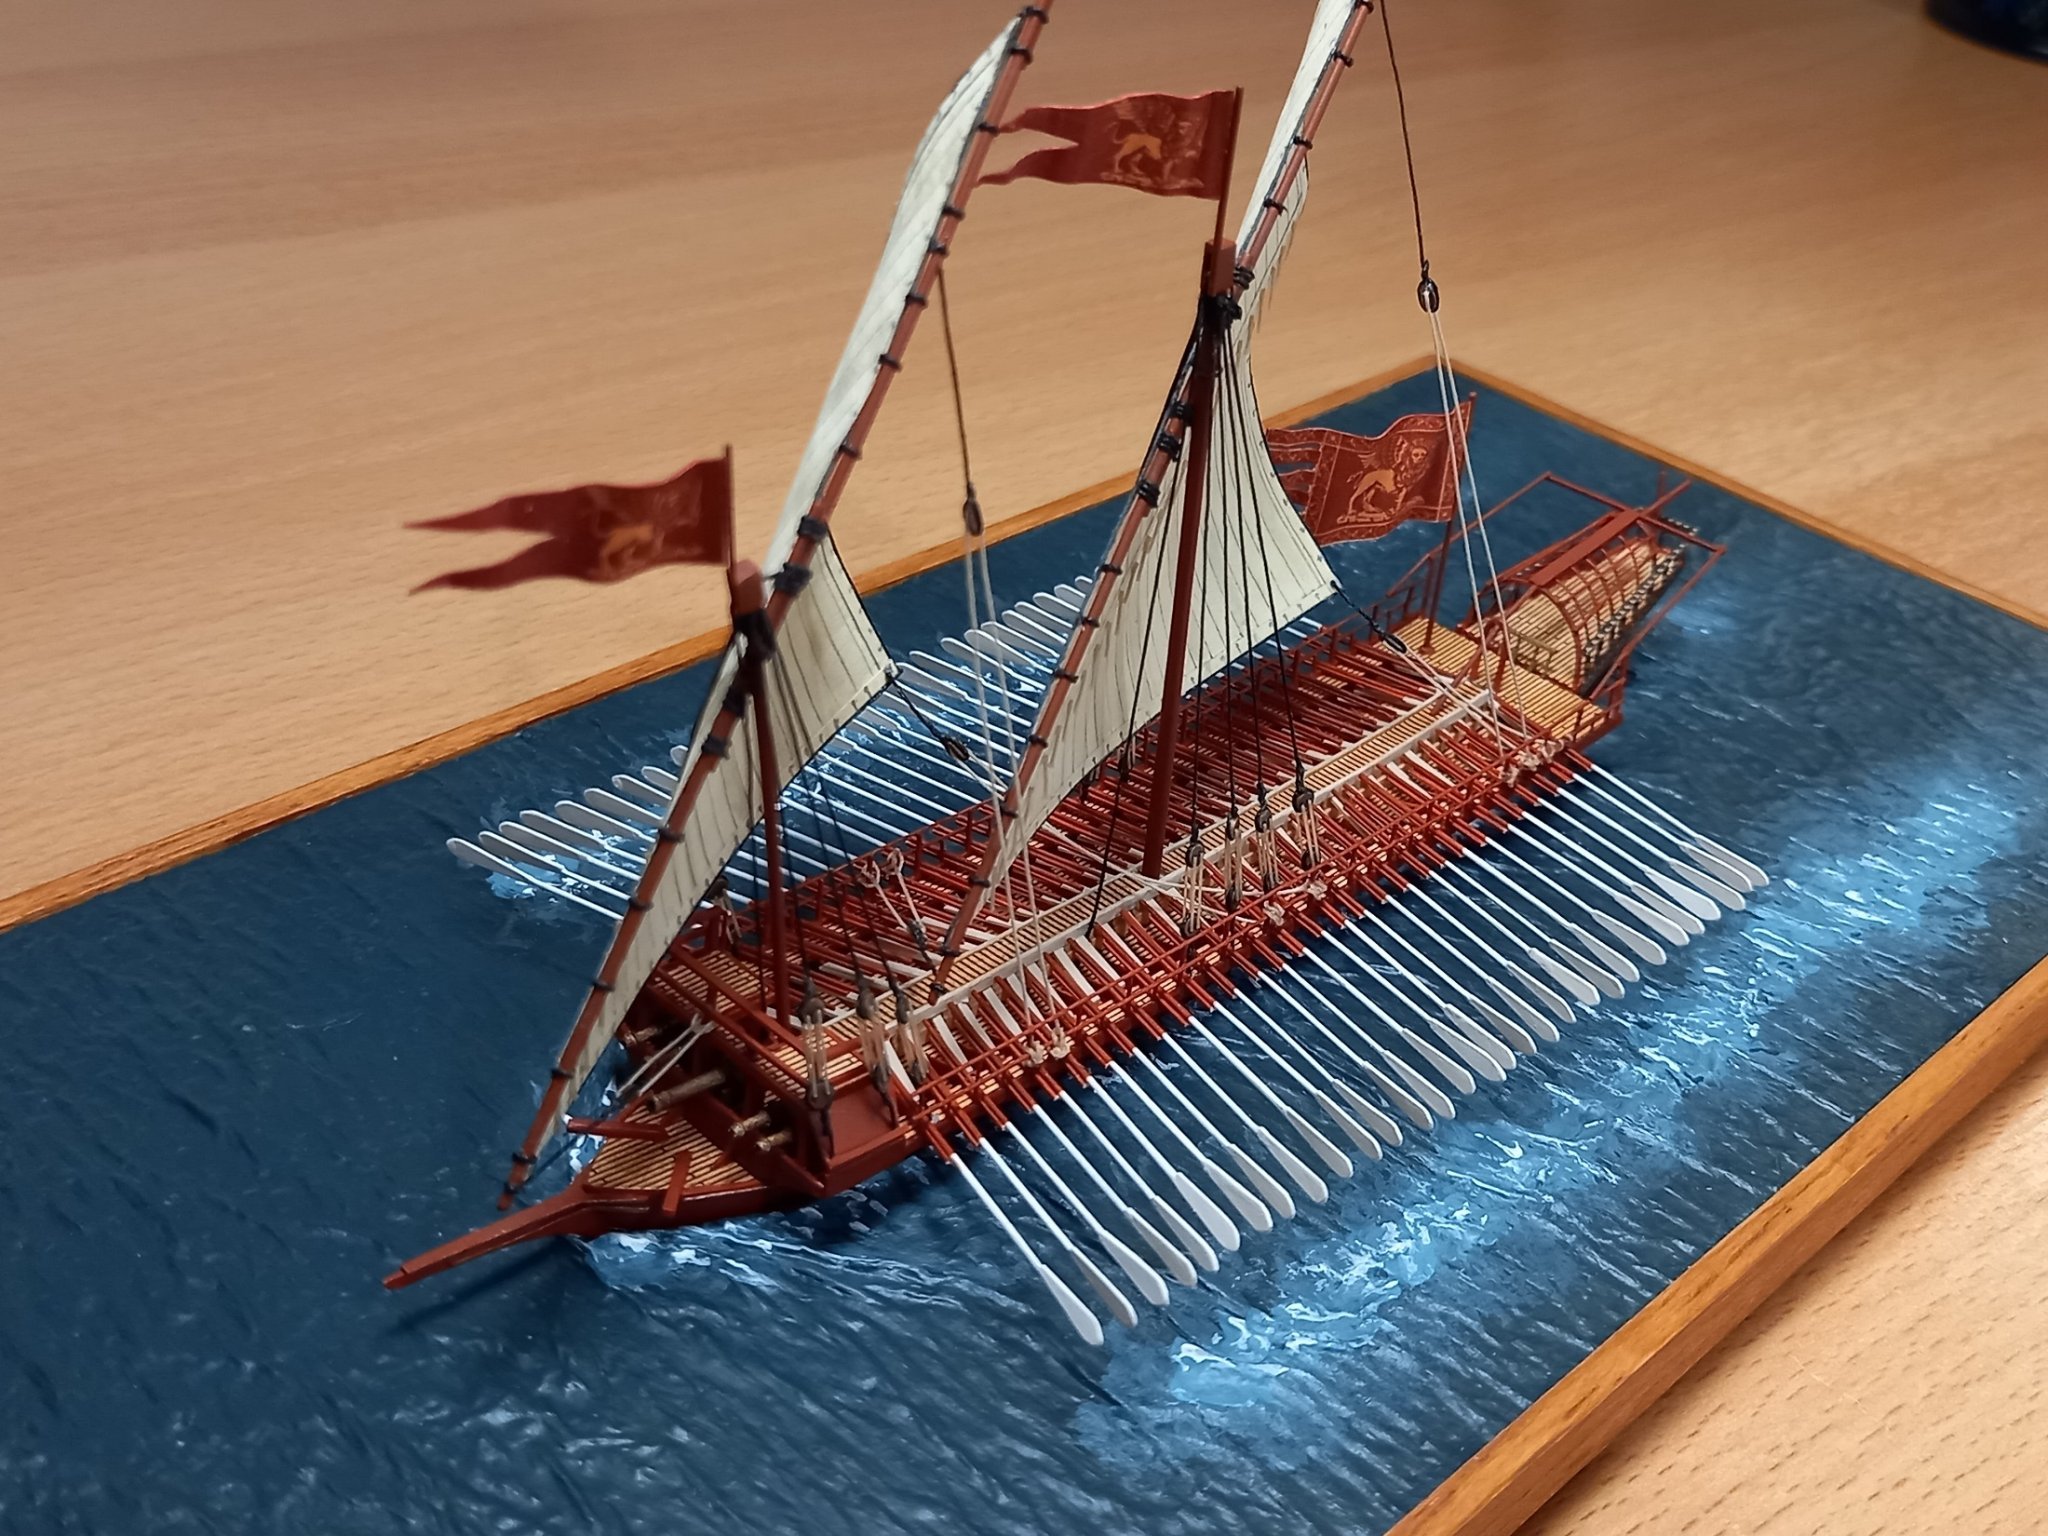
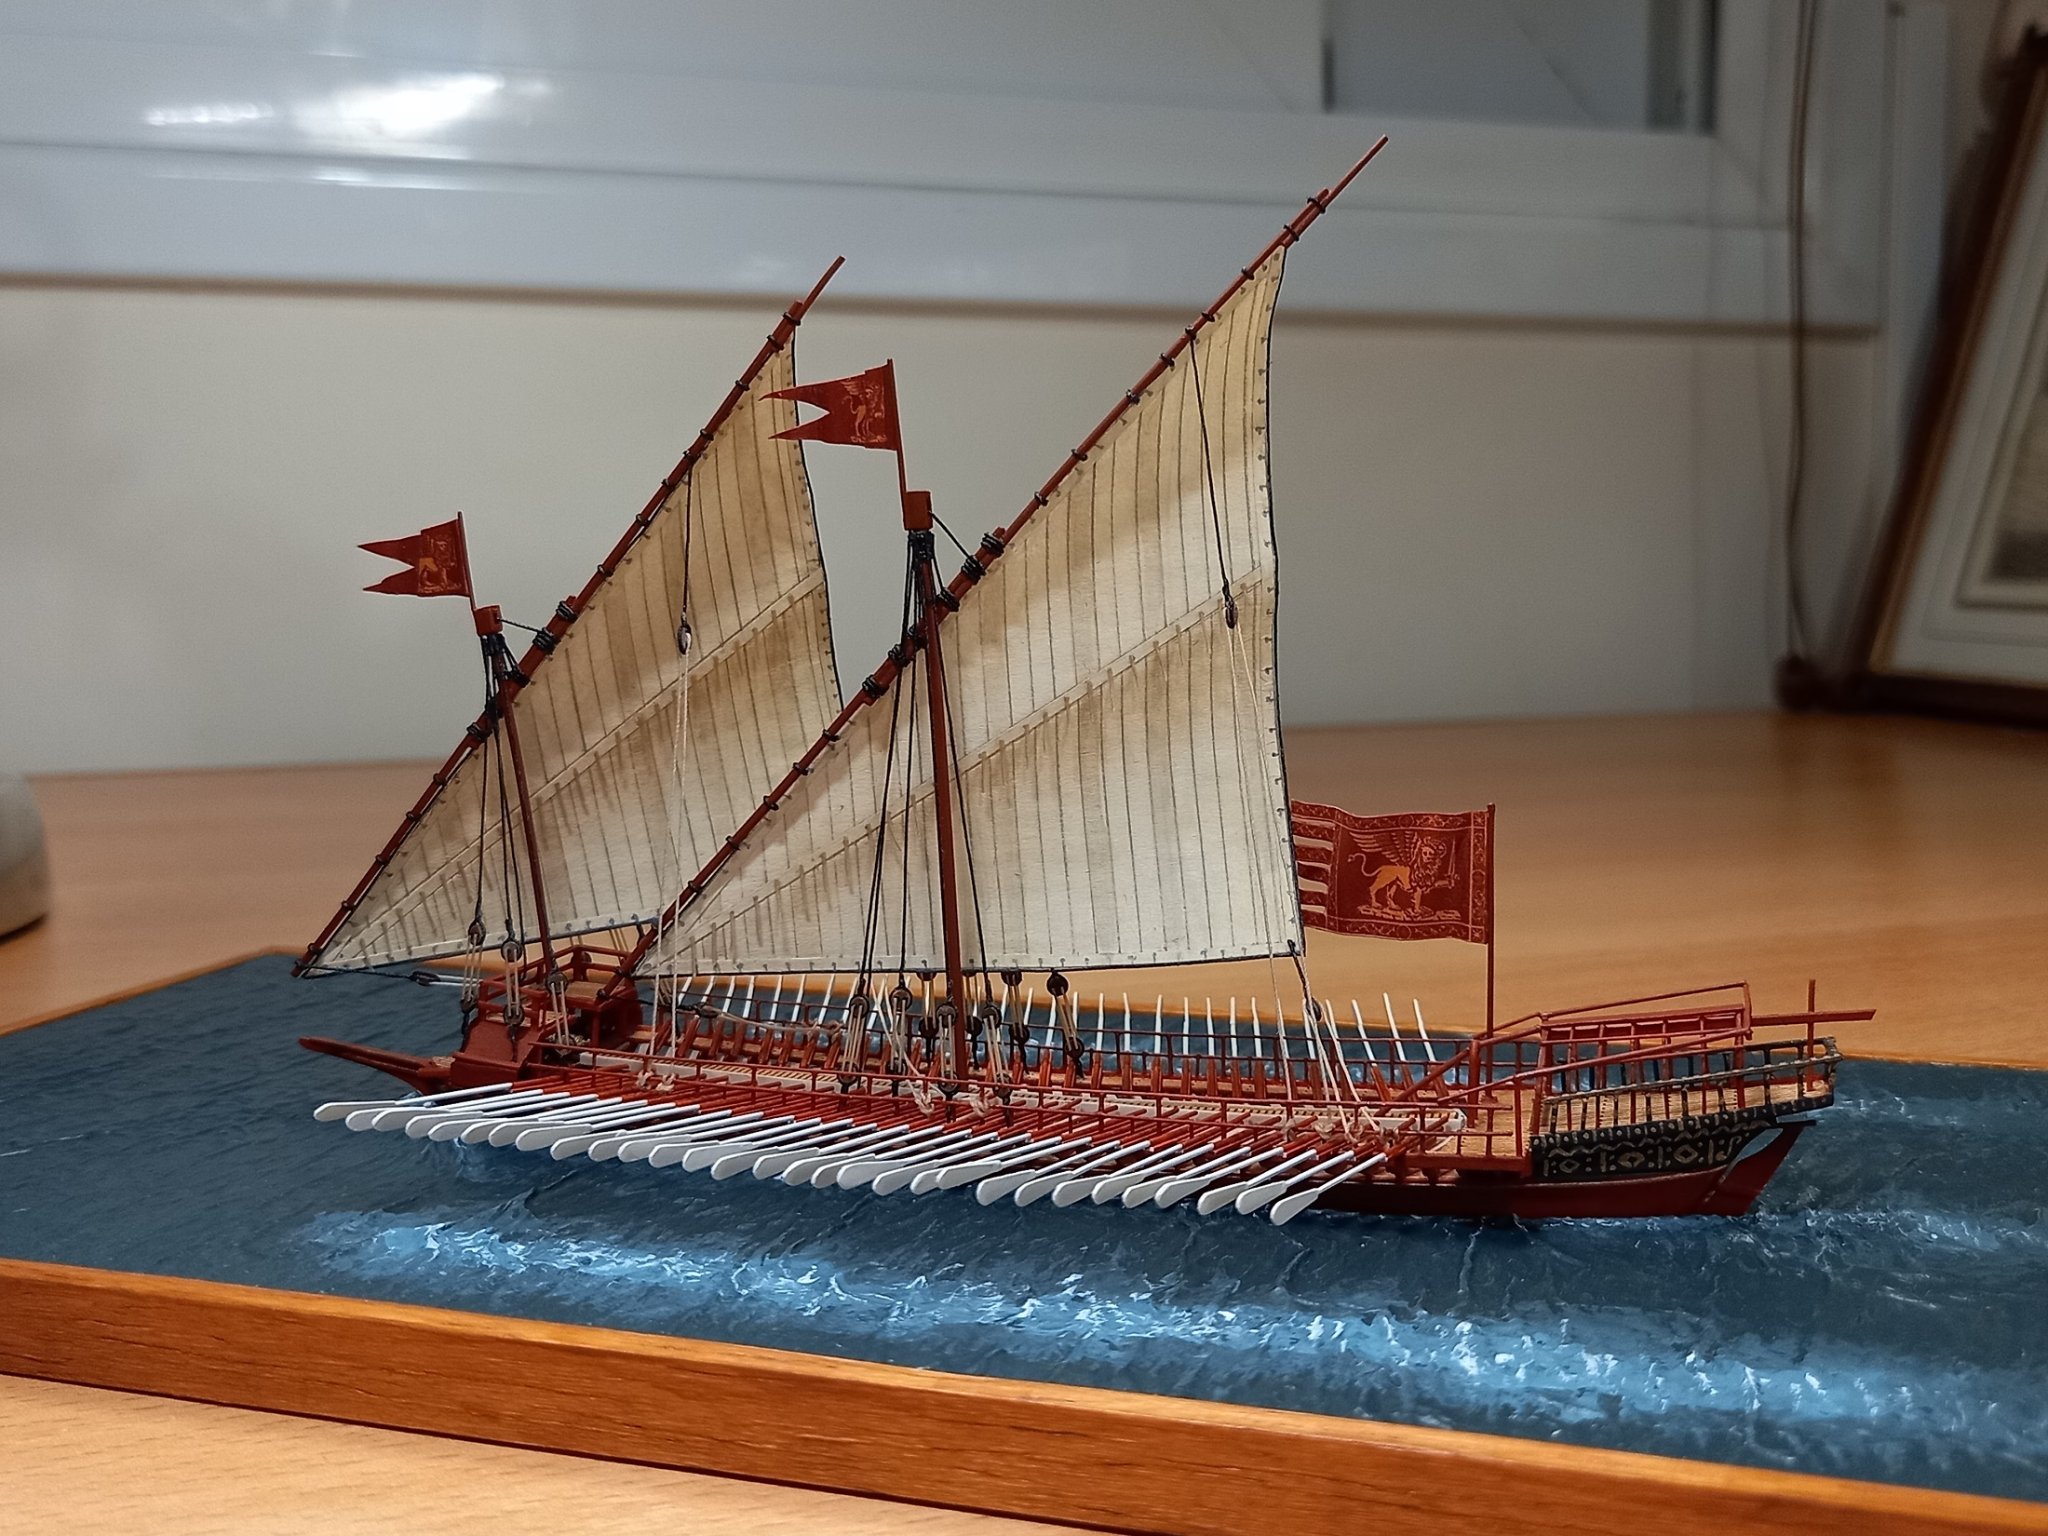
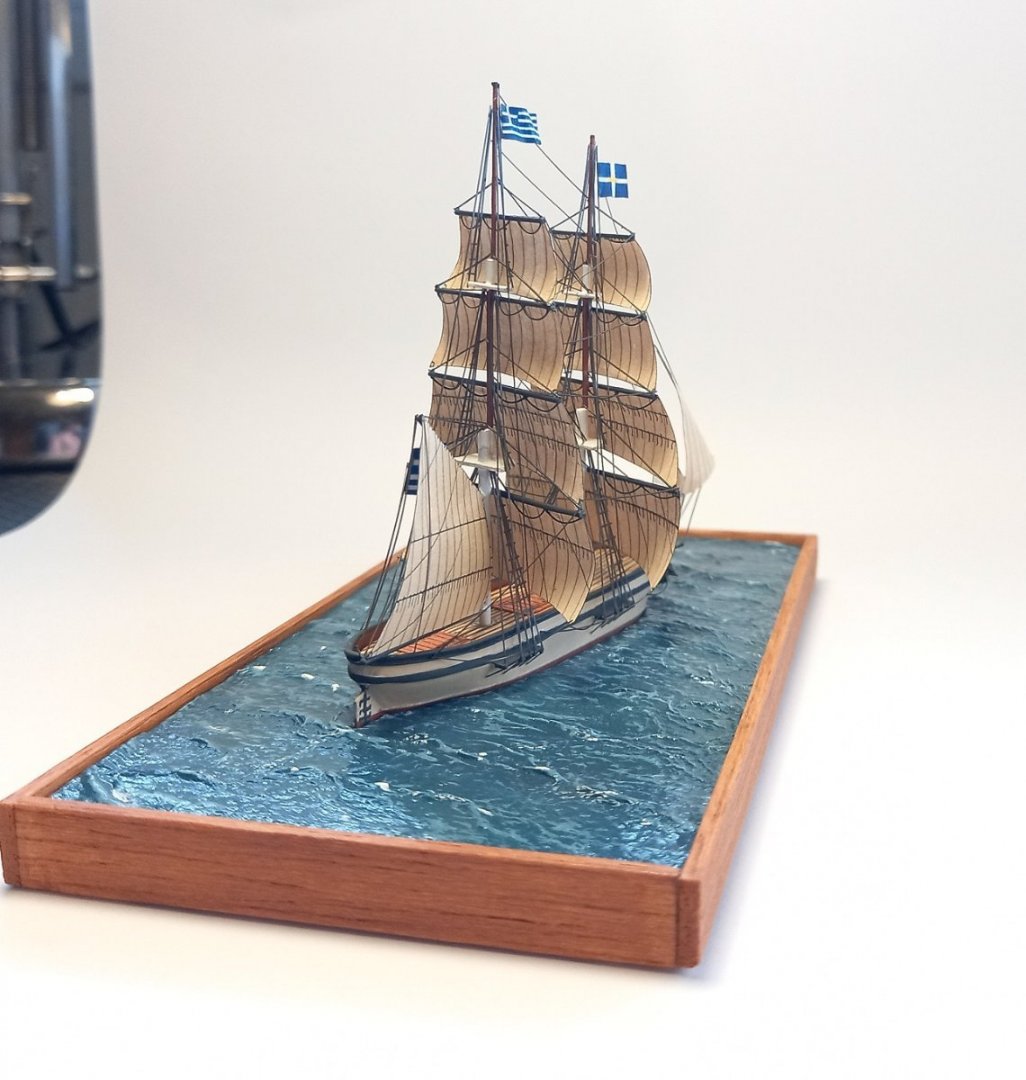
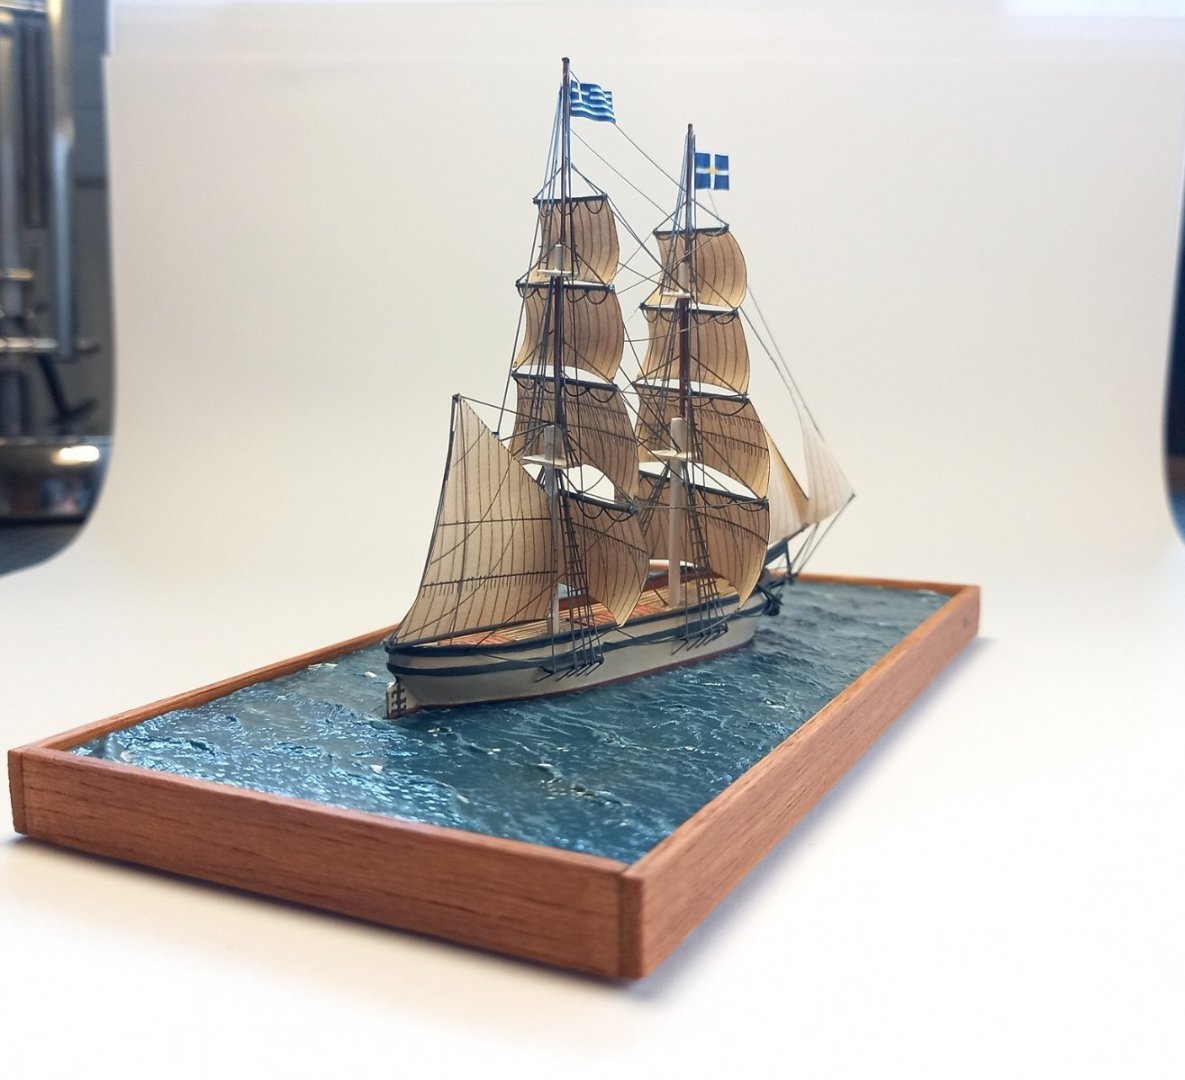
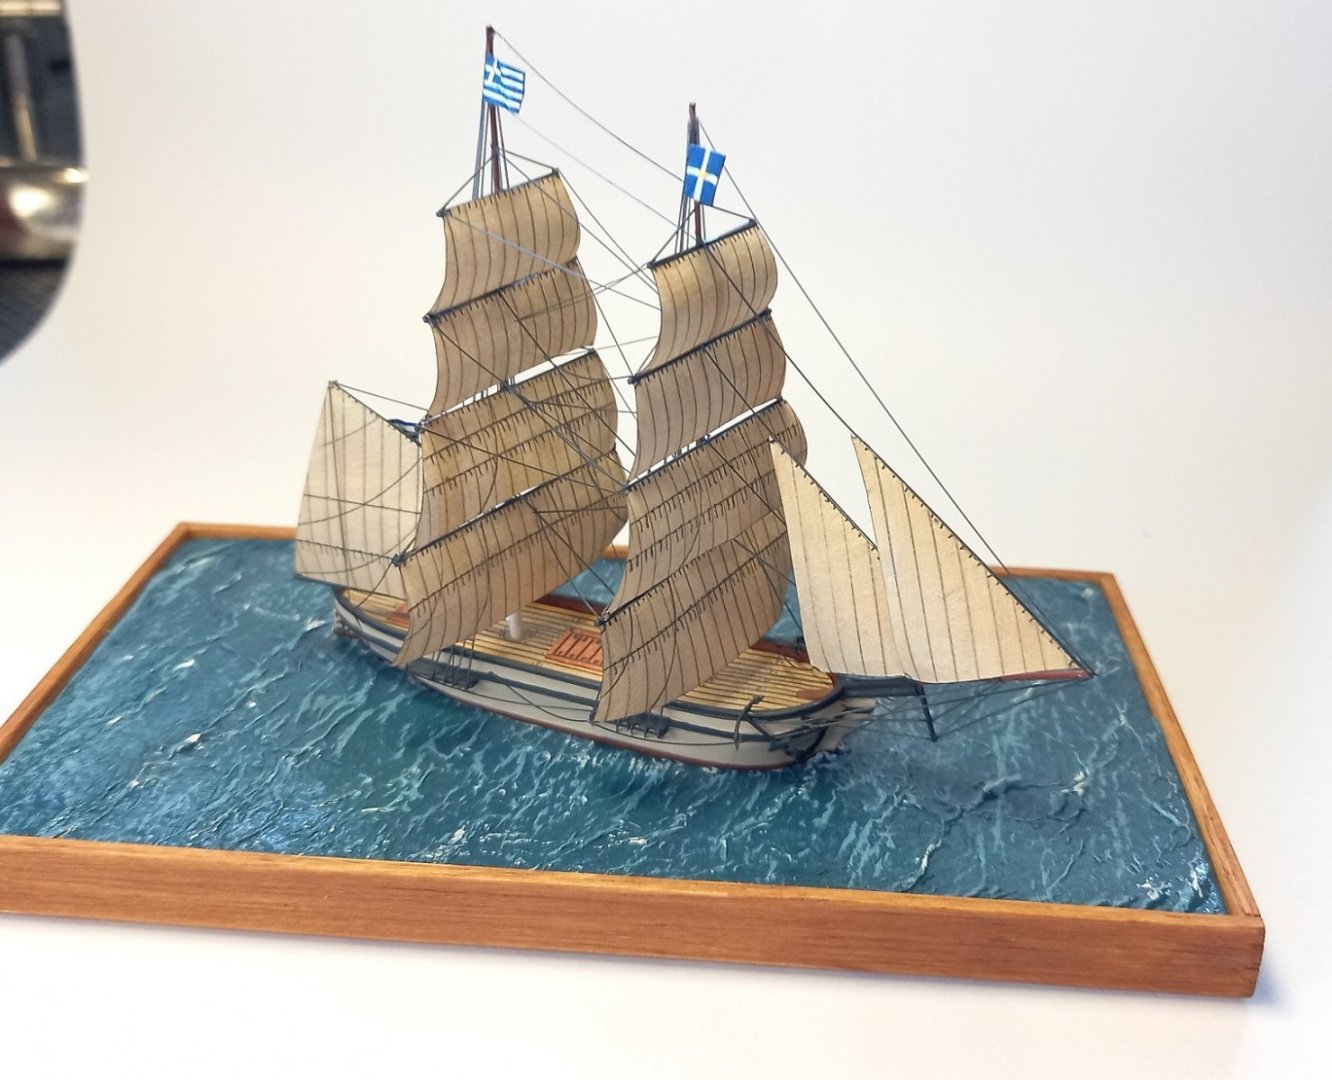
Unfortunatelly this was the last photo before the "finished" ship or at least the current state of the diorama. I made a simple base with only sea. The rigging is seen almost finished. I used thread and melted spruce as well, especially in the deadeyes, which were also made from scratch. The guns are from my stash.
-
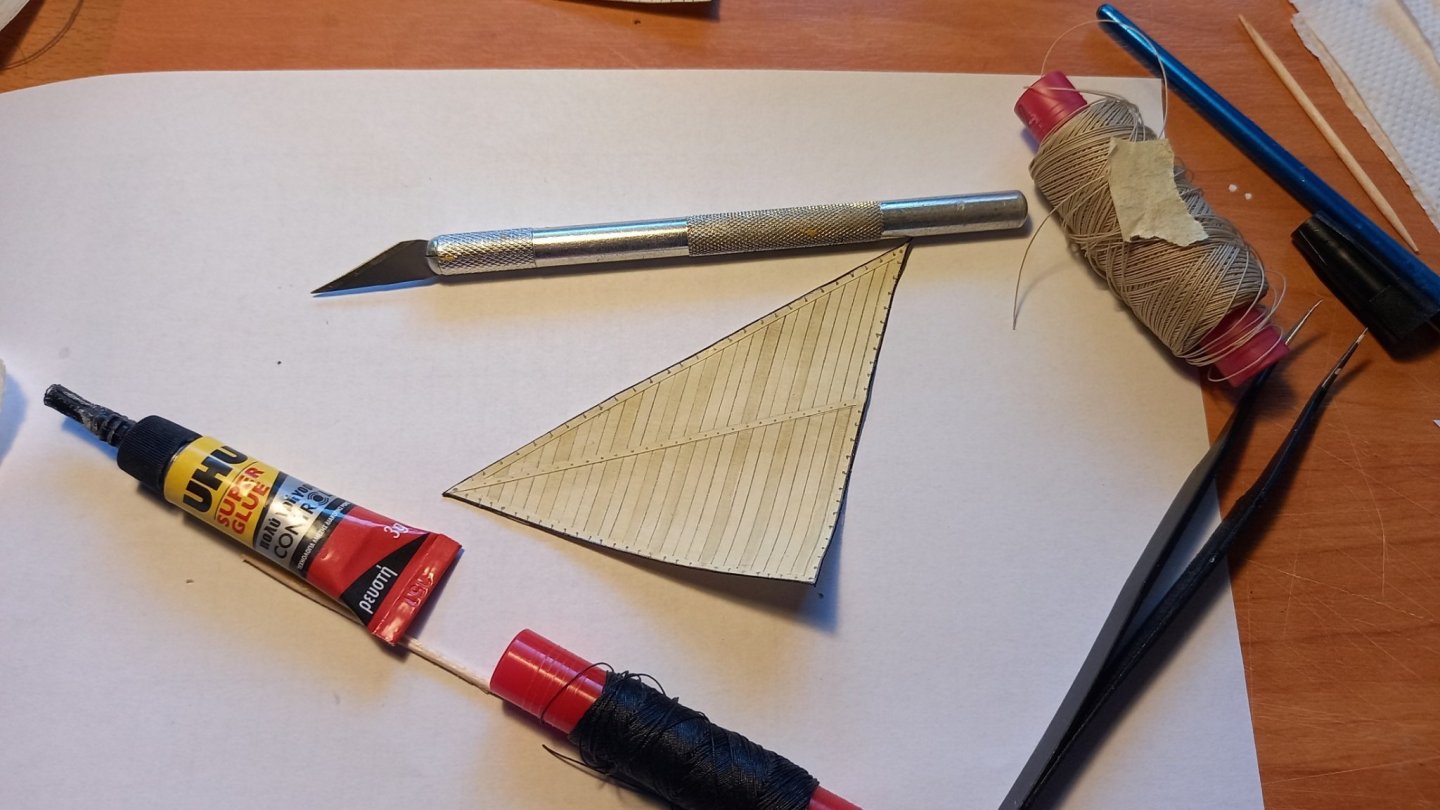
As for the sails, I did a lot of tests... in the end, I used A4, drew the lines with pencil, and glued some strips of additional A4 on the edges and in the midle. Then it was painted with acrylics and coated with matte enamel varnish, just like the deck. The edge was lined with black thread.
-
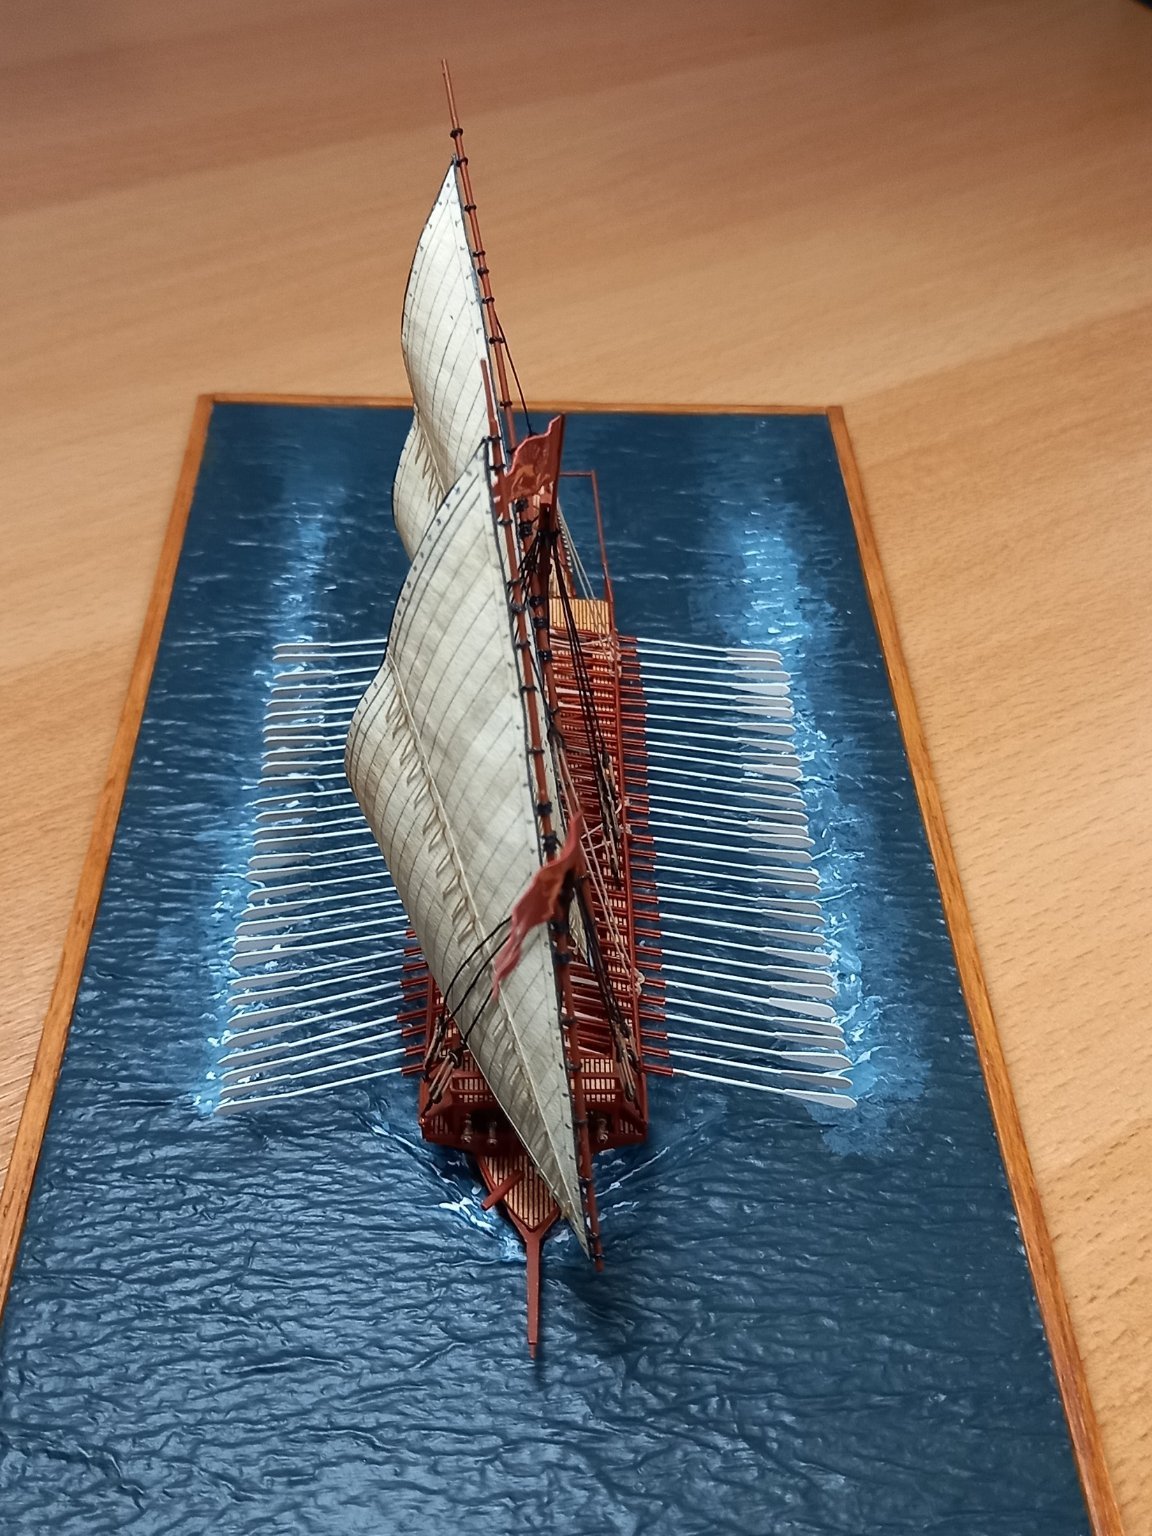
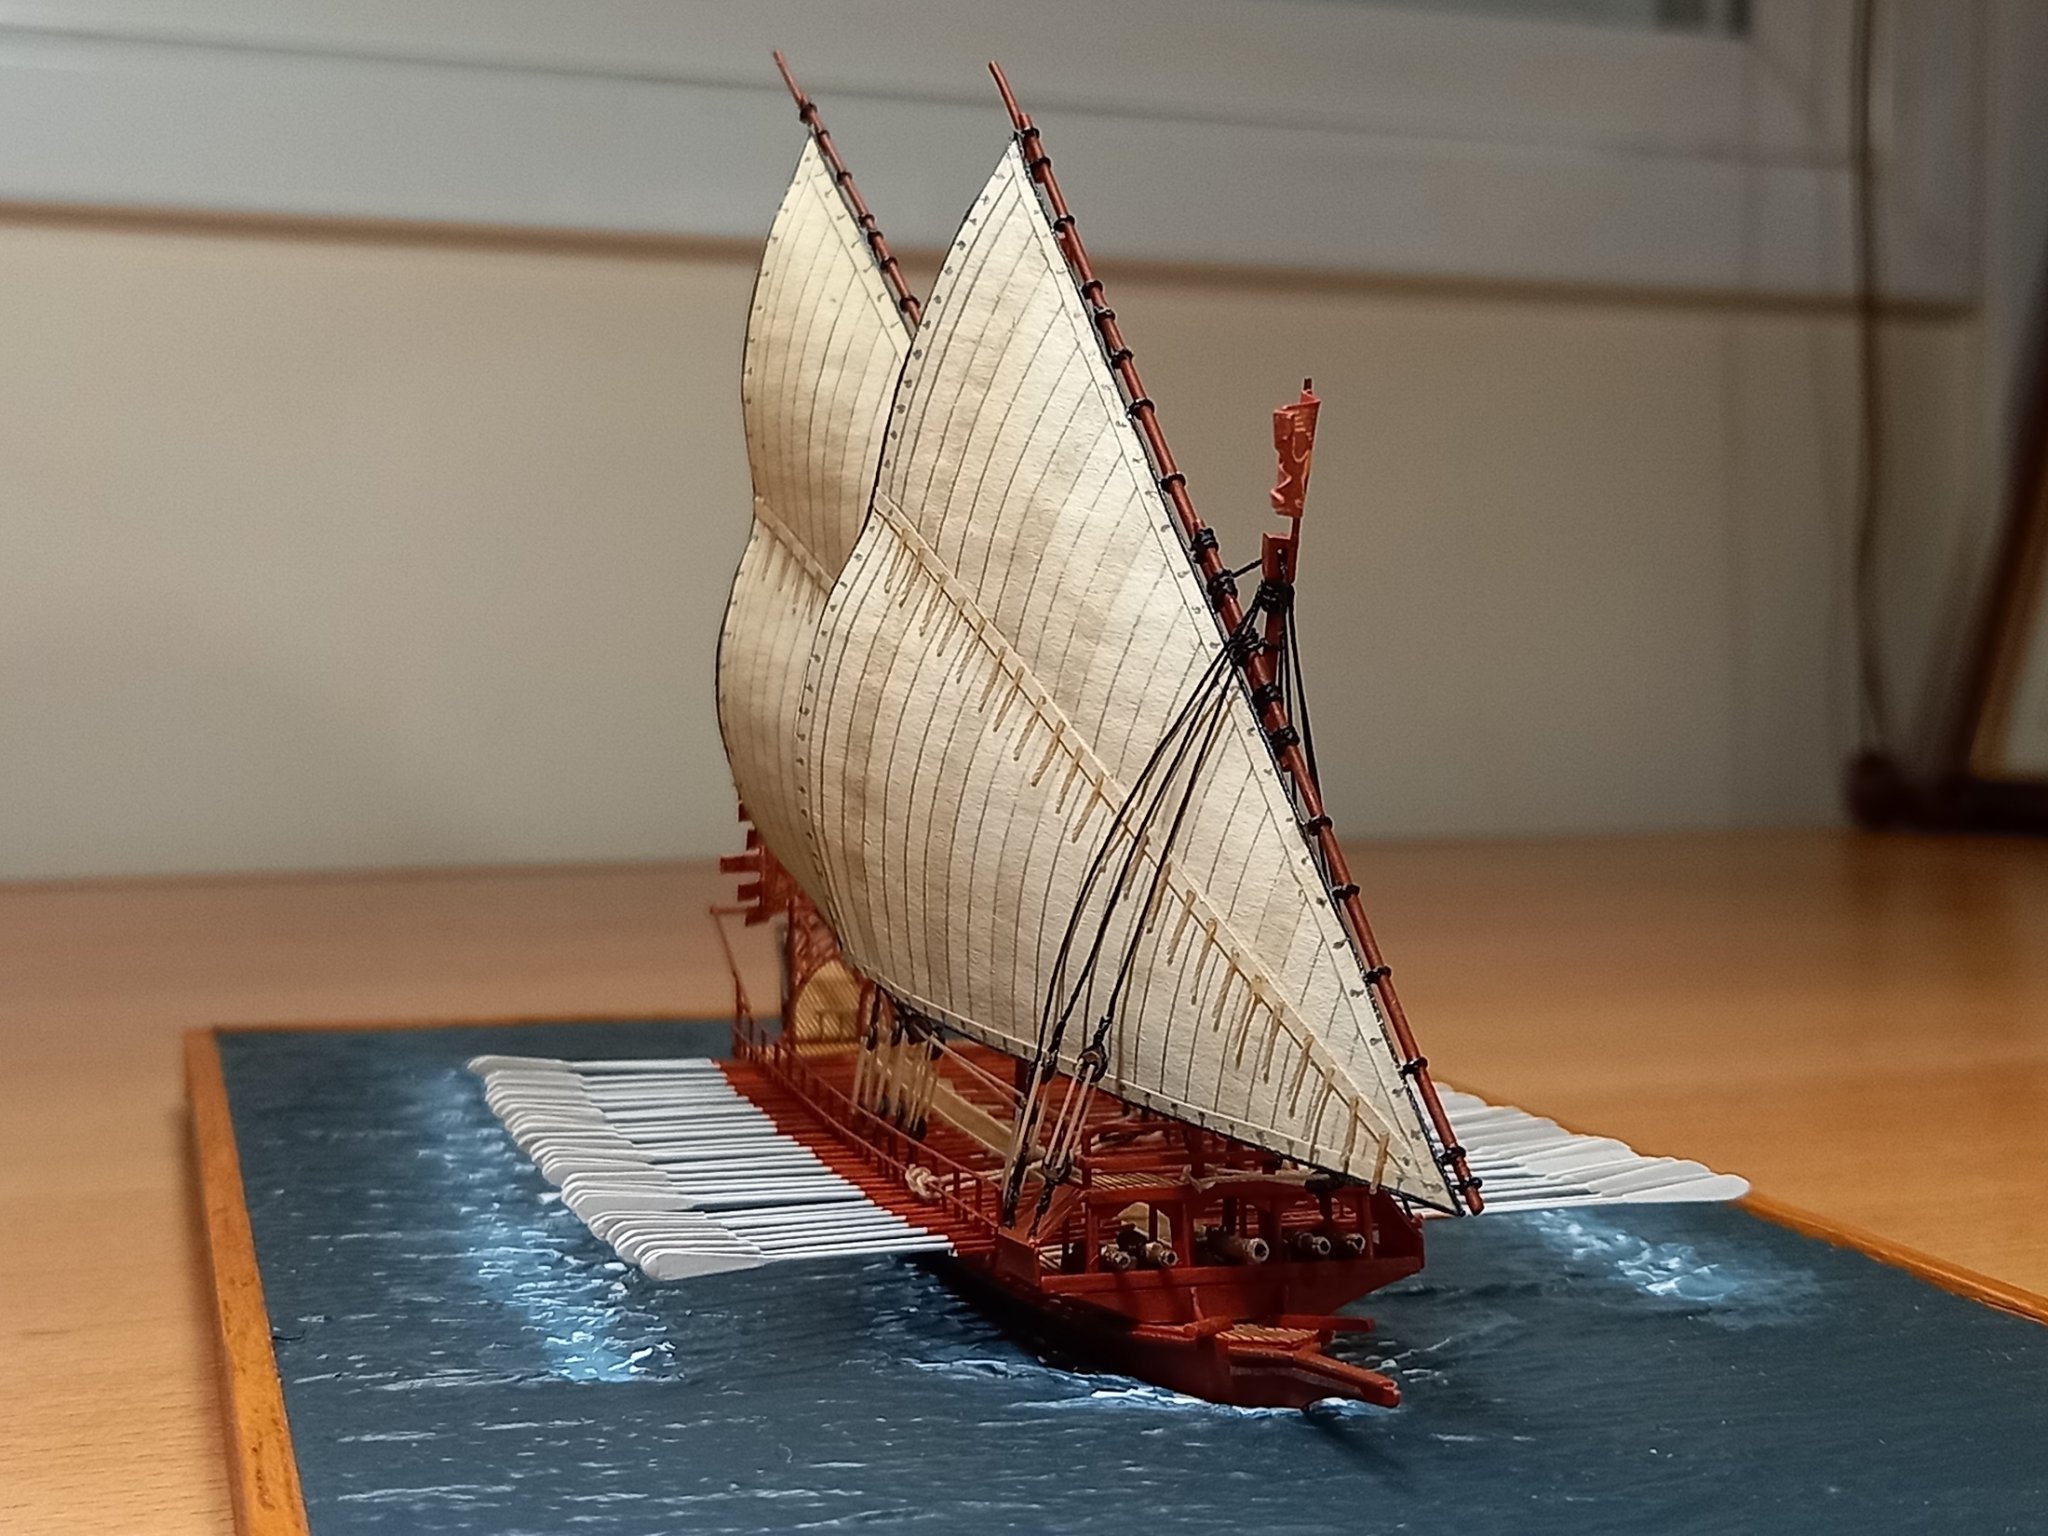
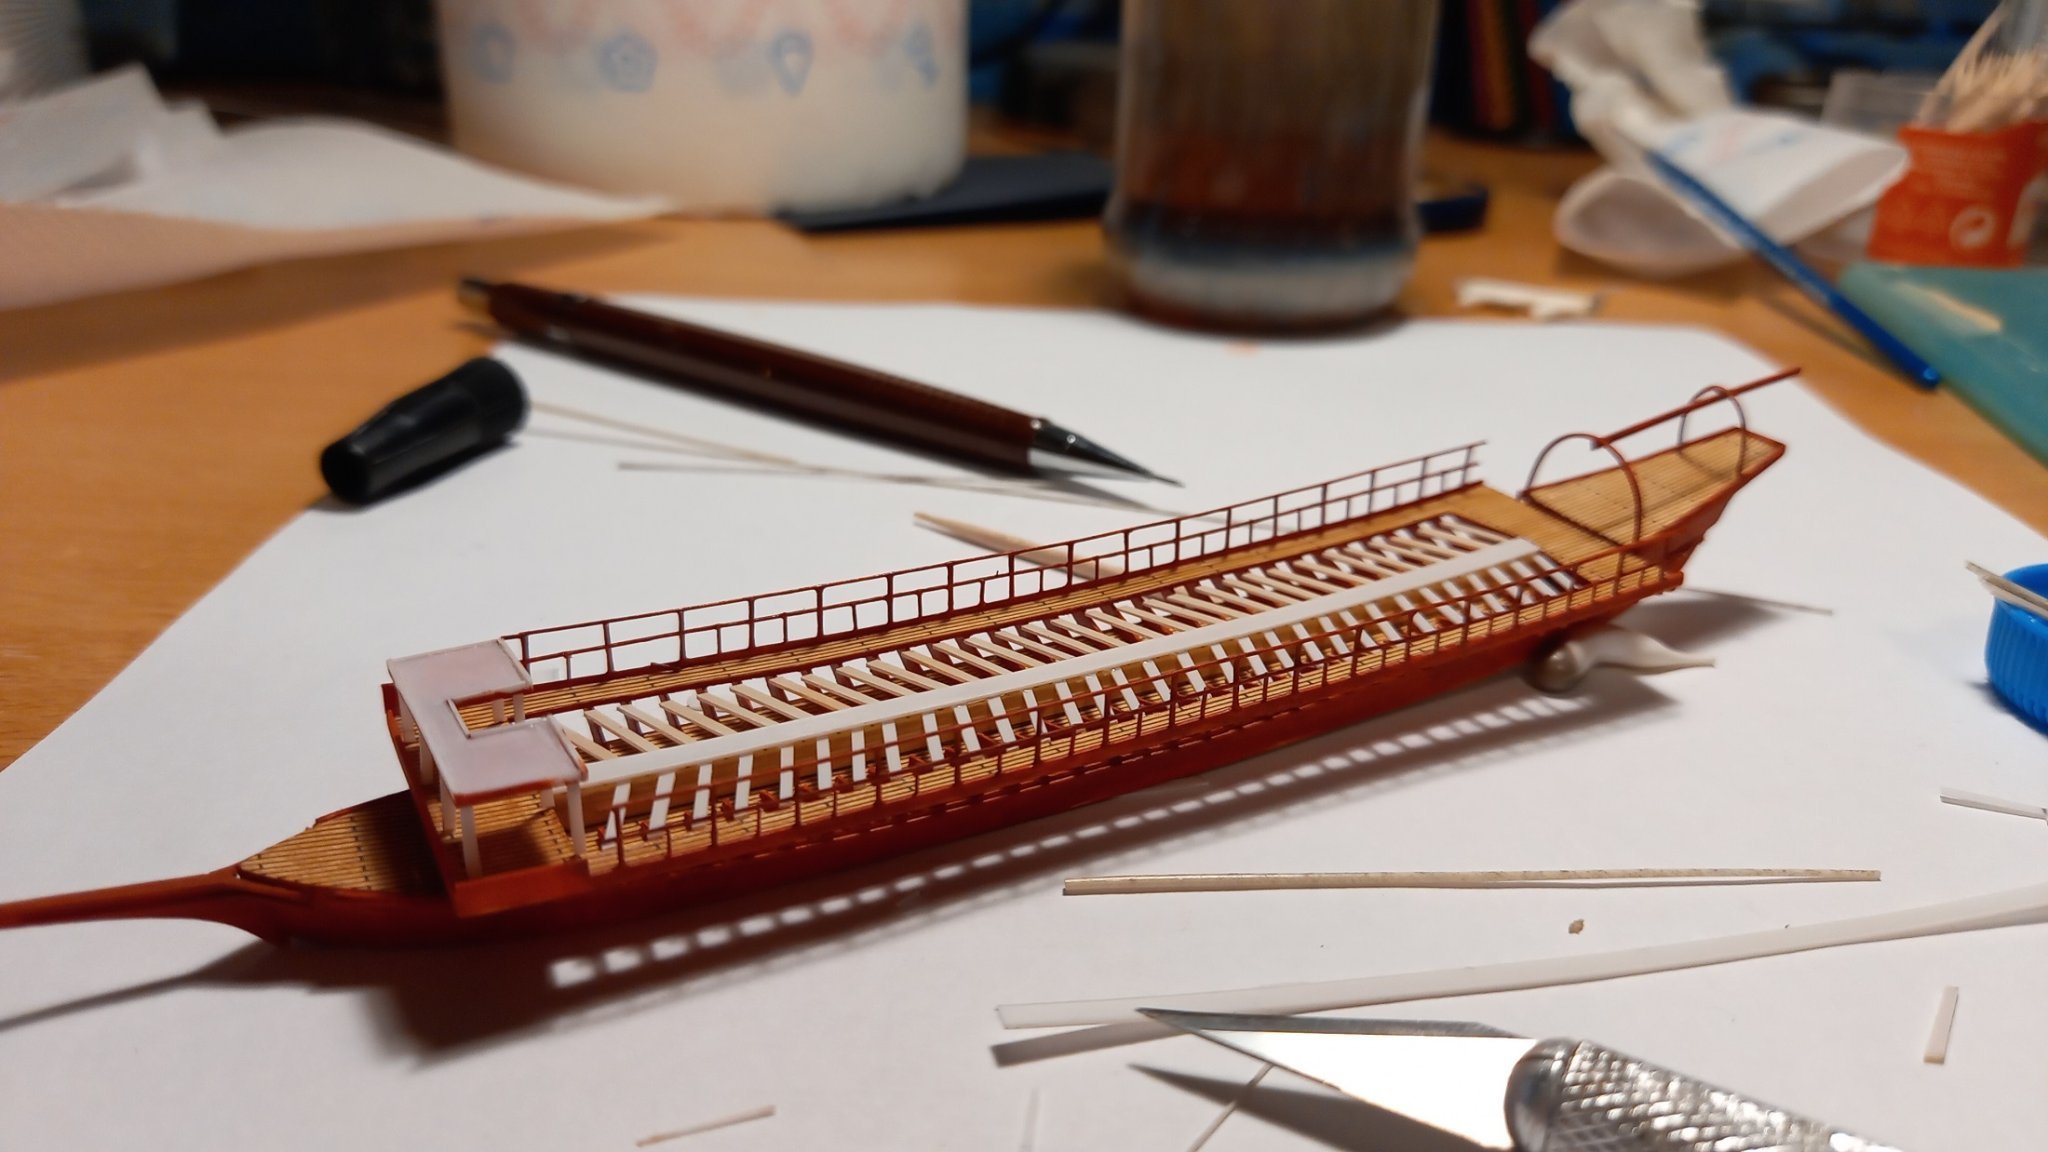
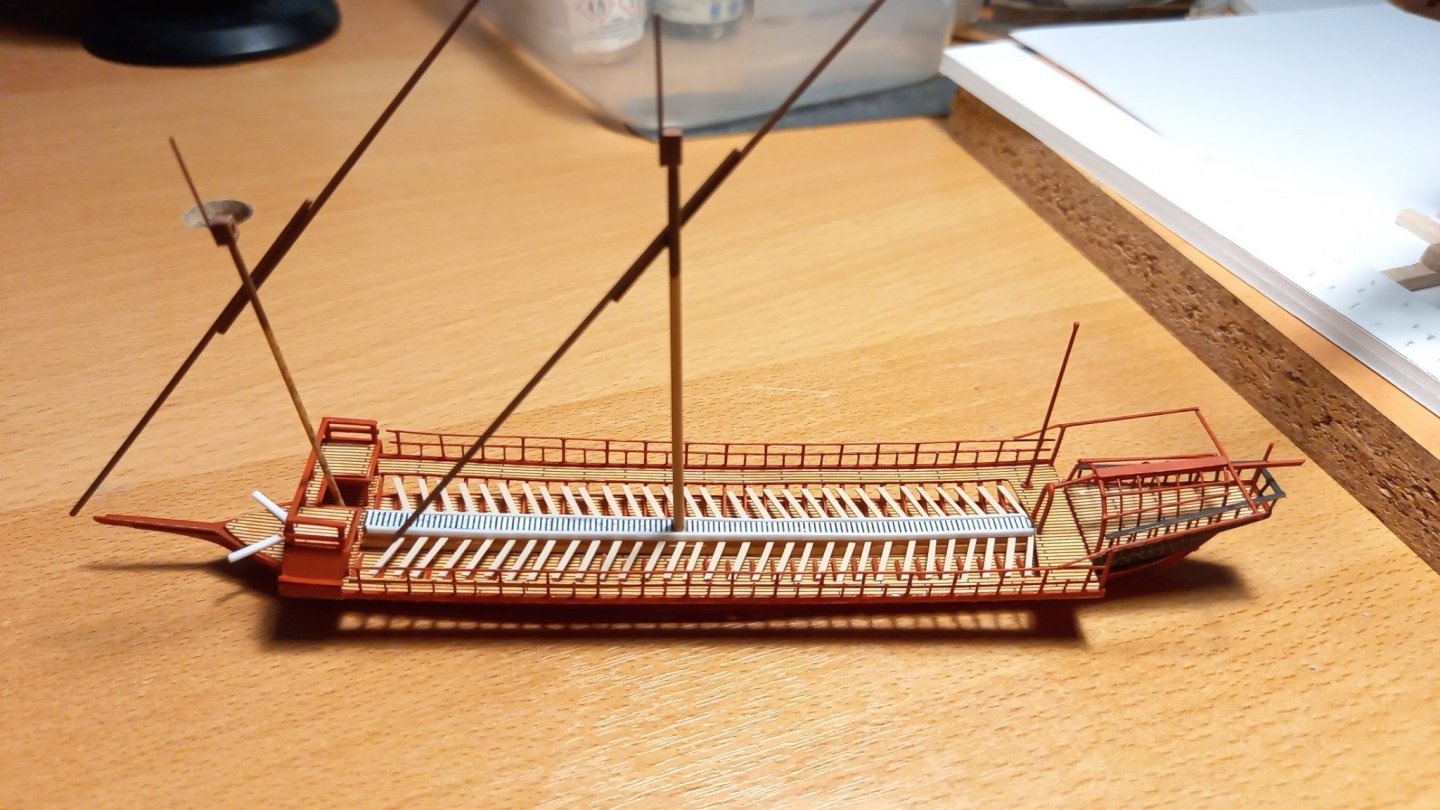
I was not happy with the central gangway and remade it. The bow superstructure was also finished here, as well as the stern deck and awning supports. The masts are now properly done. Unfortunately I took few photos from this stage to the finish...
-
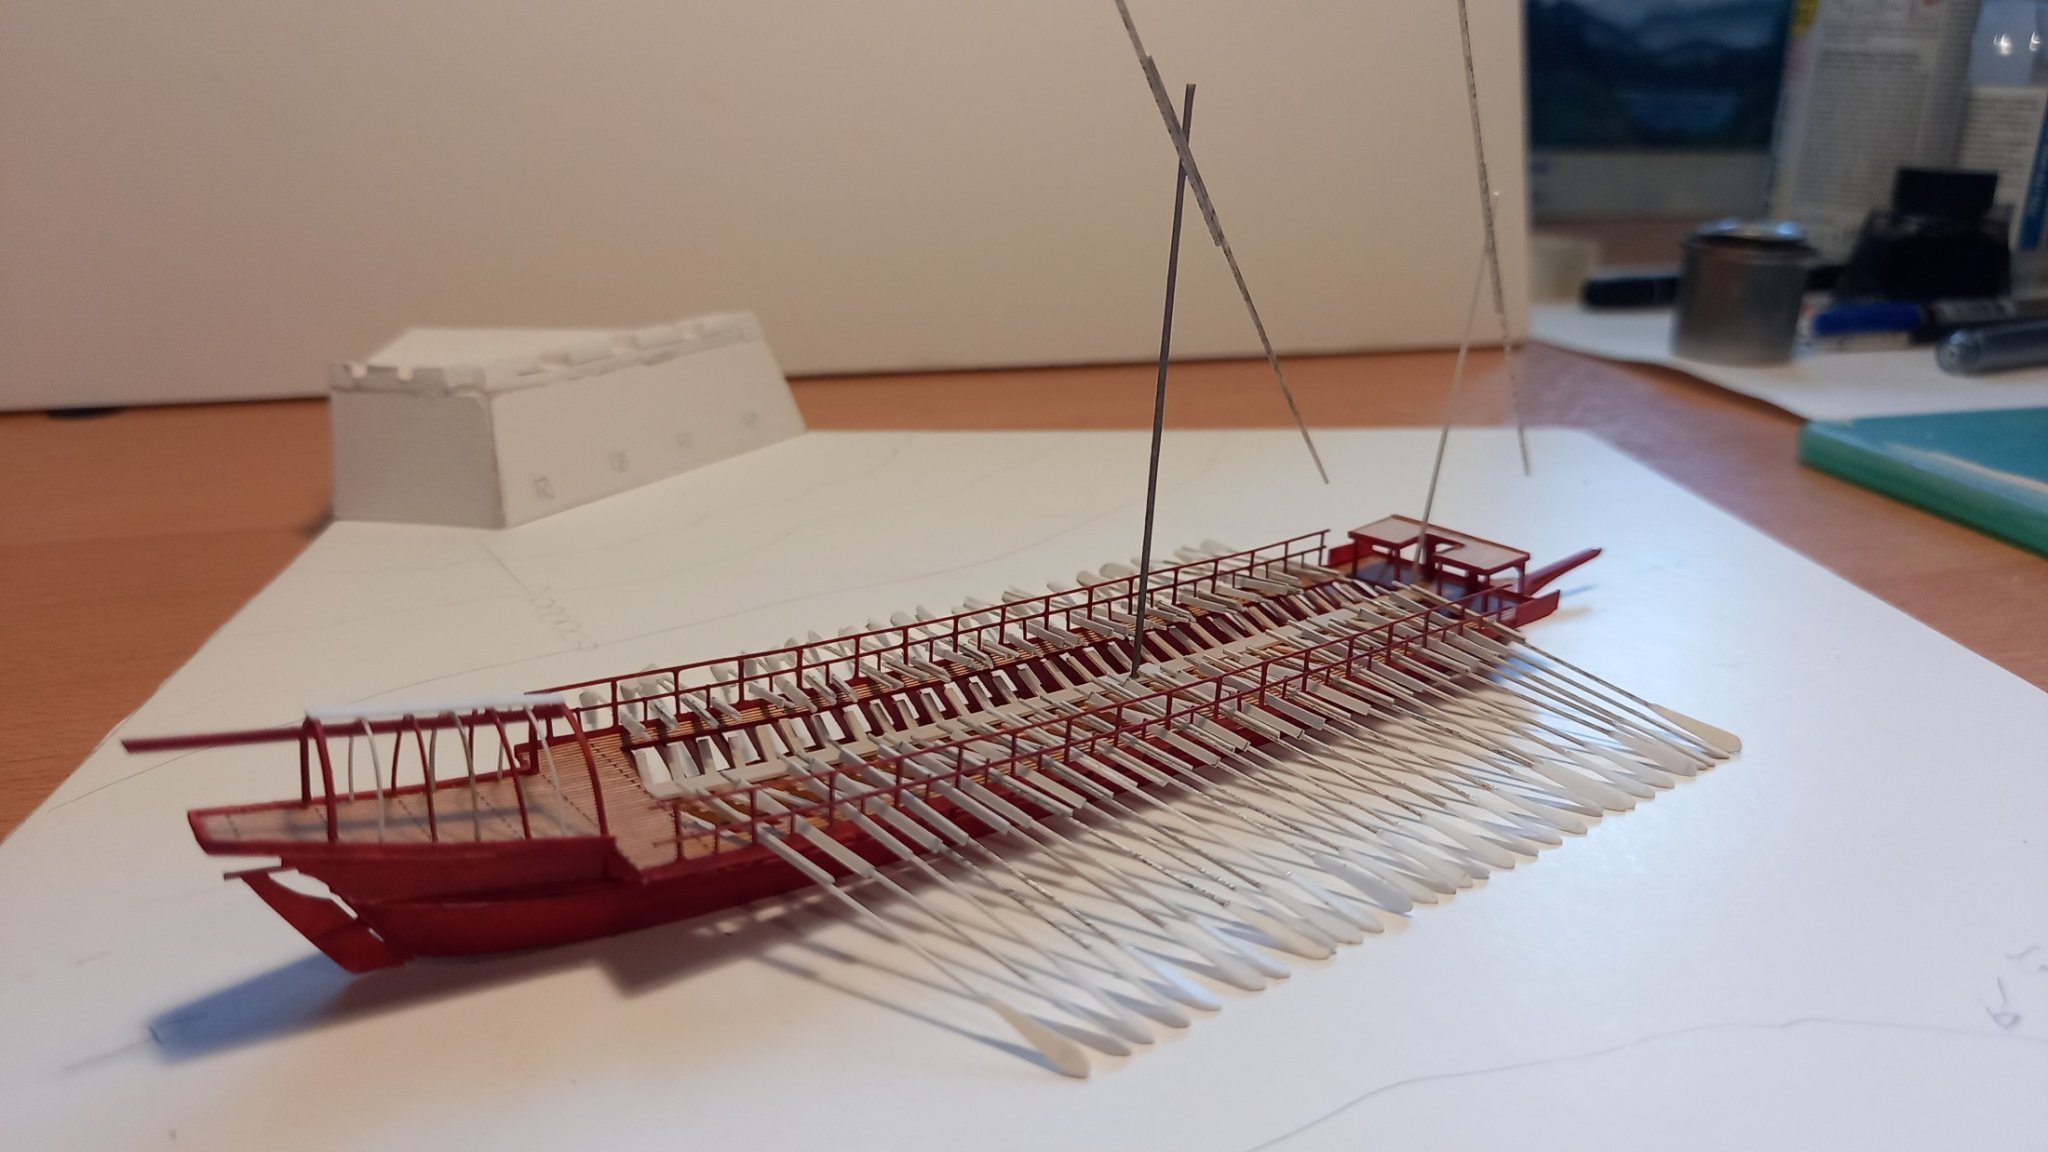
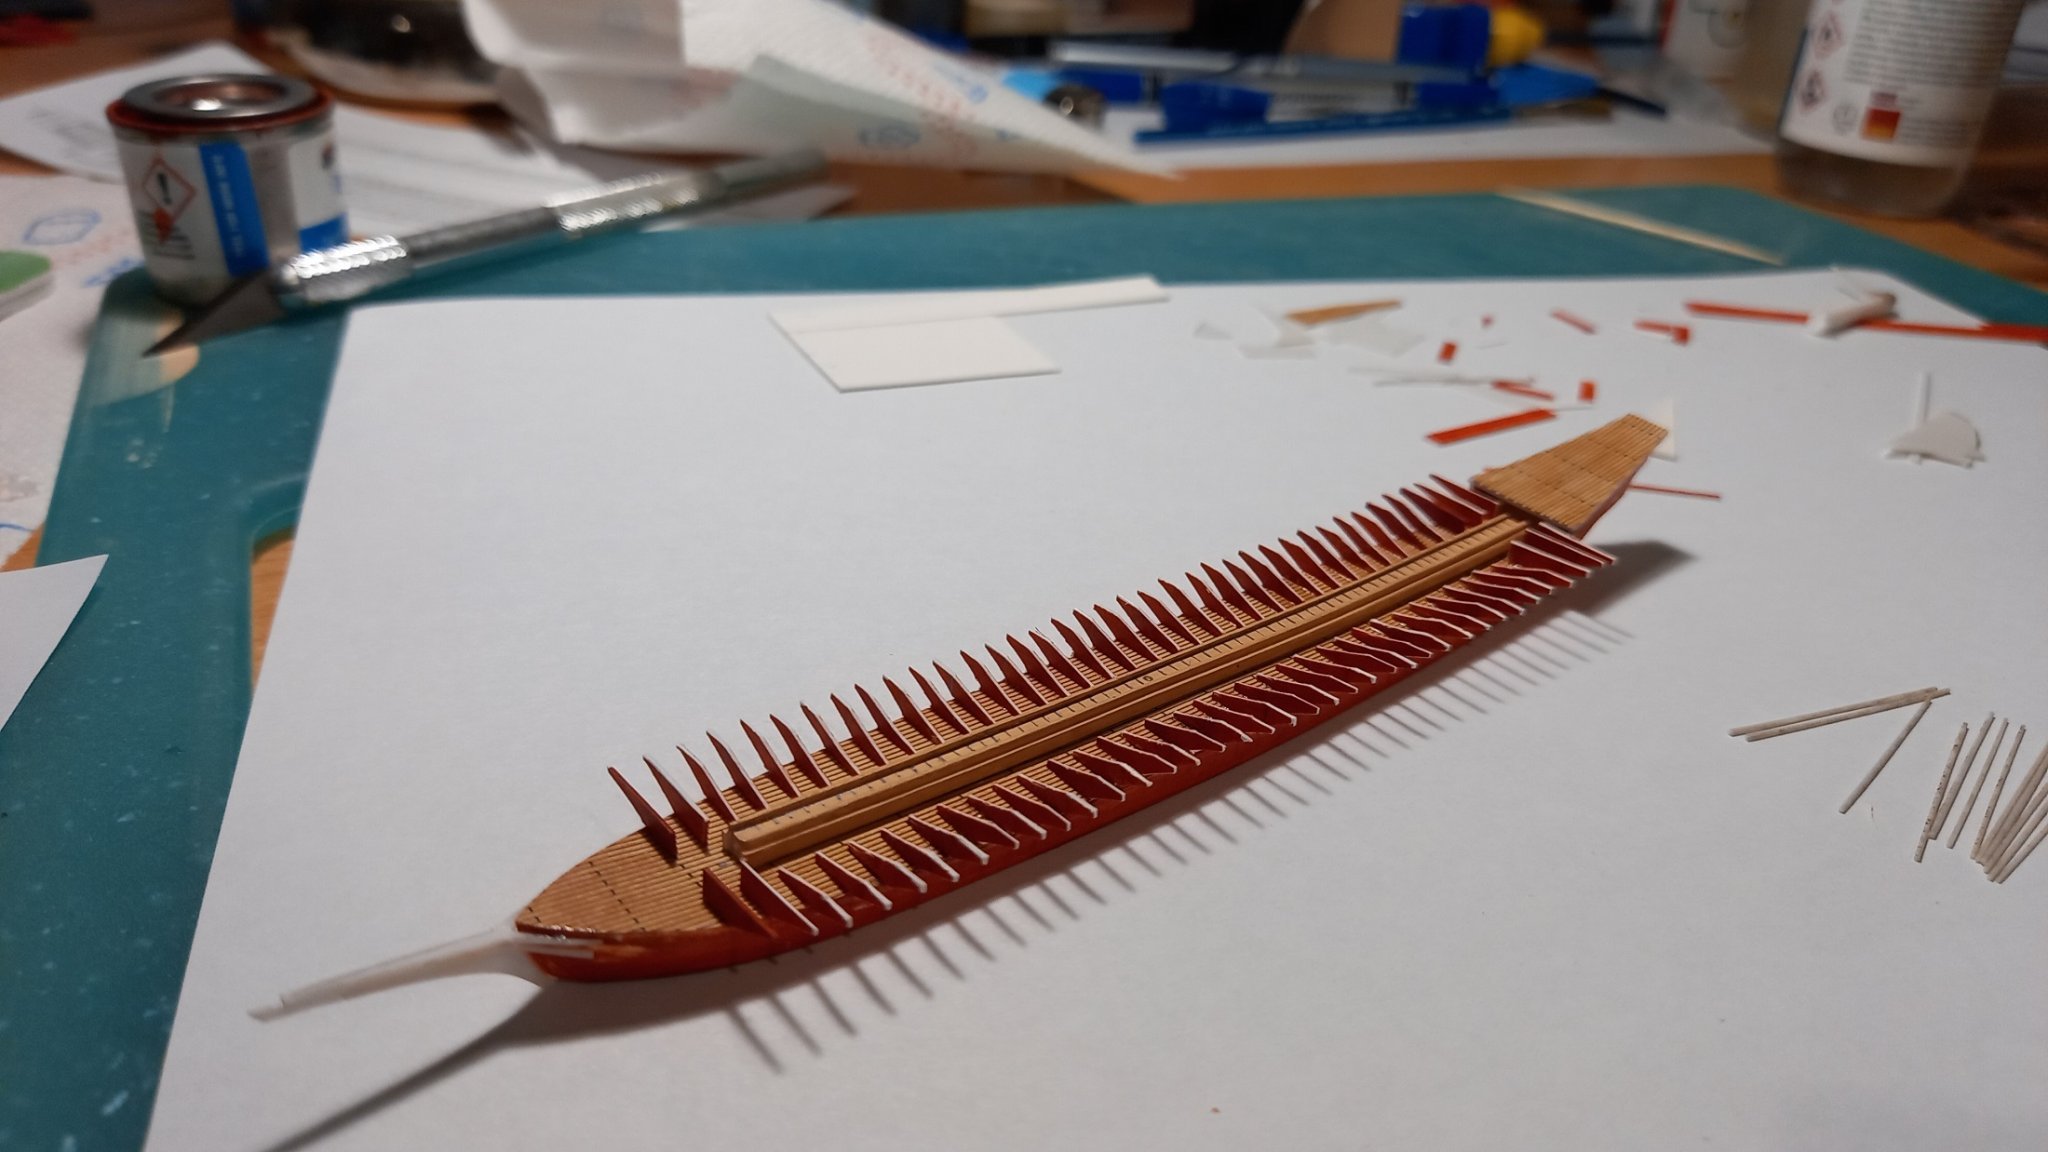
Making 60 oars in 1/350 was not a pleasant process that is for sure. Here is with some test-masts that were later replaced with proper ones.

-
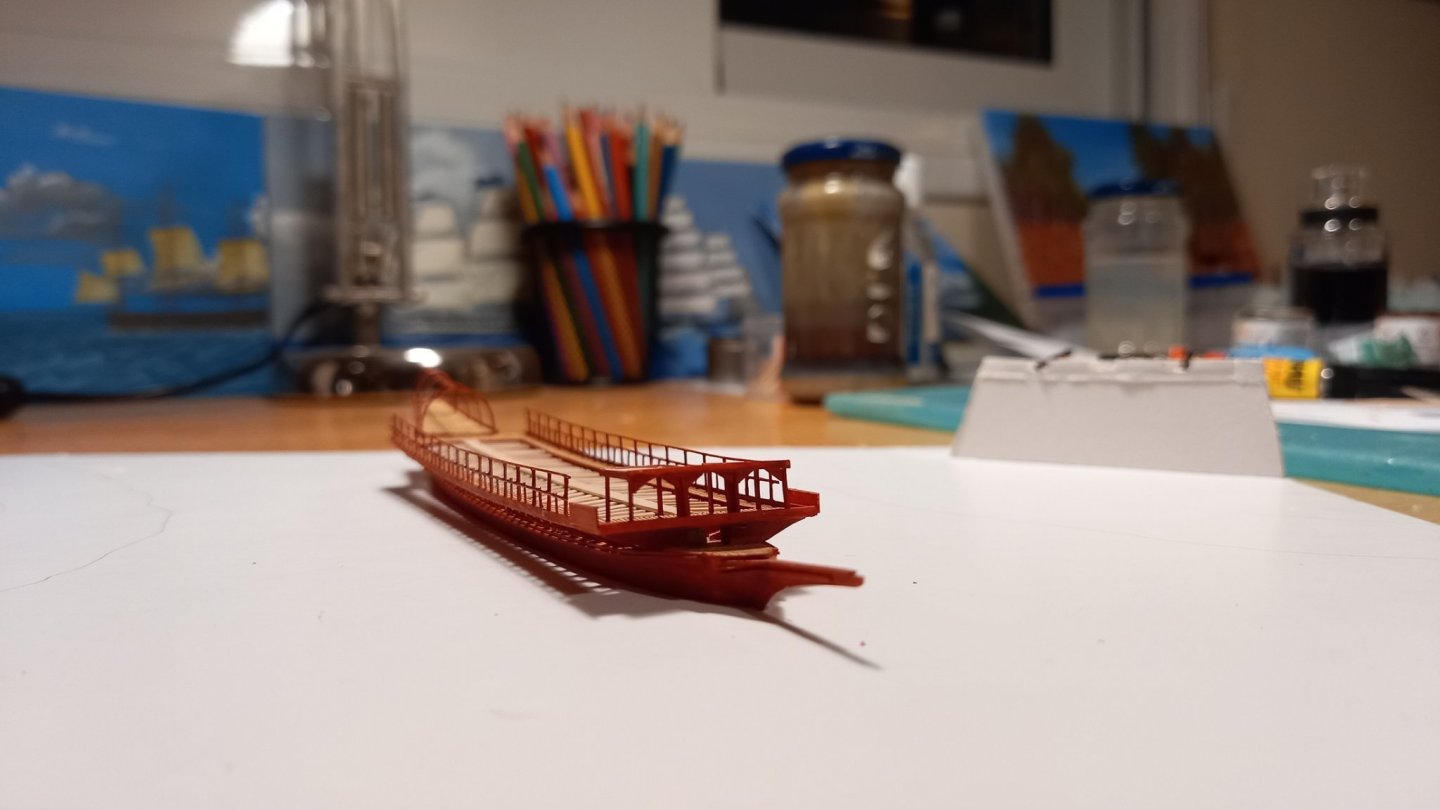
Here she sits in the base with the fort partially built behind her, this plan, as I said, was revised...


-
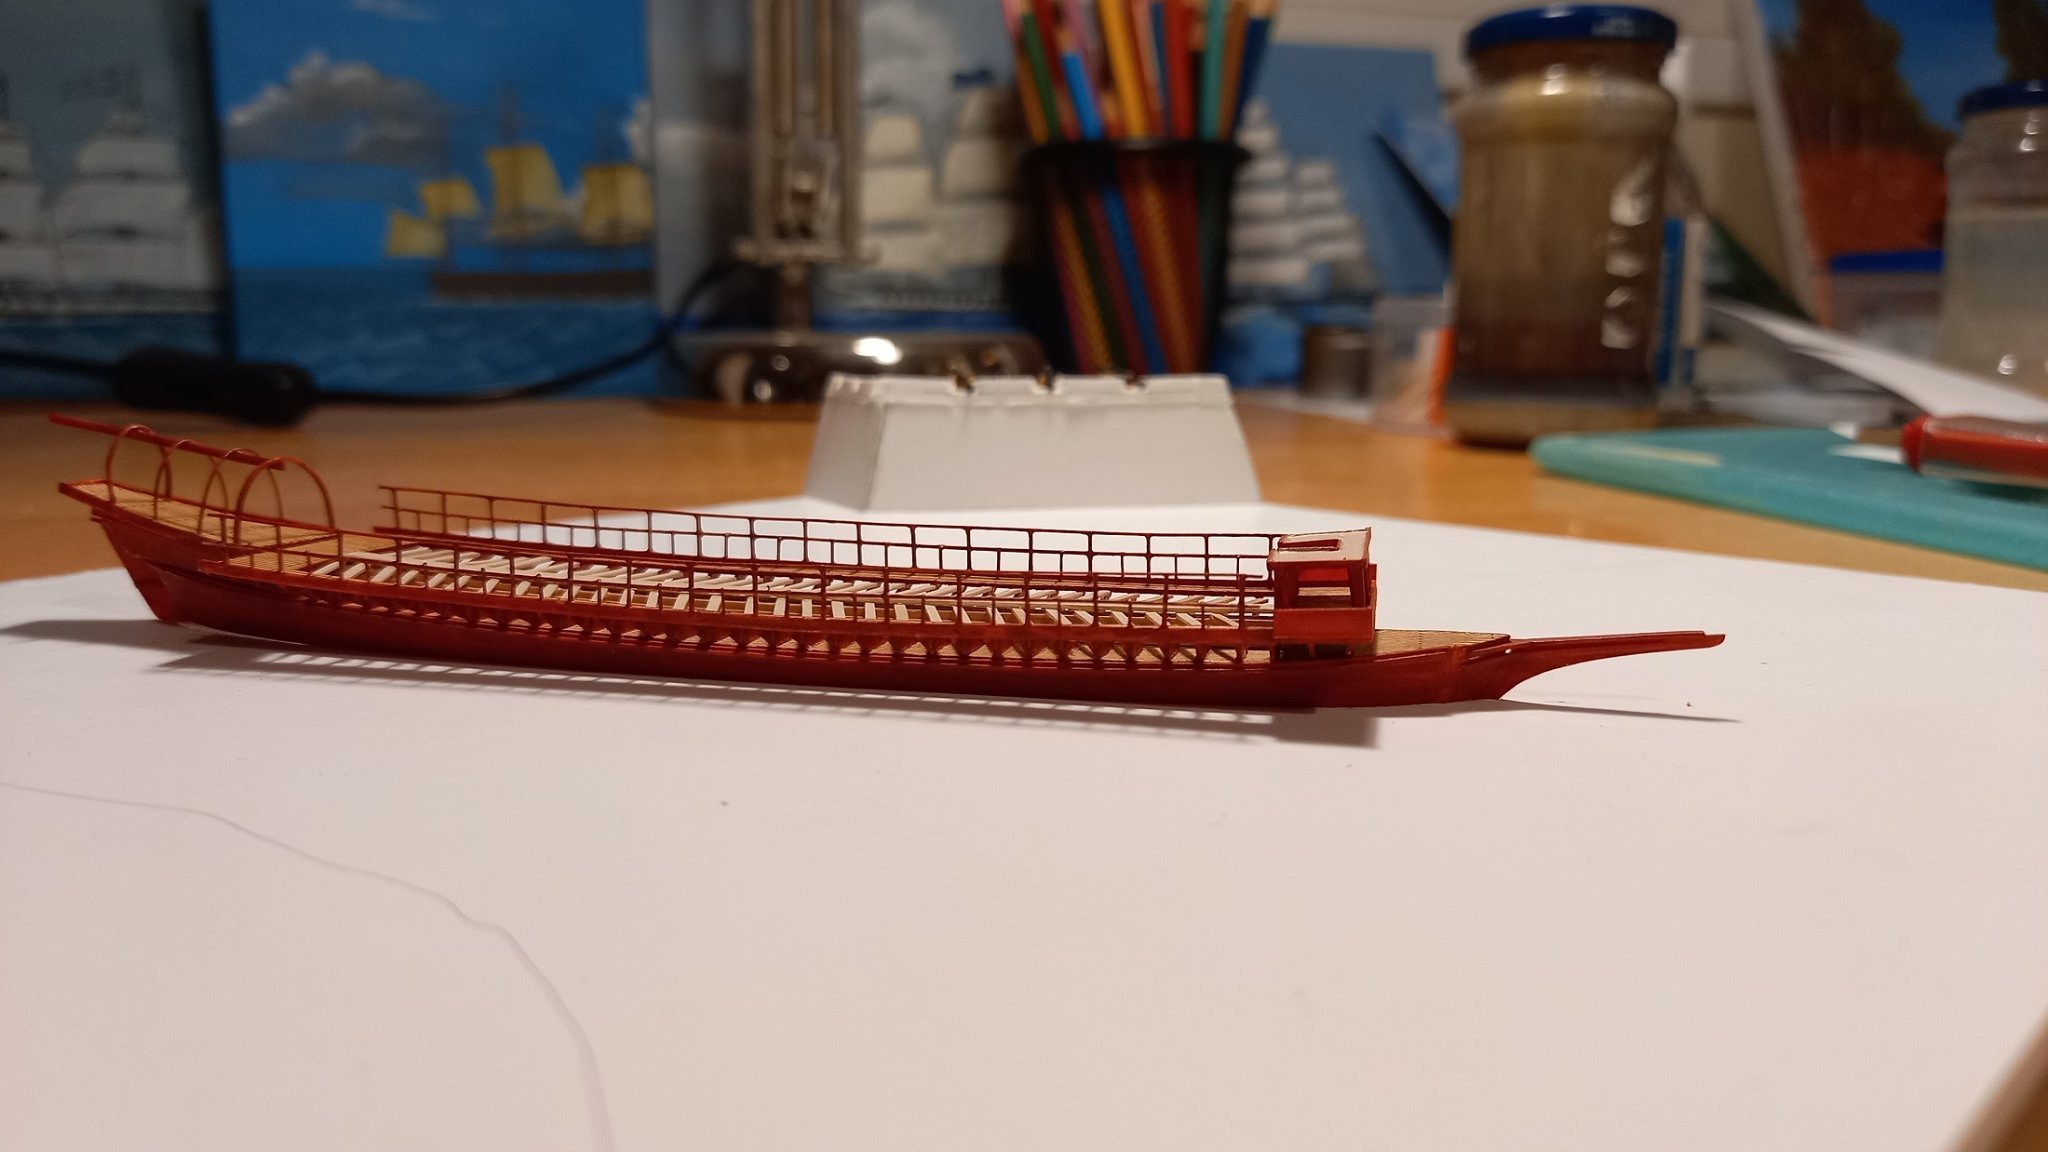
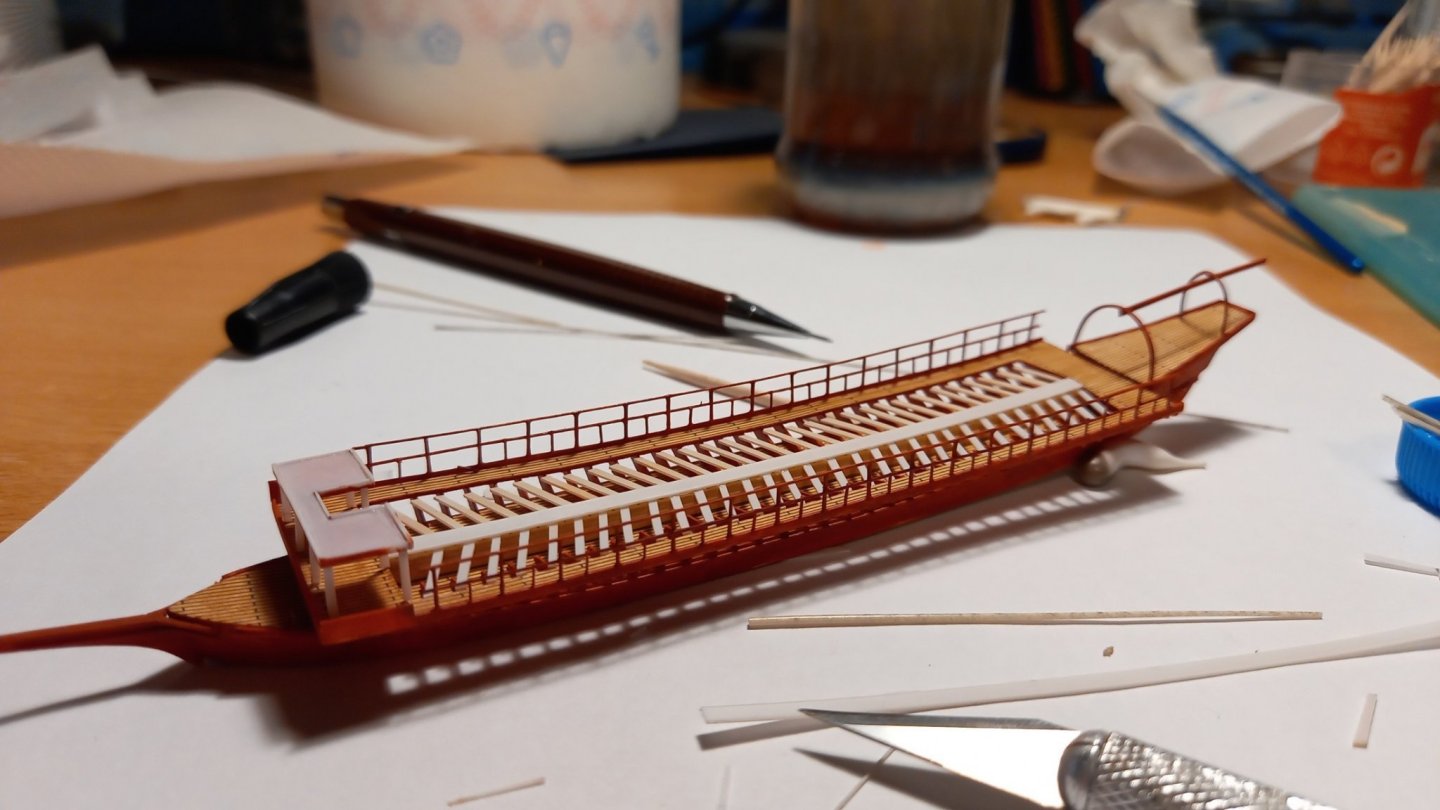
The progress here jumps, I used melted spuce and strips of plastic to make the benches for the oarsmen and the rest of the superstructure.
-
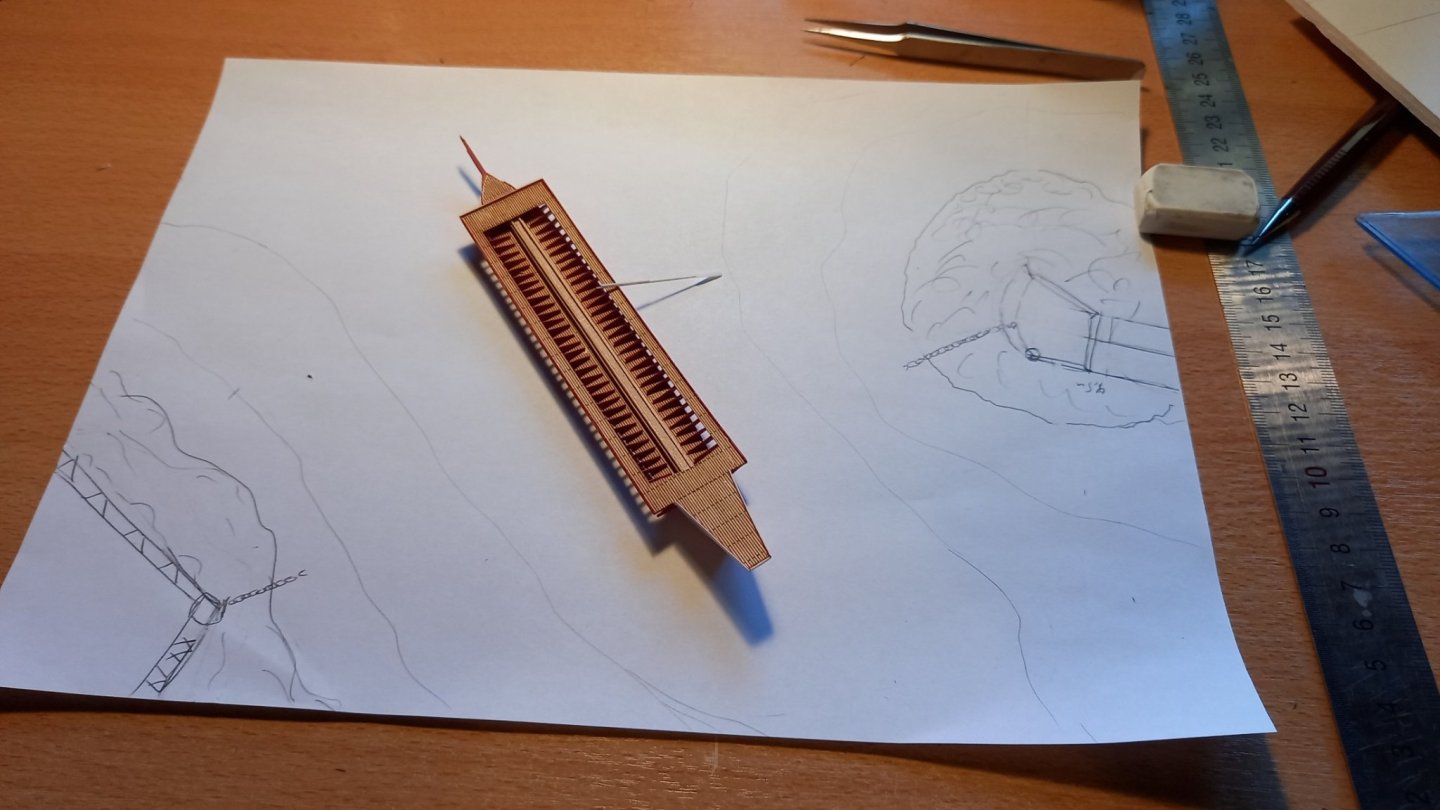
Here was the original plan for the base. It is still possible to do it, but for now I use a simpler version. It would have the fort to one side, the lighthouse on the other, and a chain, lowered, for the galley to pass.
-
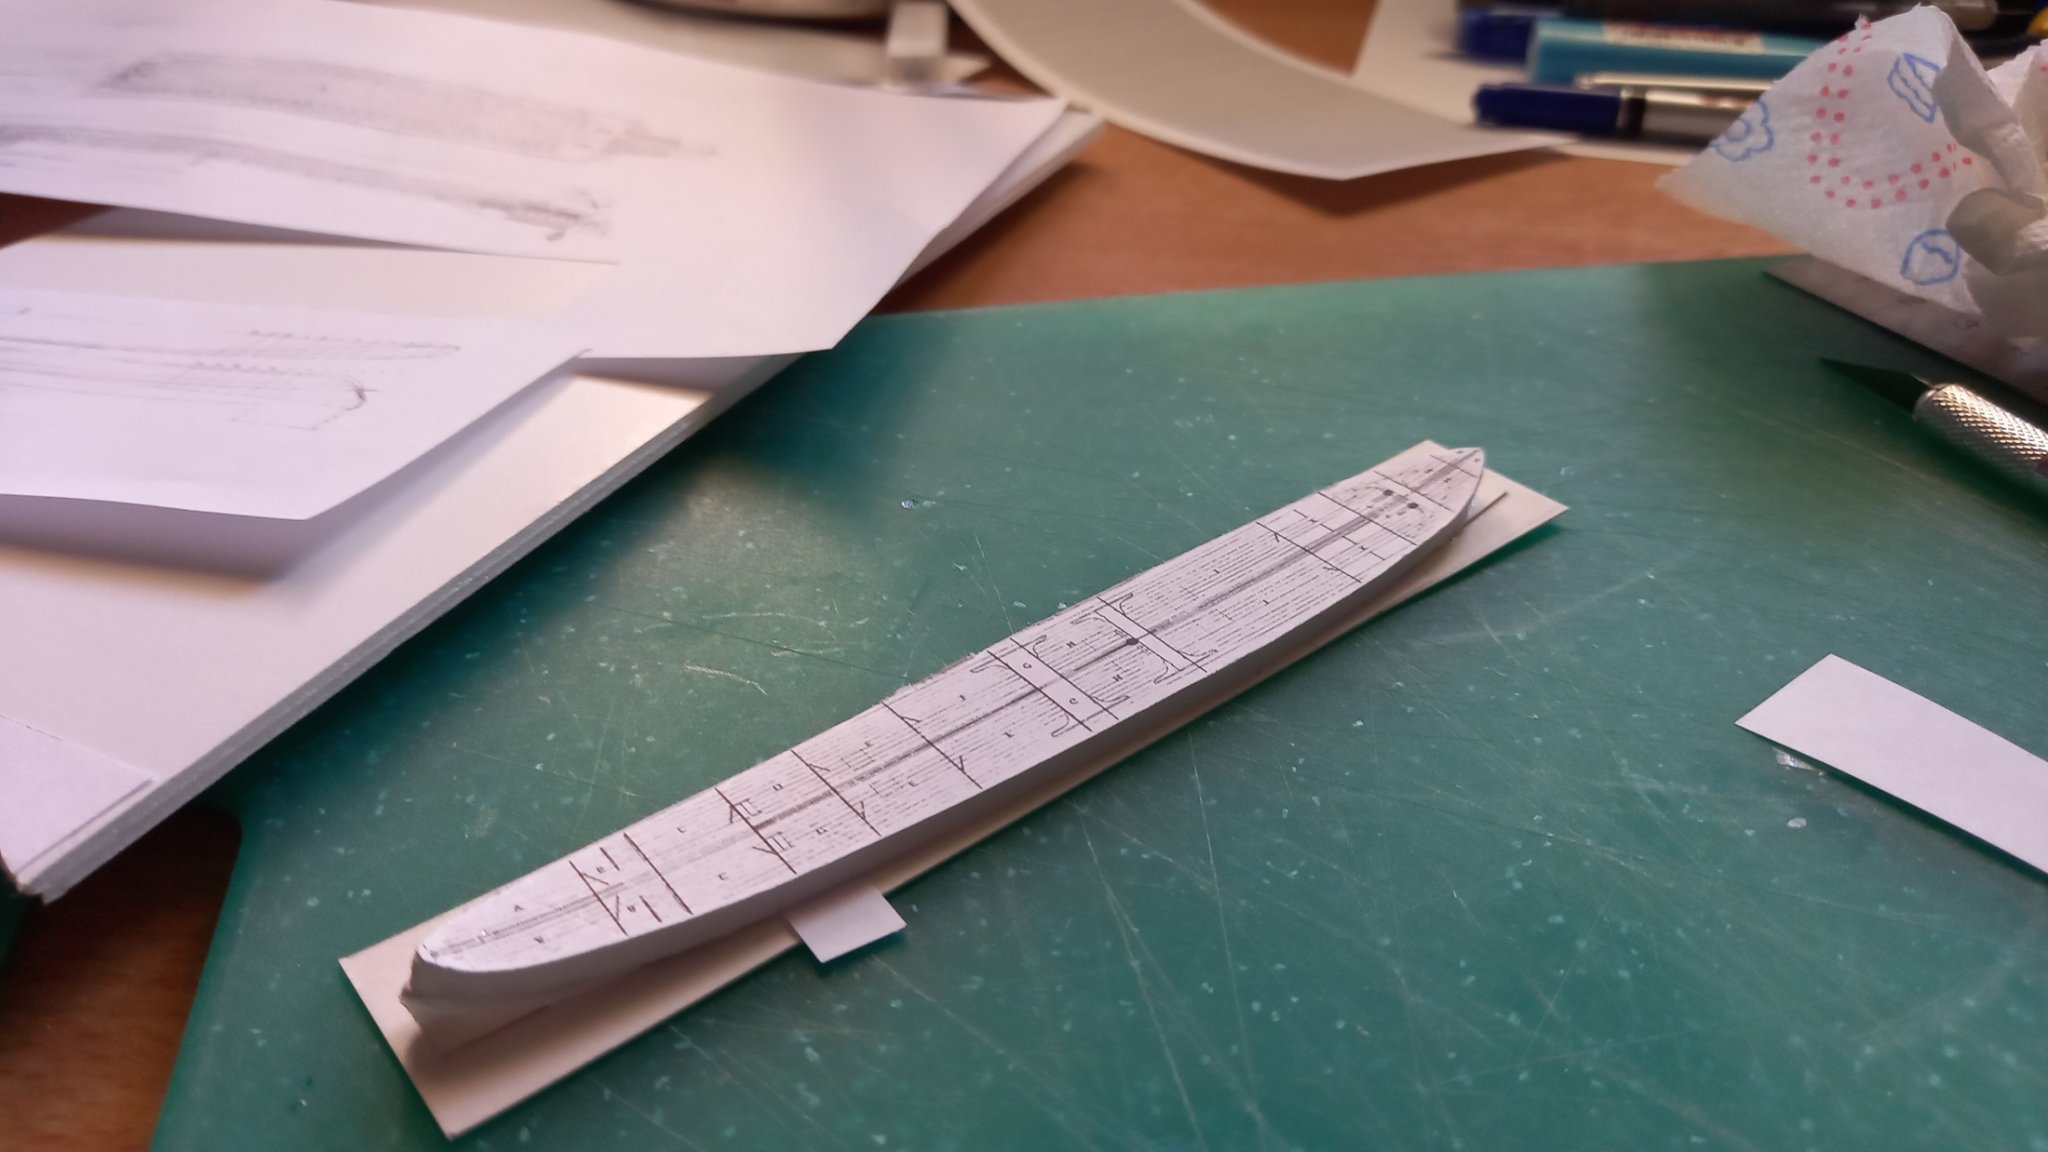
Here is how the deck initially looked, although I made it again a bit later to correct the warping. I guess the photos of the built are limited...
-
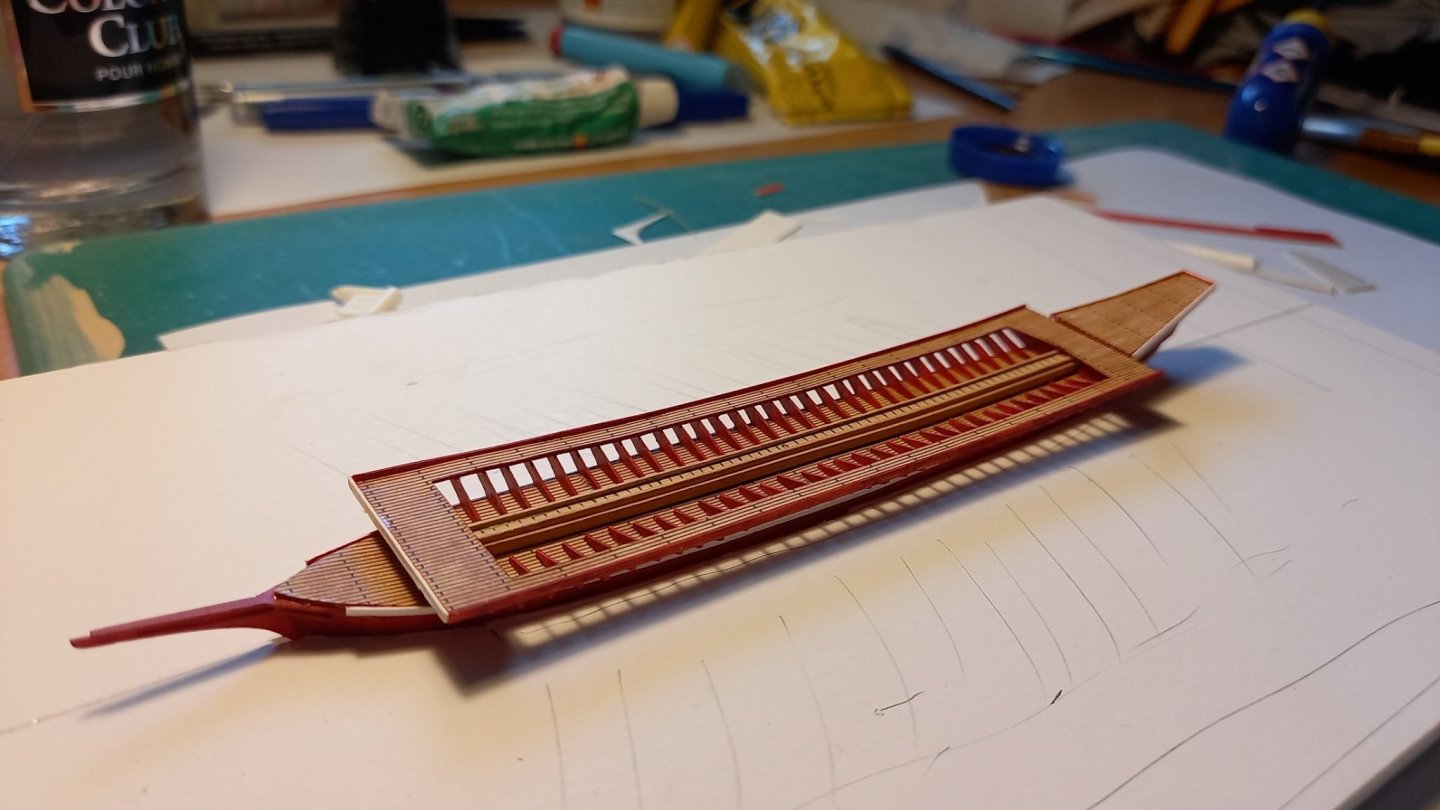
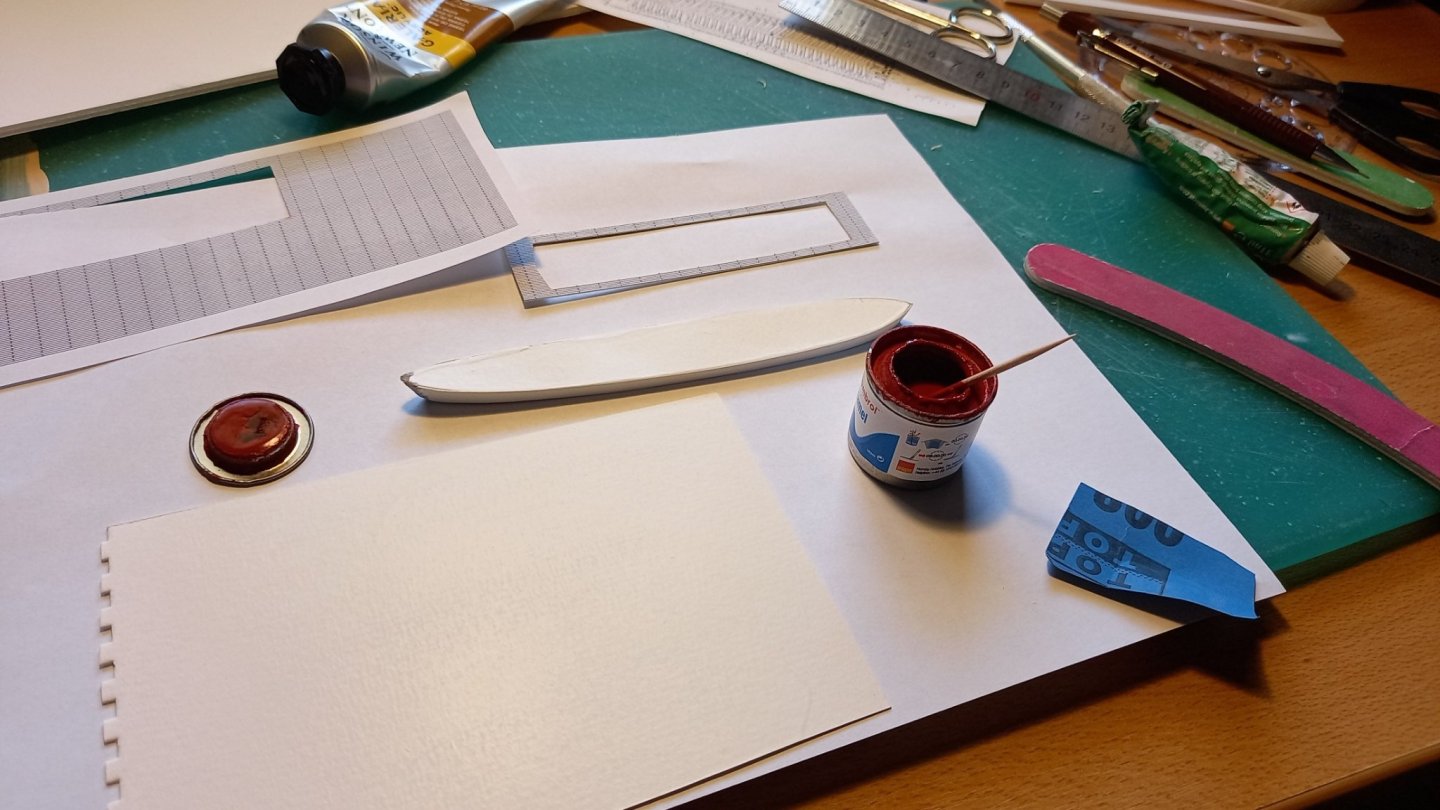
The lower hull was easy enough, considering it is only a waterline model, and the galley has very little freeboard. It will be recessed into the base, and so only 2-3 milimiters of freeboard for the model. As for the materials, it is made mostly with card and thin plastic strips. I used my usual method for decking, drew planks in the PC, printed them in A4 black and white, and painted them. First with acrylics then with a coat of matte enamel.


-
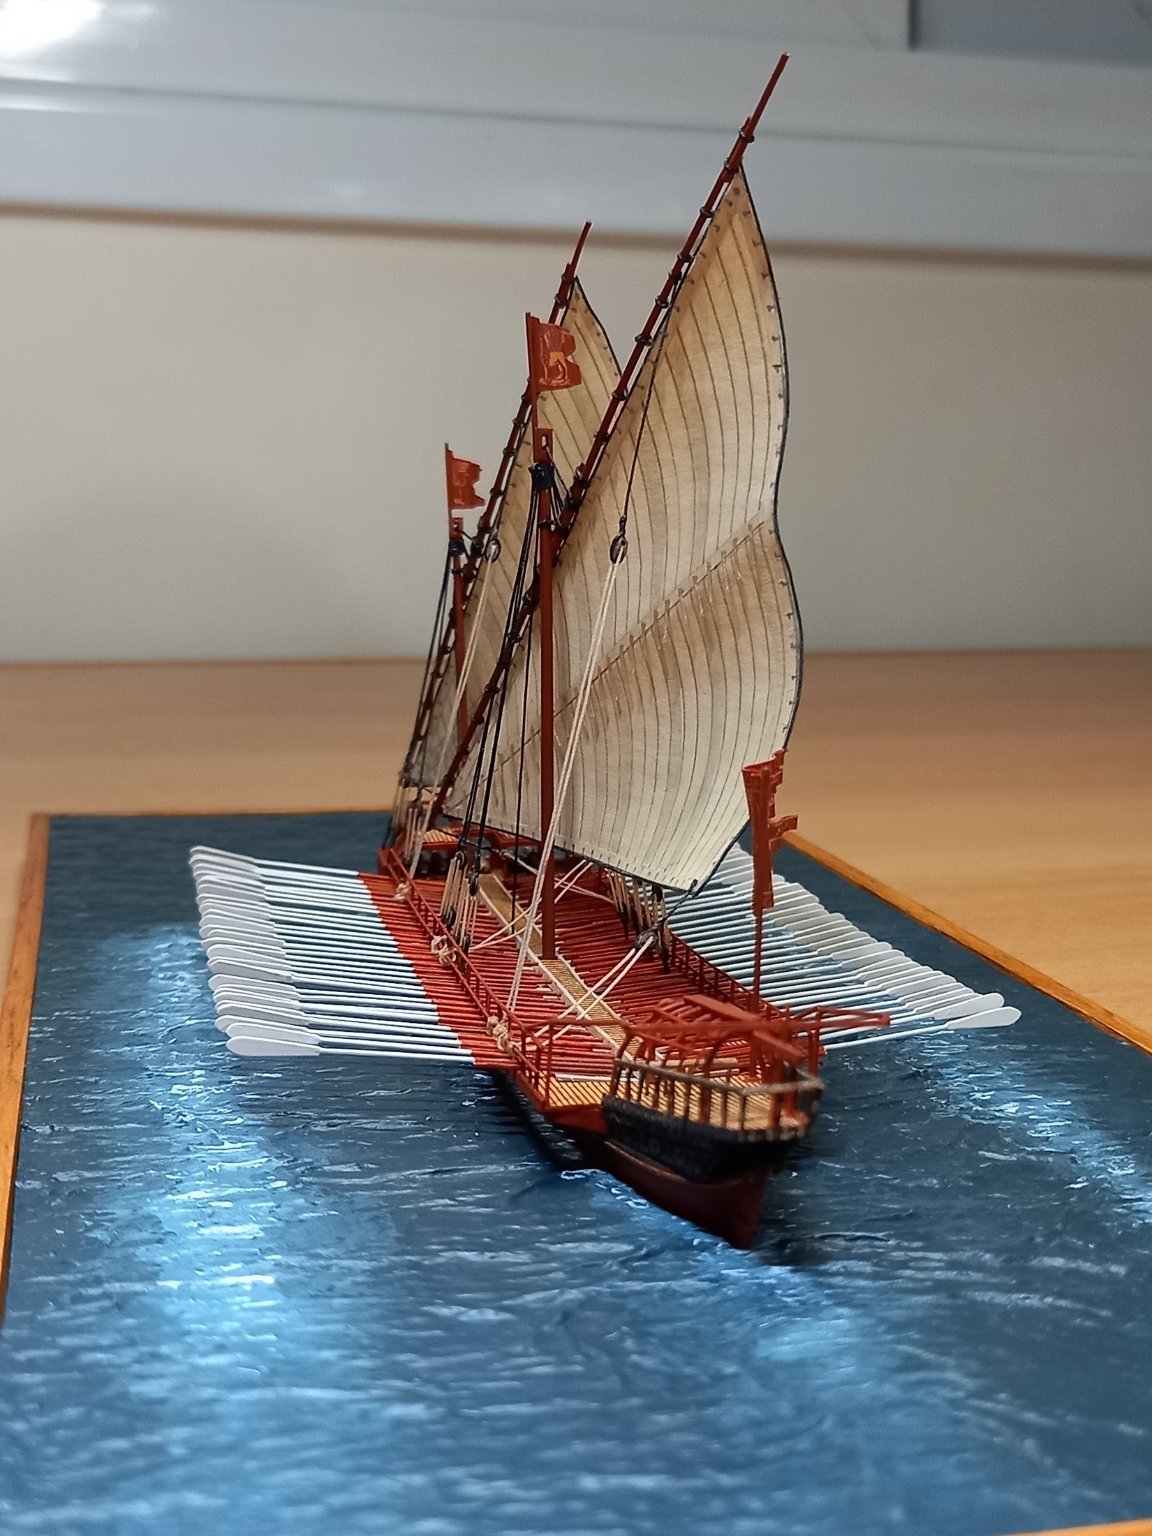
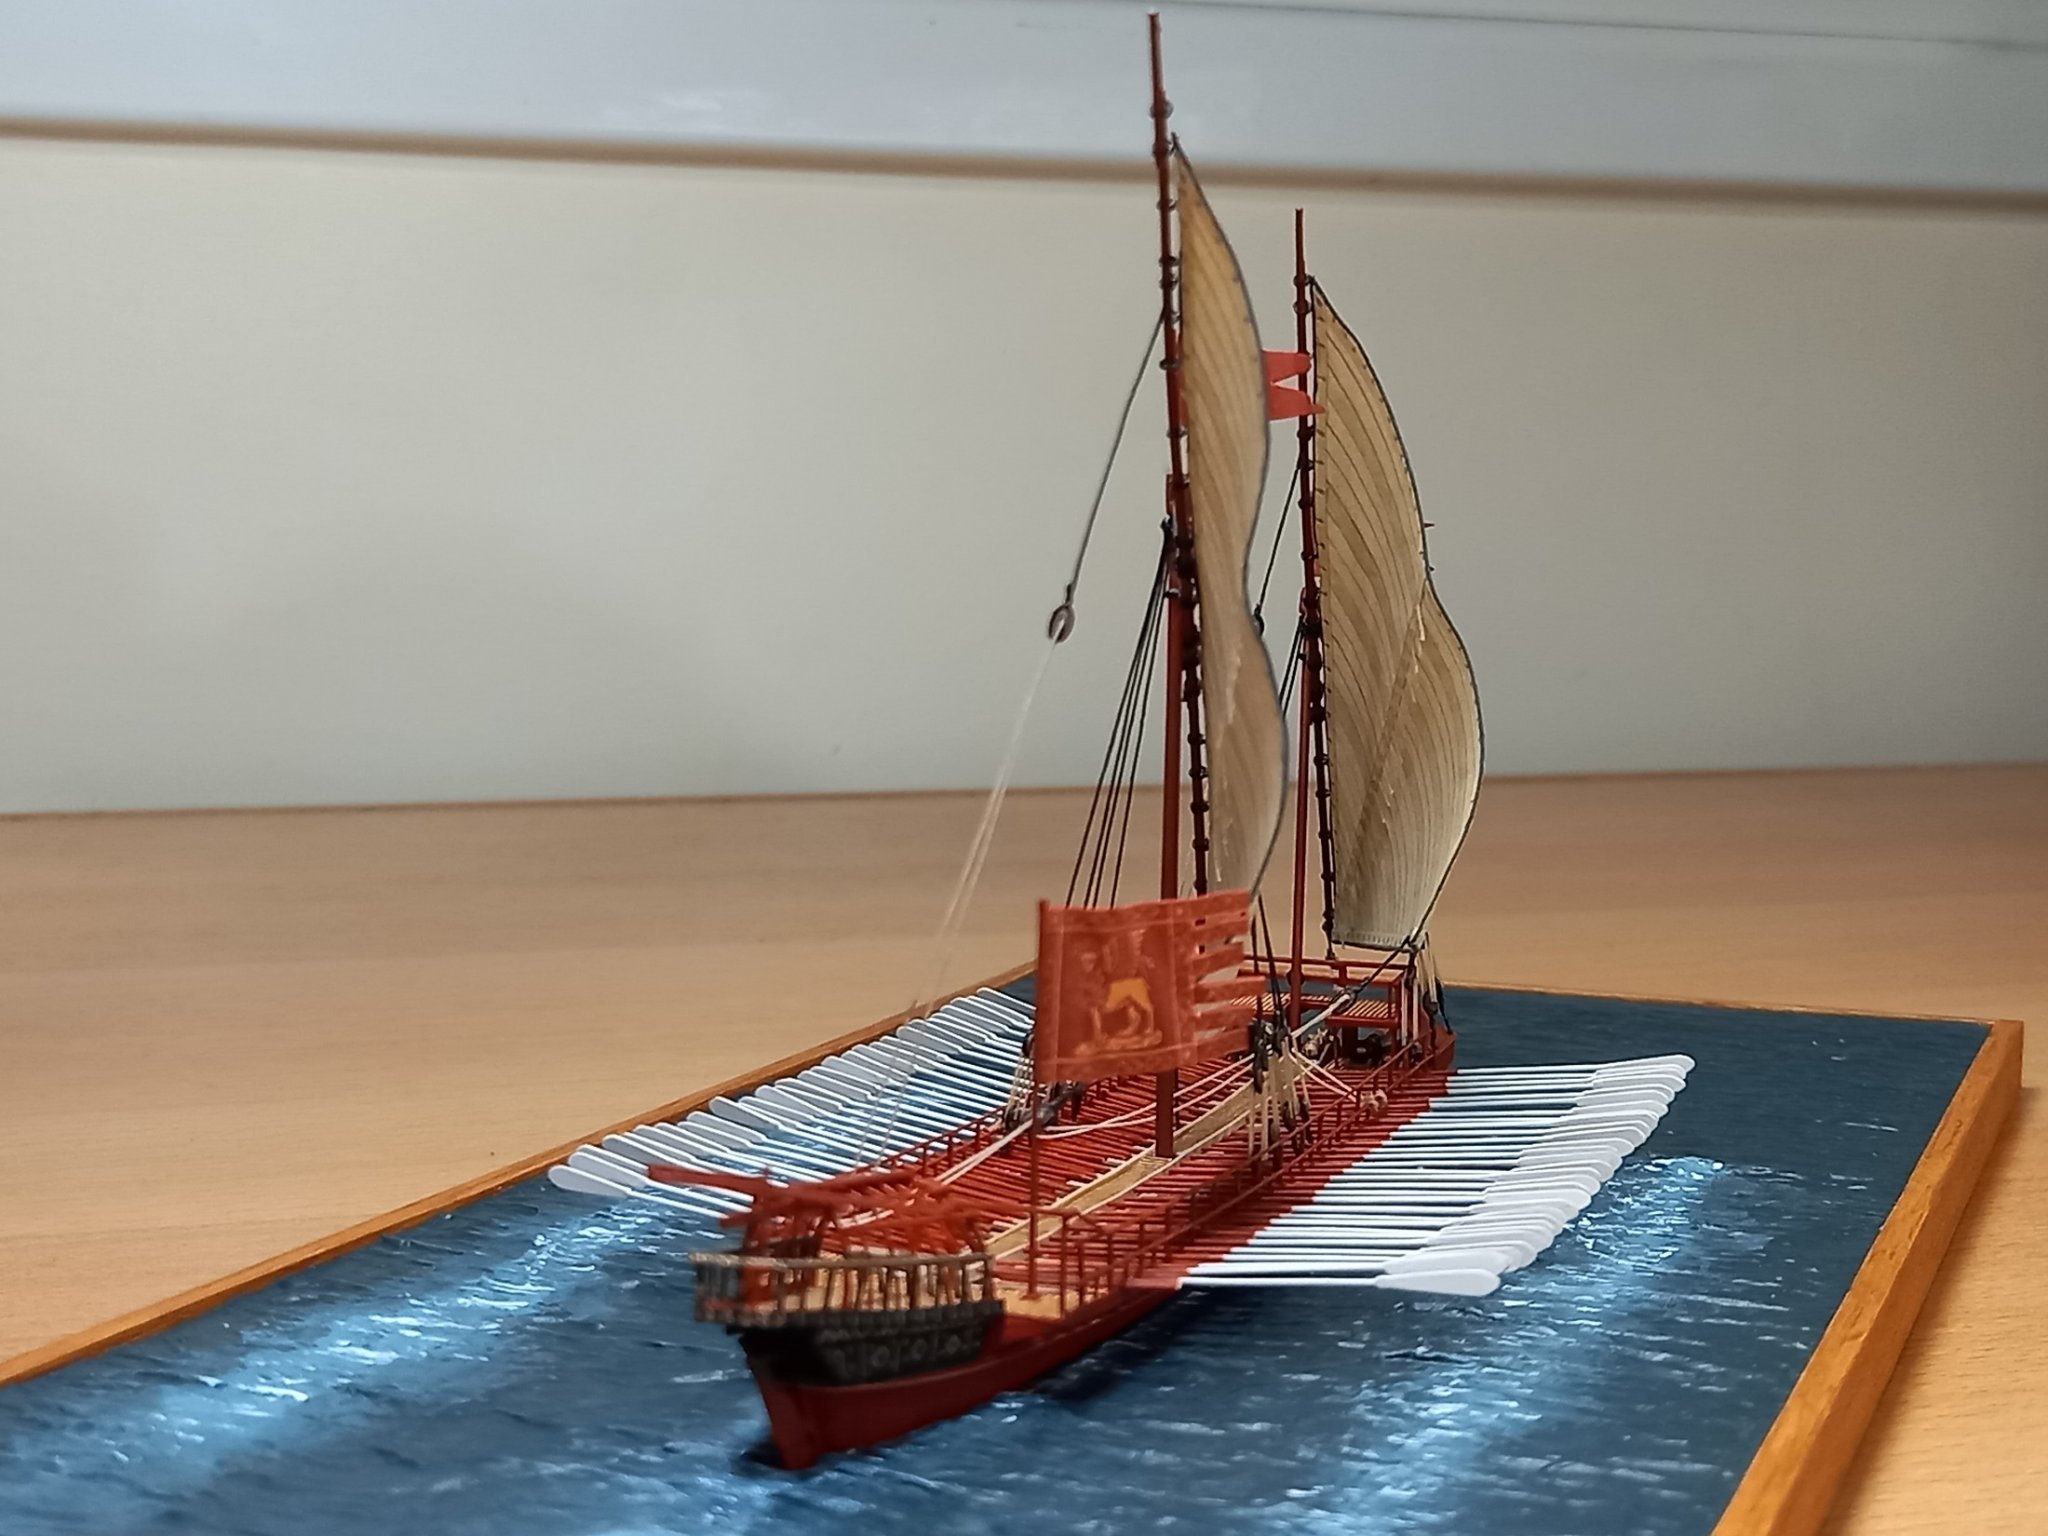
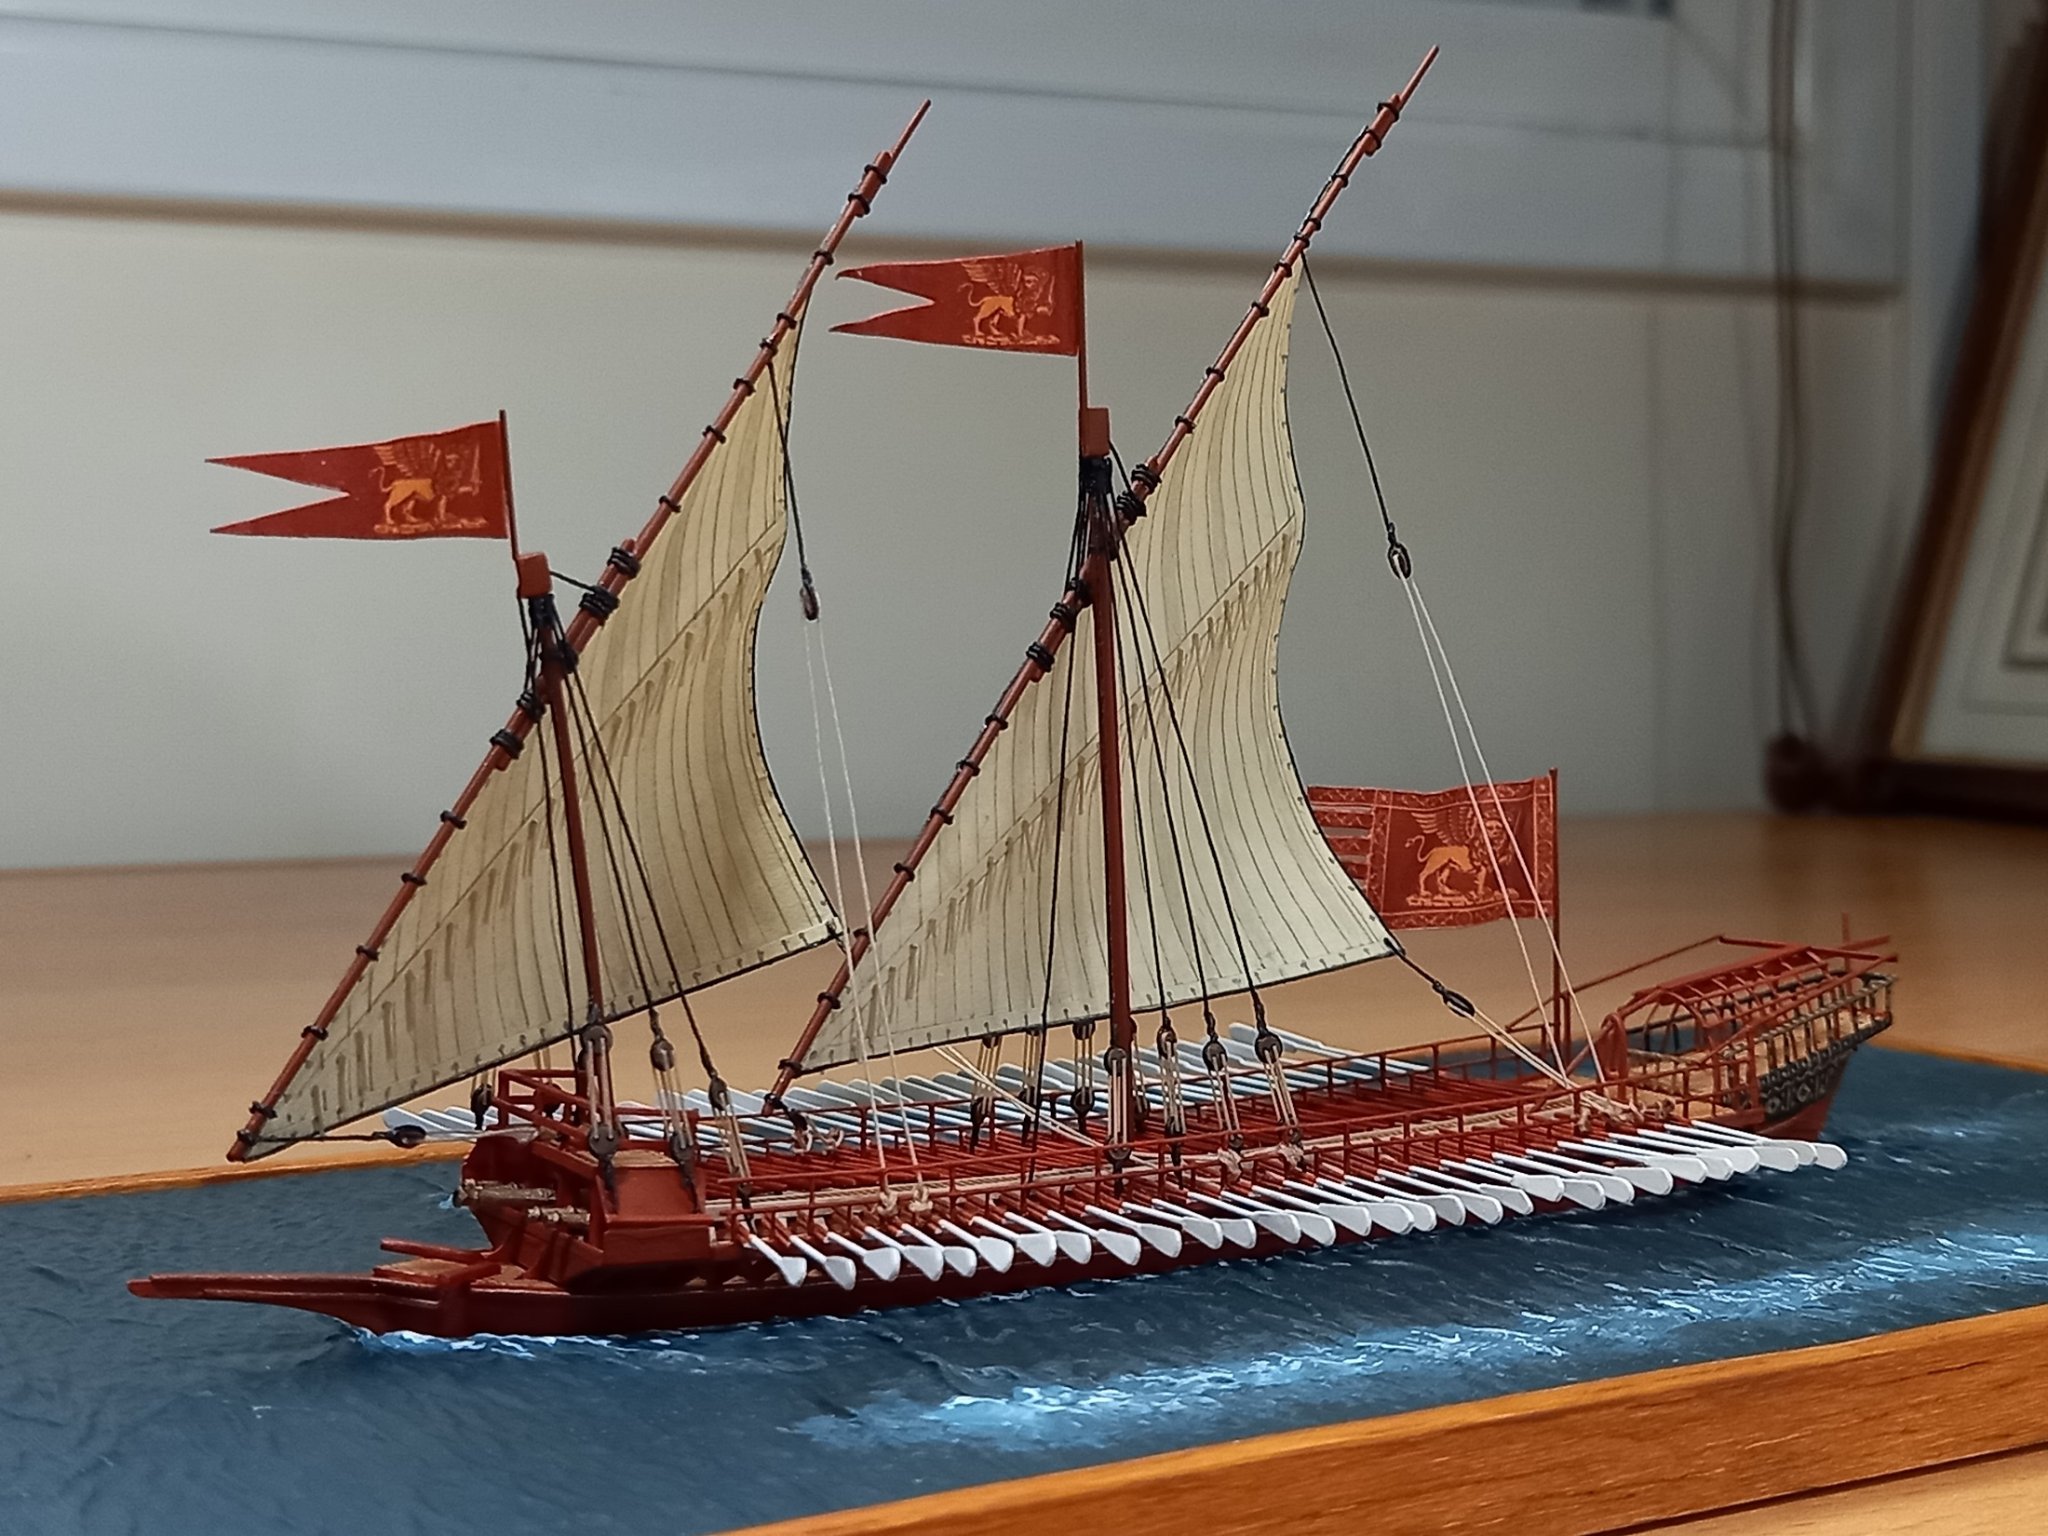
Evening! So I decided another small built is in order. I wanted to be thematic to the history of my hometown. The plan was of a diorama of a venetian galley exiting the port of Chania, circa 1640. 1/700 was very small, so I went for around 1/350. I used the plans of "La Dracene 1675" although I mixed and matched other earlier plans I had, after all, the waterline hull at 1/350 left little room for specific details. In any case, the galley was of the heavy 2 masted version or "Capitana" Unfortunately I ommited photographing many steps of the built. Also, although the ship it self is basically finished, I revised my initial plan to have it exiting the port, and quickly built a simpler sea-base. So technically it is not finished yet, as the original plan is still feasible.

-
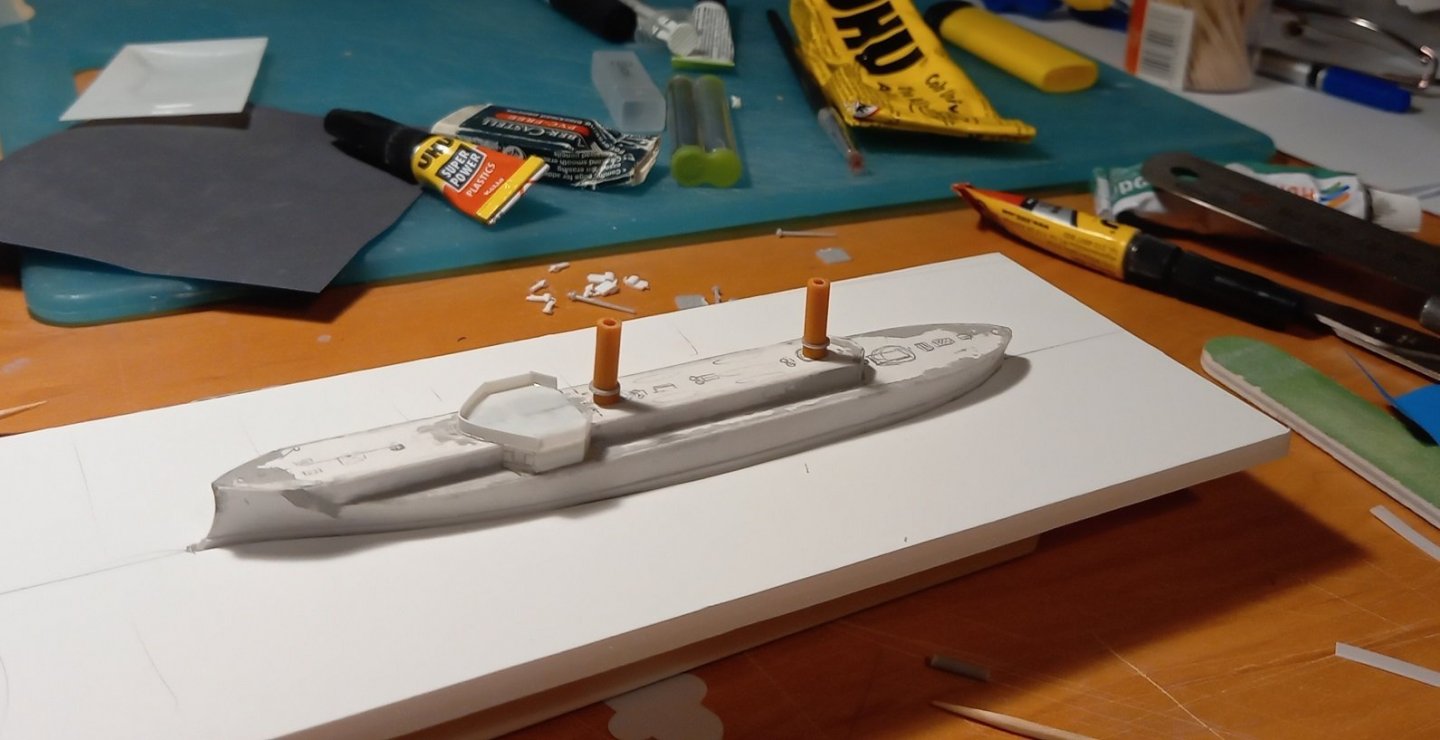
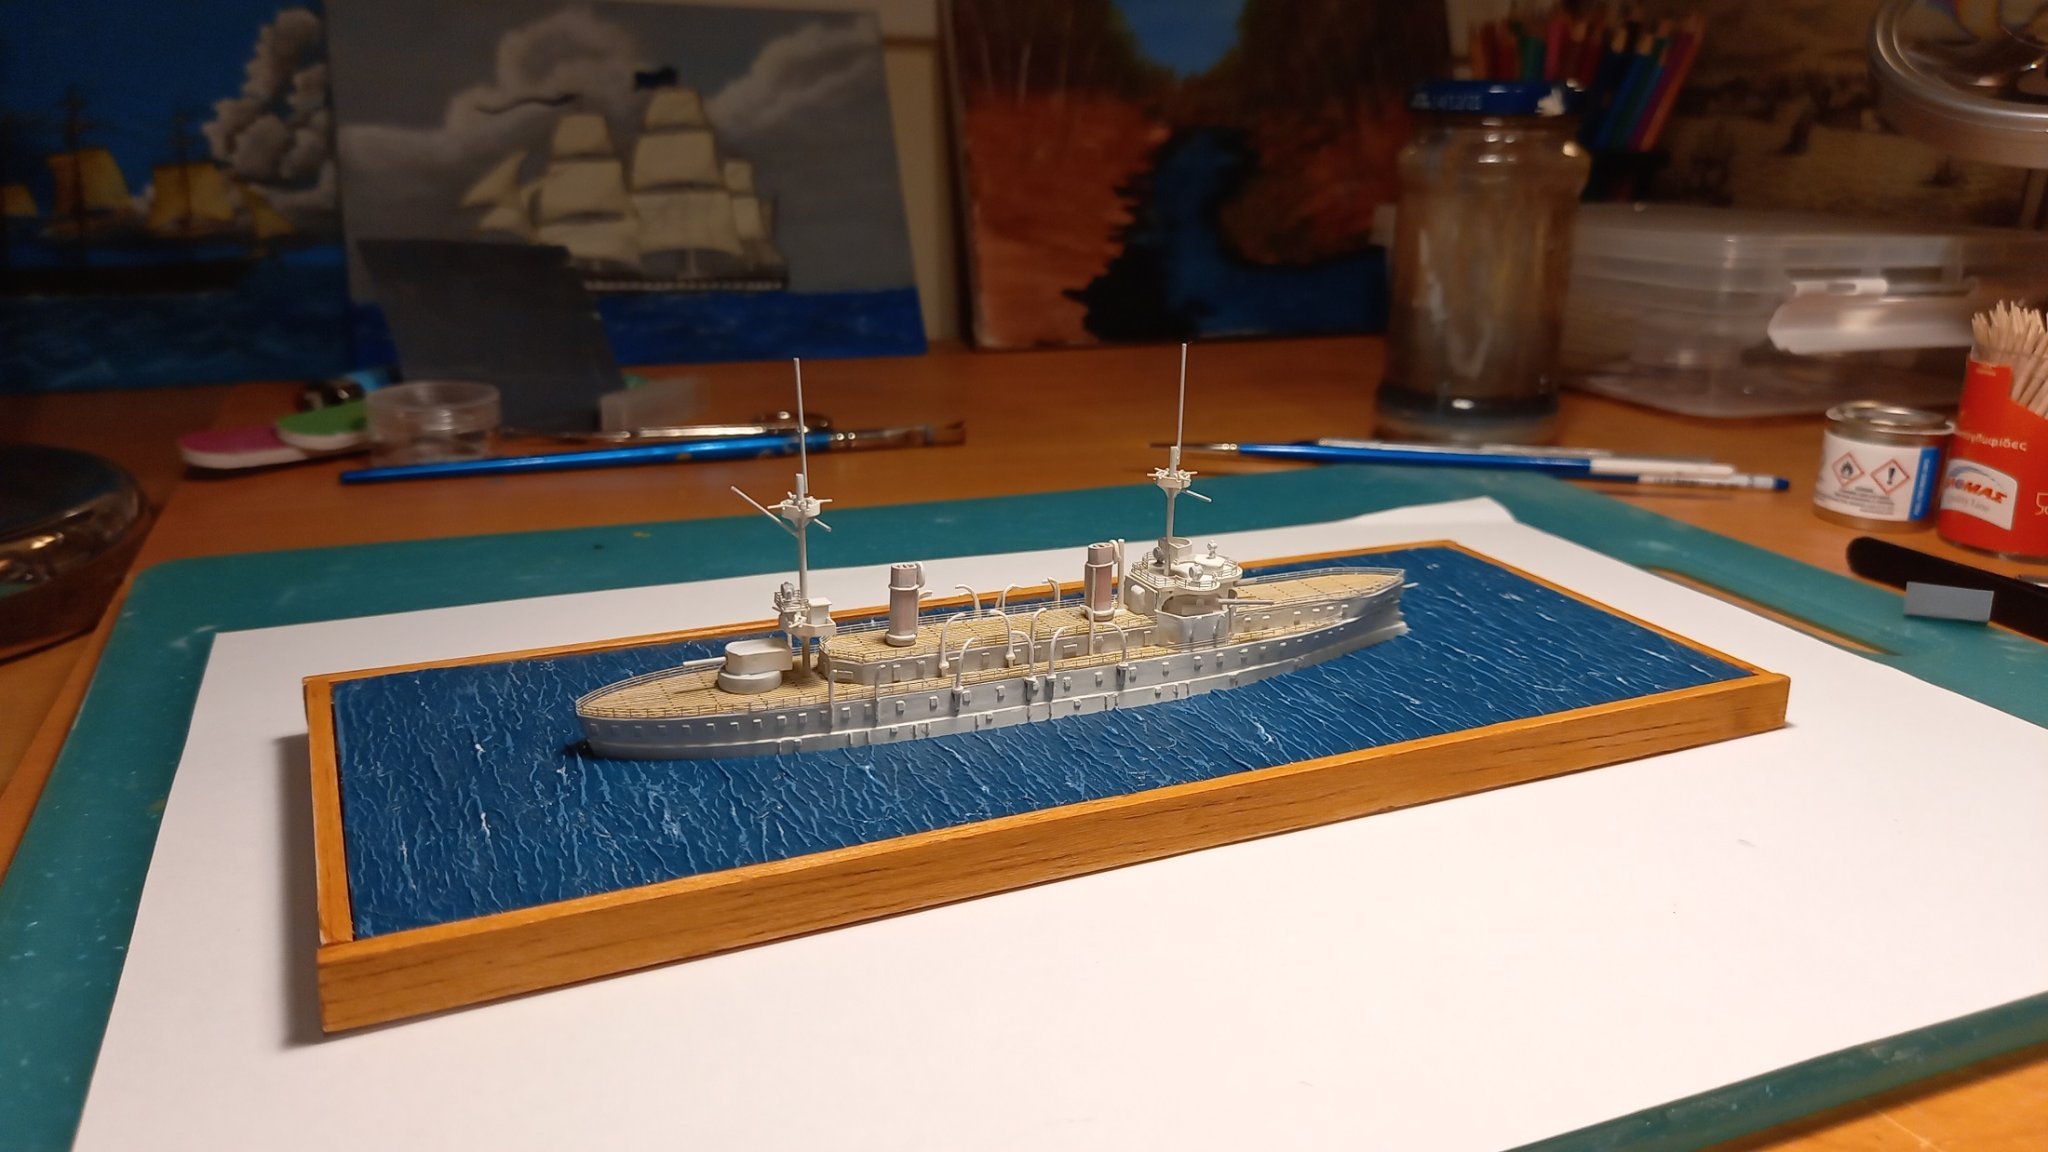
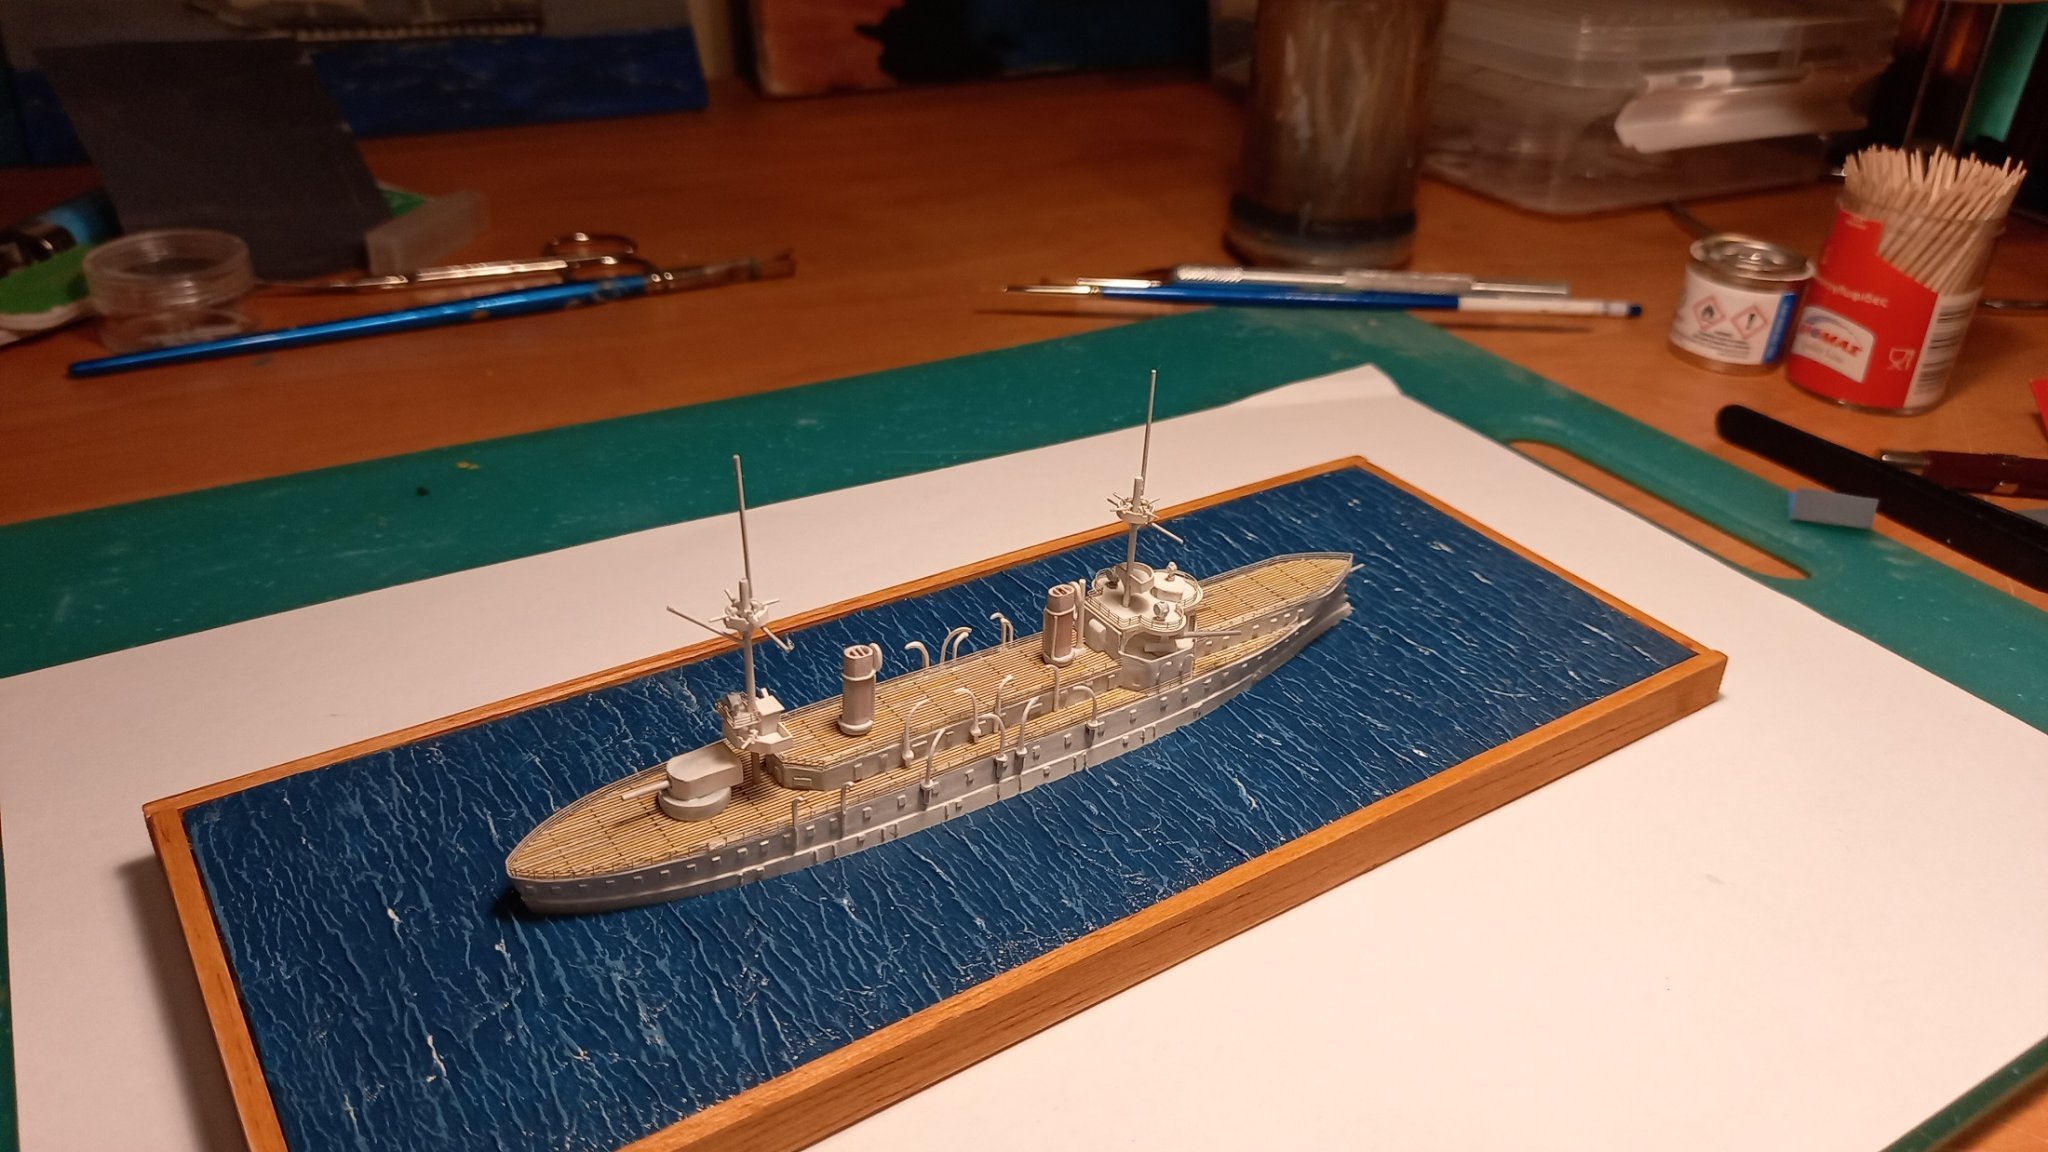
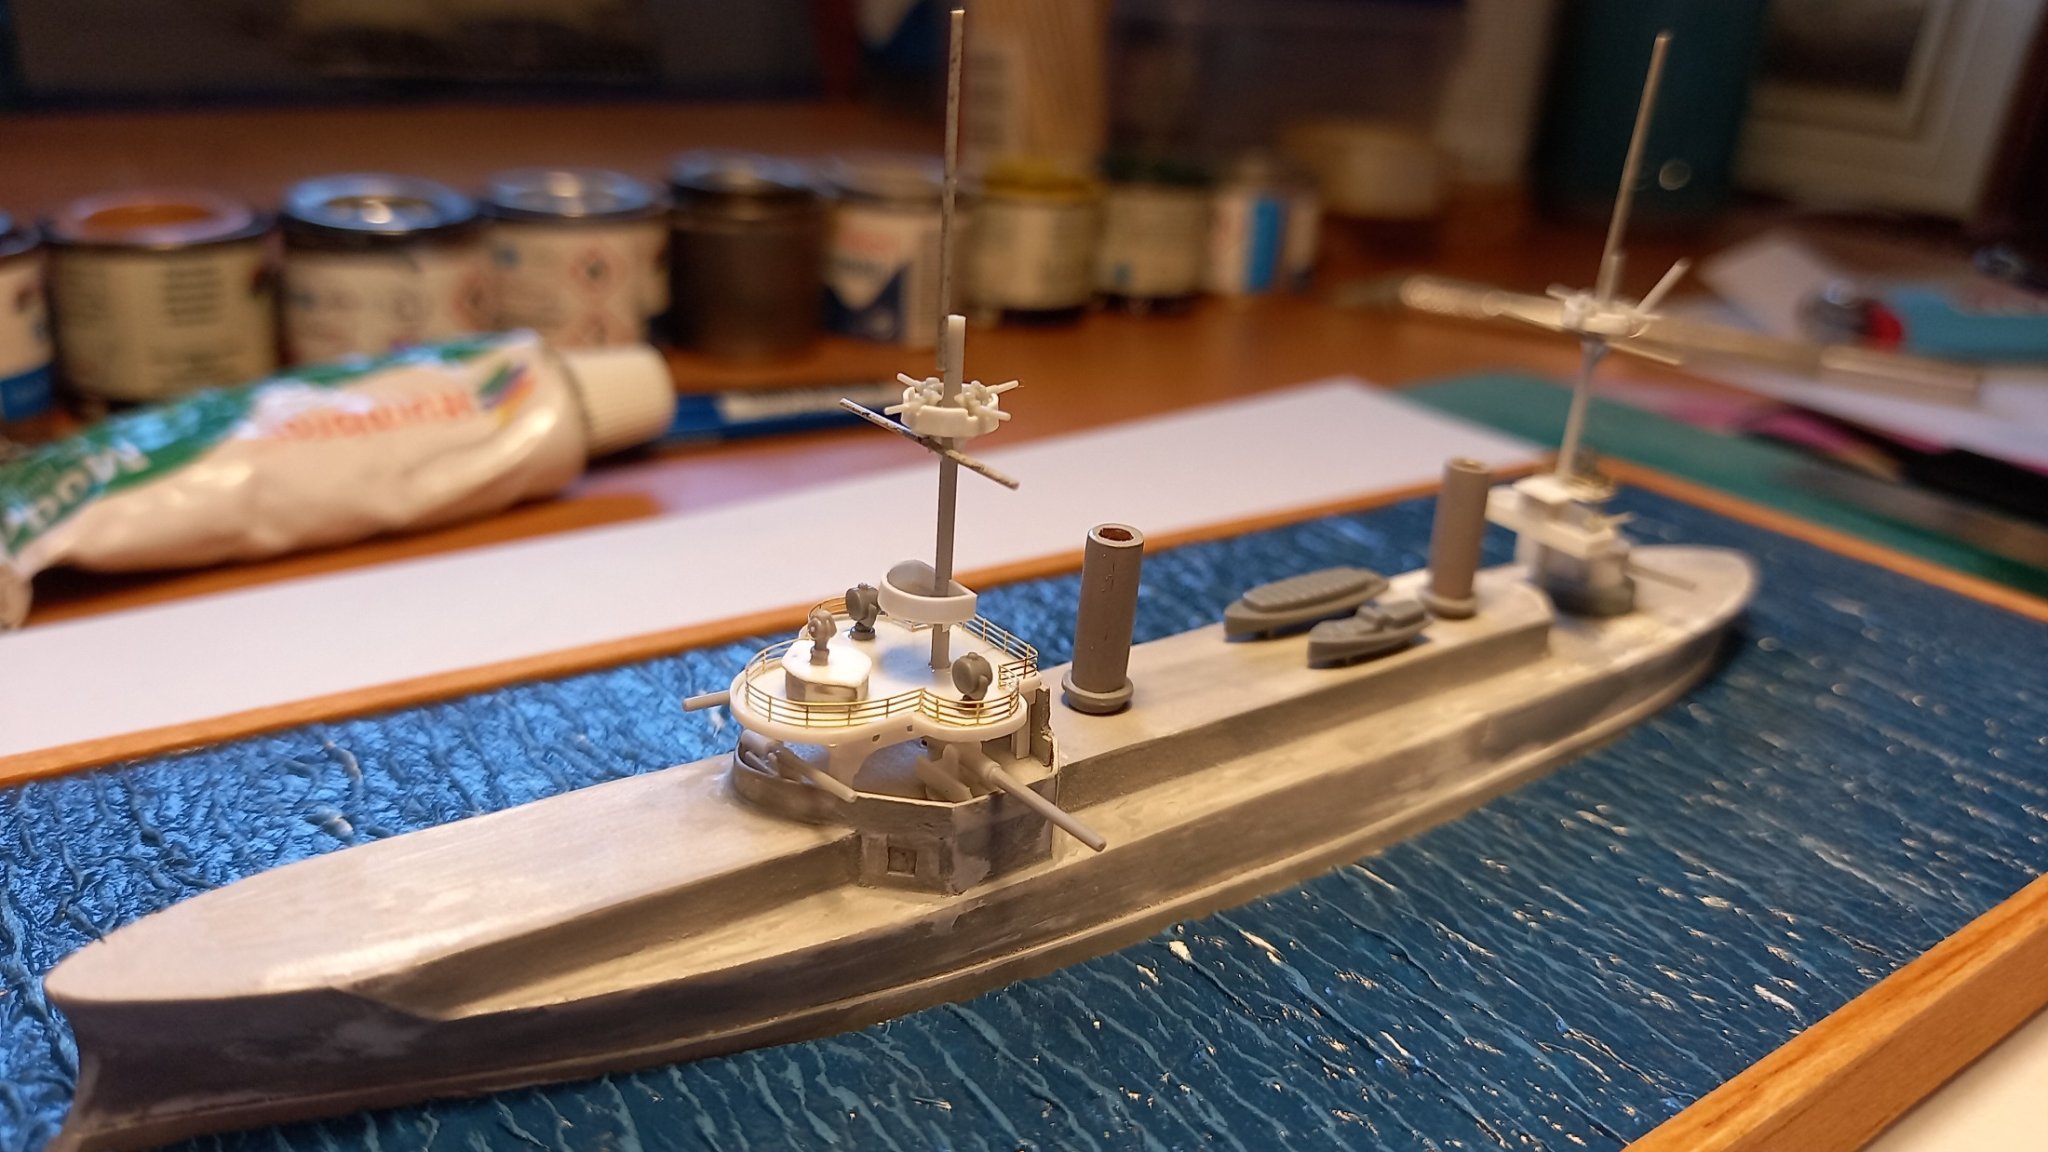
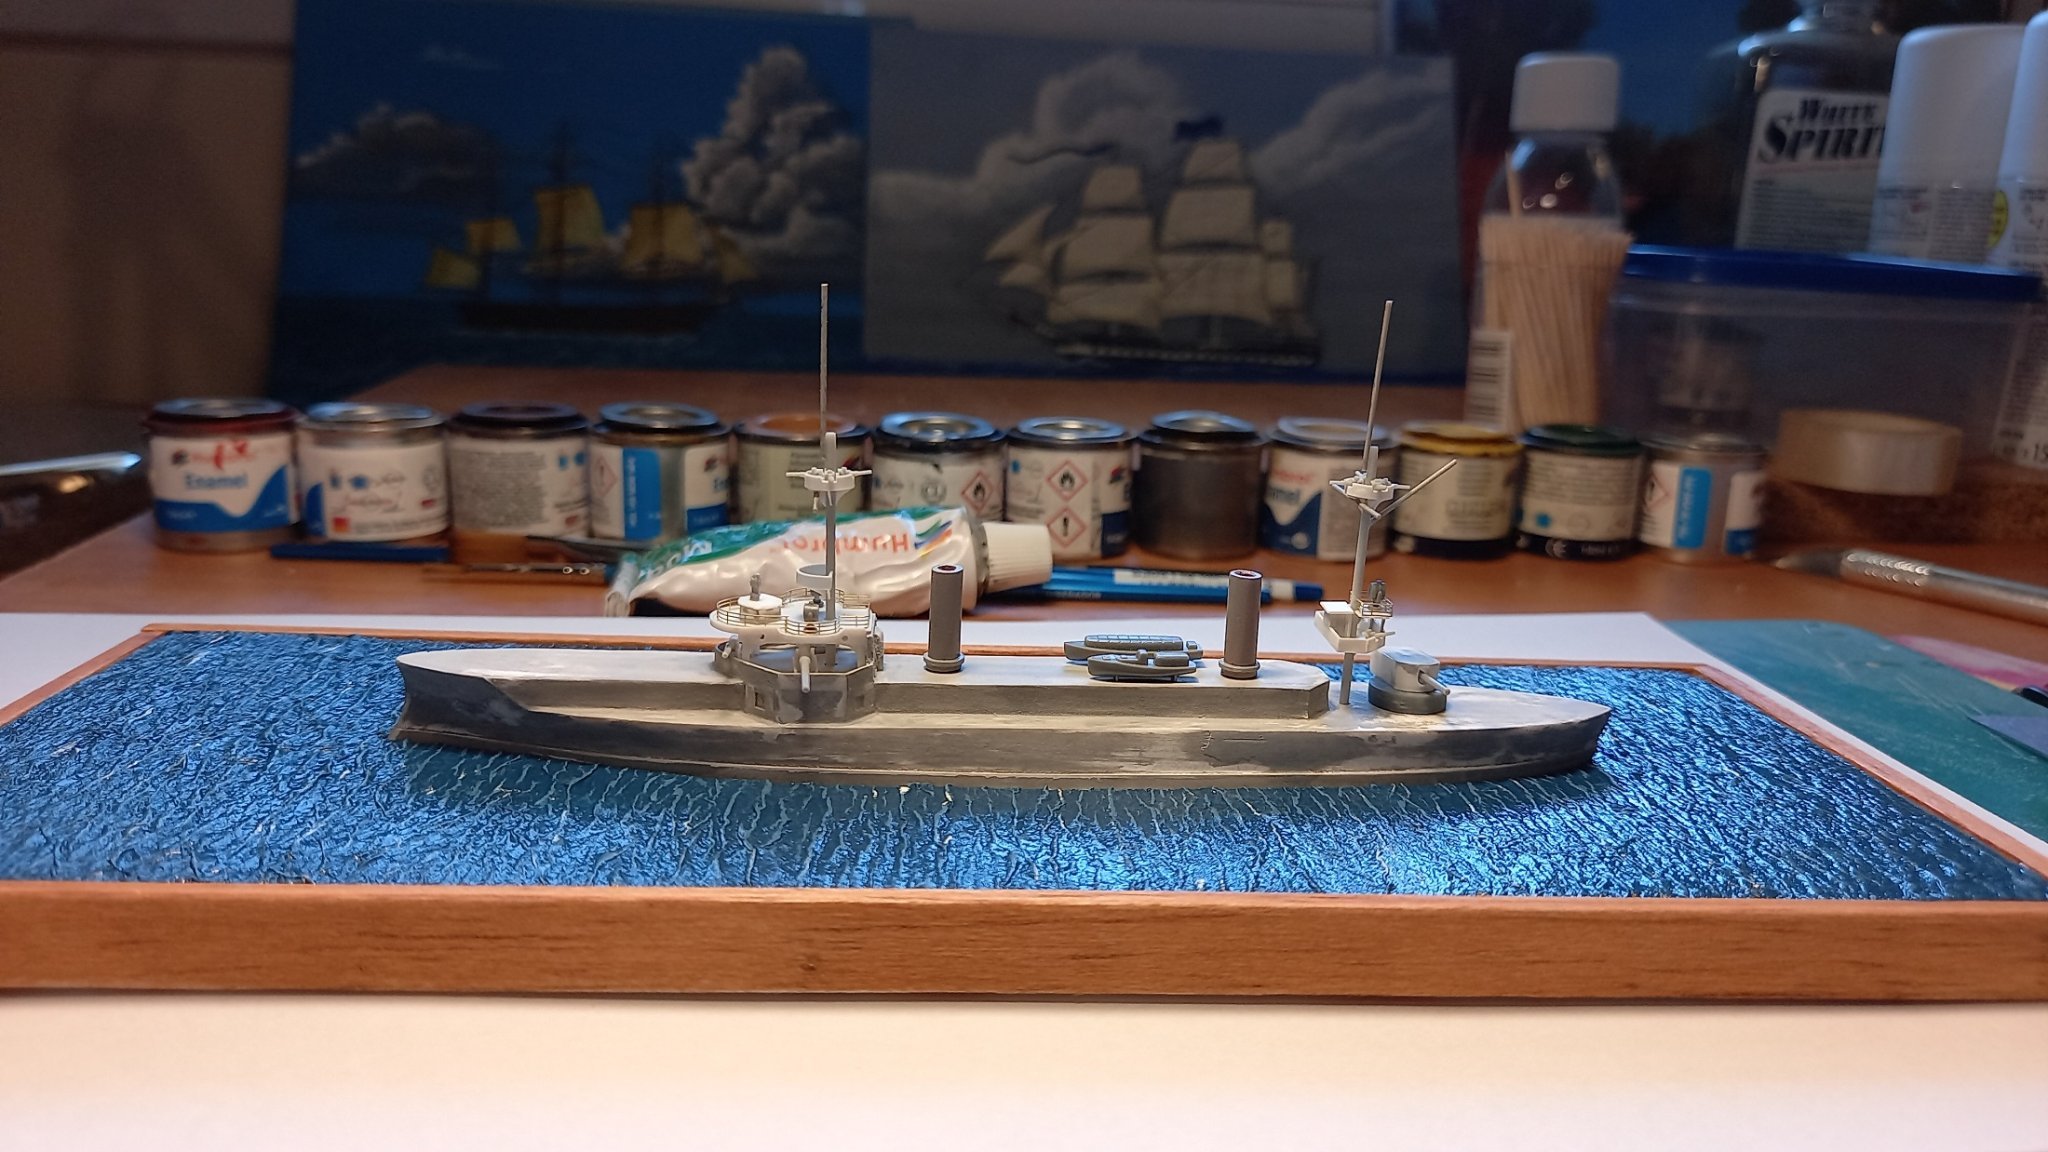
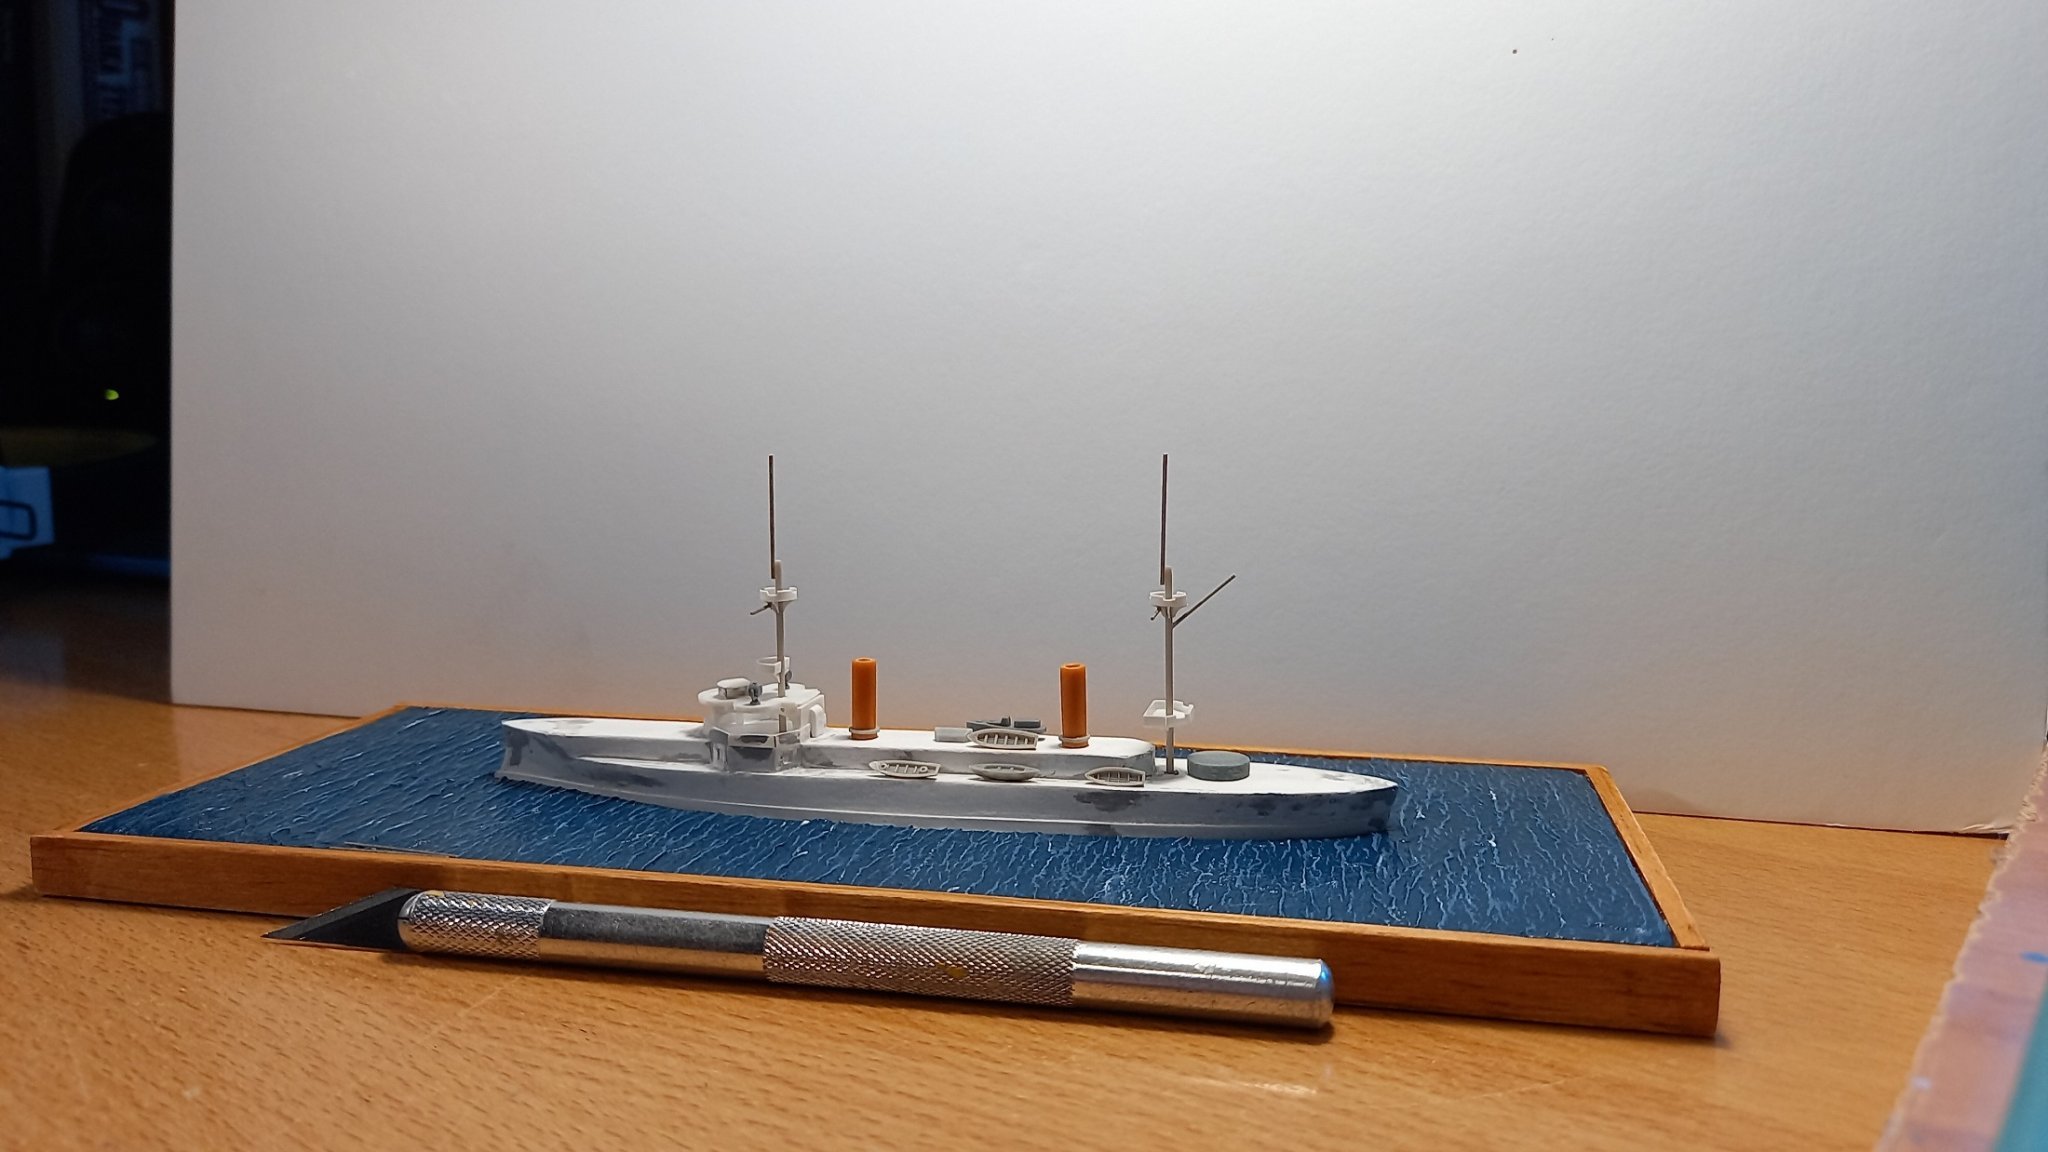
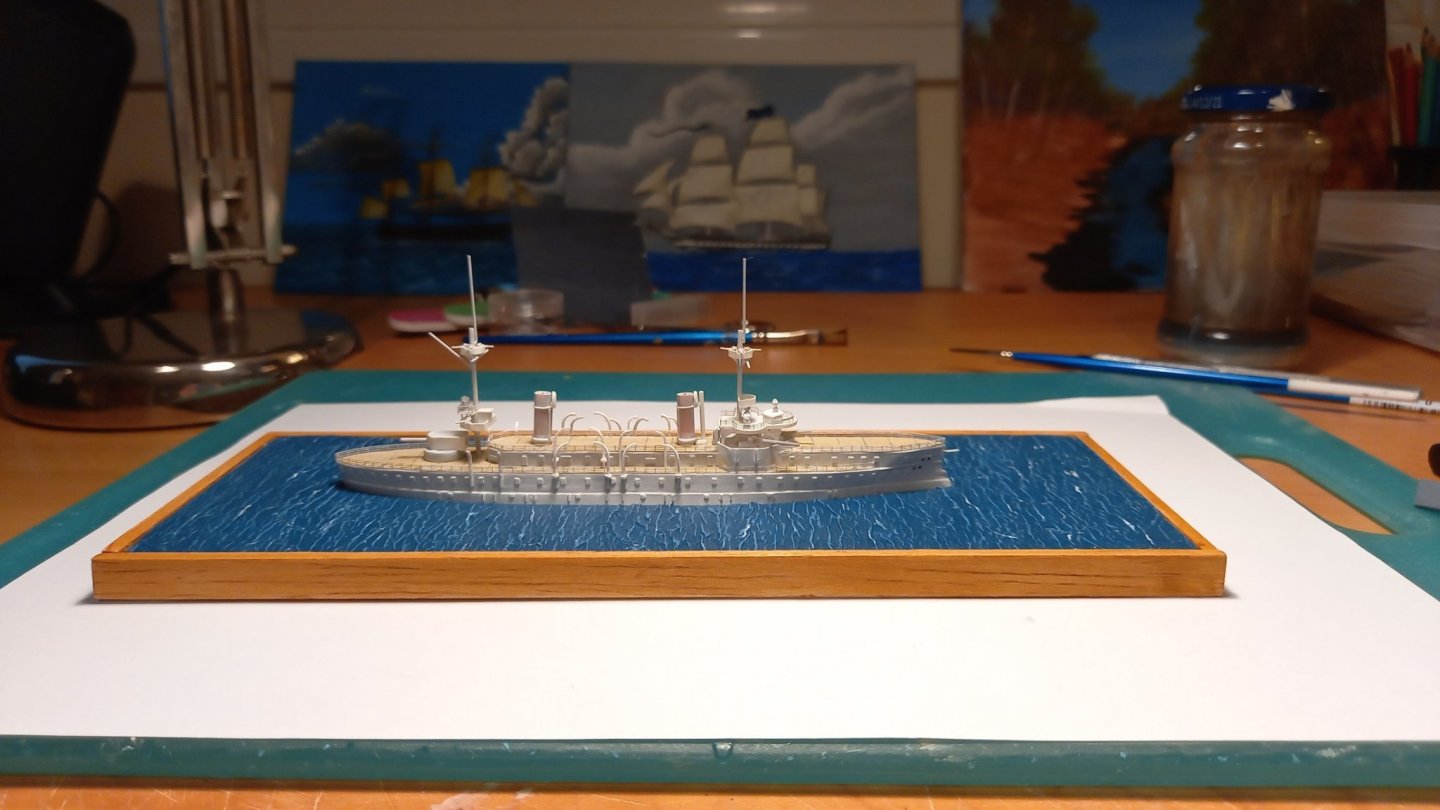
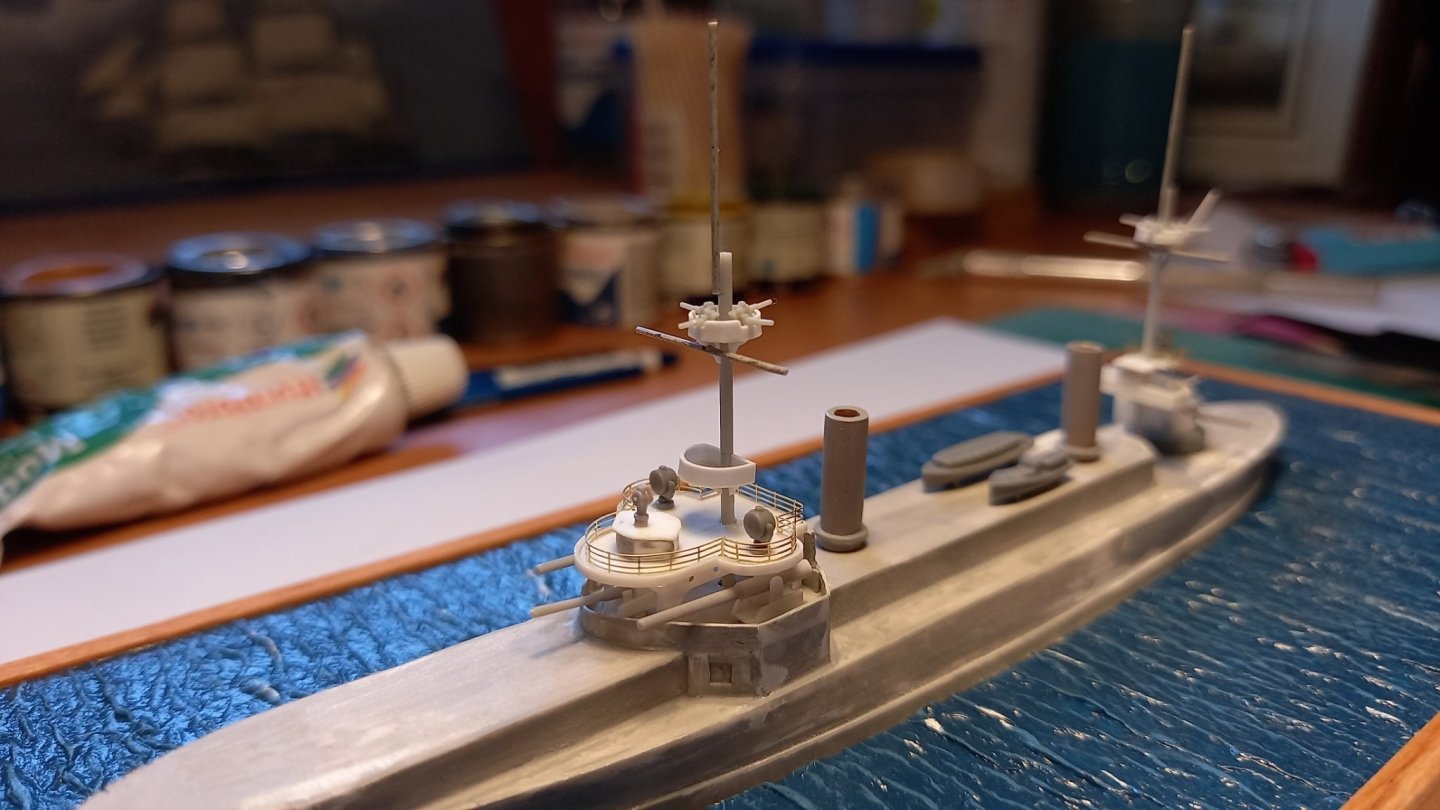
And we now reach the present with the model as it is now. Some more details, including the square portholes, the railings, the funnels were rebuilt again from the start, I added a deck made also from scratch, just like in Averof.


-
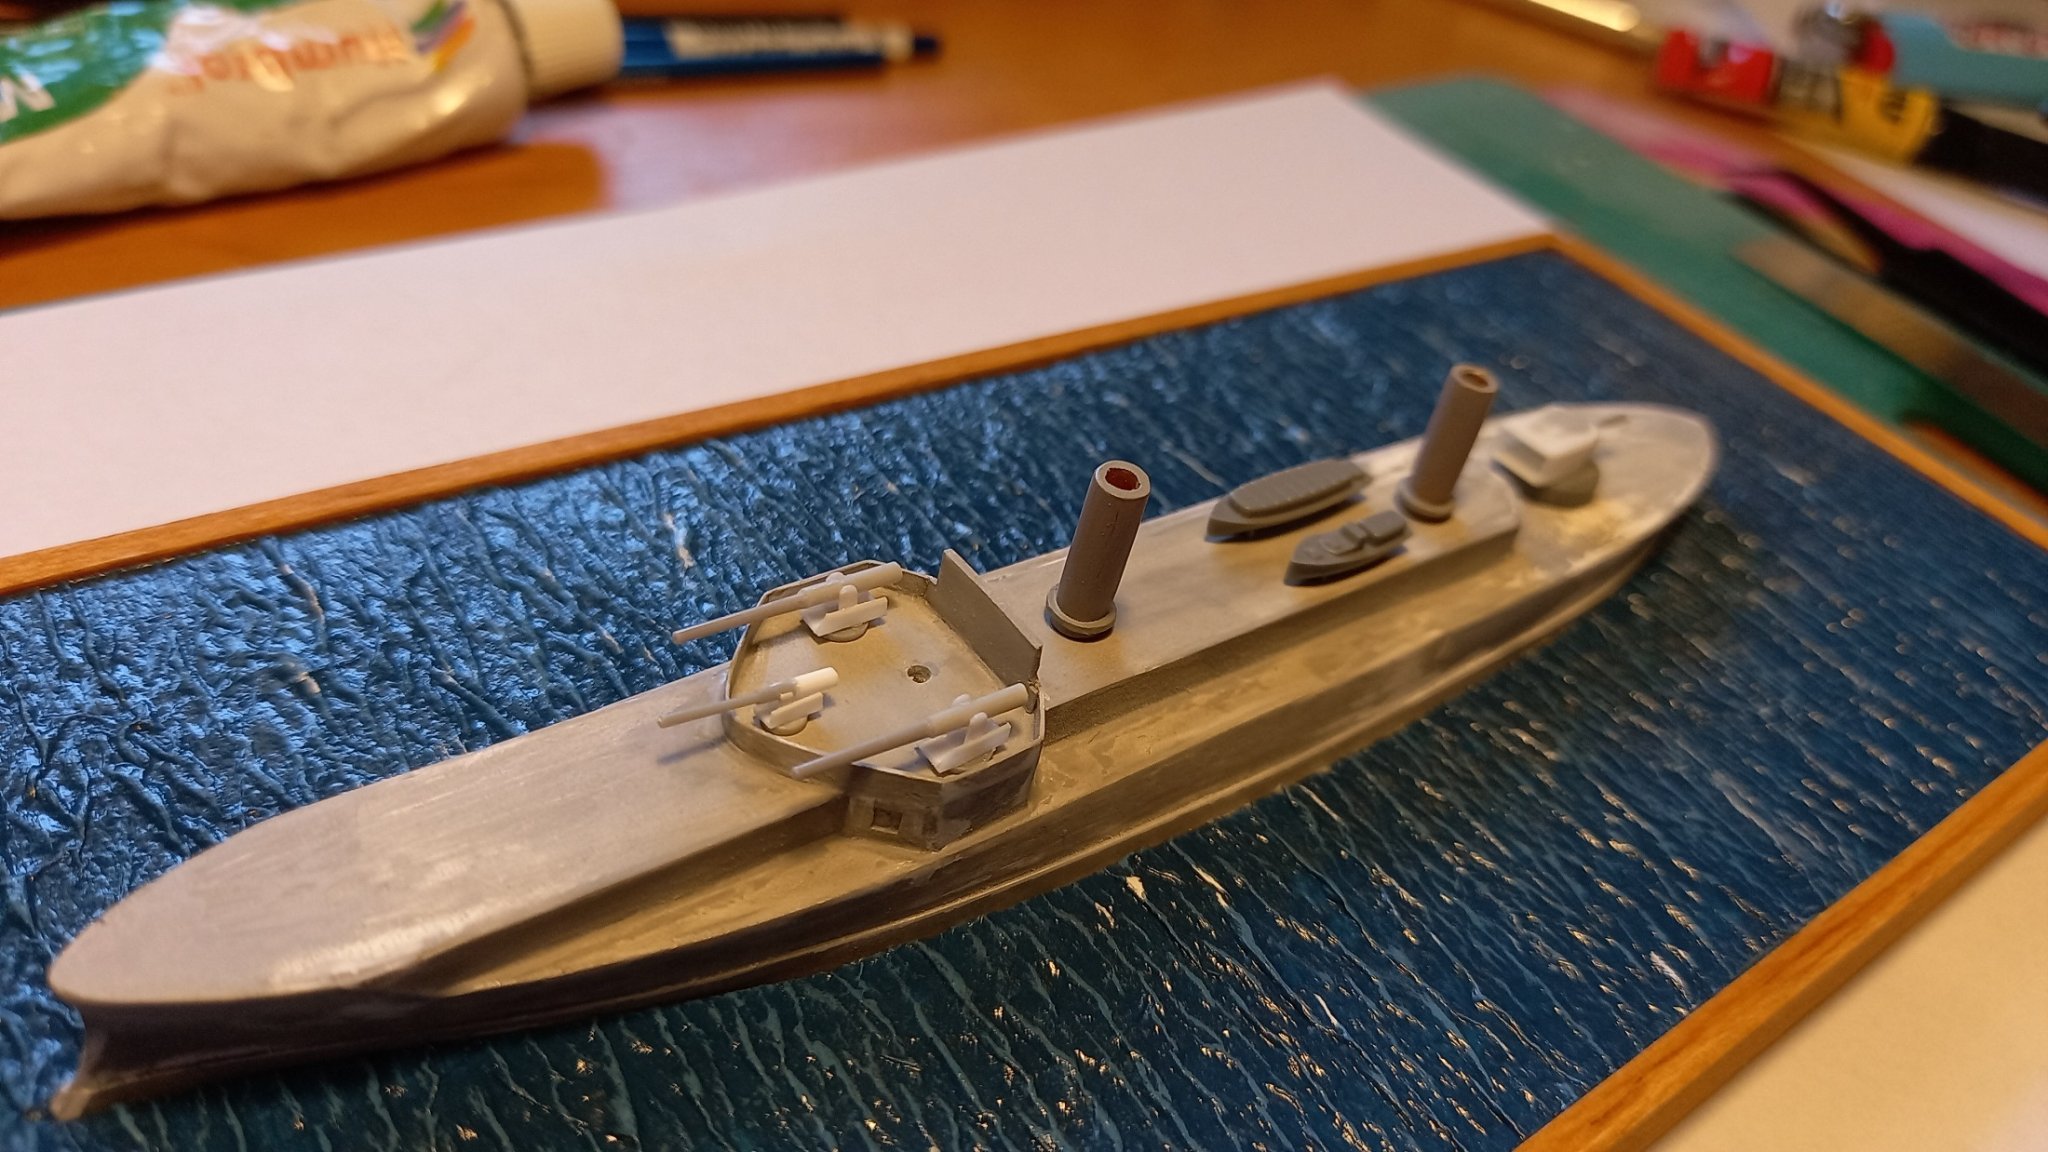
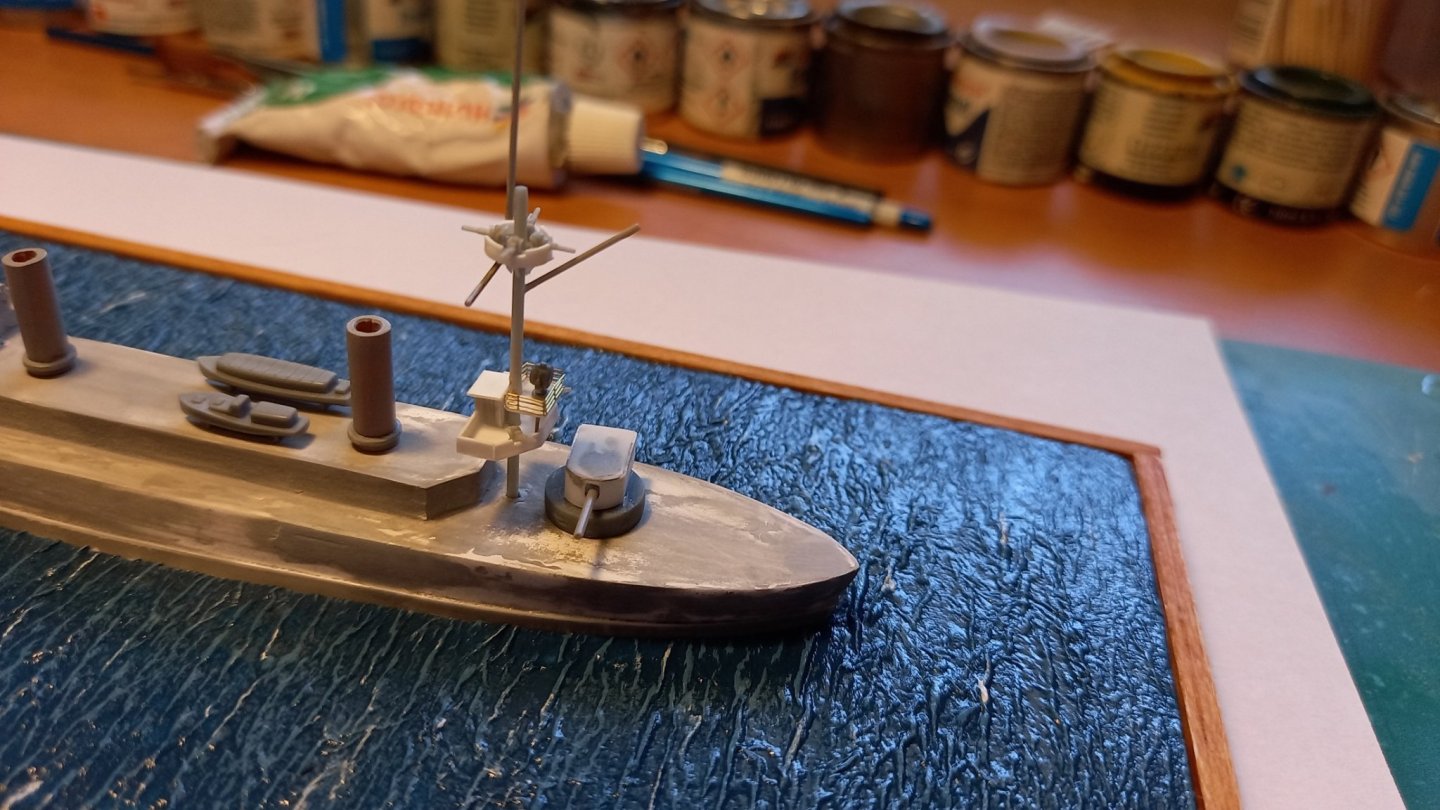
Significant progress here, it shows the layout of the main battery in the forward barbette, as well as the rear turret. The surface is still rough at his point.


-
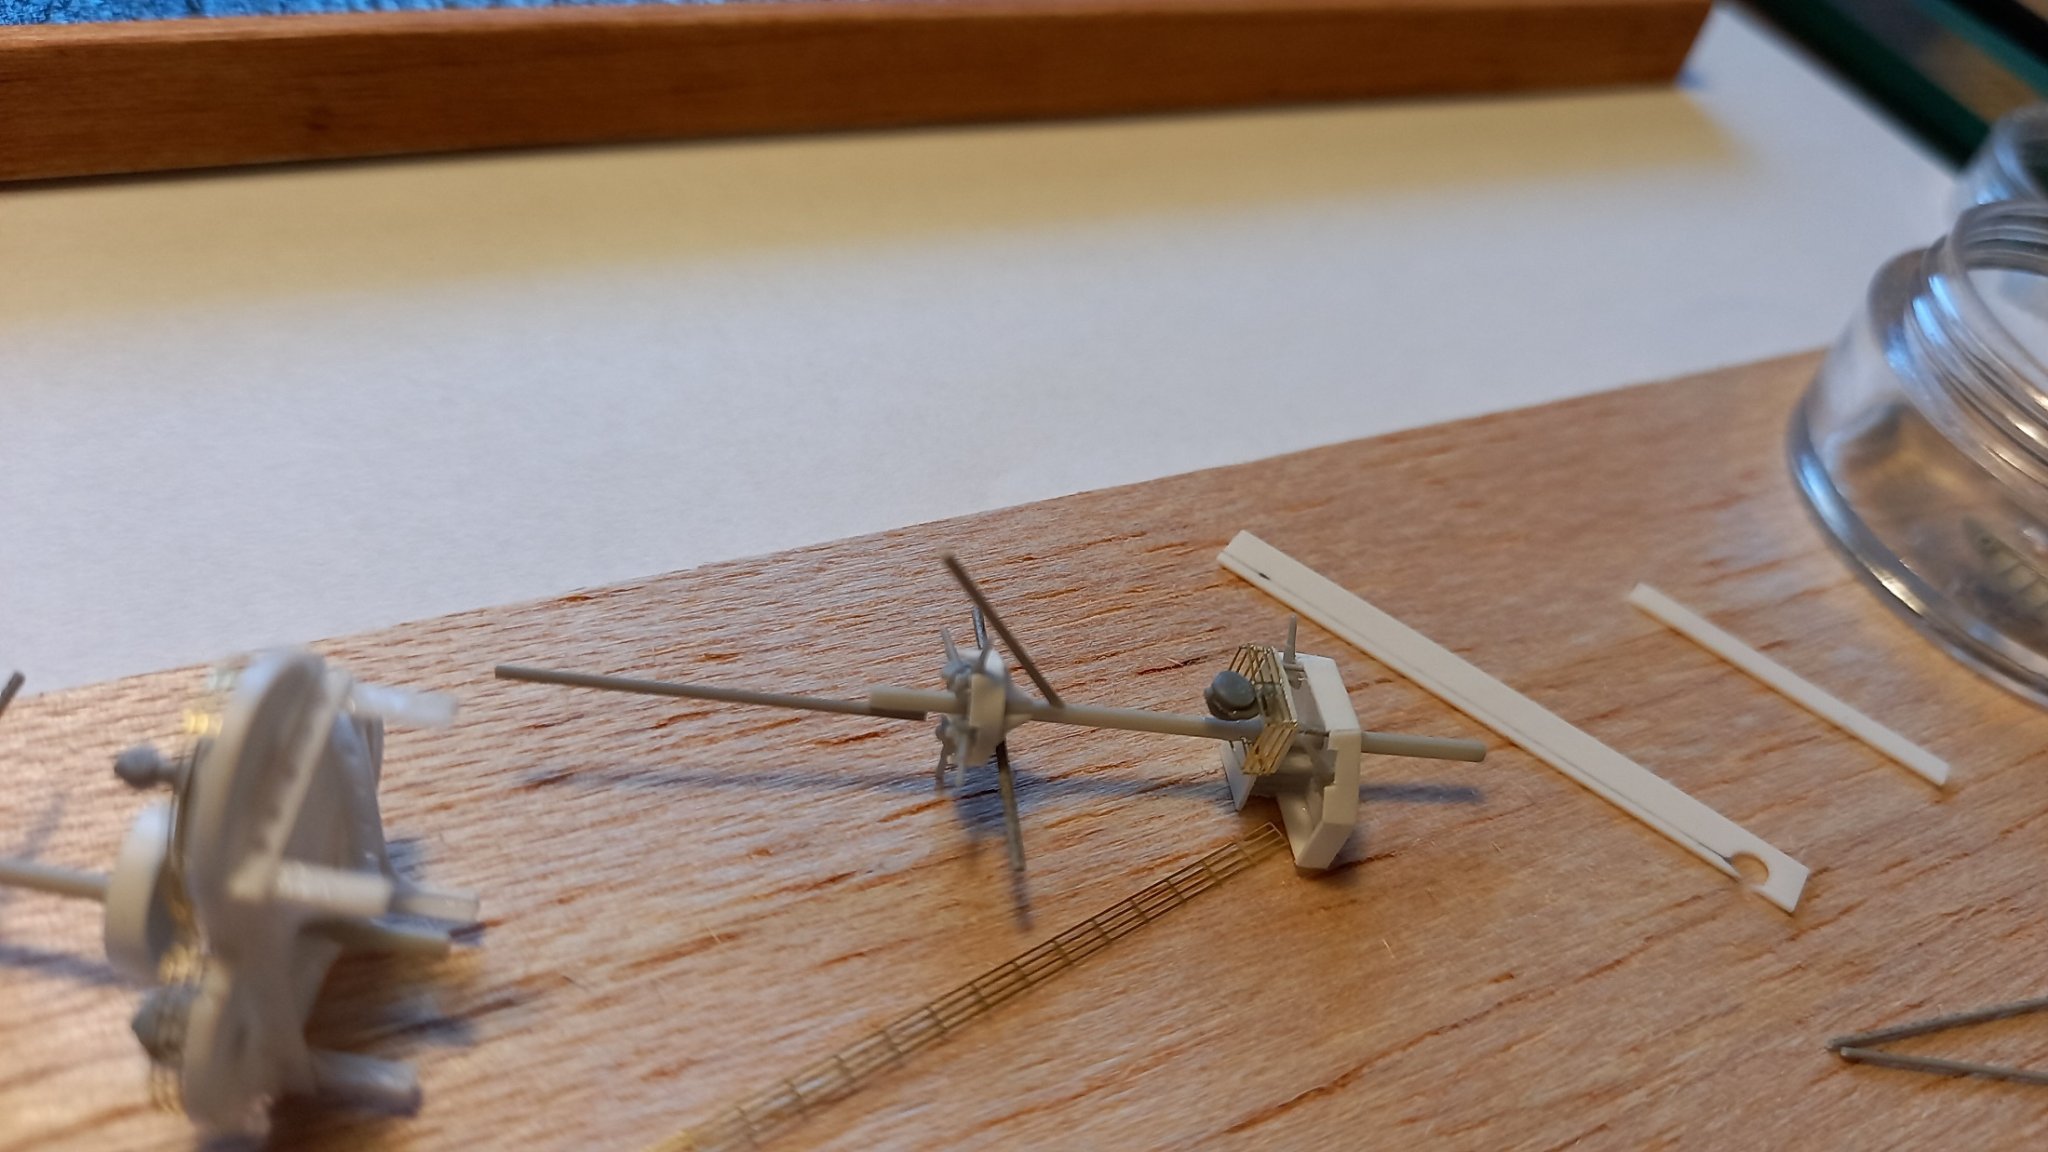
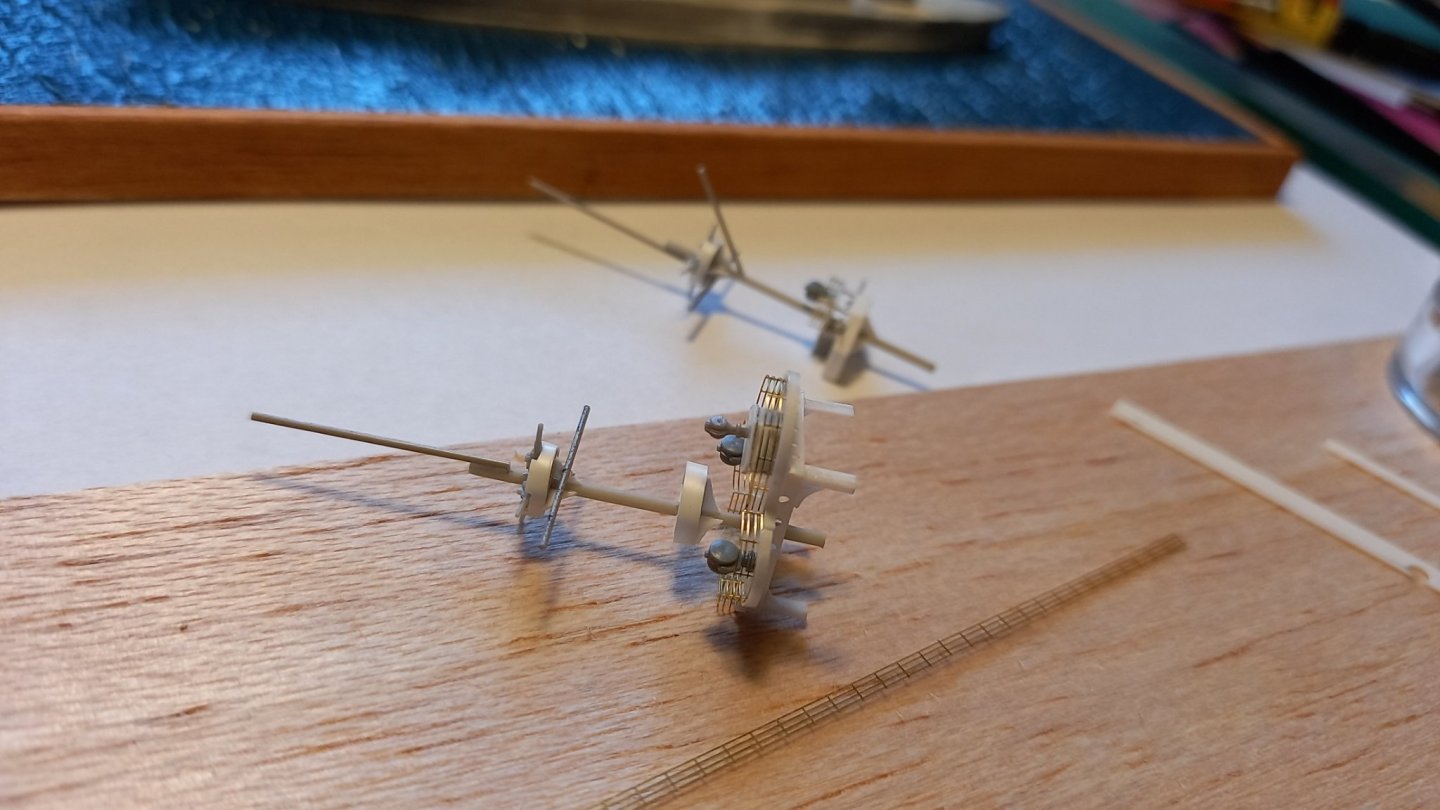
I'll post a few more updates to bring the built into the present condition: The masts now with photoetched parts:

-
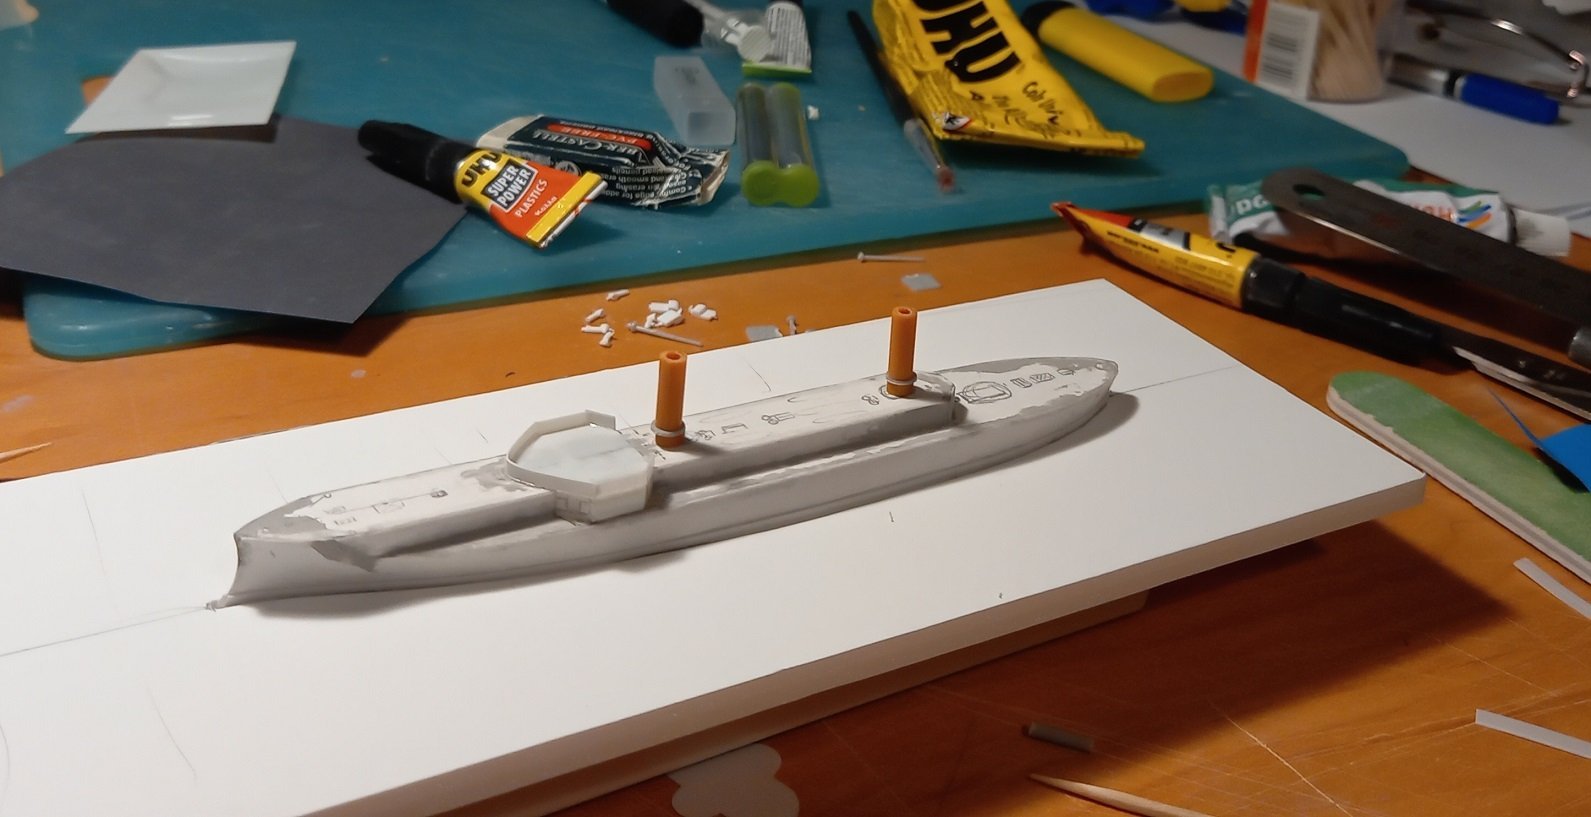
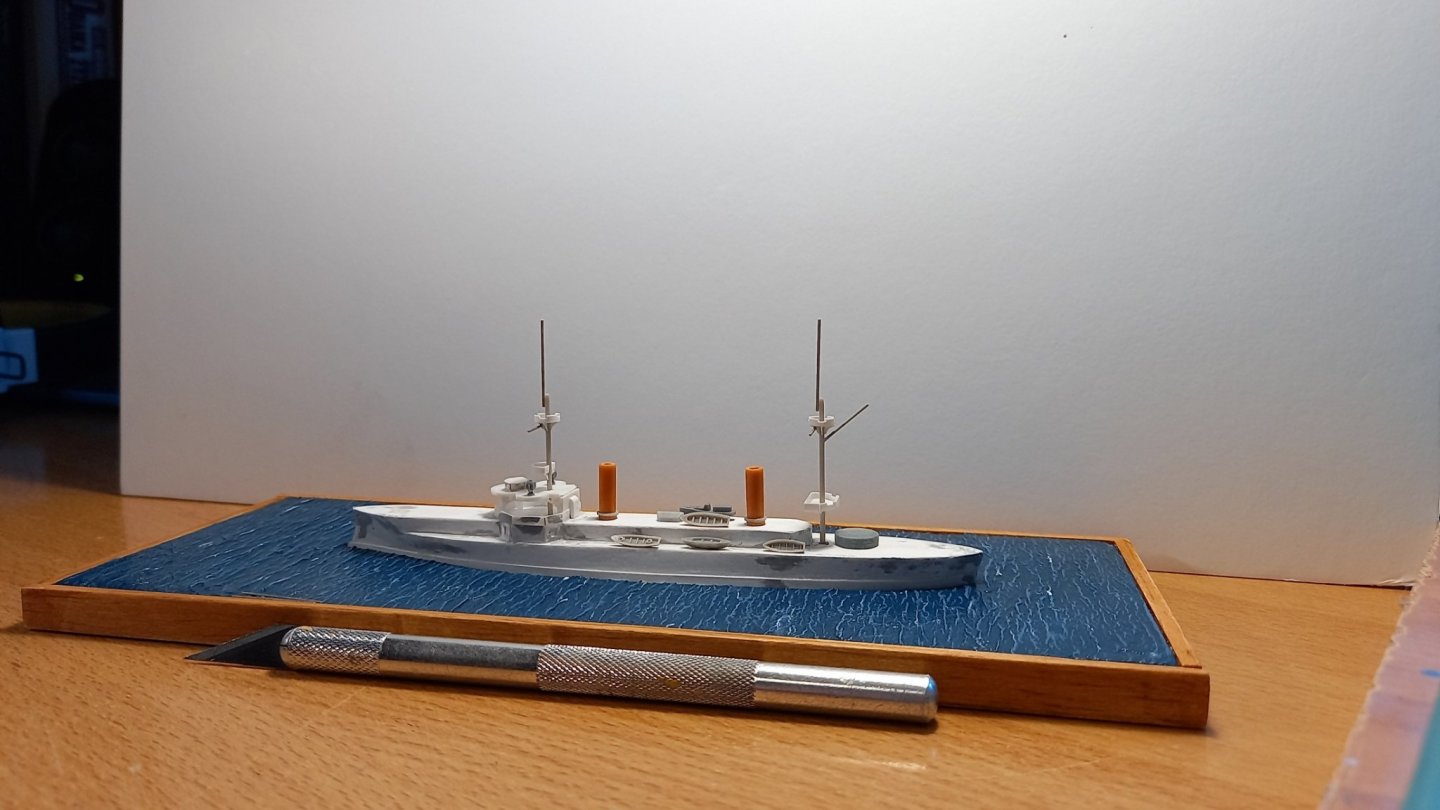
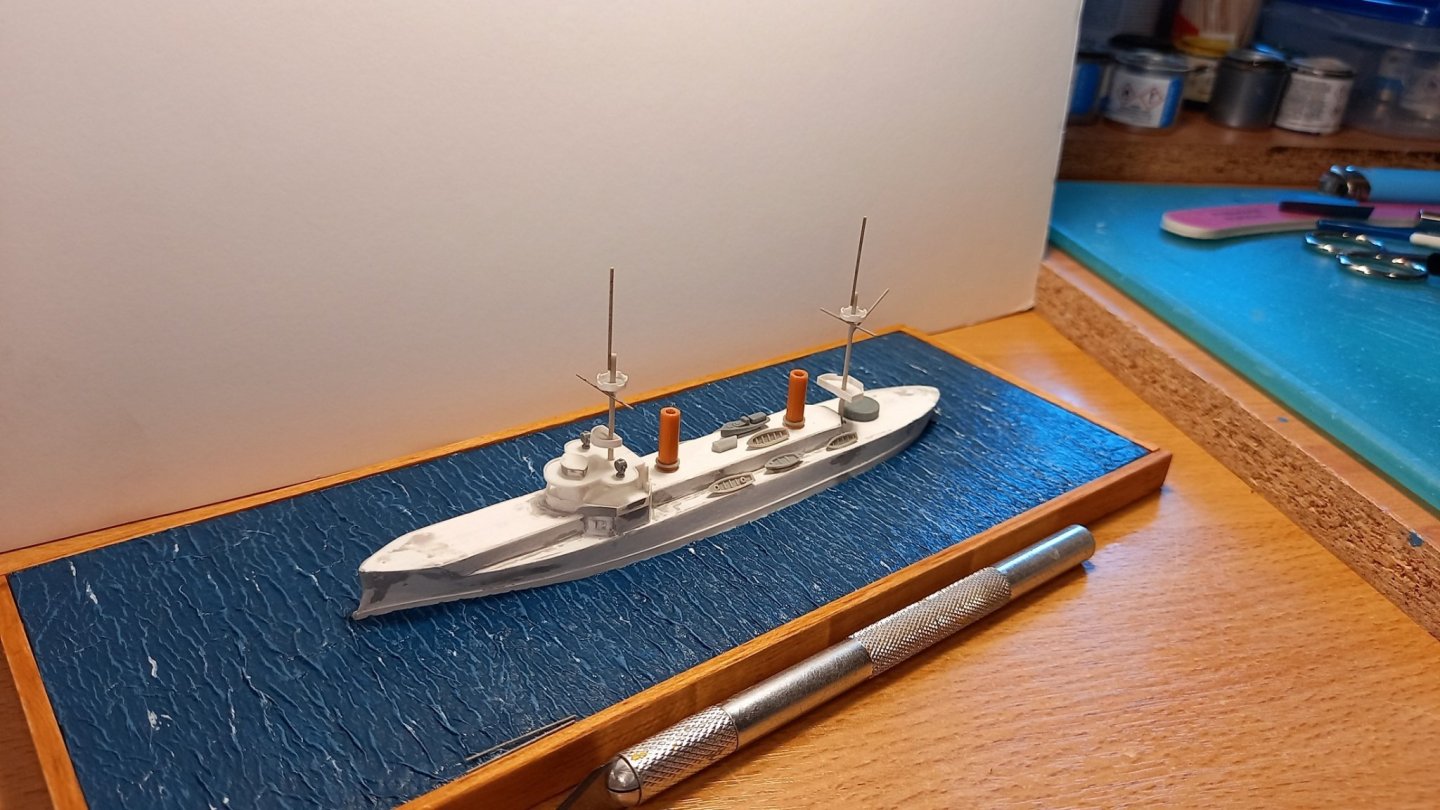
The base is a simple seascape, as the ship will be, once again, anchored. Of course it is not attached to it, and I may change it alltogether later. In any case. The superstructure of the forward barbette and the masts are made of strips of plastic and melted spuce. I may use some ready boats from other 1/700 kits, but I am not sure..
-
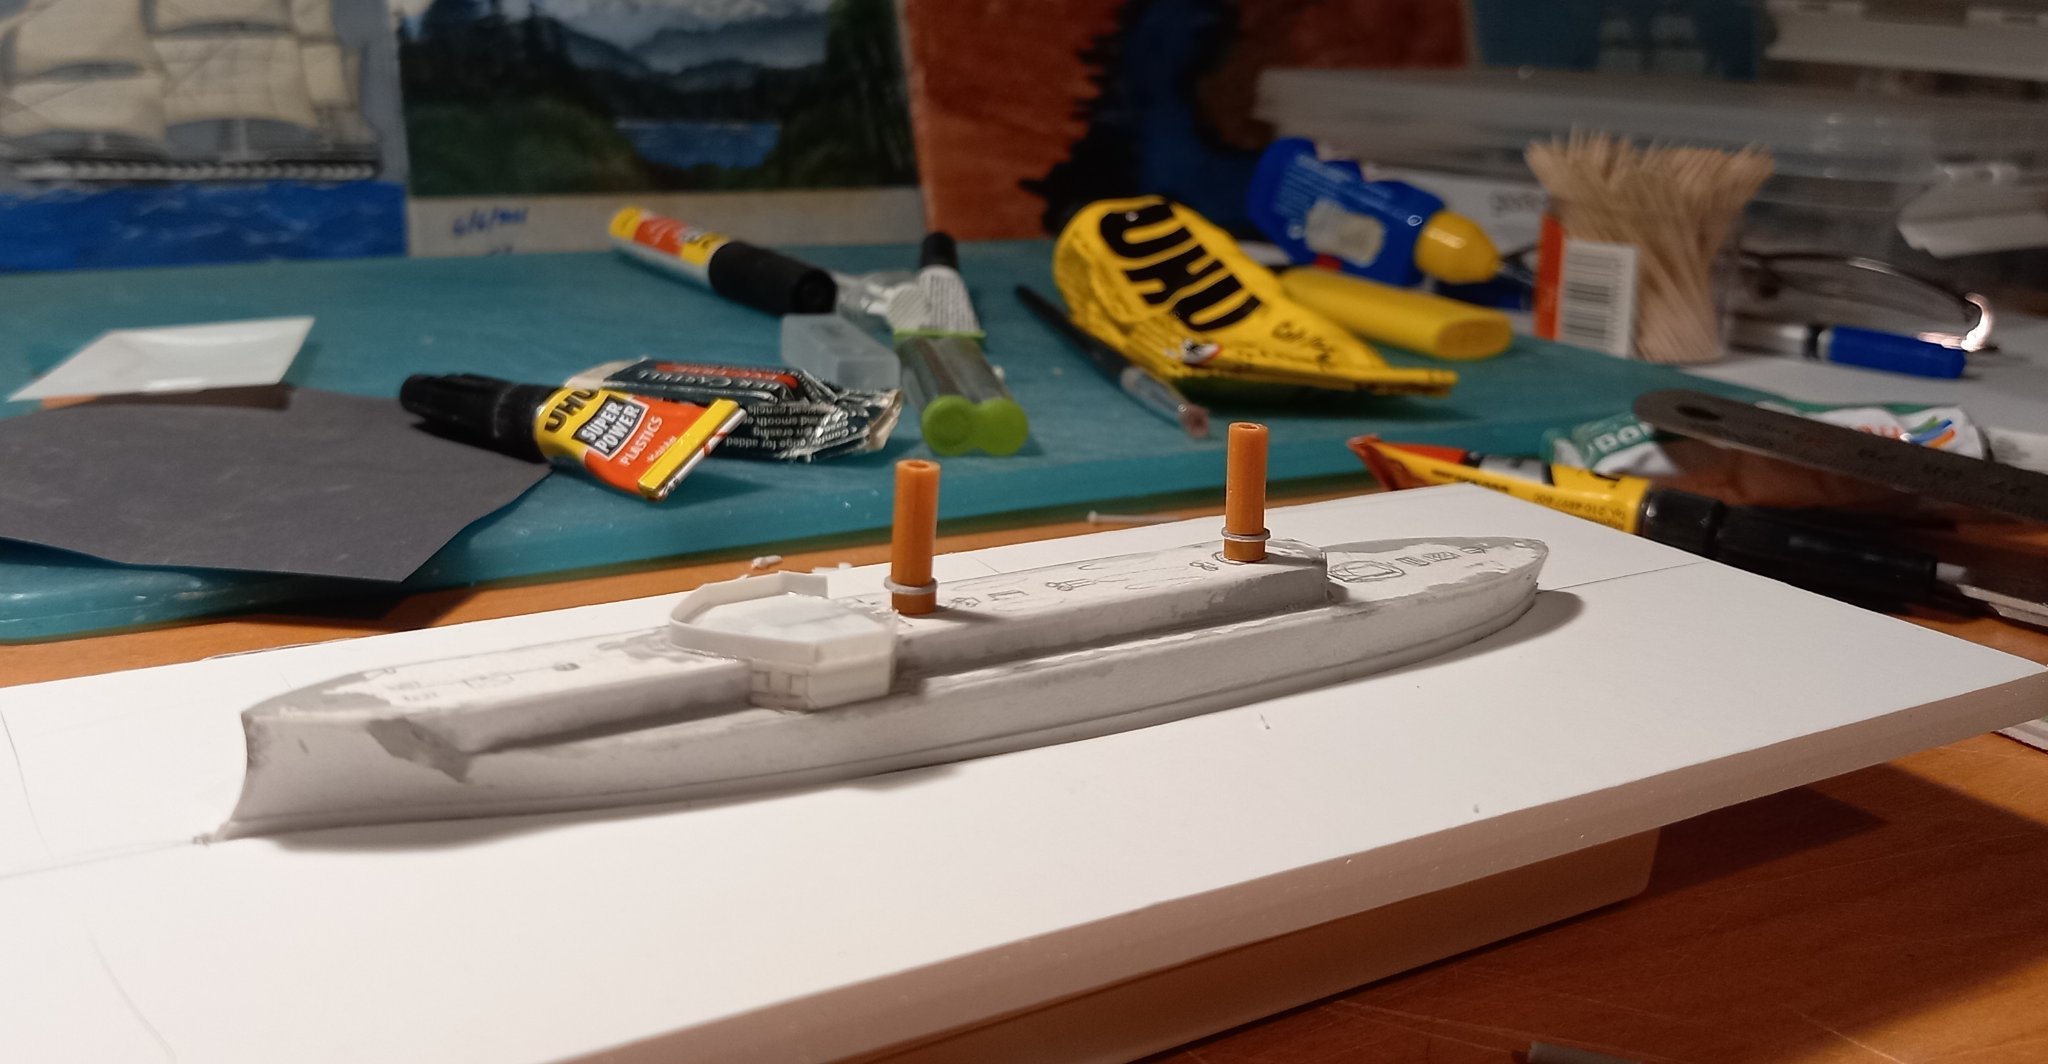
A simple bread and butter technic with foamcore for the start. Unfortunately I did not take any photos in the first day... I encase the foamcore in paper. The scale is tiny anyway, so other than some core measurements and planing, my guide is the high resolution photos that I have of these ships.