GeorgeKapas
-
Posts
297 -
Joined
-
Last visited
Content Type
Profiles
Forums
Gallery
Events
Everything posted by GeorgeKapas
-
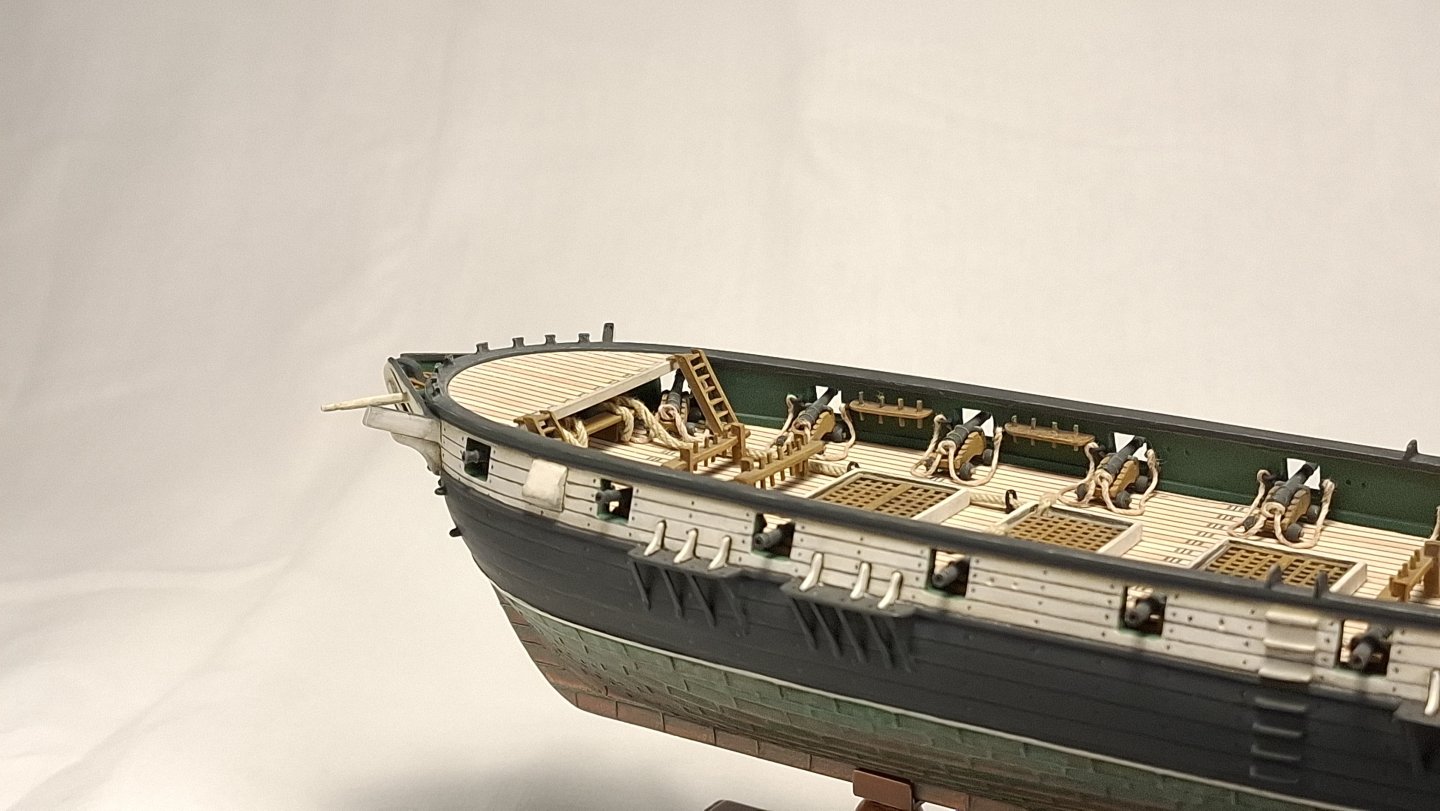
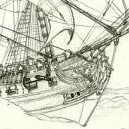 Posting a few more closeups: this time the bowsprit:


-
Bofore I continue with more details, I have a serious problem, and a guestion I wanted to ask here in the forum.... So I put the pinrails where they are. trying to get the running rigging properly set, I felt that passing the sheet and cluelines of the topgalland and royal through the opening of the fighting top and then to the side pinrails was rather bizzare. I run these ropes straight to the pins down, right next to the backstays. Is this wrong? I have seen some books like the "anatomy of the ship- bounty" that does that, others books dont show it like that. I hope I make sense, two more zoomed photos to show this better:


-
The side pinrails. I added a single test knot, they will go over the rest of the pins.


-
I have taken a lot of closeups with quite the zoom, but these photos are from a phone, so I did my best.


-
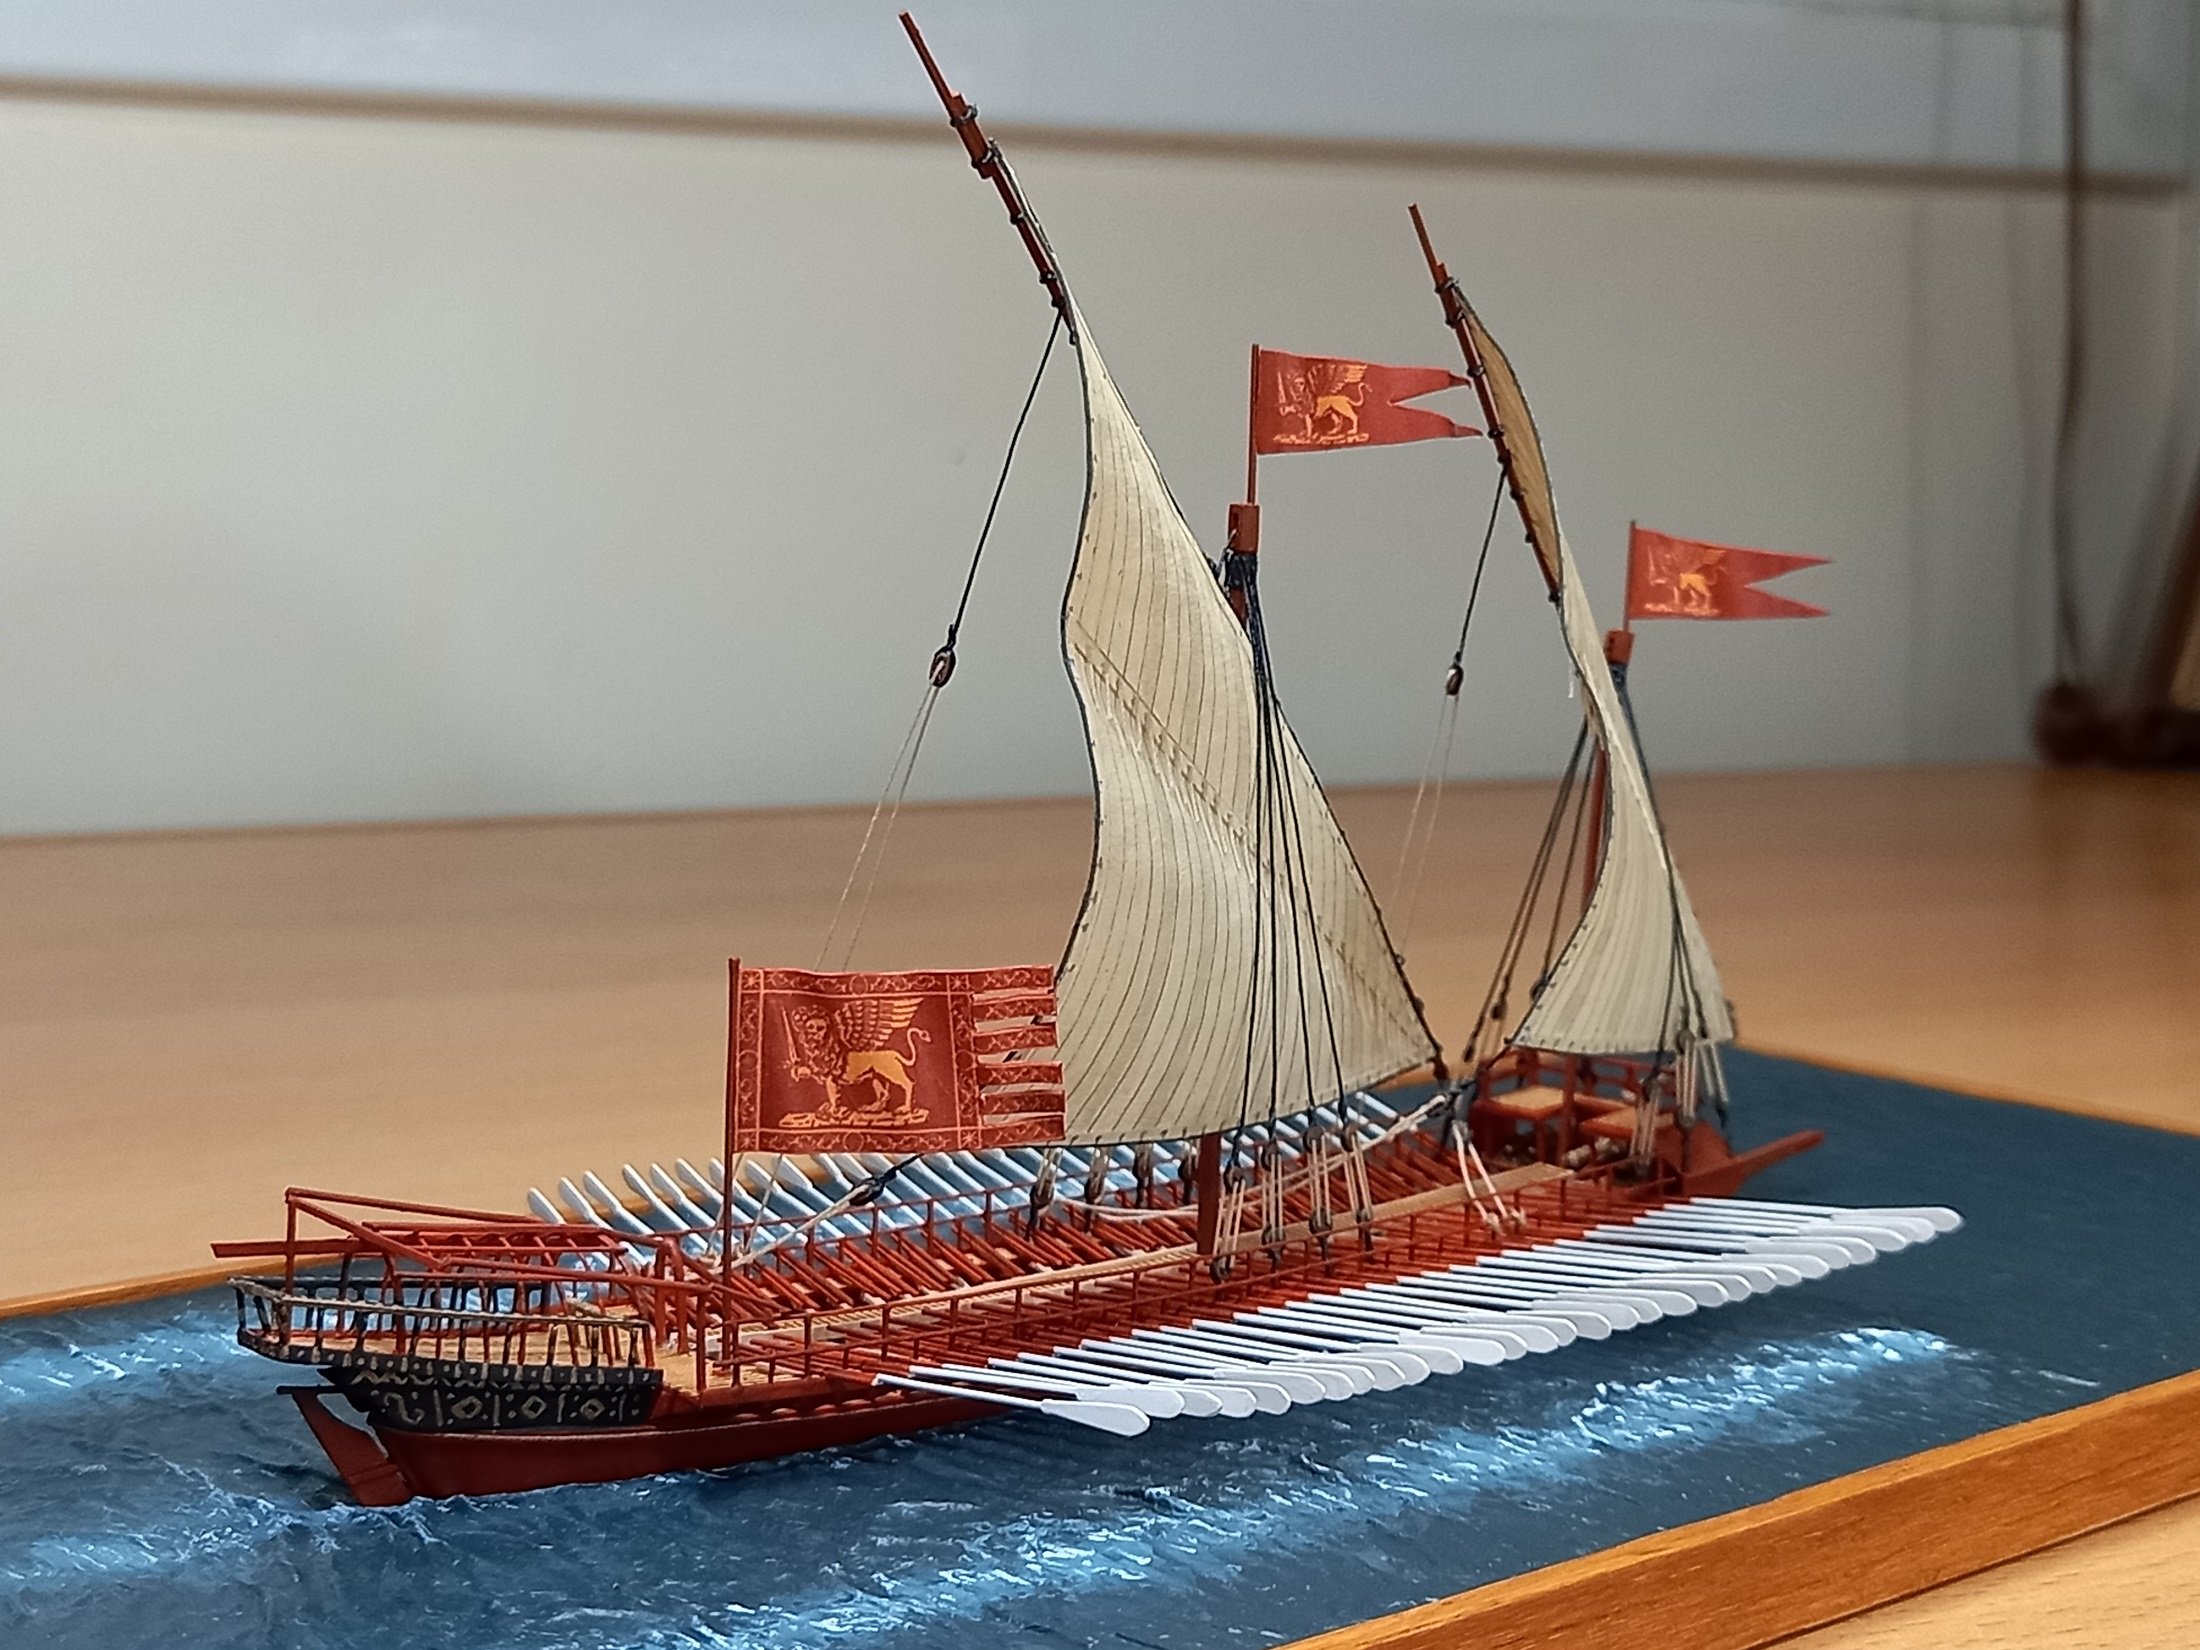
Good morning! So the rigging process has progressed. I have been trying to improve the accuracy of my rigging work with this model, but the scale and the small size of the model is a bit of a hindrance. The current state of the rig is as follows:


-
yes, but mostly drawing the planks on the hull with black pencil and then passing over them again softly with white pencil for a more 3d effect. Its subtle, the model is small and one has to inspect it from very close to notice tbh
-
Thank you ccoyle! Yes exactly, I mean, the way one finishes and colors his model is subjective, but this painting like asthetic pleases me, so that was the result. Always wanted to do it, with Mahmudiye I couldn't, but now I feel it is better.
-
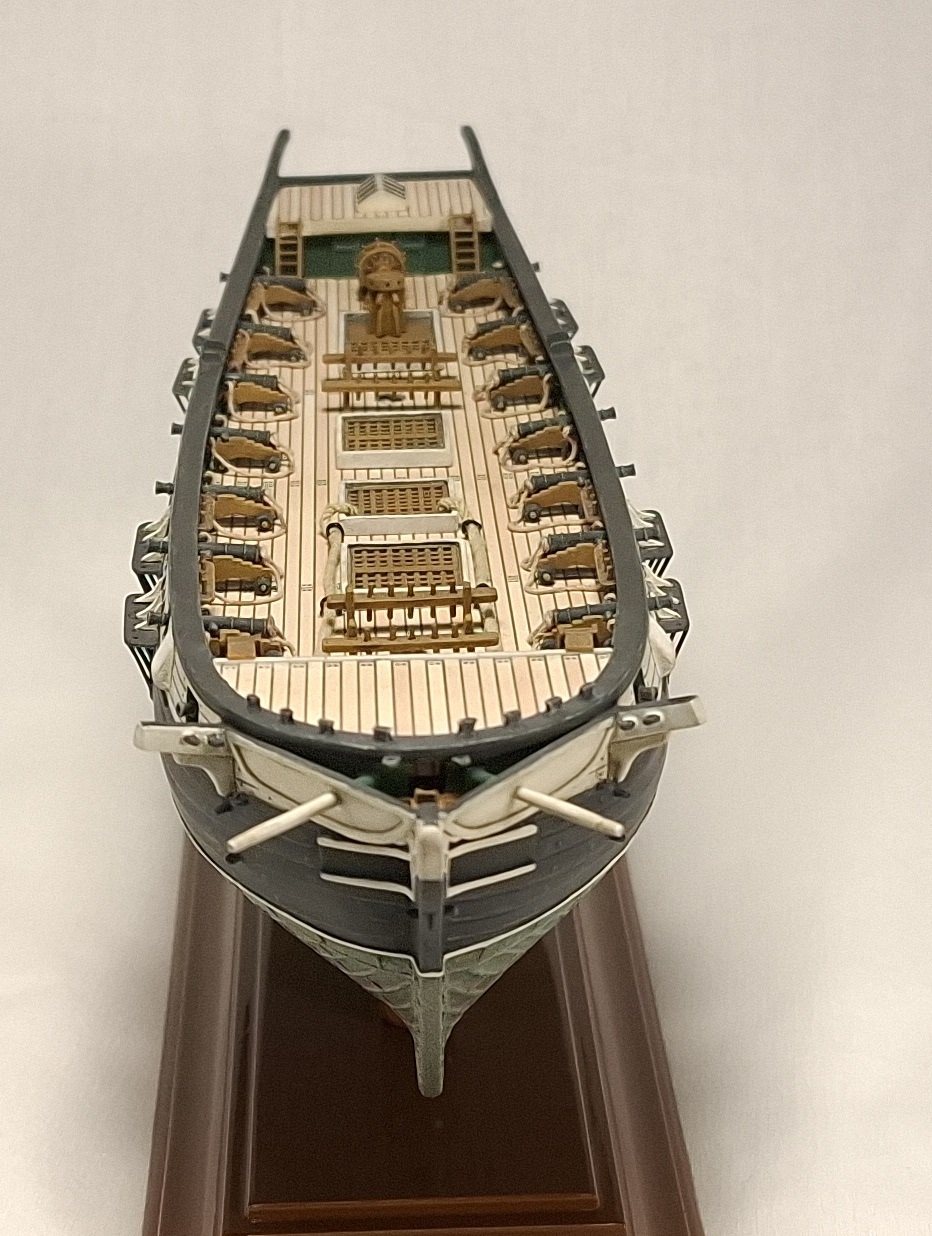
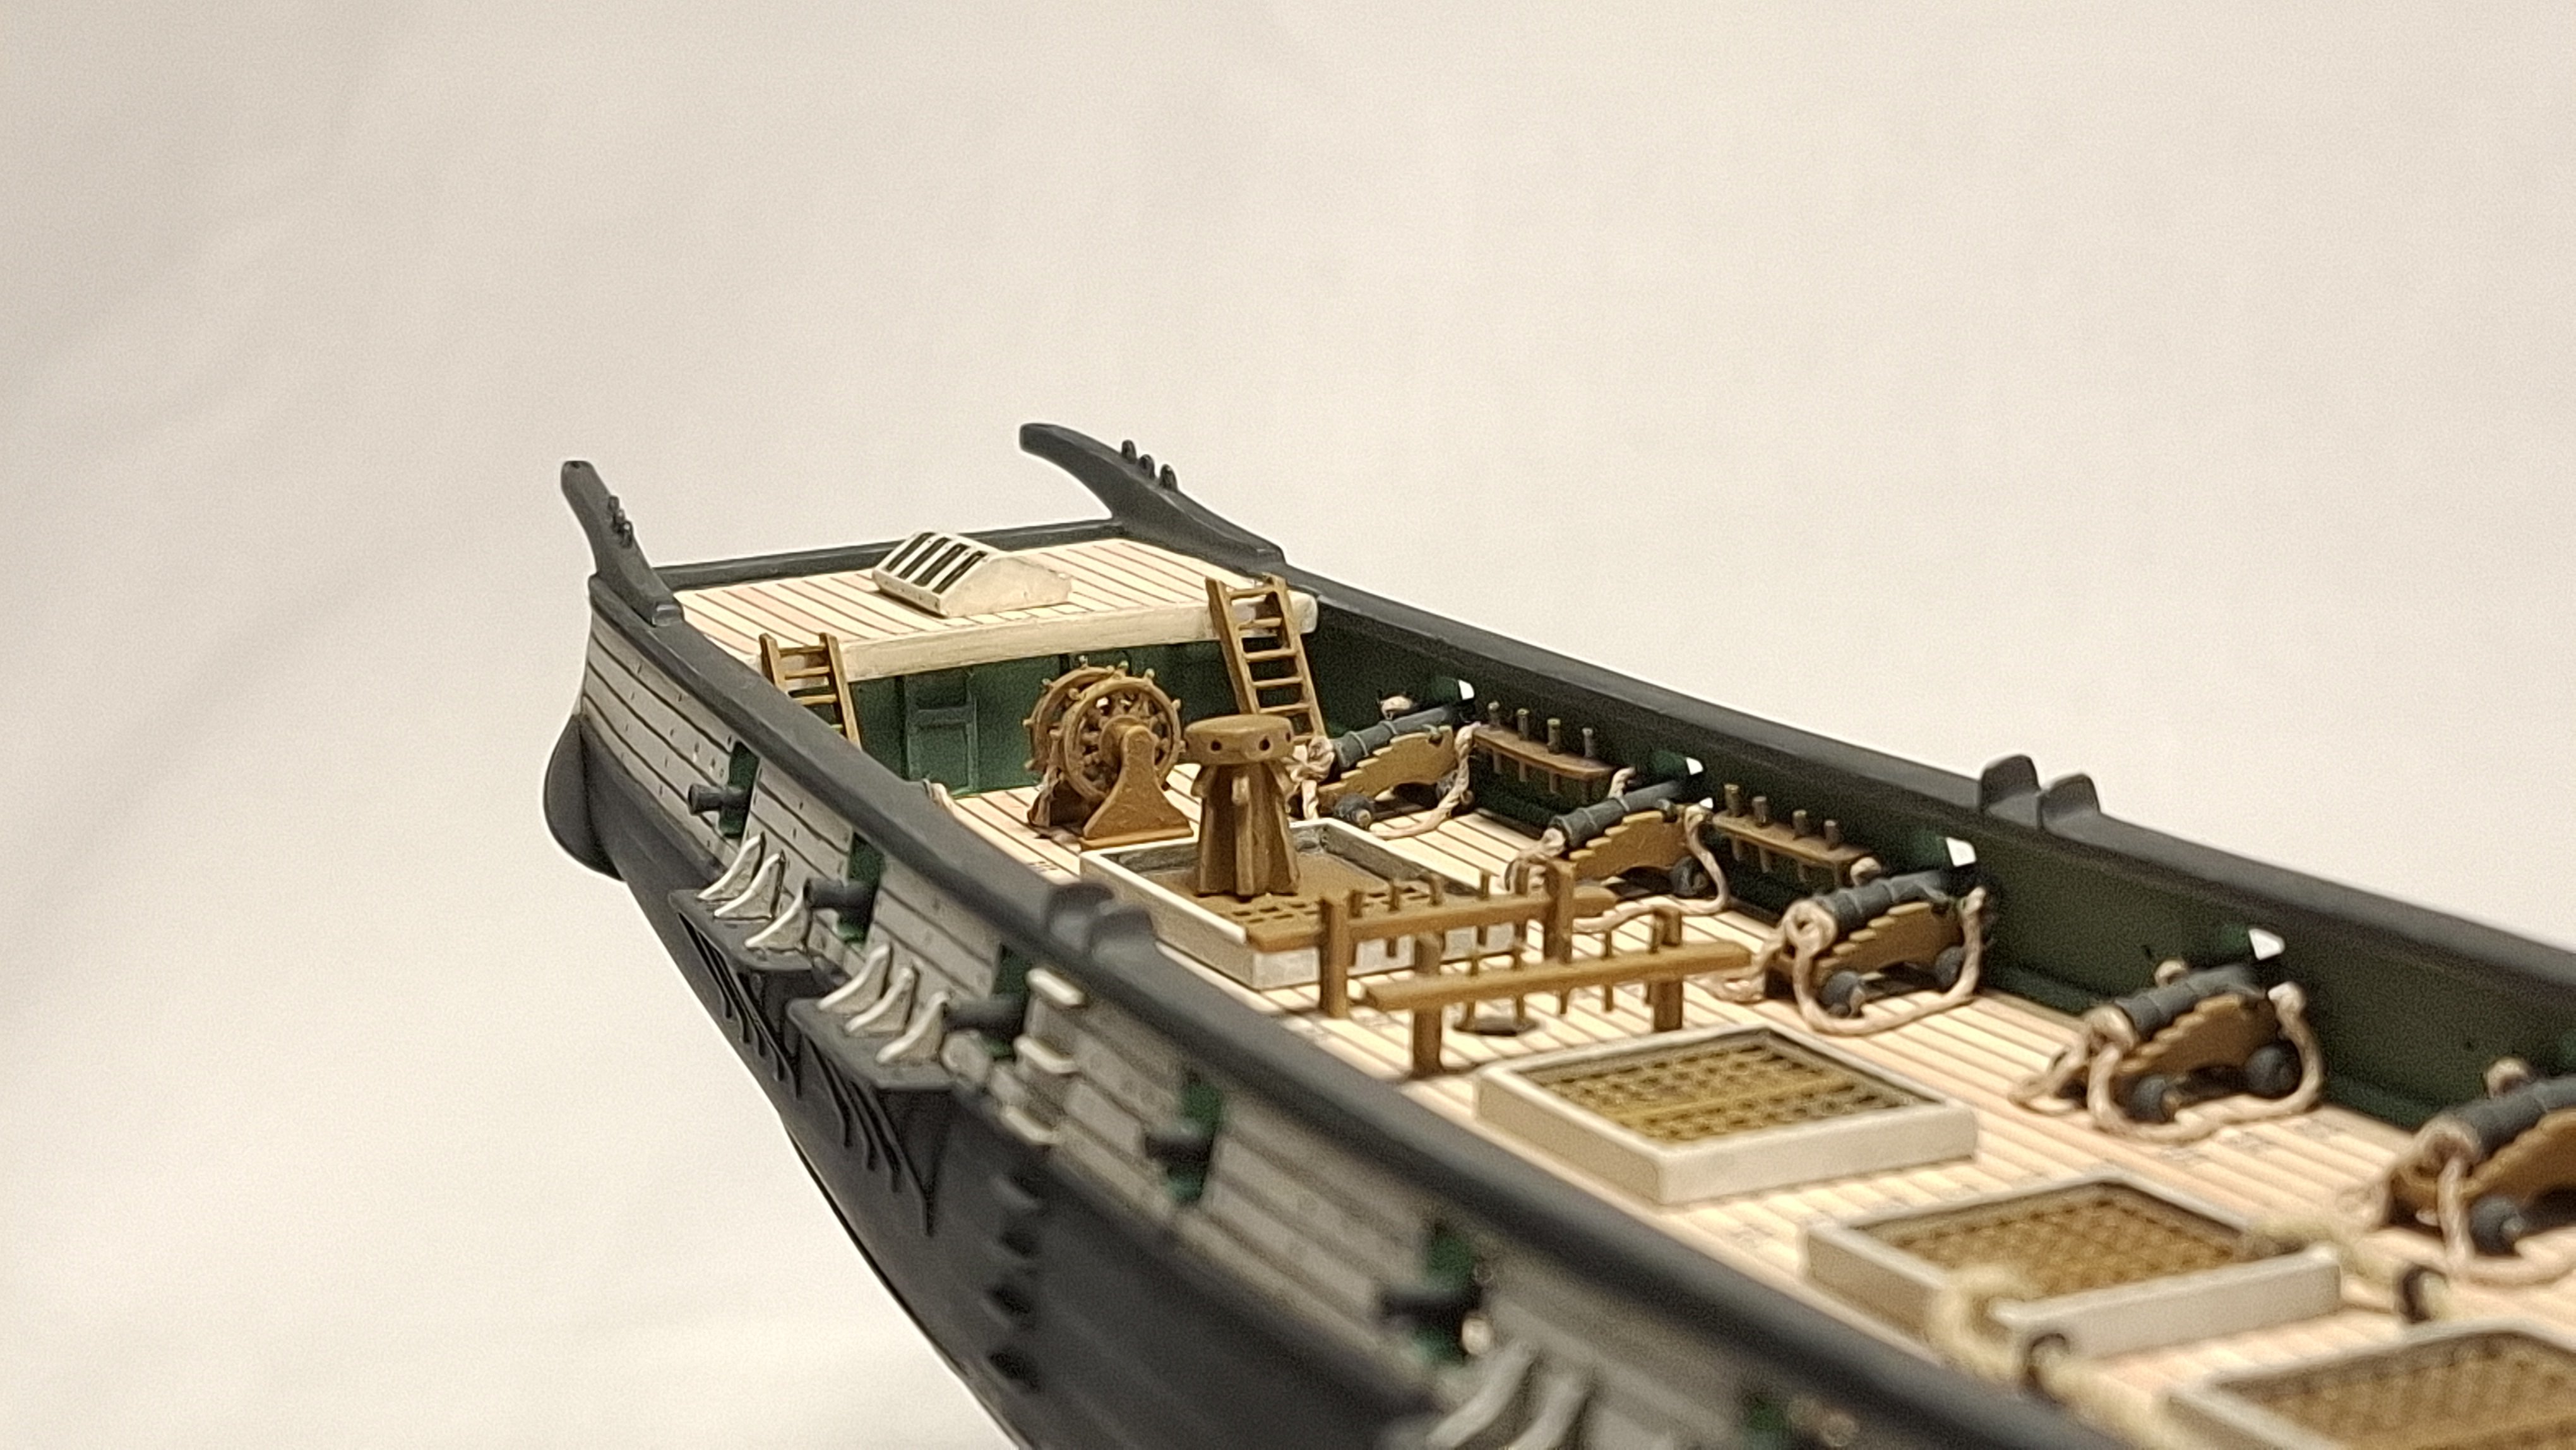
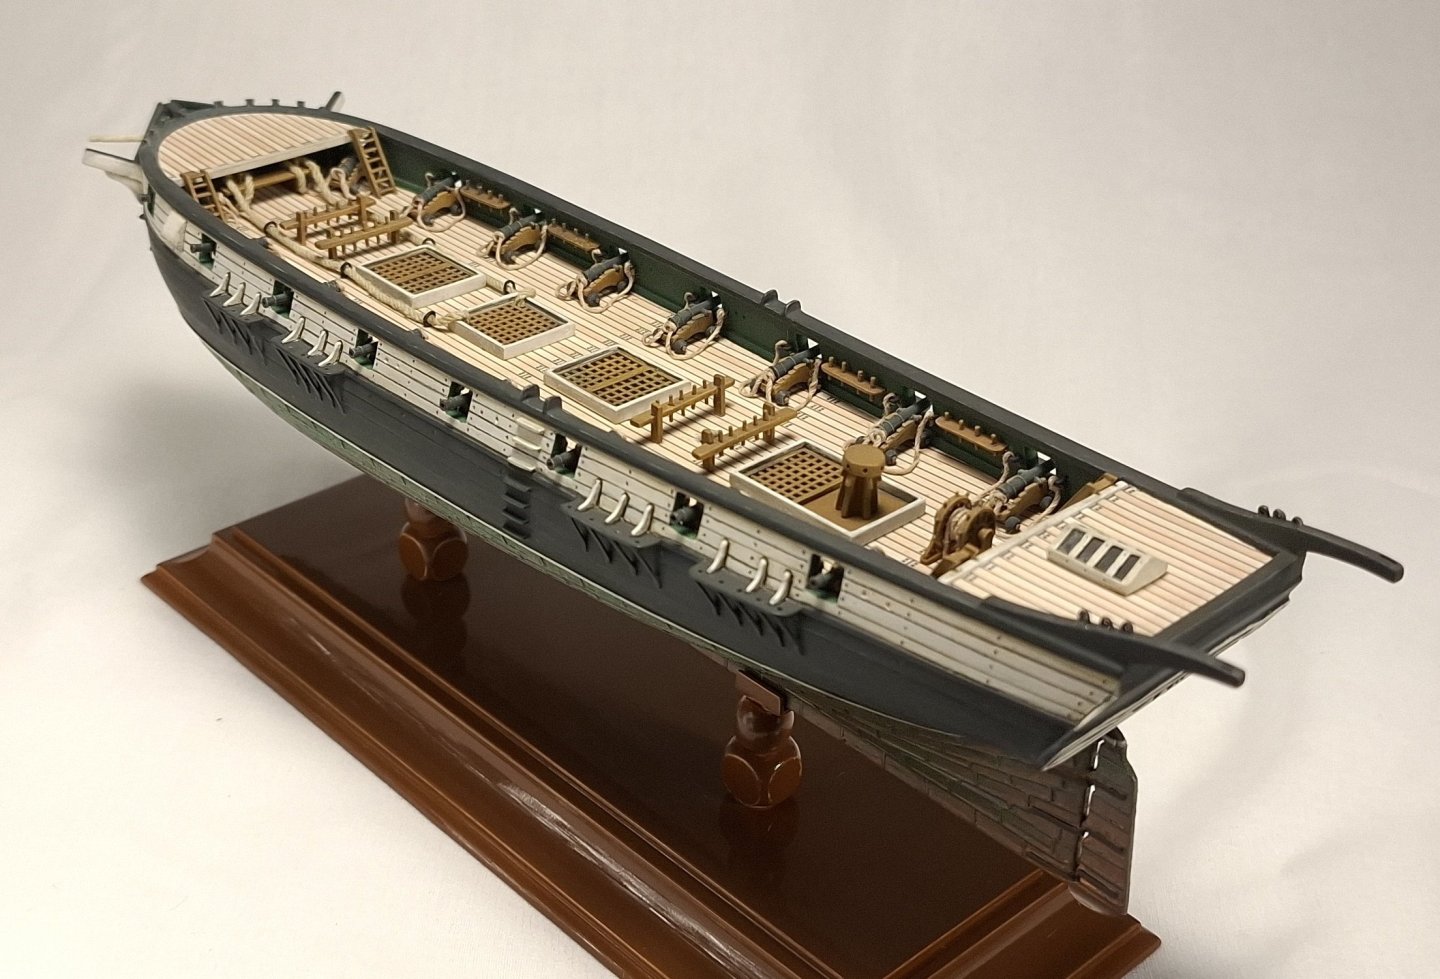
The rest of the deck. So the gun barrels and the wheel came from the parts pile, as for the rest of the deck, I am very happy with the result and its layout, all things considering

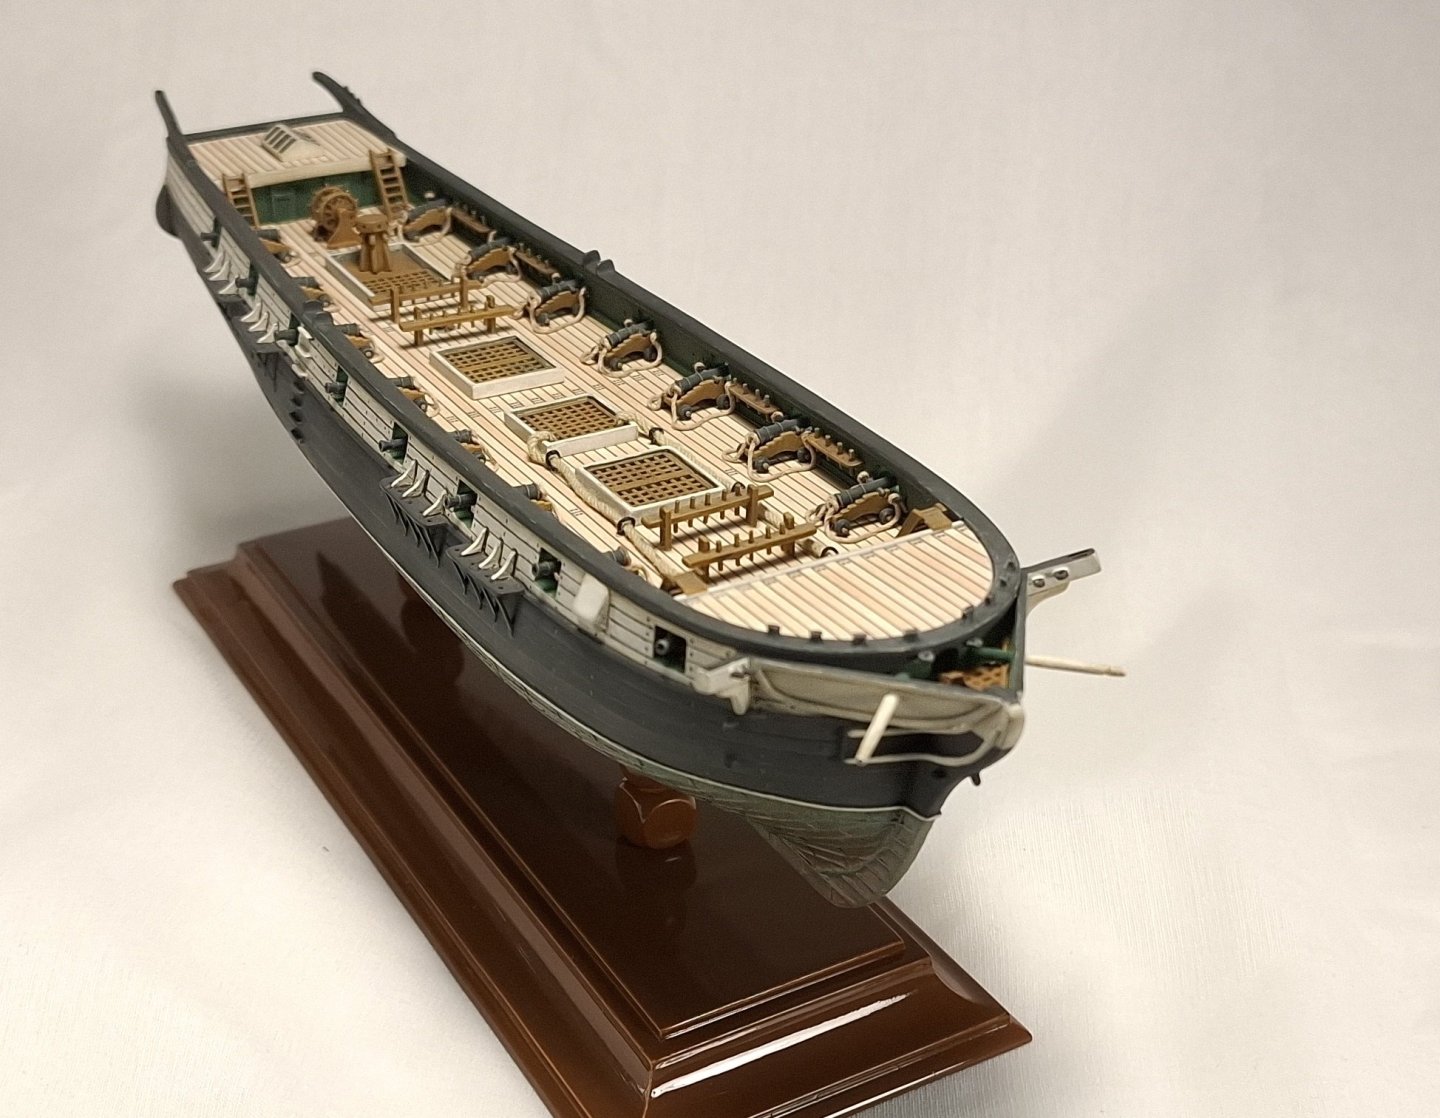


-
The closeup at the bow shows most of the pencil work.


-
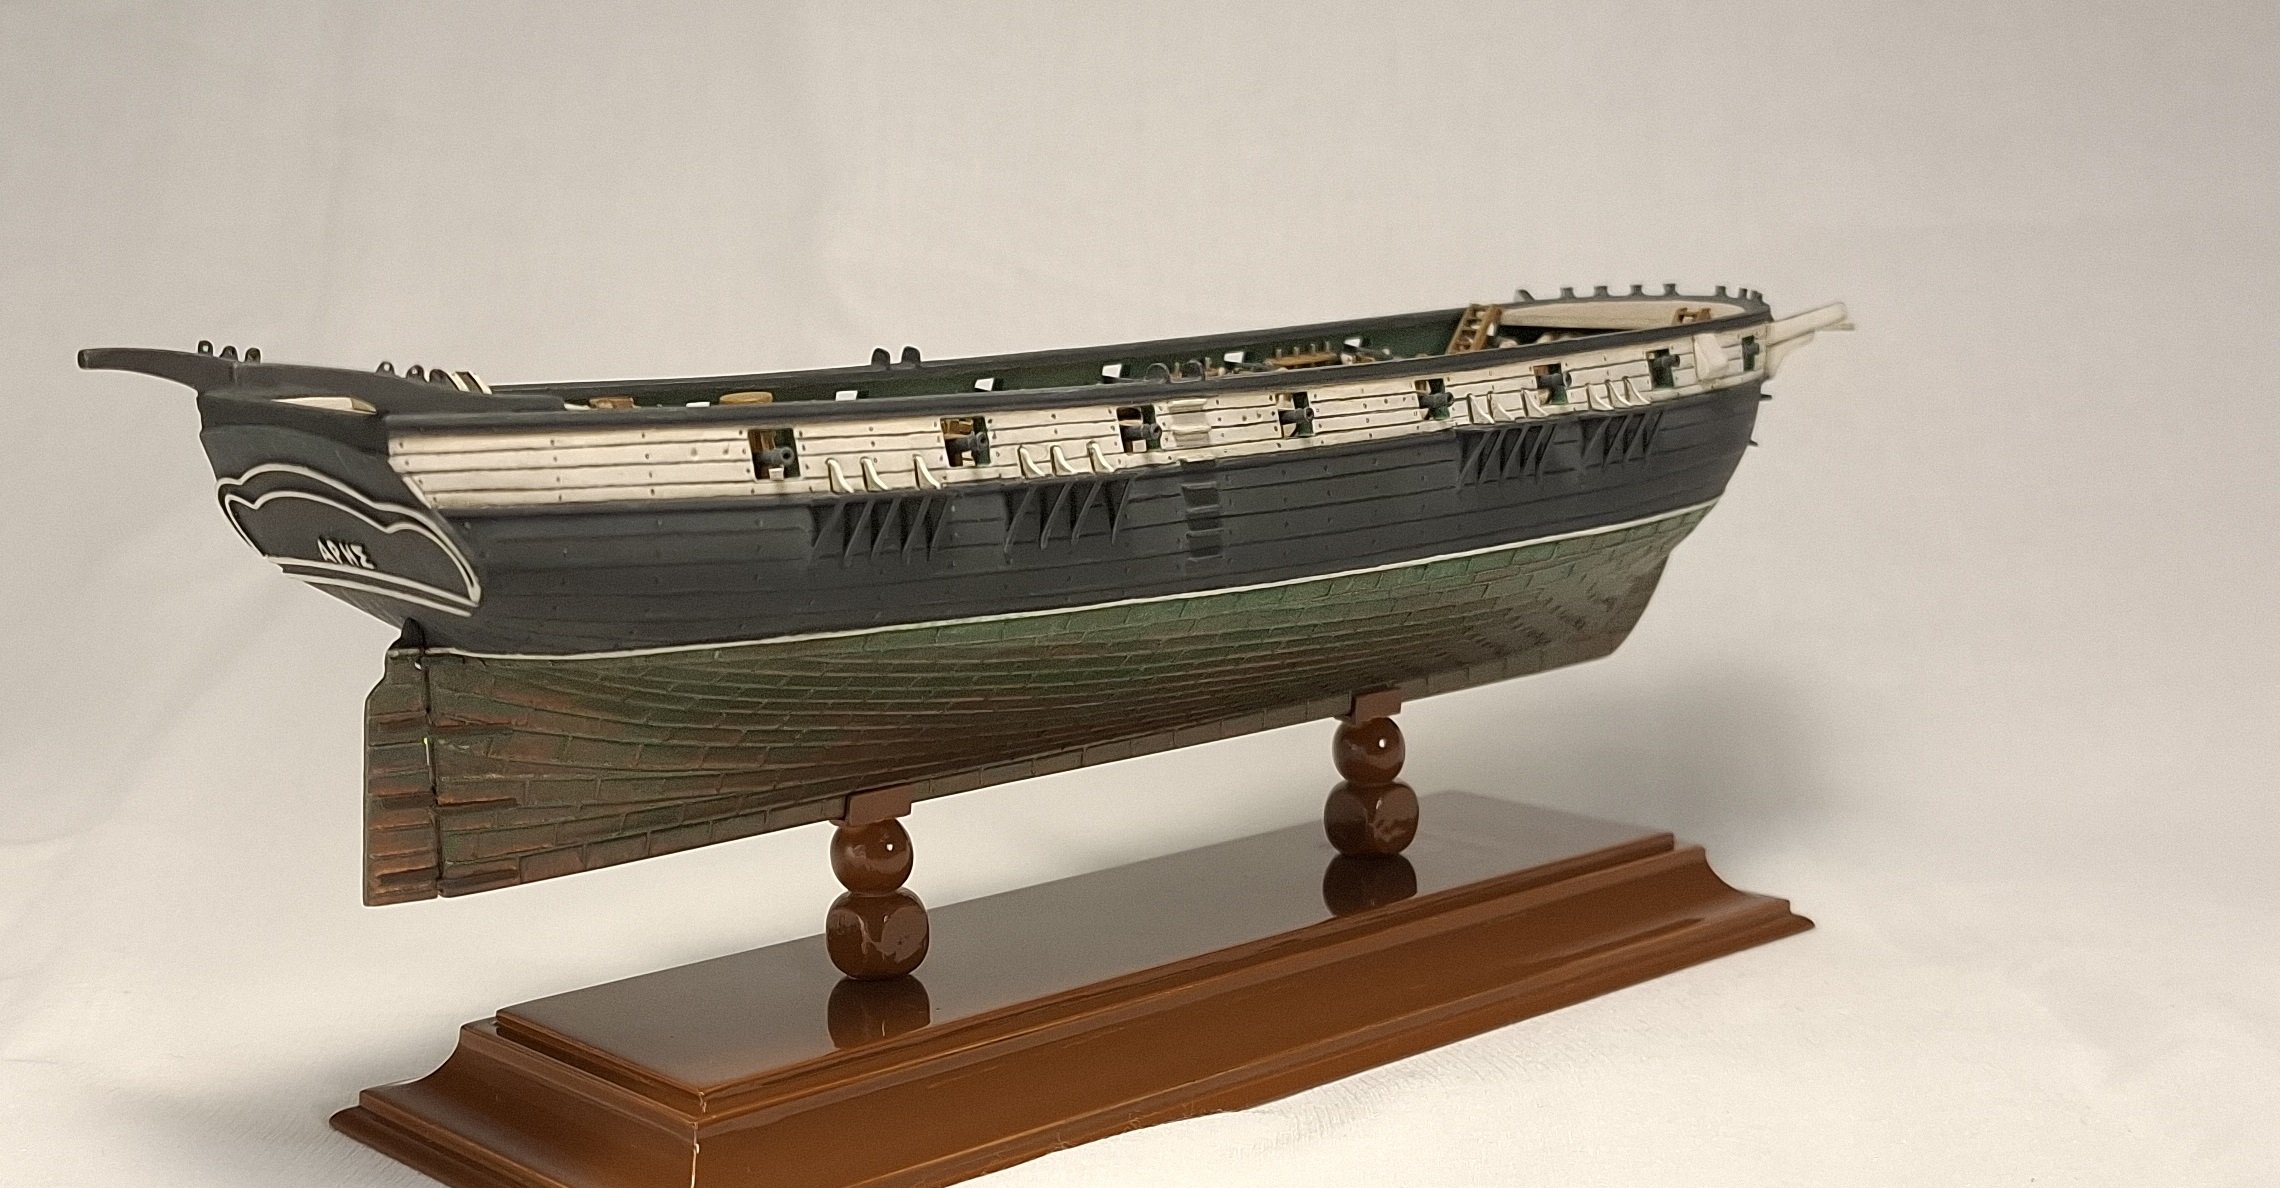
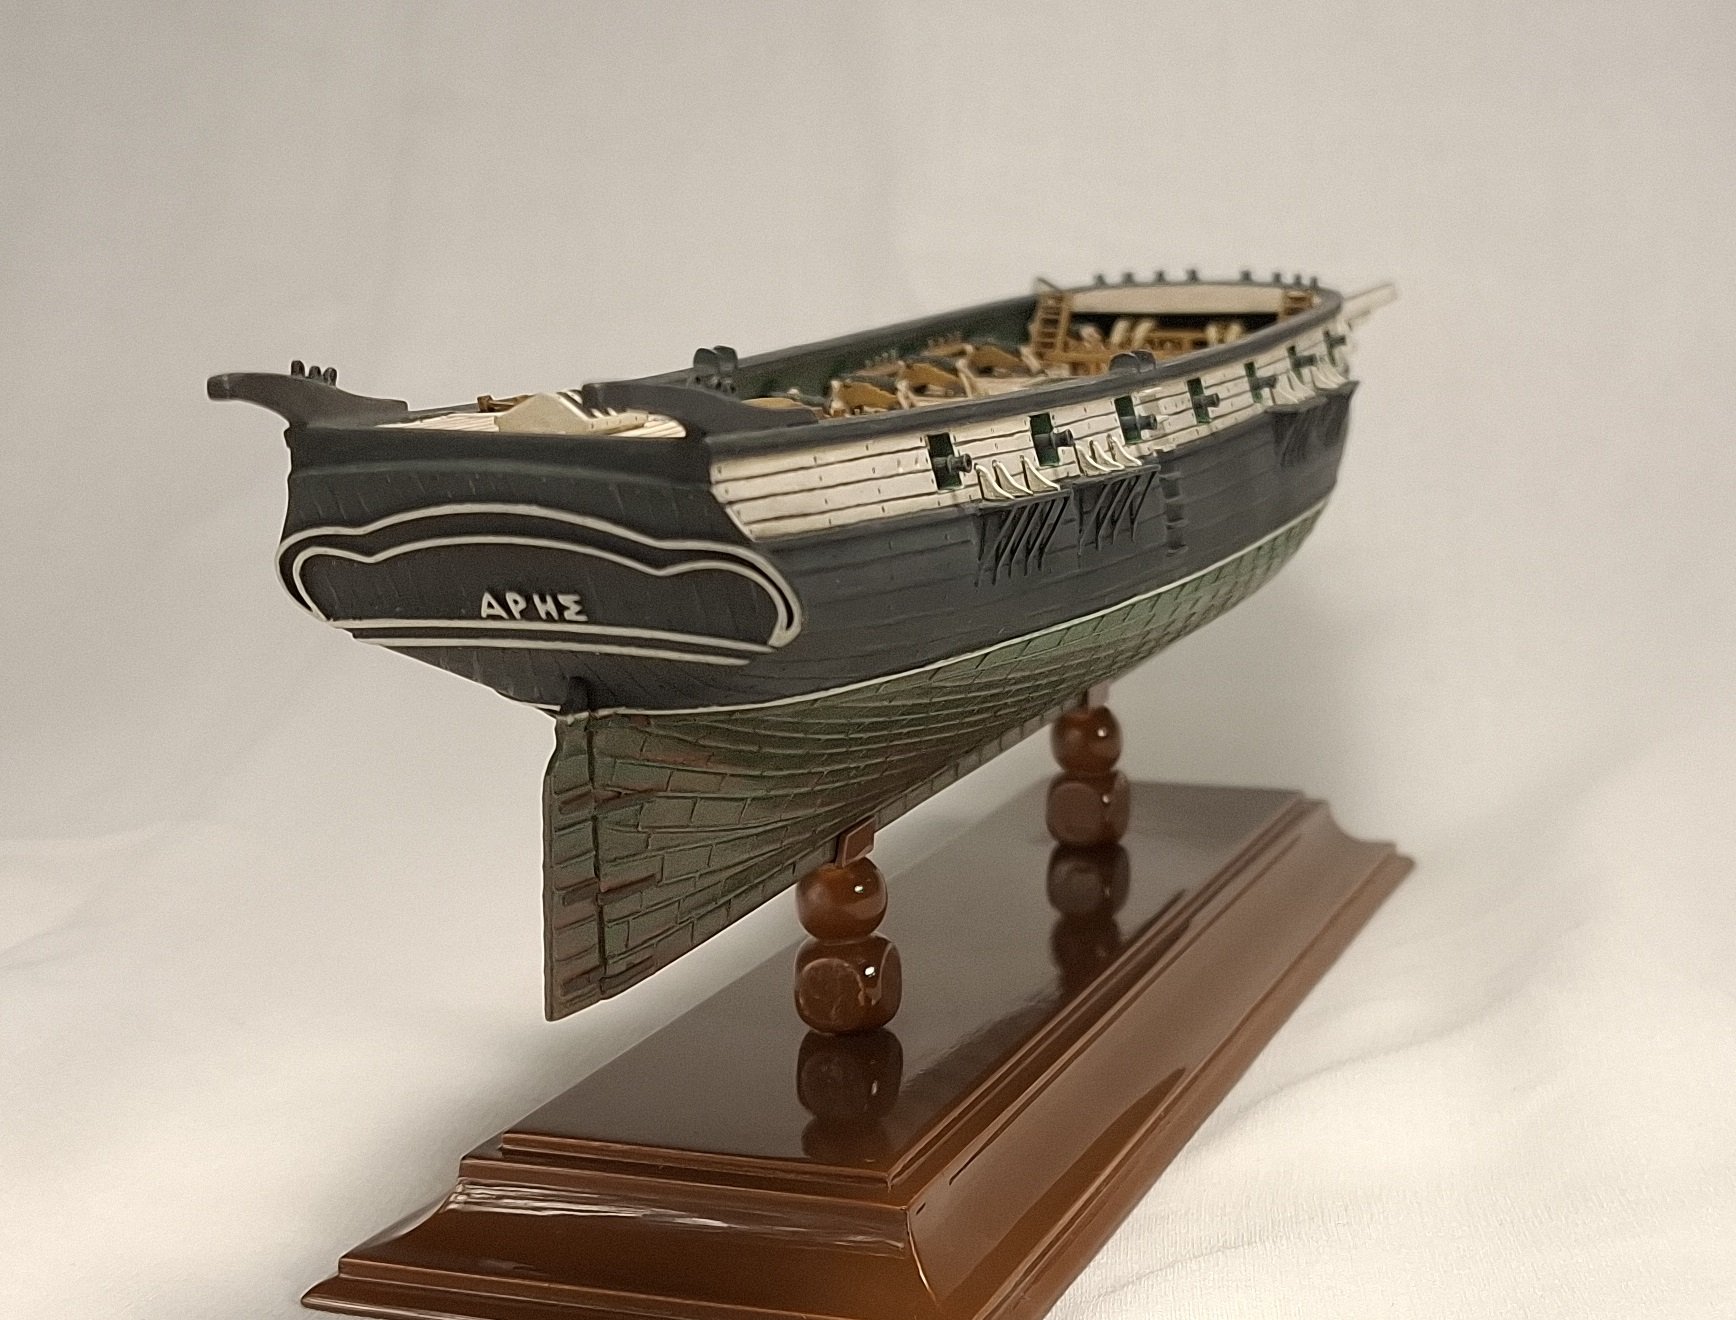
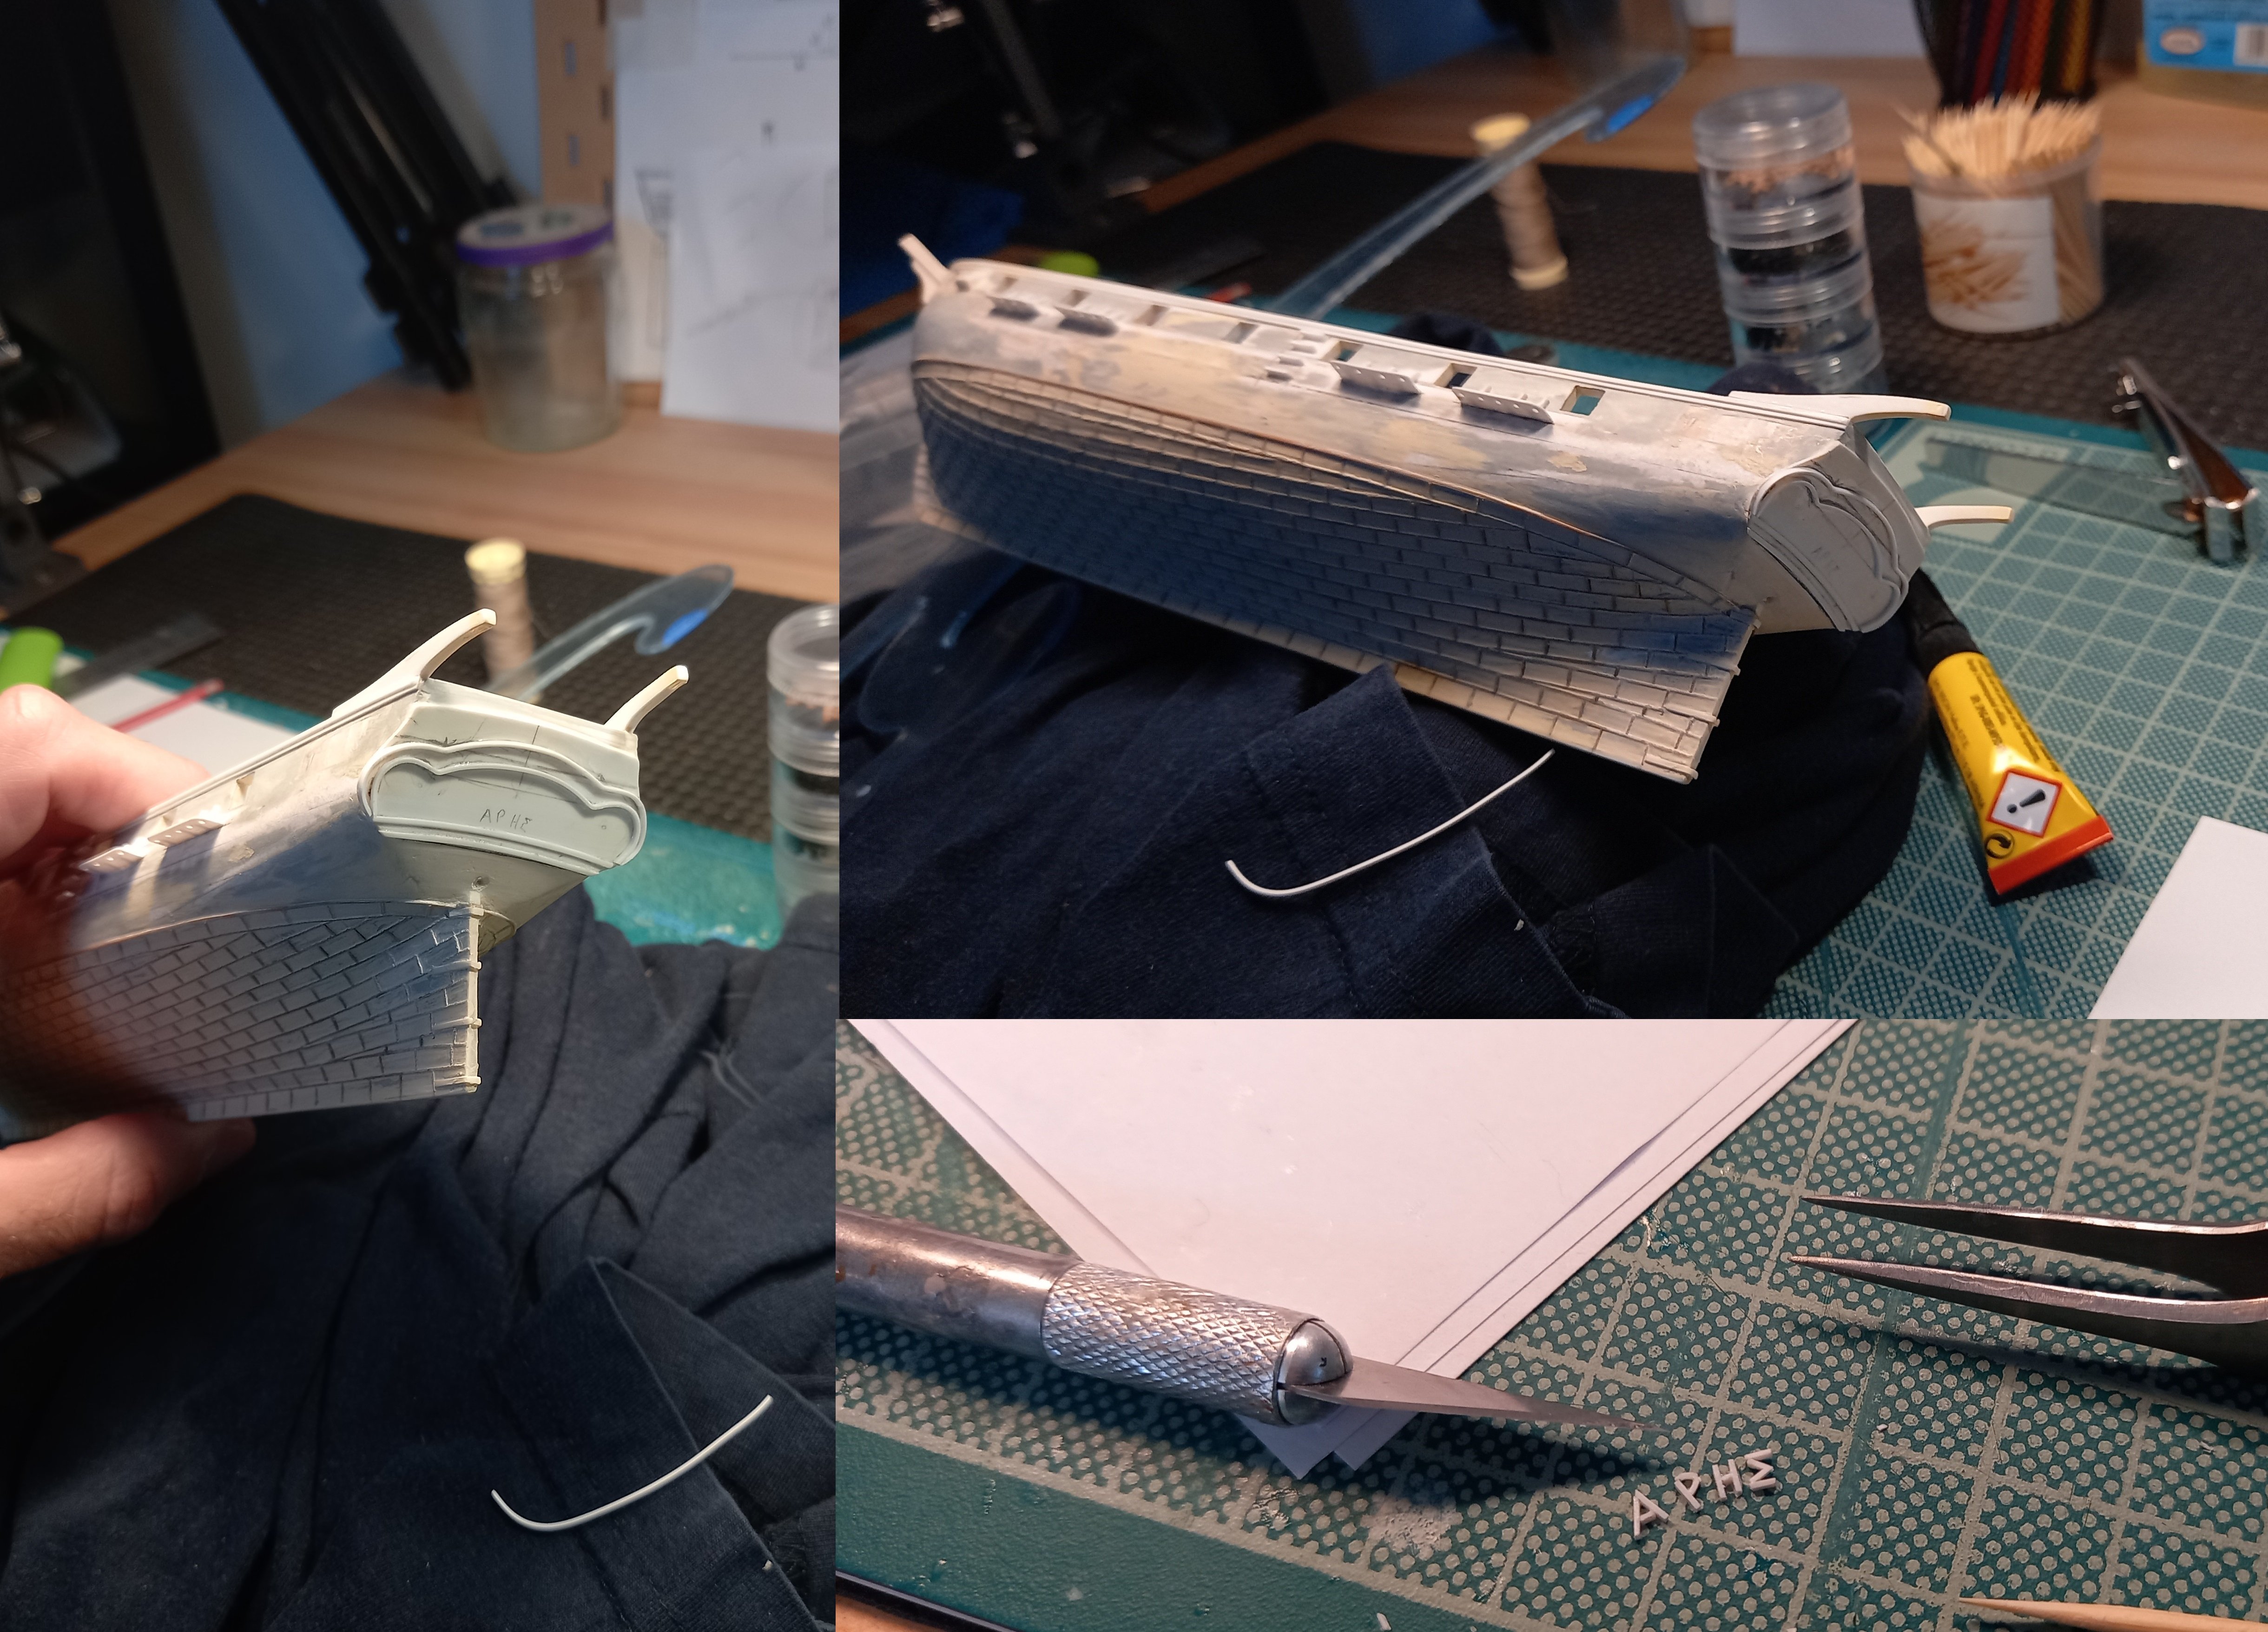
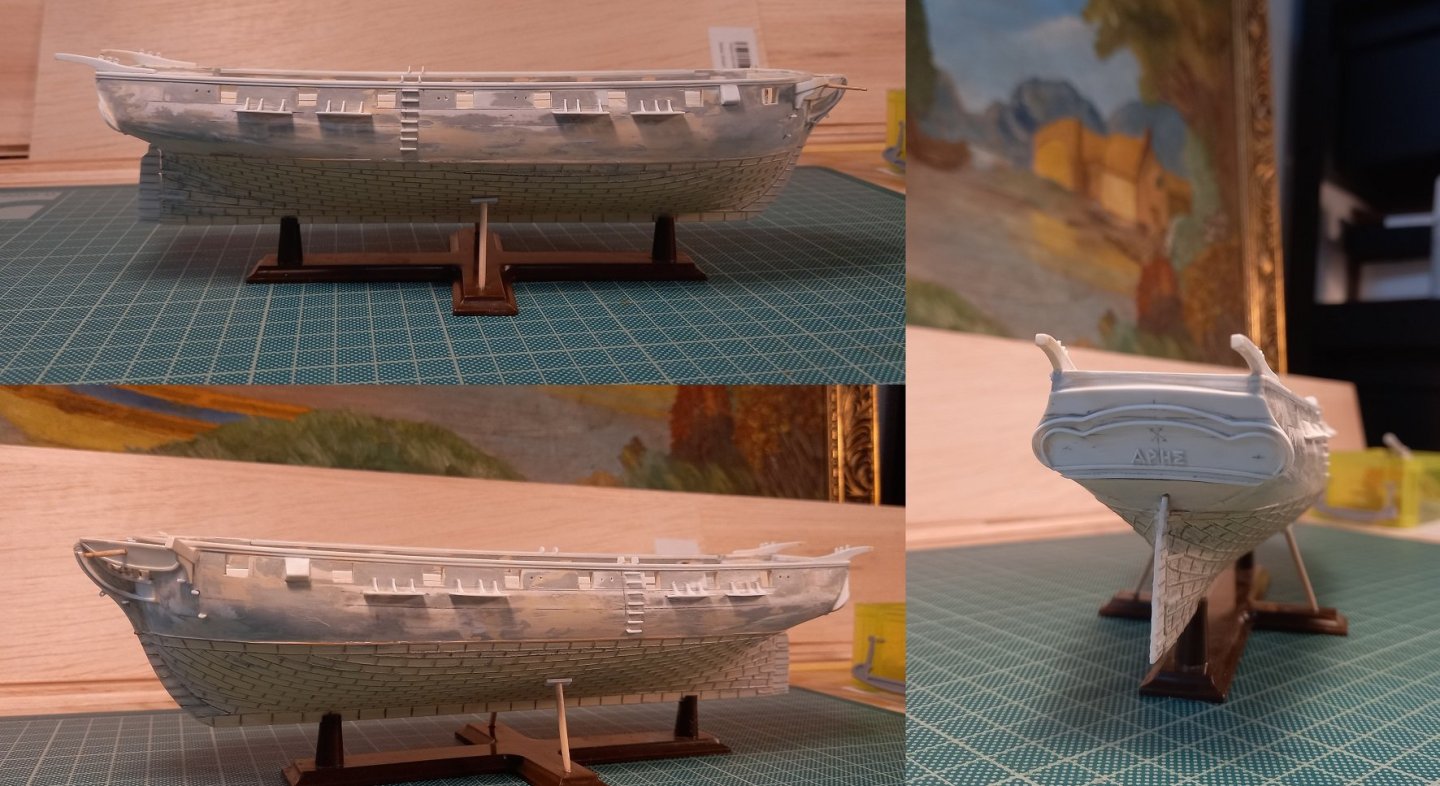
ΑΡΗΣ , Ares in Greek

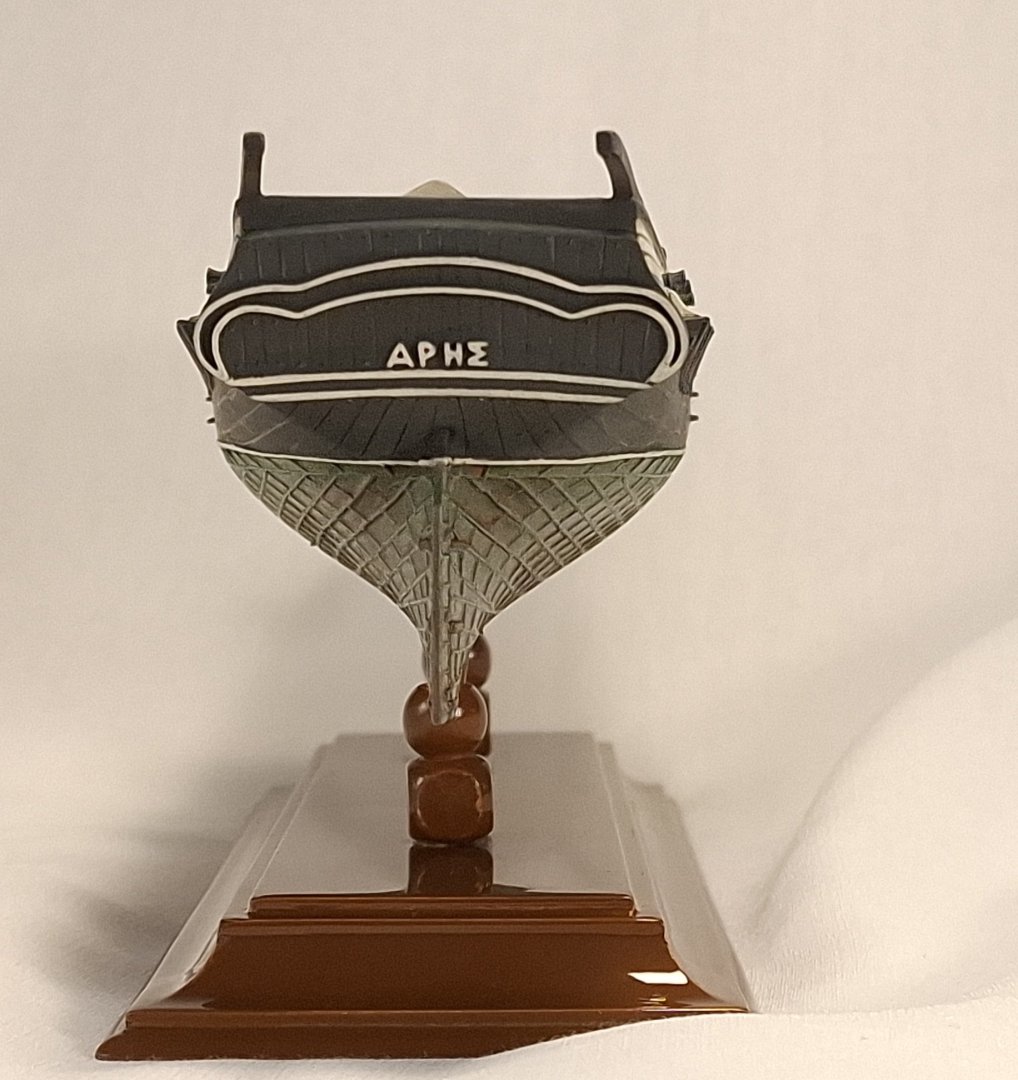

-
Used pencils for planking

-
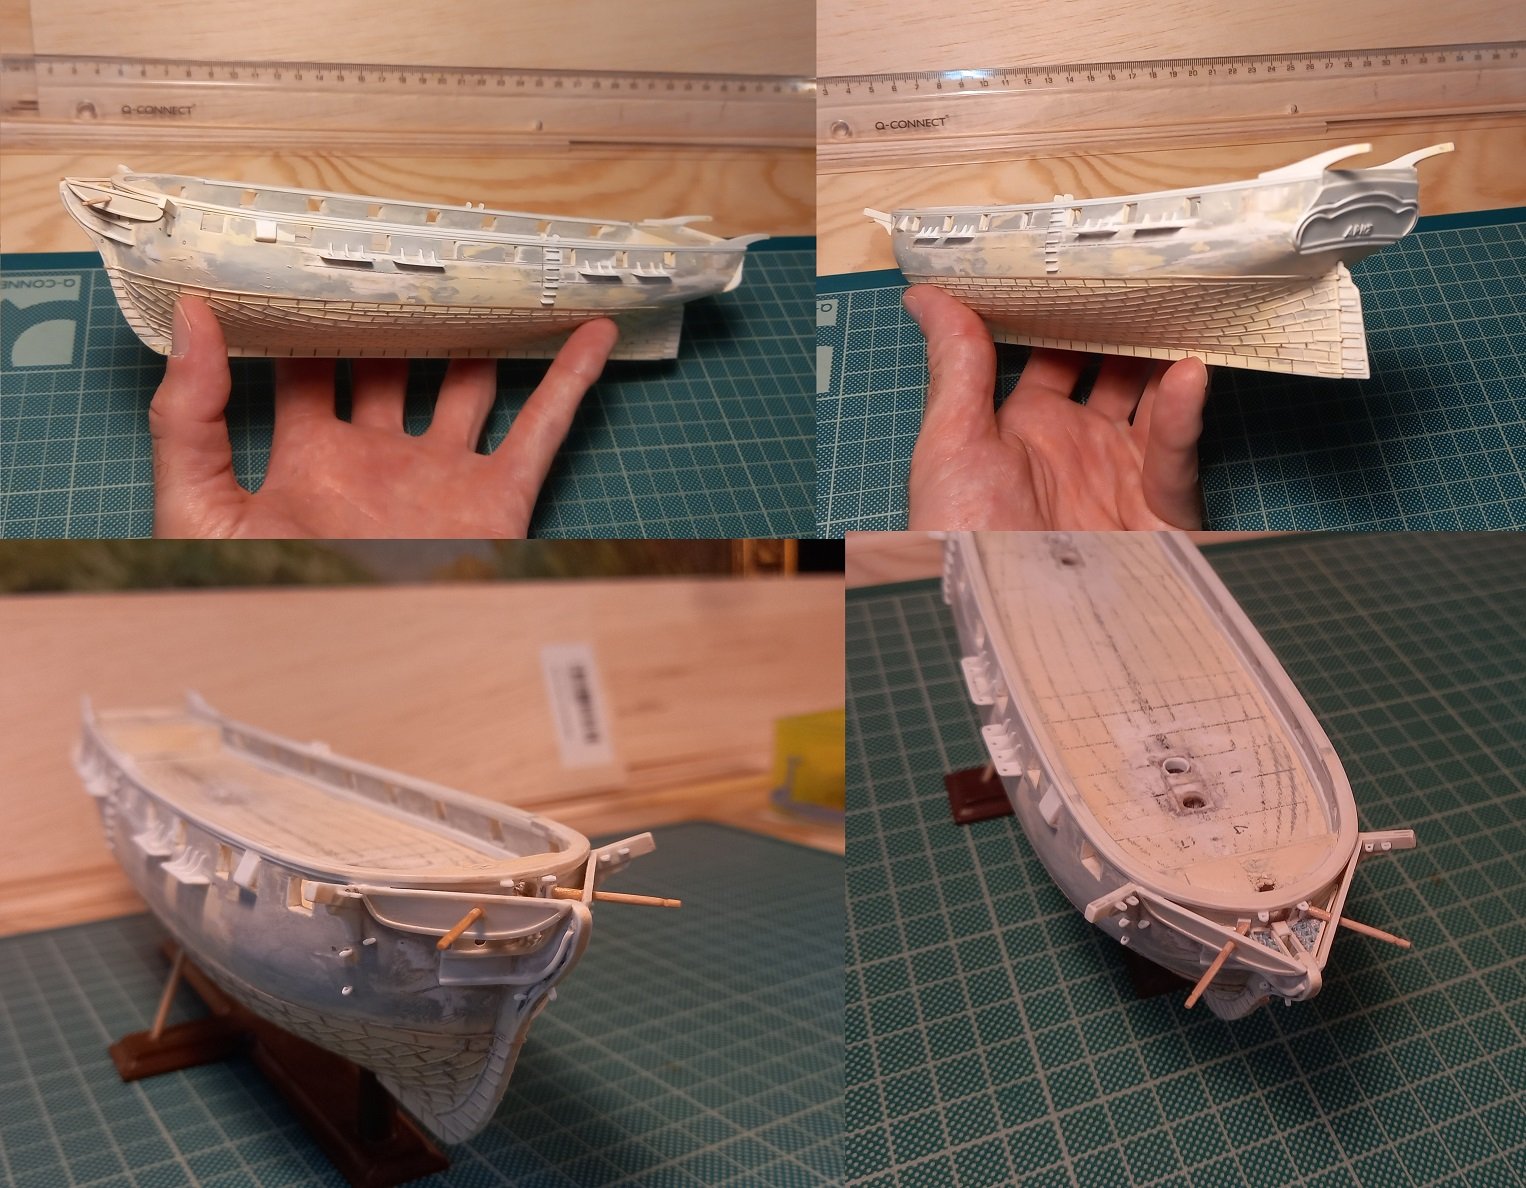
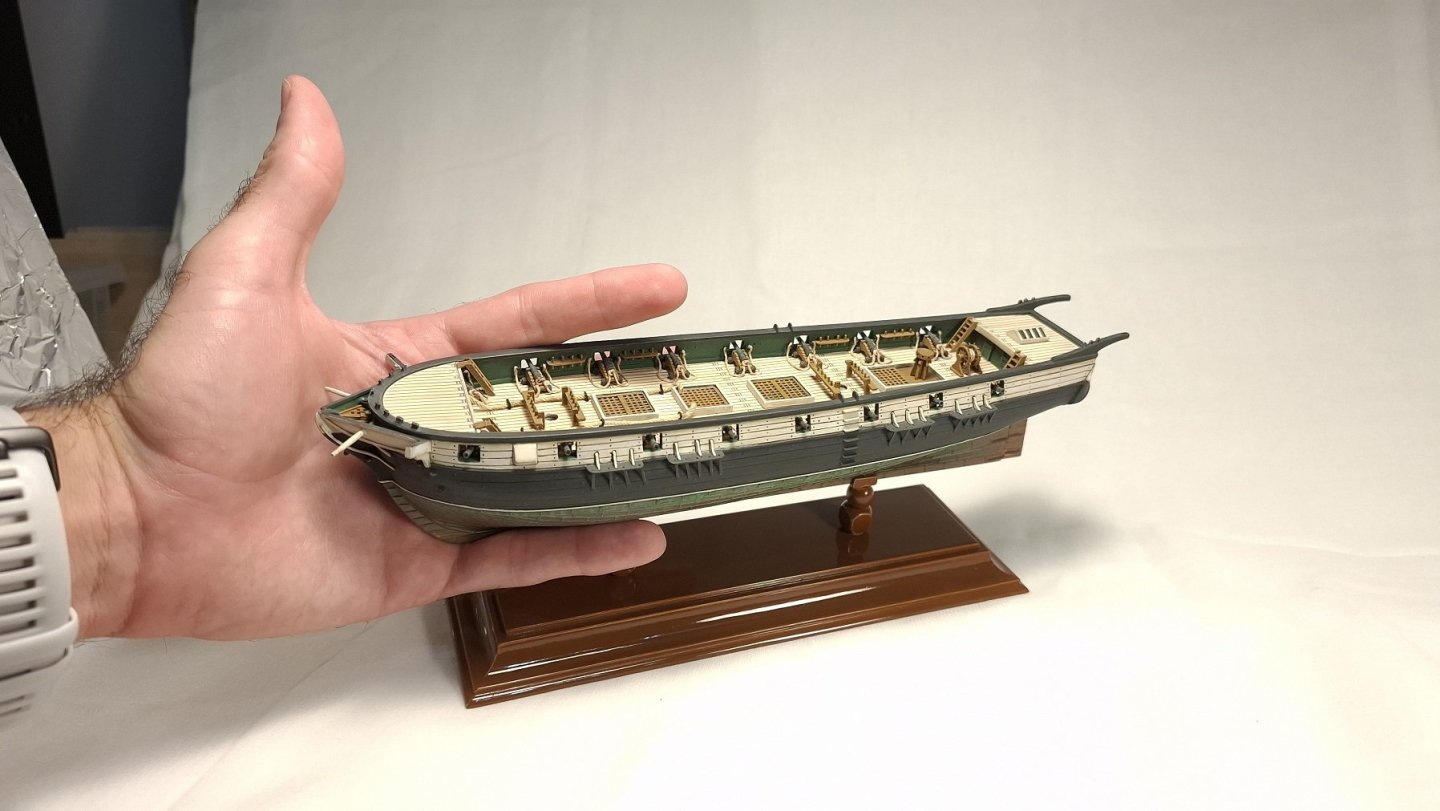
Alright, I'm back. Unfortunately, there is a big jumb in the construction process. The procedure was very tiresome, as I am terrible at painting model ships. I therefore used the whole affair as a learning experiment. The amount of back and forth correcting mistakes tested my patience... At least I tried different methods, airbrush, wash, drybrushing, pencils, highlighting, whatnot. Added the guns and their ropes and the rest of the deck fittings. But I took few photos last month, so we go straight to the result.... First one for scale:

-
These are great ideas. Ares had, in theory at least, 12 pounder long guns. You are right, turning these guns individually cannot work, they need to be casted or made in that fashion. I'll try to calculate all the deck guns that I need for all the 1/144 models, then decide along these lines. I dont think I have any skills yet to even approach casting things myself..
-
Thank you wefalck! Early 1800s is quite difficult to find plans from Venice, private ships even worse and there is a distinct lack of naval historical archives in Greece as well. I hope some day they will, at least there are many photos of Ares, I'll post more. In fact Ares launch date is not even certain, other sources state 1807, not 1819... Thank you for your input about the use of materials, yes they are just a means to an end. I dislike the use of wood in smaller scales, much prefer plastic and paper aswell. As far as the copper plates, I am a big proponent of "scaling for effect" especially in smaller ships. I originally used very thin 0.3mm thick plastic plates, like you suggested, to create the effect on the Frigate Hellas, a model I have yet to post. The process took much more time, it looked terrible from close up, like a brick wall (in reality the plates have to overlap to created a visible raised lip on their edges) and just a few centimeters away, the pattern became invisible. I could not make it work... I also feel that I cant depict the size of the model properly here, it is hard to translate how small it is, because of the closeups, just visualize her keel is just 18cm long.
-
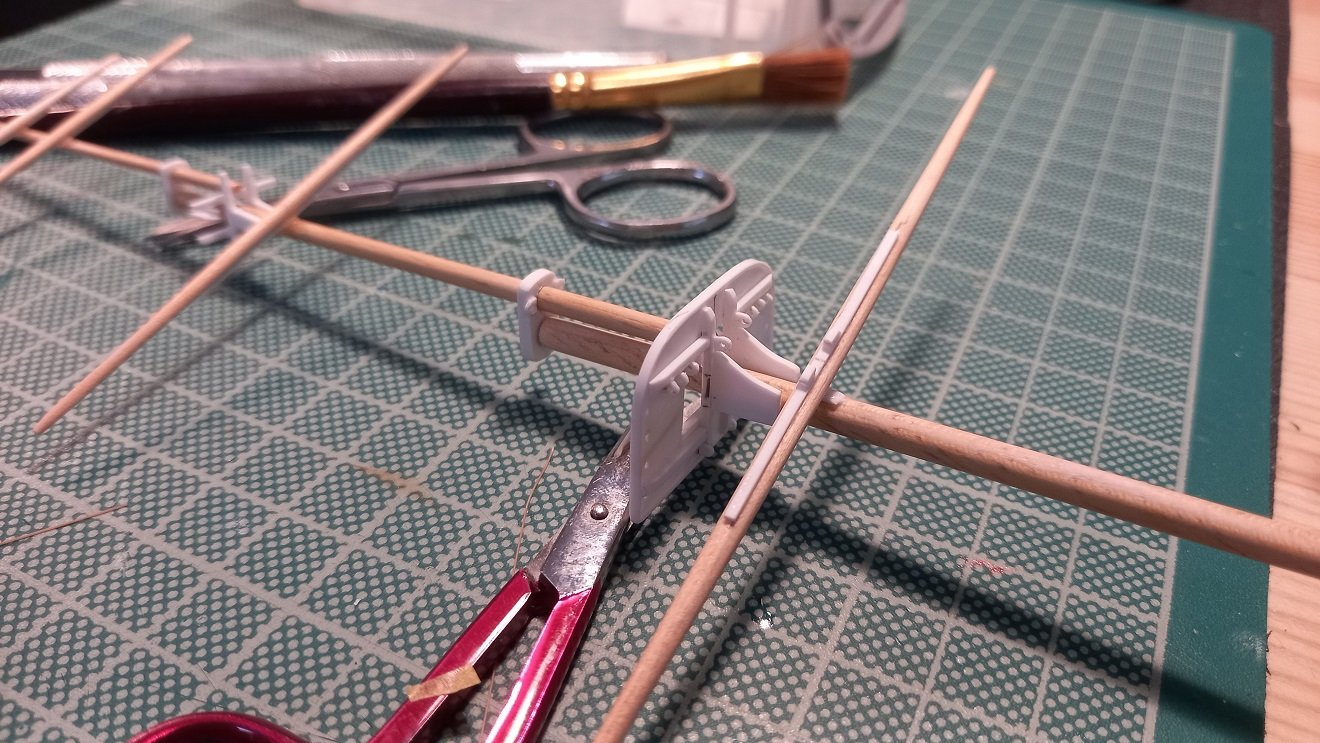
Thank you. Maybe I need to try making a rig to secure a drill like you do. At least for an test attempt
-
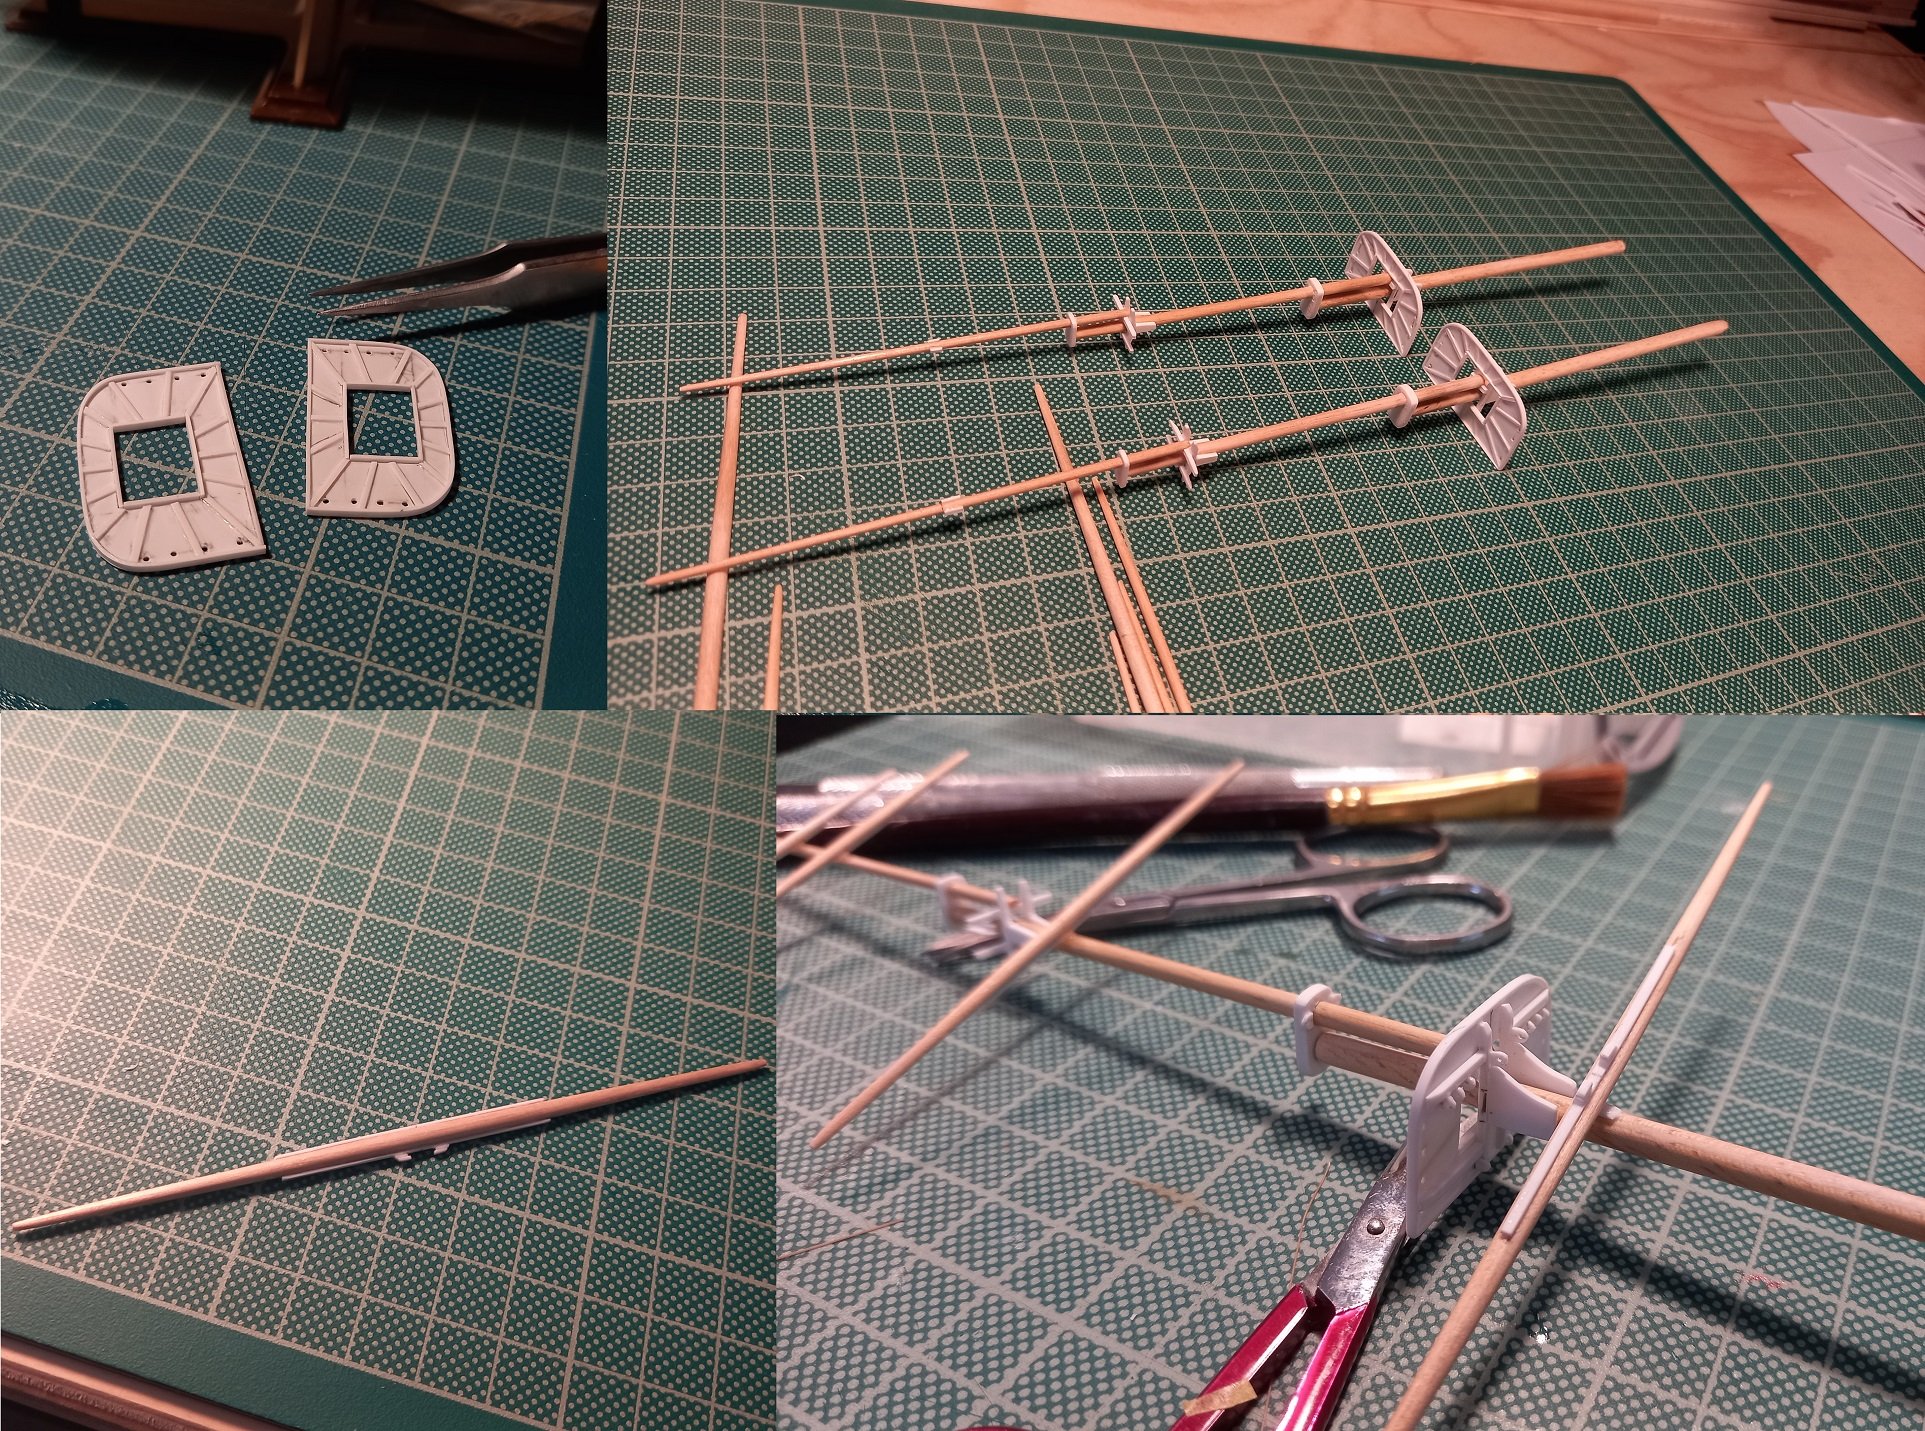
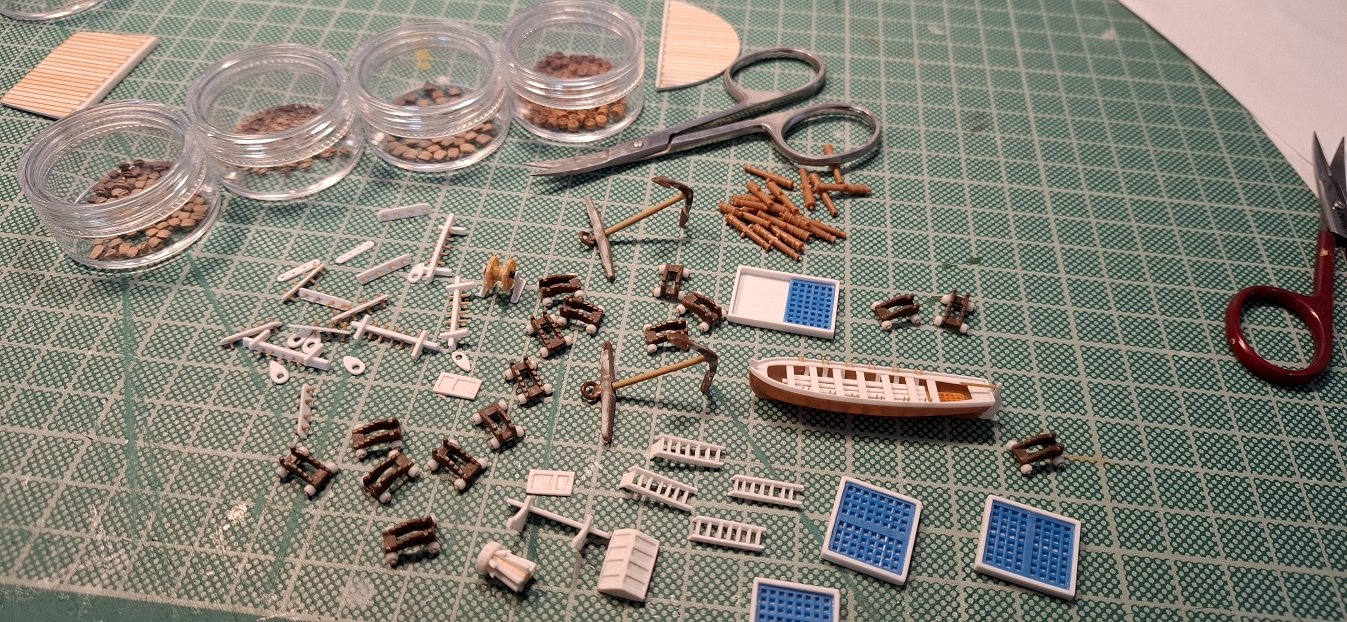
The grid is 1sq cm, the carriages are a mix of parts, about 10mm long with 2mm glass beads for wheels with melted sprue for axis , the body was part of a larger carriage that I cut down. Here are most of the rest of the pieces of the model ready for painting. Ladders hatch covers, capstain, doors, the bits, the pinrails, rigging bounds and euphroe etc are scratch, done from the pastic sheets I have, these were easy. The steering wheel is from a kit with a scratch base. The anchors are each from 3 different sources put together. Generally the scrap pieces I have are not very compatible with the 1/144 so I could not use many. The guns are the right size for a 12 pounder at 1/144, dont know where they were orriginally from, probably 24poundes at 1/220. I will most probably use them, but there is a catch. I want to make a series of 1/144 ships and want consistency. I have yet to find a way to make gun barrels at such scale, I might need to resort buying metal ones, 18mm are the smallest ones I can find online.
-
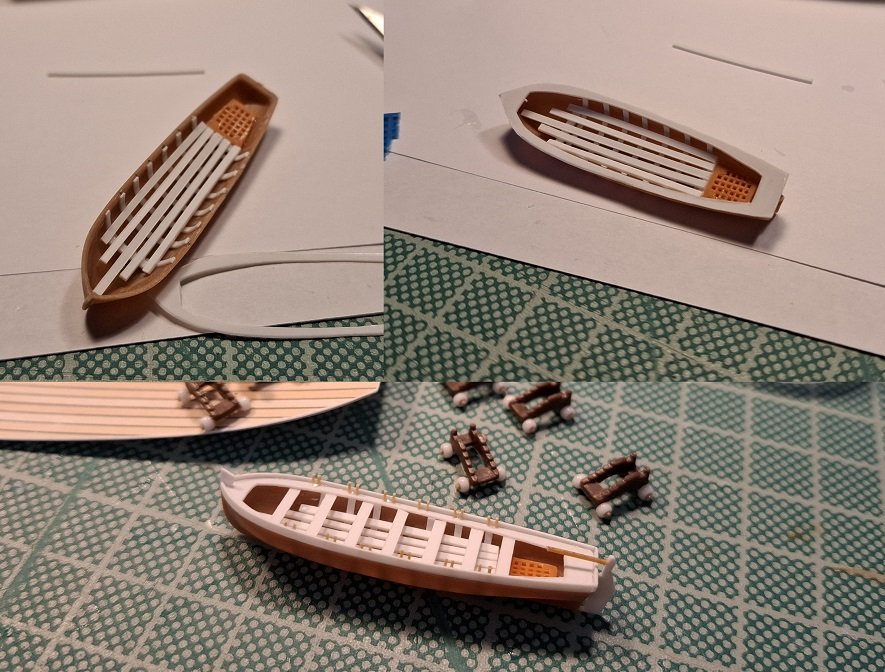
The deck fittings, guns and ship's boat are bit of a challenge.. I have a lot of spare pieces of various kits to use though. For the boat, I found one lower hull of the right size, and added the rest of the details in the correct scale using plastic strips and scrap pieces.
-
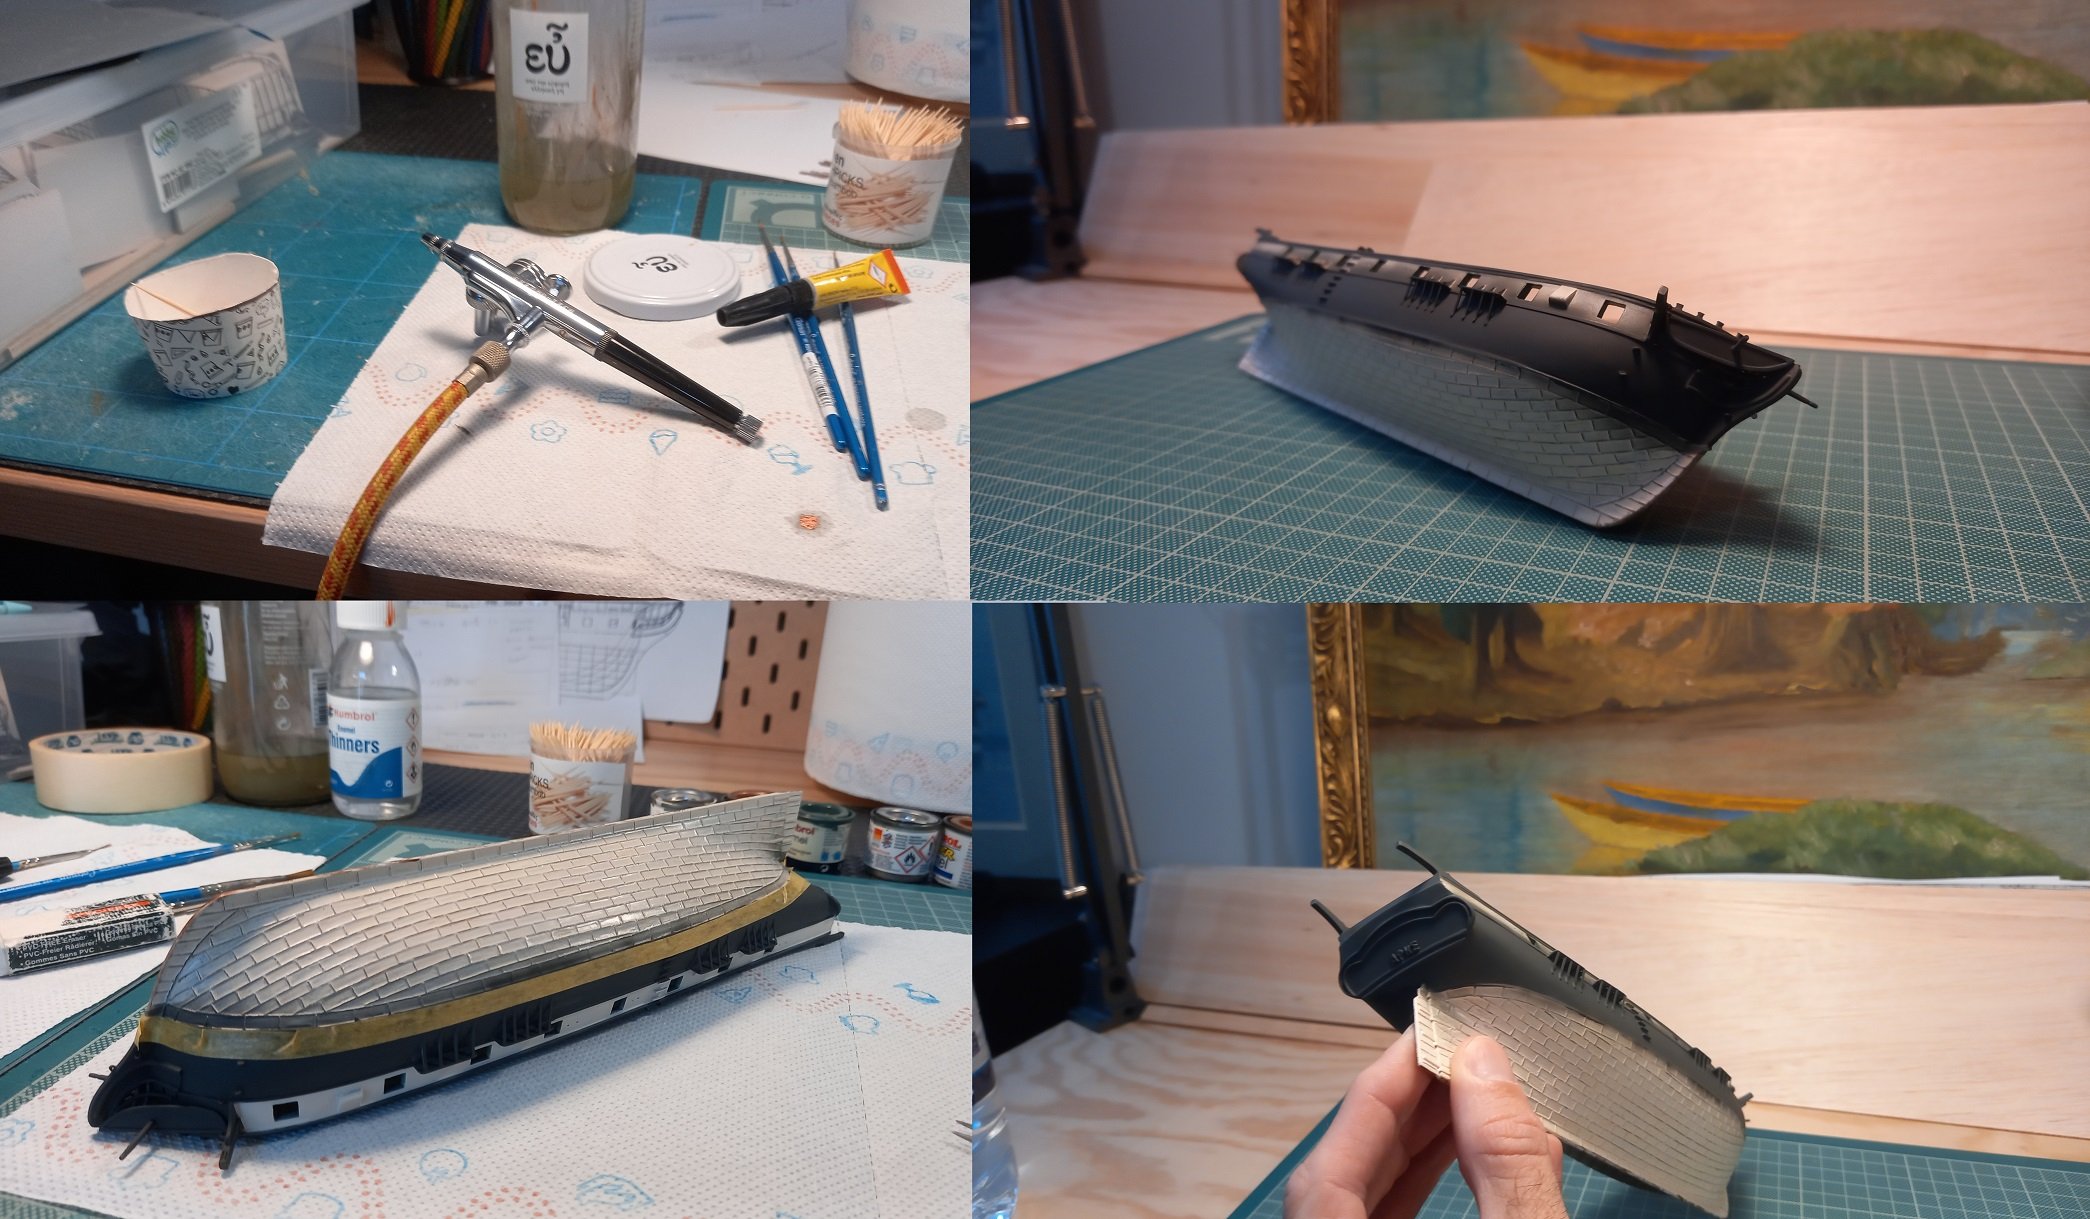
Thank you! If one is happy with the final result, the methods and materials can be quite unique, indeed! The thread is now approaching the current state of the model. After a big hiatus with using it, I finally decided to start painting with the airbrush again.

-
The masts are made of balsa soaked with cyanoacrylate and plastic. Added eyebolts for the rigging as well, mostly to make the rigging easier, than anything else. And a closeup of the foremast. I have set the yards at an angle, I'll put sails later and prefer to have them with the wind at an angle, even if it is not an a diorama base.

-
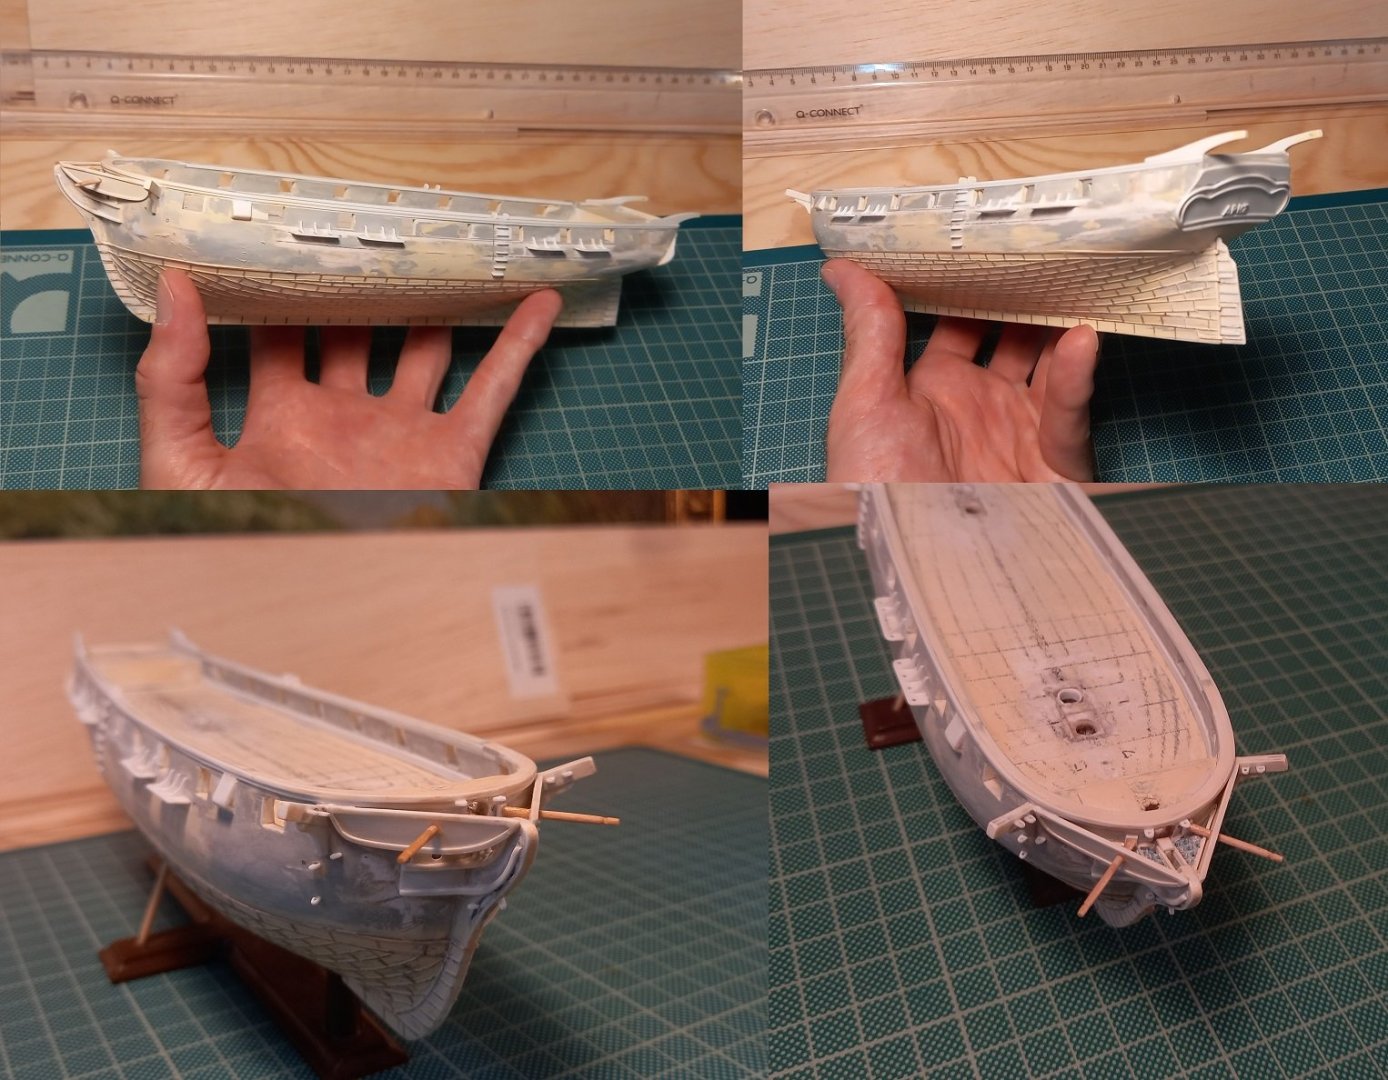
Thank you all! Since I now try to put daily work on the models, and with most other non modeling issues mostly resolved, I'll be more consistant in posting here in general. Timberheads on the bow are now done, and the hull is ready for painting. The forecastle is also temporarily dry fitted. On the matter of the deck, I improved on my older solution, that is, I drew a 1/144 scale deck pattern, complete with colors, planking and nailheads on the computer. I printed it on thick paper. Then I glue it on 0.3mm thick plastic sheet in the shape of the deck and painted it over with matte enamel coat to seal it. I like the result, not many other solutions in that scale (other than buying ready decks or sth) so the same deck pattern will be in all my 1/144 models from now on.
-
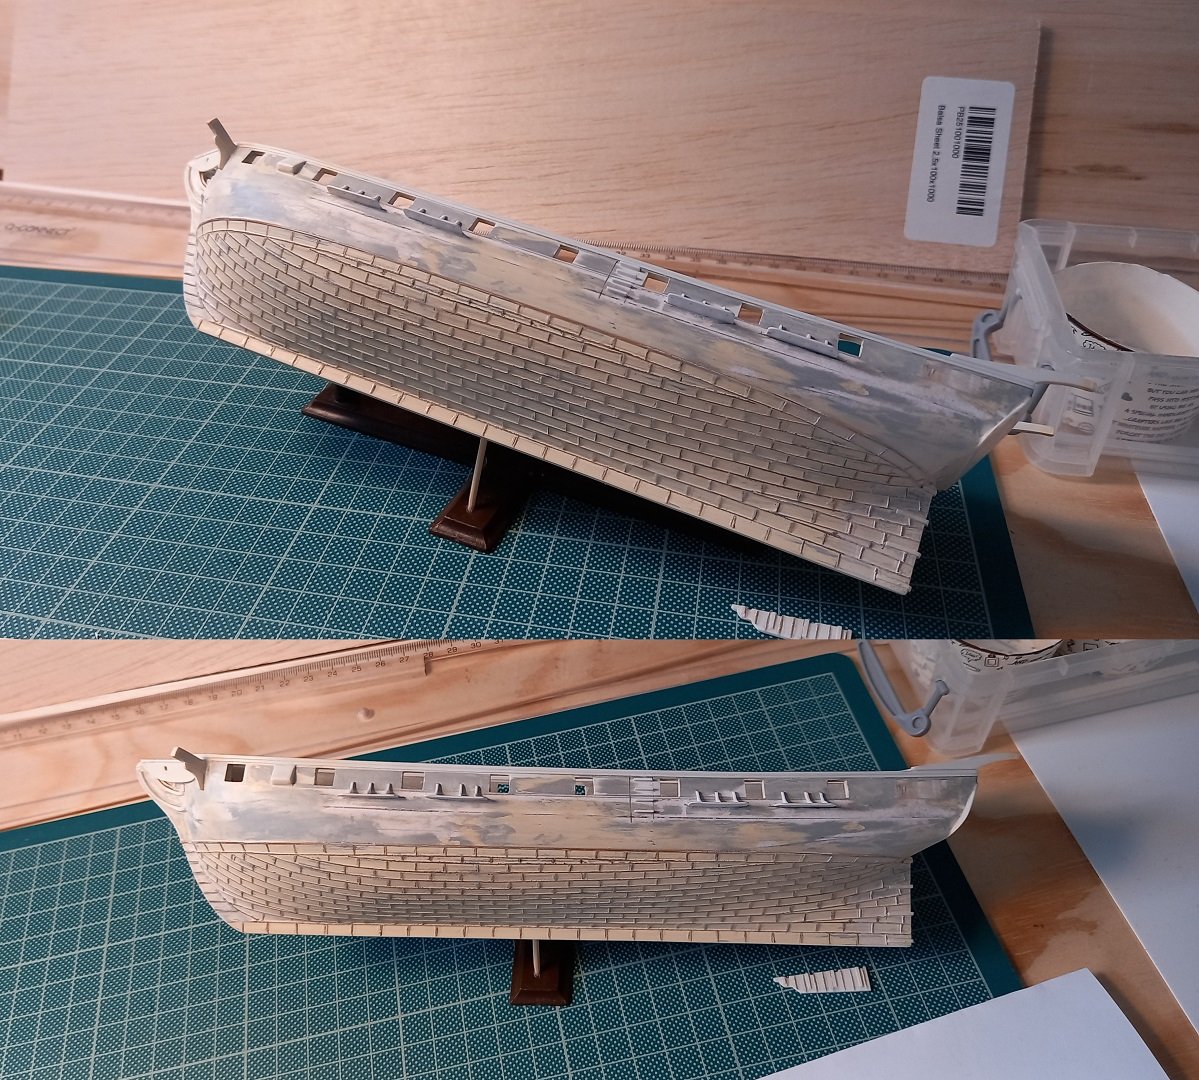
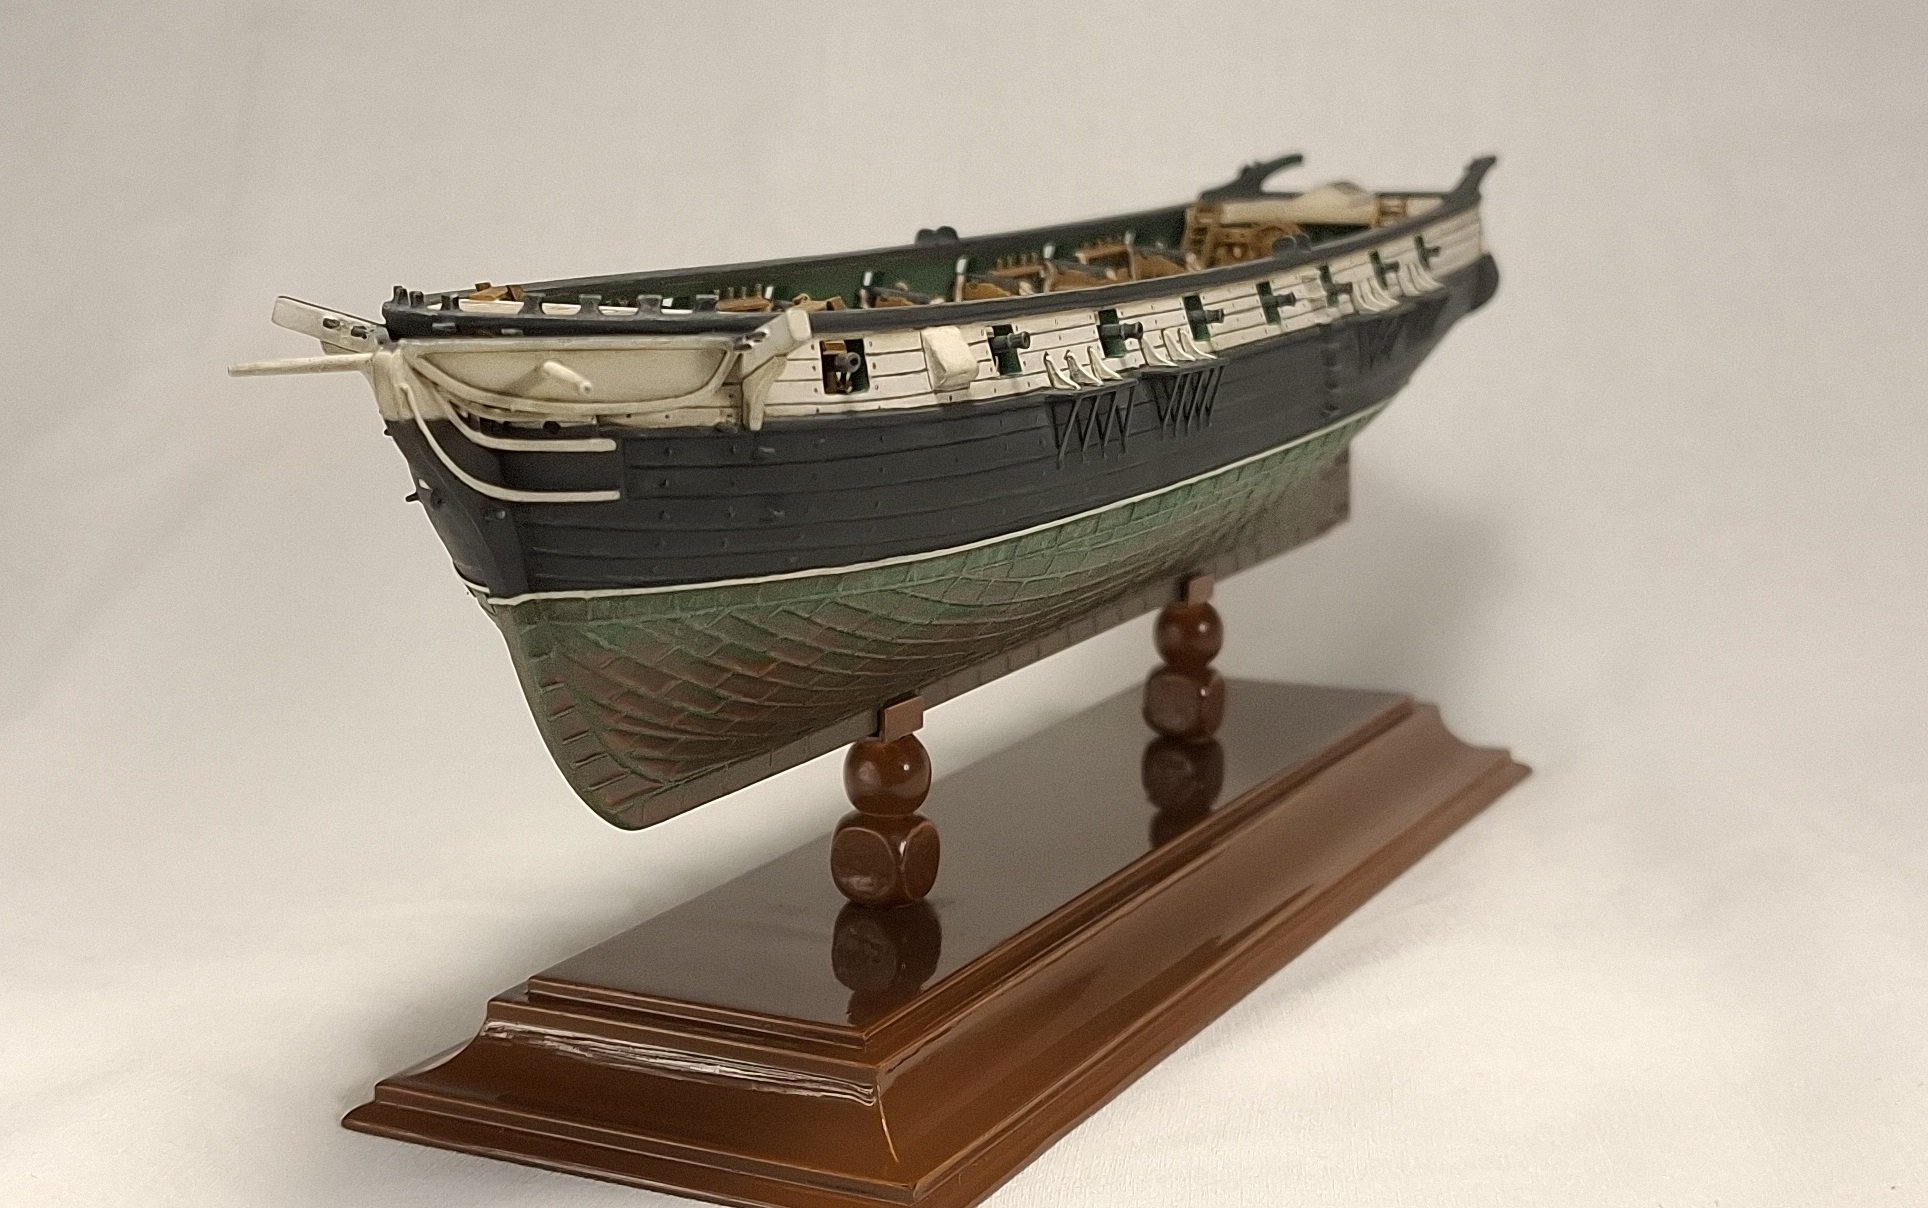
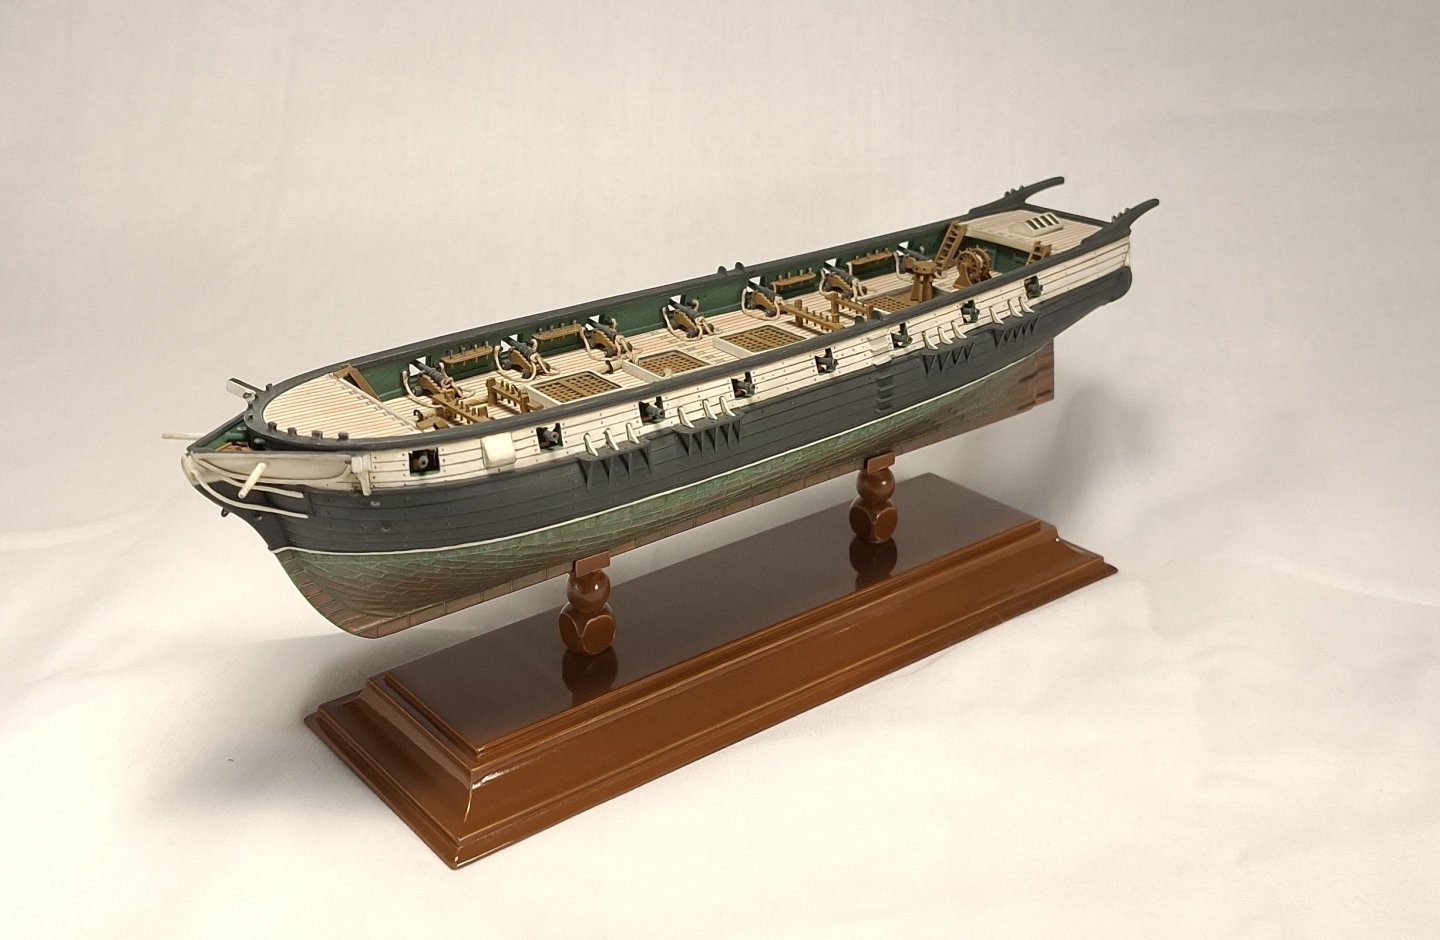
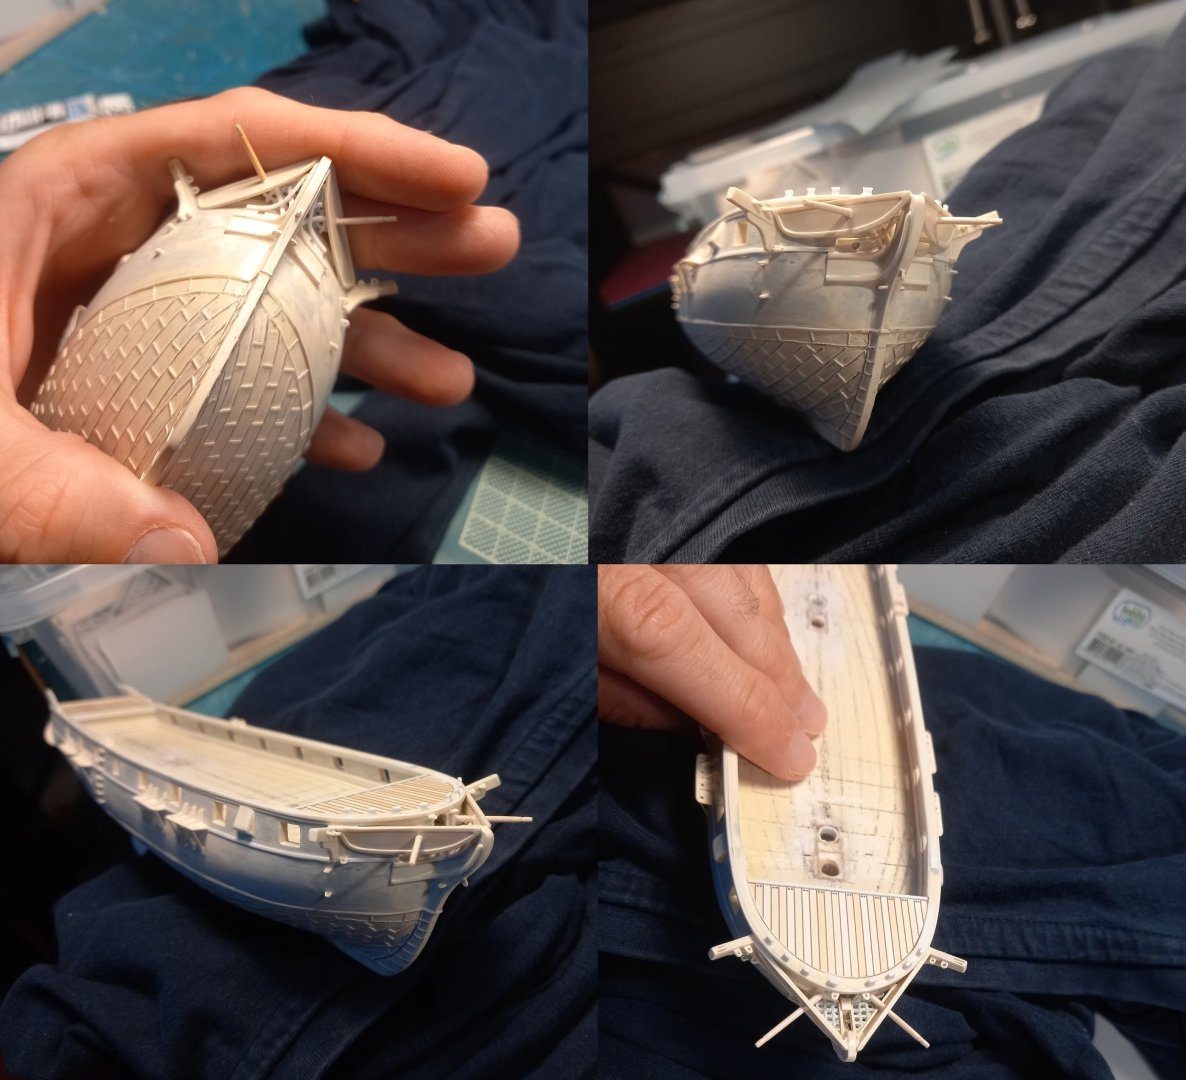
Thank you Ian! Oh well, my unorthodox builts are still a bit of a way to go to become masterpieces hahaha 😅 Here some photos of the hull, almost complete, with most outside details in place. I am very relieved of how it came out, having designed it myself, despite its shortcomings. It is not perfect, but from pictures of Ares and paintings of similar mediterranean merchant brigs, it looks much more correct to my eyes, so that is enough.
-
More details around the head of the ship, the boomkins etc. Also added the various hooking points (ringbolts) for the bowsprit rigging
-
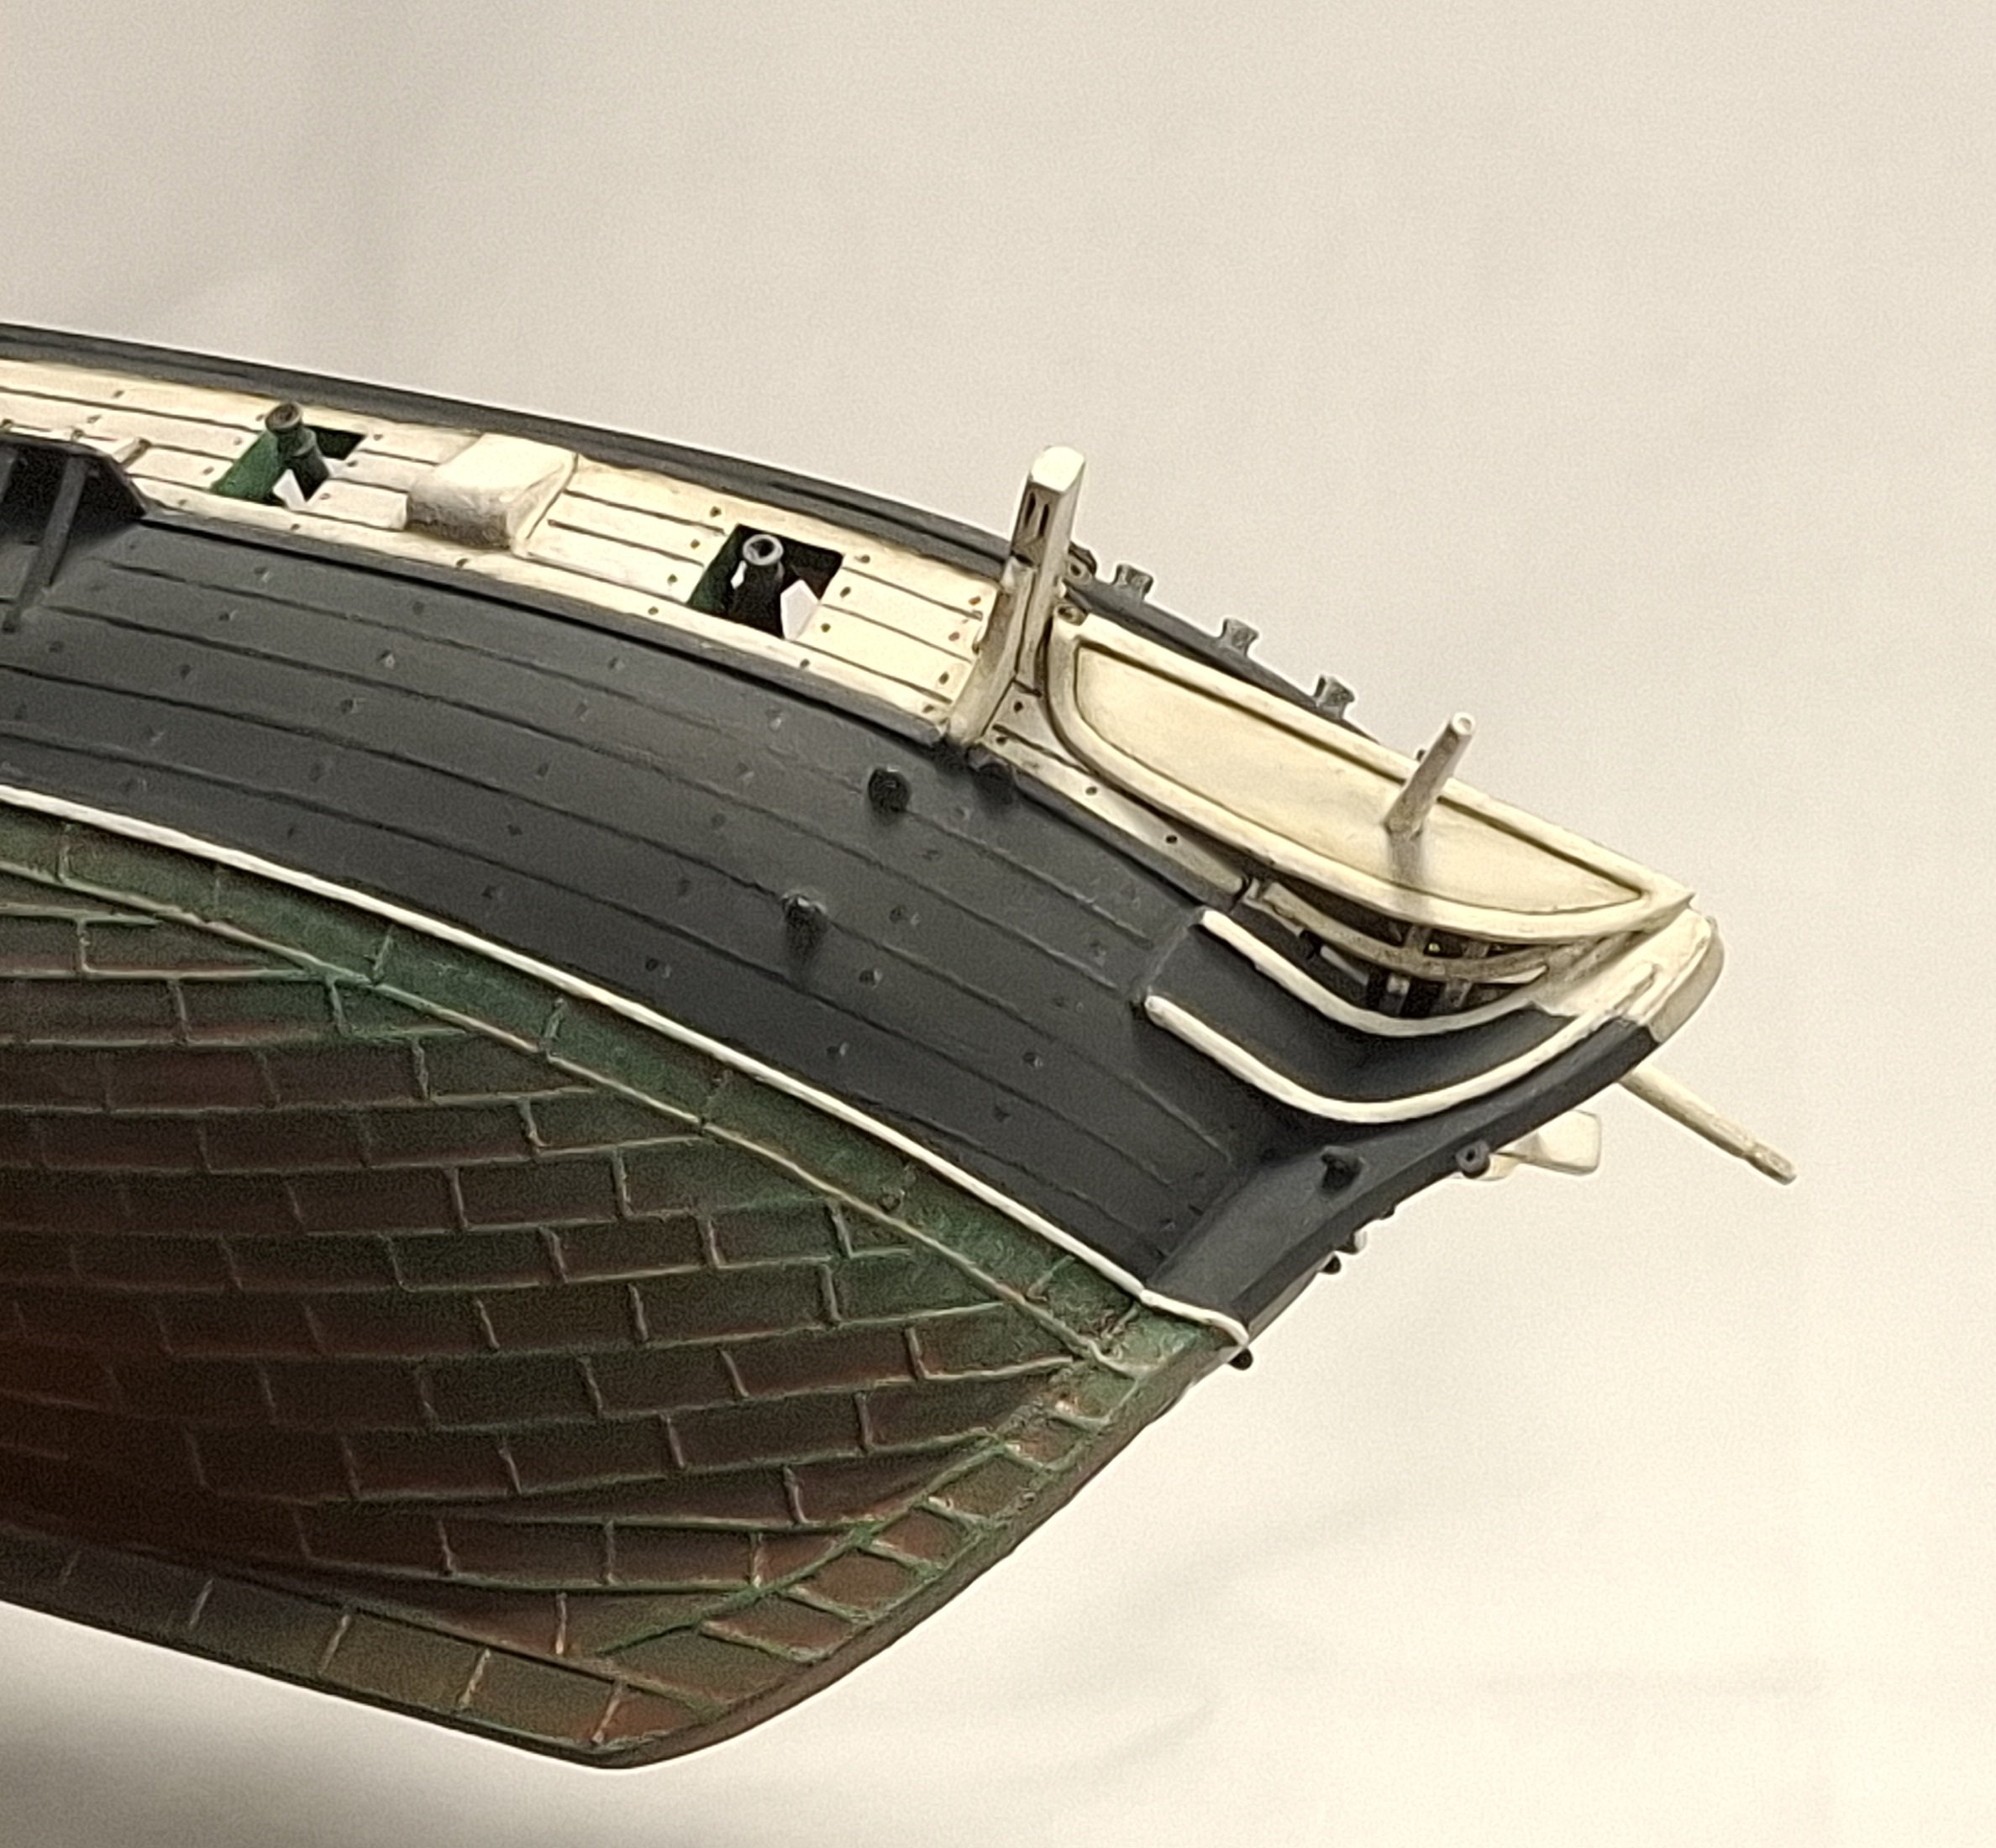
The details of the stern, based on her 1890s photos. The rigging plan and as much as I could discern from the paintings will be in her 1820s configuration, but for everything else, I'll have to take some later details to fill in the gaps.

-
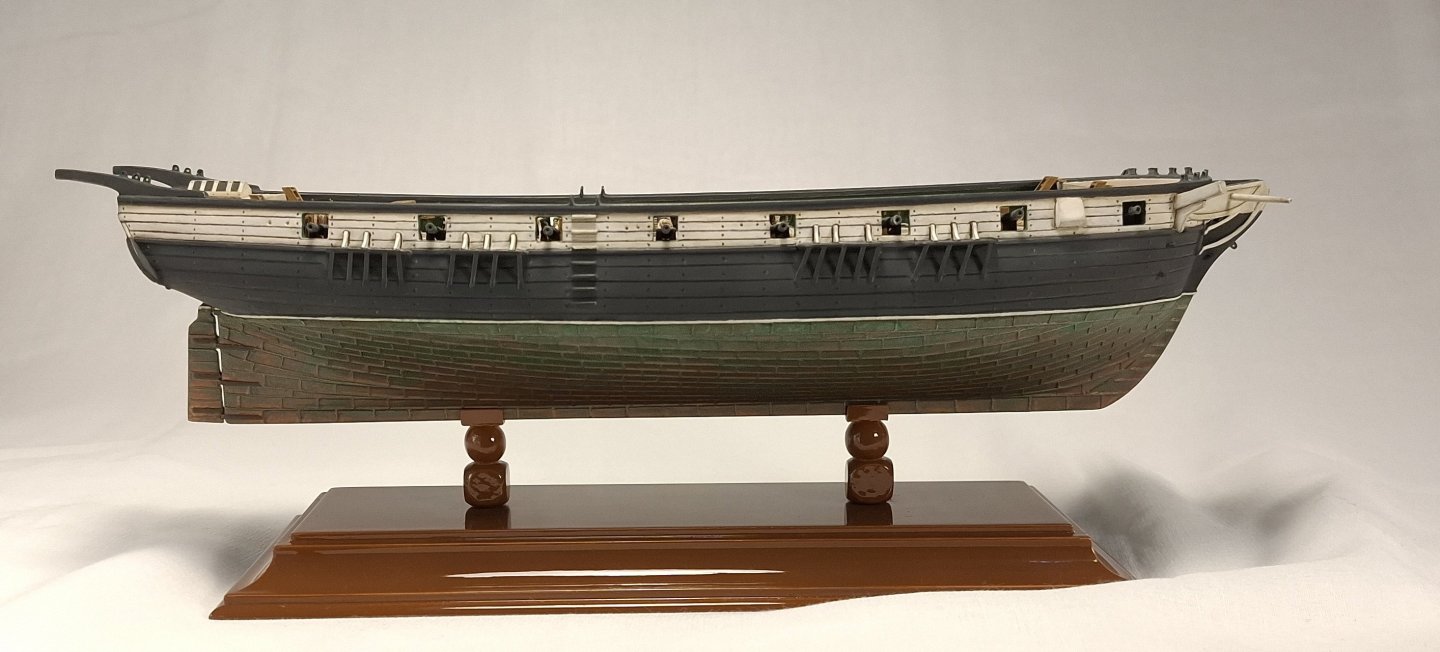
A clearer view after applying the copper plating pattern