Hoppy
-
Posts
22 -
Joined
-
Last visited
-
 GrandpaPhil reacted to a post in a topic:
HM Brig Supply by Hoppy - Caldercraft - build by Phillip Hopkins
GrandpaPhil reacted to a post in a topic:
HM Brig Supply by Hoppy - Caldercraft - build by Phillip Hopkins
-
Jobbie reacted to a post in a topic:
HM Brig Supply by Hoppy - Caldercraft - build by Phillip Hopkins
-
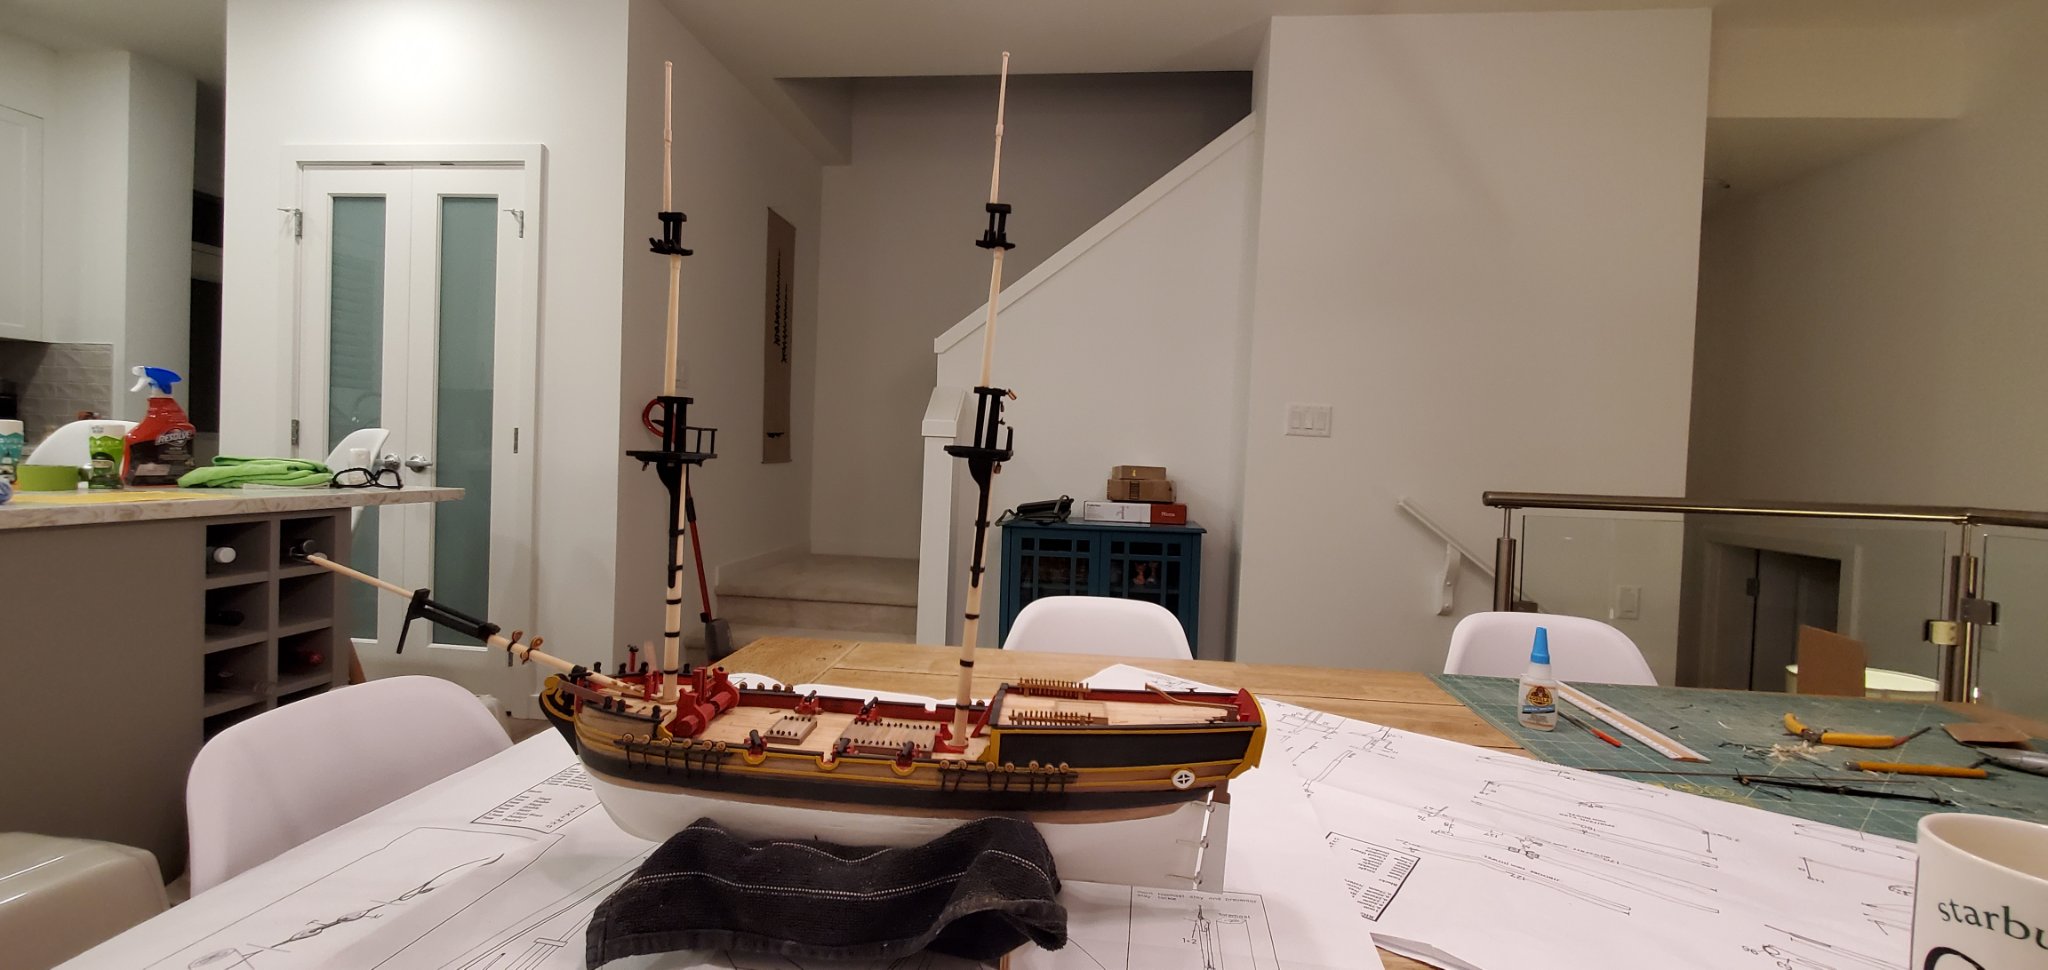
Thanks Jobbie. I have started rigging the shrouds and am happy with how they are looking so far. Thanks again for the advice.
-
BenD reacted to a post in a topic:
HM Brig Supply by Hoppy - Caldercraft - build by Phillip Hopkins
-
Jobbie reacted to a post in a topic:
HM Brig Supply by Hoppy - Caldercraft - build by Phillip Hopkins
-
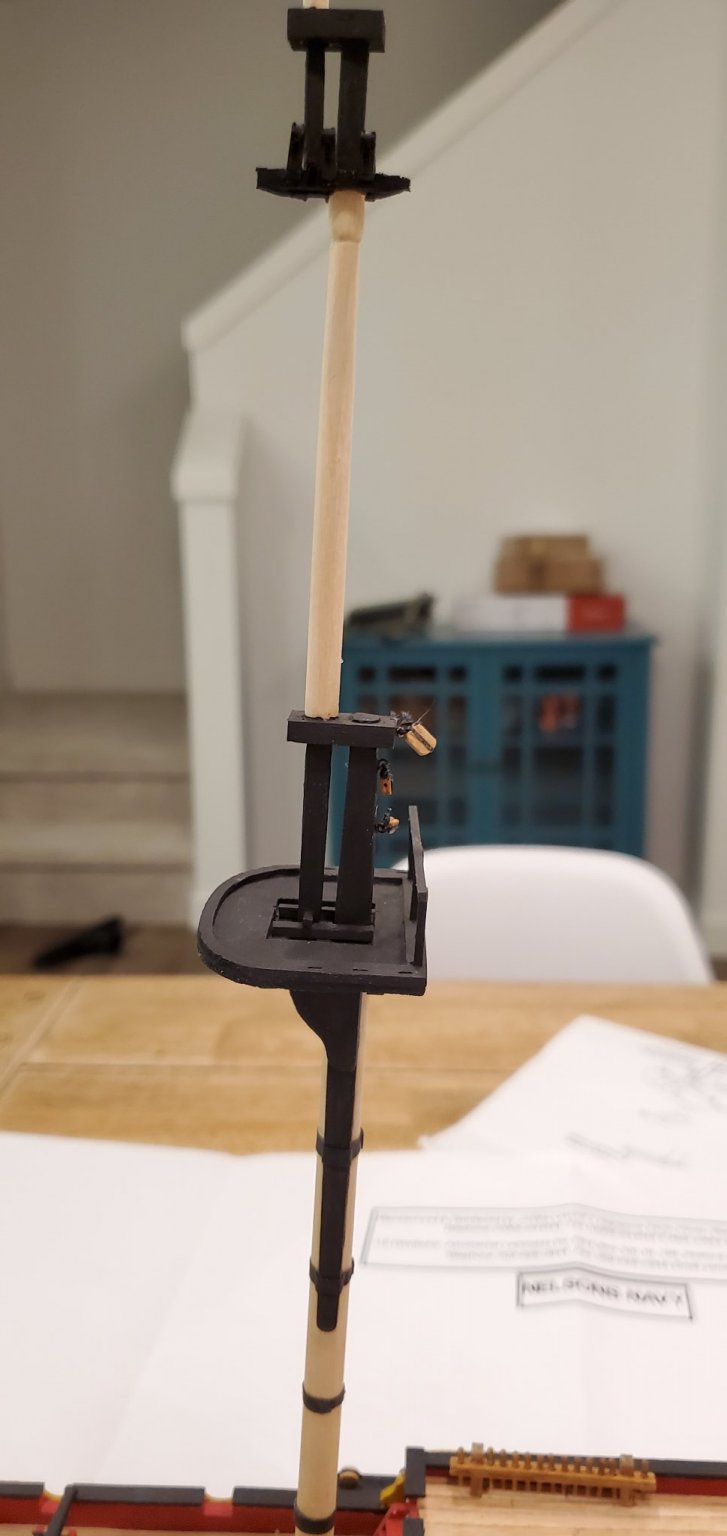
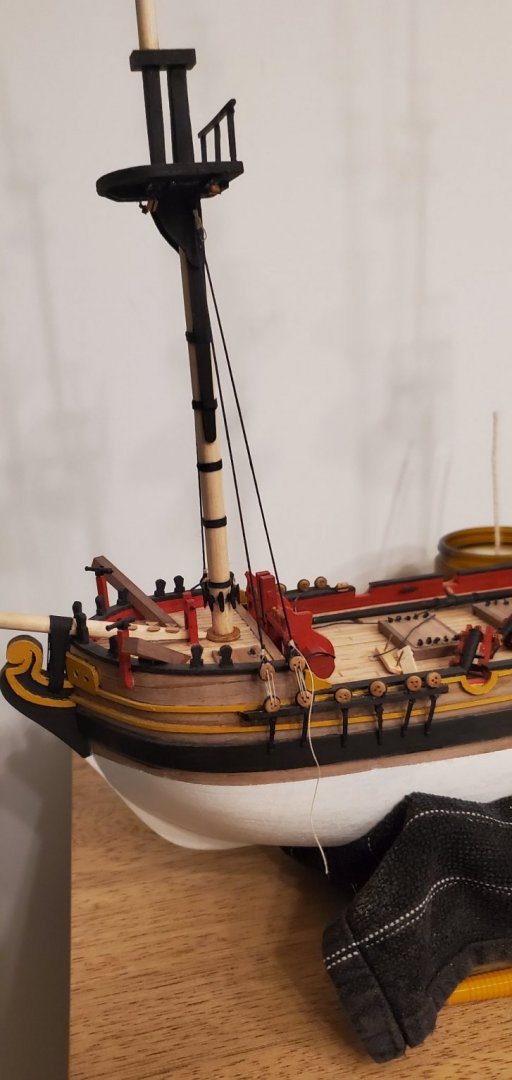
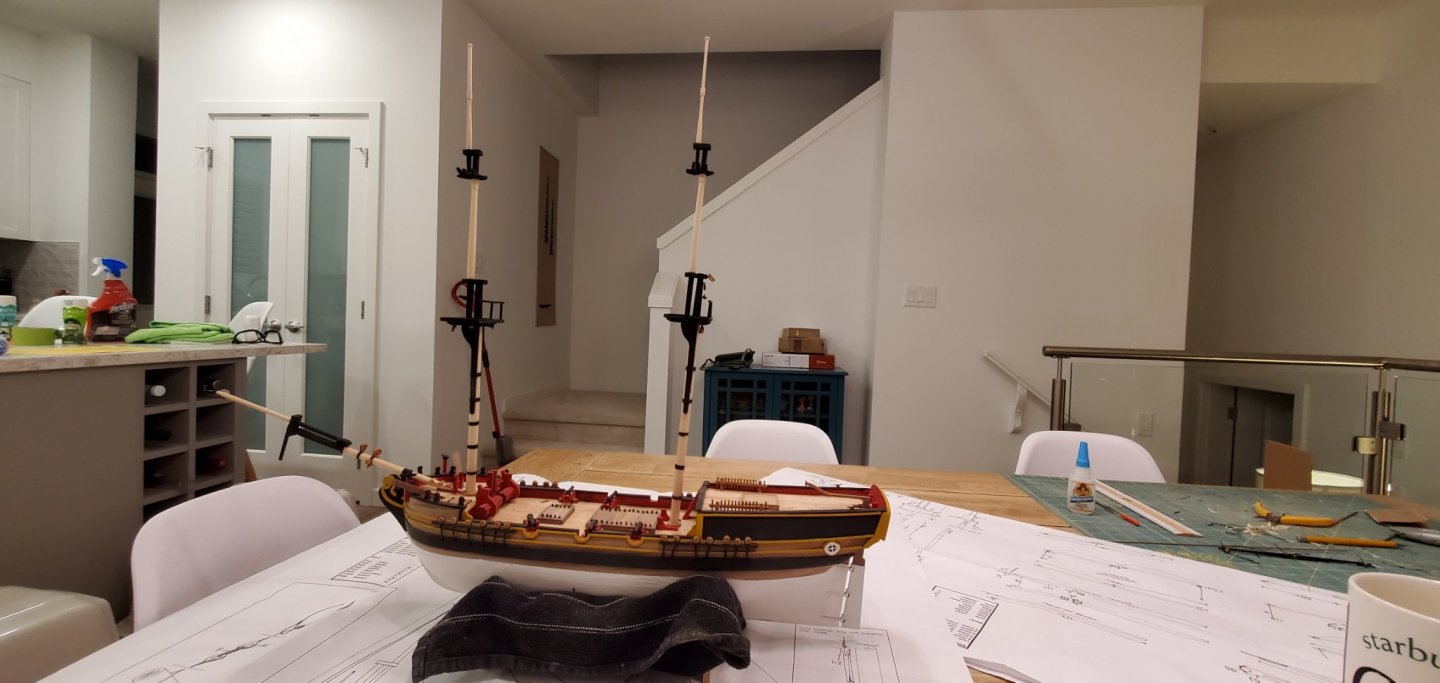
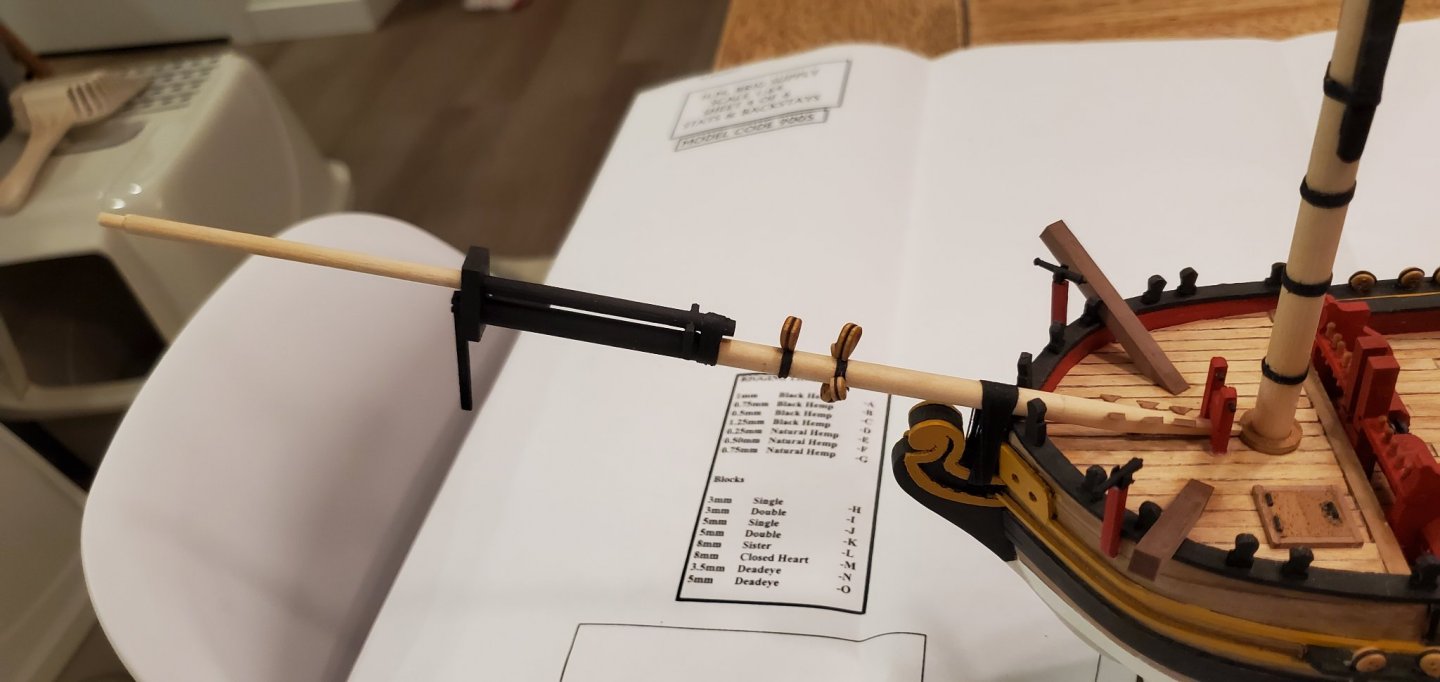
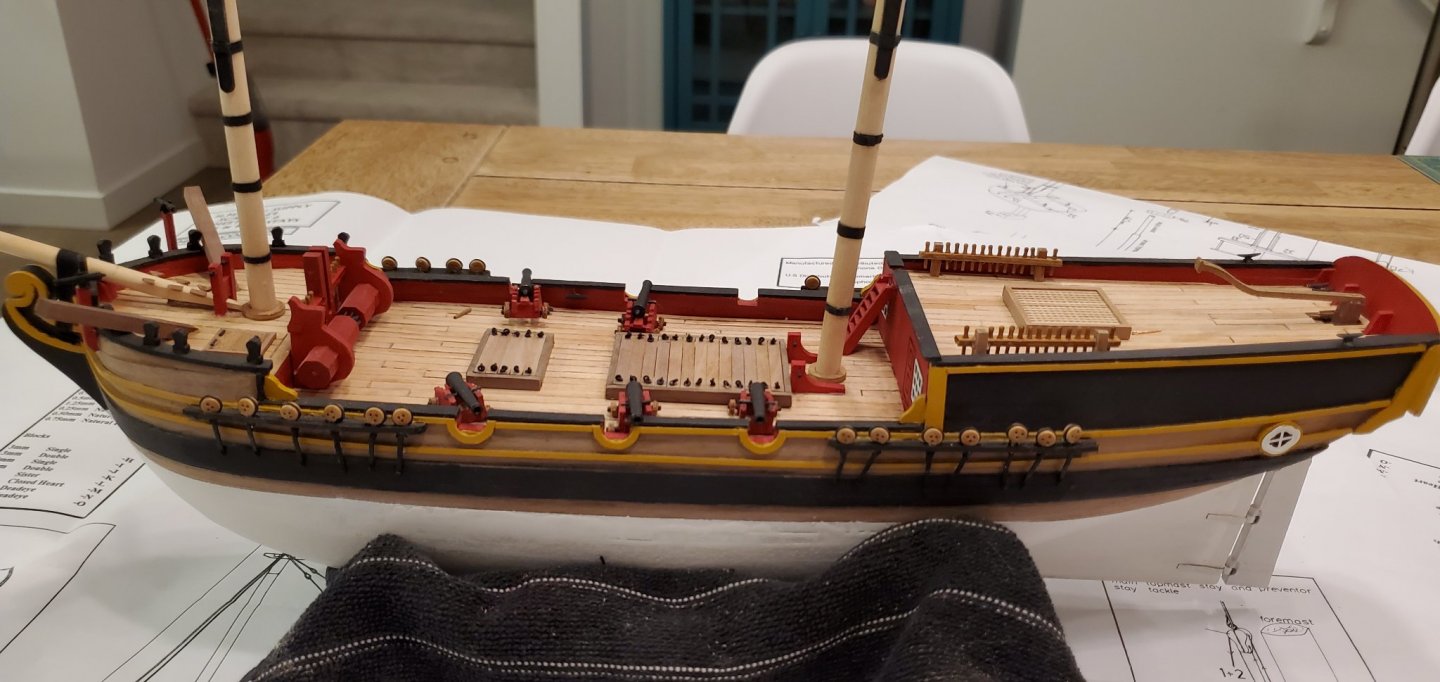
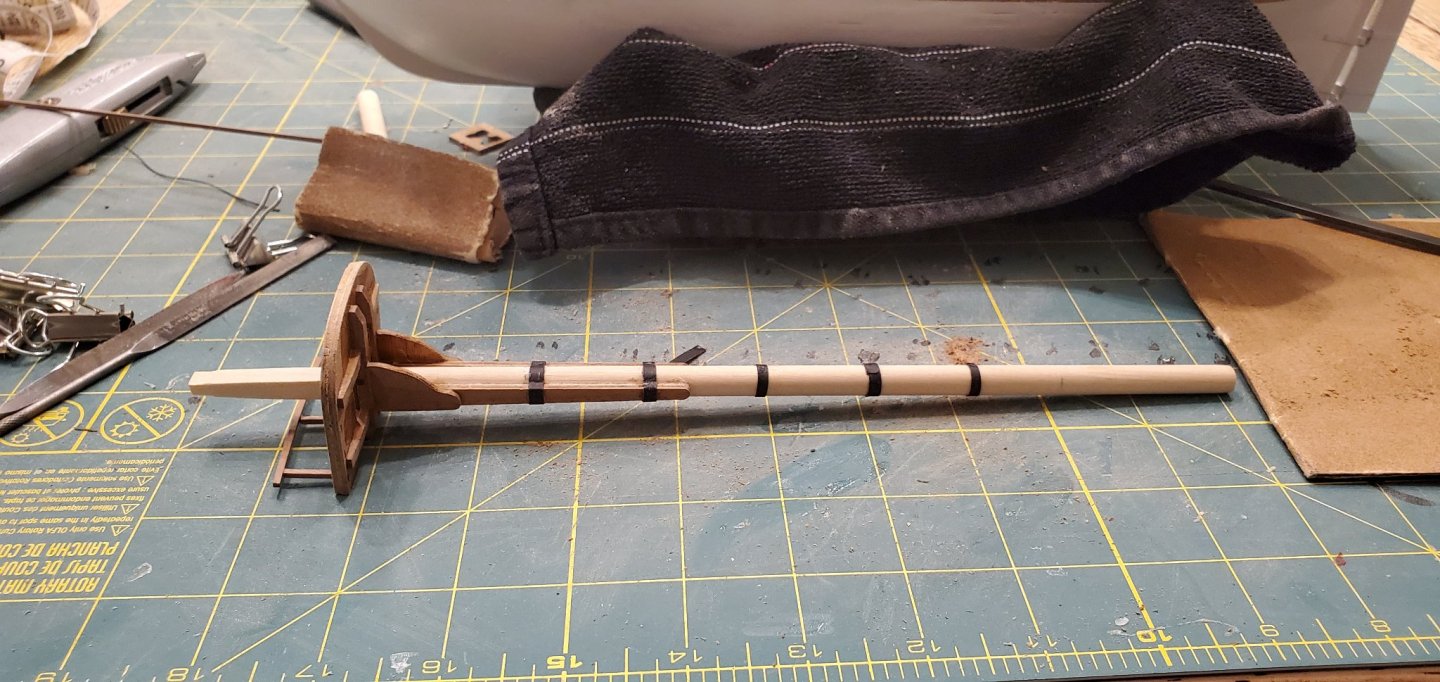
More progress. Both masts are now built. However, I think that I shouldn't have fully built them until the shrouds were in place, but that's how you learn. Big question that I am struggling with now. From here, do I add the shrouds and standing rigging then attach the yards? Or is it better to add the yards then standing rigging? I am finding that the instructions are not 100% clear on this.

-
Dfell reacted to a post in a topic:
HM Brig Supply by Hoppy - Caldercraft - build by Phillip Hopkins
-
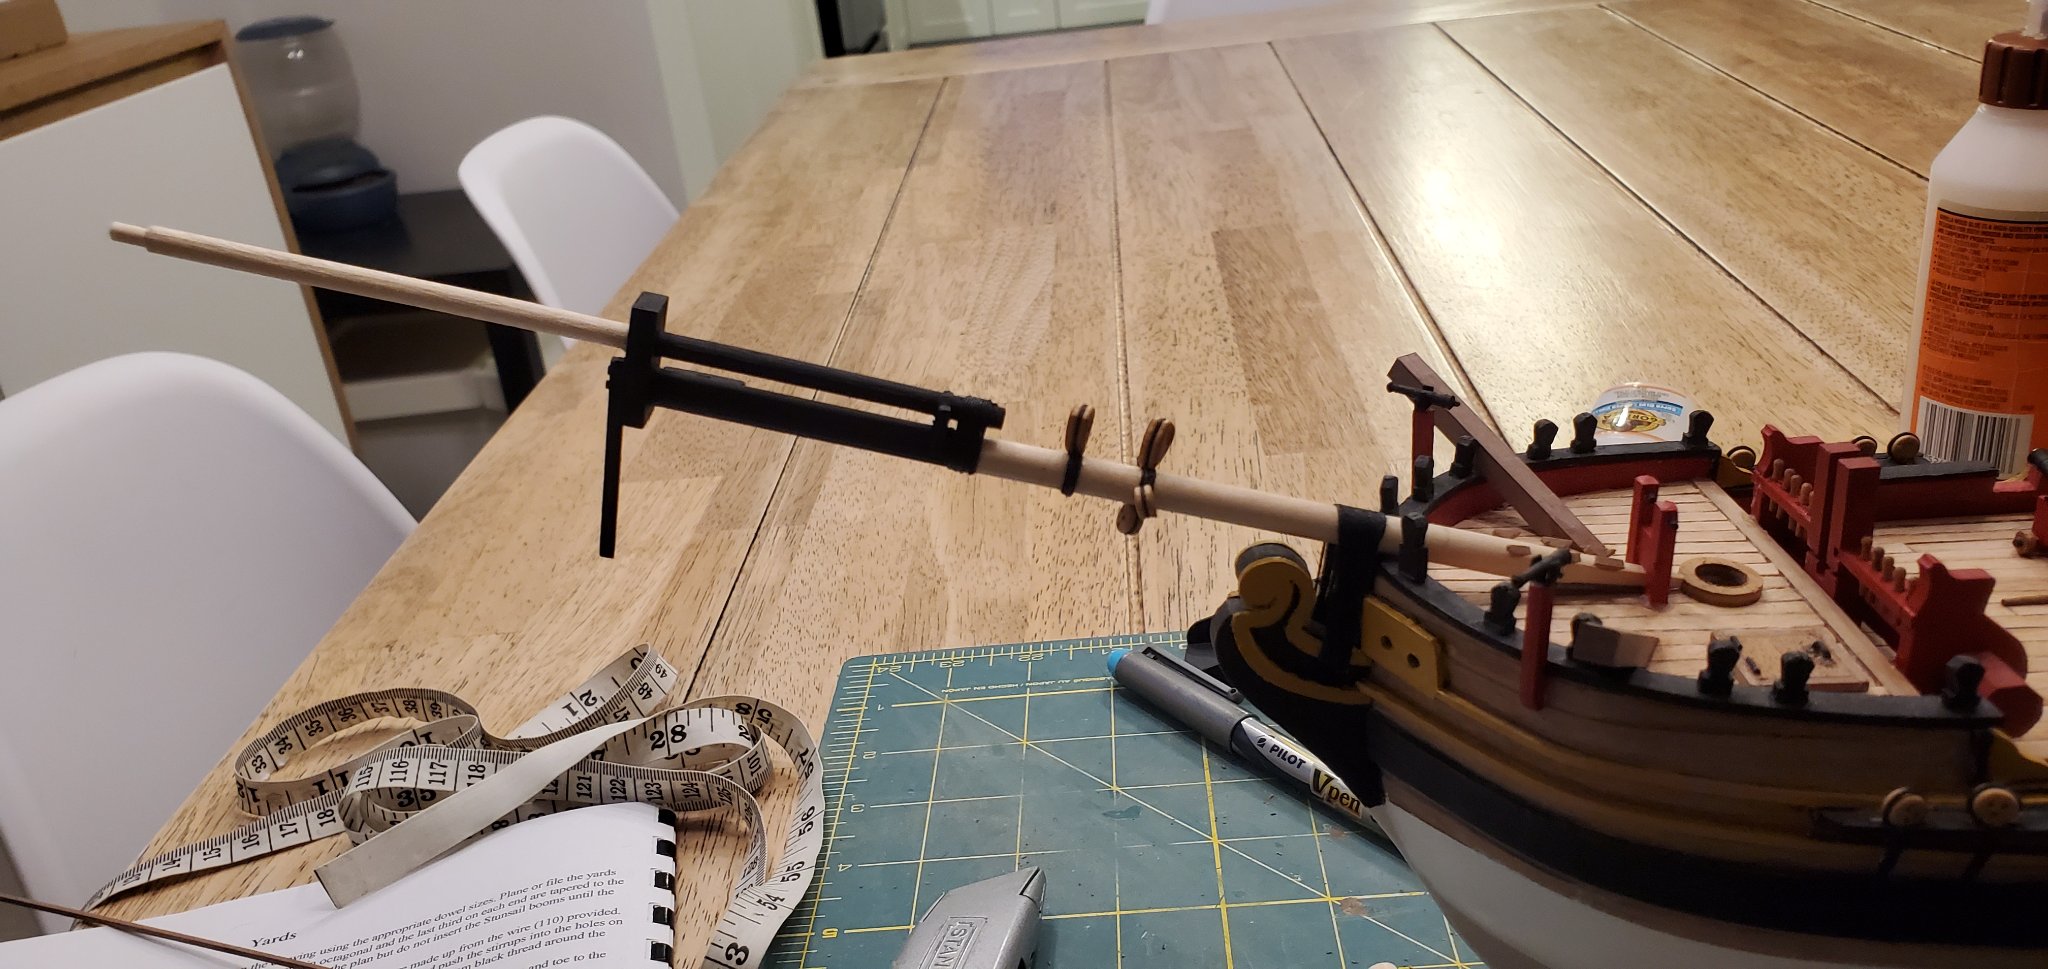
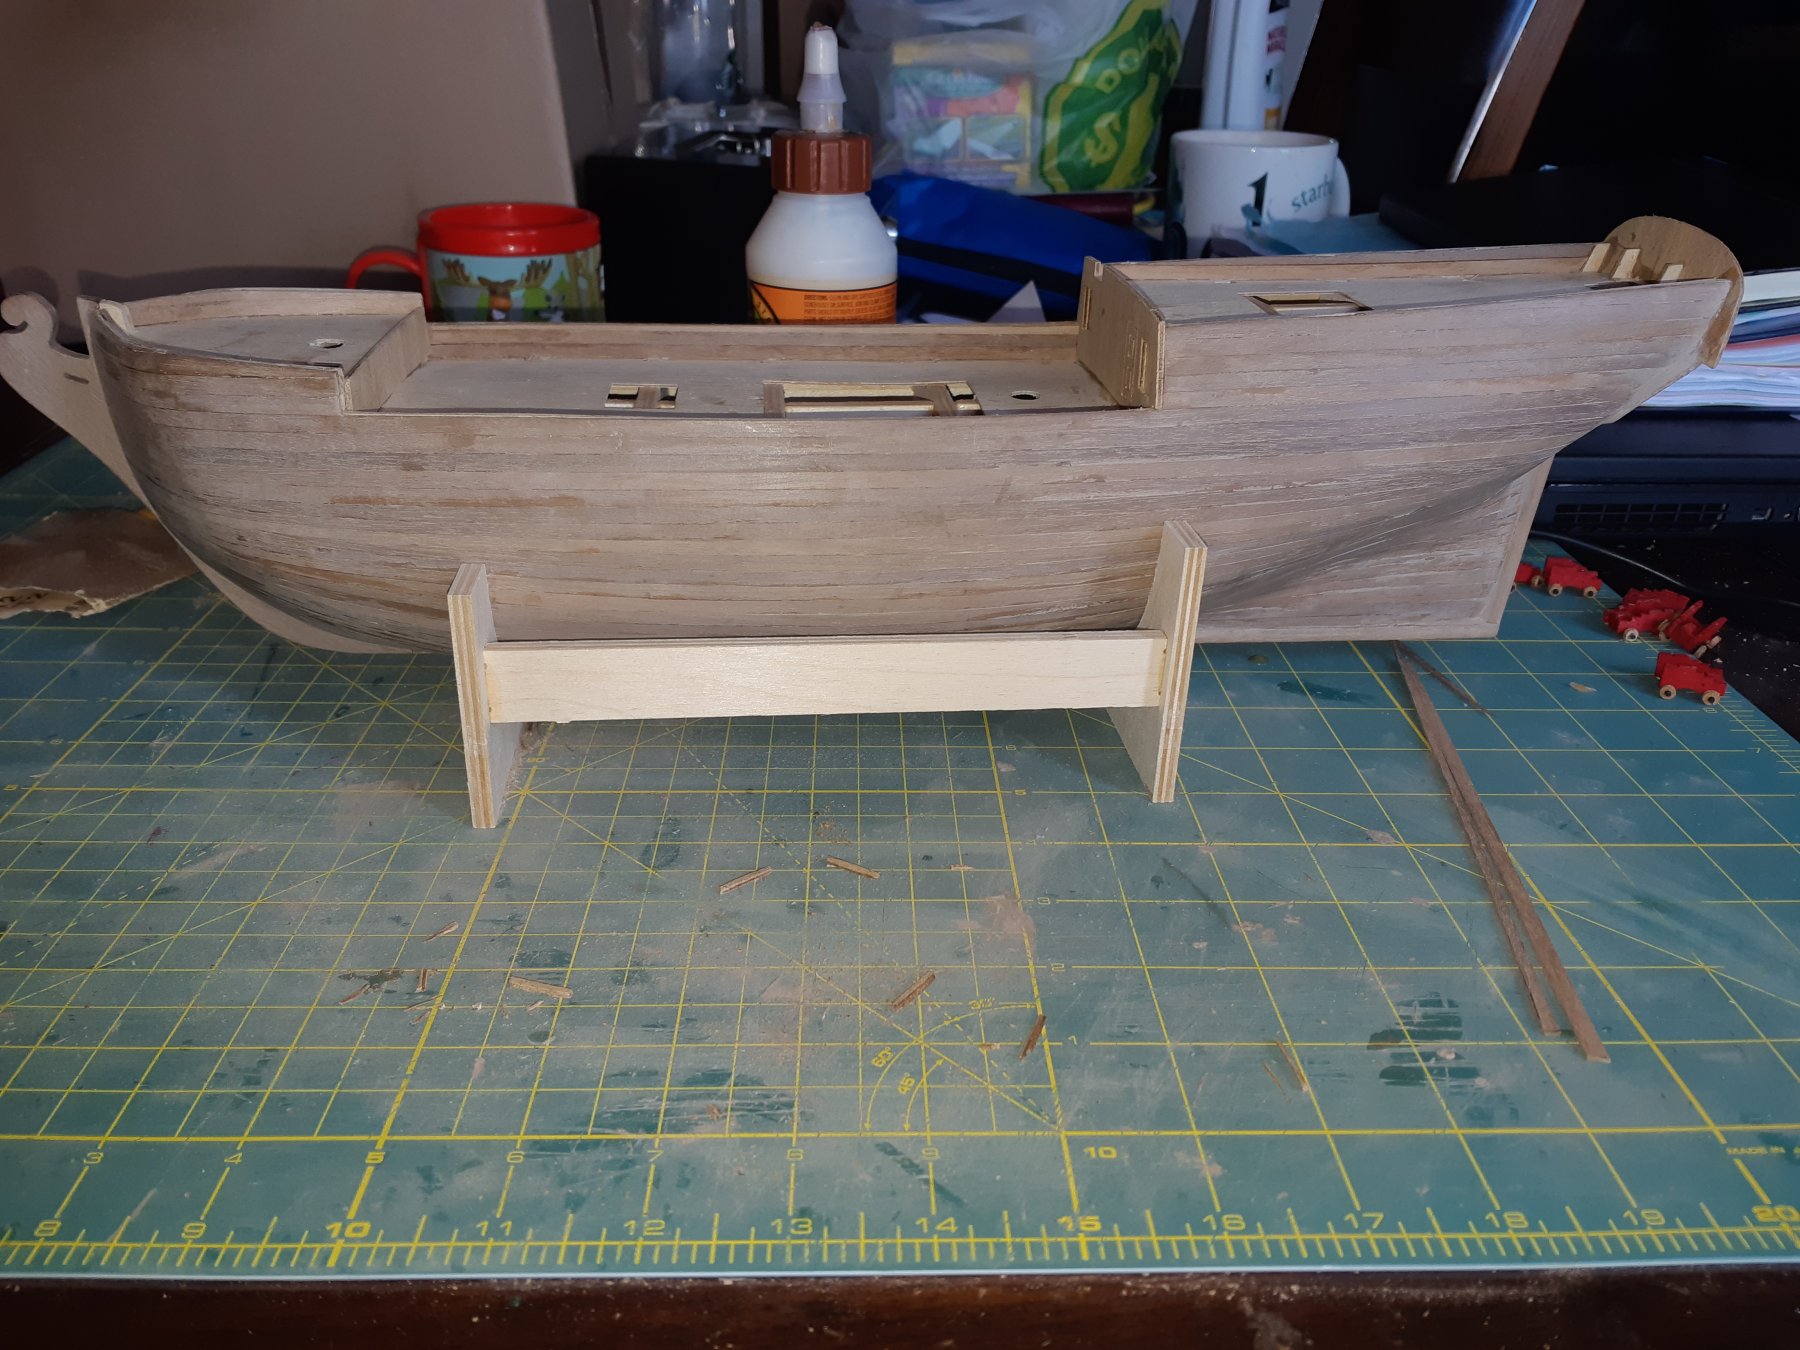
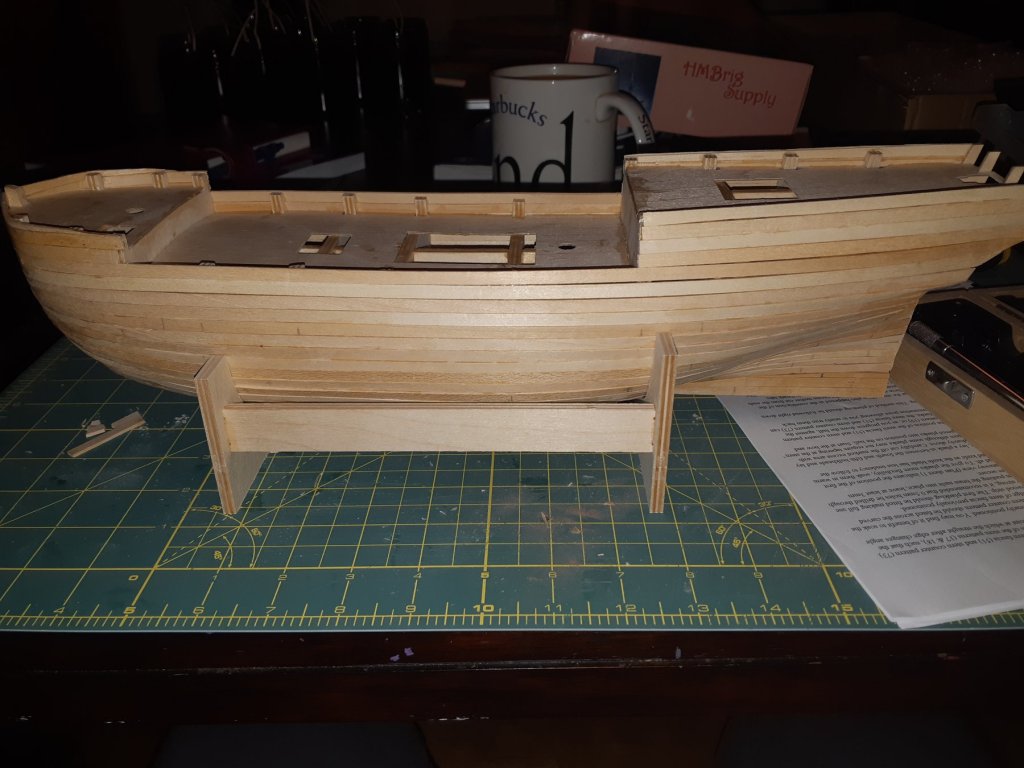
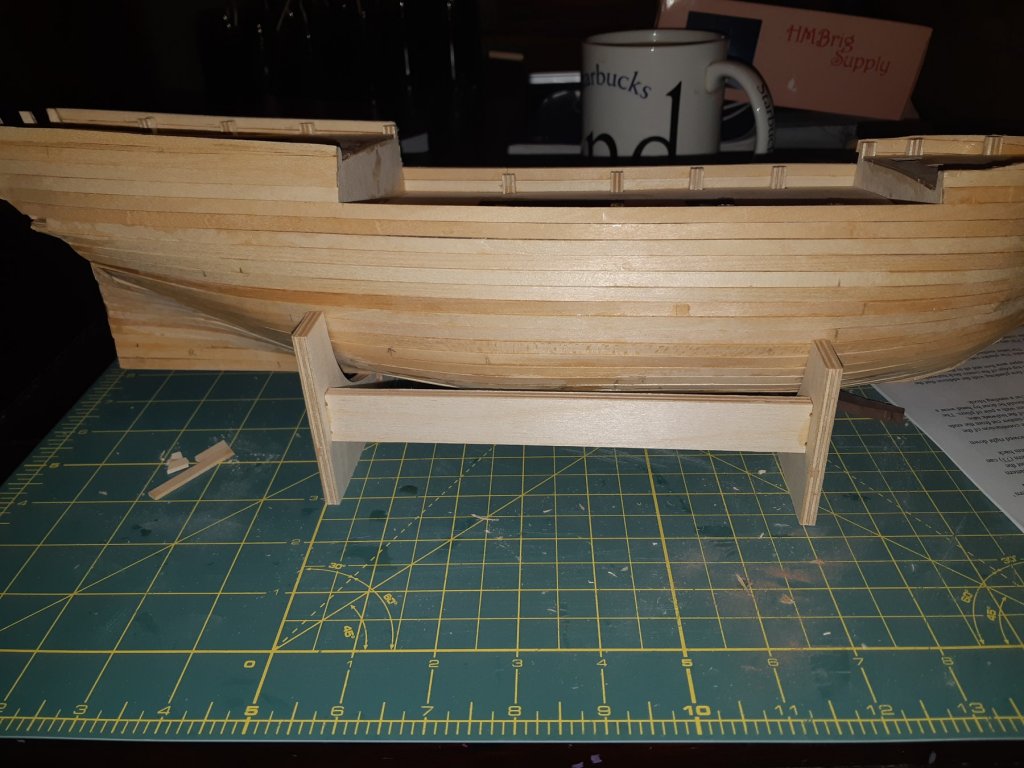
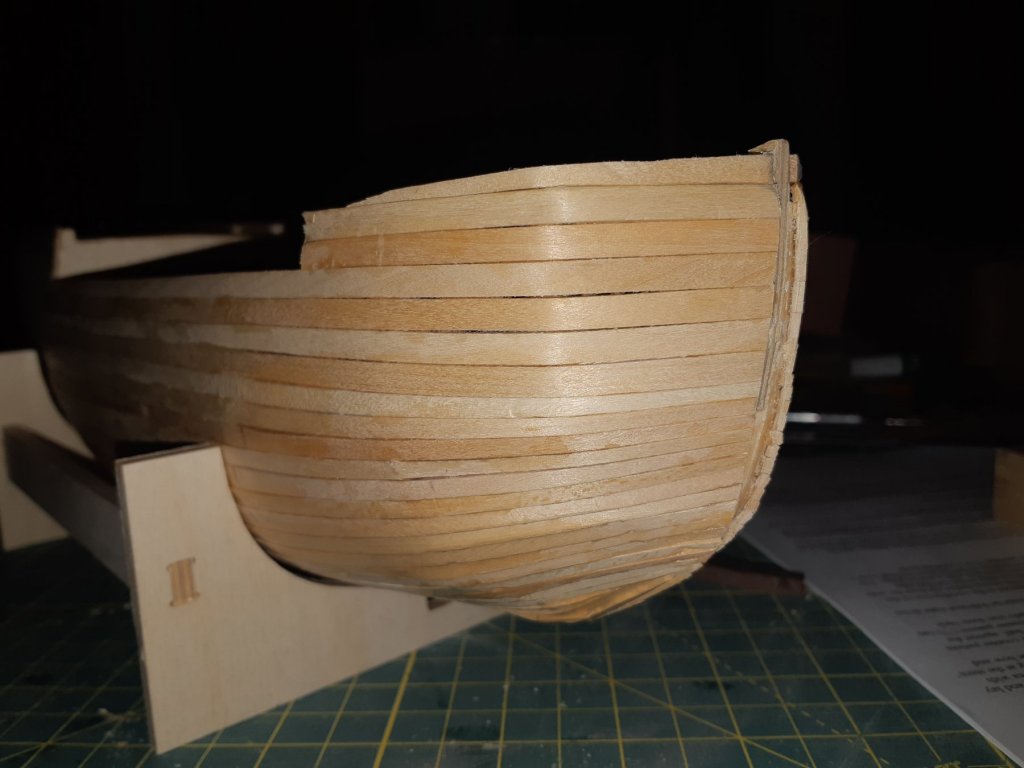
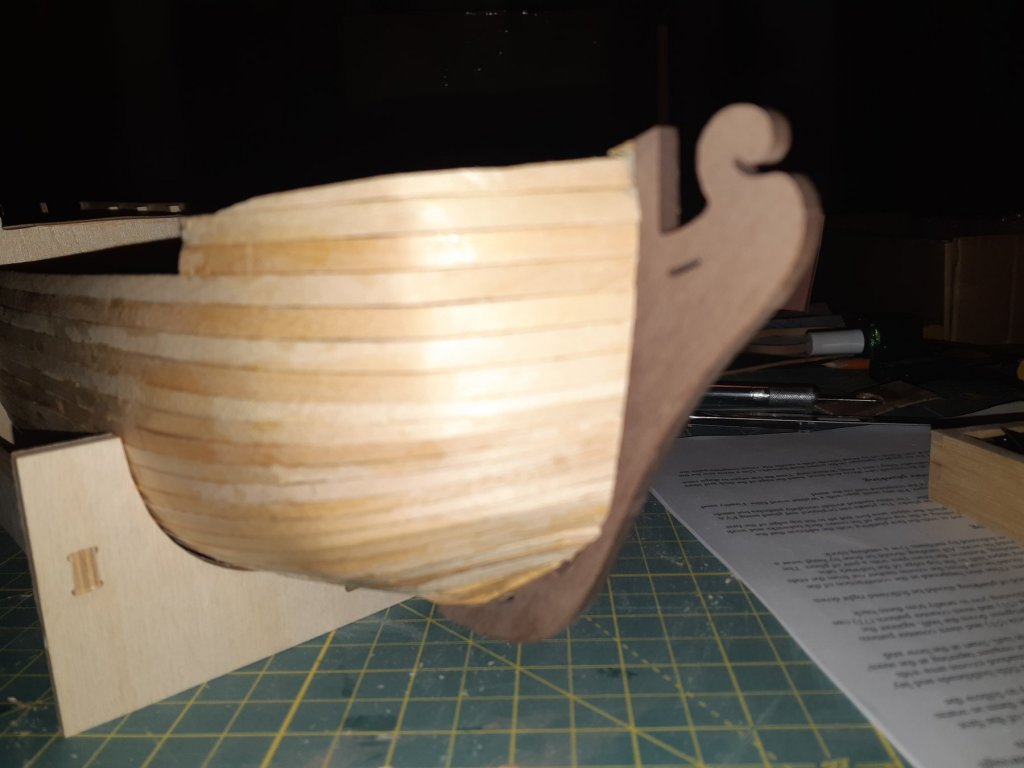
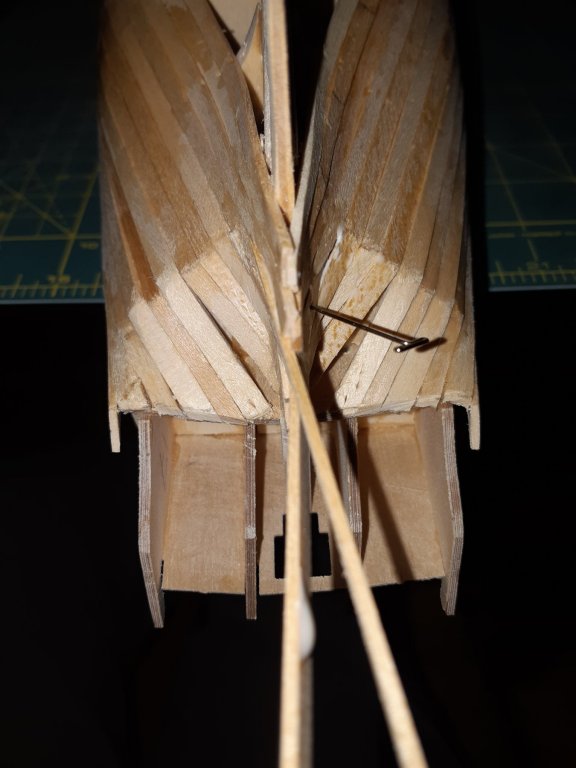
After another very long time away from the build, I am back at it. Since my last post I have finished with the hull and deck fittings and I am now on to building the masts and yards.

-
Jobbie reacted to a post in a topic:
HM Brig Supply by Hoppy - Caldercraft - build by Phillip Hopkins
-
Jobbie reacted to a post in a topic:
HM Brig Supply by Hoppy - Caldercraft - build by Phillip Hopkins
-
Hoppy reacted to a post in a topic:
HM Brig Supply by Hoppy - Caldercraft - build by Phillip Hopkins
-
GrandpaPhil reacted to a post in a topic:
HM Brig Supply by Hoppy - Caldercraft - build by Phillip Hopkins
-
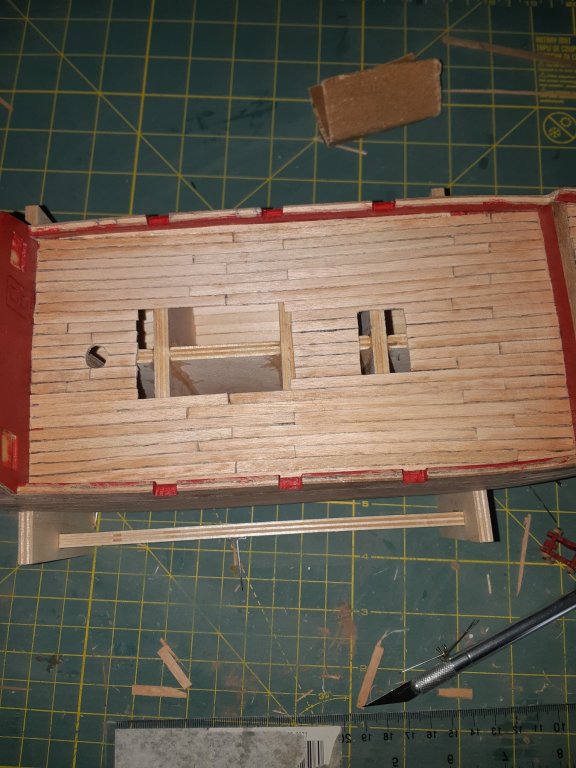
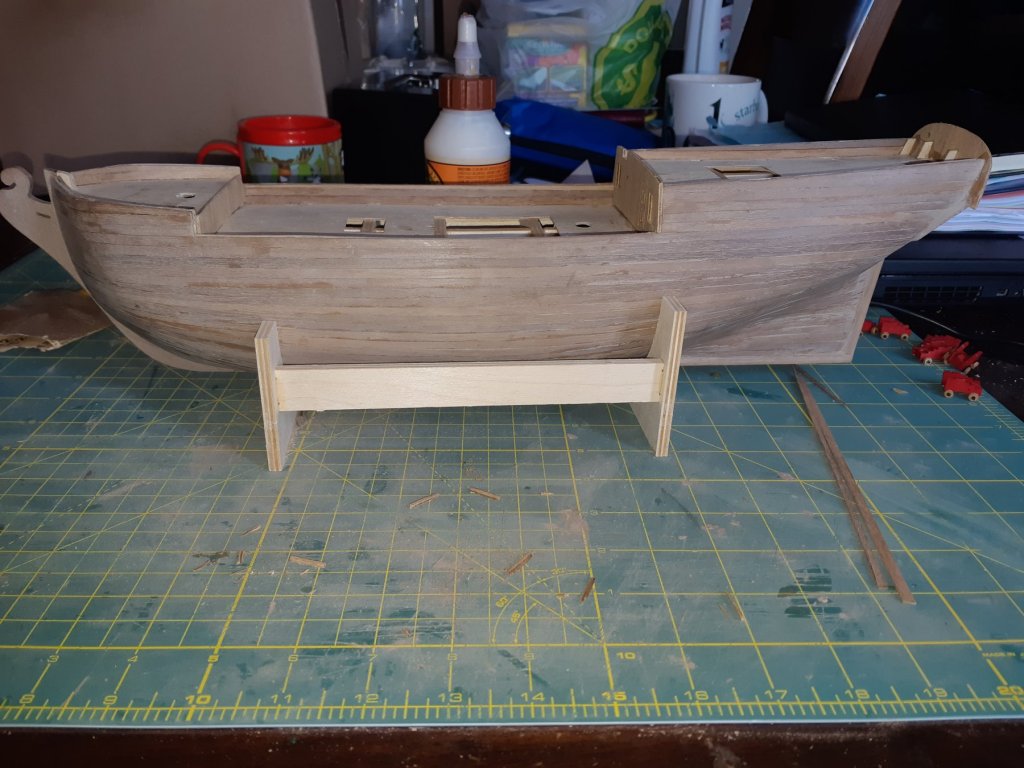
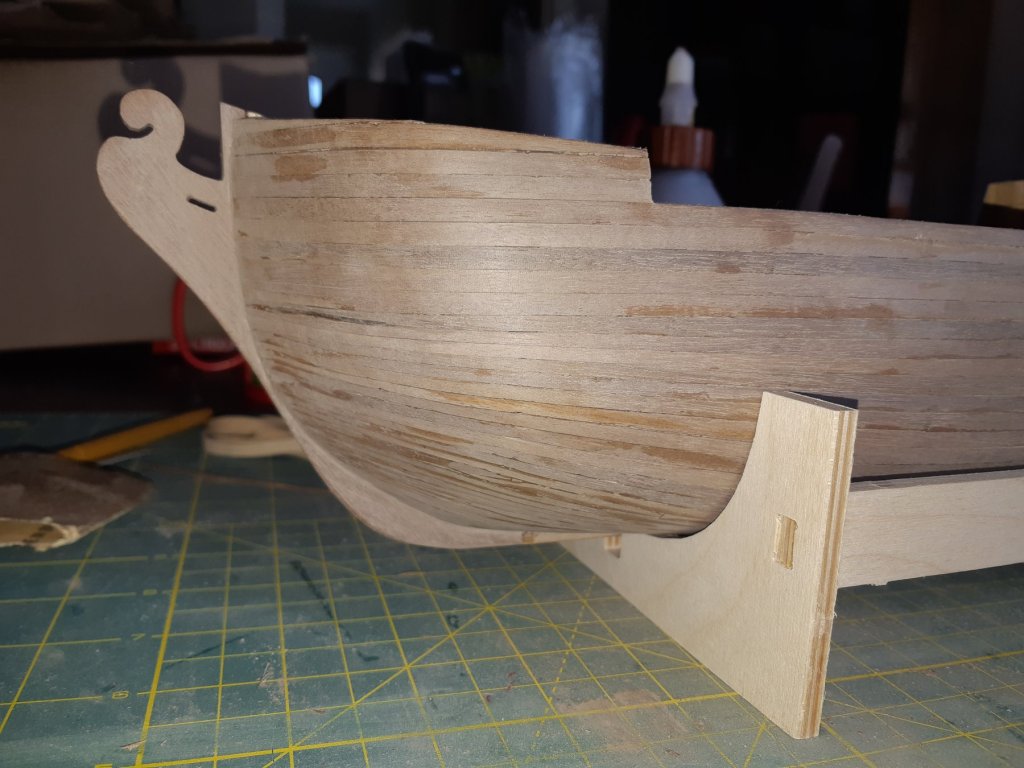
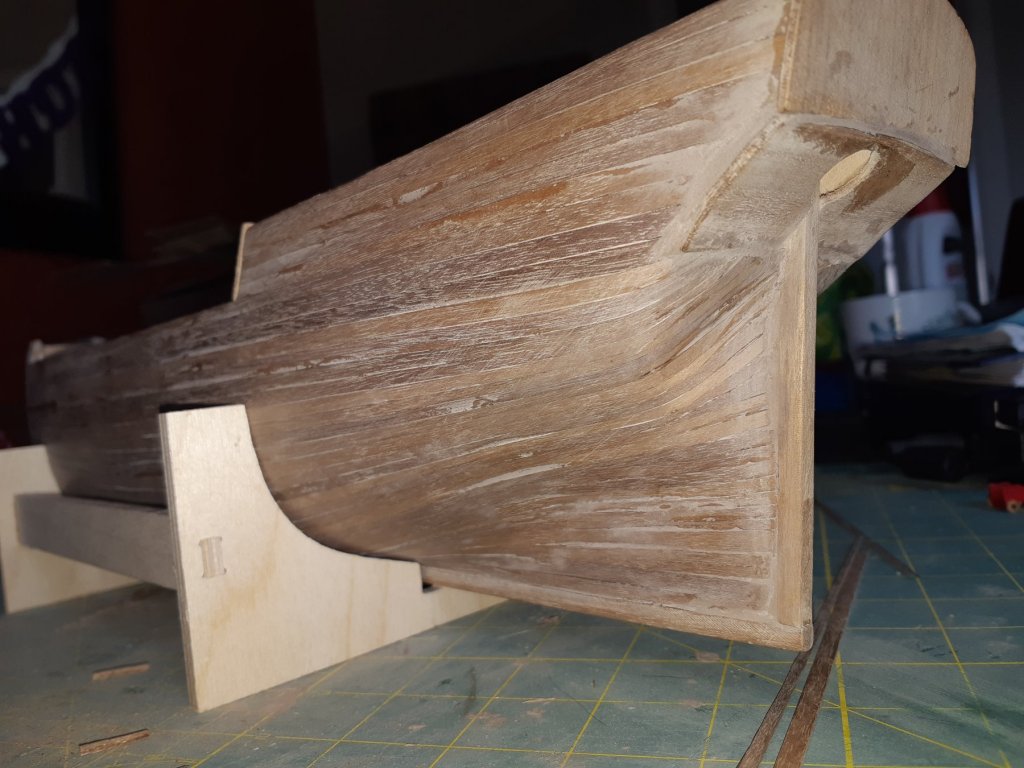
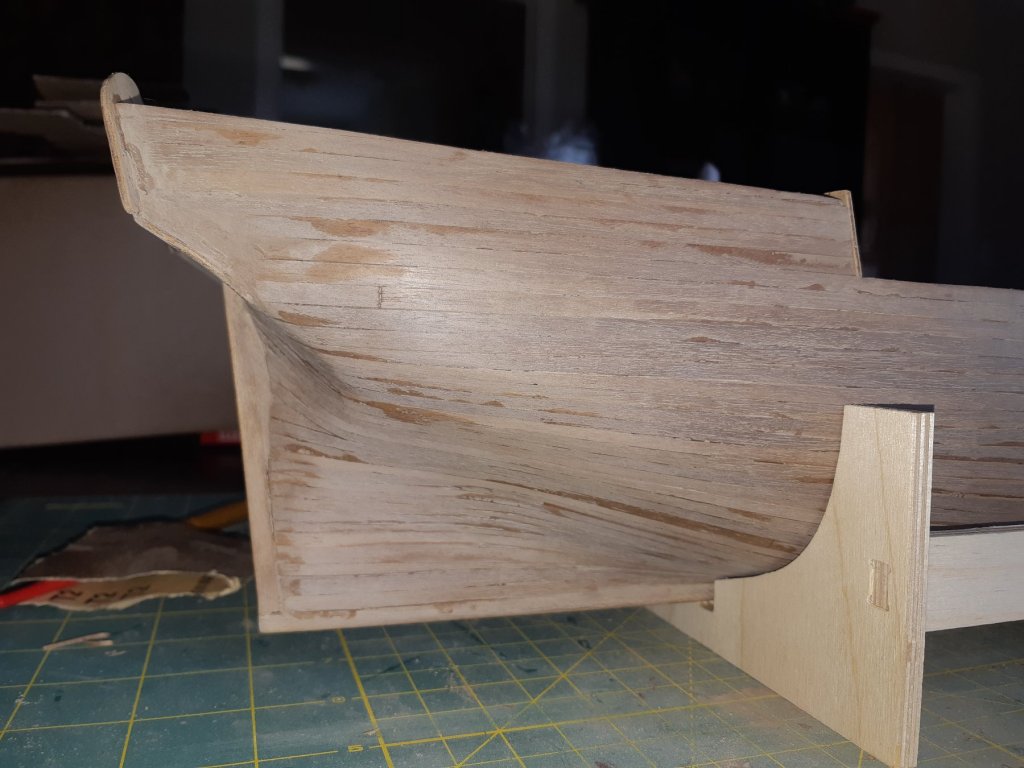
Hello everyone. Unfortunately I haven't had a chance to continue with my build in the last six months. But I am now back from sea and have gotten back into the build. I will upload some pictures soon, but I have been working on finishing the hull with the Whale and other trim prior to painting. Once that is complete and I am happy with it, it is time to tackle the deck fittings and probably the part I am most worried about, the masts and rigging. More to come. Phil
-
Tom E reacted to a post in a topic:
HM Brig Supply by Hoppy - Caldercraft - build by Phillip Hopkins
-
vulcanbomber reacted to a post in a topic:
HM Brig Supply by Hoppy - Caldercraft - build by Phillip Hopkins
-
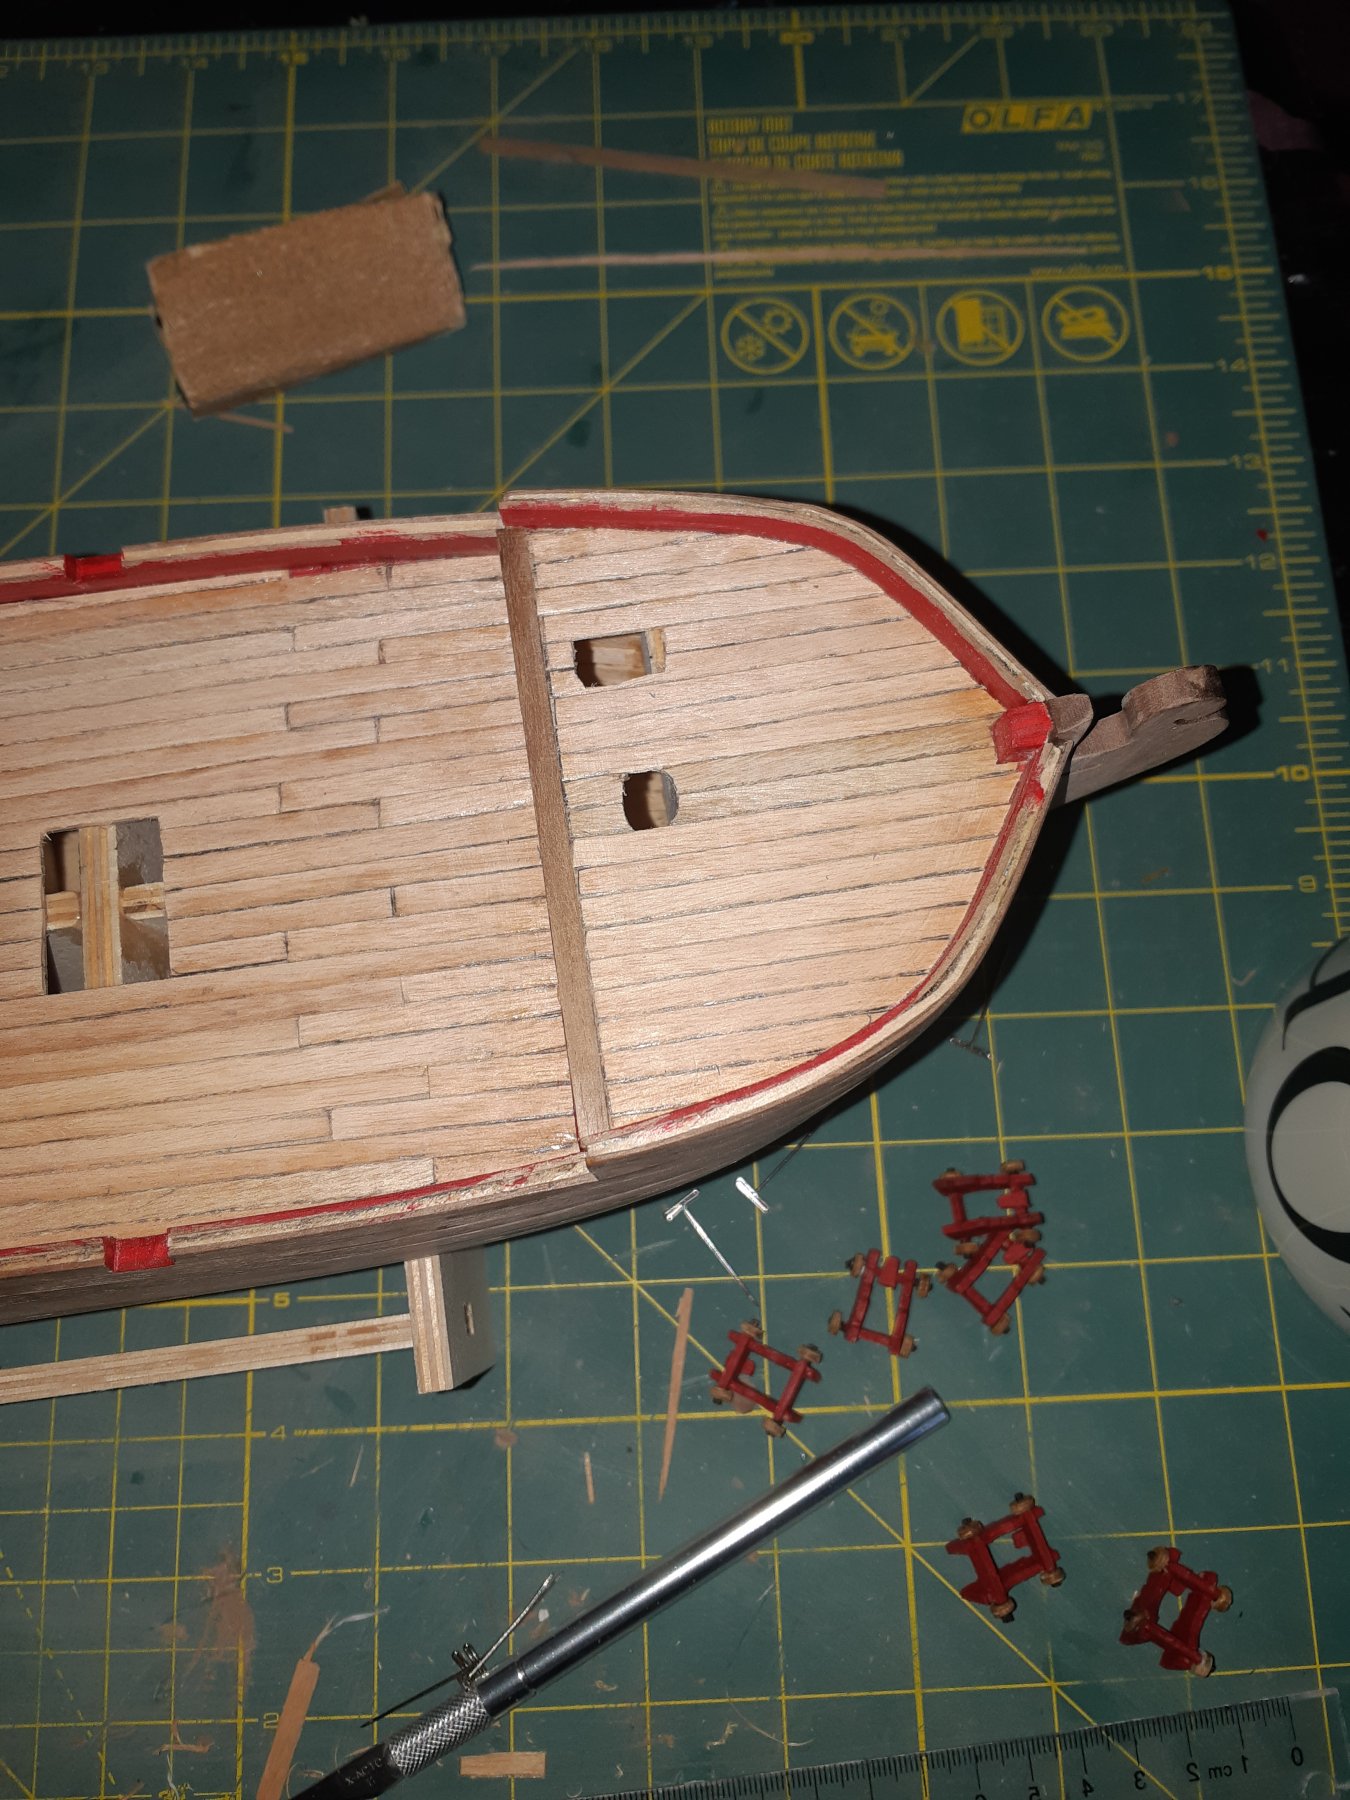
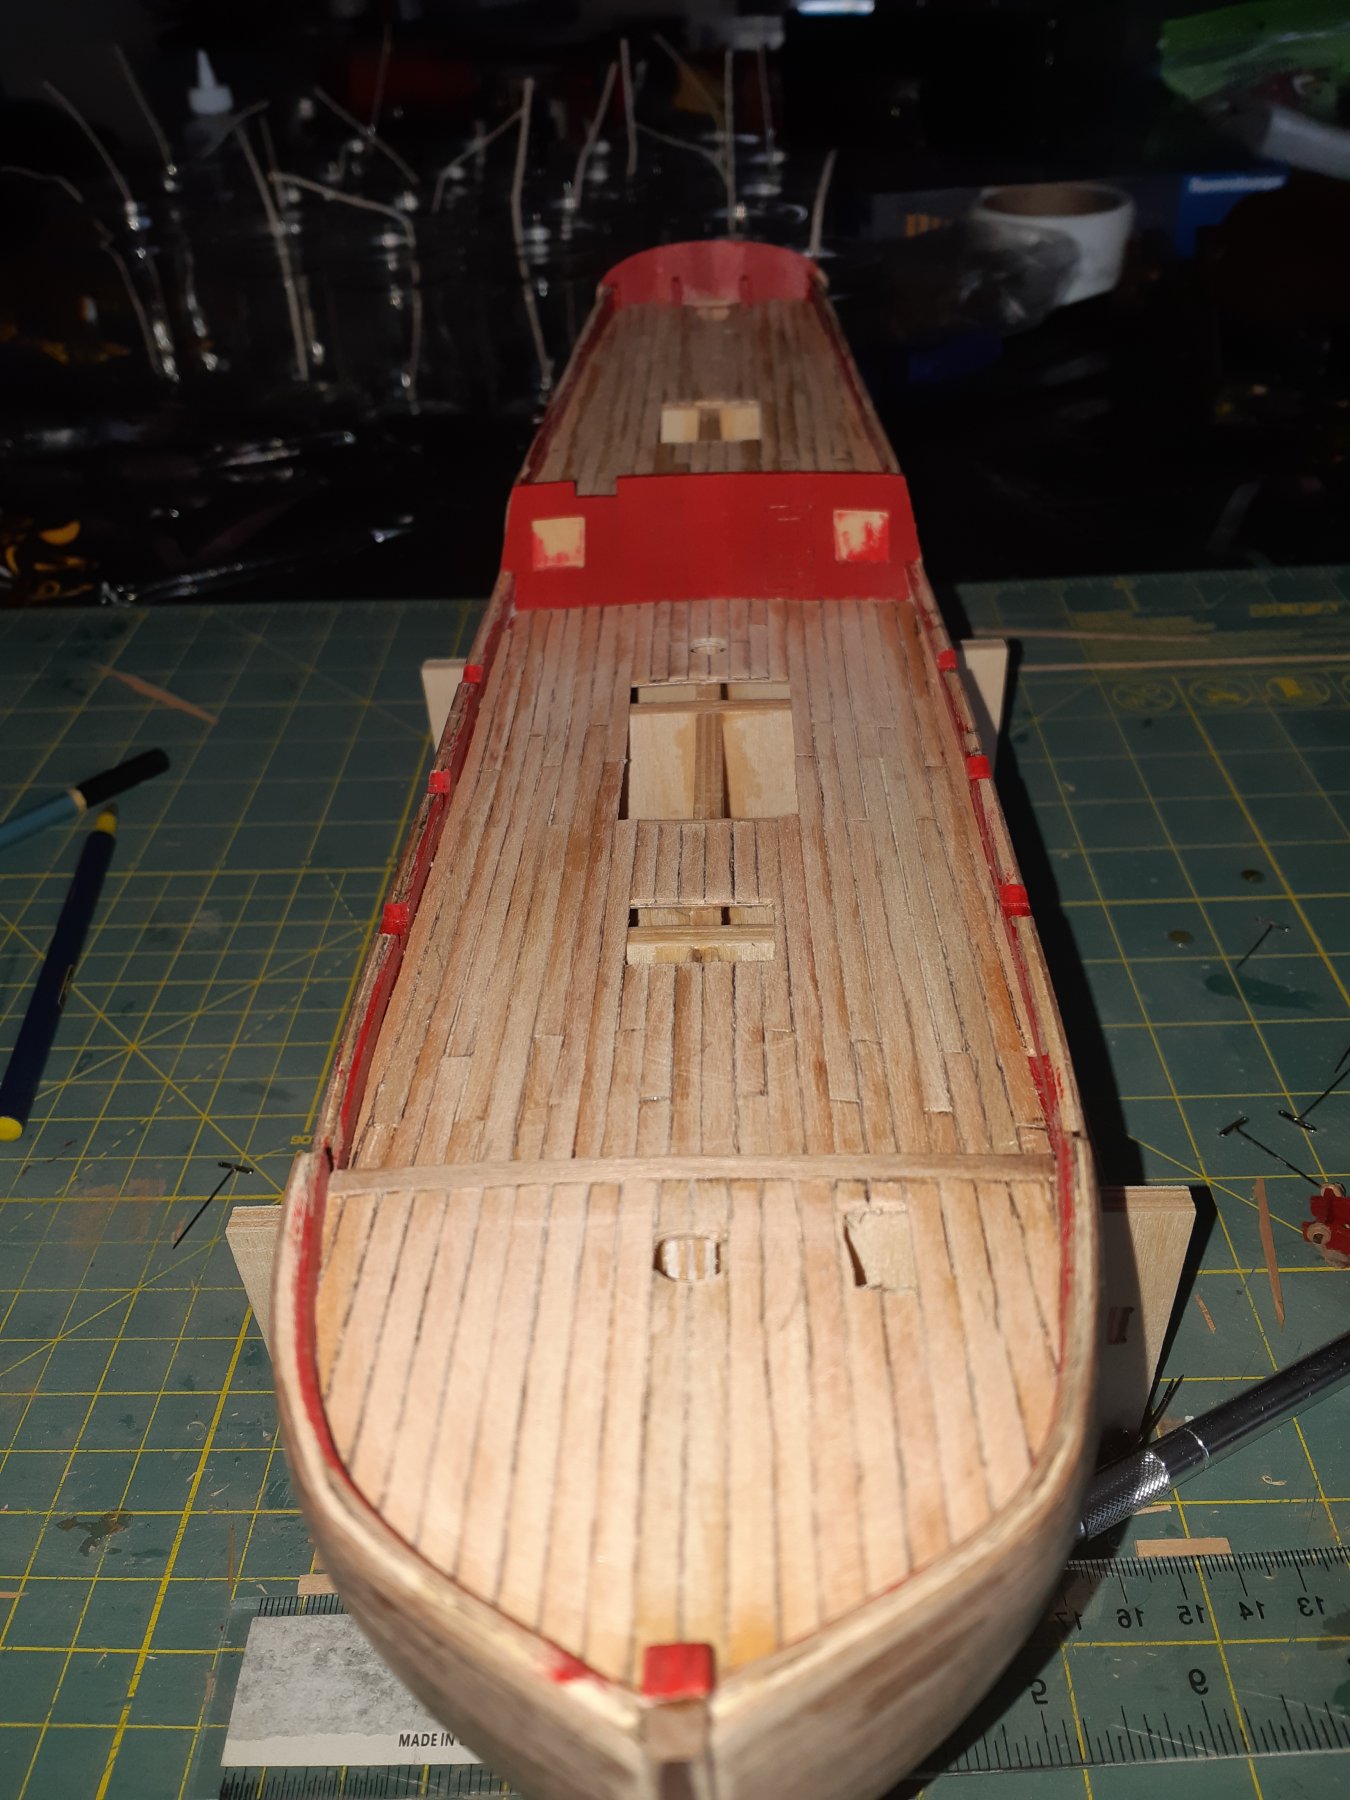
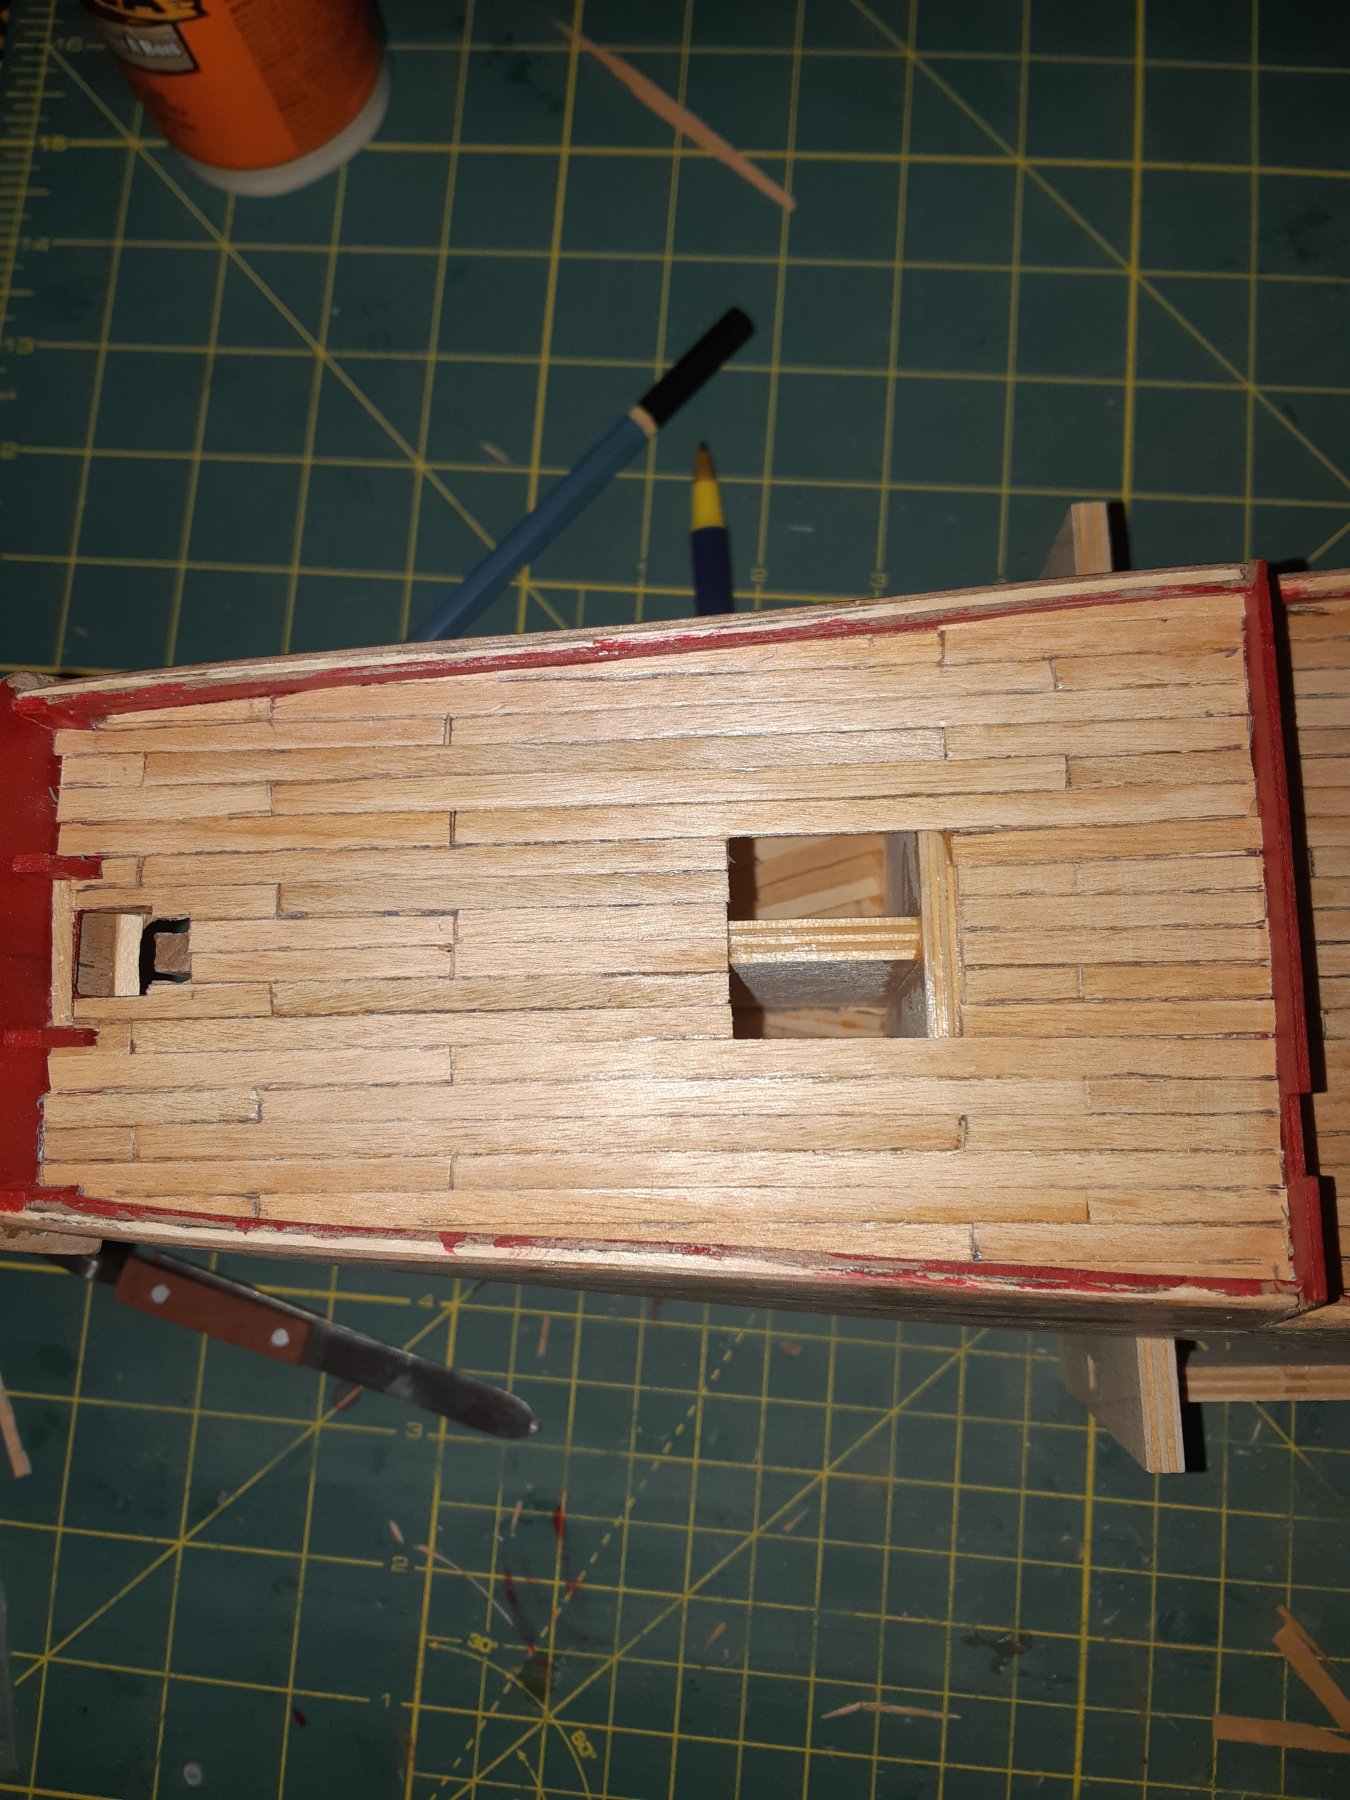
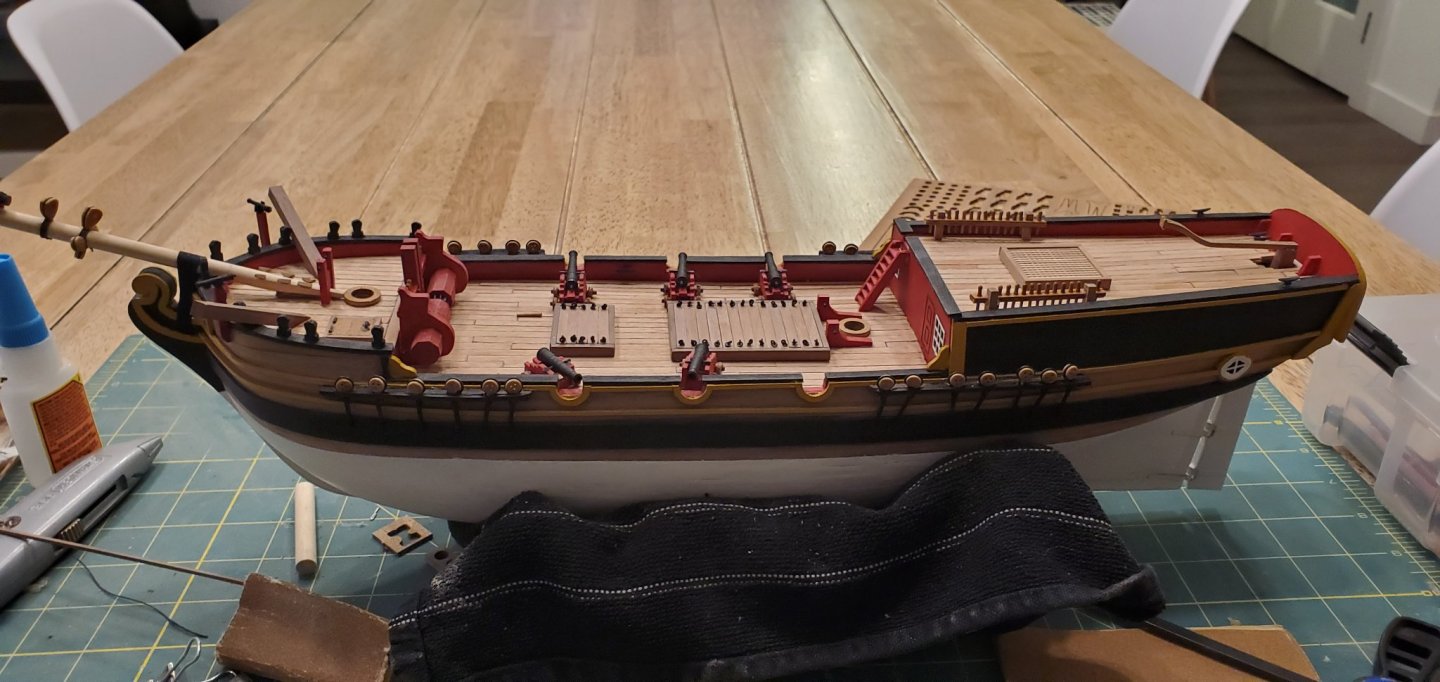
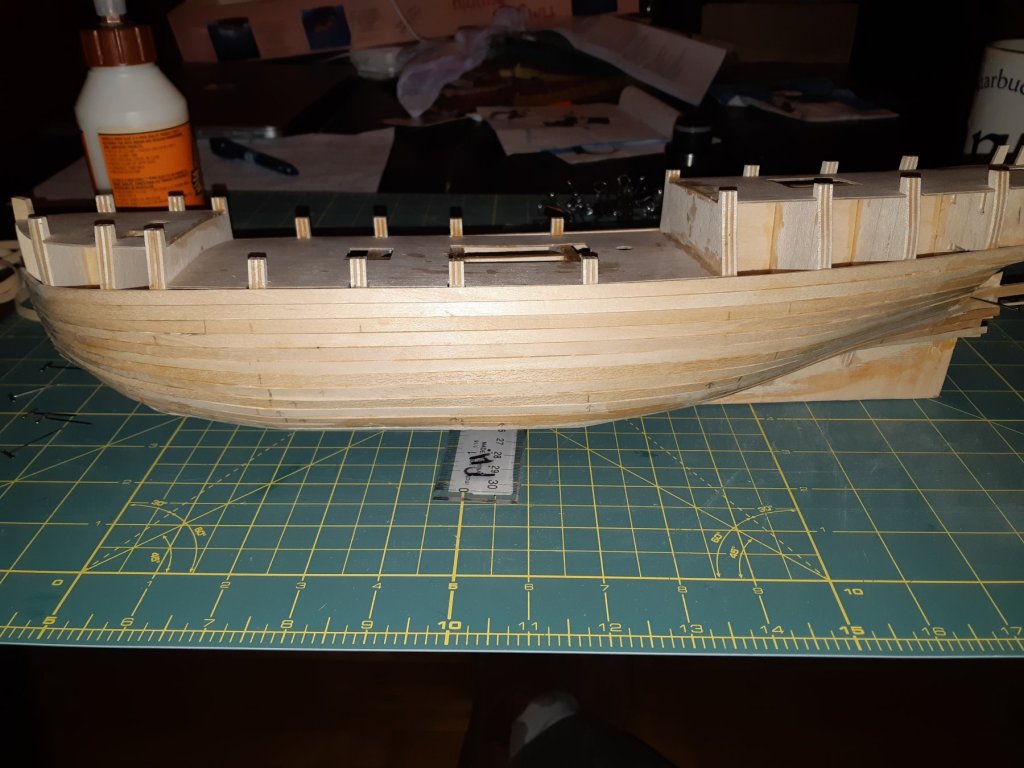
Another update to the build. I have now finished laying the deck planks. I looked through several different build logs and saw a three plank pattern, so I decided to go with that. I also traced the planks with a pencil to give the impression of caulking. Hopefully when I add all the deck fittings along with finishing the wood it look like I hope it will. Now on to capping the bullwarks and adding the whale along with the hulls details. Phil


-
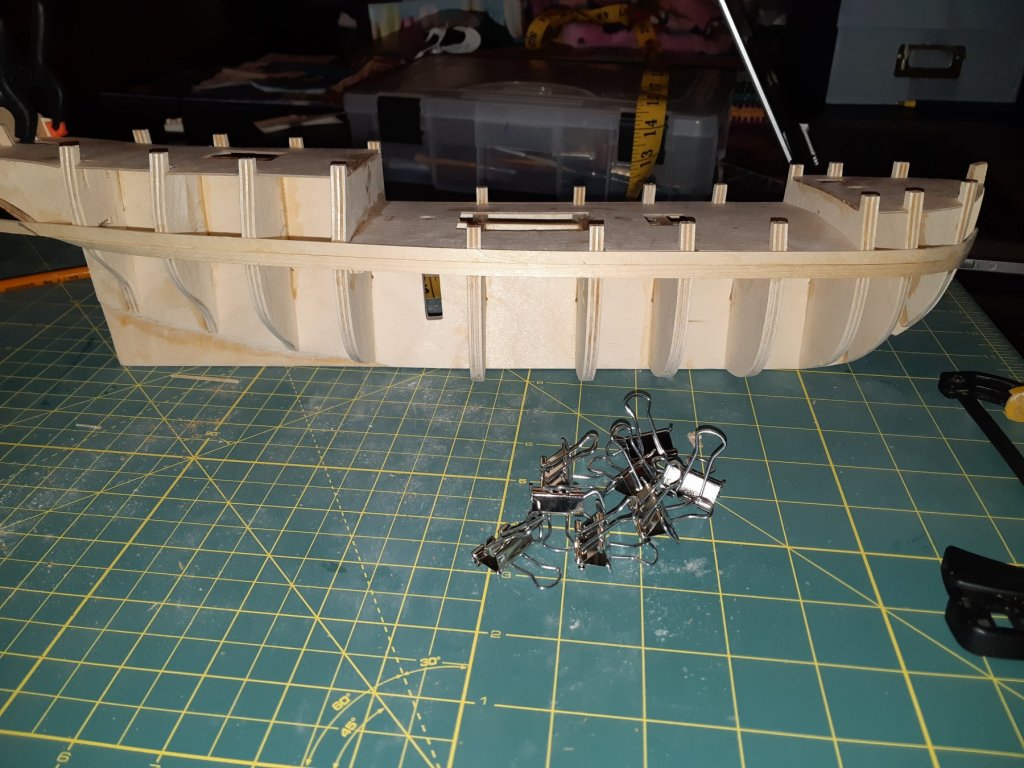
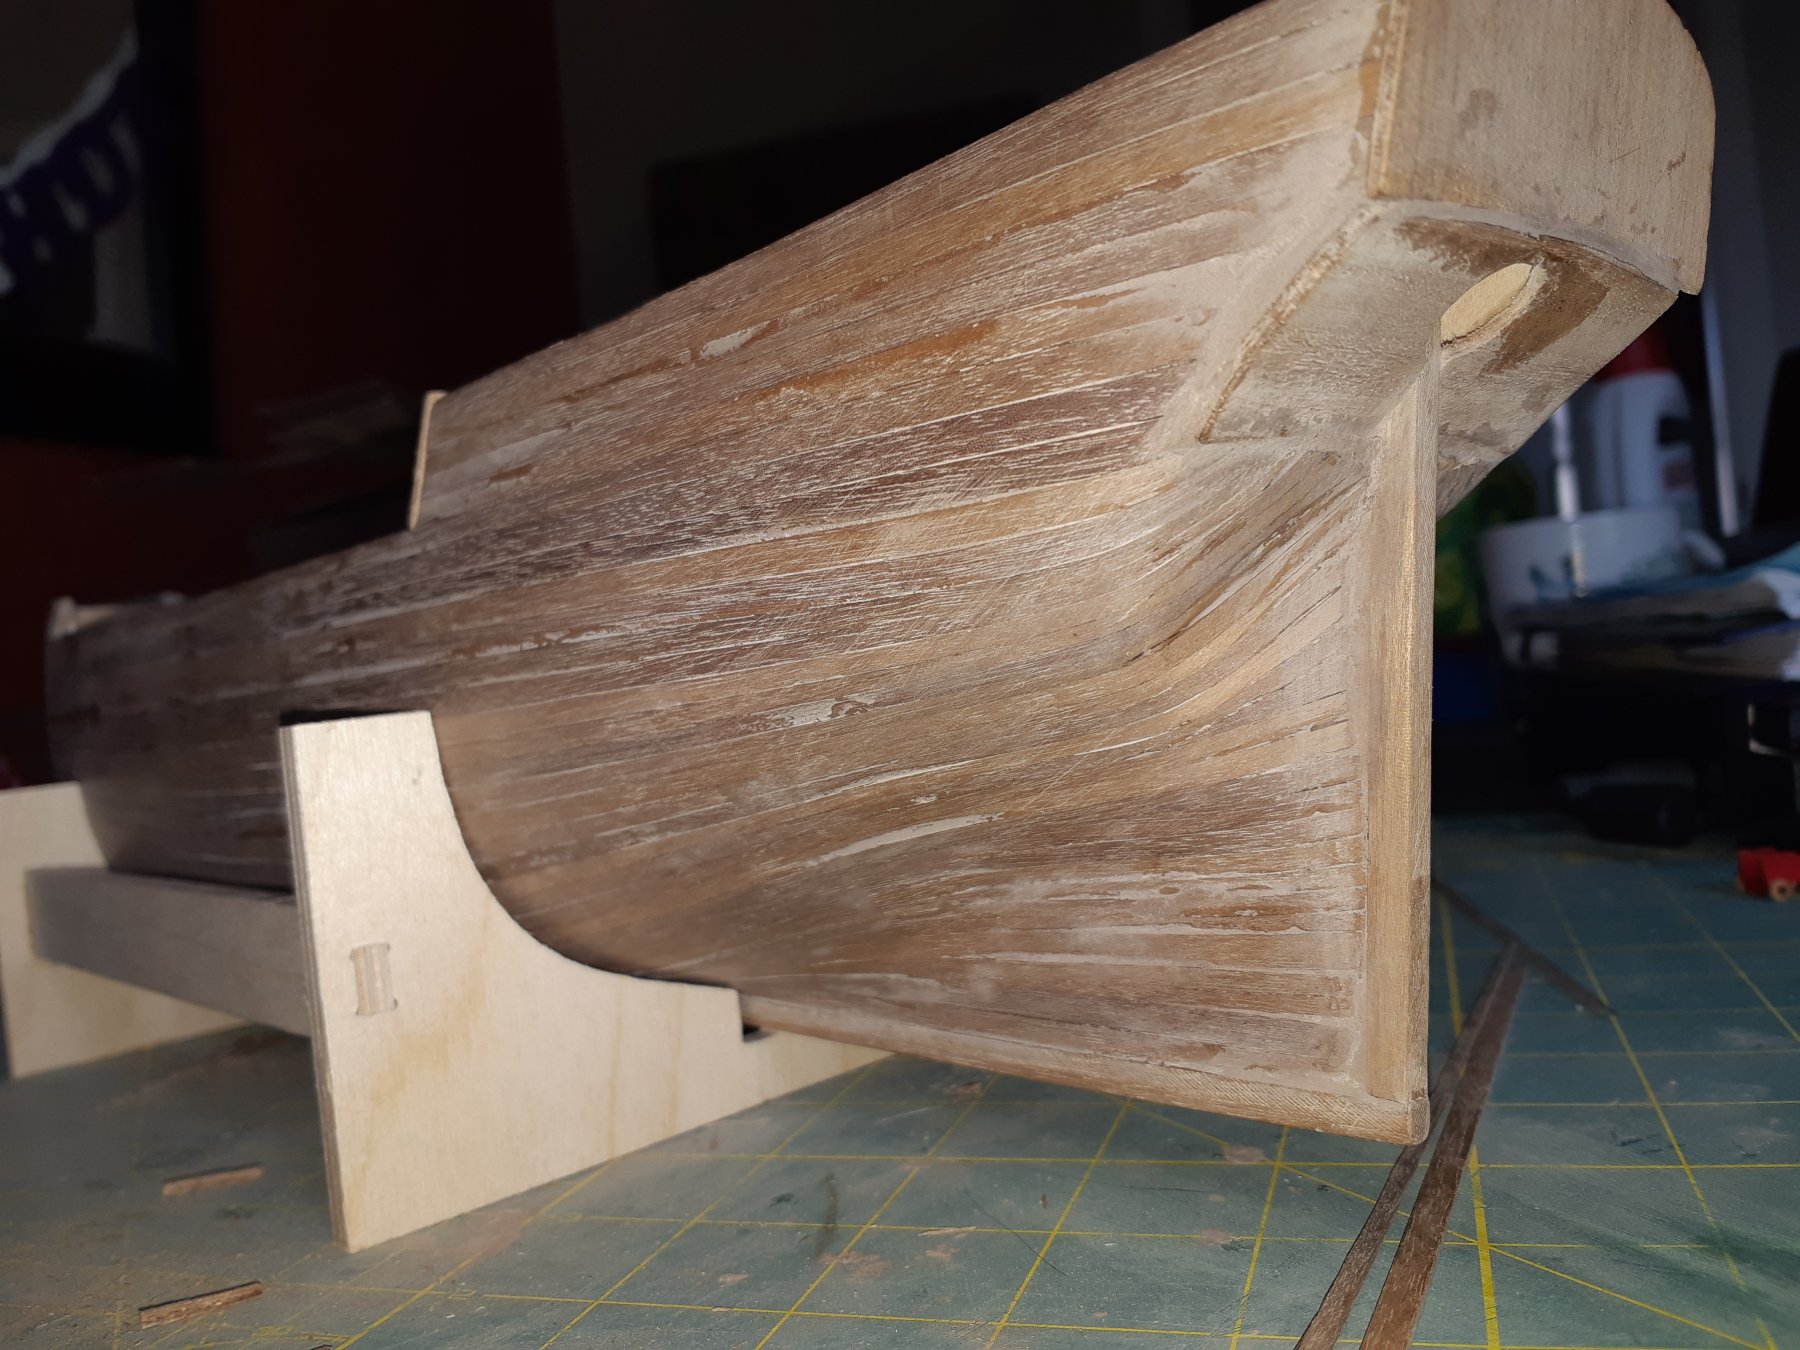
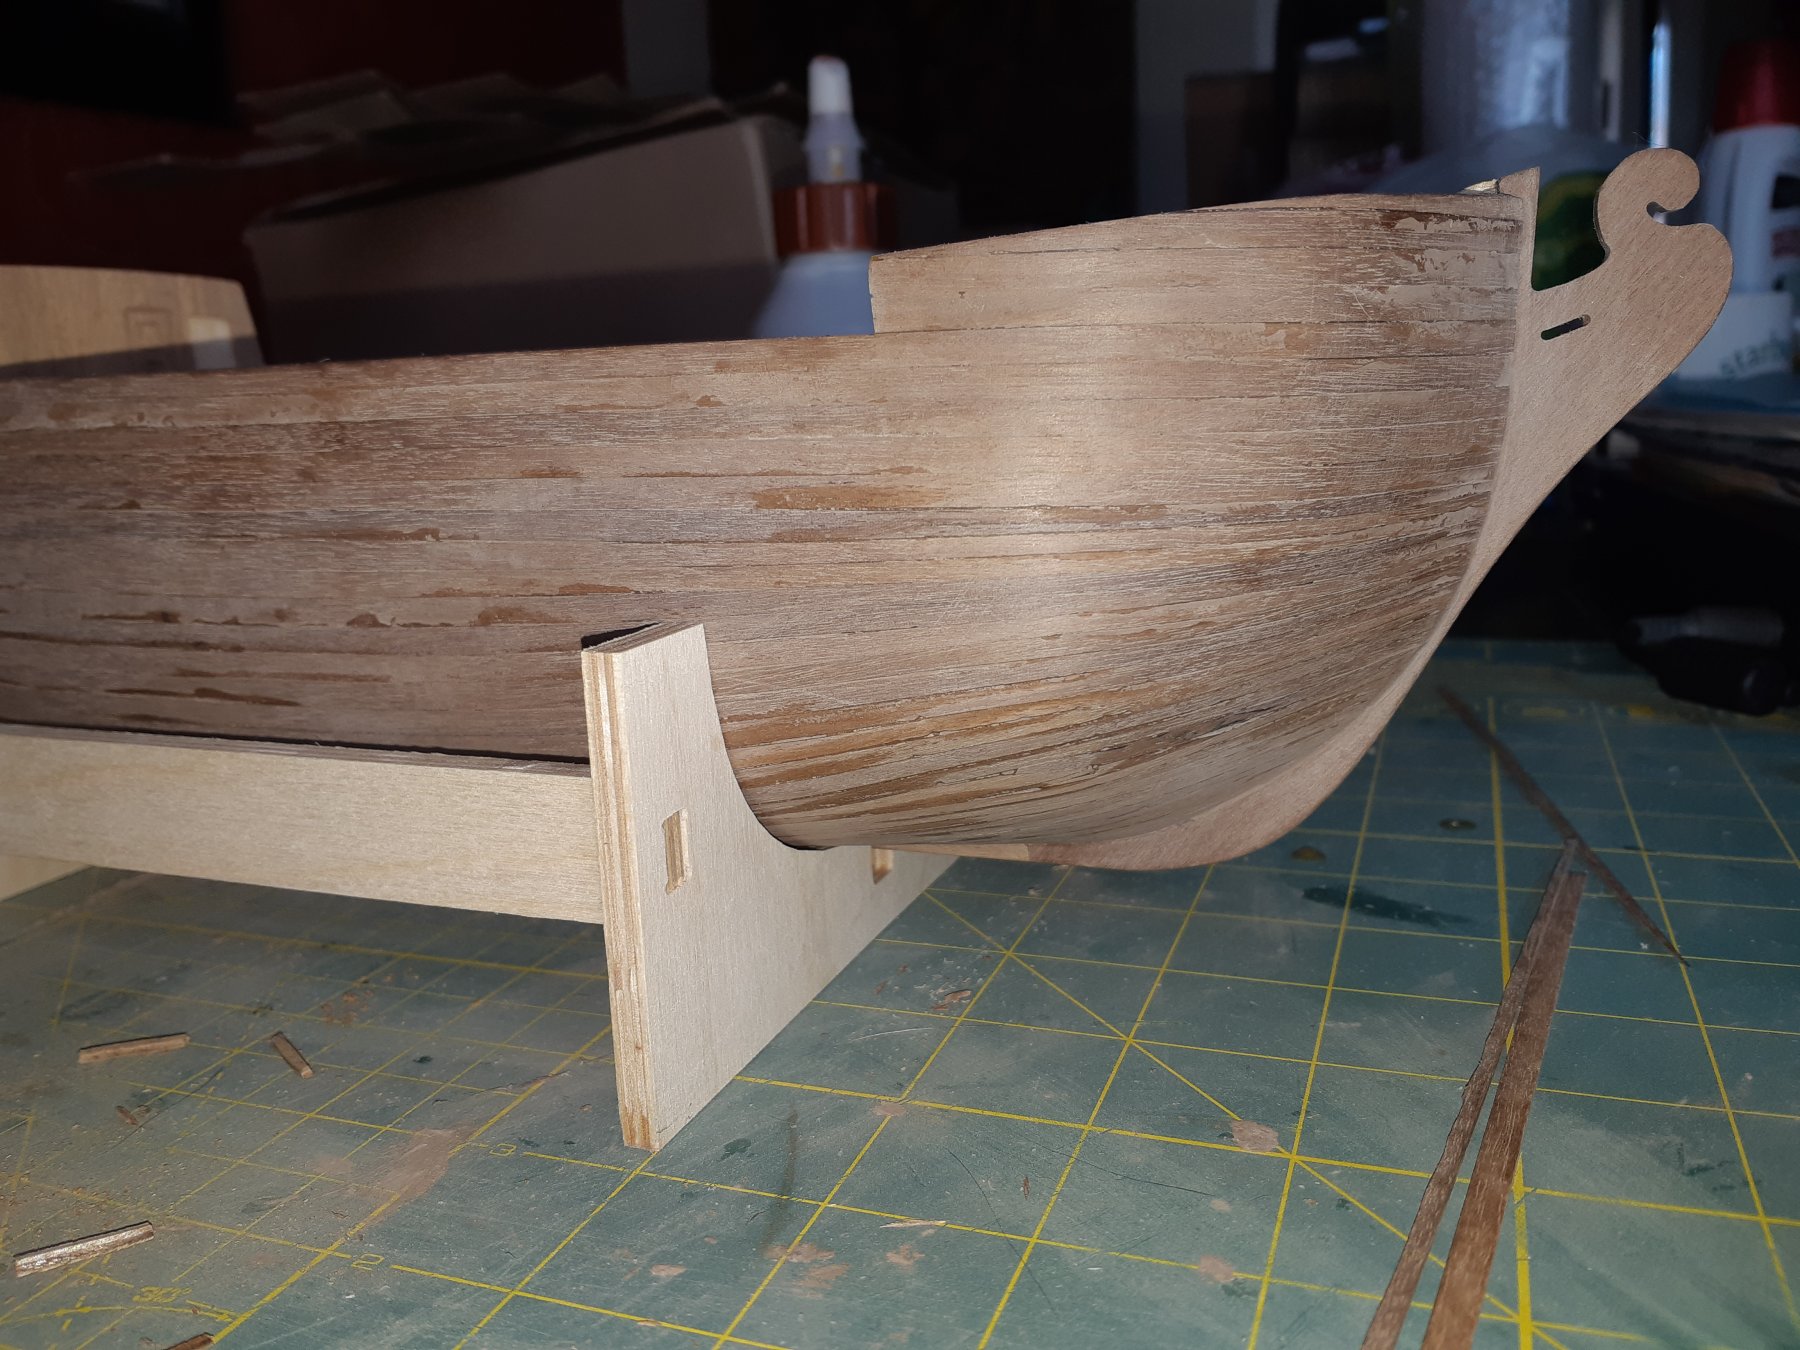
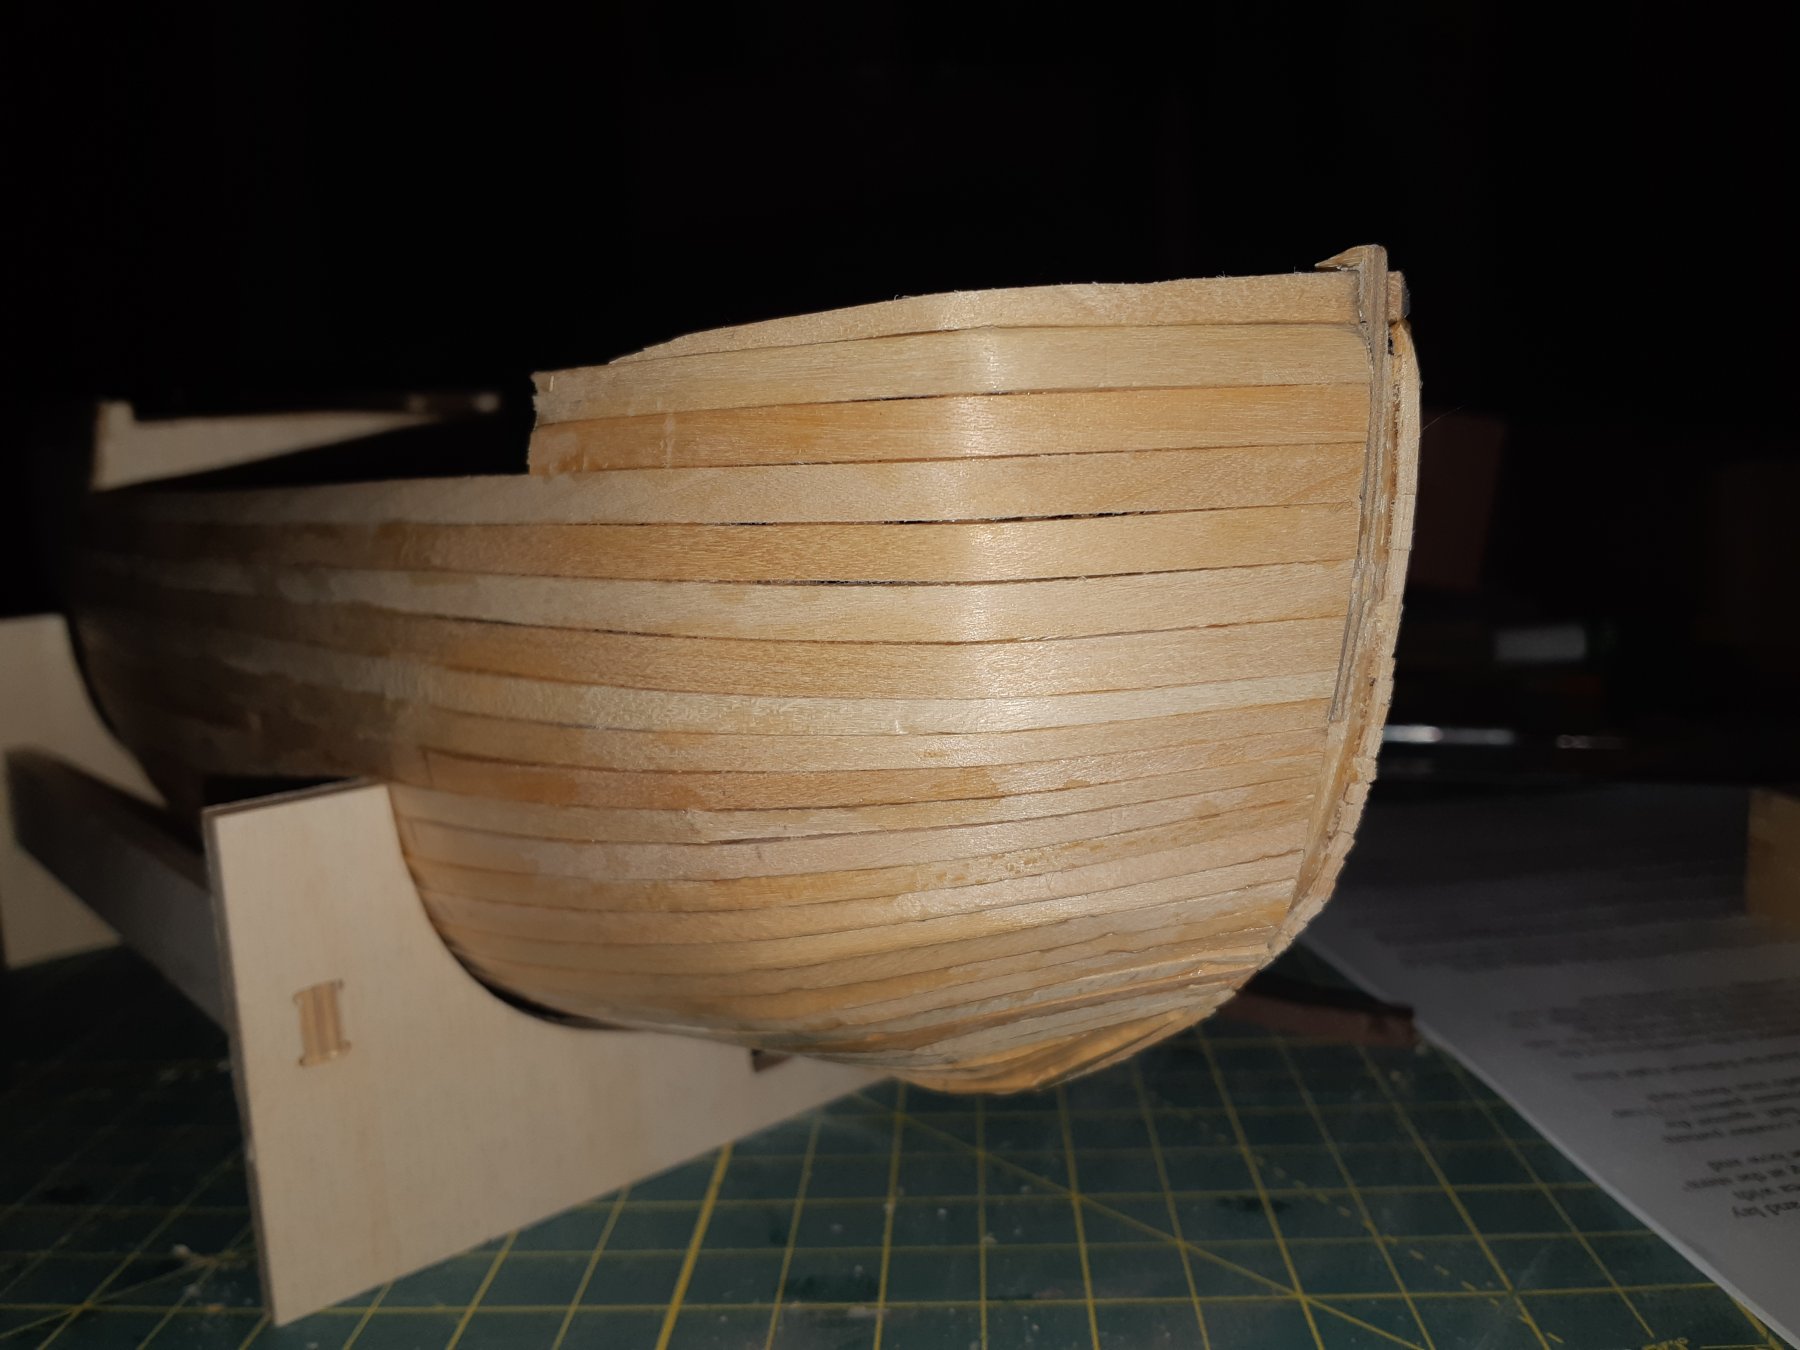
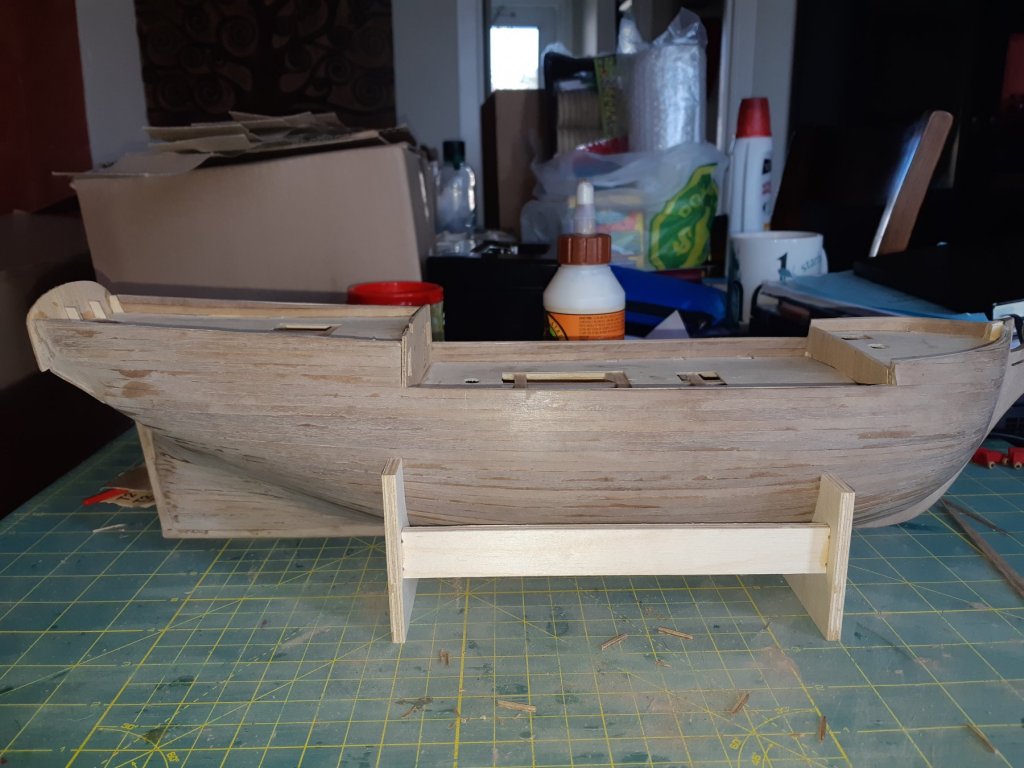
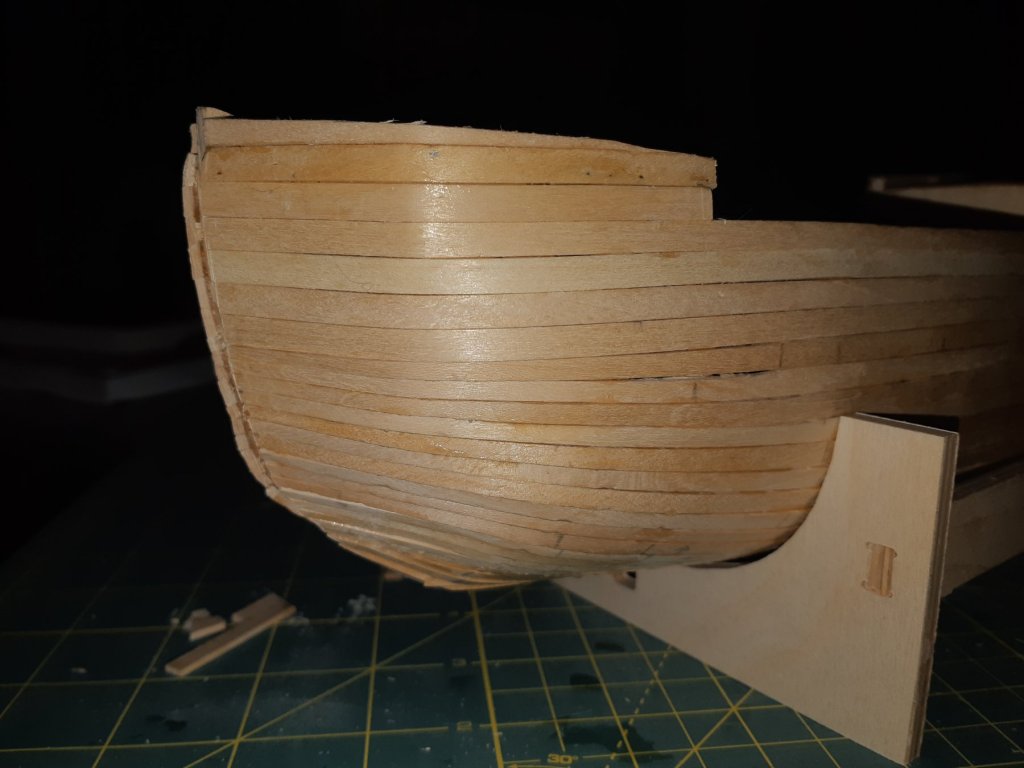
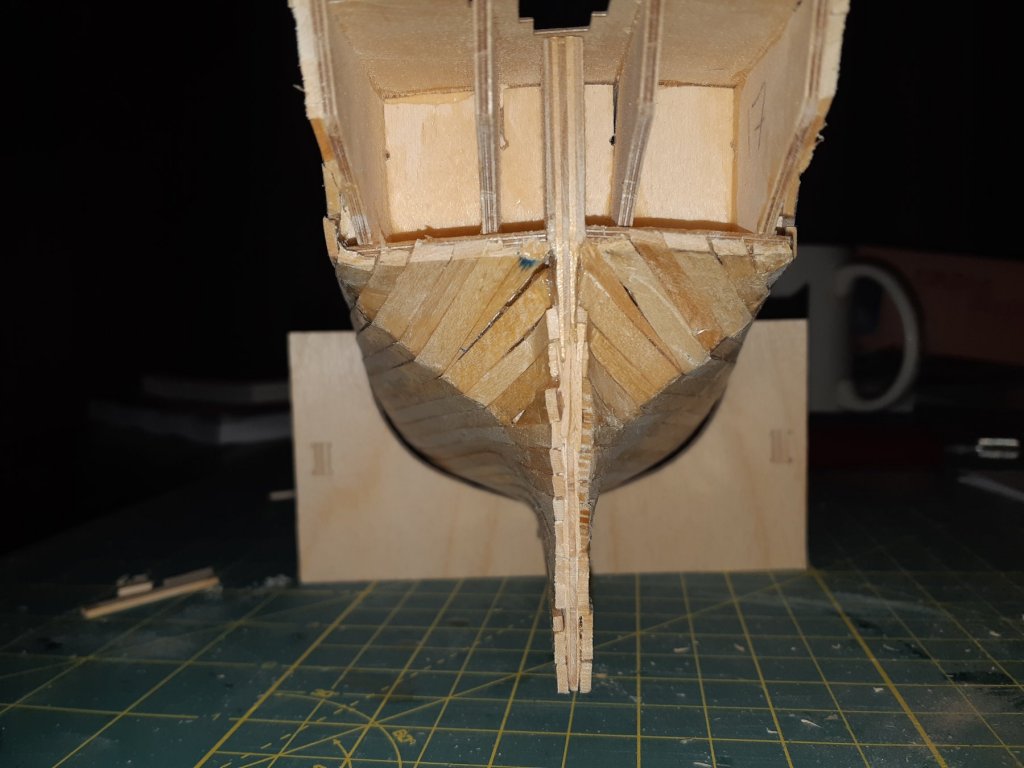
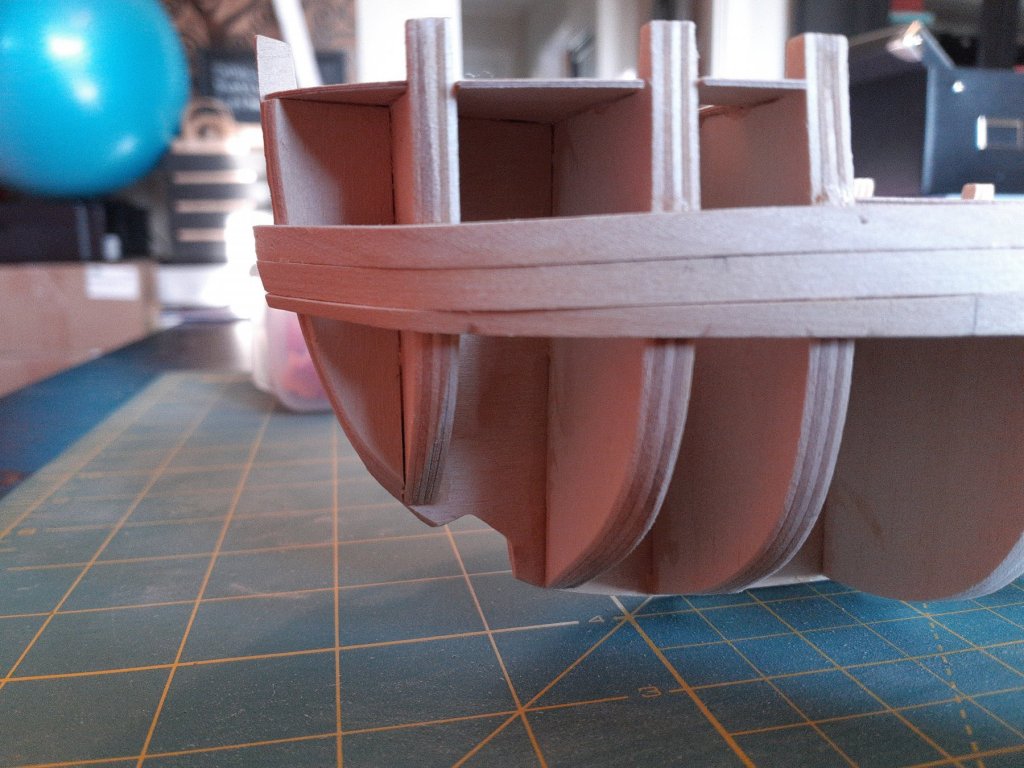
A little over a month ago I posted that I had finished the first layer of planking. Well since then I took my time to lay the second layer of planks and install the bow piece as well as the keel. Following that I spent what felt like as much time sanding it all down. I now have the hull complete and ready to proceed with the detail aspects. I know that there are mistakes, but with it being my first build I was expecting some. For example, my inexperience in fairing the bulkheads have the forward most part of the bow less rounded then it should. There are some other areas that could have been better and I am sure that subsequent builds will be better. A question for the experienced builders. Would you apply a wood finish at this point then add the whale and paint water line after or would it be better to add all the details first then finish and paint after? Phil

-
Thanks Frank for the kind words and advice. You are correct that there wasn't enough bevel. Unfortunately I think that cutting that section out and filling it is beyond my current abilities. What I did do is sanded the stern more to flatten the section out some more. Hopefully it will be enough in the end. Only time will tell. As this is my first build I am going to chalk that up to a learning point for future builds. I will continue to post pictures as I move along, and as always would appreciate pointers. Phil
-
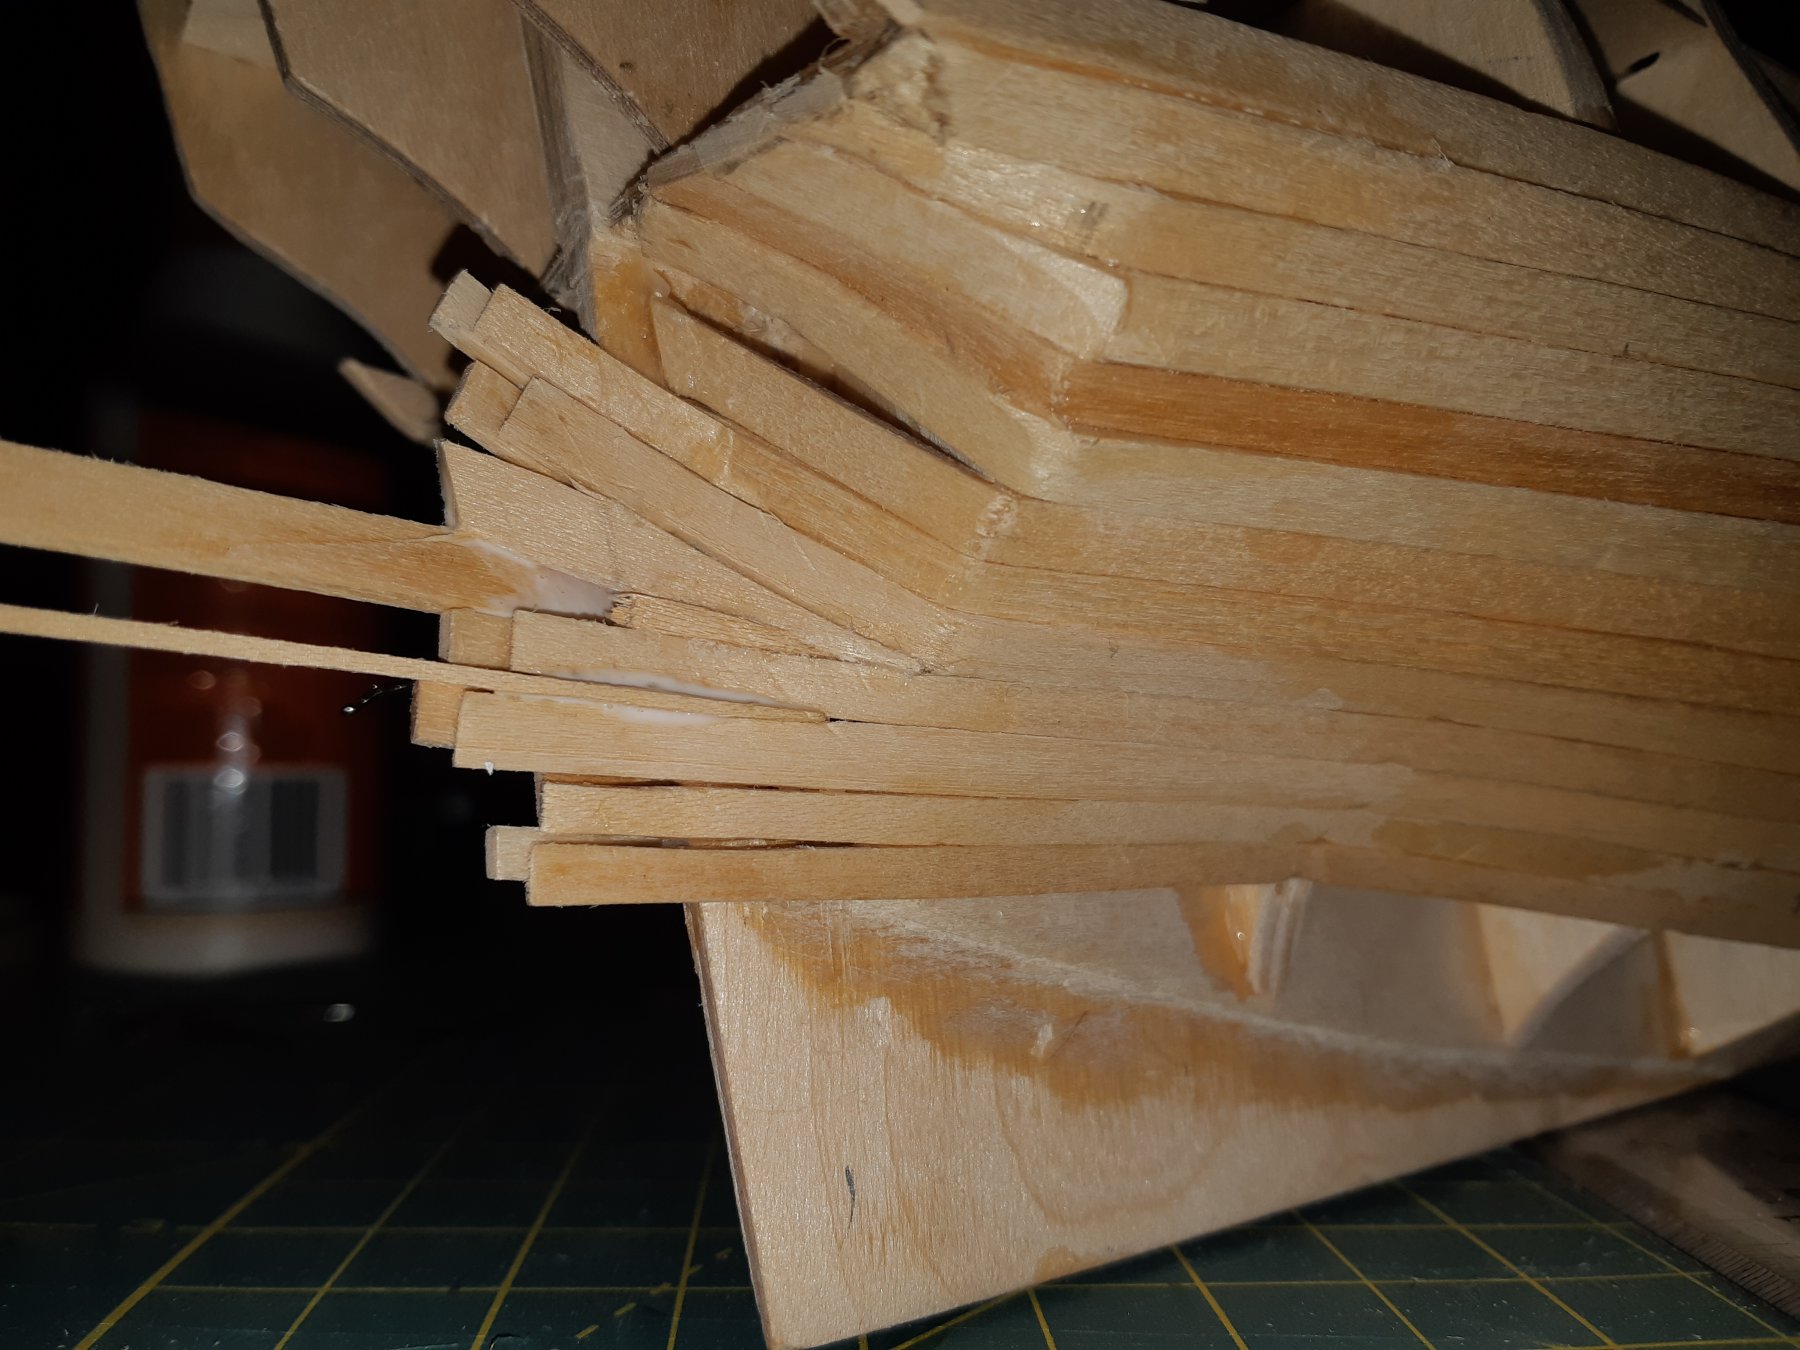
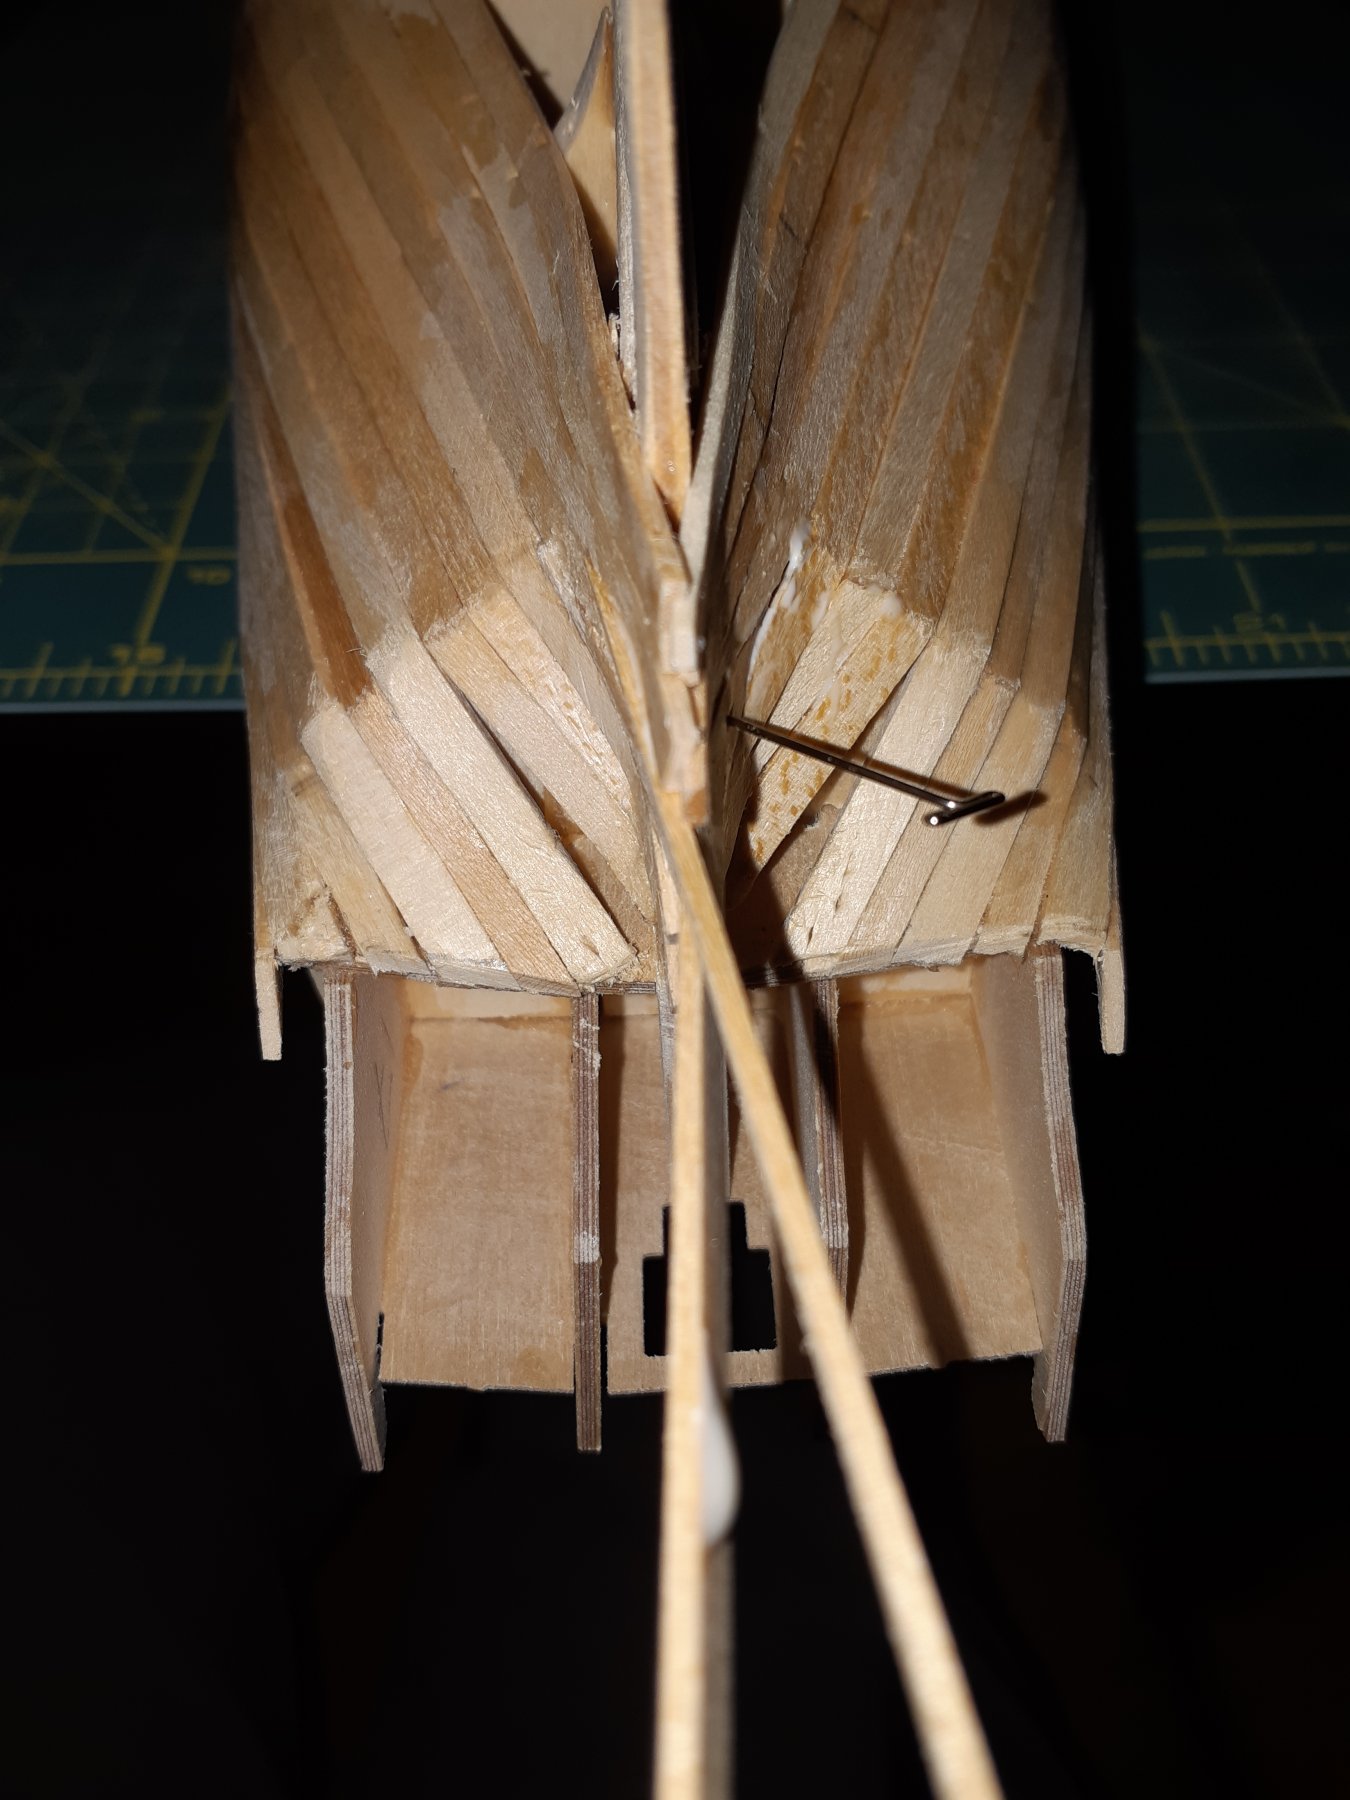
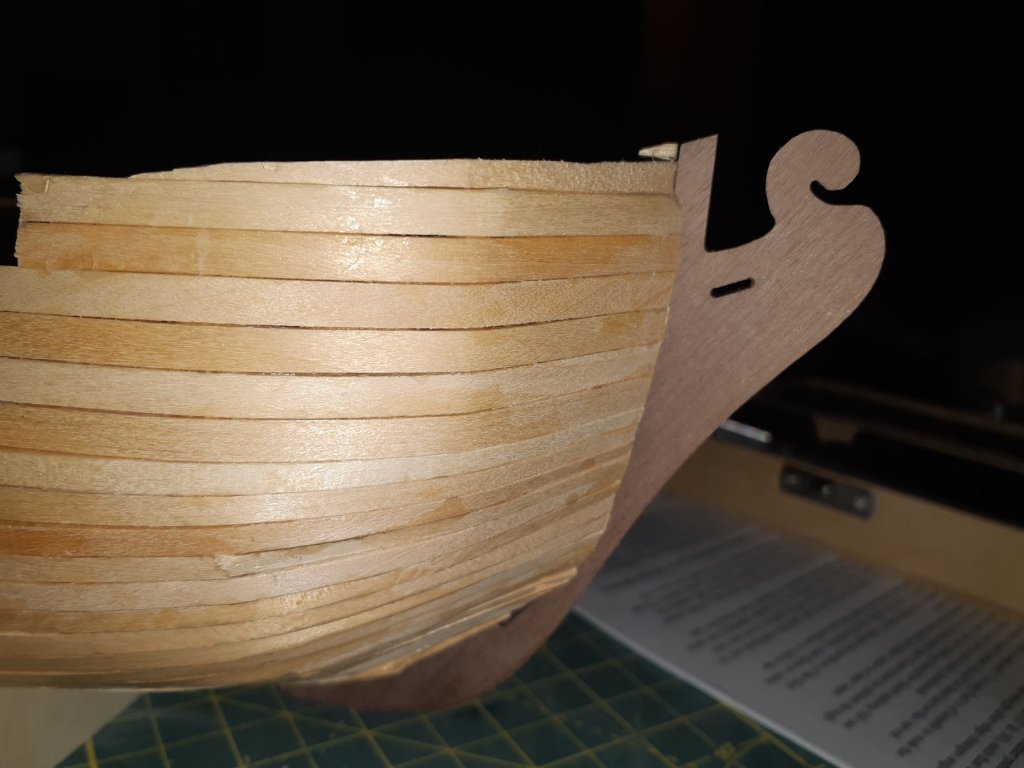
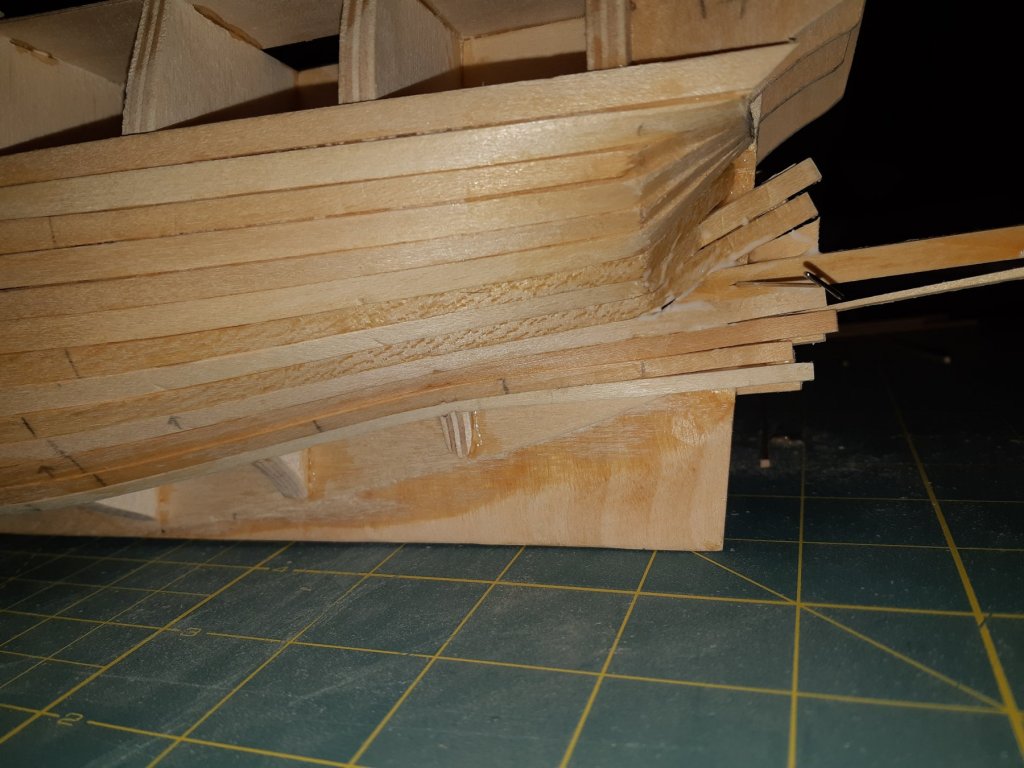
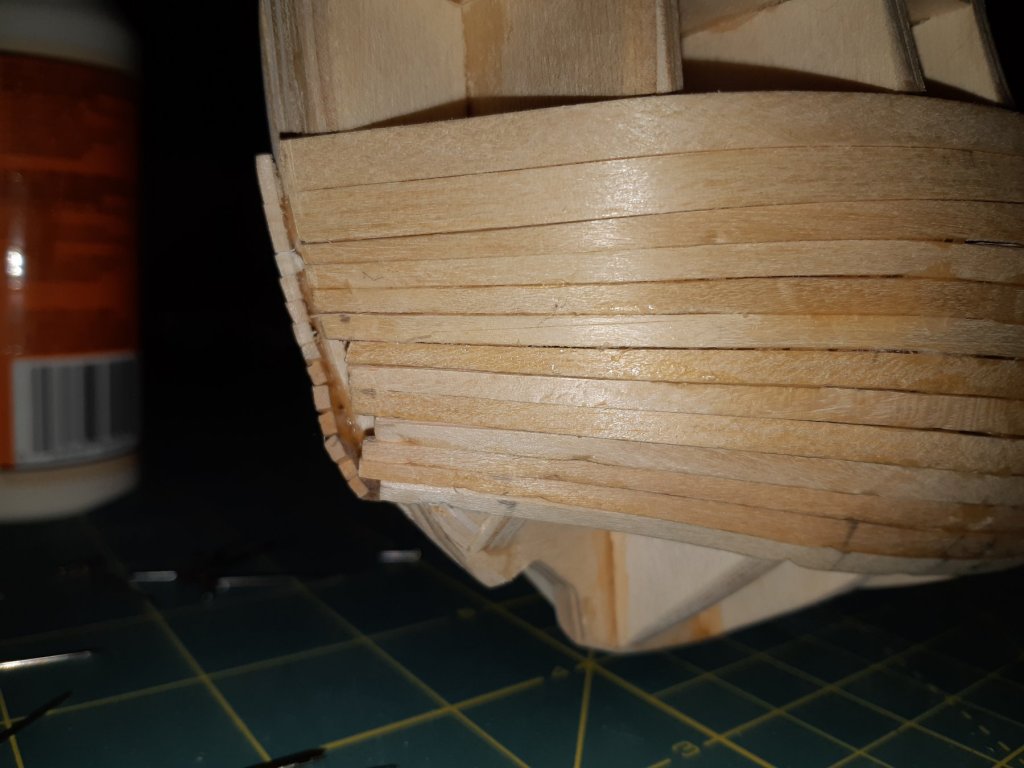
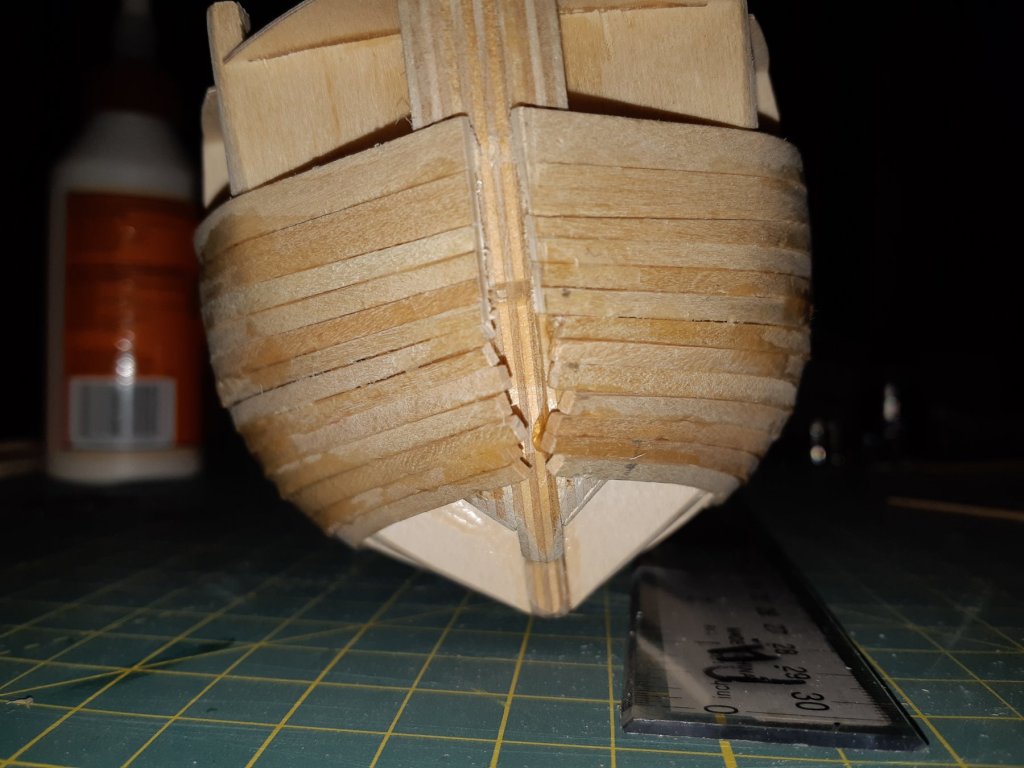
I have finally finished the first planking and trimmed everything at the bow and stern to make sure the keel will fit as well as the stern facia. Now on to sanding it all for that nice finish before starting all over again with the second planking. I have certainly learned a few things during this stage if the build. One thing that I still need to figure out is how do you figure out how to trim the ends of the planks at the bow and along the keel so that they have that nice curve that I see a lot? Also, would you glue the keel and bow in before or after the second planking?

-
Thanks for the advice. I will keep that all in mind as I progress and for subsequent models. Phil
-
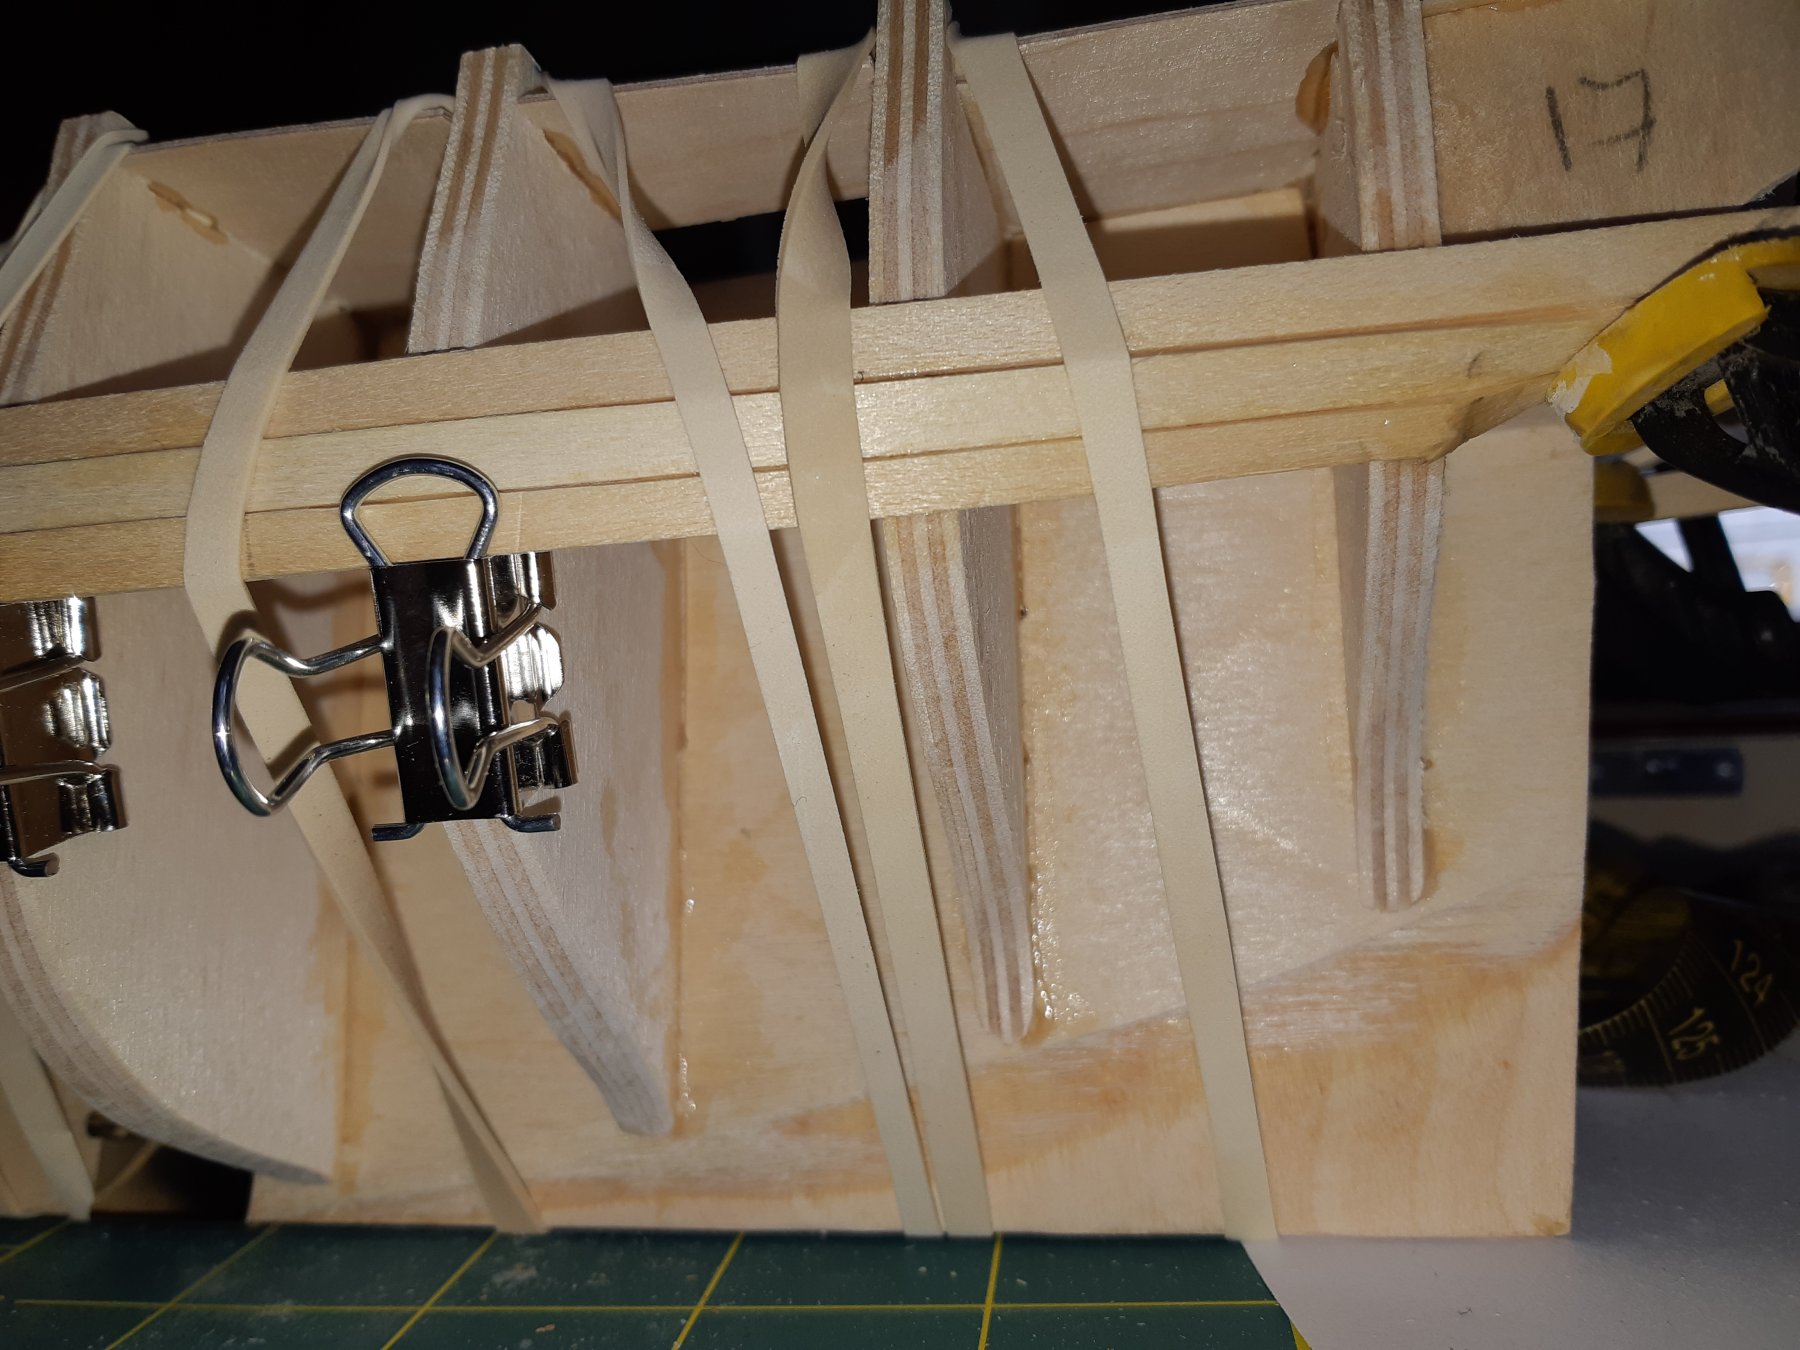
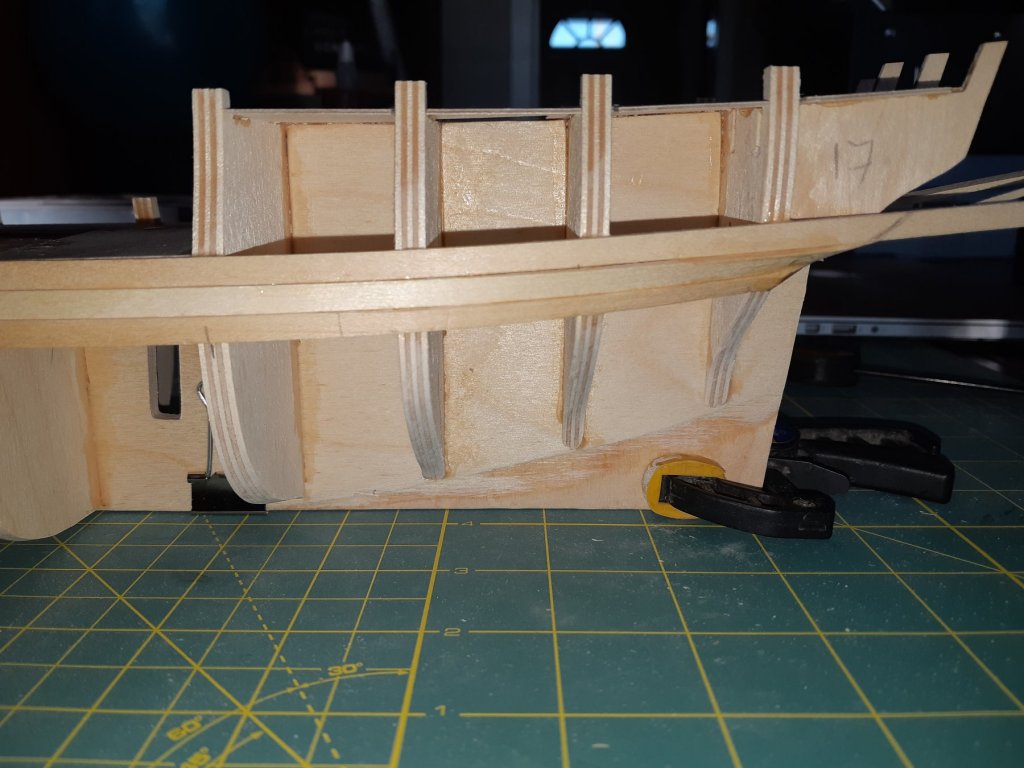
Thanks for the observation. It does come with the ply sections for the stern fascia. I will have to double check the fit to ensure that the planks are in the right place. I think that I tapered #17 so that the second planks will neatly blend into the ply pieces but never hurts to double check.
-
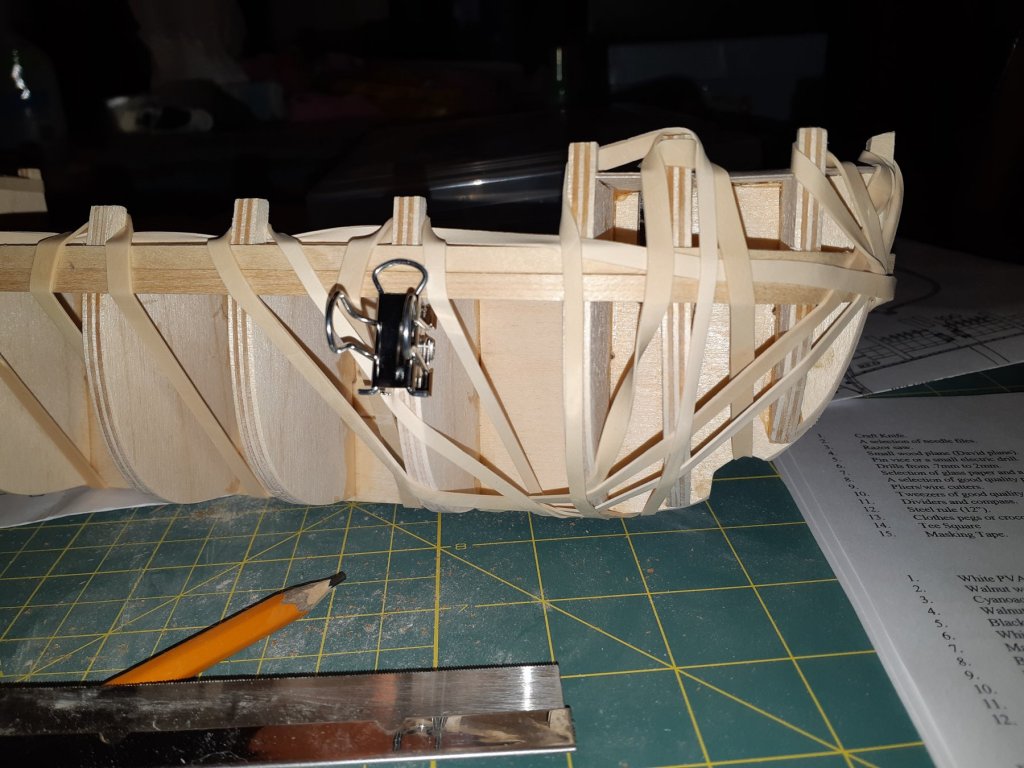
Supply's progress continues nicely ( I am happy so far). First planking is almost done. I have six planks left to close the hull then I just have to finish the upper deck area. All in all, I think that the planks are going down nicely, especially now that I have given up on using steam to bend the planks. The bow looks pretty symmetrical to me and the planks at the stern are almost exactly lined up. Overall the stern is looking much better and I haven't been having the cracking anymore, Thank you all once again for your advice. If the rest of the model is as much fun as planking I really can't wait to be able to move on. Phil

-
Wow, that is amazing. I hope that mine turns out half as nice. I did see that one of the bulkheads was small in other build logs. I thought that I had corrected enough for that when I faired the bulkheads, but I am beginning to think that I didn't. It is a learning process after all. I think that I will have to take my time sanding the first layer to ensure that I have a nice smooth curve for the second planking. I hope that you will continue to watch my build log. I would appreciate any advice you can give. Phil
-
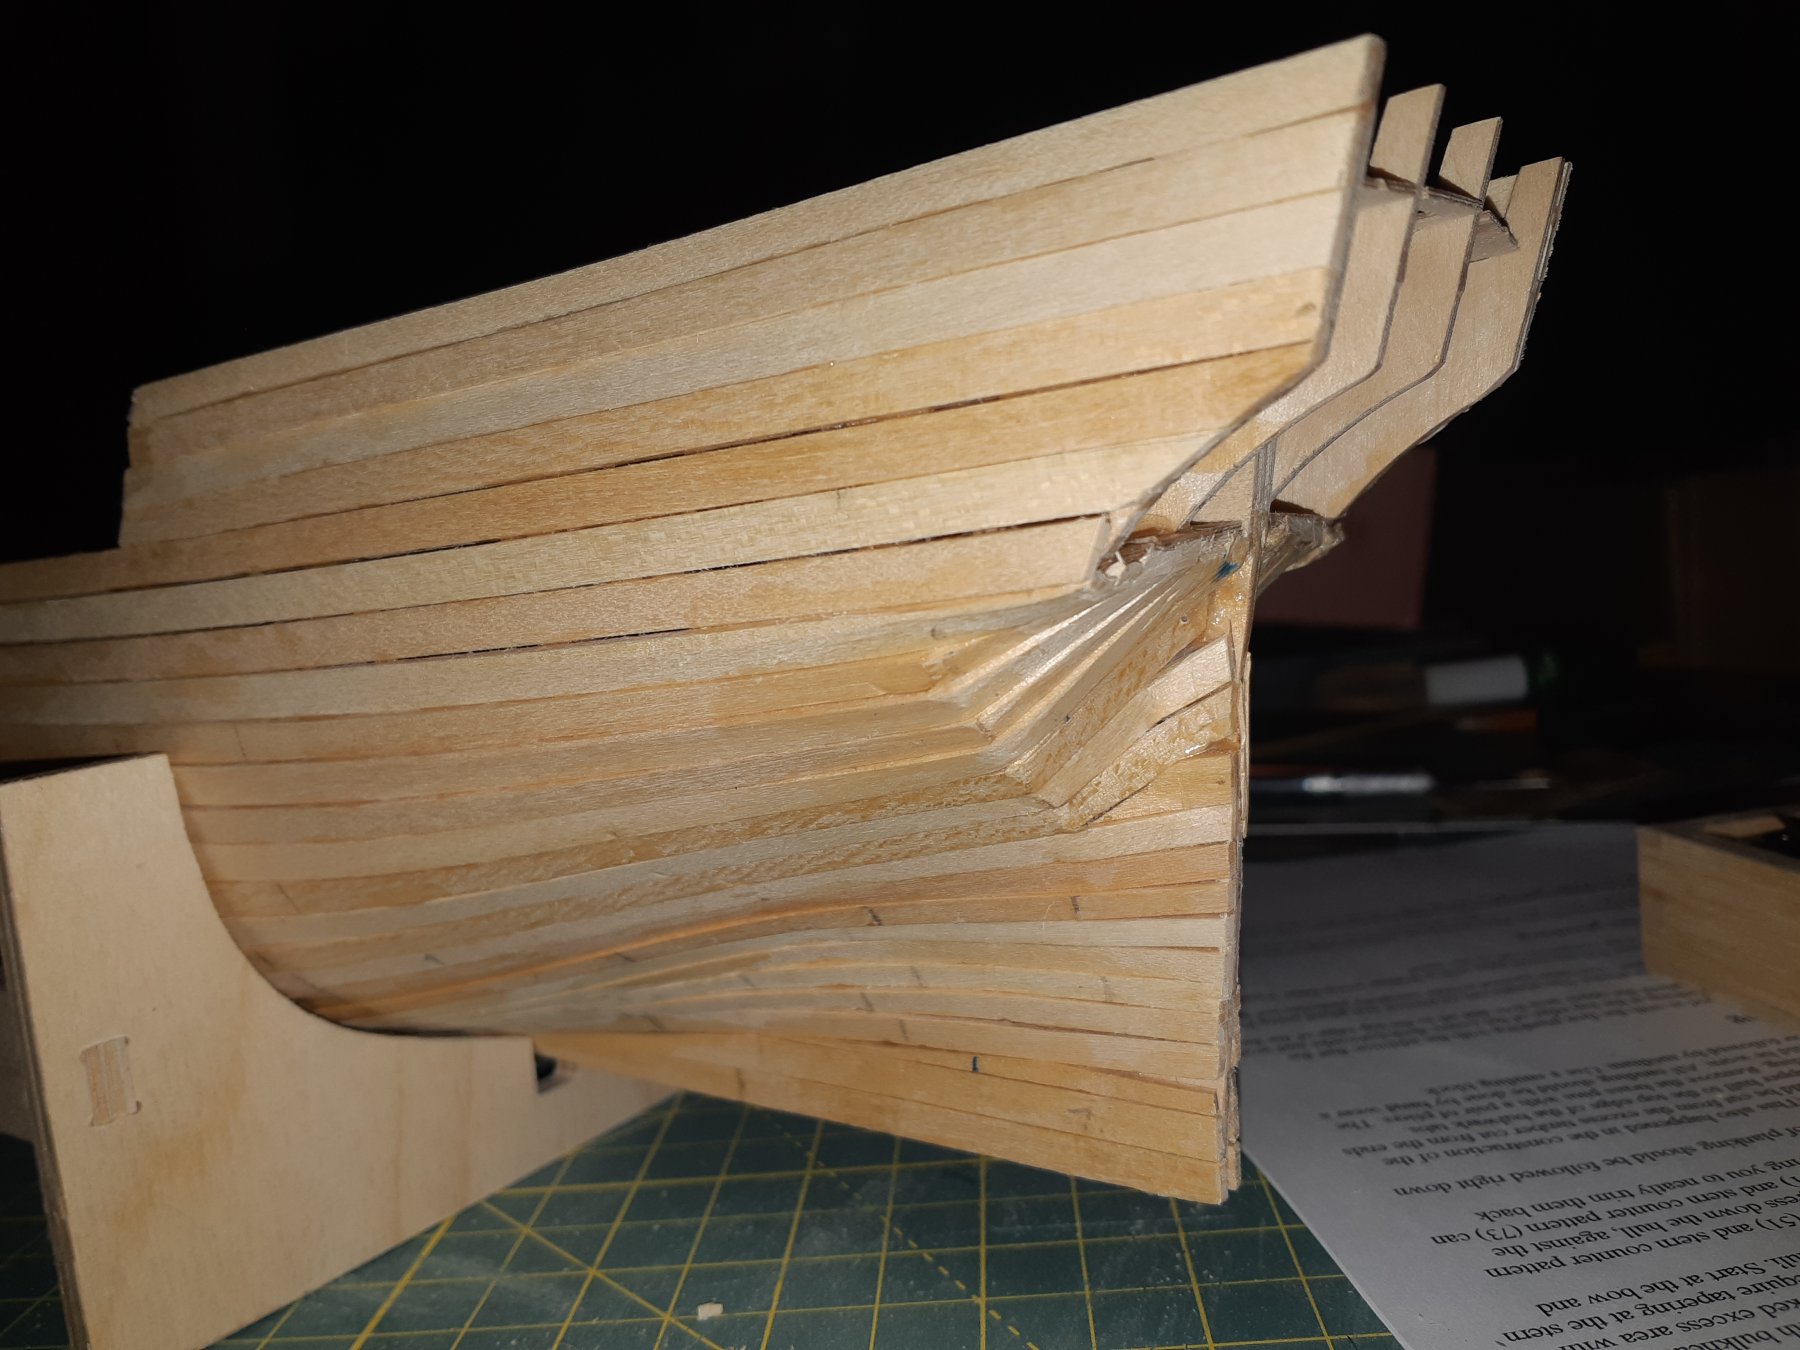
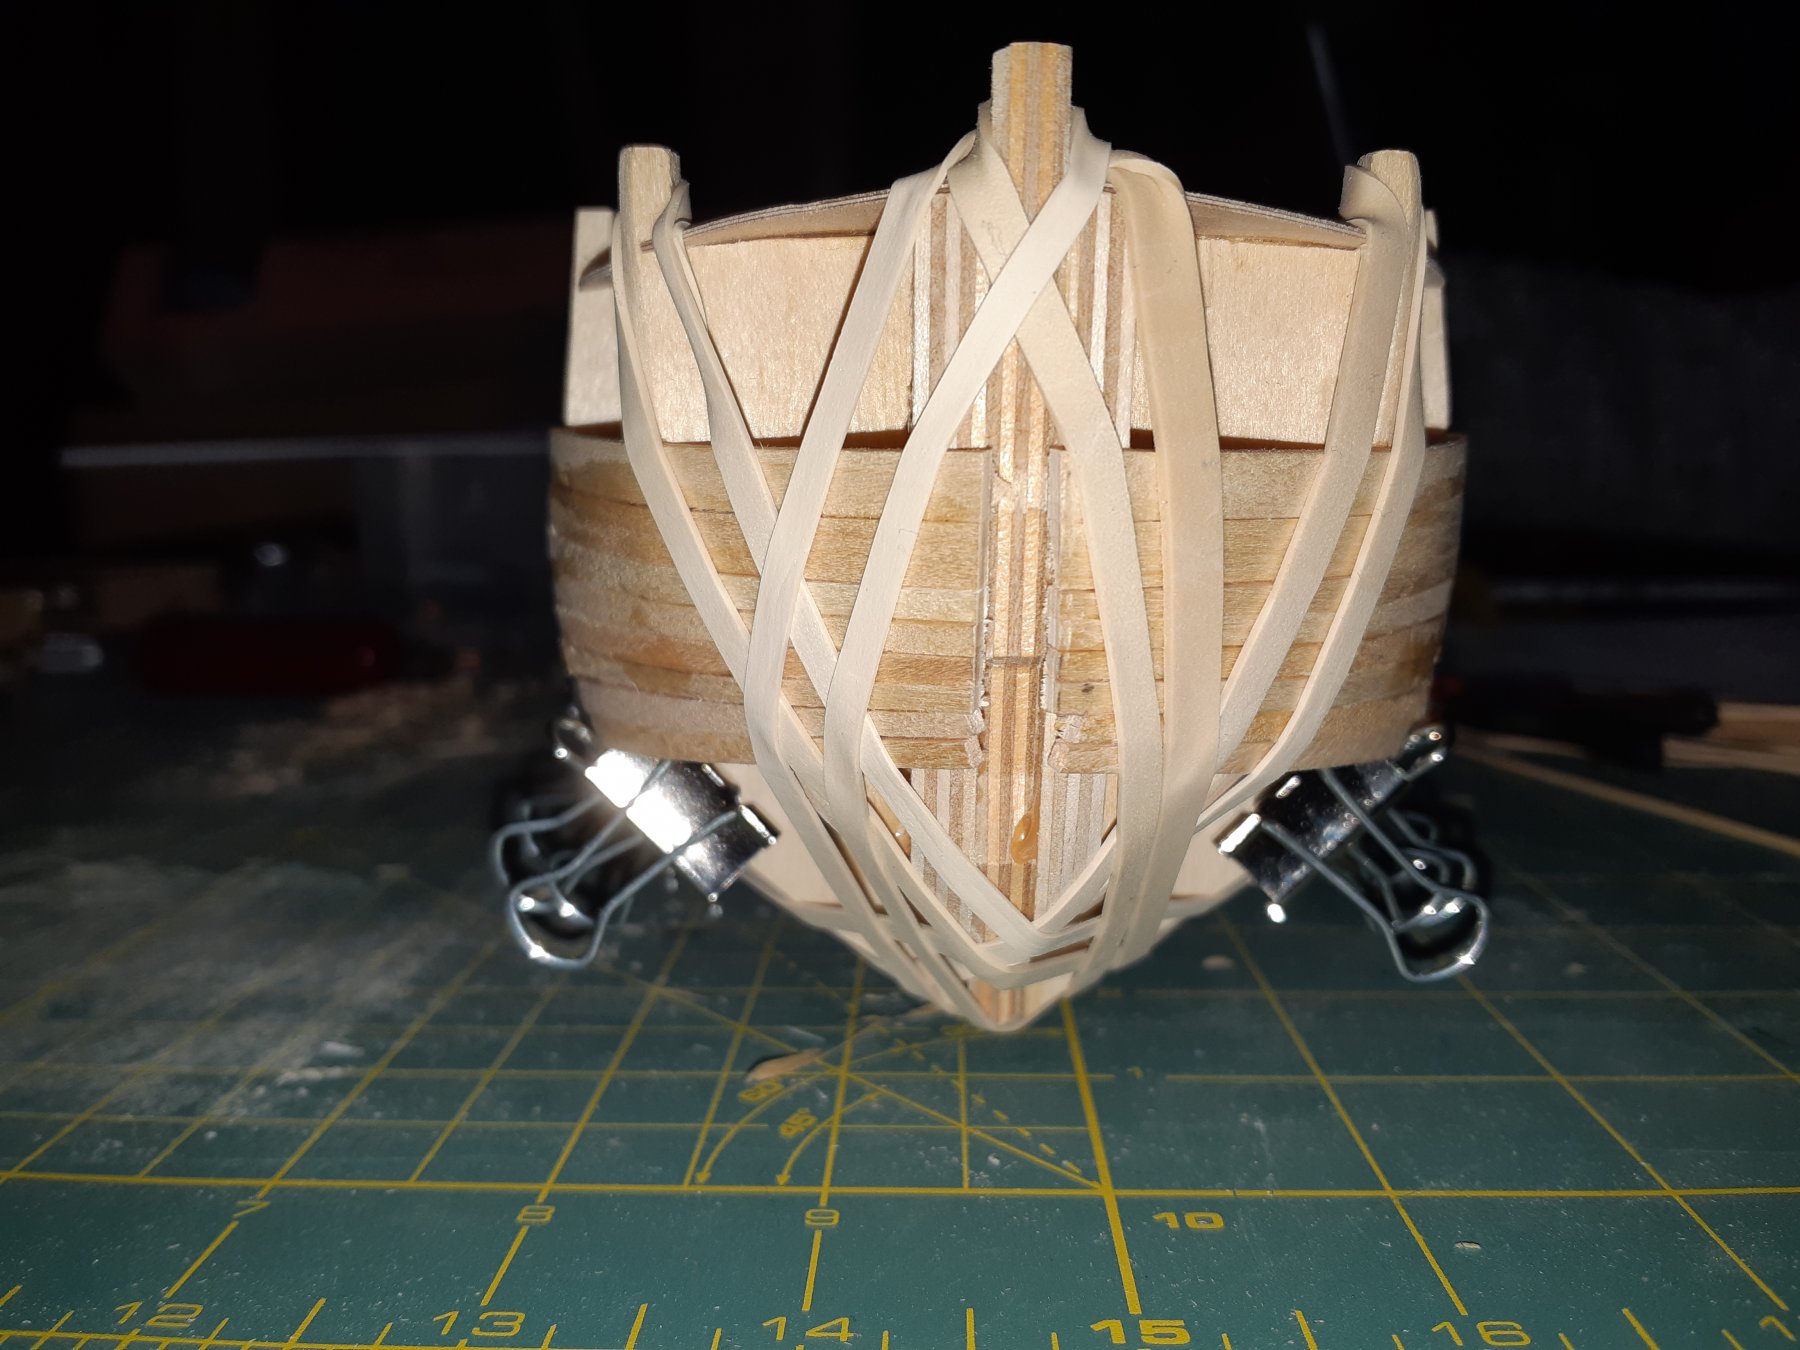
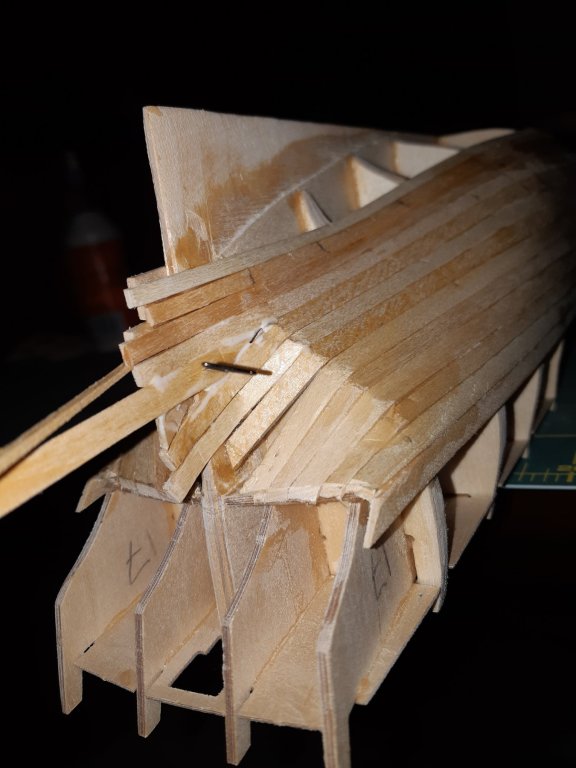
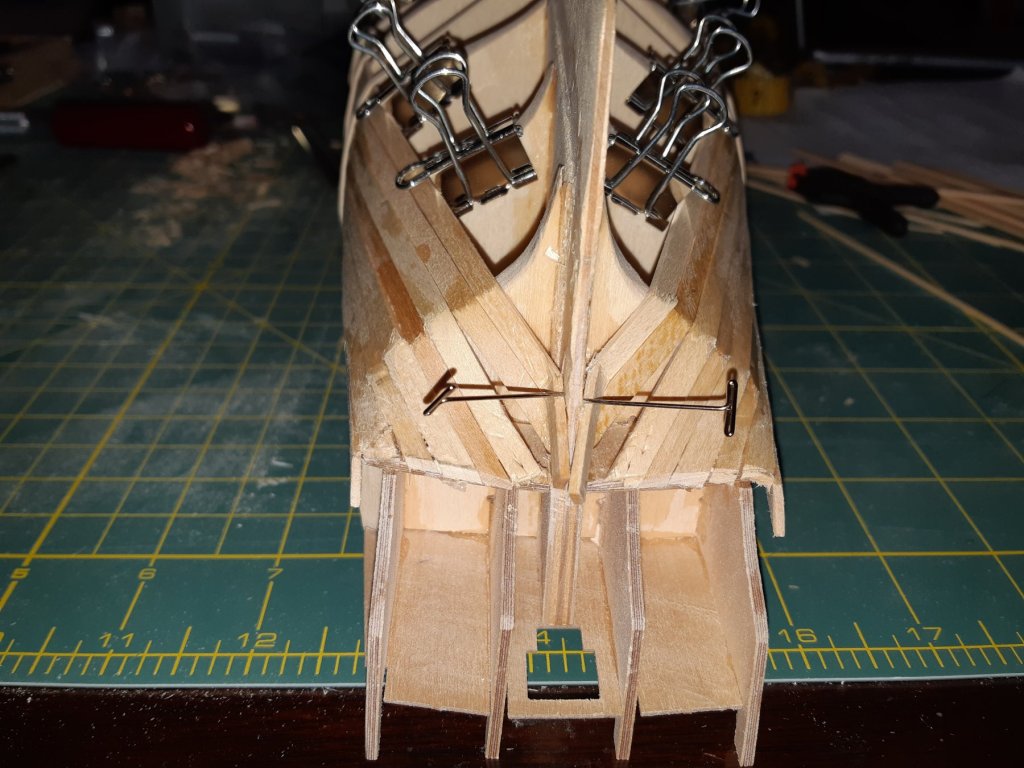
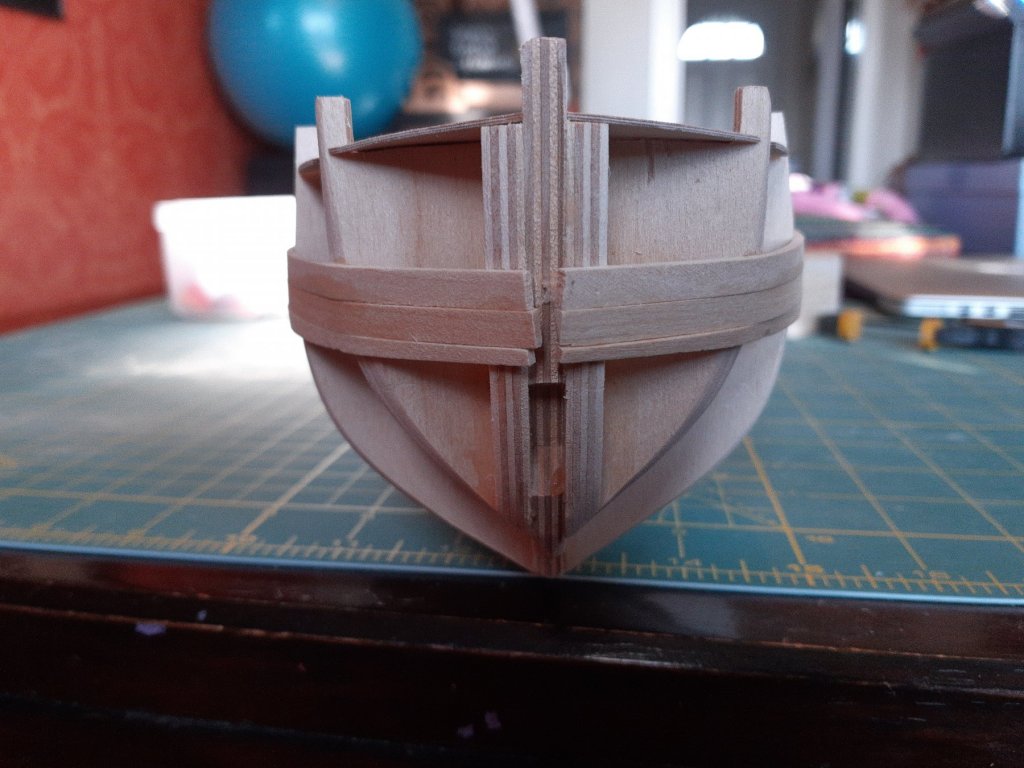
Moving along with the first planking. I have changed my approach to bending the planks from using steam to soaking them in water for a few minutes. It seams to work better. I am guessing it is because it is more consistant than holding them over the steam. I think that if I keep moving along like I am, once complete and have sanded the hull, it will be a nice surface for the second planks. I am having some difficulties at the transom bending the planks without them cracking. Is this normal? Also, if someone can look at how I have them coming to the deadwood and let me know if it looks correct that would be appreciated. Phil


-
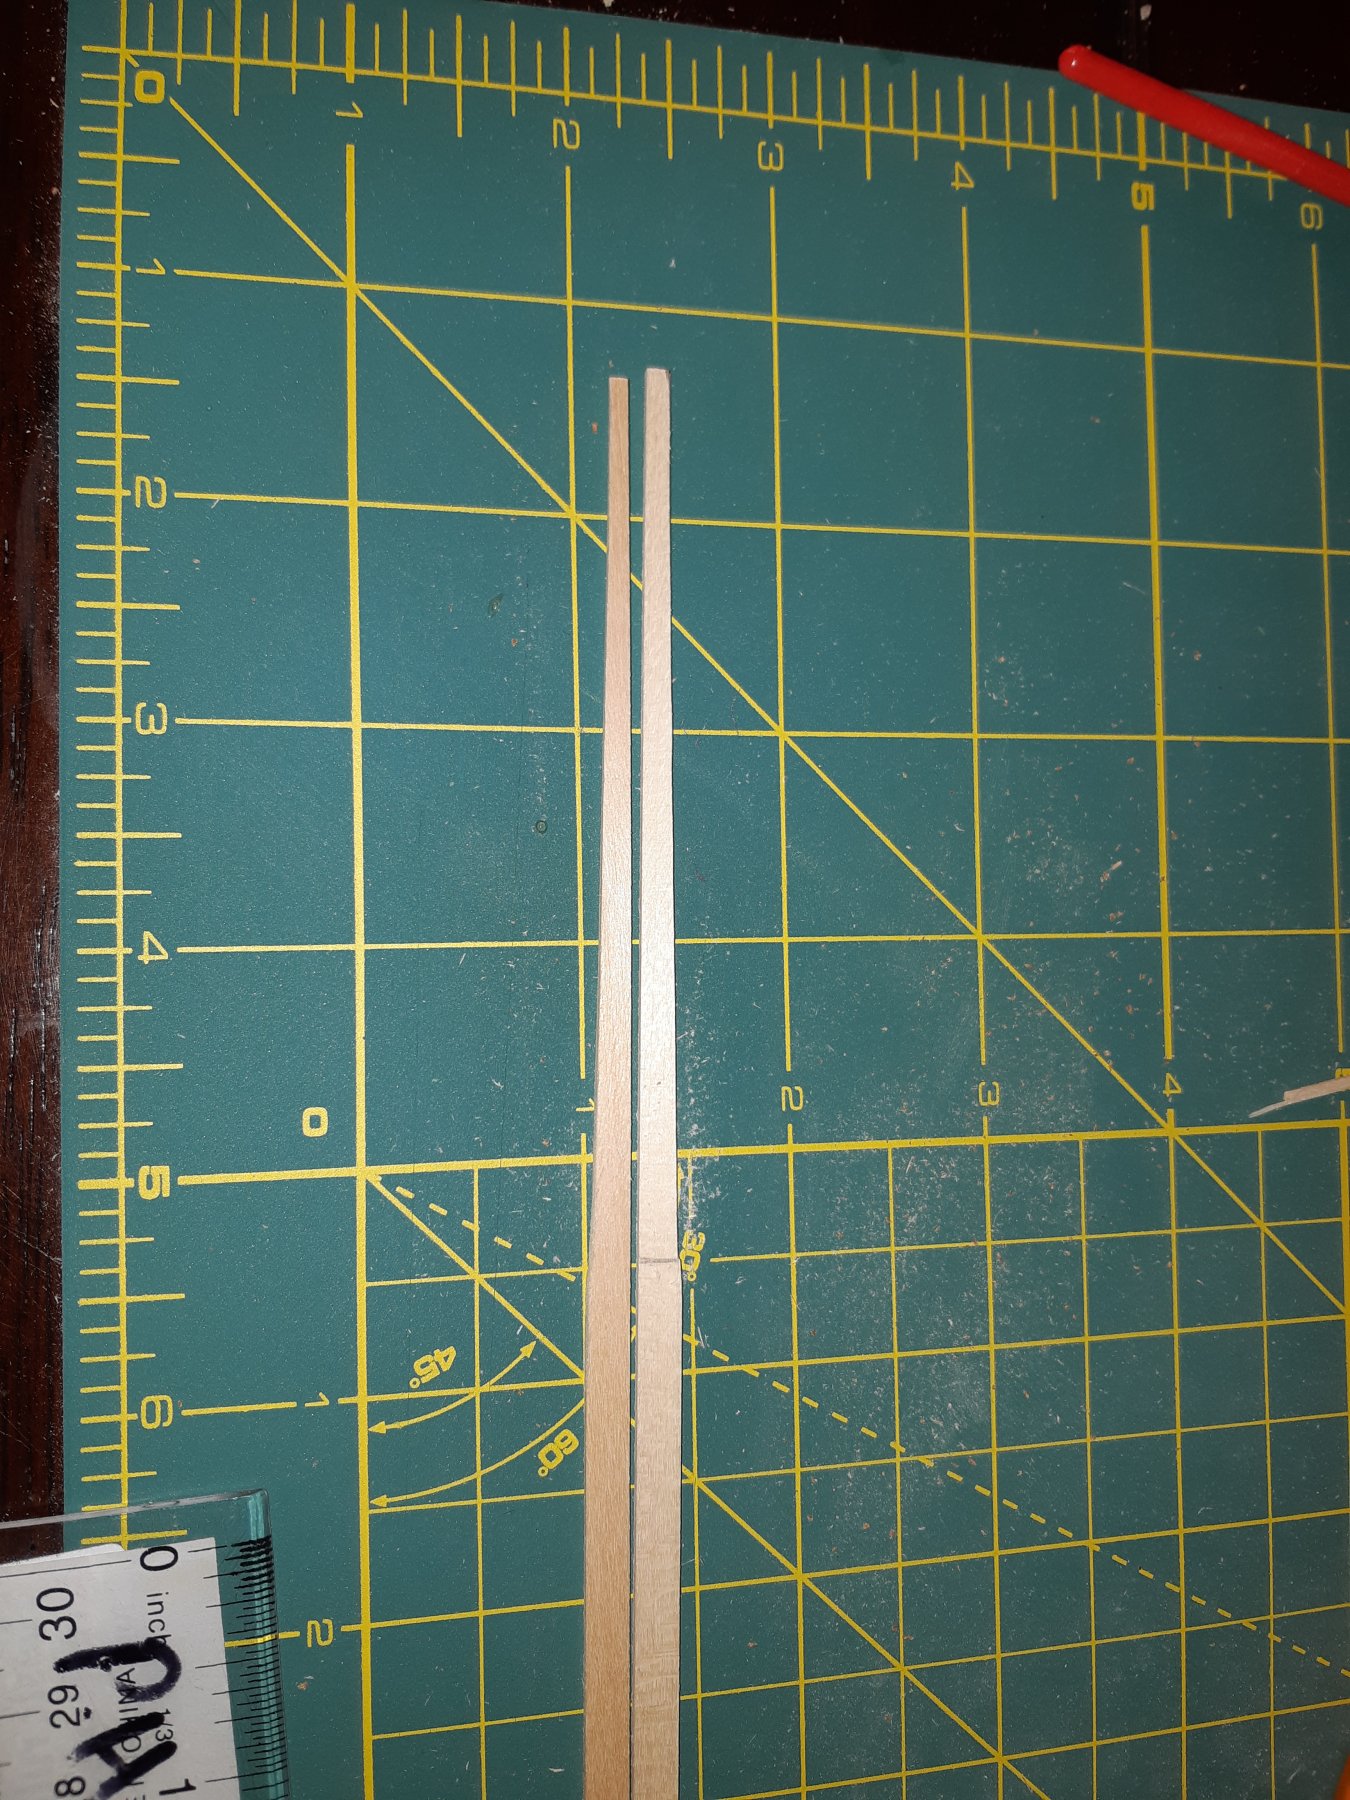
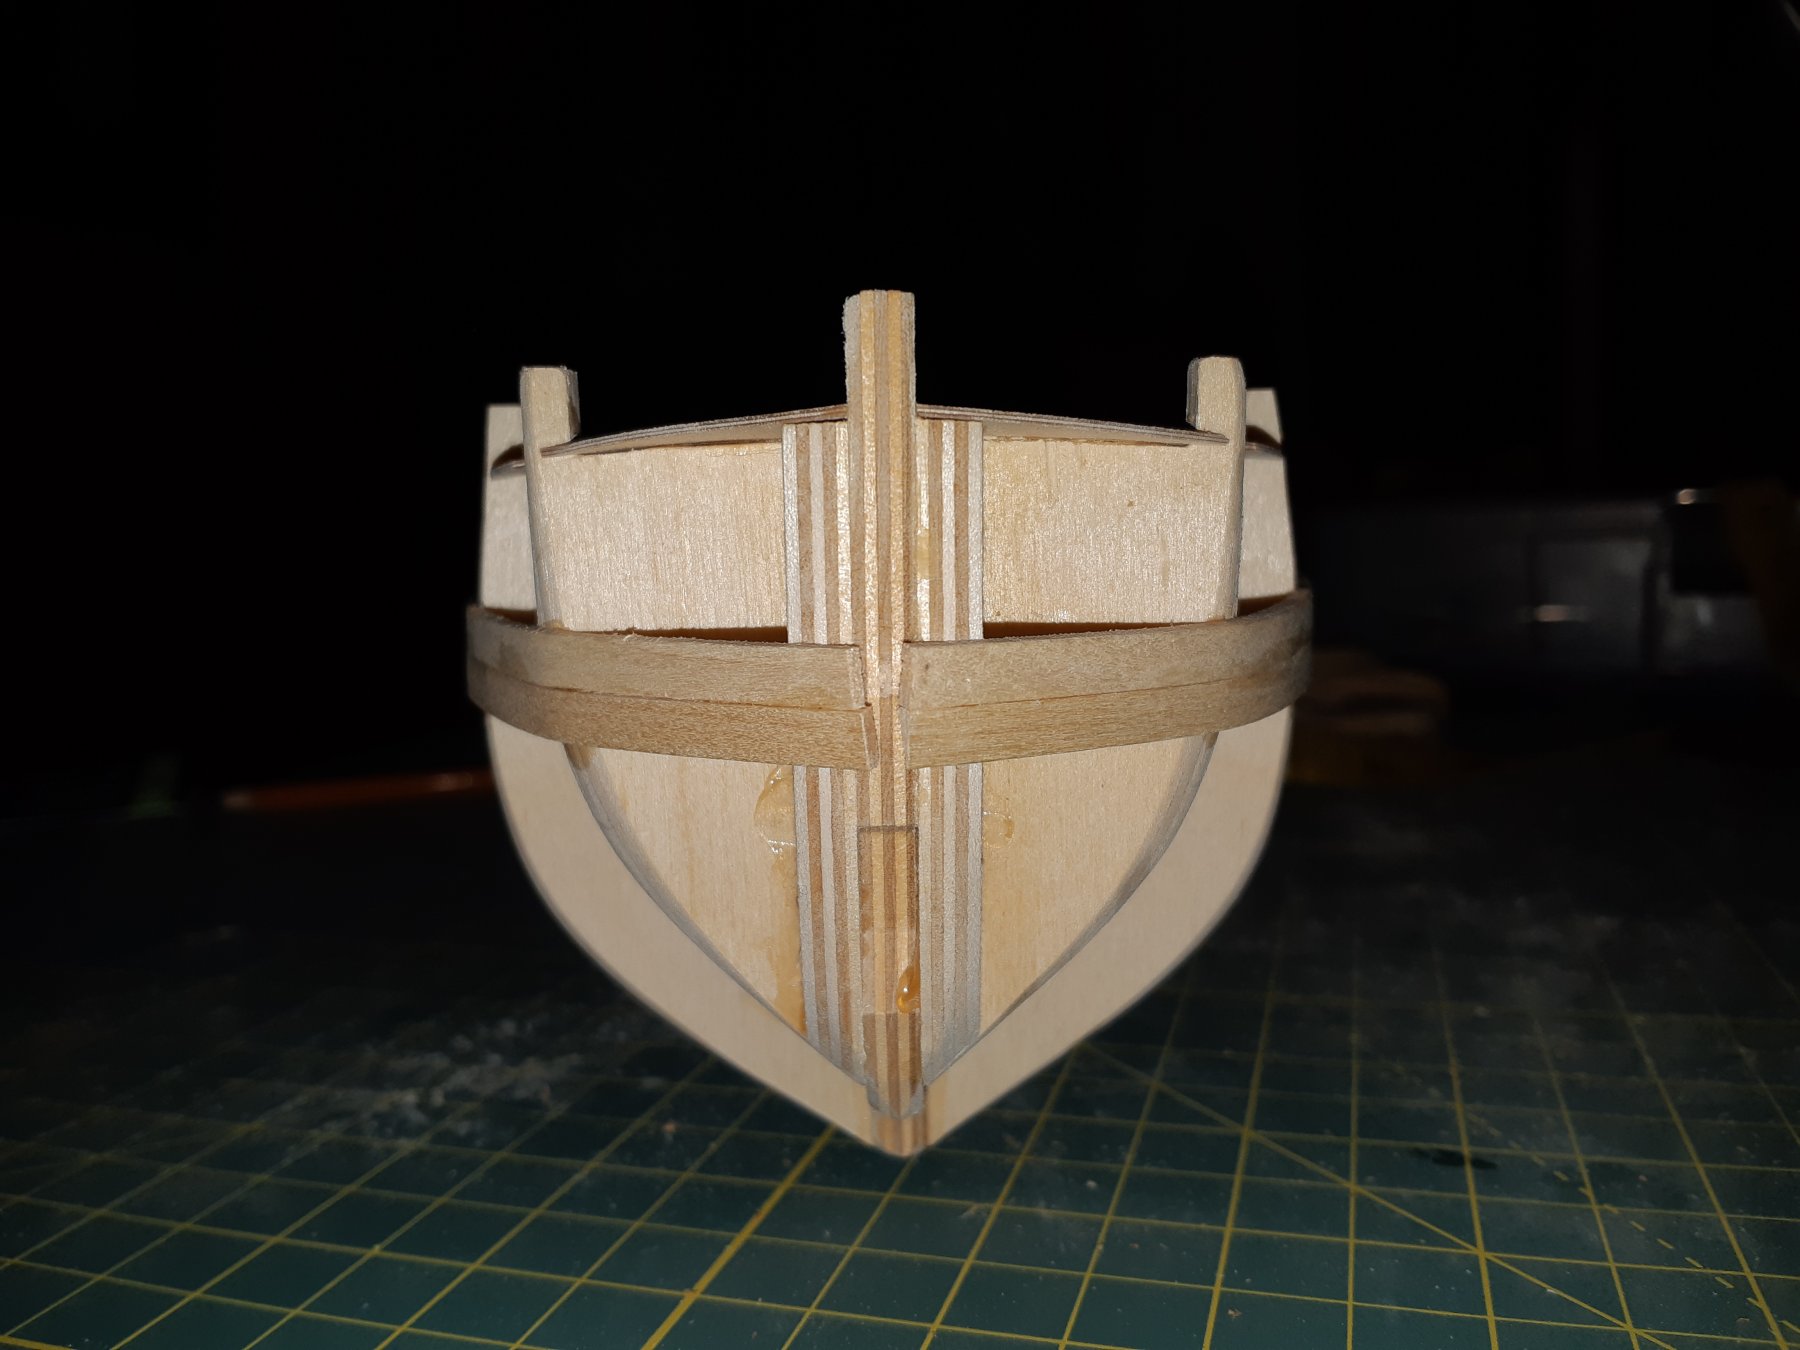
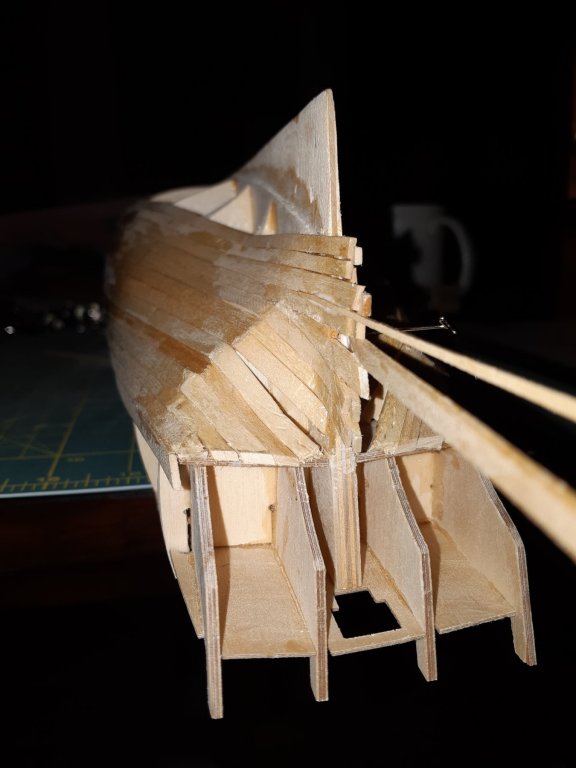
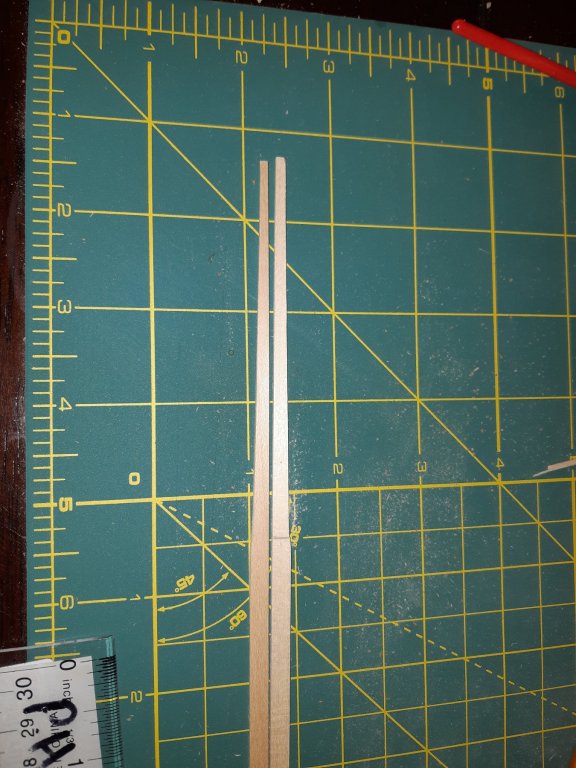
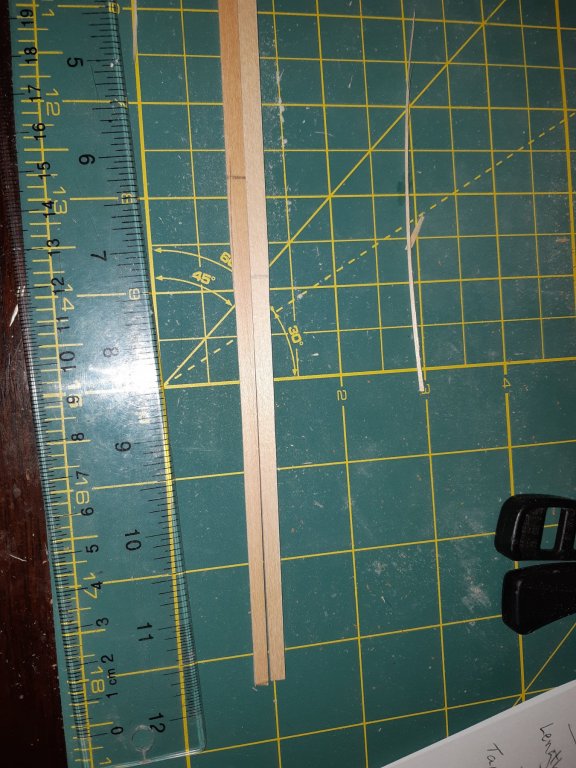
I decided on calculating the taper with math instead of laying the plank then marking the overlap. At this stage in my building career I think that is a little too hard for me. So after calculating how much needed to be trimmed from the stench and the stern I set out to make my first two planks. After trimming a pair I attempted to test fit them when I heard the trouble sound of a crack. At the stern I pushed my luck a little too far so I made another. Then it happened again but this time at the bow. At least they will work for Steelers at the end. Once I had two planks again I put them over the steam once again to set the bend. I did the bend on the bow for both sides and held them in place with my clips and elastics. After letting them cool for a while I did it all again with the stern bends. These bends had me worried as they go from the vertical to horizontal. One splintered a little but it should be hidden once I sand the hull. Phil

-
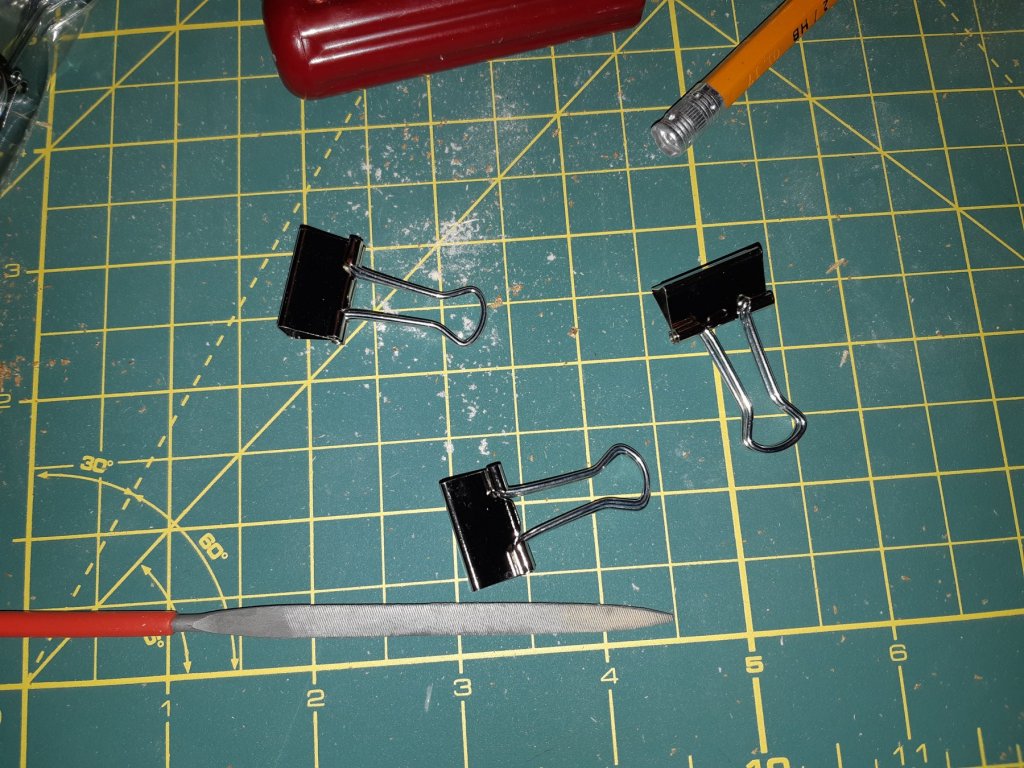
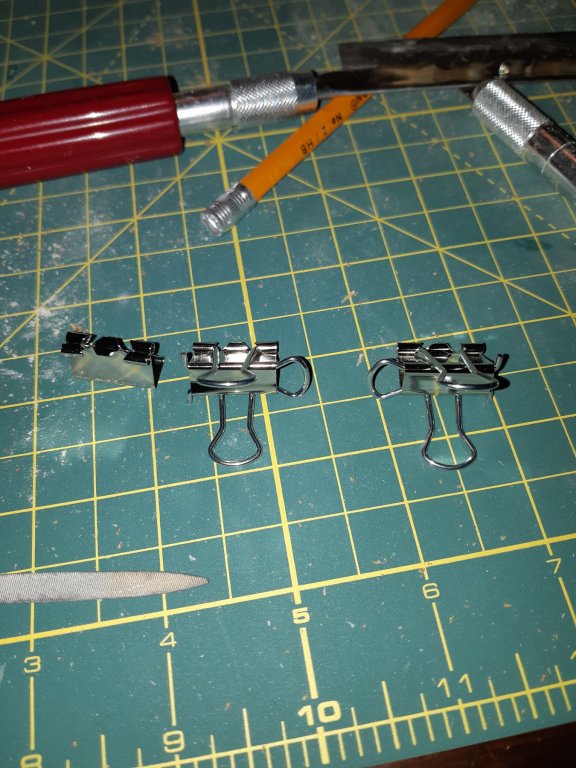
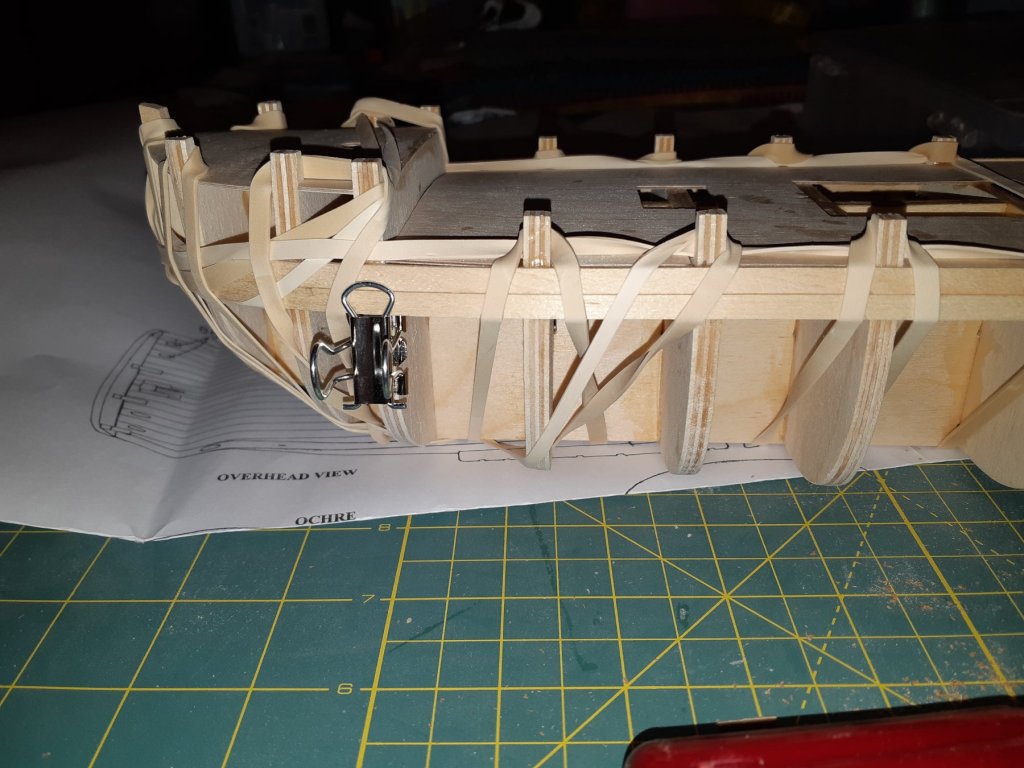
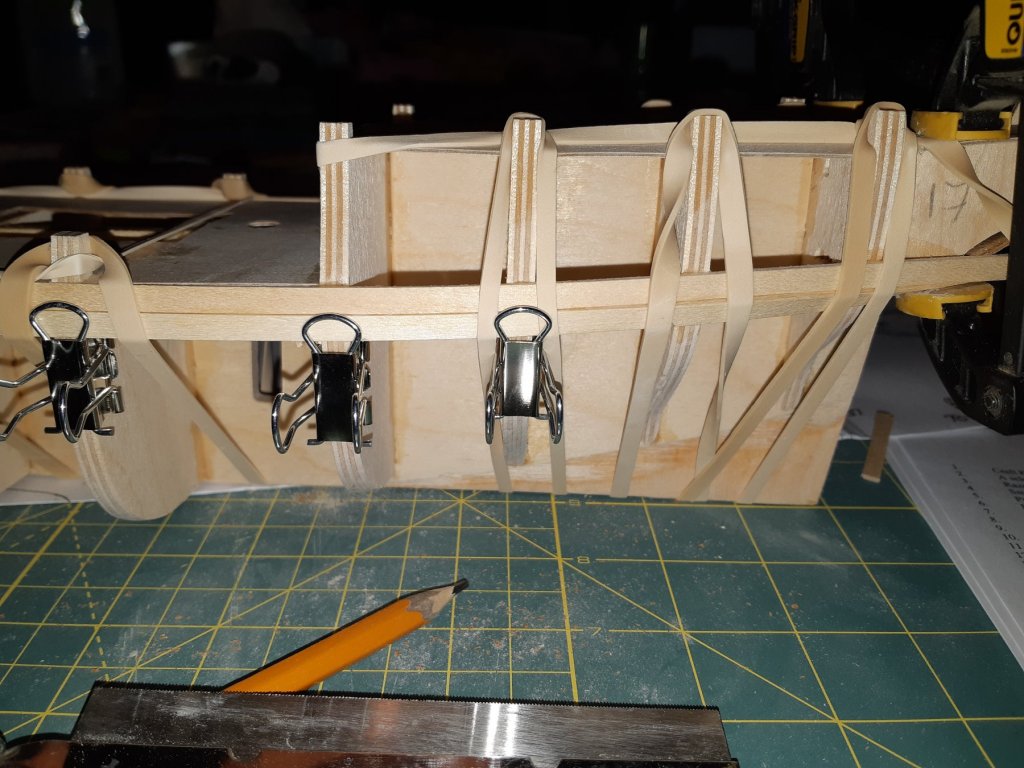
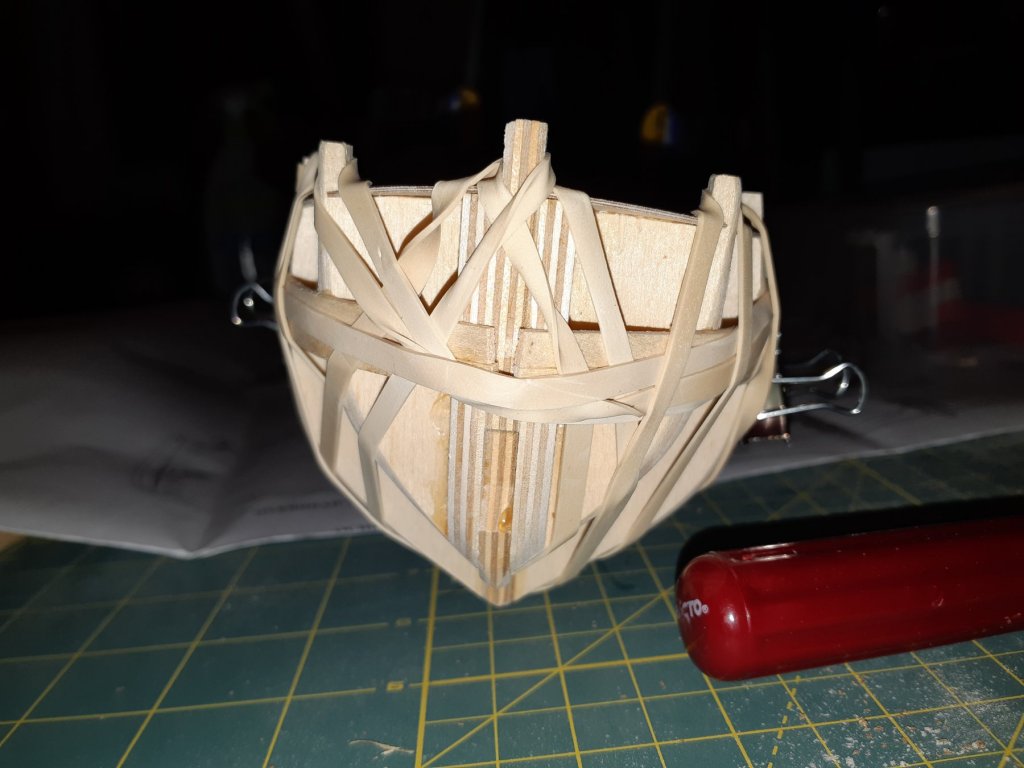
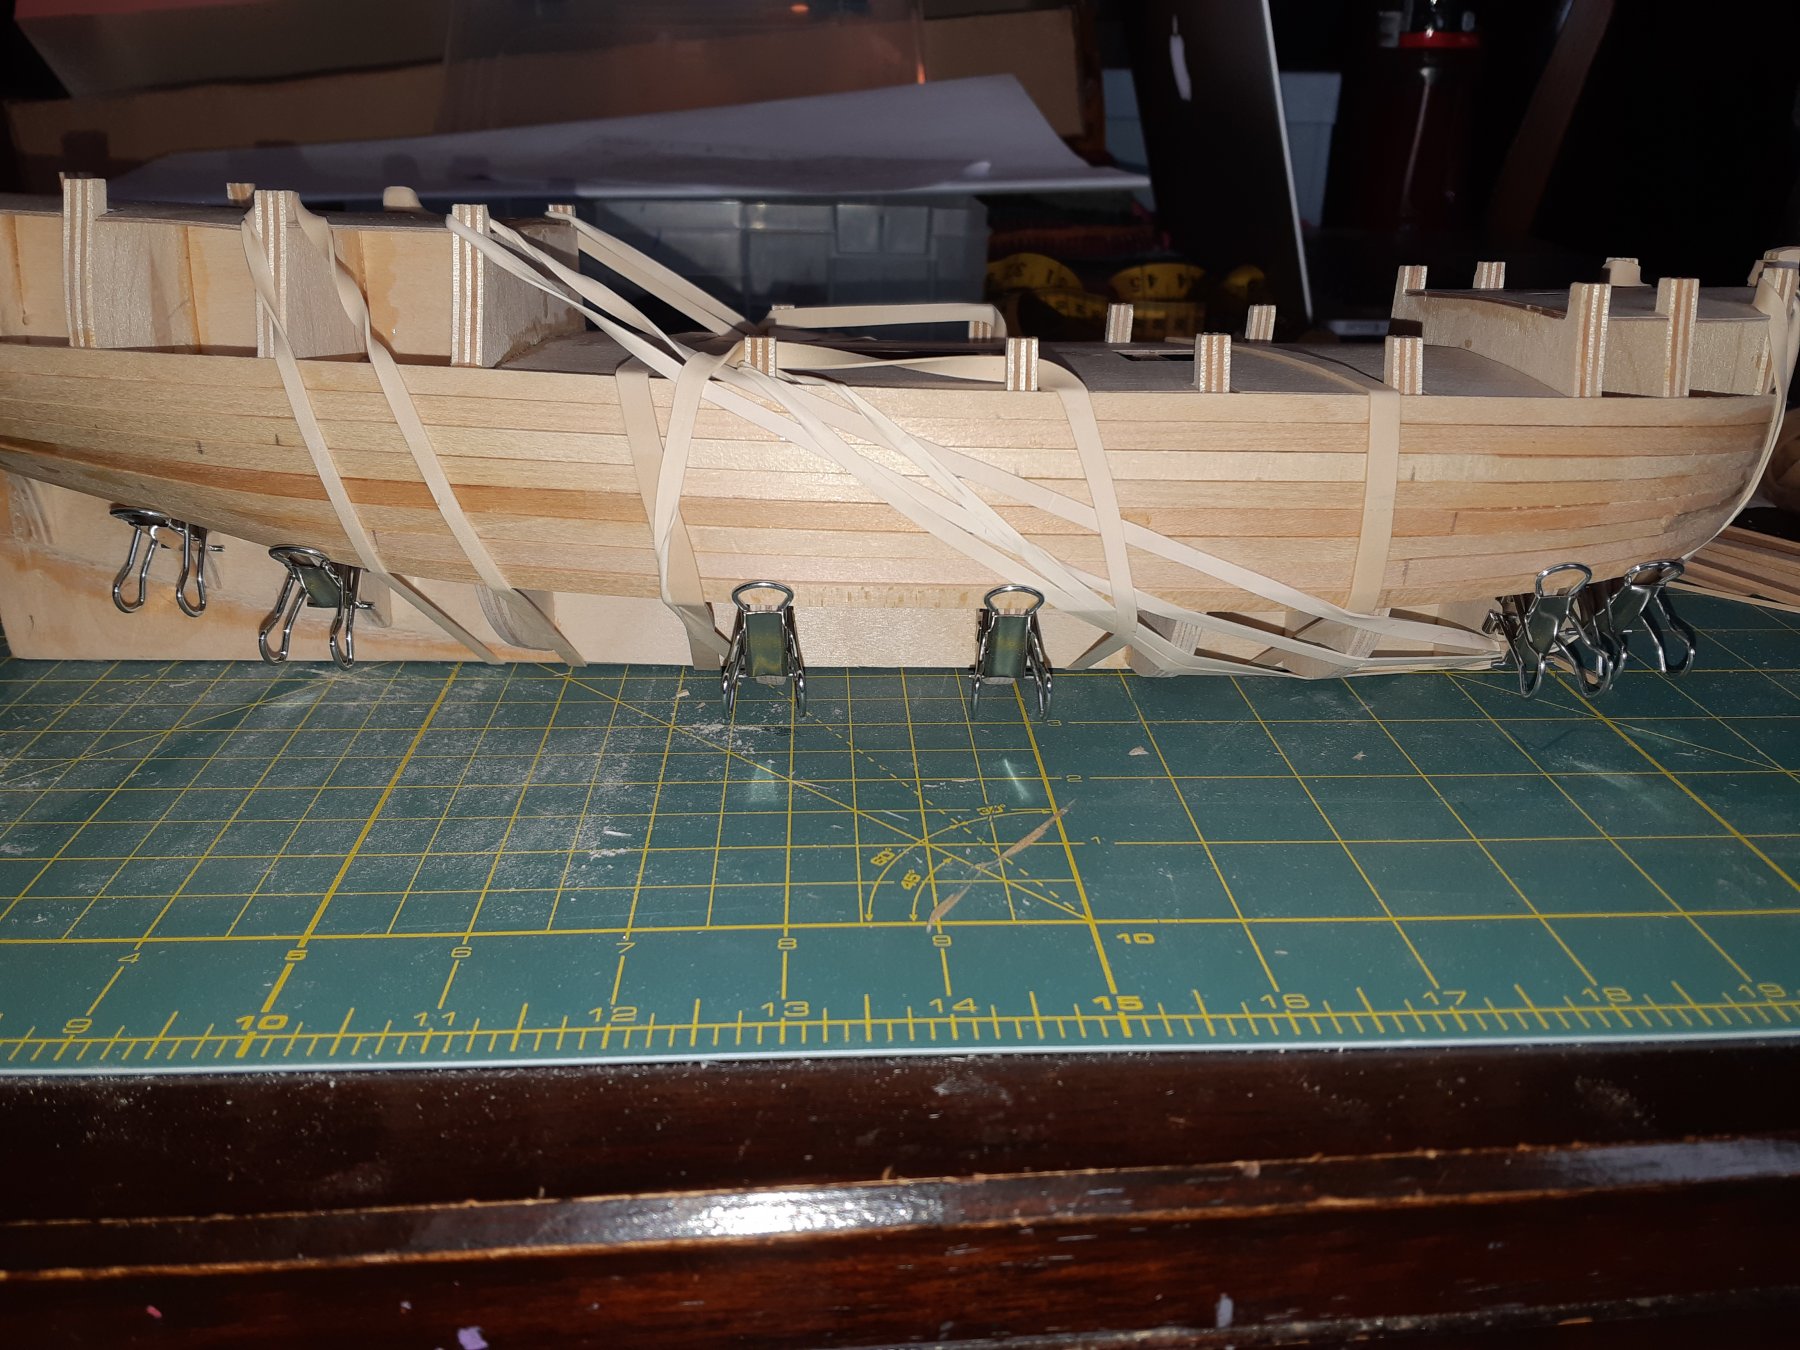
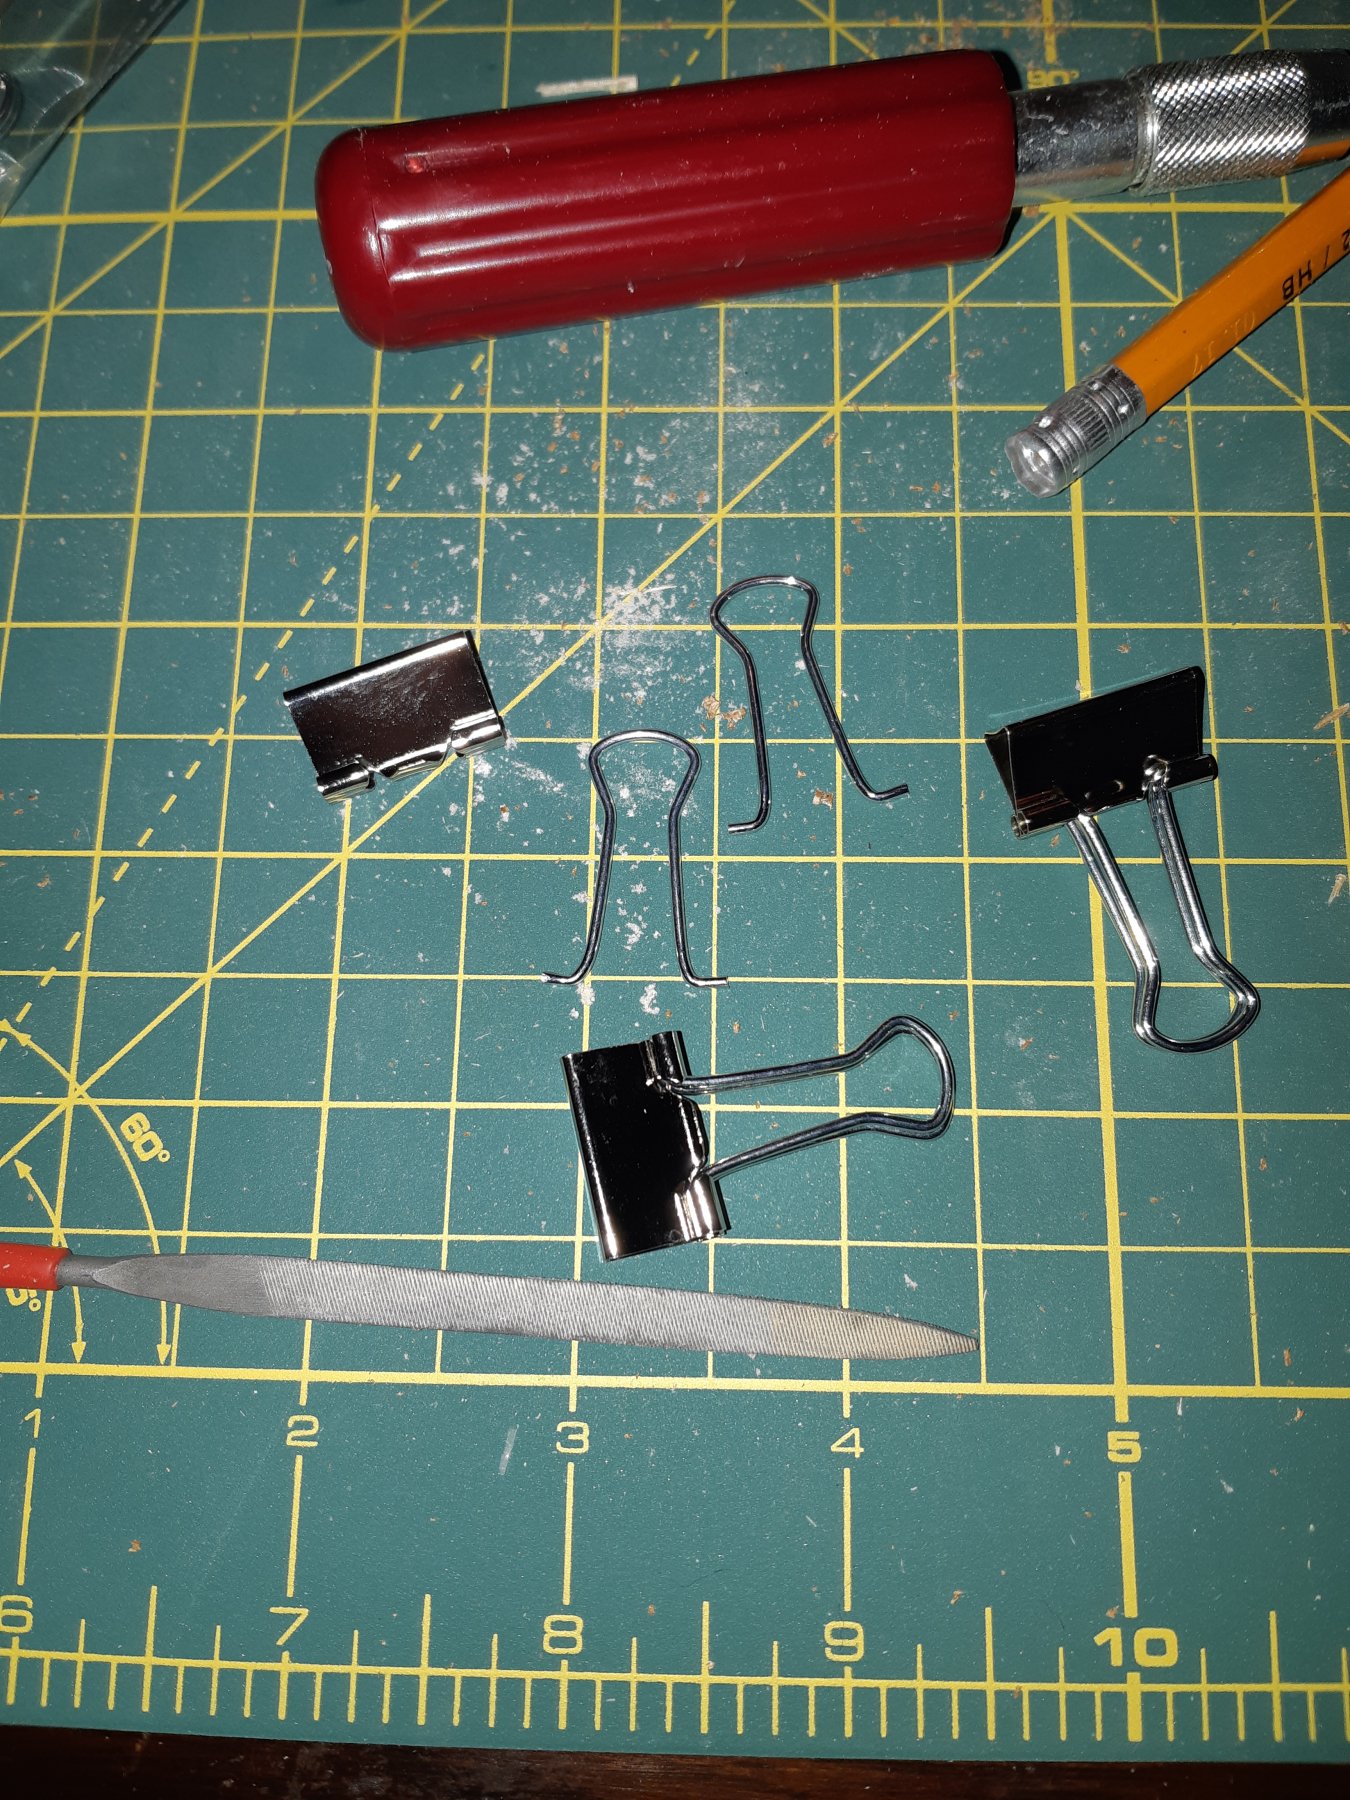
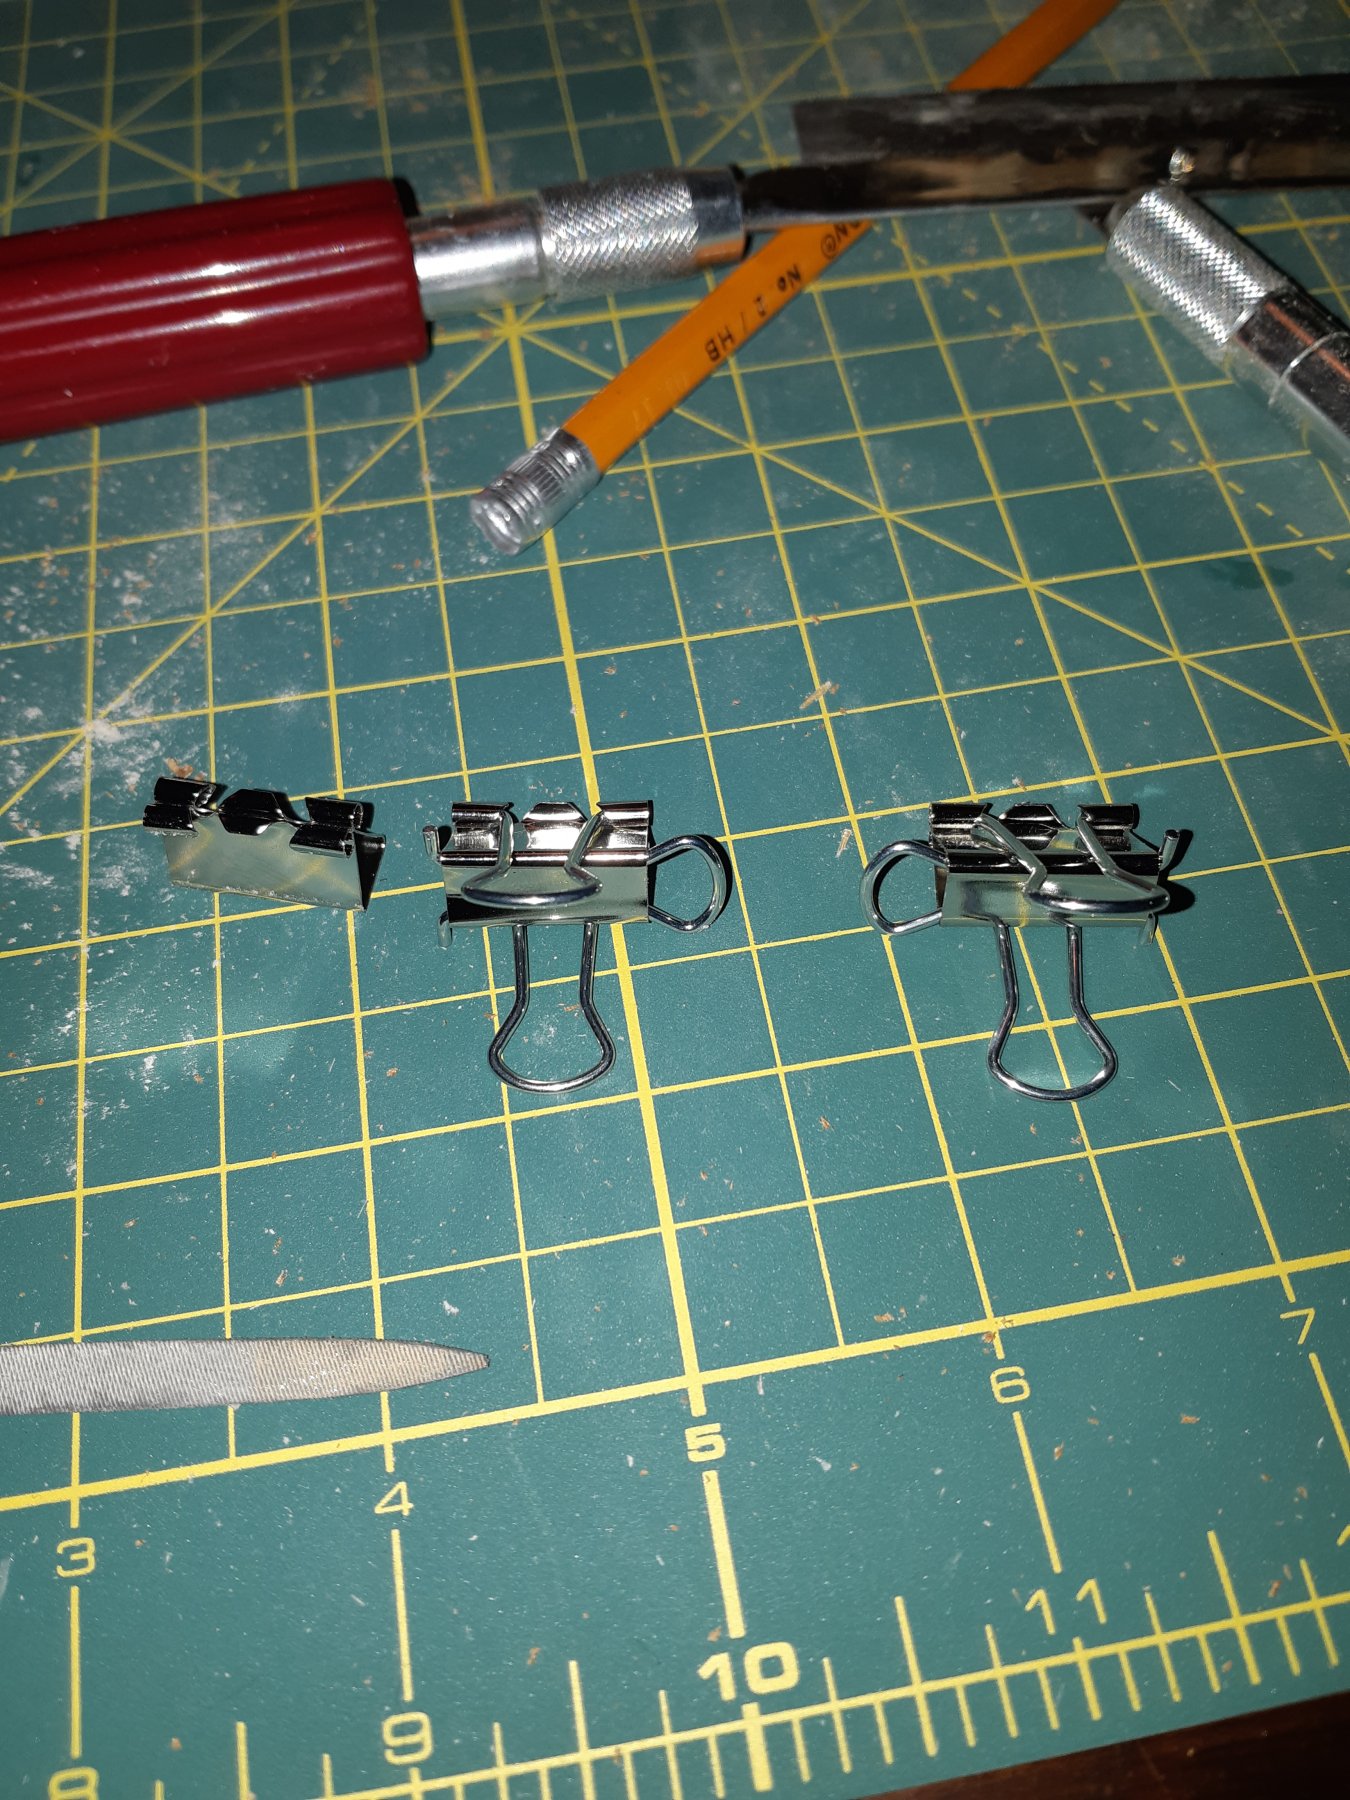
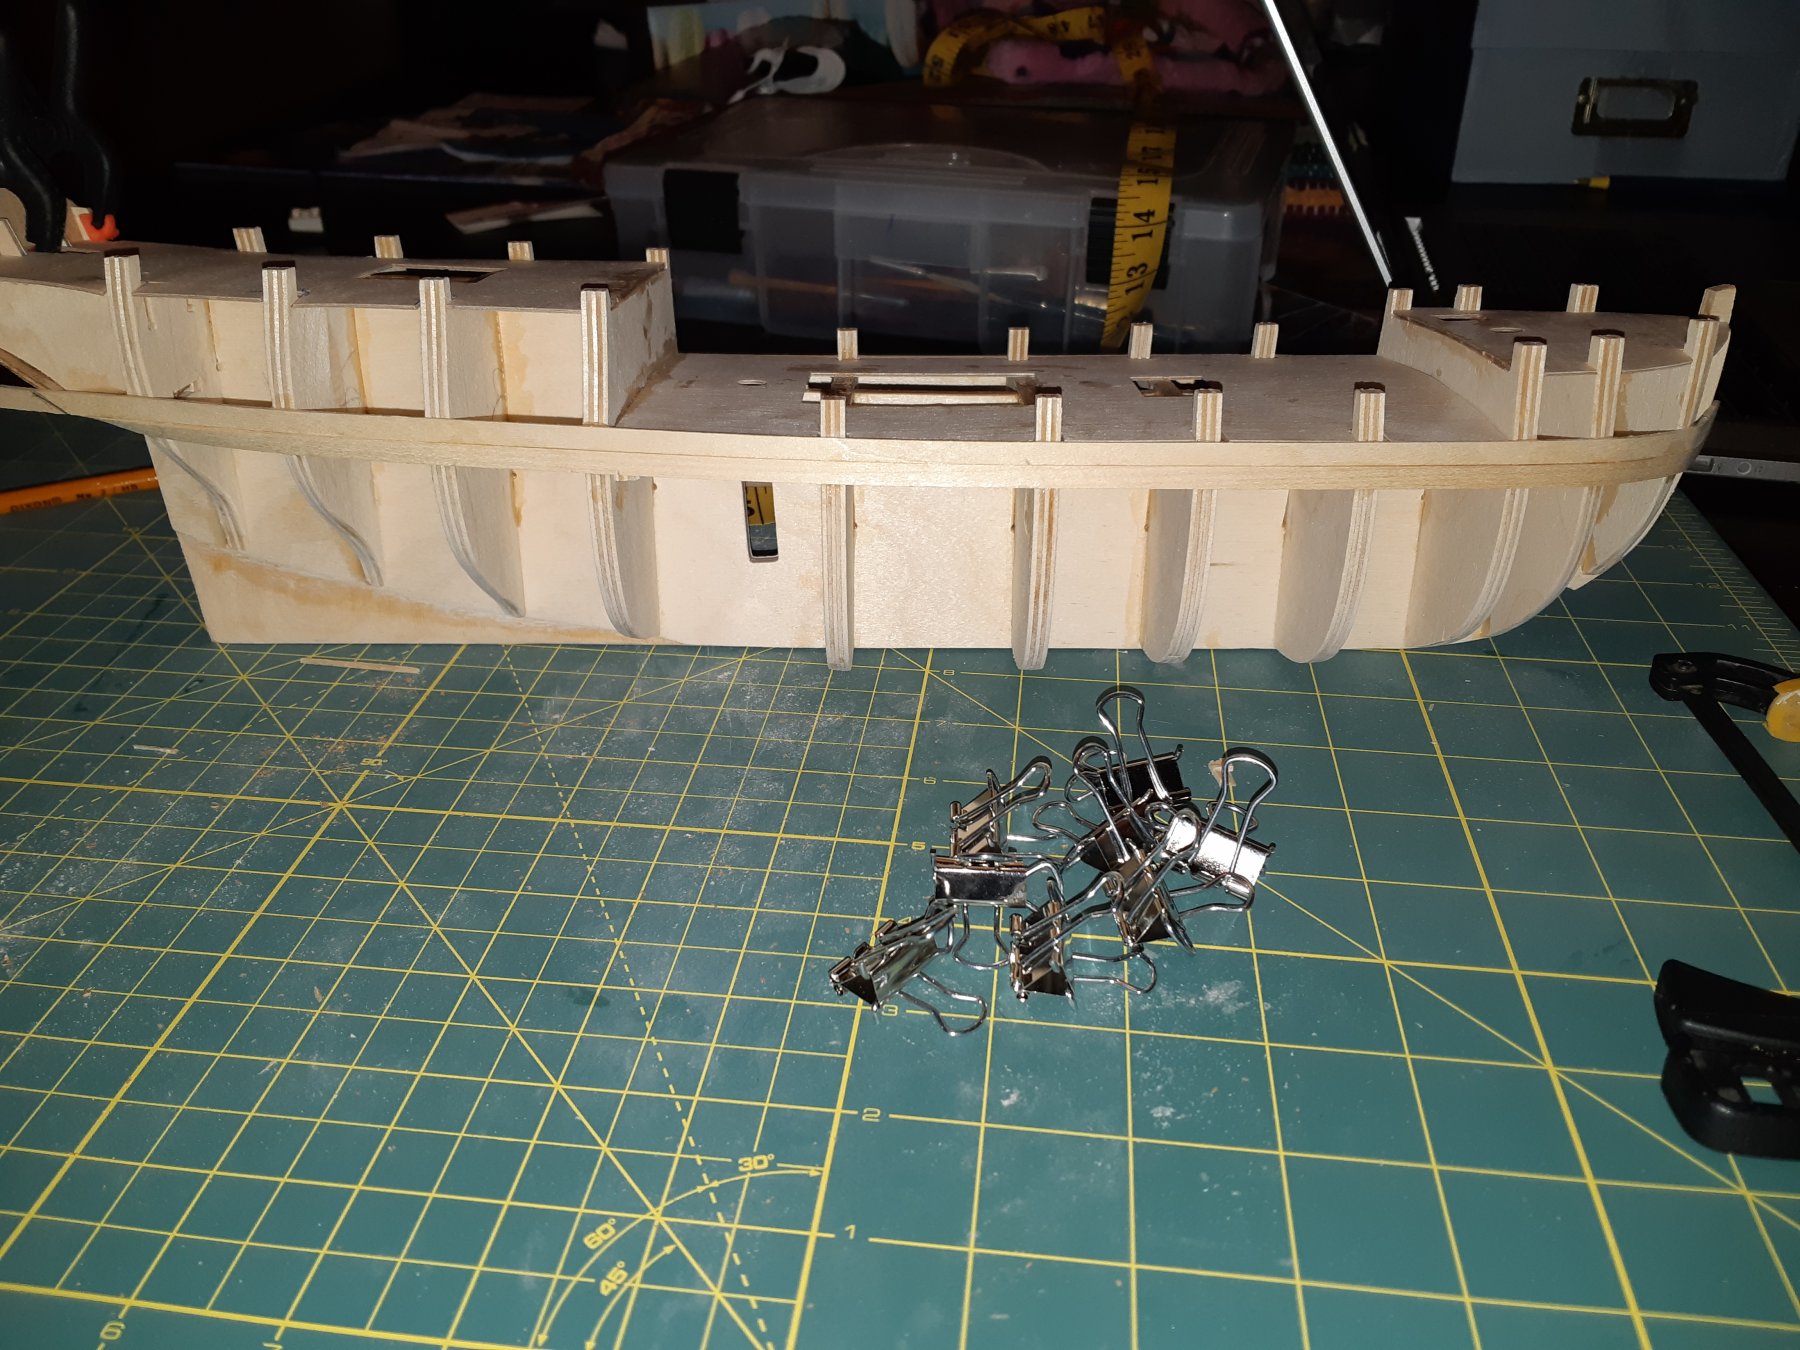
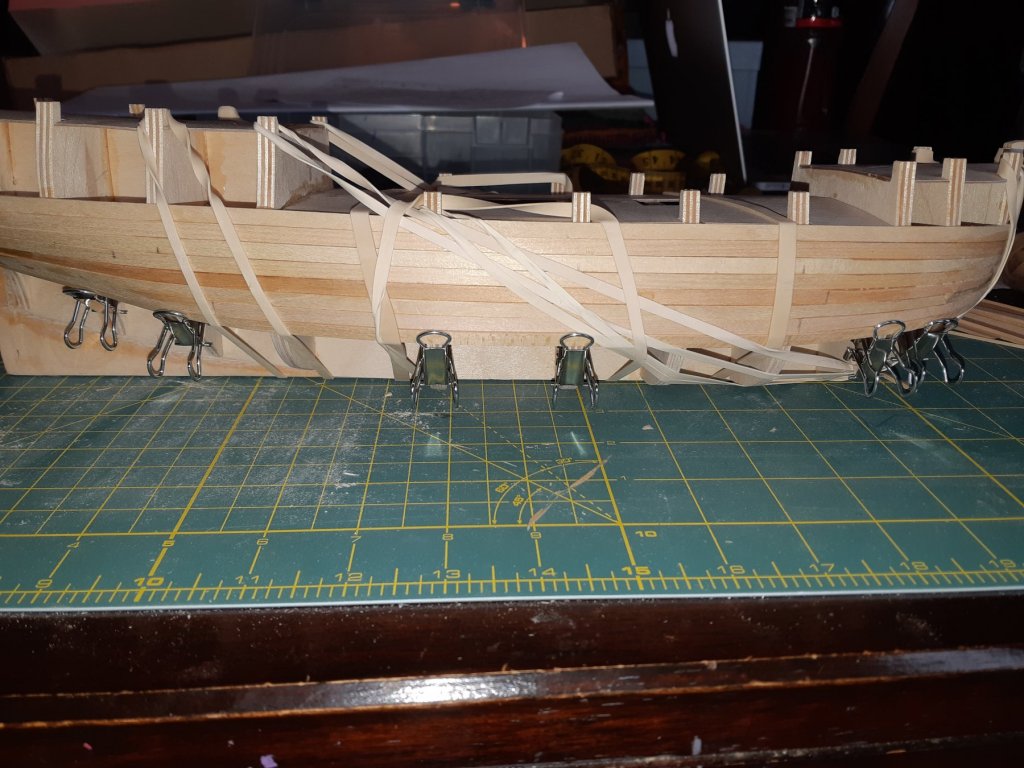
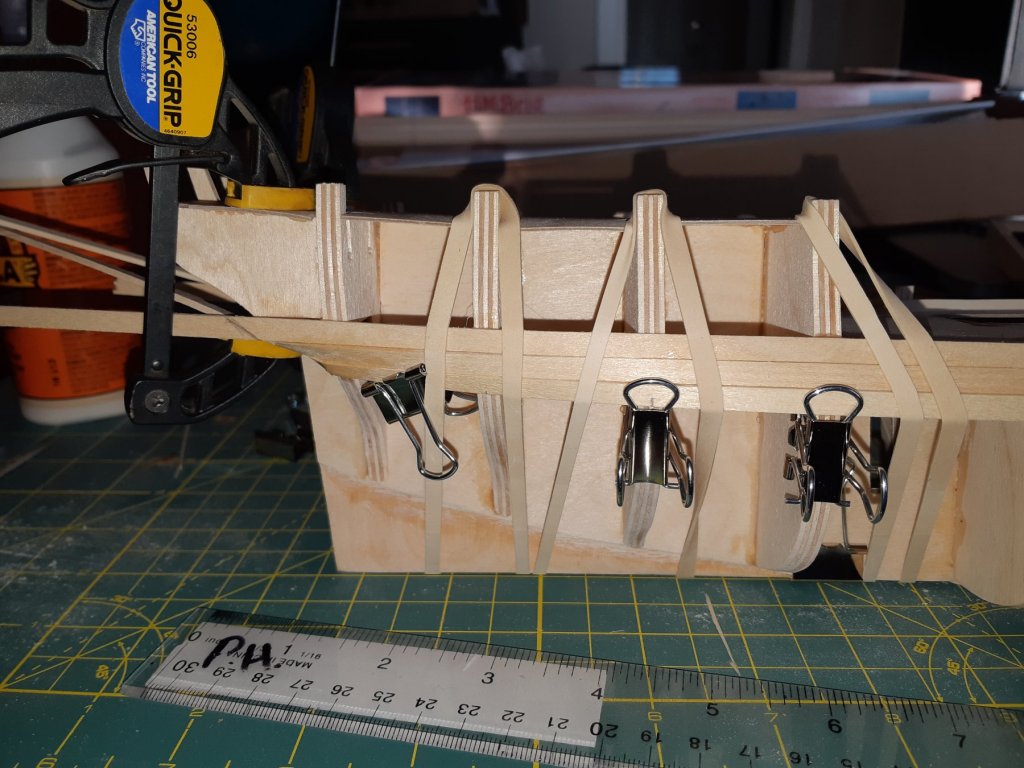
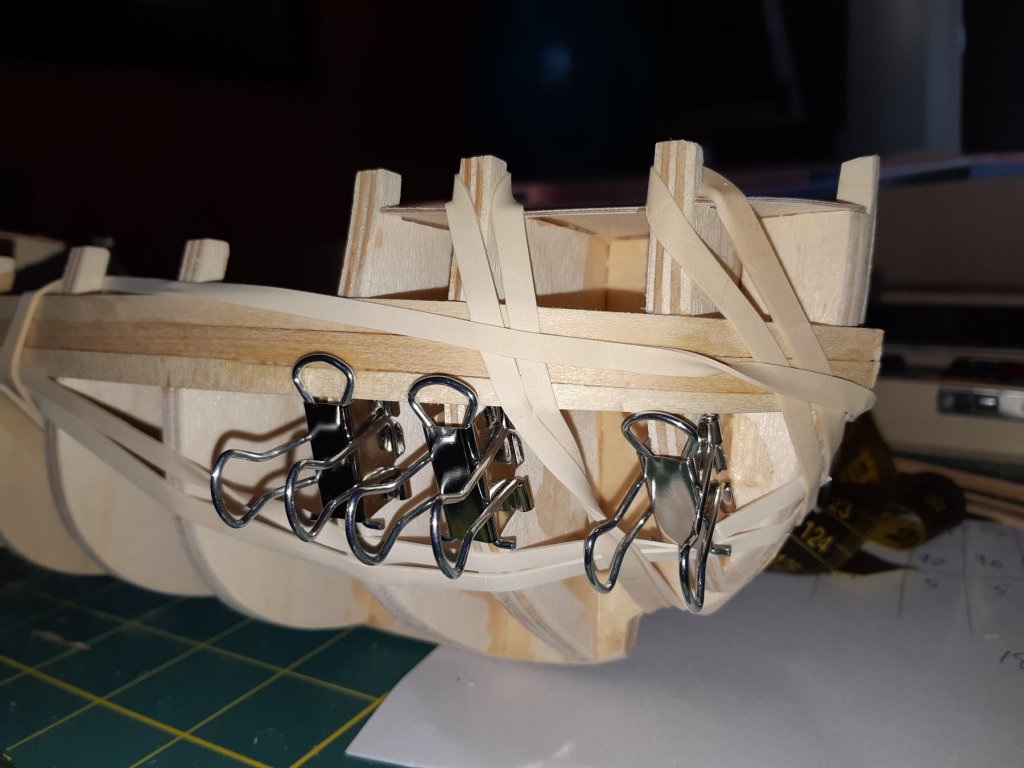
Hello once again everybody. Another day and a little more progress has been made. Today I have spent a few hours laying the fist two planks. I began by clamping the first plank in place to see where they needed to be bent. Once I got that I held them over a boiling kettle for a minute or so to soften them up. Once I could bend them I held them in place with a combination of elastic bands and modified binder clips (I took a bung of the clips apart and added one of the 'wings' to a clip so that I can use it to both hold the plank down as well as flush to the previous plank). Once the plank was cool again I removed sections of the elastics and clips so that I could glue them down. After a half hour or so I repeated the process with the second plank. I imagine that after the first two planks I am going to have to start tapering the planks. Is it best to lay the plank and then figure out how much to trim from the previous plank or is calculating the taper mathematically better? I would greatly appreciate advice from the more experienced builders out there. Thanks for keeping tabs. Phil.