-
Posts
396 -
Joined
-
Last visited
About vulcanbomber
- Birthday 06/11/1972
Contact Methods
-
Website URL
http://www.party2u.co.uk
Profile Information
-
Gender
Female
-
Location
Coalville, leicestershire
-
Interests
I run a party supplies website with my husband, but when time allows I enjoy horse riding, reading, cross stitching, model making, especially wooden ship models, I am also making a Hornby railway layout for our son. I don't know how I find the time, maybe that's why everything takes so long!
Recent Profile Visitors
-
 Der Alte Rentner reacted to a post in a topic:
San Francisco by vulcanbomber - FINISHED - Artesania Latina - (Original Version)
-
That is a superb job on the second planking. It will look amazing with the beauty of the planks brought out when varnished. I love the colour differences in the planks and think it adds extra interest. Regarding coppering, I was initially undecided about coppering the hull on my Pegasus, but in the end decided to, just for the experience as the hull on my San Francisco was uncoppered. I didn't like the coppering experience and found it fiddly, though I am pleased with the results, but I won't copper any more hulls, I like to see the planking instead, especially with the scale lengths. Planking the stern counter - it's down to personal preference. I didn't plank mine as I actually liked the piece of walnut that was used. Like Spy suggested, a light varnish, just to seal the hull. The next thing I did was to remove the bulkhead piece (if not done already) and plank the insides. You will find it easier to paint the lowest plank red before installing them, that way you won't get paint on your deck. Some builders (myself included) made bulkhead walls for the bow and stern at this point too. They make a nice little scratch build project - but again, just personal preference. The wales can be fitted now too. Make sure to leave the correct gap for the quarter badges at the stern. Then I made some of the deck fittings for the lower deck, but didn't glue them in until much later in the build. Sometimes making the little things is a nice reprieve from the big stuff! After that I made the gunport linings - again personal preference - and made the gunport lids. Then I painted the upper parts of the bulwarks for the frieze and the wood parts for it and glued at them all on. I think there is a lot there to get to grips with!!! Great progress.
- 170 replies
-
Great to see you back Haiko. Look forward to seeing your progress.
- 170 replies
-
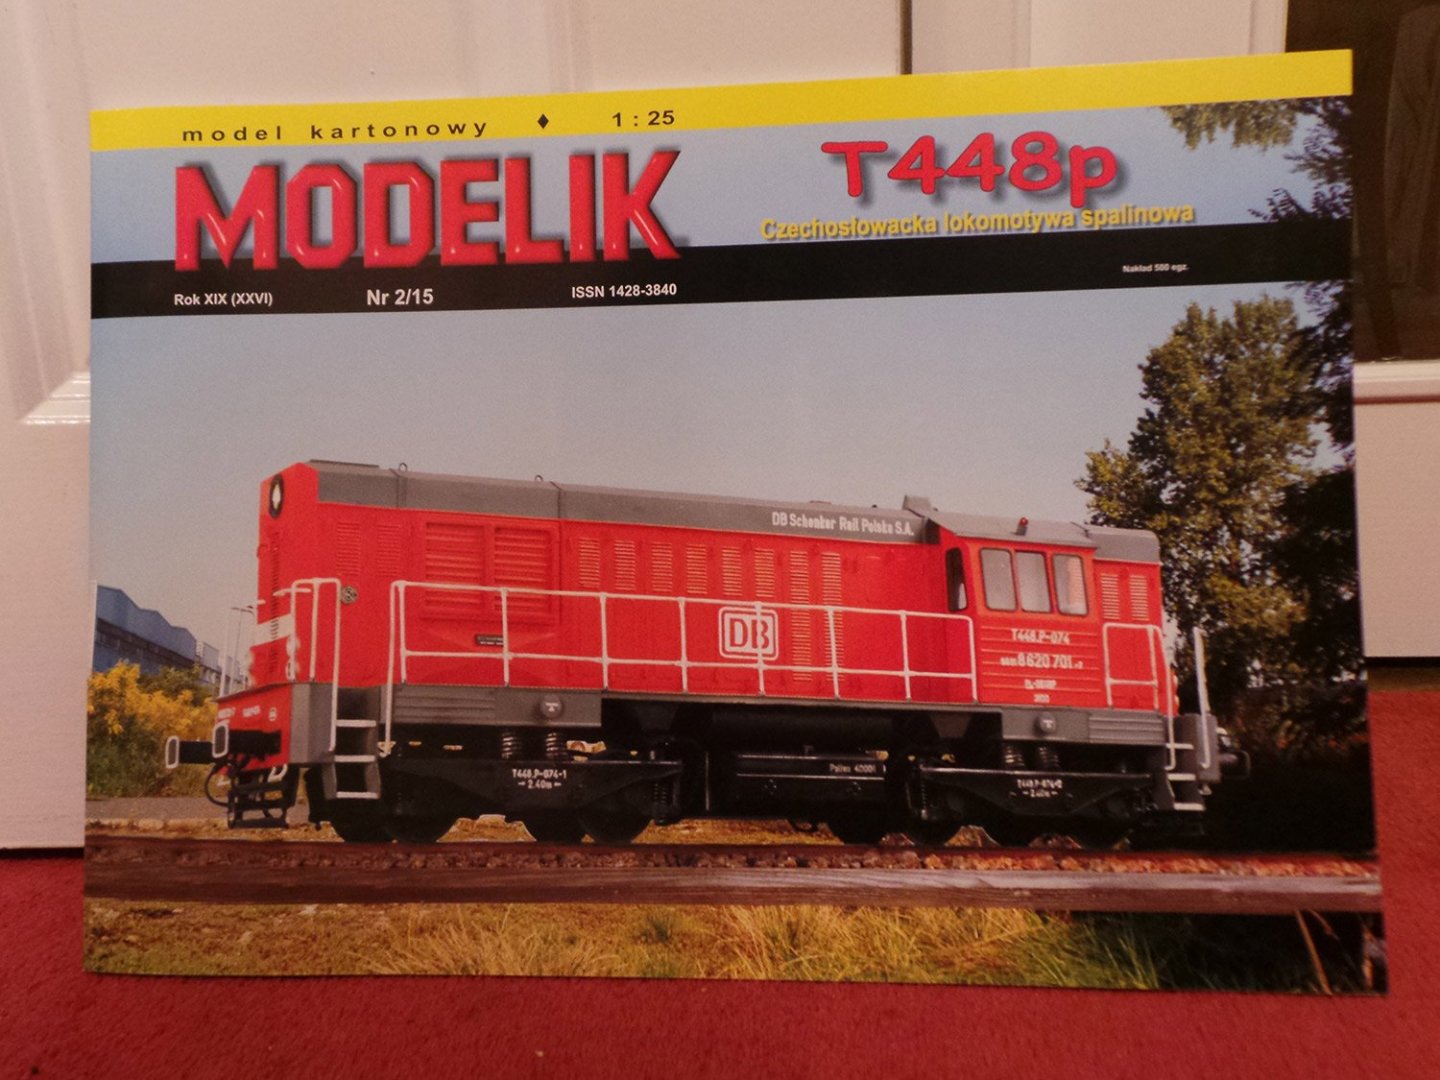
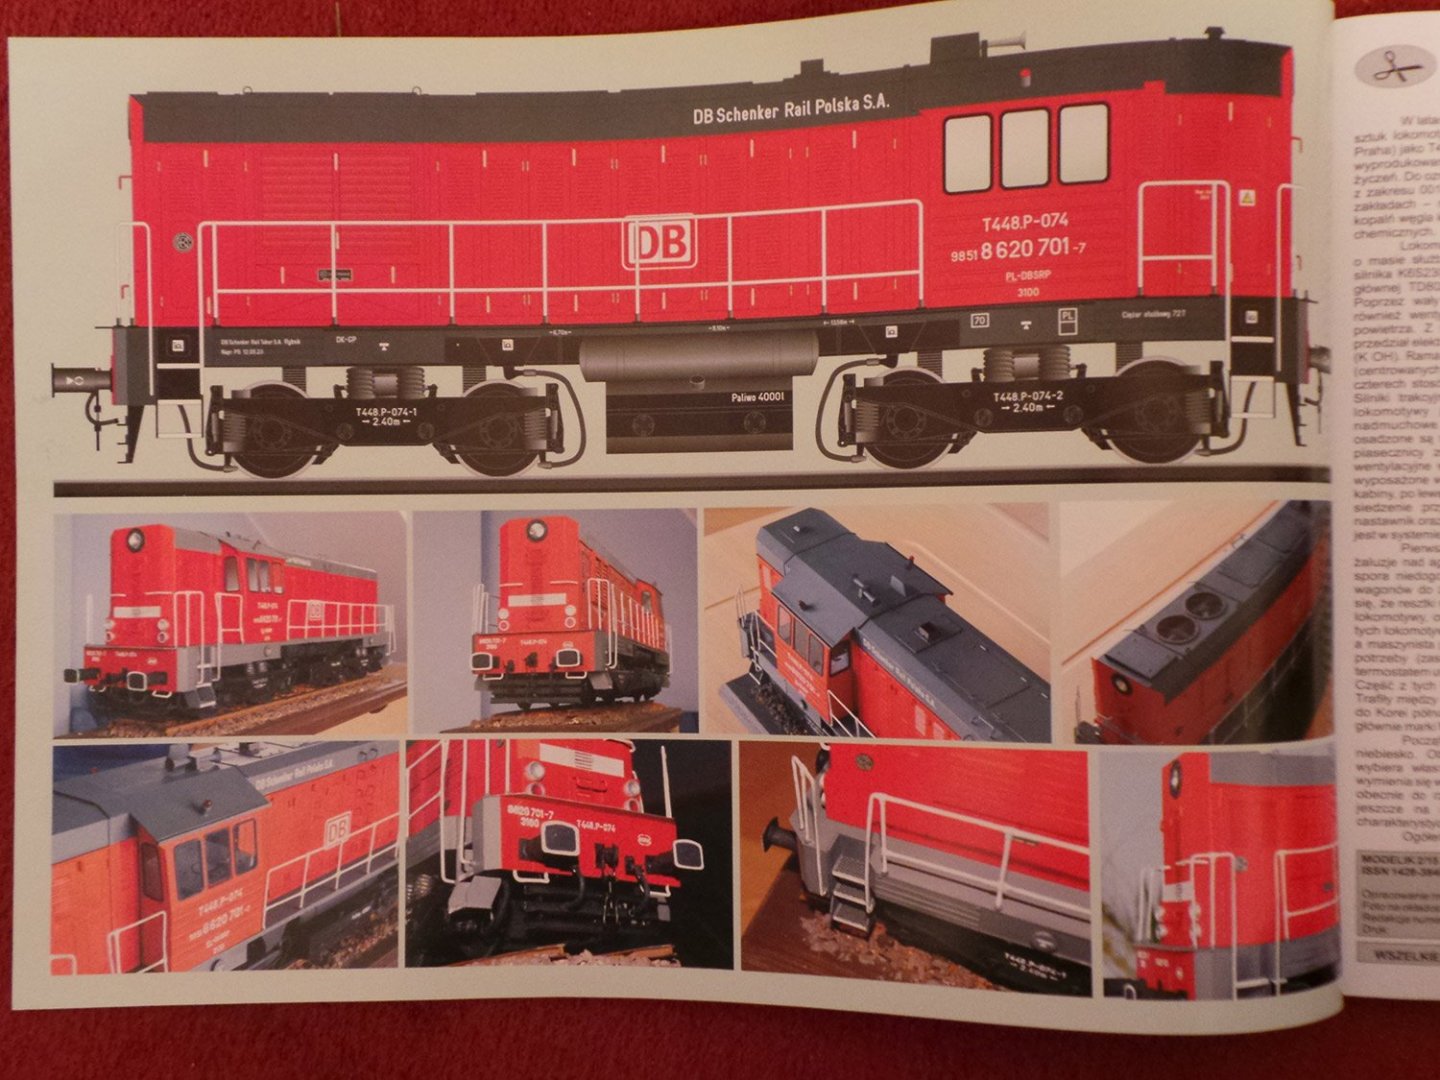
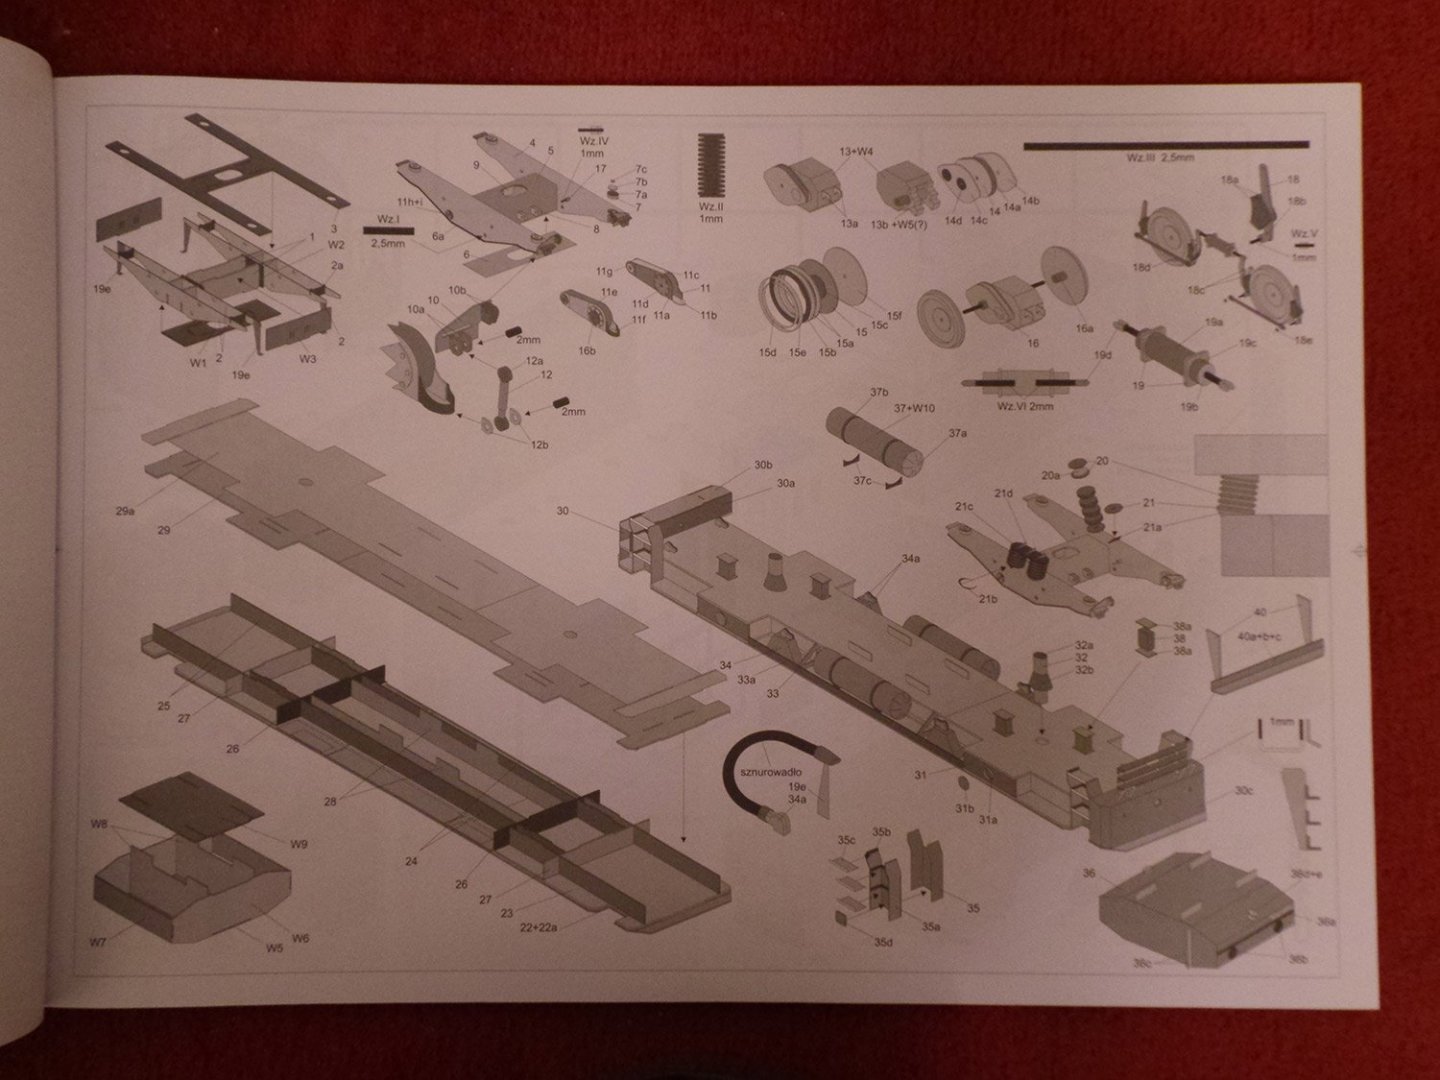
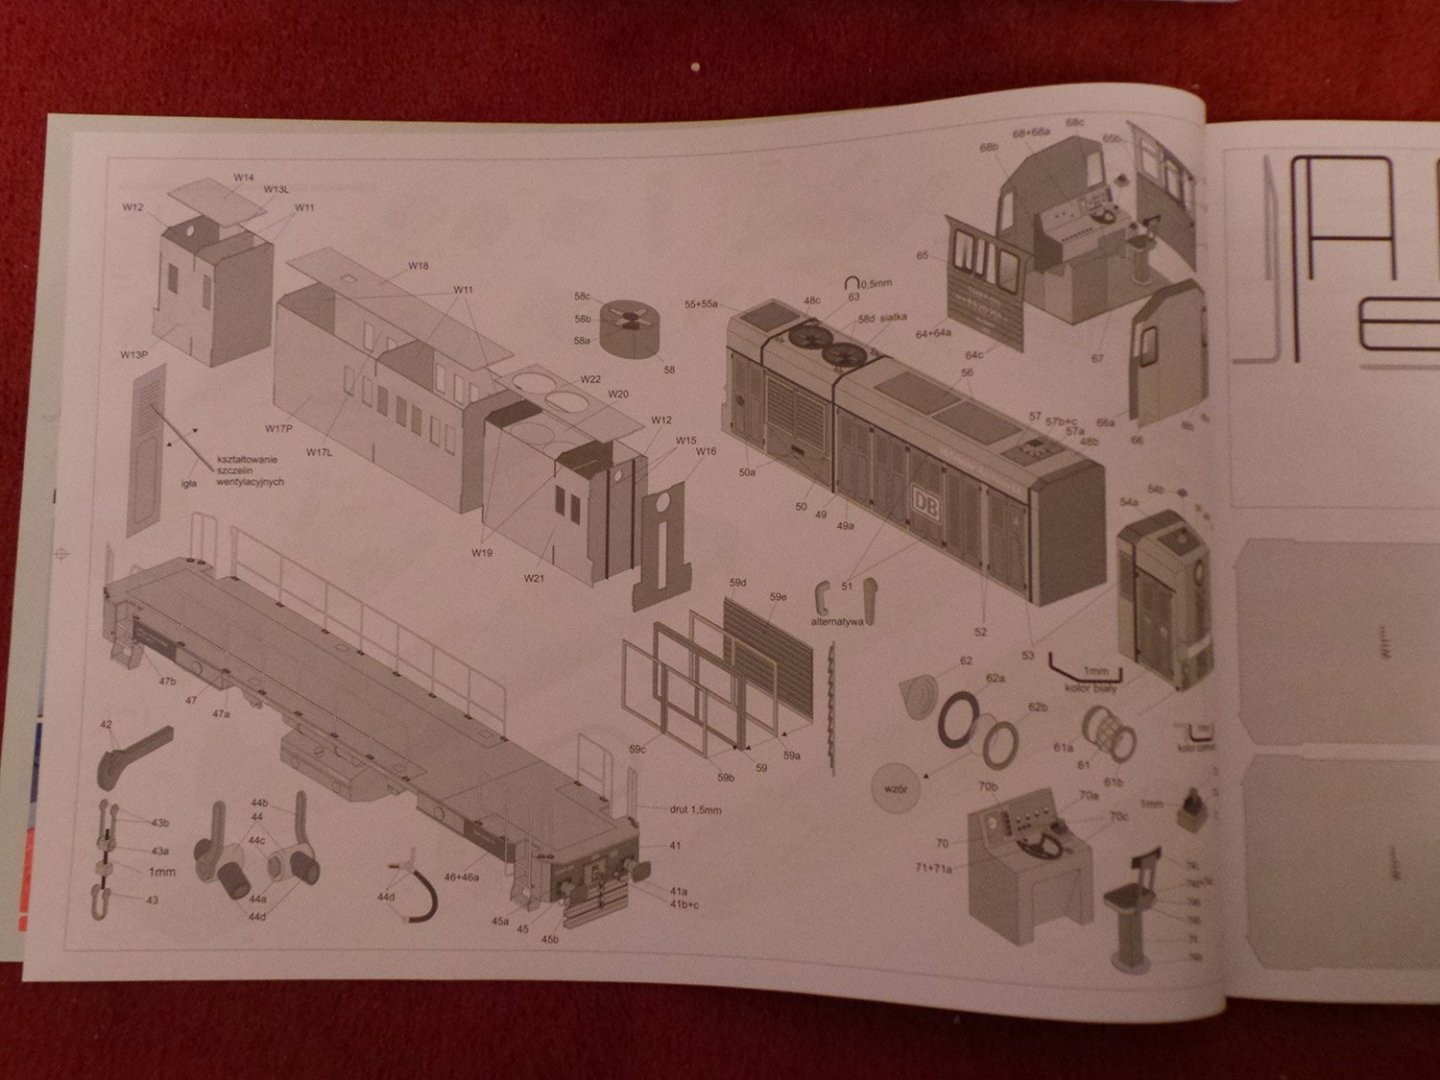
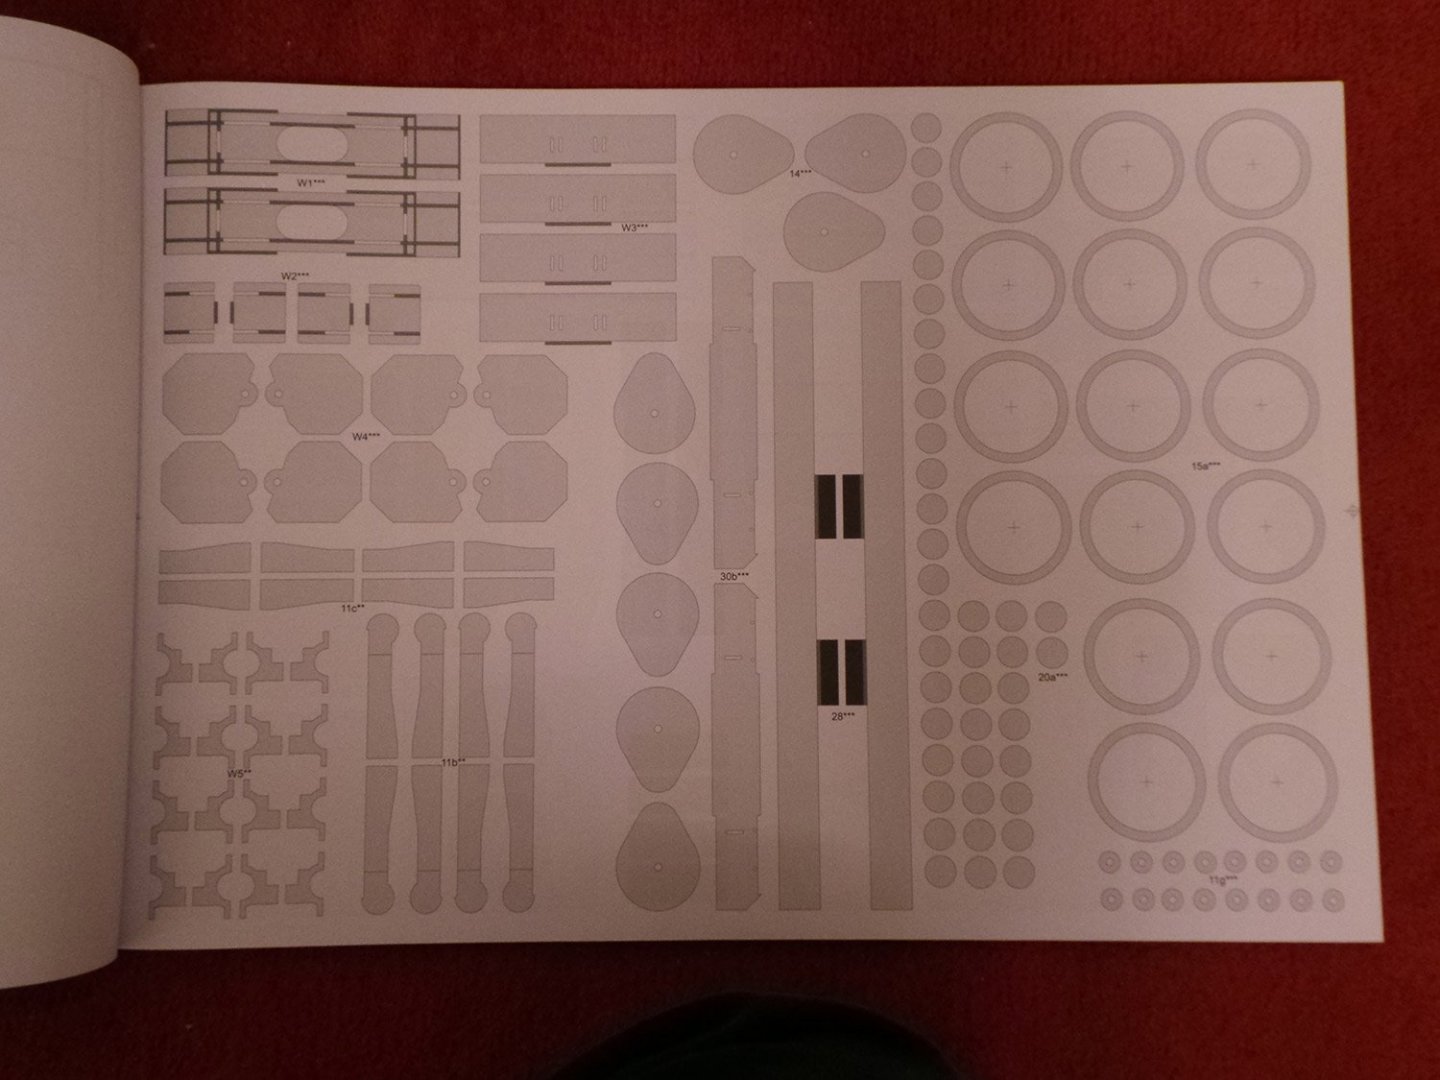
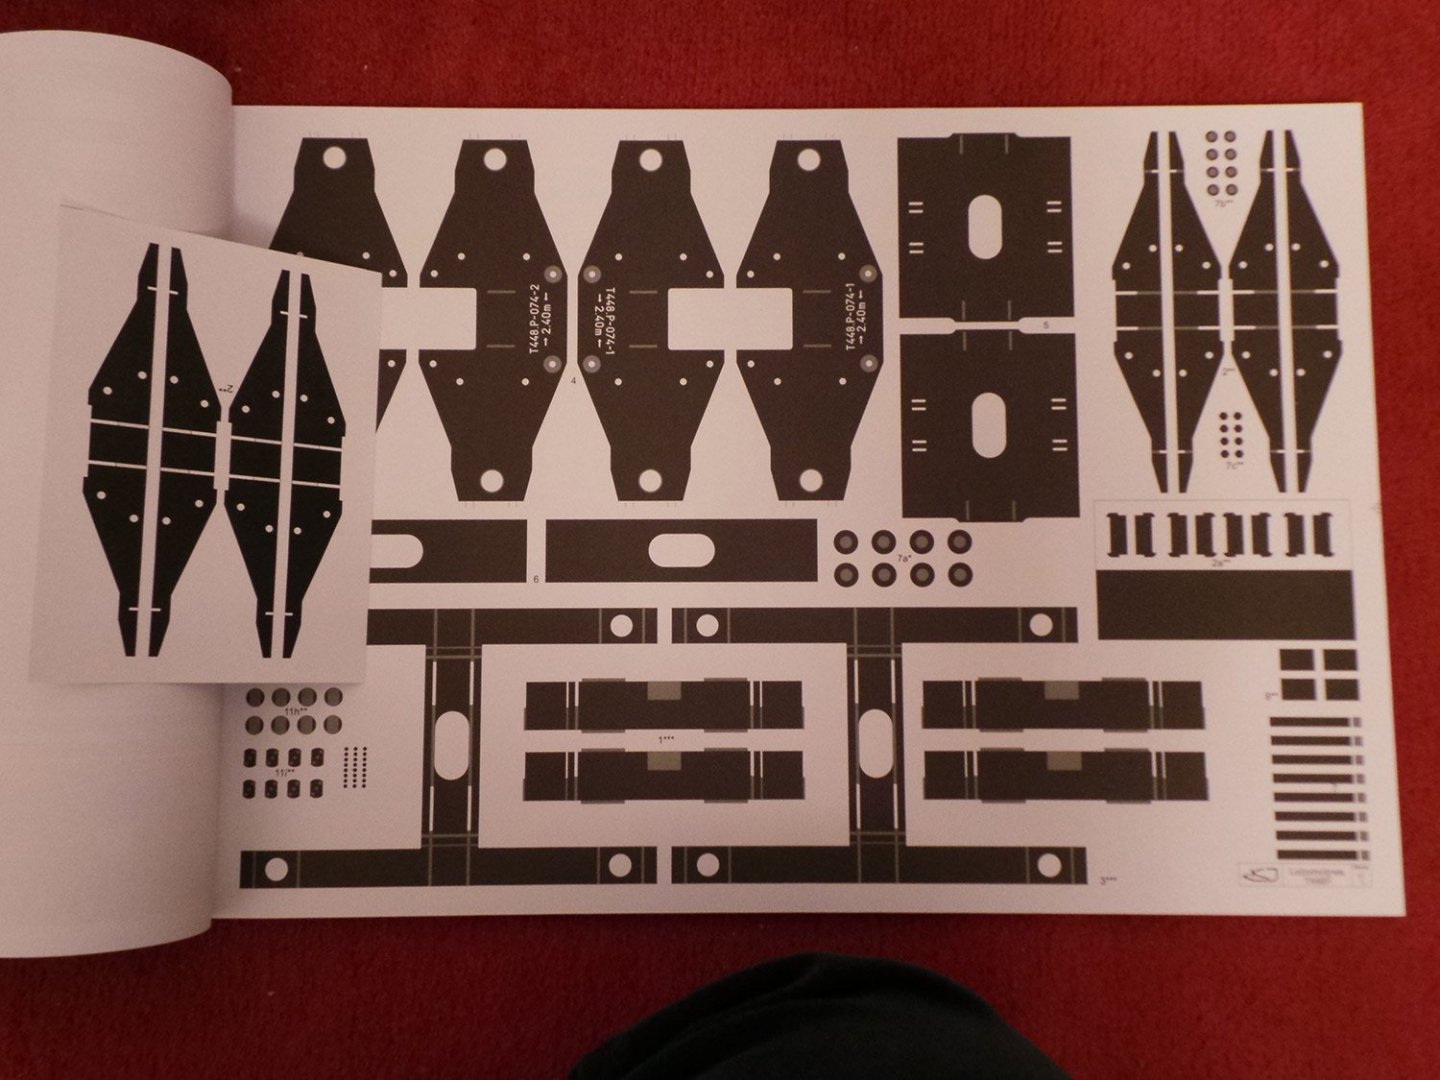
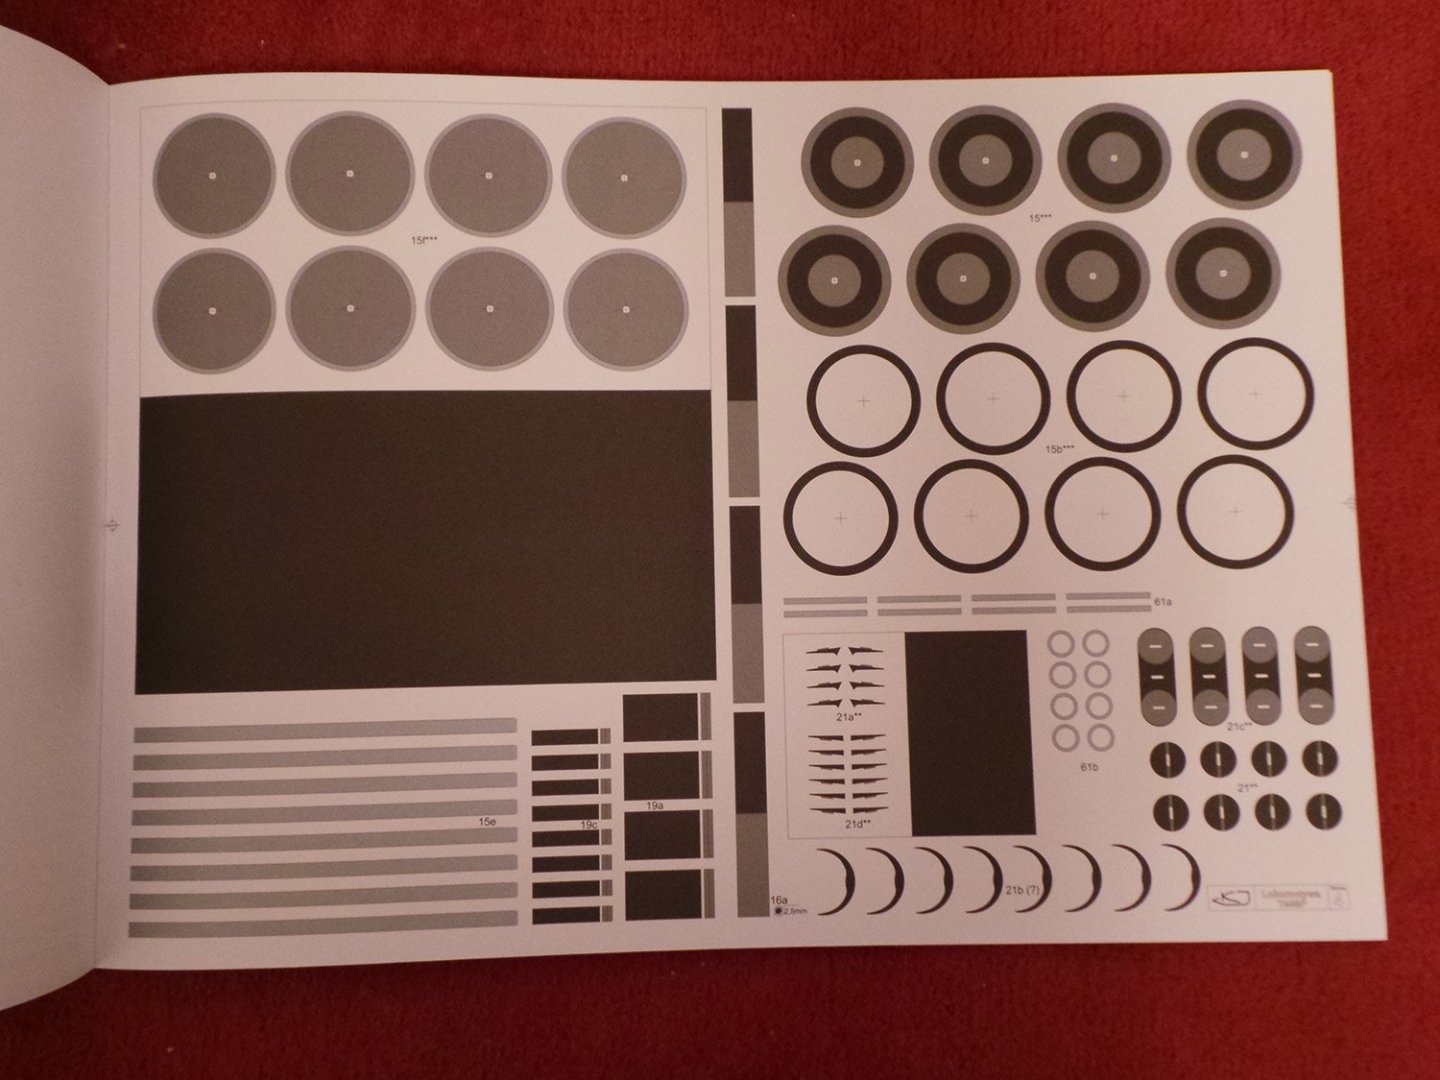
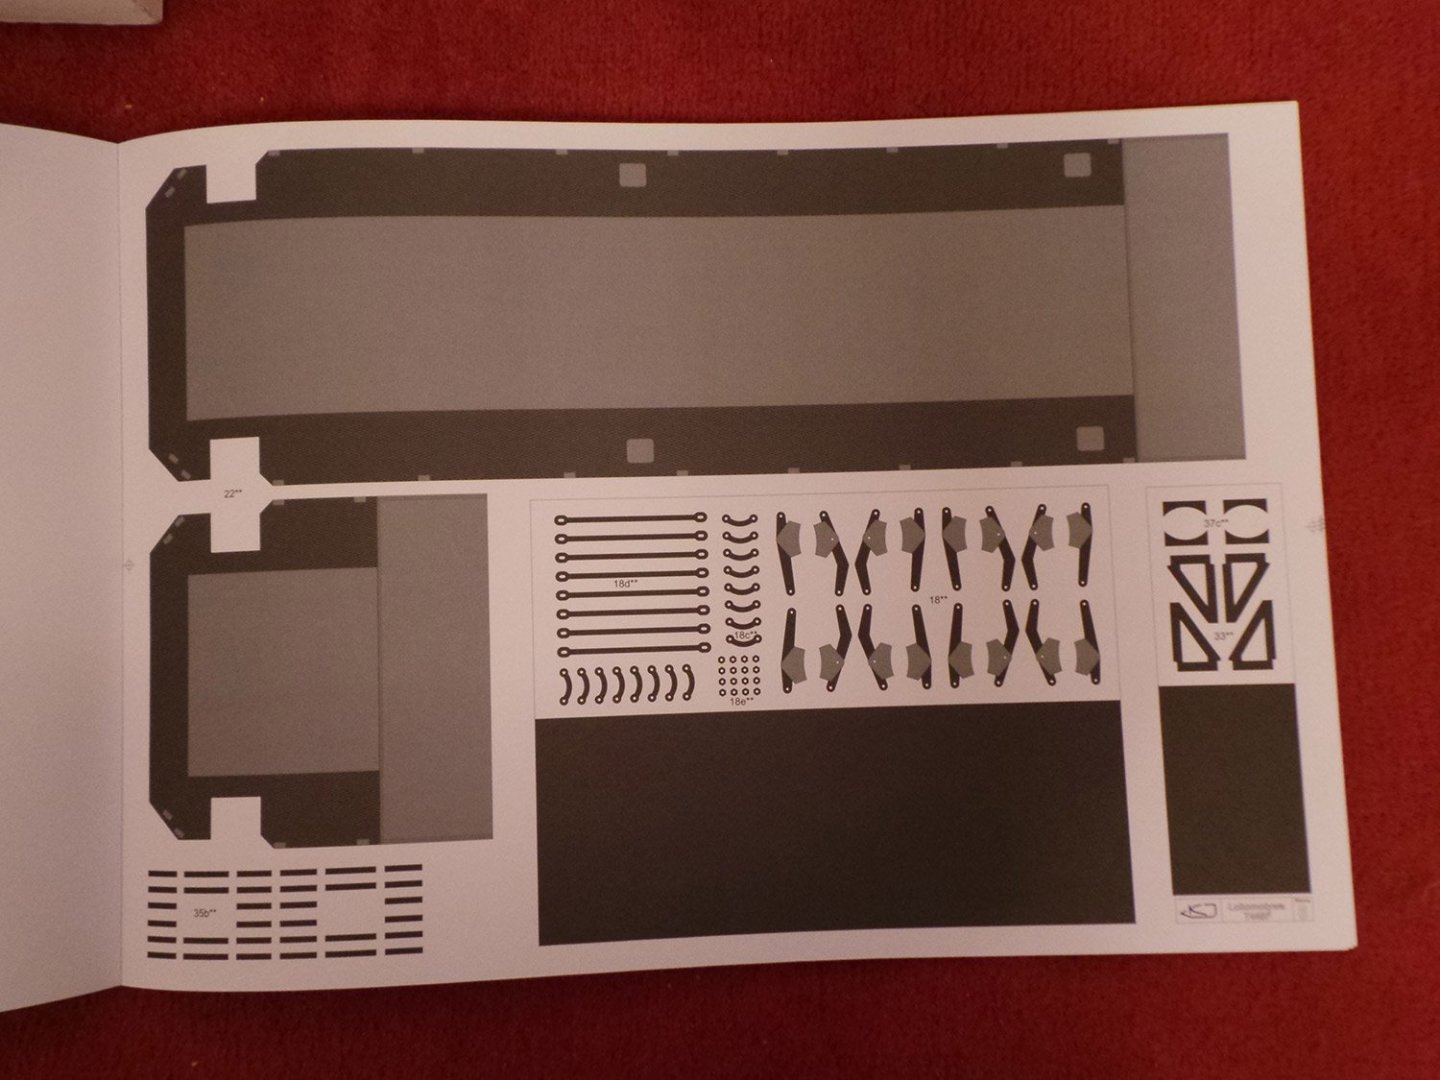
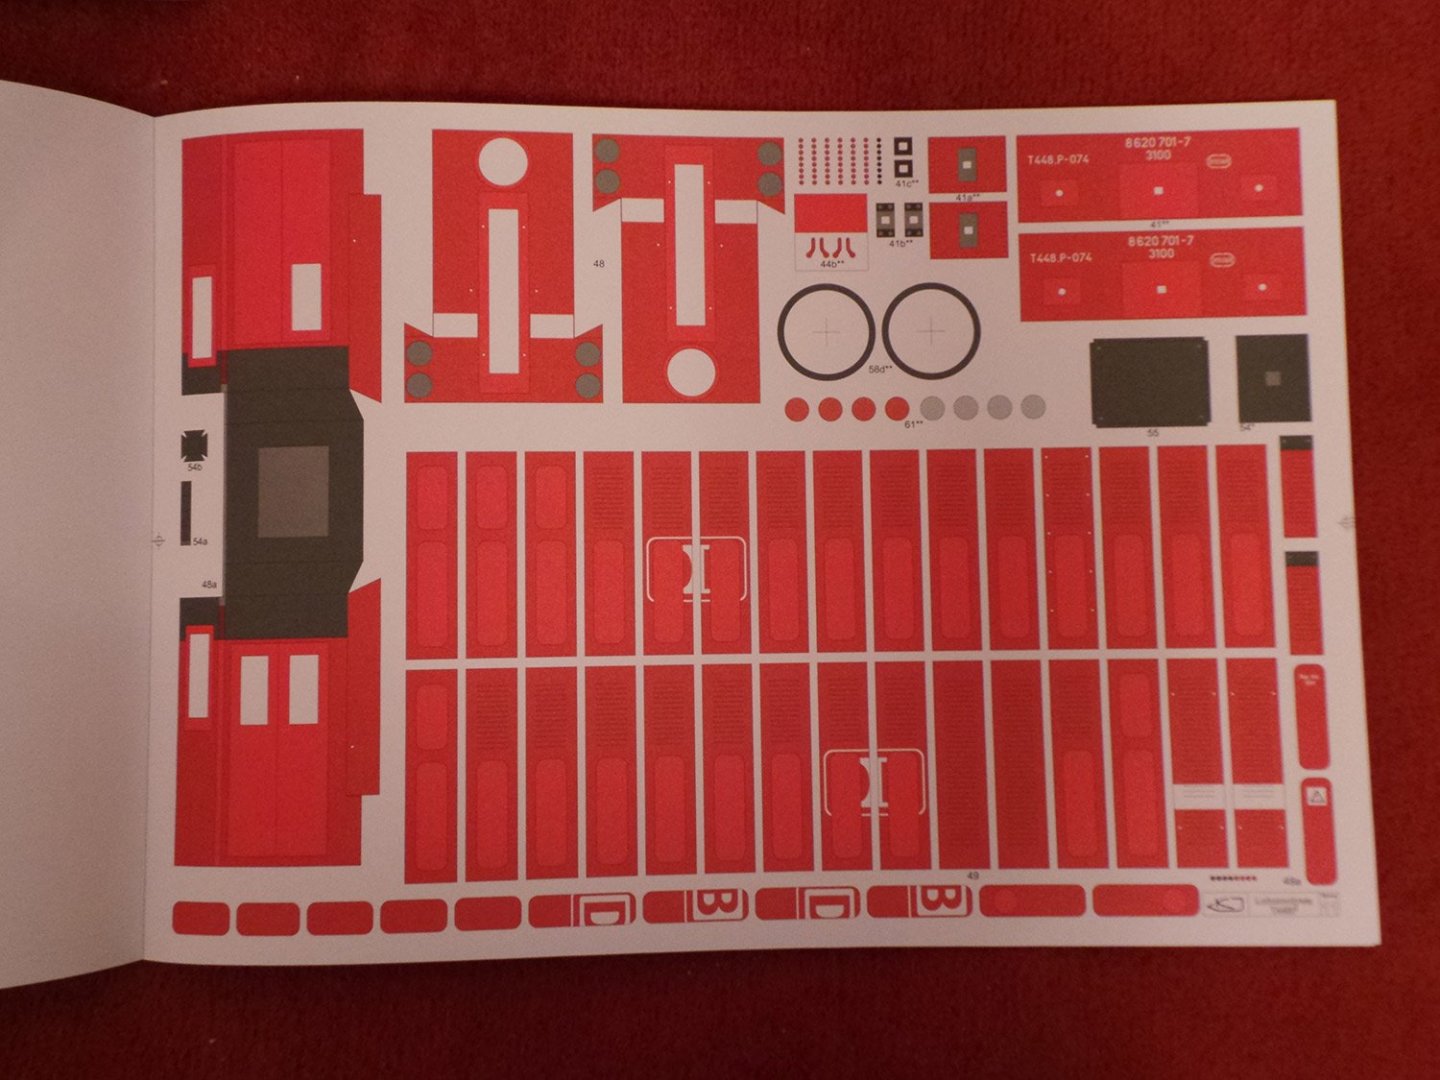
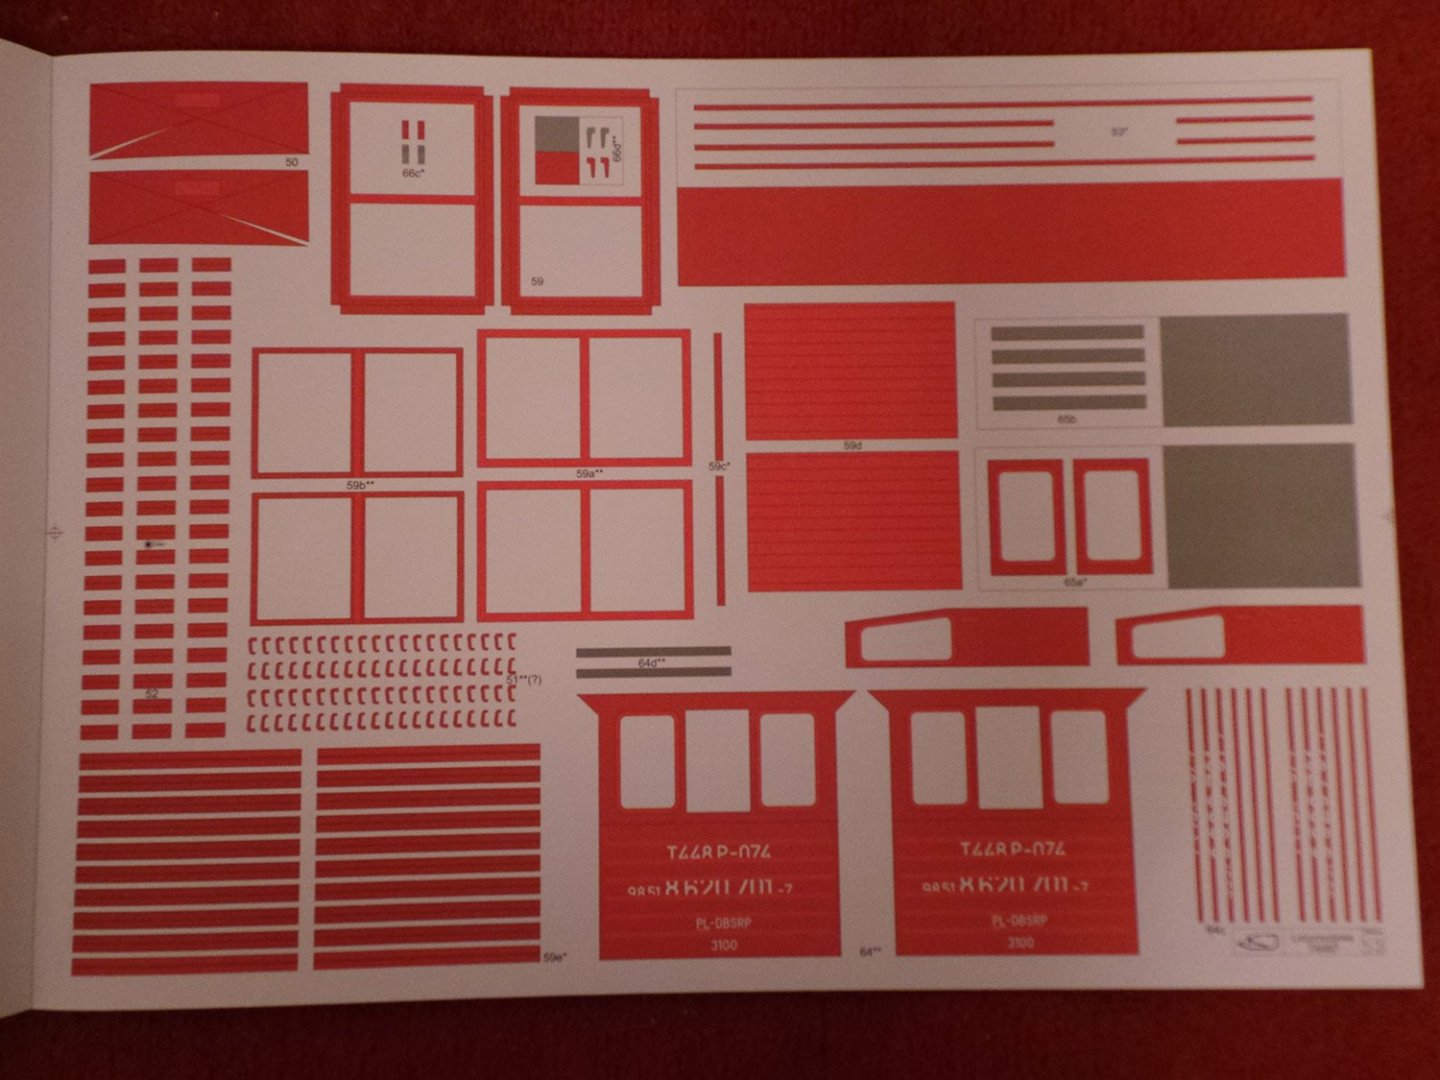
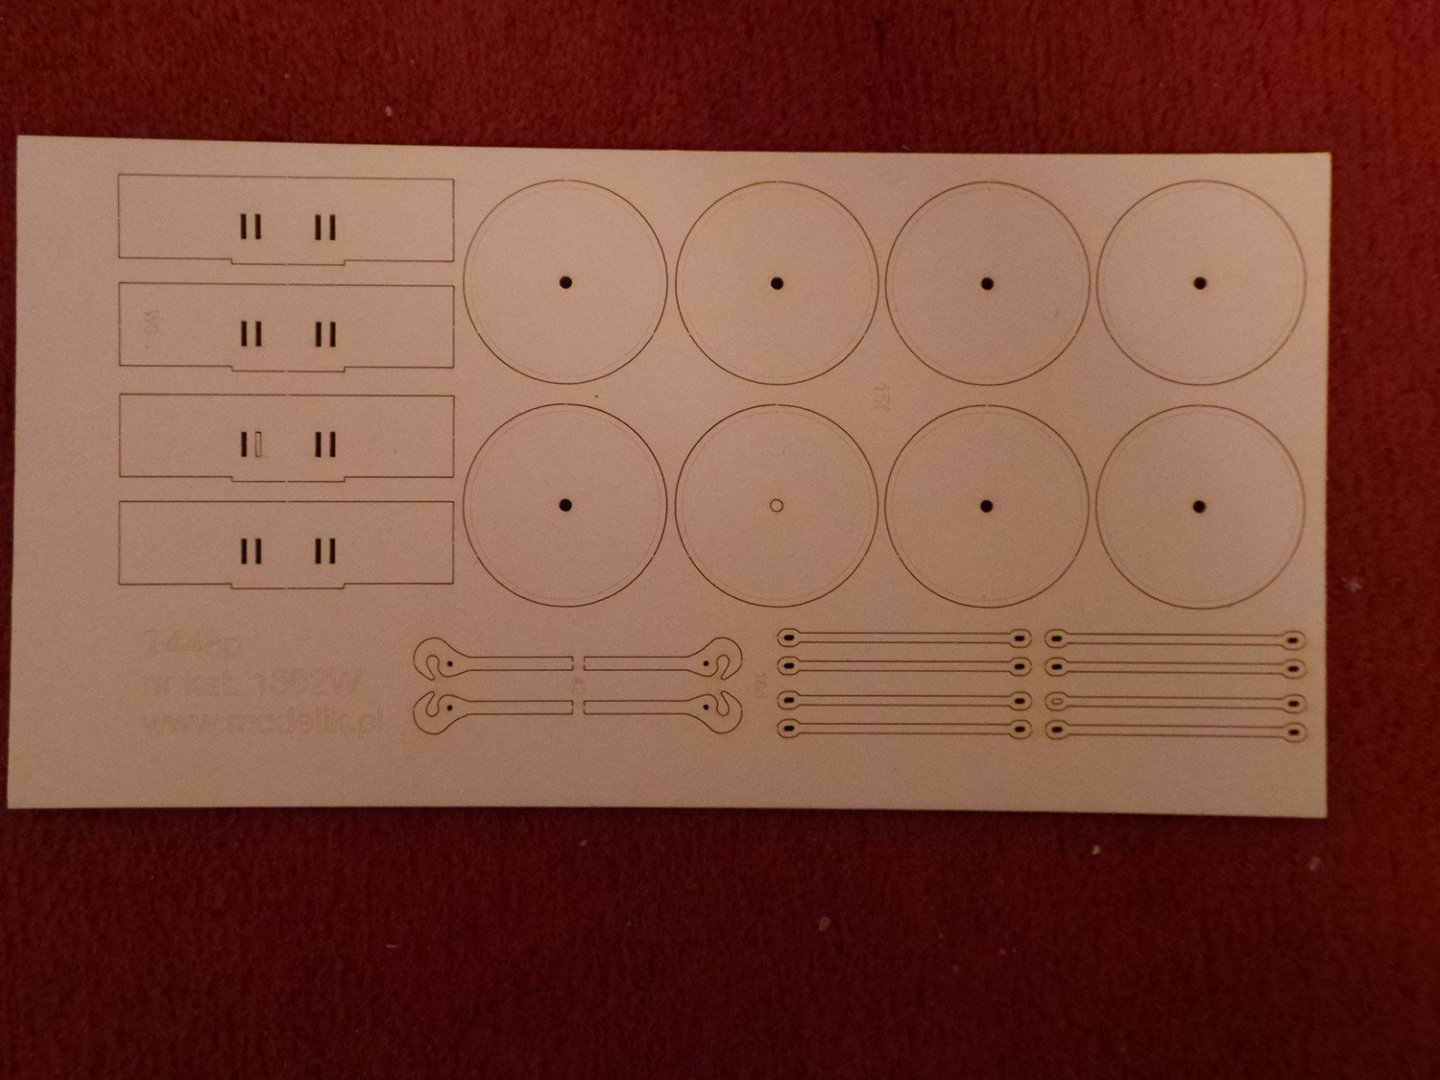
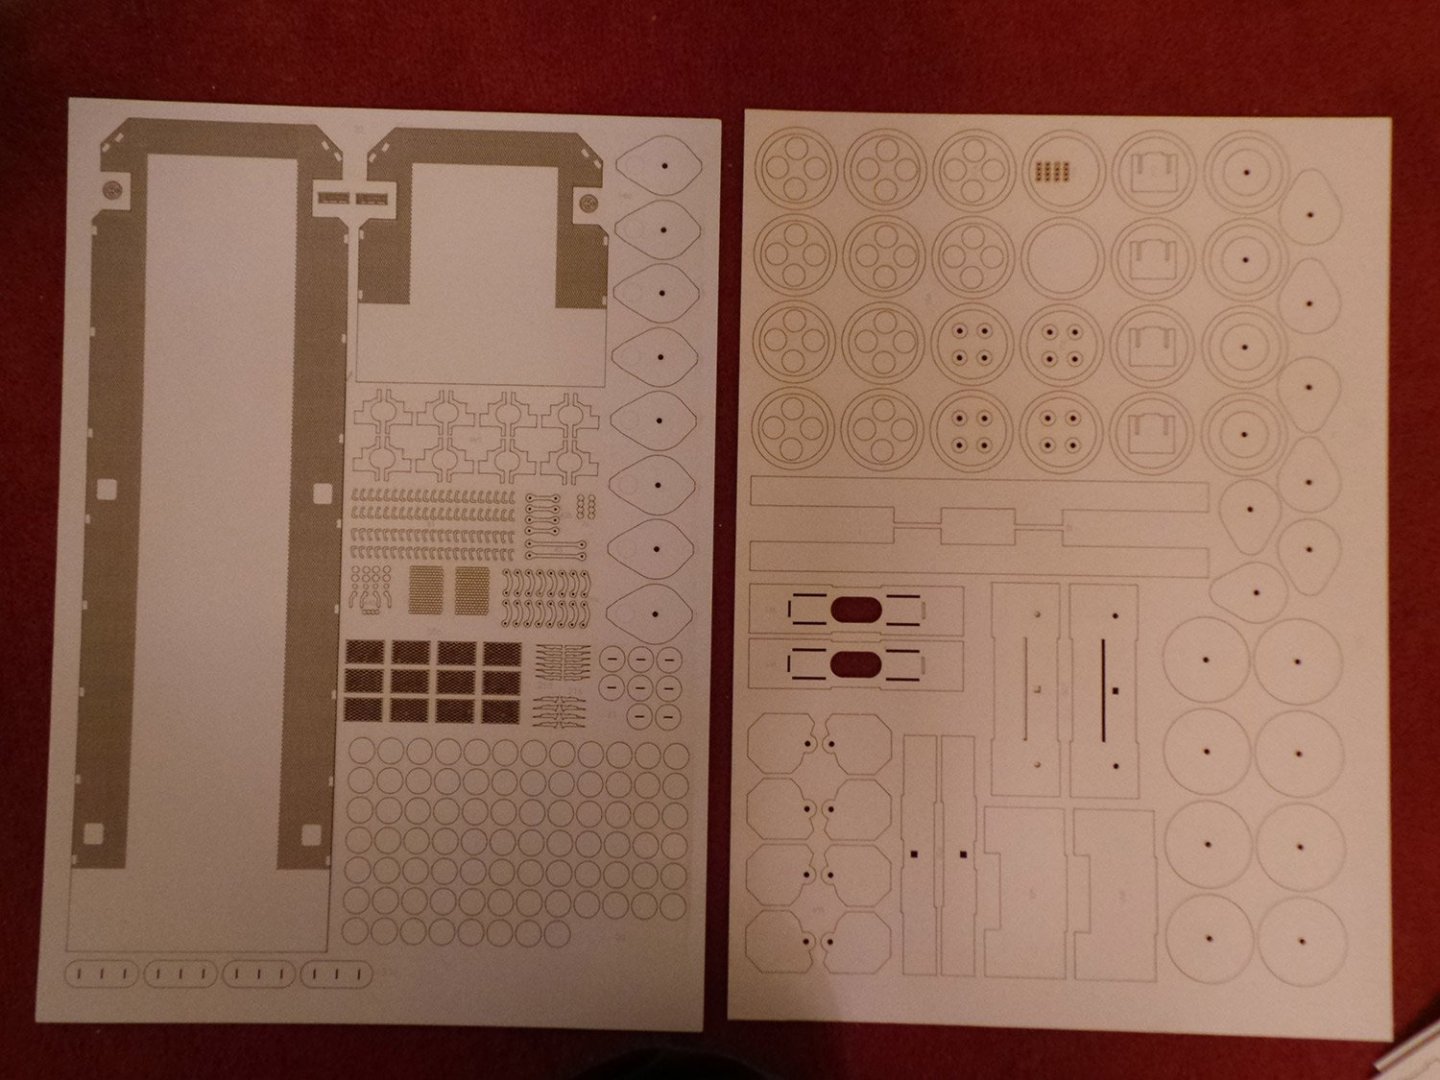
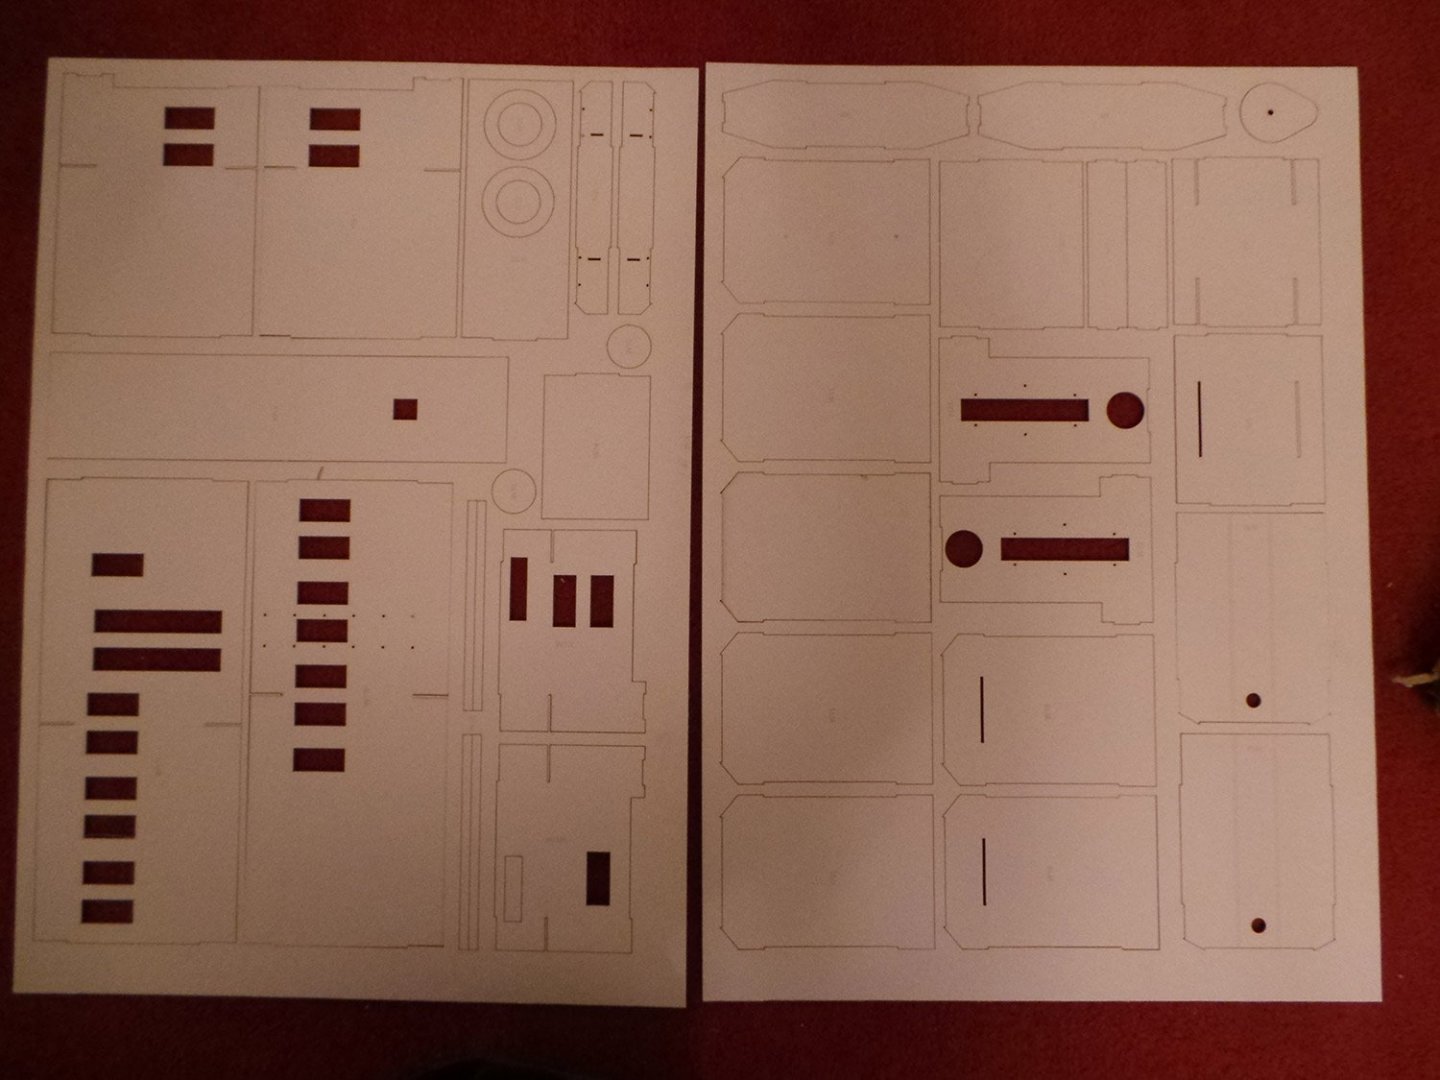
I have received my card model of the 1/25 scale T448P diesel loco. It is published by Modelik, a polish model company who seem to produce excellent card models (if this one is anything to go by) of a wide variety of subjects. I blame Dan Vadas for my purchase of this model, after seeing the fantastic build of his 2-6-6-4 'Bulgar' Steam Loco, (yes Danny, this is all your fault!!!) I have made card models before, mostly free card models found on line like the Mark Twain paddle boat created by Disney (I had a log of the build of it on MSW1, but sadly I couldn't resurrect it when MSW1 was lost. I only hope that I can make a half decent model of the T448P loco with the skills I have, and tips and hints learned from Danny's card model build logs. Here are pics of the 'kit'. I also have the laser cut frames and wheel. The details are simply amazing! When built it will be approx 543mm long. It will be a while before I can make a start, but I am looking forward to it. Laser cut frames & wheels.
-
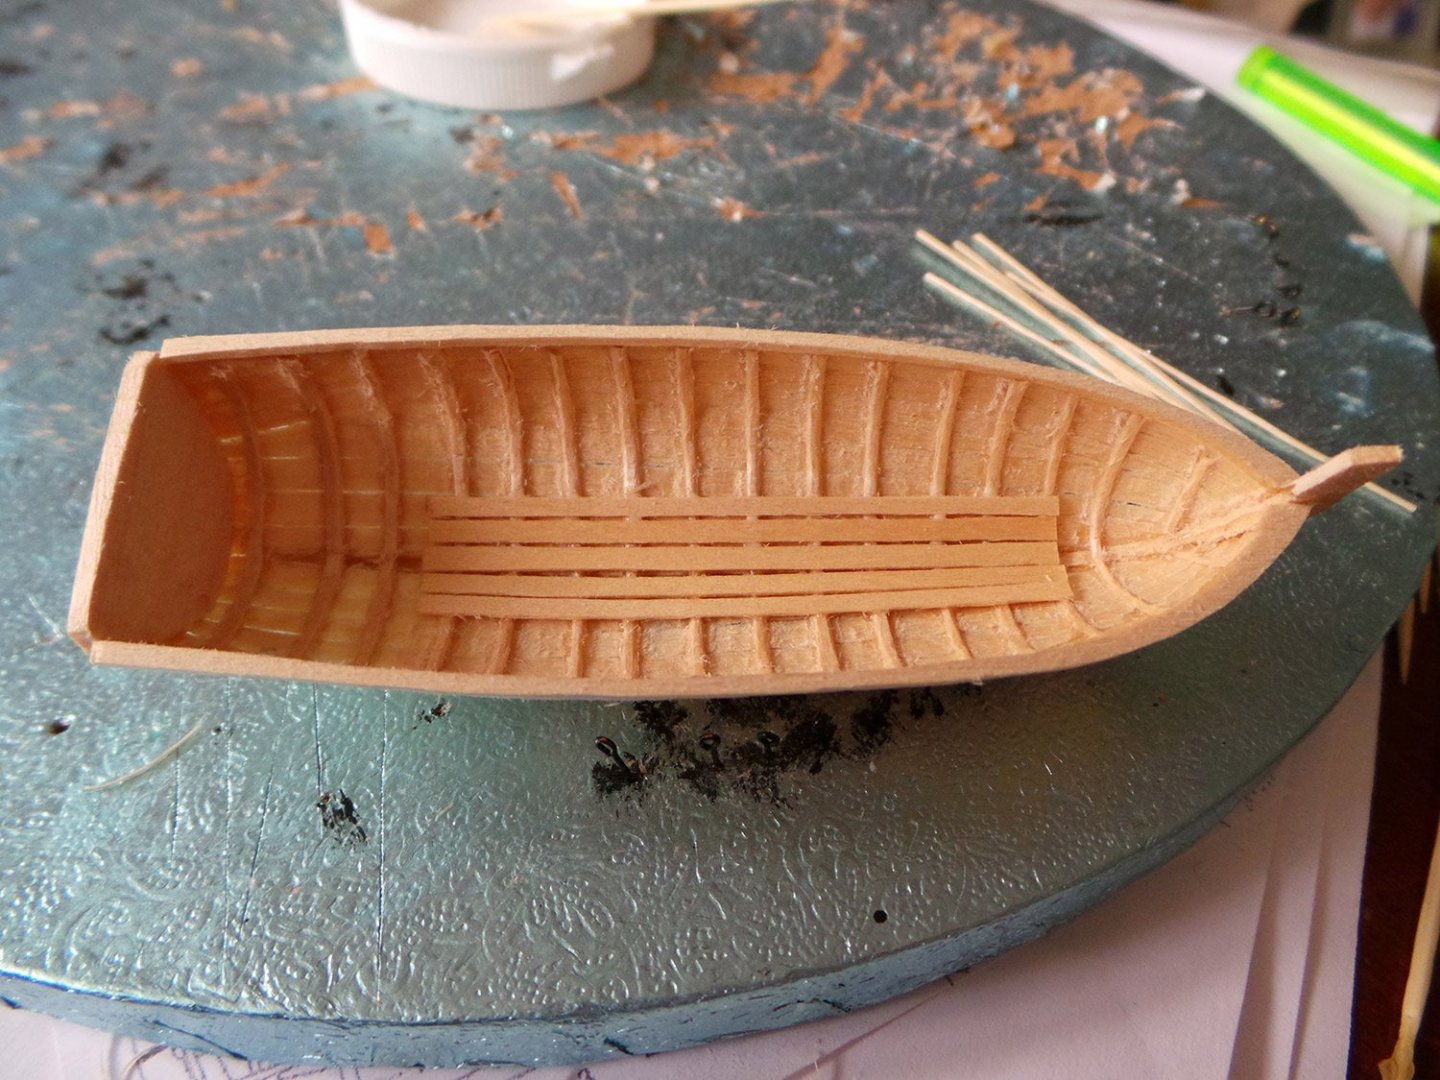
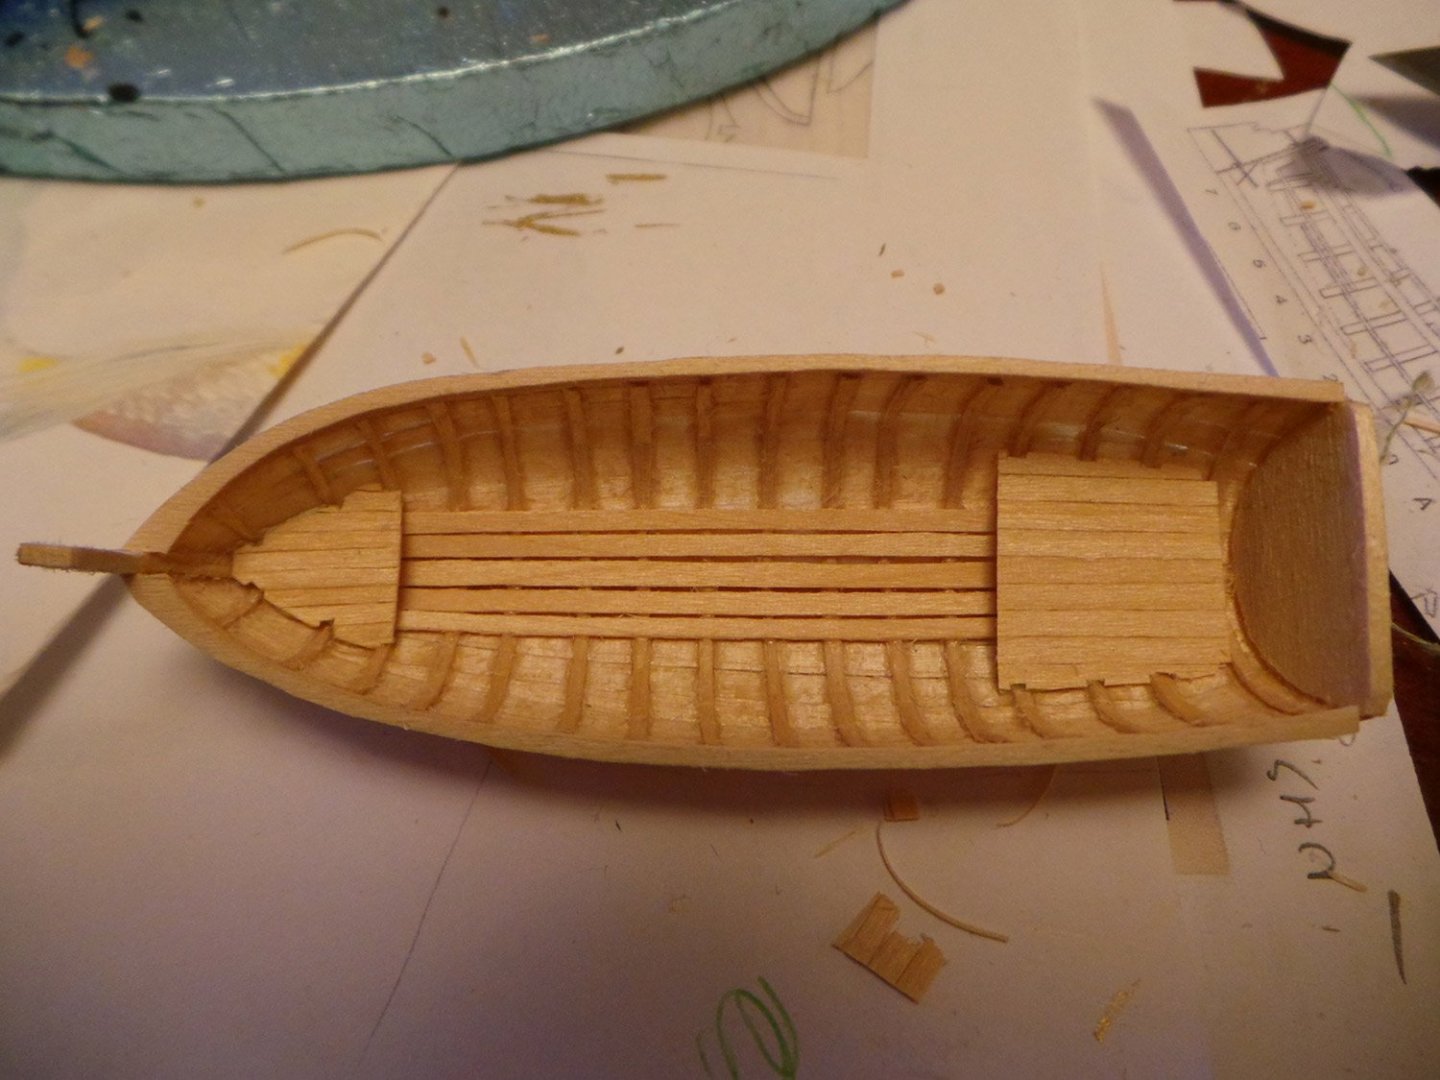
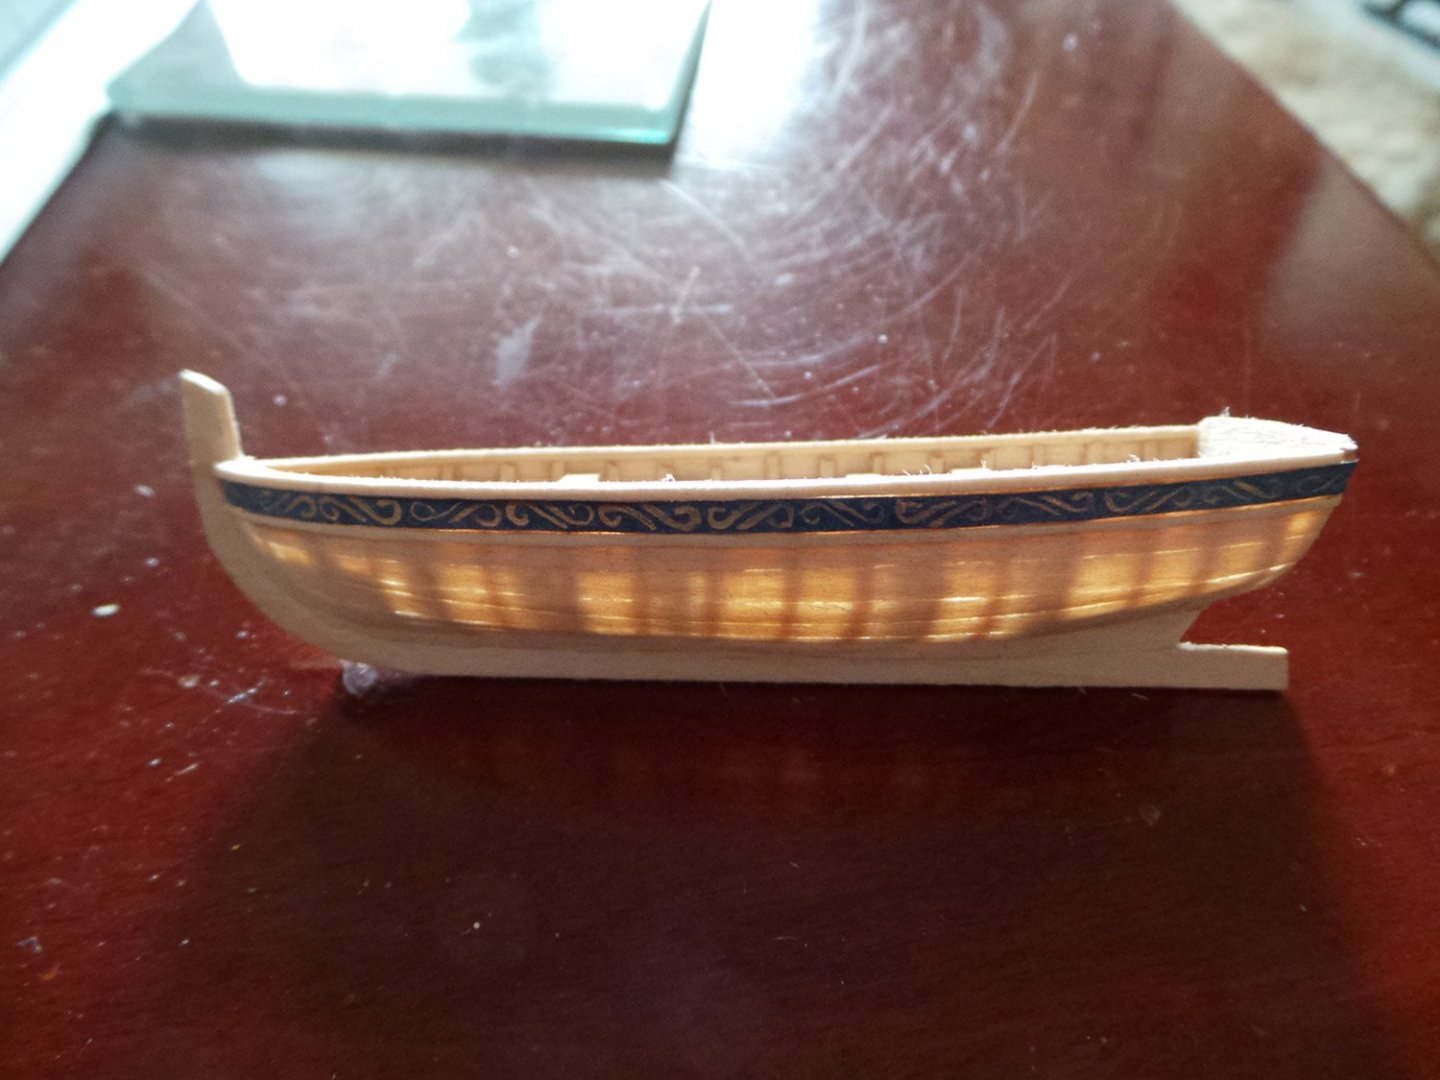
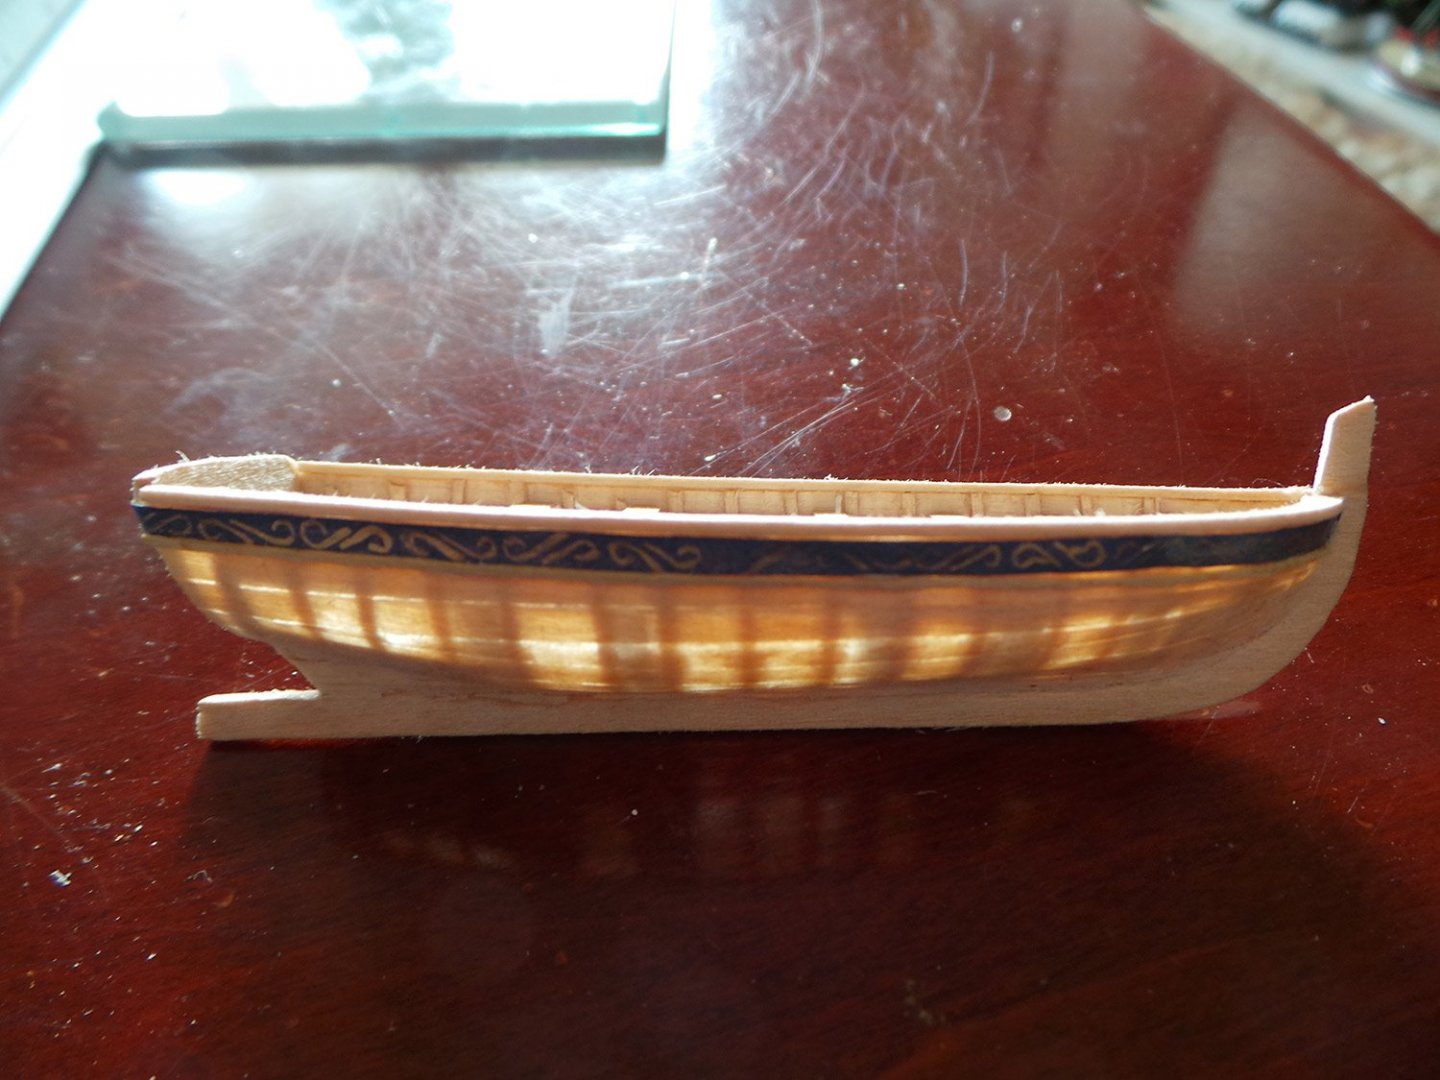
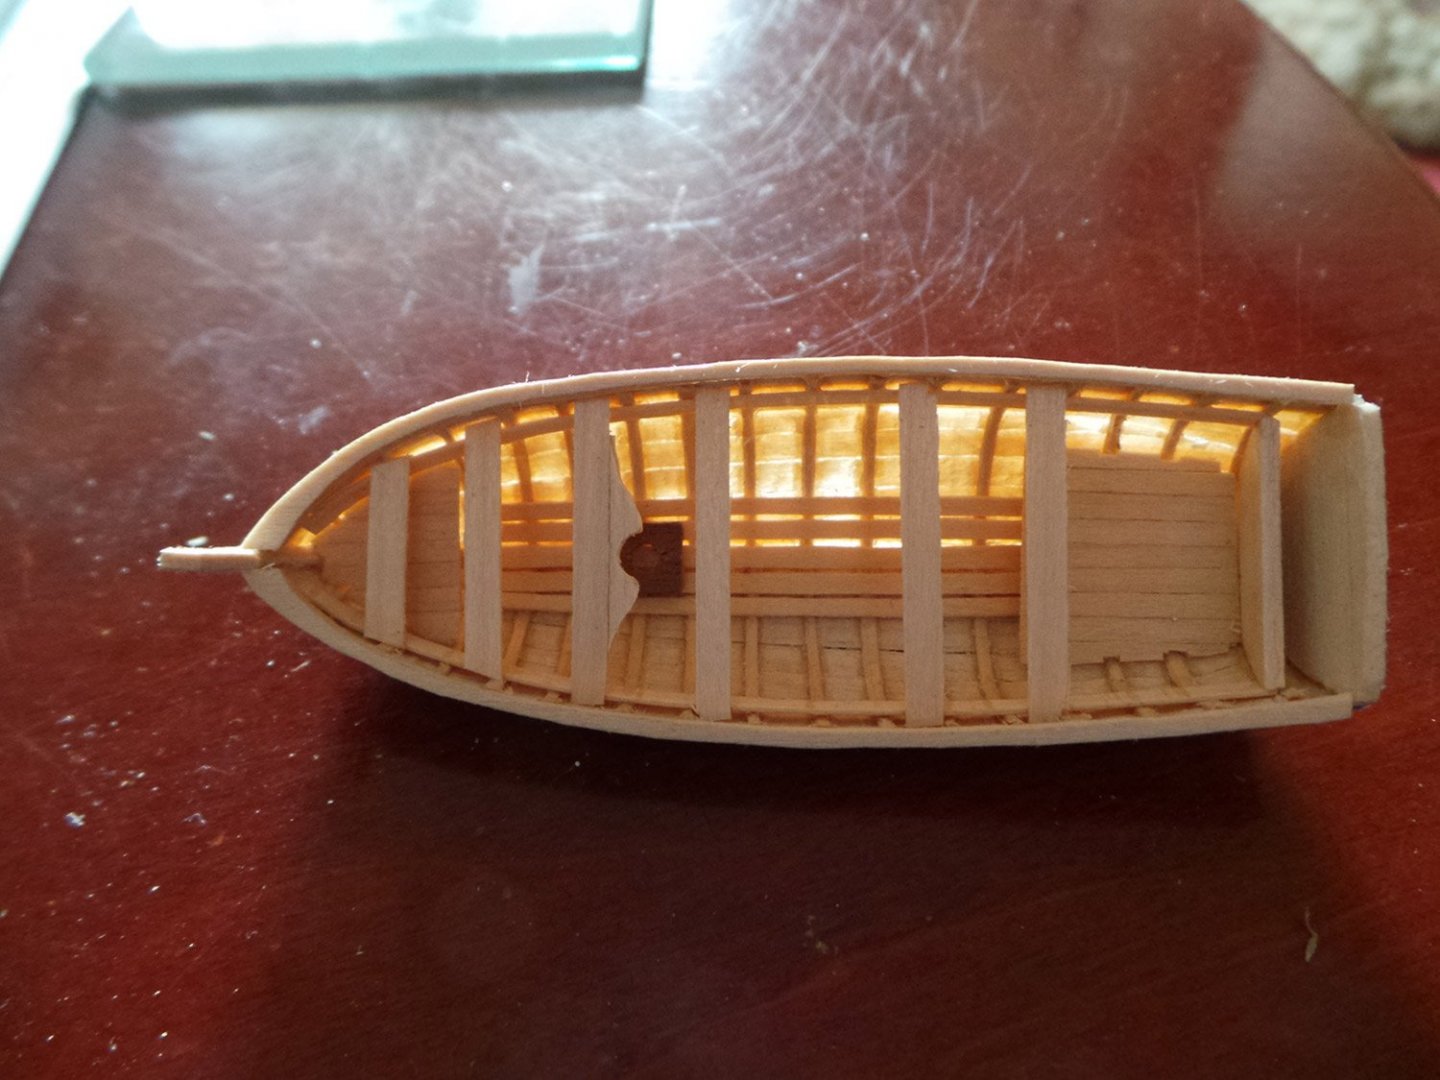
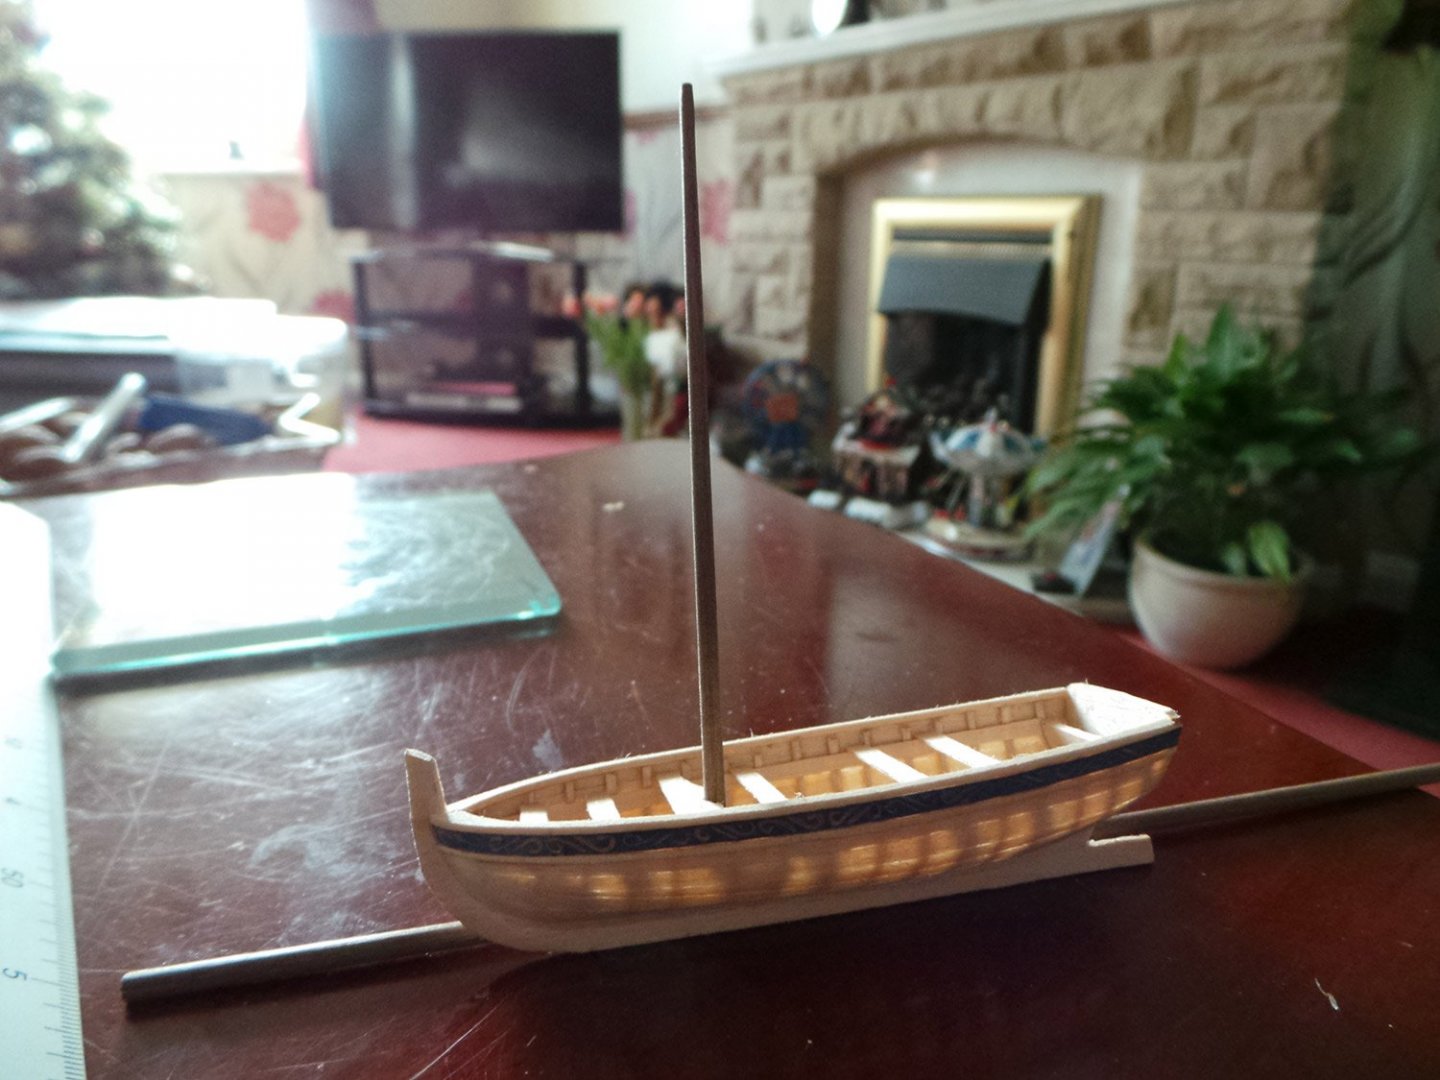
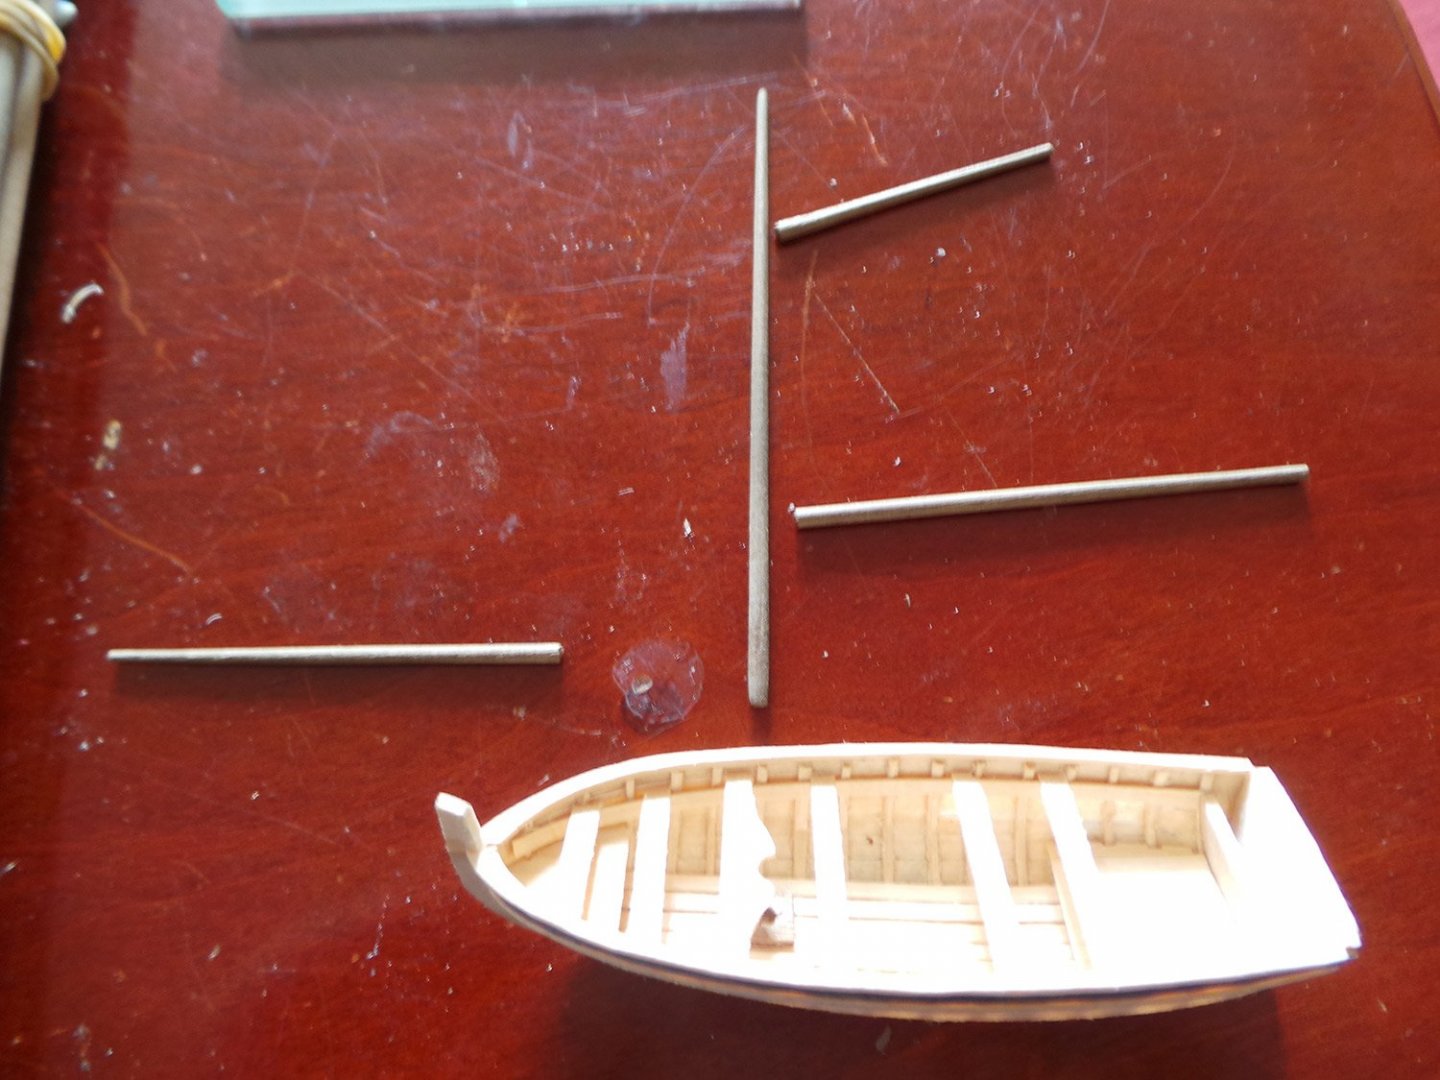
A little more progress over the Christmas period on the Longboat for Pegasus. Floorboards installed and bow & stern platforms. Frieze (hand painted paper) added to hull. Thwarts, mast step and stern locker wall. Mast, gaff, boom and bowsprit made. Now on the the windlass and other fittings.
- 161 replies
-
- pegasus
- victory models
-
(and 1 more)
Tagged with:
-
That makes sense for manoeuvring through the rigging from it's resting place. The mast is longer than the length of the boat, so maybe it was put into the longboat while held alongside Pegasus, before lowering onto the water? Still trying to find clues in old seamanship manuals, but there doesn't seem to be much mention of the process of making a ship's boat ready.
About us
Modelshipworld - Advancing Ship Modeling through Research
SSL Secured
Your security is important for us so this Website is SSL-Secured
NRG Mailing Address
Nautical Research Guild
237 South Lincoln Street
Westmont IL, 60559-1917
Model Ship World ® and the MSW logo are Registered Trademarks, and belong to the Nautical Research Guild (United States Patent and Trademark Office: No. 6,929,264 & No. 6,929,274, registered Dec. 20, 2022)
Helpful Links
About the NRG
If you enjoy building ship models that are historically accurate as well as beautiful, then The Nautical Research Guild (NRG) is just right for you.
The Guild is a non-profit educational organization whose mission is to “Advance Ship Modeling Through Research”. We provide support to our members in their efforts to raise the quality of their model ships.
The Nautical Research Guild has published our world-renowned quarterly magazine, The Nautical Research Journal, since 1955. The pages of the Journal are full of articles by accomplished ship modelers who show you how they create those exquisite details on their models, and by maritime historians who show you the correct details to build. The Journal is available in both print and digital editions. Go to the NRG web site (www.thenrg.org) to download a complimentary digital copy of the Journal. The NRG also publishes plan sets, books and compilations of back issues of the Journal and the former Ships in Scale and Model Ship Builder magazines.


