Scott Crouse
-
Posts
73 -
Joined
-
Last visited
Content Type
Profiles
Forums
Gallery
Events
Everything posted by Scott Crouse
-
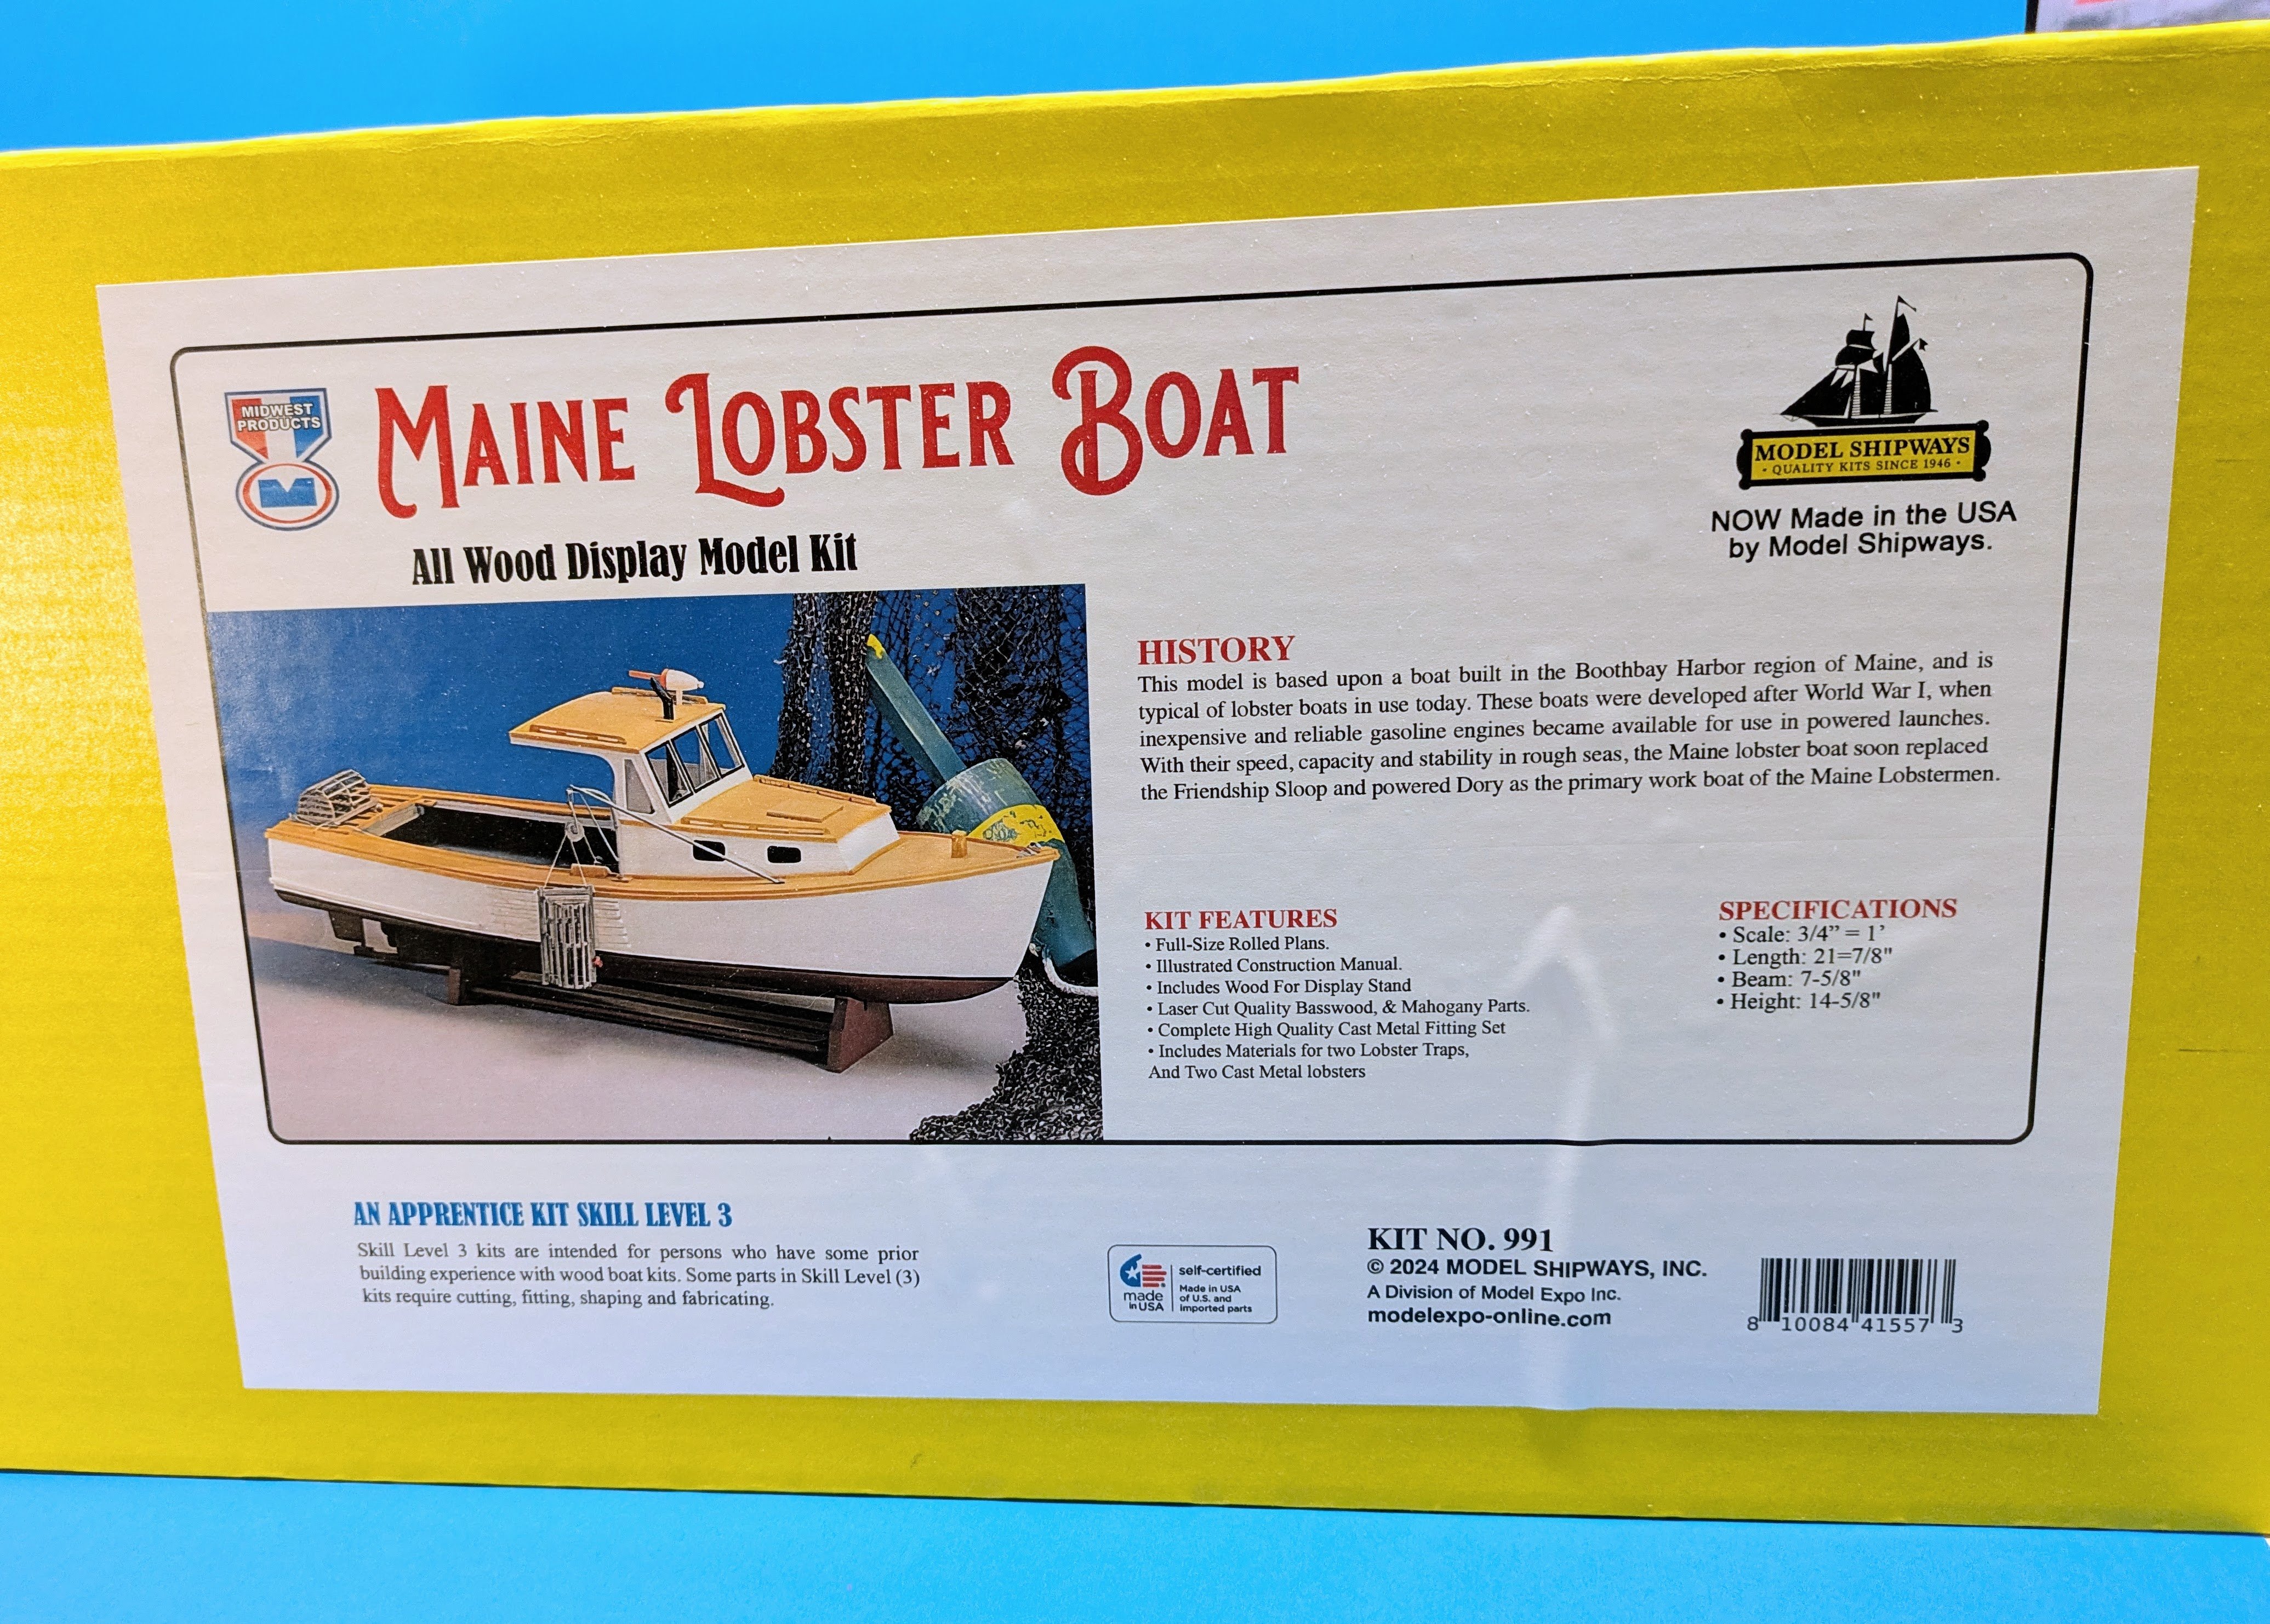
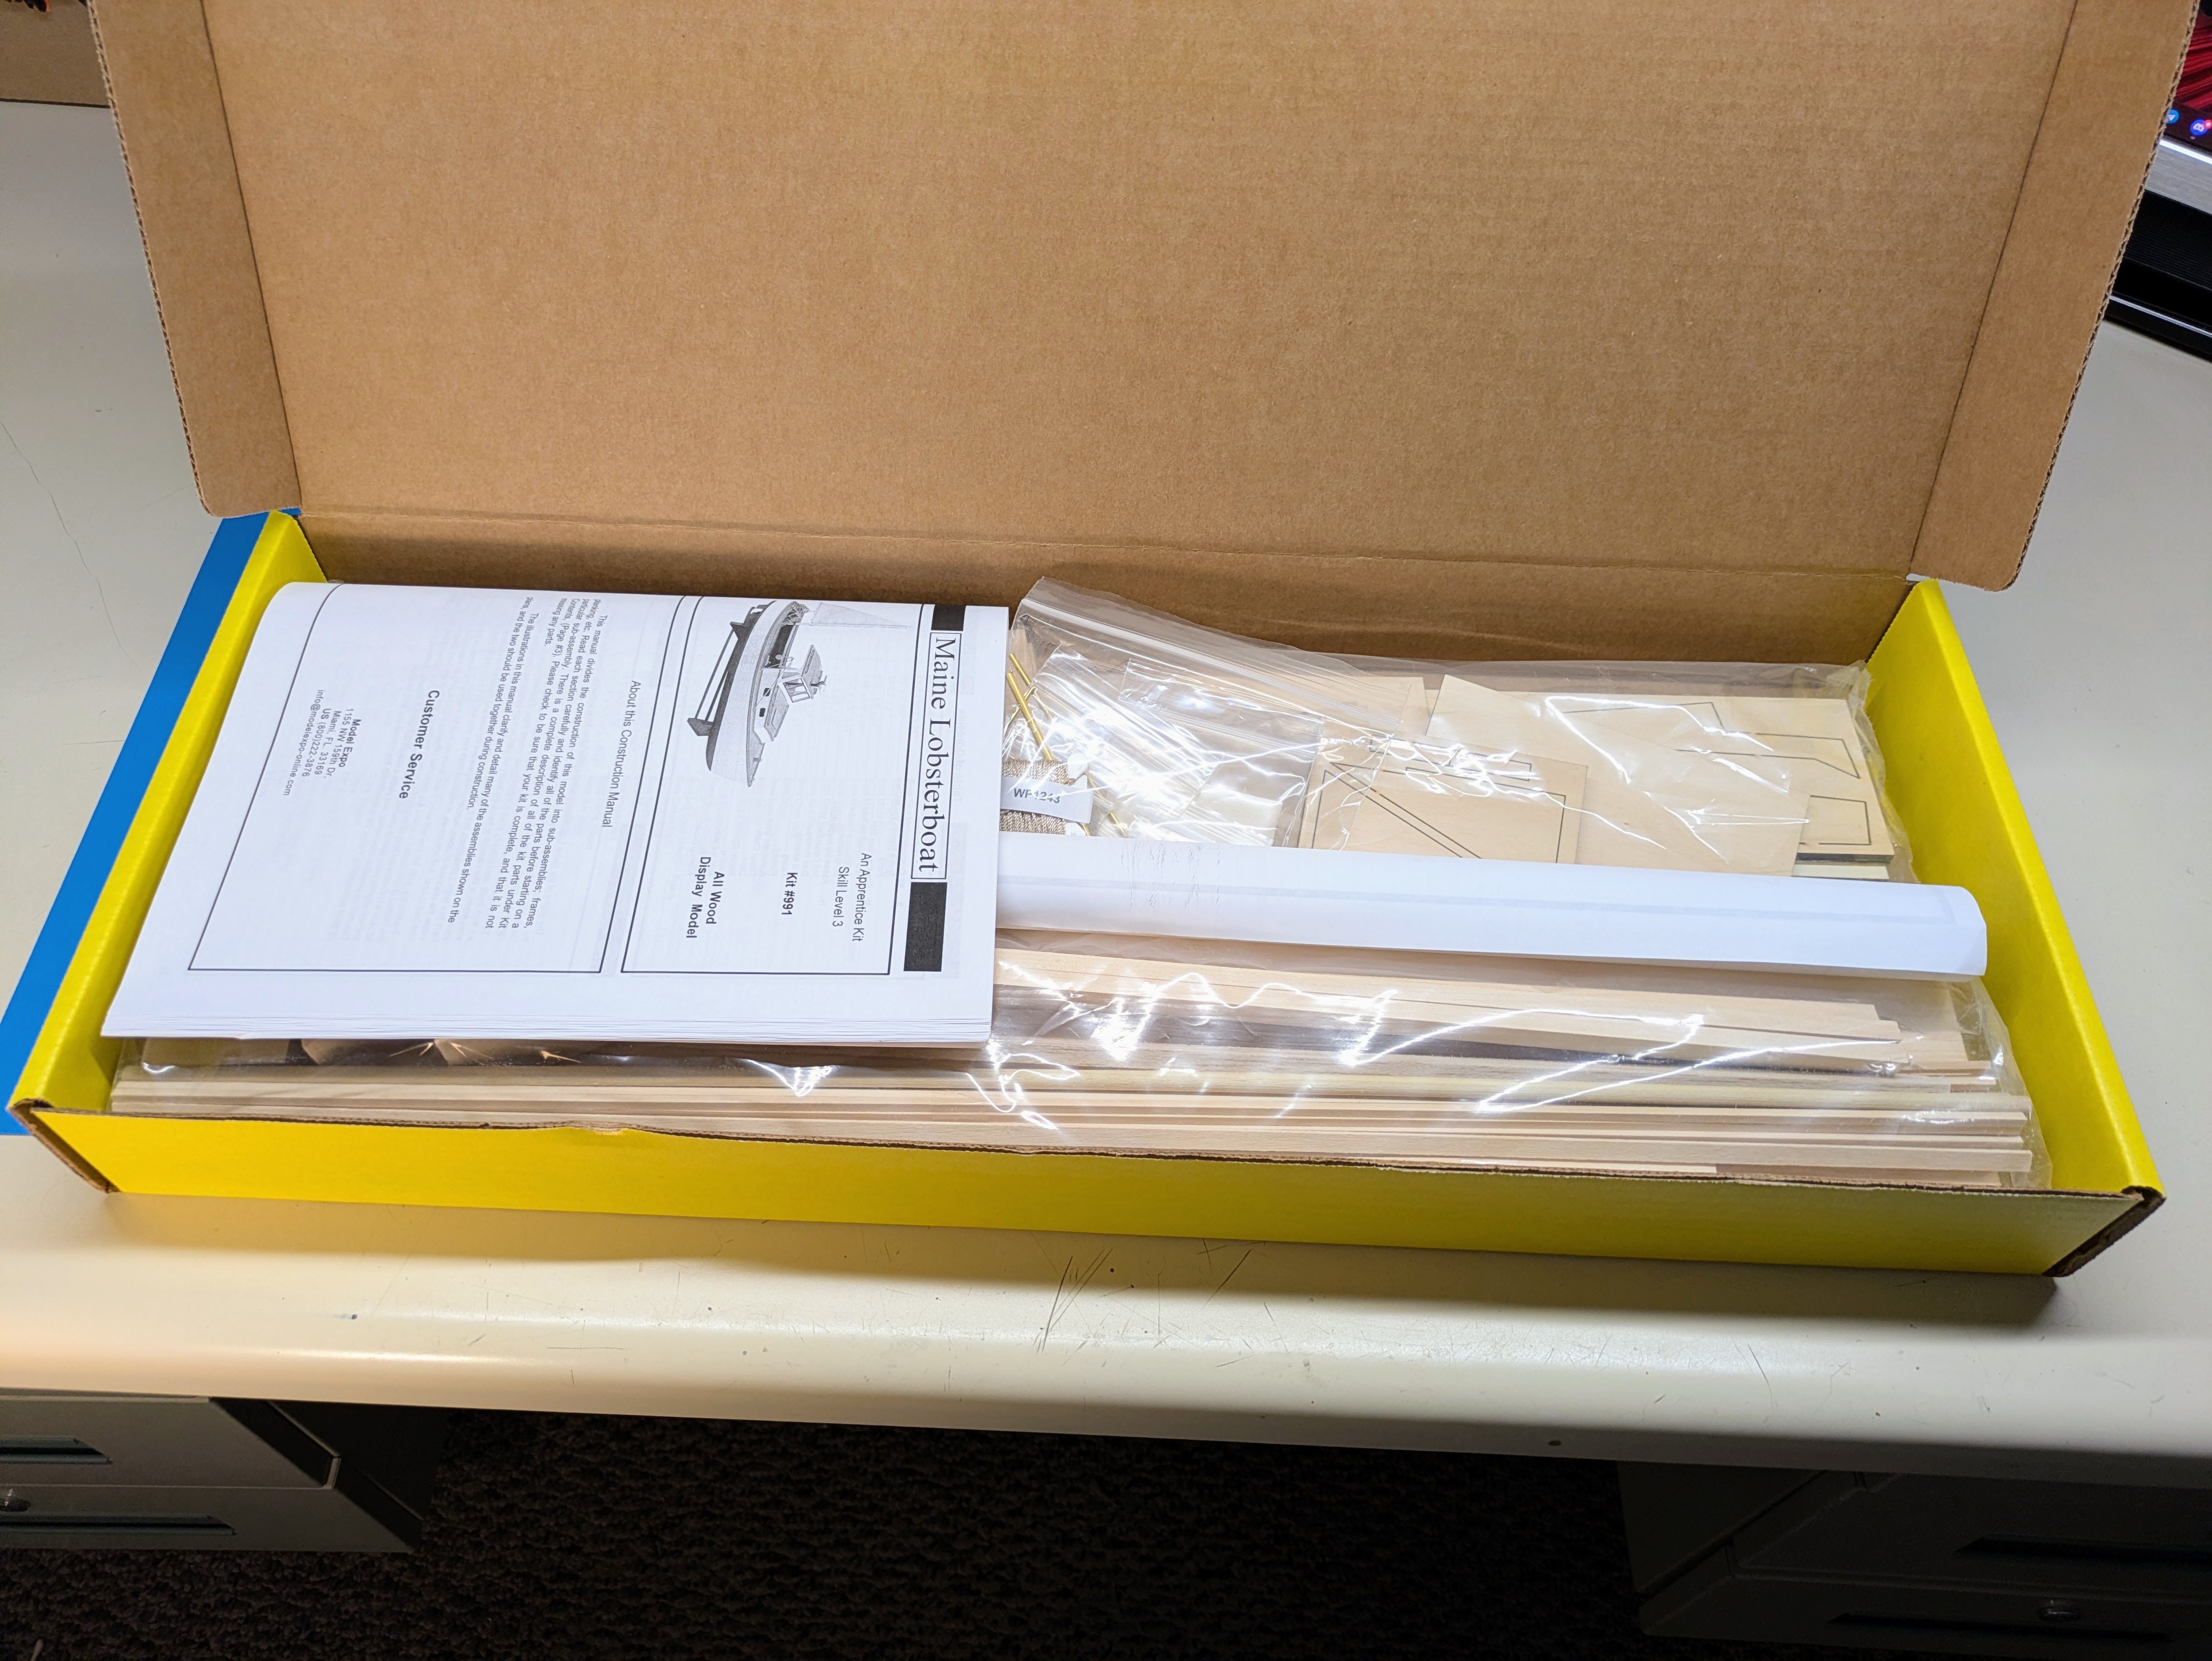
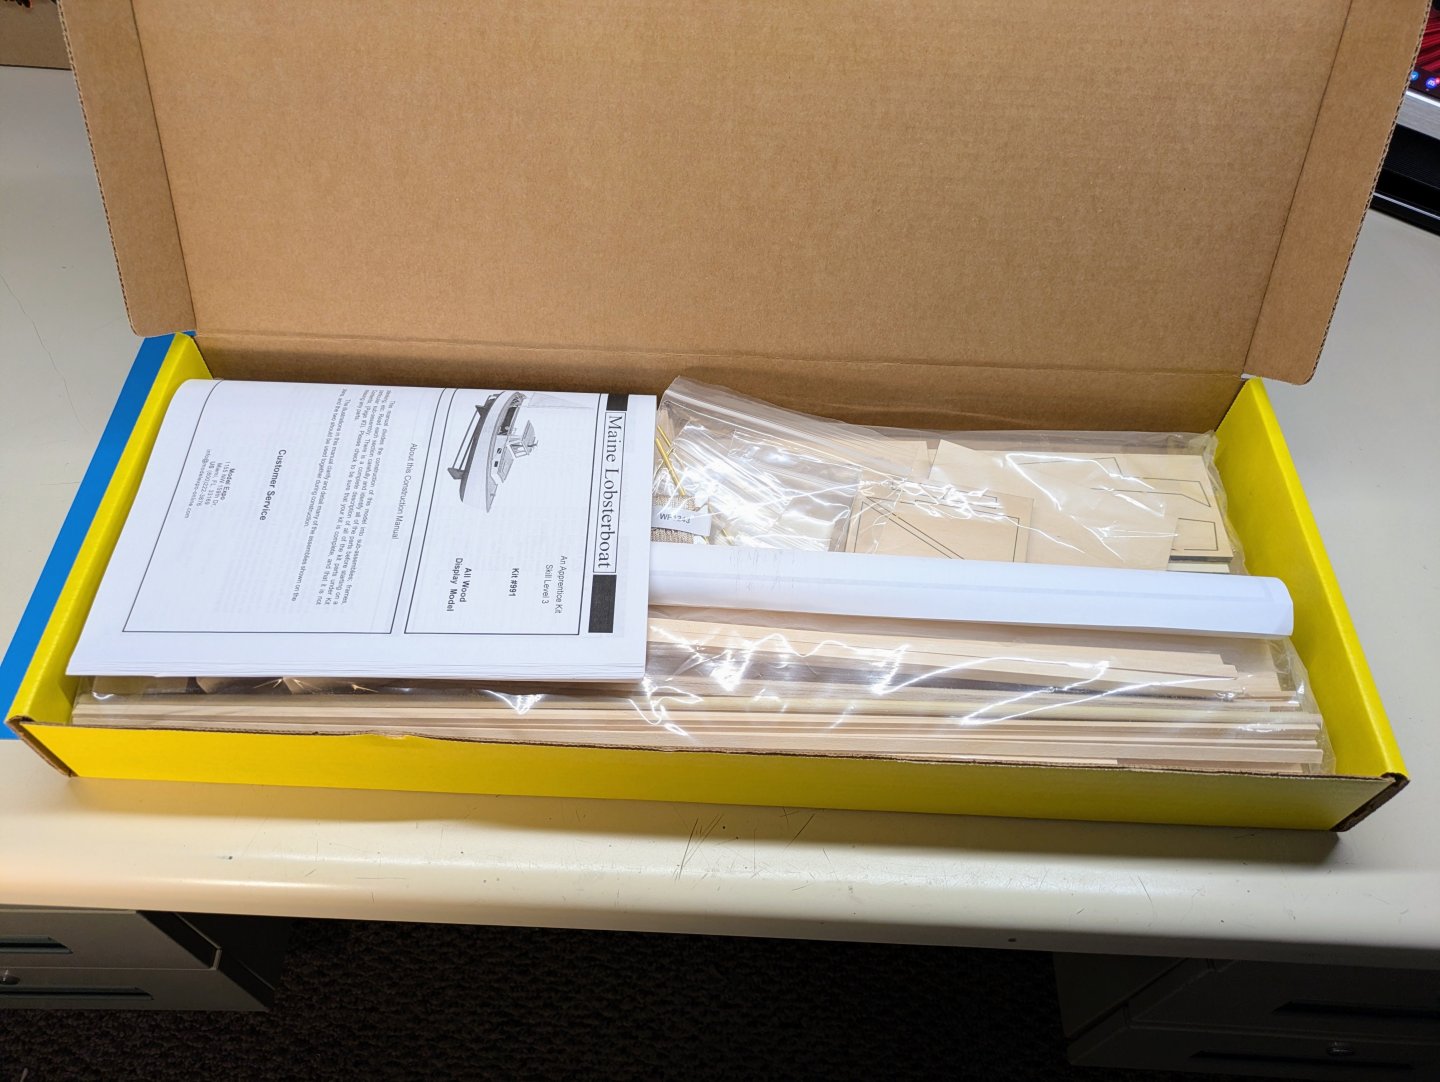
 Having grown up on the east coast of Canada, lobster boats are common to me and the livelihood of so many fishermen. Have cracked the box and am studying the manual closely, researching various boats, looking for other build logs and will be starting the build shortly. Just a reminder to those who might be interested, I do stream when I am building so come and hang out and chat about model building. - https://www.twitch.tv/bartbandy
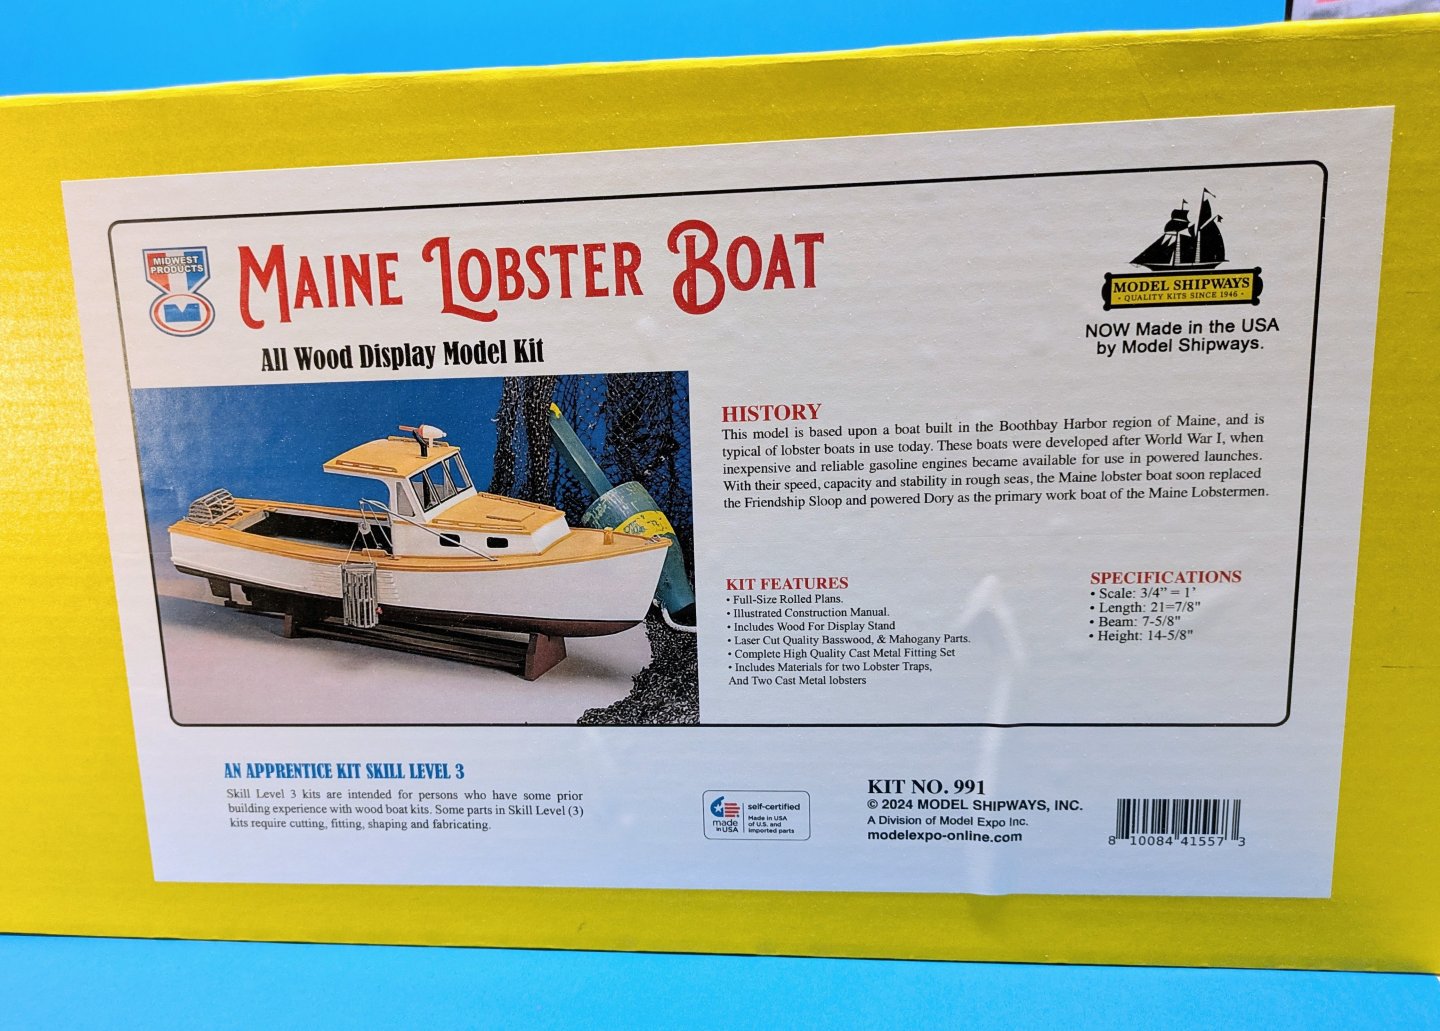

-
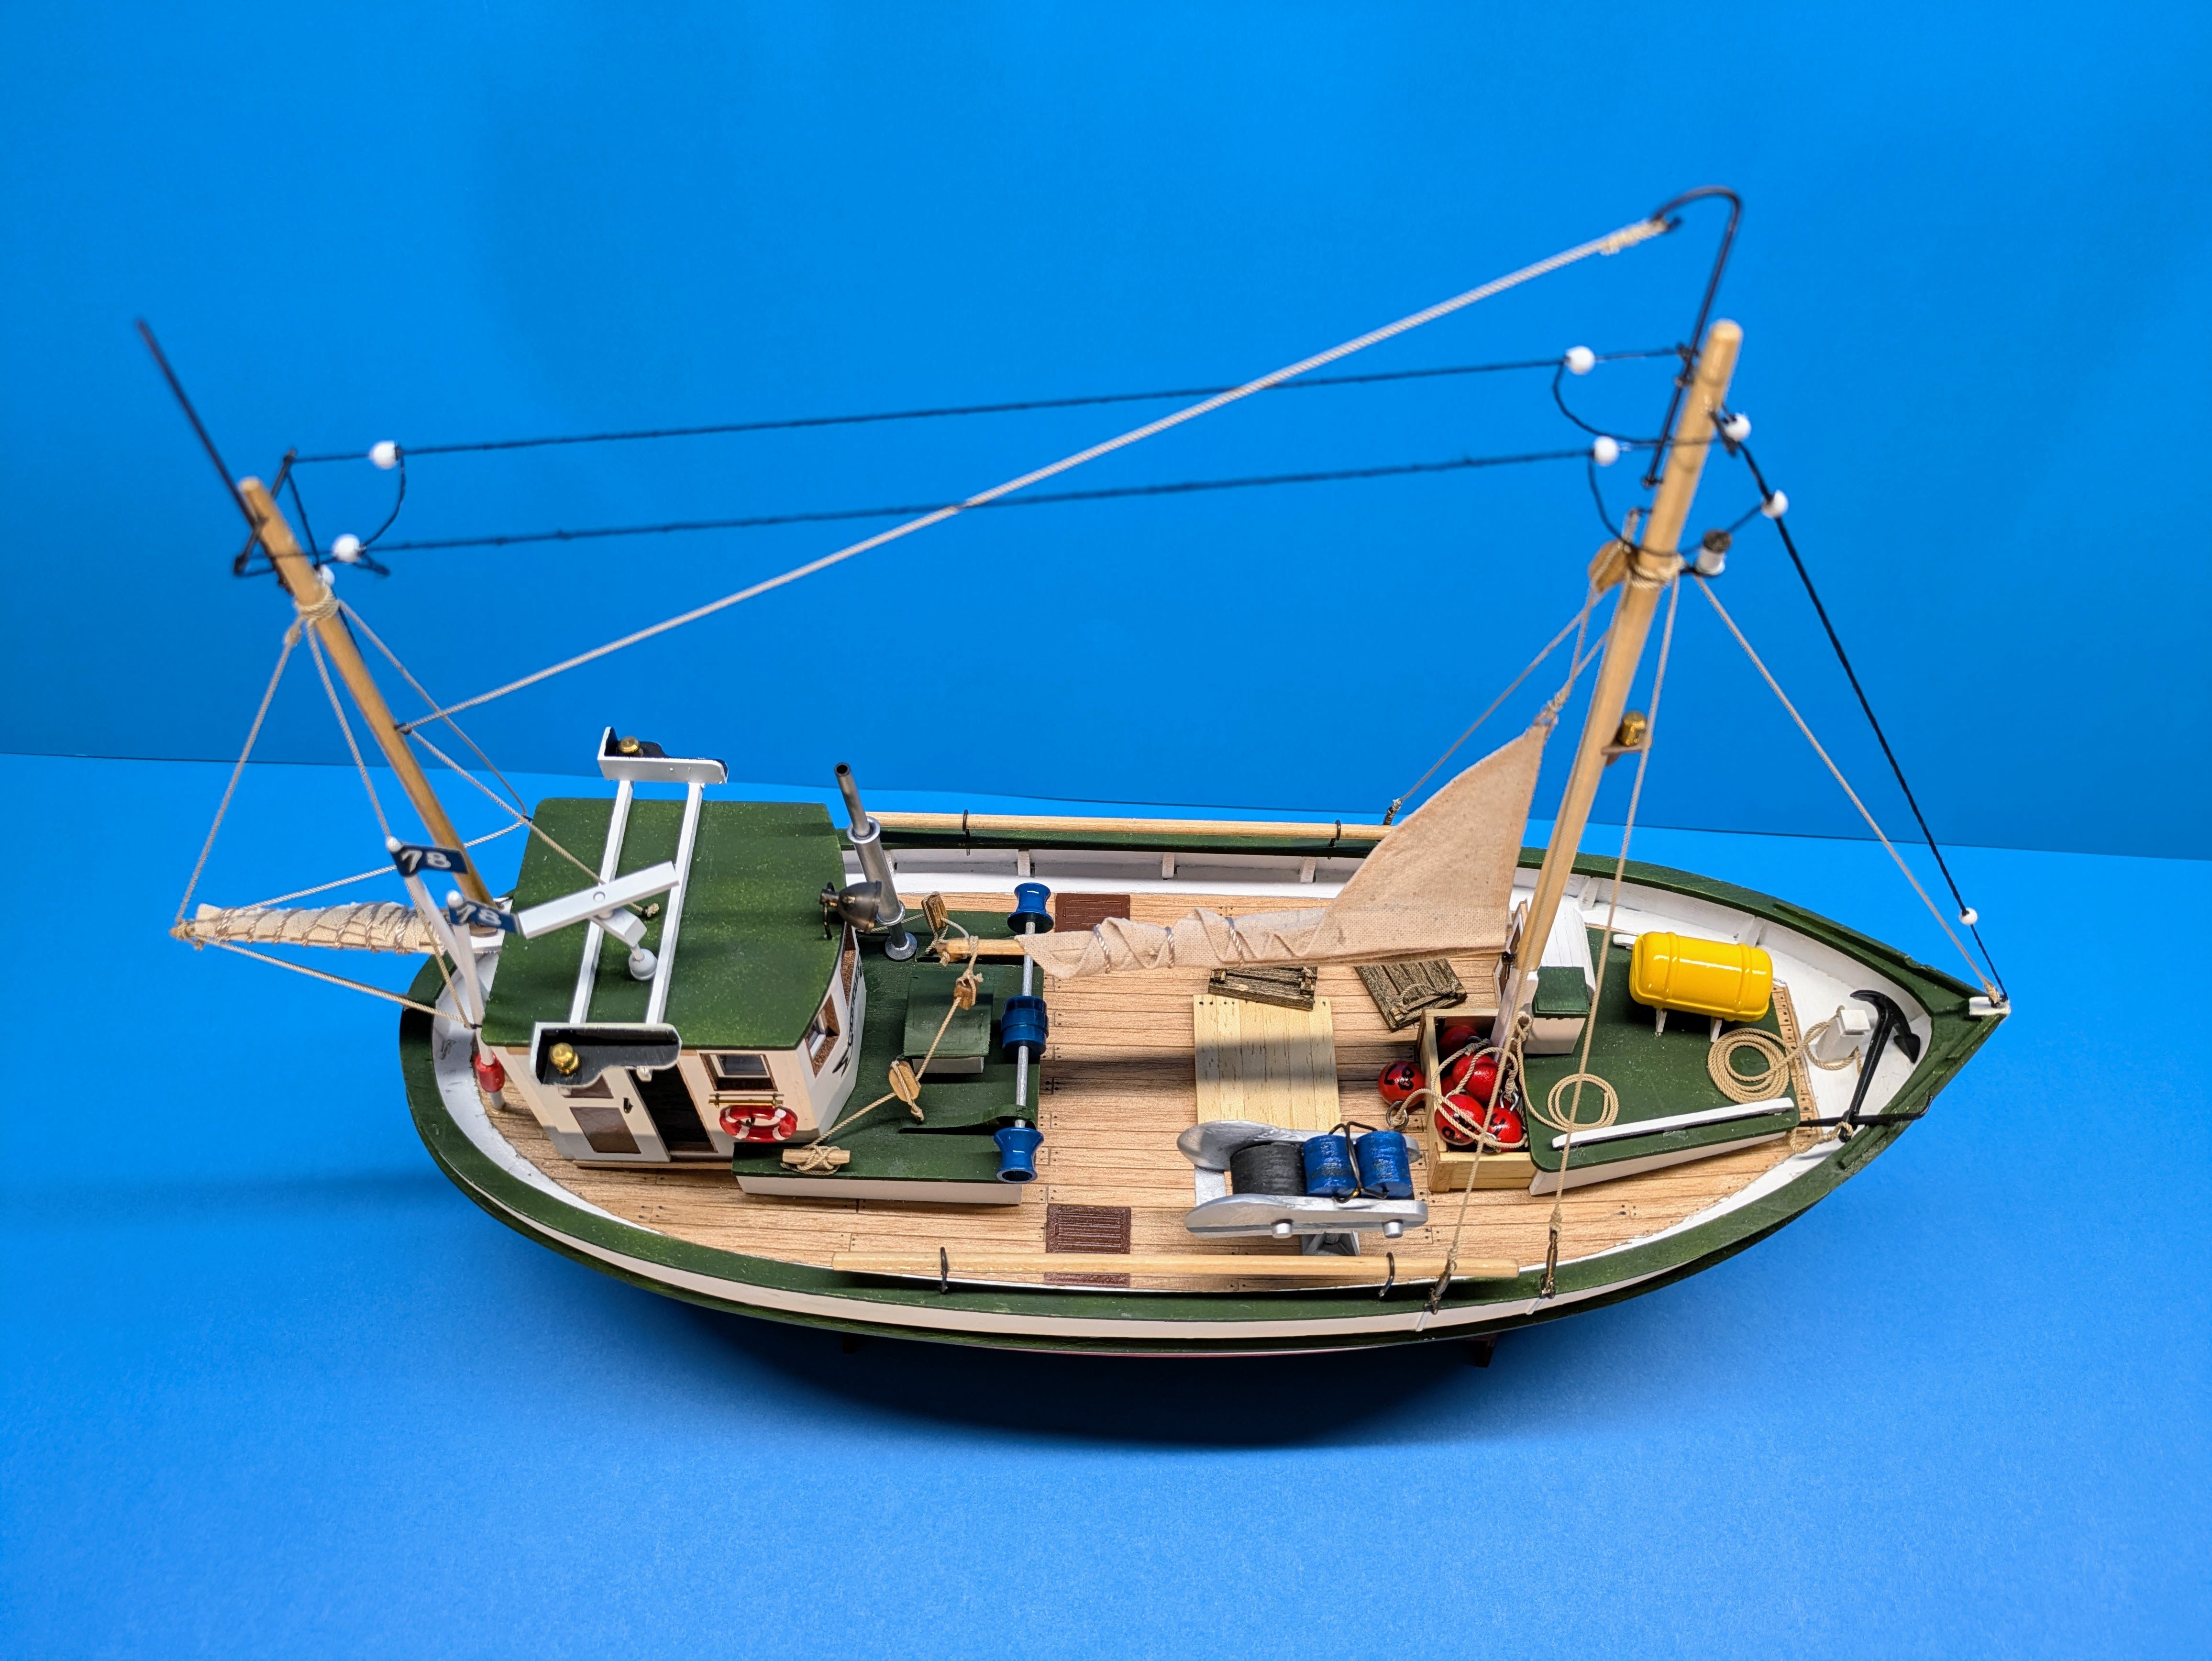
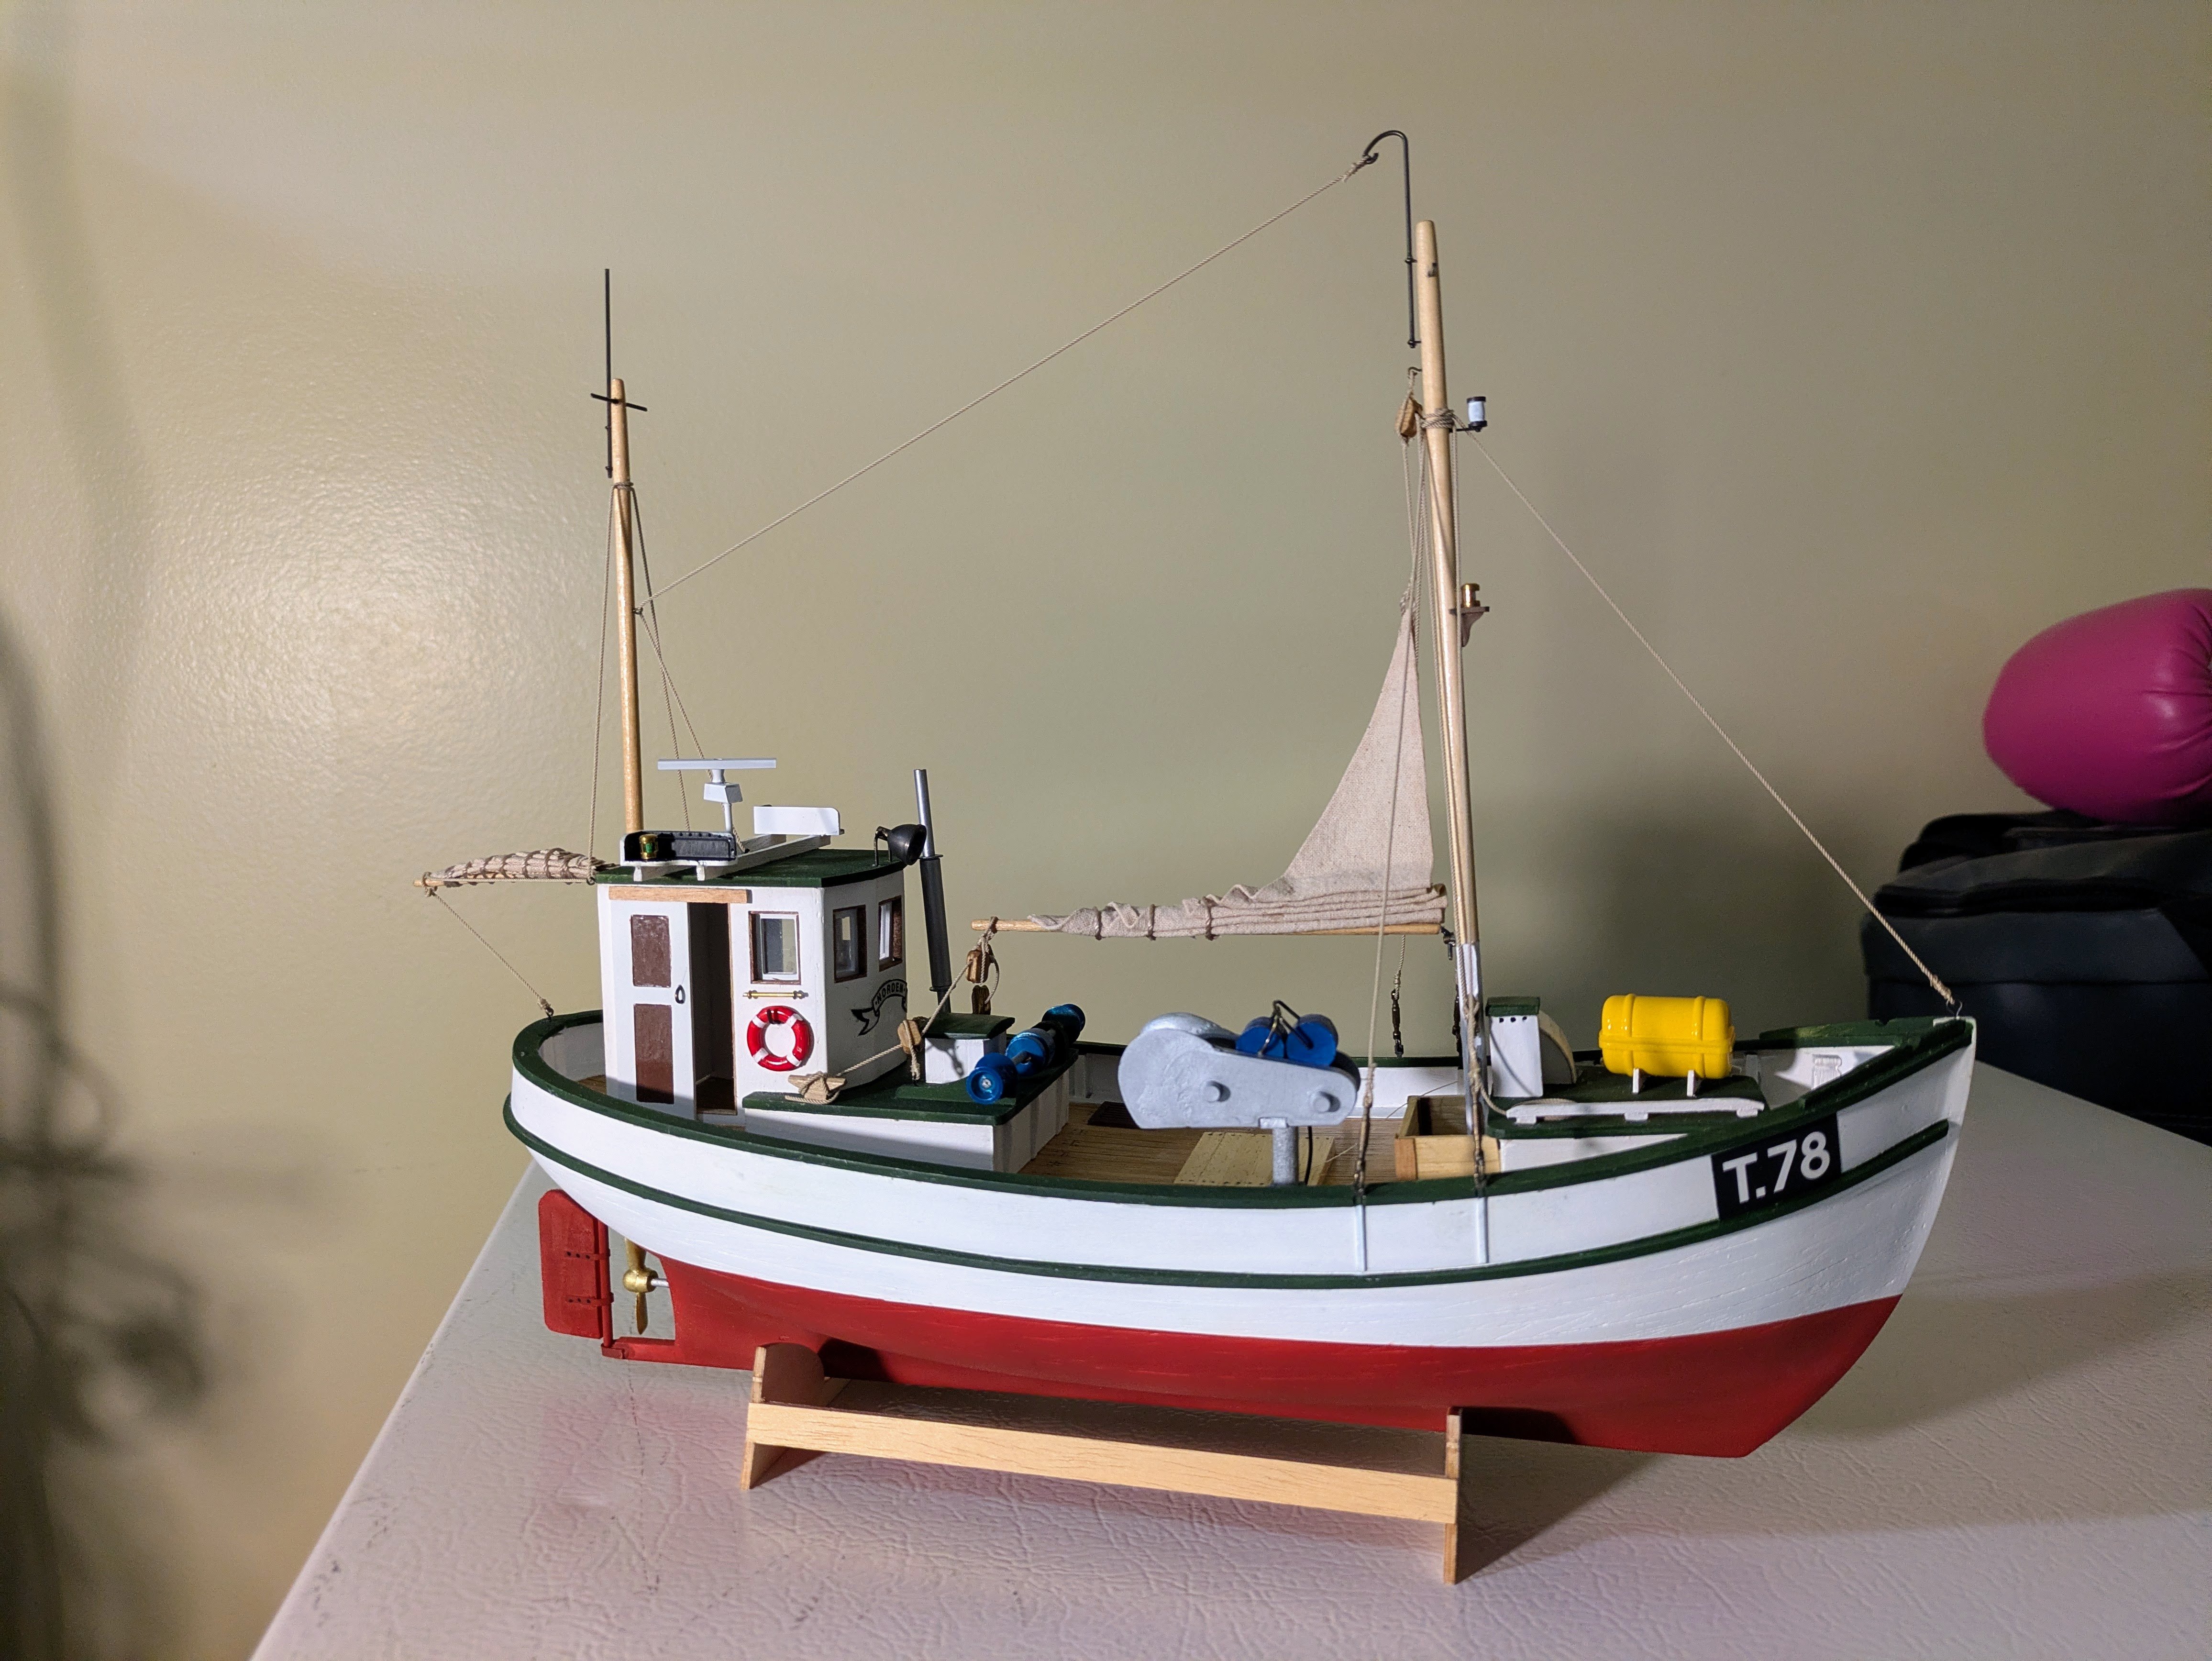
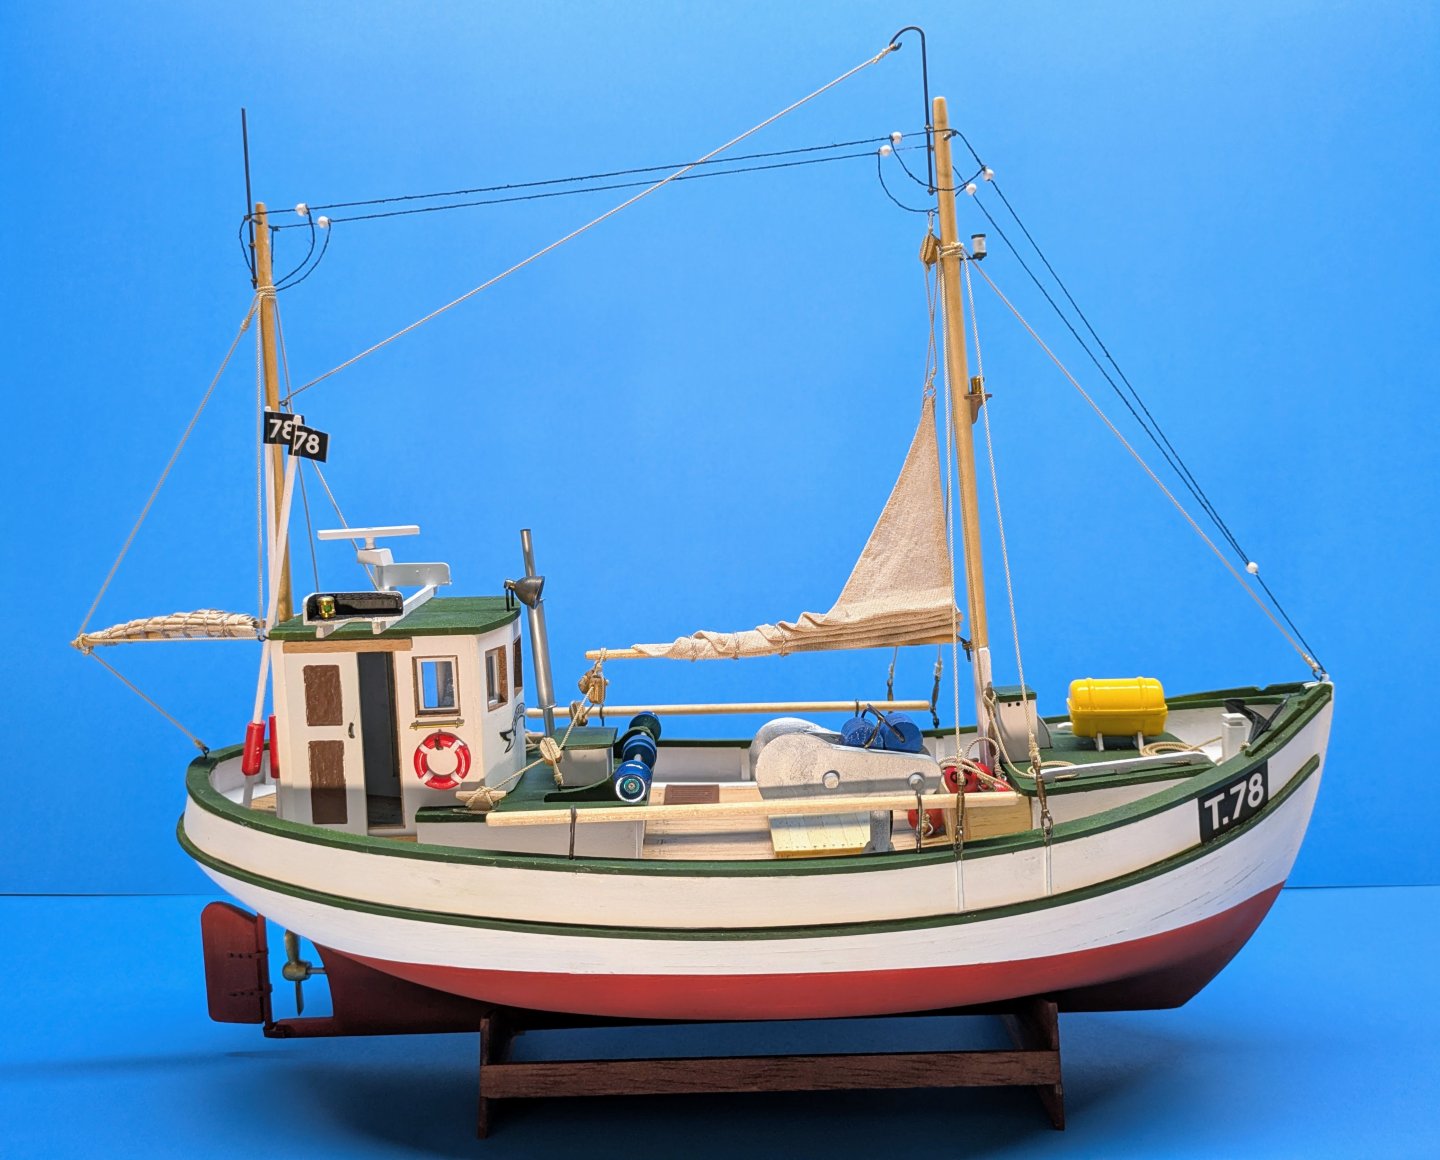
and completed!


-
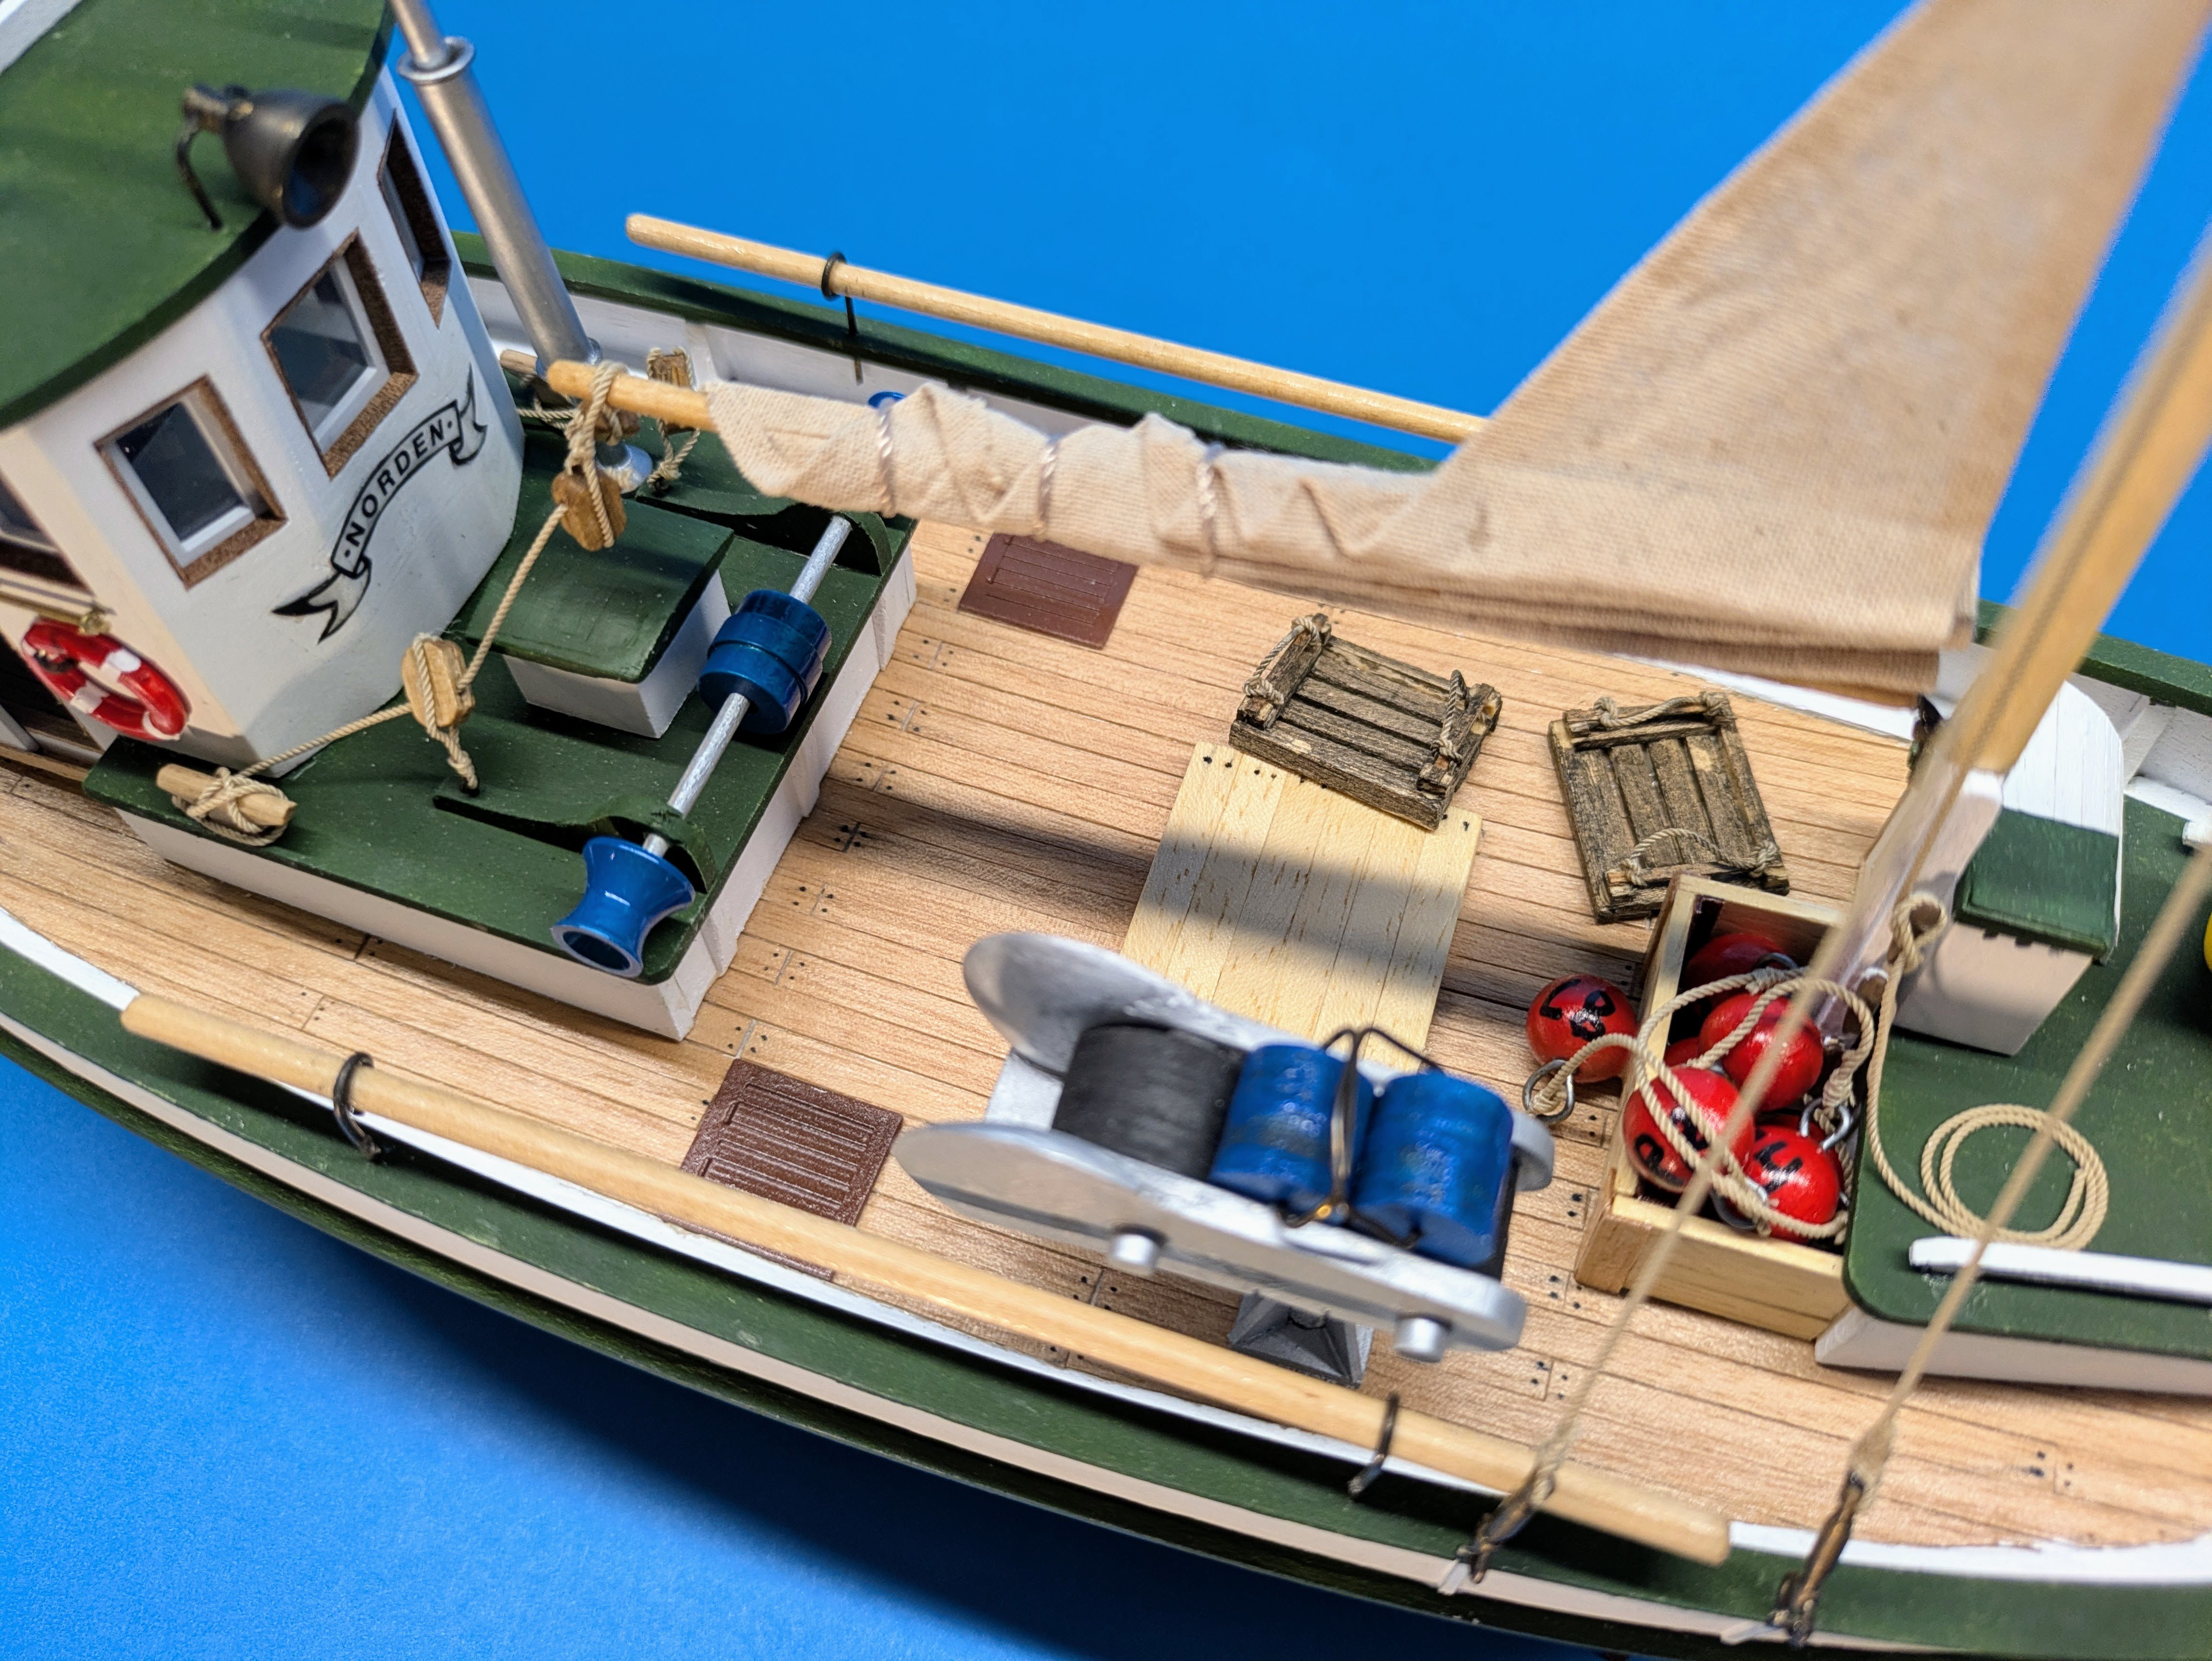
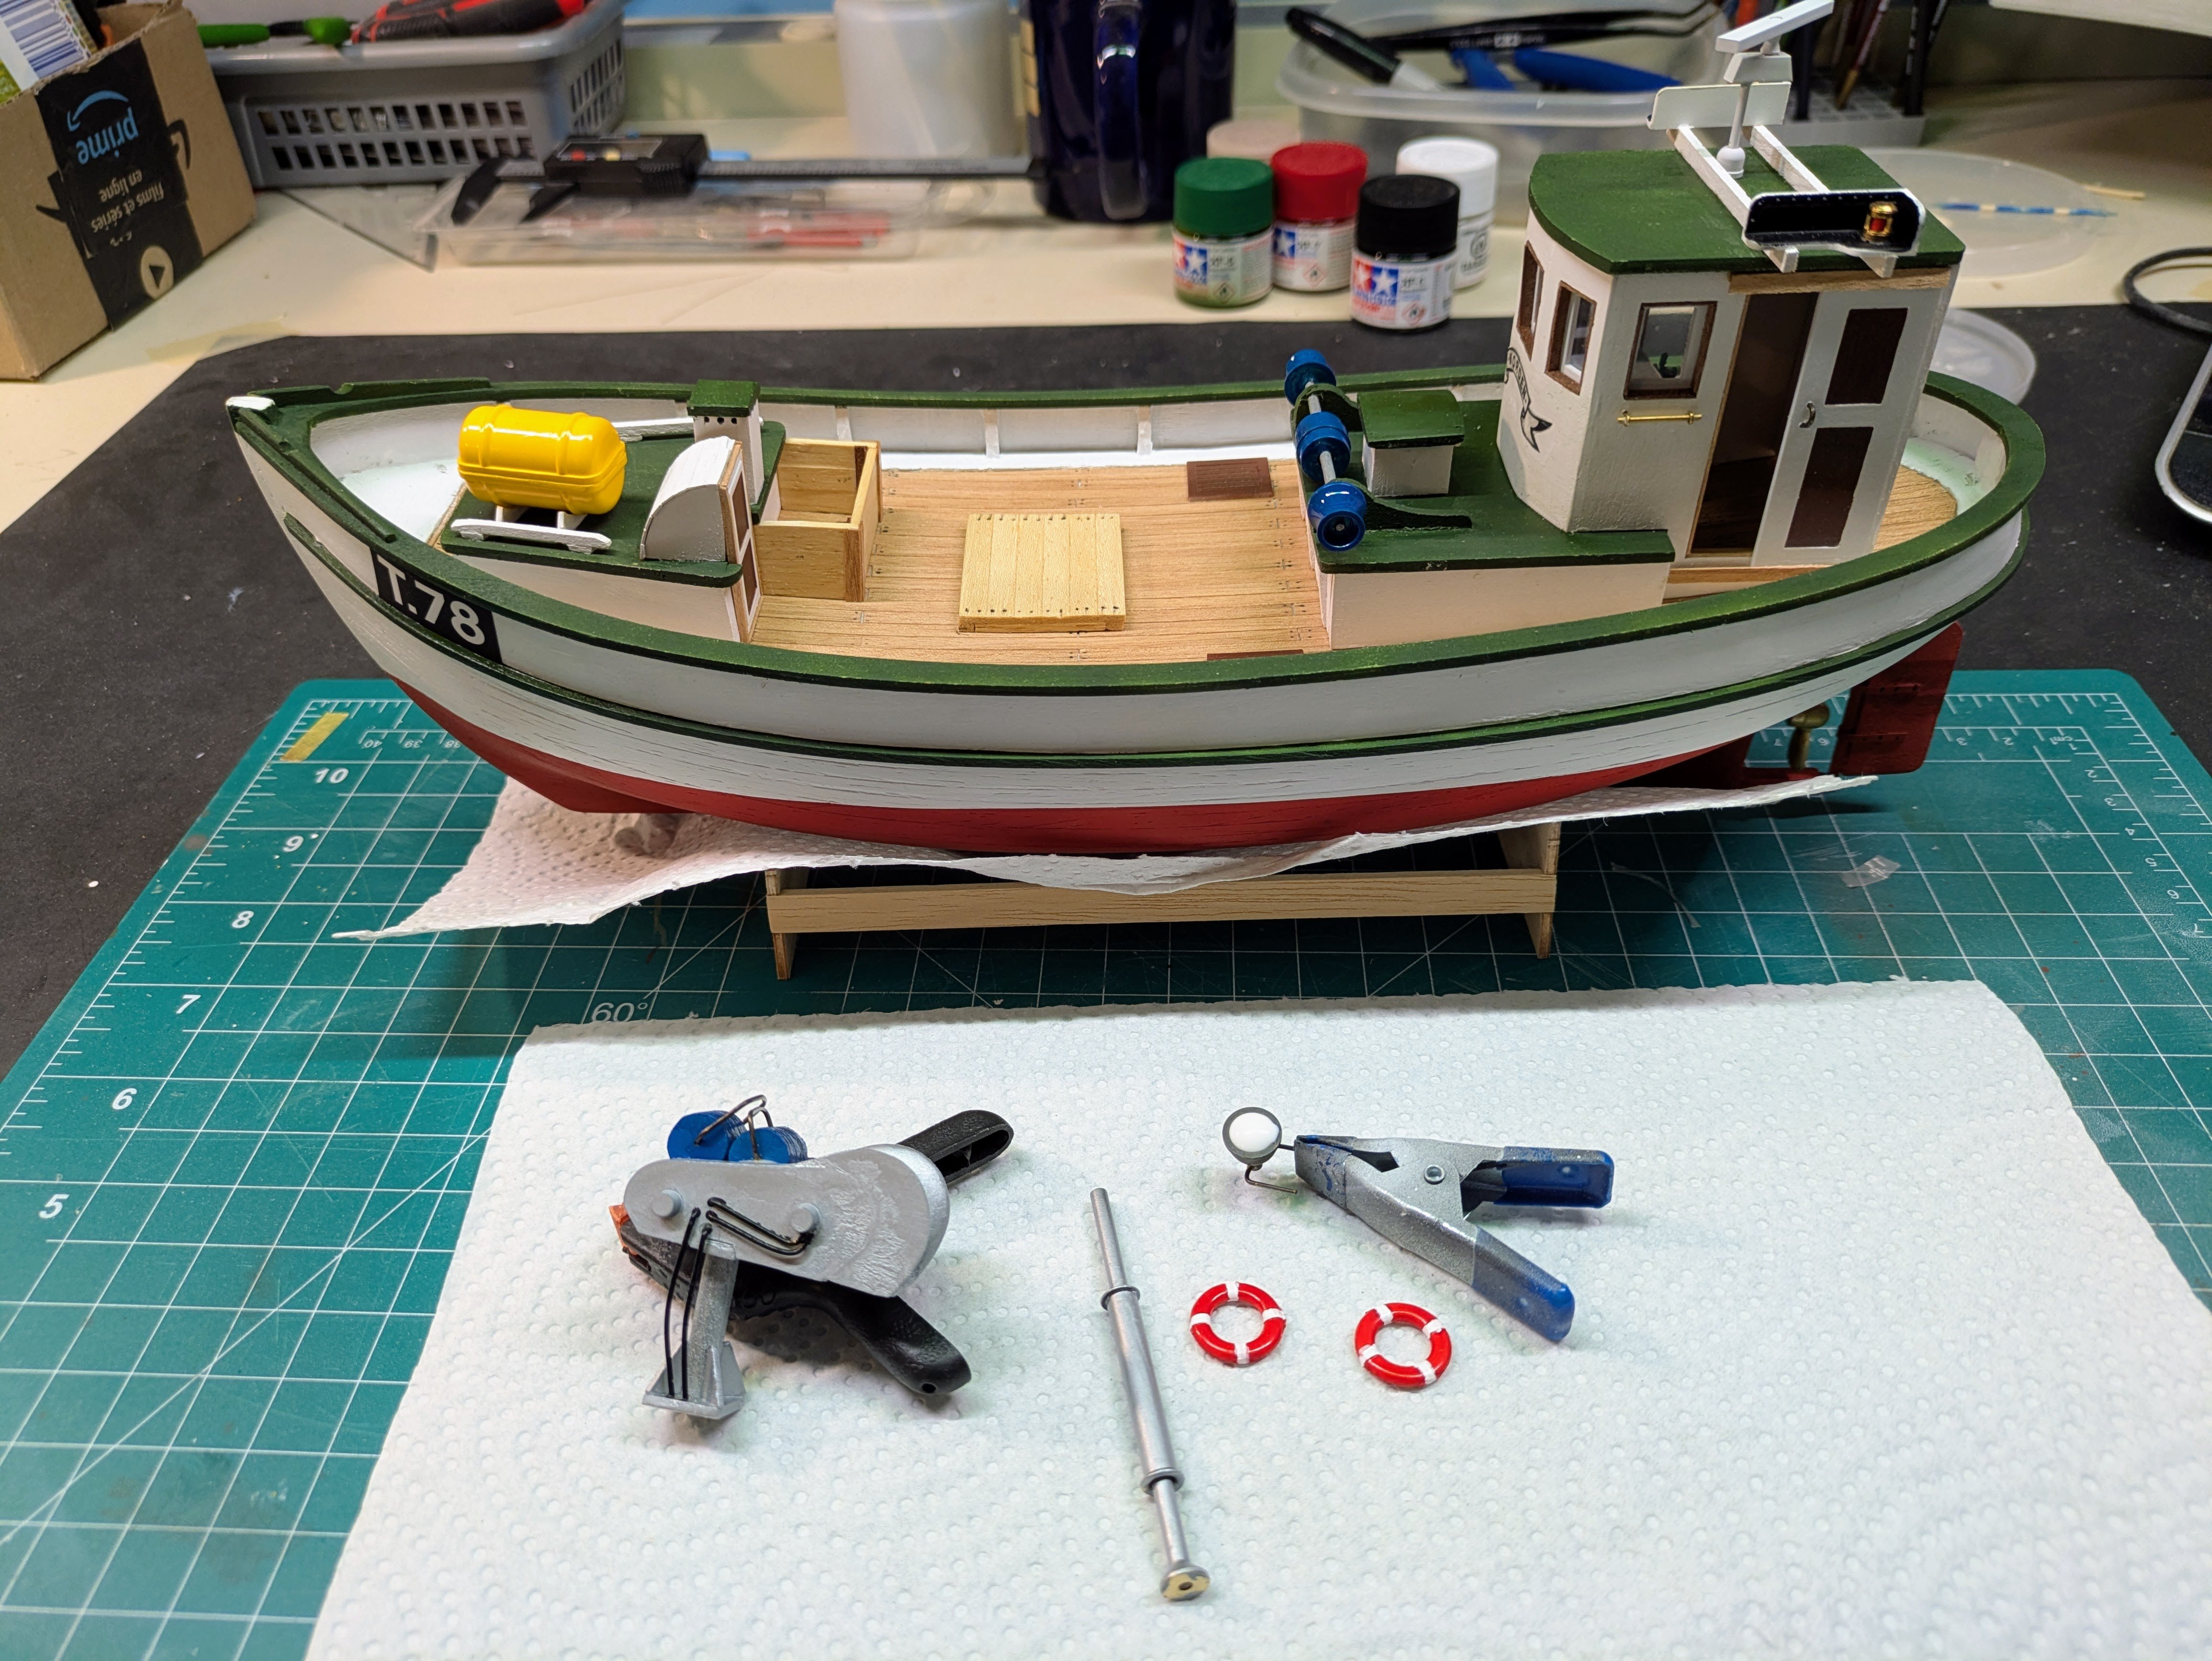
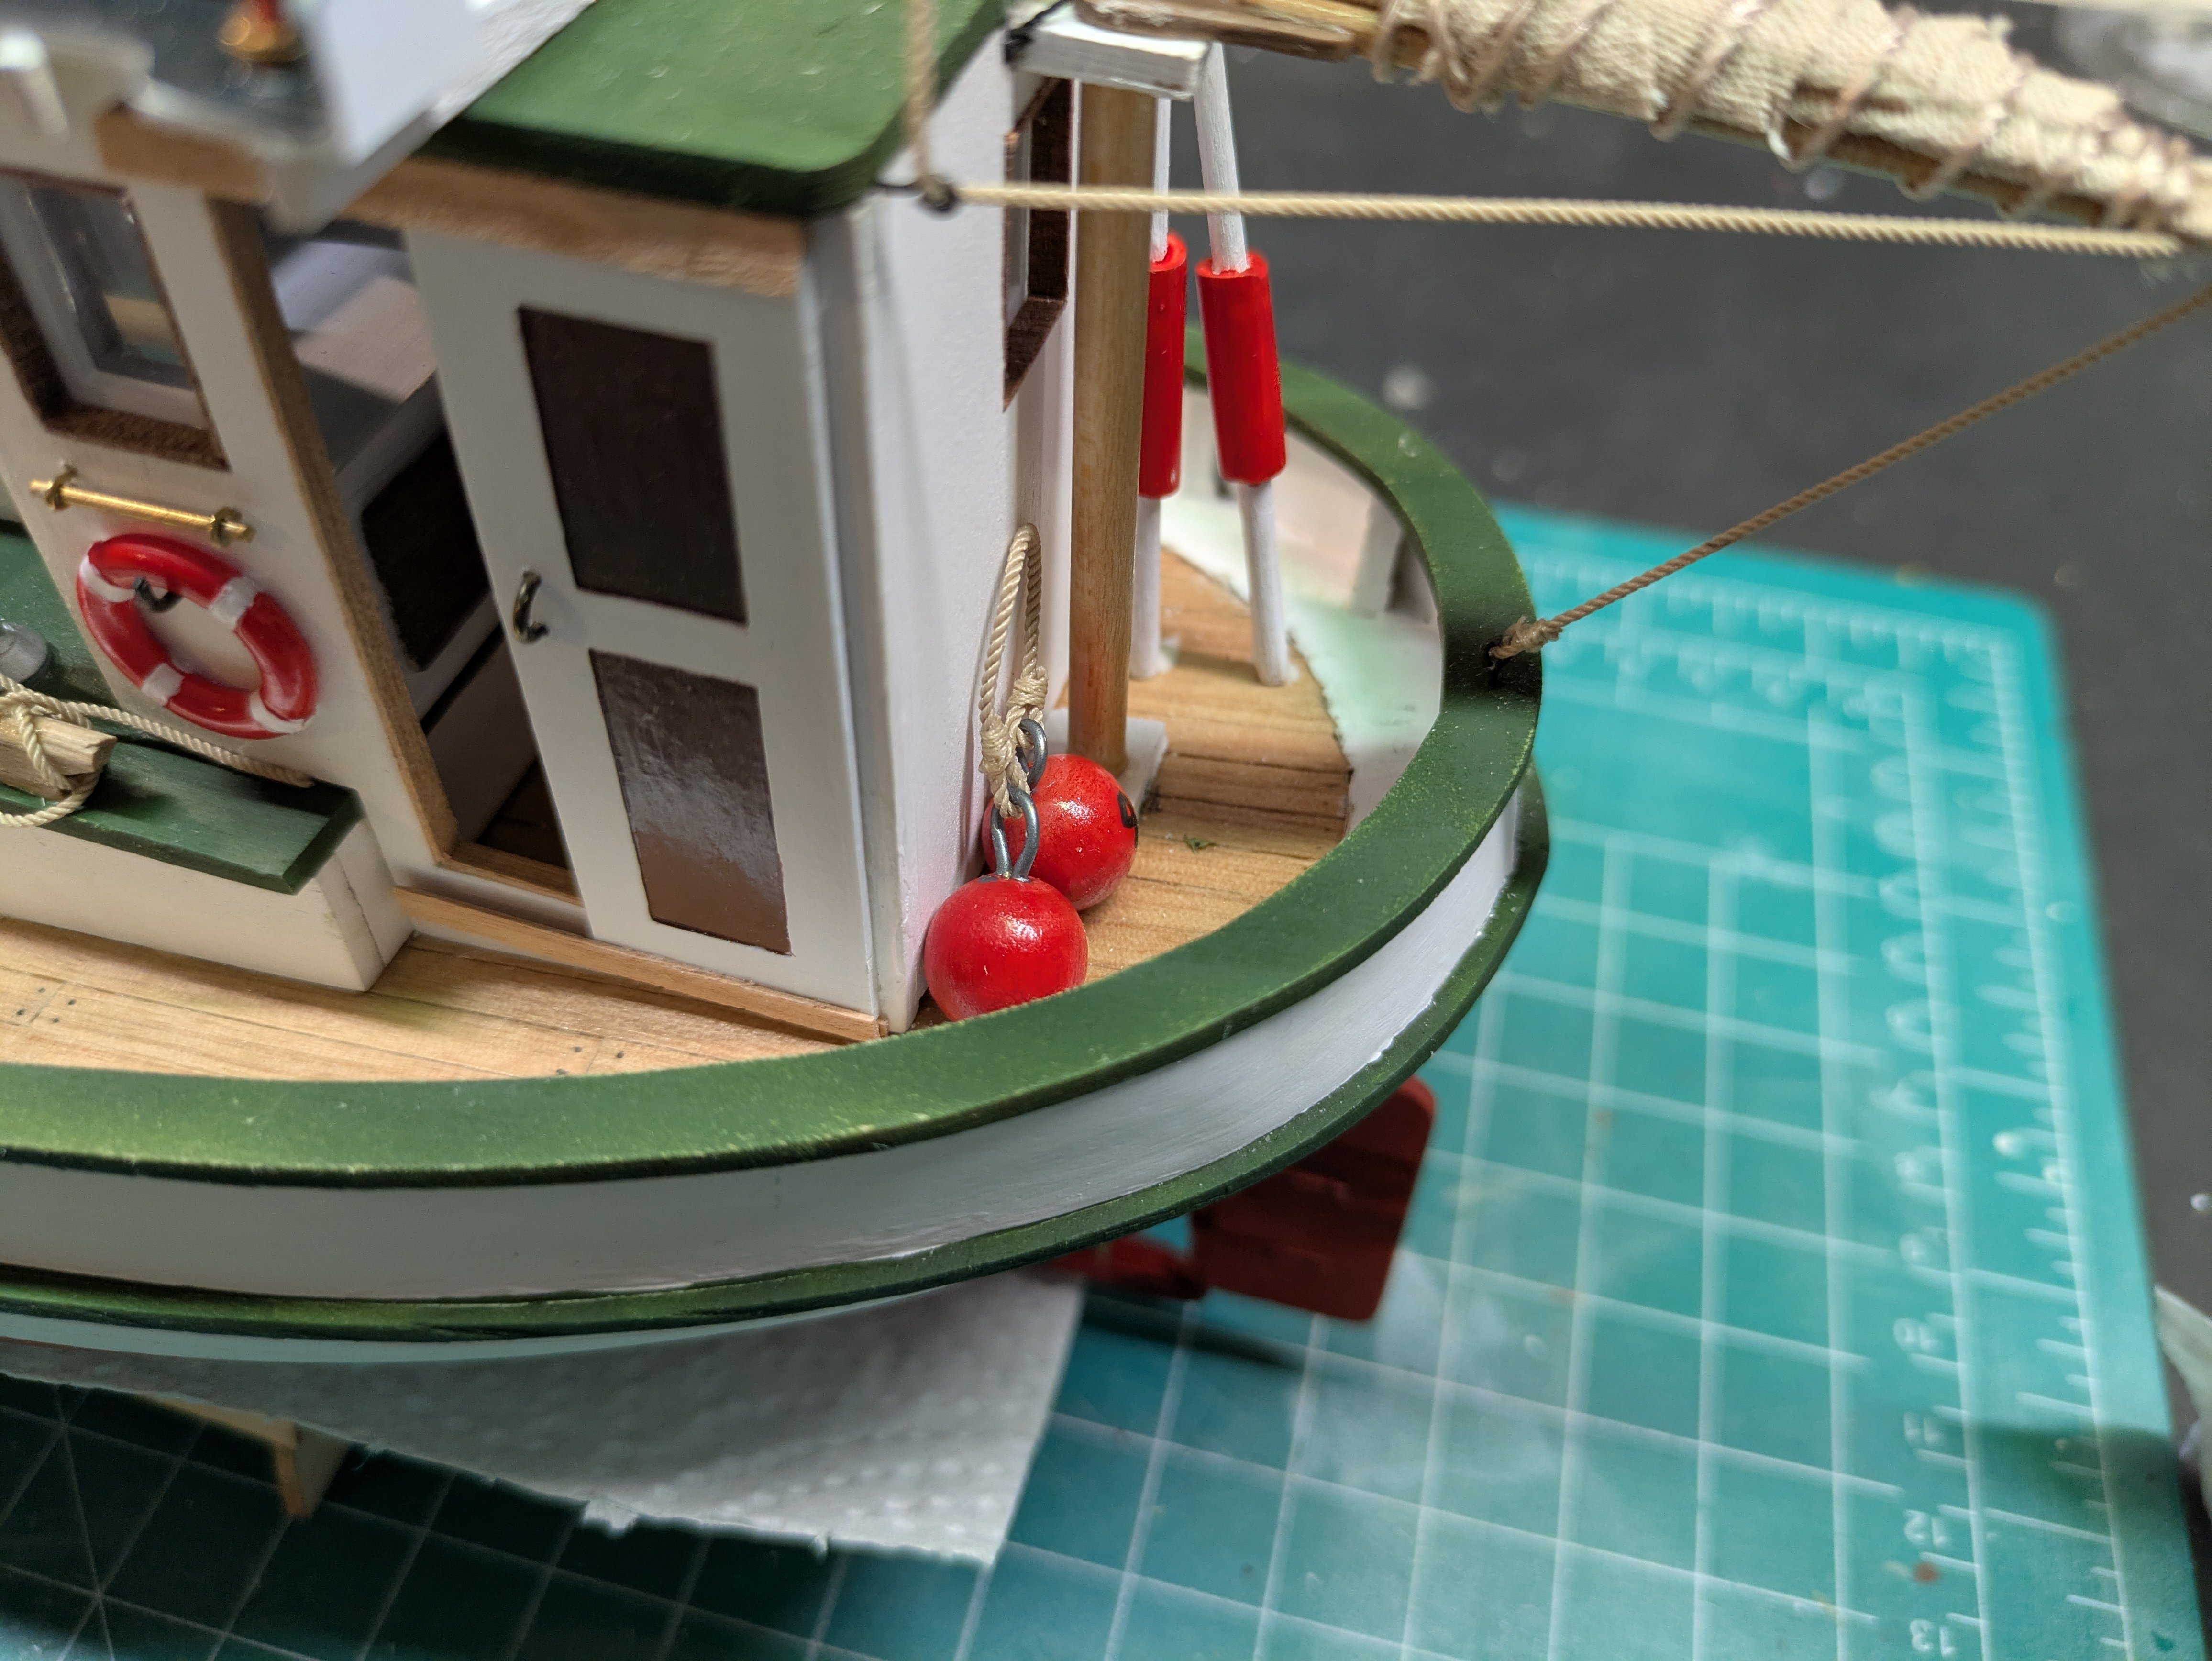
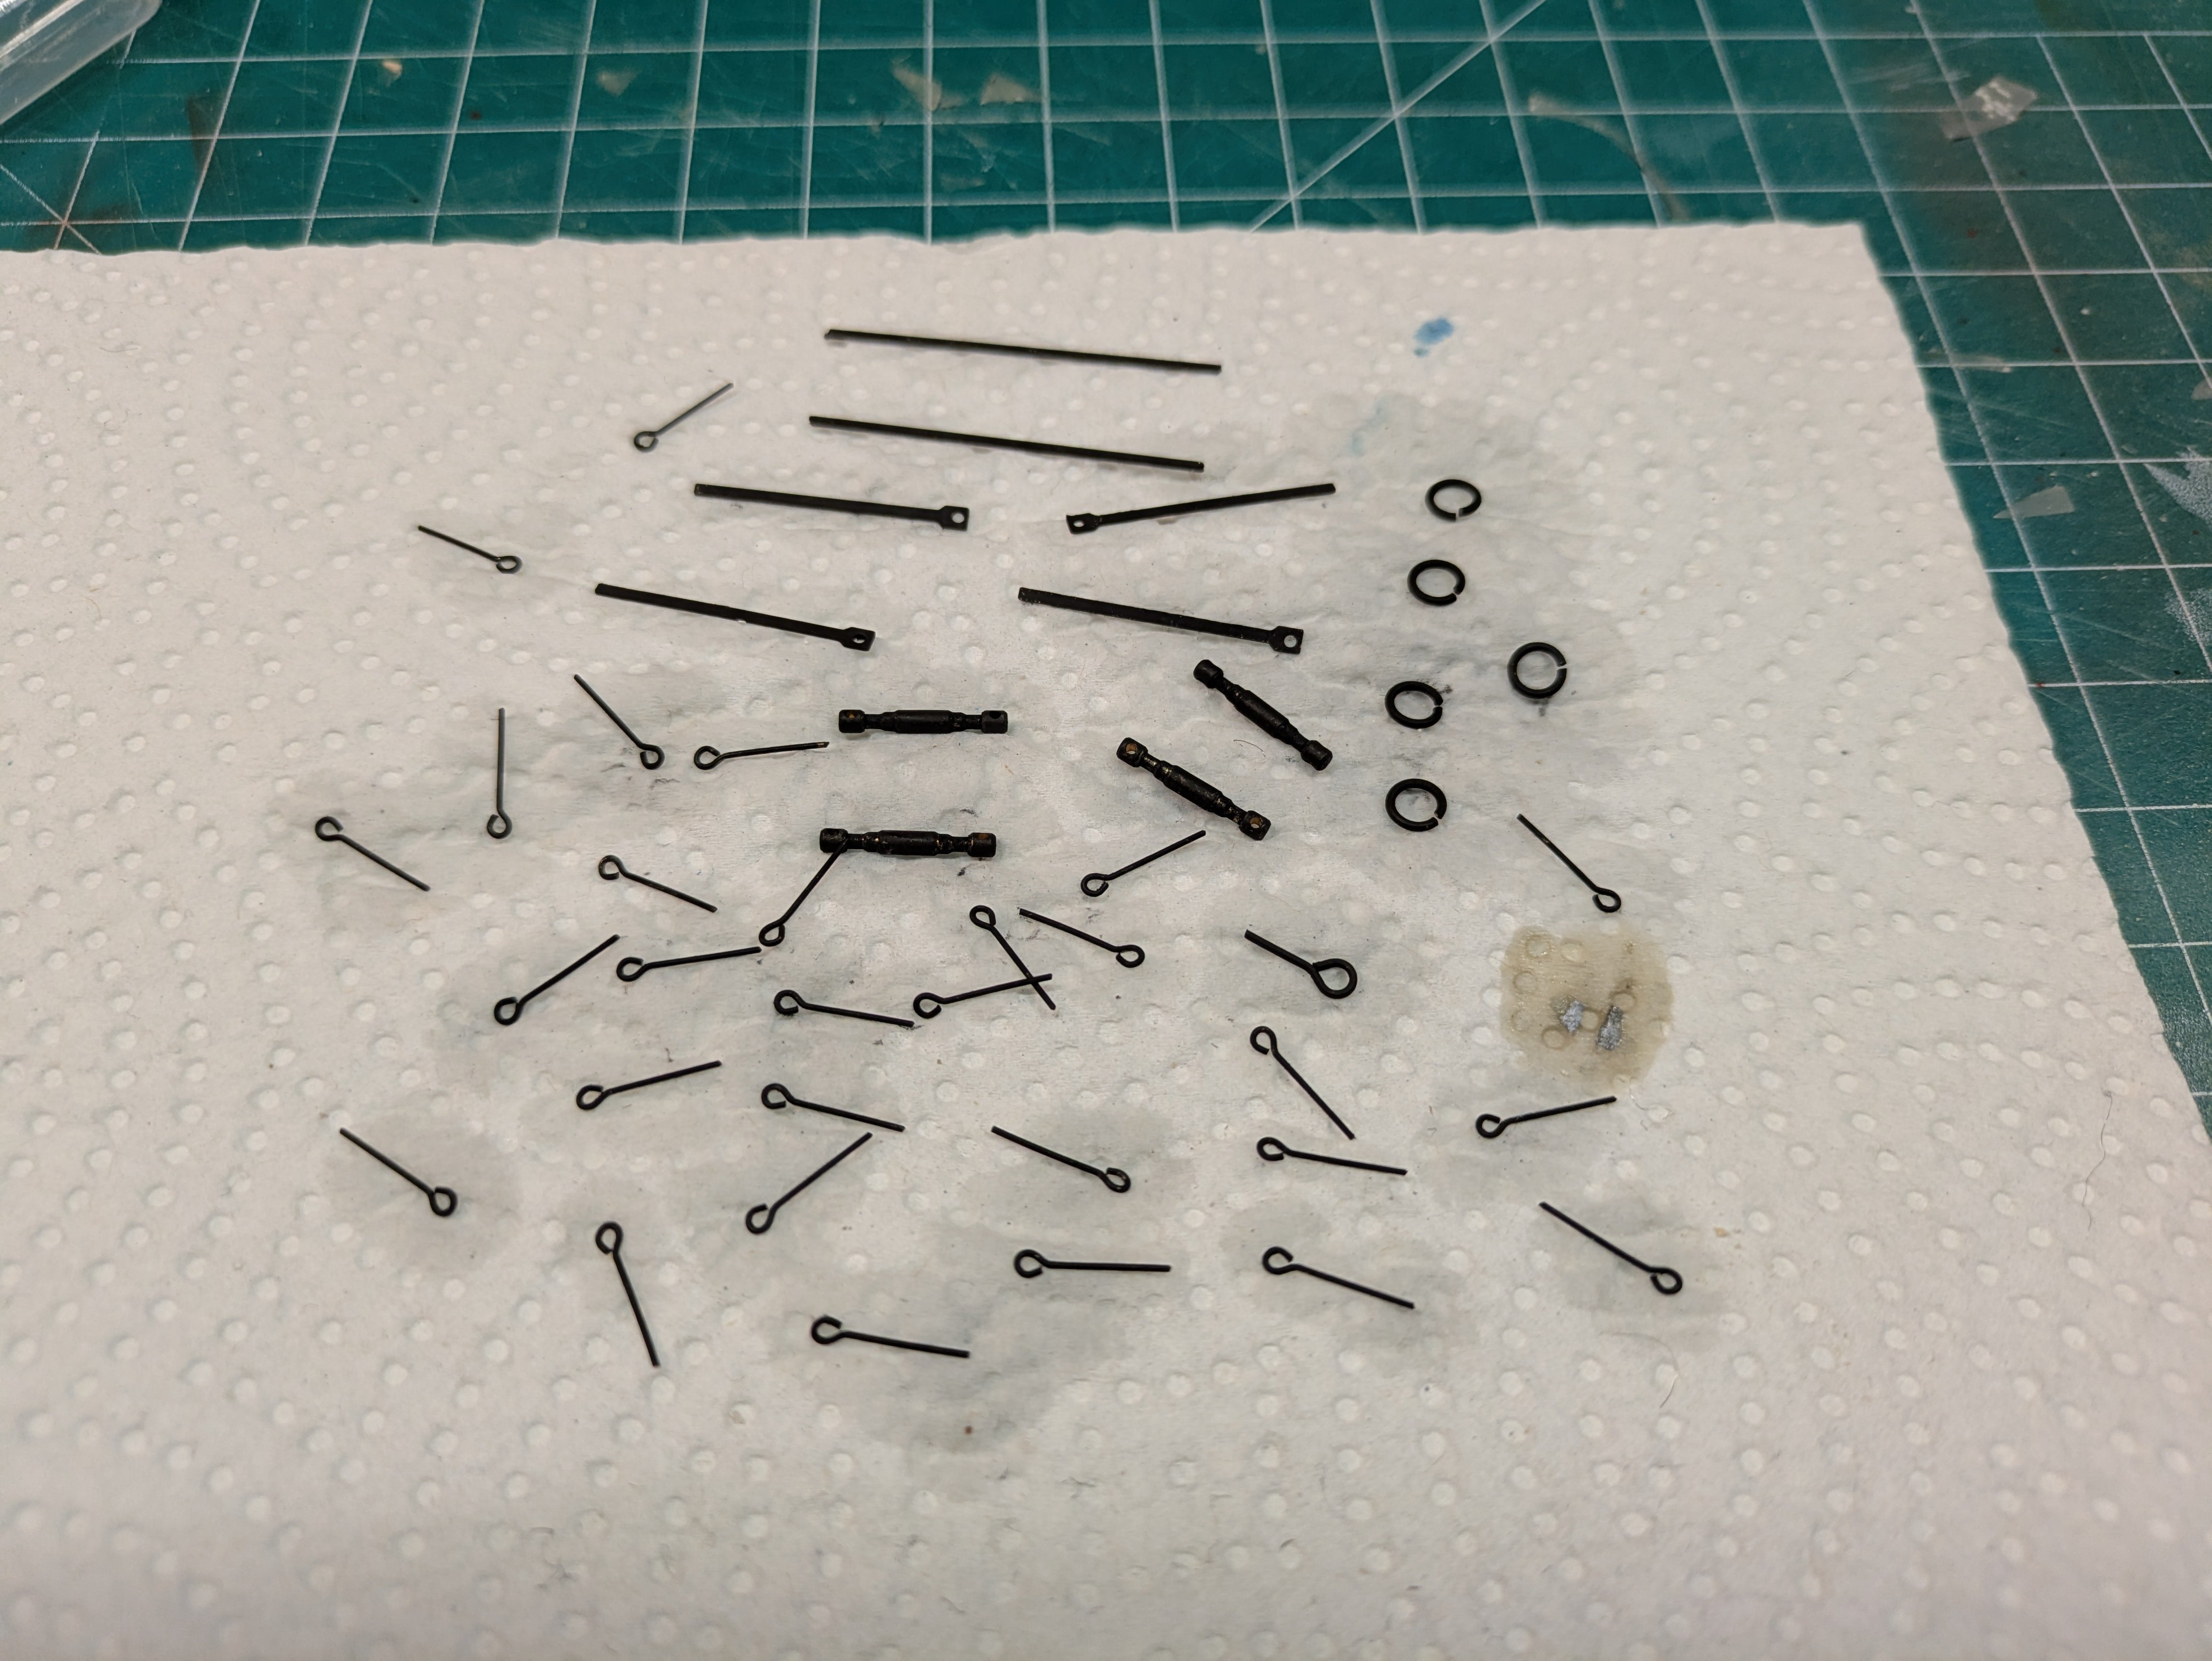
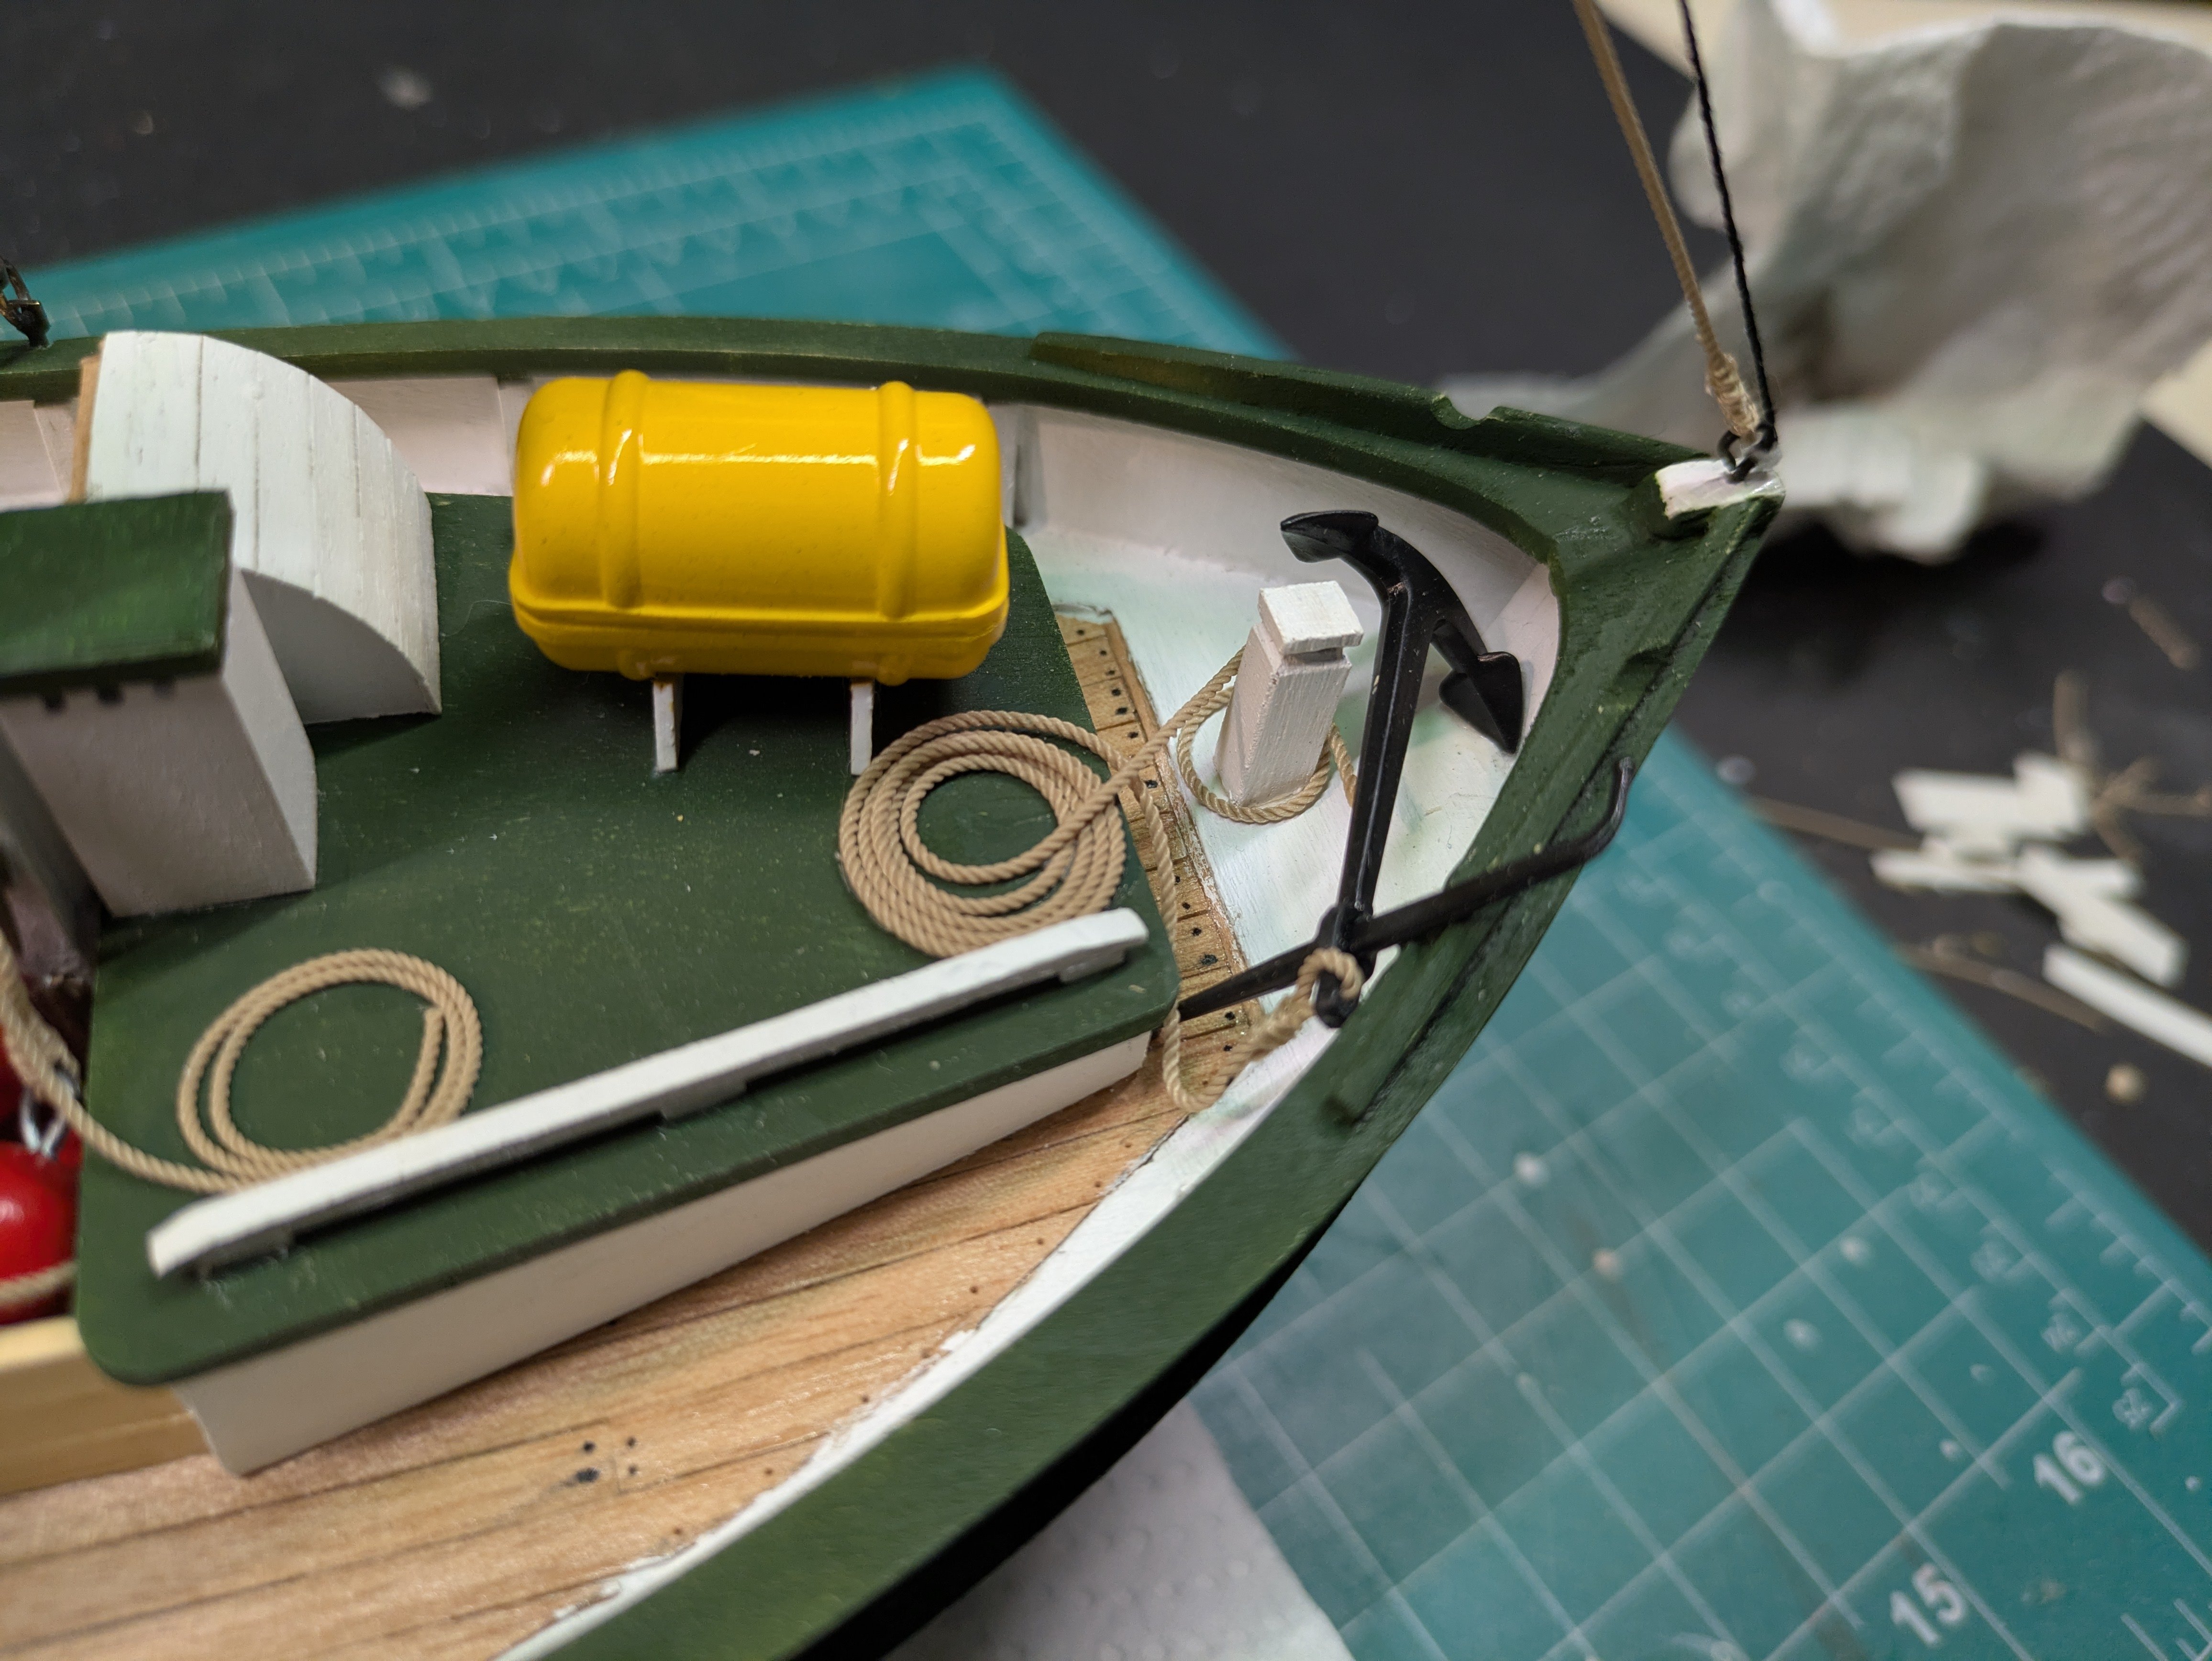
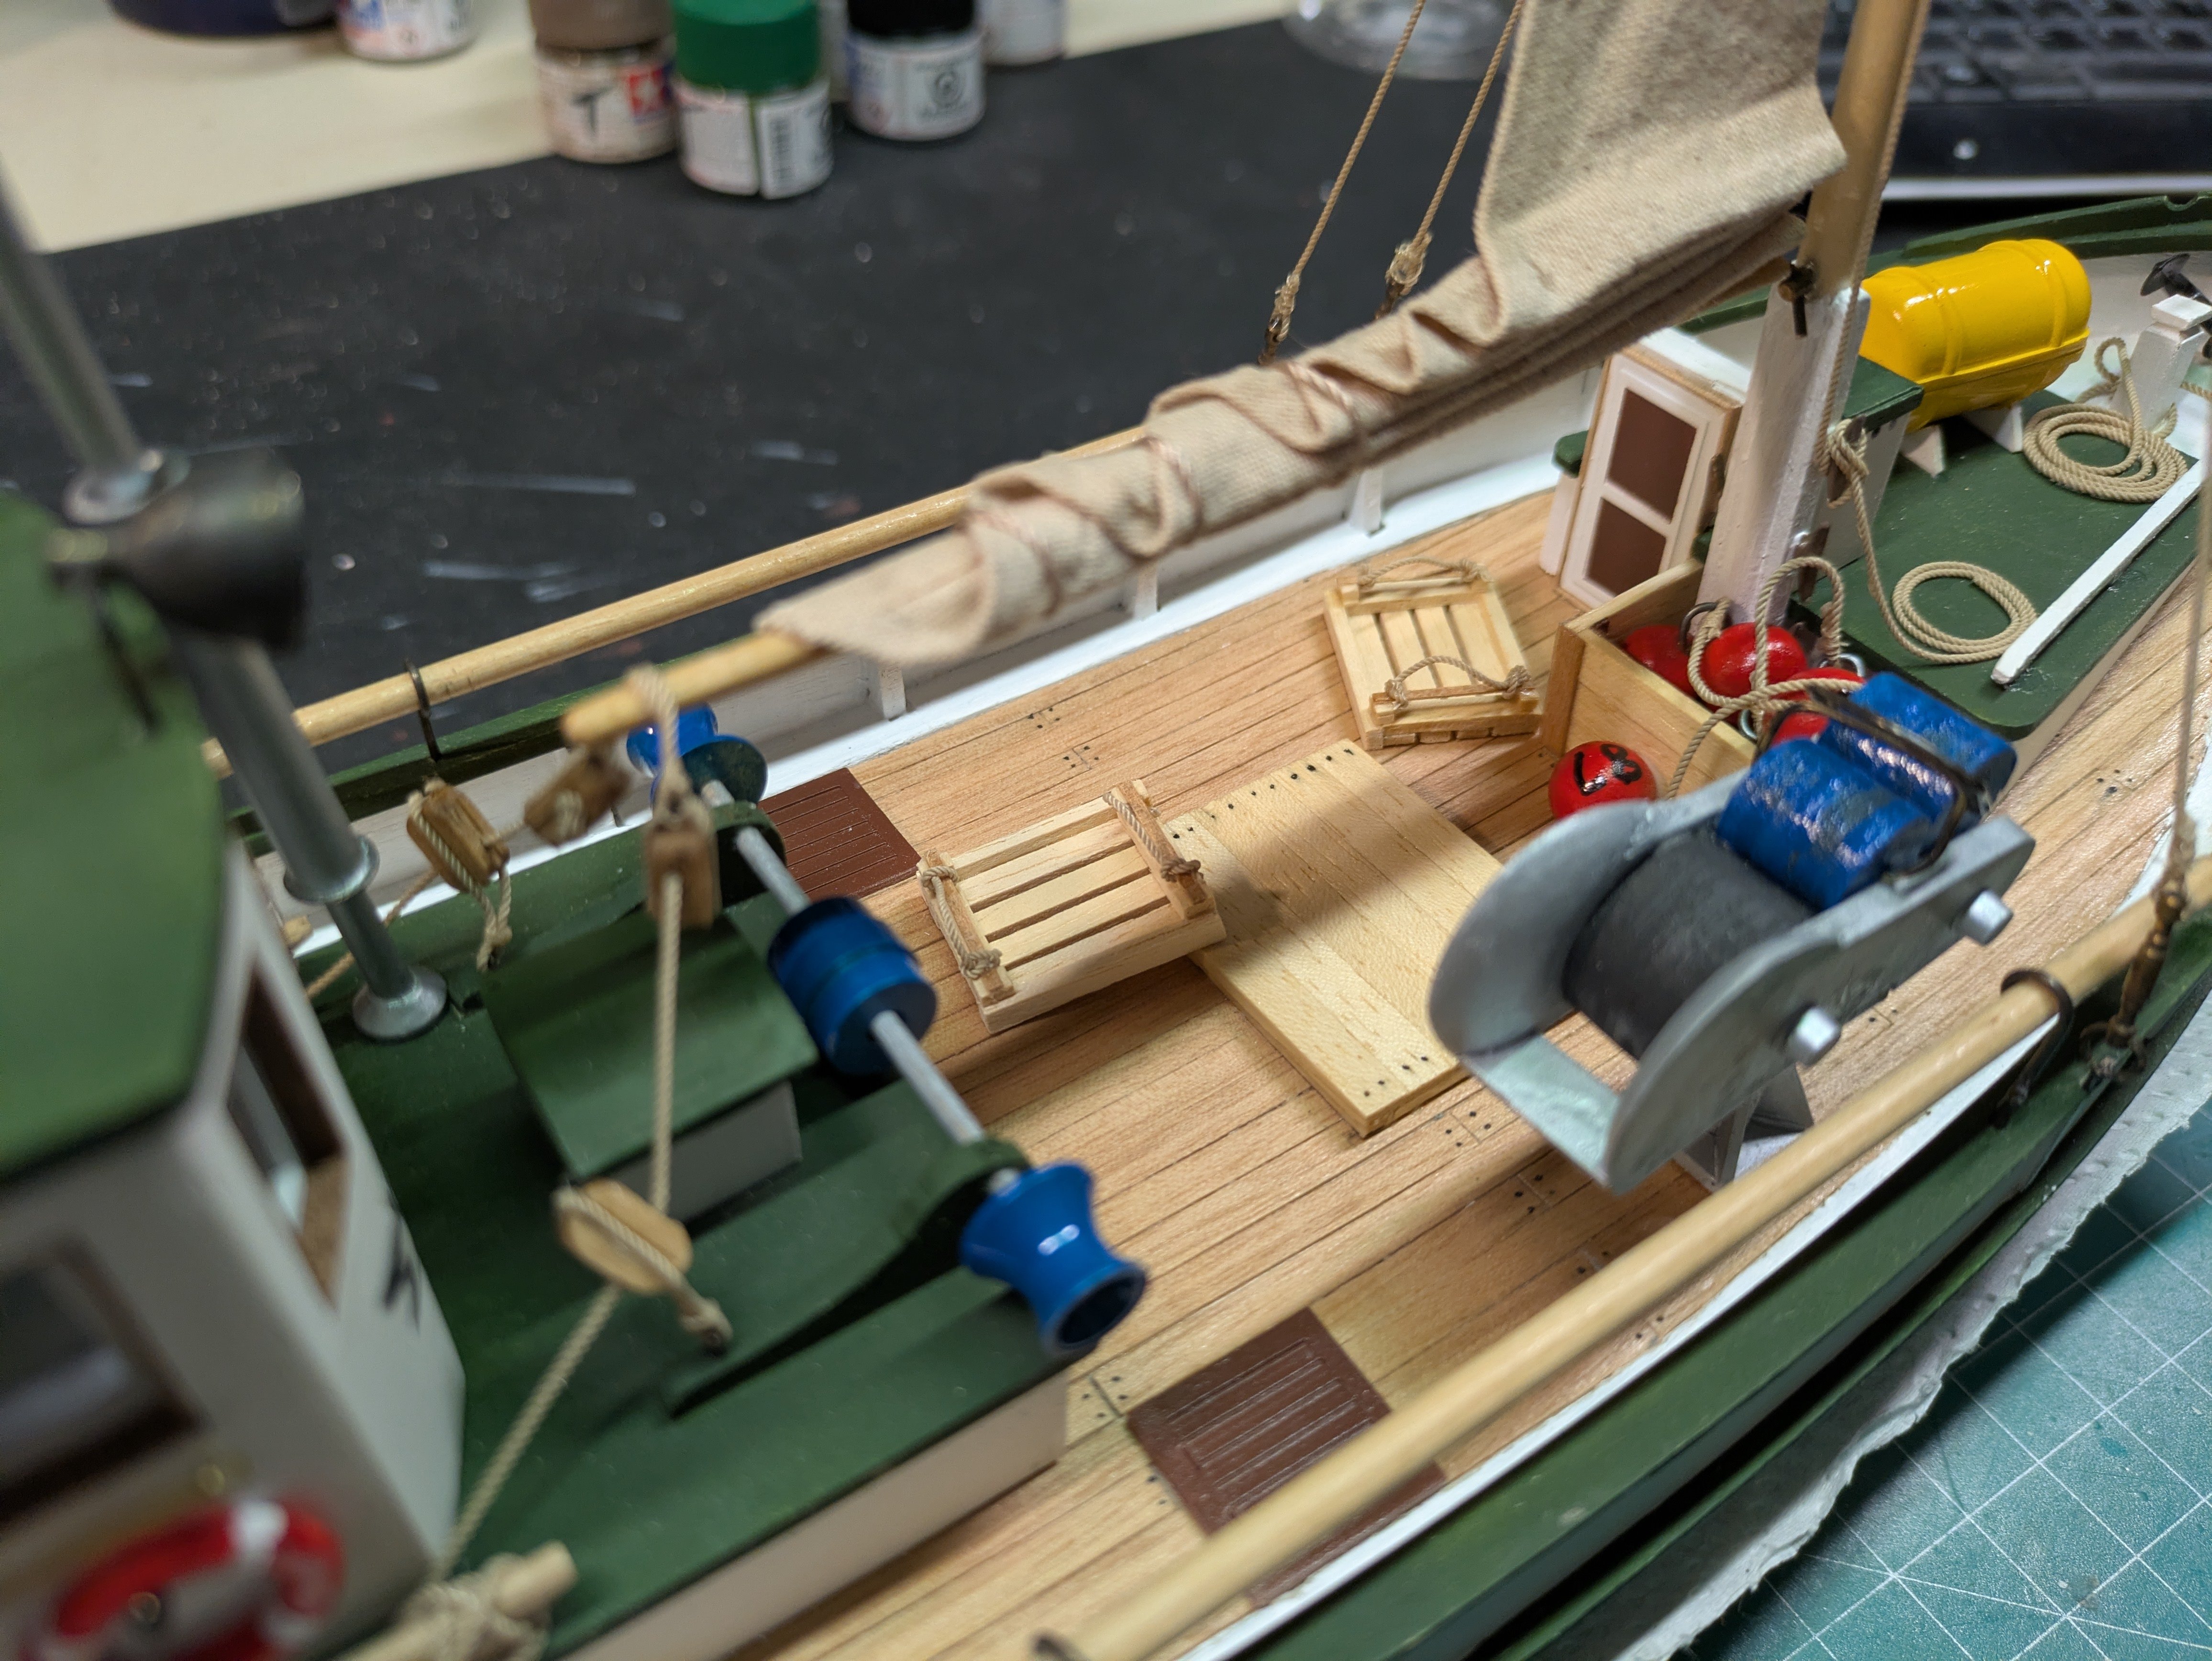
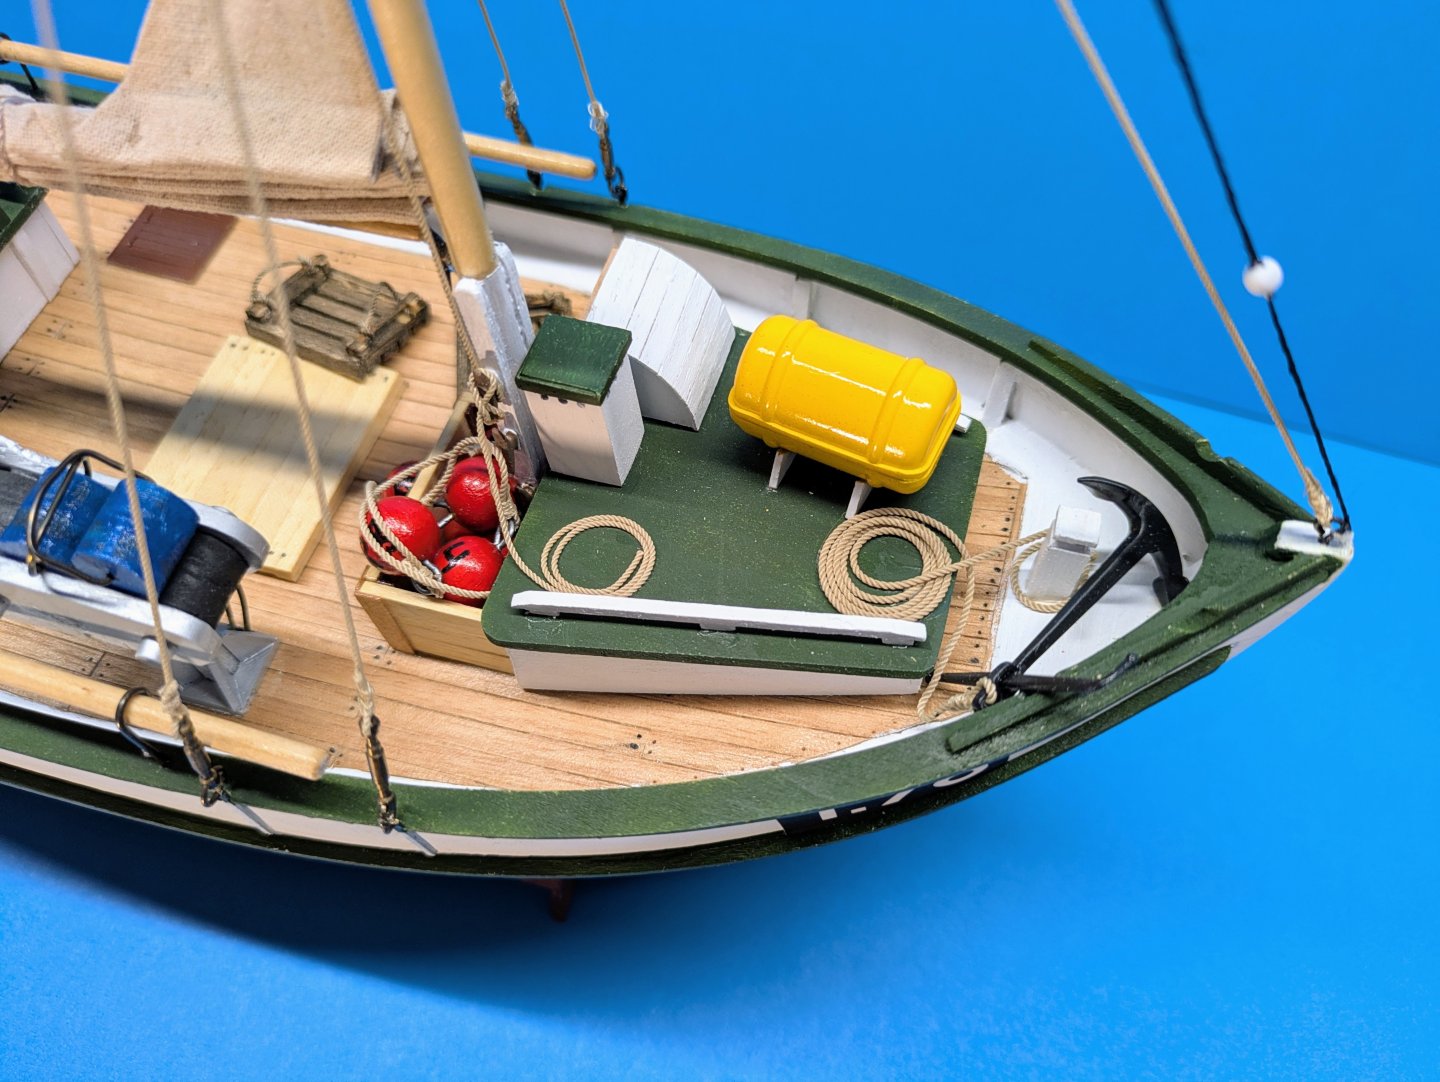
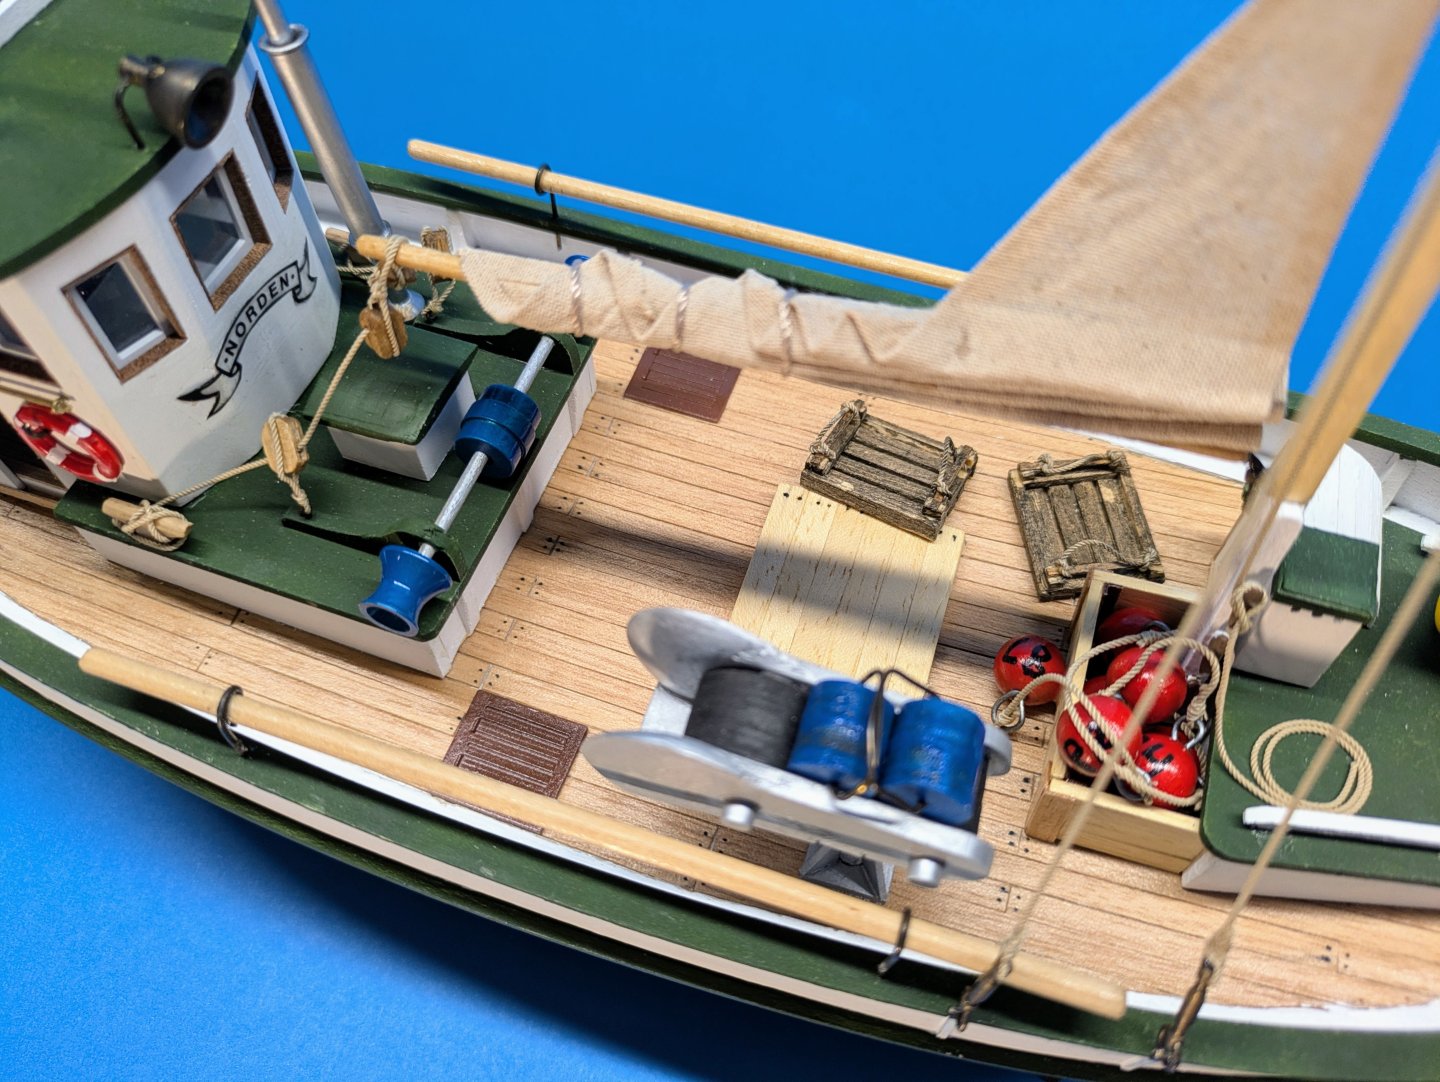
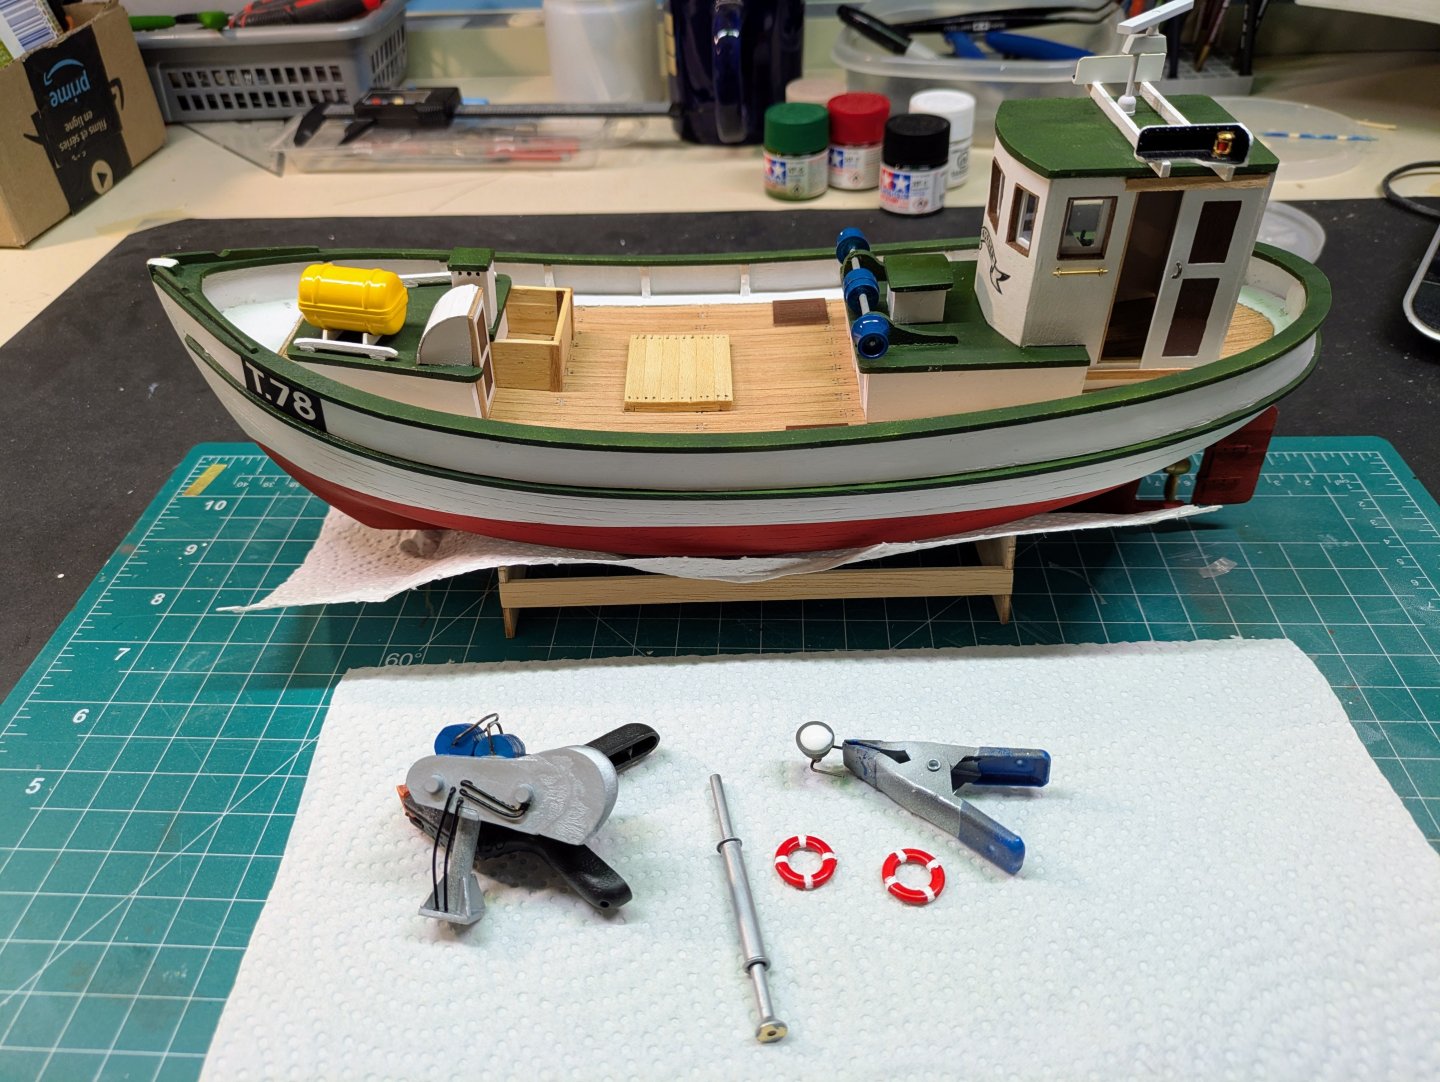
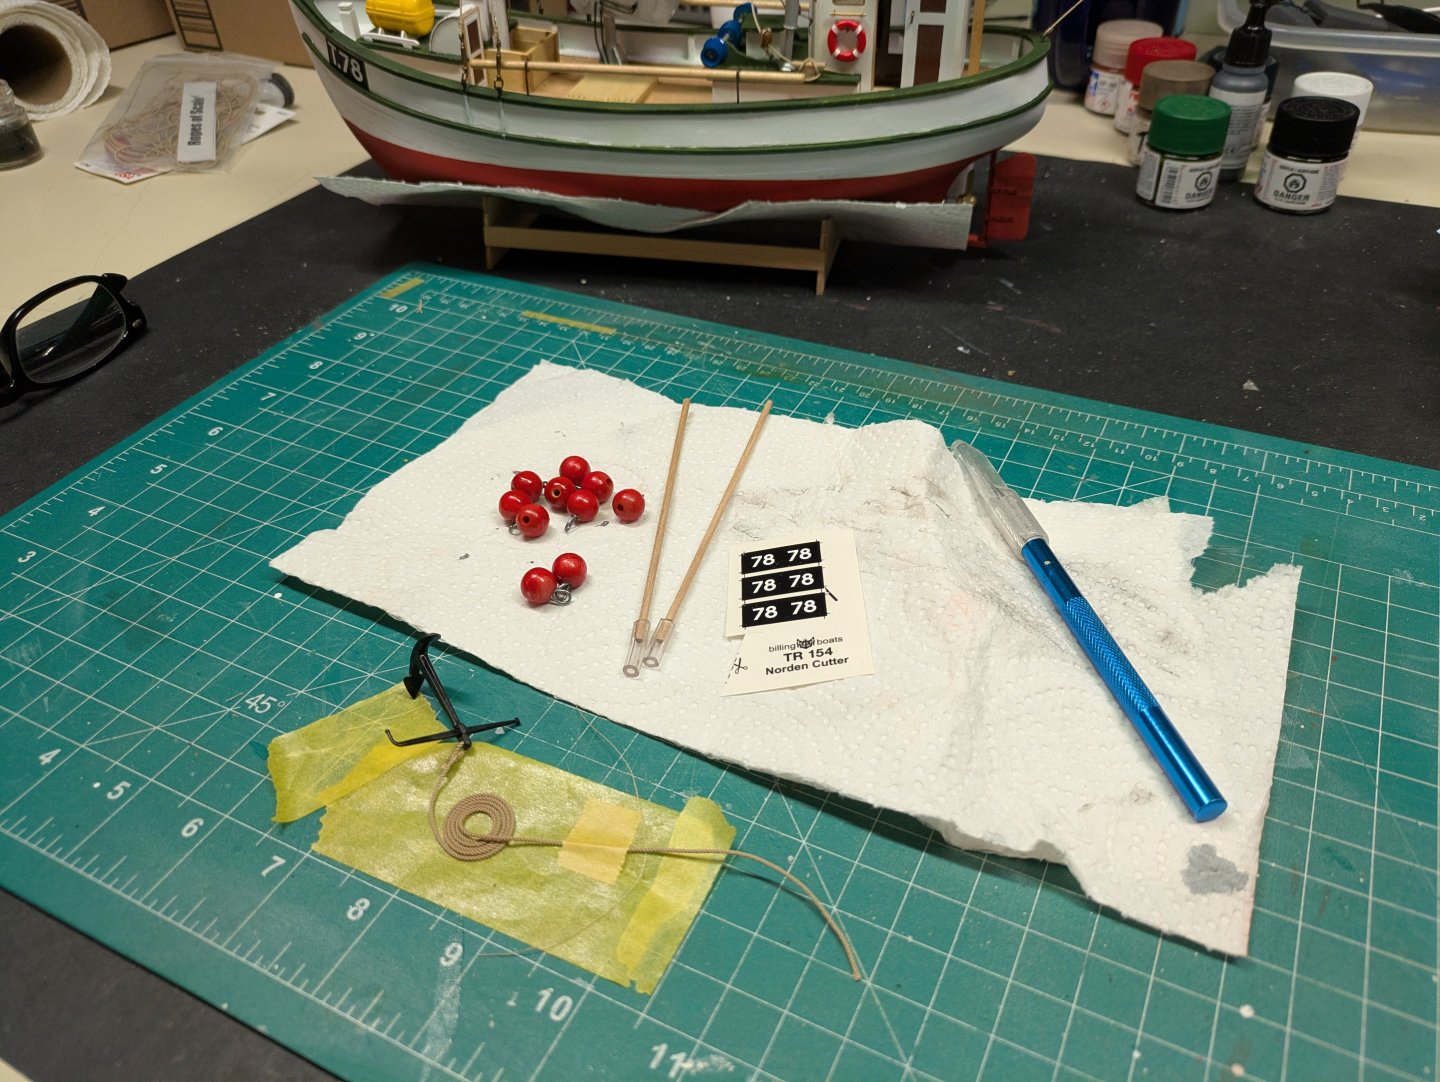
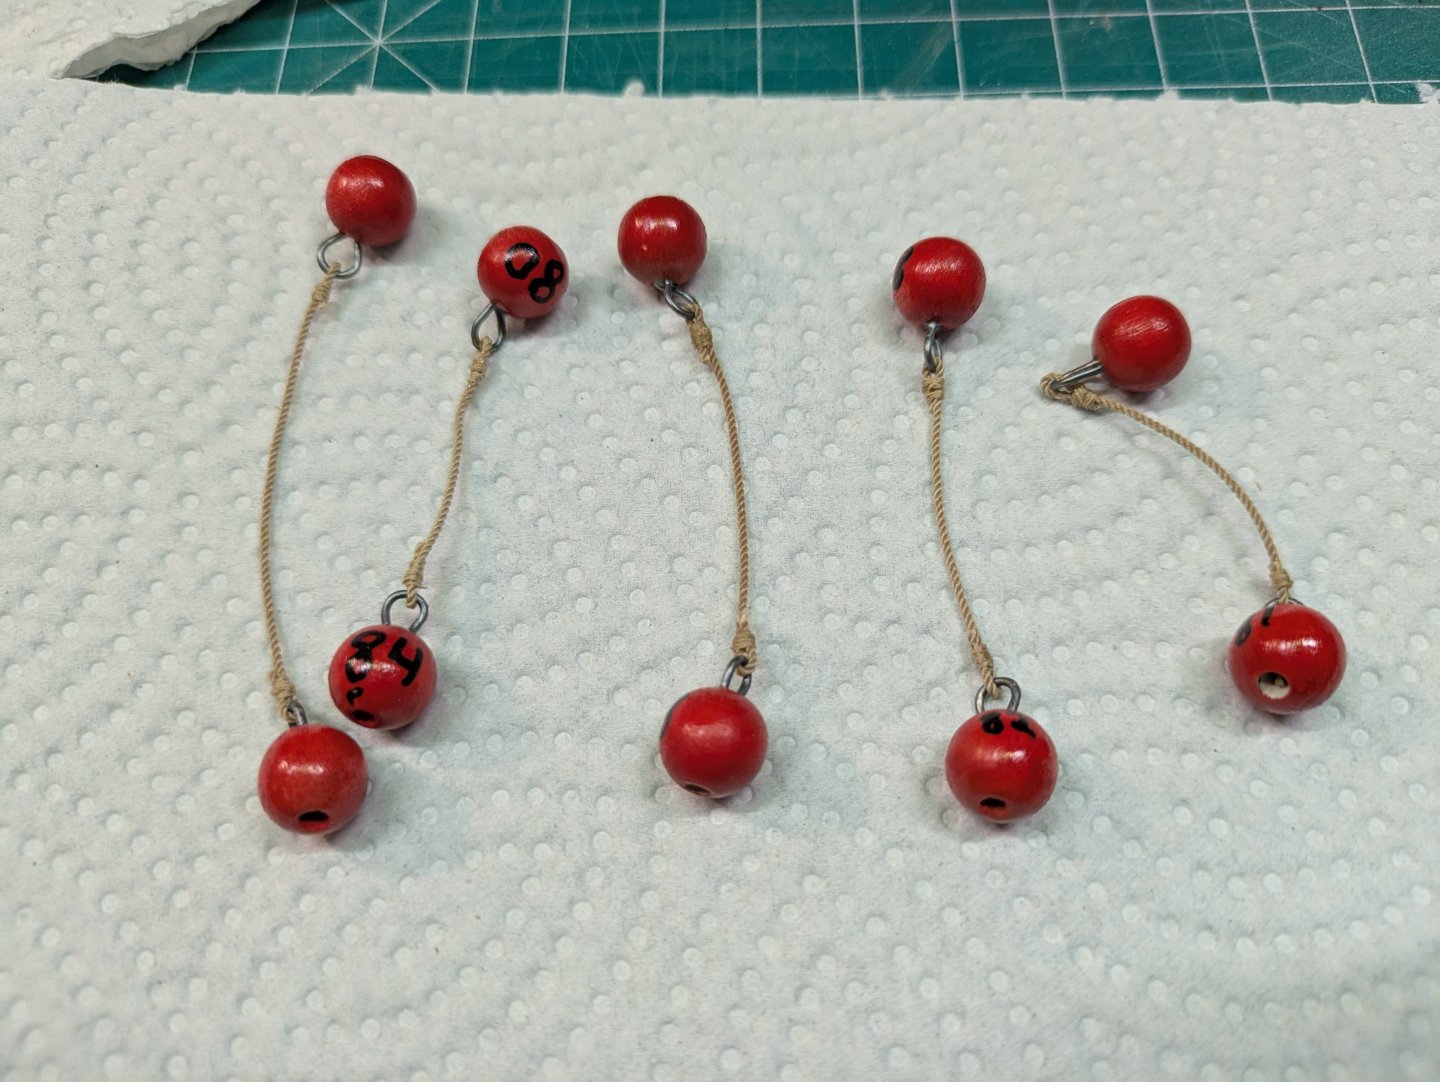
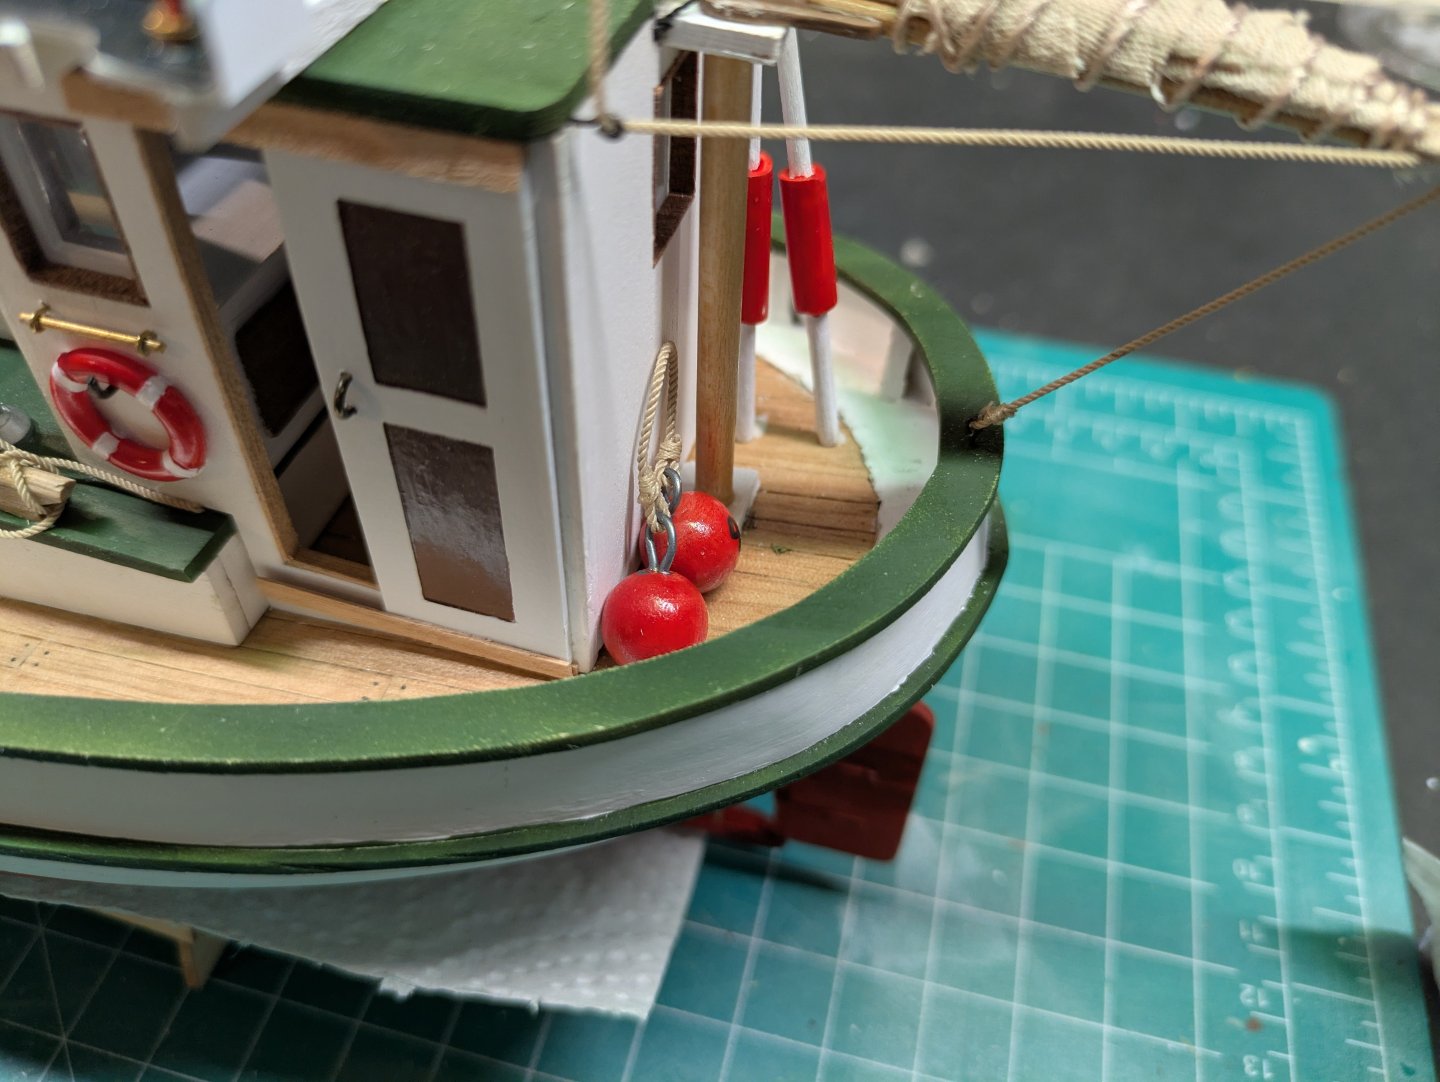
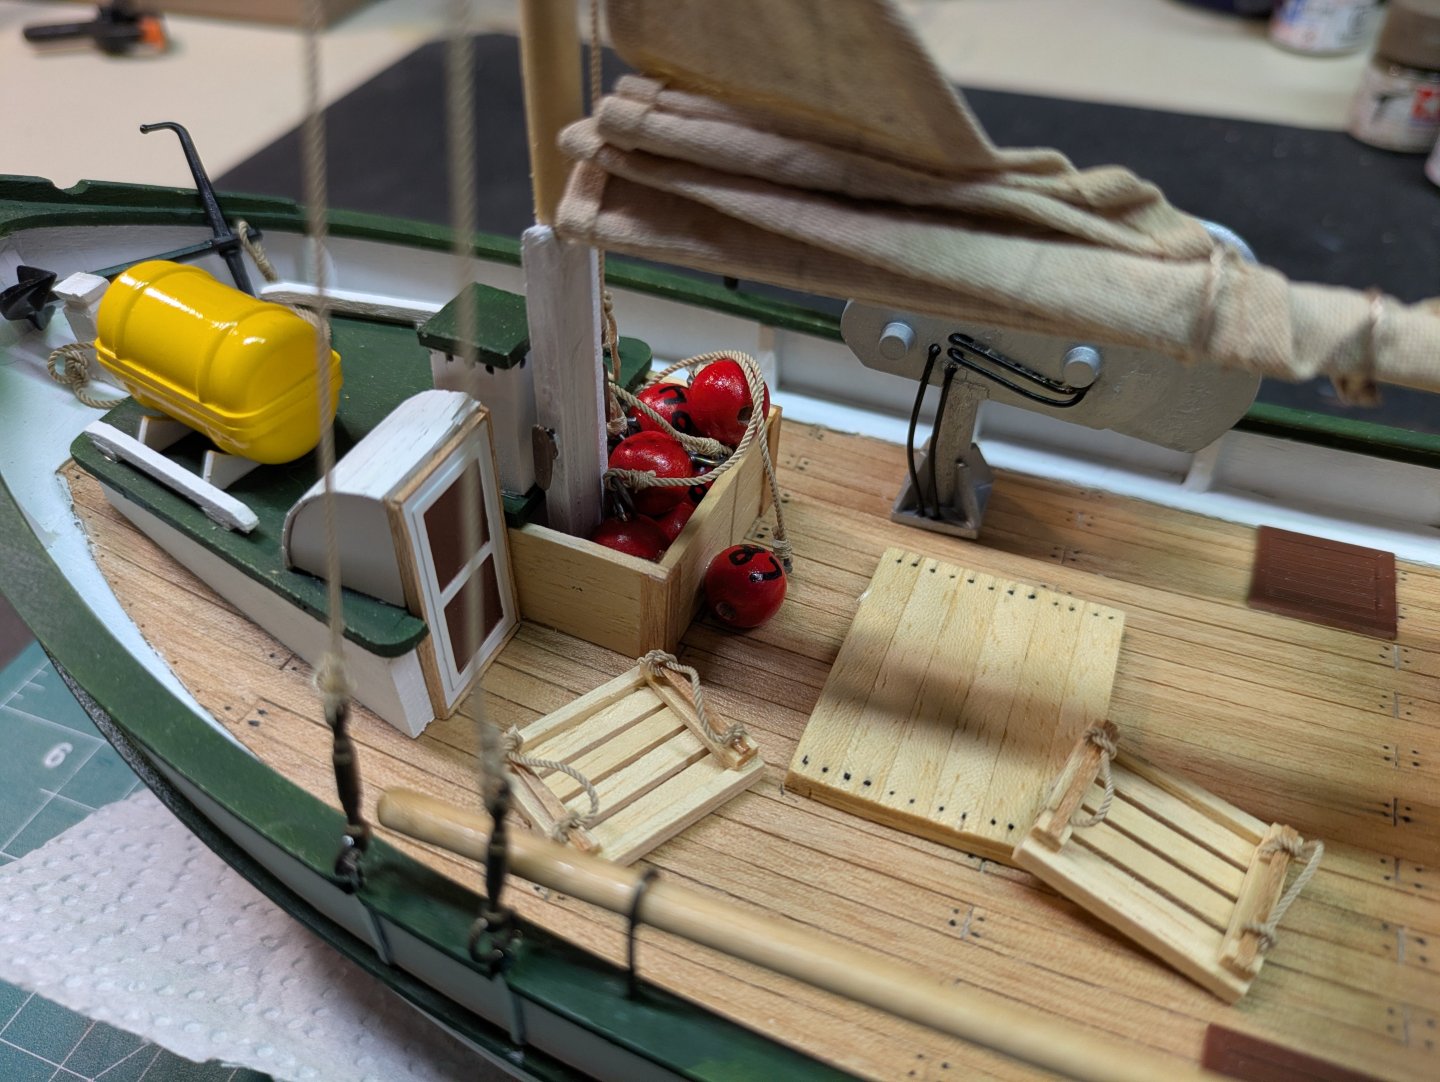
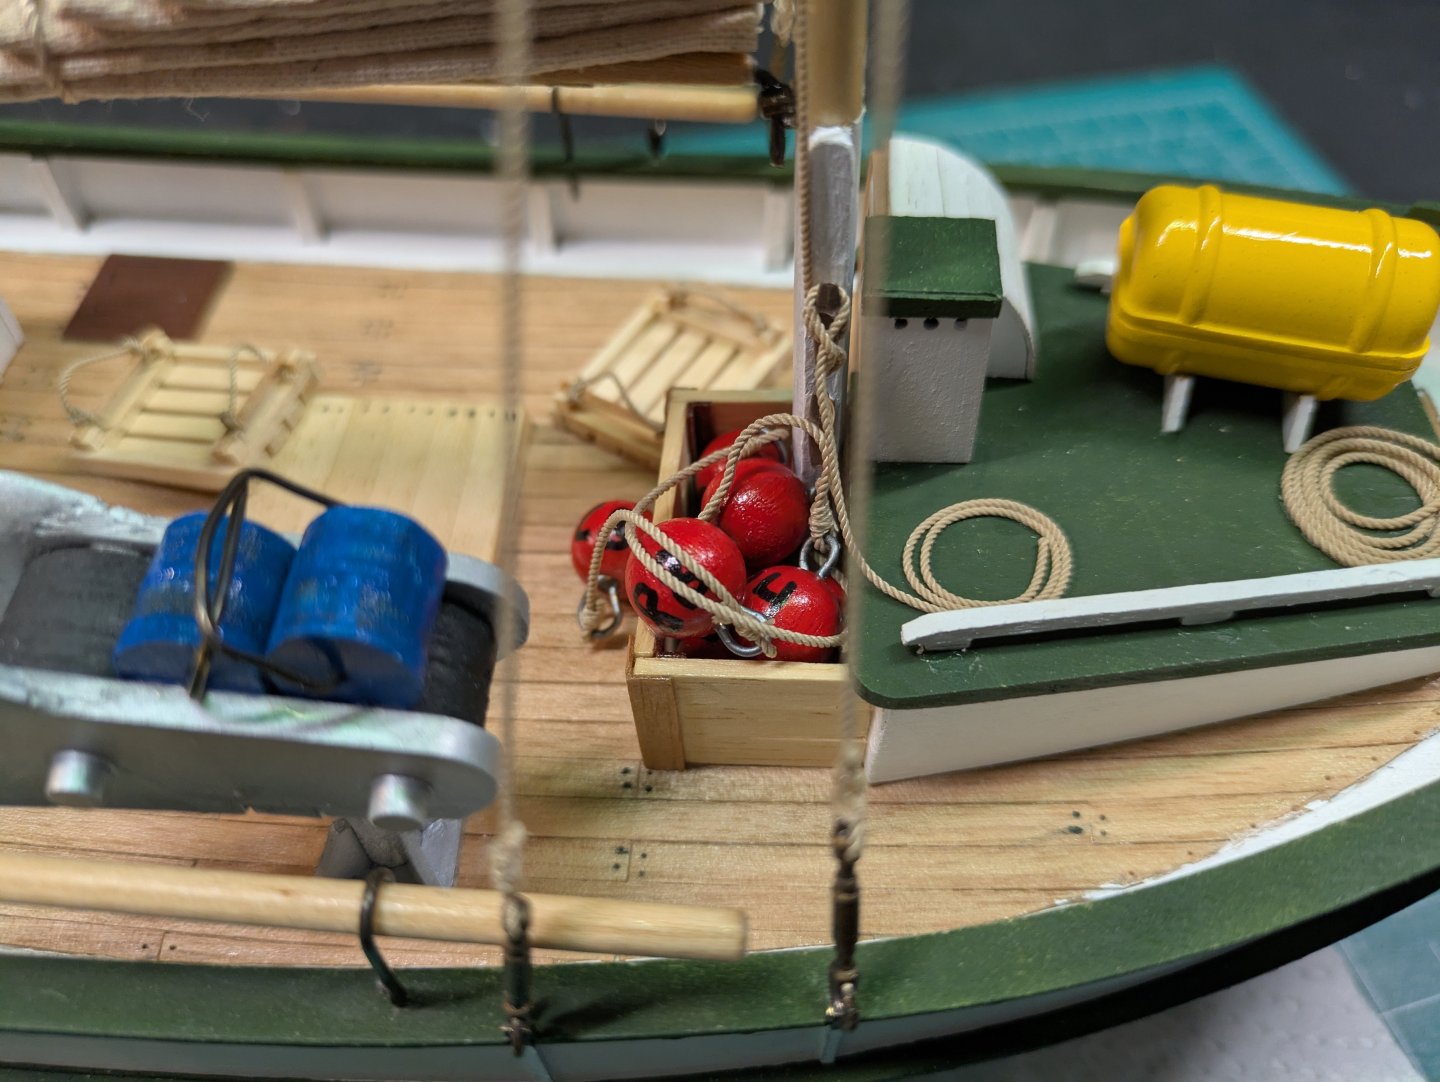
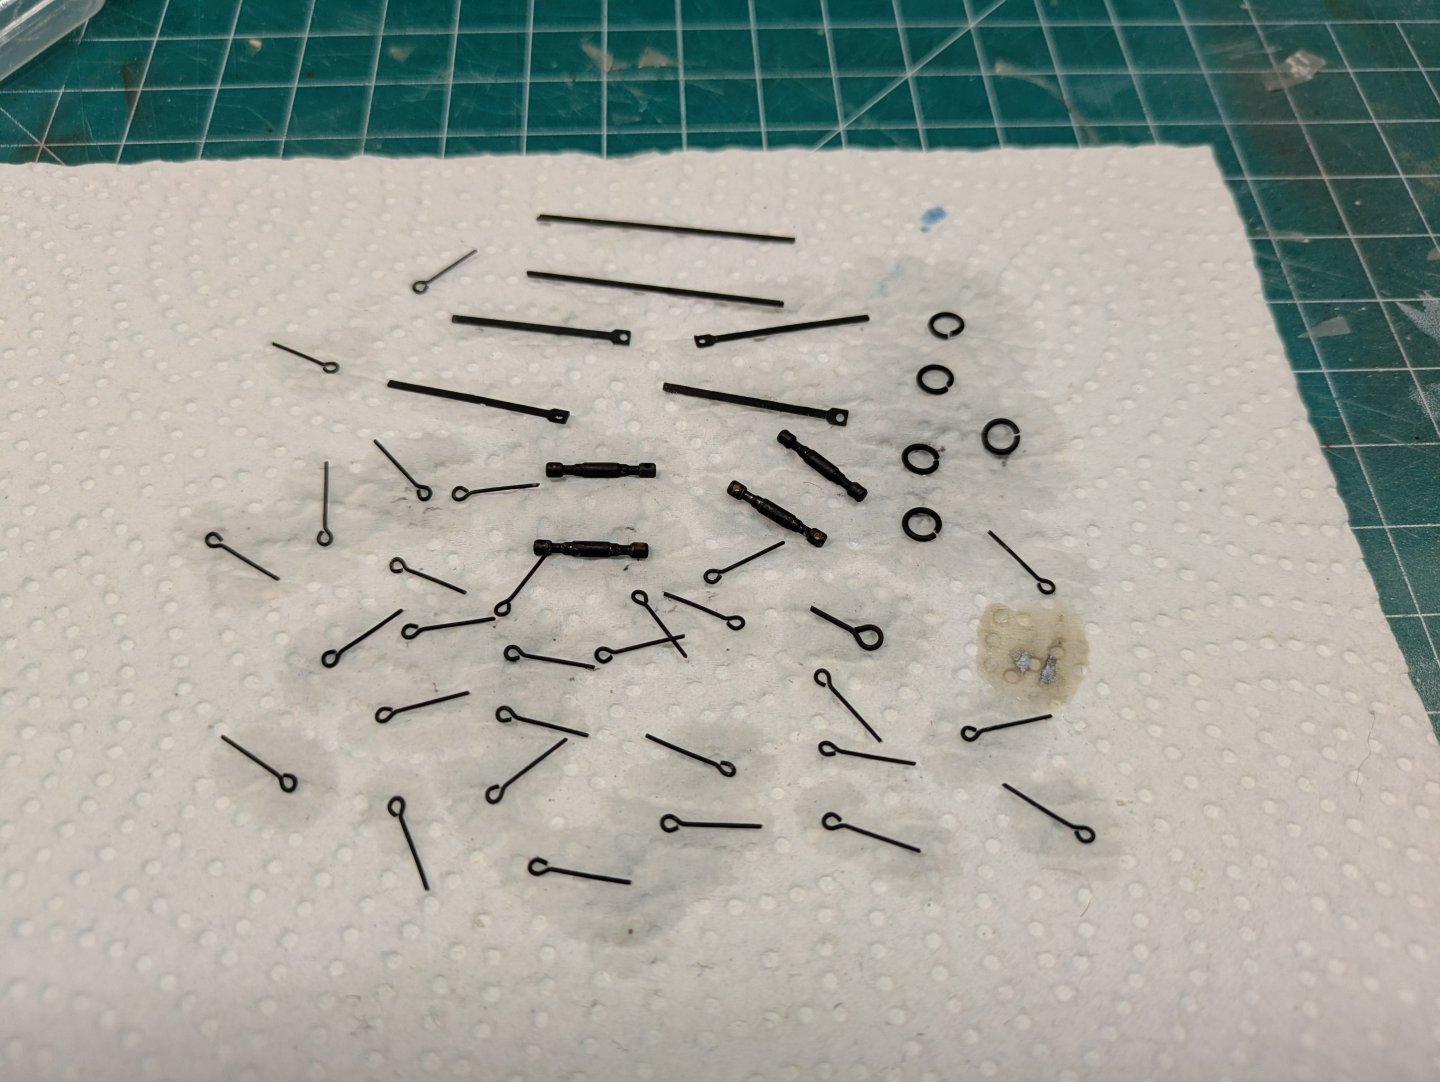
I have been terrible at updating my log this build. Apologies to those who have been following along. This last stretch has me pretty much finishing it up, final pictures will come in the next few days. Filling the light with PVA to create a glass look. Net retriever completed. Didn't like the original life rings so cut the ropes off. Blanked a bunch of the brass and started building the masts and spars. I had some left over sails from another build so decided to use them in a mostly stowed position. Fish net bouy's would have numbers on them, so got the fine marker out I really disliked the plastic fish that came with the kit, so just made some simple fish crates. Going to stain them so they don't blend so much with the deck.


-
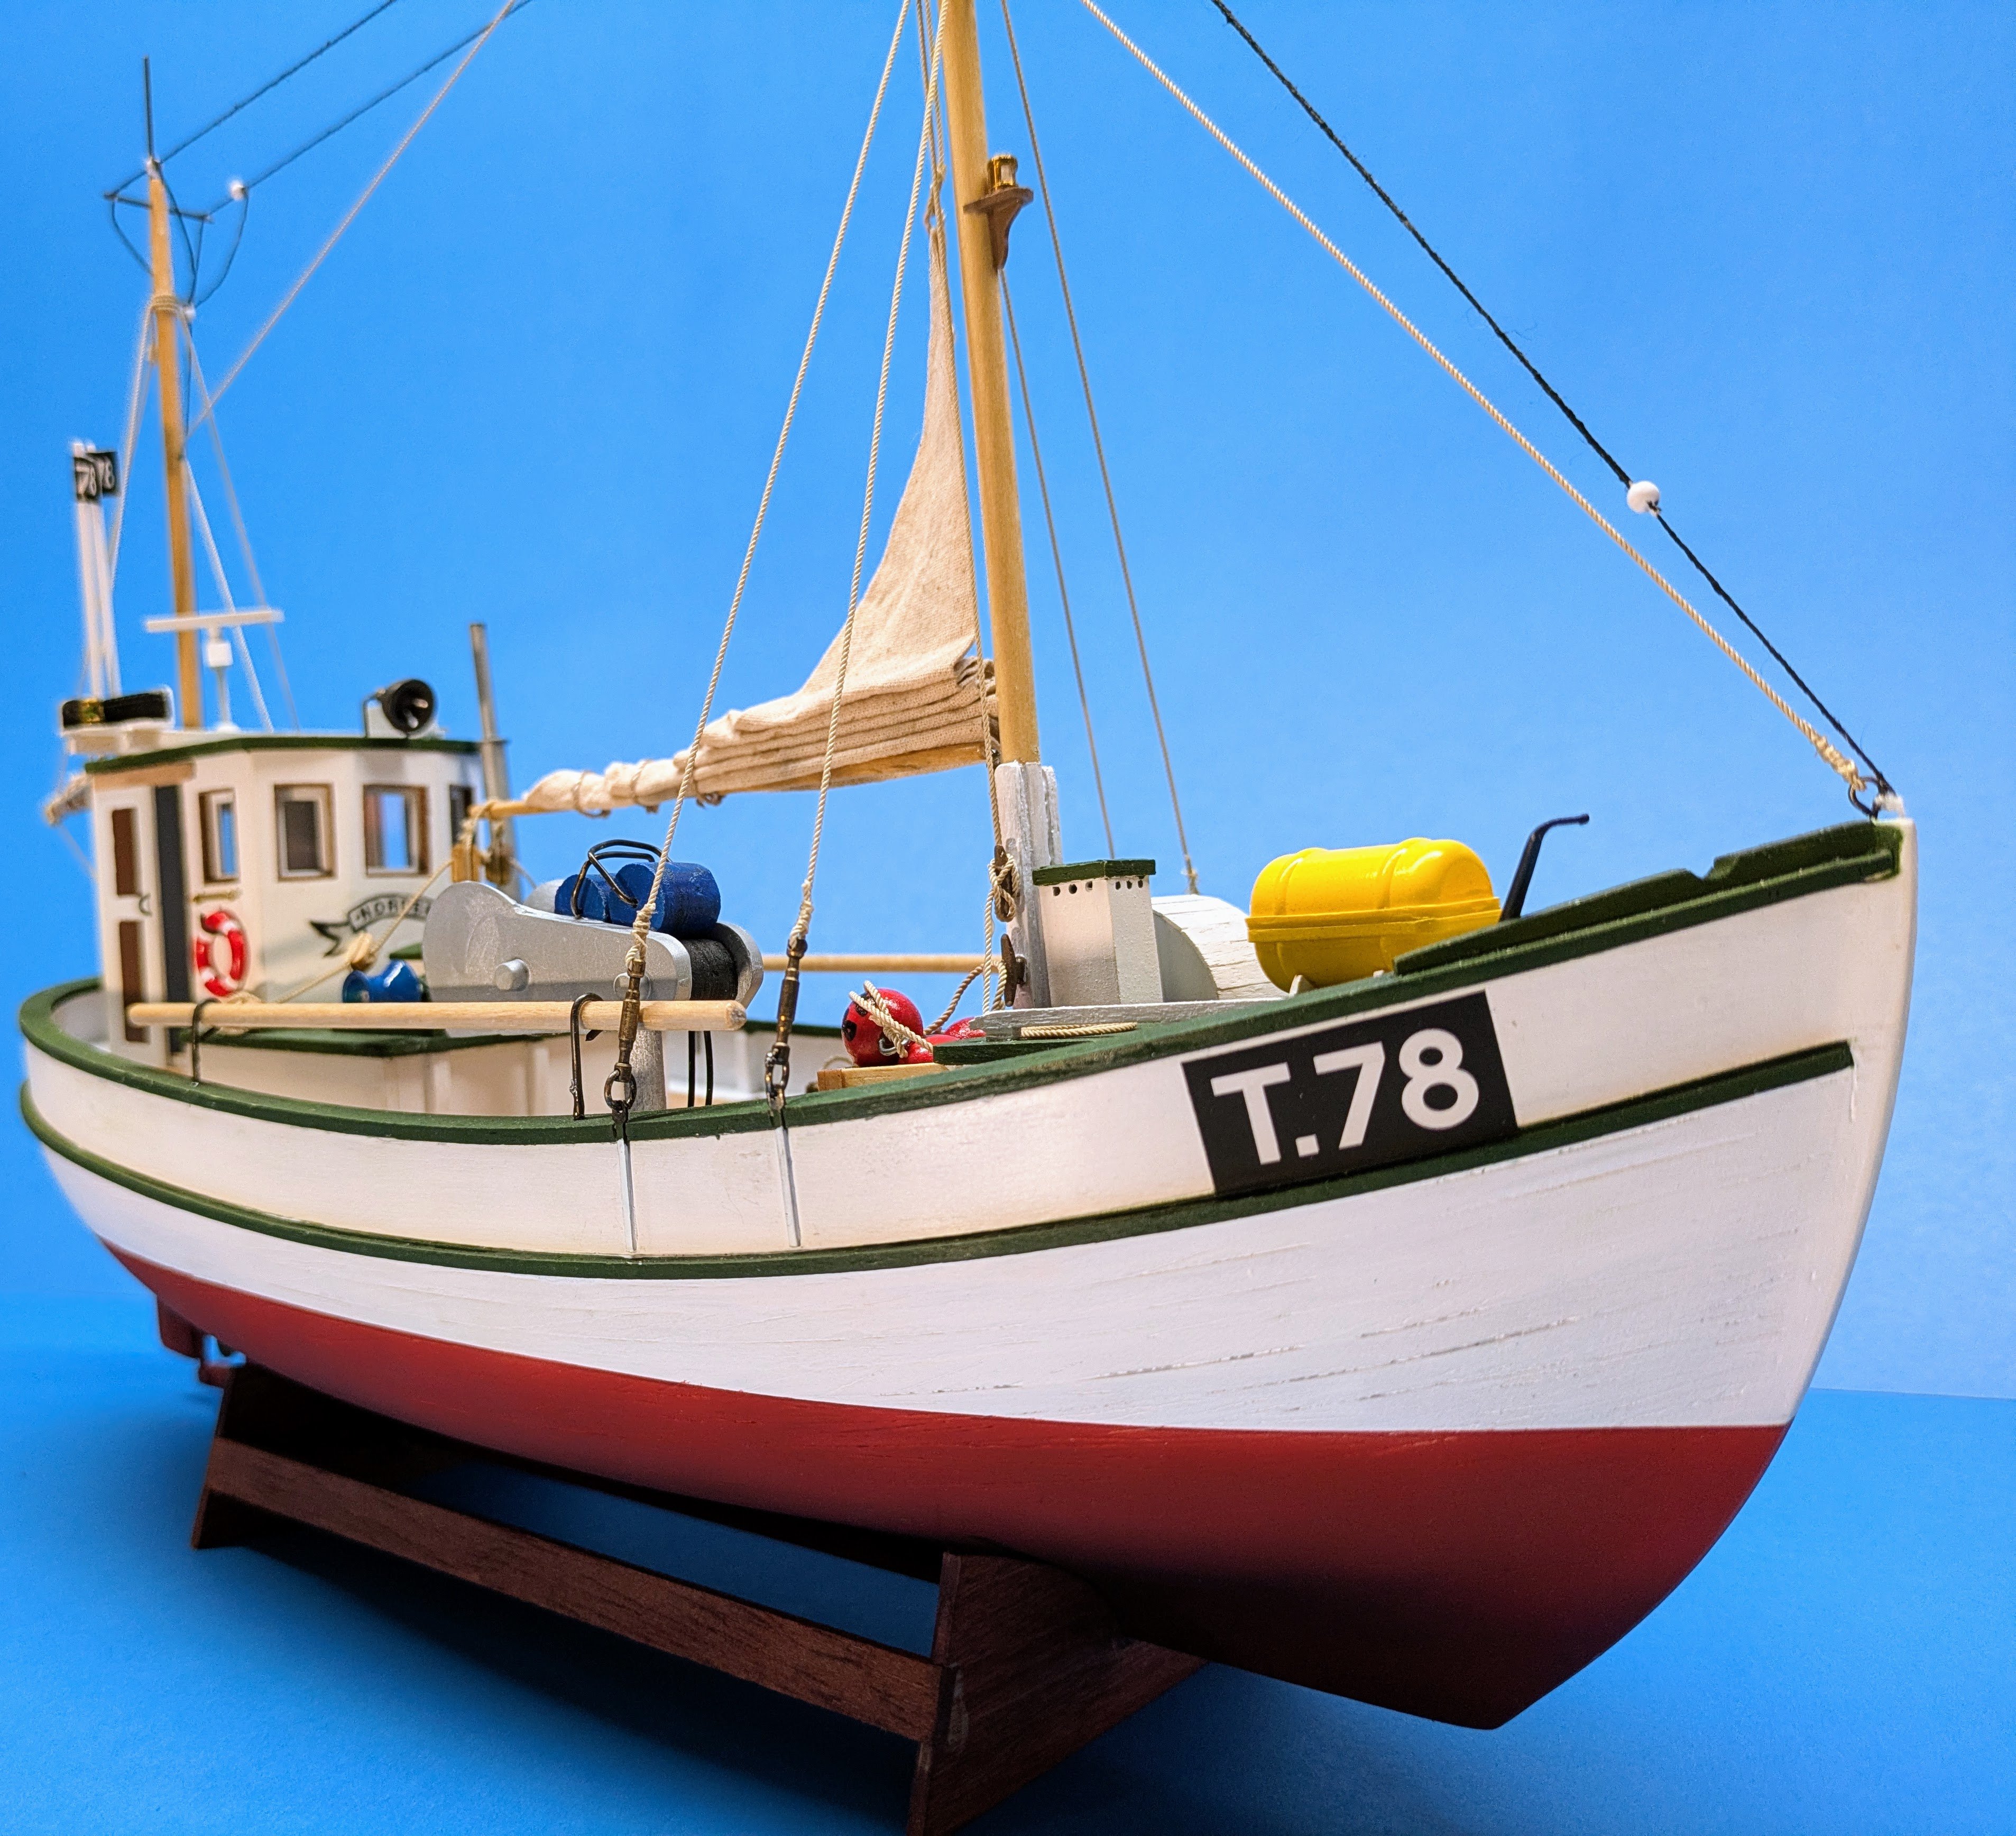
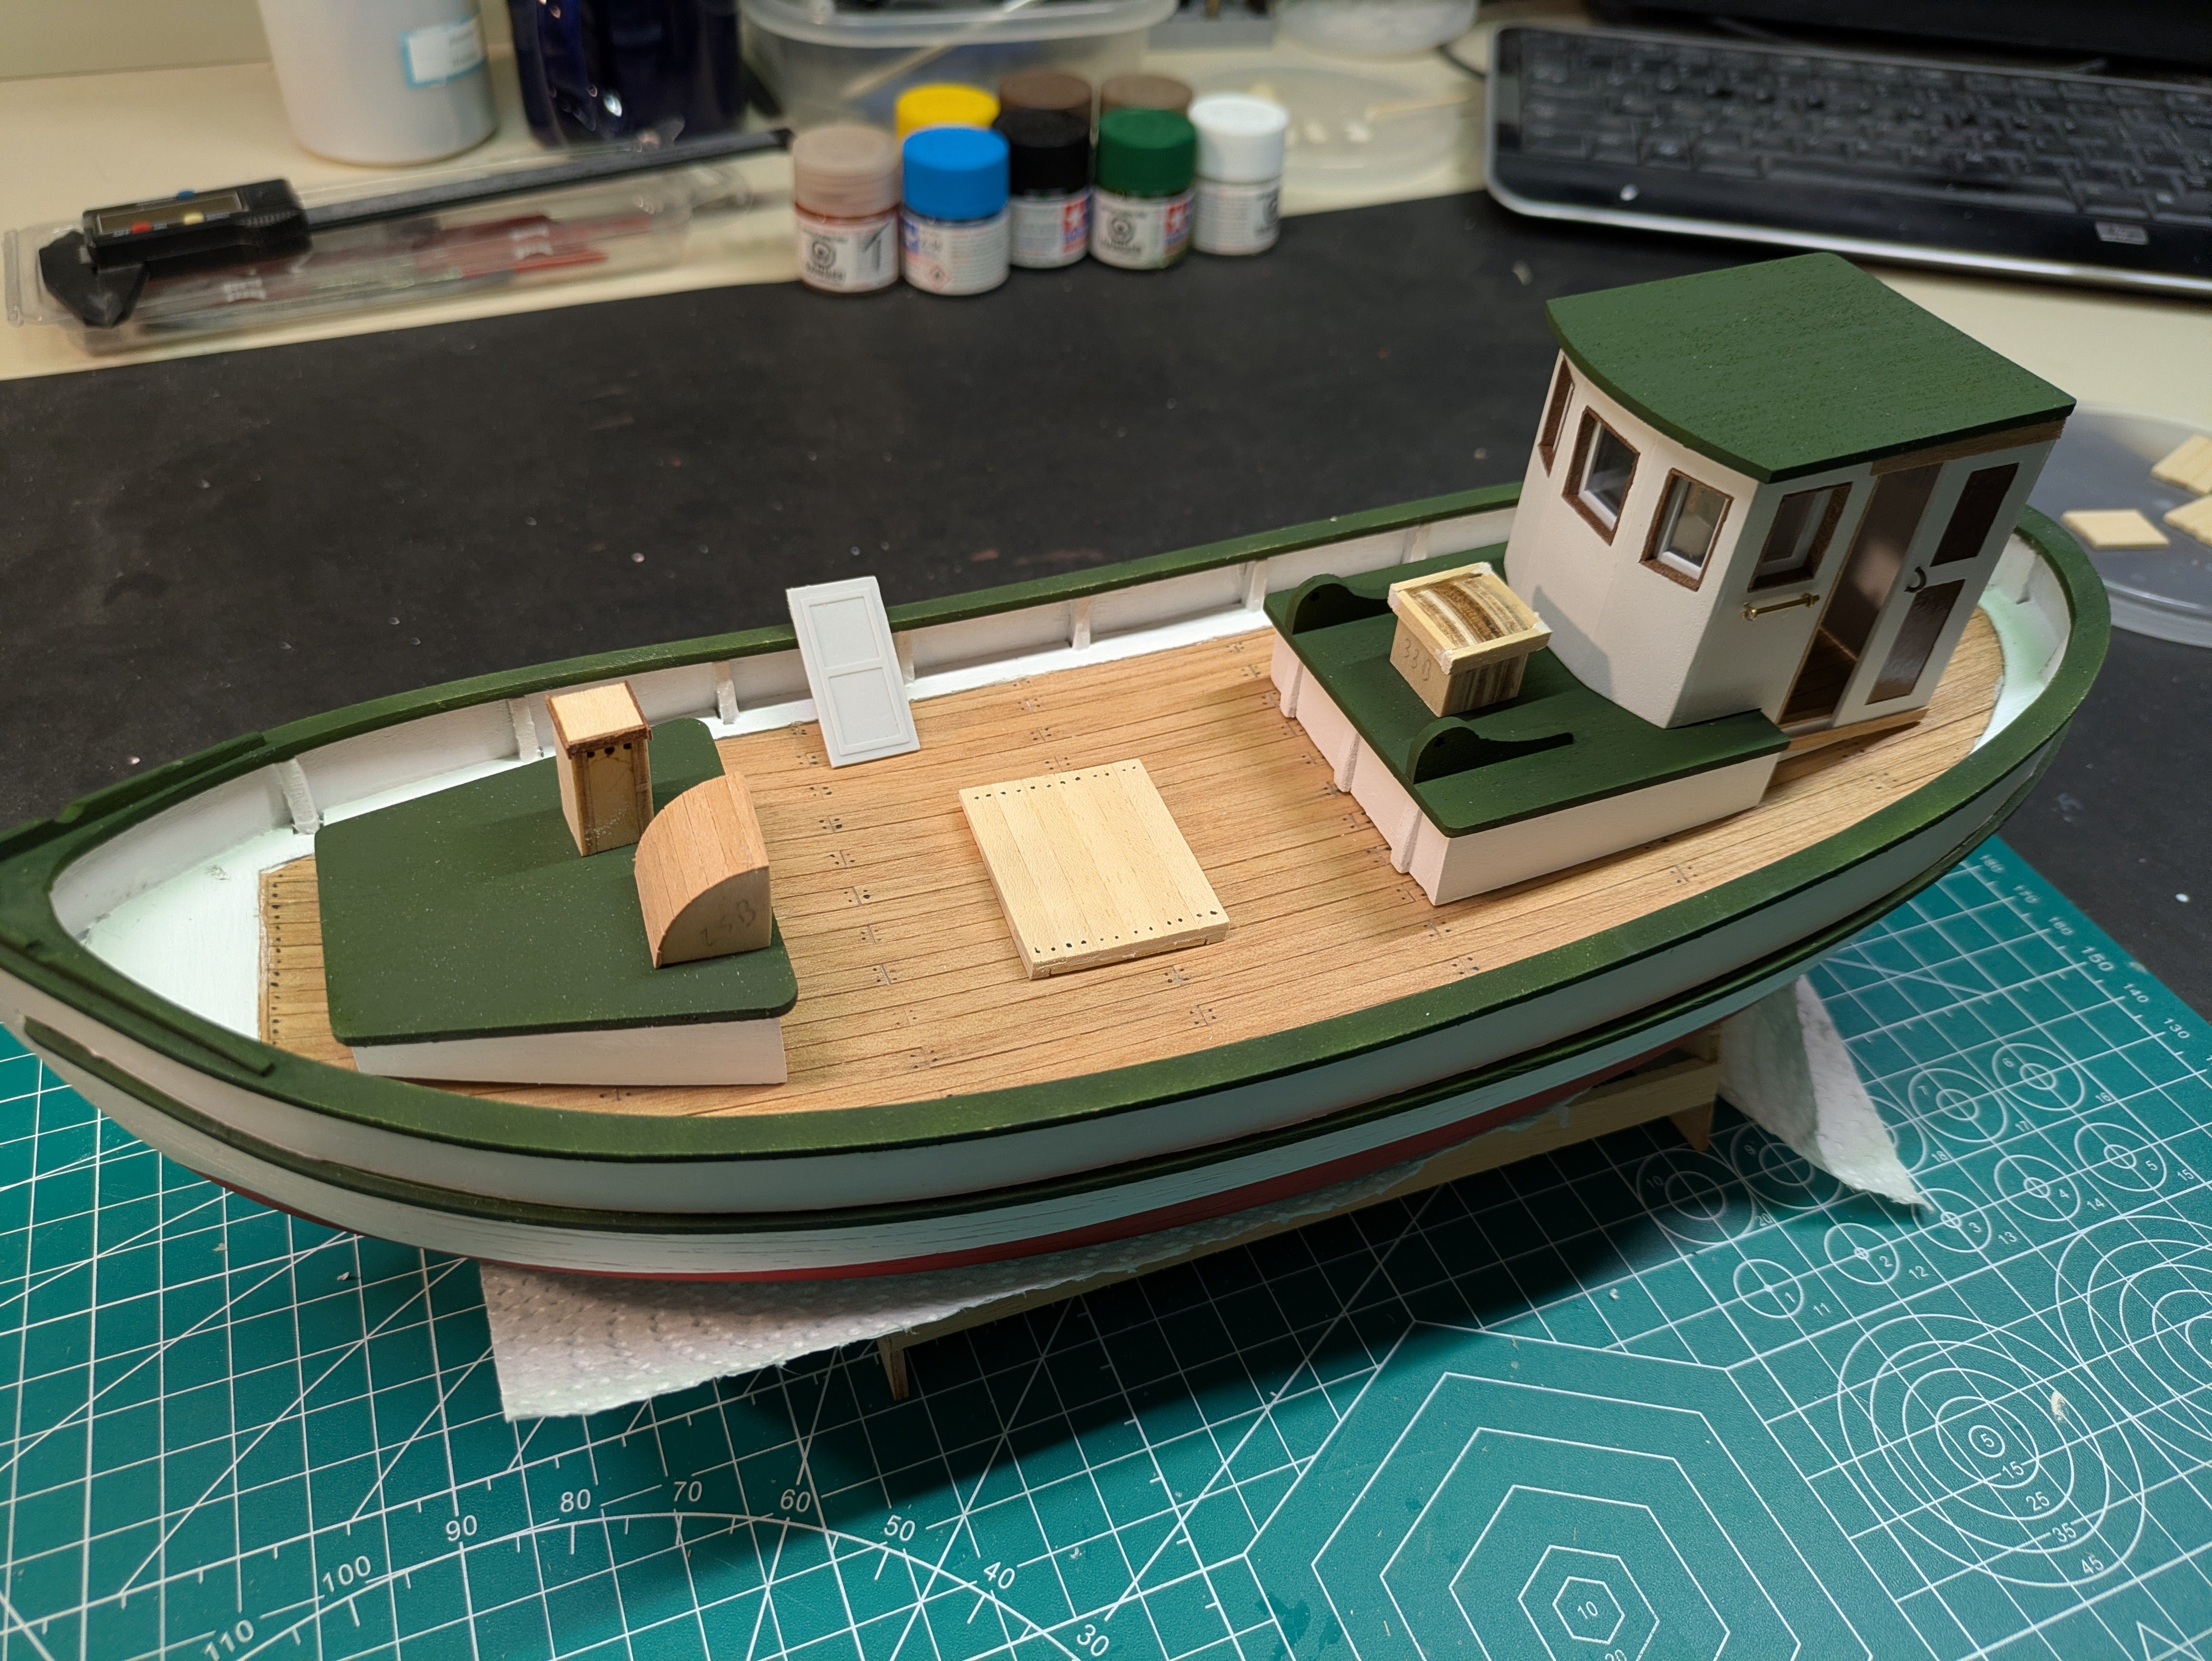
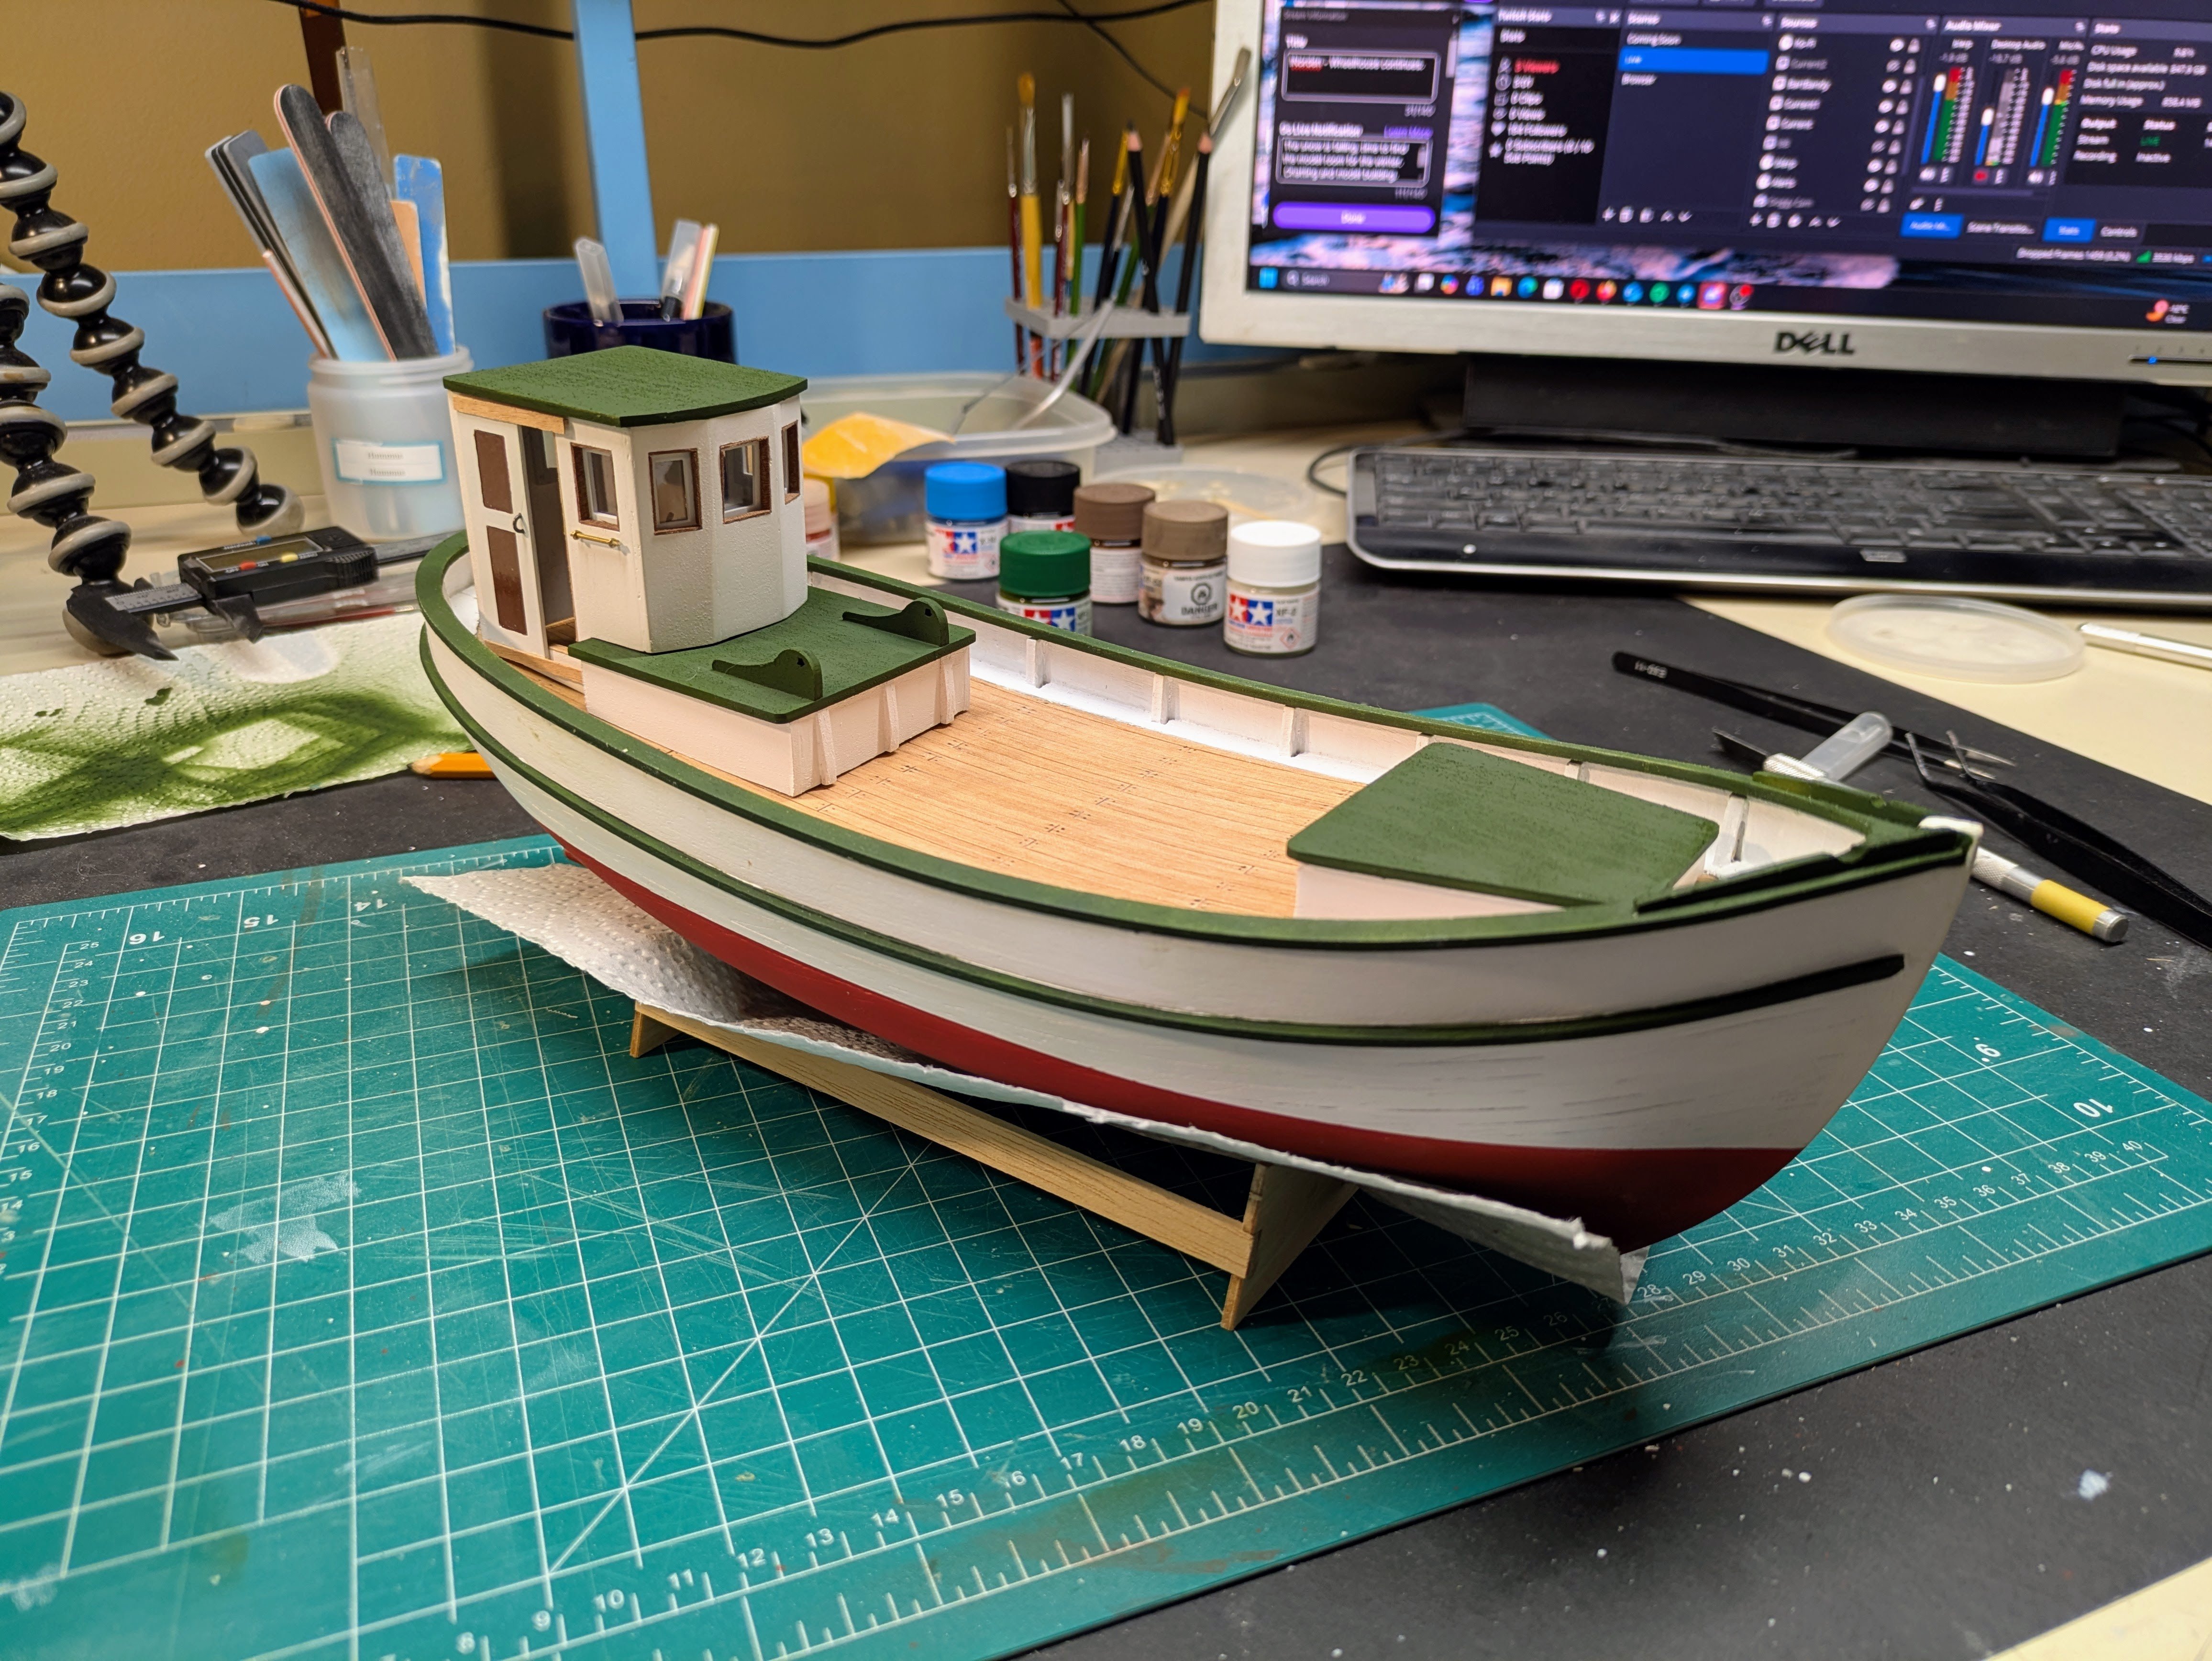
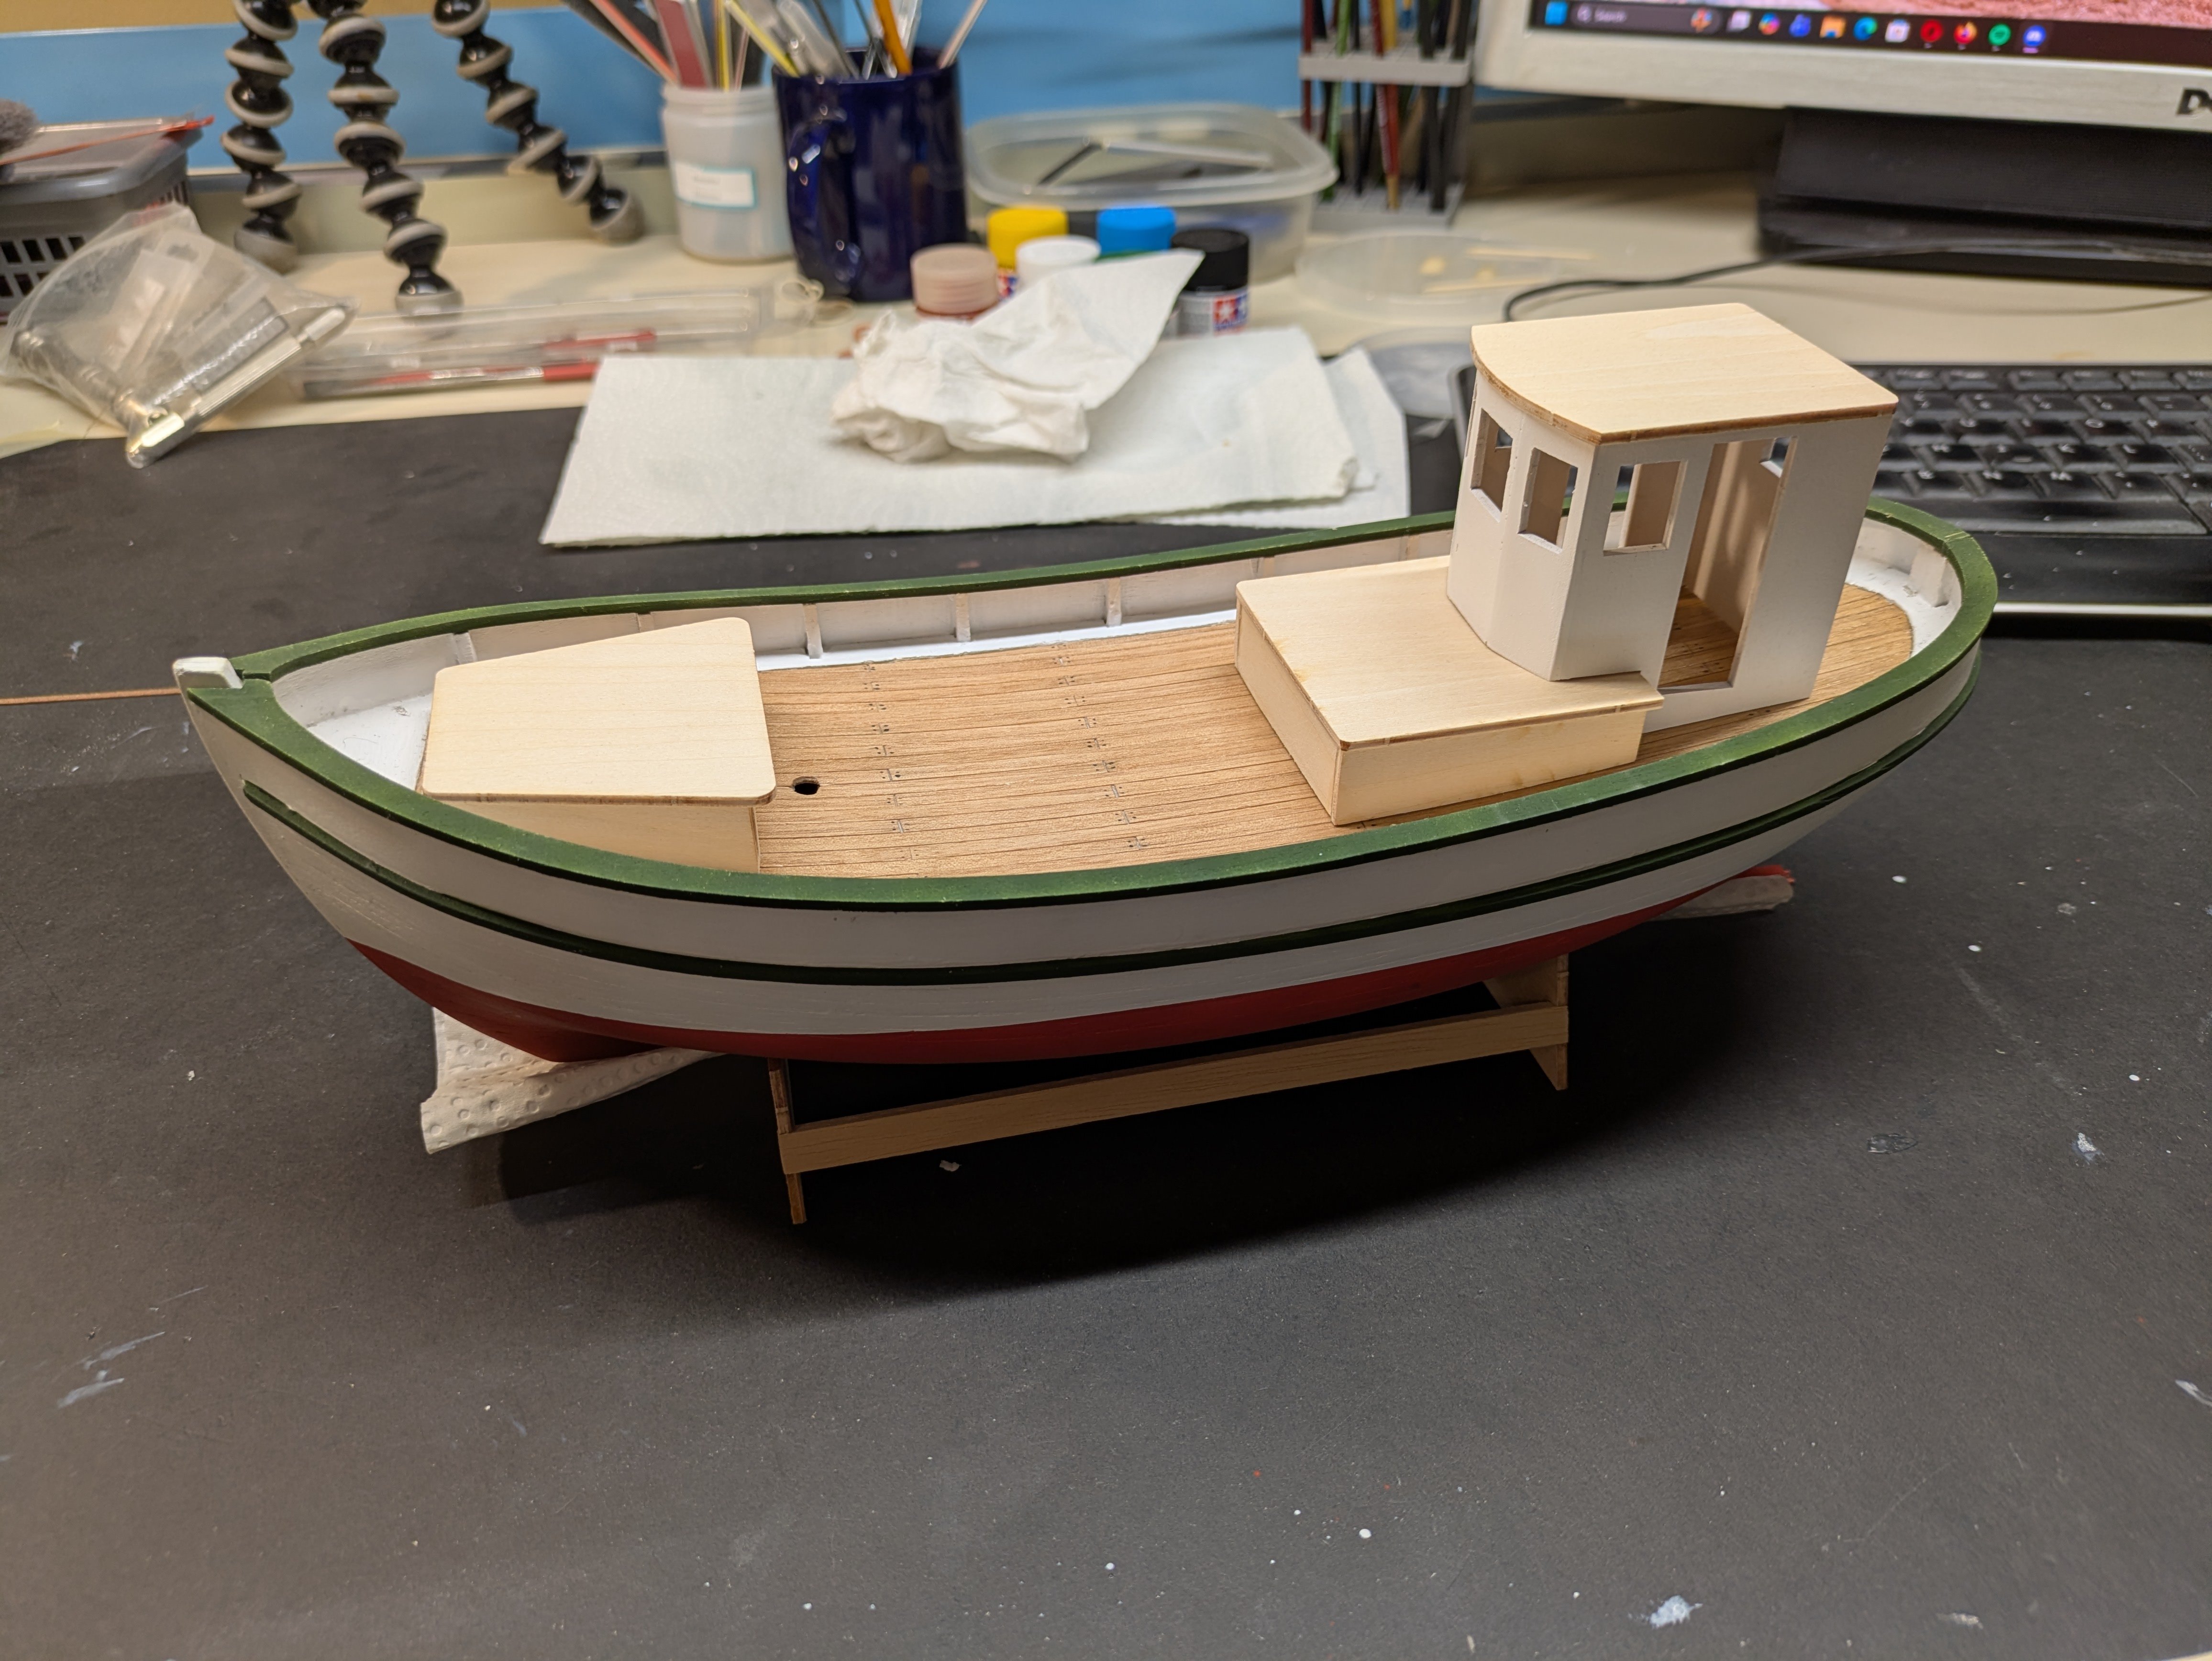
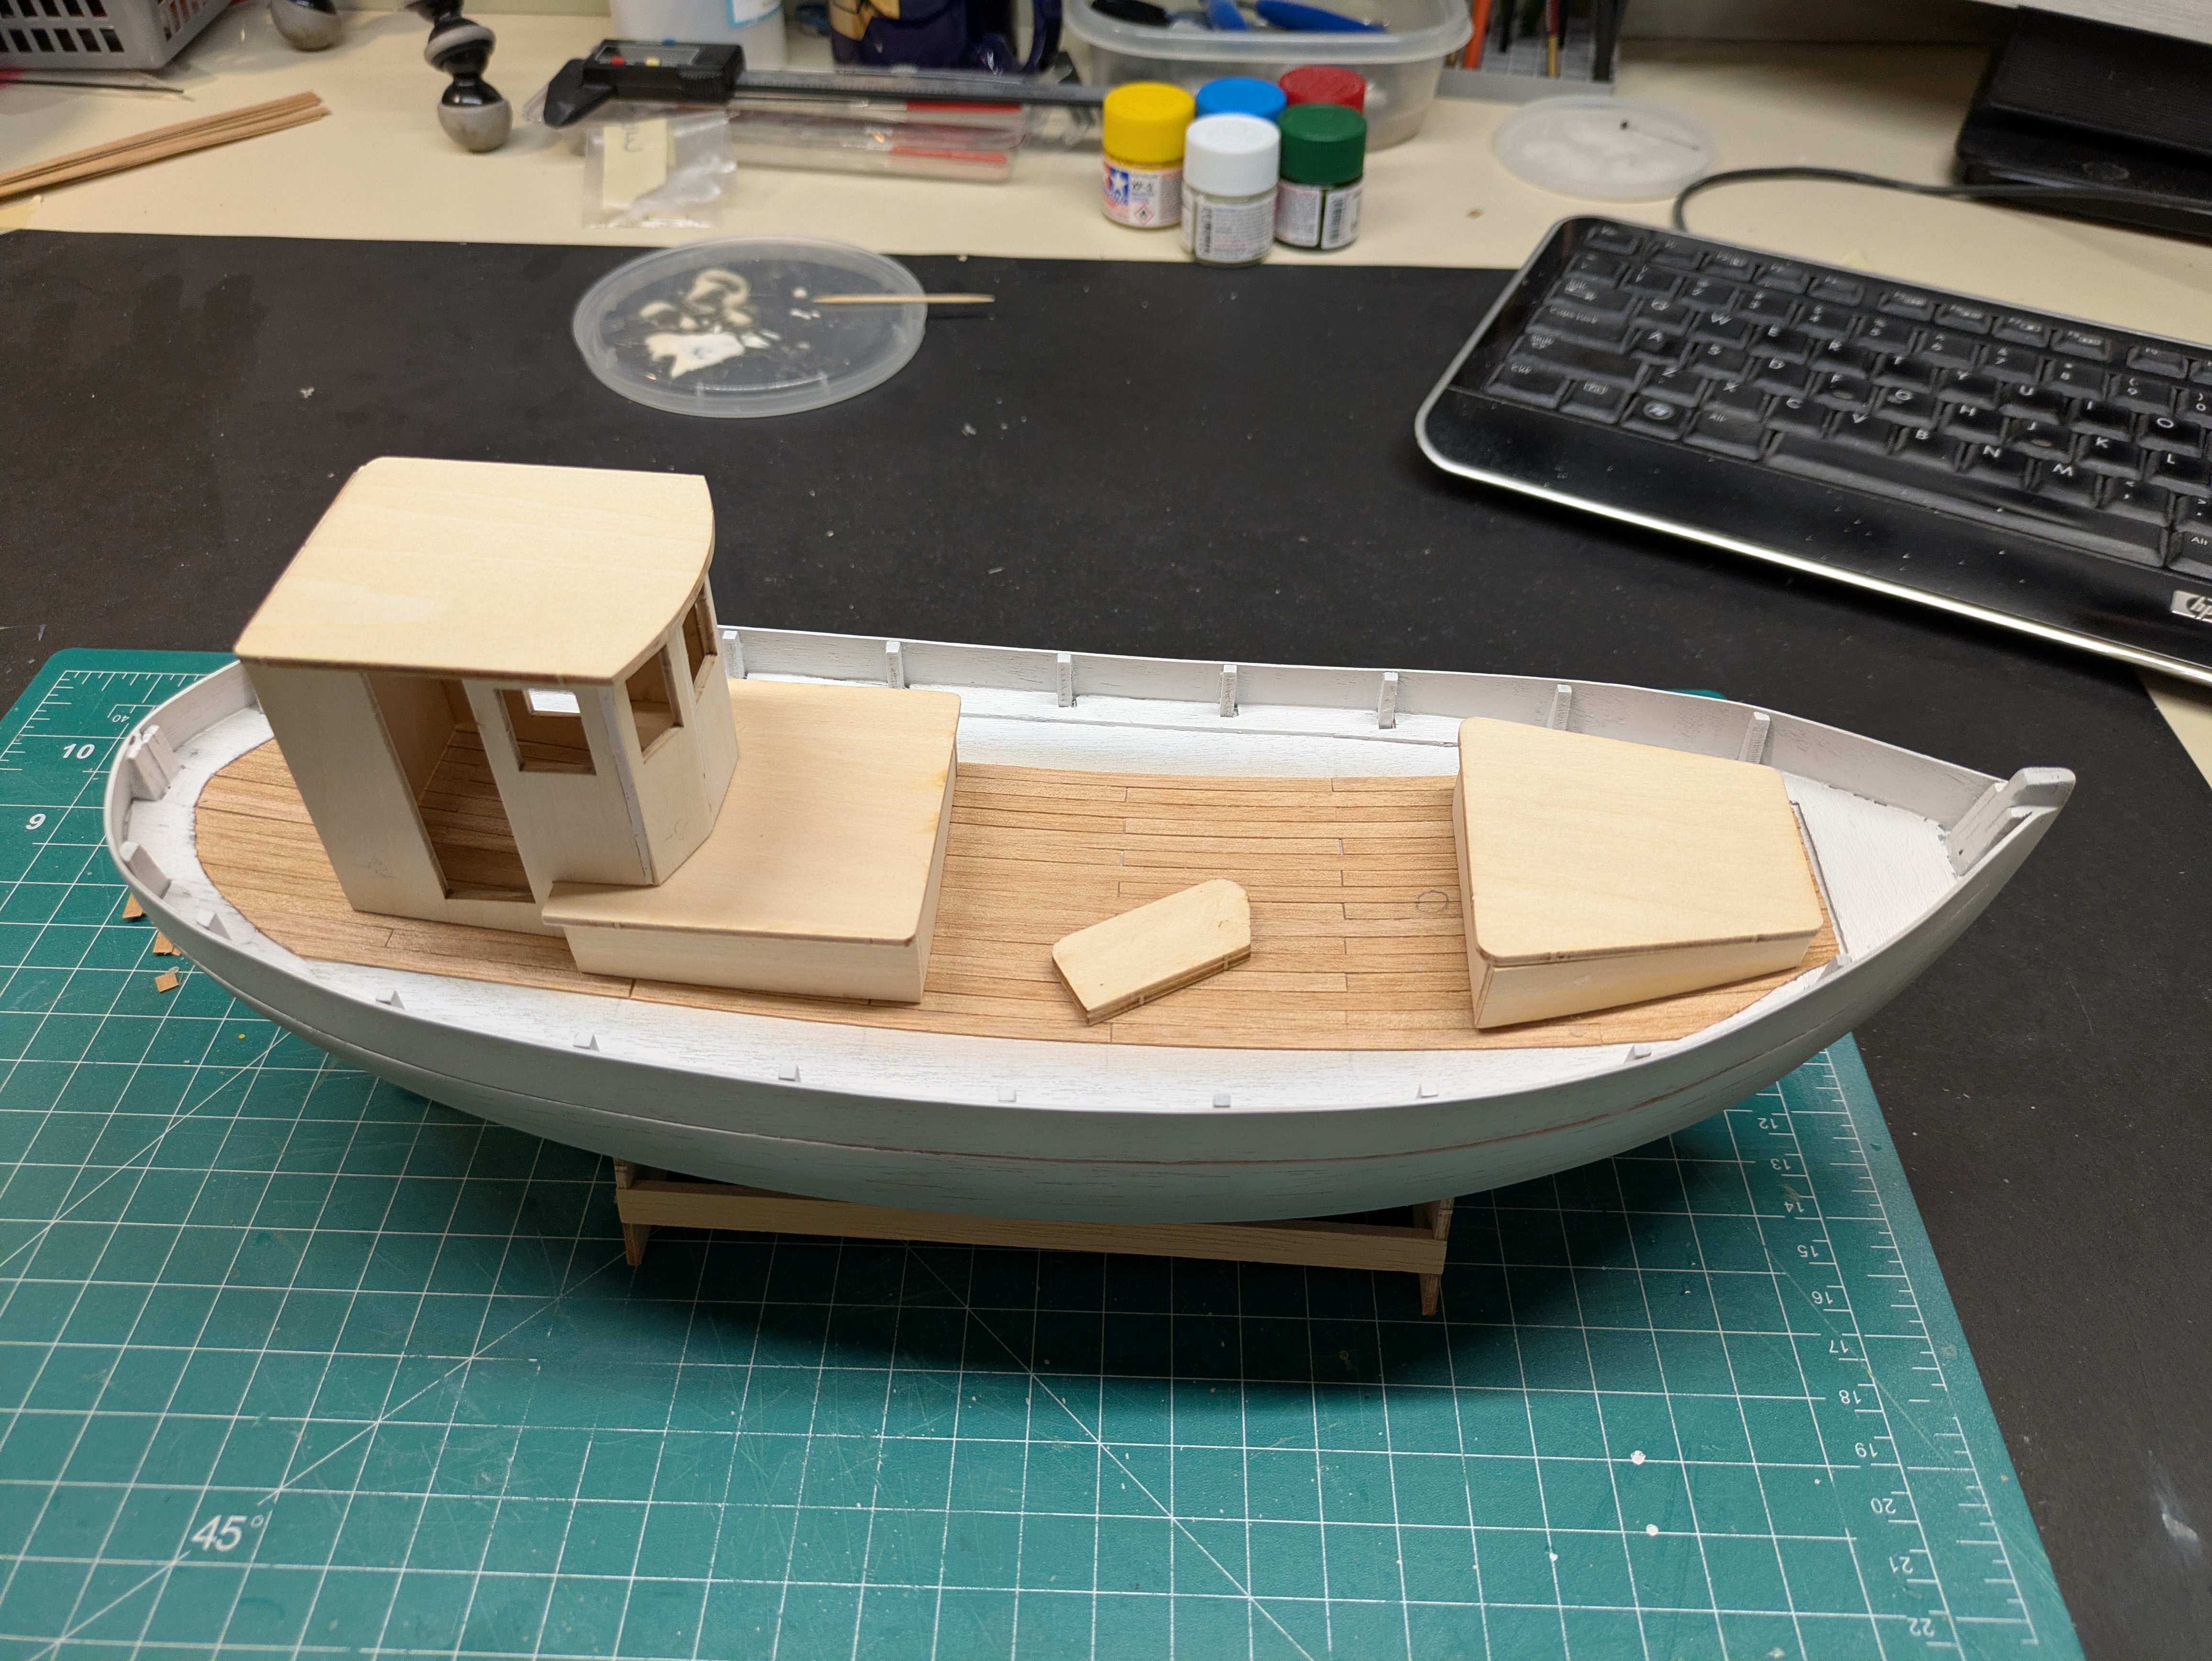
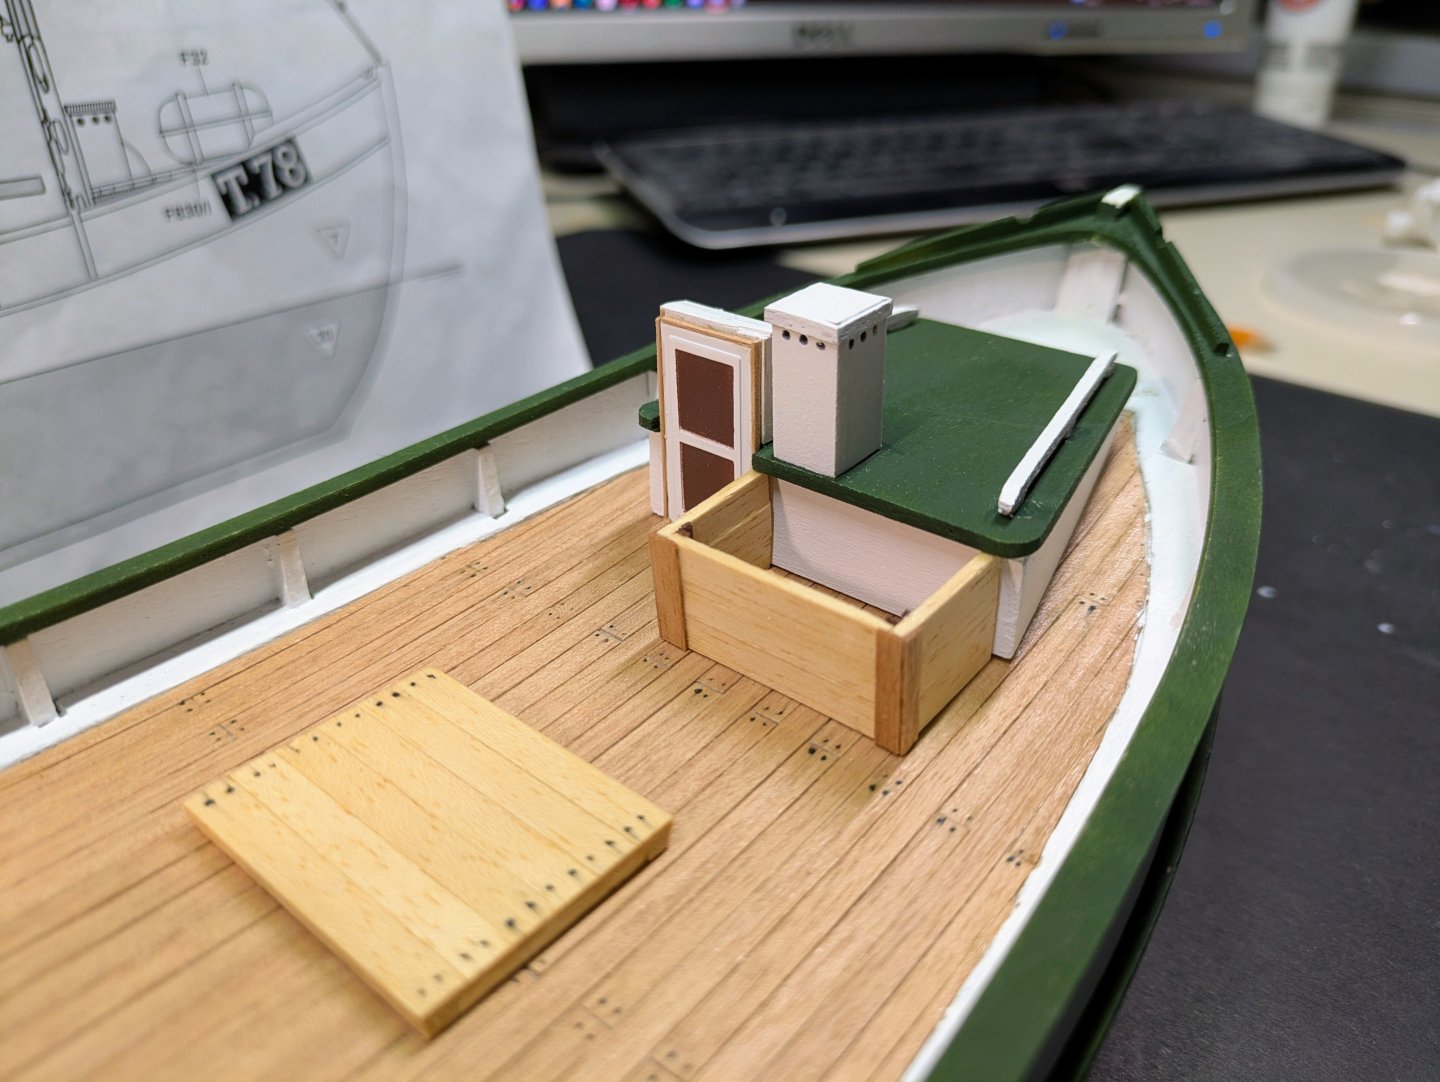
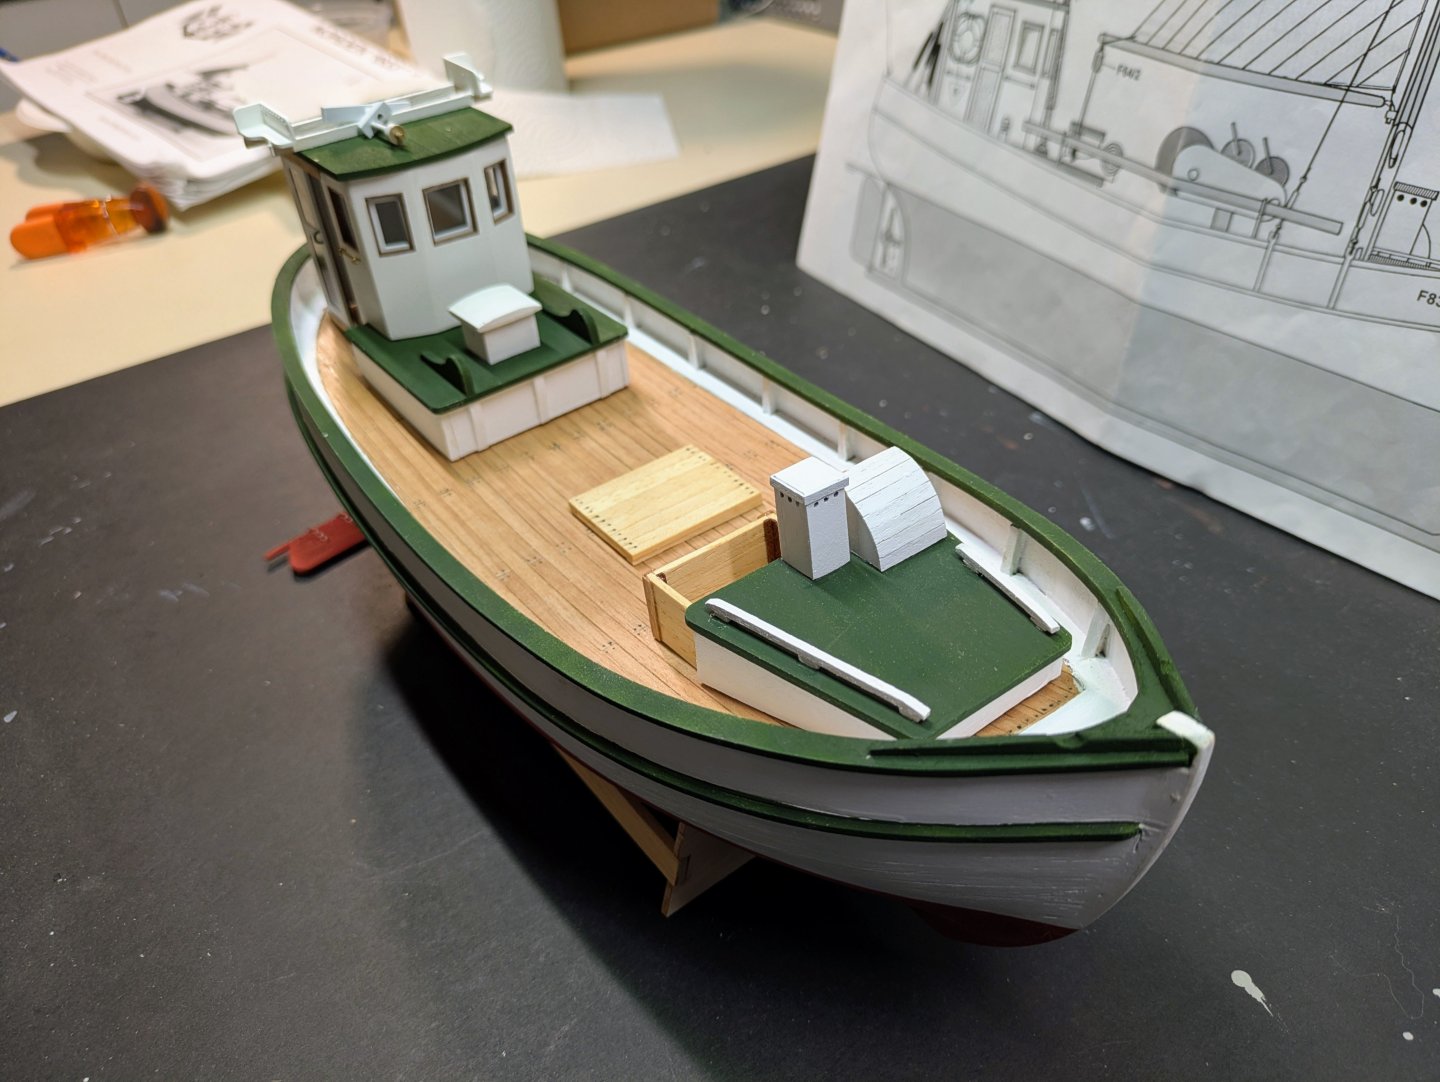
Lots of fiddly litte work this week. Got the wheel house and other main blocks attached to the deck (note to self, in the future build the deck around them), built up a bunch of the smaller parts and an afternoon of painting a pile of the accessories. Will start working on the masts and spars next. Not happy that the decals are peal and not slide. The Norden one on the deckhouse looks like crap so I might remove that one. Hope everyone had a great holidays and Happy New Year to all!


-
Been puttering away on the deck pieces. Some are glued down now, larger pieces still dry fitting as I figure out the order to lock things down.


-
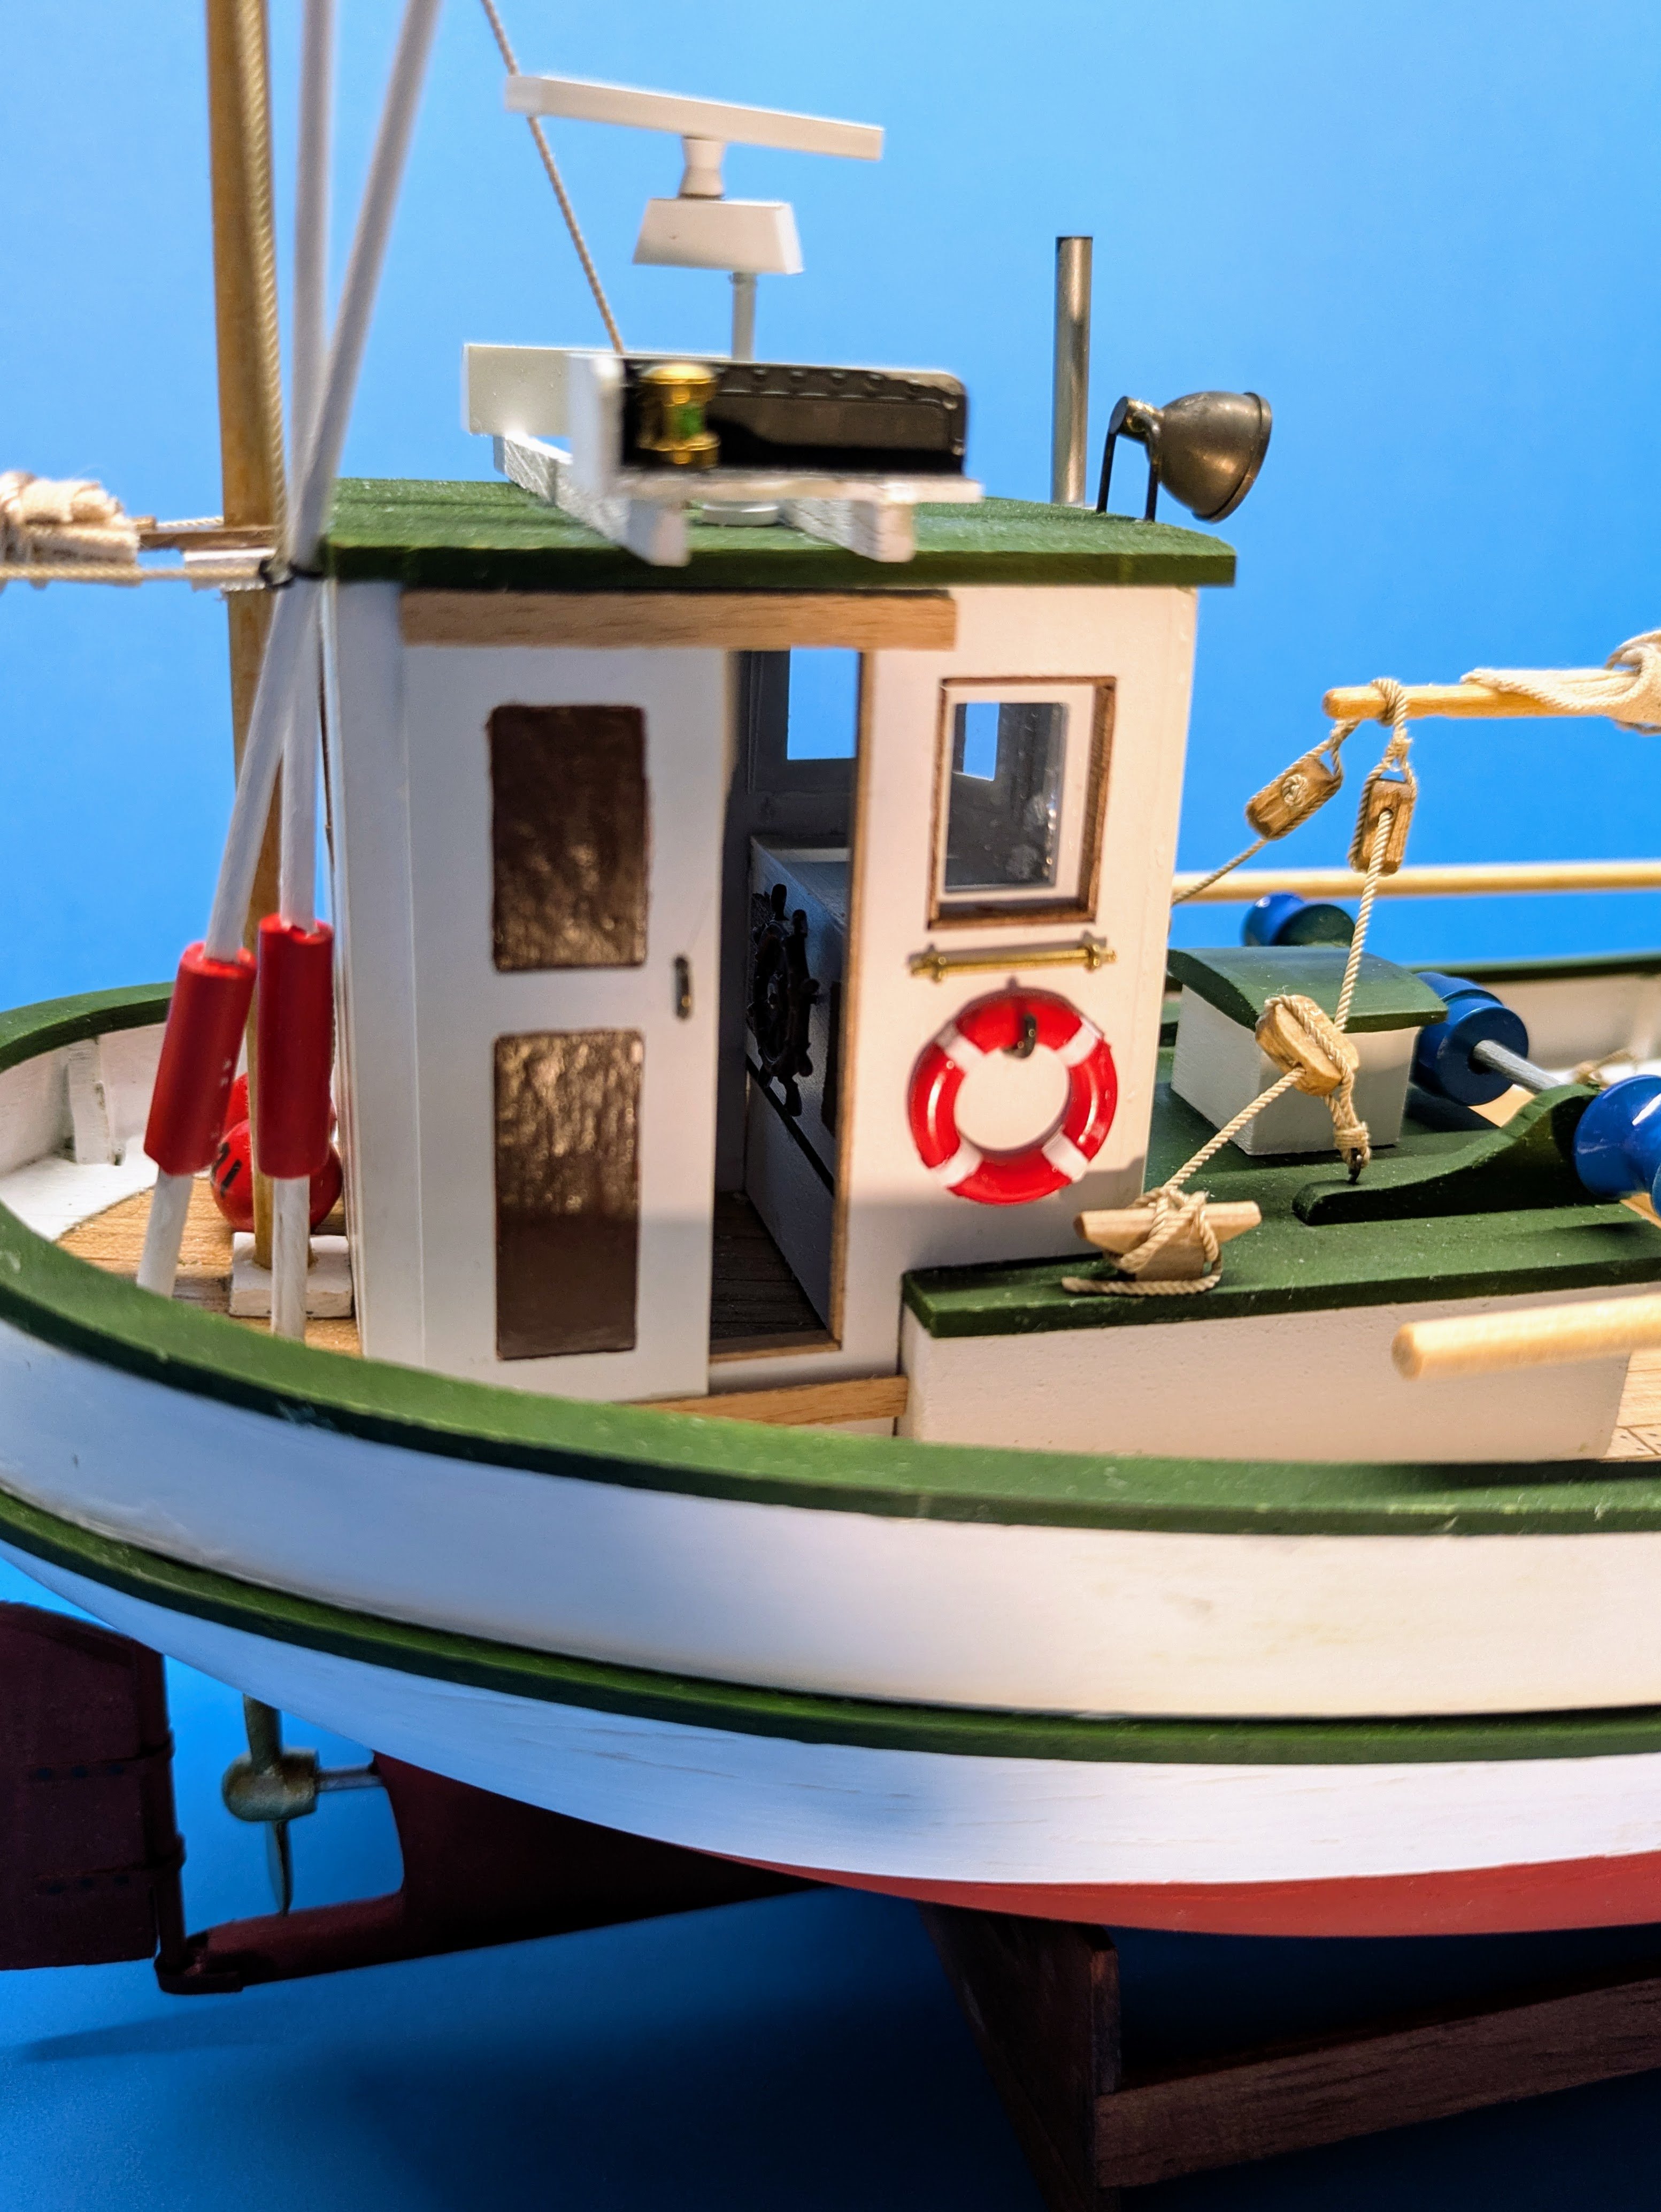
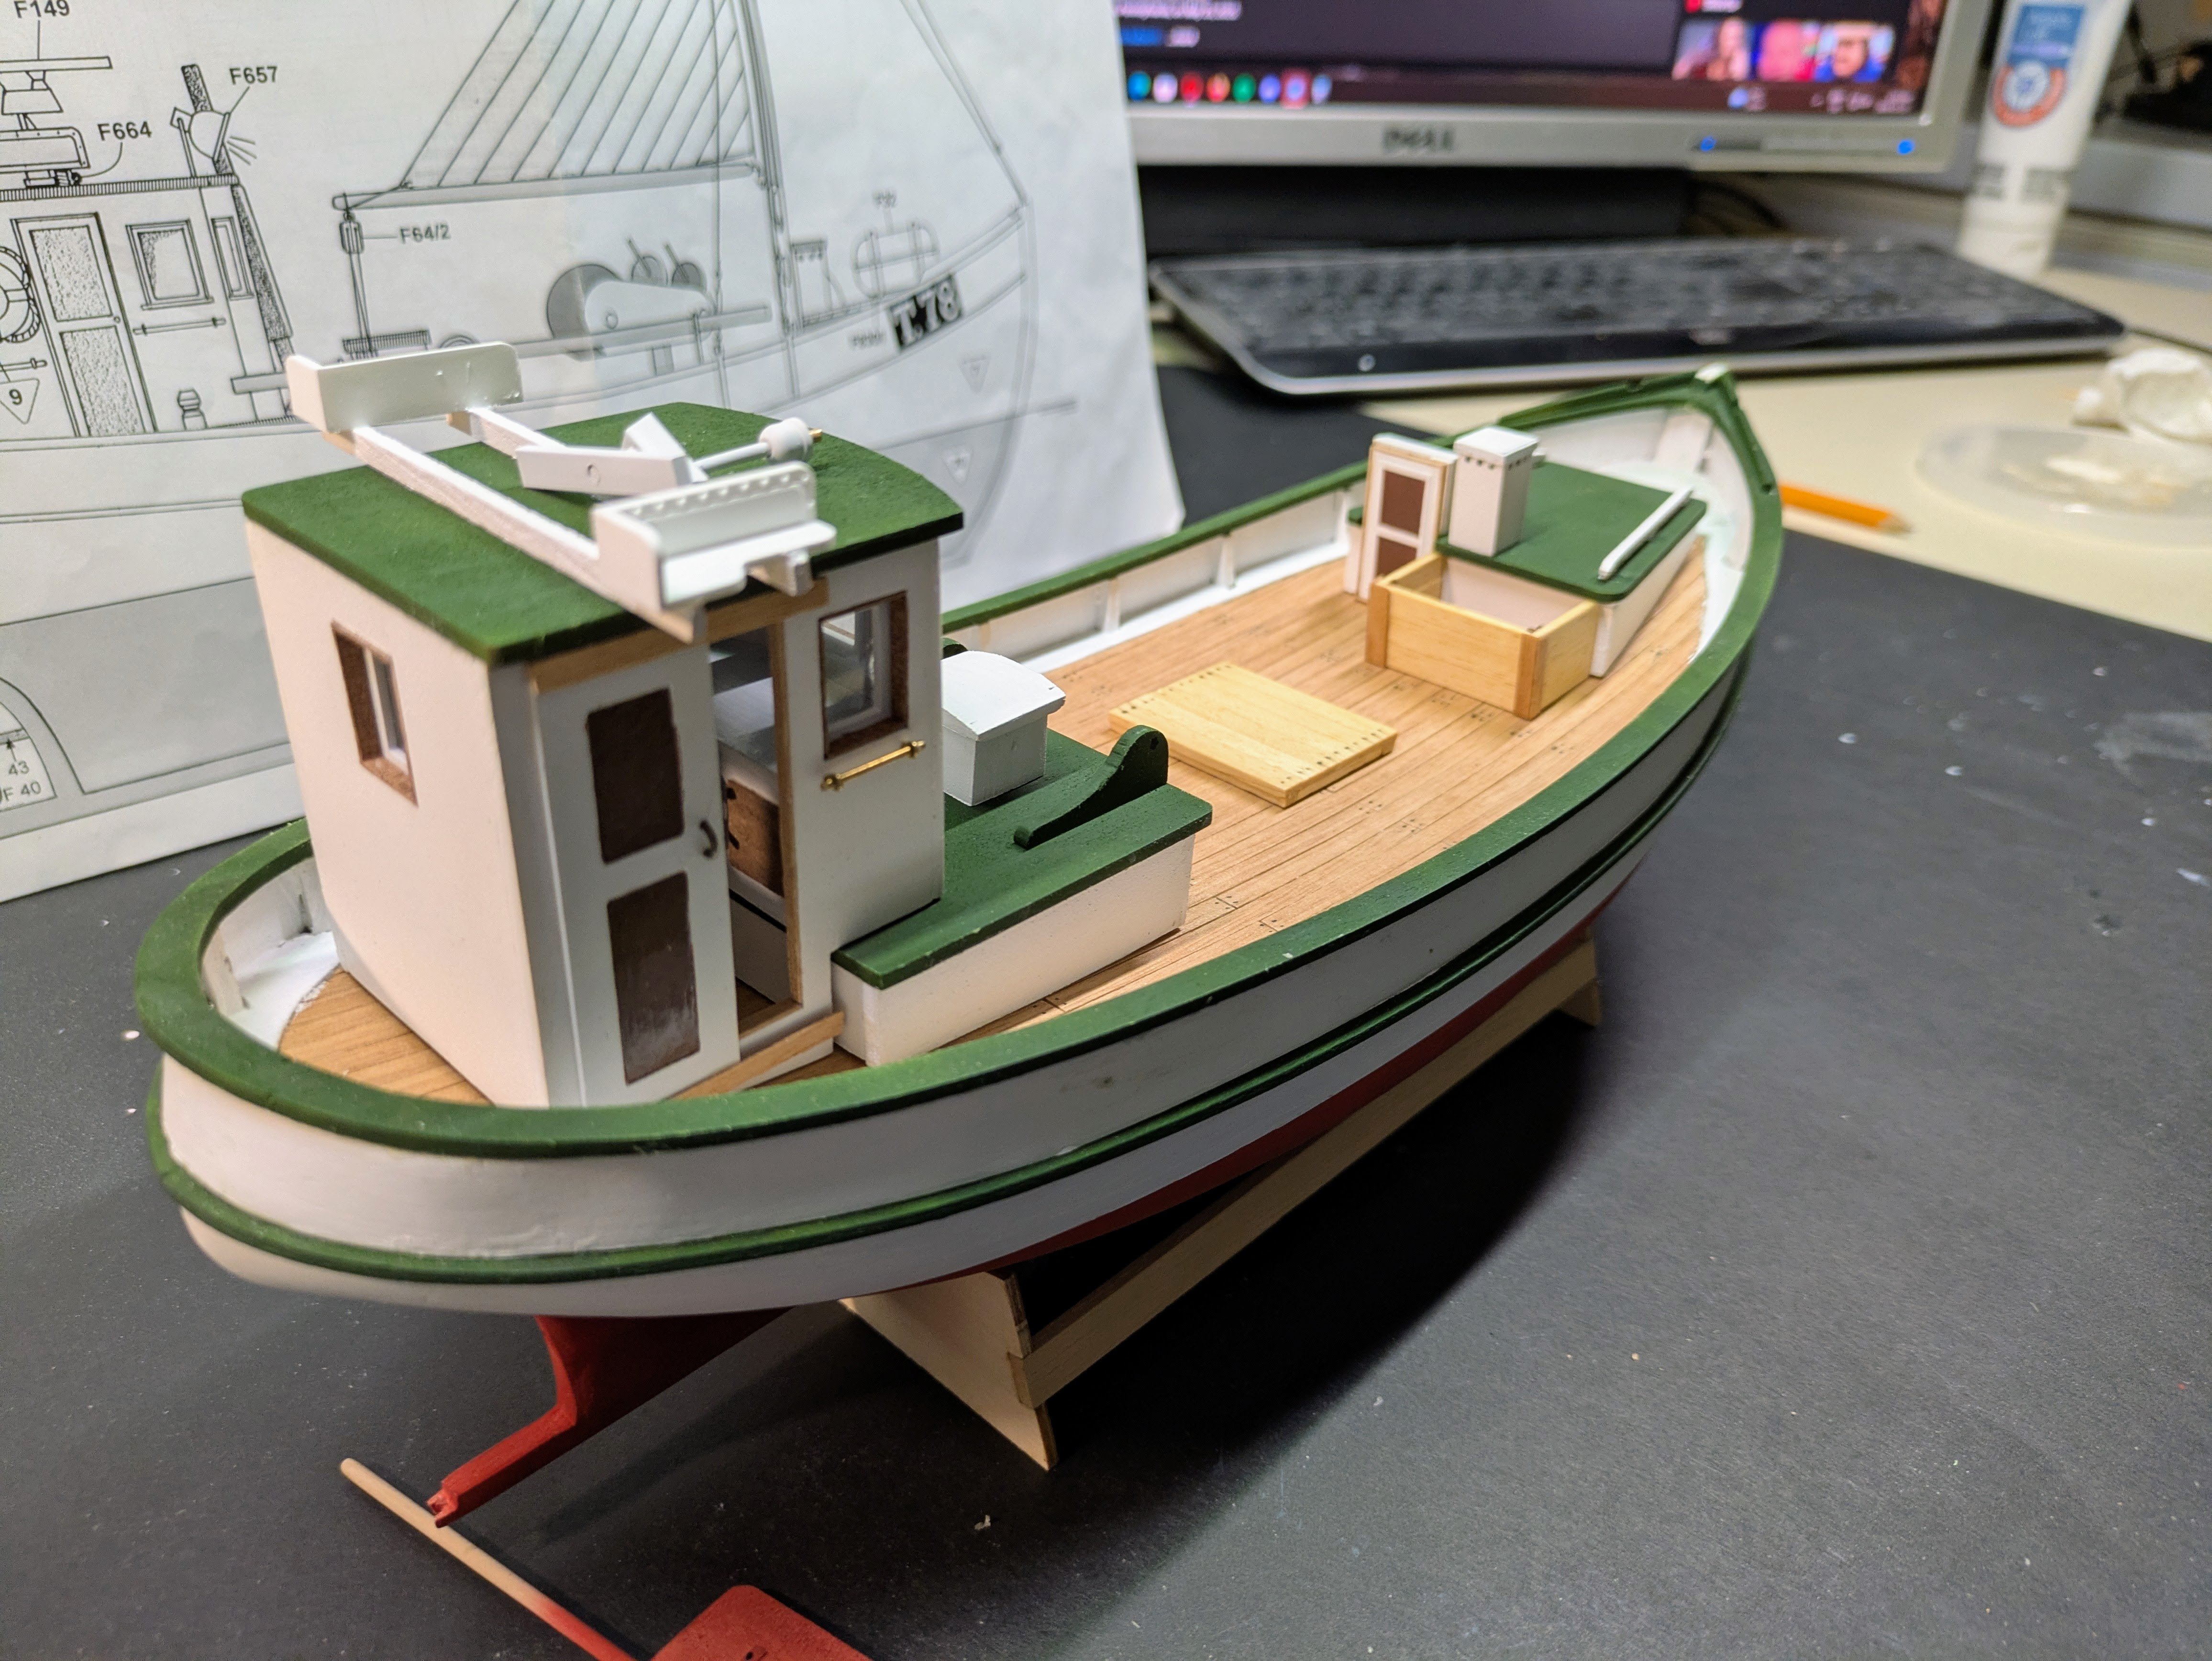
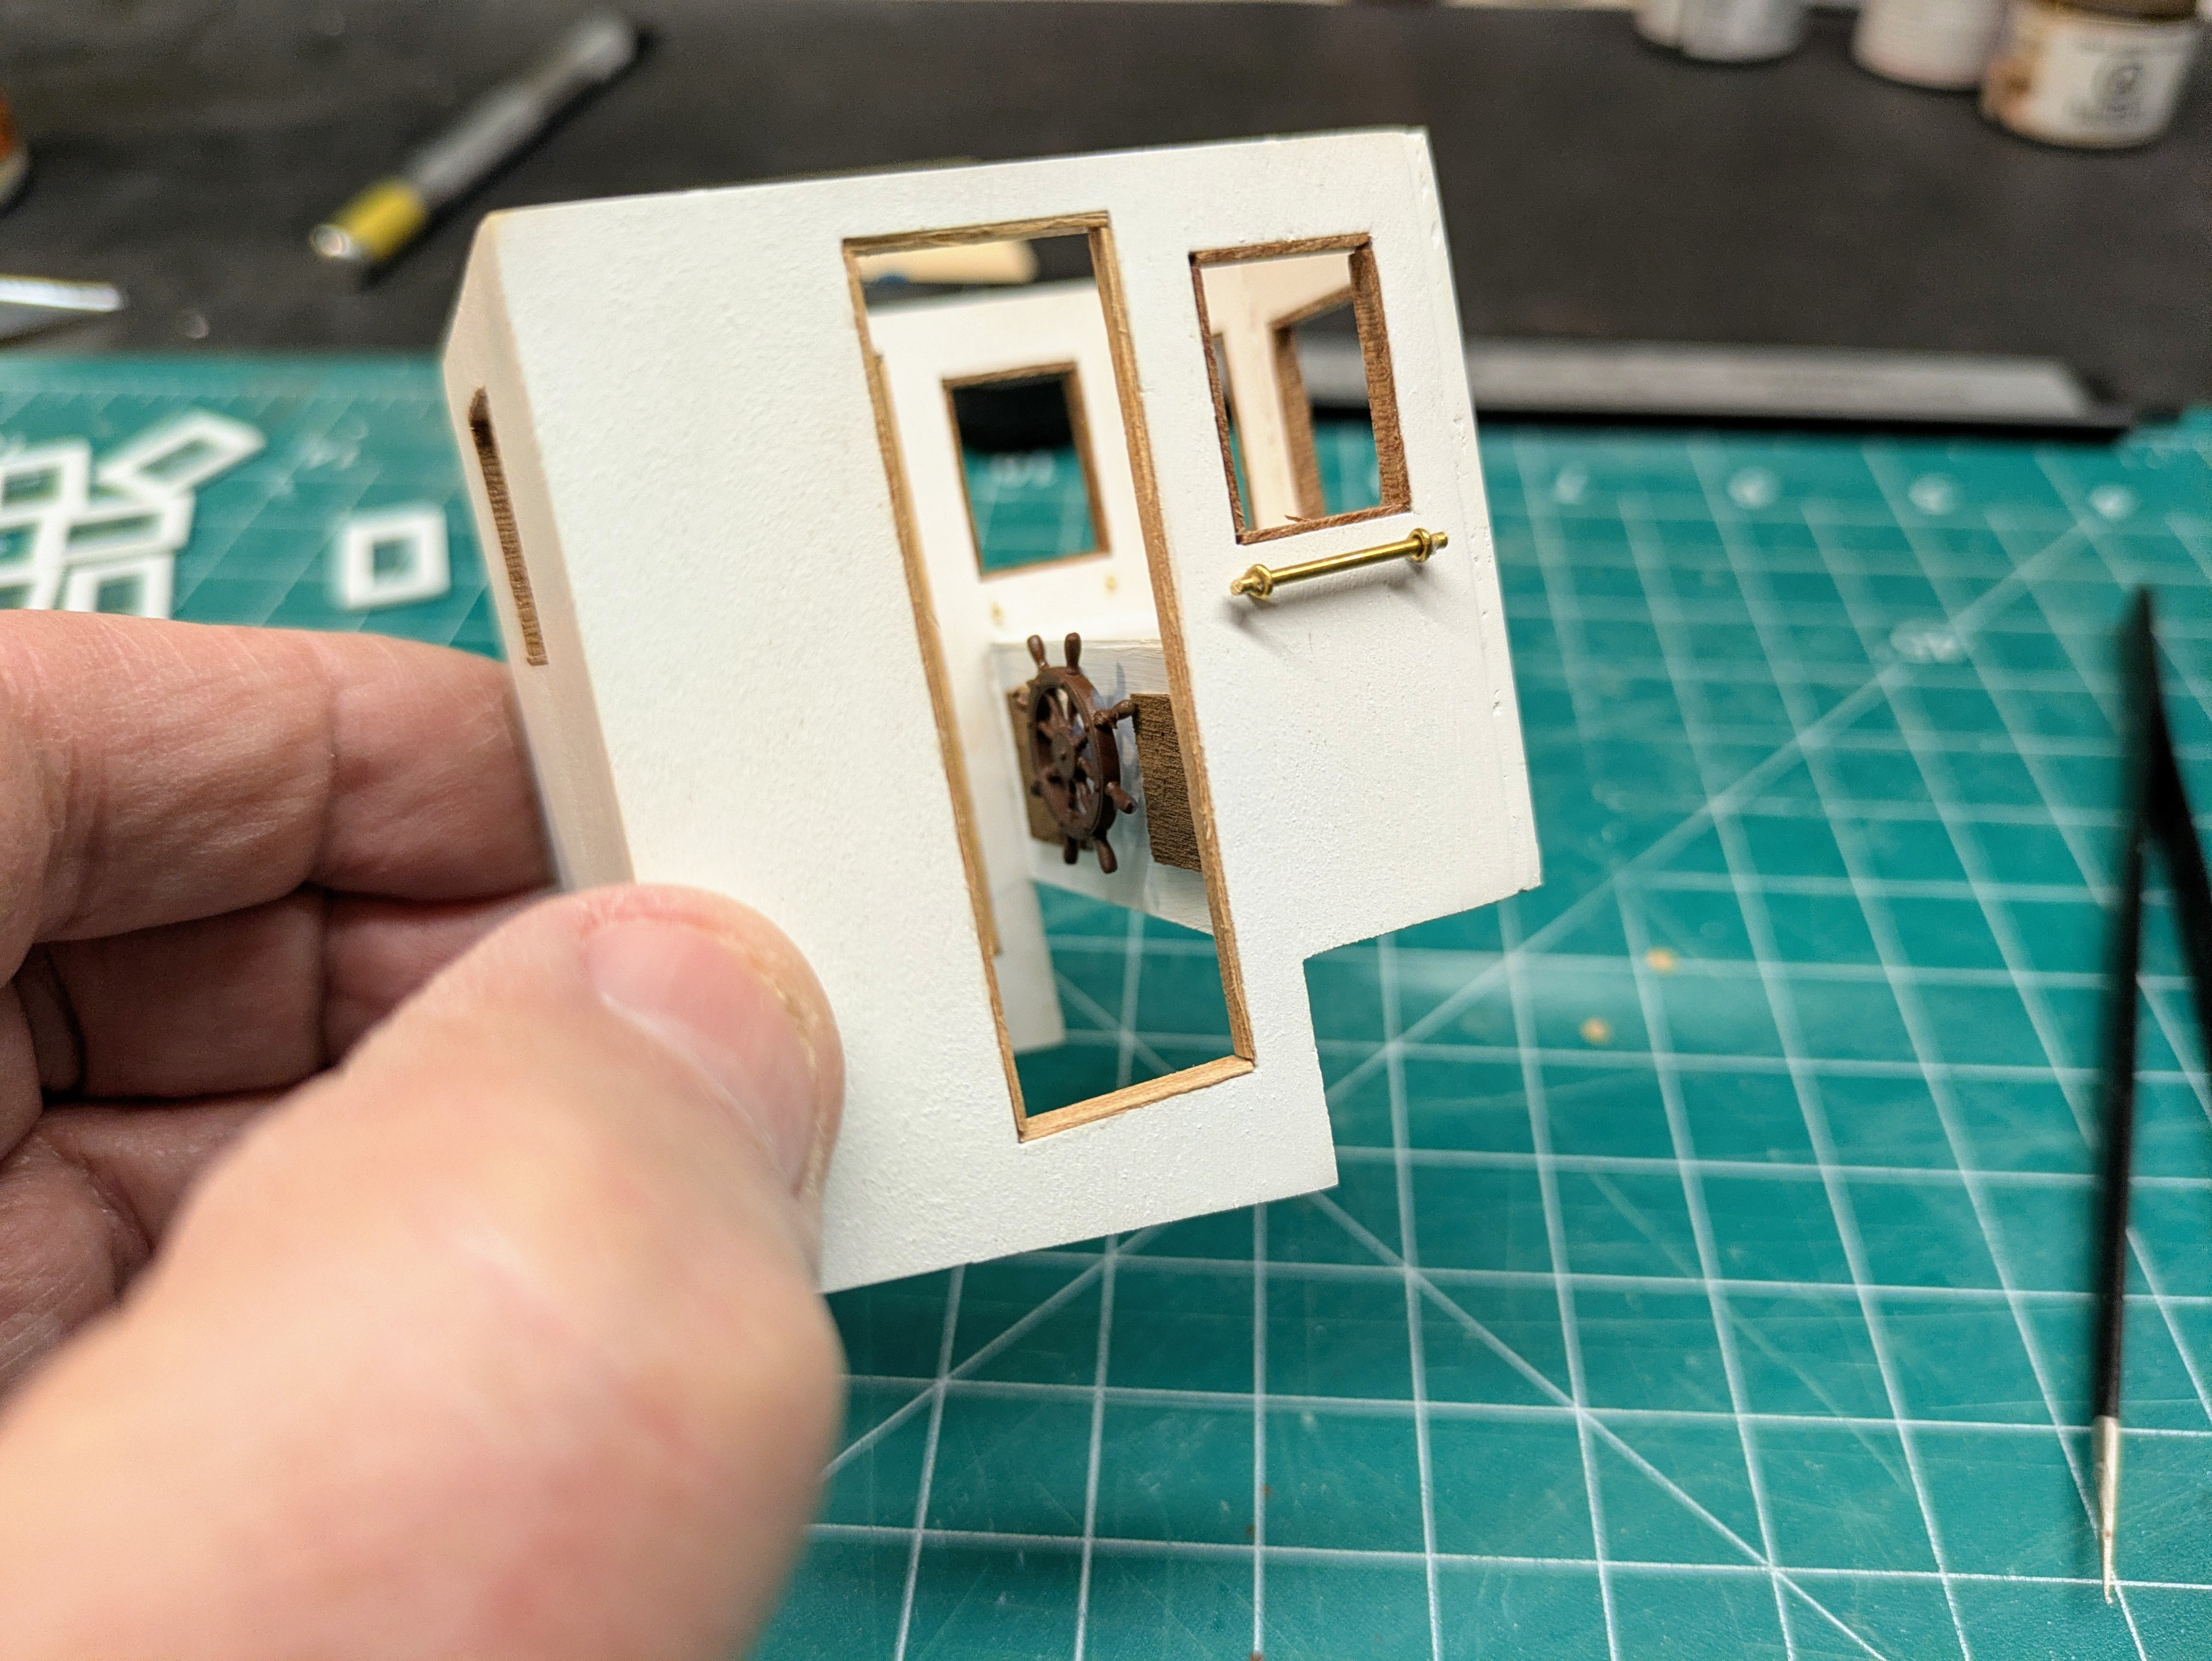
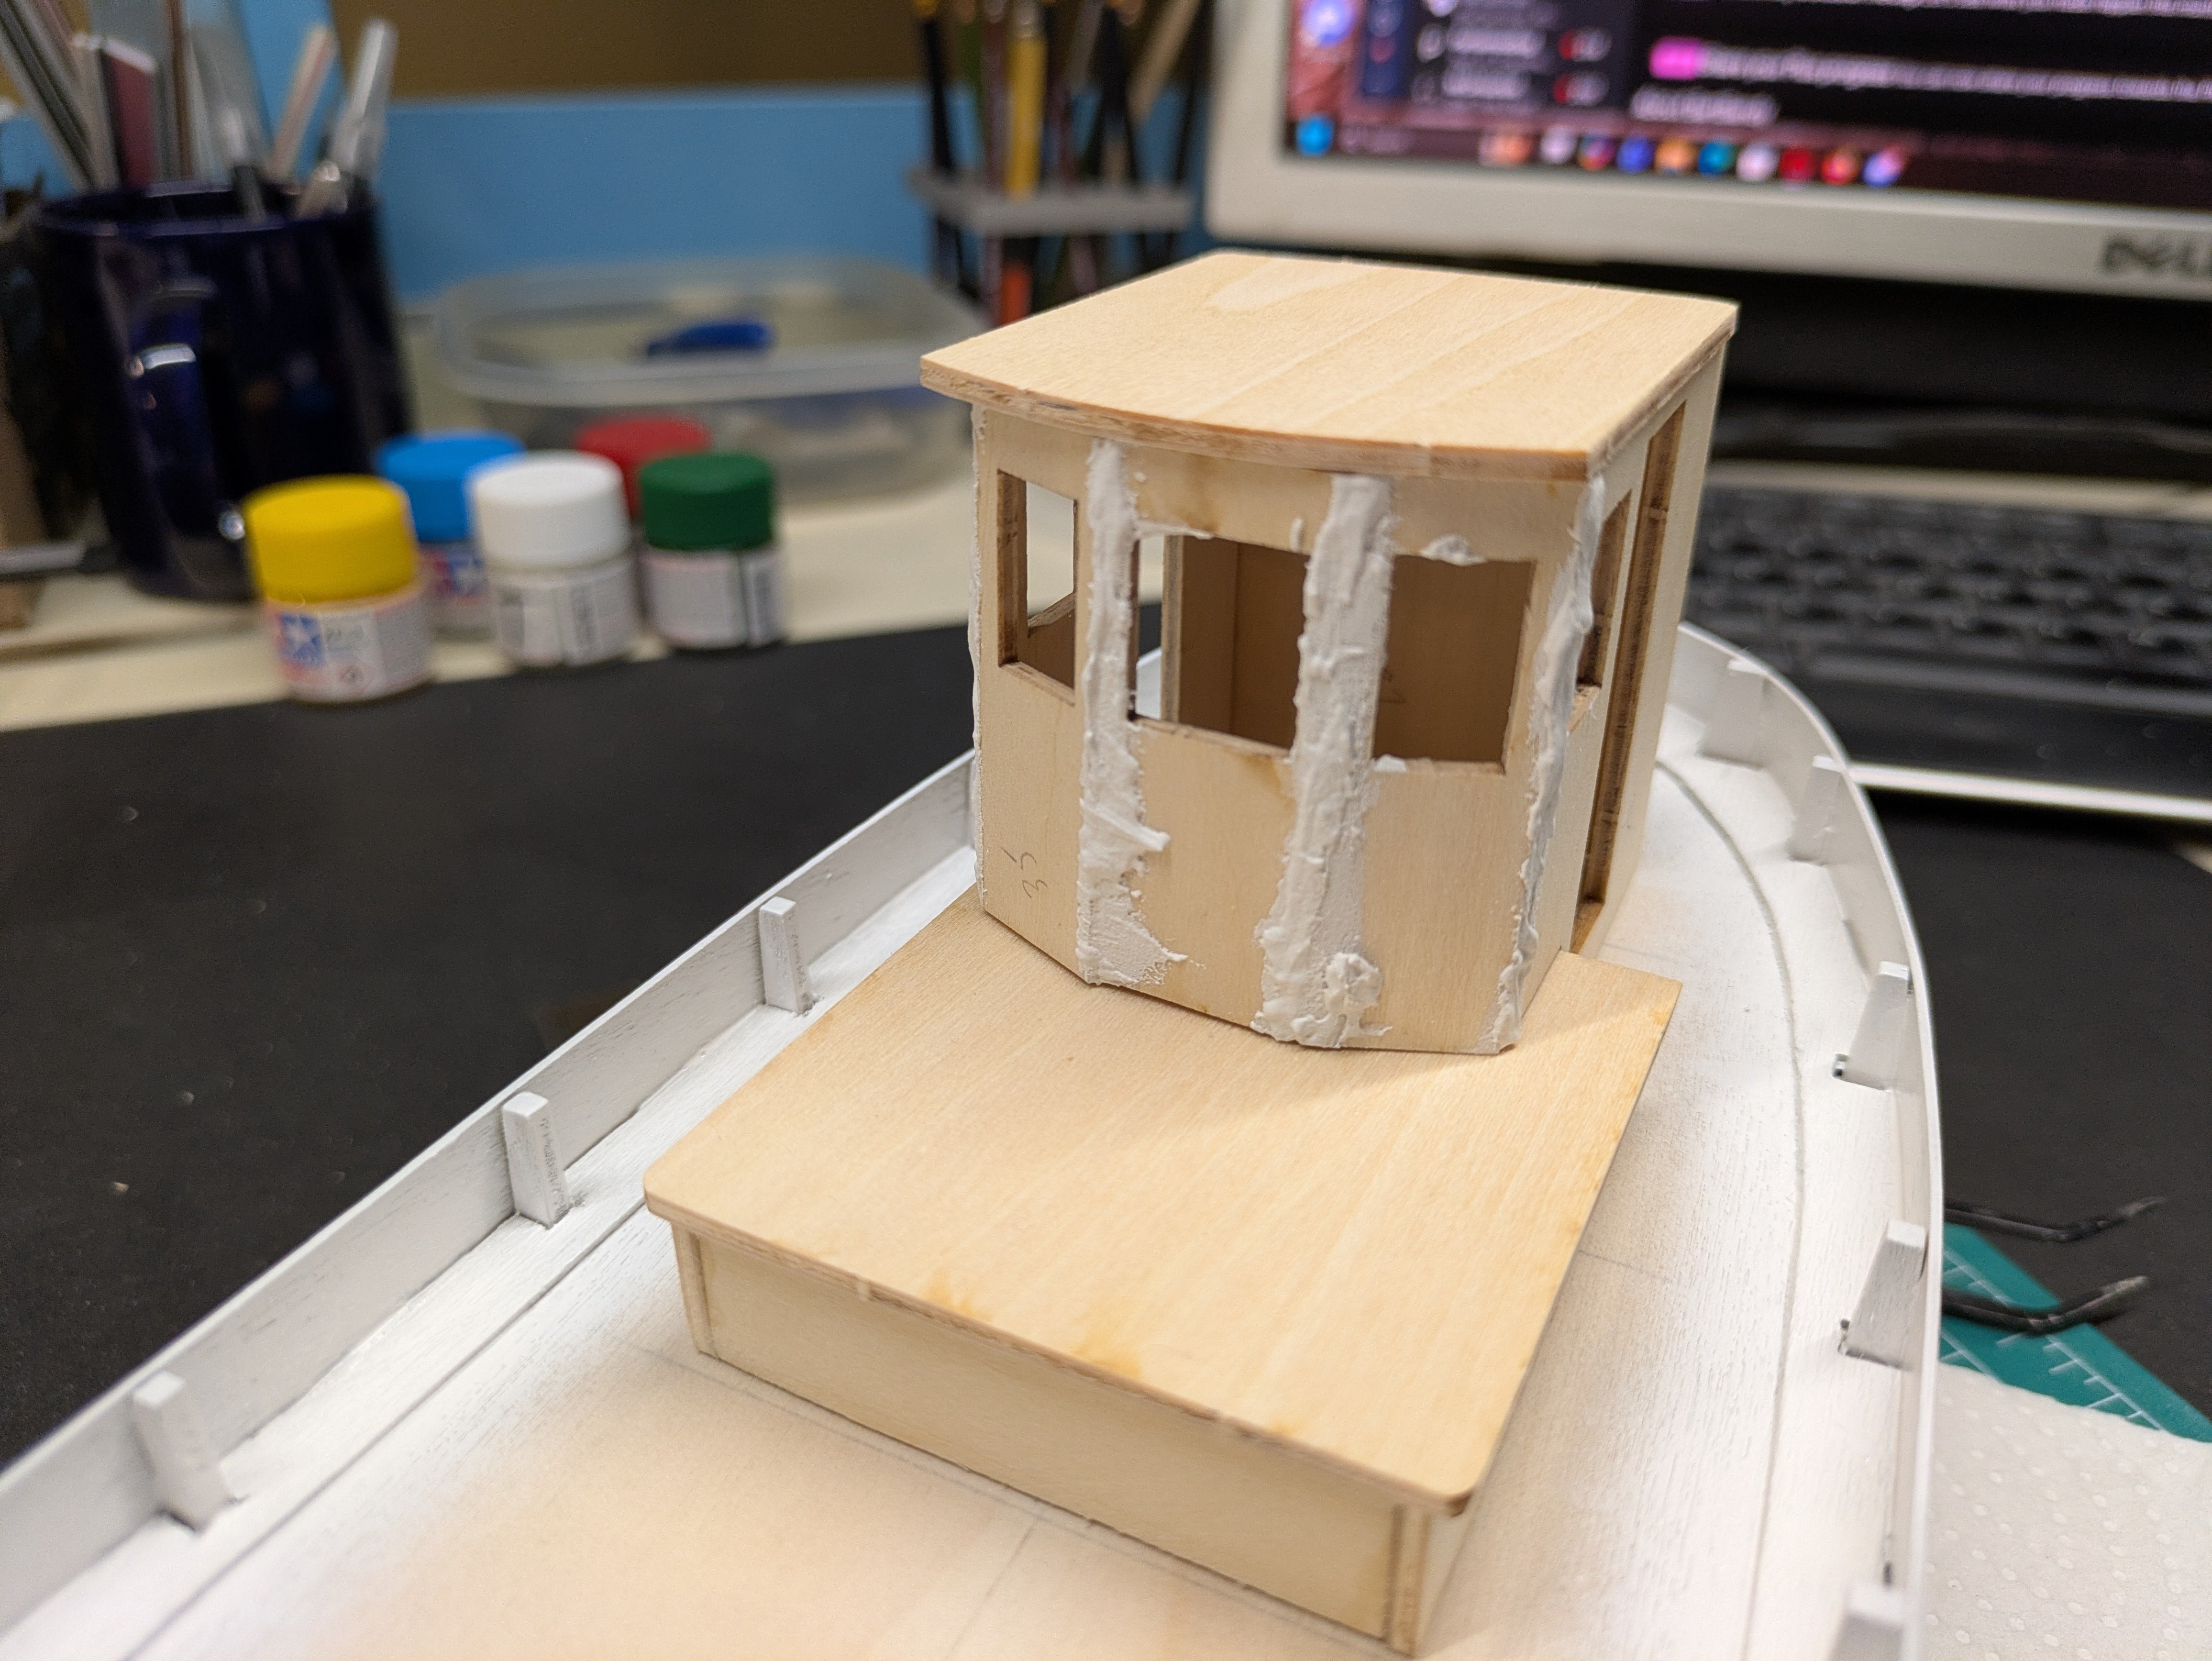
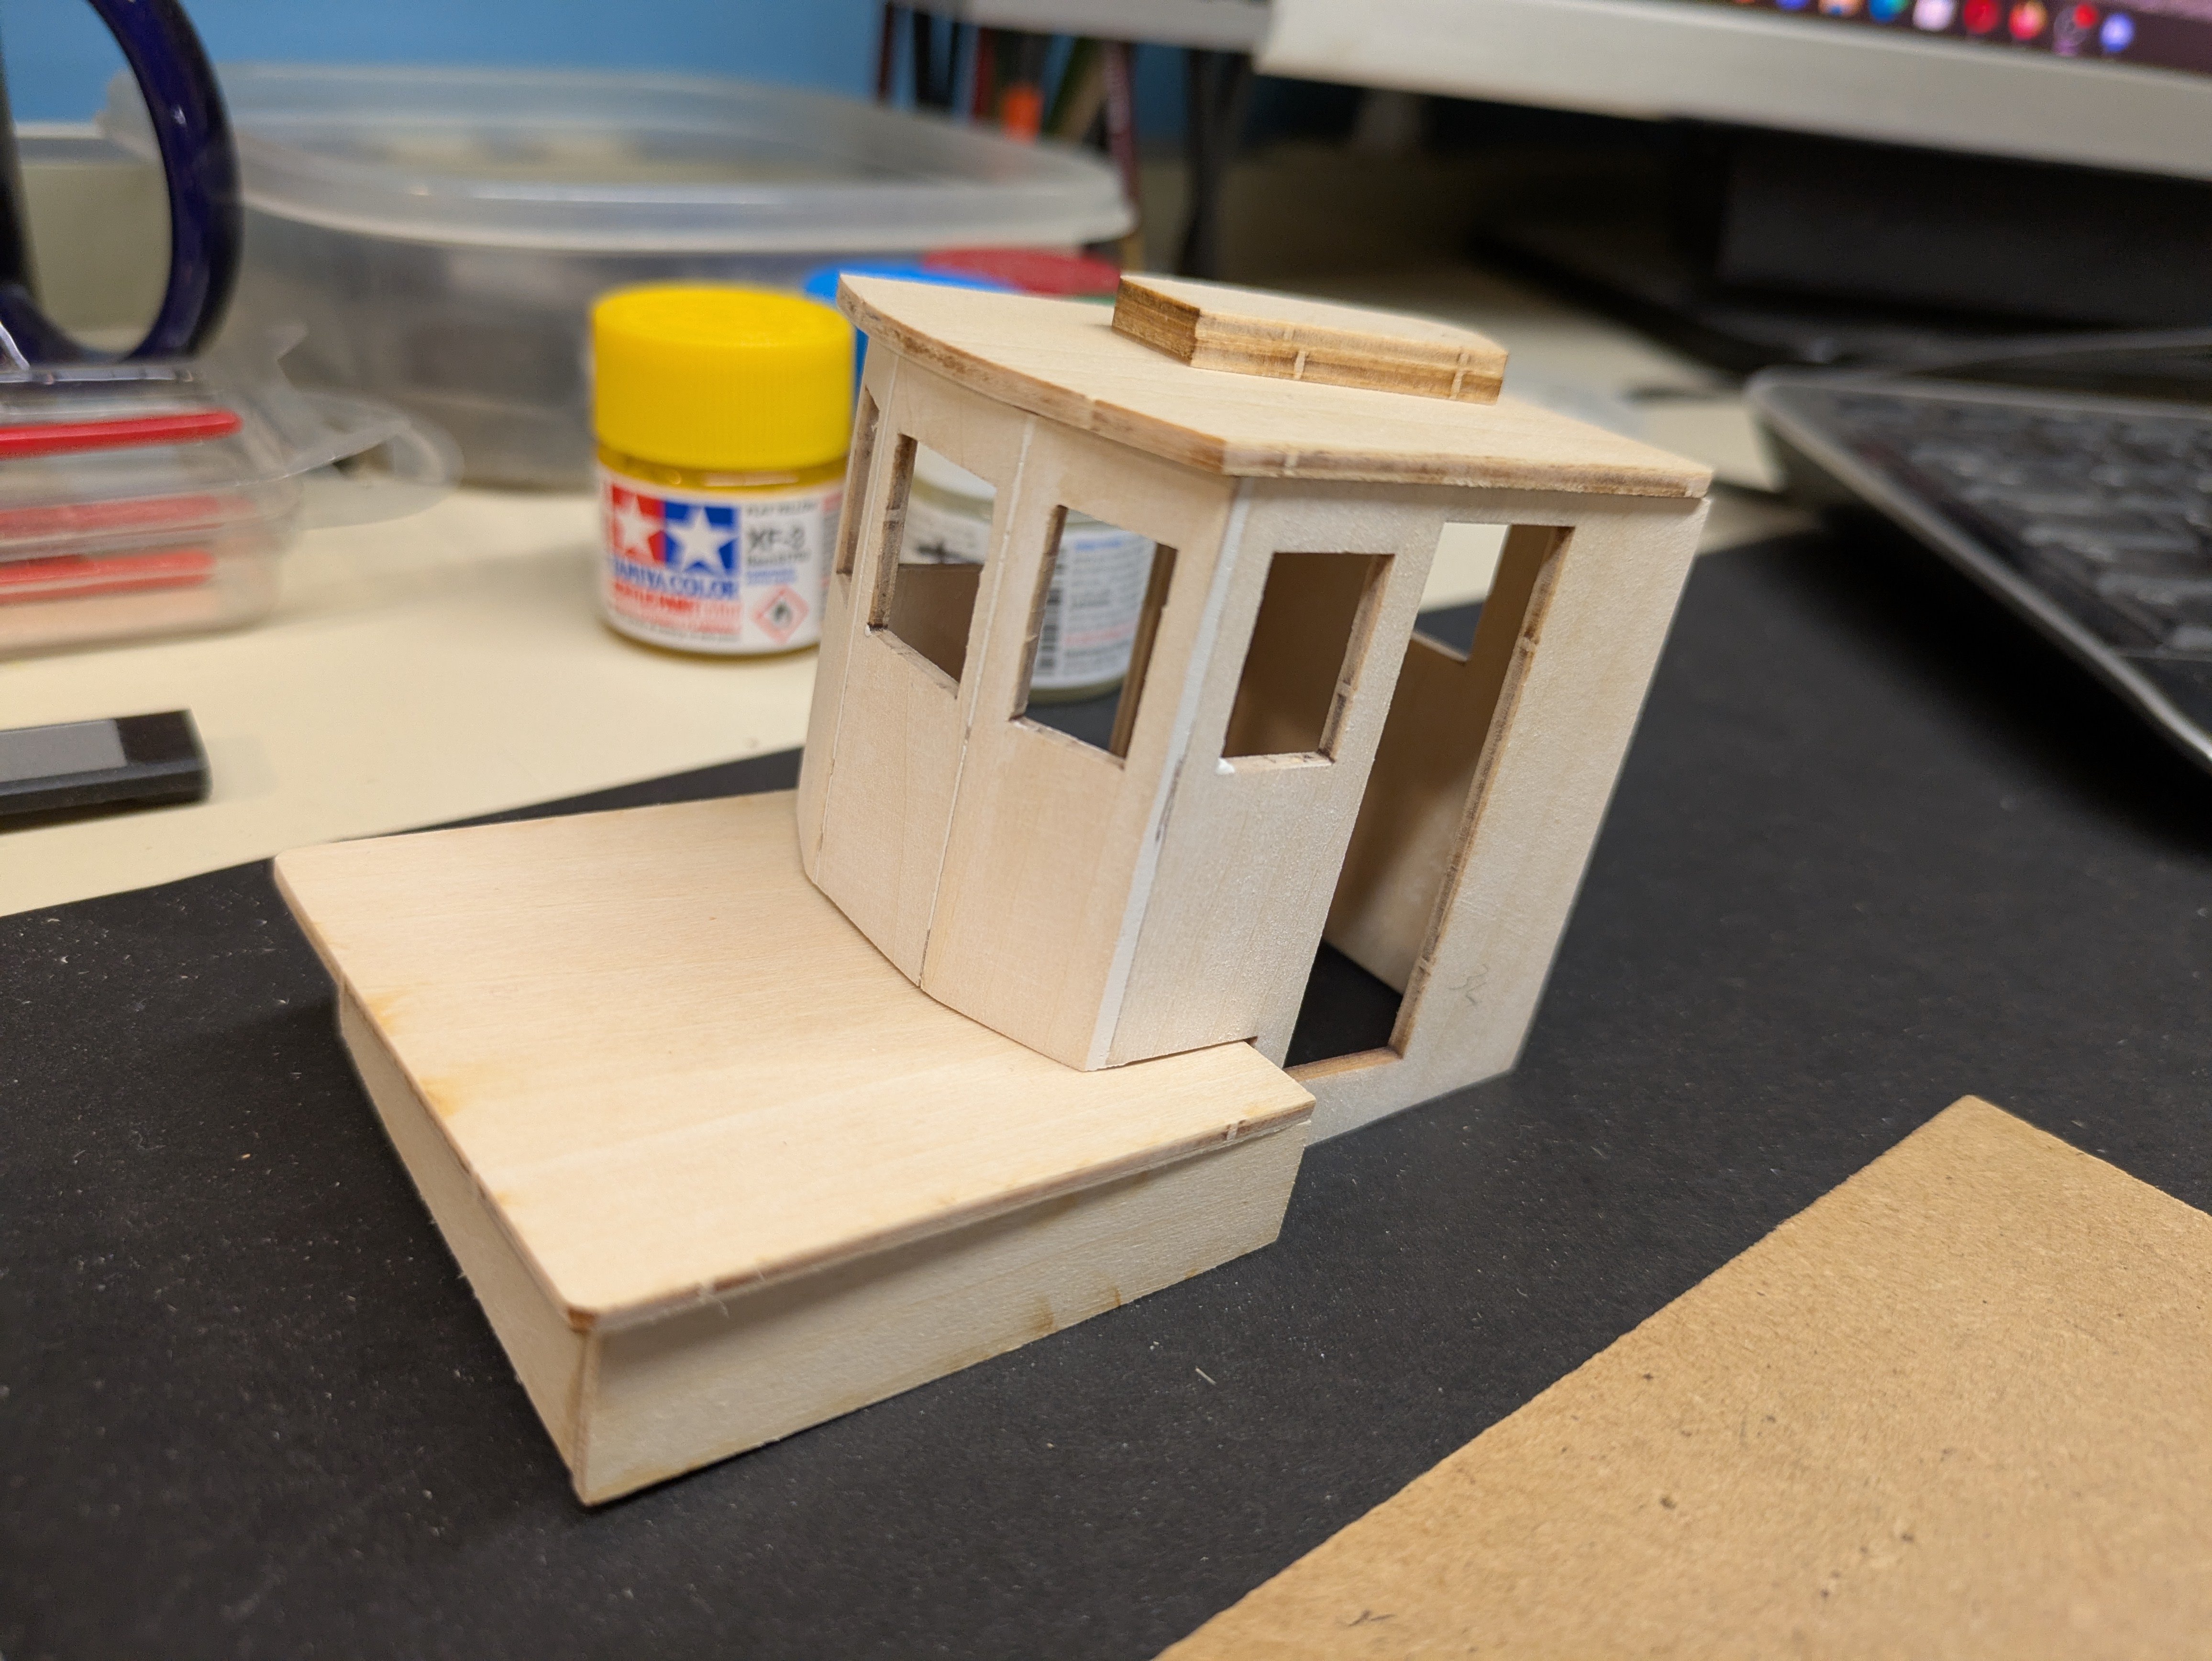
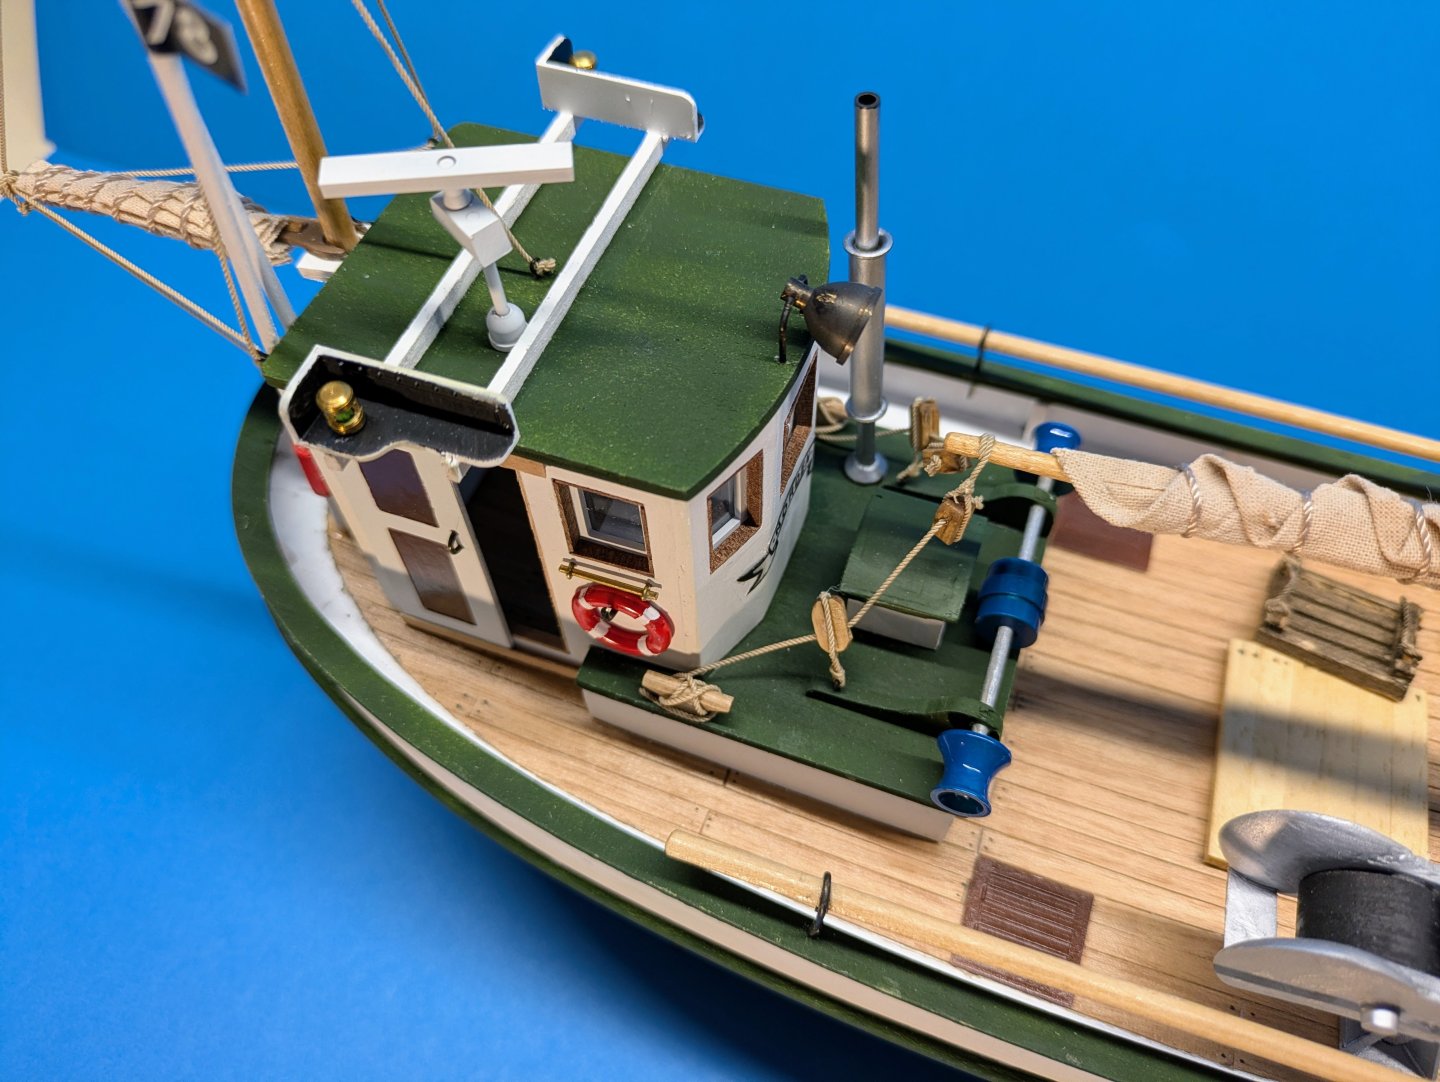
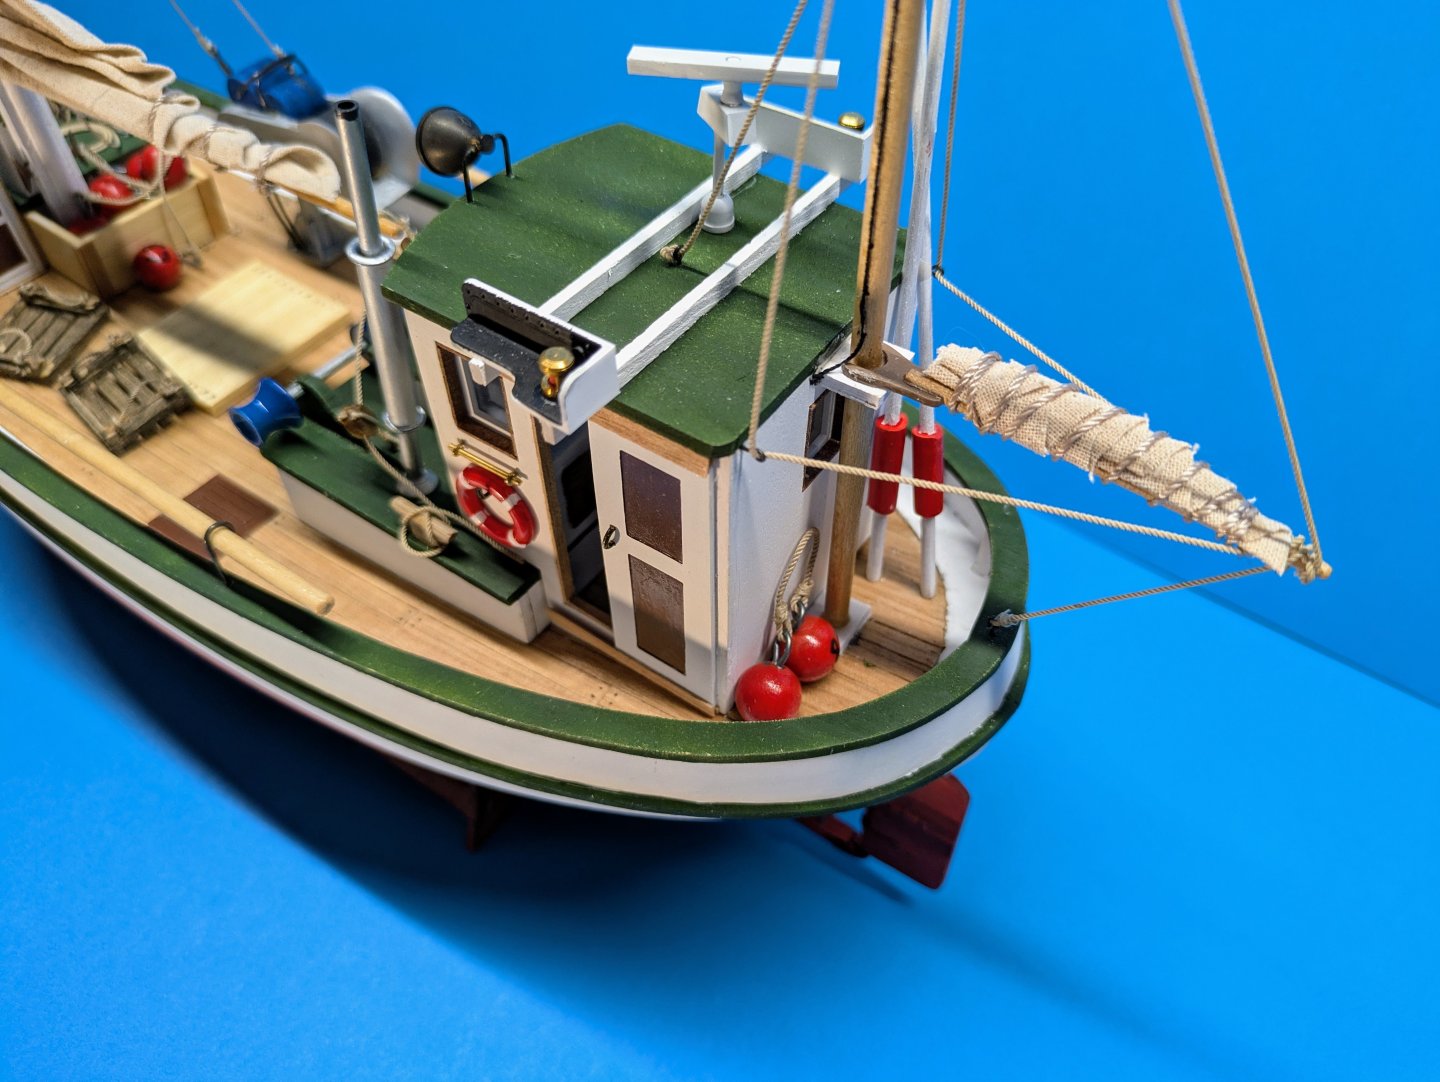
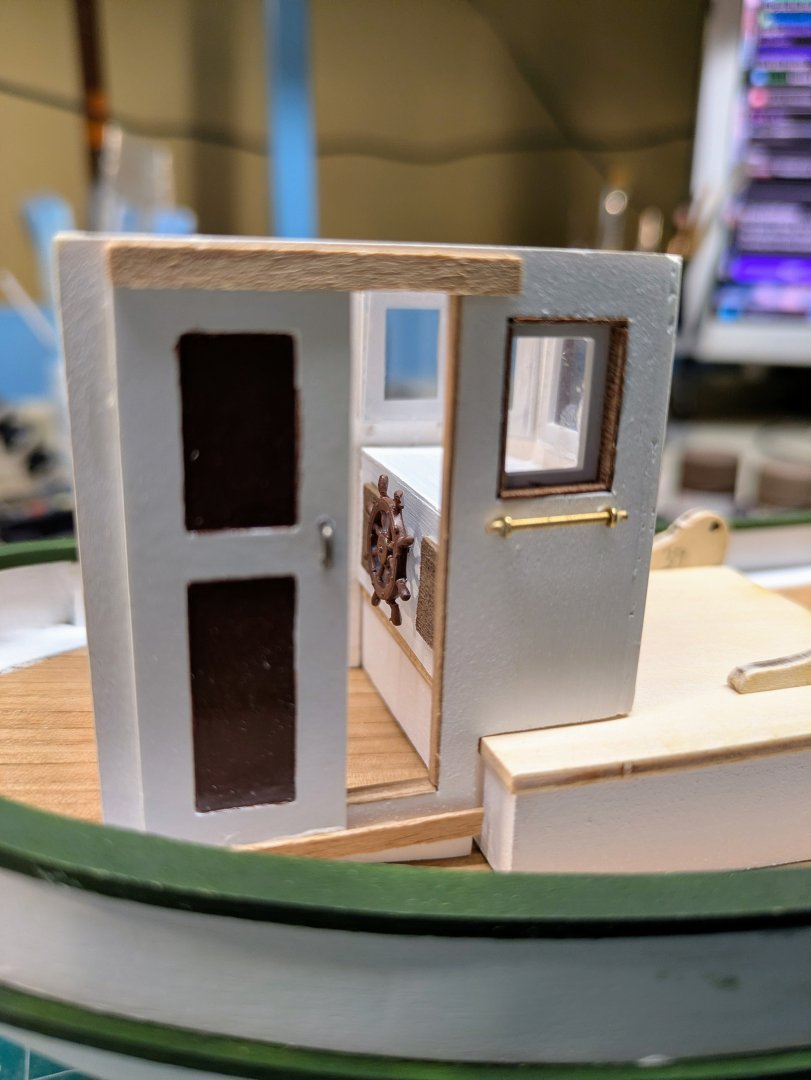
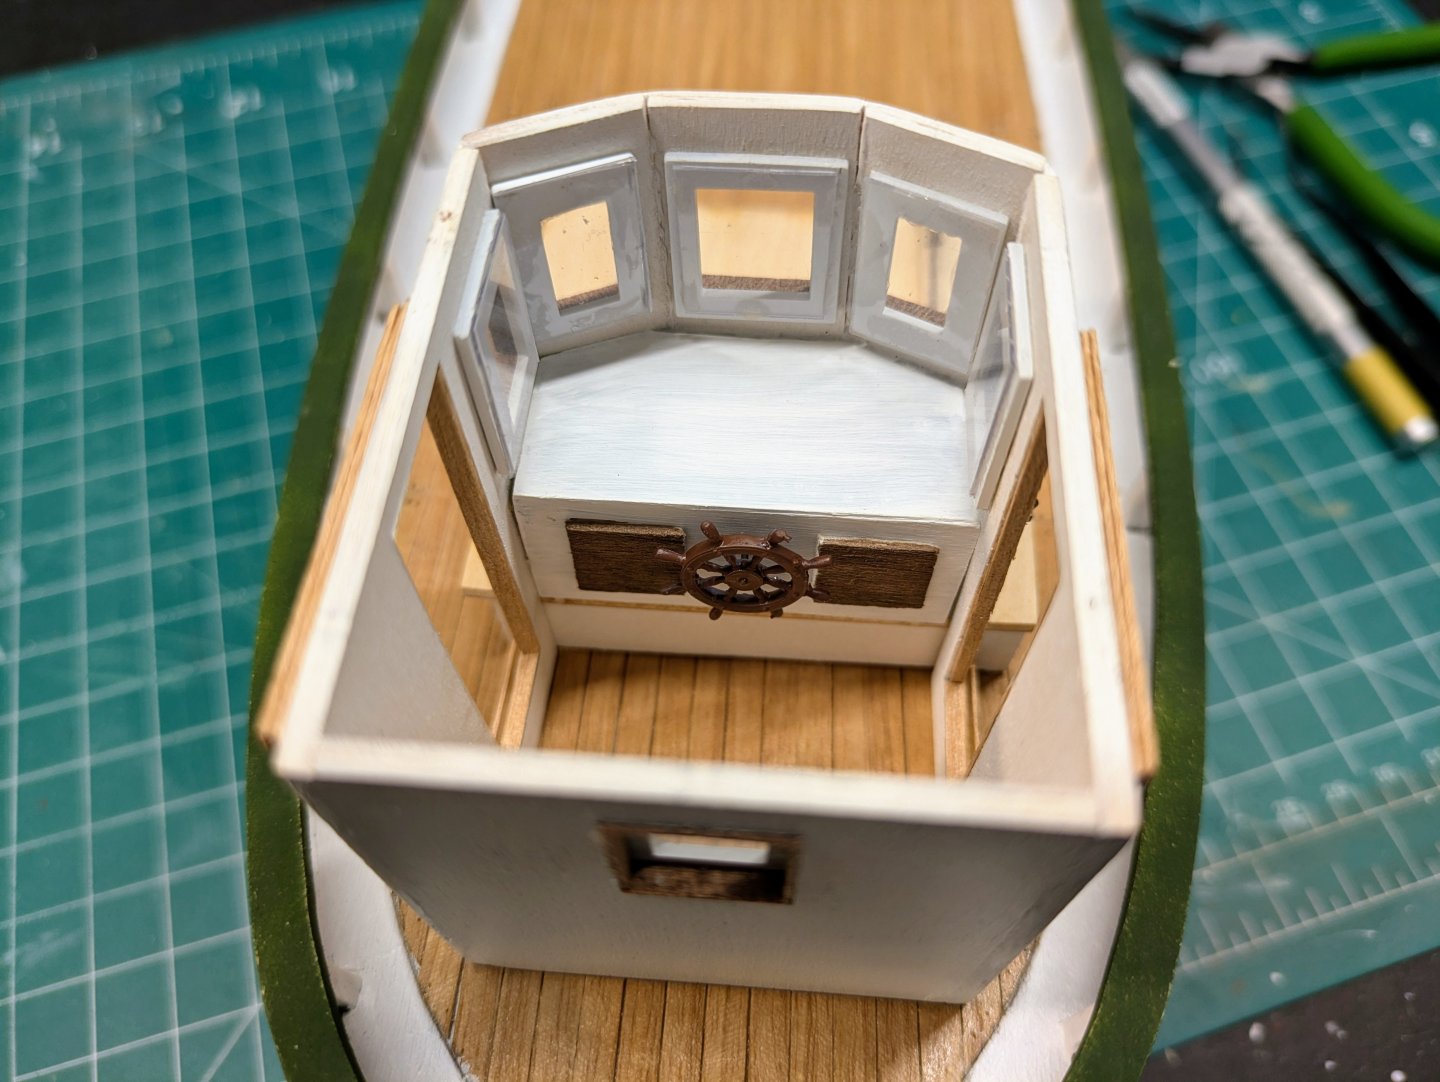
Have had a good few days working on the wheel house. I changed the doors to a sliding door (makes zero sense for them to open inwards on a sea going ship), scratch built a console and 3d printed a ships wheel. Also going to put in a throttle control and radar display of some sort. Windows installed and some painting and dry fitting to see if I like the colour scheme and look. I do


-
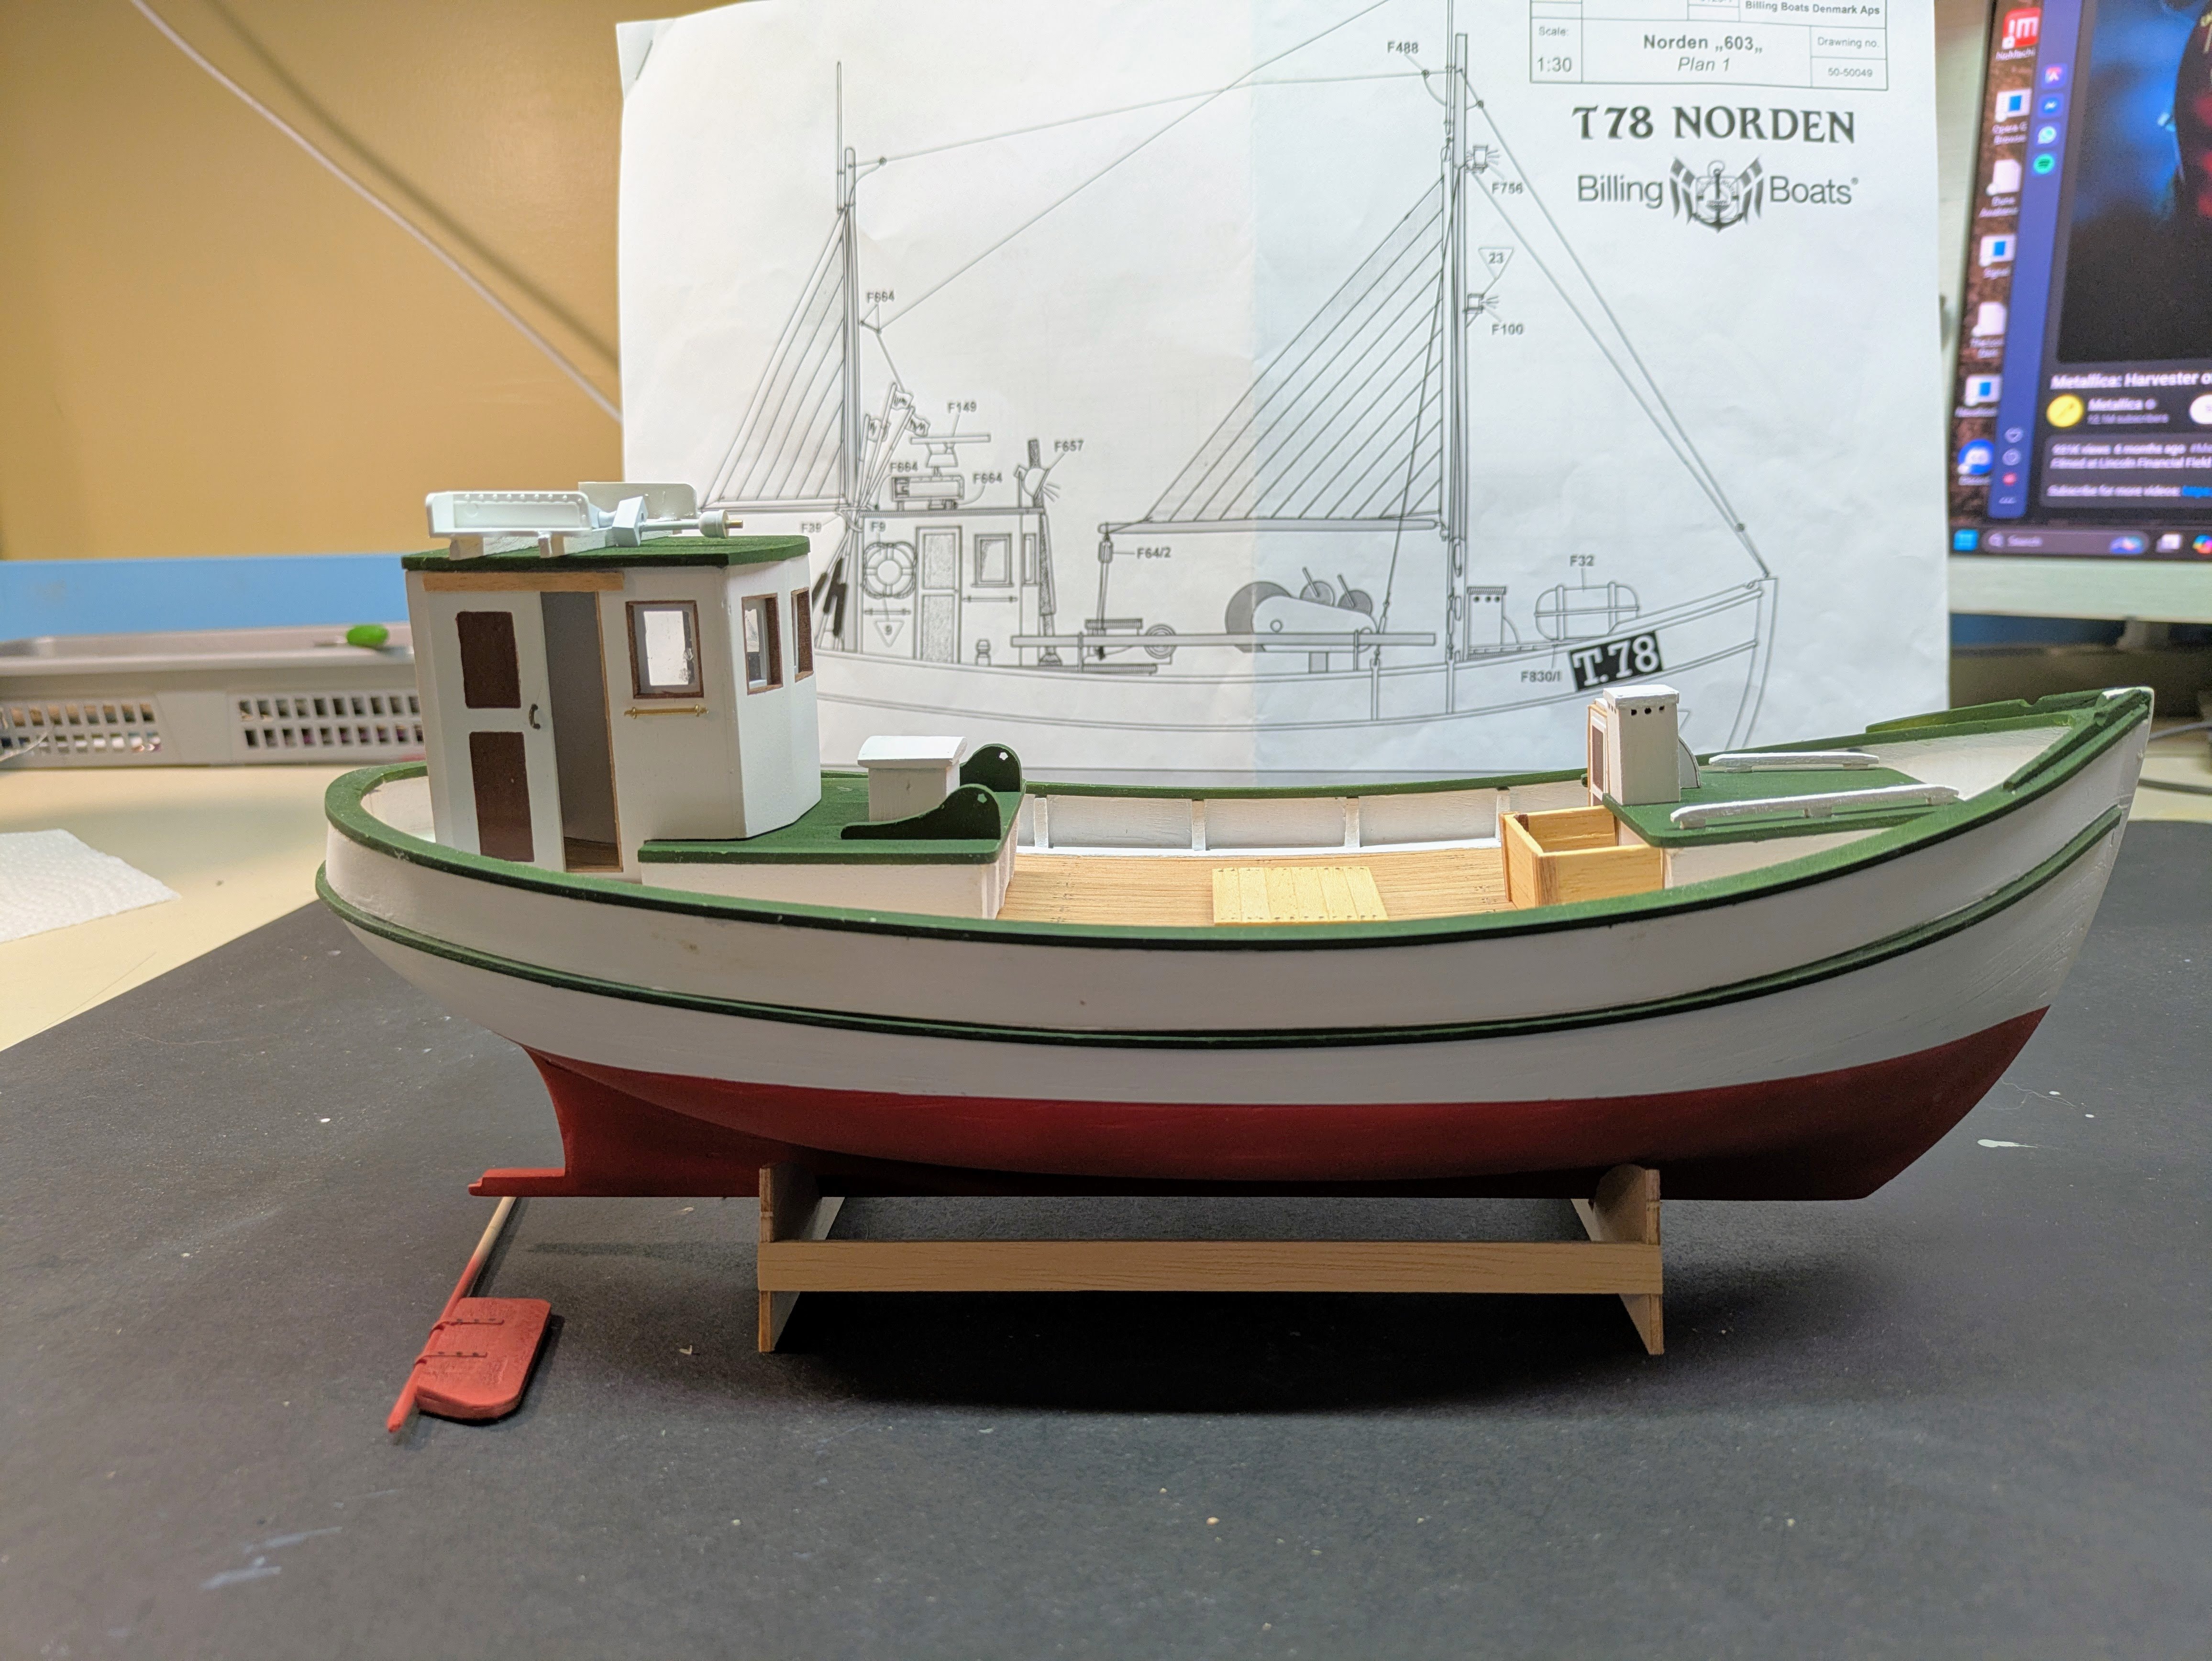
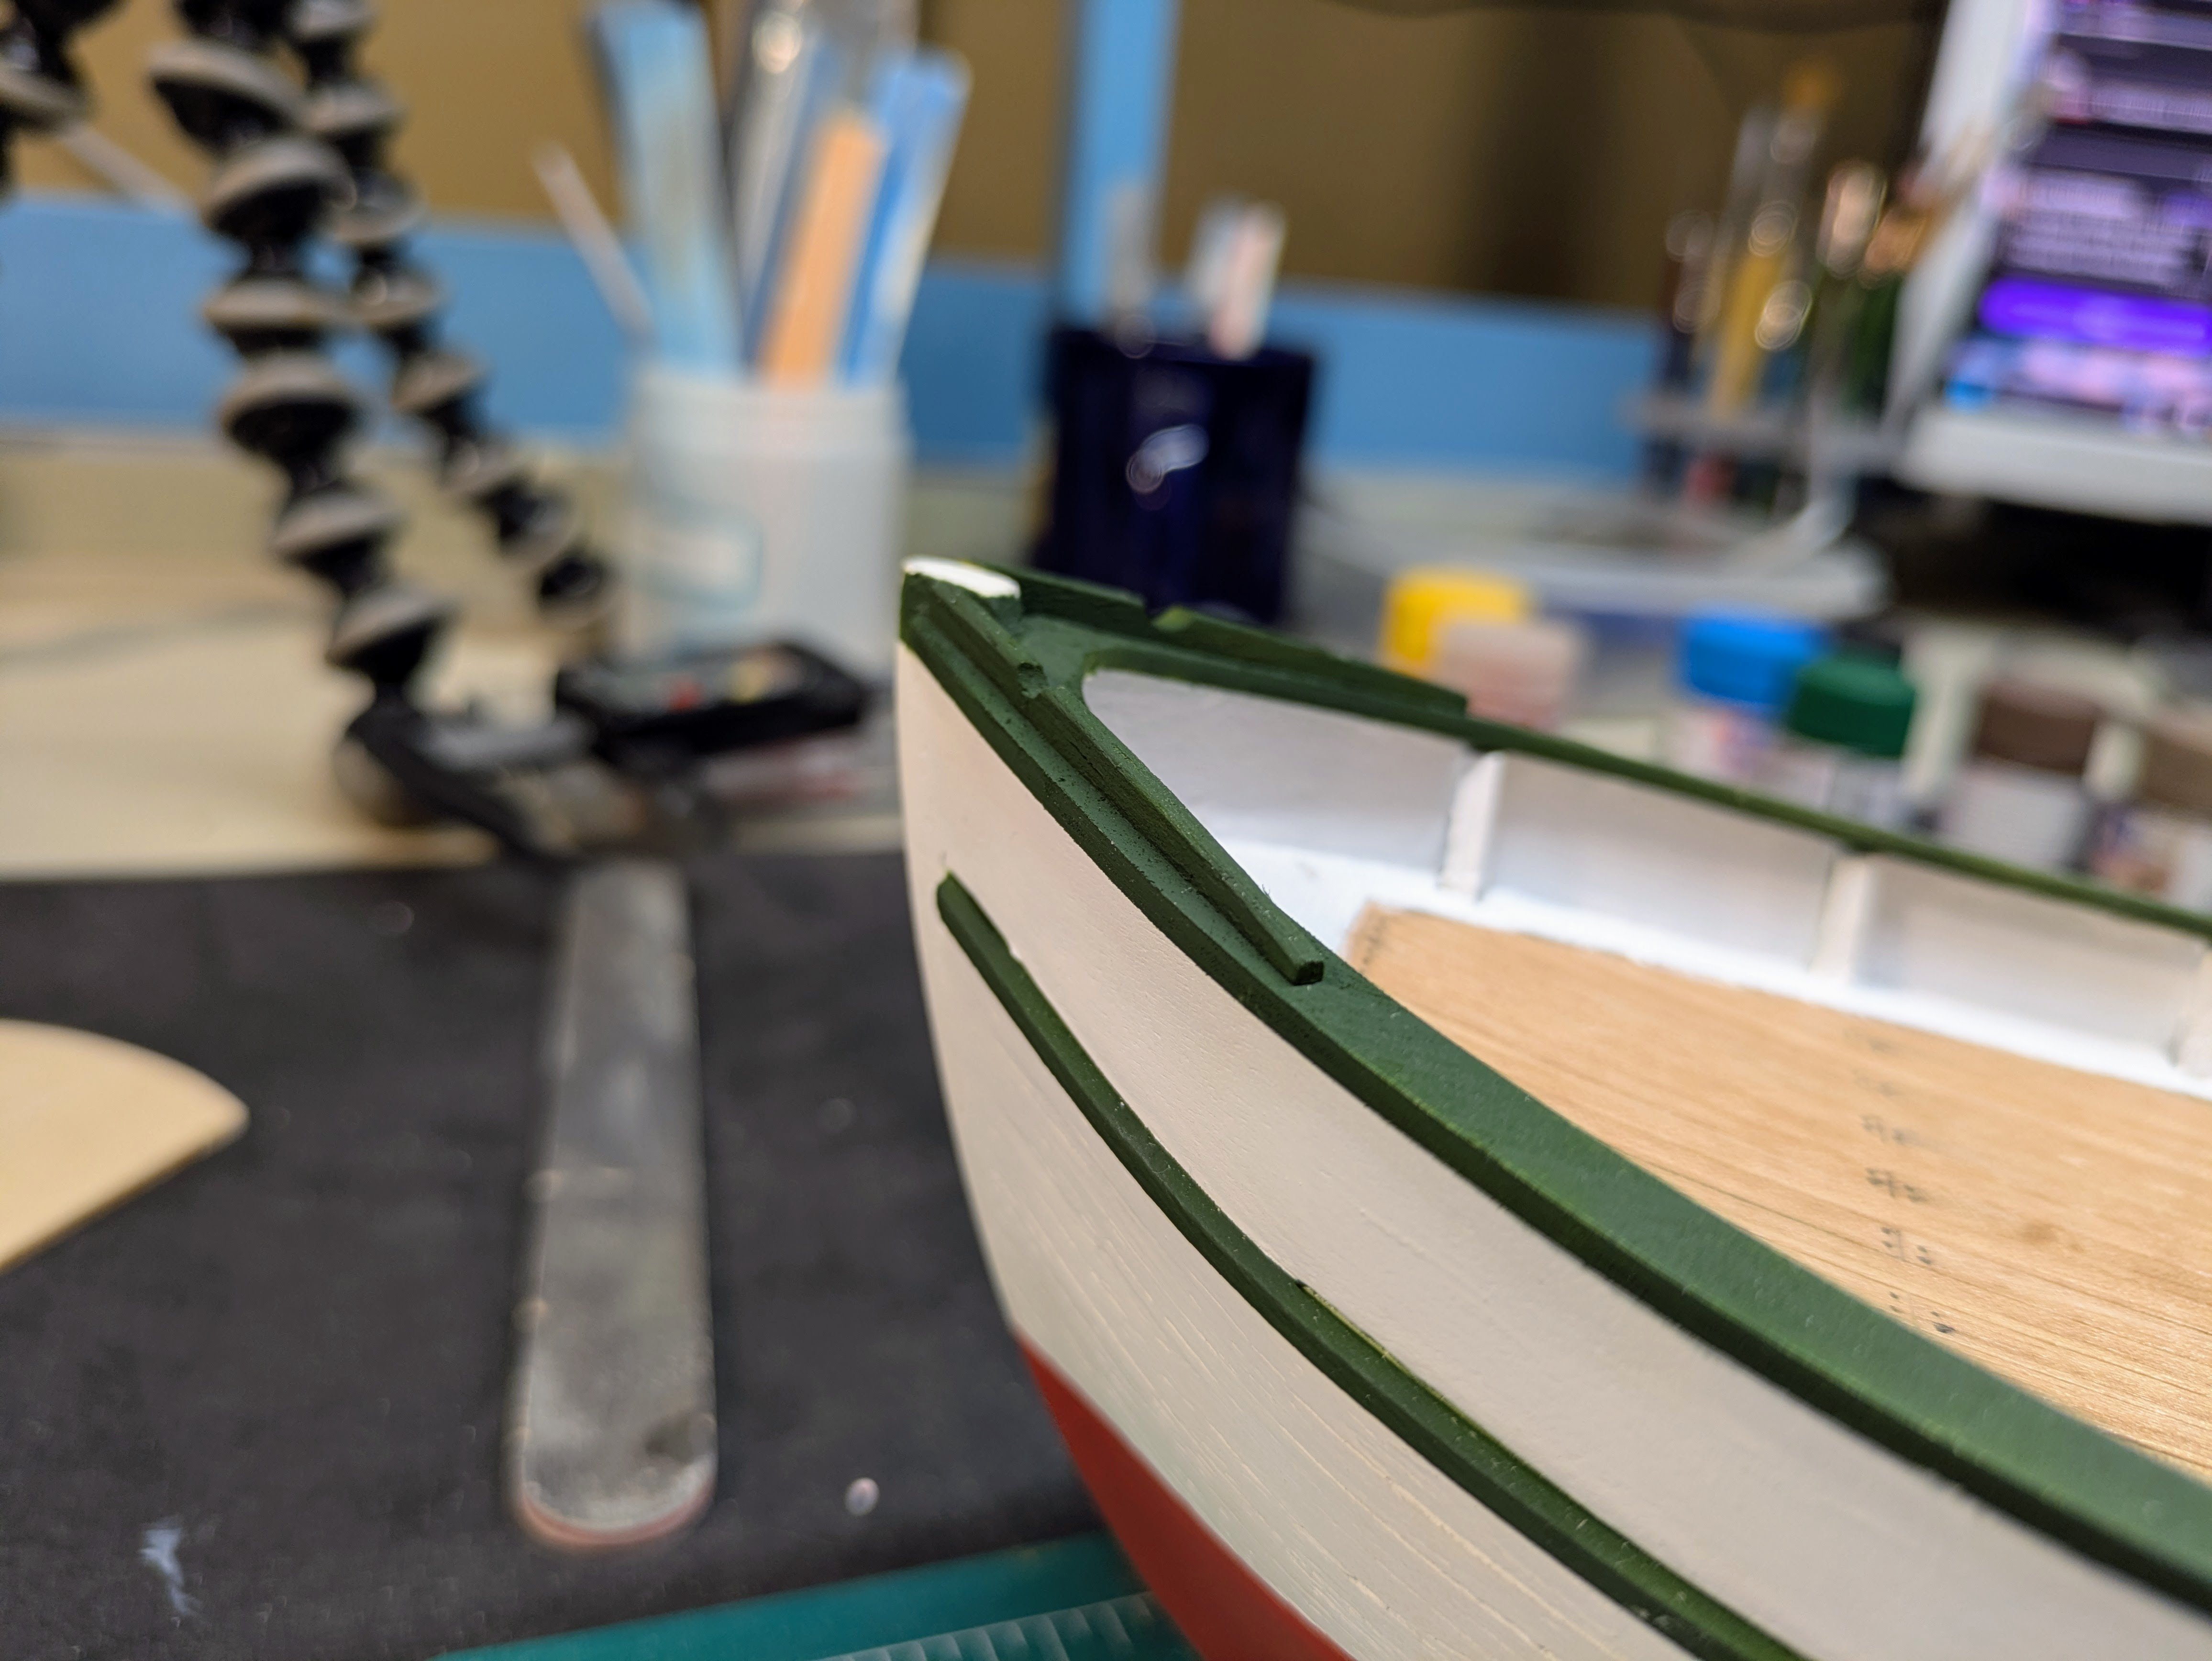
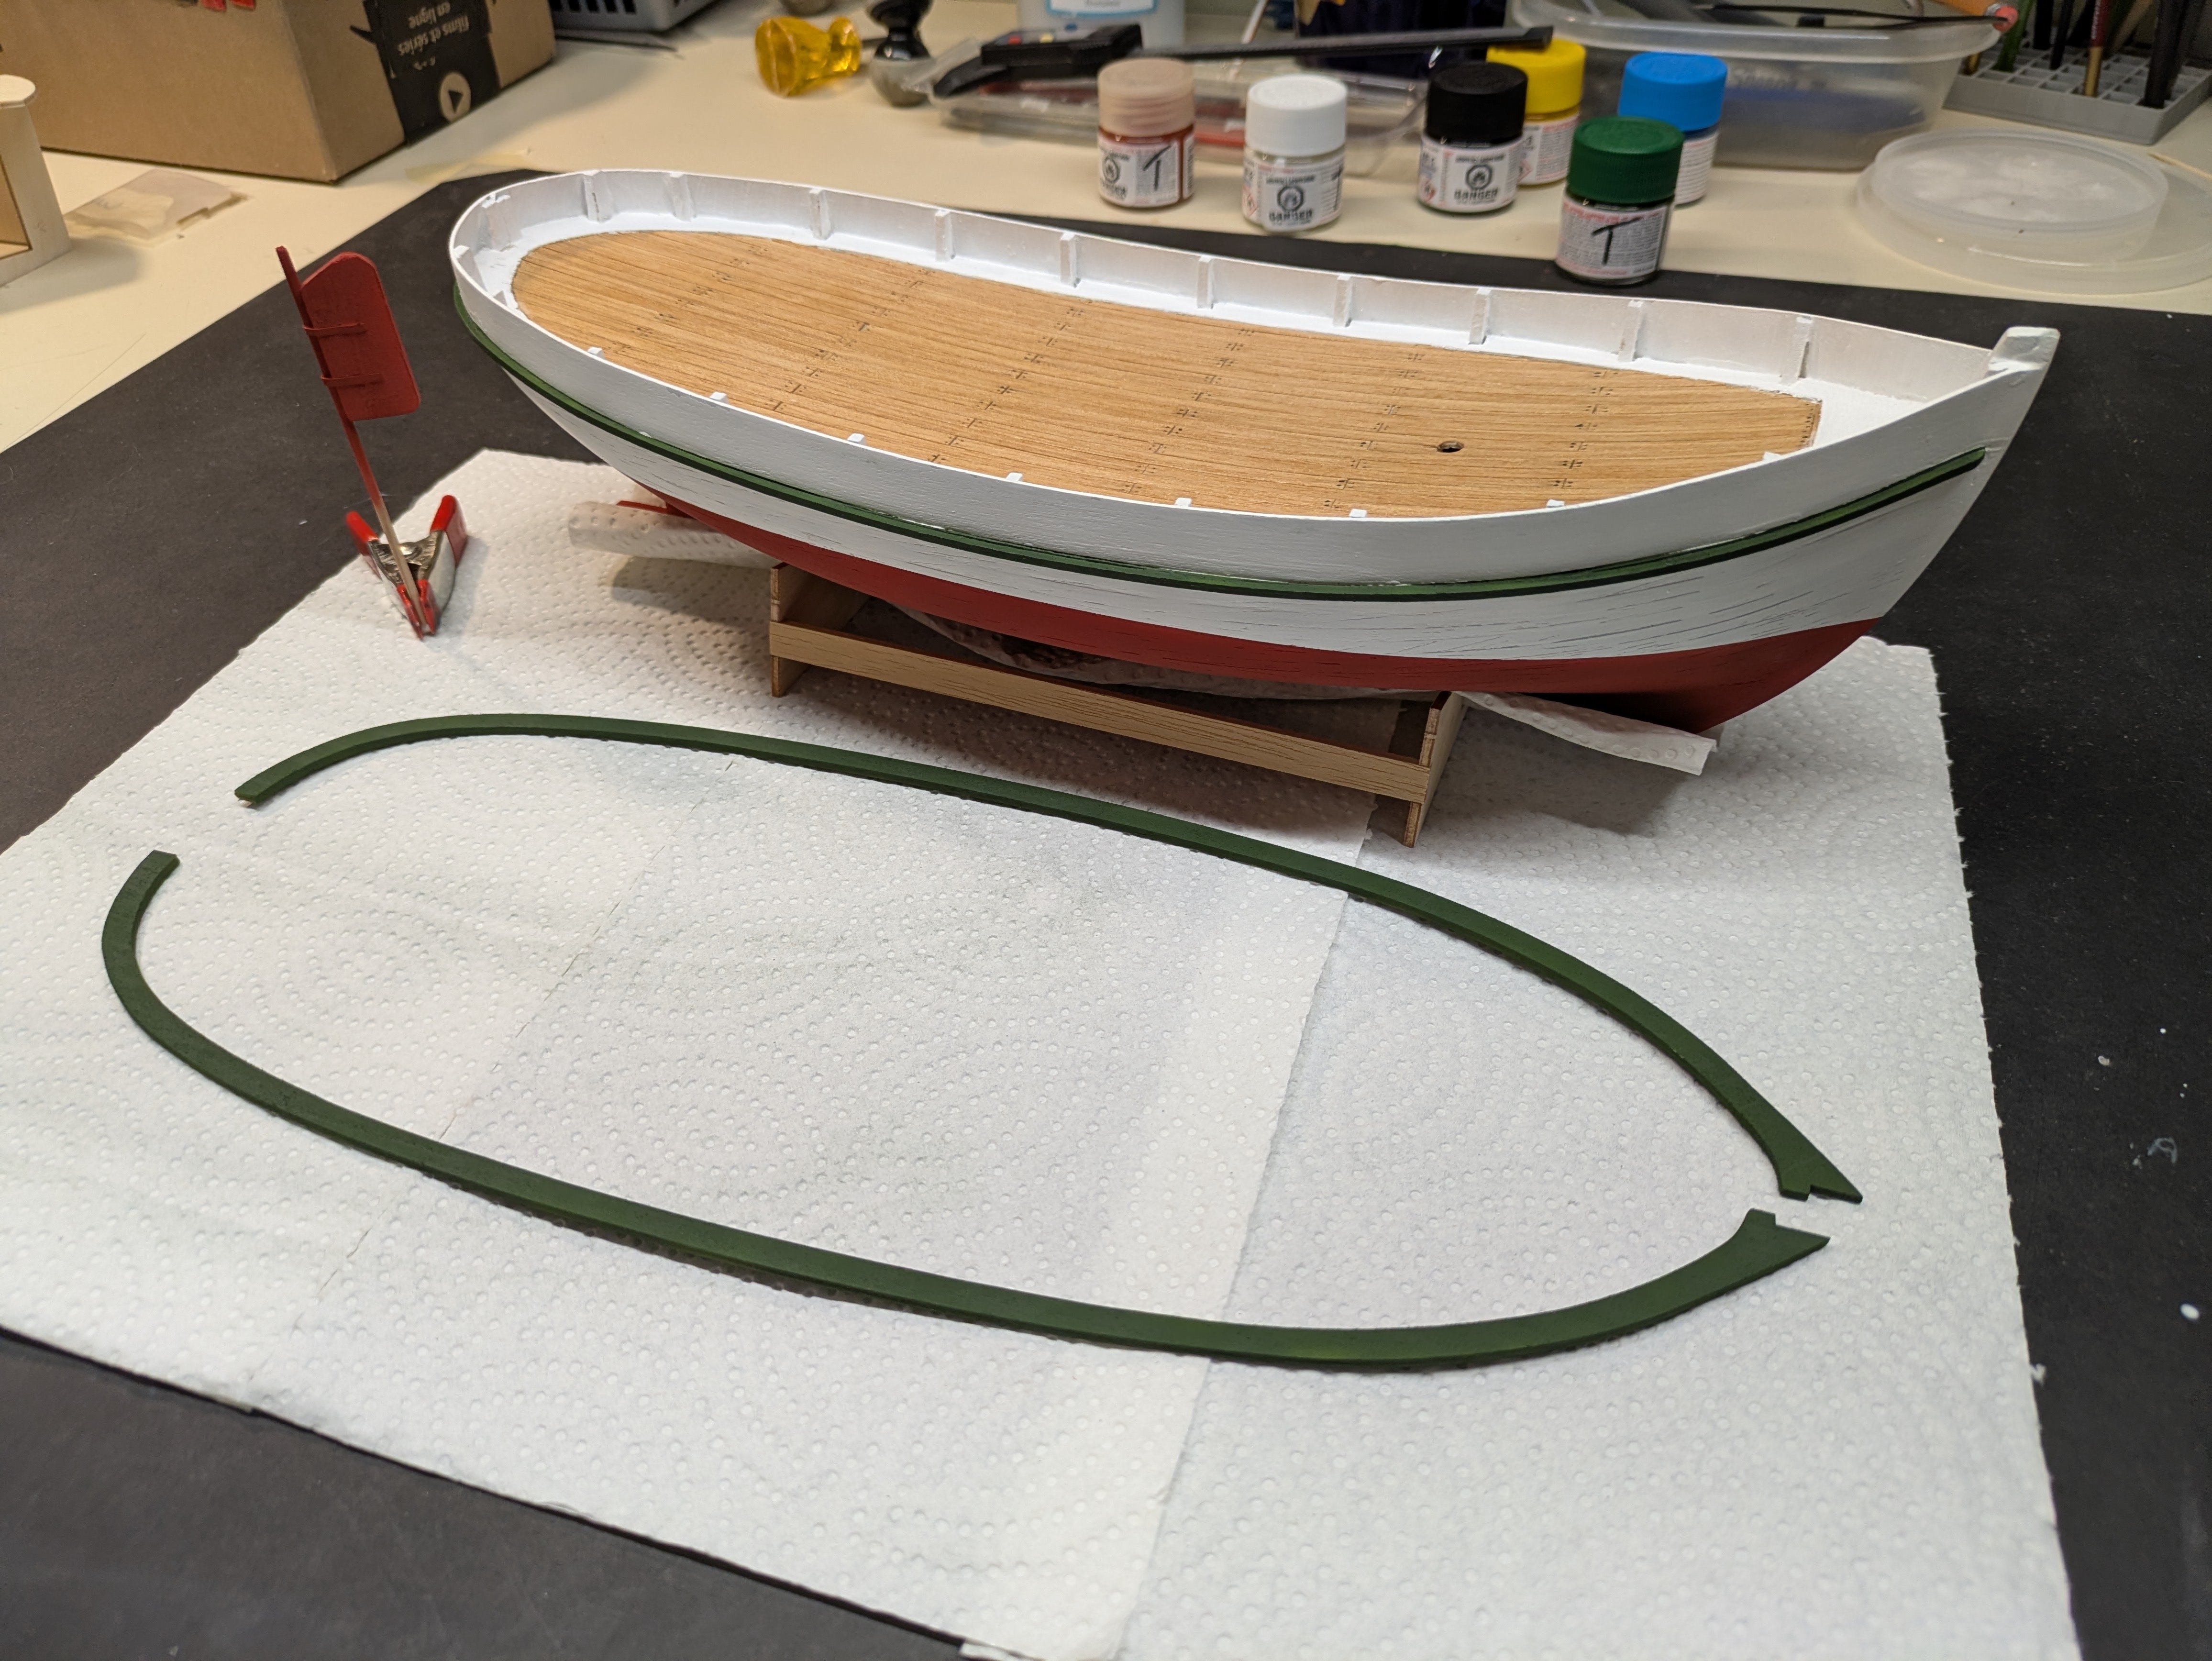
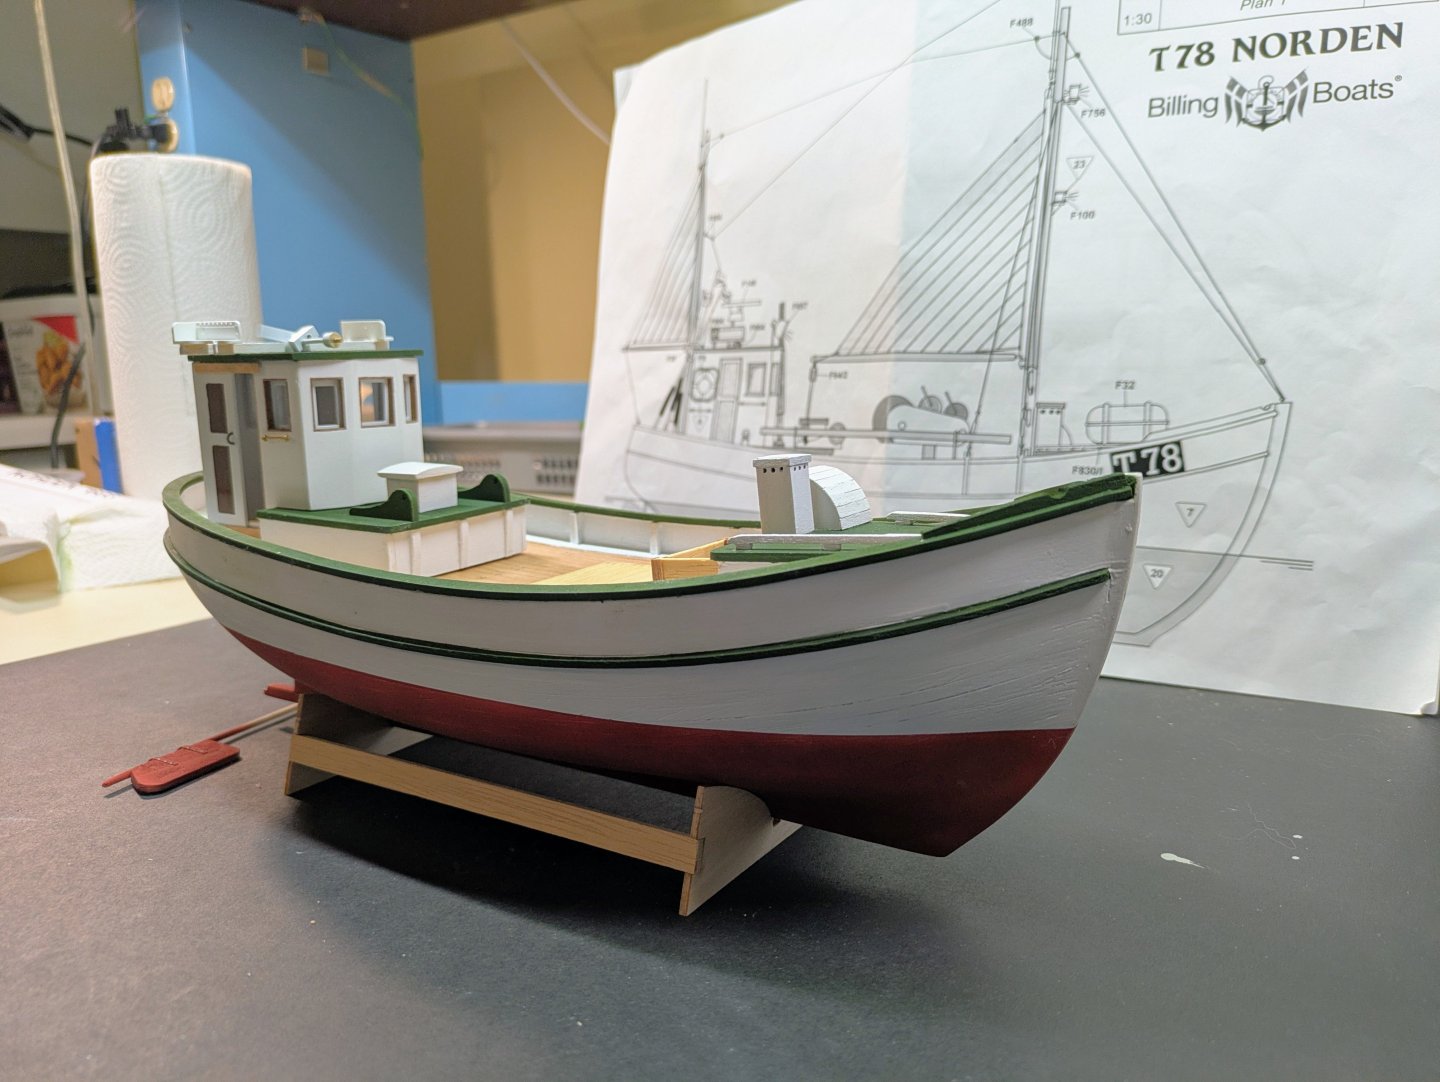
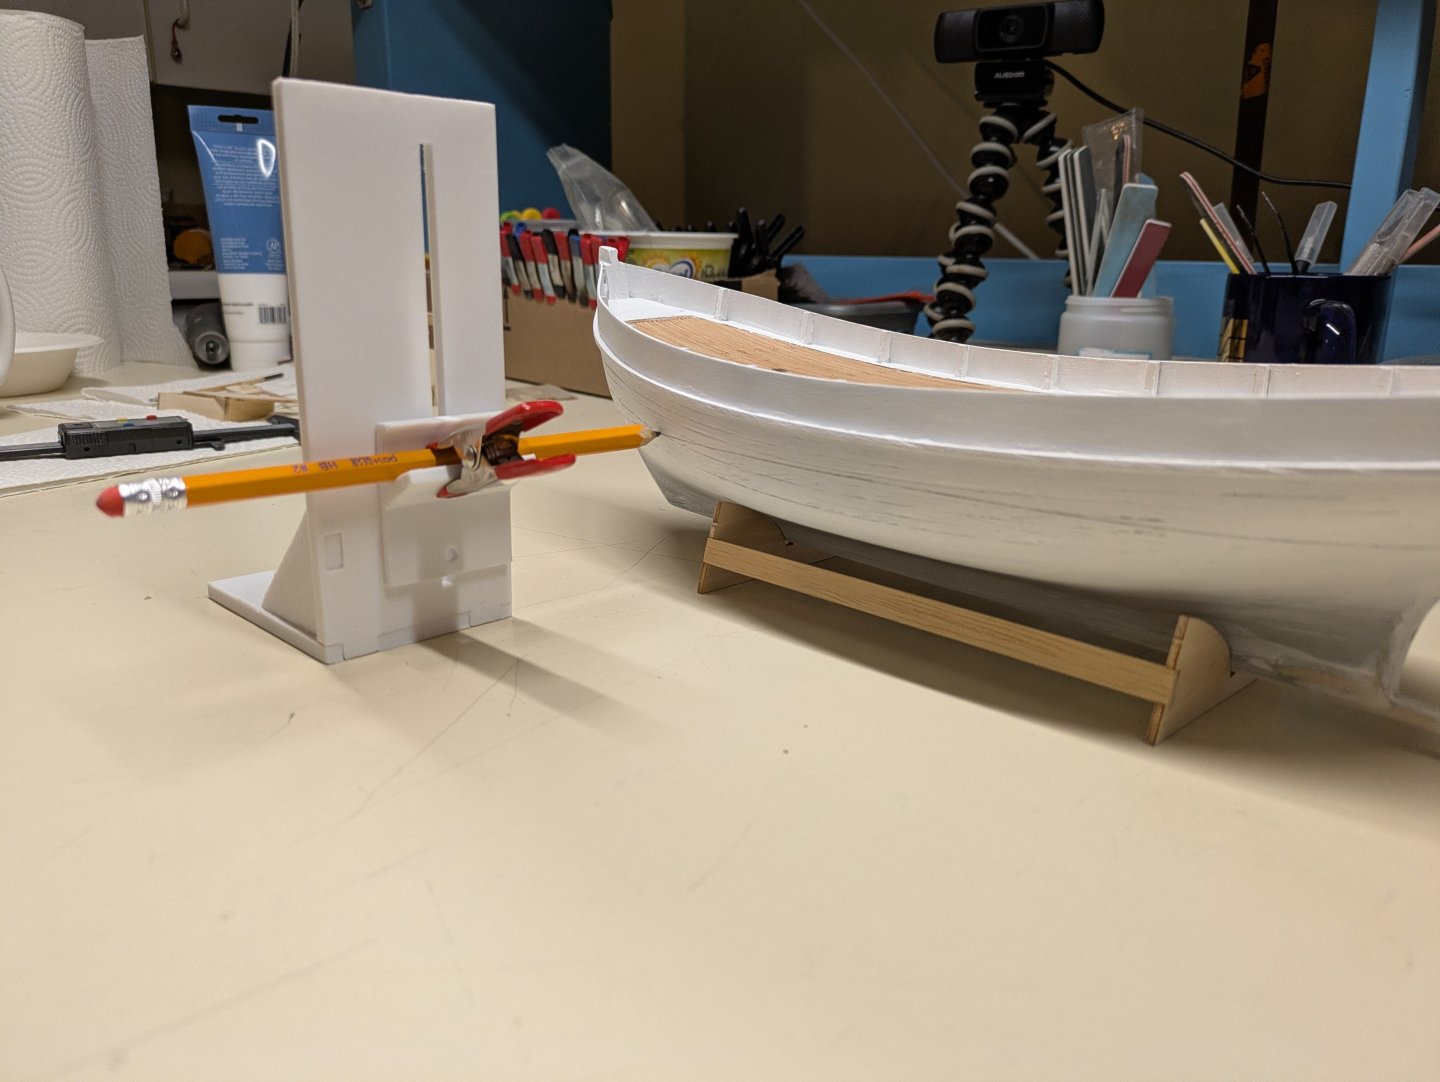
It has been a bit since my last update. Basically finishing up the hull, rub rail in place, cap rails, rudder put together and hull painting. Have started work on the wheelhouse and currently have a ships wheel in the 3d printer .


-
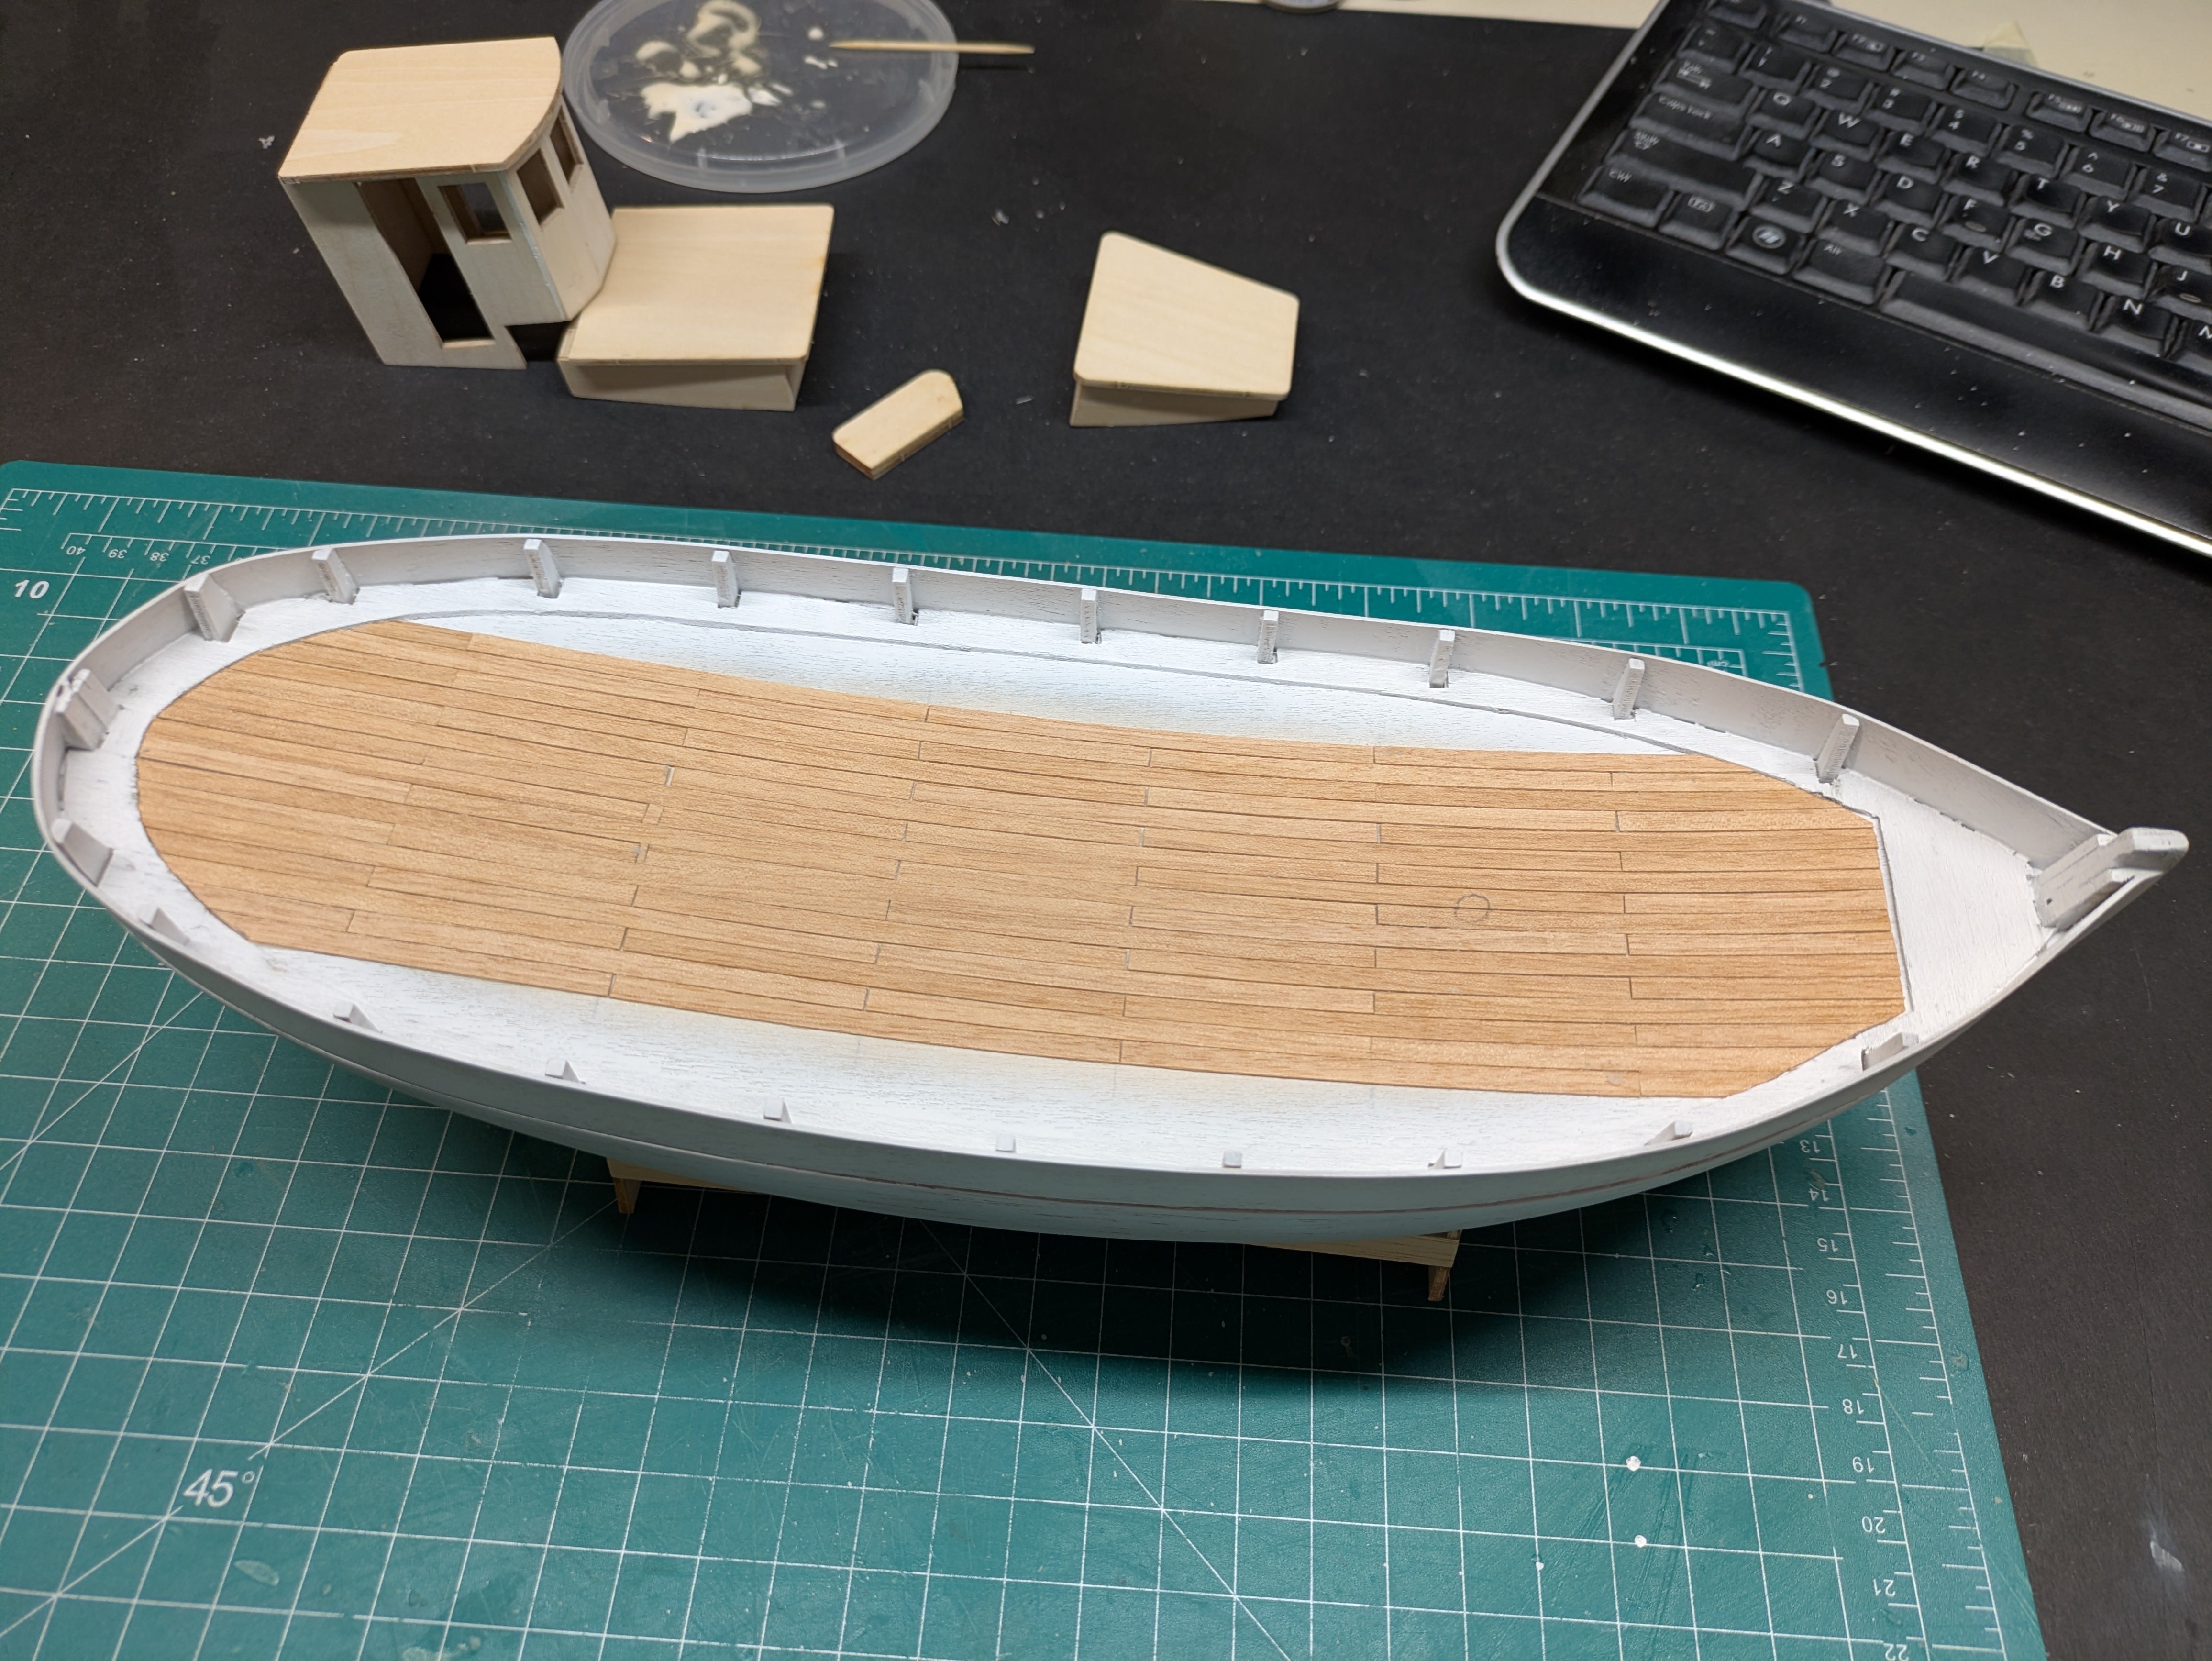
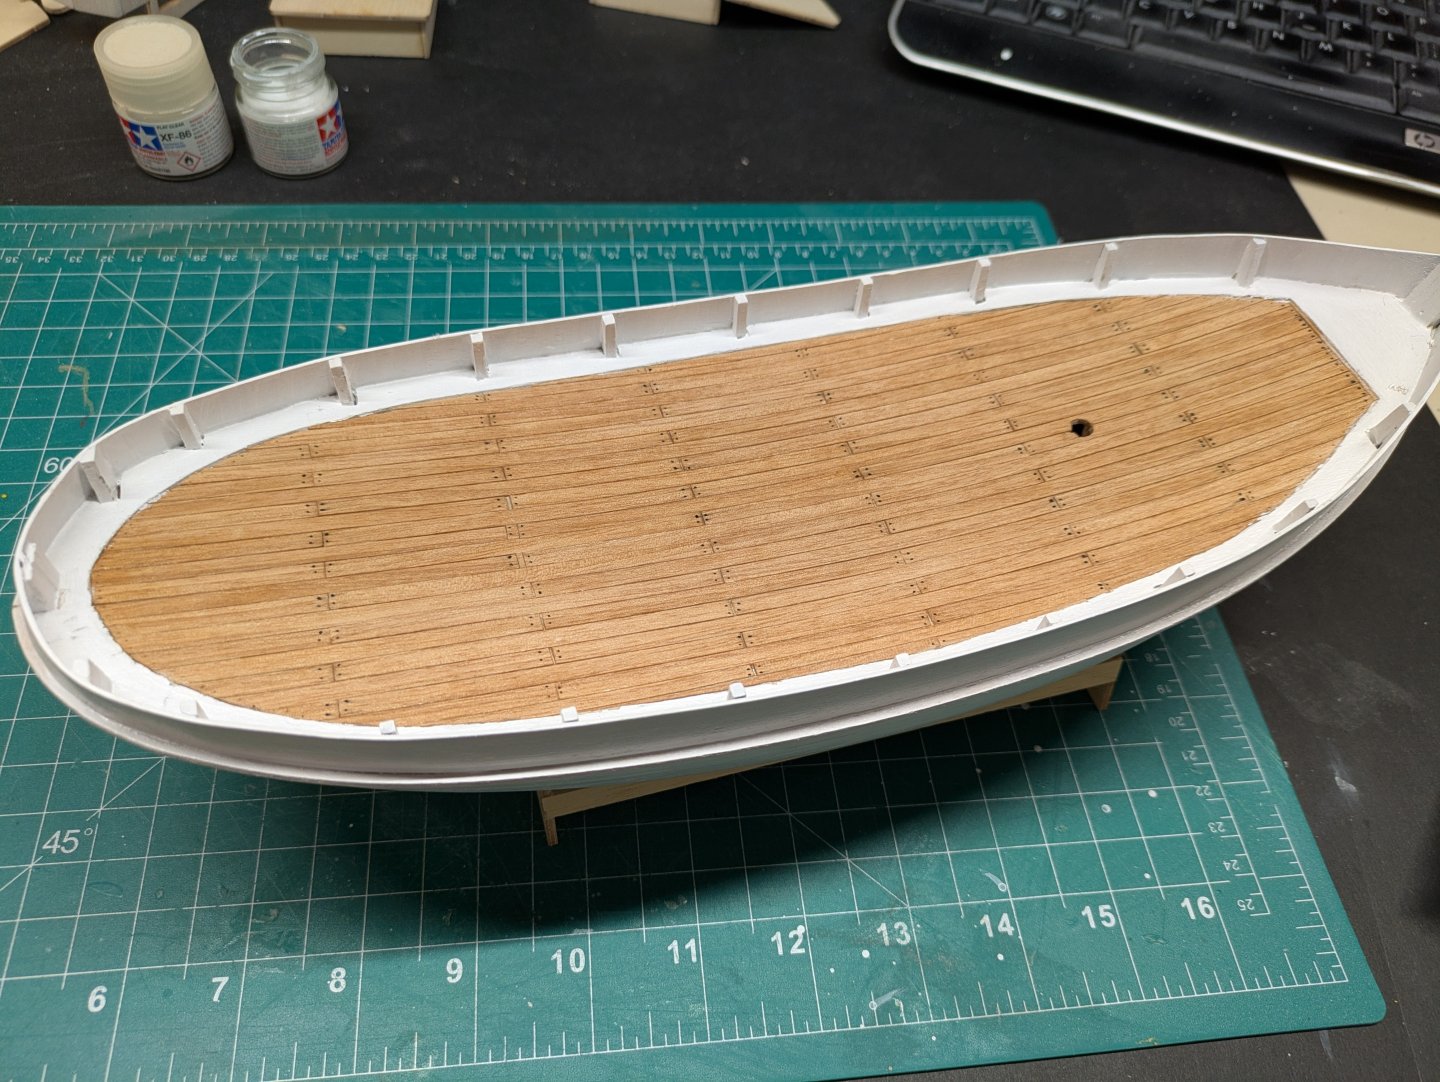
After taking a good chunk of the summer and the fall off from my model dungeon I am back at it now that the snow is falling again Got the deck put down and the start of the pilot house and rudder.


-
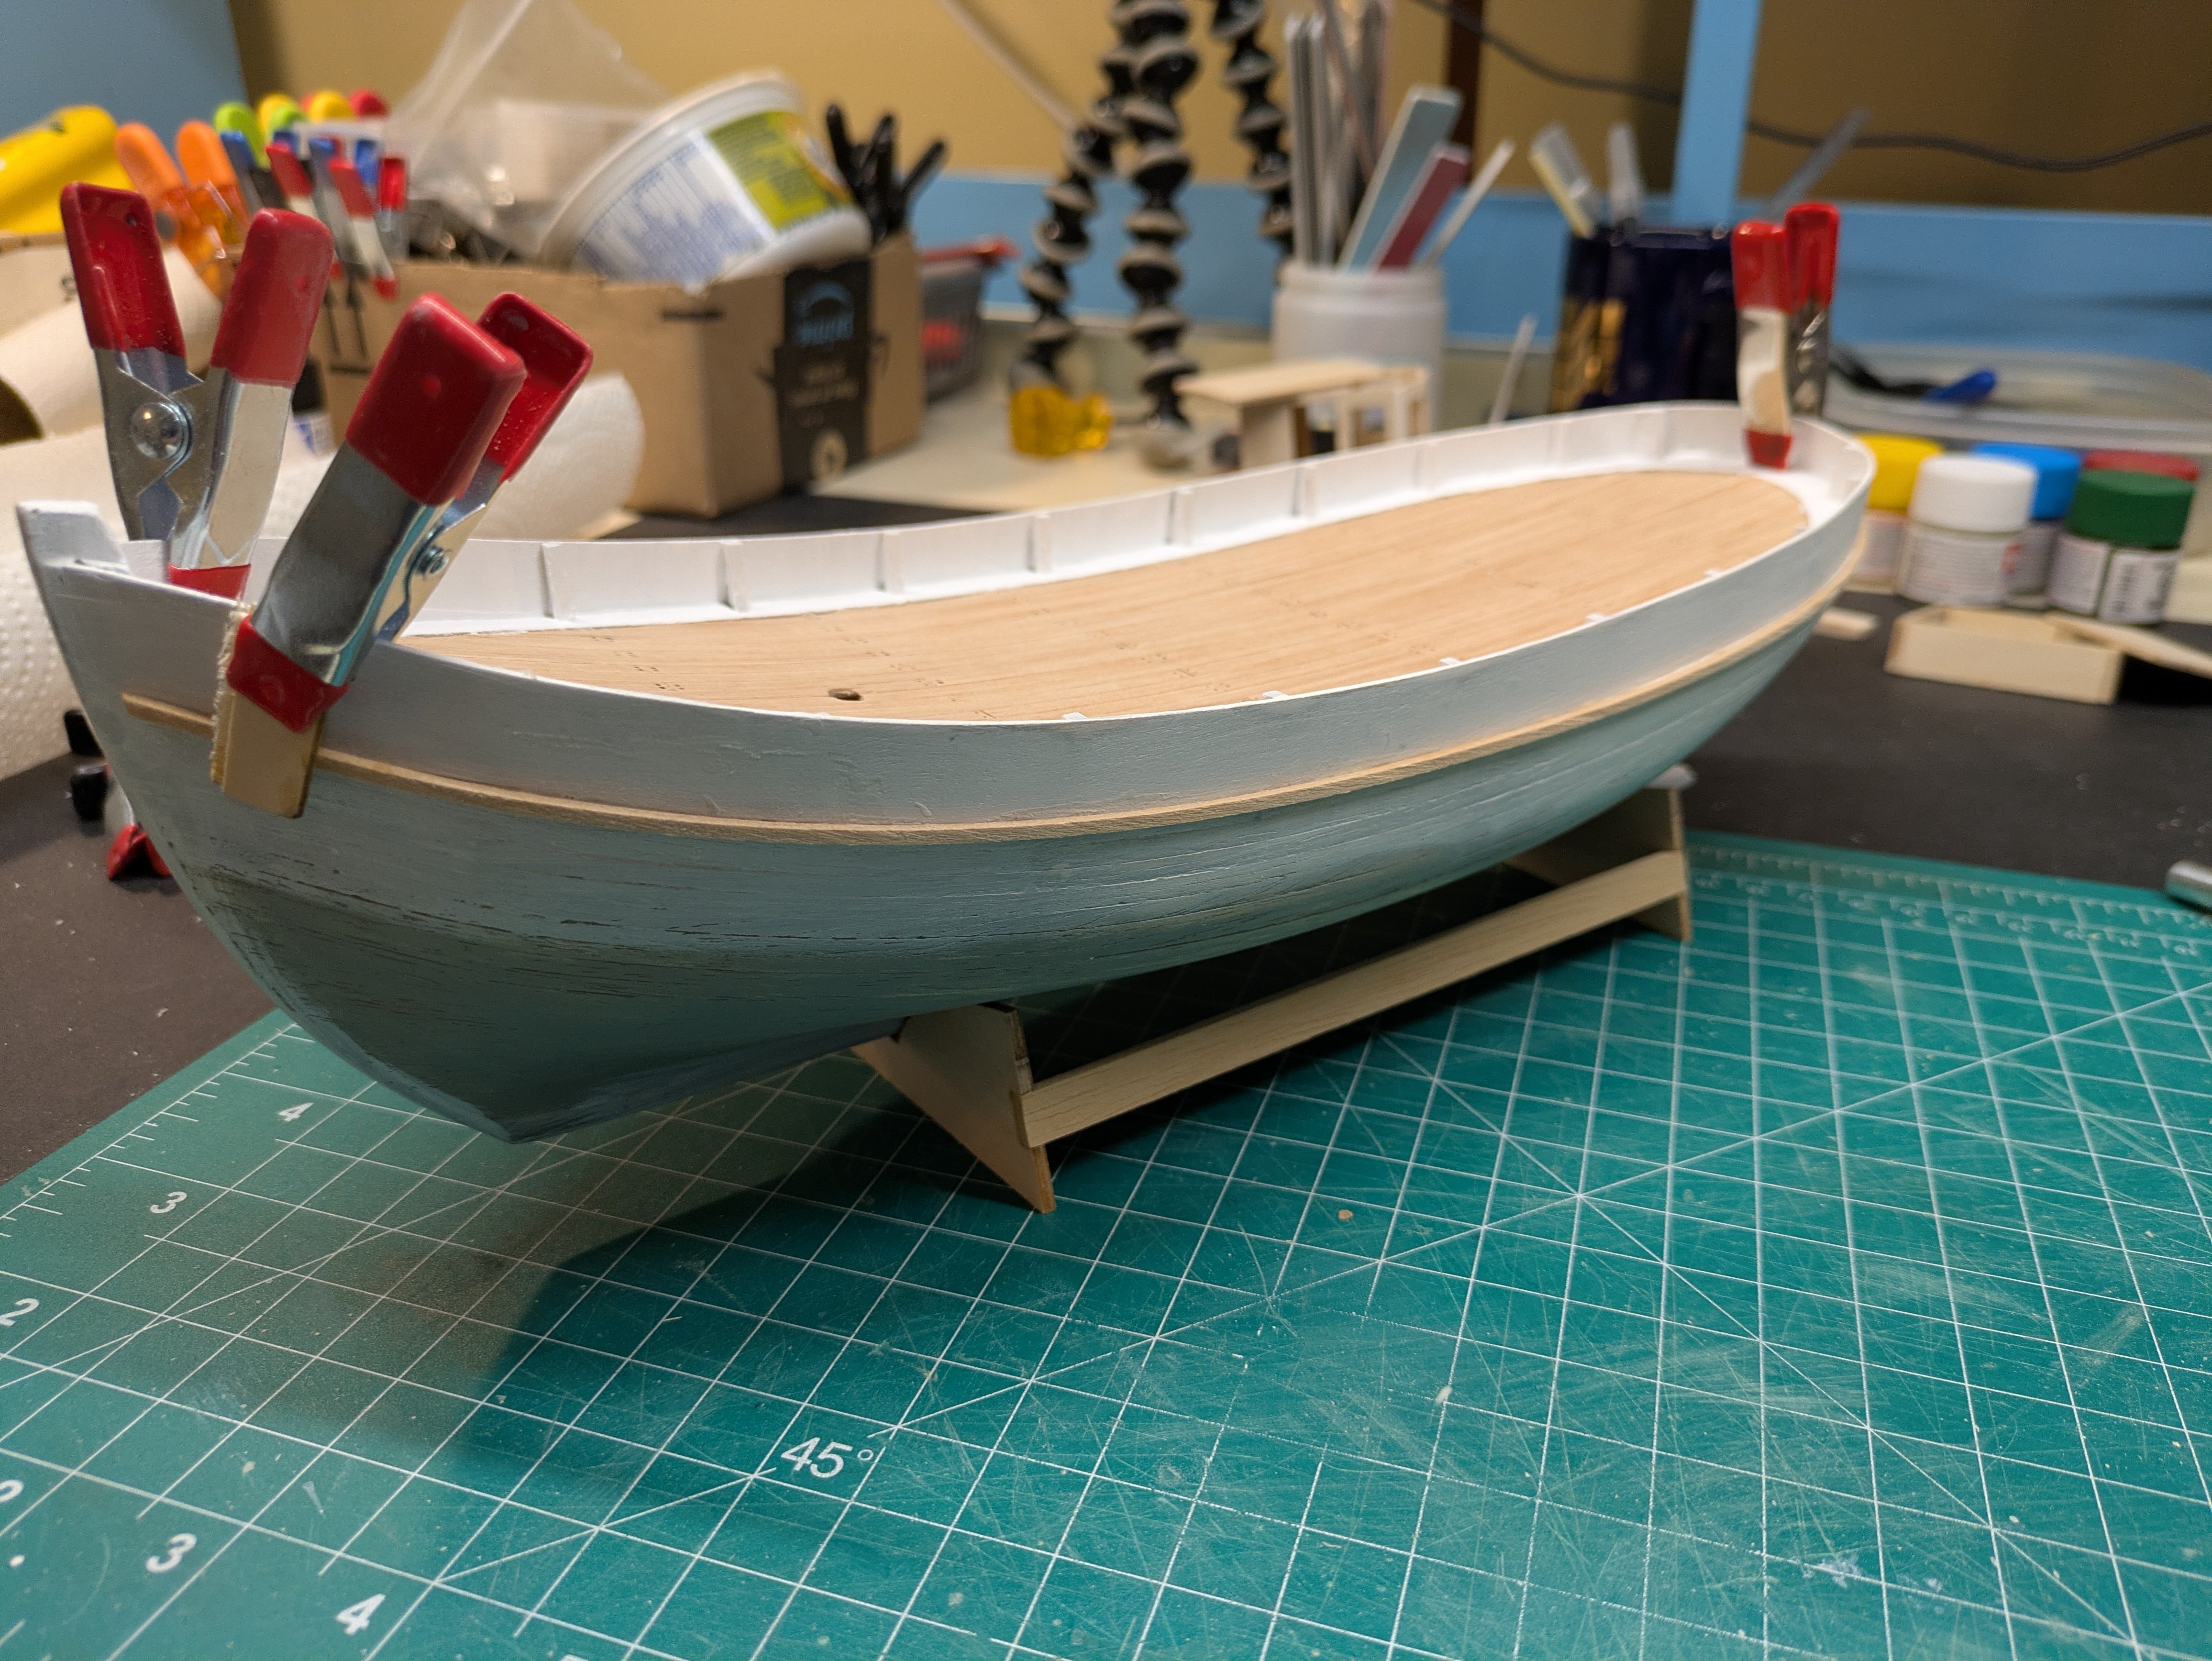
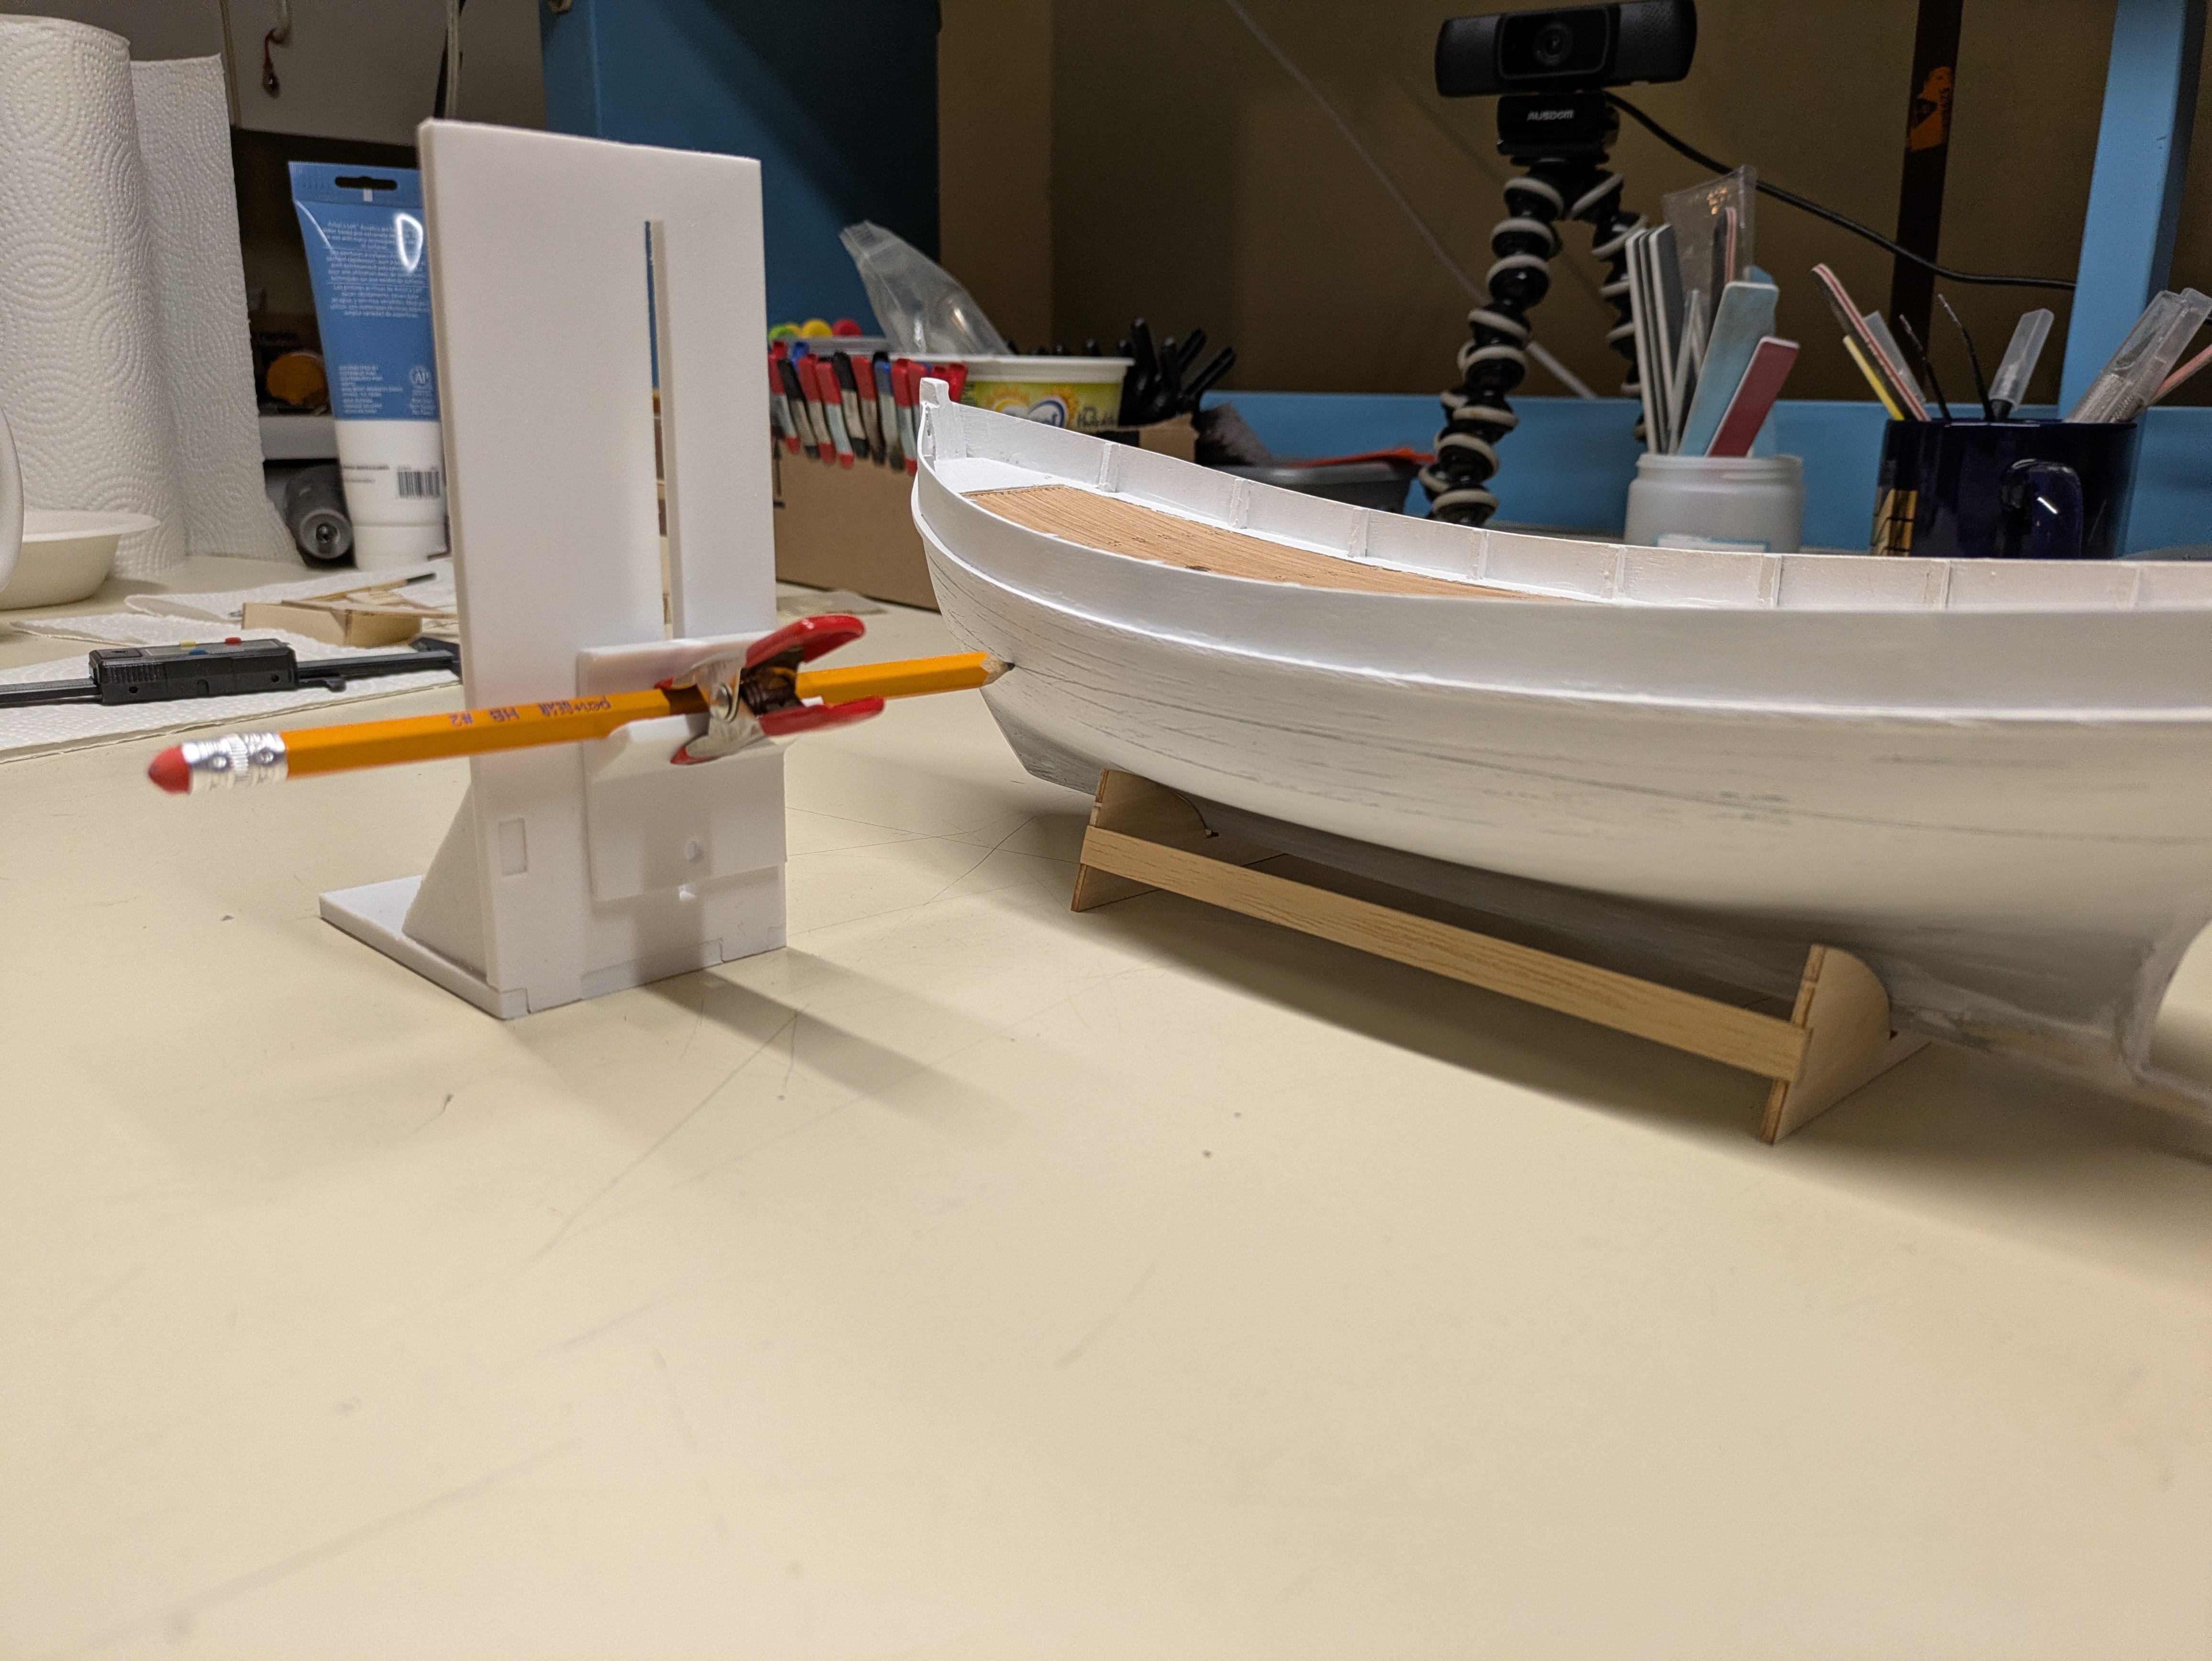
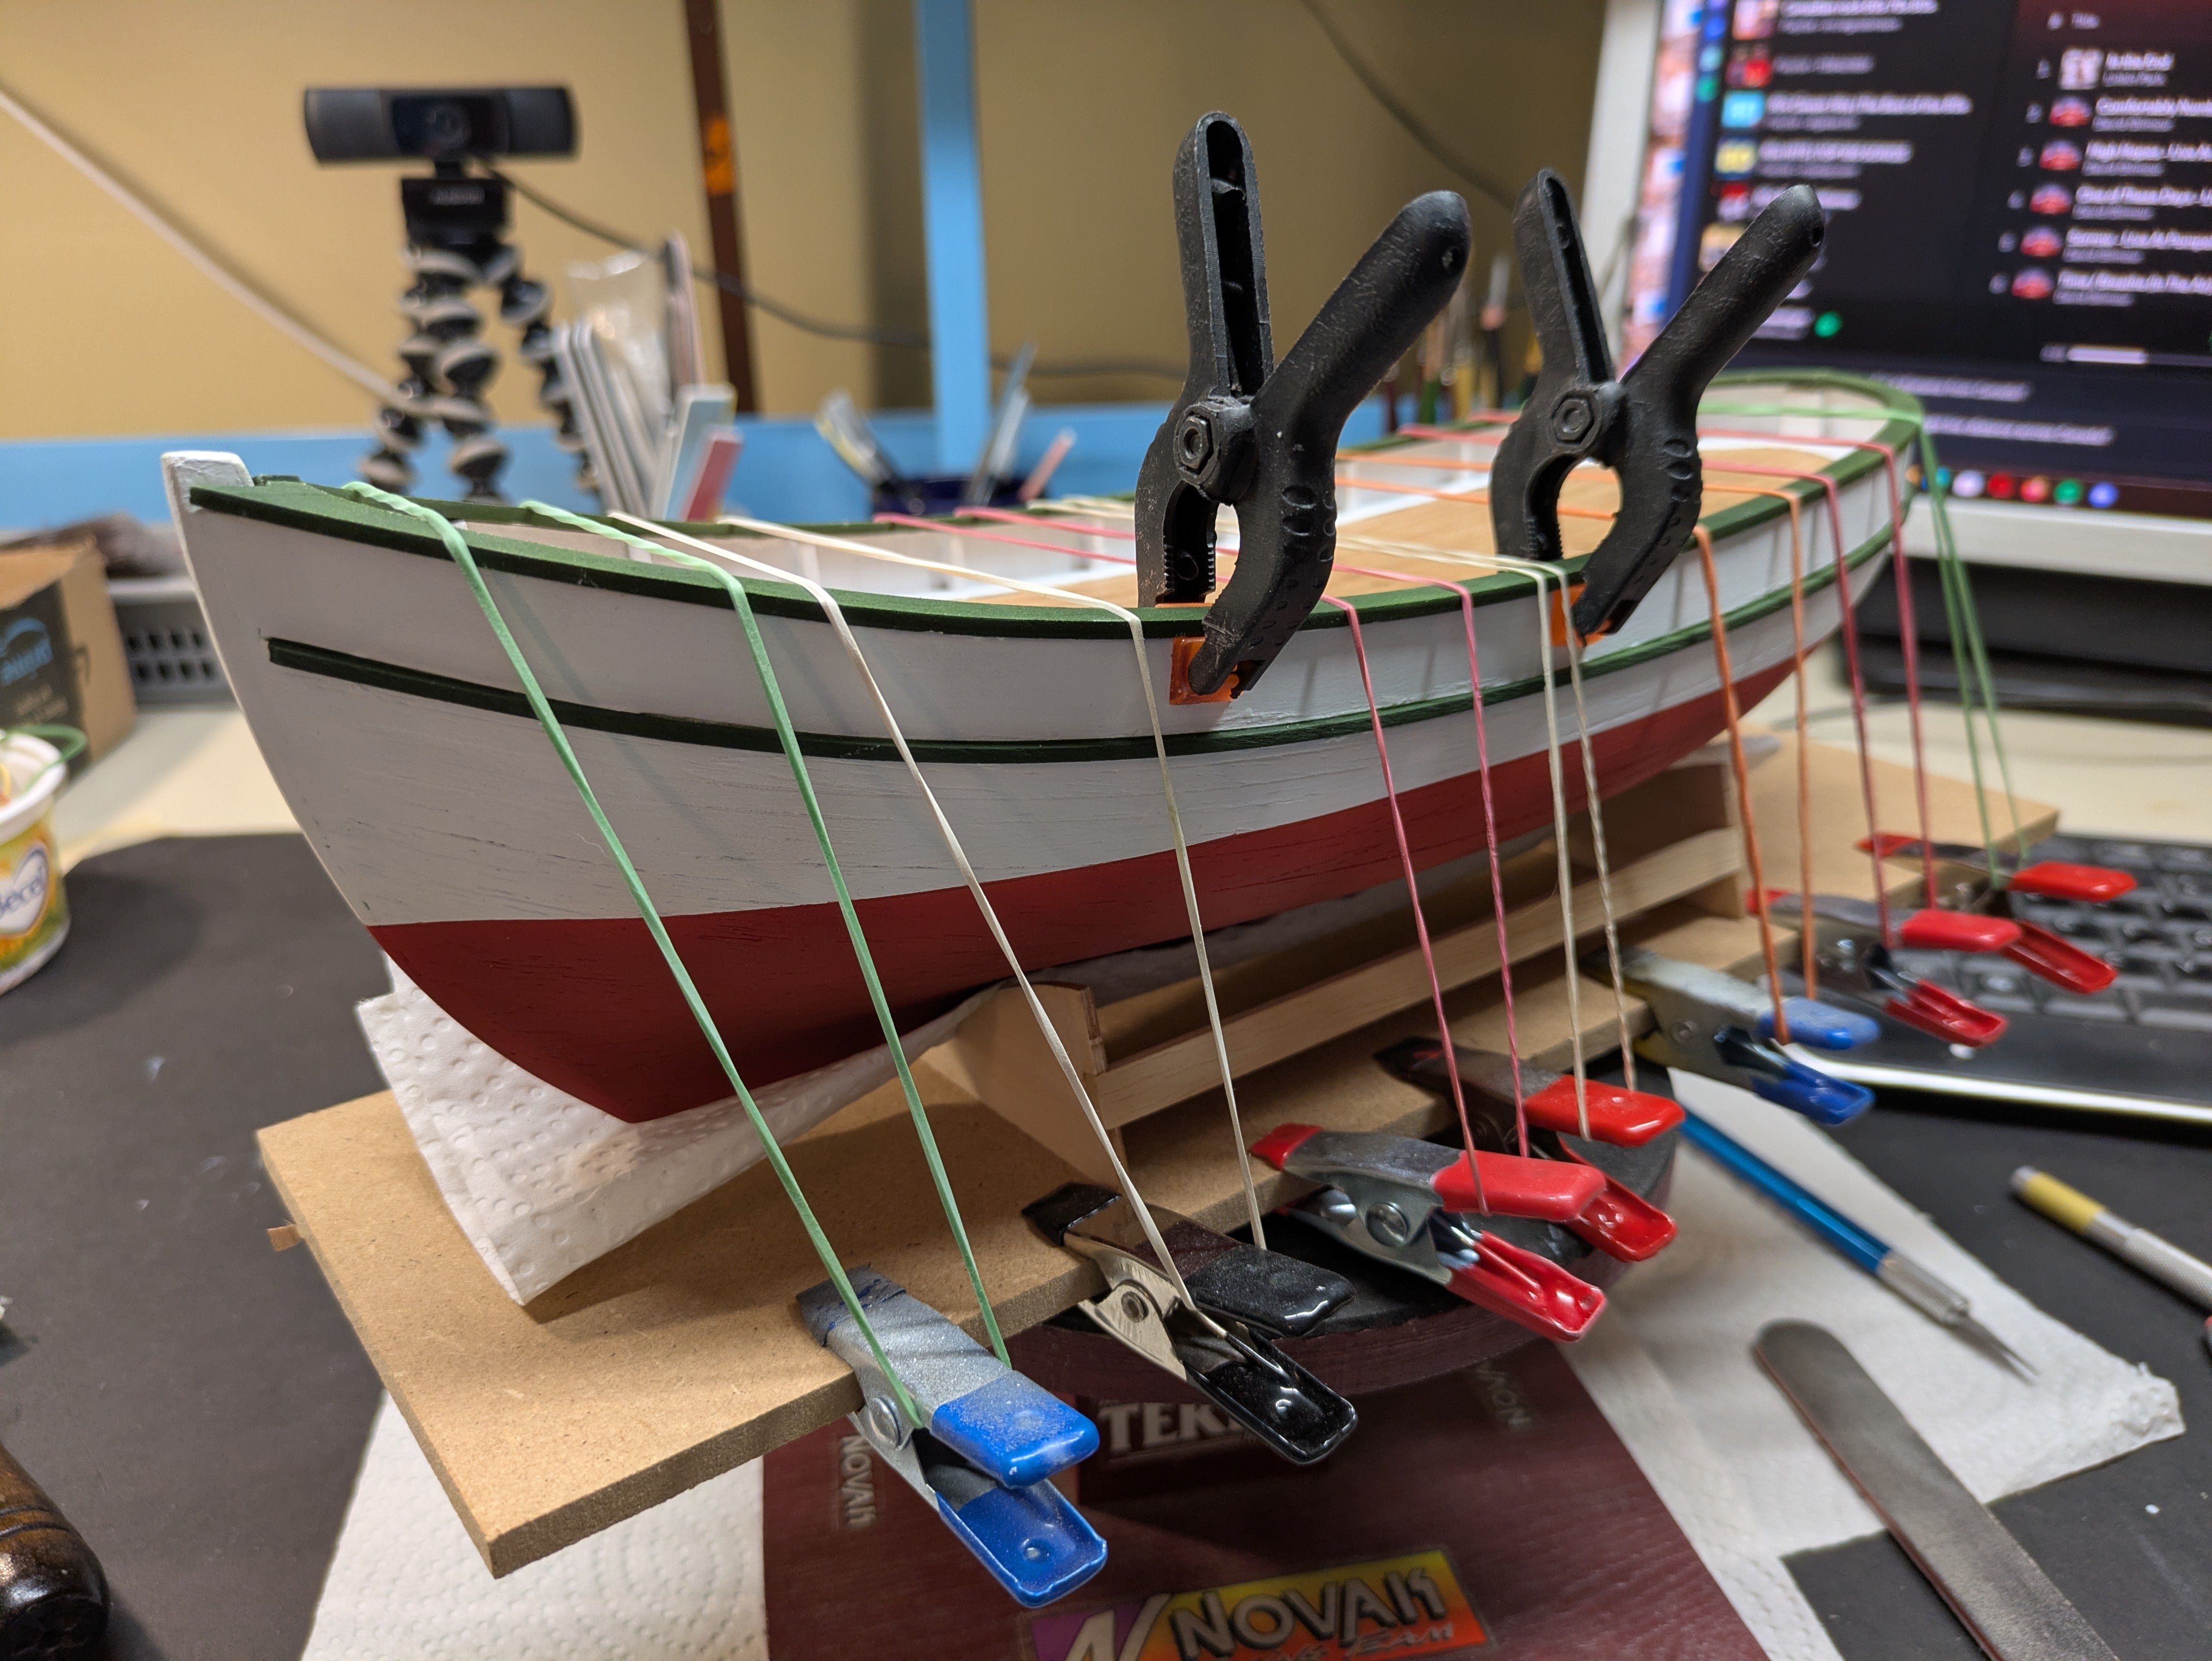
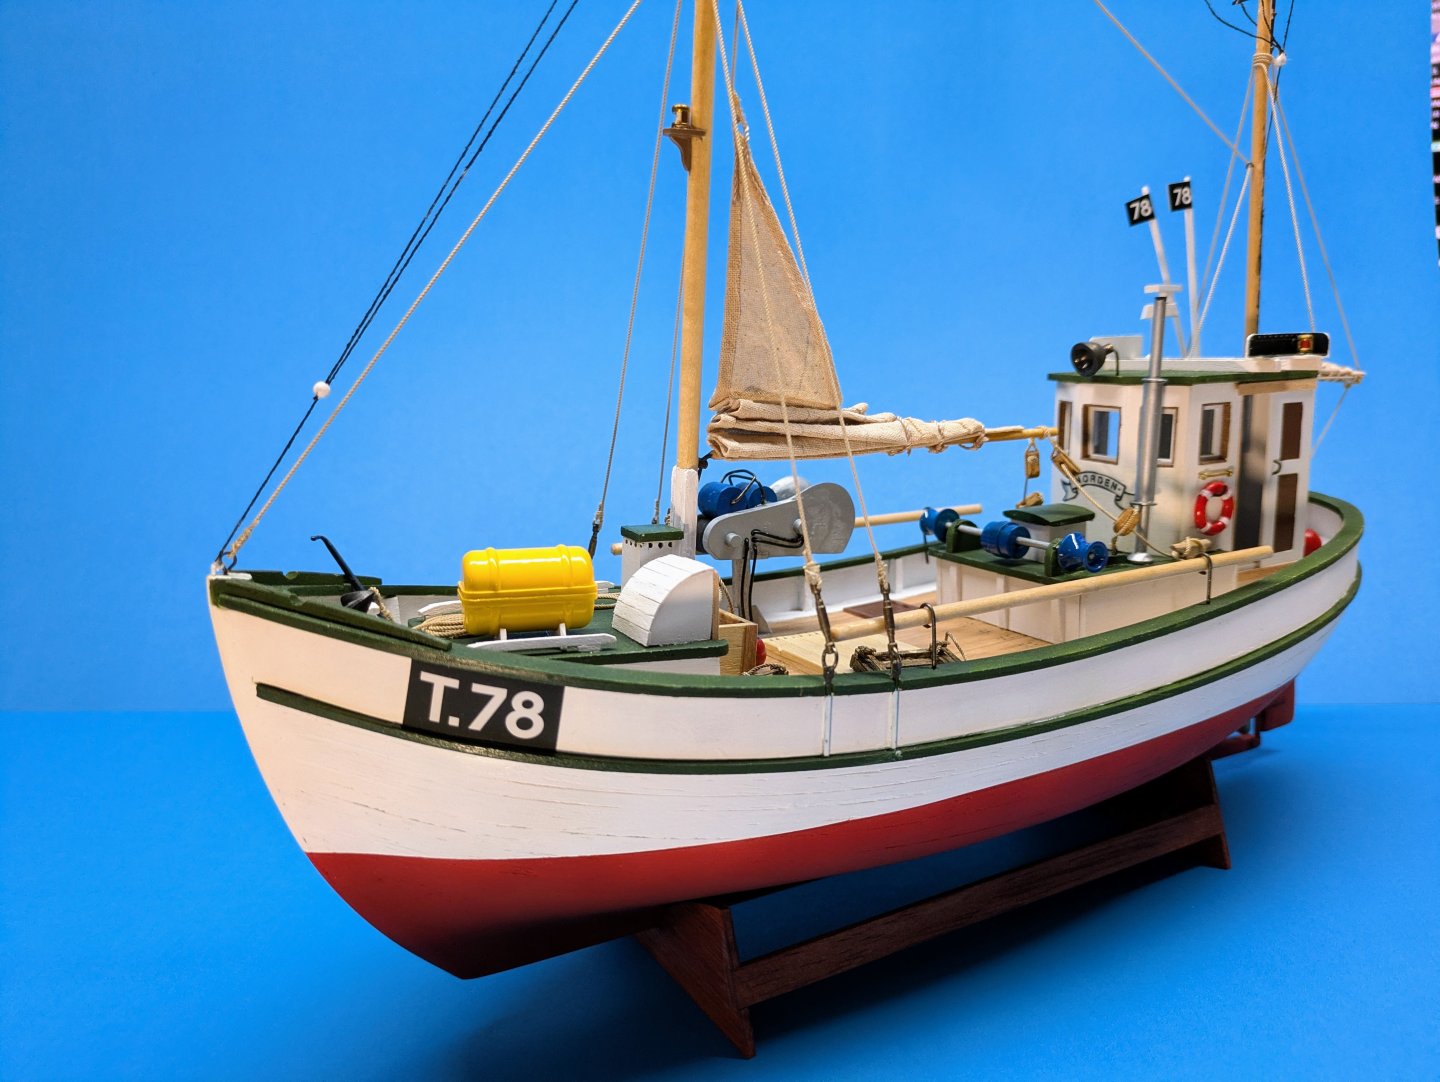
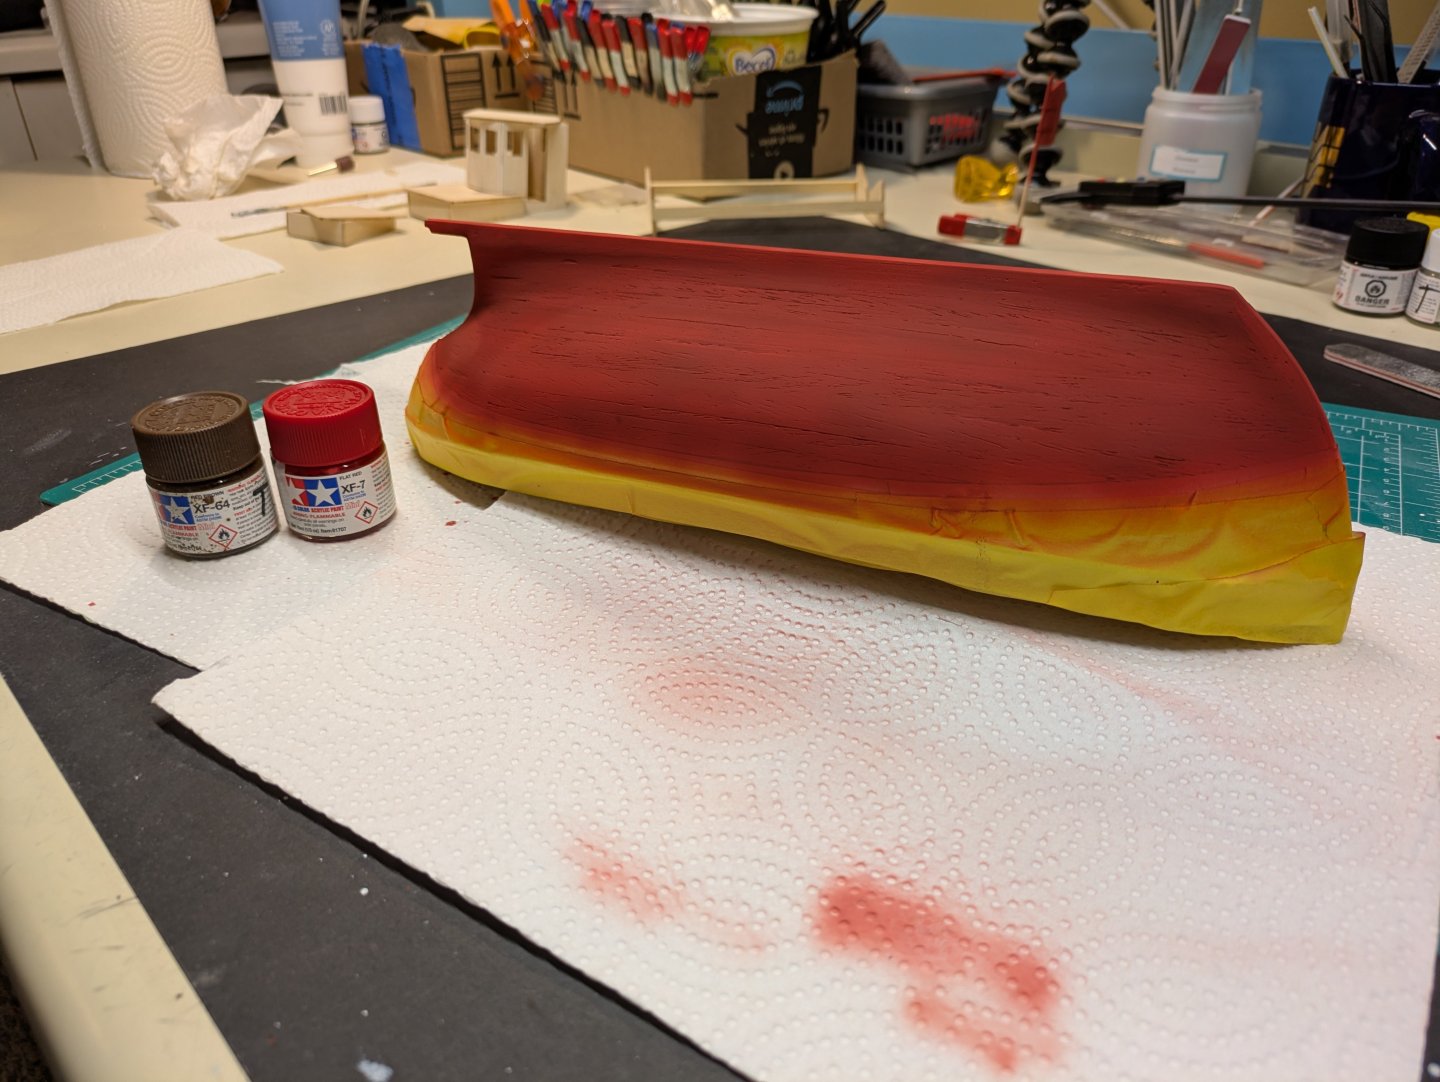
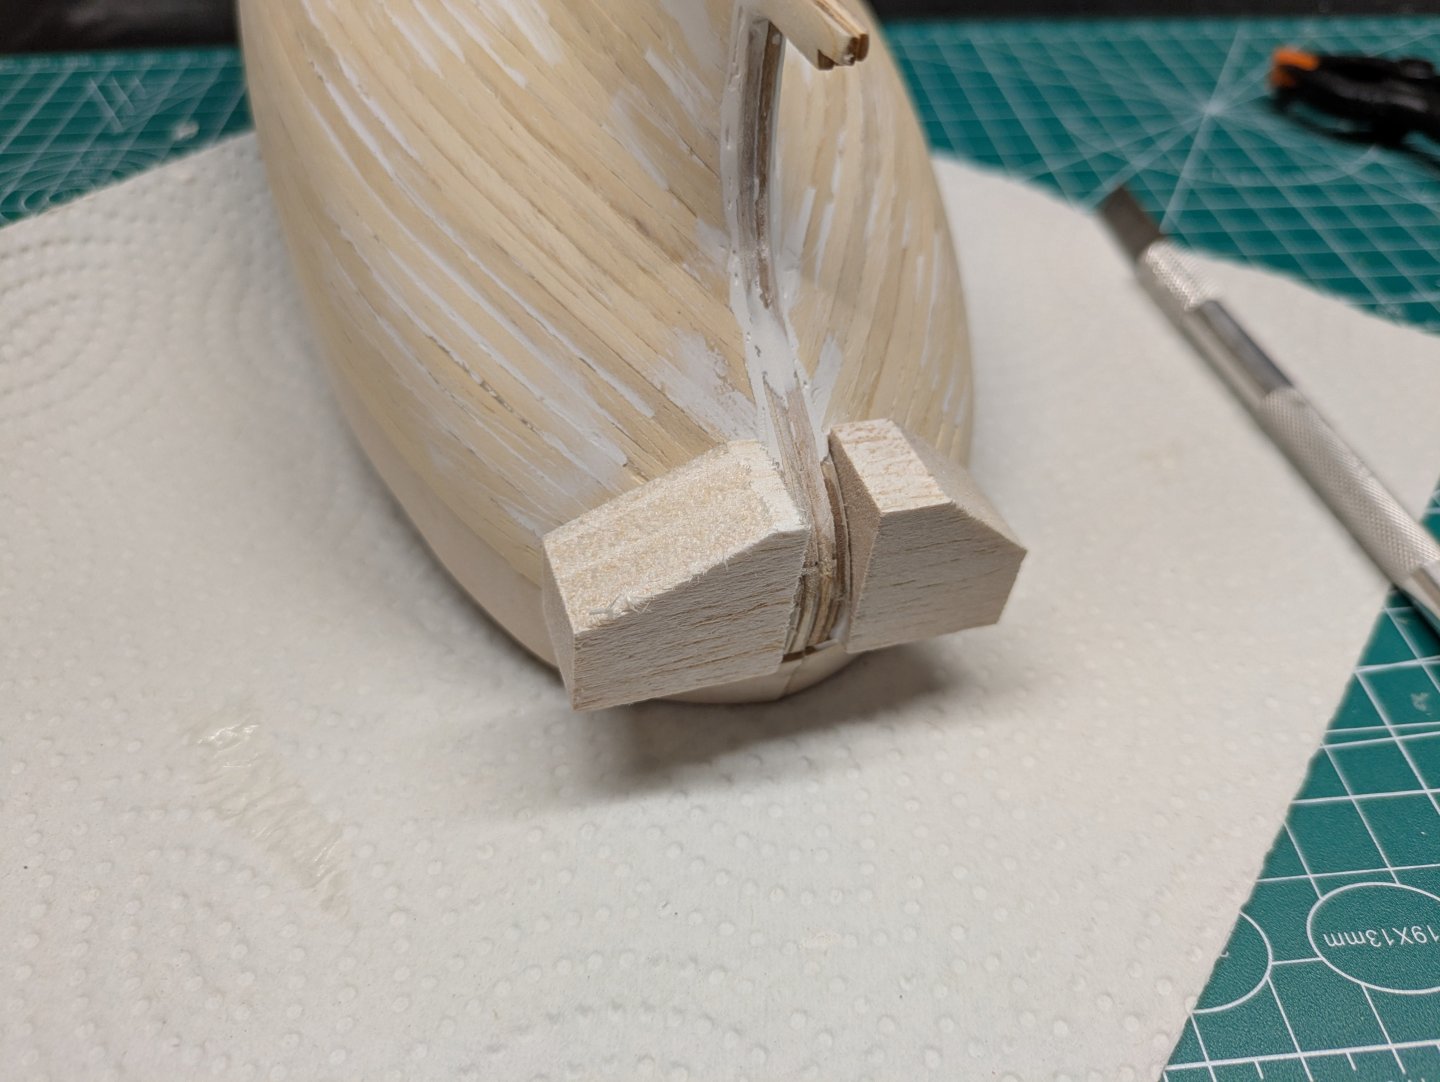
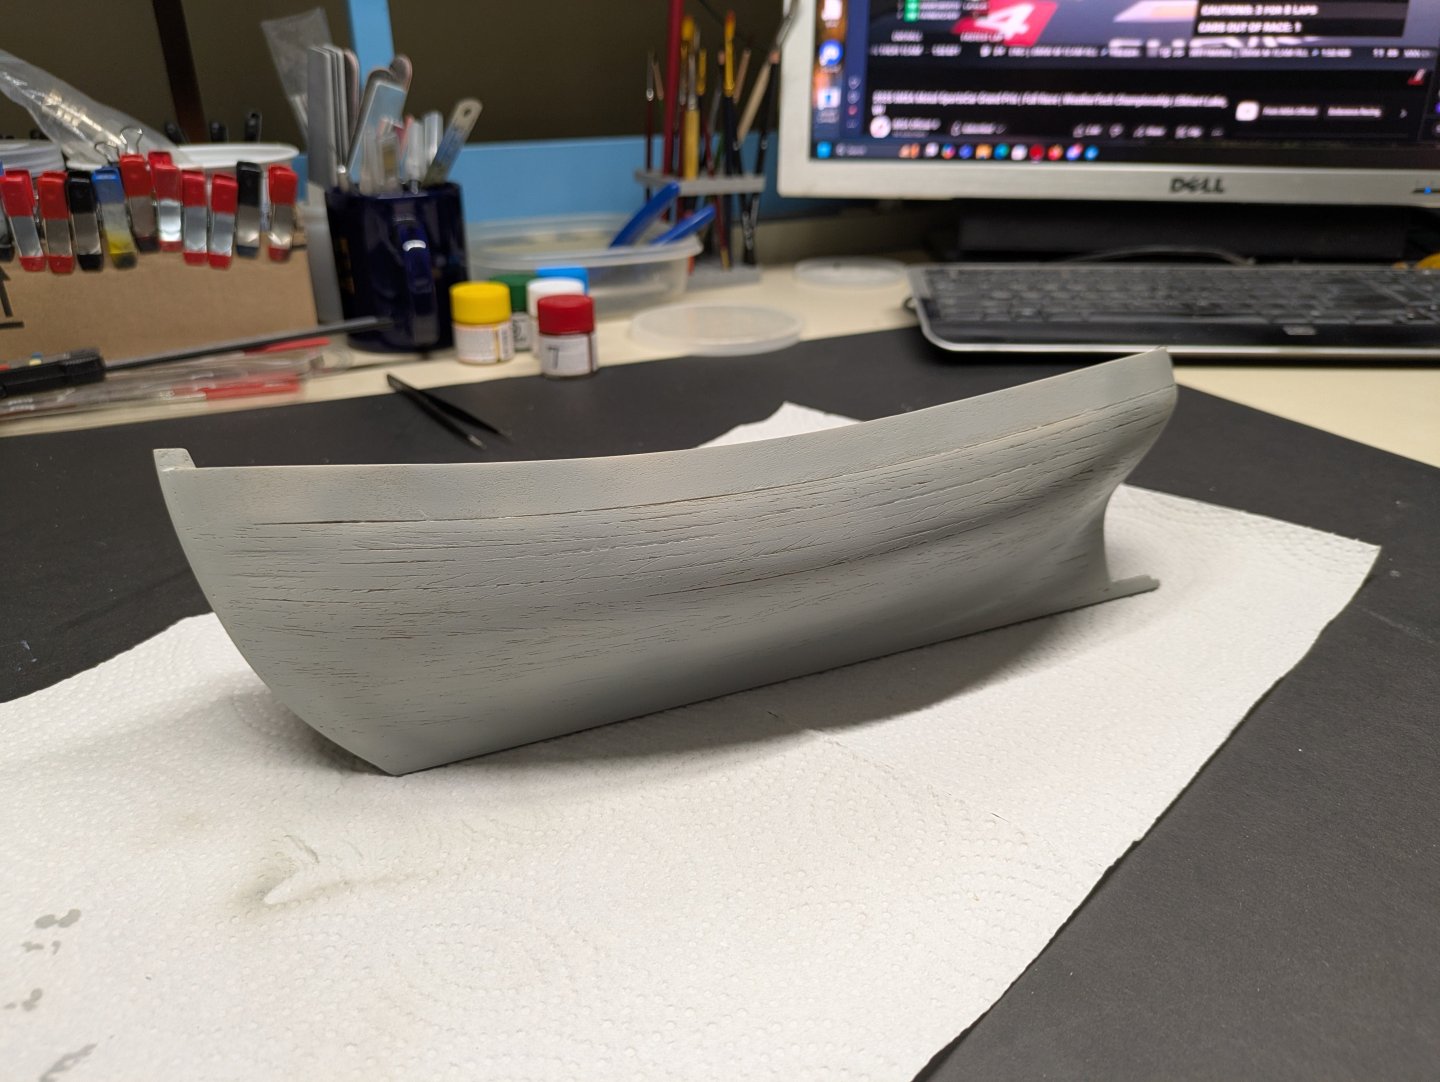
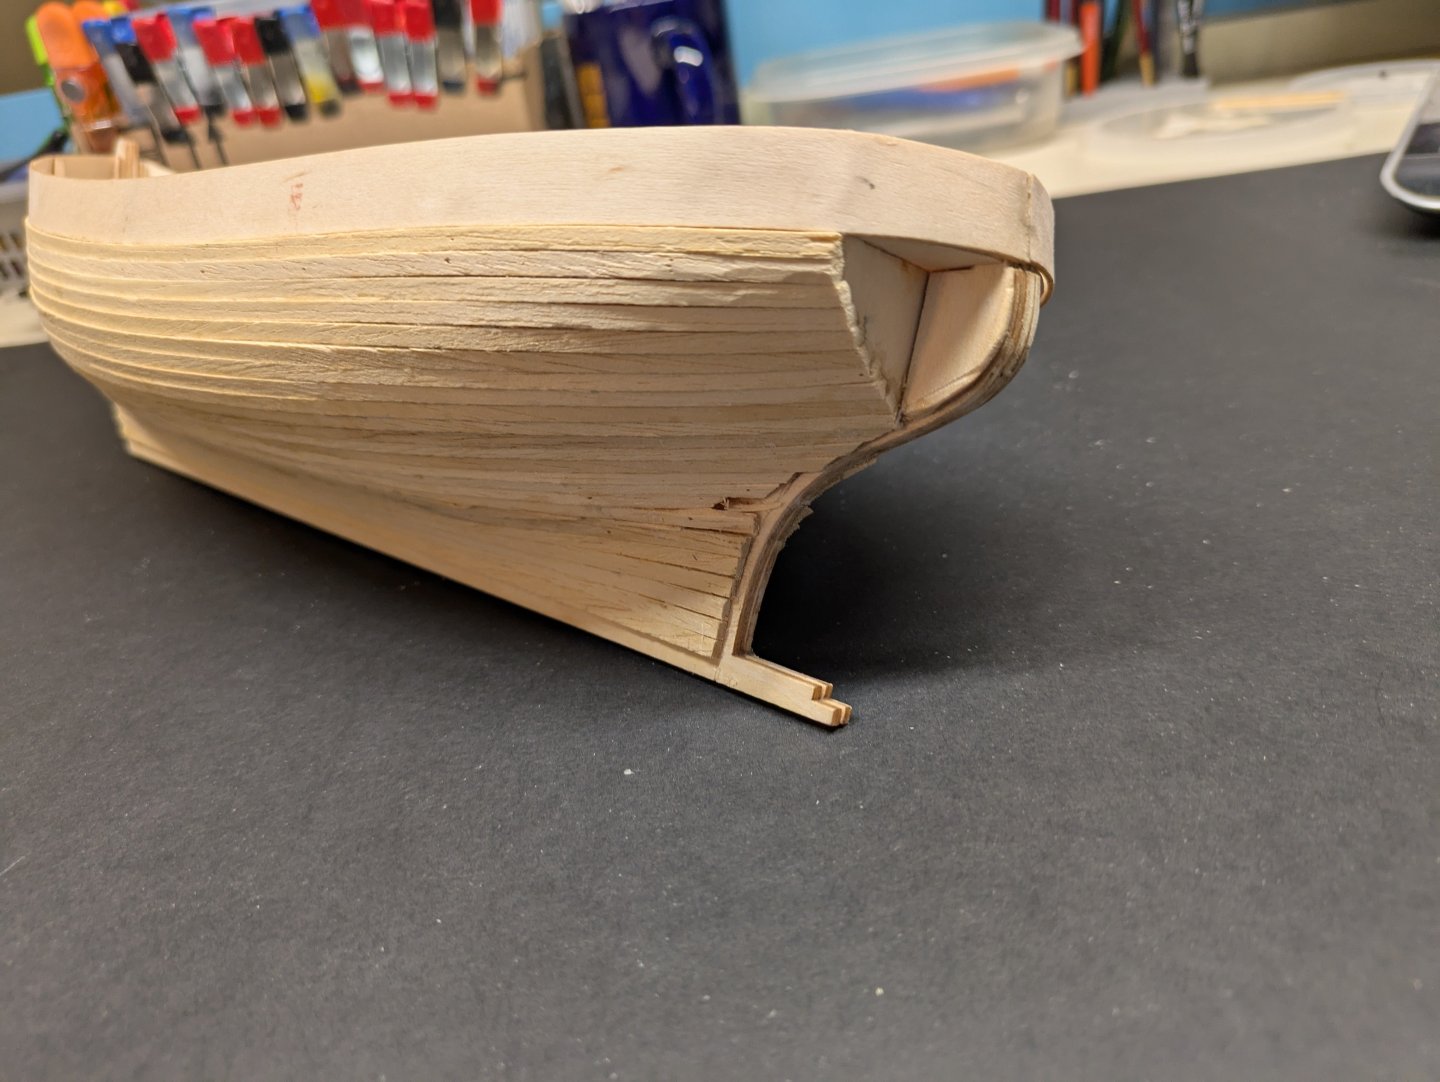
Somewhat productive week. Used the Occre Putty for the first time. It's not bad, you can wipe it thinner with a bit of water if you use too much and dries rock hard. Does seem a bit prone to chips during sanding but one of the better products I have tried. Got the stern blocks in and sanded down along with hull sanding. Did a primer over the whole thing to see how it looks. I want the boat to look wooden planked such as an older boat would be so, went light with the putty. Thoughts? Does it need more putty/sanding or look good for an old wood work boat? Gonna look at it for a few days to decide if I think I like it or not


-
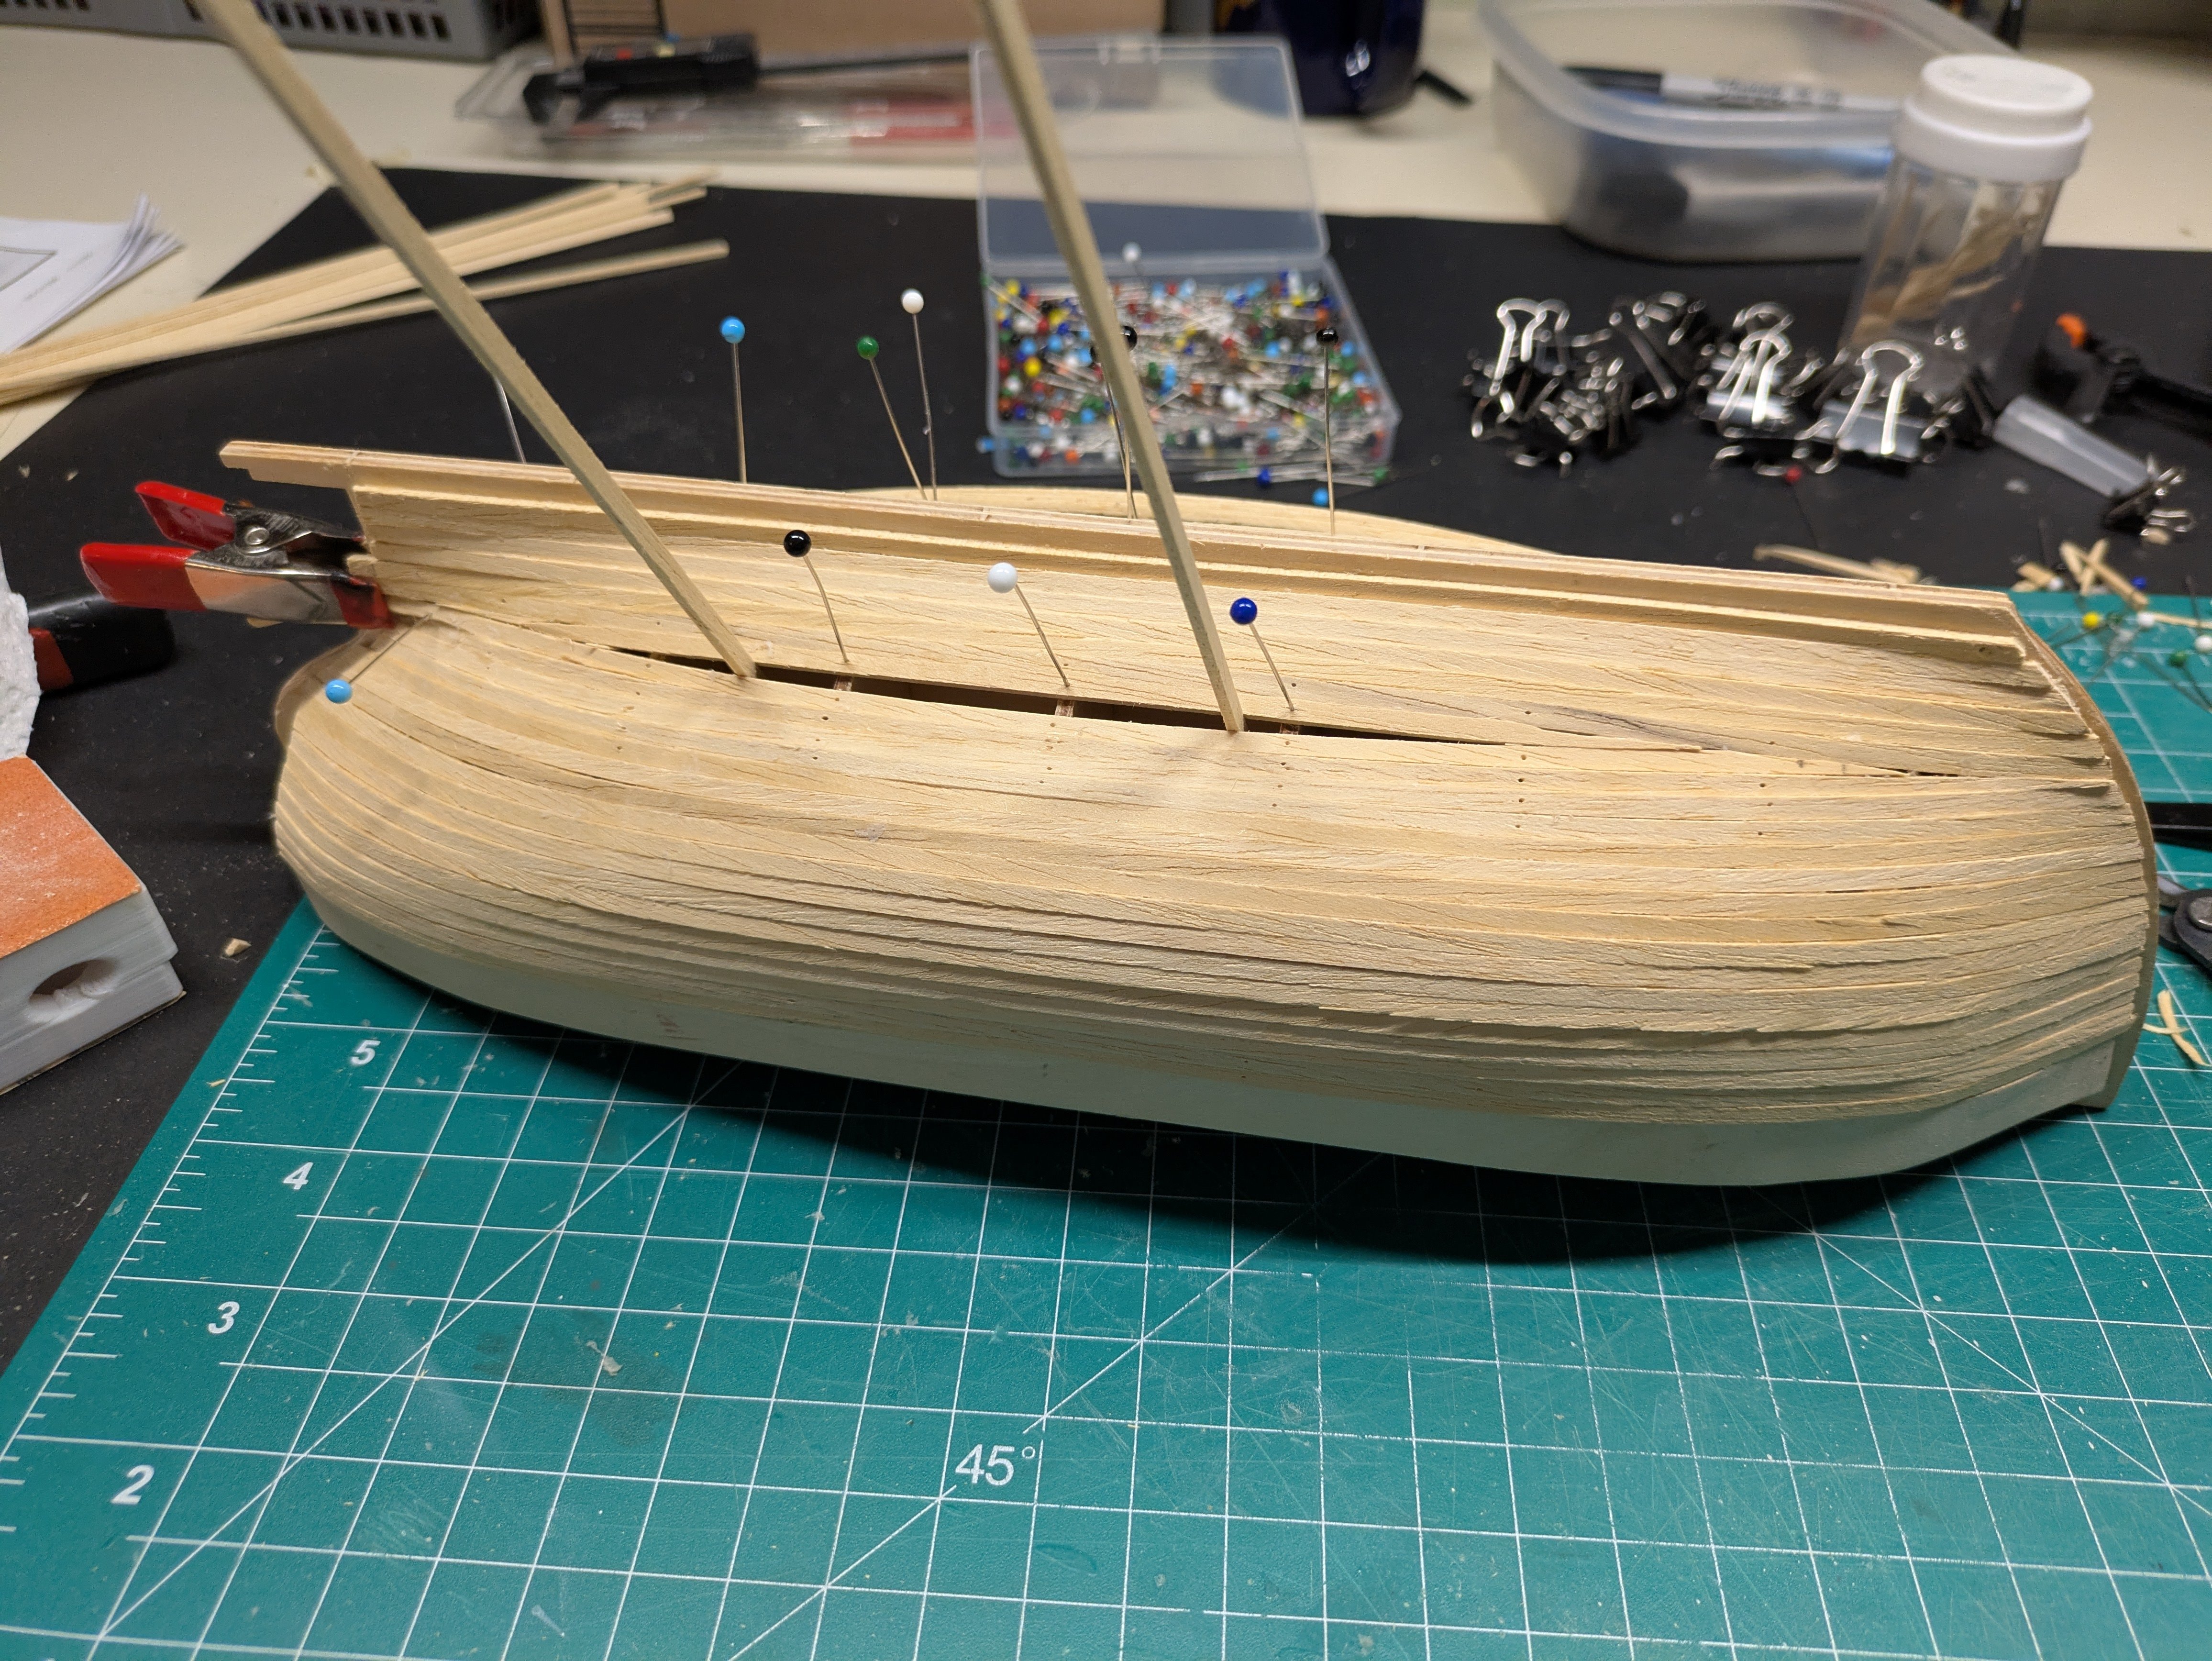
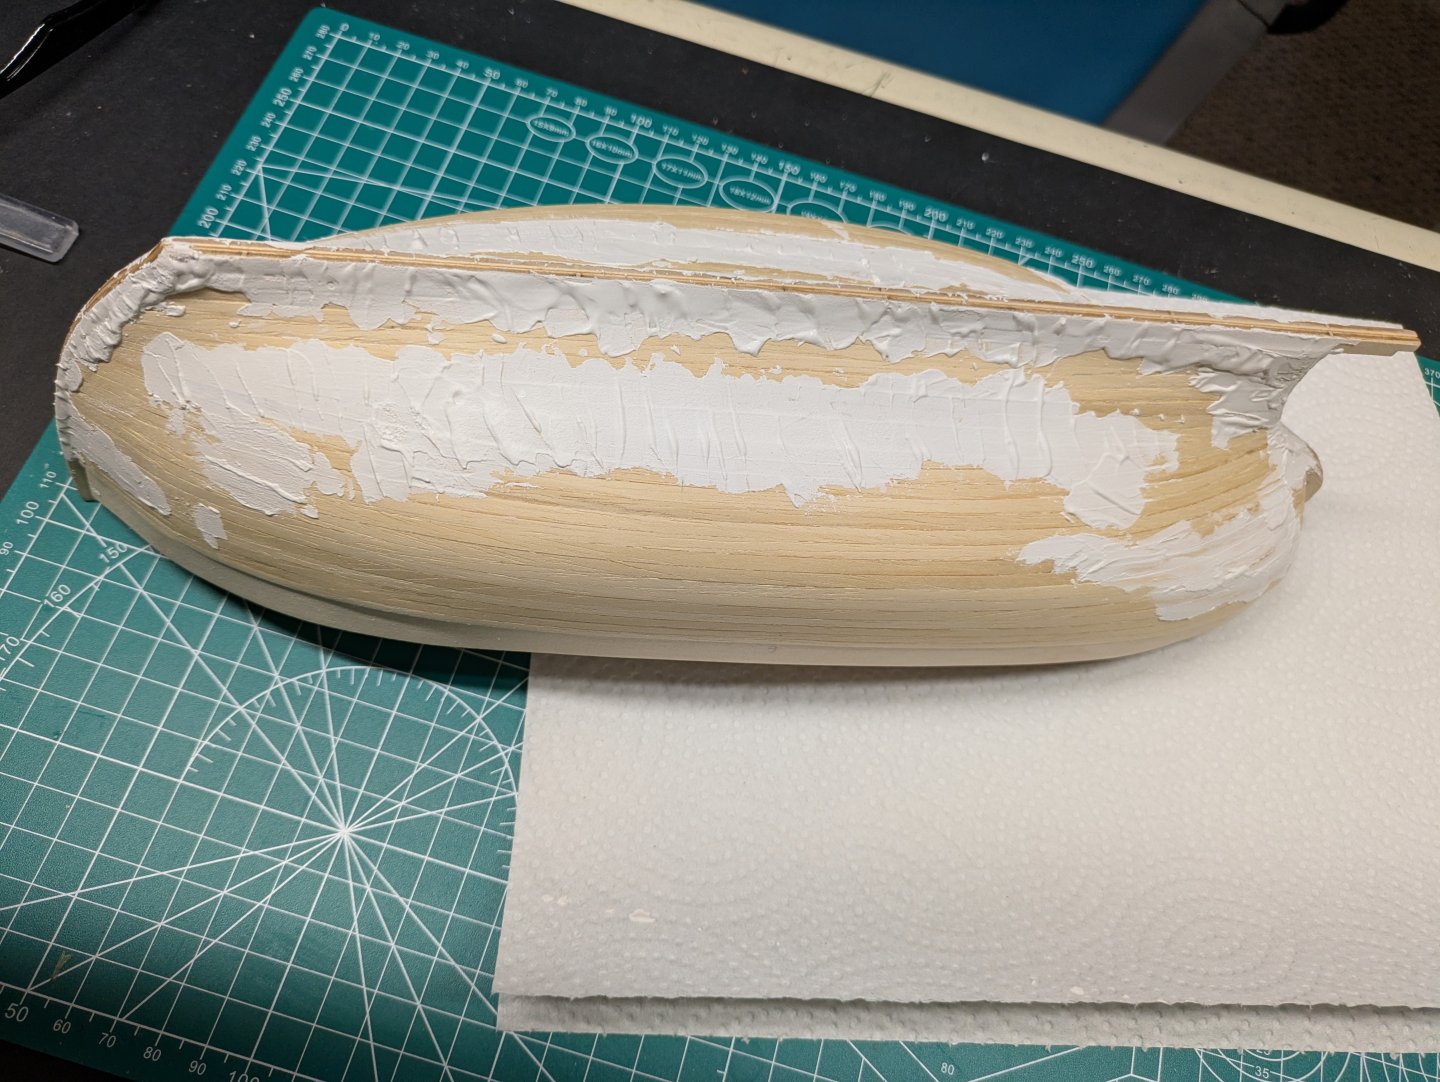
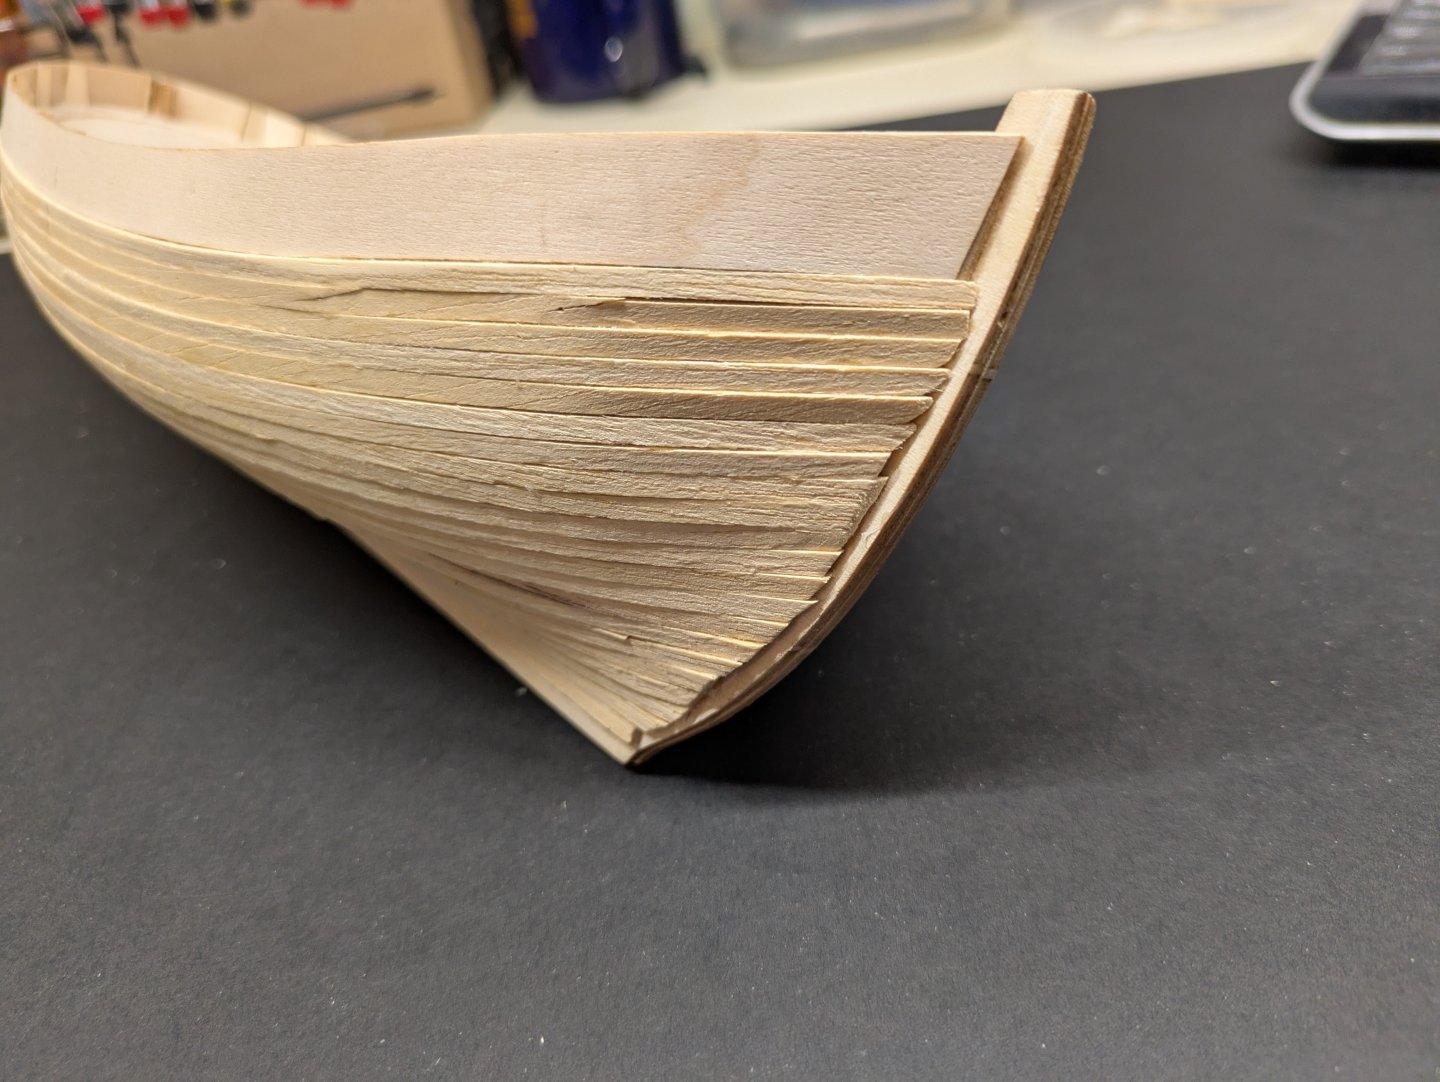
Survived my first official planking. Not the prettiest. Lots of sanding and filling ahead. Holes, cracks, craters to fill. But was not near as bad as I thought it would be. But already I know how I will do it different on my next build. Continuing to learn. Excuse the few blood stains, the top of one of the sewing pins came off and impaled my finger. Dang things.

-
Good job, most definitely HMCS Huron That is very interesting that they have it as HMS on the box when they sell the HMCS Huron in 1/350 (which I built) and I thought that one was small hahaha. So big hand clap for your work at this scale. btw, I have a build log in a google photo album if you would like a link to it for reference. Just let me know if you want it on here.
-
Thanks Jacques. Yes, just put them on the sticky side of the tape, mix of PVA and water, let it dry and carefully remove. Works well.
- 34 replies
-
- 1
-

-
- muscongus bay lobster smack
- Model Shipways
- (and 1 more)
-
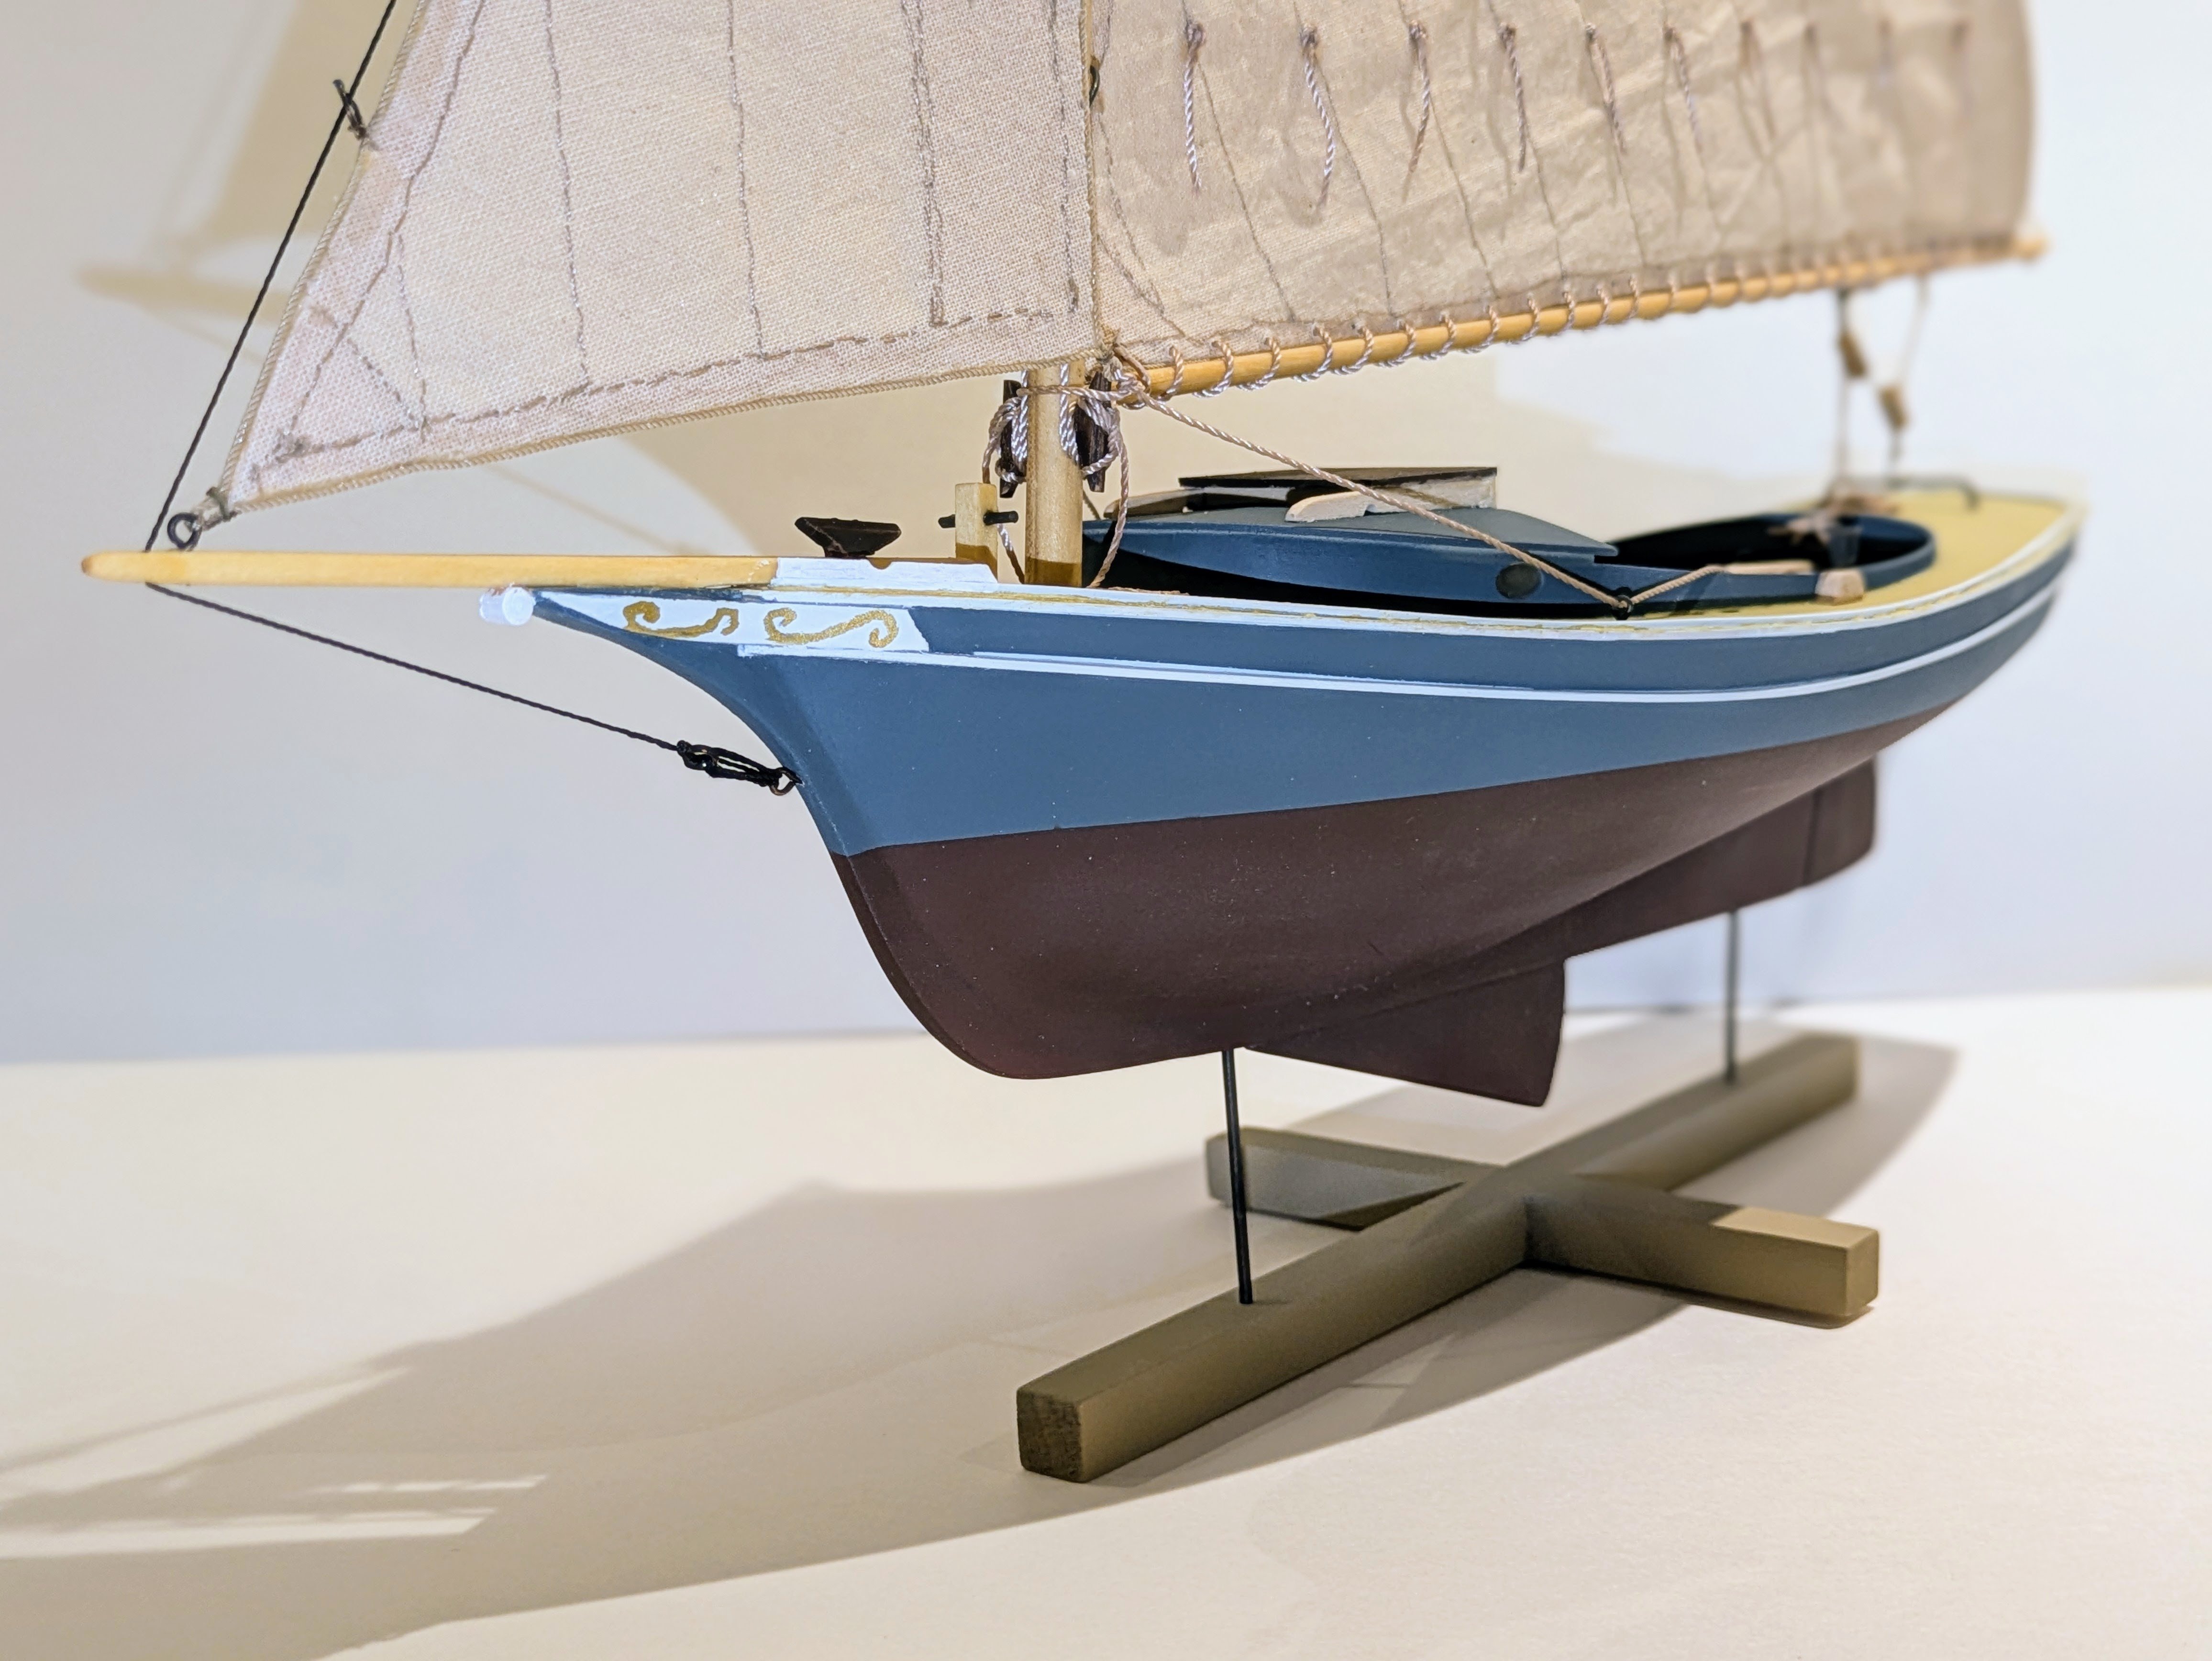
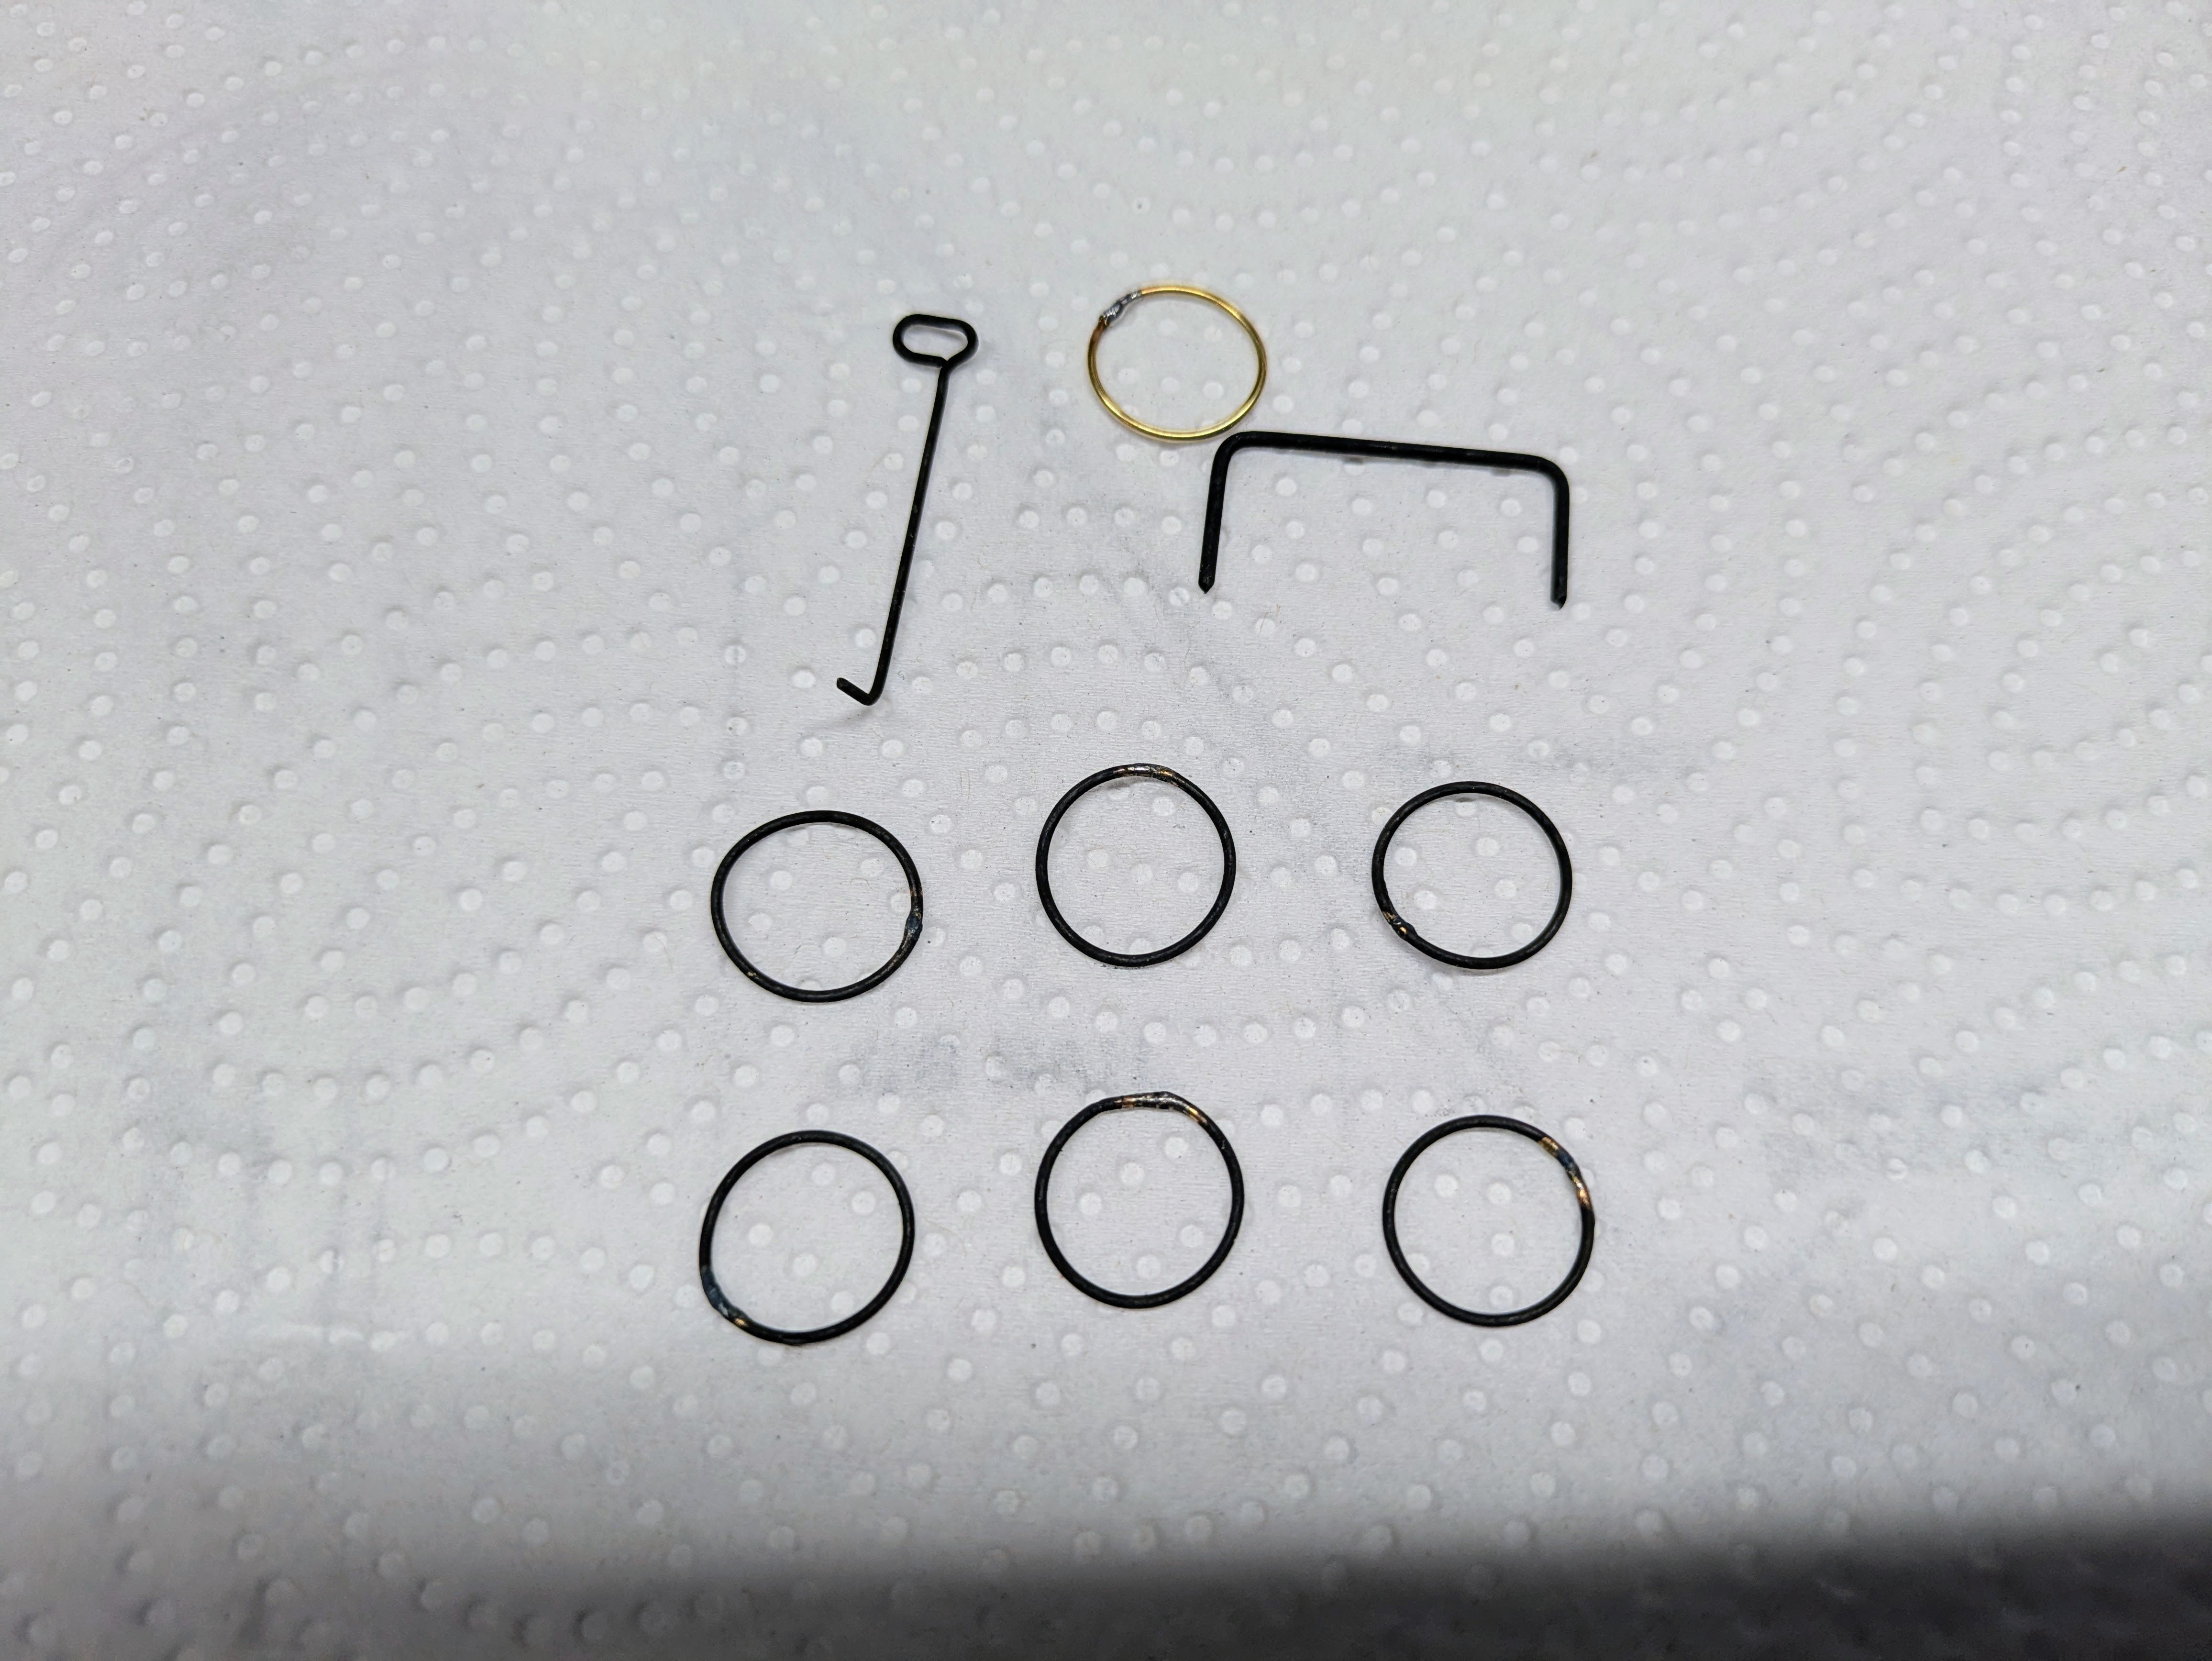
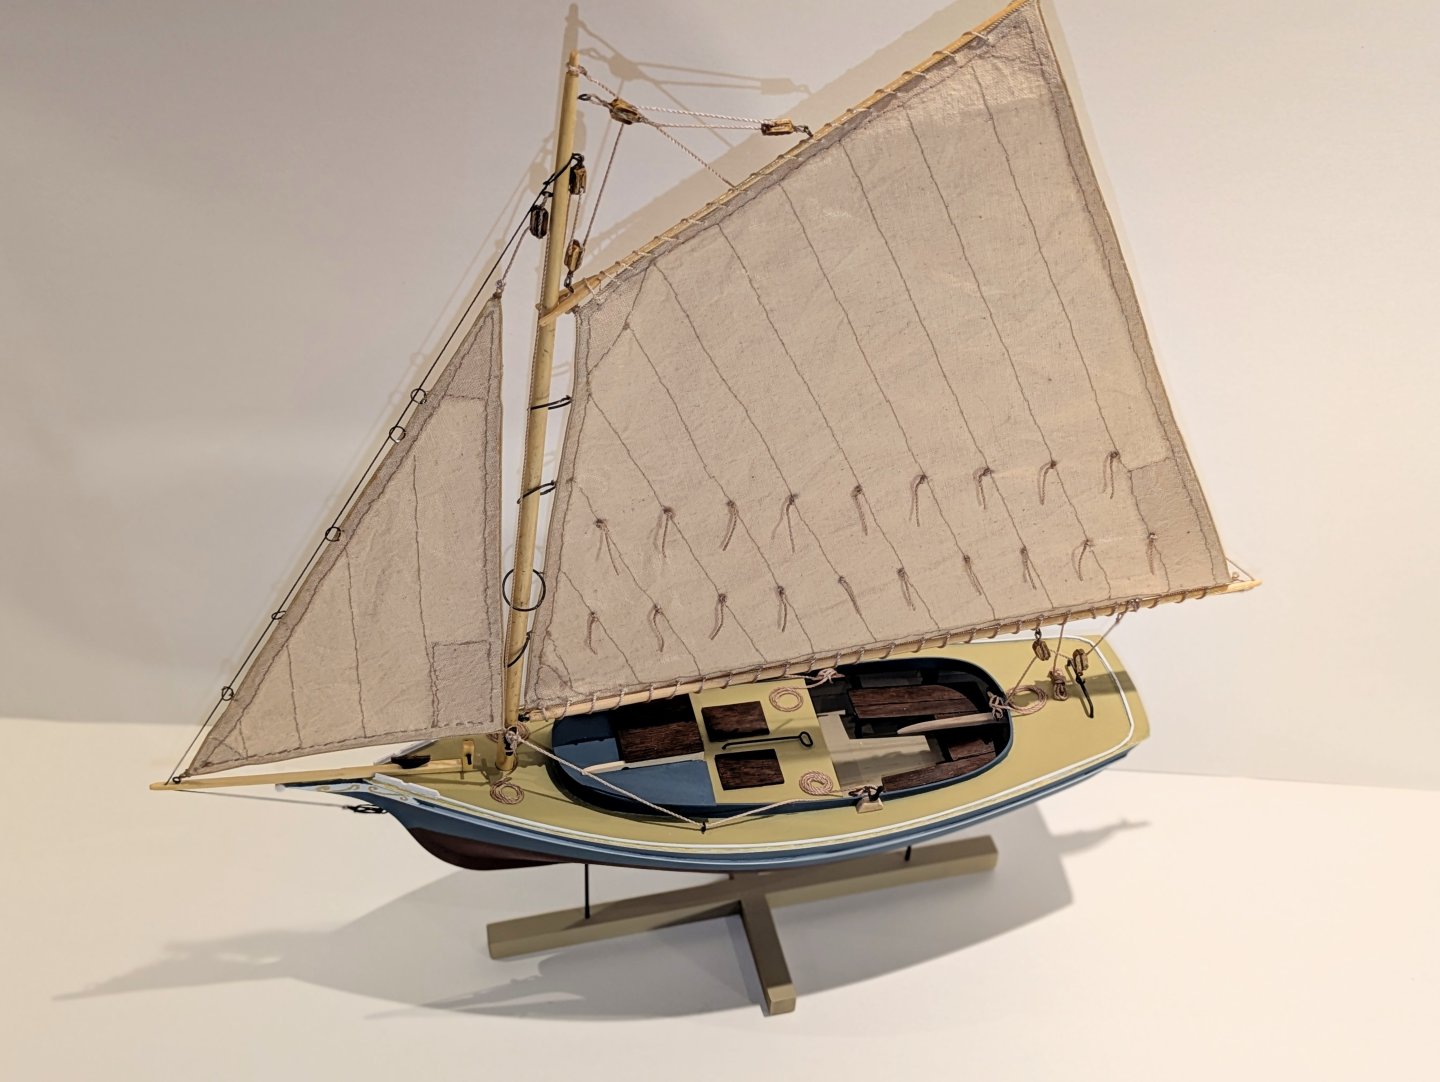
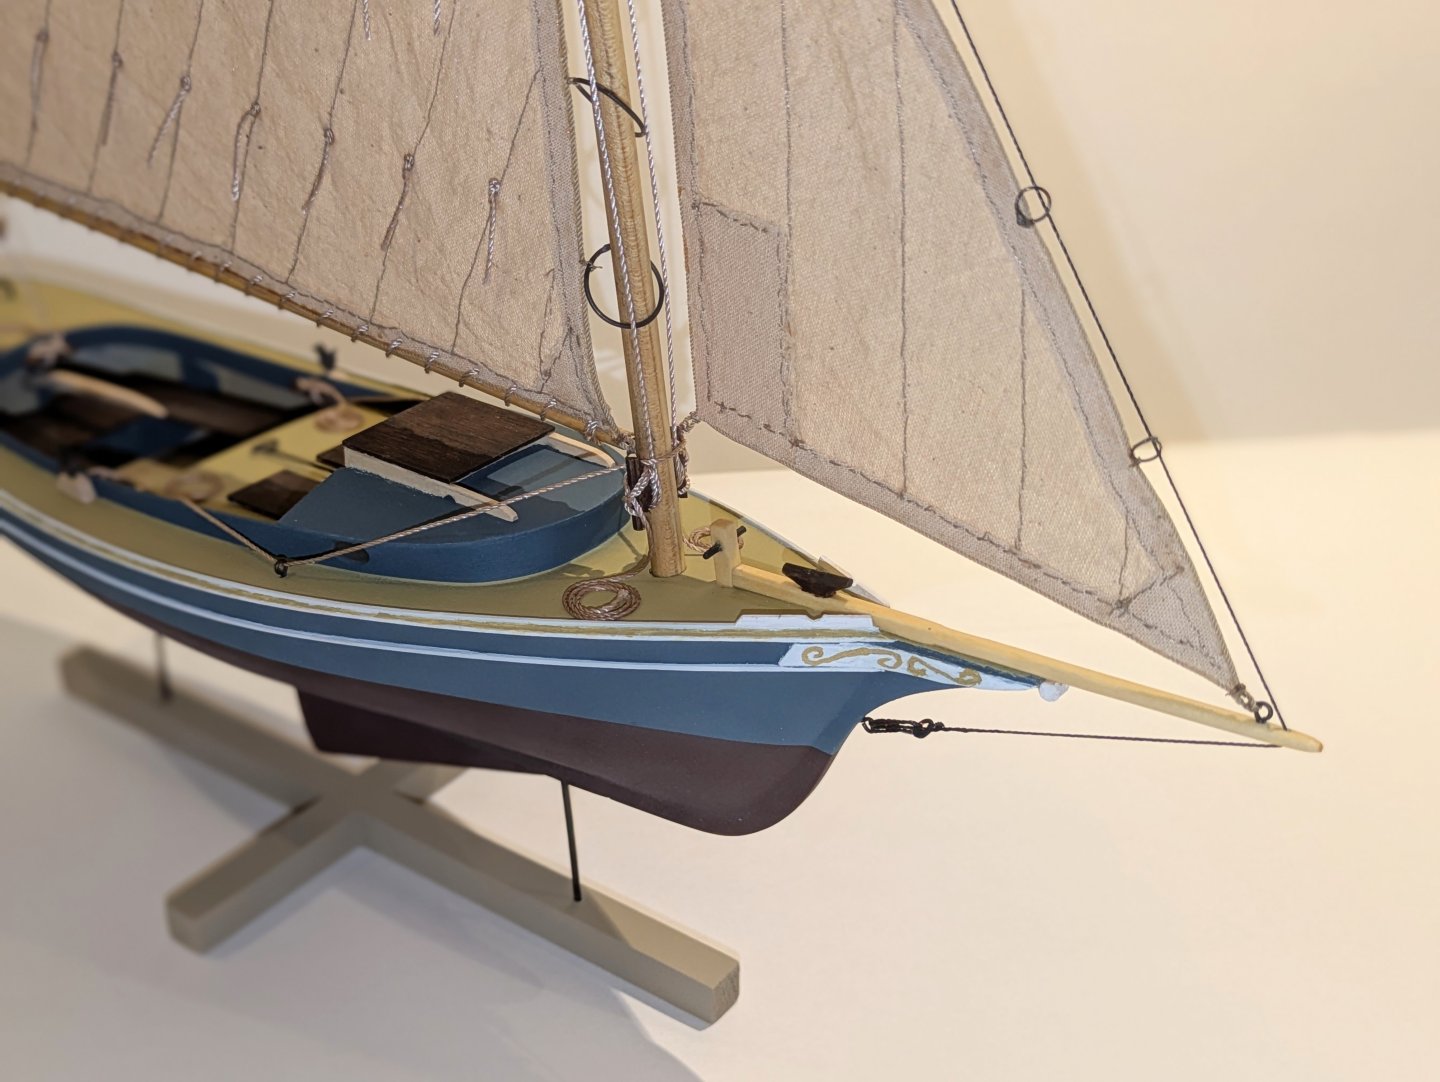
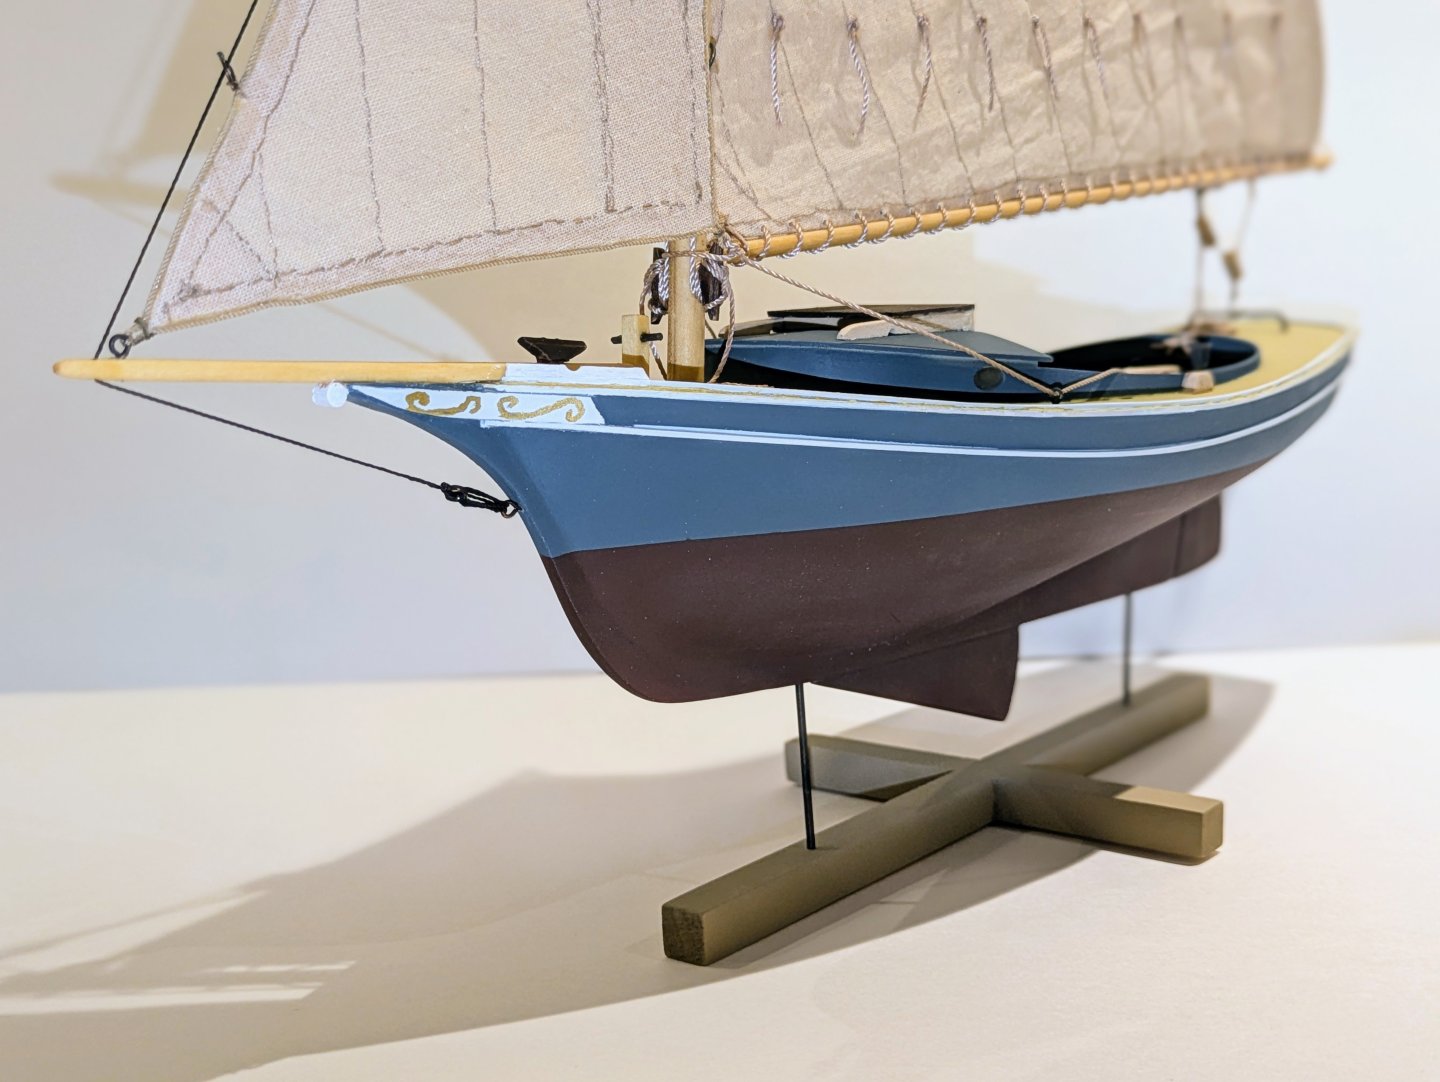
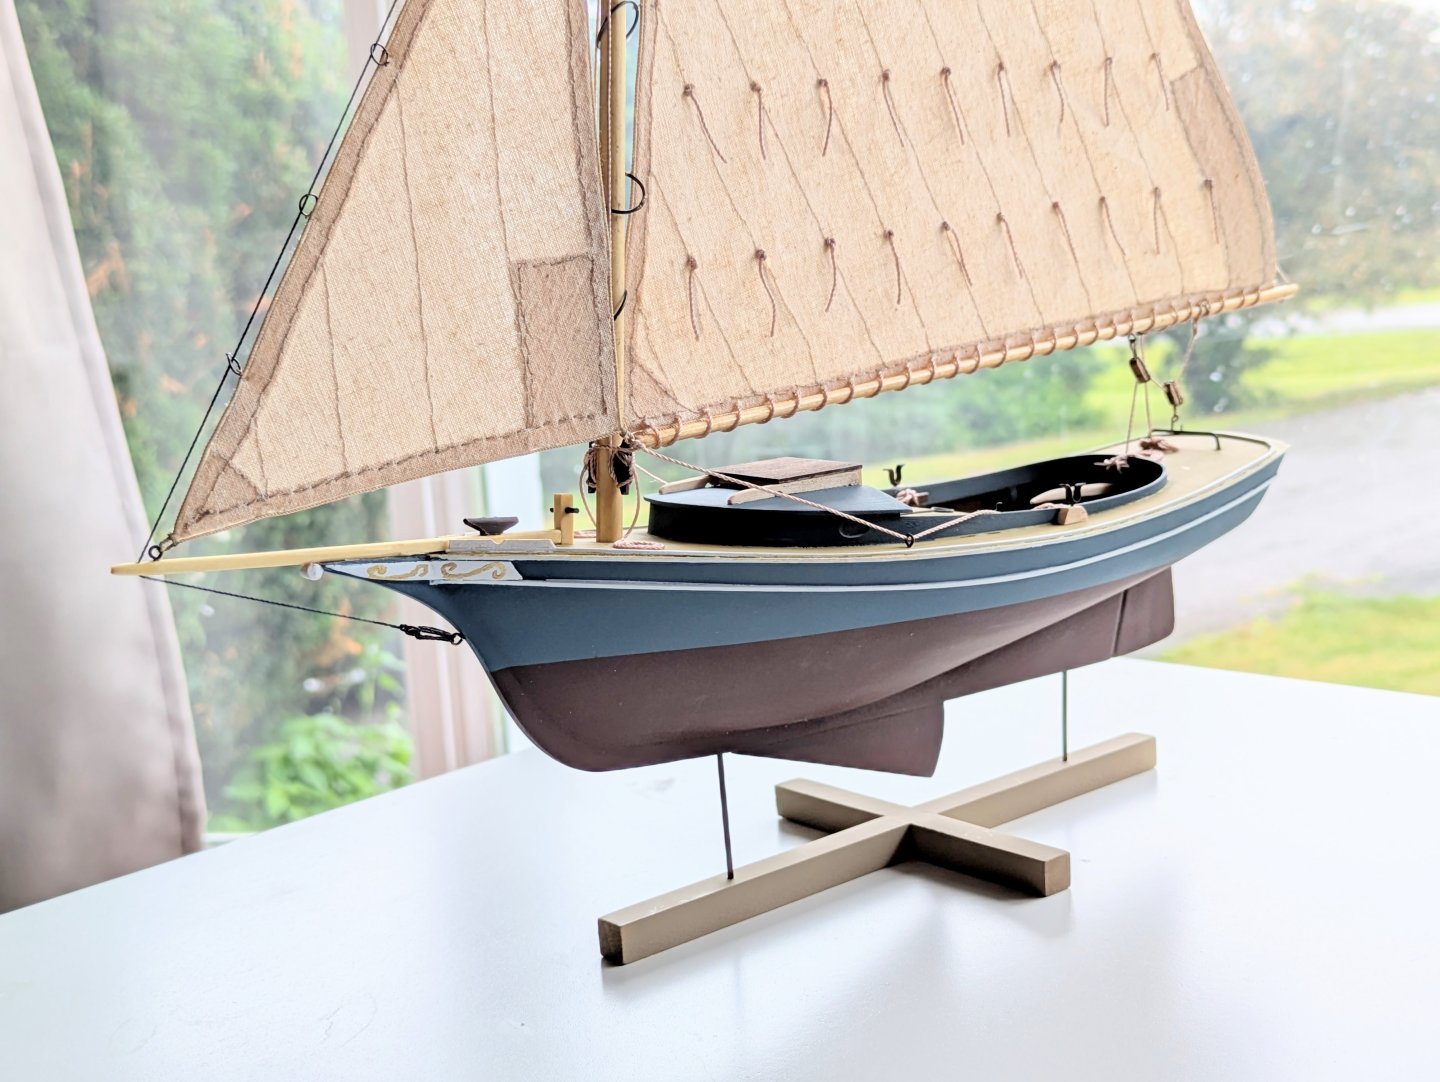
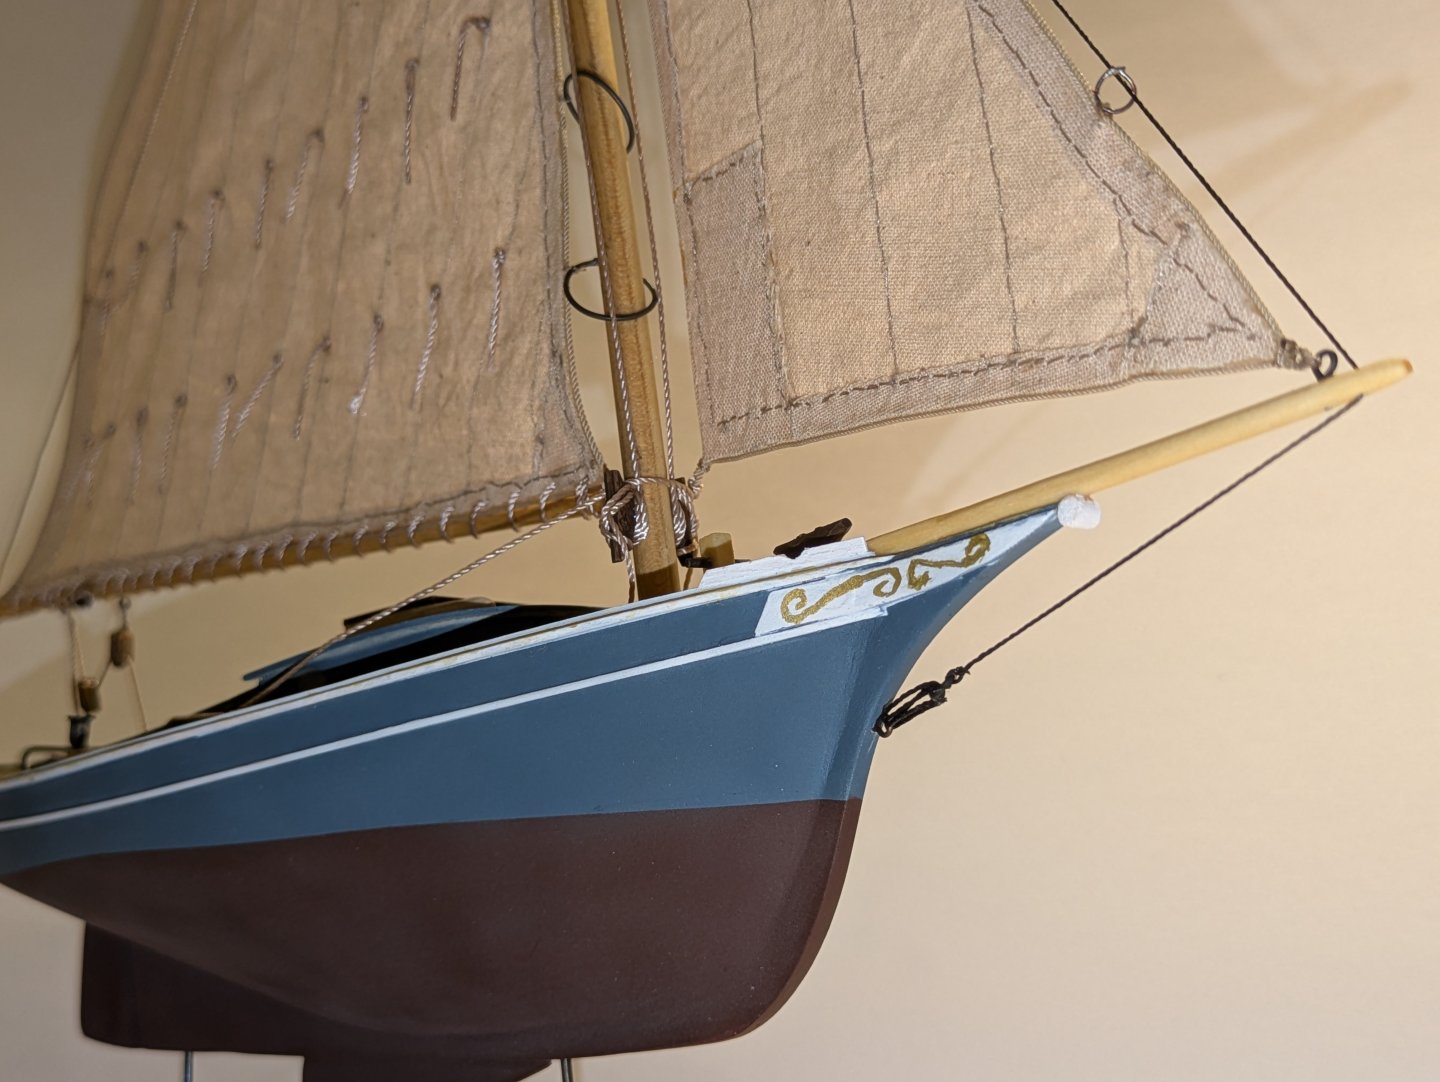
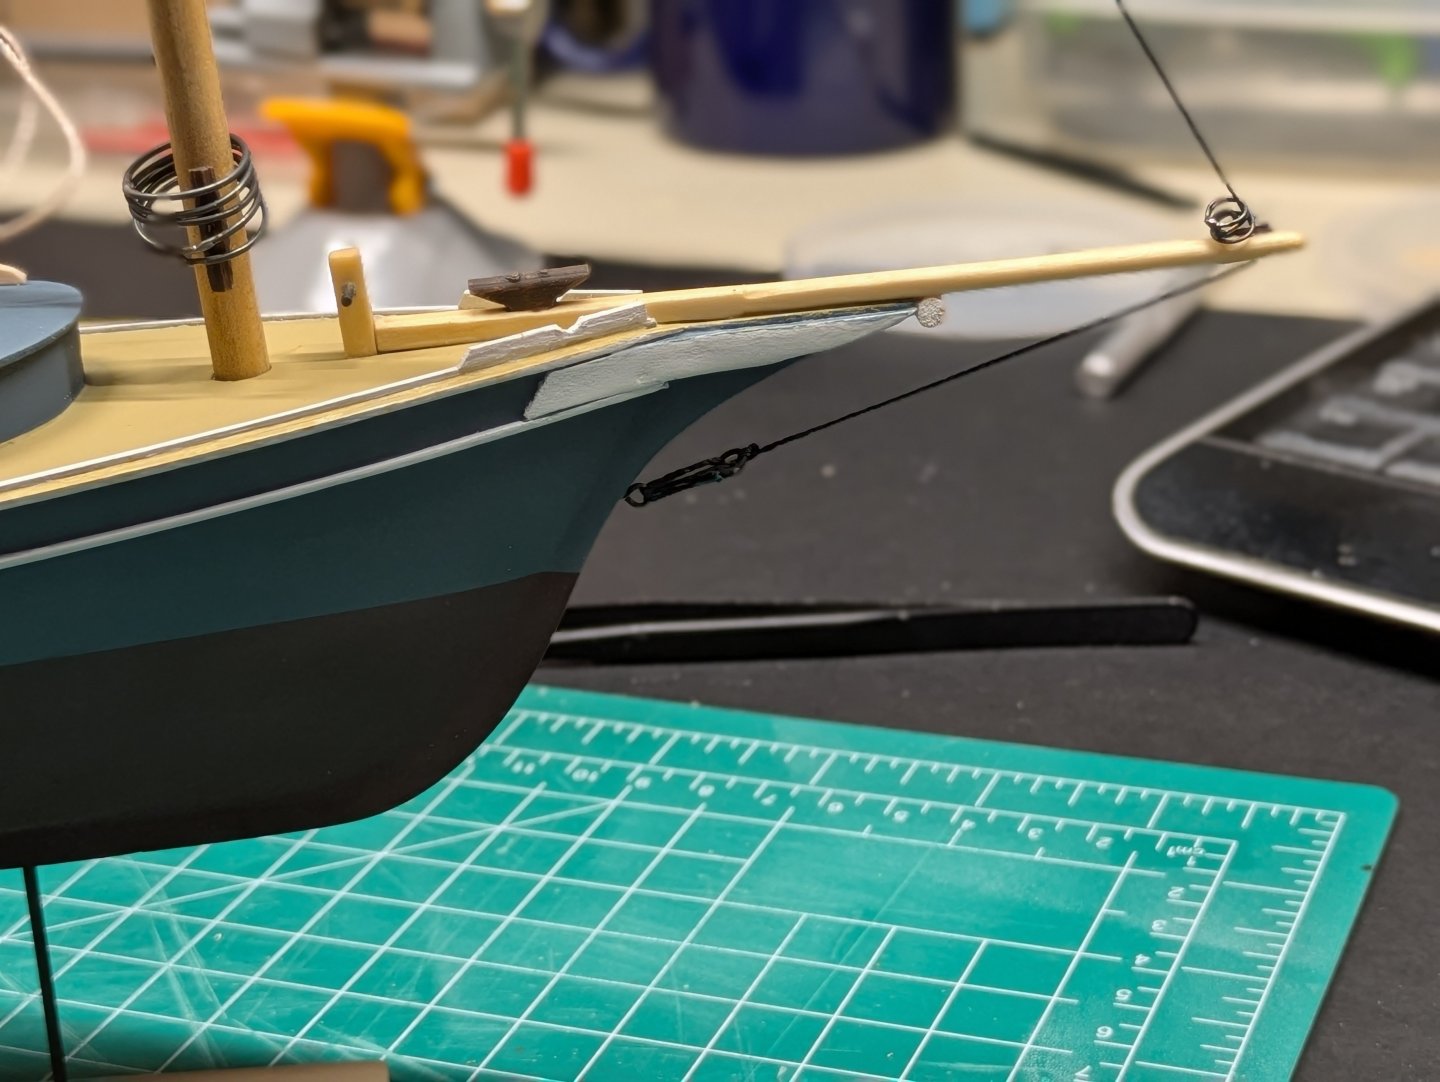
and completed. Numerous things I am not happy with and will take away as lessons learned. First I will never hand sew sails again hahahaha, that was extremely time consuming. Replace ropes, need to find better and more to scale cleats, need to find a solder that brass blackener will work with, would make the sail rings smaller and I need a steadier hand in hand painting the bowsprit. After some time away from this kit, I might go back and fix the bowsprit and mast rings as they stand out too much to me and can be fixed relatively easily. But over all, for my 3rd model (this is the last in the midwest series) I am happy. Can't thank Olha enough for her online classes and tutorial and for the comments here on model ship world. She is now proudly displayed in my living room. As always, I created a google album of all the gory pictures if anyone wants to see the build pictures from start to finish - https://photos.app.goo.gl/PEPshL8zixs5suDi7


- 34 replies
-
- 6
-

-
-
- muscongus bay lobster smack
- Model Shipways
- (and 1 more)
-
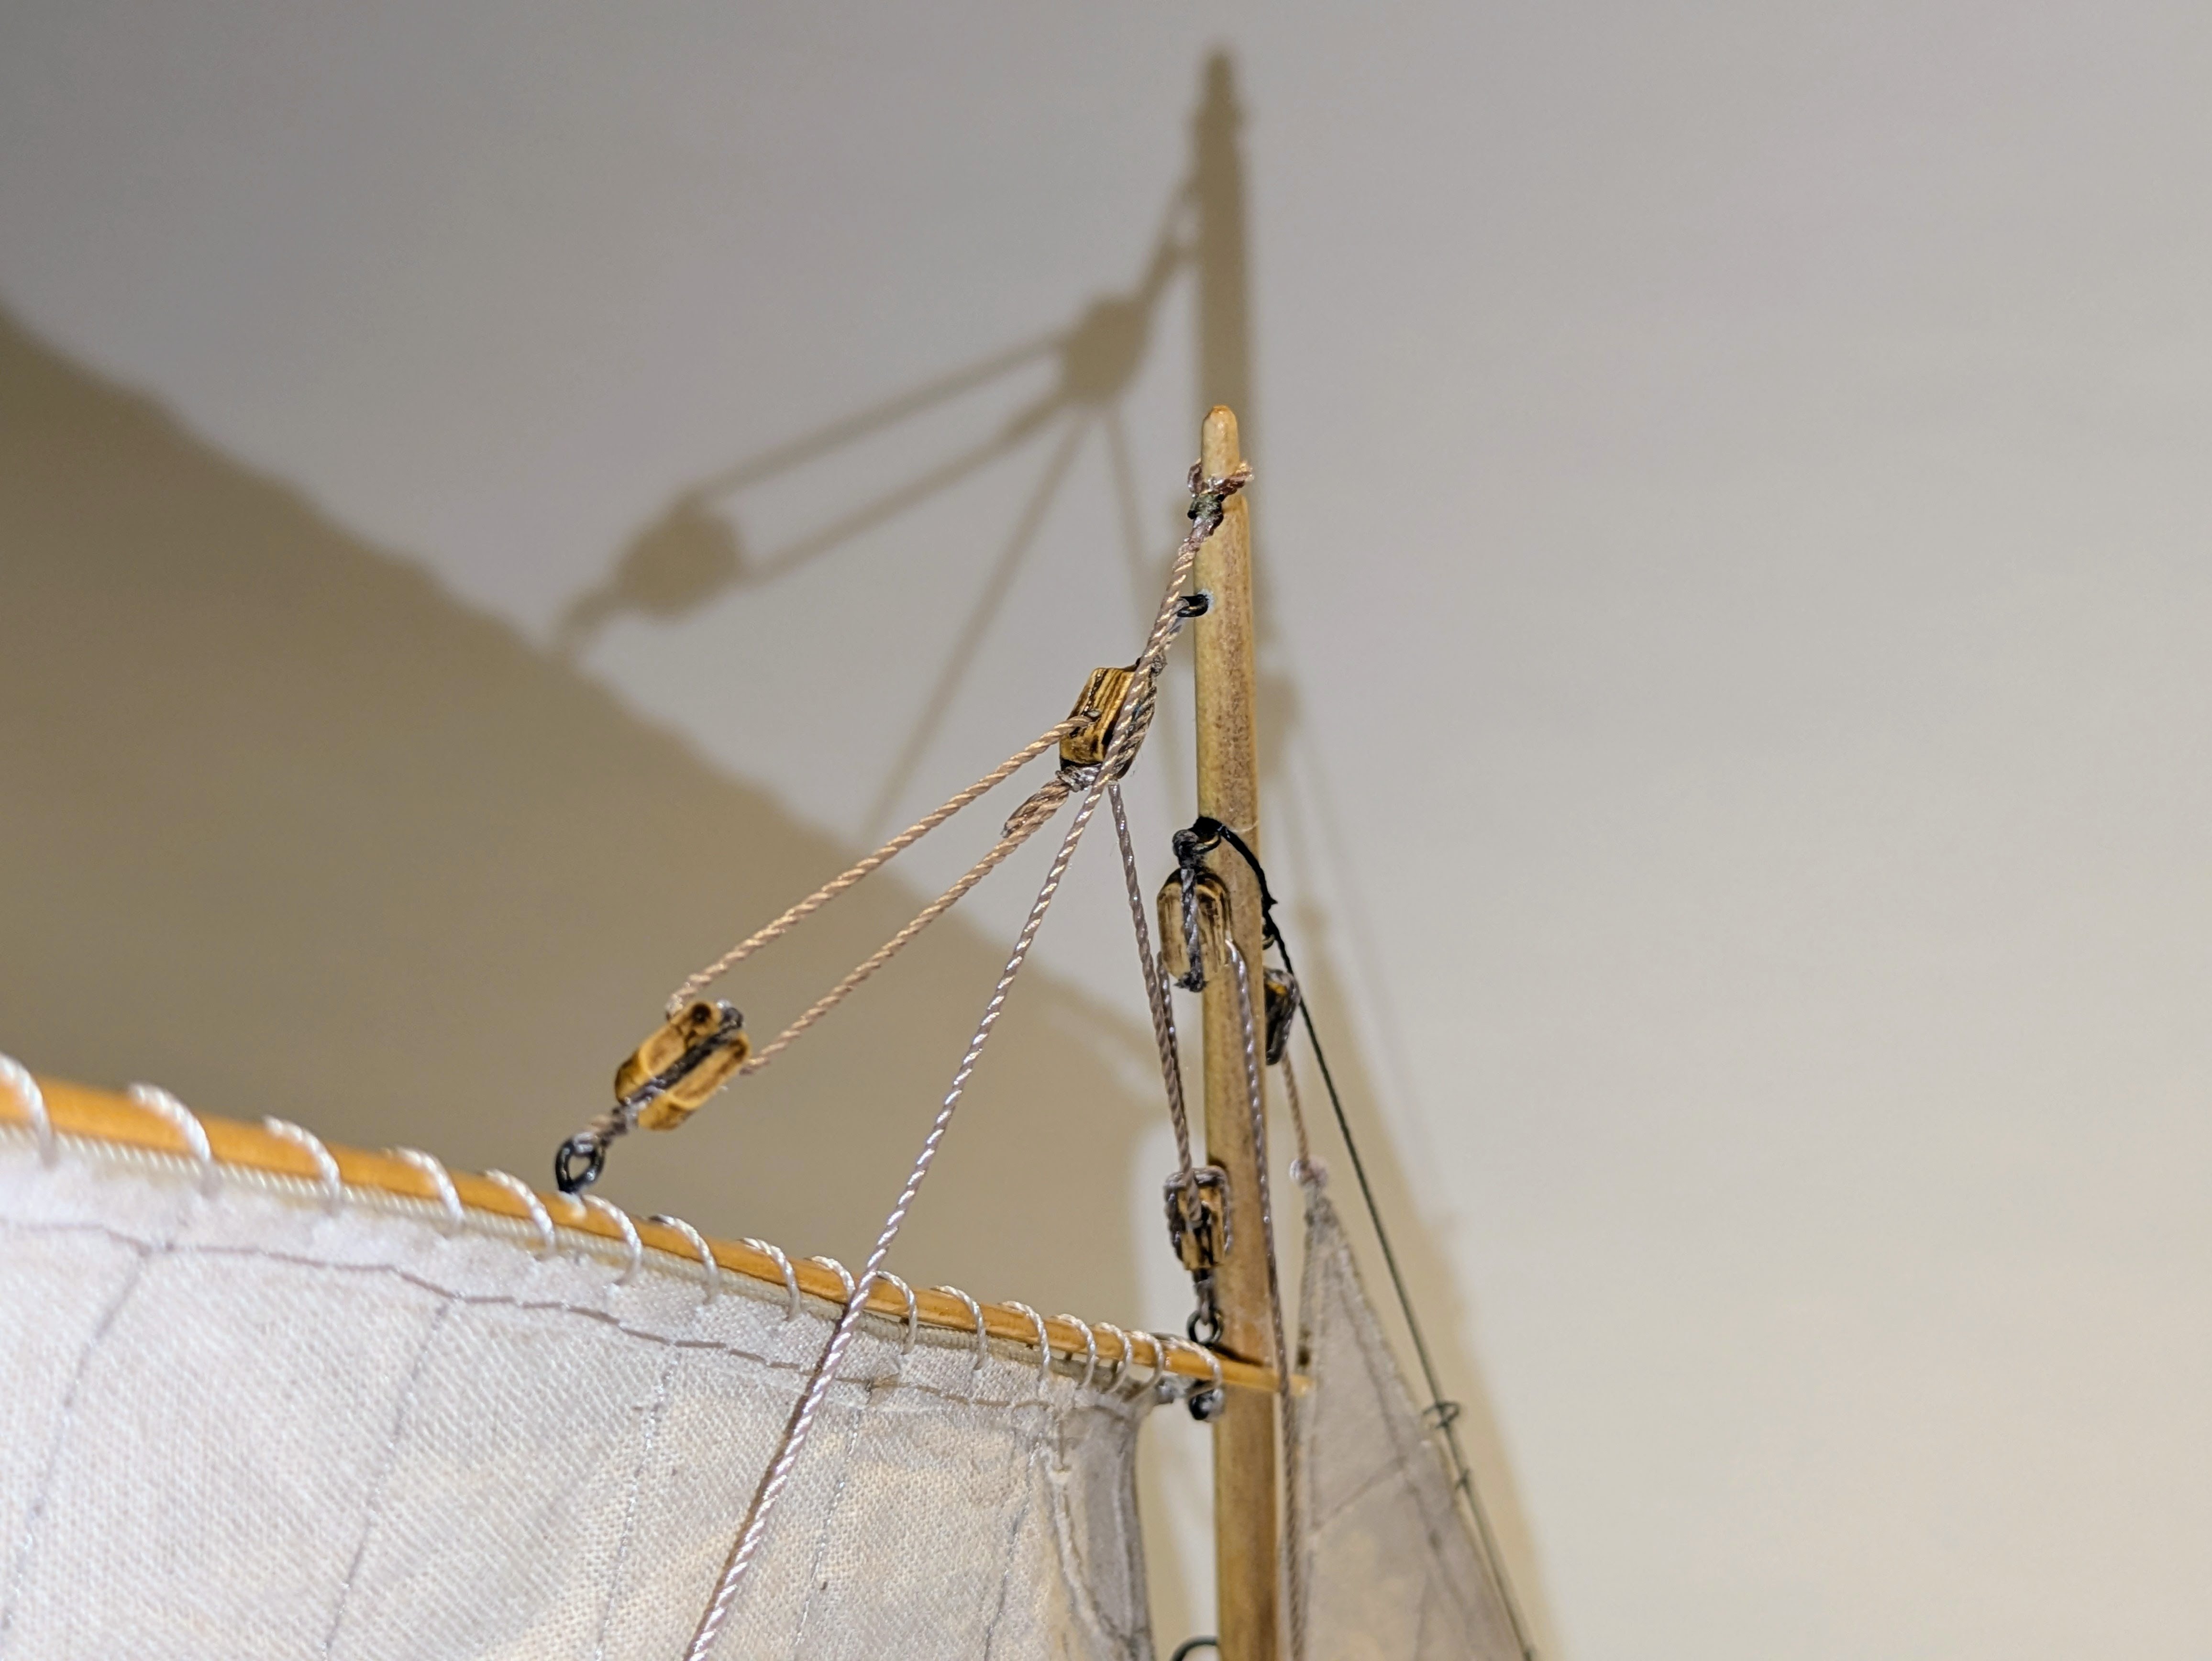
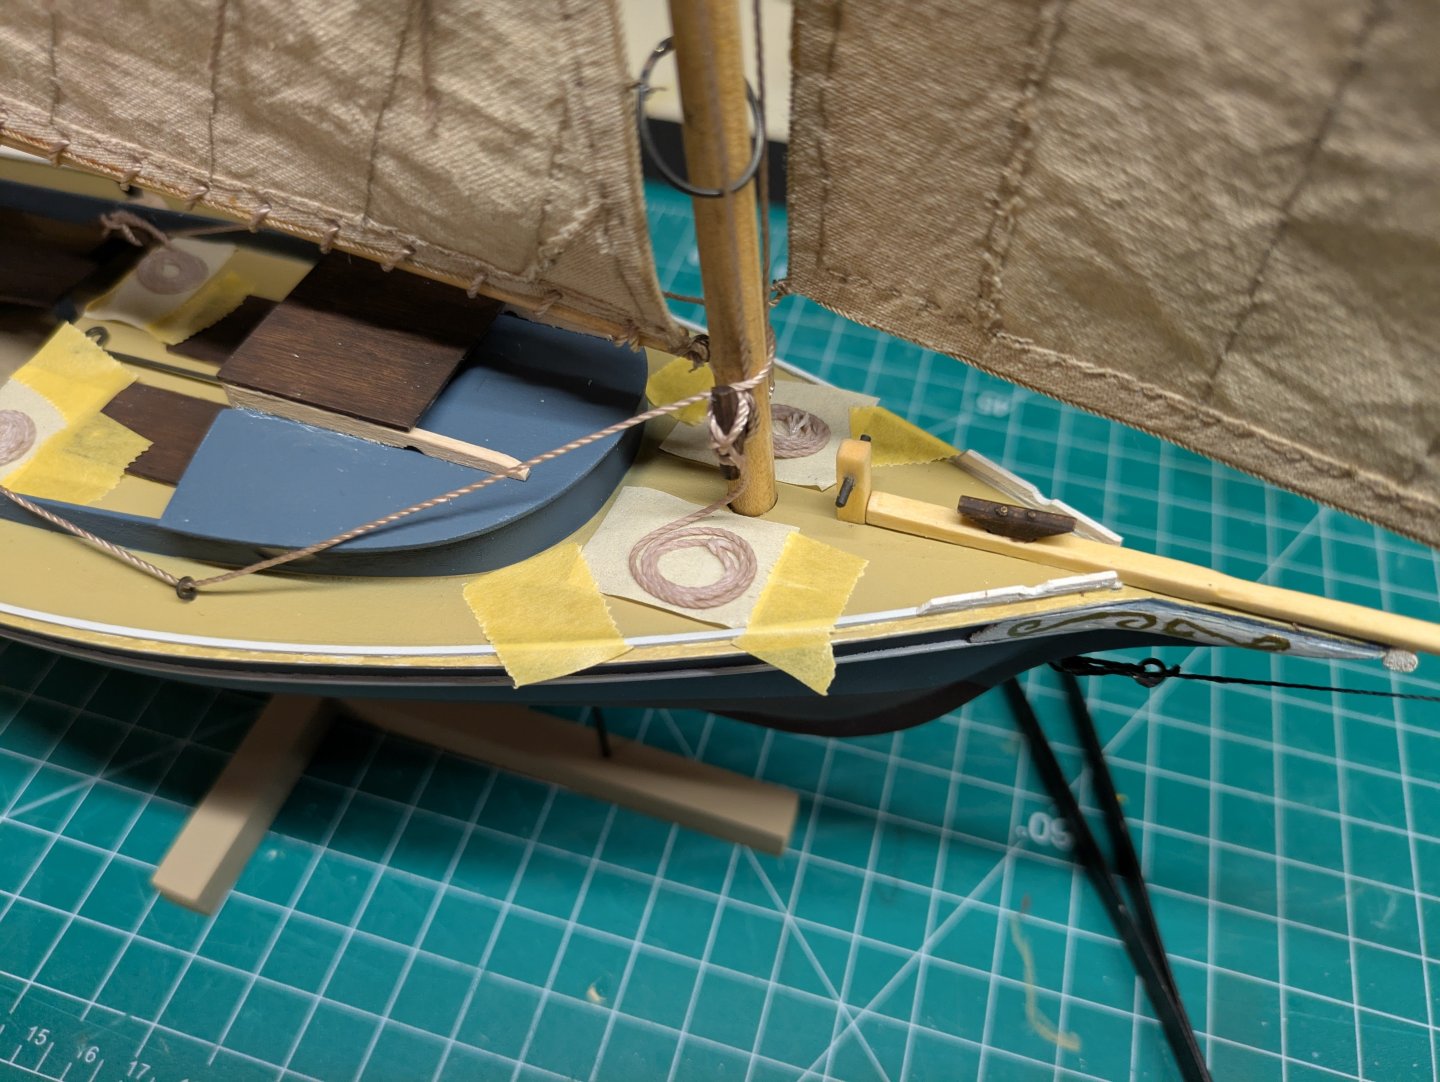
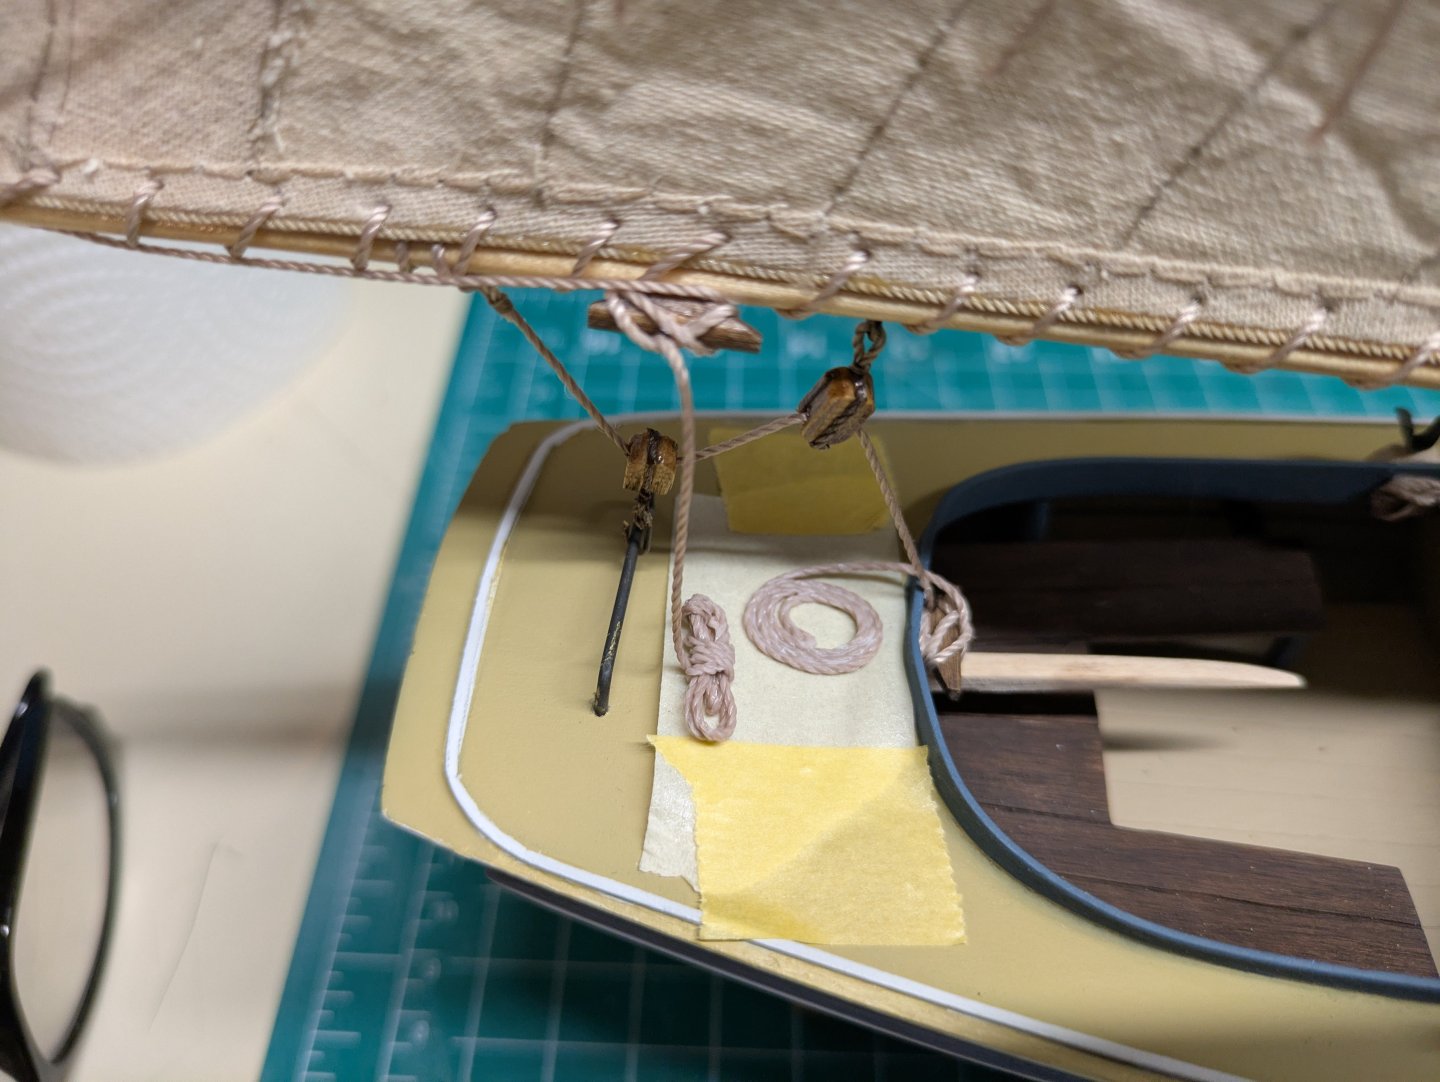
Yikes, just realized how negligent I have been with my updates. Before I show the final pictures, a few shots of working on the rigging and ropes. I did purchase some ropes from "Ropes of Scale" which I used around the sail itself, but I kicked myself, after the fact, for not removing the kit rope that I had already started with and completed the model with. The Ropes of Scale would have been so much nicer to look at but even easier to work with. Ah well, I am learning what parts in a kit to use, and which ones to put aside. All part of the learning process.
- 34 replies
-
- 3
-
-
-
- muscongus bay lobster smack
- Model Shipways
- (and 1 more)
-
Welcome! Look forward to seeing your builds mate!
-
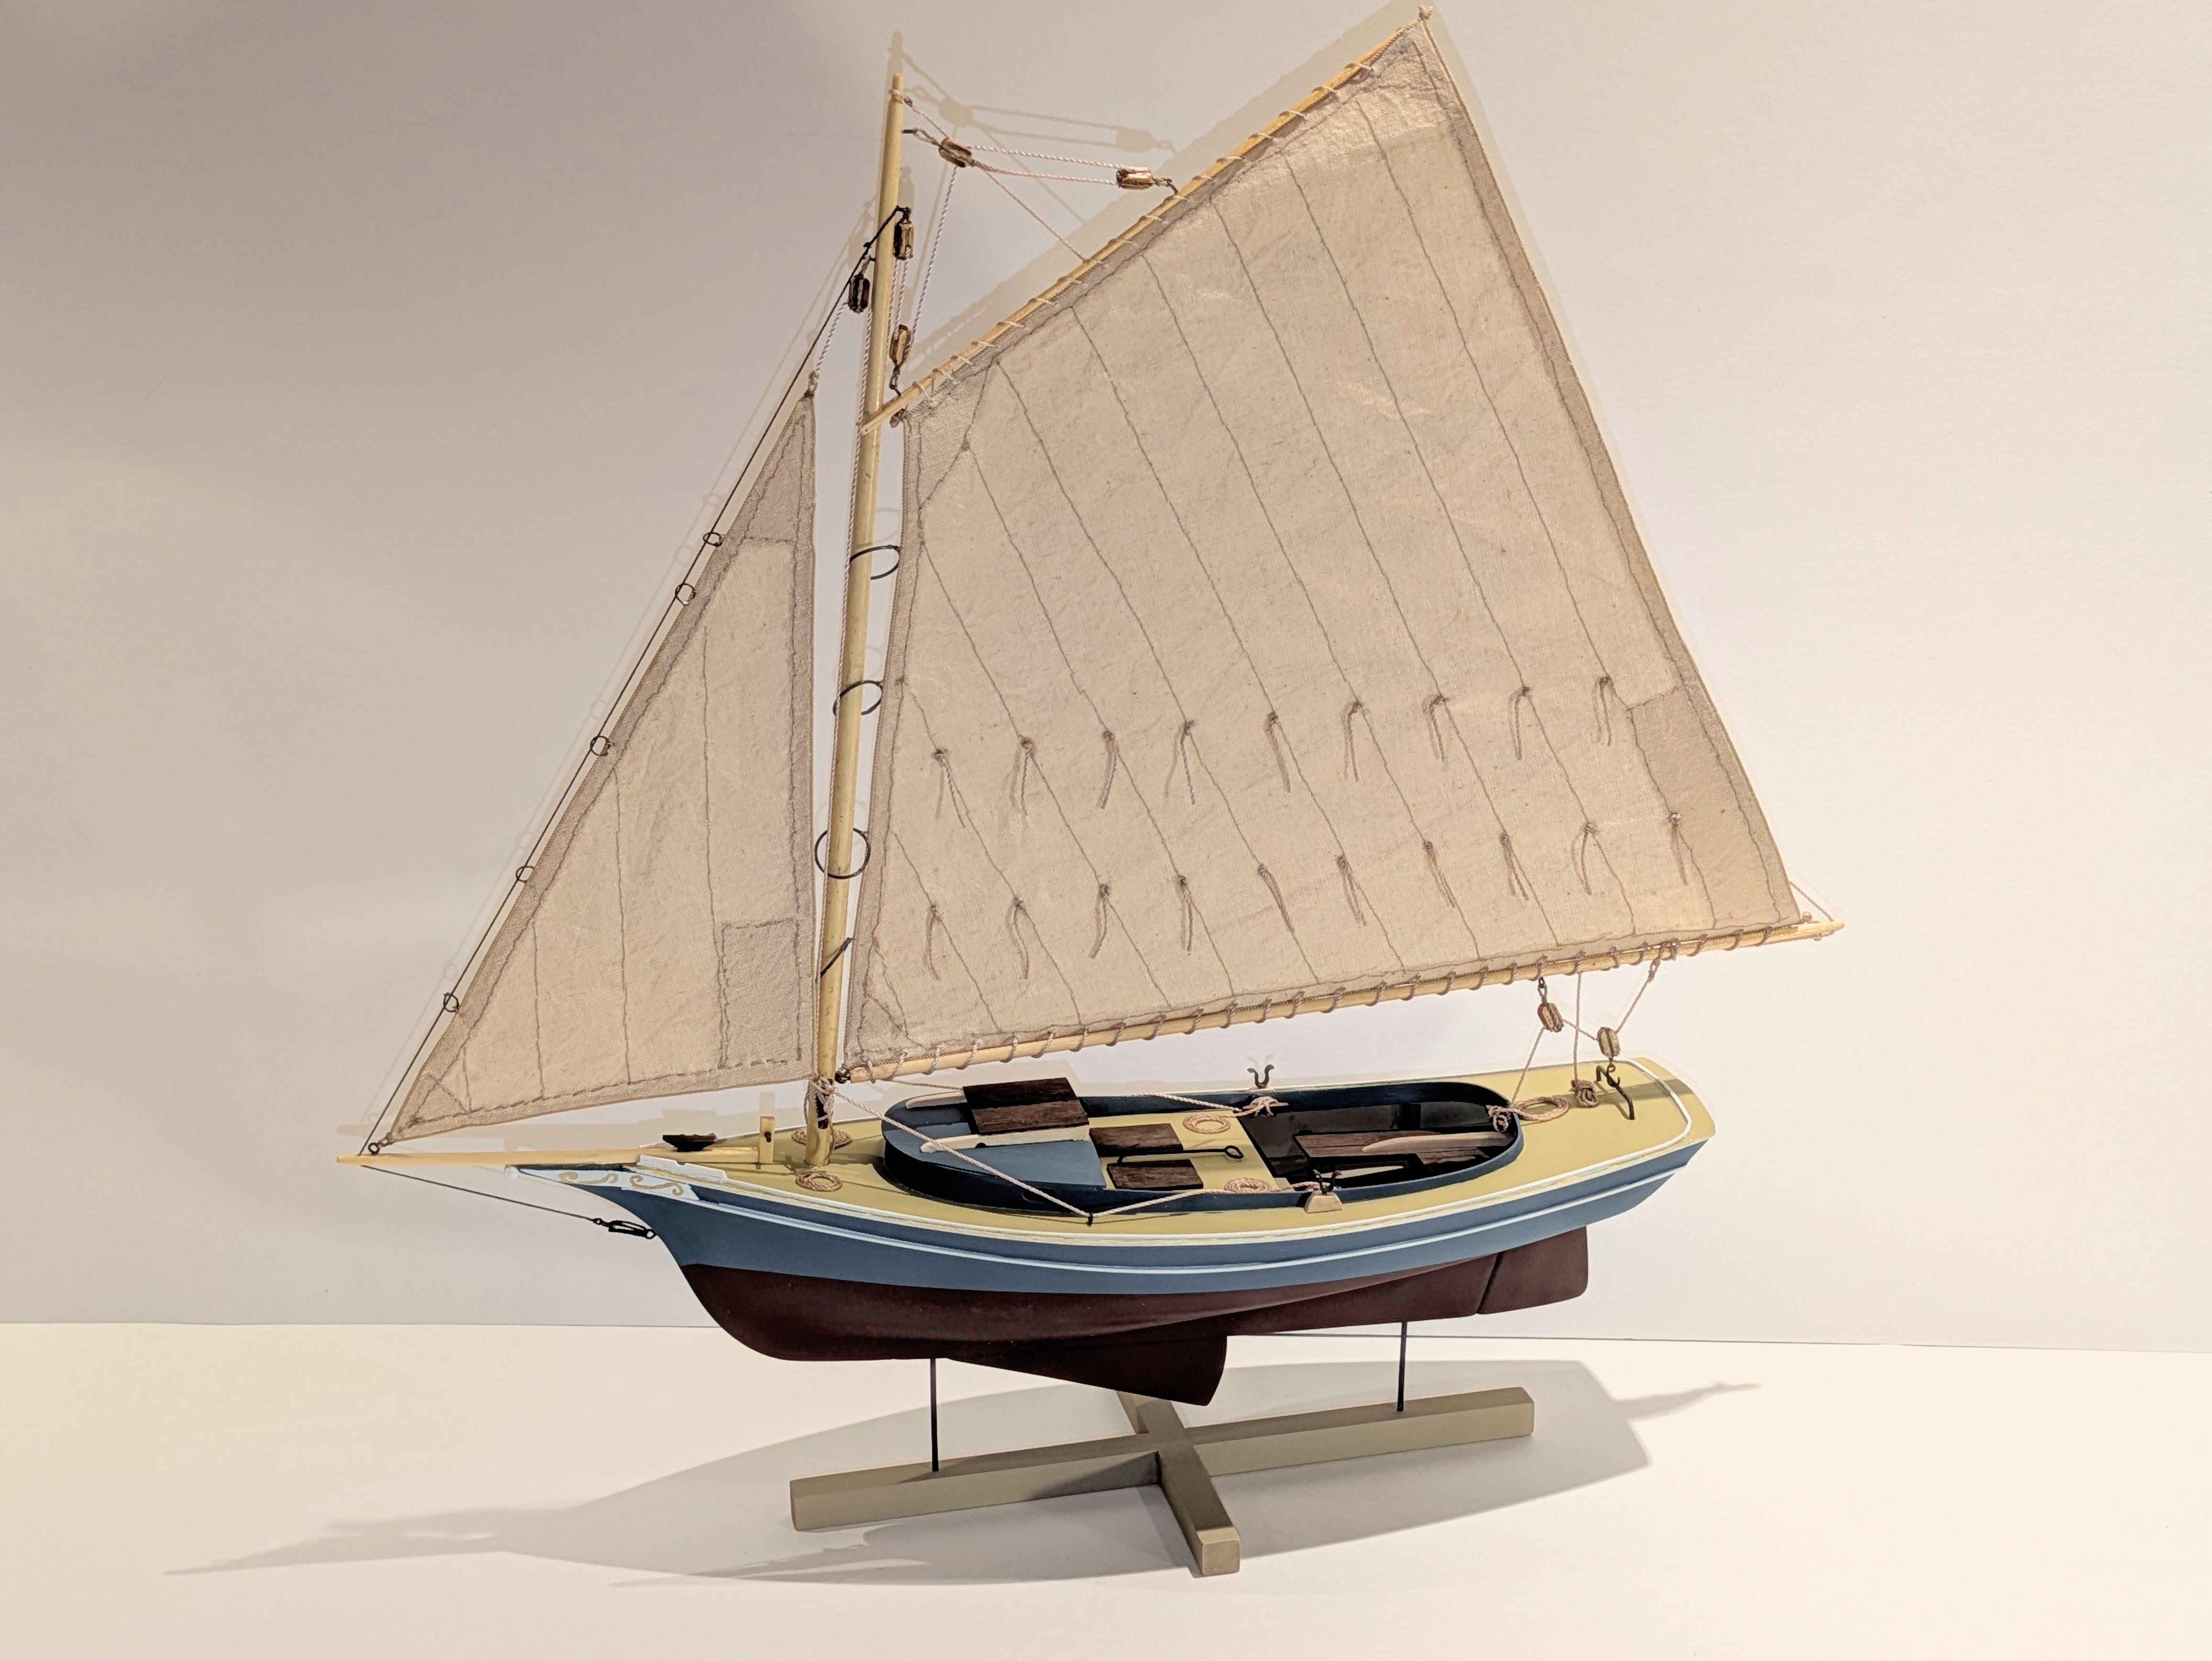
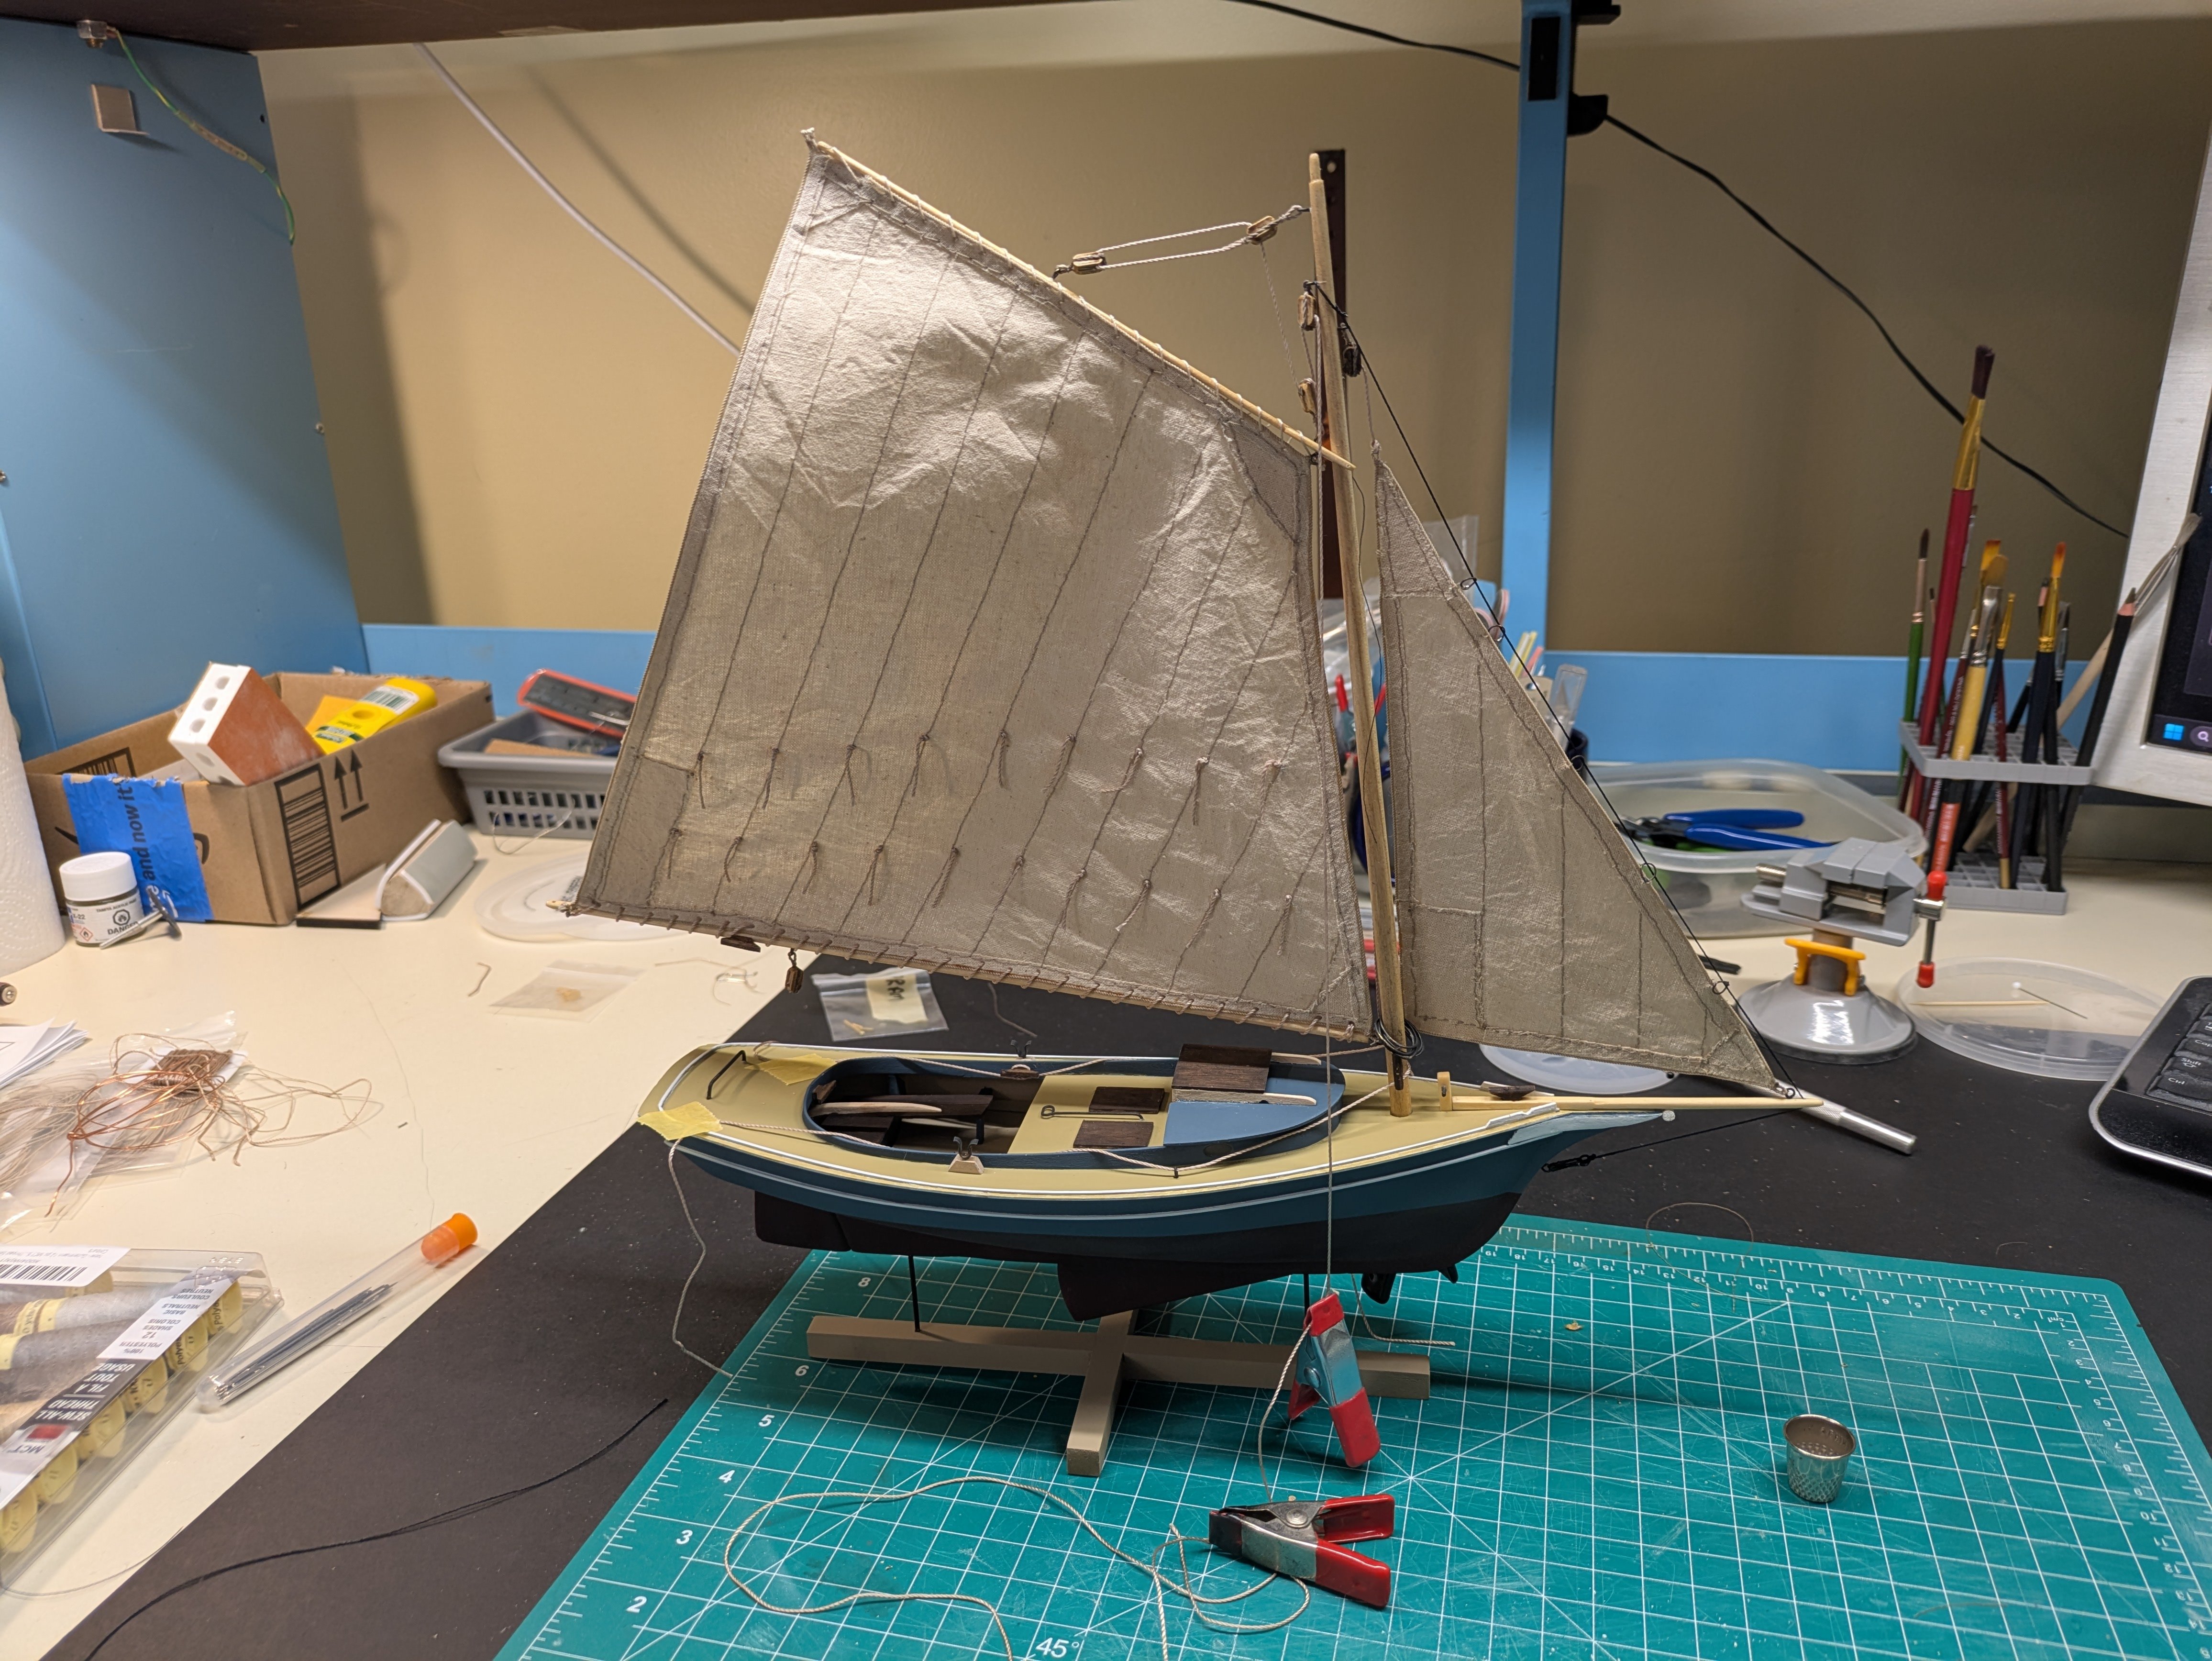
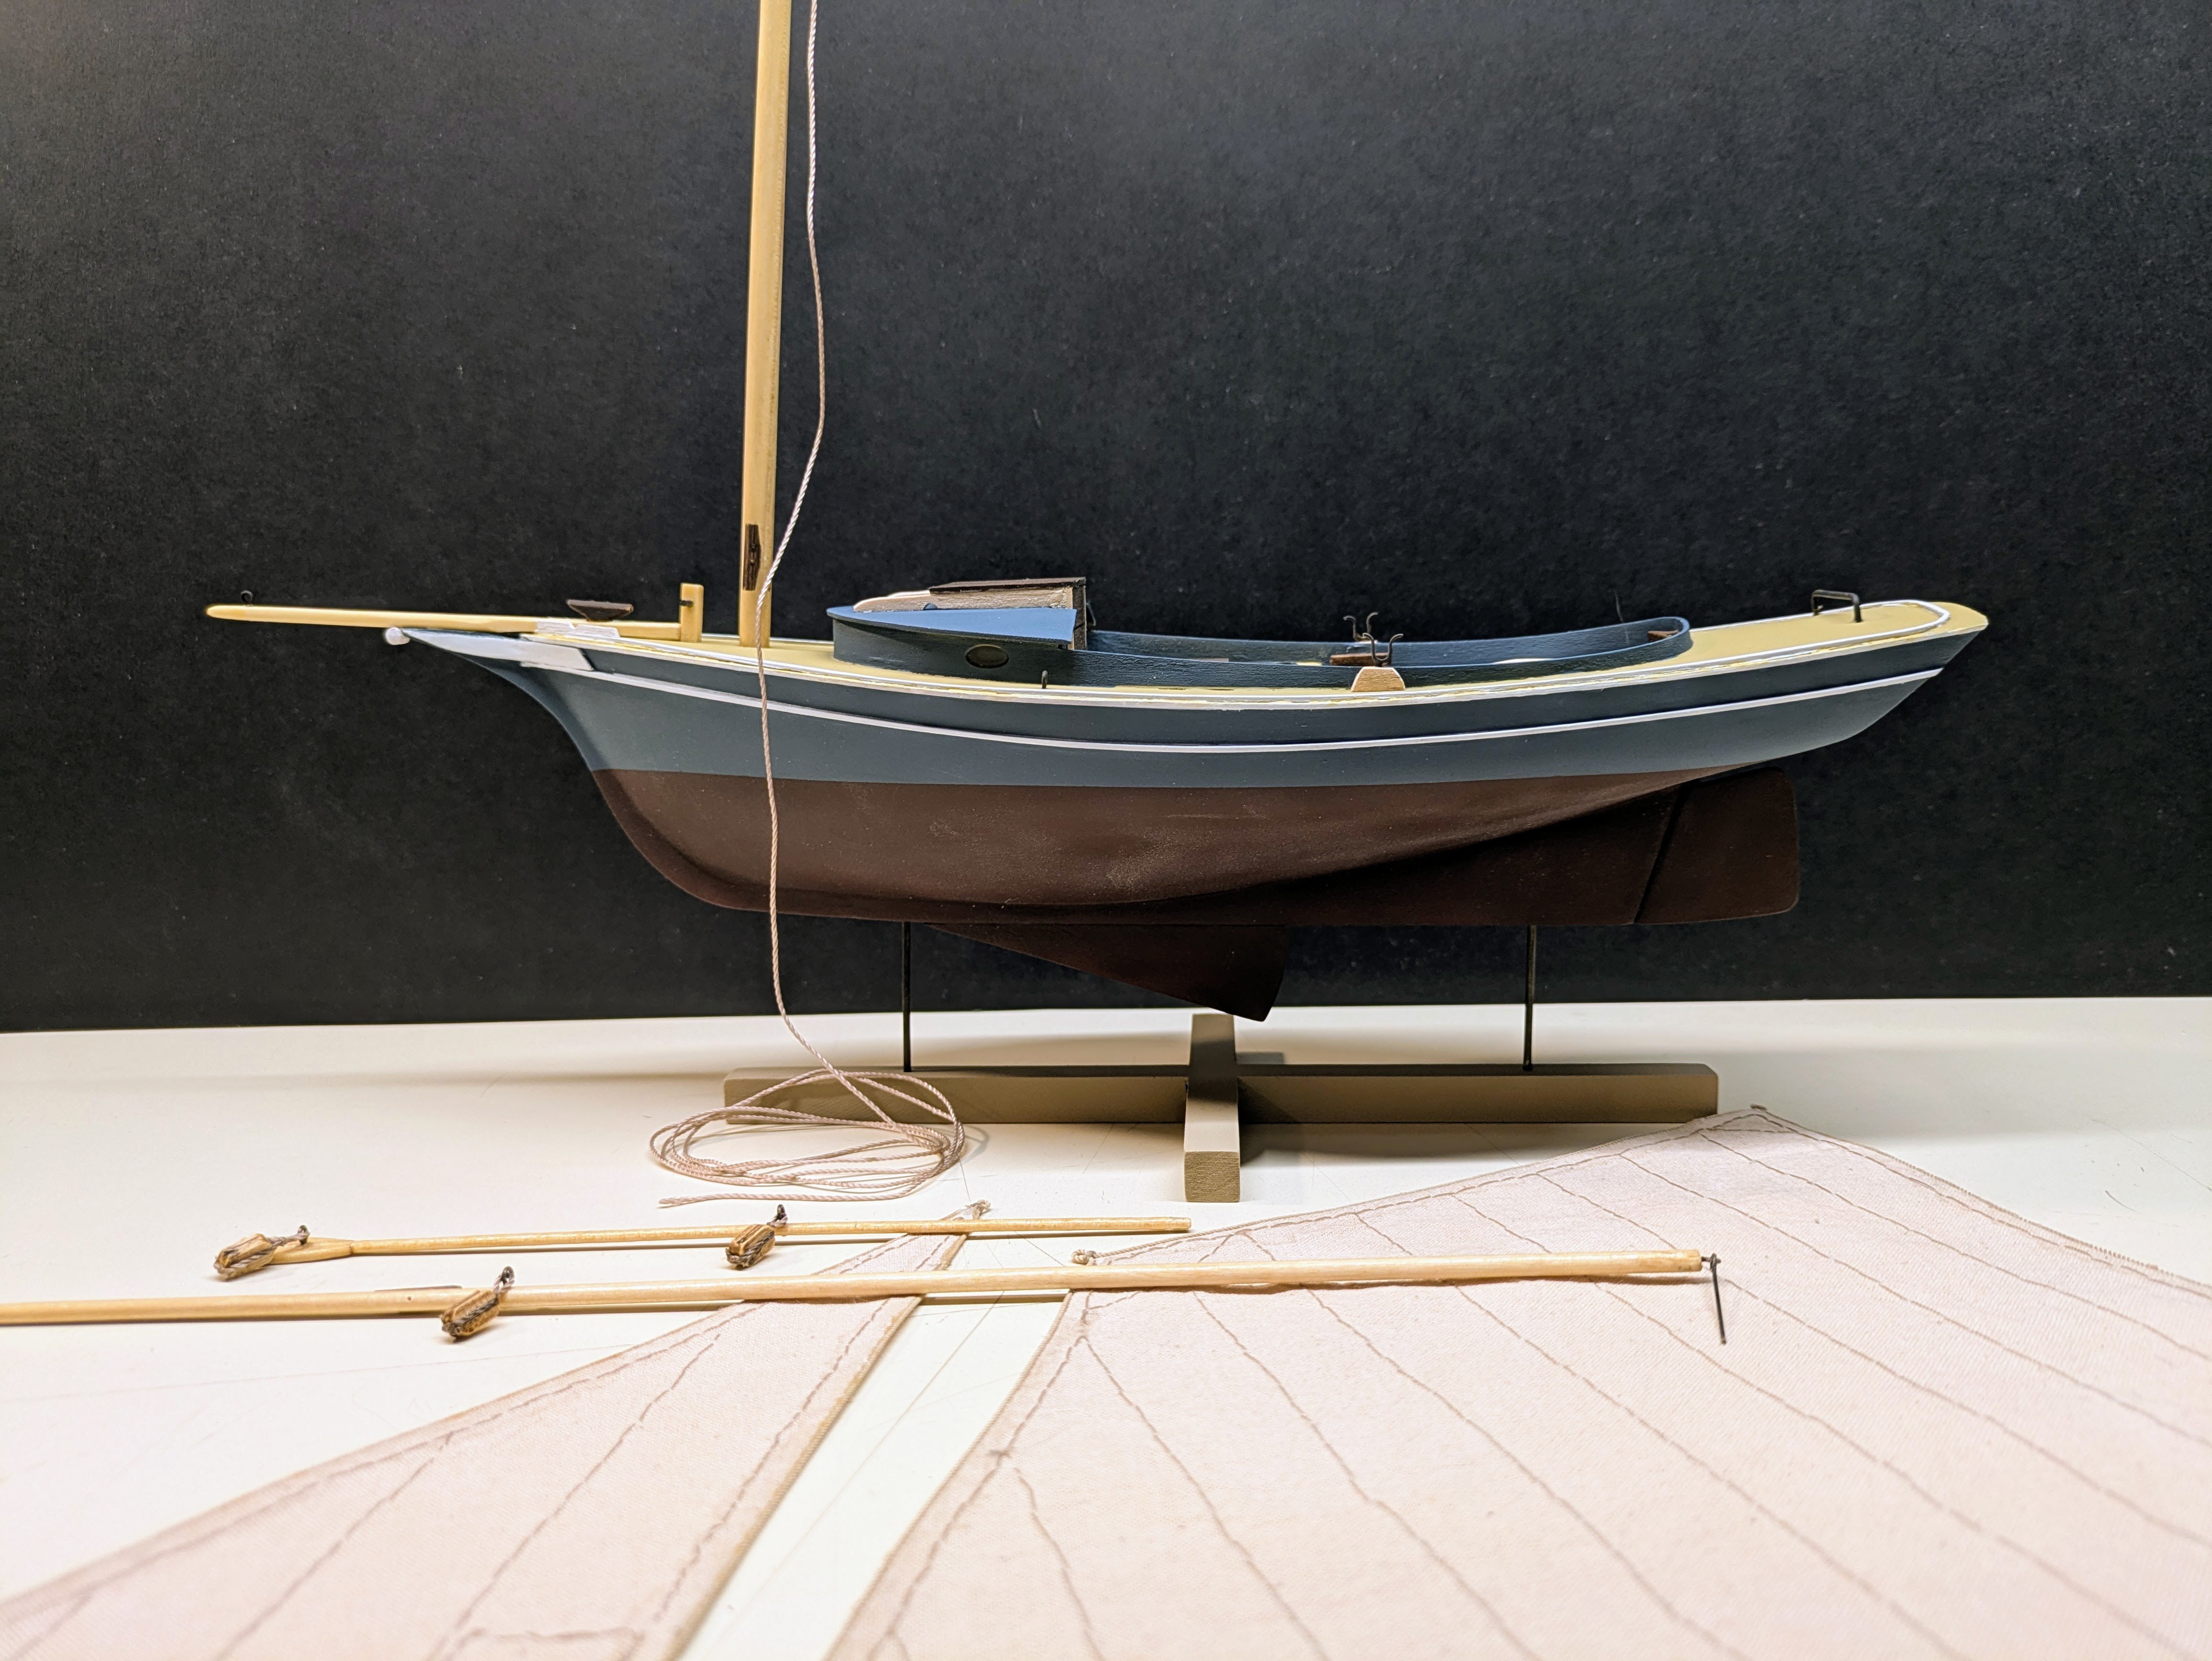
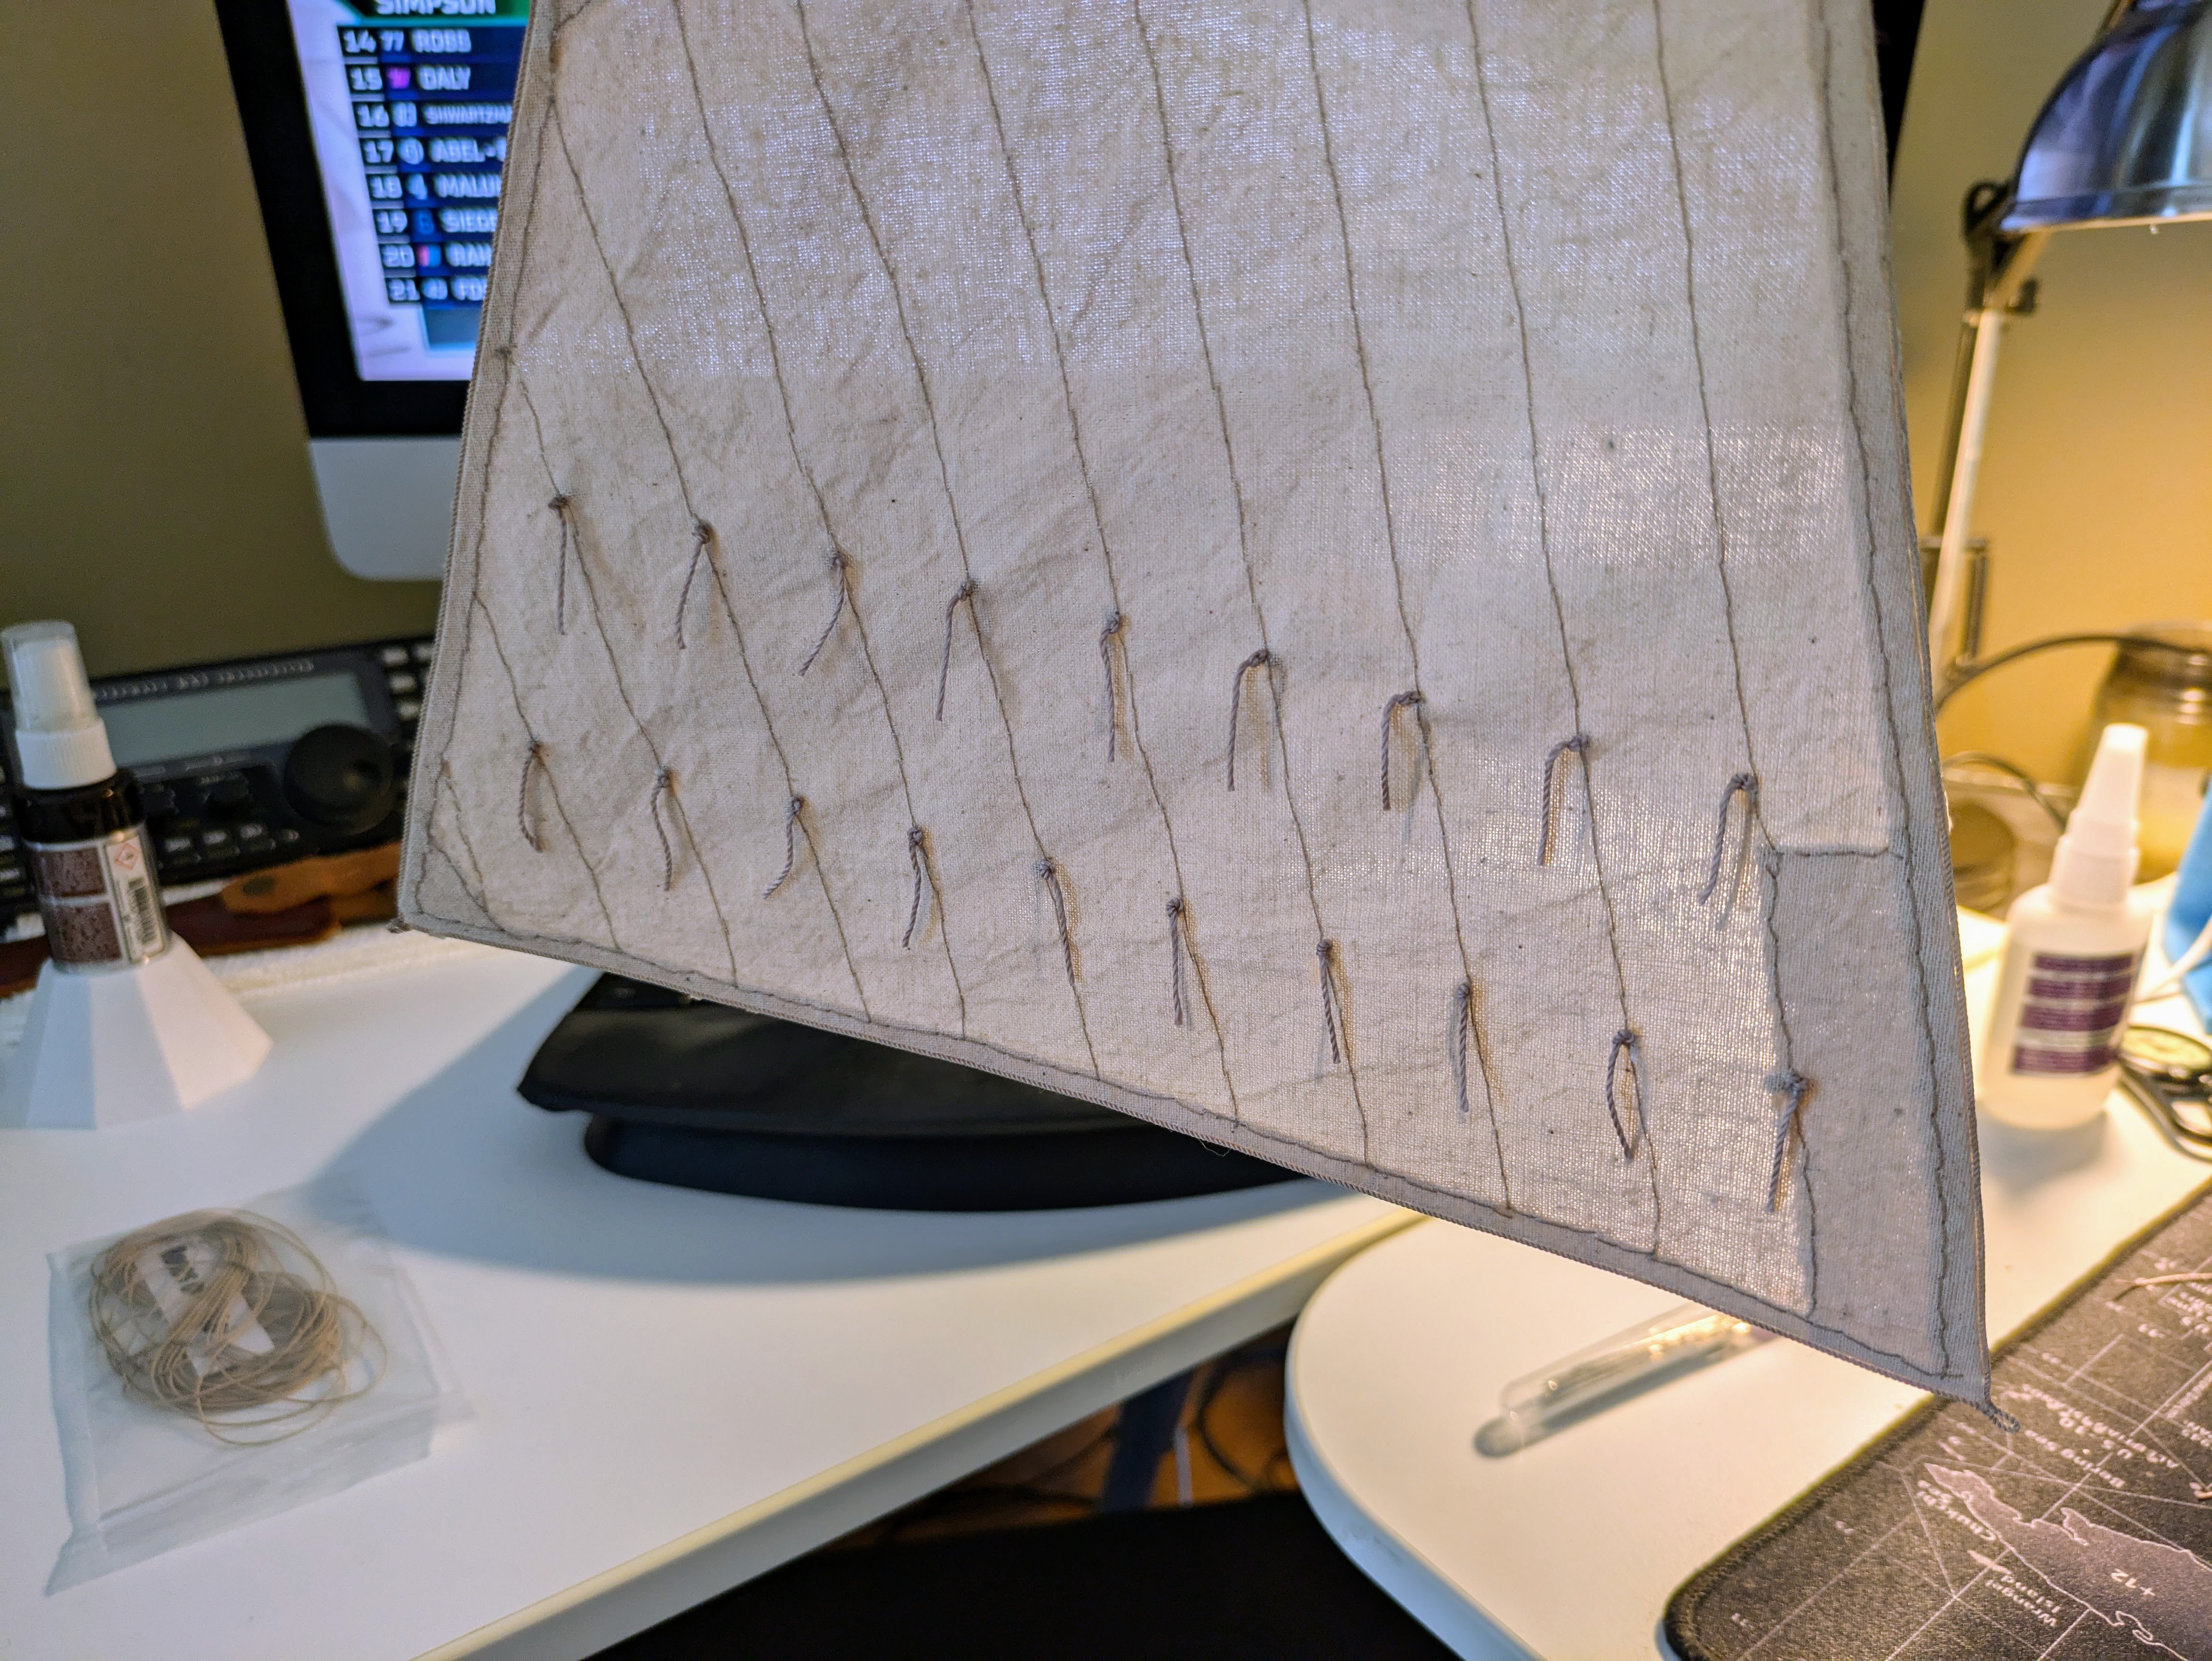
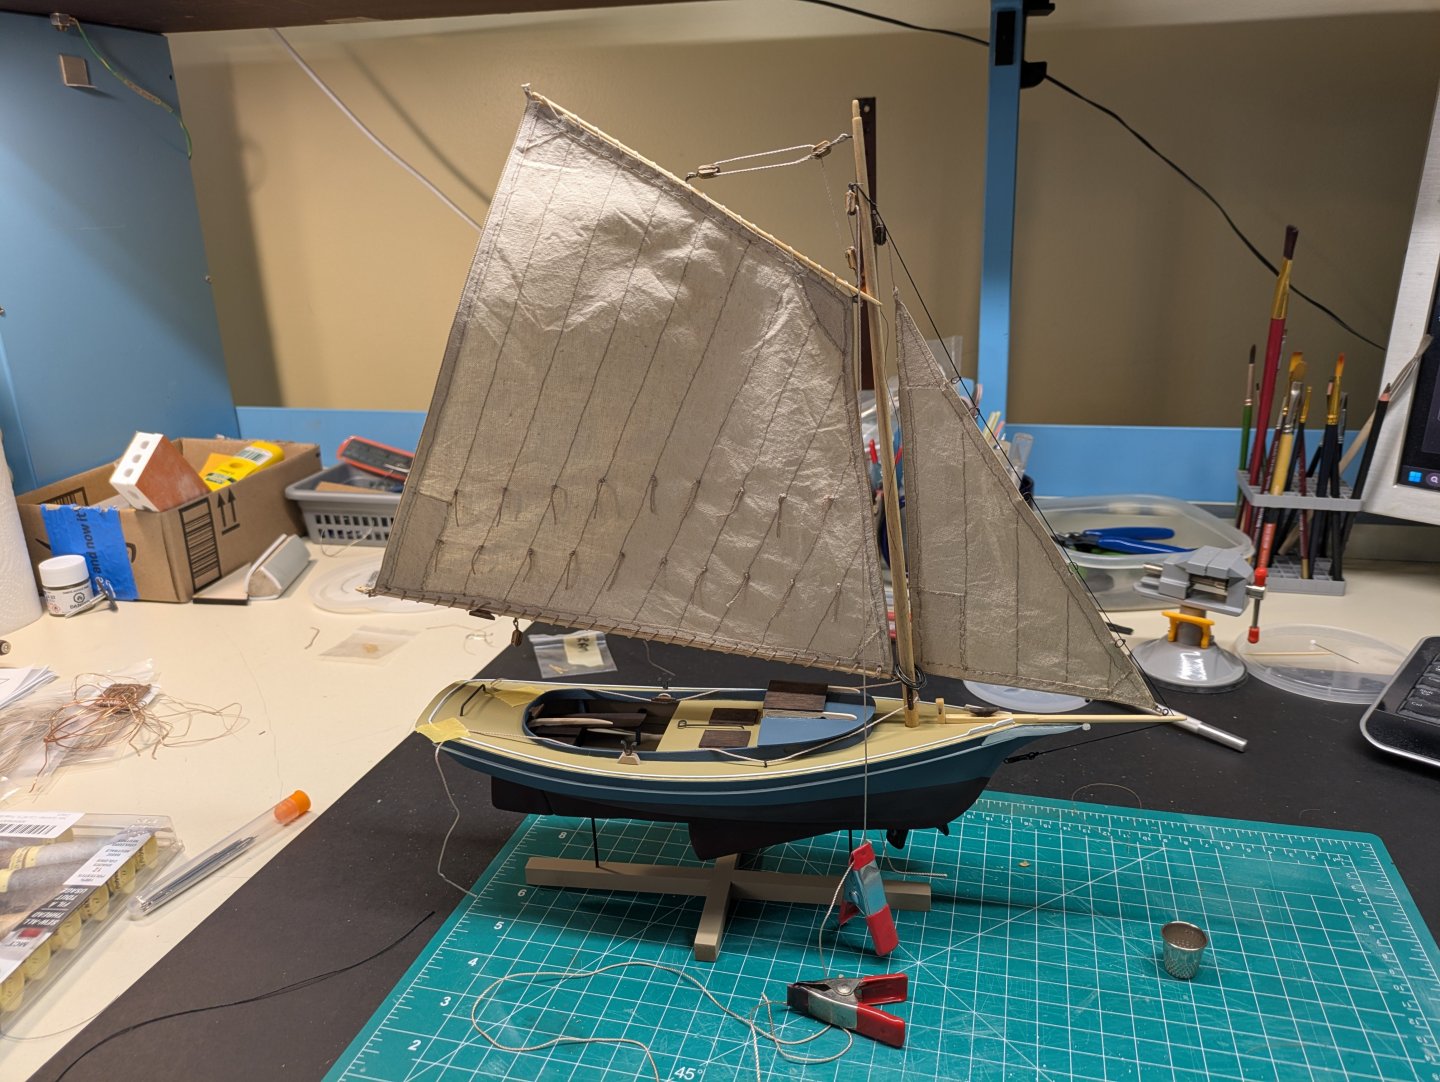
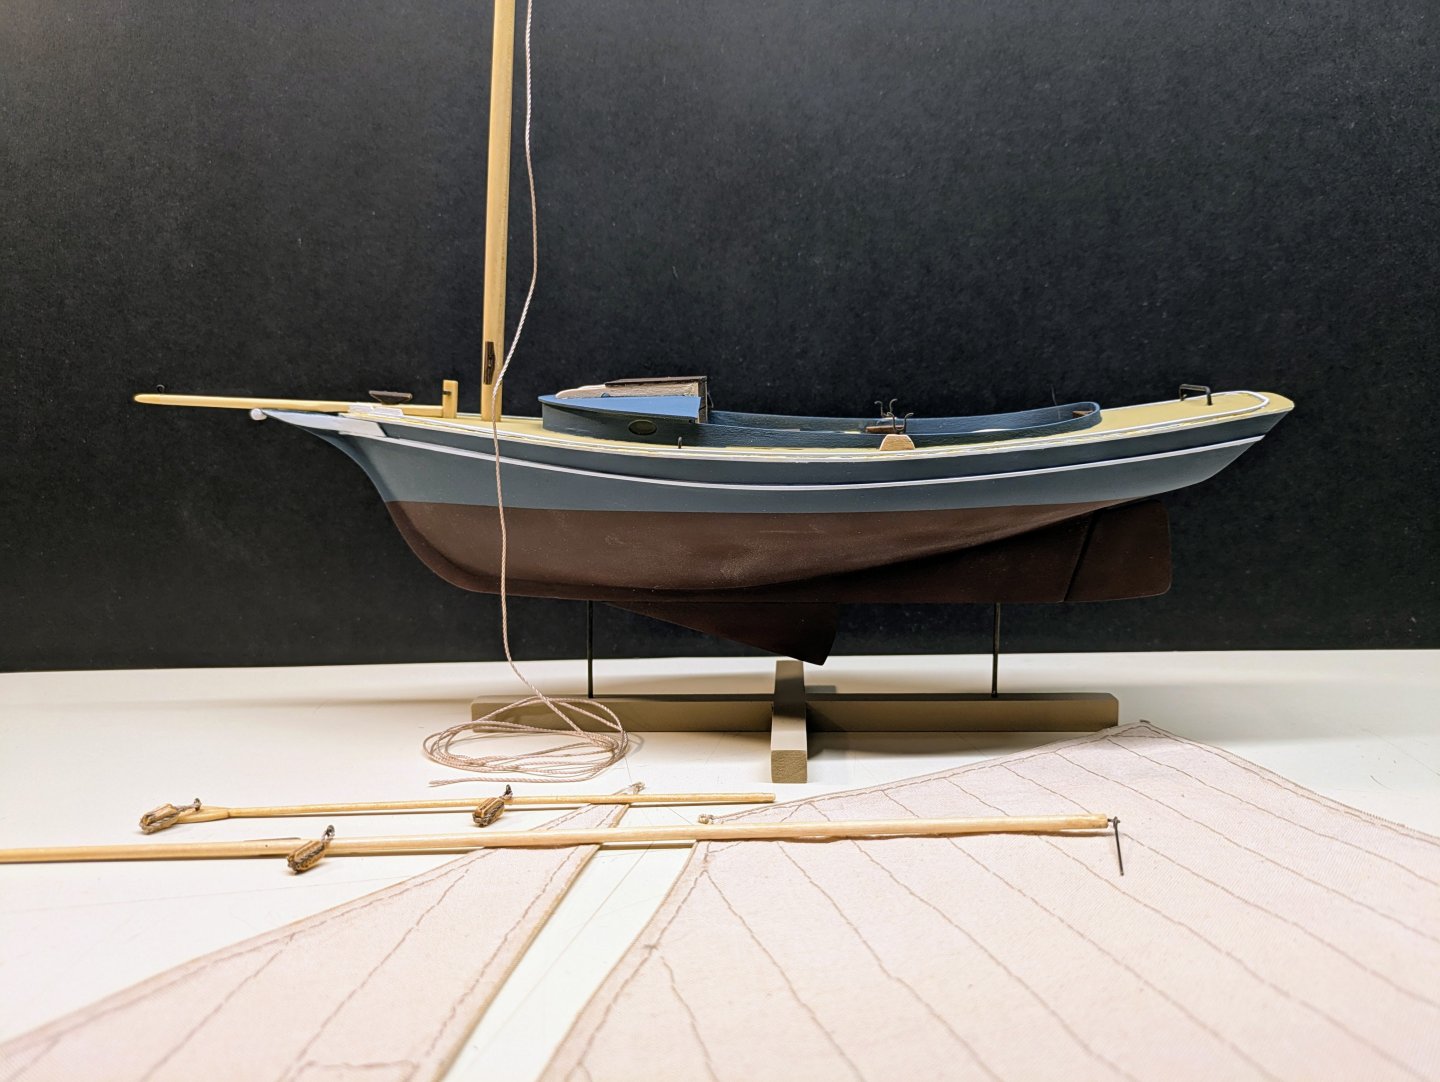
Its been a while since my last update but the class teacher has been spending a lot of time on the sails. We put a bolt rope around the sails and have added the tails. Mast is in place, stained some of the wood and stand is in place. Fingers crossed the rigging goes well this weekend and we can start the finishing touches.


- 34 replies
-
- 4
-
-
- muscongus bay lobster smack
- Model Shipways
- (and 1 more)
-
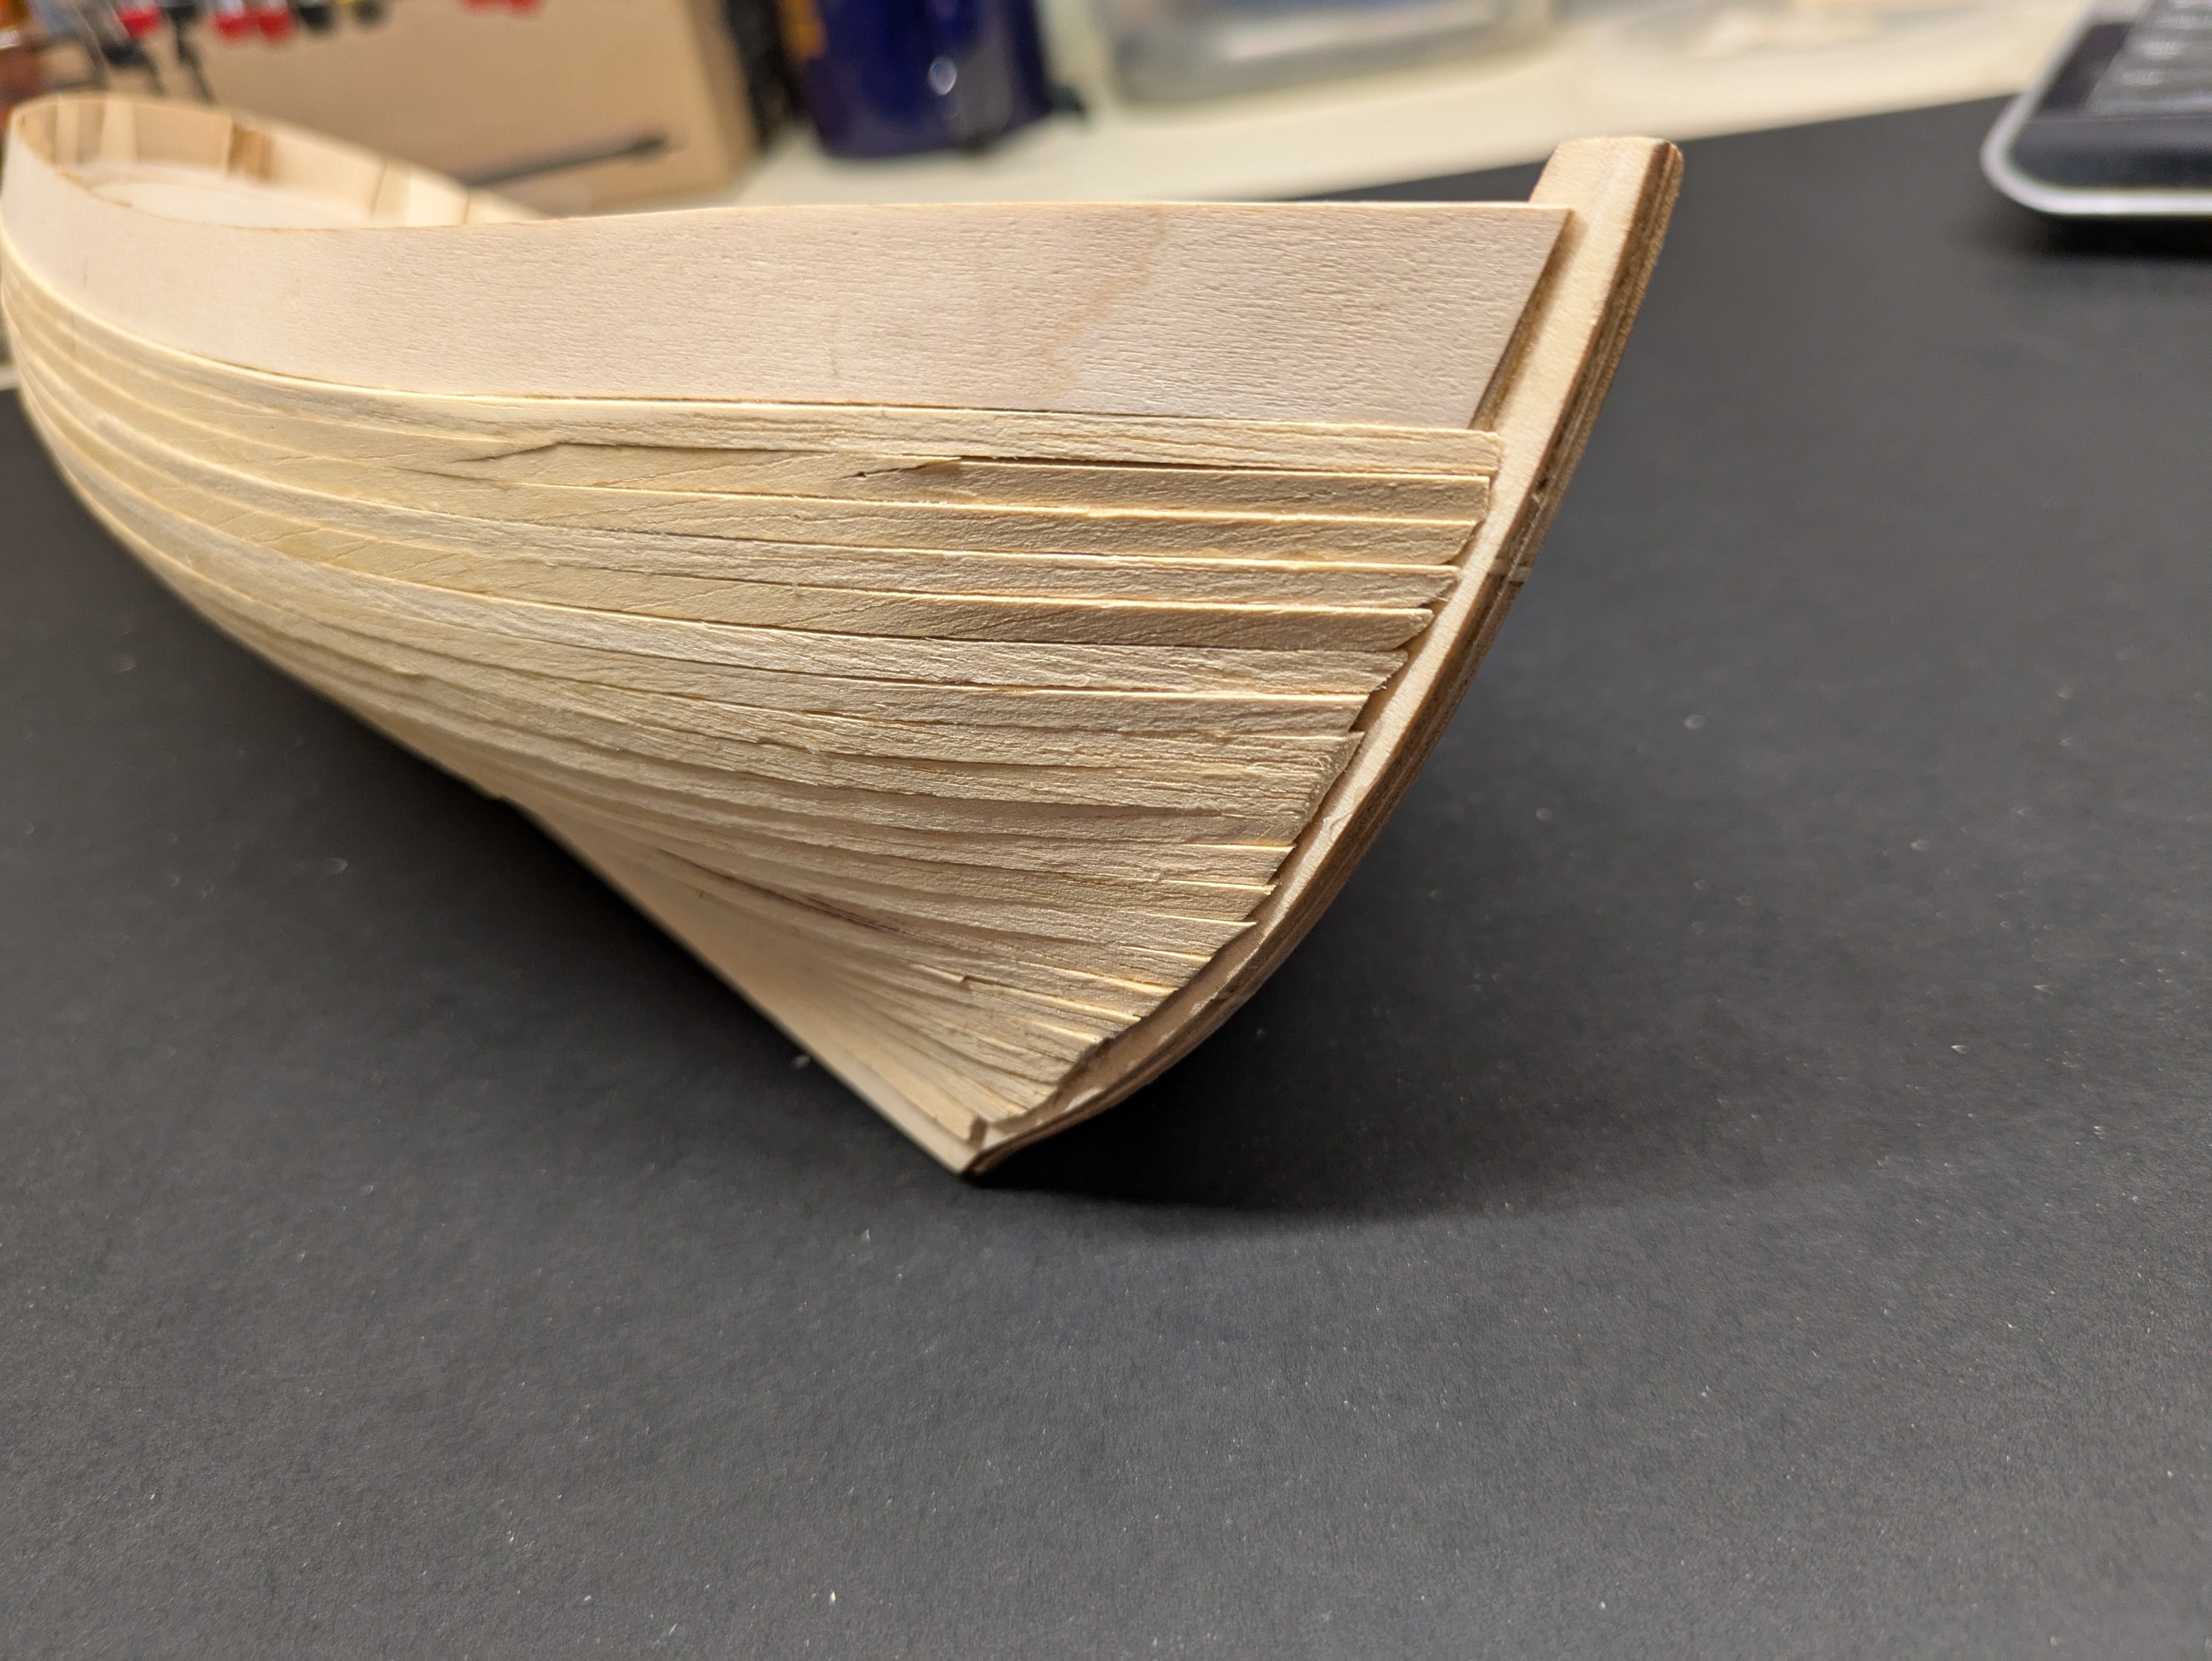
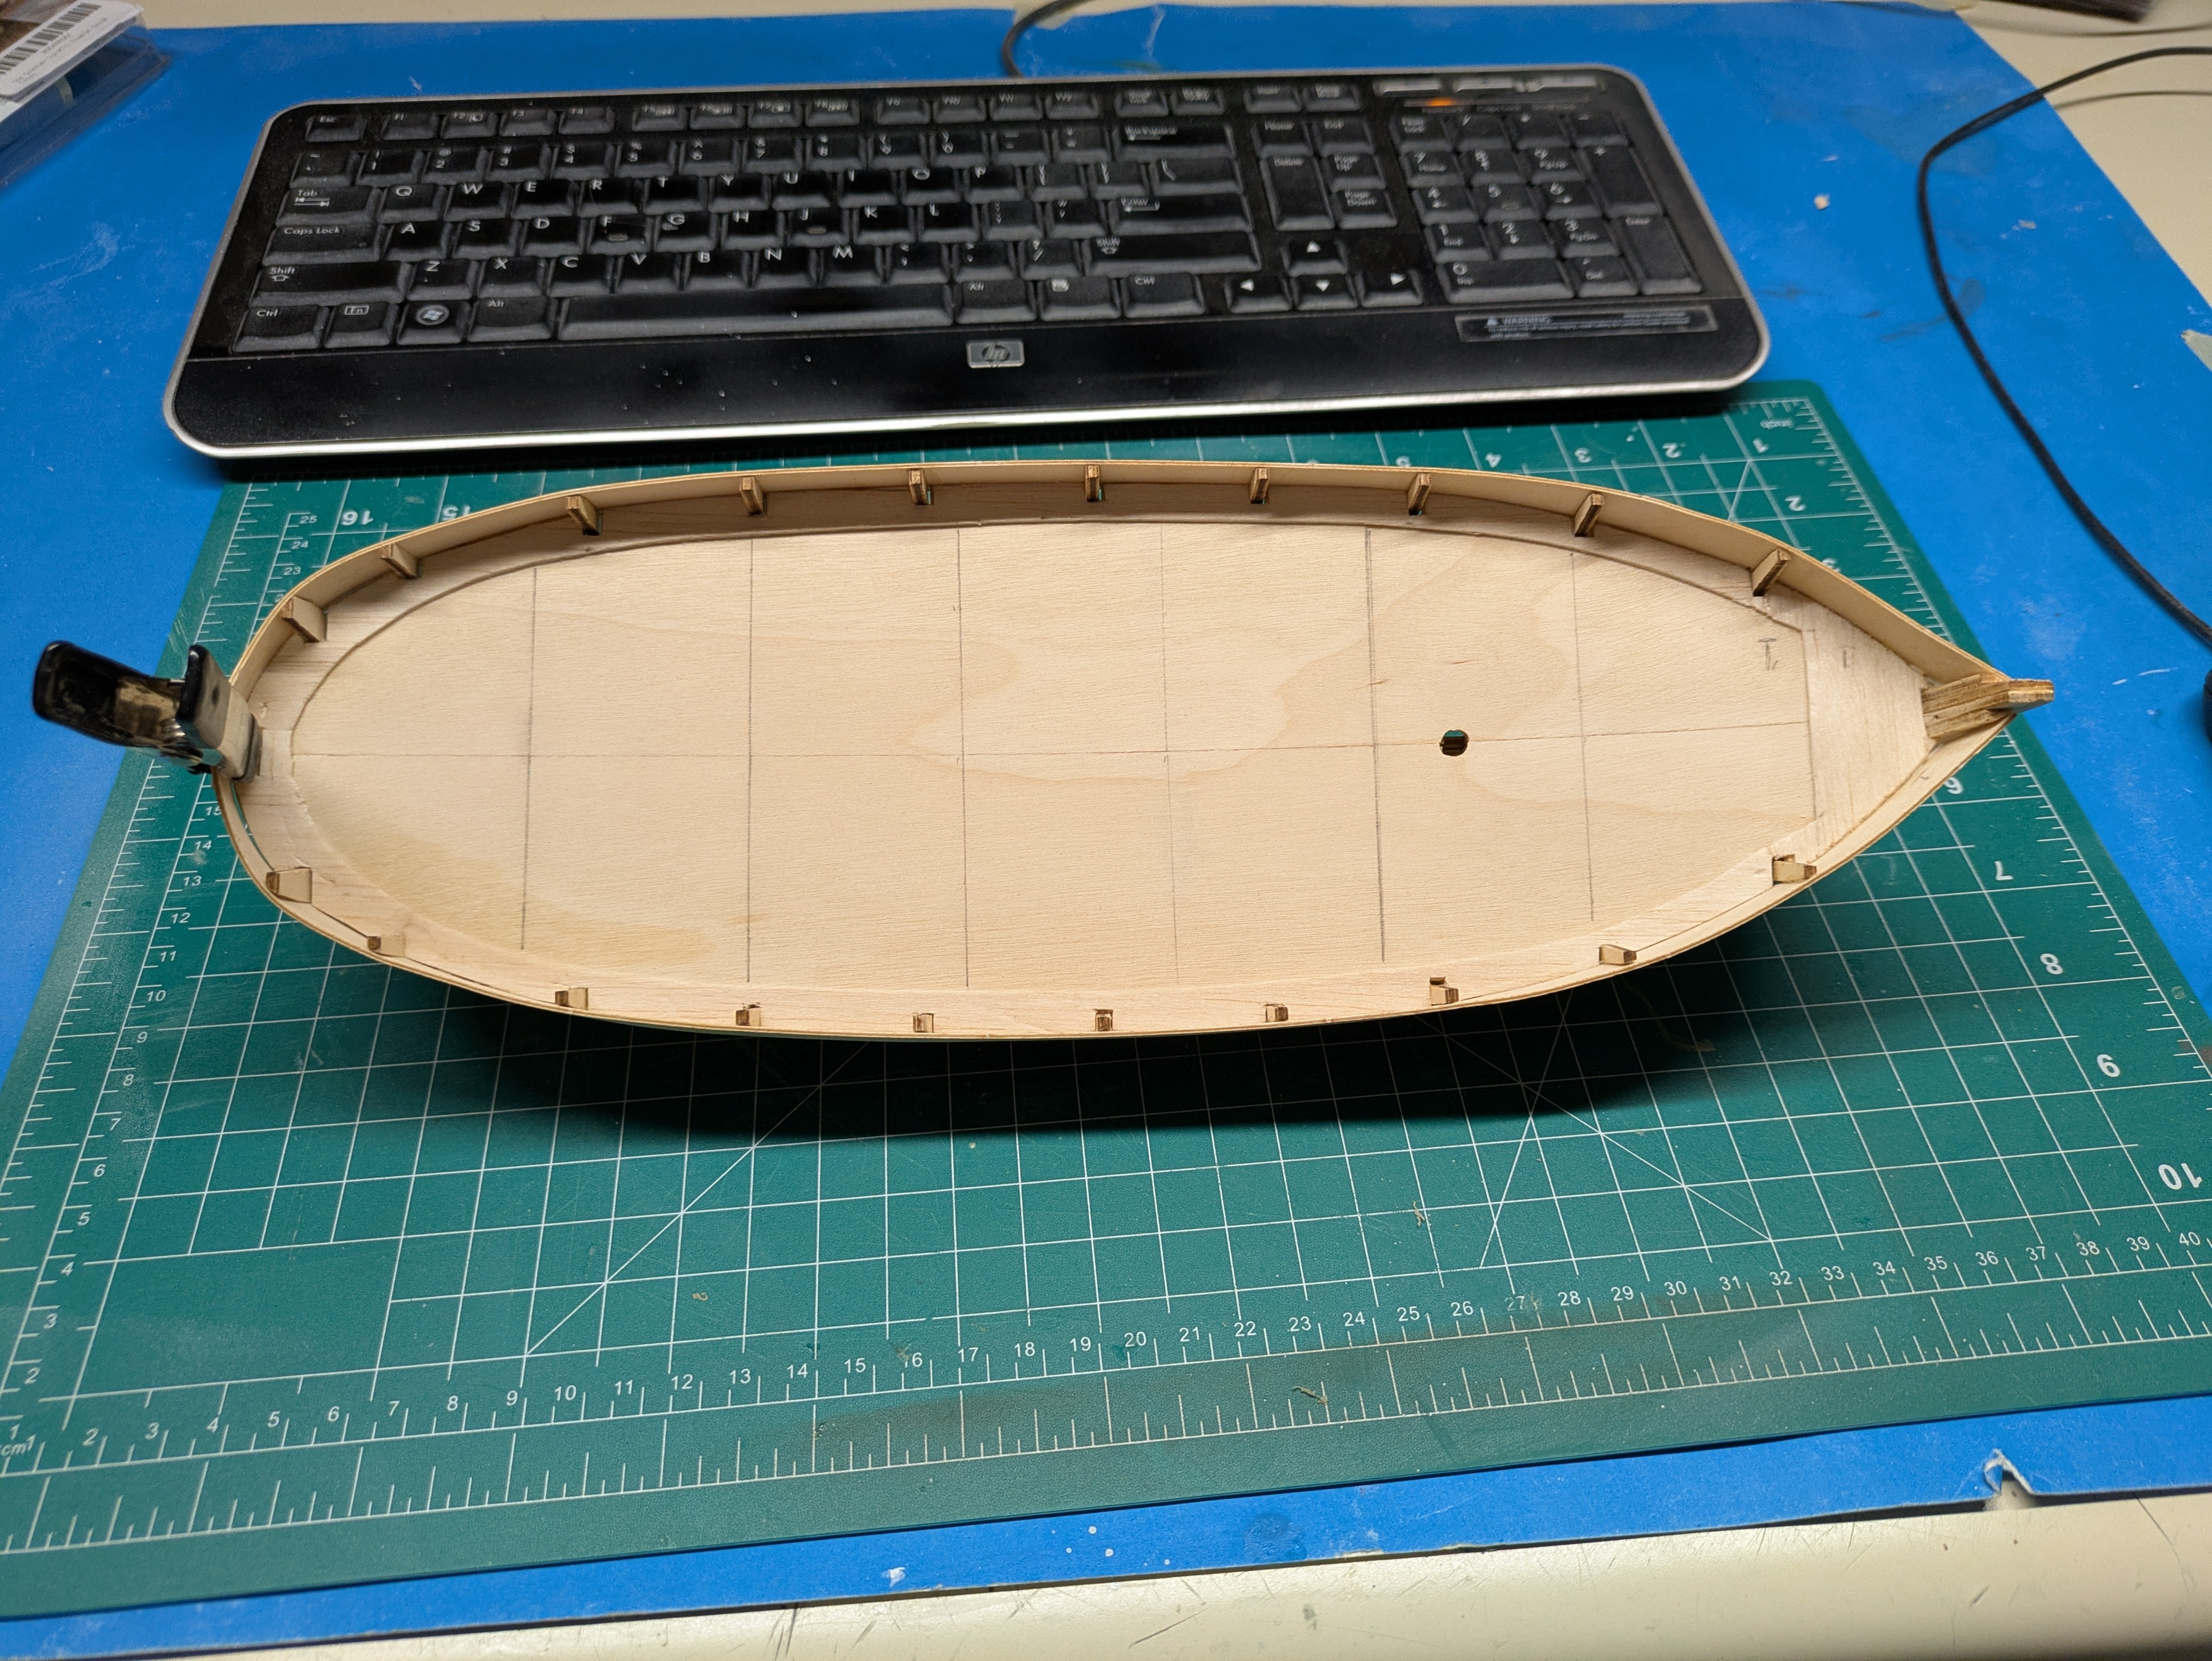
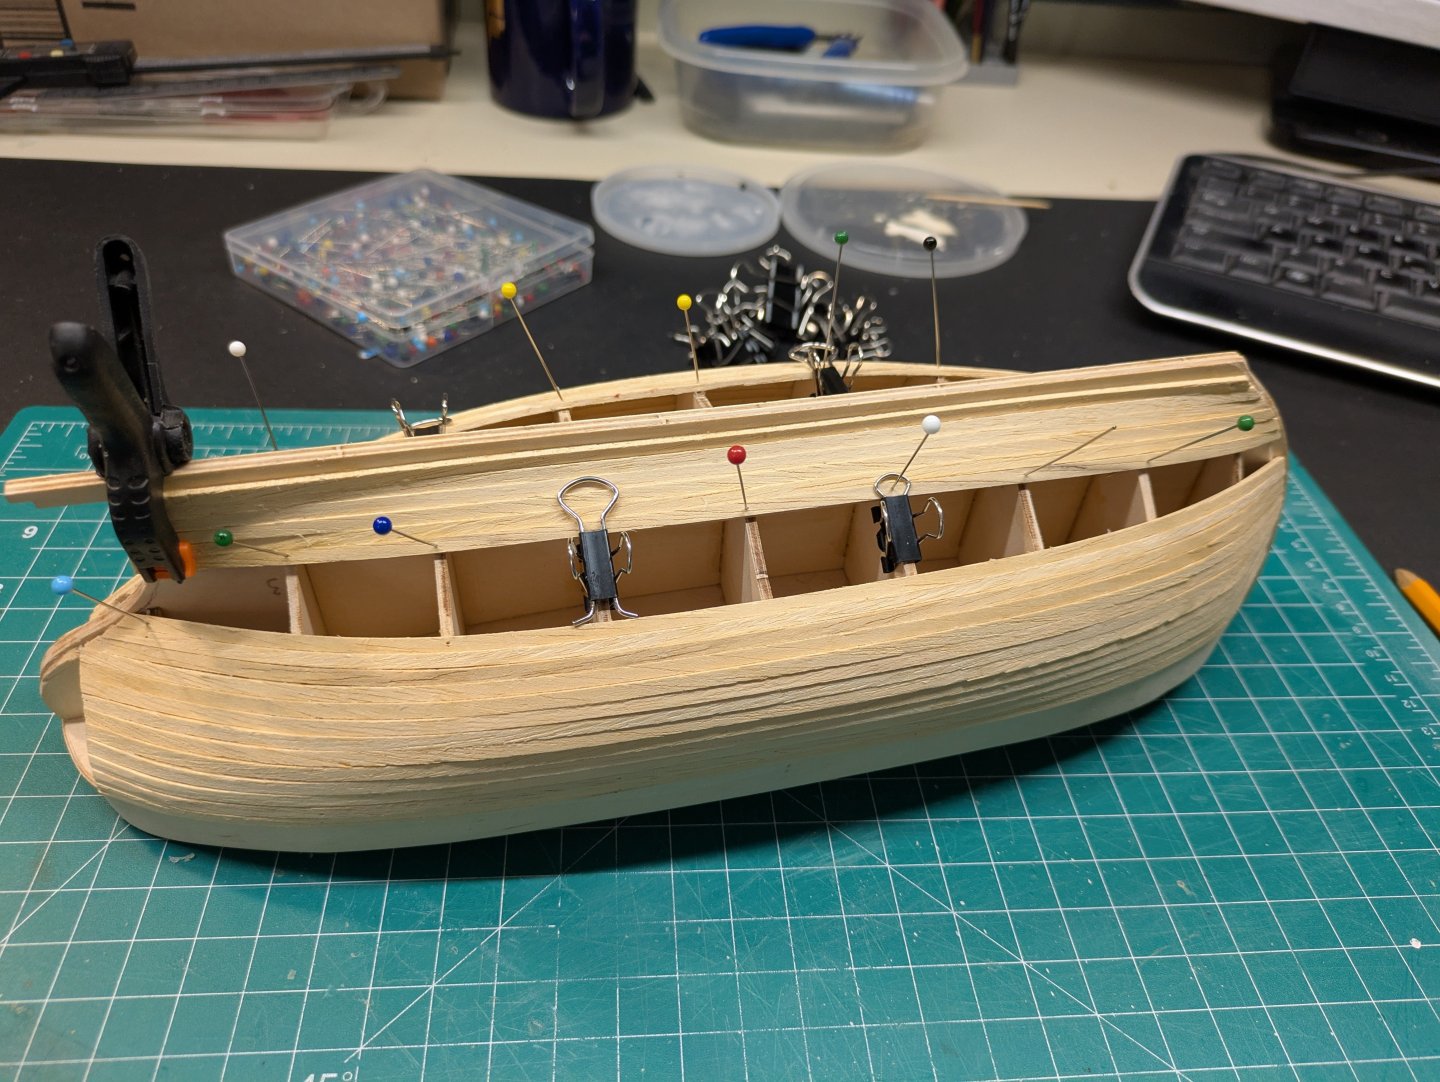
Not much of an update as I have been working on the Lobster Smack which is nearing completion. Finally started planking, must first attempt. So far so good and have calculated out how much to start trimming and angling as I go along. Not as scary (so far) that people make it out to be but sure see lots of sanding in my future . Have a great weekend all.


-
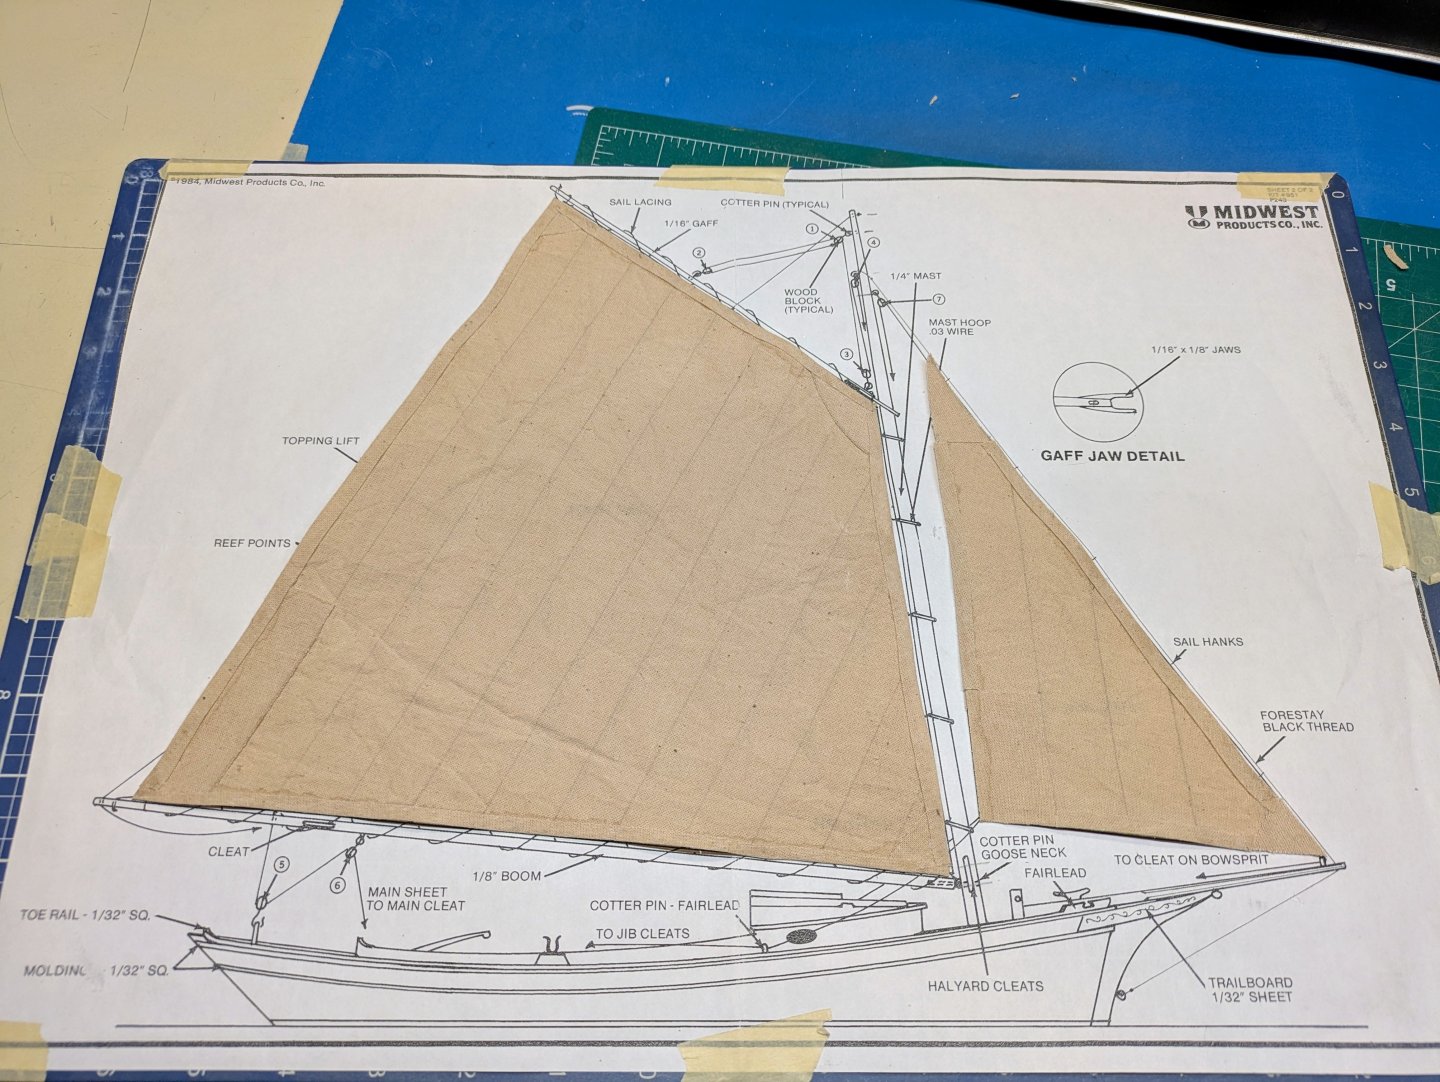
Good idea, thanks for the tip. I still need to iron them out and I believe we are putting a bolt rope around it yet as well, which should clean up the bit of wonky in the shape.
- 34 replies
-
- 1
-
-
- muscongus bay lobster smack
- Model Shipways
- (and 1 more)
-
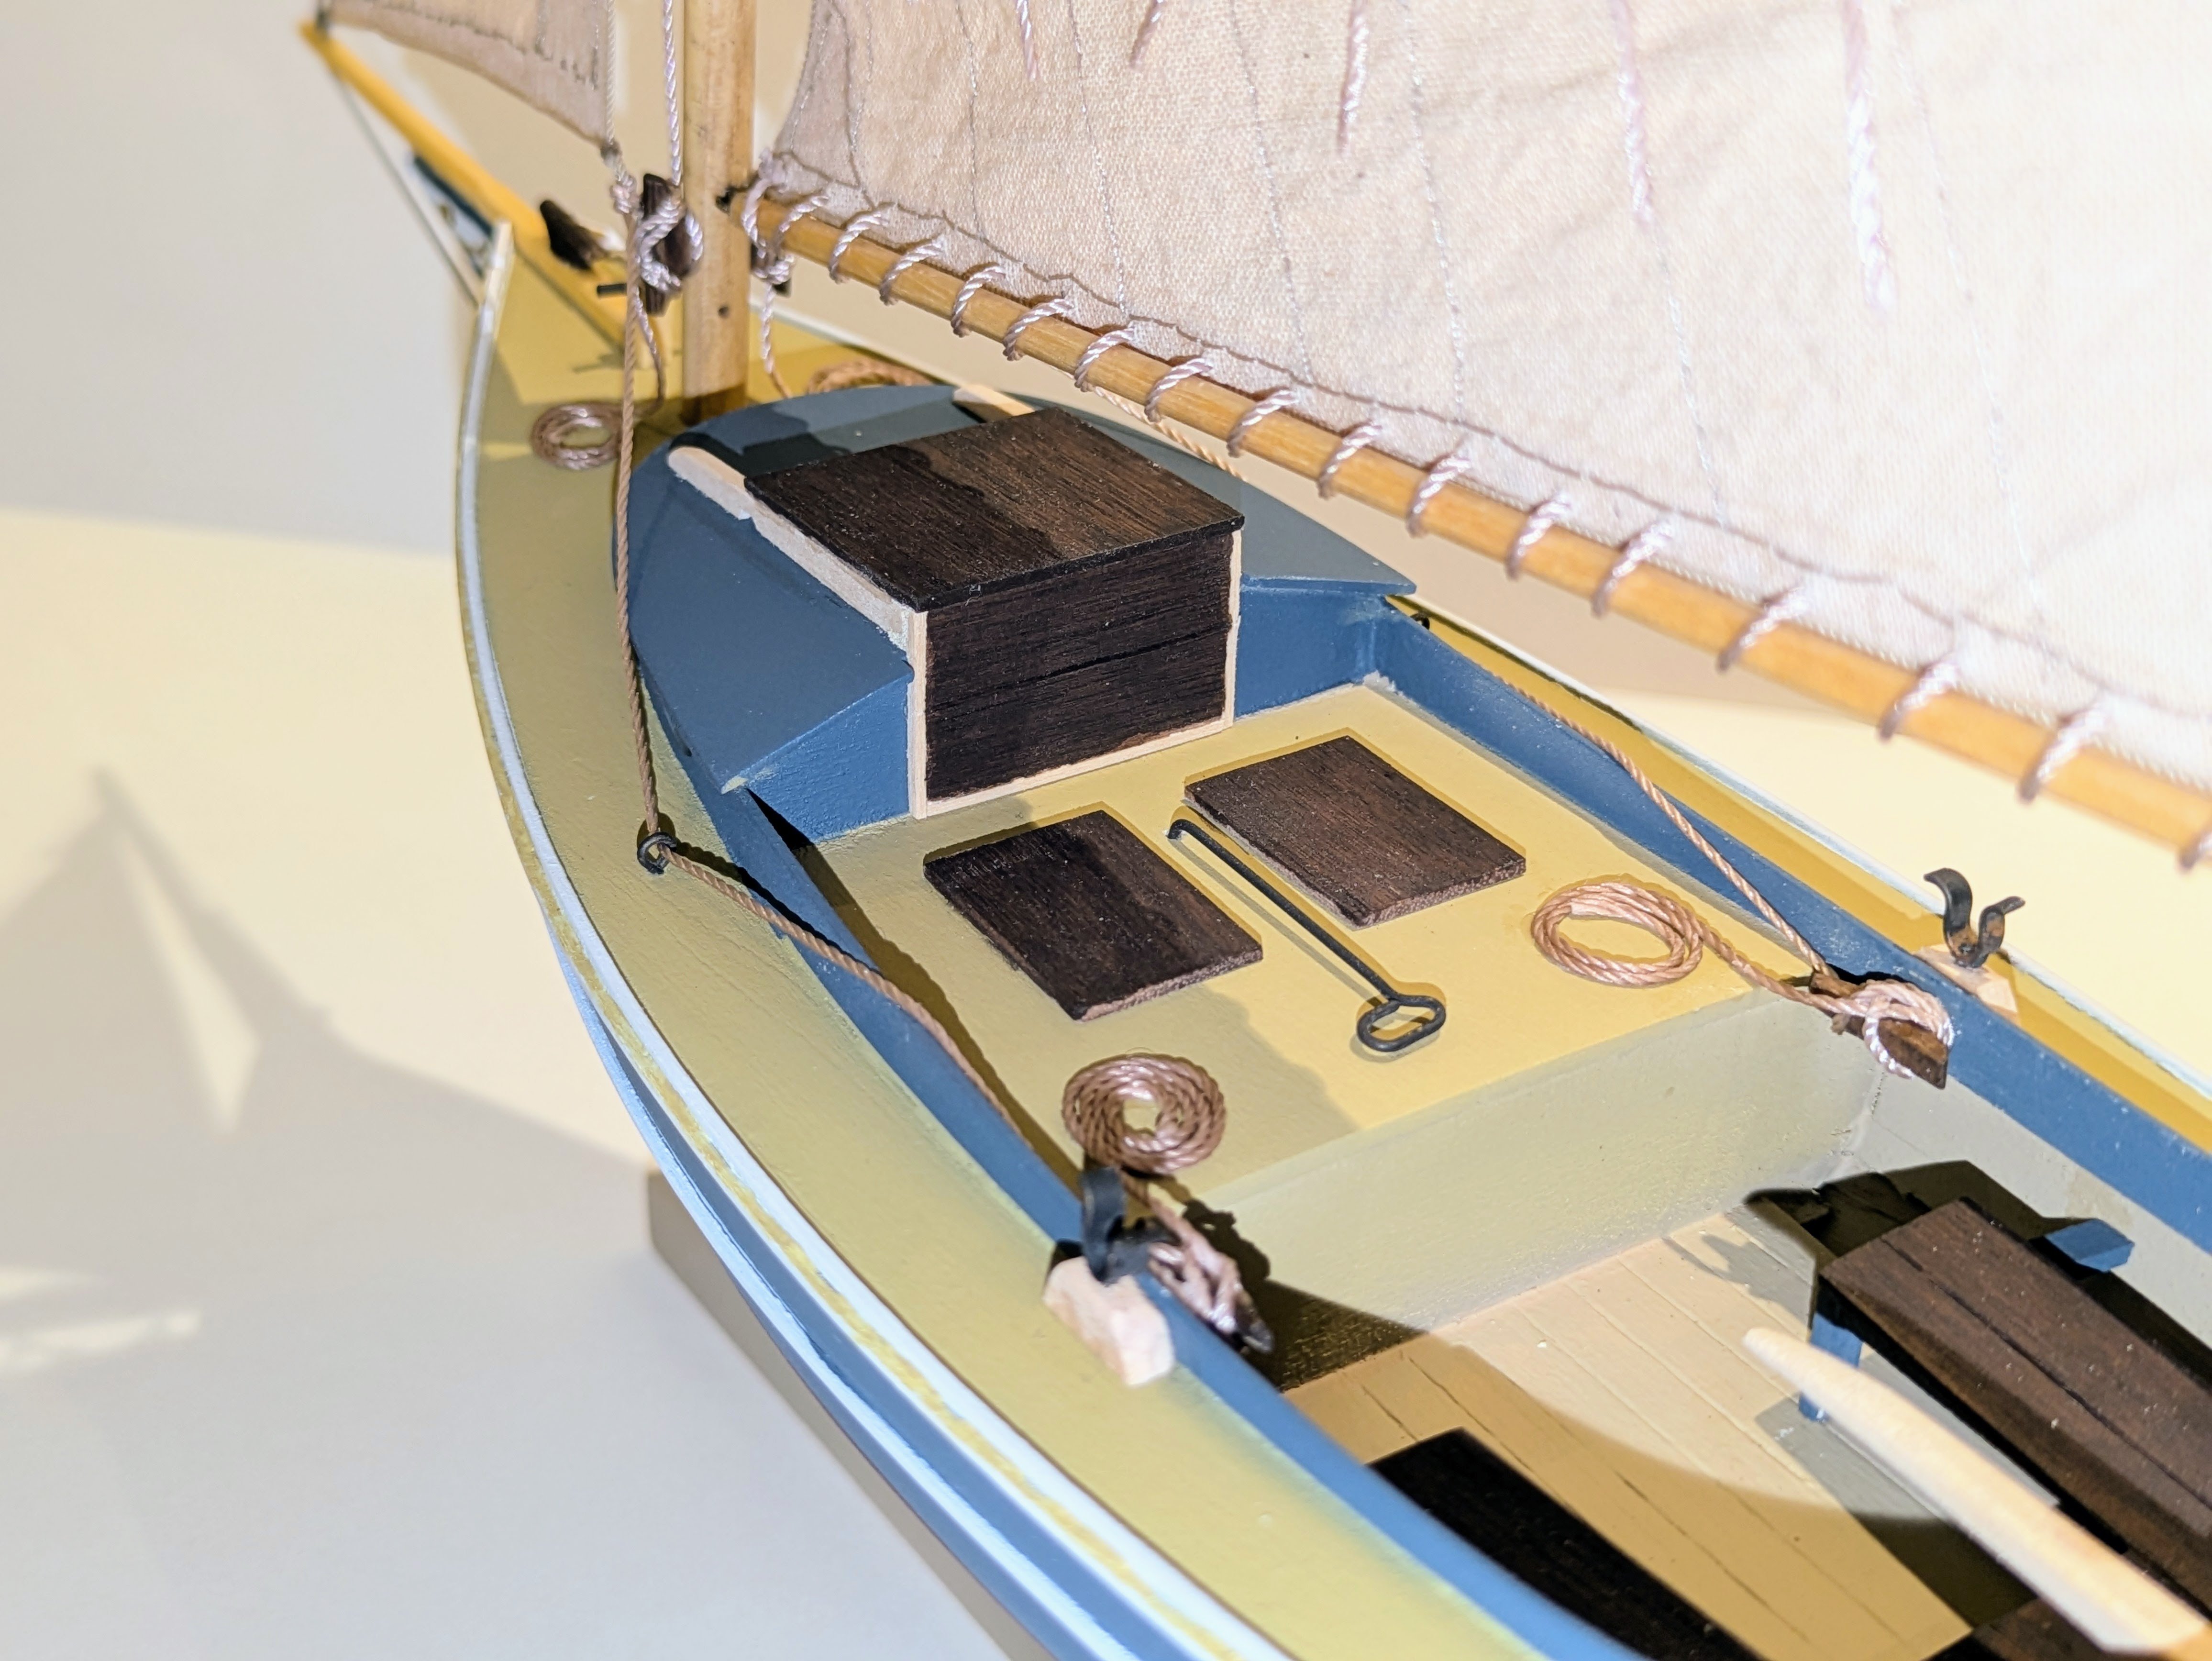
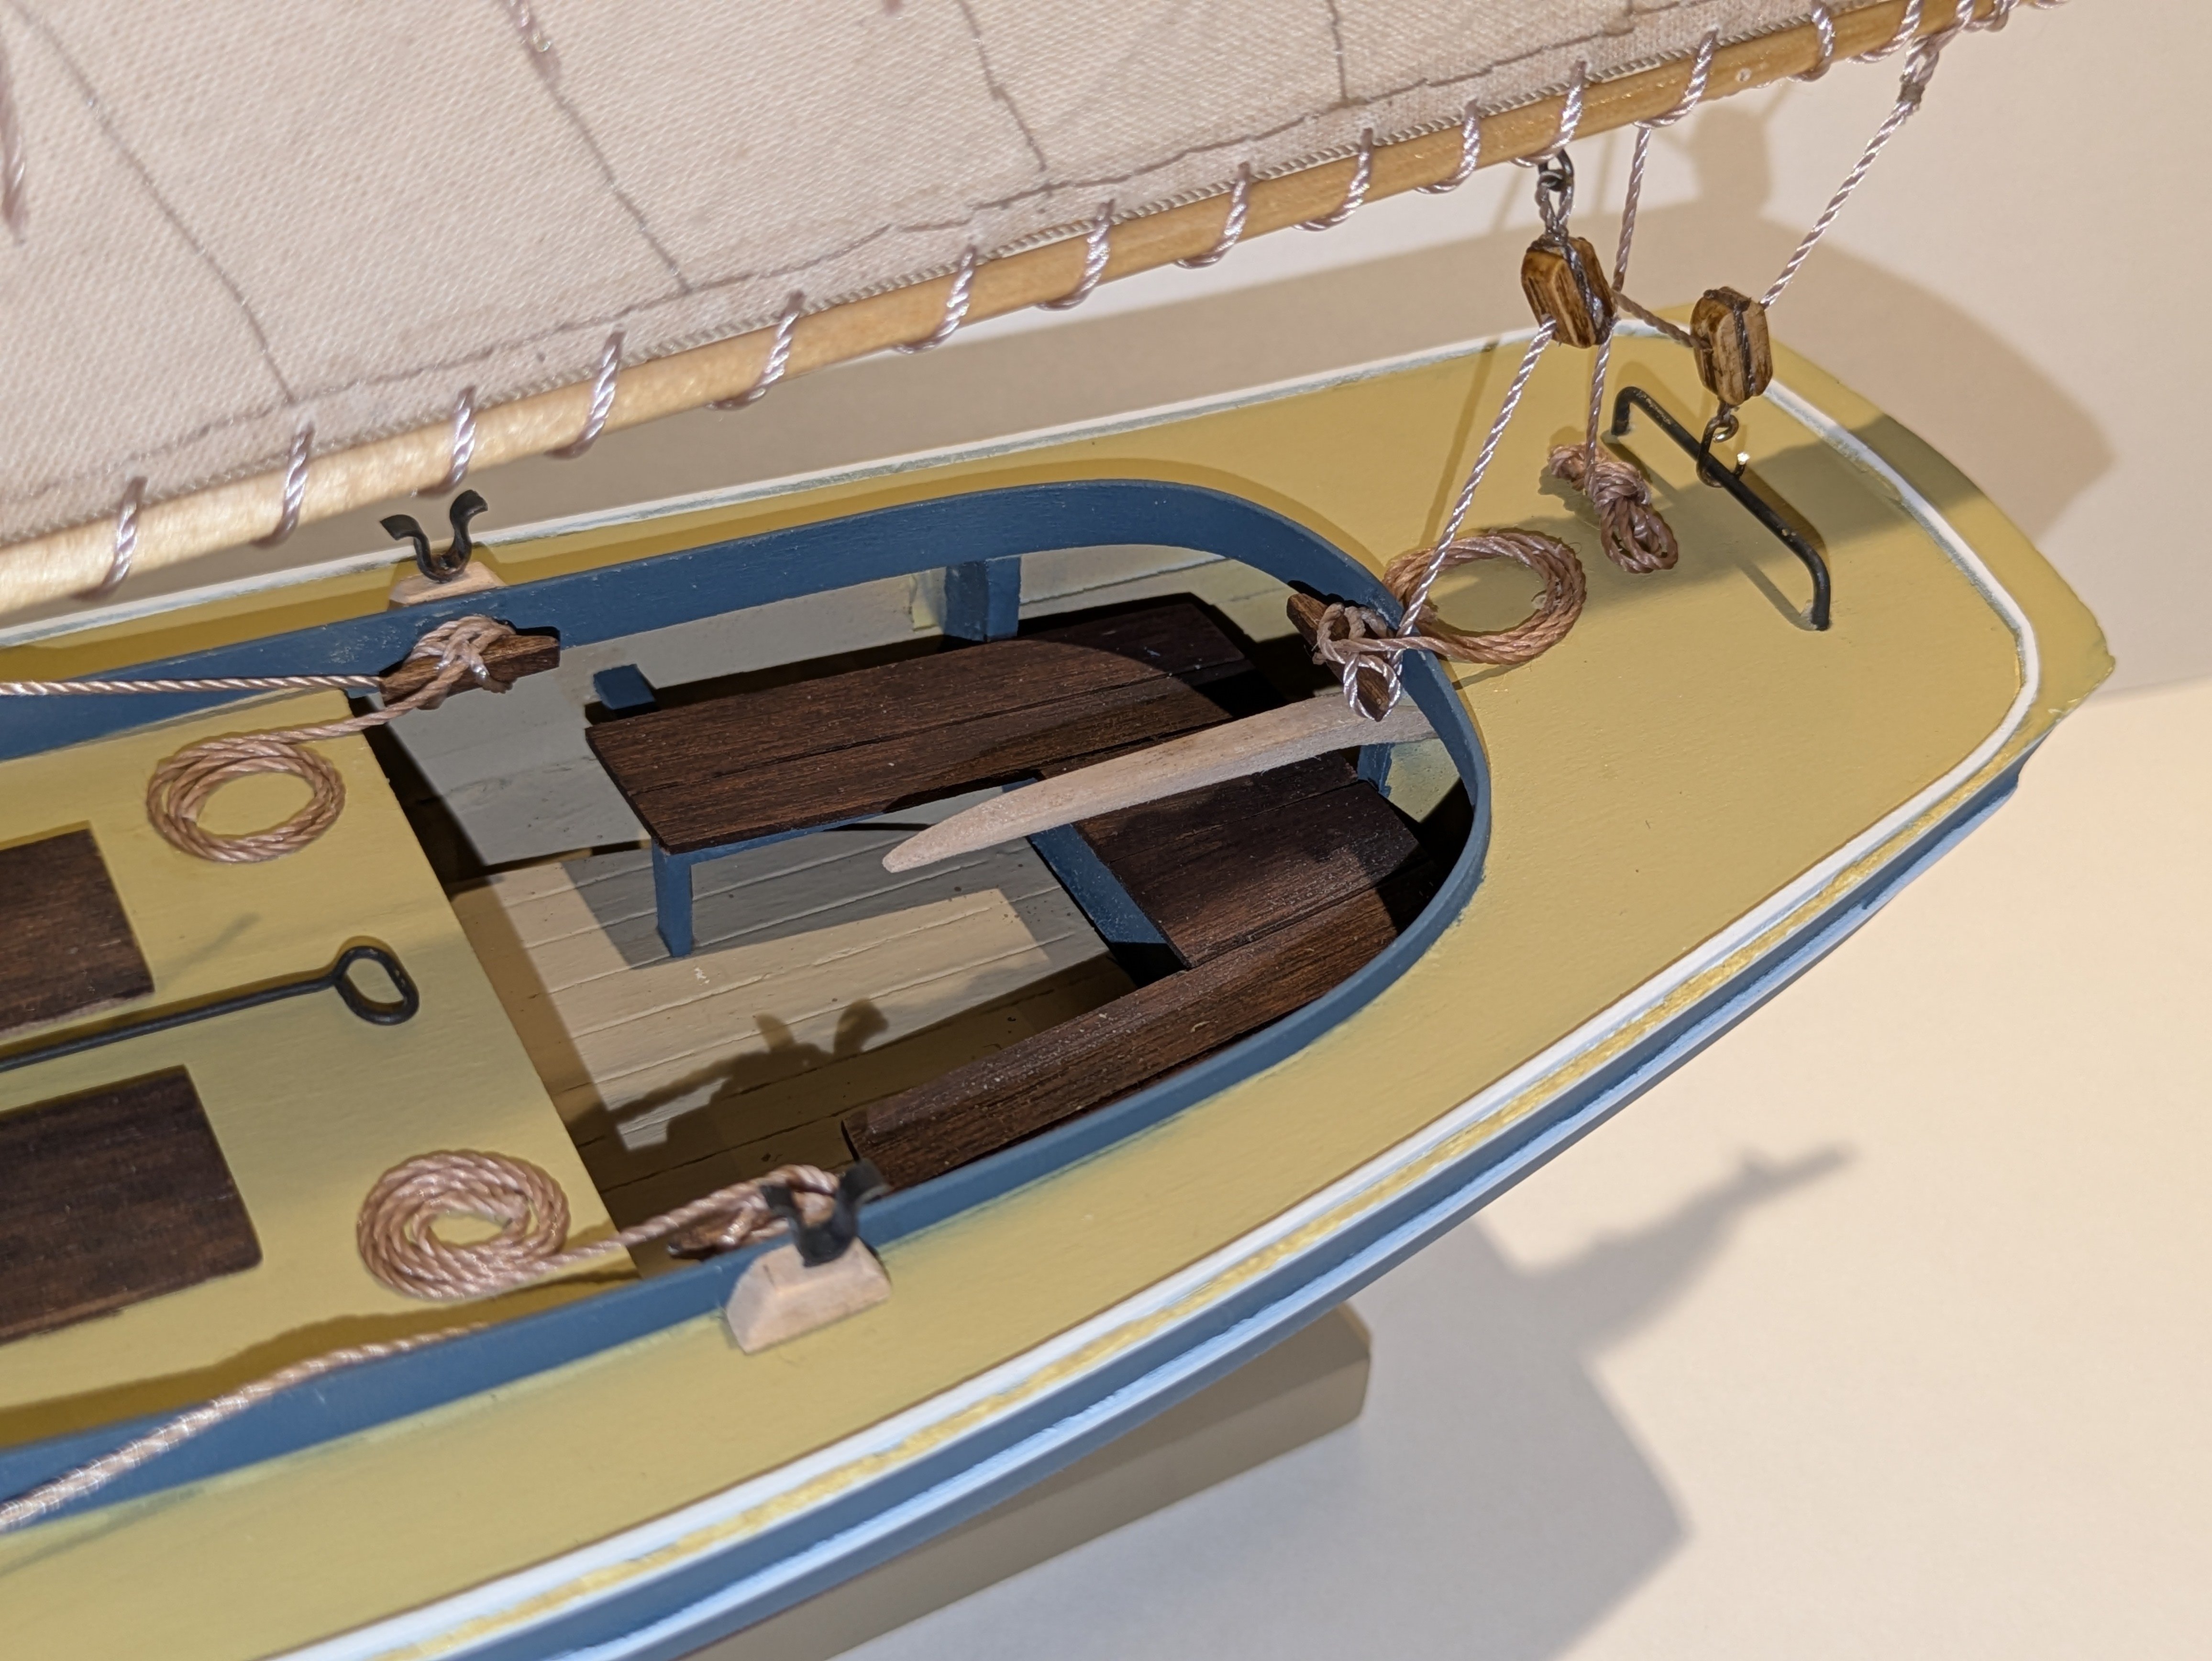
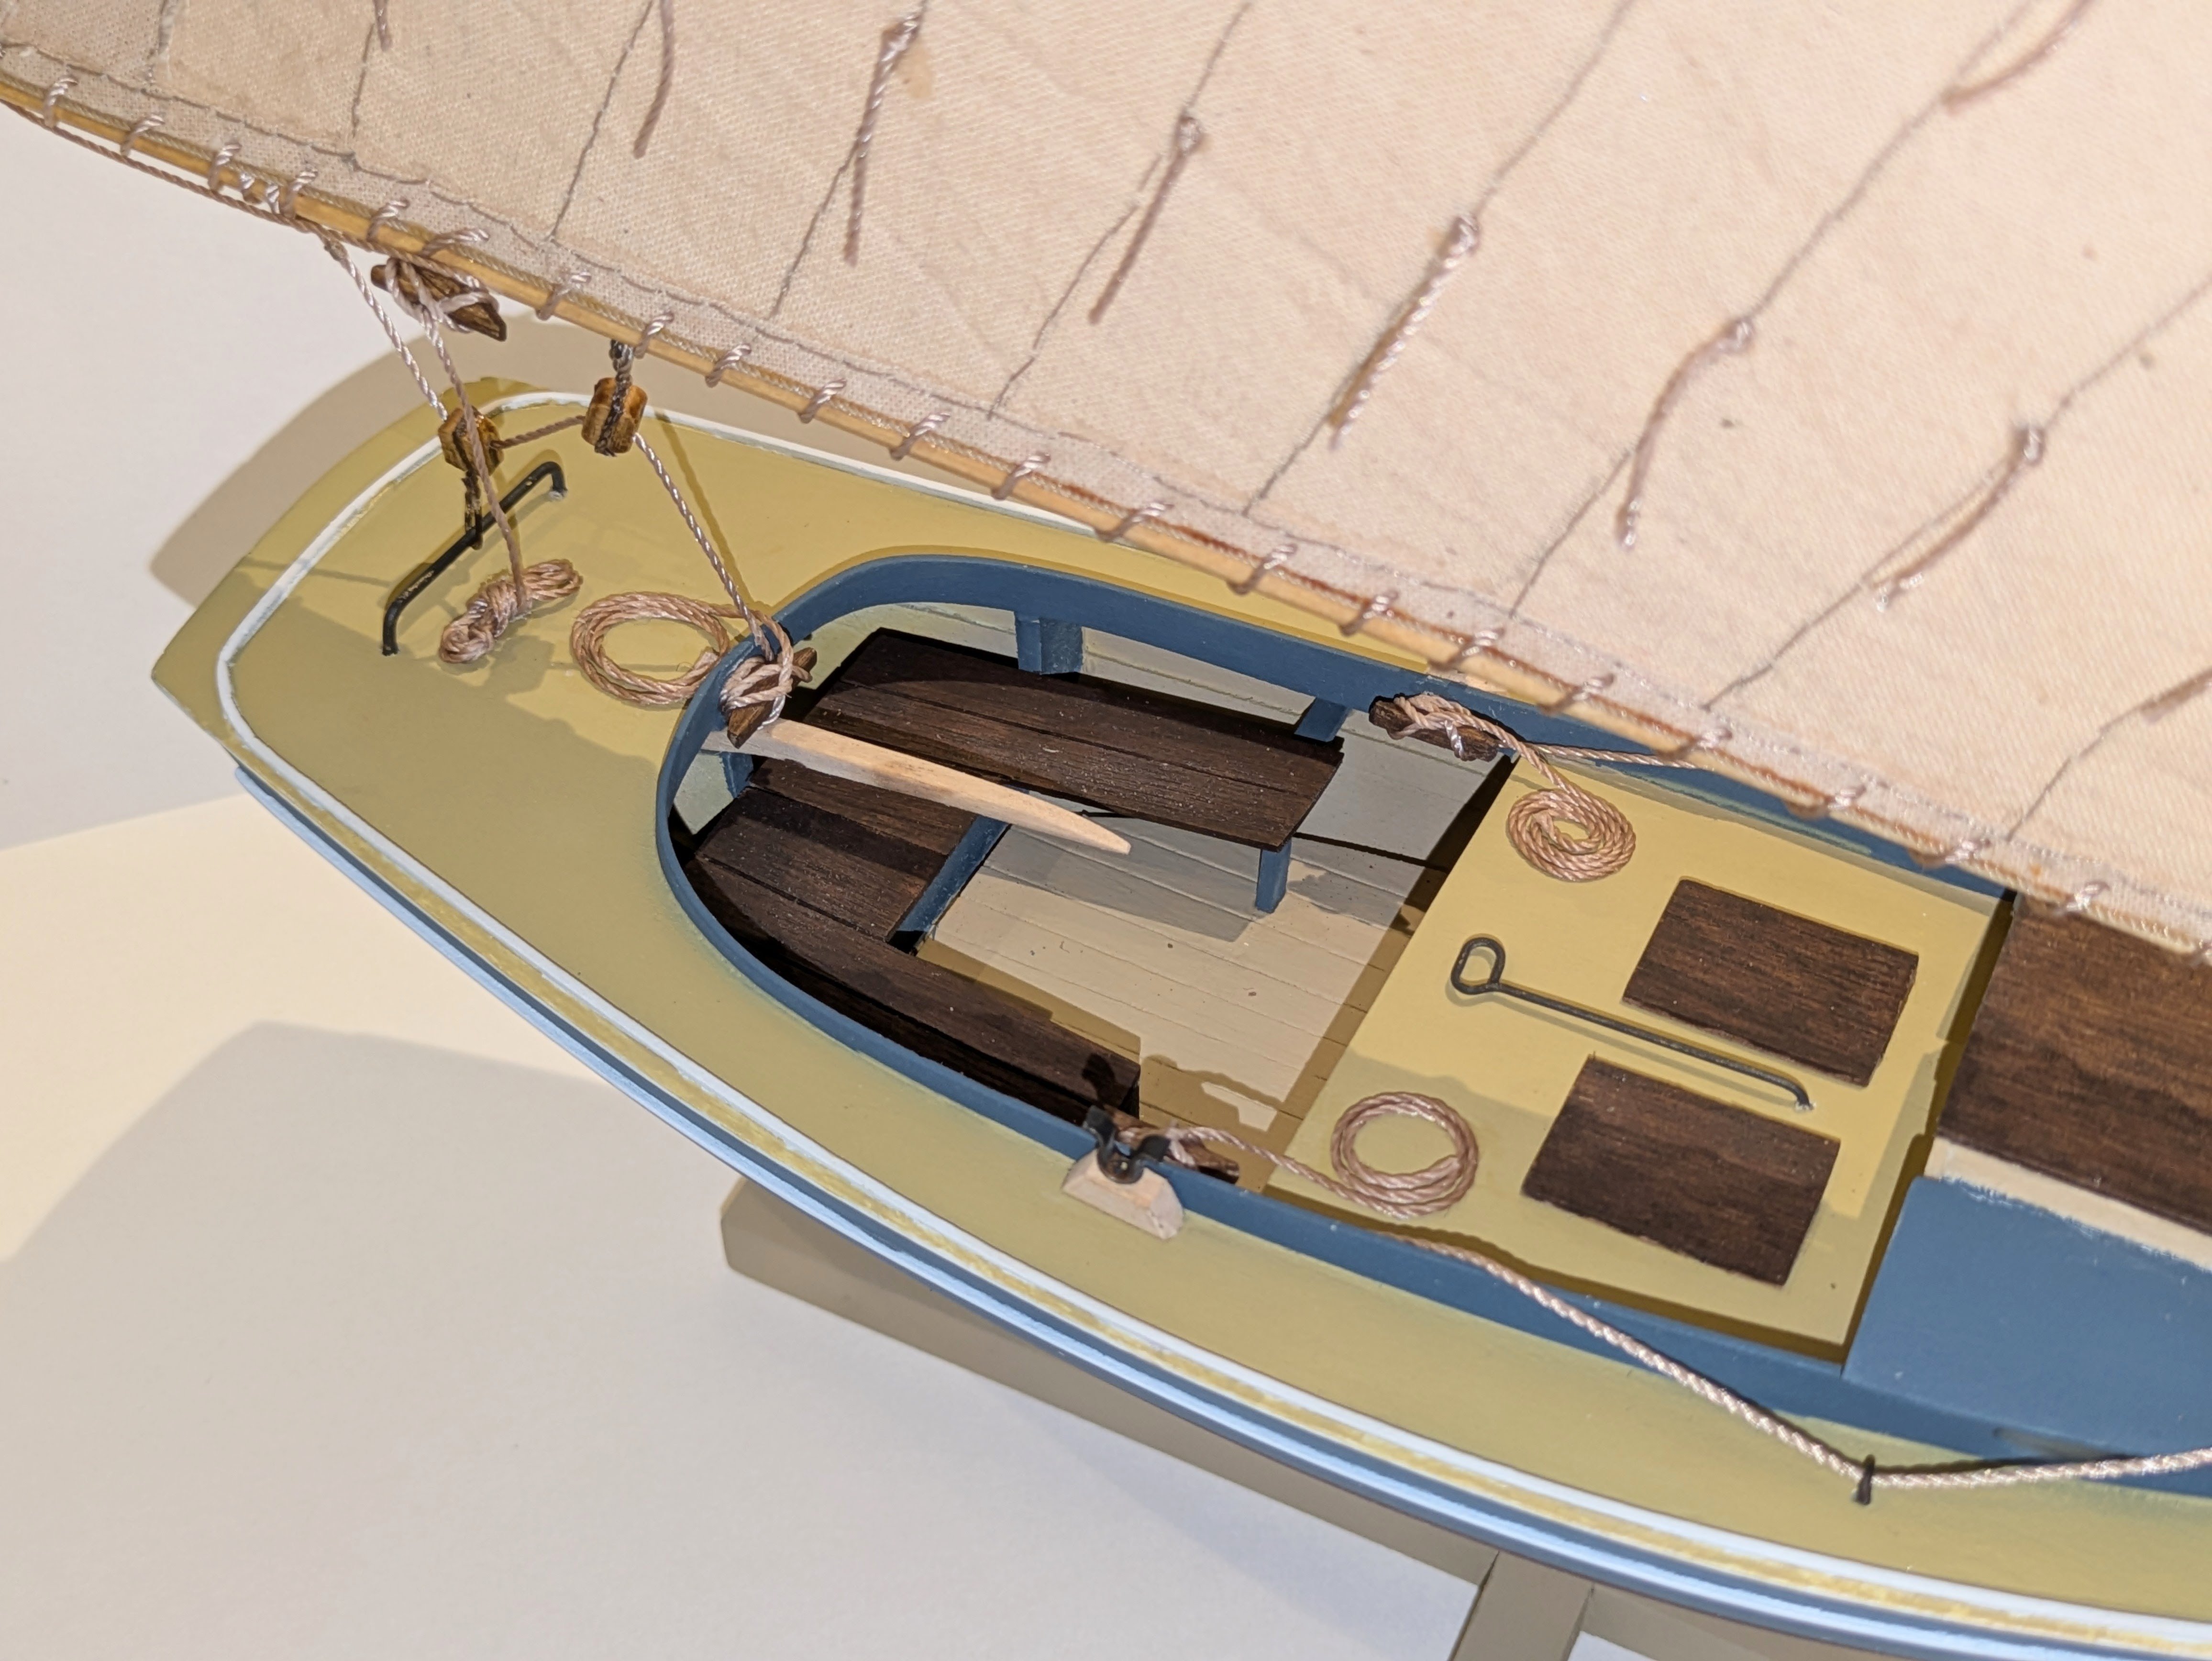
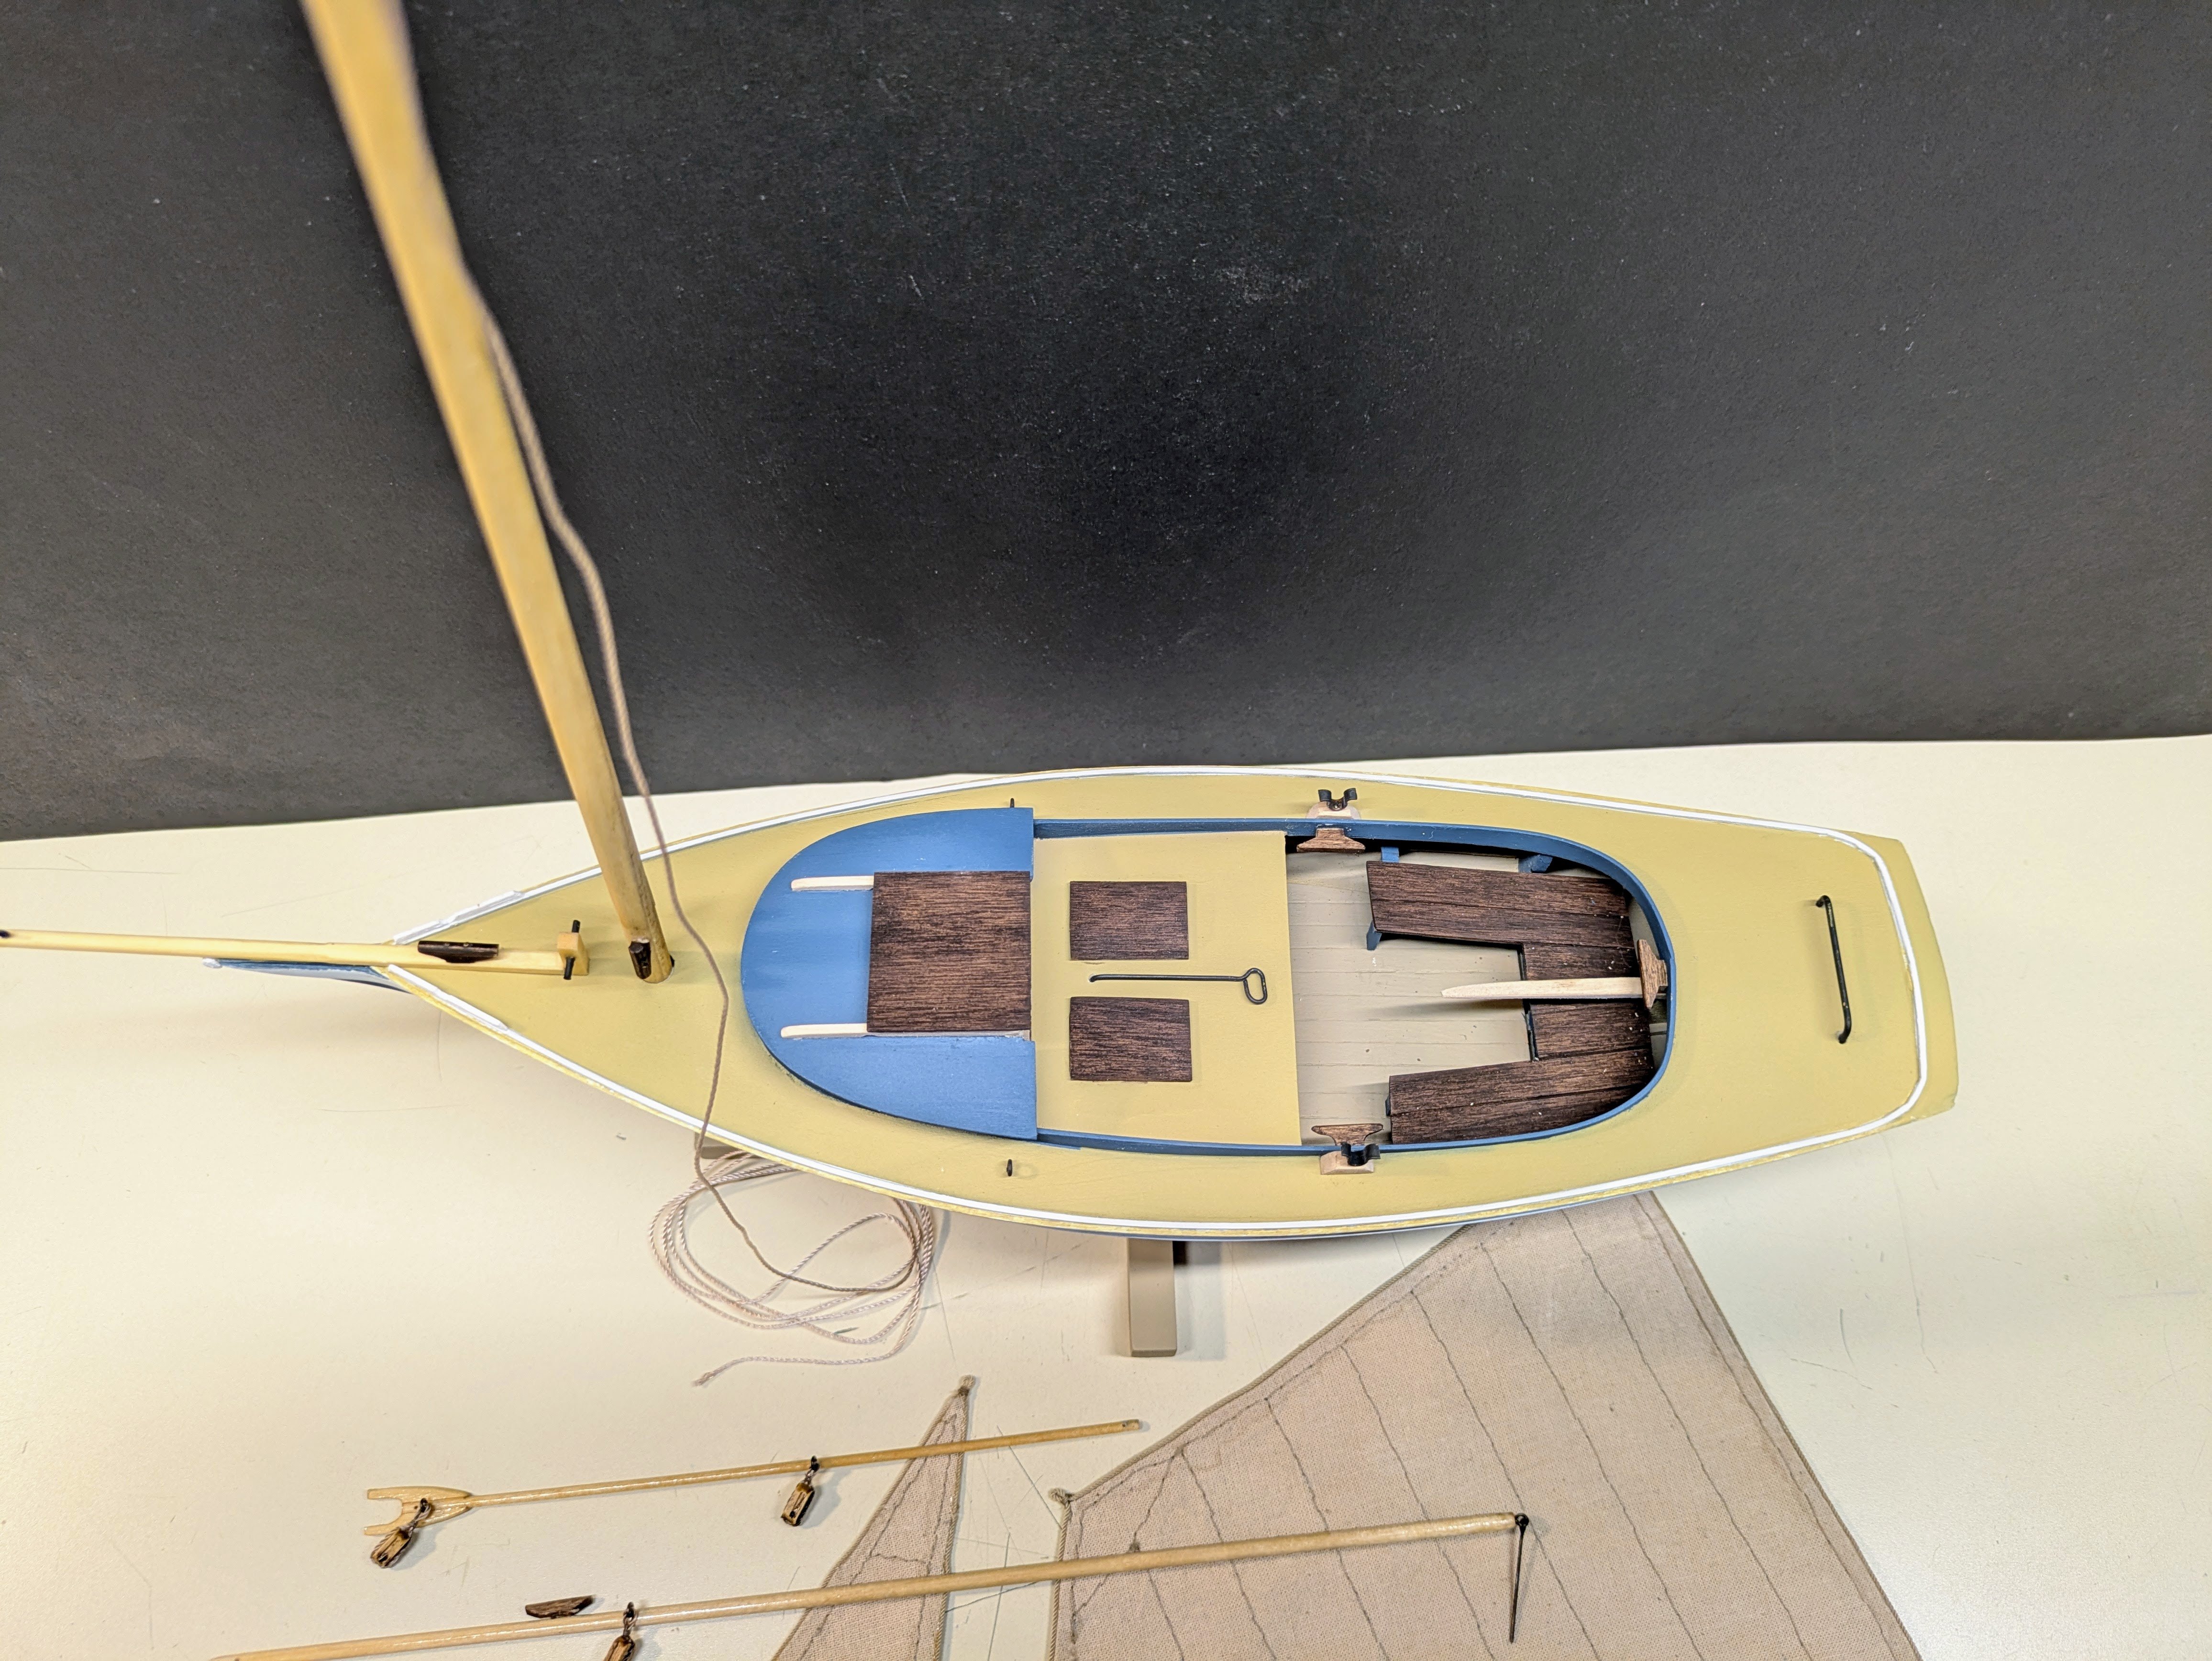
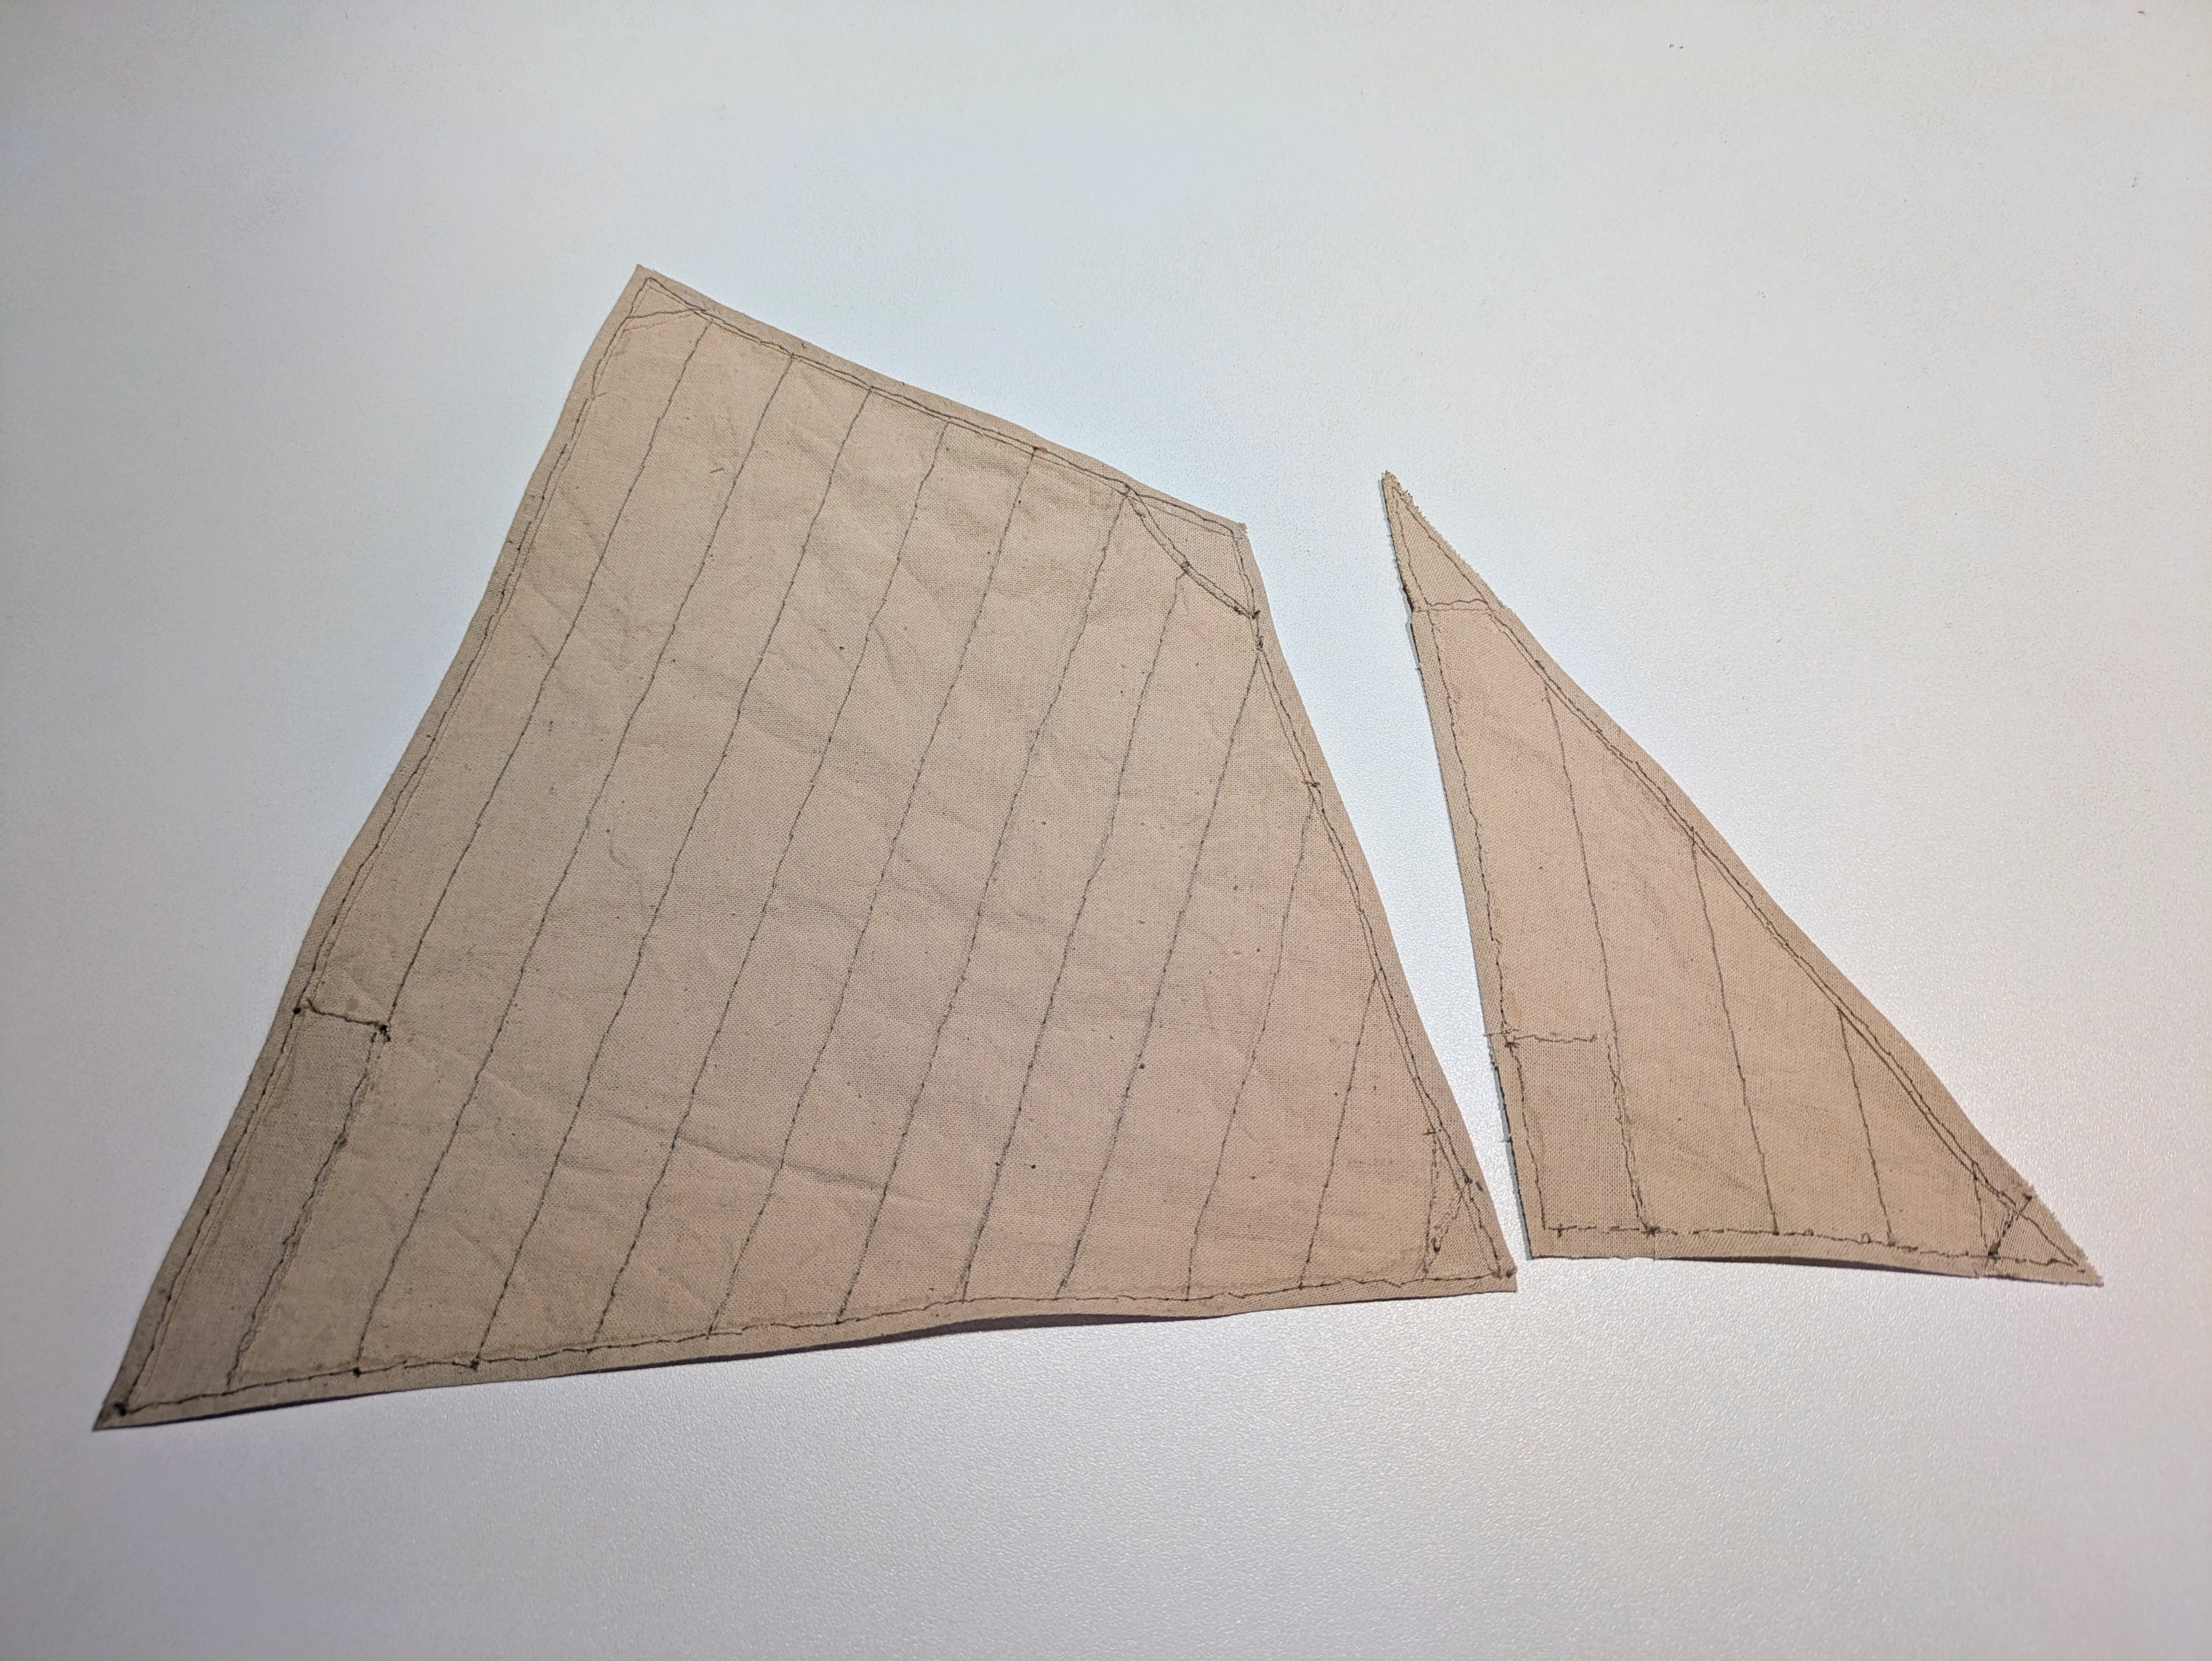
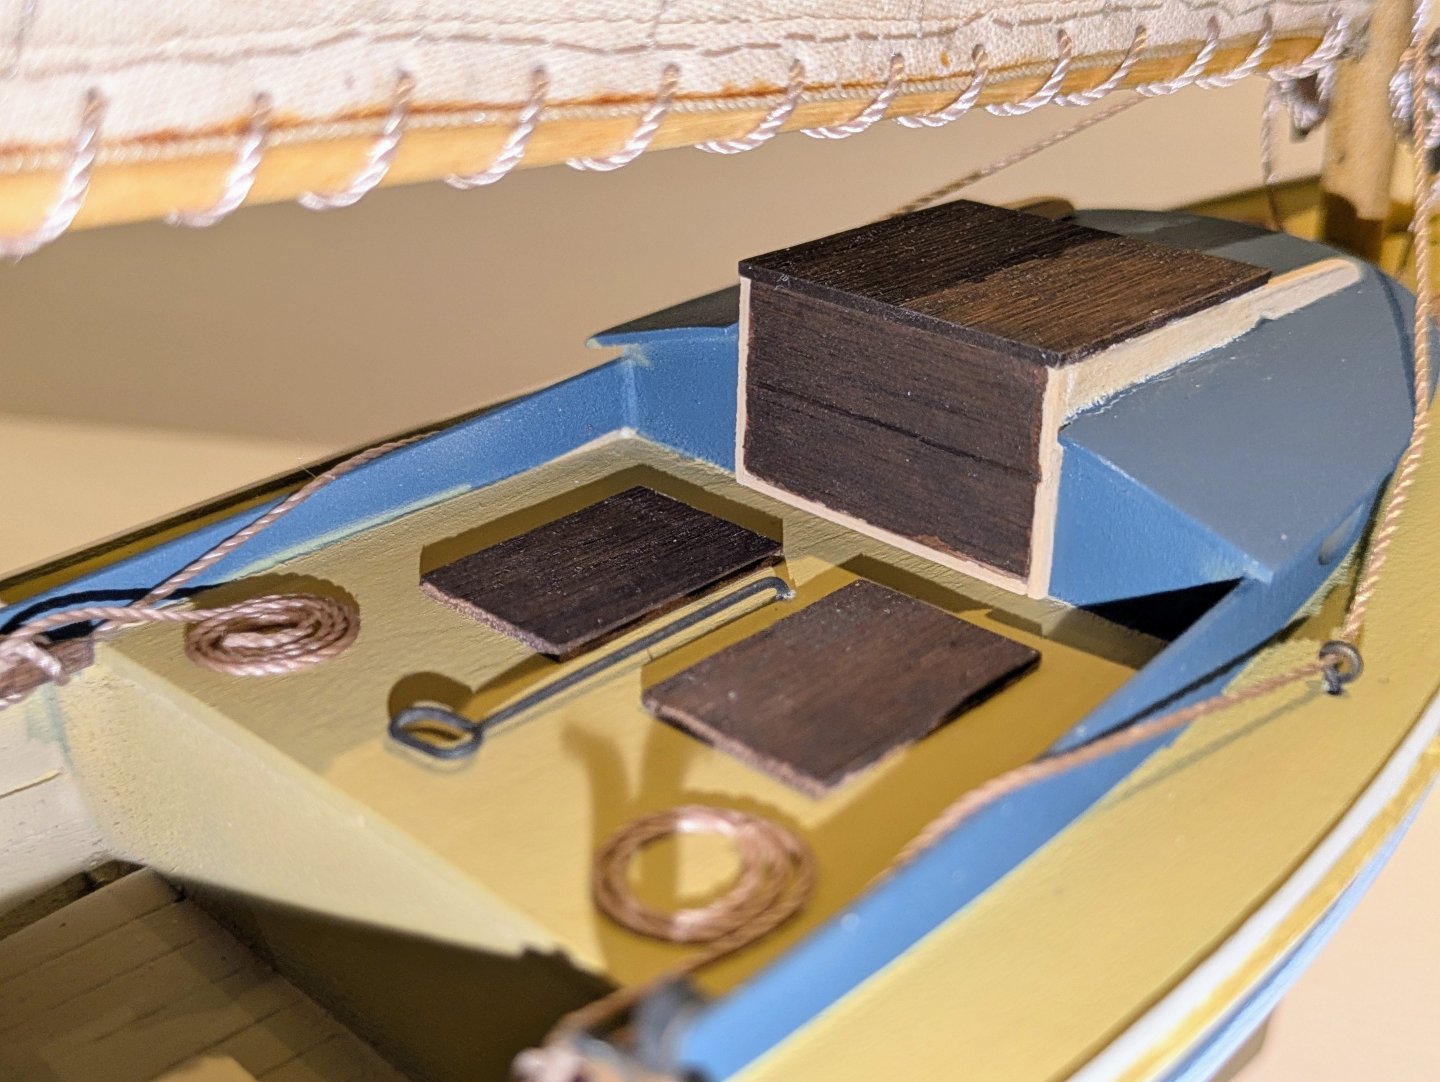
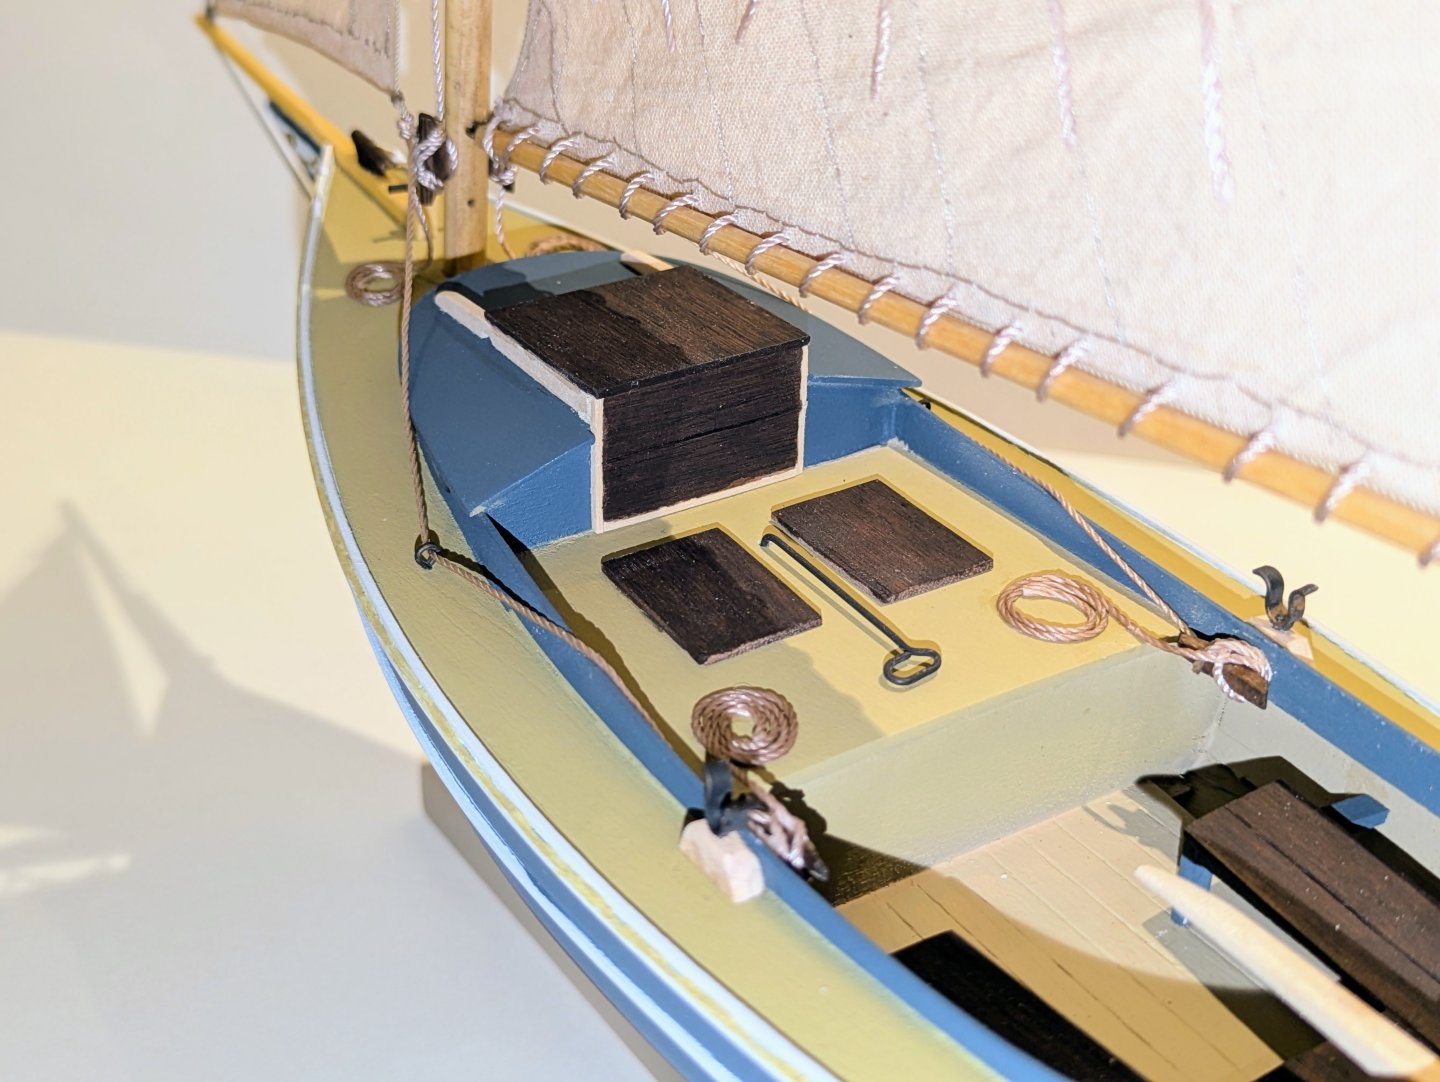
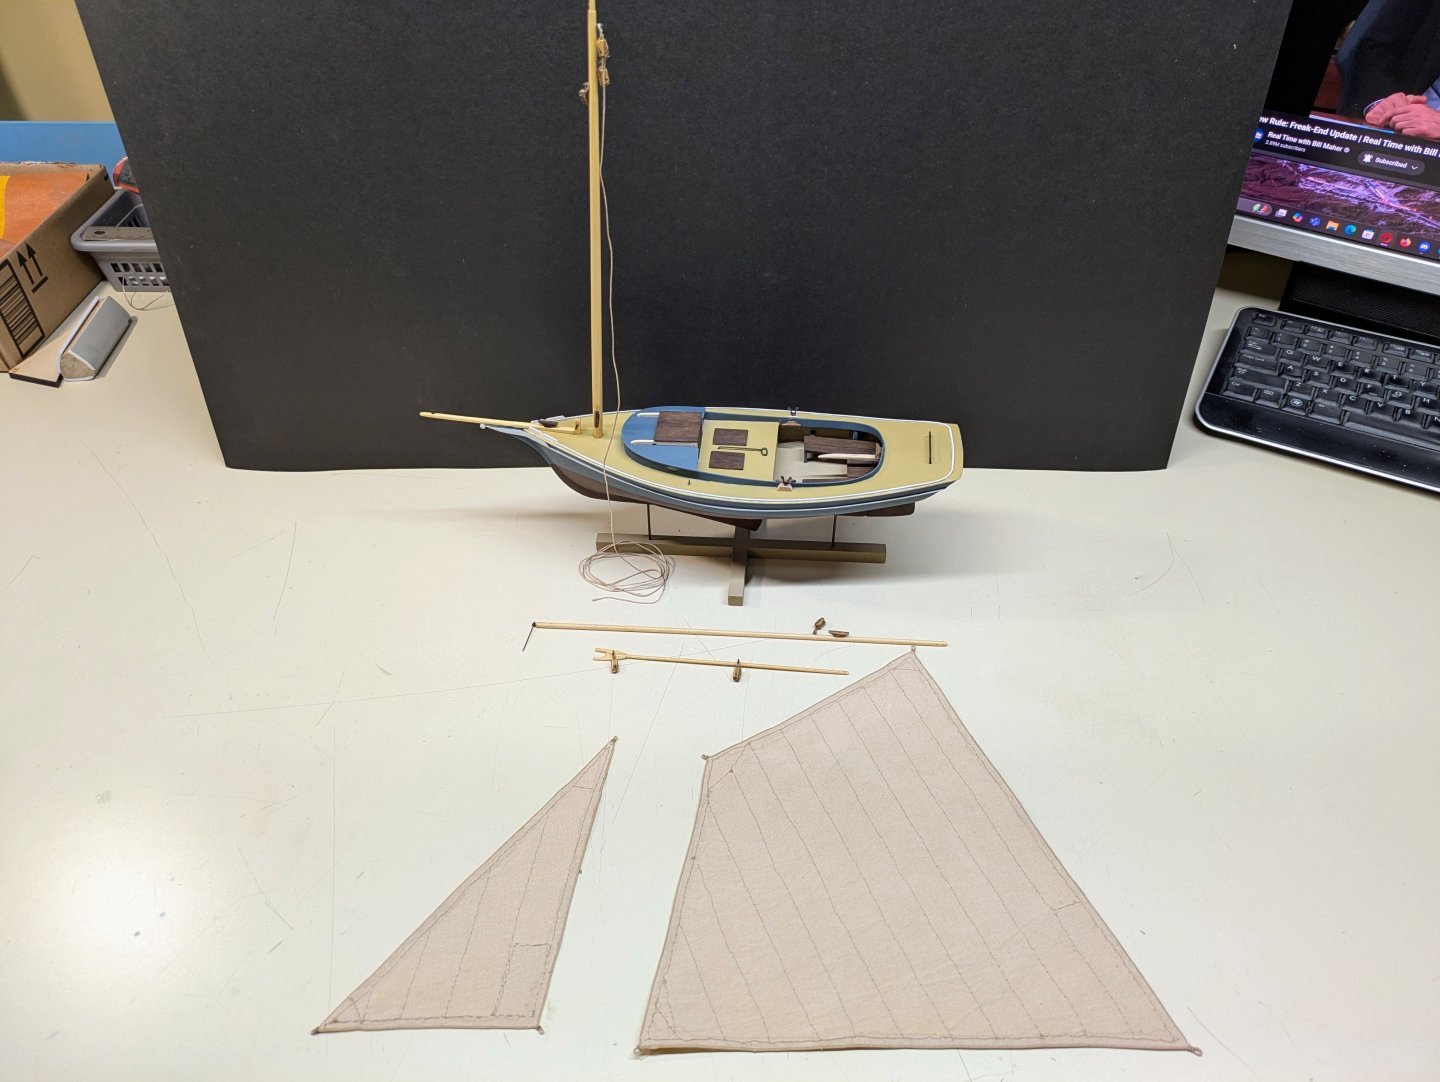
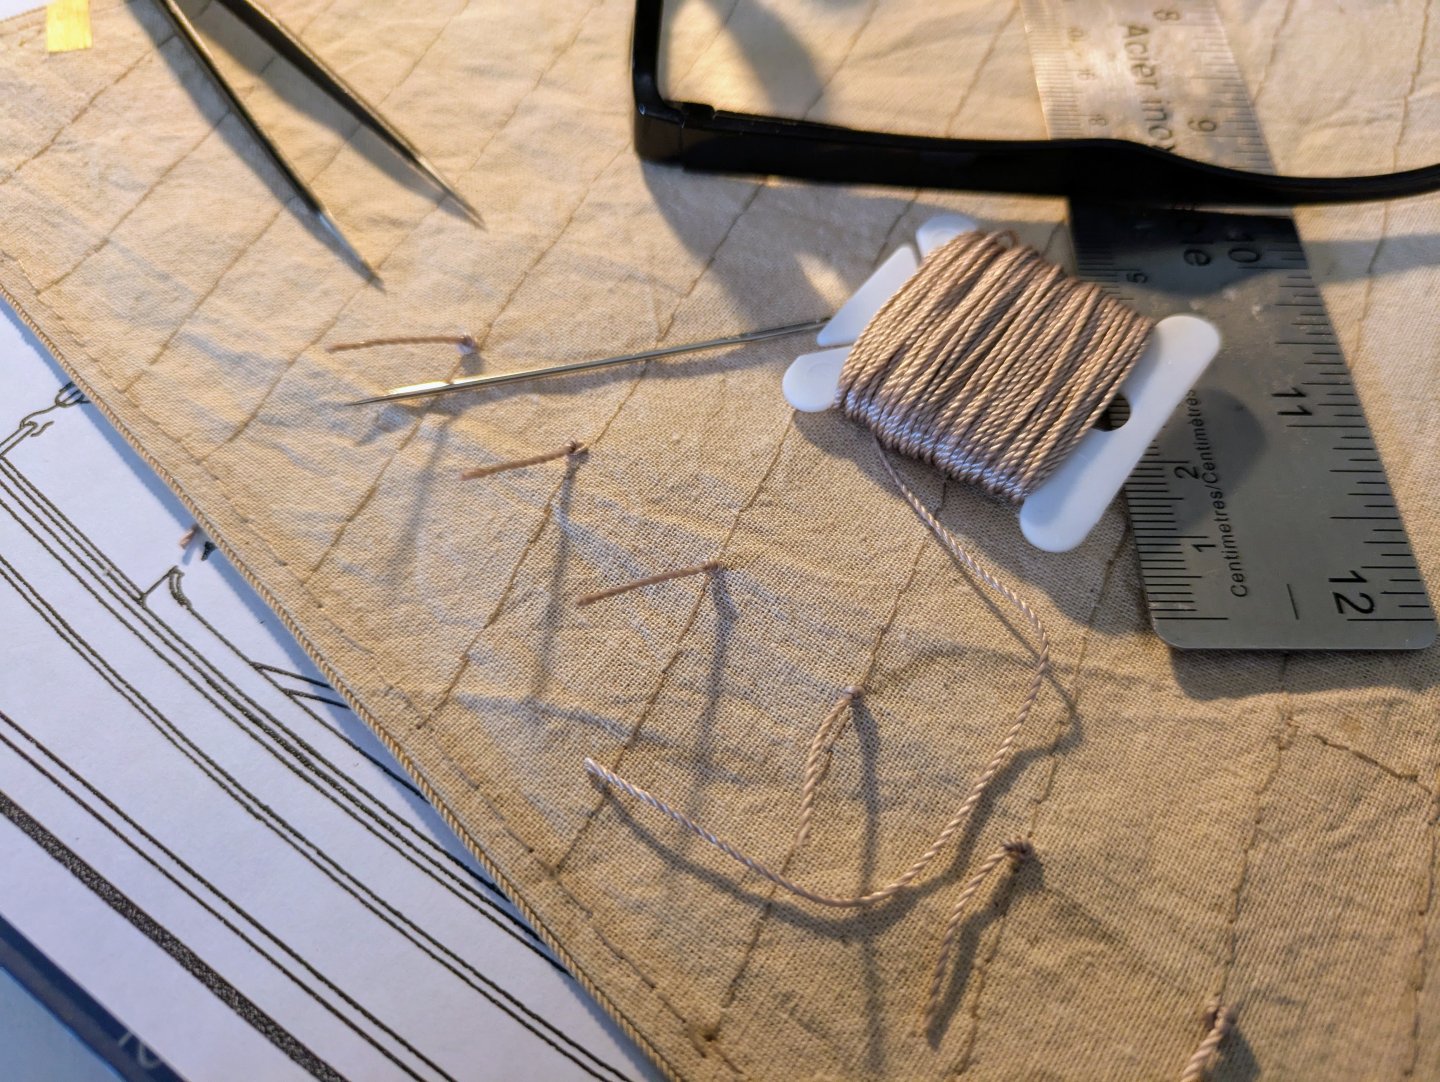
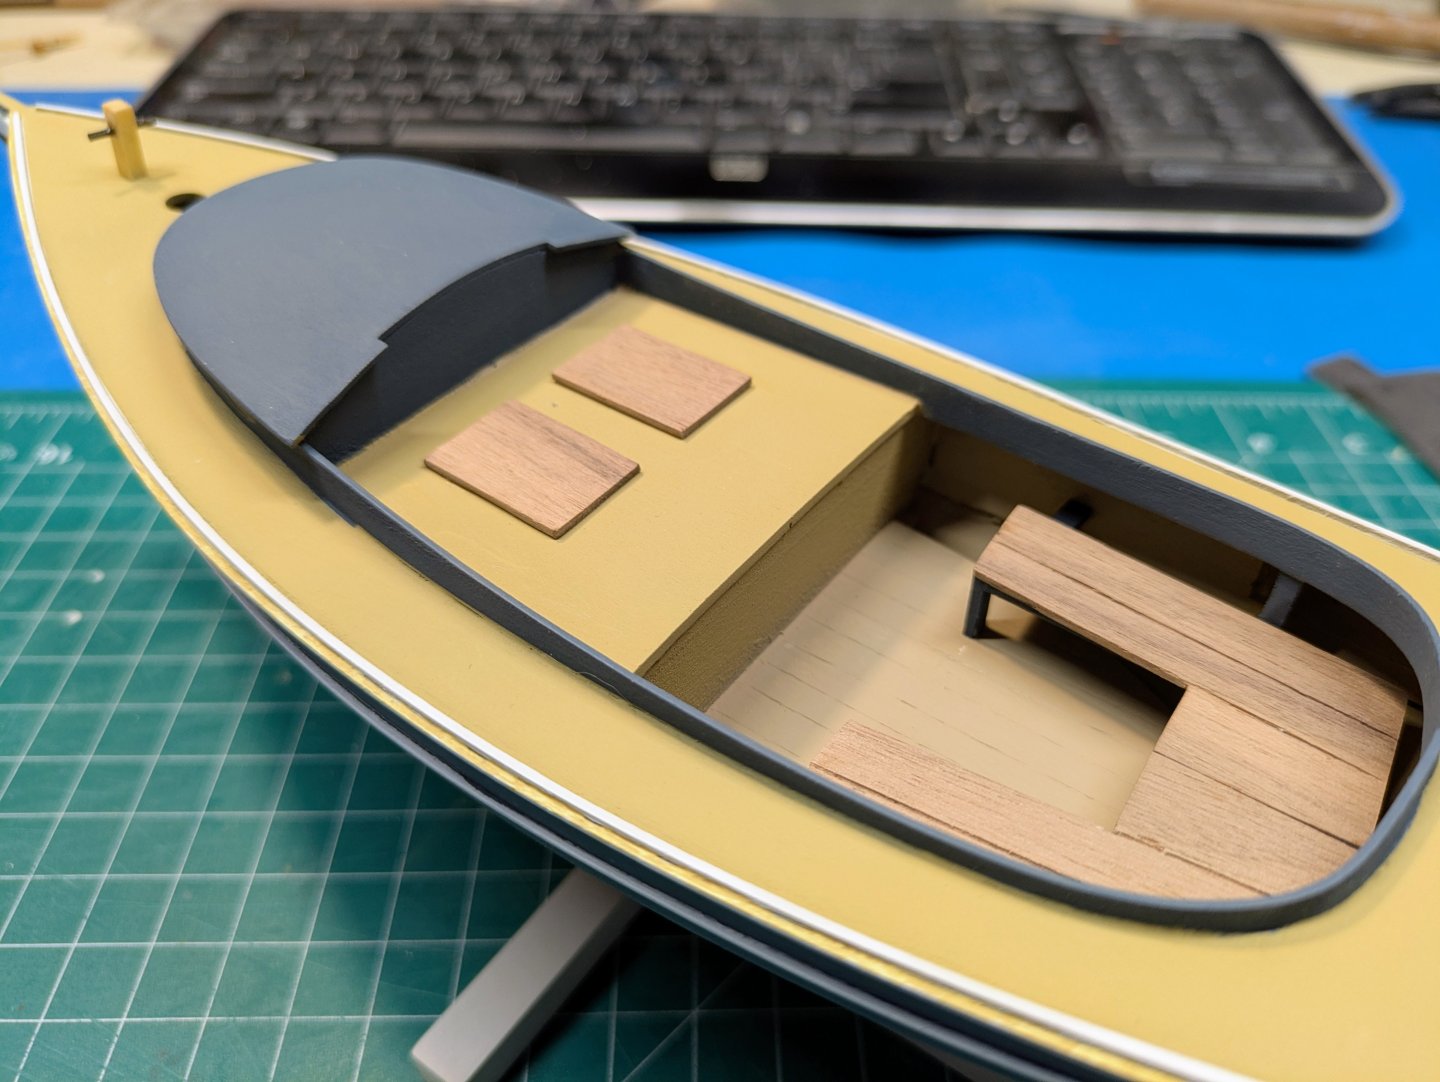
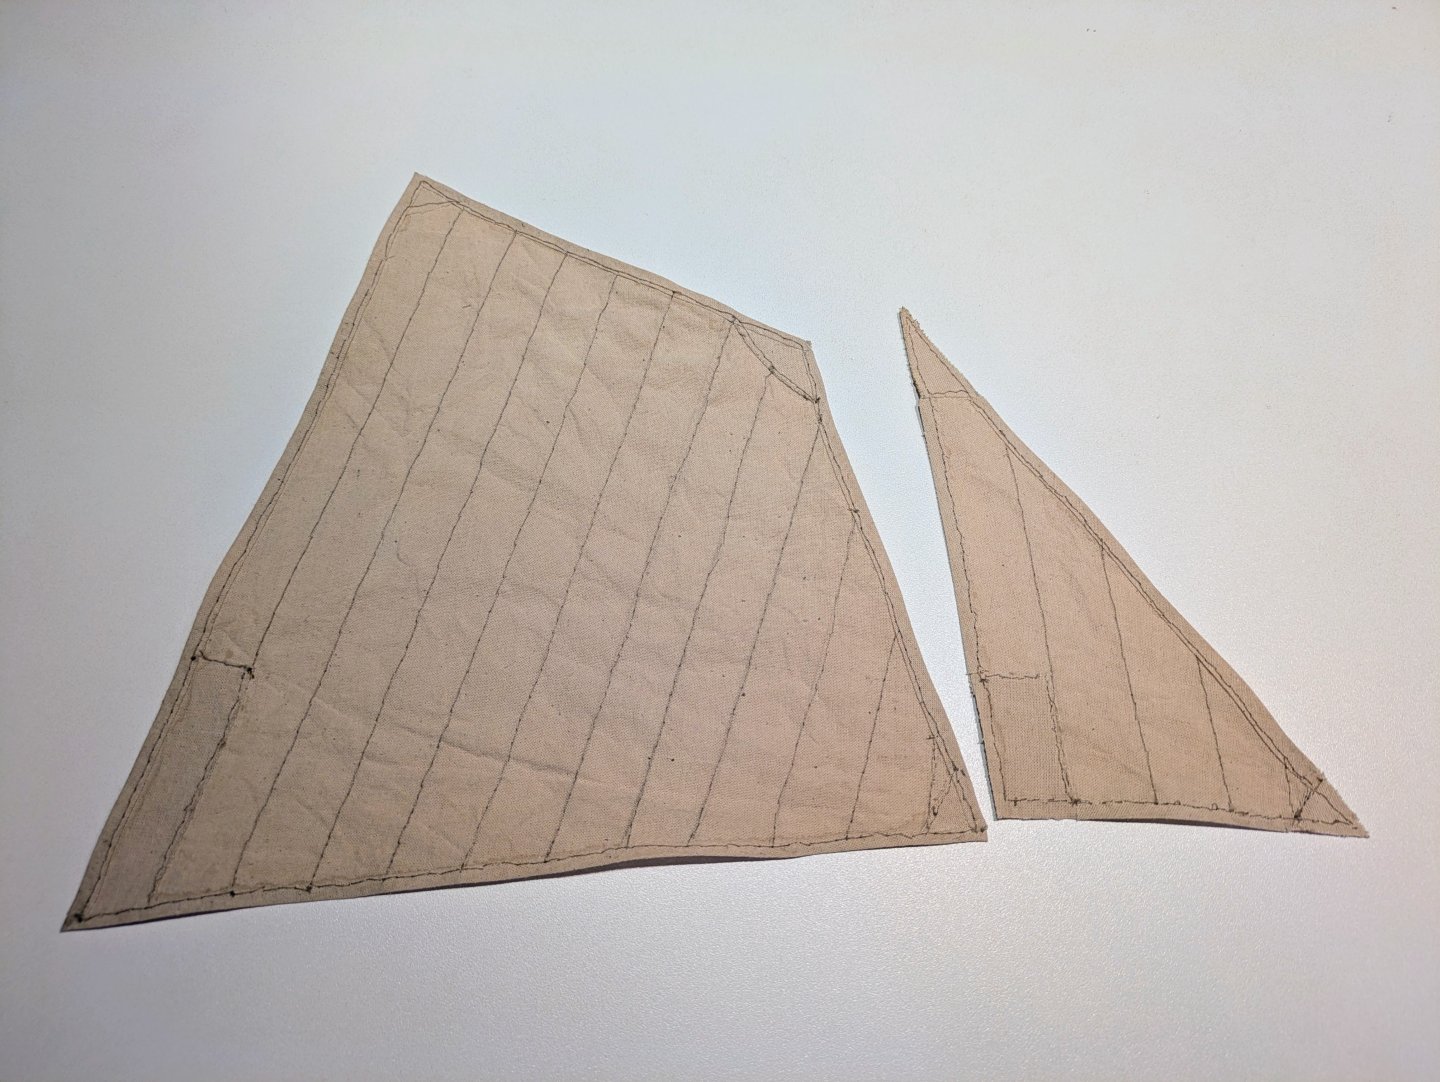
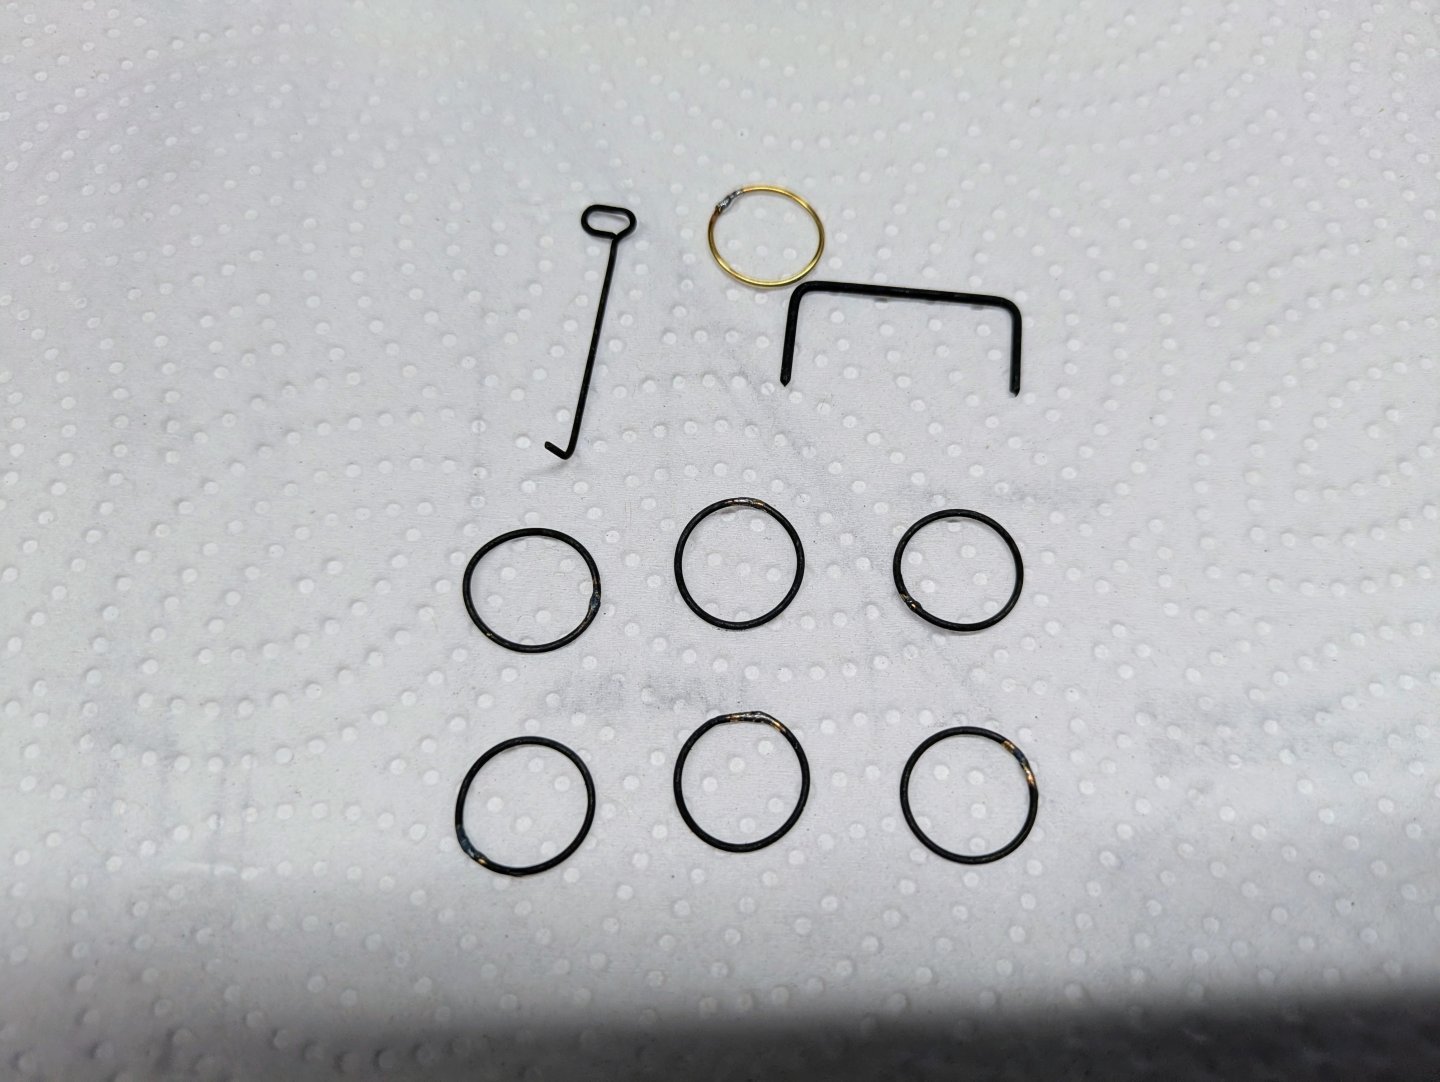
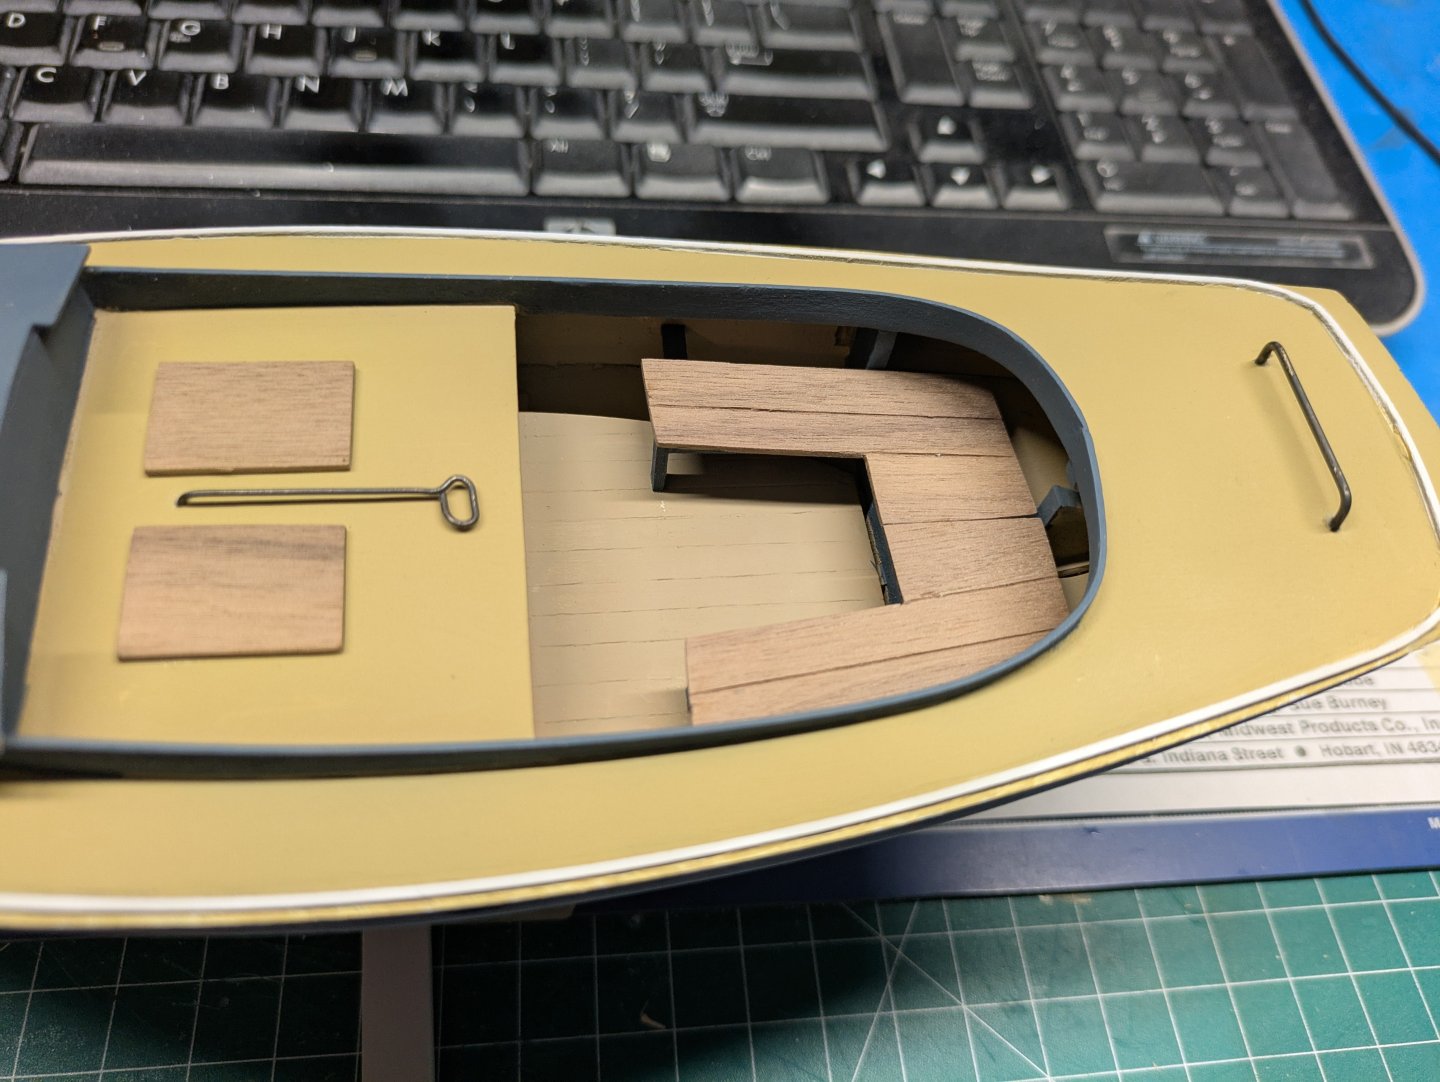
Time for an update. After messing up the first batch of sails - they shrunk when washed in hot water, I purchases a couple of meters of fabric and started again, this time staining before drawing the lines and cutting. Although I have access to a sewing machine, I have never used one. So I figured 3 or 4 hours tops to hand sew.... ya no. Took 10 hours to hand sew. In that time I could have taught myself how to use the machine, did 4 practice runs and still make the sails . Now I know! More of the finishing touches in the cockpit and on the hull. Seats in place and did some metal work and blackened the pieces. Hatch and bow will be next and should get to stepping the mast and adding sails and rigging shortly.

- 34 replies
-
- 4
-
-
- muscongus bay lobster smack
- Model Shipways
- (and 1 more)
-
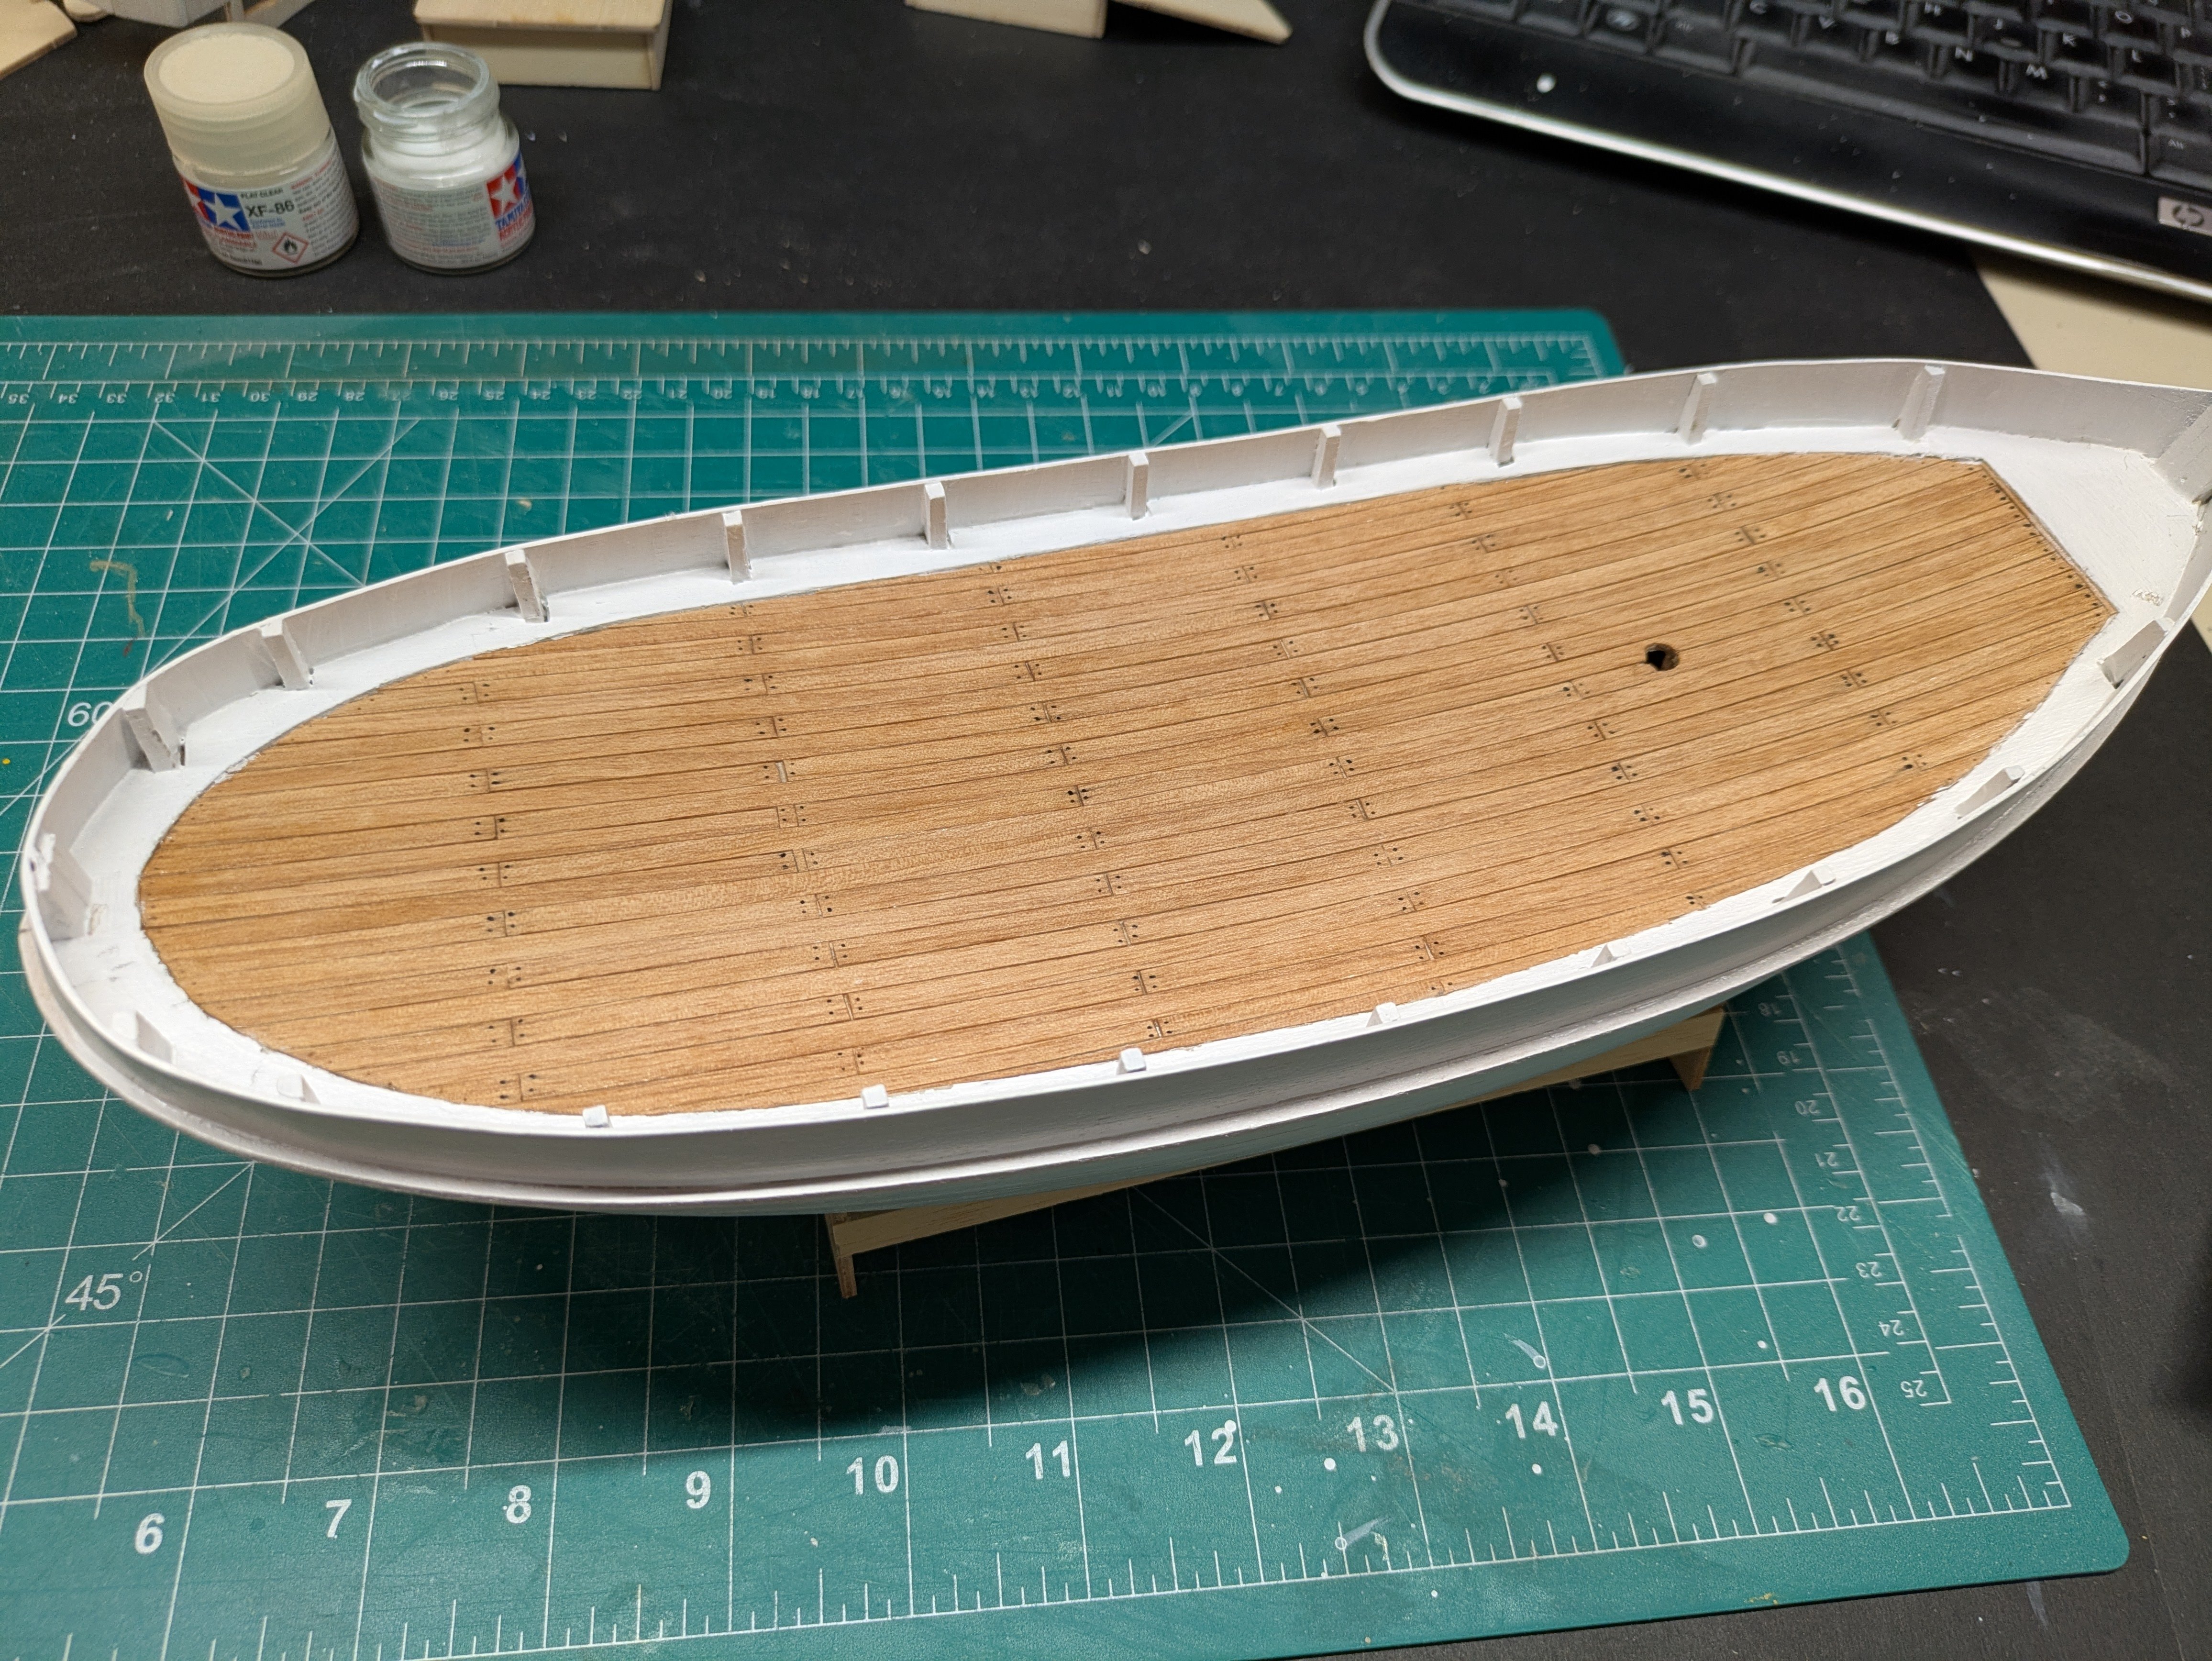
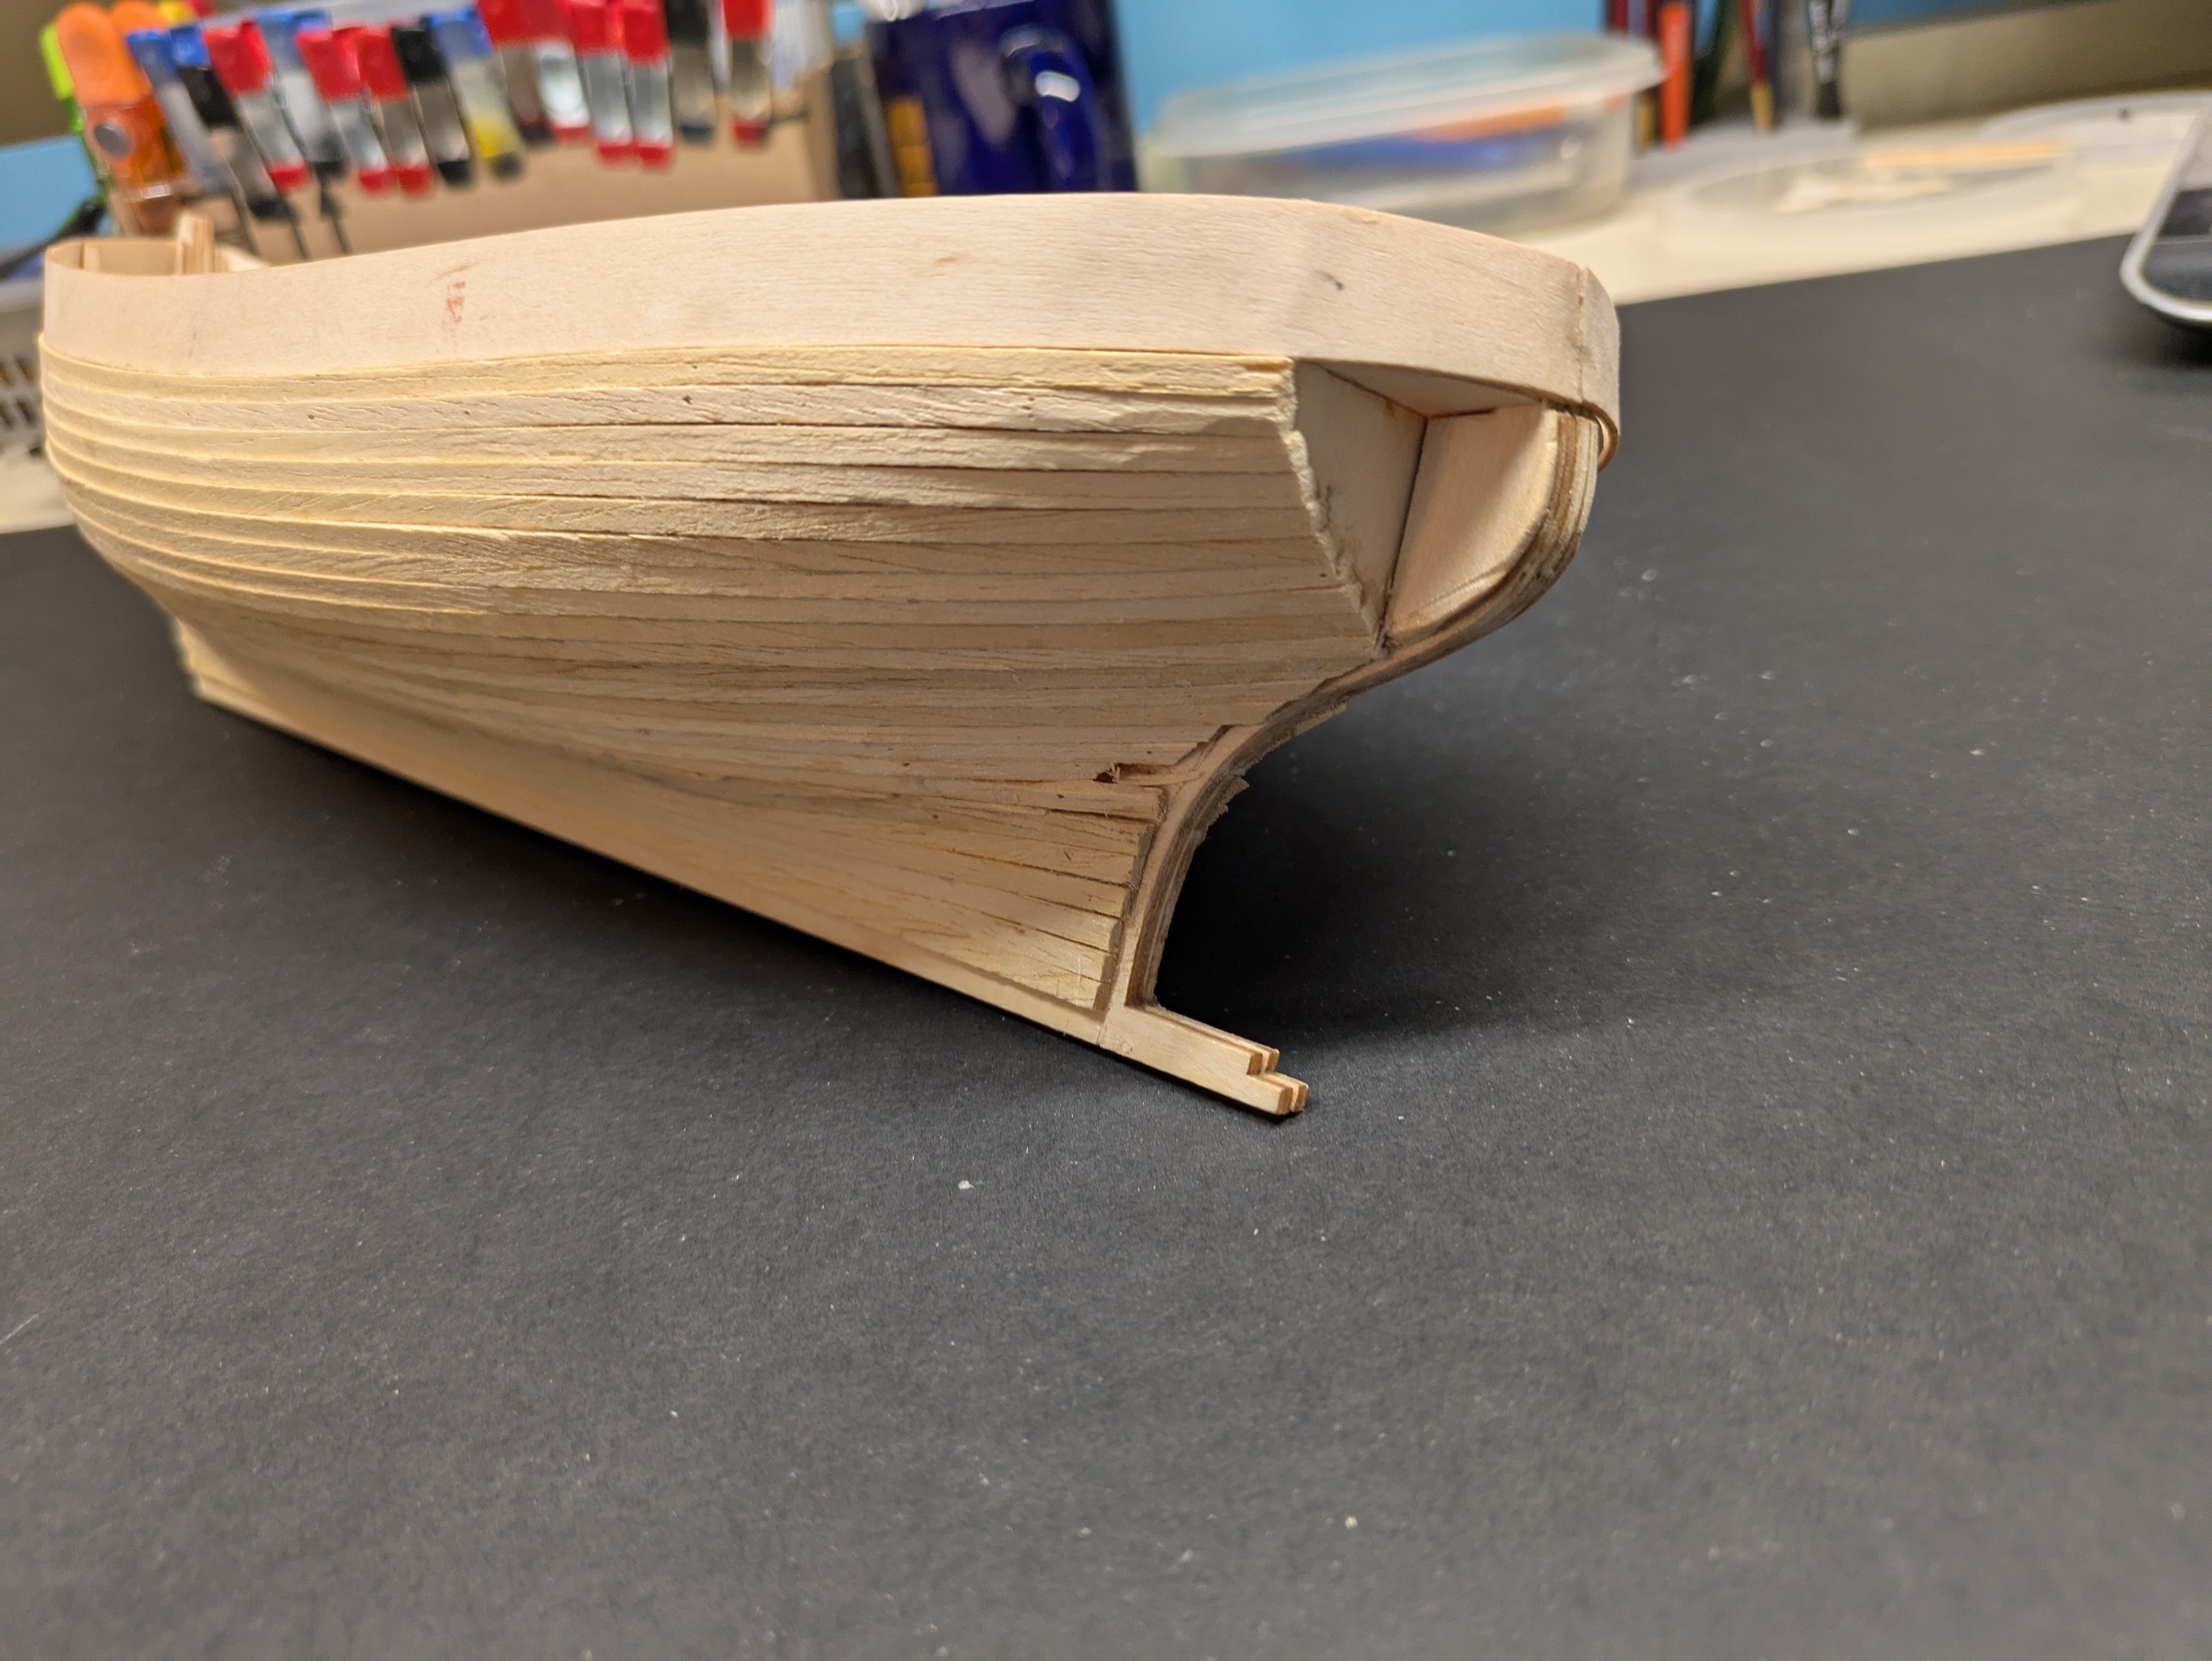
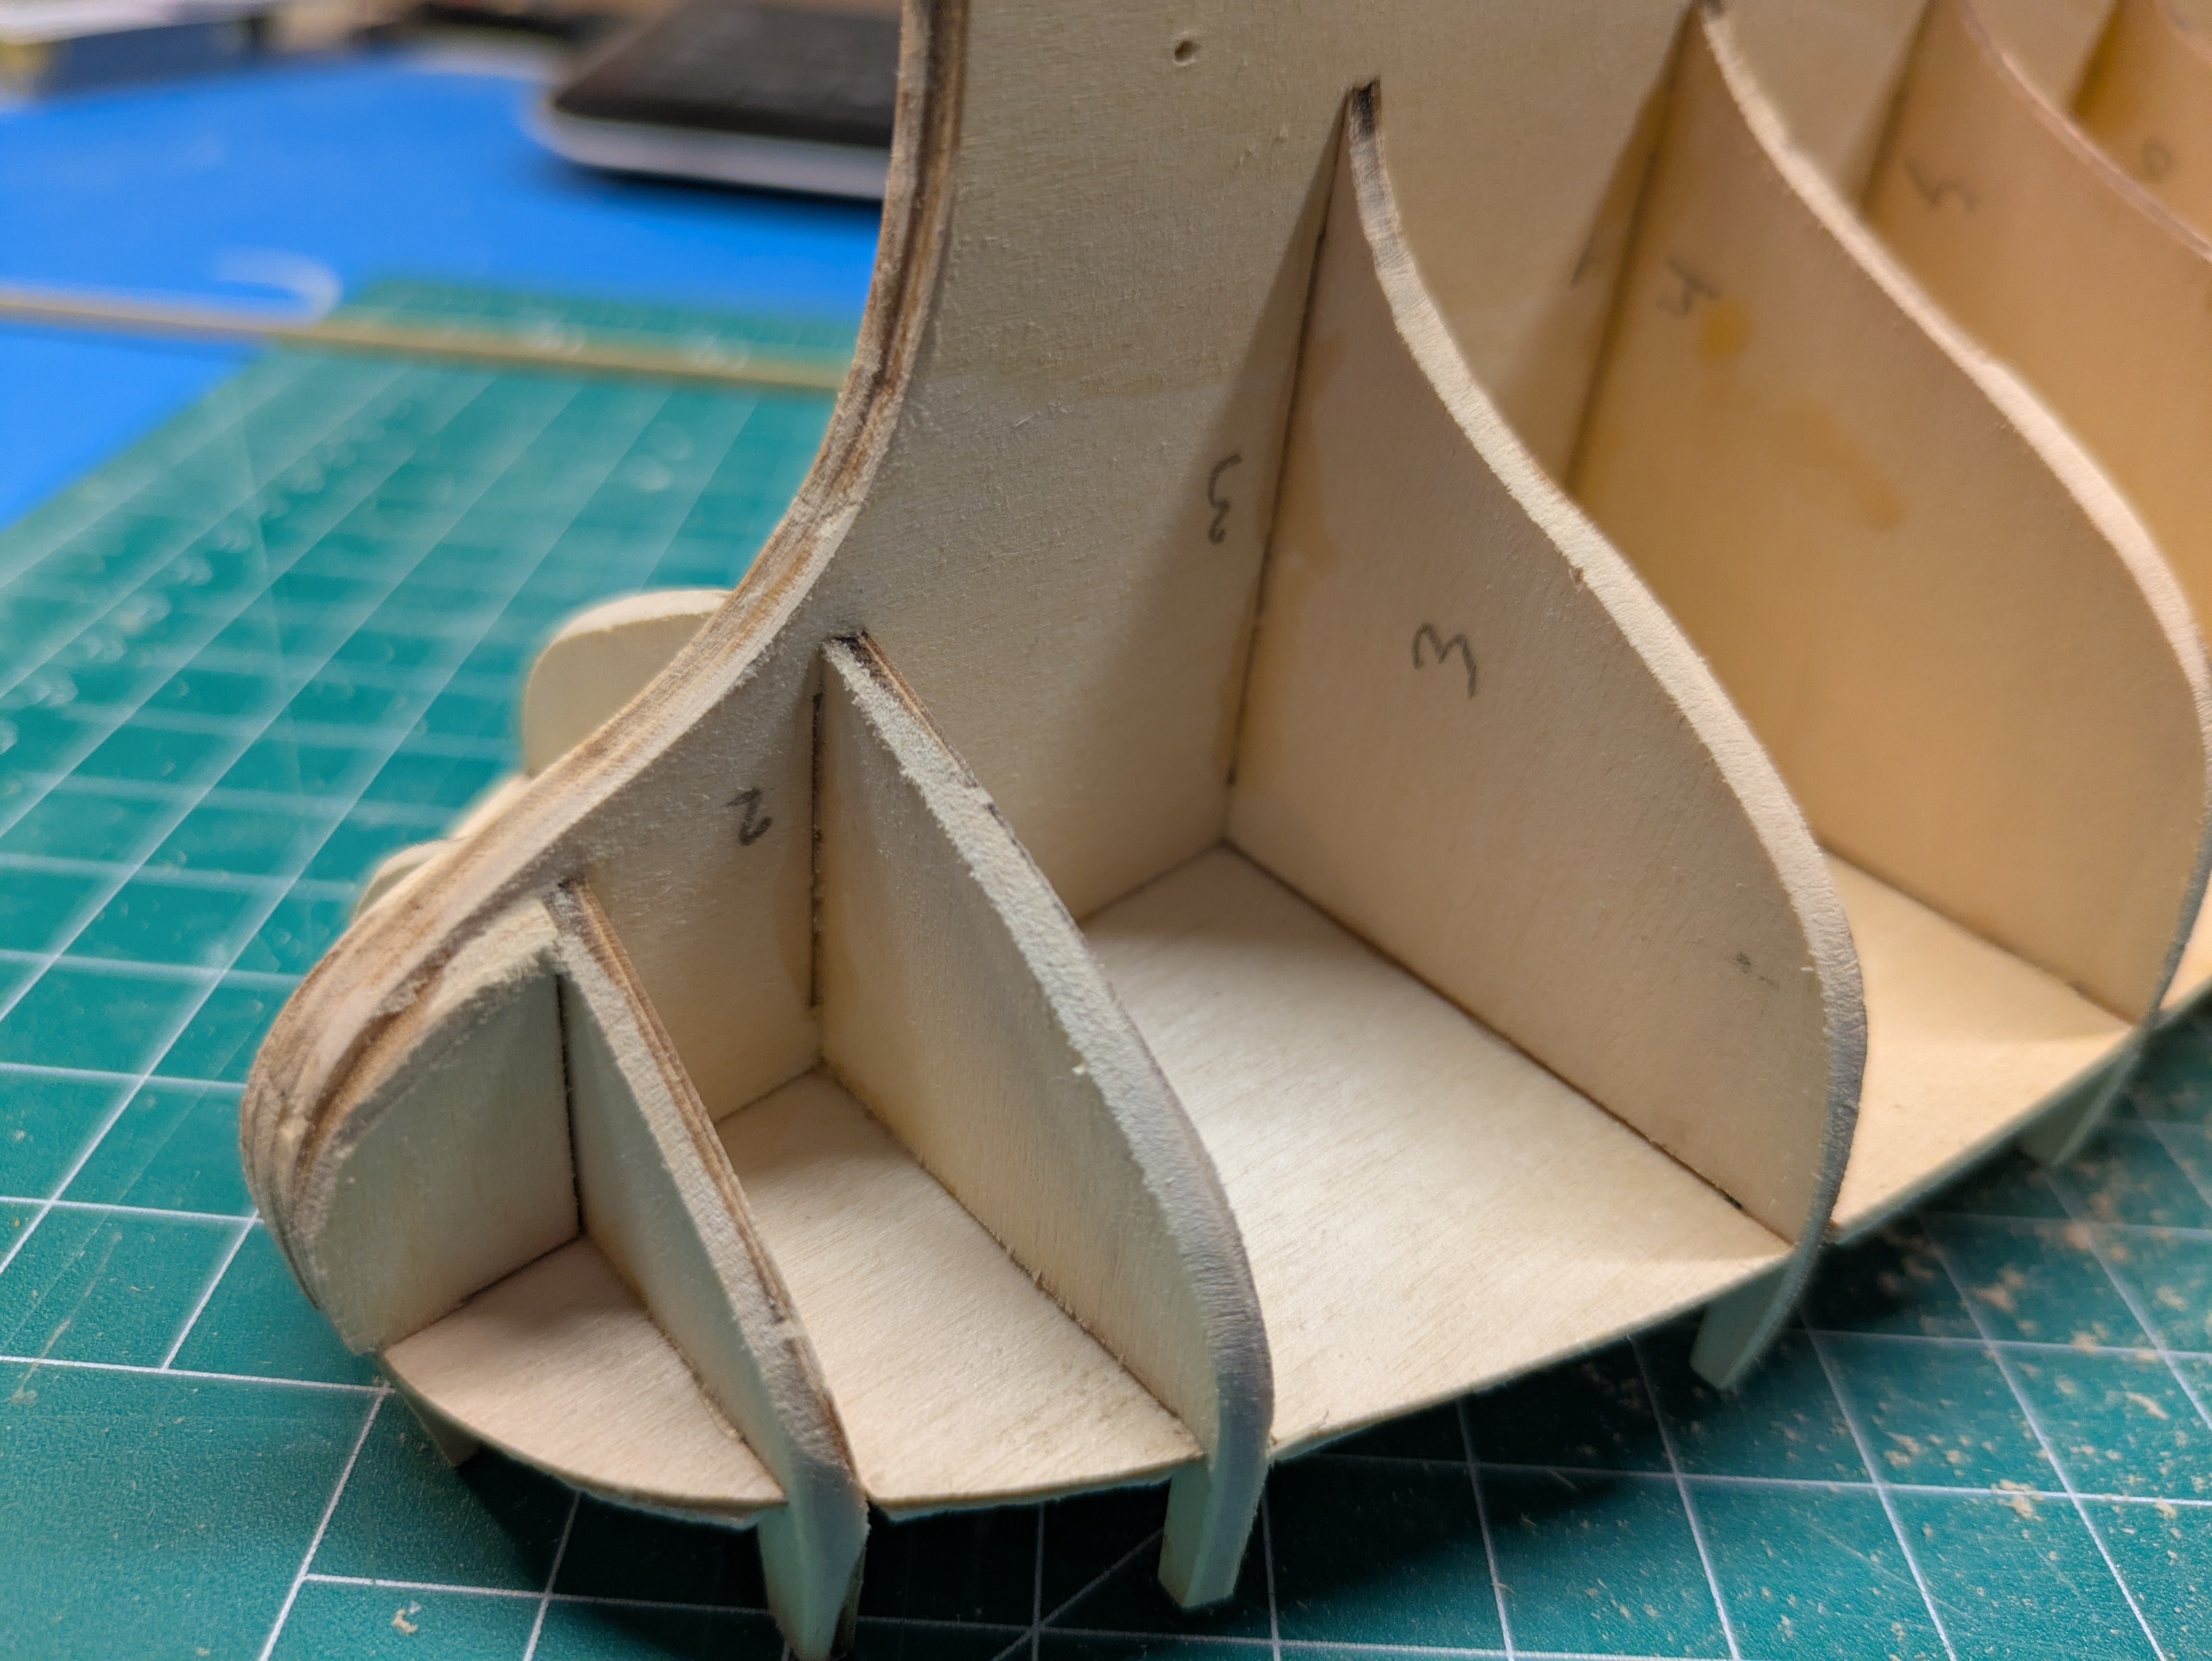
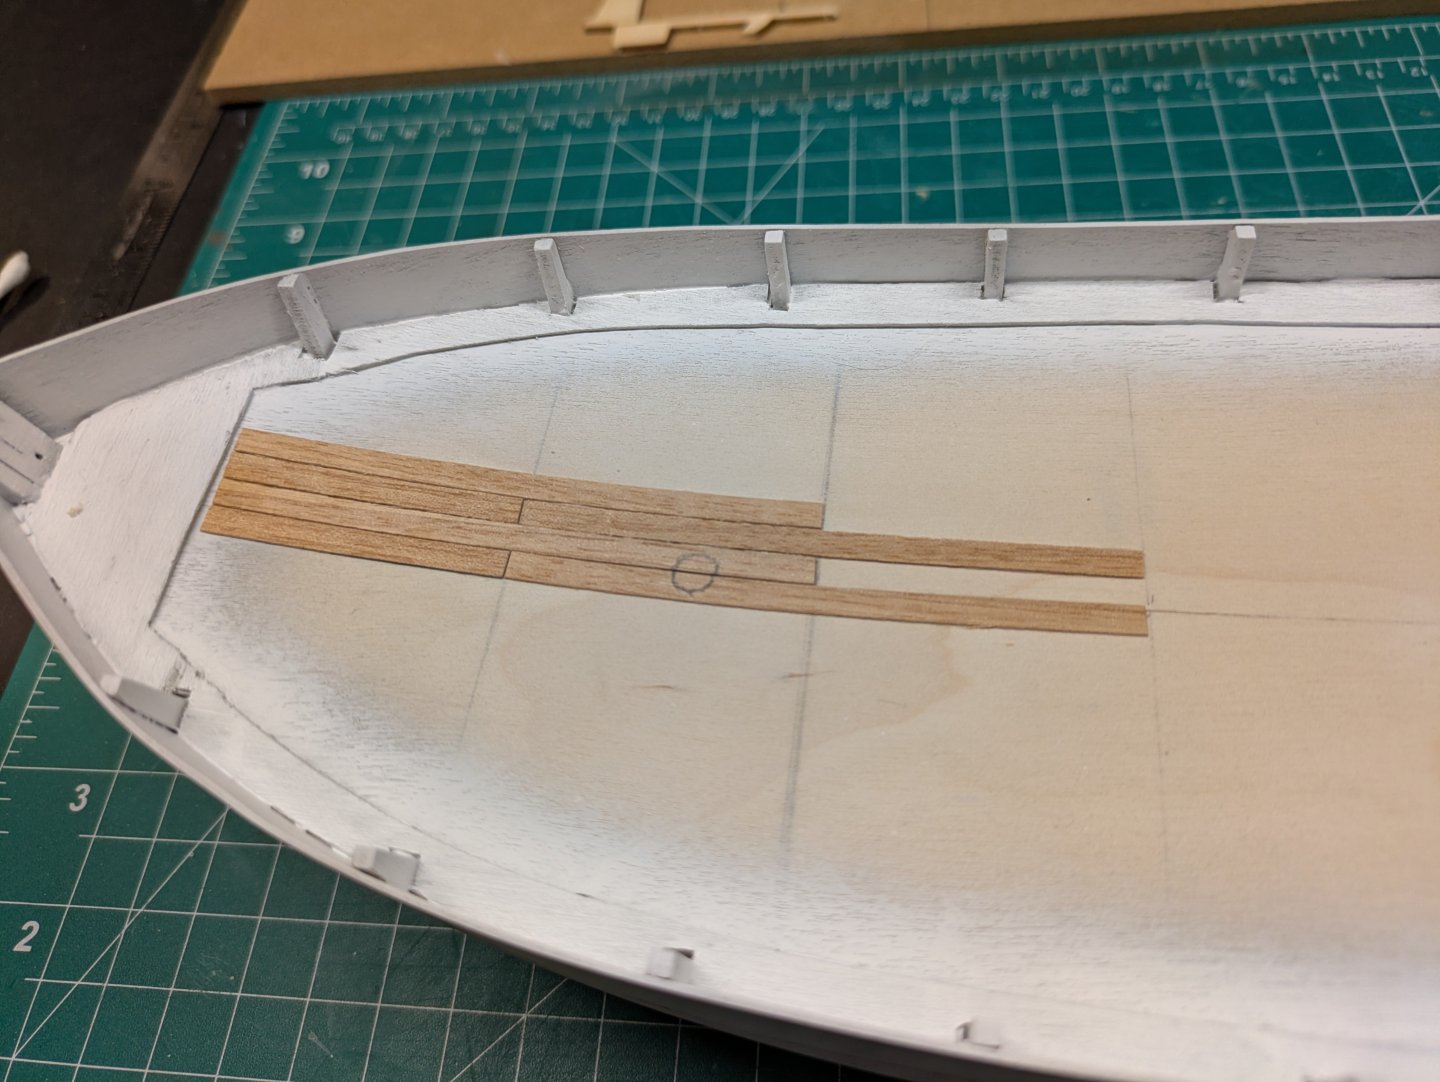
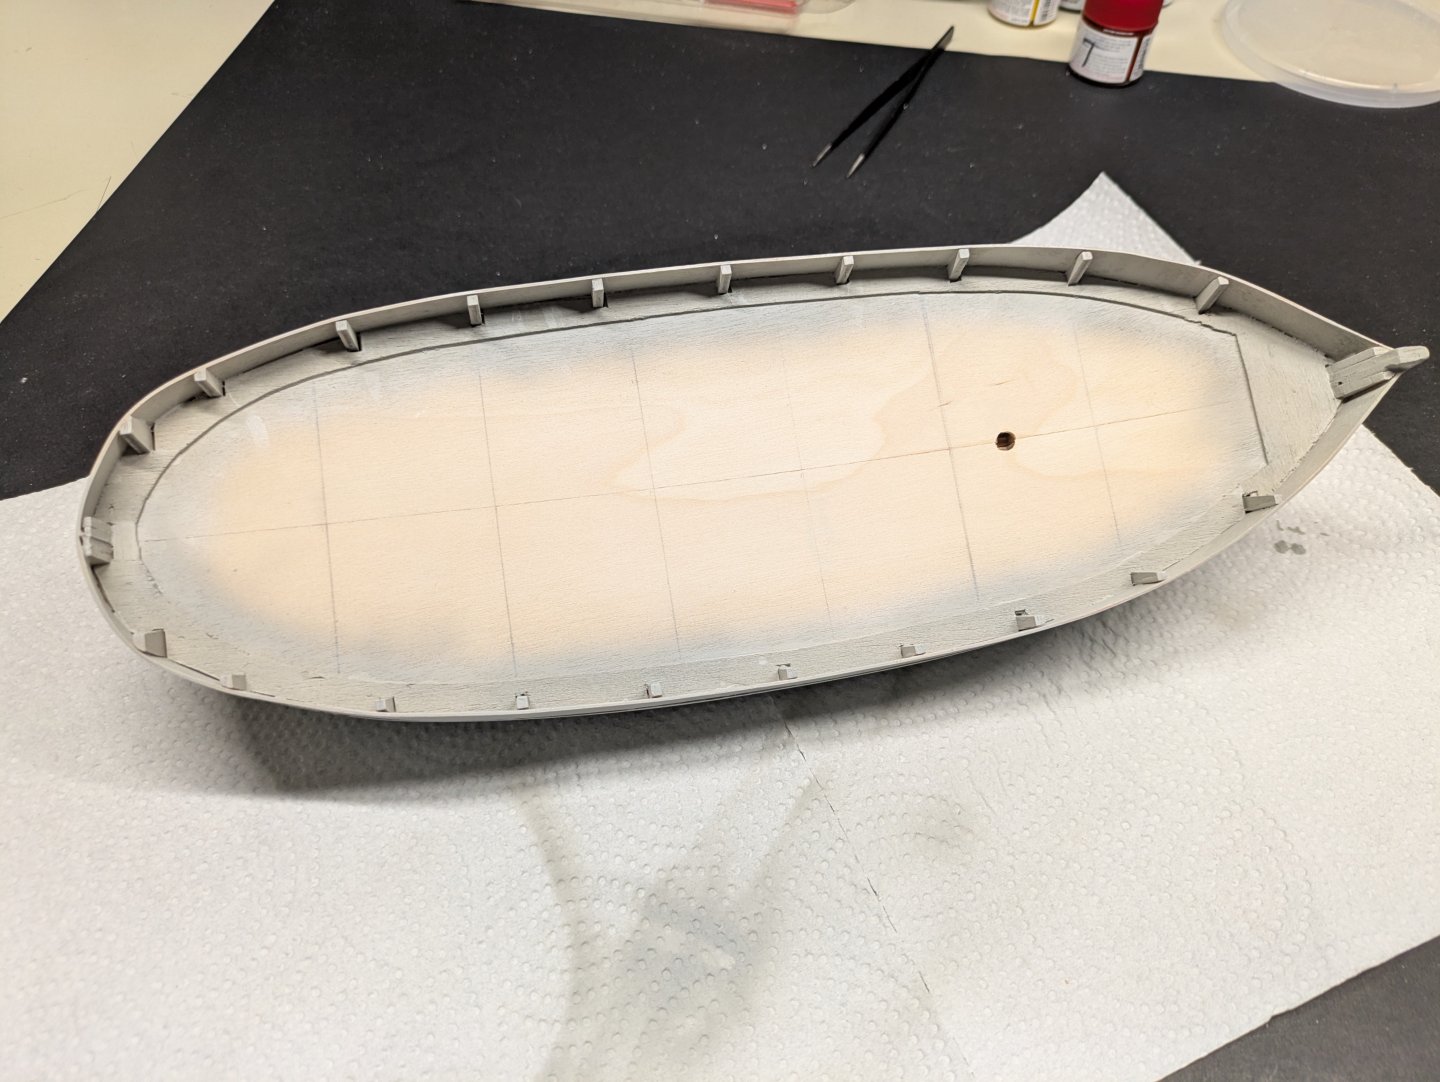
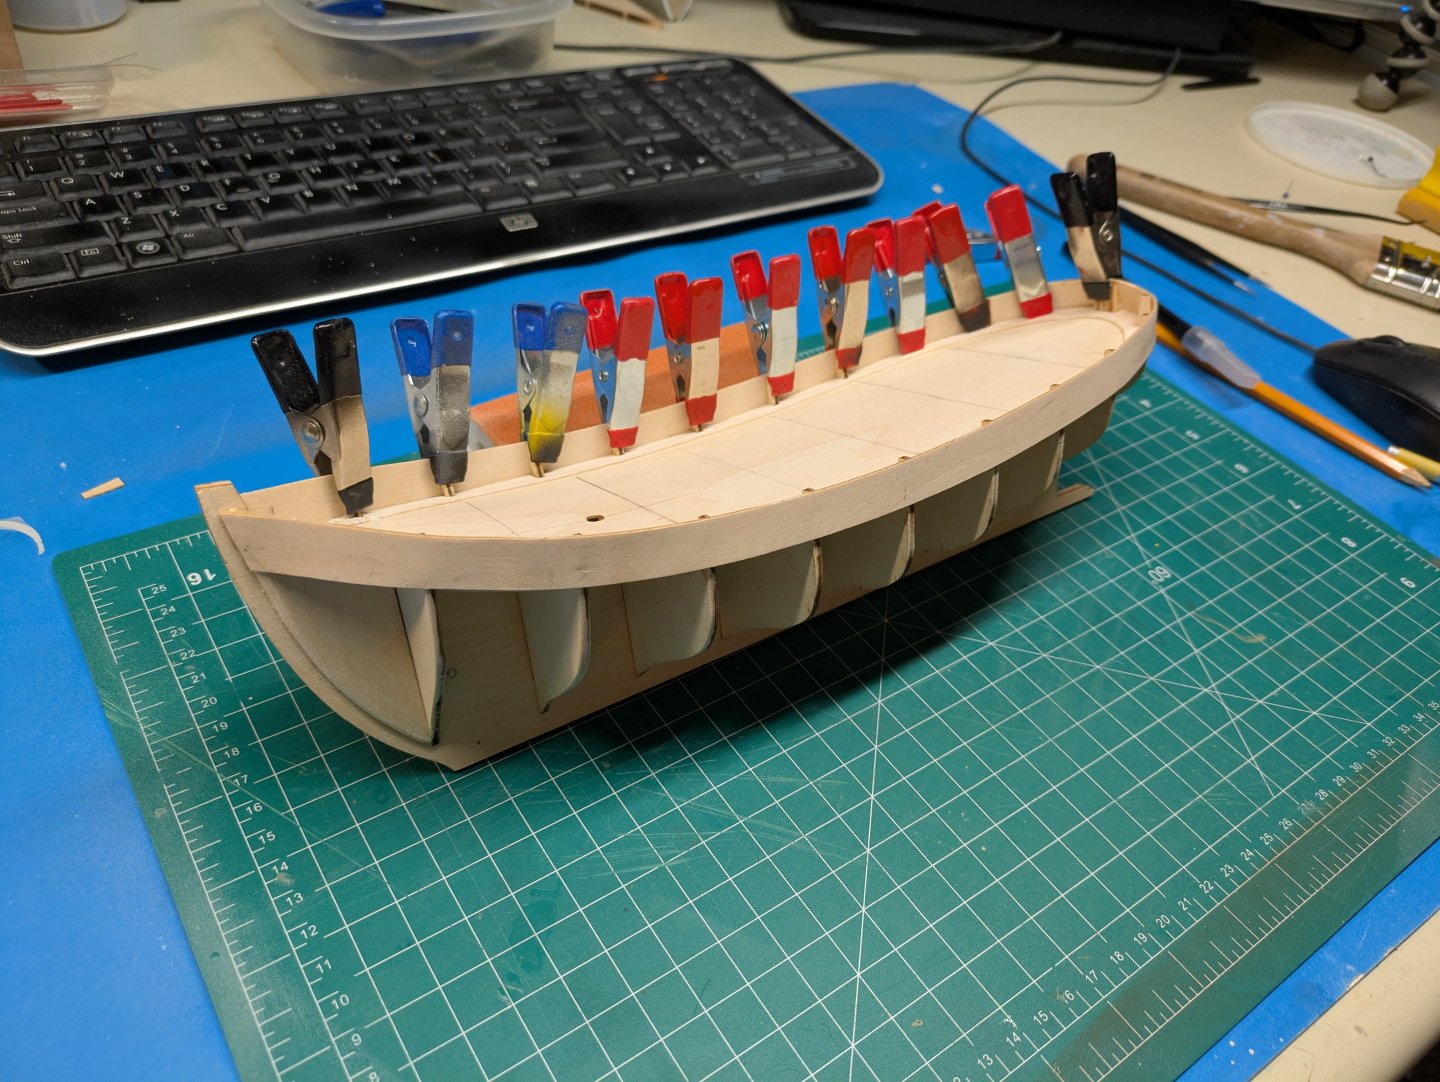
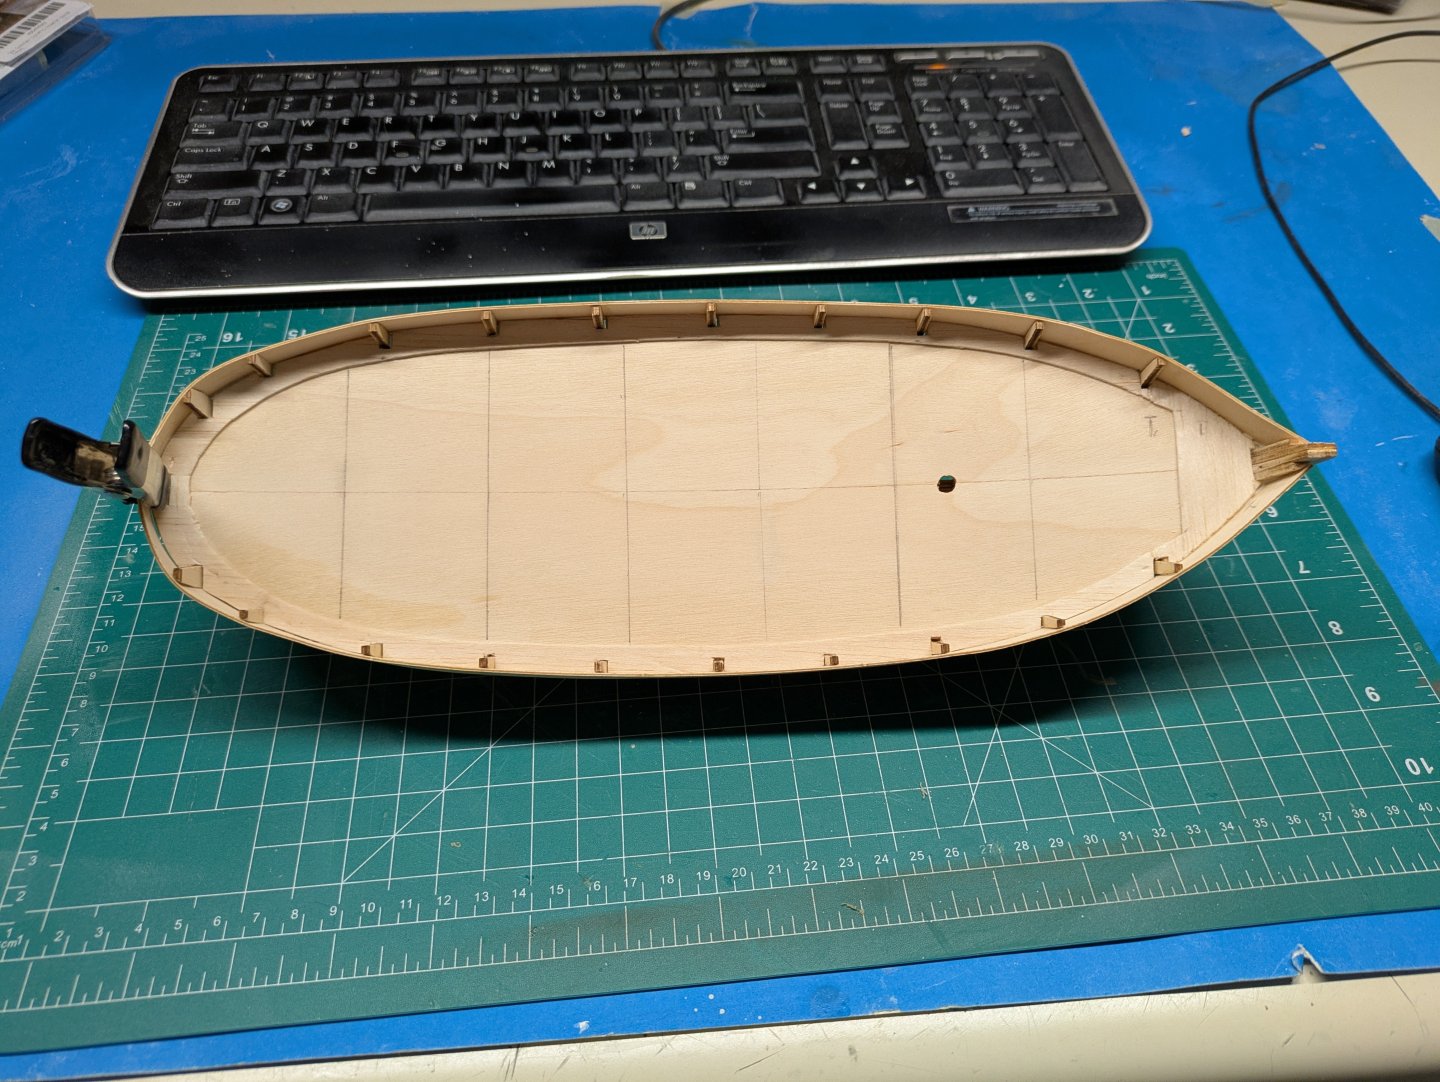
Finally some time to get back to this build. Got the ribs shaped for planking and got the strake in place. Looking forward to trying planking for the first time

-
Thanks Chris, still learning all the nautical terminology haha, old dog, new language
- 34 replies
-
- 2
-
-
- muscongus bay lobster smack
- Model Shipways
- (and 1 more)
-
There are indeed some really good ones out there but the problem I have is shipping from out Canada being sooooo expensive. Still learning best sources for fittings in Canada. In this case I have some ordered from Great Hobbies (a Canadian franchise) but the new wooden cleats are from Model Shipways, still very blocky looking but I don't mind shaping them and putting holes through them to put make them look more realistic. Same for some 3mm and 3.5mm blocks, from Model Expo but much nicer than the ones in the kit. Sometime I am ordering a big model from the states or elsewhere, will get a bunch of packets of ropes, blocks, cleats (all the little stuff) to make the shipping costs worthwhile. I know they consider these beginner kits but it would be nice to have quality fittings included. I have kept my rigging holes very small at this point and will only slowly make them bigger if I need to but so far it looks like everything will fit on the expo version of this kit. PS - I know that Expo and Shipways are the same company now but I guess it is old expo stock, half the stuff in my local store is marked one way or the other. I do think the newer shipway version of the Lobster Smack looks to be a nicer construction and parts but without having my hands on it, all I can go by is all the build logs. So similar yet so different.
- 34 replies
-
- 2
-
-
- muscongus bay lobster smack
- Model Shipways
- (and 1 more)