
HOLIDAY DONATION DRIVE - SUPPORT MSW - DO YOUR PART TO KEEP THIS GREAT FORUM GOING! (Only 68 donations so far out of 49,000 members - Can we at least get 100? C'mon guys!)
×

blackjack40
-
Posts
65 -
Joined
-
Last visited
Content Type
Profiles
Forums
Gallery
Events
Everything posted by blackjack40
-
 so, basswood and boxwood.... a few weeks back I ran out of kit provided 1/8 x 1/16 strips used to plank and build just about everything on this kit. I though, Its a model expo kit I'll order from them and I did... didn't really pay attention to the type of wood and frankly I didn't know there was a difference between boxwood and basswood. so I got basswood... When it arrived it seemed different but I didn't give it much thought... that is until I had to replace a board on the deck, and it become very apparent and suddenly all the little frustrations I have had over the last few weeks came into clarity... I hate basswood... never ever shall I ever order basswood again... box wood is on the way and the deck will soon be back what it should be. -Joe Just an army dude that hates basswood
 -
Absolutely incredible work! Definitely an inspiration for me and outstanding source of knowledge as I continue my build. -Joe Just am Army dude that likes ships
- 1,306 replies
-
- 8
-

-
- syren
- model shipways
- (and 1 more)
-
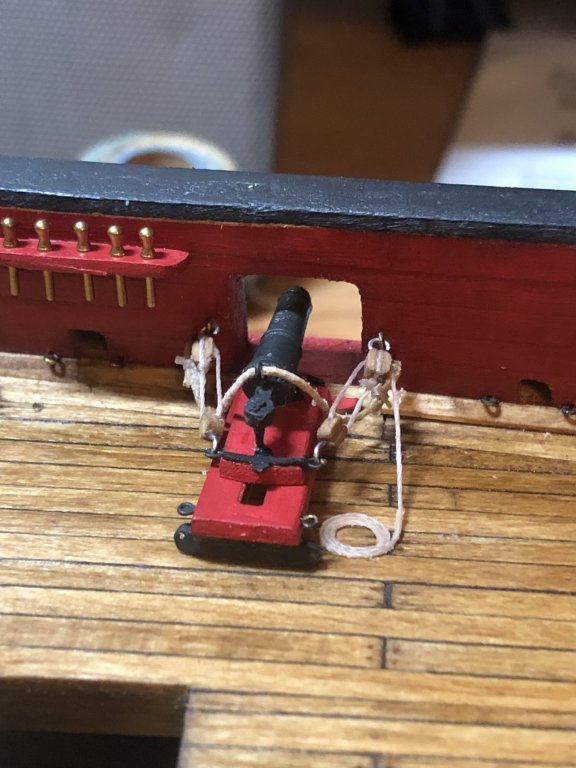
Hey, started rigging the Carronades tonight. I spent a lot of time figuring this out tonight (still have a ways to go) I think I’m on the right track, but I would love to hear any advice anyone has for how to improve this before I move on to the rest of the guns. -Joe Just am Army dude that likes ships.
-
I painted them, I gave serious consideration to using chemical to blacken them but ultimately decided I have paint already and I’ve never tried chemically Blacken before. Not sure that was the right call for a lot of the detail work like eye bolts but for larger pieces like the cannon tubes I think they look fine.
-
Team, very excited to share my progress. Since my last update I completed the head rails, Cannons, exterior details and started on the internal details. Plenty of lessons along the way but I'm very happy with it so far. Check out the photos below! Quarter Badges Carronades! (I added elevation screws after this photo and they have not been glued or rigged yet) Long Guns Head Rails. Some belay pins placed Head Rails with the Bumpkins and Figure Head Thanks for taking a look! I'm open to any feedback you have. I'm learning along through out this build and thoroughly enjoying it! -Joe Just an army dude that likes ships
-
I am very impressed with your build, absolutely fantastic. I will be sure to reference your log as I build mine! I wish I had seen it sooner as it would have helped me avoid many of the mistakes I have made up to this point. Great work!
- 242 replies
-
- 1
-
-
- syren
- model shipways
- (and 1 more)
-
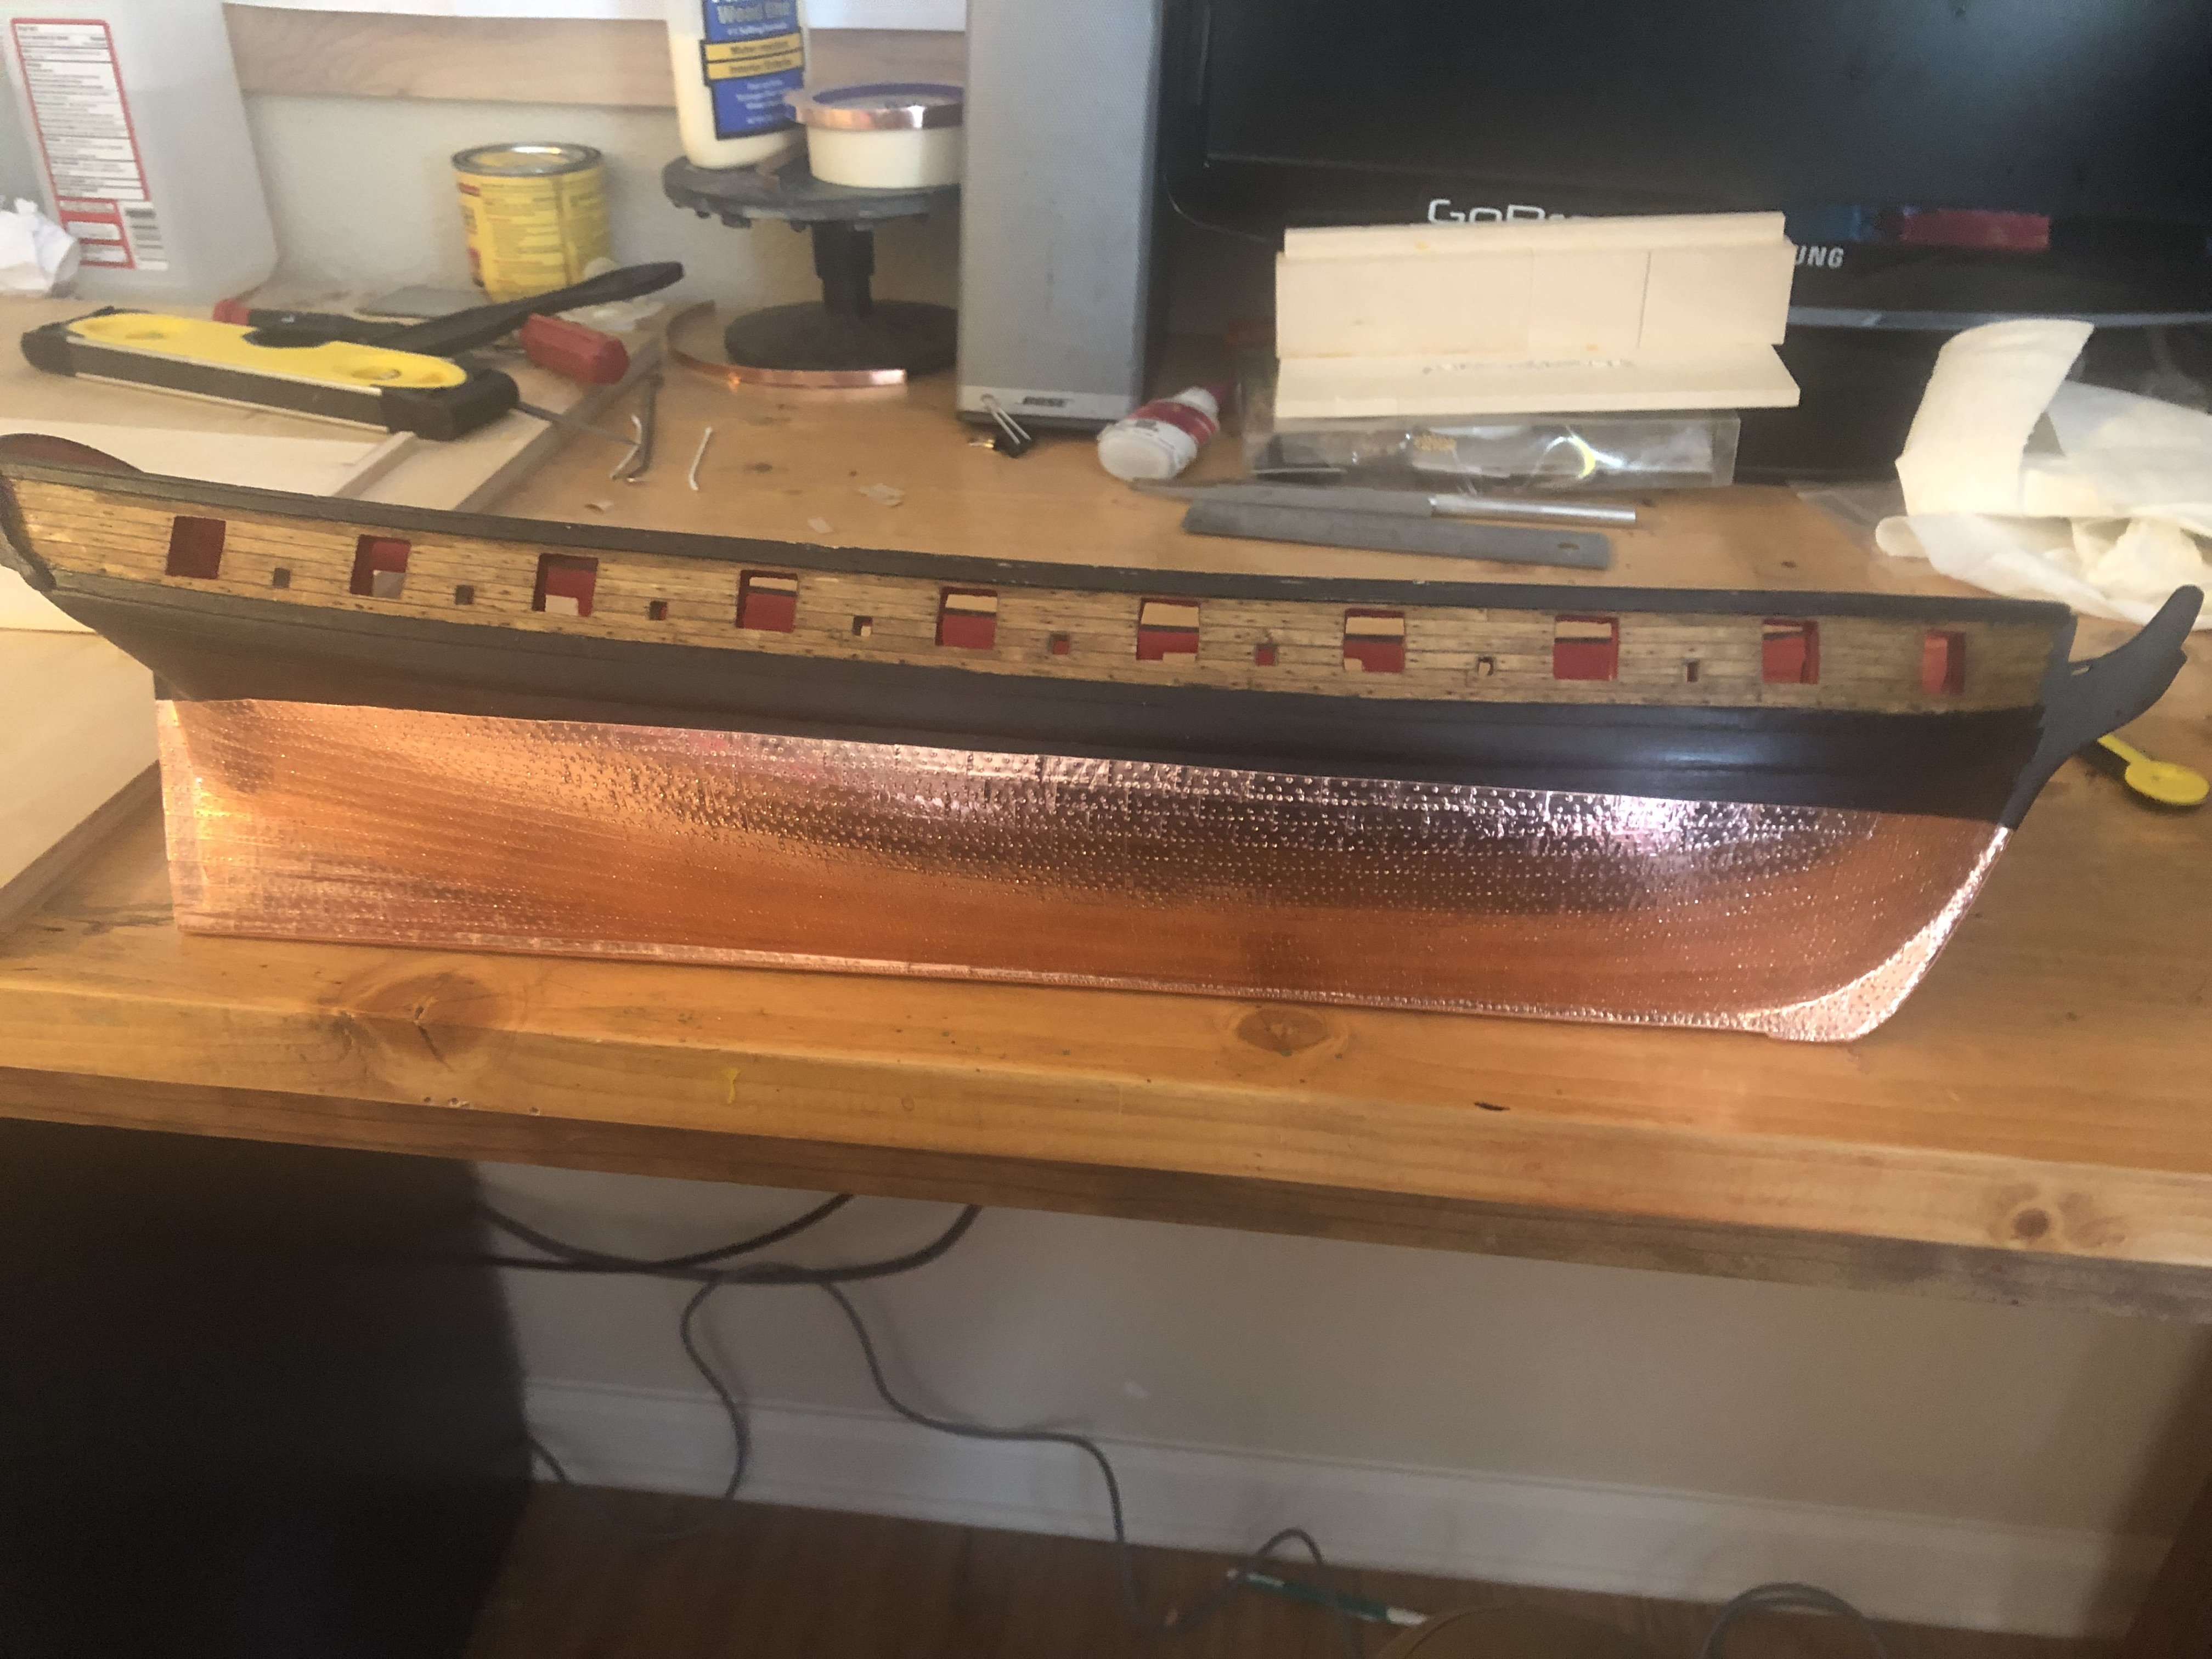
The next step in this build was coppering the hull. This part was equal parts rewarding and overwhelming. The first step, build and test the press. I wasn't really sure if I like this, they imprints seamed to large for individual rivets and in fact, they are. However, when taken in the whole, they actually look really good, and so I started the process. Dear lord, this was a lot of copper plates.... But four weeks of work, and its complete! and with that, you're all caught up. The next step for me is the hull details. I'm very excited to see where this thing takes me. It's been a huge learning experience so far and I expect I will have plenty more opportunities to learn before I finish this one. -Joe Just an army dude that likes ships
-
The next steps I completed the stern, planked the interior and built the deck. I don't have a ton of pictures of this process and It was fairly uneventful. I had some issues determine a water line, this was a struggle for a while. I ended up painted the entire hull black until such a time as I can successfully determine the water line (I figured it out later) I really enjoyed the process of decking the ship. This went very smooth thou, in hind sight, I should have done an step with the planks instead of the pattern I ended up with. Regardless, I like the way it turned out and I'm not ripping this one up. In the finial step, I stained it using the golden oak stain. -Joe Just an army dude that likes ships
-
Hull planking for some one that hasn't done it before can be daunting. I had previously completed the 18th century long boat and had just had a major victory in correcting my bulwark planking so I thought I knew what I was doing... yea, I was wrong. Thankfully, I did approach this with much more caution then previous portions so after a lot of patience, research and the obligatory steam, shape, dry fit, curse, steam, shape dry fit place the hull was completed fairly quickly. I was initially concerned about the rear of the ship... but following some trimming, I cleaned up nicely Again, inexperience nearly got me, I had planked only one side of the hull! some folks pointed out that I was in danger of creating a twist and that I need to finish the other side with a sense of urgency. It took me about two weeks to do the first side, I did the second in about 4 days. Thanks army for leave just happening to line up with this. Some good sanding and the hull looked solid. I finally had positive momentum. -Joe Just an army dude that likes ships
-
Thankfully, if you follow the instructions and use the right planks, you can save it even with it as far gone as it was above. Below is my second attempt and as you can see, it turned out much better. Every now and then a bold move pays off. You may notice some refinements to the gun ports. During this part, I started being very concerned about measurements and ended up adjusting several gun ports so the size was consistent. Again making up for mistakes due to inexperience. Finally I was ready to start the hull planking. (don't worry I adjusted the coloring later, it looks better now). -Joe Just an army dude that likes ships
-
Once all the framing was completed I started planking the hull following the instructions. Again, inexperience took its toll. I had nearly completed the exterior planking with some nasty planking meeting the front. I had mixed emotions at this point given the front end. But a larger concern as the top. According to the plan I had full plank left but I was out of room by about 1/16 to 1/32 of an inch. I had no idea what had gone wrong so I took a long shot and contacted Chuck via facebook for advice. He quickly pointed out my error, I had used the wrong size board for my first plank throwing everything off. It was time for a bold decision that would either ruin the model or save it... rip off the planks and start over. I was nearly in tears at this point... -Joe Just an army dude that likes ships
-
Team, I've been working on the Brig Syren for a little over a year now so I have a bit to share to bring everyone up to speed. I will break this into to several post to chronicle it from the start up to where I am now. April of 2018 I started the ship by carving the rabbit, attaching the frames and started framing our the gun ports. I immediately ran into issues here due to inexperience, I initially used CA glue extensively because it dried fast and allowed for quick progress, this also allowed for zero error which unfortunately I had plenty of. After finishing one side and about half way through the second, I was thoroughly frustrated and decided to put it down and walked away for nearly 8 months and a move across the county. This last January, I picked it back up and decided to see if I could salvage what I had. I used wood glue this time and was able to quickly finish the framing. The stern framing was uneventful thankfully. I'm sure you all can appreciate early frustration. This nearly killed the model. Thankfully, it did not. -Joe Just a army dude that likes ships
