HOLIDAY DONATION DRIVE - SUPPORT MSW - DO YOUR PART TO KEEP THIS GREAT FORUM GOING! (Only 53 donations so far out of 49,000 members - C'mon guys!)
×


Rollingreen
-
Posts
23 -
Joined
-
Last visited
-
 dkuehn reacted to a post in a topic:
18th Century Armed Longboat by Rollingreen - FINISHED - Model Shipways - 1/24 - First wood build
dkuehn reacted to a post in a topic:
18th Century Armed Longboat by Rollingreen - FINISHED - Model Shipways - 1/24 - First wood build
-
 Ryland Craze reacted to a post in a topic:
18th Century Armed Longboat by Rollingreen - FINISHED - Model Shipways - 1/24 - First wood build
Ryland Craze reacted to a post in a topic:
18th Century Armed Longboat by Rollingreen - FINISHED - Model Shipways - 1/24 - First wood build
-
Ryland Craze reacted to a post in a topic:
18th Century Armed Longboat by Rollingreen - FINISHED - Model Shipways - 1/24 - First wood build
-
Ronald-V reacted to a post in a topic:
18th Century Armed Longboat by Rollingreen - FINISHED - Model Shipways - 1/24 - First wood build
-
Ronald-V reacted to a post in a topic:
18th Century Armed Longboat by Rollingreen - FINISHED - Model Shipways - 1/24 - First wood build
-
Knocklouder reacted to a post in a topic:
18th Century Armed Longboat by Rollingreen - FINISHED - Model Shipways - 1/24 - First wood build
-
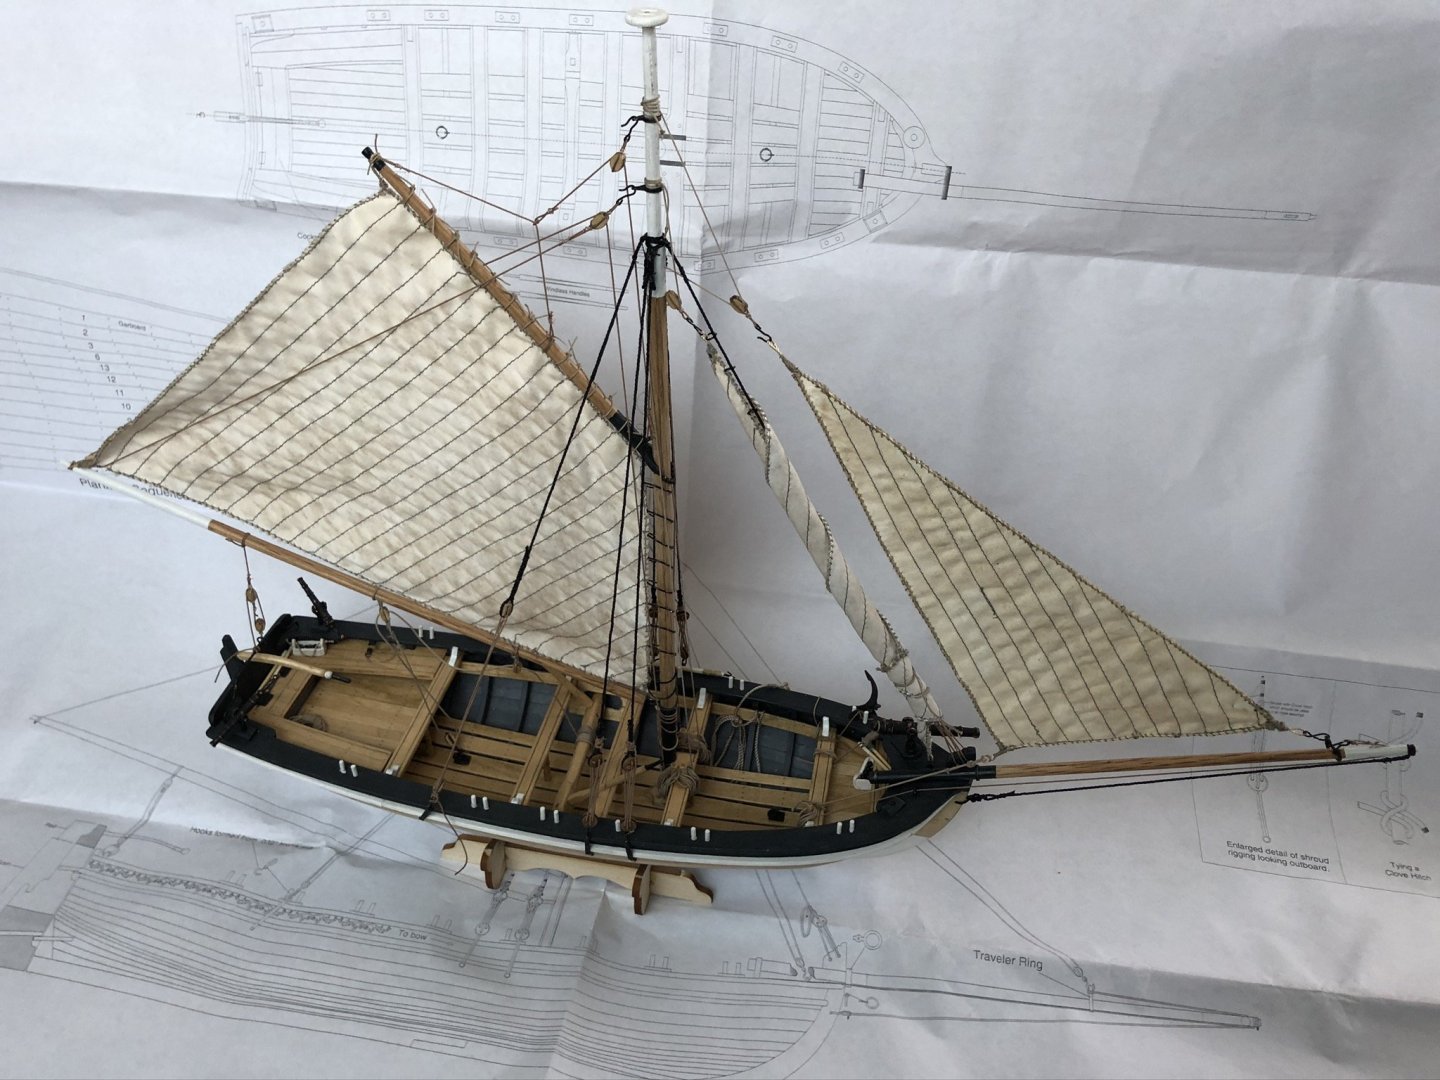
Here are some pics of the completed boat. I was very happy with the final result. Overall I think this is great kit. Had a few minor issues, but oh well. Thanks to everyone who followed, and apologies again for delay in posting the final steps.


- 23 replies
-
- 4
-
-
-
- 18th Century Armed Longboat
- Model Shipways
- (and 2 more)
-
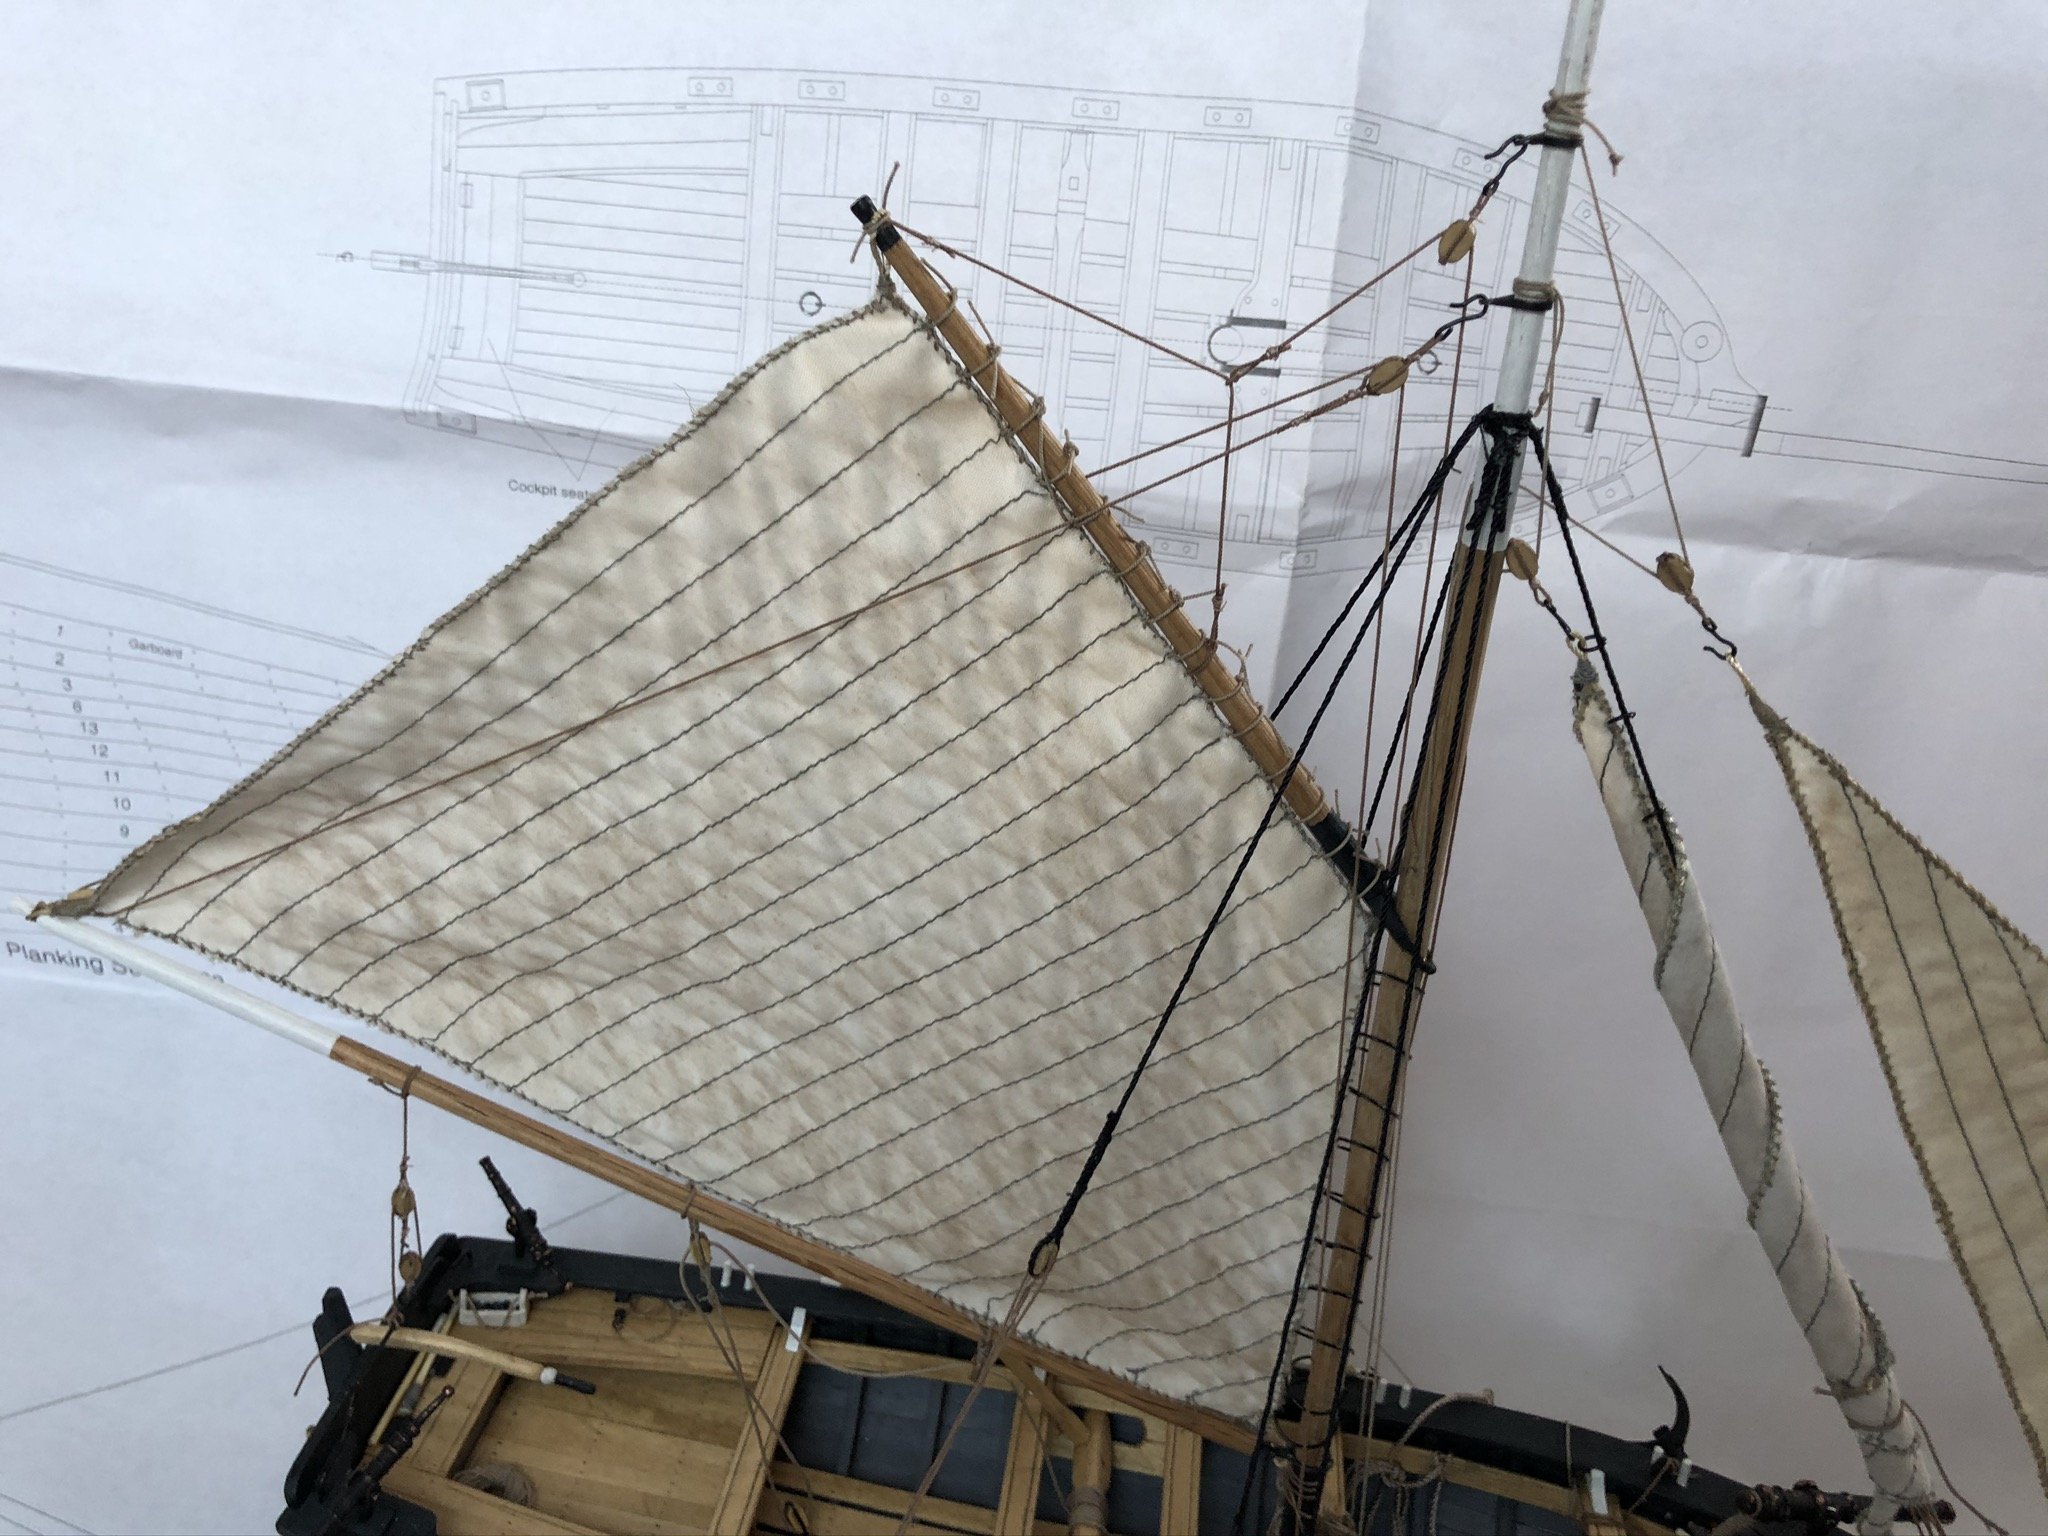
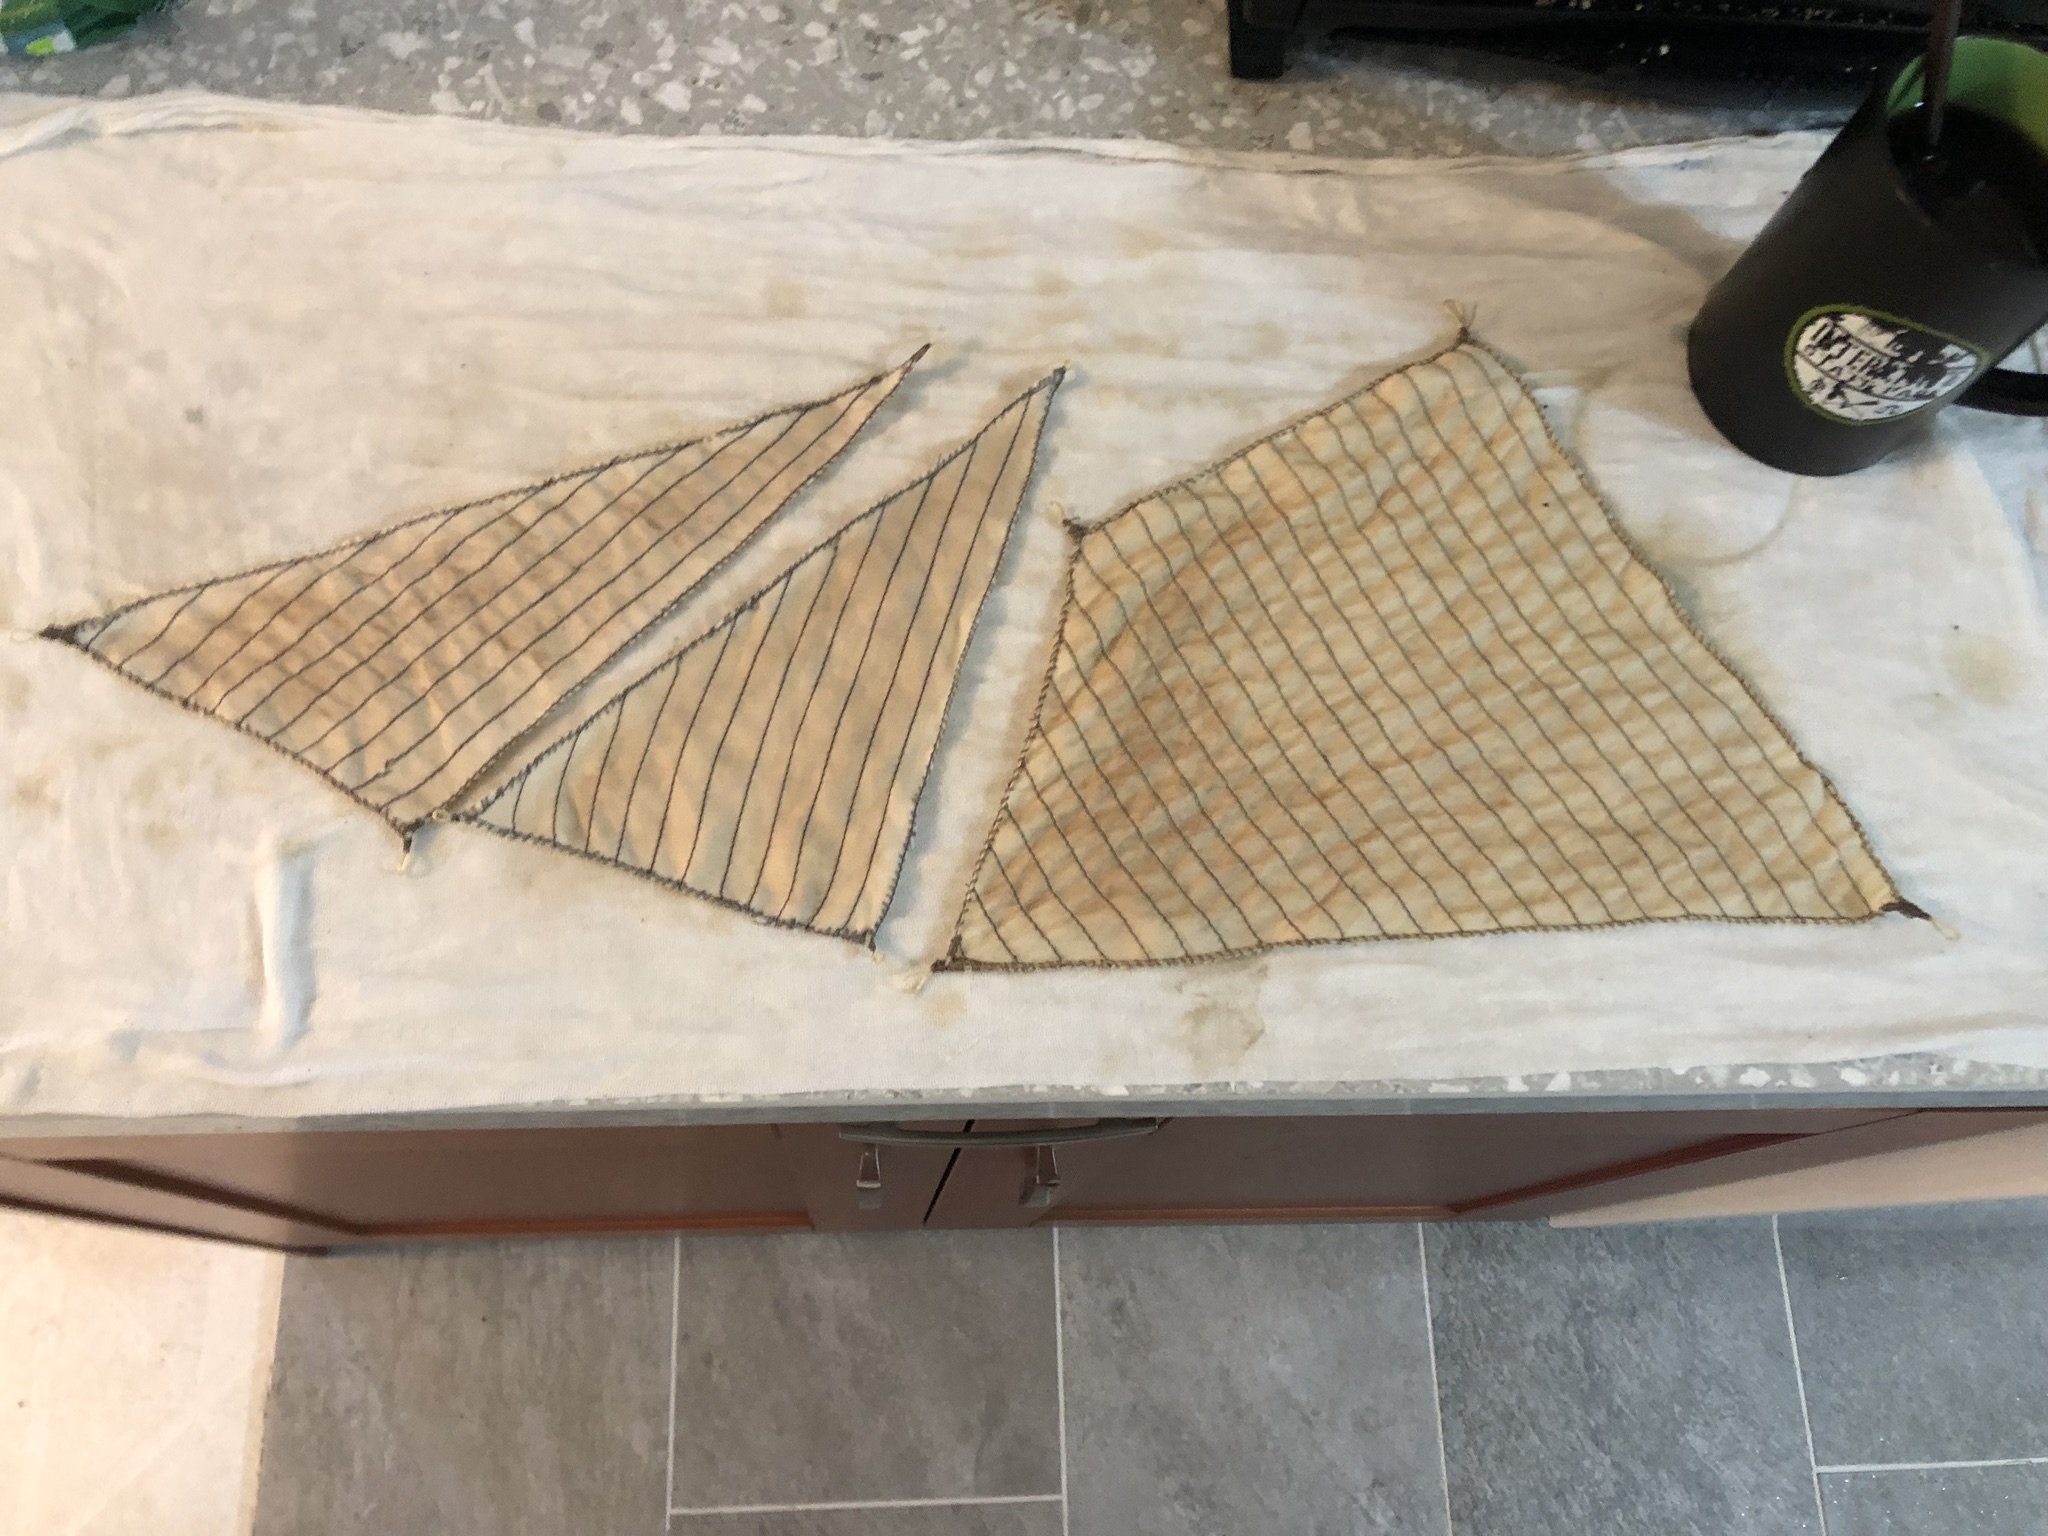
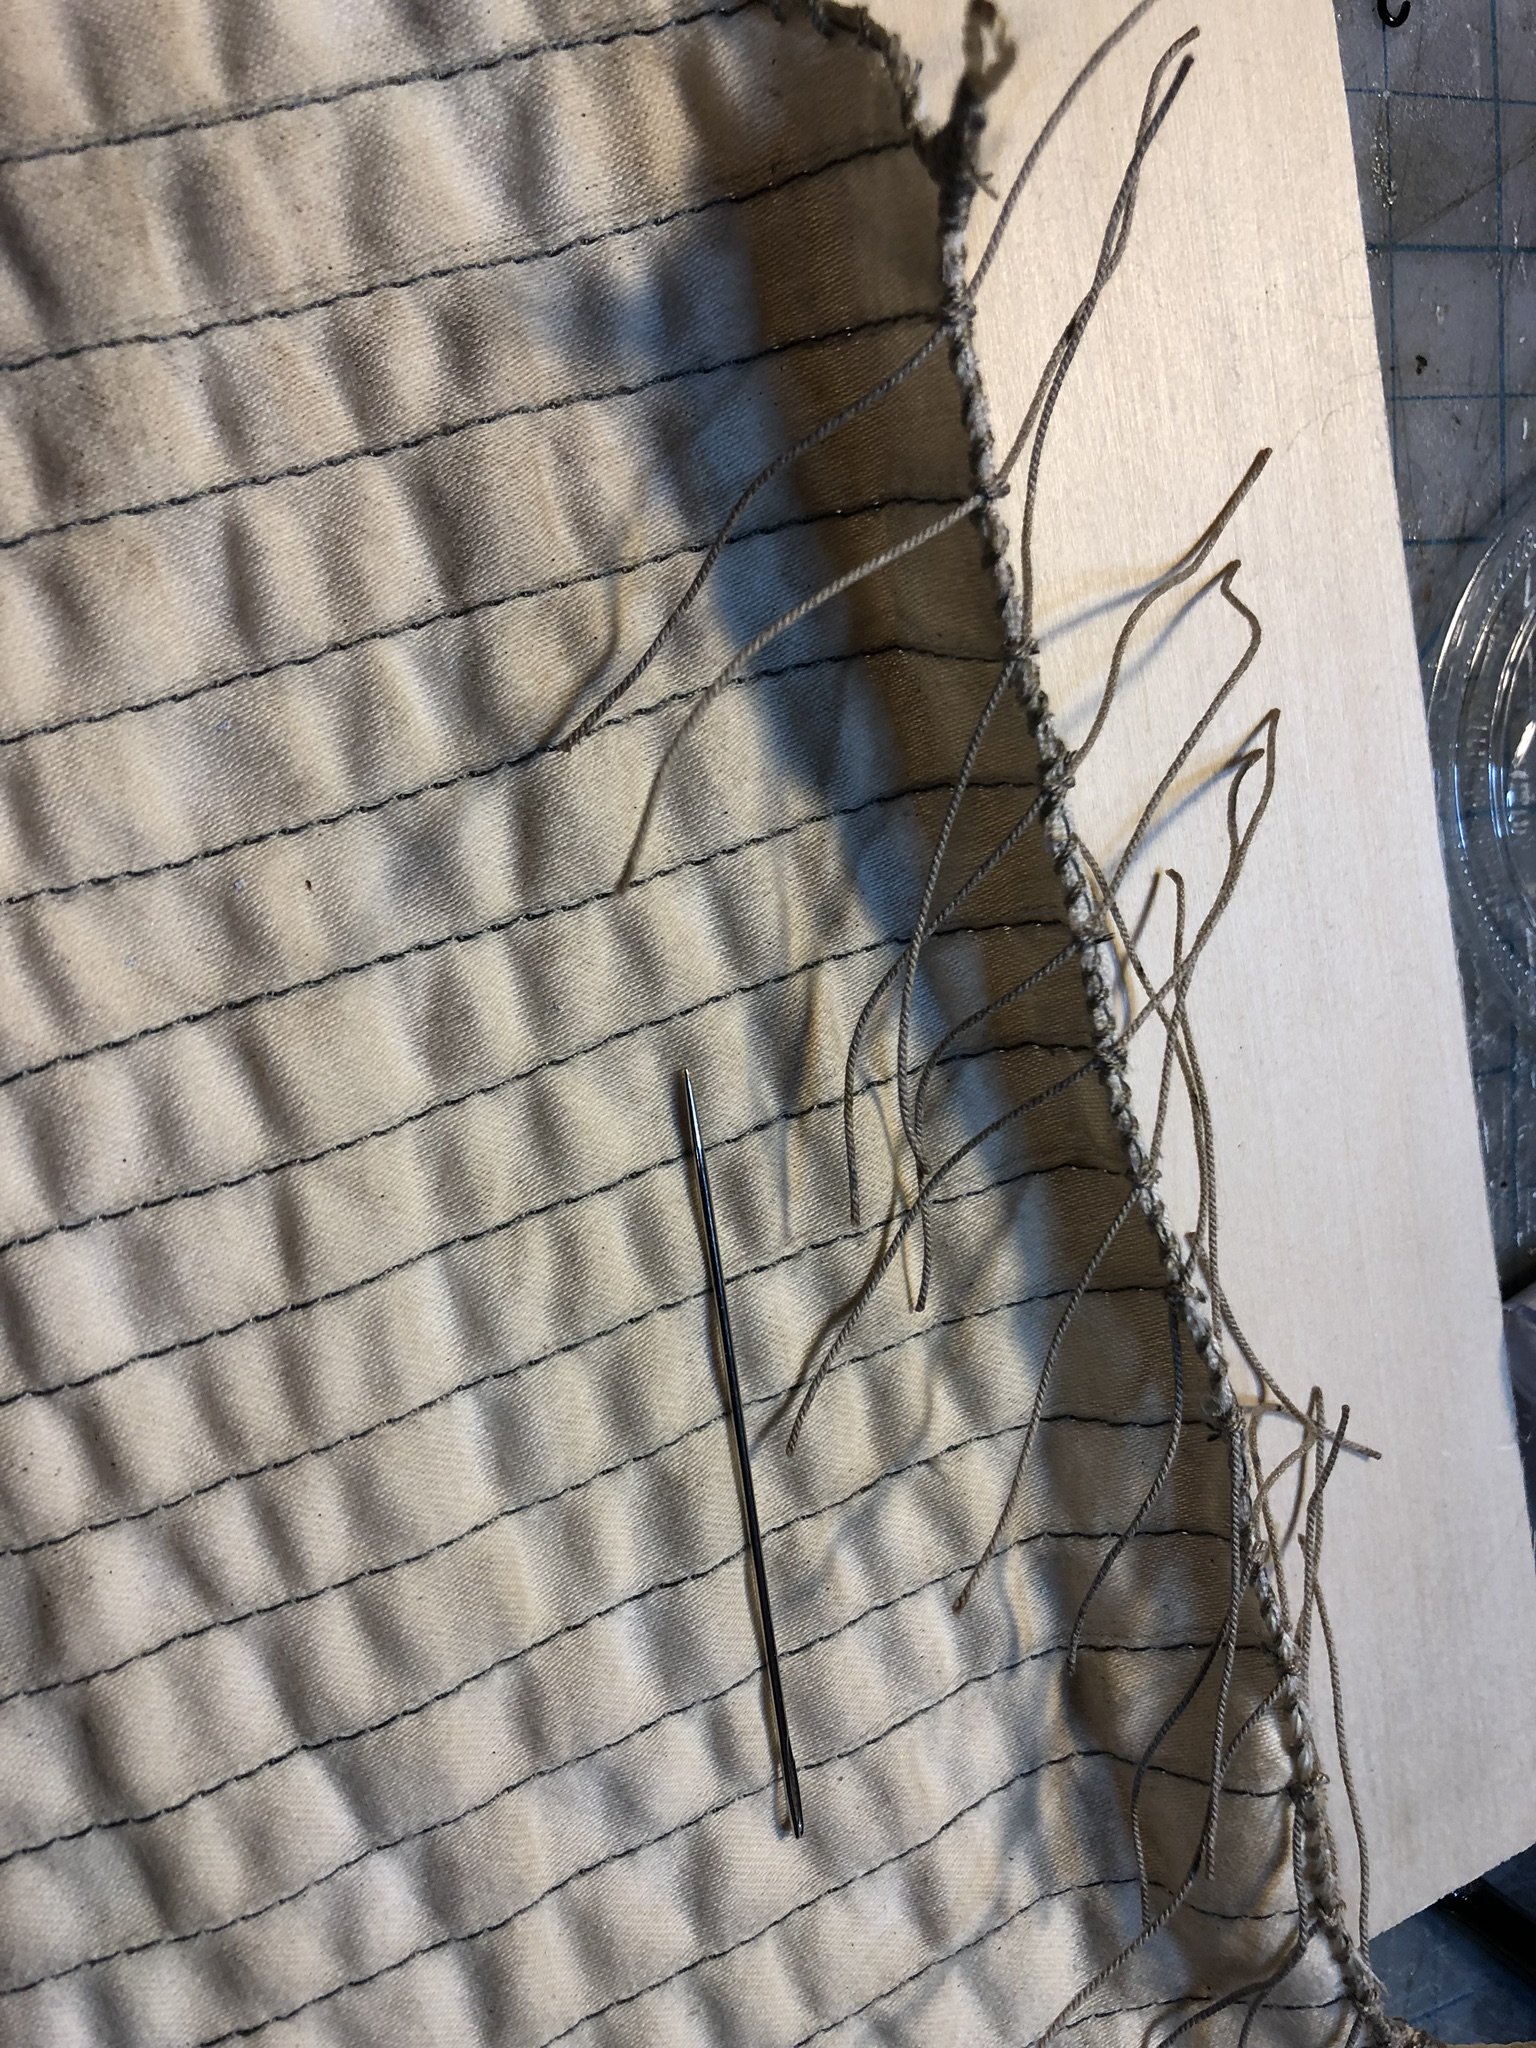
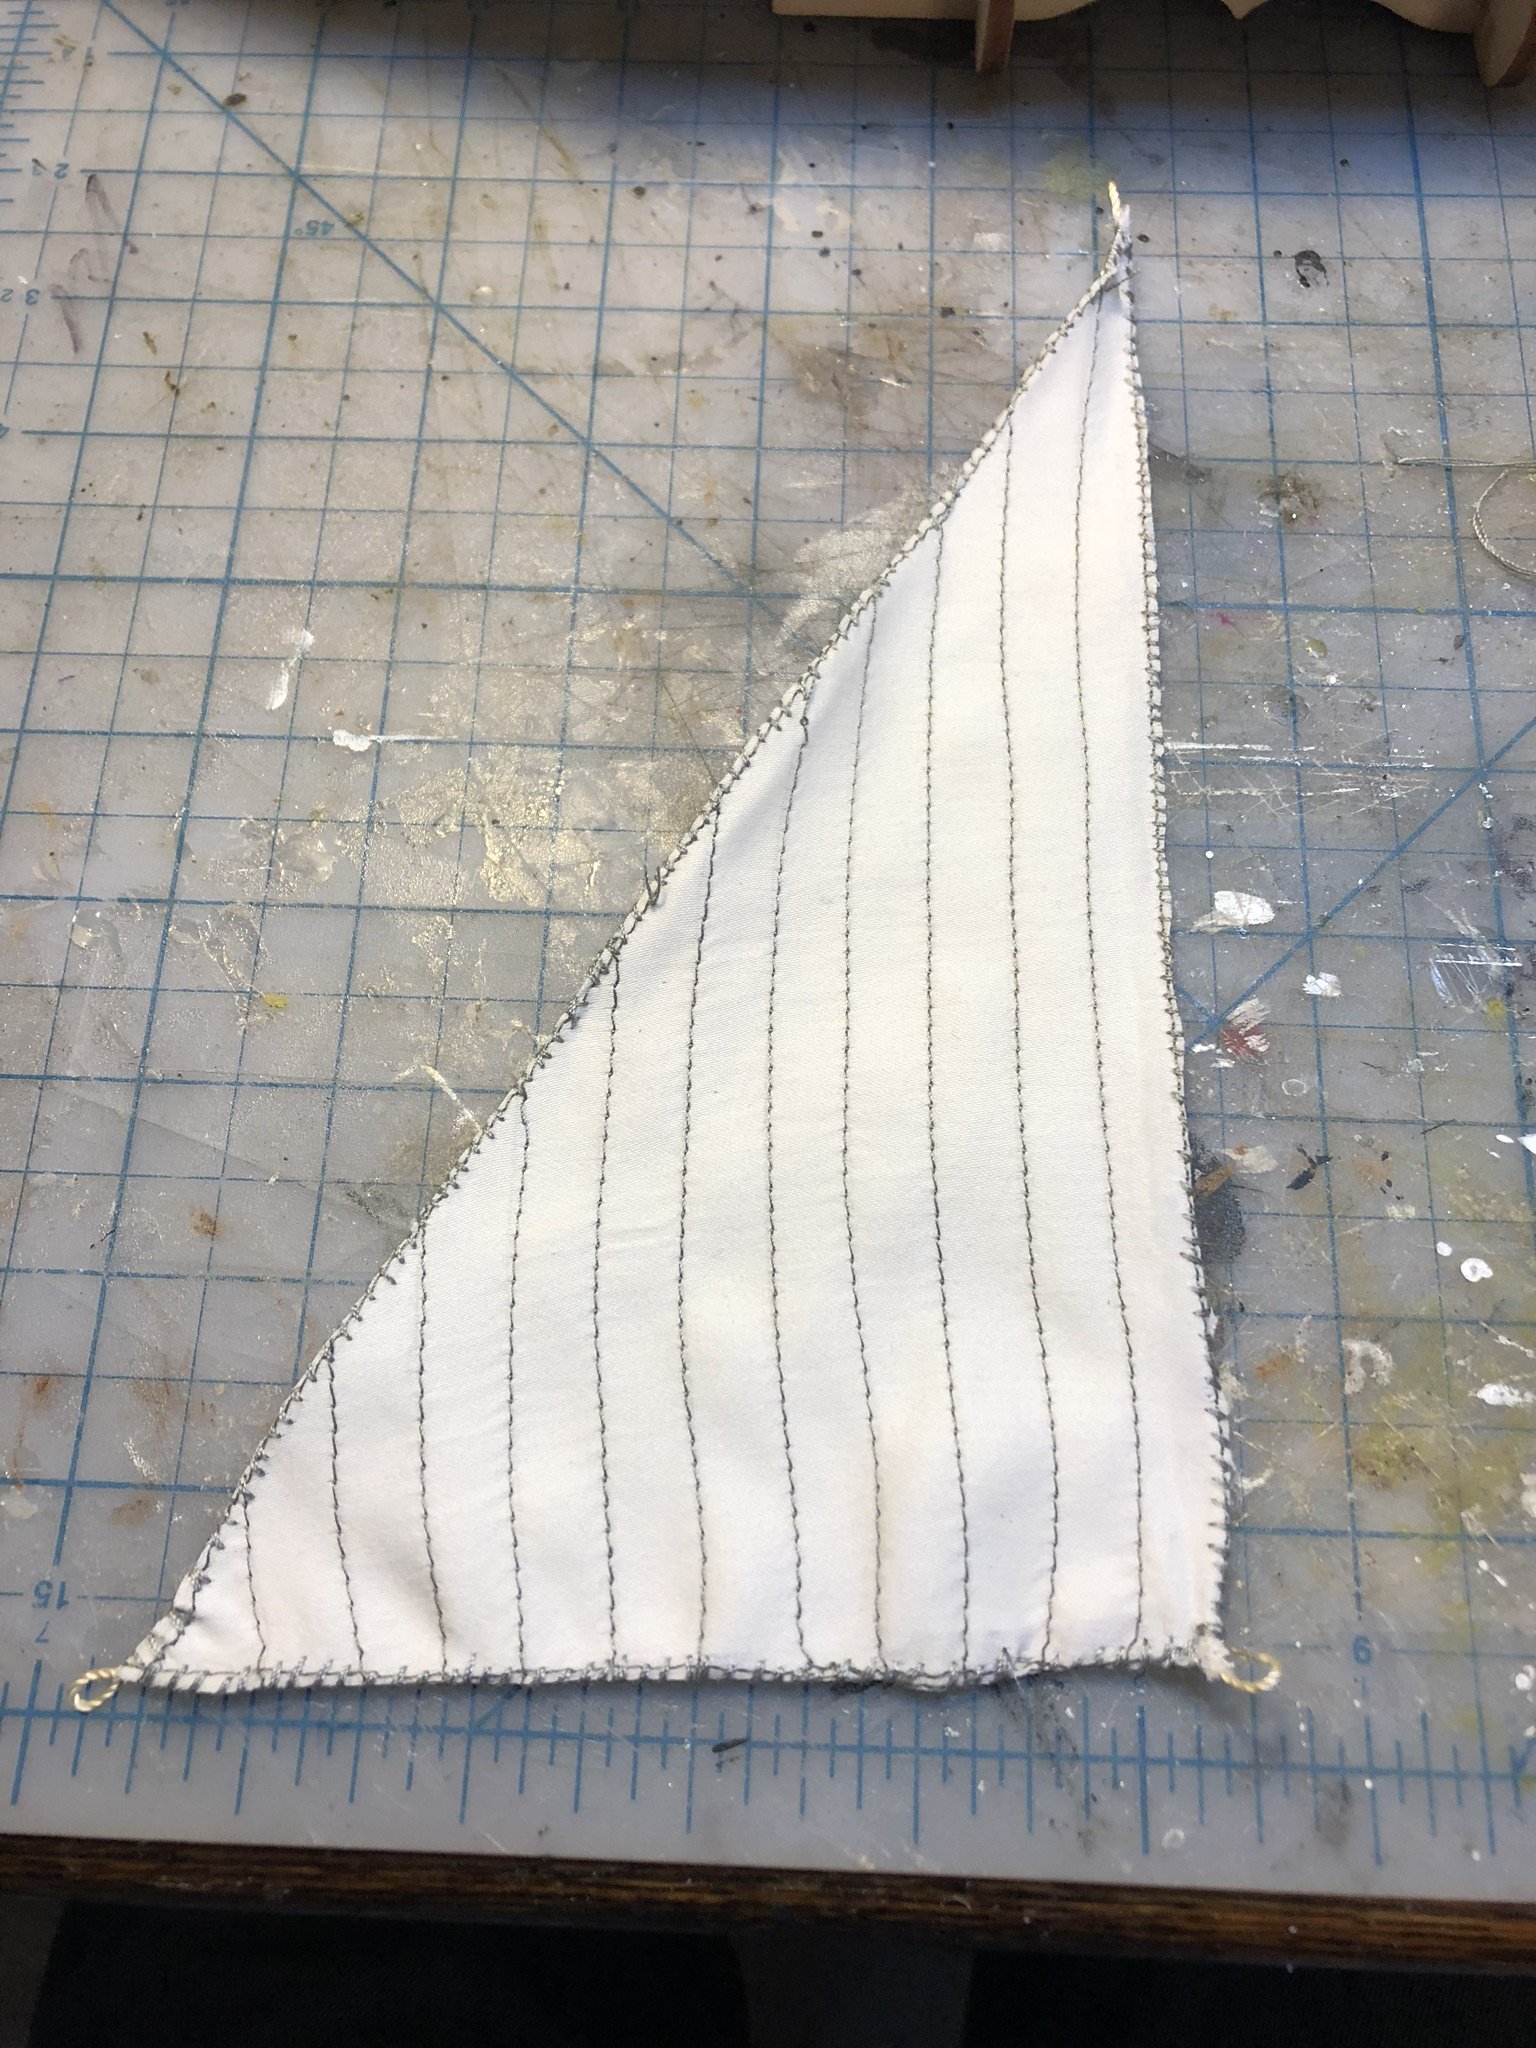
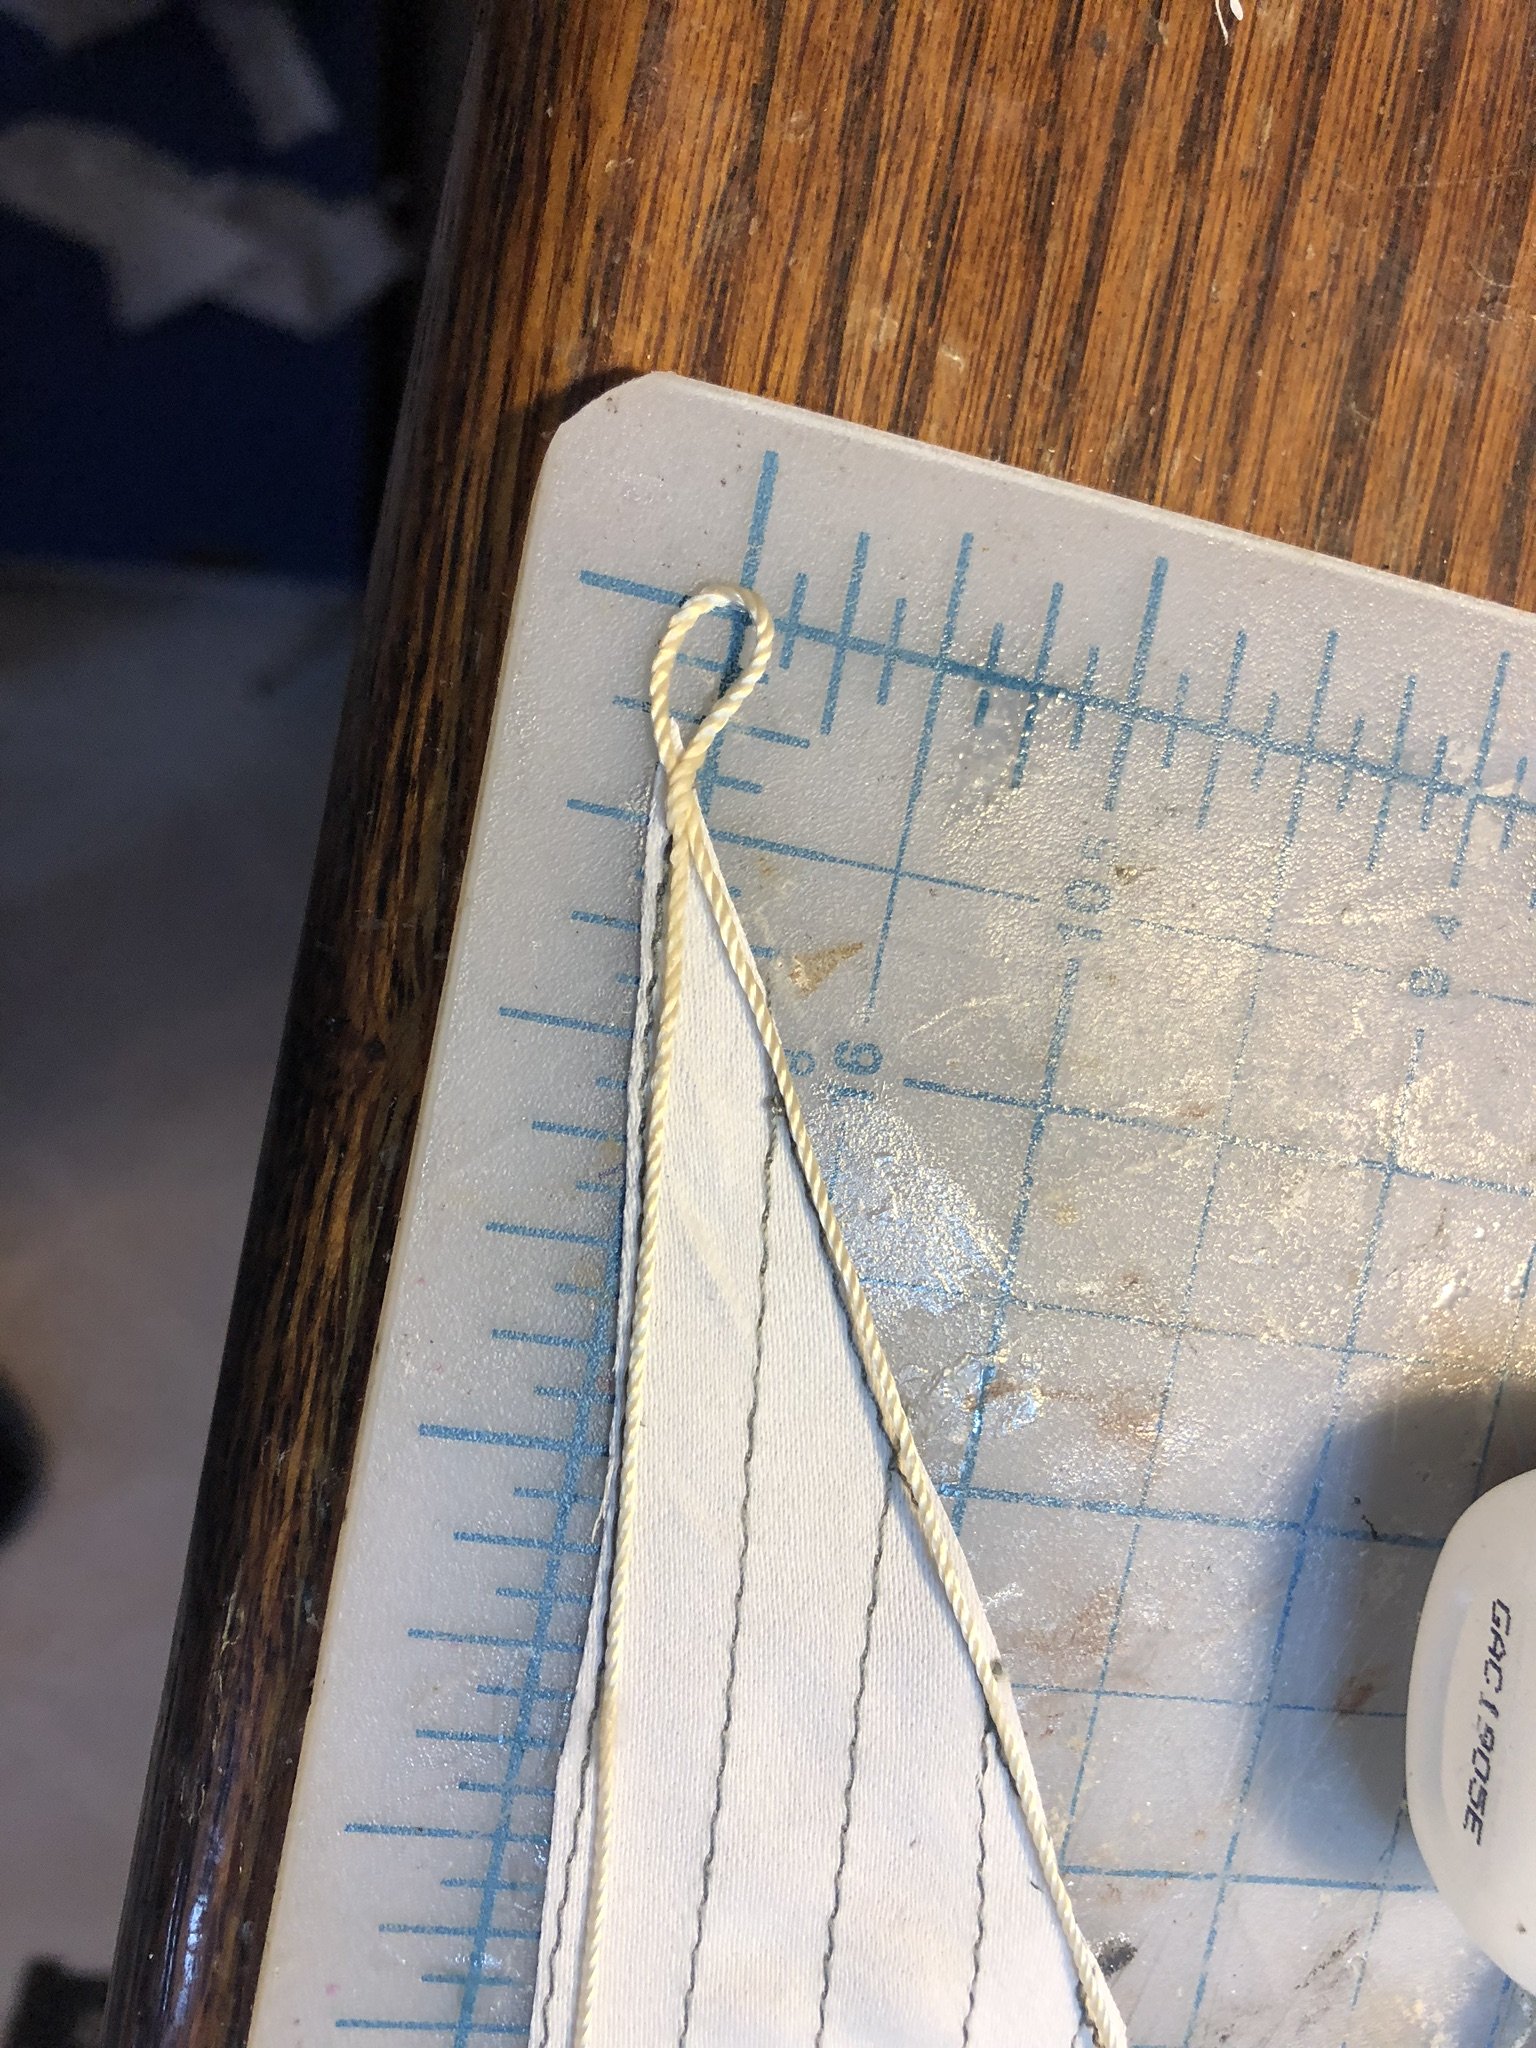
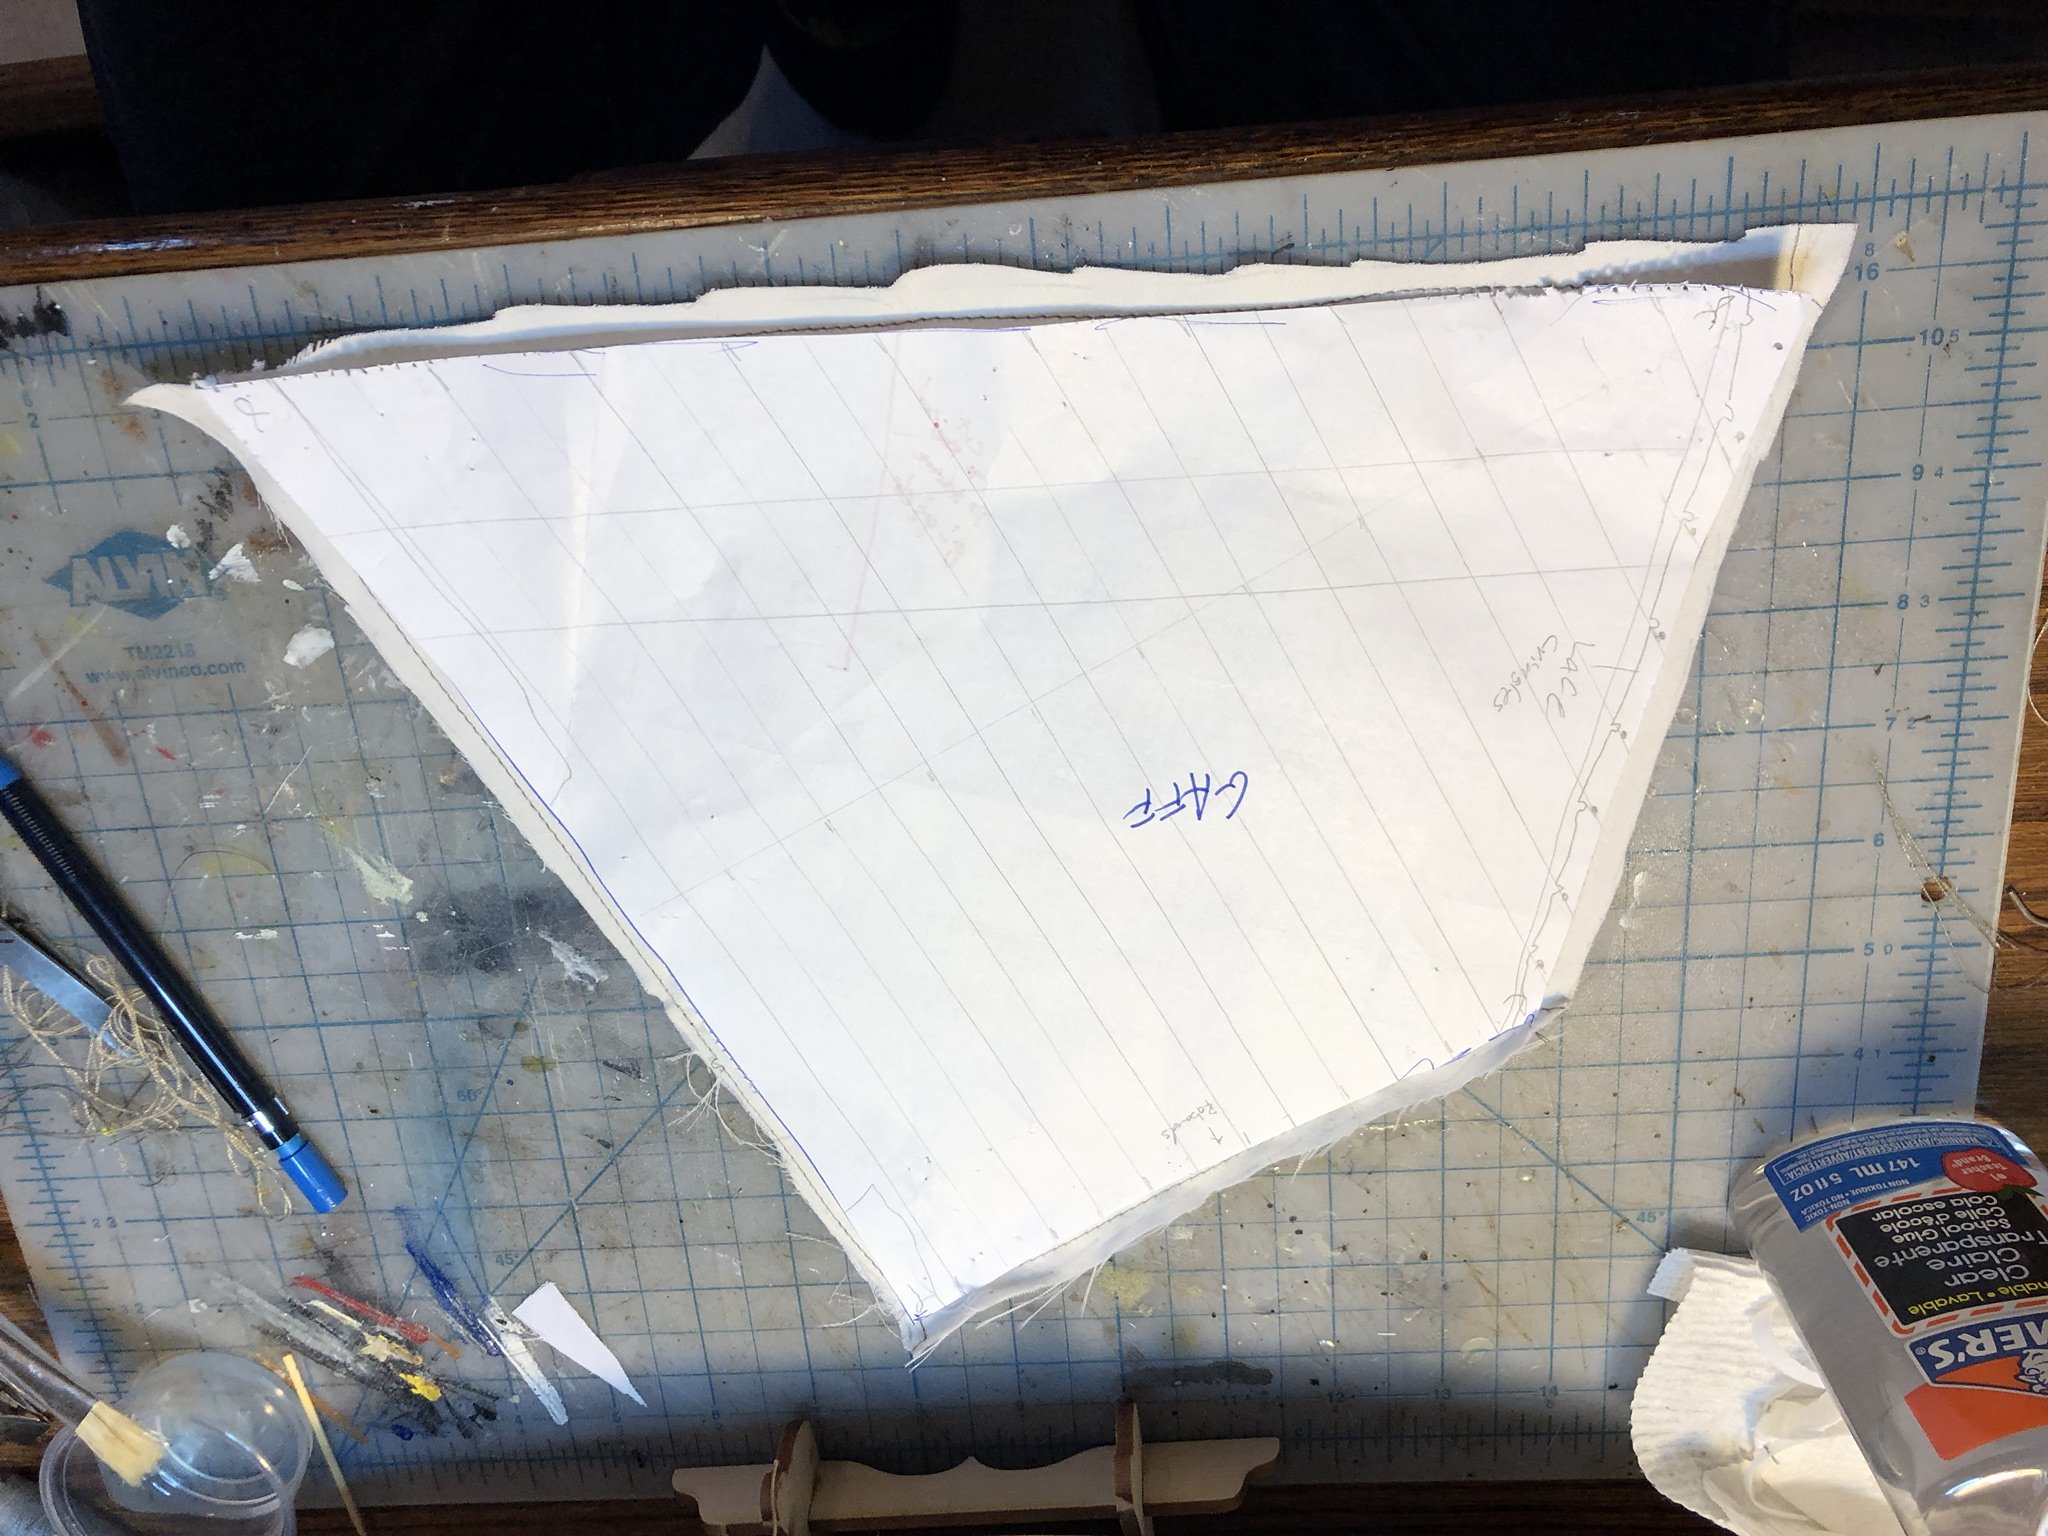
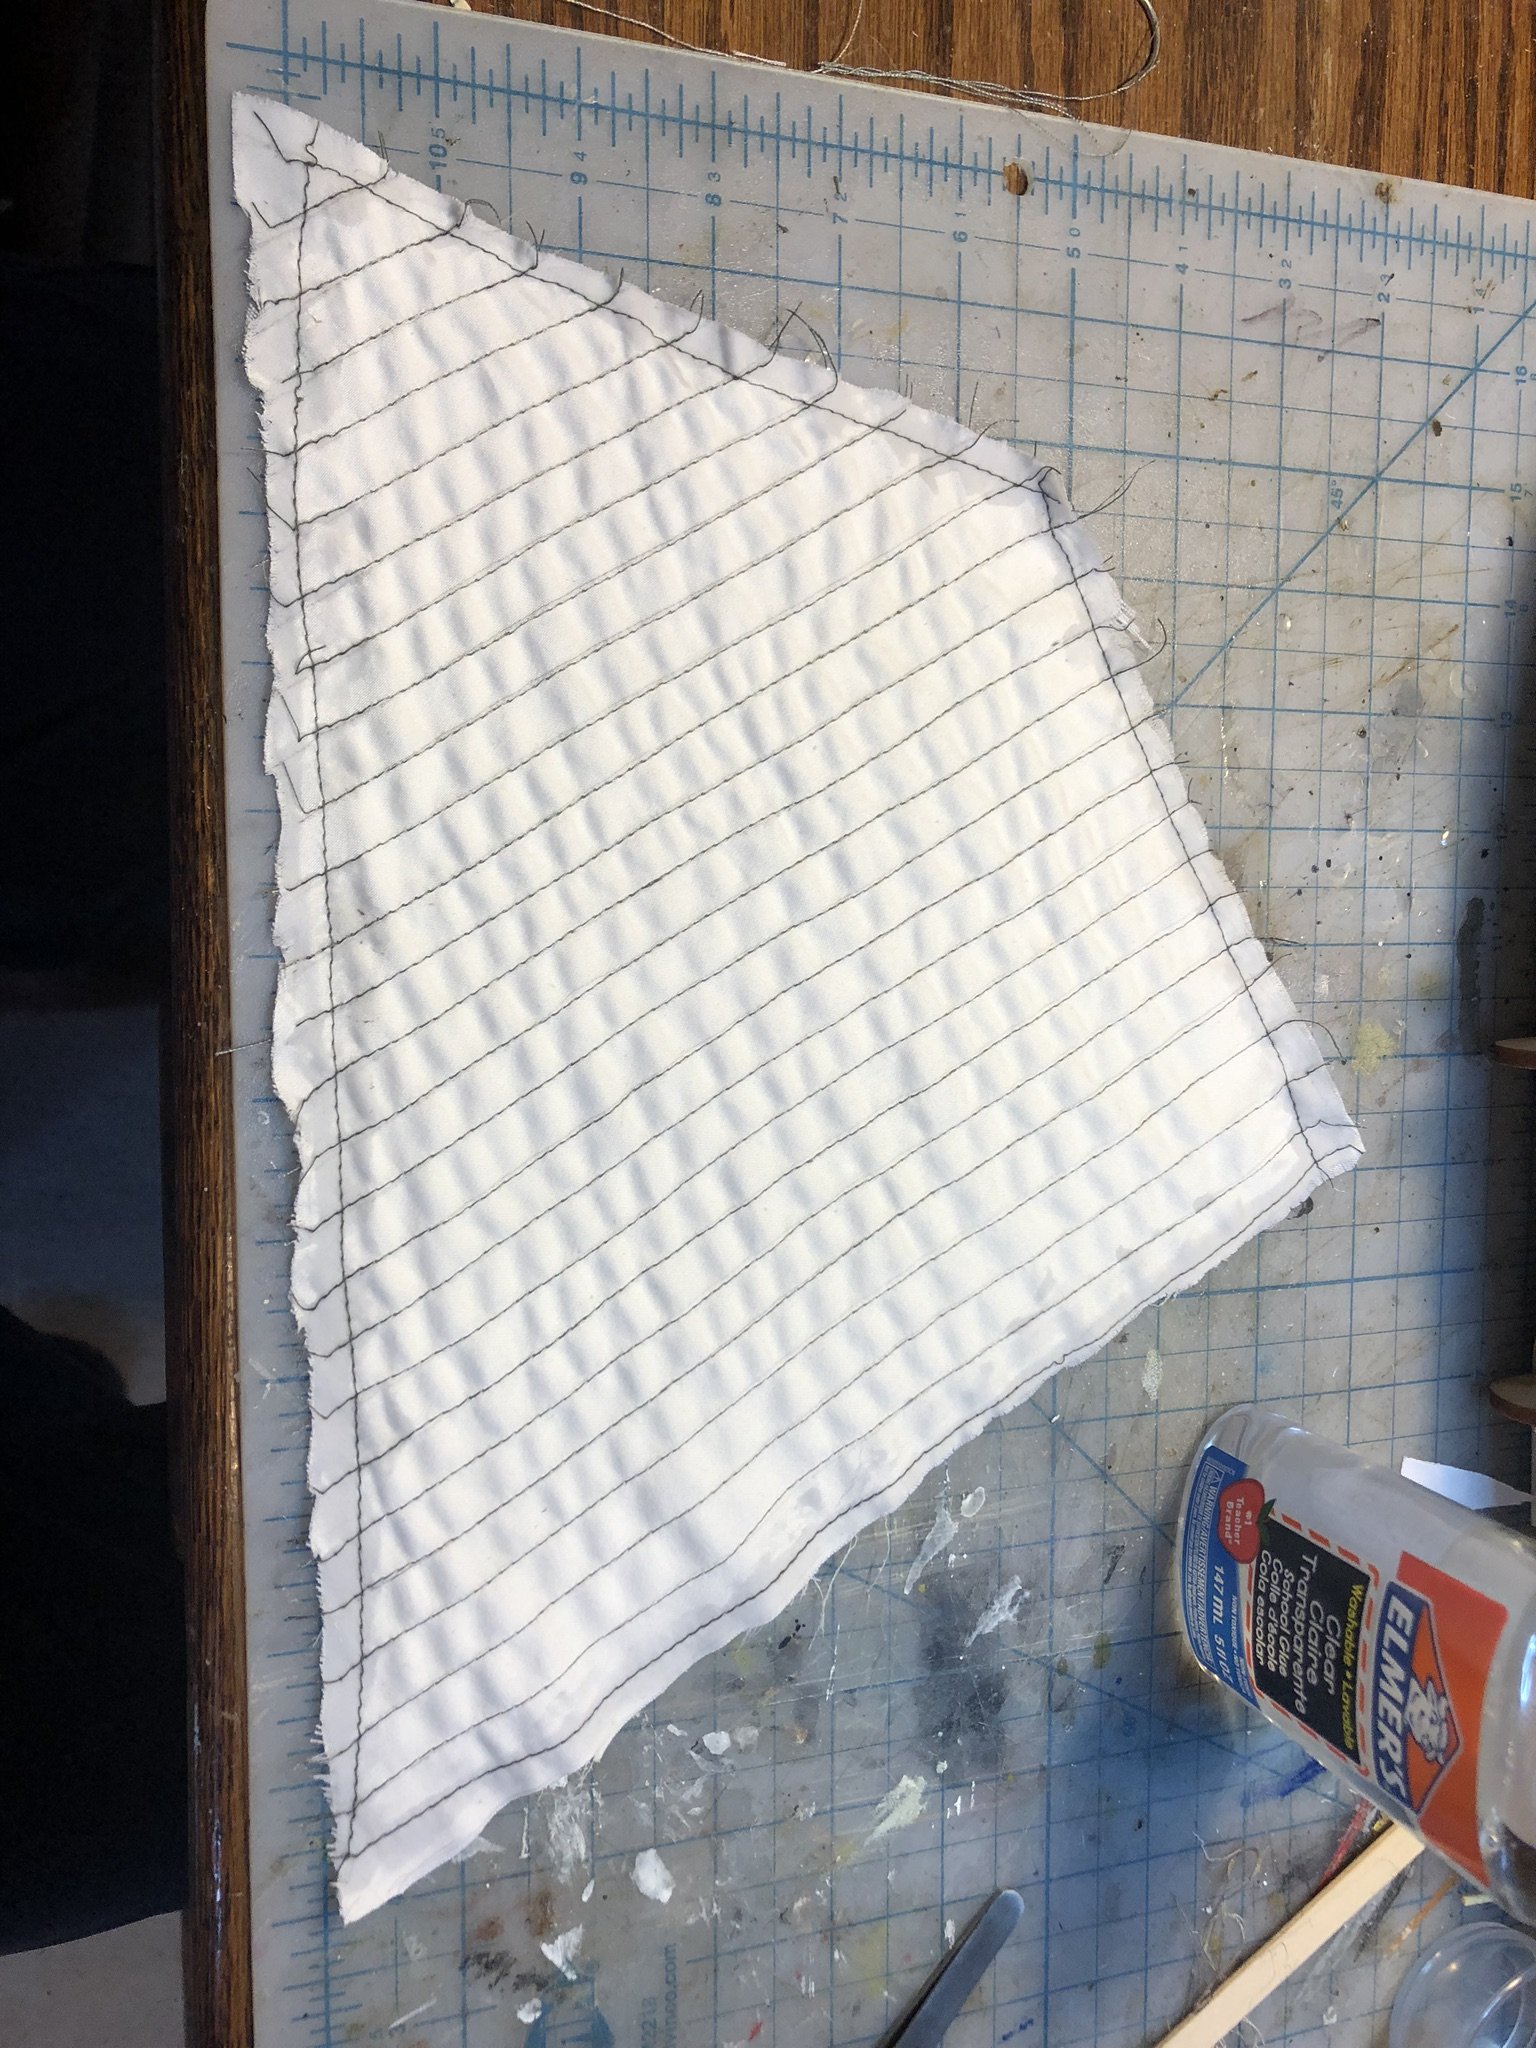
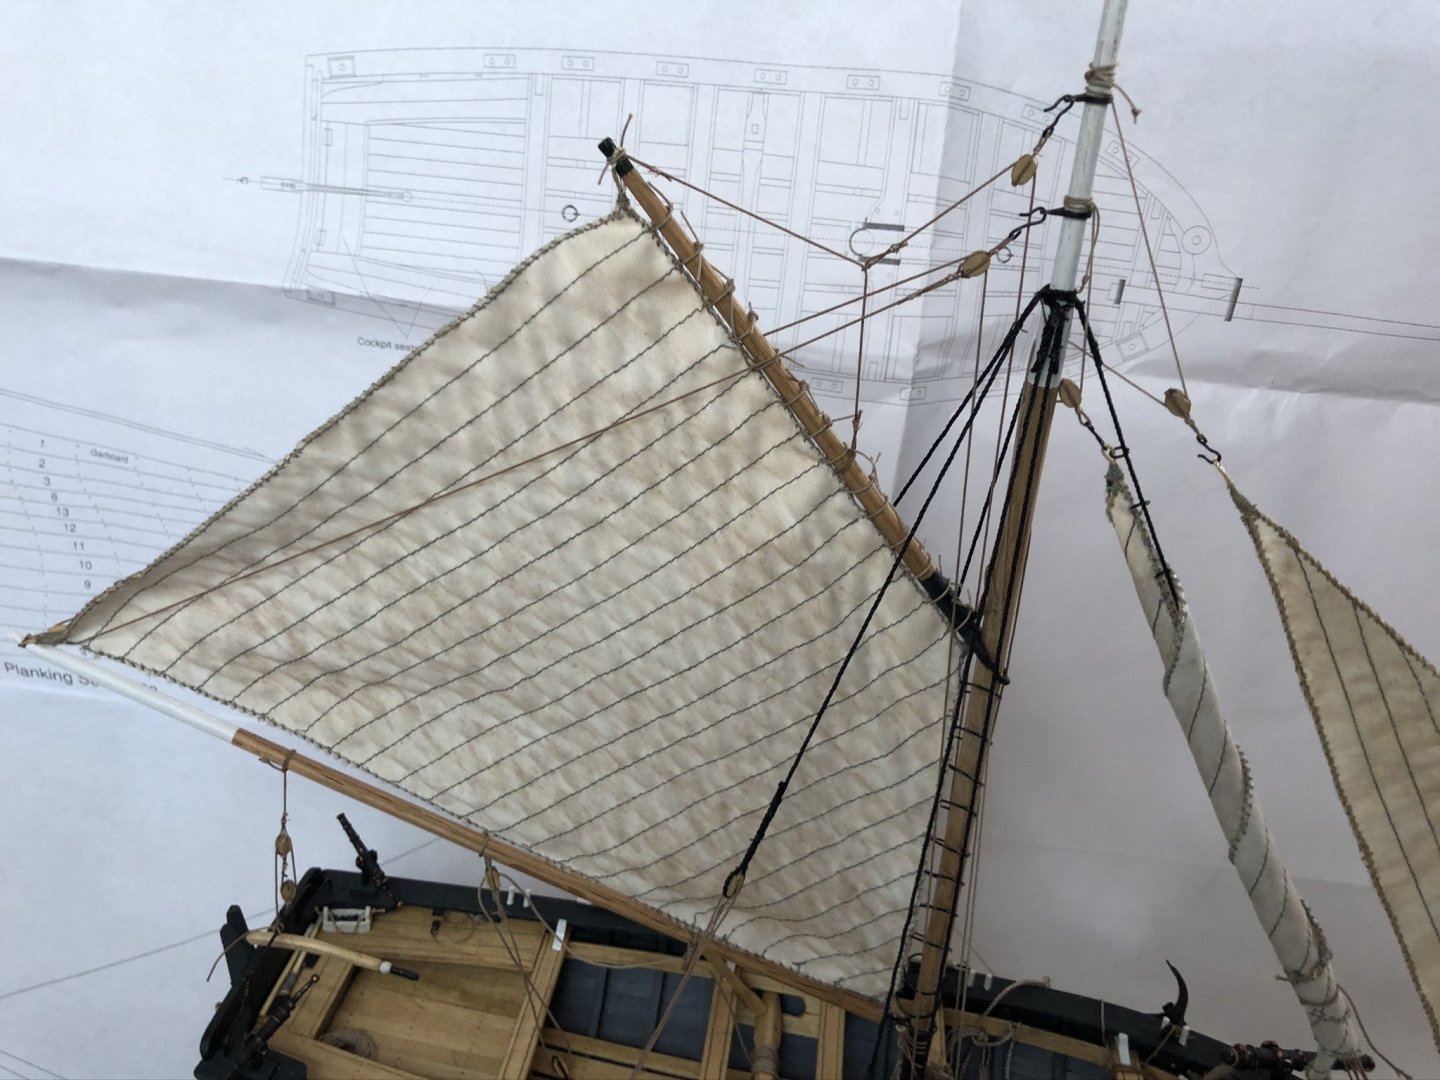
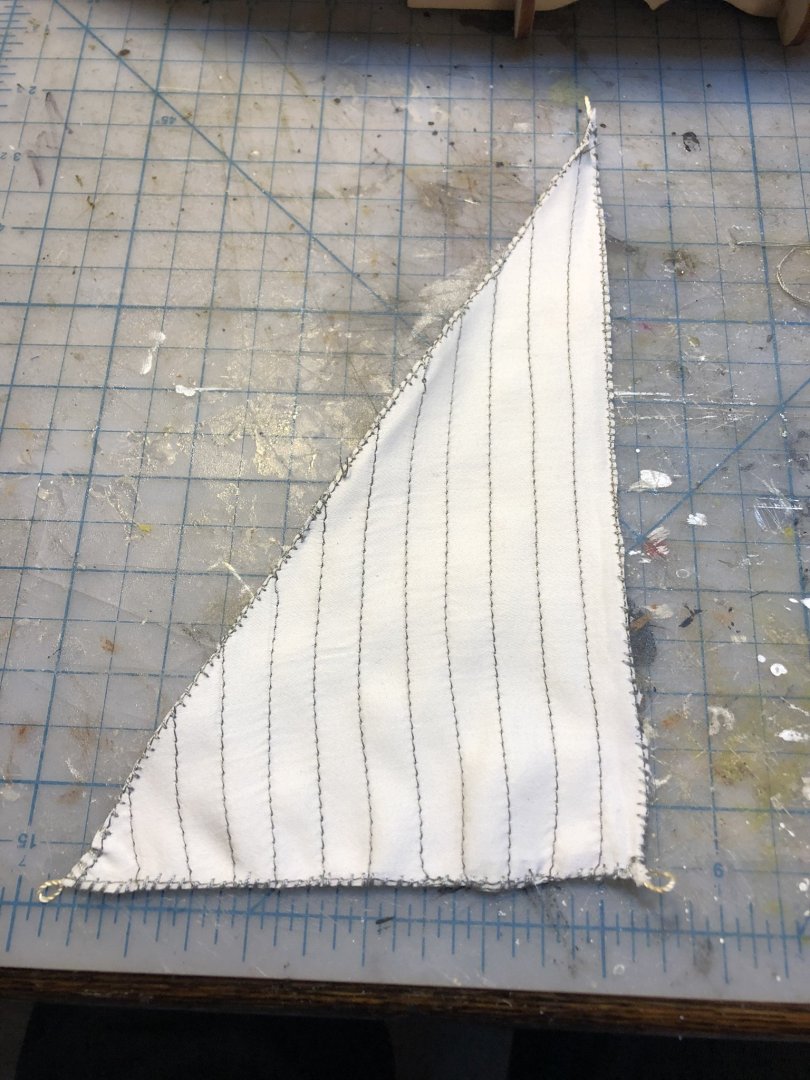
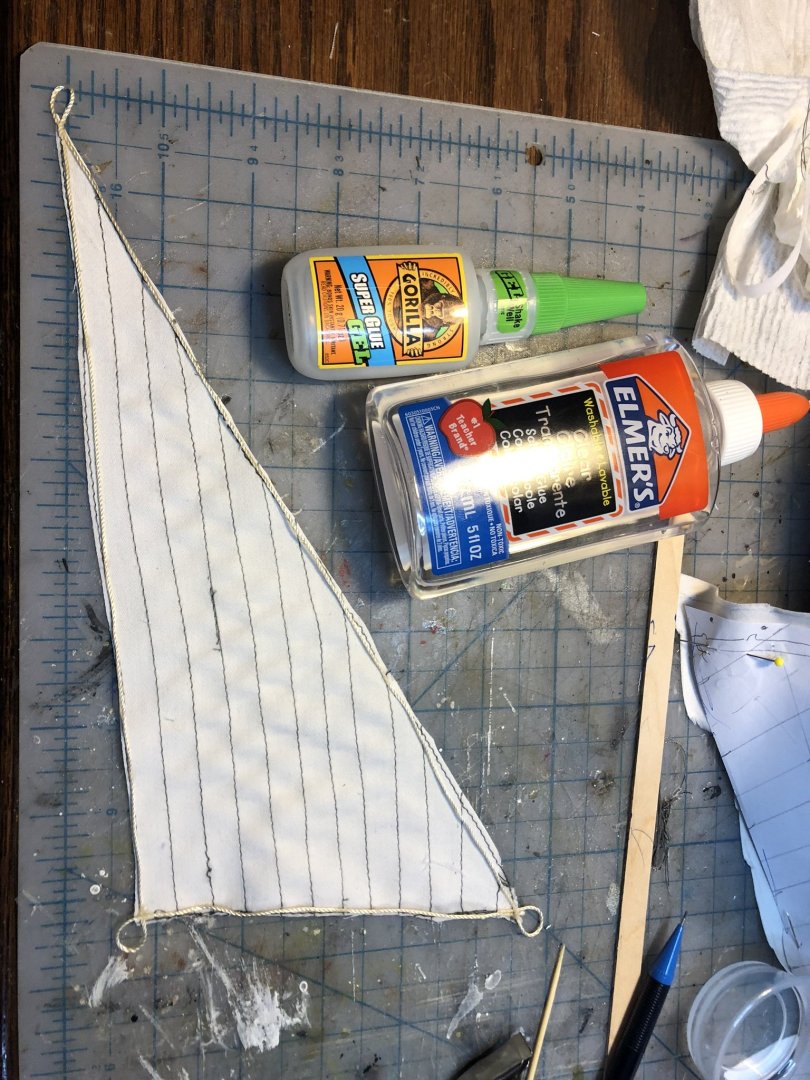
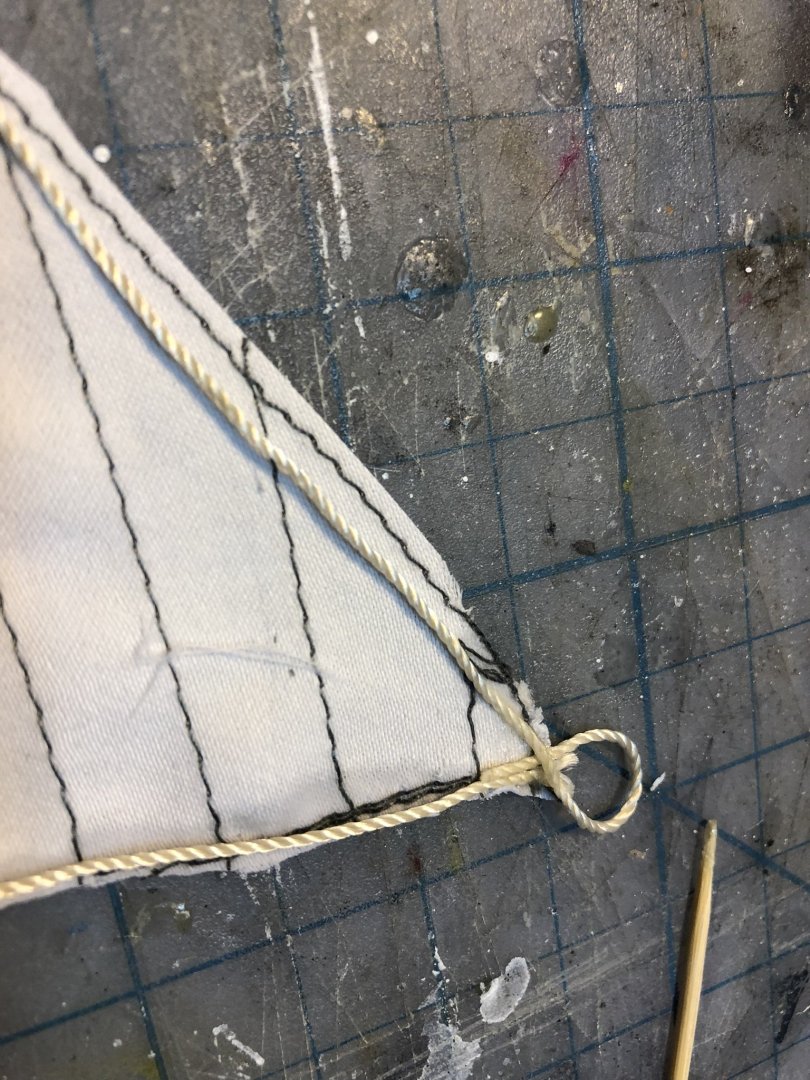
Here's the sails i made out of some old bed sheet. I stitched them up with a sewing machine. Not sure how "correct" they are, but i thought they looked nice. Used some coffee grounds to age them.


- 23 replies
-
- 2
-
-
- 18th Century Armed Longboat
- Model Shipways
- (and 2 more)
-
Ryland Craze reacted to a post in a topic:
18th Century Armed Longboat by Rollingreen - FINISHED - Model Shipways - 1/24 - First wood build
-
Ryland Craze reacted to a post in a topic:
18th Century Armed Longboat by Rollingreen - FINISHED - Model Shipways - 1/24 - First wood build
-
Ryland Craze reacted to a post in a topic:
18th Century Armed Longboat by Rollingreen - FINISHED - Model Shipways - 1/24 - First wood build
-
Altduck reacted to a post in a topic:
18th Century Armed Longboat by Rollingreen - FINISHED - Model Shipways - 1/24 - First wood build
-
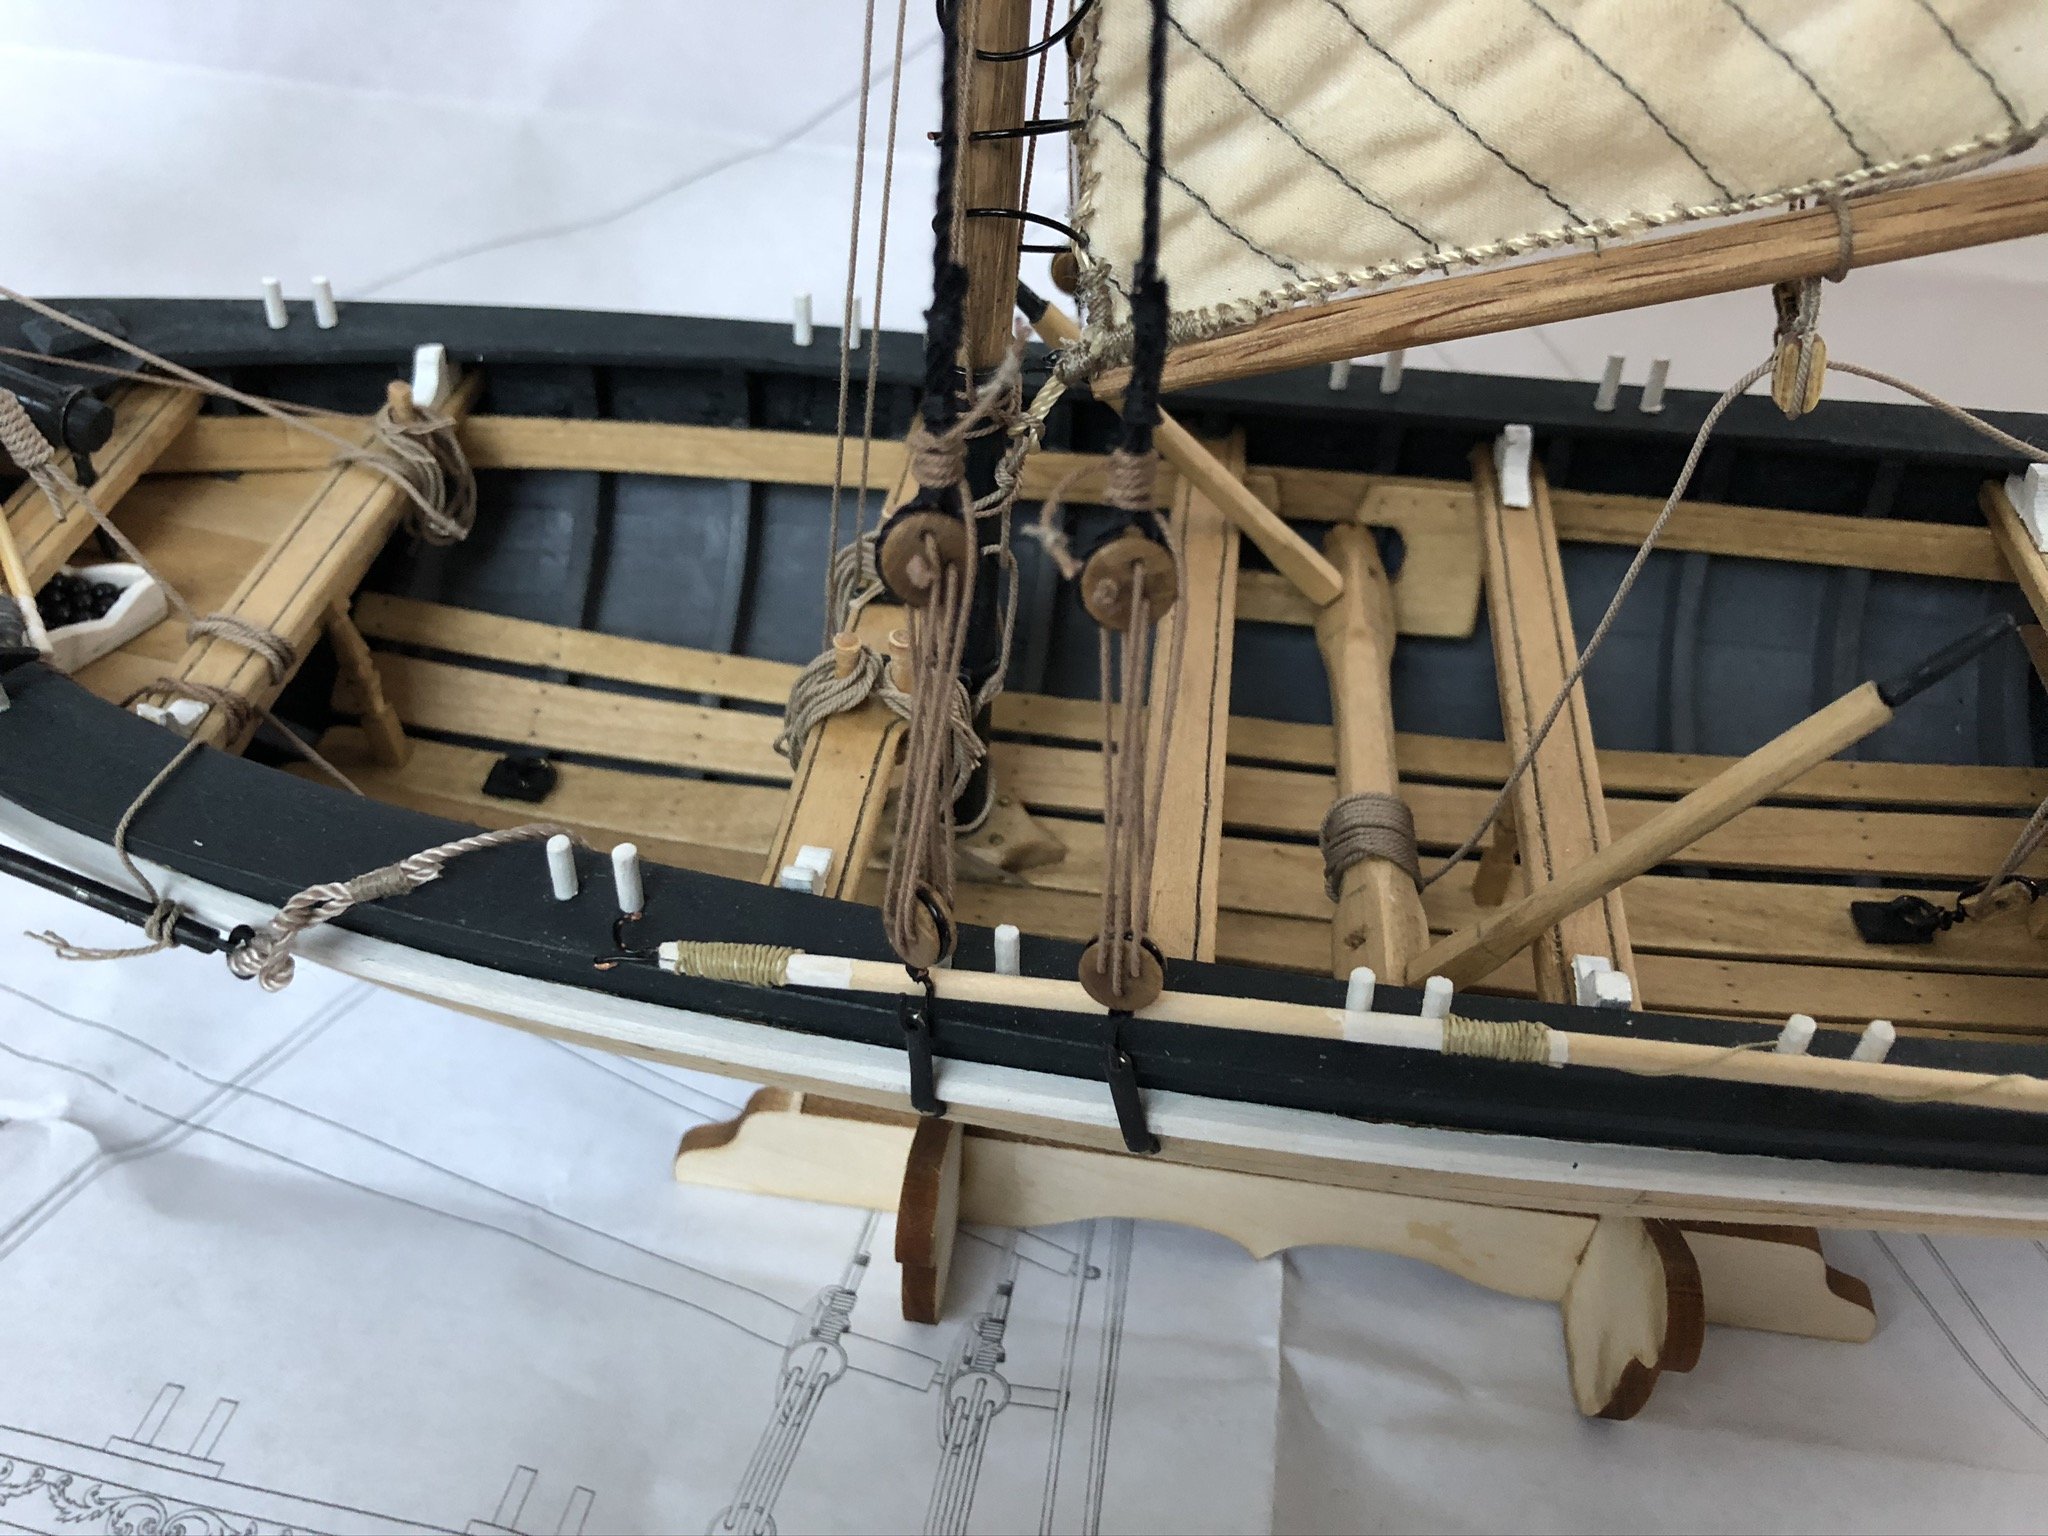
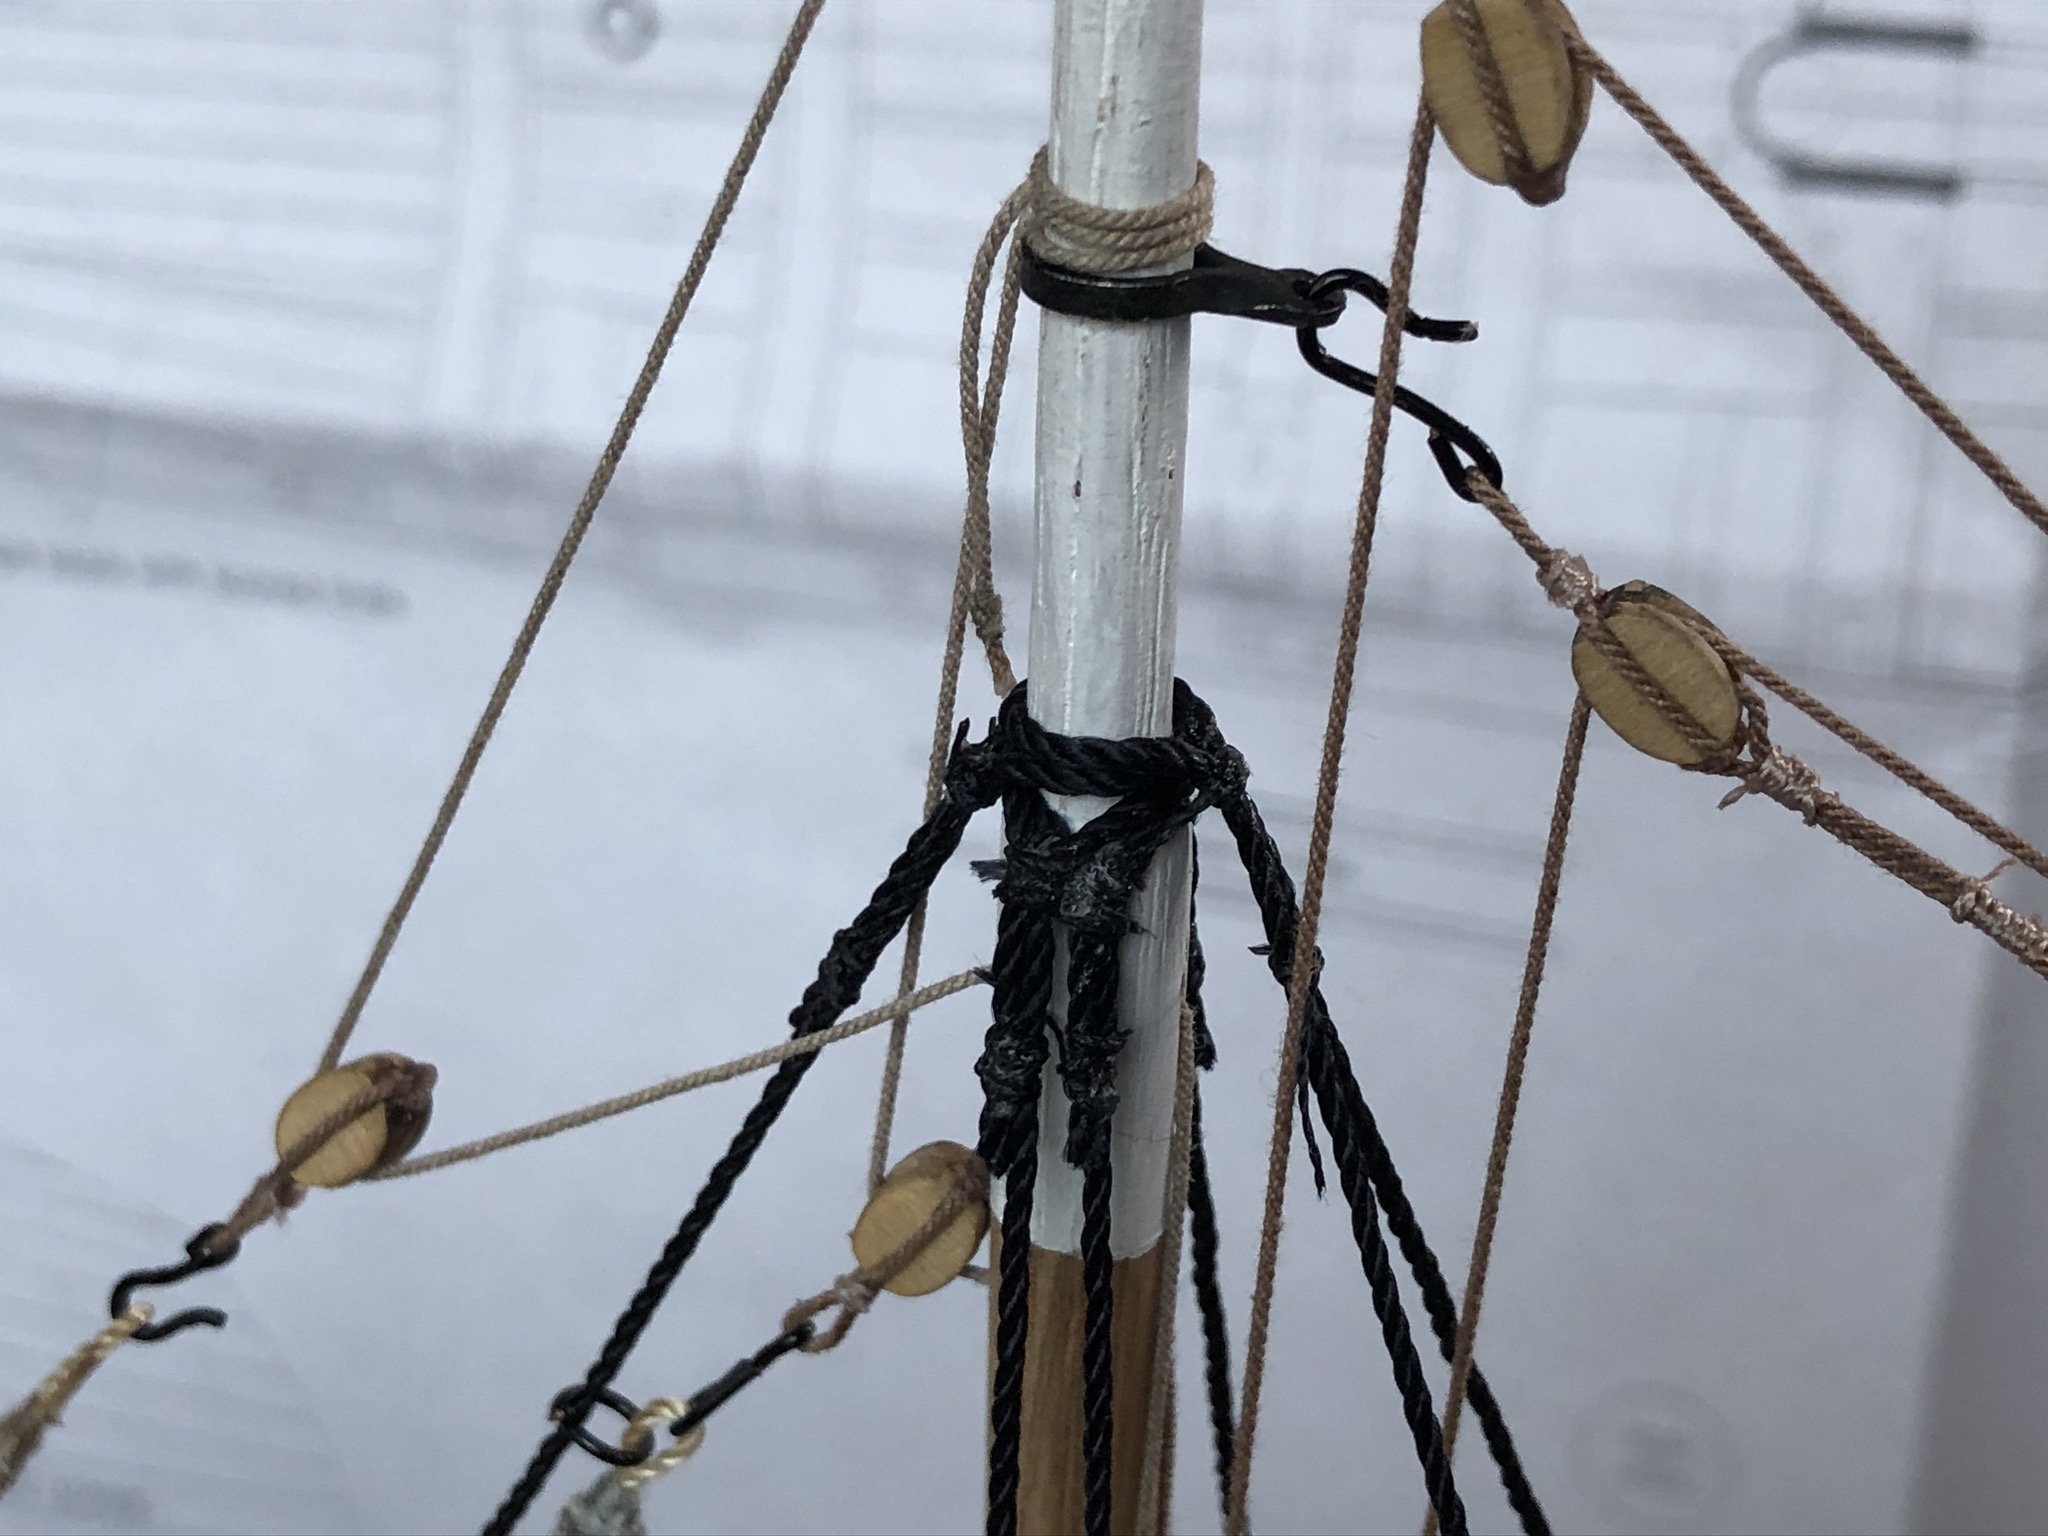
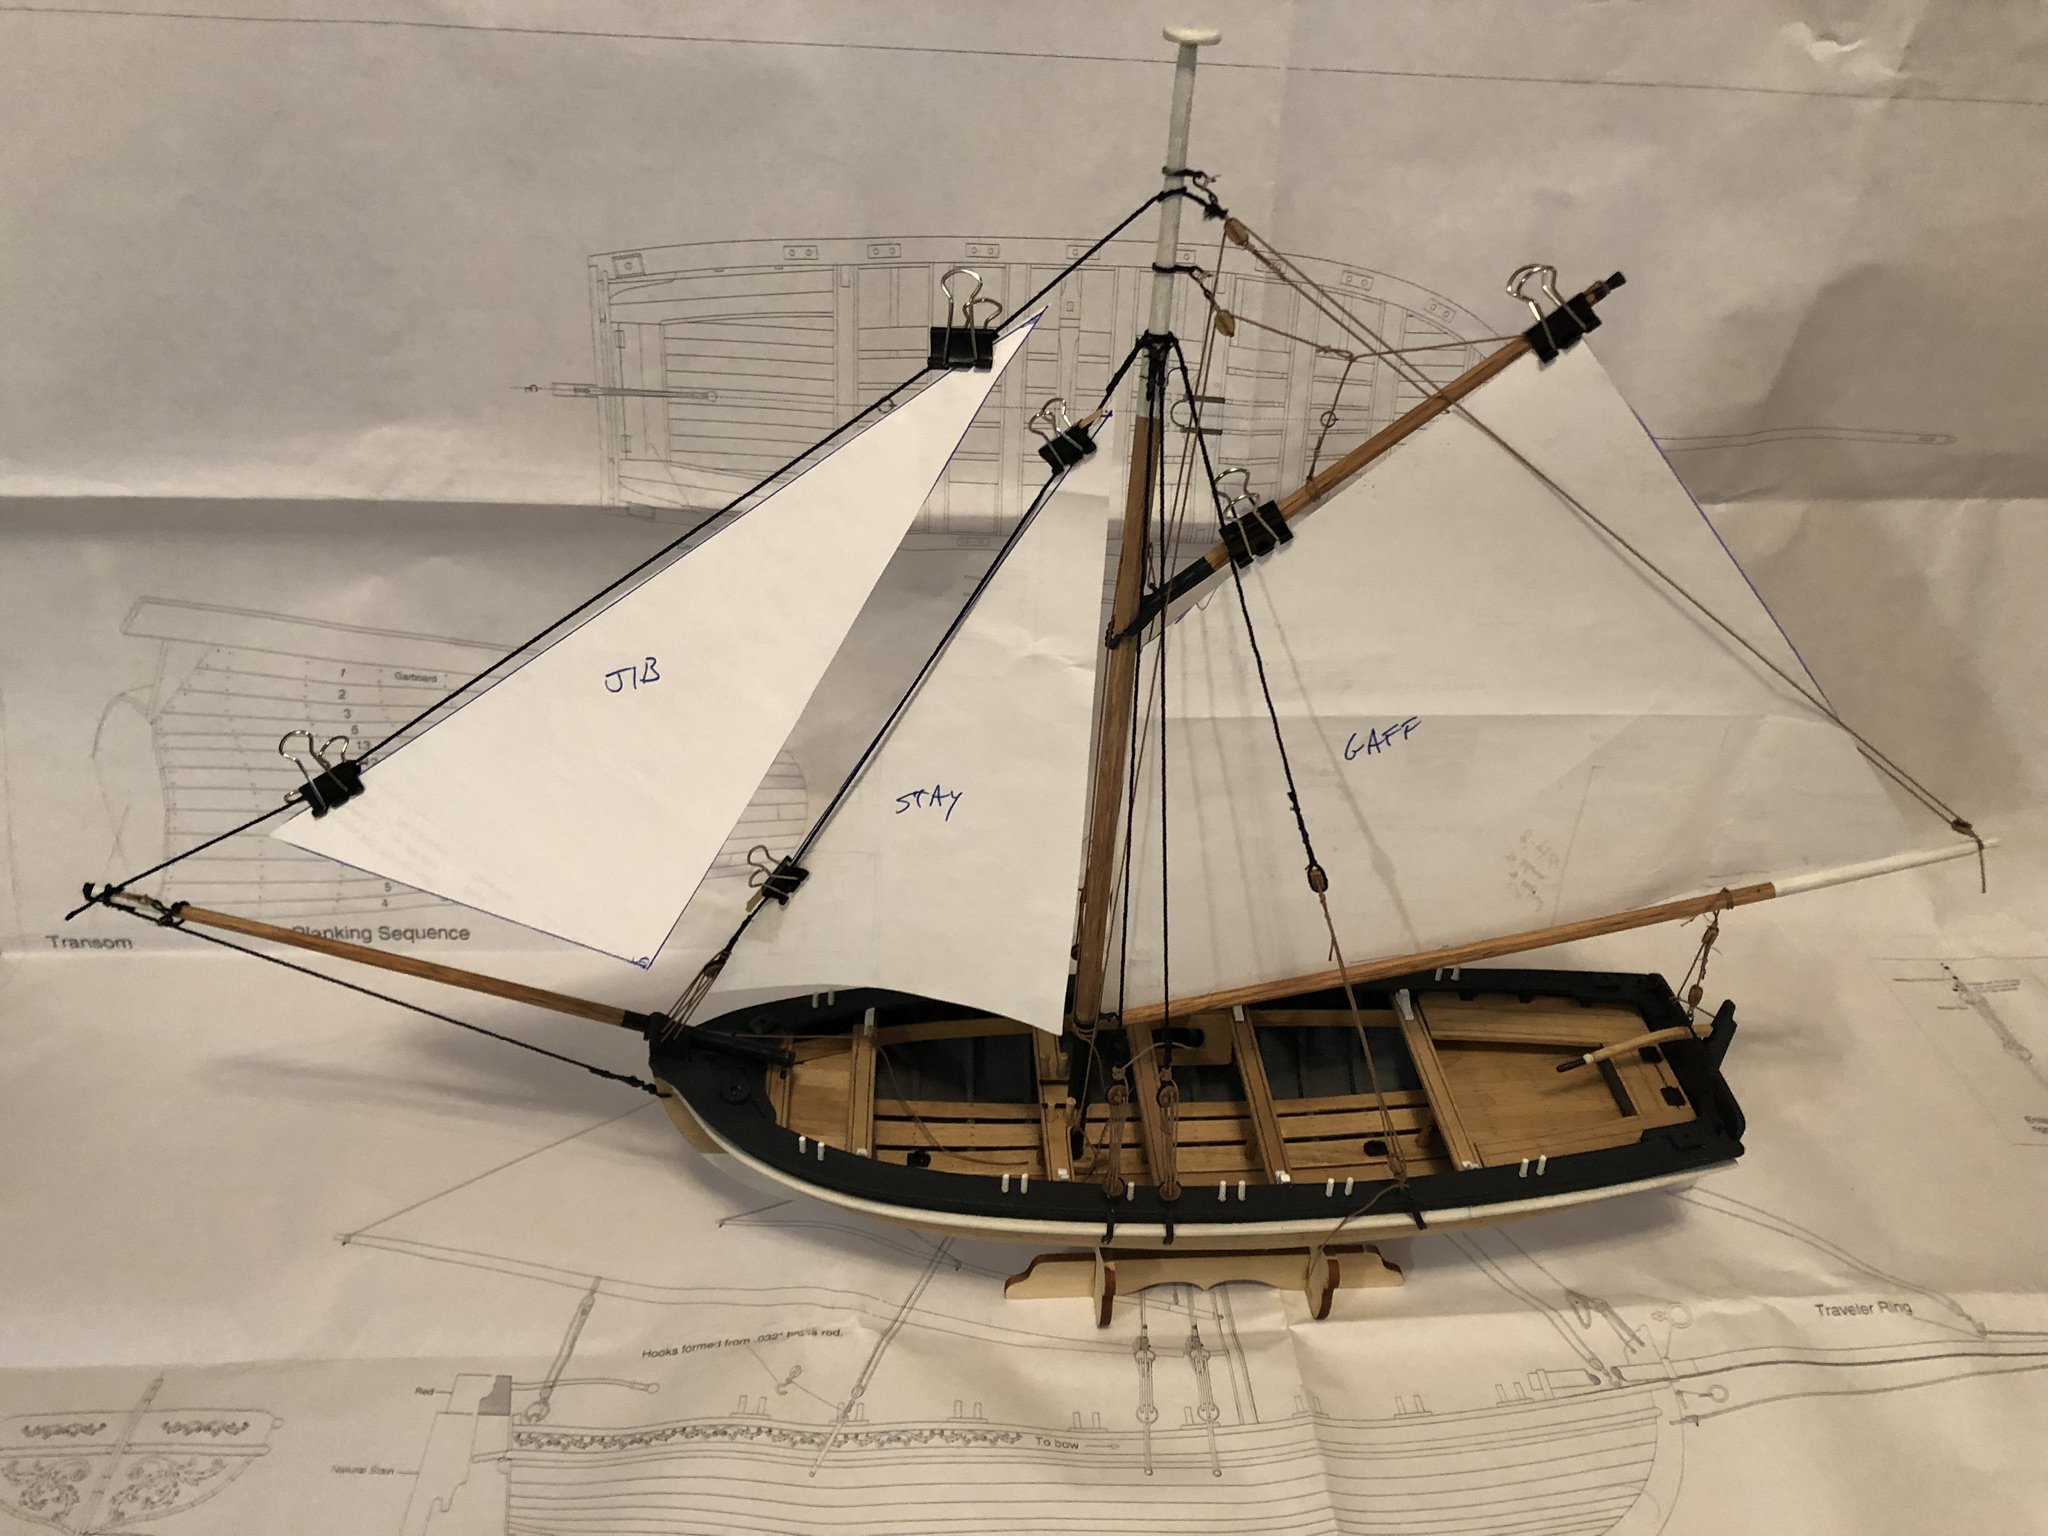
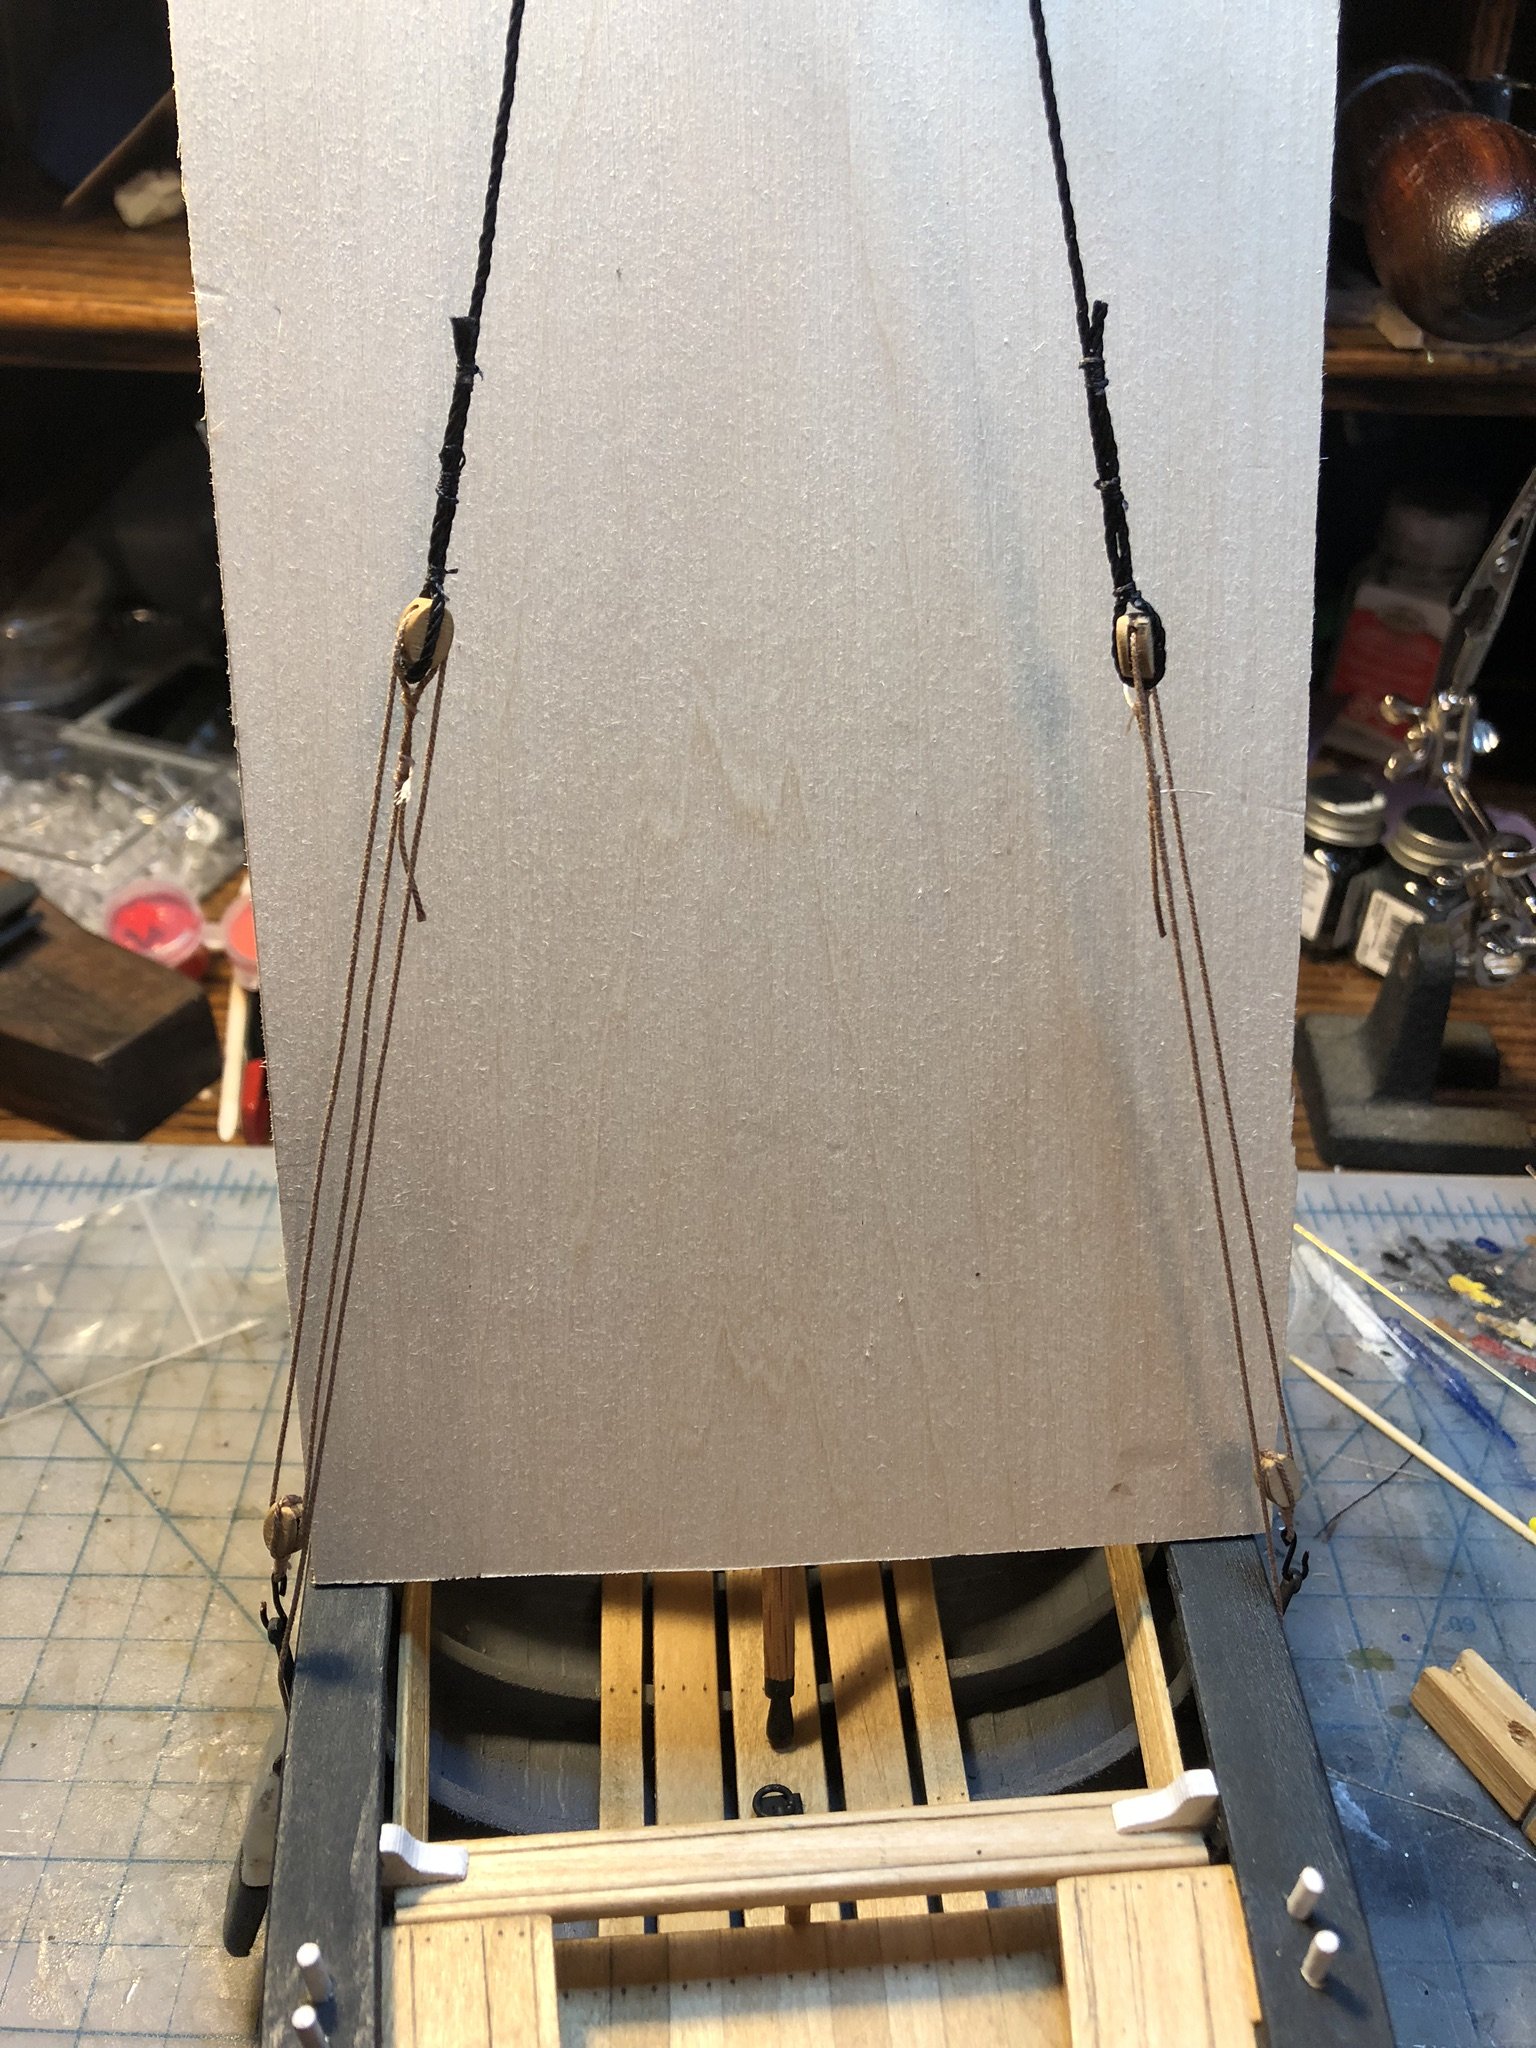
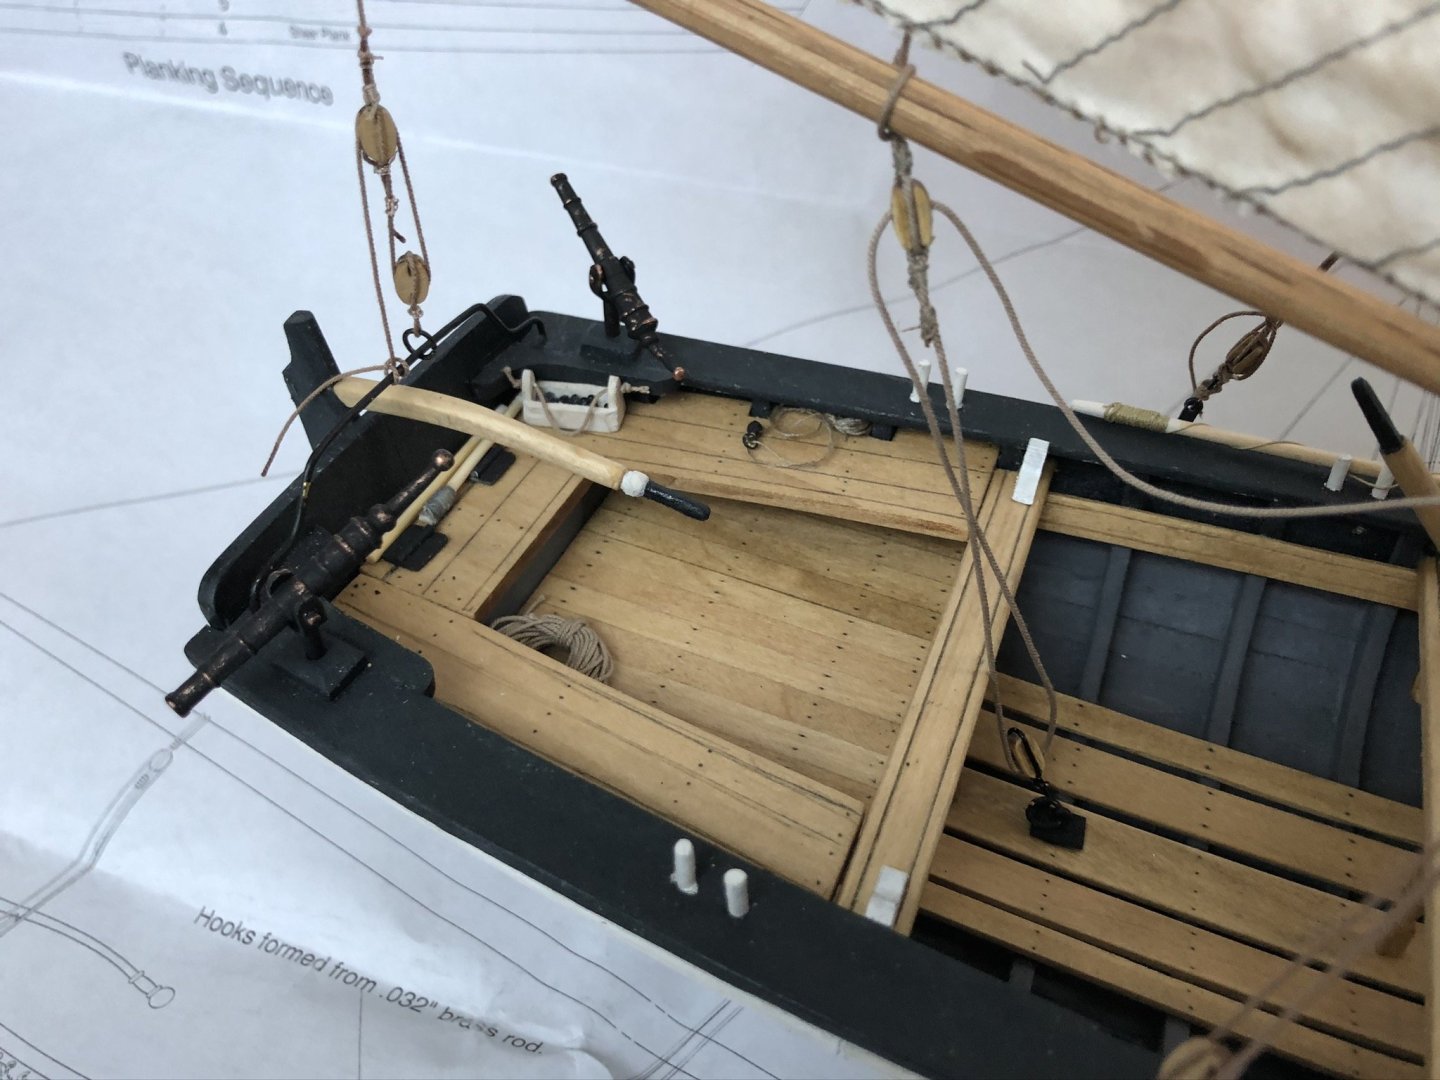
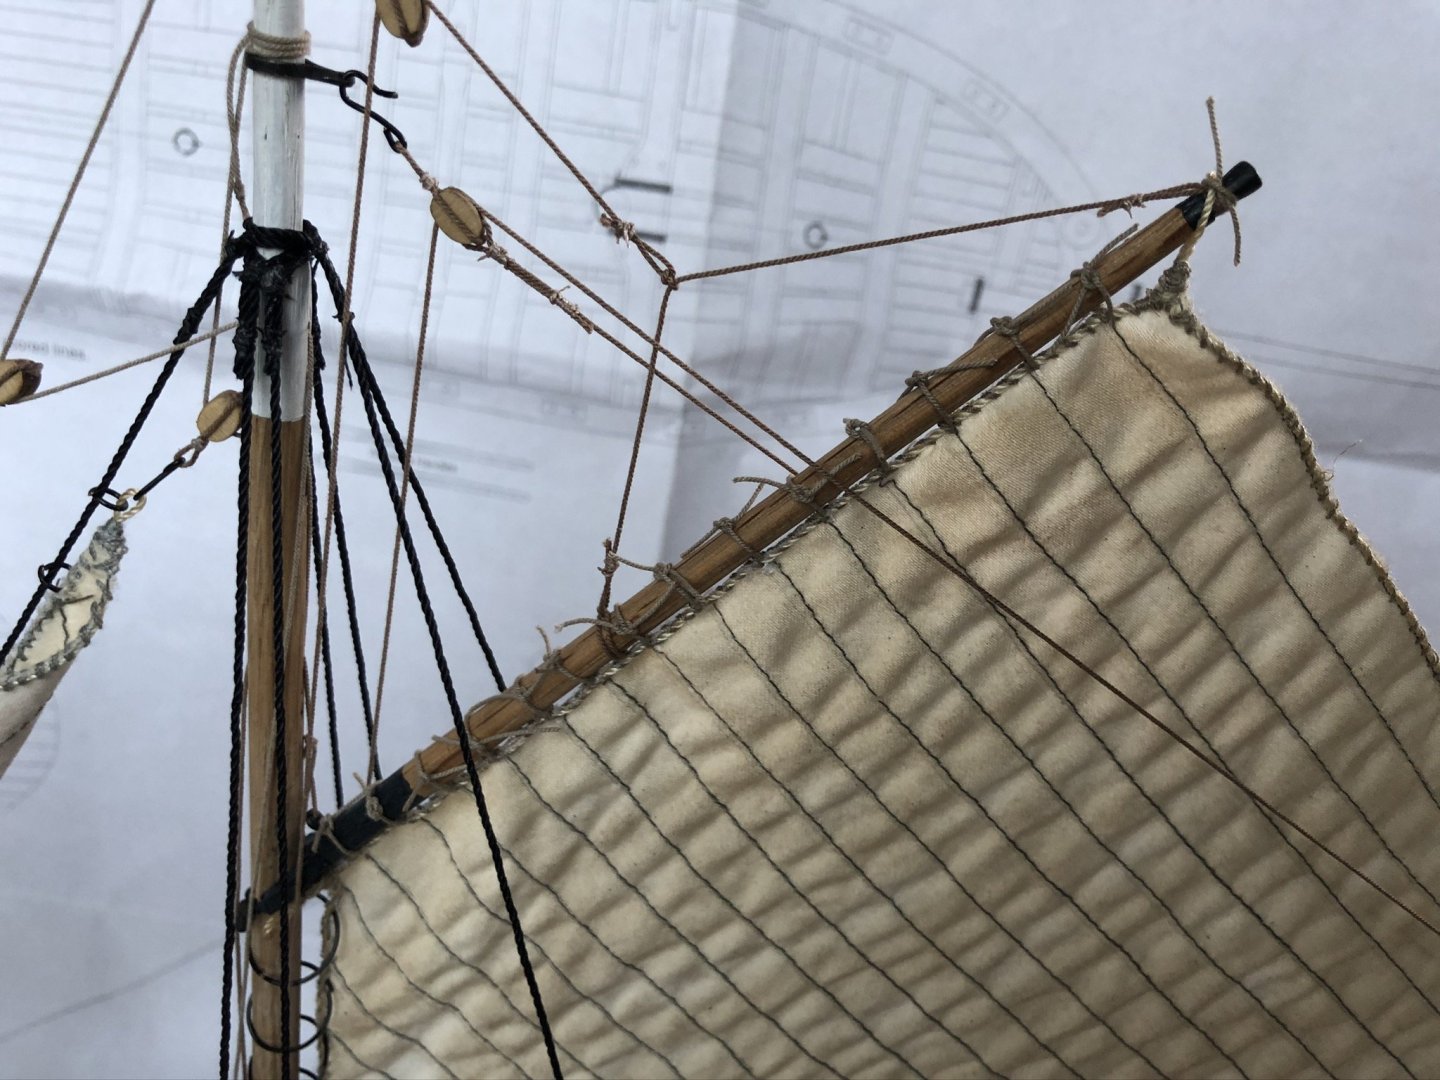
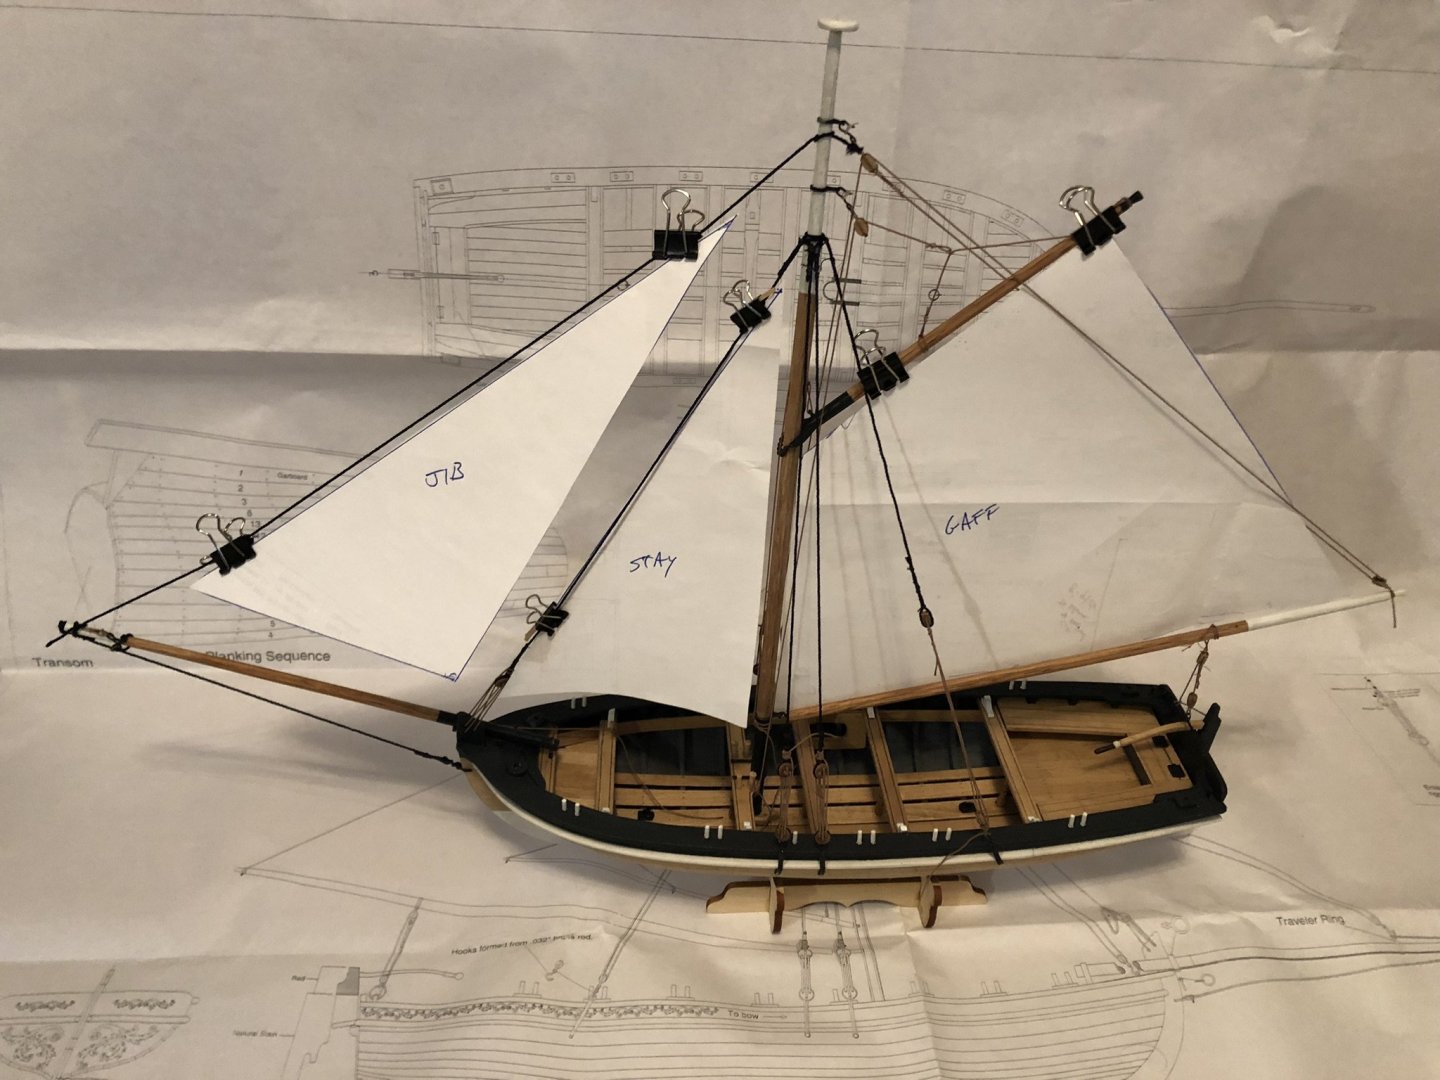
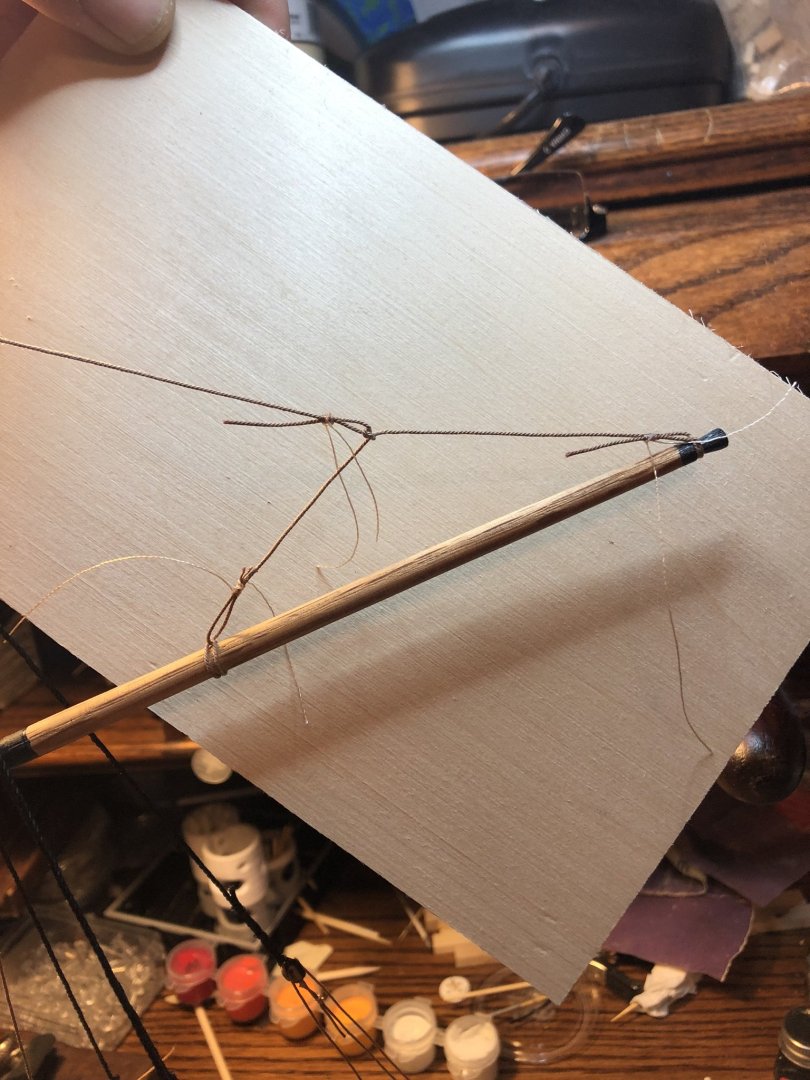
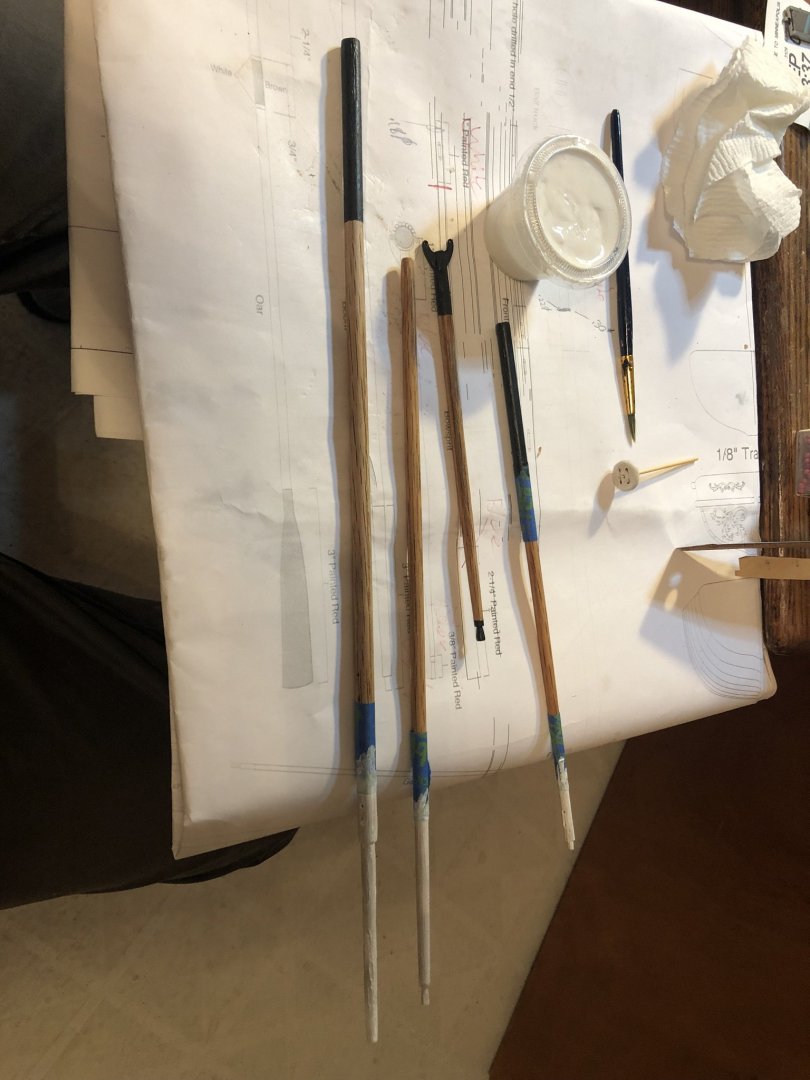
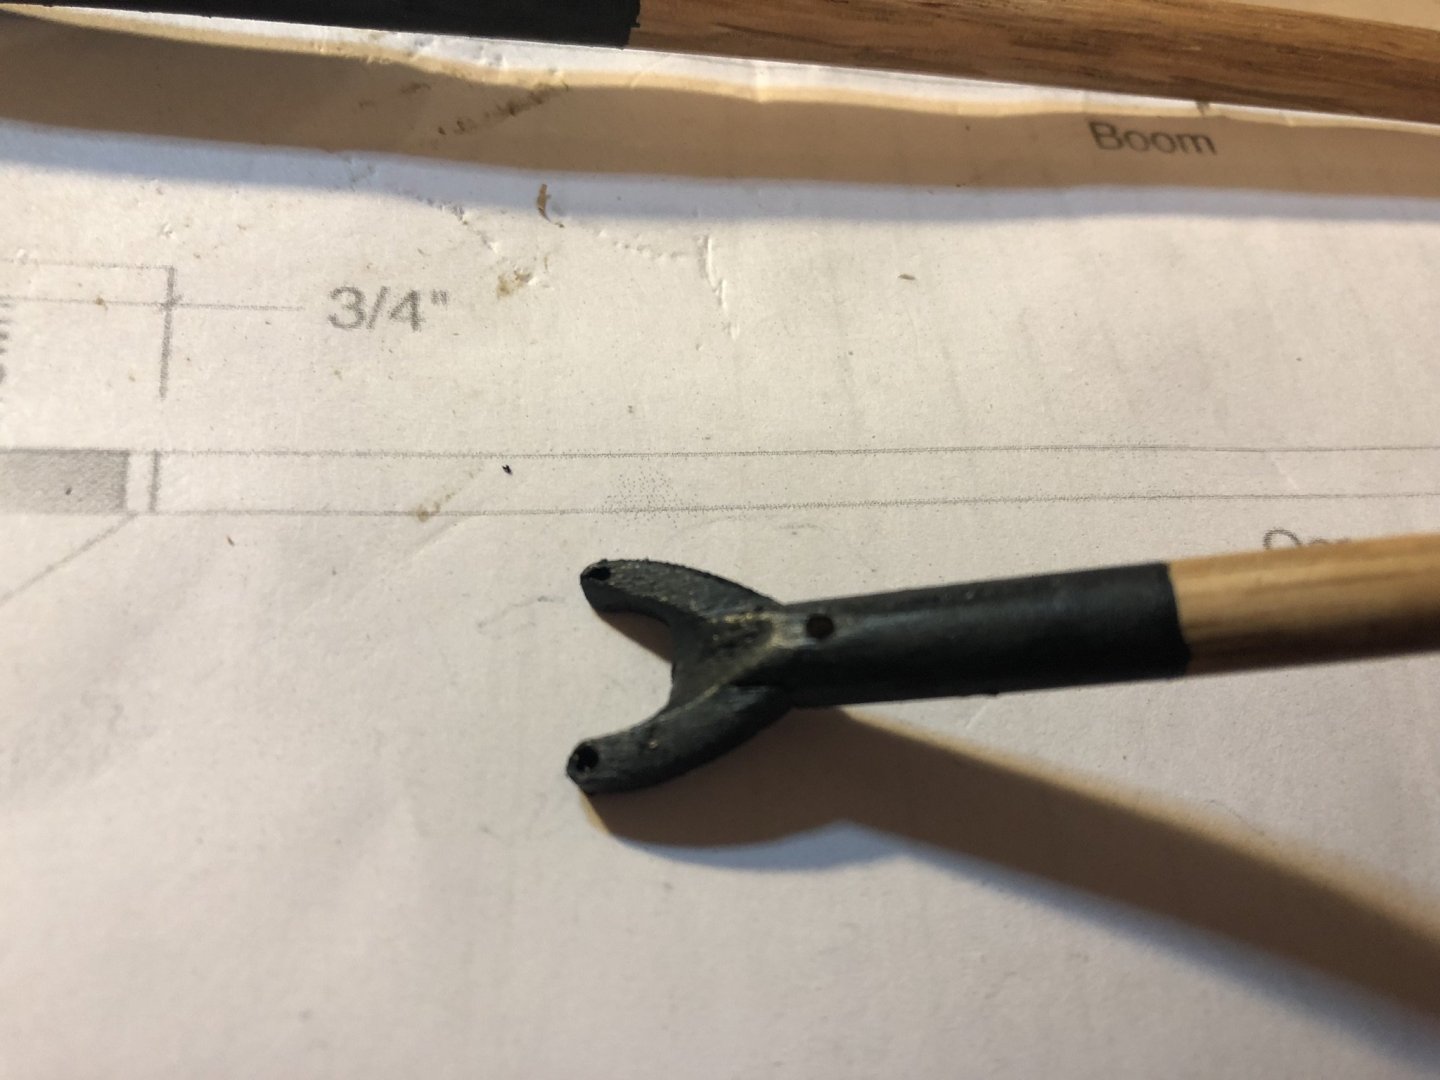
Here i am finishing up the rigging and boom. Final shot has the sails mocked up for patterning.


- 23 replies
-
- 2
-
-
- 18th Century Armed Longboat
- Model Shipways
- (and 2 more)
-
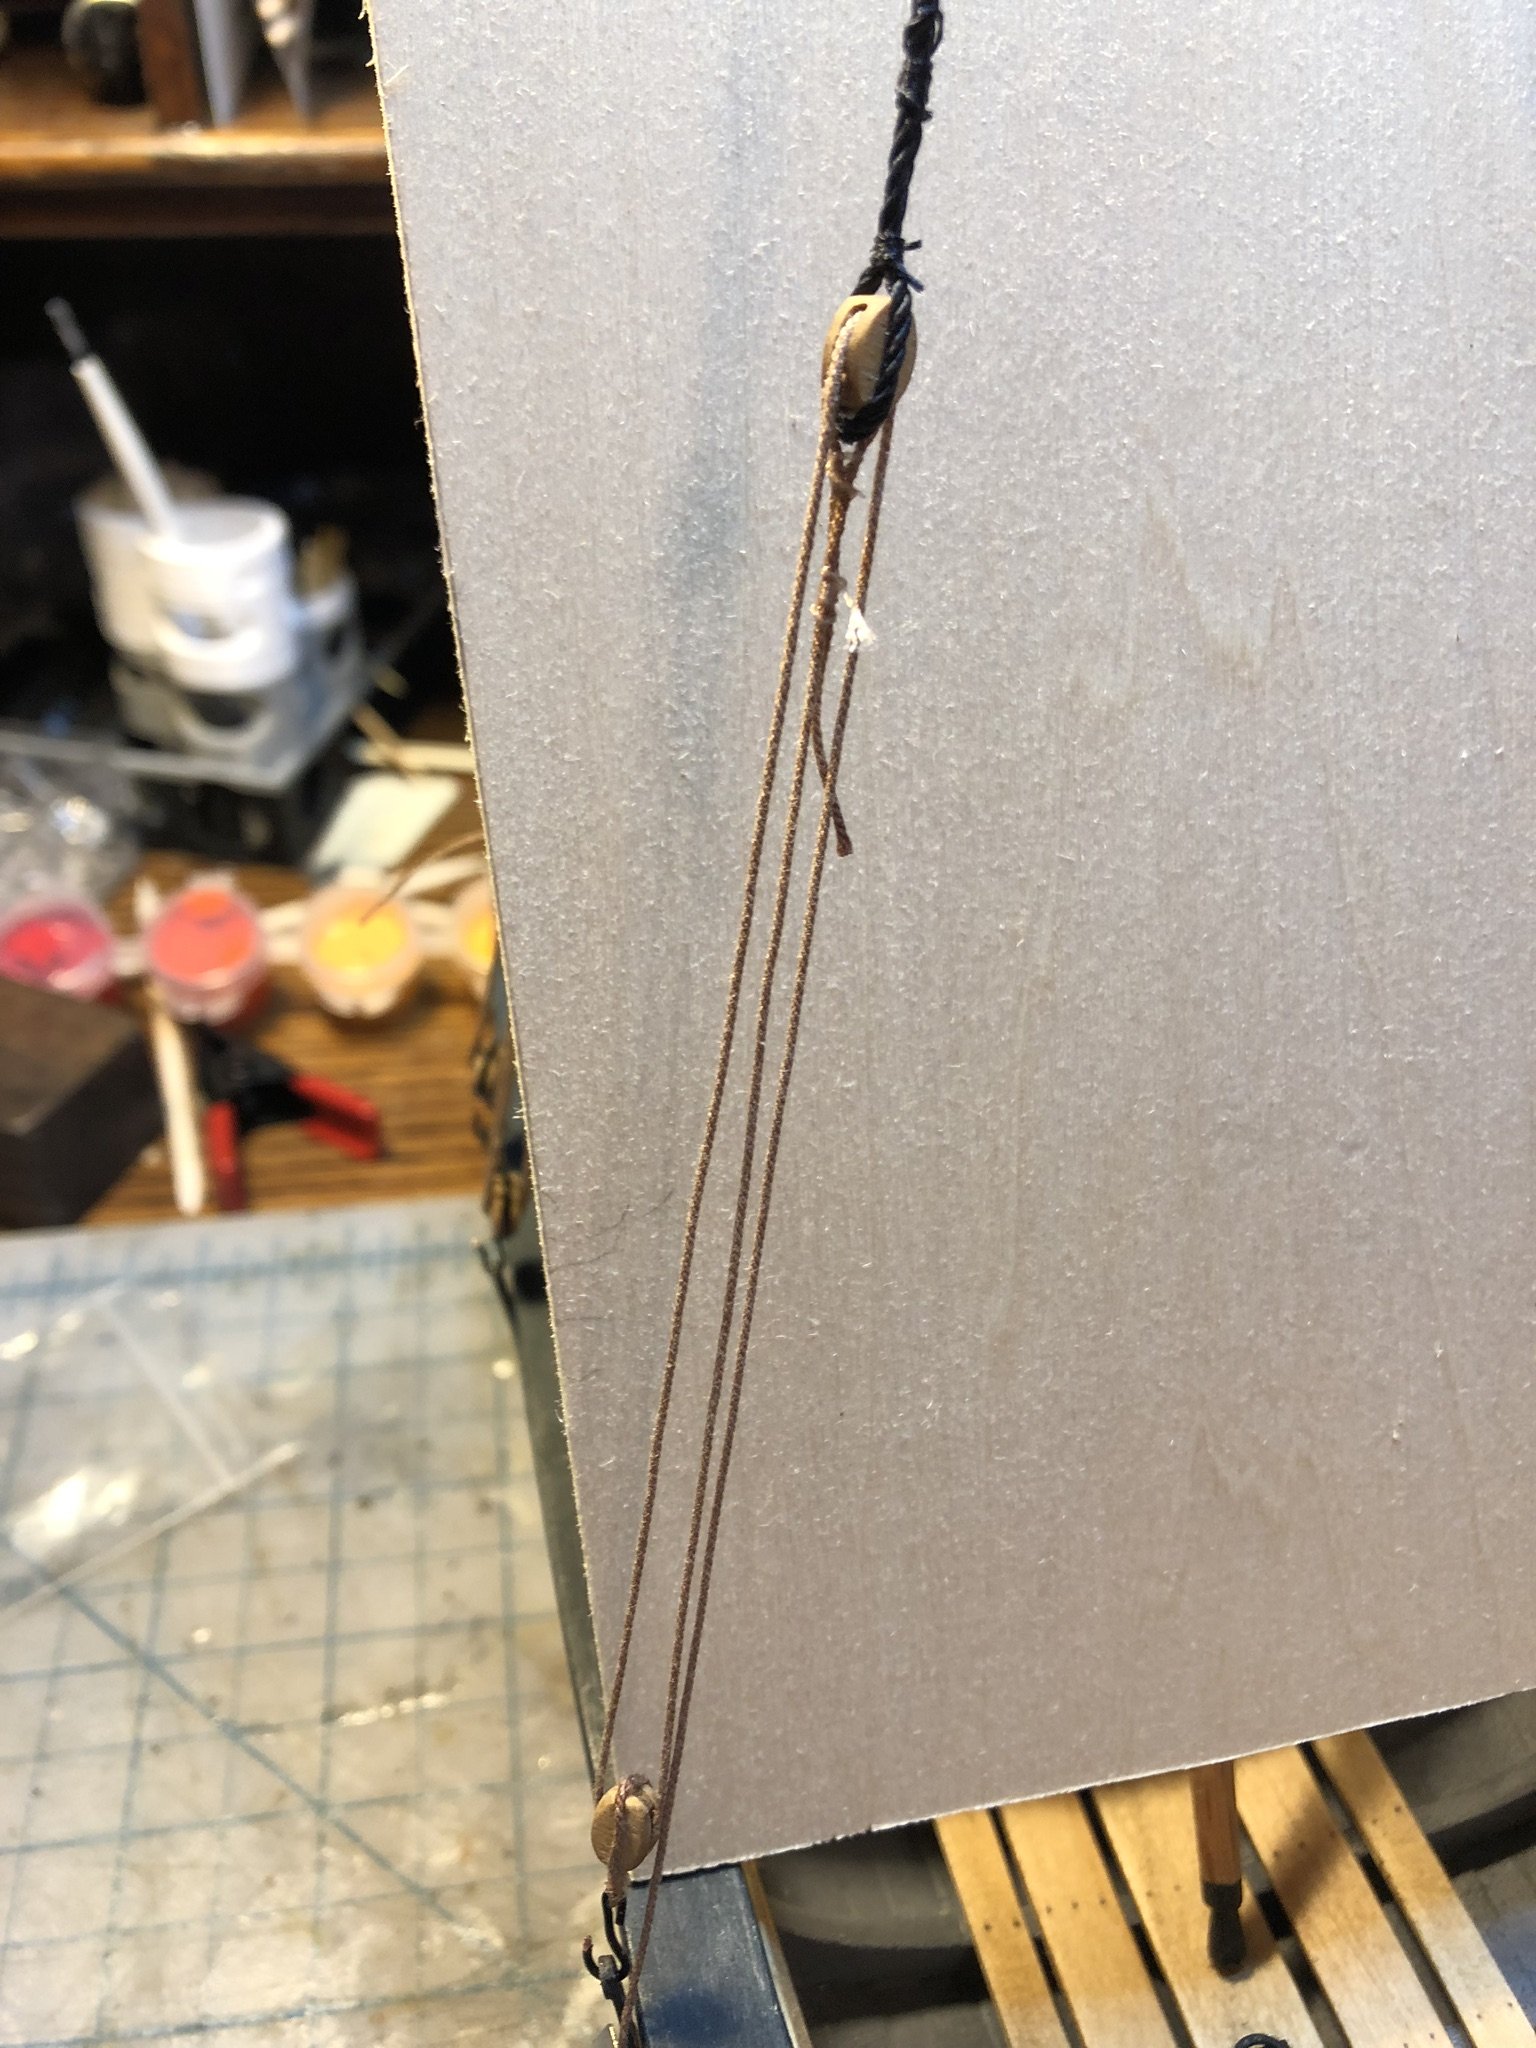
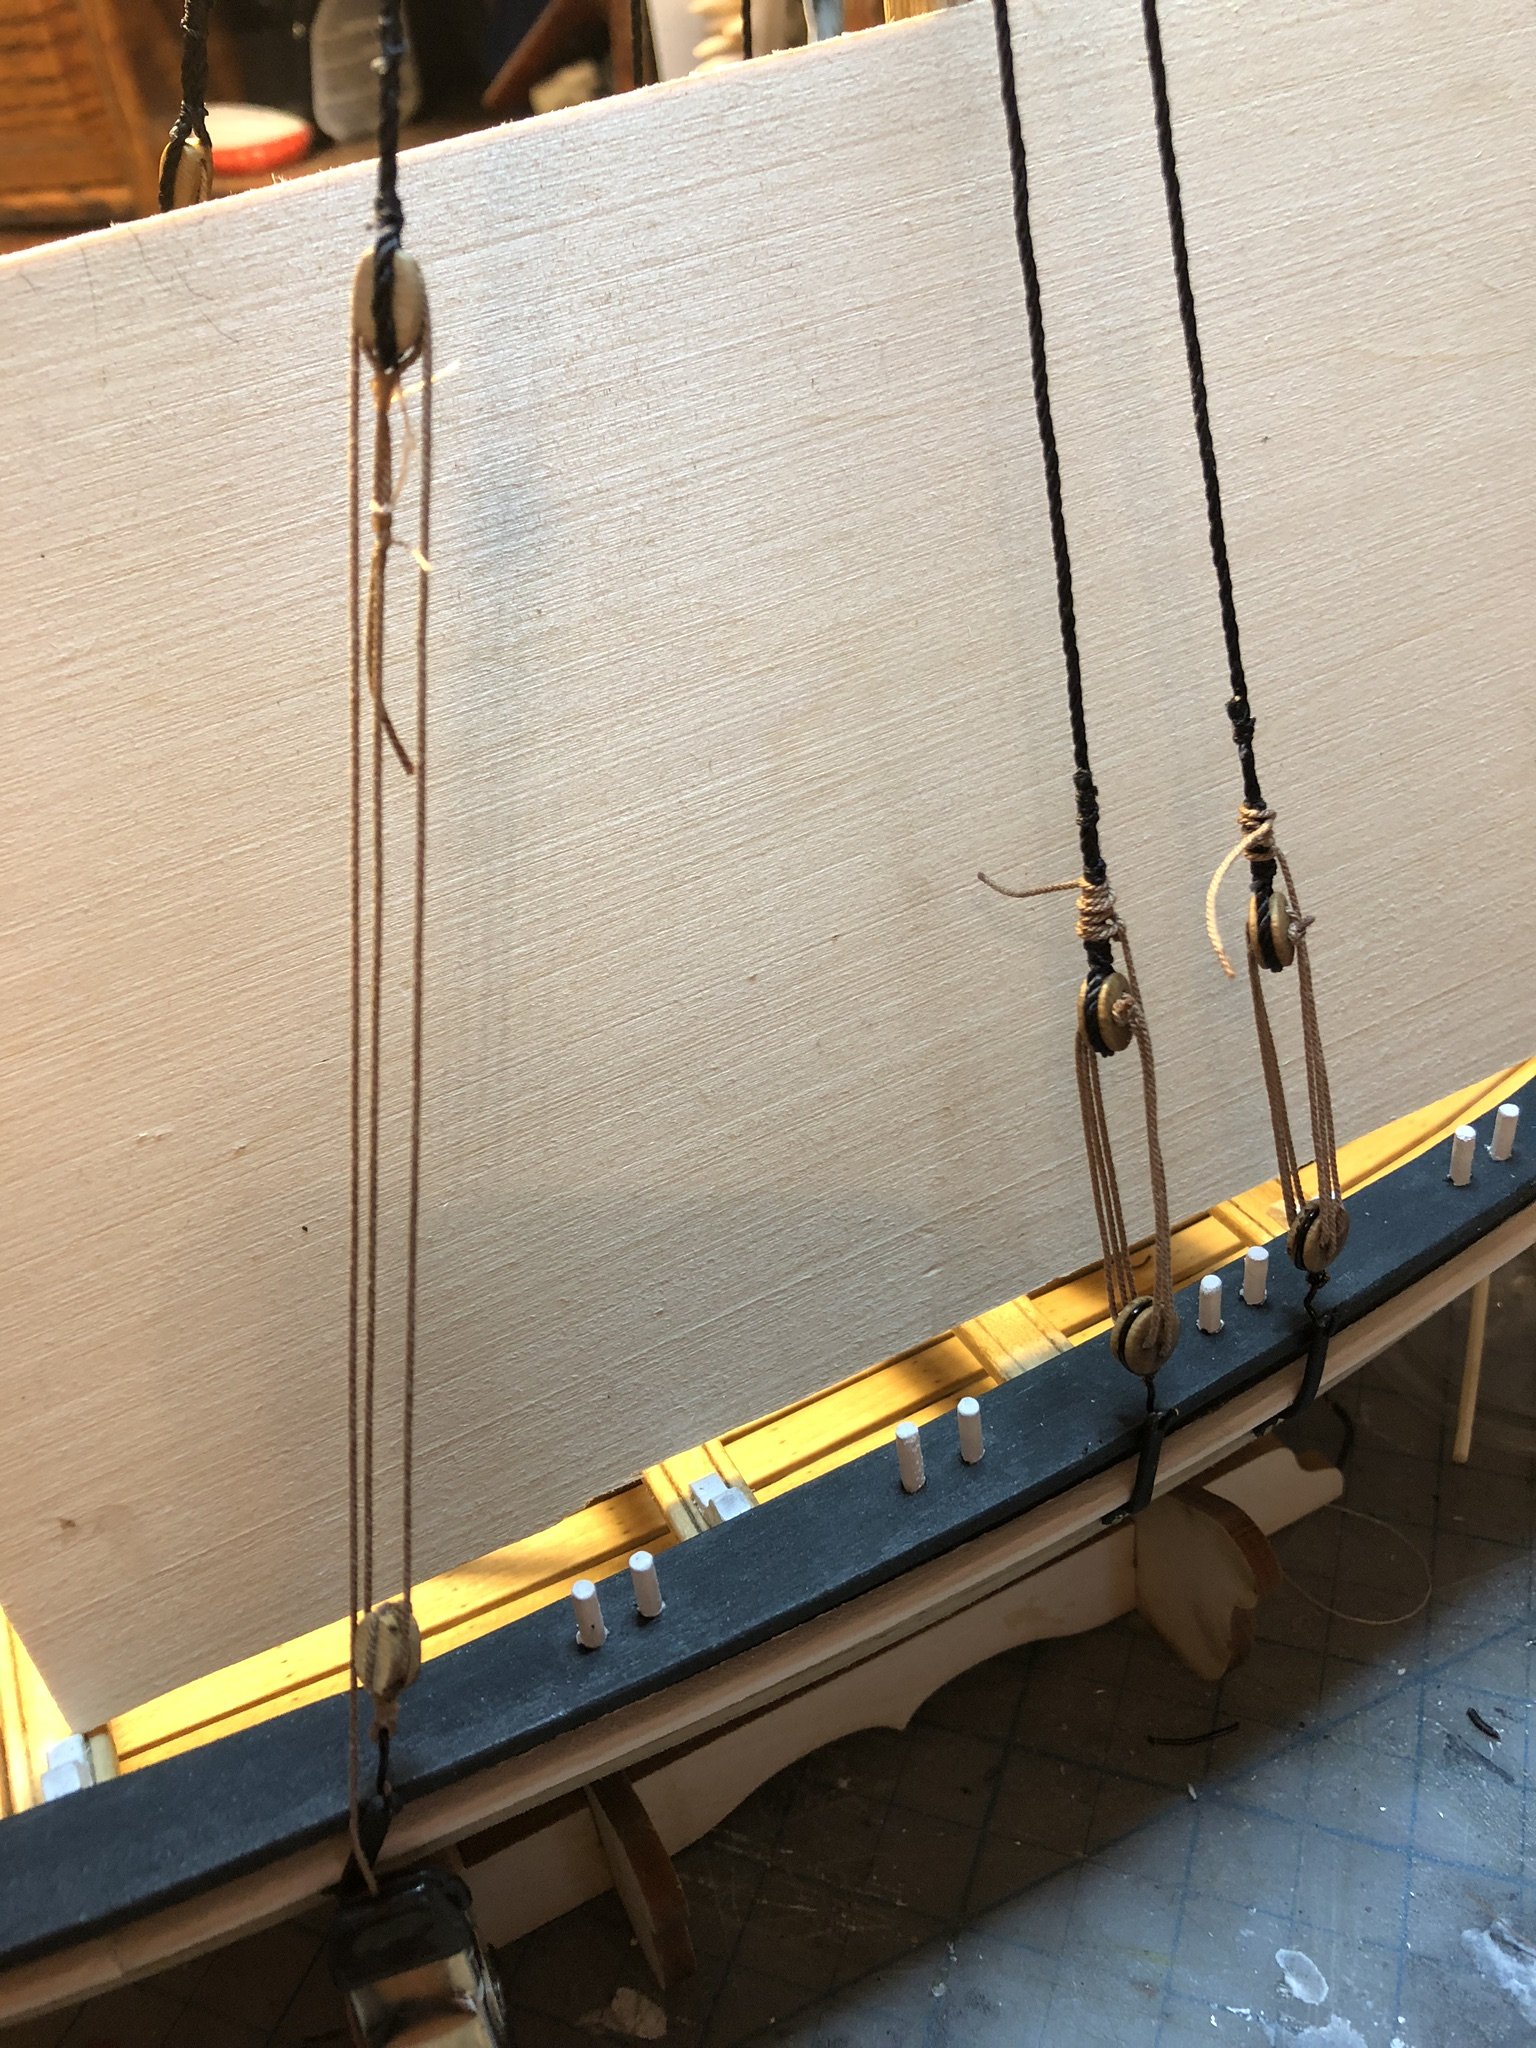
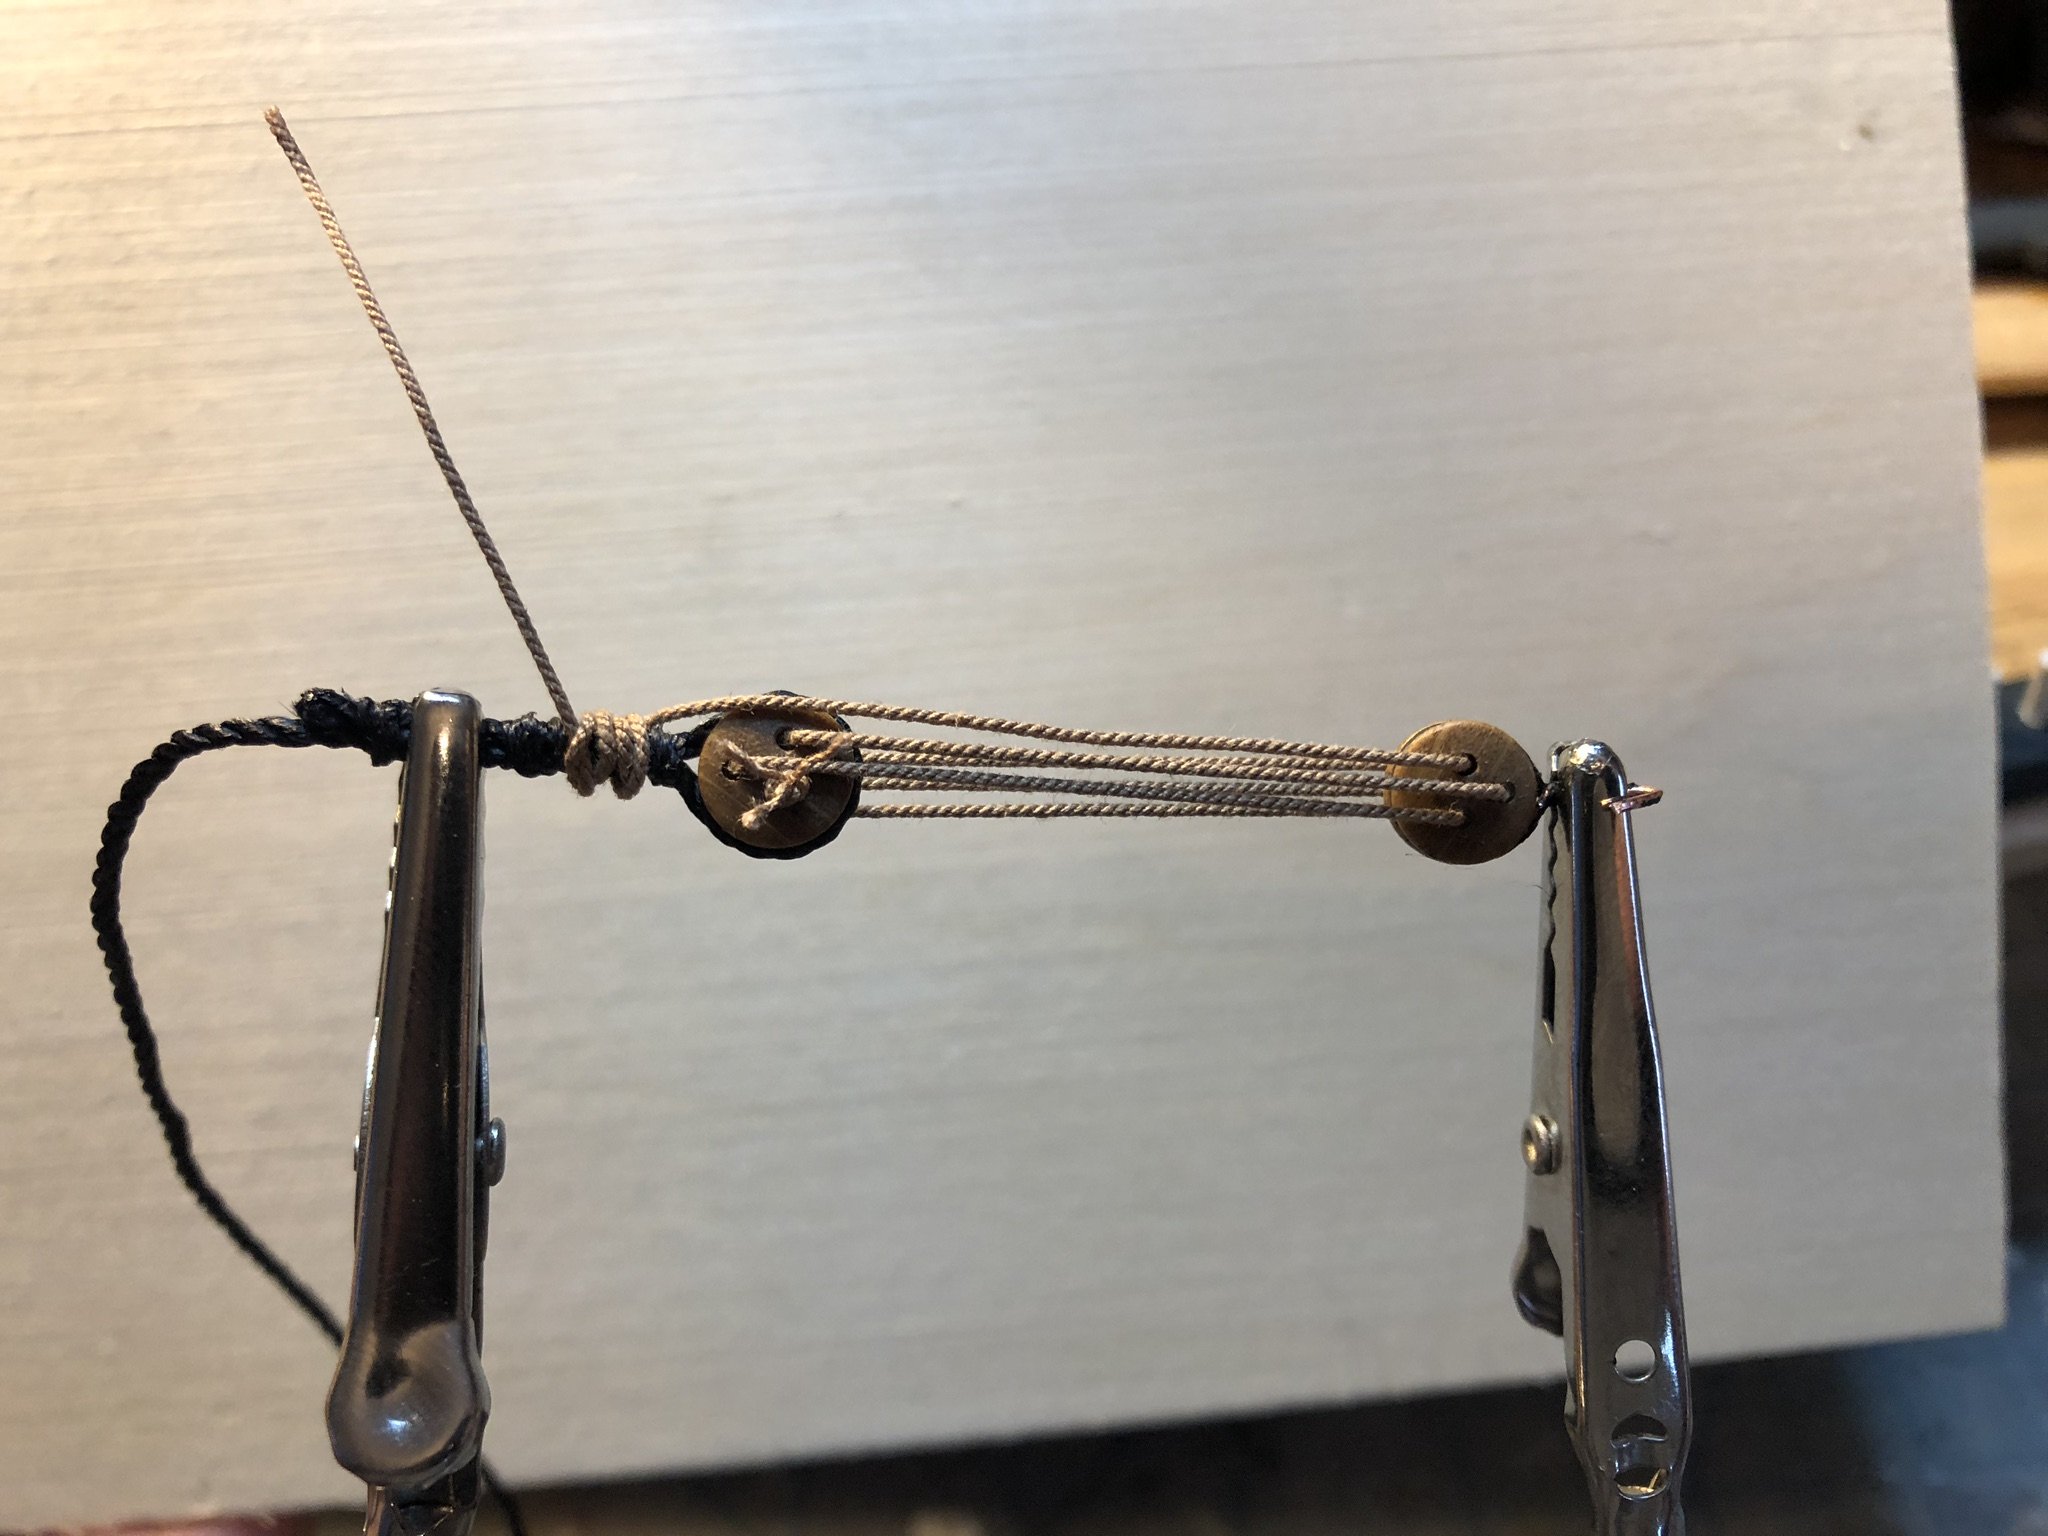
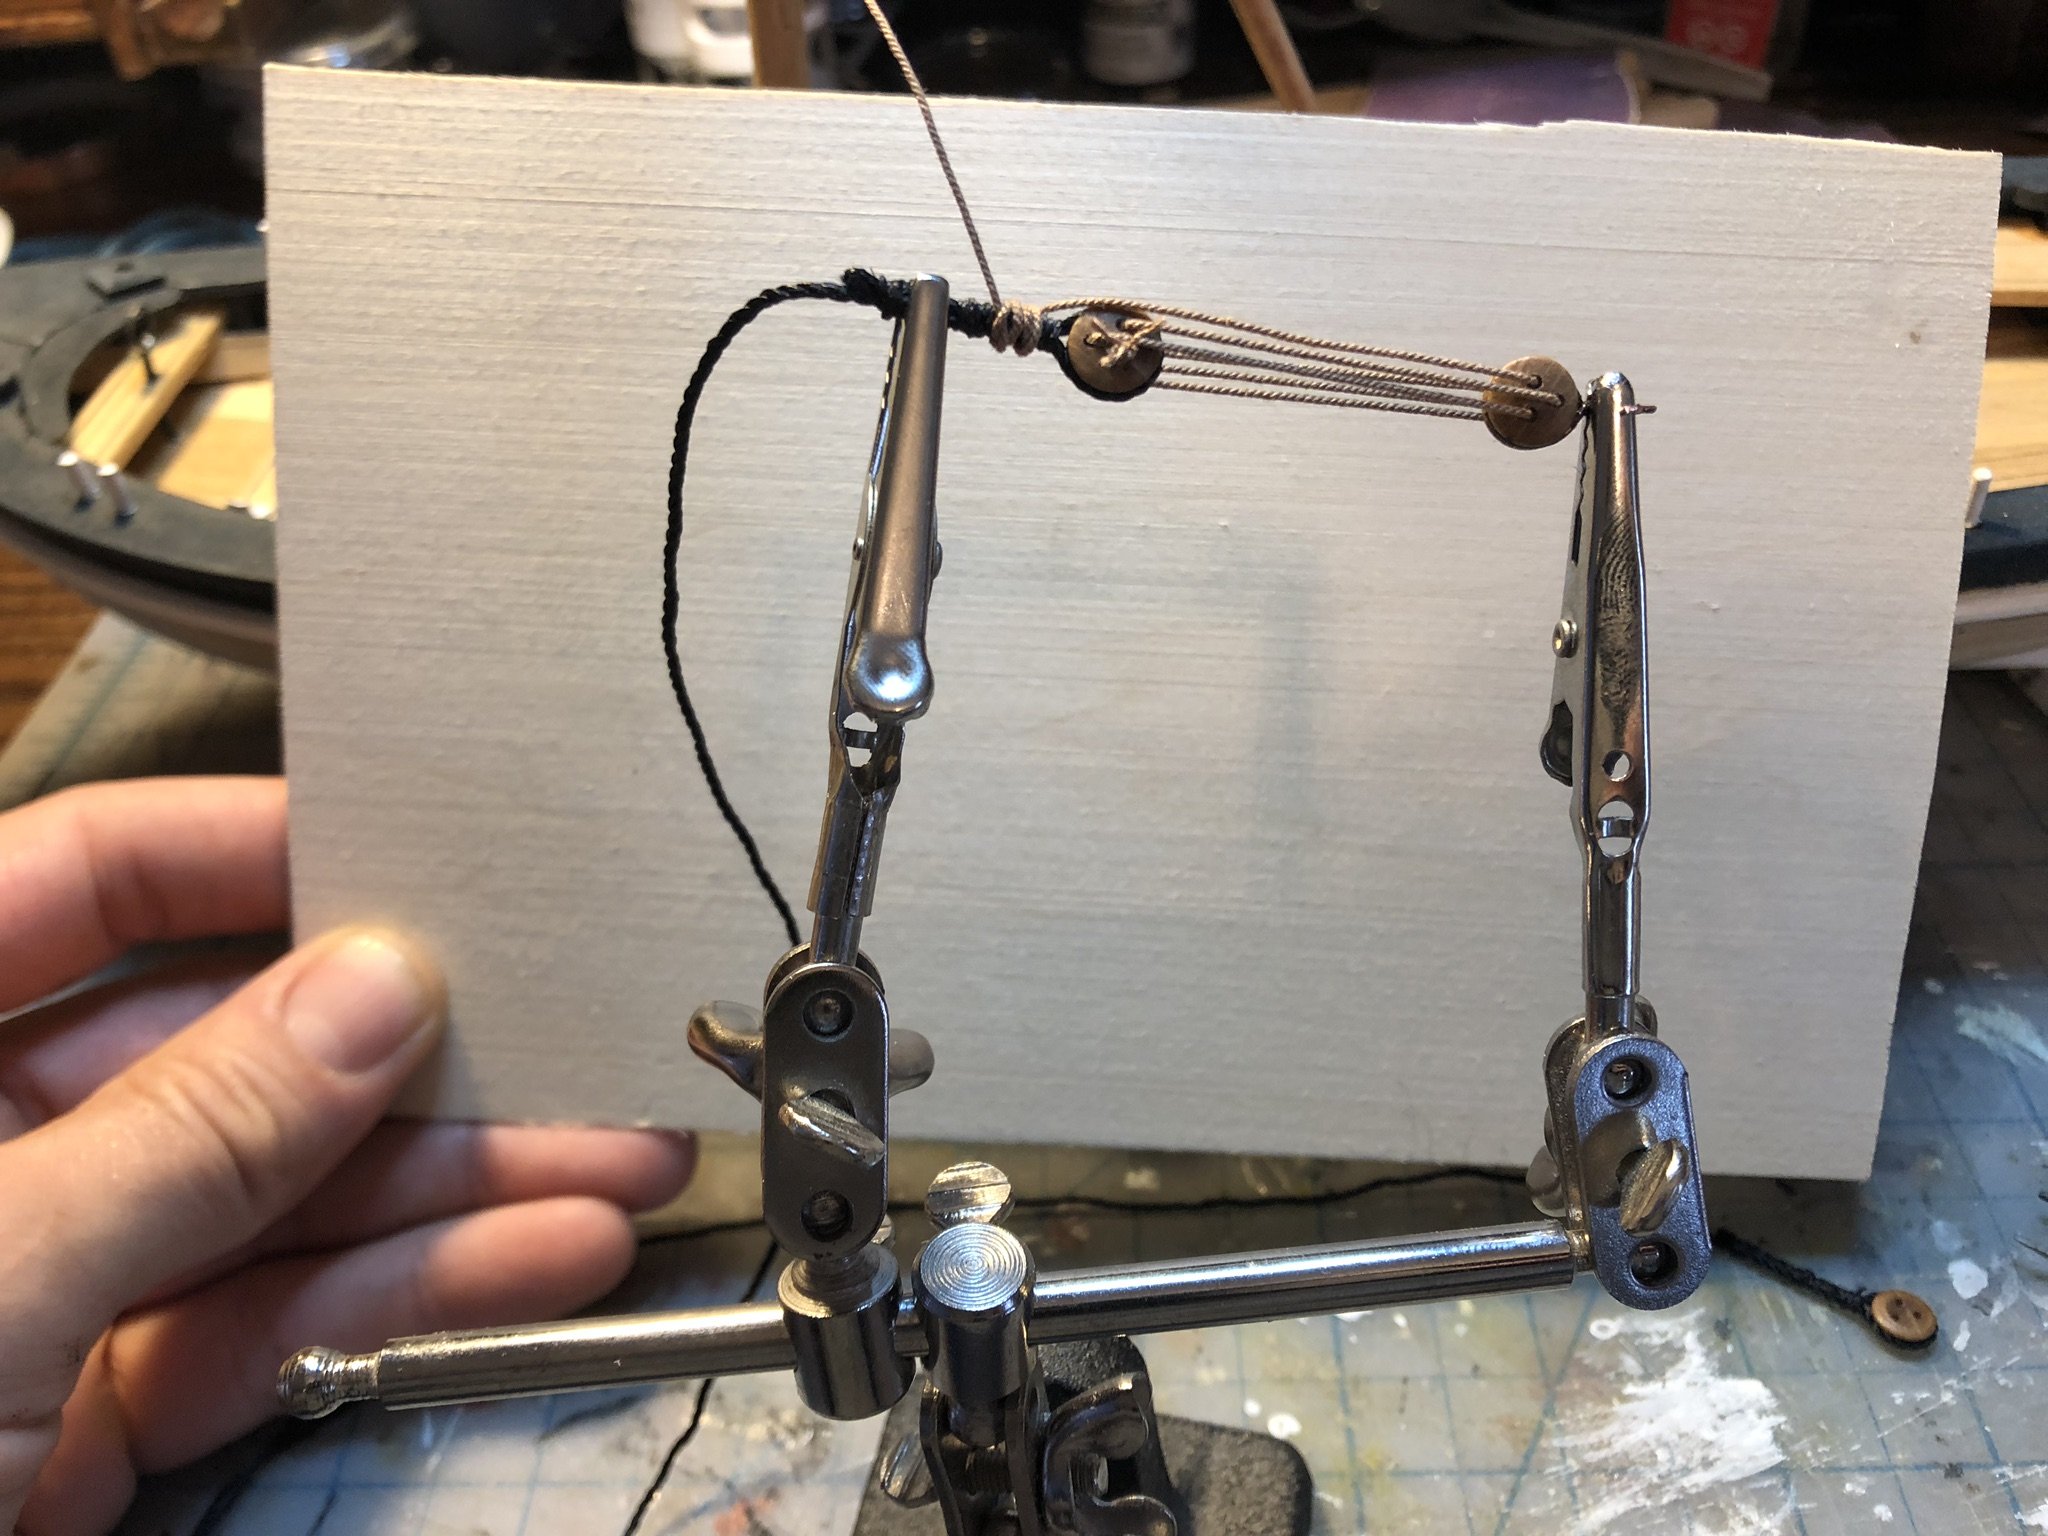
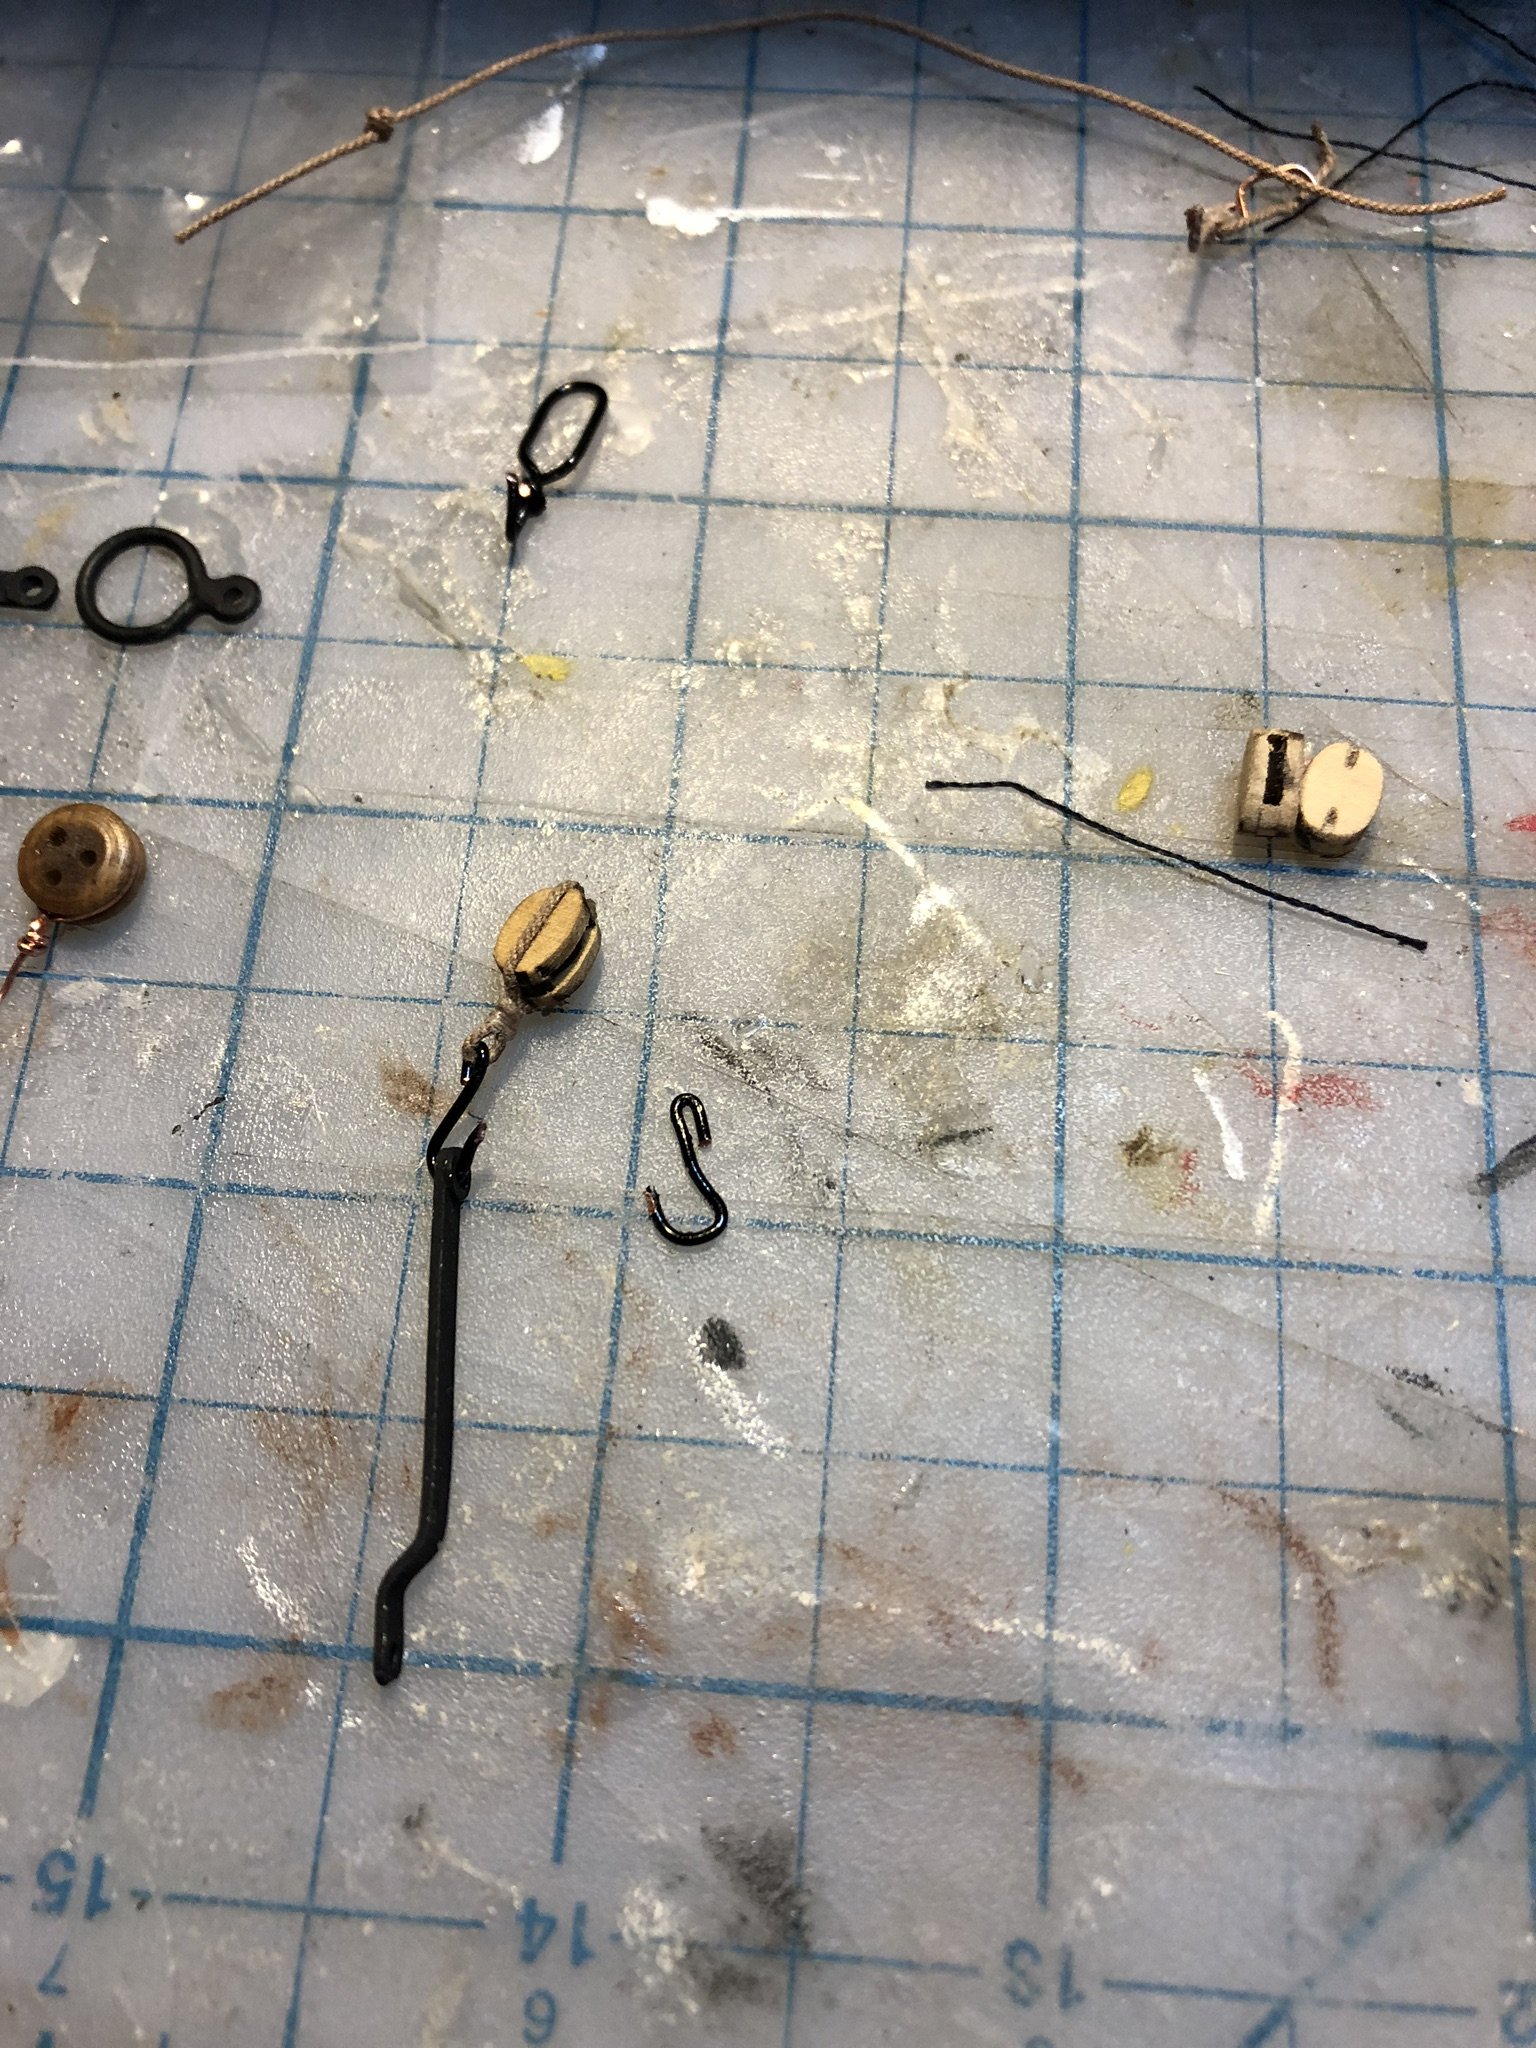
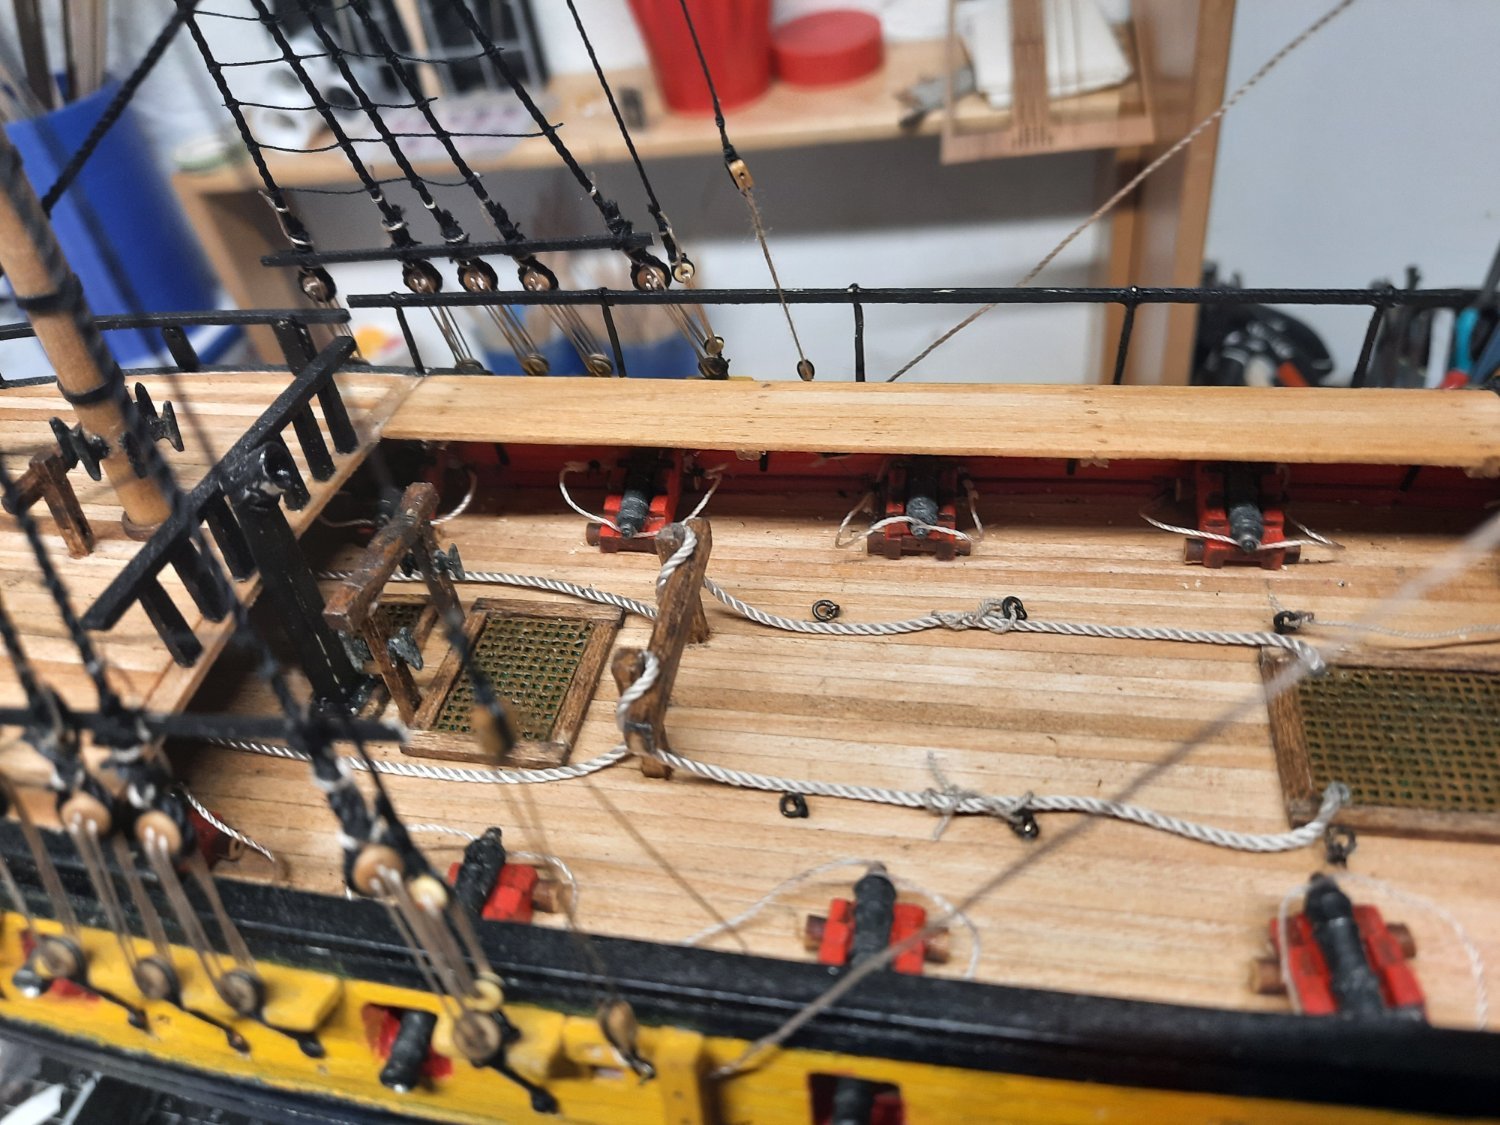
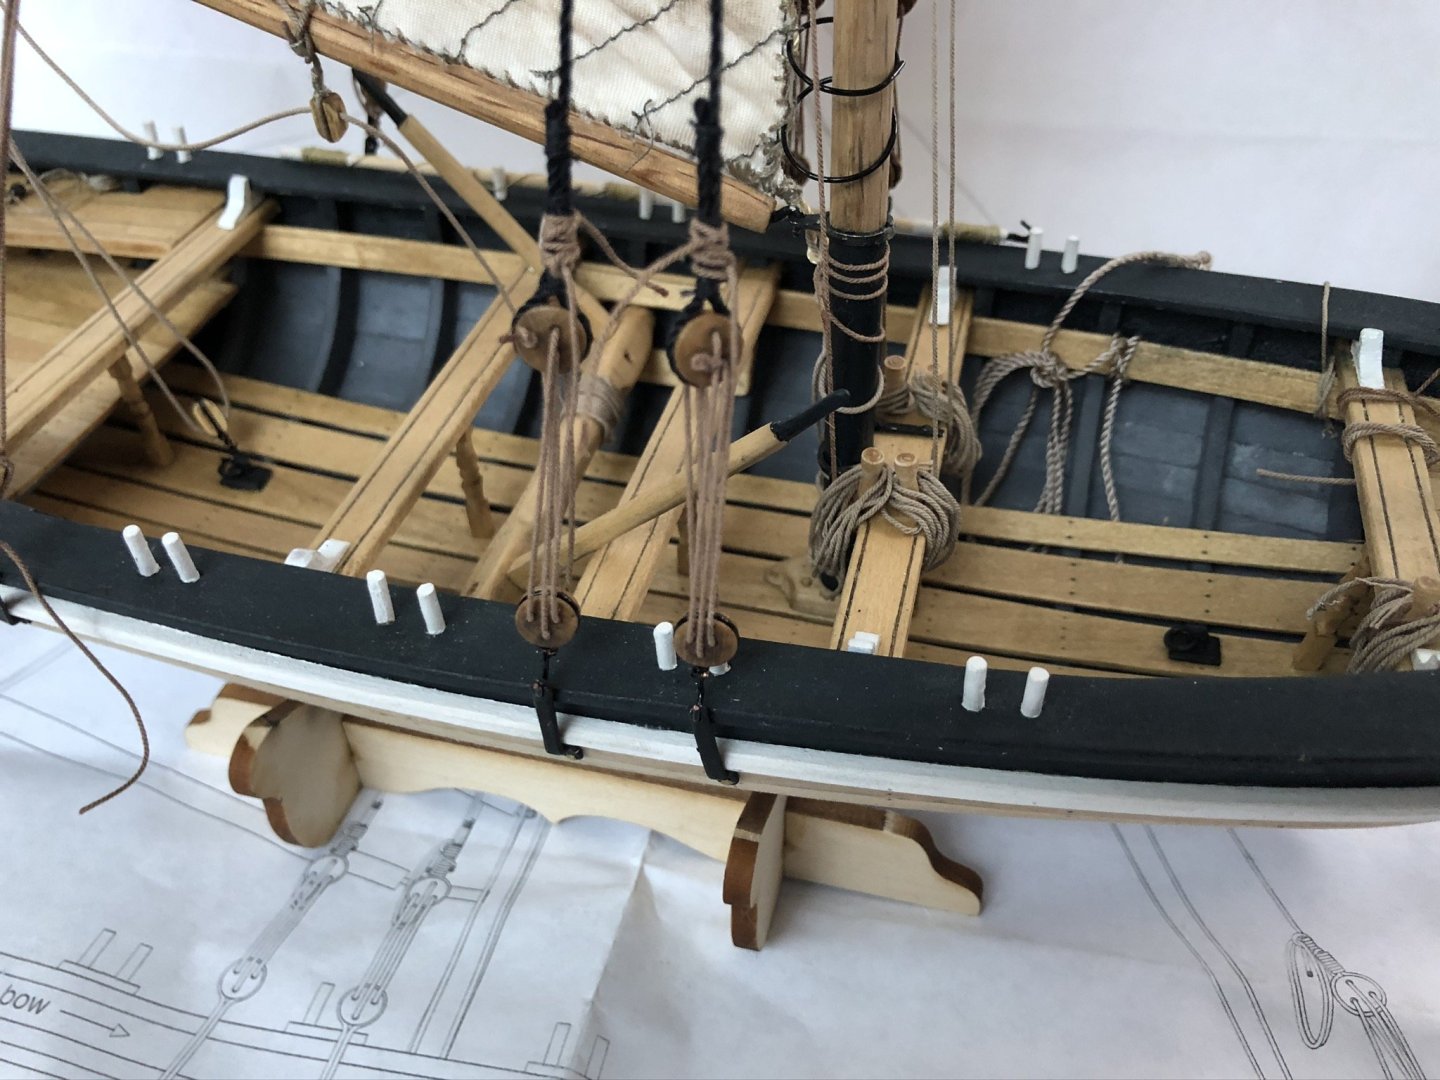
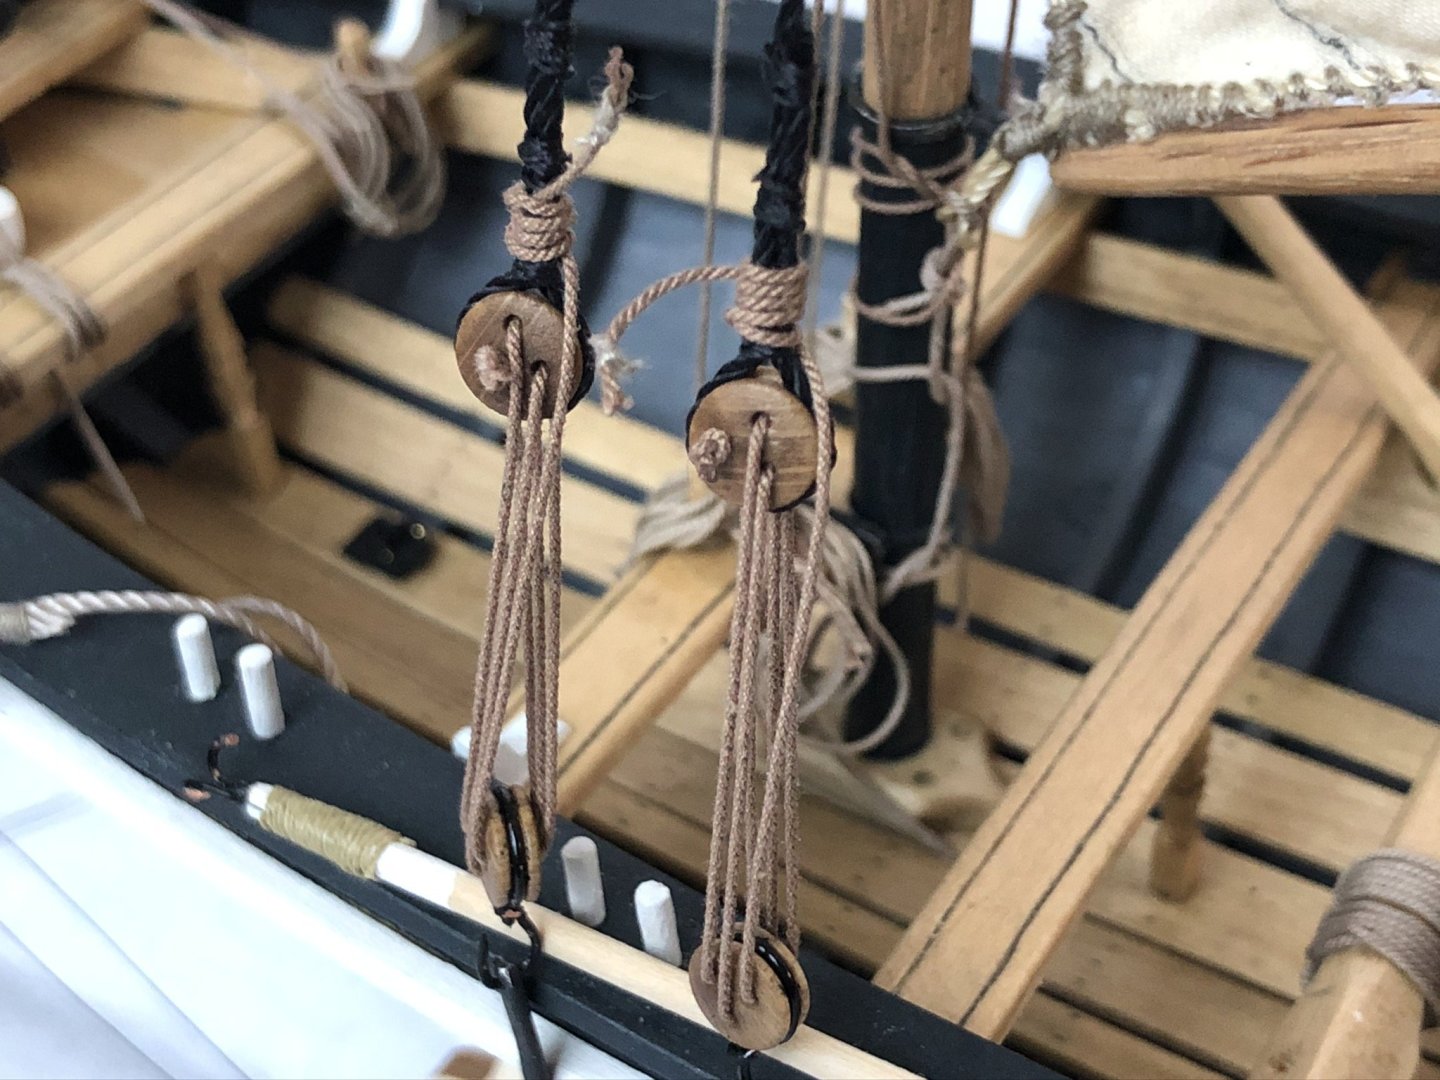
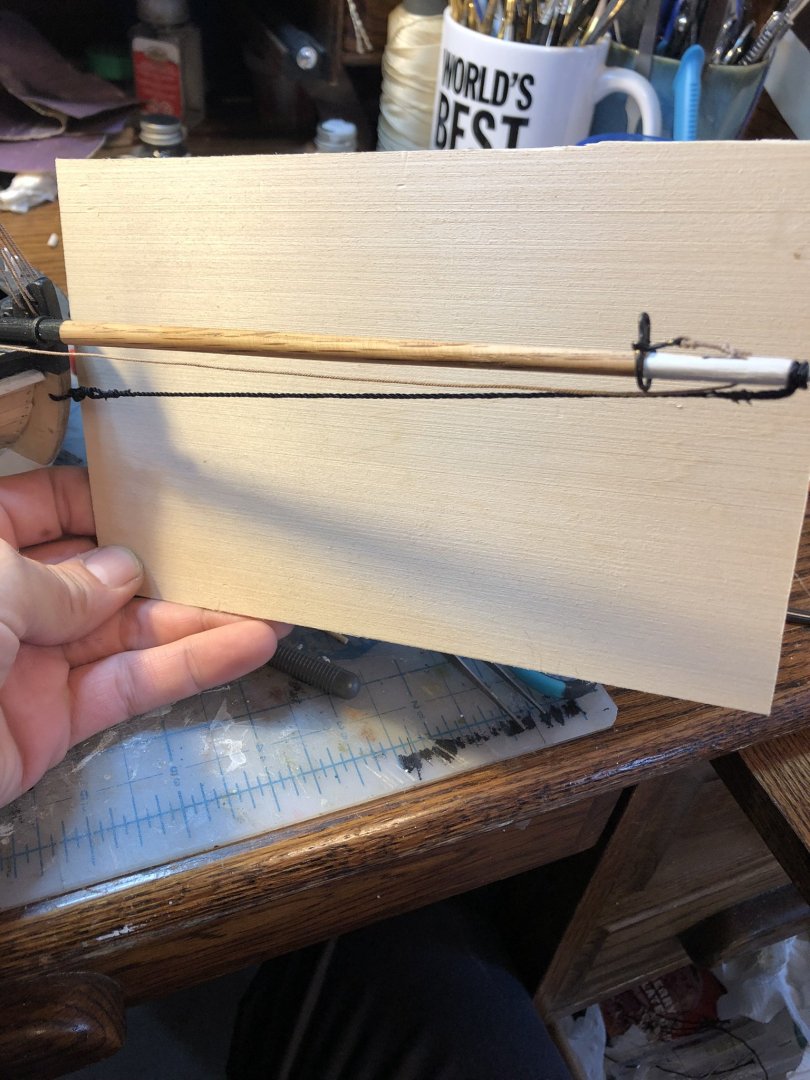
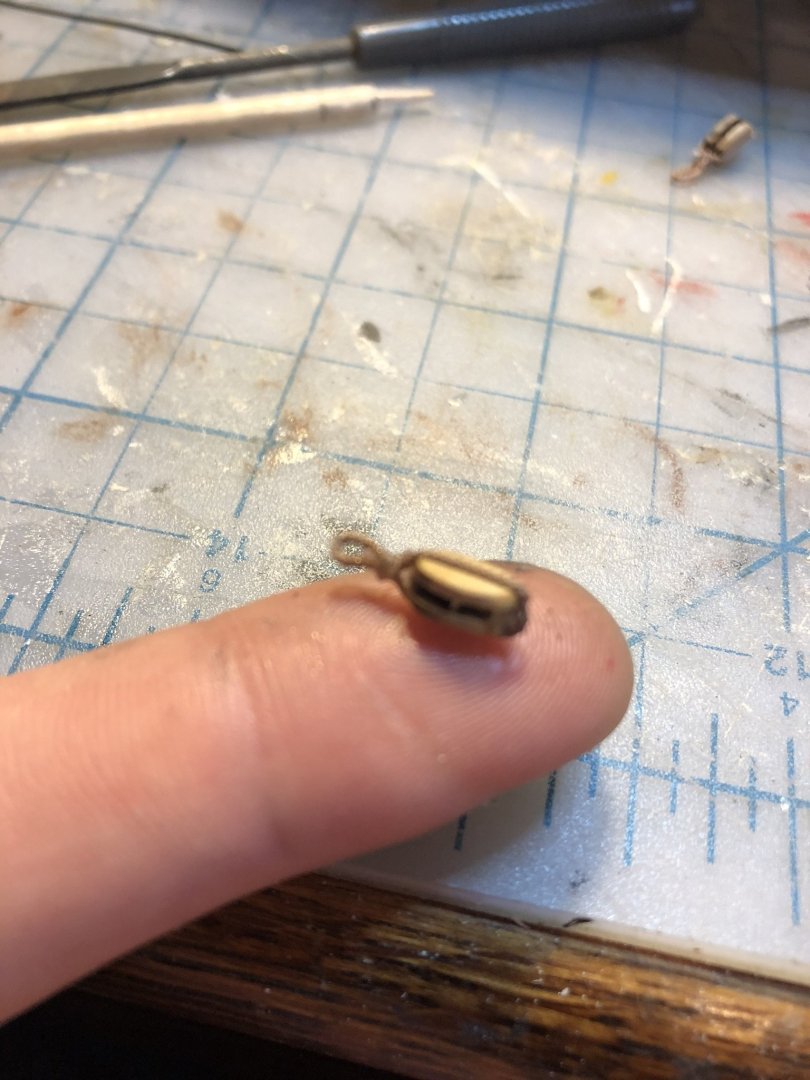
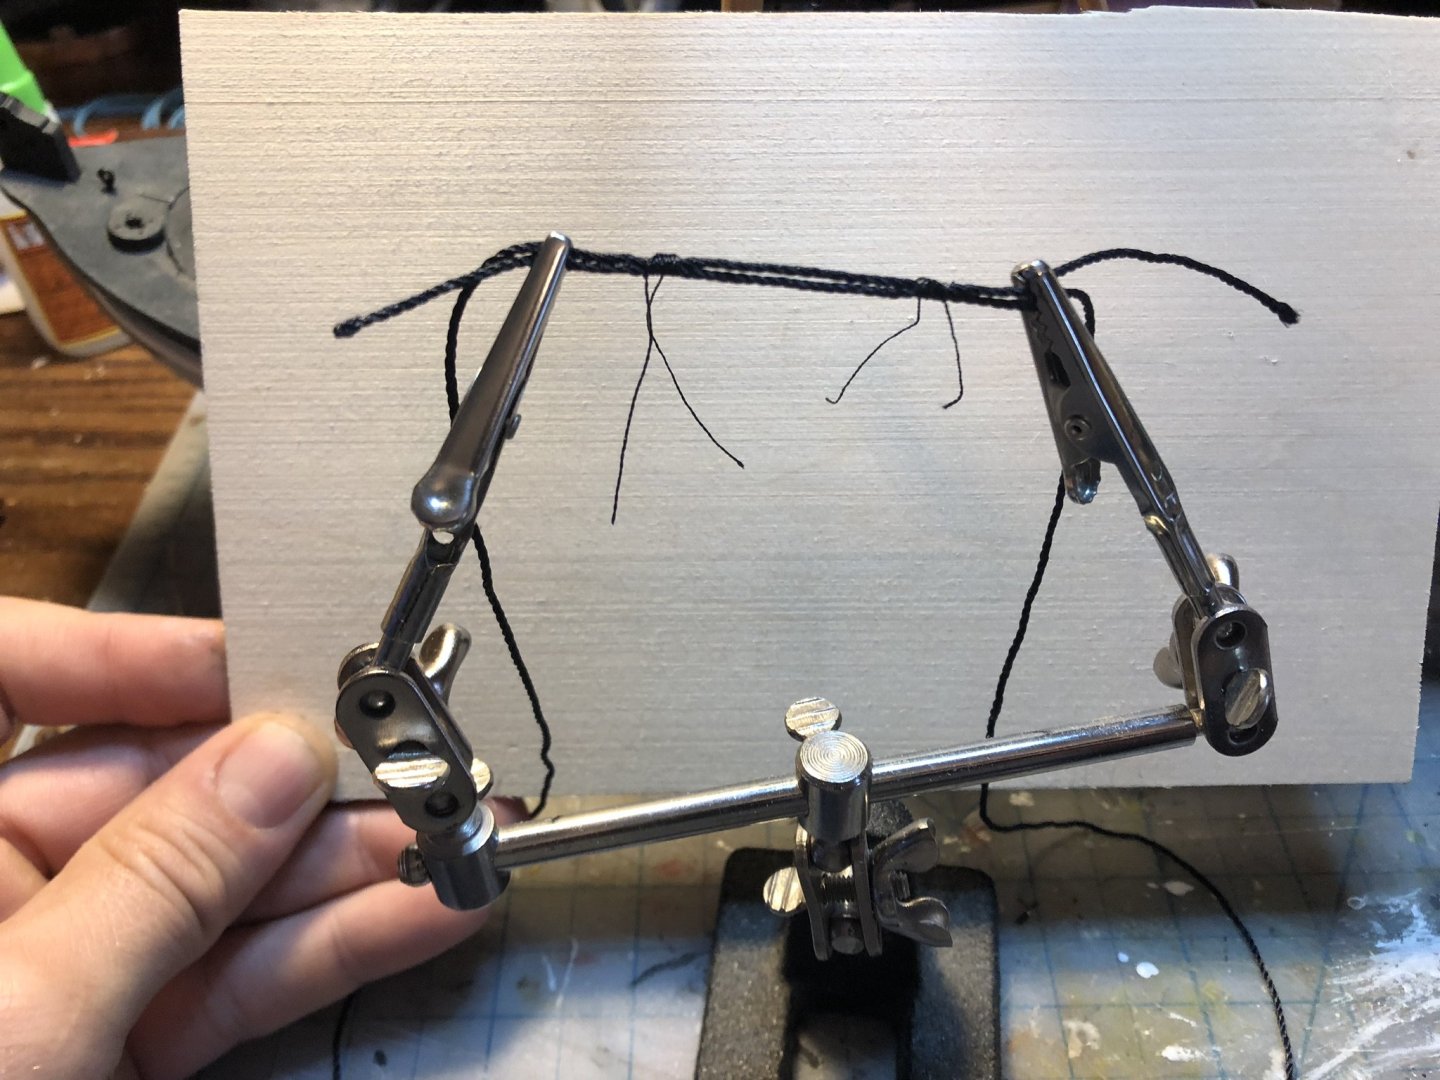
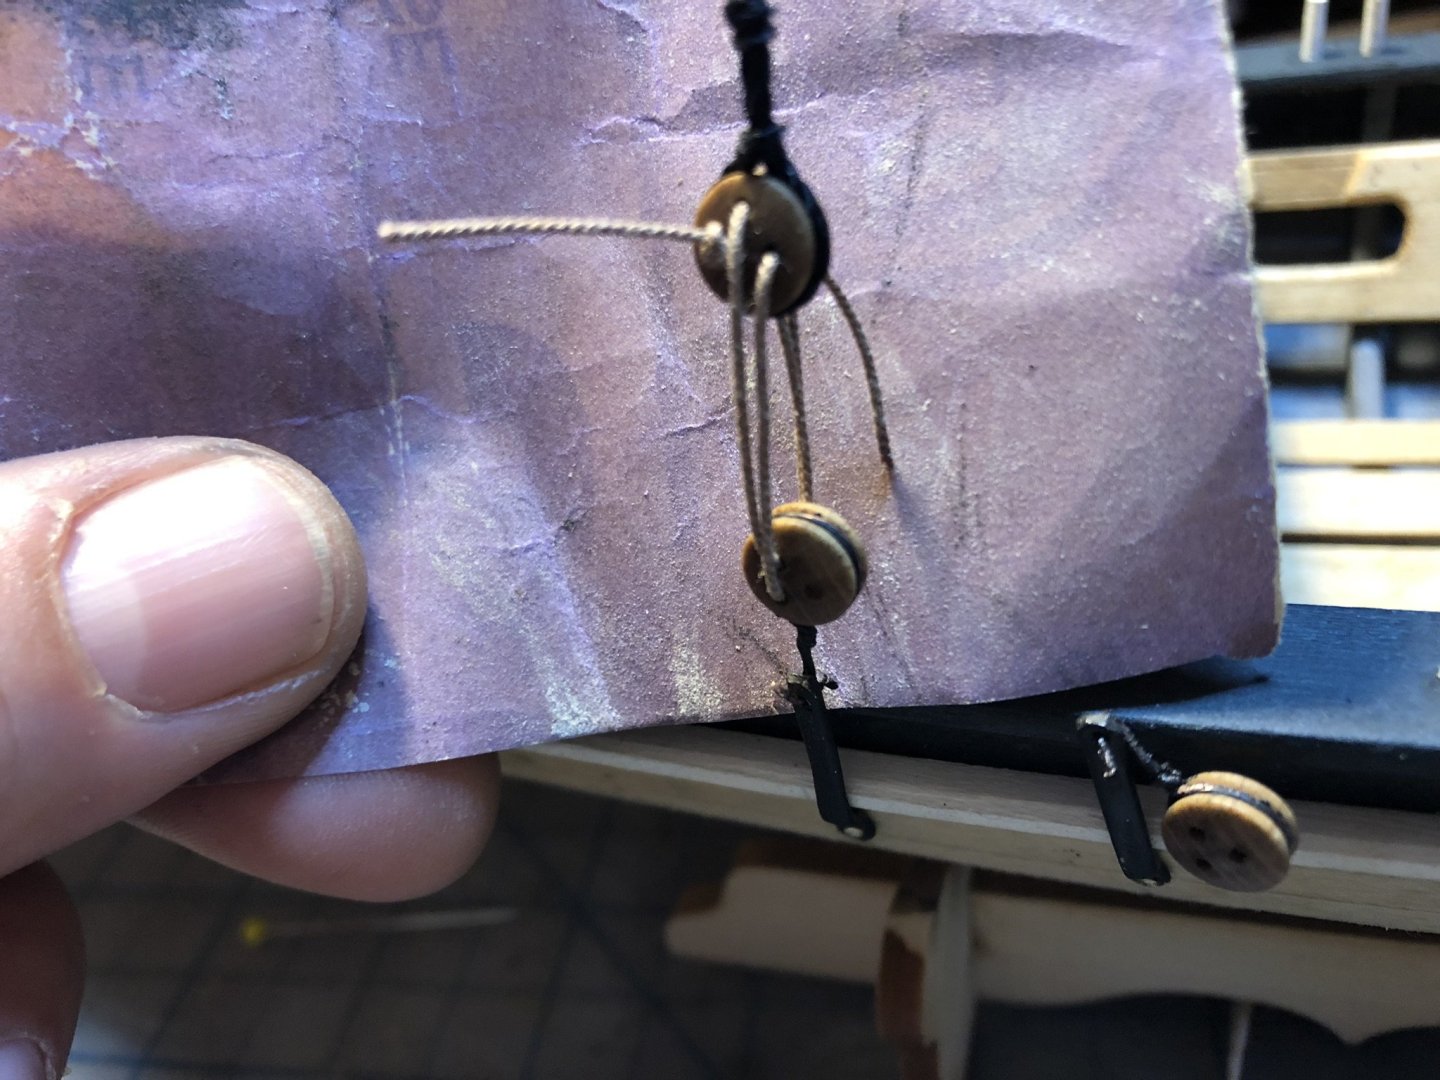
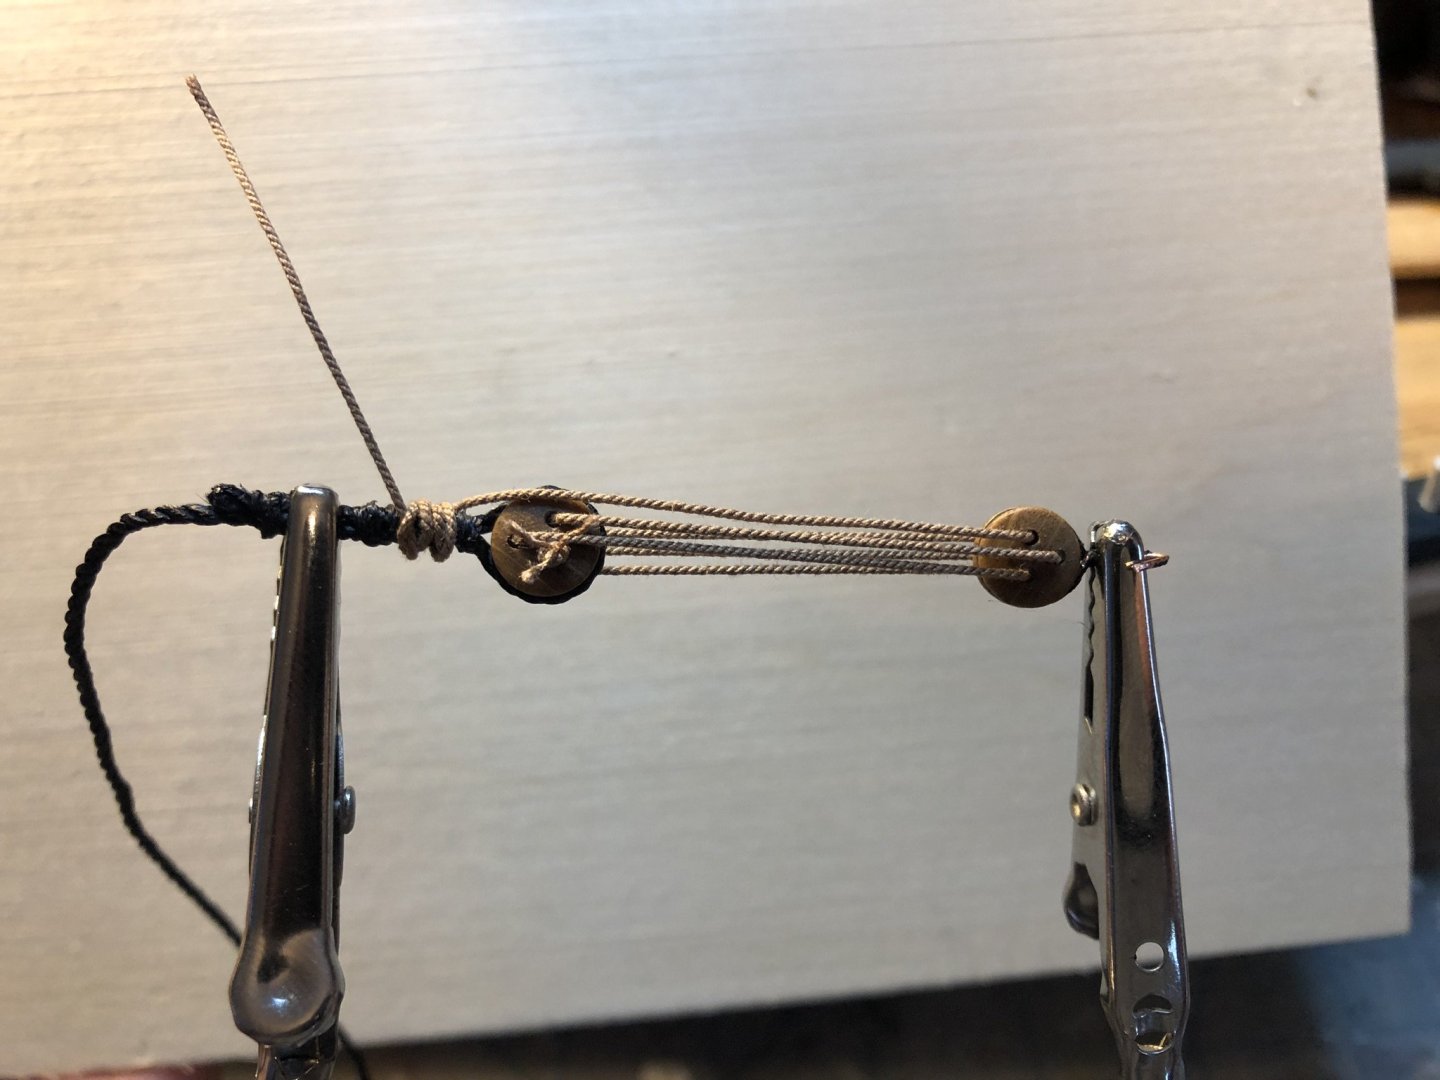
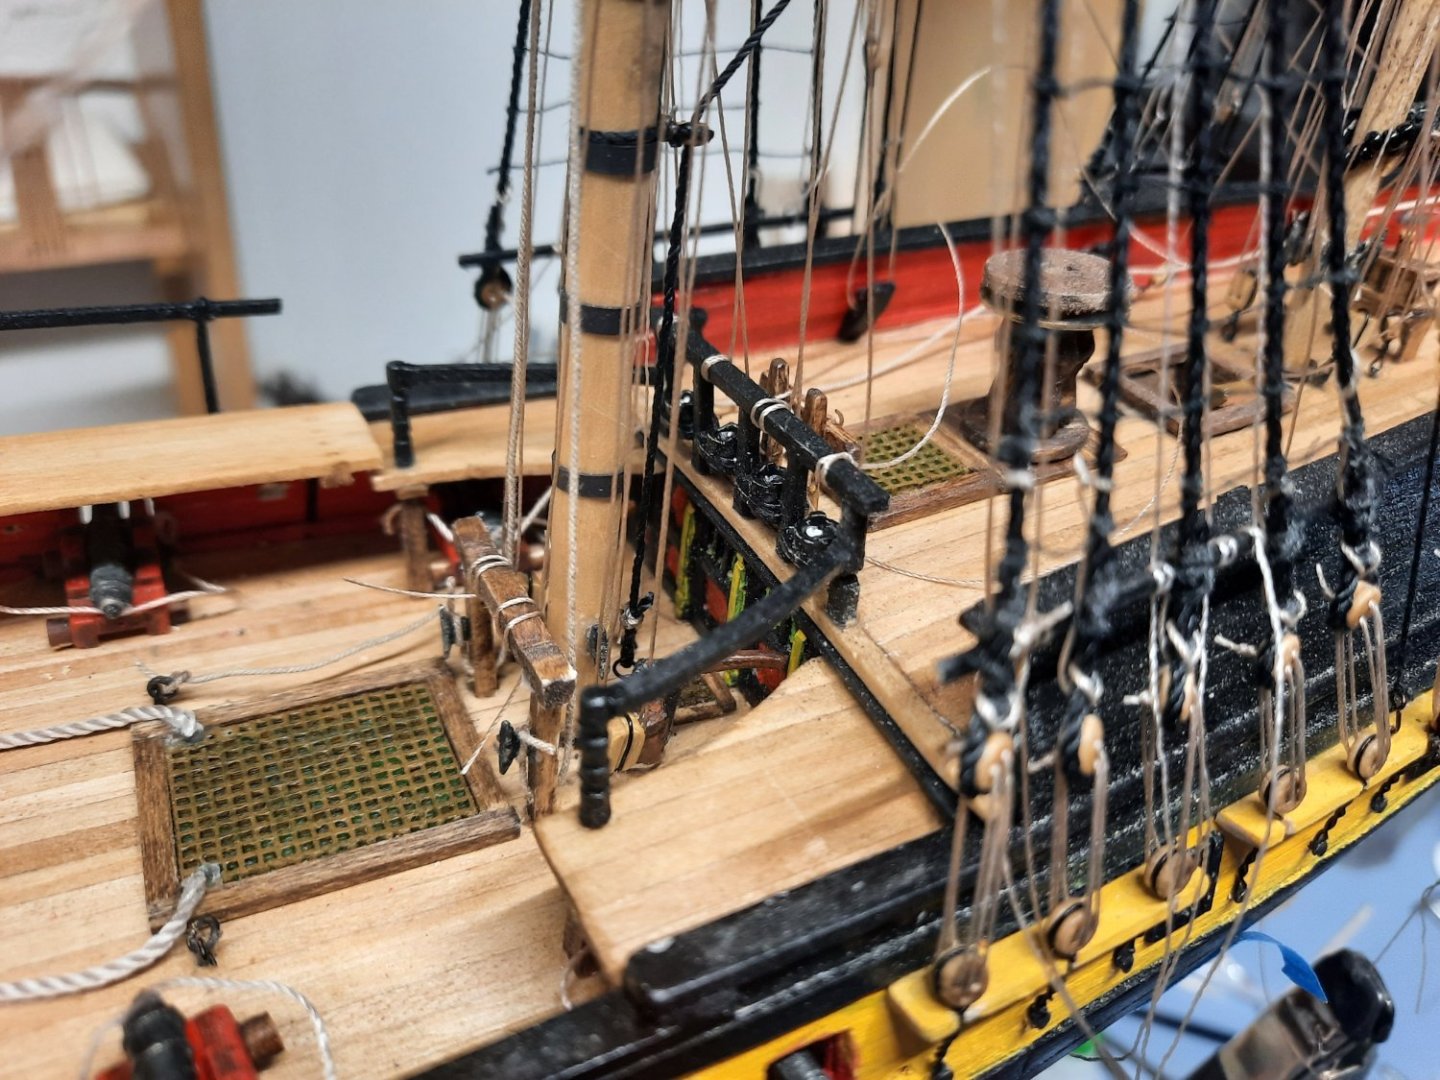
Here I am rigging the shrouds and stays. I bought some aftermarket blocks from Syren Ship Co. just for the hell of it. I like the look of them at this scale better than the kit blocks. I also find the little clamp stand very handy at this point.


- 23 replies
-
- 1
-
-
- 18th Century Armed Longboat
- Model Shipways
- (and 2 more)
-
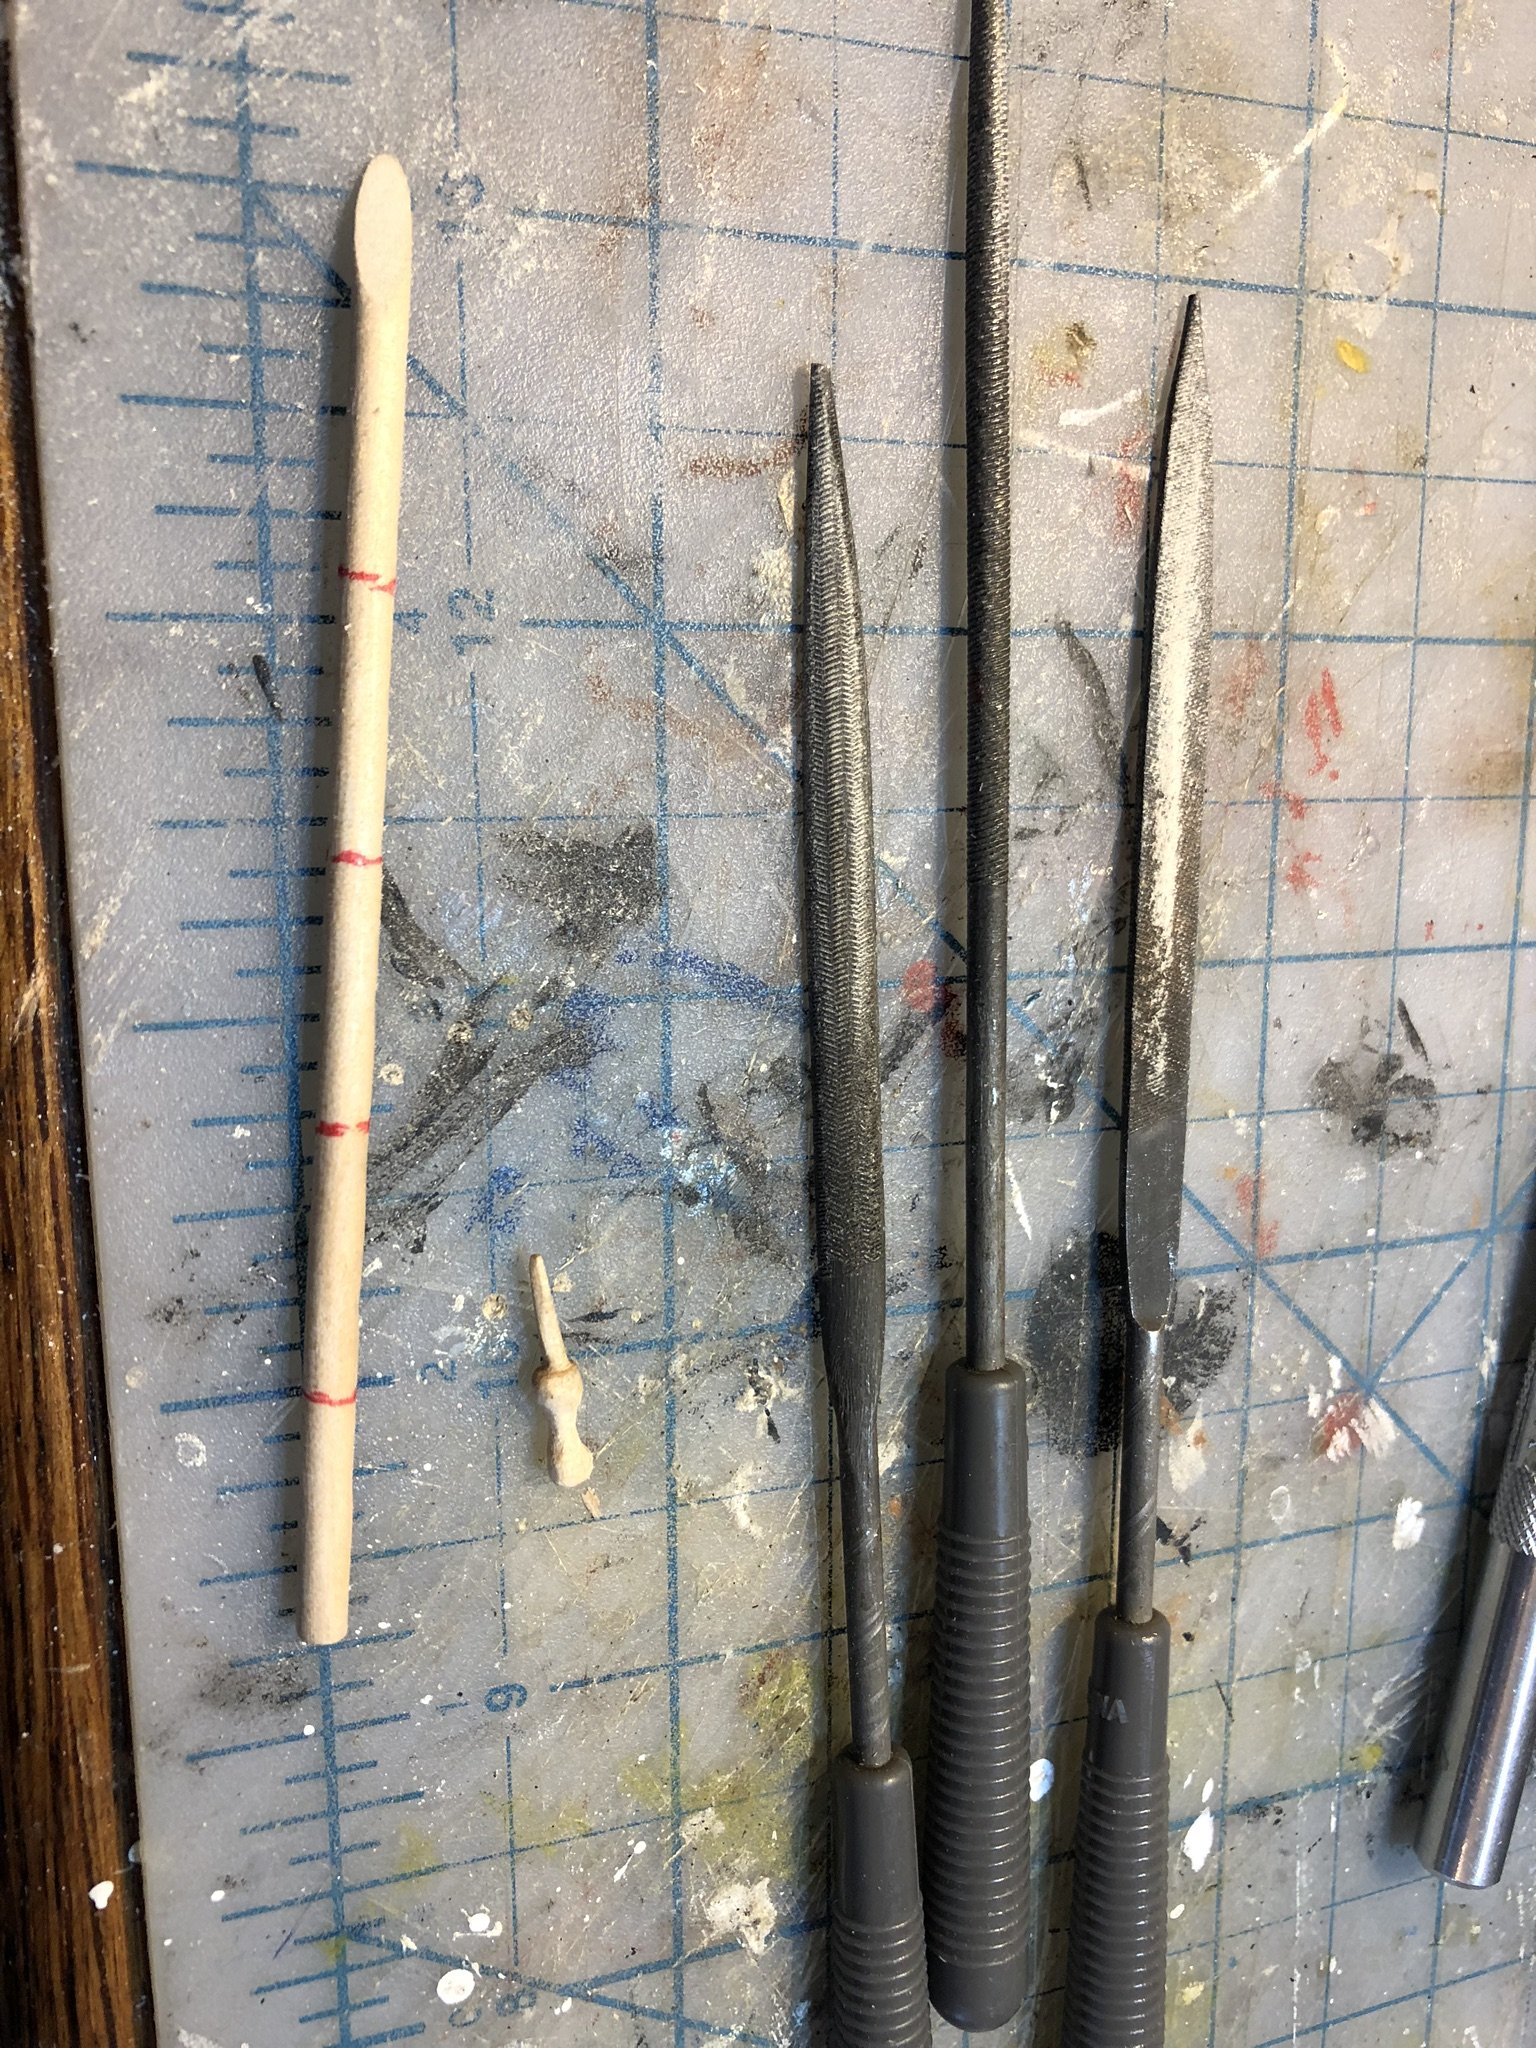
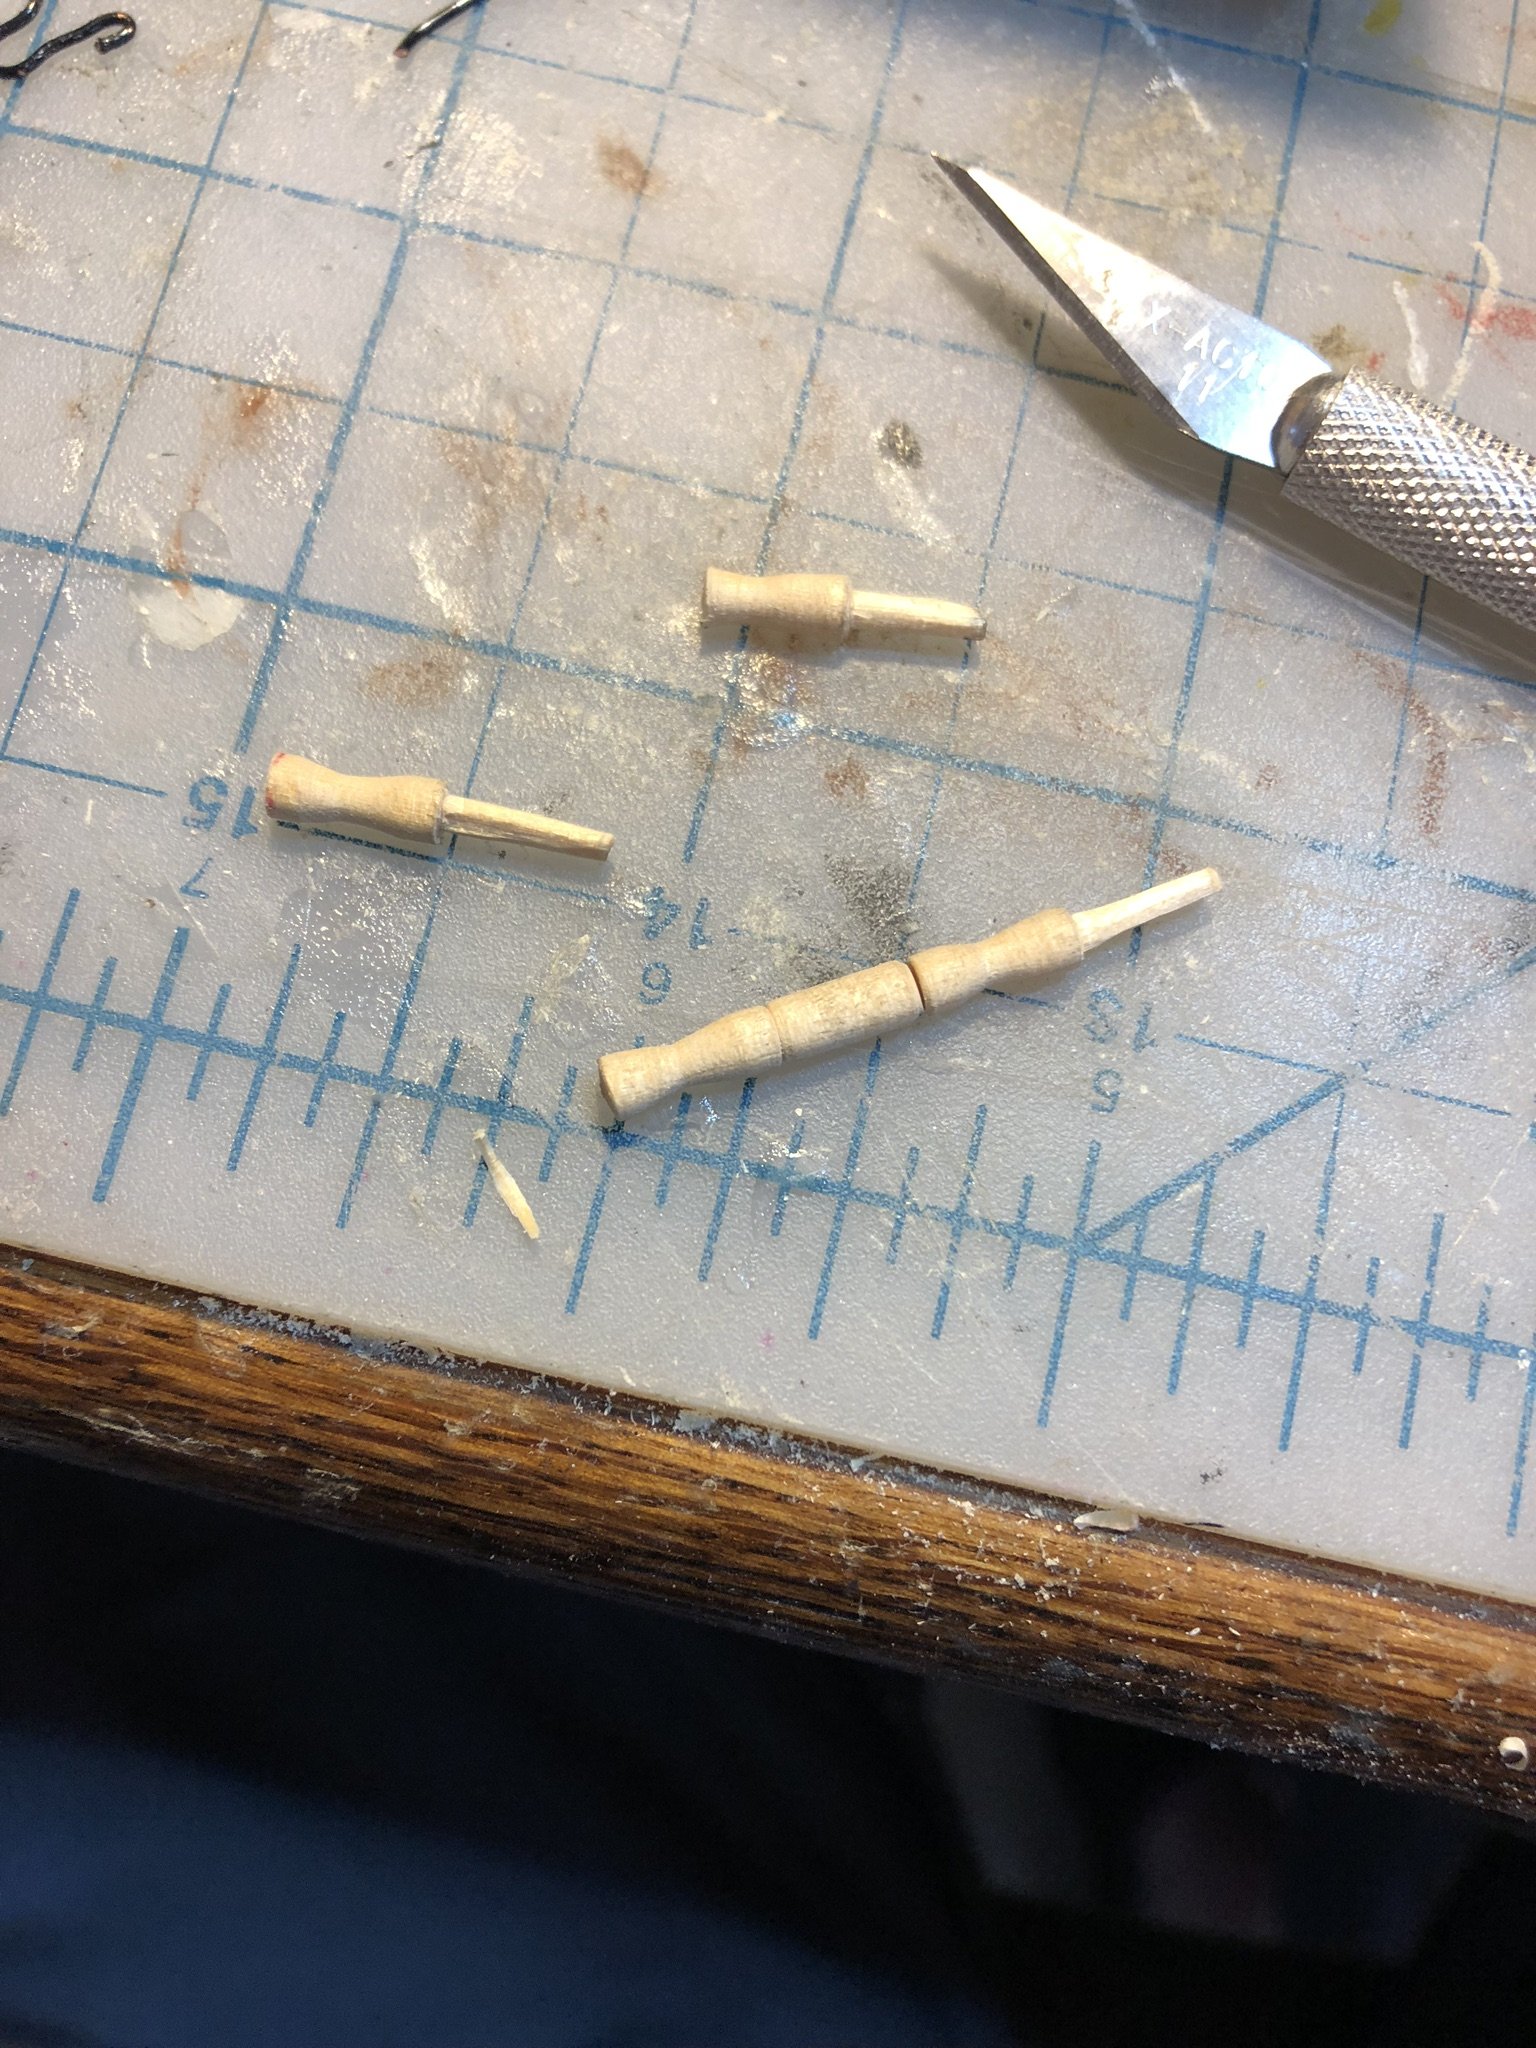
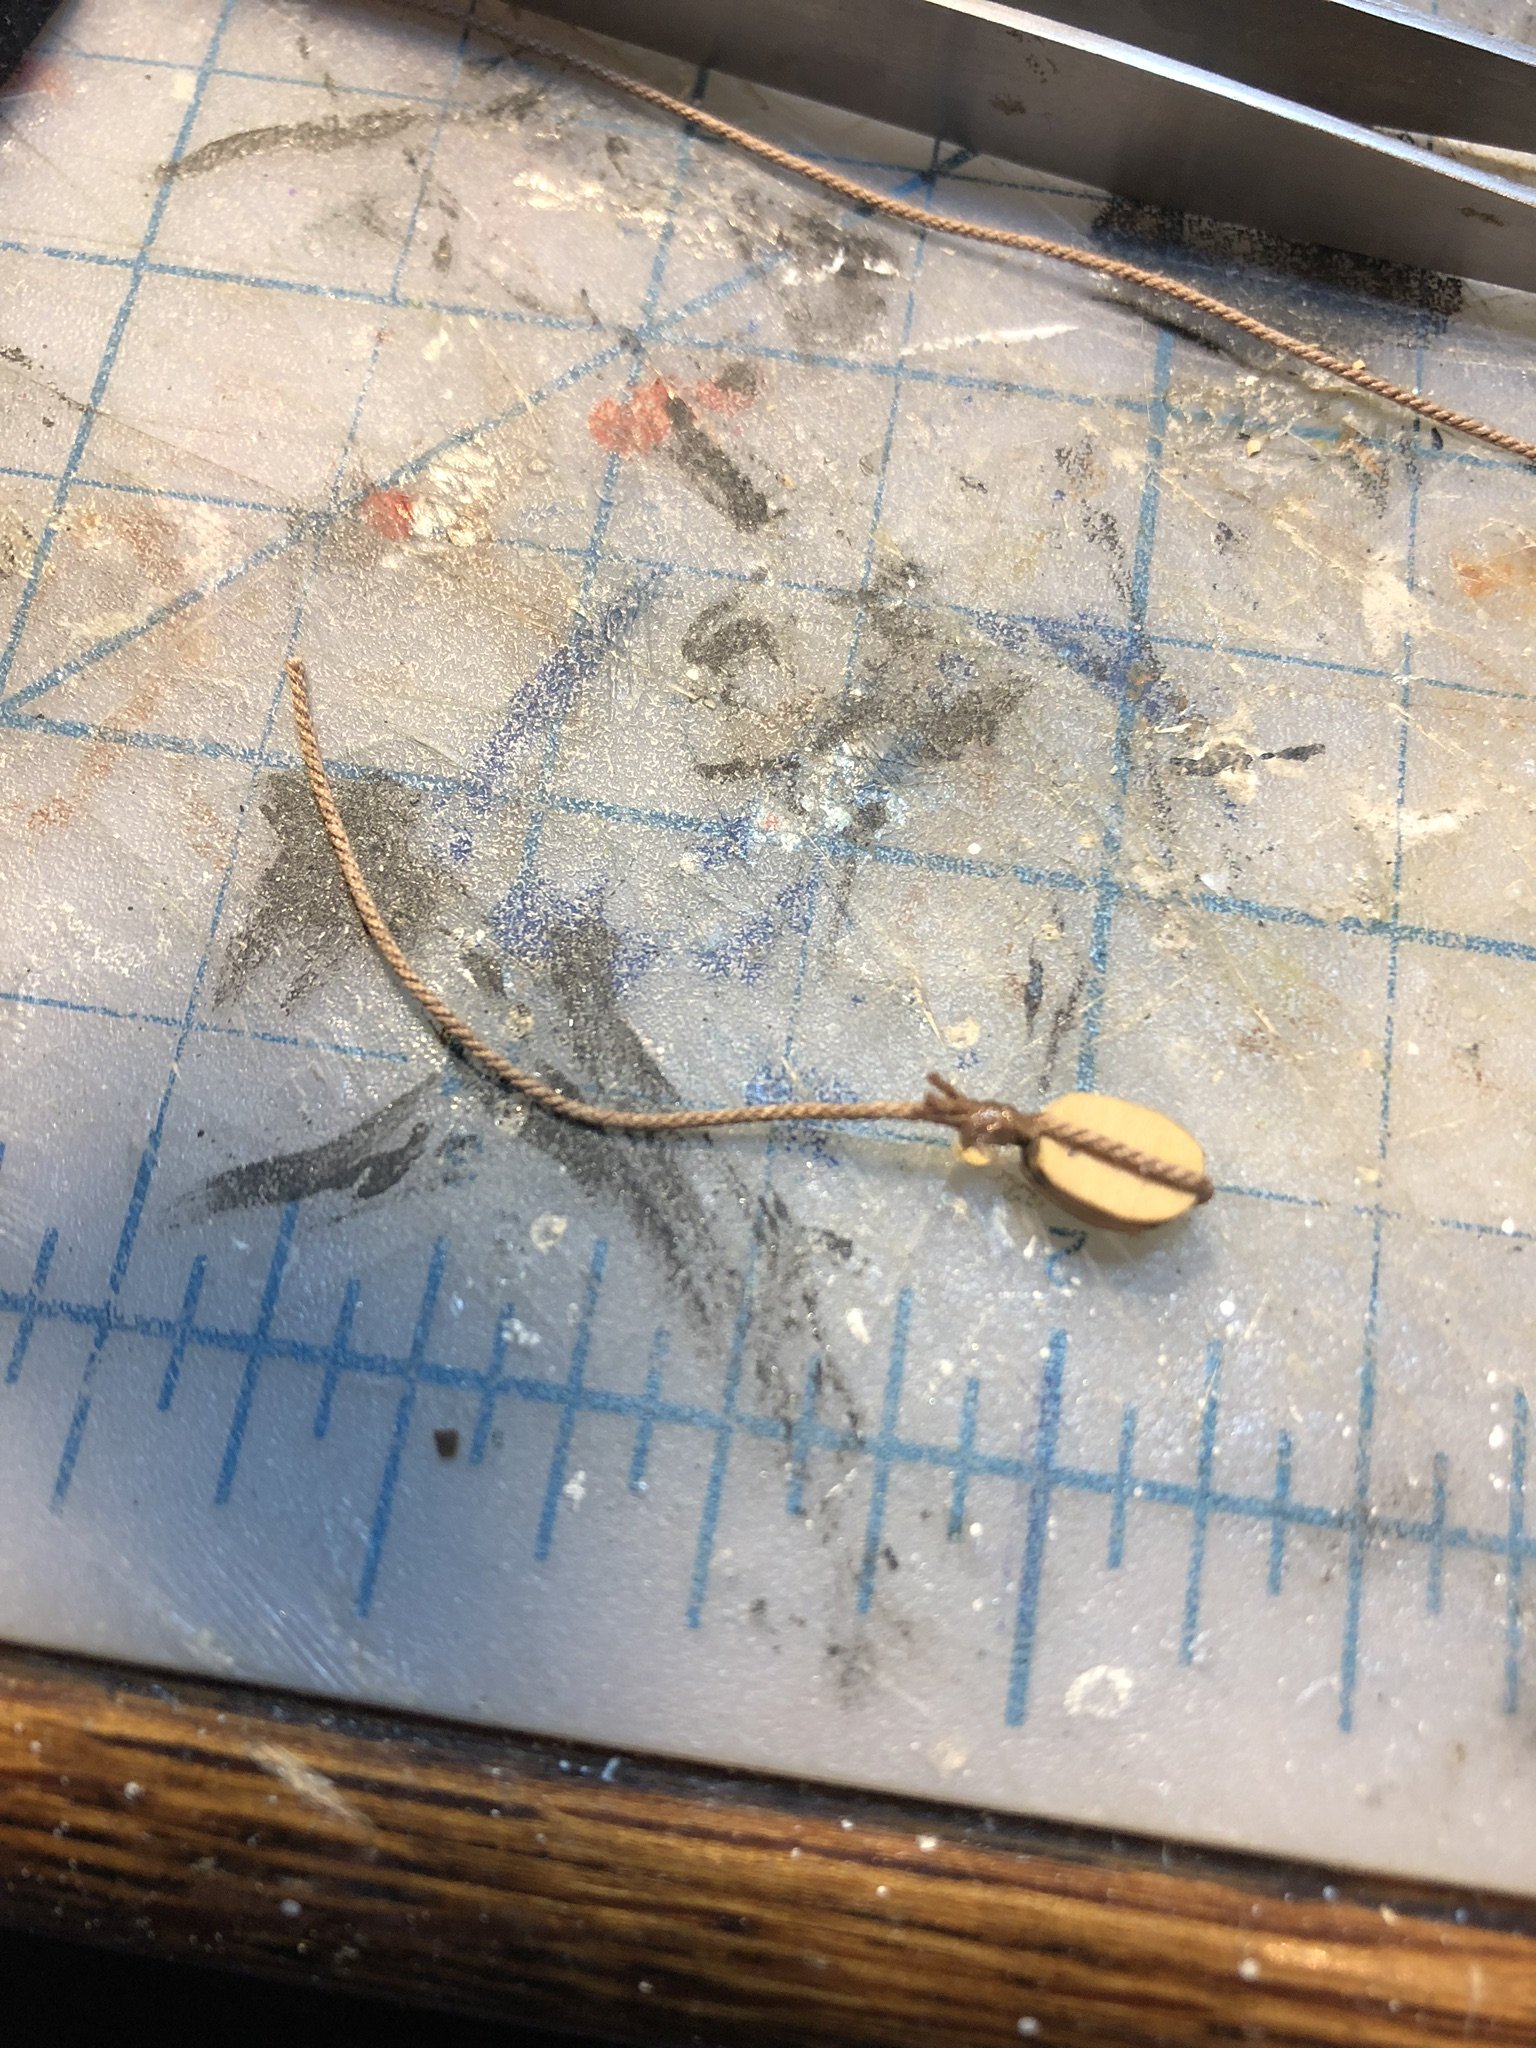
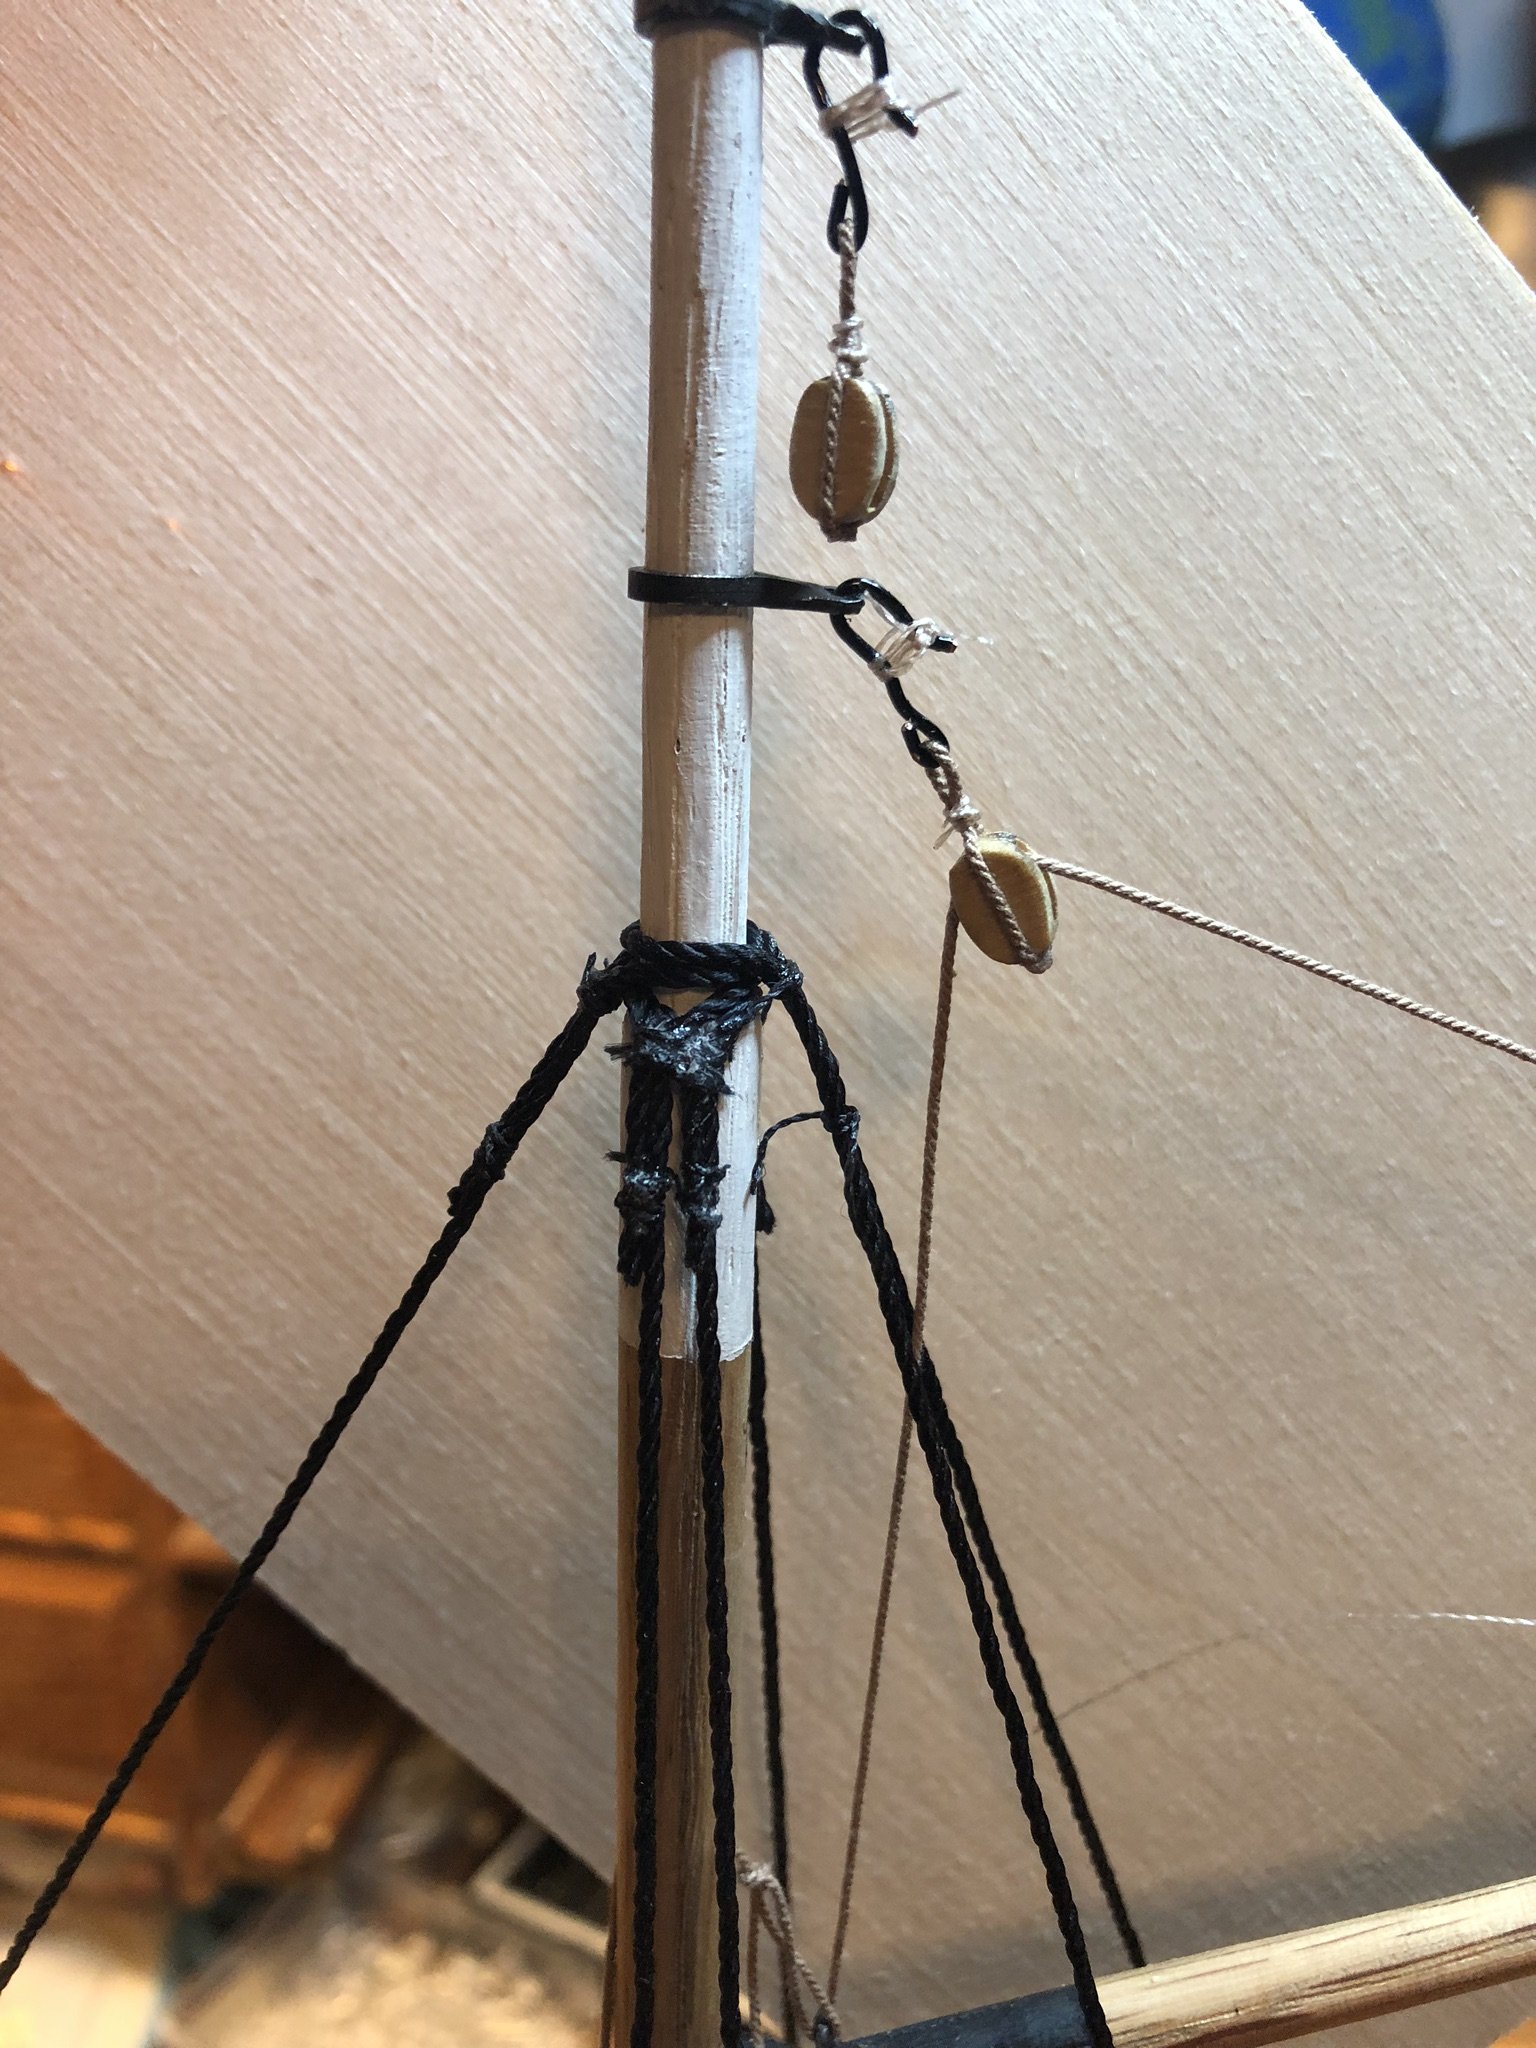
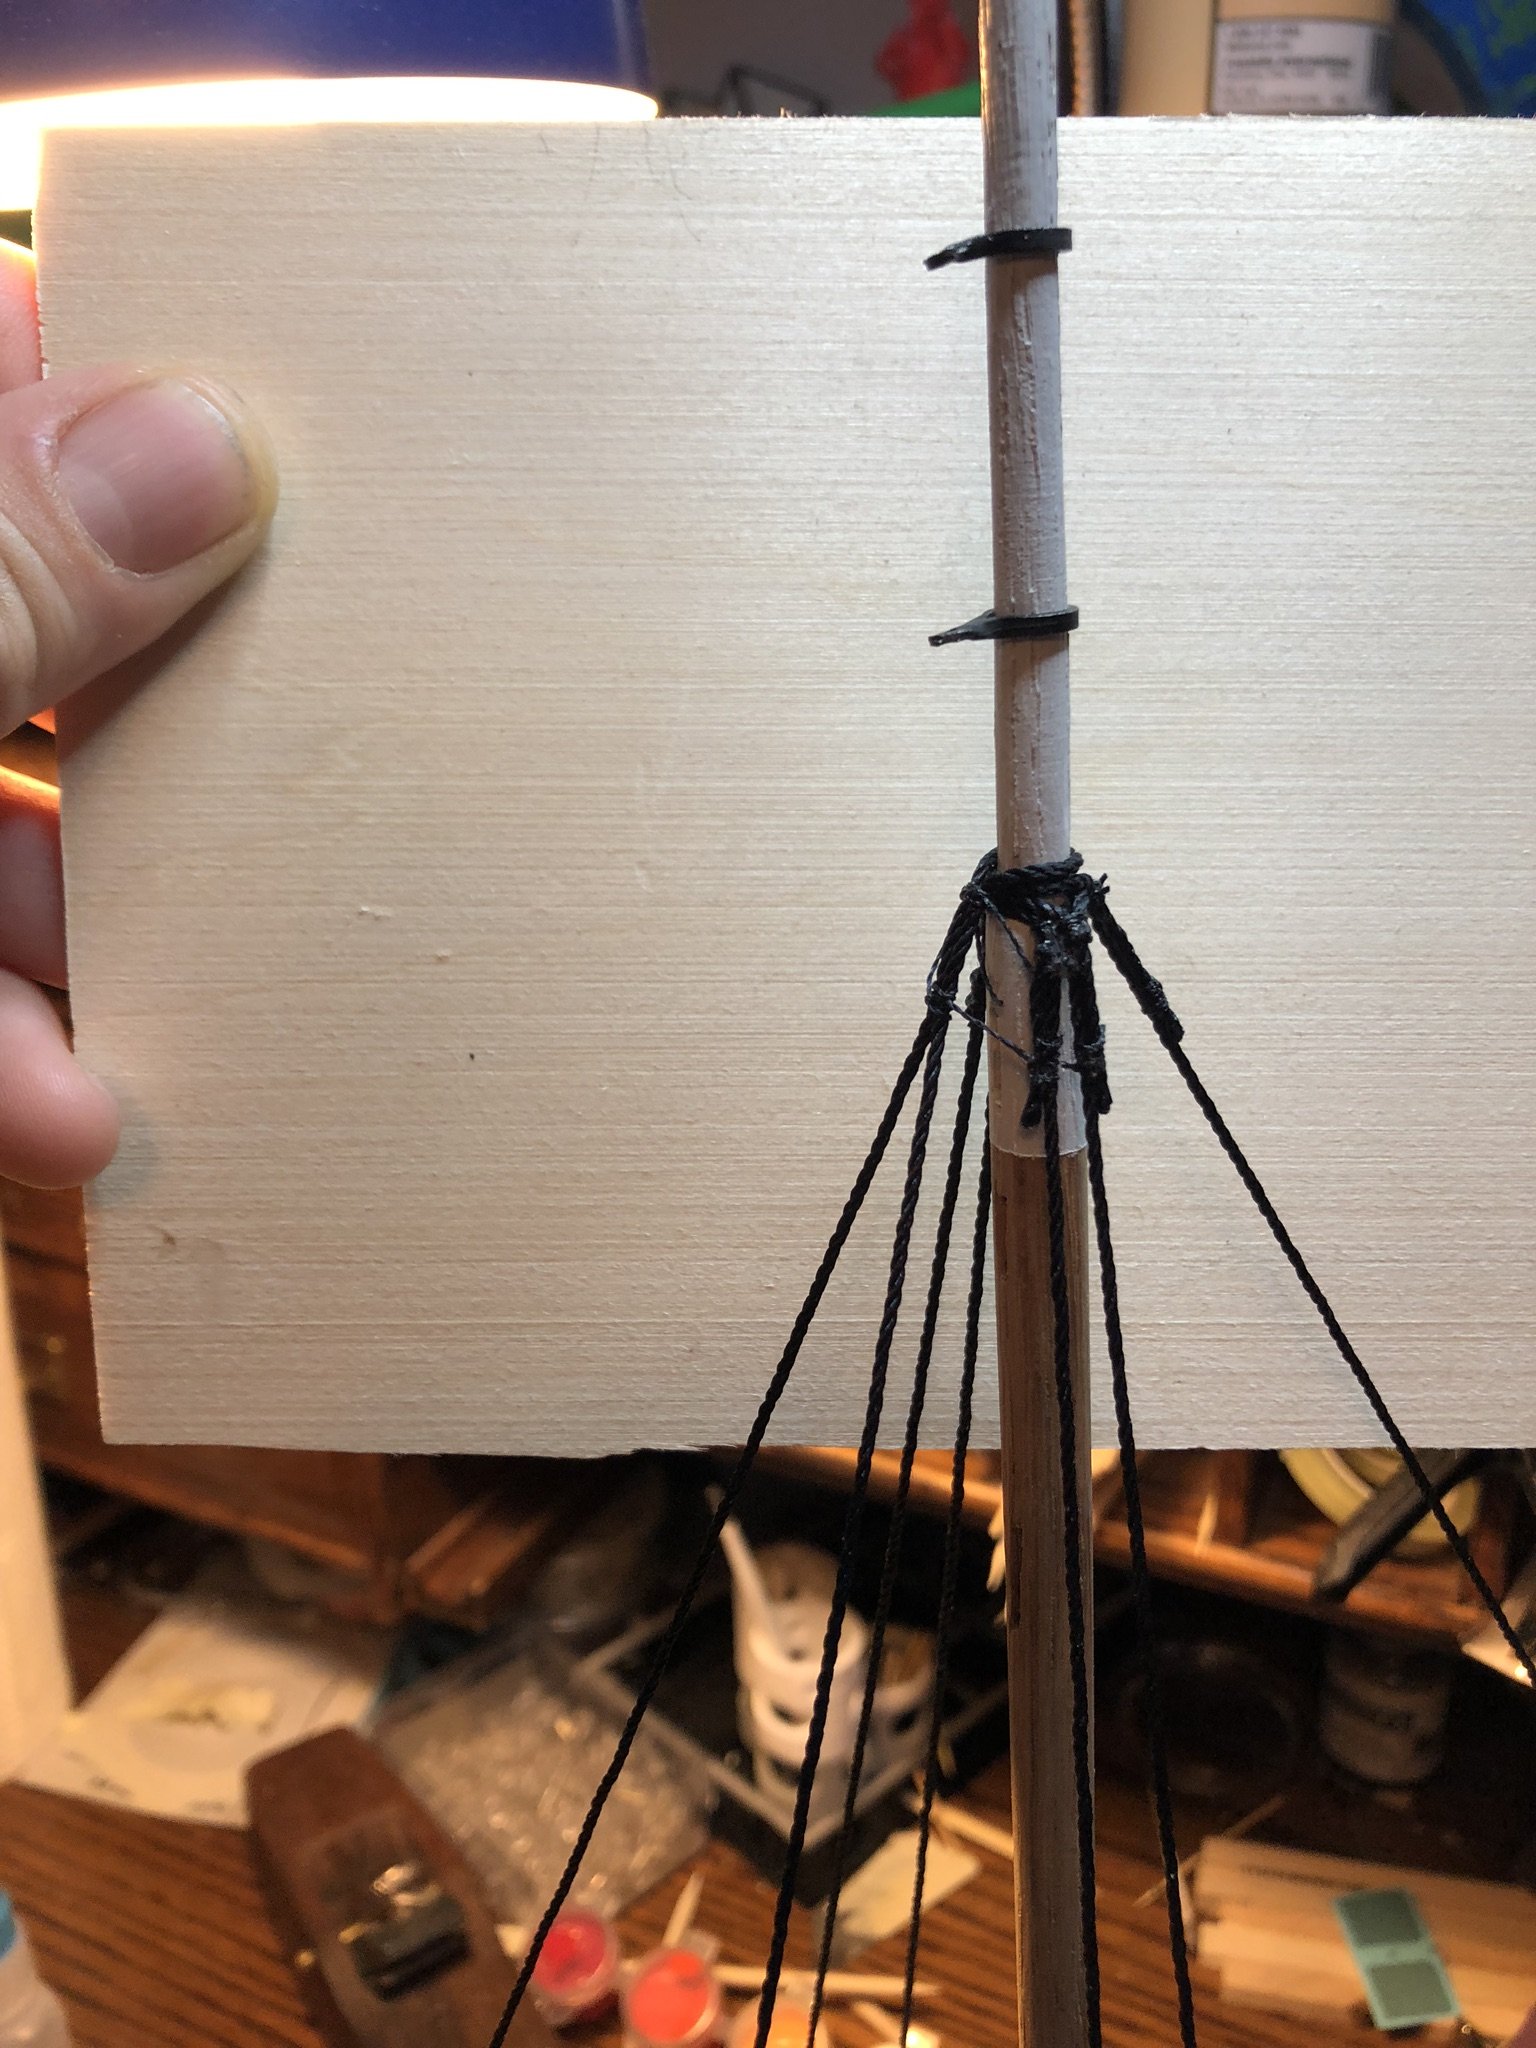
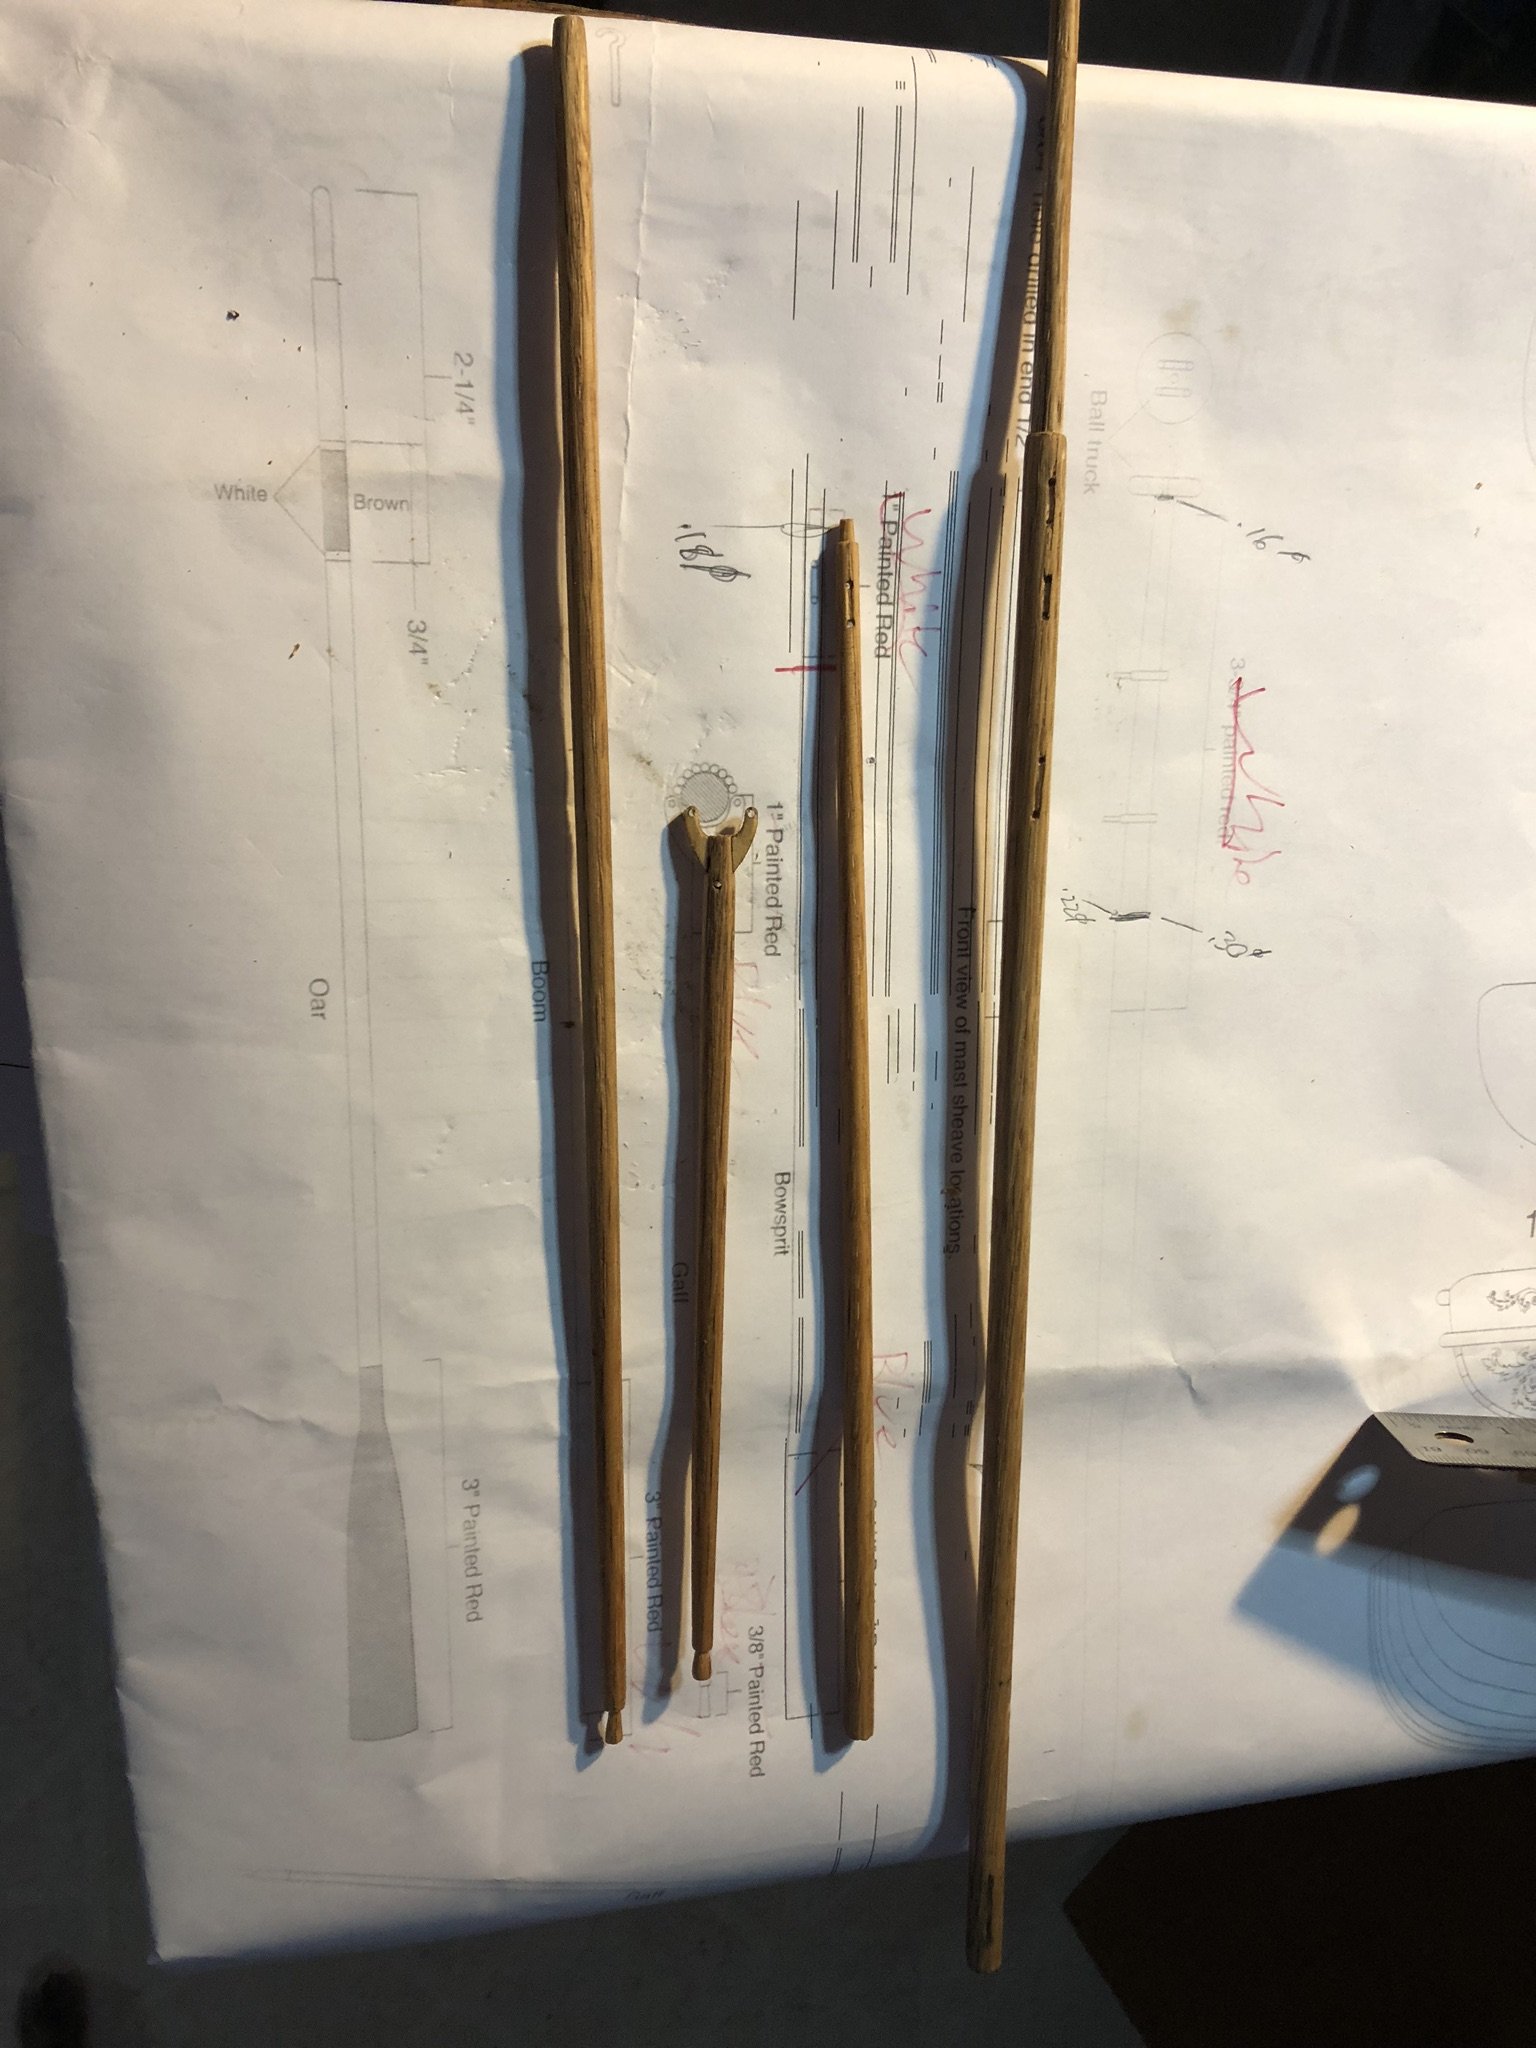
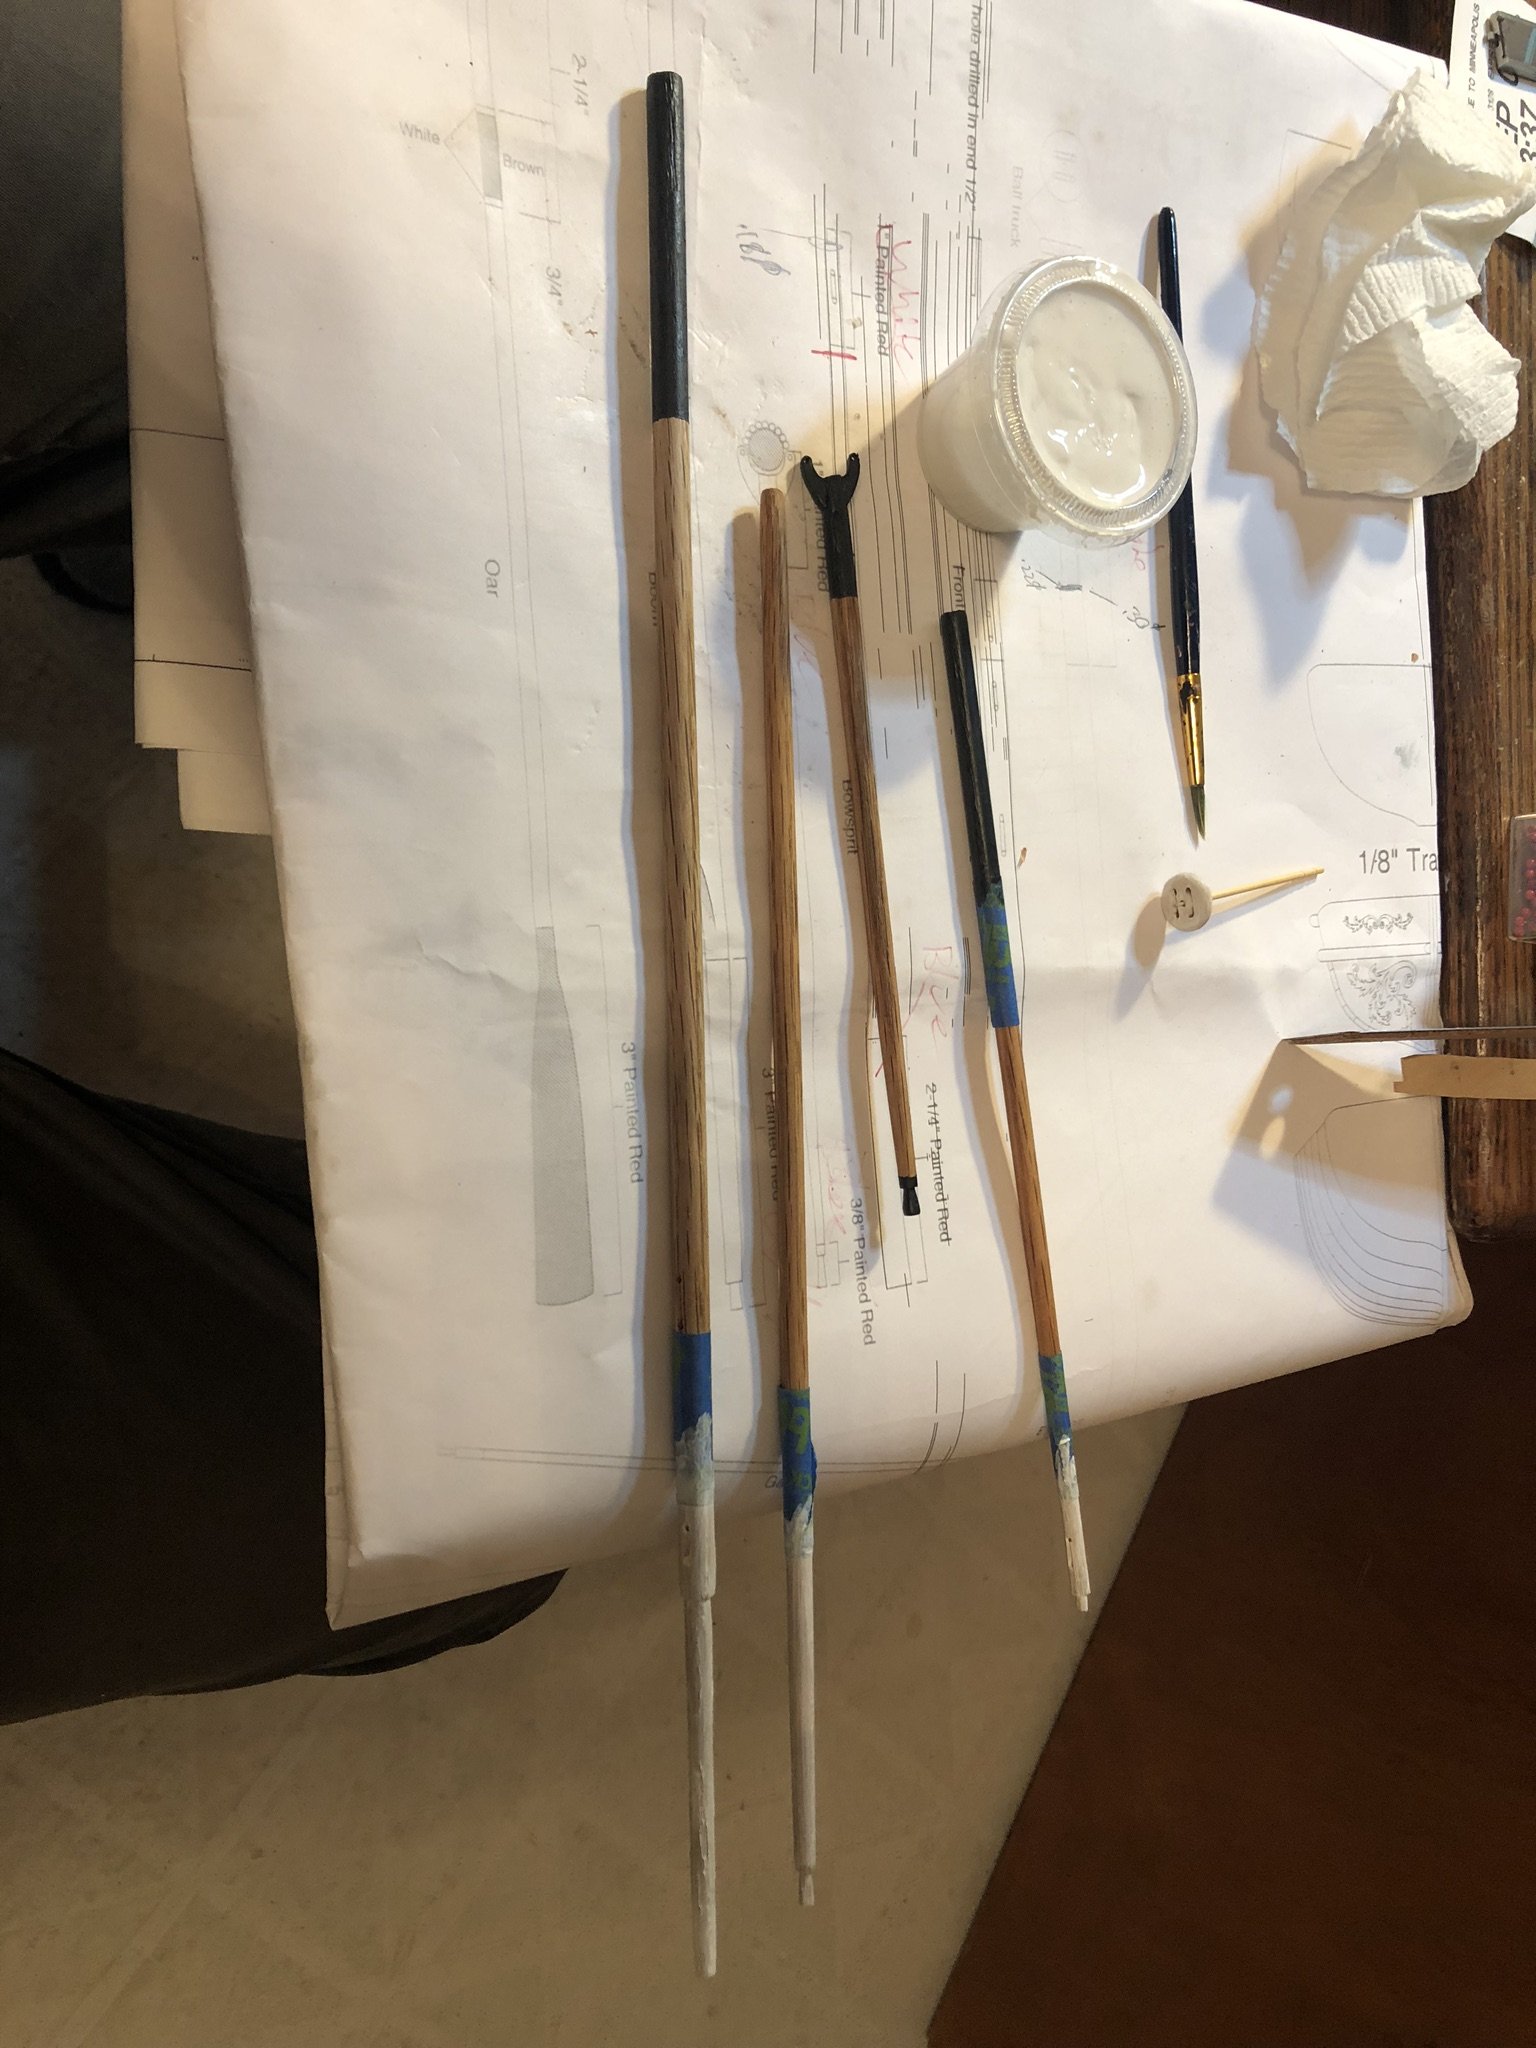
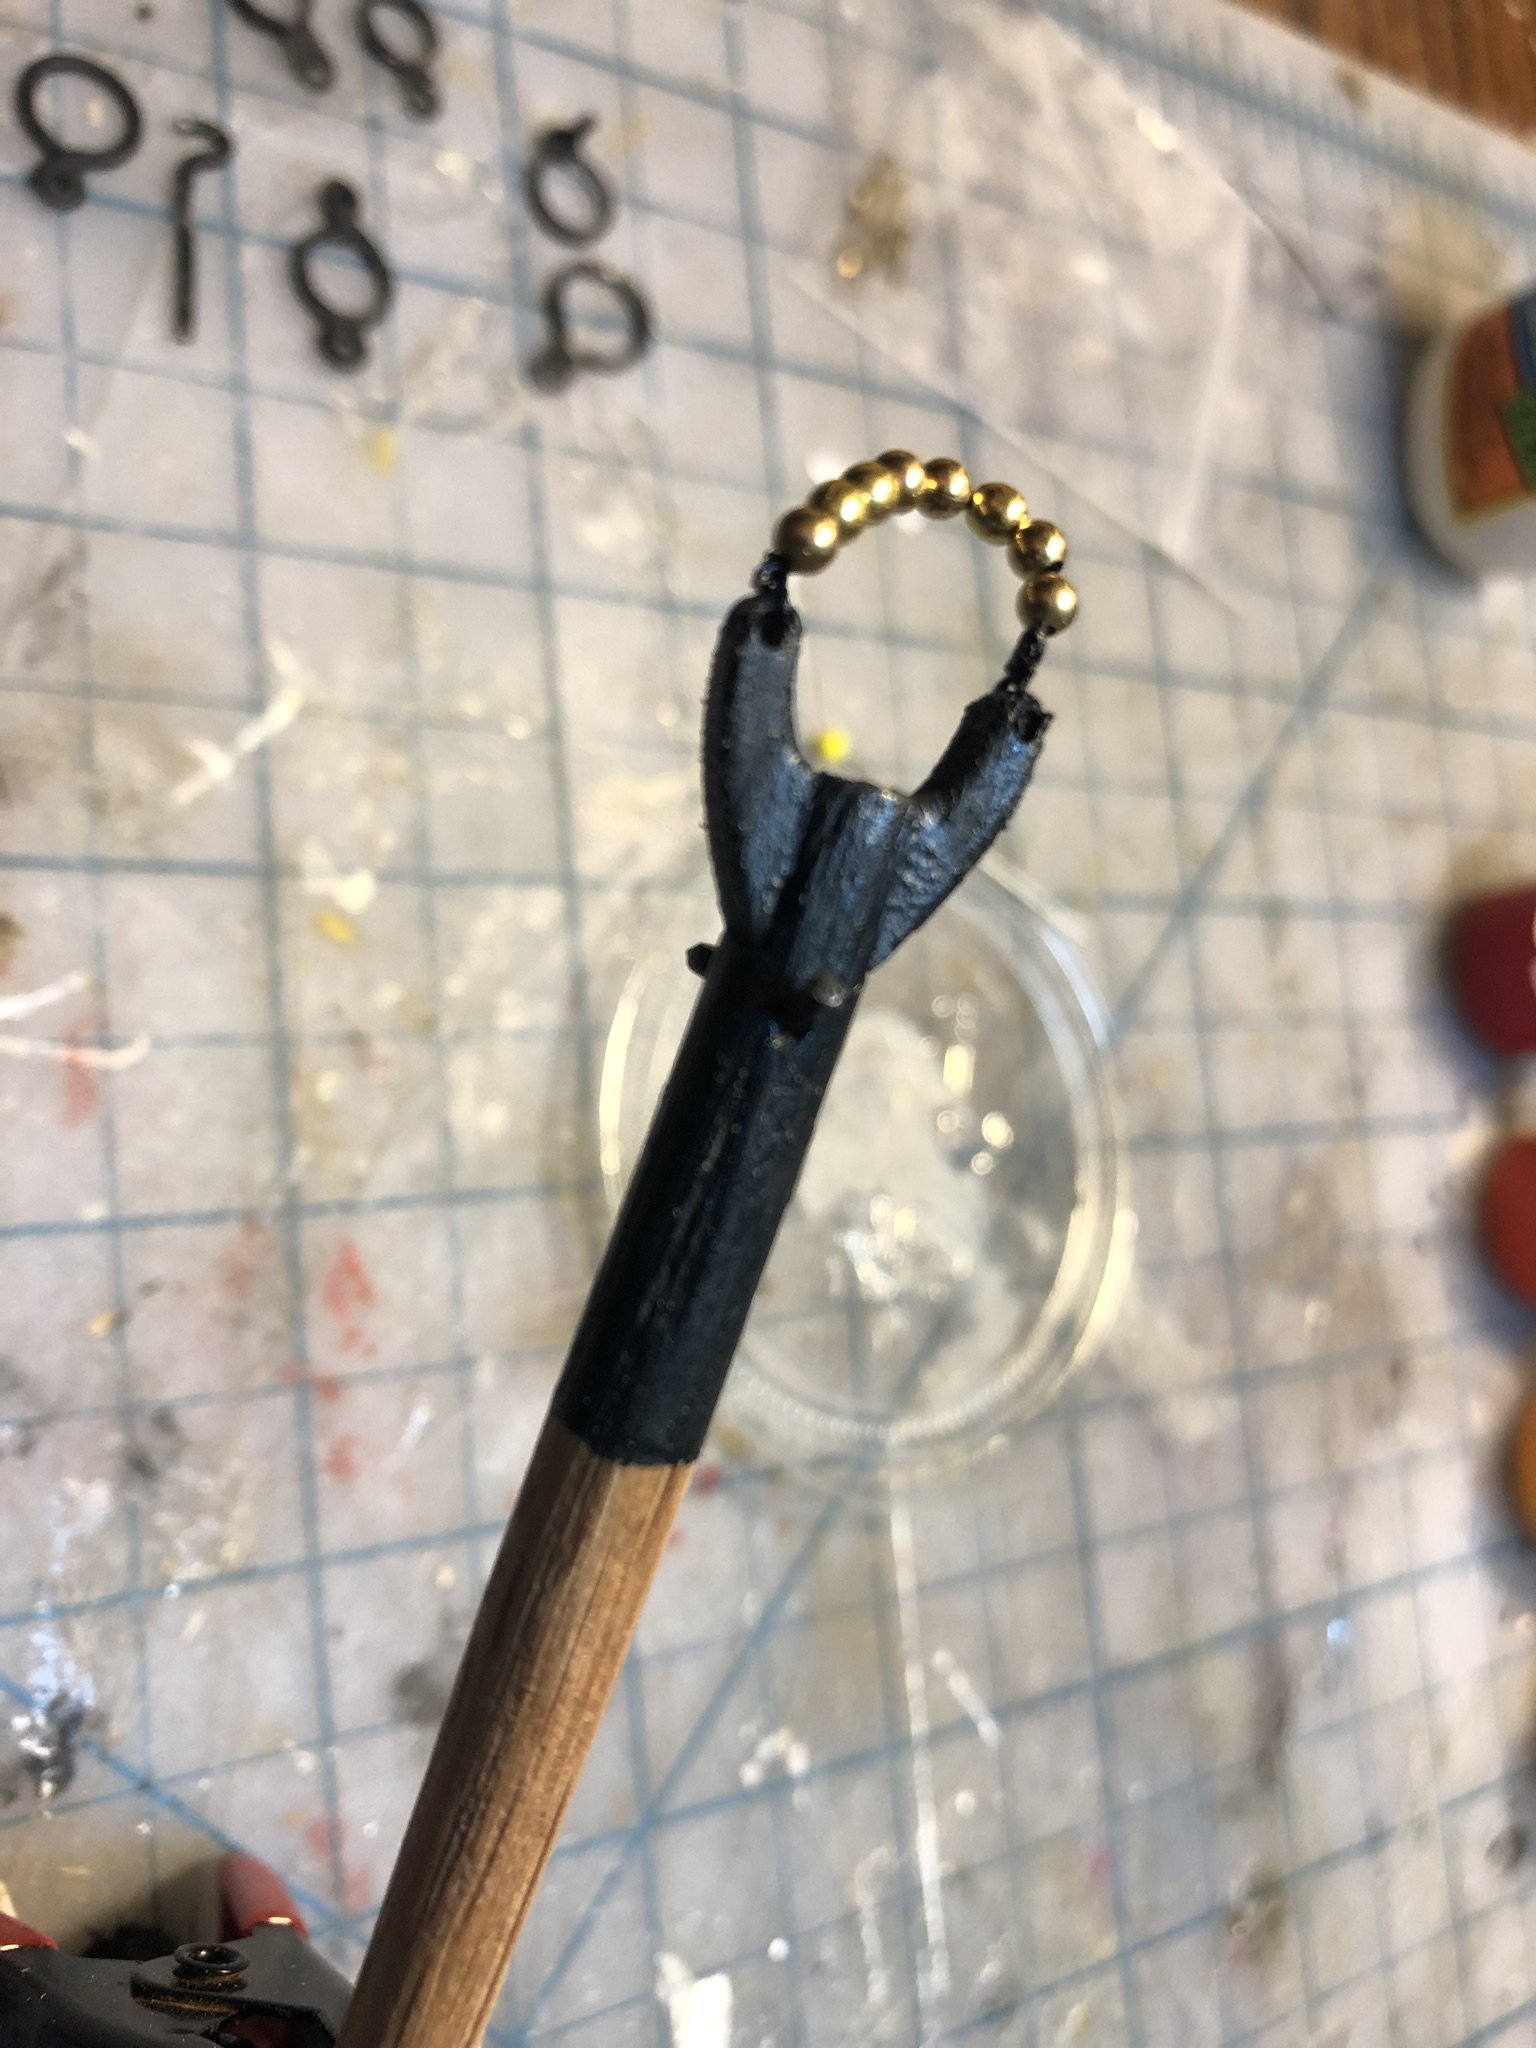
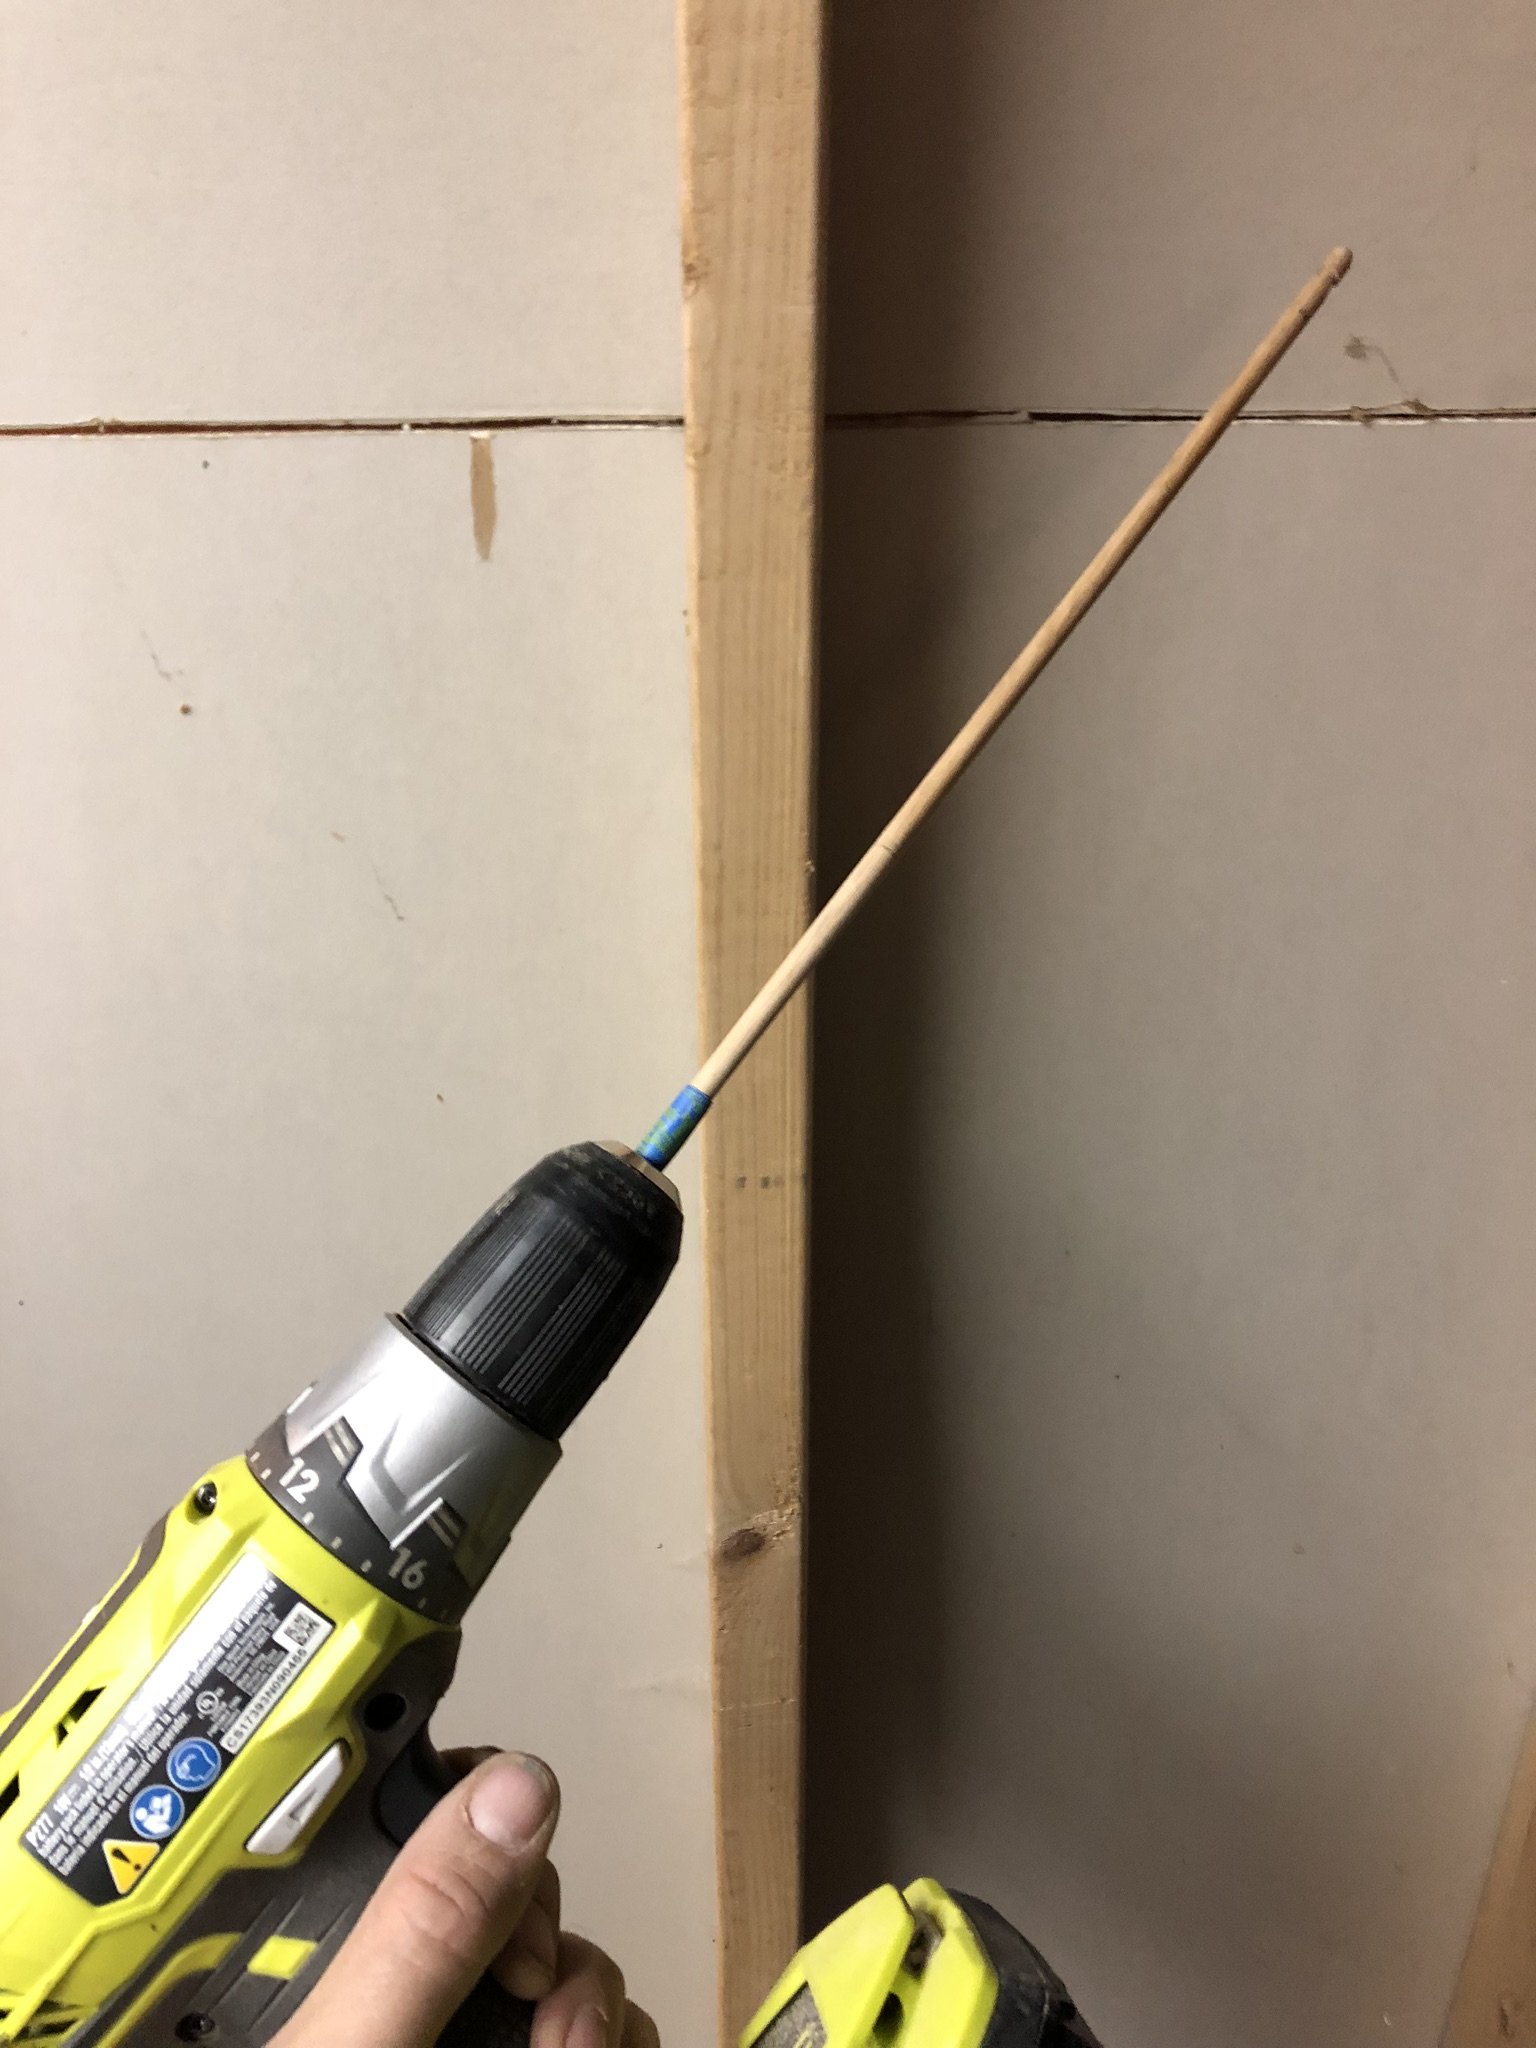
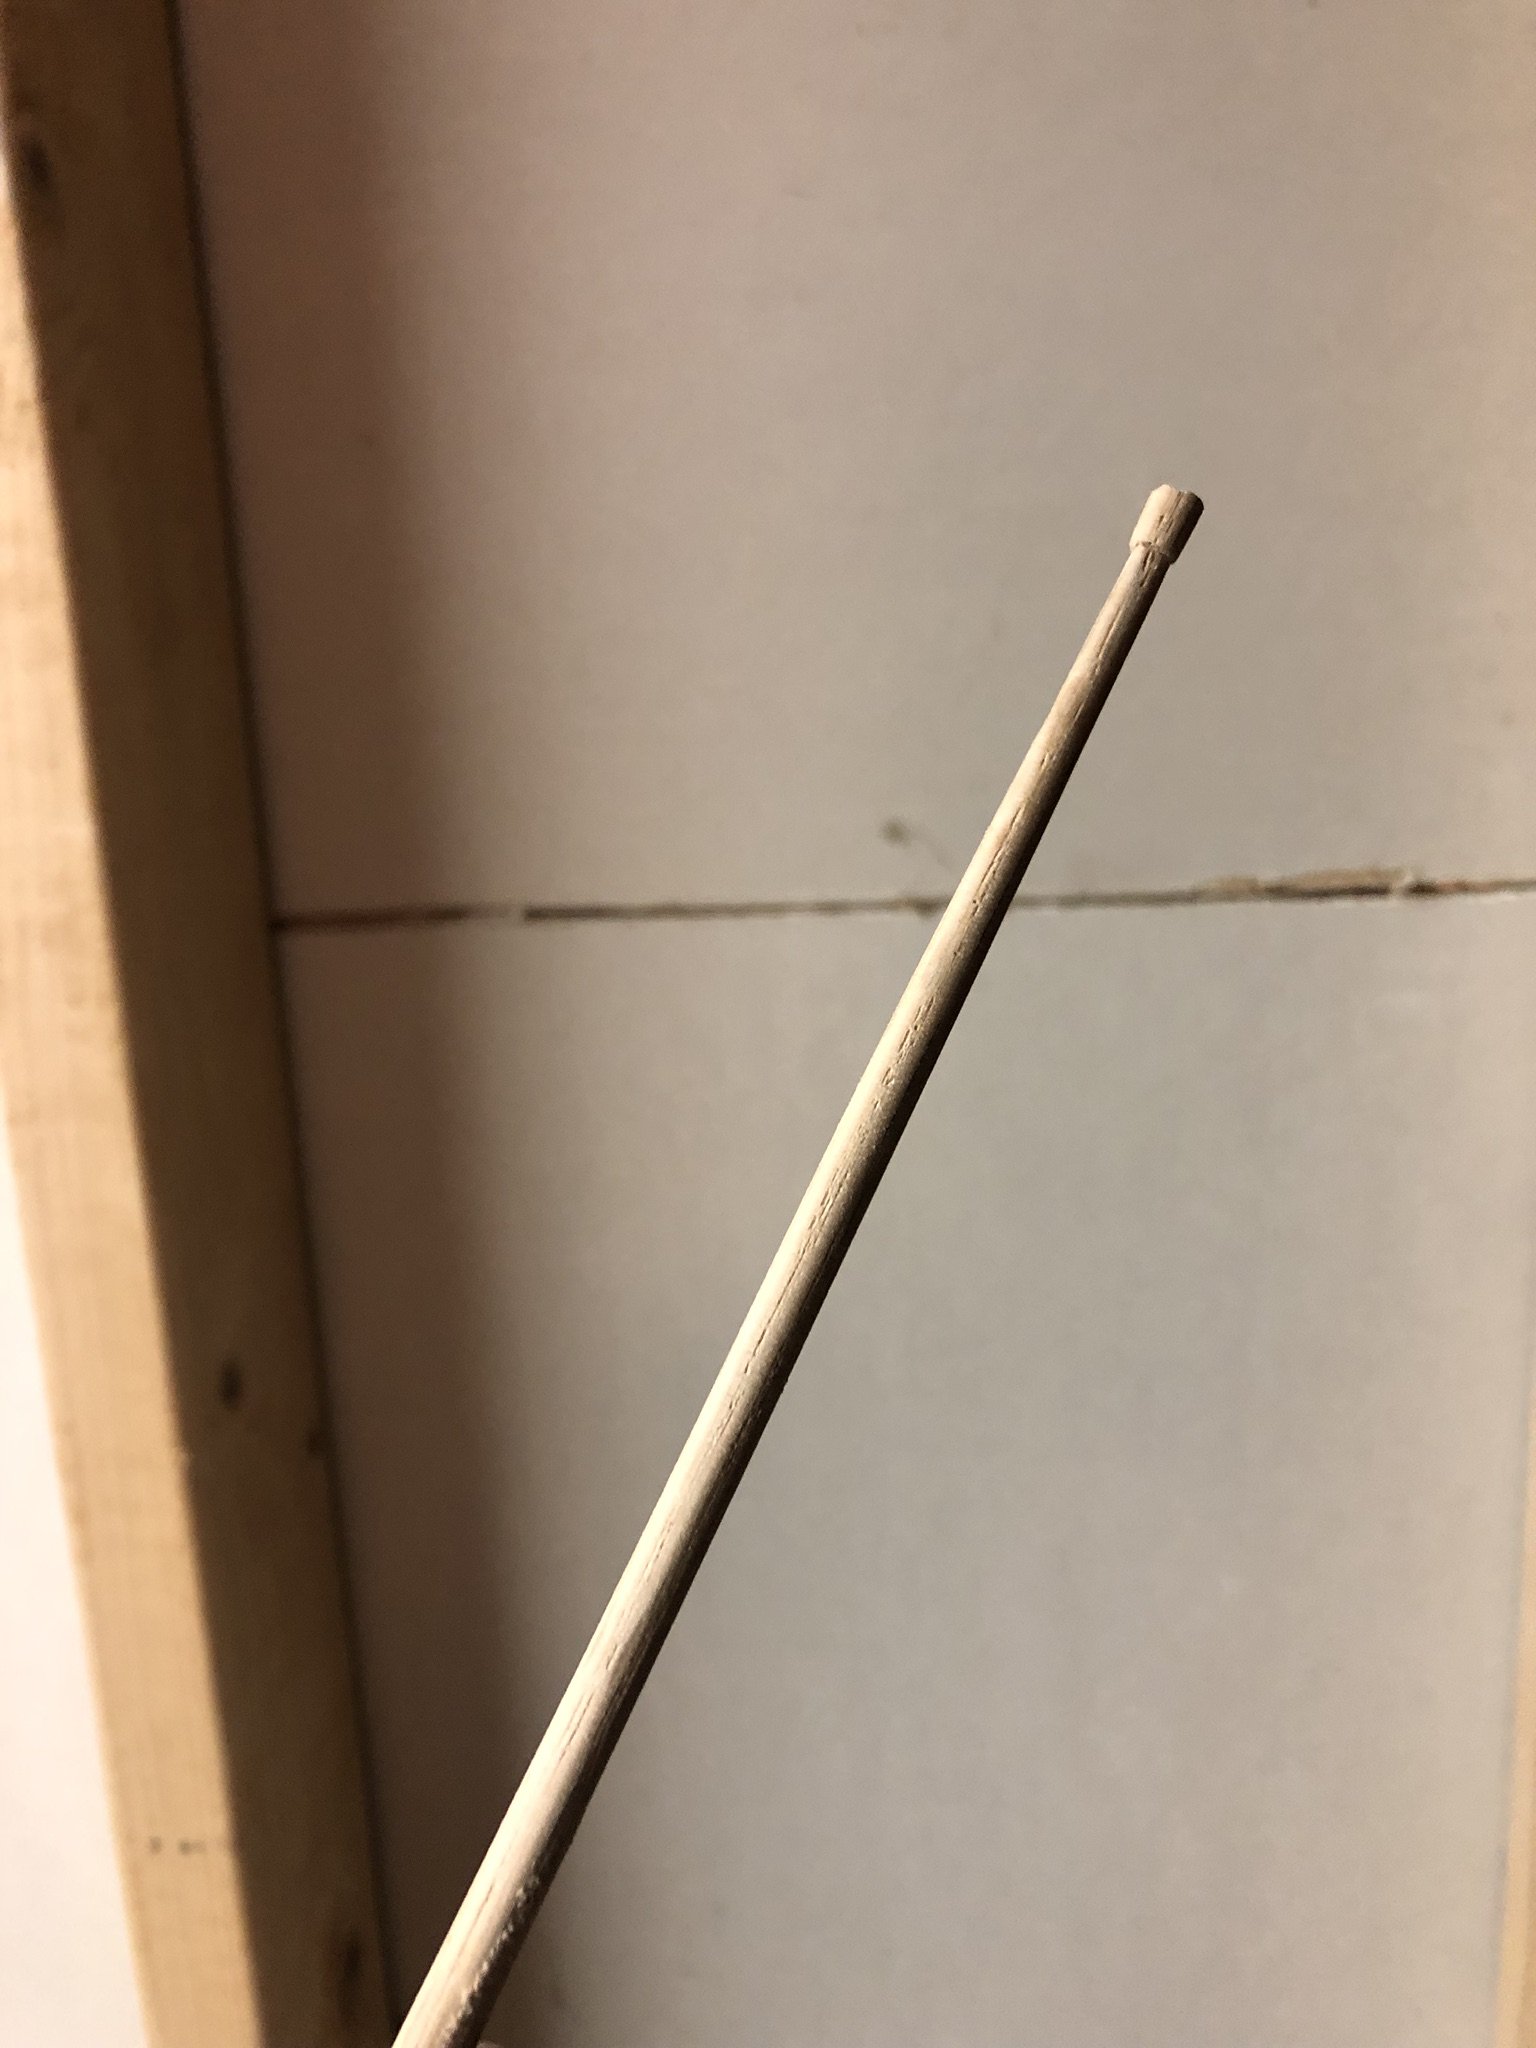
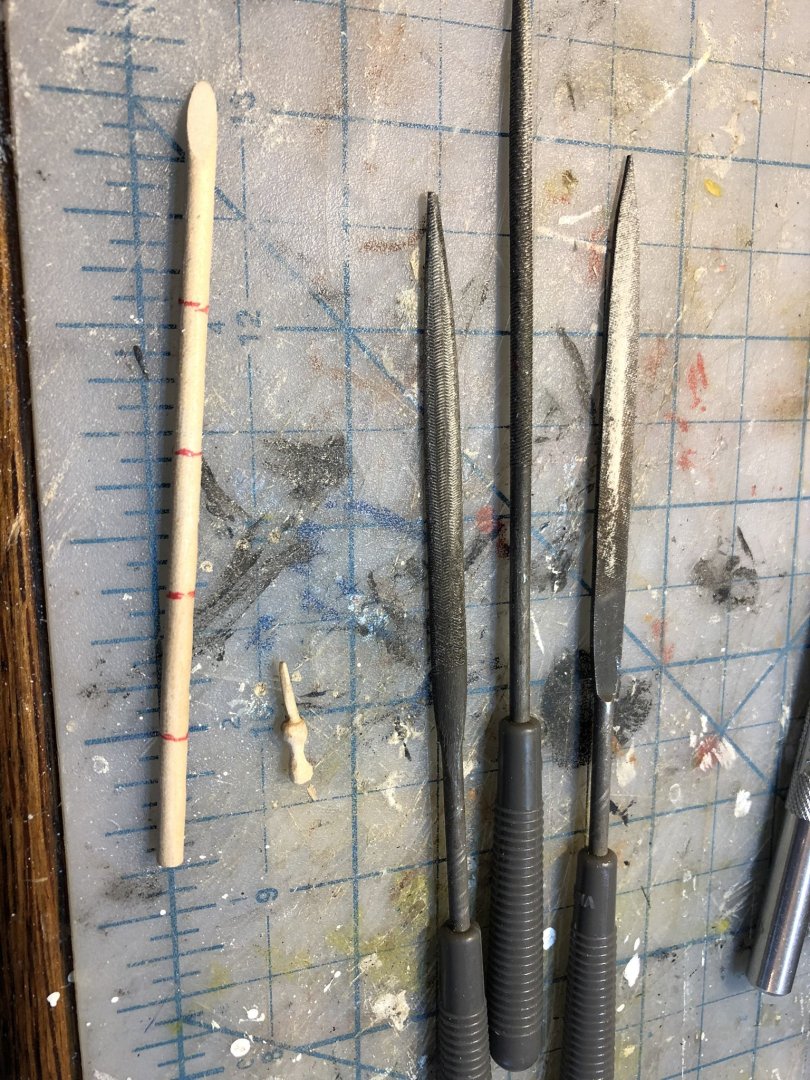
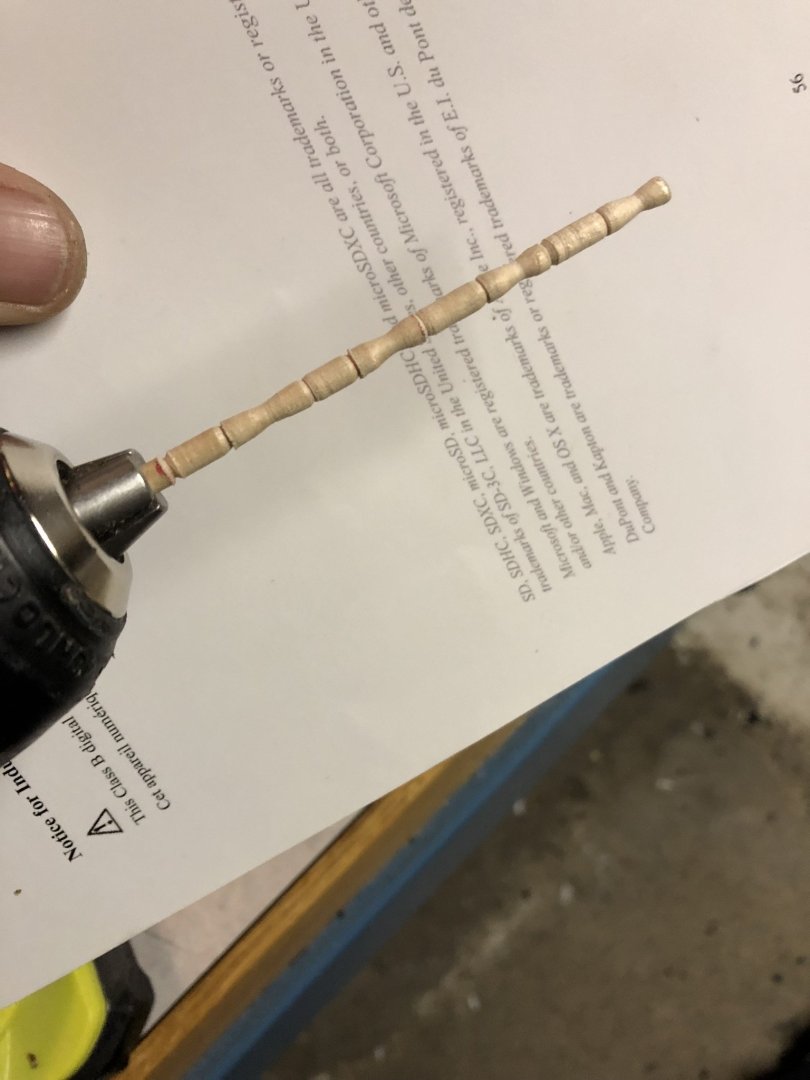
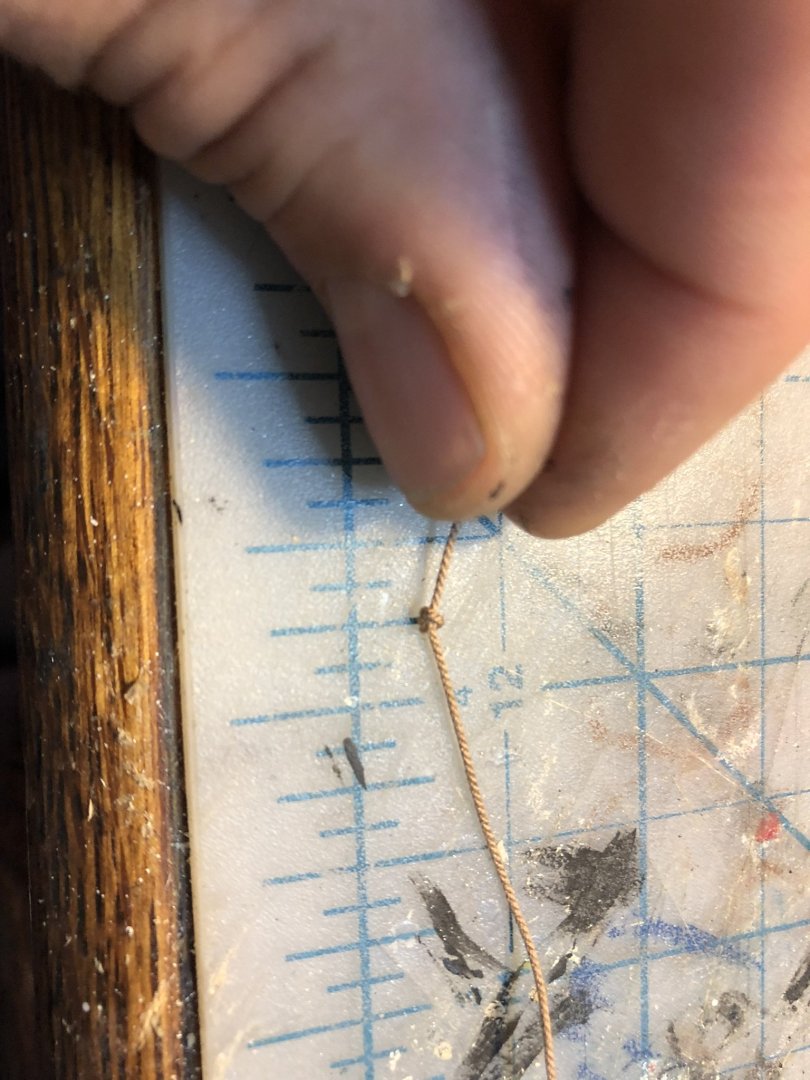
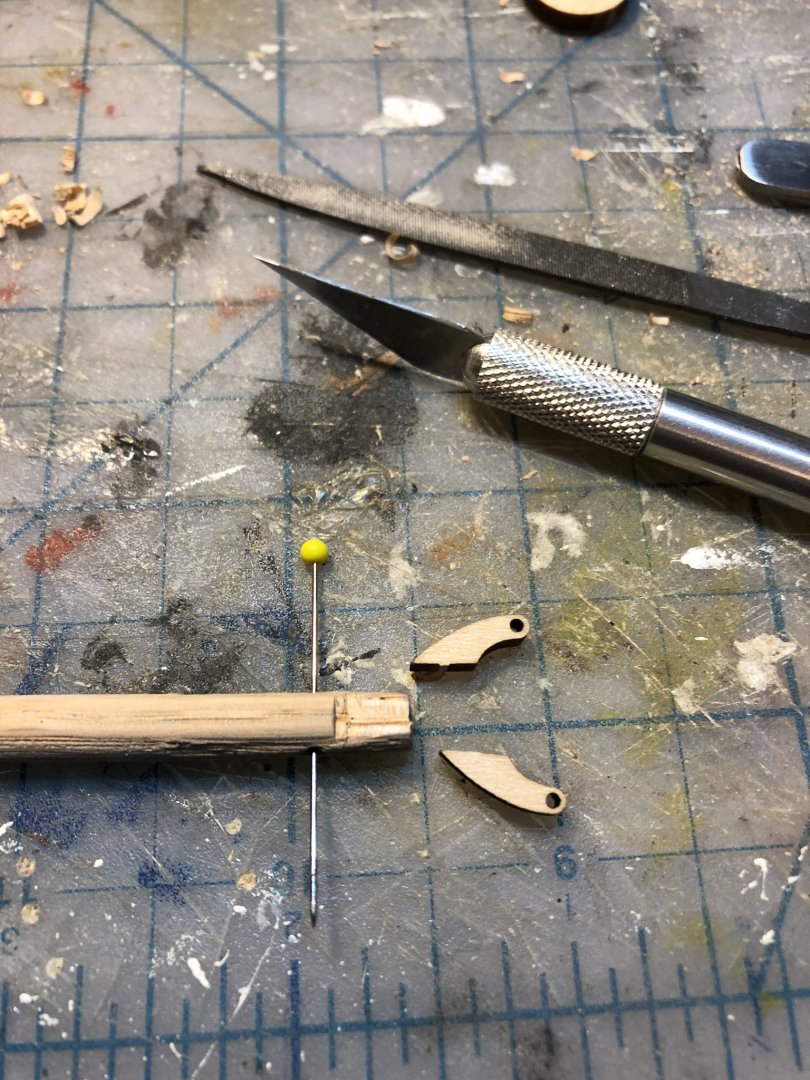
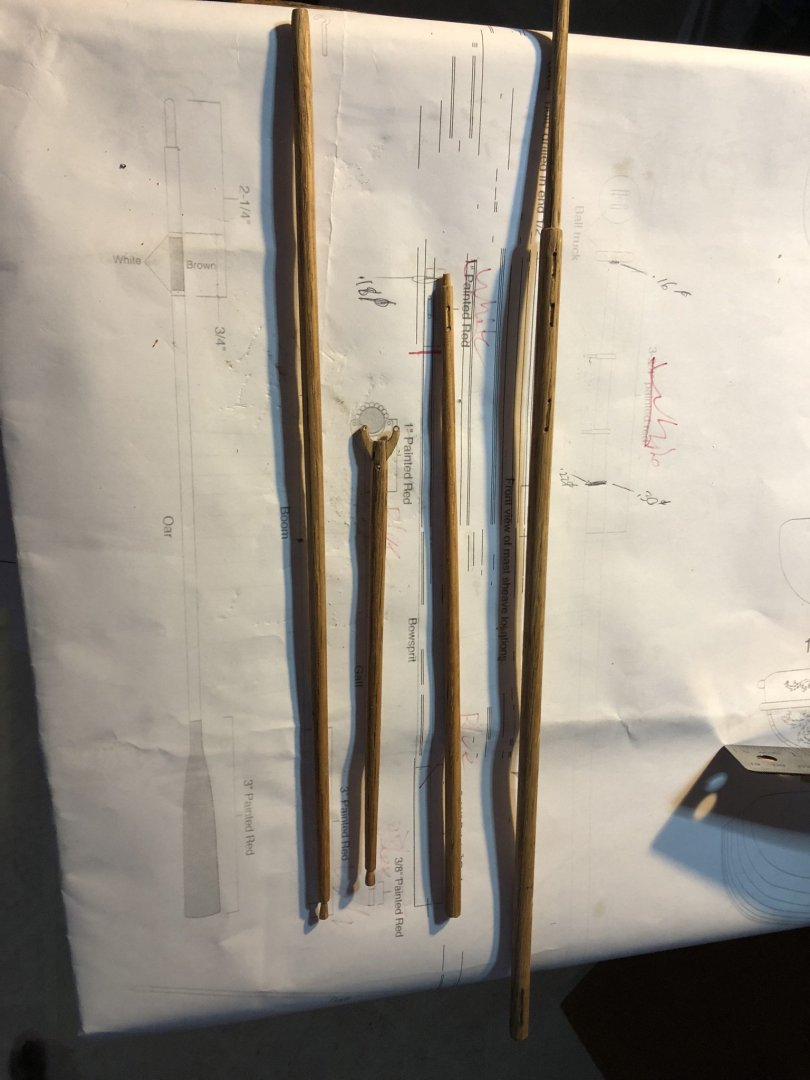
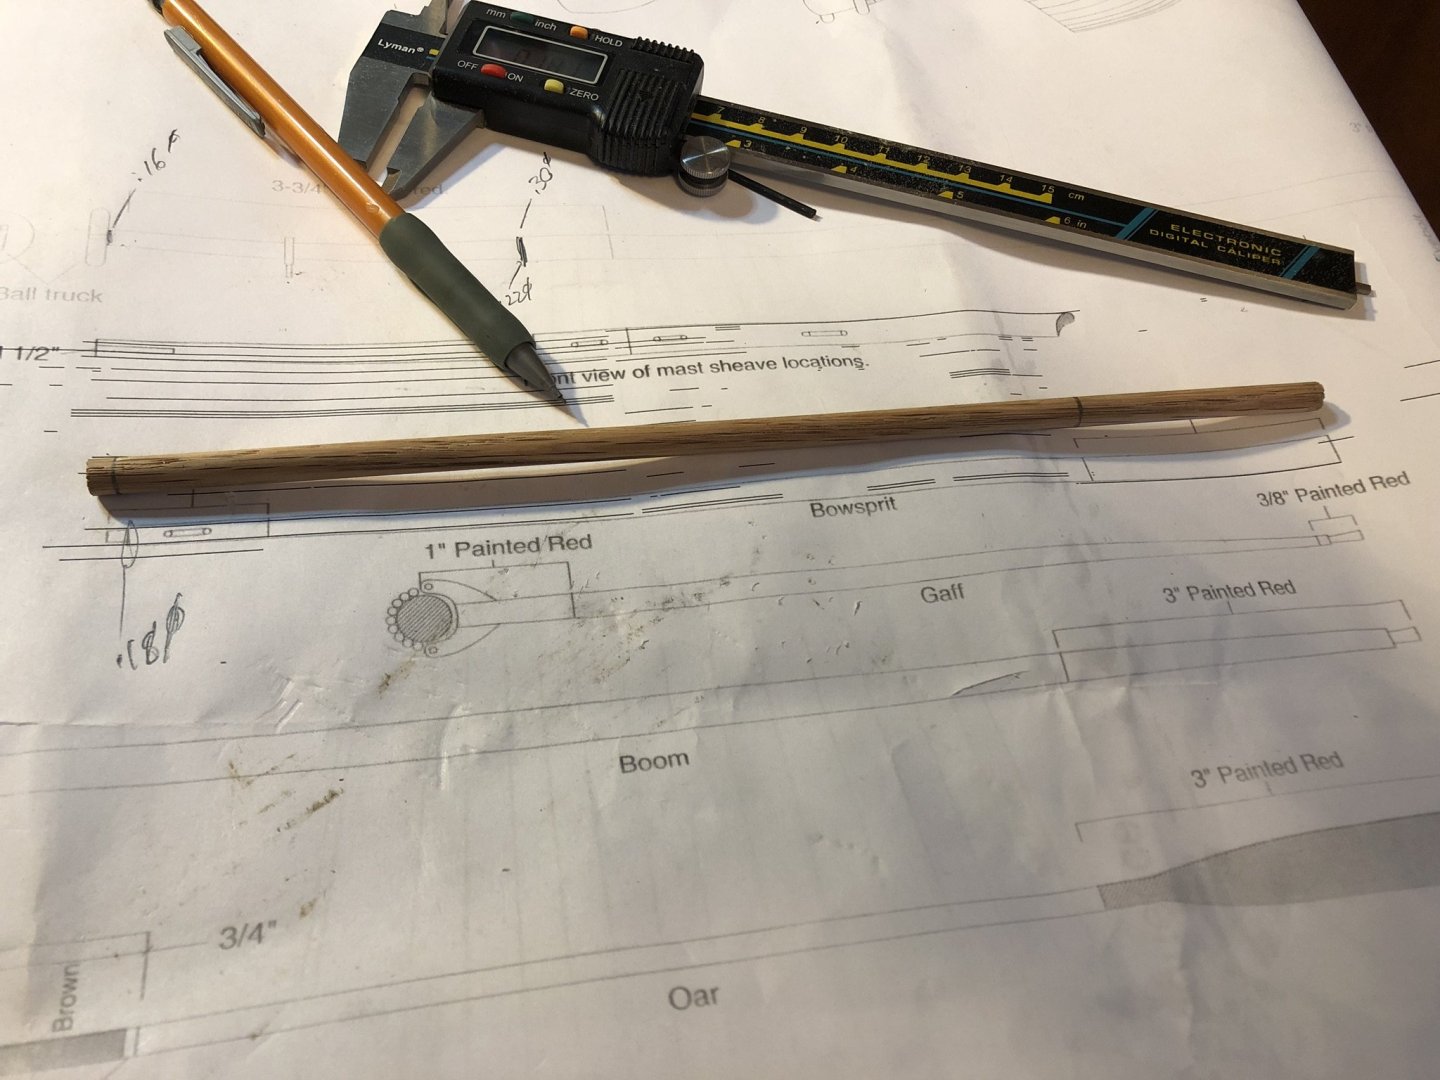
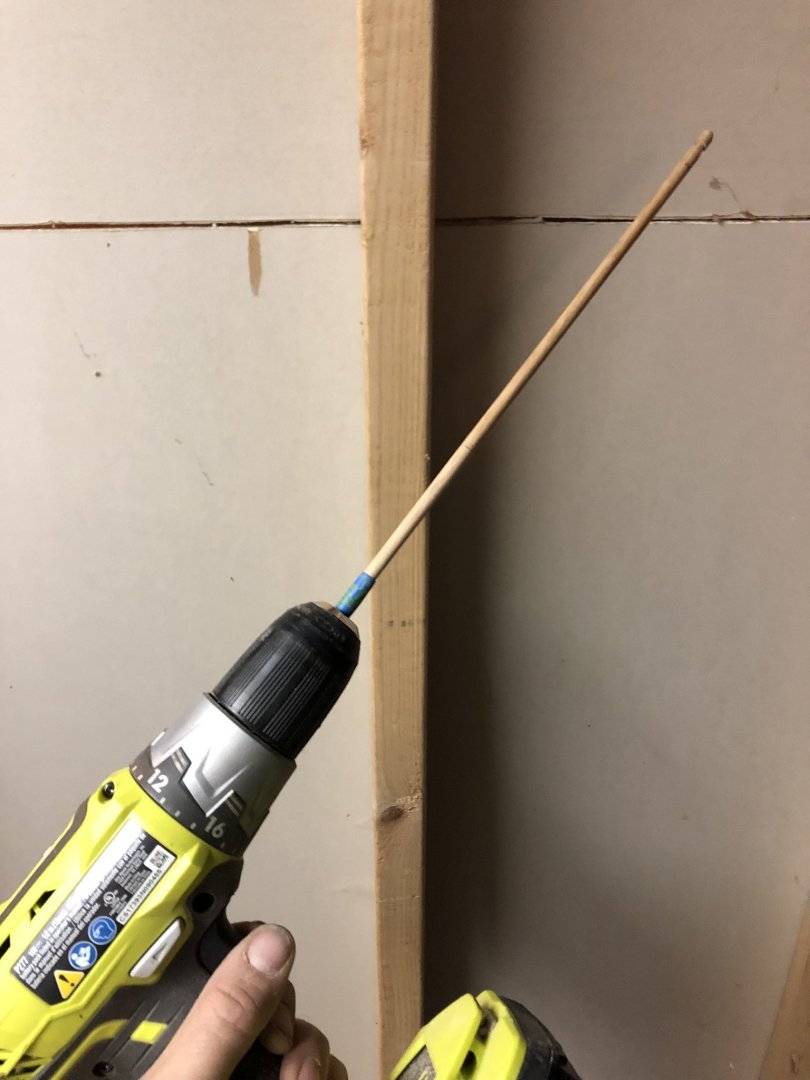
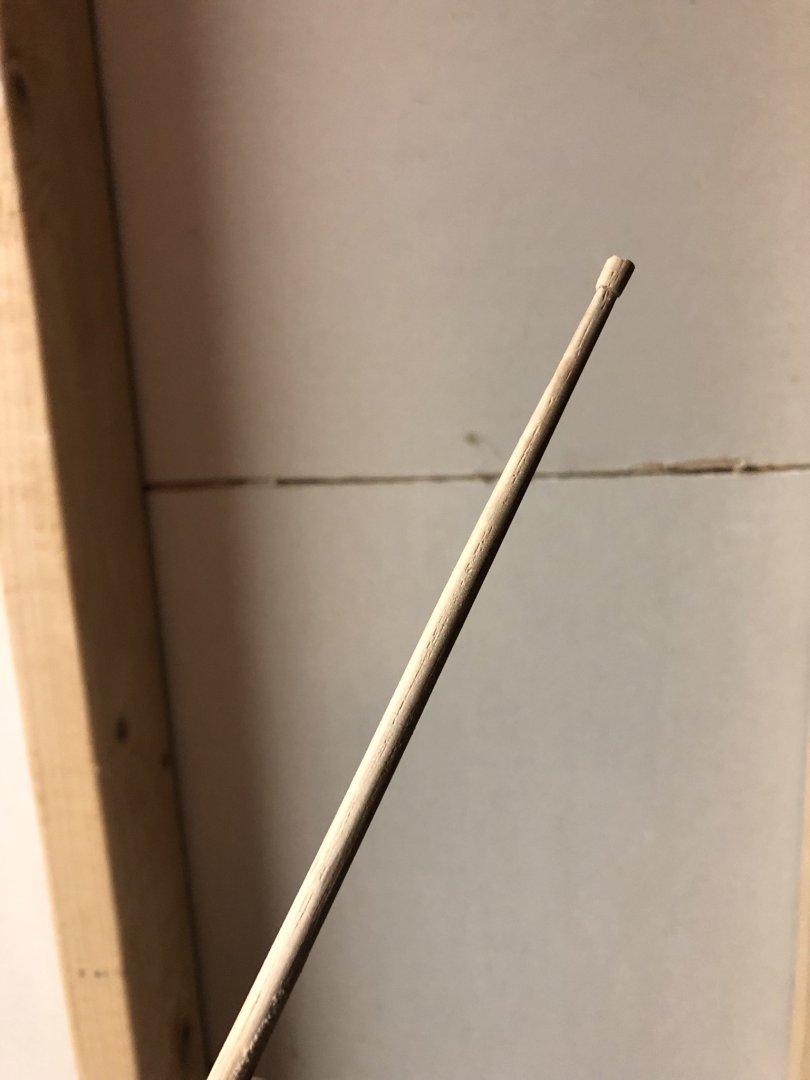
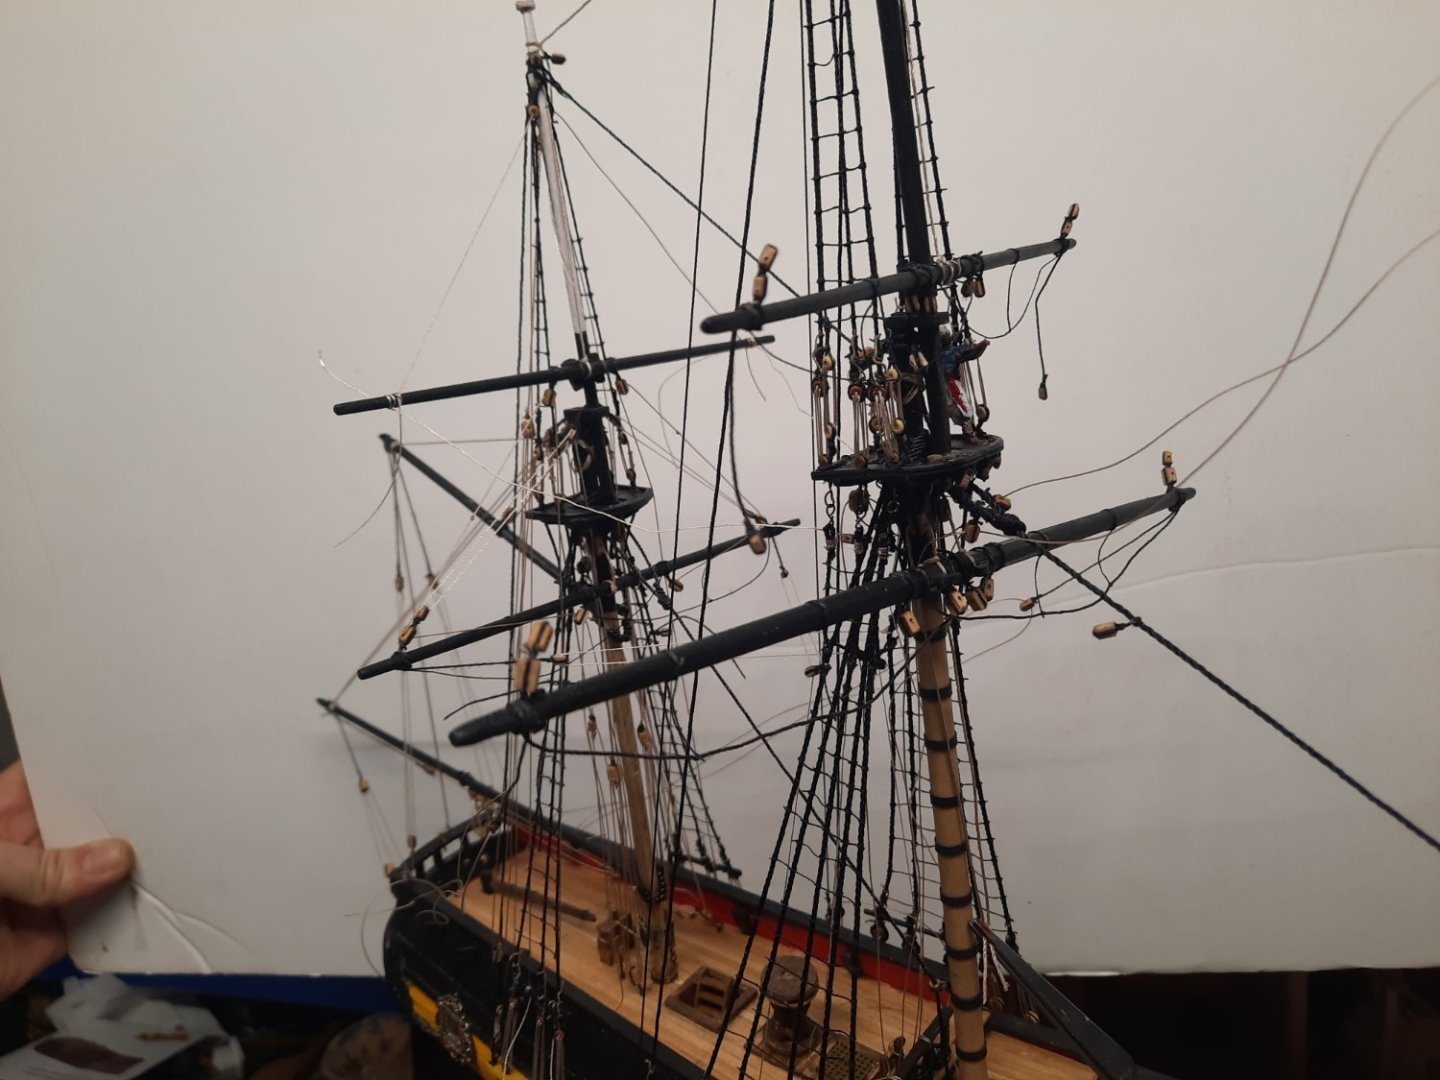
Man, Where does the time go? Hard to believe its been over 5 years. Figured I should finally post the photos of the finished boat. Apologies to anyone who I left hanging here. Below is the beginnings of the rigging and making of the masts and spars. I used the drill method to taper the dowels. I modified the shroud eyes to be removeable. In my little world this is a merchant/smuggler rig, either way the shrouds would need to be removeable.


- 23 replies
-
- 1
-
-
- 18th Century Armed Longboat
- Model Shipways
- (and 2 more)
-
Rollingreen reacted to a post in a topic:
Rattlesnake by Kenneth Powell - FINISHED - Model Shipways - American Privateer
-
Rollingreen reacted to a post in a topic:
Rattlesnake by Kenneth Powell - FINISHED - Model Shipways - American Privateer
-
Kenneth, Looking Great. I'm really enjoying seeing the slight differences between your build and mine with the same kit. BTW the shrink tubing for the mast hoops is genius. I've already found several uses for them on other builds.

- 152 replies
-
- 2
-
-
- rattlesnake
- Model Shipways
- (and 1 more)
-
 Rollingreen reacted to a post in a topic:
Rattlesnake by Kenneth Powell - FINISHED - Model Shipways - American Privateer
Rollingreen reacted to a post in a topic:
Rattlesnake by Kenneth Powell - FINISHED - Model Shipways - American Privateer
-
Thanks for the great work Ken! I am just starting the masts on my model and it is very helpful to see such clear photos of your work. You are setting a a high bar to keep up with.
- 152 replies
-
- 2
-
-
-
- rattlesnake
- Model Shipways
- (and 1 more)
-
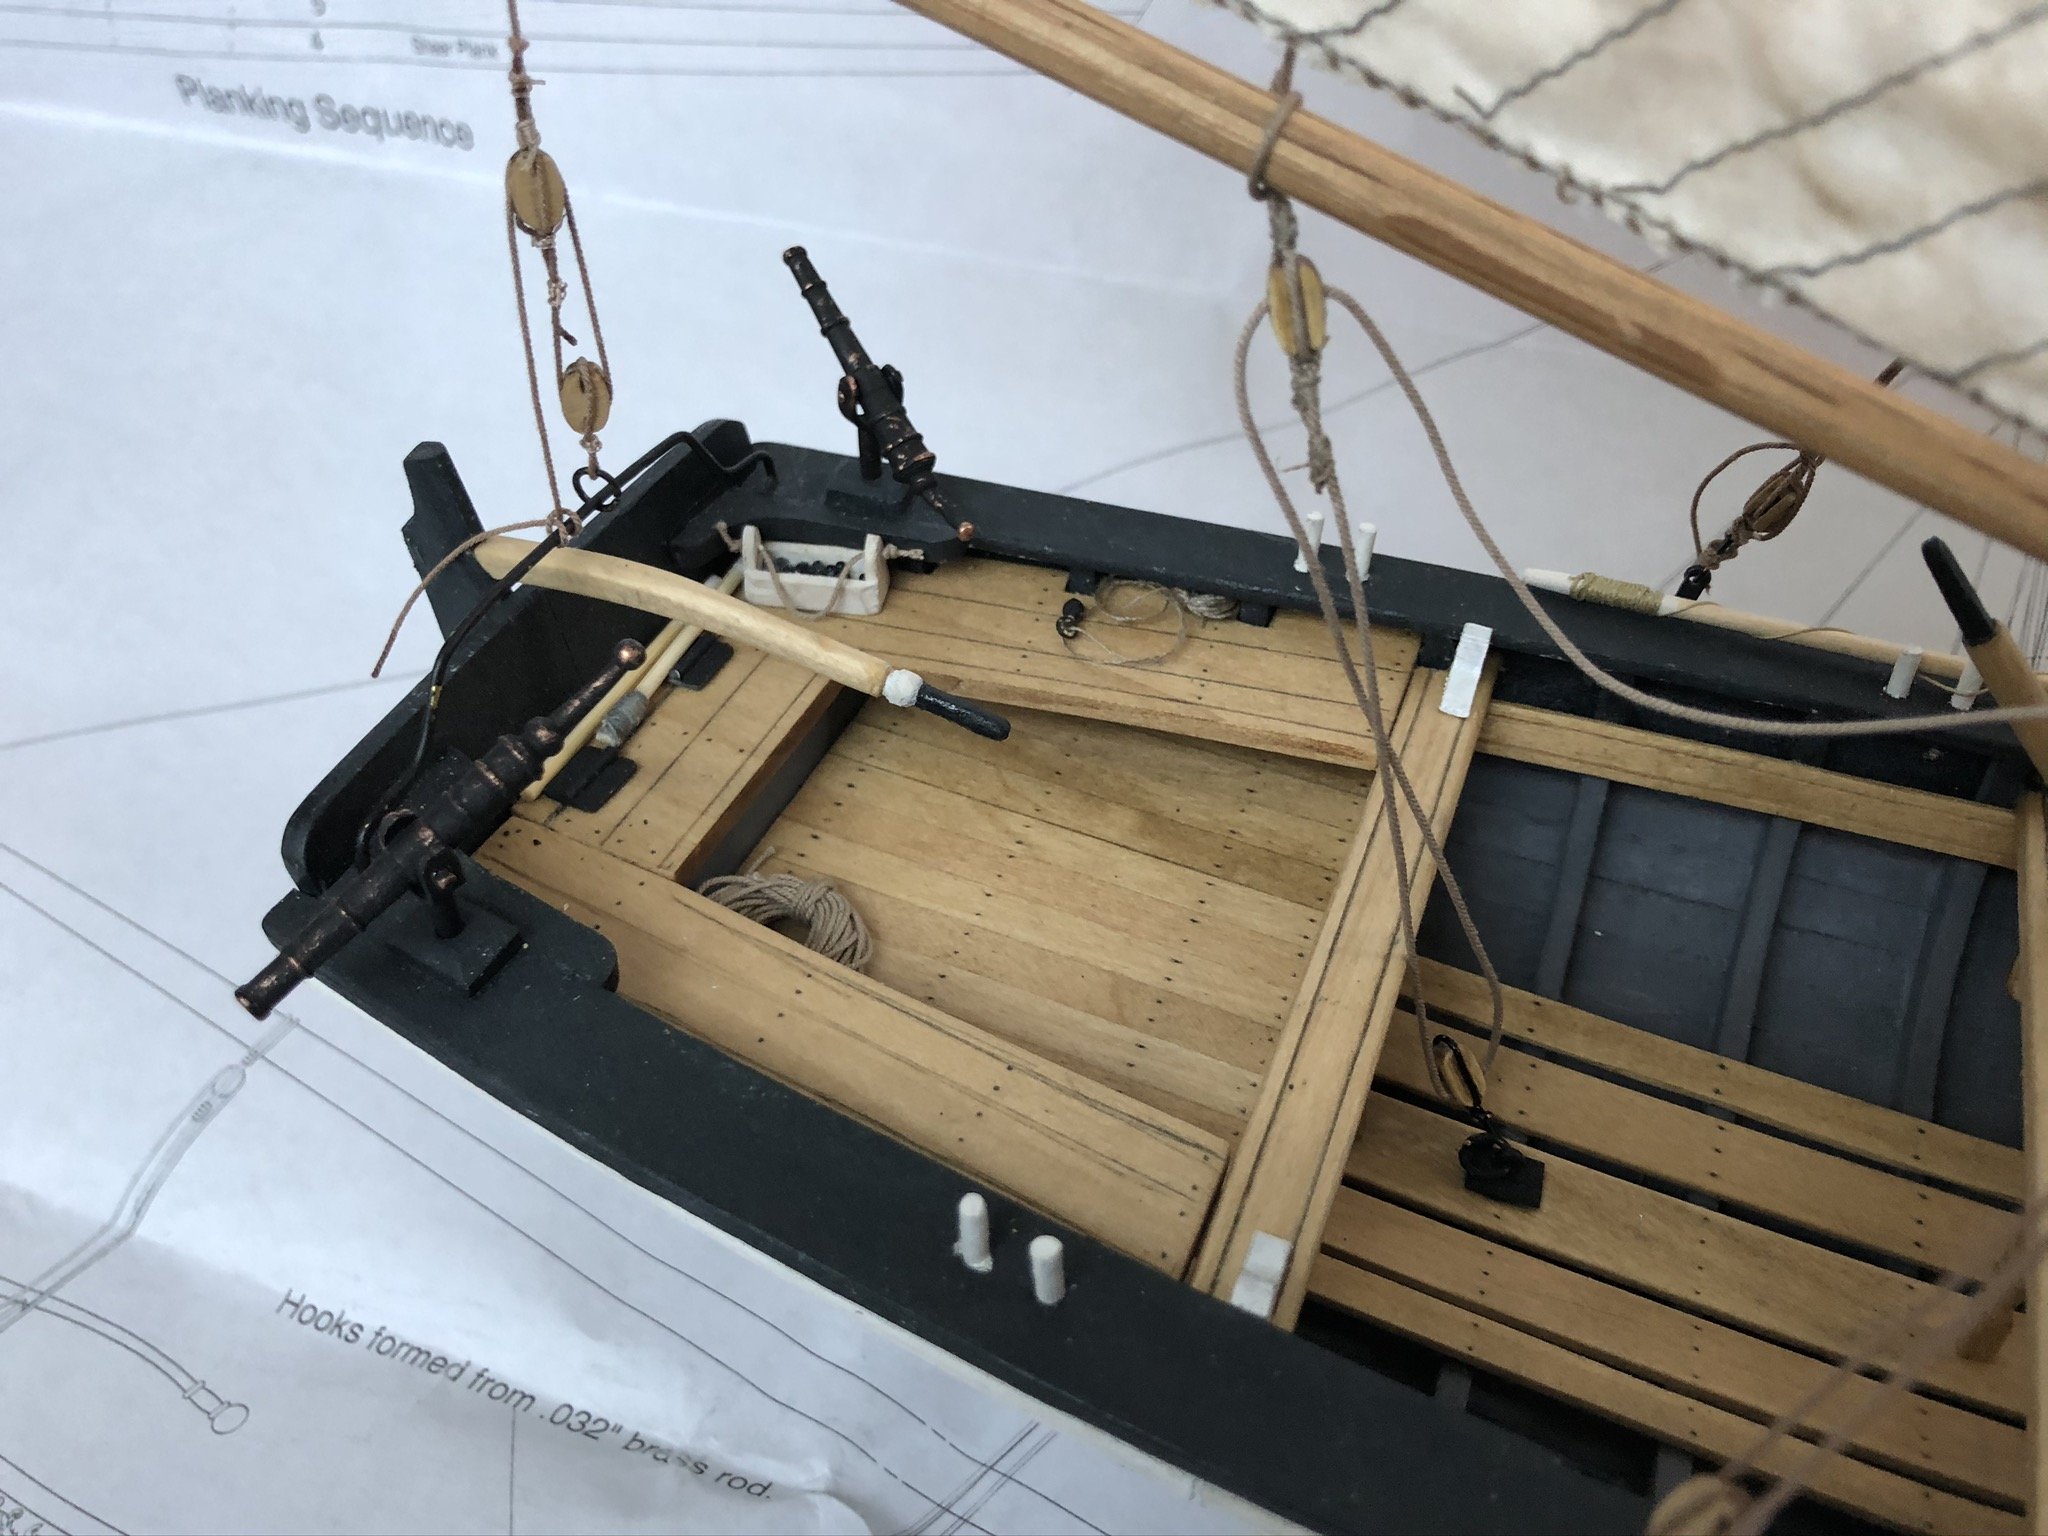
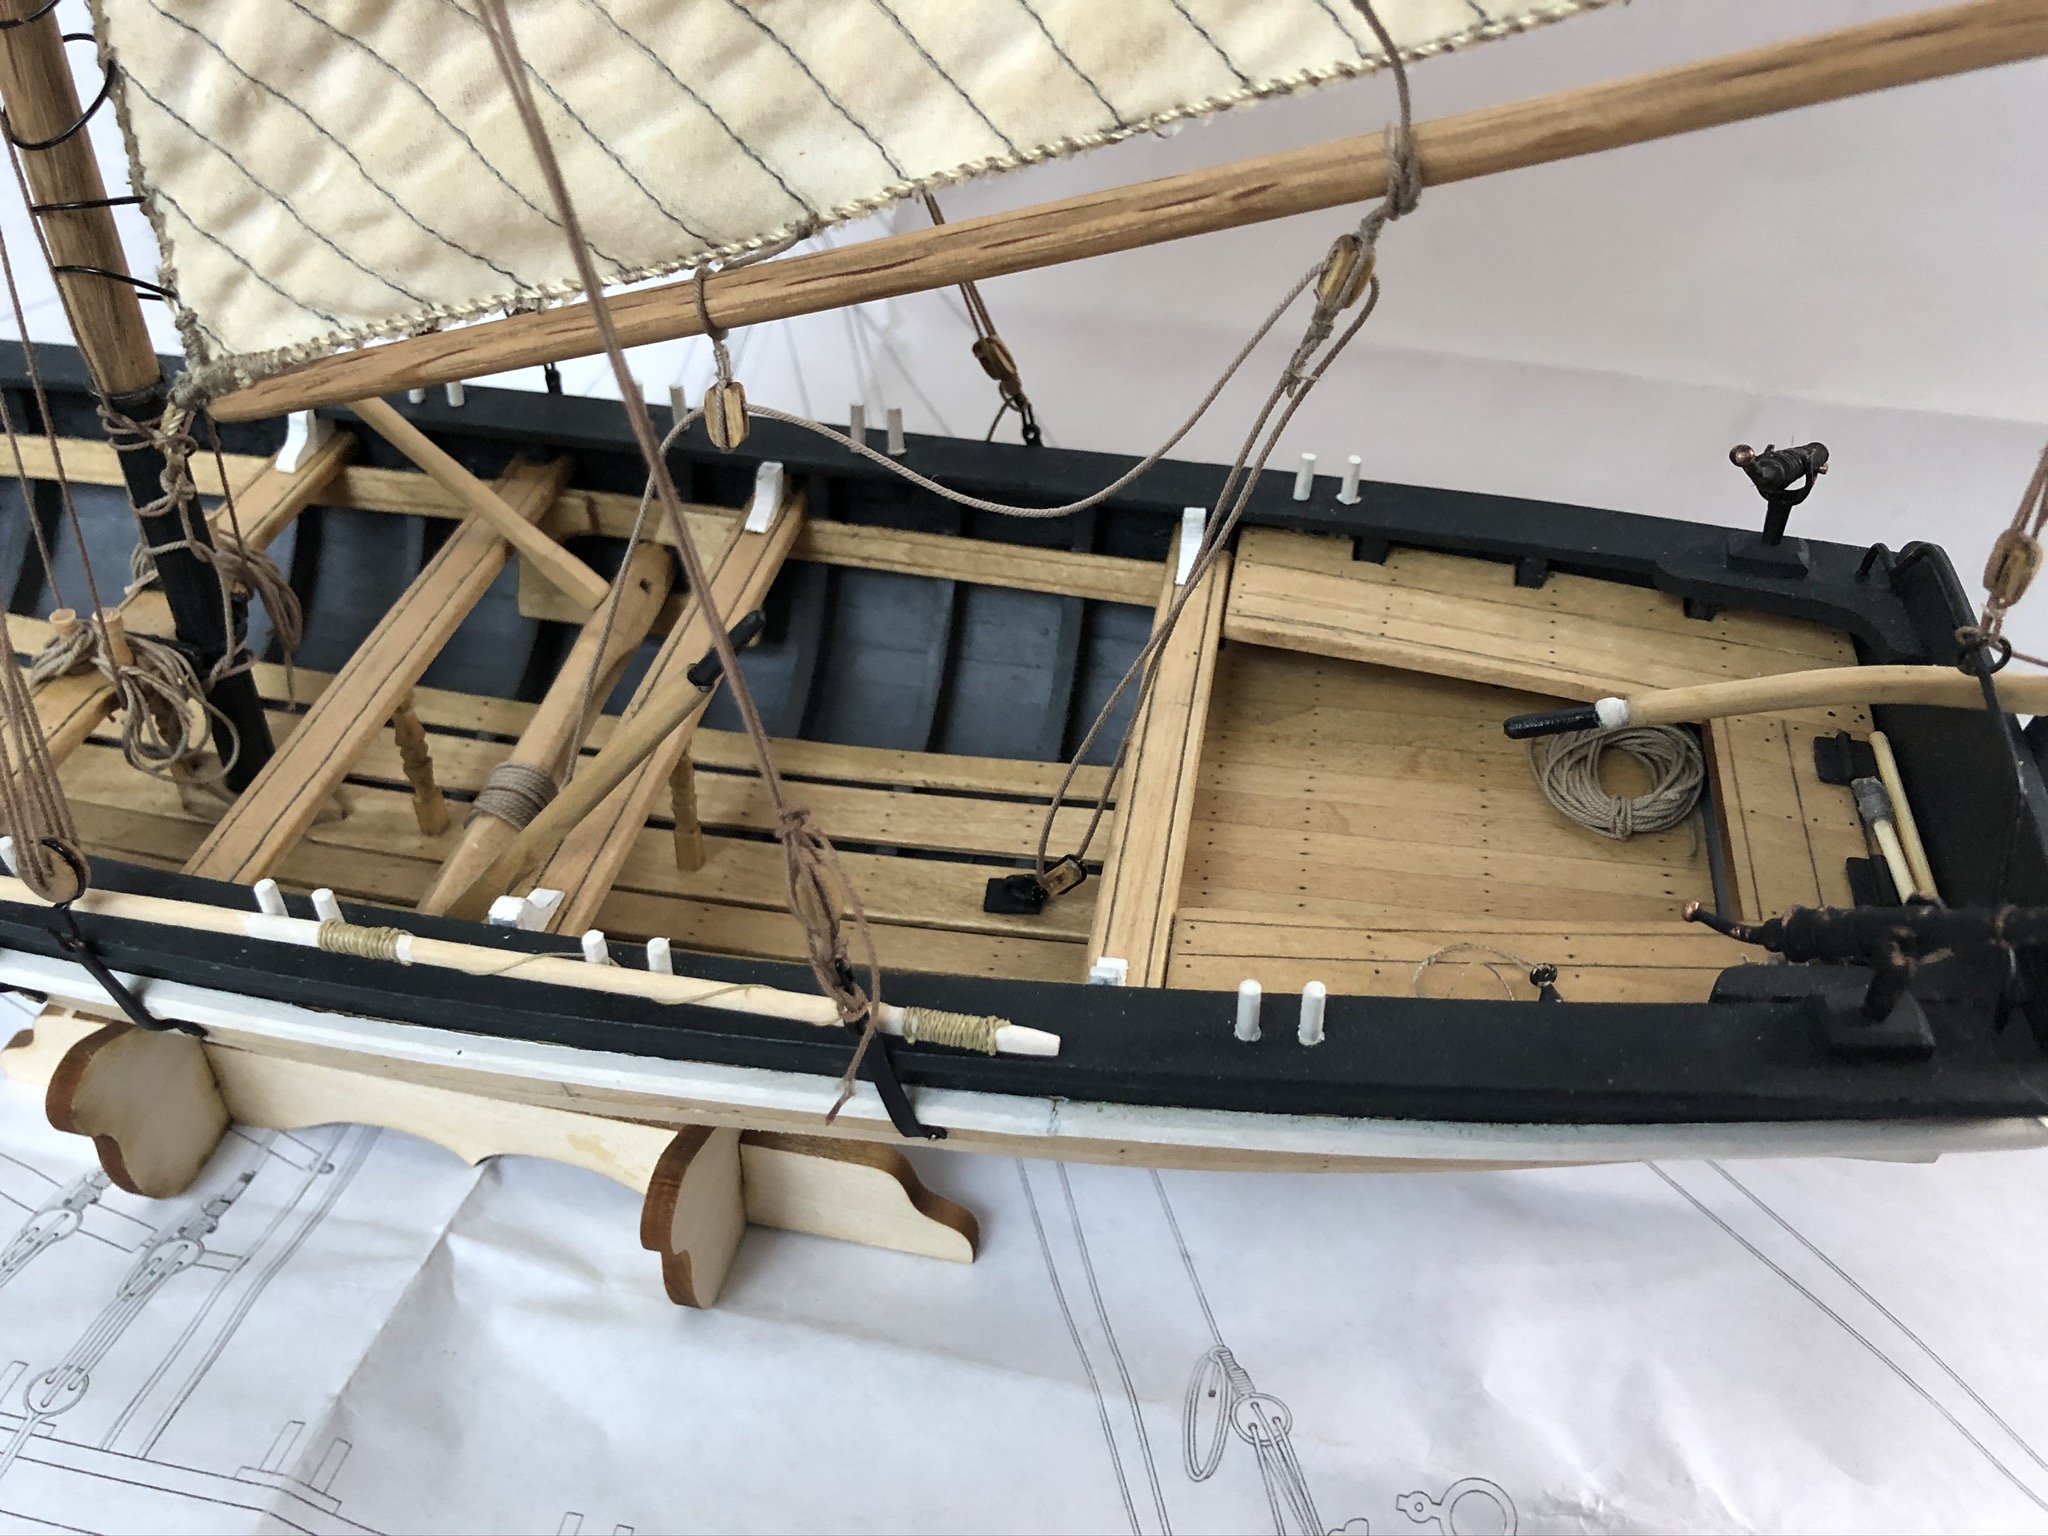
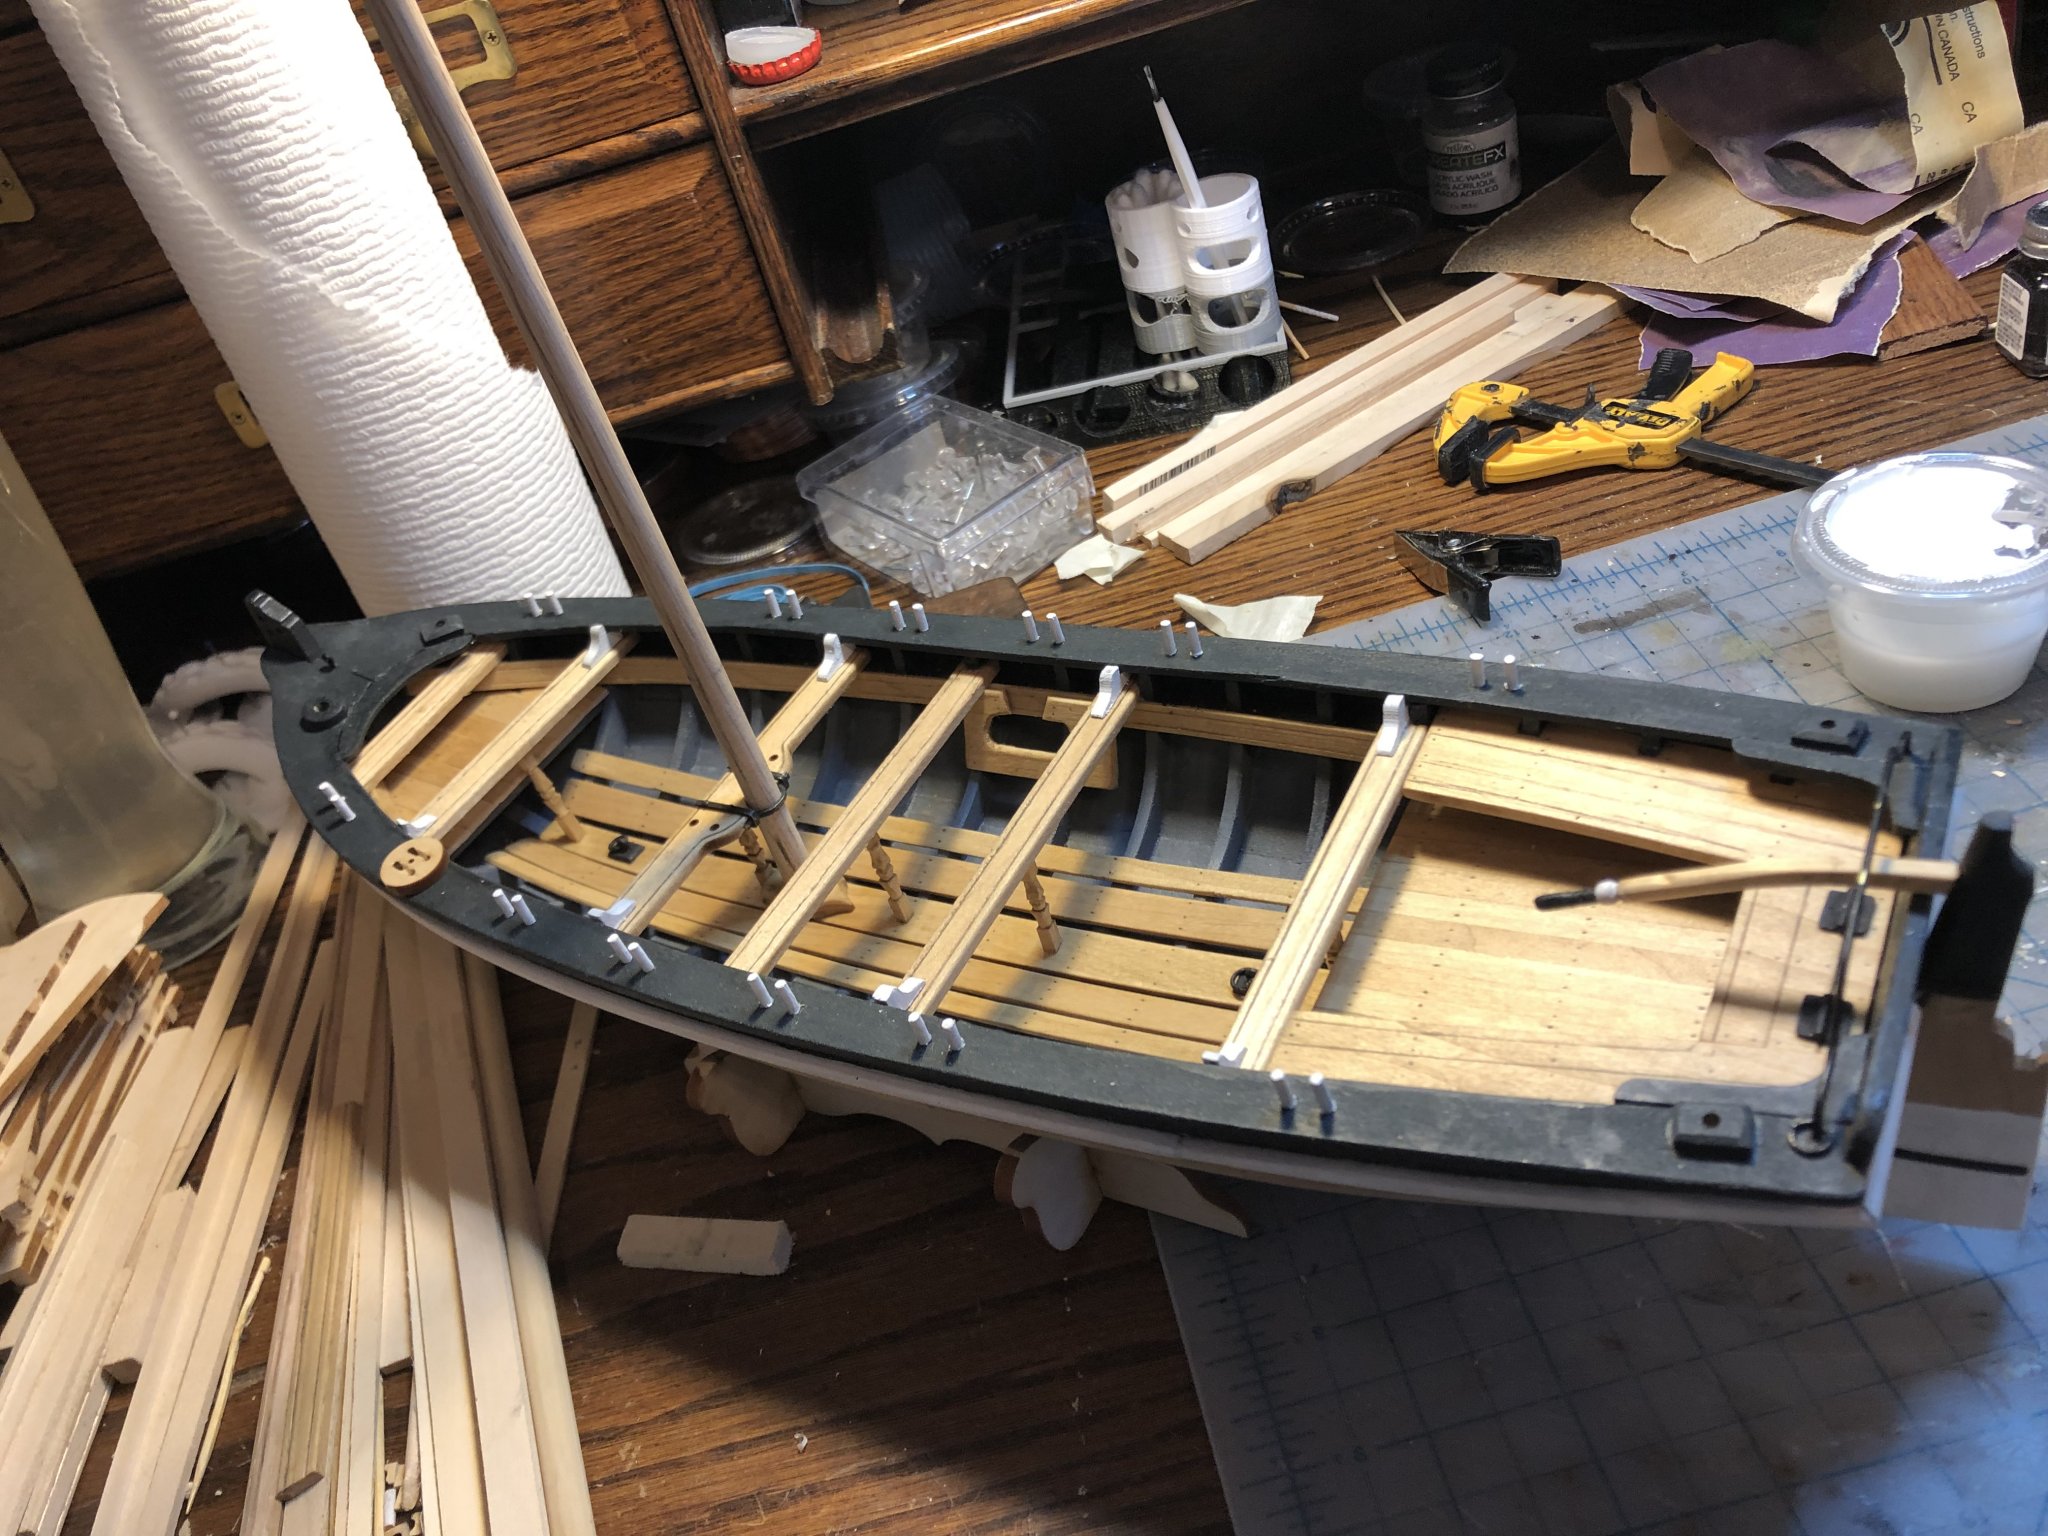
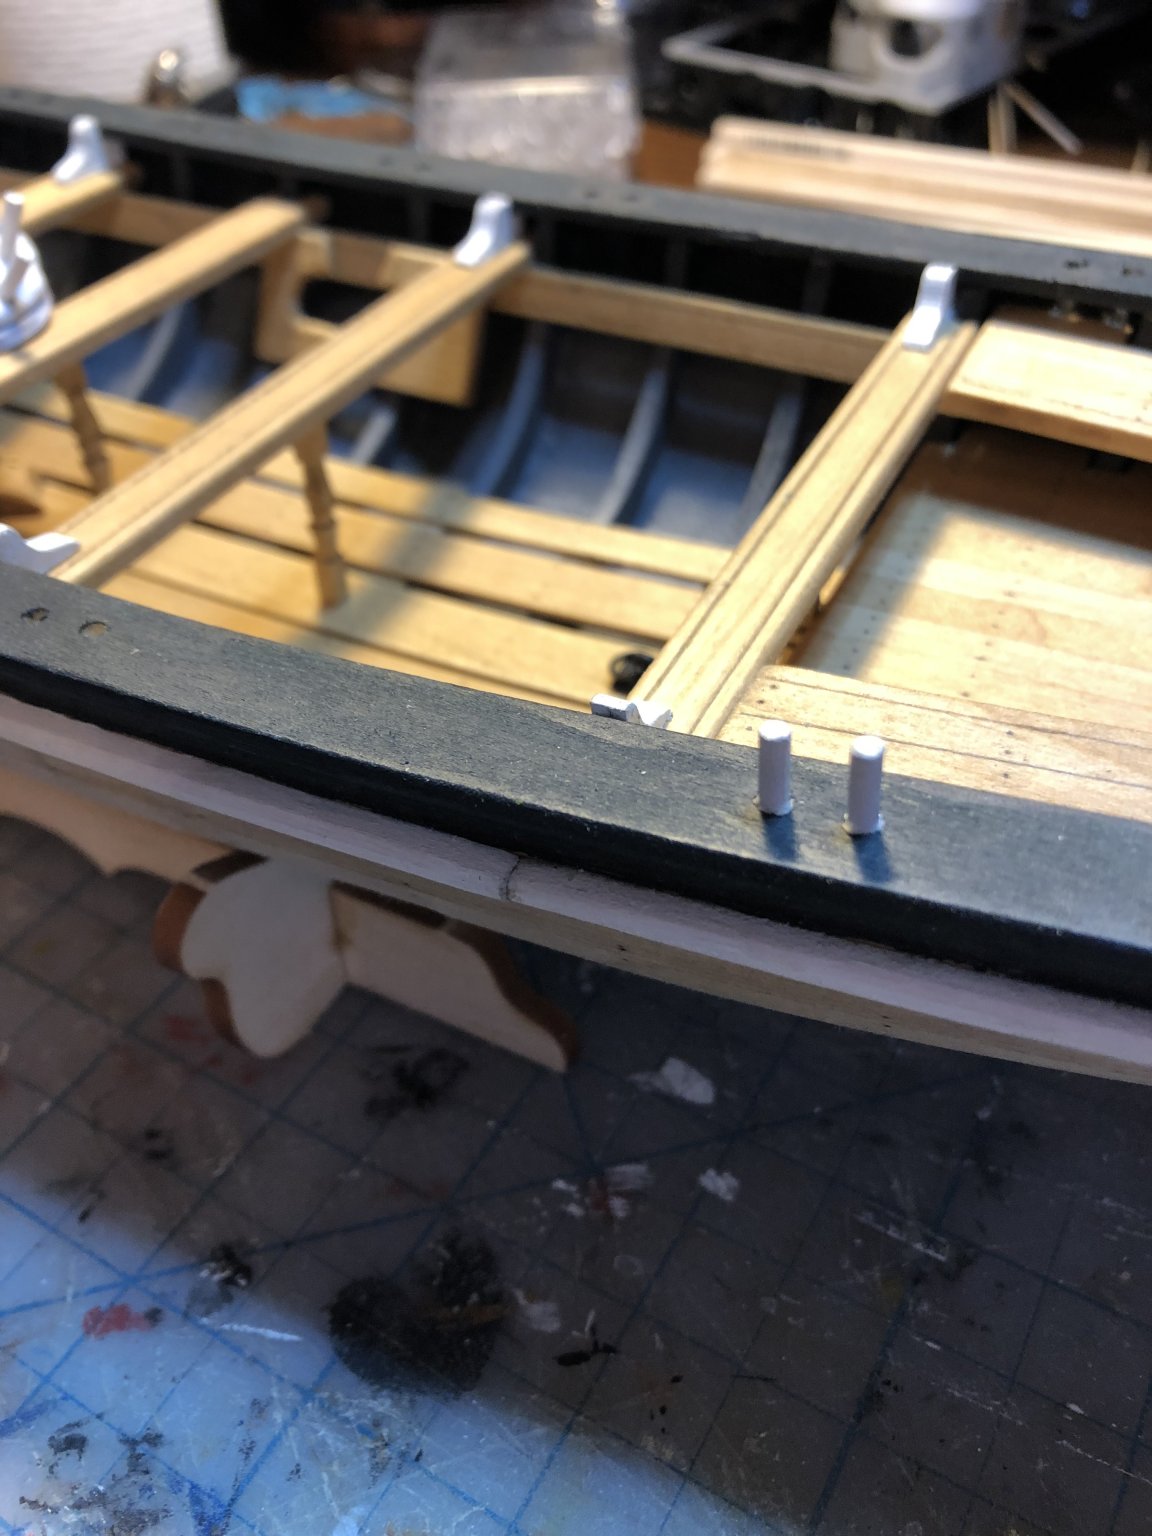
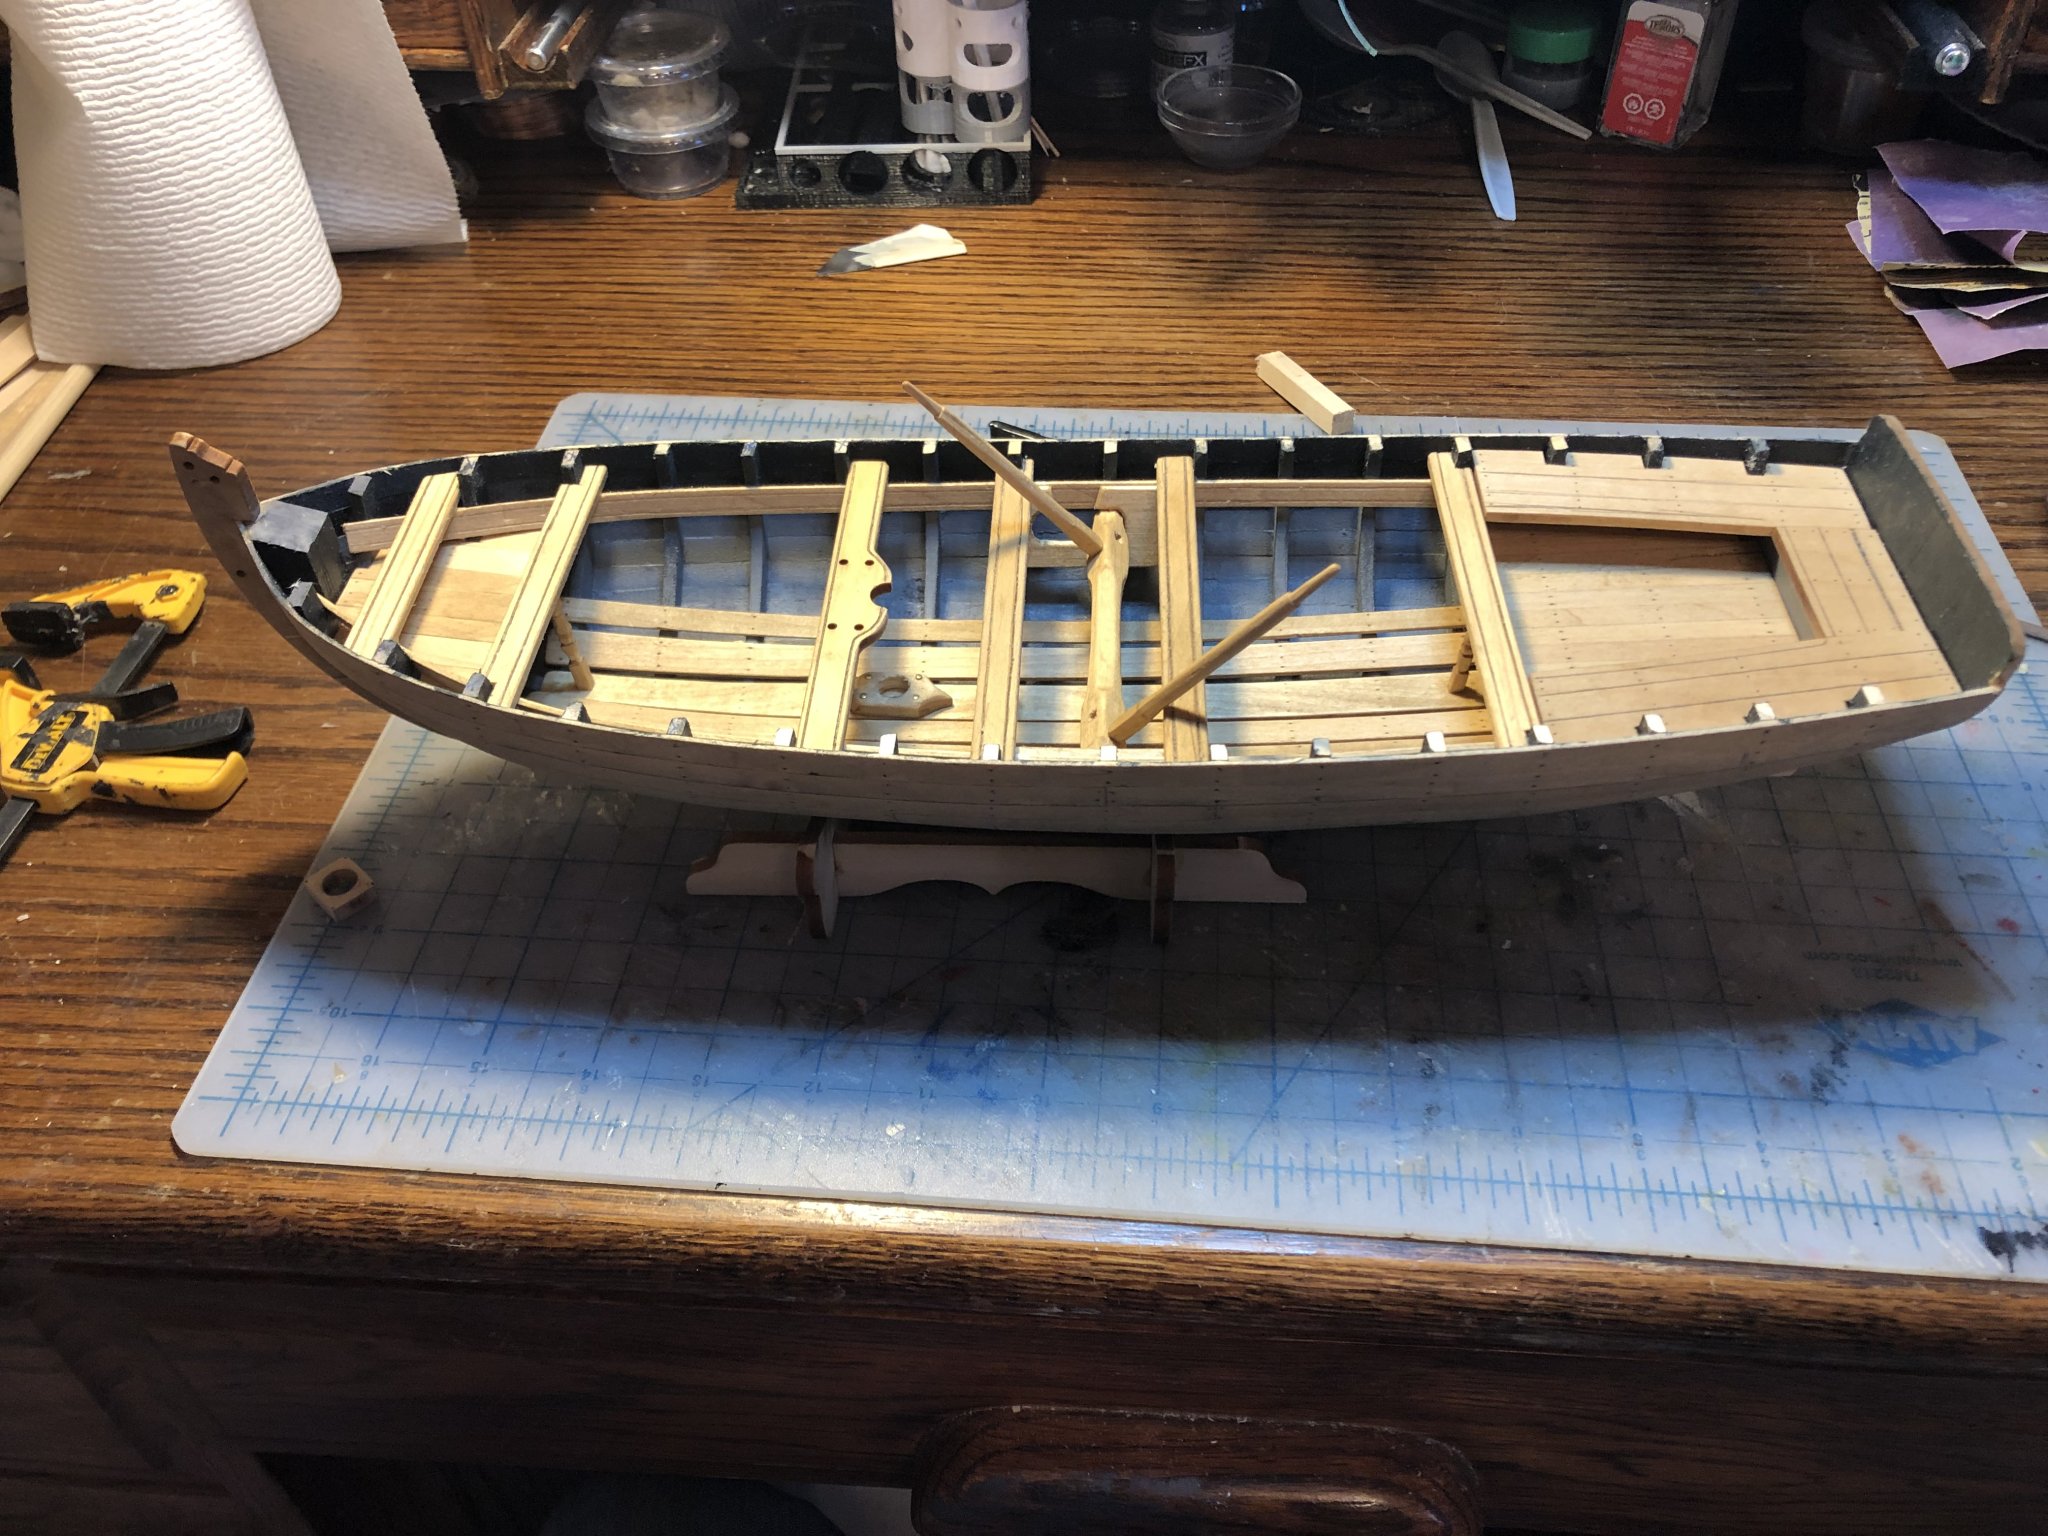
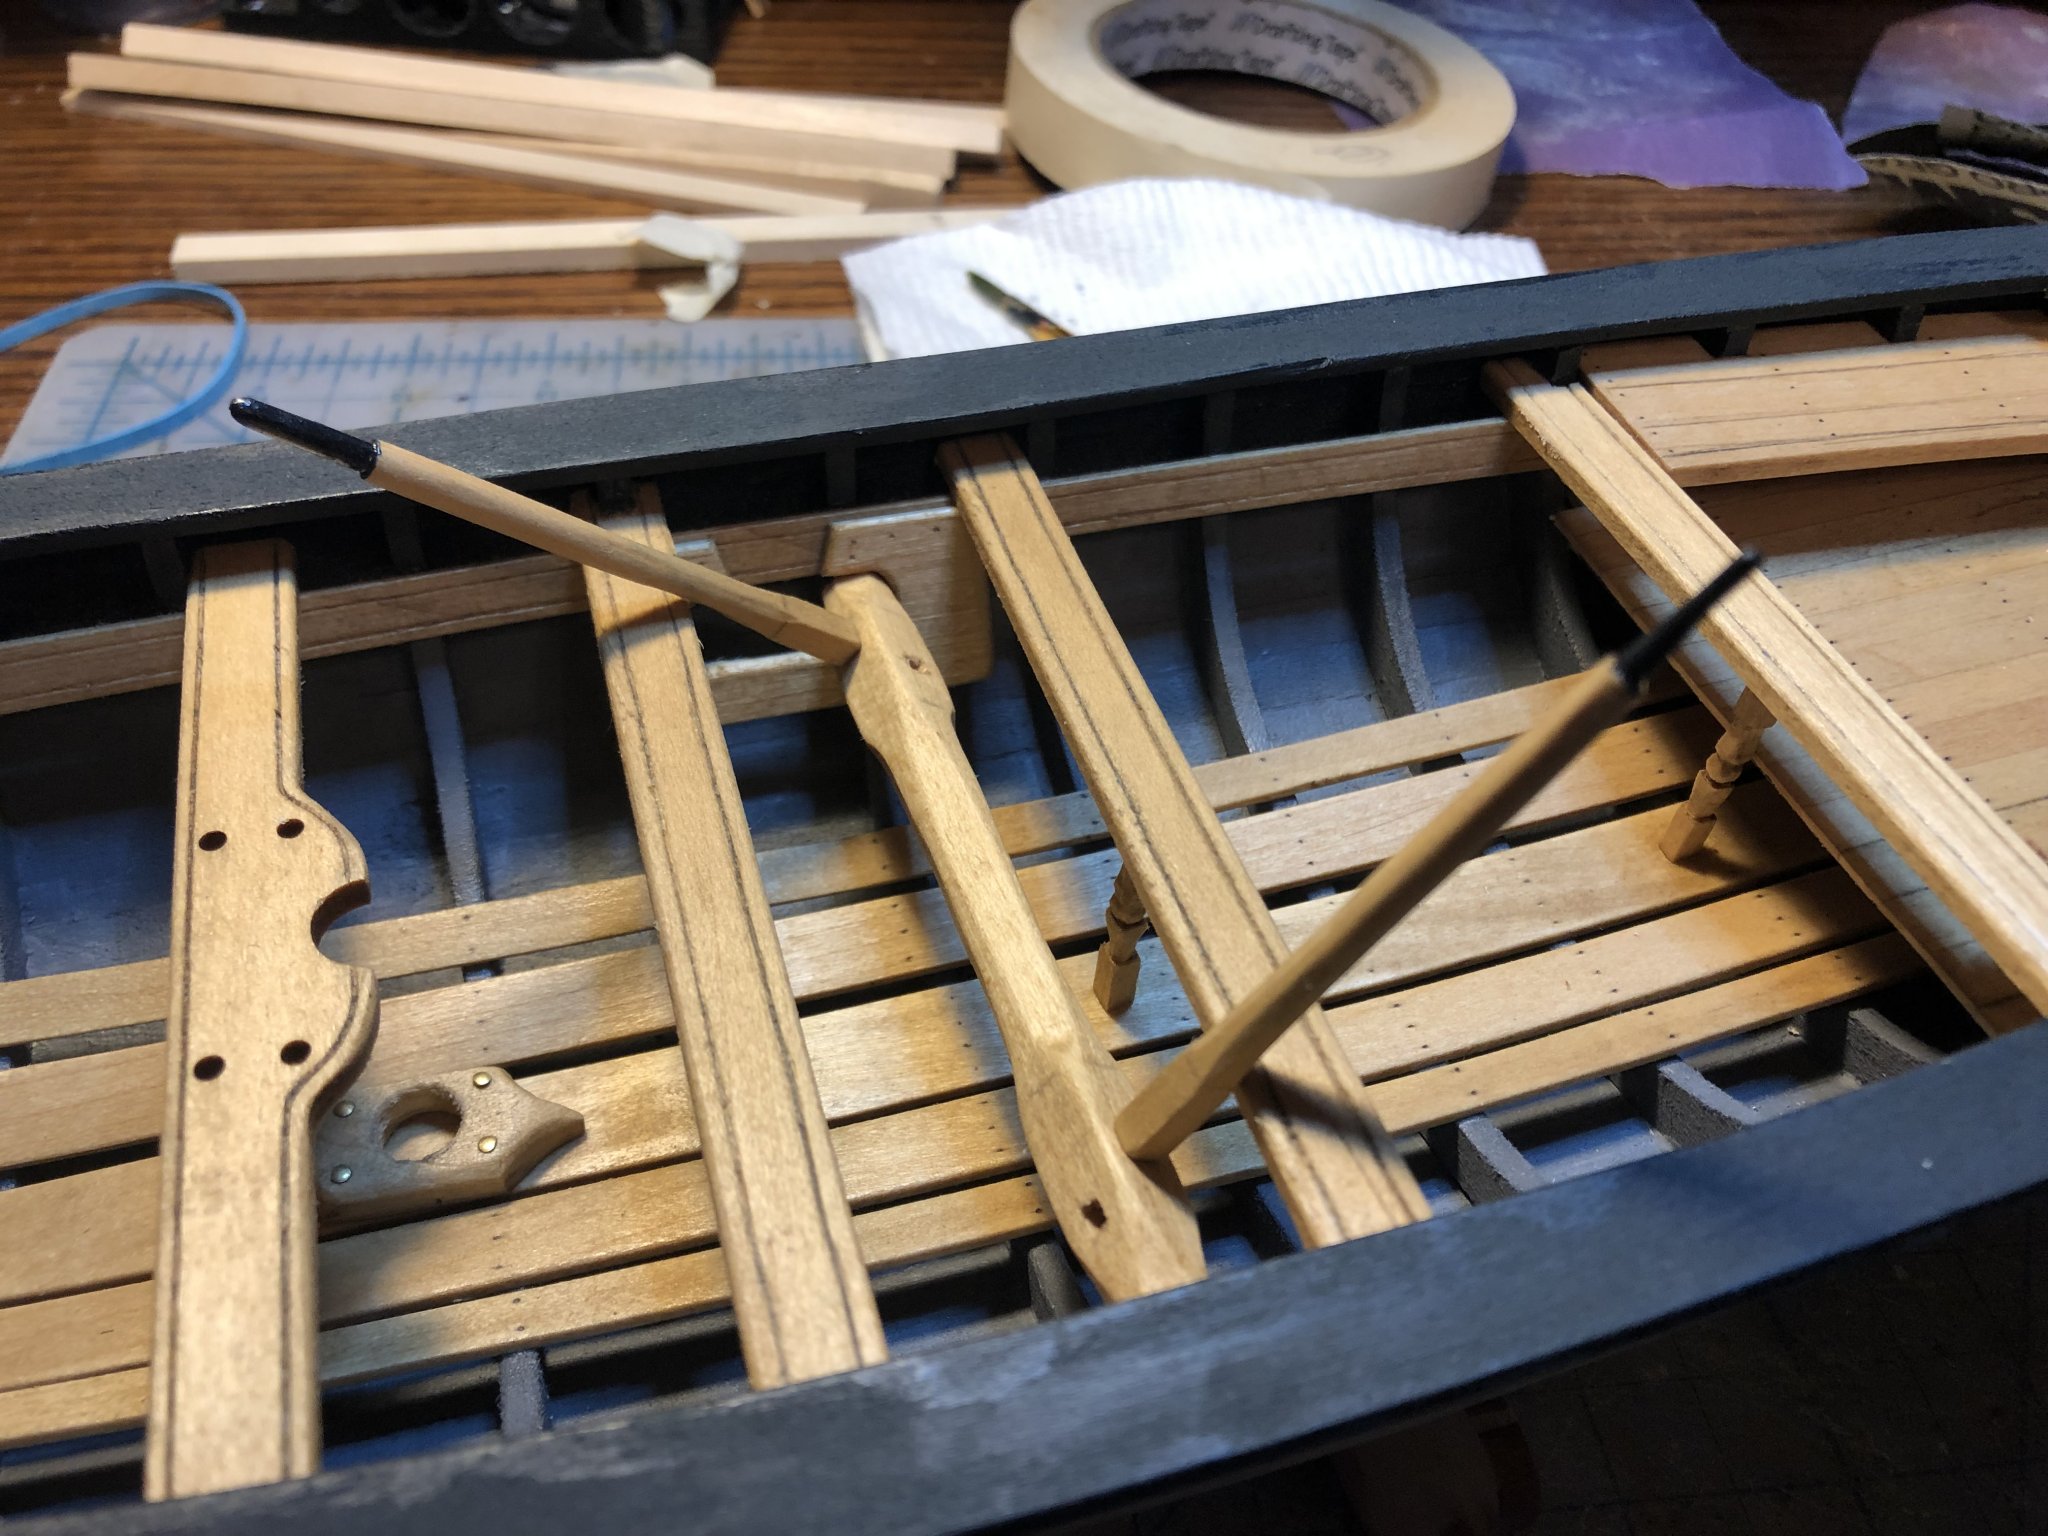
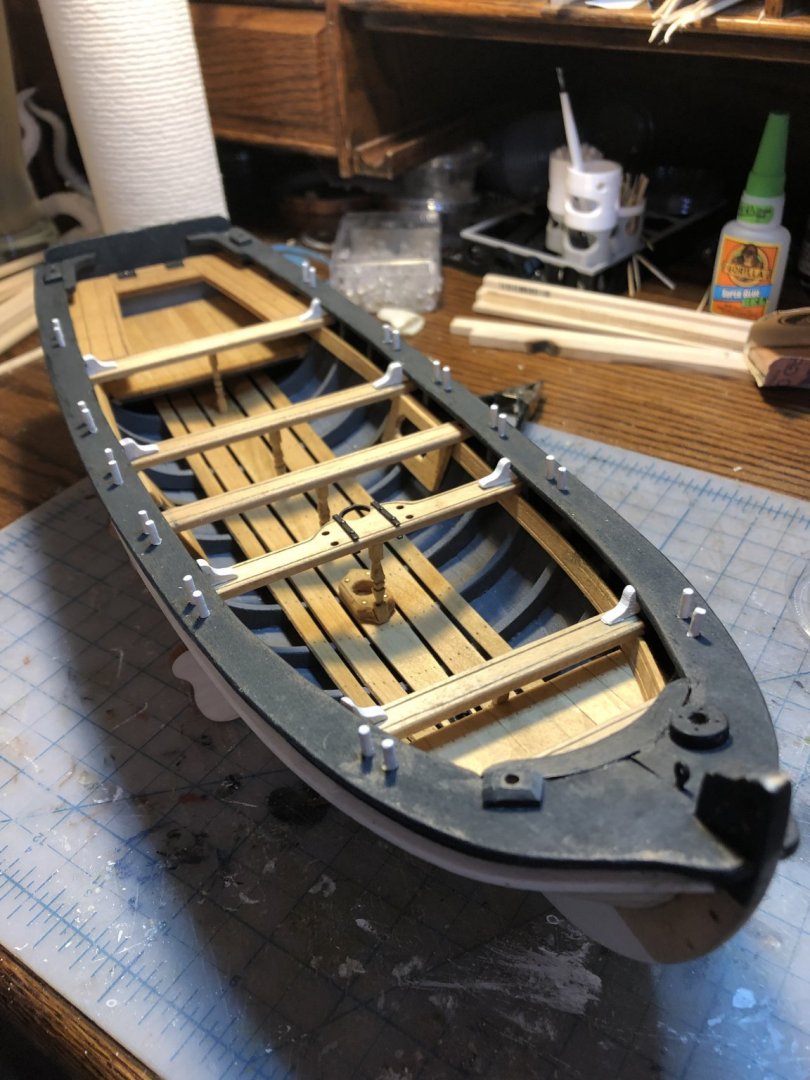
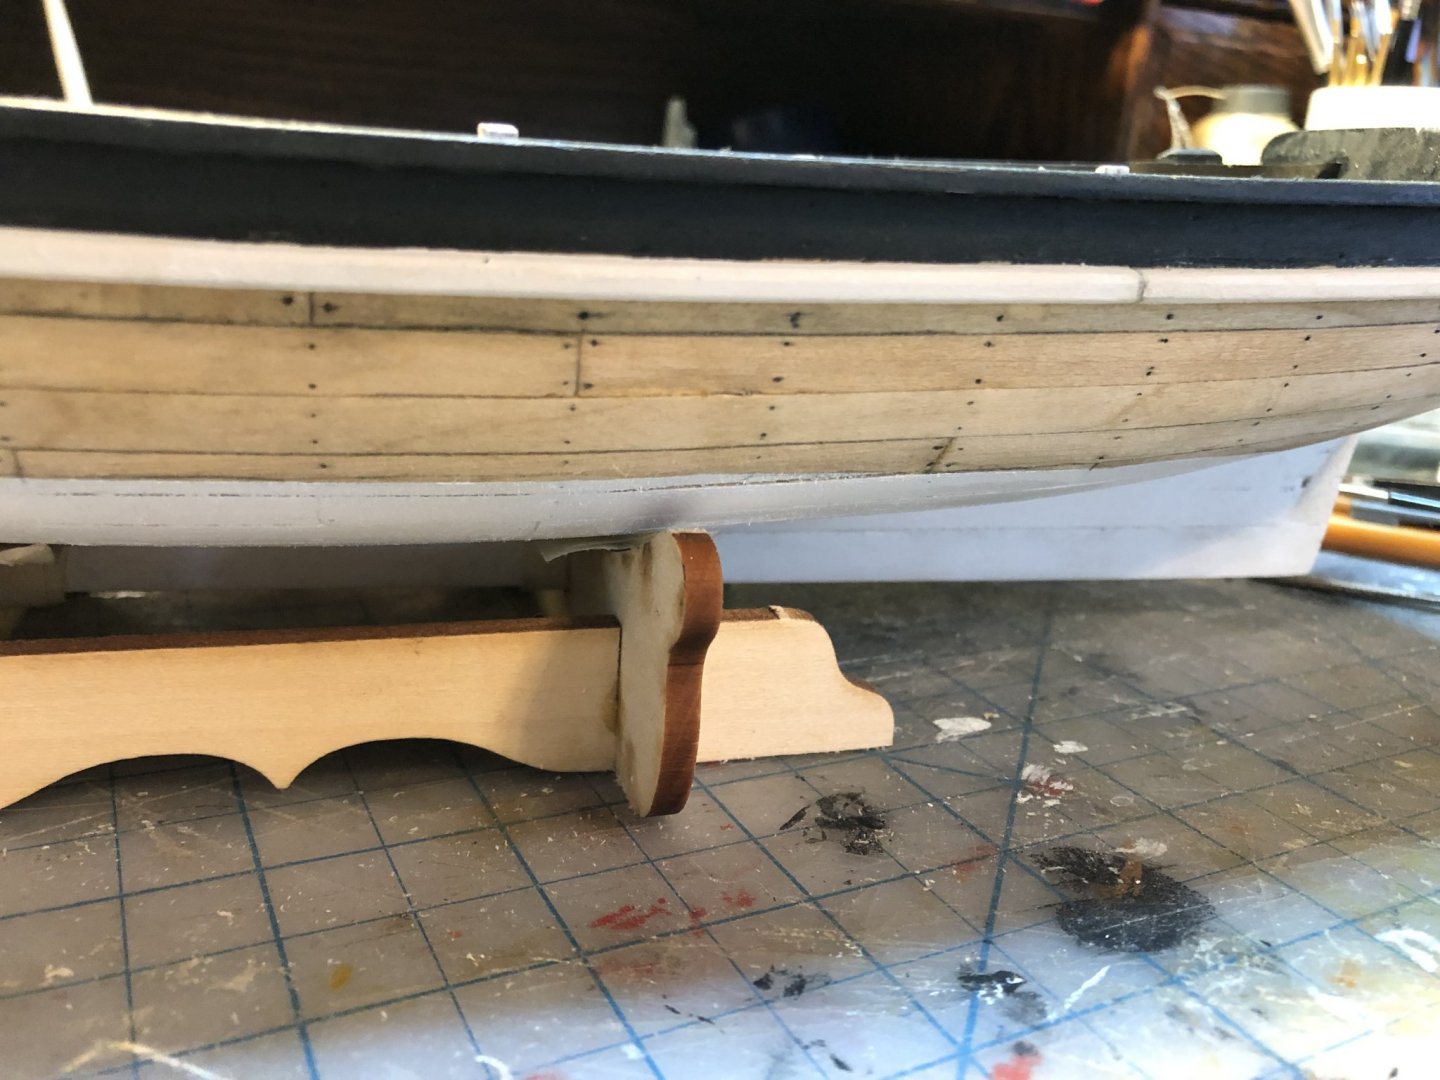
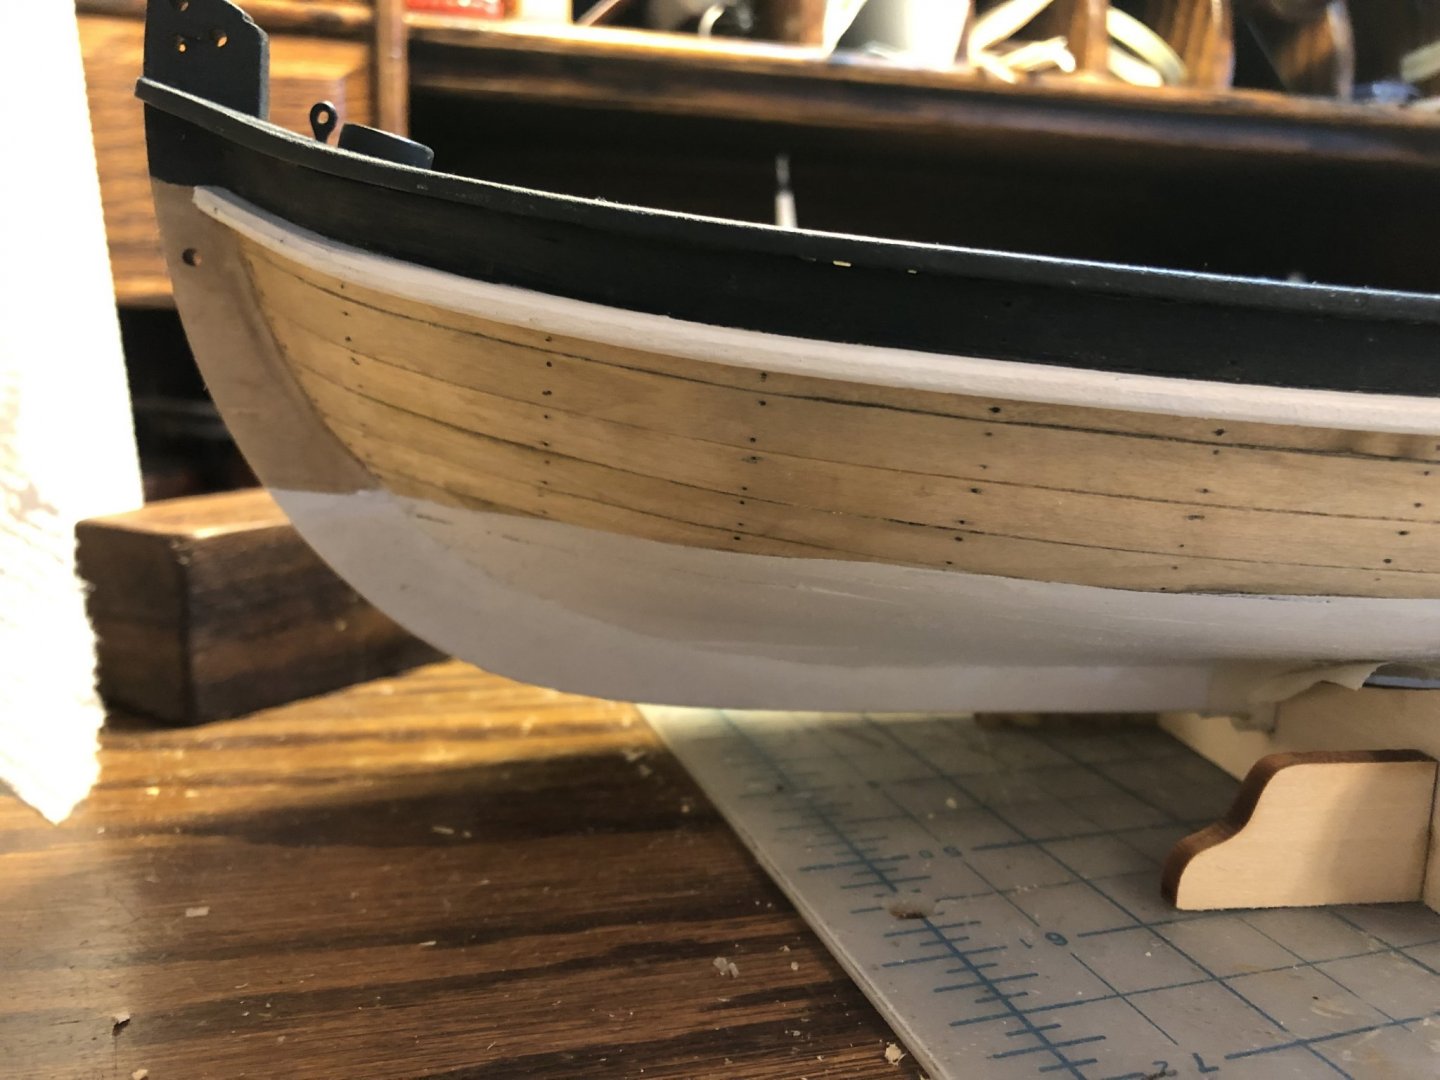
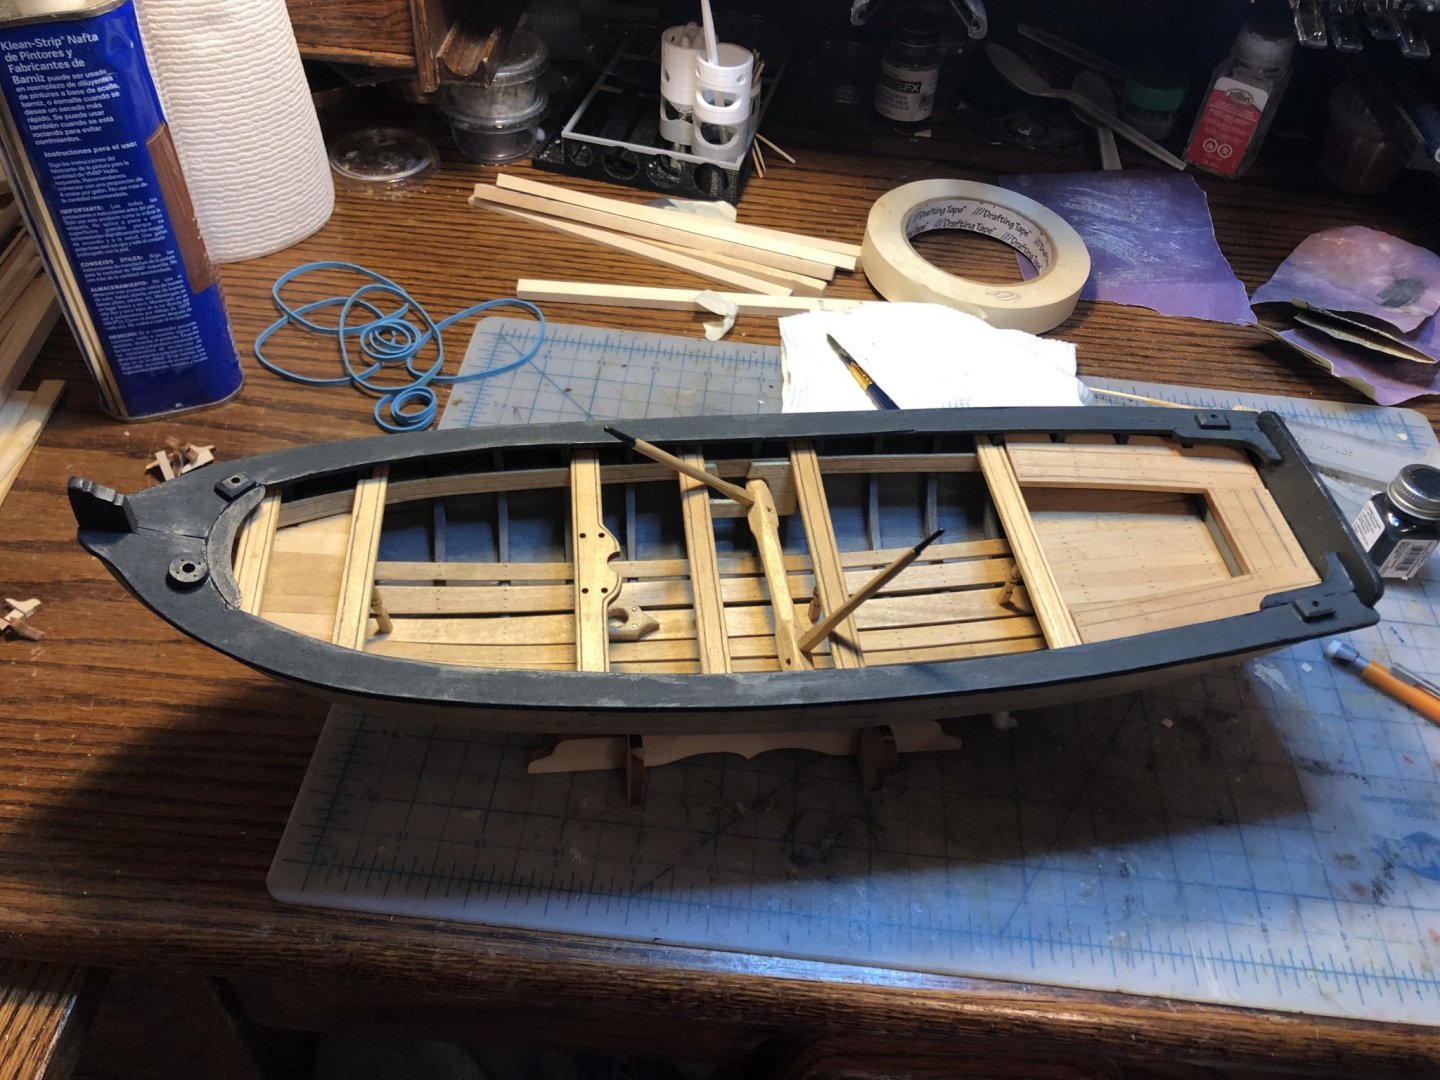
Mean while here is a pic of the mostly completed hull with thwart braces and oar locks in place.

- 23 replies
-
- 4
-
-
- 18th Century Armed Longboat
- Model Shipways
- (and 2 more)
-
Sea Hoss, Thanks for the reply, sorry for the delayed reply on my part. I did notice several things during construction that were off. The odd shape of bulkhead number 3 (i think it was) was a pain to fix while planking. The rigging layout seems to have a few issues also. The running rigging line provided is the wrong size, its larger than the anchor line. I ended up ordering some additional rigging line form Syren ship co., but I'll likely contact Model Expo to see about getting replacement line for the next build. This is my first wood kit build so I'm not sure if these are typical of Model Shipways kits or just a fluke for this model. Any ways, it has been a blast to build so far and I feel like small problems like these just add to the challenge of the build. I will be posting more updates to the build soon. I have been making progress, just no time to gather my thoughts and post. Also, there are sails coming!
-
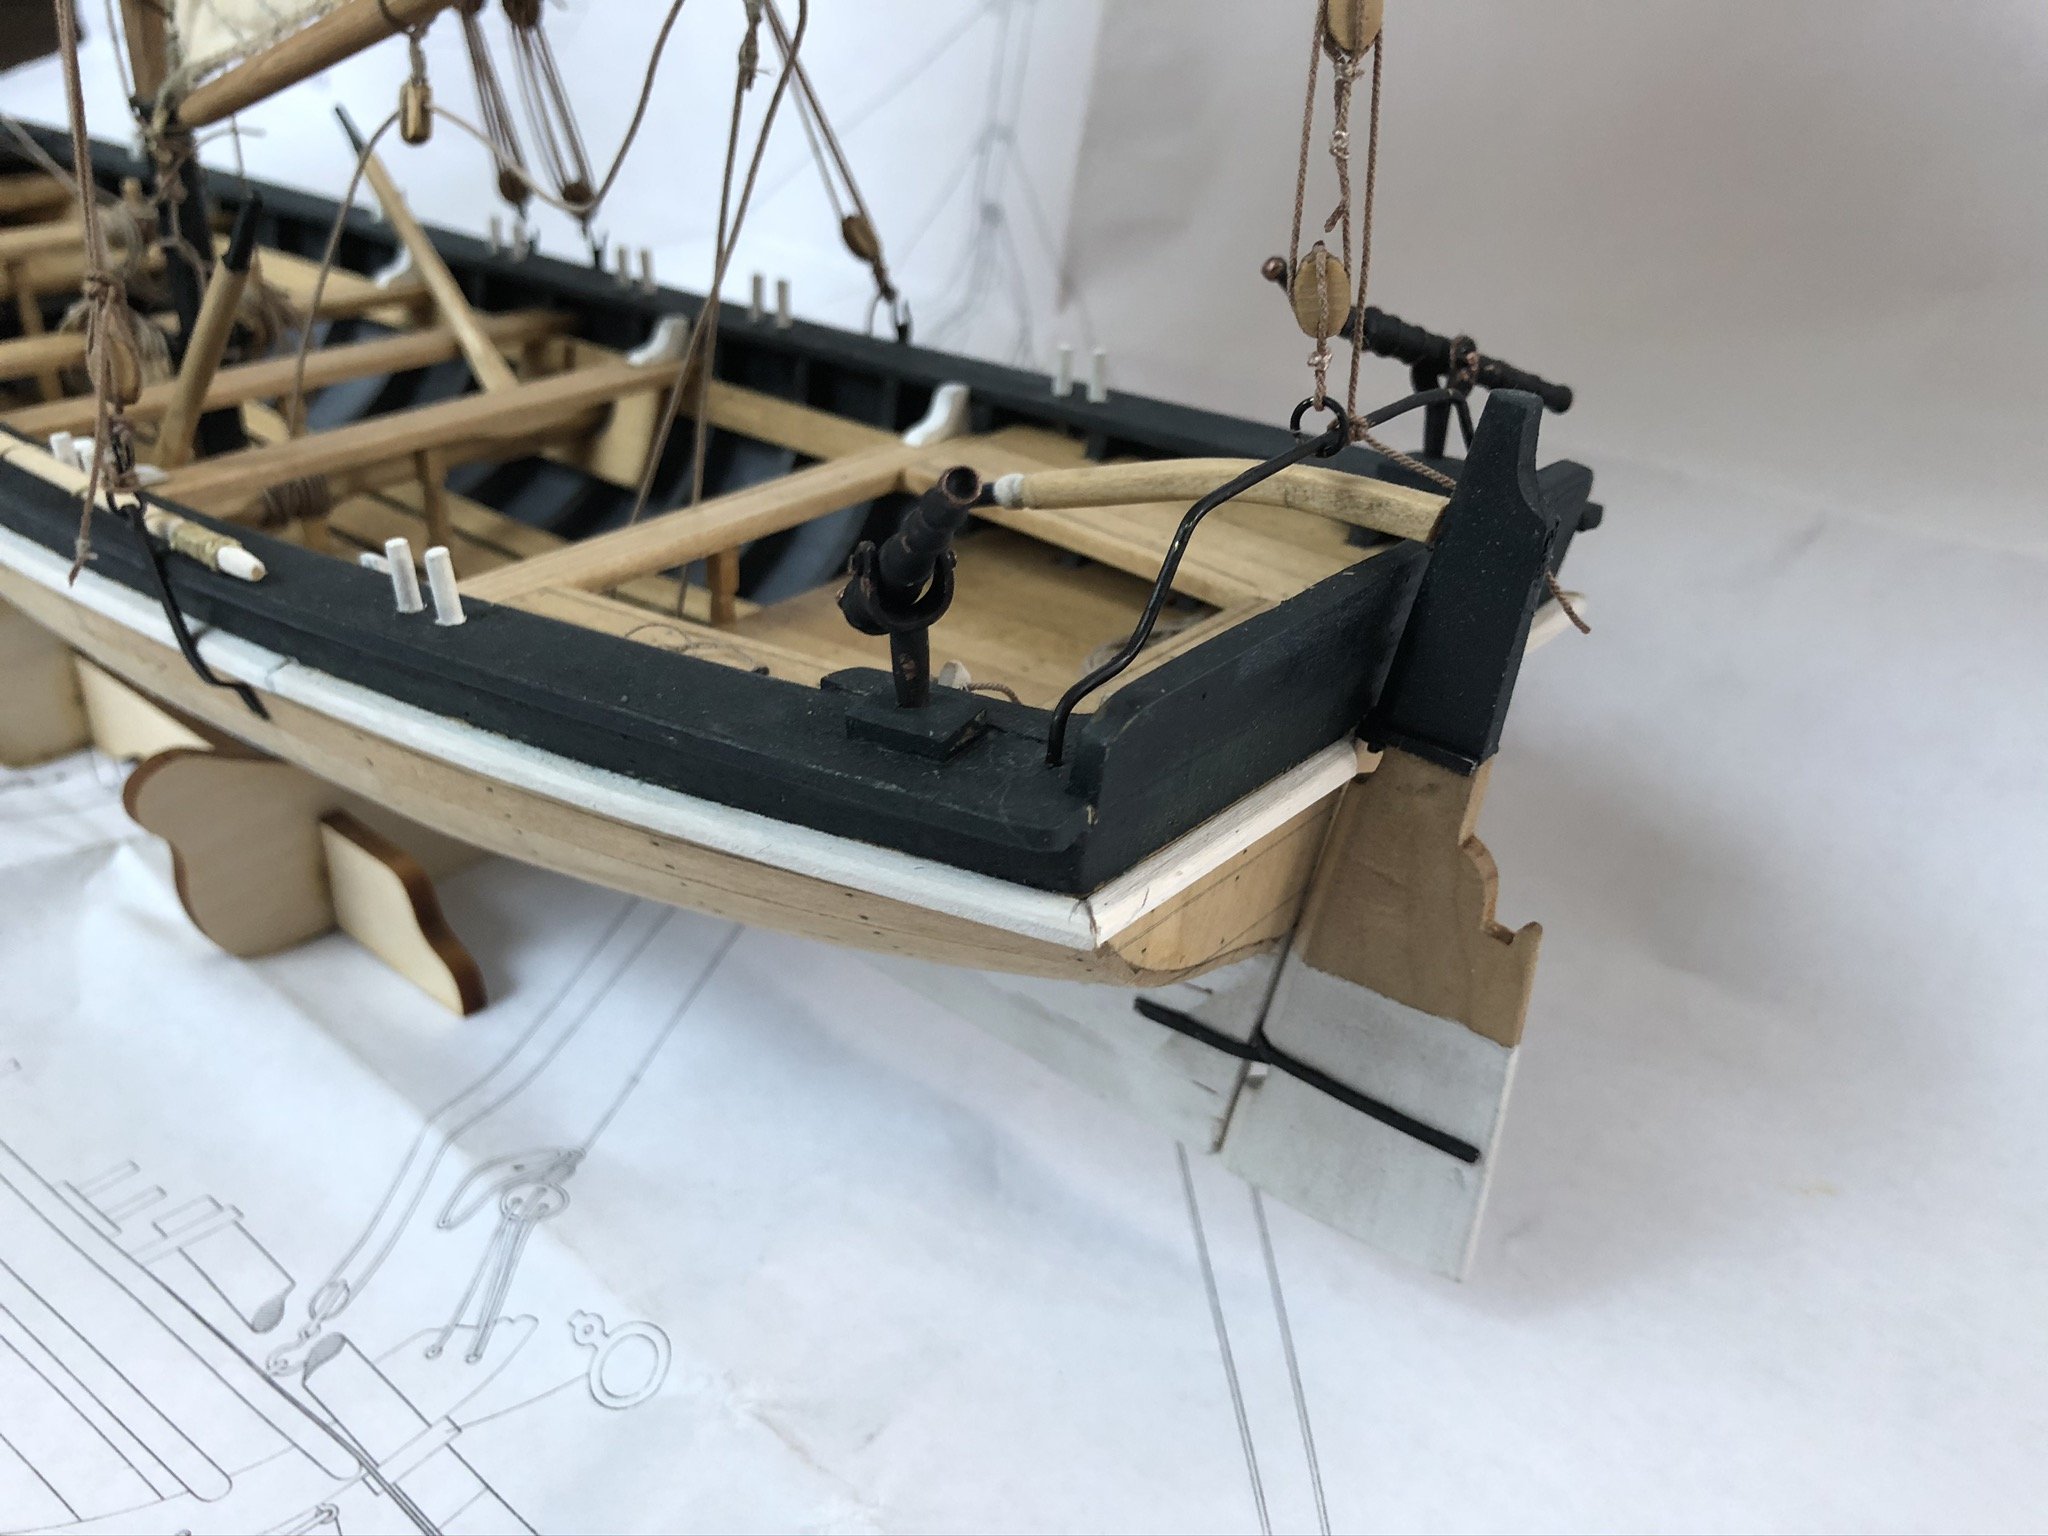
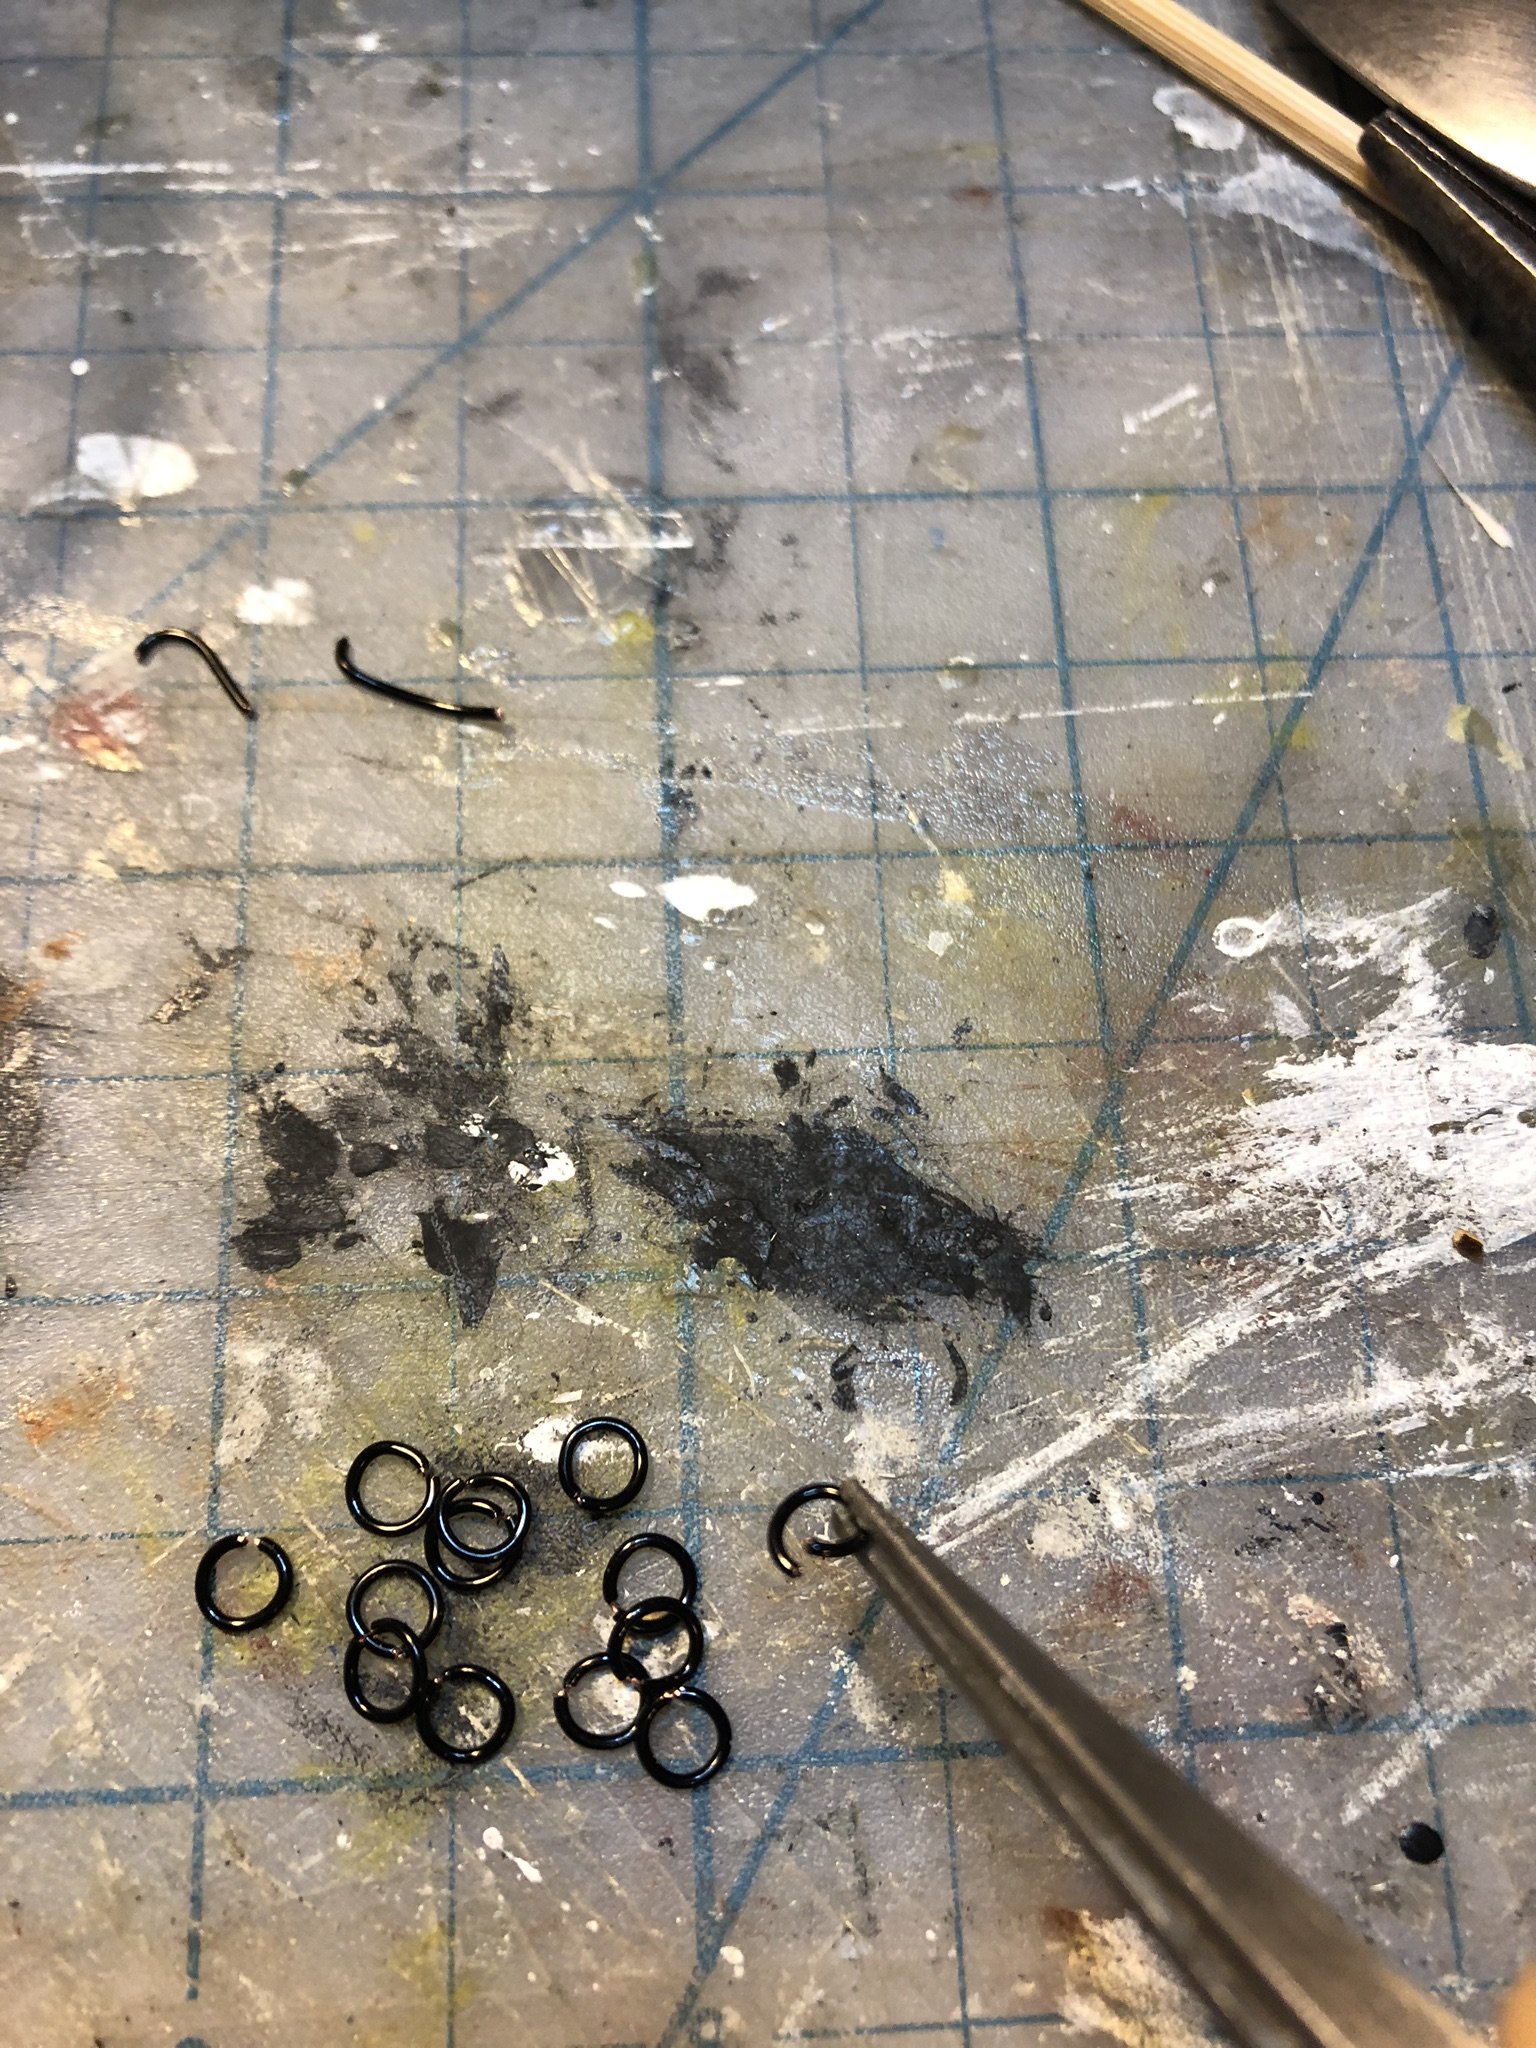
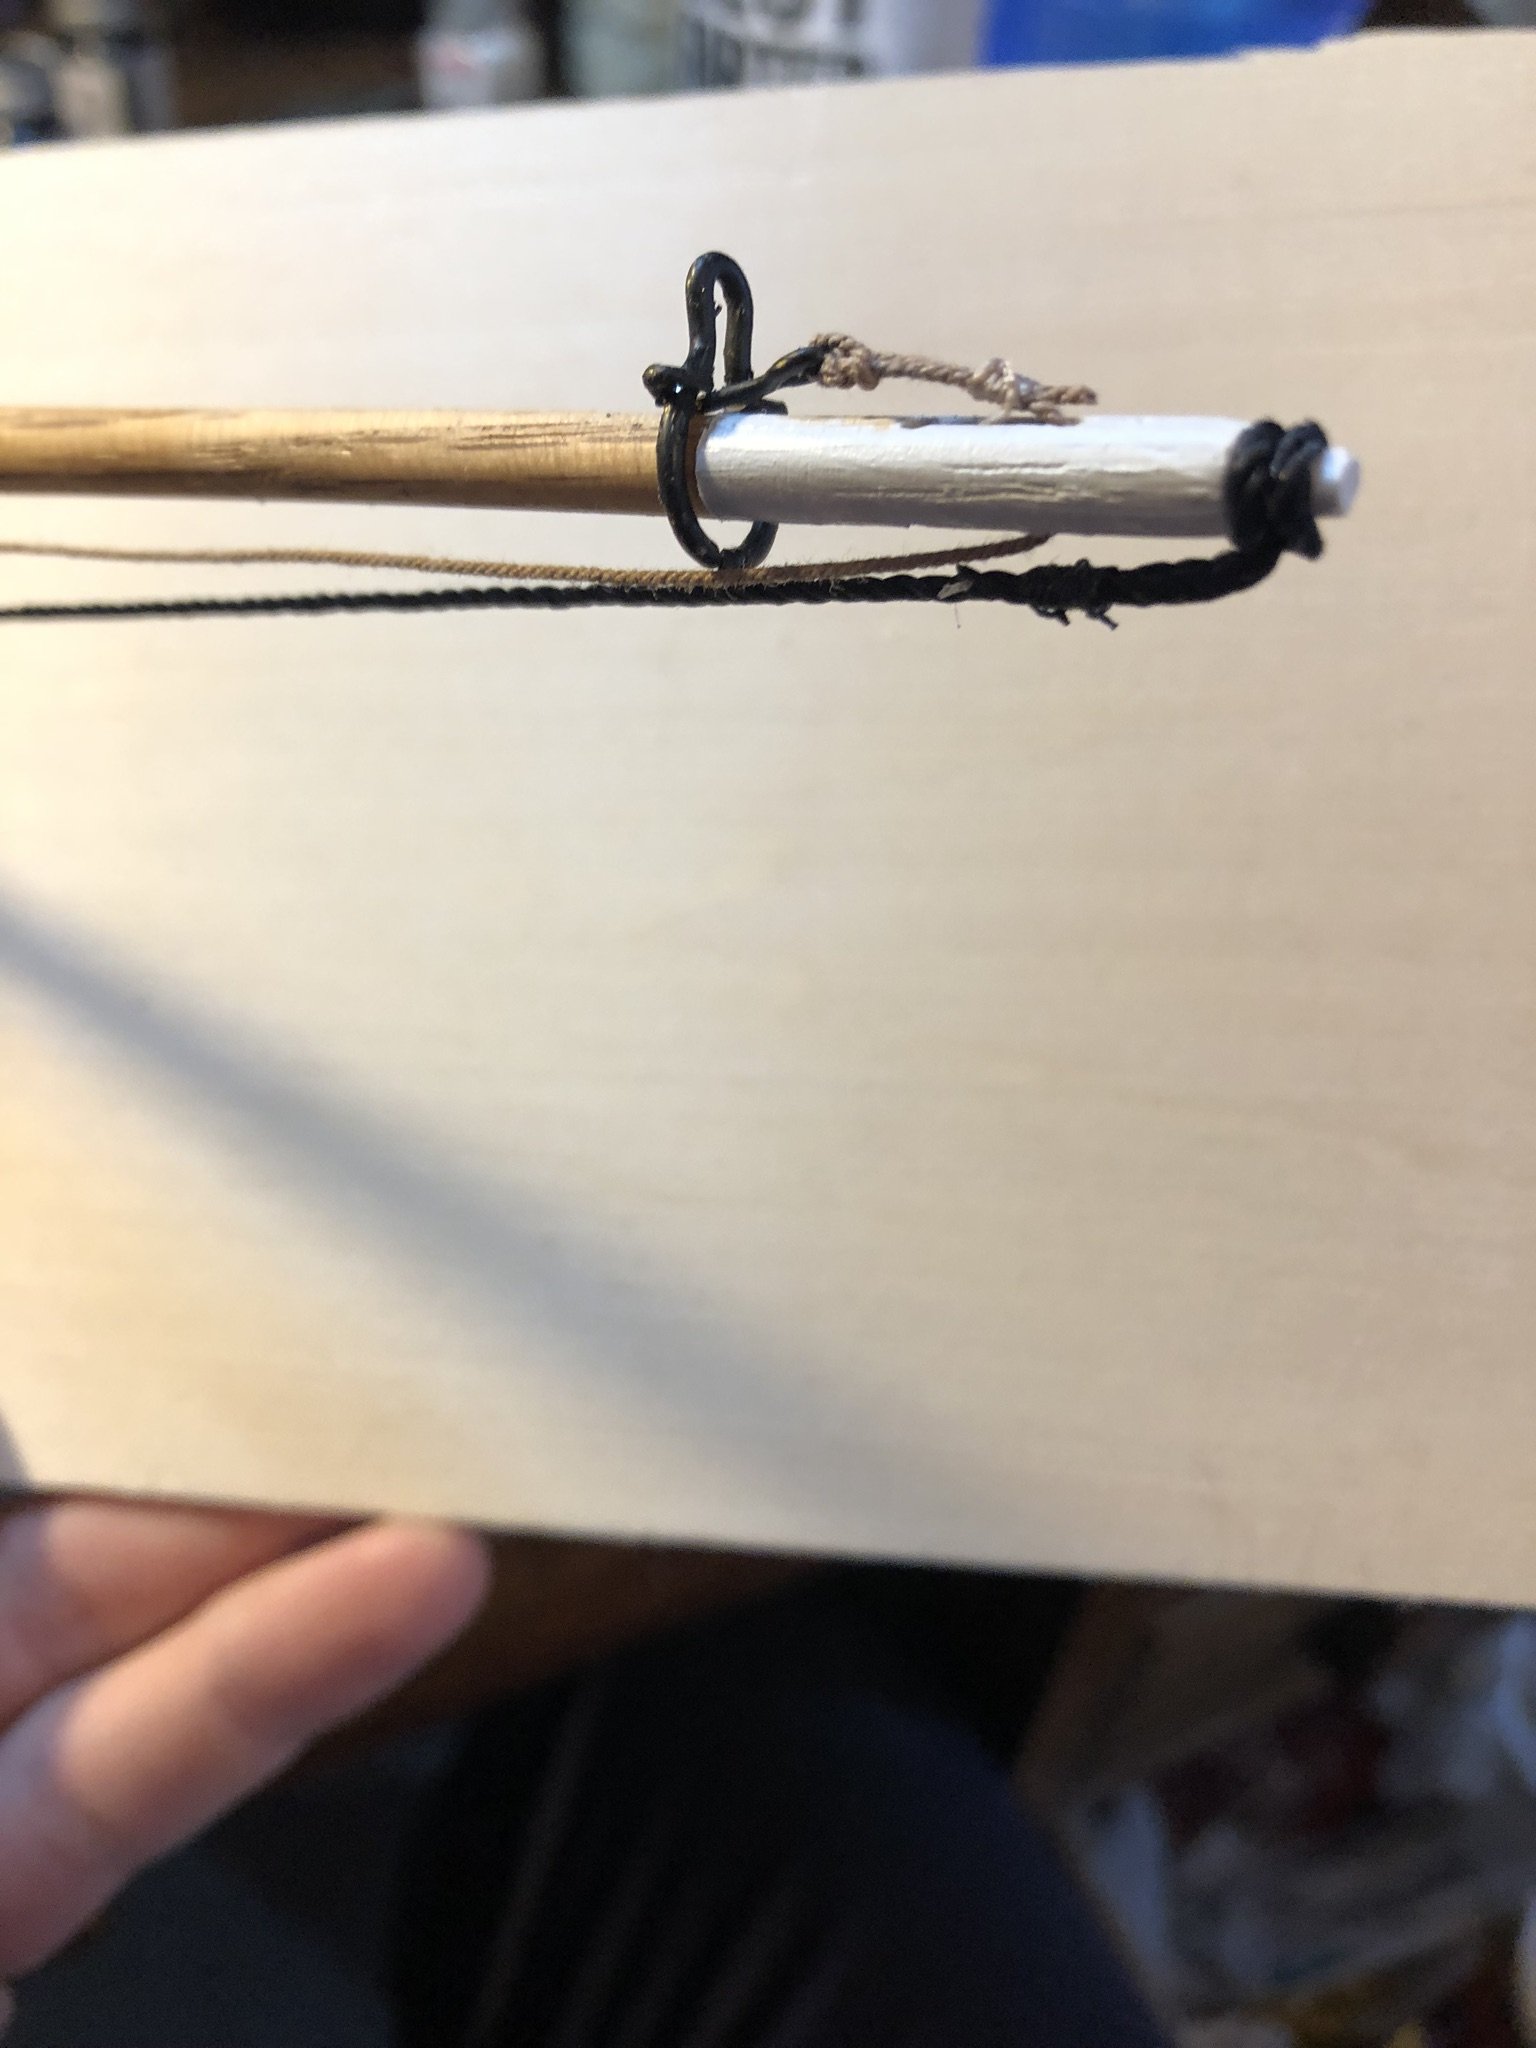
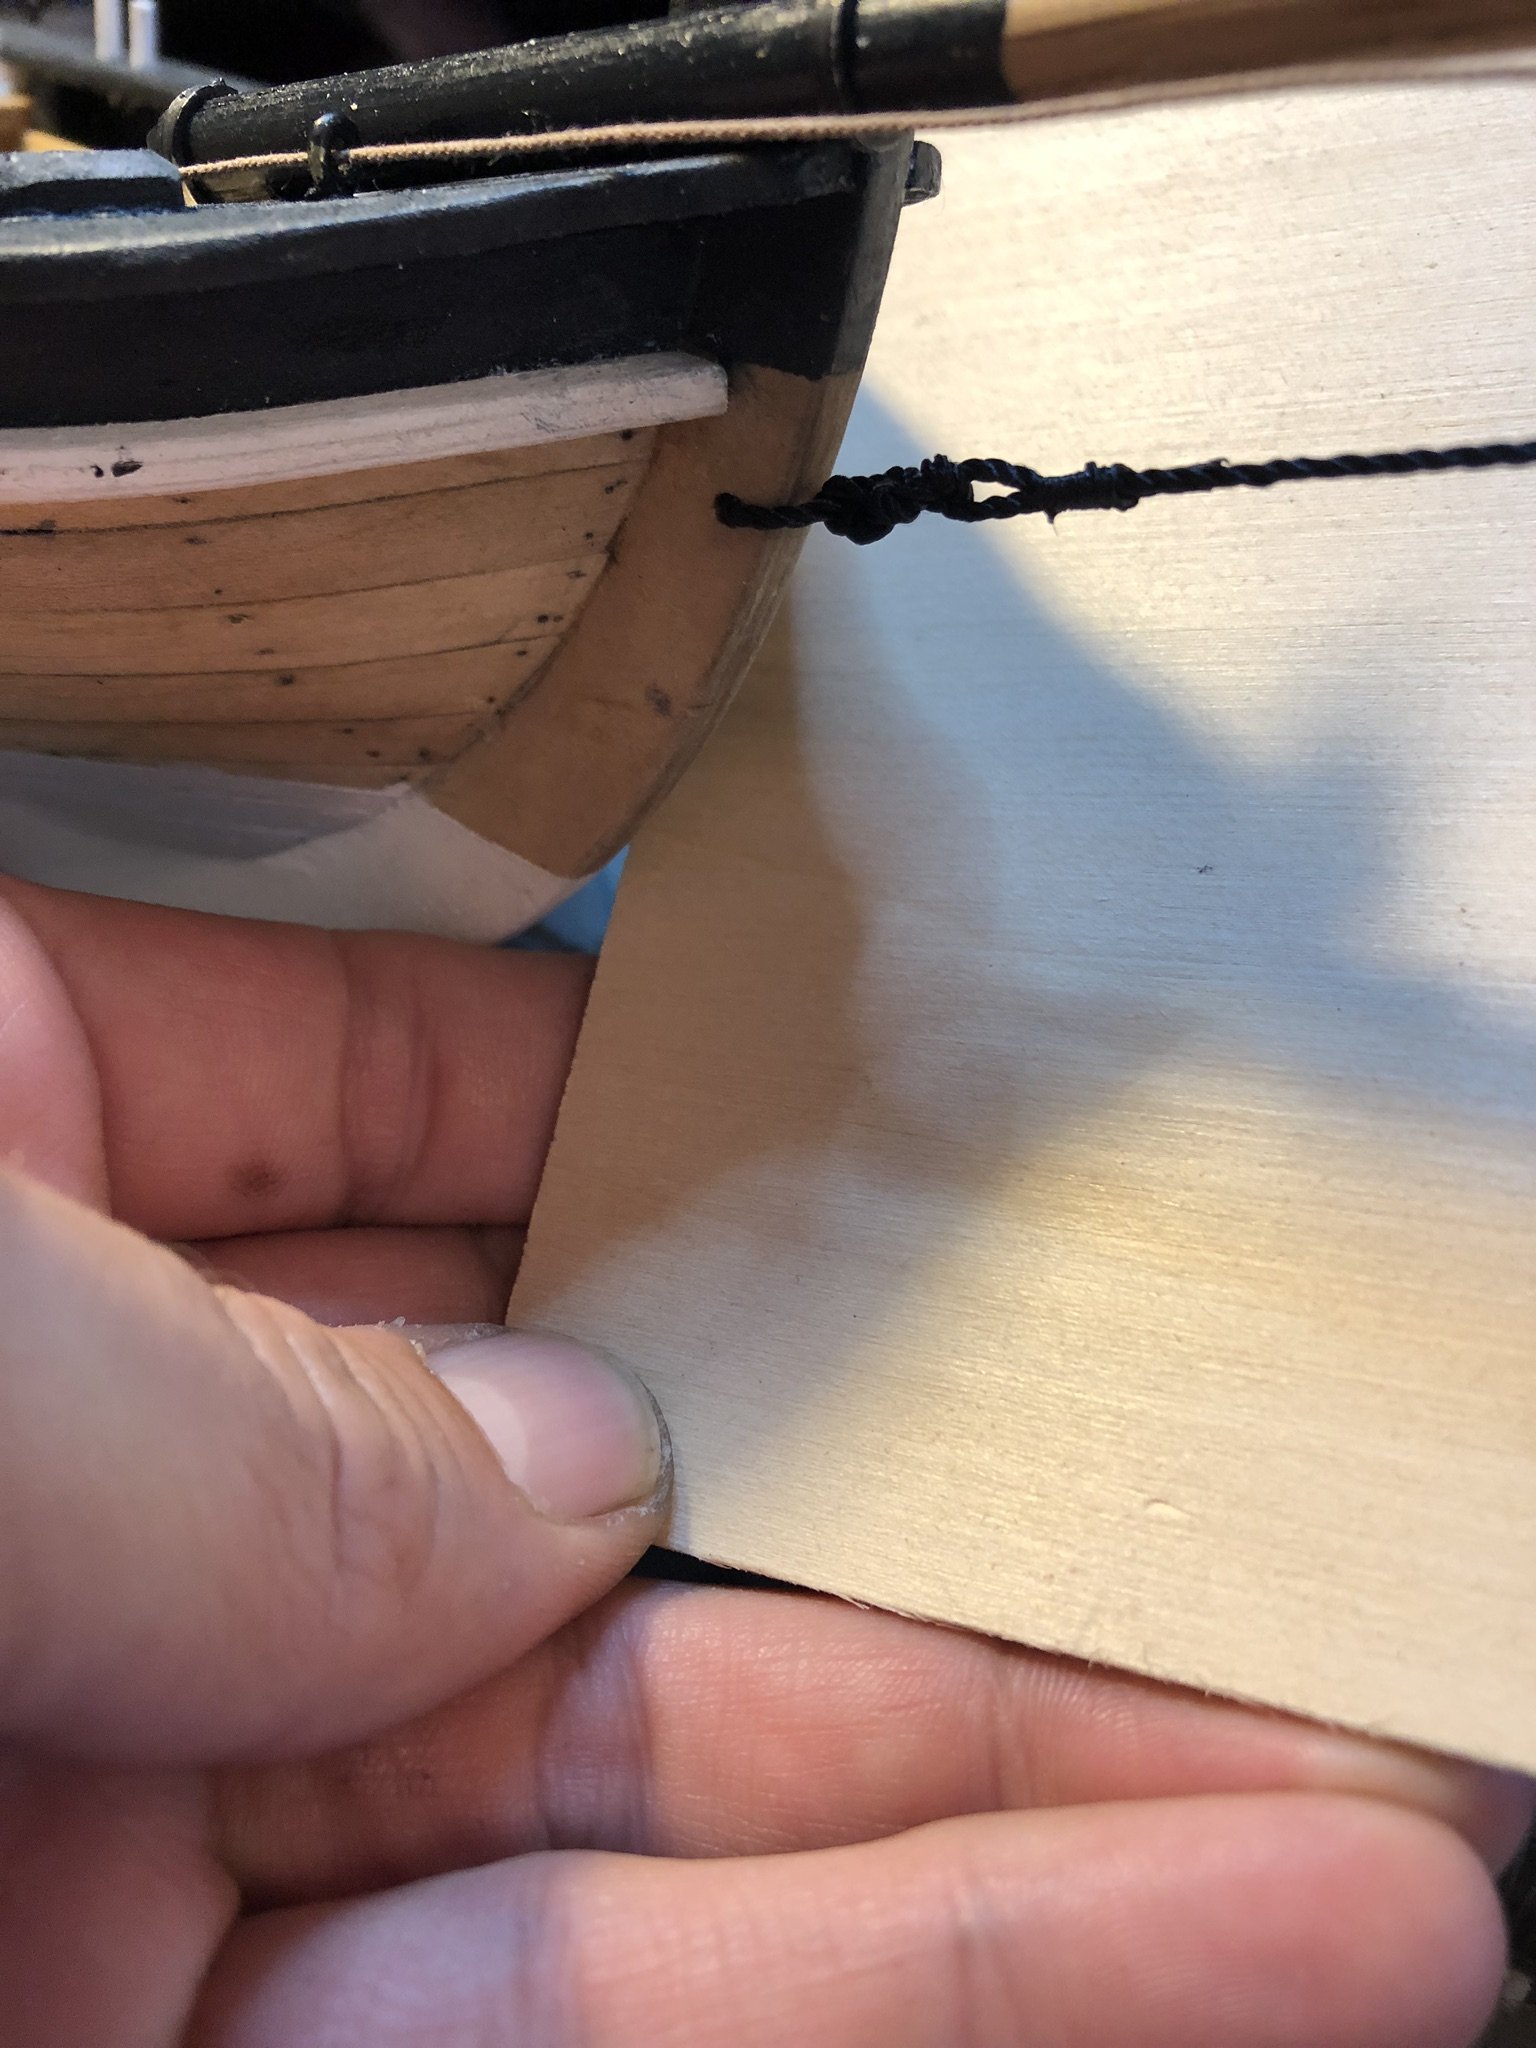
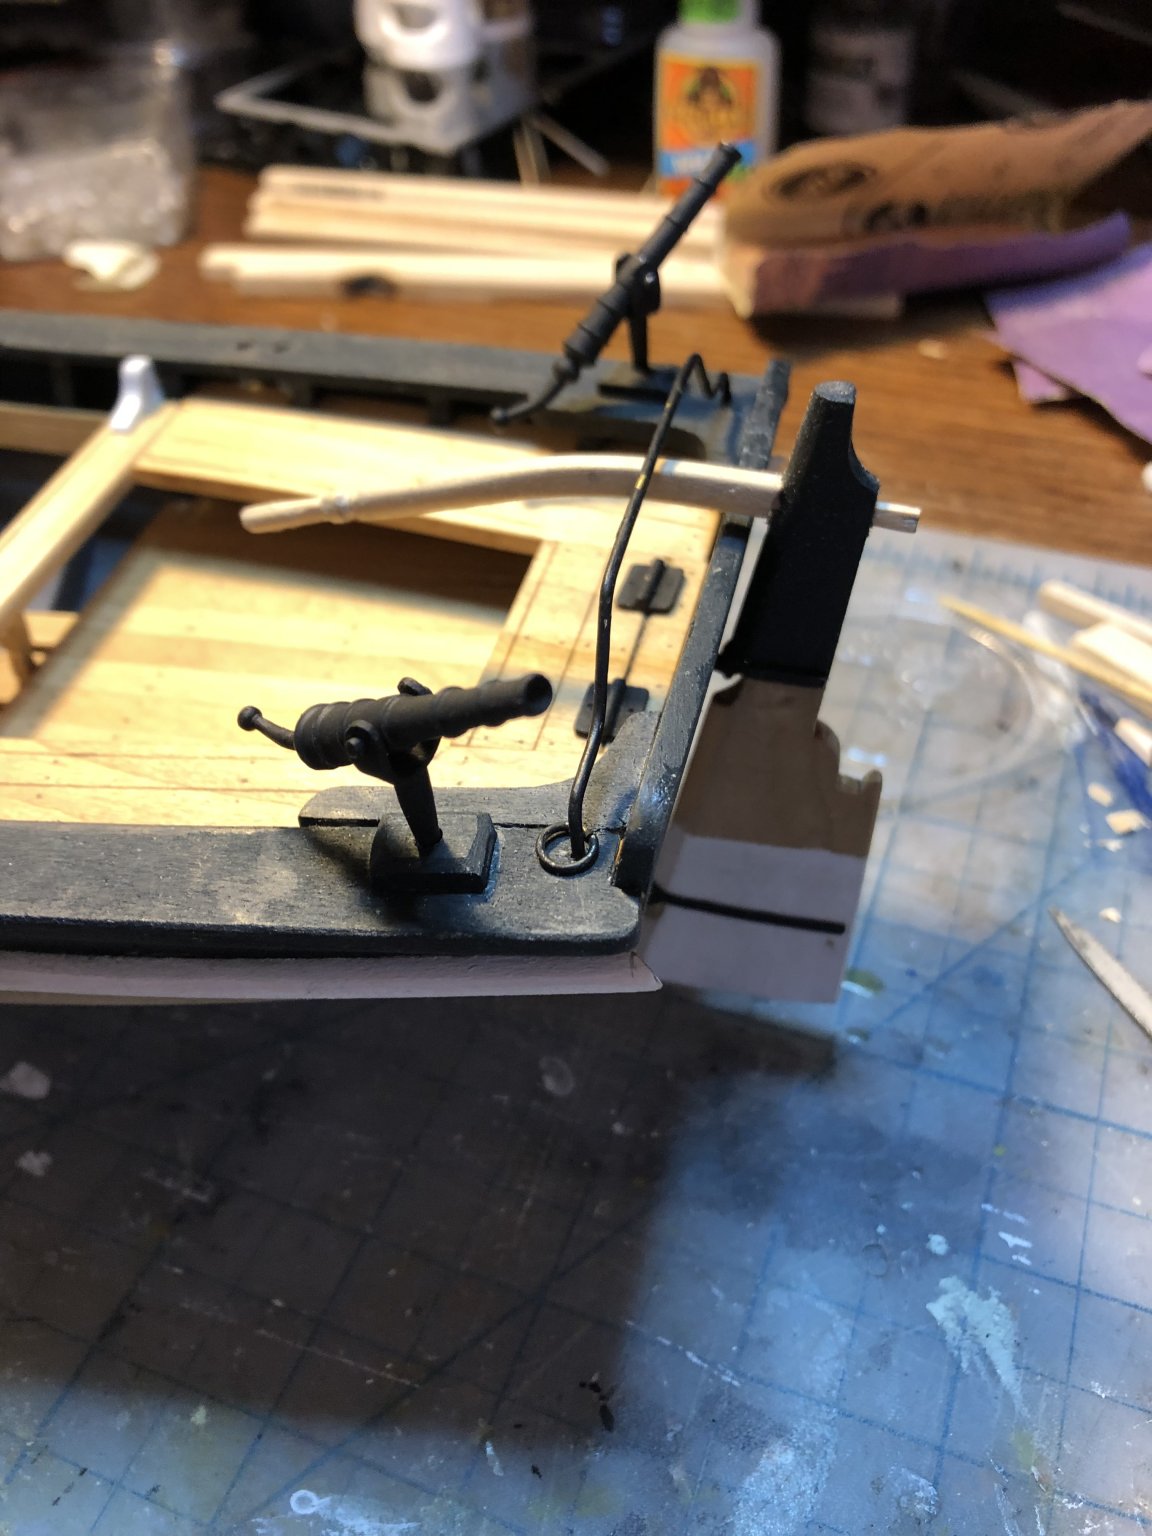
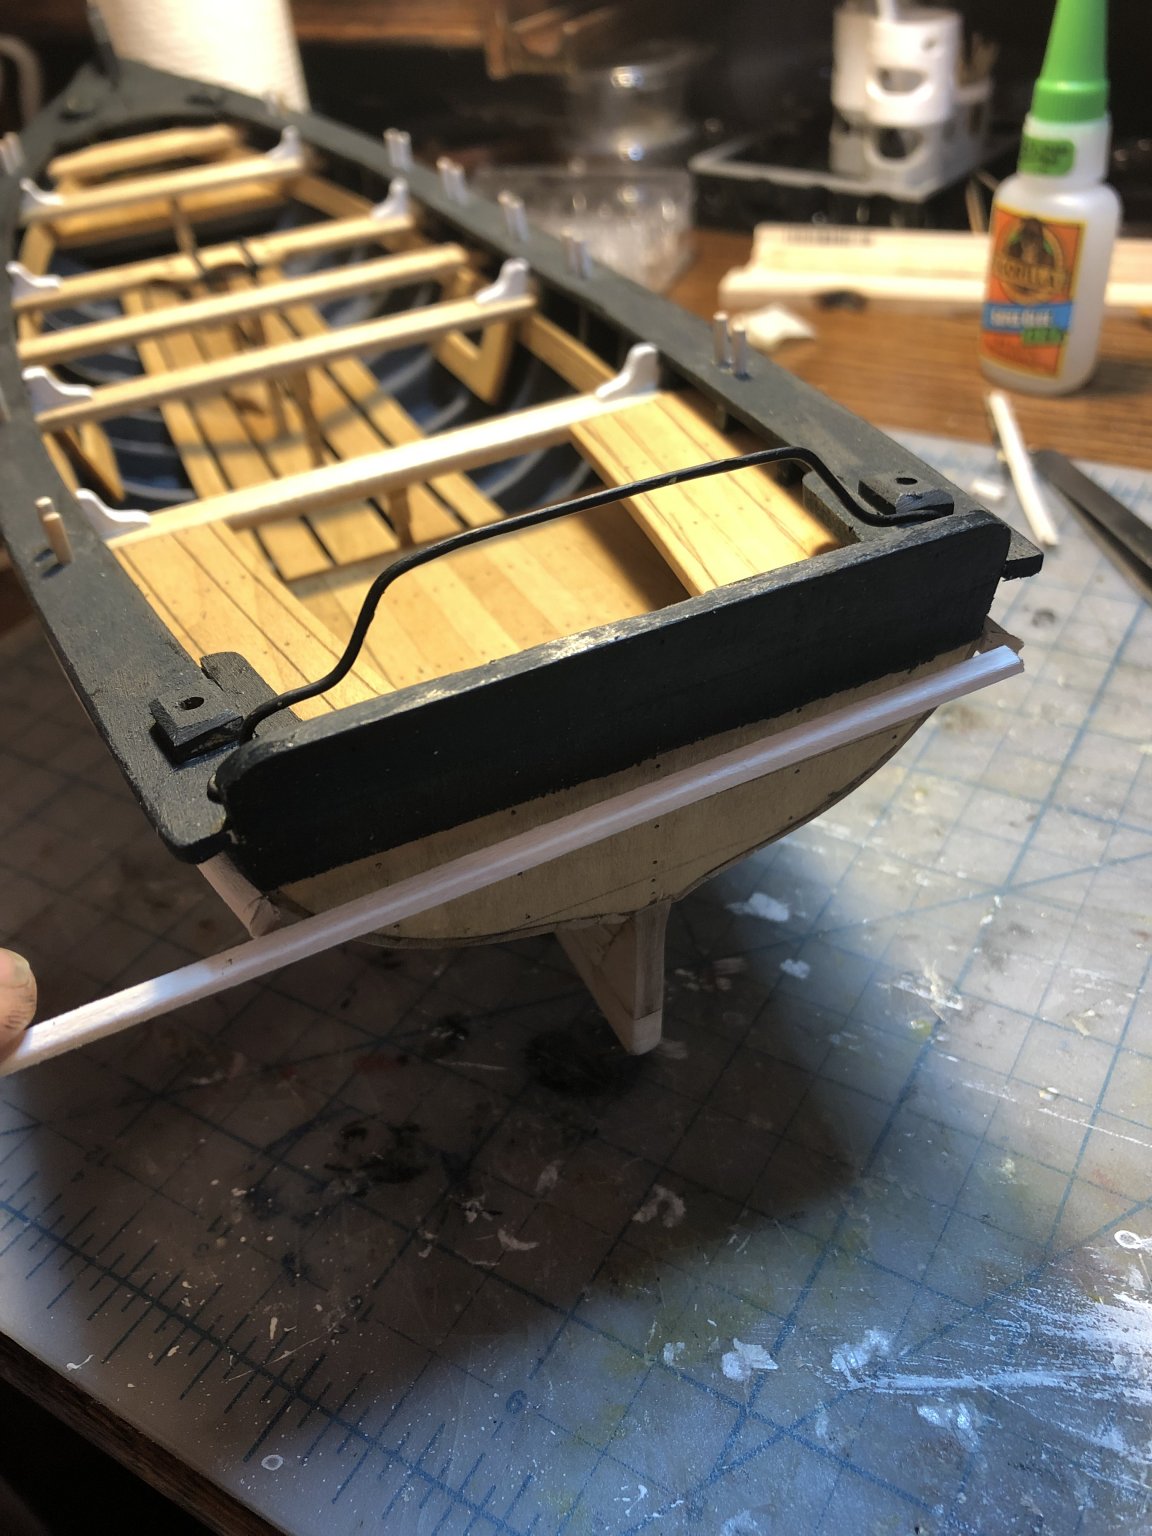
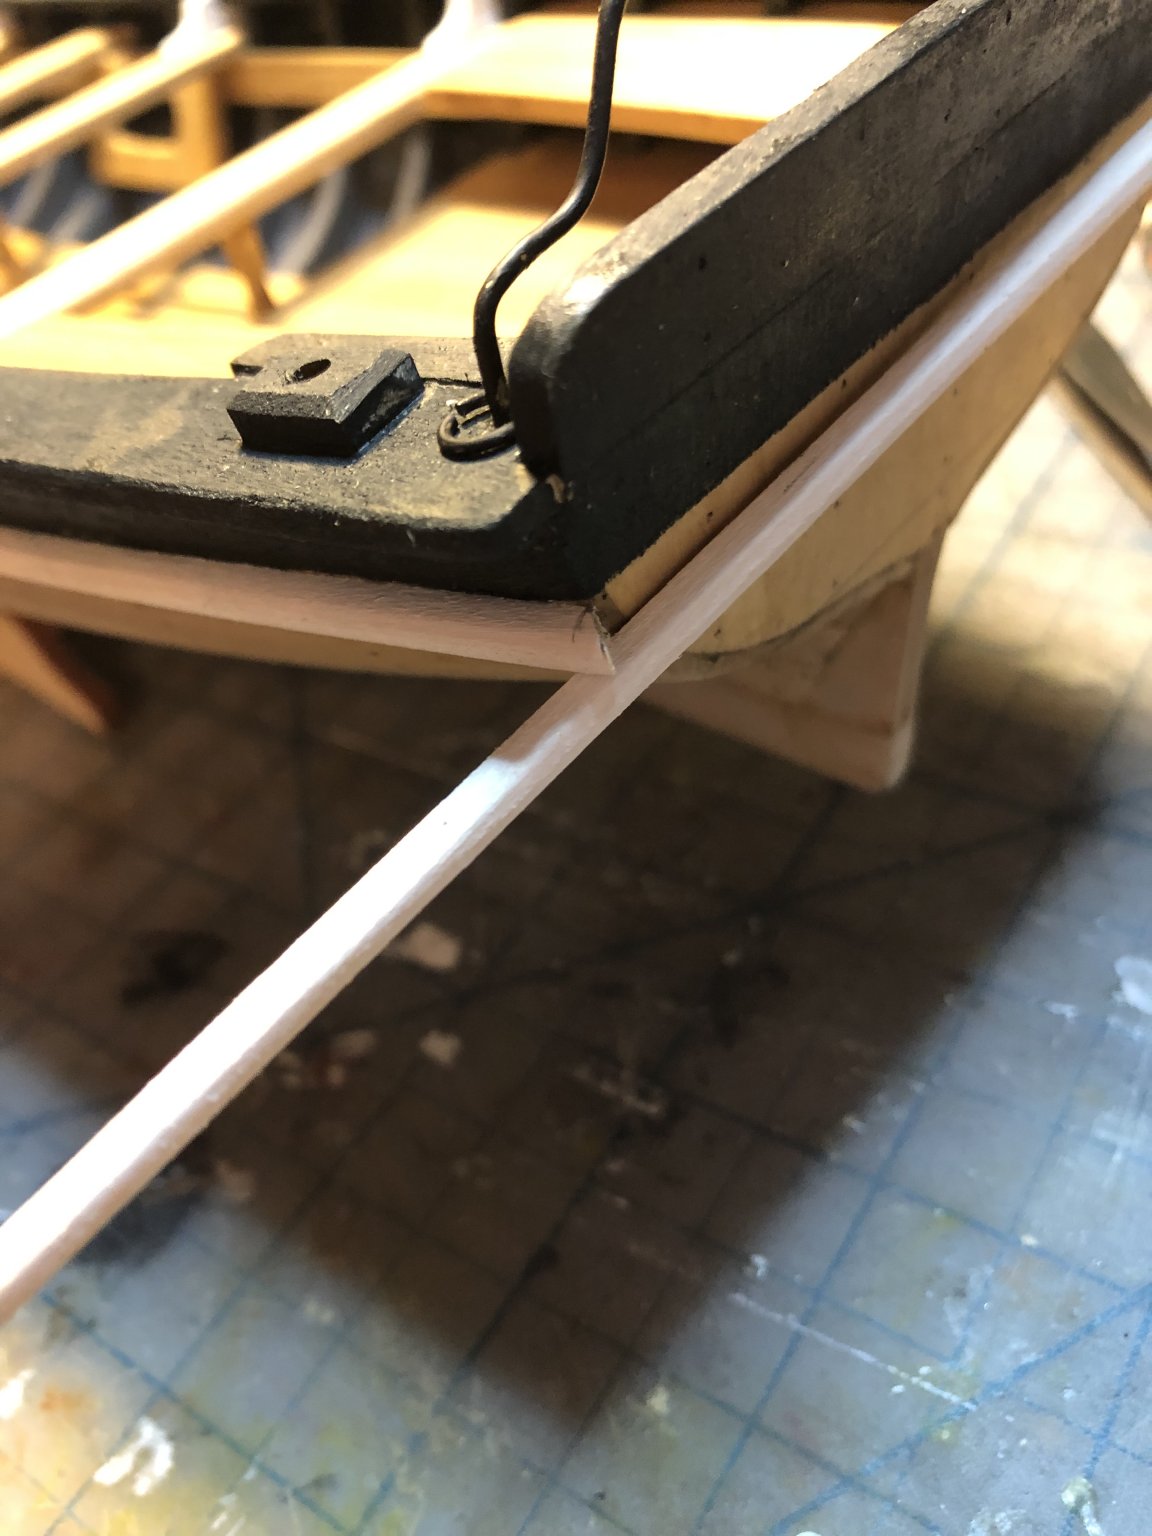
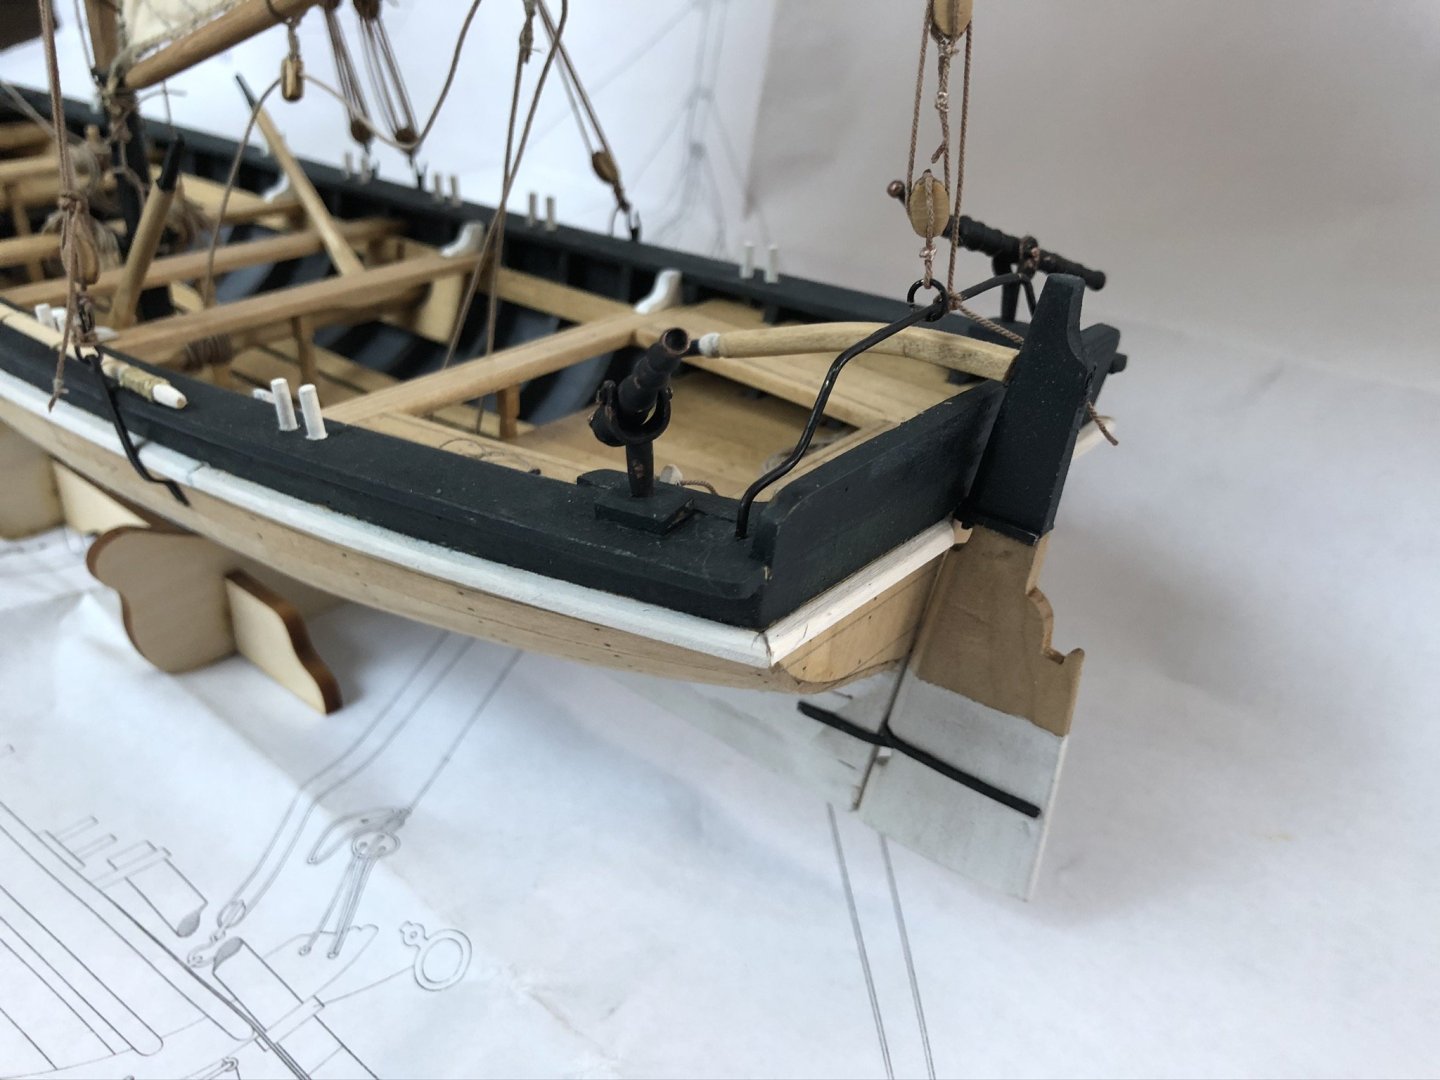
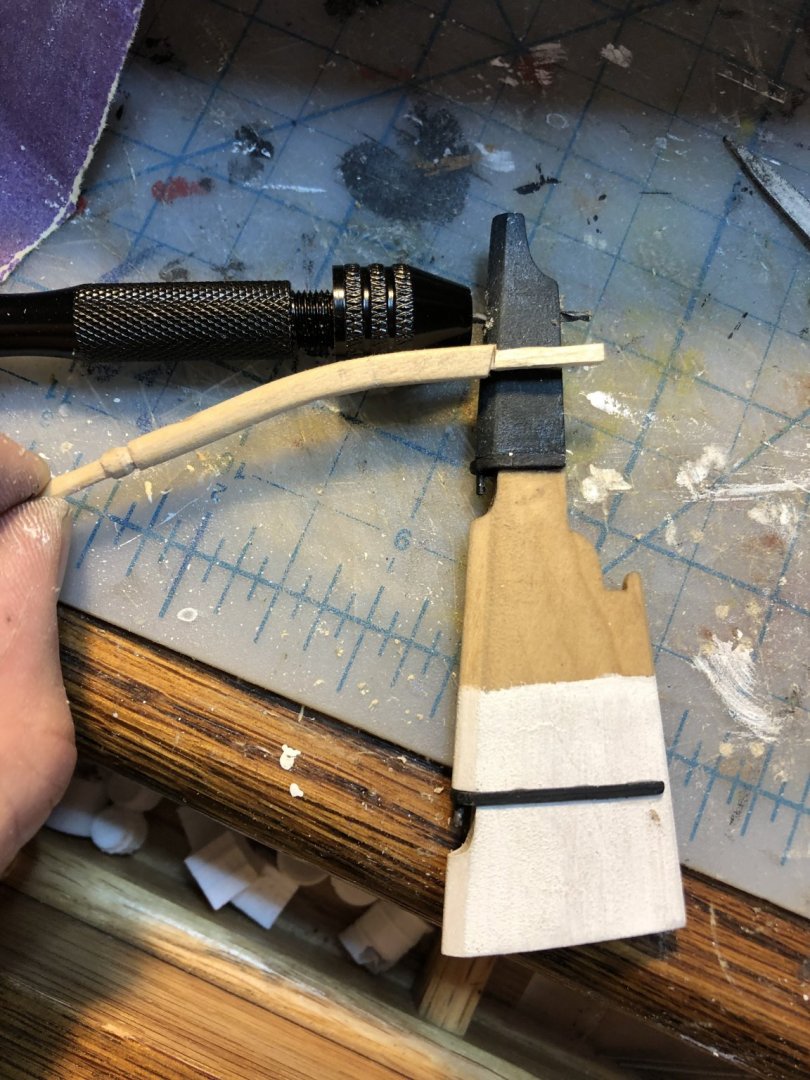
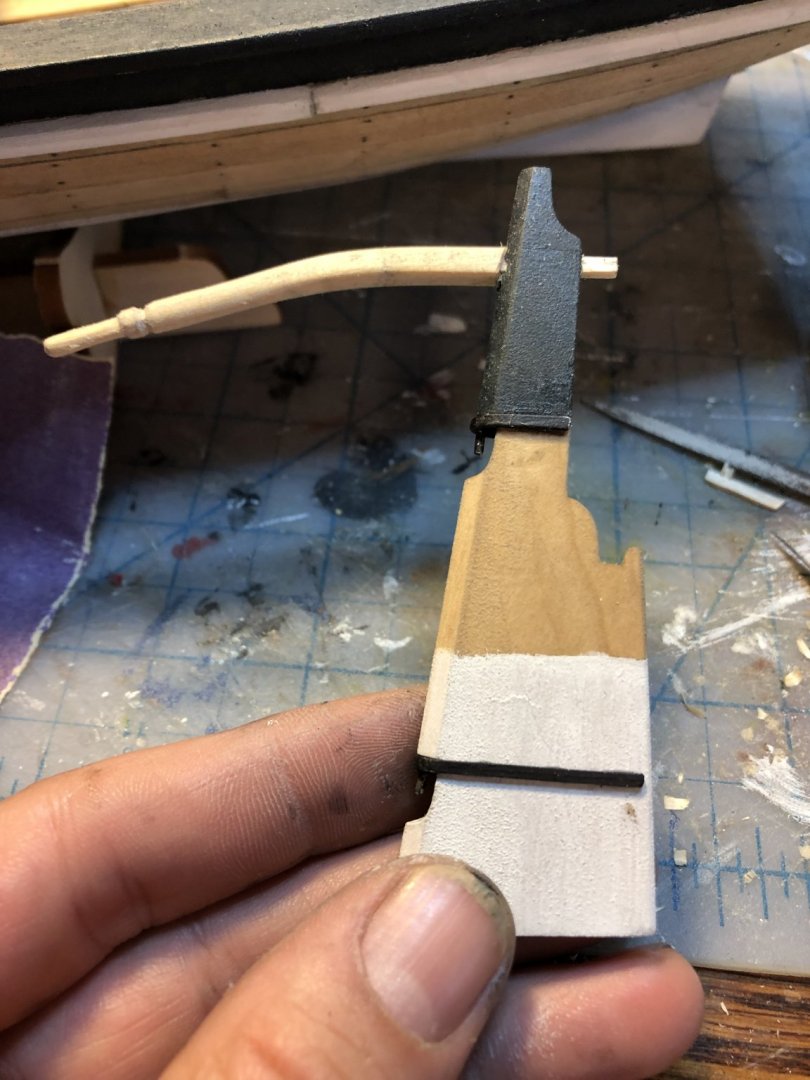
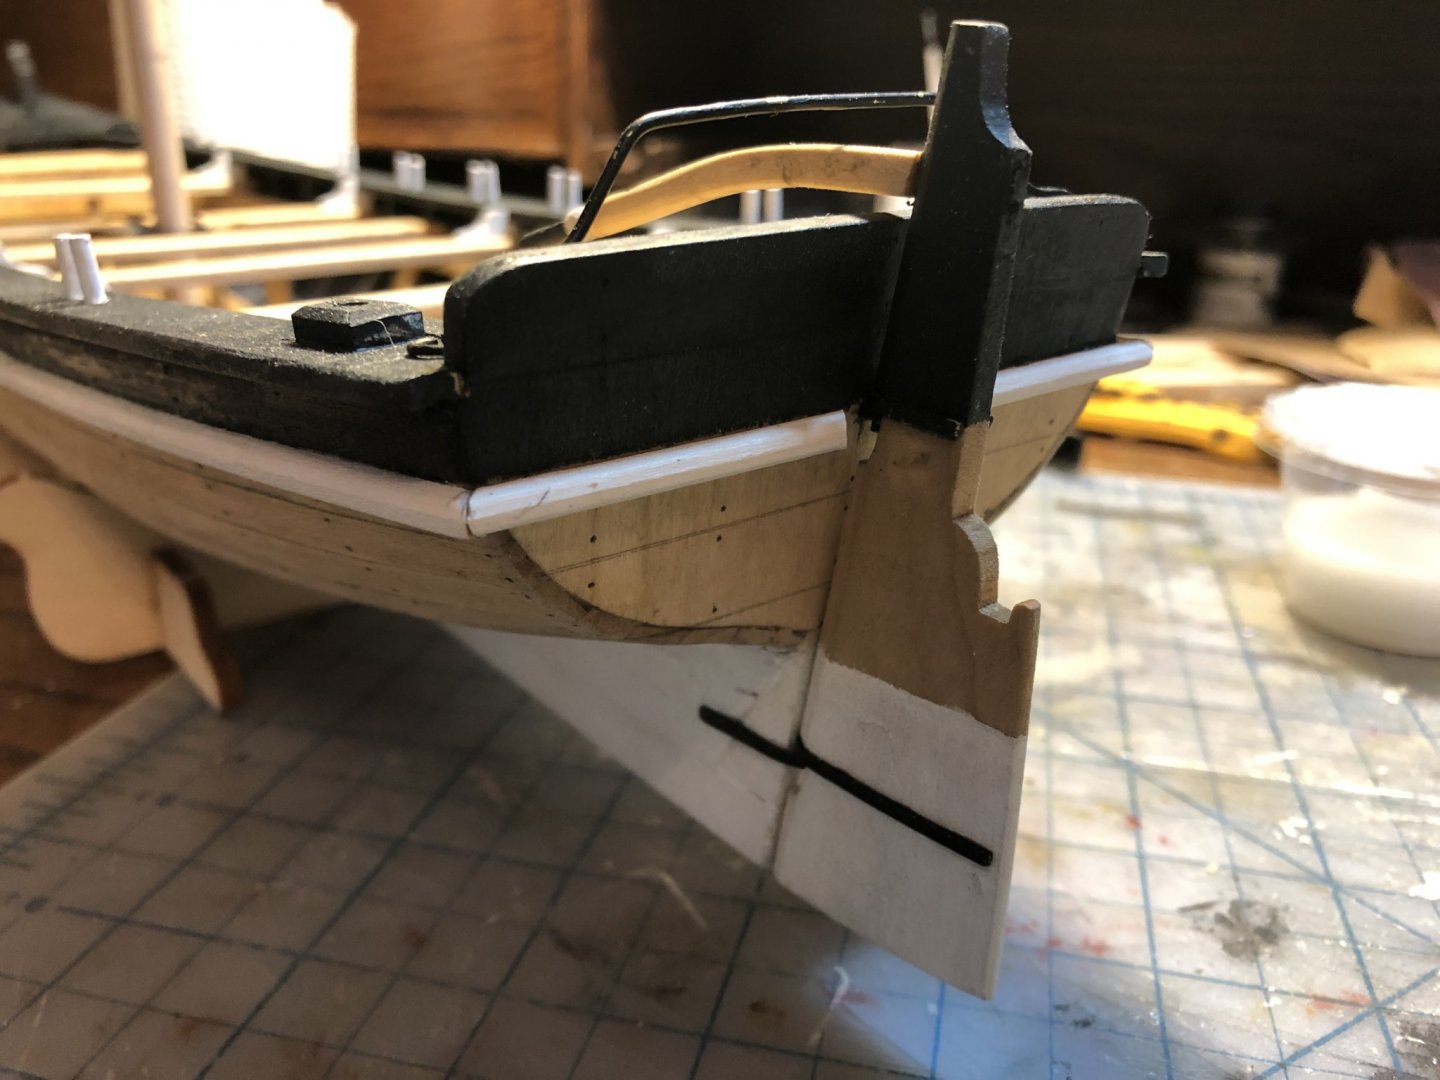
Drilling the hole through the rudder for the tiller attachment was a bit of a nightmare. The hole is not much smaller than the rudder is thick. and I had to drill three holes to make the slot large enough. But it worked out in the end. I think the tiller needs to be straightened out a bit, it looks a little sad as is, but we will see how it looks once its painted and installed. Note the horse running over the tiller. I read a few posts about this issue. I don't see how it is to work with the tiller over the horse. When you tack the tiller and mast rigging would collide and cause all sorts of trouble. Probably not a big deal on a model, but I couldn't leave it as shown in the plans. I also made a new ring for the traveler, the one provided seemed comically over sized. Thanks for looking!


- 23 replies
-
- 3
-
-
- 18th Century Armed Longboat
- Model Shipways
- (and 2 more)
-
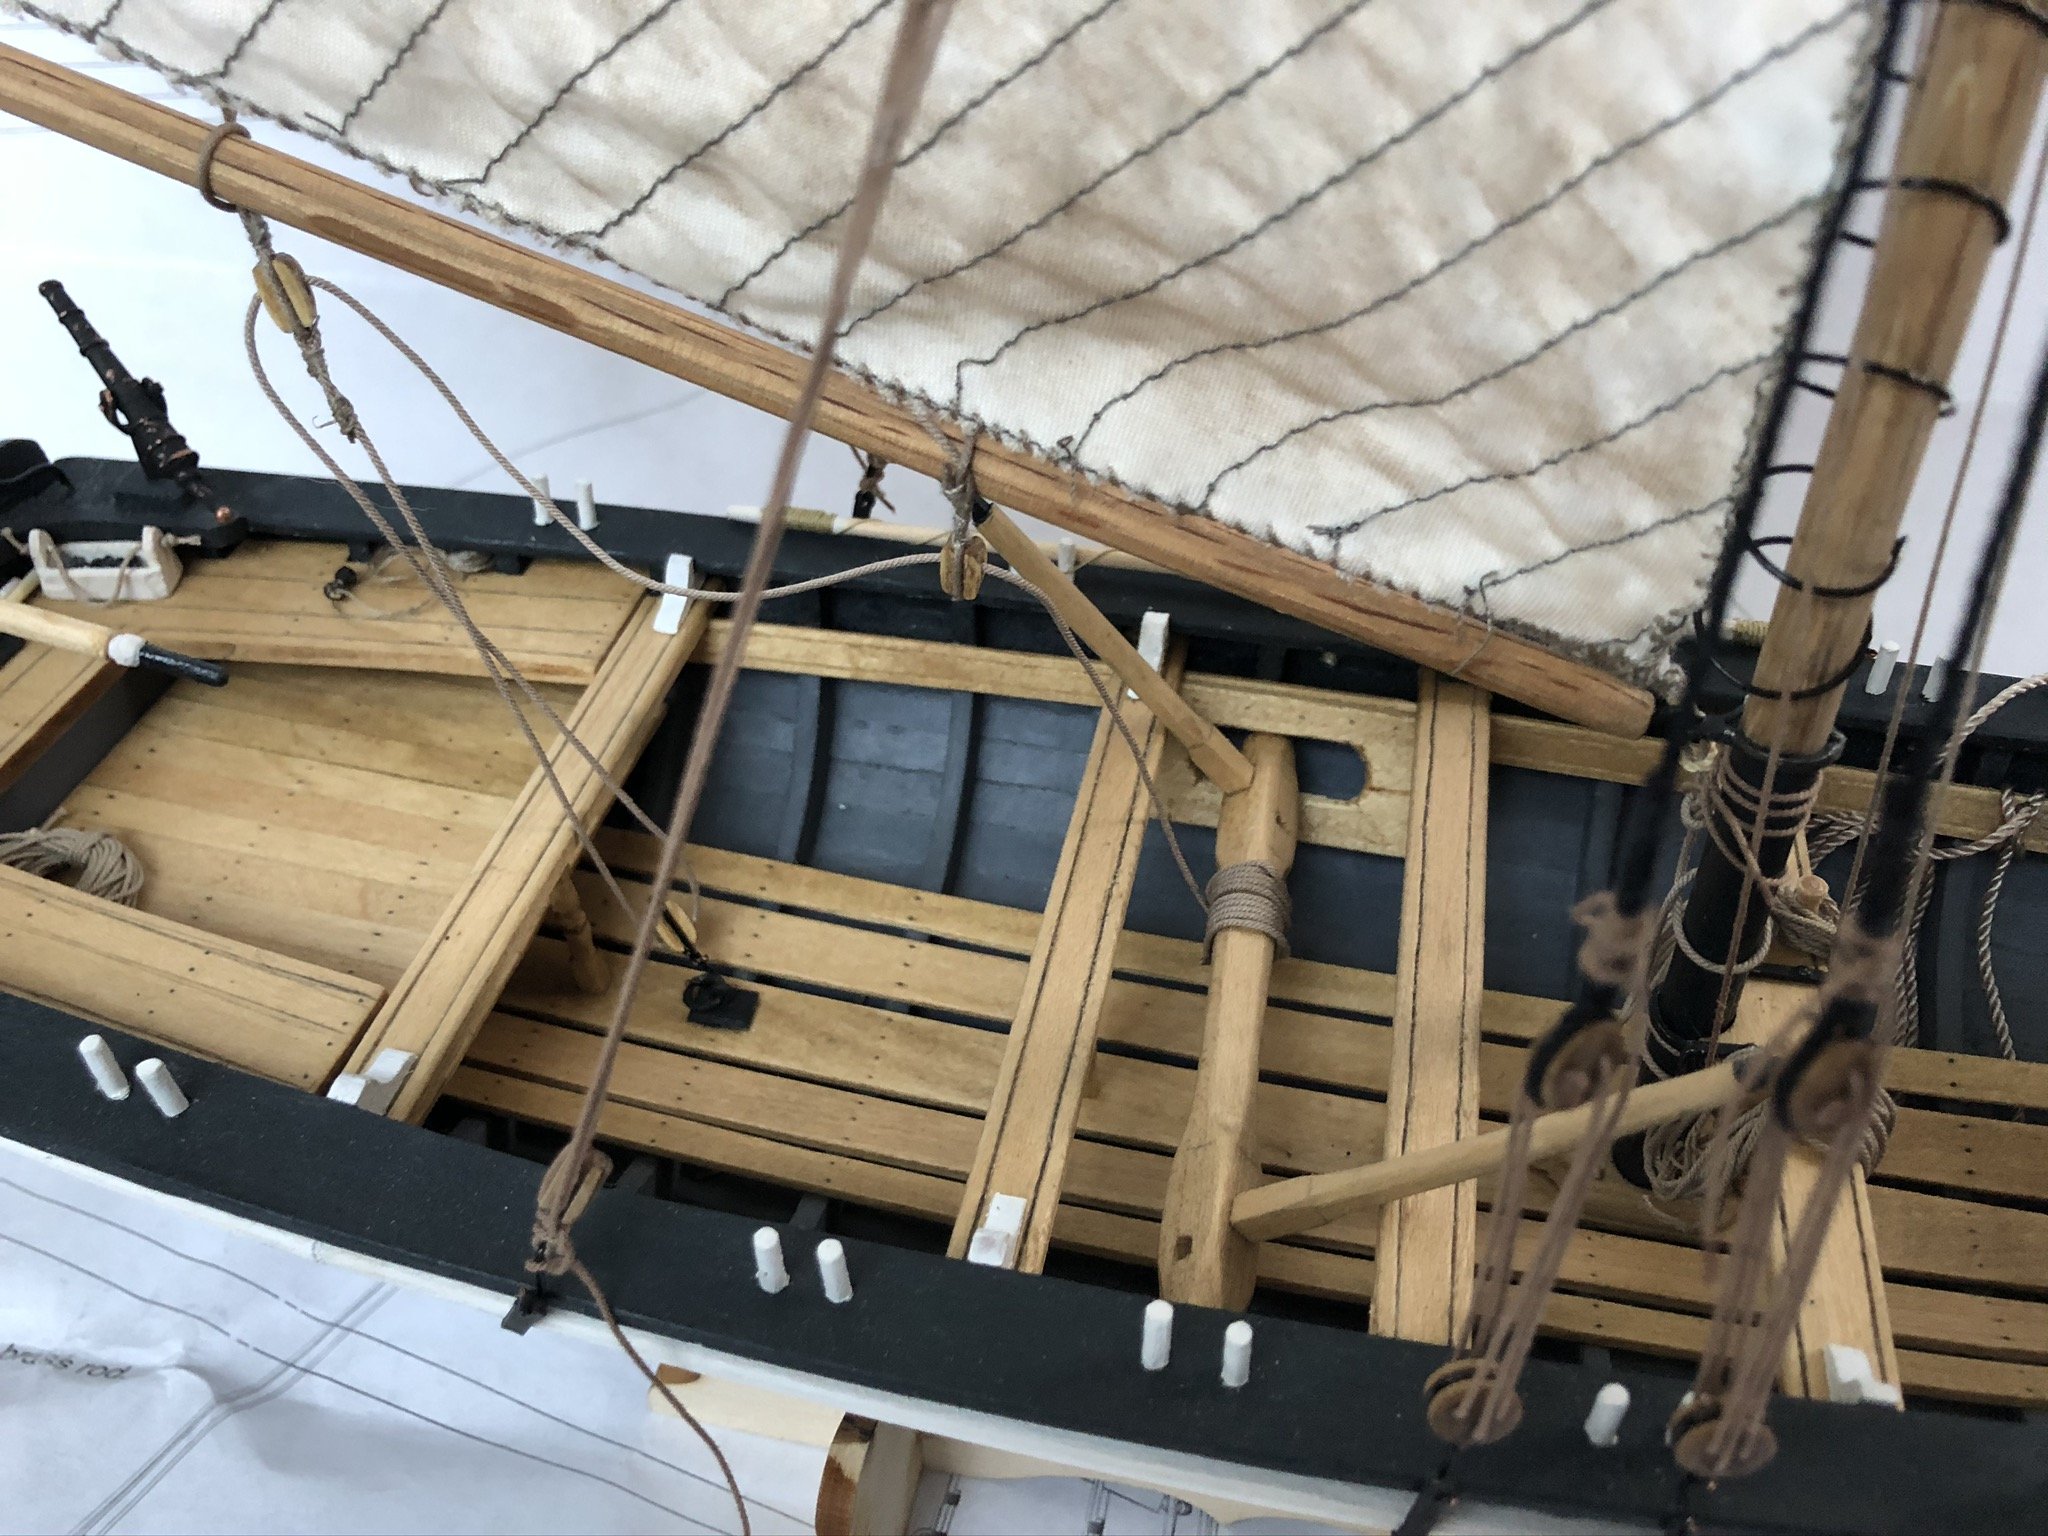
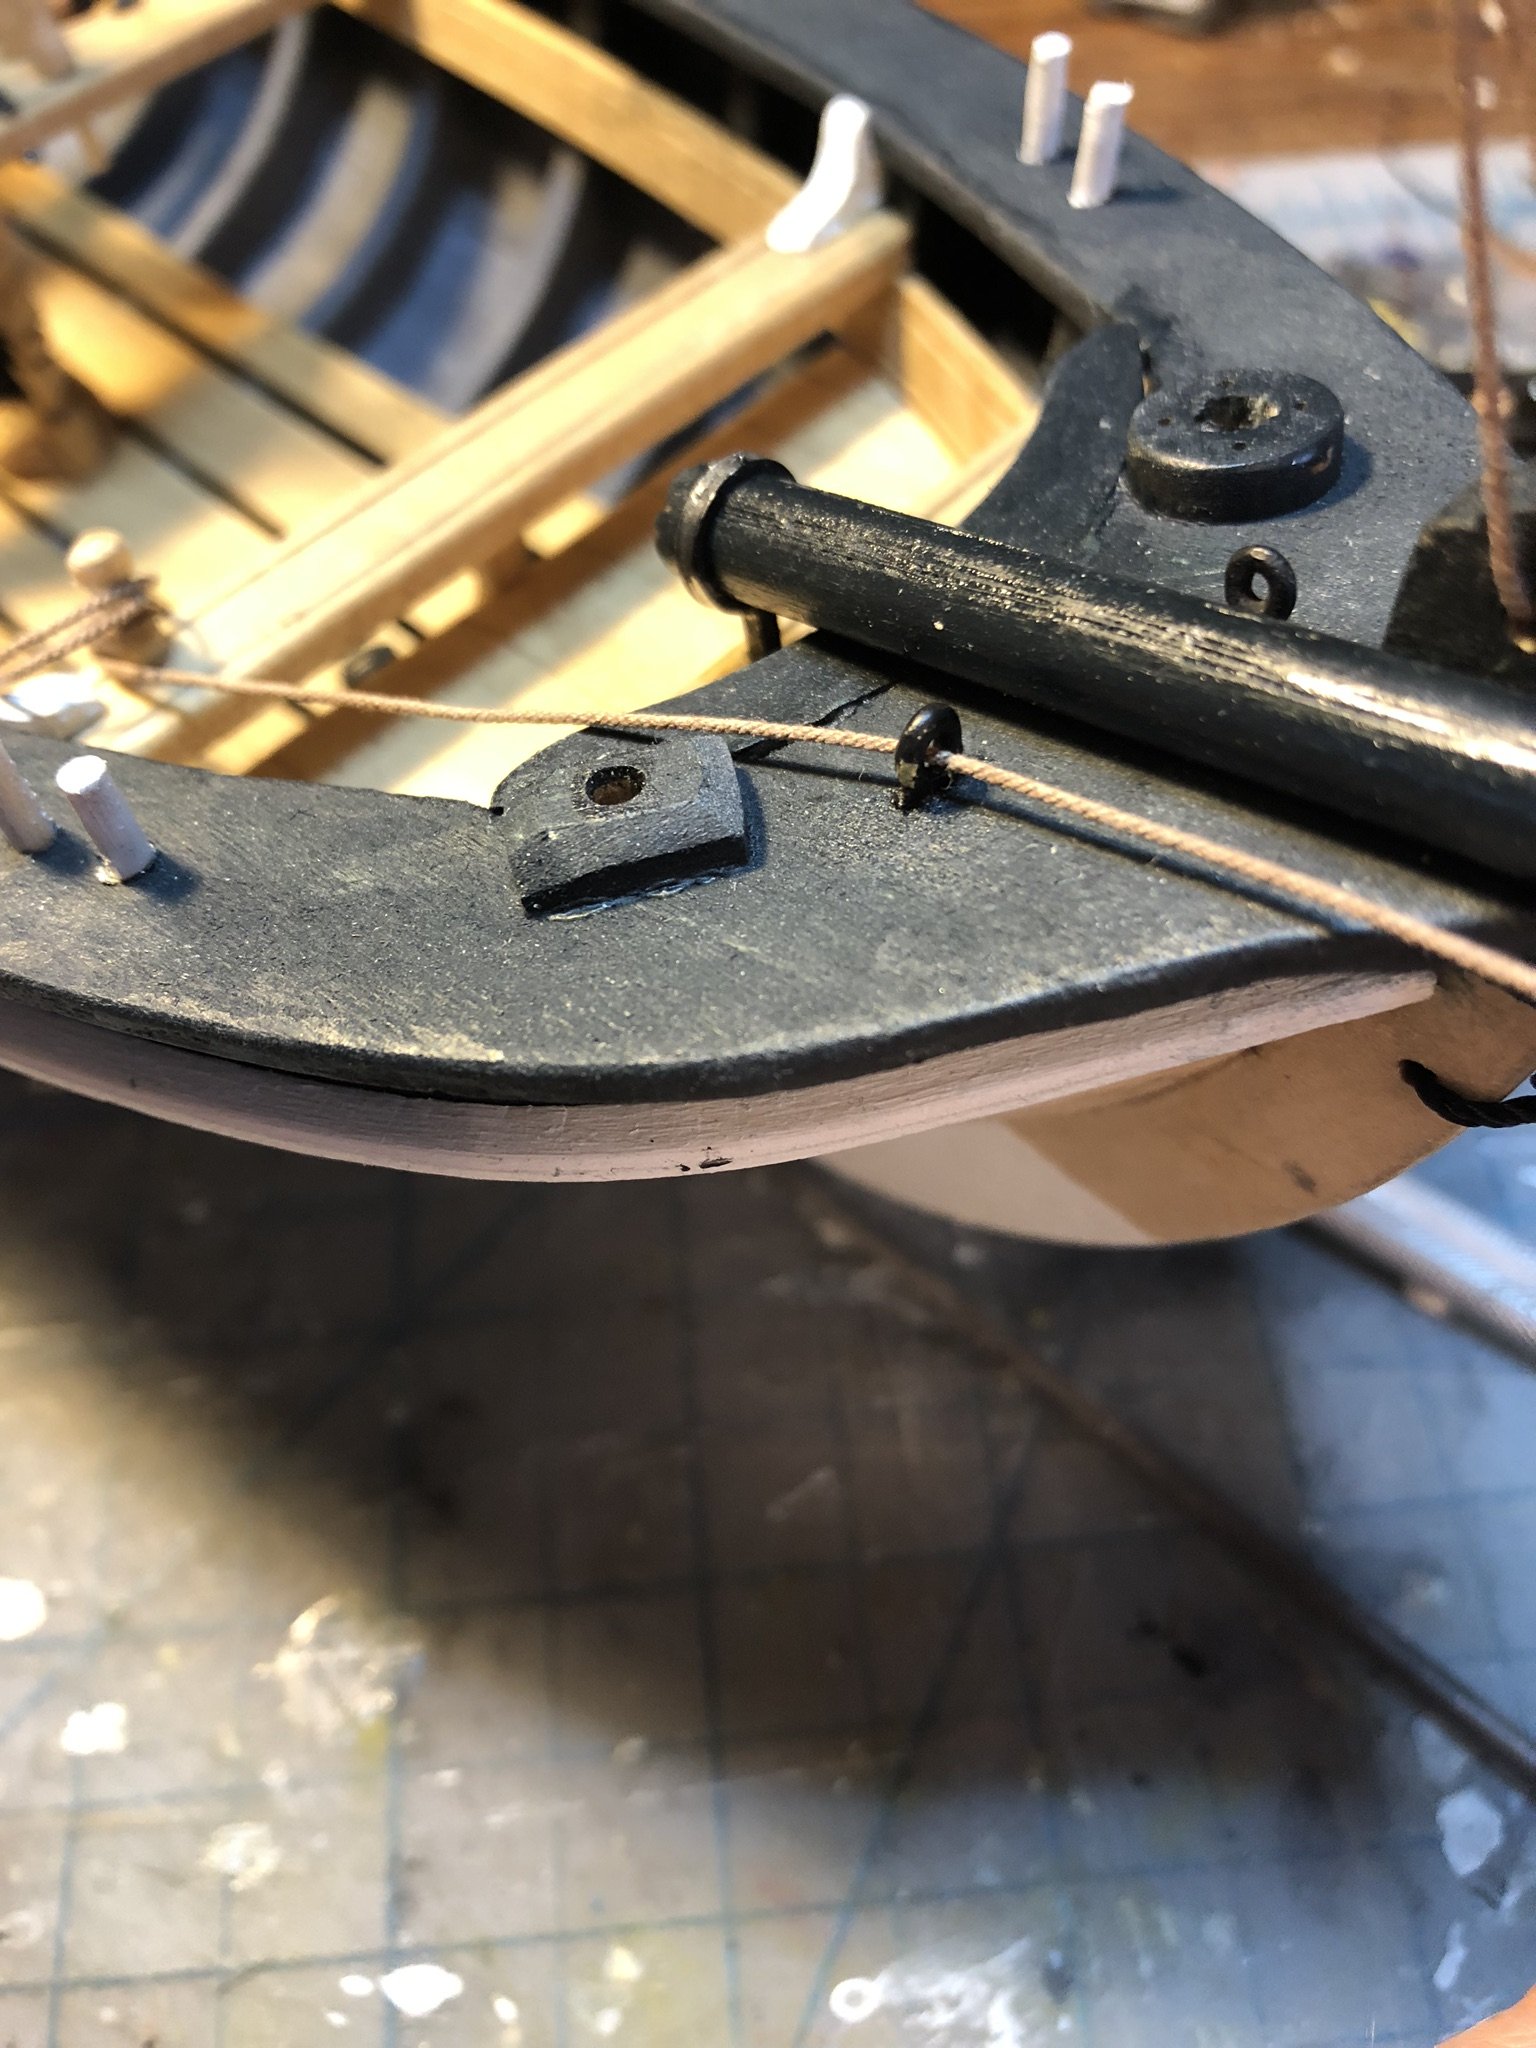
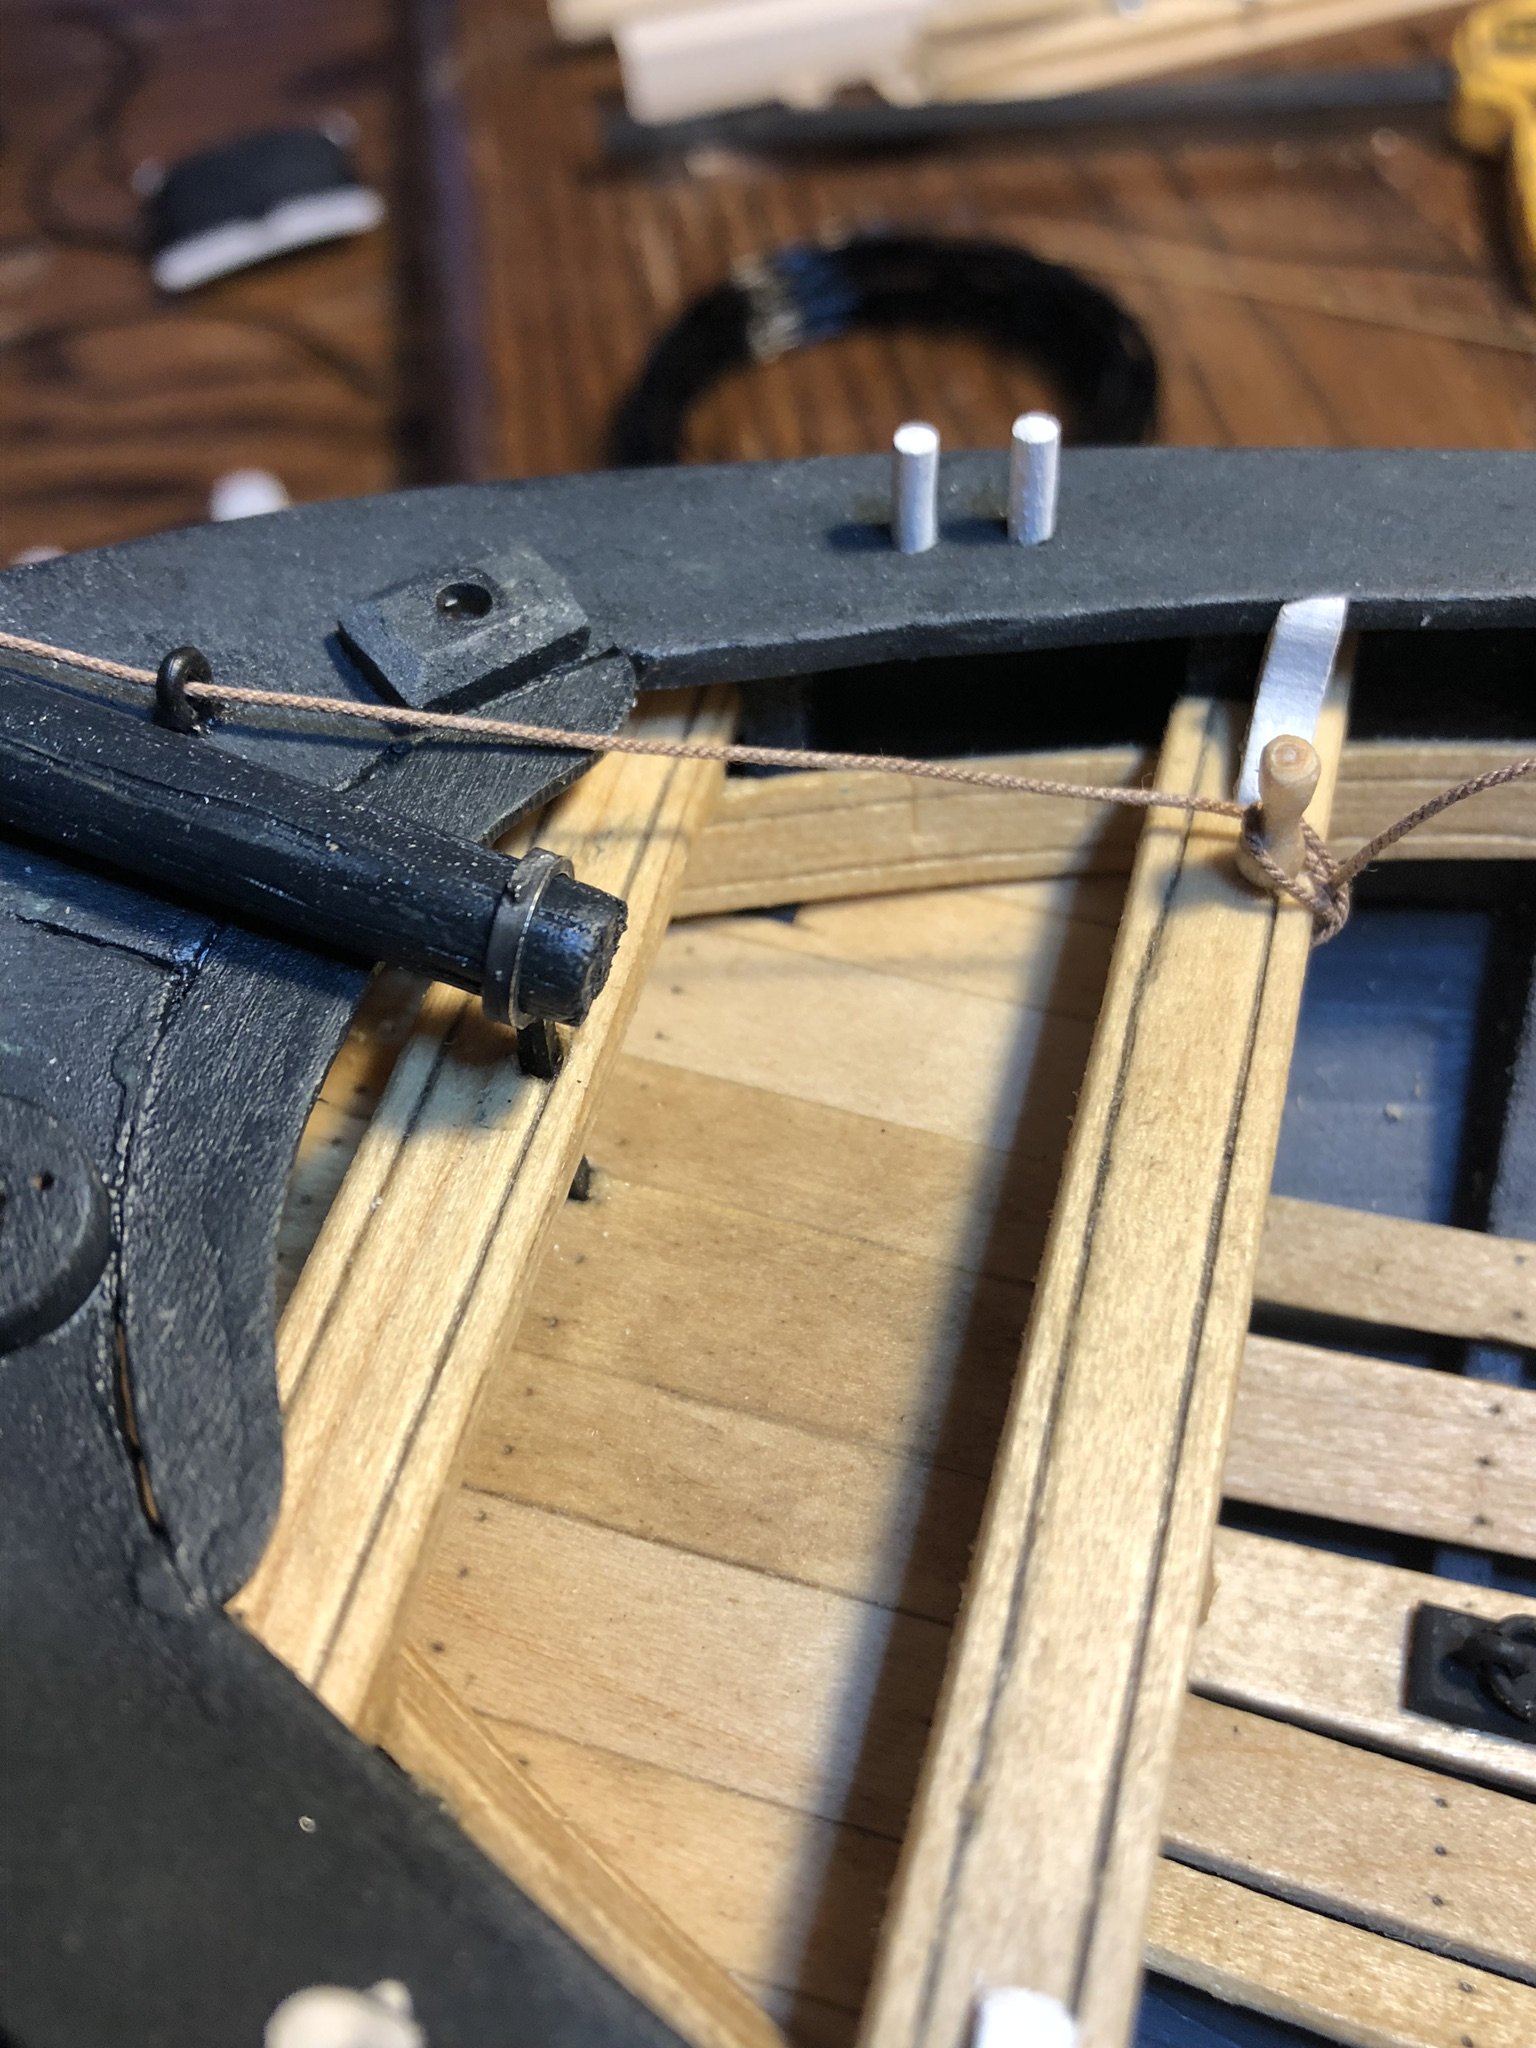
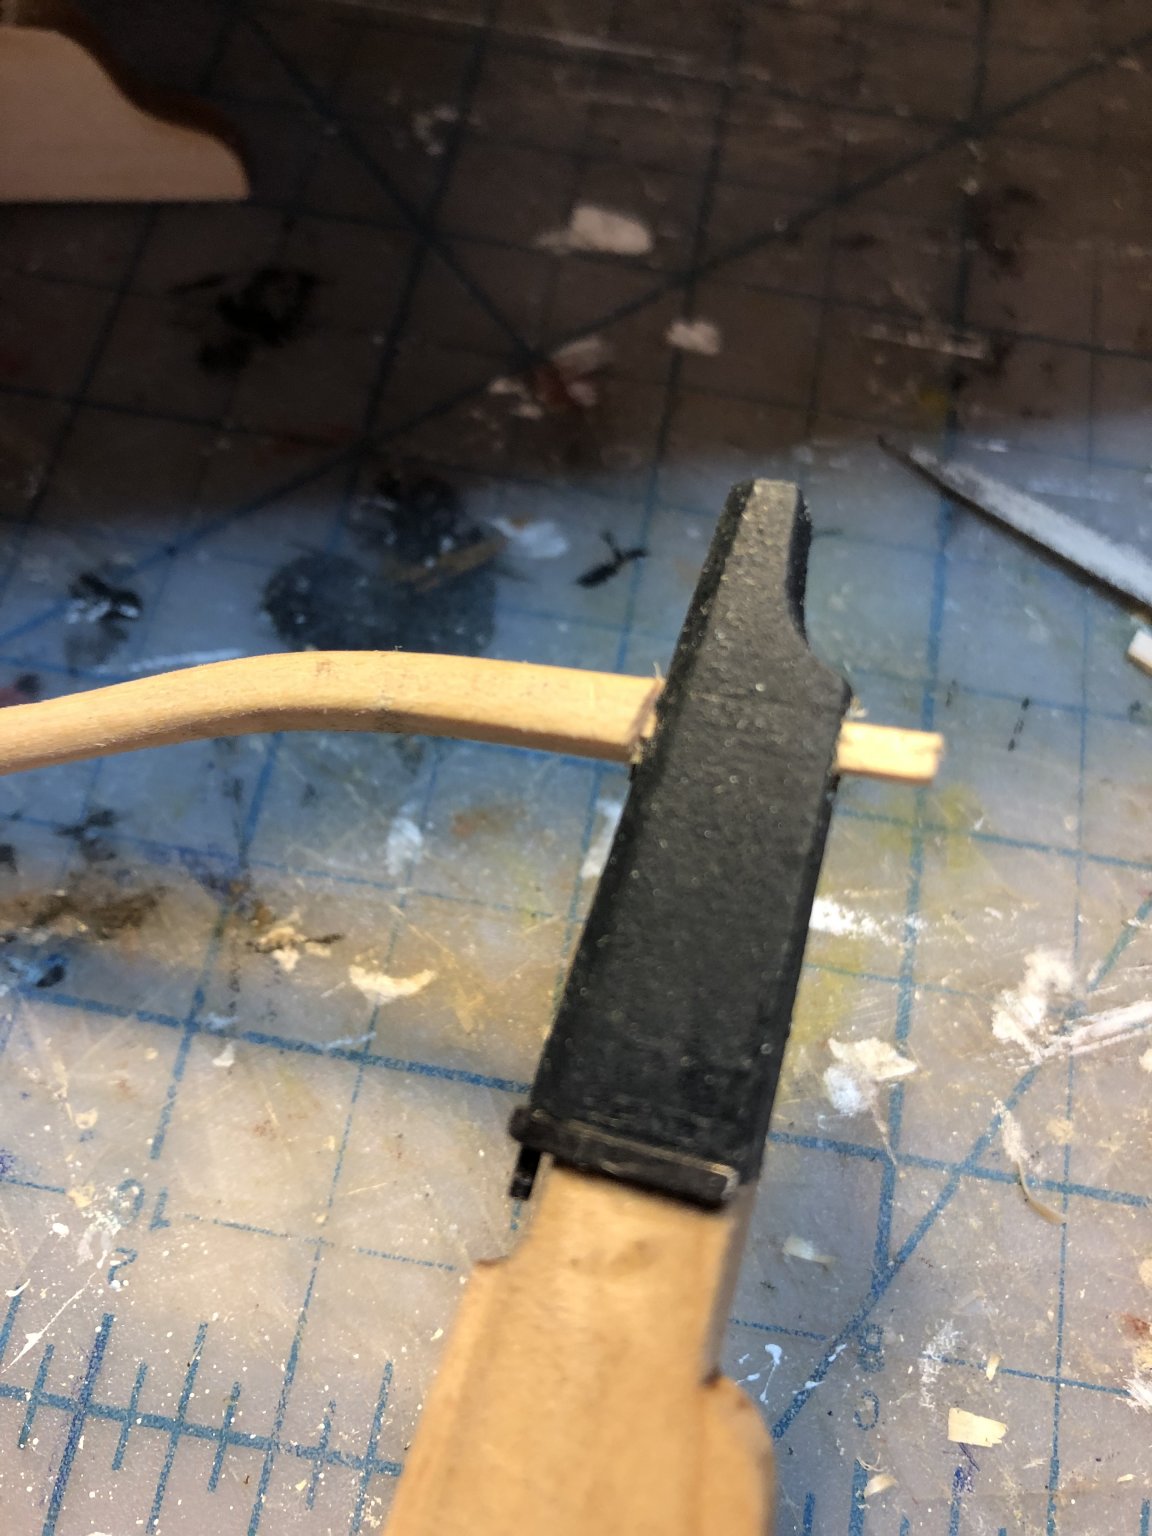
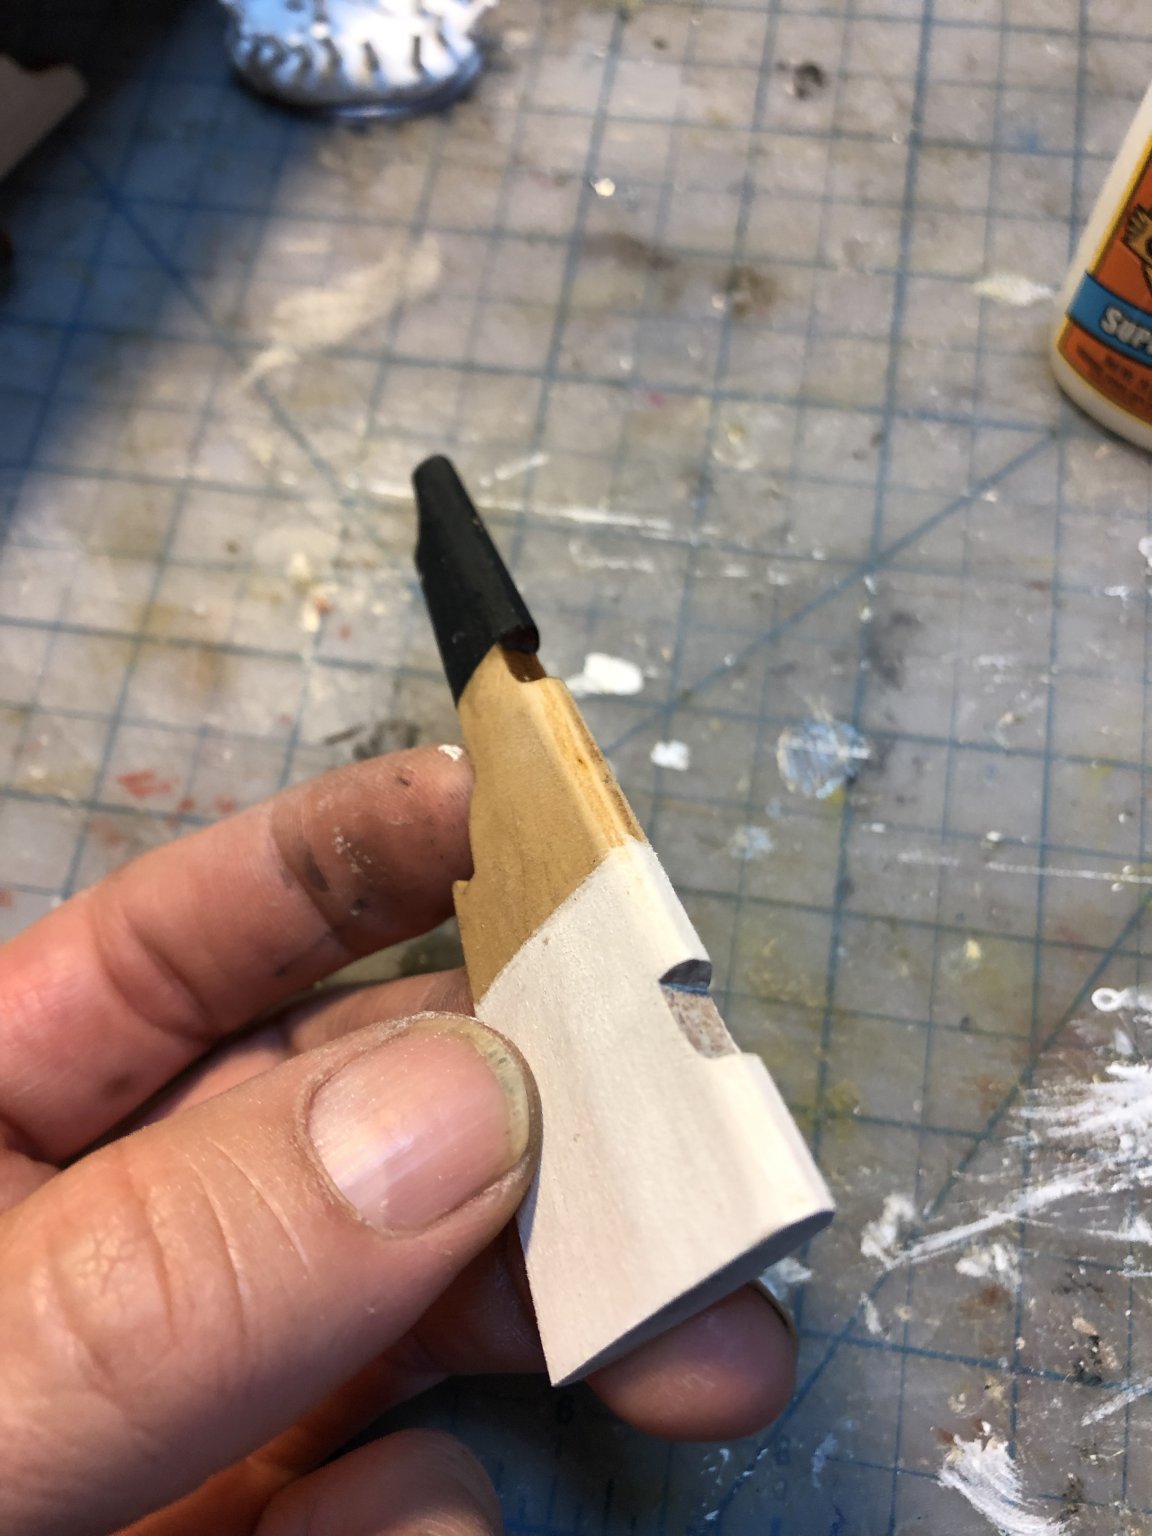
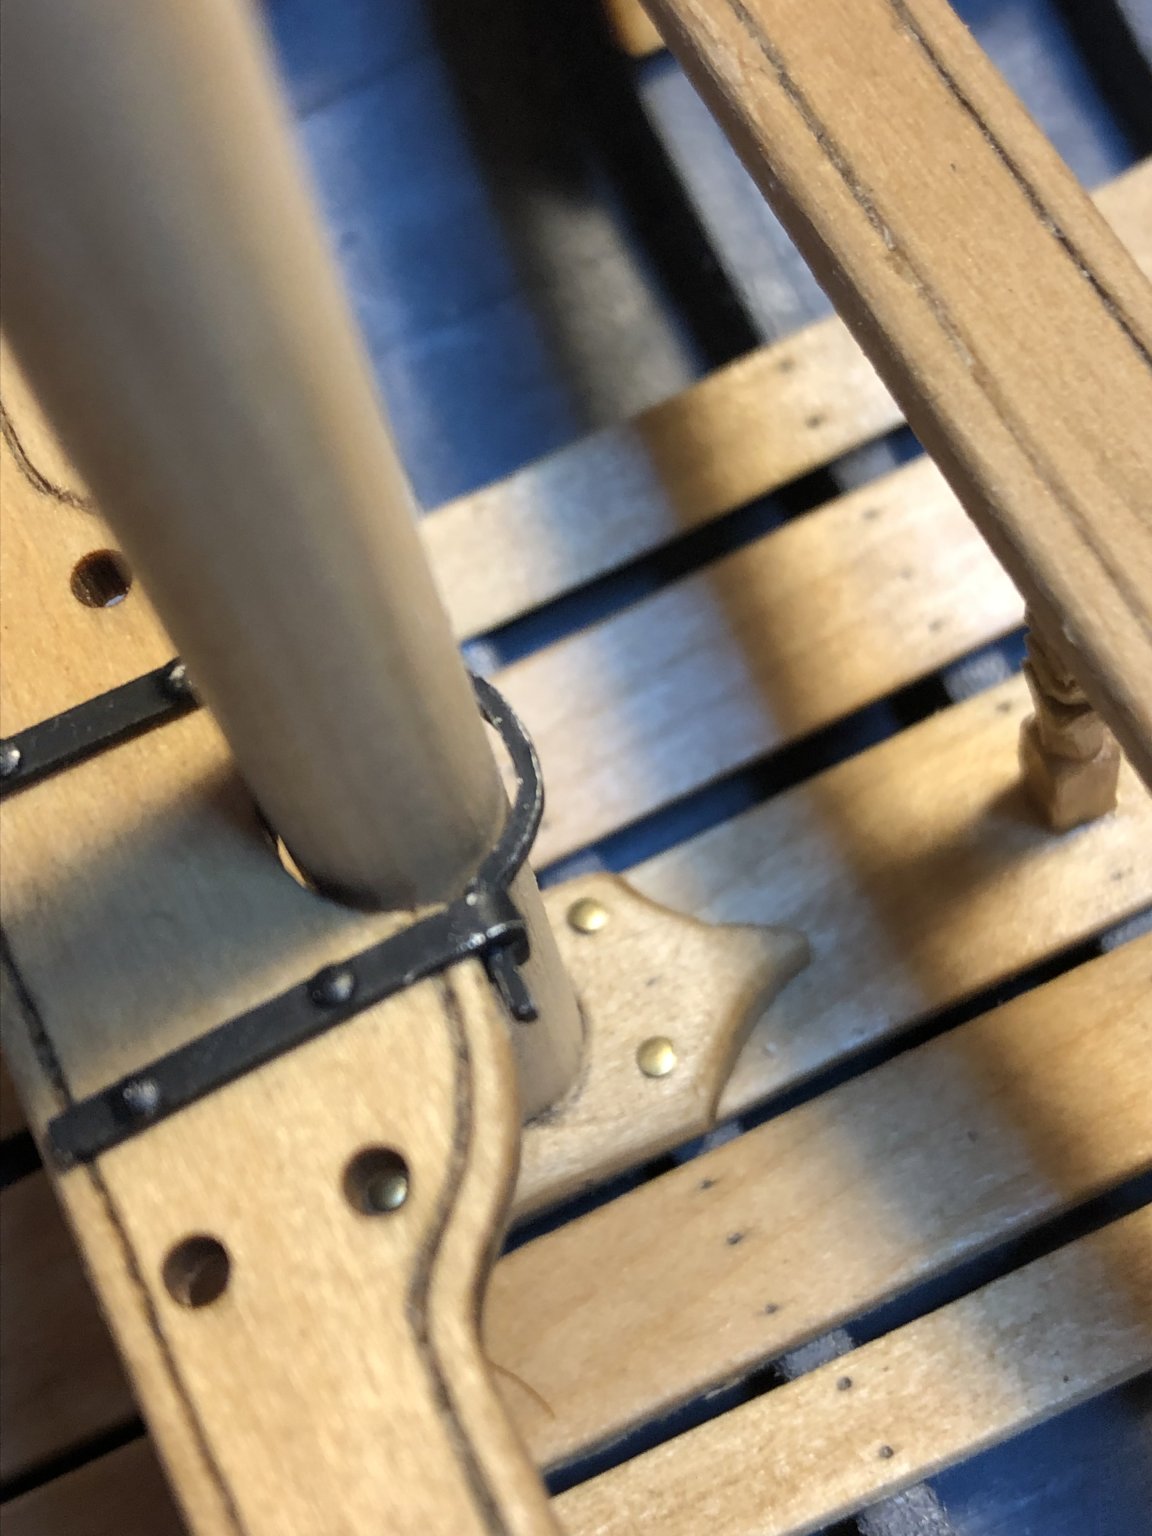
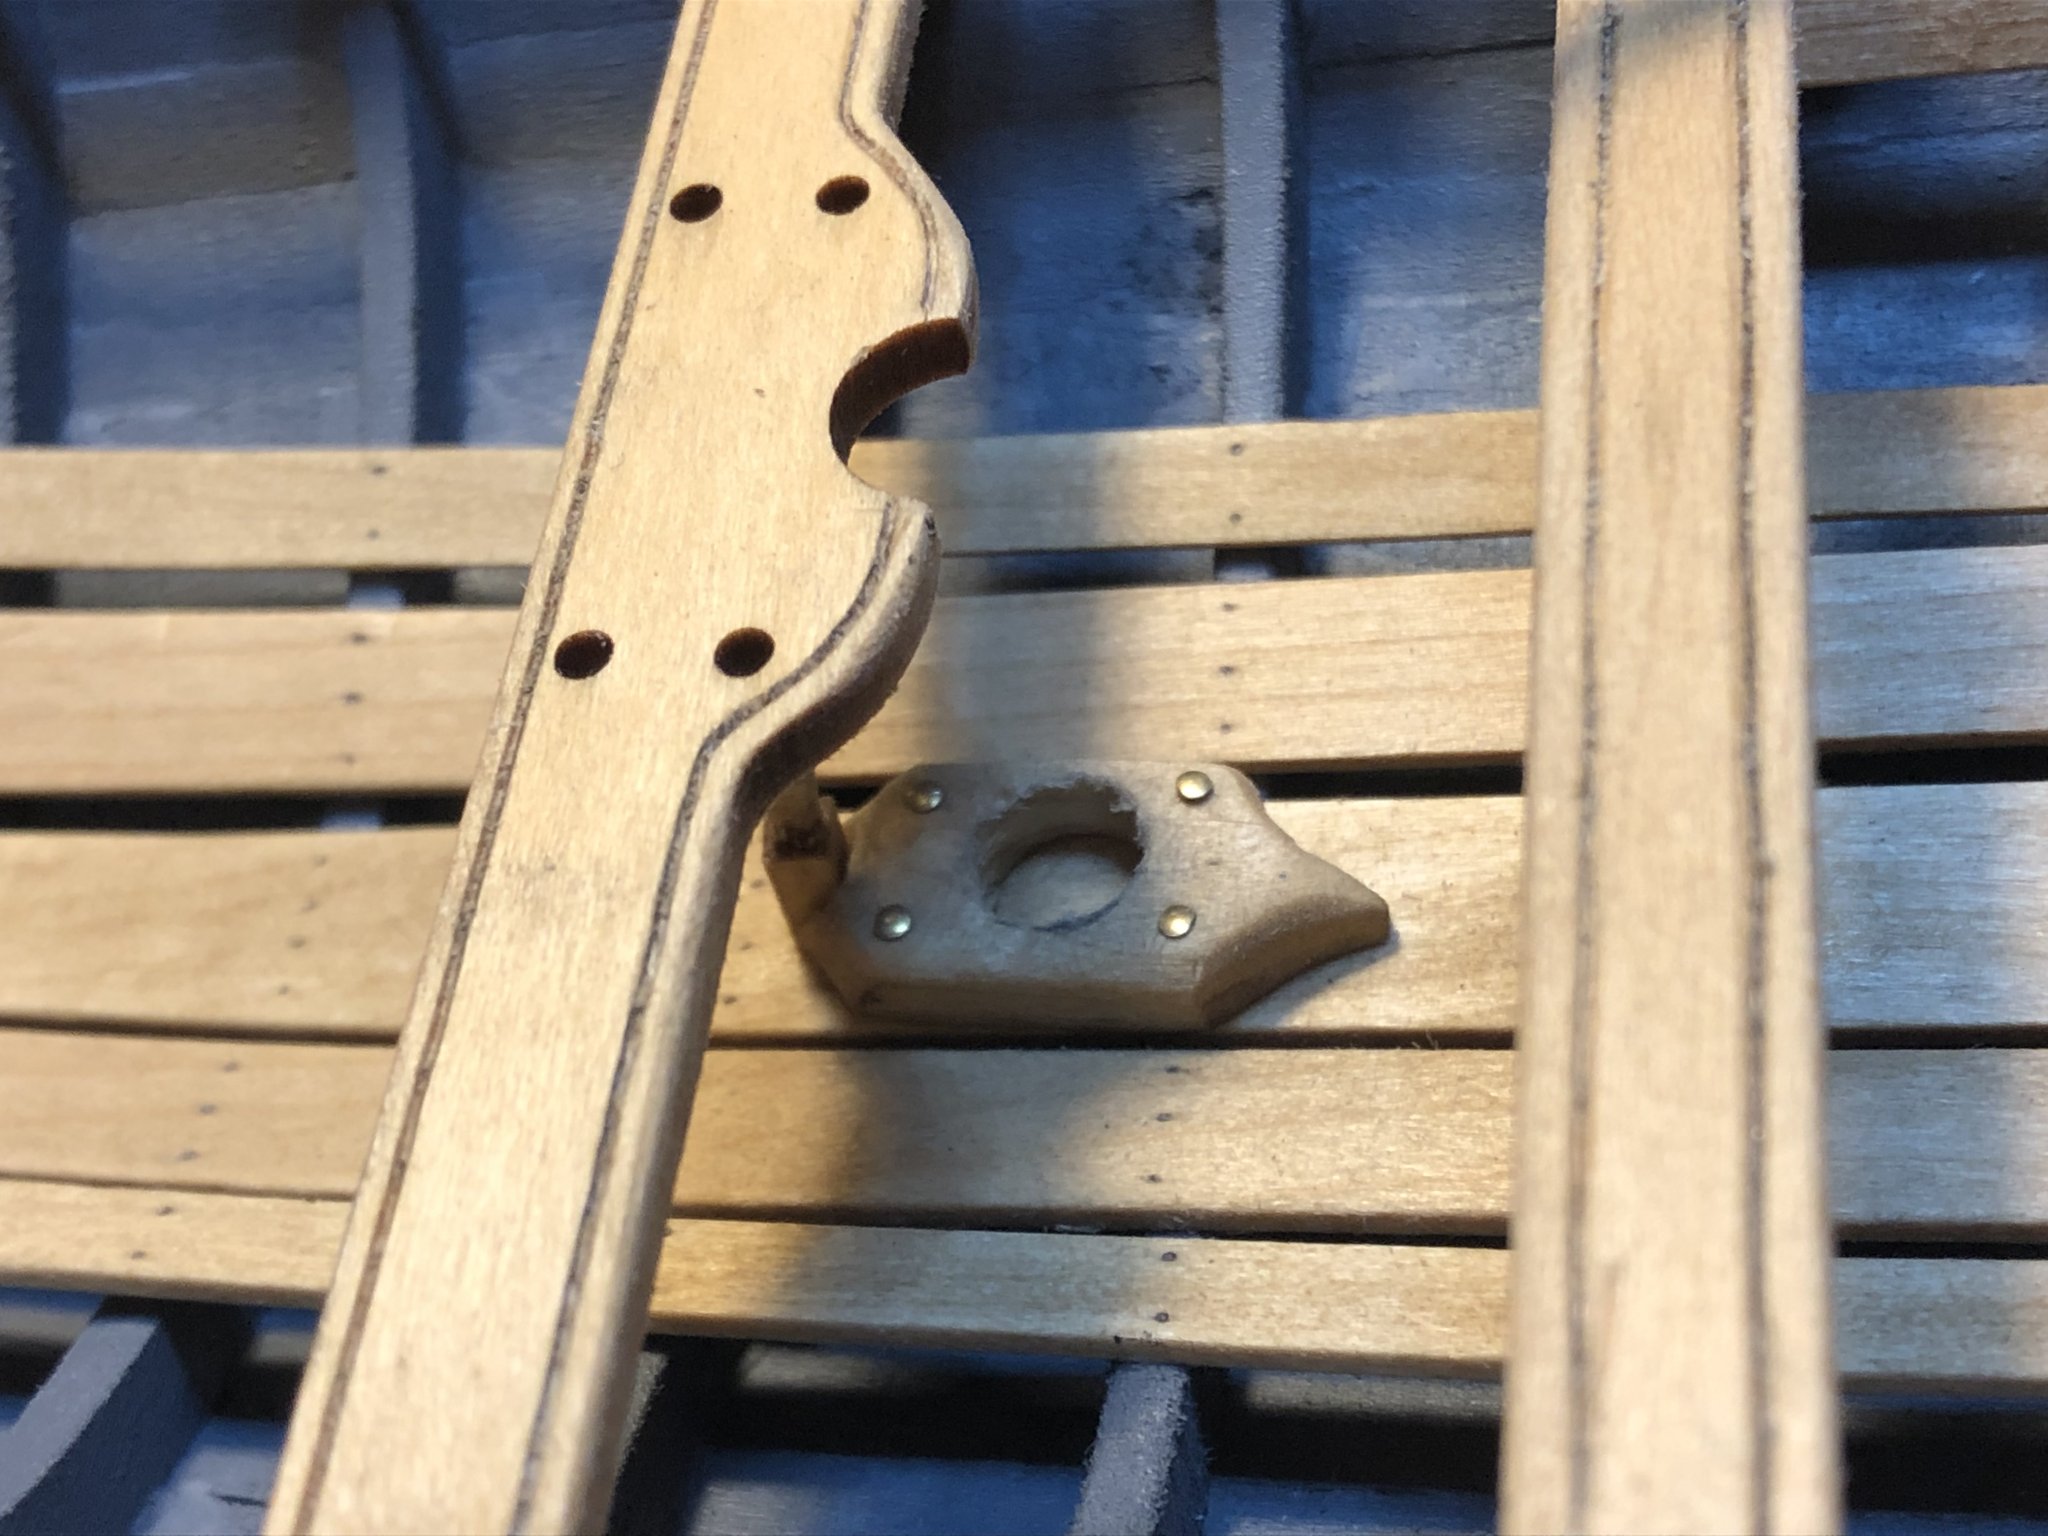
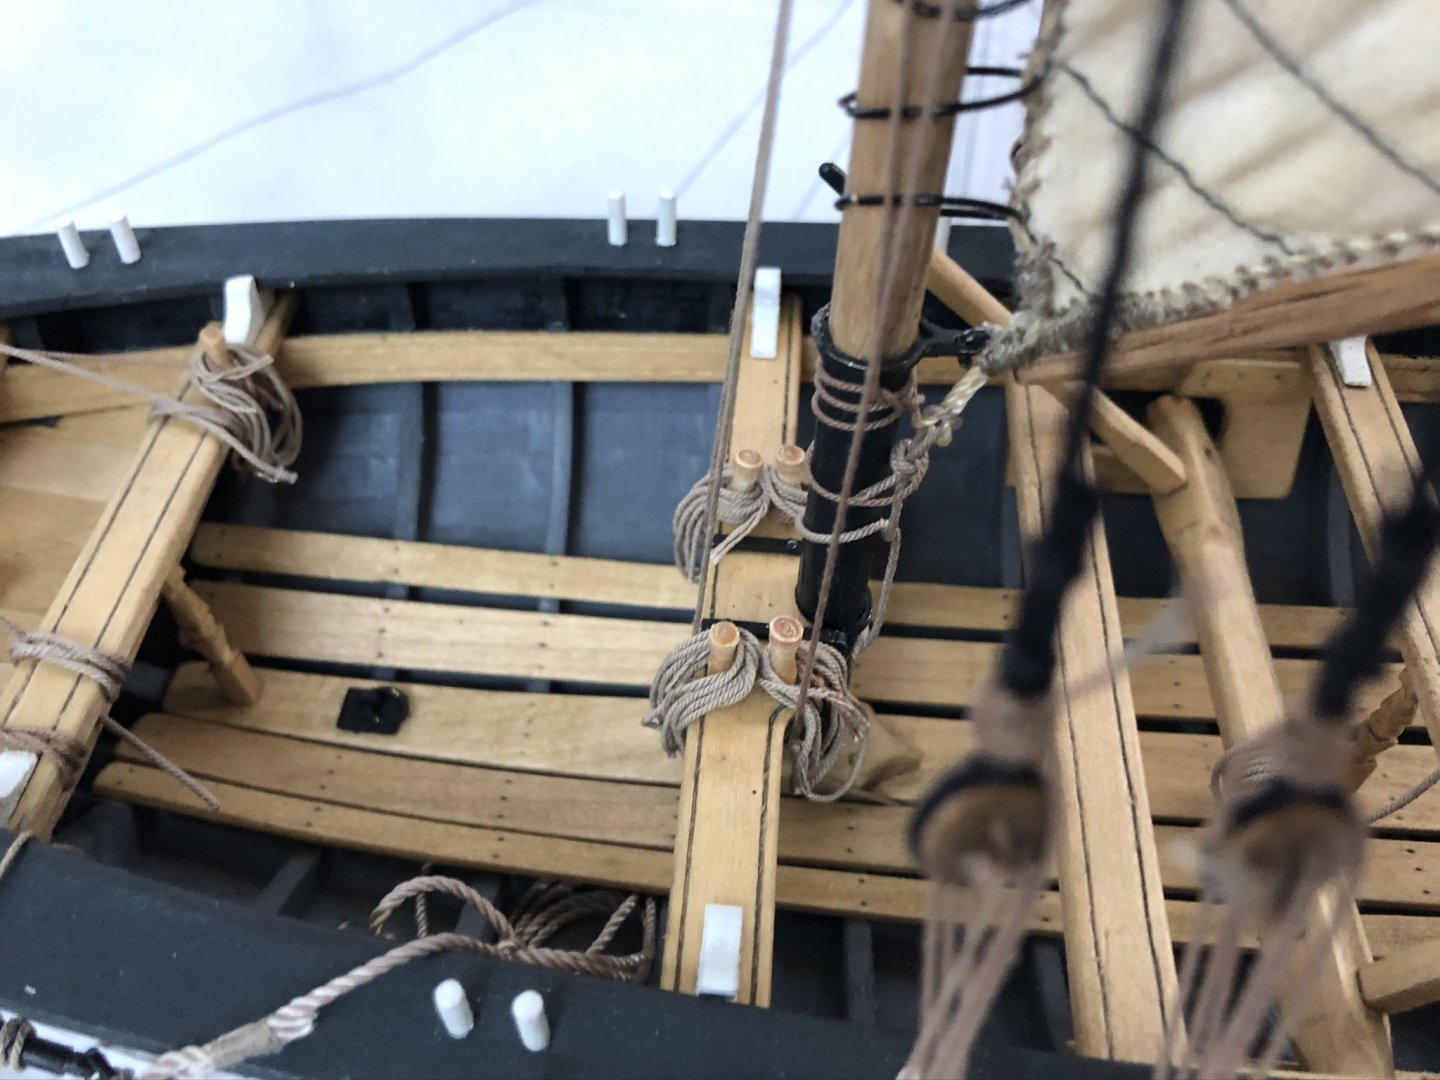
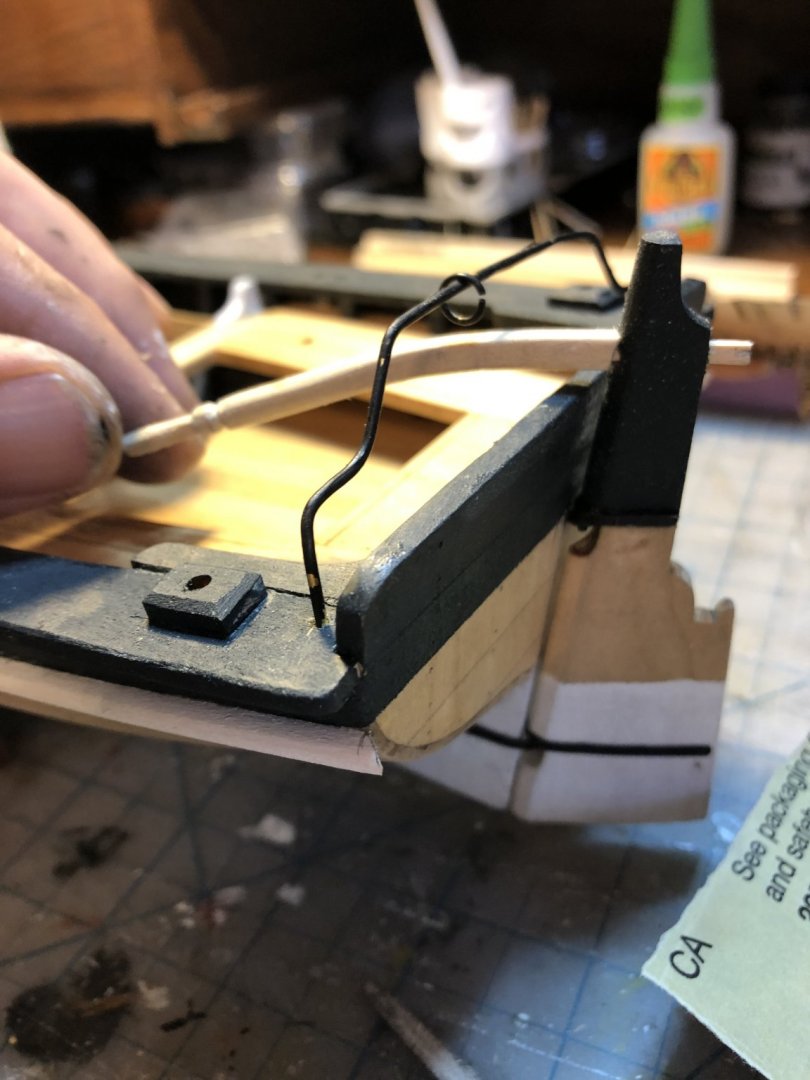
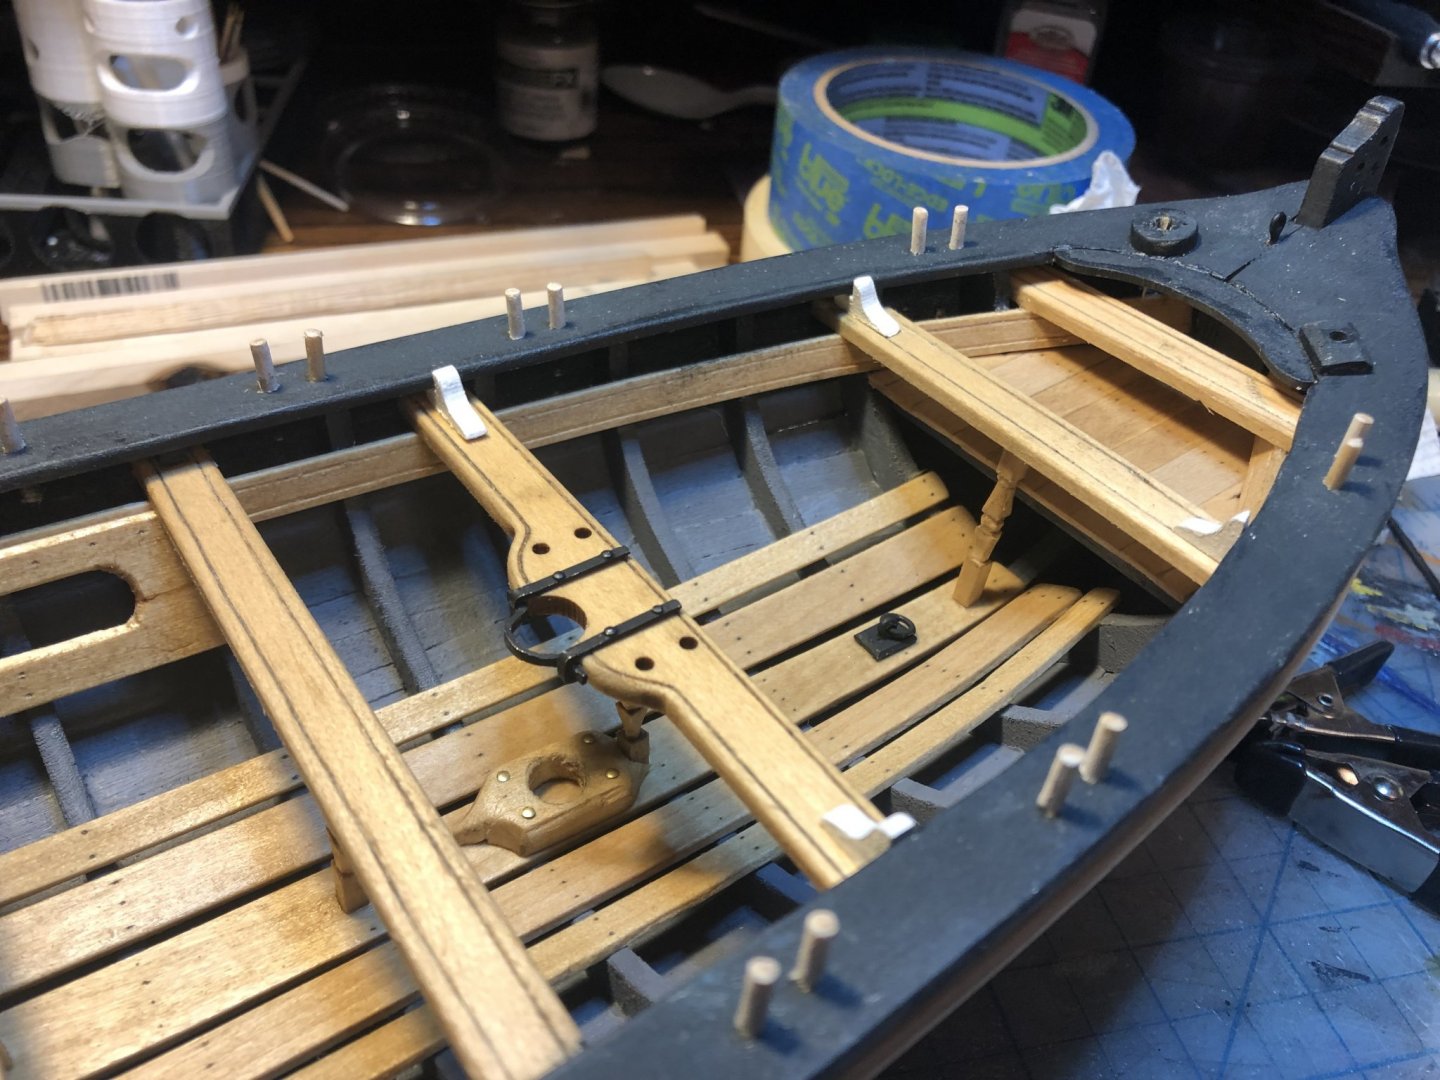
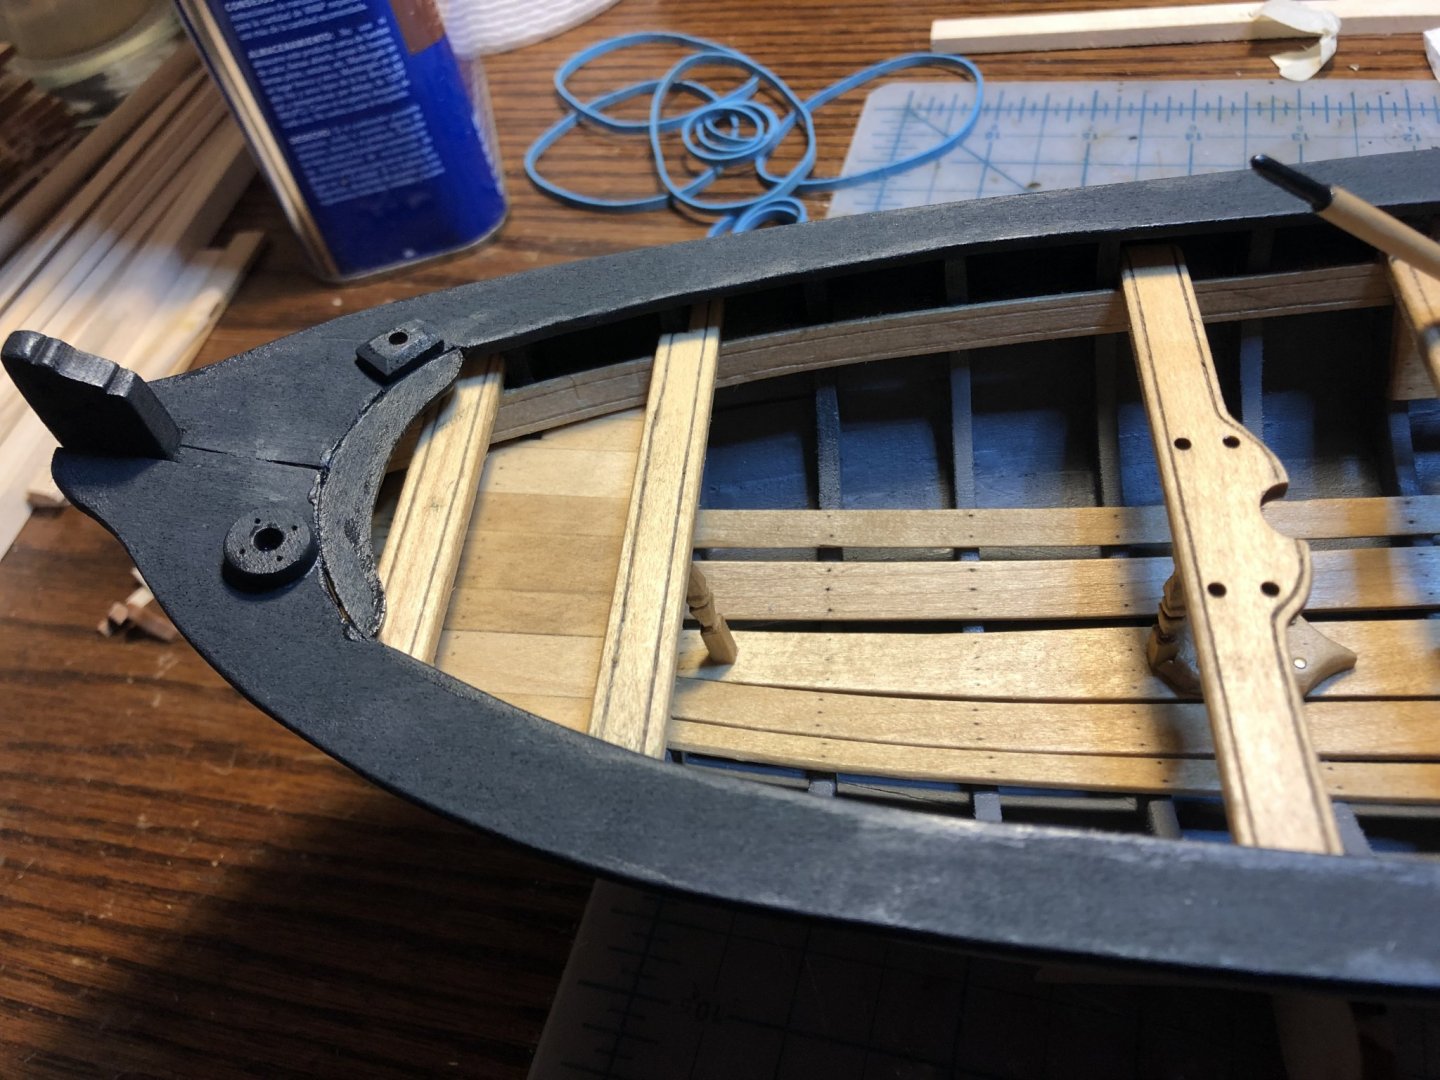
In the pic below you can see how the mast bracket does not fit around the mast very well. There is a small 1/32" gap between the mast and bracket. Not a big deal, but i didn't like the way it looked. So i cut a small mortise into the front of the thwart so the bracket would fit a little tighter to the mast. A much better fit is achieved, and thankfully I didn't destroy the thwart in the process! Thanks for looking!


- 23 replies
-
- 2
-
-
- 18th Century Armed Longboat
- Model Shipways
- (and 2 more)
-
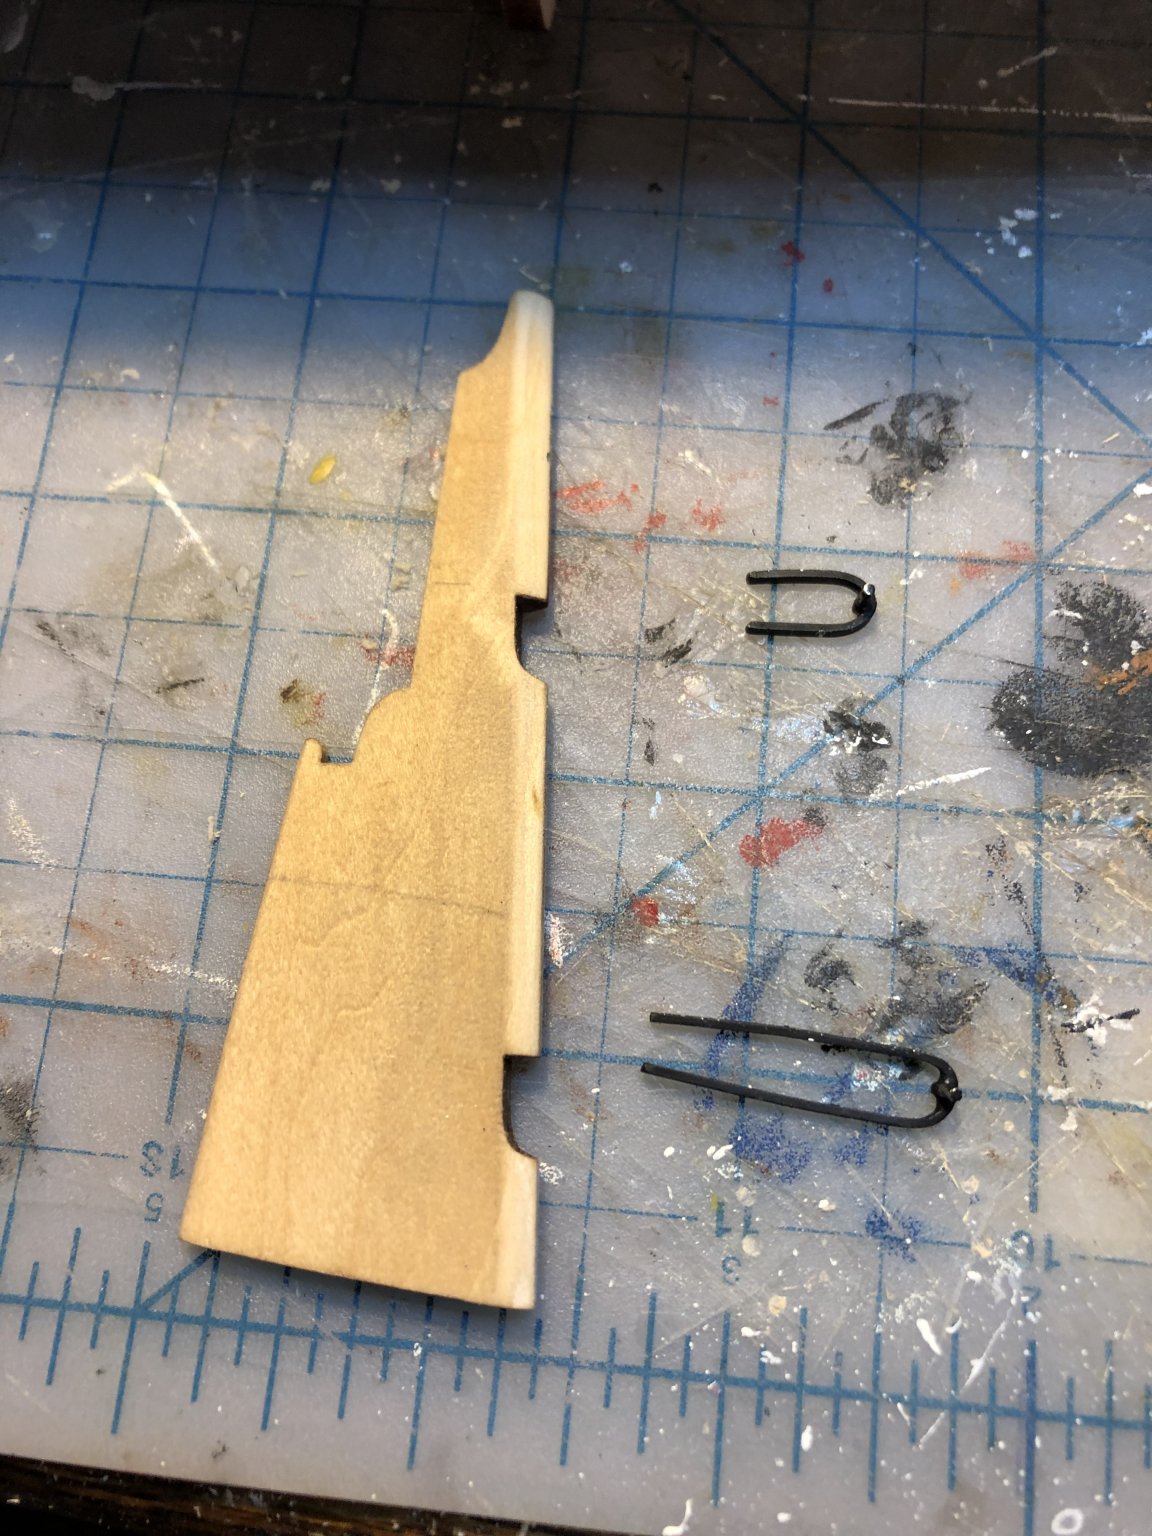
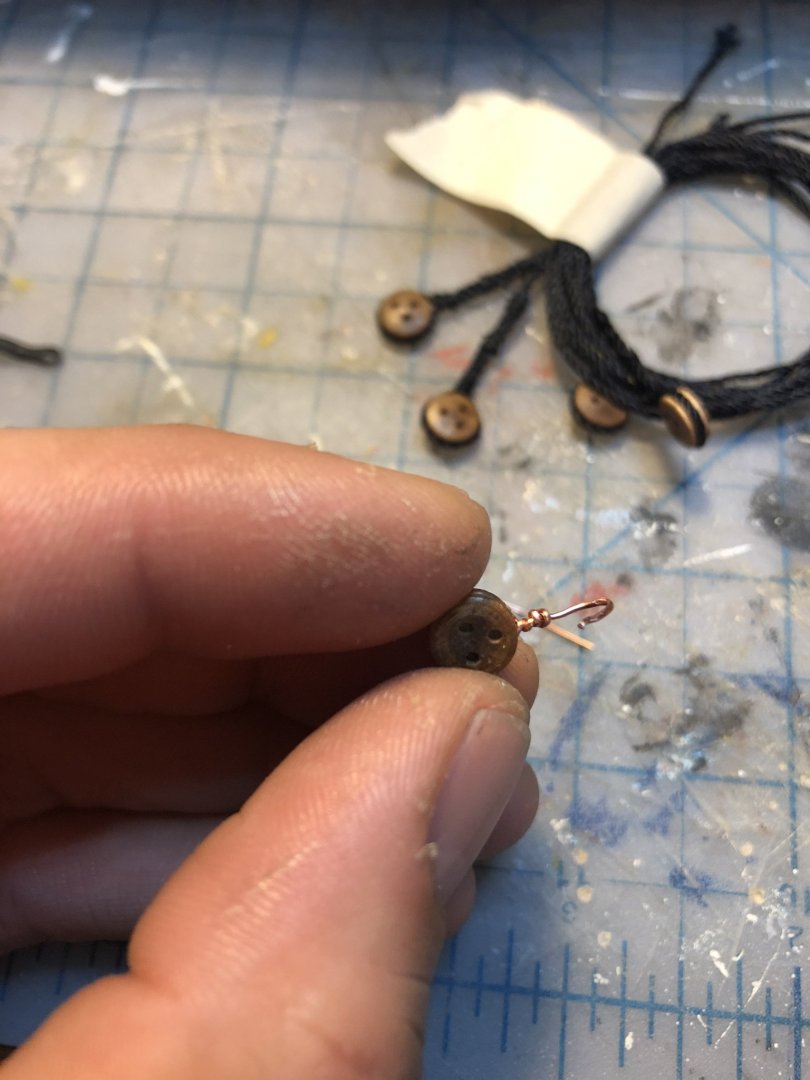
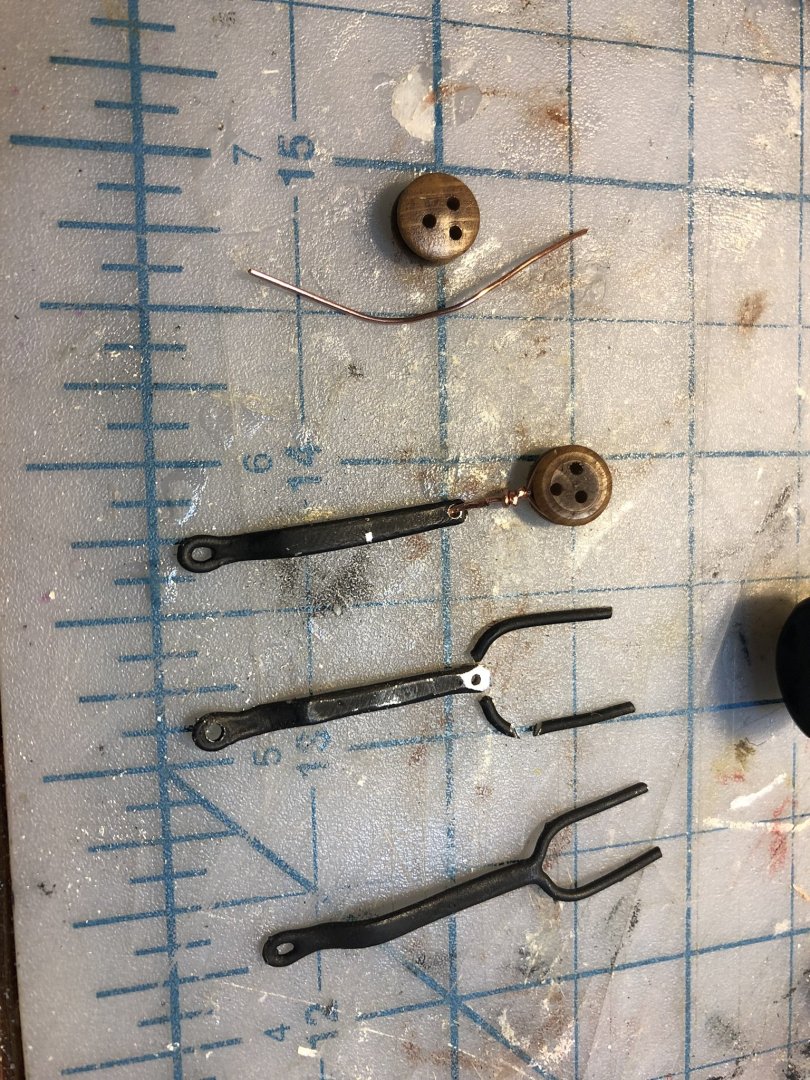
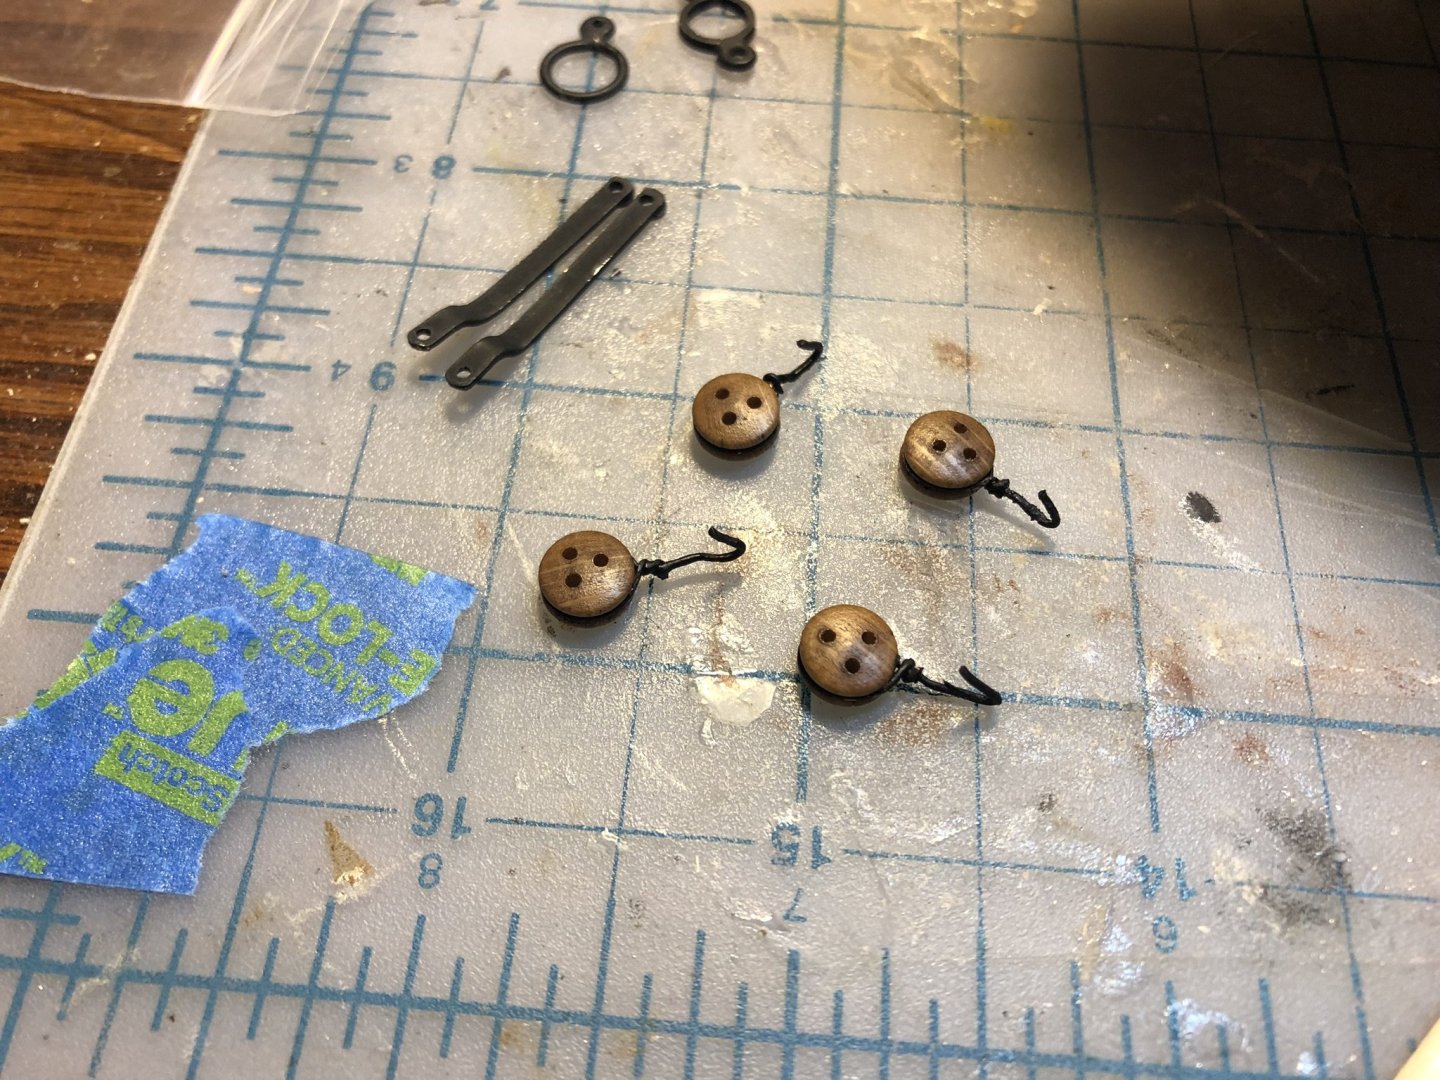
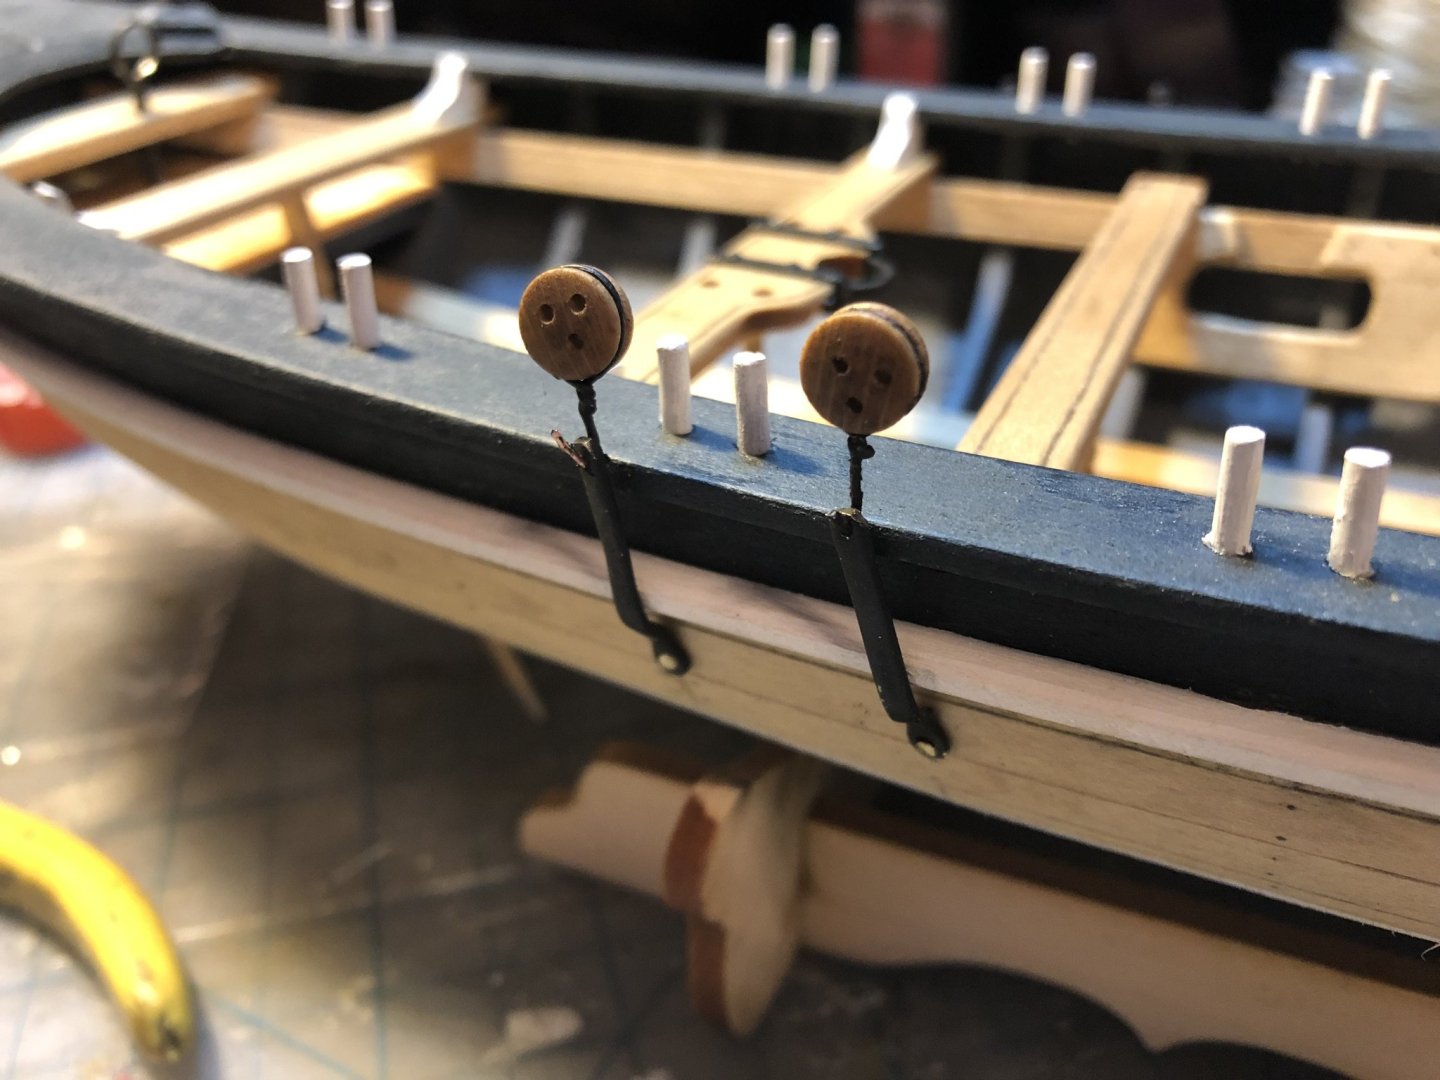
A few more pics of the oarlocks painted and installed.


- 23 replies
-
- 1
-
-
- 18th Century Armed Longboat
- Model Shipways
- (and 2 more)
-
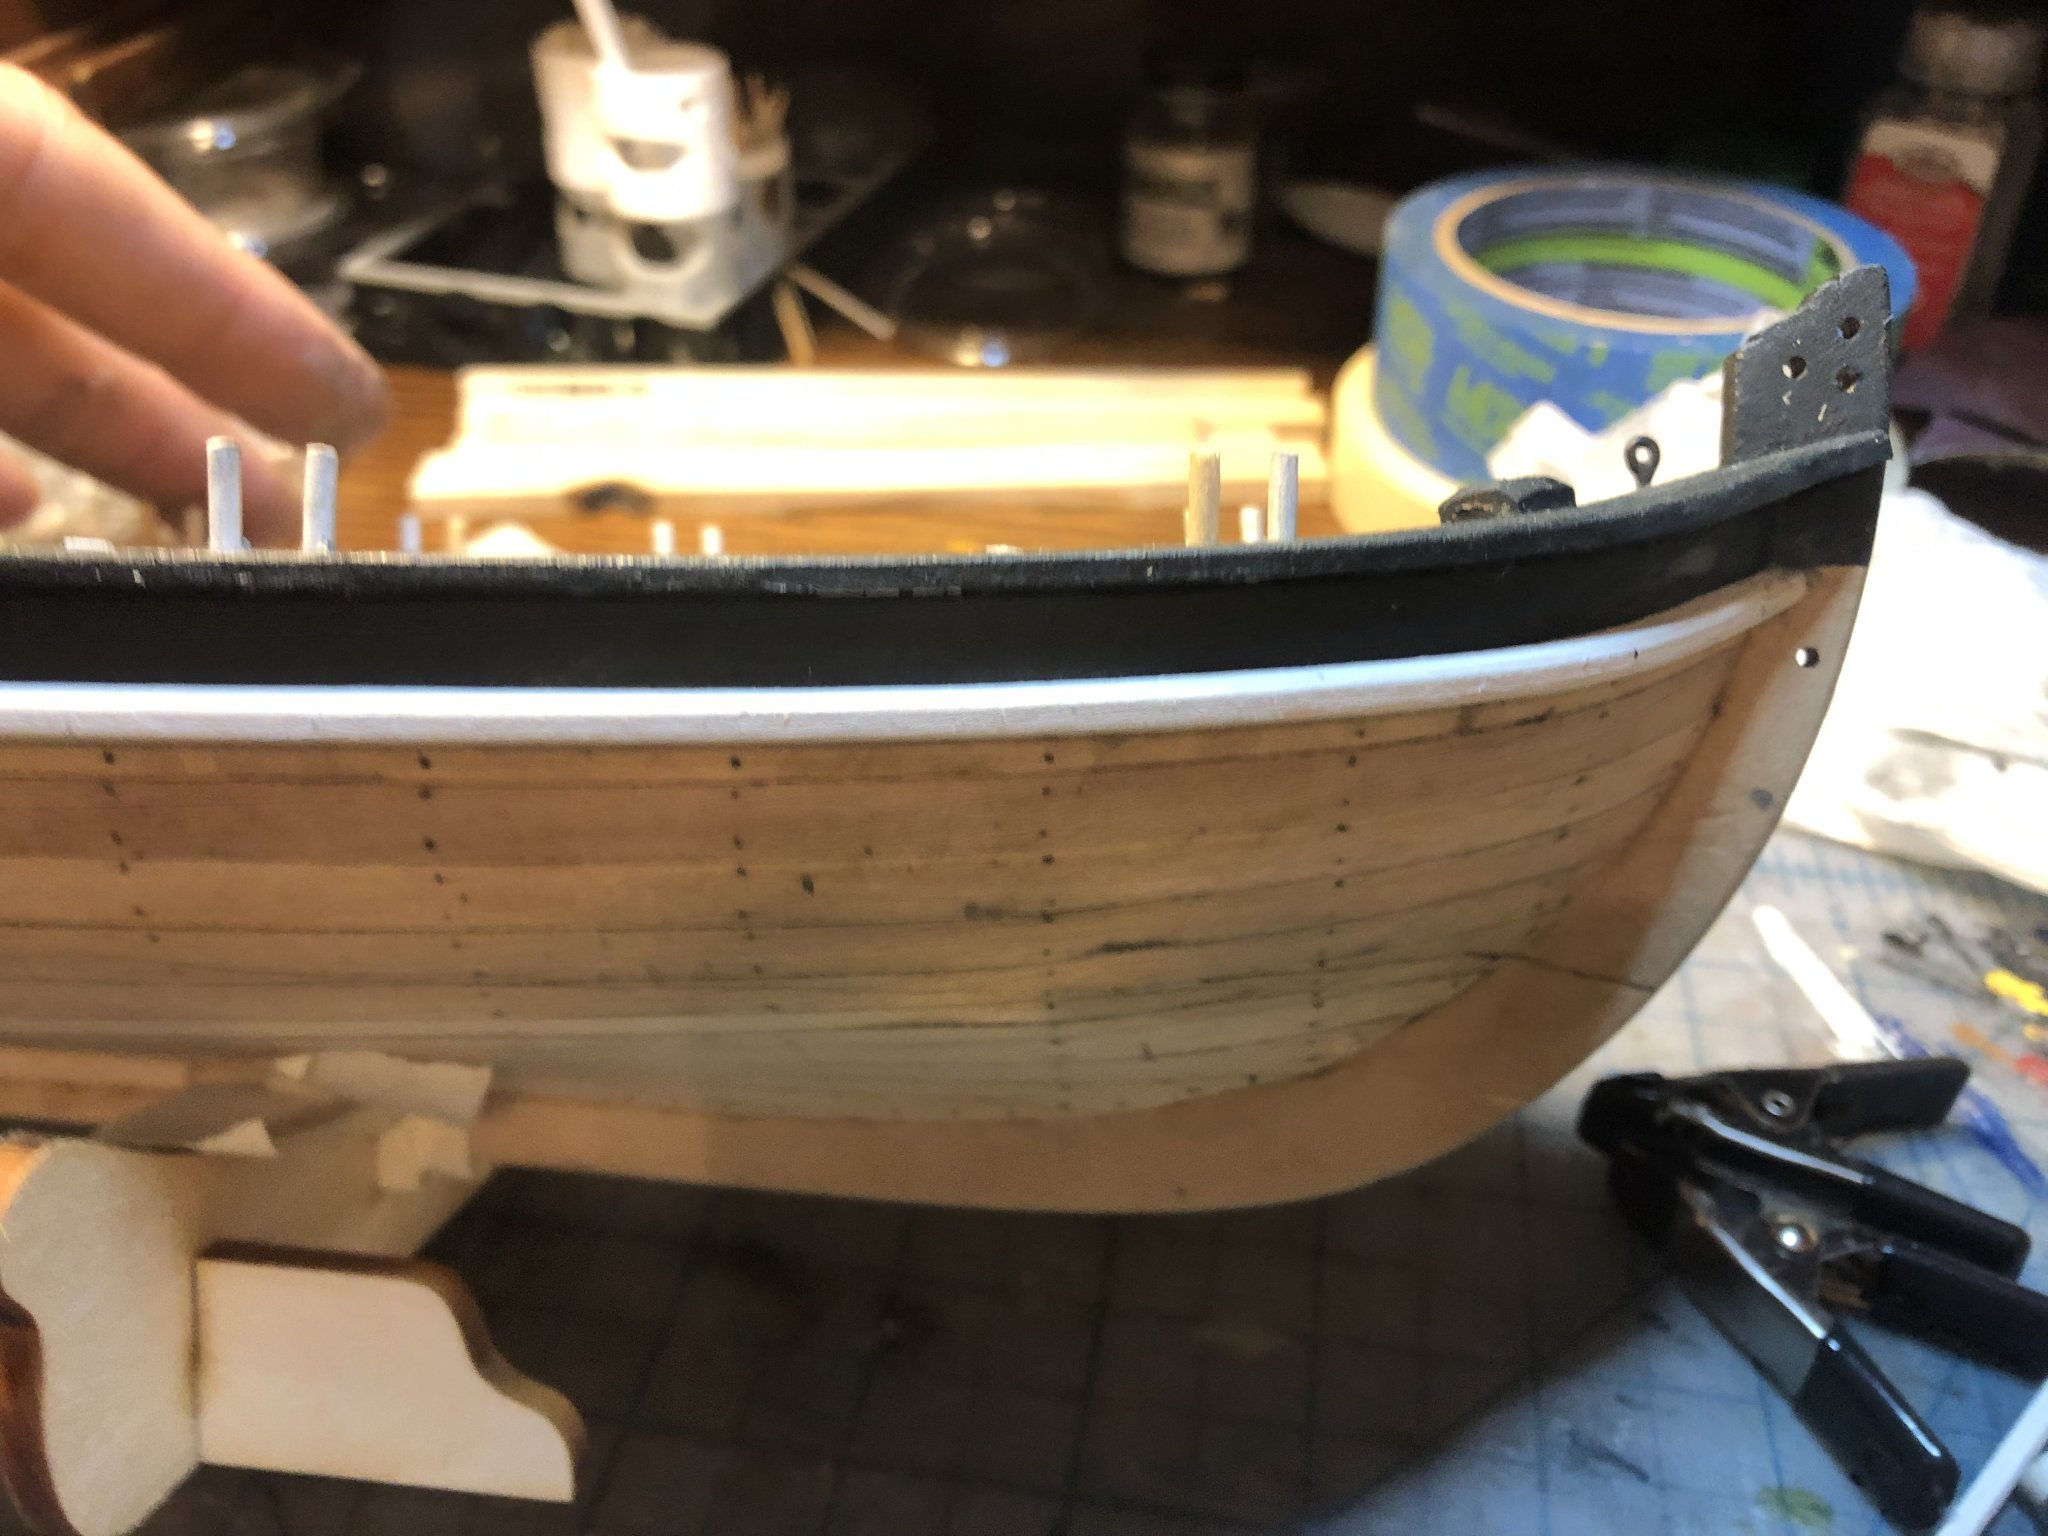
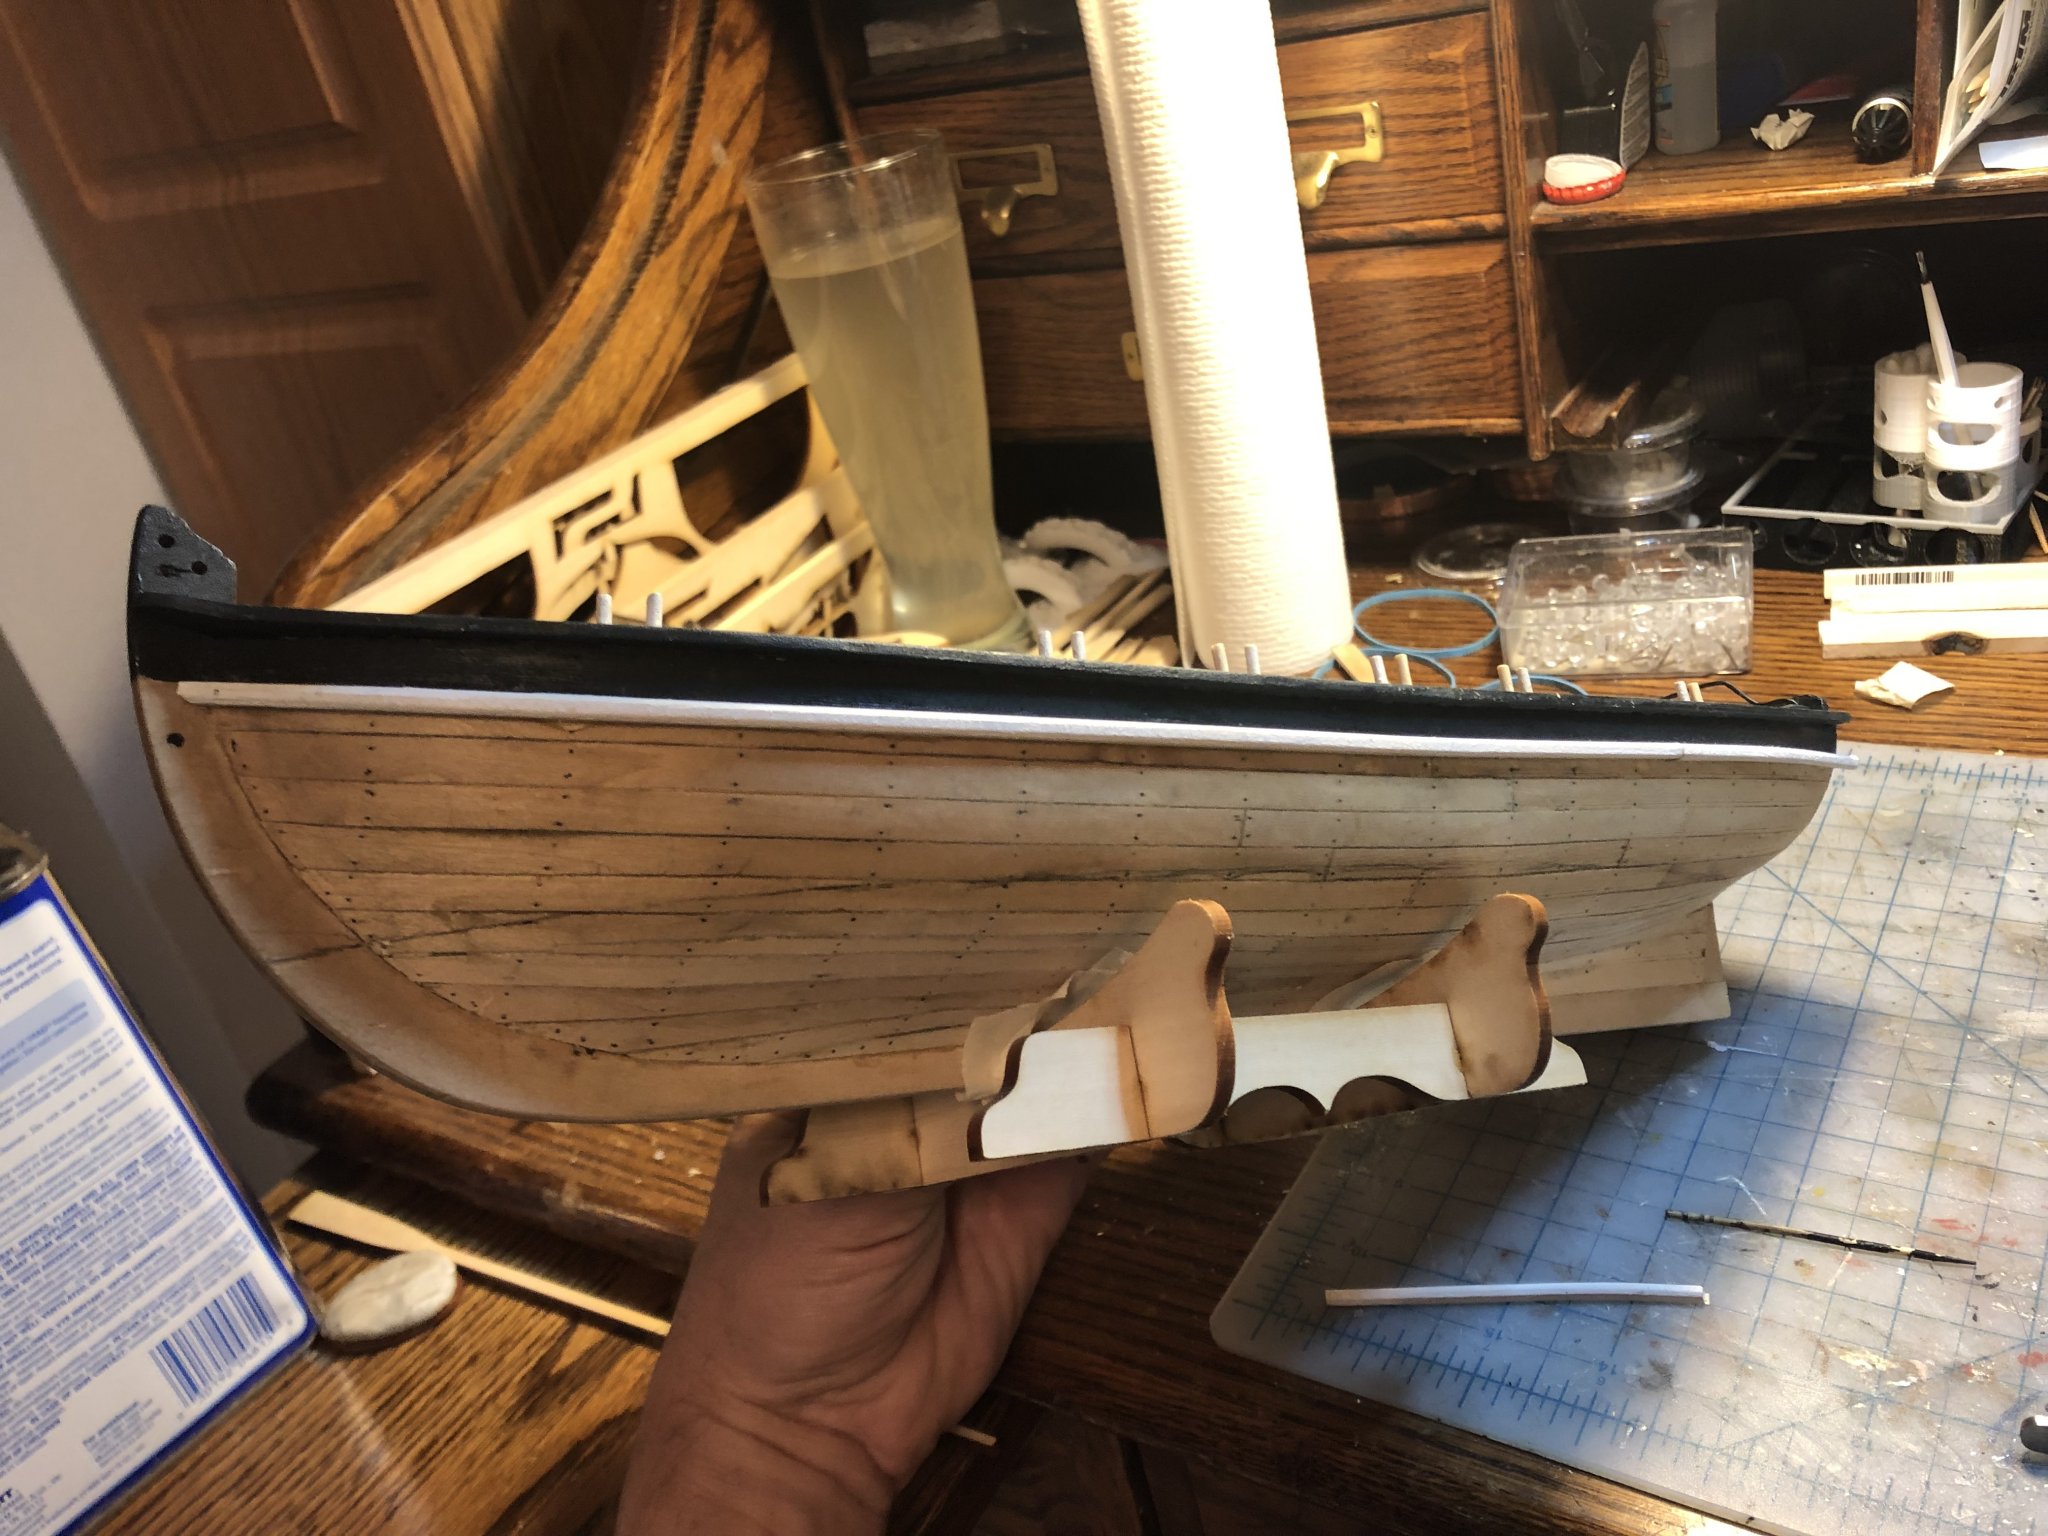
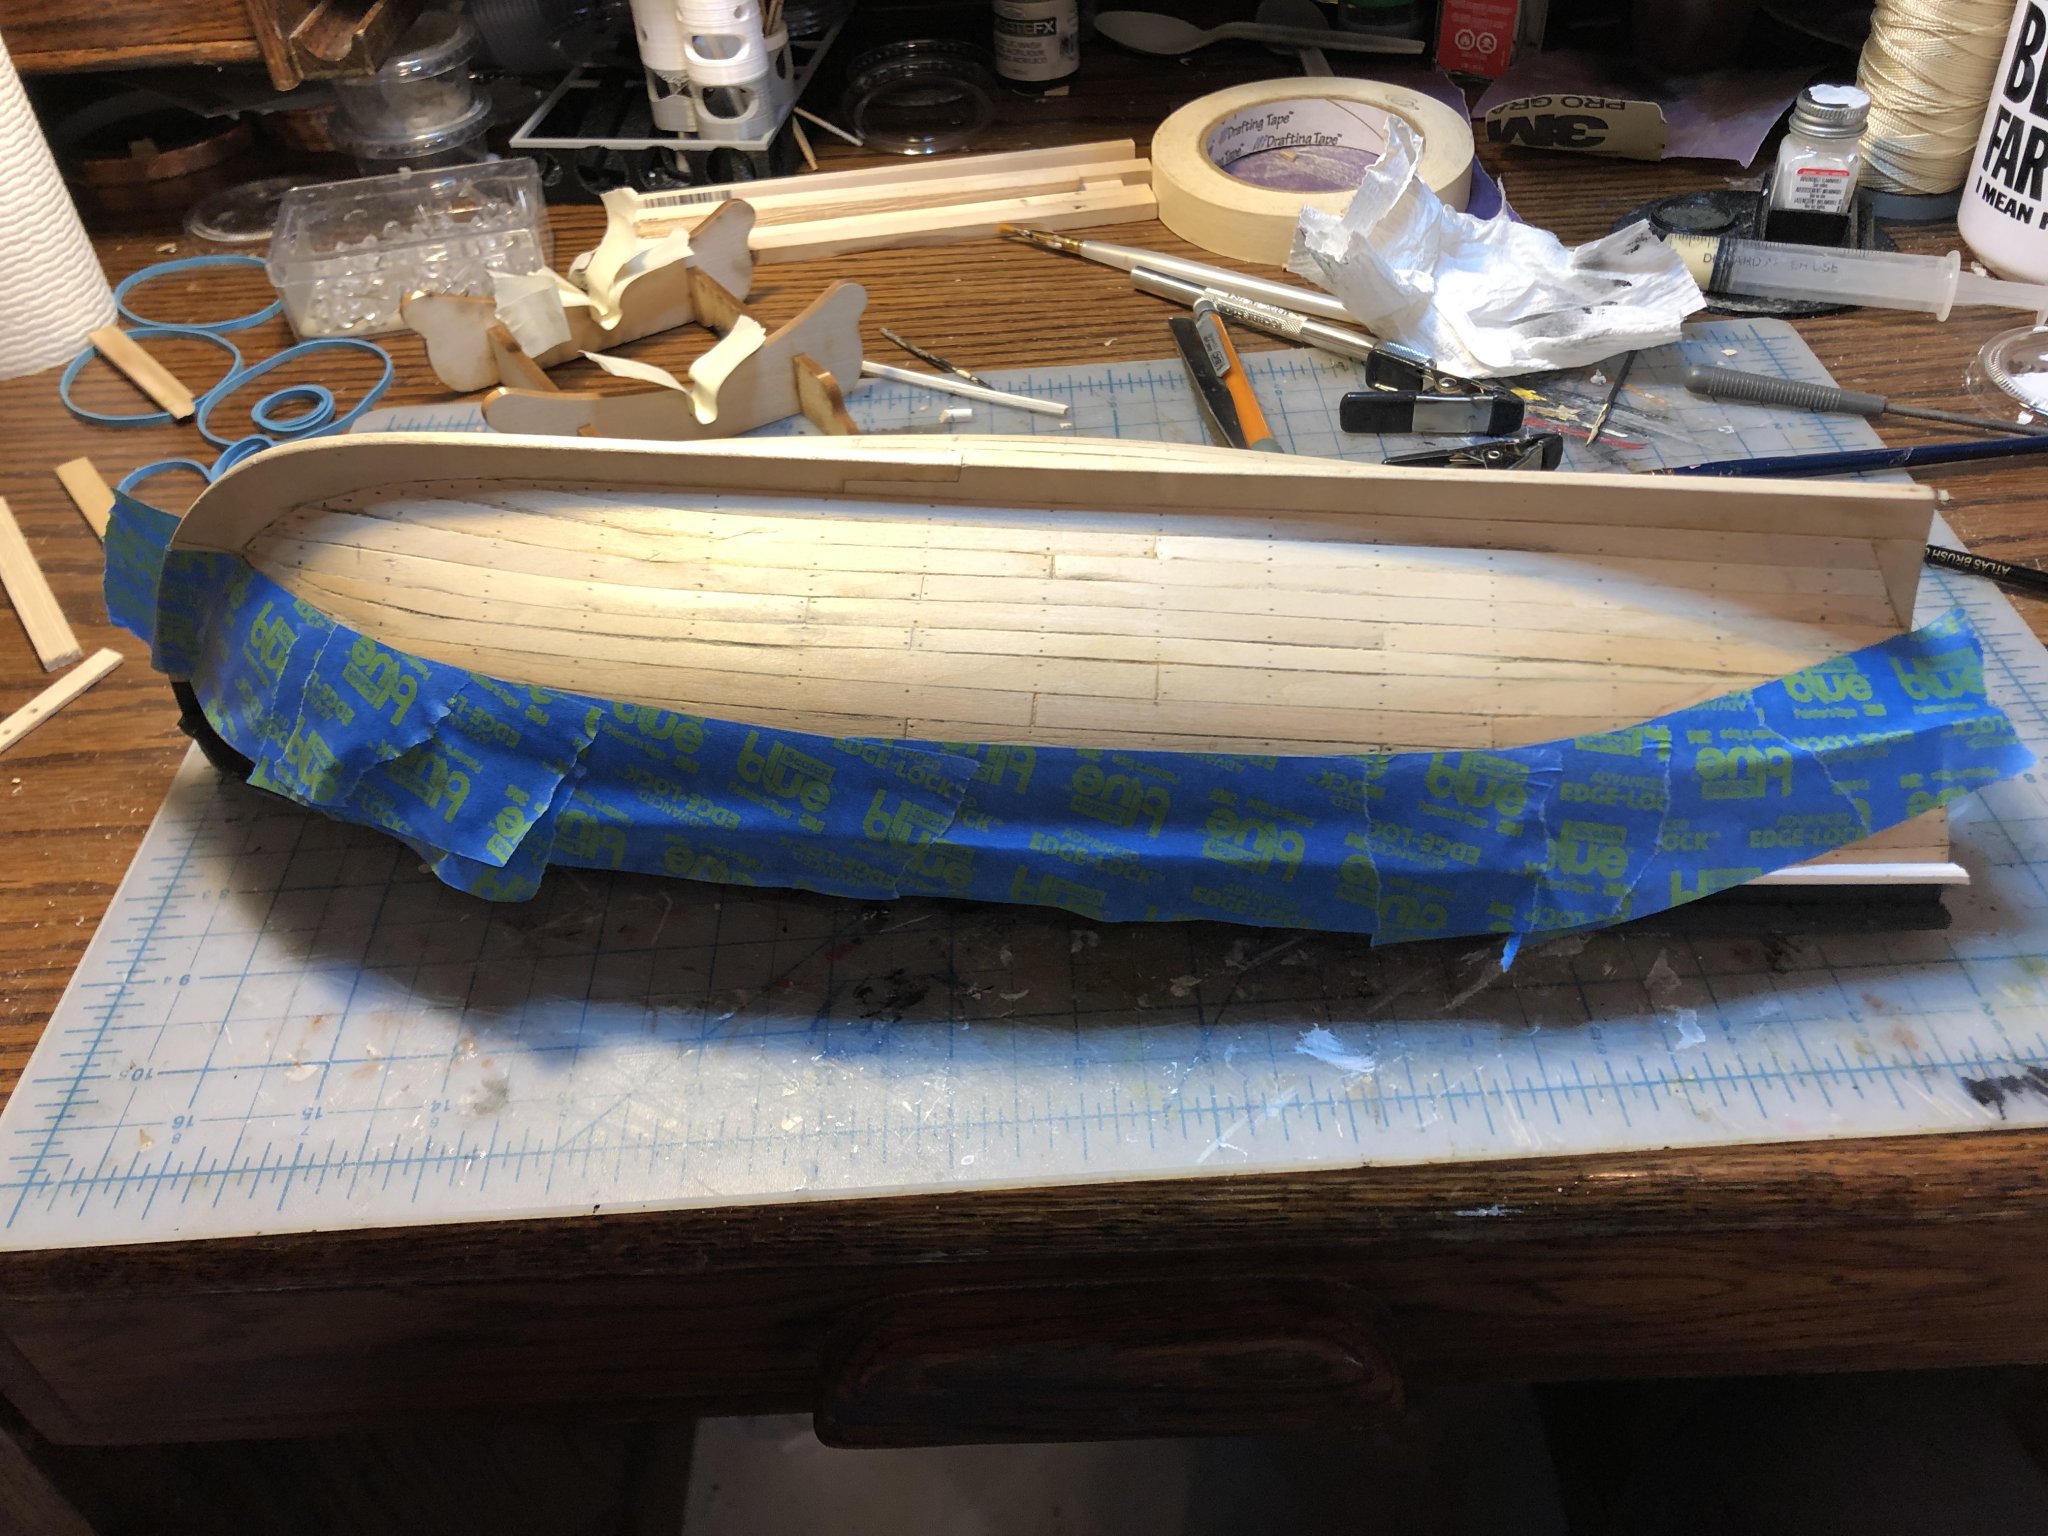
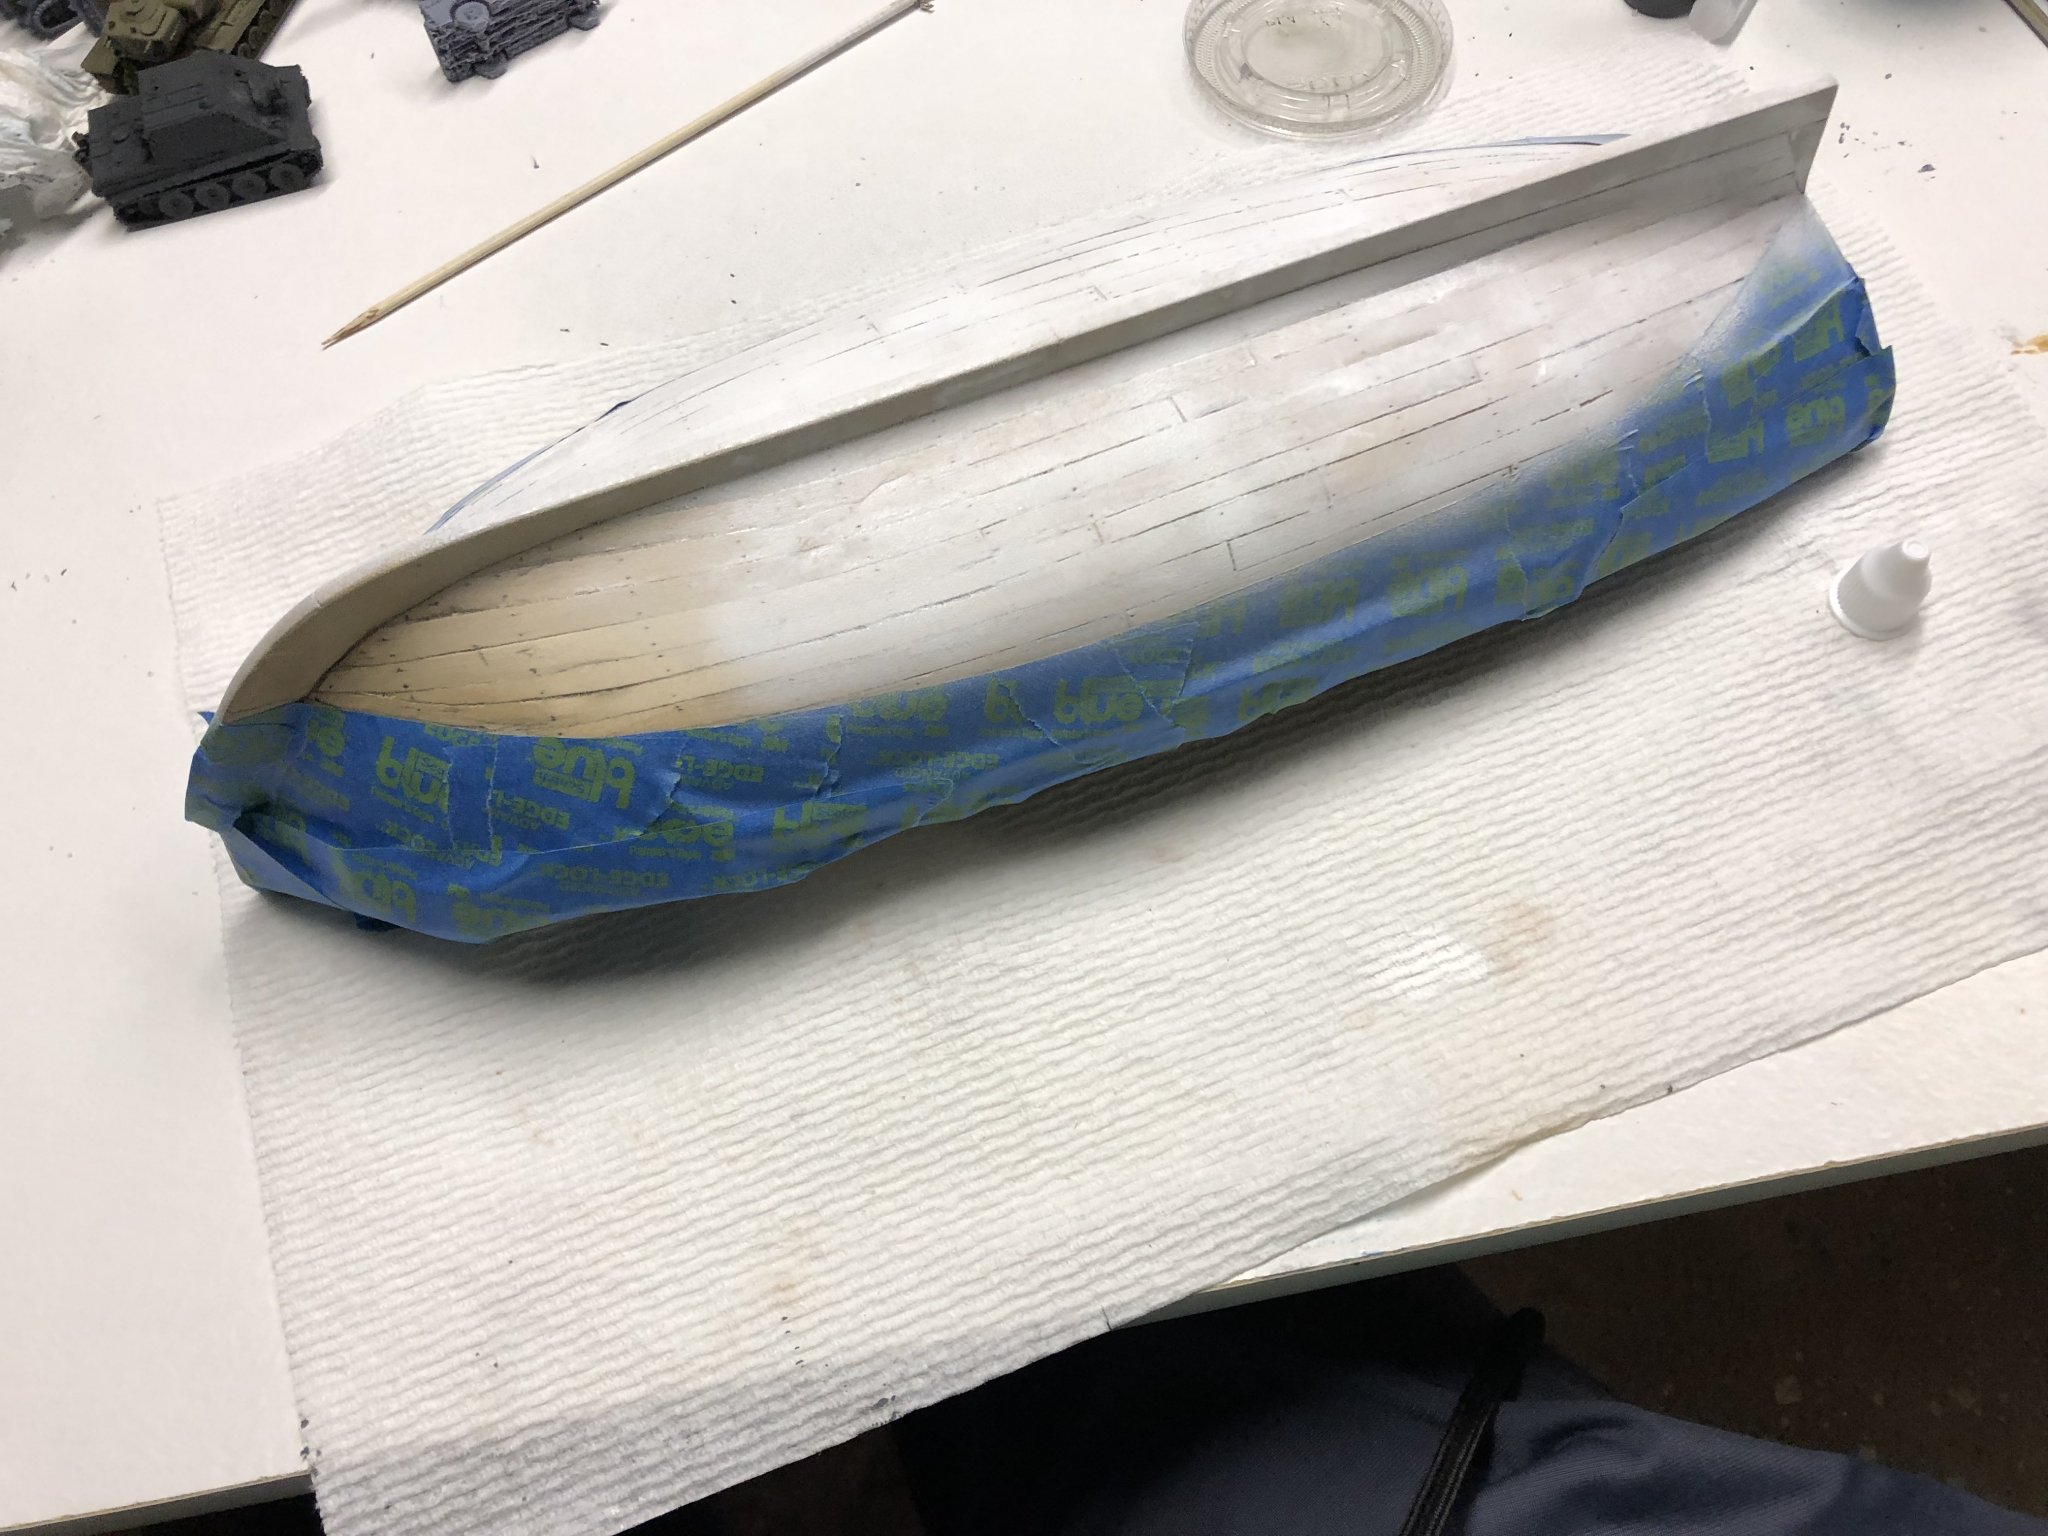
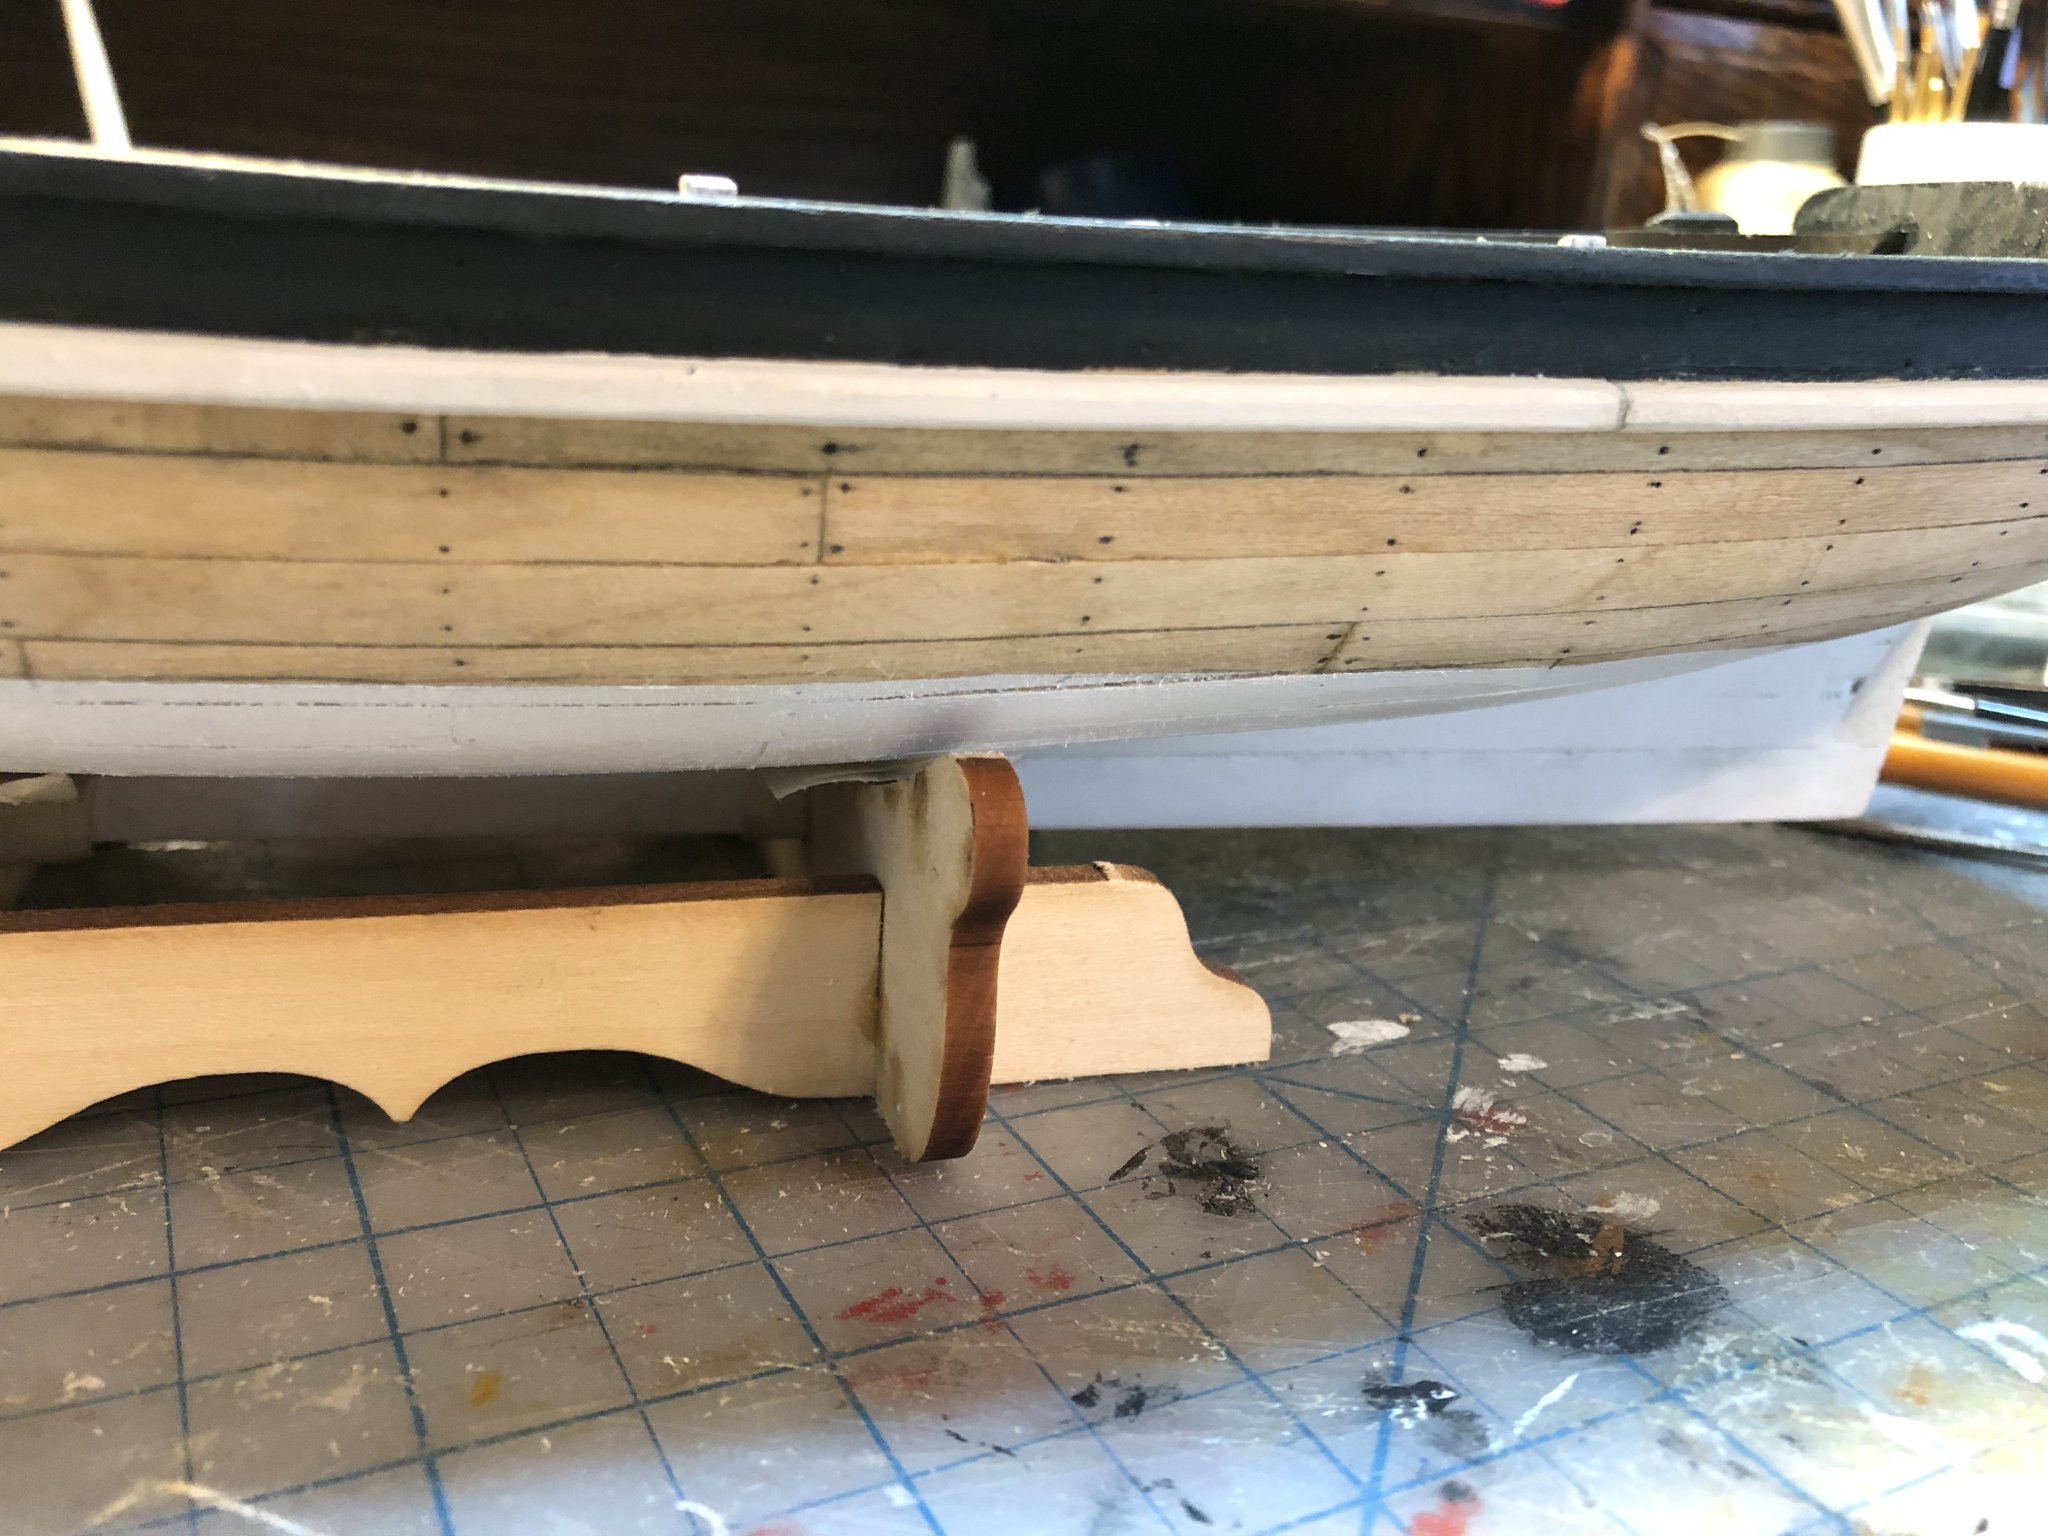
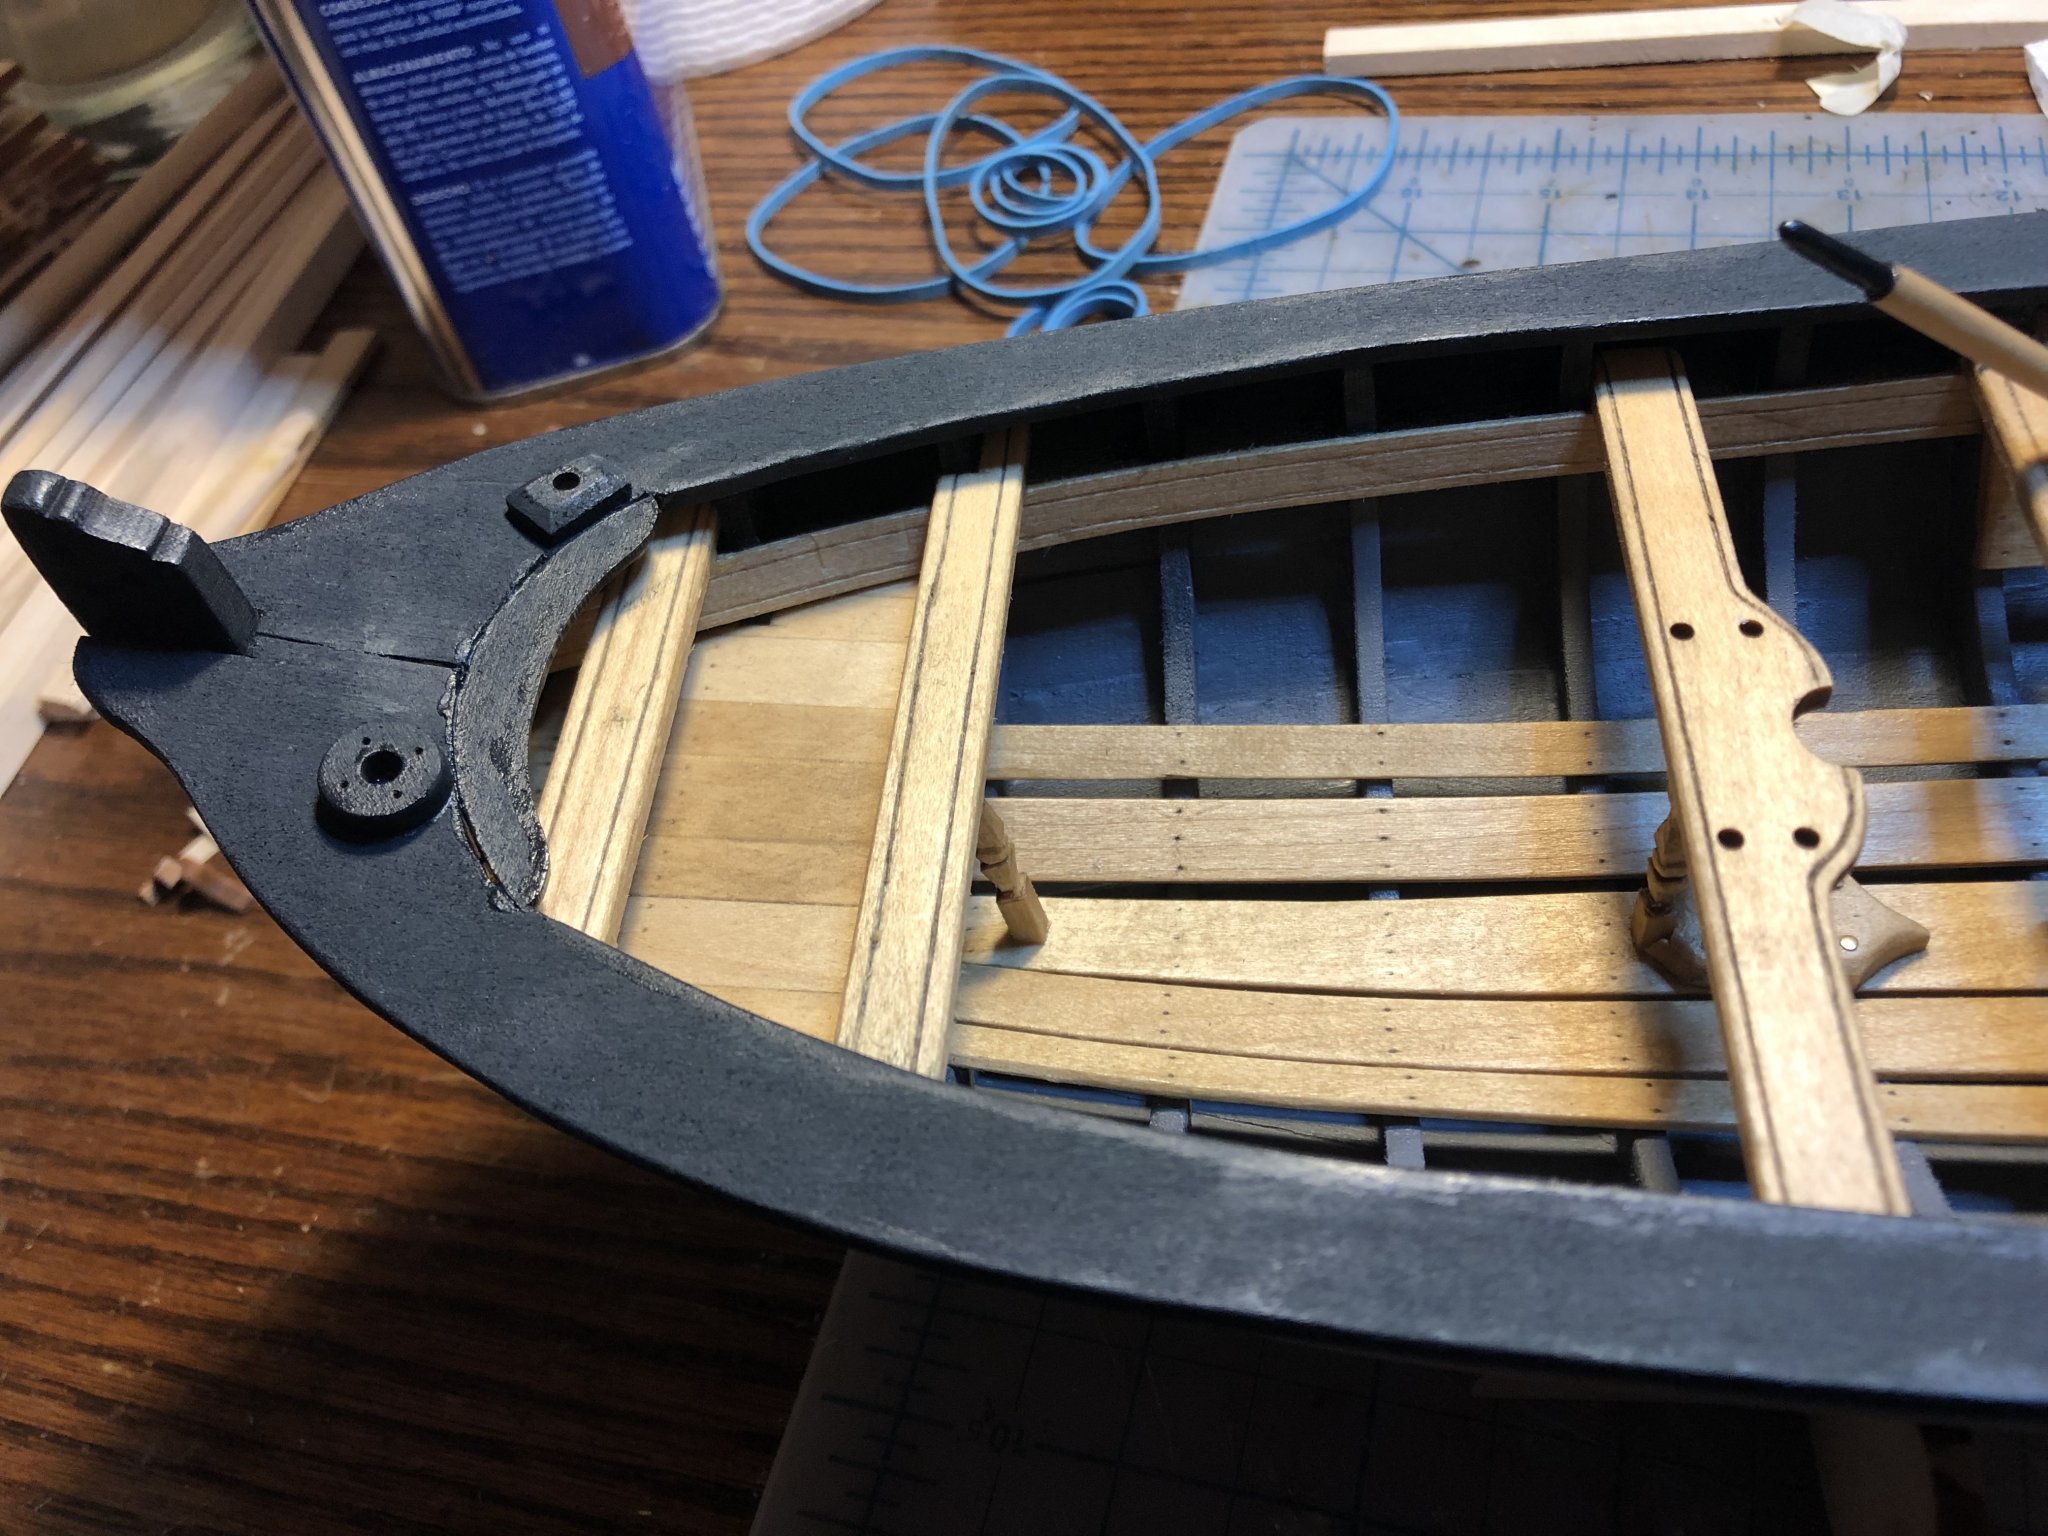
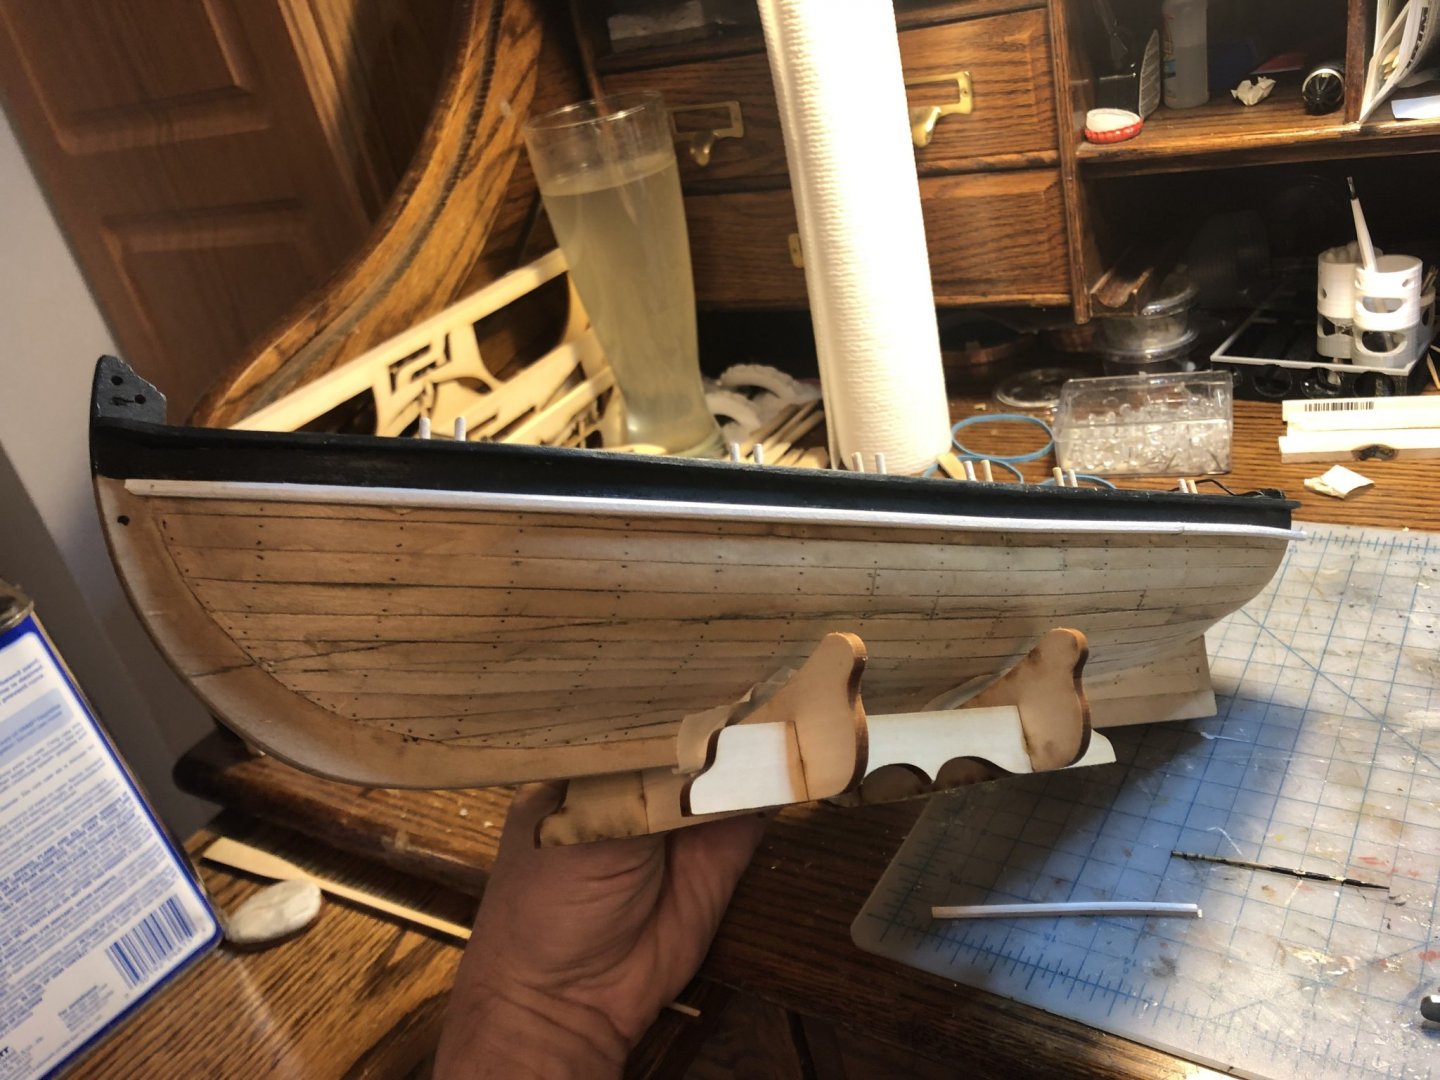
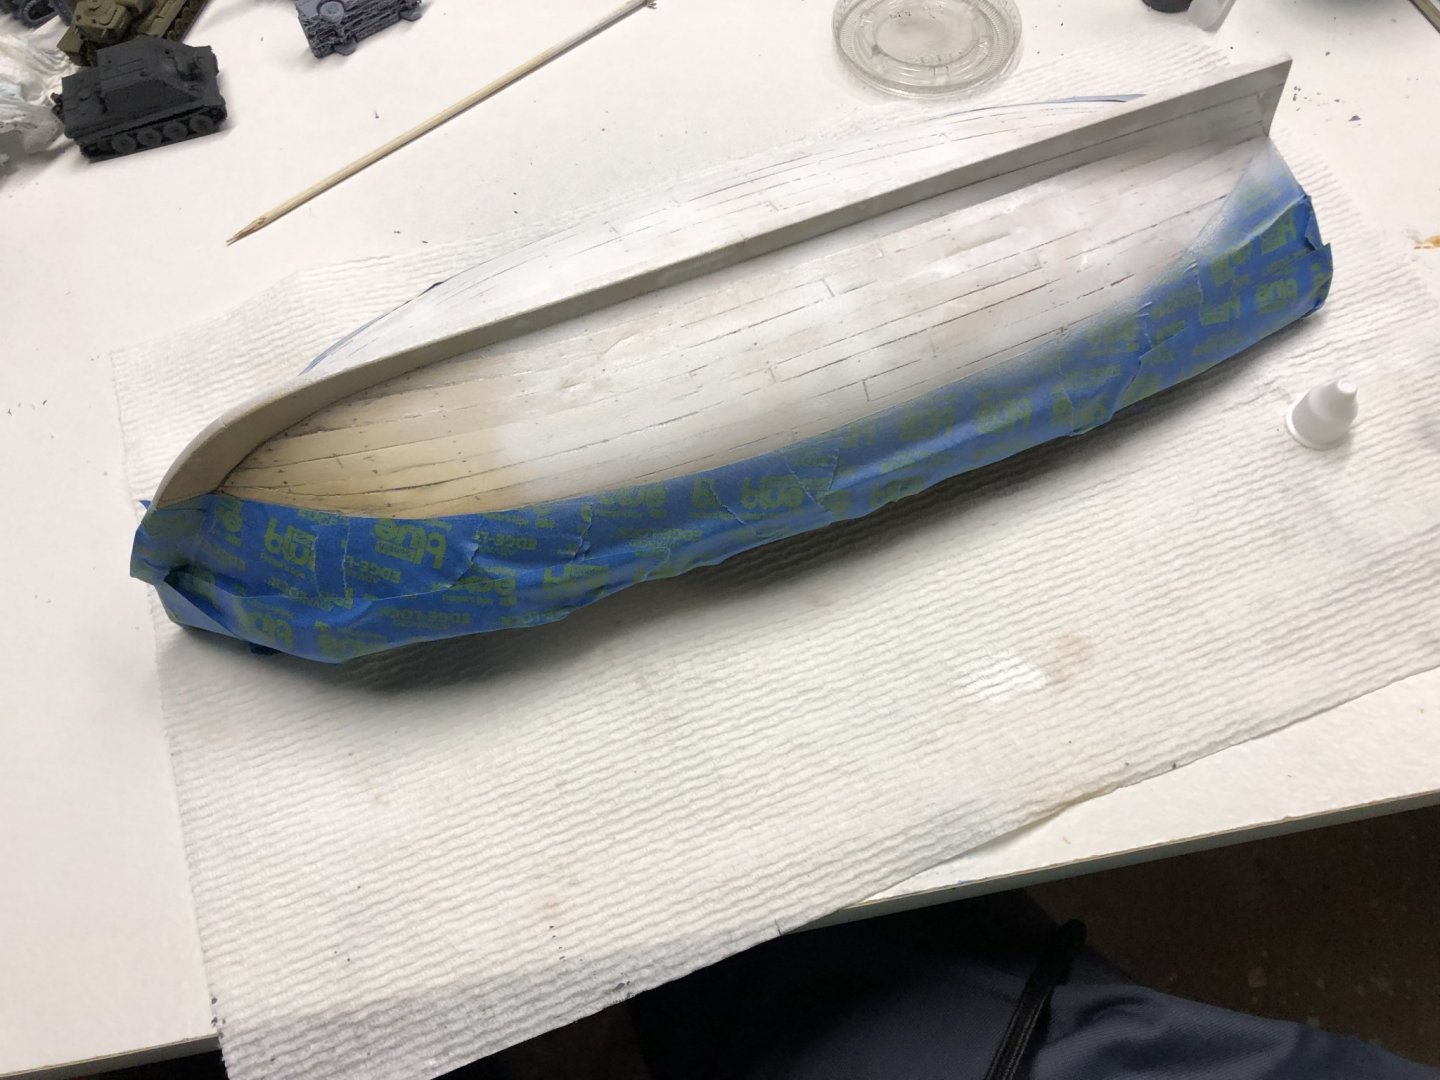
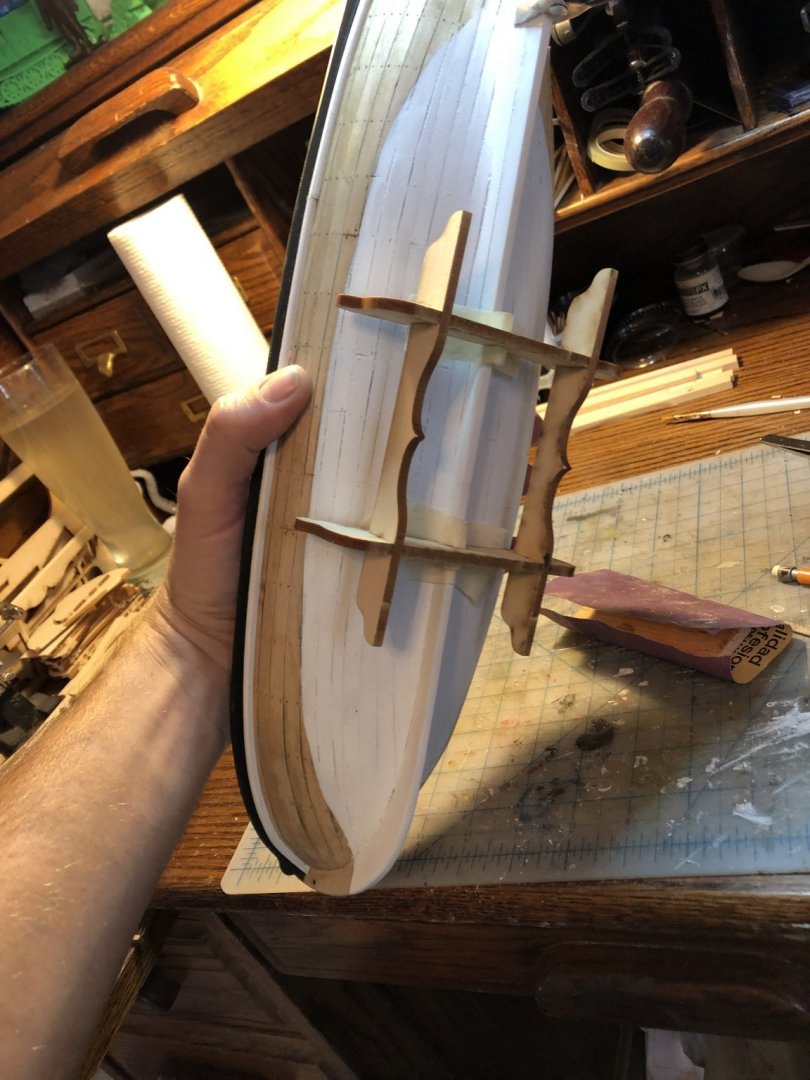
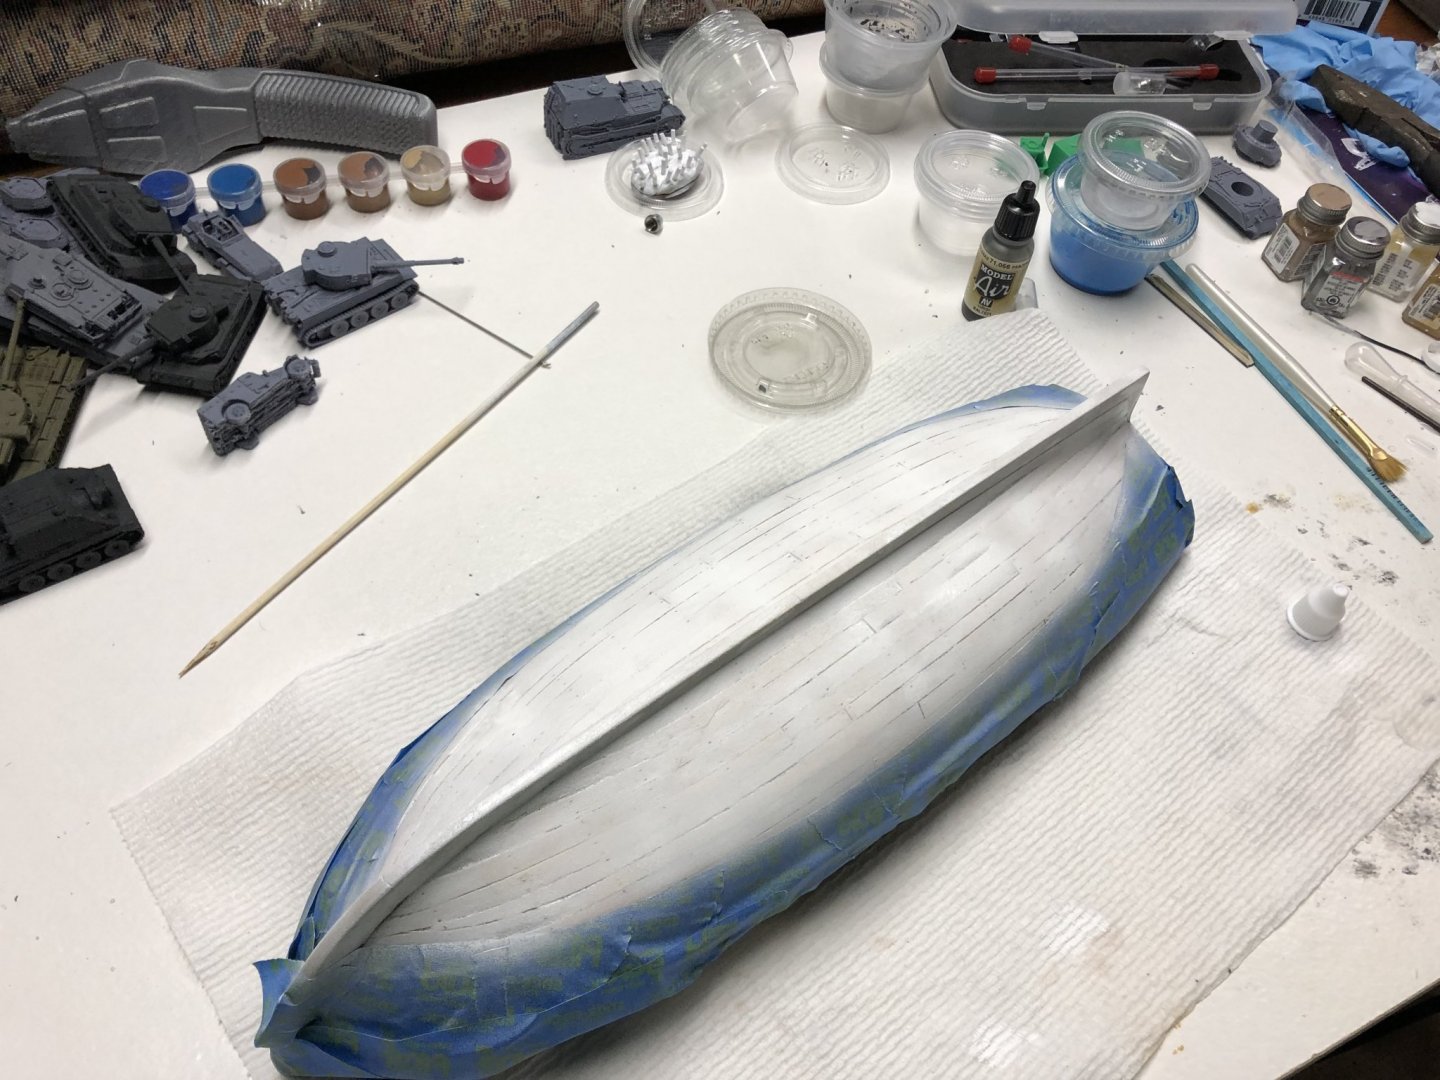
So I had a chance over the long weekend to make some more progress on the boat. I got the oar locks drilled and fit. I didn't care too much for the oarlocks as supplied in the kit. They looked to big compared to the rail. So i ditched the base plate and just attached directly into the rail. I am happy with how these look. I will need to remove and put on a final coat of paint before permanent attachment. I got the rub rails painted and glued into place. The brass cutting plate provided didn't work too well for cutting the rail profile, so i profiled with a small block plane and sanded to a nice finish. I also got the hull painted below the water line. A few coats of spray on acrylic white did the trick nicely. I am really happy with how the blue and white color scheme is turning out. Thanks for looking! and any comments or suggestions are greatly appreciated.


- 23 replies
-
- 2
-
-
- 18th Century Armed Longboat
- Model Shipways
- (and 2 more)
-
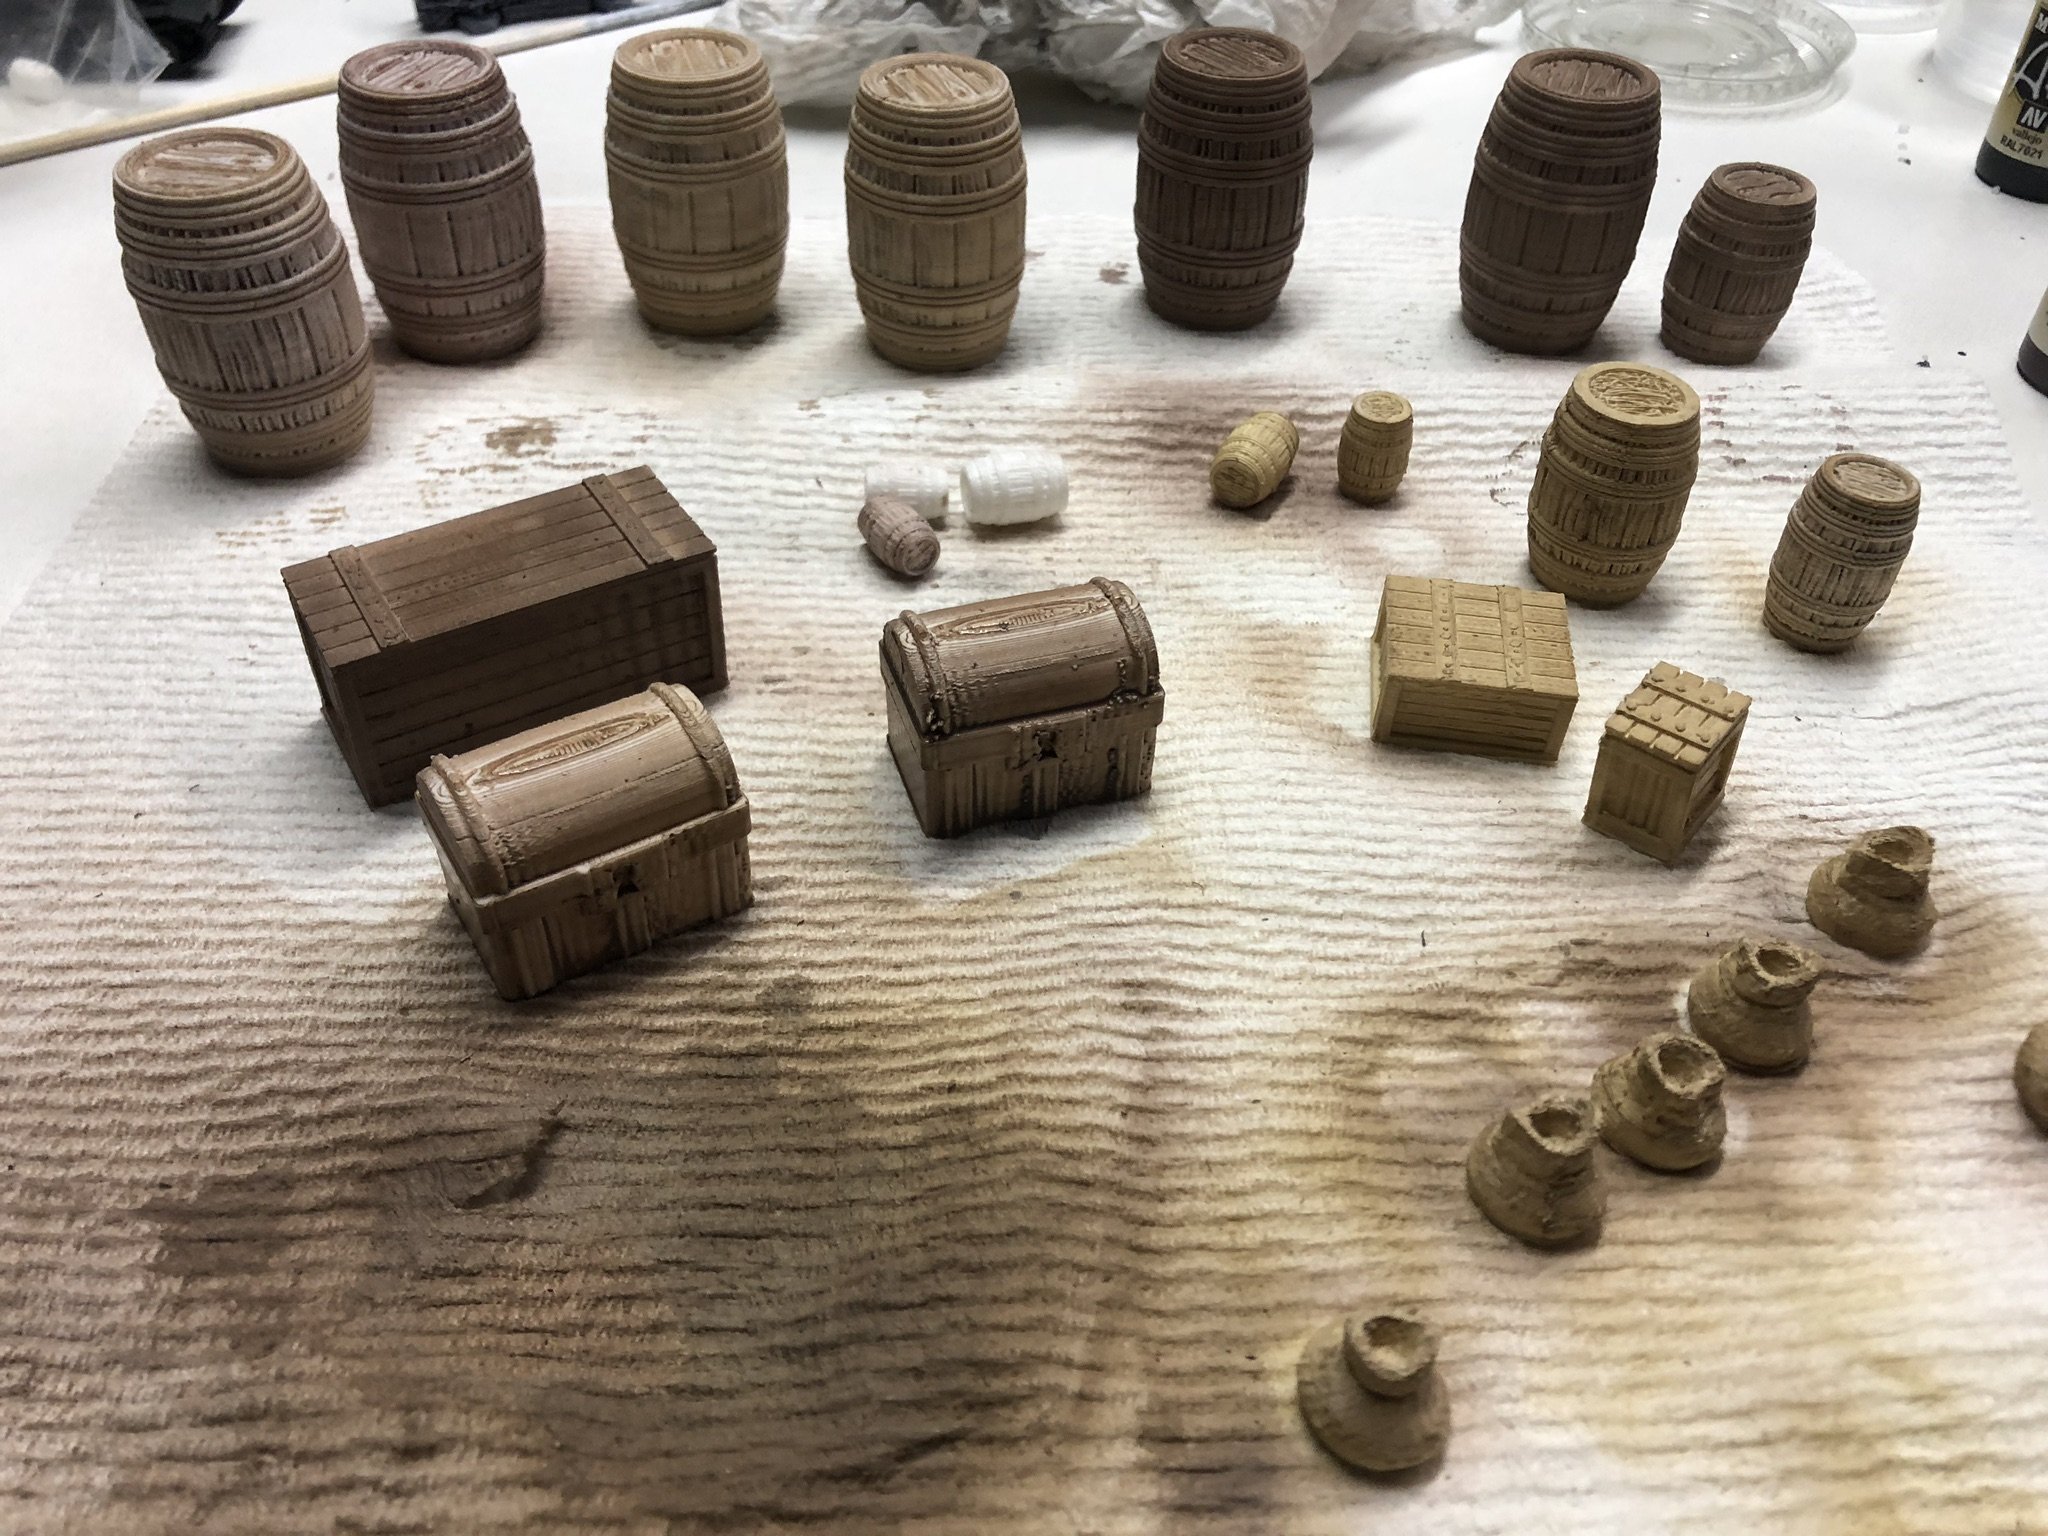
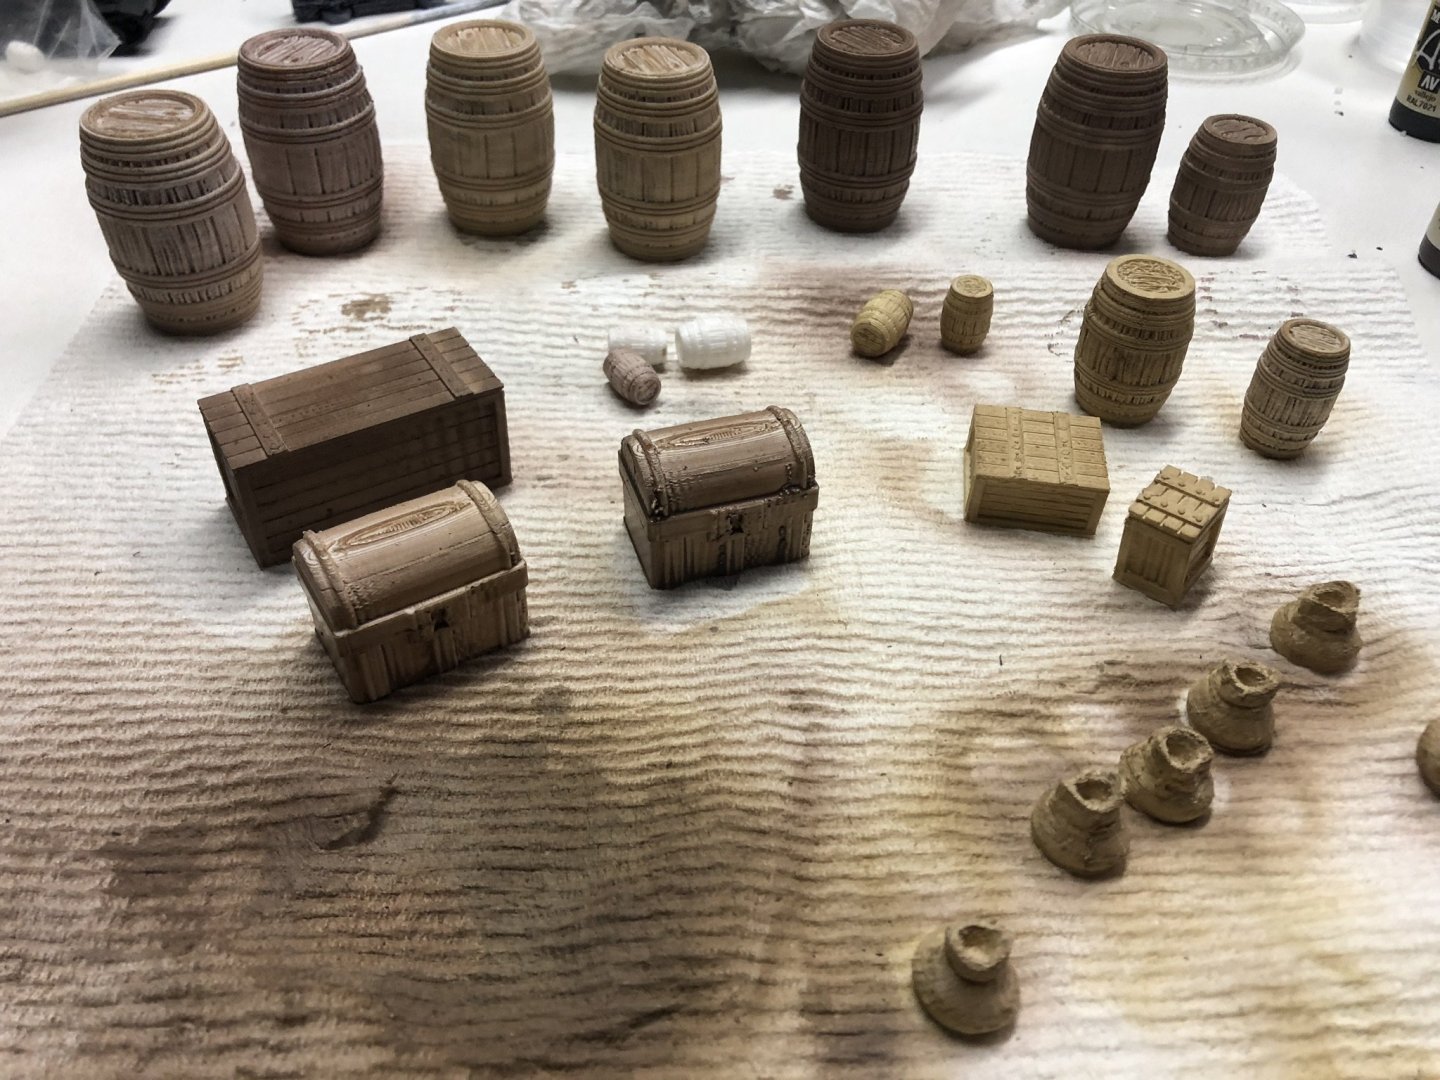
Thanks! I got the barrel and bucket off of Thingiverse. There are several types of barrels available. I could not find a correct bucket with the ears and hoops. I planned to modify the printed one with putty before painting.
- 23 replies
-
- 1
-
-
- 18th Century Armed Longboat
- Model Shipways
- (and 2 more)
-
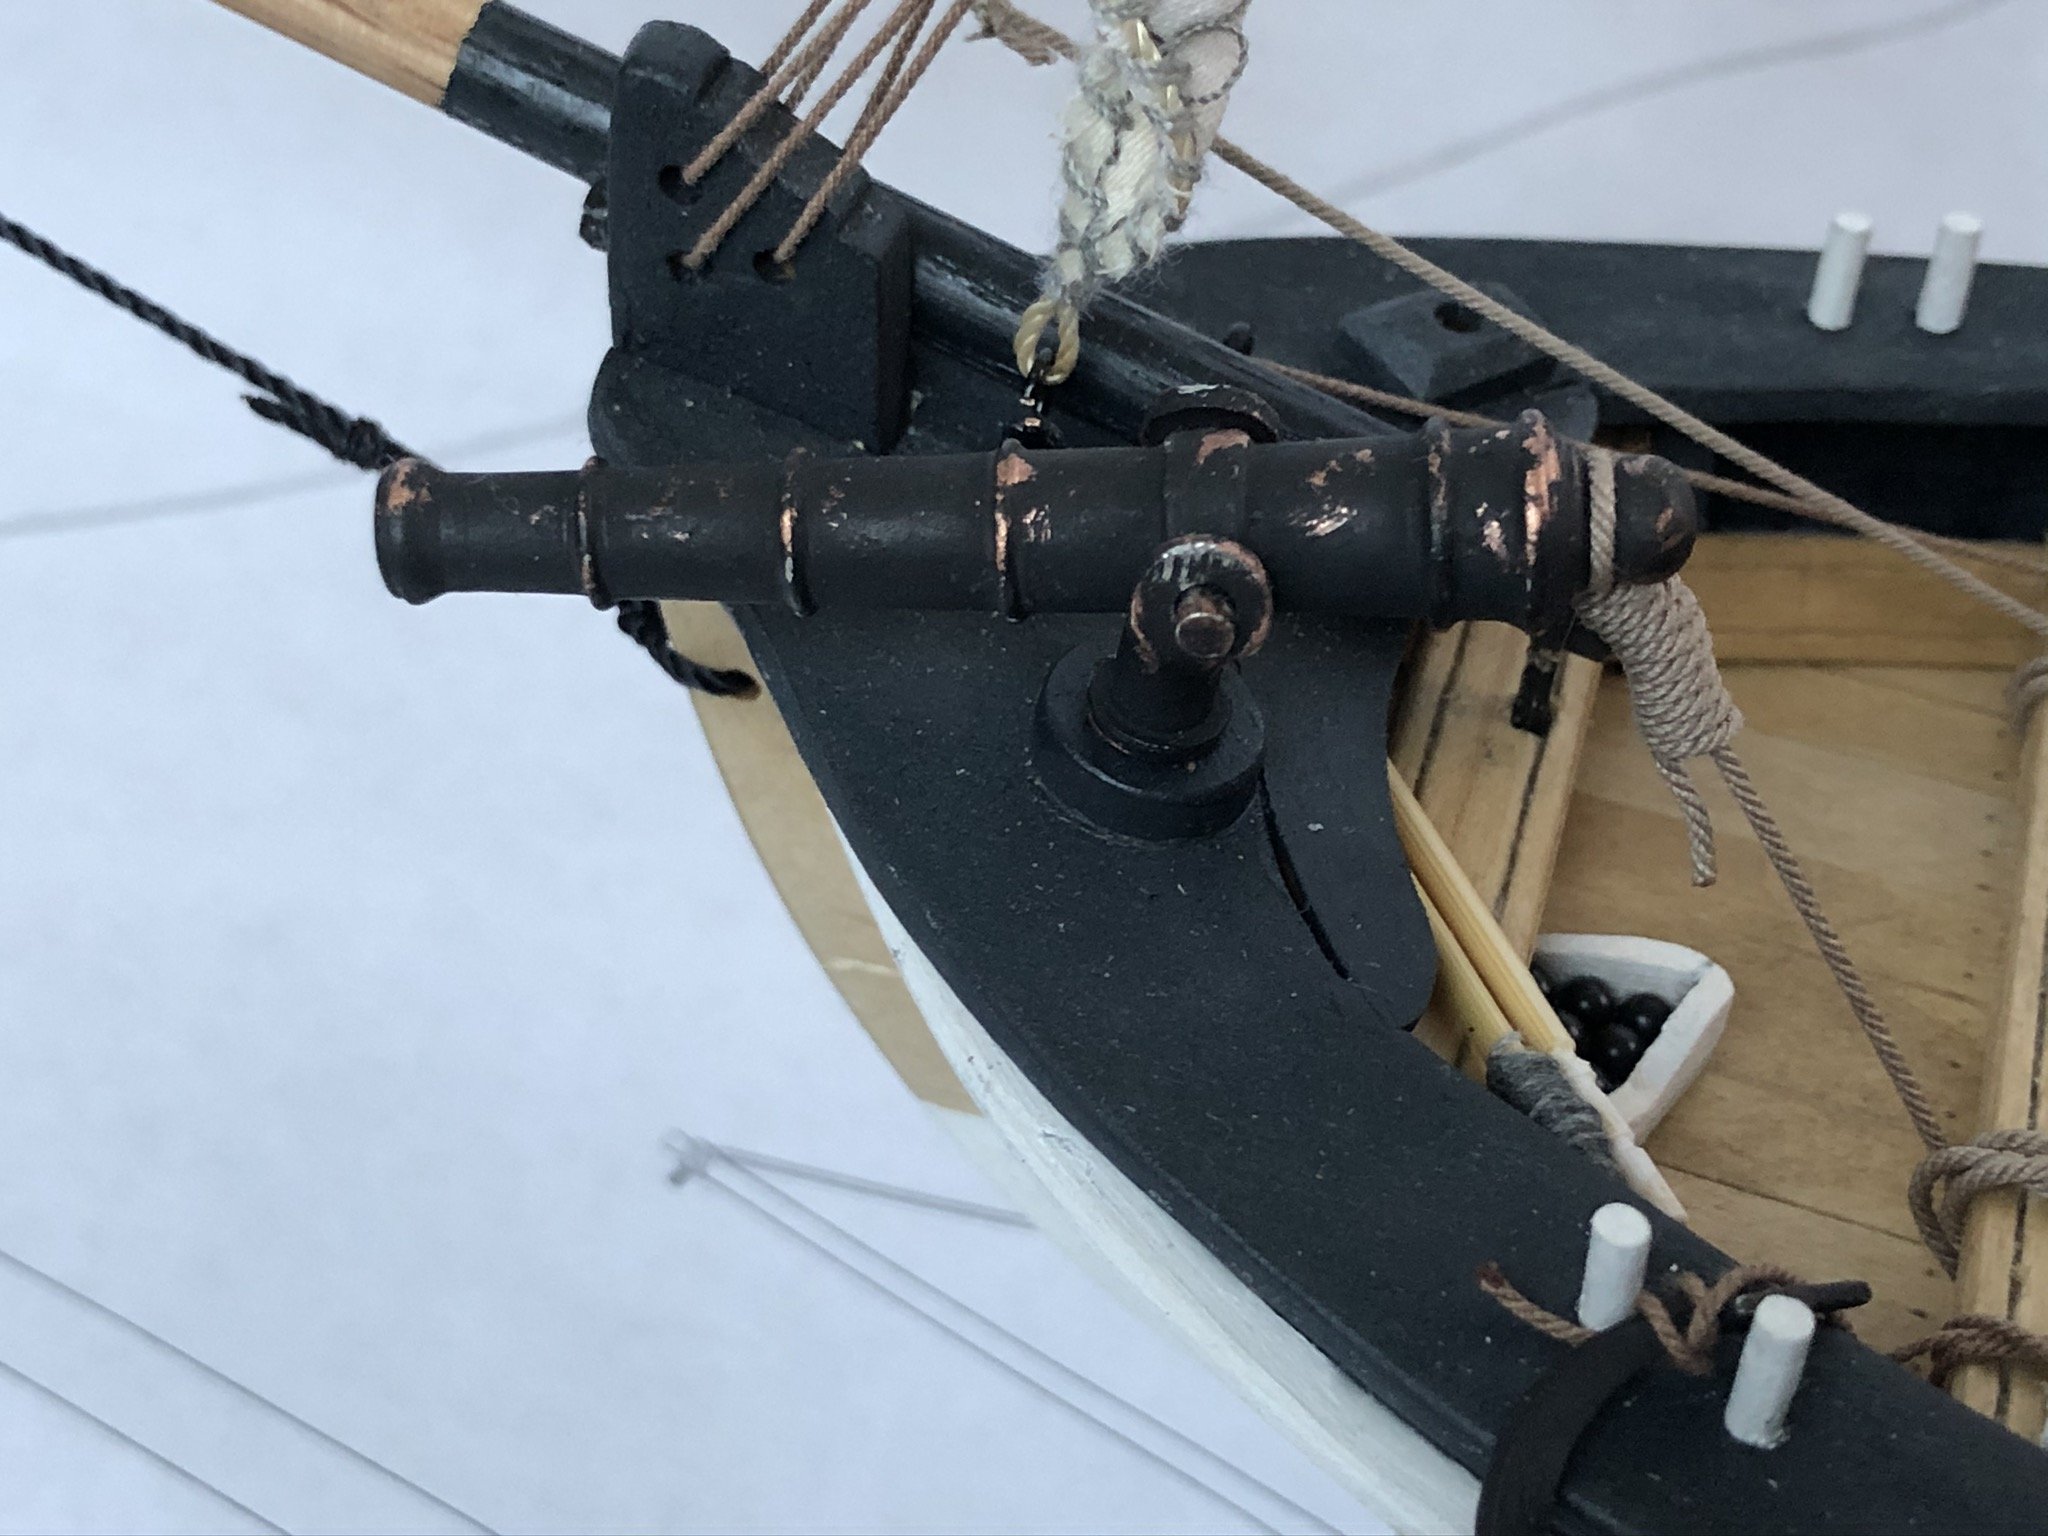
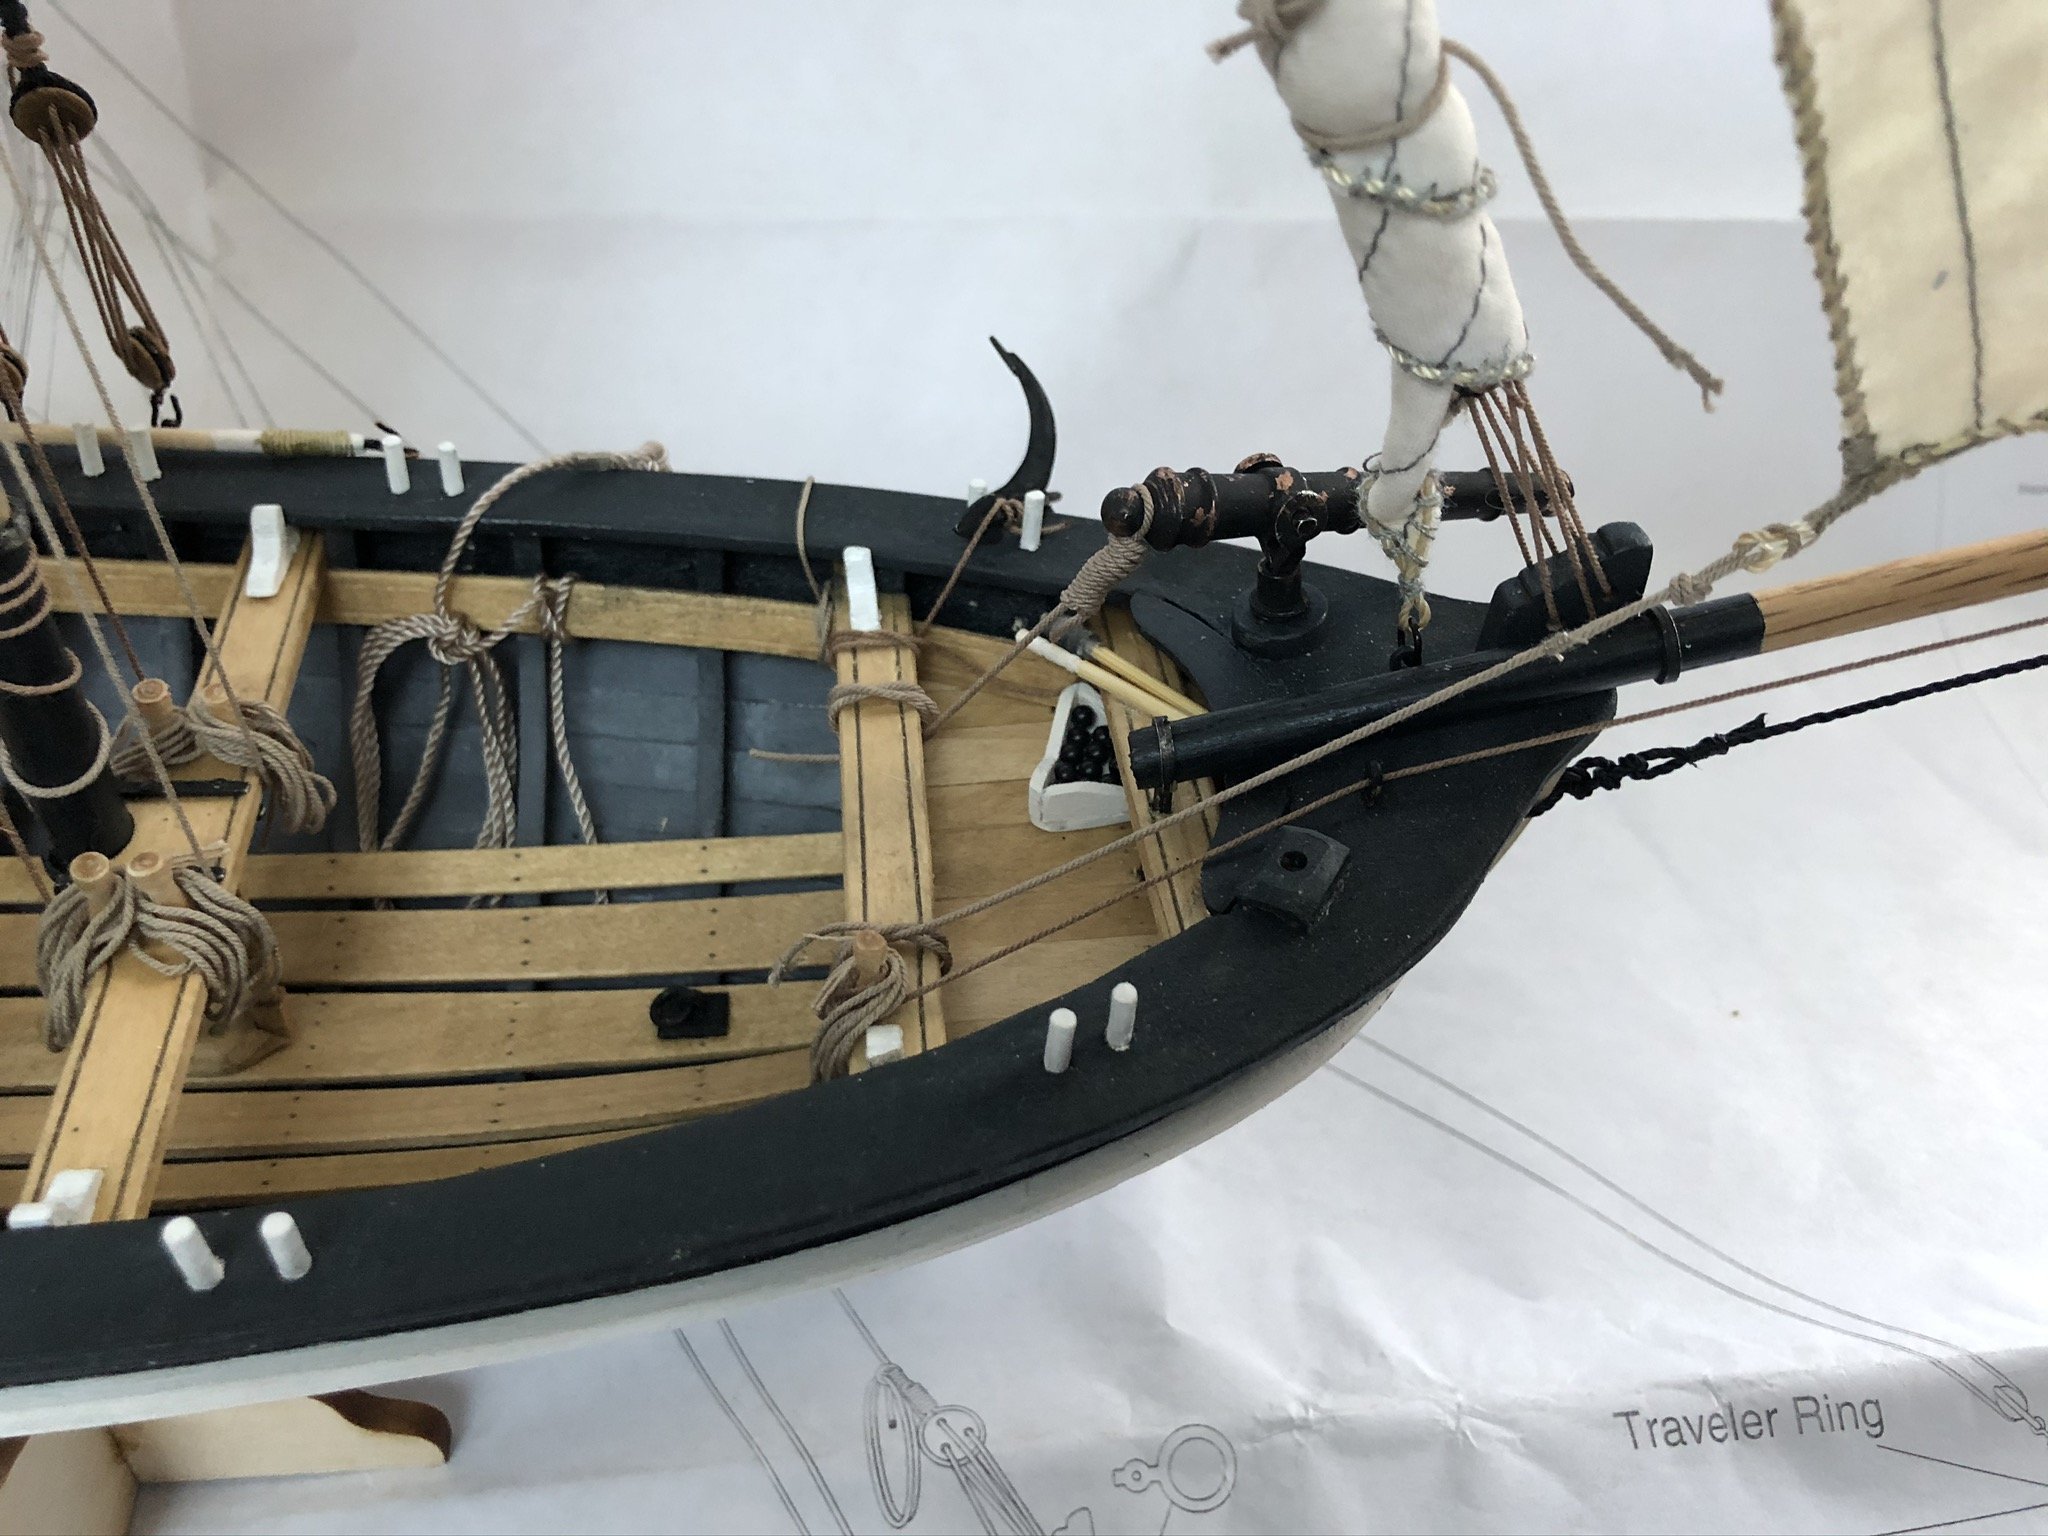
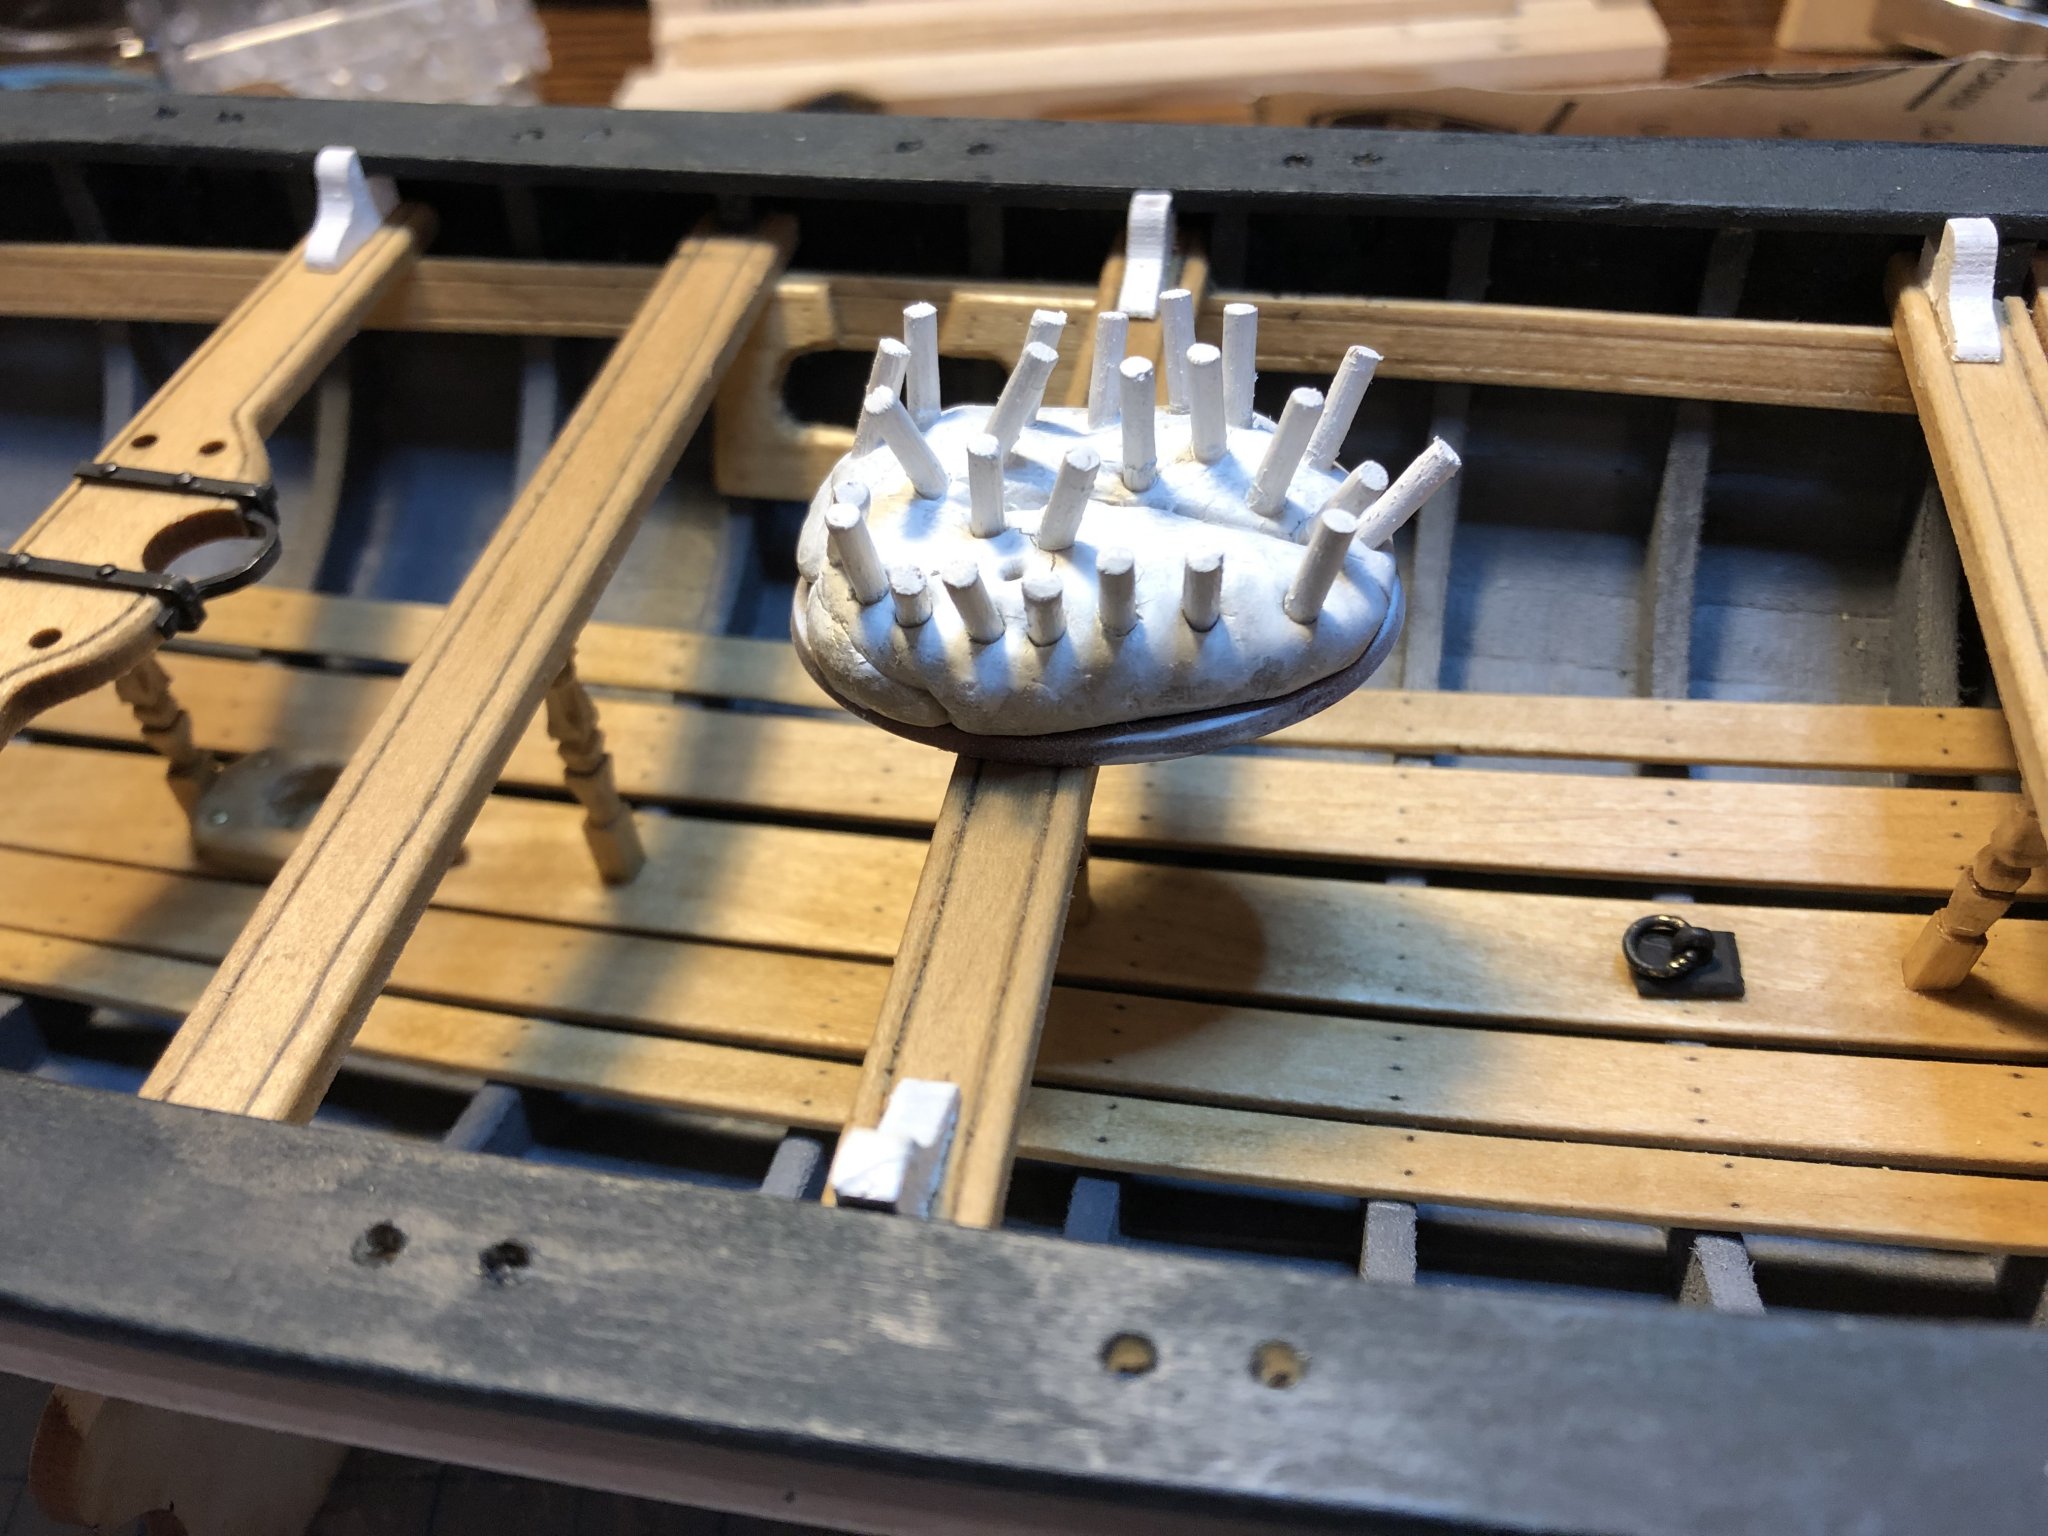
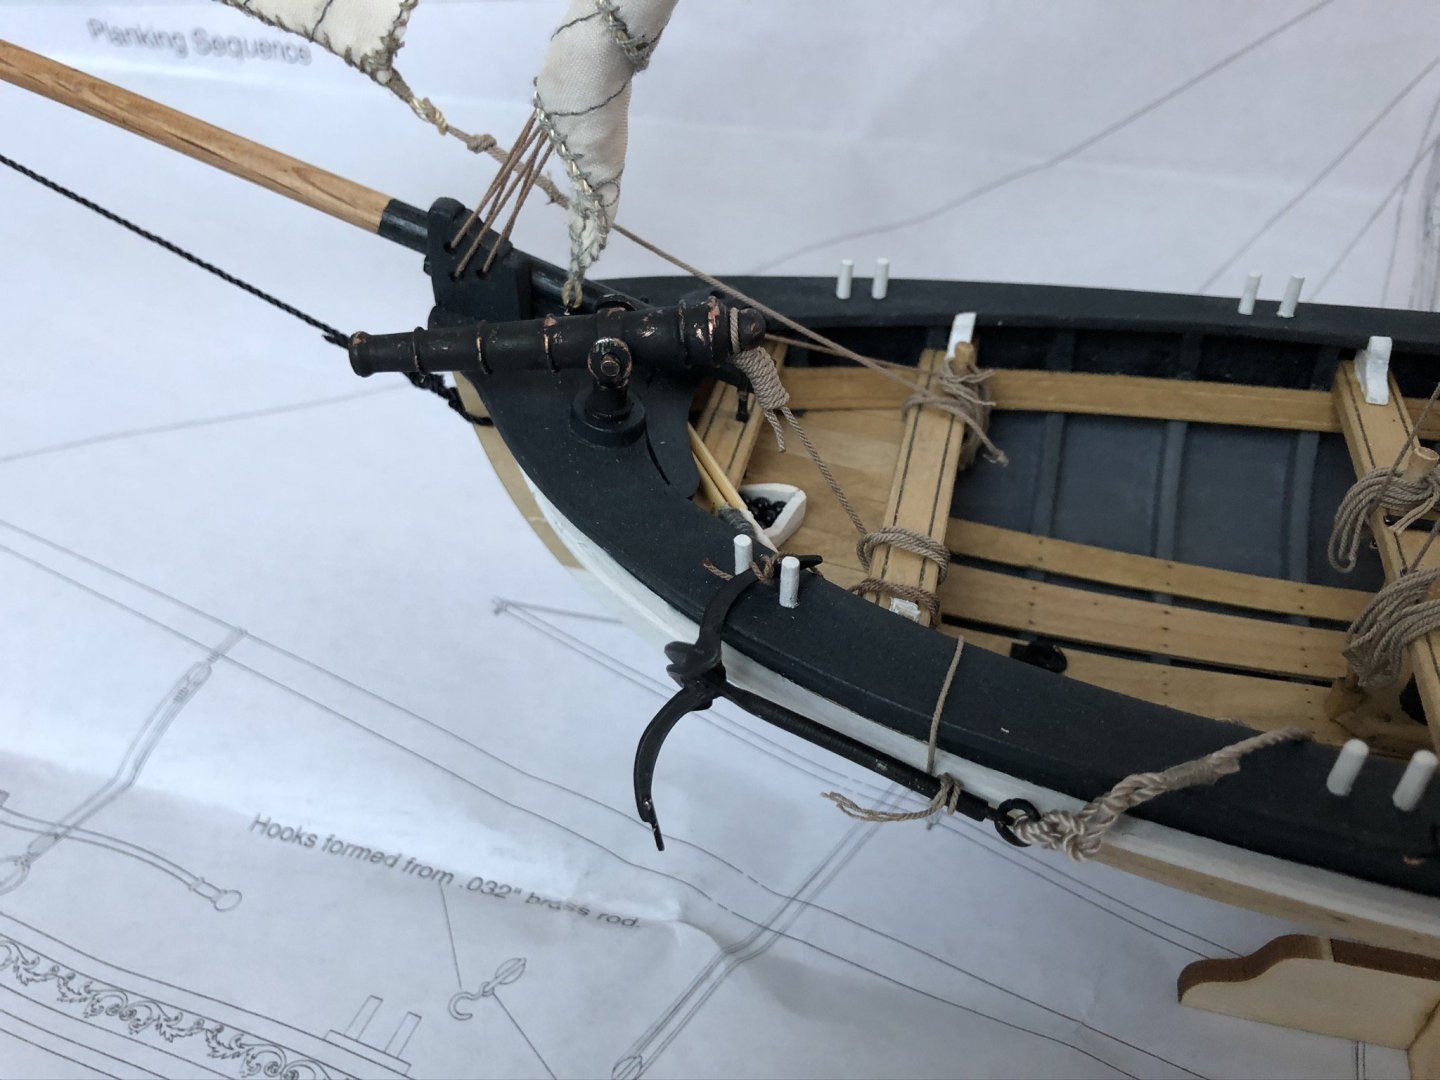
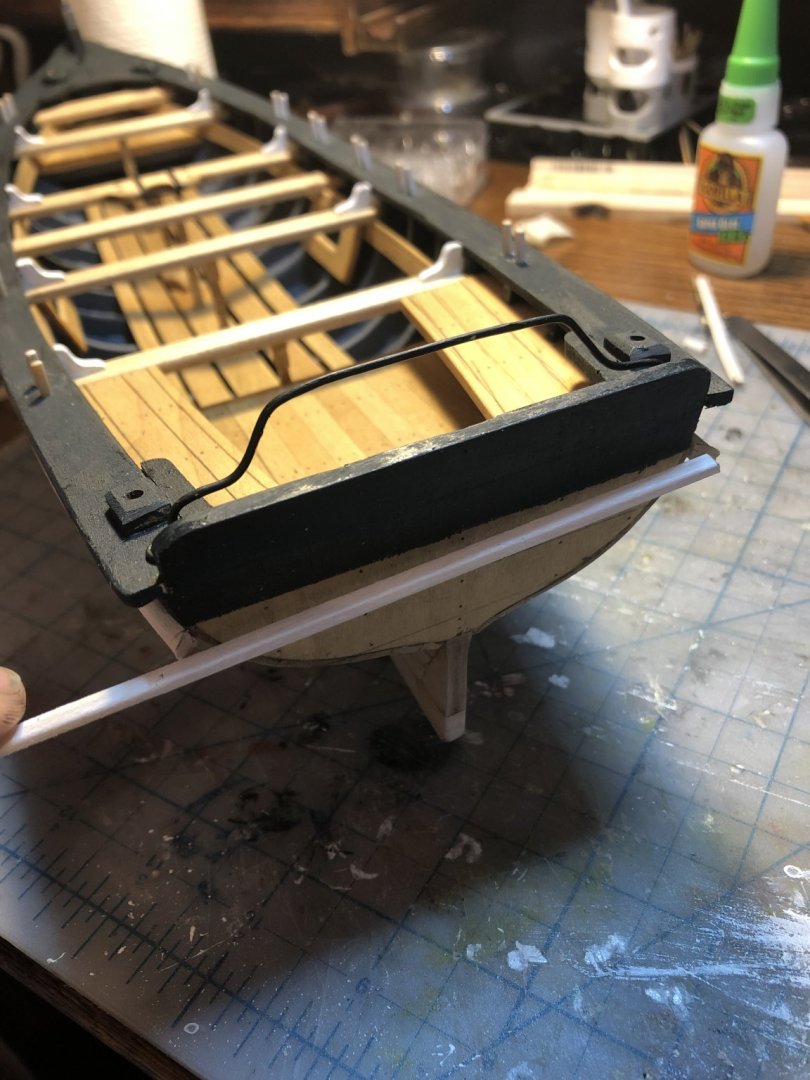
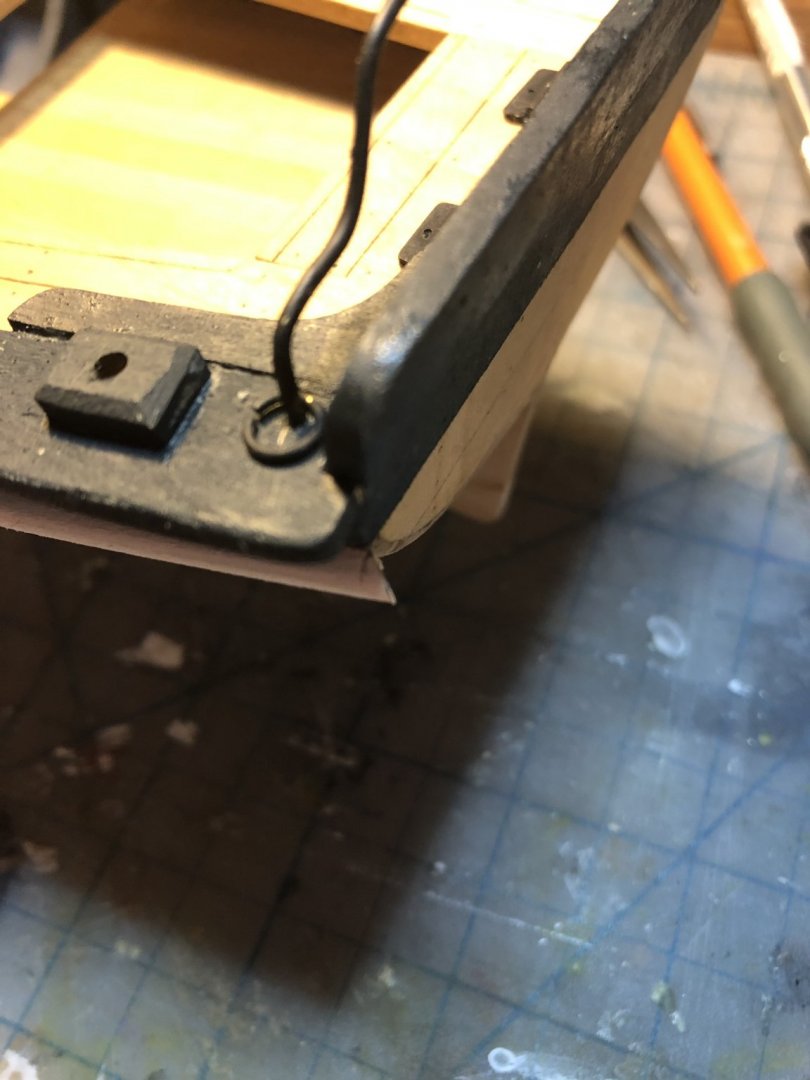
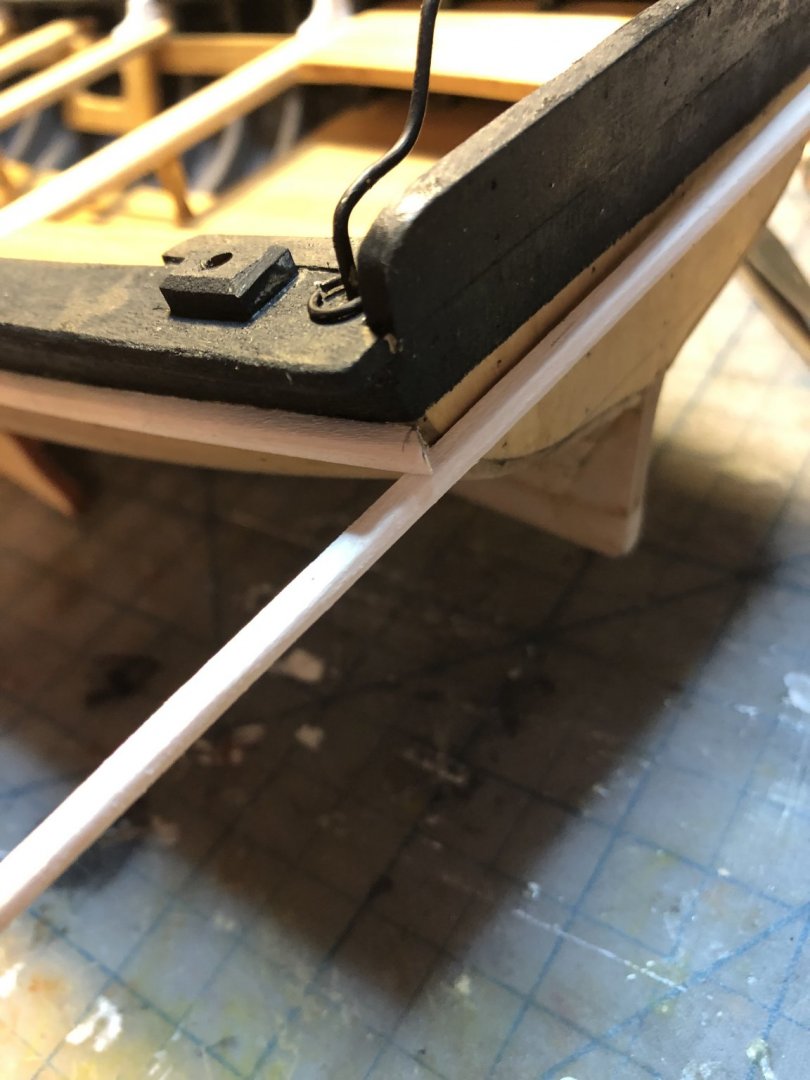
Okay, last post to get caught up with the current state of this build. I modified the windlass attachment based on the Medway Longboat and Arthur Wayne's build of this boat (but not nearly as nice as Arthurs). I feel that the windlass, as supplied in the kit would be kinda worthless. There is nowhere for the lines to run over the rail to assist in anchor work, or no hoisting boom for lifting. I may add a pawl to the end of the drum for braking, not sure yet. Im still up in the air about how to handle cargo hoisting with the windlass. My plan now is to rig a block off the boom above the rear cargo area. and down to the windlass. But im not sure the boom can swing enough to get cargo past the rails of the boat. But it will likely work for the model. I also decided to add sails. That is still up for debate, but I am researching it. Thanks for looking!


- 23 replies
-
- 5
-
-
- 18th Century Armed Longboat
- Model Shipways
- (and 2 more)