Katuna
-
Posts
79 -
Joined
-
Last visited
Content Type
Profiles
Forums
Gallery
Events
Everything posted by Katuna
-
 Yves-That looks fantastic but I have to ask, what the hell am I supposed to do now? Viewing your updates is a daily routine for me. Now what do I do? I mean, you could start building the Trumpeter 1/200 Bismarck or if you want a real challenge, try making a reasonable model out of the Trumpy 1/200 Titanic but until then, what am I supposed to do (sniff, sniff)? Seriously, that looks awesome. Can't wait to see the pro pics of it. You have done a masterful job and should be truly proud. Thank you for all the hard work you not only put into the model, but taking the time to share it with all of us. Here's hoping you grace us with another project but you definitely deserve a breather after this one.
 -
Working with resin definitely takes some adjustment in assembly. We are so used to working with styrene which is forgiving and welds together well (some plastics better than others). Resin is brittle so you can't force it into fitting. It also requires considerable clean up and it has the added bonus of lung damage if you breath the dust. But, it also has the ability of having incredible levels of detail. It's really is a give and take proposition but once you get used to working with it, you can have some very accurate models. Cleaning all those tiny parts can be nerve wracking for sure but the end result really is worth it. Hang in there buddy, it's looking great! Throw a coat of black primer on it to highlight the seams and flash and use you sharpest blades. It'll look fantastic.
-
Looking great! Love your rigging. That came out really nice. I'd like to see some more detailed shots and description of that (so I can steal all of your ideas for the future!).
-
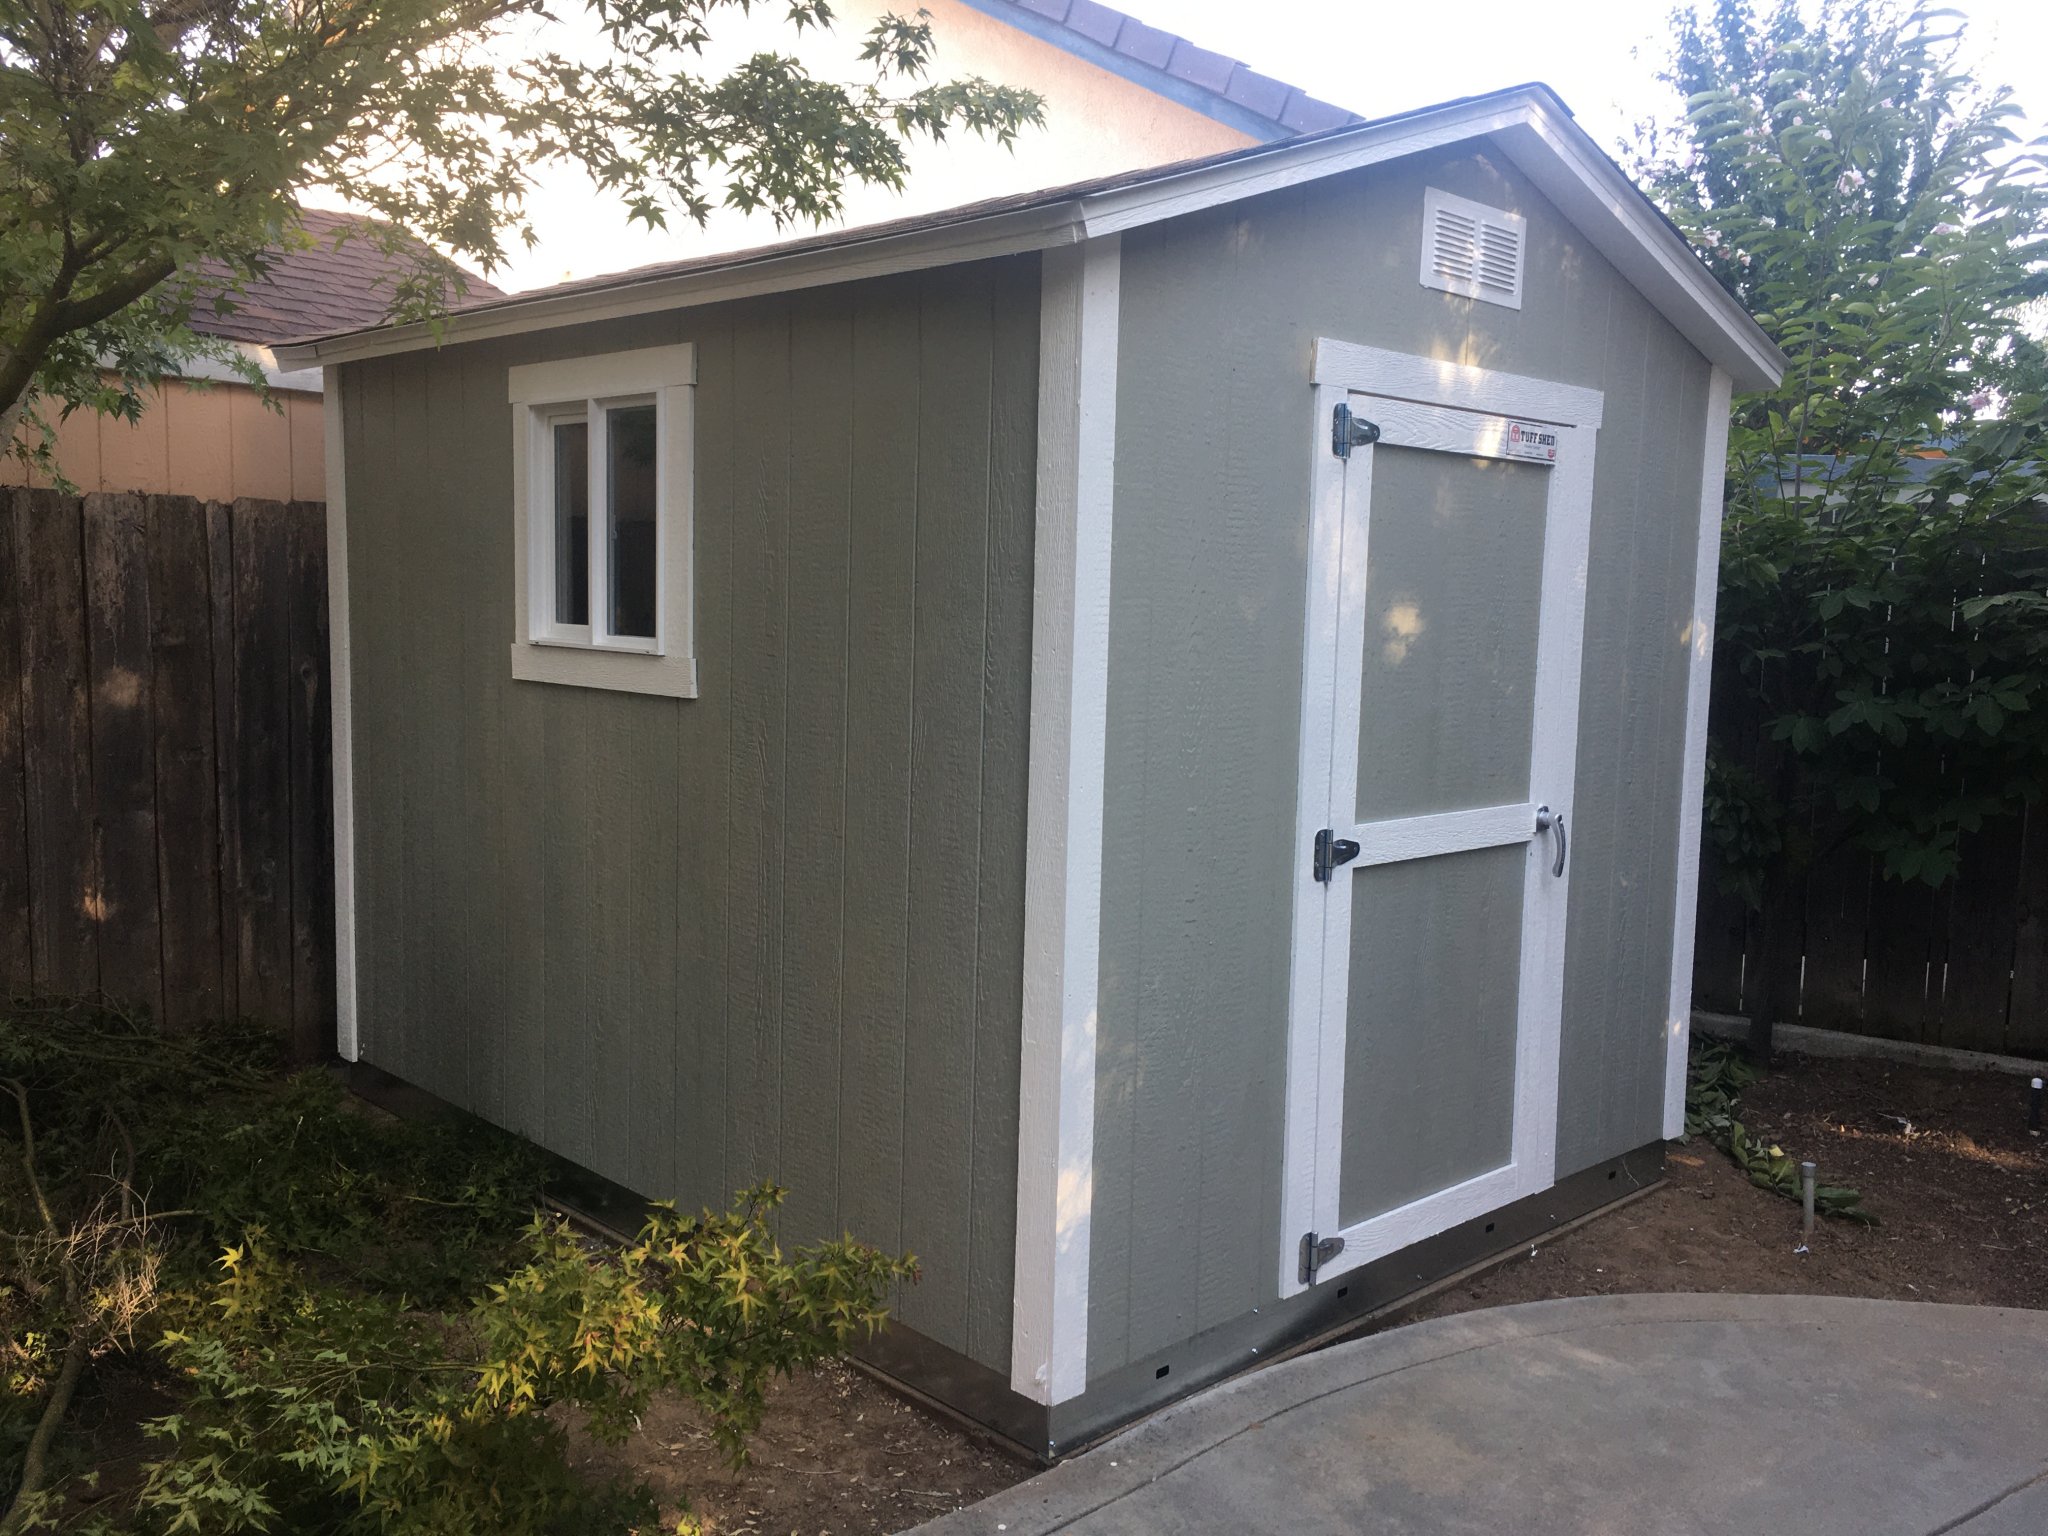
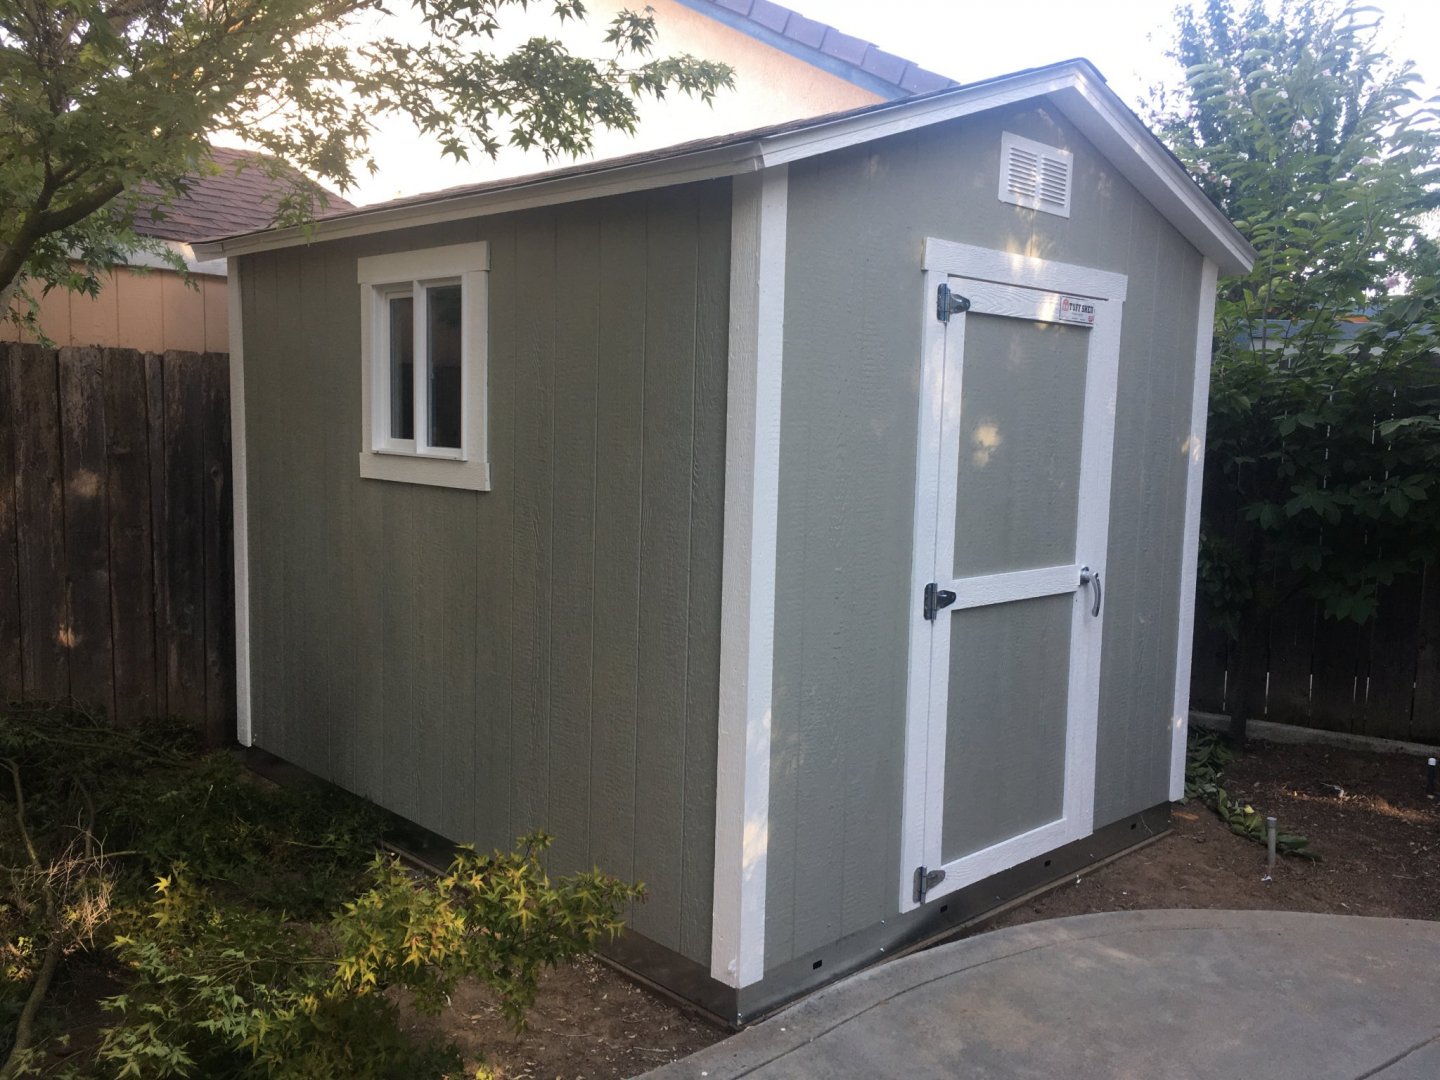
Hey everyone! Yikes, its been 6 months since I posted anything. Life gets in the way, then I lost my spare room where I worked to our nephew so everything got boxed up and stored. The scariest part was my wife and nephew did most of the packing and storing while I was at work one day 😳. They did a great job however. One positive that came out of this was, I was able to get a shed built in my backyard. It's not very large at 8'x10' but that's not all that much smaller than the spare room and...it's all mine. No sharing! Unfortunately it's still going to be quite awhile before it's ready to move into. I want to do it right the first time and had to explain to my wife it's like building a little house. Electrical, insulation, sheetrock, cabinets, work tops and, most importantly HVAC. It's supposed to be 110F this weekend. That needs a little more than a desk fan. Anyway, blah, blah, blah, poor me. I just wanted to let those of you who were laying awake in a pool of sweat every night, waiting and wondering when the next update would be posted, never fear. Later than sooner but, eventually. Now go get some sleep.
-
Ok, I just looked at the link to the forum mentioned above. 😲 Wow...just, wow. Add New Folder. I'm not so sure about the choice of carpet color in the one overhead shot of the officers quarters (lol) but otherwise they are astoundingly detailed. Thank you so much for the link. It was life changing 😍!
-
Yeah, I didn't think they were his. Just asked because you had them together with his drawings. I would love to see a book of all of those renderings! I keep a close watch on NZSnowman's page for new drawings. My files overflowith. Everything you have listed are great references. I would add, there are multiple "after action" interrogation reports, both American and British of sunken or captured U-Boats that are a wealth of info. It's especially true if you're lucky like me and there is a report on the exact boat you are modelling (U-371). I found it odd how much information the crew gave up on their boat given that it was sunk and the Allied's would be none the wiser. I didn't think I would be so forthcoming if my boat was just shot out from under me.
-
Yves - Where did you find those 3D cutaway/cross section pics? I've never seen those before. Are they Snowman's? Fabulous detail.
-
Starting to see a little light at the end of the tunnel yet? Haha. Man, that is a milestone achievement. Looking fantastic. Mmm, 1978 Playboy pinball machine. Oh yeah, 12 years old...fond memories. That was the one I made a beeline for. Plus it was a good play (I think?!).
-
She's looking really good, sir. Coming together very nicely to say the least. You're getting into the home stretch now.
-
Oh yeah, your dive station looks great. That is a much needed addition to the Control Room. Well done, sir.
-
I get it. This is penance for acting like a know-it-all about the bilge pump, isn't it? Sorry, refrigeration's my thing so... The bottles at the planesmens feet are oxygen bottles. Back up for when the scrubbers start to get plugged on extended submersions. I would guess sitting on the bottom. The dive planes as well as the rudders are electrically controlled. I'm not sure if the handwheels are mechanically connected to the dive planes. The rudders have the emergency manual control in the aft Electrical/Torpedo room aft of the Port Electrical panel.
-
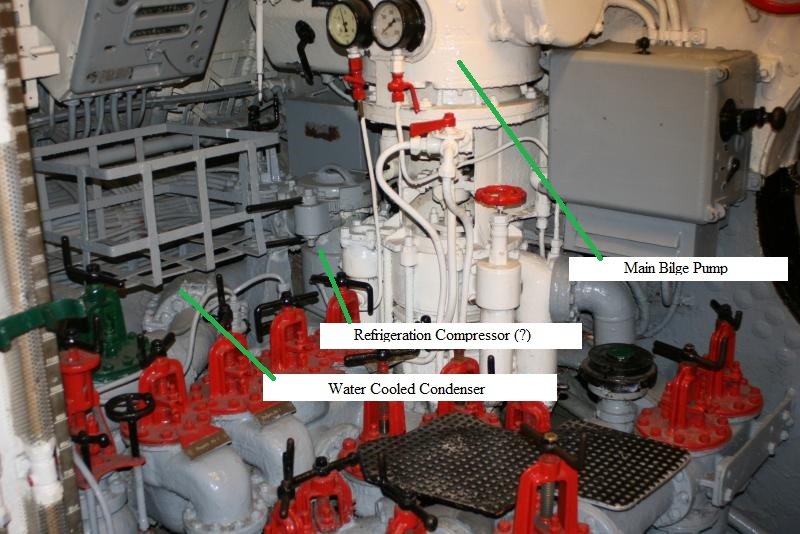
Yves-I believe what you are referring to as the refrigeration compressor is actually the Main Bilge Pump. The reefer compressor and condenser are located further outboard of the pump and the associated valves that Trumpeter did not include. Here is a pic according to Don Prince and Mr. Tore.
-
As to the naval grid system, if you're AR like I am about details, you'll see how the system can pin point a location. Just take a look at my signature line. Yves-I don't recall, were you modeling a specific boat or are you building it as U-552? When I started mine, I picked a number at random then dove into the research. It turned out to have a fairly long career, by U-Boat standards at least. Your build is looking fantastic. I loves me some research. I think I missed my calling.
-
It takes some searching but you can find 1/48 food. There are a few tin cans and a precious few bags and baskets of fruits and veggies. You could always whip something up with some epoxy putty too. Of course you could always say you are near the end of your patrol 😁. It cost a lot of money to feed a U-Boat crew. Even little plastic ones $$$!
-
I don't mean to keep beating a dead horse but, after including the forward Port head (which you can hardly see) they didn't include the aft officers head. Mind boggling sometimes. Are you going to load it up with perishables for the galley?
-
That's looking great. There a lot of that covered up detail on this thing. Like you said, you know it's there. That looks so much better than the kit.
-
Well done,sir. Glad you're back. When you crack open the kit again and these glaring mistakes hit you in the face, it makes you wonder "why" sometimes. But, such is the challenge of a detail-oriented modeler. Curious to the answer you get over a that "other" forum. Like what you've done with the battery shelves though. Welcome back!
-
Alright Spaceman Spiff, chop chop now, enough of this space "ship" talk! I need some U-Boat inspiration to get me motivated again. Don't leave us hanging, brother!
-
Yikes! I assume at $650 for delivery, they fly it first class on JAL and hand deliver it to your door. That is a beautiful model though.
-
Wow! Looks great! Very unique way to display a model. And using your own artwork really pluses it up. Very well done Yves.
-
That just looks awesome! Funny how 20/20 hindsight is always crystal clear. I did wonder if that was going to give you issues gluing the halves on separately. In the long run, no one will even know unless you post it on the internet...um...😁. Seriously though, you've done a fantastic job. Can't wait to see it mounted in all its glory. Job well done sir!
-
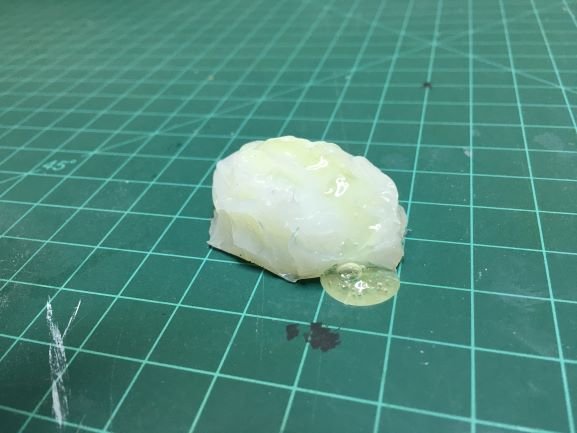
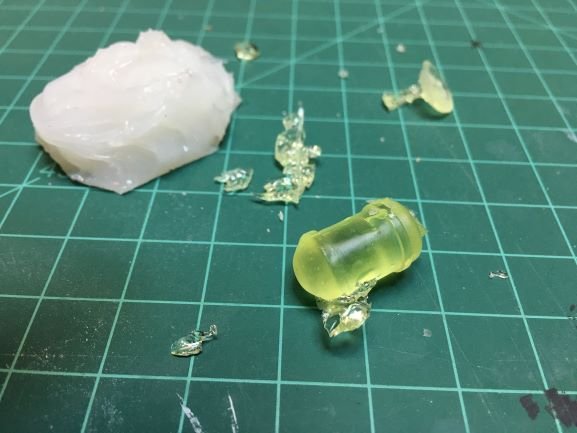
Well, I haven't done much in the last 2 months to the boat but I do have a small update. I've been distracted by a side project that got the better of me. Our nephew gave me an old Monogram M48 Patton tank kit for Christmas. To take a breather from the U Boat build, I thought I would knock out the crude old kit in a weekend as a distraction. I thought wrong! It was a total pig in over simplistic design, circa 1966. I did teach myself how to create cast metal texture so one good thing came out of it. I'm still finishing it up but it's nearly off the bench. So, I attempted to make a silicone mold for the oil cooler since the Blue Stuff didn't work to my liking. After do a quick study of how Plasmo did it (if you've never seen his YouTube vids, very talented guy!), I made a simple mold from household silicone and used 5 min. epoxy. The first go didn't come out as I didn't get enough material in the mold but the second one came out nearly perfect. Success, albeit a minor one. I'll take what I can get. I'm sure making molds is old news to most of you but, after 40 years out of the modeling biz, I'm happy to be learning things I only dreamed of way back when. Good times...good times. I swear, that didn't come out of me. Honest, it's just silicone and resin. Yay, finally a usable part! There's going to be many more copies of parts to come. I need a lot of compressed air tanks. They're all over the boat and the kit only has about 6. I'll be pretty good at this by the time I'm done. Speaking of which, if anyone has any experience in this, I'm open to any suggestions. Hopefully I'll be back on this build soon. I'm sure many of you have been losing sleep in anticipation.
-
That's what it's all about. The details only YOU can see. It's what makes you happy and what's fun to you. As long as there's photographic evidence, others will know. That said, it is a crying shame that all the panels are behind the curve. Hopefully once it's all together there will be a little color reflection. Job well done.
-
Brilliant solution! That looks awesome. Nice artistry as well. Additional gratuitous praise! 😁