MORE HANDBOOKS ARE ON THEIR WAY! We will let you know when they get here.
×


bolin
-
Posts
482 -
Joined
-
Last visited
Content Type
Profiles
Forums
Gallery
Events
Everything posted by bolin
-
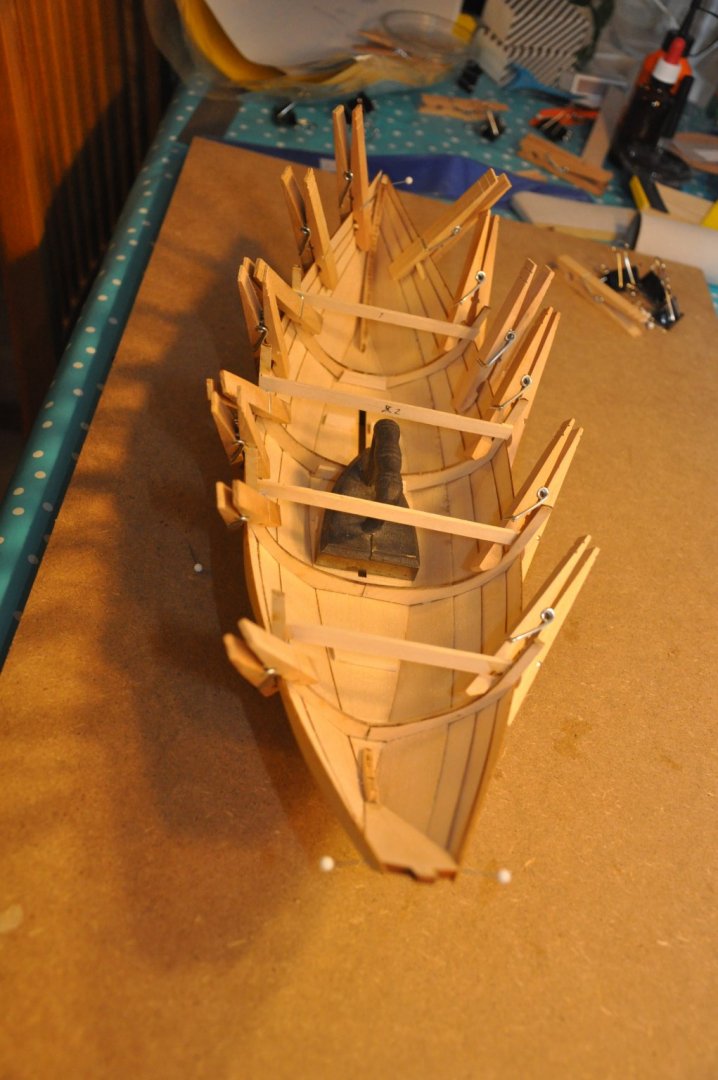
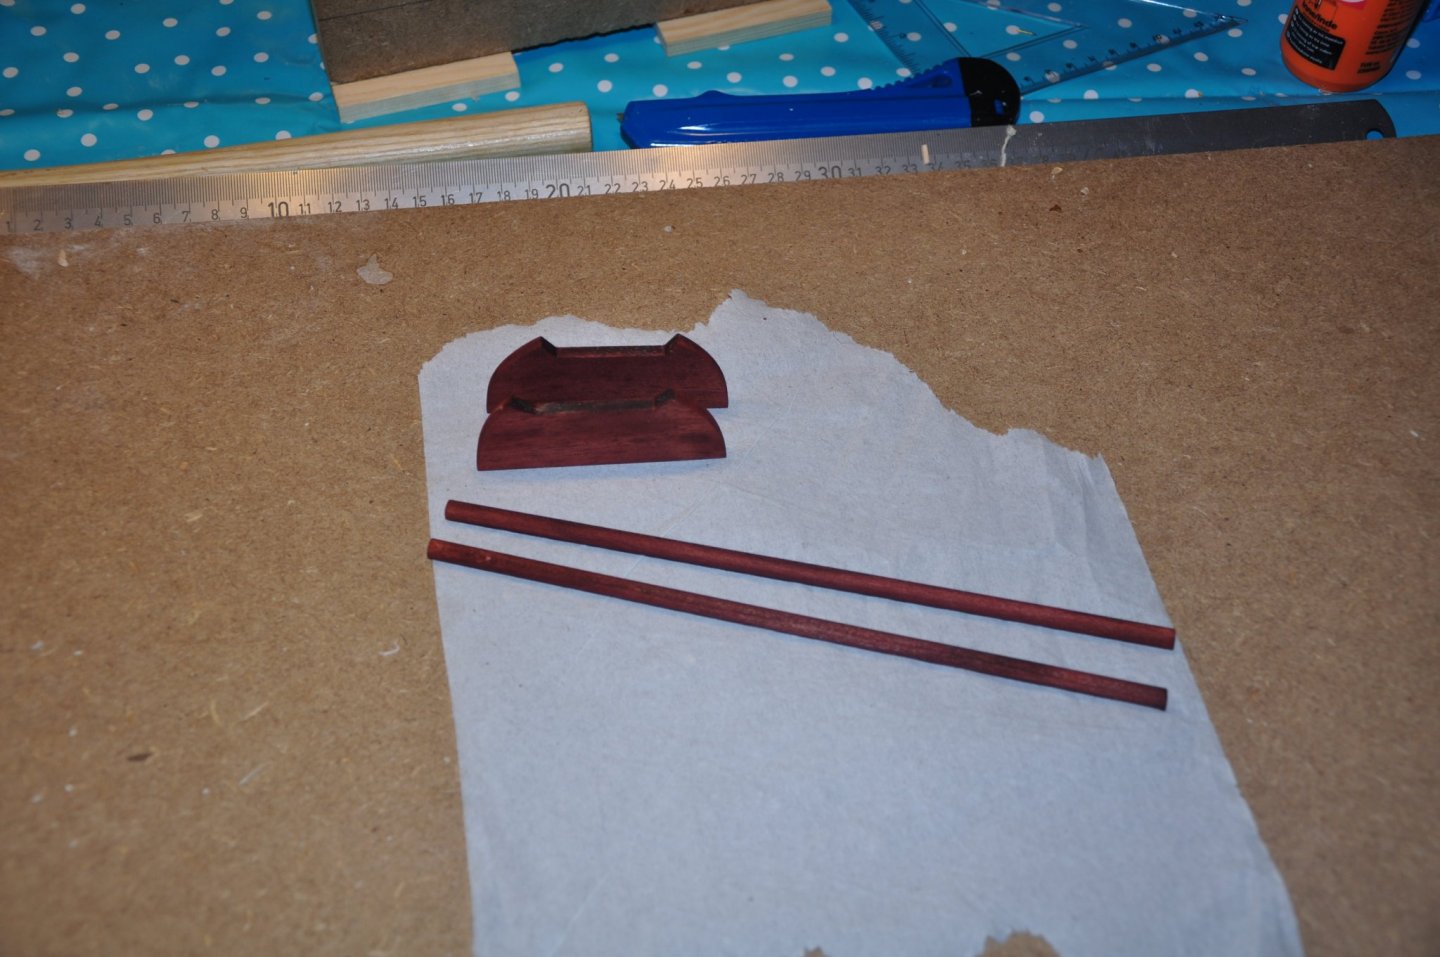
 Thanks for the input, it sounds plausible. However, the gaps are not equal on all the frames, so I still think I made some mistakes. When I have continued with the model it seems that the gaps and the possible misalignment of the planks are not so severe. Here all the planks are glued and I will just start to cut down the frames. I have also been busy preparing parts to be installed later; mast, boom oars etc. In the picture below they have been given a coat of base filler before paining and are hanging to dry. Unfortunately the filler I got together with the kit contains thinner that's not really suitable for indoor use, and I don't think I can use it for the rest of the build. So now I'm looking for some alternative. I seems that wipe on poly is quite popular in these pages. However I'm not familiar with that and have not found it here in Sweden. Instead I have bought shellac and will try that.
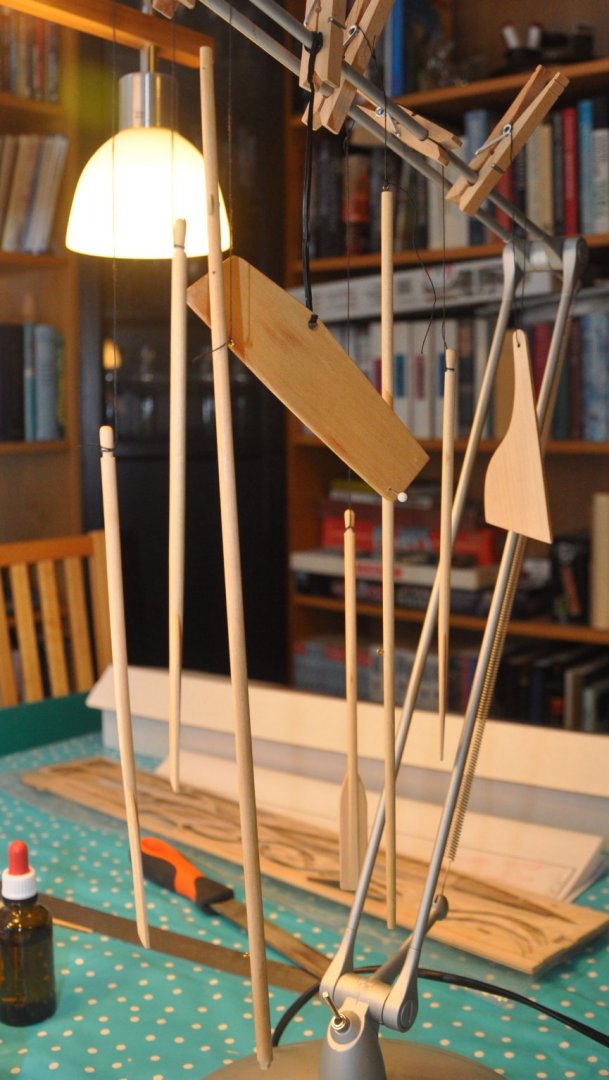

- 18 replies
-
- 4
-

-
- finished
- BlueJacket Shipcrafters
- (and 1 more)
-
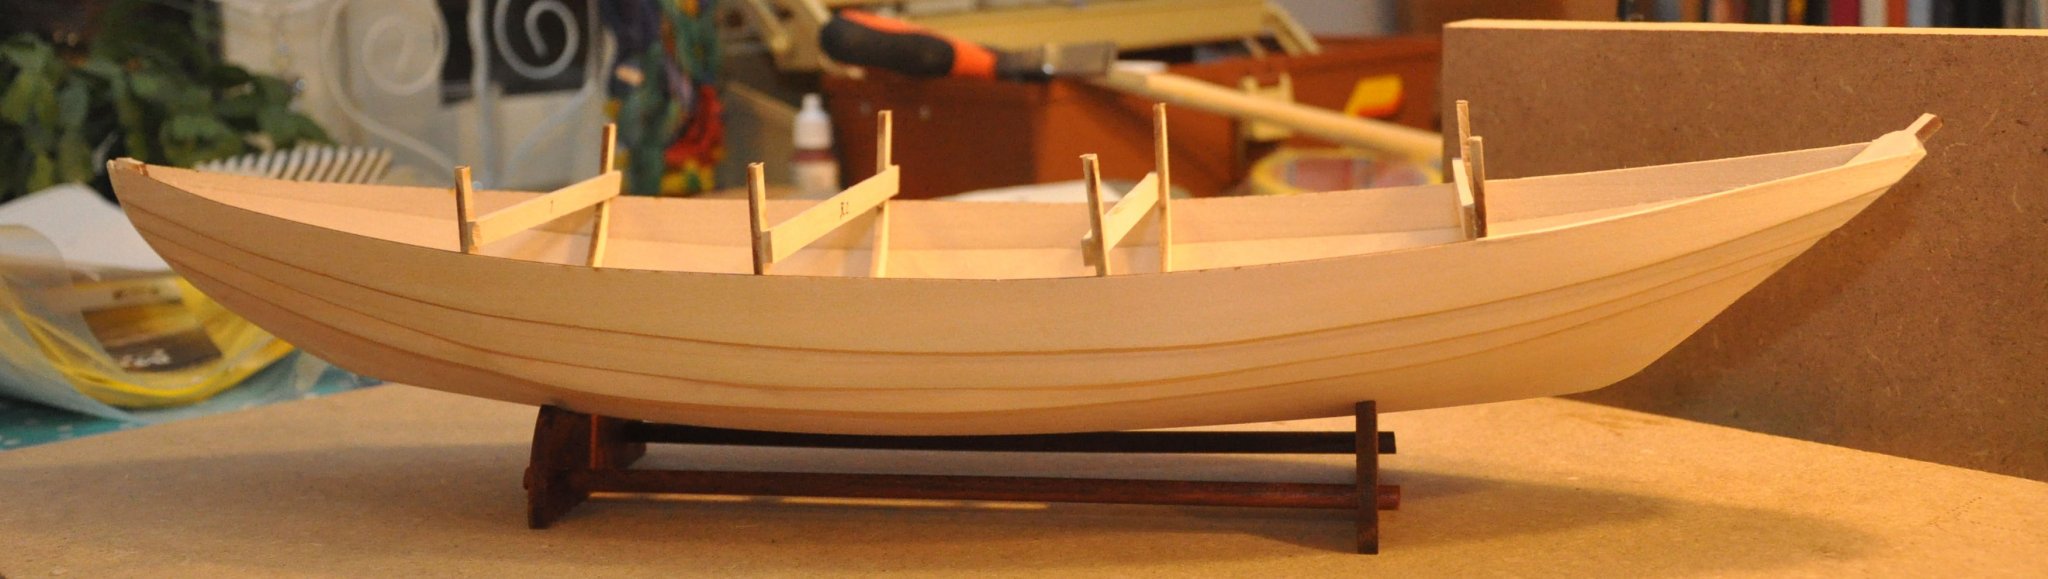
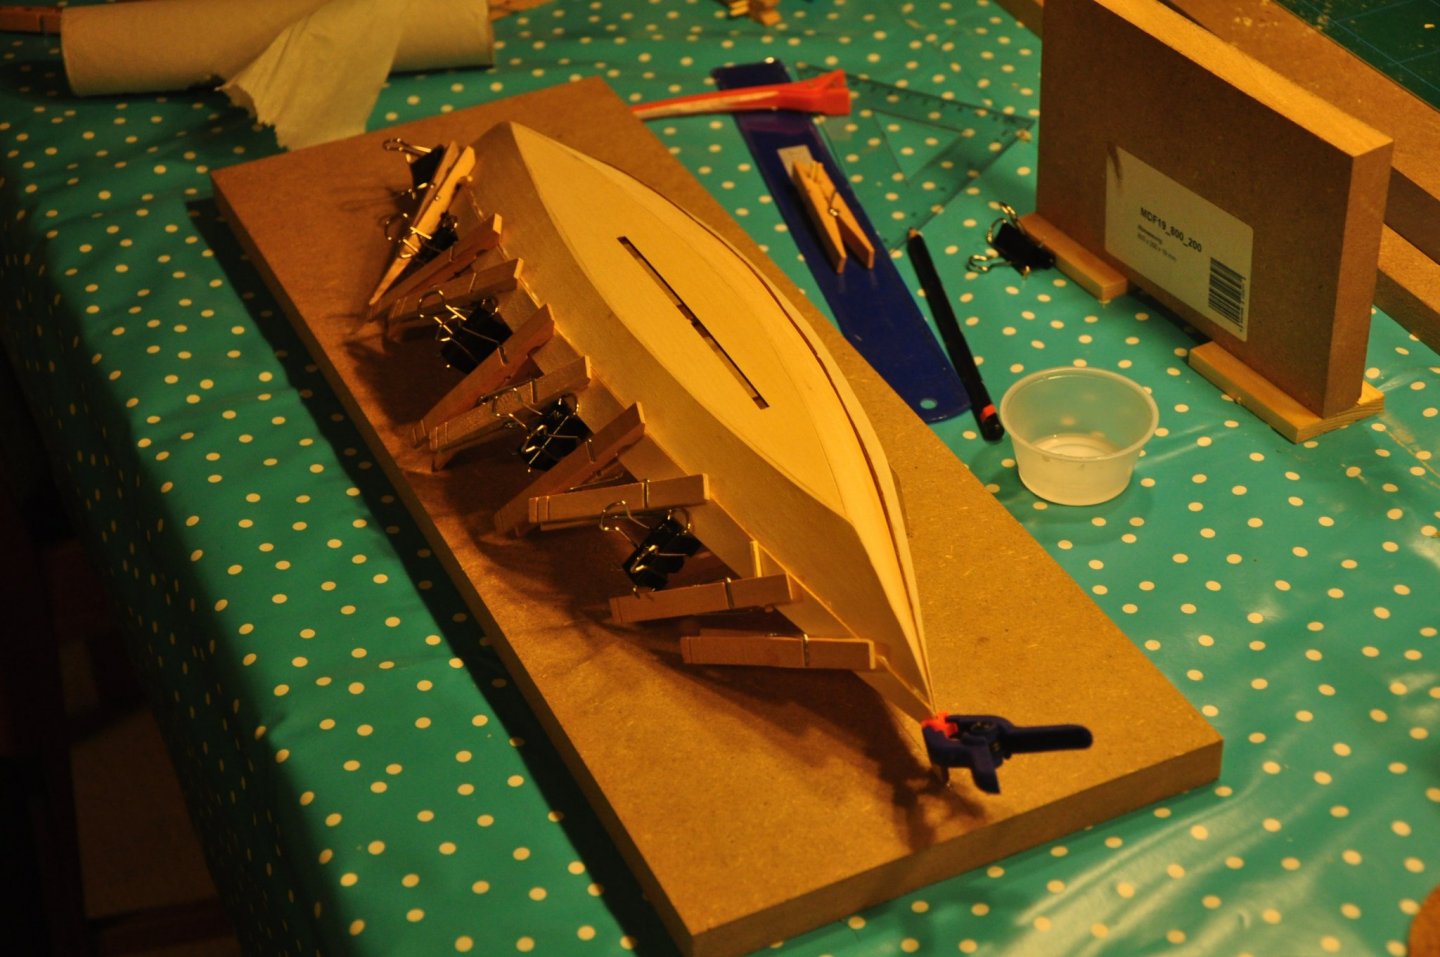
A quick update. I built the stand for the boat, so that I have something to hold it up when gluing the rest of the planks. The kit contained laser cut parts for the stand, and the instruction says to use dowel from the kit. Unfortunately there is not enough left after I have made the mast, boom and oars. I got some new 6 mm beech wood dowel from my local hardware store. I stained the dowel and the parts from the kit in dark mahogany and the color seem to come out close enough for the different parts. The last plank steamed and left to dry. My trusted miniature iron is used to hold it down. Cheers /Tobias
- 18 replies
-
- 7
-
-
- finished
- BlueJacket Shipcrafters
- (and 1 more)
-
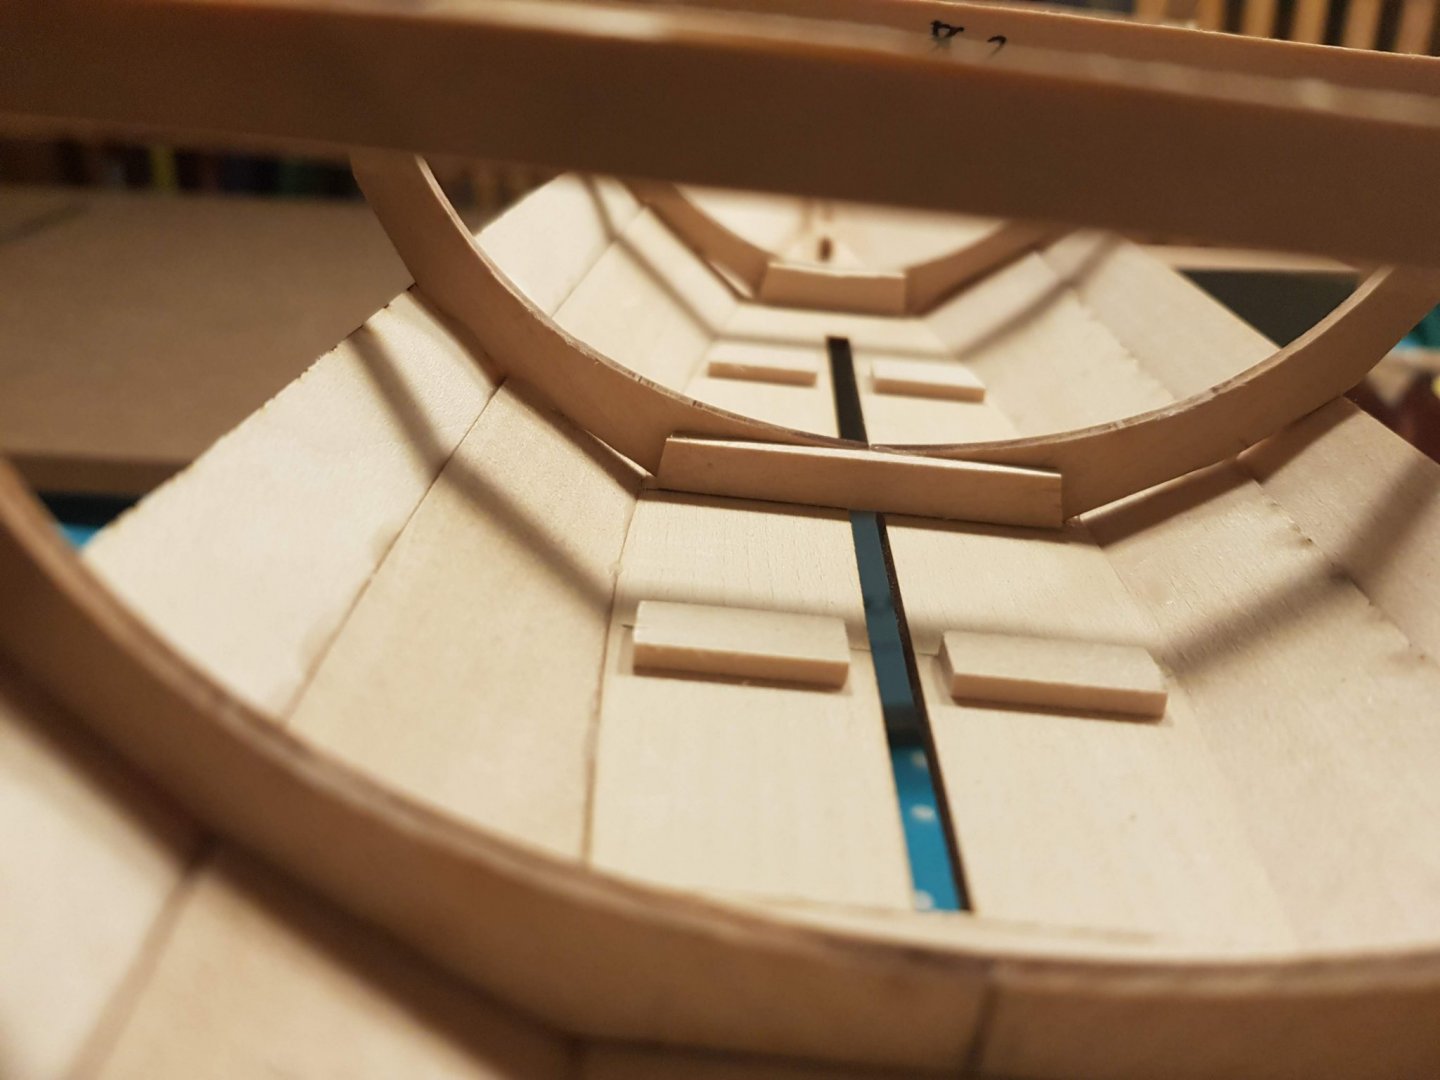
Step by step I have now steamed, bent and glued the first and second planks to the frames. I had no previous experience with steaming and bending wood in this manner. I was rather surprised of how easy it was. However as I feared the alignment of the frames was not correct and the otherwise probably perfectly cut planks needed some persuasion to put in place. In the following picture it is easy to see the gap between the frame and the first plank. As it is now the frame is to narrow, and I had to force (mildly) the second plank in position. What I have learned is that I should have dry fitted the frames and planks in some way to check that they fit. I did consider backtracking and breaking up all the glue, but I'm afraid that I would break some of the planks by doing that. I have also dry fitted the rest of the planks and it looks like it will be possible to shape them nicely.
- 18 replies
-
- 5
-
-
- finished
- BlueJacket Shipcrafters
- (and 1 more)
-
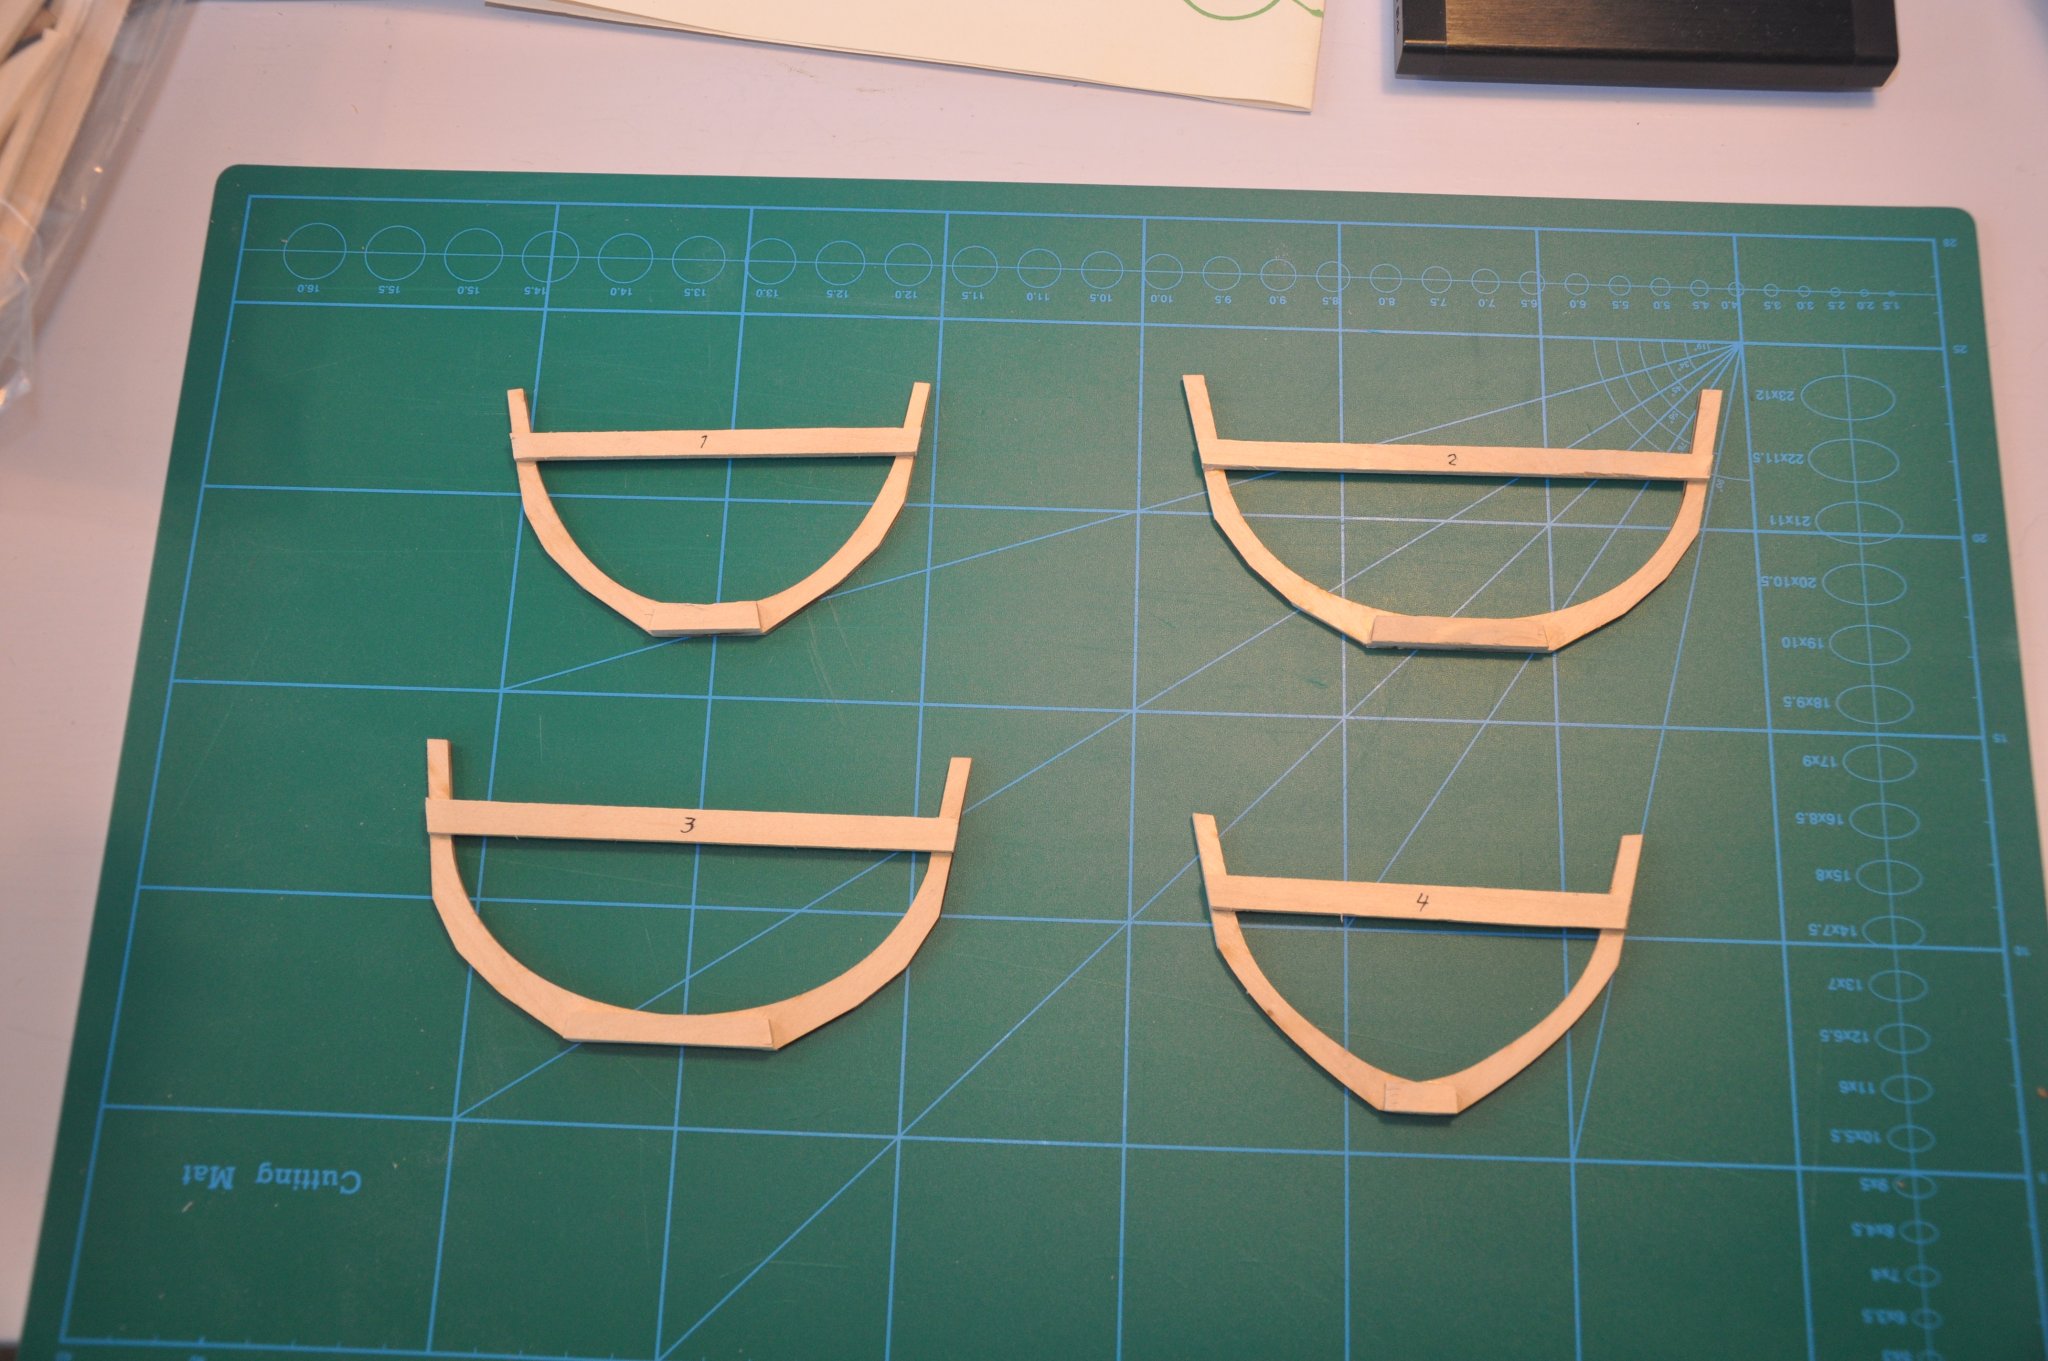
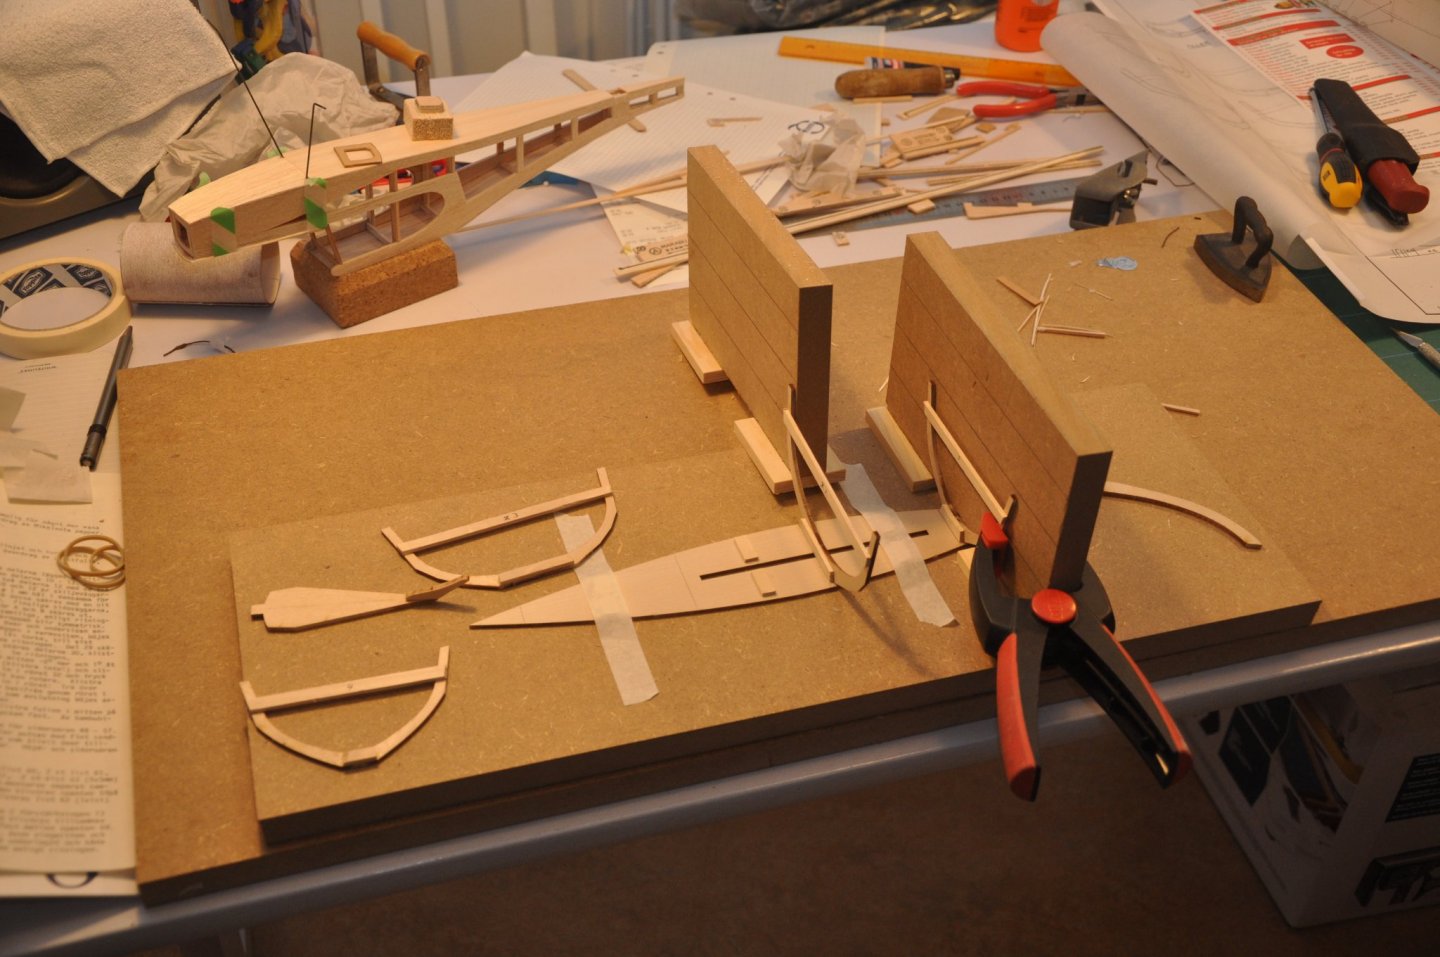
First steps; building the frames. Here I had an option, to stain the wood before staring to glue it together. Thanks to the good quality of the wood a stained and varnished finish (especially on the inside) would look good. However I decided to stay with my original plan to paint the inside. This will also give me more options with hiding mistakes with filler and paint. I notice that the laser cut parts does not match the full size drawing exactly. Half a mm error here and half a degree error there. I tried to assemble the frames to get the best alignment of angles. Unfortunately it may not have been the right option, as when i glued the frames to the bottom plank the two foremost frames does not go all the way out to the sides. I built two vertical walls to help with the alignment of the frames when gluing them to the bottom. (We can also see my warm-up project in the background, an eighties rubber band balsa airplane from Czechoslovakia that I had since my boyhood but only started on now). After all frames has been glued on together with the stem and the transom it is time to bend the bottom. I put a wet rag in the micro wave oven for a minute and placed it on top, after that it bent nicely. One observation is that the first and last frame bends inward. It is not clear in the instruction or in the drawing if this is intended or should have been adjusted for. All i all I'm a bit concerned at this stage if the frames are aligned well enough for the planking. /Tobias


- 18 replies
-
- 6
-
-
- finished
- BlueJacket Shipcrafters
- (and 1 more)
-
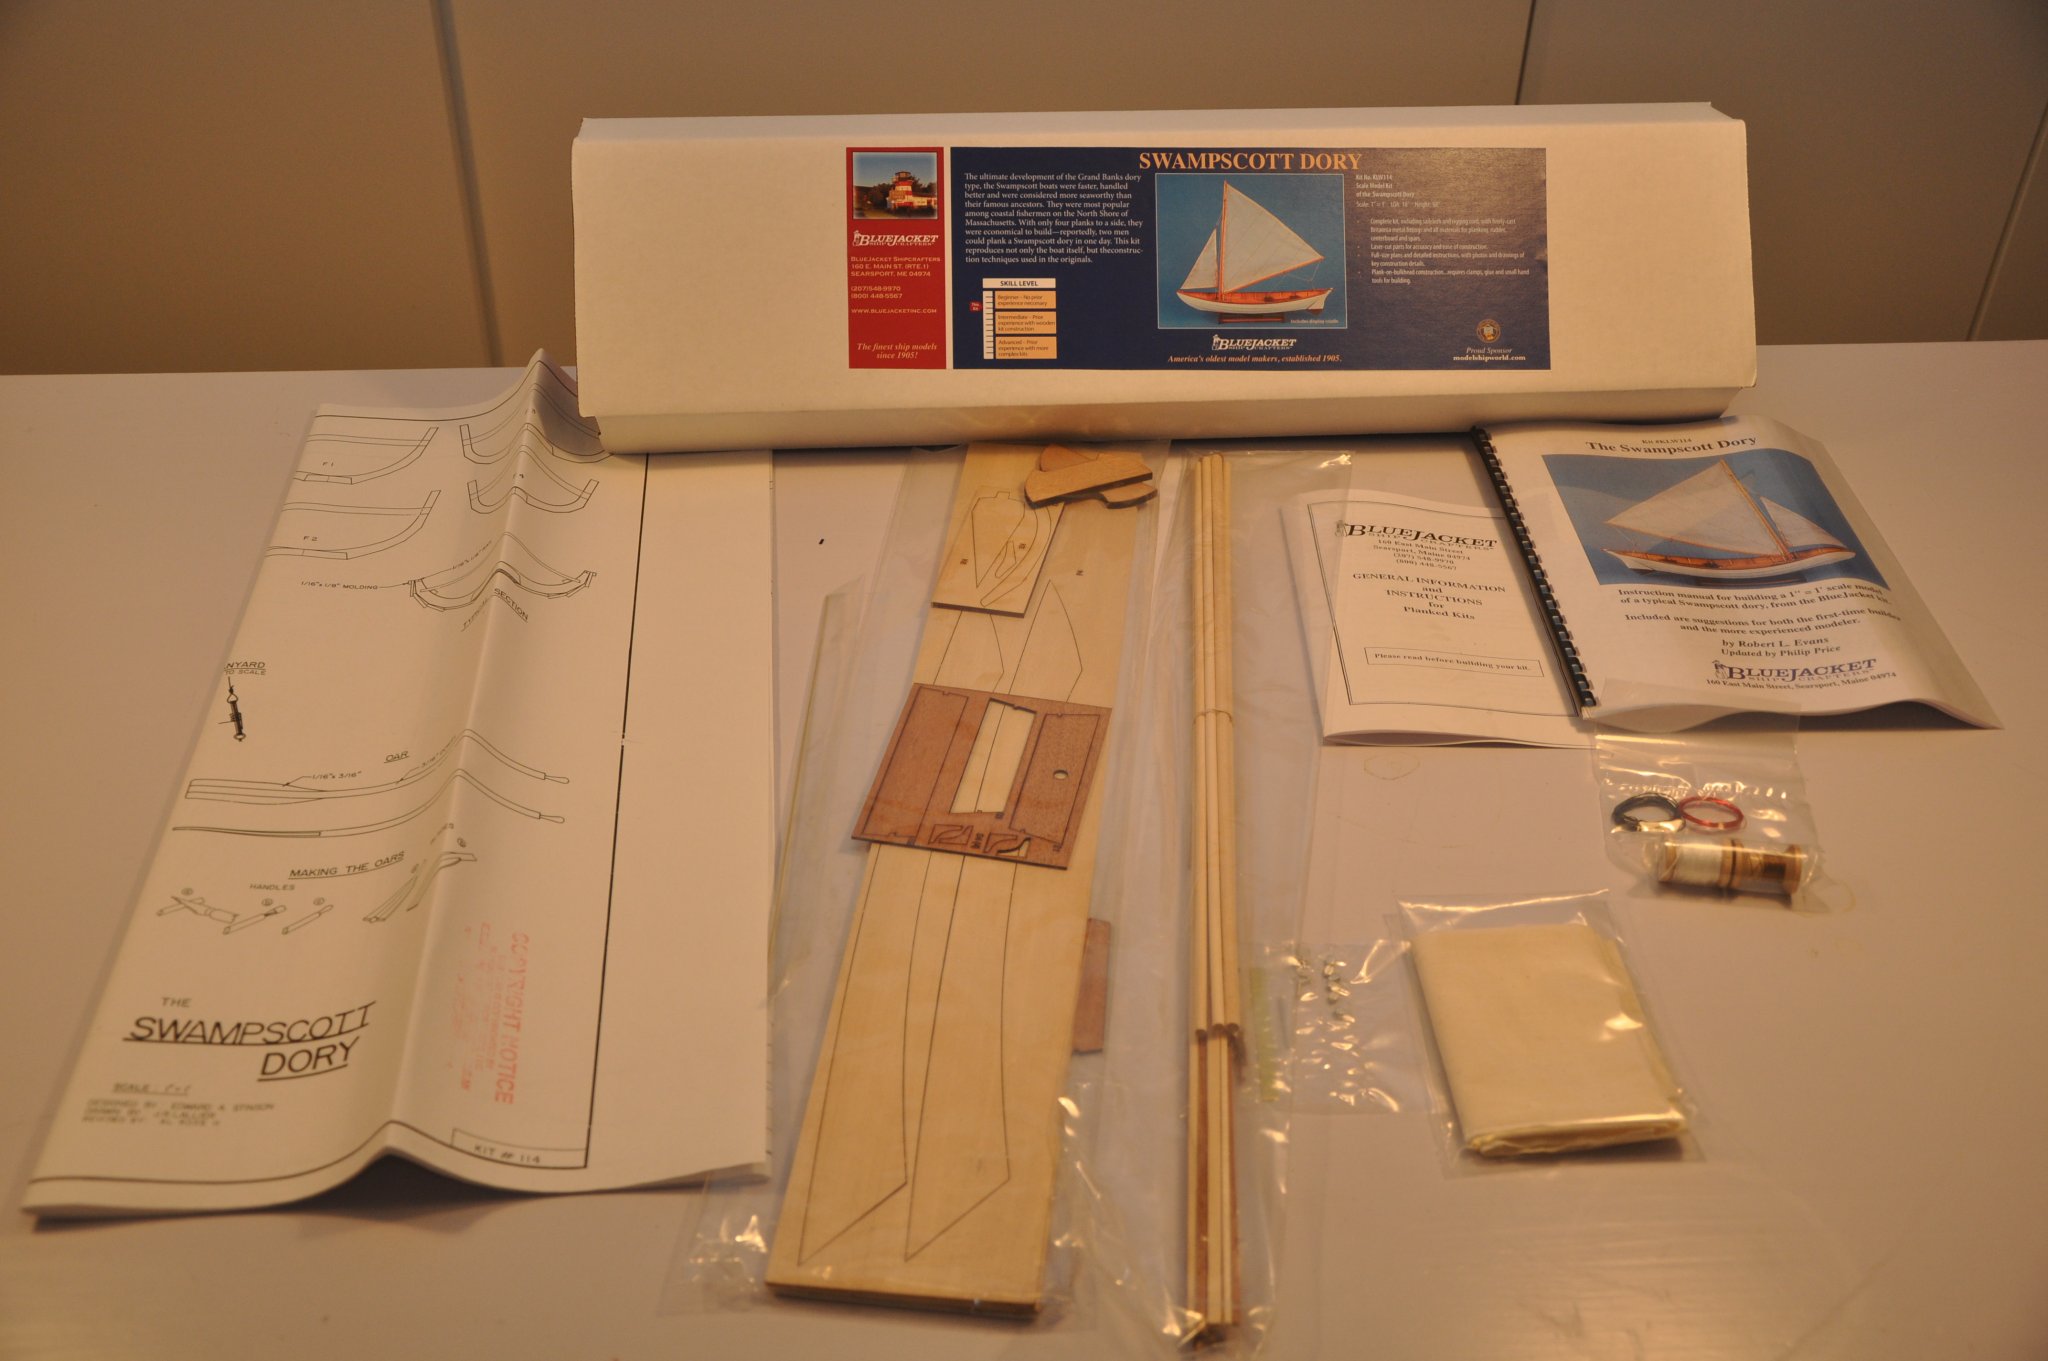
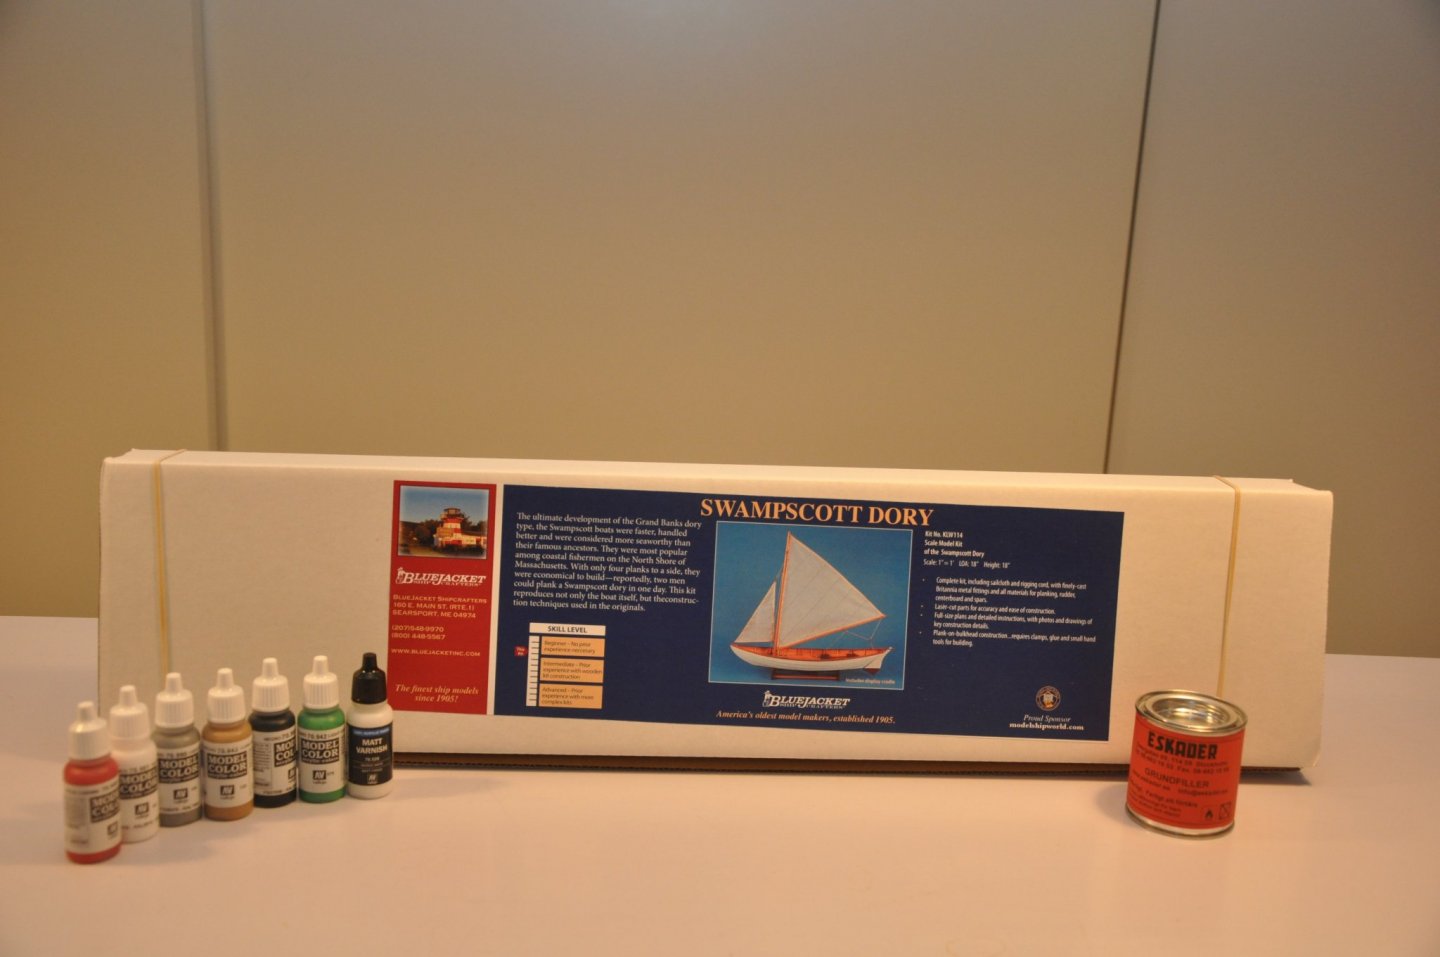
Just starting out as a model ship builder. Originally I ordered another kit to build during the Holidays, but due to some mix up at the seller it has not yet arrived. Instead I went to the Eskader hobby store in Stockholm (Sweden) and bought this kit. I selected it as it looks nice, has at least some rigging and seemed about equal to my skill level. When looking through the site i don't find many build logs of this kit (only one by westphalia). It is a beginners kit, and for many here it is probably trivial, but I thought that some other newbie in the future might be helped by my first stumbling steps in this hobby. I also bought a set of paints recommended by the store. That is the colors painted on the built up model in the store. Maybe I will alter this when the time for painting comes. Looking inside the box i find laser cut parts, dowels and strip wood together with metal fittings, lines and sail cloth. As this is my first ship model kit I have nothing to compare with. But I have experience with working with wood and my impression is that this is really nice quality. The instruction manual is well written and I think there should be no problem for me to follow it. One possible improvement is that most of the pictures are black and white photos. The contrast is not optimal, so some details are a bit hard to see. The kit is said to be built in the same manner as a real boat of this type (upside down). I found this image that proves this. Cheers /Tobias

- 18 replies
-
- 9
-
-
- finished
- BlueJacket Shipcrafters
- (and 1 more)
-
I bought my kit for Swampscott Dory at Eskader in Stockholm (close to Karlaplan). As MrBlueJacket mention, they are very nice people and have really quaint shop of the old kind with a counter. There are boxes and models stacked everywhere. I could really recommend a visit. /Tobias
-
Hello all, I just became a member after a few weeks of reading and browsing this great site. I'm a novice model ship builder from Sweden who recently decide to try this fascinating hobby. In a way I have been drawn to ships and ship models since I was a kid. I think that it was a trip to the Viking ship museum in Roskilde Denmark and the paper model I bought and built after that that sparked the interest. But I never continued then. I did some plastic models and some model air planes in my early teens, but that is more or less the extent of my modelling experience. I plan to take it slow, not overreaching my still non-existing skills. I started by ordering a kit (Billing Boats Will Everard). But due to shipping problems just before Christmas it has not arrived yet. I also read some build logs here on the site and learned that it is not necessarily a "beginner model" after all, despite Billings labeling. So I went and bought a BlueJacket Swampscott Dory from a local hobby store. That kit seem to be more in line with my skills and should not take to long (hopefully) to finish. Cheers /Tobias PS. My "pen name" is Swedish for bow line and the picture is of a sail from a medieval long ship with the bow line set.