Jerry Sturdivant
-
Posts
53 -
Joined
-
Last visited
1 Follower

-
 GrandpaPhil reacted to a post in a topic:
Sloup by Jerry Sturdivant - Corel - 1:25
GrandpaPhil reacted to a post in a topic:
Sloup by Jerry Sturdivant - Corel - 1:25
-
hamilton reacted to a post in a topic:
GLAD TIDINGS 1937 by Jerry Sturdivant - Model Shipways - Scale 1:24 - Pinky Schooner
-
Paul Le Wol reacted to a post in a topic:
GLAD TIDINGS 1937 by Jerry Sturdivant - Model Shipways - Scale 1:24 - Pinky Schooner
-
It's been 2-years since I've done anything on this because of my illness, but I'll be working on it again soon..

-
Scottish Guy reacted to a post in a topic:
For Beginners -- A Cautionary Tale
-
ccoyle reacted to a post in a topic:
18th Century Longboat by Jerry Sturdivant - FINISHED - Model Shipways - 1:48 - first build
-
Paul Le Wol reacted to a post in a topic:
GLAD TIDINGS 1937 by Jerry Sturdivant - Model Shipways - Scale 1:24 - Pinky Schooner
-
ccoyle reacted to a post in a topic:
GLAD TIDINGS 1937 by Jerry Sturdivant - Model Shipways - Scale 1:24 - Pinky Schooner
-
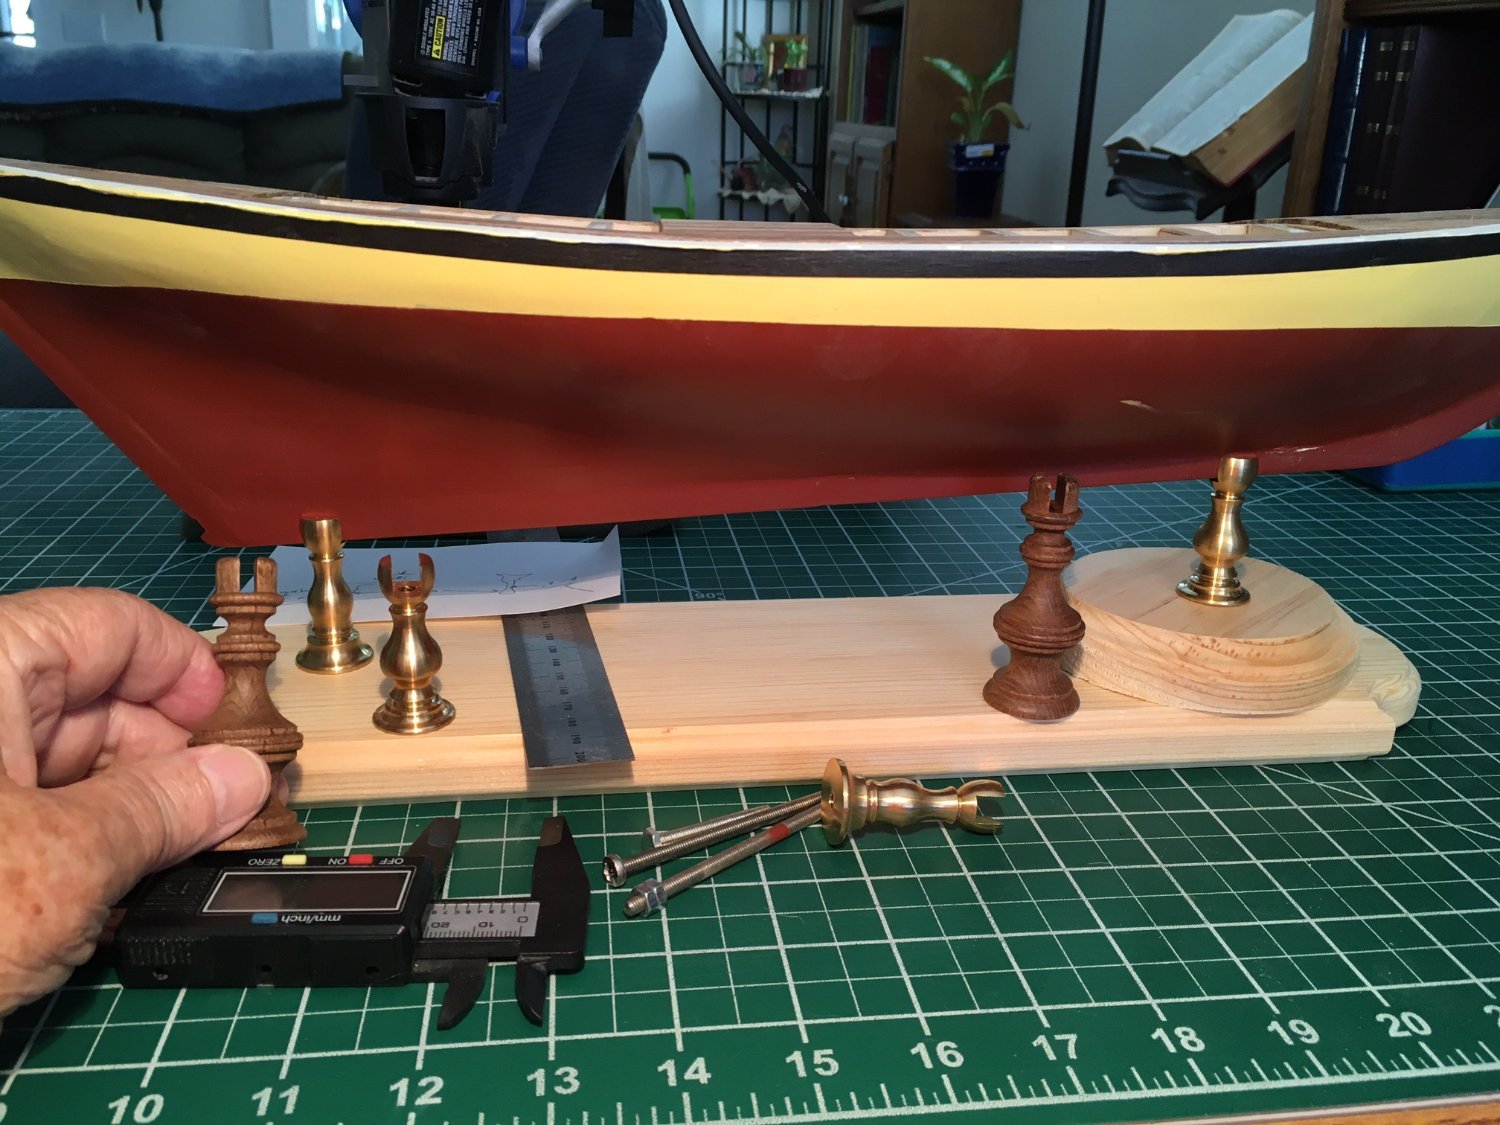
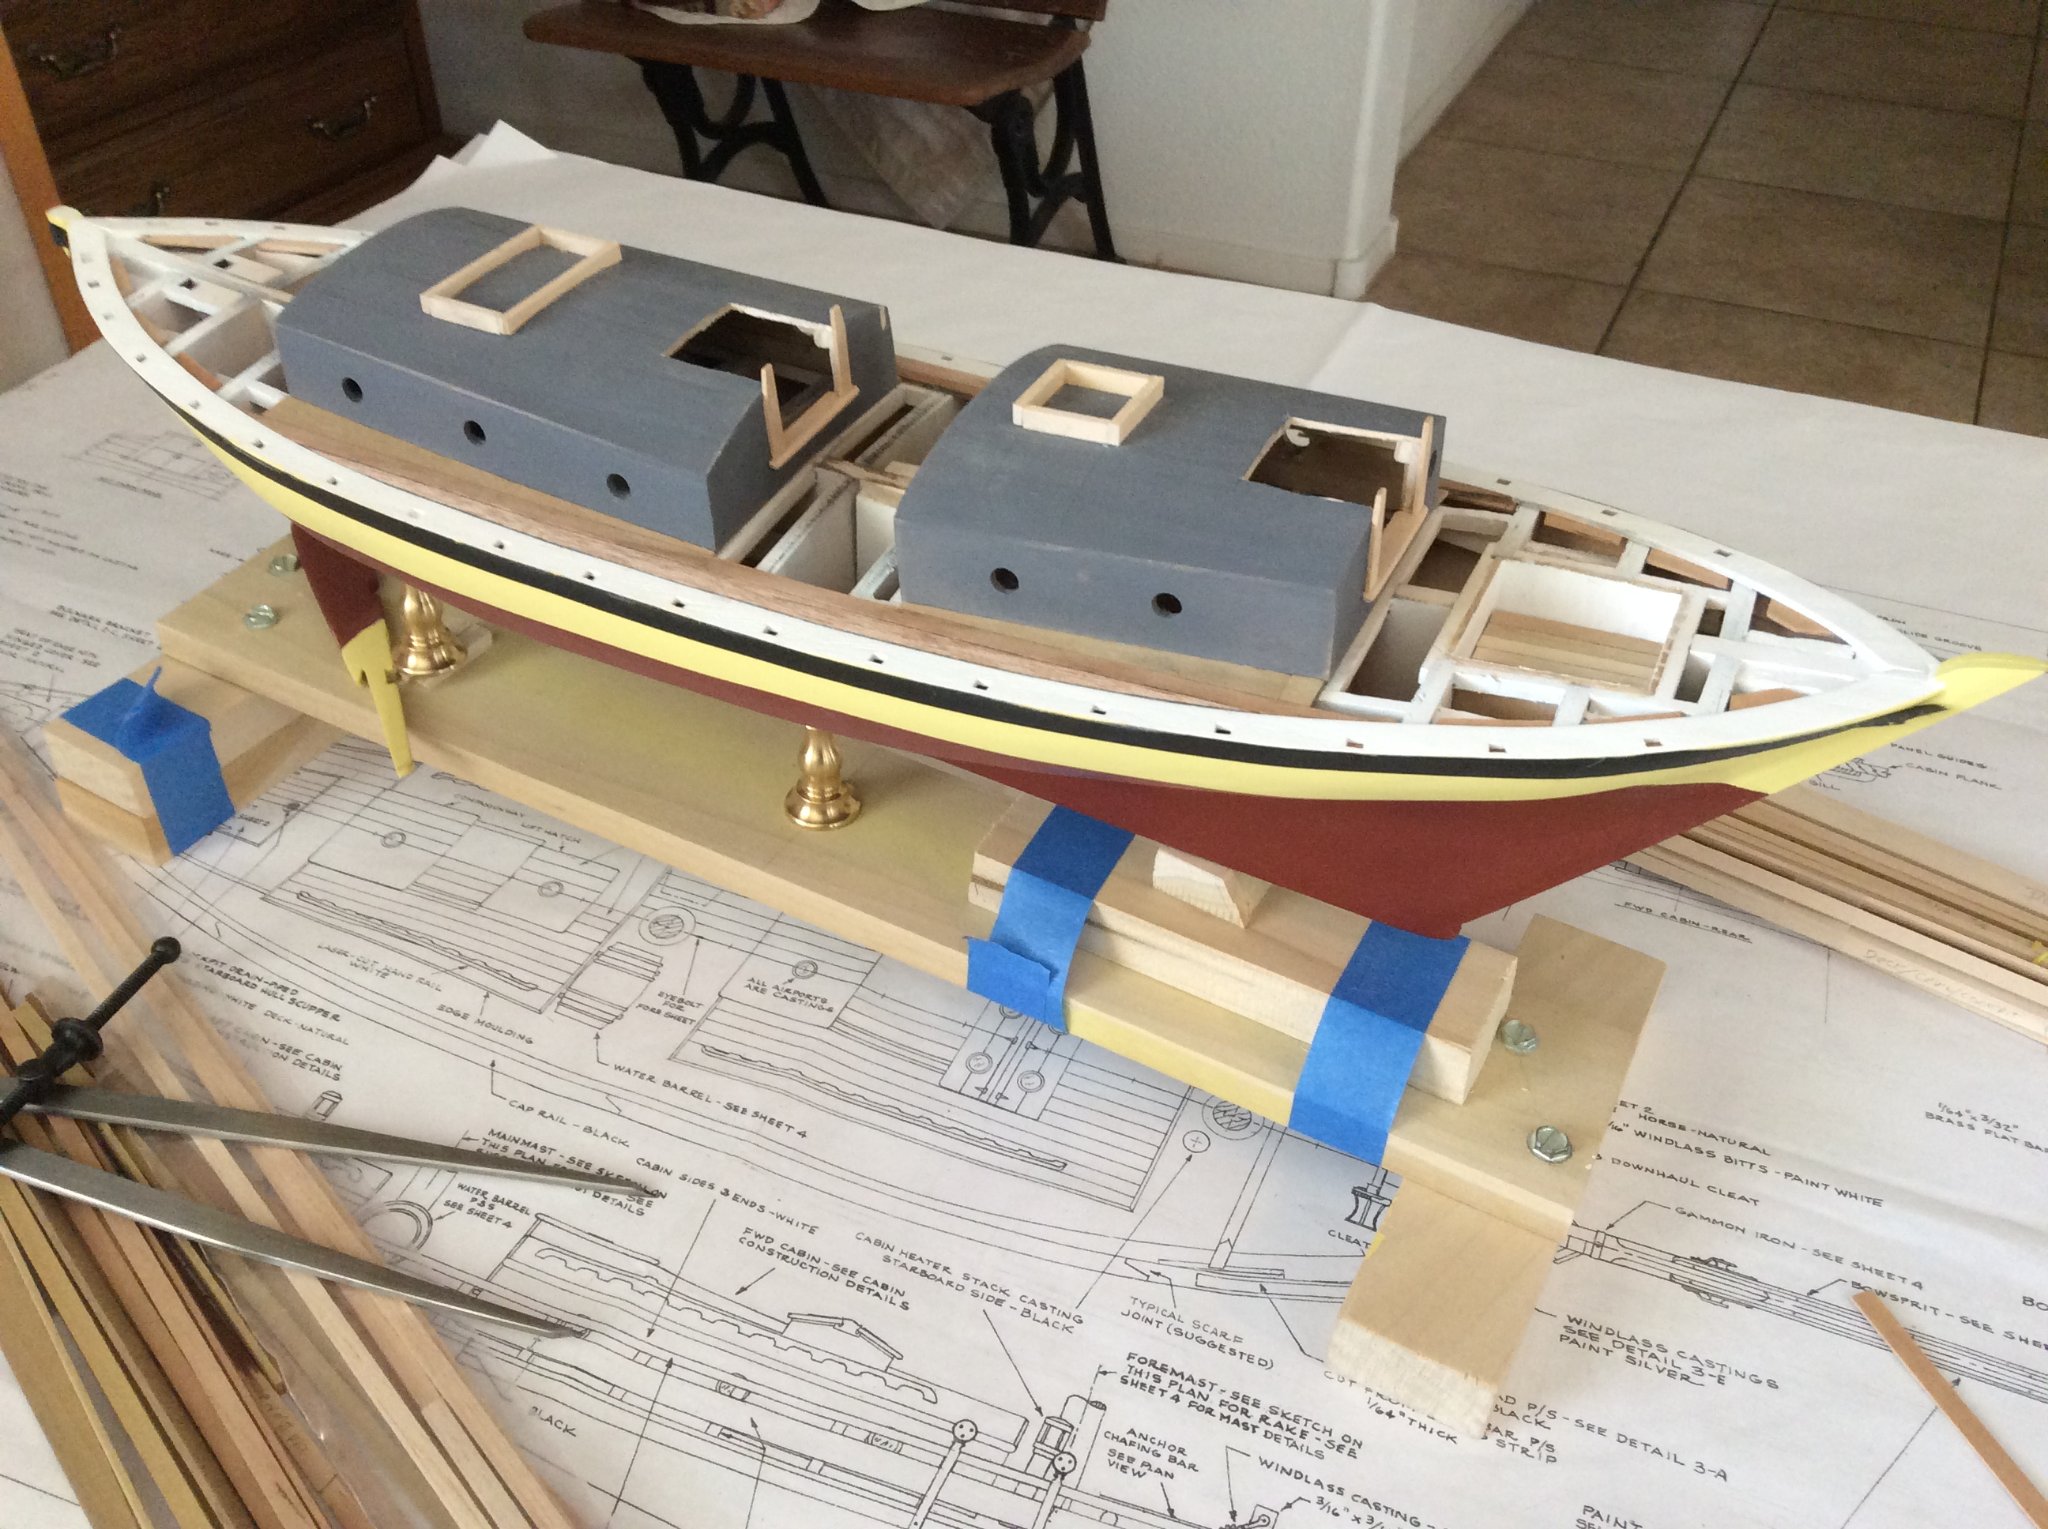
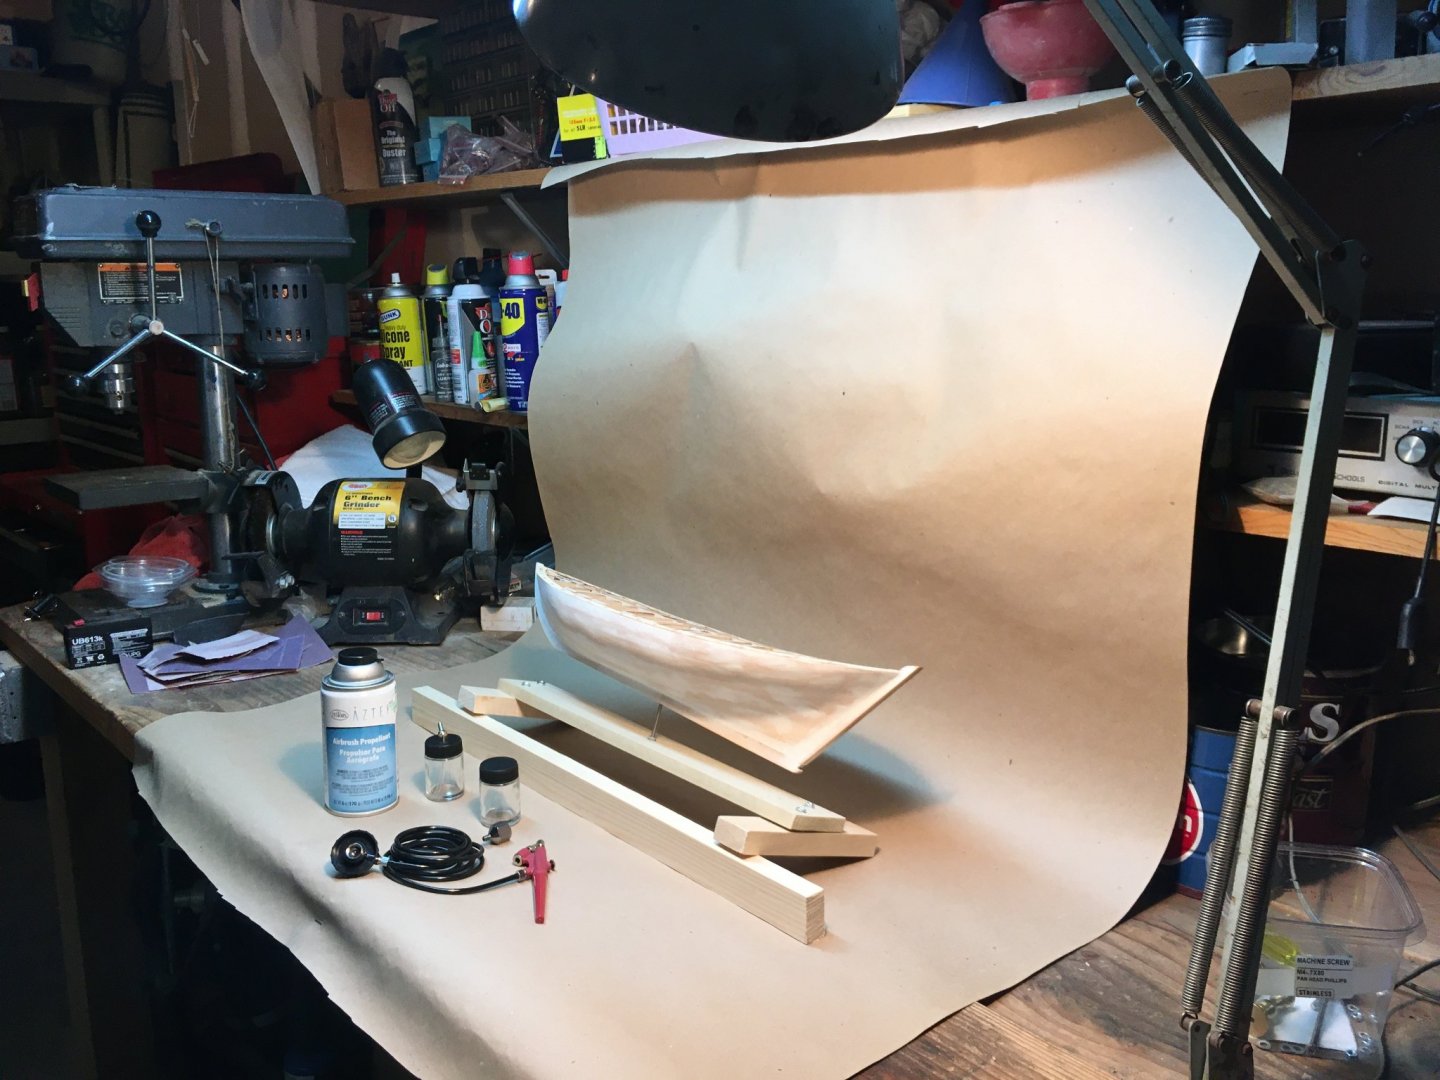
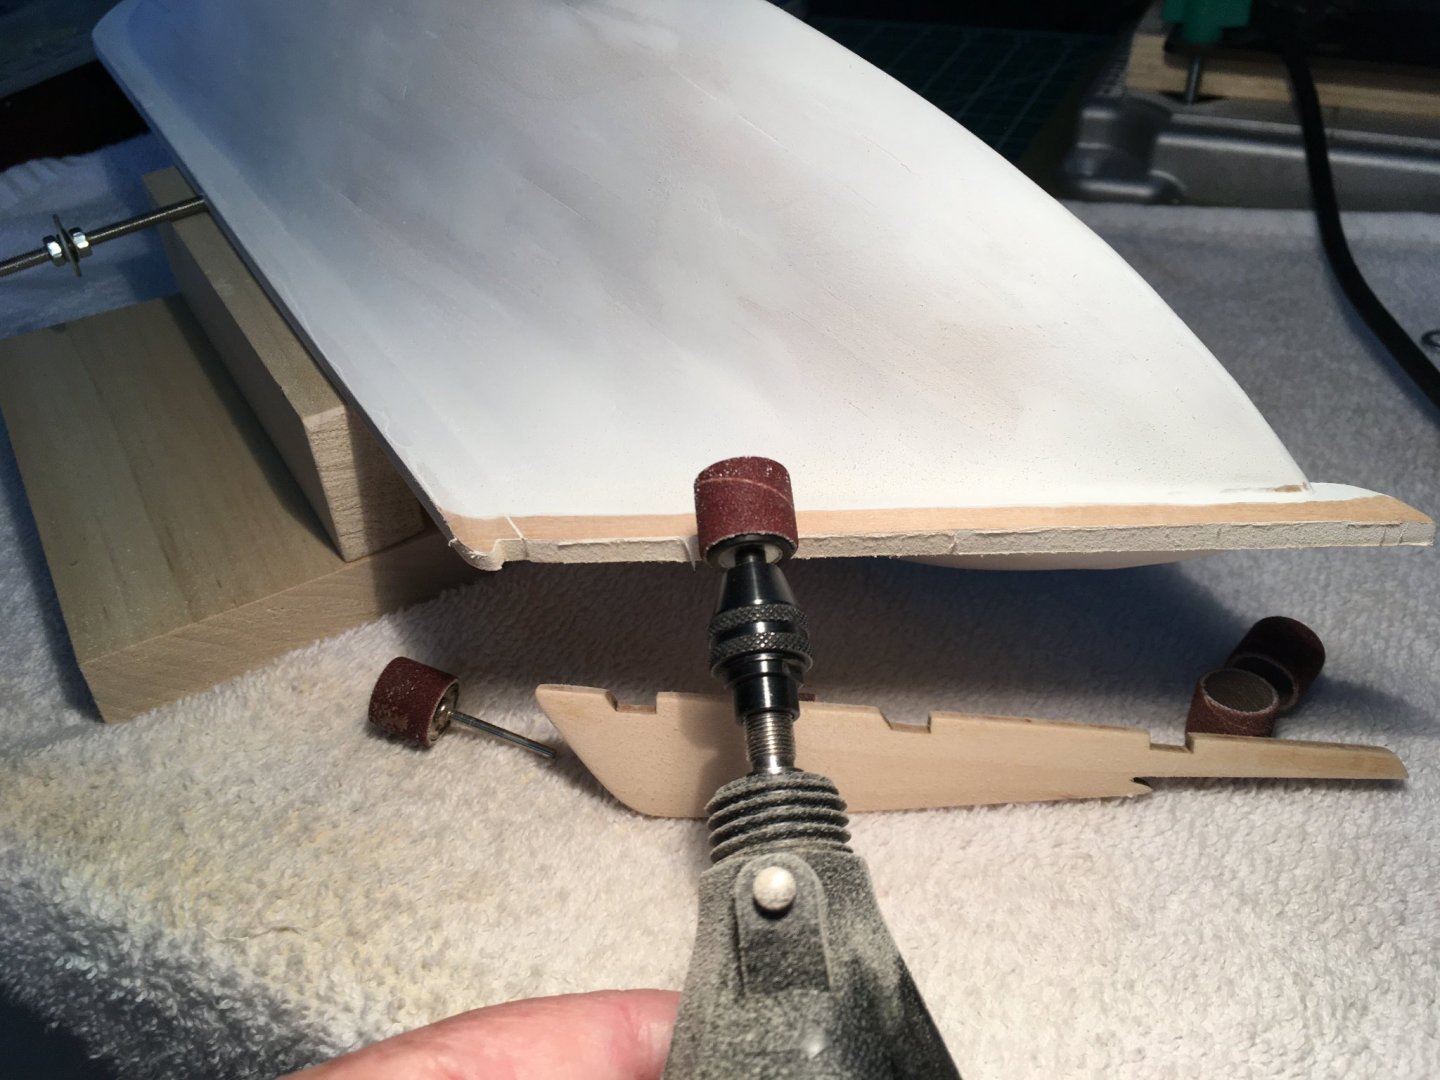
As soon as I get the deck sanded again and oiled, it’s time to mount it so I can work on the deck on up. I bought this board, then noticed it a sign board, not flat on the bottom. I’ll look at other models here and see if I should shop around for another board. I have these brass stands, but they’re all the same size, so I bought a small wood piece to elevate the bow. But I don’t know, looks weird. So I got some wood mounts and I can cut one of them short. Then I have to drill a hole in them for the bolt that bolts the board to the keel. I’ll try widening the gap in the wood ones to fit the keel. Then measure how much to cut off the stern stand. Then decide on another board..
-
Ryland Craze reacted to a post in a topic:
GLAD TIDINGS 1937 by Jerry Sturdivant - Model Shipways - Scale 1:24 - Pinky Schooner
-
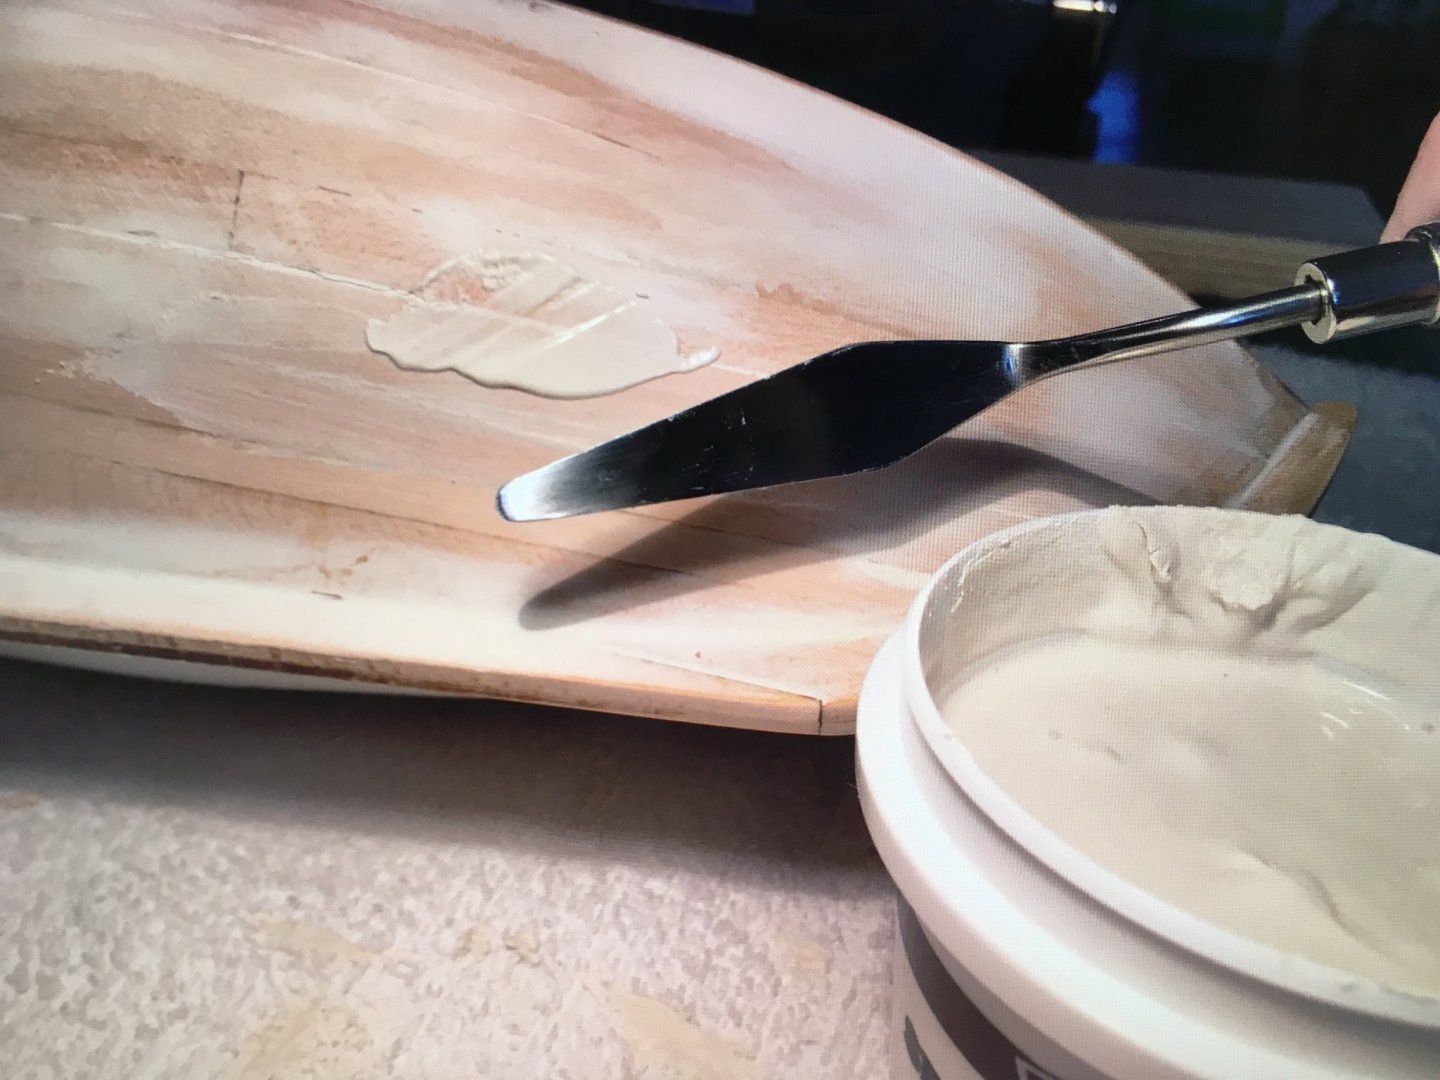
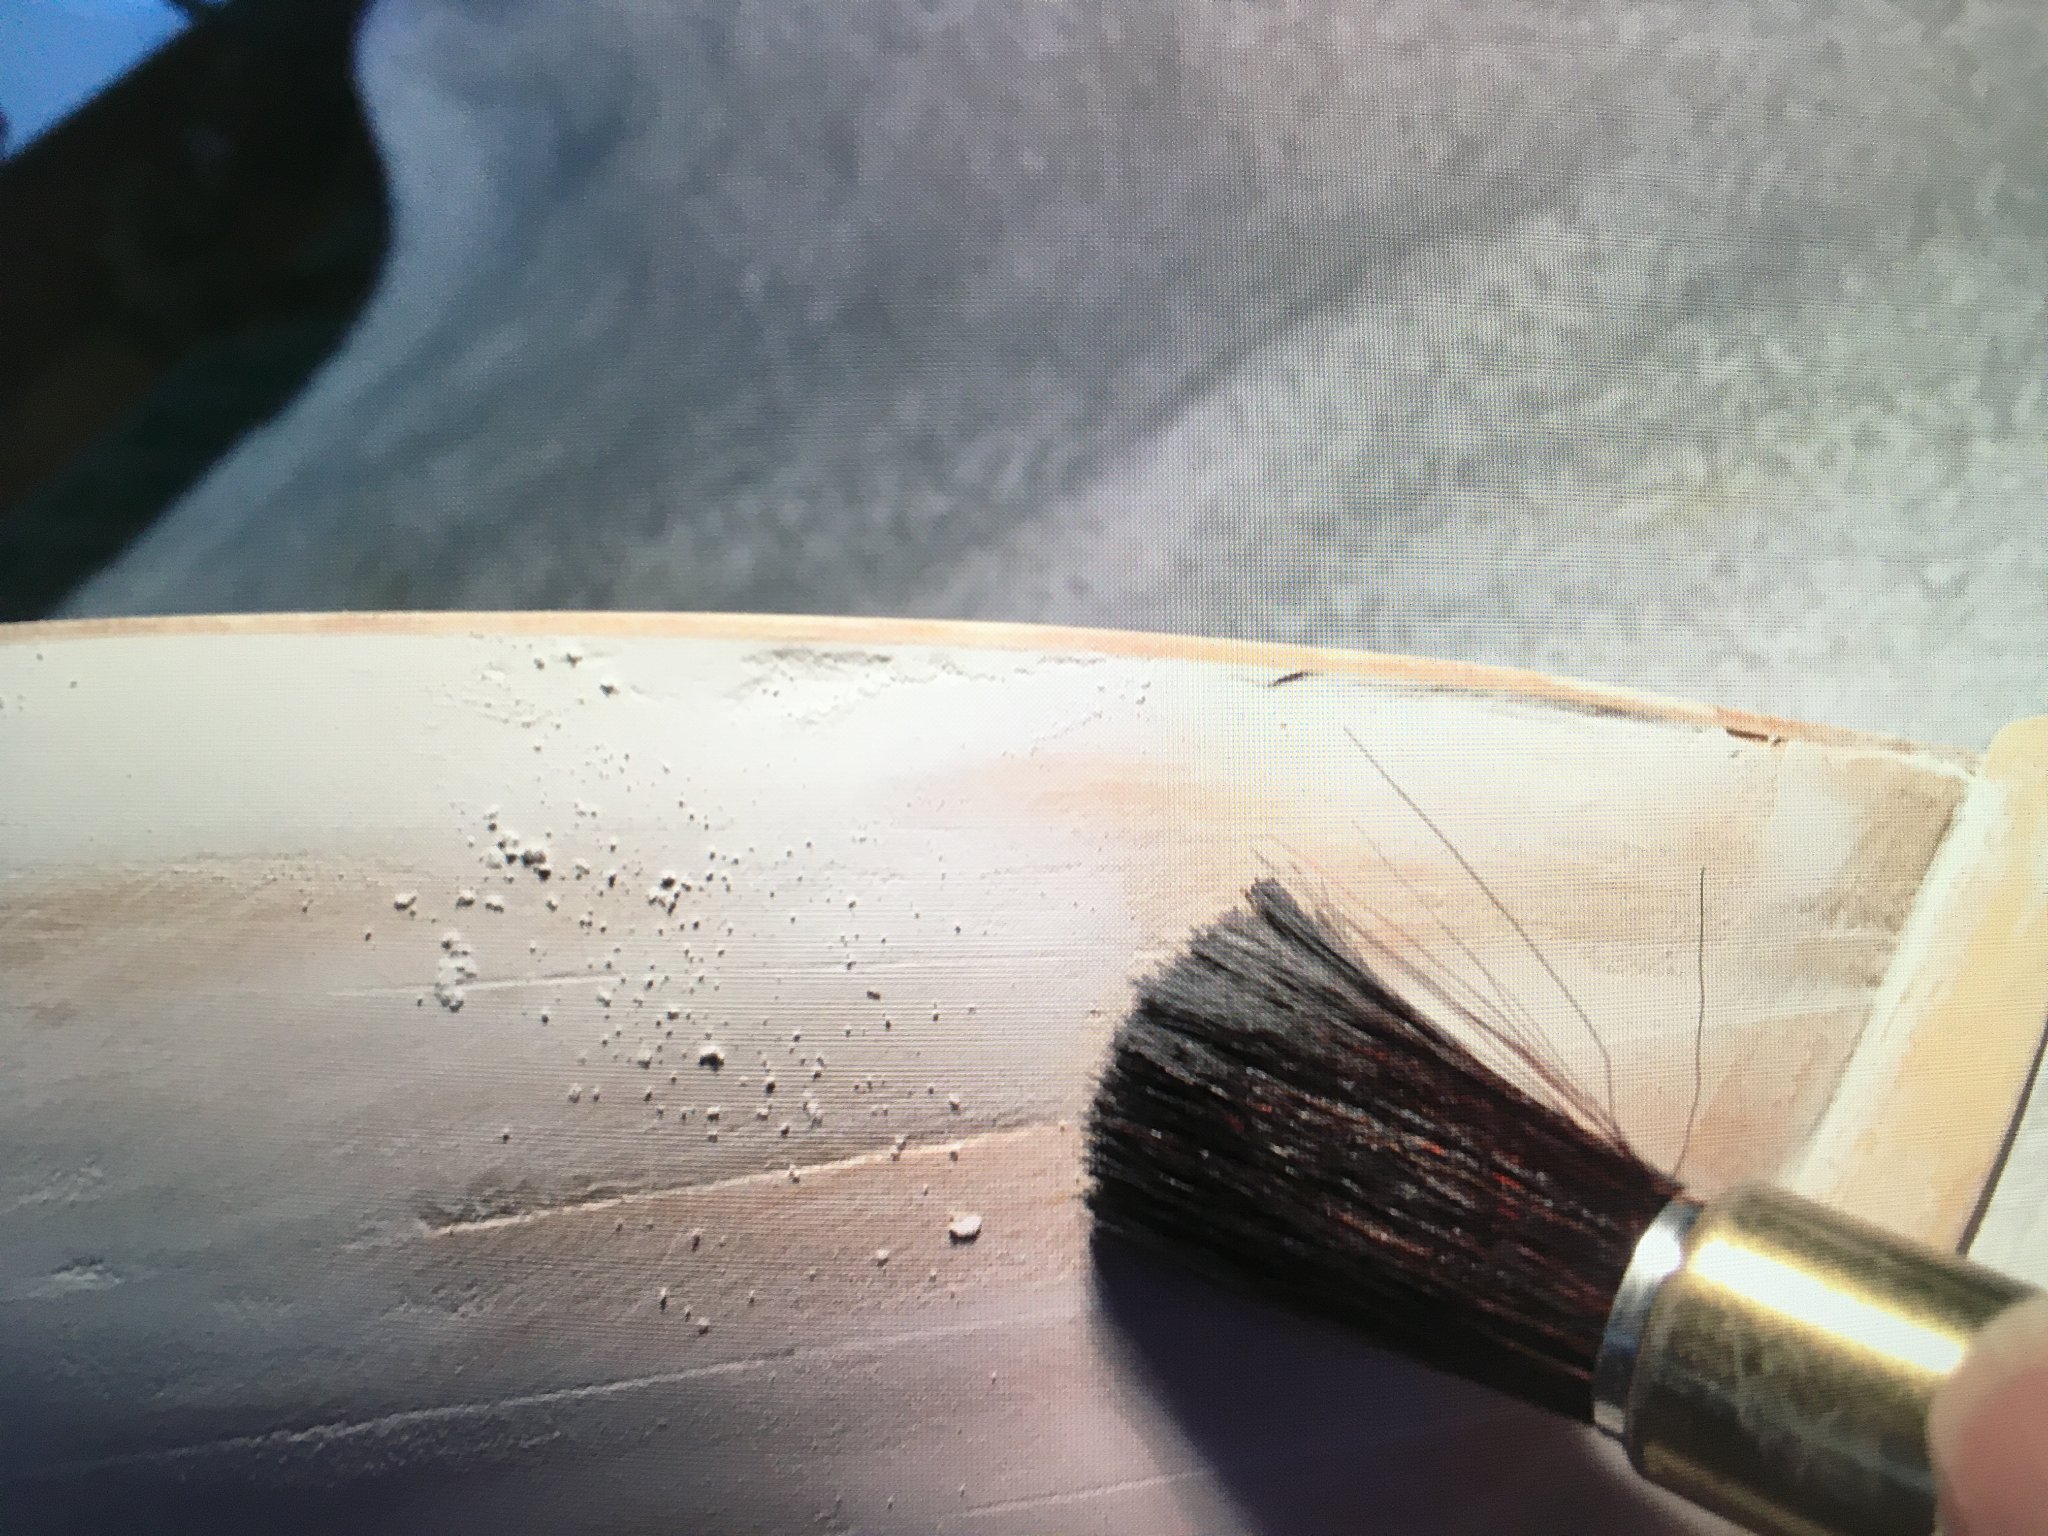
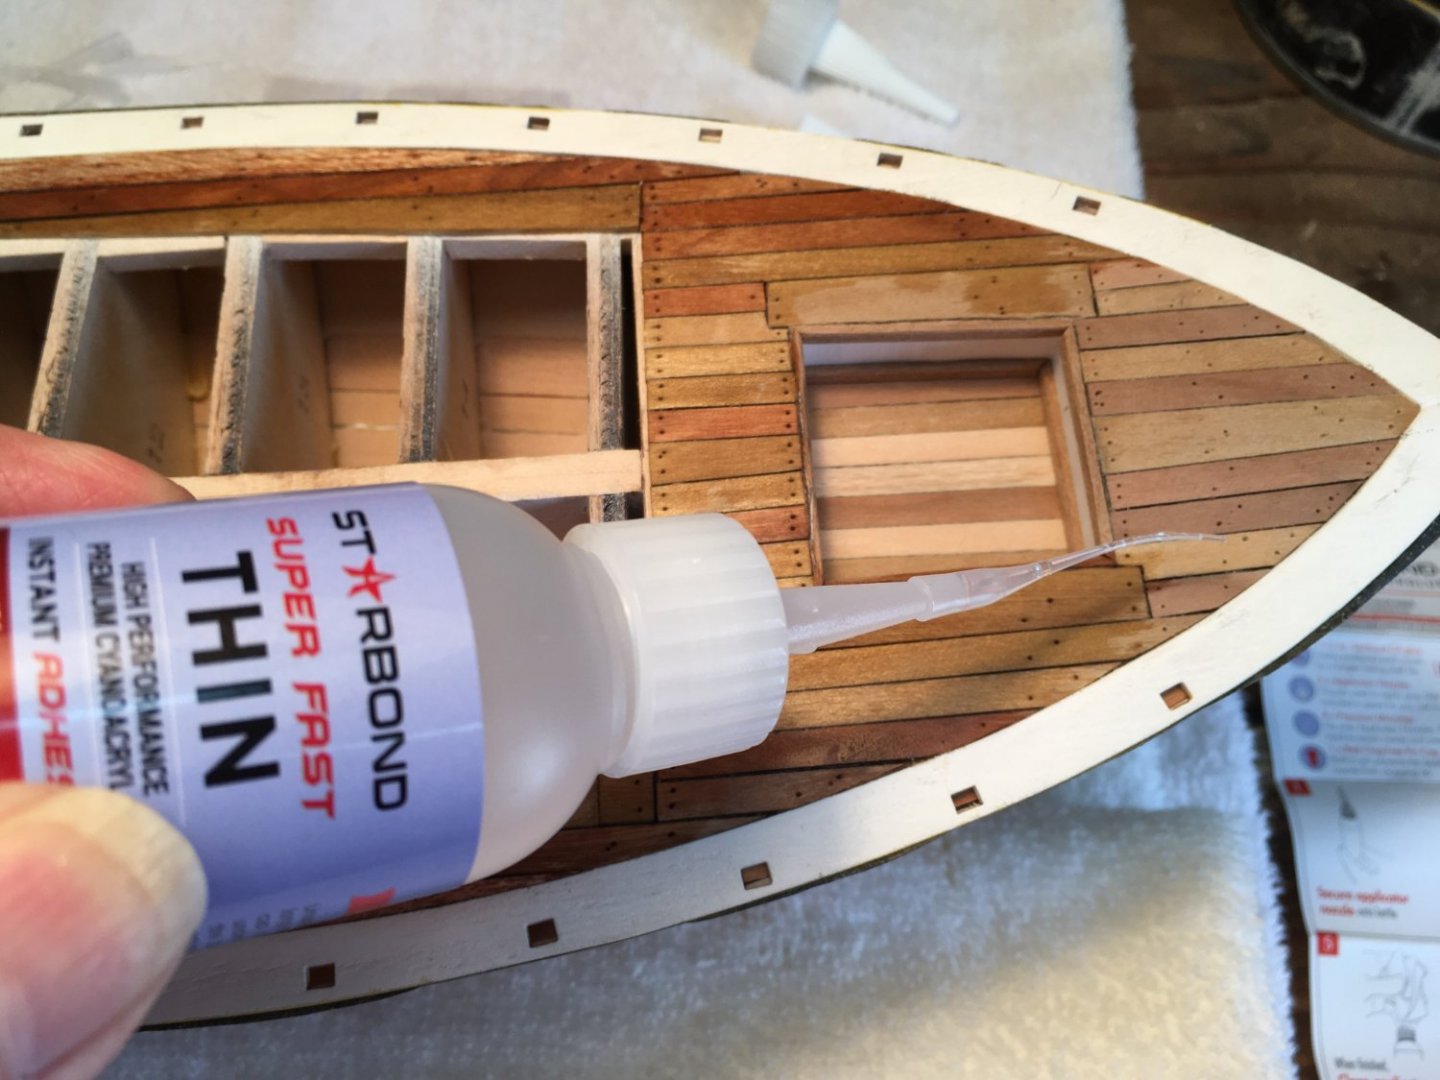
I took the boat to the garage and used an air can to blow out the holes and the dust between planks. Then I used my air compressor to do a better job. I found a small inexpensive bottle of Starbond, so I decided to follow the young lady's example and 'express' the holes. So I spread it on. Now I'll let it dry and do some more sanding. I didn't use the stuff inside the cockpit because sanding there would be difficult.

-
grsjax reacted to a post in a topic:
GLAD TIDINGS 1937 by Jerry Sturdivant - Model Shipways - Scale 1:24 - Pinky Schooner
-
Yes. Took some time for Covid and illness but am about to stain the deck and hope to post more pictures soon.
-
Ryland Craze reacted to a post in a topic:
GLAD TIDINGS 1937 by Jerry Sturdivant - Model Shipways - Scale 1:24 - Pinky Schooner
-
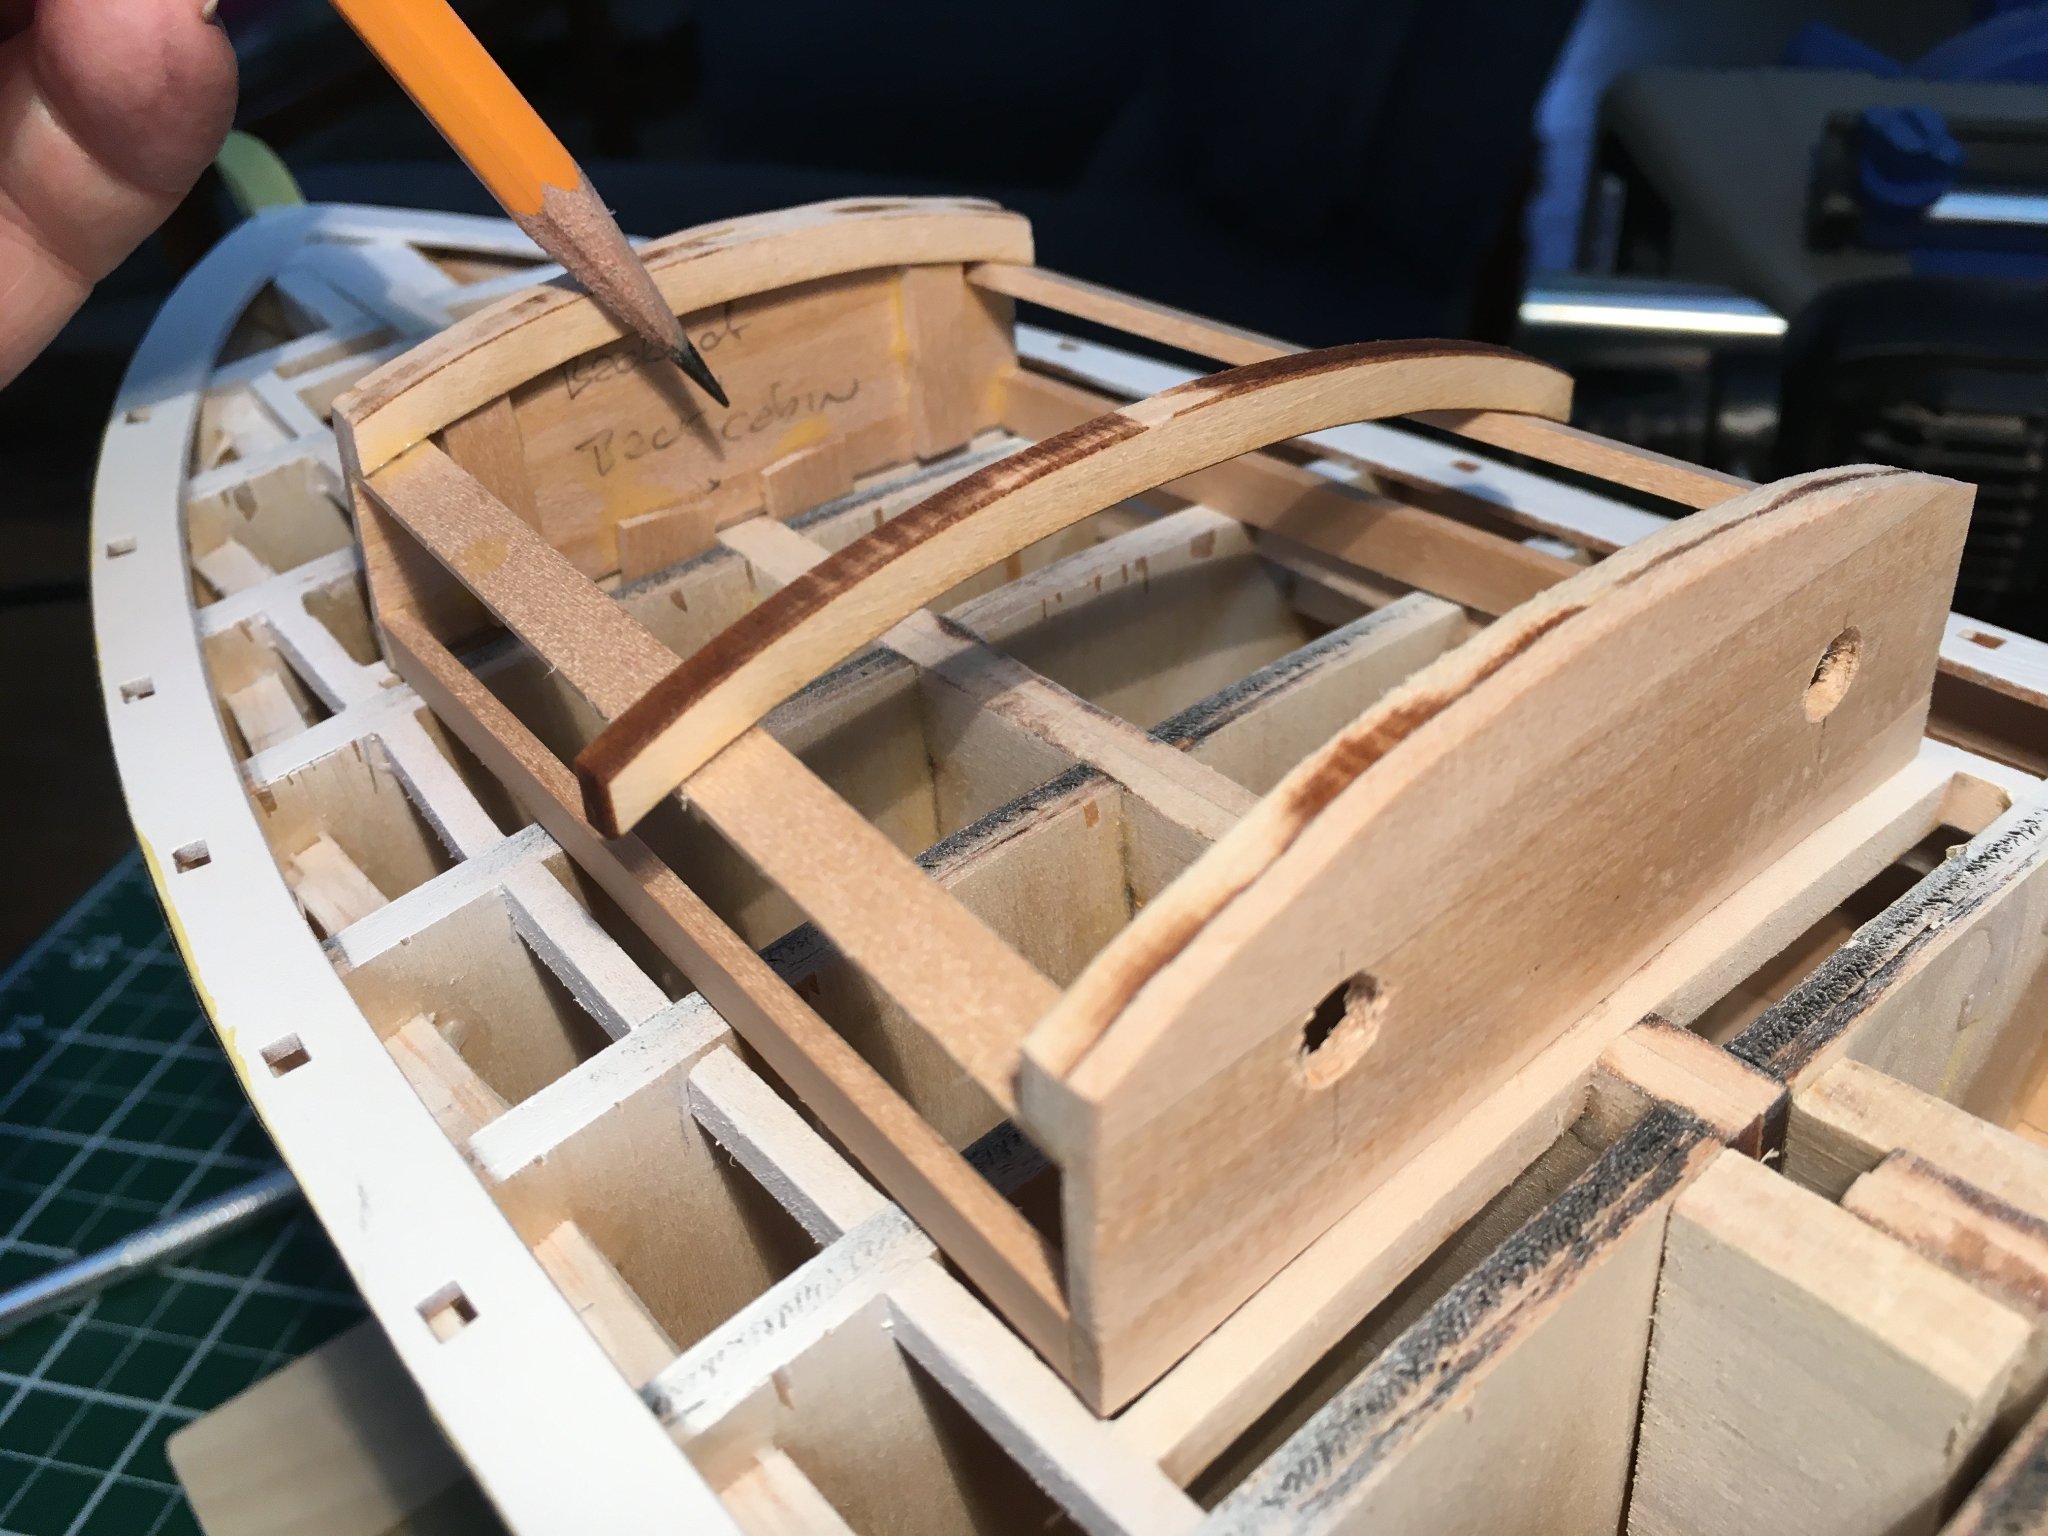
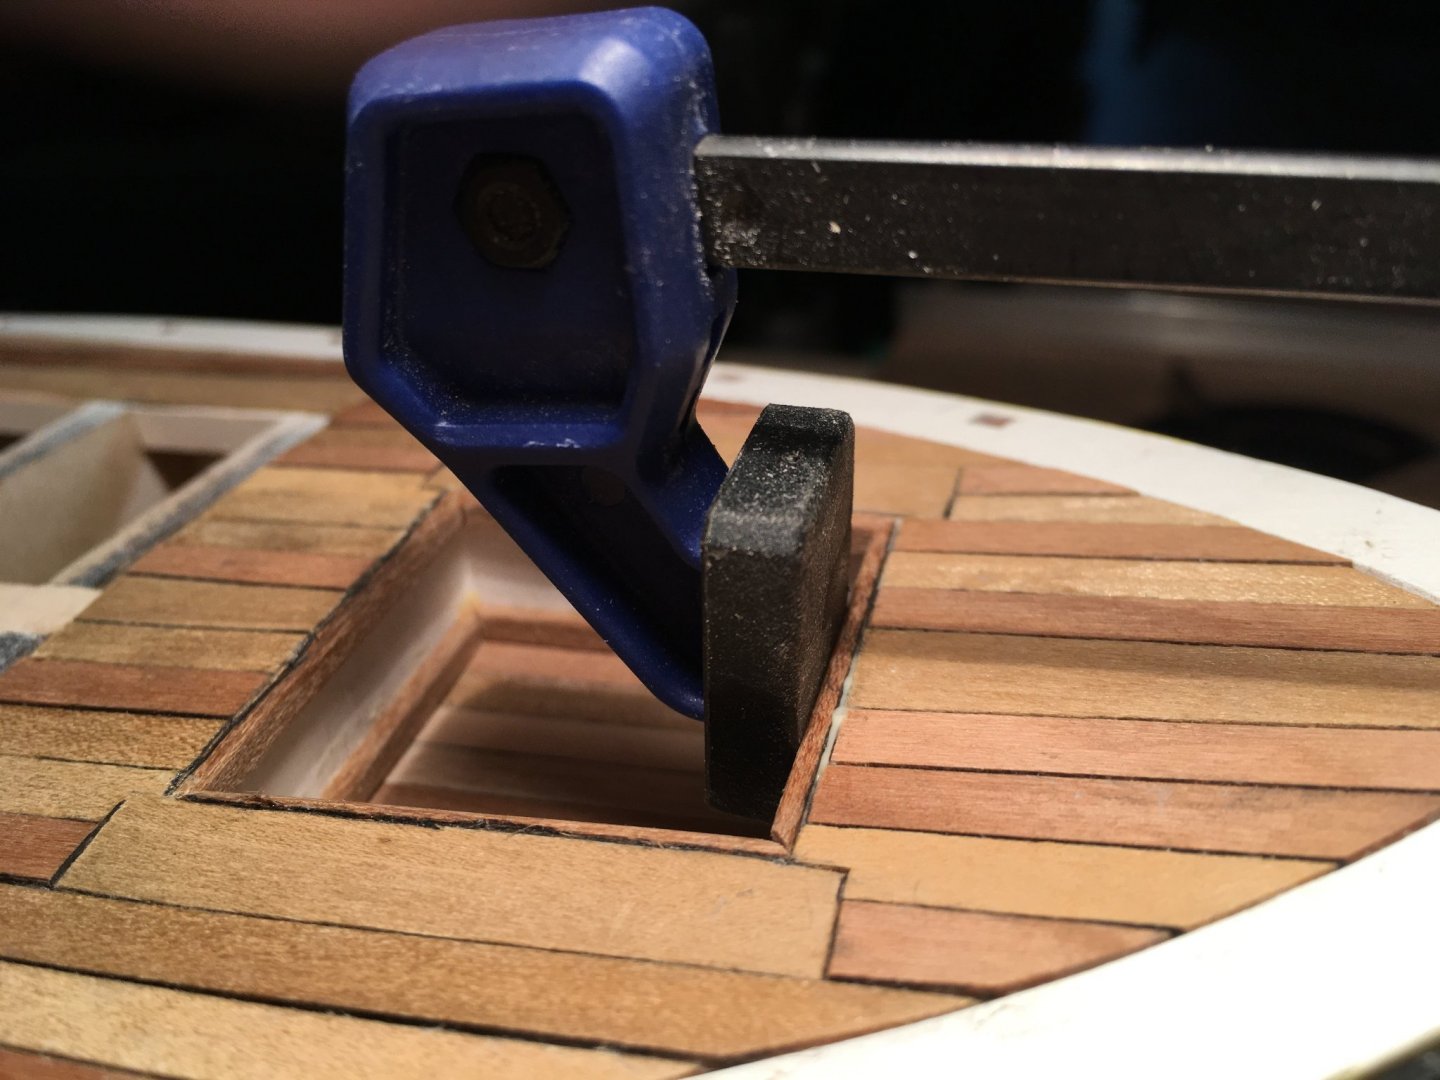
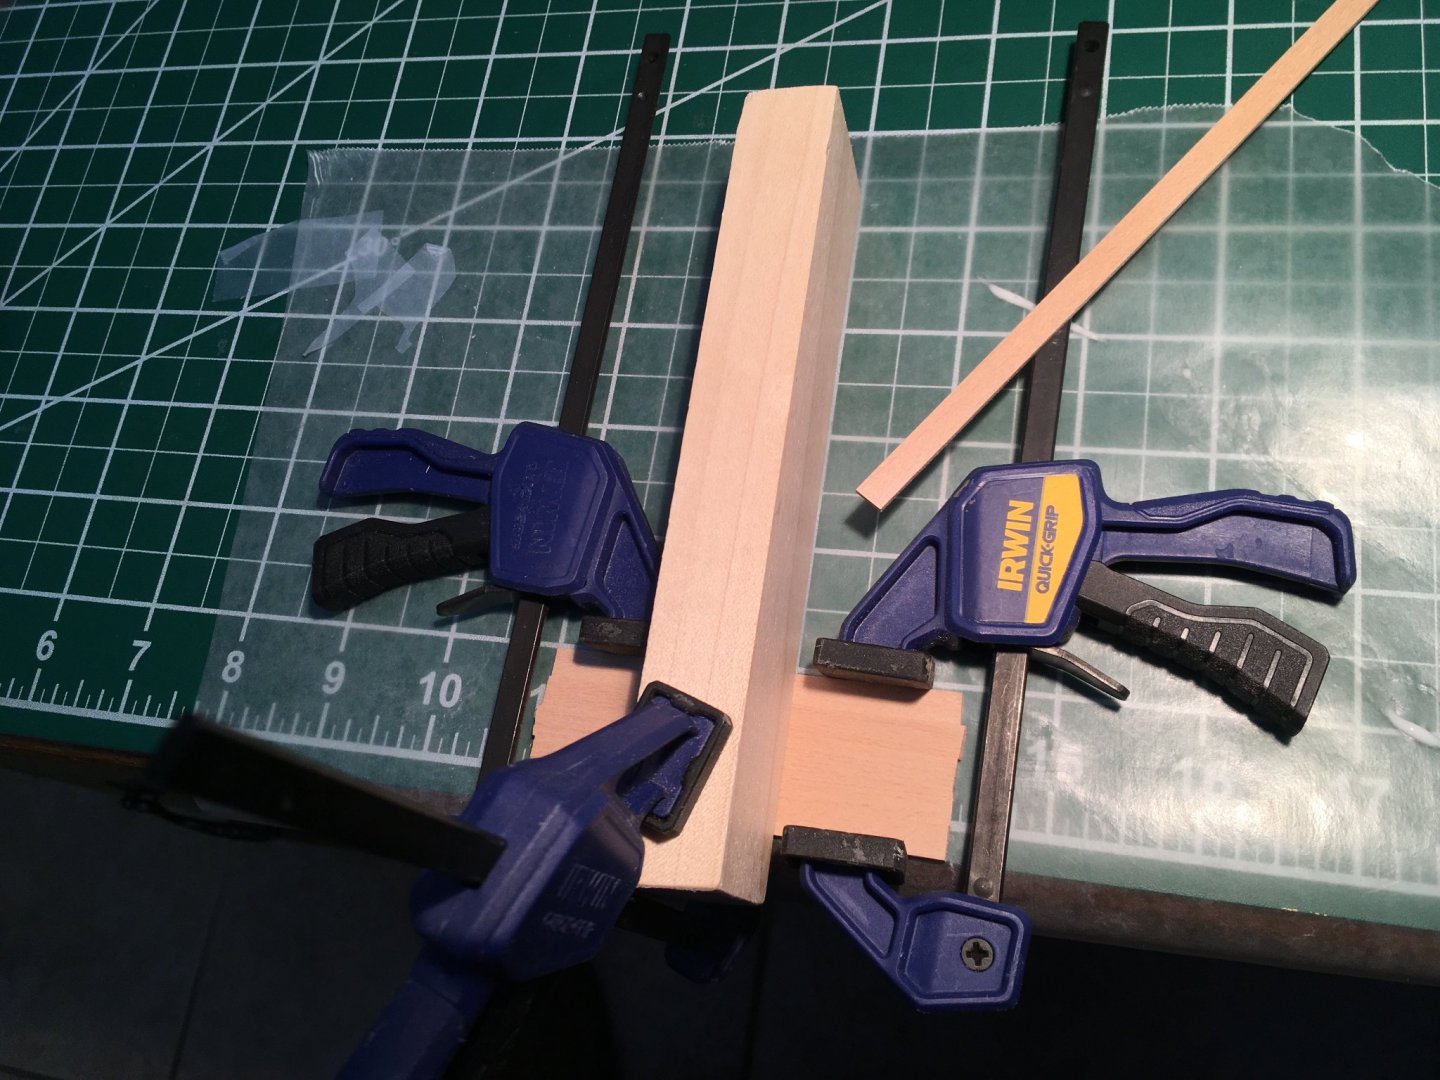
Well, I goofed again. When picking the wood to frame the top of the hole, I had to hunt darker wood. When I cut and sanded, I forgot to sand a bevel in replicate caulking. I believe I covered how I cut too much bevel in some and made some spacing too wide. Now I forget to sand the bevel in the cockpit top framing. So I tried cutting with a knife and penciling in some carbon. As you can see, not too good a job, but at least you can see a spacing. The one I have clamped here I remembered. I hope sanding will cure all and cover goofs.
-
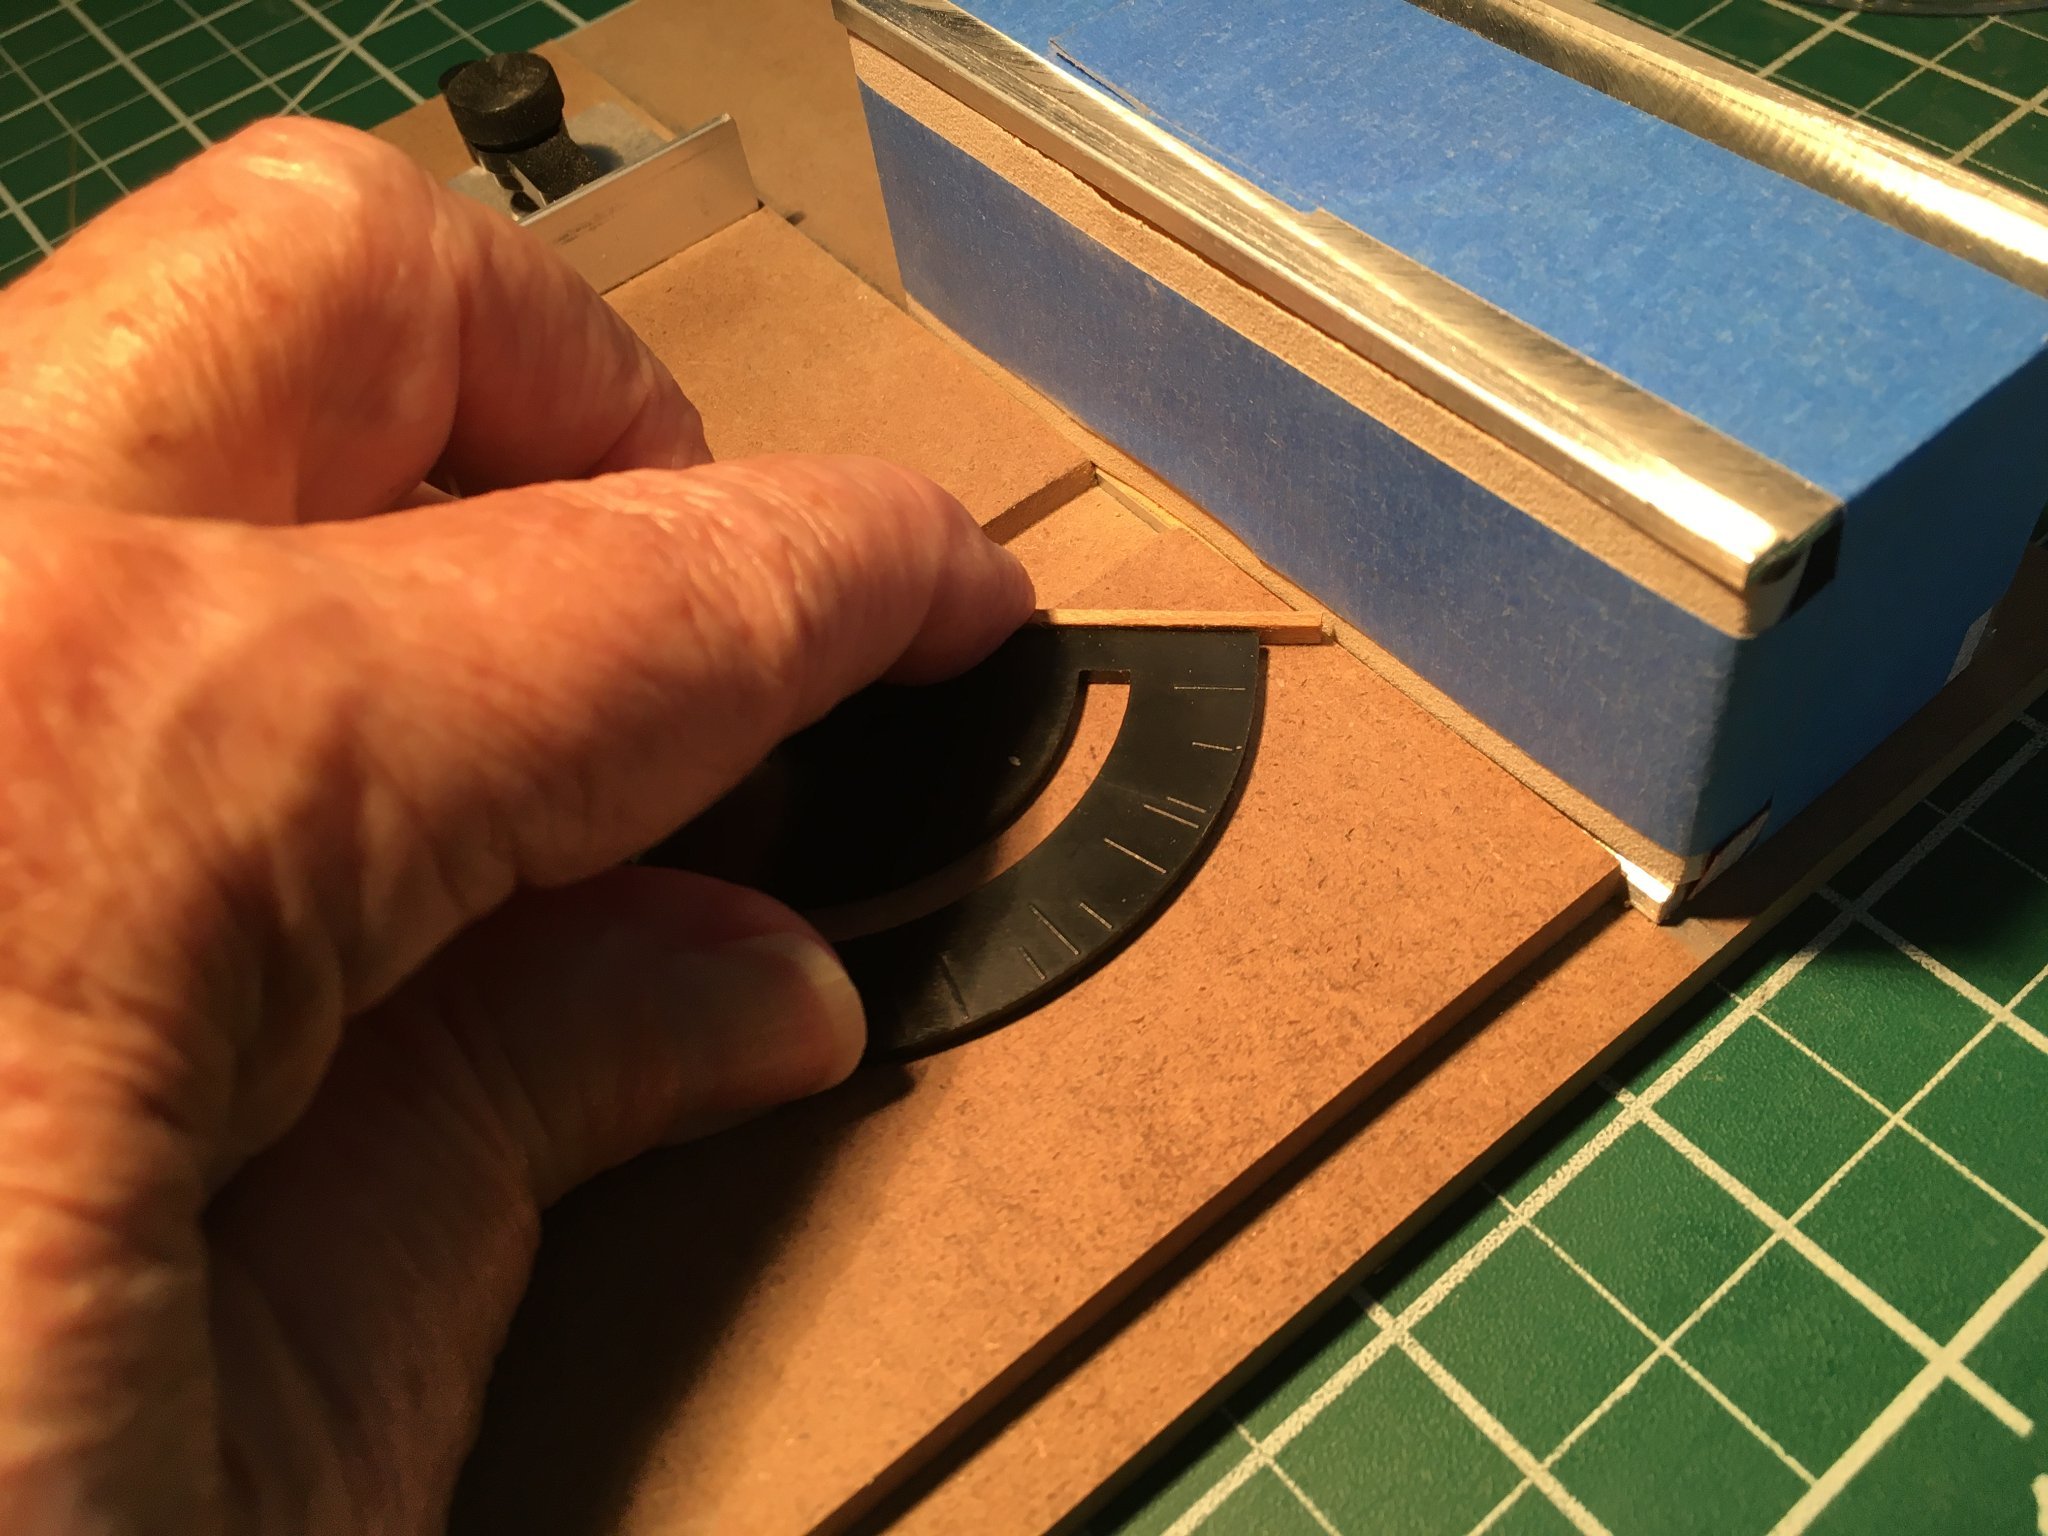
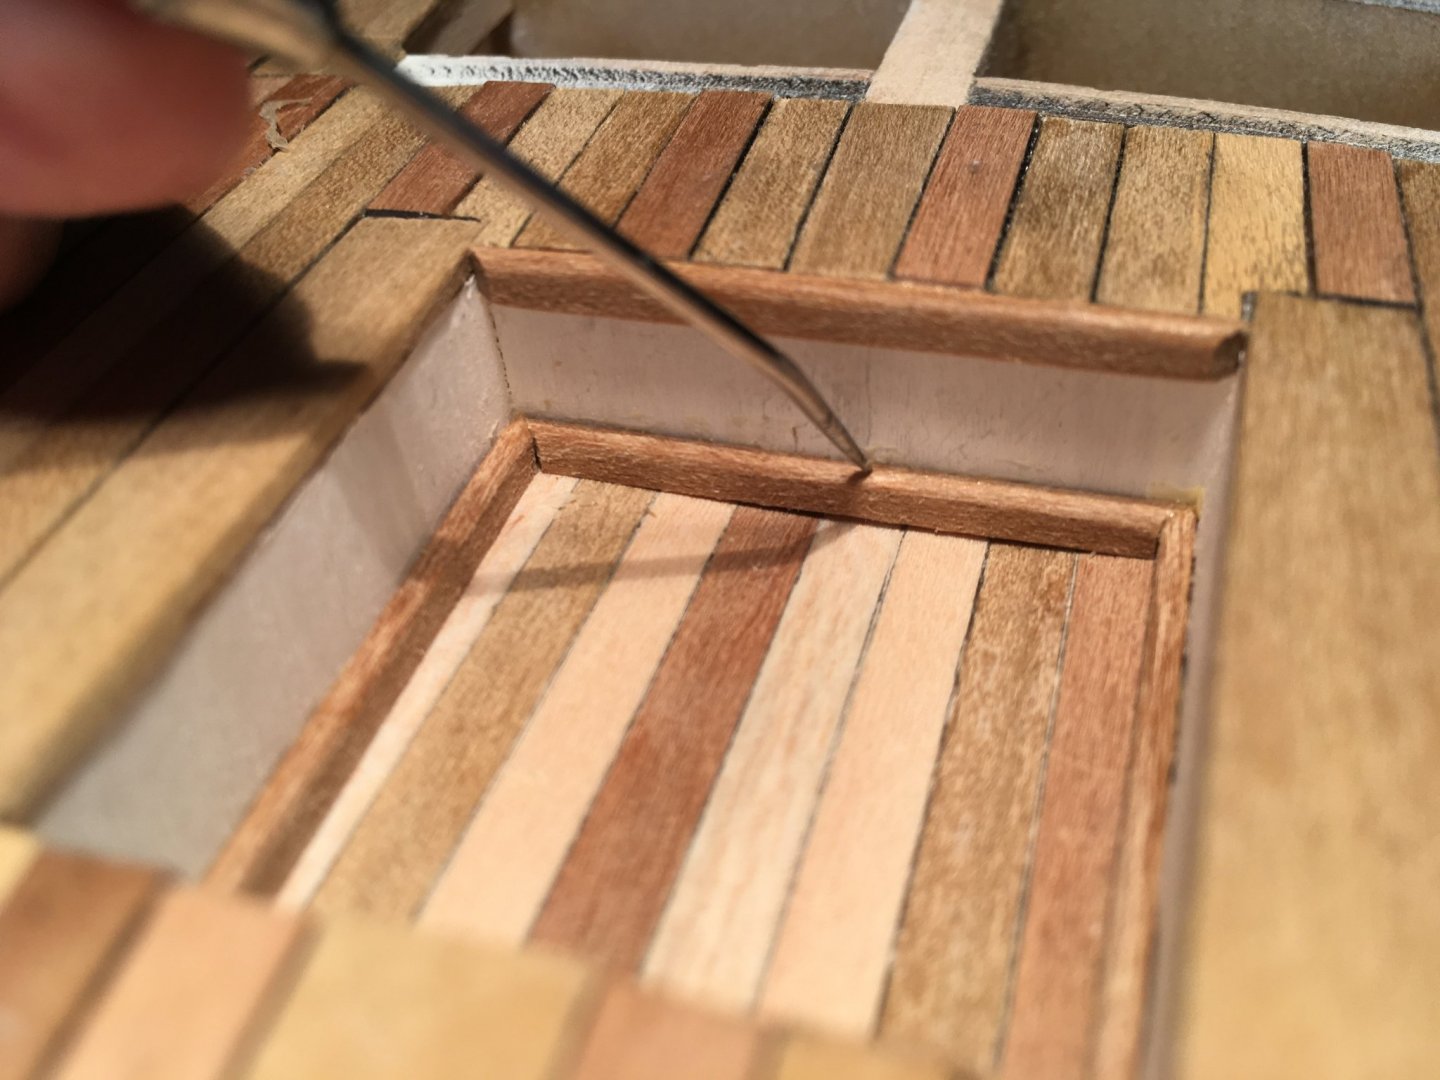
Cockpit work. The plans call for 1/8 by 1/32 Basewood. Well, too light and too thin. So off to my kid's house and some prettier lumber. 1/8 by 1/16 just looks better. So I measure and cut 'a little long,' so I can sand to length. I don't get the angles correct because the cockpit isn't rectangle, and my sanding angel device slipped. (*Sigh!*) But, close enough. So I sand and I fit and I try and I get them in. The floor of the cockpit is a little warped and I have to push down on the trimming to close the gap. I had previously sanded the bottom so this finishes the bottom. As you can see from this photo. I didn't push down hard enough. You might note I've started on the top of the cockpit because my previous photos were upside-down again. (I have to remember to keep the iPhone button on the right side). Neither inverting with the phone or my computer's editor, will invert an upside down photo. Model Ship World knows how you hold you phone. Anyway, on to trimming the top of the cockpit.

-
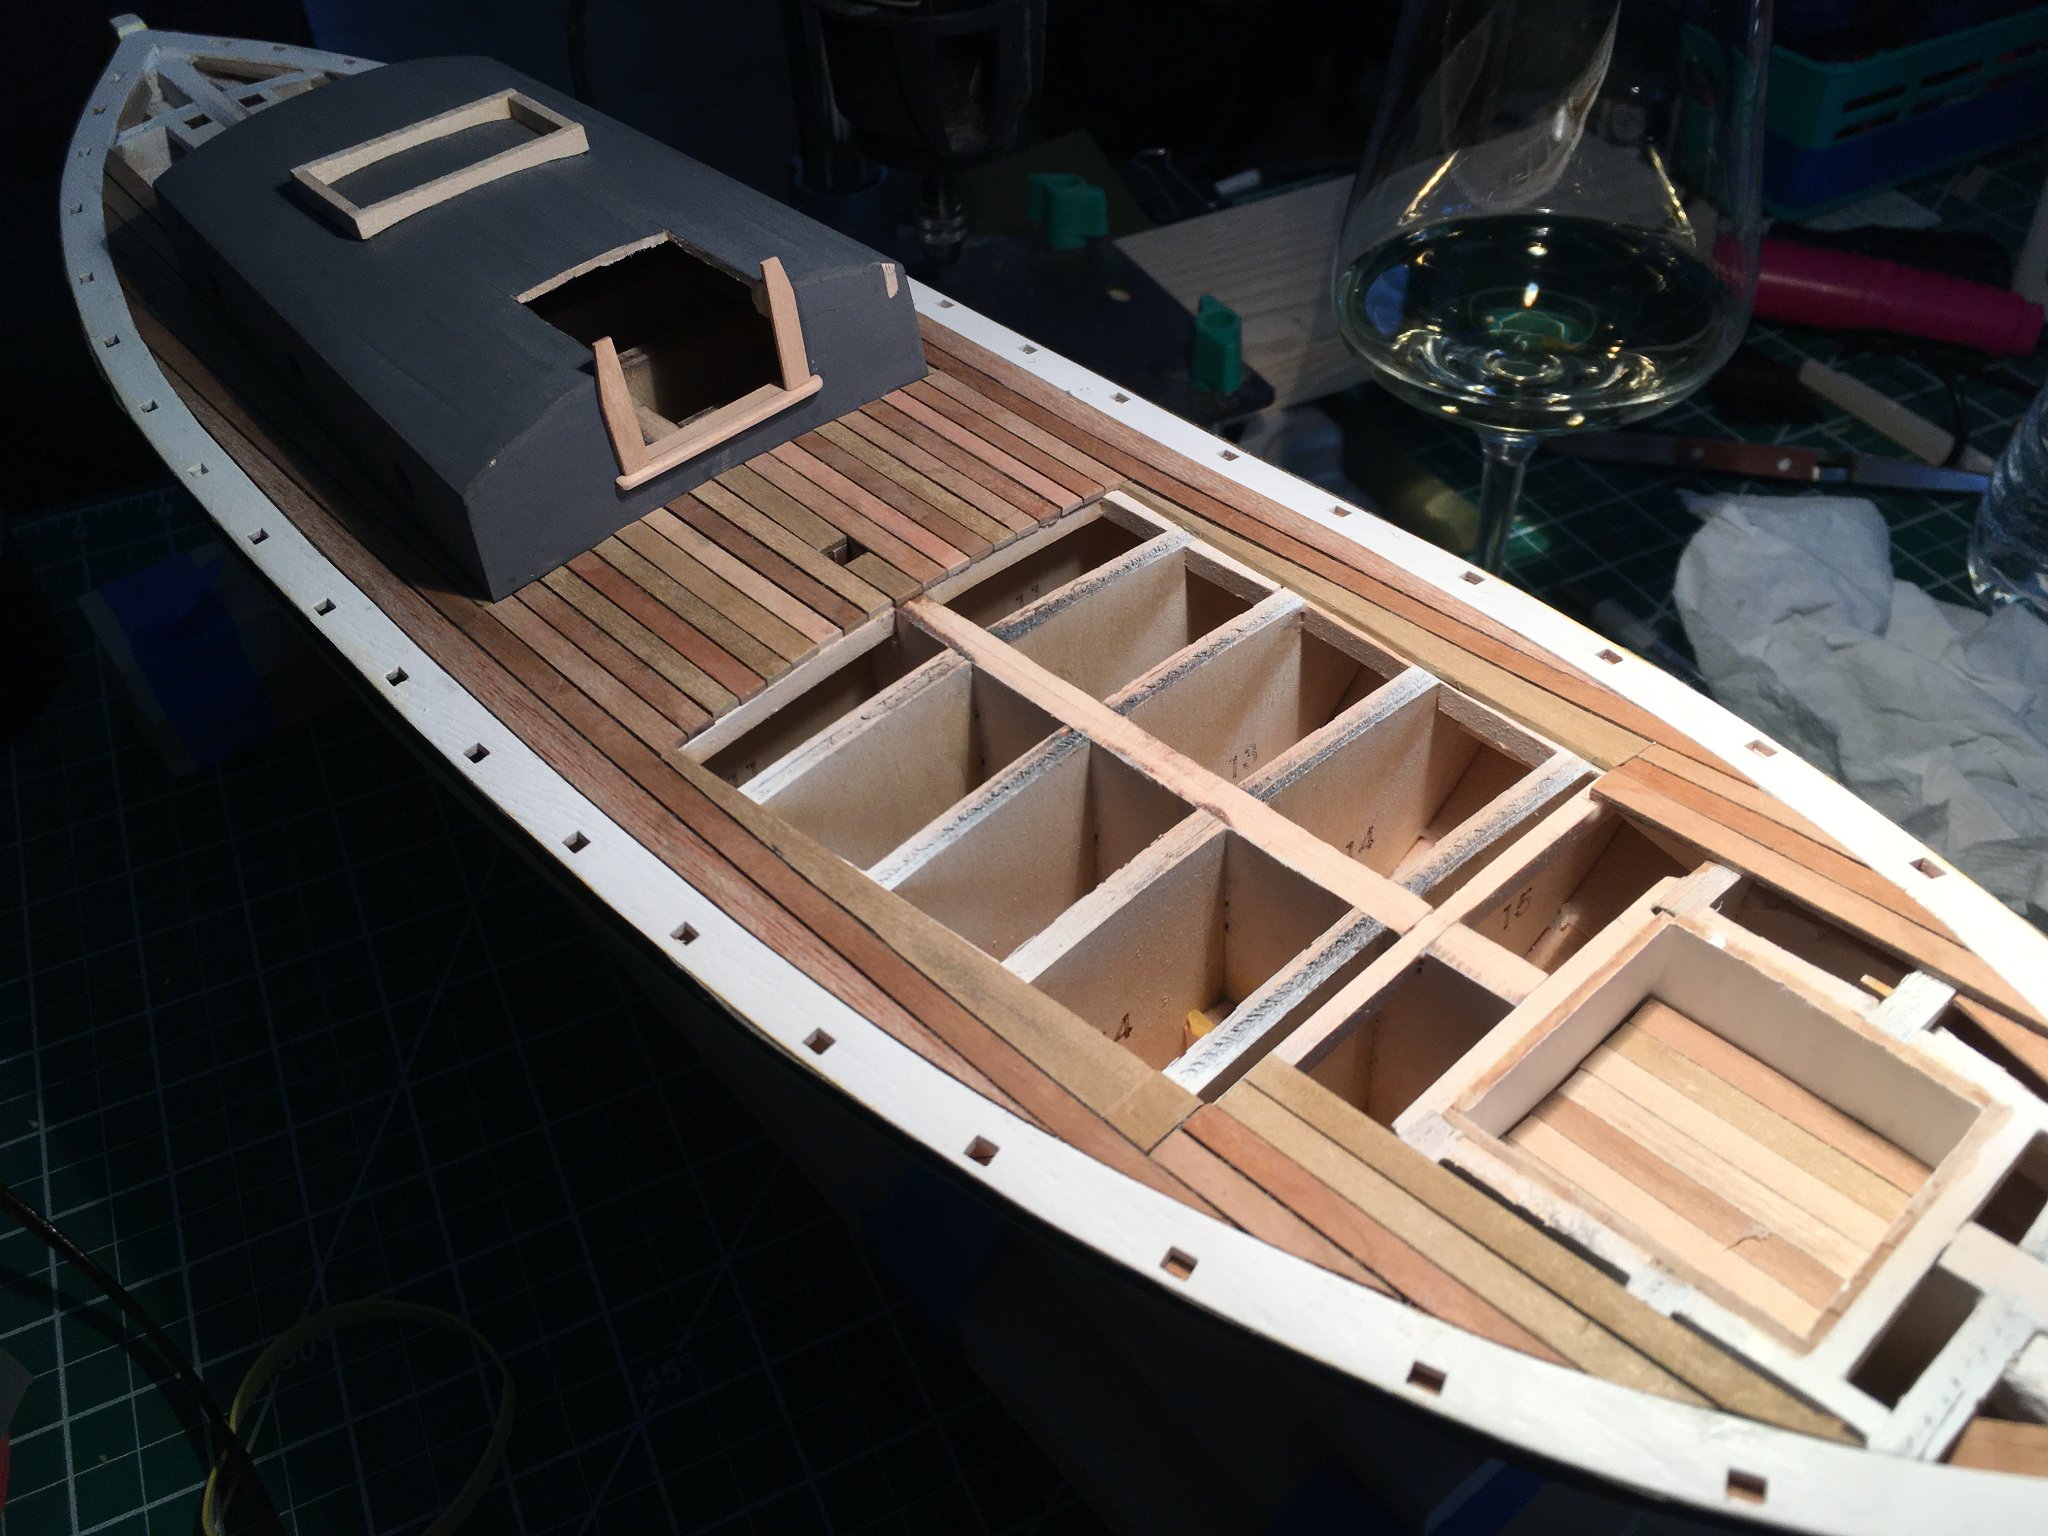
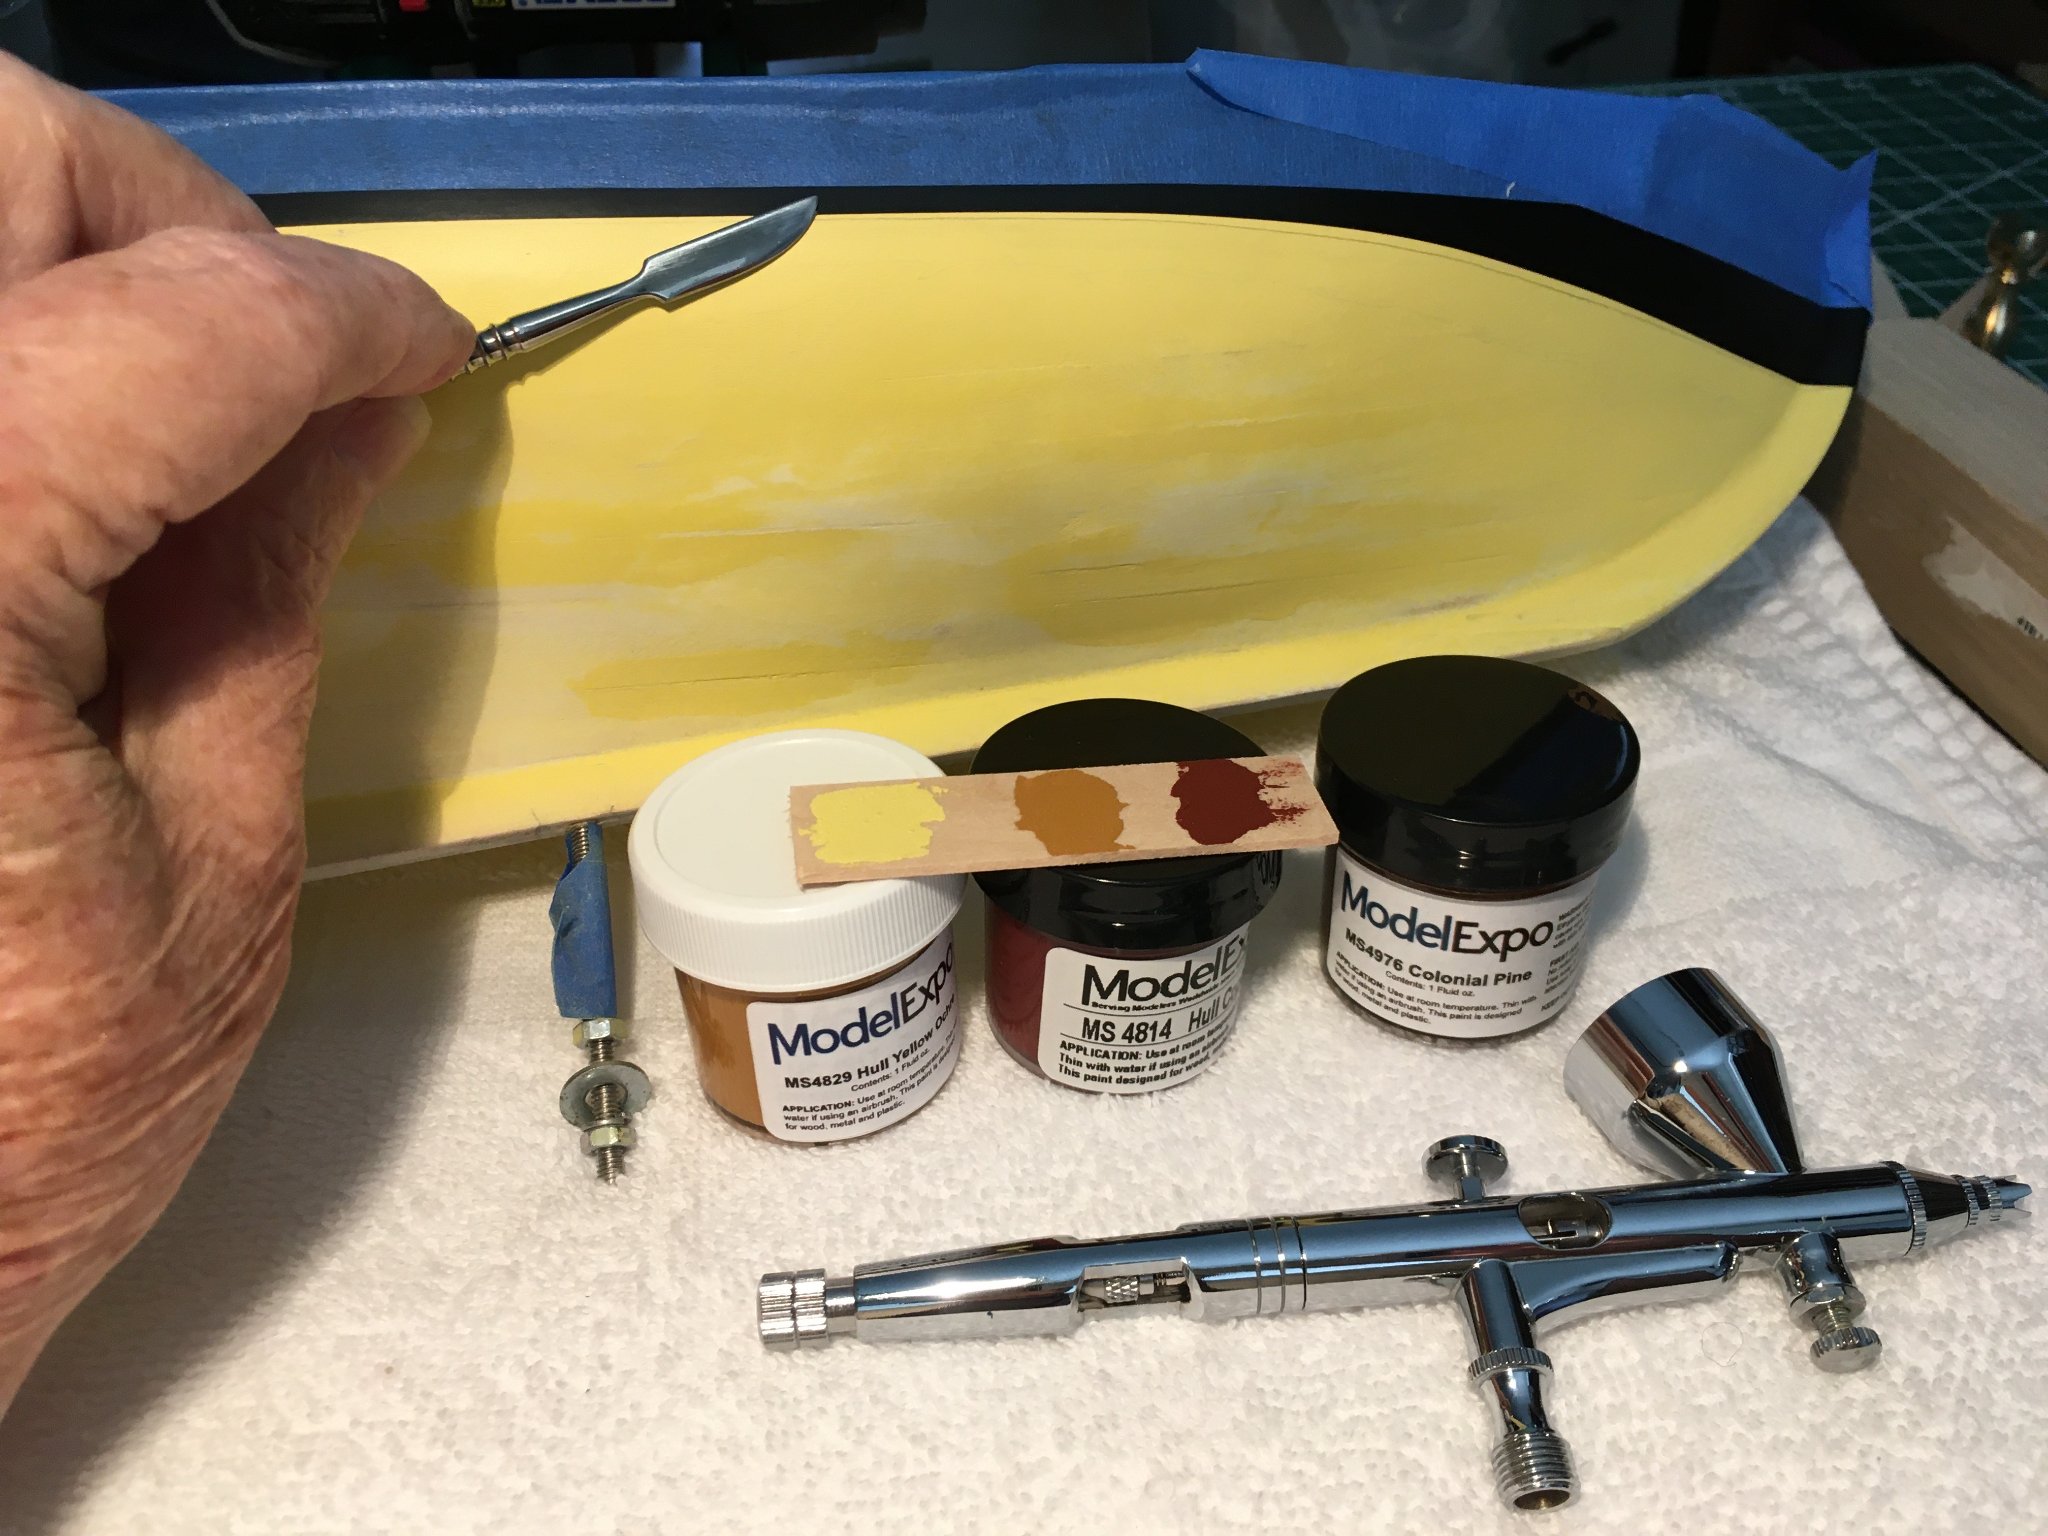
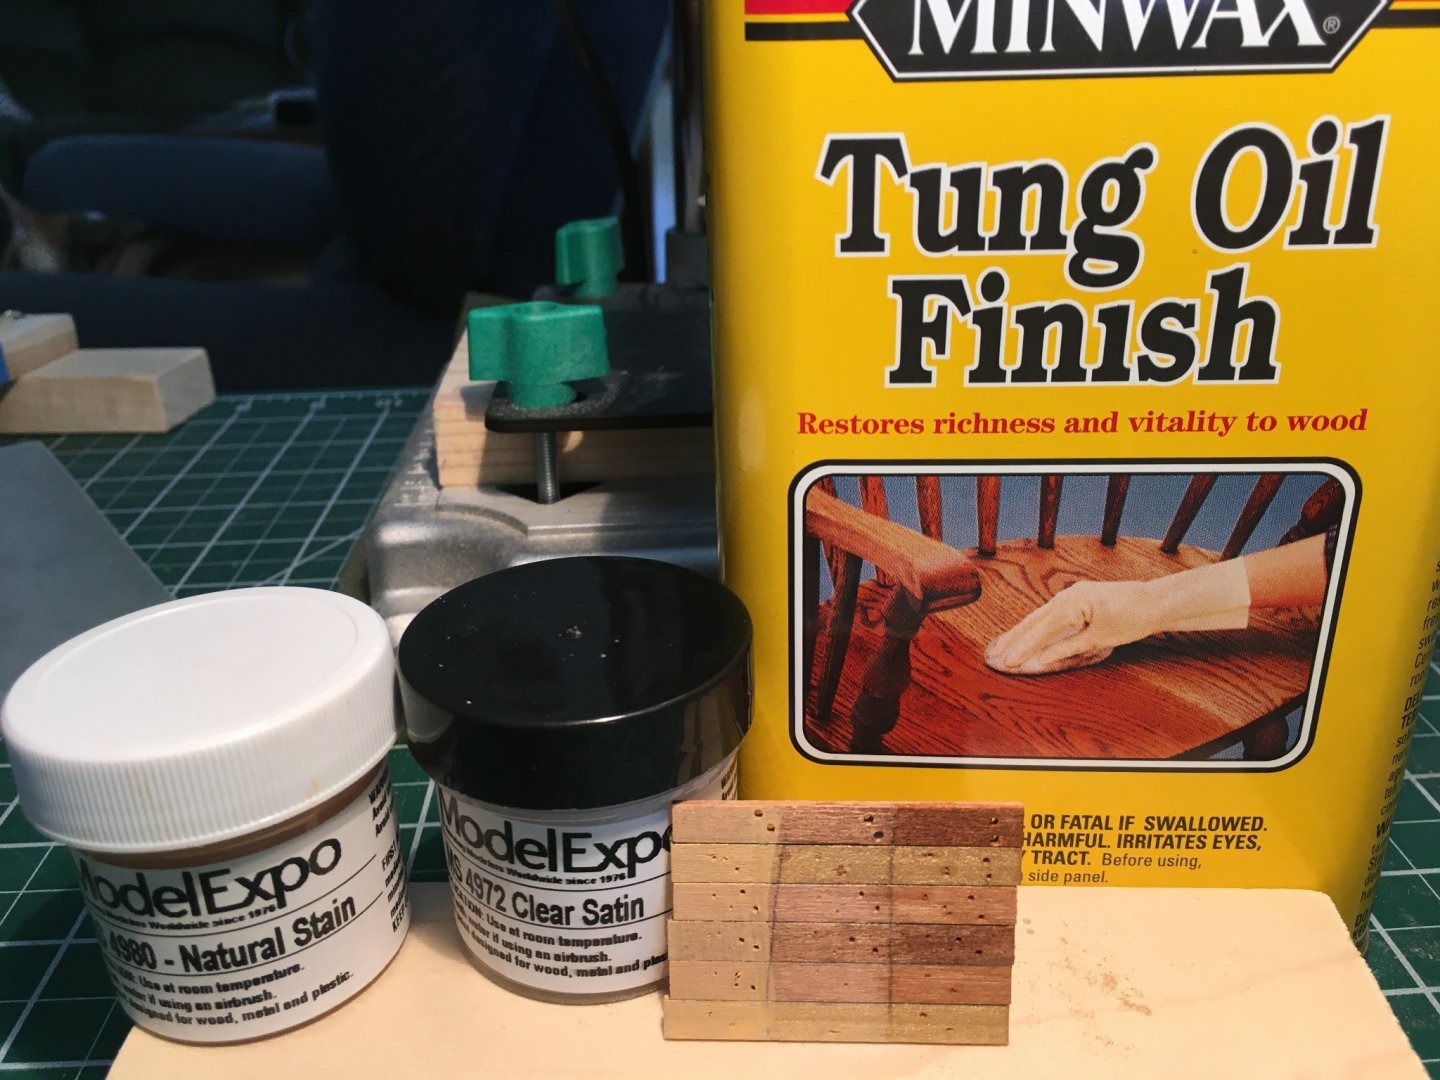
I've planked the deck, (I think I have to do the cockpit yet) and am about to sand. Like I said above, I've made a test strip of decking planks and drilled some test holes as for size and stain coloring. I selected three stains and didn't like the first two on the left. But I like the Tung Oil Finish. I notice that Olha had another liquid to enhance the holes, but it was too expensive for what it did, so the Tung Oil will do. The oil was a thin coat and has dried a few days. After I sand the deck I'll soak it in oil and hope it shines.
-
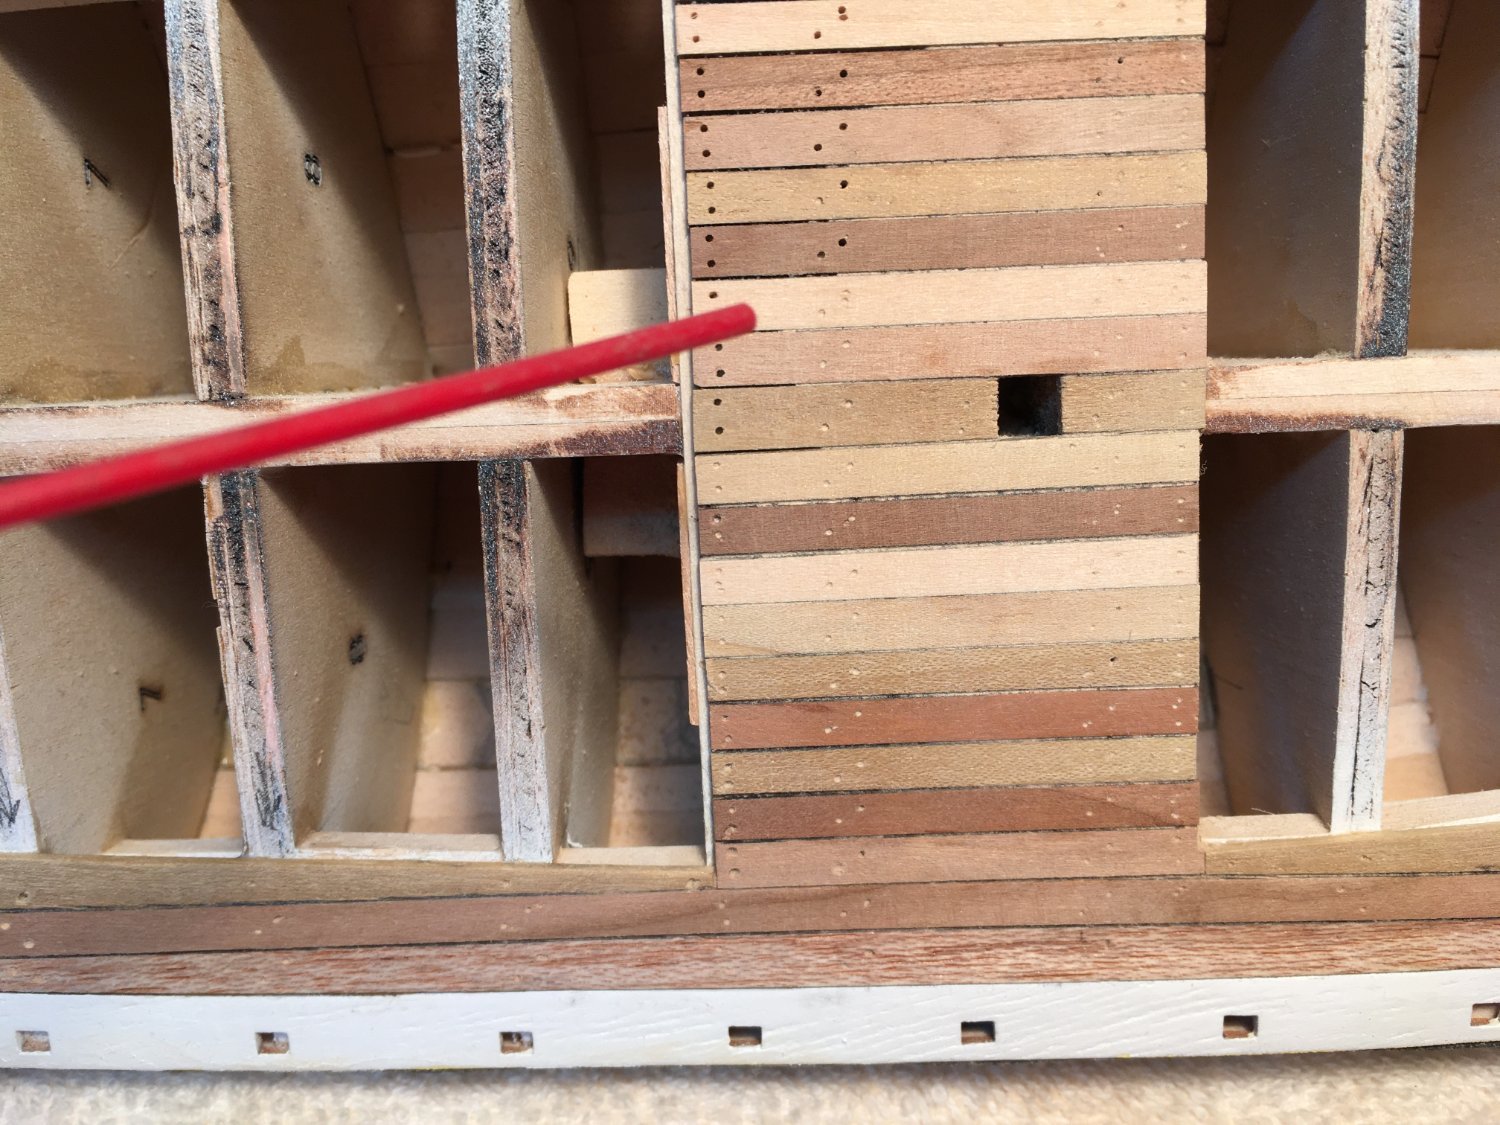
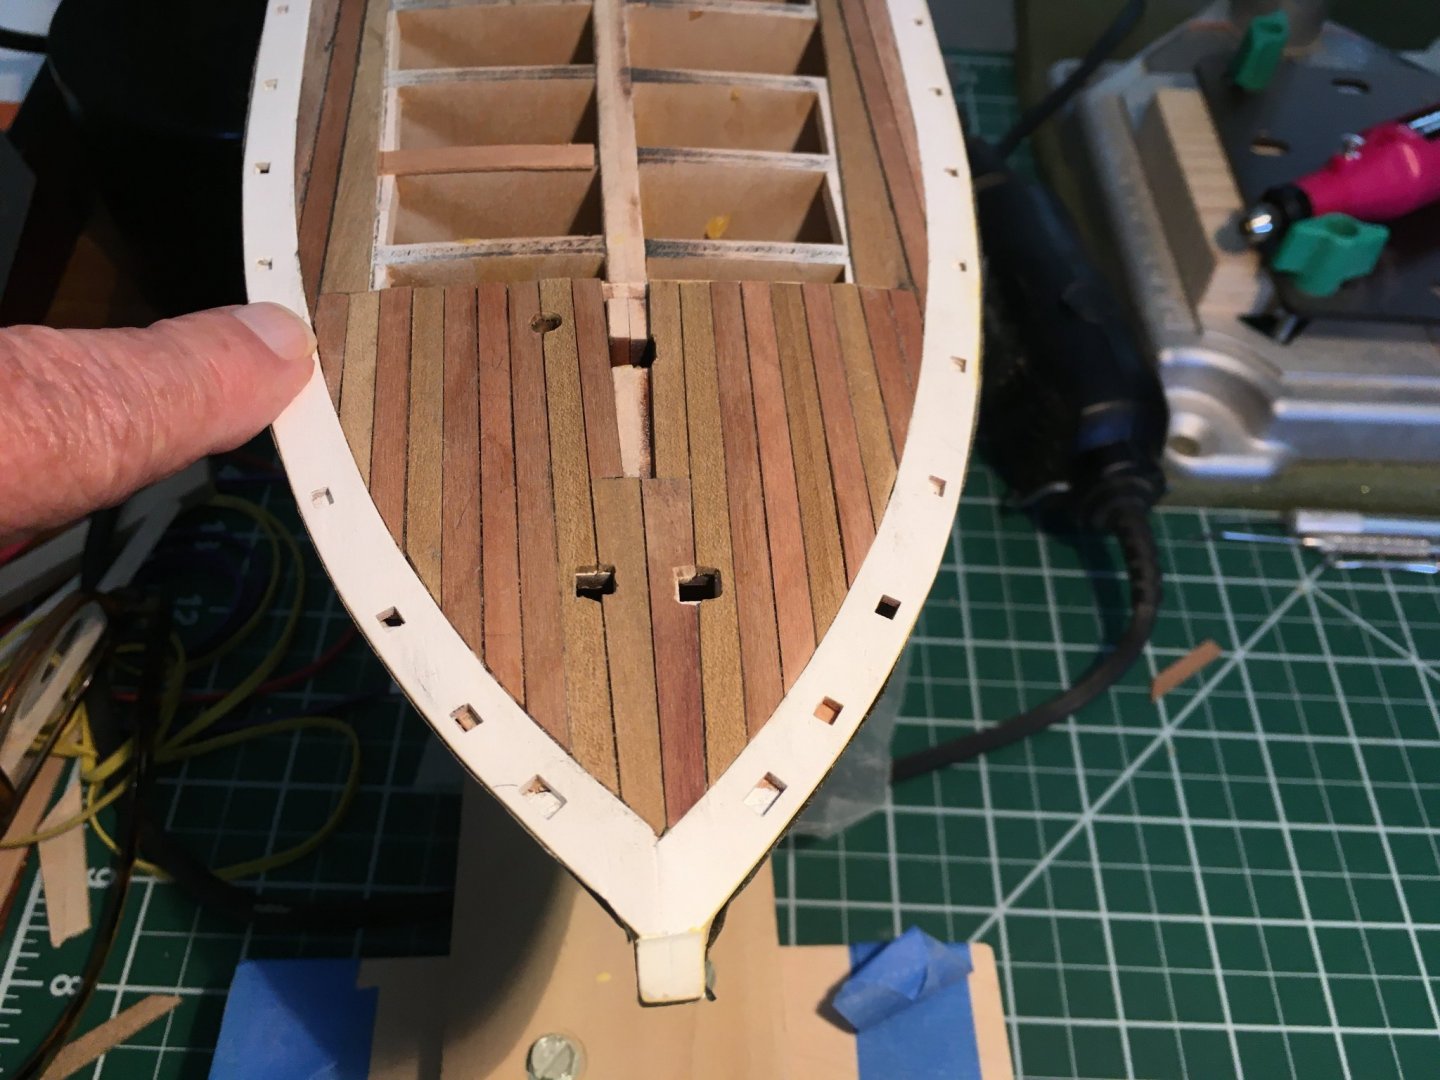
Looks like I've built myself into another corner. My planks aren't parallel. Look where my finger is pointing and you'll see I didn't sand correctly and it's off just slightly. As I got to the center the error showed up. So I used some slightly wider planks, like I did around the cabin, and ended them on a rib. Now I'll squeez in a few more planks. I believe this will all be covered by deck equipment (and other errors).
-
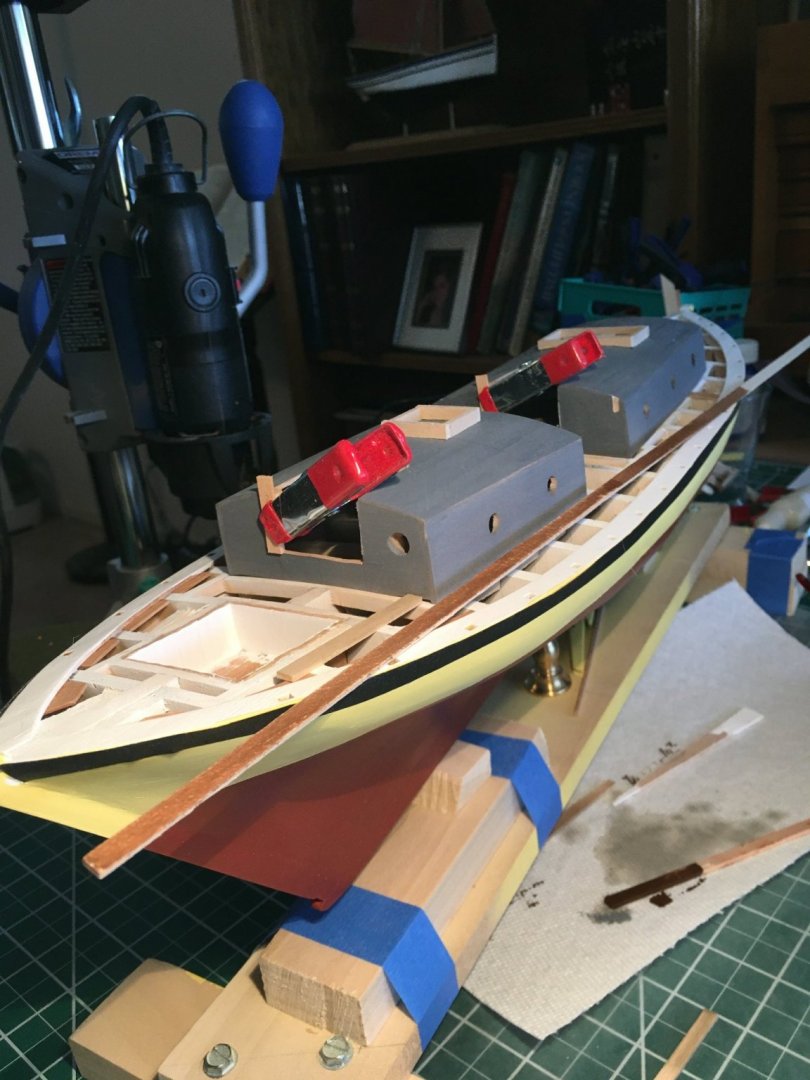
Time to start planking. After gathering a bunch of different colors and brands of wood, I selected a balsa for the wider, outside planks. This is another test stain, but I didn't like it because I'll be sanding and that can change the color. So here's beginning of planking. Lots of sanding and shaping. But with balsa, it's easy. (Yea, I'm lazy) So here's the beginning. I'm sanding and shaping to keep the wood close to the cabins. I'll paint them at the last so it won't scrap the white. Here is a few weeks later. I might have overdone the "different color planks." I didn't want all the same color, but I may have goofed by making the colors so different. (Sigh!). But, I'd have done the same thing if it was full size. I could do some staining, but, well, it is what it is. I was going to oil it like the young lady did, but I have some finish that has a slight stain color. We'll see what happens. I do one stick at a time, unlike the lady (can't remember her name and am afraid to leave this to find it) who glued it all at once. I'm in no hurry and I can pay more attention to detail (while watching golf on TV). Another error I'm making is my "calking." I sand each piece at a slight bevel, then rub pencil (carbon) on them. Well, on some I've made too big an angle and it makes too big a "calking" line. But, what the heck.


-
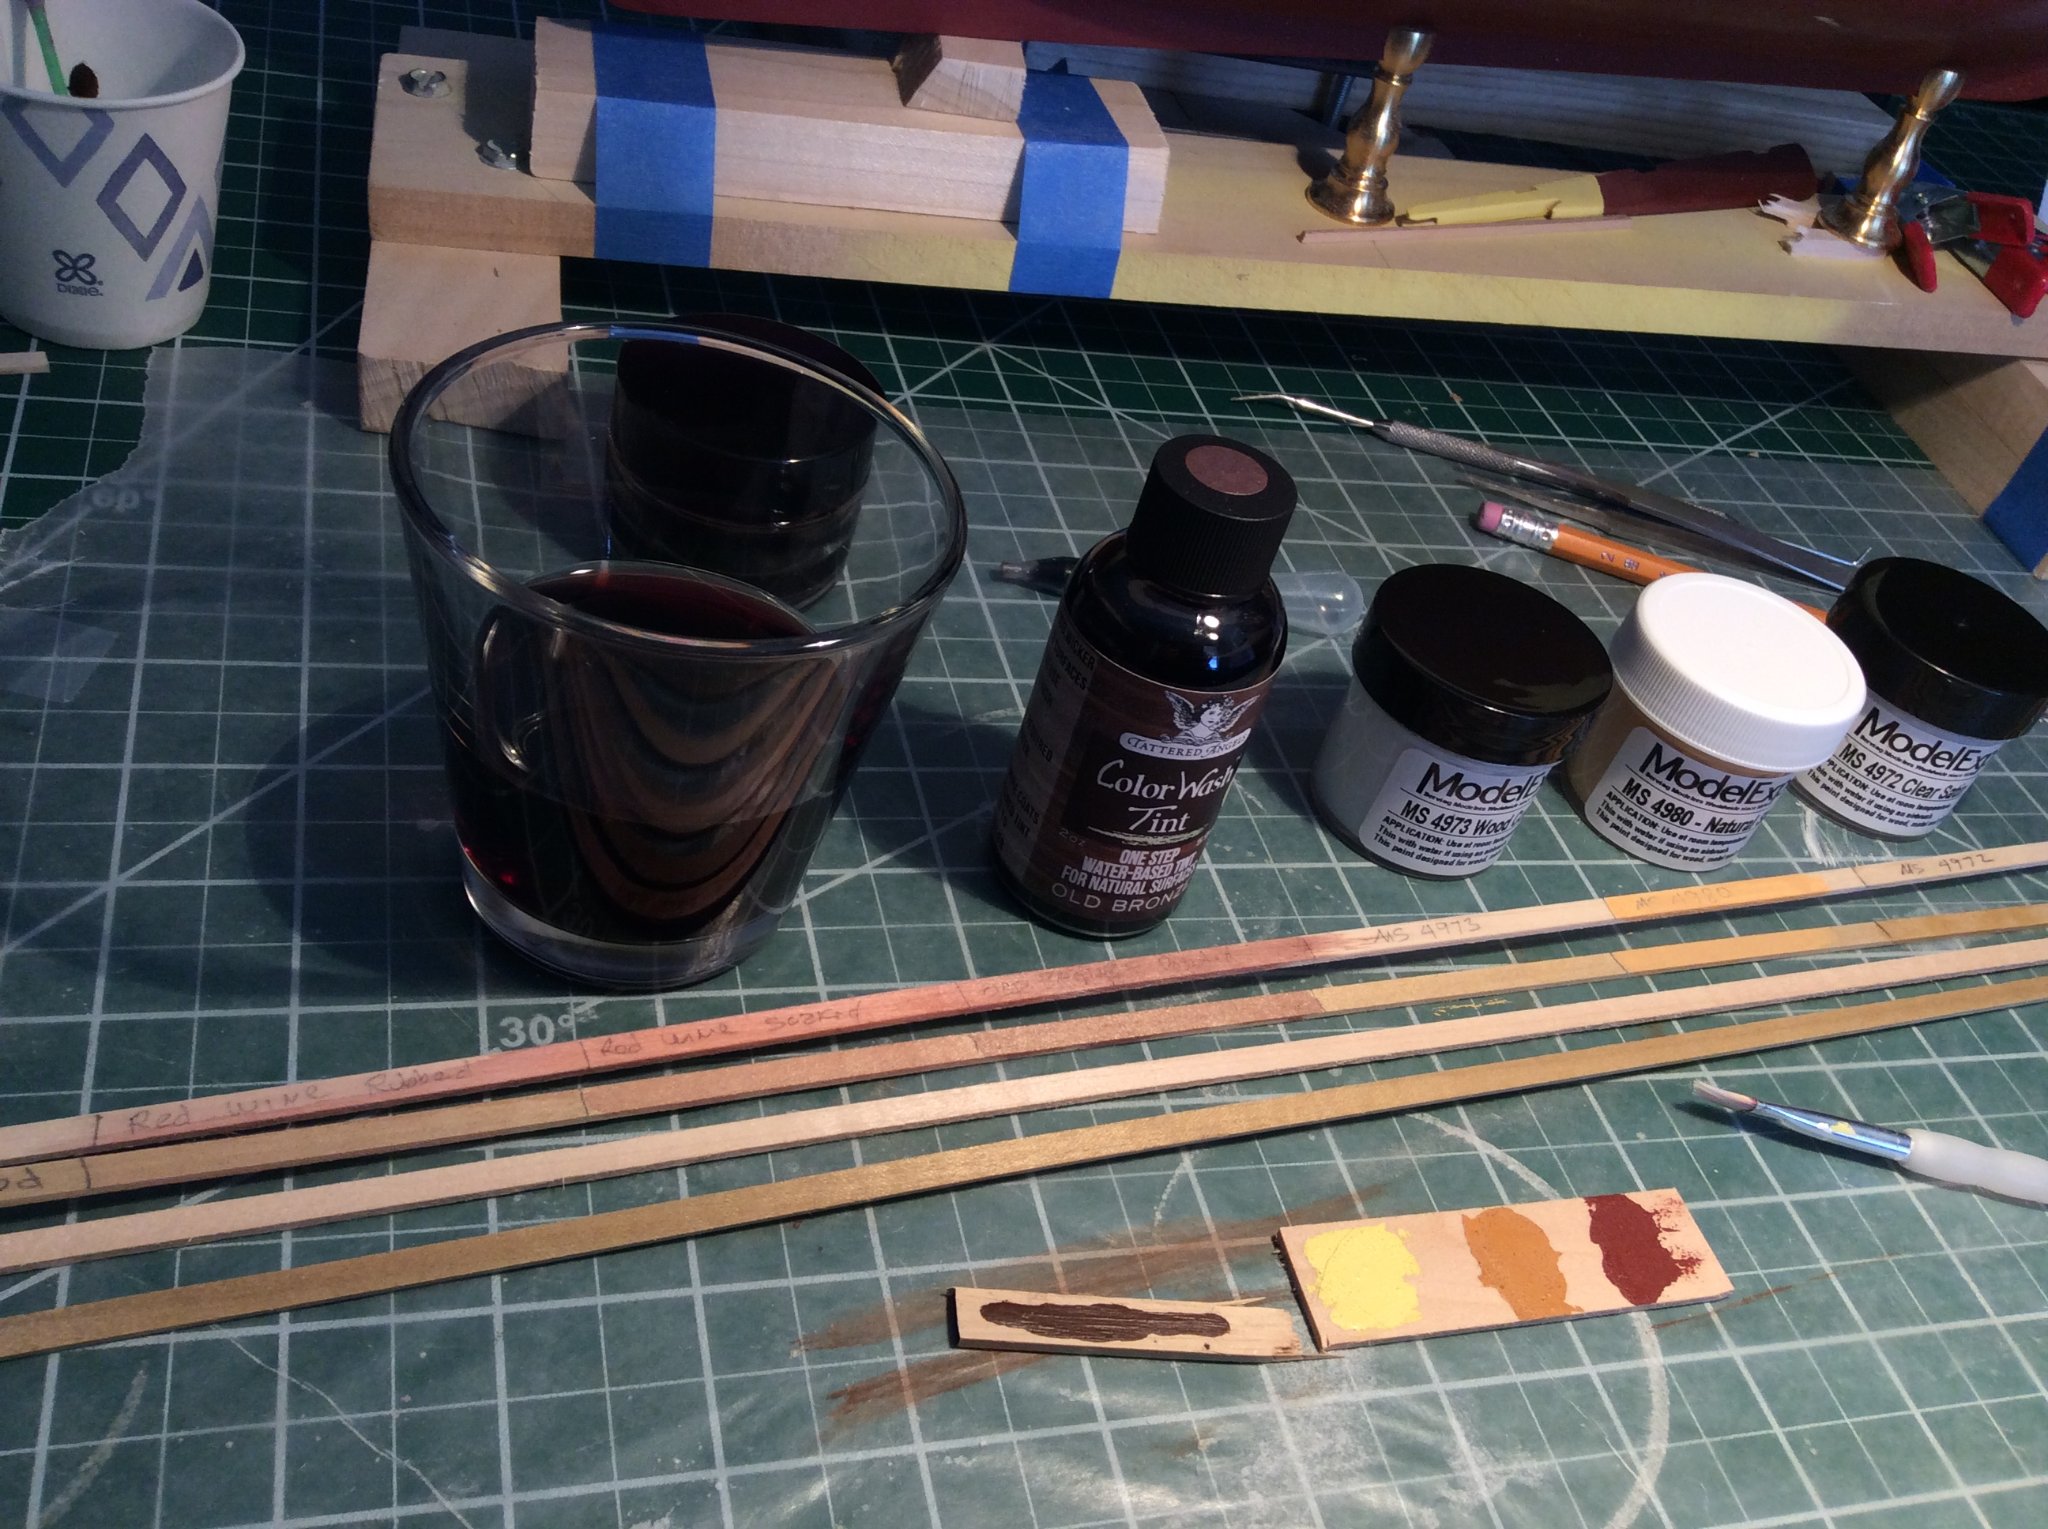
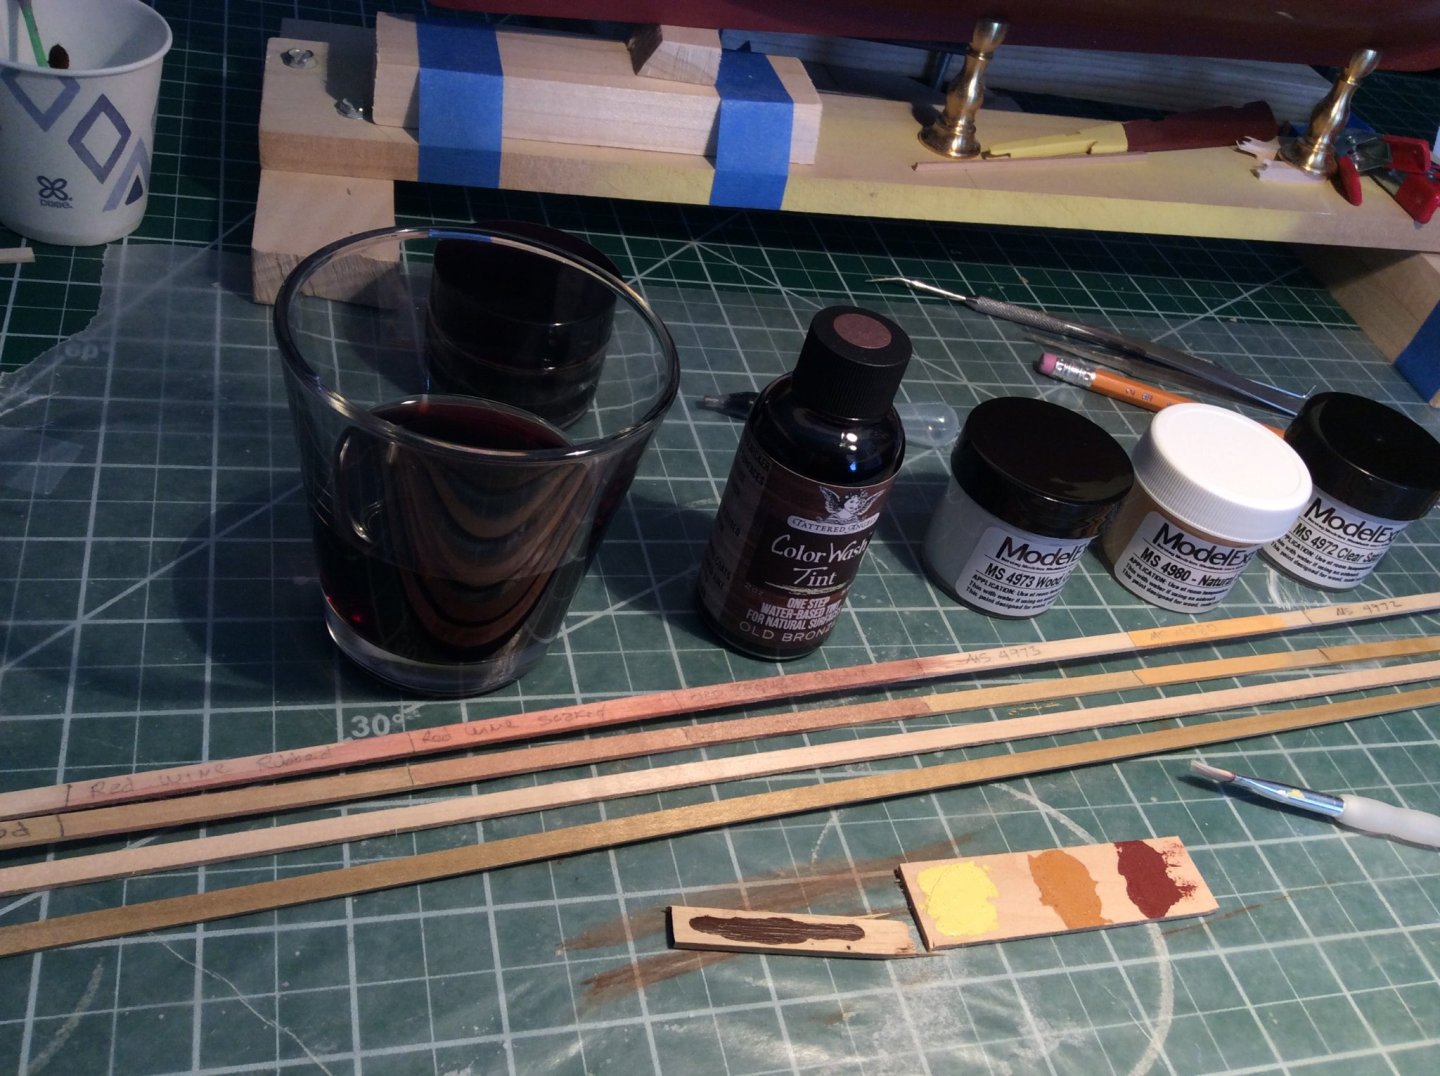
In preparation for planking the deck, I decided (after seeing Ms. Olha’s comment), Basswood is rather light colored. So I ordered some Cherry Wood Strips from Model Shipways; then borrowed some strips from my son (he builds ships but isn’t in this group – but I'm working on him), and am trying different stains. I searched the Internet for Olha's Pear and found nothing. (She must have a secret supplier). The order from Model Expo wood screwed up so I’m proceeding with testing anyway. As you can see, I have Basswood Top strip and 3ed strip. The other two are the slightly darker wood from my son. I had good luck with wine, both in drinking and using it for stain. (No not on my shirt). My other model here explains how I used wine to color my sails. I’ve marked “Red Wine Rubbed off”, then Red Wine Soaked. Then some weird stain from Hobby Lobby, mixed with water, then three different wood conditioners and stain from Model Expo. After it dries I’ll paint over portions with 4980 Natural Stain and 4972 Clear Stain and see what I like. I plan on mixing different woods. And if I don’t like the stain, I’ll try just oil (like we do on real ships) like Ms. Ohla did. Then, if Shipway comes through, I’ll add their Cherry Wood. (Yea, I drank the red wine… Don’t waste nothing). It could be quite a colorful deck. I hope it doesn't look like a rainbow....
-
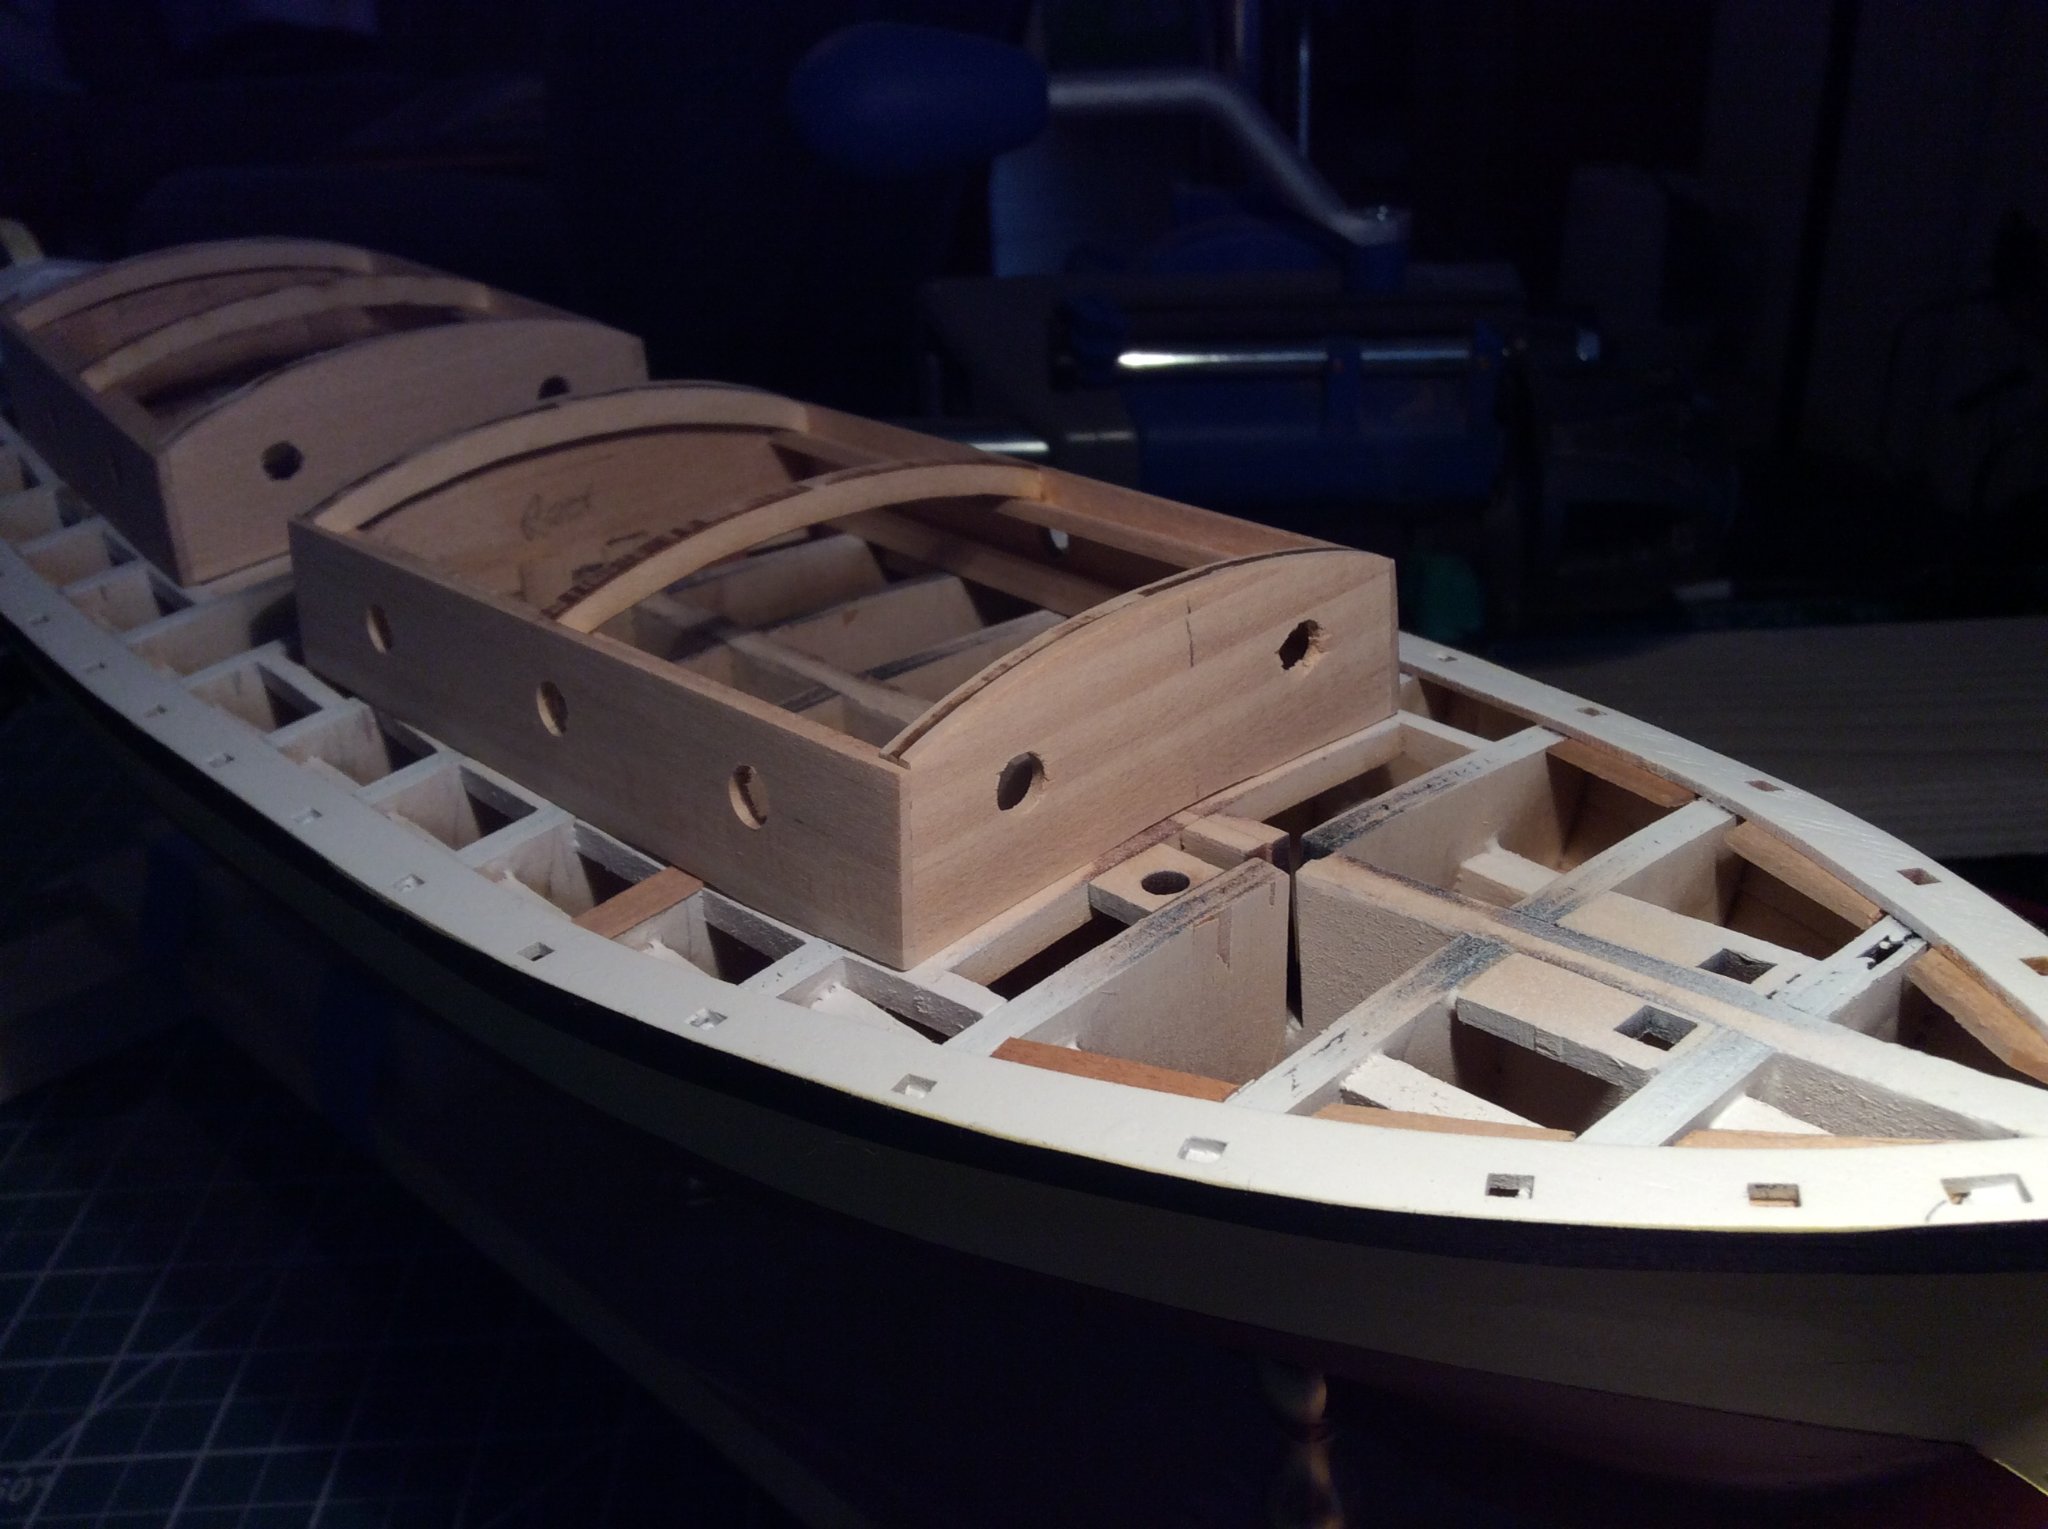
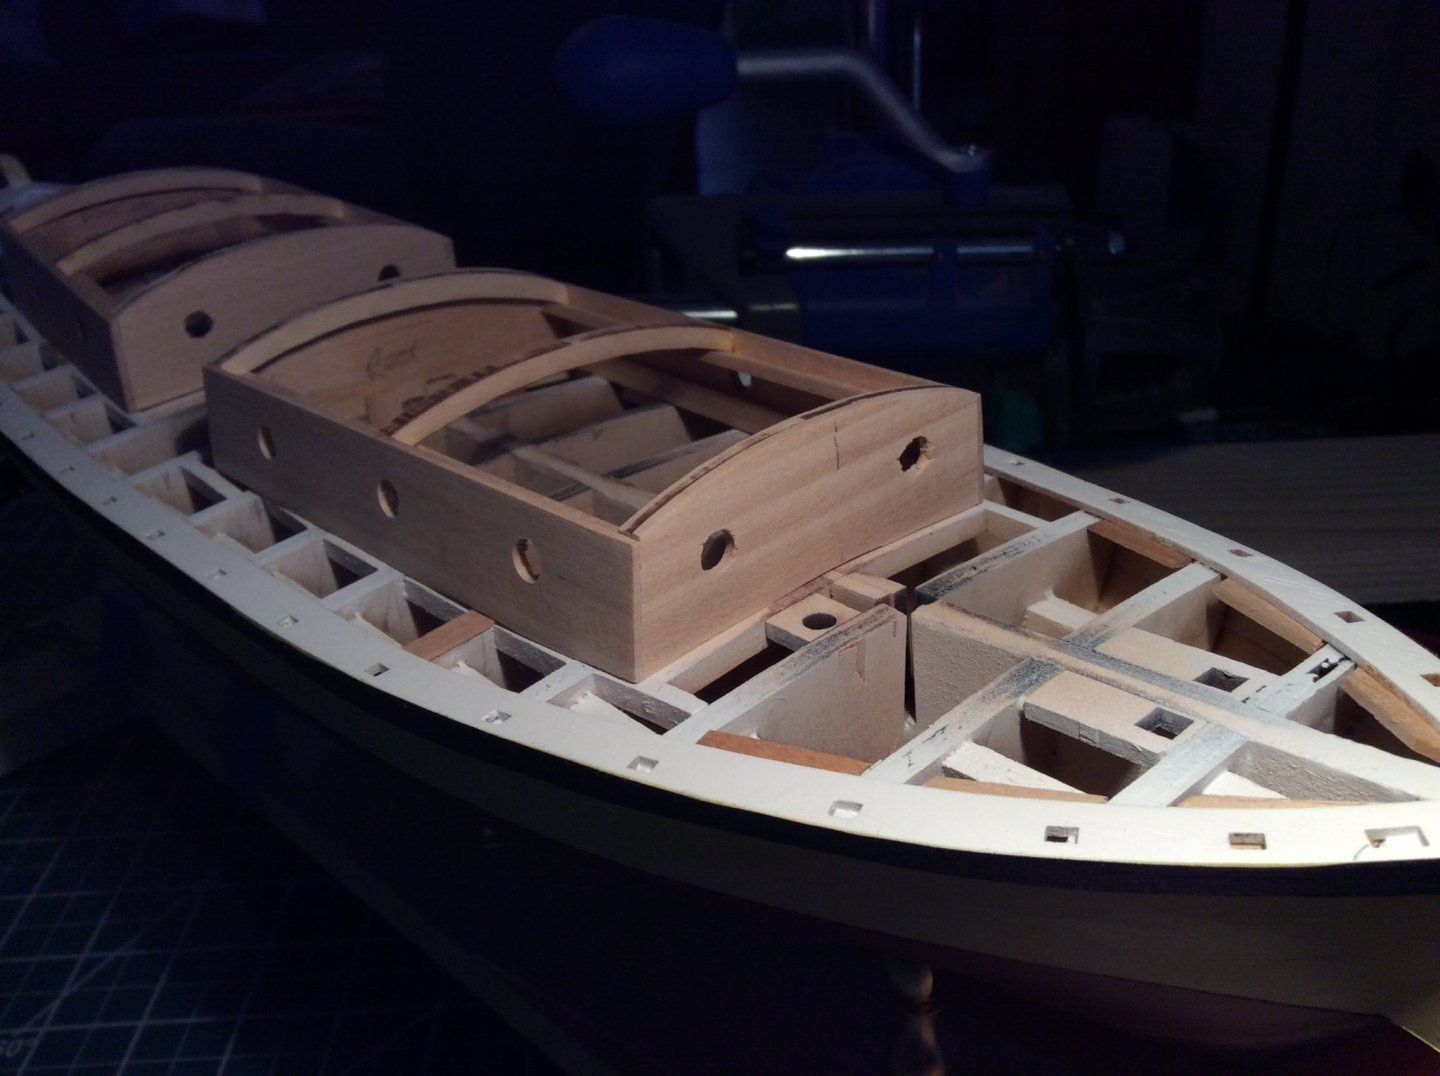
Sides are on and port holes drilled. I checked the prints and added a cabin beam for top plank support. Then a bunch of sanding to get the cabins to fit flush. My deck planking should cover the bottoms of the cabins. I added a shim on one of the ribs for the deck planks to sit on. Also near the bow, I glued some shims where the ends of deck planks can connect better.
-
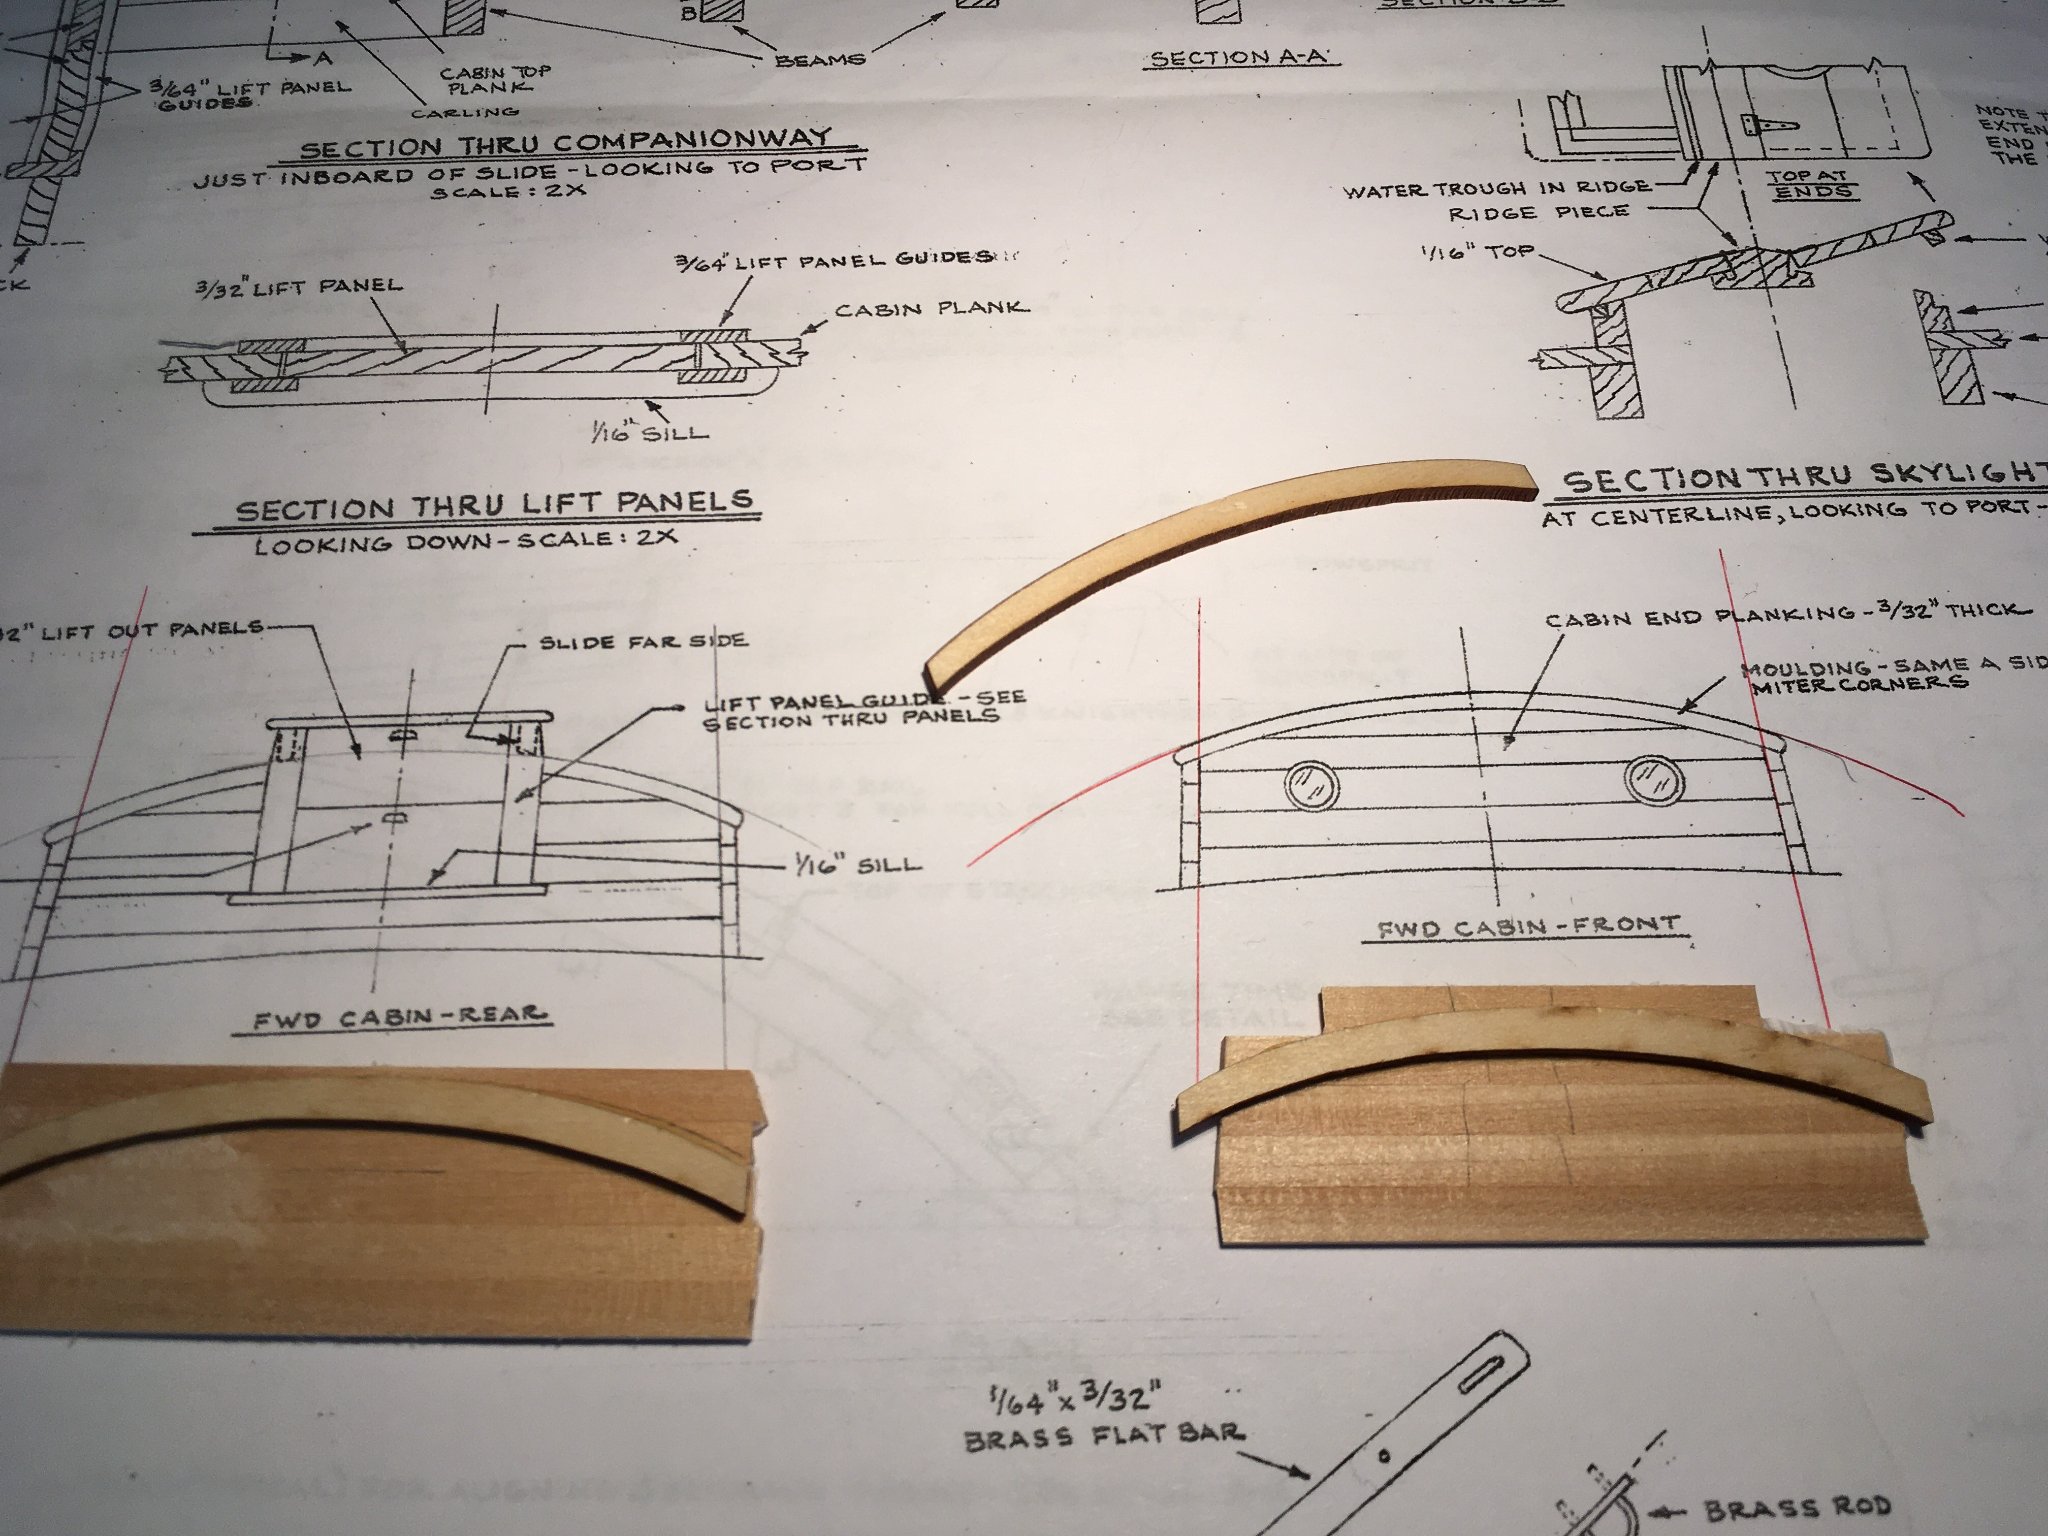
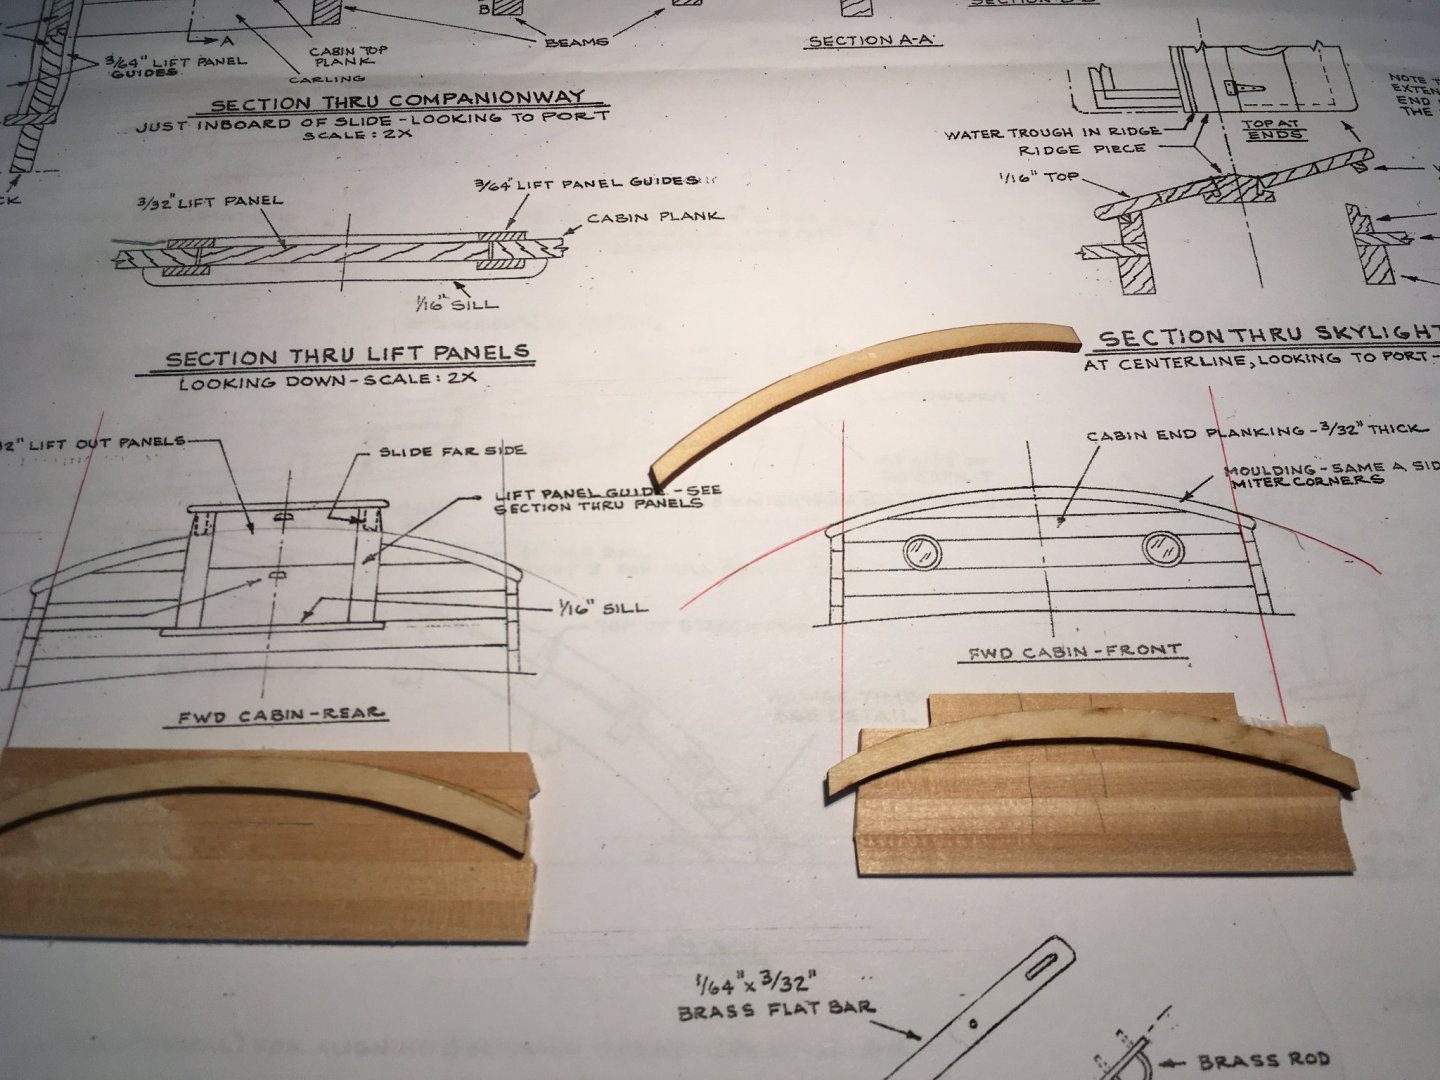
Time to start on the cabins. The ends of the cabin are measured to cover the pictures on the blueprint. I use Elmer’s glue so I have time. I squirt out a puddle on the wax paper and drag the edges of the boards through it for a thin line of glue and slide it against the next board. A hand squeeze at the end will squirt out excess glue, then a wipe of the cloth. Wax paper on both sides than put on the squeeze and squeeze it down. Leave it till morning. I used yellow glue to put cabin beams on the inside of the cabin ends; clamp and dry. With red pencil I extended some lines and as you can see, I will slide the cabin ends over the drawings and make my marks for cutting. Connected the cabin ends. The pencil points to my placement tabs on the back cabin. Same for cabin front. The decking planks have lots of deck for purchase. The extra cabin bean you see is just laying the on connecting board to show that when I cut the companionway hole, I take a section of this beam and use it on the inside. Cabin.

-
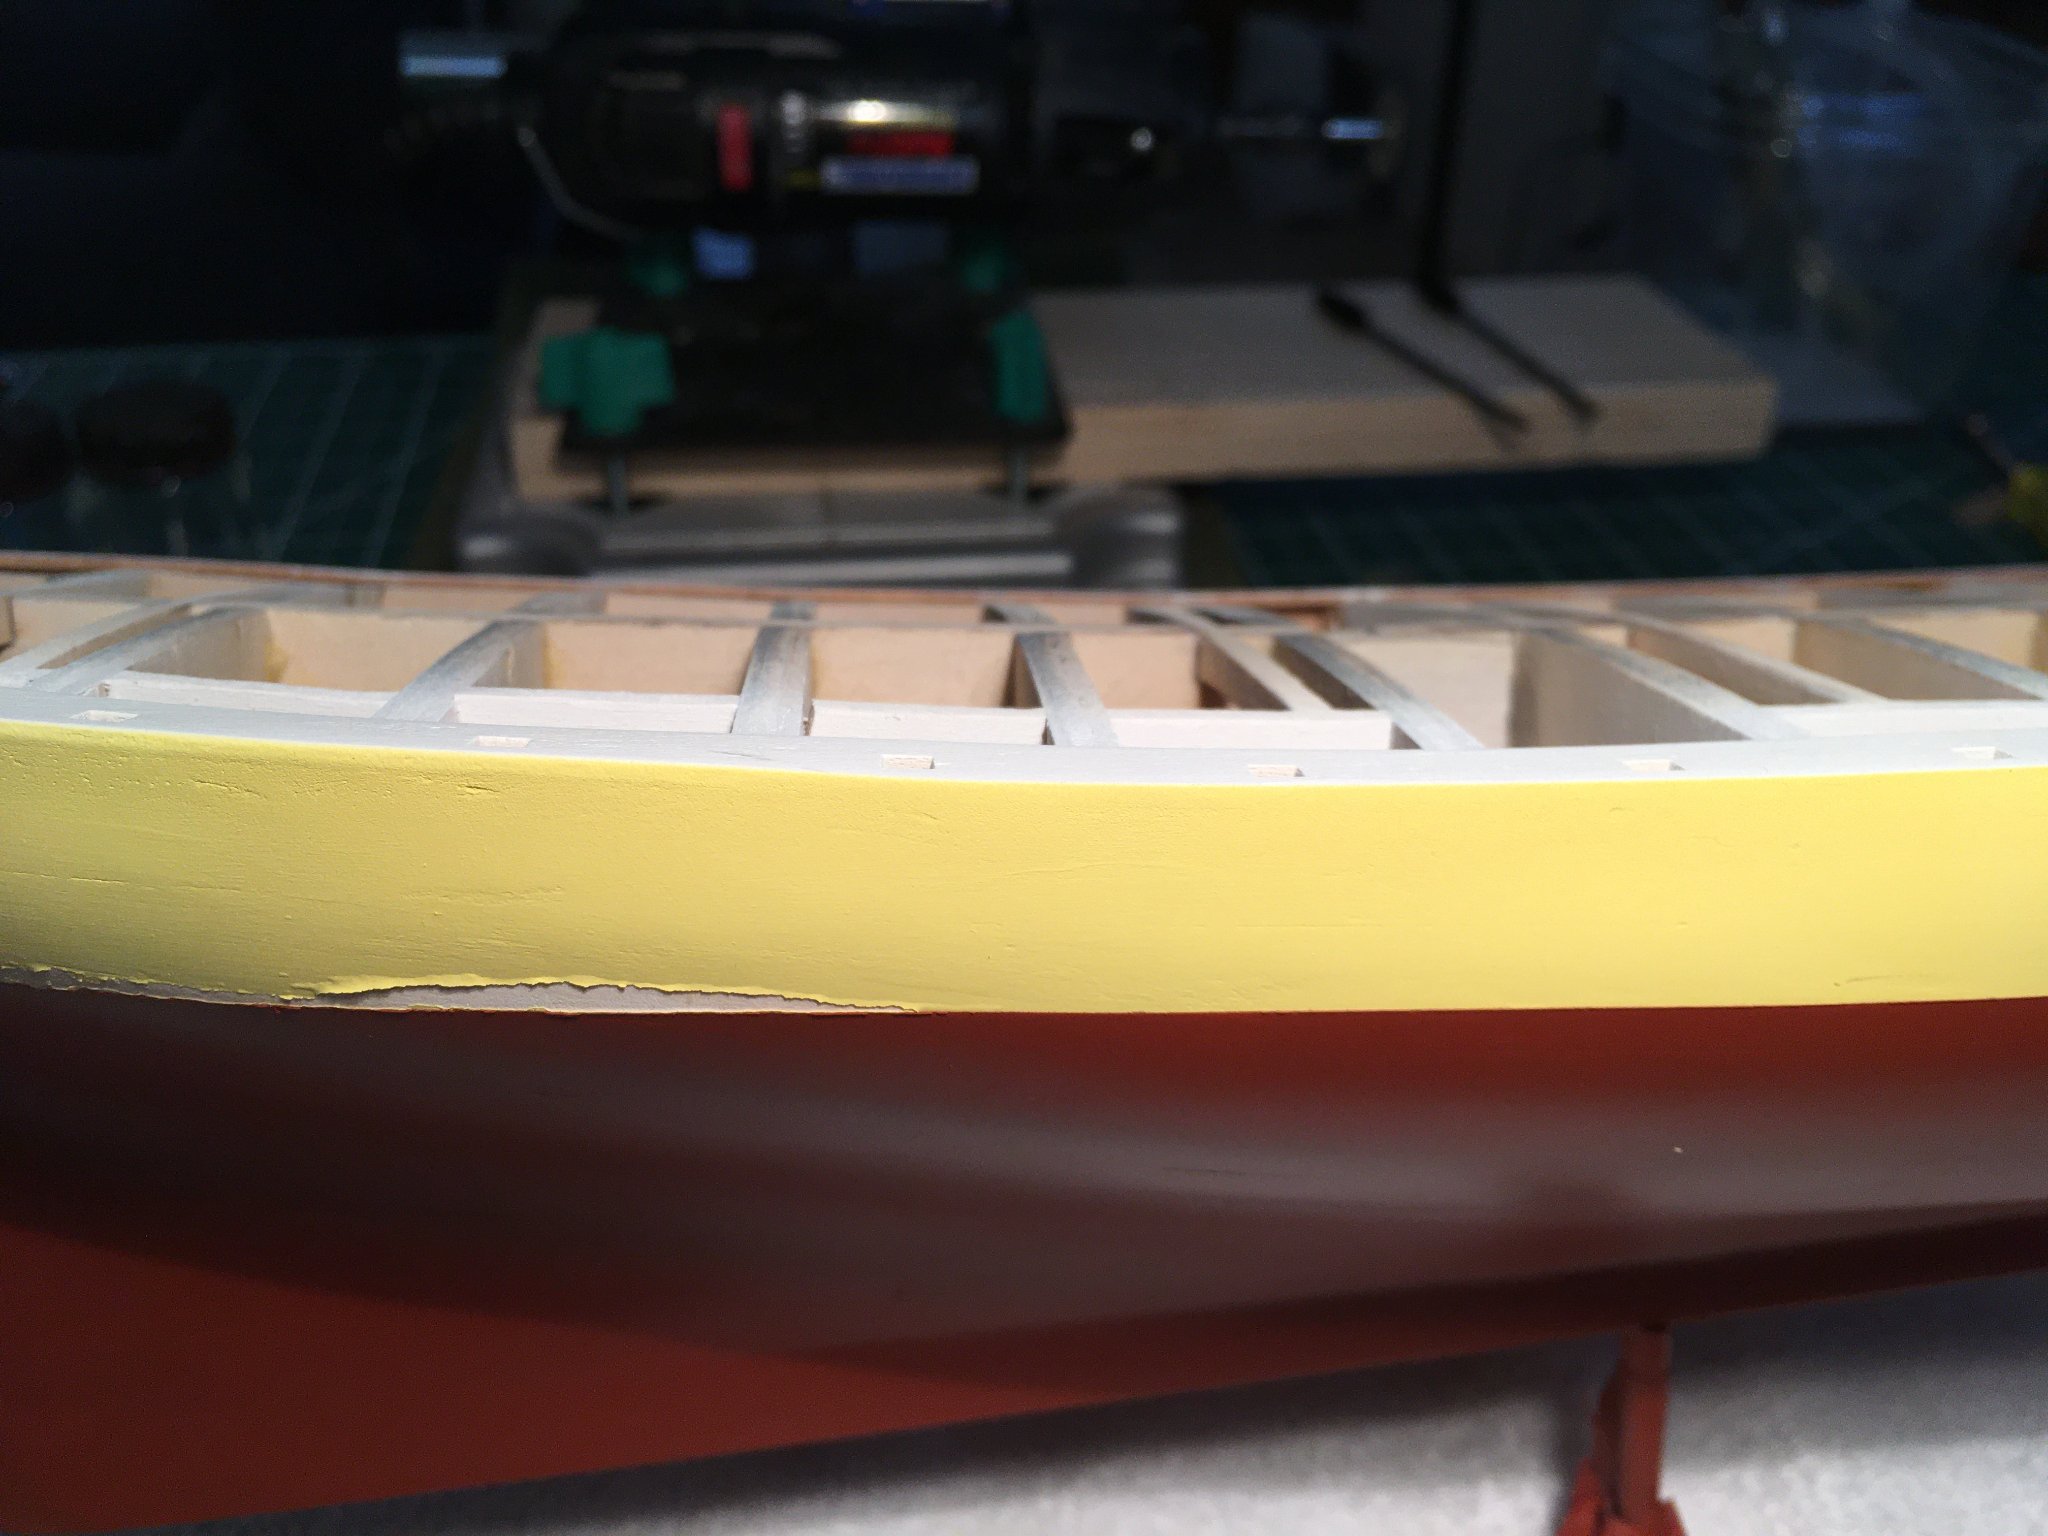
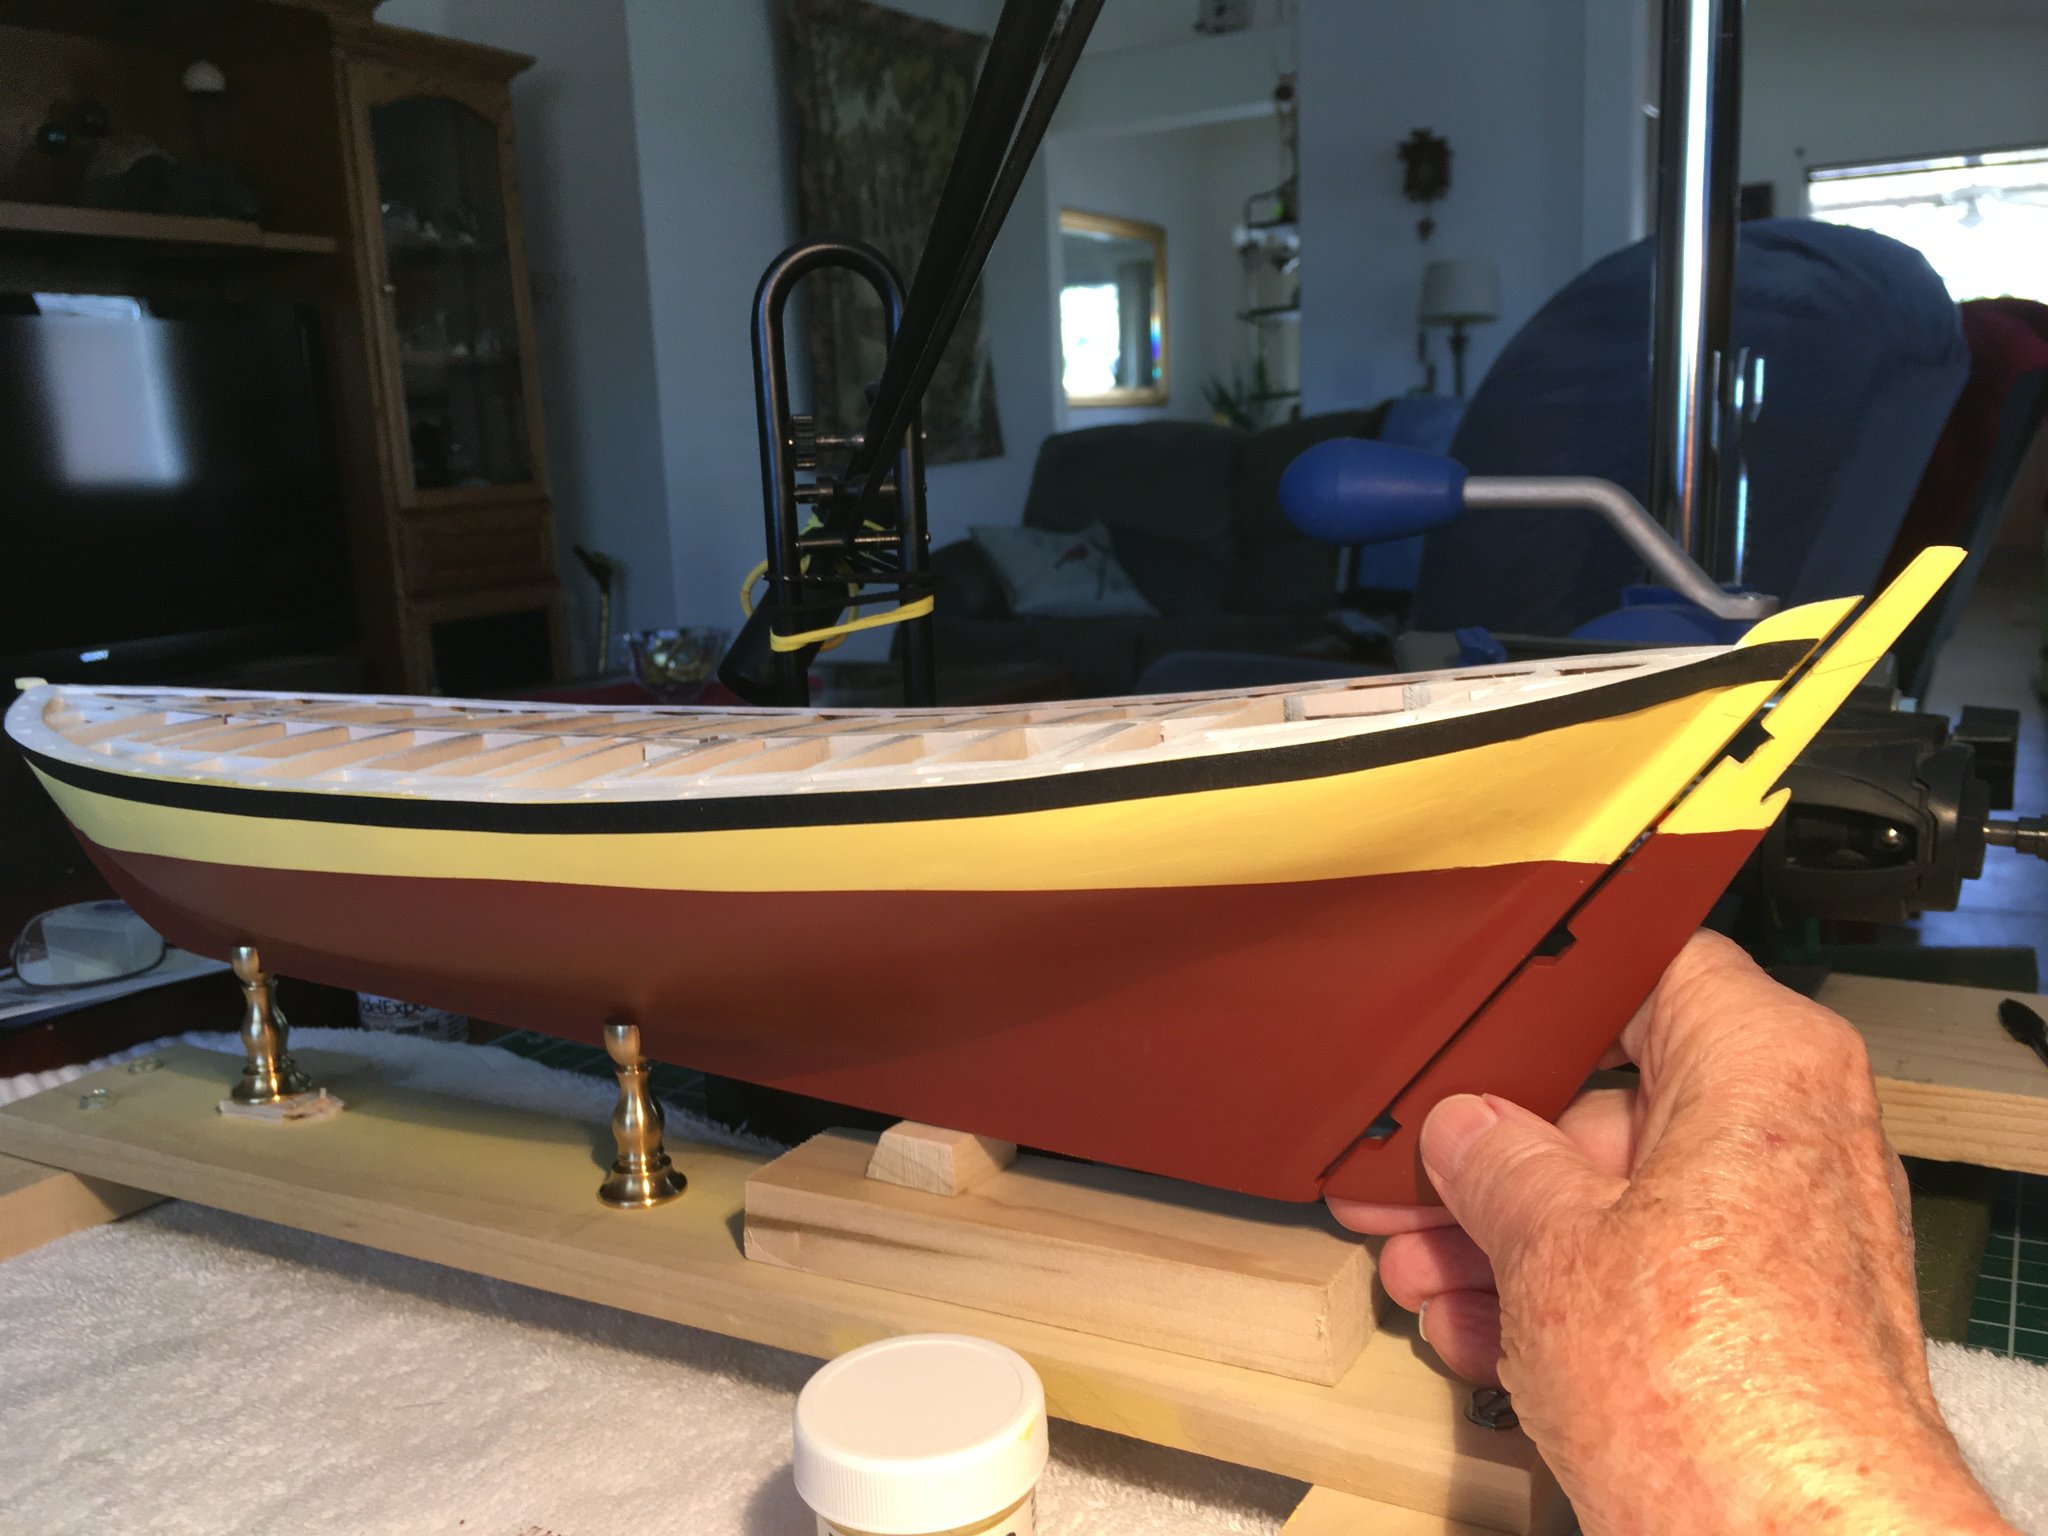
Wow! (Slapping my forehead) why didn't I think of that? Thank you! Great tip as I'm not much of a painter and always have seepage under my masking. I bought some new blue masking tape (as my old masking tape sits in the garage - with Vegas temps about 115 in the summer - dries out) and did some internet searching for answers like yours. I decided to use black electricians' tape knowing I'd cut a sharper edge. Then I did the 'rub' thing as you see here. The blue tape covers the yellow and the white gunnels (or whatever they're called). But as you can see here, even when I slowly and carefully pulled the electricians' tape, some yellow came off. I'm new at using the above airbrush. I tried the cheap one I purchased (a few pictures up) thought I could do better with this double action one. I held the airbrush back for a wider spray and I believe the yellow partially dried before hitting the primer and that's why it pulled up. (*sigh*). The airbrush has too many adjustments and I've never even seen one used before. I finally gave it to my kid and went back to the cheap one and it works great. I just don't do small stuff like my (adult) kid. I sure like the line where it didn't peel up. Better than some of the other's I've seen. So I did some sanding and masking and painting and sanding... Anyway, this is what I ended up with. I cheated with the black line like I did on one of my other projects here and used black tape. I'm going to get some clear matt spray or use some clear paint to hold the tape down if it starts coming up. I have a rudder problem. I drew the line off the blue (white) prints and it does not match the water line I drew on the hull. So... A little yellow paint (a probably a wabbly line) and that should fix that. Same for the black I'll paint on the top of the rudder.


-
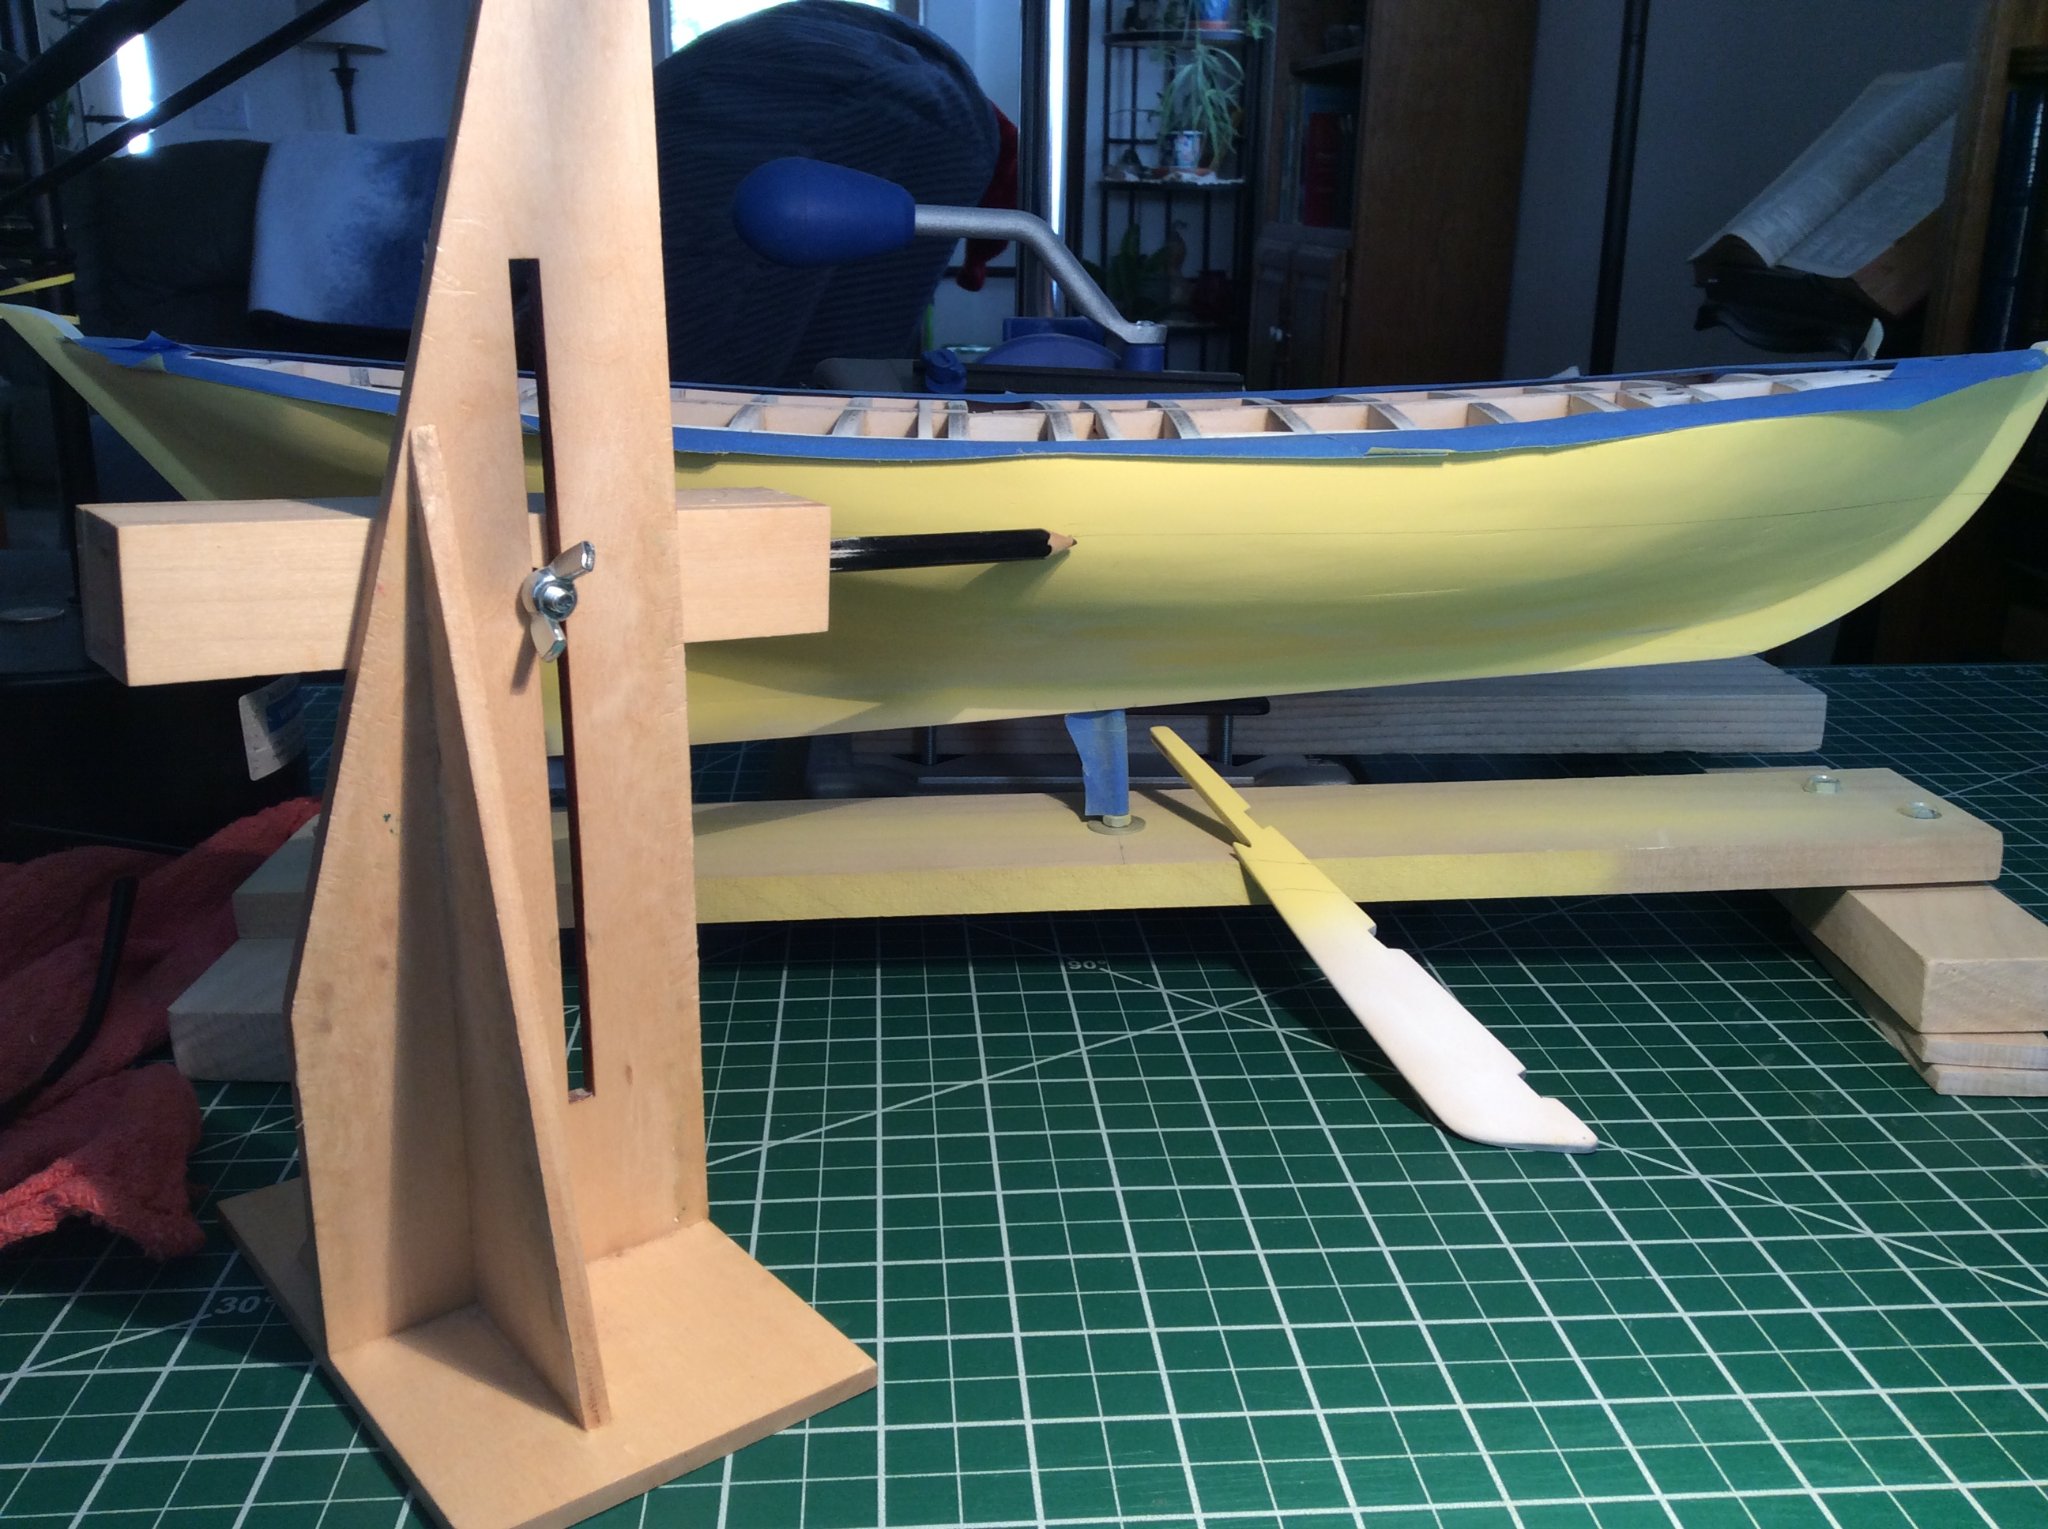
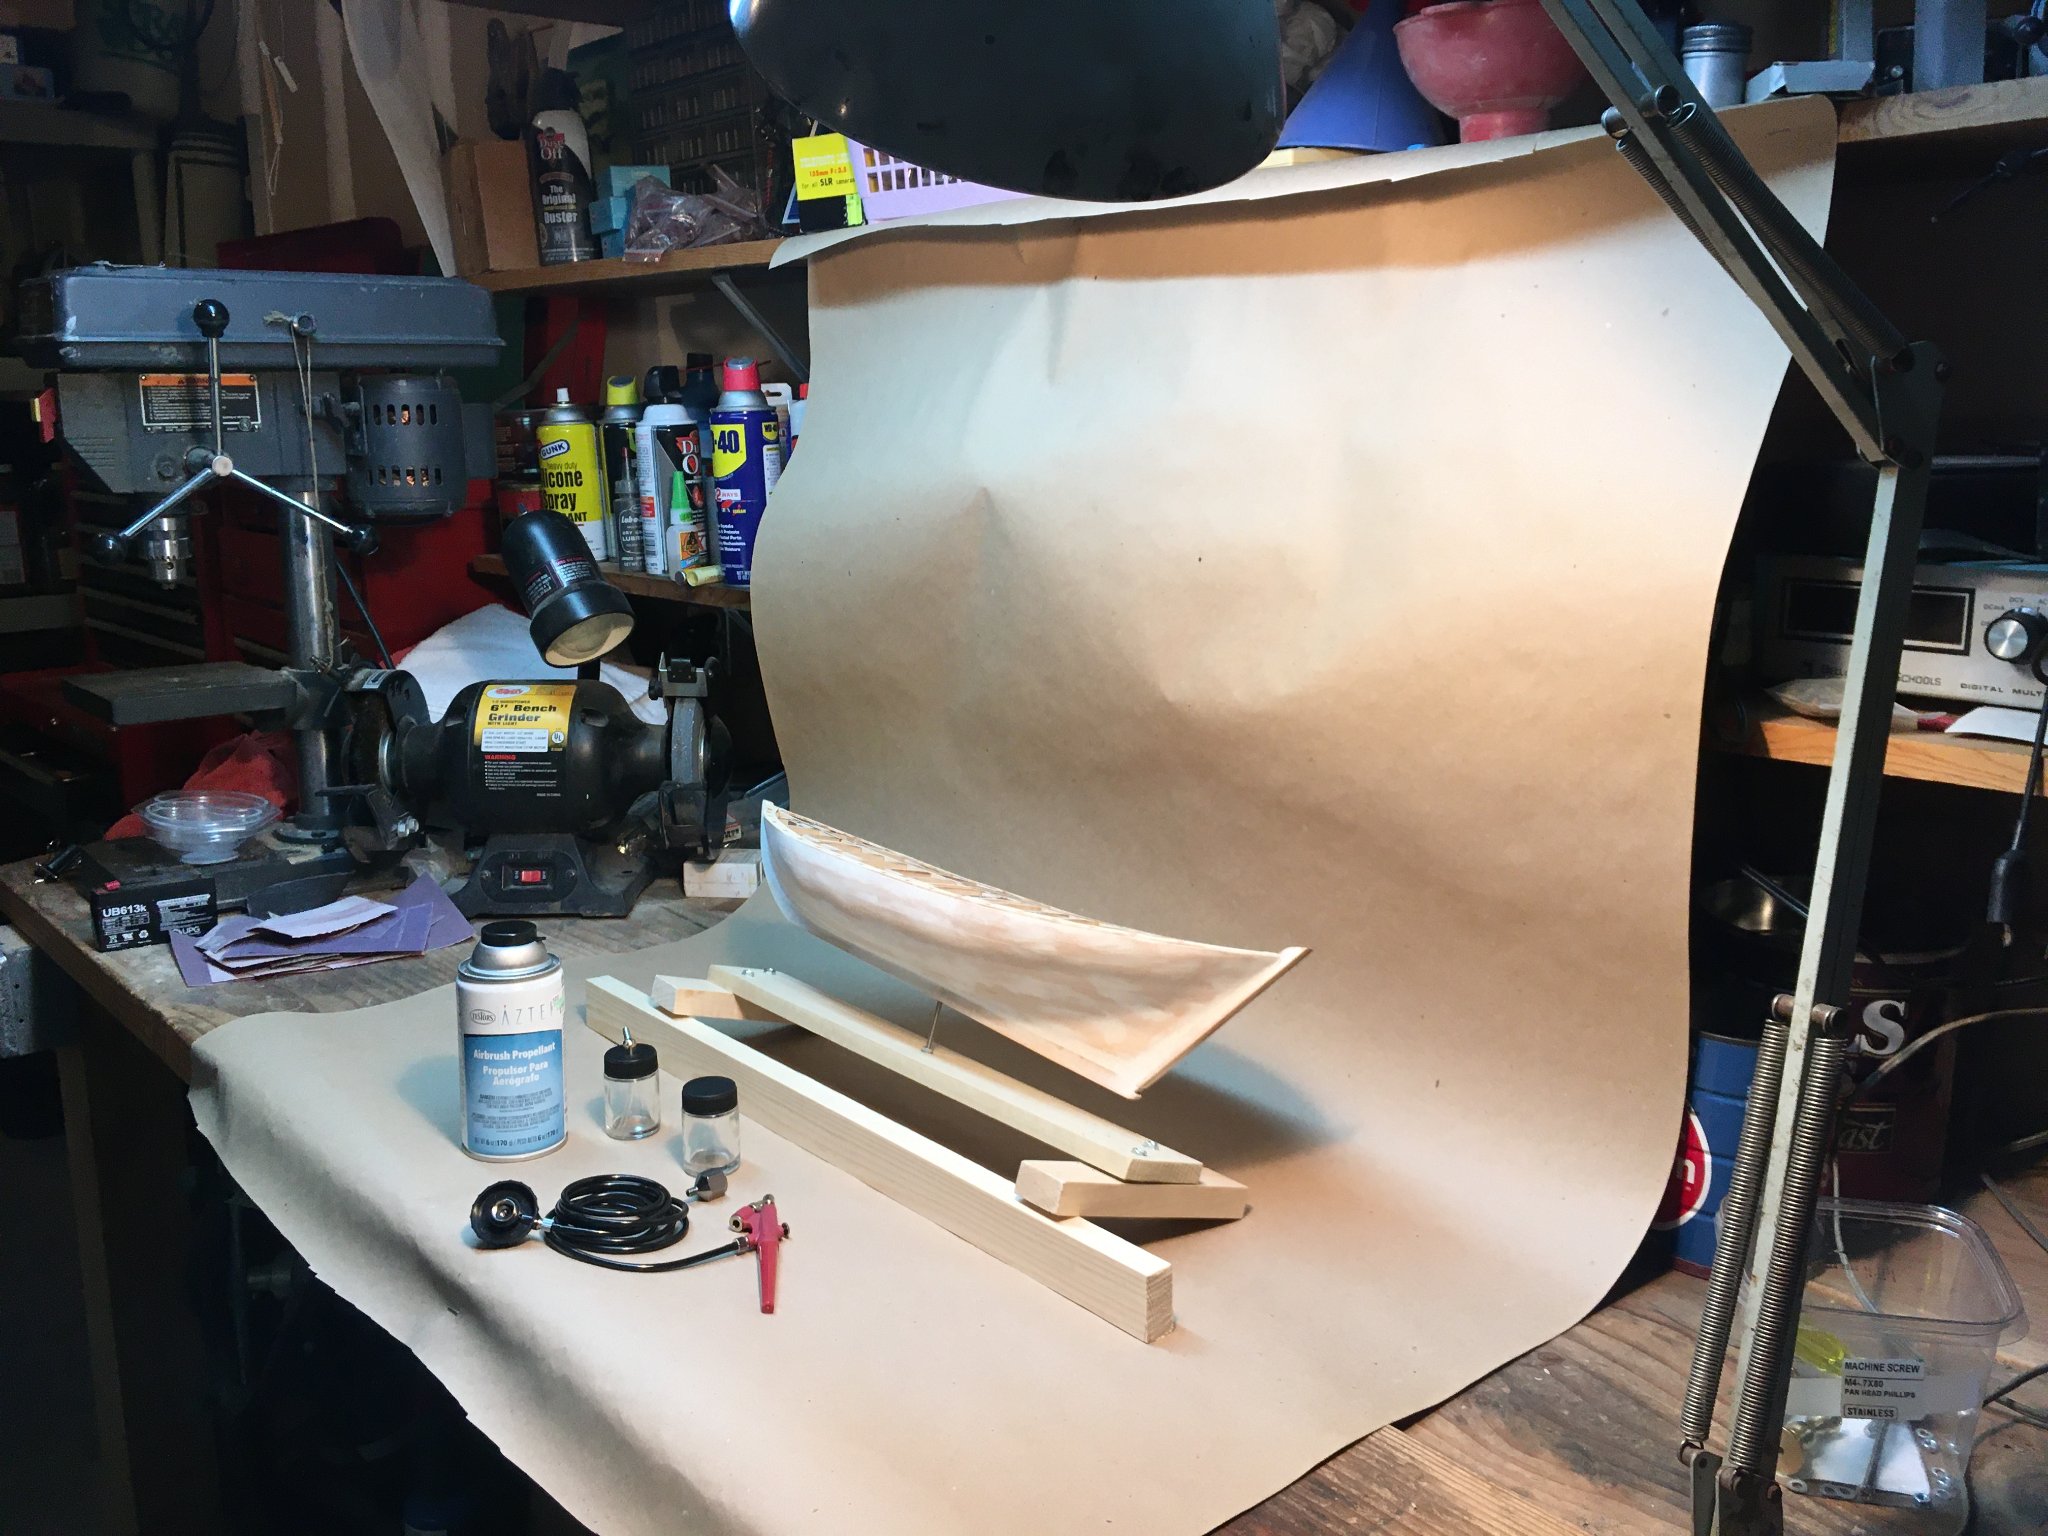
Next is painting. I have trouble with paint brushes, big areas and drying too quickly. And as for primer, I mentioned on another boat of mine here, the primer either never seemed to dry, or I put too much on. I was like rubber. I was going to get spray cans from the hardware store but decided it was time to try to try Airbrush. So I watched the pros on line and decided on a cheap one. It was one size, small, and I used an air can for pressure. Between me never having done it before and never even watching it done, and a cheap outfit, and run out of air. I tossed the rig you see above and got a good one. I practiced, plugged it up, then got the paint too thin, didn't understand some of the controls. Back to the Internet an a few more lessons. Anyway I bought a better gun and hooked it to my large compressor under this bench and practiced I sprayed on the prime. Then I remembered I had to paint the rudder. And the instructions say to taper down the stern post and the rudder. So a little grinding and more prime. I painted the gunnels white. Let it dry, then masked them and airbrushed the hull. One thing about airbrush, it doesn't cover sins and fill cracks like a paintbrush. But I didn't want a perfect job because it would like like a plastic hull popped out of a mold. Real boats I painted had brush strokes, so I left plank marks in, like in real boats. I borrowed my son's Water Line Marker; leveled the boat, went to the plans and drew a line just slightly lower than the real waterline. I will be taping (in place of masking tape) because the tap should make a finer line and thin paint may not leak under the tape like it does masking. The tape on the gunnel (or whatever it's called) is the blue masking tape. Today I spray the Hull Copper.


-
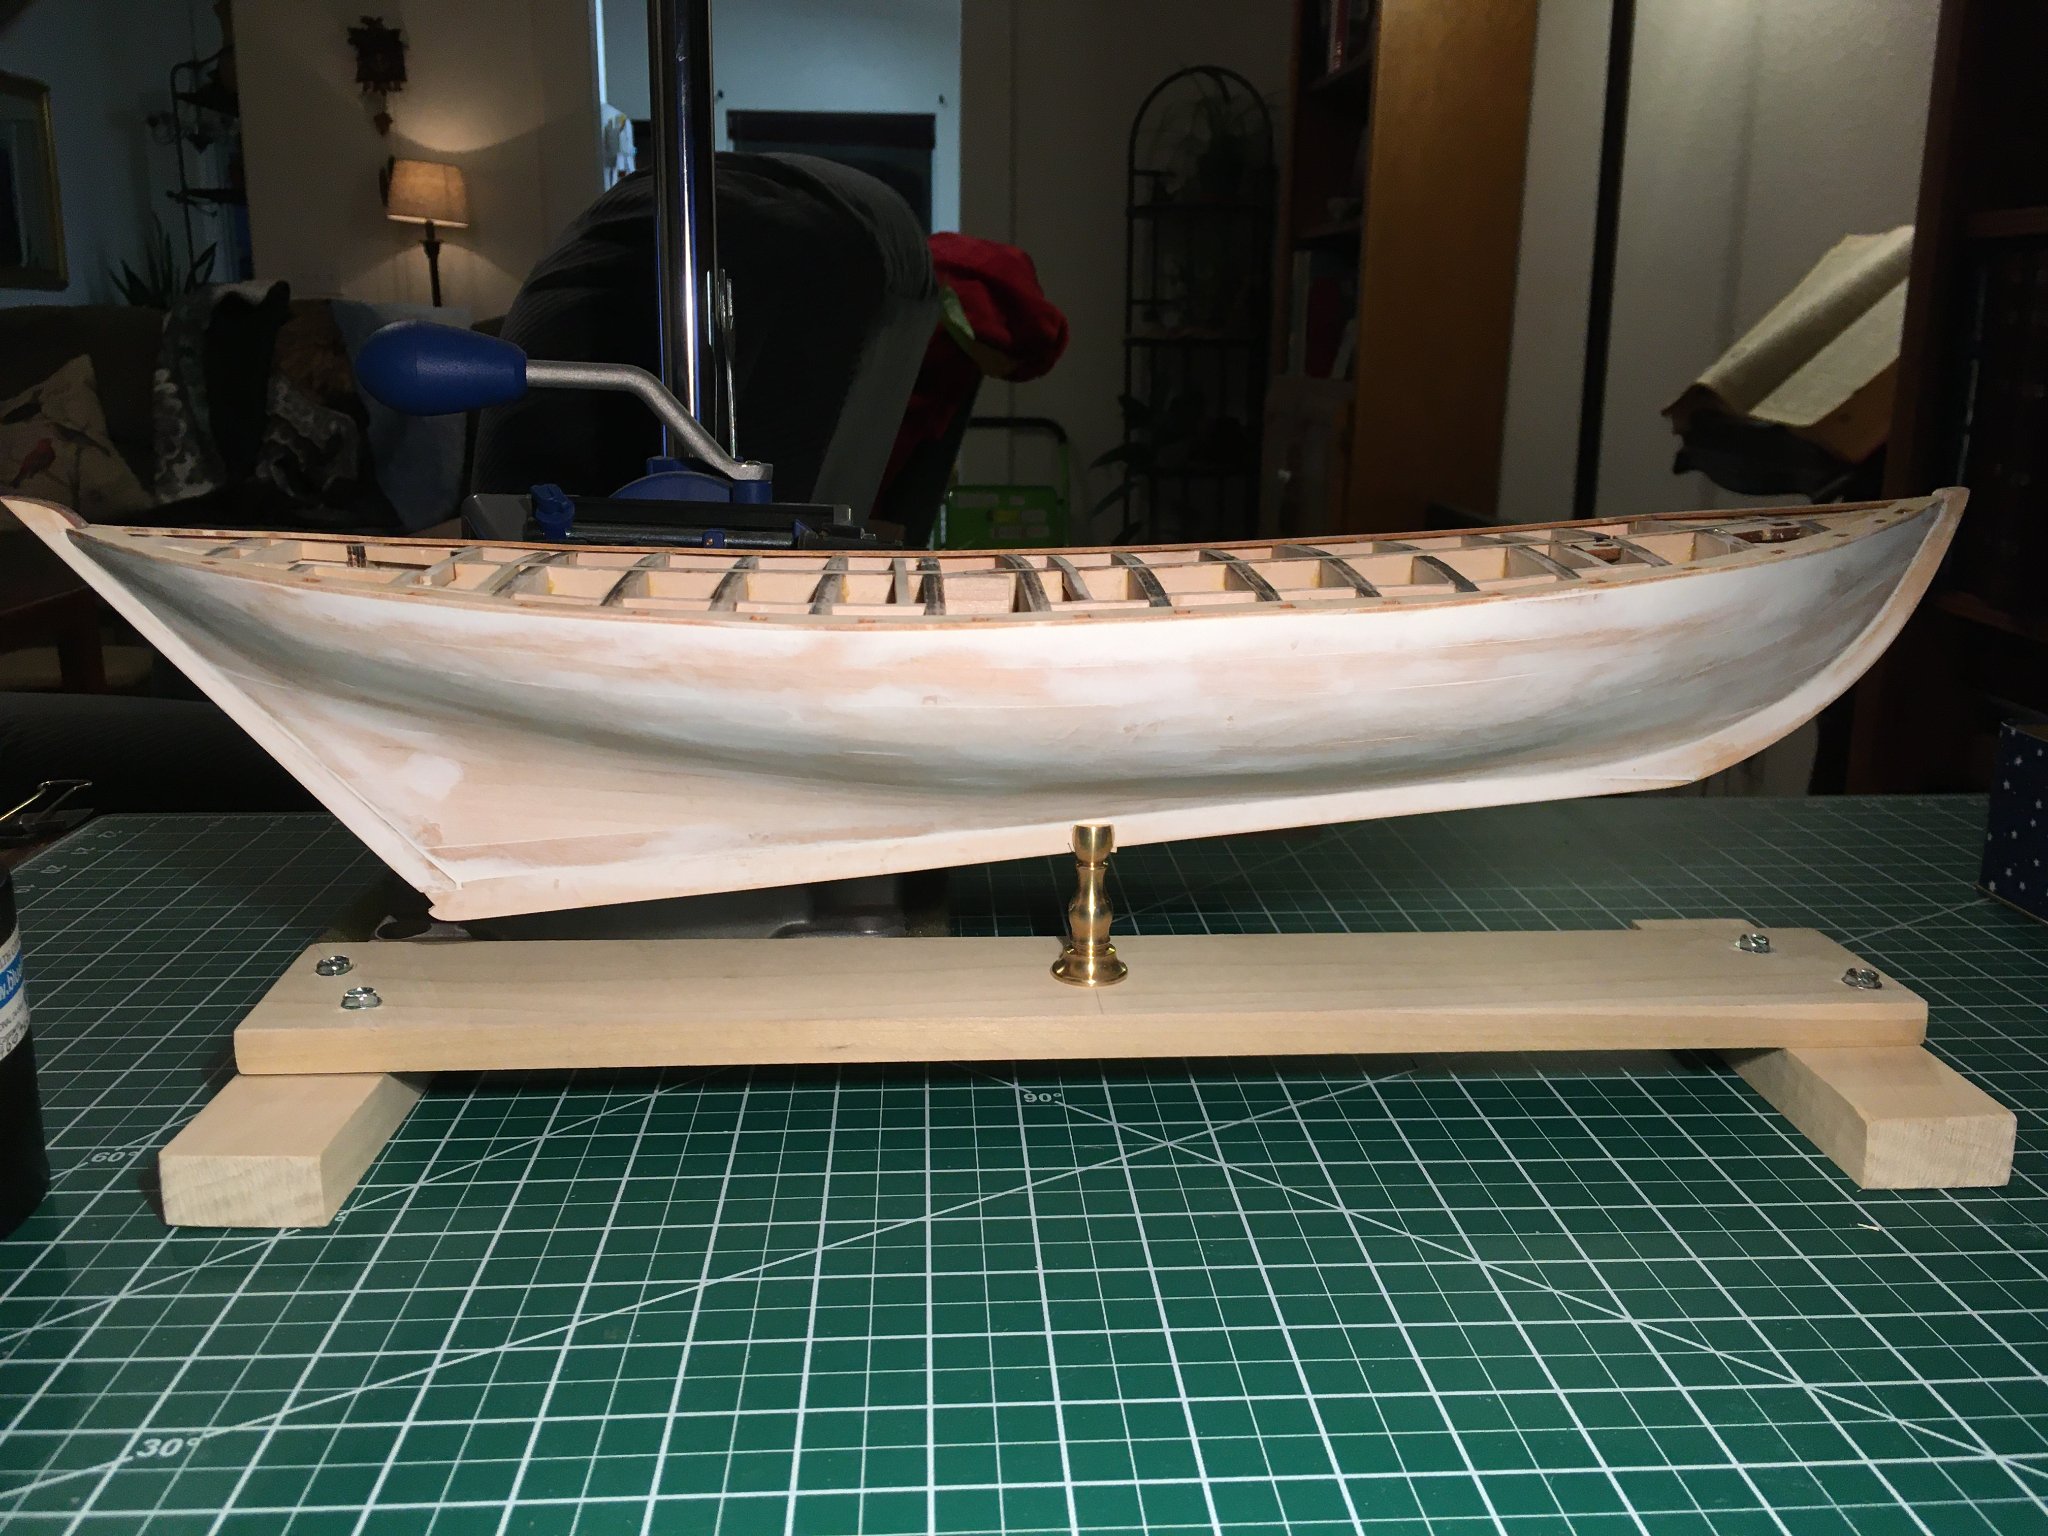
After having upside down picture problems, I photted the photo and now they loaded correctly. (Sigh). Anyway, thanks to Olha and her videos and ideas, I used spackle rather than wood putty and it's great to work with. I do my sanding and putty with a fluffy towel and when I apply the spackle, I never scrape the putty knife in the jar because it's too dry. I always wipe the knife on the towel and wash it off later. The above picture is after sanding the first time. As you see in this following picture, sanding will leave a few problems. Sanding with fine paper requires constant brushing. I did the top plank a second time and lightly sanded. I drilled out the threads in the brass stand and drilled a small hole in the keel. Tighten the nut on the bottom and now I can work on the deck. I'll remove the brass stand and leave the bolt for painting. (I placed a small sliver of wood on the right side of the brass stand to help keep the 'water level' correct).